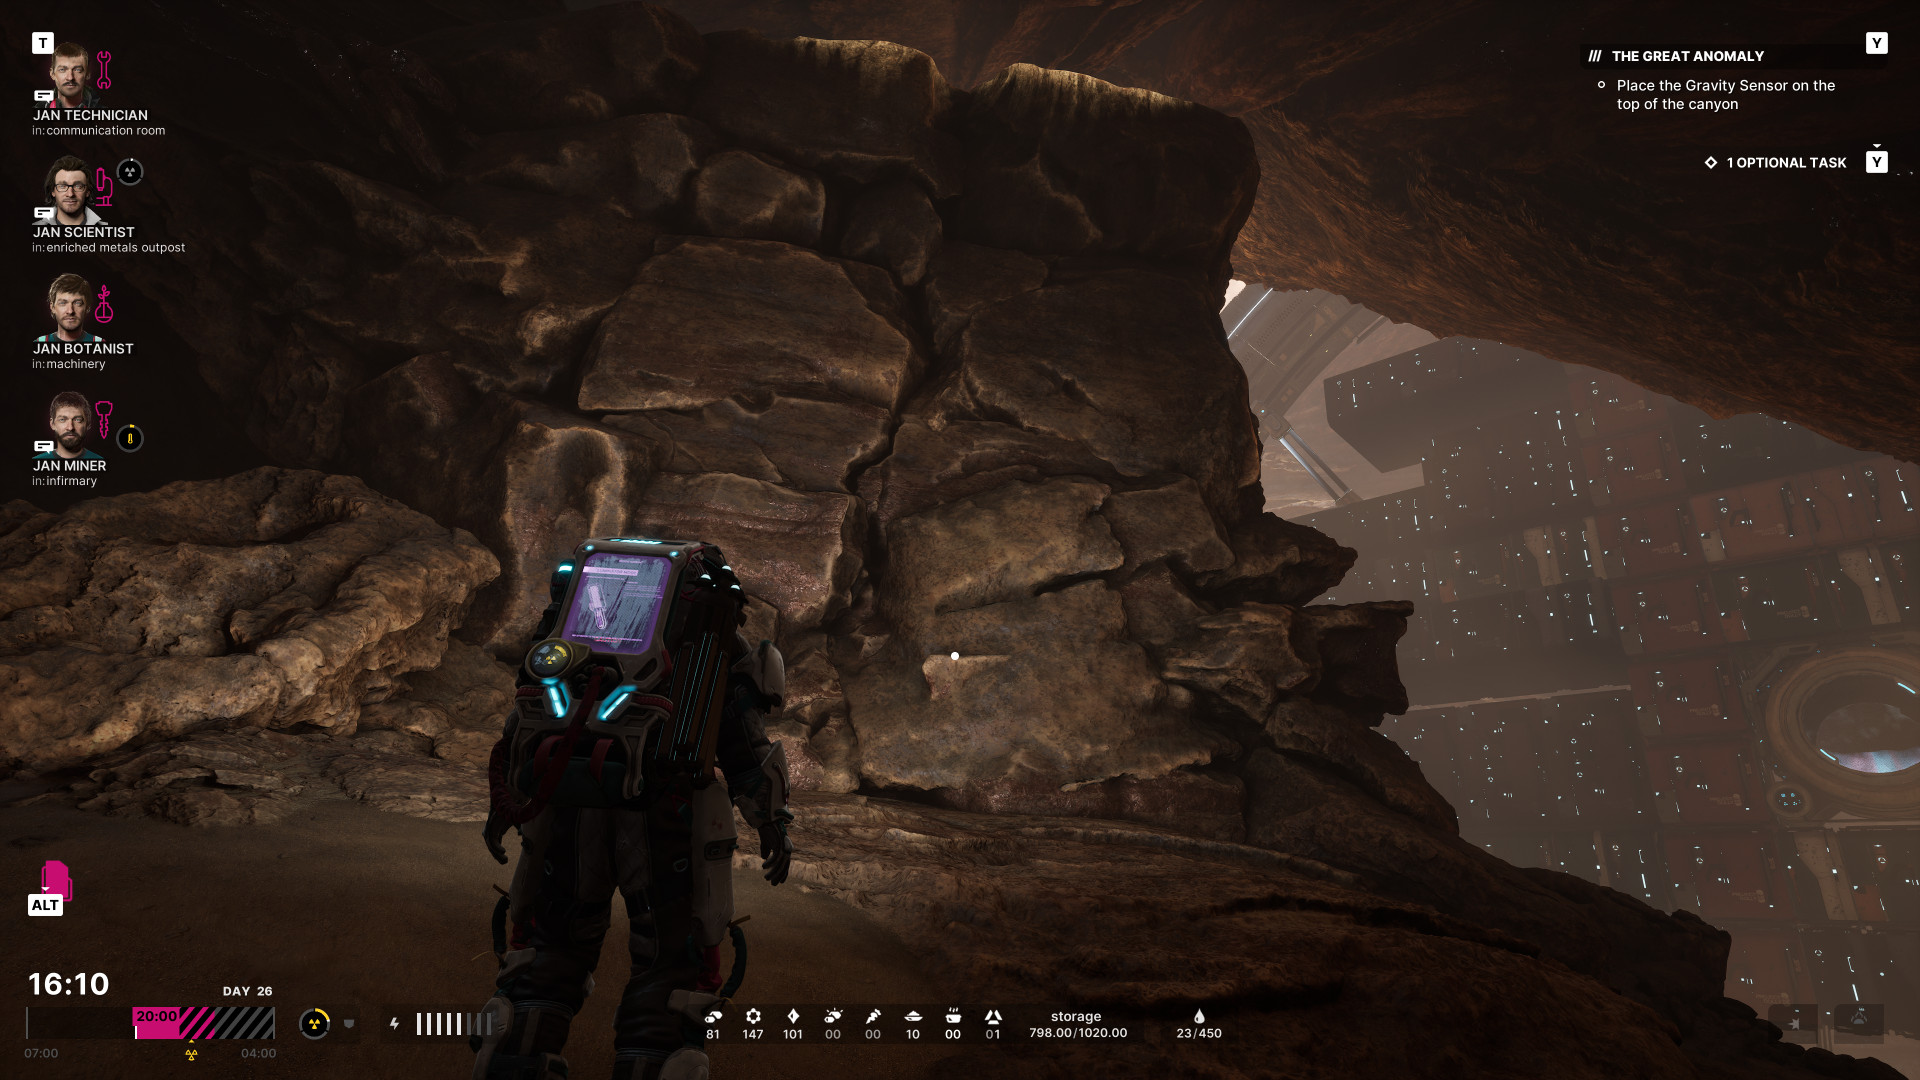
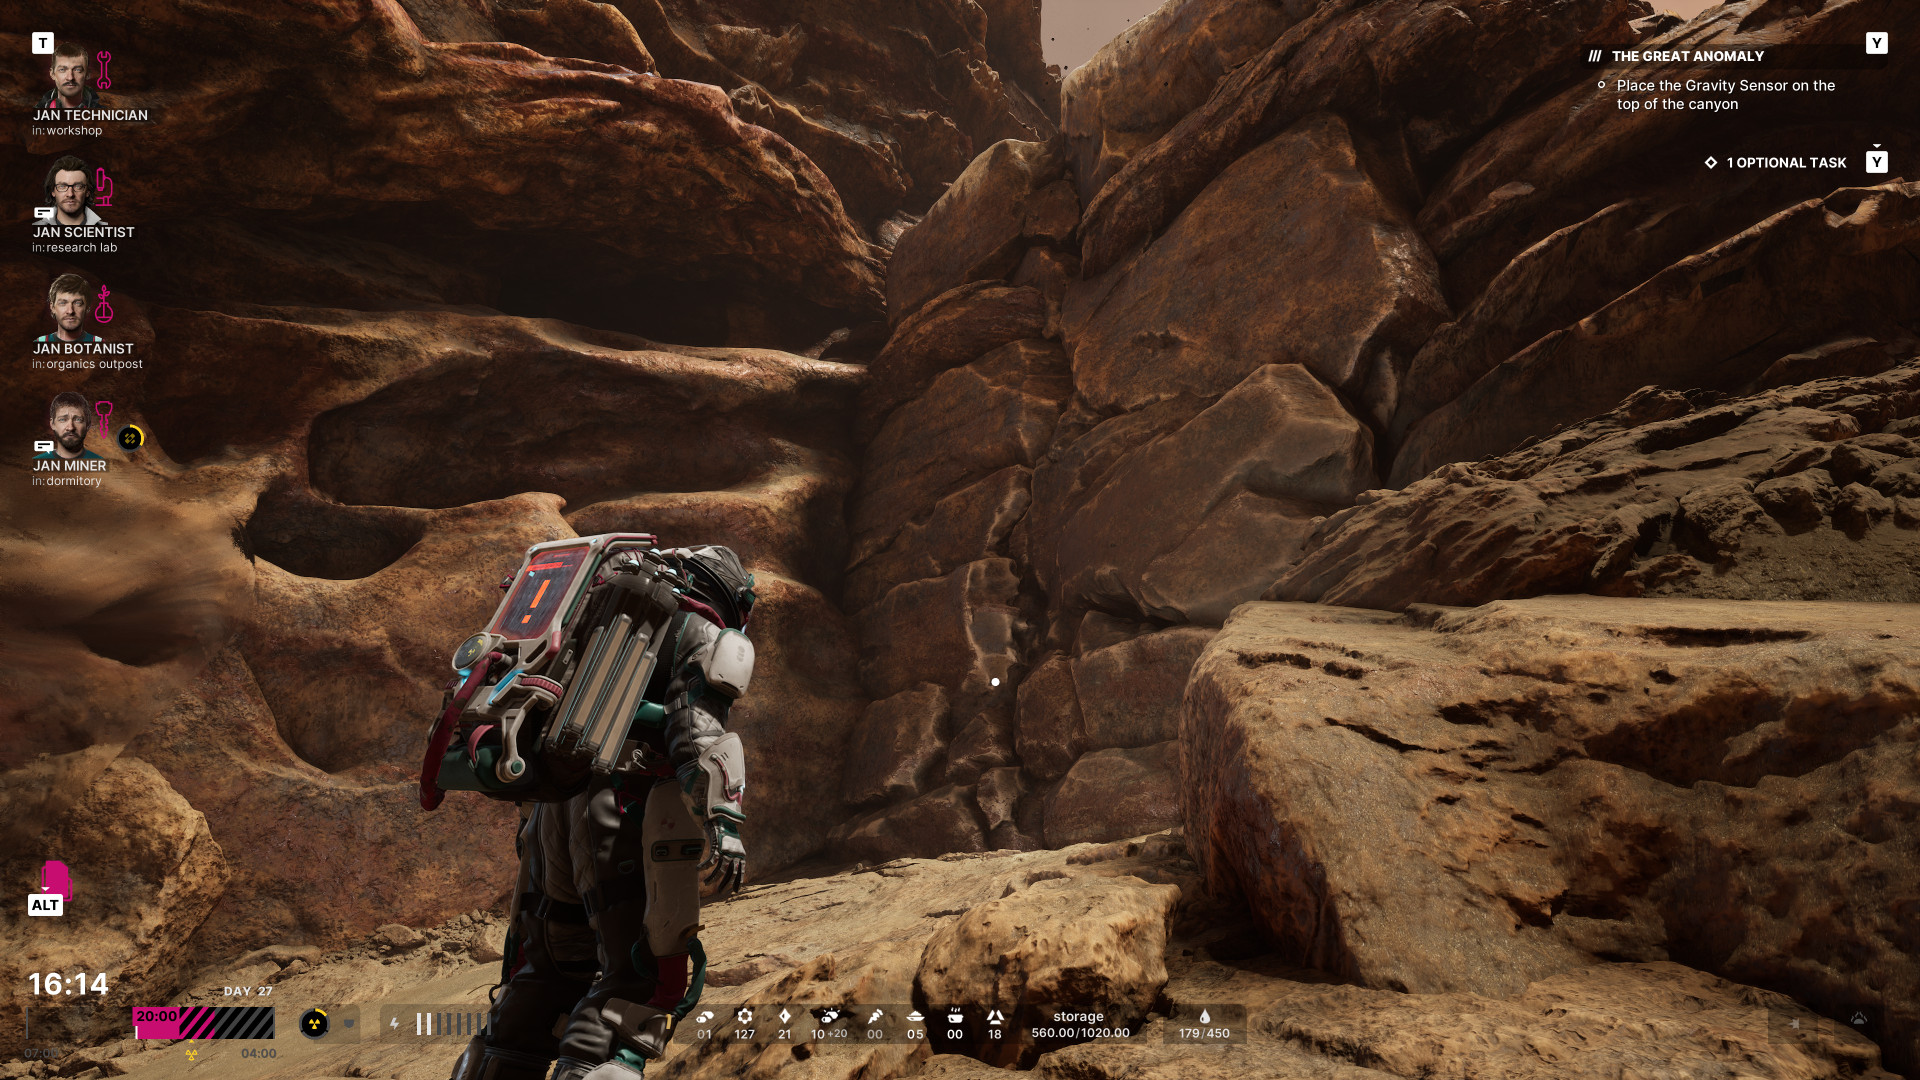
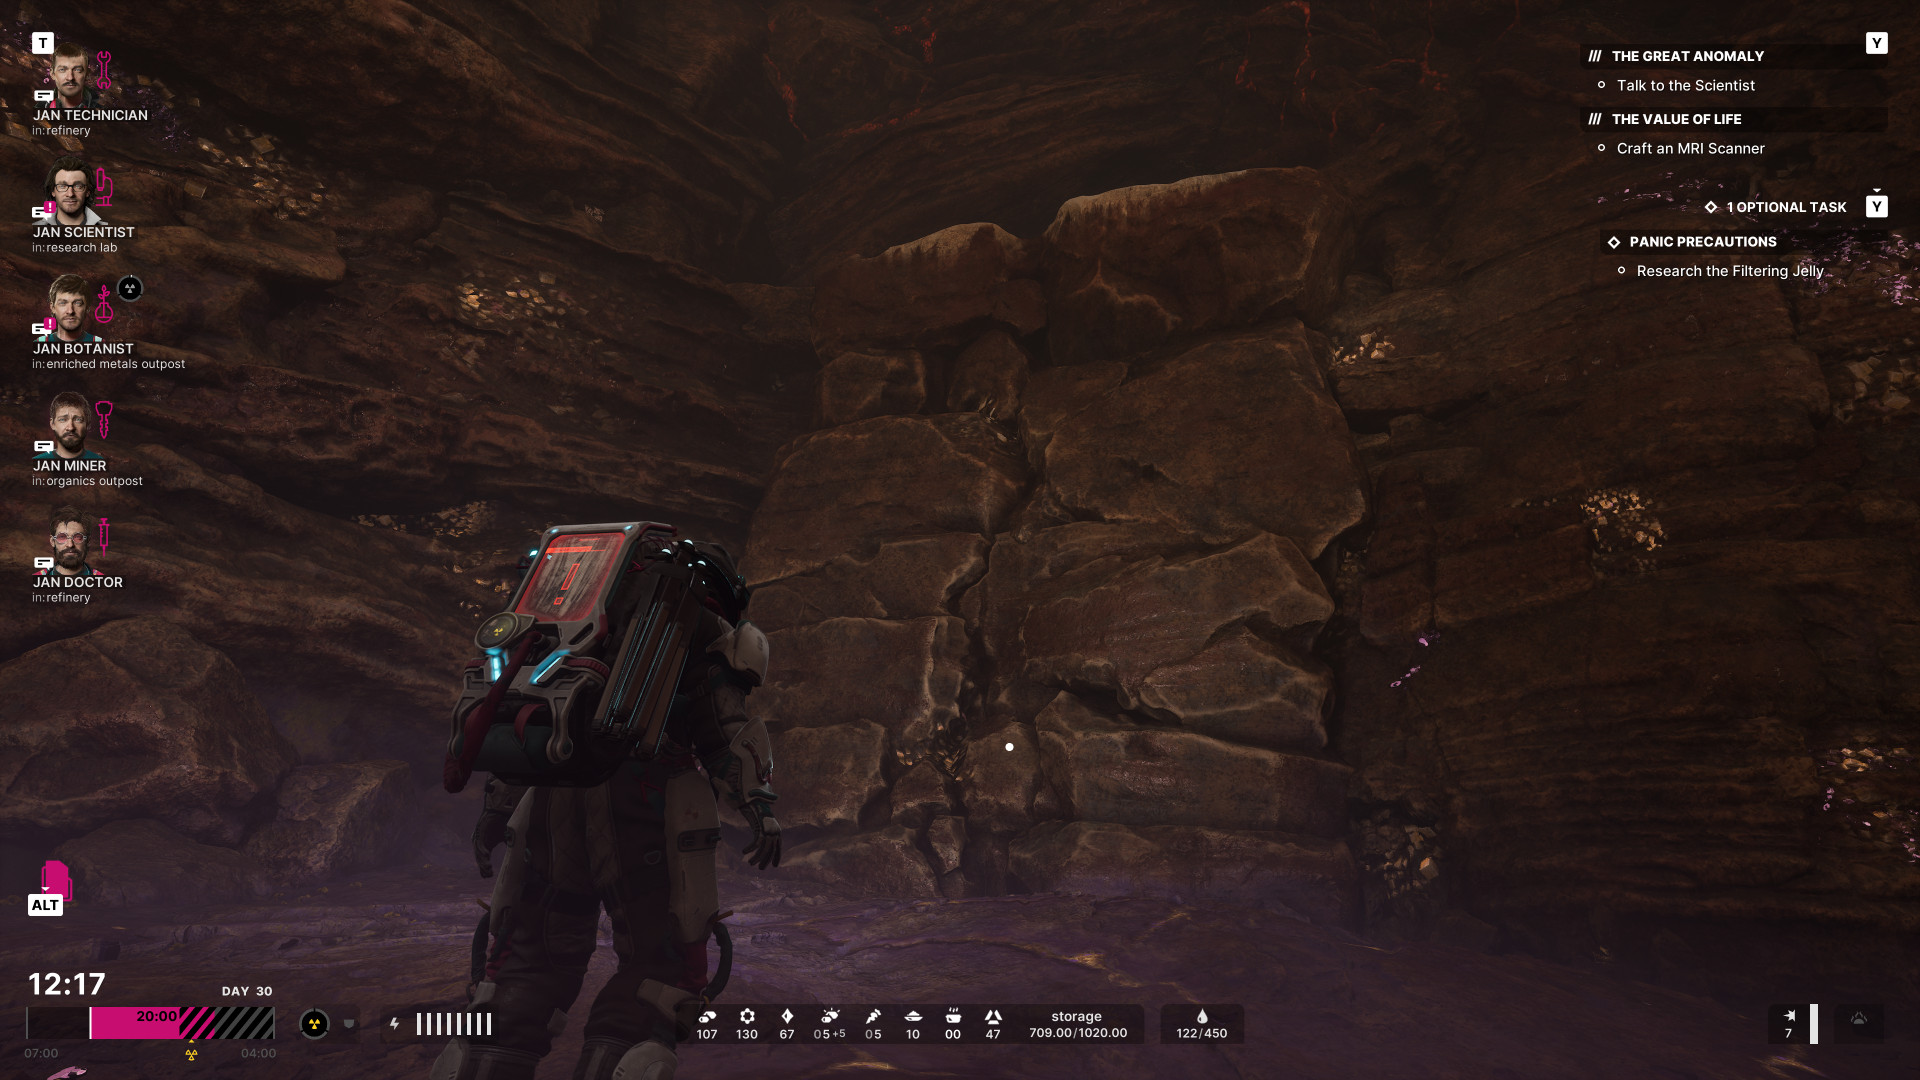
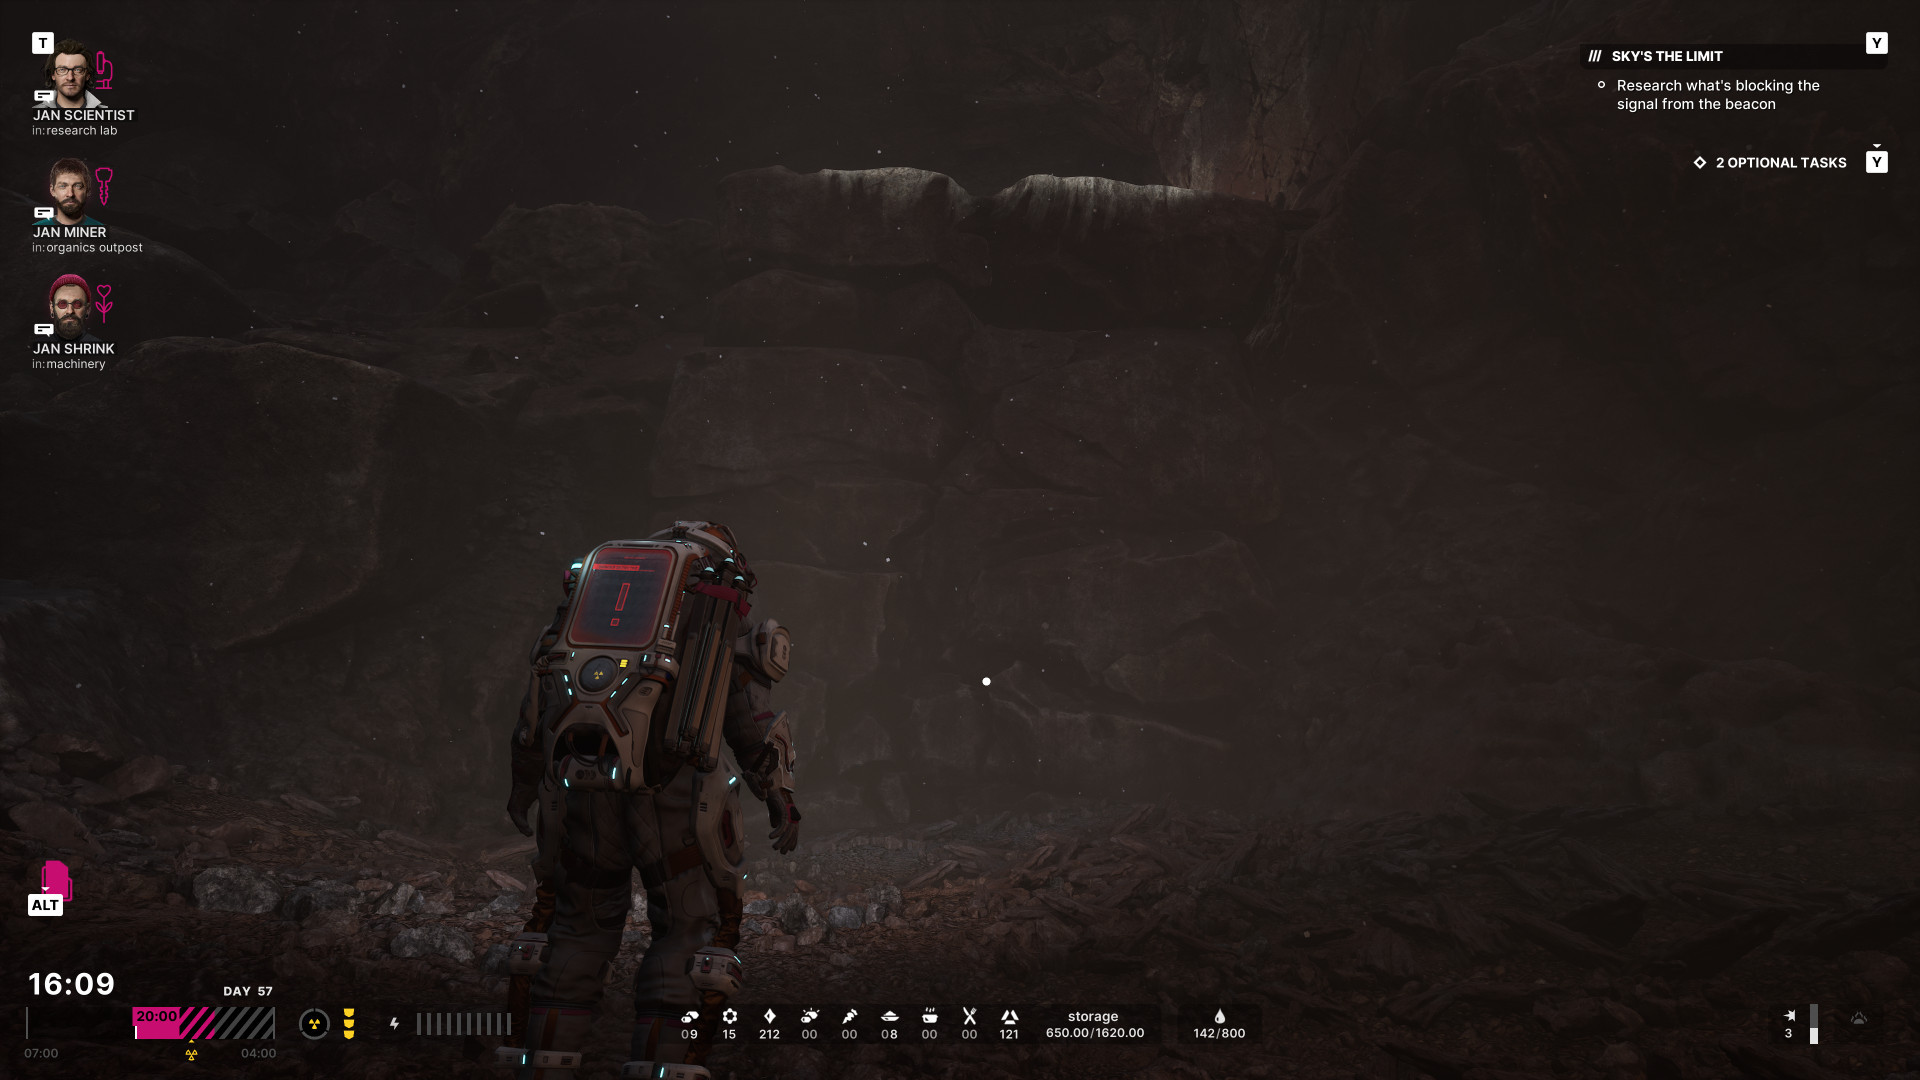
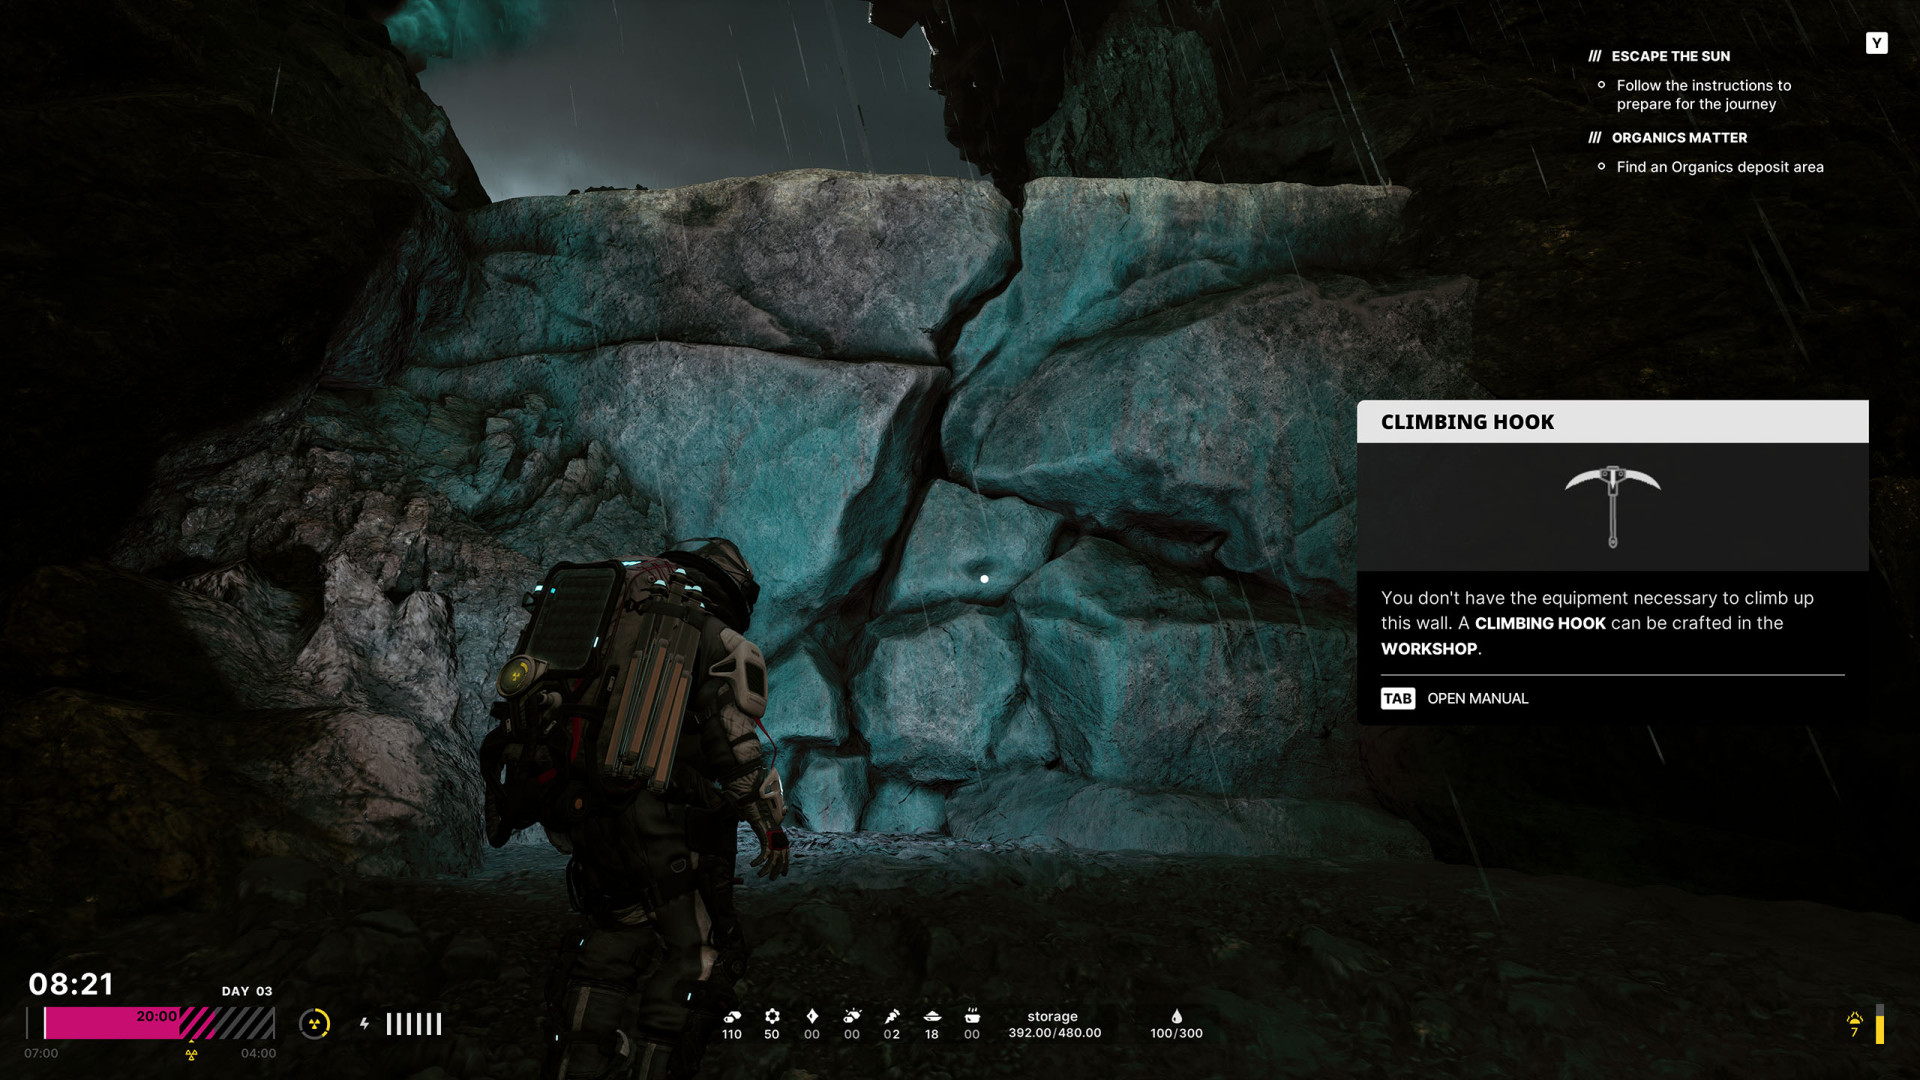
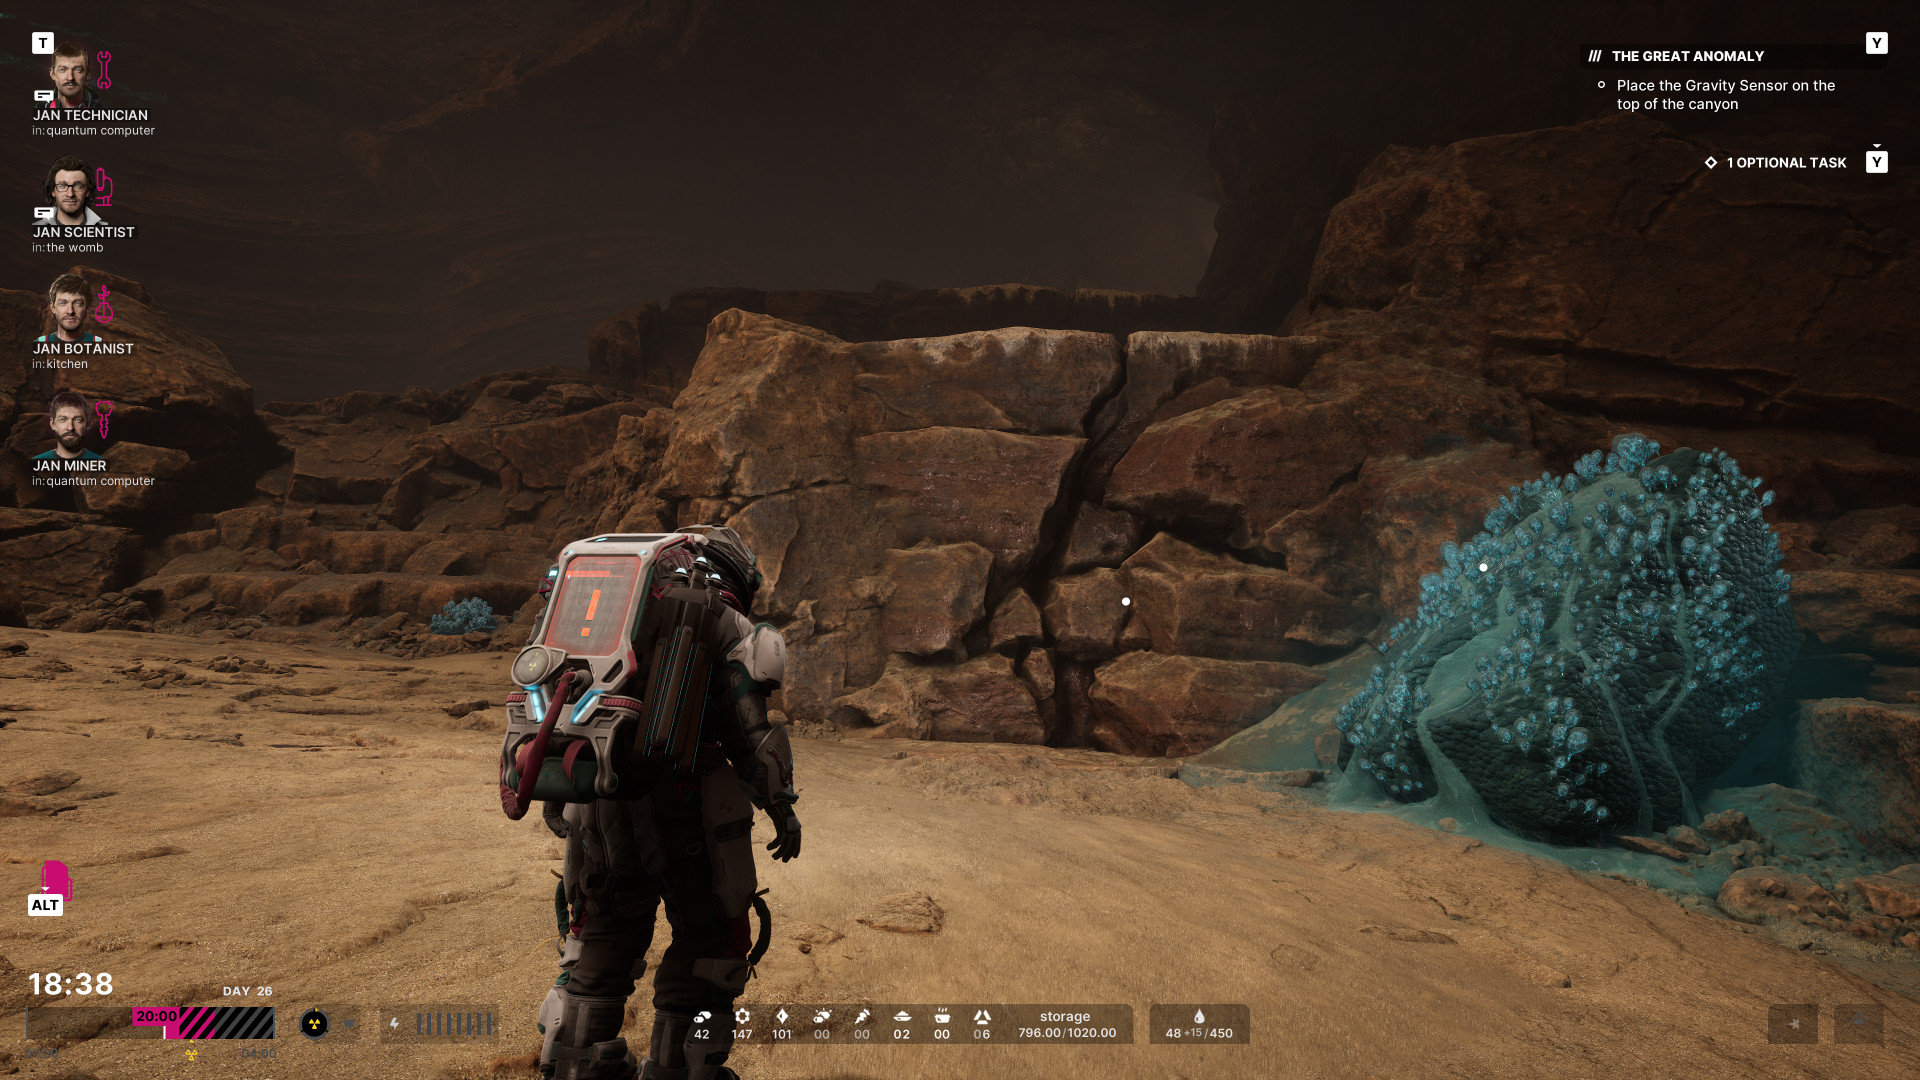
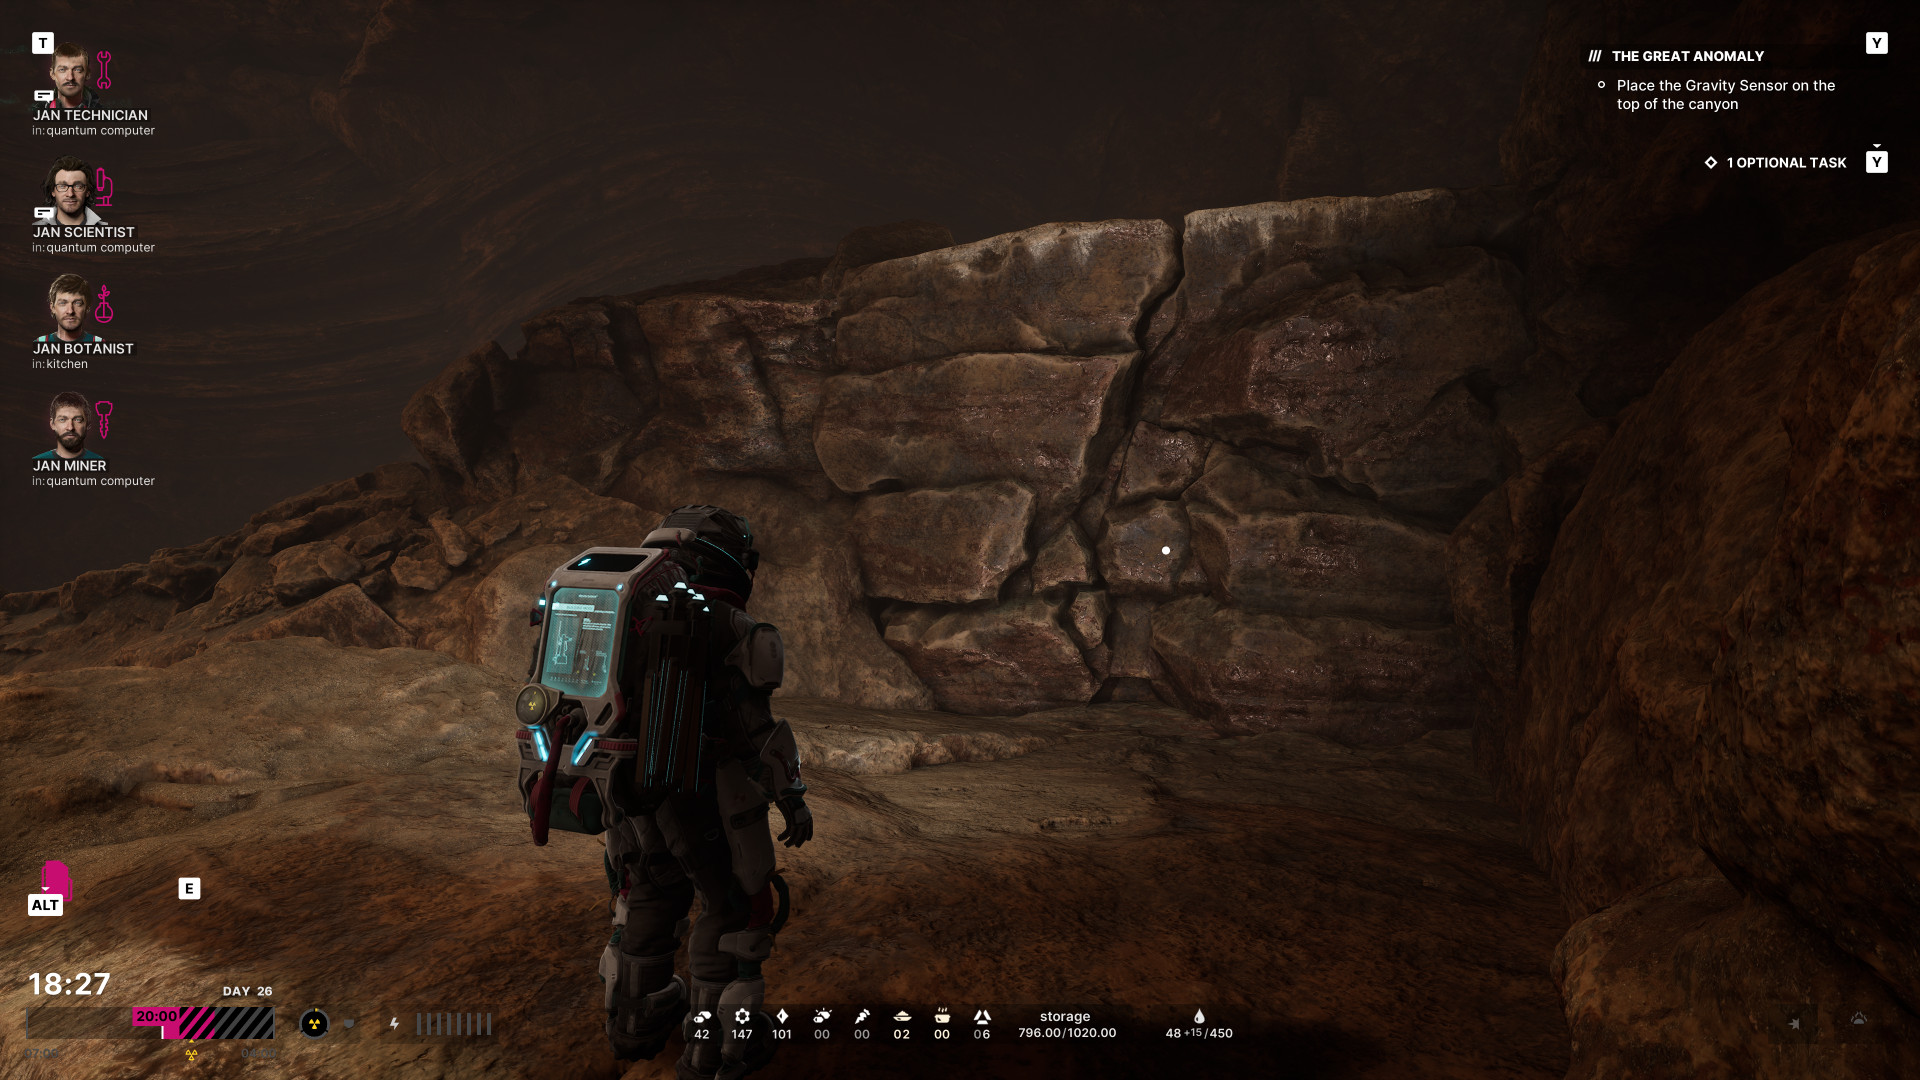
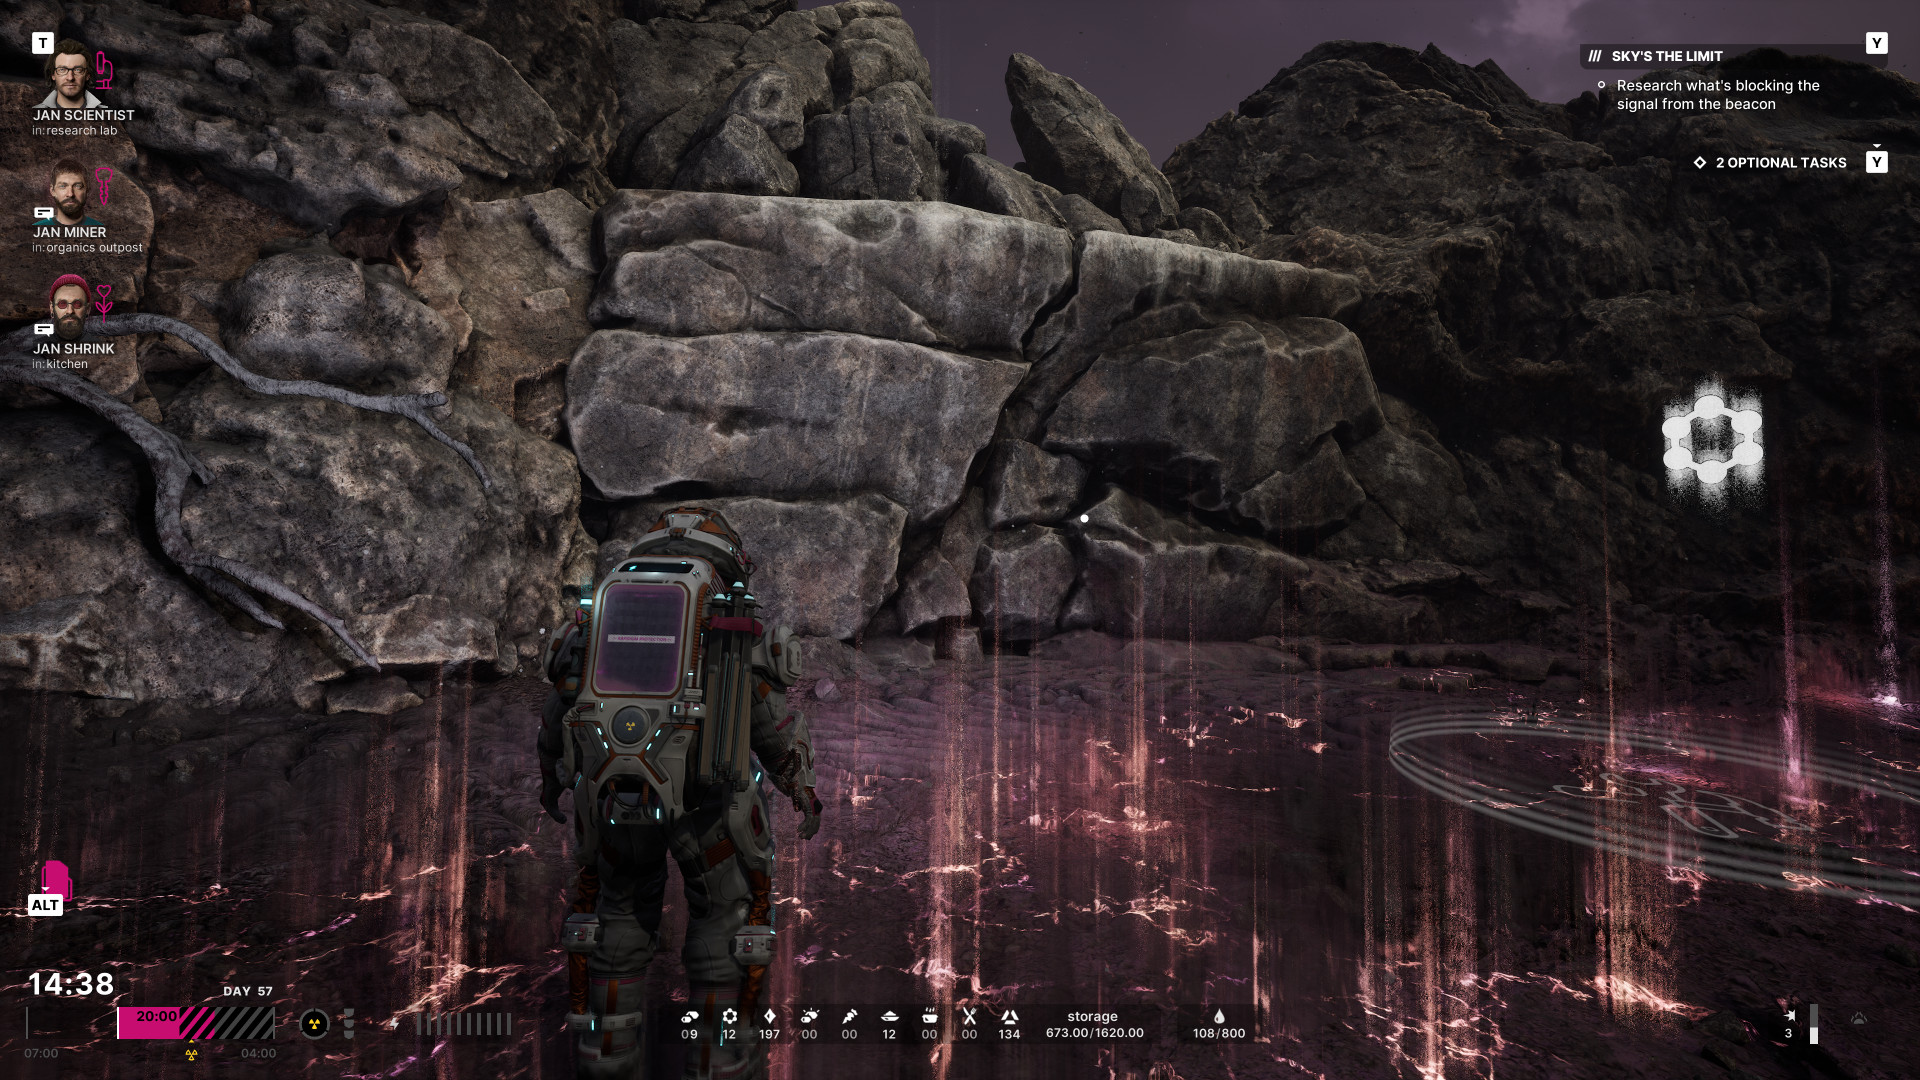
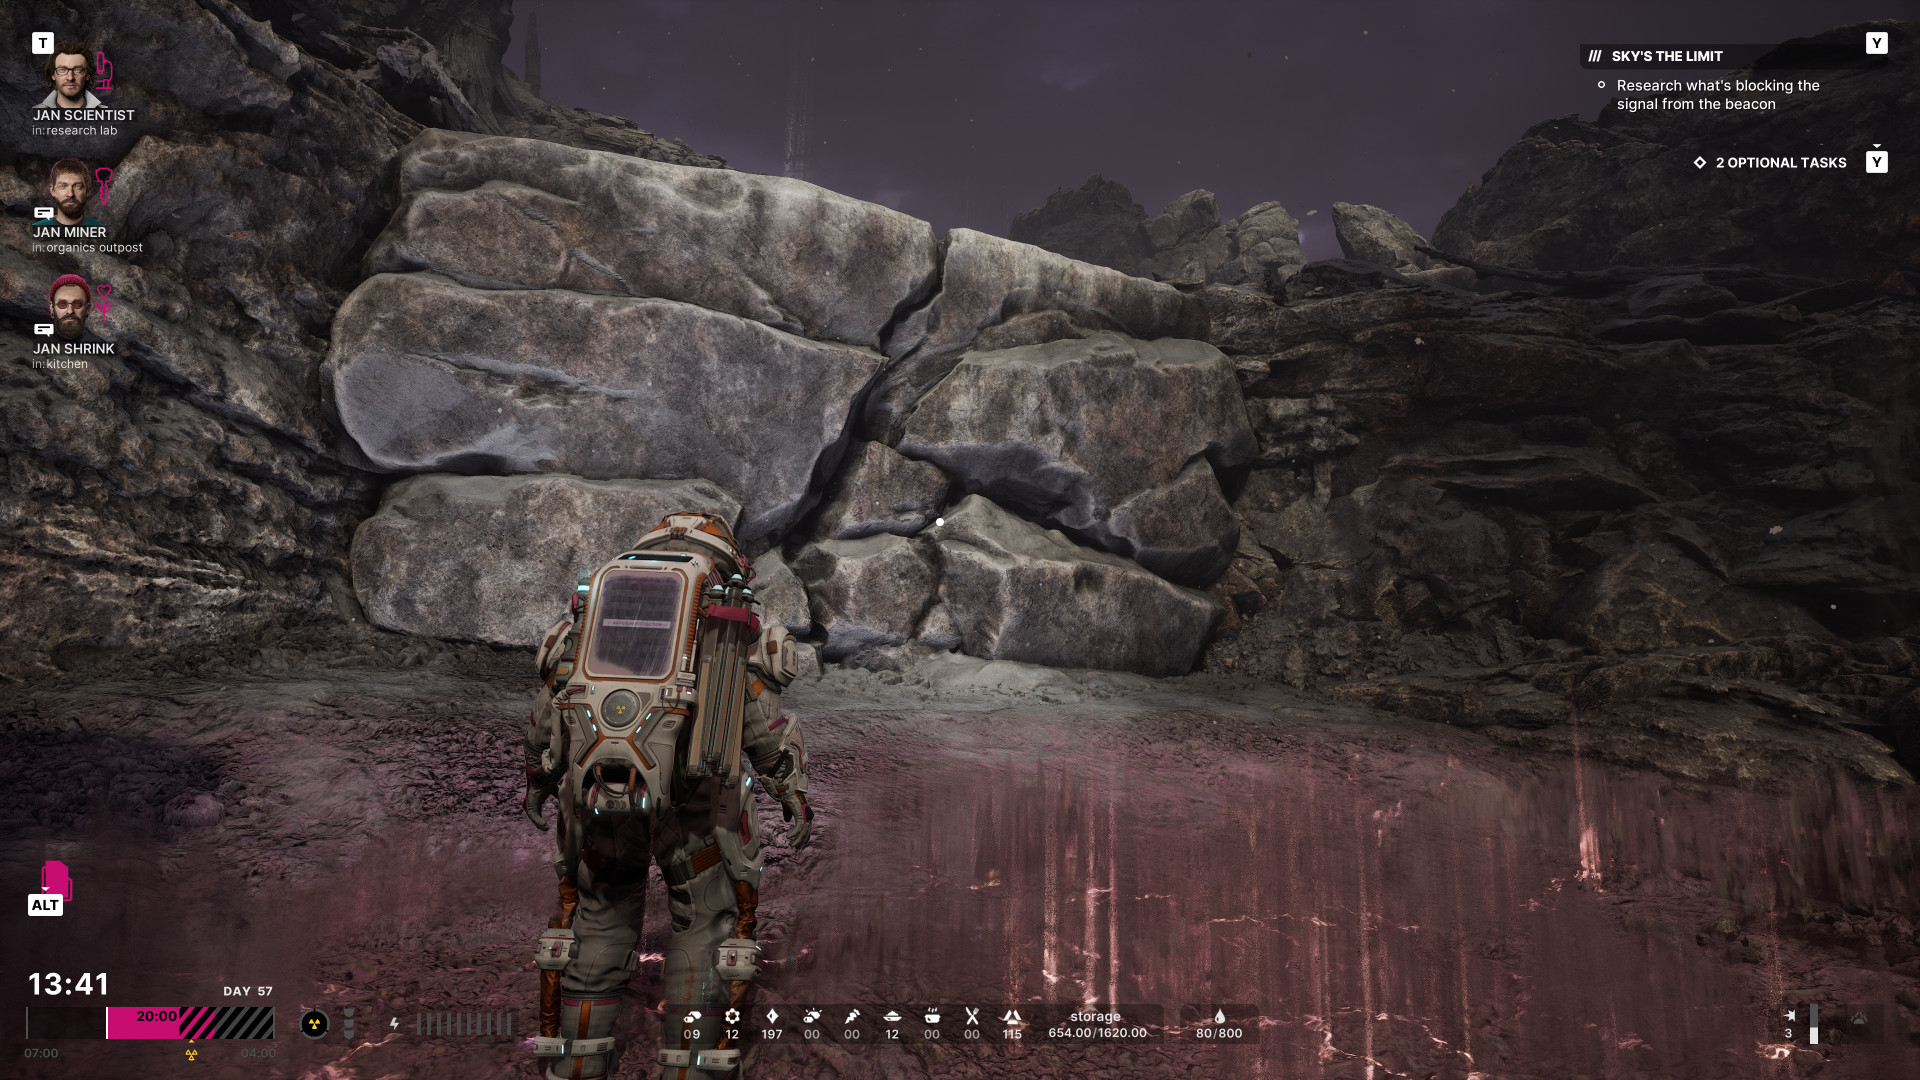
Climbing Spots in The Alters are specific locations on the game map where players can use the Climbing Hook to scale high walls or ledges. These spots are marked on the map and are crucial for accessing resources, collectibles, and other key areas.
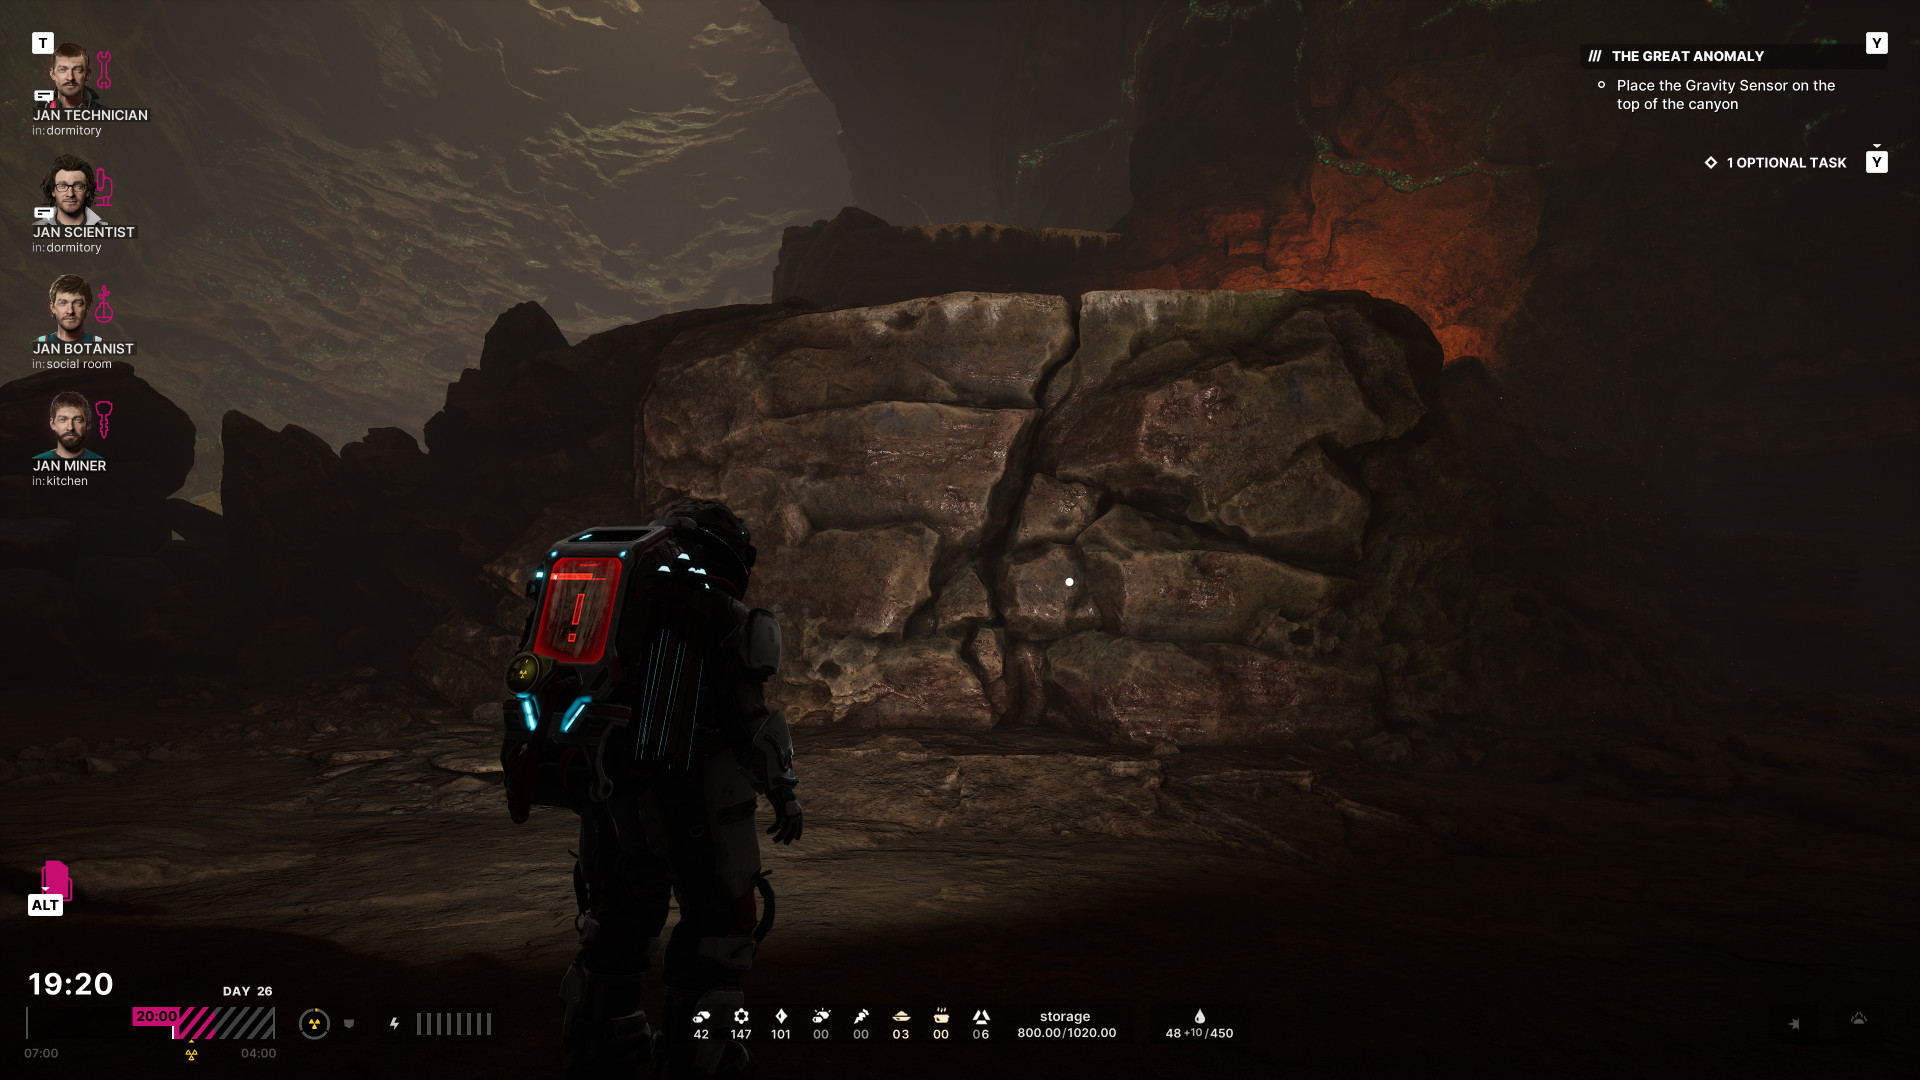
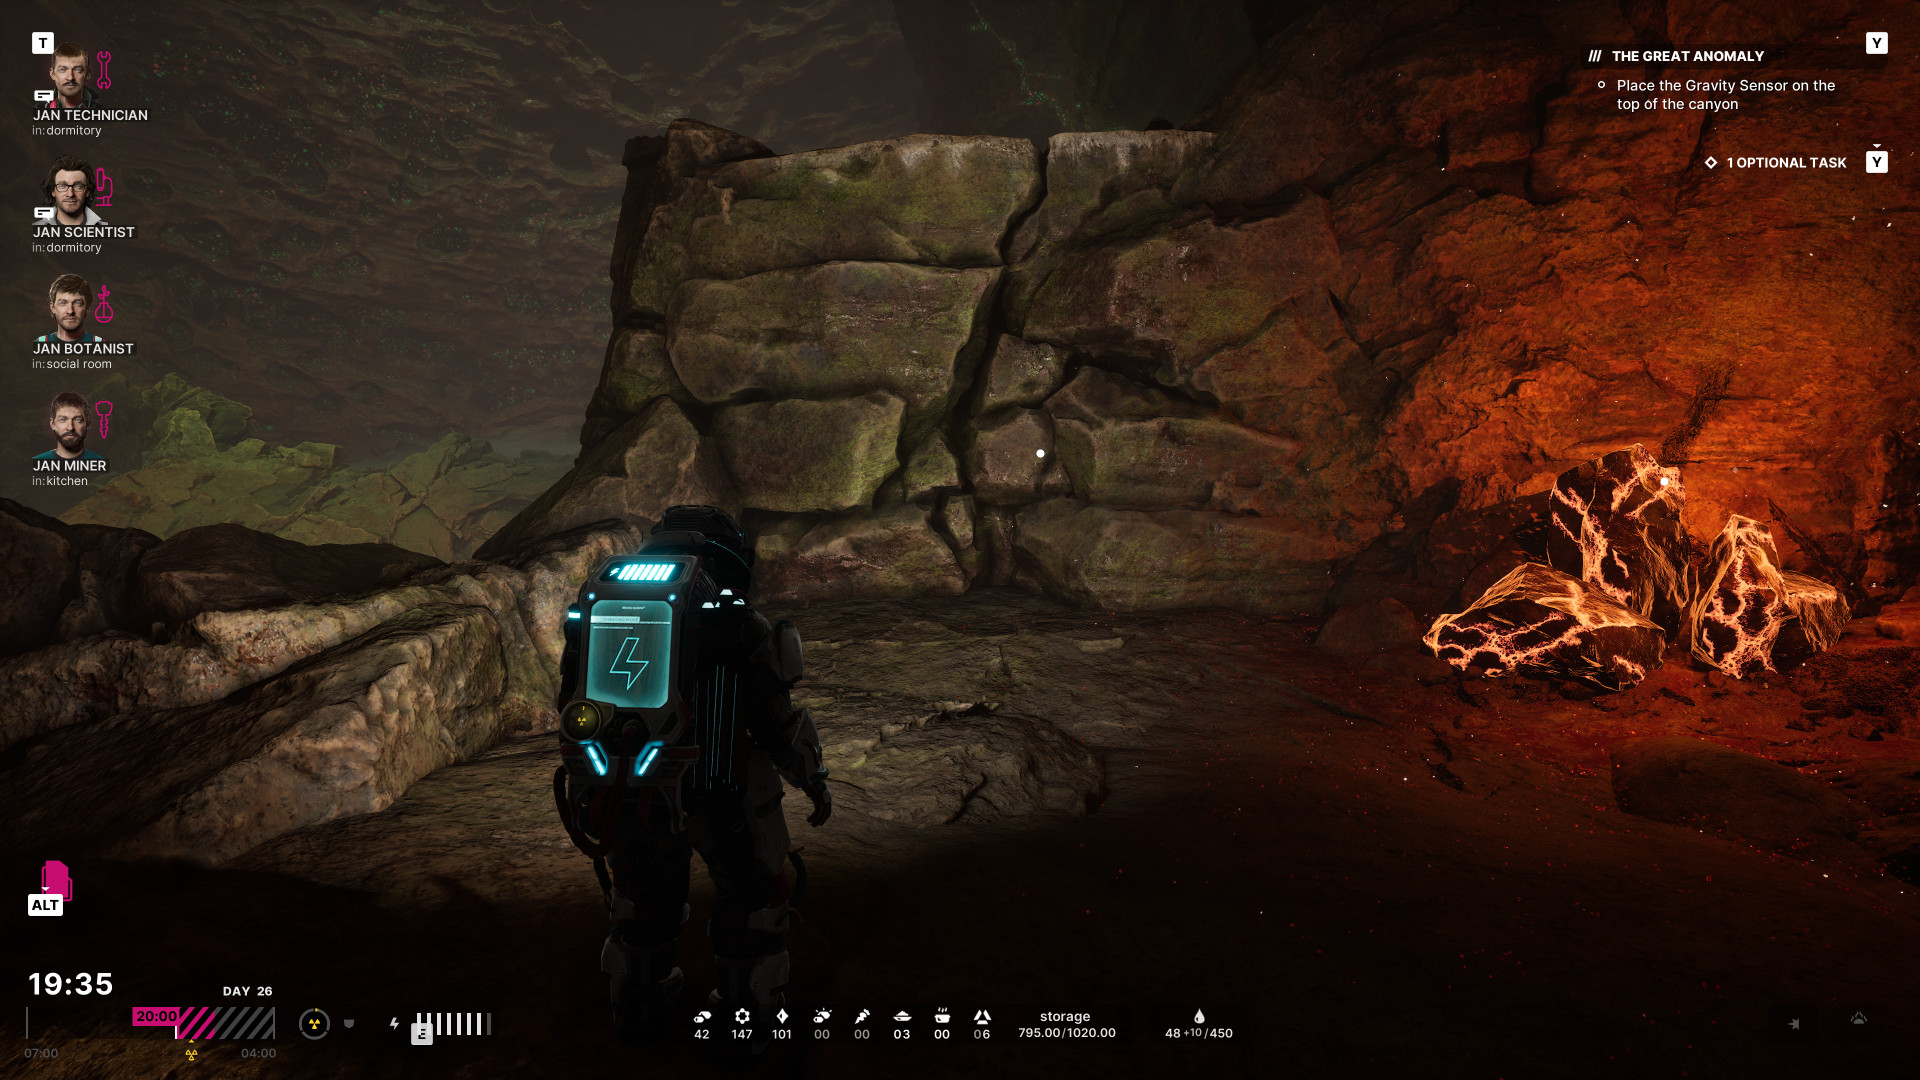
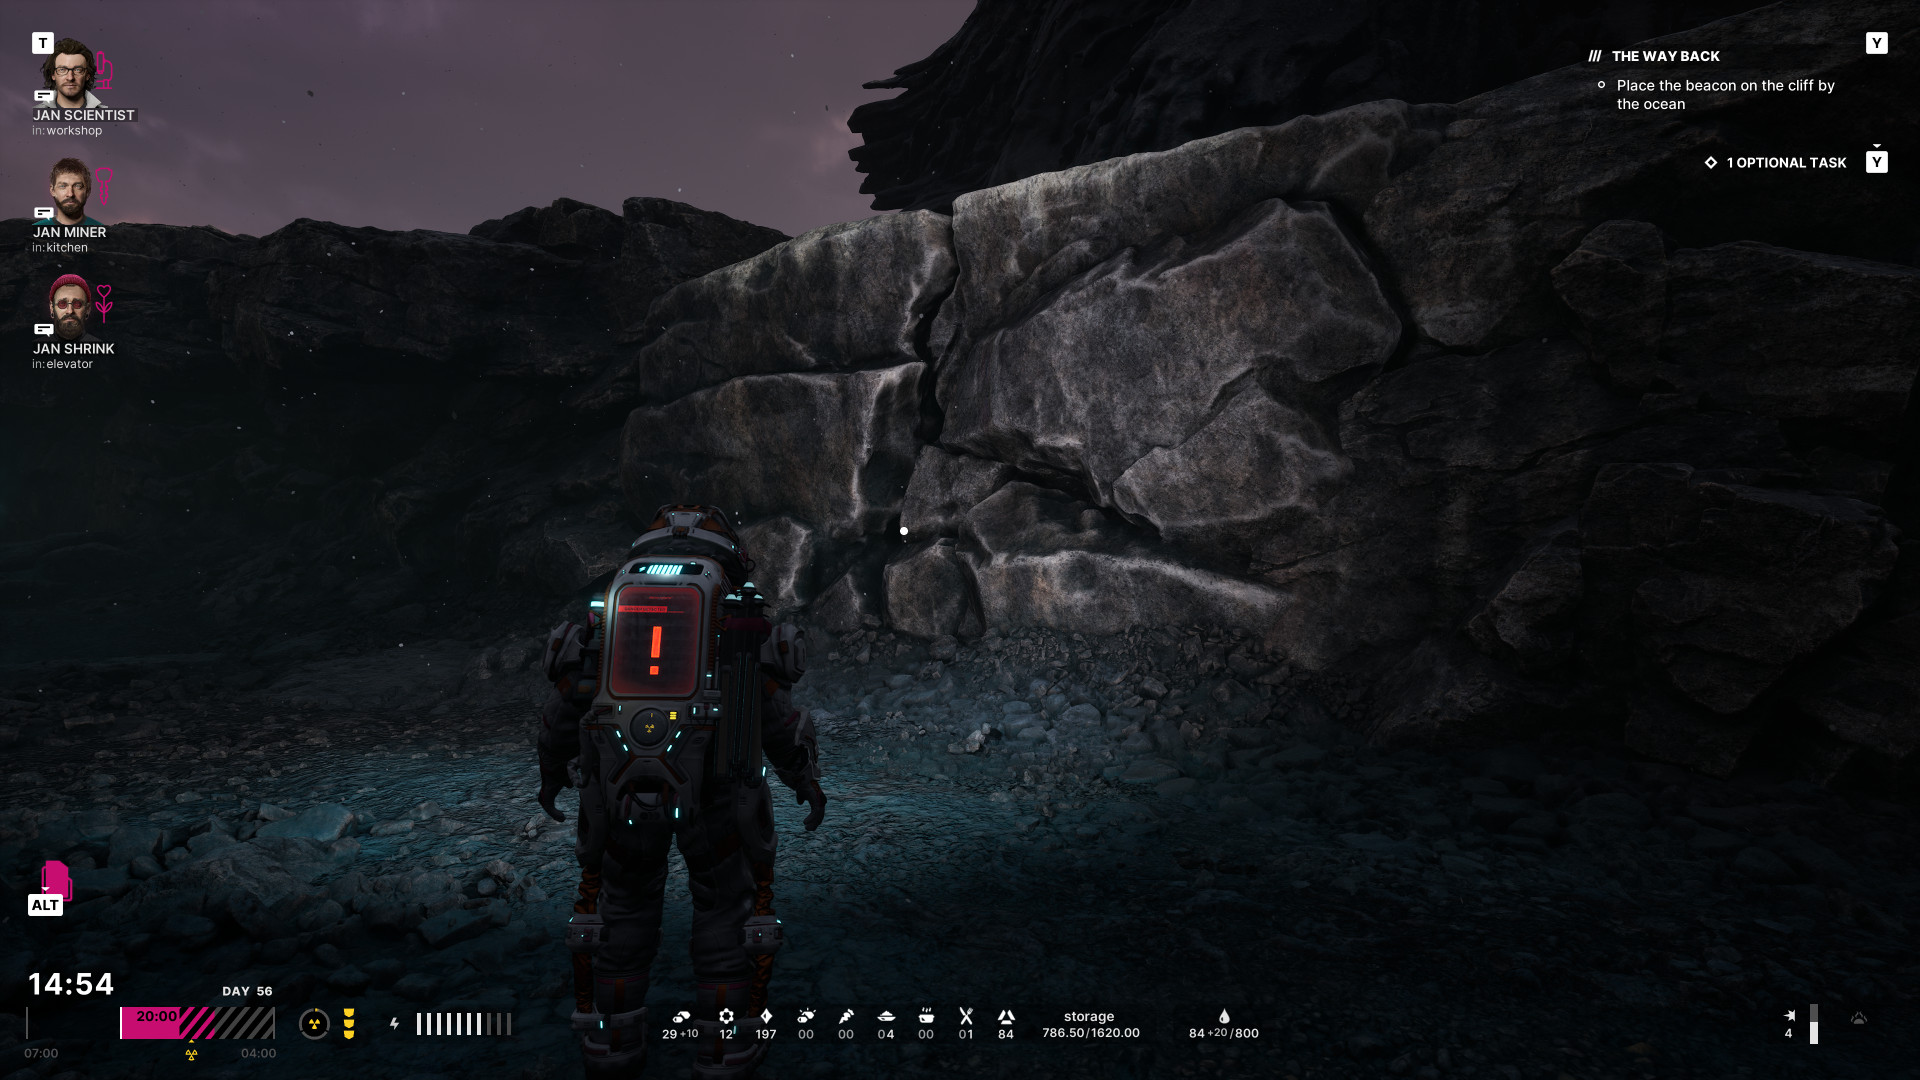
Climbing requires suit energy, but upgrading the Climbing Hook can reduce or eliminate this cost. While climbing up consumes suit energy, climbing down is always free and can be done from any height, regardless of the hook's upgrade level. Crafting additional suit batteries extends exploration time, particularly for longer climbs that demand more energy.
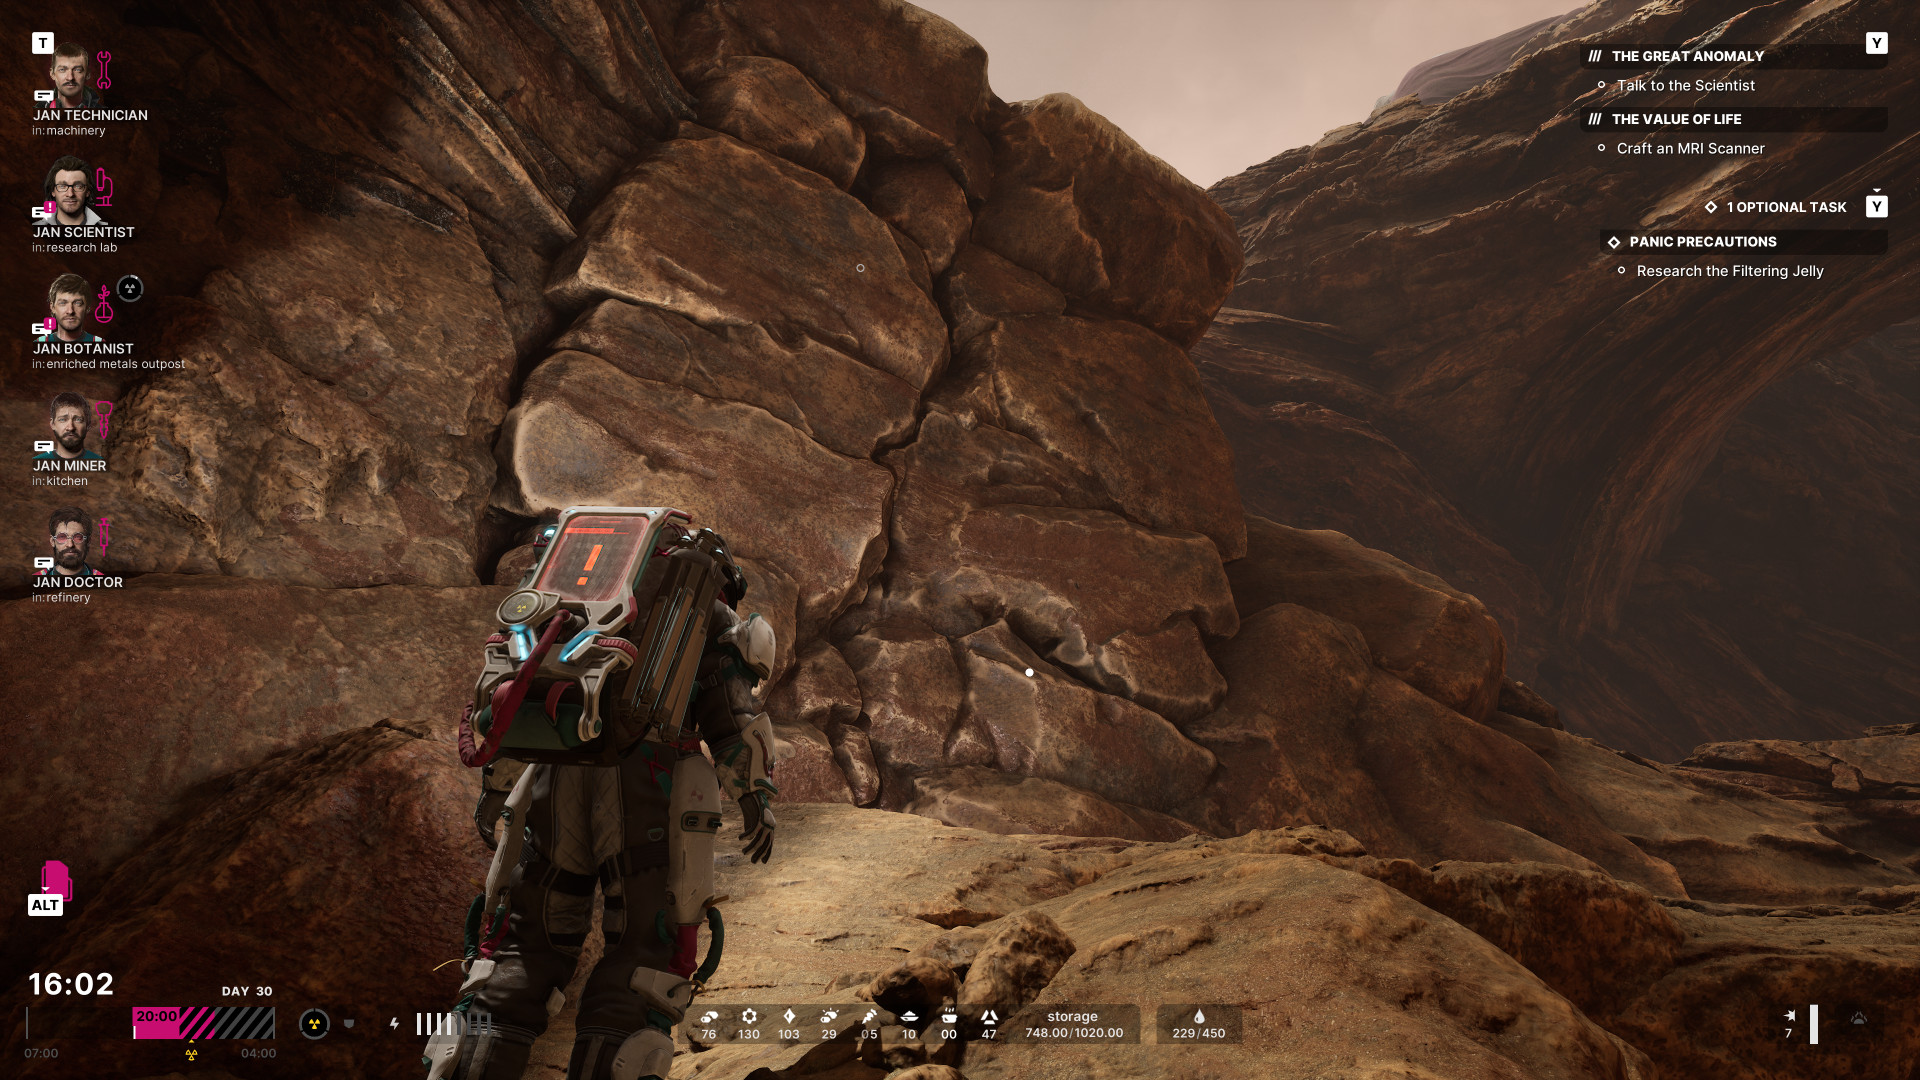
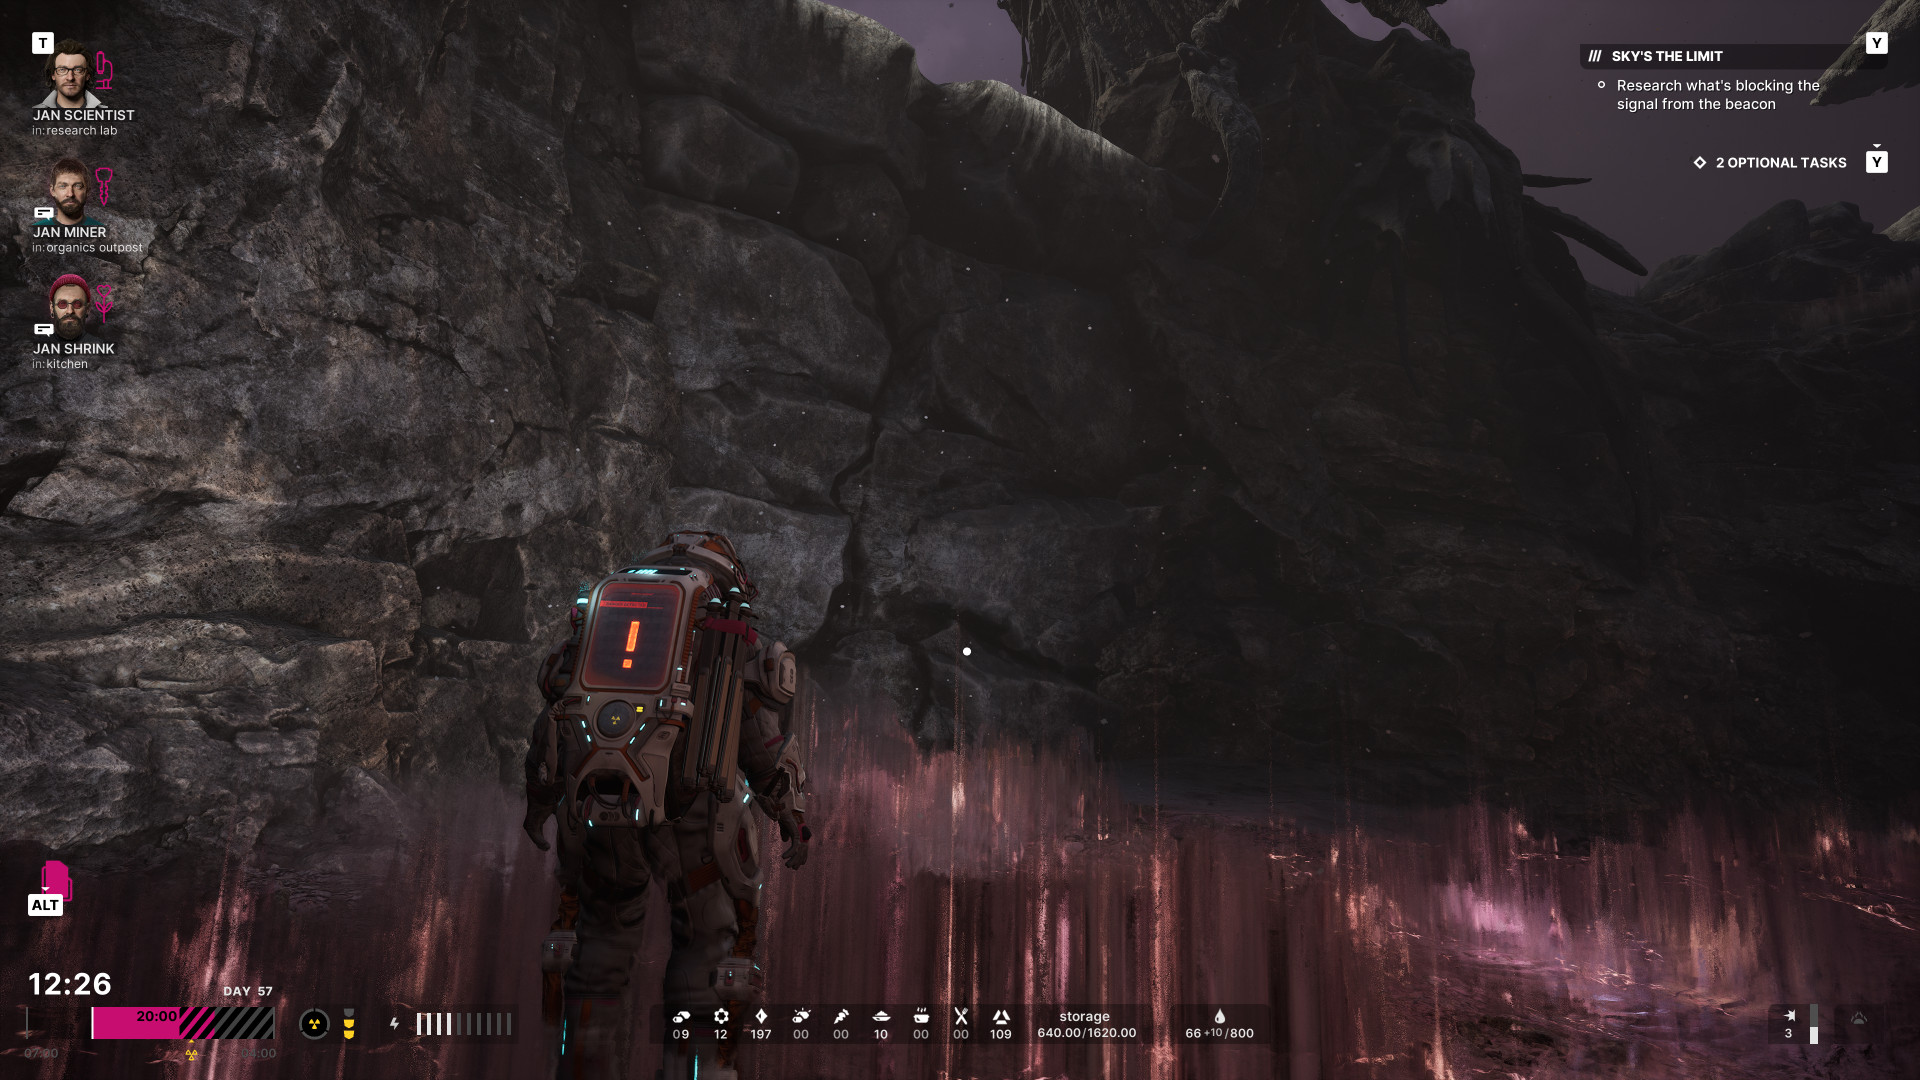
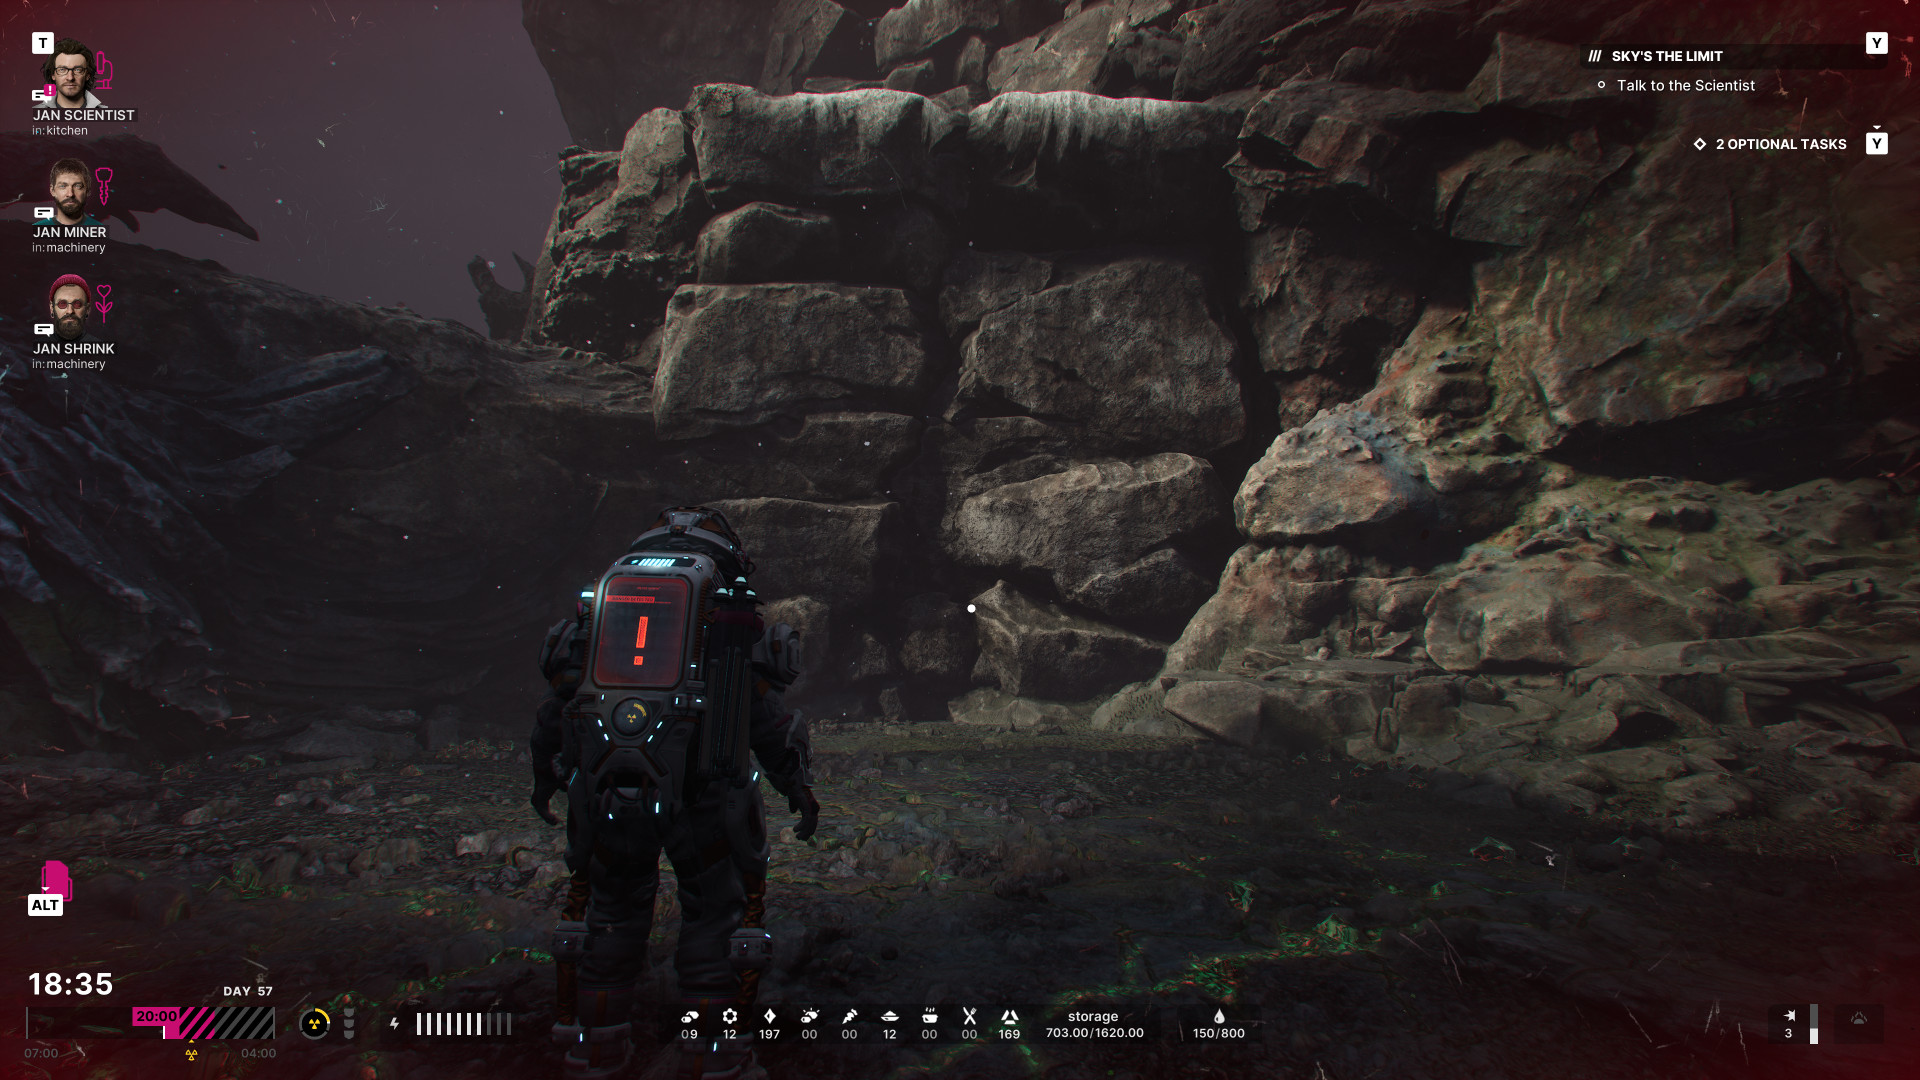
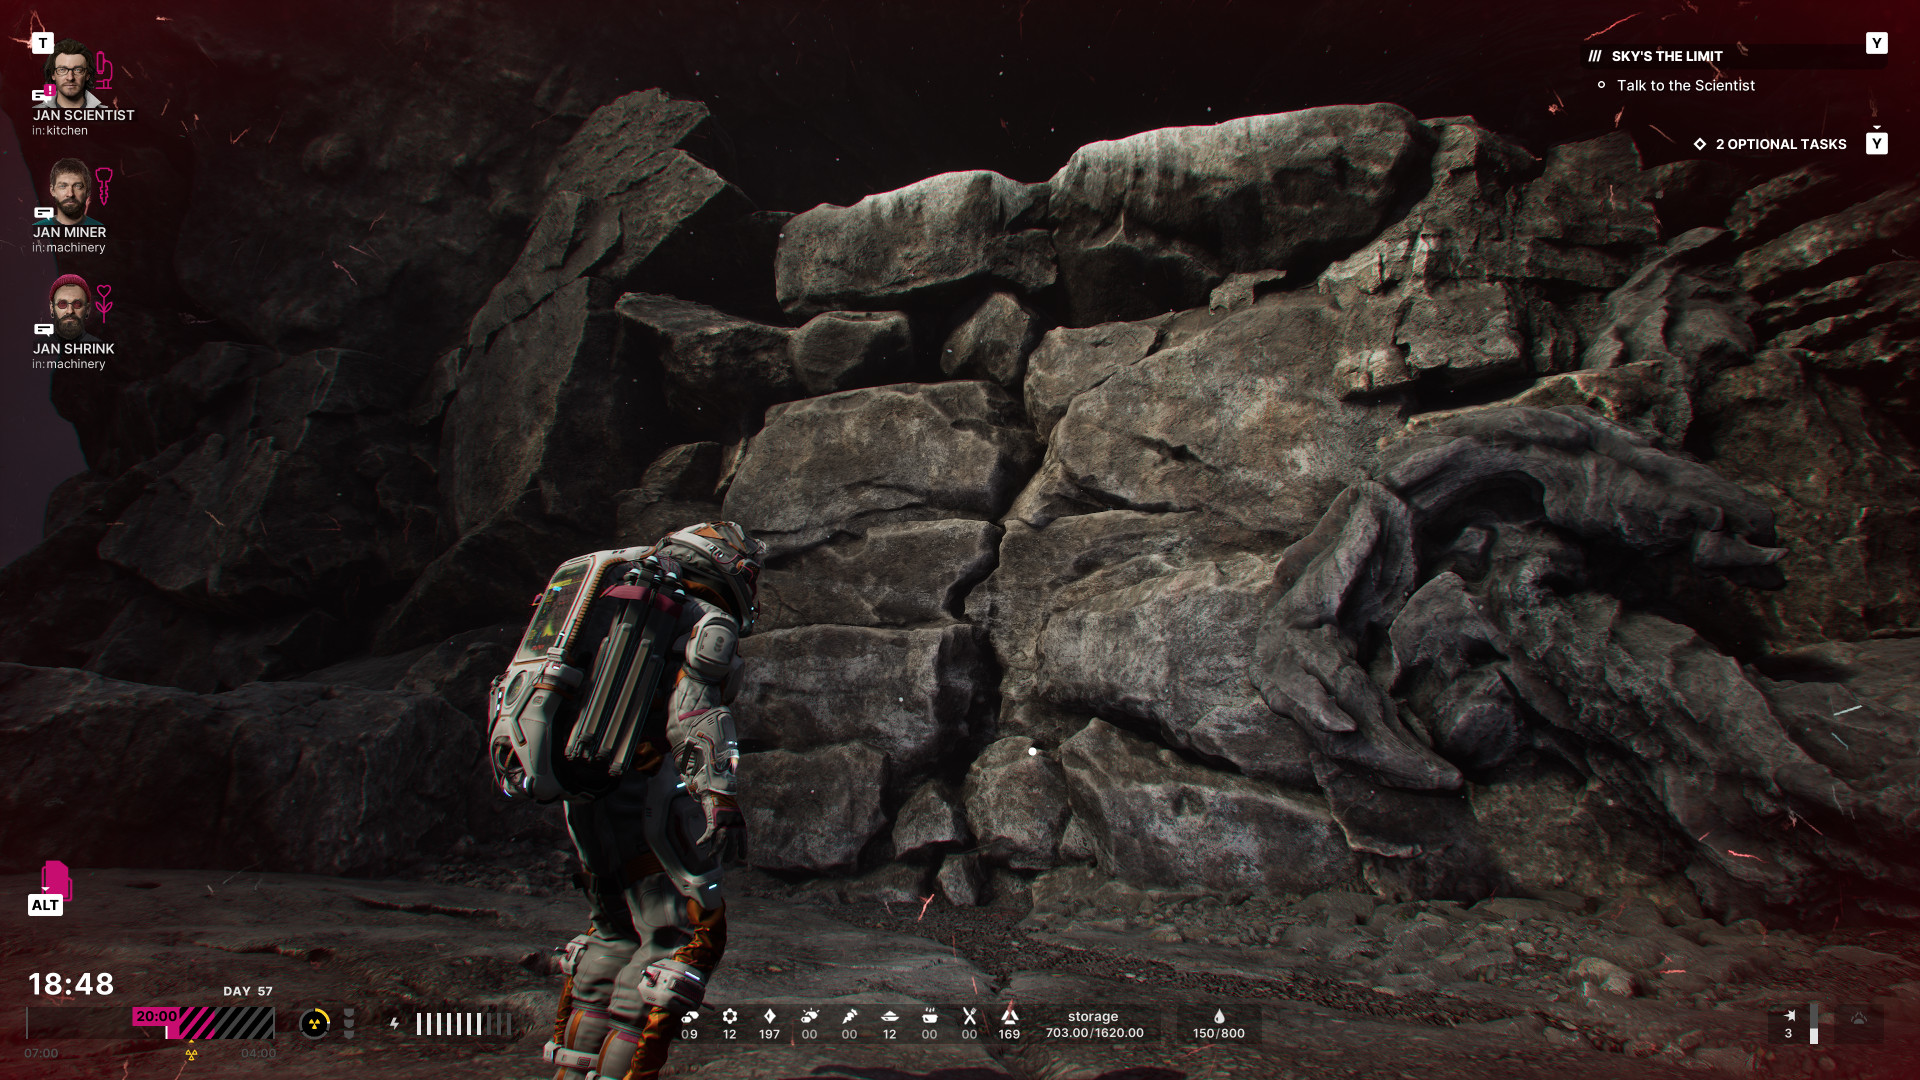
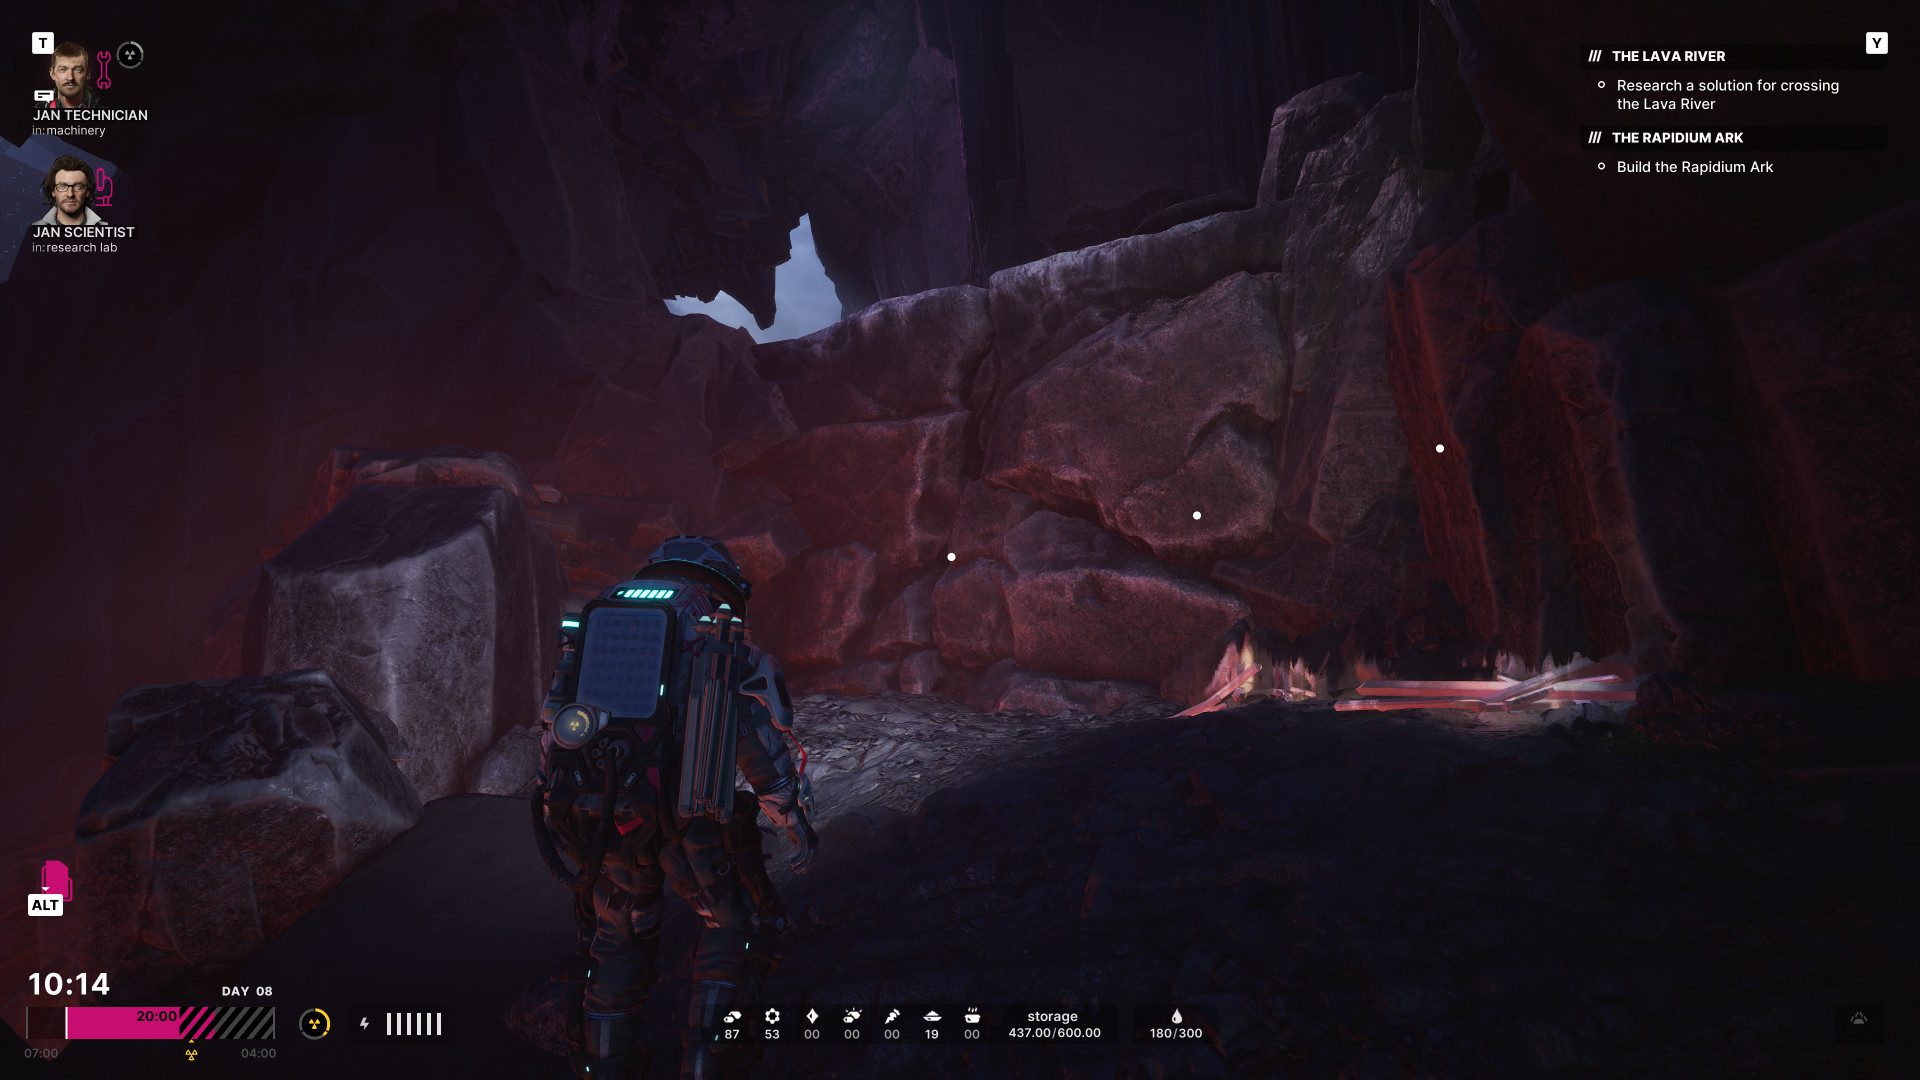
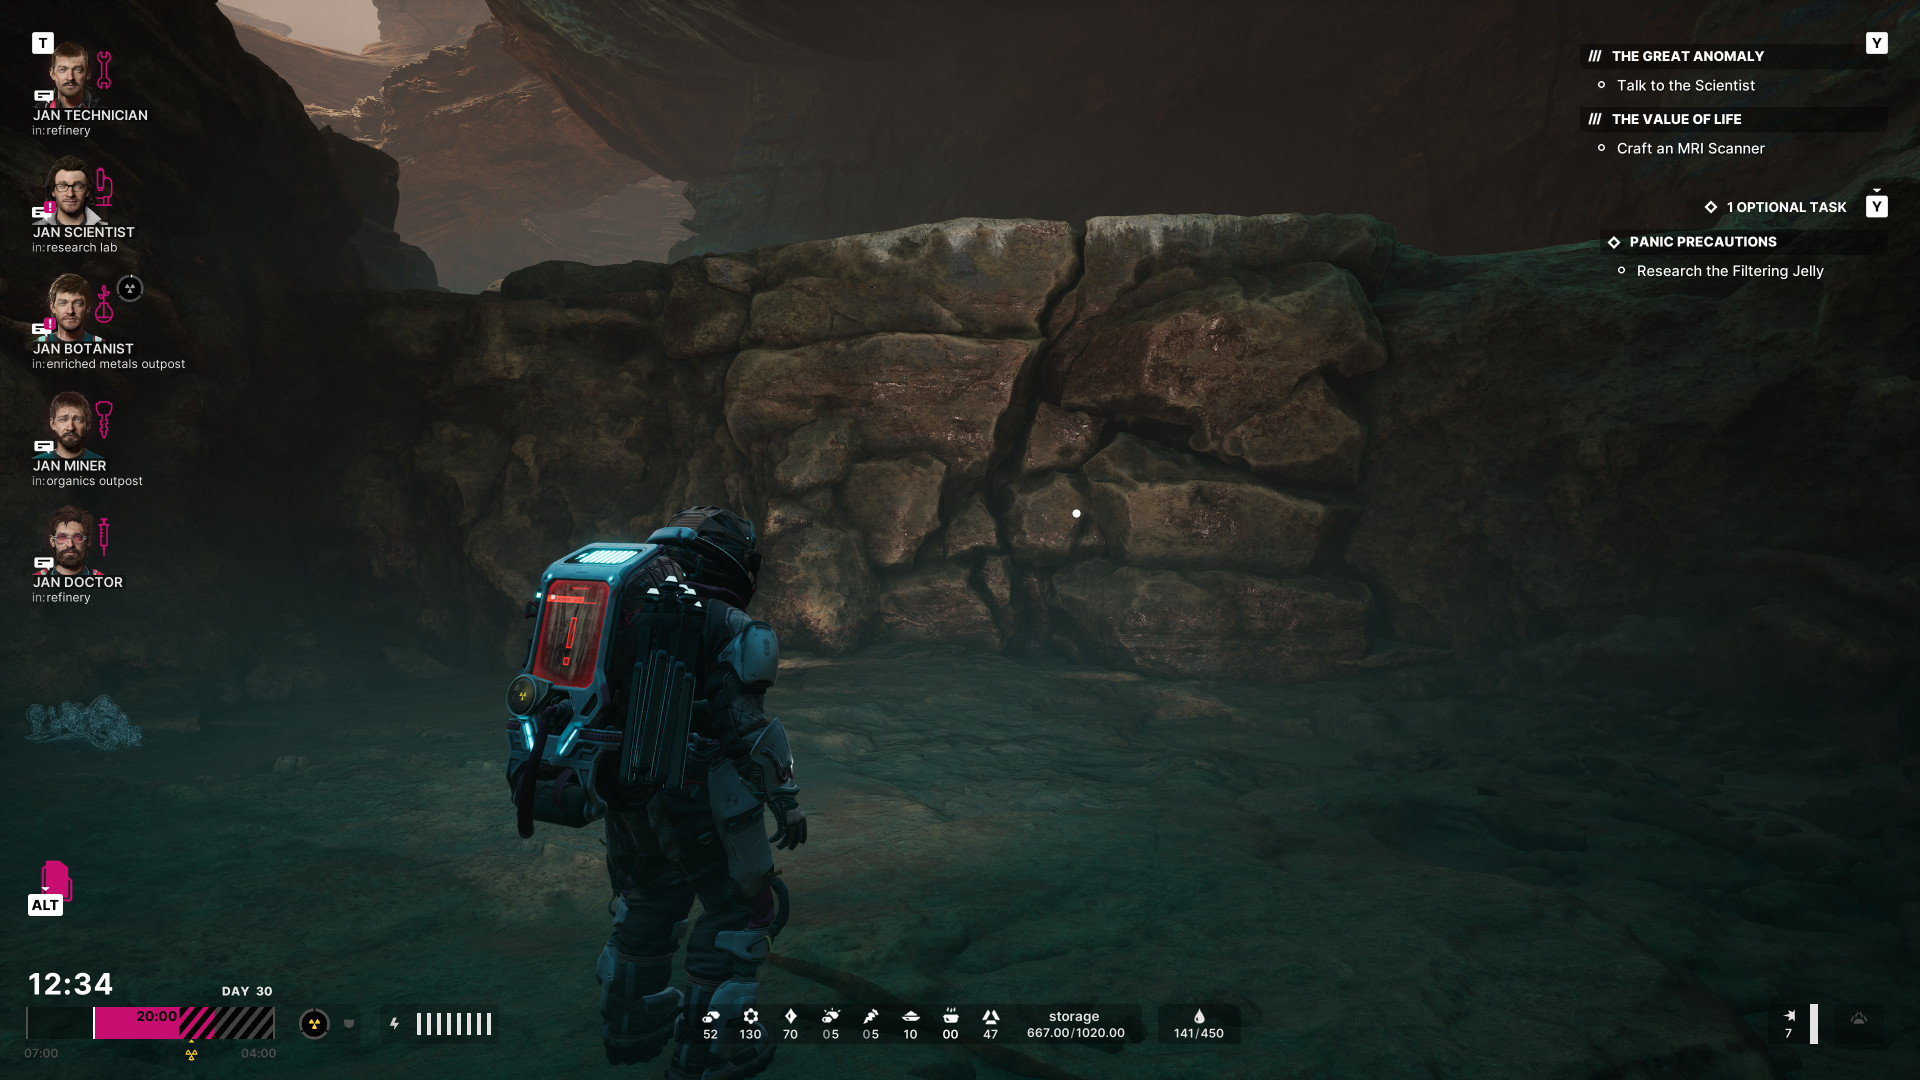
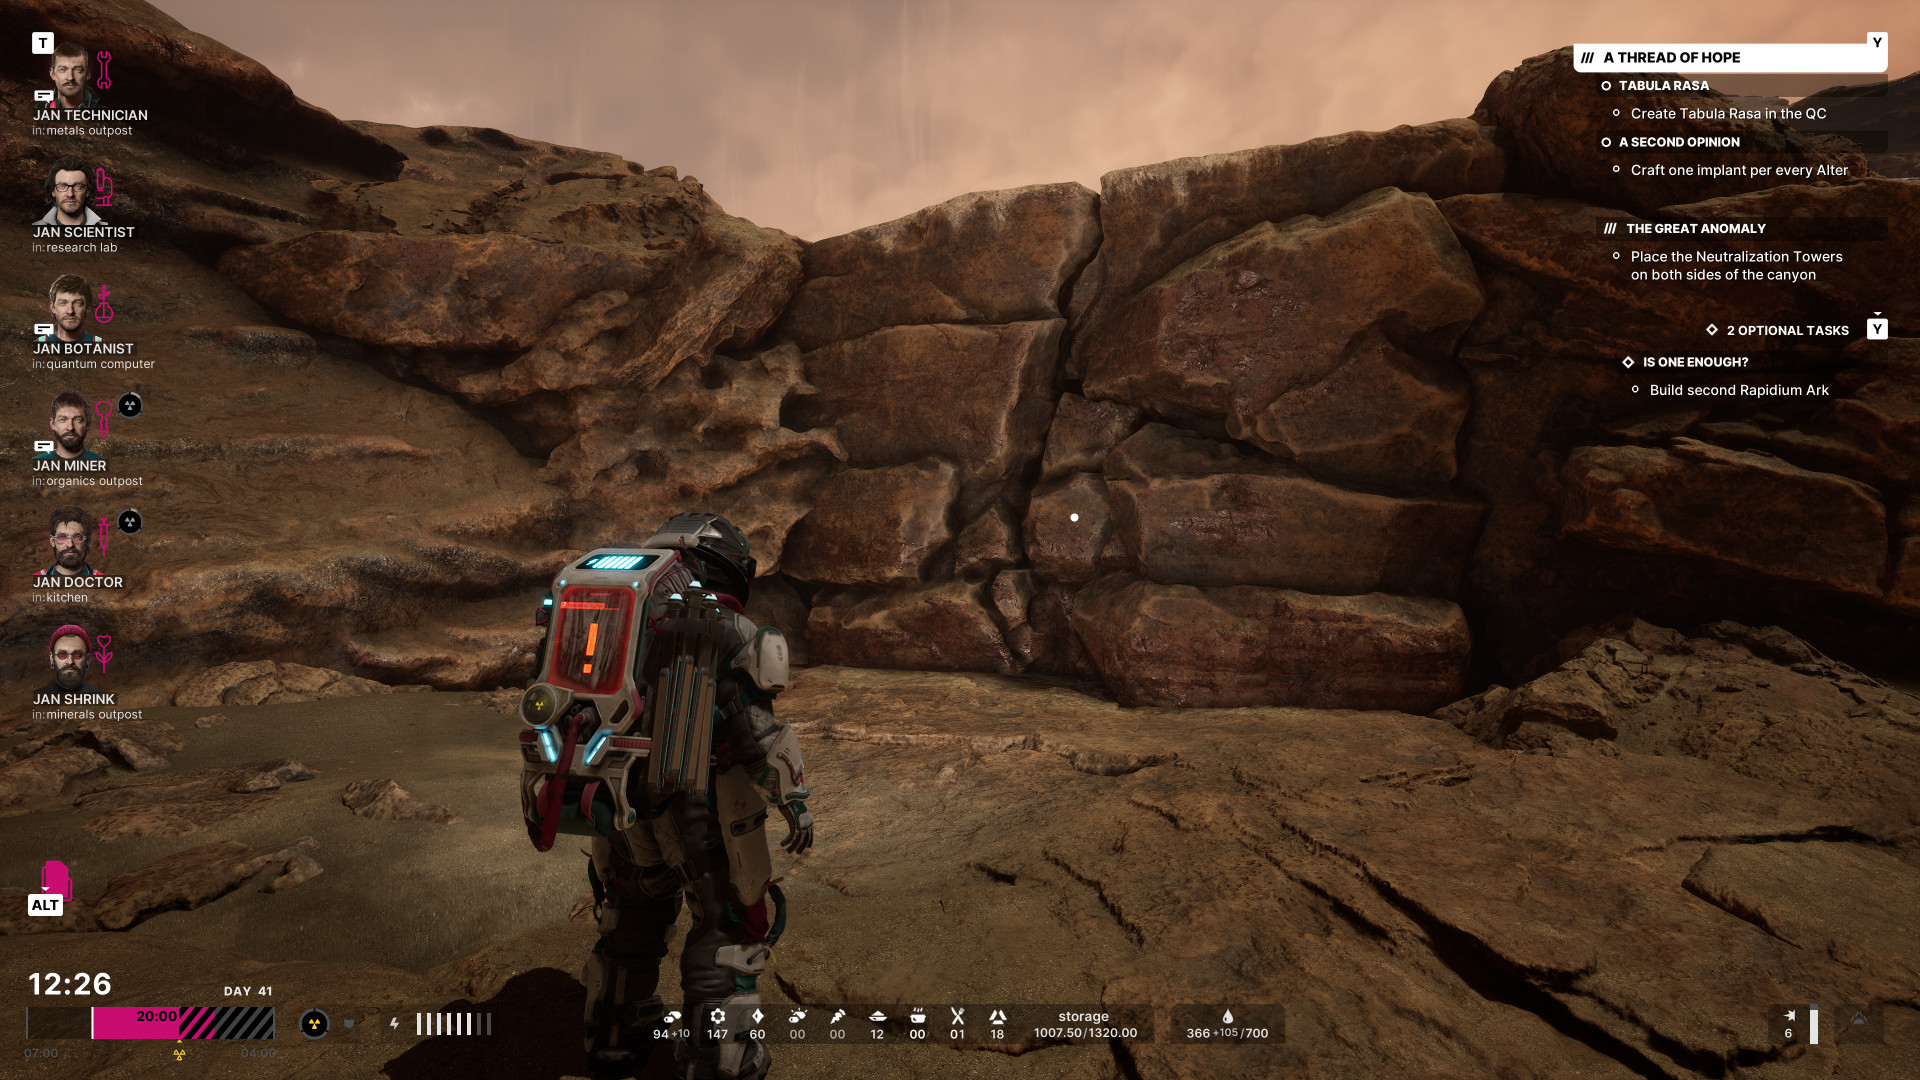
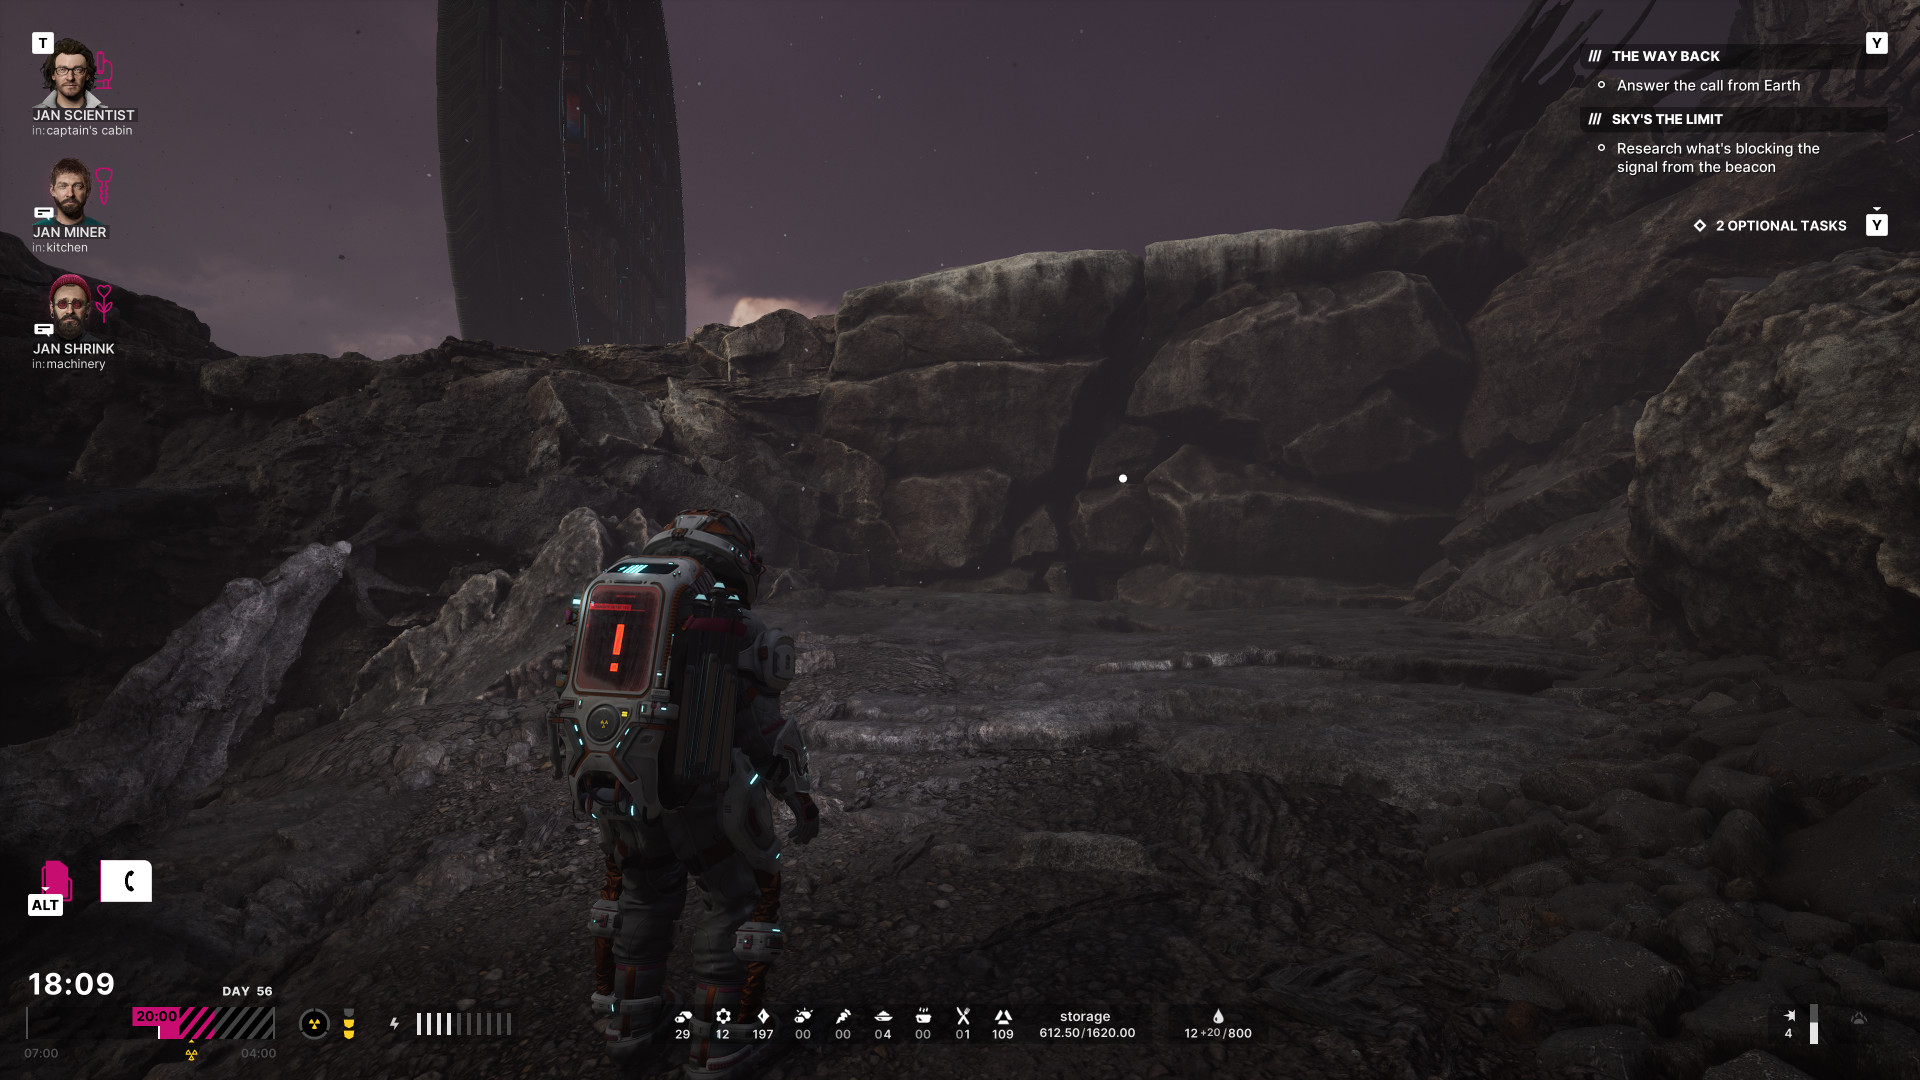
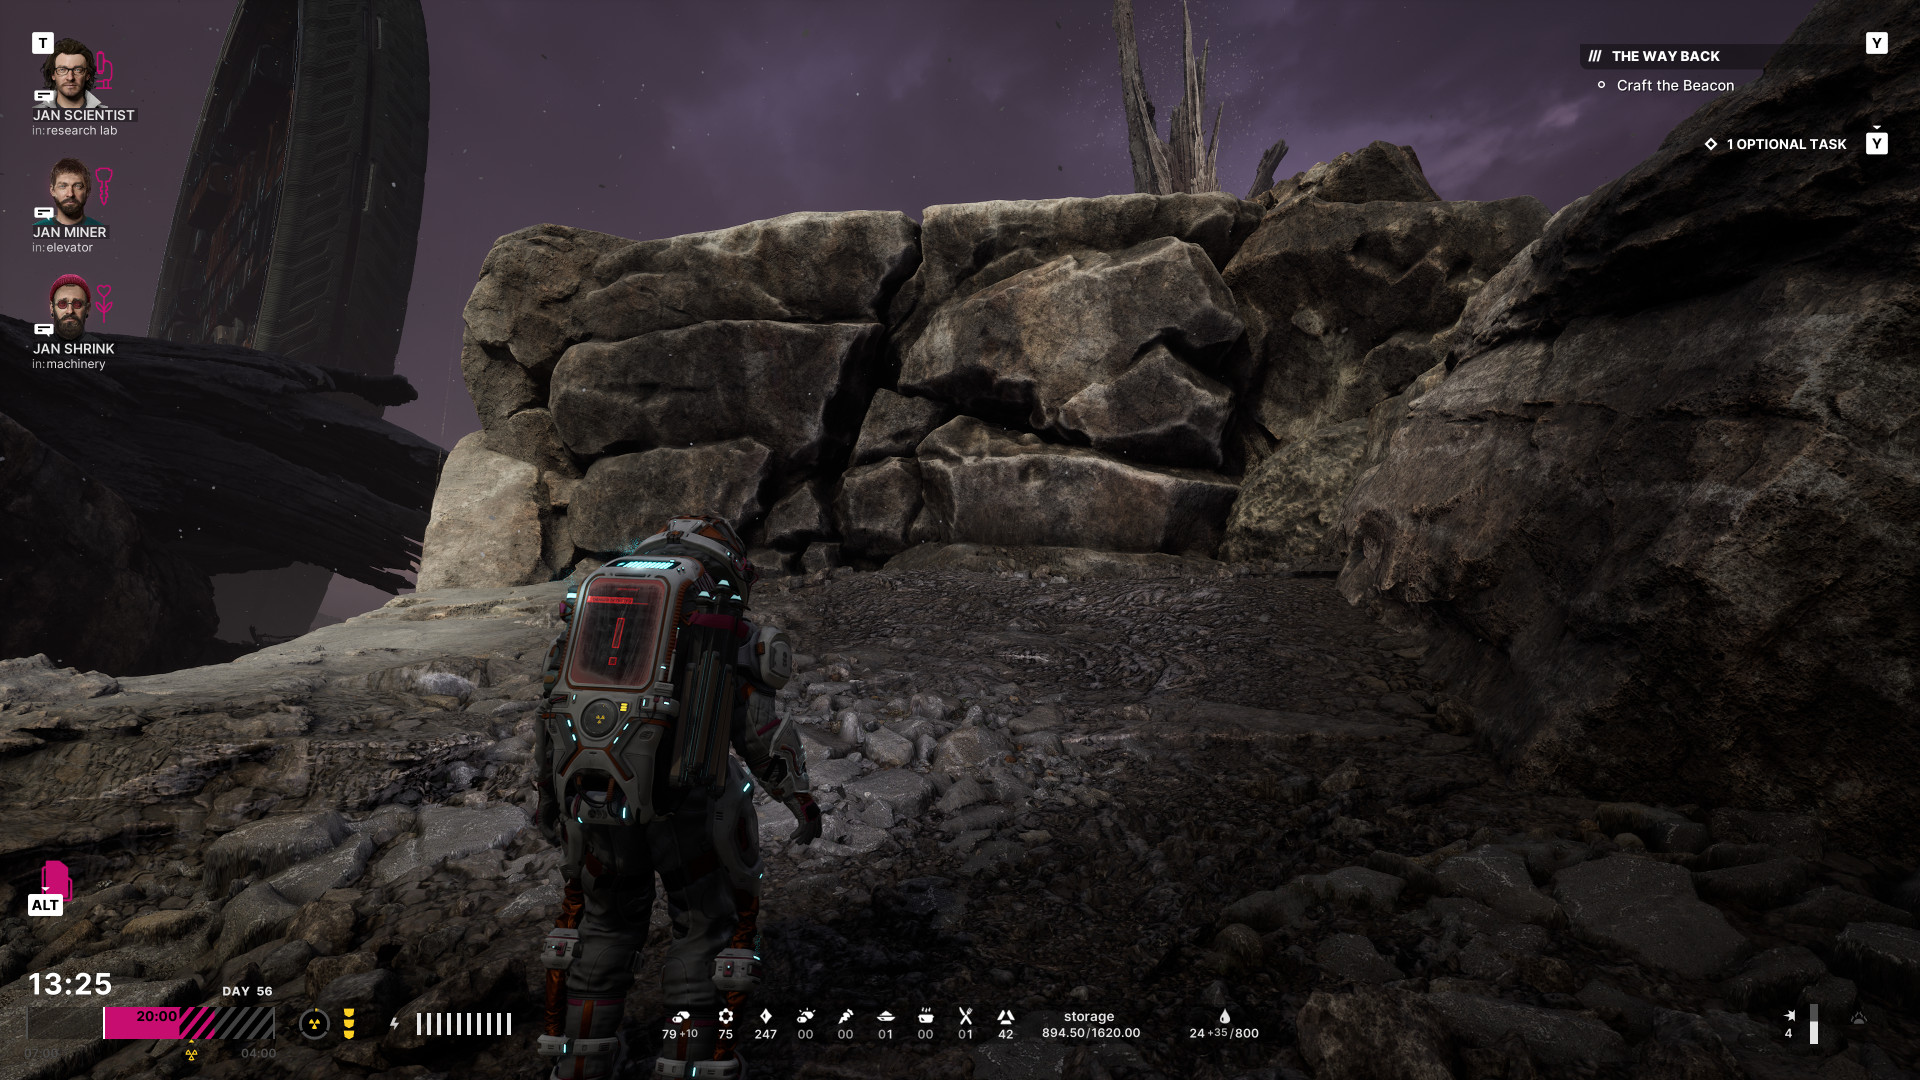
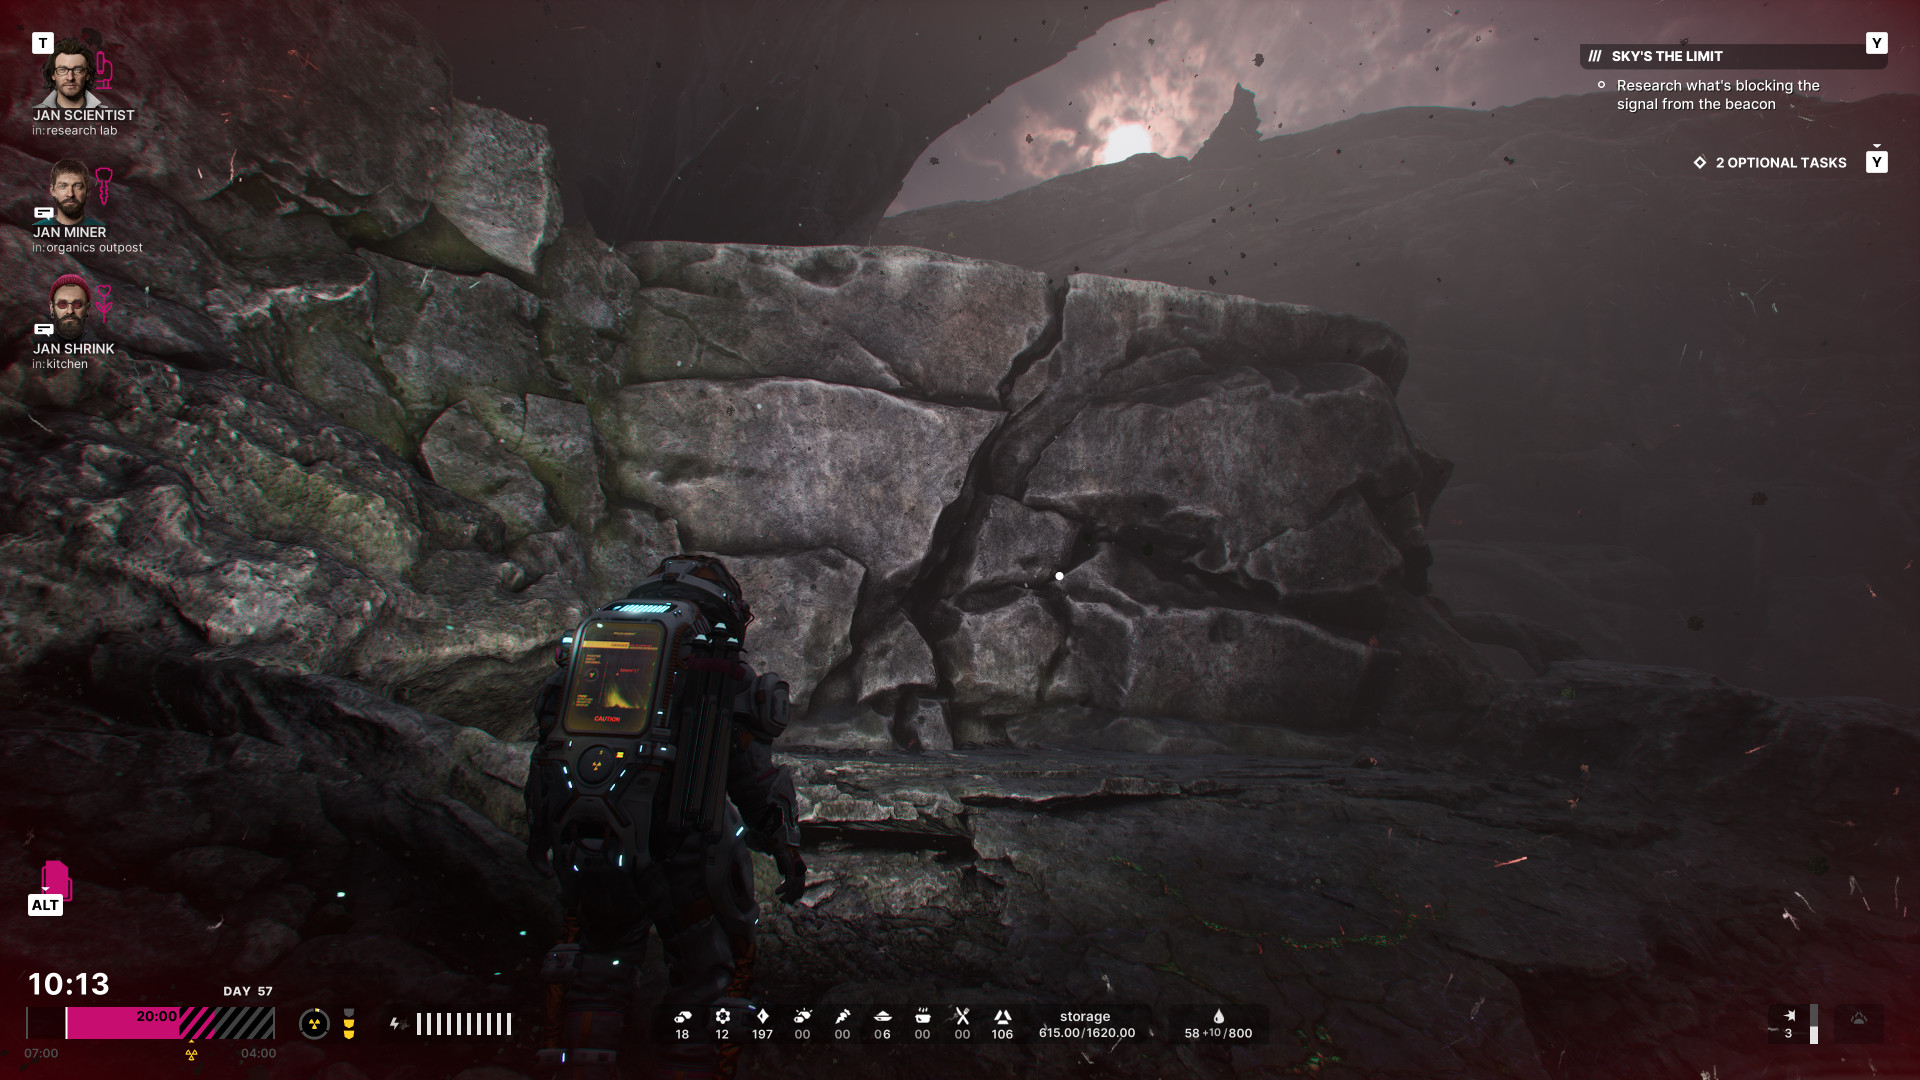
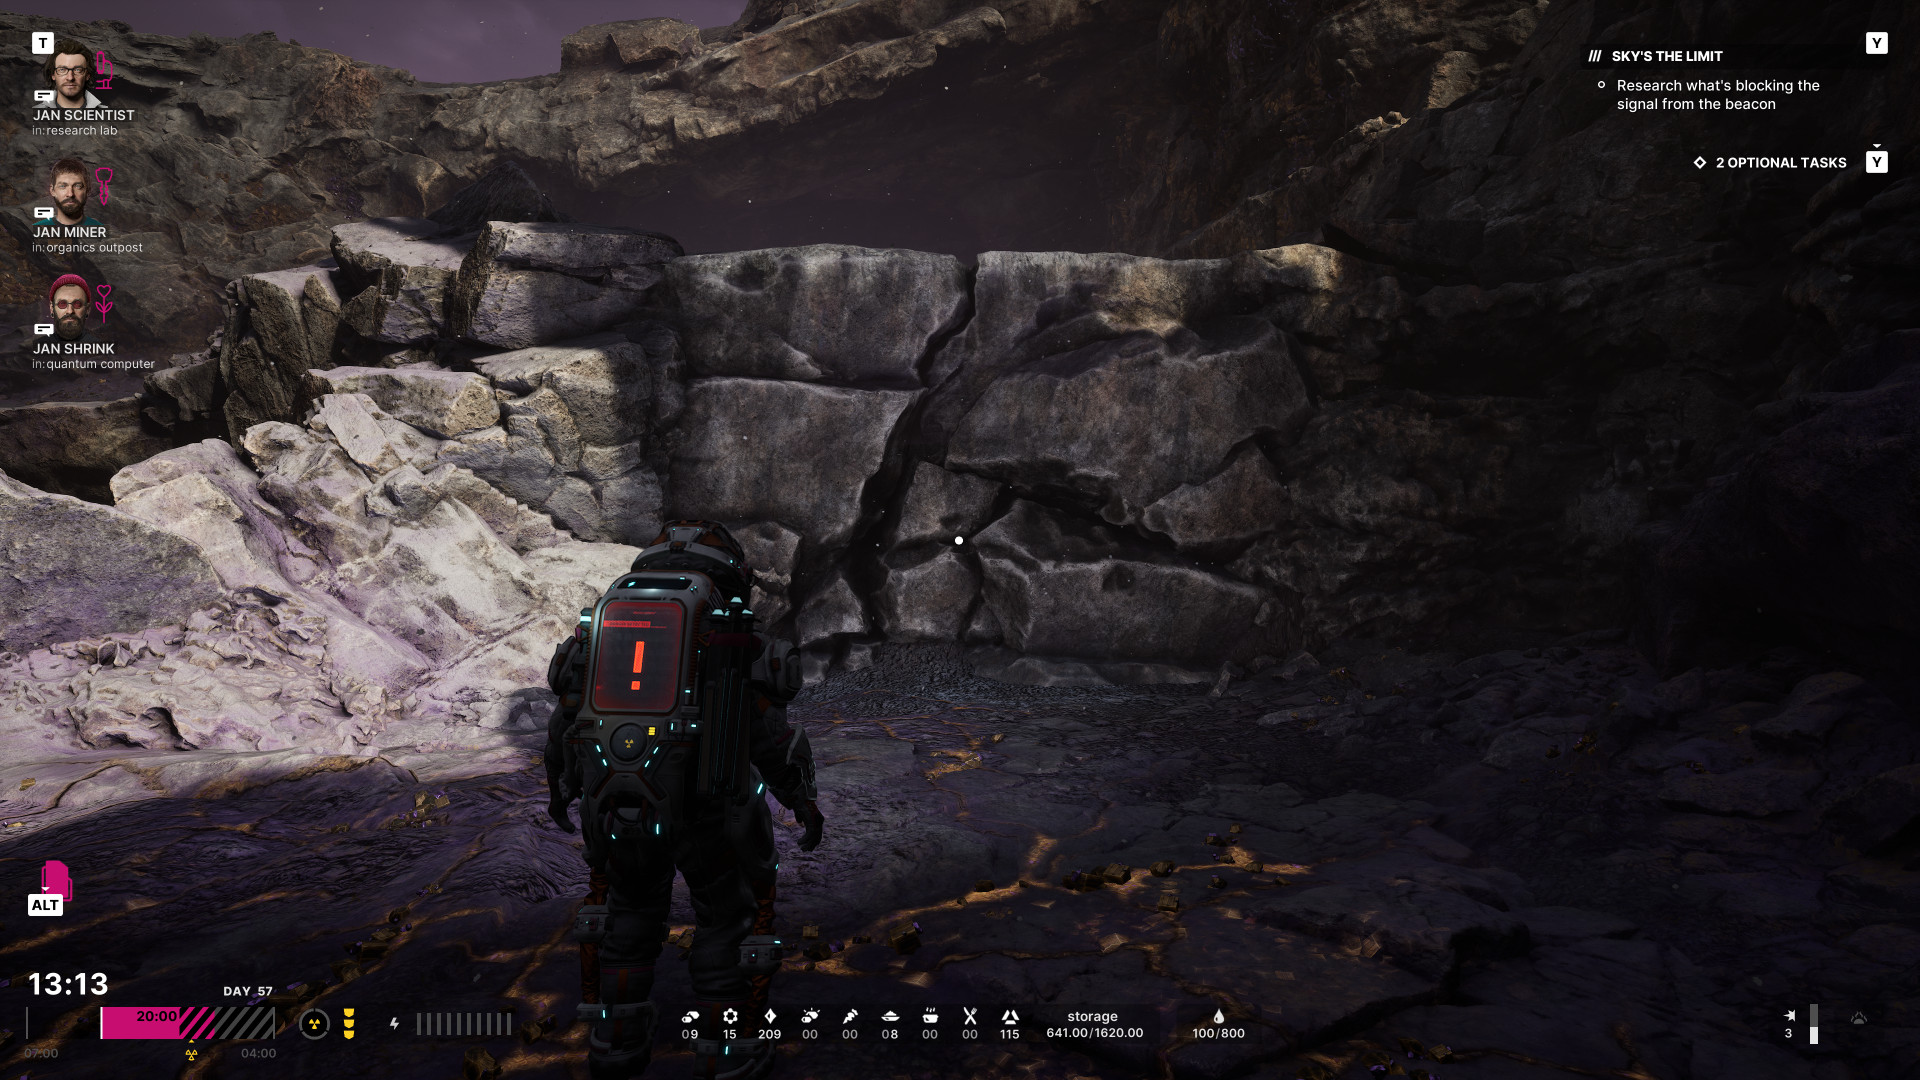
Some climbing spots may be obstructed by rock blockades, which require a drill to clear.
Types of Climbing Spots
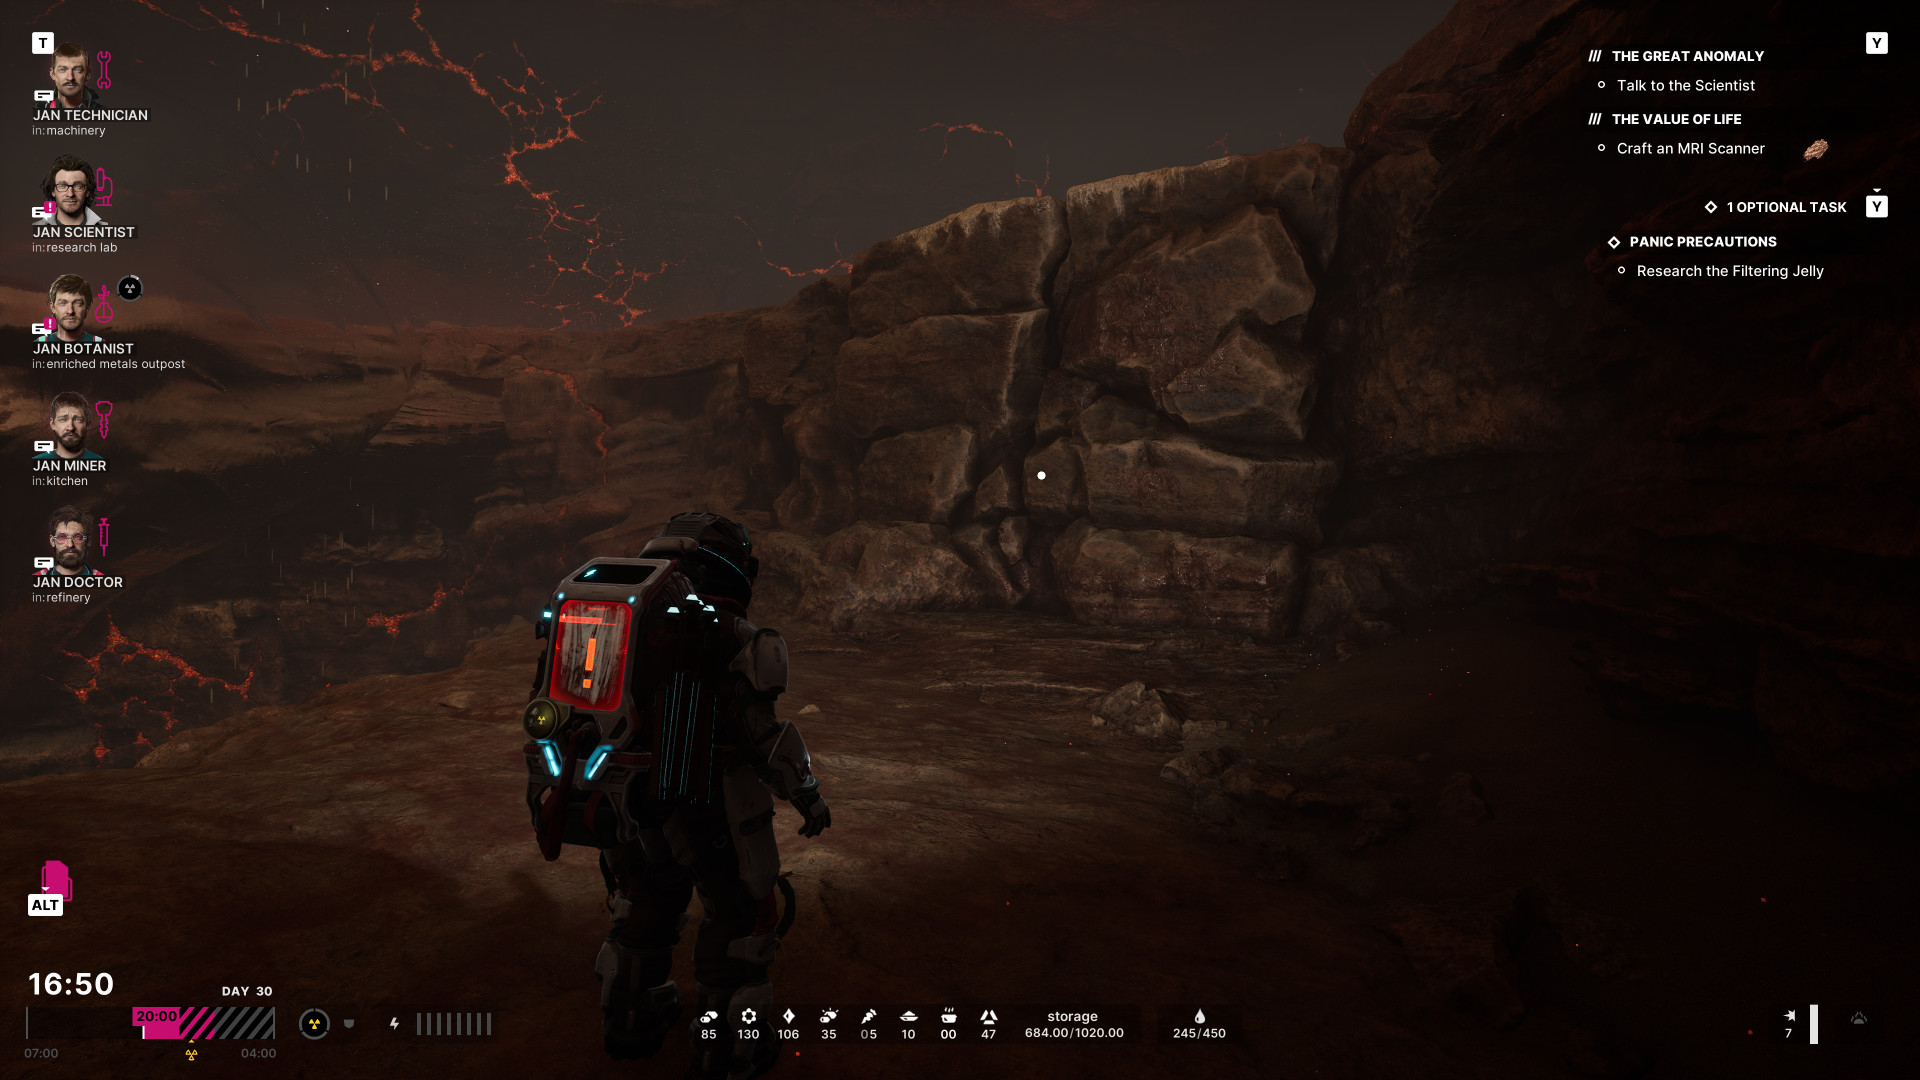
- Medium Climbs - First encountered in the prologue, these require 2 energy units initially.
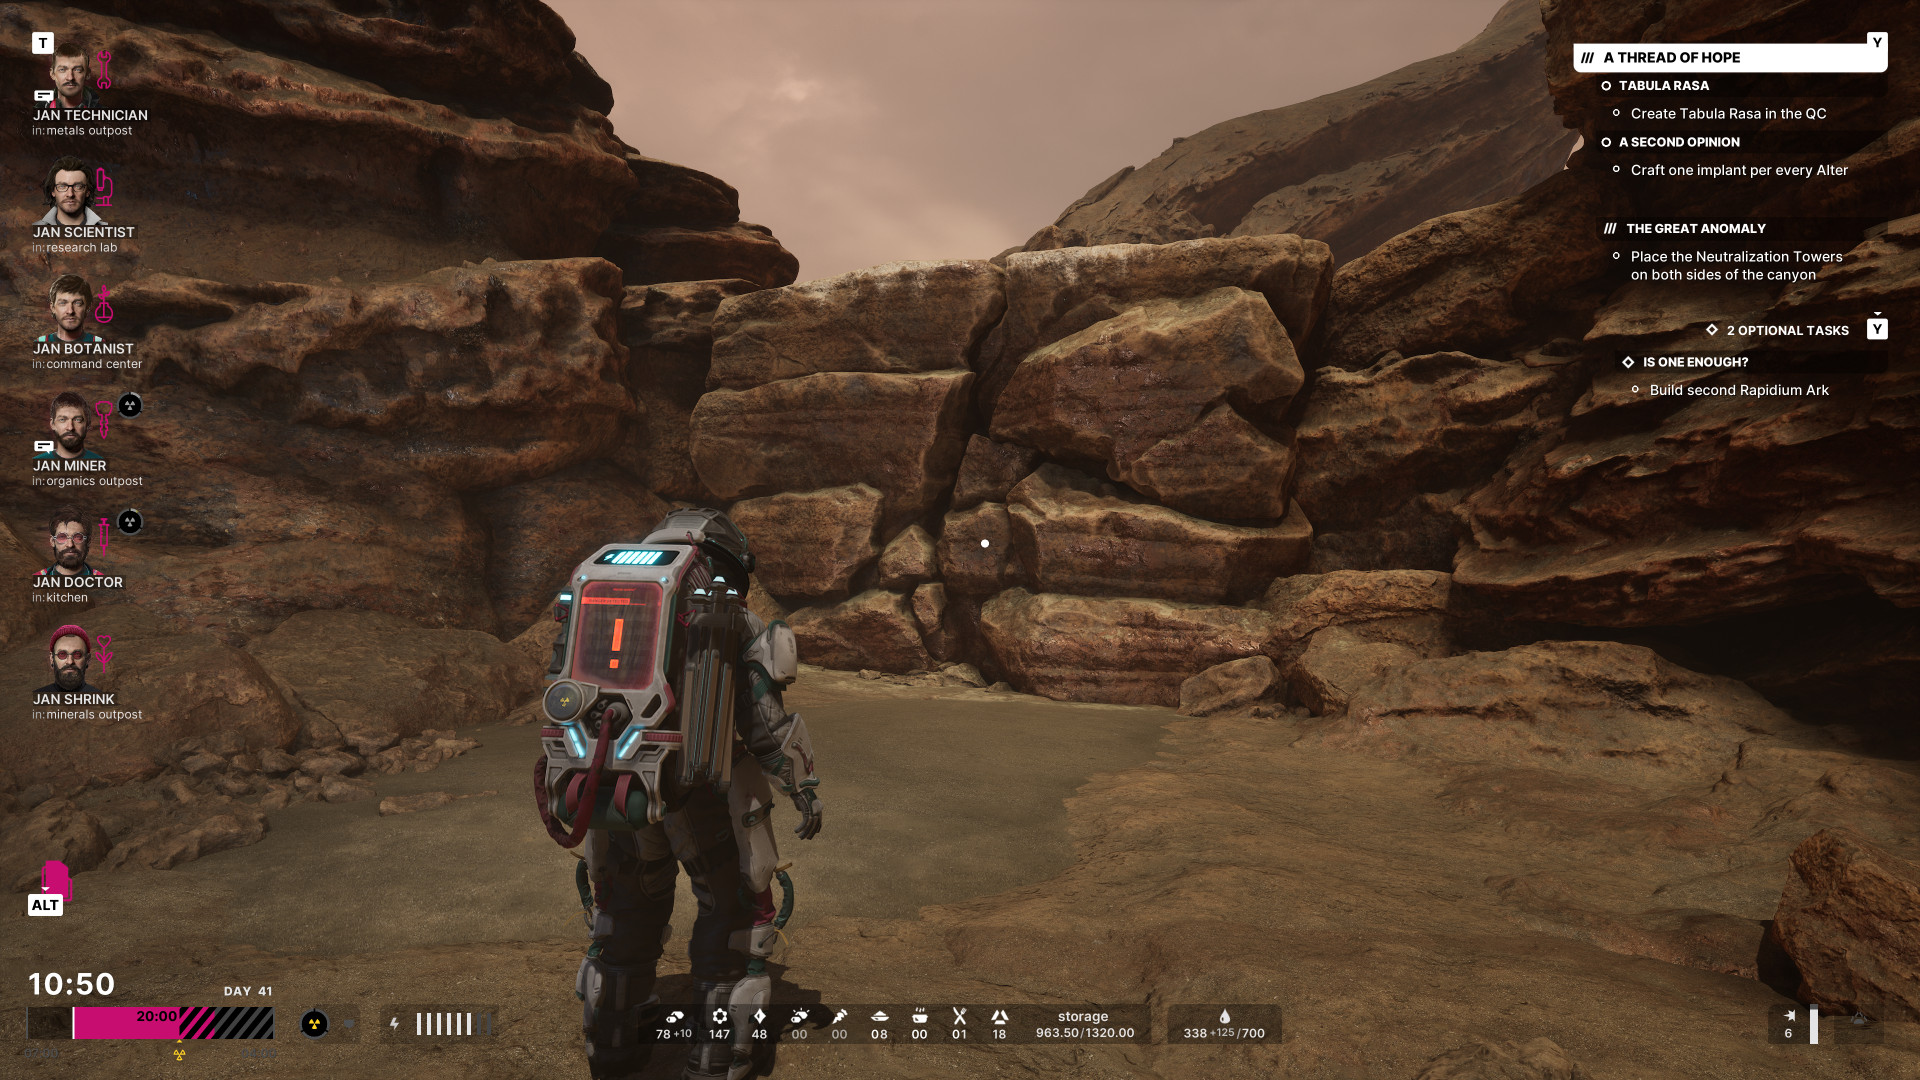
- High Climbs - Introduced in Act 2, these require 3 energy units, assuming the climbing cost reduction upgrade (50% less energy) is applied.
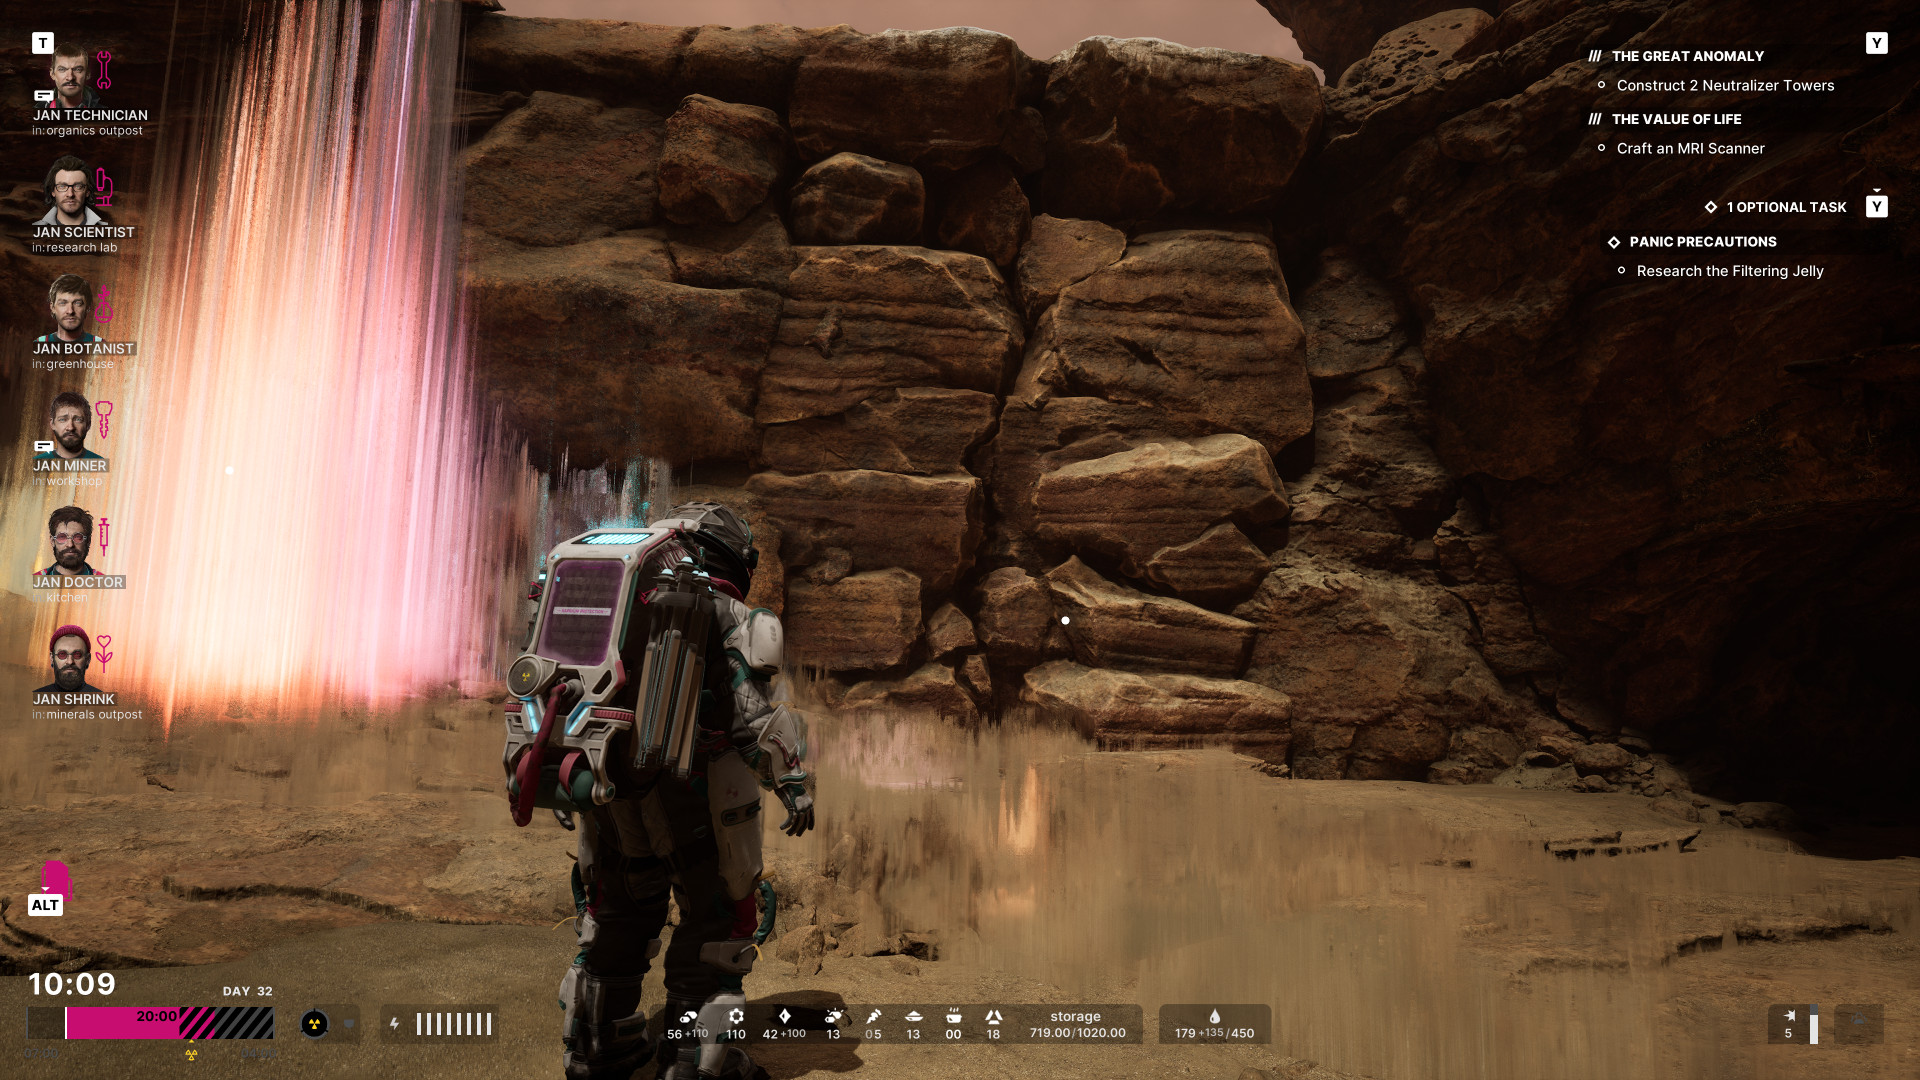
Research Upgrades
- Cheaper Climbing - Reduces the energy costs for medium and high climbs by 50%.
- Free Climbing - Eliminates energy costs for medium and high climbs entirely. Cost: 1 Planetary Sample.