Jet Kordo's Legacy Star Wars Outlaws Quest
Group: Side Quests
Planet: Toshara
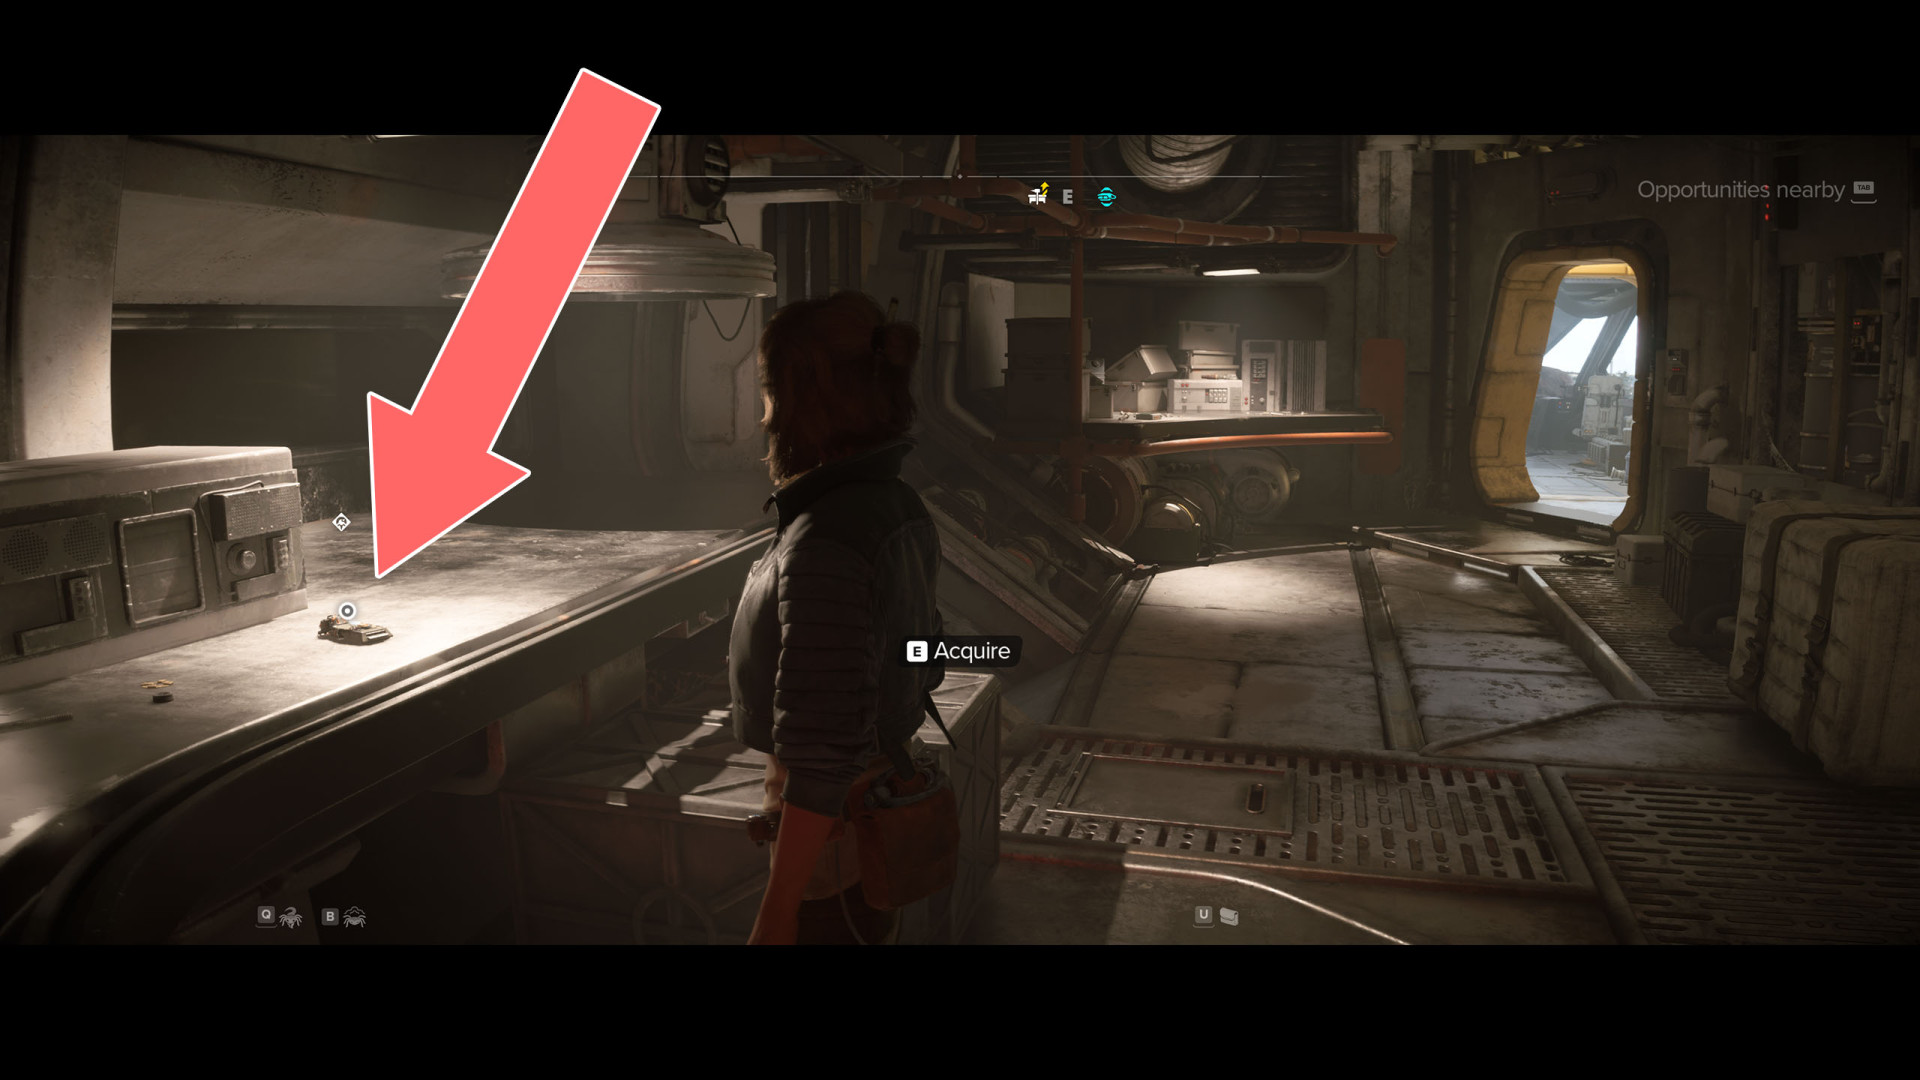
To be able to start this quest you must first complete the main quest "The Wreck". Once you have done that, talk to ND-5 who is waiting in the cockpit of the Trailblazer. Then on the table, next to the workbench where you can modify your blaster you will find a new tool - a holotracker containing a holodisk that is a kind of treasure map.
ND-5 found a device that might lead to some interesting discoveries.
Related points of interest
![]() Jet Kordo's Legacy part 1
Toshara
Jet Kordo's Legacy part 1
Toshara
![]() Boulder
Toshara
Boulder
Toshara
![]() Jet Kordo's Legacy part 2
Toshara
Jet Kordo's Legacy part 2
Toshara
Prior quests
To begin Jet Kordo's Legacy you must first complete The Wreck.
Quest stages of Jet Kordo's Legacy
1. Use the holotracker.
Just press the key, on the PC it is [6] by default, to use the holotracker. When you do this, a hologram will be projected showing the location, highlighted in red, that you should go to. The hologram can be rotated but it can still be challenging to figure out where on the planet's surface the marked spot is. At least at first. The marked place is near some building located at some distance from a large rock formation.
![]()
2. Reach the marked location on the holomap.
The building you are looking for is located in the Lost Steppe region, southwest of Typhon's Rock.
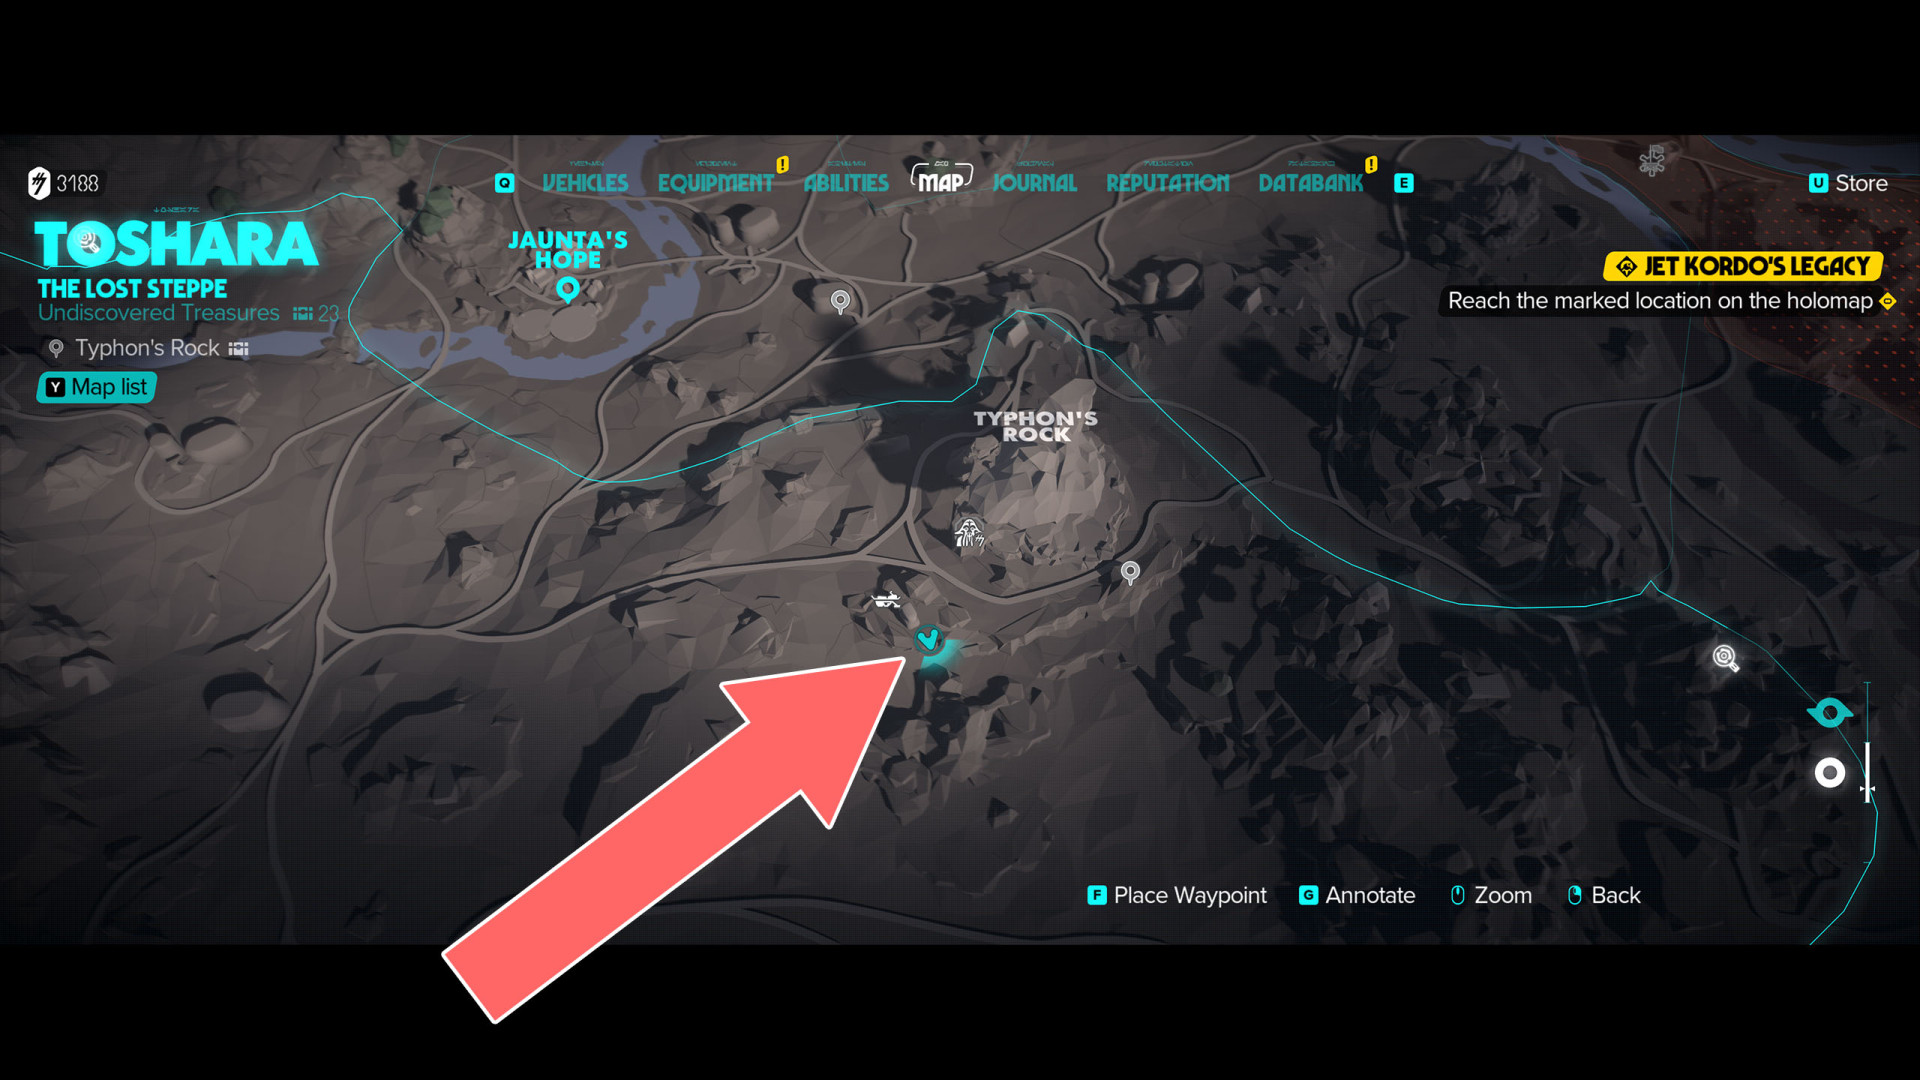
When you get there, look for a small boulder with a white symbol on it, which is located slightly south of the building.
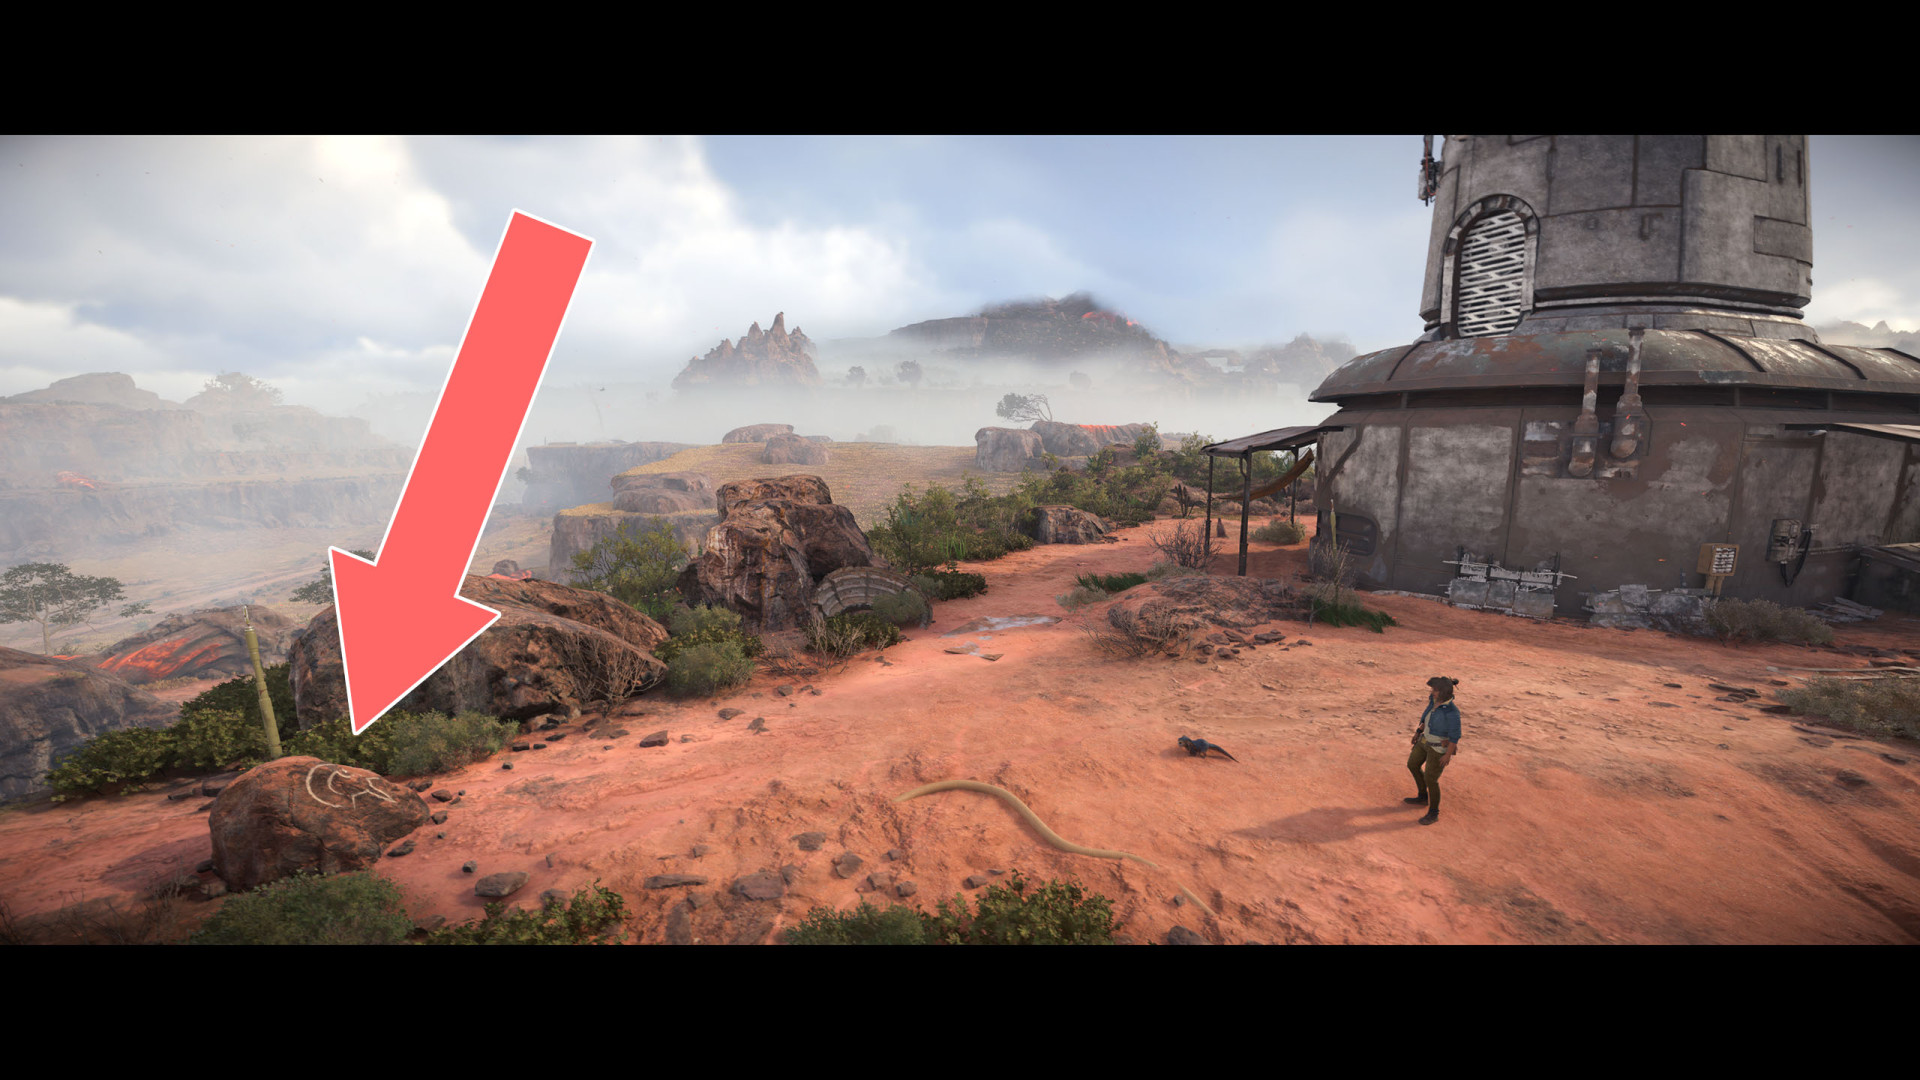
Approach the boulder and when the prompt appears, isolate the frequency.
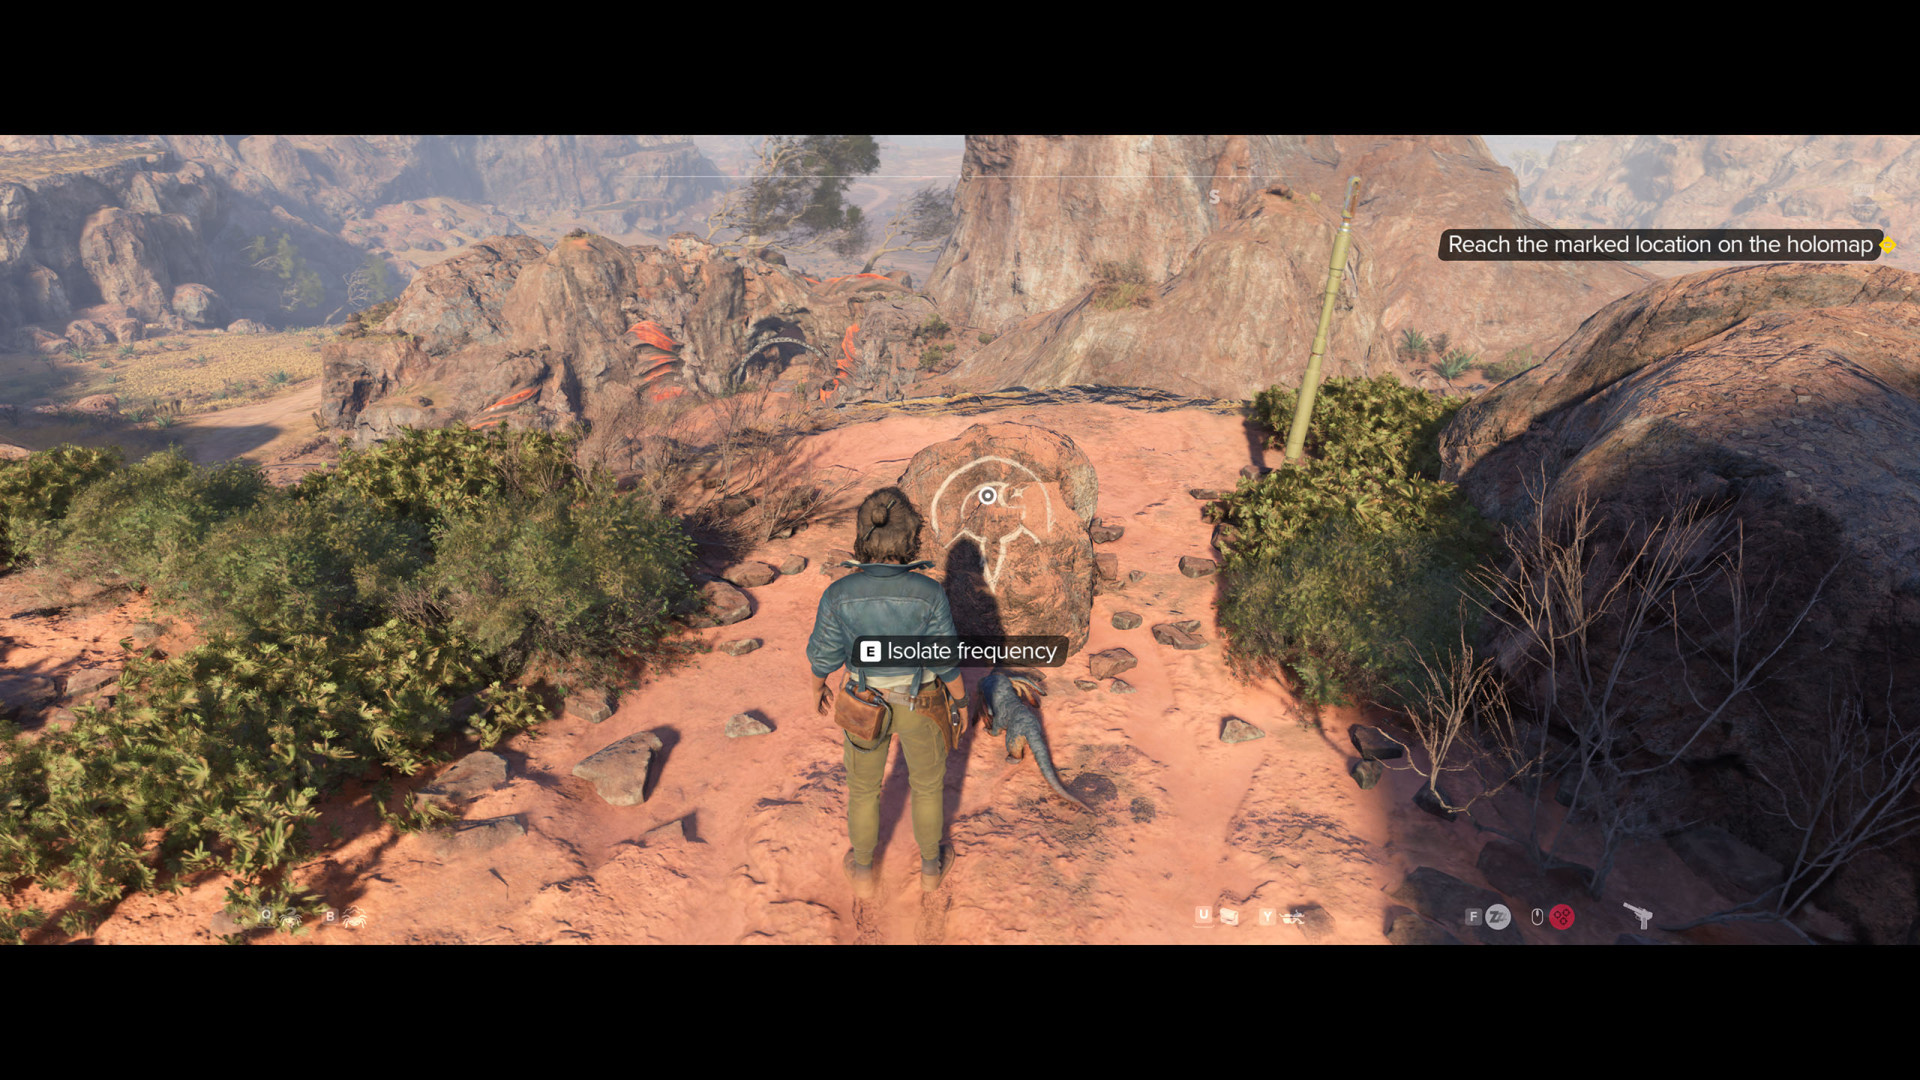
3. Find Jet Kordo's vault.
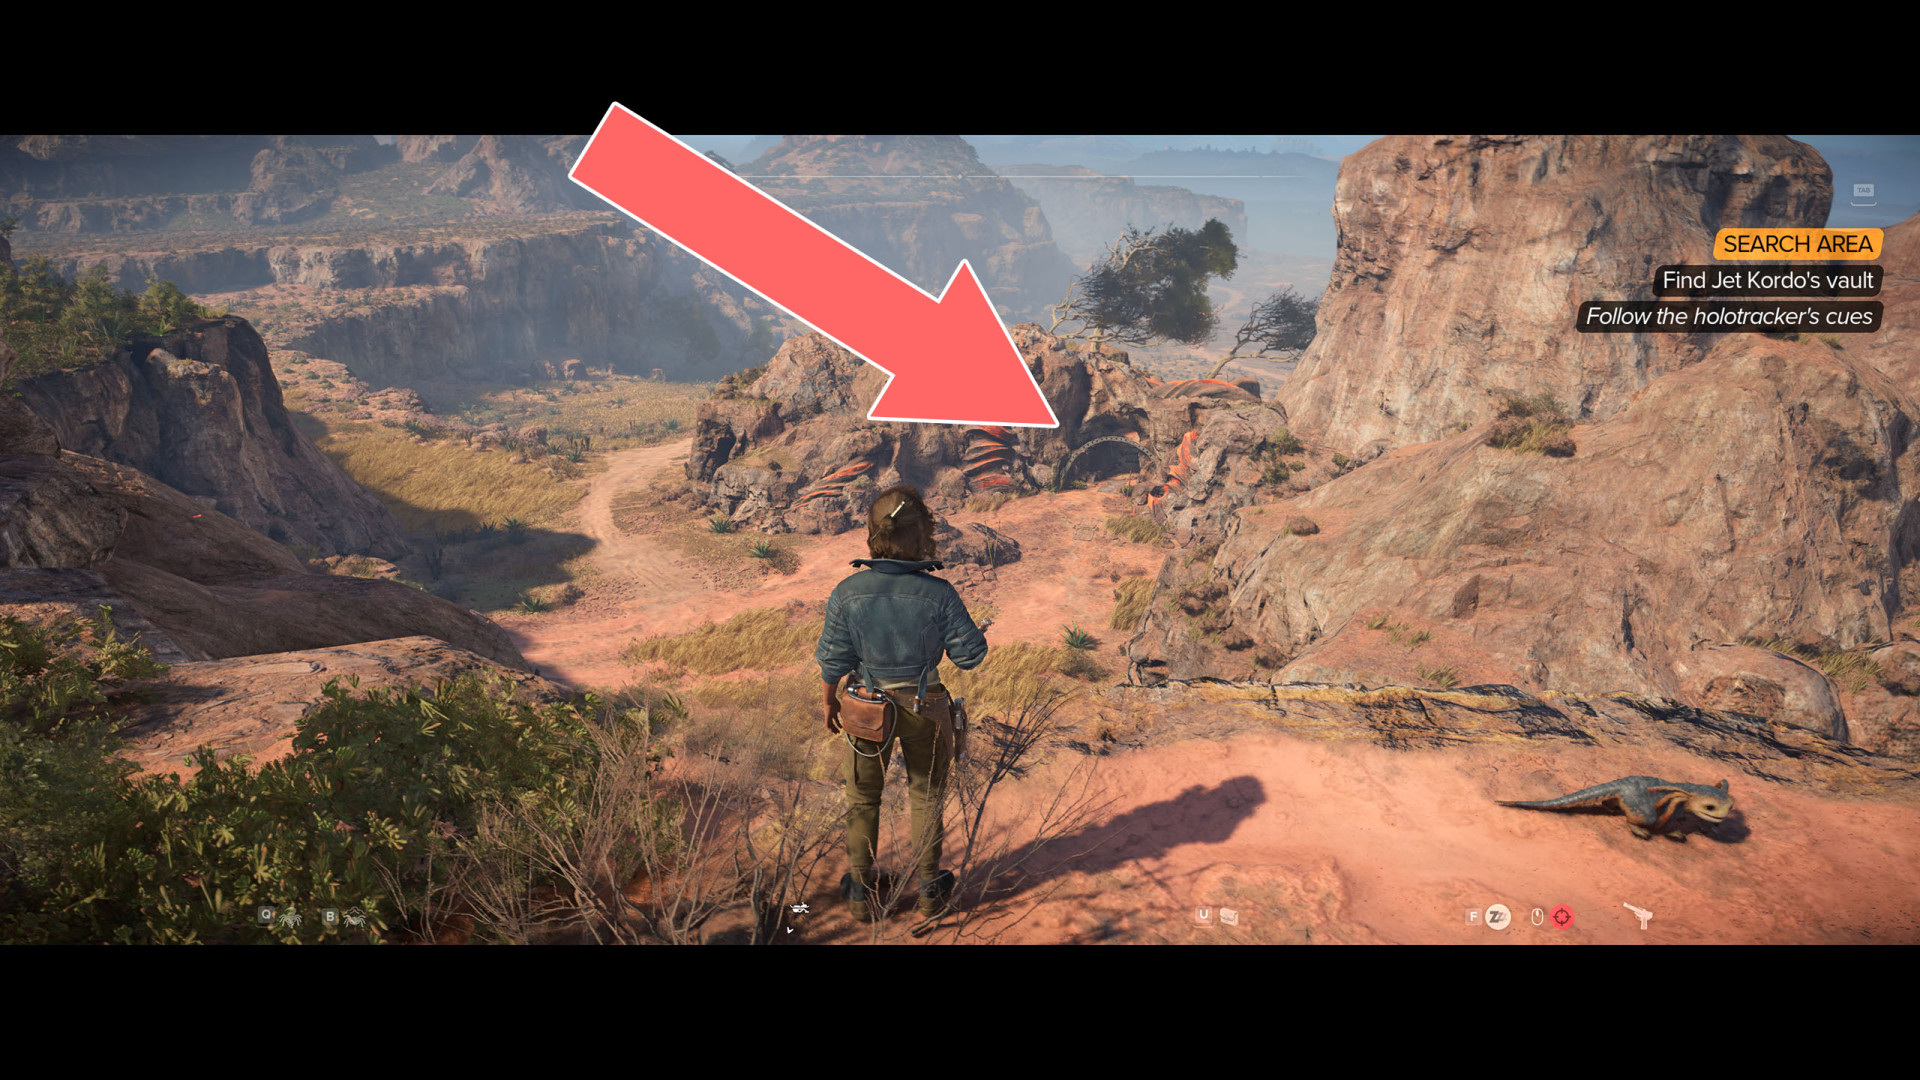
The Holotracker will start to beep. It beeps if you're looking in the right direction, it beeps more intense if you're getting closer to your target.
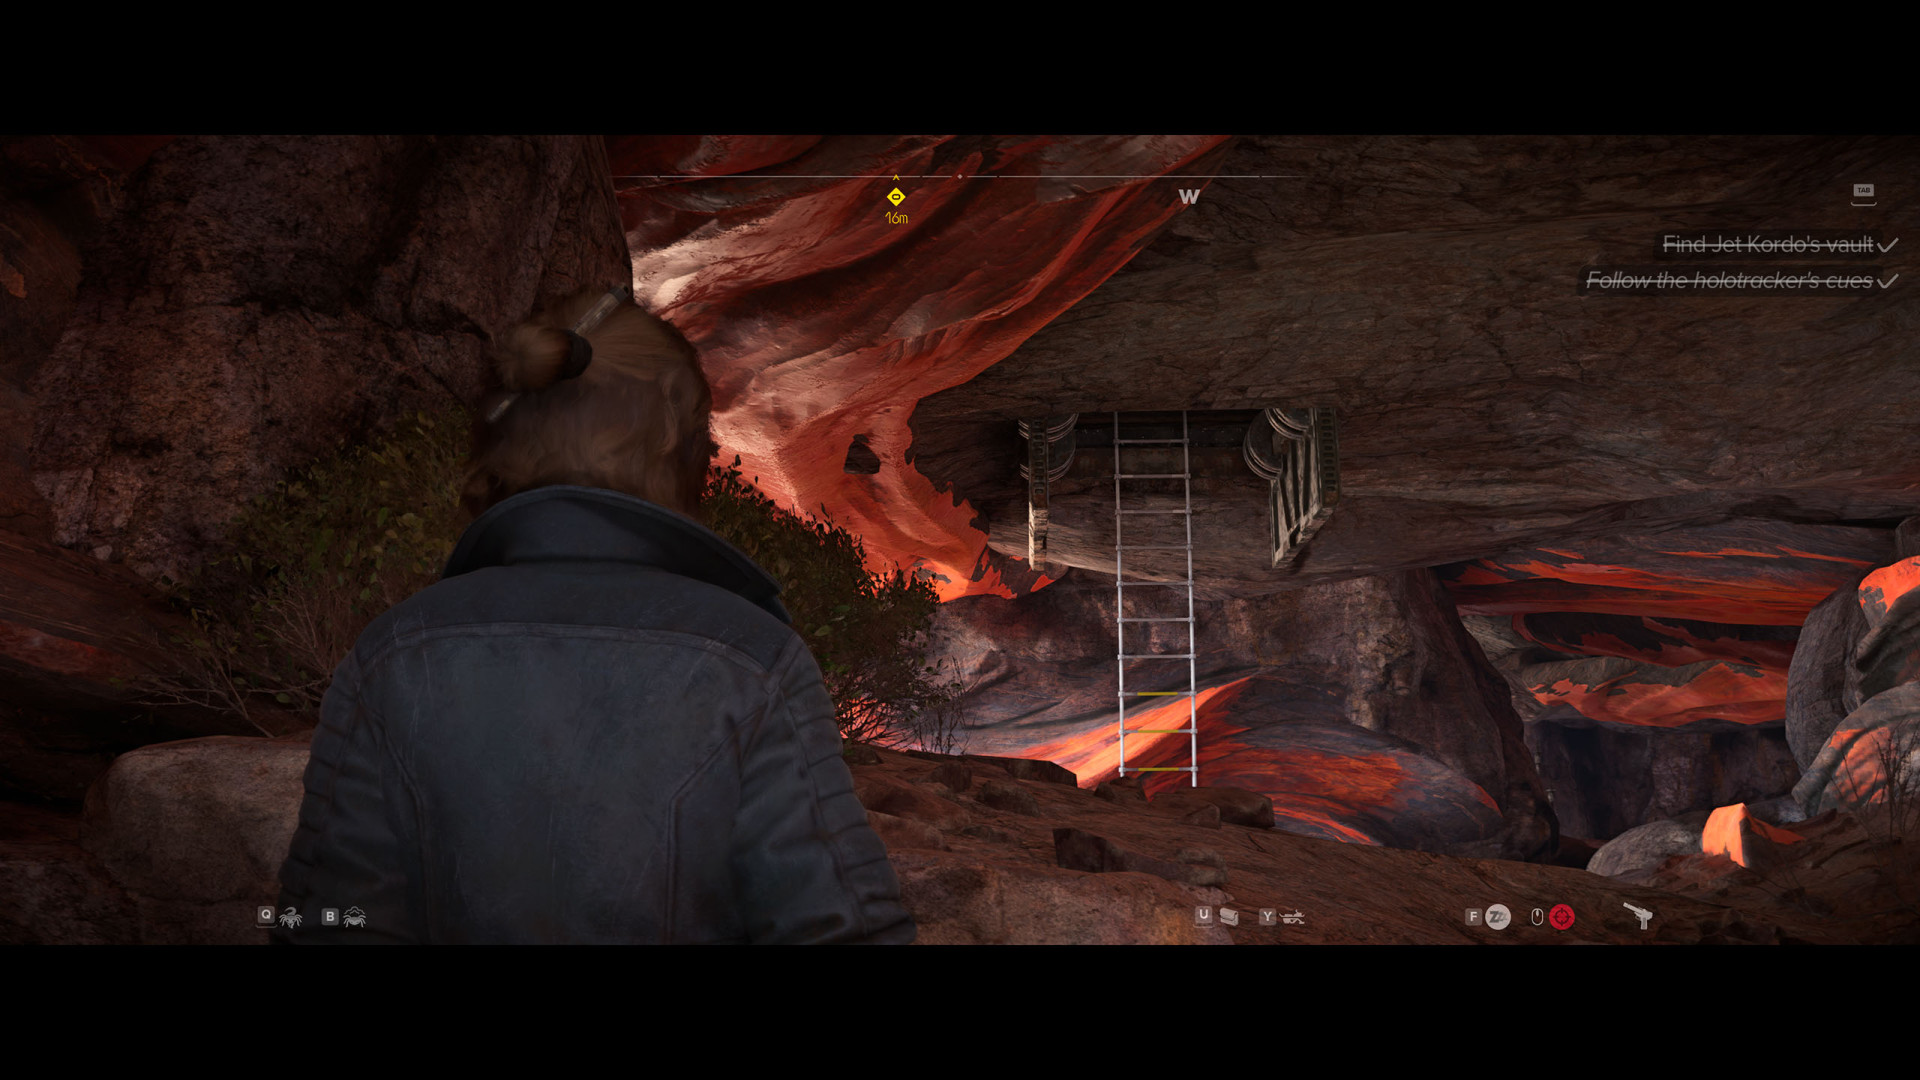
Move towards the rocks located to the south and pass under the metal arch.
Go down the cleft.
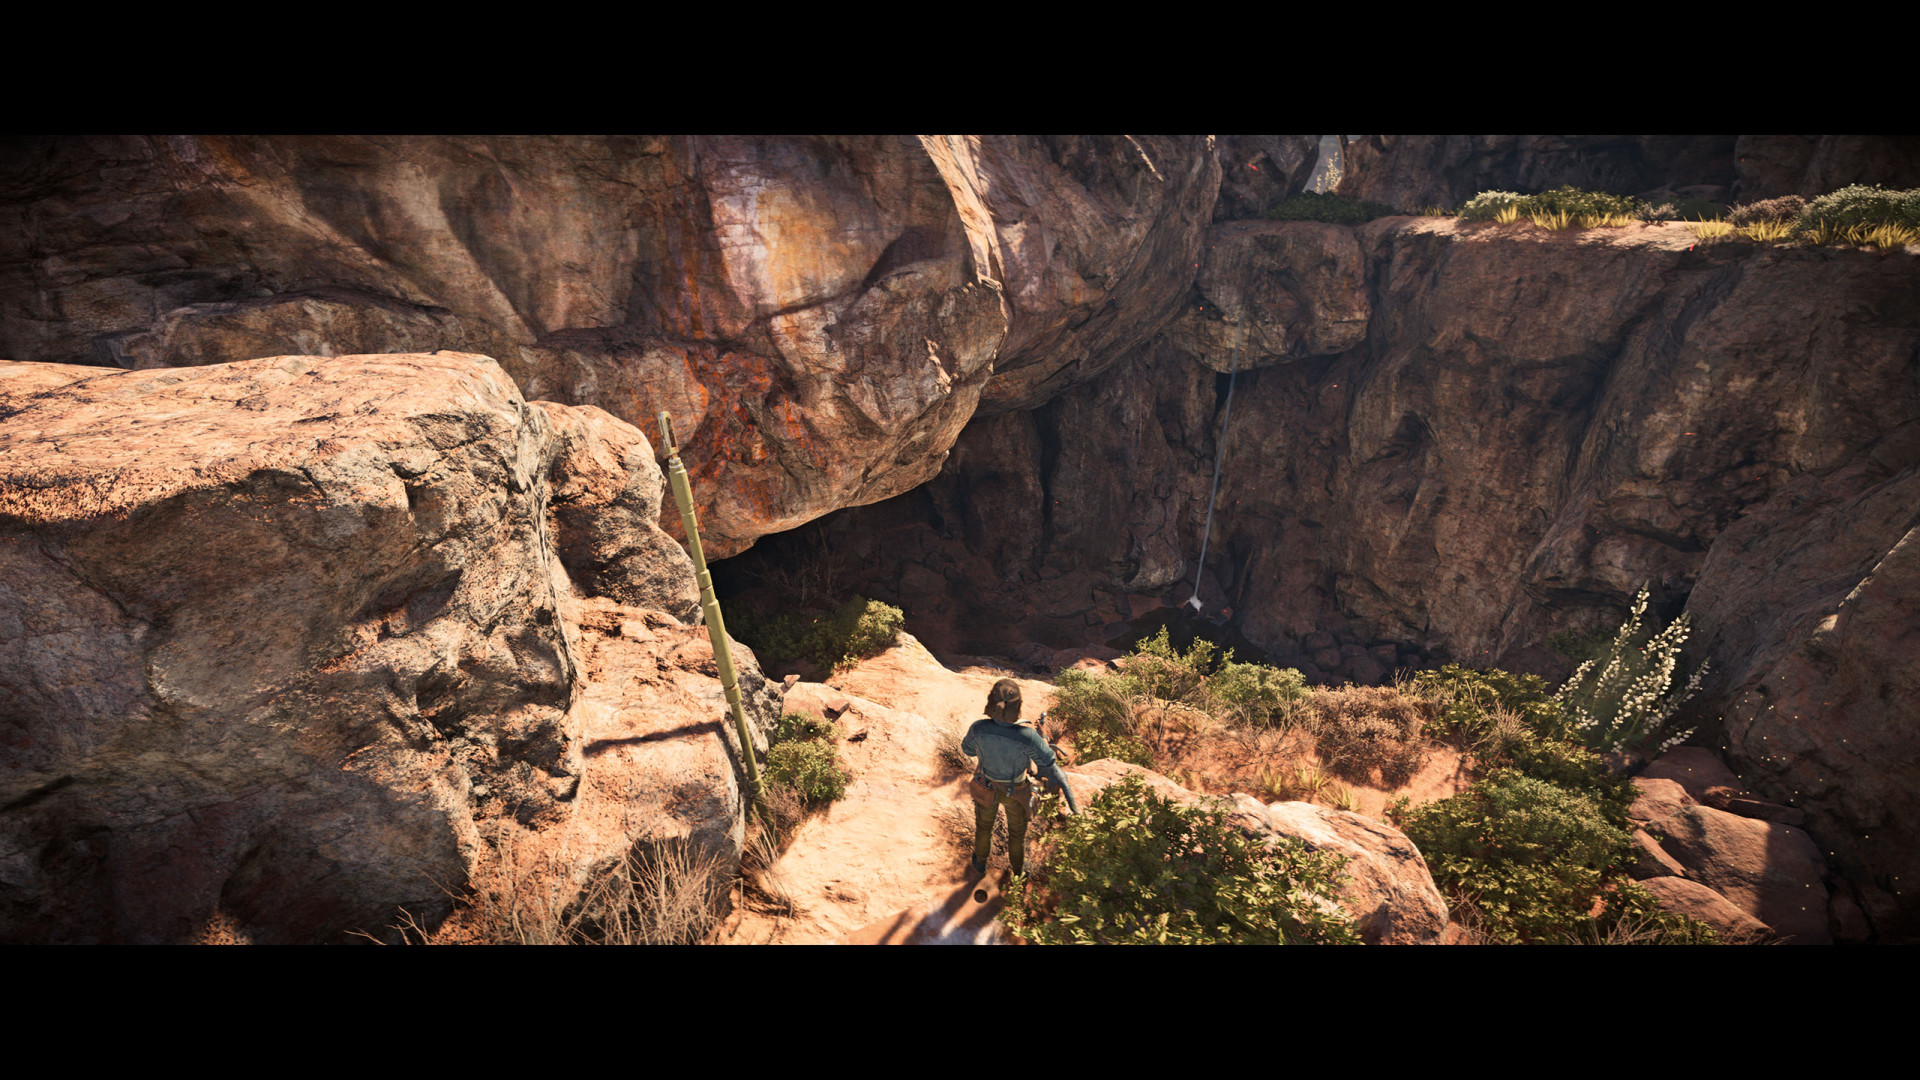
Enter the cave.
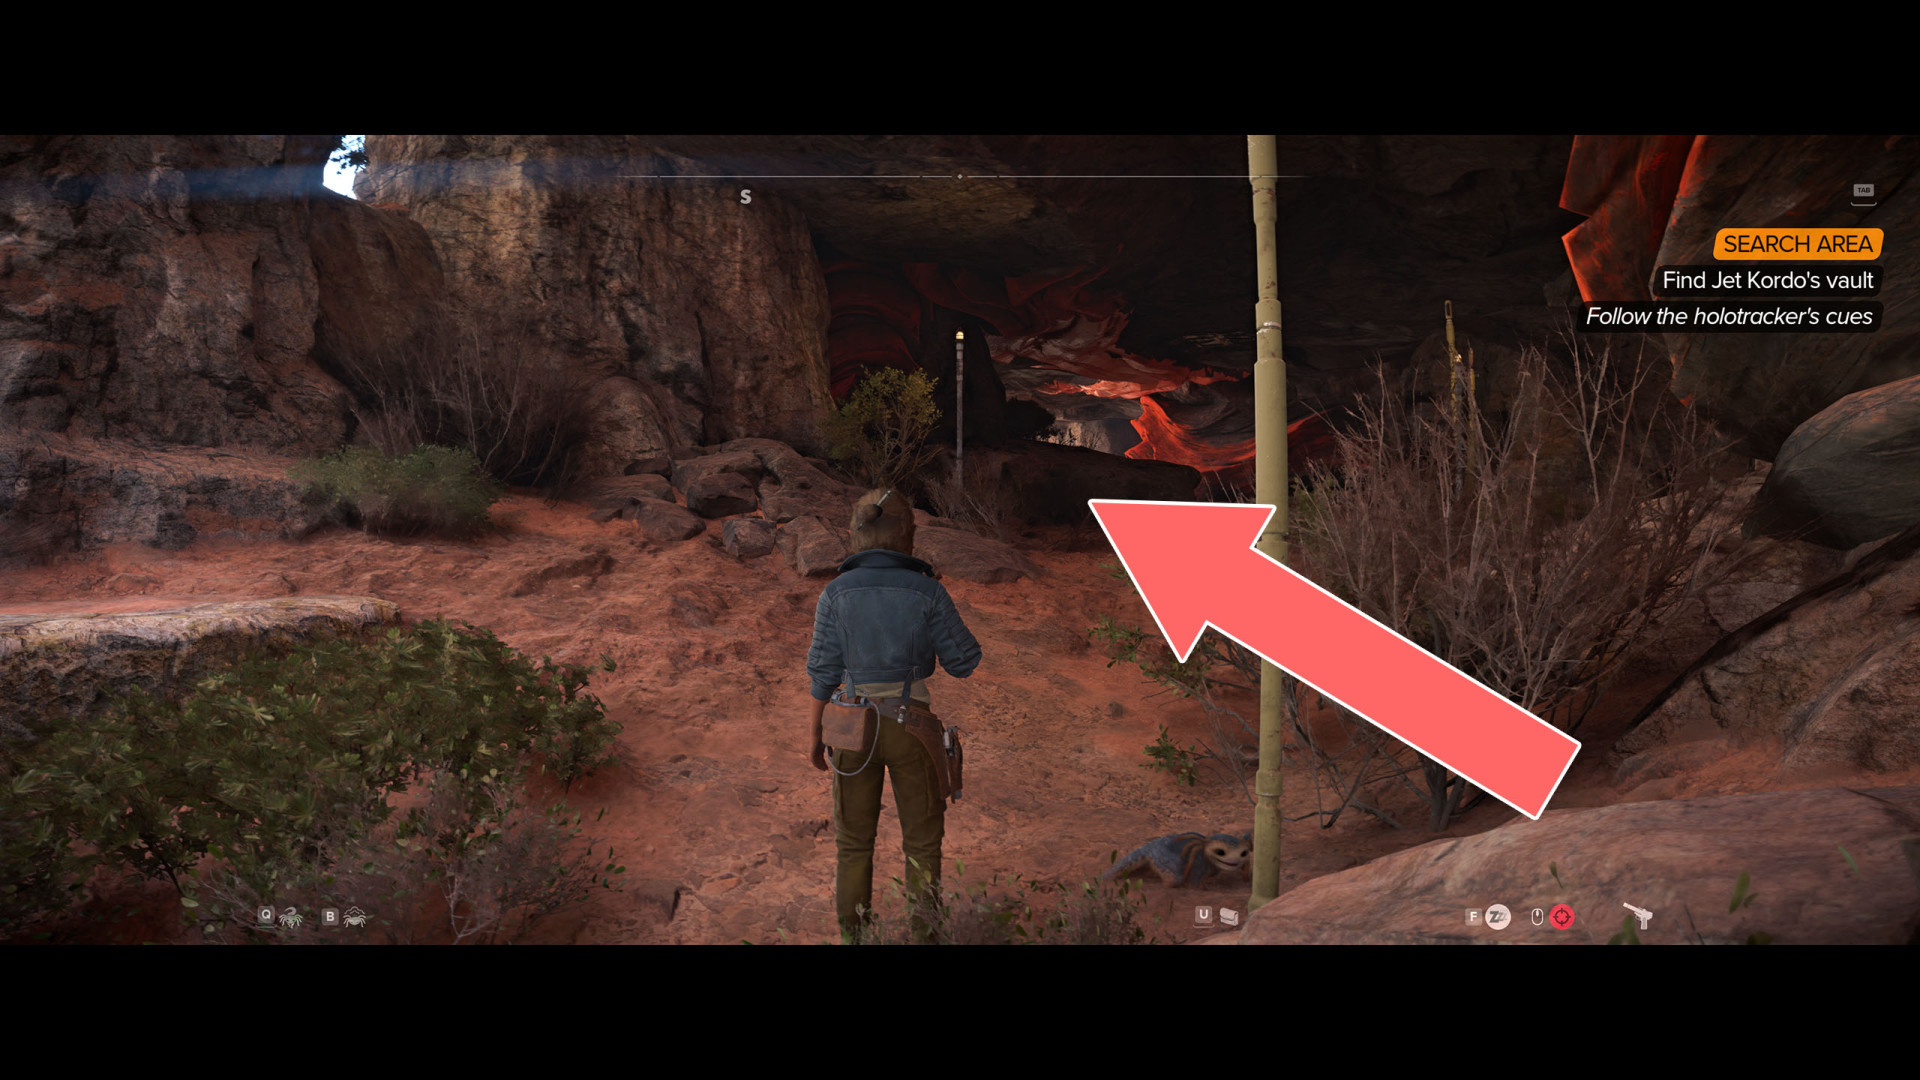
Find the small slot located on one of the rocks and insert the holodisc into it.
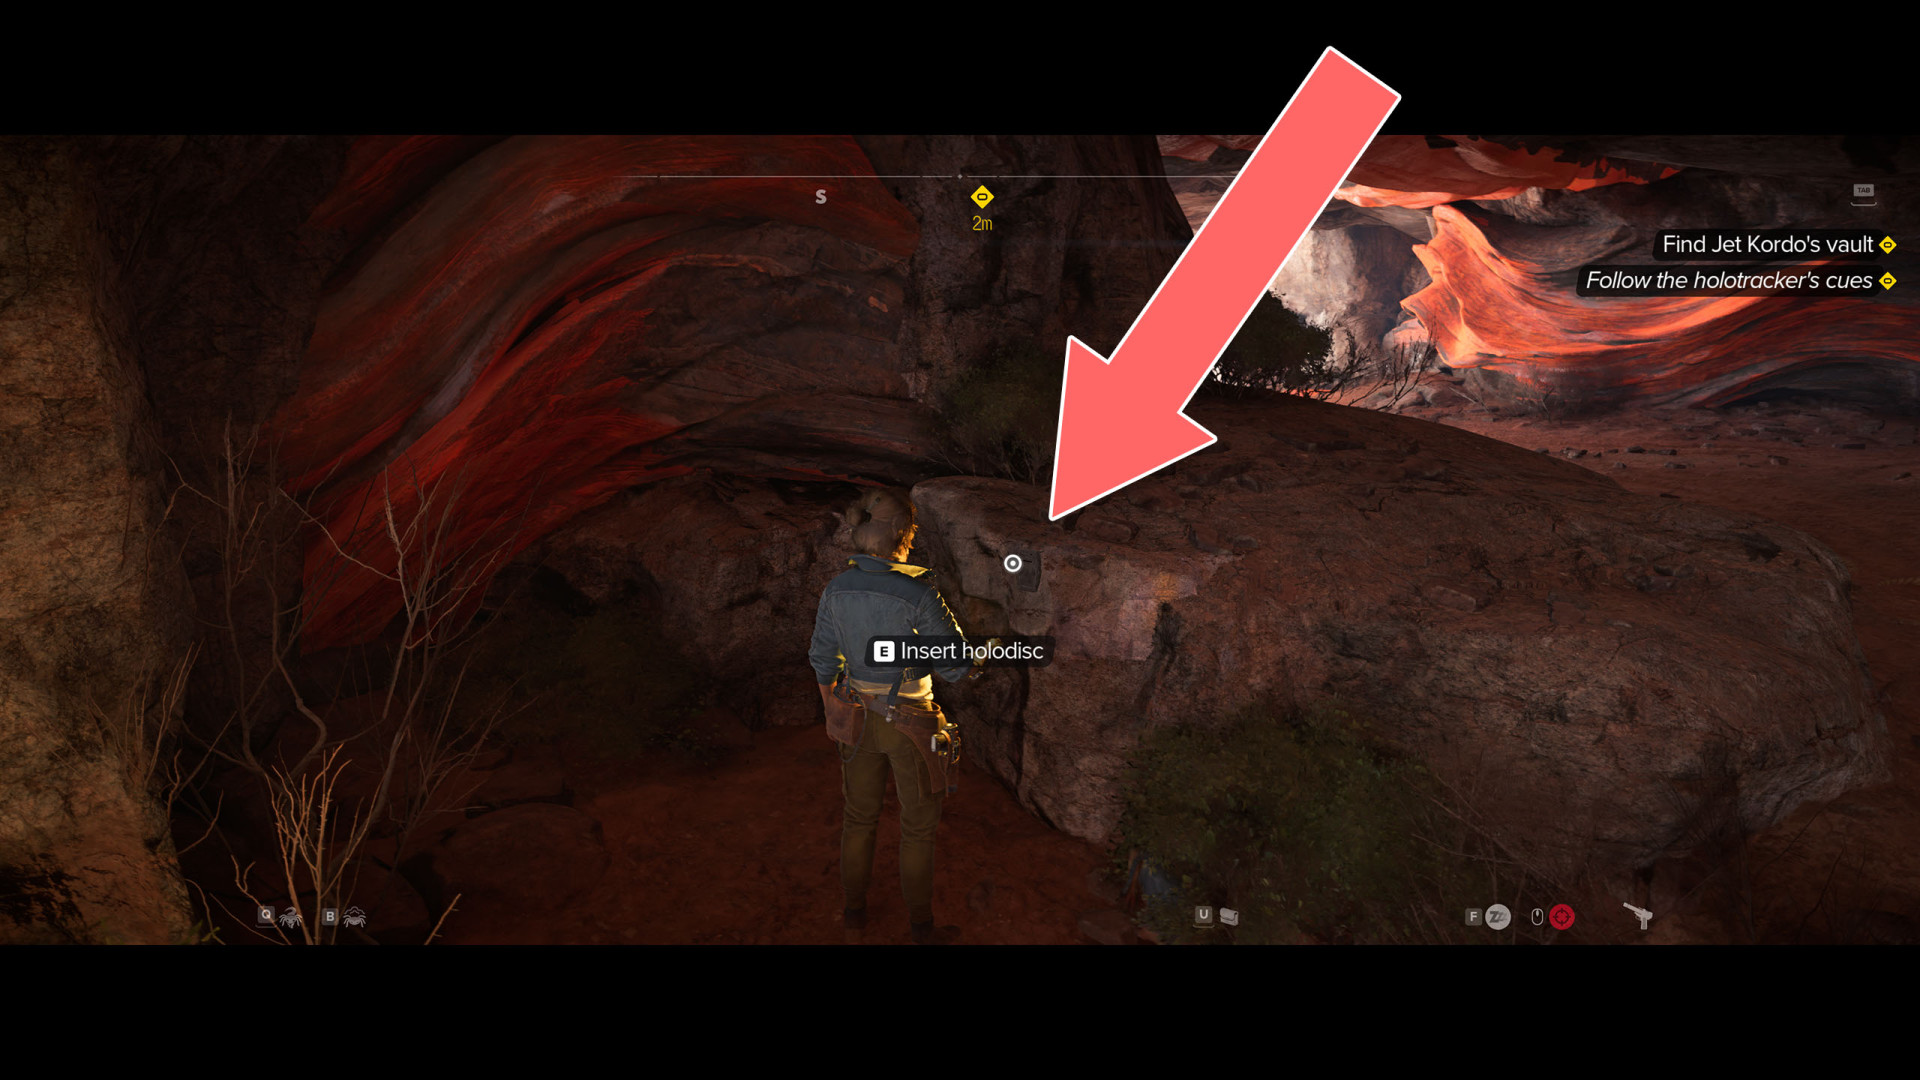
When you do this, a hatch will open nearby and a ladder will slide out. Climb up it to get inside.
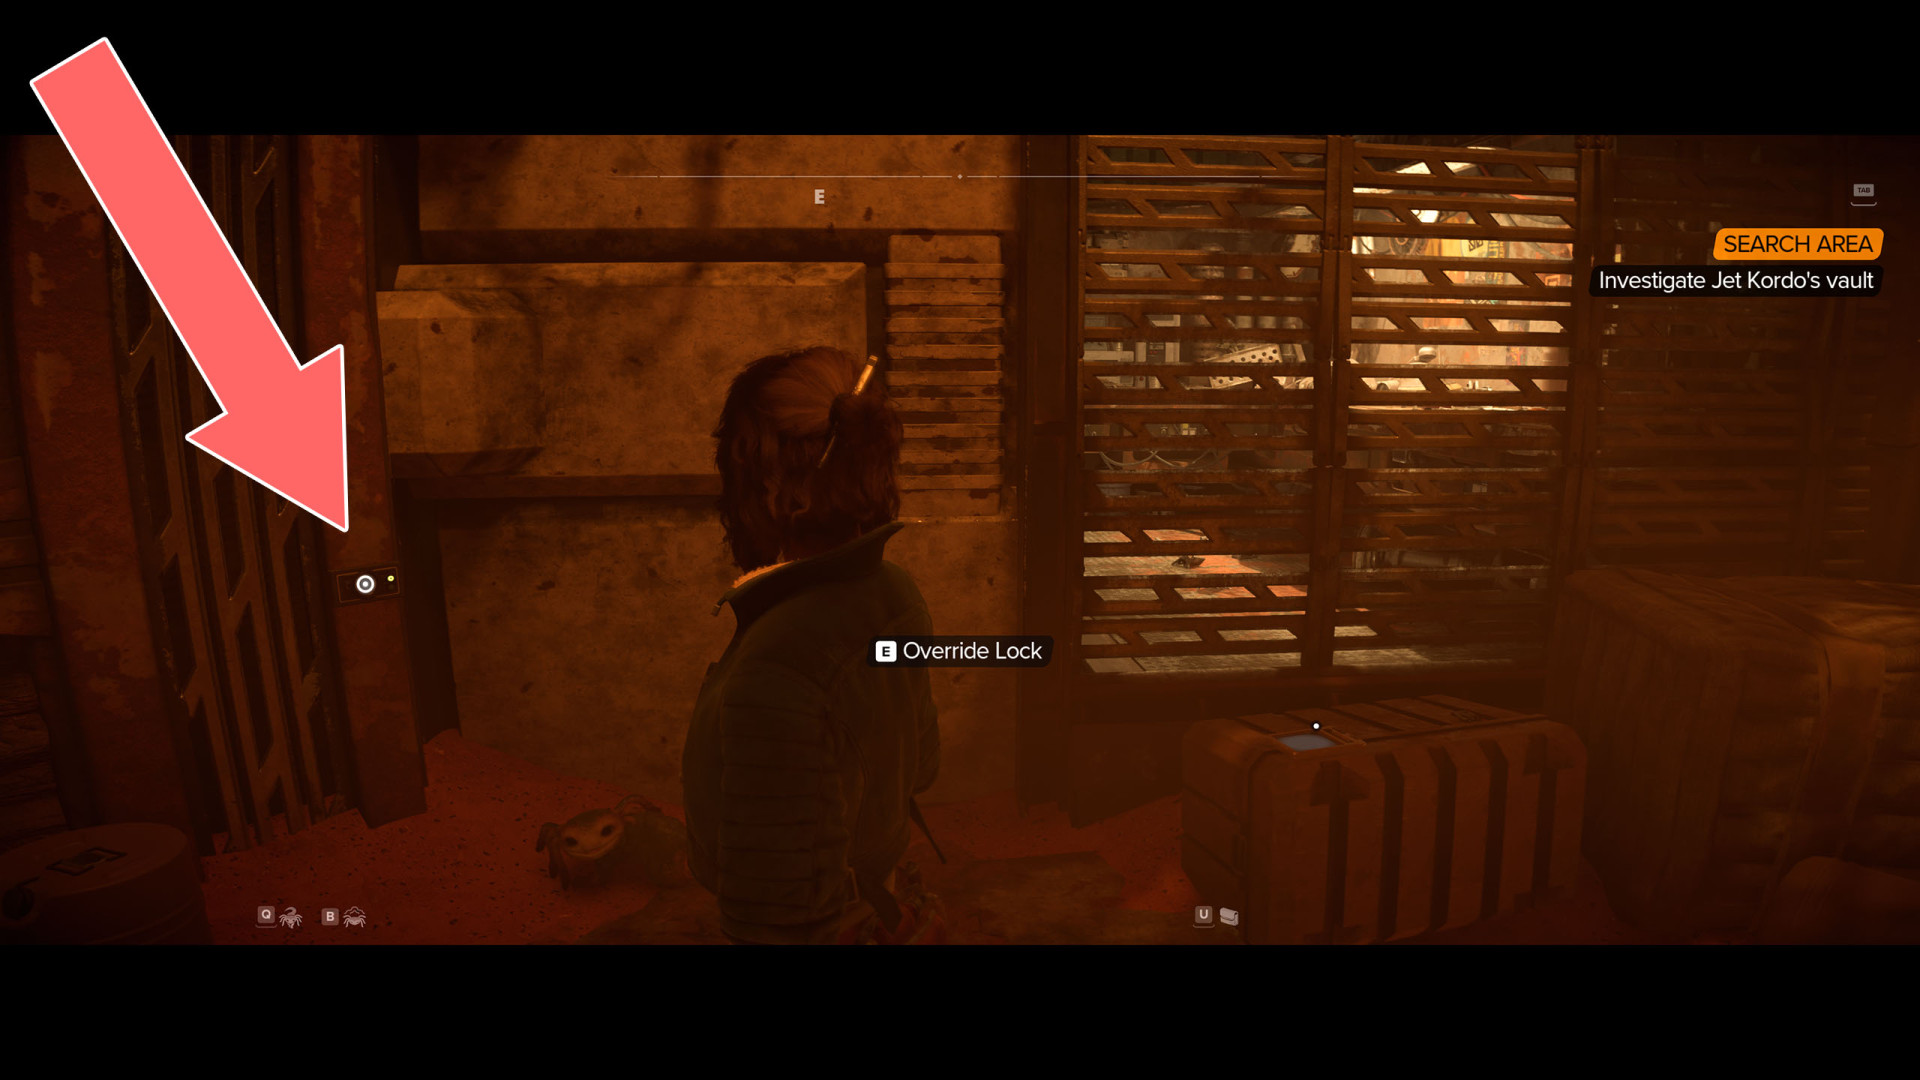
4. Investigate Jet Kordo's vault.
When you get inside, use the data spike to unlock the stone door.
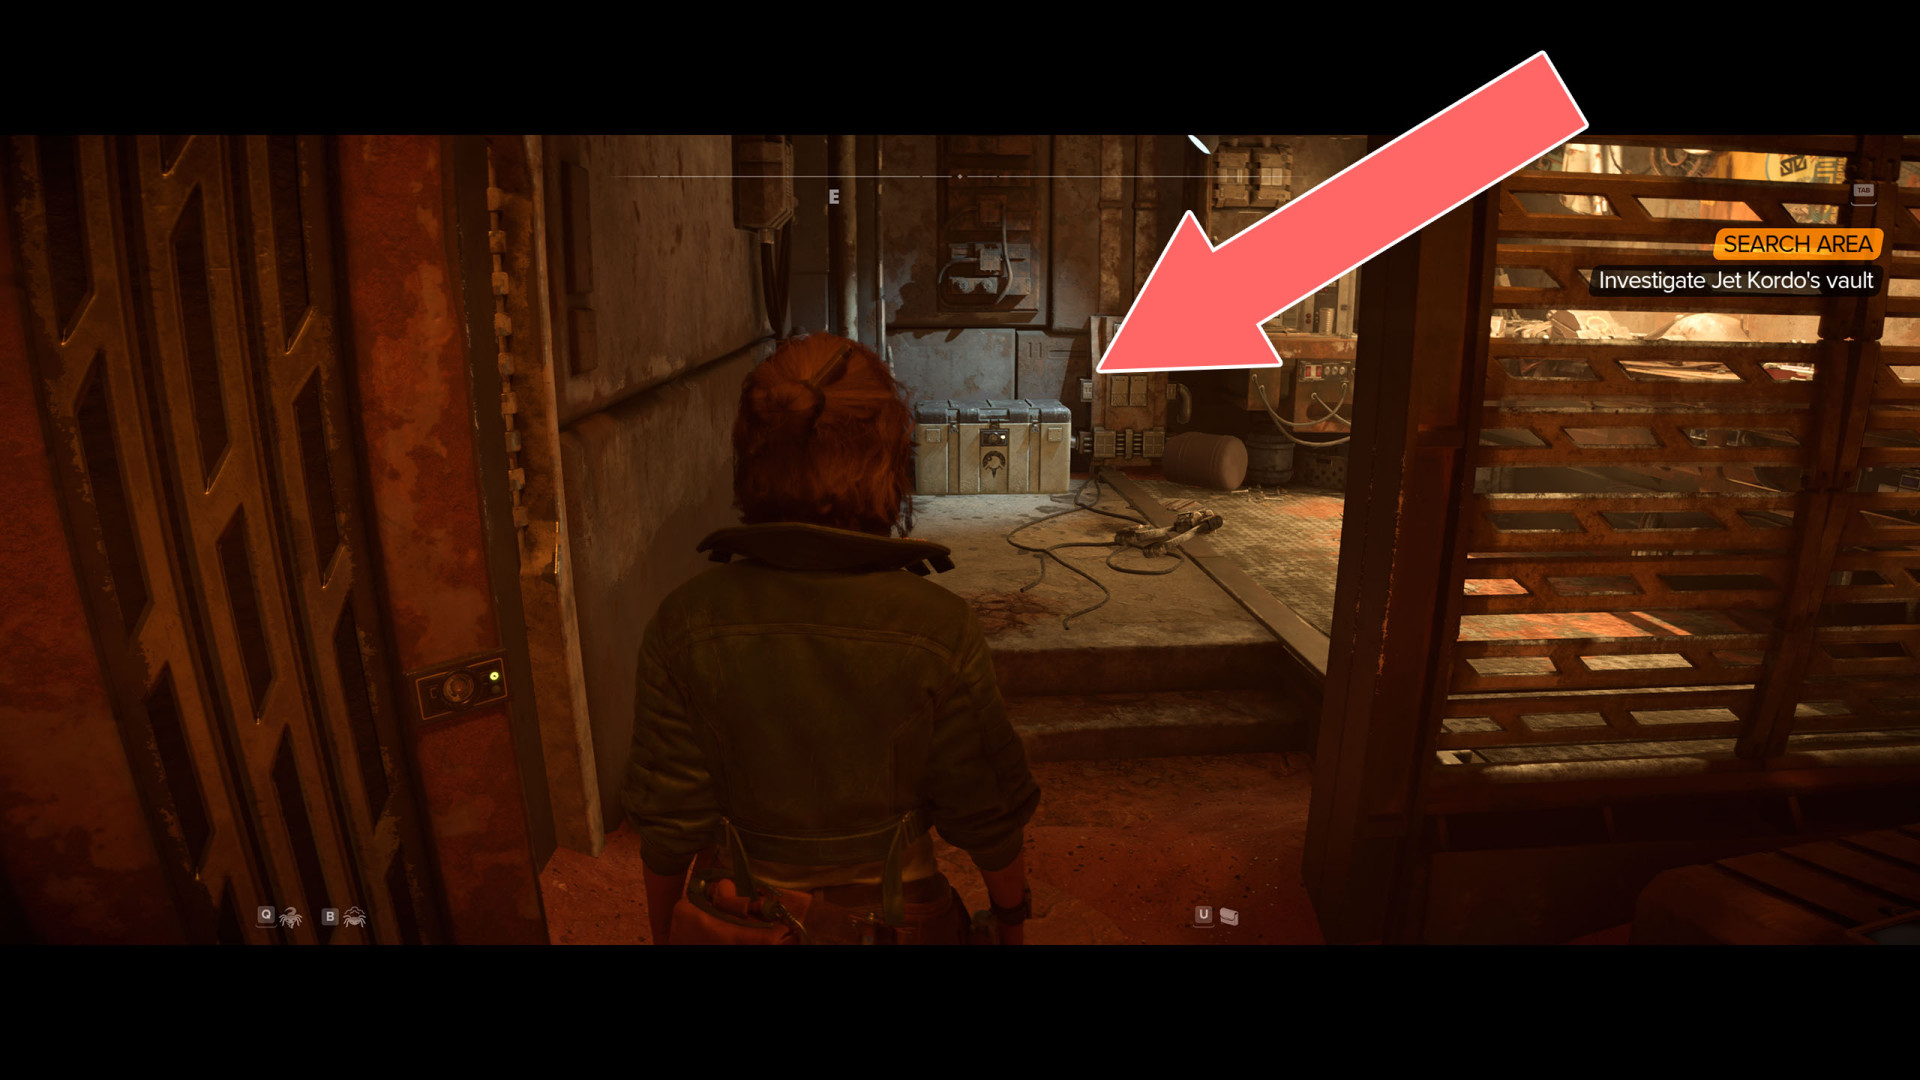
Spet inside and take the contents of the chest you find there.
5. Explore worlds to find Miyuki vaults.
Kijimi
Sheltered Vault
- Sheltered Vault #1: Kijimi Holodisc
- Sheltered Vault #2: Sabacc Pot
- Sheltered Vault #3: Gambled Holodisc
- Sheltered Vault #4: Vault's Frequency
- Sheltered Vault #5: Sheltered Vault
Tatooine
Buried Vault
- Buried Vault #1: Treasure Hunter Trail
- Buried Vault #2: Treasure Hunter Destination
- Buried Vault #3: Treasure Hunter's Speeder
- Buried Vault #4: Treasure Hunter's Holodisc
- Buried Vault #5: Buried Vault
Perched Vault
- Perched Vault #1: Tatooine's Second Vault
- Perched Vault #2: Damaged Holodisc
- Perched Vault #3: Vault's Frequency
- Perched Vault #4: Perched Vault
Akiva
Overgrown Vault
- Overgrown Vault #1: Shady Merchant
- Overgrown Vault #2: Mysterious Holodisc
- Overgrown Vault #3: Vault's Frequency
- Overgrown Vault #4: Overgrown Vault