Welcome to guides4gamers.com

All 30 Spirited-Sand Jar Locations in Prince of Persia: The Lost Crown

This collection includes every marker from the Spirited-Sand Jars category of points of interest in Prince of Persia: The Lost Crown, all placed on interactive maps created specifically for the game.

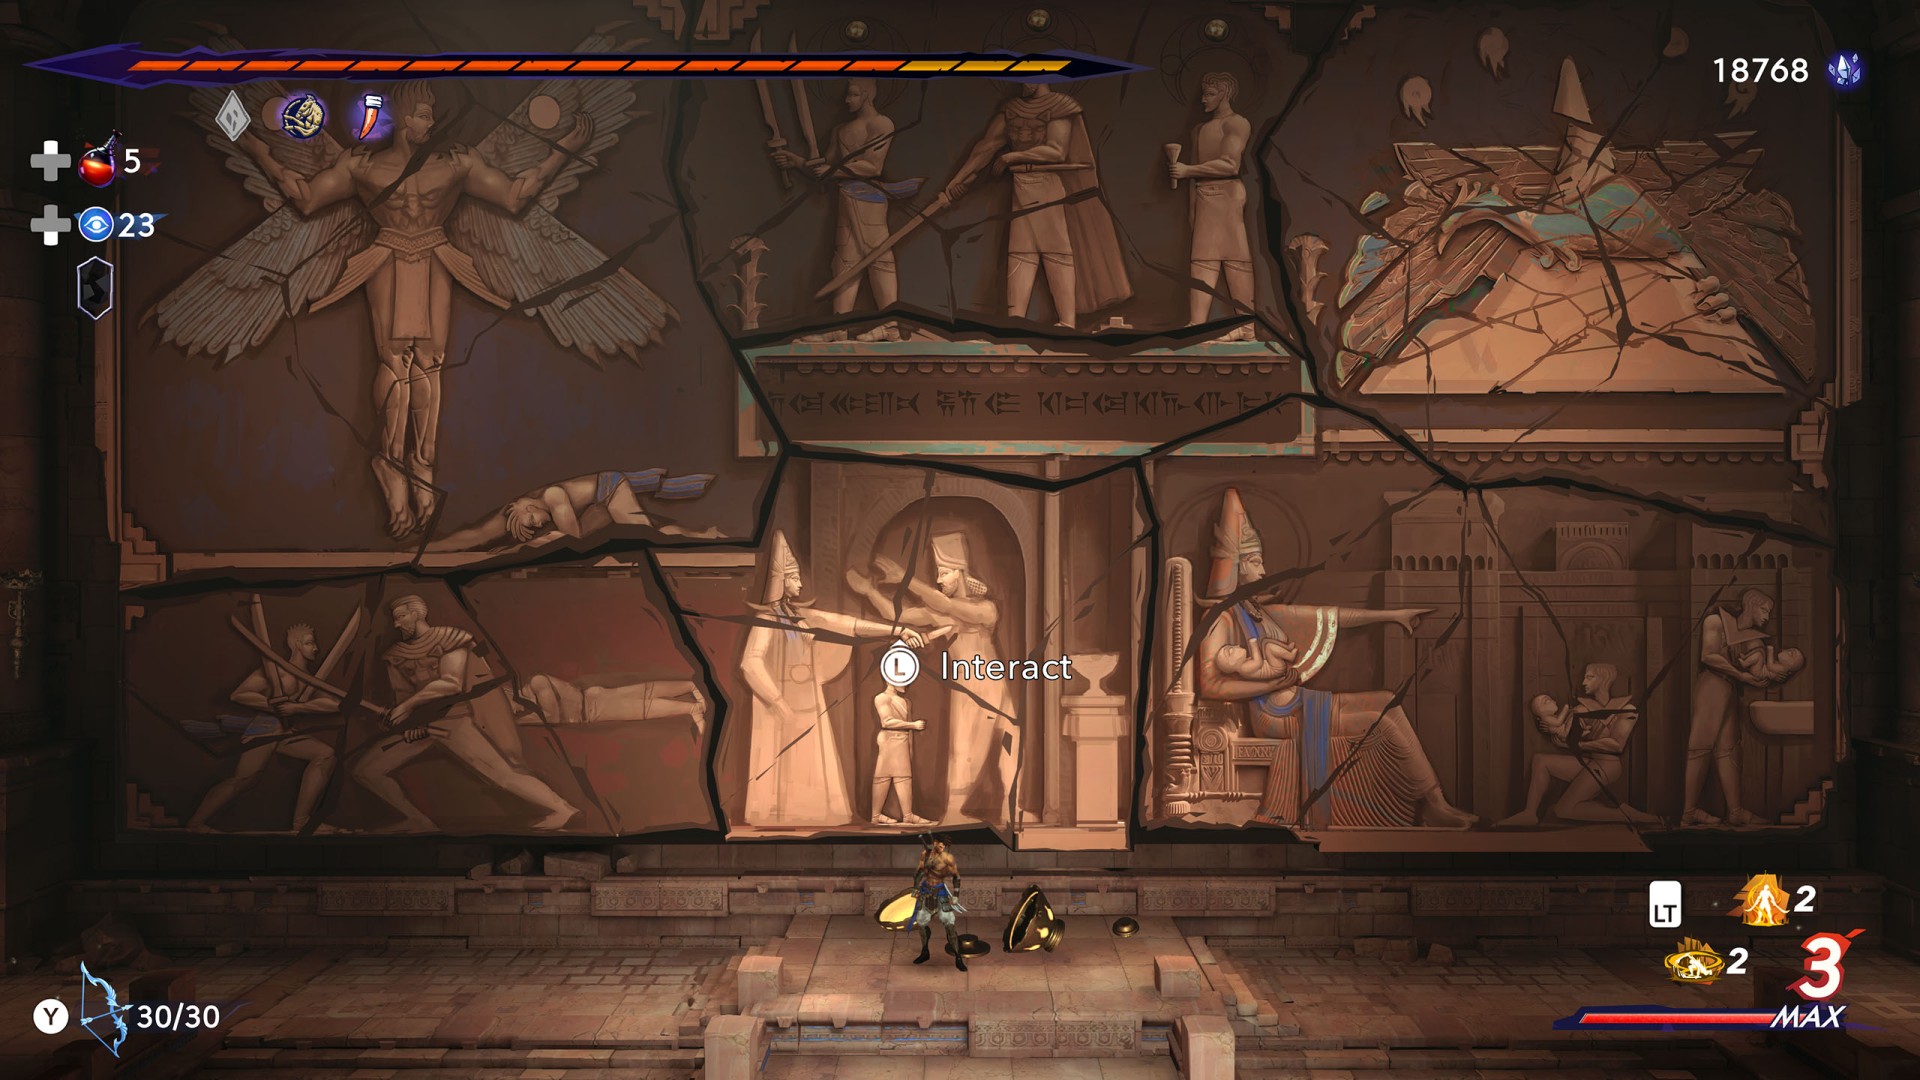
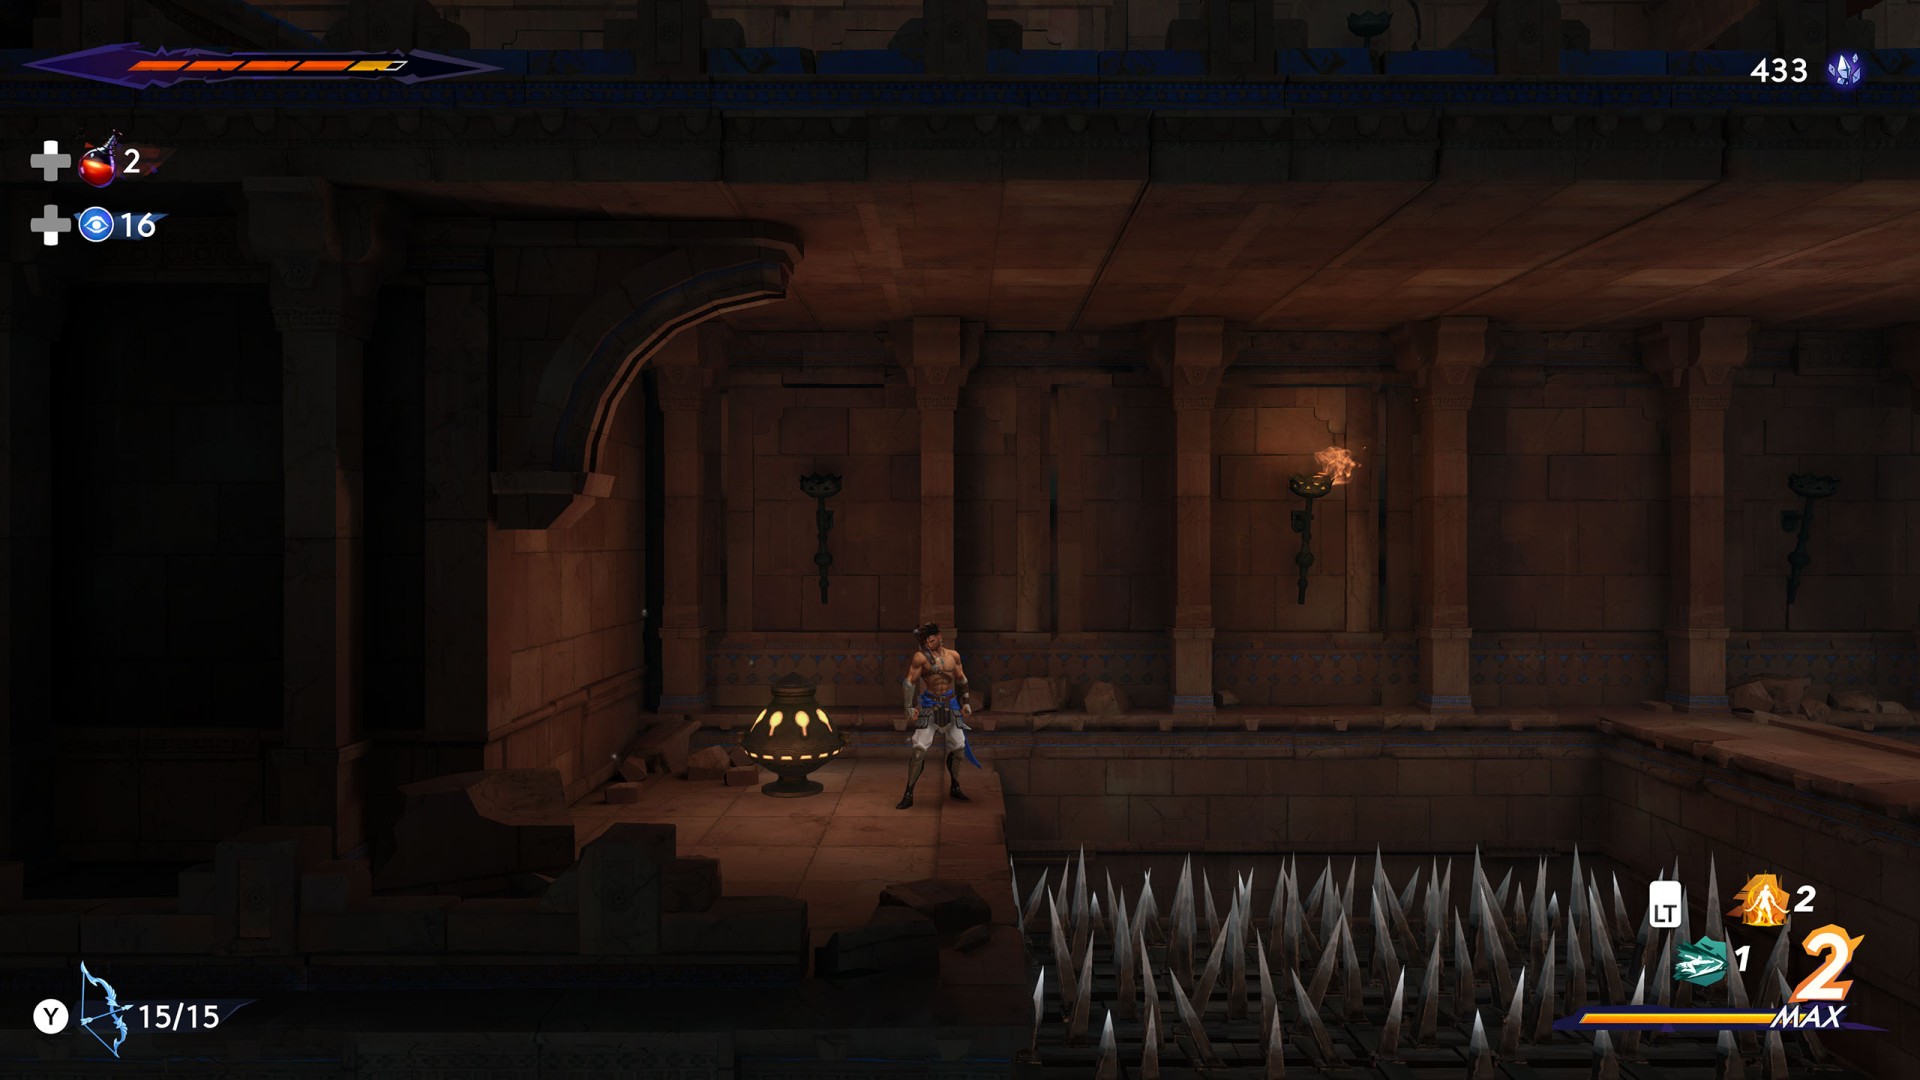
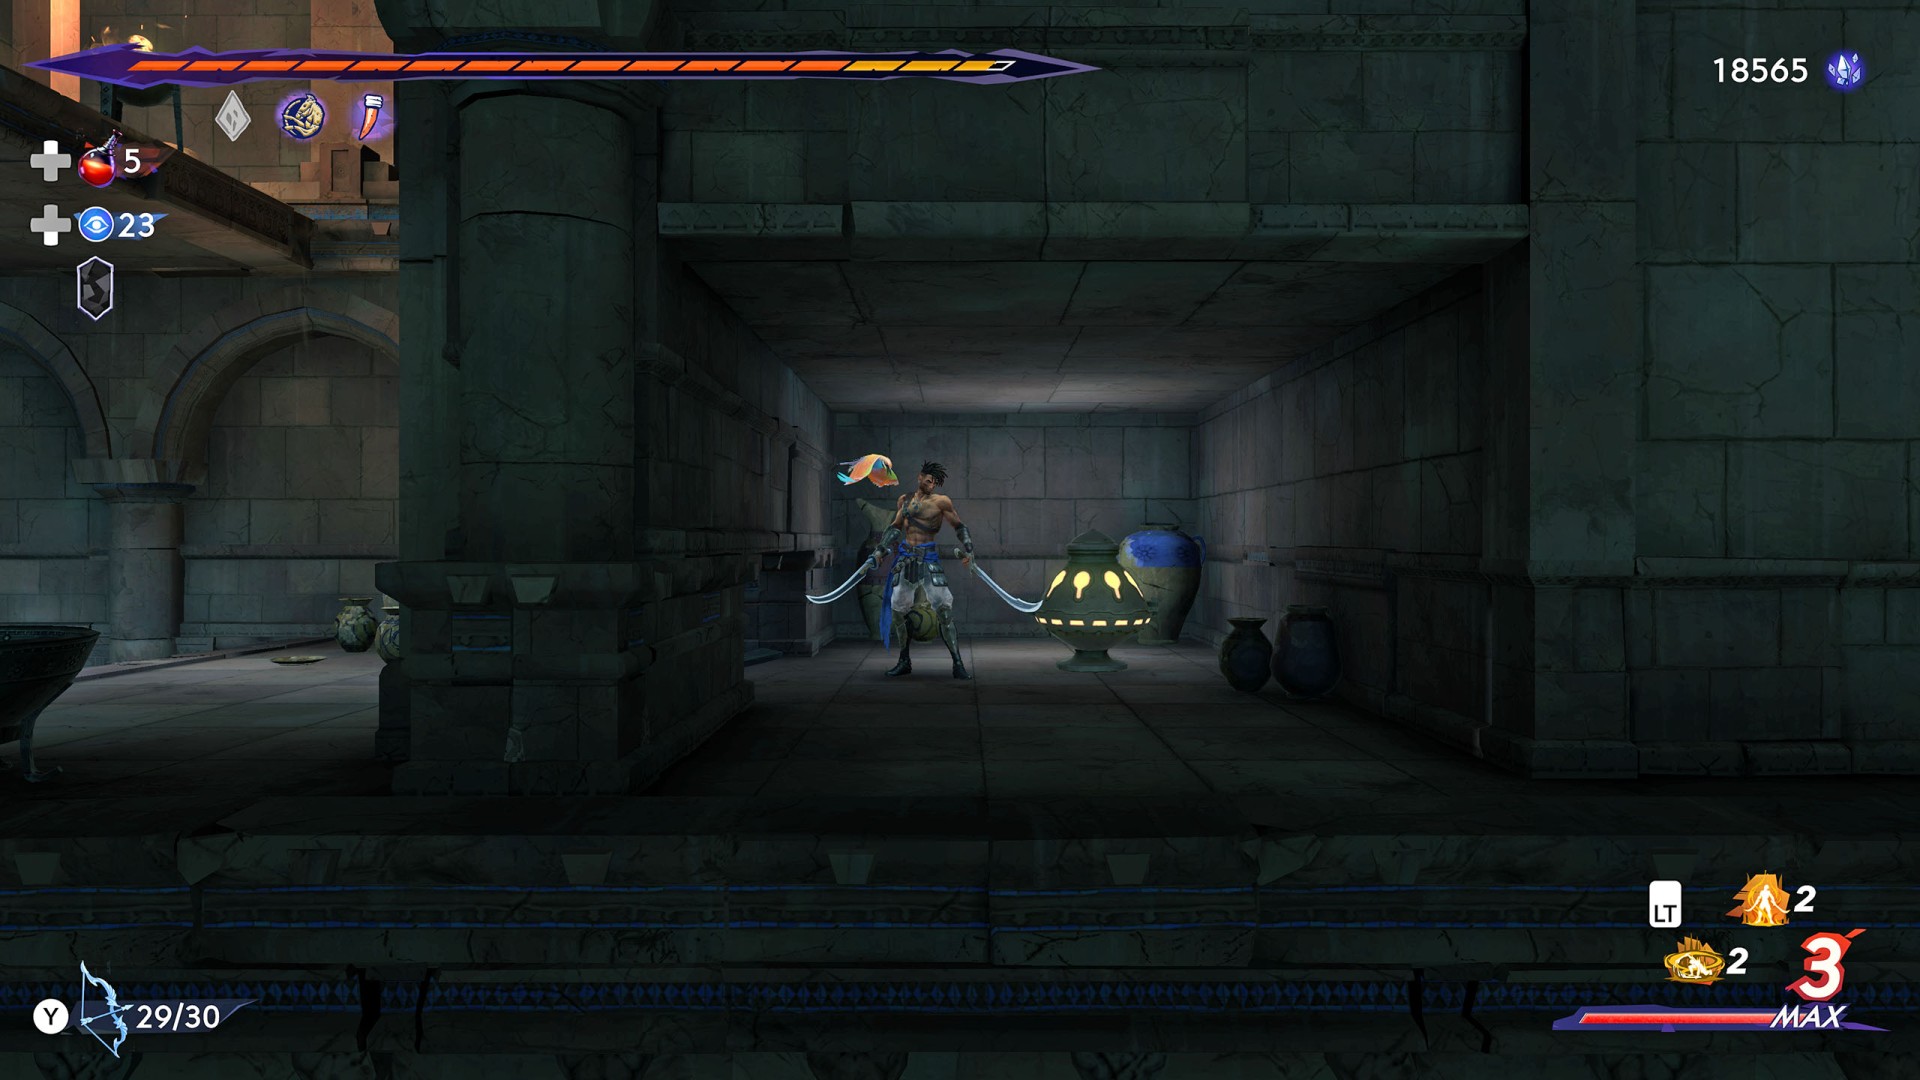
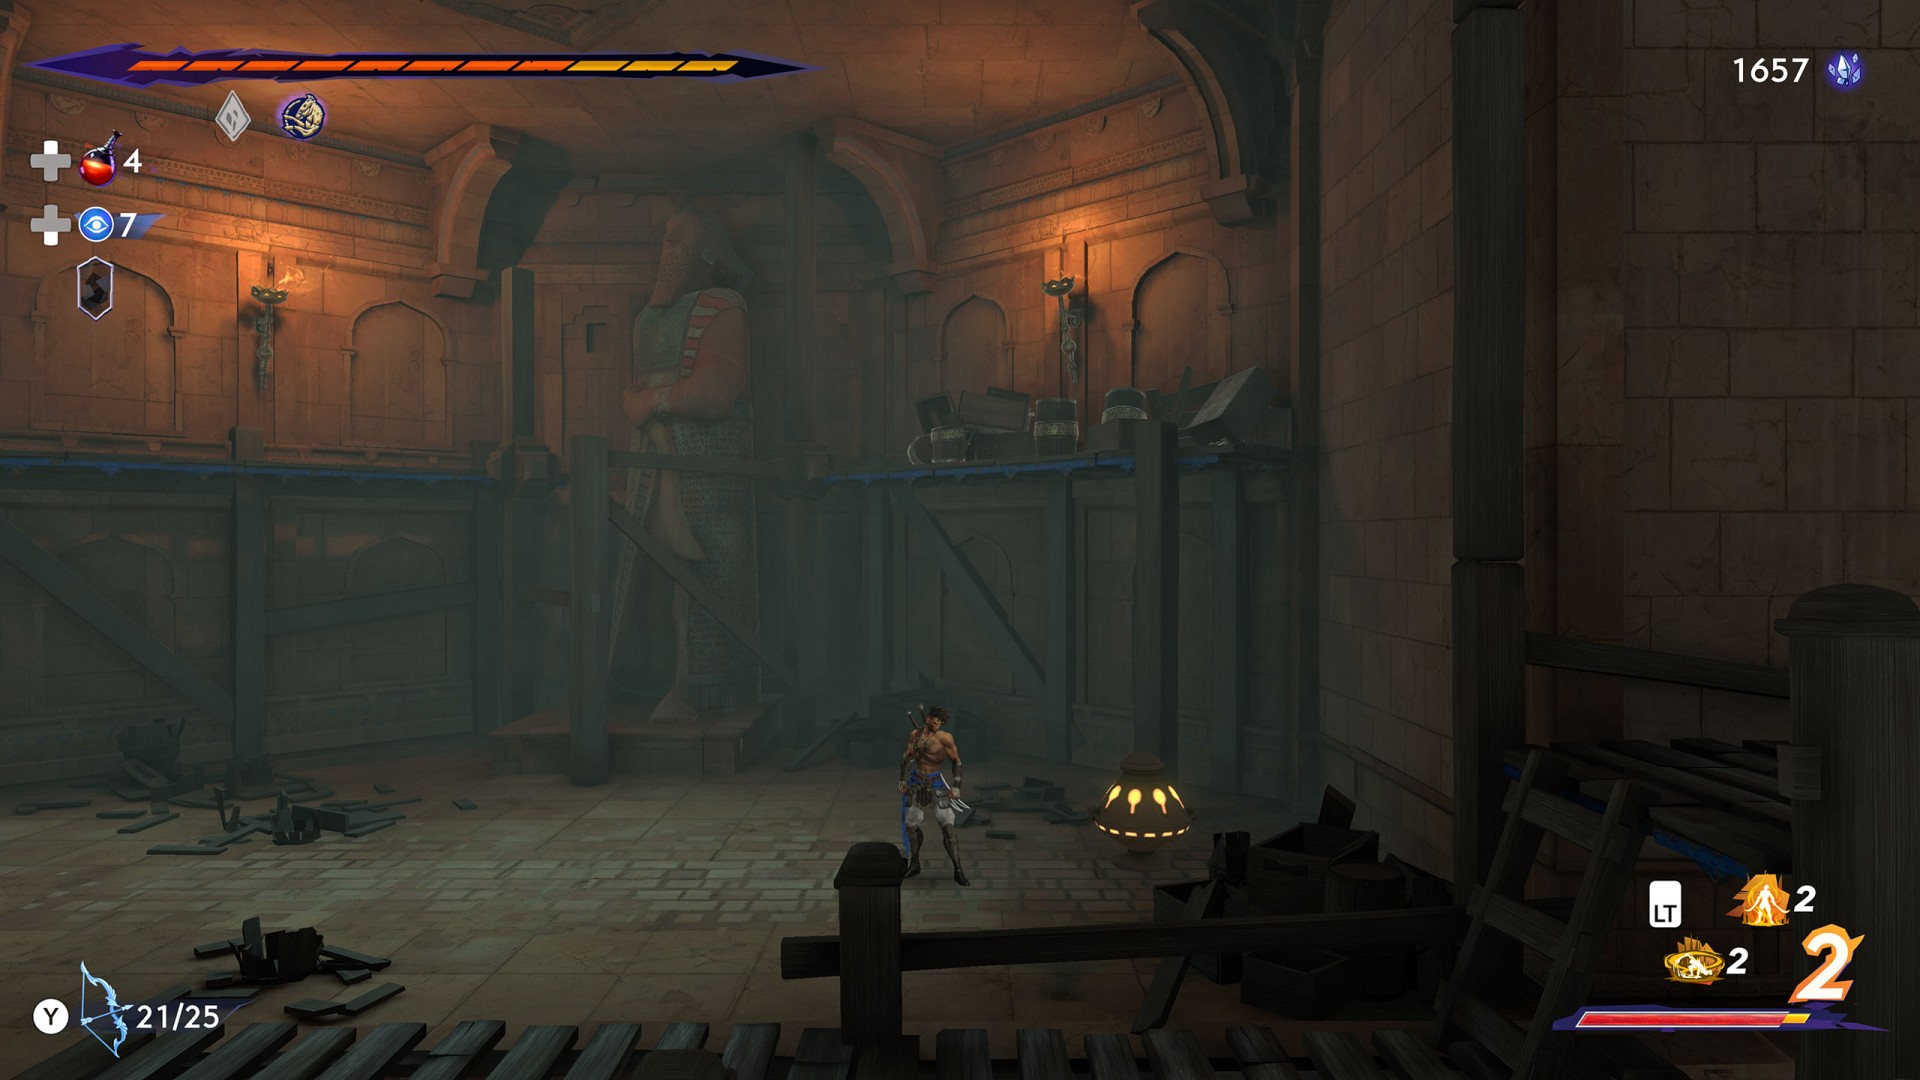
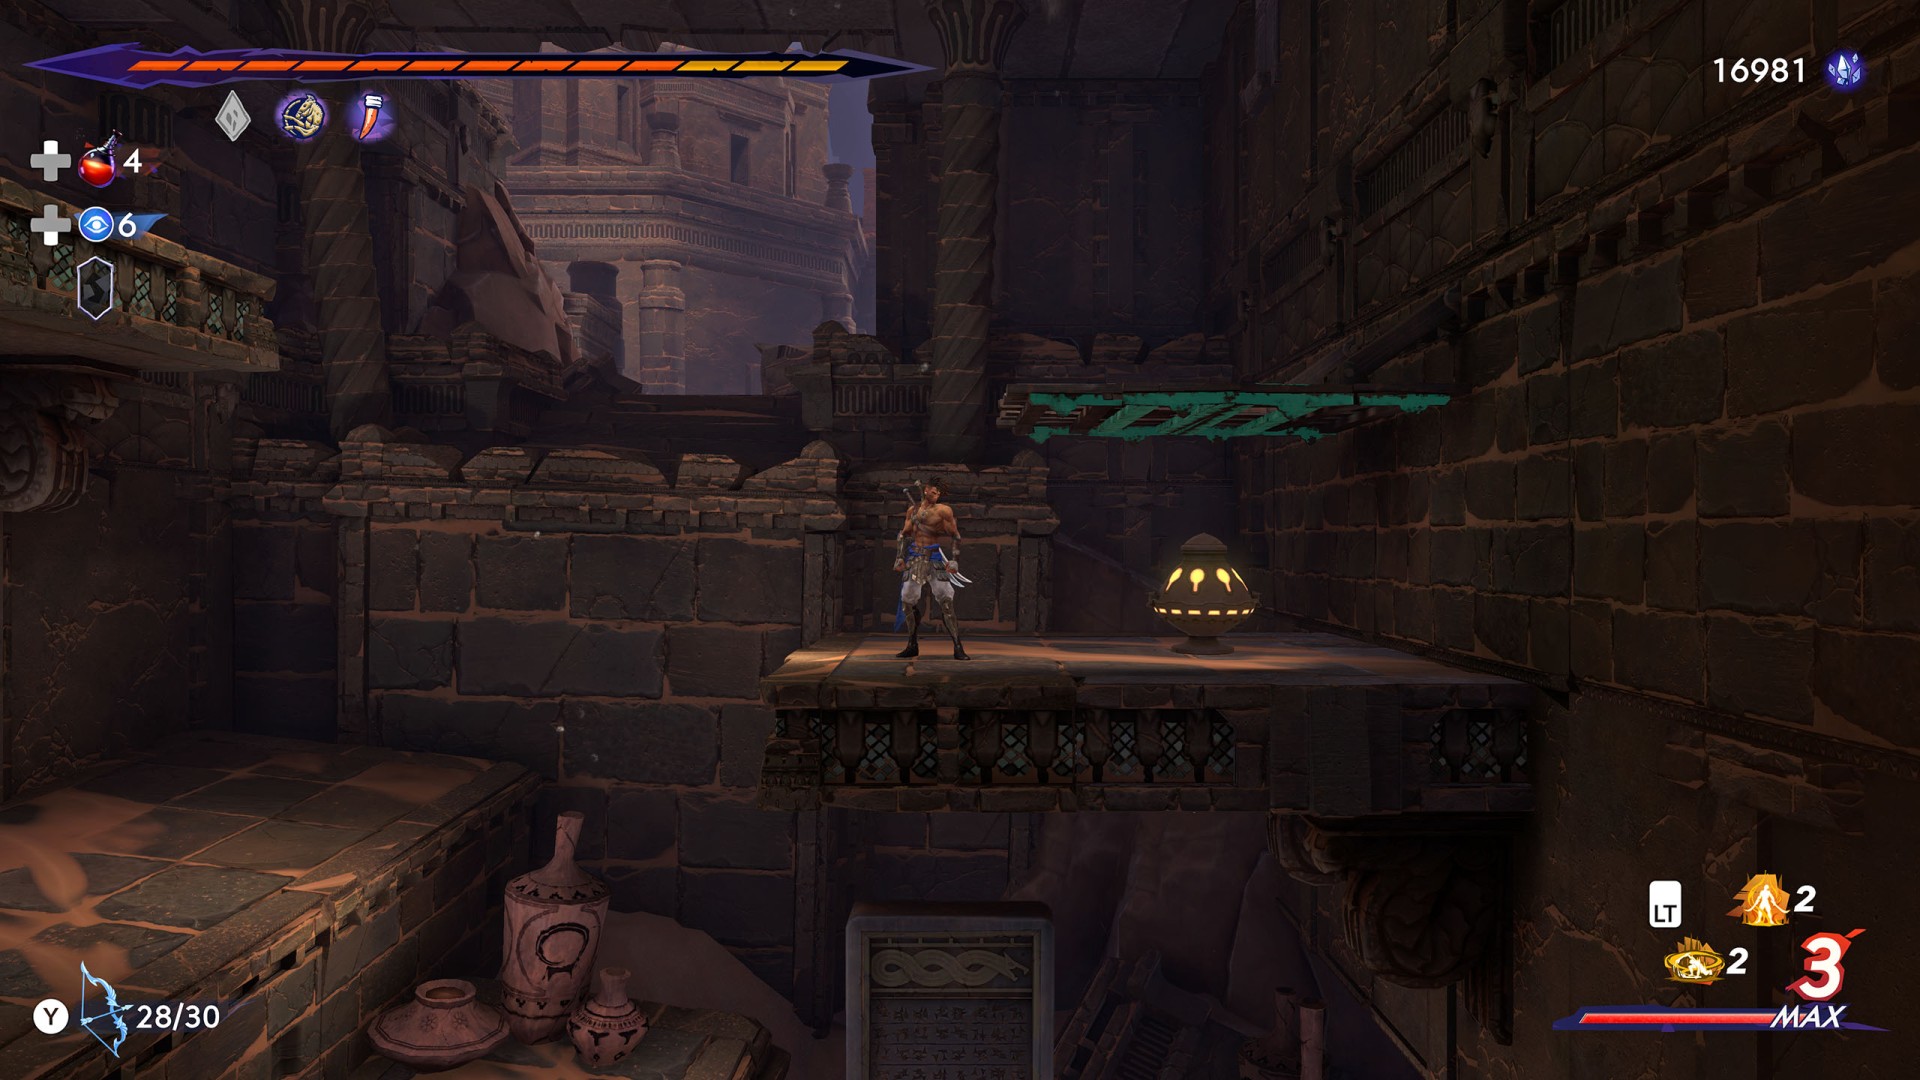
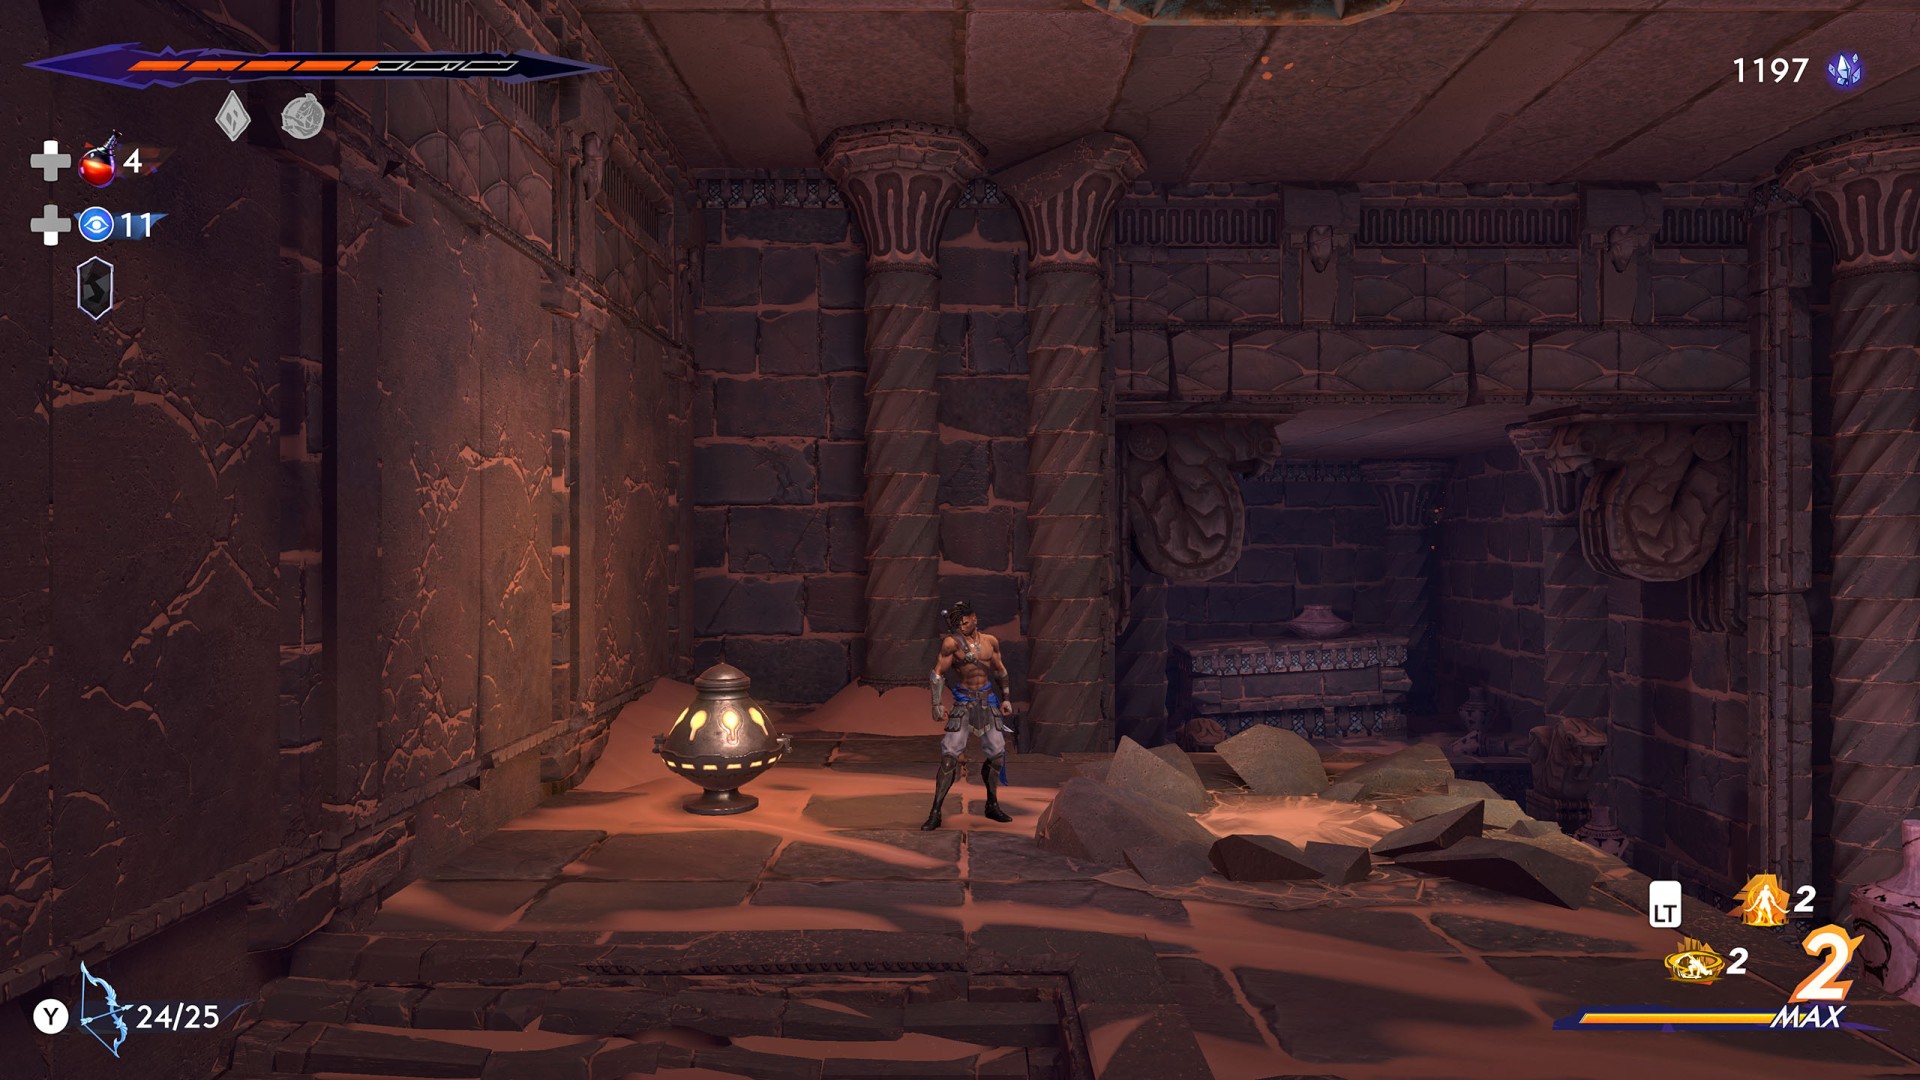
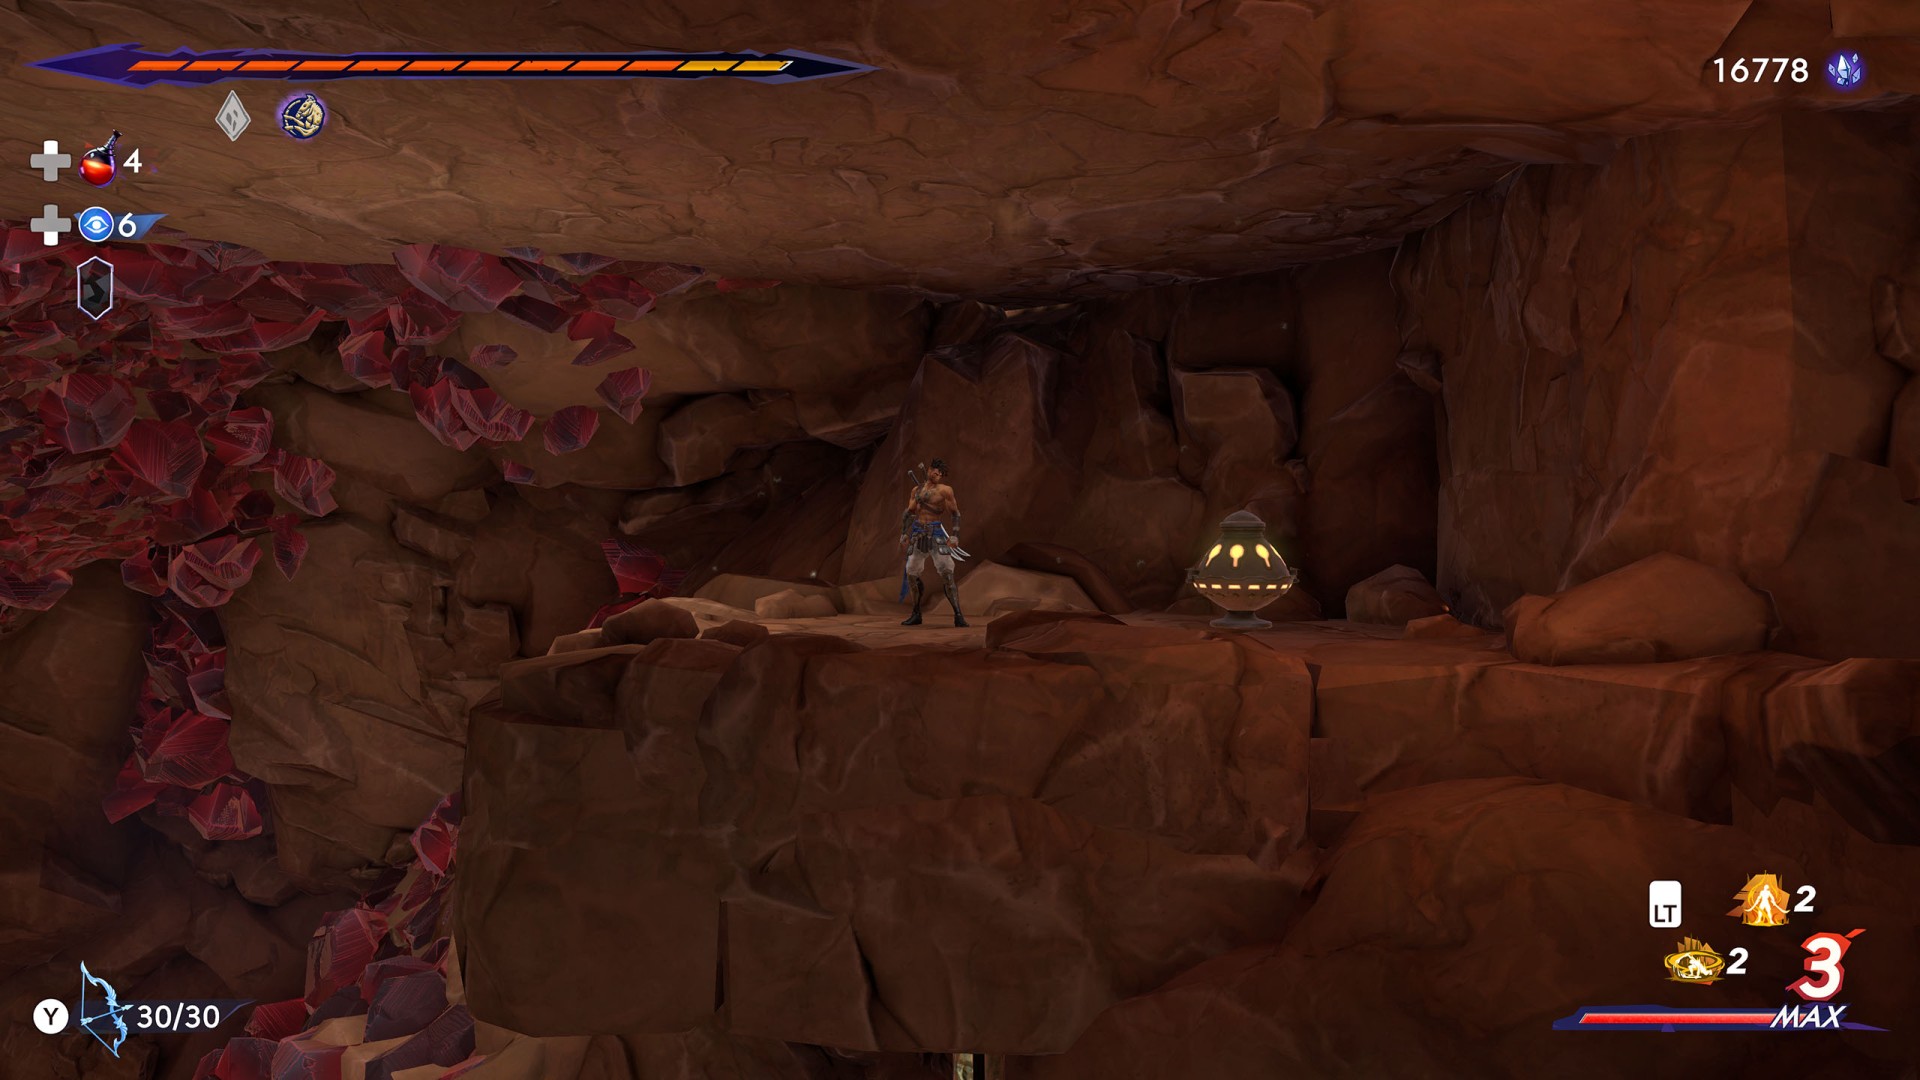
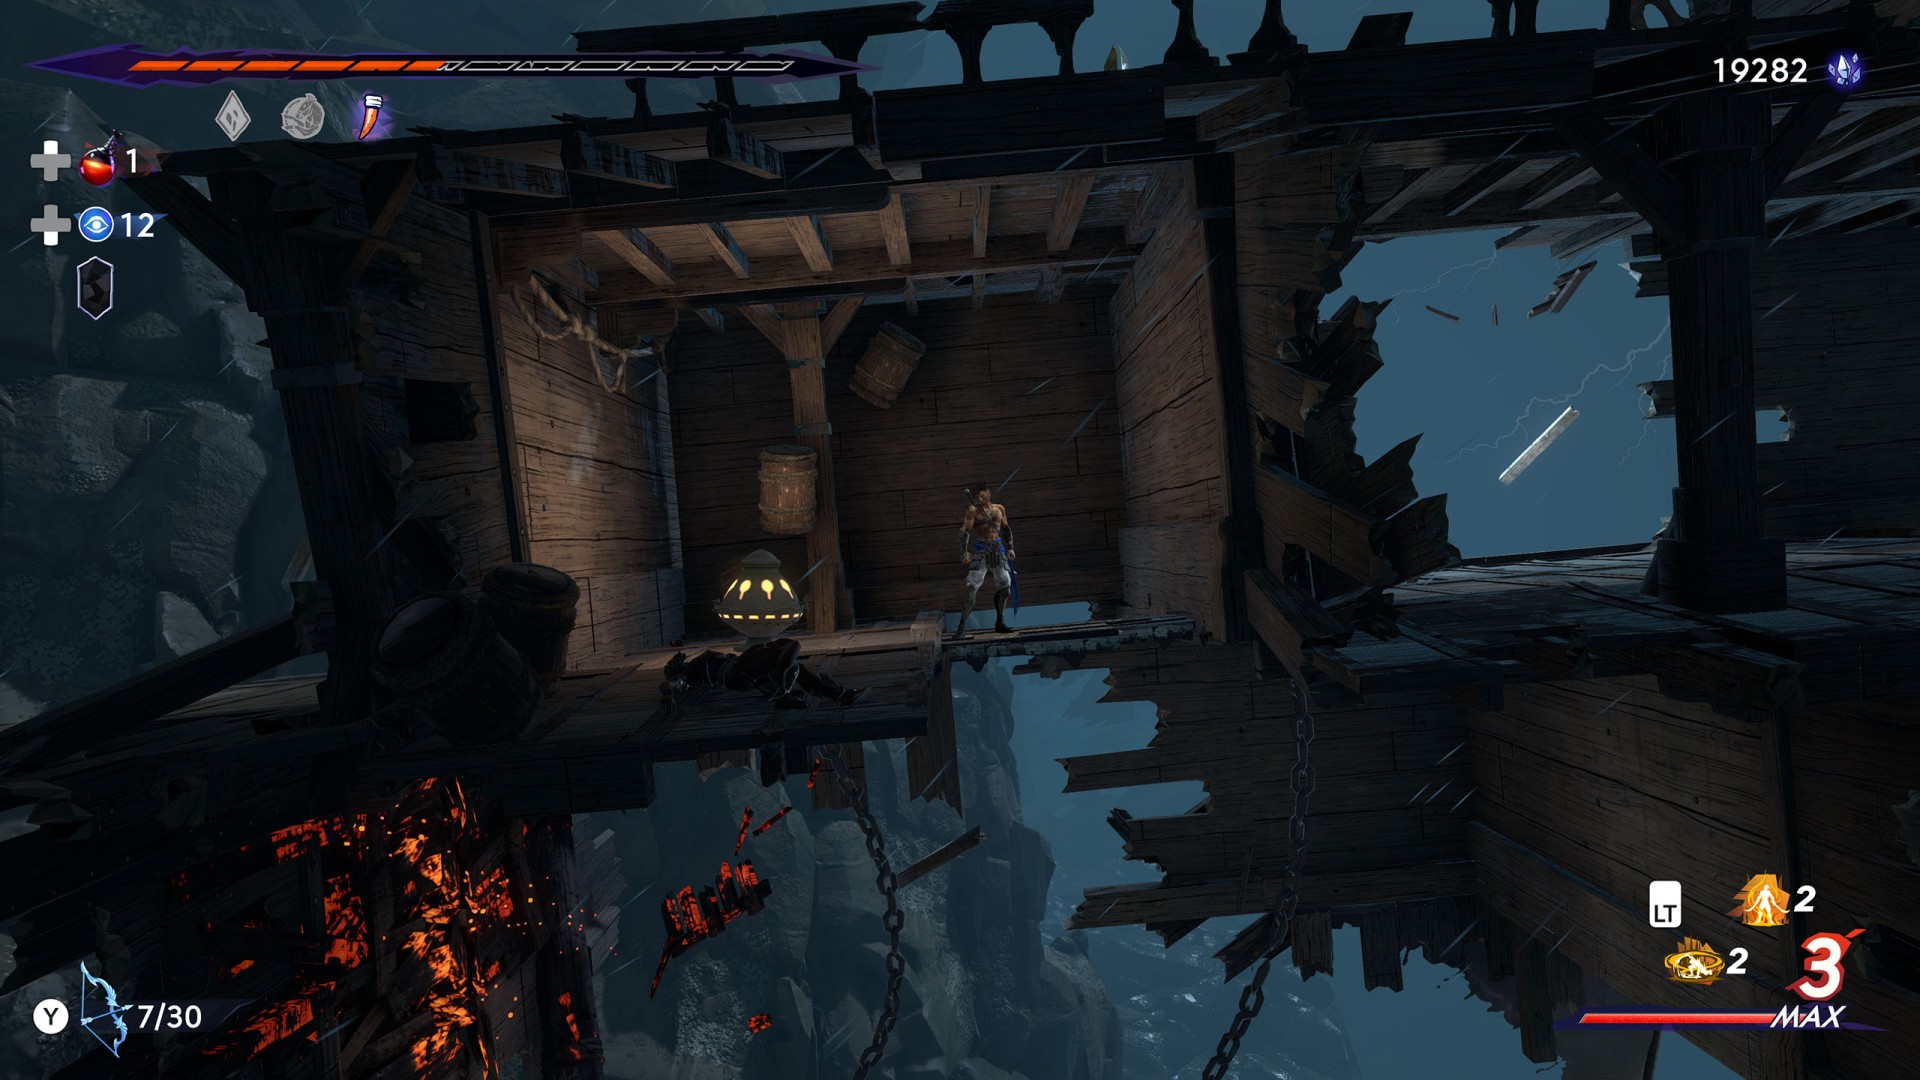
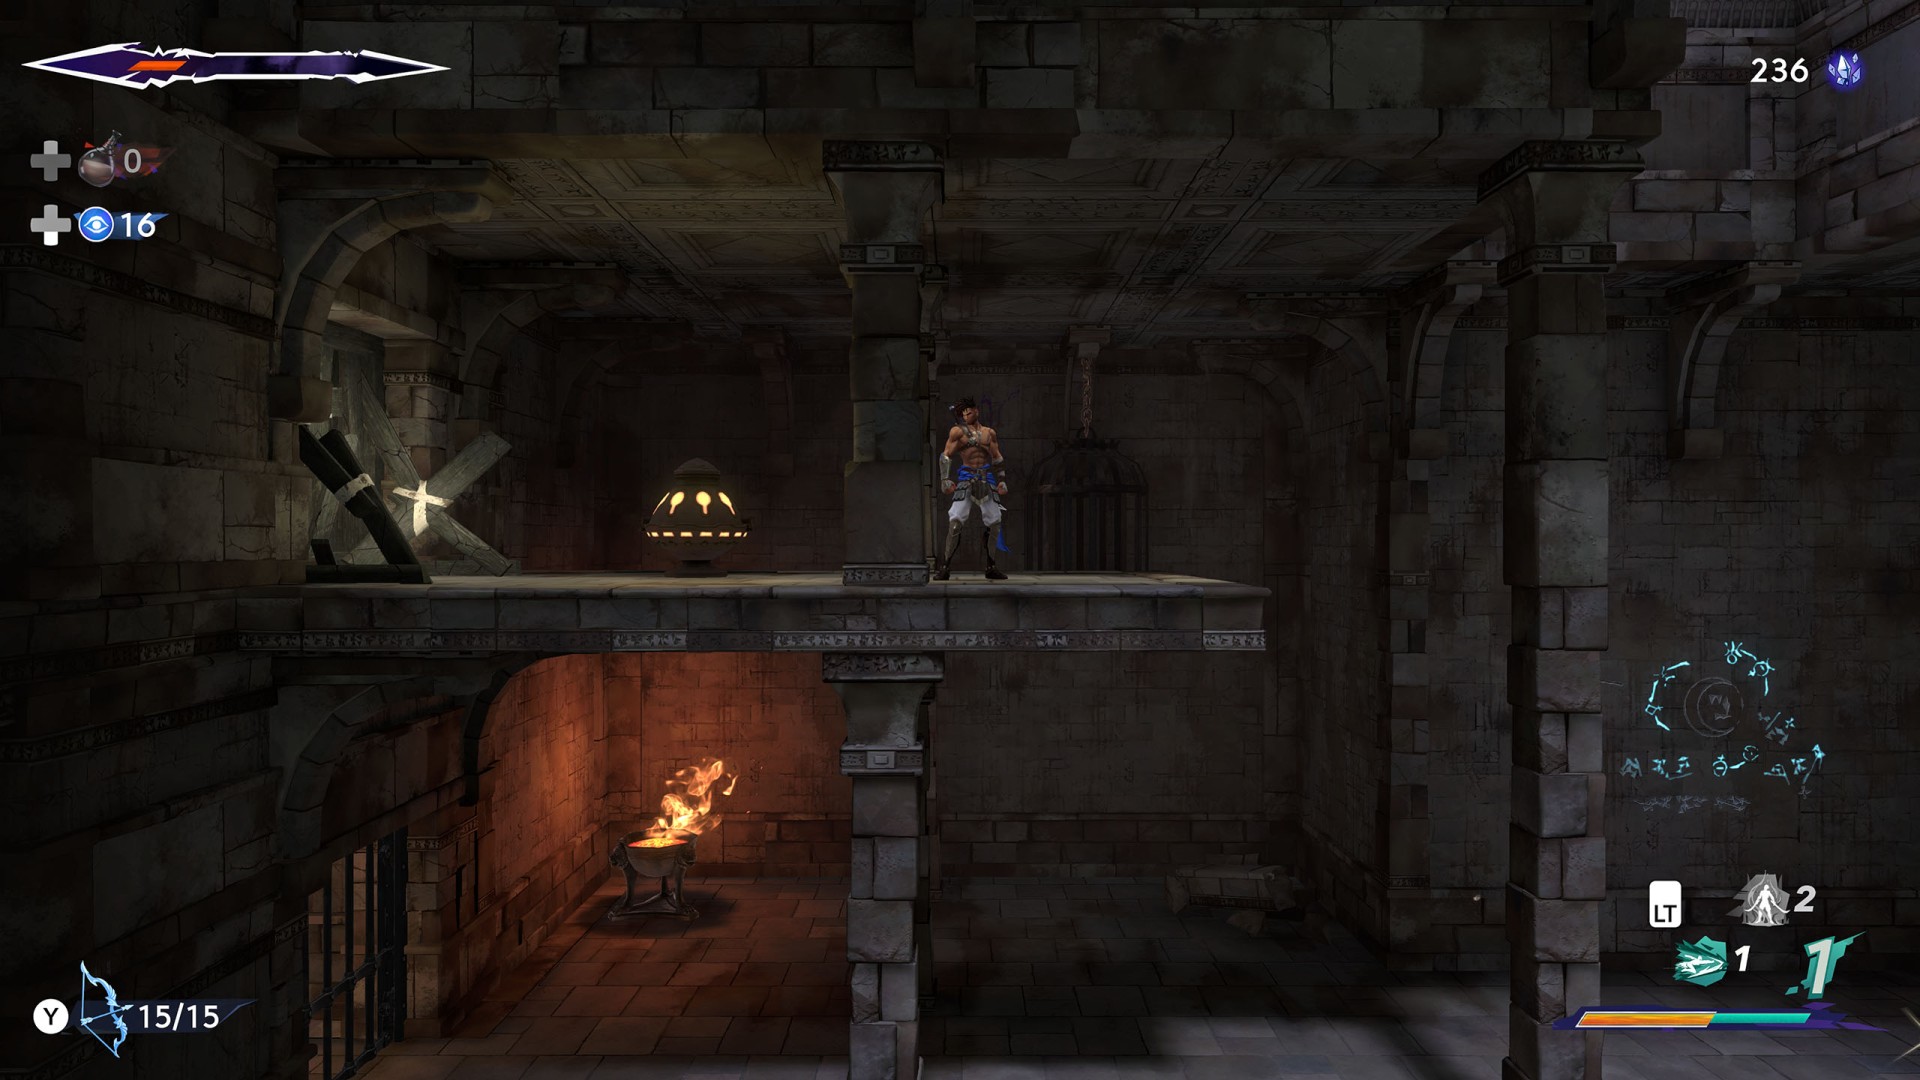
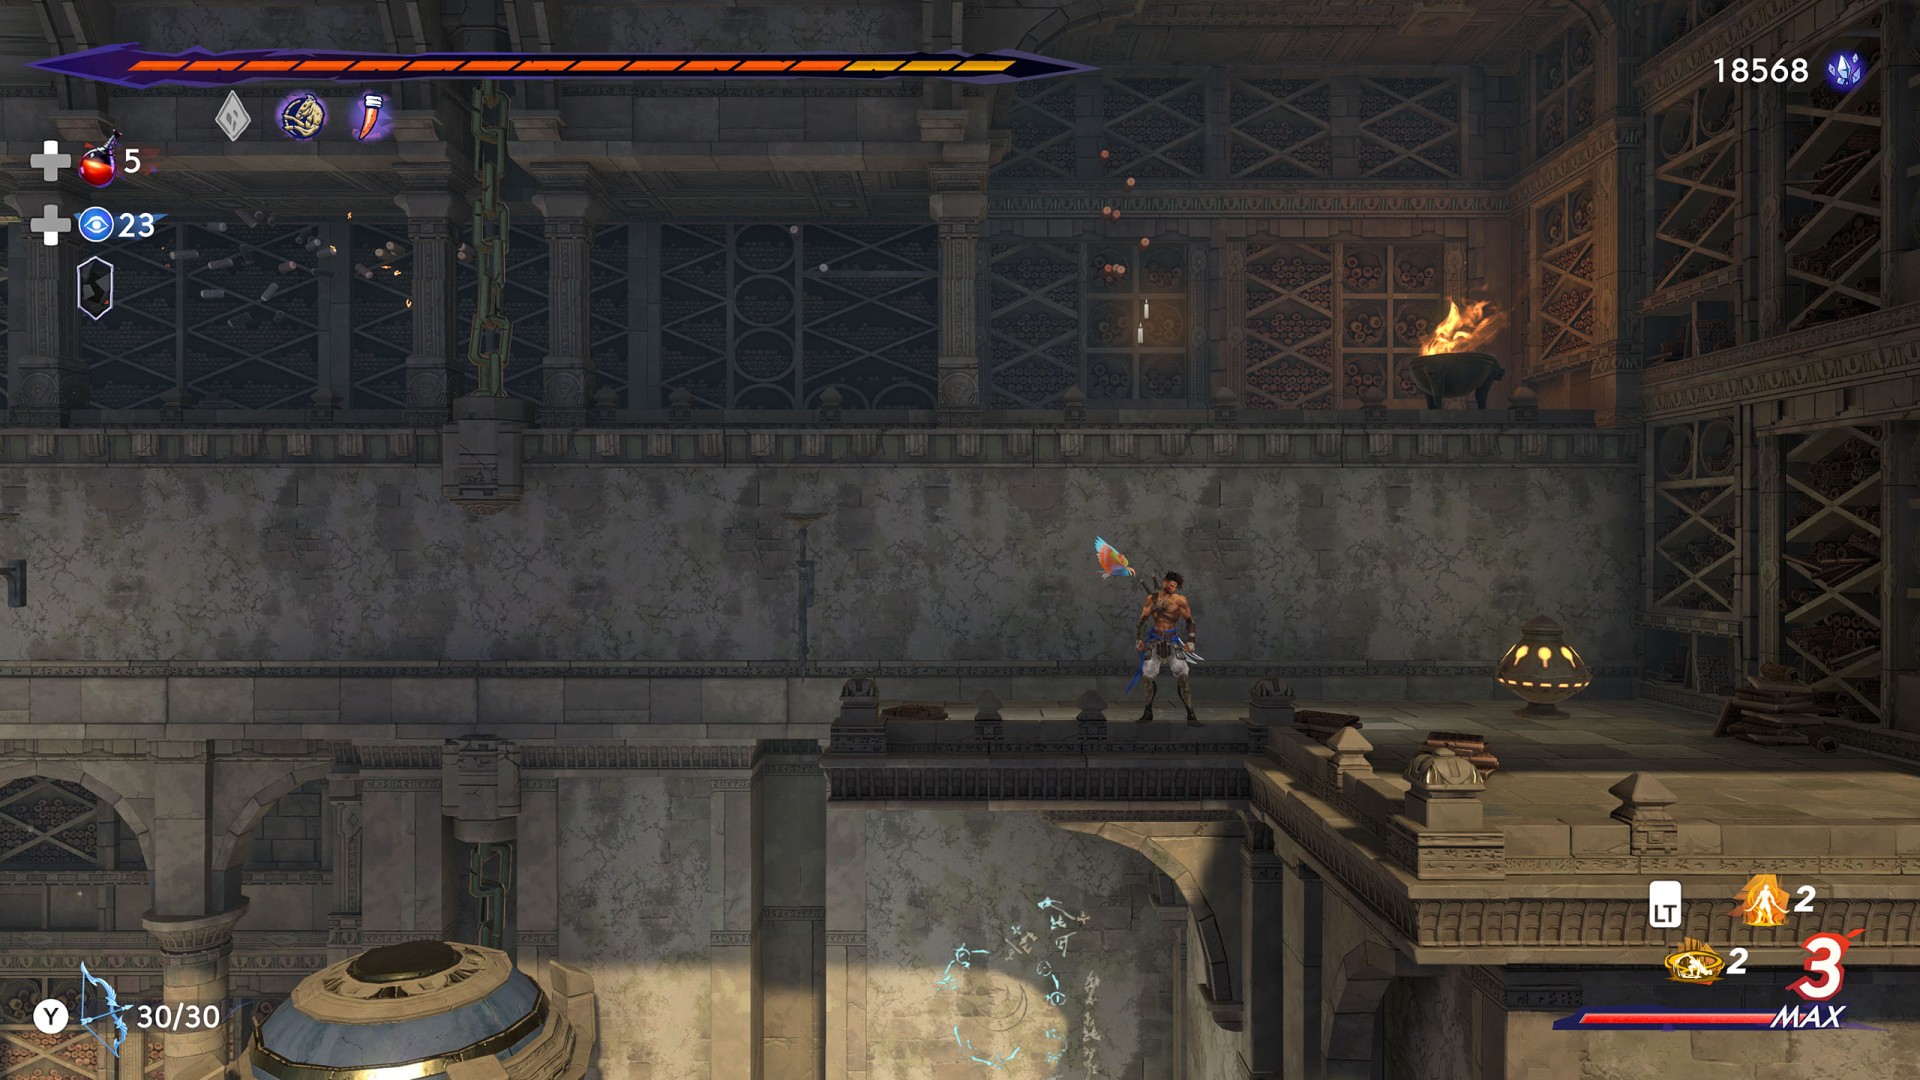
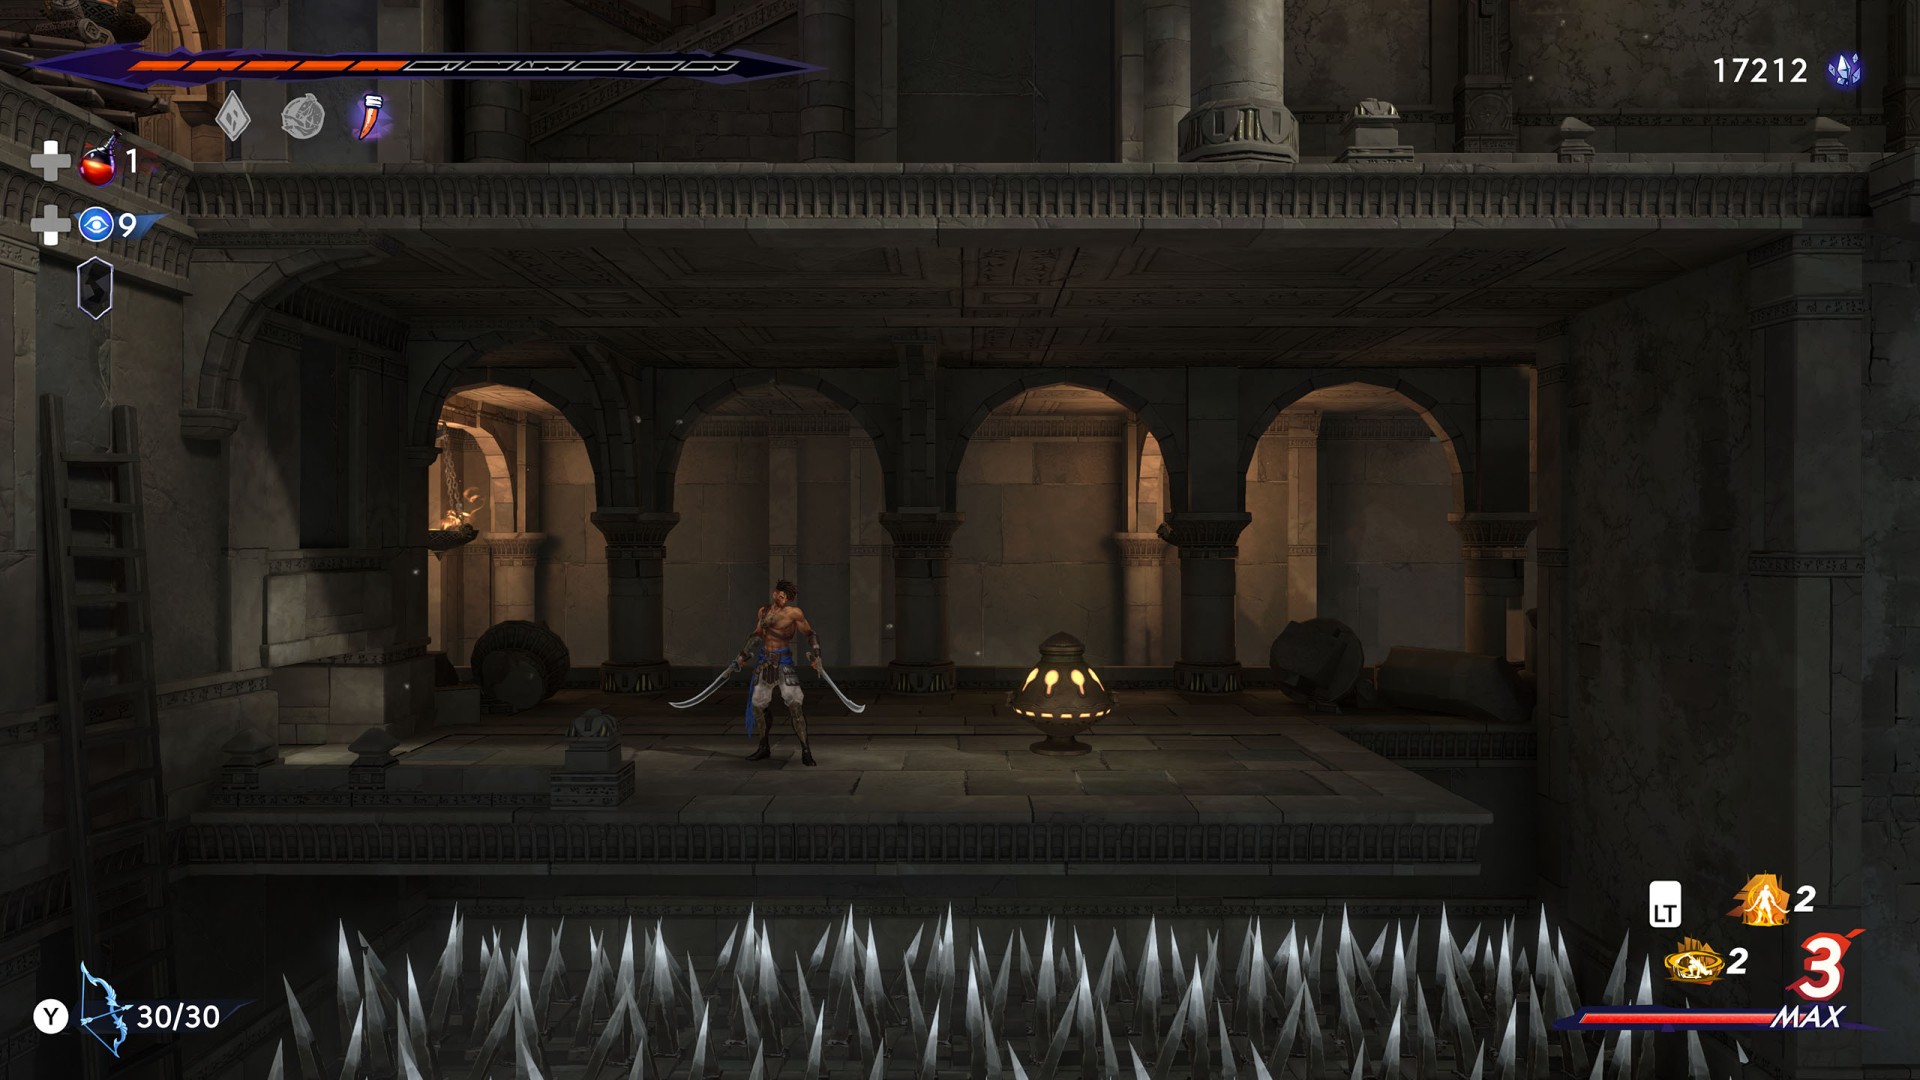
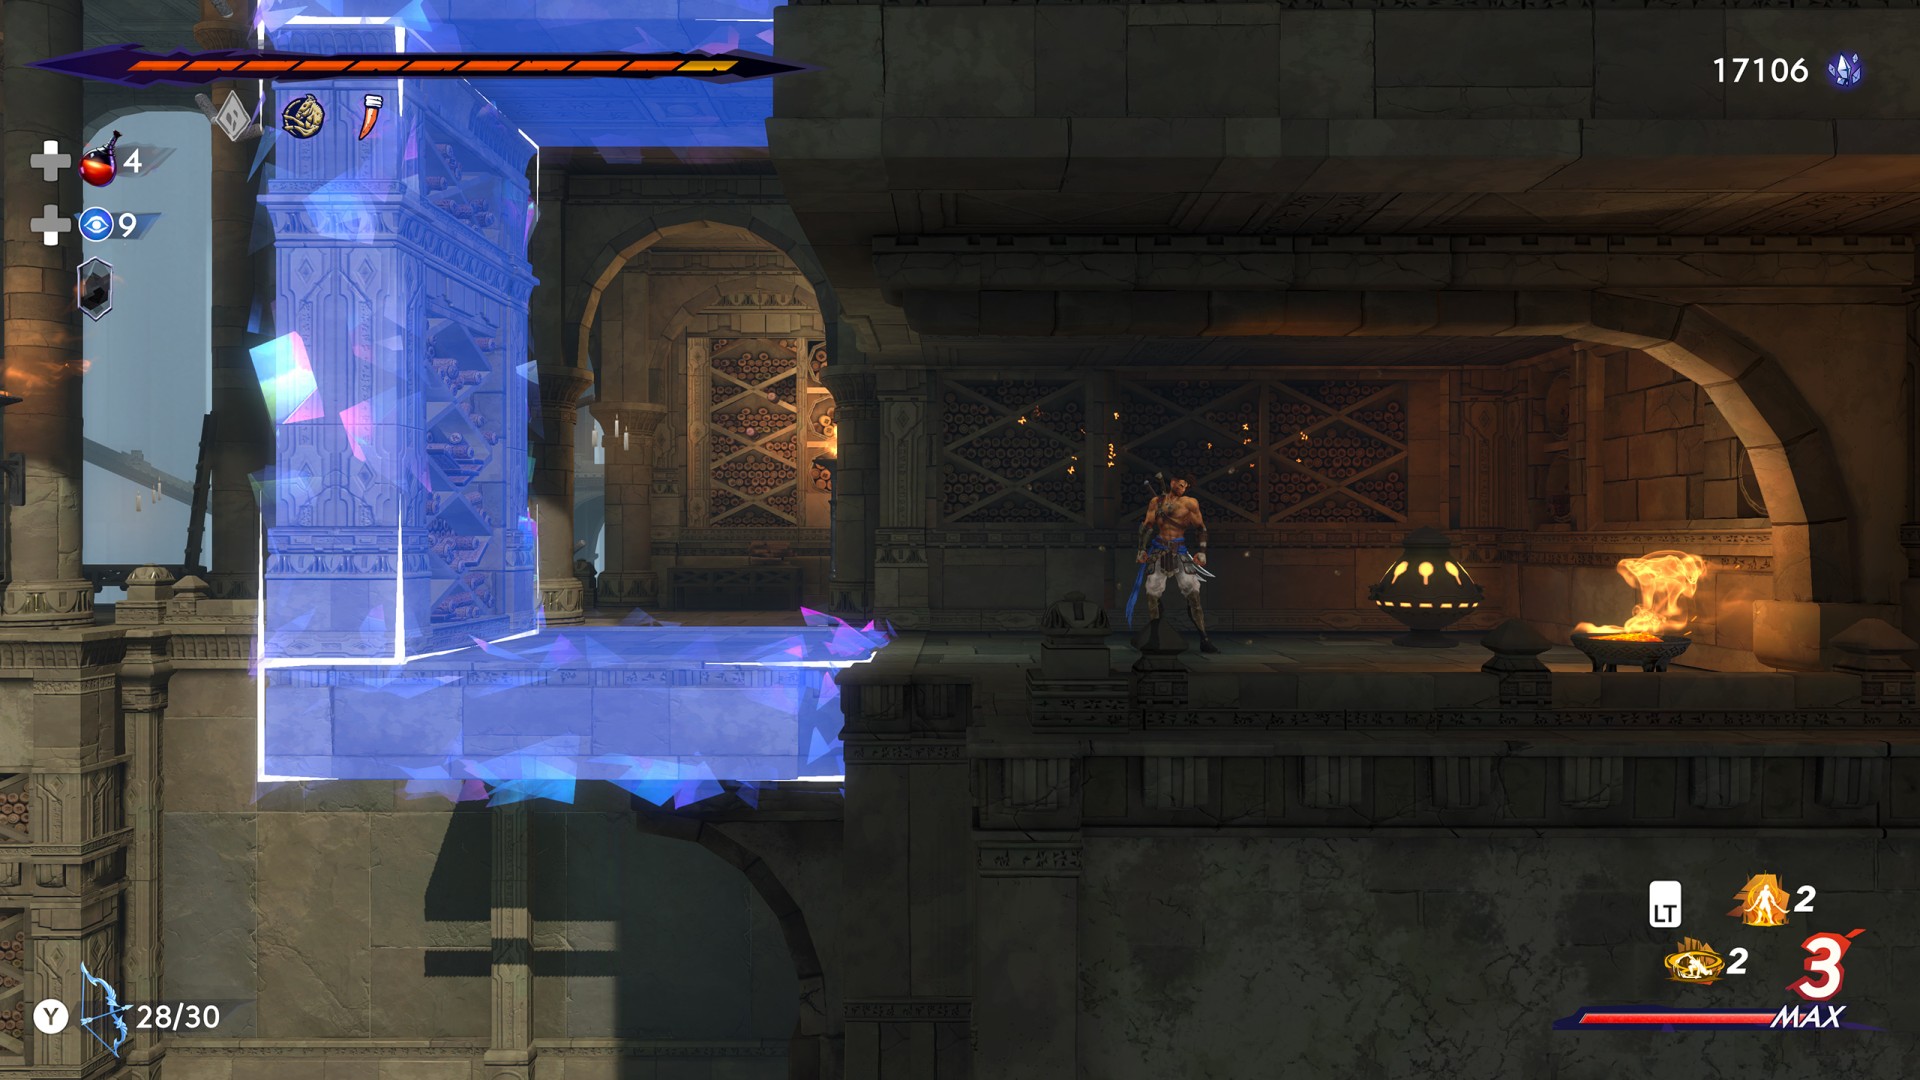
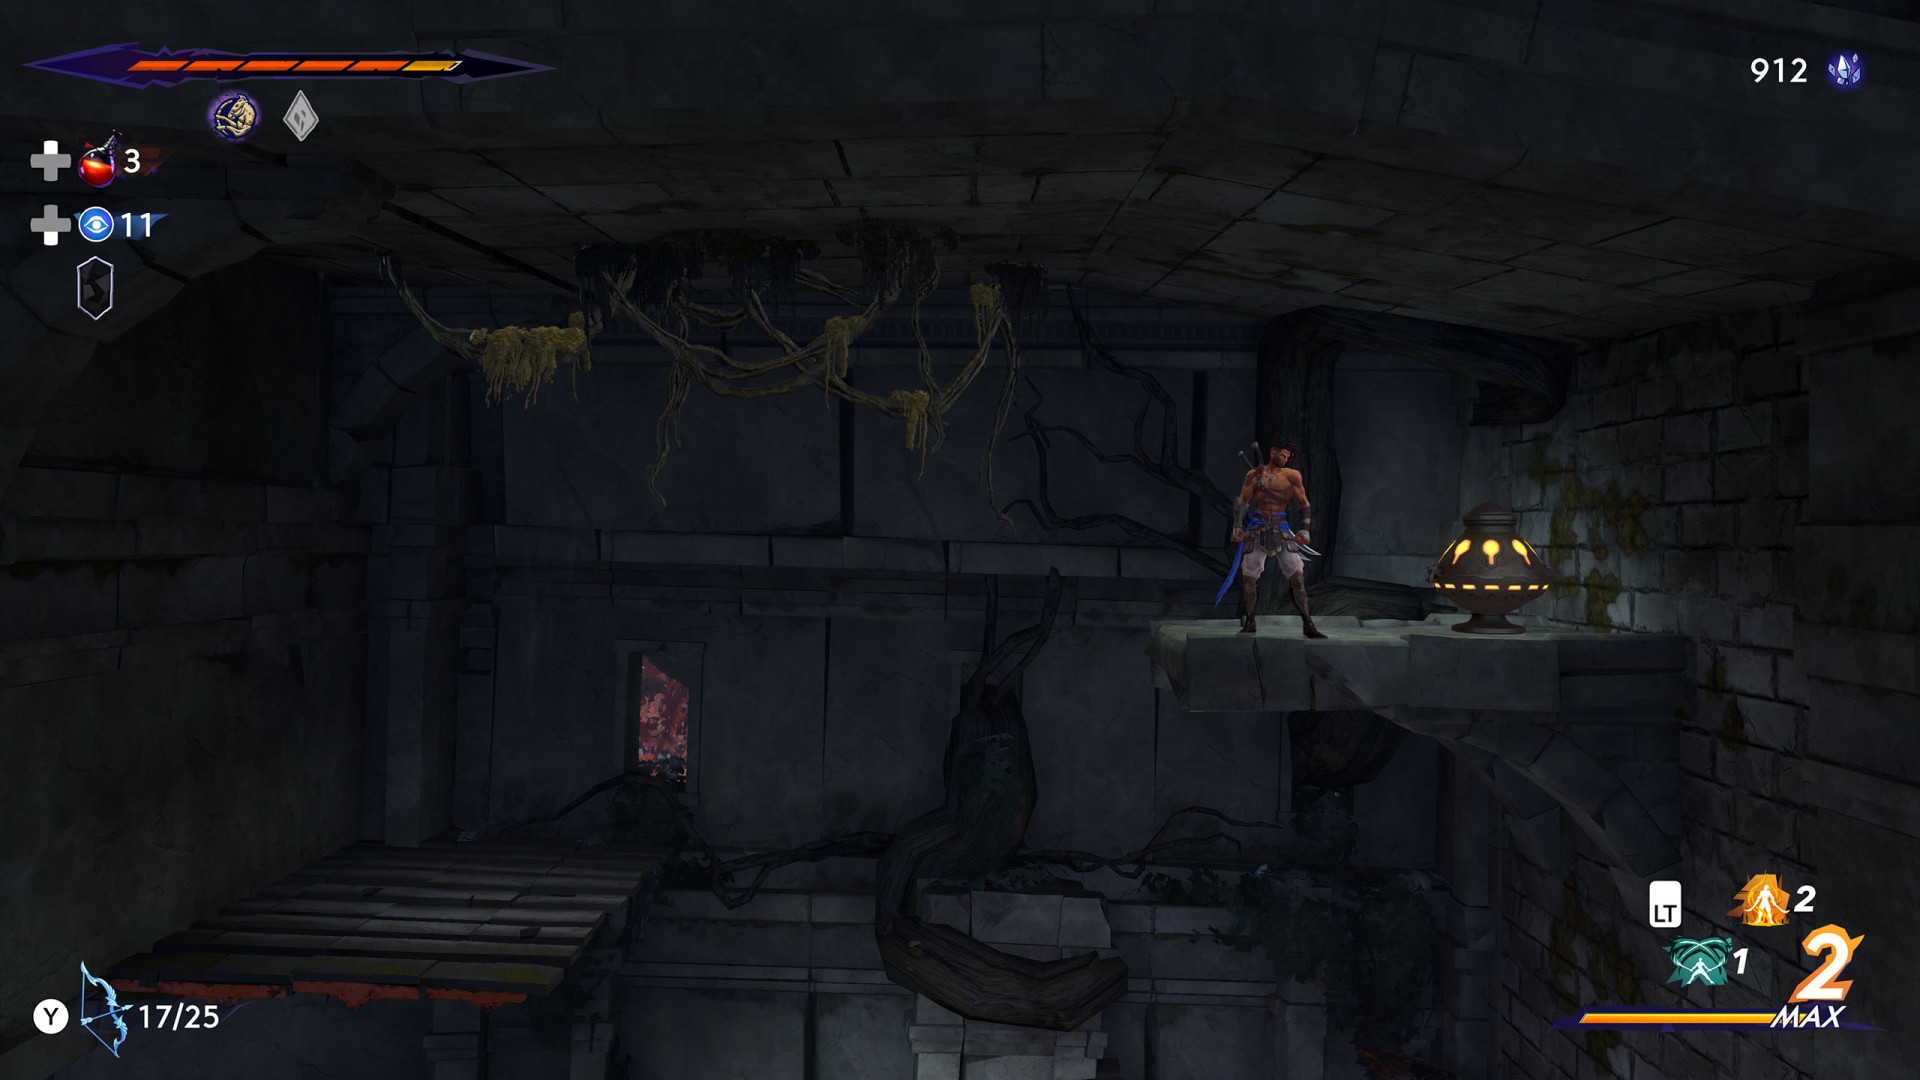
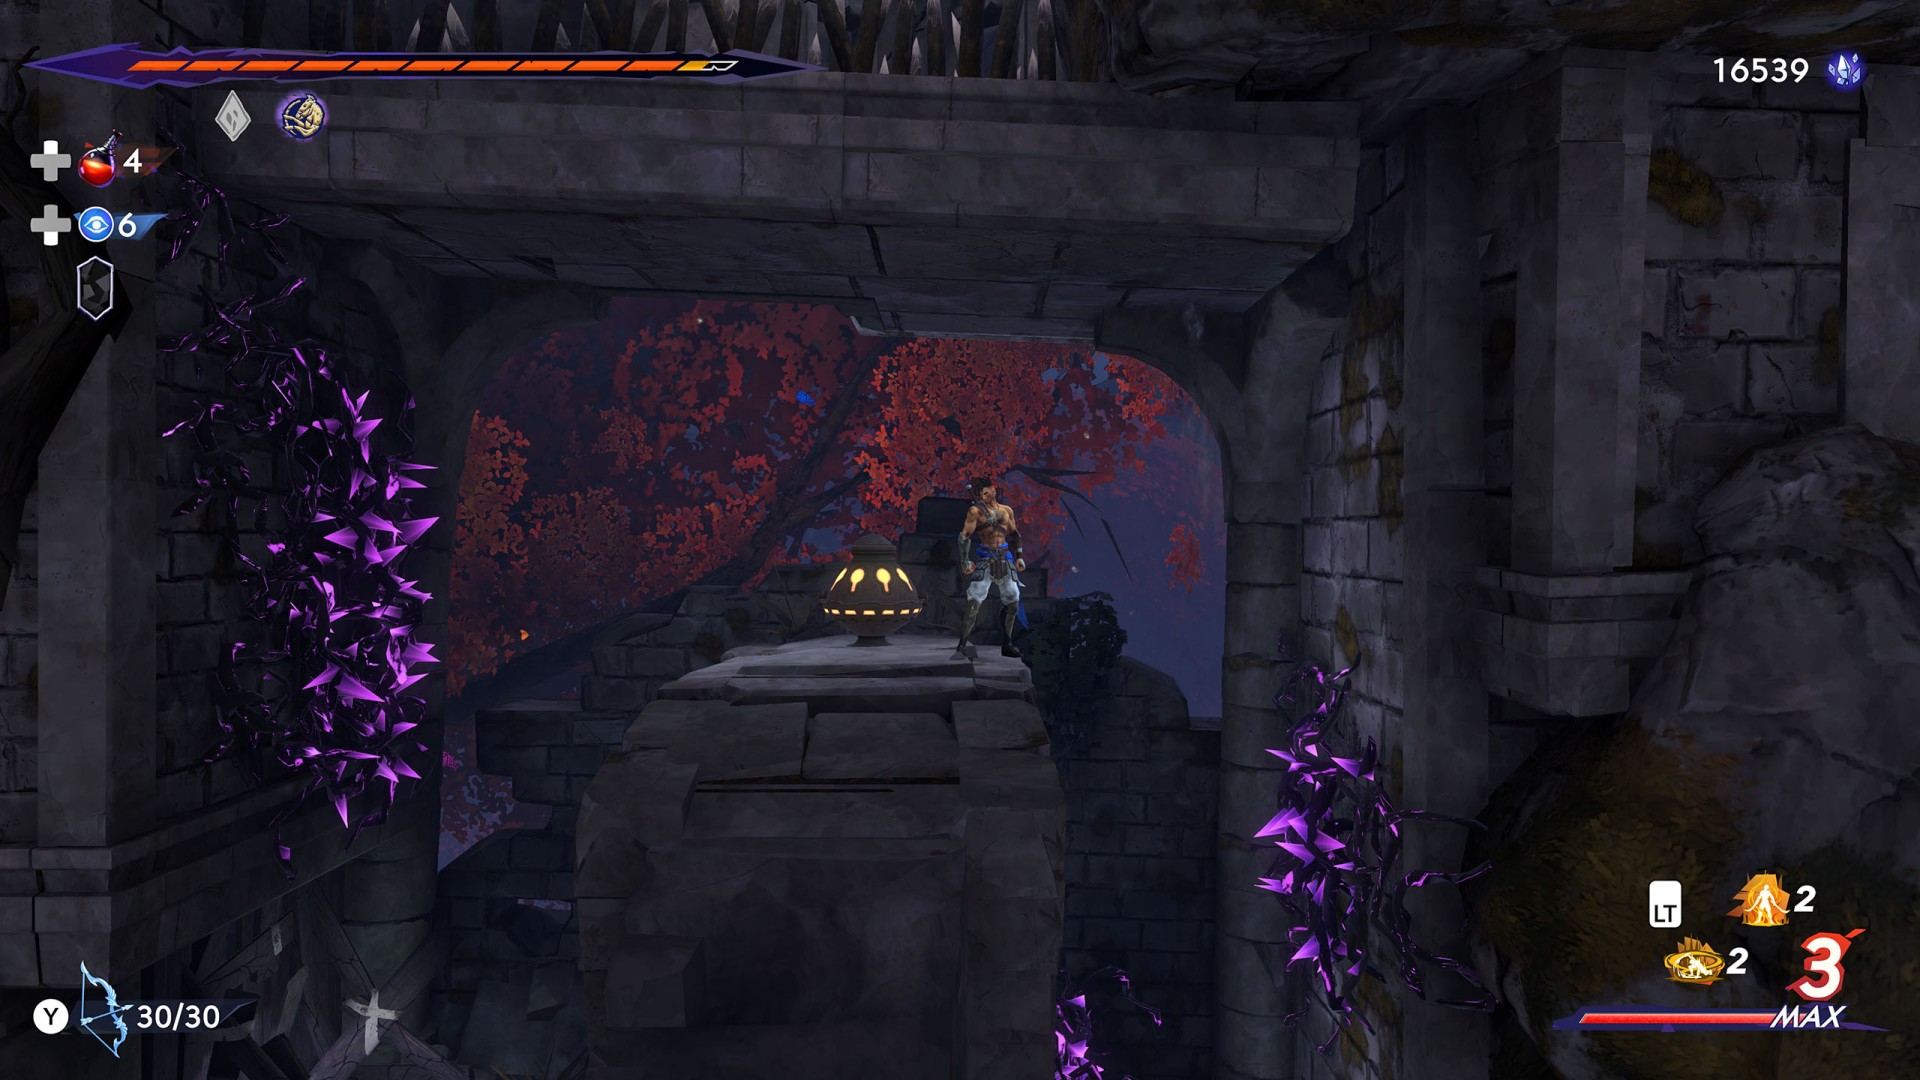
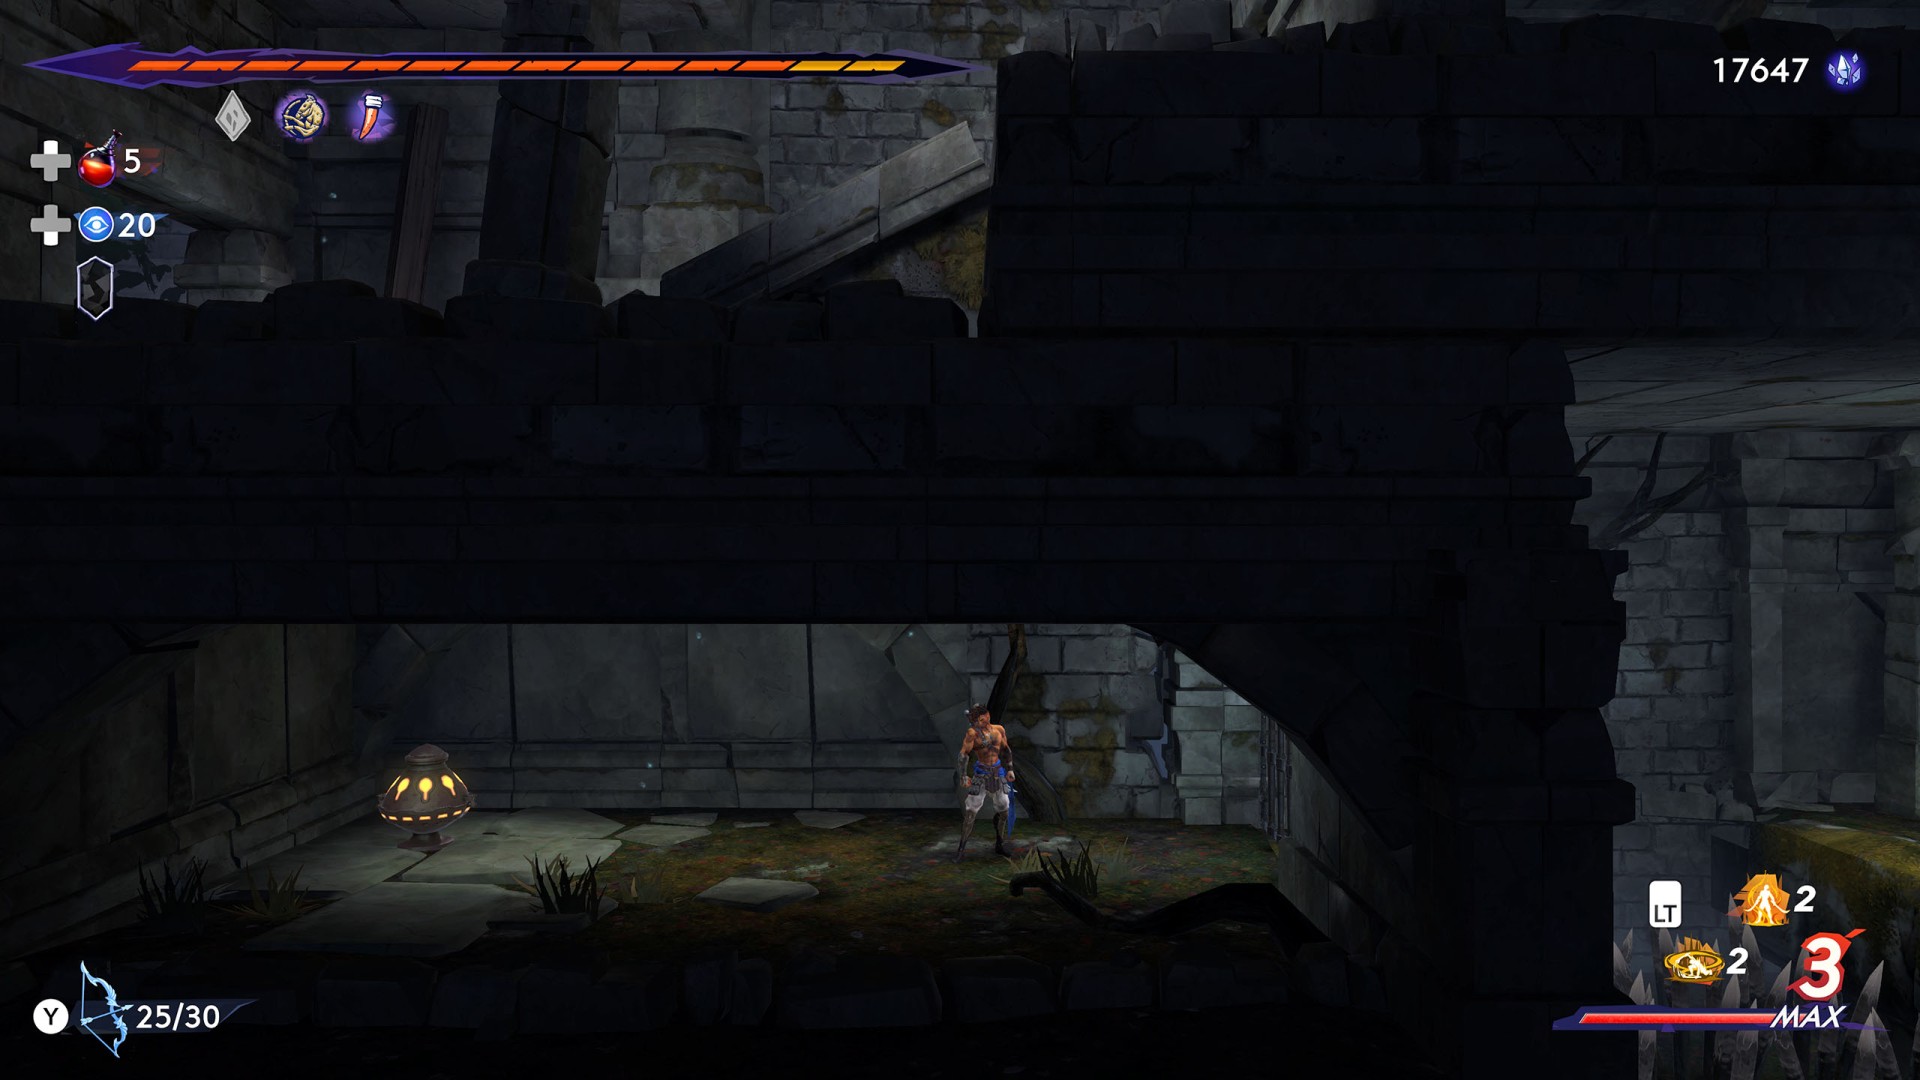
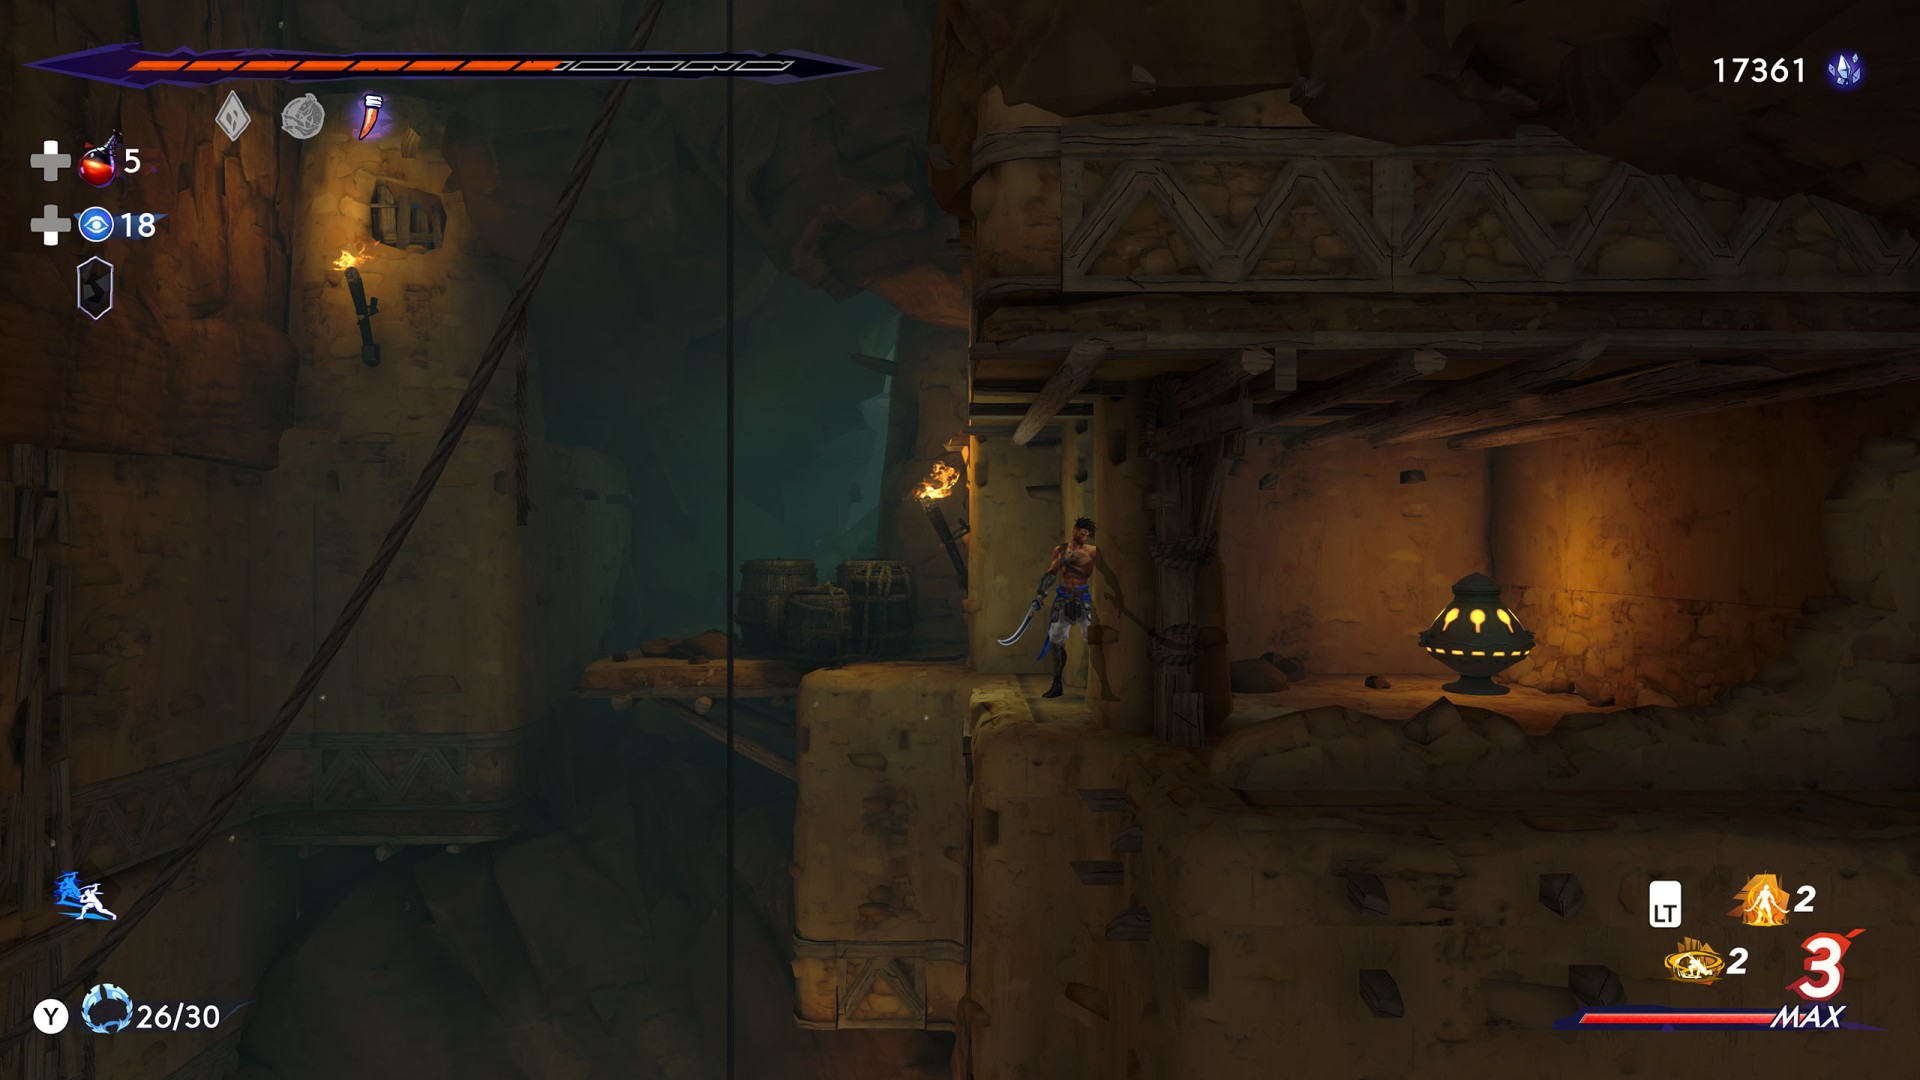
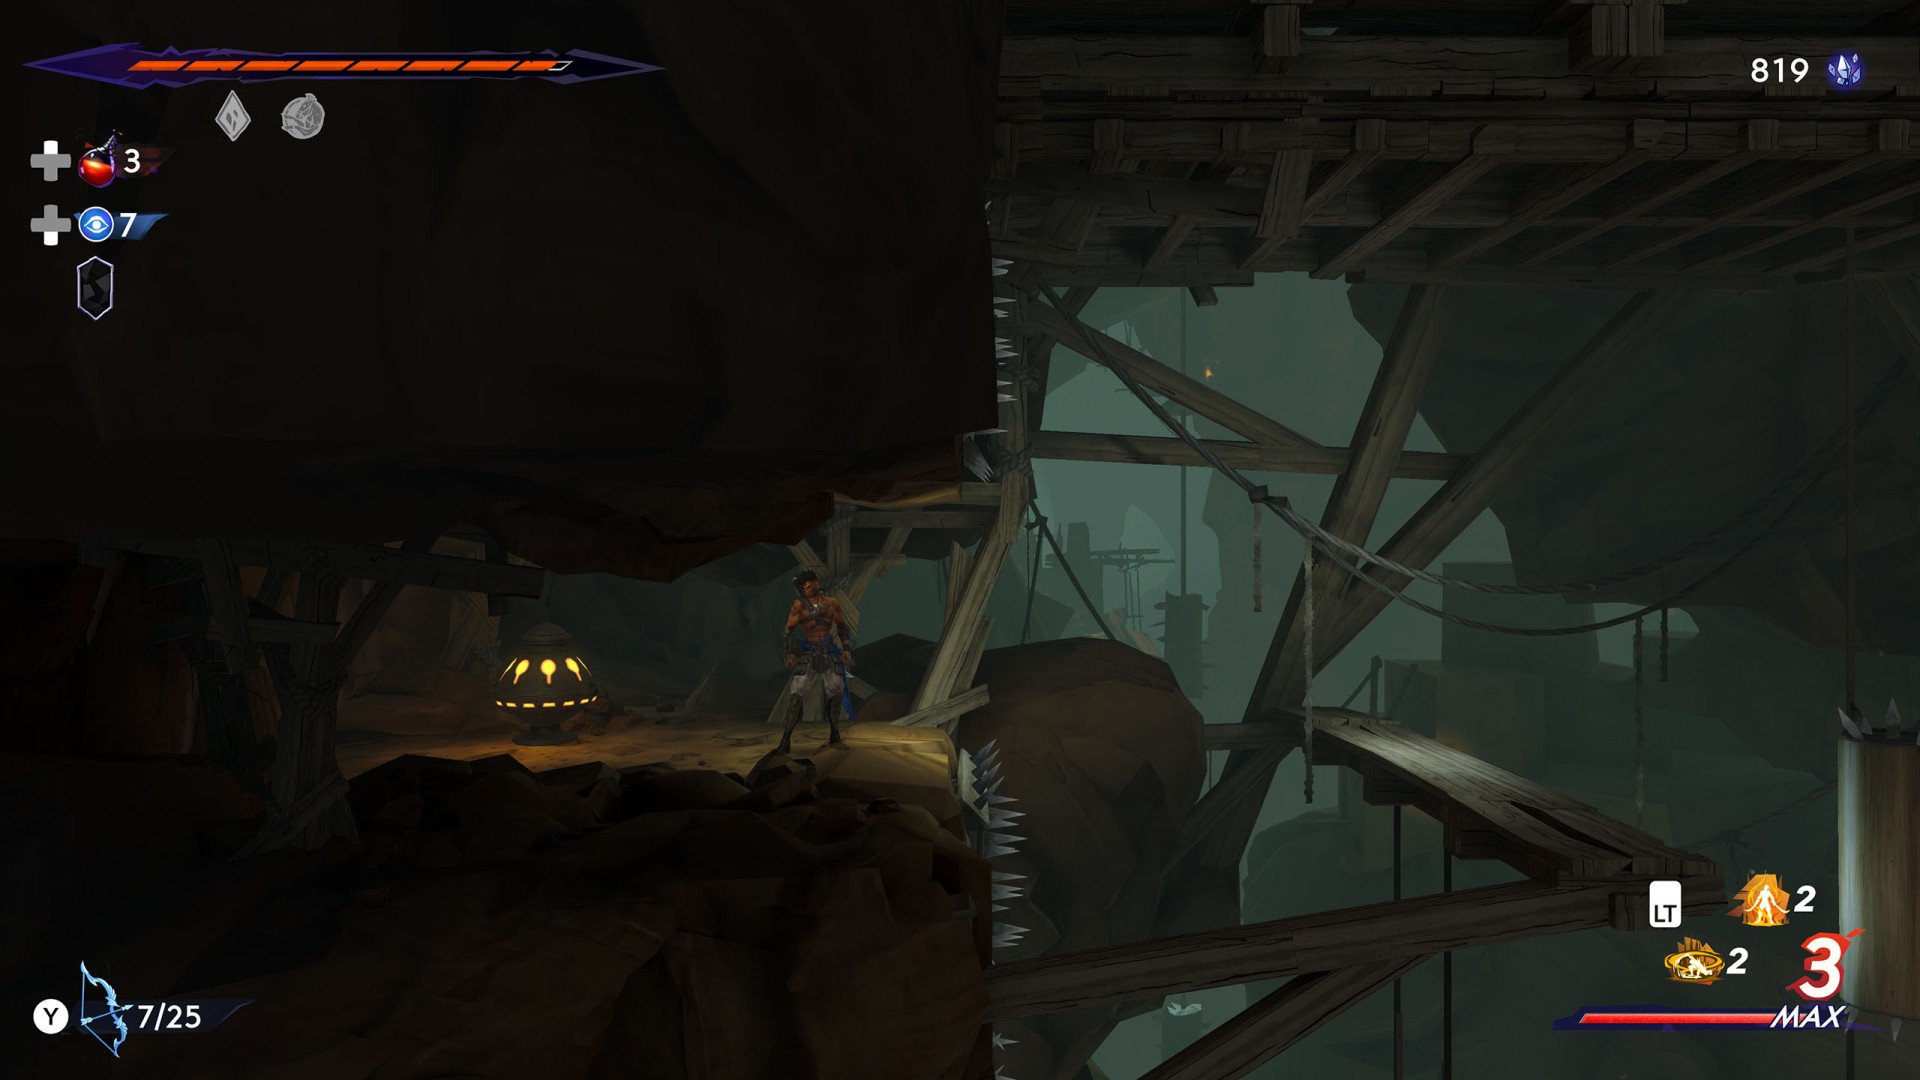
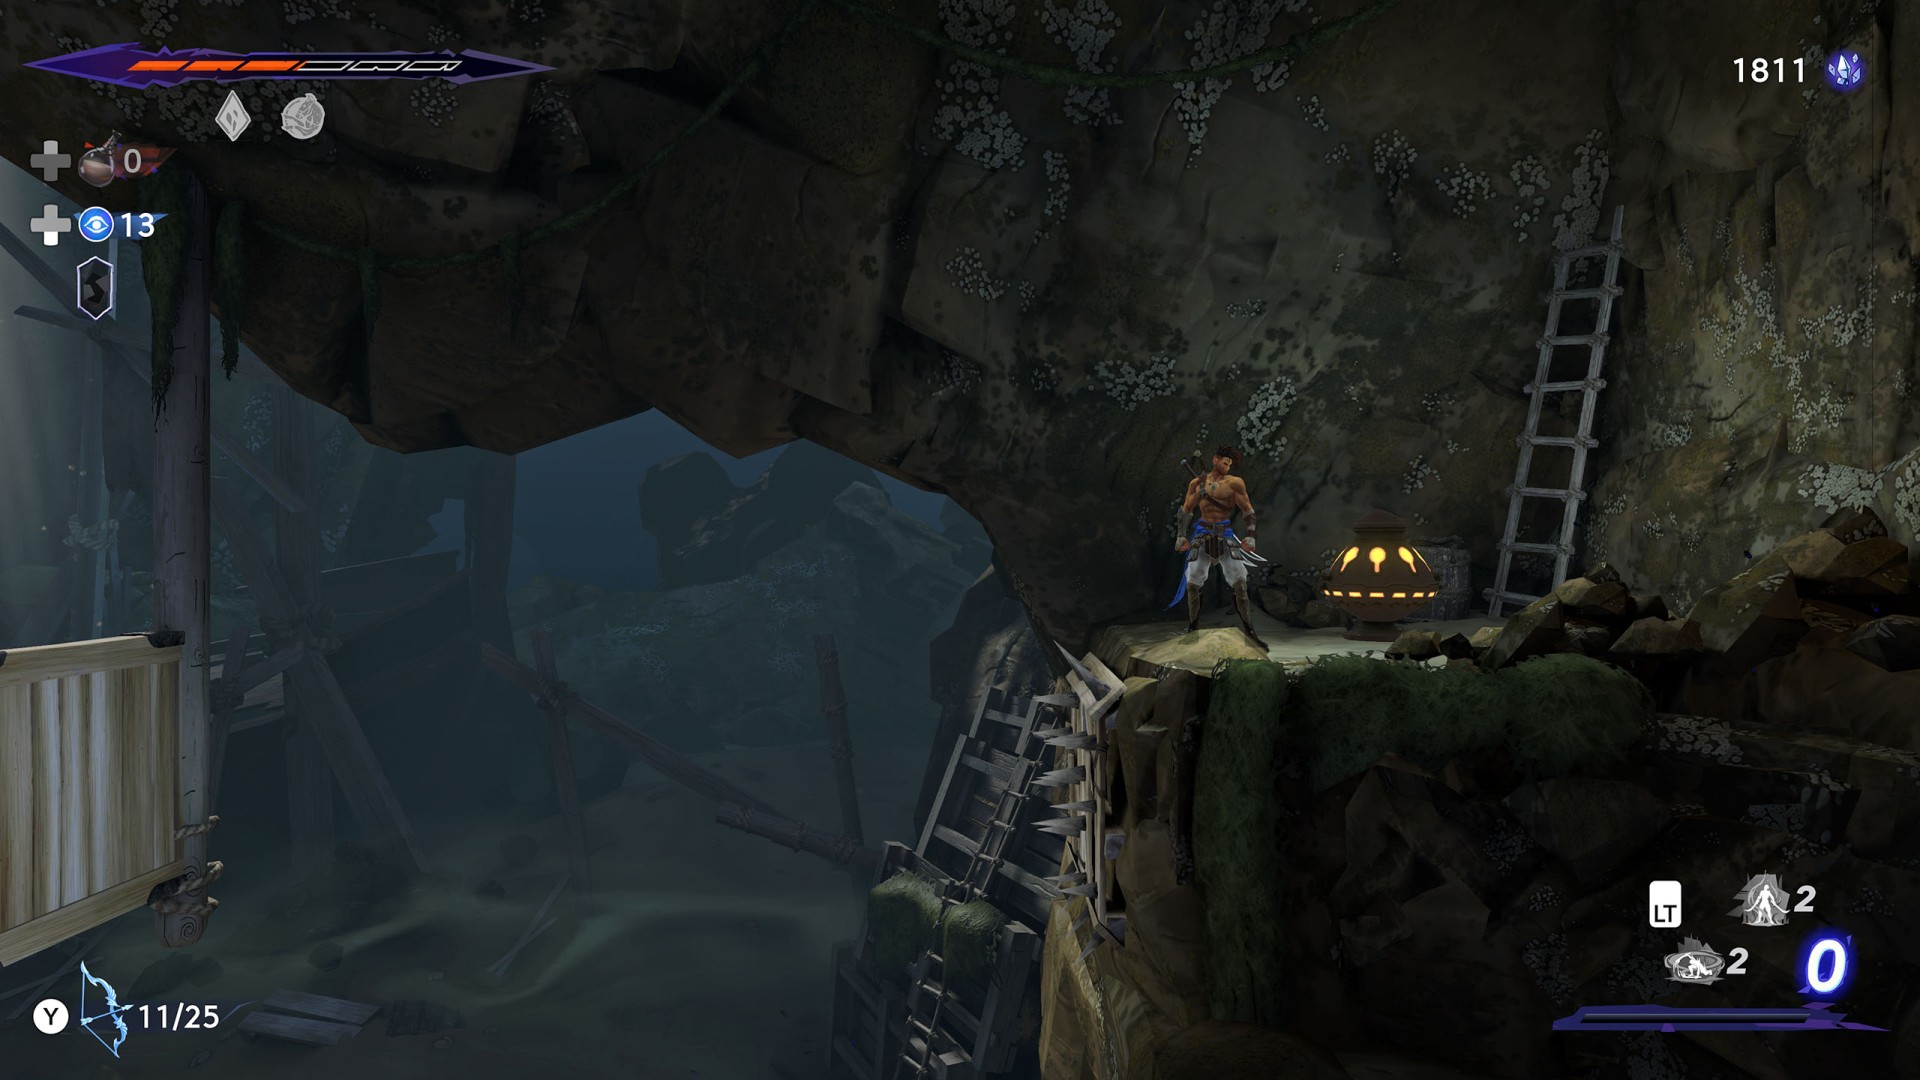
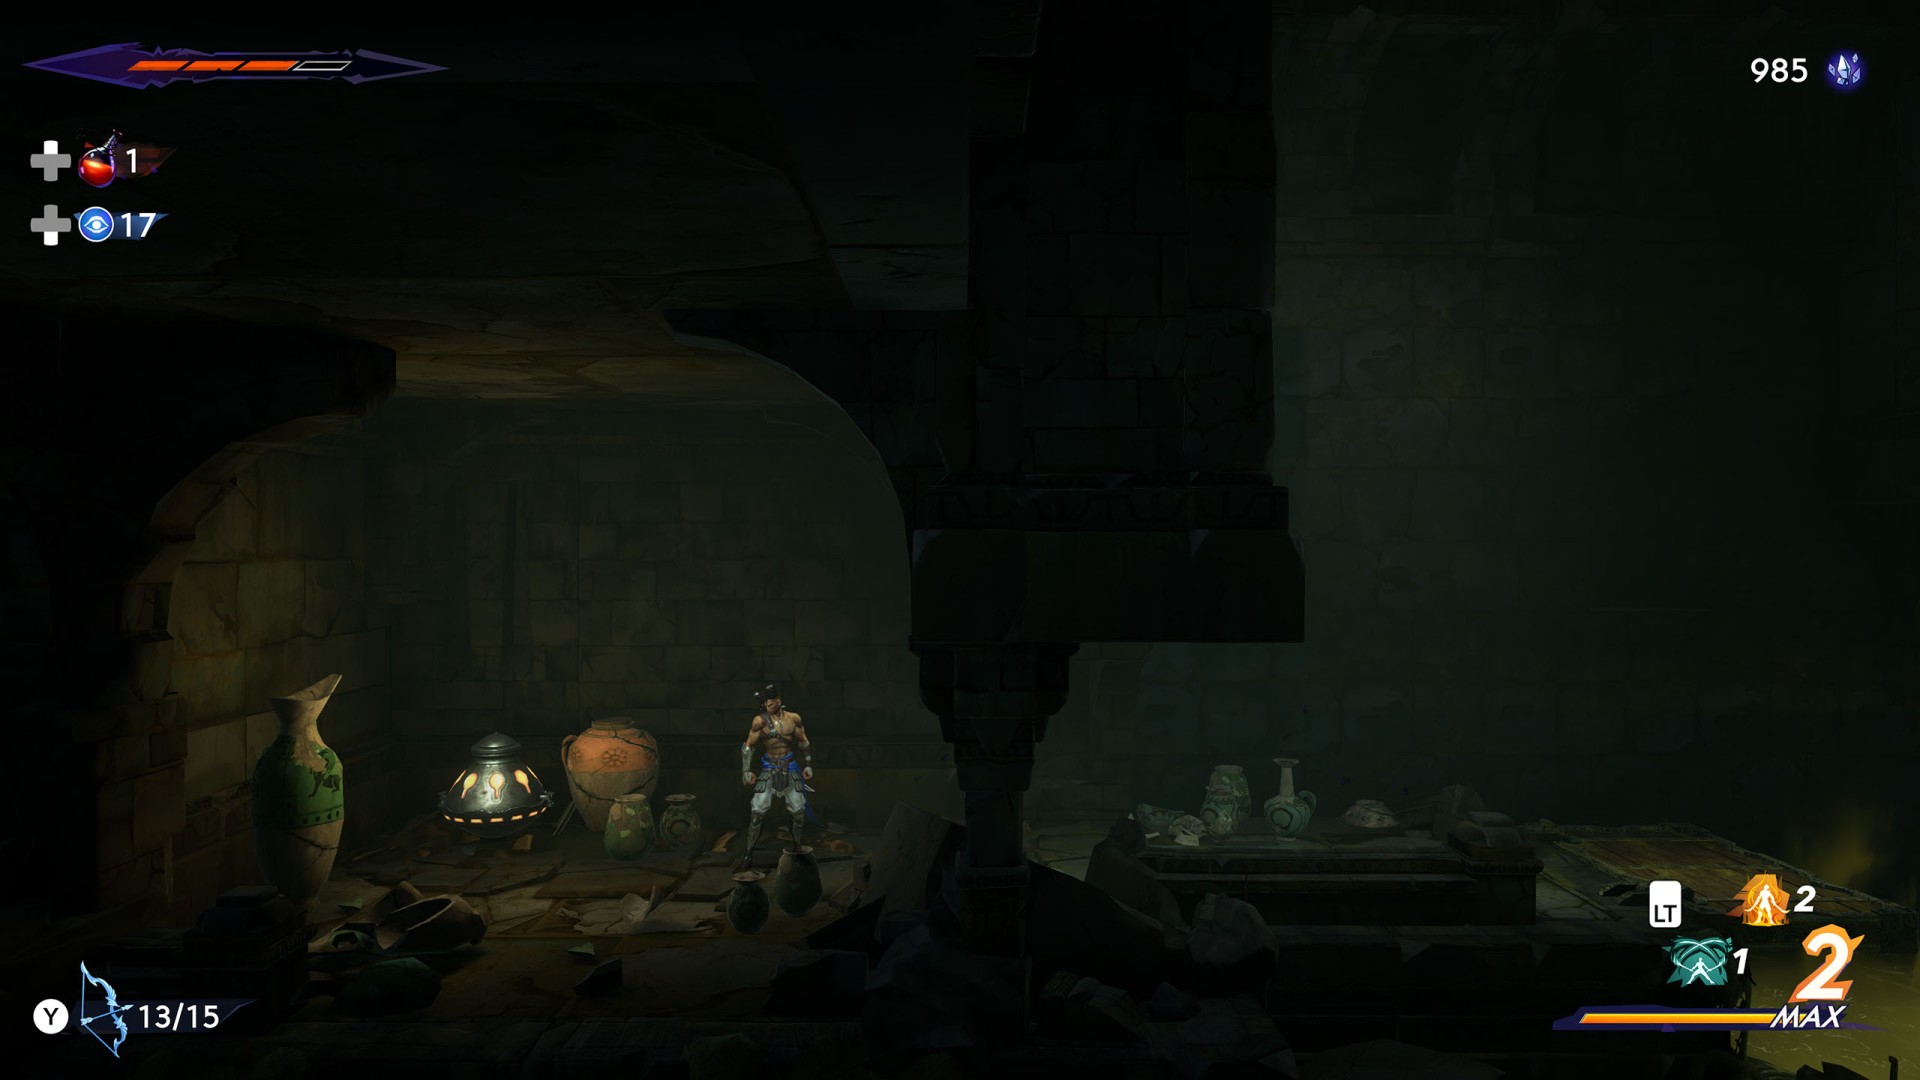
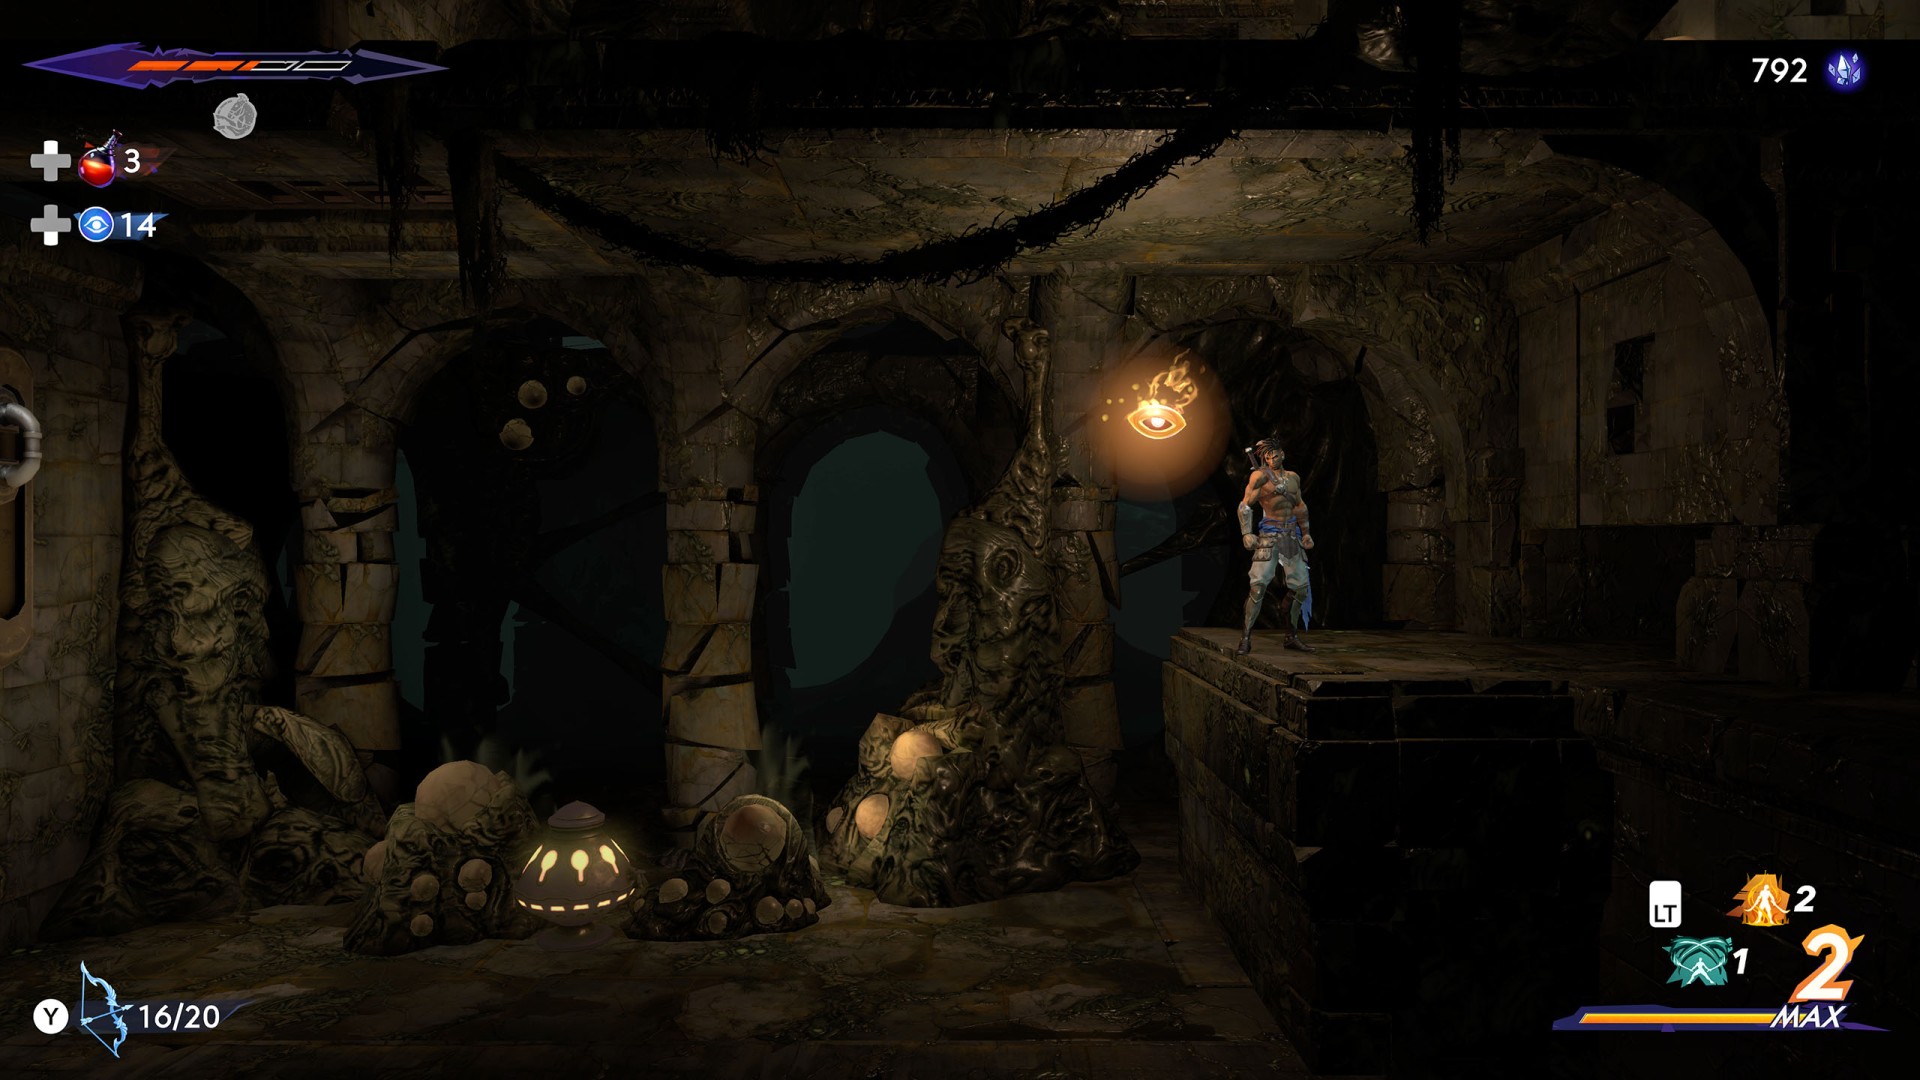
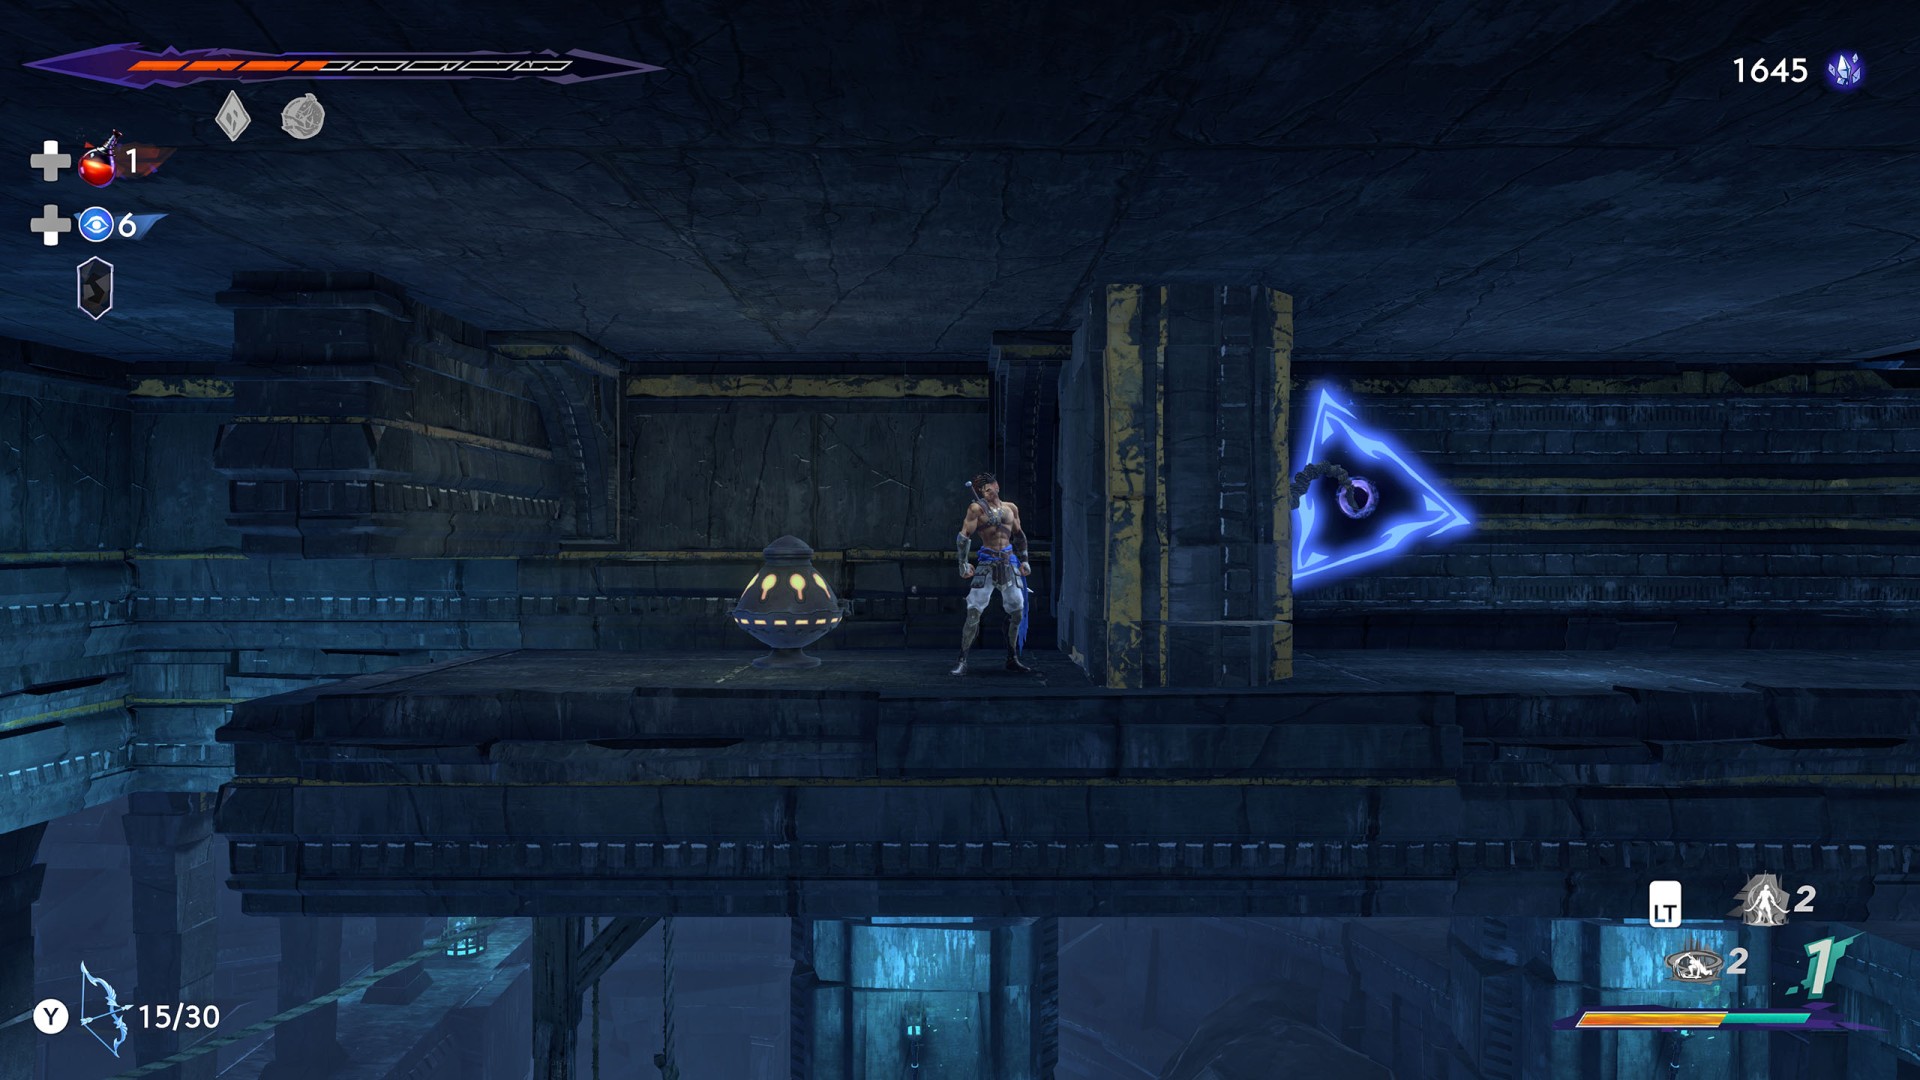
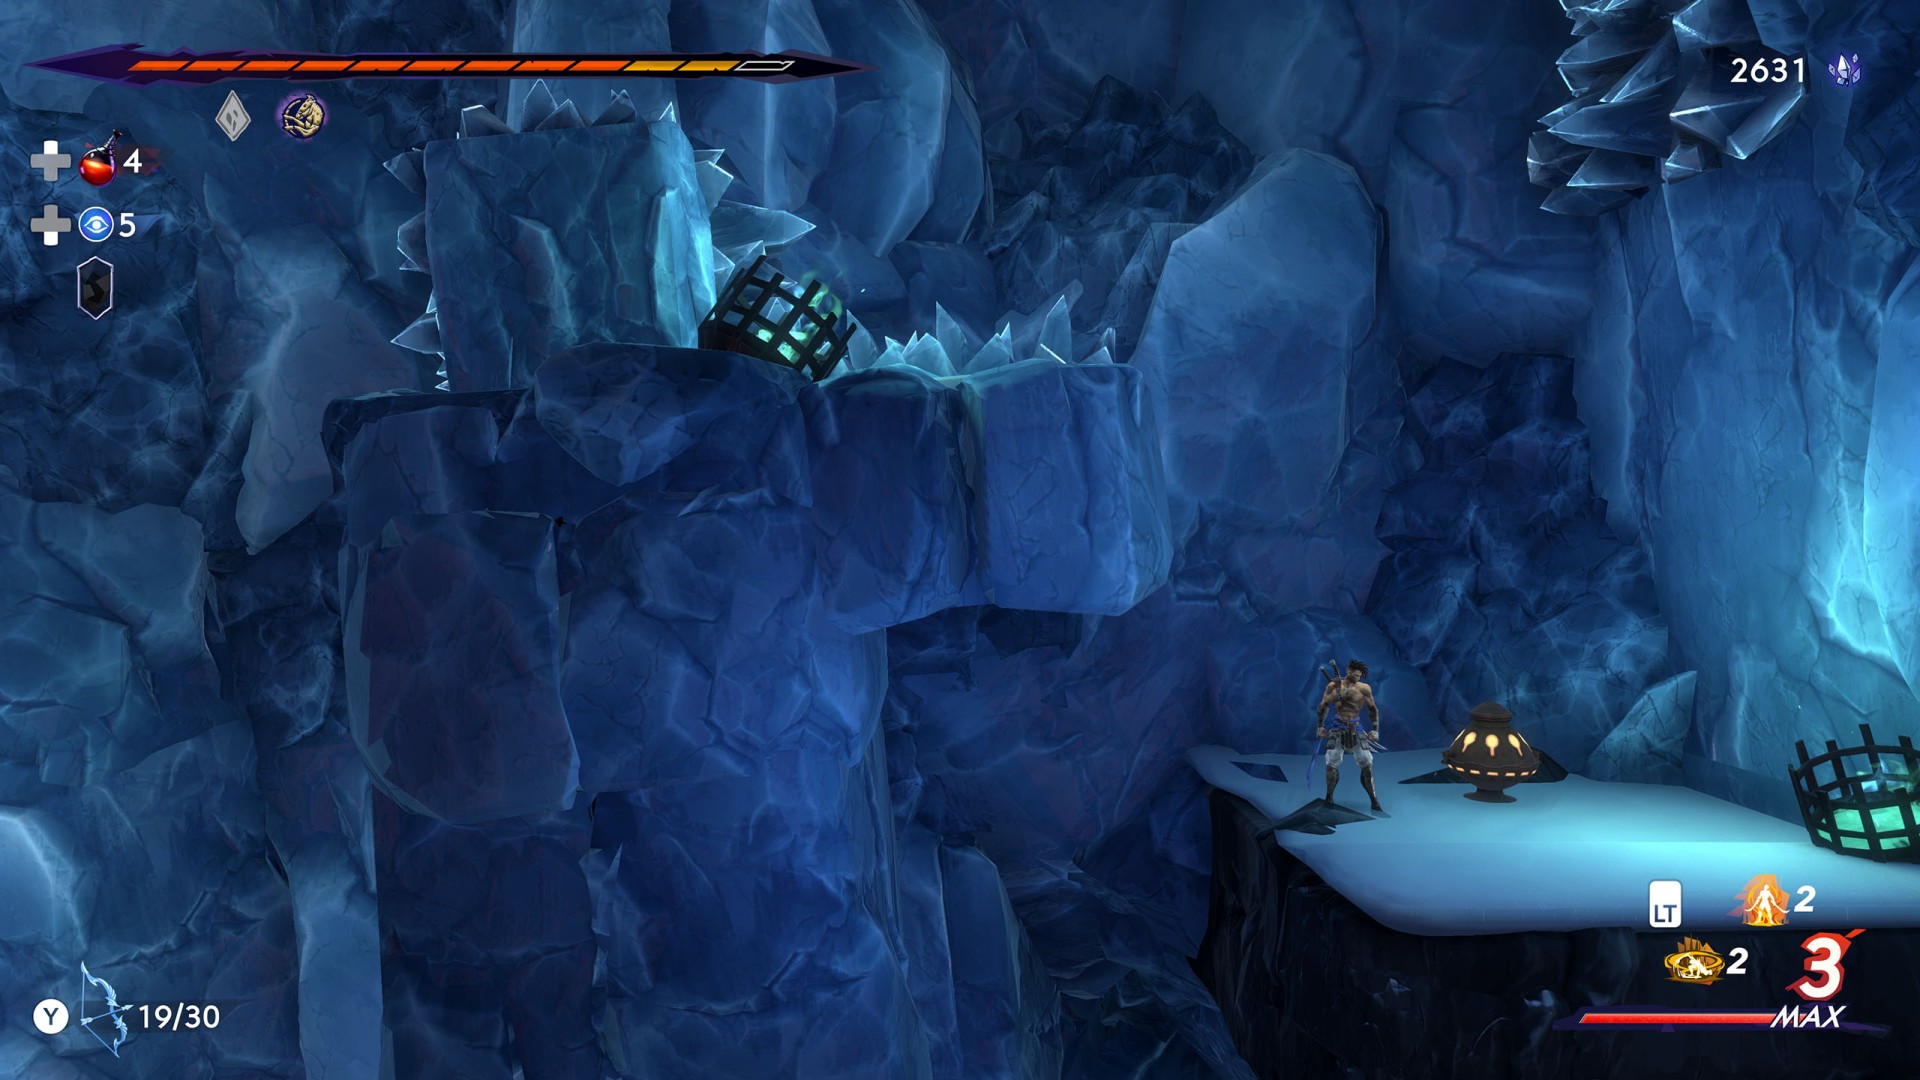
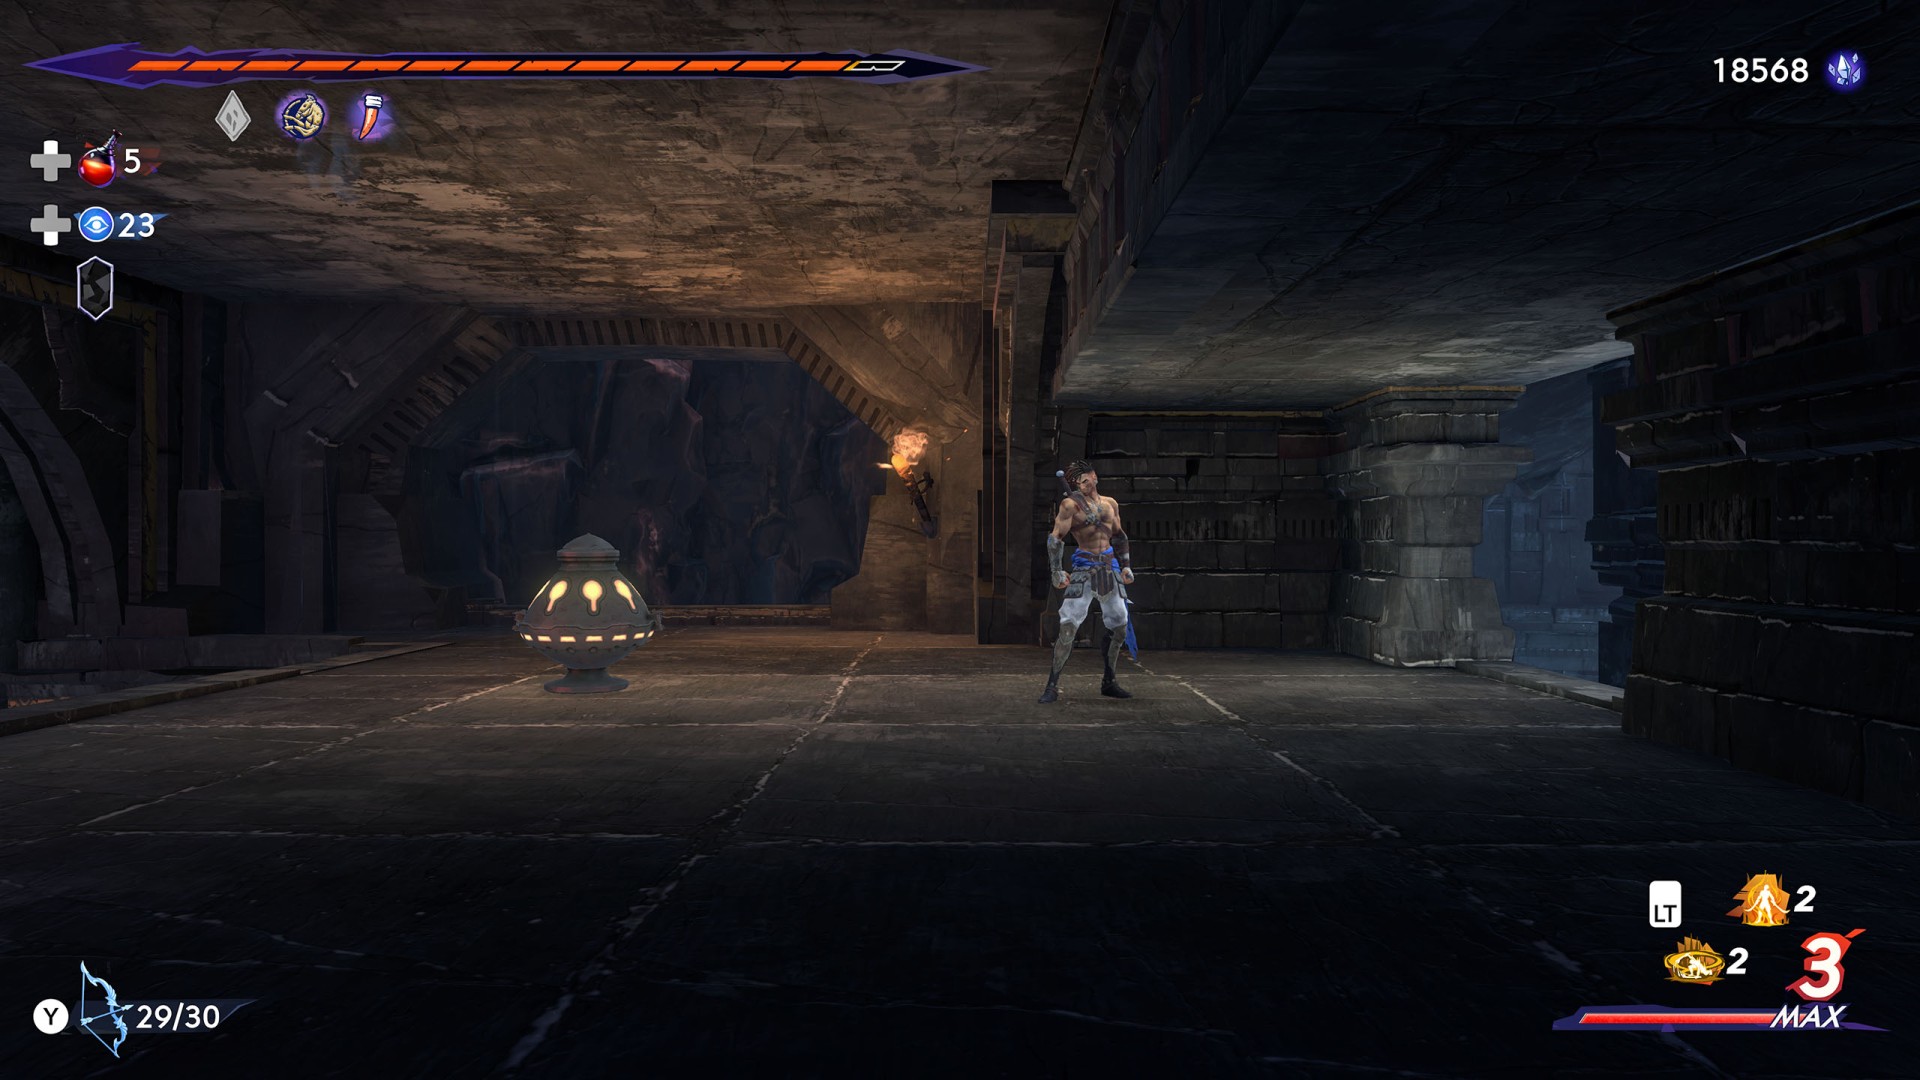
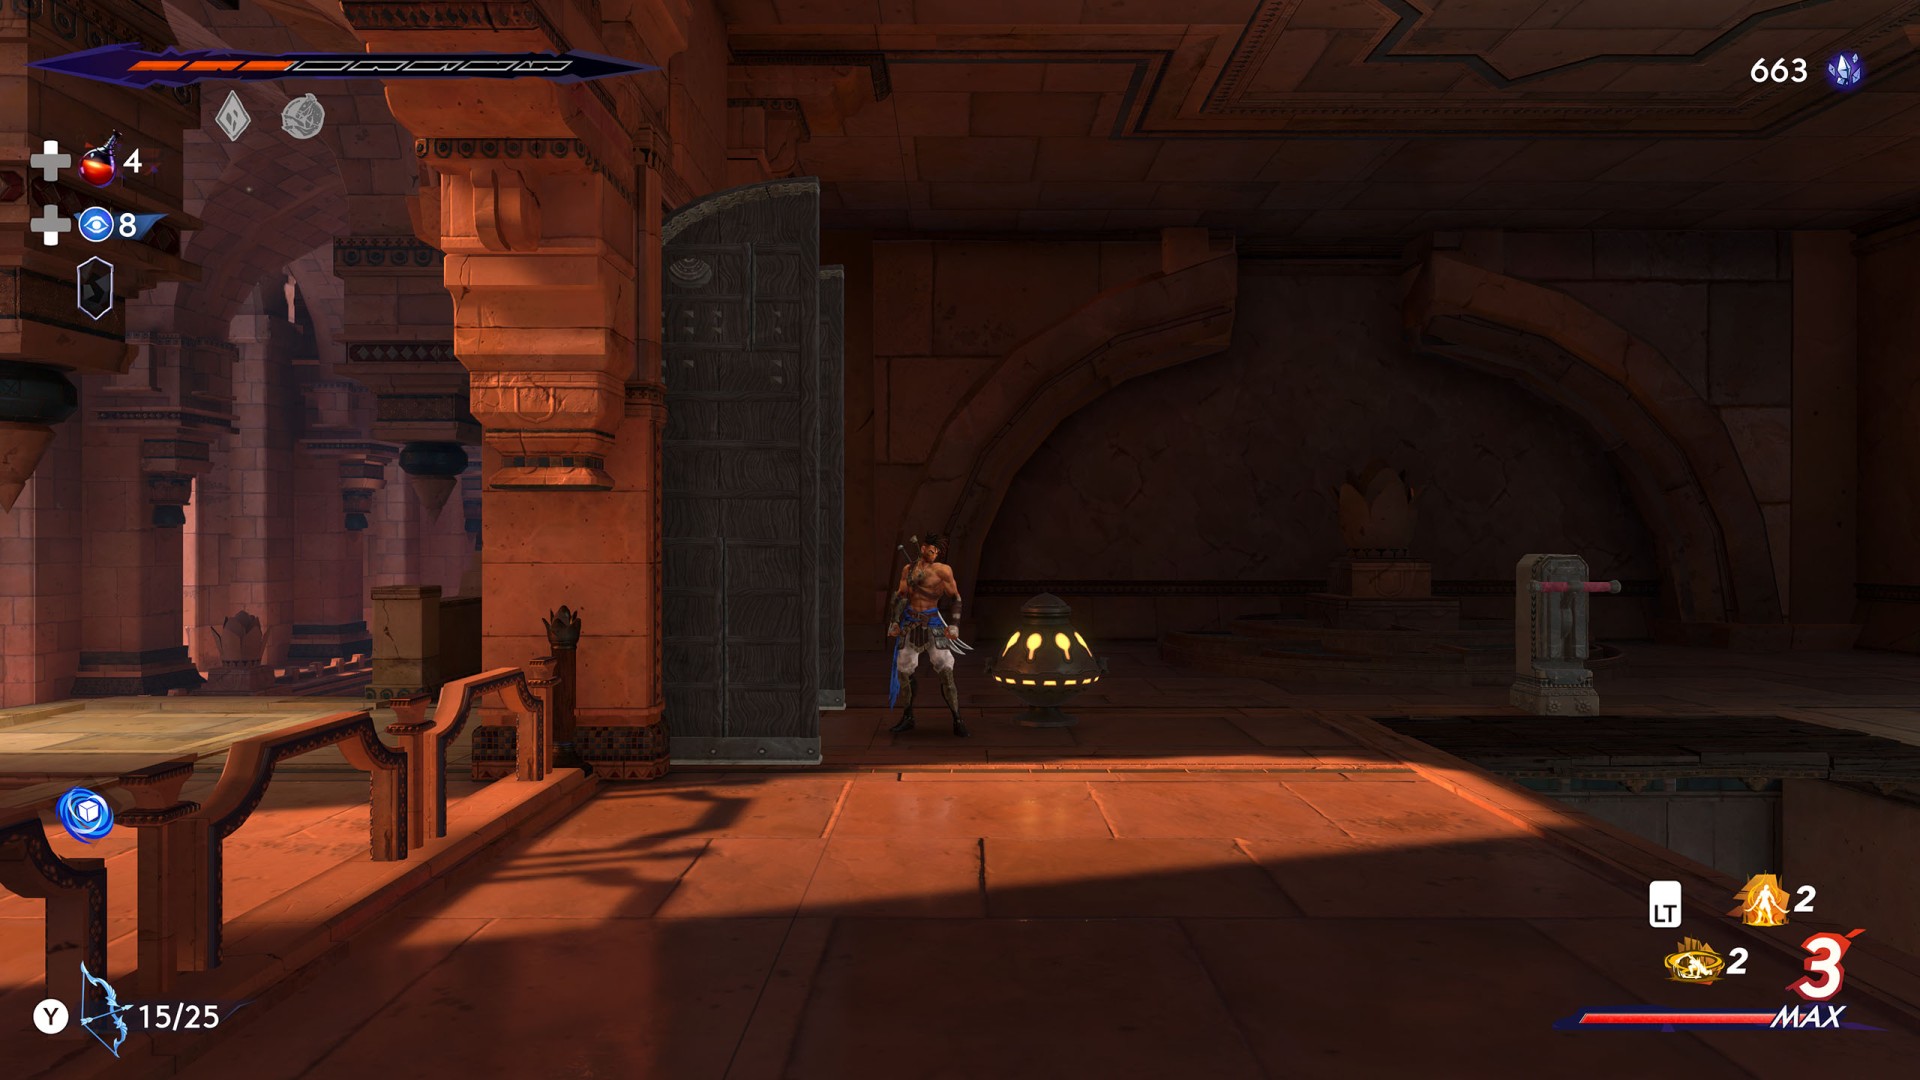
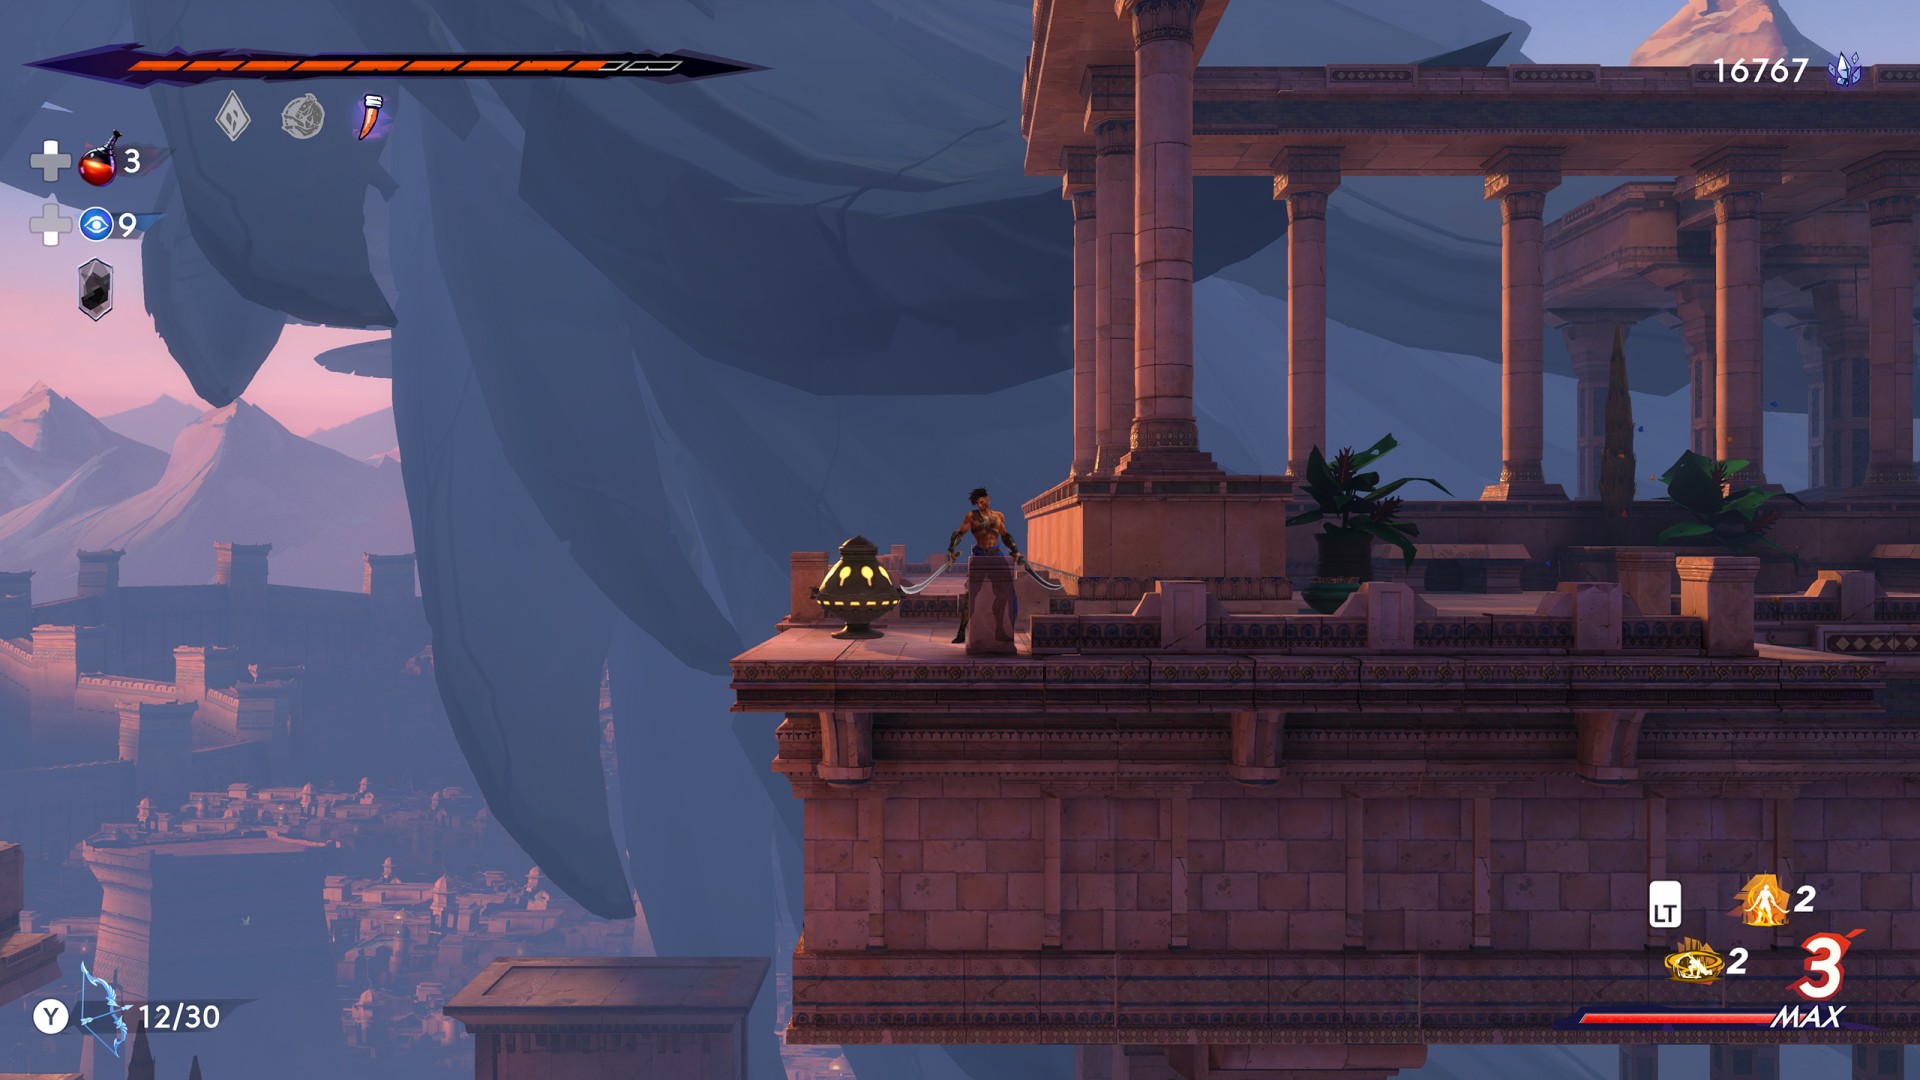
A total of 30 Spirited-Sand Jars can be found in Prince of Persia: The Lost Crown. They are needed to complete the side quest "Prophecy of Mount Qaf". By bringing the jars to the fresco, you will reveal more fragments of it and the contents of the prophecy. For each jar you will get a reward of time crystals and every five jars you return you will get some kind of a better reward, for example Soma Tree Petal, Amulet, Ingot, etc.

Once you complete the prophecy fresco, you will unlock the "Written in the Sand" achievement / trophy.

Spirited-Sand Jars

Index

The index below enables quick navigation to the desired marker / point of interest.

All known locations on the map - Mount Qaf

Spirited-Sand JarHidden Village Jar

Hidden Village Jar

Show the map

Spirited-Sand JarHyrcanian Forest Jar #1

Hyrcanian Forest Jar #1

Show the map

Spirited-Sand JarHyrcanian Forest Jar #2

Hyrcanian Forest Jar #2

Show the map

Spirited-Sand JarLower City Jar #1

Lower City Jar #1

Show the map

Spirited-Sand JarLower City Jar #2

Lower City Jar #2

Show the map

Spirited-Sand JarLower City Jar #3

Lower City Jar #3

Show the map

Spirited-Sand JarLower City Jar #4

Lower City Jar #4

Show the map

Spirited-Sand JarPit of Eternal Sands Jar #1

Pit of Eternal Sands Jar #1

Show the map

Spirited-Sand JarPit of Eternal Sands Jar #2

Pit of Eternal Sands Jar #2

Show the map

Spirited-Sand JarPit of Eternal Sands Jar #3

You can use the "Chakram Shadow of the Simurgh" ability to get here.

Pit of Eternal Sands Jar #3

Show the map

Spirited-Sand JarRaging Sea Jar

Raging Sea Jar

Show the map

Spirited-Sand JarSacred Archives Jar #1

Sacred Archives Jar #1

Show the map

Spirited-Sand JarSacred Archives Jar #2

Sacred Archives Jar #2

Show the map

Spirited-Sand JarSacred Archives Jar #3

Sacred Archives Jar #3

Show the map

Spirited-Sand JarSacred Archives Jar #4

Sacred Archives Jar #4

Show the map

Spirited-Sand JarSoma Tree Jar #1

Soma Tree Jar #1

Show the map

Spirited-Sand JarSoma Tree Jar #2

To get here you need the Gravity Wings power.

Soma Tree Jar #2

Show the map

Spirited-Sand JarSoma Tree Jar #3

To get here you need the Chakram Shadow of the Simurgh ability.

Soma Tree Jar #3

Show the map

Spirited-Sand JarSunken Harbor Jar #1

Sunken Harbor Jar #1

Show the map

Spirited-Sand JarSunken Harbor Jar #2

Sunken Harbor Jar #2

Show the map

Spirited-Sand JarSunken Harbor Jar #3

To get here you need the Gravity Wings power.

Sunken Harbor Jar #3

Show the map

Spirited-Sand JarThe Depths Jar #1

The Depths Jar #1

Show the map

Spirited-Sand JarThe Depths Jar #2

The Depths Jar #2

Show the map

Spirited-Sand JarThe Depths Jar #3

The Depths Jar #3

Show the map

Spirited-Sand JarTower of Silence Jar #1

Tower of Silence Jar #1

Show the map

Spirited-Sand JarTower of Silence Jar #2

Tower of Silence Jar #2

Show the map

Spirited-Sand JarTower of Silence Jar #3

Tower of Silence Jar #3

Show the map

Spirited-Sand JarUpper City Jar #1

To open the door you must switch two levers: Lever #1 and Lever #2.

Upper City Jar #1

Show the map

Spirited-Sand JarUpper City Jar #2

To get here you need the Chakram Shadow of the Simurgh ability.

Upper City Jar #2

Show the map

Spirited-Sand JarUpper City Jar #3

To get here you need the "Fabric of Time" power.

Upper City Jar #3

Show the map