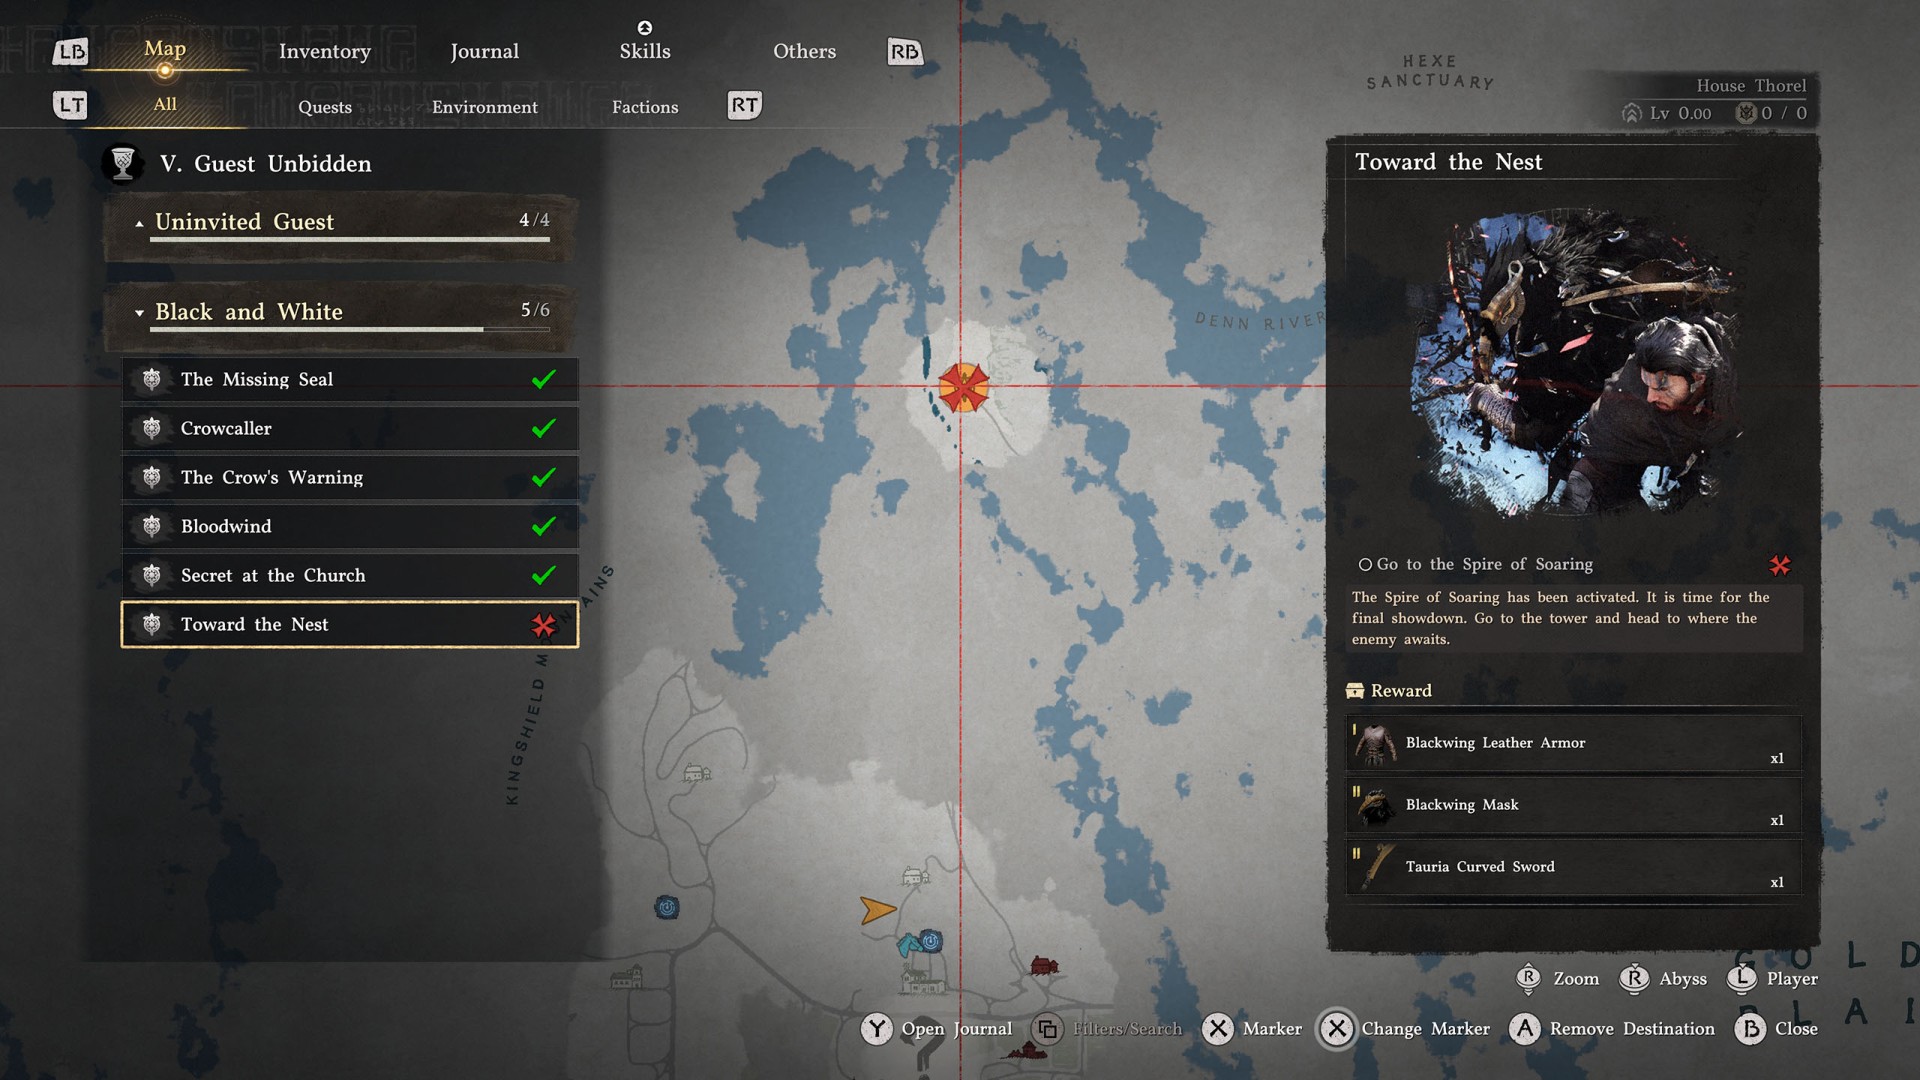
This quest is the next main quest following "Secret at the Church," in which you managed to activate the Spire of Soaring using the Dagger of Radiance you found.
The Spire of Soaring has been activated. It is time for the final showdown. Go to the tower and head to where the enemy awaits.
Rewards: Blackwing Leather Armor, Blackwing Mask, Tauria Curved Sword
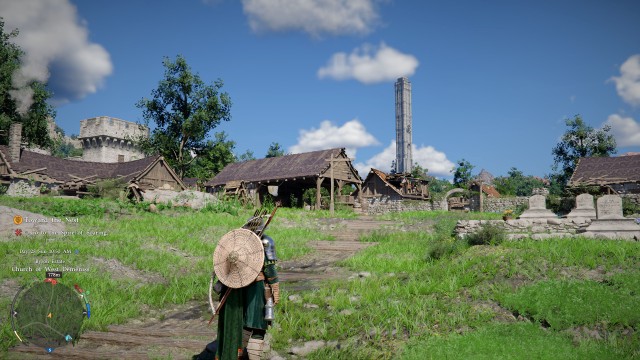
1. Go to the Spire of Soaring
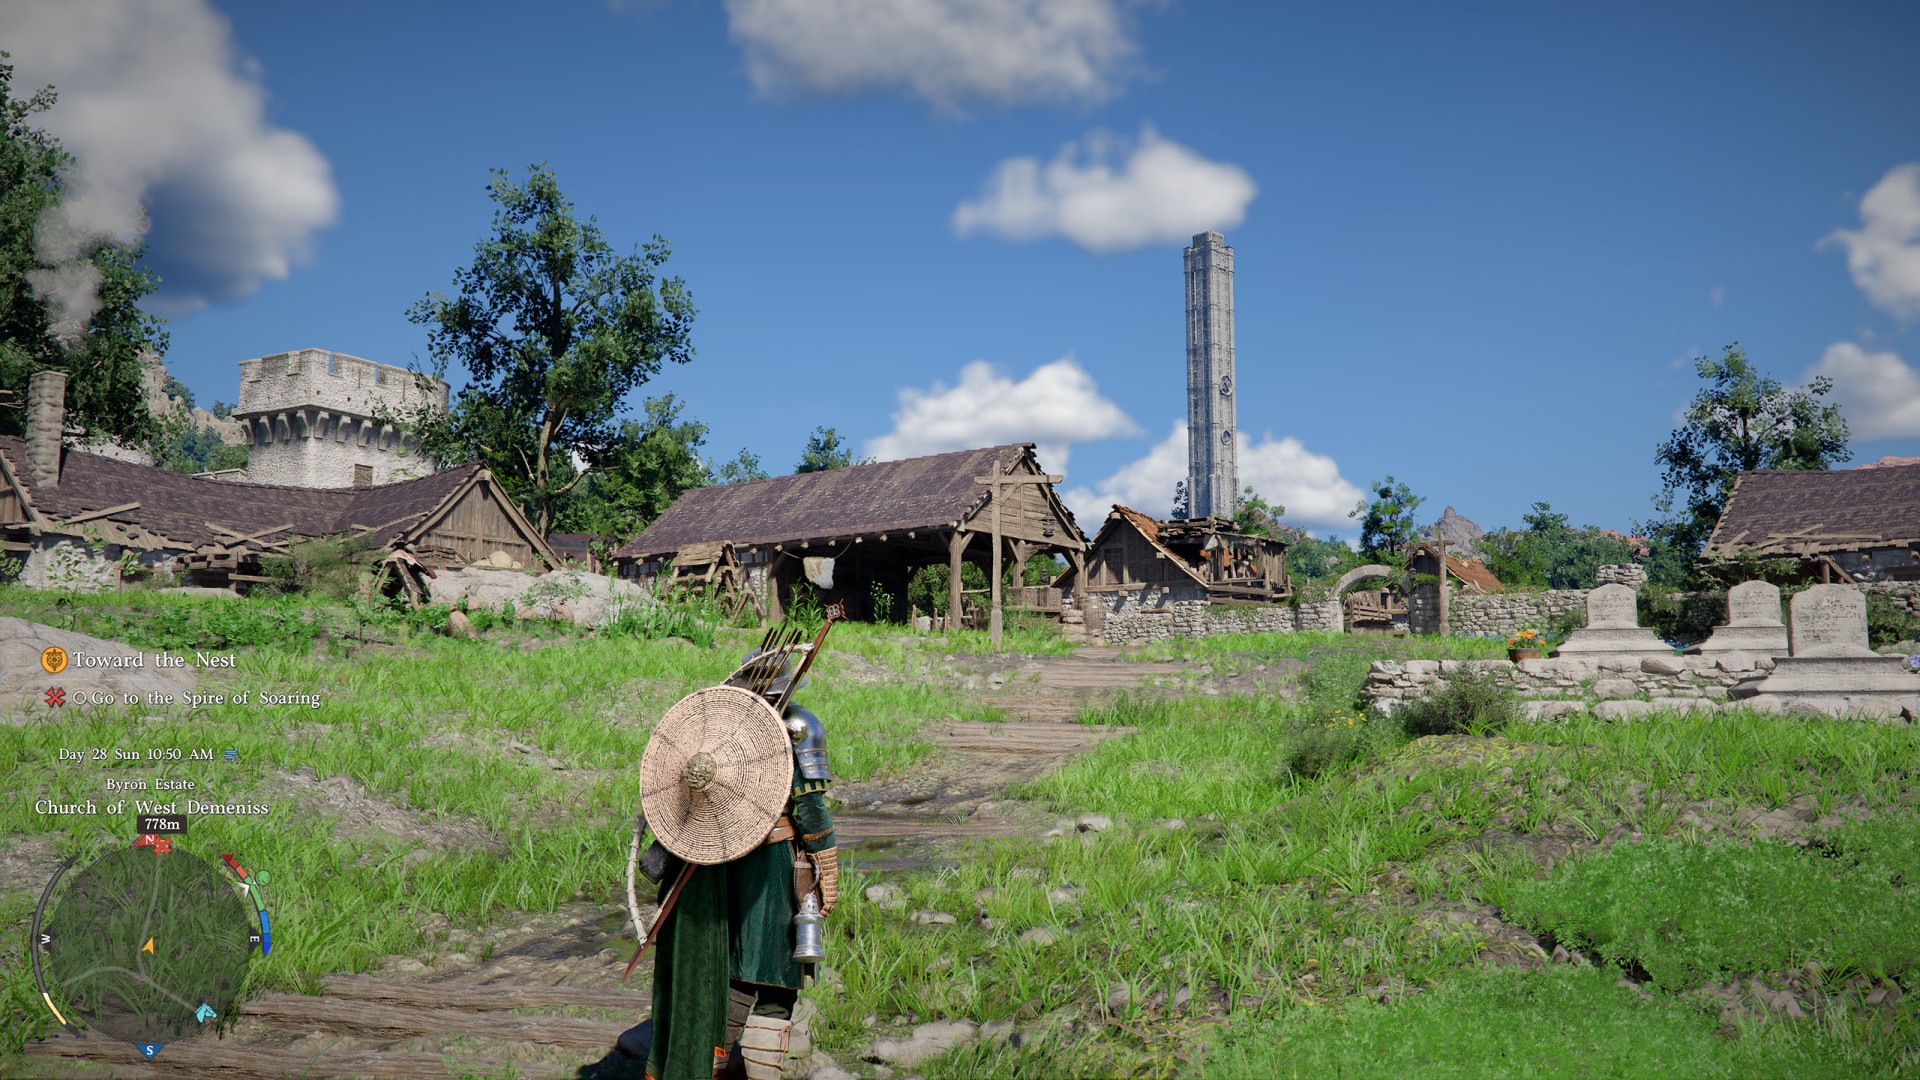
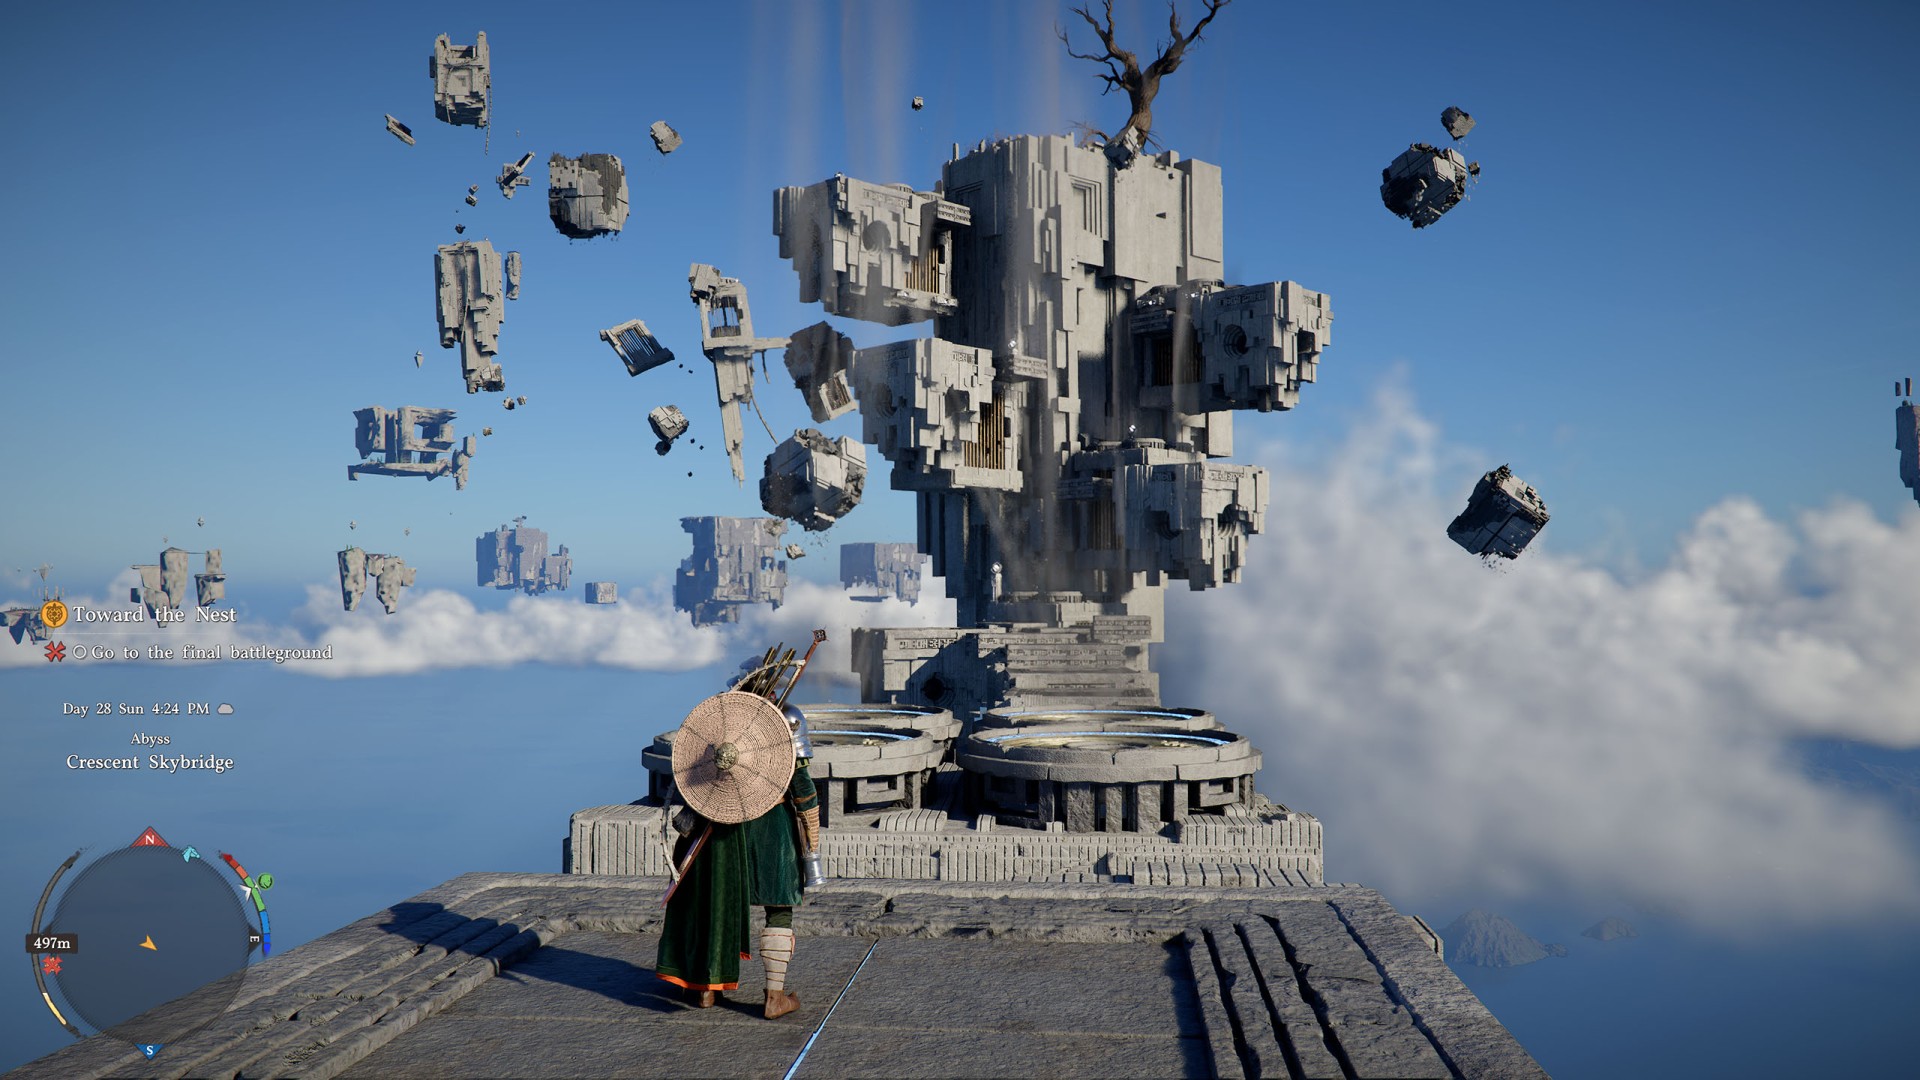
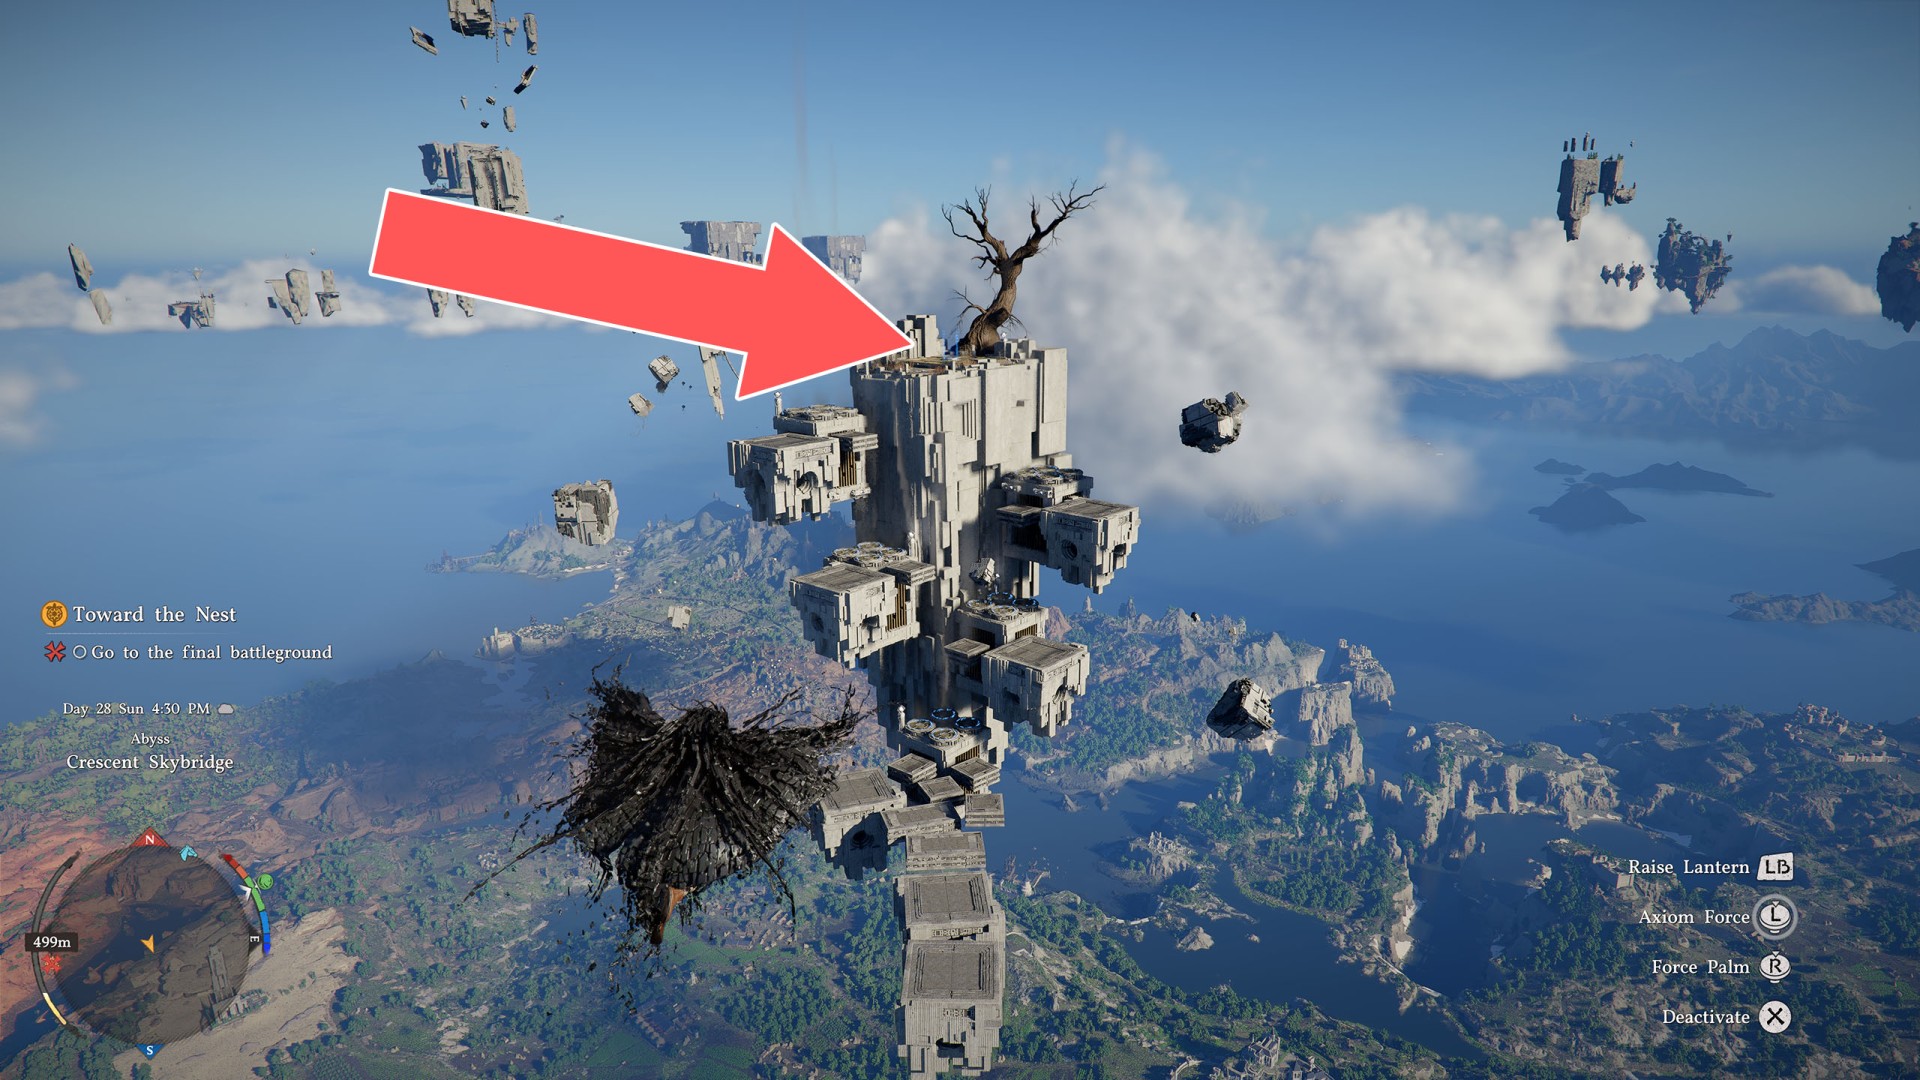
The Spire is located a bit further to the north. The easiest way to get there is to mount your horse and simply ride there. The main entrance is destroyed, so you must find another way inside.
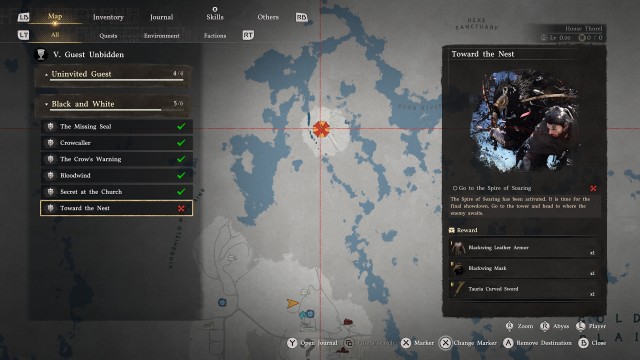
2. Activate the Spire of Soaring
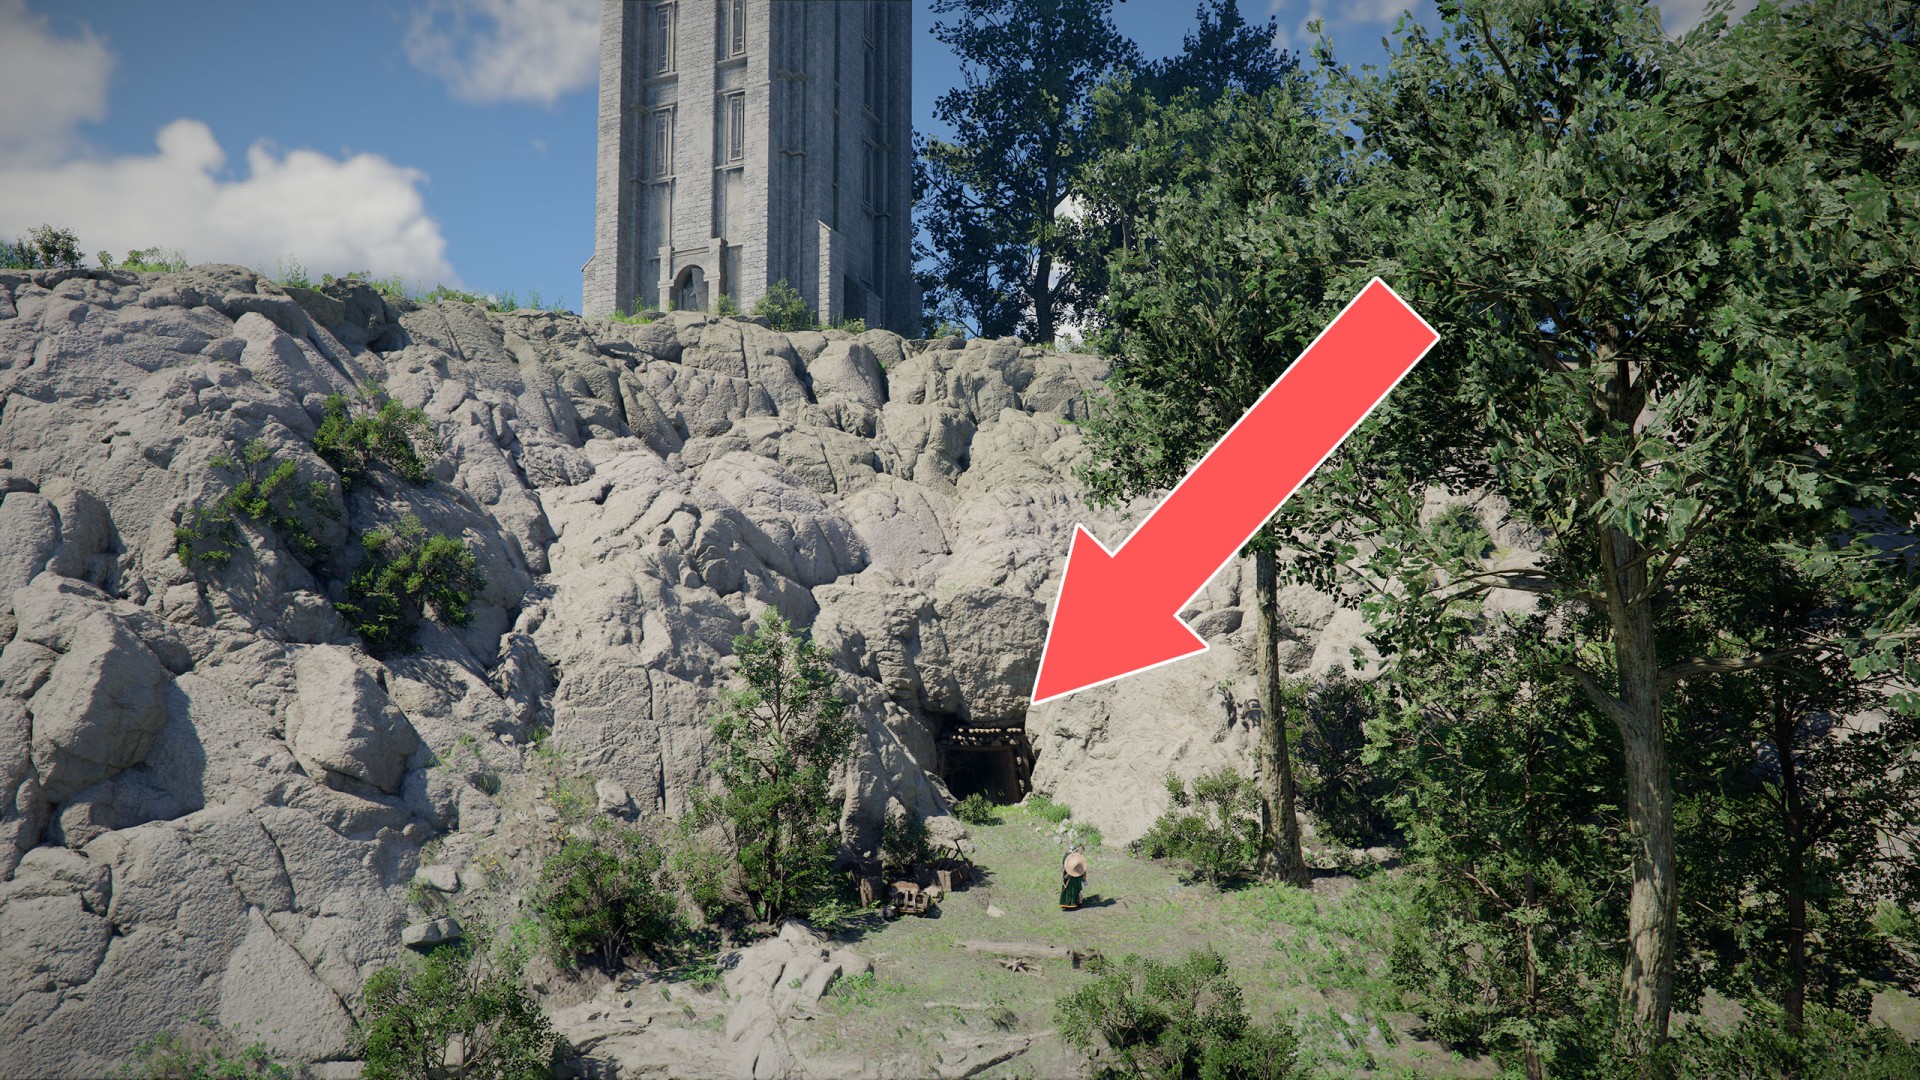
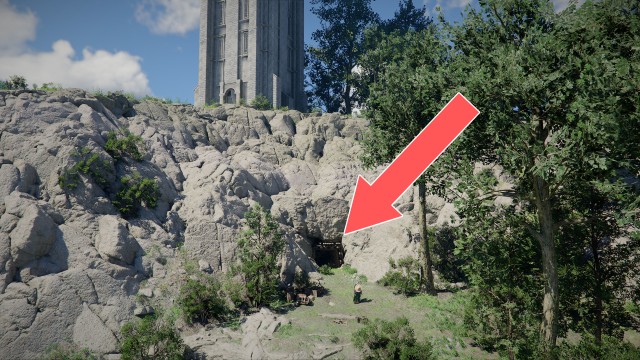
To enter the Spire of Soaring, descend the cliff to the right of the tower / to the east - and you will find a cave entrance there that leads into the tower's interior, into the basement.
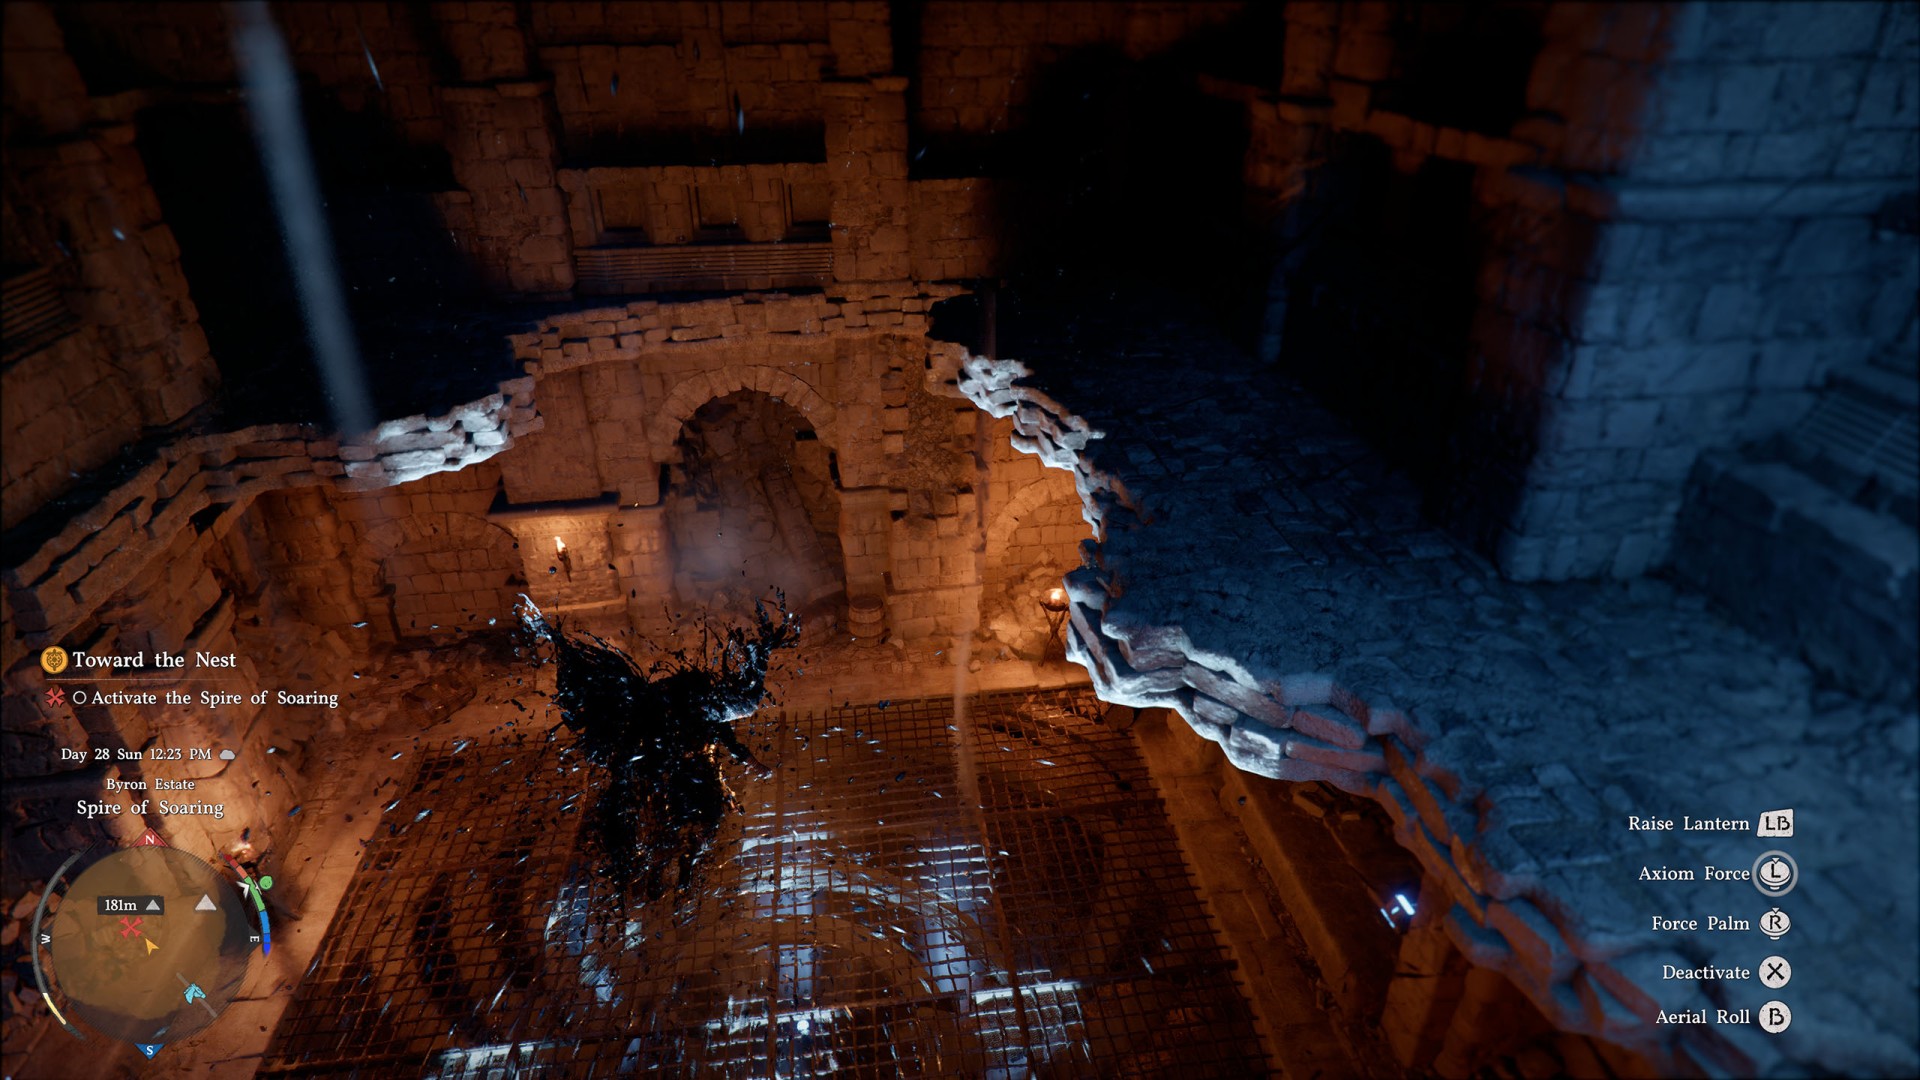
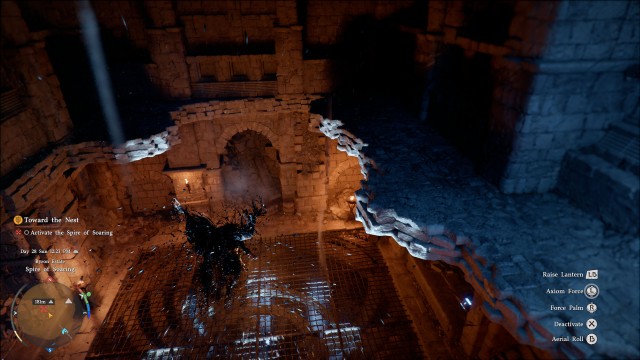
Step onto the grated platform with the large fan beneath it, jump, and spread your wings - let the wind carry you as high as possible.
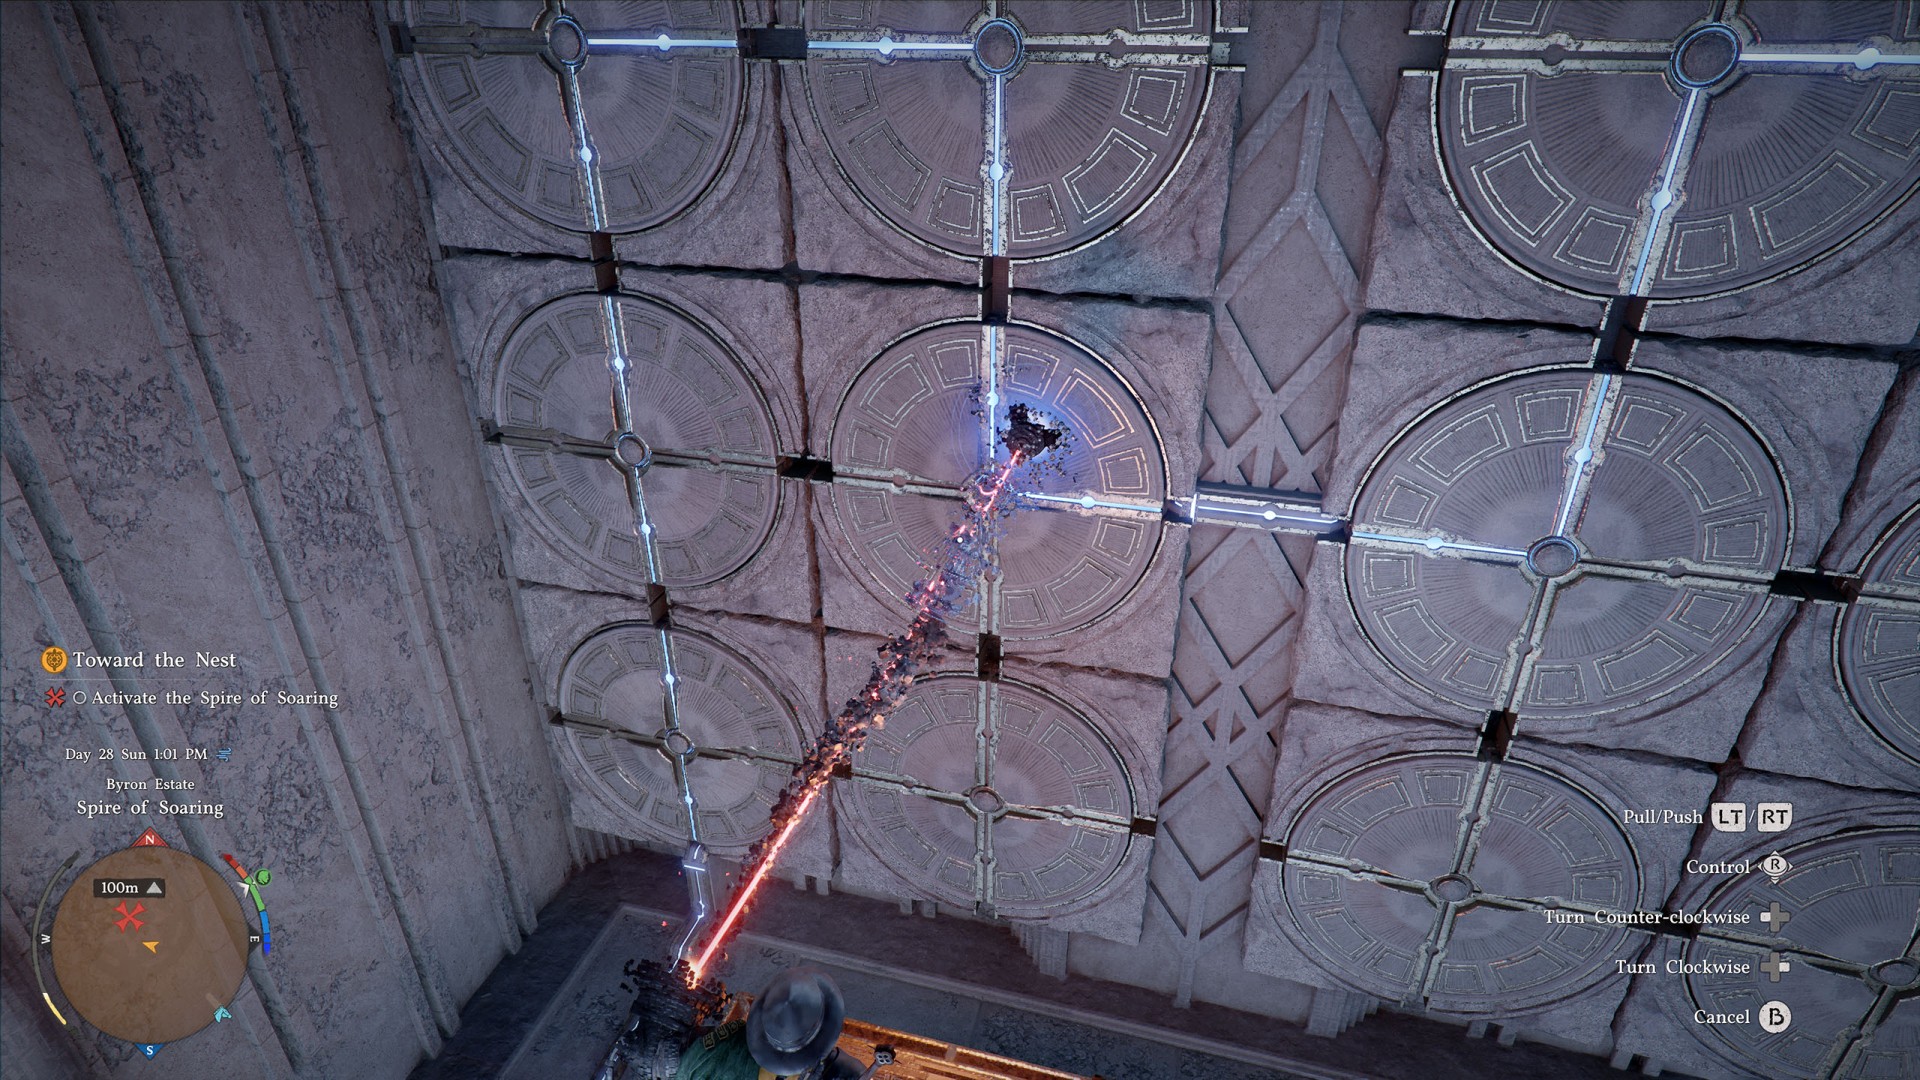
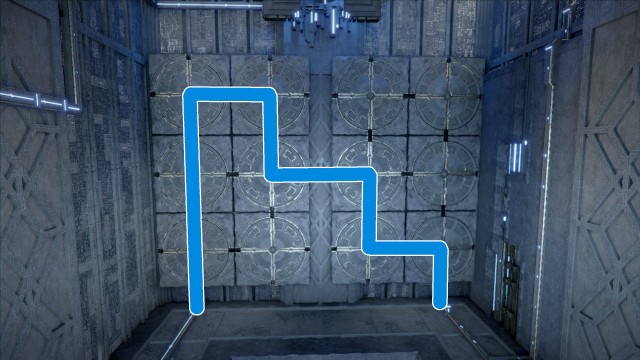
On the floor you reach this way, you must reroute the power lines. You can change the orientation of individual panels on the wall using Axiom Force.
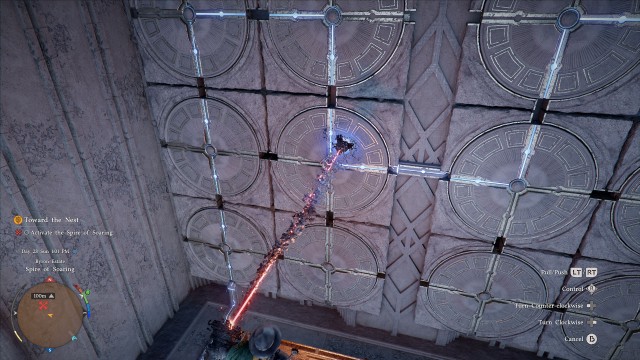
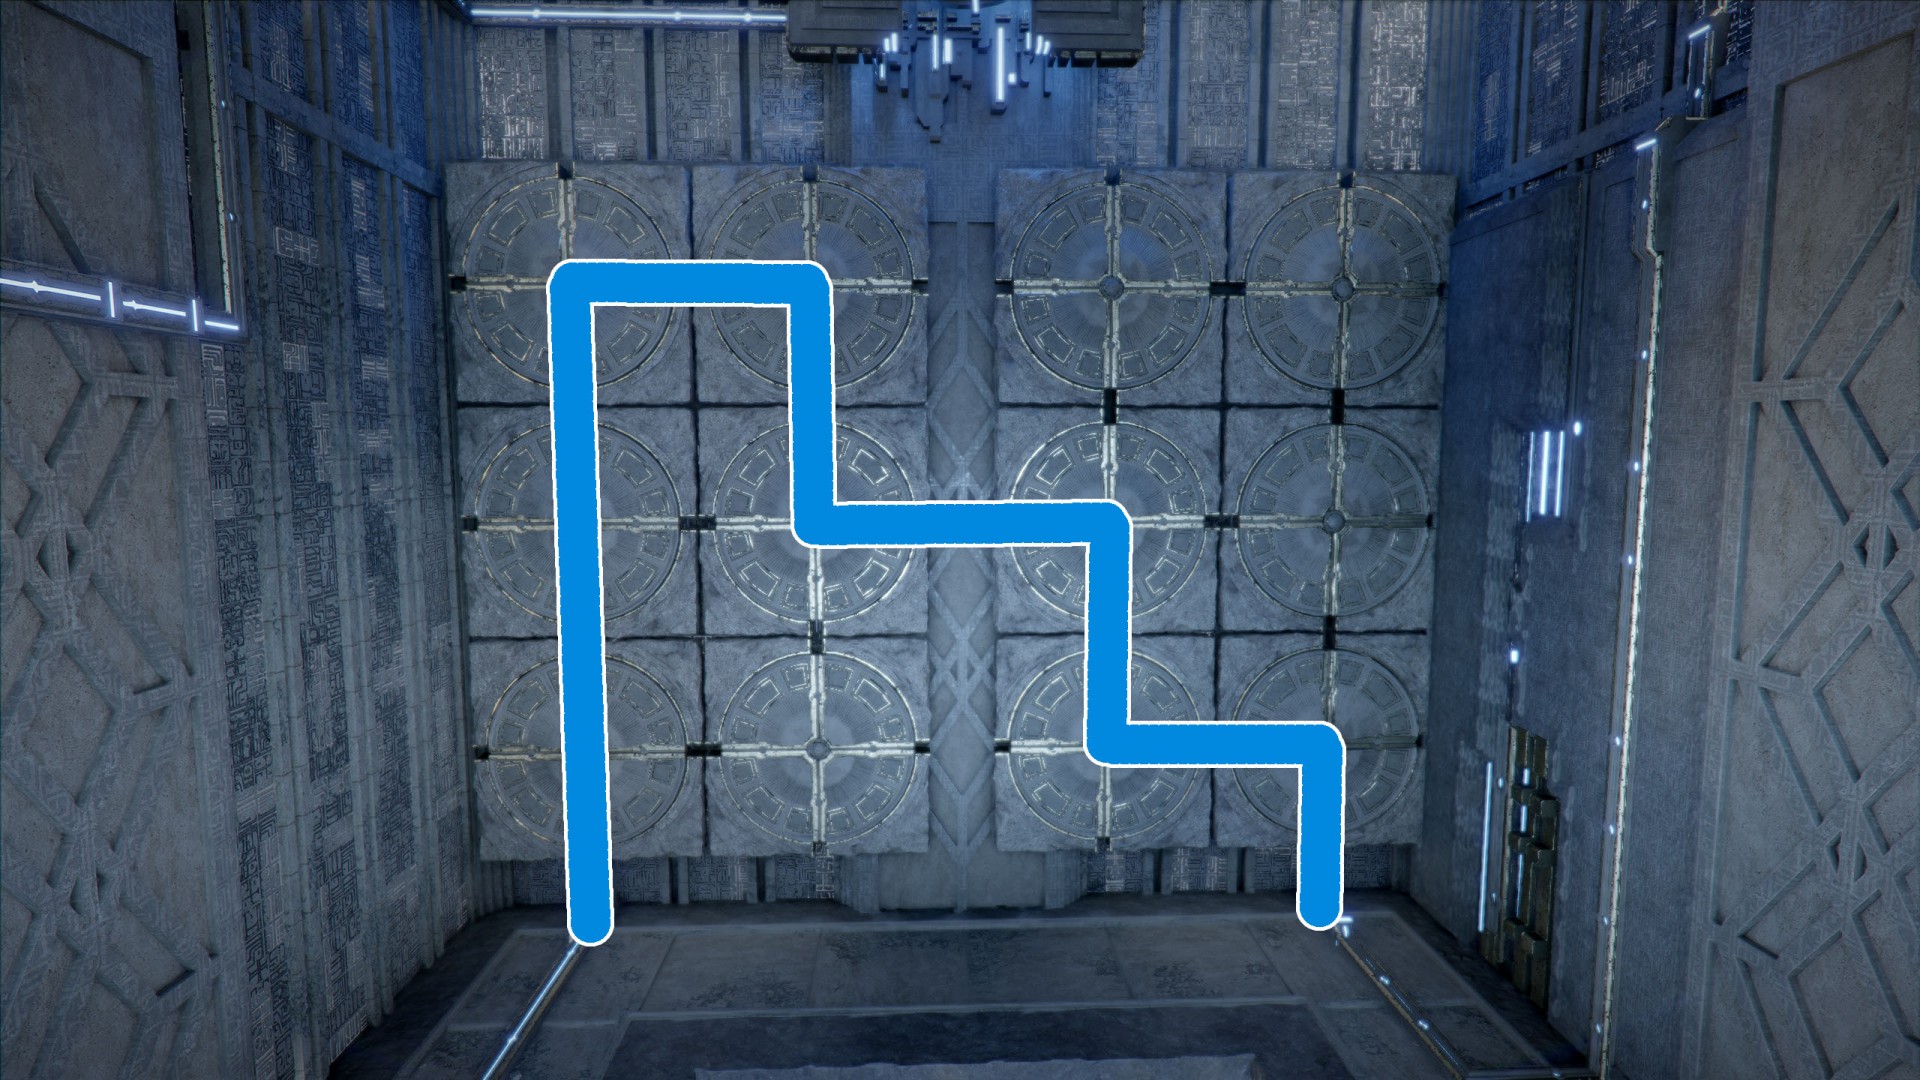
The power lines on the panels must be aligned as shown in the screenshot below. The correct alignment of the panels will relay the power further, which will cause the platform blocking the airflow to move higher, giving you access to the upper level of the tower.
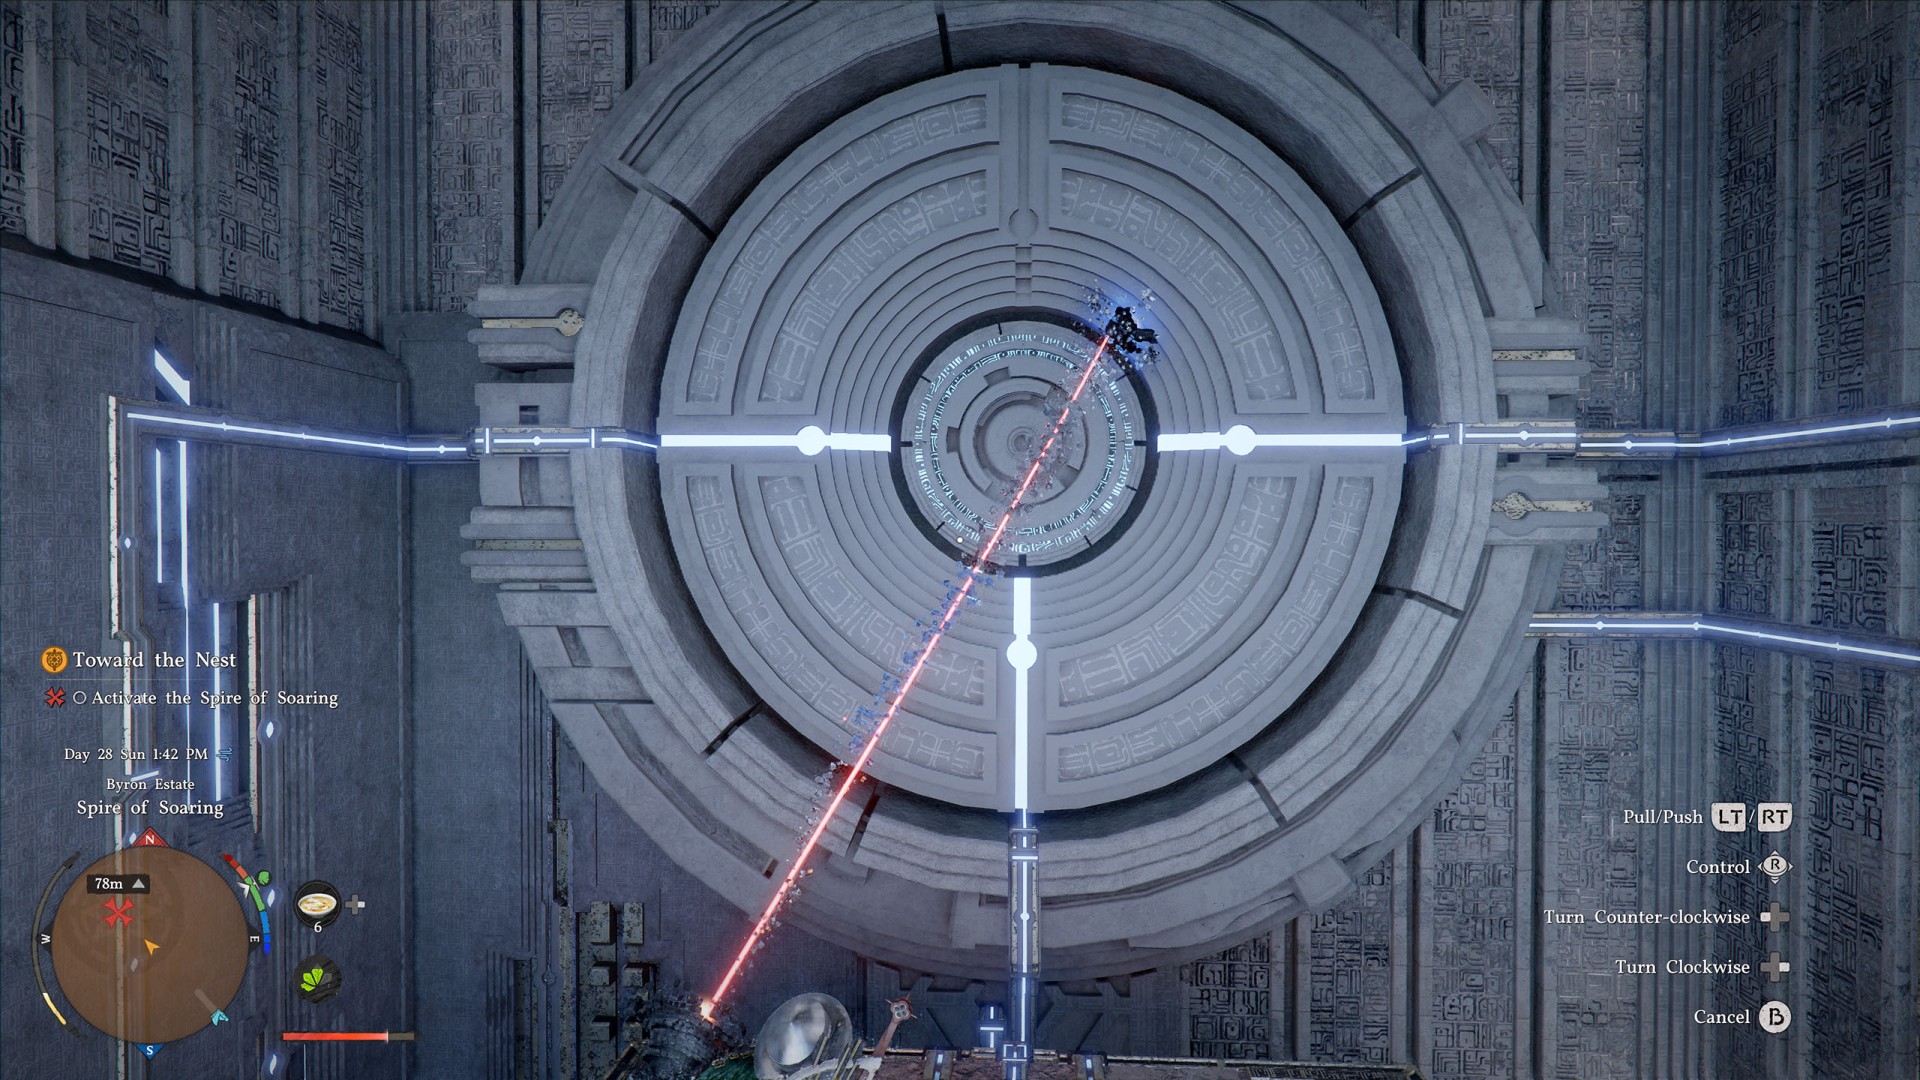
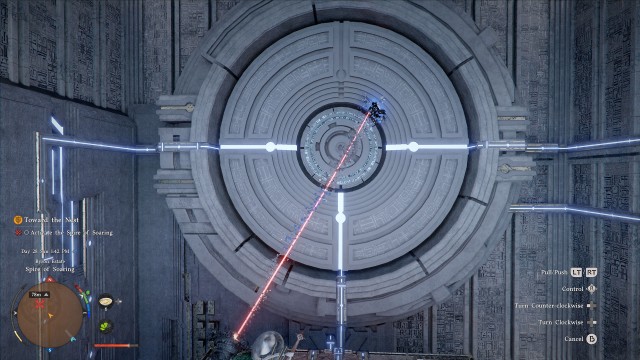
On the upper floor, there is one large rotating panel. To restore the power flow, stand on the platform and simply rotate the panel twice in either direction. Once you do this, the platform will carry you even higher.
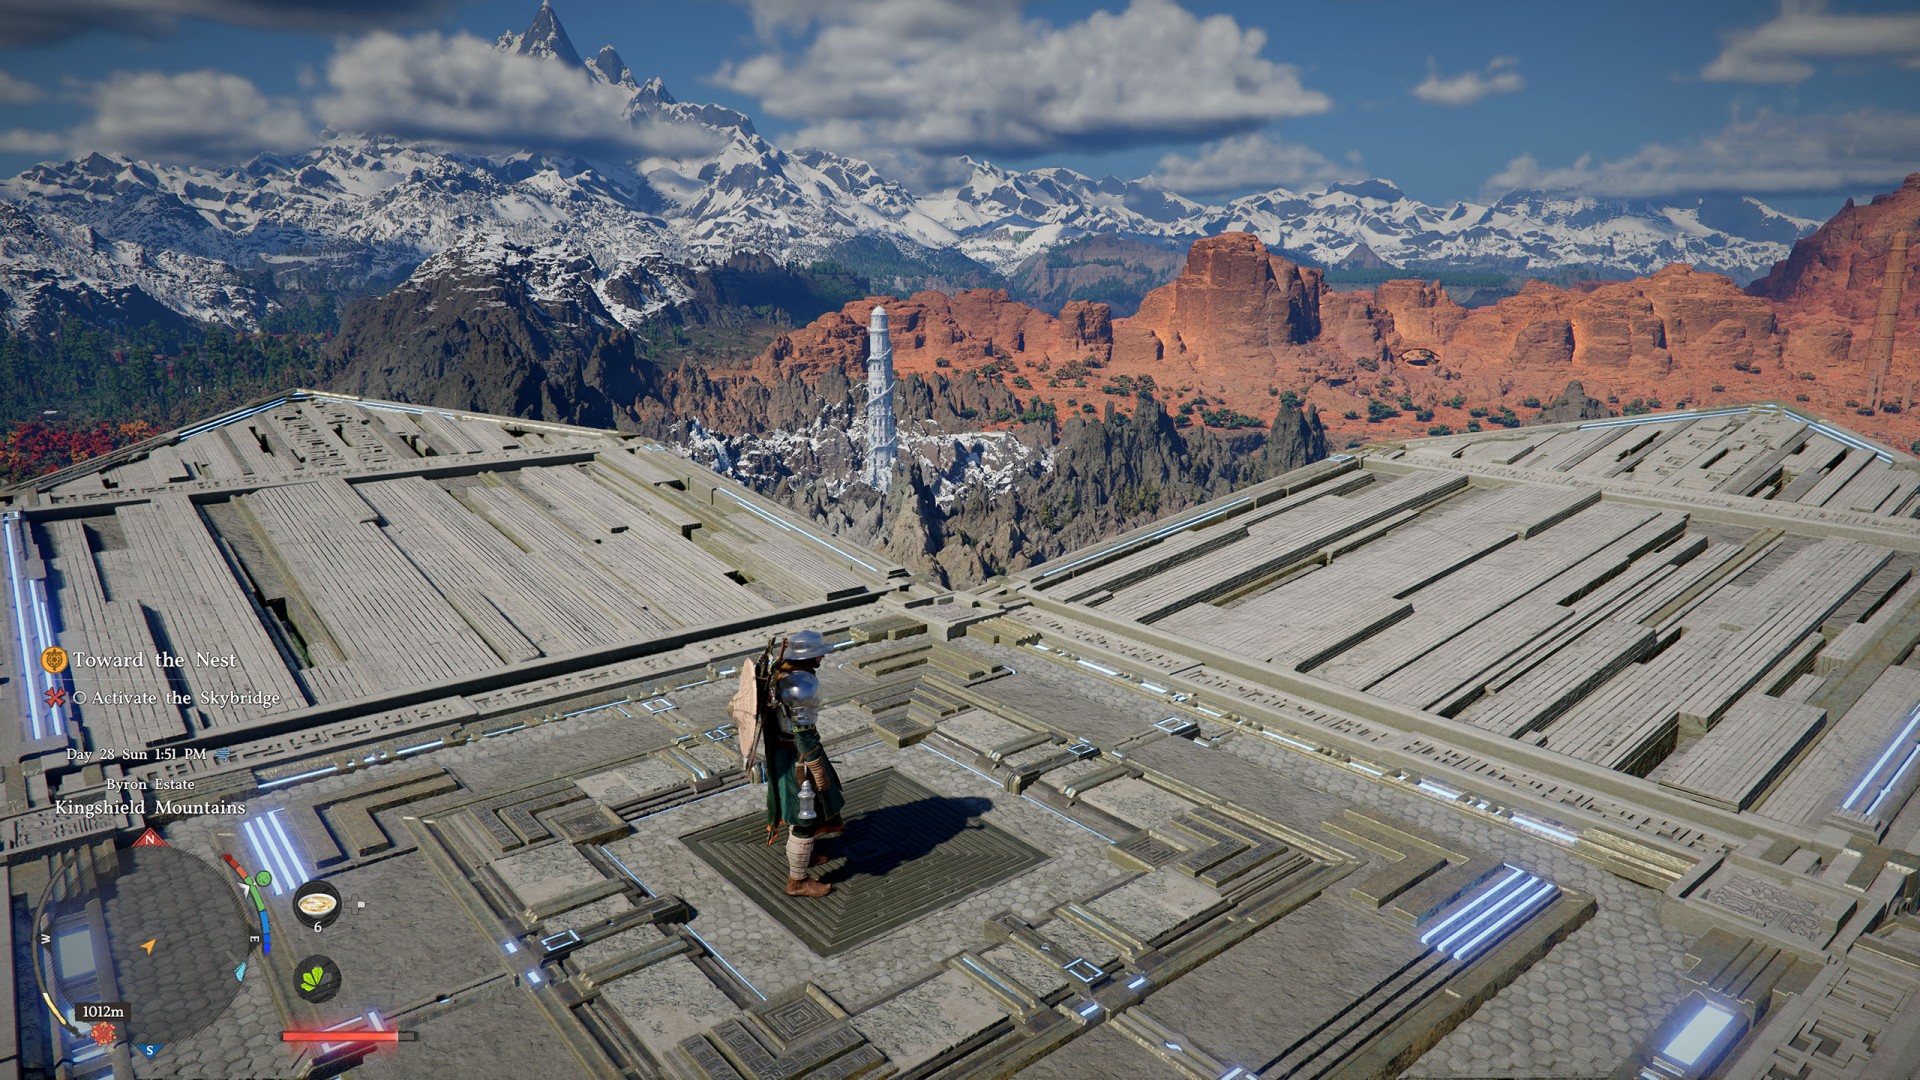
The platform will first carry you to the top of the tower, where the roof will open after a moment. All you have to do is simply stand on the platform and wait patiently - admiring the panorama of all of Pywel in the process.
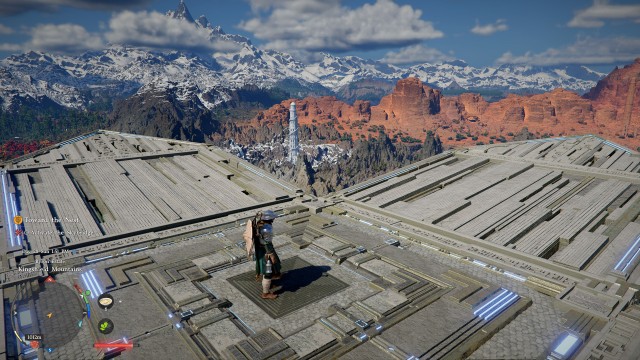
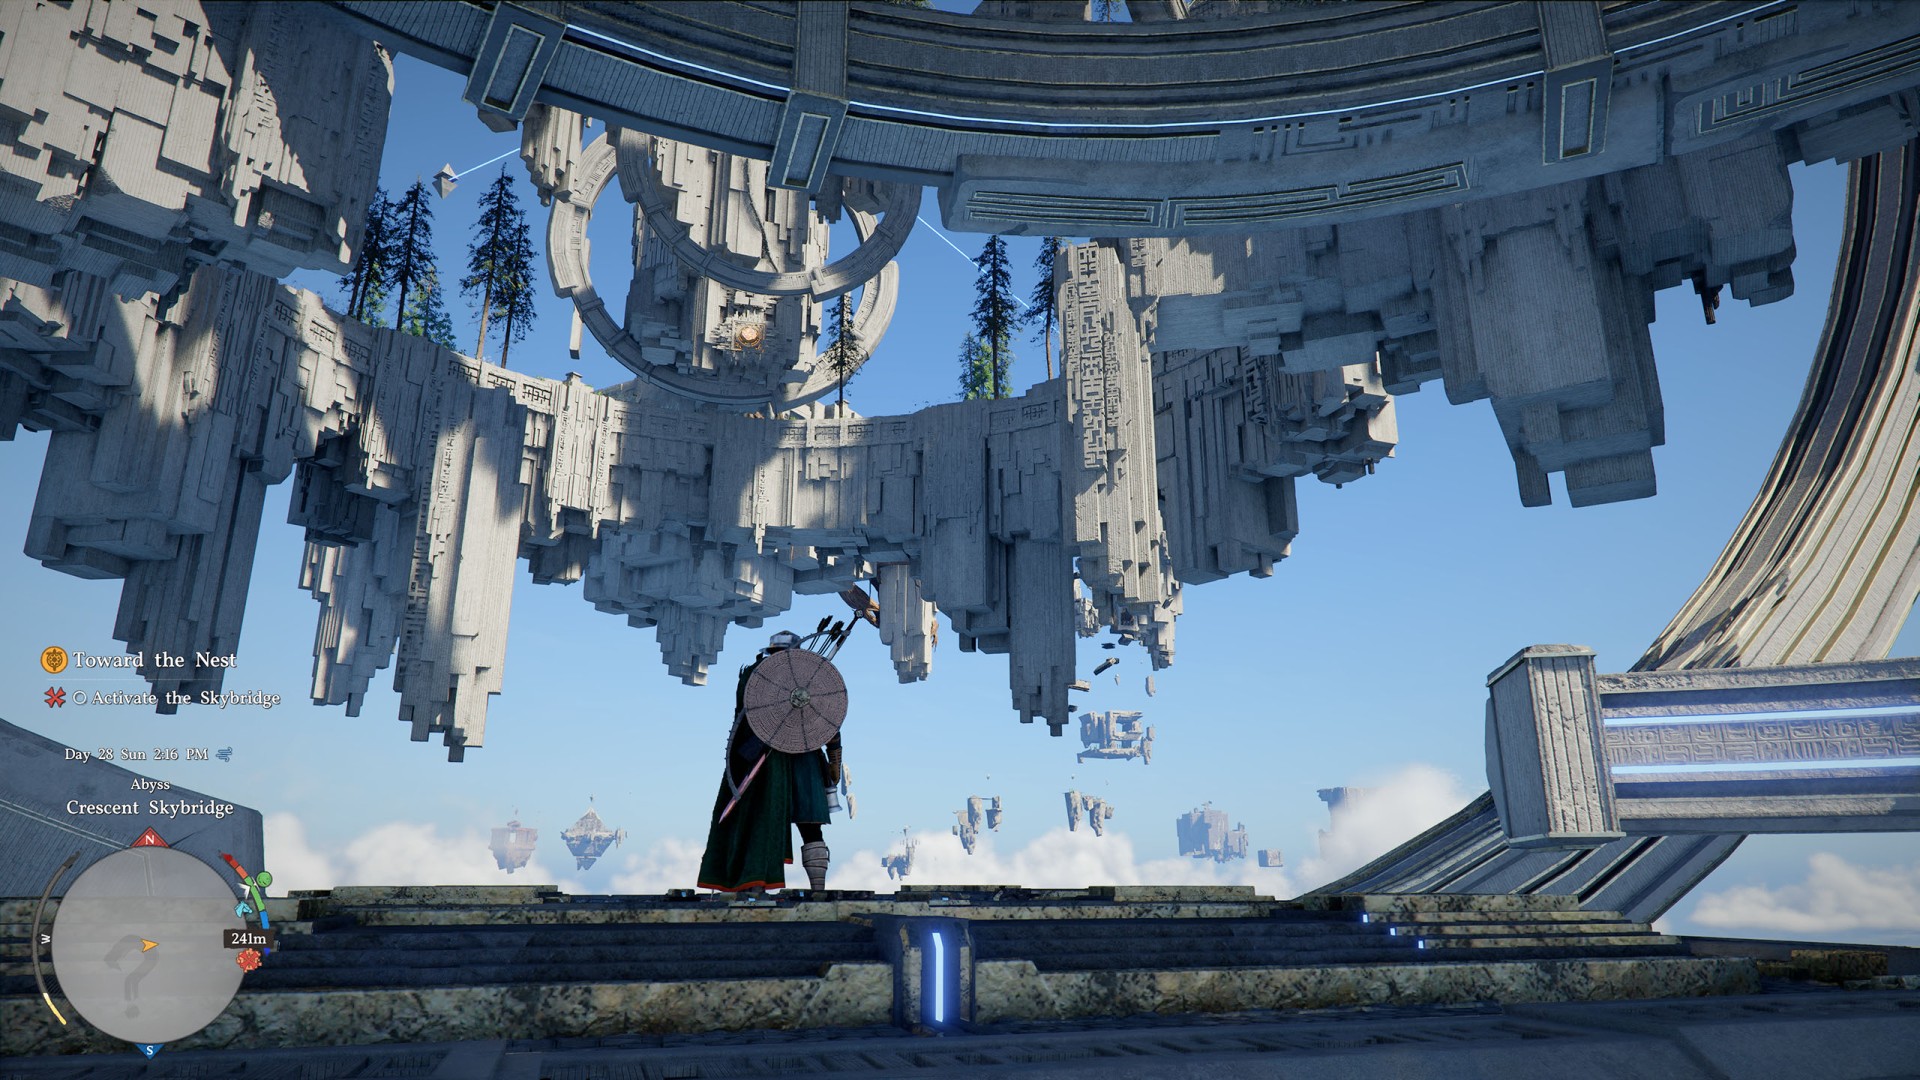
After a while, the platform will continue moving upward until it finally reaches the Abyss.
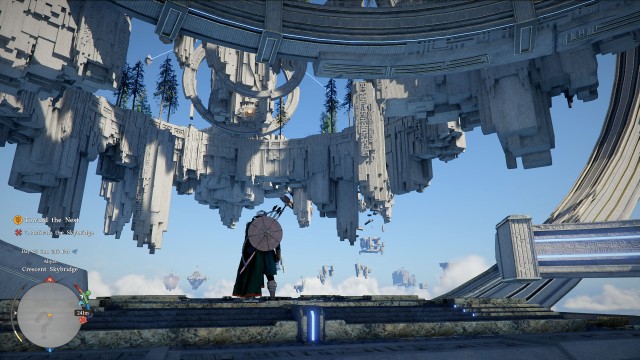
3. Activate the Skybridge
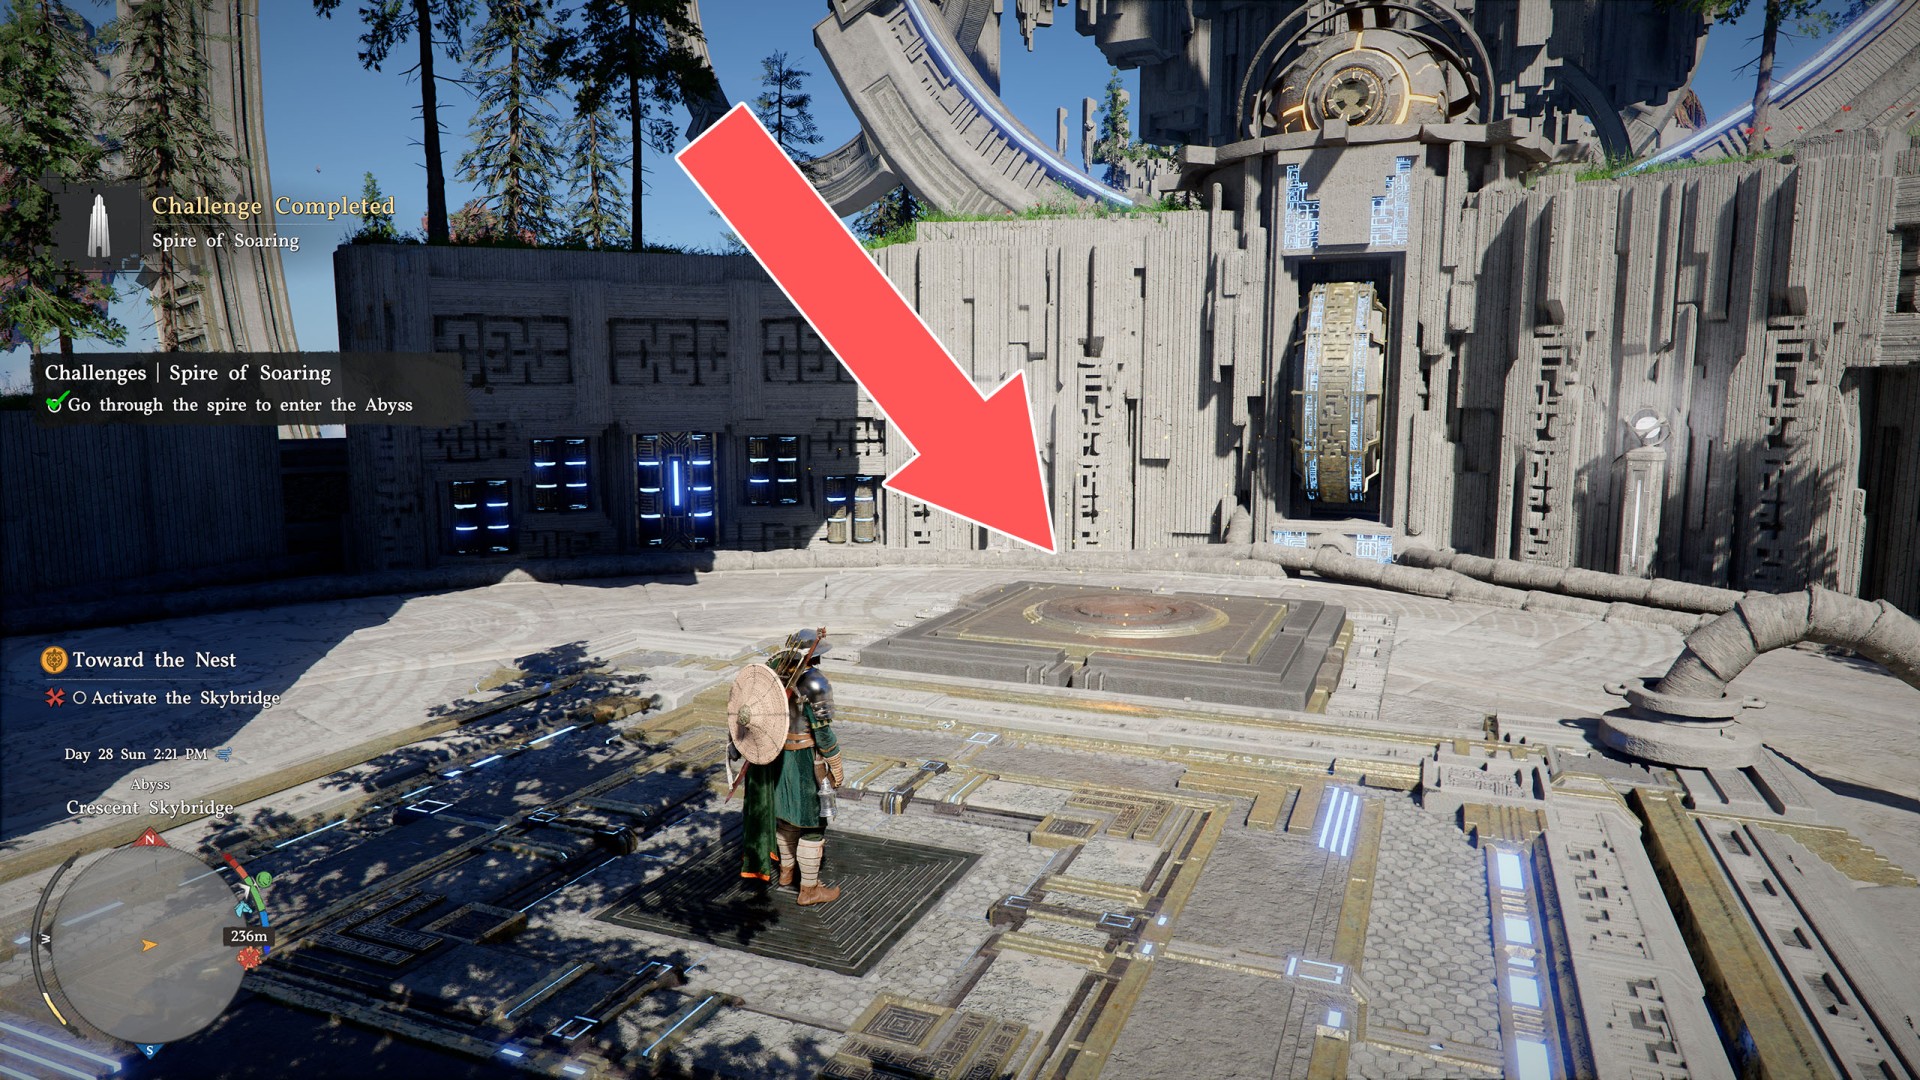
It's not required but start by activating the Abyss Nexus located directly in front of you. This will allow you to return here quickly if needed.
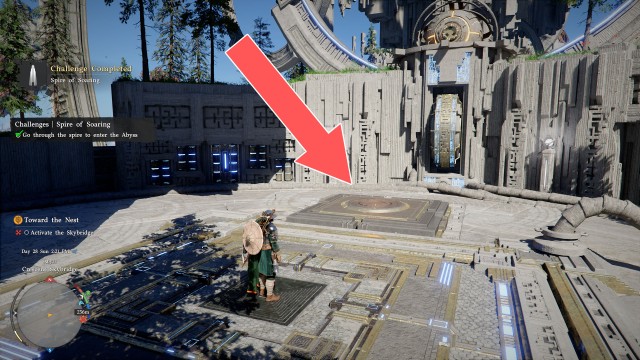
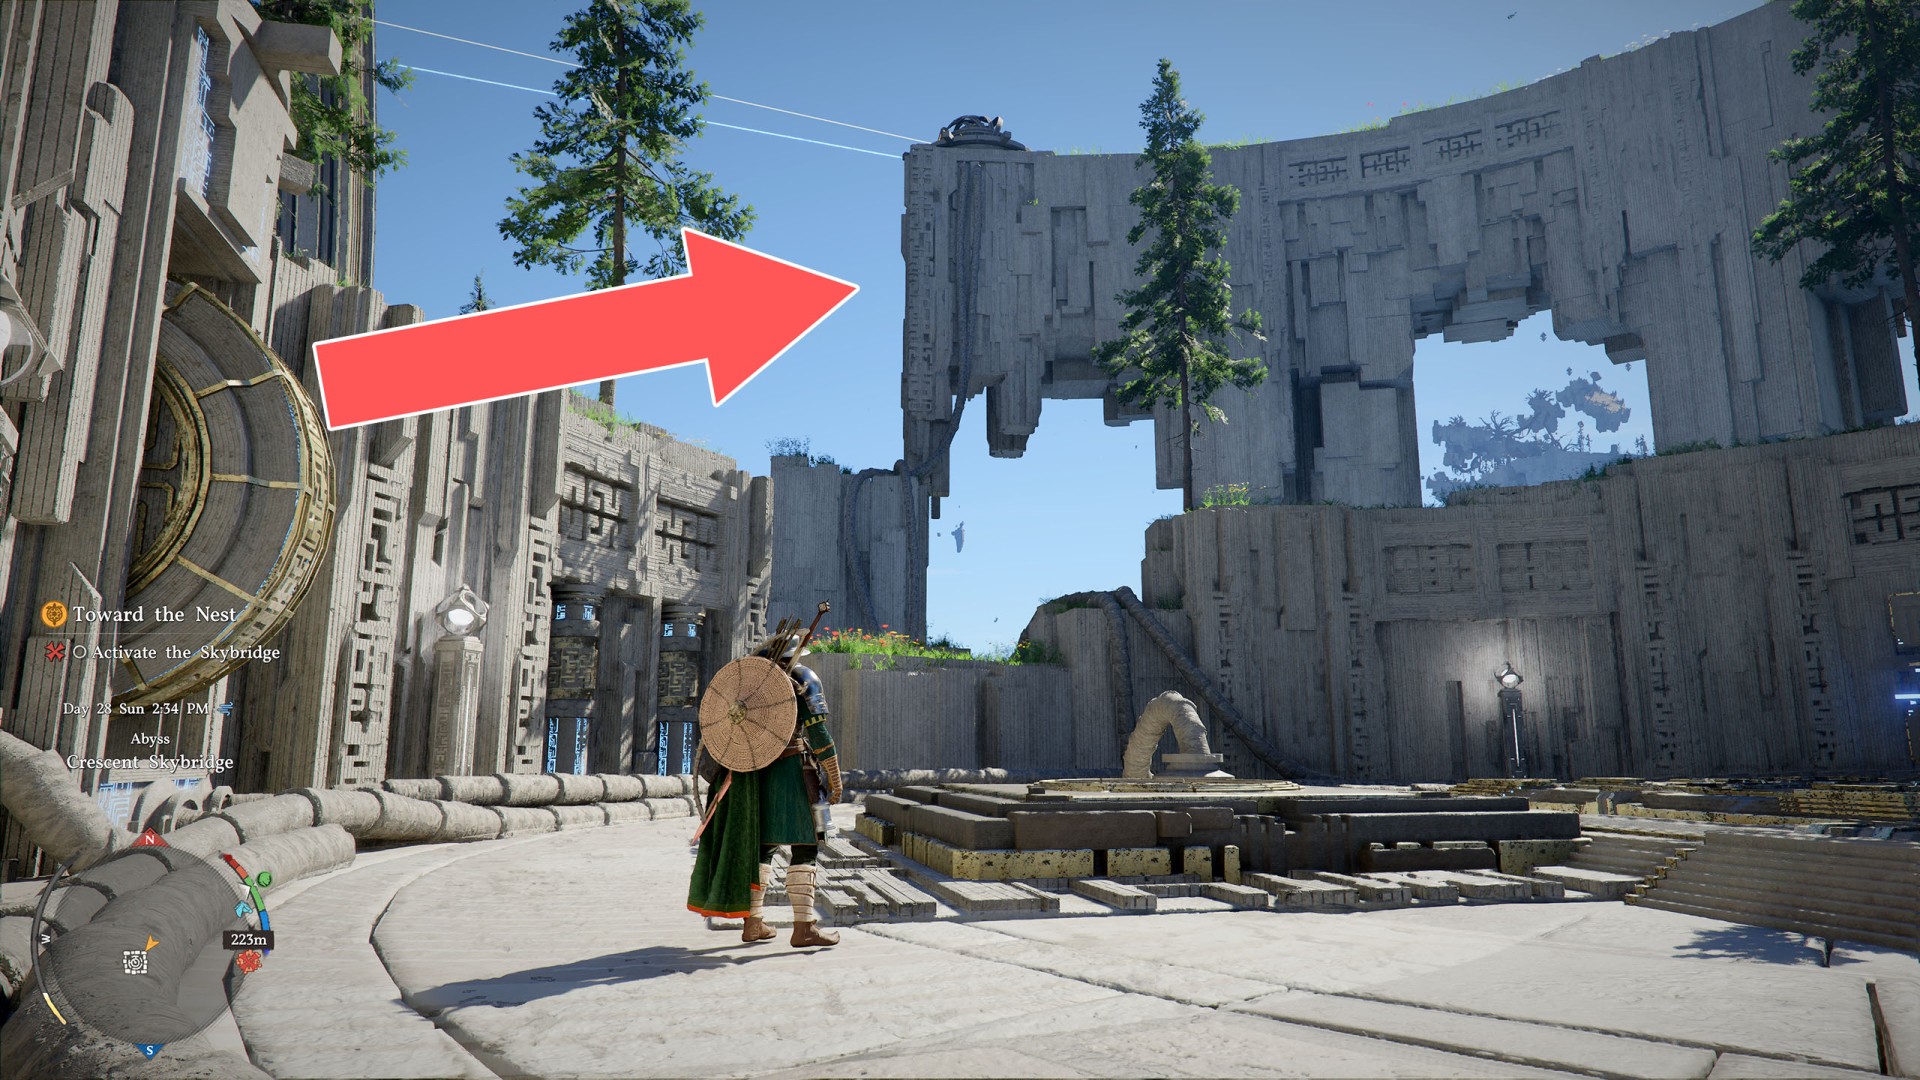
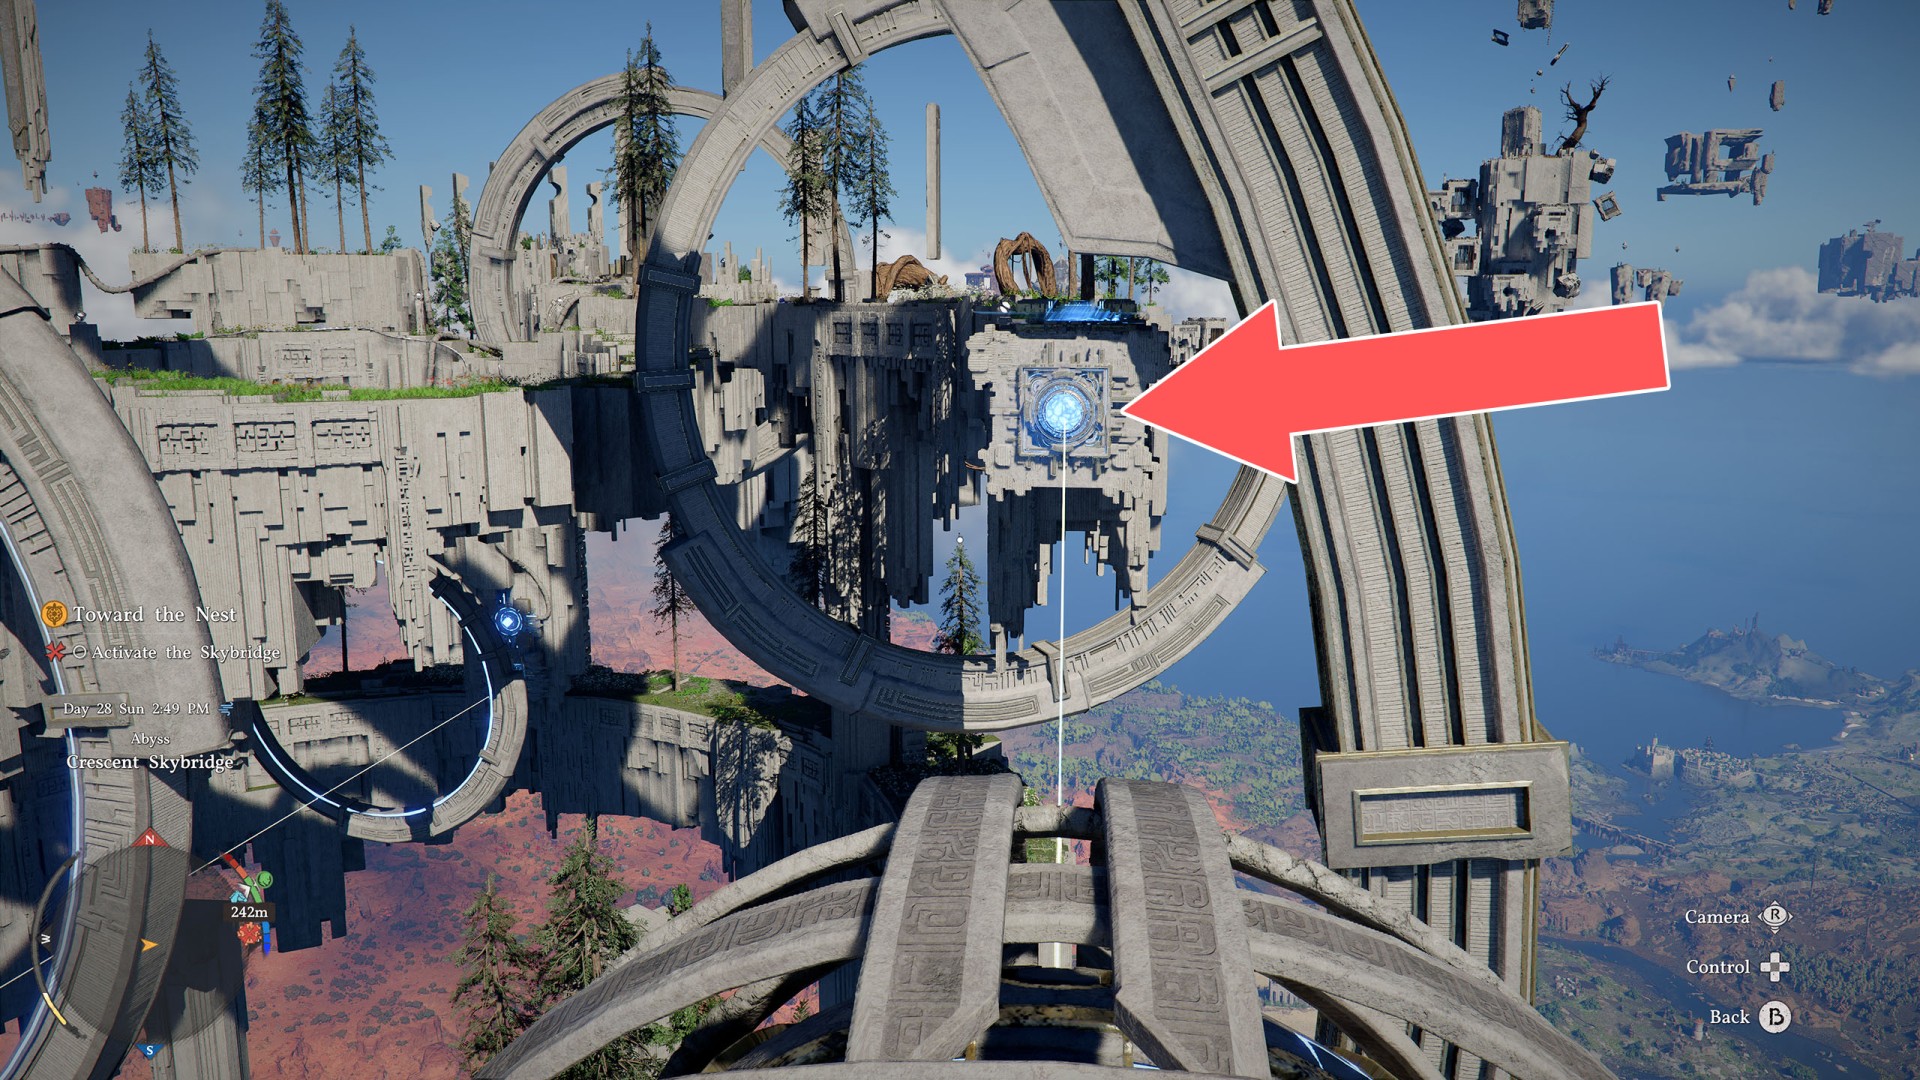
Next, look to the right. You need to reach the highest platform. If you don't have enough stamina to climb there normally, use the Force Palm triple jump (Jump & Force Palm x3) to get as high as possible, then grab the wall and climb the rest of the way.
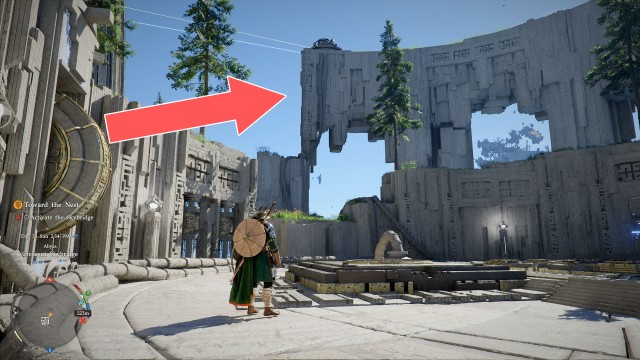
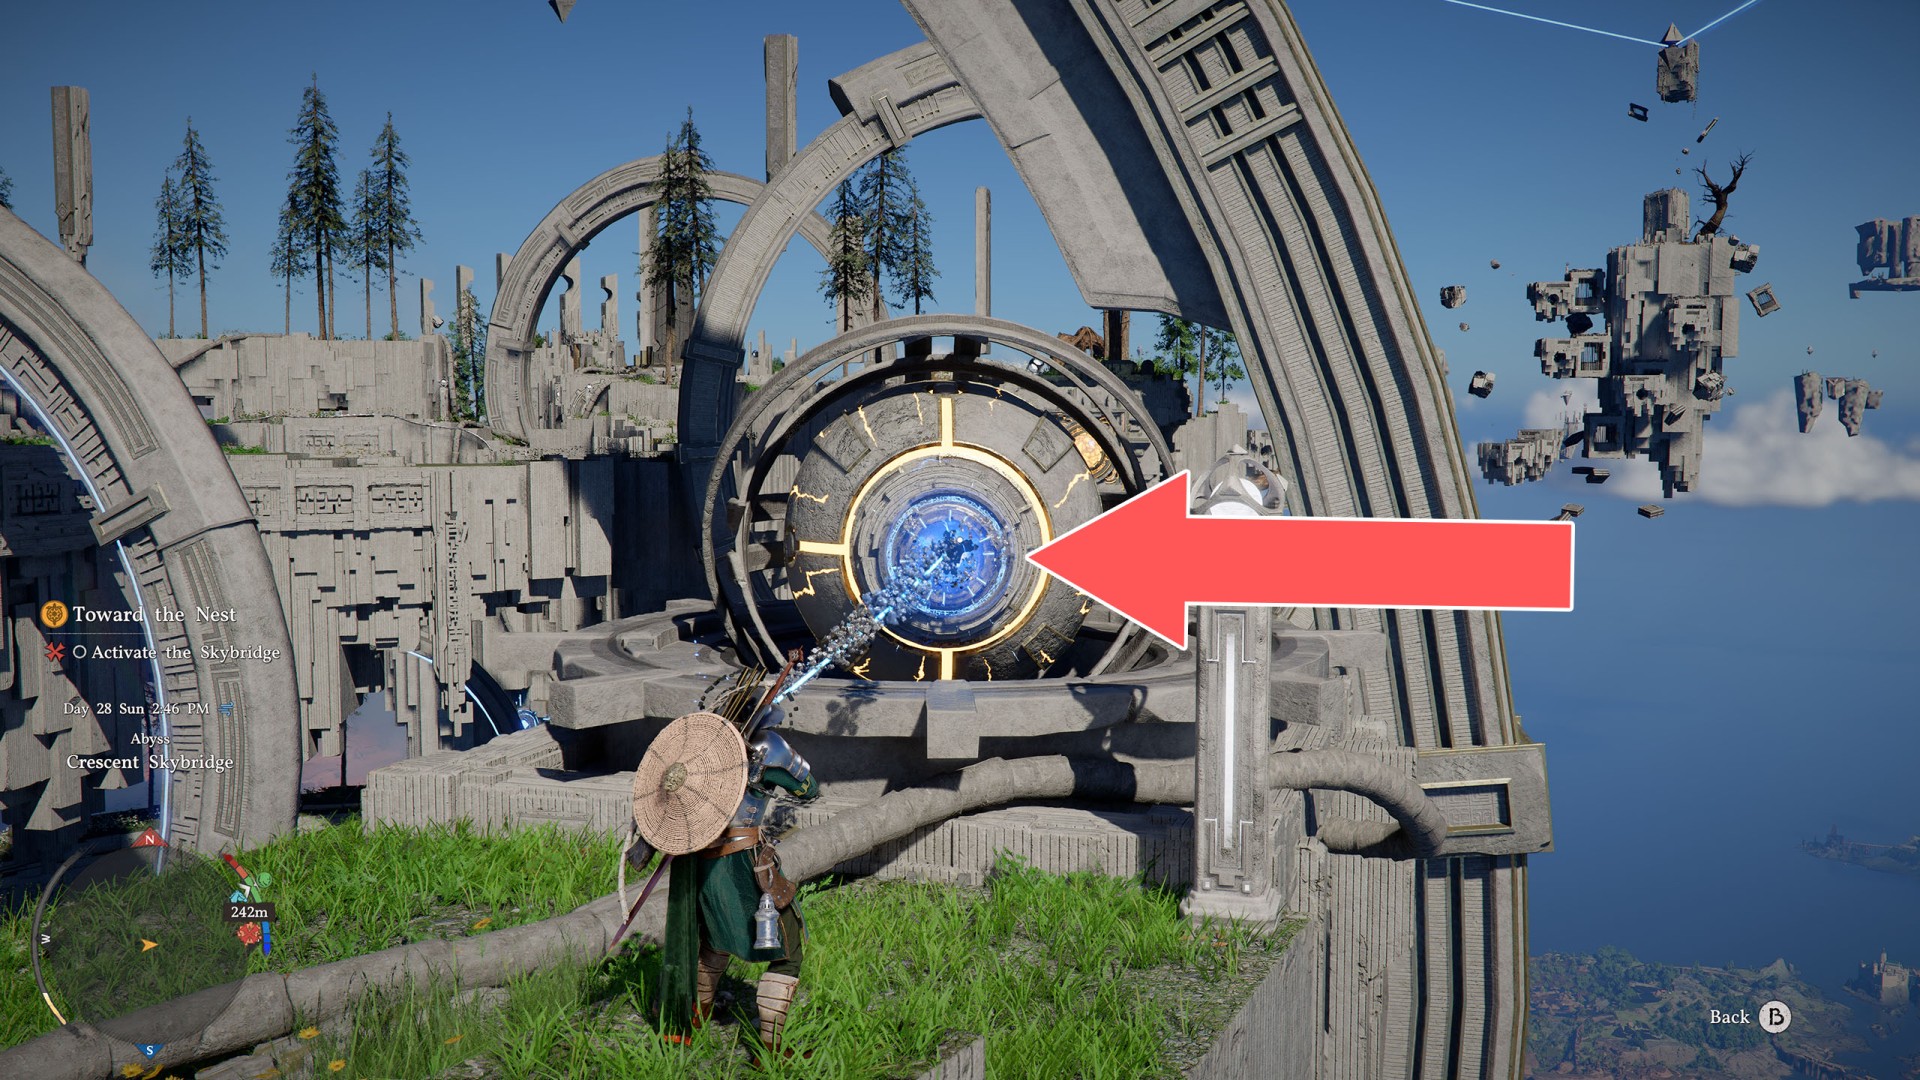
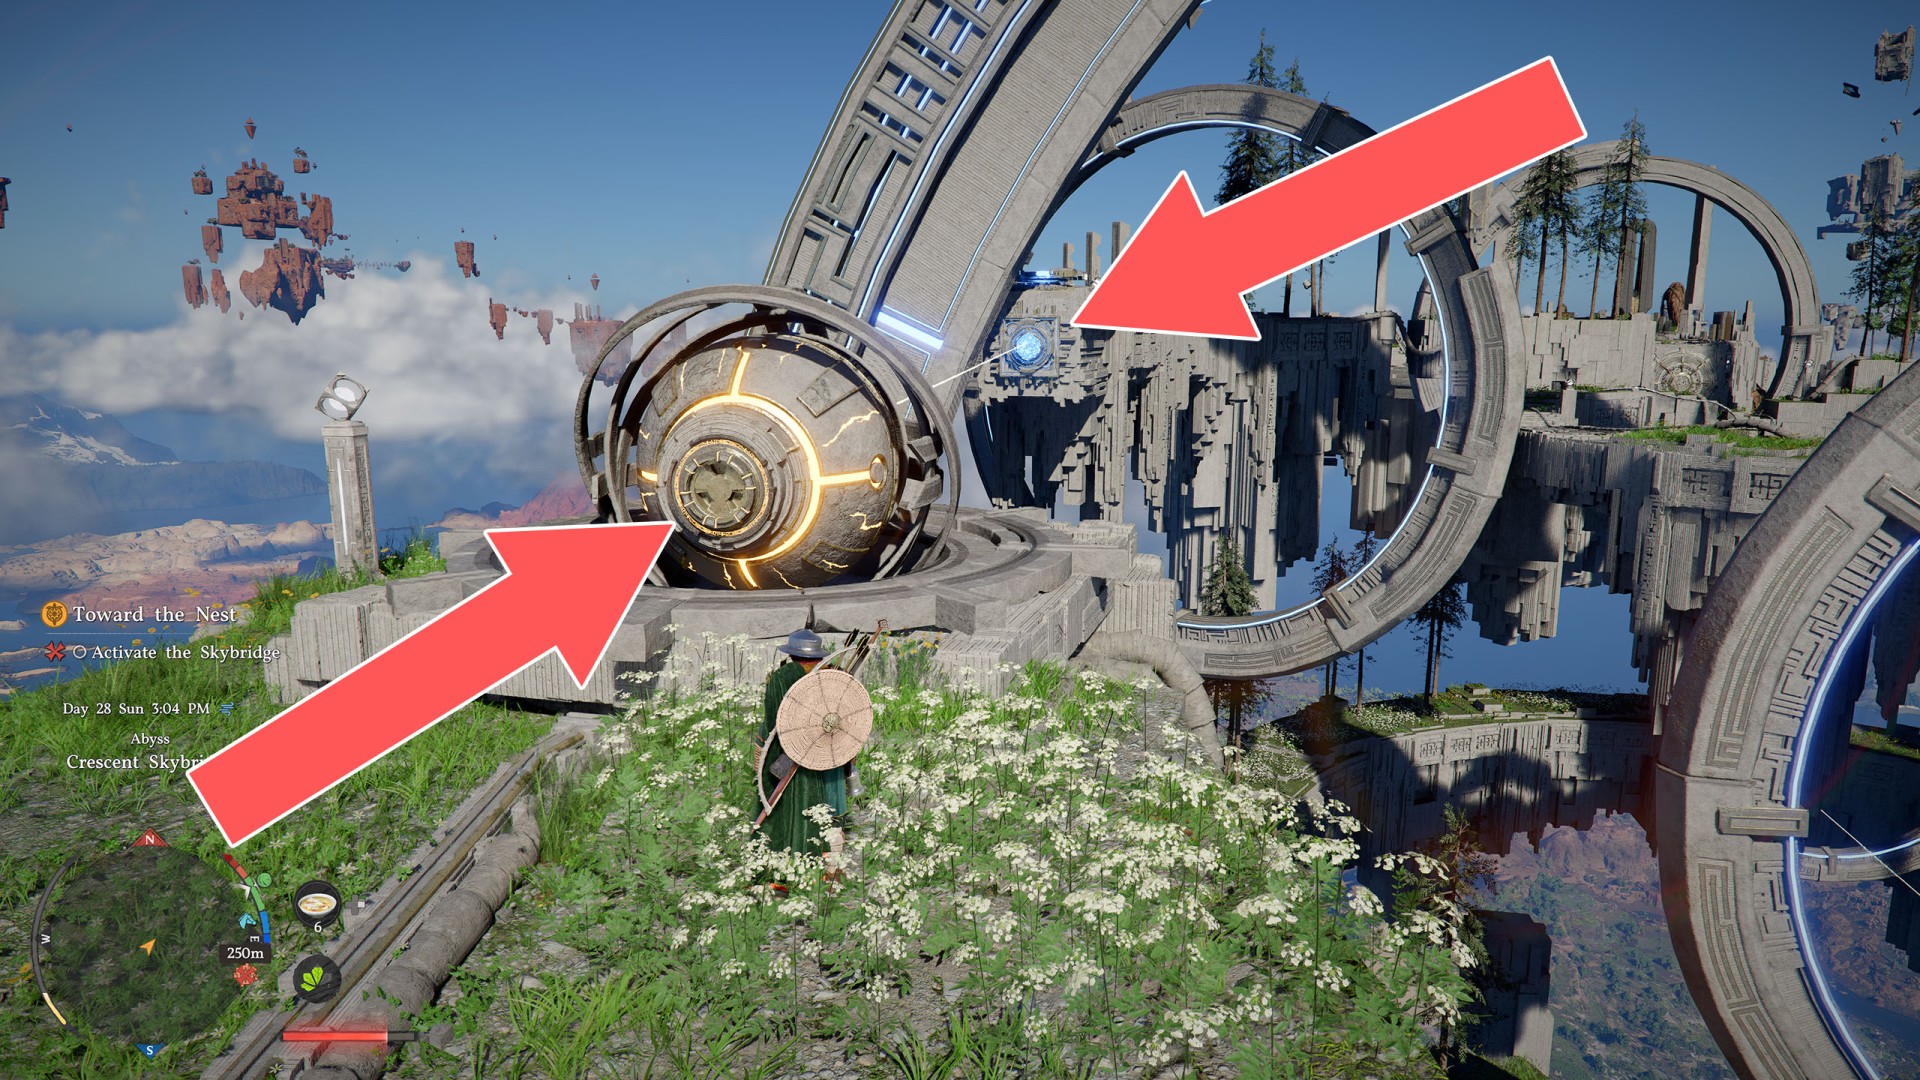
Once you reach the top, use Axiom Force to grab the orb-shaped beam generator and move it...
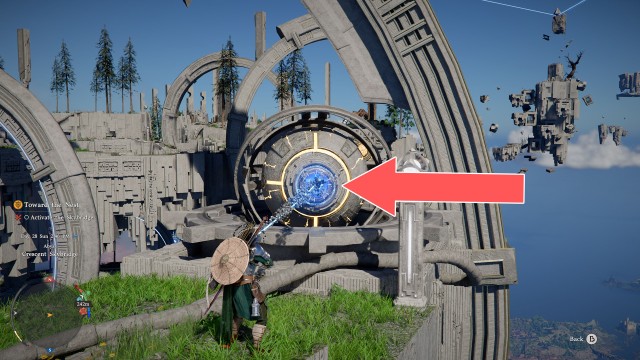
... so that the beam hits the opposite wall panel. It should then light up blue.
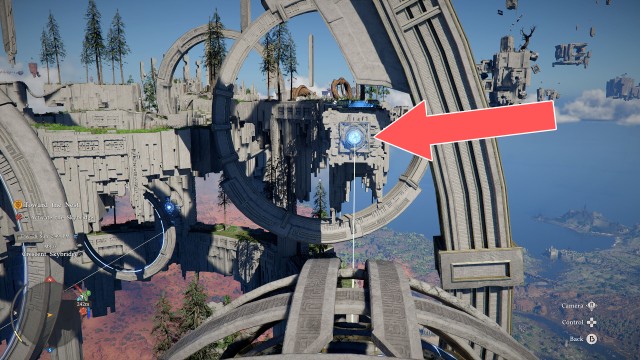
Do the same with the beam on the left side. As you move to the other side, watch out for the purple flowers on the path - they deal significant damage - so simply avoid them.
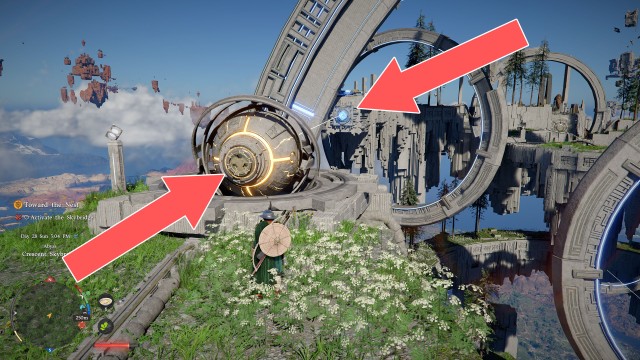
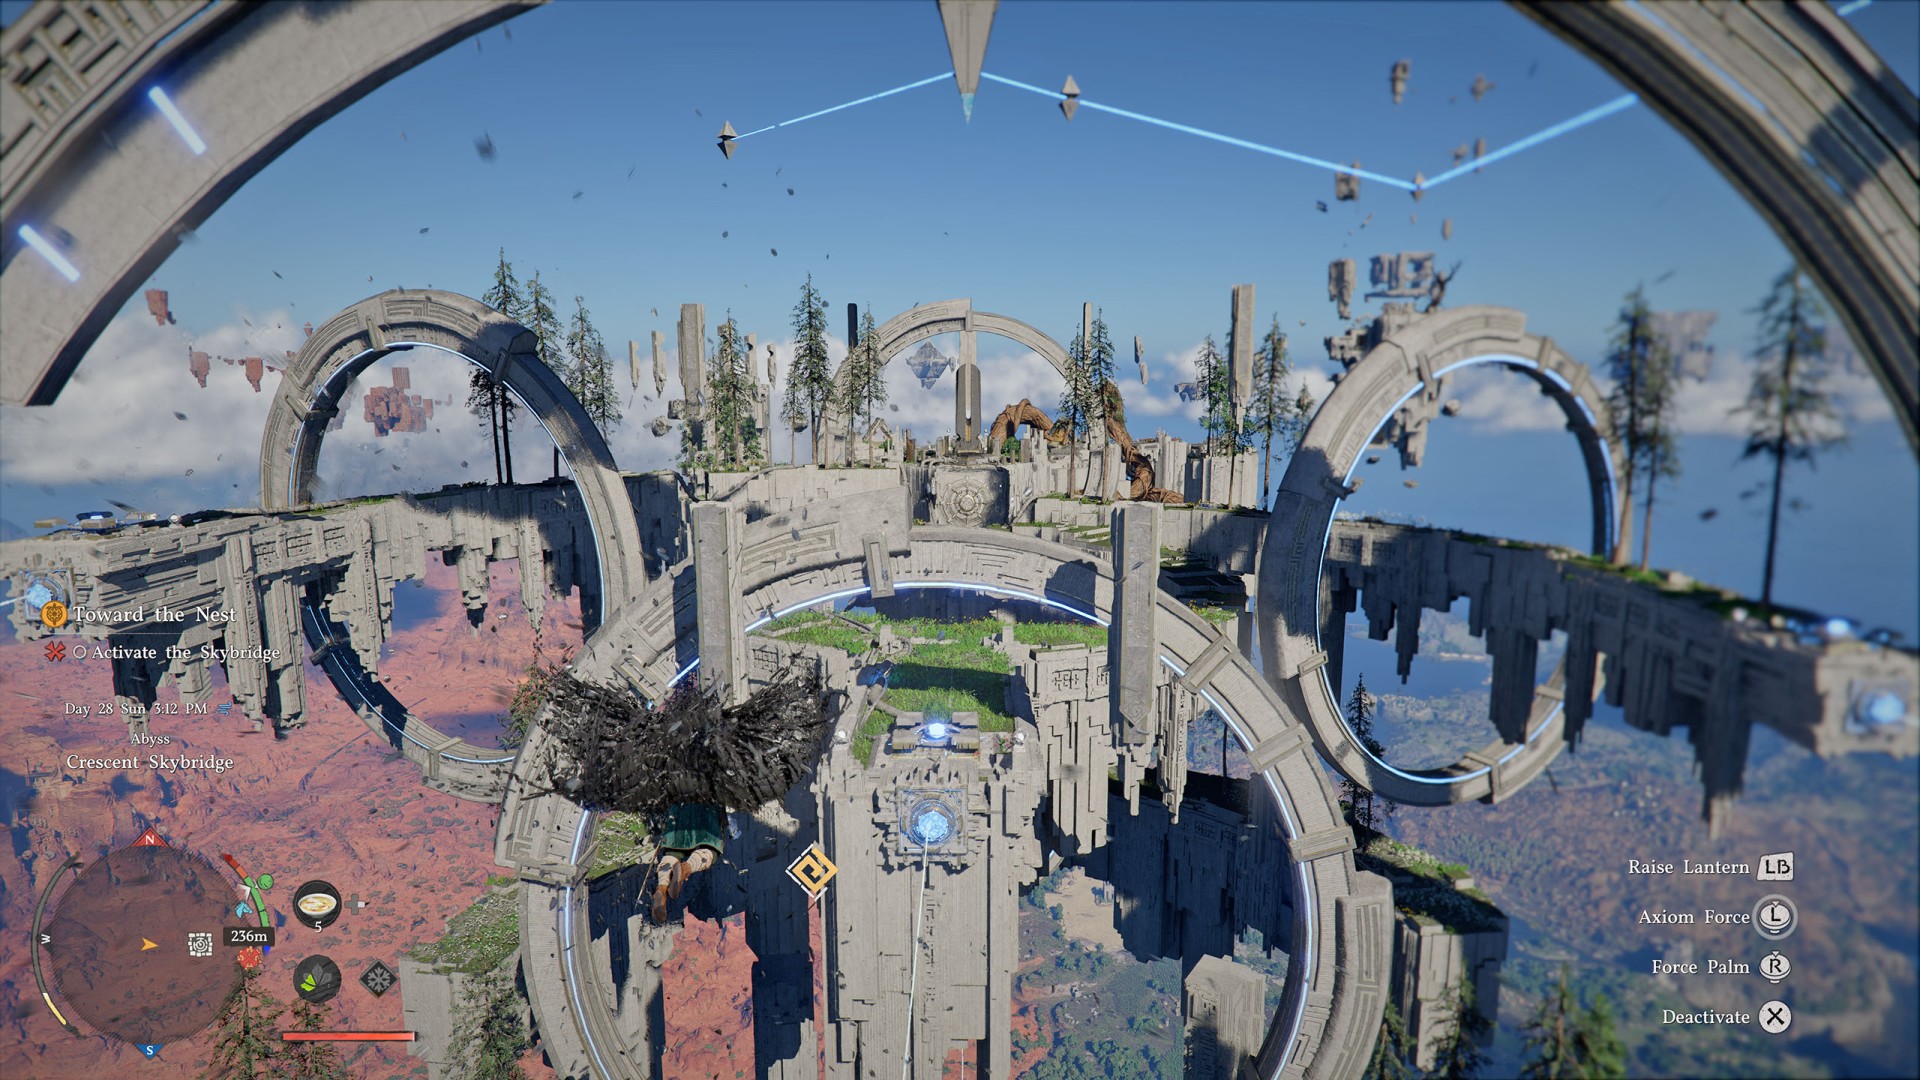
Once both beams - assuming you haven't moved the others - are properly aligned, the large ring will begin to move, signaling that you can proceed to the next stage. Approach the generator in the center, climb onto it, use the Force Palm triple jump to get up and then glide through the center of the ring to the platform in front of you / on the other side.
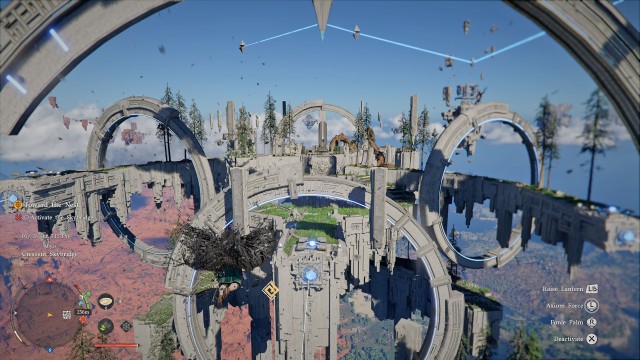
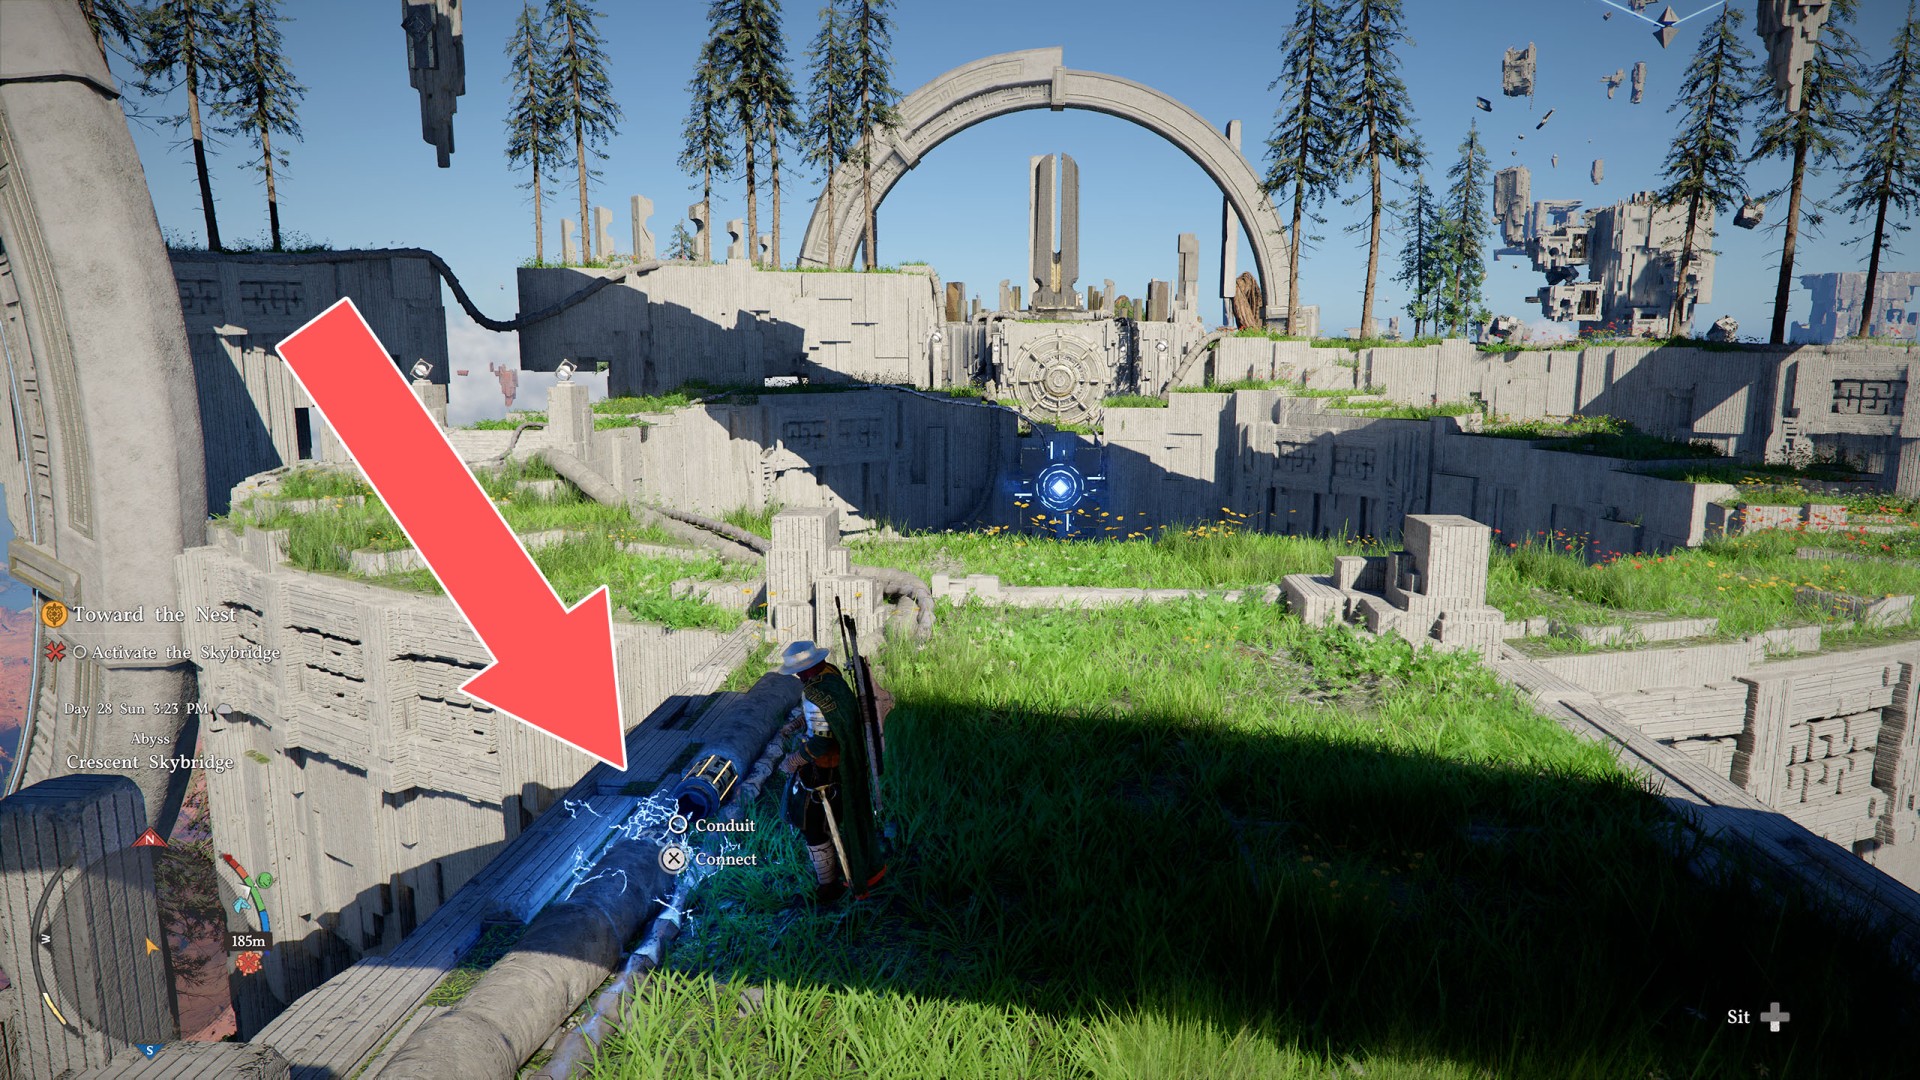
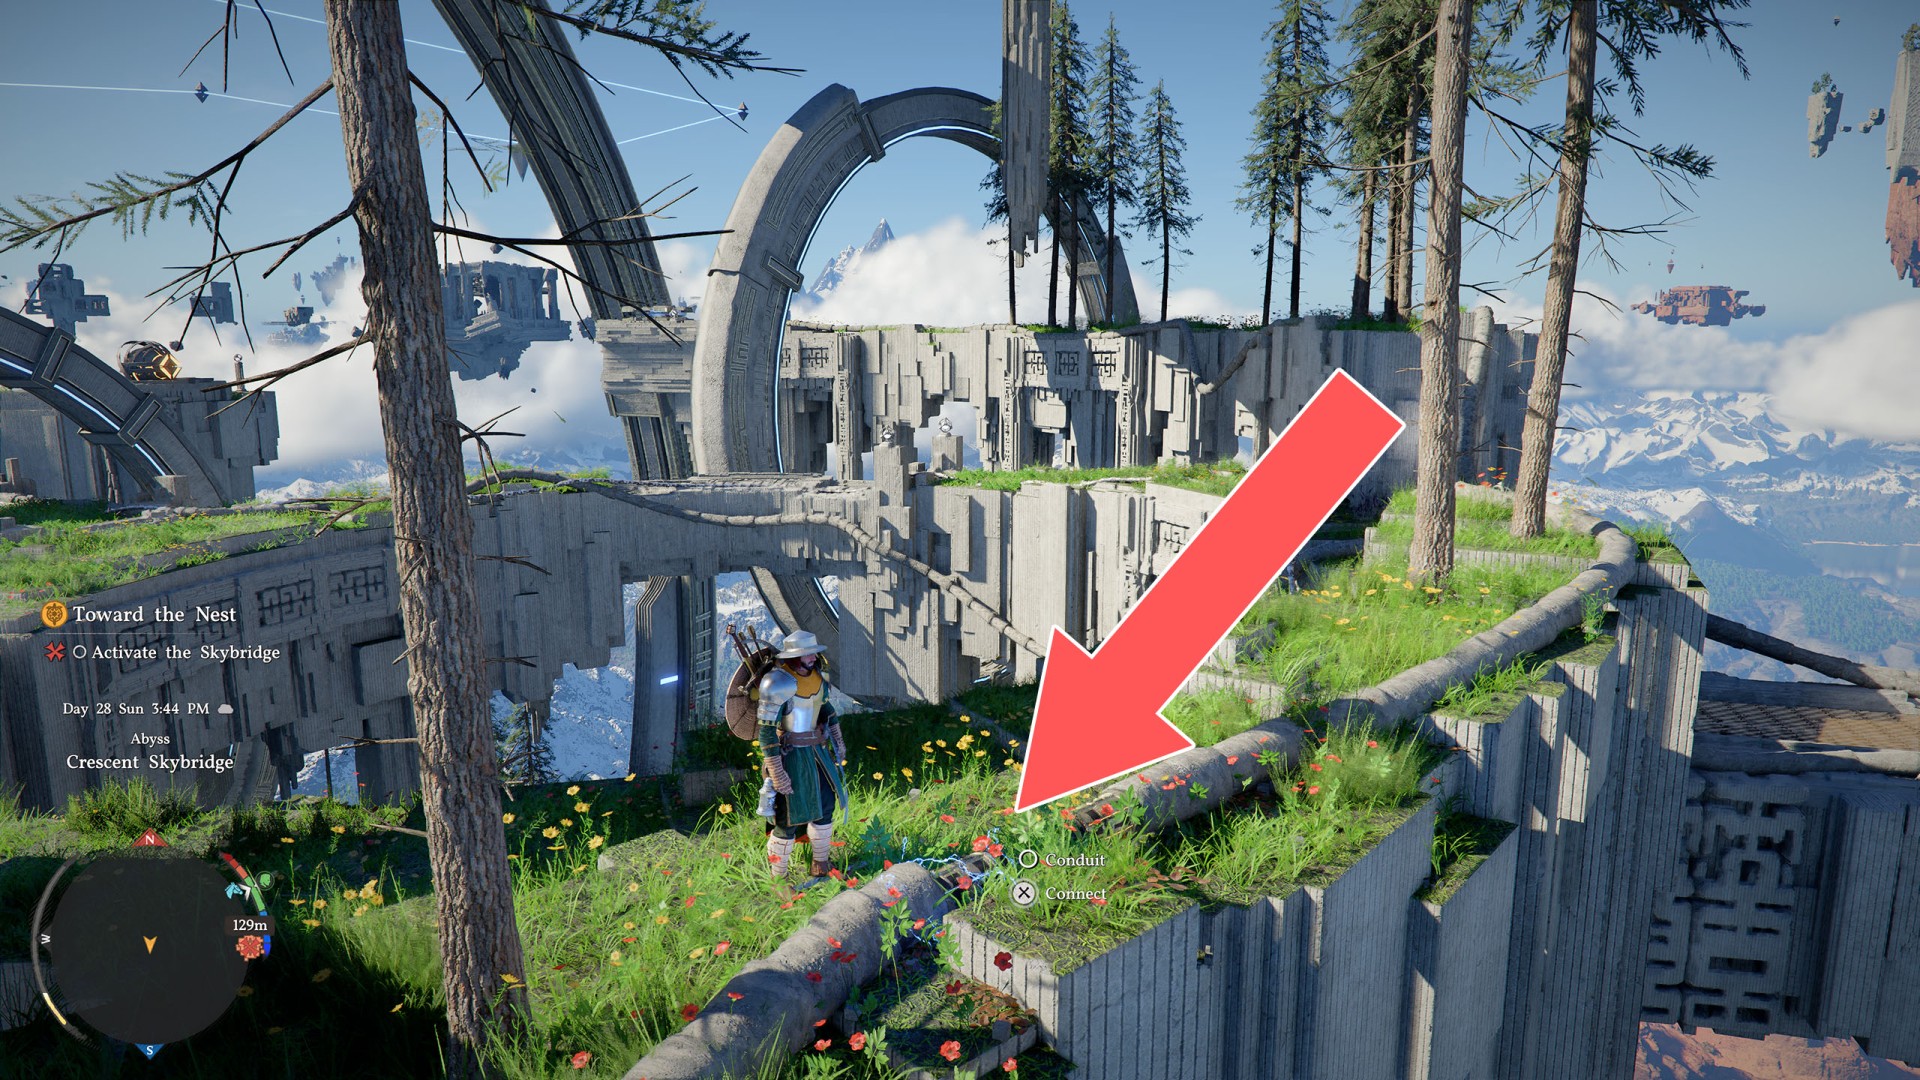
After moving to the other side, you must now repair the energy cable in two places. The first spot is on the left, just a few steps ahead of you.
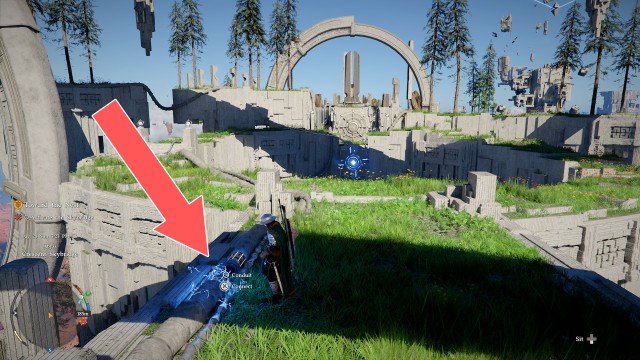
The second spot is a little further on, to the right. Once it's done, a cutscene will trigger in which the circular wall panel at the end is activated.
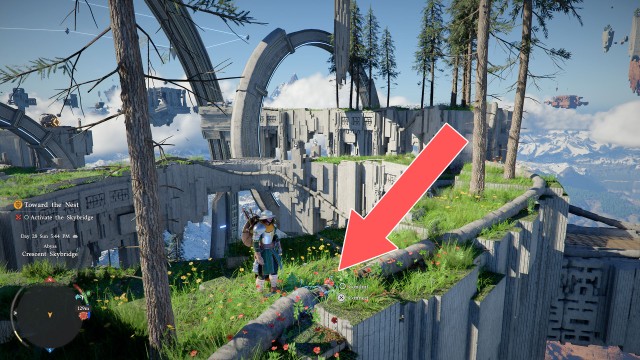
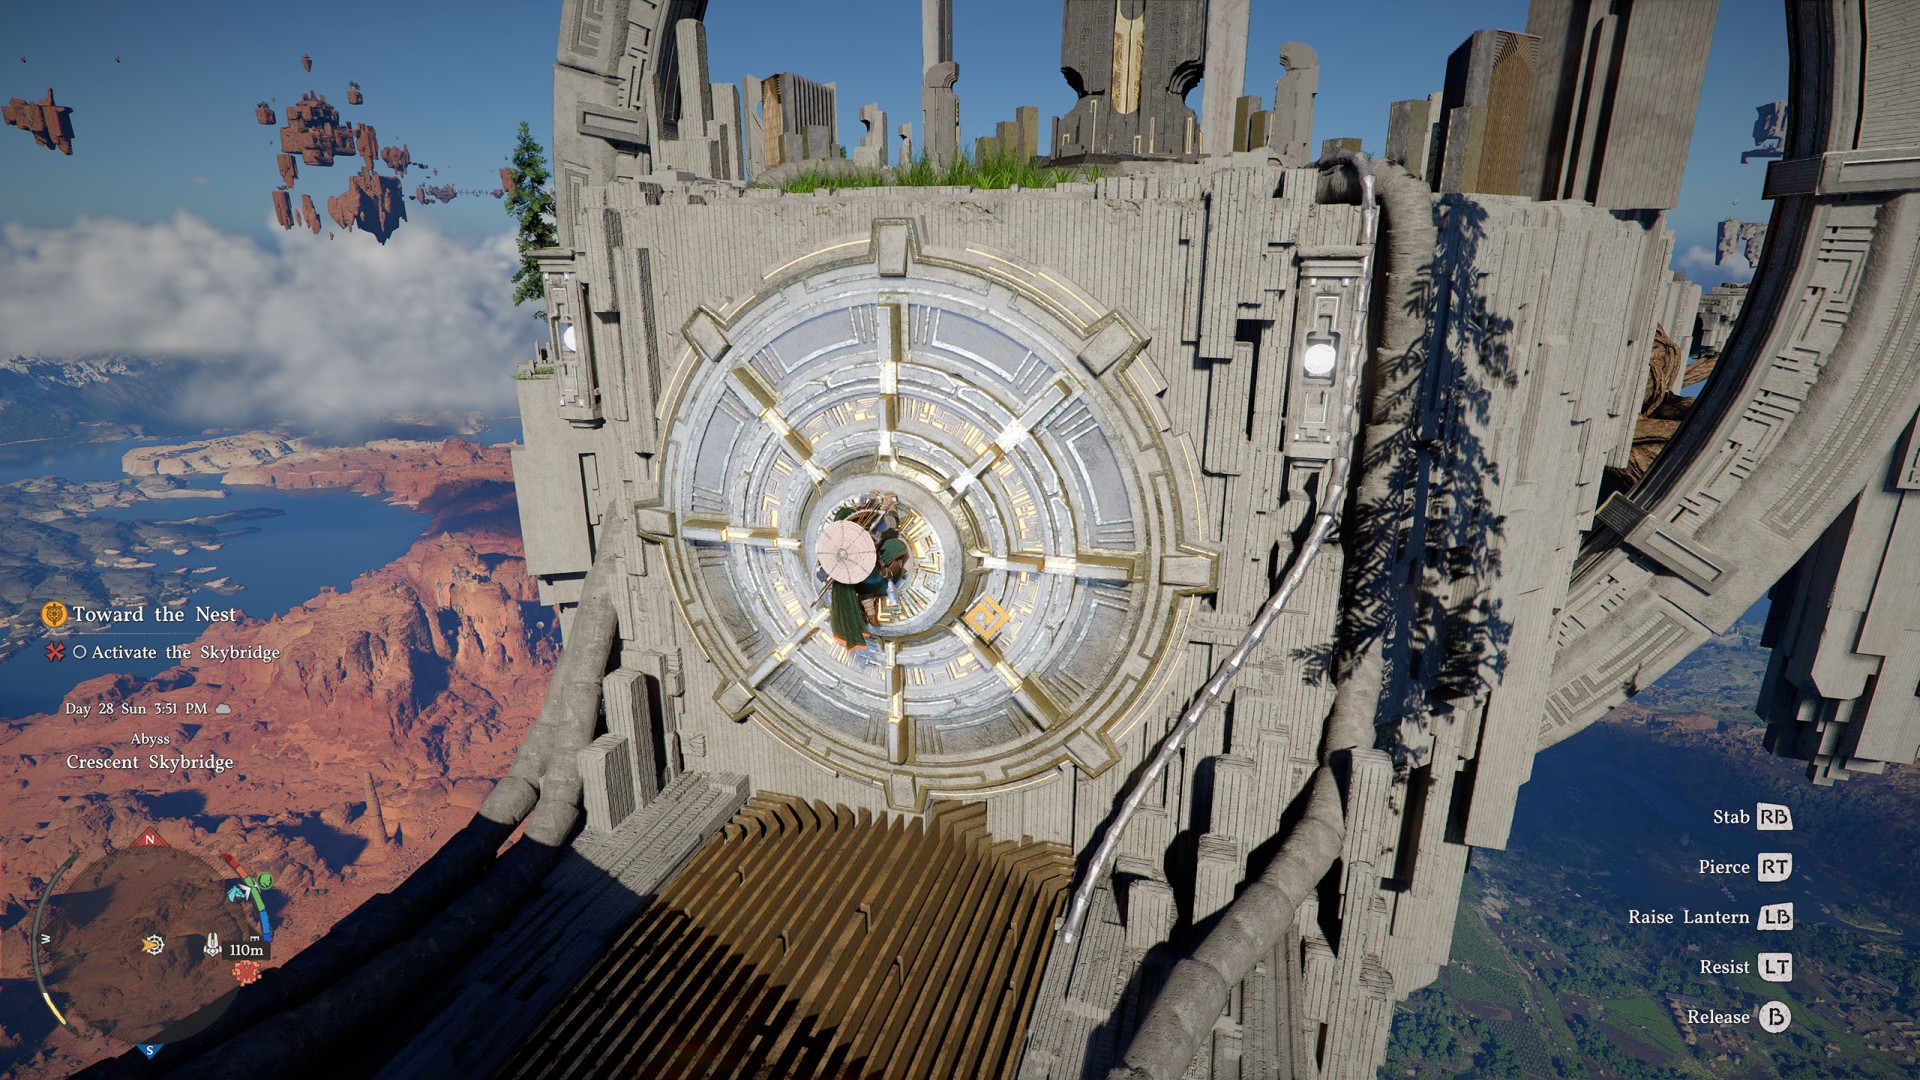
Climb onto that large circular panel, hang from its center, and hit it with the Force Palm. It will restore this part of the Abyss.
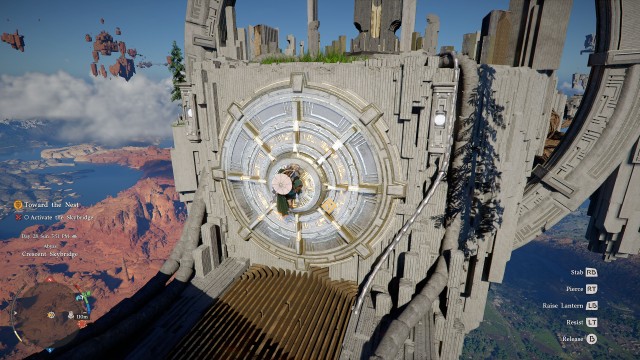
Climb up the wall panel - you will receive the Abyss Artifact - and head toward the right skybridge gate. Step through it.
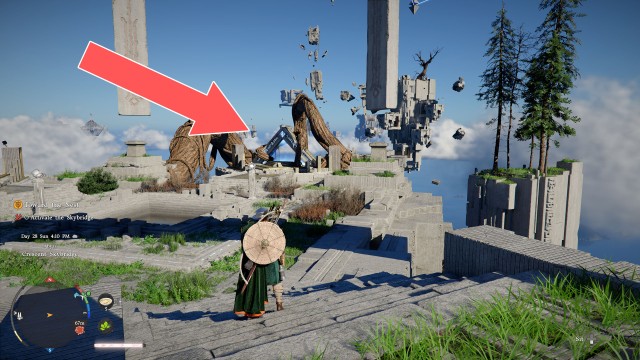
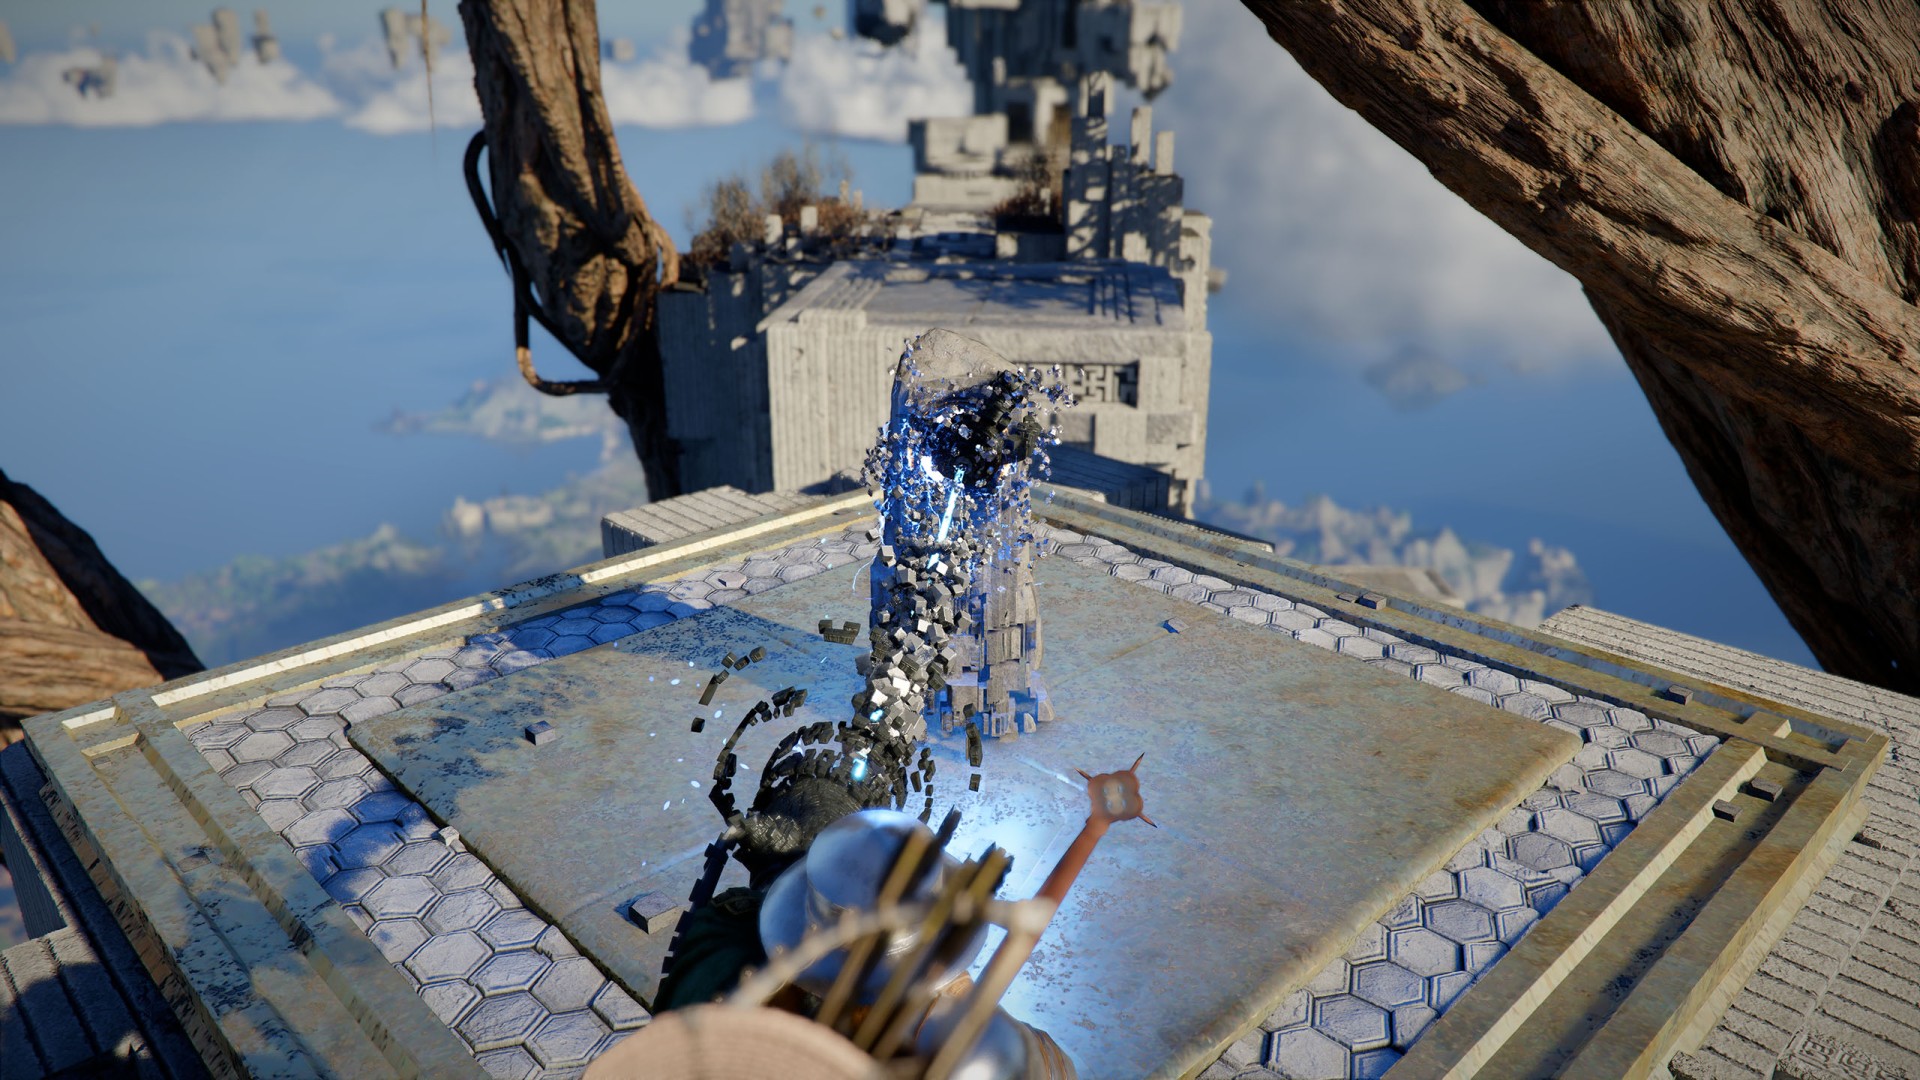
Use the Axiom Force on the pillar and rotate it until the skybridge is activated.
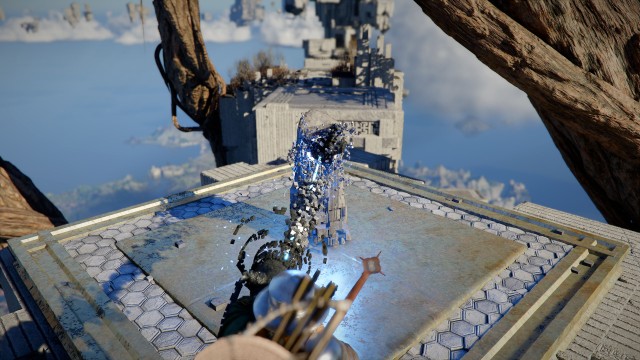
4. Go to the final battleground
Move forward, step onto the large fans, spread your wings, and let the airflow lift you as high as possible. Glide forward.
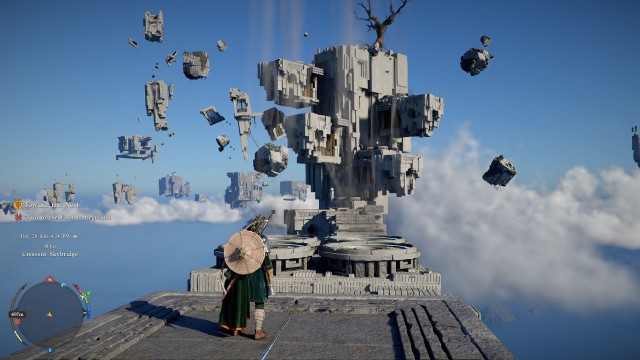
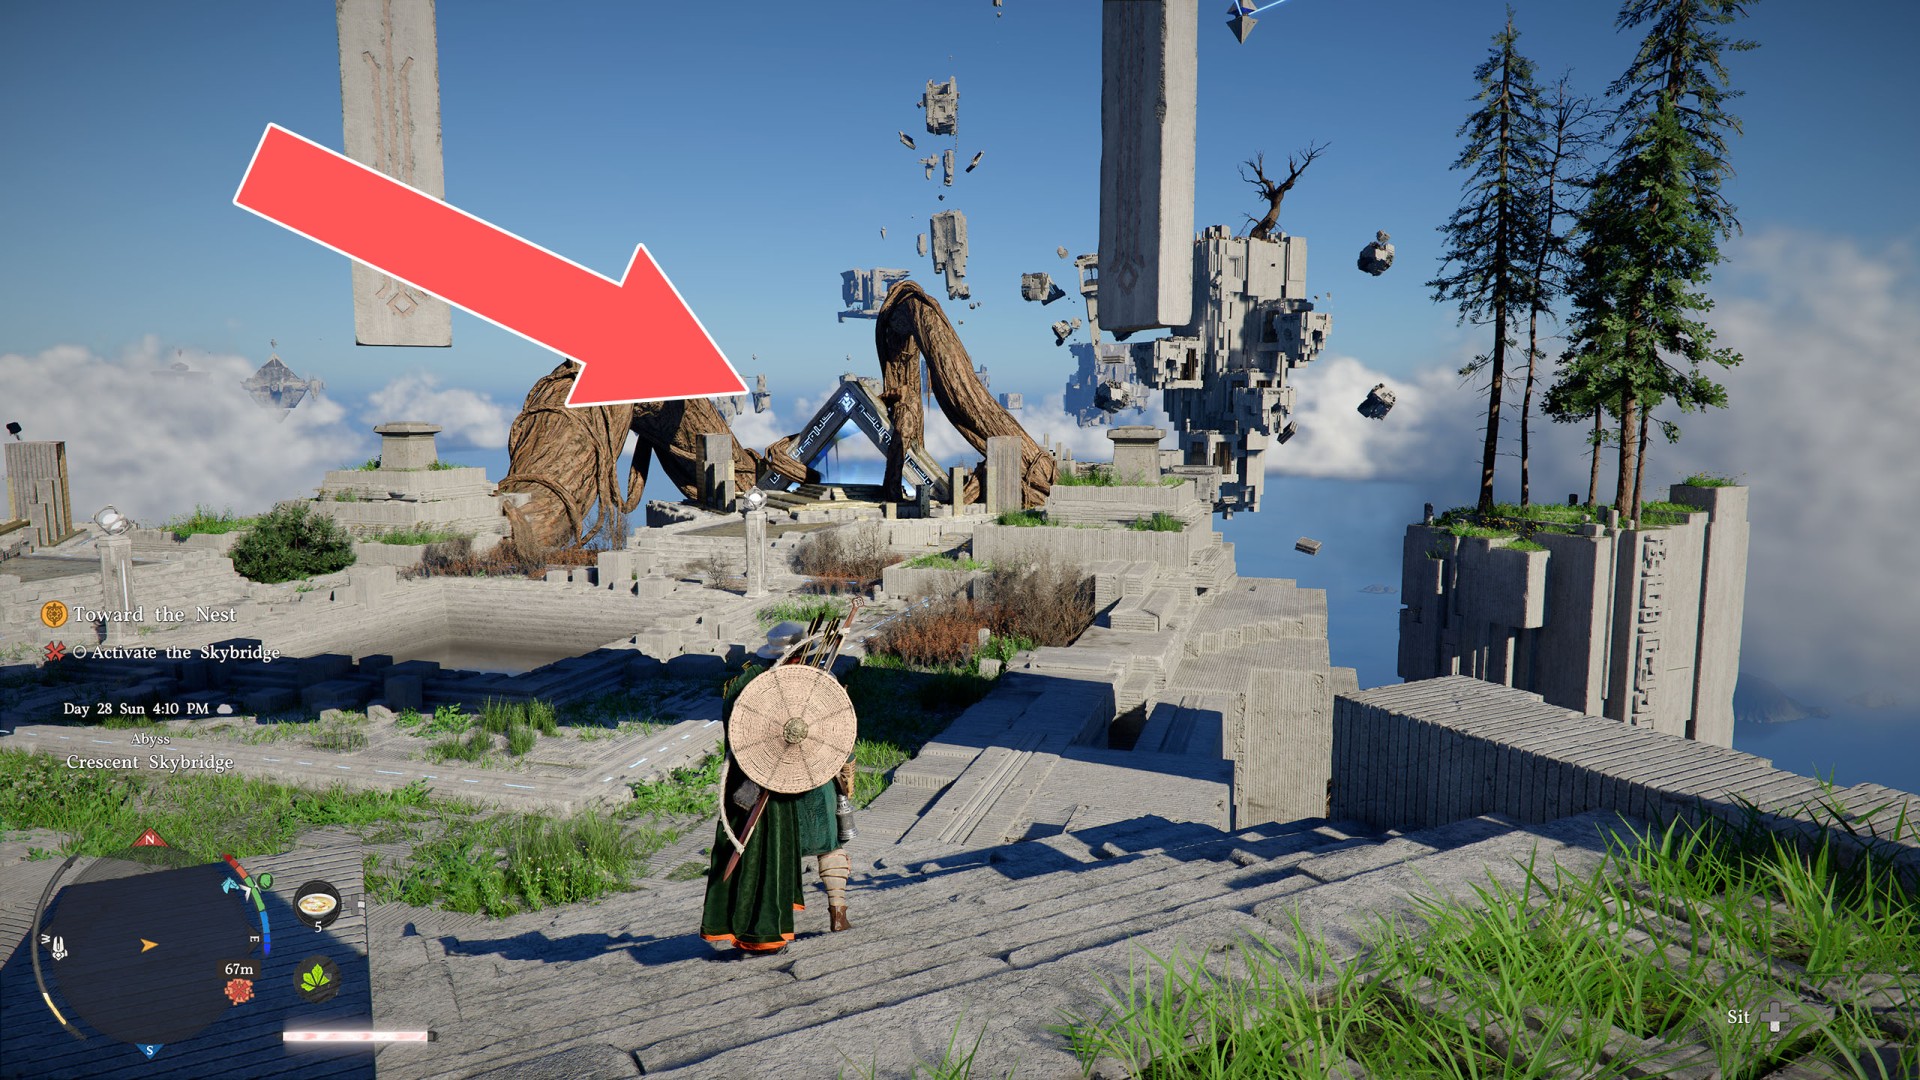
Reach the top of the platform by using the air currents generated by the fans or by climbing. There, you will find a teleporter that will transport you to another part of the Abyss - to the island where the confrontation with the Crowcaller will take place.
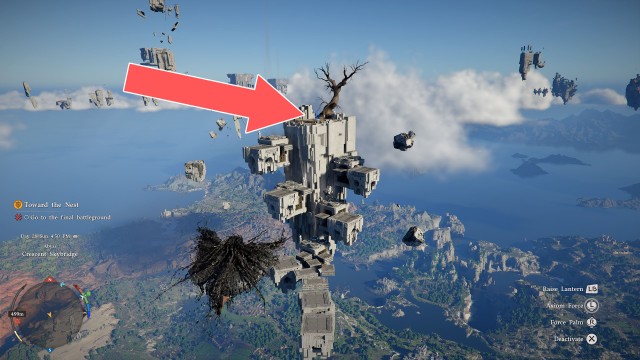
5. Defeat Crowcaller
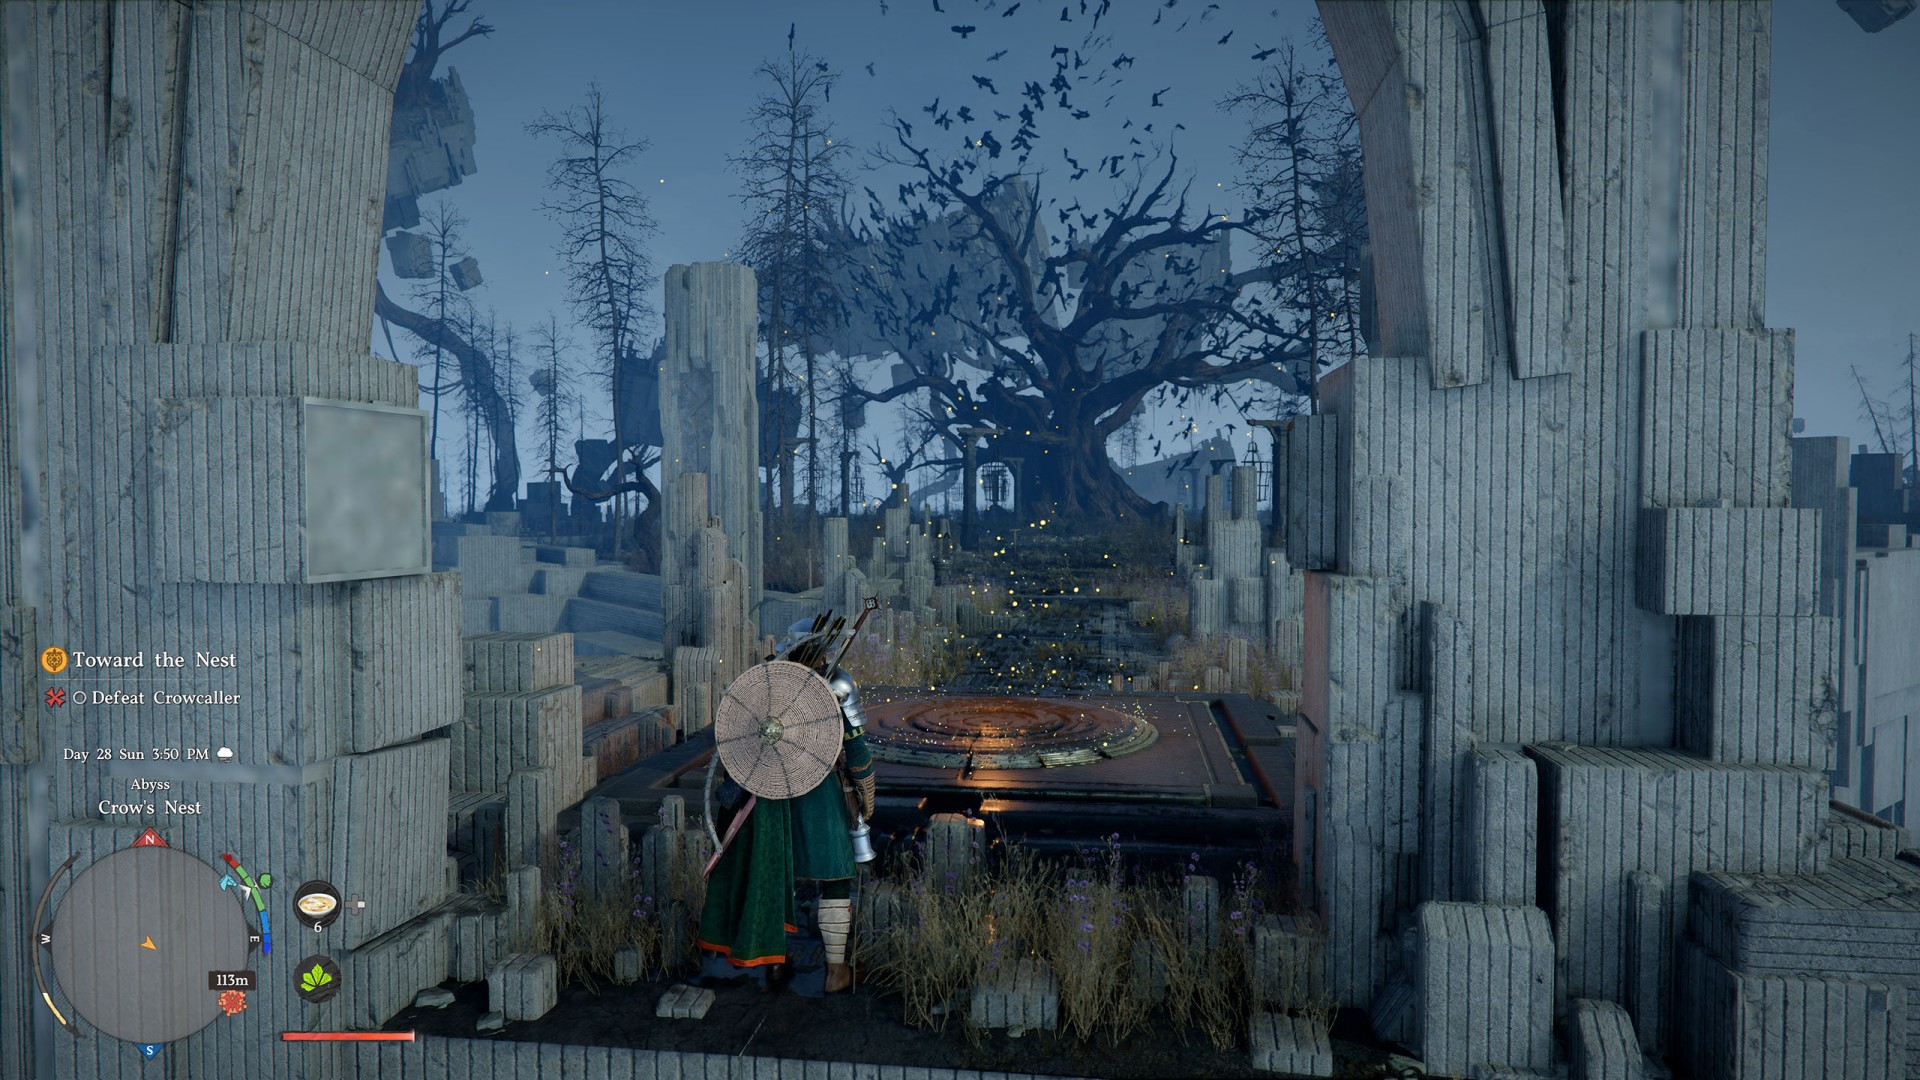
Before the fight begins, activate the local Abyss Nexus.
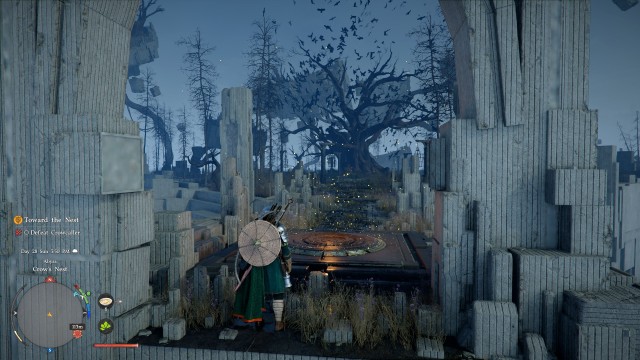
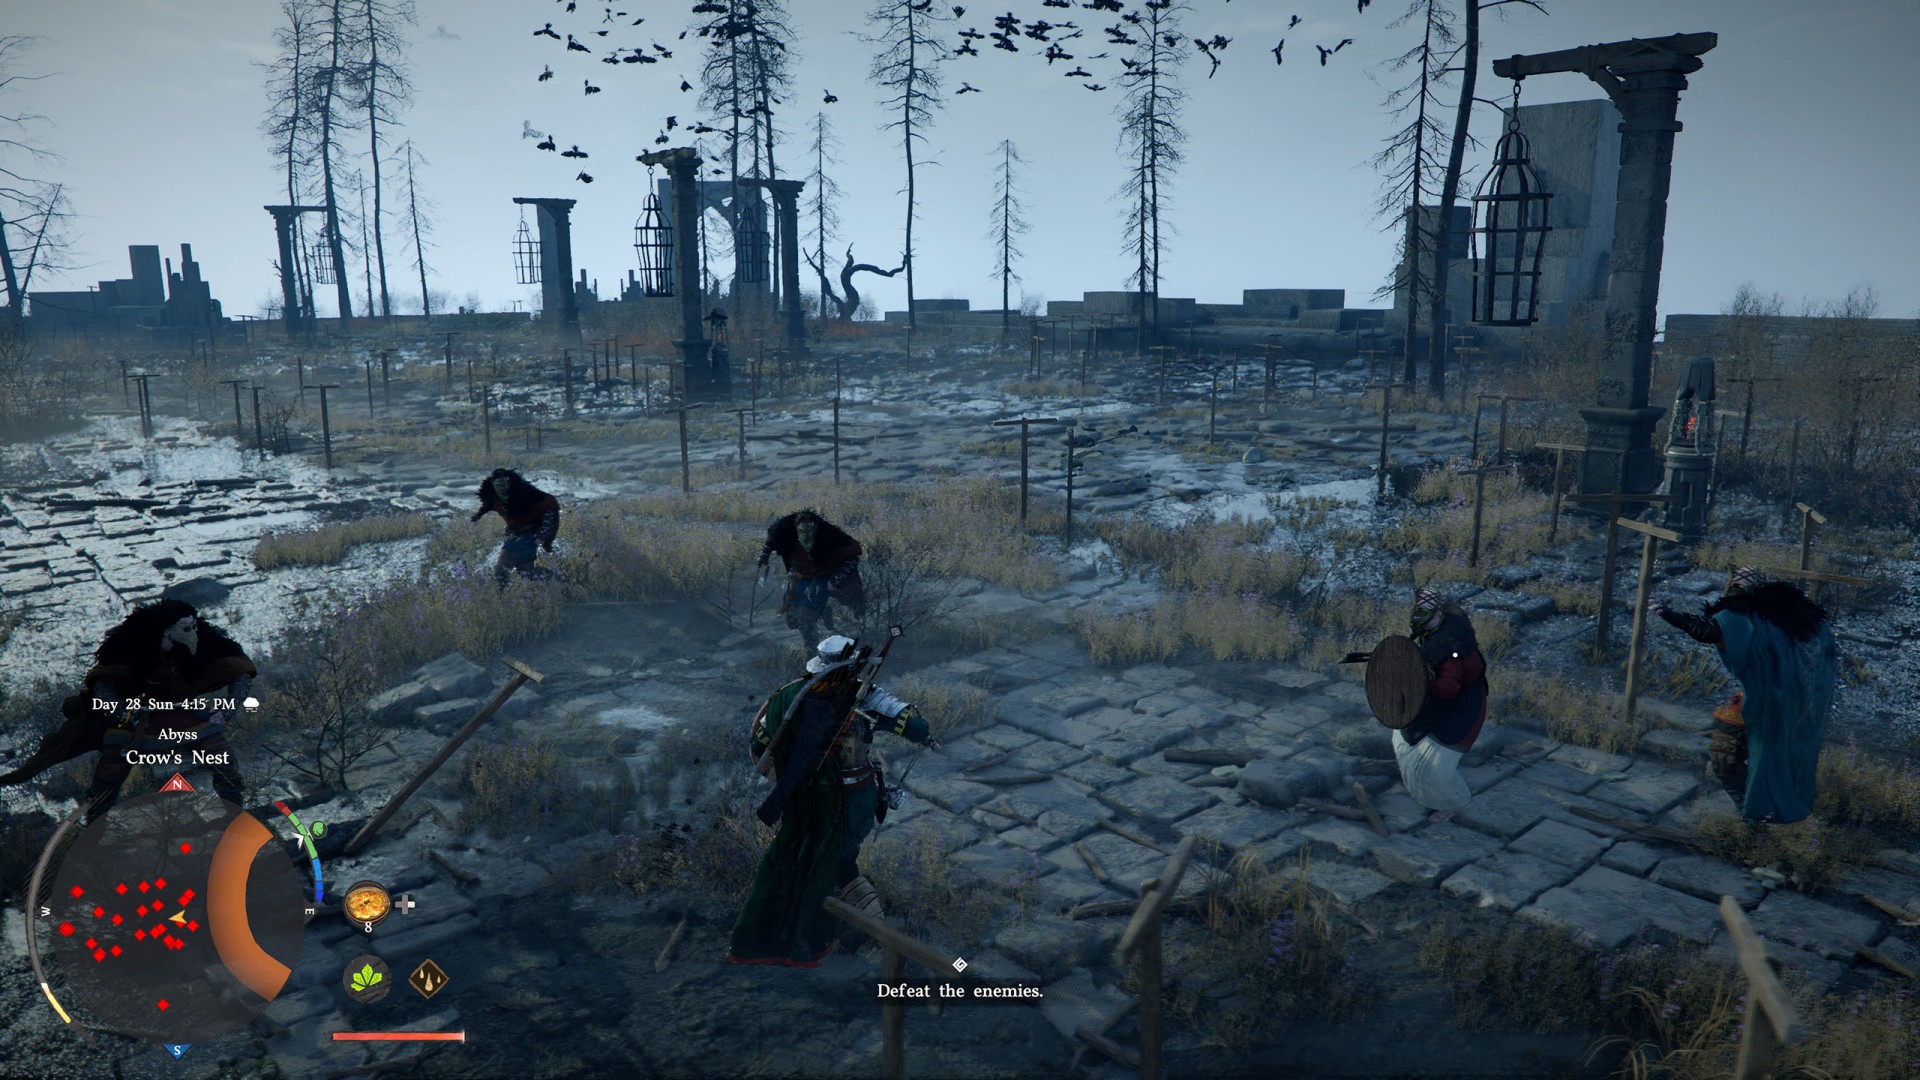
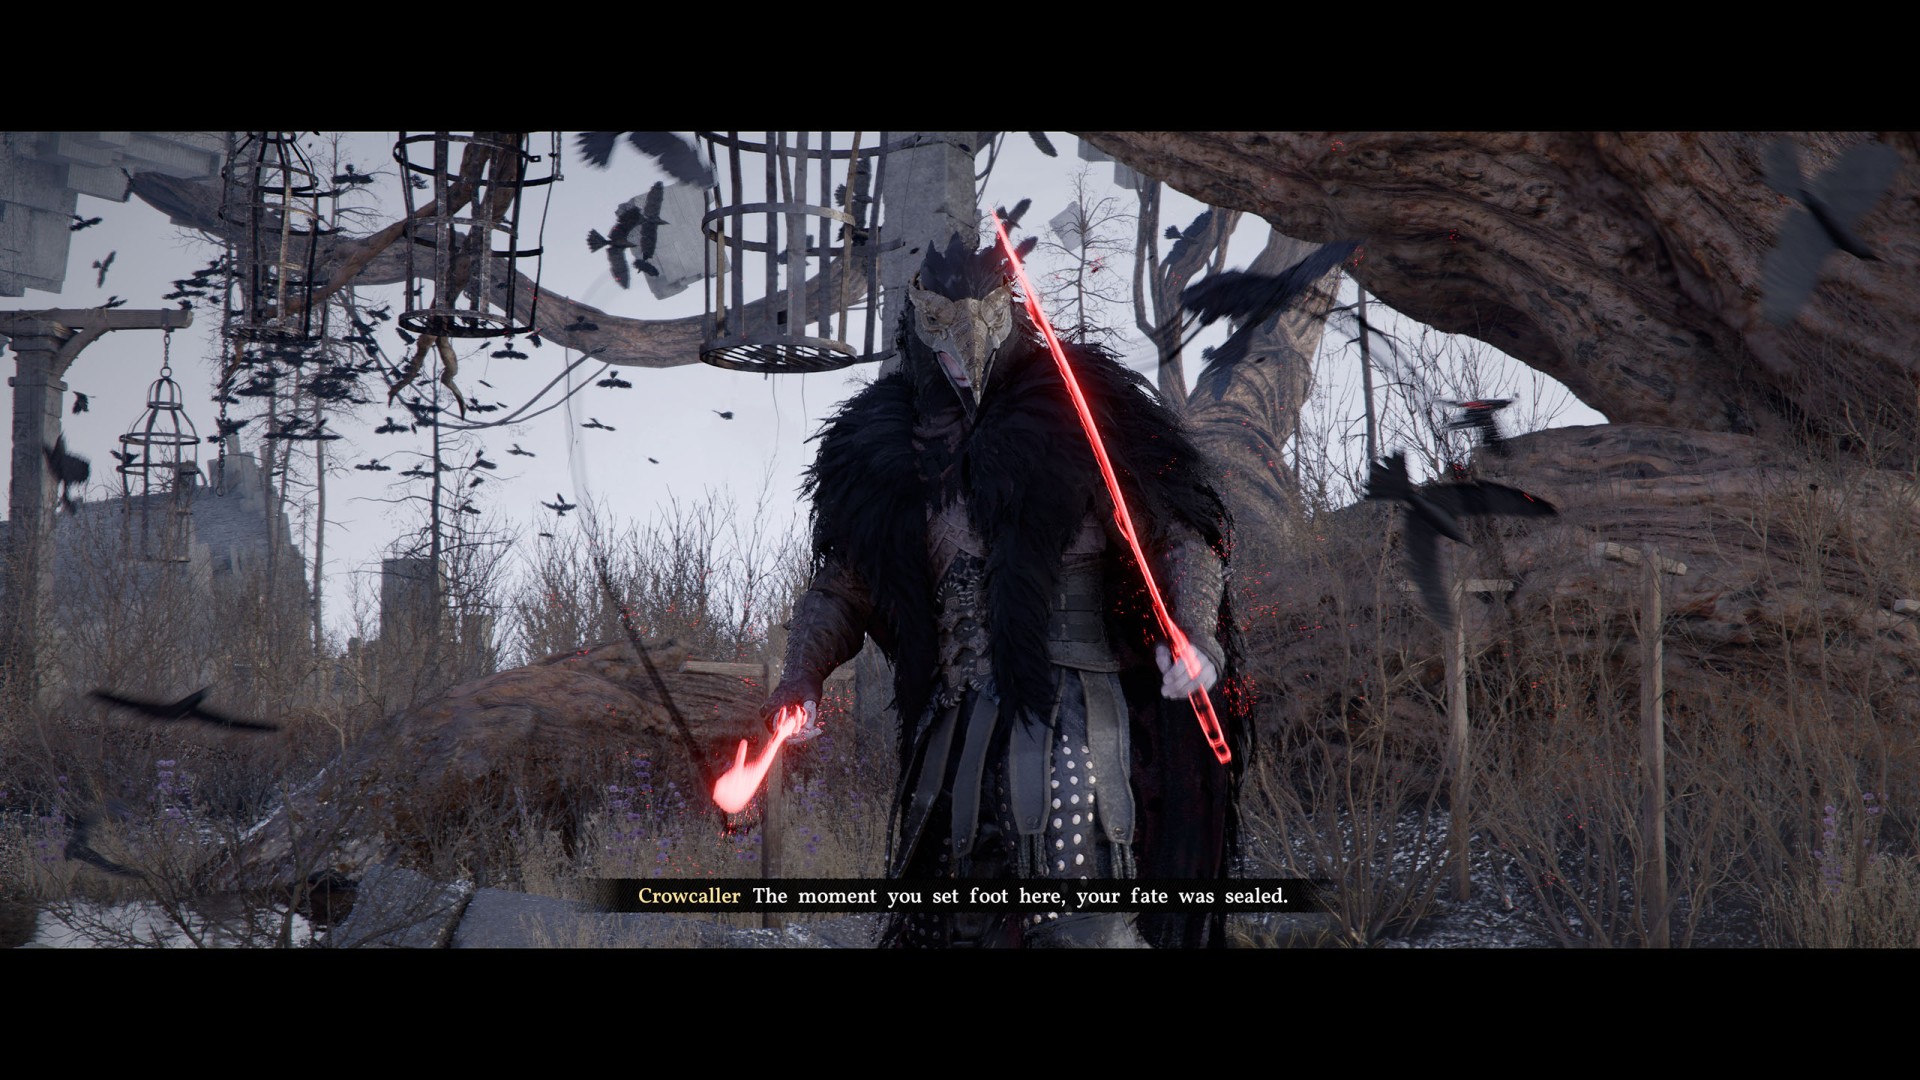
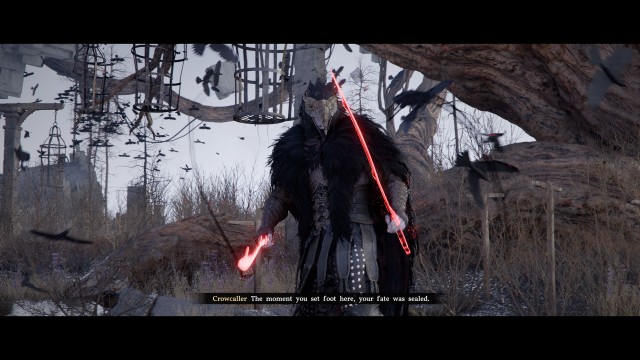
To start the fight, approach the large tree in the center. This will trigger a cutscene in which you are attacked by several Crow Brothers - the cutscene will then seamlessly transition into a battle with them.
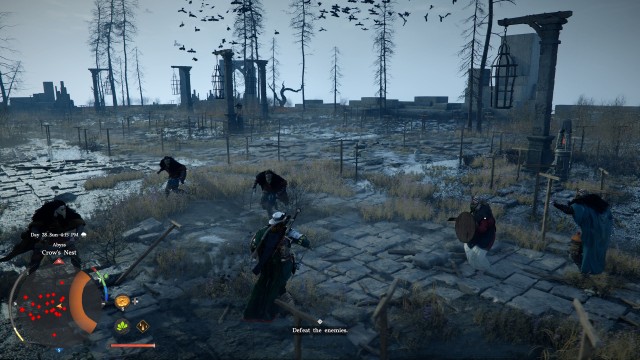
Once you defeat them, the Crowcaller himself will appear, and after another short cutscene, the first of three phases of the fight against him will begin. A good strategy for fighting him is to block his attacks and then perform a quick combo - then simply repeat this pattern multiple times, healing yourself whenever necessary.
Crowcaller can be stunned with Force Palm. Hitting him with Force Palm will not only increase his stagger meter, but it'll also slow him down.
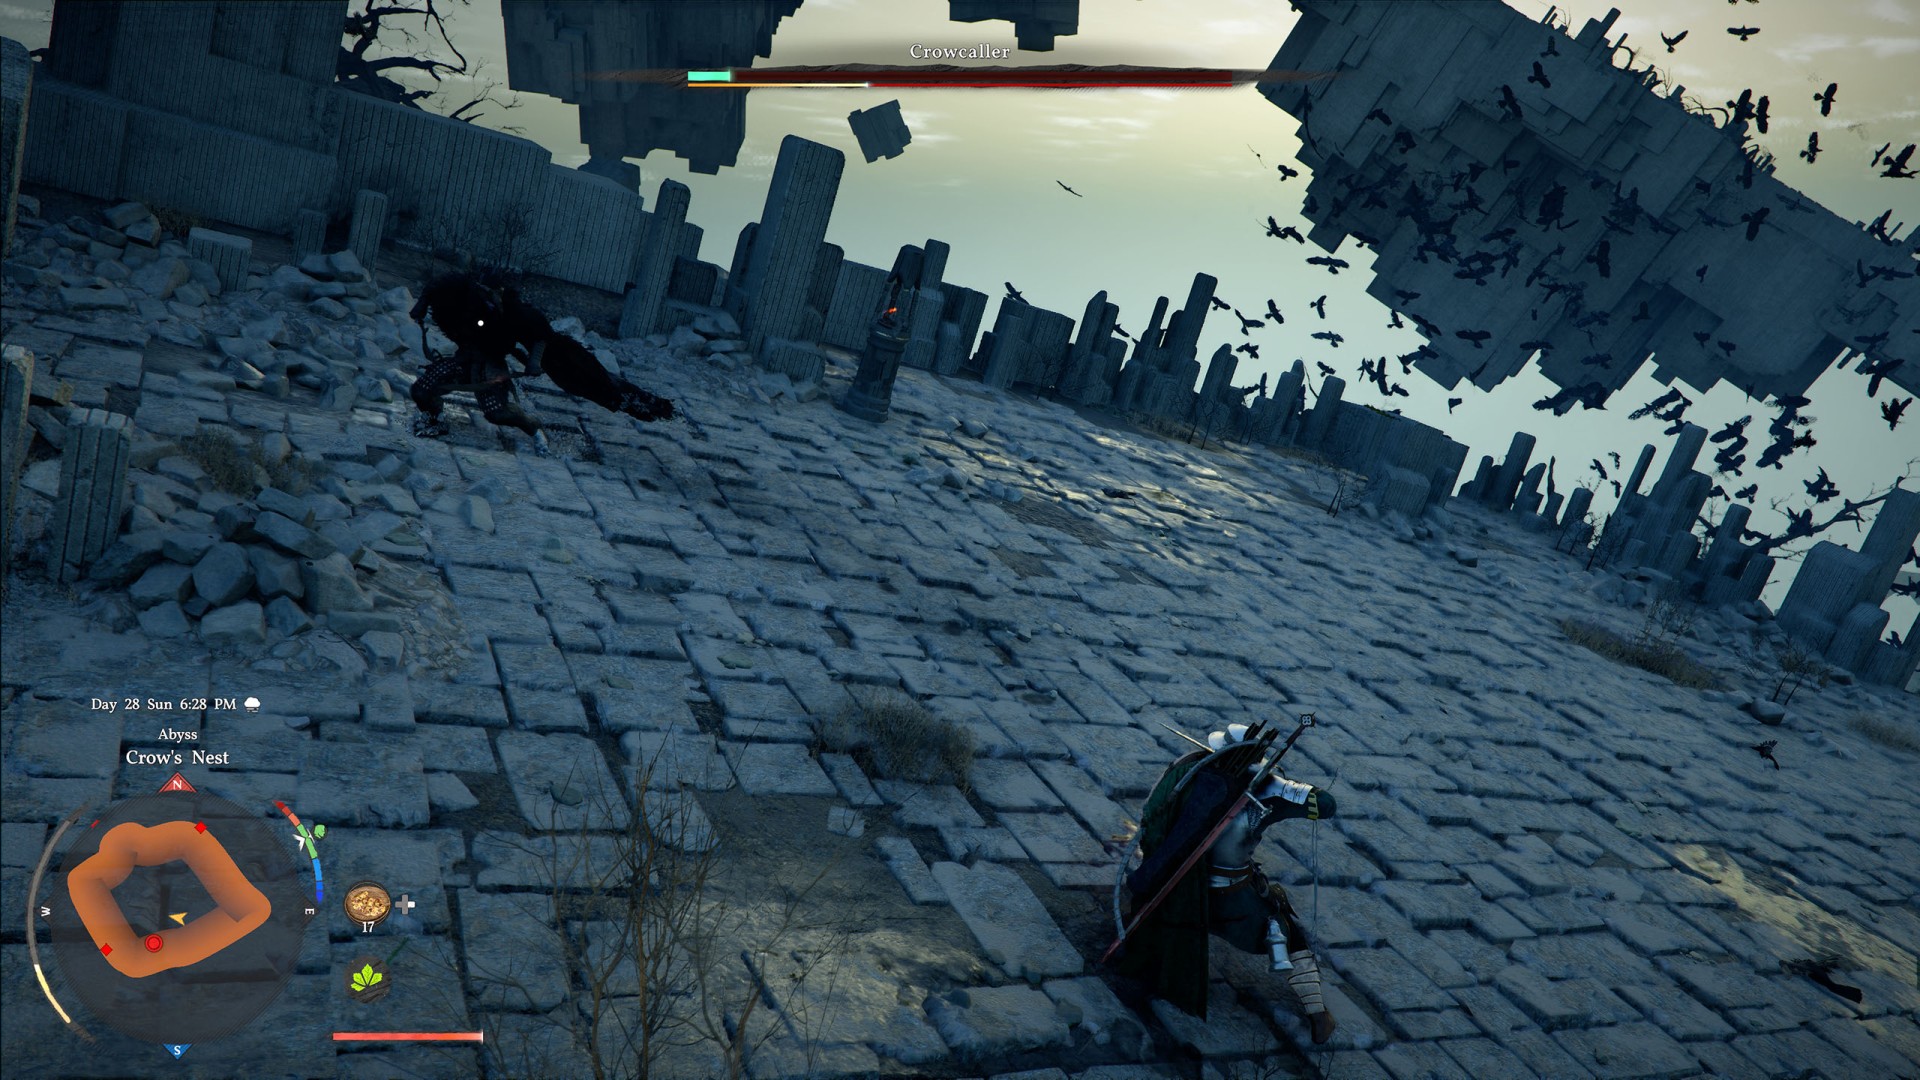
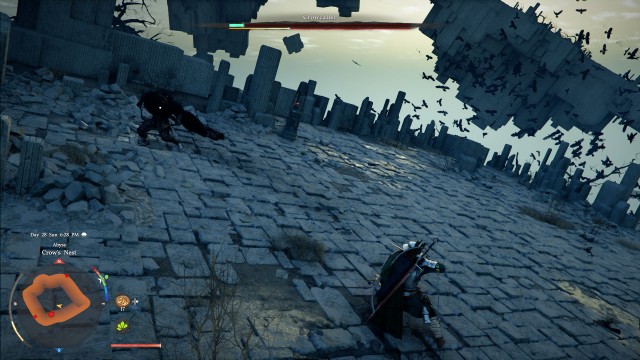
In the second phase, the battle will move to a much smaller and tilted platform. His arsenal of attacks will remain basically the same with small tweaks such as a double and more frequent Aerial Roll attack and he will become much more aggressive in this phase.
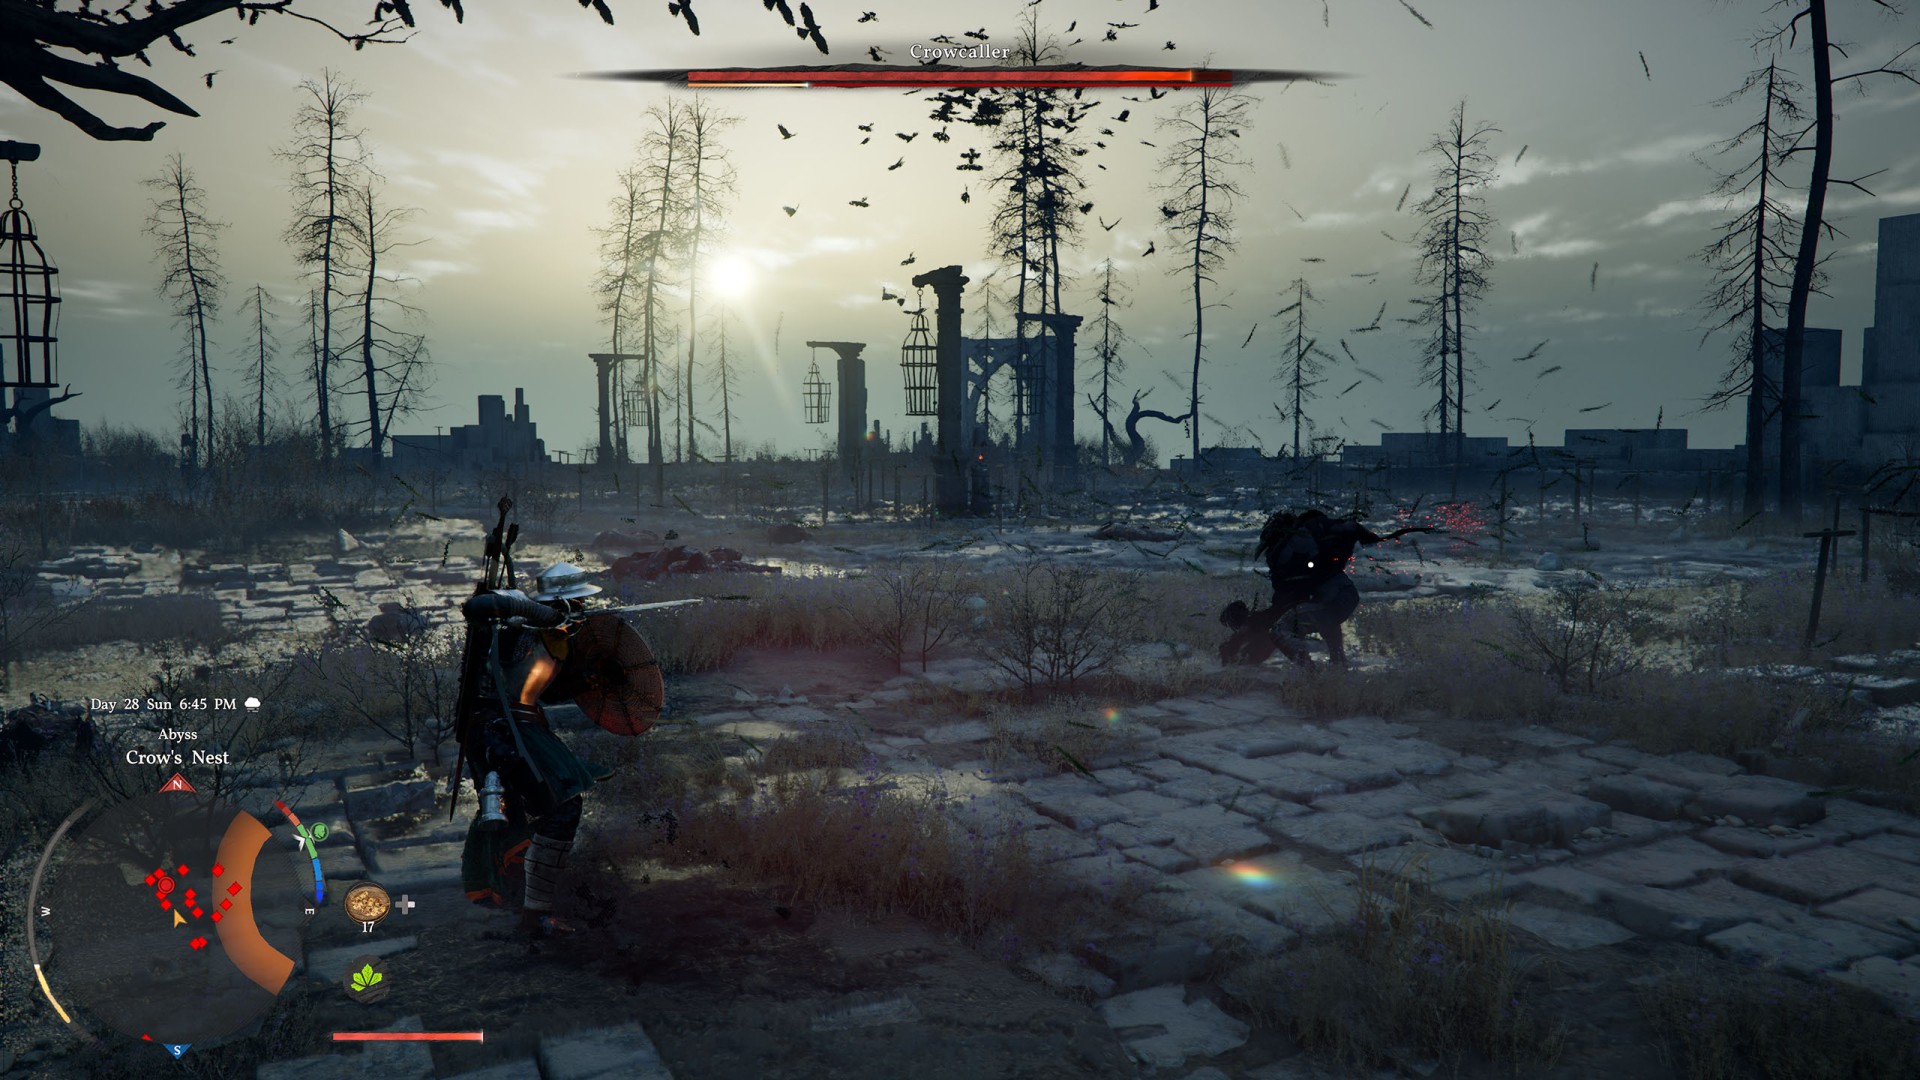
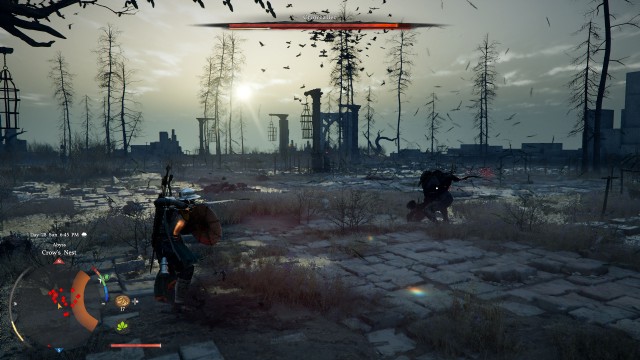
In the third phase, the battle will return to the area near the large tree. The Crowcaller will become even more aggressive and add some new moves or modifications to his arsenal - for example, the Aerial Roll will be performed three times in a row.
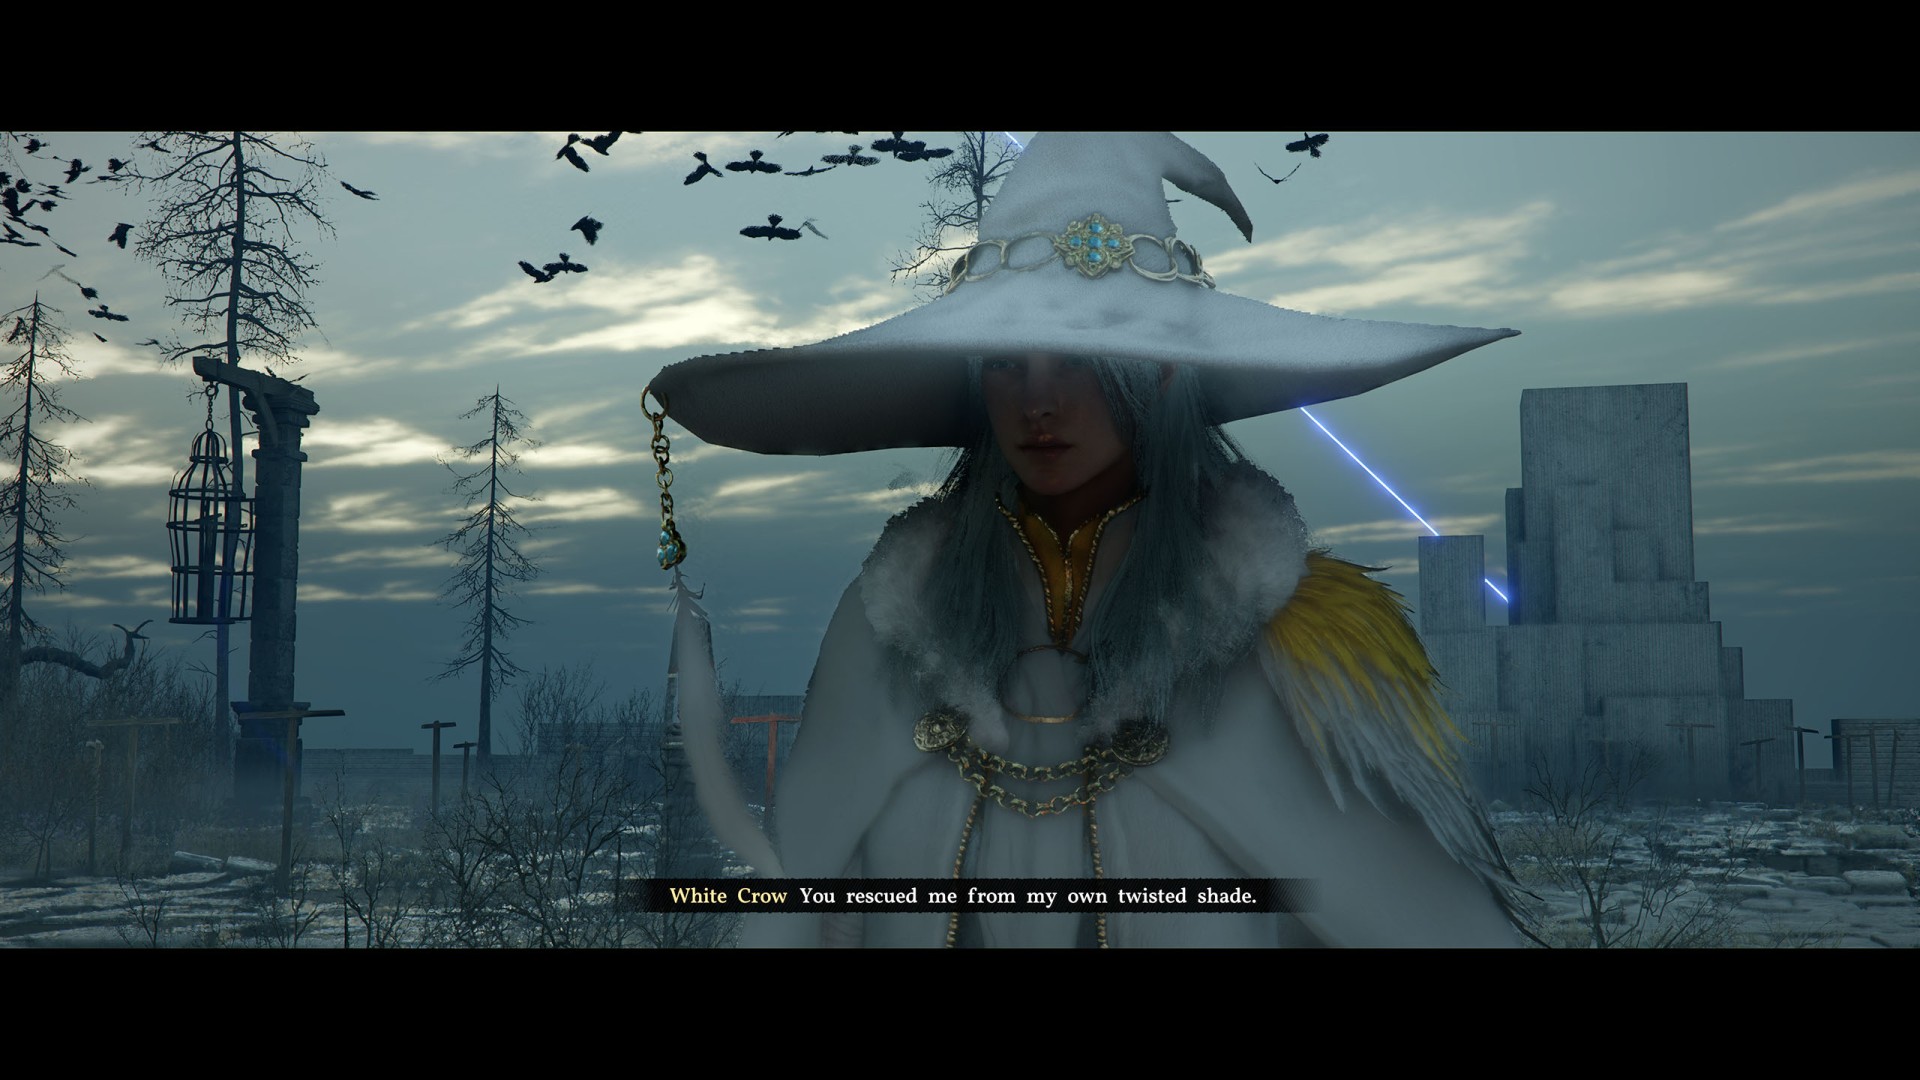
Once you defeat the Crowcaller, a cutscene will begin in which White Crow is freed. This will complete this quest as well as the entire Chapter 5 of the game.
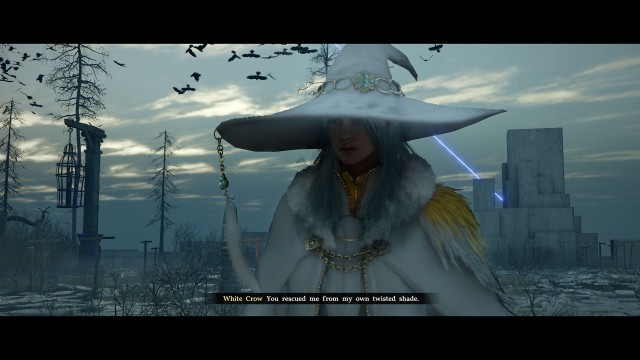
Following a grueling battle, the feather-clad figure was defeated, and White Crow was safe once again. To his very last breath, he poured out his hatred for the church while desperately yearning for a mother's love. His animosity toward the Greymanes may also be fueled by his mother.