Landmarks are usually small places (except for those in space), such as a single building or even a room, an alcove of the terrain or a hollow where a treasure container is hidden.
Landmarks
Locations on Toshara
1 Abandoned Cantina
To open the door to the building, you must have a blaster with an Ion module (You will acquire it during the "New Tricks" quest.) Switch the blaster to ion mode and shoot at a nearby coil, and the door will open for a while.
Treasure:
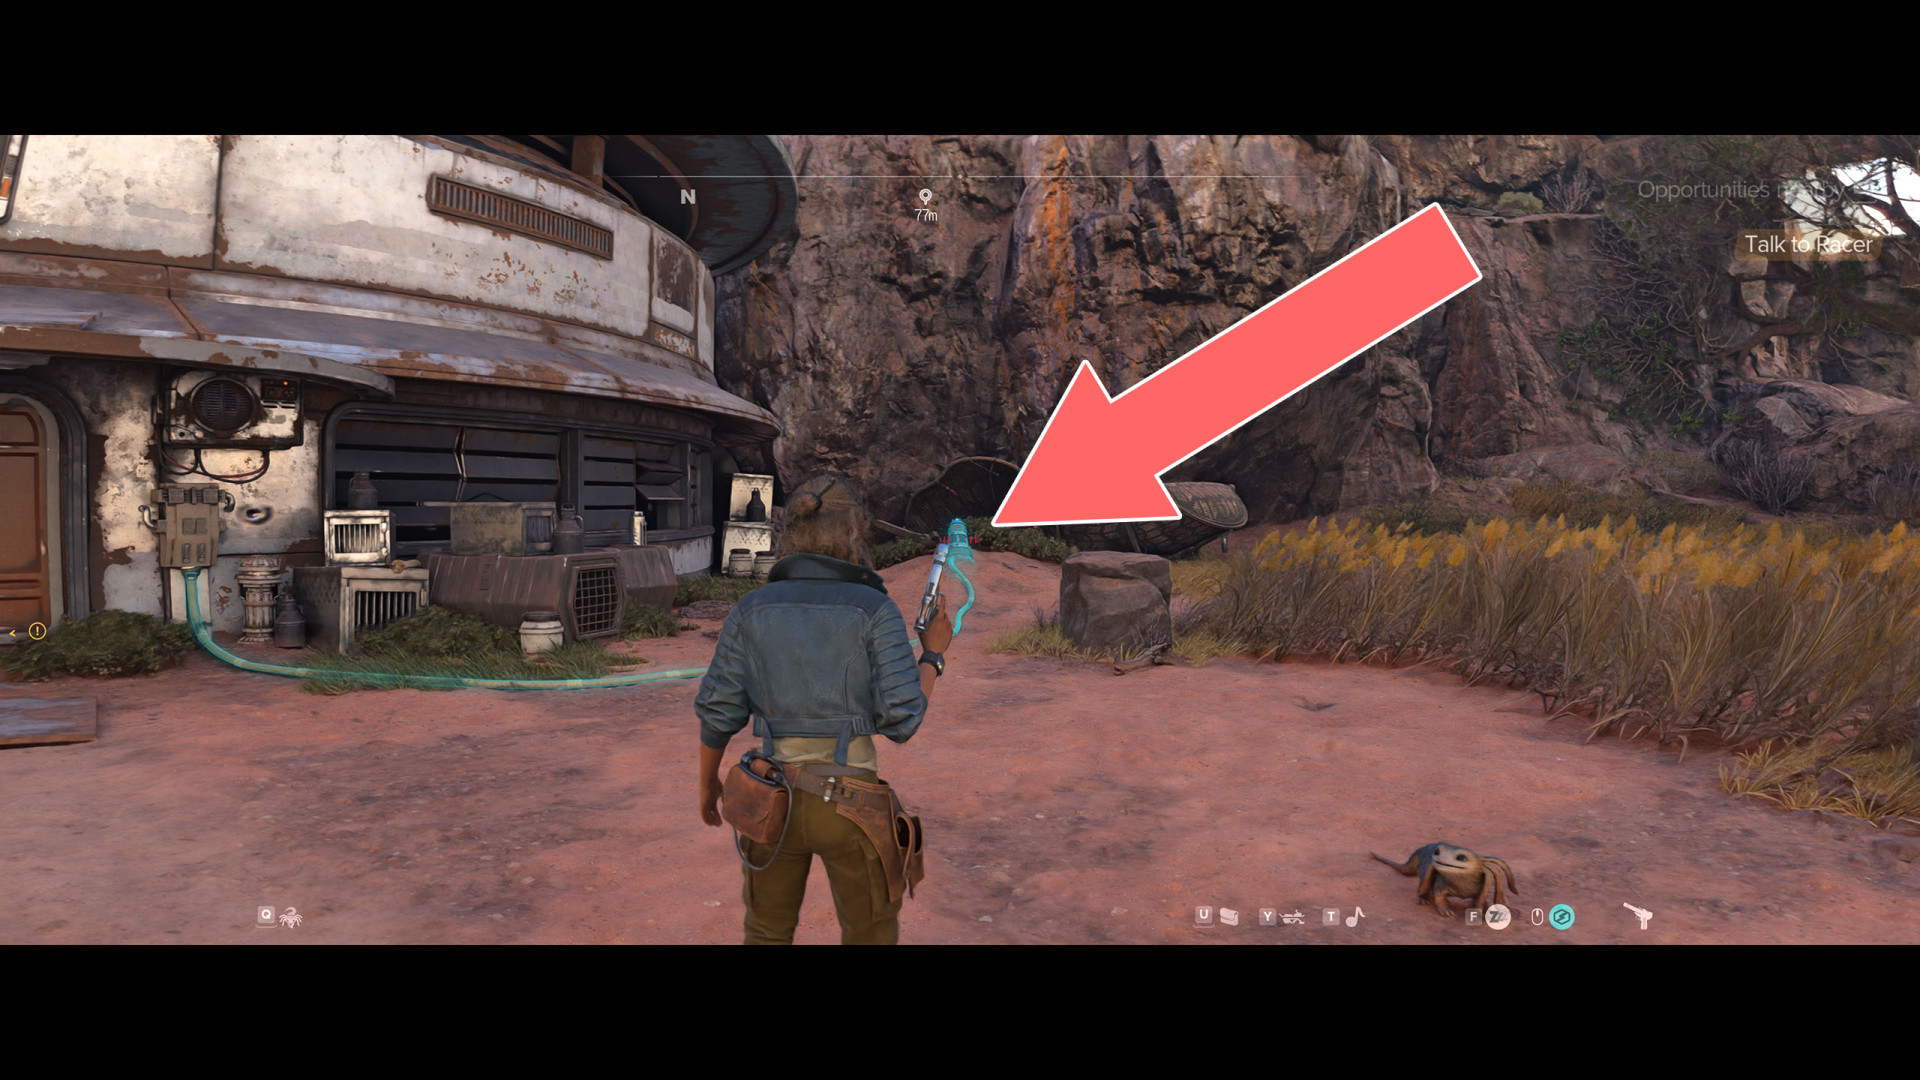
2Abandoned Skiff
Related quests: Jabba's Gambit
Treasure:
3Bosan Mound
Treasure:
4Camble's Stash
Show the map
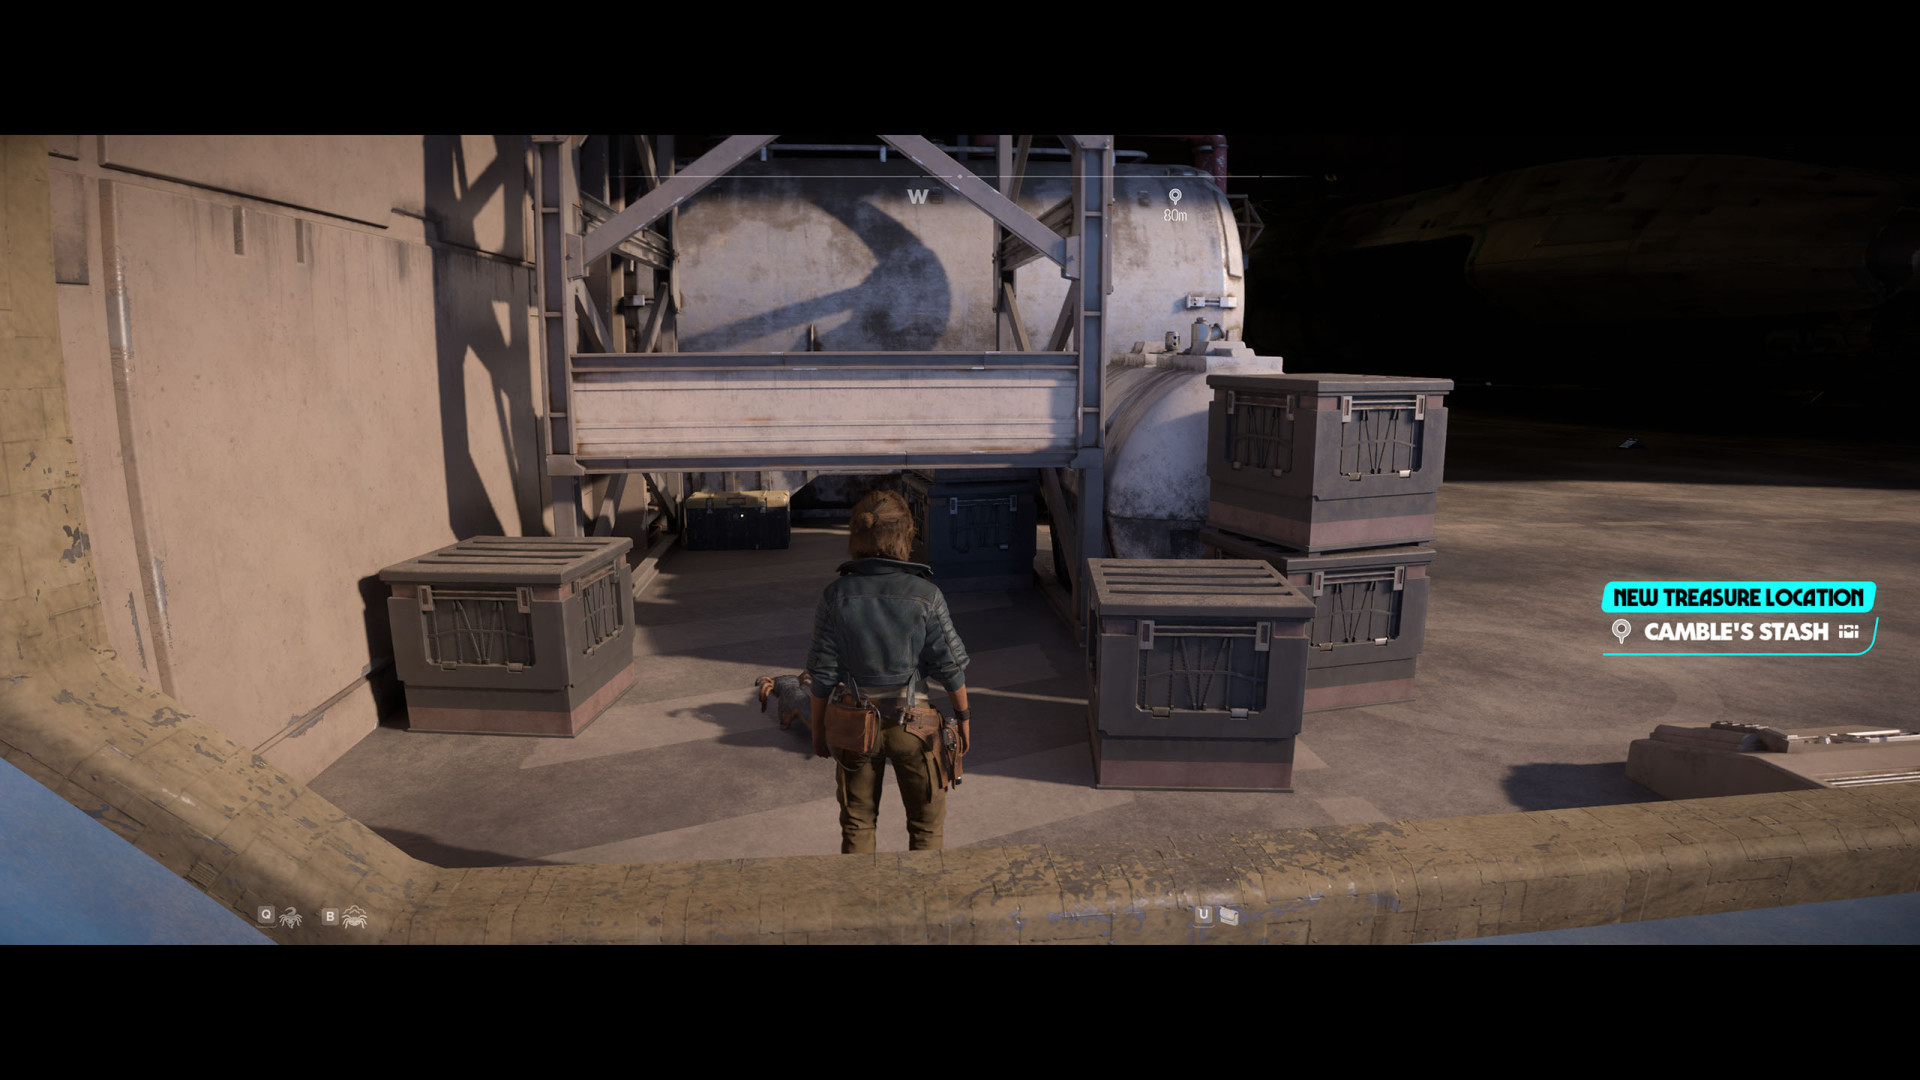
5Dabàh Power Station
Treasure:
6Elario's Stash
Treasure:
7Fuel Station Visavi
Treasures (x2):
This Imperial Fuel Station was transported to Toshara's orbit in the early days of the Empire's occupation of the moon as a means to sustain large cruisers and transport shuttles. Following Governor Thorden's increased corruption, the fuel station is now mostly used to hold illegal goods and to handle high-value transactions from approved crime syndicates.
8Haskà Circle
Treasure:
9Home Unit D26
Show the map
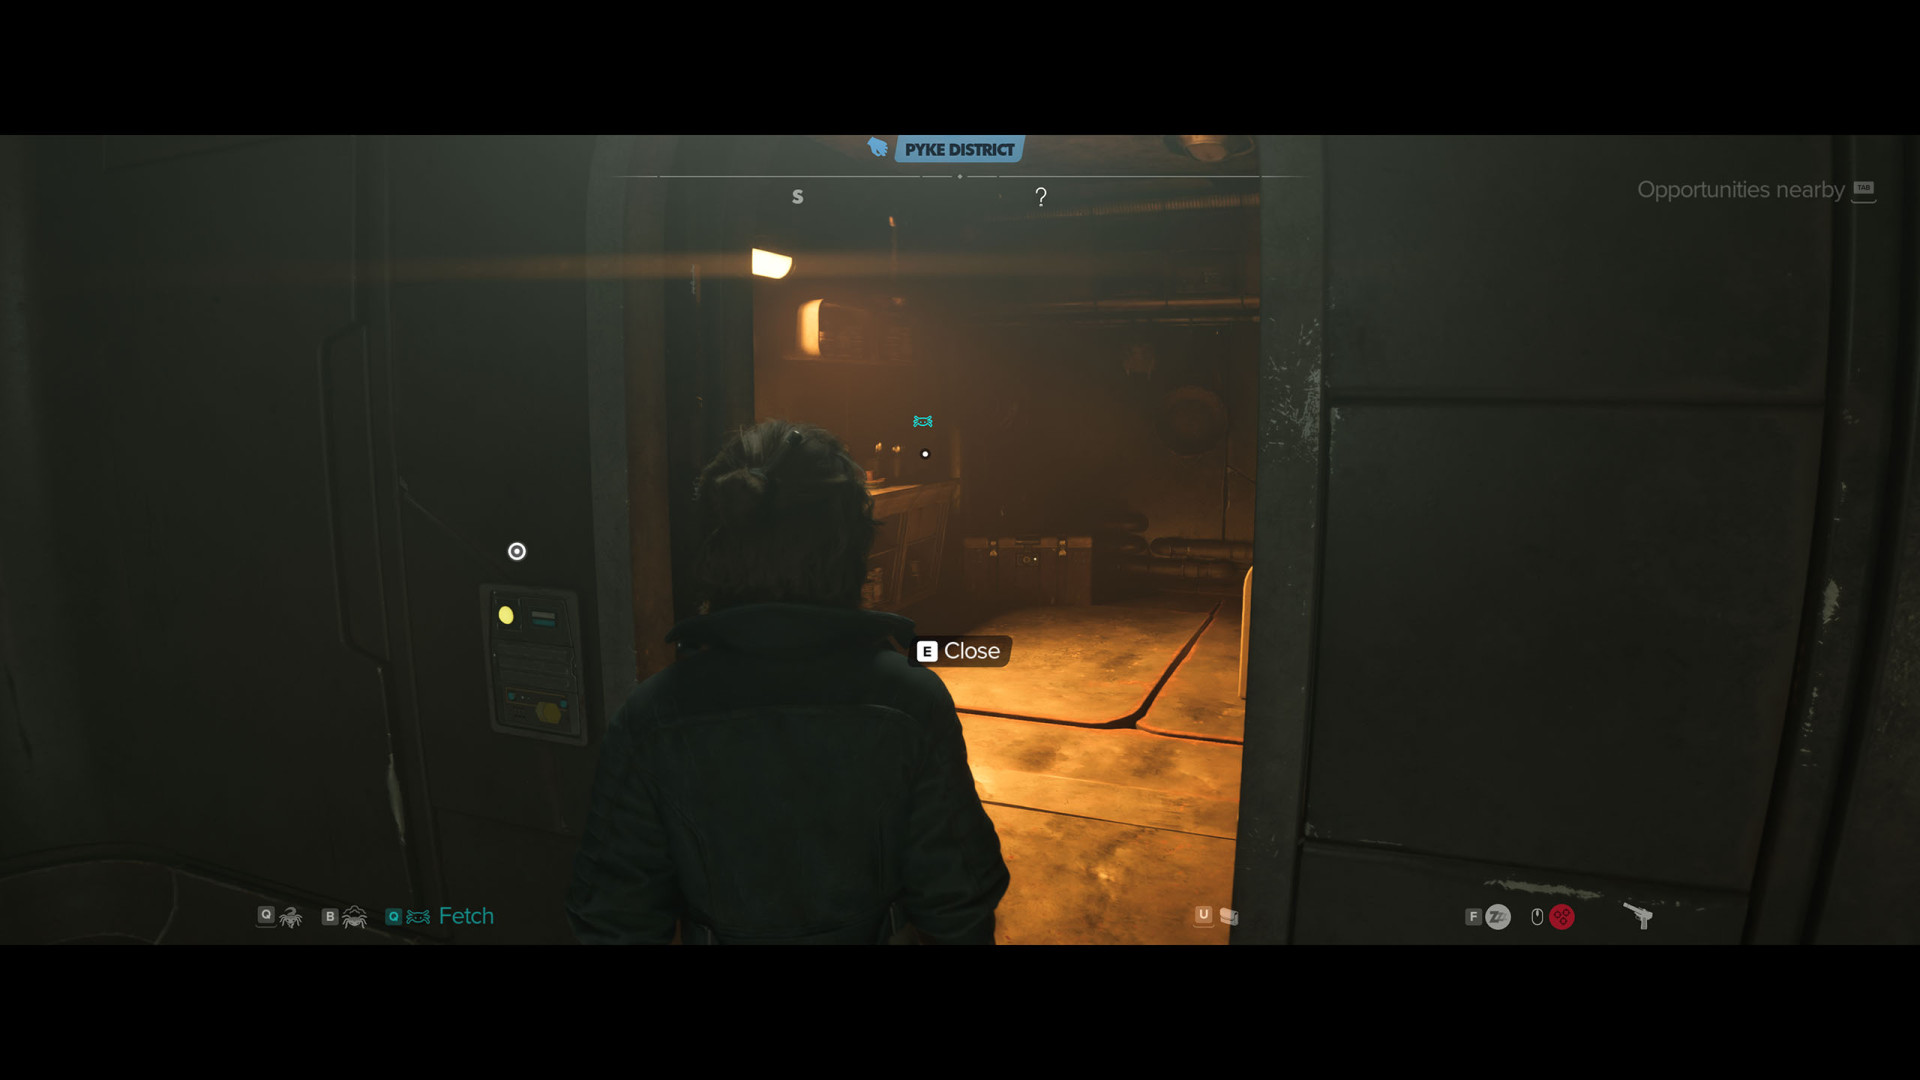
10Hutt Cartel Storehouse
In order to be able to get inside the building, you must have the Ion Module upgrade for your blaster. You visit this location during the "New Tricks" main quest.
Treasure:
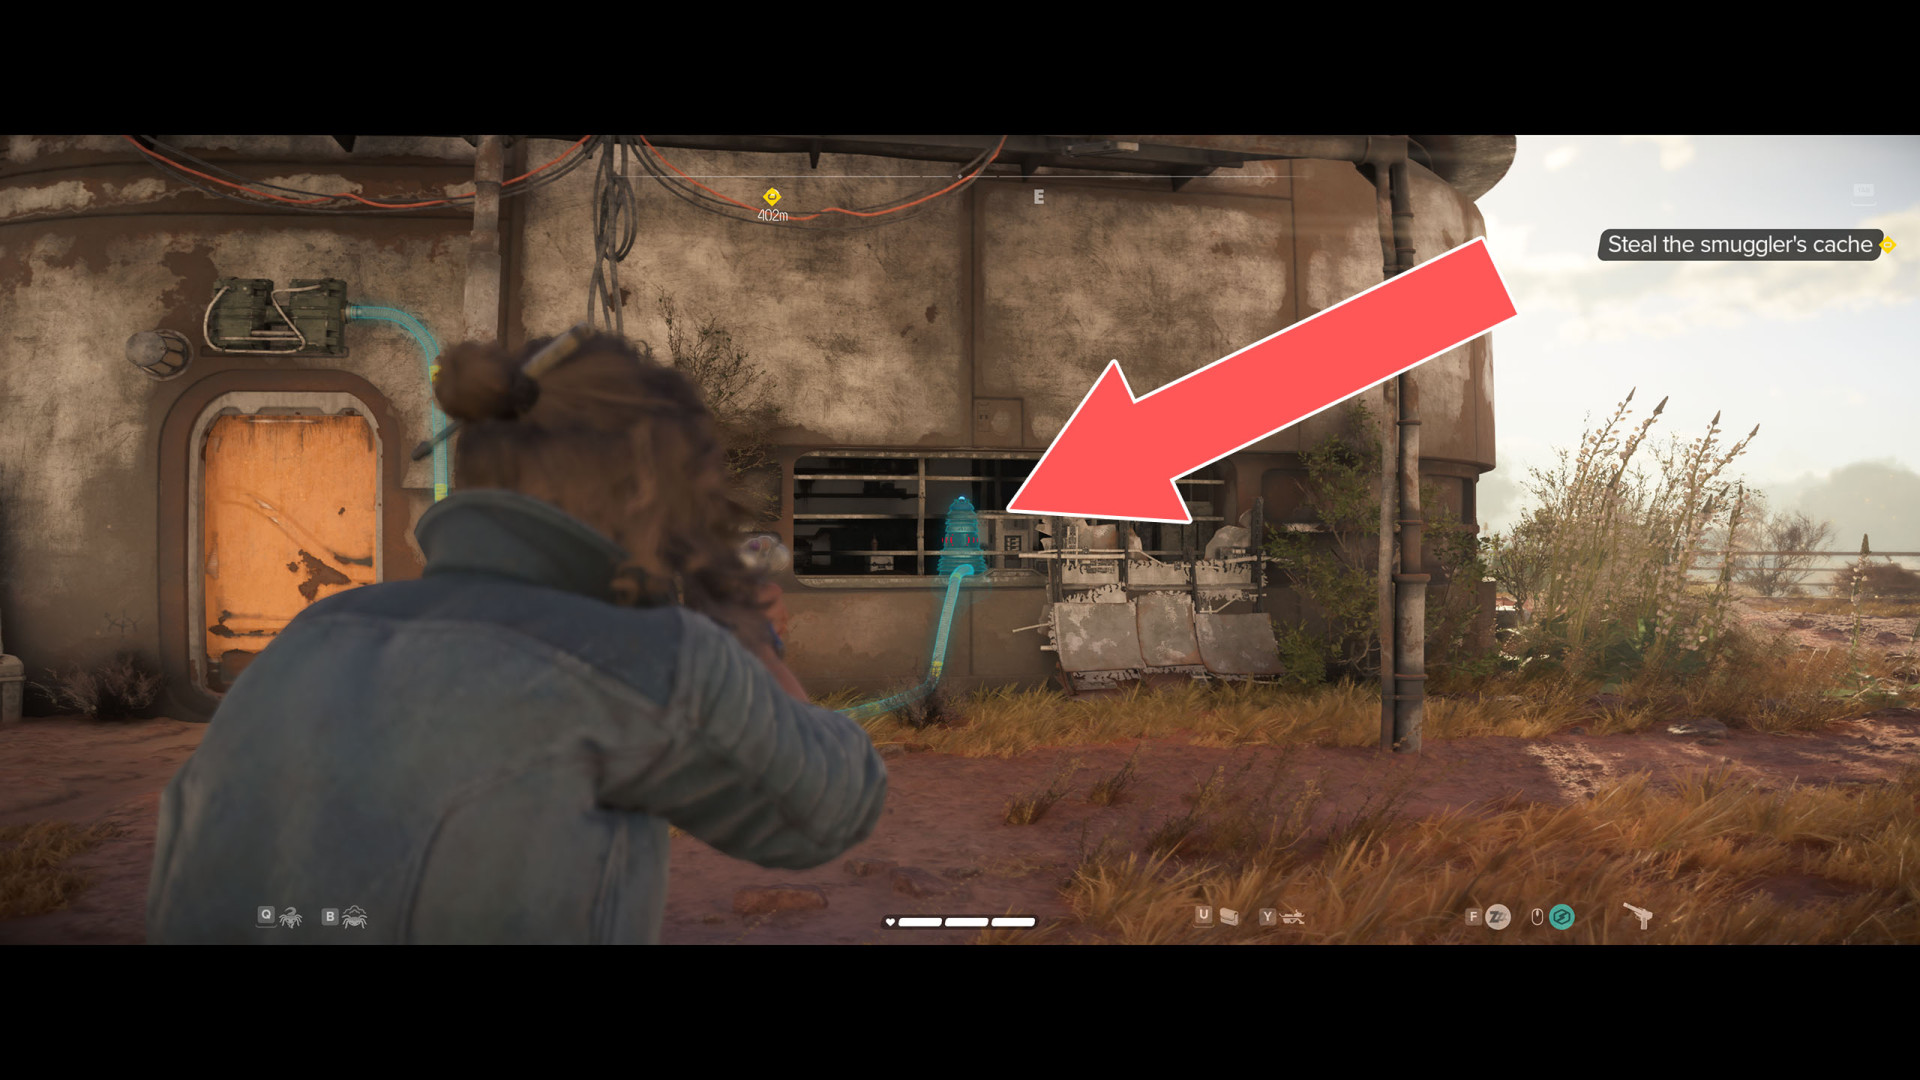
11Jodara's Stash
Show the map
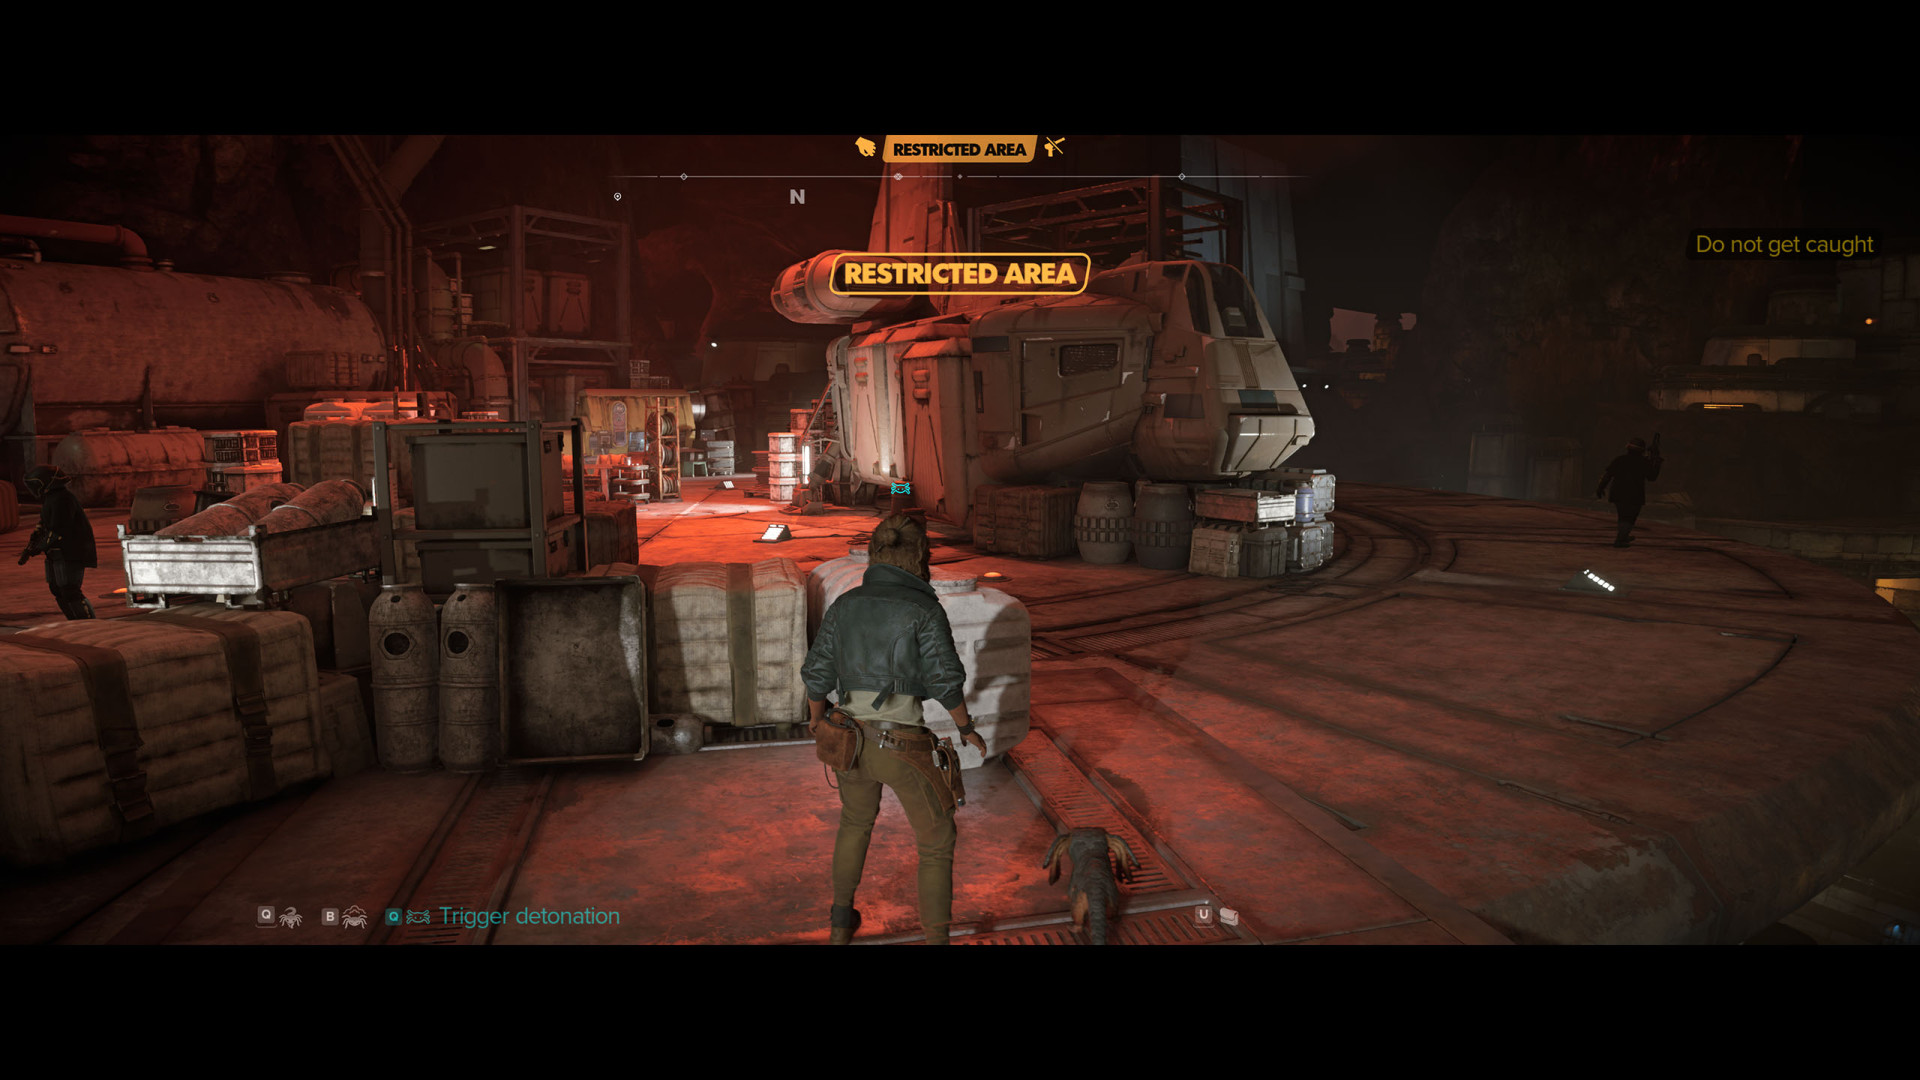
12Kashùda Pit
Treasure:
13Kerro's Speakeasy
Show the map

14Lo'no's Stash
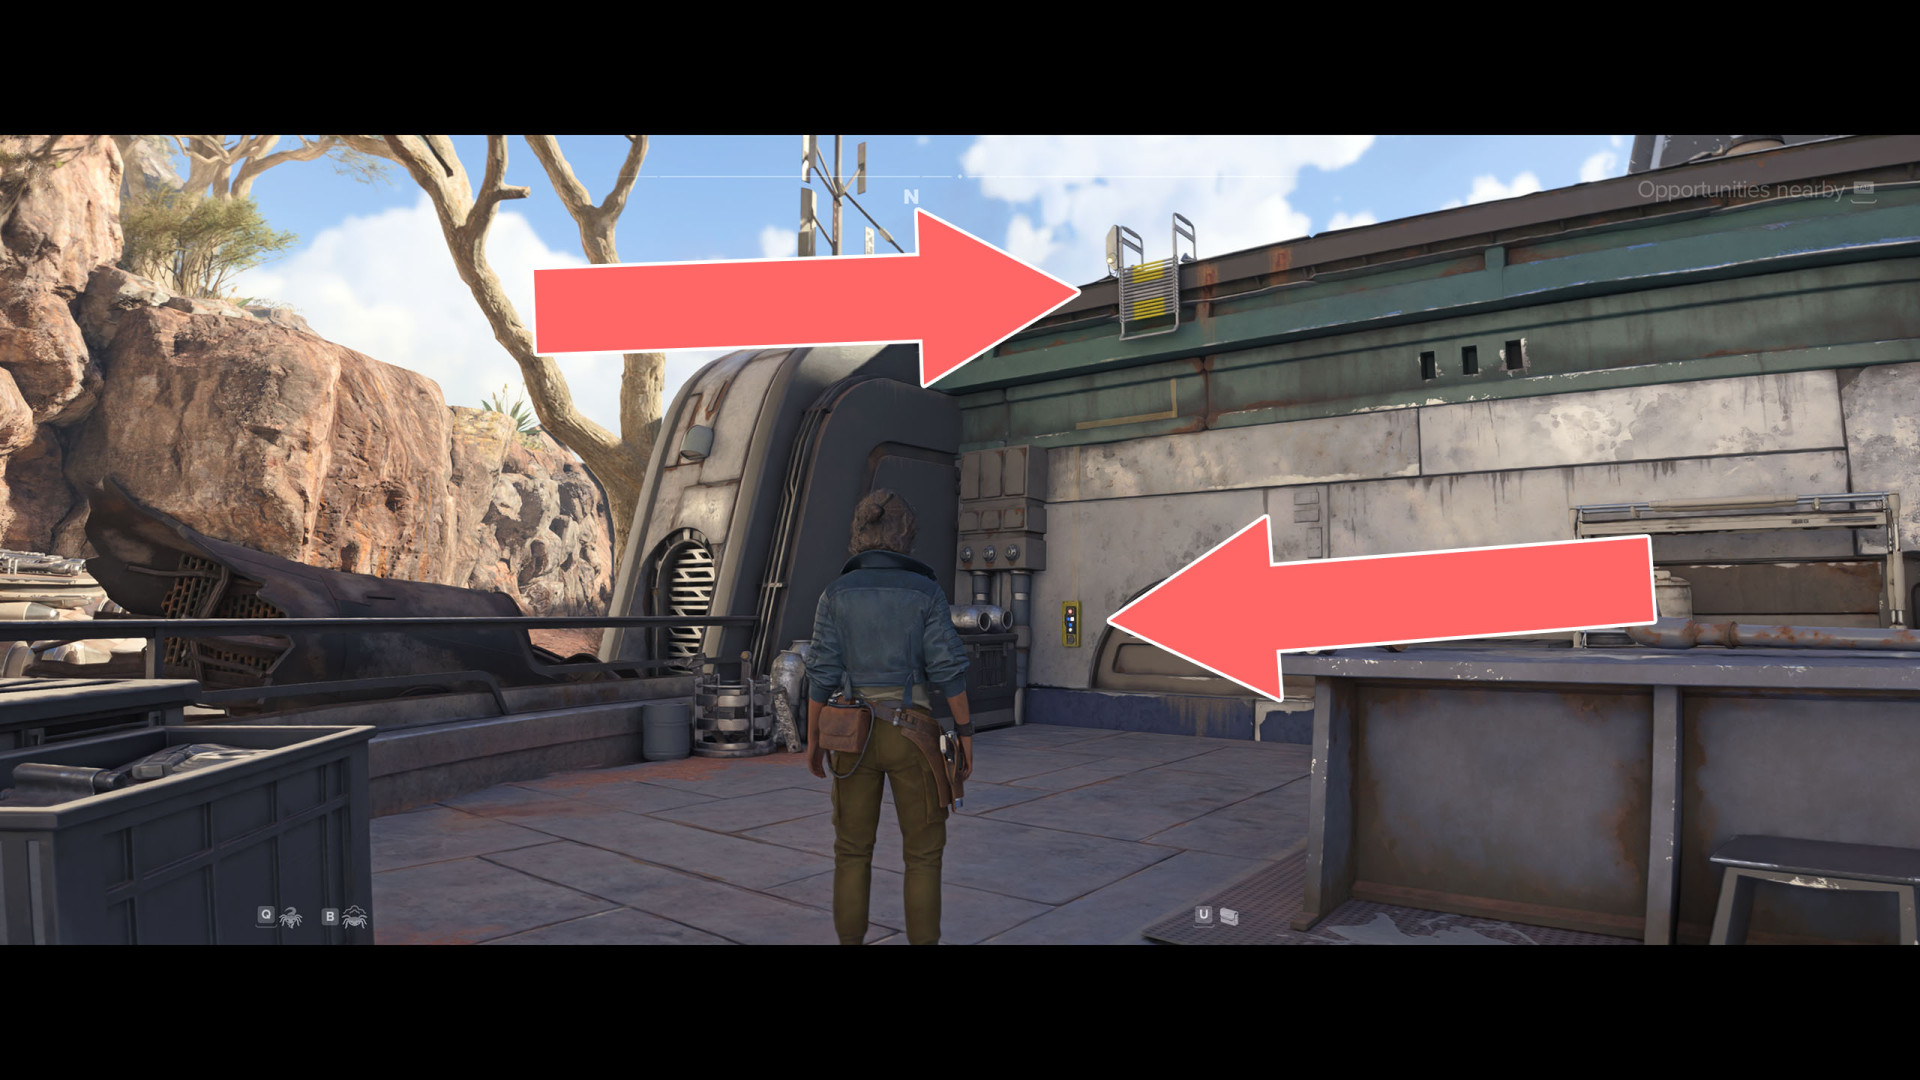
The site is located on the roof of the building. You can enter here by a ladder which you must first lower by hacking the data port. In order for this to be possible you must have the Slicing Kit which you will get in the quest "The Slicer".
Treasure:
15Maintenance Room
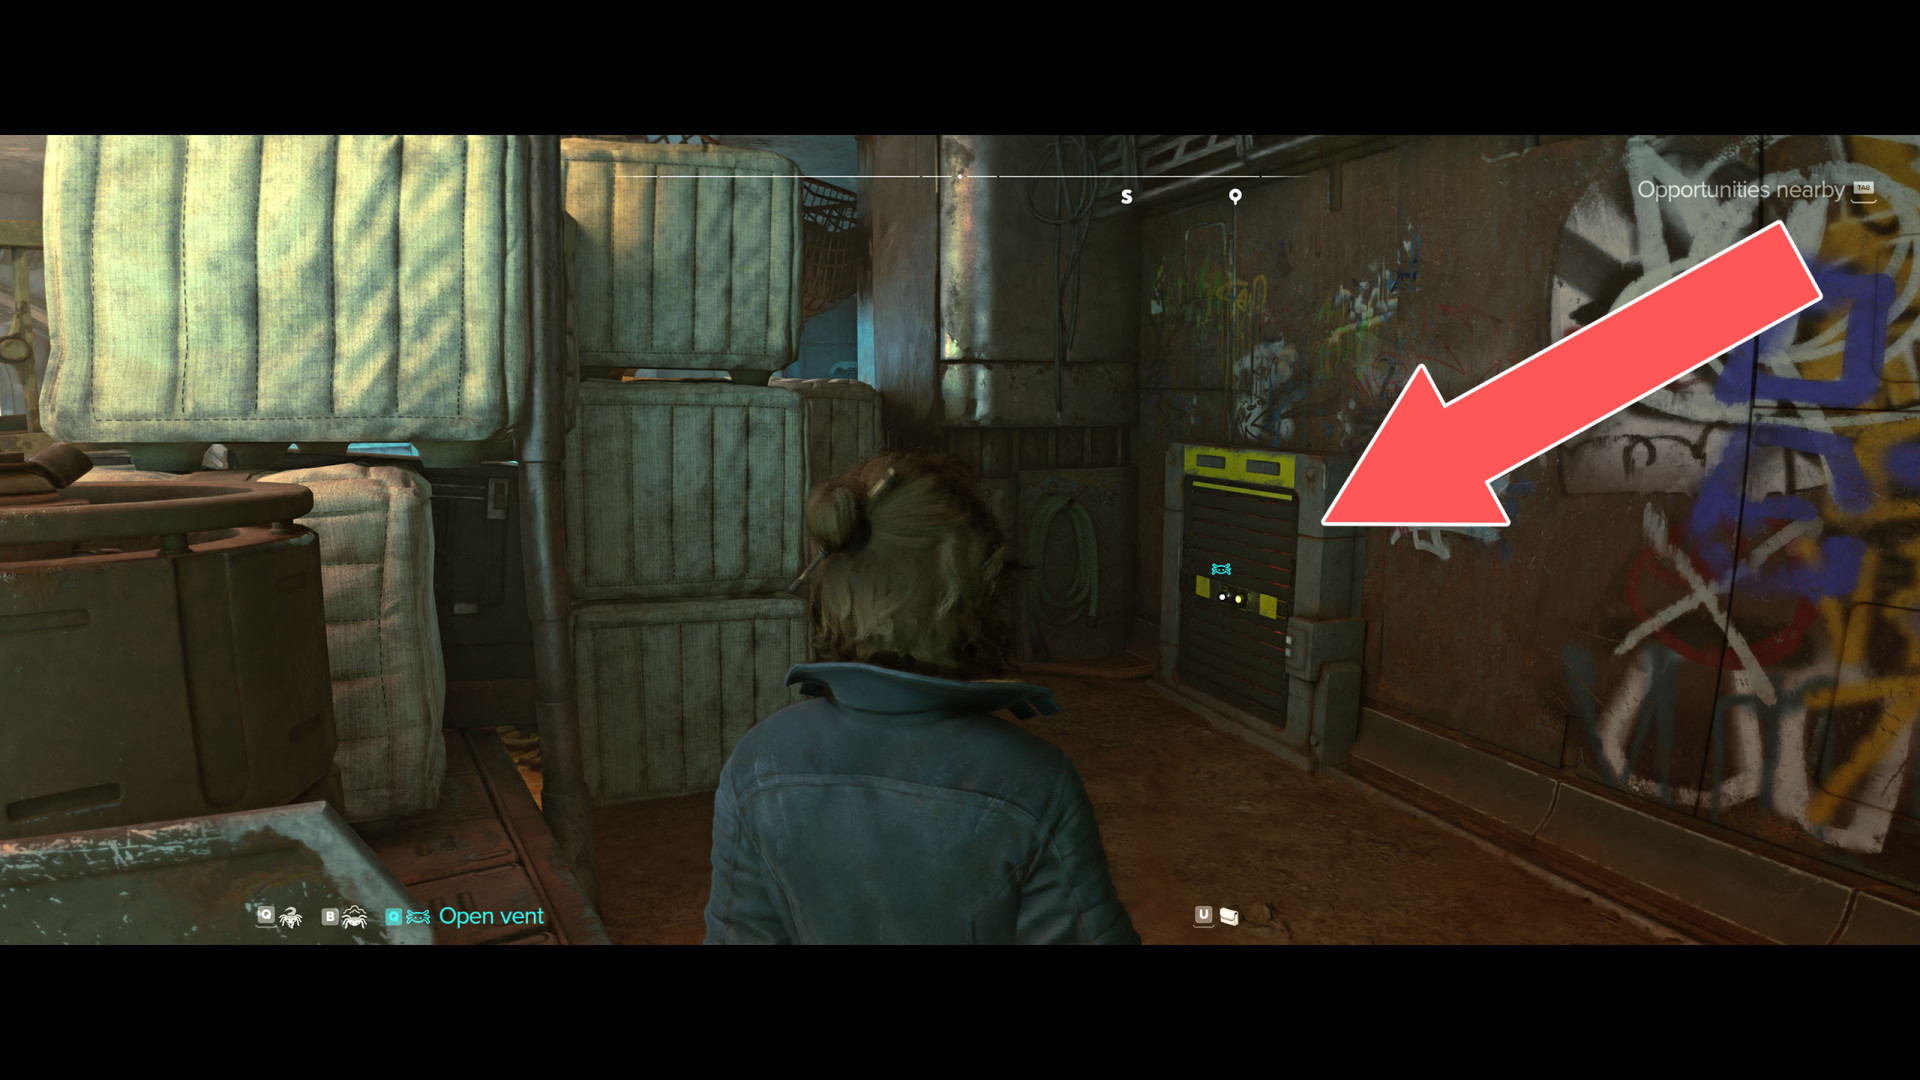
To get here make your way through the narrow passage located at the lowest level and then open the ventilation hatch.
Treasure:

16Pillofa's Stash
Treasure:
17Rimona's Stash
Show the map
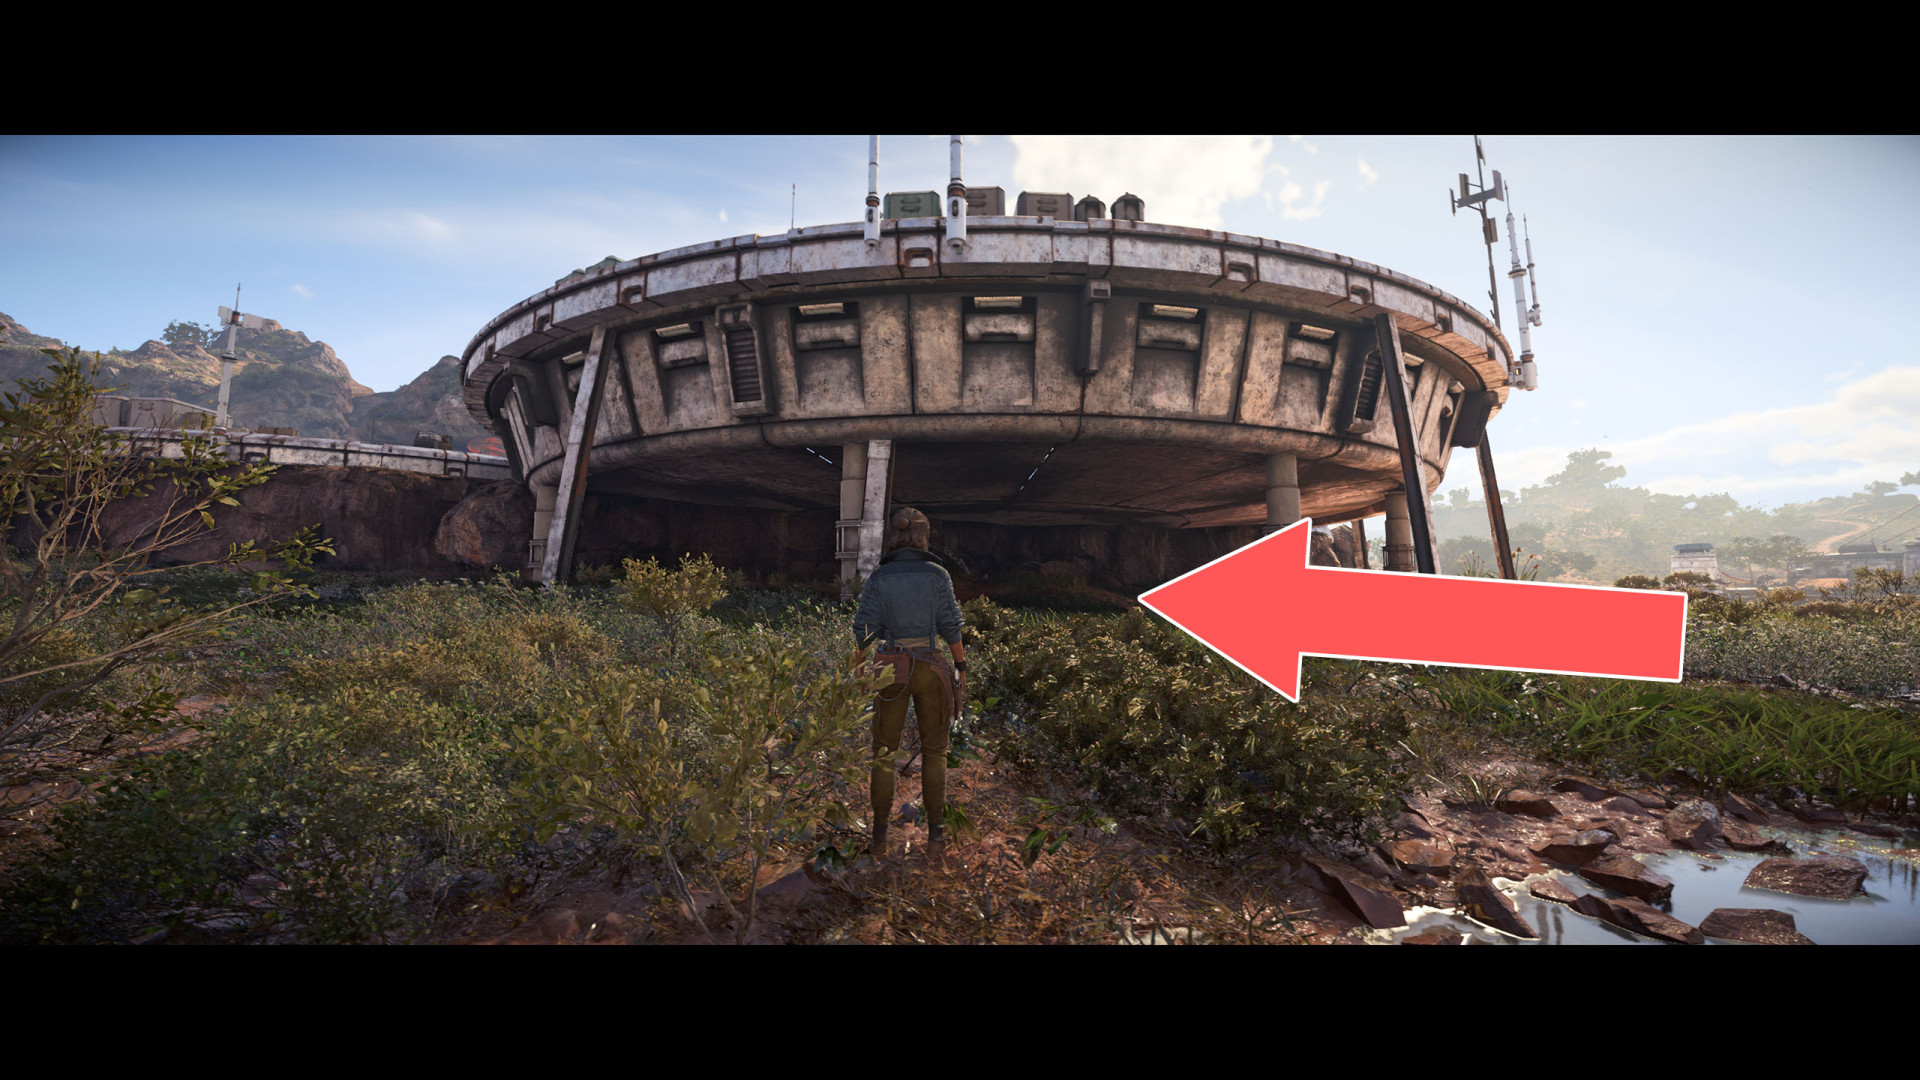
18Runner's Gate
Treasure:
19Saya's Stash
To unlock this landmark you have to resolve the "Motivation Actuator" intel.
Treasure:
20Sengà Farm
To get inside the building you need a Fusioncutter. You will get it at a later stage of the game, in the main quest "Legacy".
Treasure:
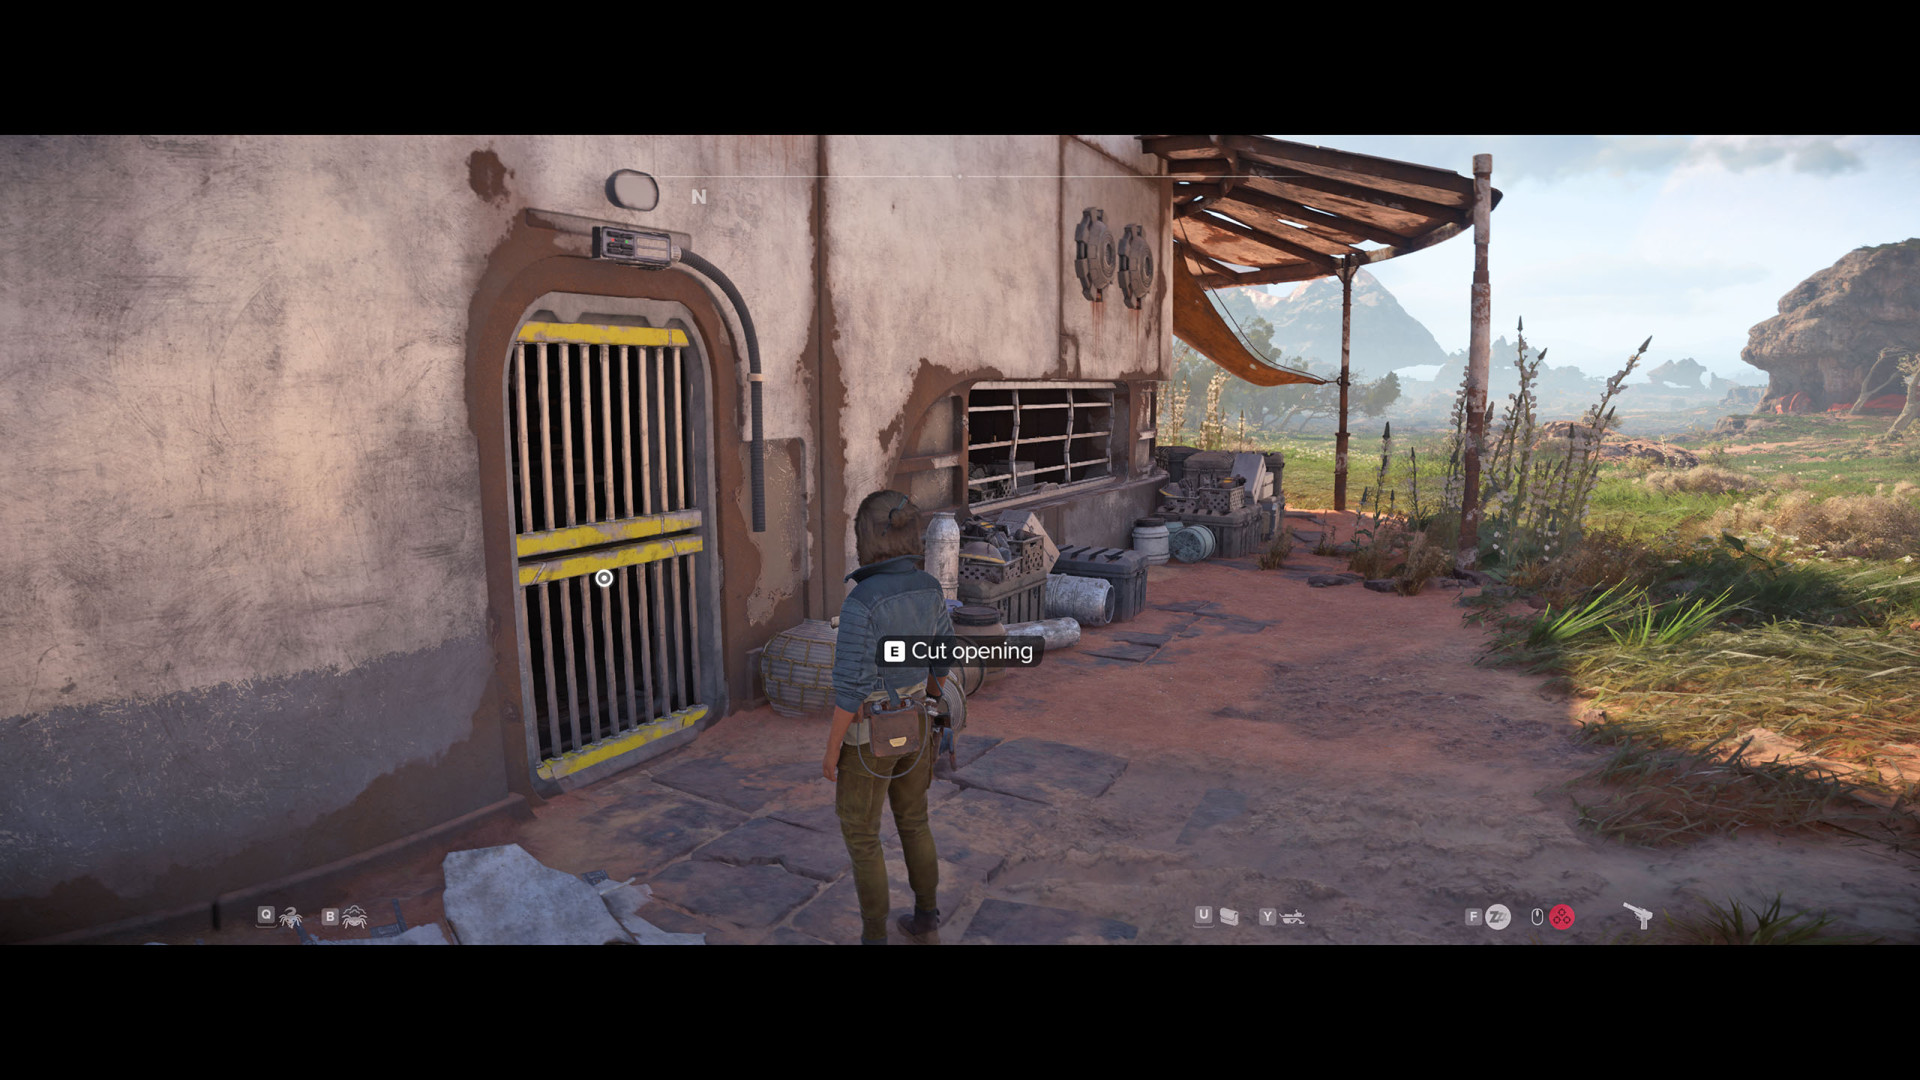
21Ship Graveyard
Treasures (x3):
22Slygel Hive
Treasures (x3):
23Sopàshi Farm
To enter the southernmost building, approach its window and order Nix to open the shutter inside. Use the Ion module of your blaster and shoot at the coil inside. The door will open for a moment.
Treasure:
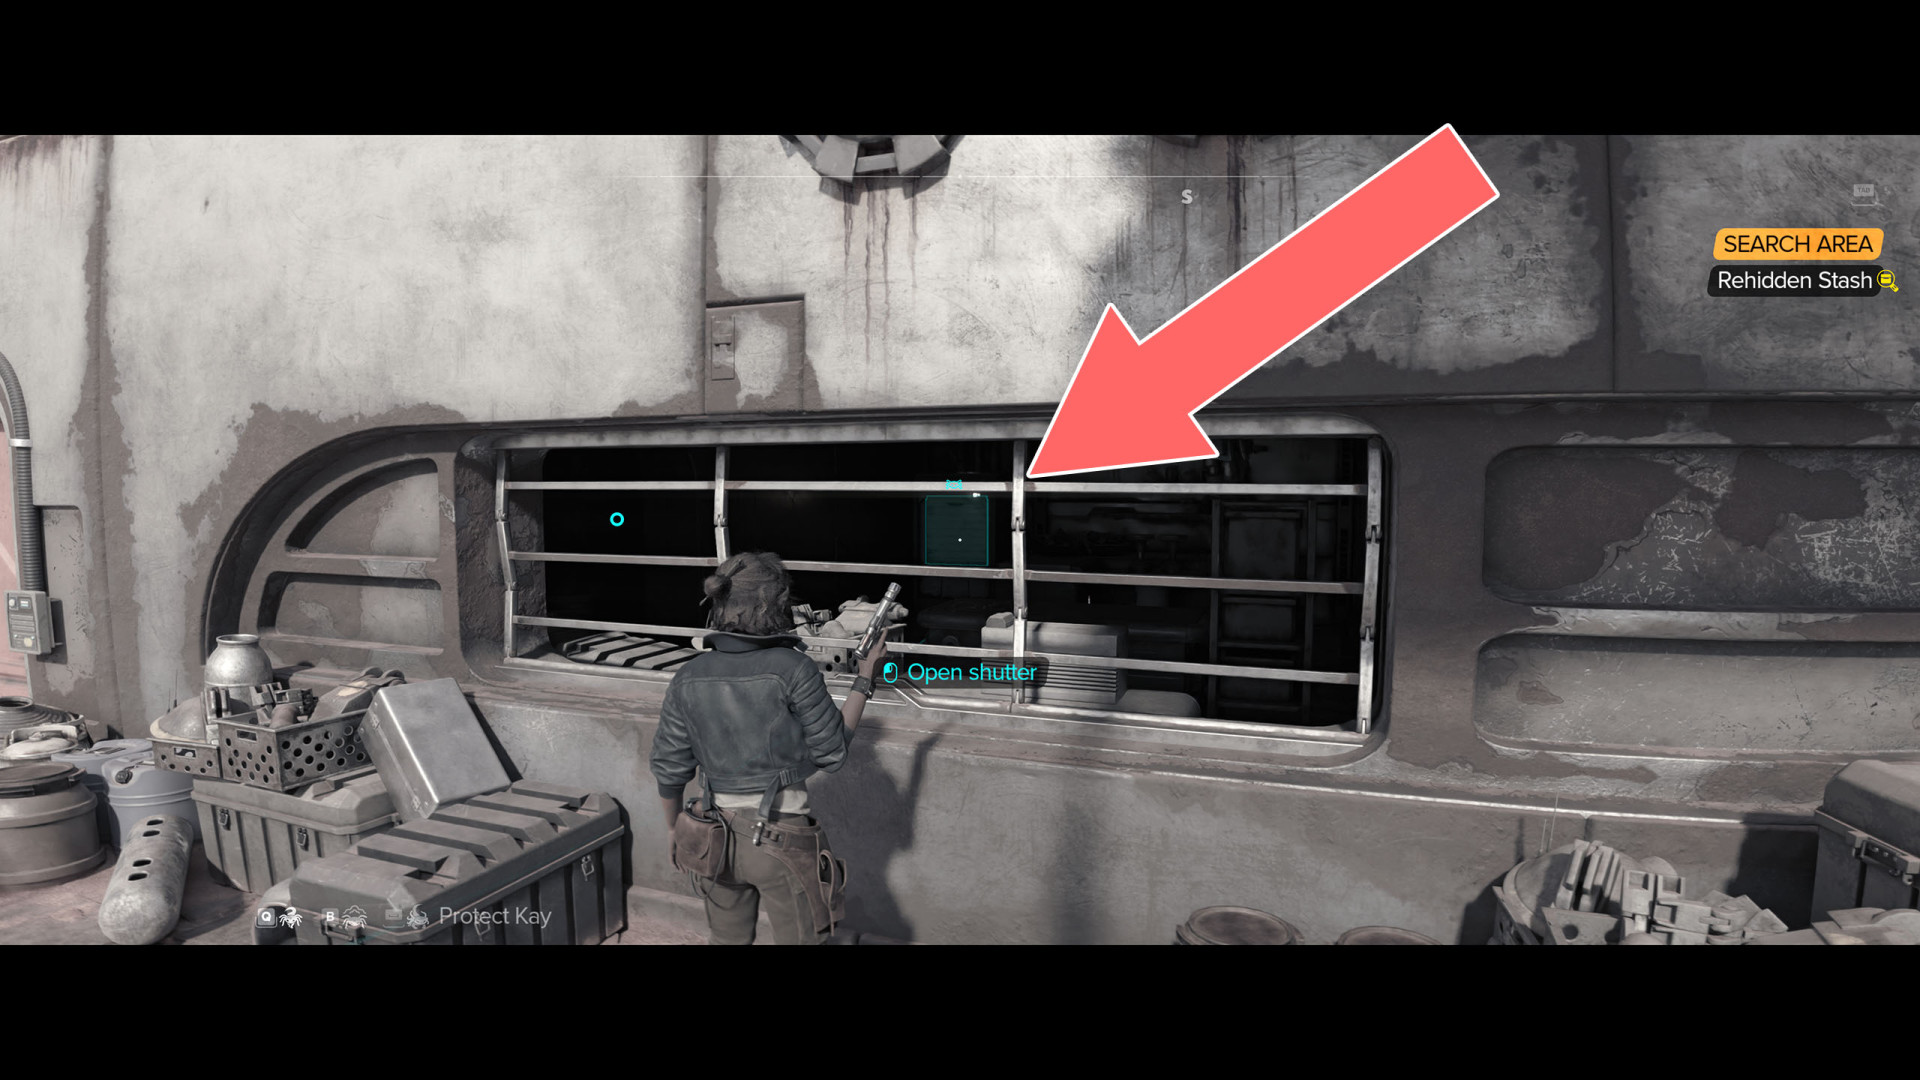
24Tachir's Stash
Treasure:
25The Crucible
Treasures (x4):
26Traveler's Crossing
Show the map
27Typhon's Rock
Treasure:
28Vagrant's Camp
Show the map
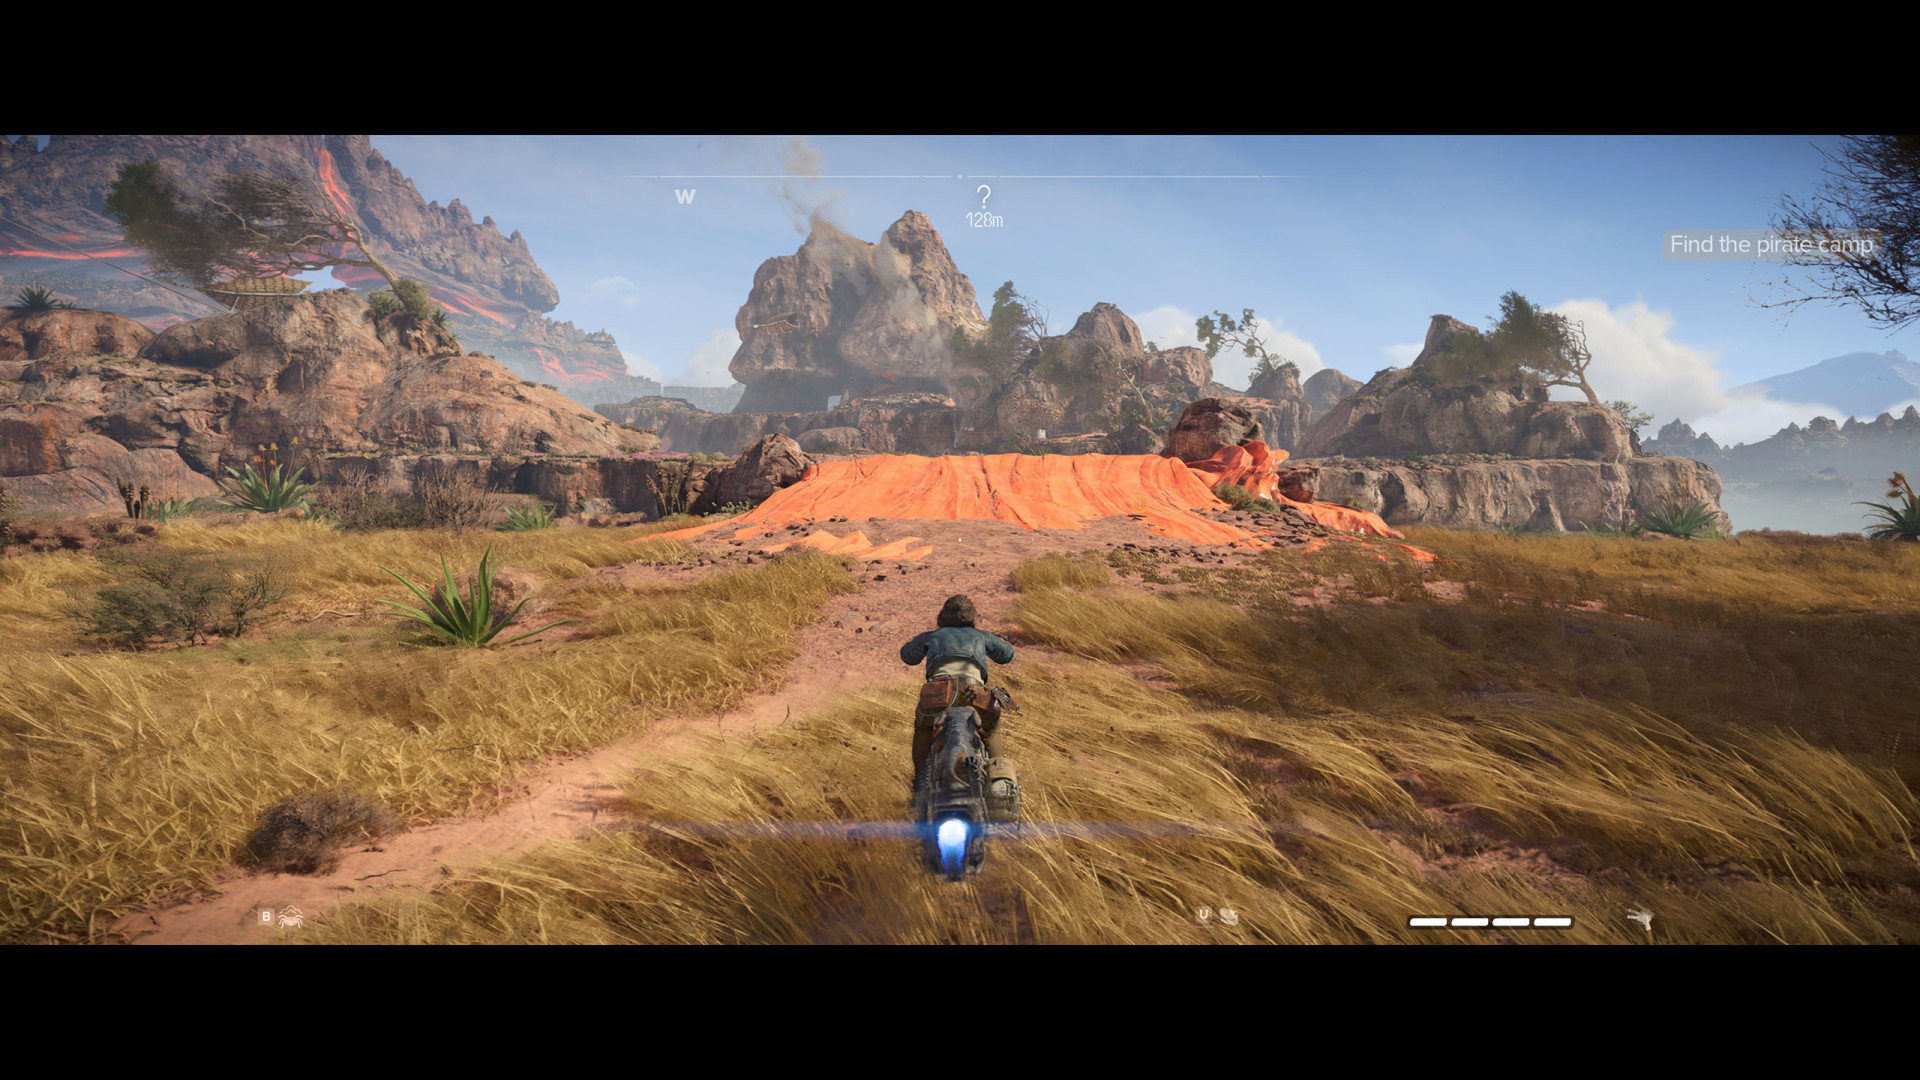
29Wreck Cluster
Treasures (x3):
30Zorma's Stash
The treasure container will show up only after getting the related information - "Rooftop Stash". The roof can be accessed by a ladder.
Treasure:

Locations on Kijimi
31Derelict Ship
Treasures (x4):
32Hakan's Stash
Show the map
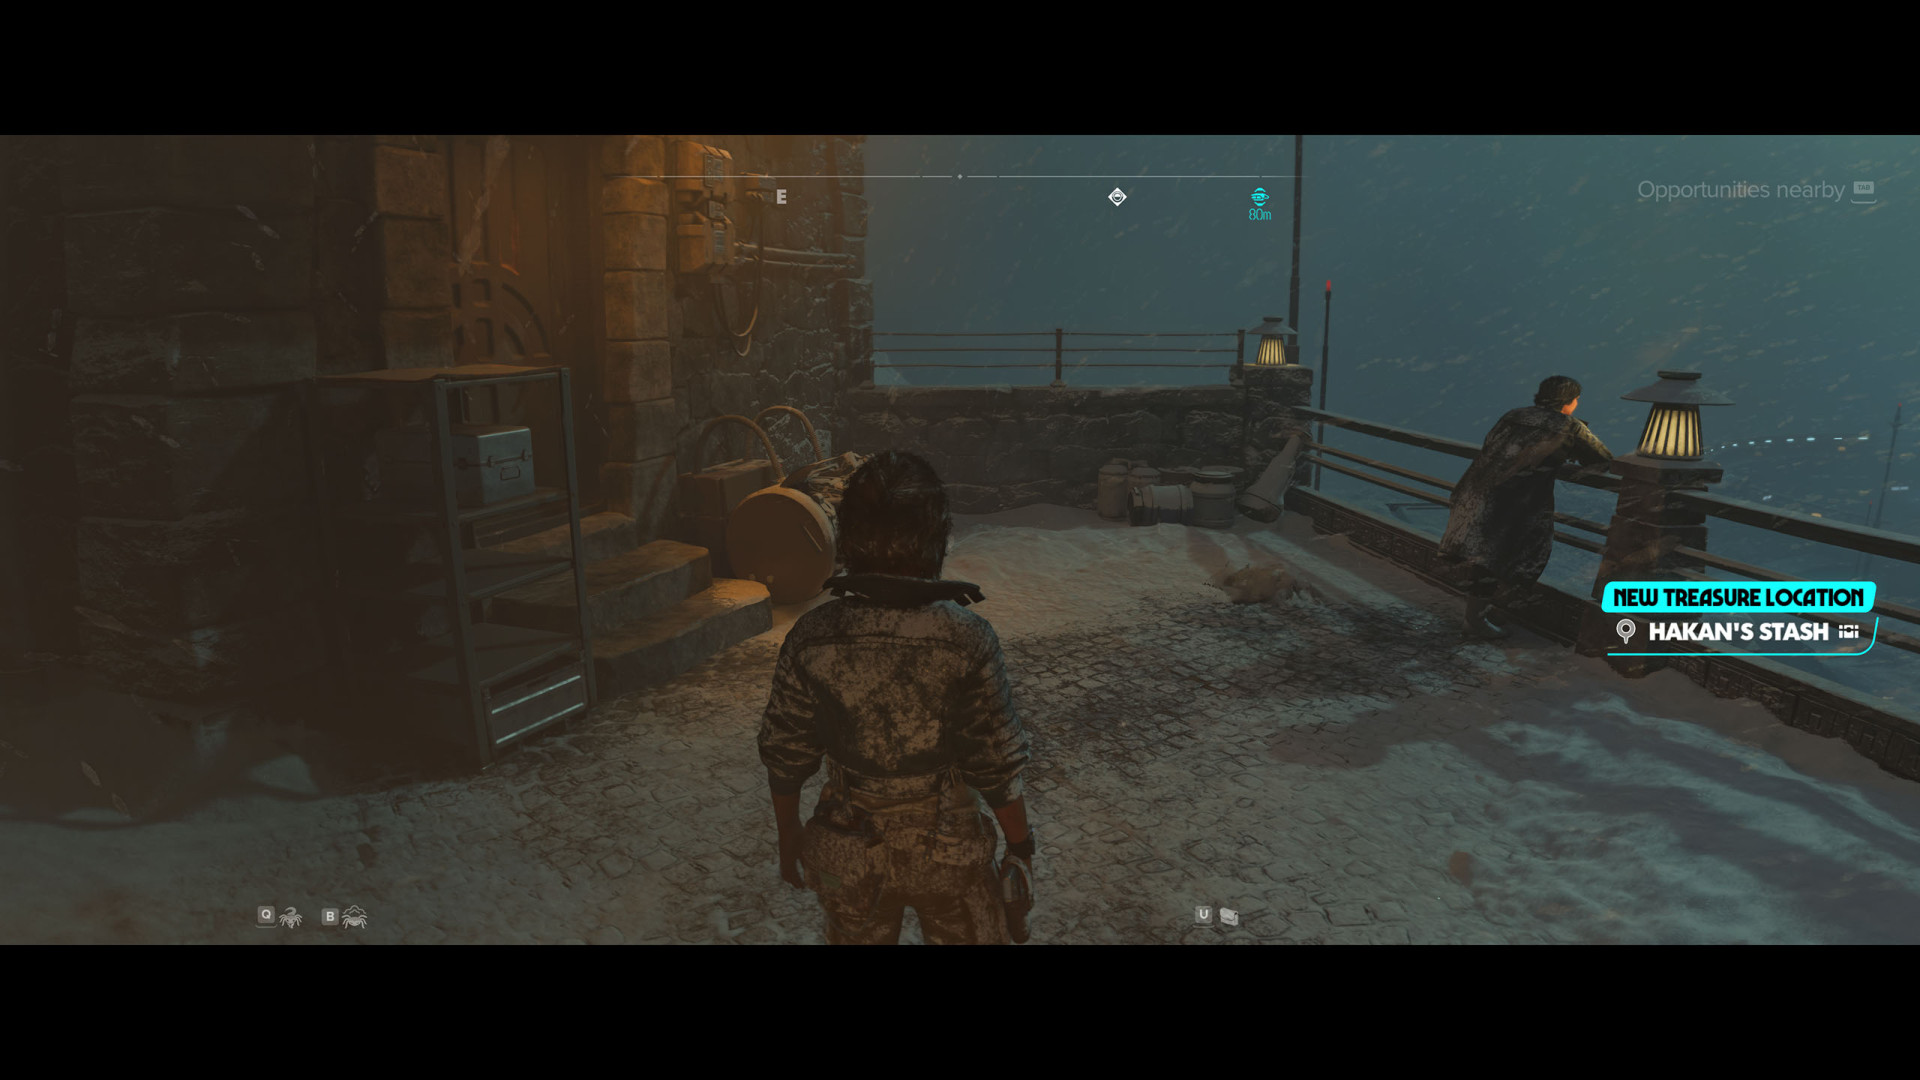
33Ilario's Stash
To open the door and get inside, order Nix to press the button and turn off the power.
Treasure:

34Jarmo's Stash
Show the map

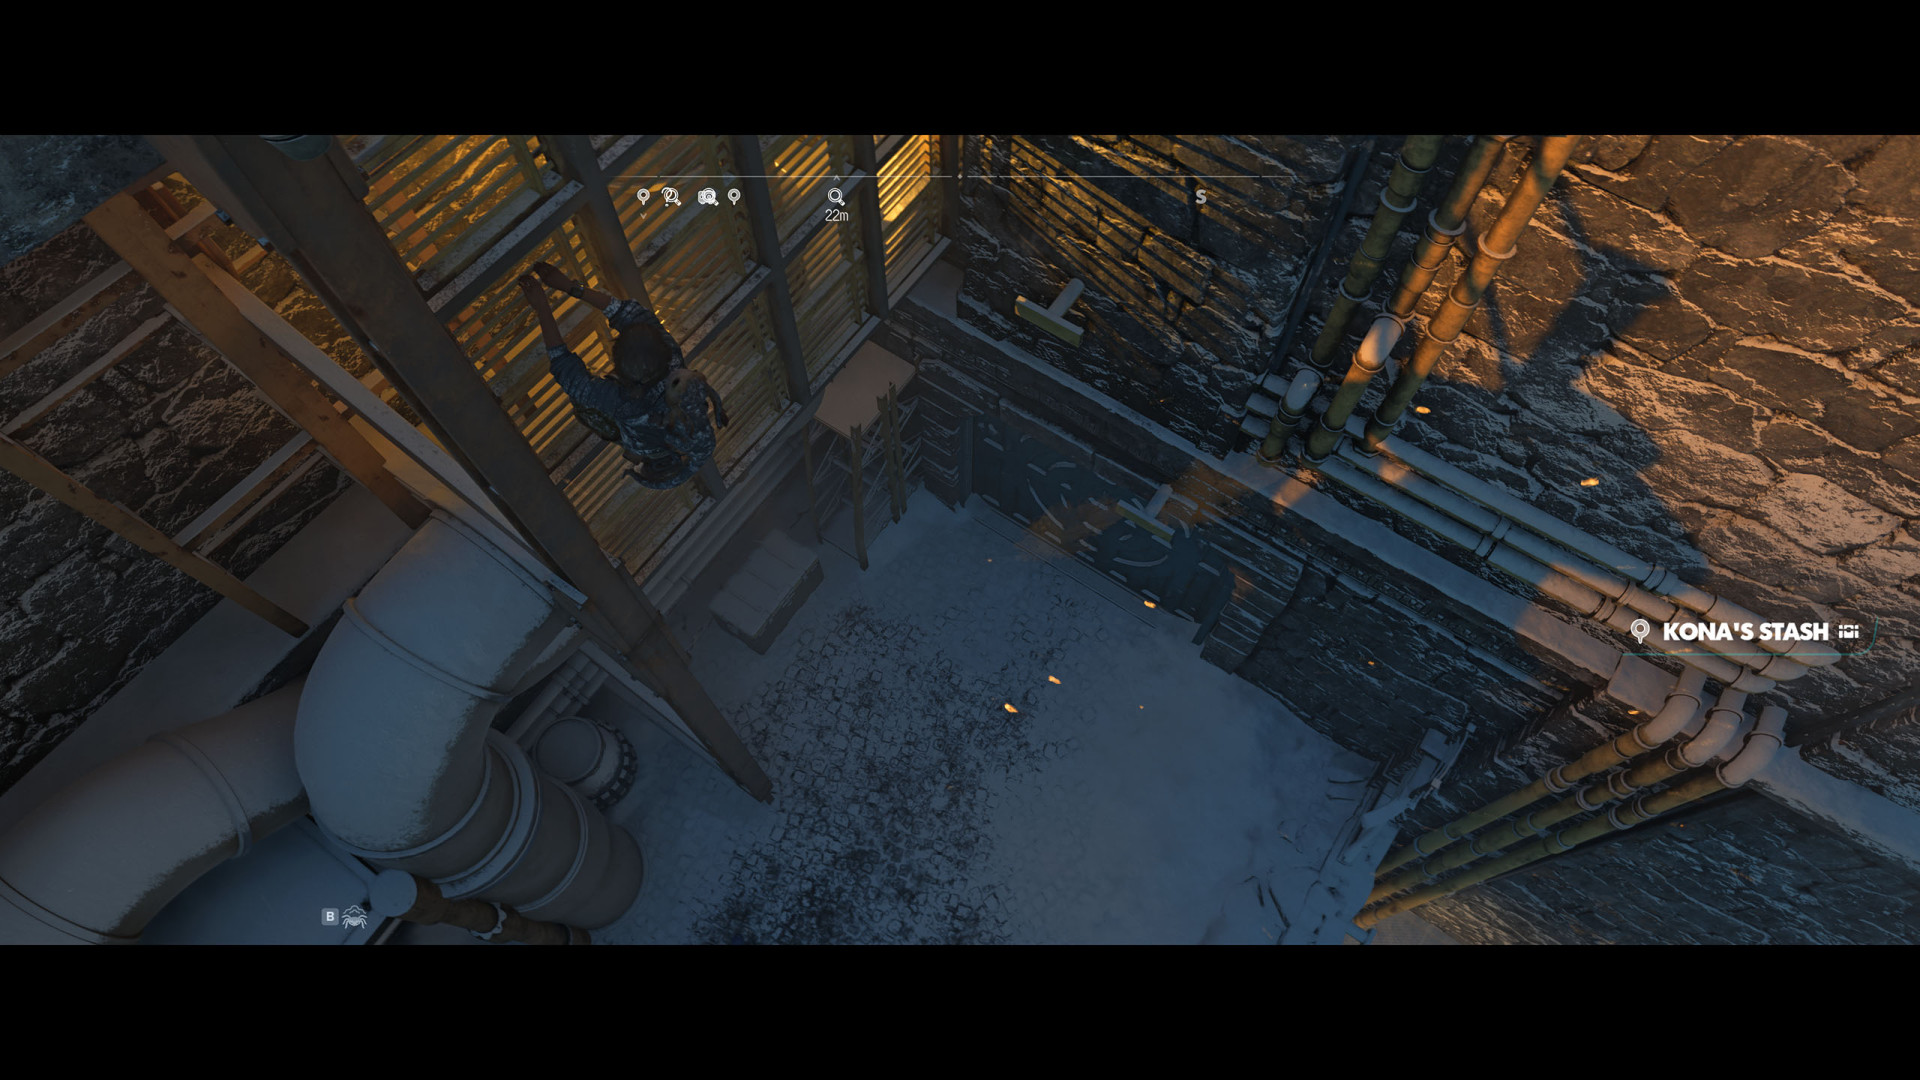
35Kona's Stash
Show the map
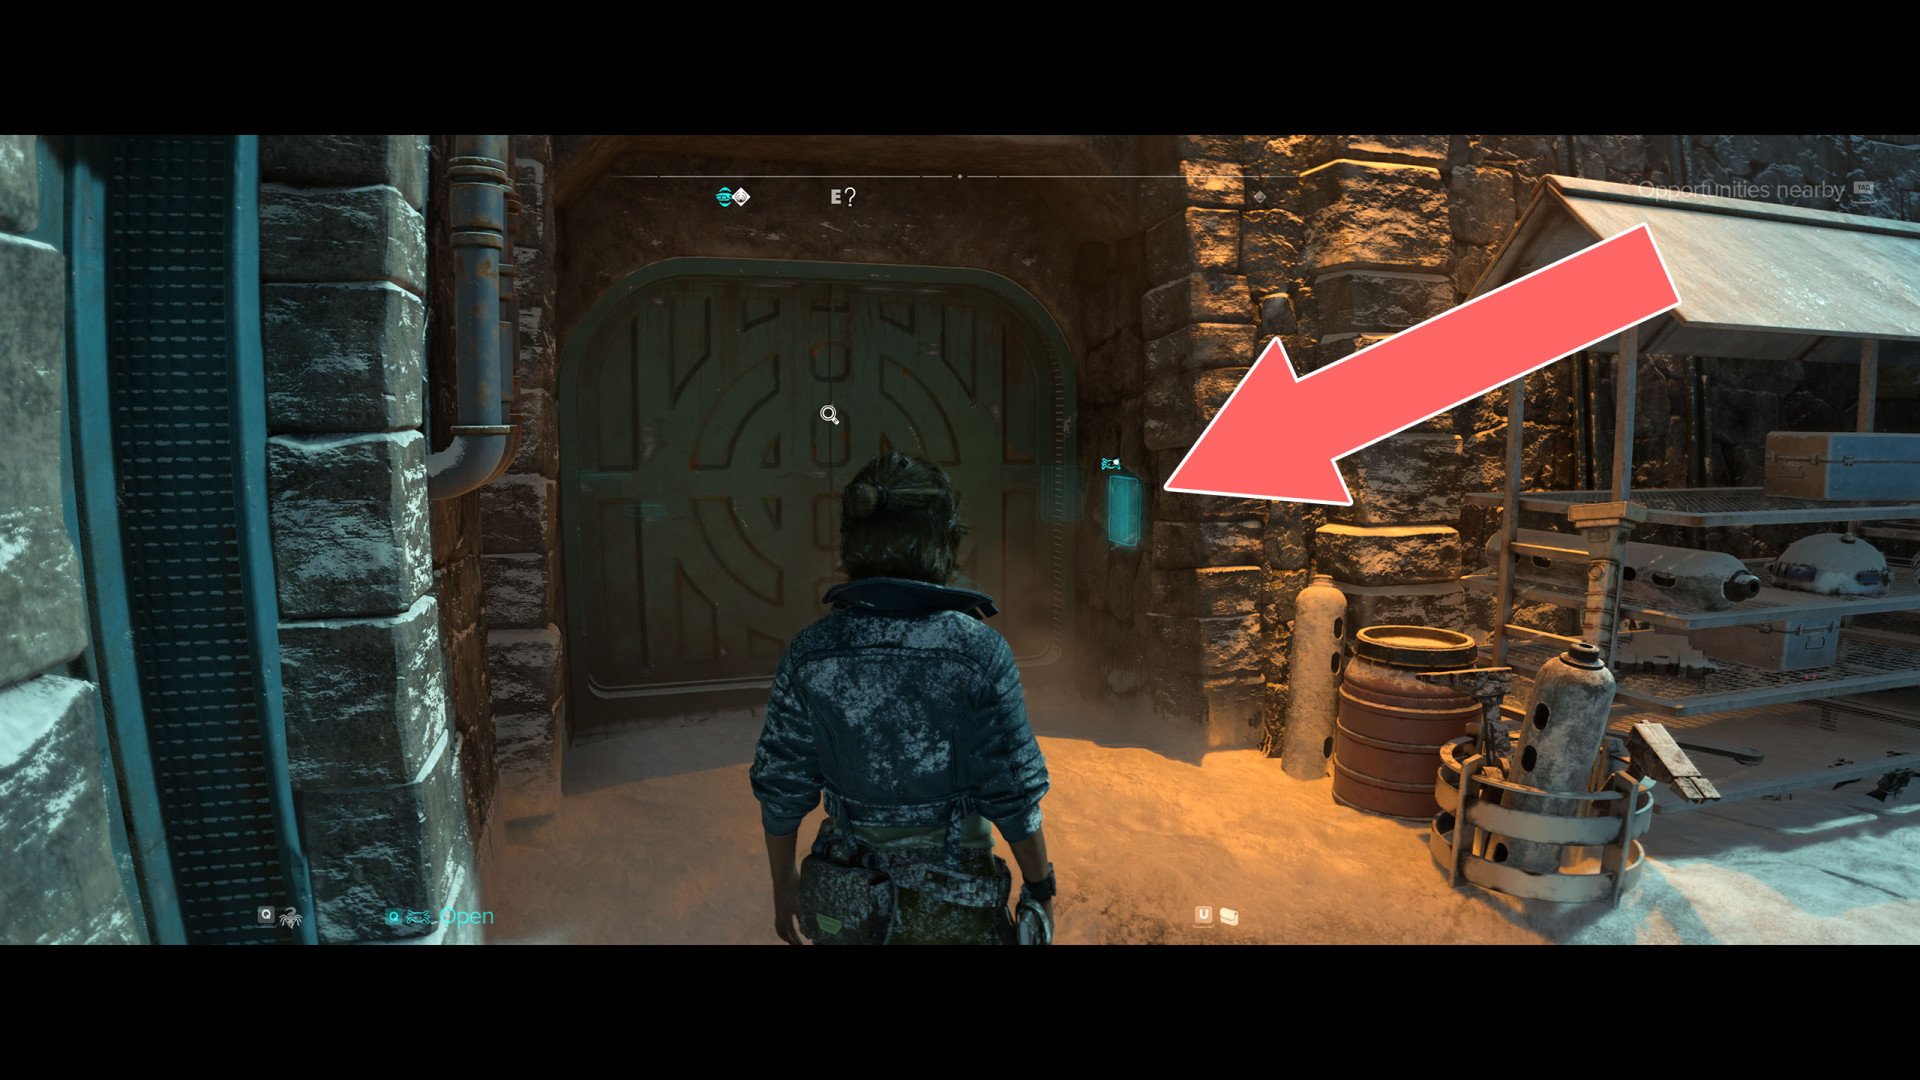
36Luda's Stash
Show the map
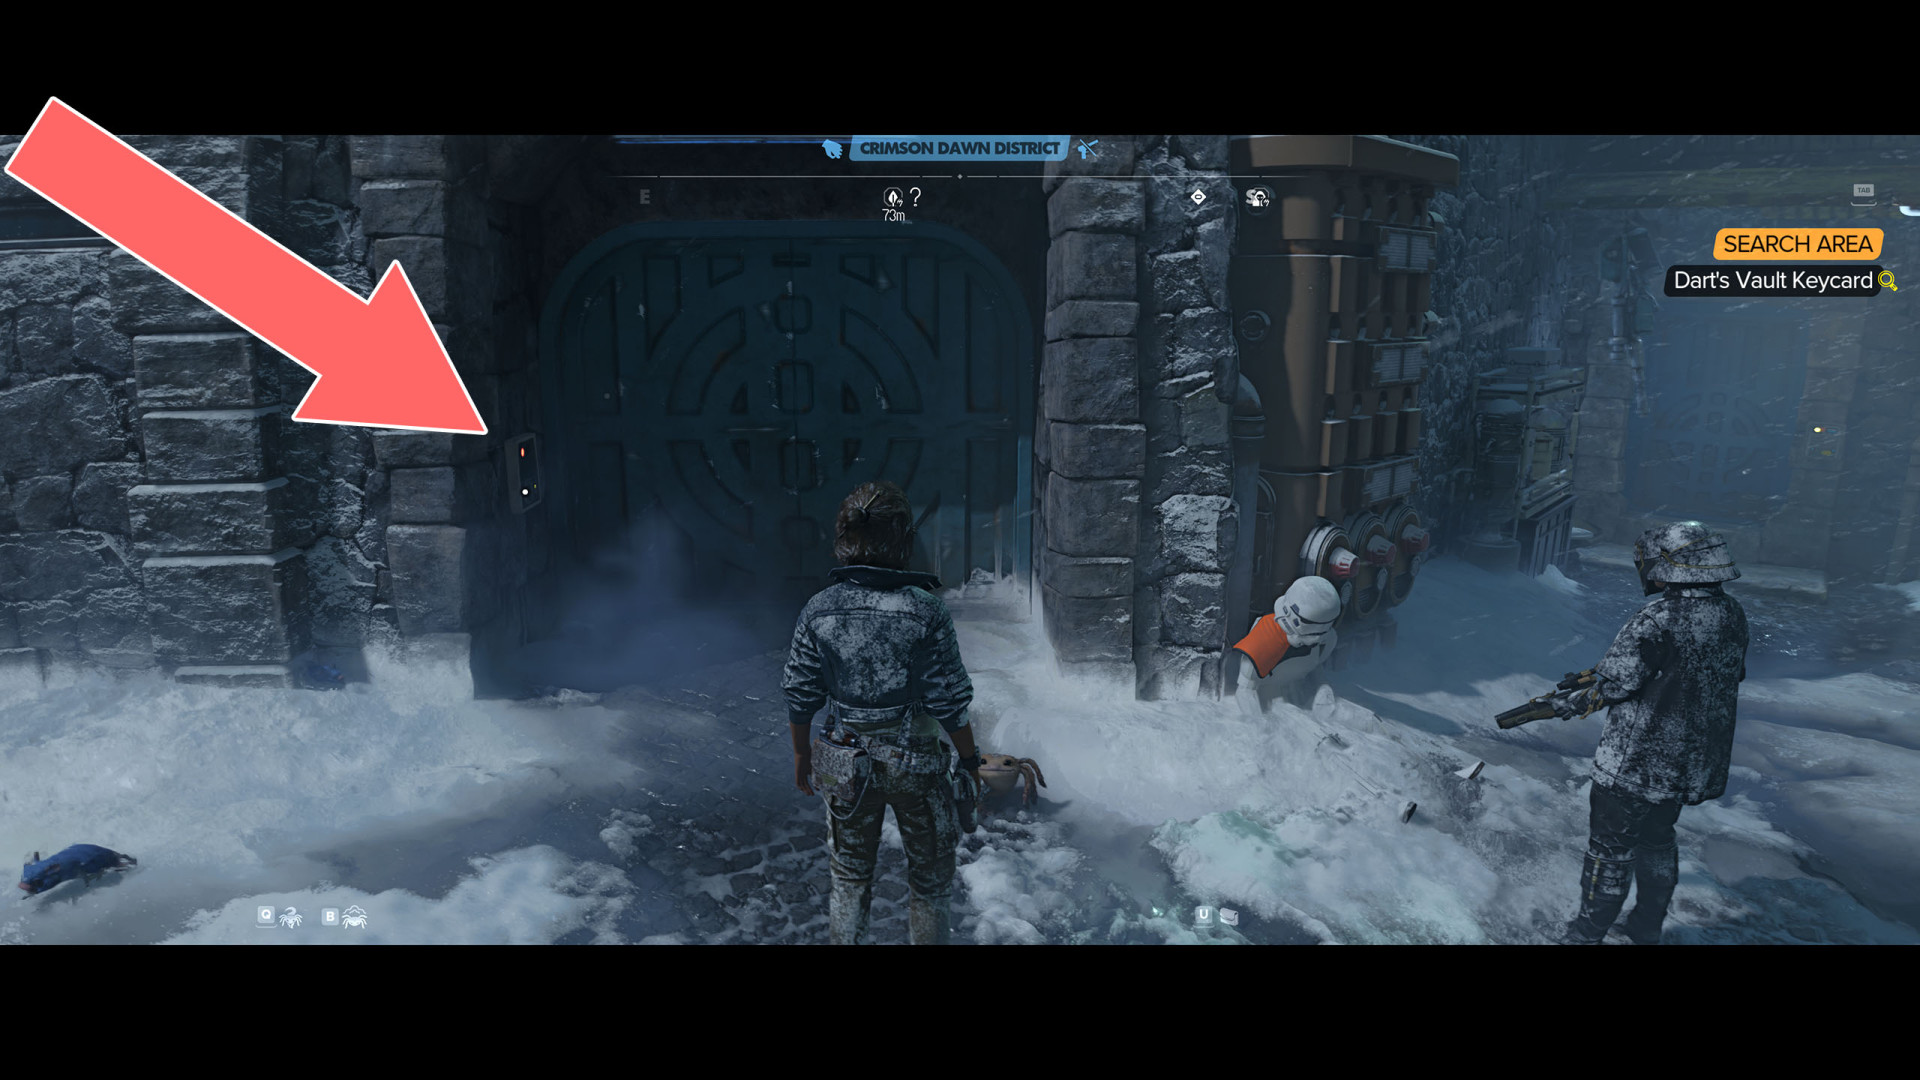
37Minga's Stash
Show the map

38Muroma's Stash
Show the map
39Nebula Core
Treasure (x2):
40Noki's Stash
Treasure:
41Okali's Stash
Show the map

42Piapo's Stash
Show the map
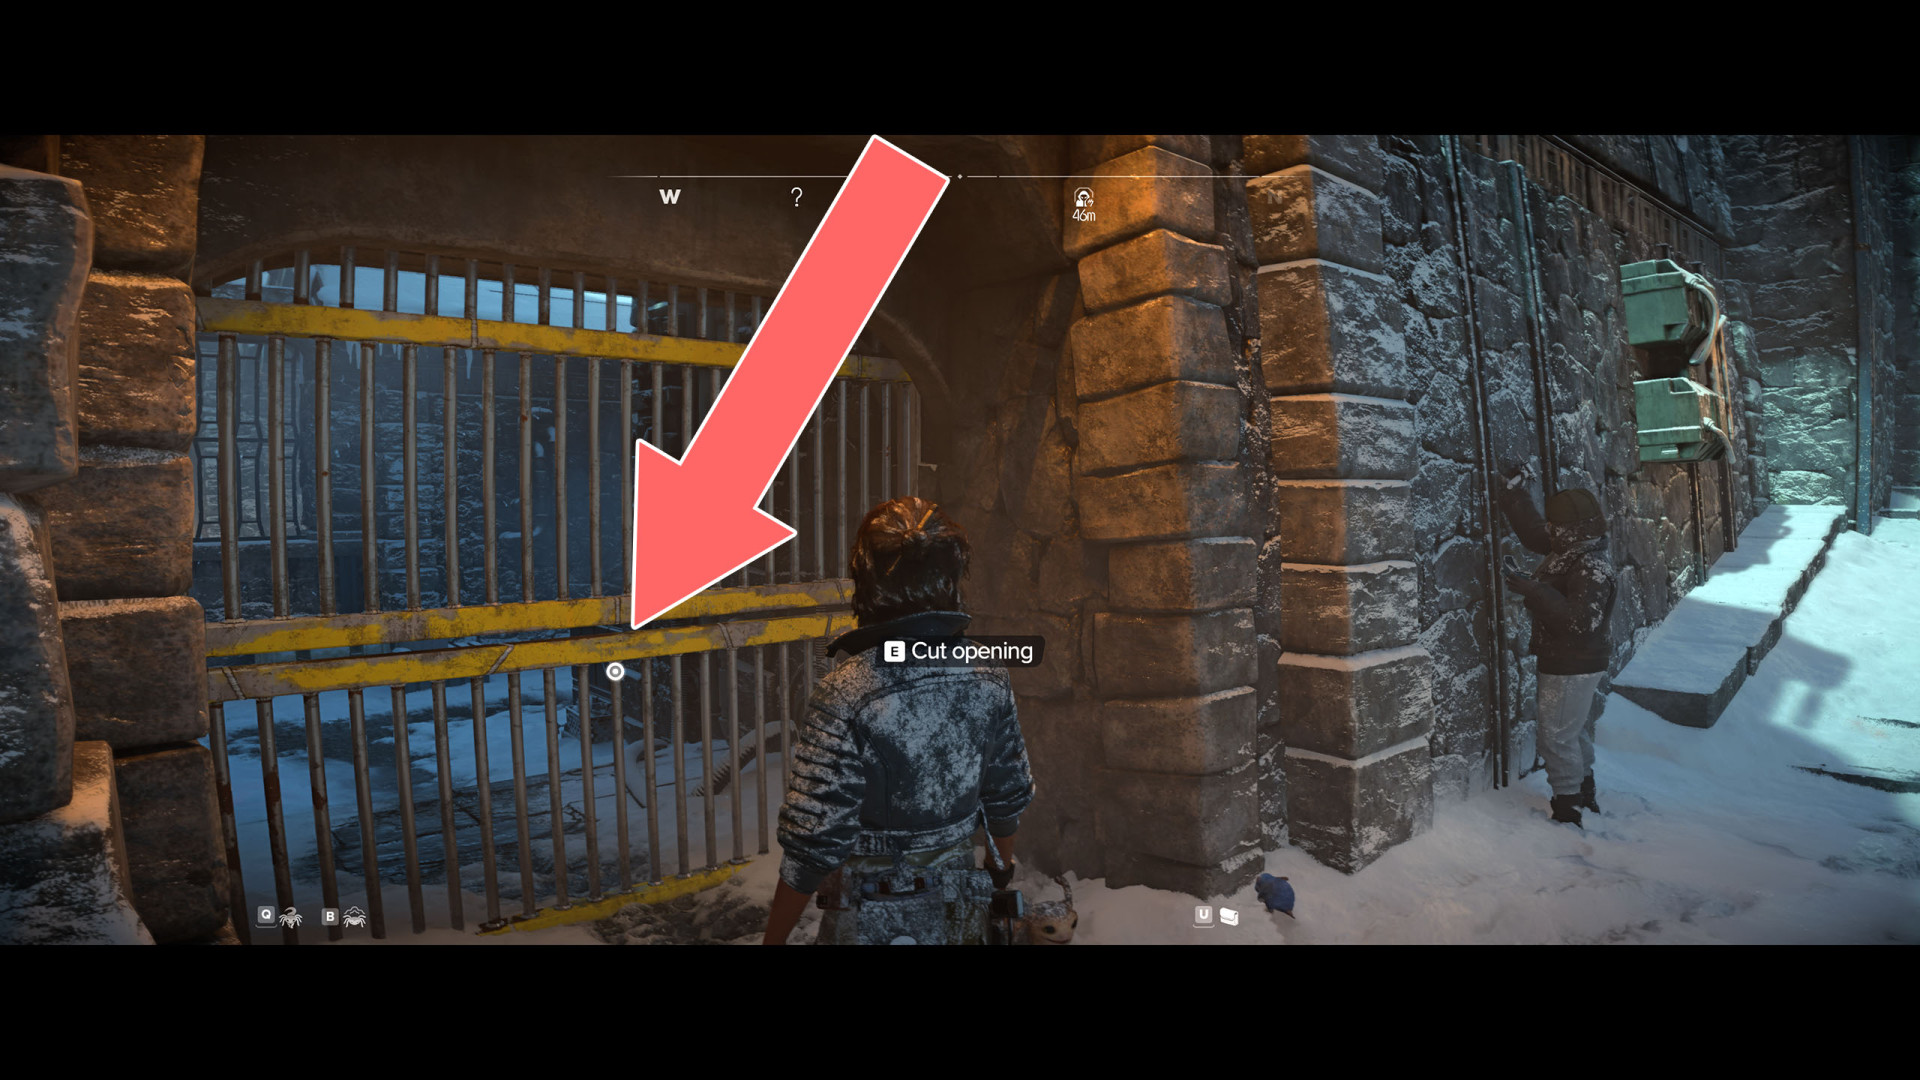
43Pilot's End
Treasures (x2):
44Quola's Stash
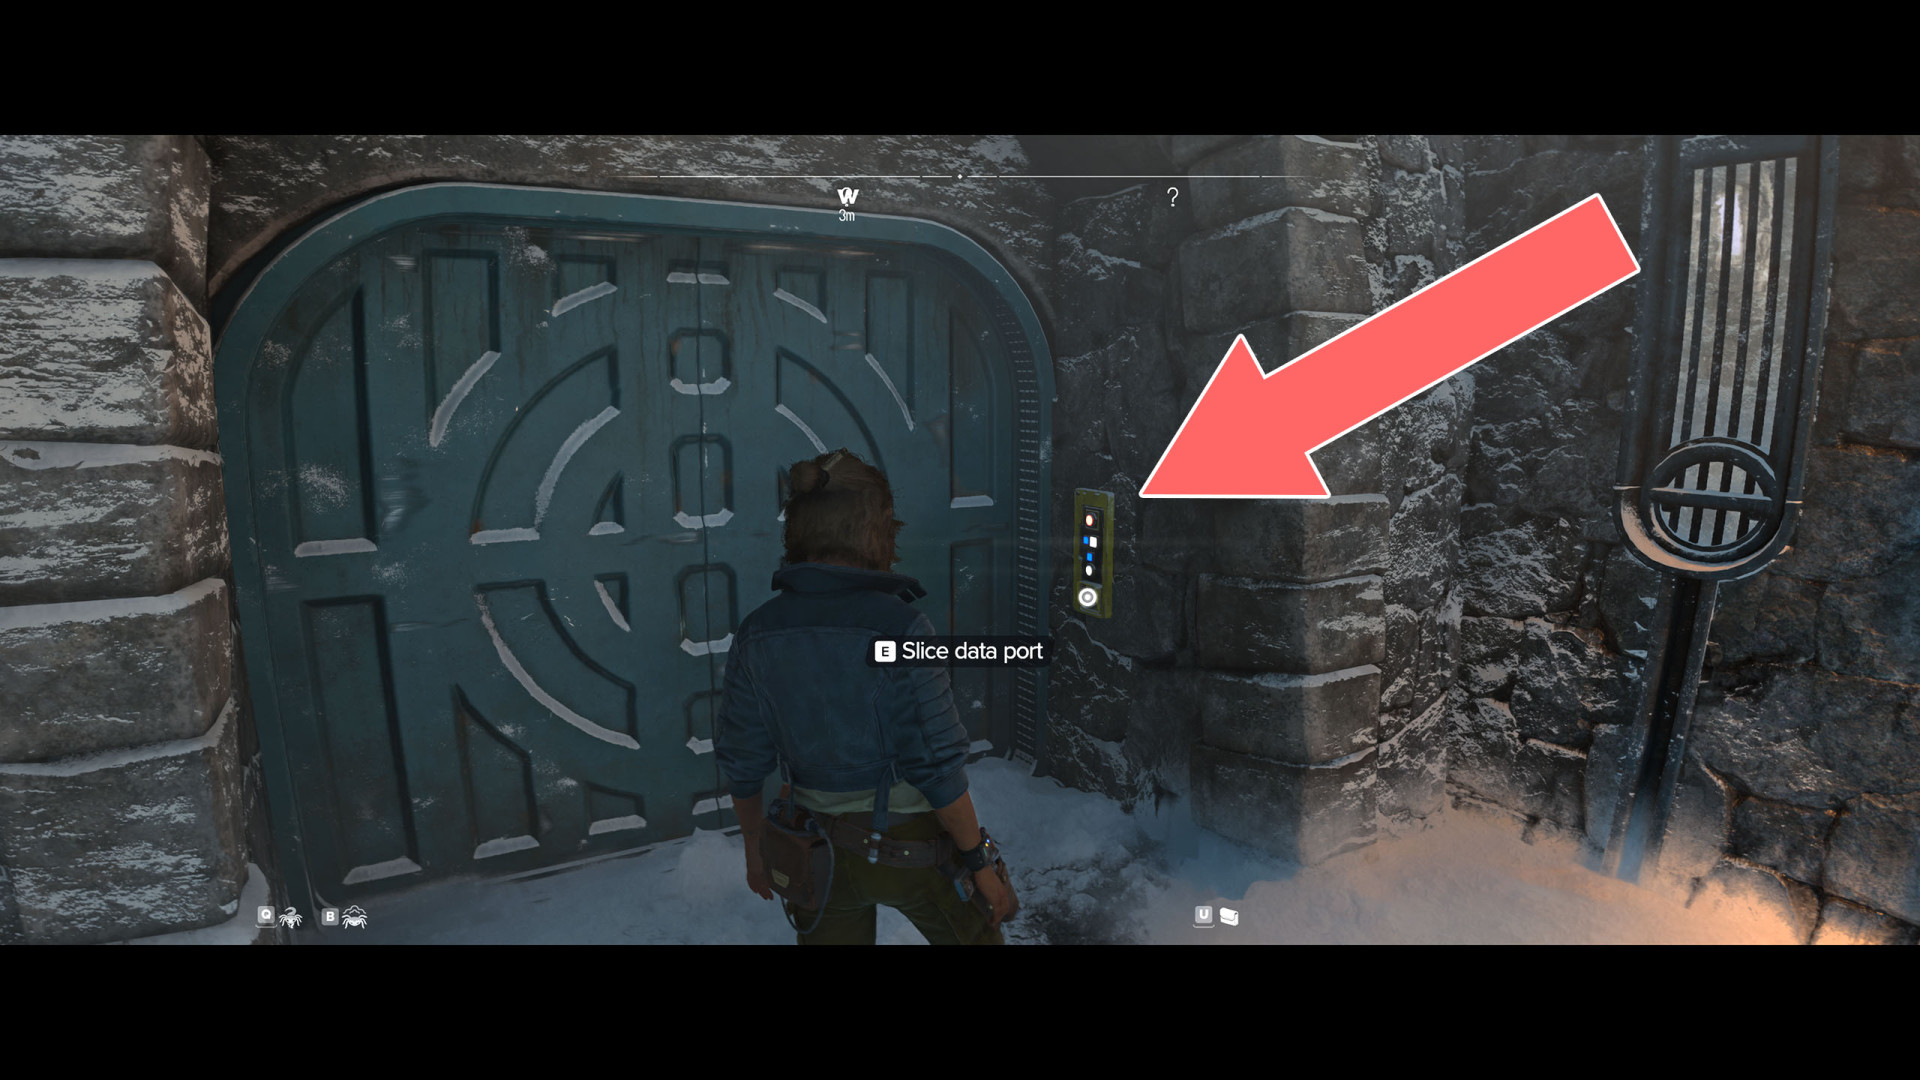
In order to open the gate and get inside, you need to slice the port.
Treasure:
45Rama's Stash
Show the map

46Saku's Stash
Show the map
47Shadow Pass
Show the map
48Teko's Stash
Show the map

49Umi's Stash
Show the map

50Velek's Stash
Show the map
51Venti's Stash
Show the map
Locations on Tatooine
52Alma's Stash
Treasure:
53Bantha Ranch
Show the map
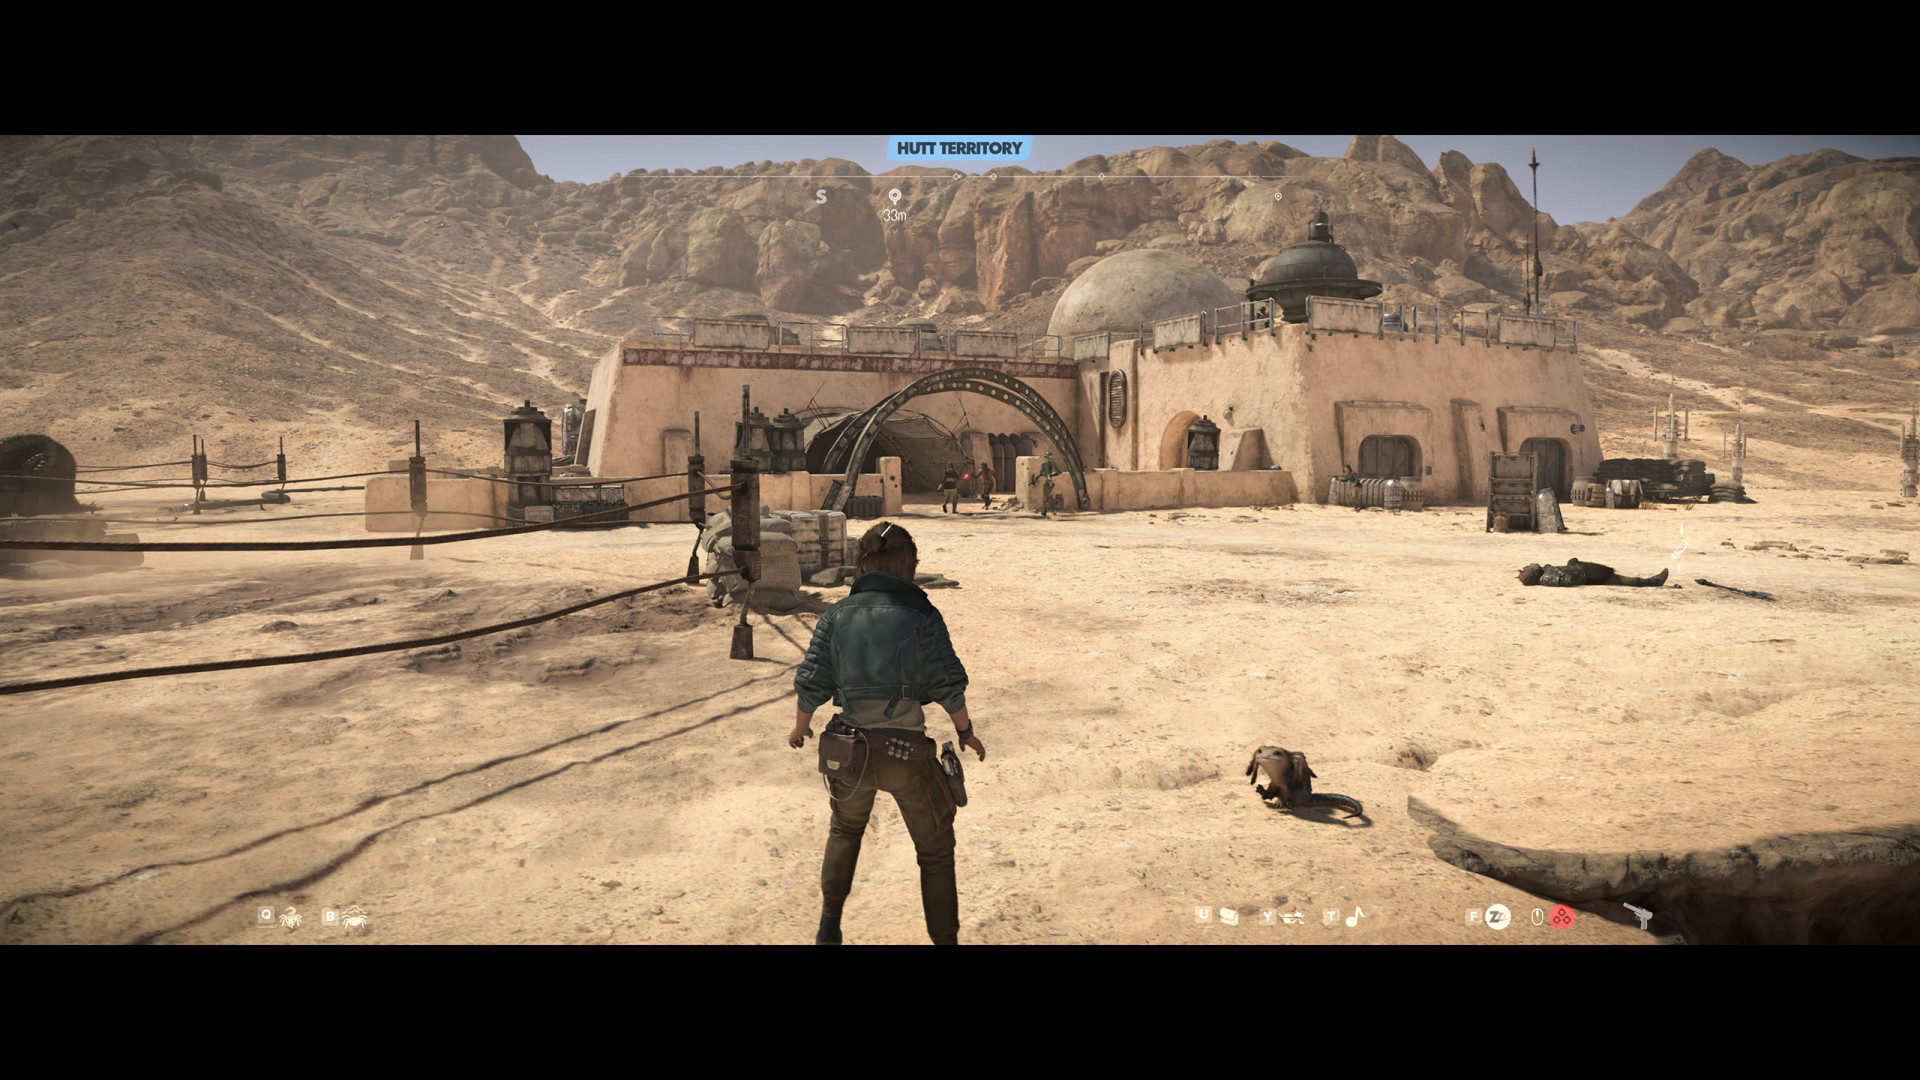
54Battle Aftermath
Treasures (x2):
55Bulu's Stash
Show the map
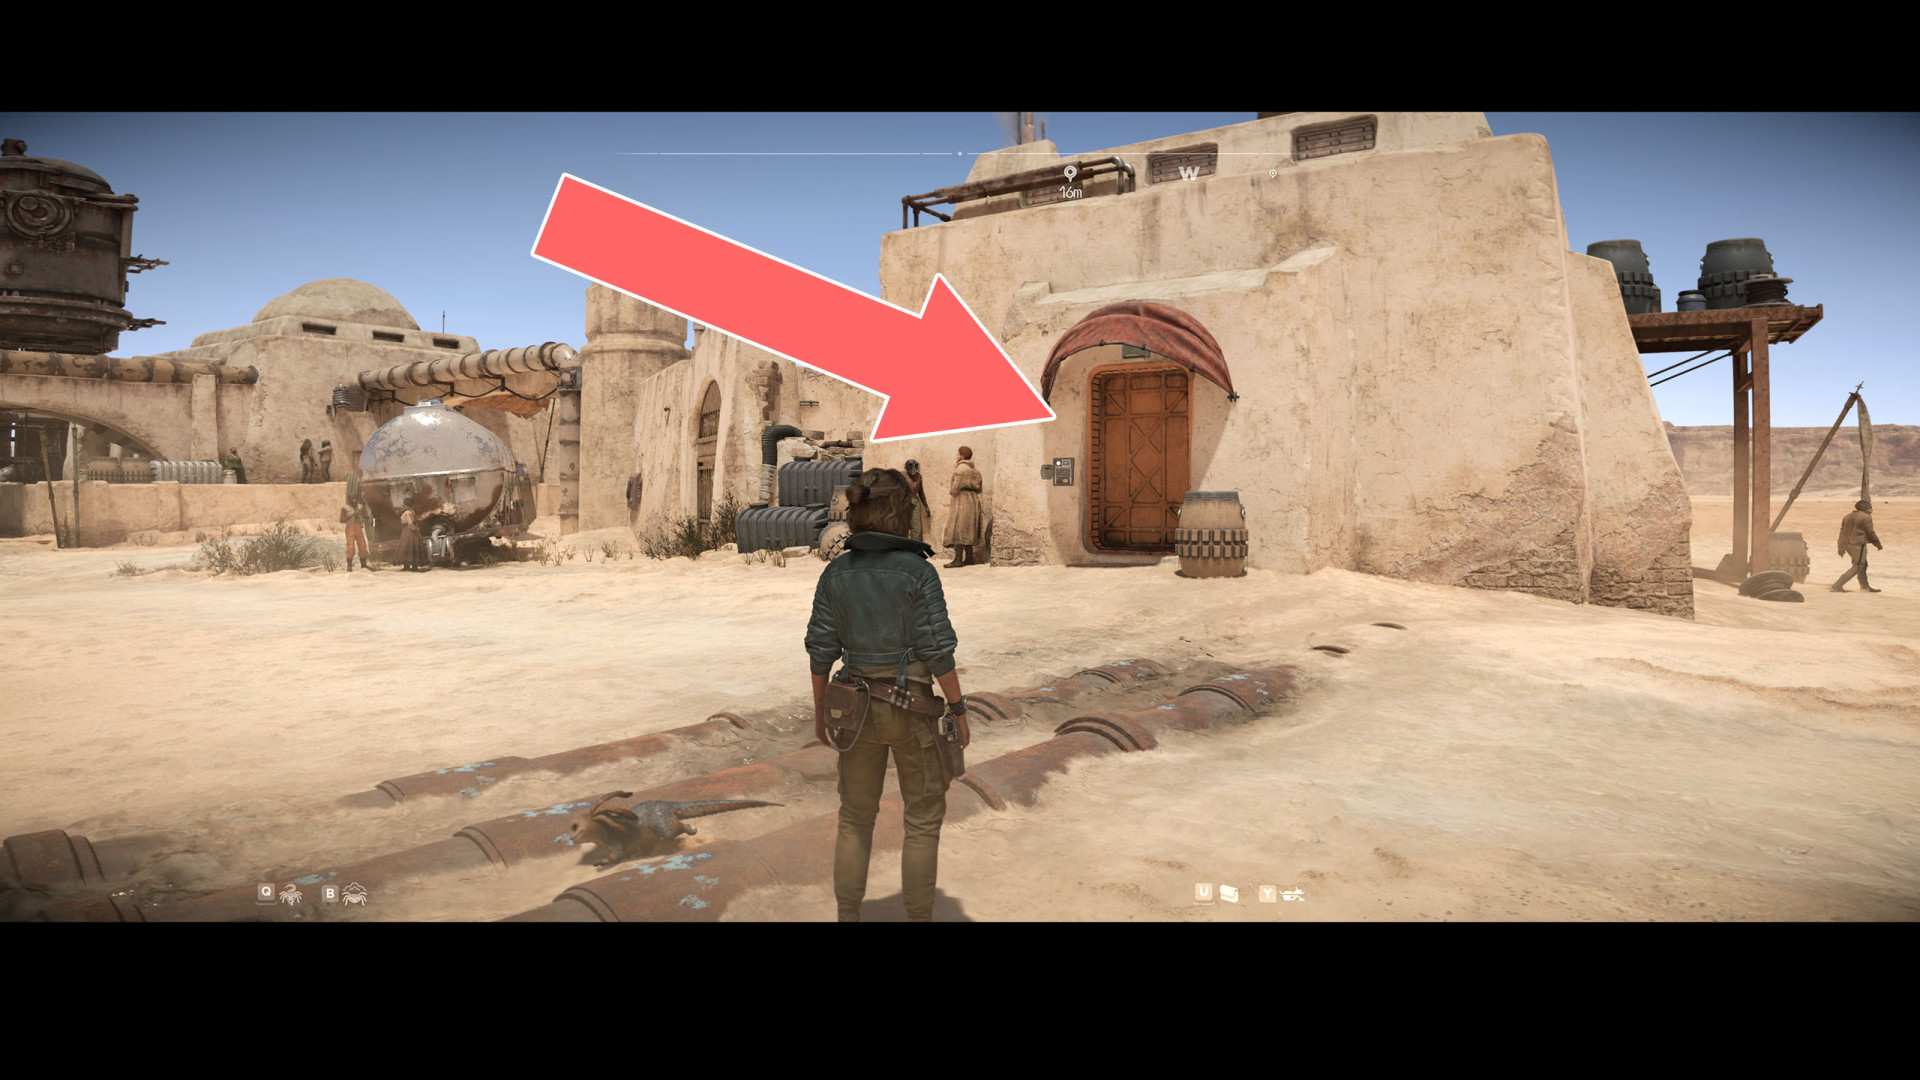
56Cantina Storeroom
Show the map
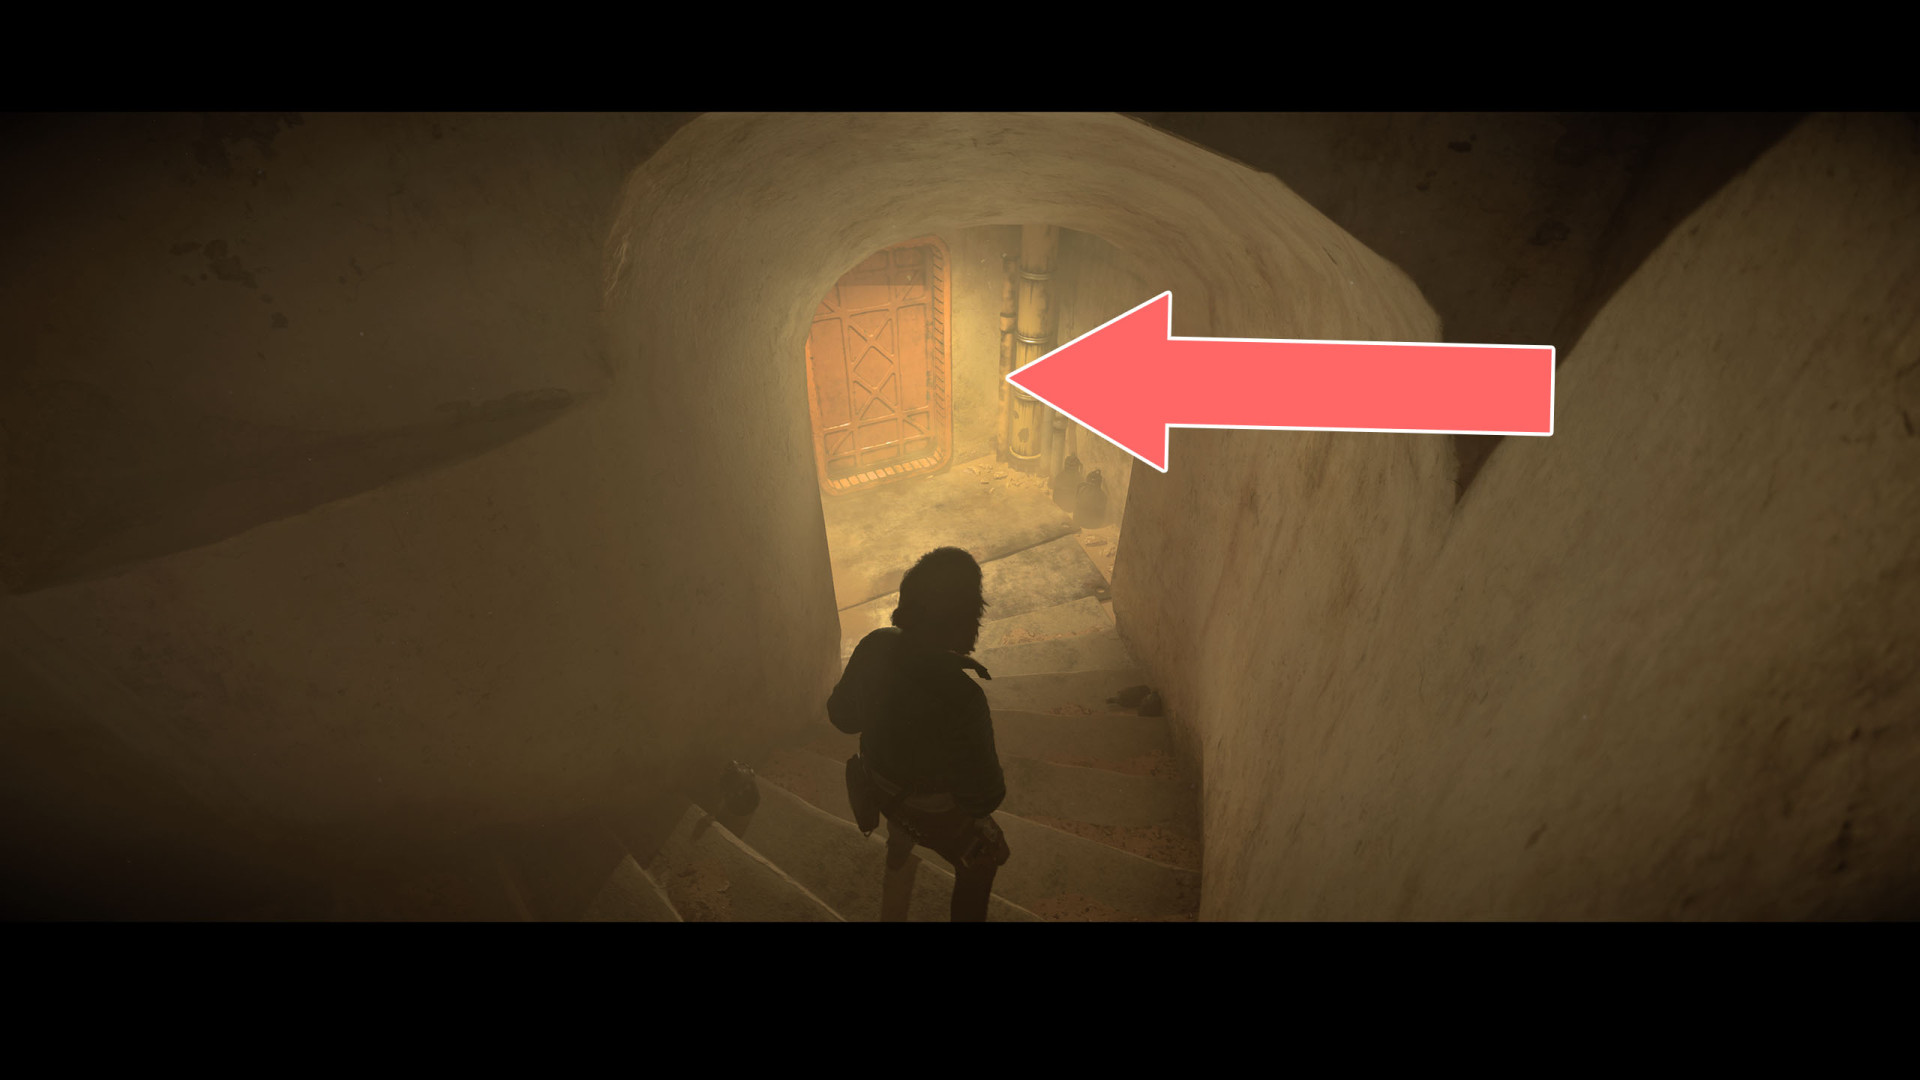
57Curtek Homestead
To get inside you must restore power.

58Daroona House
Related quests: Defector
Treasure:
59Dryko's Stash
Treasure:
60Dukot's Stash
Show the map
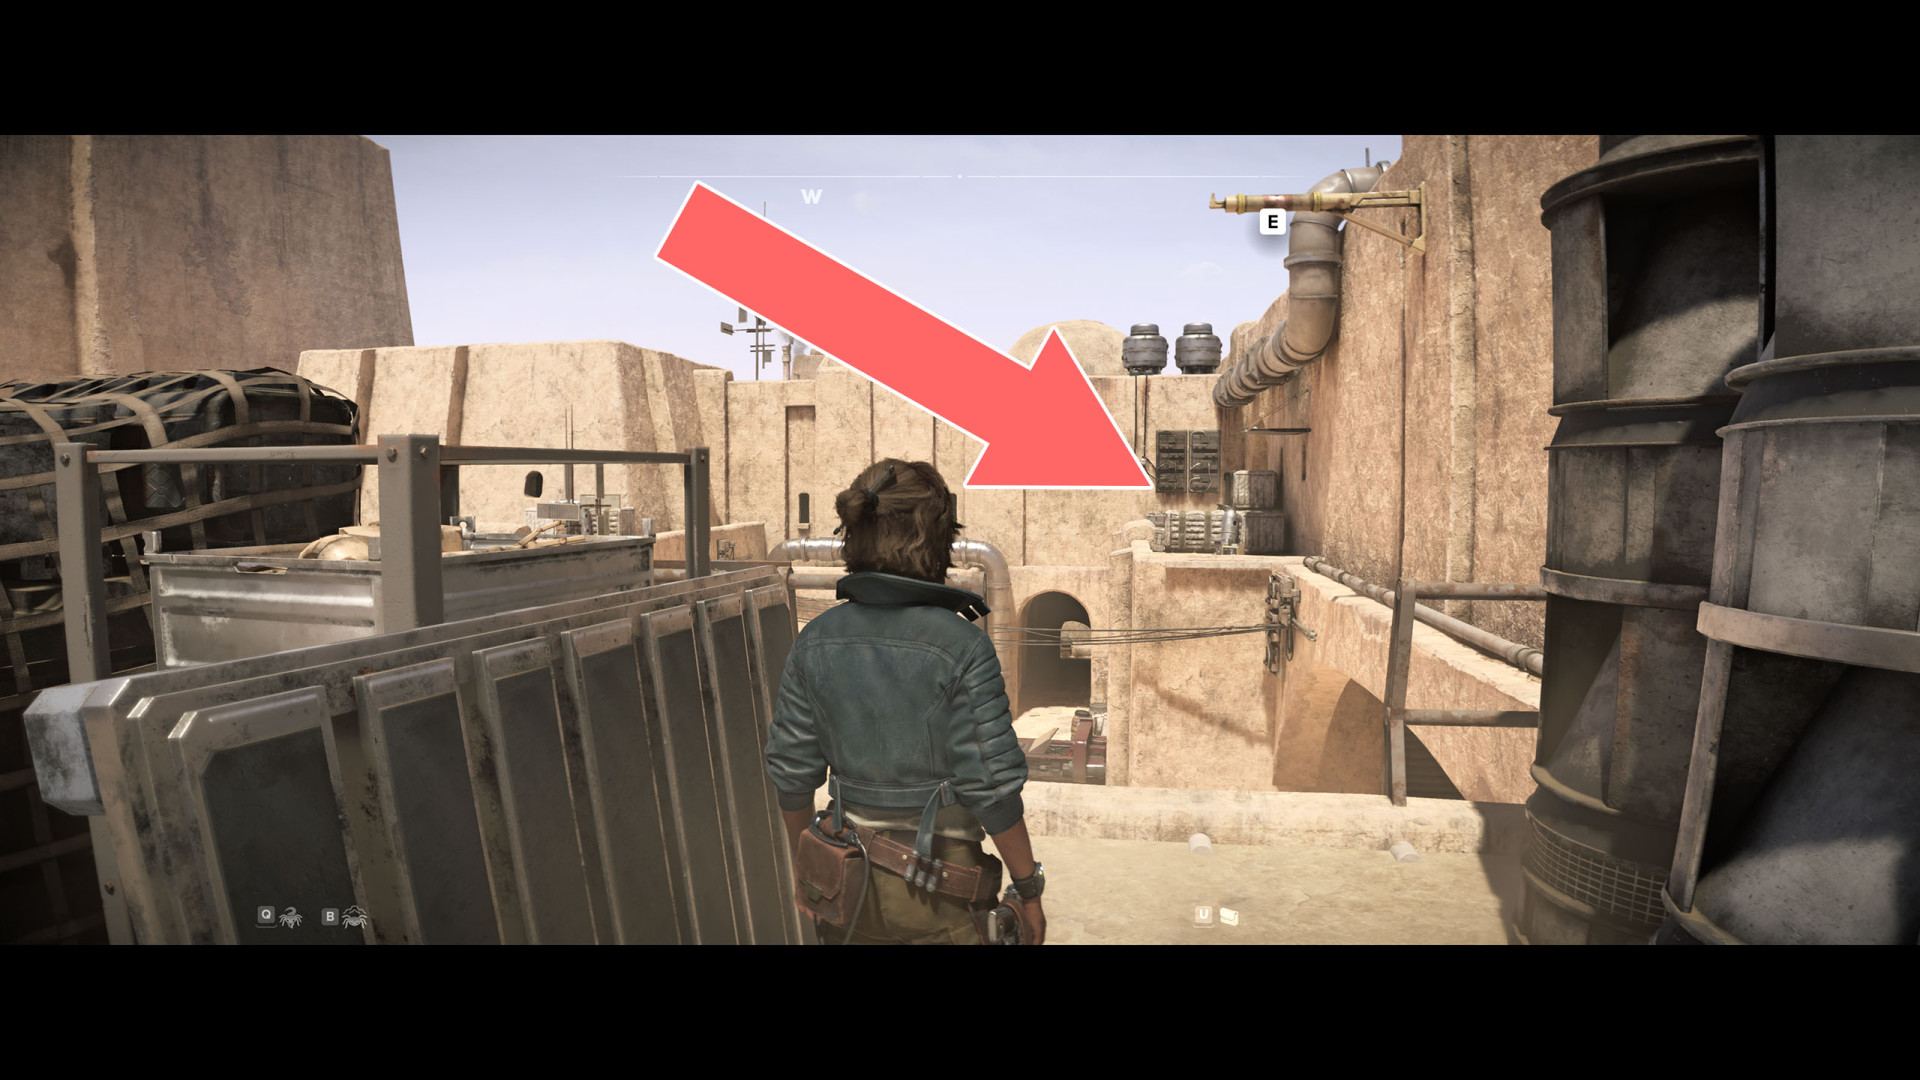
61Elvo Homestead
Show the map

62Guardhouse Ruins
Show the map
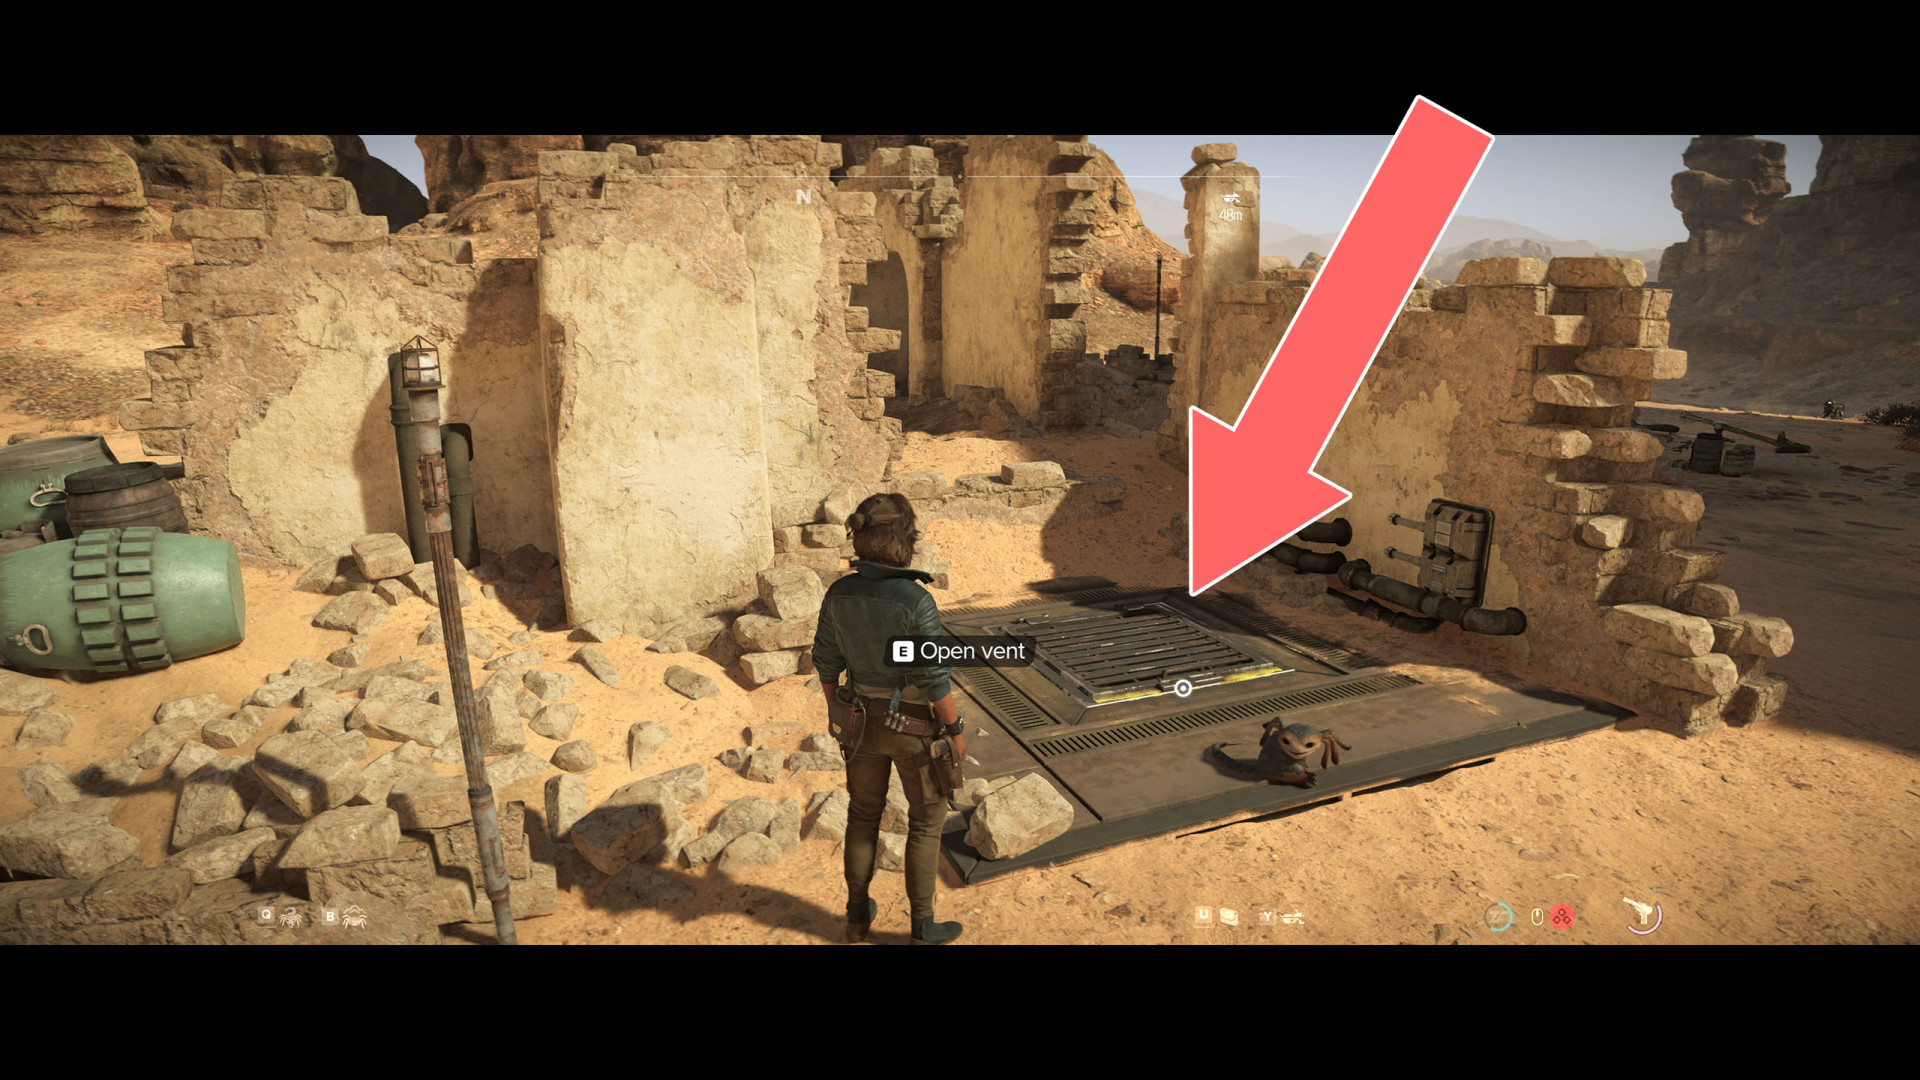
63Hutt Cargo Bay
Show the map
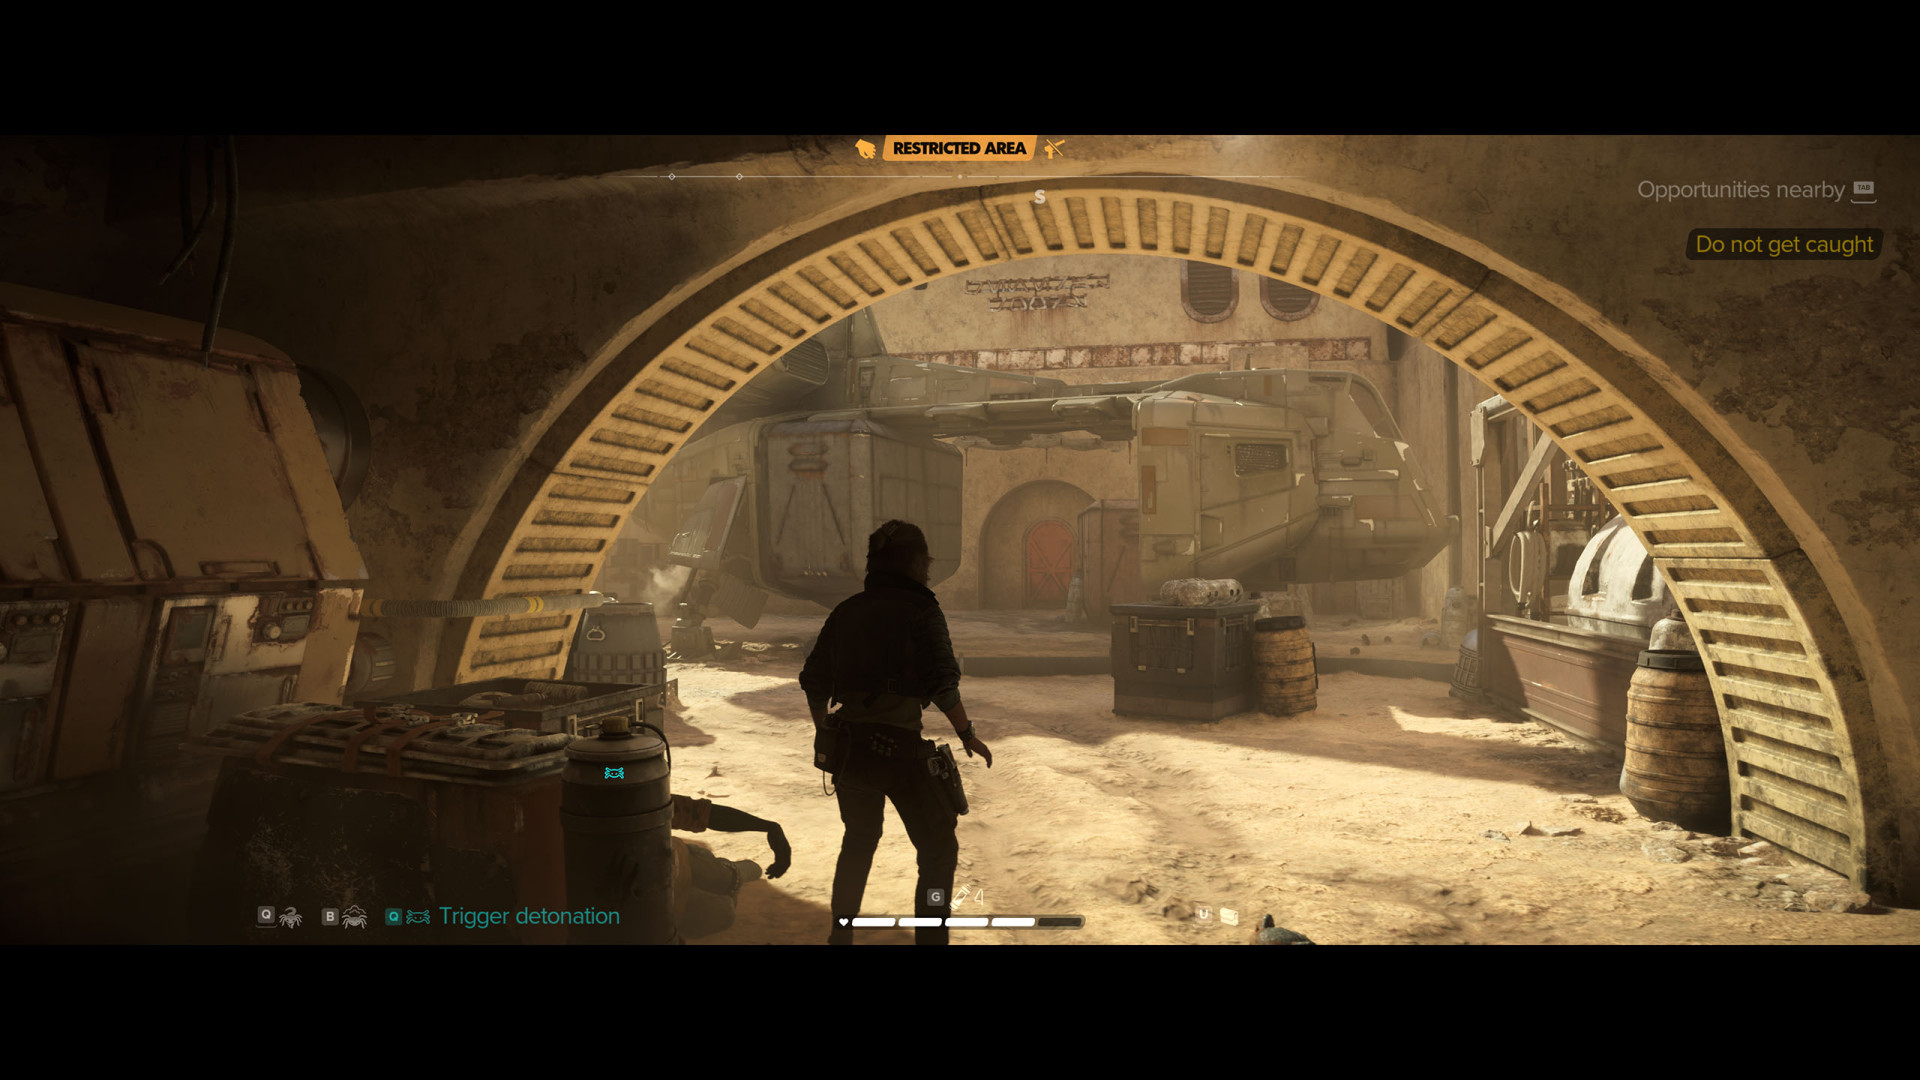
64Hutt Cartel Stash
Show the map

65Hutt Market House
Show the map
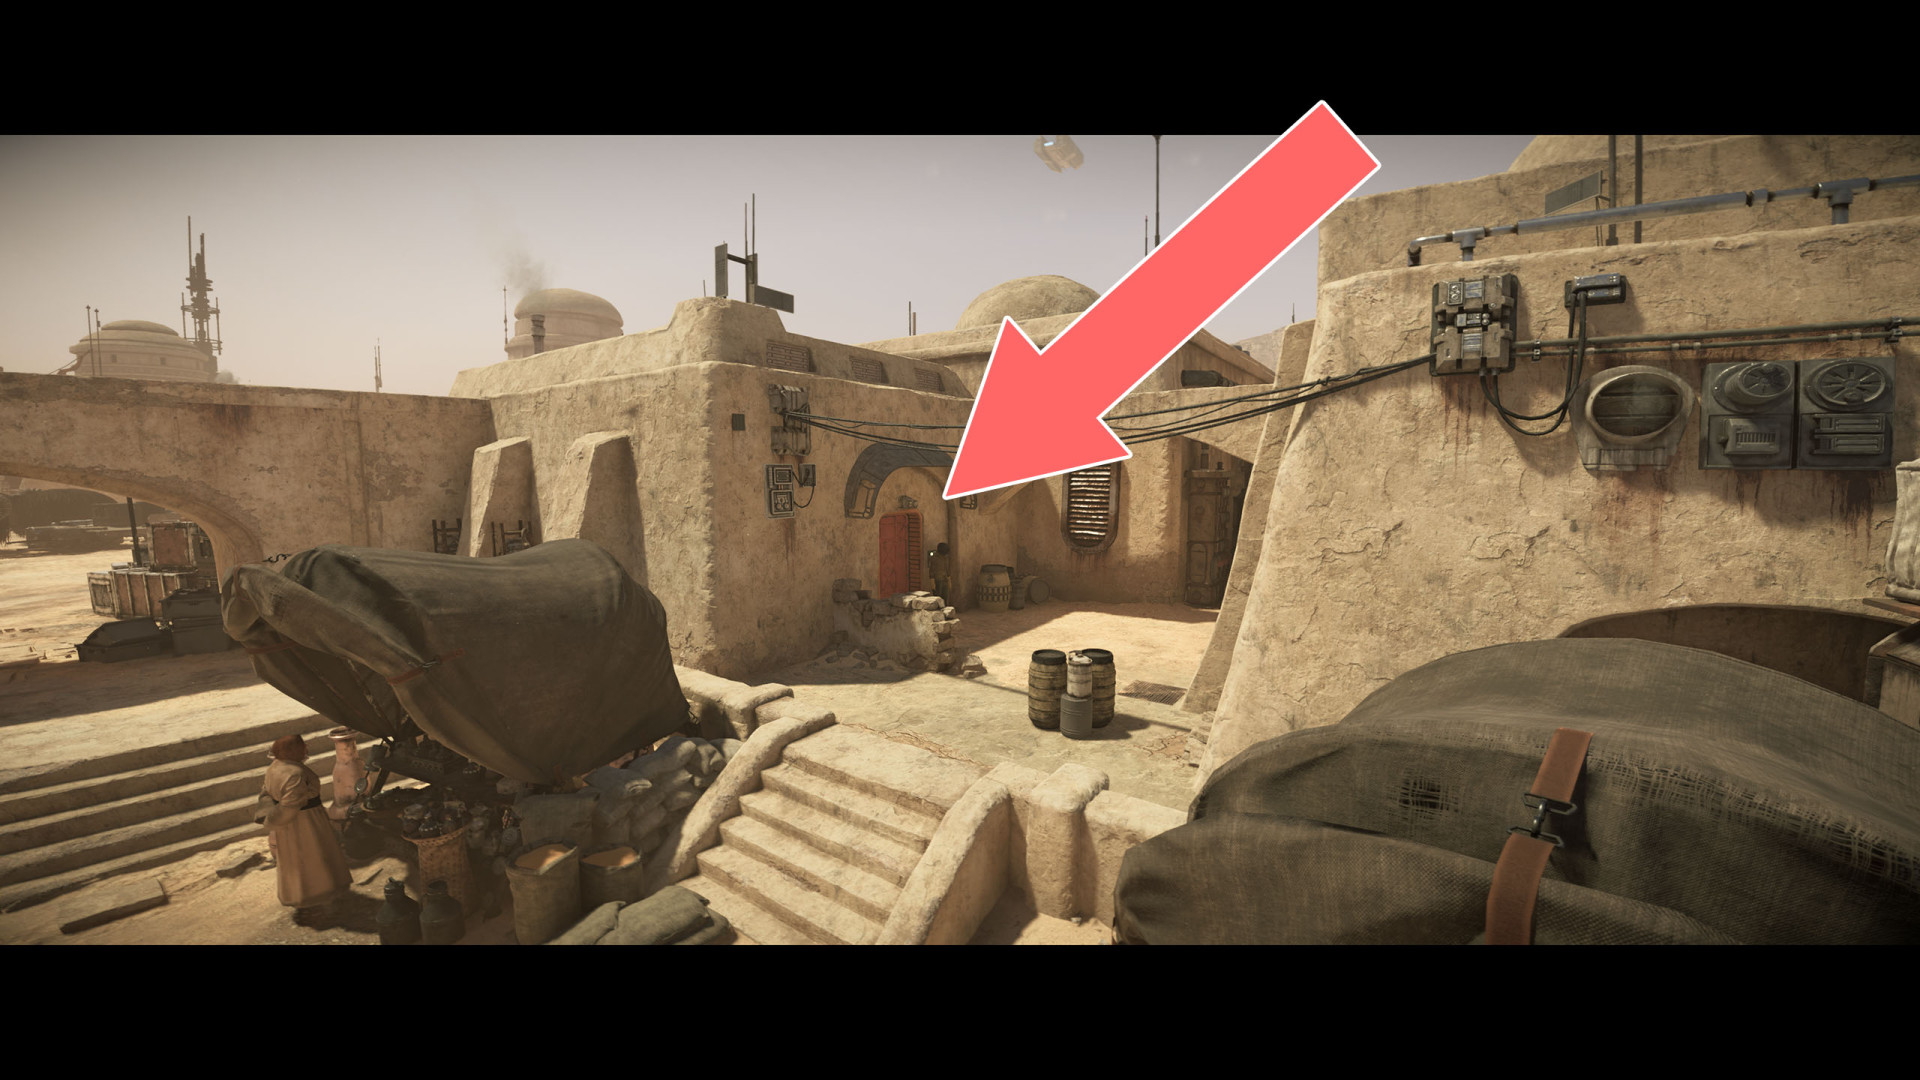
66Imperial Cargo
Show the map

67Imperial Listening Post
To get here, enter the house in the back alley, use Nix to drop the object obstructing the data port, override lock and then press the button. A secret passage will open. Use Nix to remove the red force field.
Treasure:


68Kimogi's Stash
You can enter the building through the ventilation duct but only during the night.
Treasure:

69Lars Homestead
Show the map

70Mos Algo
Treasures (x4):
71Mos Eisley Outskirts
Come here at night, as only at that time the door to the building on the other side of the electric wire will be open. Order Nix to drop the lamp and you pull the switch to restore power for a short time. If the lamp drops on the wire that is powered, an overload will occur and the door to the building where the treasure crate is will open.
Treasure:

72Power Station
Show the map

73Pua's Stash
Treasure:
74Qadan's Stash
Show the map

75Seeker's Peril
Treasures (x2):
76Sosappa's Stash
Show the map

77Stash
Treasure:
78Tusken Camp
Show the map

79Tusken Camp
Treasure:
Locations on Akiva
80Agoto's Stash

81Ahia-Ko Temple
Show the map

82Alley
Treasure:
83Cache
Treasure:
84Convoy Shipwreck
Show the map
85Crash Site
Treasure:
86Curvak's Stash
Treasure:
87Entangled Island
Show the map
88Flarbola's Stash
Show the map

89Goma's Outlook
Show the map
90Hutt Staging Site
Treasure:
91Hutt Supply Site
Treasure:
92IG-24's Stash
Treasure:
93Kinro Comet
Treasures (x2):
94Kinro's Blessing
Show the map

95Lanza's Stash
Treasure:
96Mozampa Farm
Treasure:
97Olipo's Stash
Treasure:
98Pottery Shop


99Pyke Guard Post
Treasure:
100Pyke Staging Site
Treasure:
101Pyke Supply Site
Treasure:
102Rebel Hideout
Treasure:
103Salea's Hand

104Silent Grove
Treasure:
105The Revelator Wreckage
The debris of this Star Destroyer only appear after you complete the main story.
Treasures (x5):
- Krayt Dragon Fang
- Megonite Laden Fuel
- The Revelator Wreckage Treasure
- The Revelator Wreckage Treasure
- The Revelator Wreckage Treasure

106Trapper's Field
Show the map
107Tree Tunnel
Treasure:
108Ubura's Stash
Treasure:
109Wibra's Stash
Requires: Procyon Wy's Keycard. You will get the keycard needed to get into this room during the "Passenger" quest.
Treasure:

110Wido's Stash
Treasure:
111Xabi's Stash
Treasure: