Objective: Stop the Spy Training.
Optional Objectives
Locations on Campaign Maps
1 Academy Instructor
2Anti-Air Gun
Objective: Neutralize Anti-Air Guns (x/3).
3Anti-Air Gun
Objective: Neutralize Anti-Air Guns (x/3).
4Anti-Air Gun
Objective: Neutralize Anti-Air Guns (x/3).
5Anti-Air Gun
Objective: Neutralise Anti-Air Guns.
6Anti-Air Gun
Objective: Neutralise Anti-Air Guns.
7Anti-Air Gun
Objective: Neutralise Anti-Air Guns.
8Bunker
Locked (Bunker Key or Satchel Charge). Locate the Radio Operator, Investigate the Trenches.
9Coastal Battery
Objective: Neutralize the Coastal Defenses (x/3).
10Construction Site
Objective: Stop the Construction of the Second Mirus Gun.
11Crashed Glider
Objective: Locate the Radio Operator.
12Fort Hommet
Objectives: Neutralise Radio Communications.
13Gun Battery
Objective: Destroy the Gun Battery.
14Hidden Coastal Battery
Objective: Neutralize the Coastal Defenses (x/3).
15Machine Gun Nest
Objective: Neutralize the Coastal Defenses (x/3).
16Pump Room Generator
Objectives: Destroy the Generator - Investigate Pump Room / Option A - Destroy Generator with Satchel Charge / Option B - Overload the Pressure Valves (0/2).
17Radio Equipment
Objectives: Neutralise Radio Communications / Option A - Sabotage the Cables (0/2) / Option B - Disable the Radio Equipment (0/3).
18Radio Tower
Objectives: Neutralise the Radio Tower - Infiltrate the Castle / Option A - Sabotage the Cables (x/2) / Option B - Sabotage Radio Tower Generator.
19Shipment Manifest
Objectives: Acquire Intel on the Shipments - Acquire the Manifest / Take Recon Images (x/2).
20Steelworks Control Room
Objectives: Destroy the Steelworks - Investigate the Steelworks / Access the Control Room / Sabotage Controls.
21Weapons Lab
Objectives: Investigate Weapons Lab - Raid Weapons Lab (0/5).
Locations on Wolf Mountain
22Anti-Air Gun
Objective: Neutralise Anti-Air Guns, Destroy Anti-Air Gun (x/2). Requires a satchel charge.
23Anti-Air Gun
Objective: Neutralise Anti-Air Guns, Destroy Anti-Air Gun (x/2). Requires a satchel charge.
24Radio Equipment
Objective: Neutralise Radio Communications, Option B - Disable the Radio Equipment (x/2). Requires a crowbar.
25Radio Equipment
Objective: Neutralise Radio Communications, Option B - Disable the Radio Equipment (x/2). Requires a crowbar.
26The Cables
Objective: Neutralise Radio Communications, Option A - Sabotage the Cables (x/2). Requires bolt cutters.
27The Cables
Objective: Neutralise Radio Communications, Option A - Sabotage the Cables (x/2). Requires bolt cutters.
Locations on Landing Force
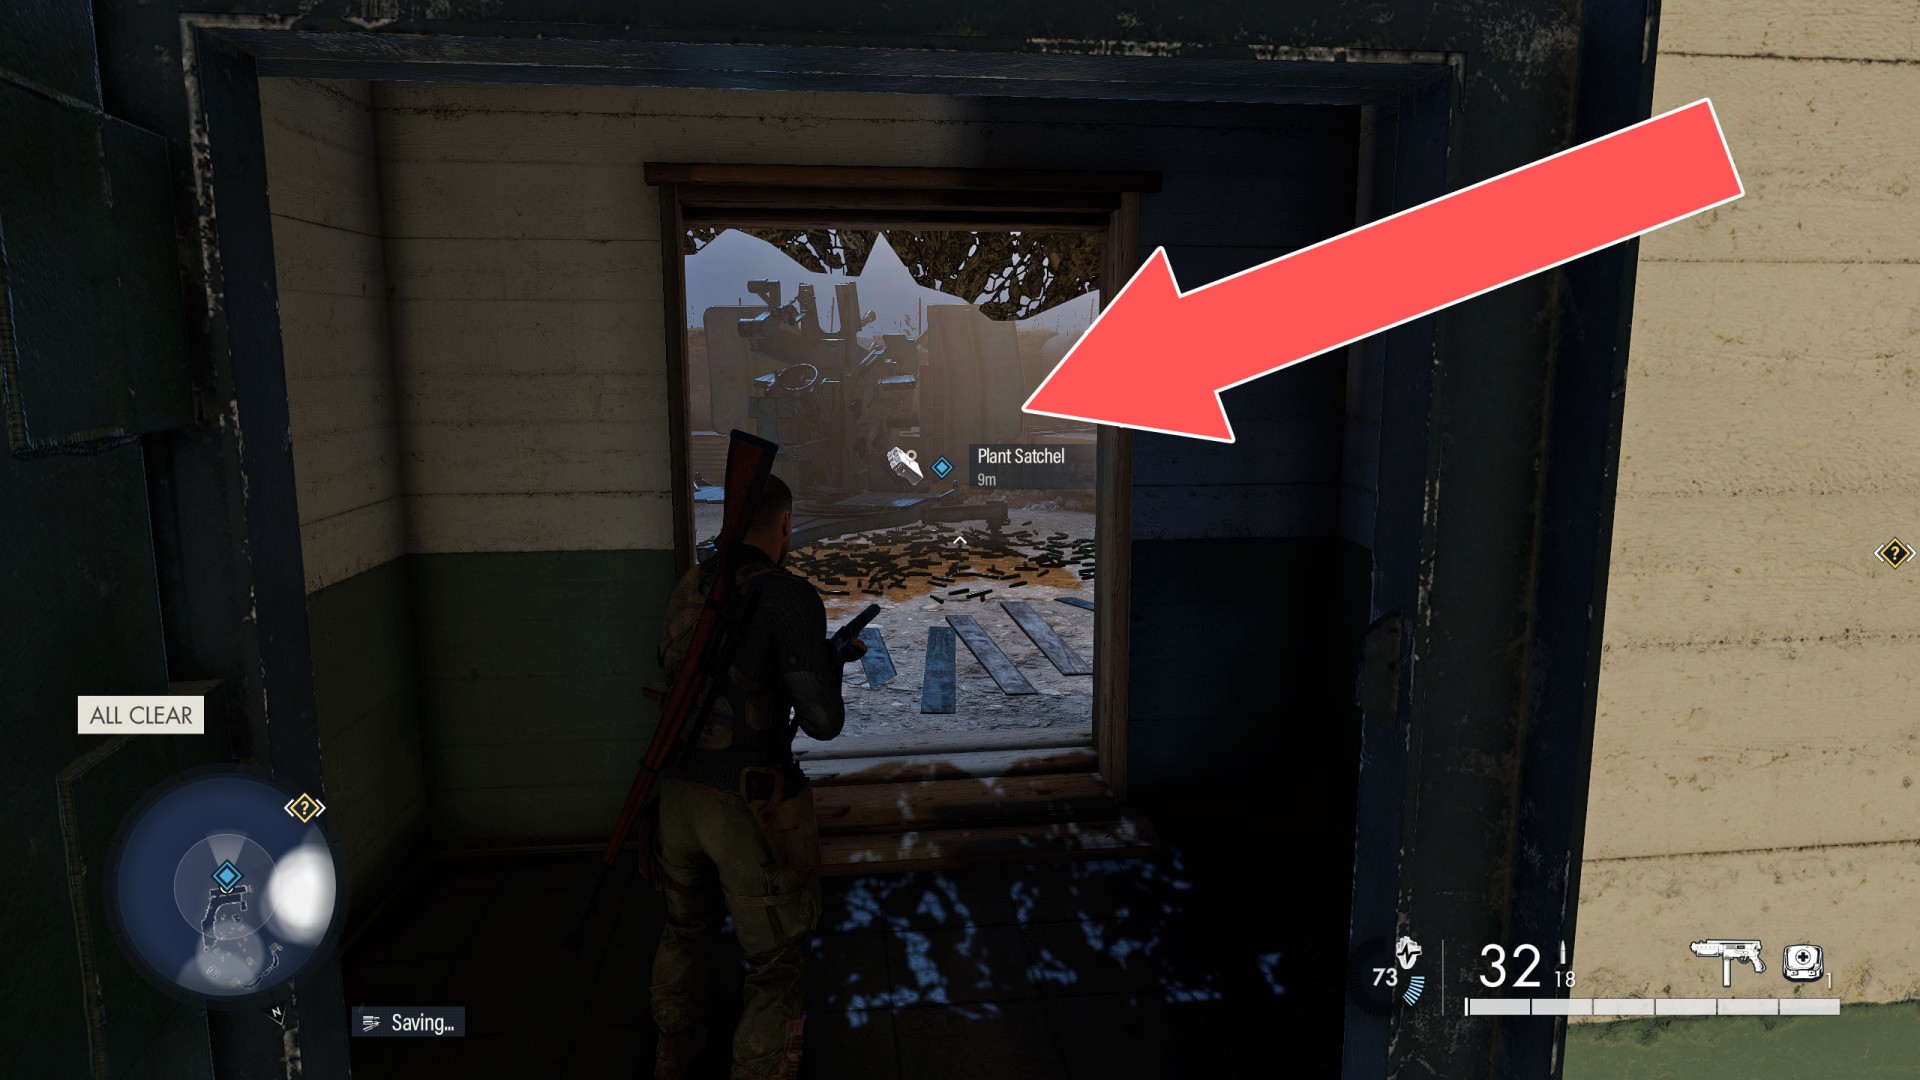
28Anti-Air Gun #1
Objective of: Neutralise Anti-Air Guns - Destroy Anti-Air Gun (0/2). To destroy this gun you will need one Satchel Charge.
29Anti-Air Gun #2
Objective of: Neutralise Anti-Air Guns - Destroy Anti-Air Gun (0/2).
To get here you have to go through the compound. To destroy this gun you will need one Satchel Charge.
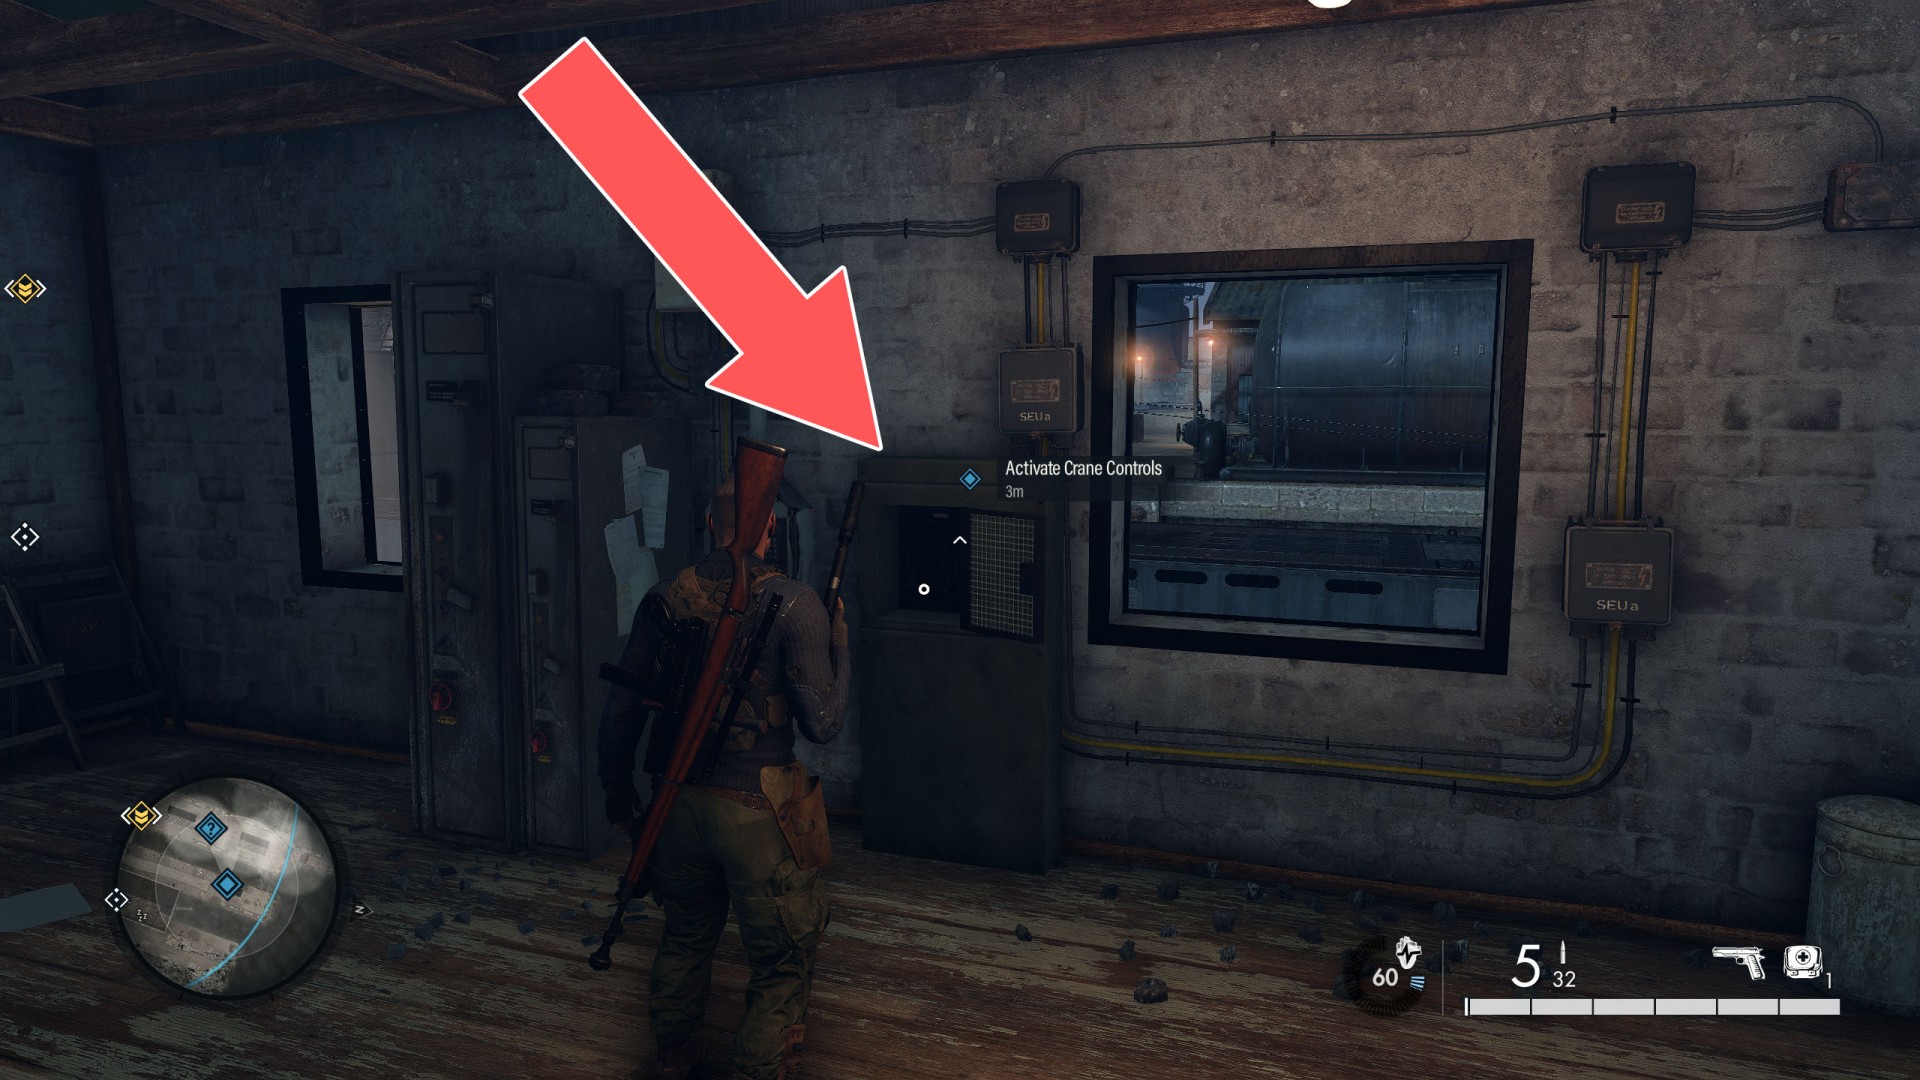
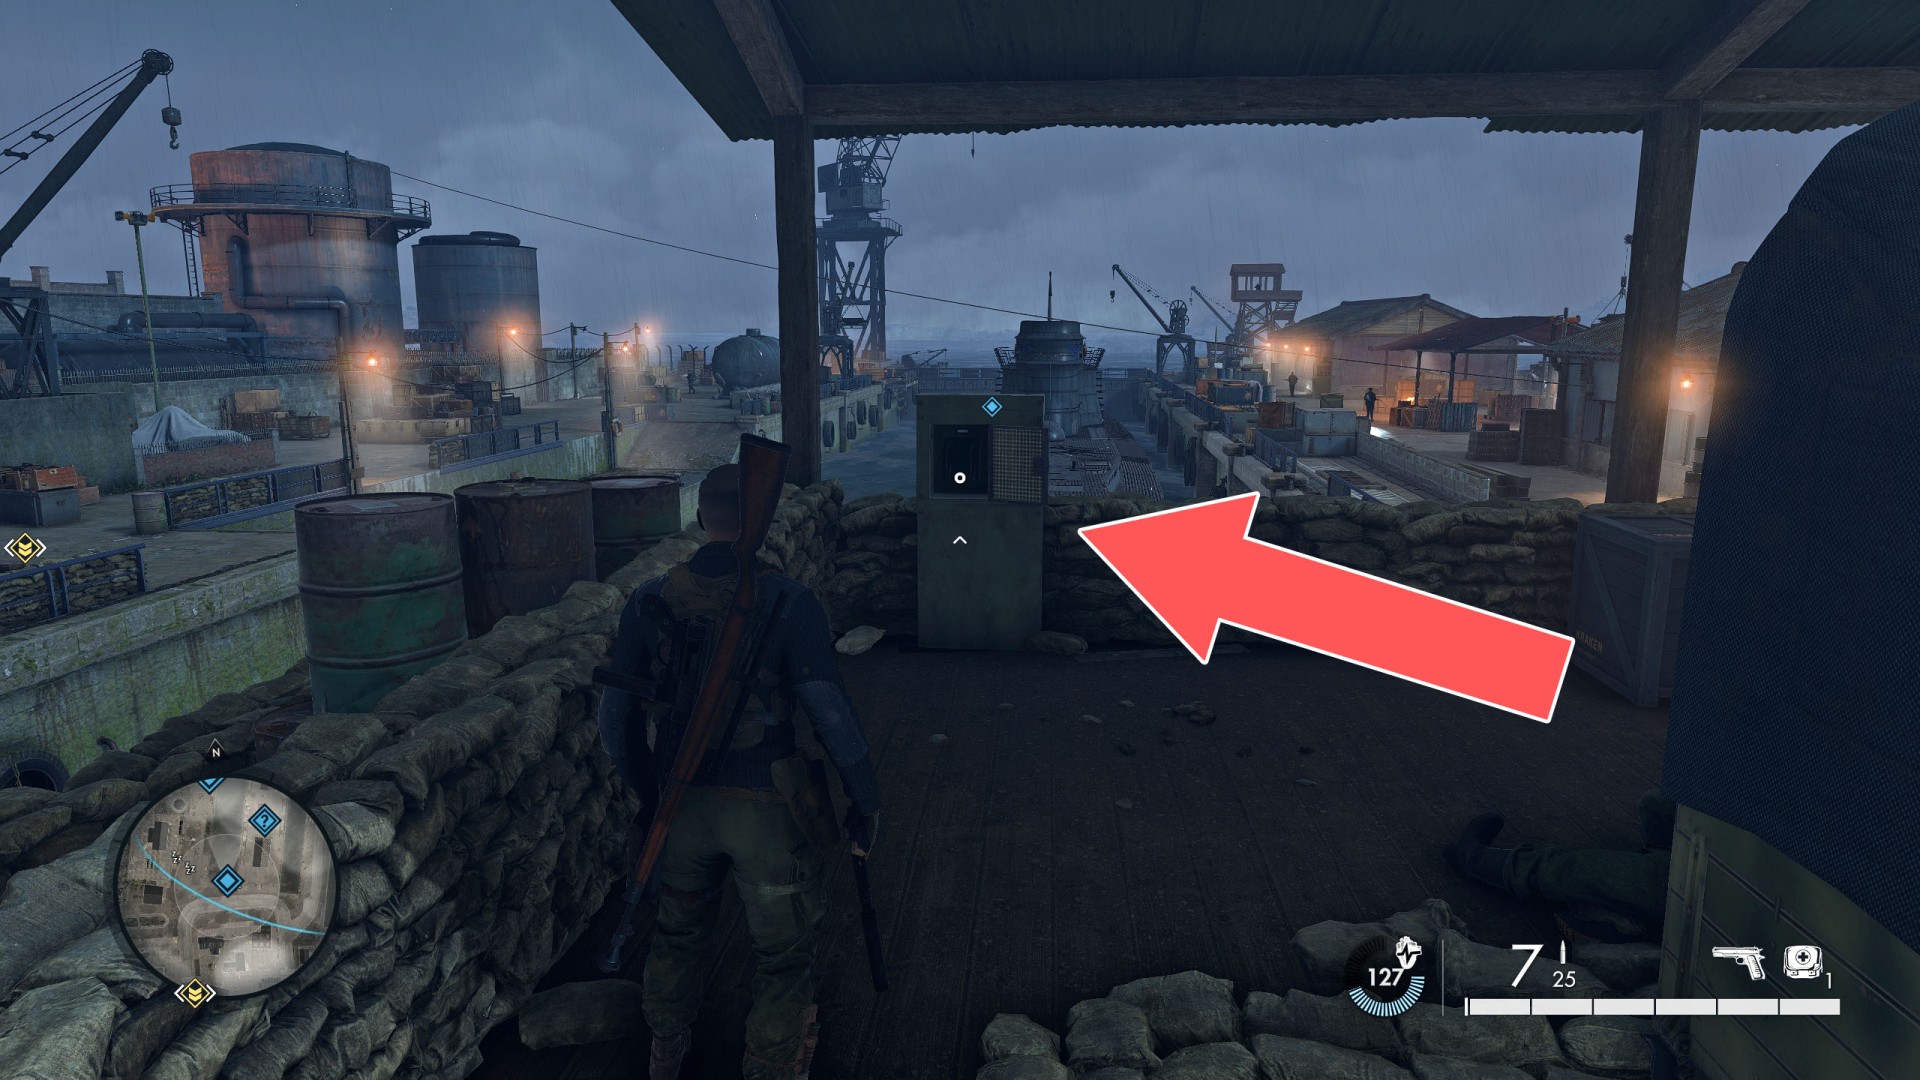
30Crane Control Panel
Objective of: Destroy the Docked U-Boat - Find a way to Sabotage or Destroy the U-Boat. - Option A - Activate the Crane Control Panel / Shoot the Explosive Supplies (Cargo Controls are positioned on the Docks / Explosive Supplies are hanging from the crane).

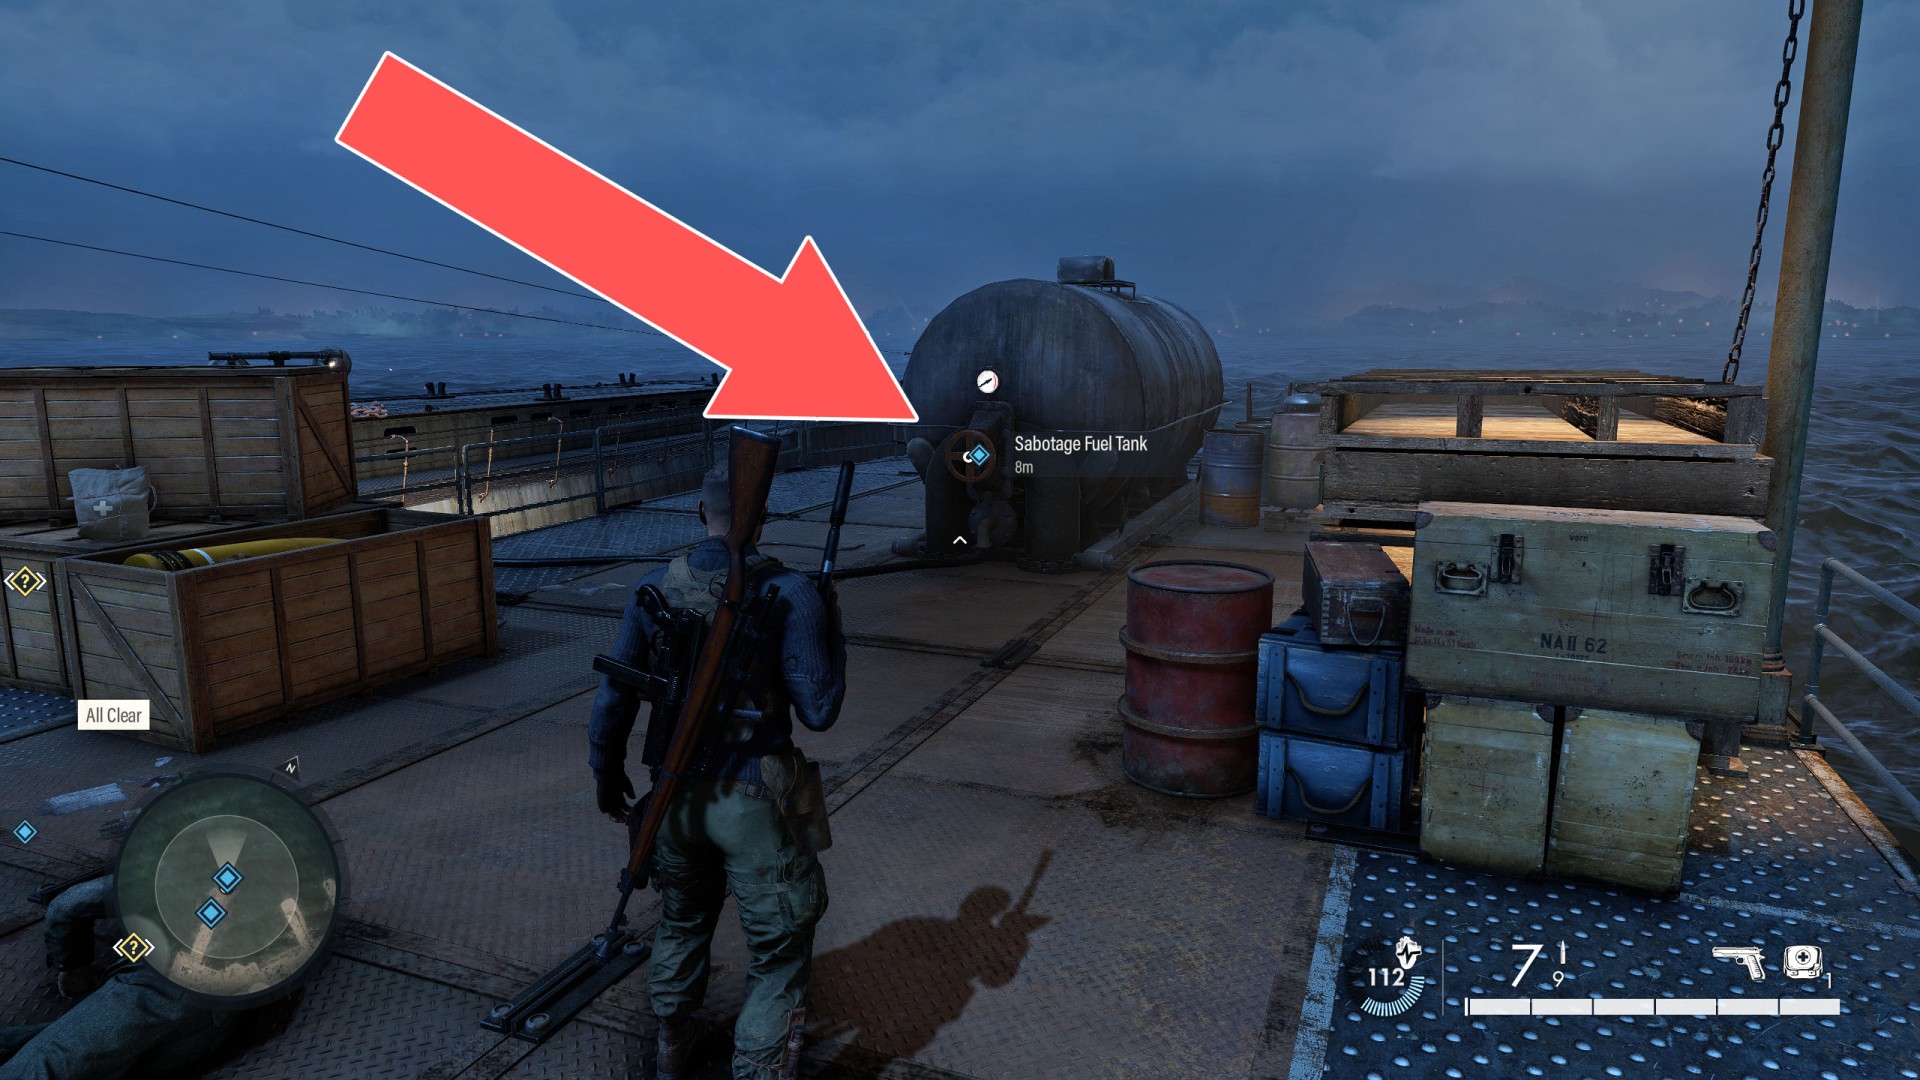
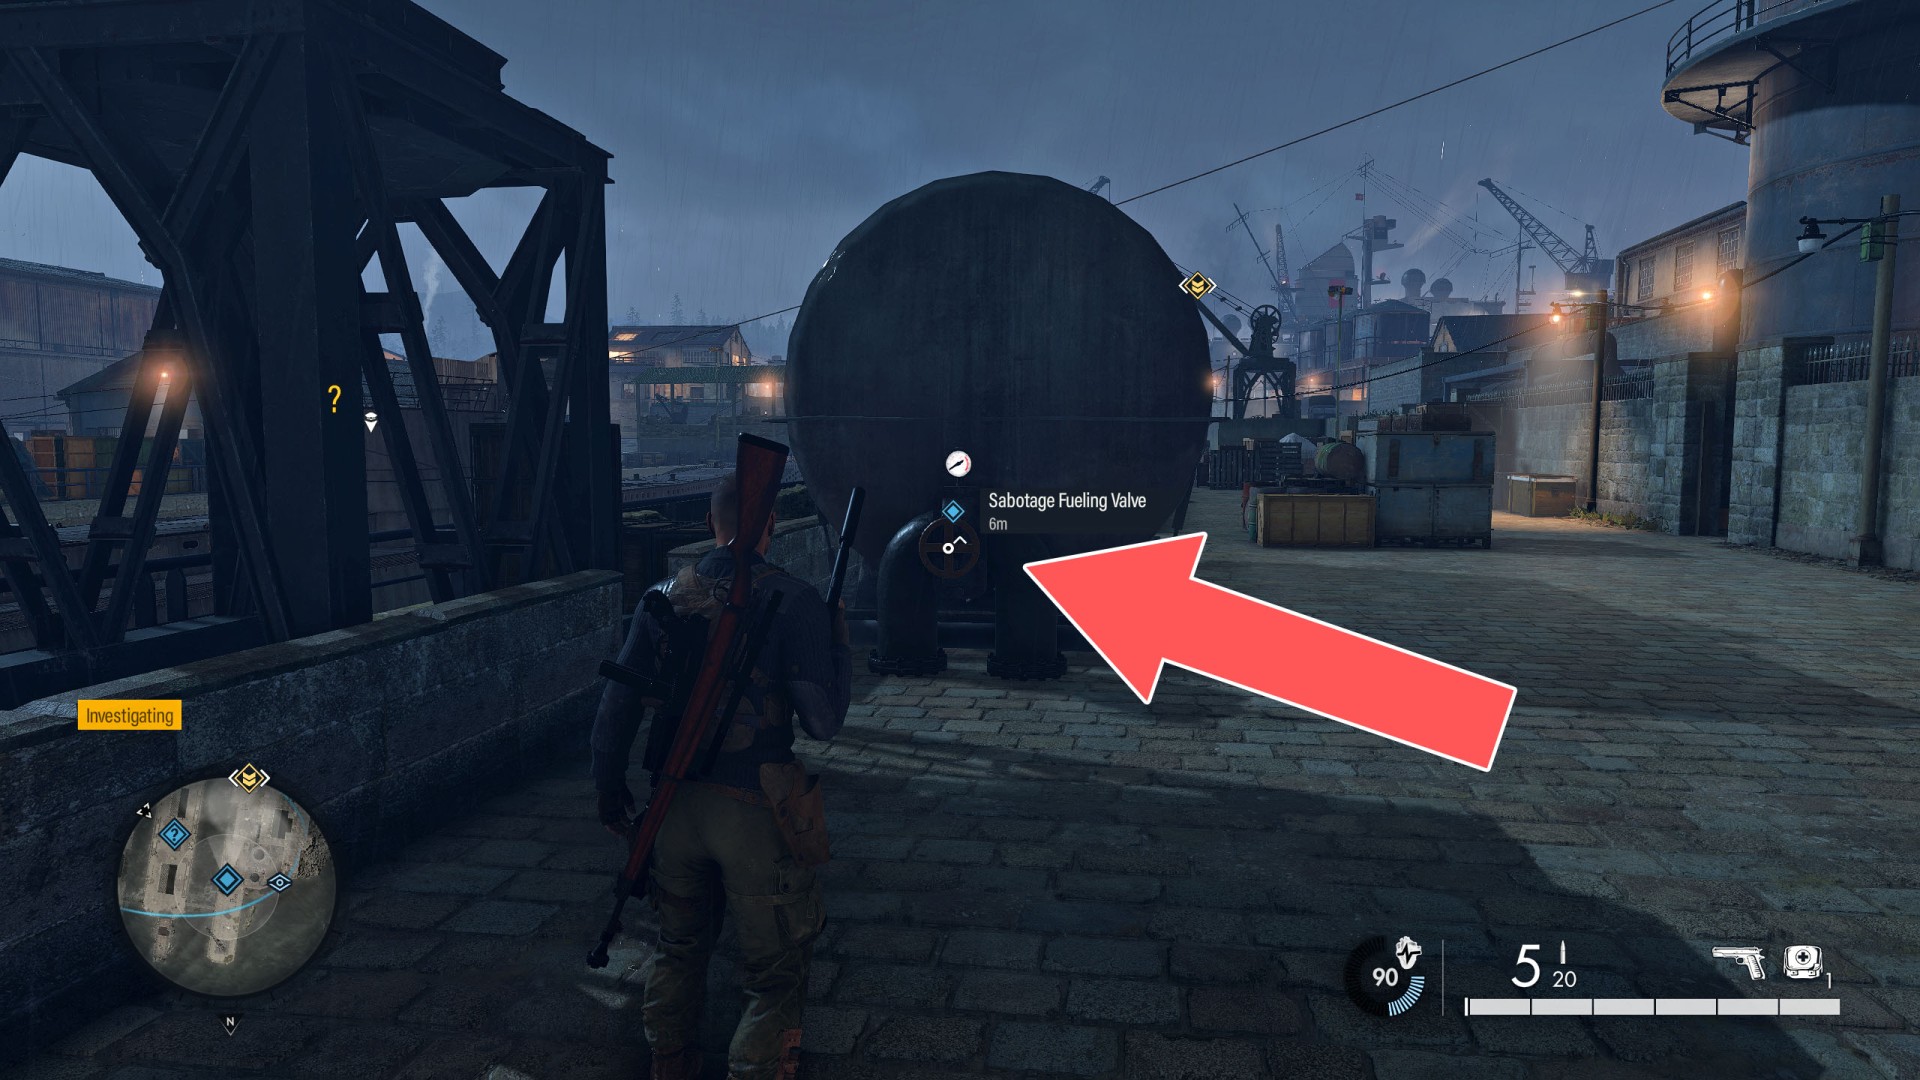
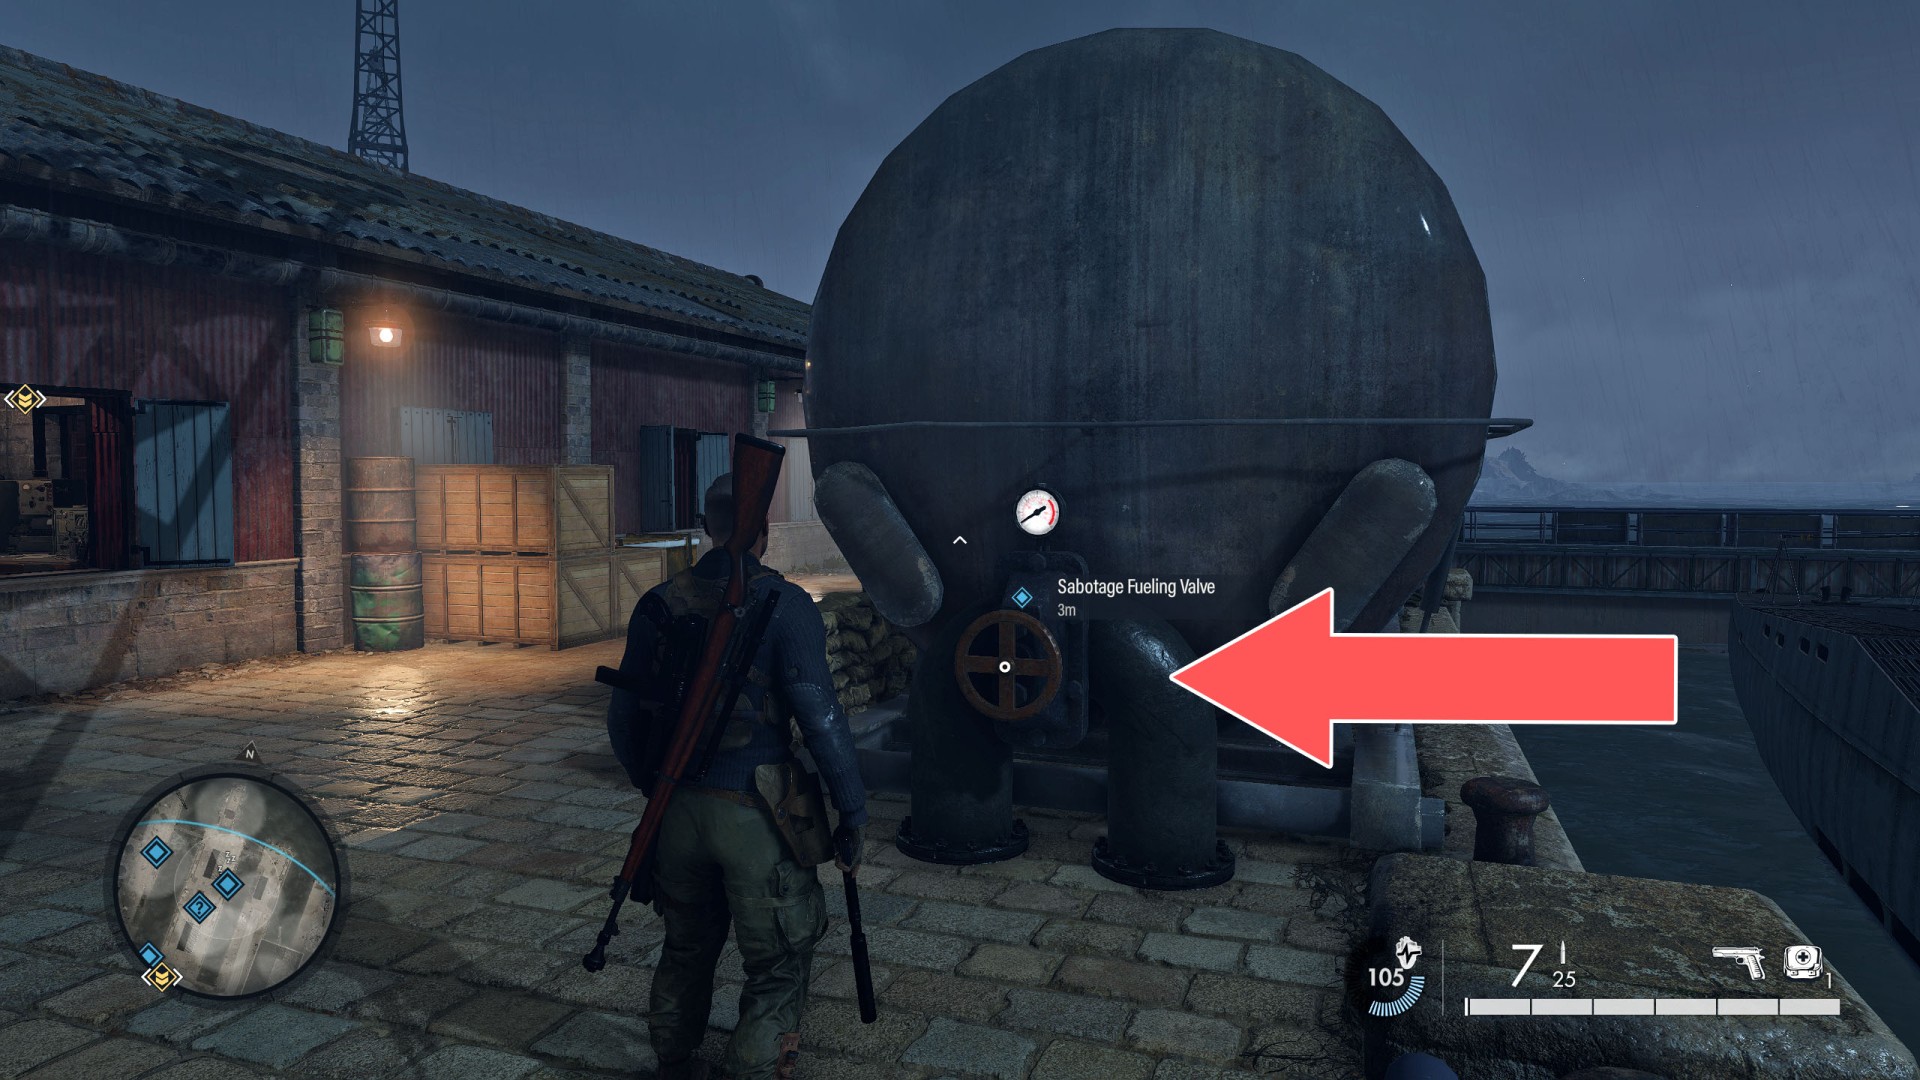
31Fuel Tank
Objective of: Destroy the Docked U-Boat - Find a way to Sabotage or Destroy the U-Boat. - Option B - Sabotage the Fuel Tank (The U-Boat's fuel line is ready for a refueling).
Locations on Conqueror
32AA Gun 1/2
Objective of: Destroy Castle AA Guns - Destroy AA Guns (0/2). To destroy this gun you will need one Satchel Charge.
33AA Gun 2/2
Objective of: Destroy Castle AA Guns - Destroy AA Guns (0/2). To destroy this gun you will need one Satchel Charge.
34Artillery Gun 1/2
Objective of: Neutralise the Artillery Guns - Destroy Artillery Guns (0/2). To destroy this gun you will need one Satchel Charge.
35Artillery Gun 2/2
Objective of: Neutralise the Artillery Guns - Destroy Artillery Guns (0/2). To destroy this gun you will need one Satchel Charge.
36Vehicle 1/3
Objective of: Destroy The Vehicles Currently Under Repair - Destroy Vehicles (0/3). You need a satchel charge to destroy this vehicle.
37Vehicle 2/3
Objective of: Destroy The Vehicles Currently Under Repair - Destroy Vehicles (0/3). You need a satchel charge to destroy this vehicle.
38Vehicle 3/3
Objective of: Destroy The Vehicles Currently Under Repair - Destroy Vehicles (0/3). You need a satchel charge to destroy this vehicle.
Locations on Rough Landing
39AA Gun 1/2
Objective of Neutralise the AA Guns - Destroy the AA Guns (0/2). To destroy this gun you will need one Satchel Charge.
40AA Gun 2/2
Objective of Neutralise the AA Guns - Destroy the AA Guns (0/2). To destroy this gun you will need one Satchel Charge.
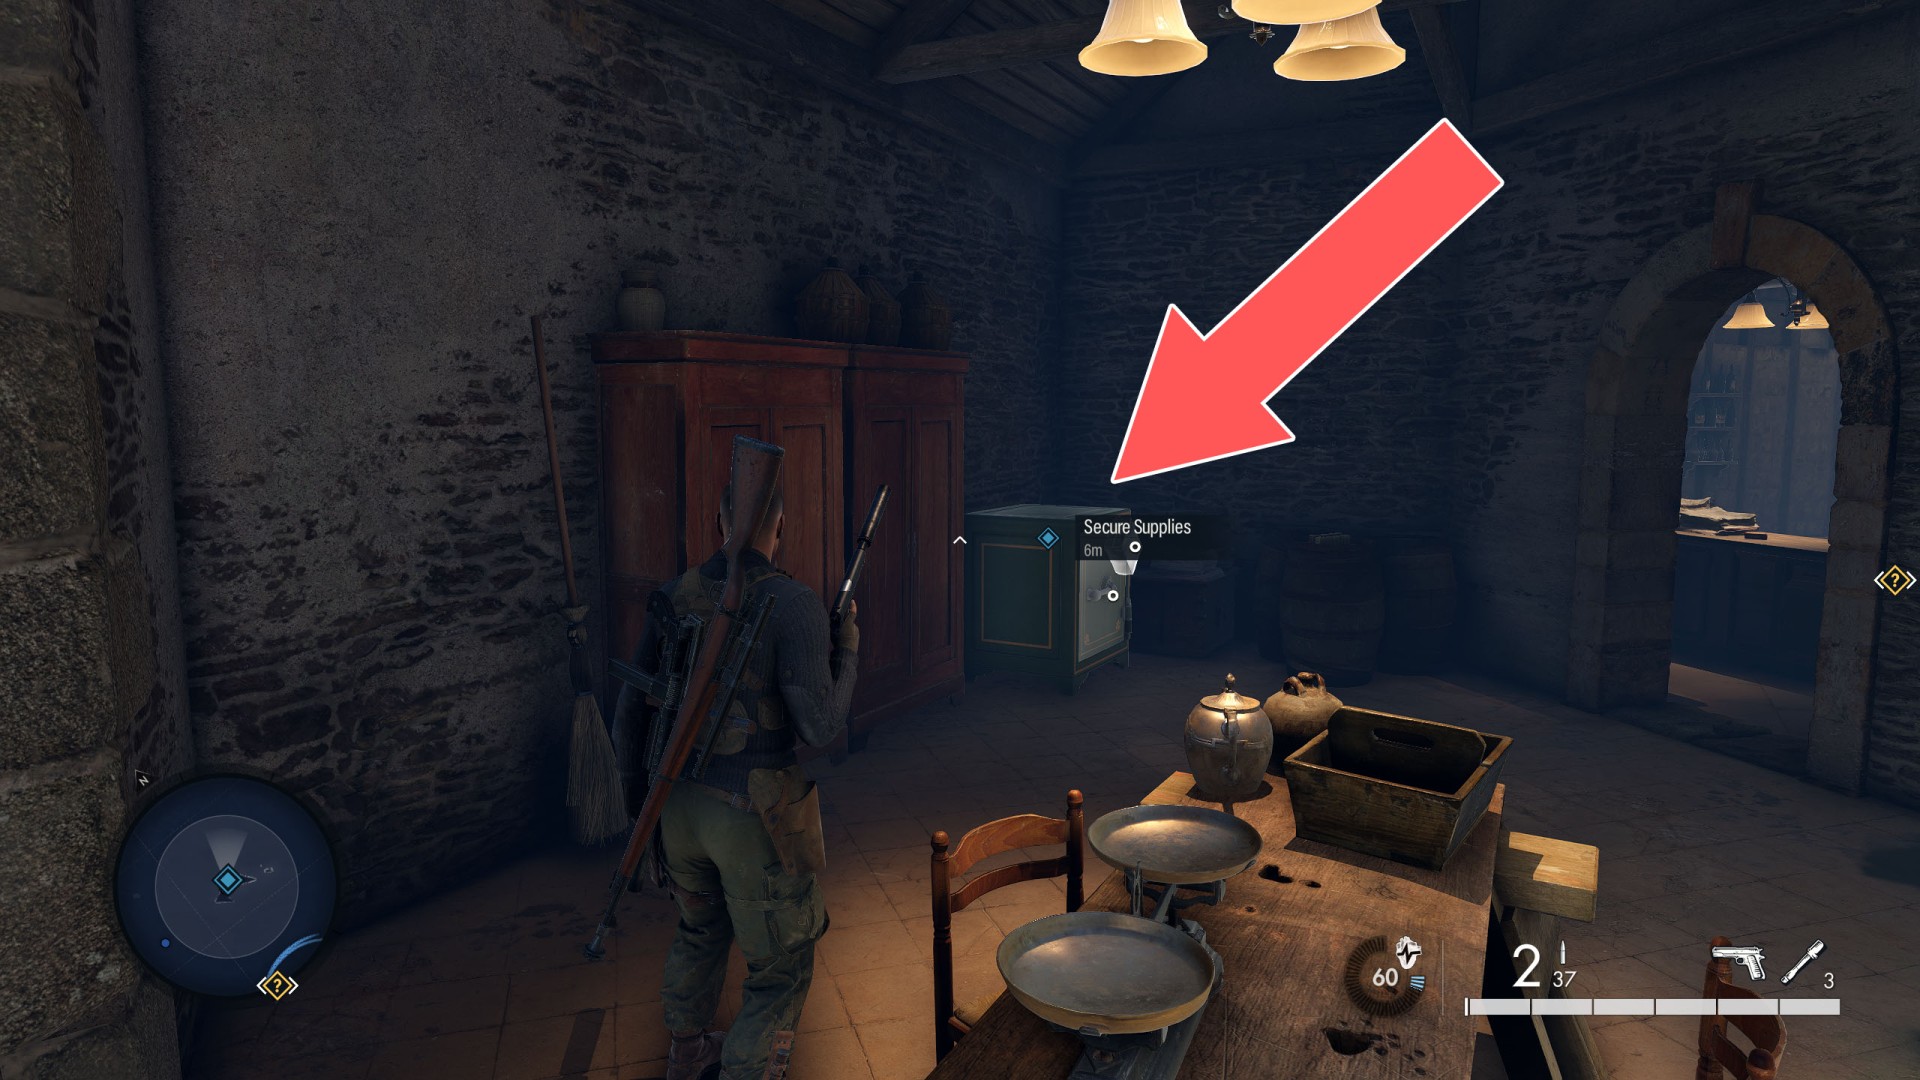
41Captured Medical Supplies
Objectives of Secure the Captured Medical Supplies - Search the village. To open this safe you need Hotel Safe Combination or a Satchel Charge.
Locations on Kraken Awakes
42Crane Controls
Objective of "Destroy the Aircraft Carrier's Escort Submarines" - "Destroy the Escort Submarines (0/3)".
43Crane Controls
Objective of "Destroy the Aircraft Carrier's Escort Submarines" - "Destroy the Escort Submarines (0/3)".
44Fueling Valve
Objective of "Destroy the Aircraft Carrier's Escort Submarines" - "Destroy the Escort Submarines (0/3)".
45Fueling Valve
Objective of "Destroy the Aircraft Carrier's Escort Submarines" - "Destroy the Escort Submarines (0/3)".
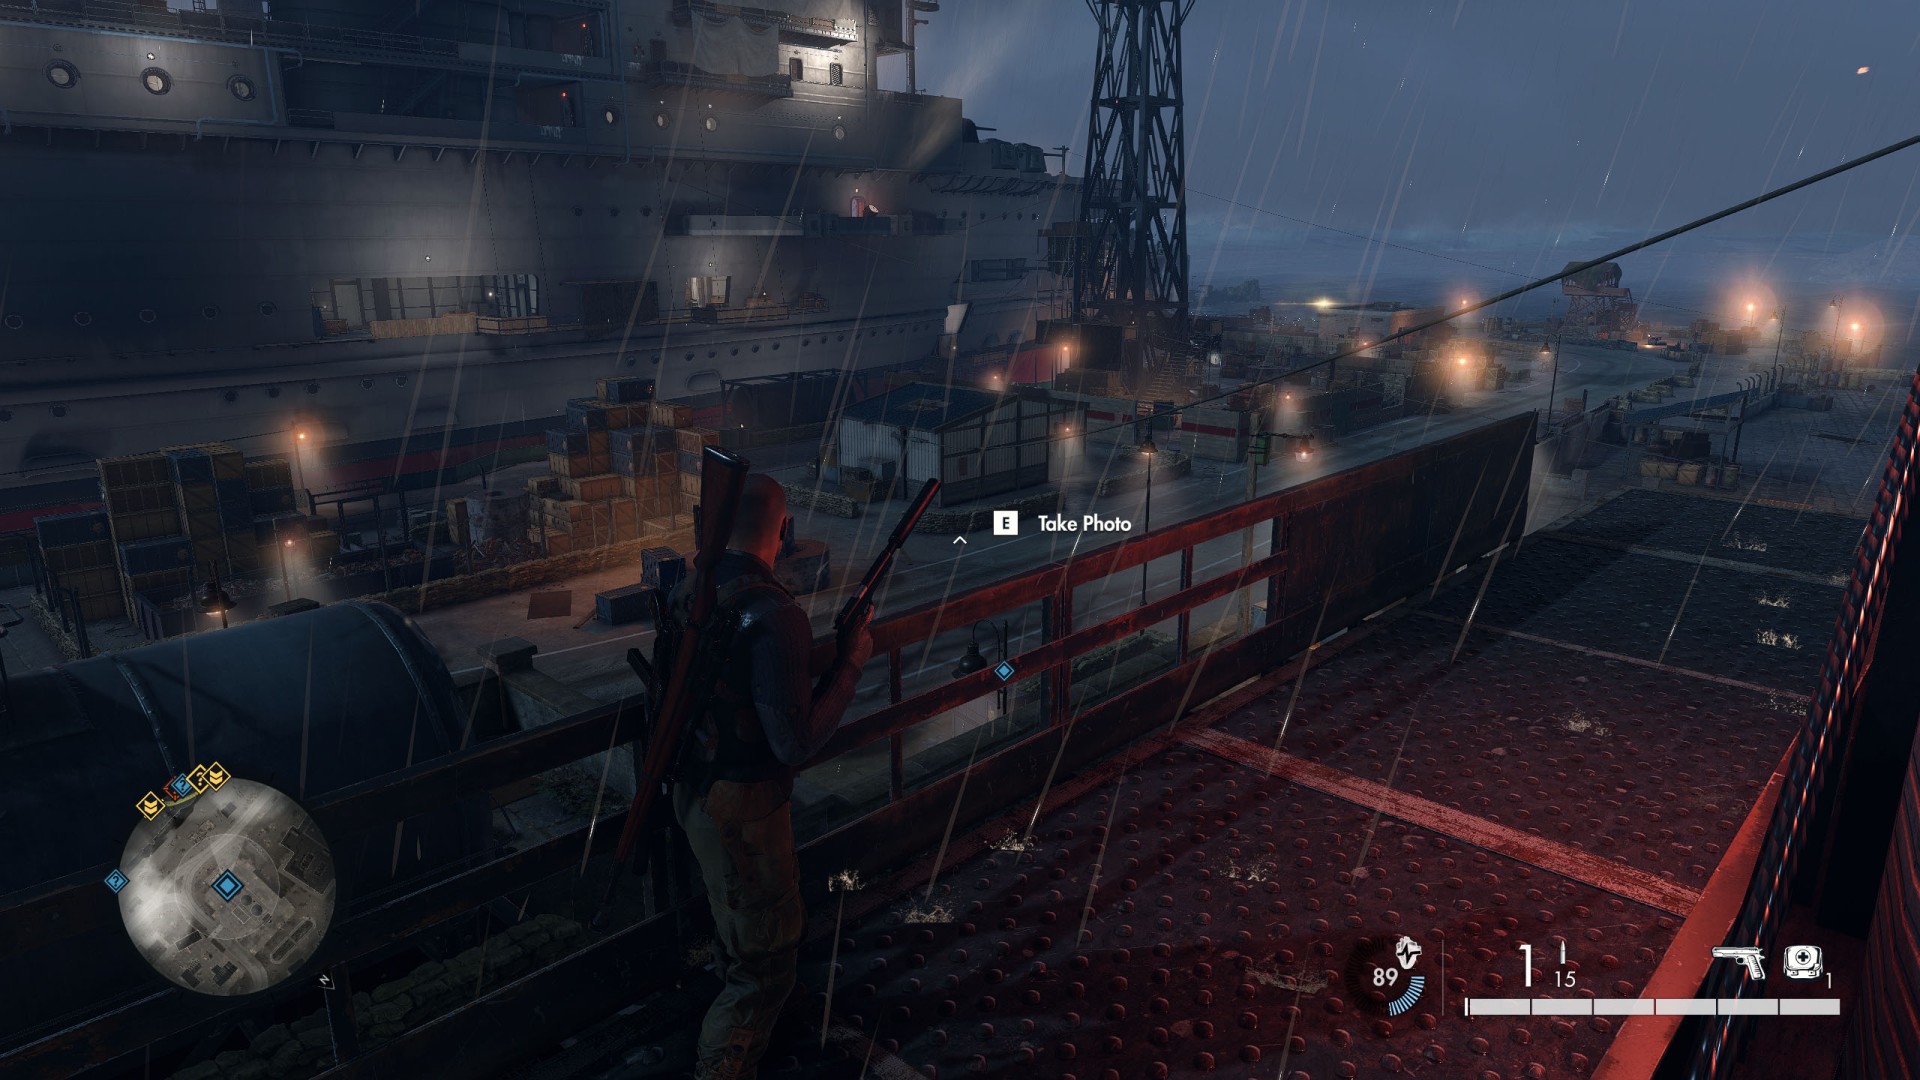
46Take Photo Location #1
Objective of "Take Recon Images of the Aircraft Carrier for Command" - "Take Recon Images (0/3)".
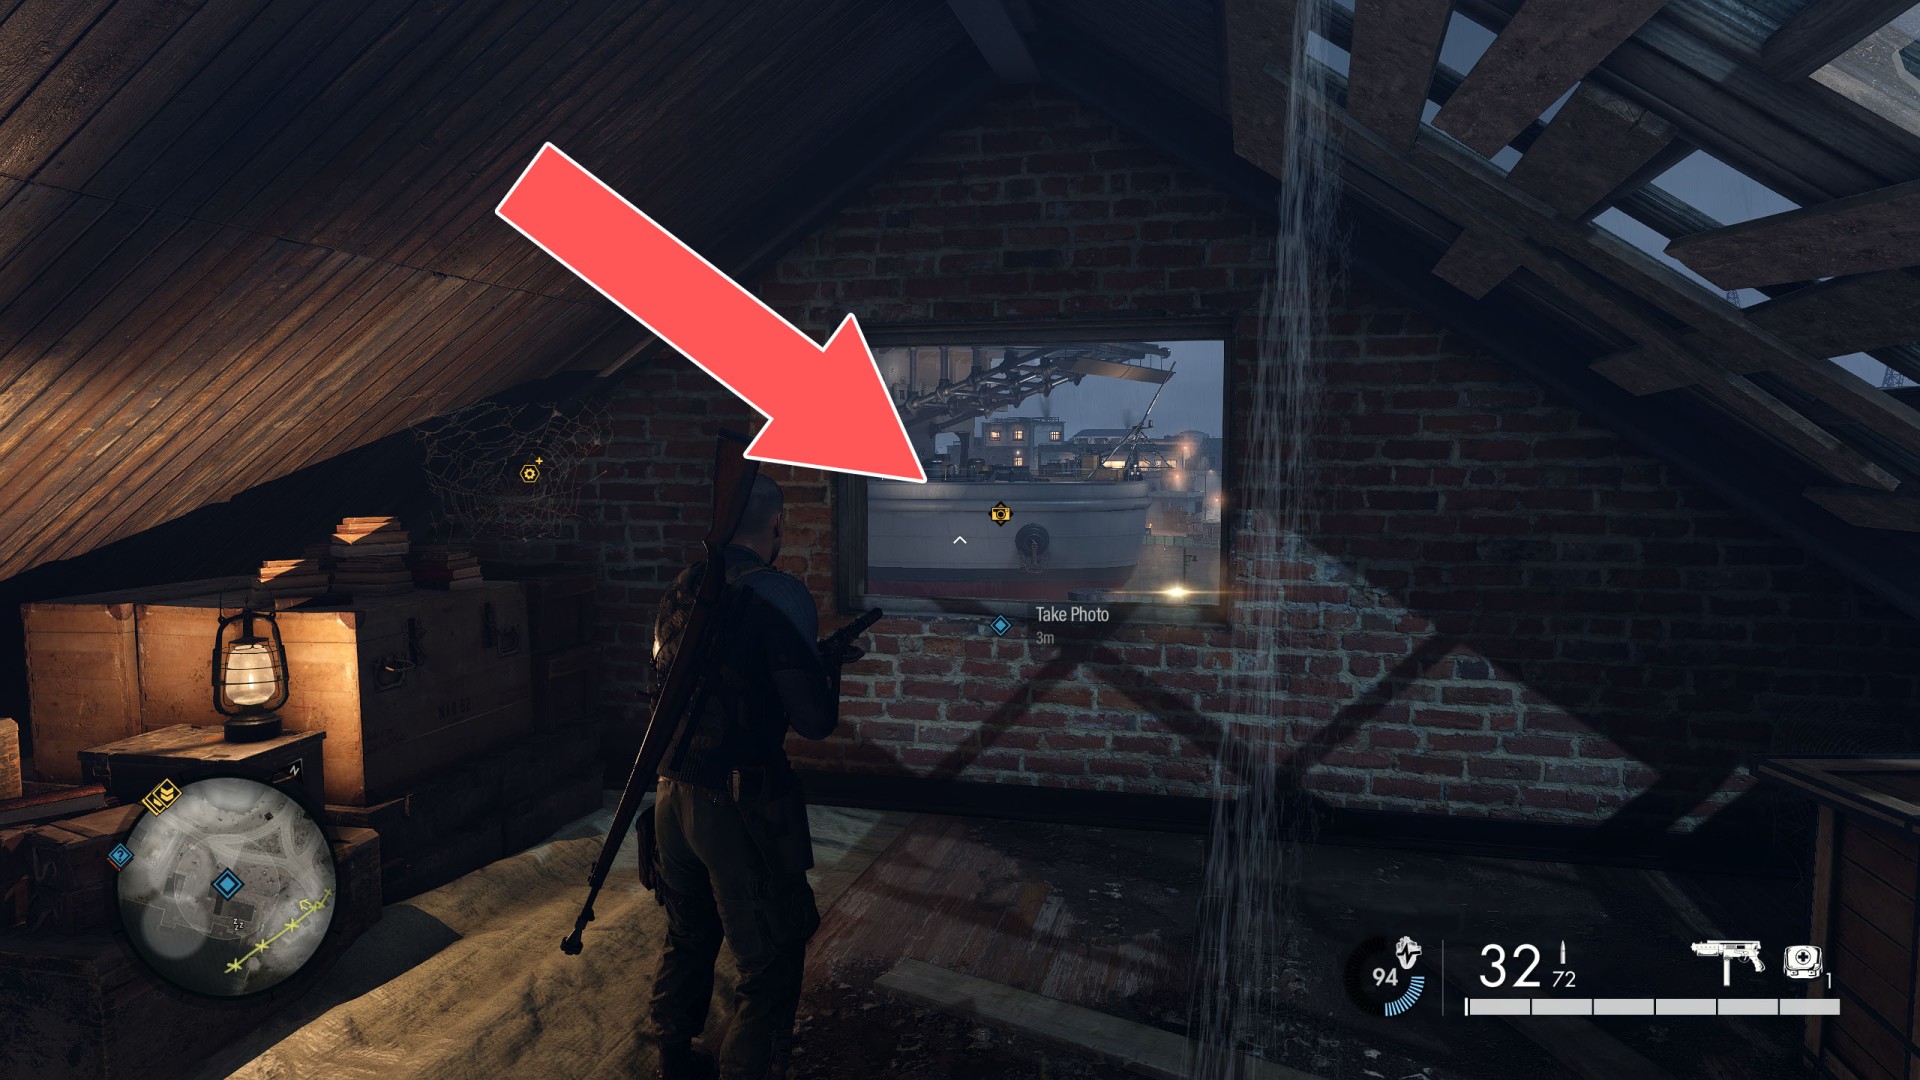
47Take Photo Location #2
Objective of "Take Recon Images of the Aircraft Carrier for Command" - "Take Recon Images (0/3)".
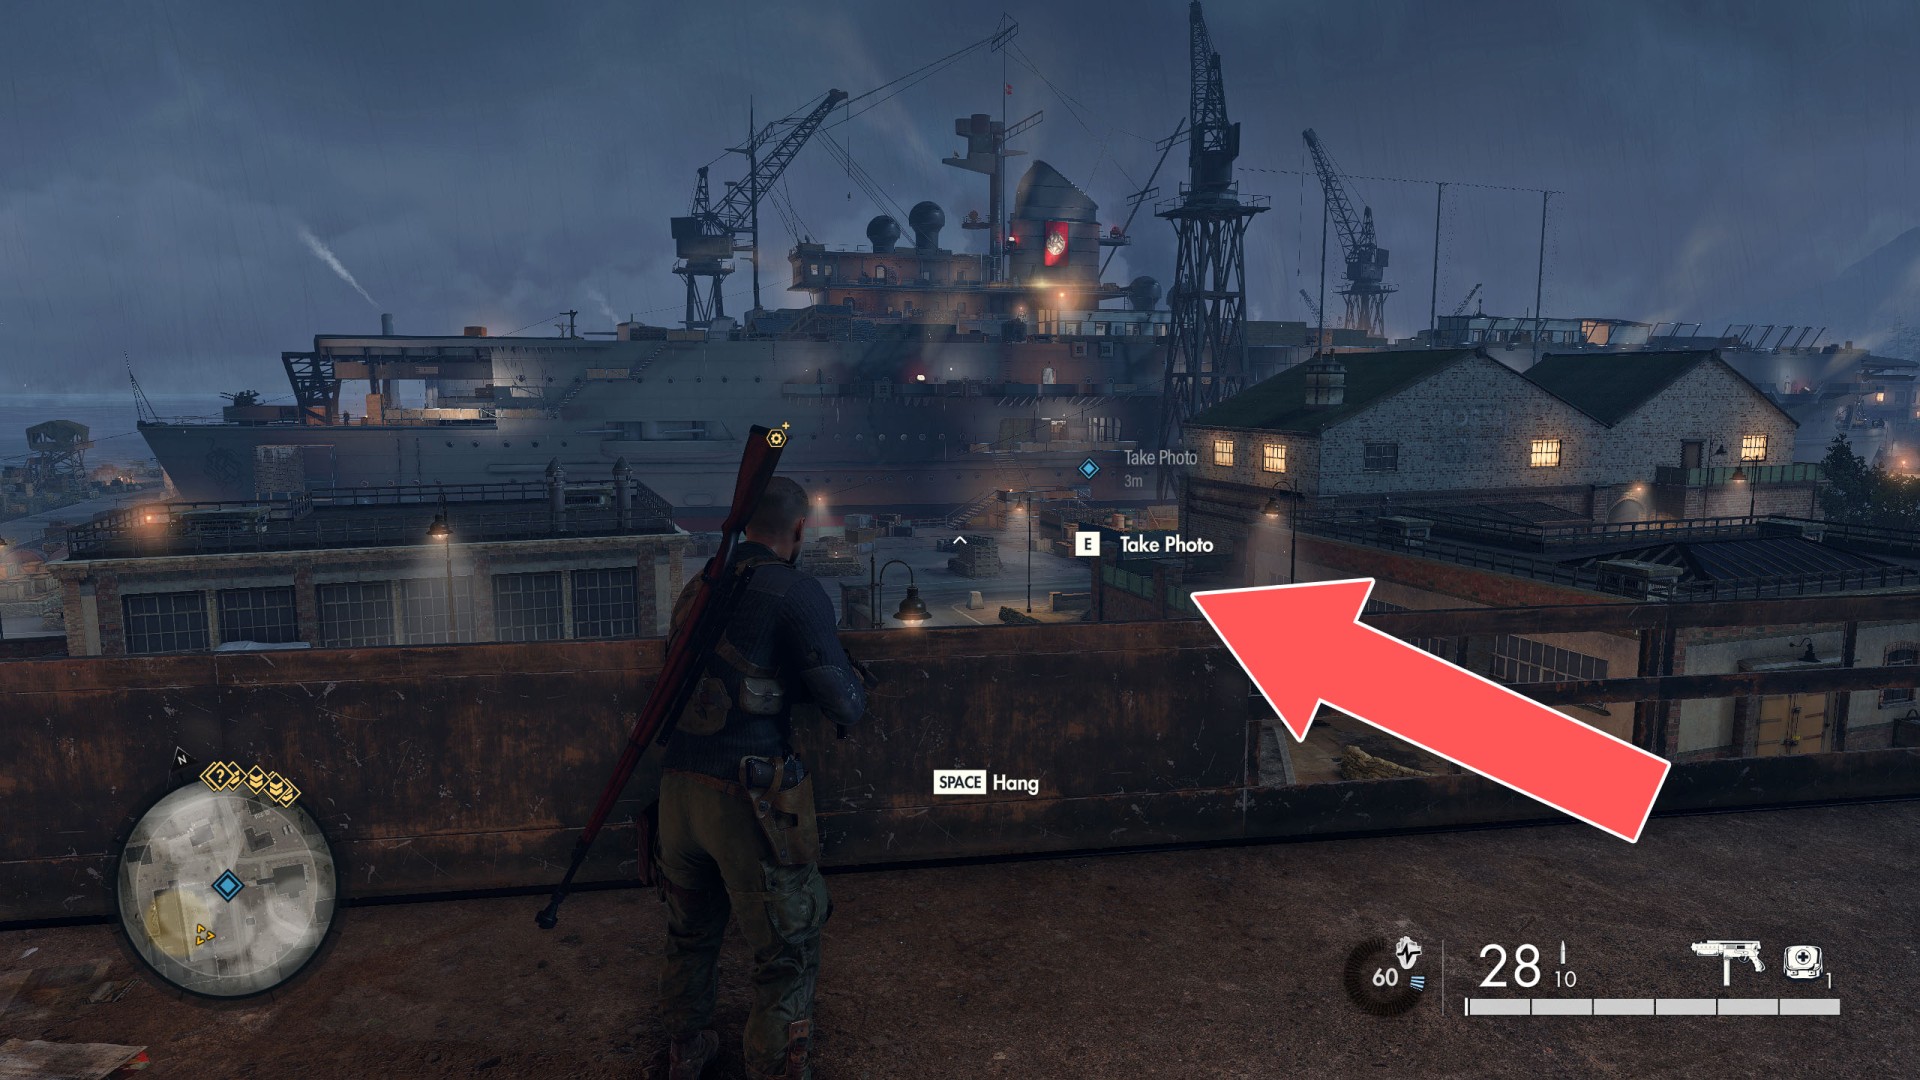
48Take Photo Location #3
Objective of "Take Recon Images of the Aircraft Carrier for Command" - "Take Recon Images (0/3)".
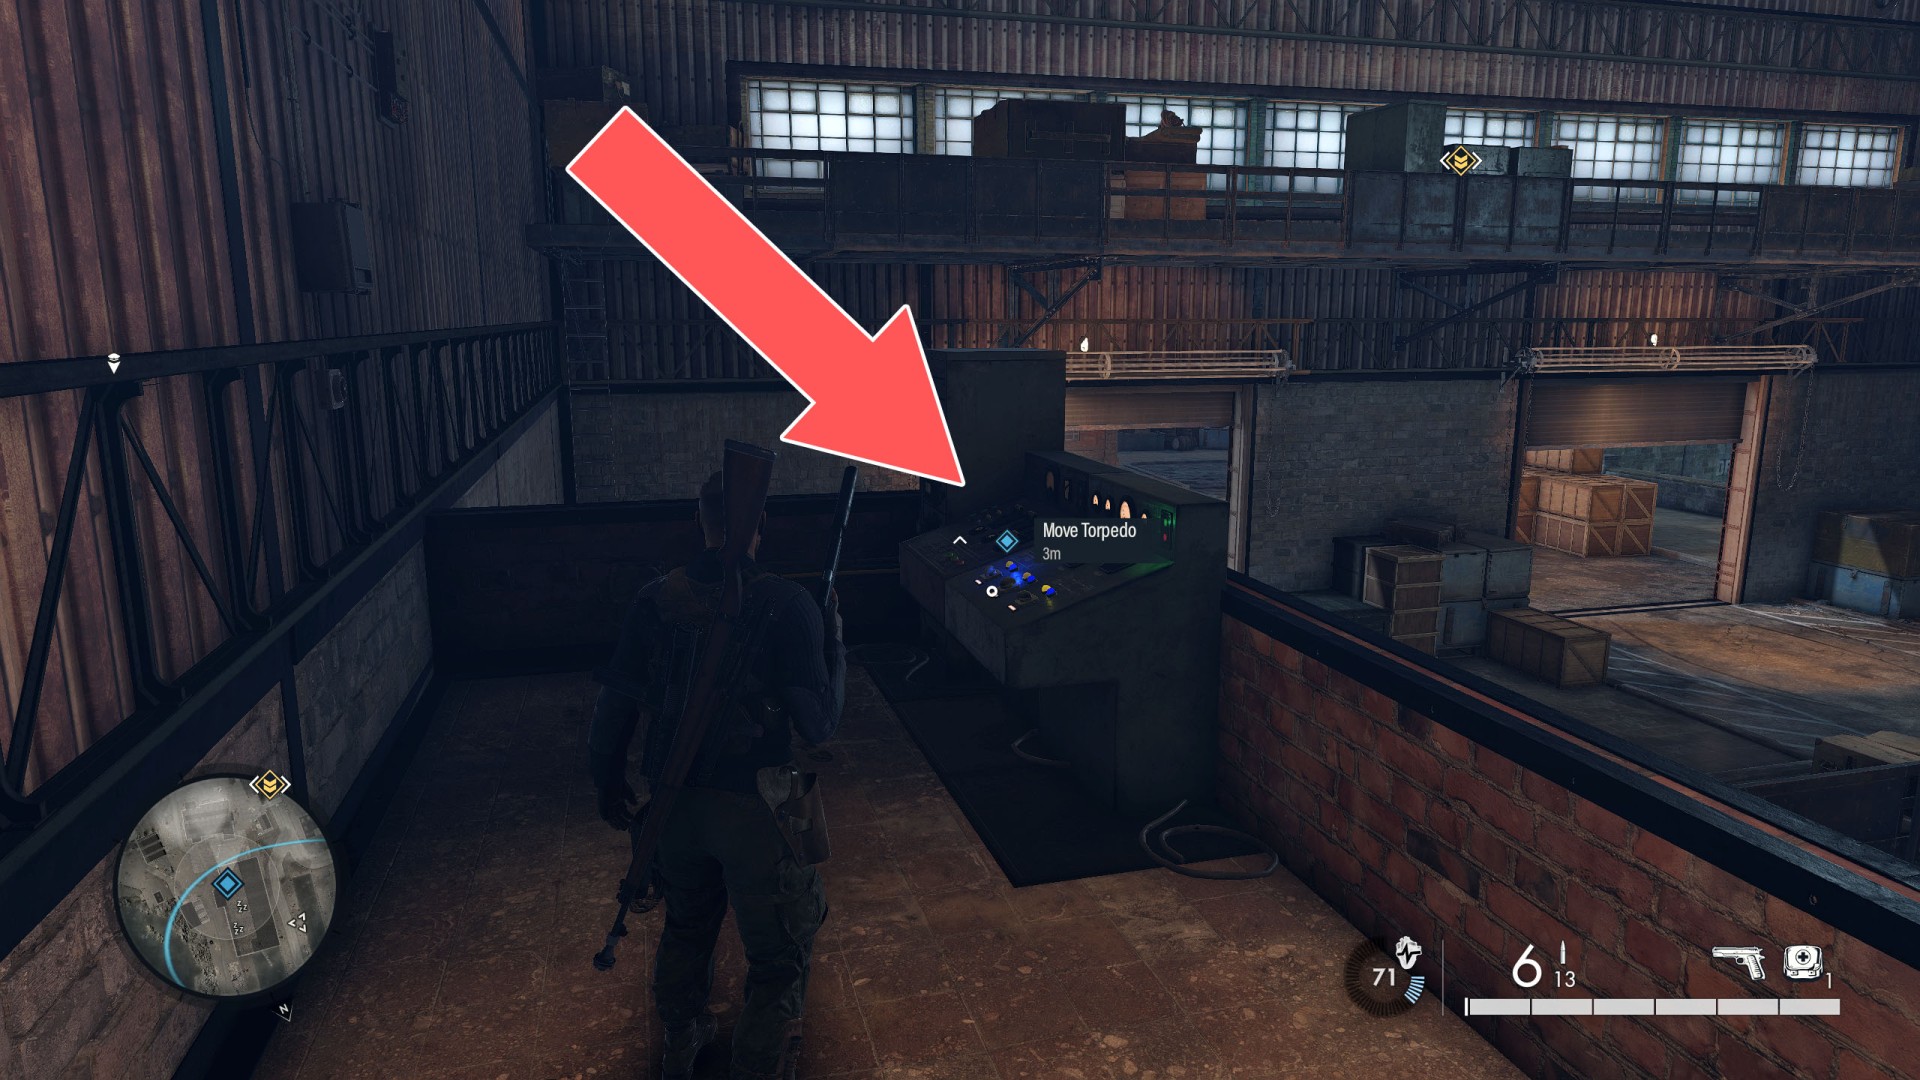
49Torpedo Controls
Objective of "Destroy the Aircraft Carrier's Escort Submarines" - "Destroy the Escort Submarines (0/3)". Move the torpedo then shoot the mounting to make the torpedo drop onto the submarine.