To use it, you must first reach the other end on foot and turn on the power.
Transitions
Locations on Waford
1 Elevator
Show the map
2Elevator to Dust Ruins Plaza
3From Level 4
Show the map
4From Level 1
Show the map
5From Level 2
Show the map
6From Level 3
Show the map
7From Lobby
Show the map
8From Lower Part / To Middle Part
Show the map
9From Purity Garden
Show the map
10From Room of Longevity
Show the map
11From Second Vault
Show the map
12To Floor 3
You must first activate this connection by reaching its other end on foot.
13To Great Botomless Waterfall
Show the map
14To Ice Block Ruins Entrance
Show the map
15To Joint Accessway to Last Exp. Room entrance
Show the map
16To Last Experiment Room Entrance
Show the map
17To Level 1
Show the map
18To Level 1
Show the map
19To Level 2
Show the map
20To Level 3
Show the map
21To Level 4
Show the map
22To Lower Part / To Upper Part
Show the map
23To Middle Part
Show the map
24To Middle Part
Show the map
25To Purity Garden
Show the map
26To Room of Longevity
Show the map
27To Rooms of Recollection
Show the map
28To Second Control Room
Show the map
29To Second Lift
Show the map
30To Second Lift
Show the map
31To Second Vault
Show the map
32To Third Experiment Room
Show the map
33To Upper Part
Show the map
34To Upper Part
Show the map
Locations on Alabasta
35Ladder (To / From Baroque Works Hideout)
Available after leaving the Baroque Works Hideout through this exit.
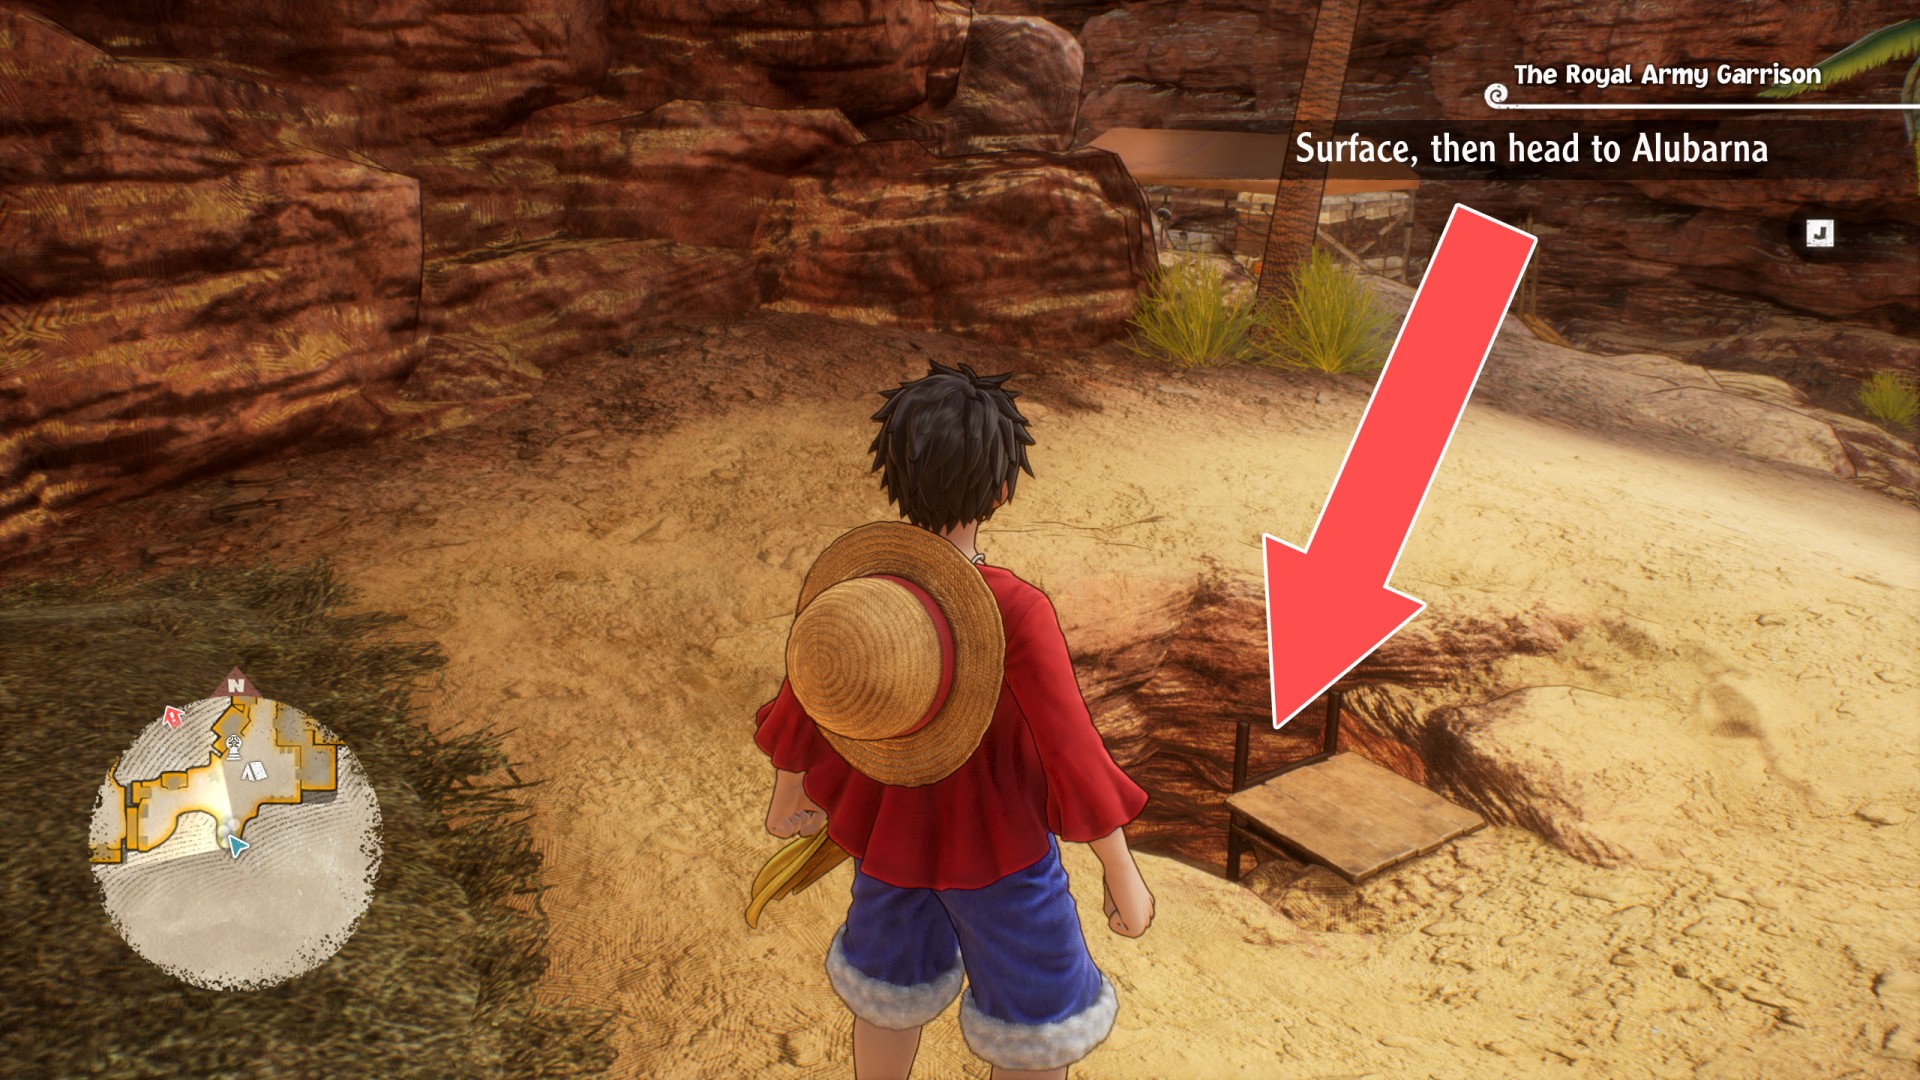
36Ladder to The Royal Army Garrison
Show the map
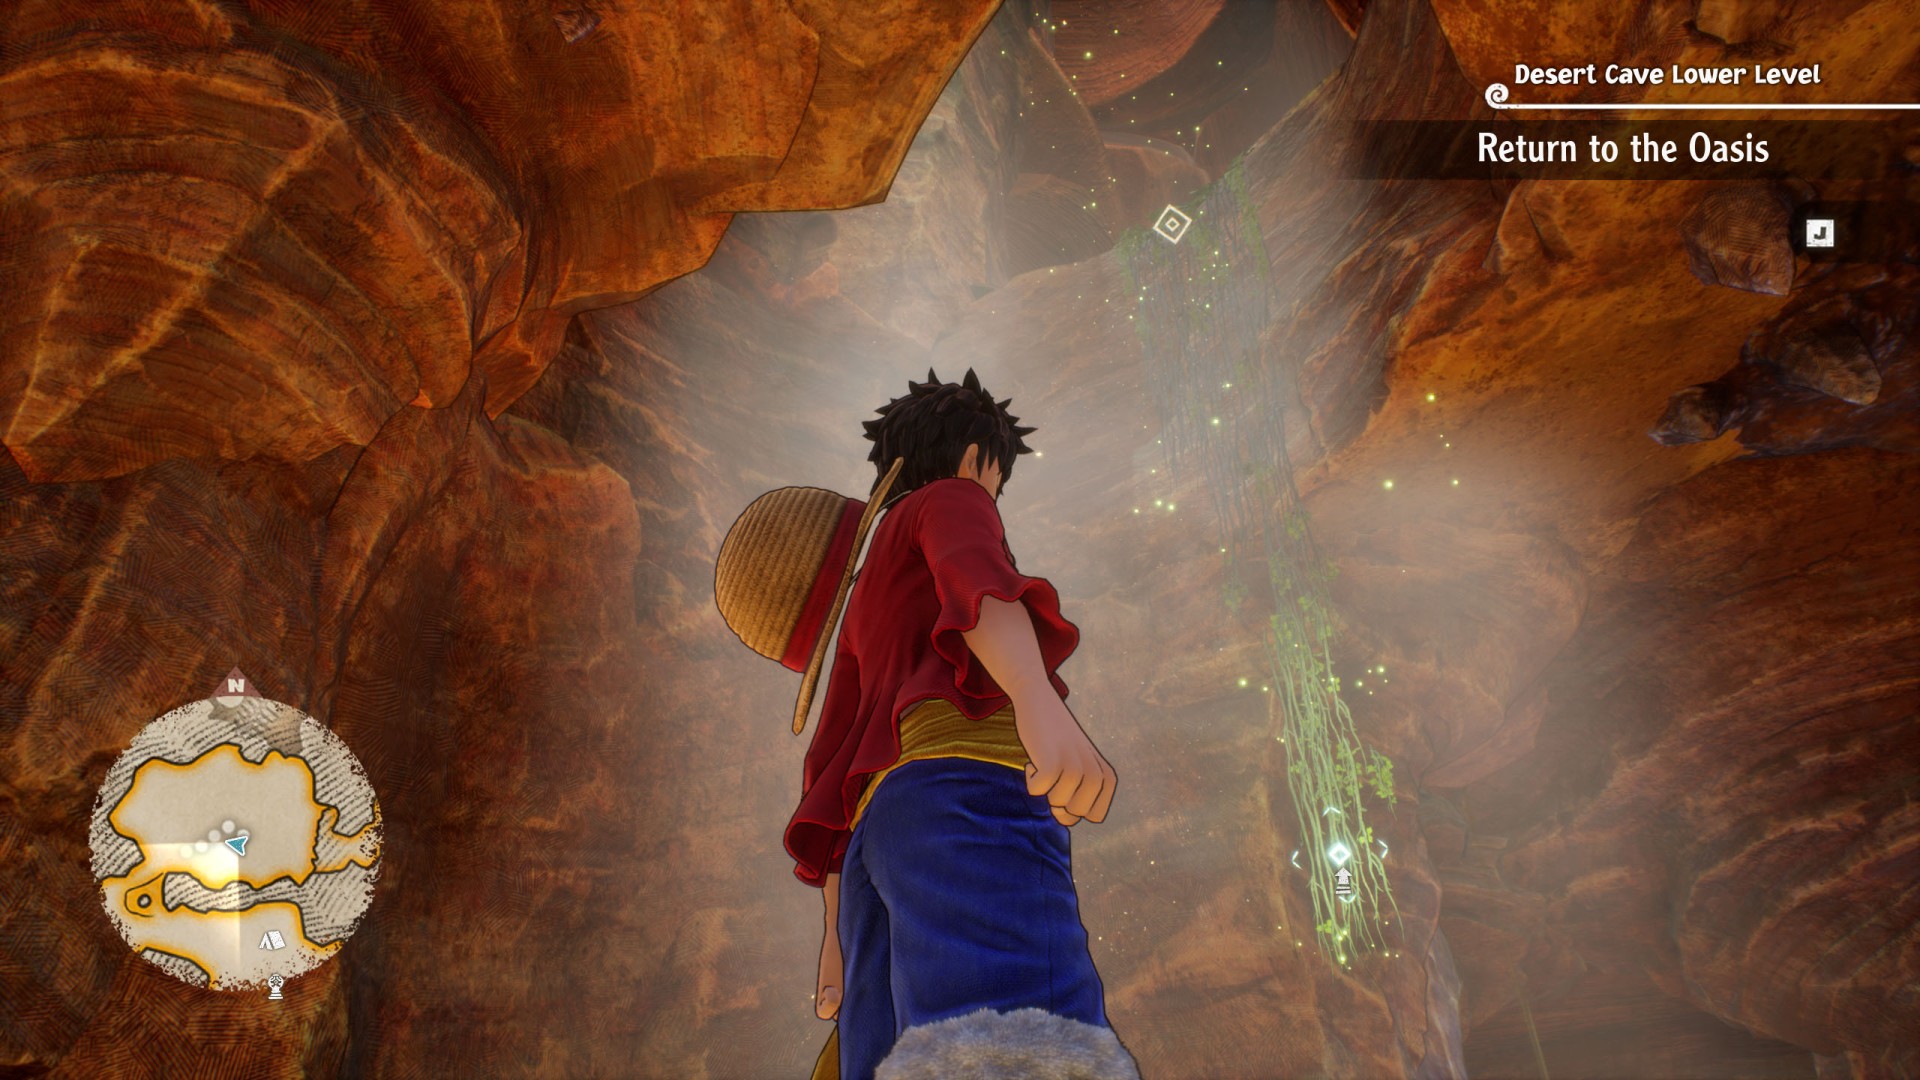
37Vines Down To The Underground Desert
38Vines From Lower Level
Show the map
39Vines to Upper Level
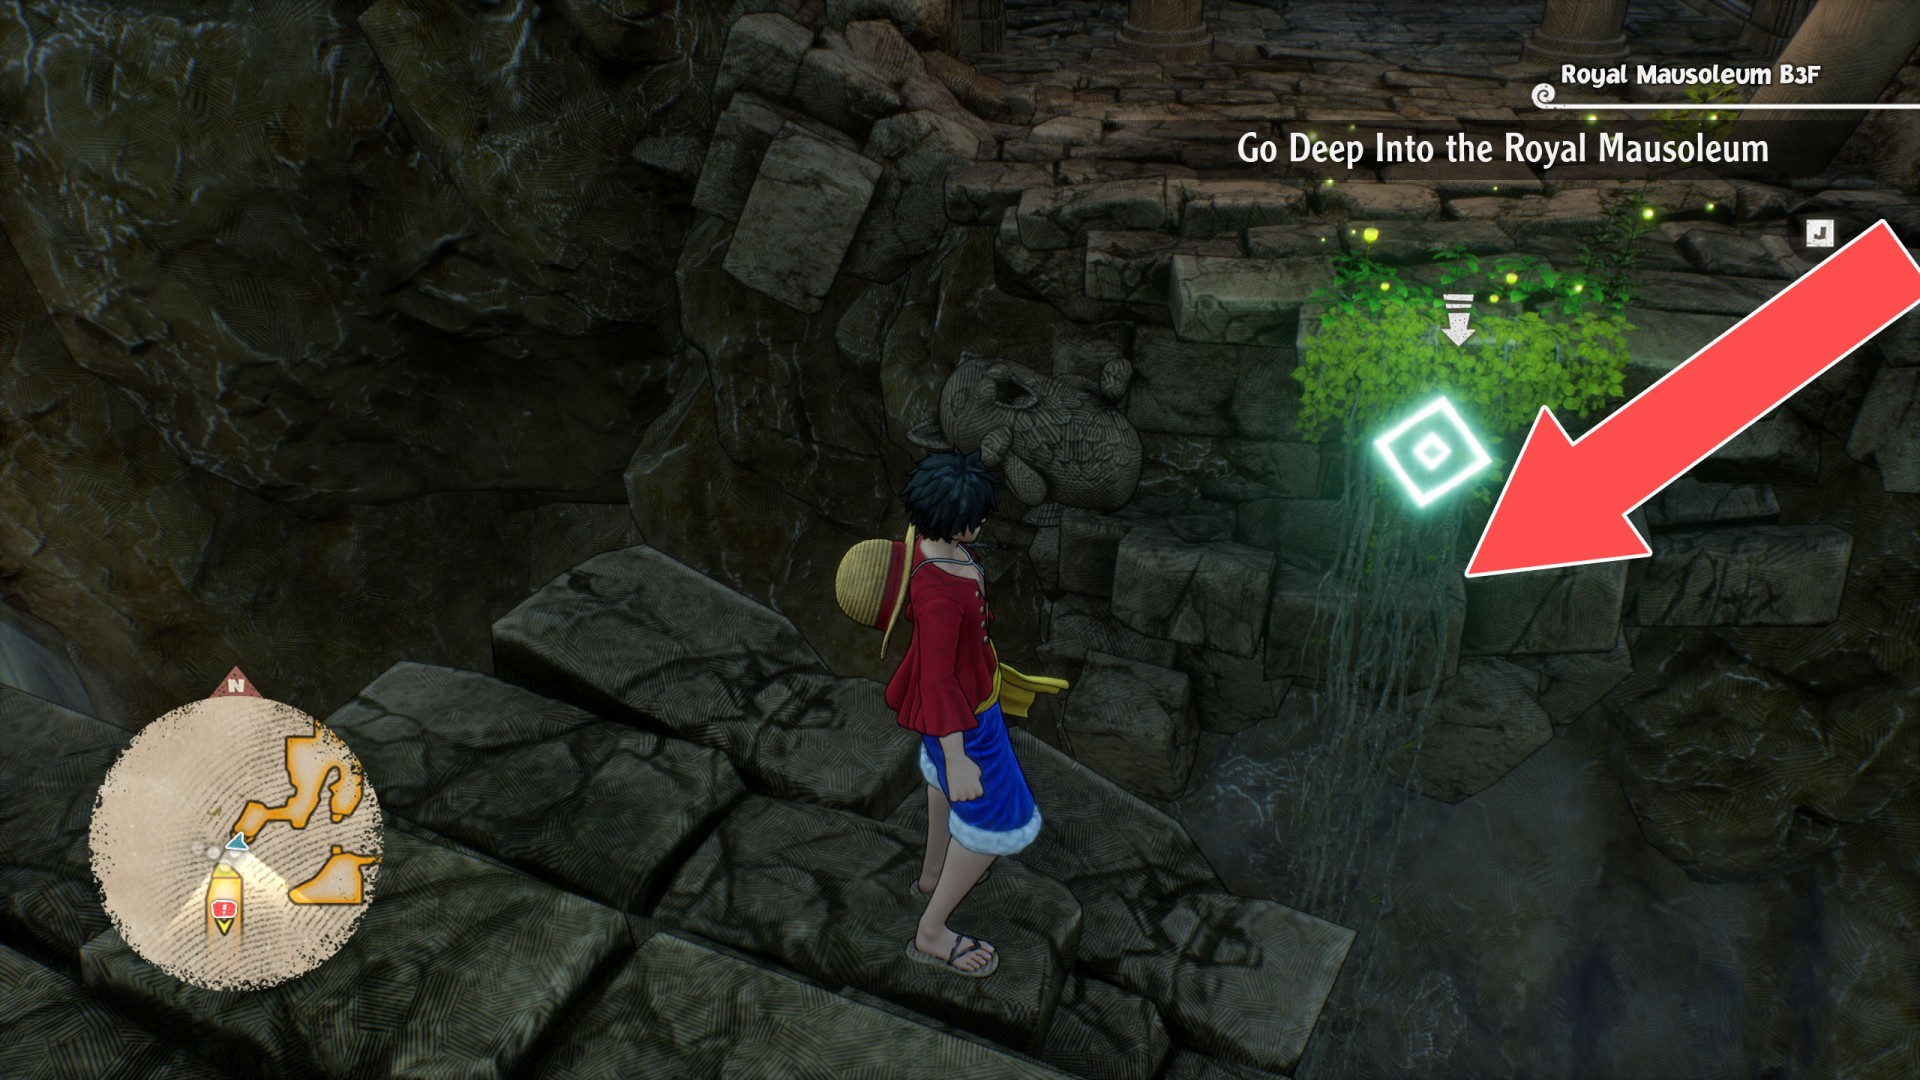
40Vines Up to Royal Mausoleum B3F
Show the map
Locations on Water Seven
41Elevator
The elevator will be made available at some stage of the game's main storyline.
42Elevator
The elevator will be made available at some stage of the game's main storyline.
43Elevator
The elevator will be made available at some stage of the game's main storyline.
44From Lower Level
Show the map
45From Lower Level
Show the map
46From Middle Level
Show the map
47From Middle Level
Show the map
48From Underground Prison
You can't go back to the upper level this way.