Speed Traps Need for Speed Heat Points of interest
Speed traps are on paved roads and require passing through them at a certain speed to score from 1 to 3 stars. Once you collect all speed traps, you'll unlock a McLaren 600LT, as well as a Speed Trap Decals Set.
Index
- Bayview Park #1: Get Over It!
- Bayview Park #2: The Broken Golf Cart
- Bayview Park #3: Acceleration
- Bayview Park #4: Hi Cop, Bye Cop!
- Blackwood Heights #1: Downhill is Better
- Blackwood Heights #2: Quick Camping
- Cape Castille #1: Security Breach
- Cape Castille #2: Astronaut Wannabe
- Cape Castille #3: Damn! That's Hot!
- Cloudbank #1: Upgraded Ski Gear
- Cloudbank #2: Speed Under The Radar
- Downtown Palm City #1: I'm Not a Jump!
- Downtown Palm City #2: Downtown Cruise
- Eden Shores #1: Eden Spinner
- Eden Shores #2: Hyperloop Photoshoot
- Edgewood Valley #1: It's Black Friday???
- Edgewood Valley #2: Faster on horse
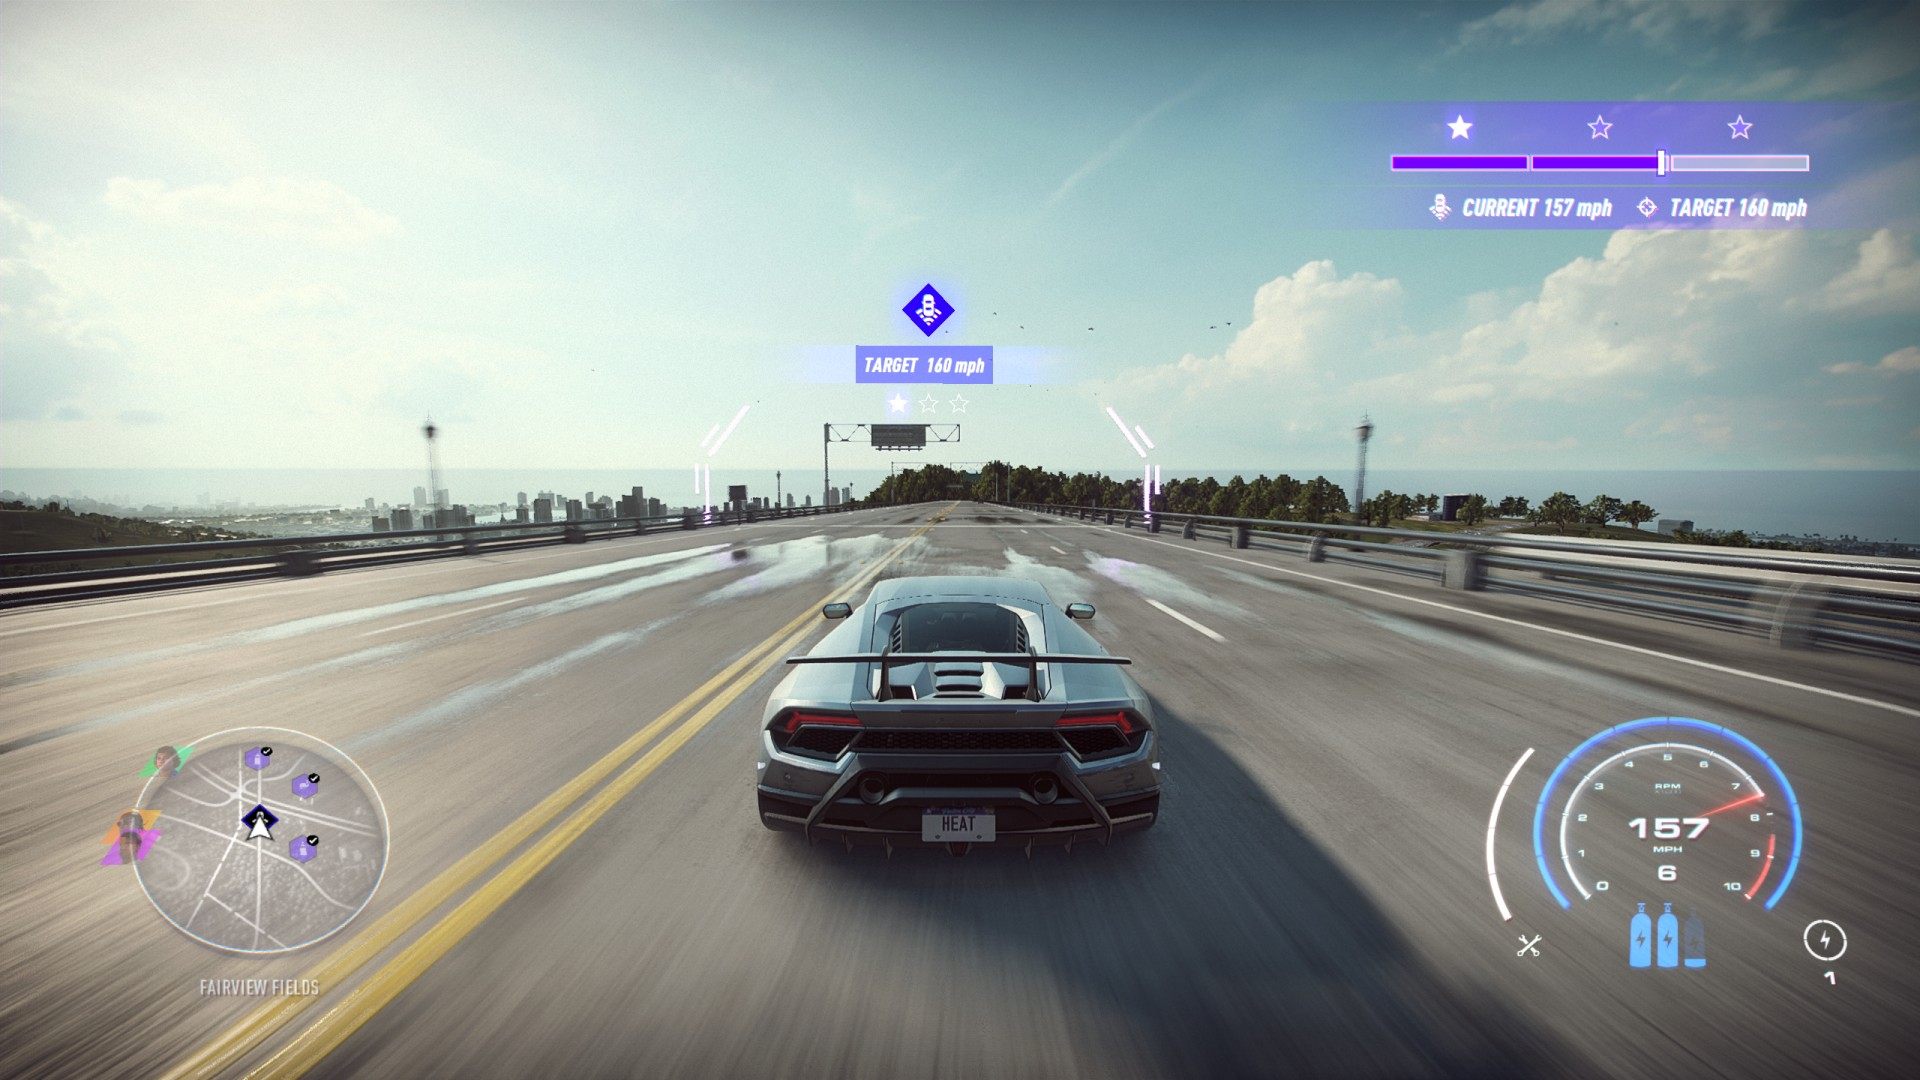
- Fairview Fields #1: Straight on the Bridge
- Fairview Fields #2: Fastest Bread Maker
- Fairview Fields #3: Catch My Good Side!
- Fort Callahan #1: River Fever
- Fort Callahan #2: Back in Town
- Frontera Hills #1: Get Off My Land!
- Frontera Hills #2: Late for Work!
- Grenada Wetlands #1: Quick Visit
- Grenada Wetlands #2: Fishy Smell
- Mendoza Keys #1: Bridge Ridge
- Mendoza Keys #2: Dragonfly Catcher
- Mendoza Keys #3: Lighthouse Sightseeing
- Palm City Raceway #1: Go Fast or Go home
- Palm City Raceway #2: Speed Demon
- Palm City Raceway #3: Race Warm-Up
- Port Murphy #1: Speed Package
- Port Murphy #2: Heavy Container
- Rockville #1: Under the Red Light
- Rockville #2: The Growling Stone
- Rockville #3: Raced with a Deer
- Sandino Ranches #1: Out of business
- Sandino Ranches #2: Gas Refill
- Sandpiper Forest #1: Splinter Boulevard
- Sandpiper Forest #2: super Drive
- Sandpiper Forest #3: Brake Not Found
- Westside #1: Fastest Car in the West
- Westside #2: Boulevard of Broken Rims
- Westside #3: Seaside Speeding Ticket
All known locations on the map Palm City
 Bayview Park #1: Get Over It!▶ show the map ◀
110 / 150 / 200 mph
Bayview Park #2: The Broken Golf Cart▶ show the map ◀
100 / 120 / 142 mph
Bayview Park #3: Acceleration▶ show the map ◀
90 / 130 / 190 mph
Bayview Park #4: Hi Cop, Bye Cop!▶ show the map ◀
100 / 150 / 210 mph
Blackwood Heights #1: Downhill is Better▶ show the map ◀
130 / 160 / 220 mph
Blackwood Heights #2: Quick Camping▶ show the map ◀
110 / 140 / 180 mph
Cape Castille #1: Security Breach▶ show the map ◀
100 / 130 / 170 mph
Cape Castille #2: Astronaut Wannabe▶ show the map ◀
90 / 120 / 150 mph
Cape Castille #3: Damn! That's Hot!▶ show the map ◀
90 / 130 / 170 mph
Cloudbank #1: Upgraded Ski Gear▶ show the map ◀
130 / 170 / 220 mph
Cloudbank #2: Speed Under The Radar▶ show the map ◀
100 / 130 / 178 mph
Downtown Palm City #1: I'm Not a Jump!▶ show the map ◀
100 / 110 / 130 mph
Downtown Palm City #2: Downtown Cruise▶ show the map ◀
90 / 130 / 140 mph
Eden Shores #1: Eden Spinner▶ show the map ◀
80 / 130 / 170 mph
Eden Shores #2: Hyperloop Photoshoot▶ show the map ◀
110 / 160 / 230 mph
Edgewood Valley #1: It's Black Friday???▶ show the map ◀
90 / 130 /180 mph
Edgewood Valley #2: Faster on horse▶ show the map ◀
100 / 130 / 160 mph
Fairview Fields #1: Straight on the Bridge▶ show the map ◀
110 / 160 / 190 mph
Fairview Fields #2: Fastest Bread Maker▶ show the map ◀
90 / 120 / 160 mph
Fairview Fields #3: Catch My Good Side!▶ show the map ◀
121 / 170 / 210 mph
Fort Callahan #1: River Fever▶ show the map ◀
120 / 150 / 210 mph
Fort Callahan #2: Back in Town▶ show the map ◀
100 / 150 / 200 mph
Frontera Hills #1: Get Off My Land!▶ show the map ◀
80 / 110 / 130 mph
Frontera Hills #2: Late for Work!▶ show the map ◀
90 / 120 / 150 mph
Grenada Wetlands #1: Quick Visit▶ show the map ◀
100 / 150 / 170 mph
Grenada Wetlands #2: Fishy Smell▶ show the map ◀
110 / 150 / 188 mph
Mendoza Keys #1: Bridge Ridge▶ show the map ◀
110 / 150 / 180 mph
Mendoza Keys #2: Dragonfly Catcher▶ show the map ◀
110 / 150 / 180 mph
Mendoza Keys #3: Lighthouse Sightseeing▶ show the map ◀
90 / 130 / 150 mph
Palm City Raceway #1: Go Fast or Go home▶ show the map ◀
140 / 160 / 190 mph
Palm City Raceway #2: Speed Demon▶ show the map ◀
110 / 140 / 170 mph
Palm City Raceway #3: Race Warm-Up▶ show the map ◀
110 / 150 / 170 mph
Port Murphy #1: Speed Package▶ show the map ◀
110 / 150 / 180 mph
Port Murphy #2: Heavy Container▶ show the map ◀
100 / 150 / 180 mph
Rockville #1: Under the Red Light▶ show the map ◀
100 / 130 / 190 mph
Rockville #2: The Growling Stone▶ show the map ◀
110 / 140 / 200 mph
Rockville #3: Raced with a Deer▶ show the map ◀
120 / 150 / 210 mph
Sandino Ranches #1: Out of business▶ show the map ◀
90 / 110 / 130 mph
Sandino Ranches #2: Gas Refill▶ show the map ◀
100 / 150 / 170 mph
Sandpiper Forest #1: Splinter Boulevard▶ show the map ◀
130 / 140 / 190 mph
Sandpiper Forest #2: super Drive▶ show the map ◀
120 / 150 / 200 mph
Sandpiper Forest #3: Brake Not Found▶ show the map ◀
110 / 160 / 220 mph
Westside #1: Fastest Car in the West▶ show the map ◀
130 / 150 / 190 mph
Westside #2: Boulevard of Broken Rims▶ show the map ◀
80 / 130 / 180 mph
Westside #3: Seaside Speeding Ticket▶ show the map ◀
94 / 150 / 170 mph