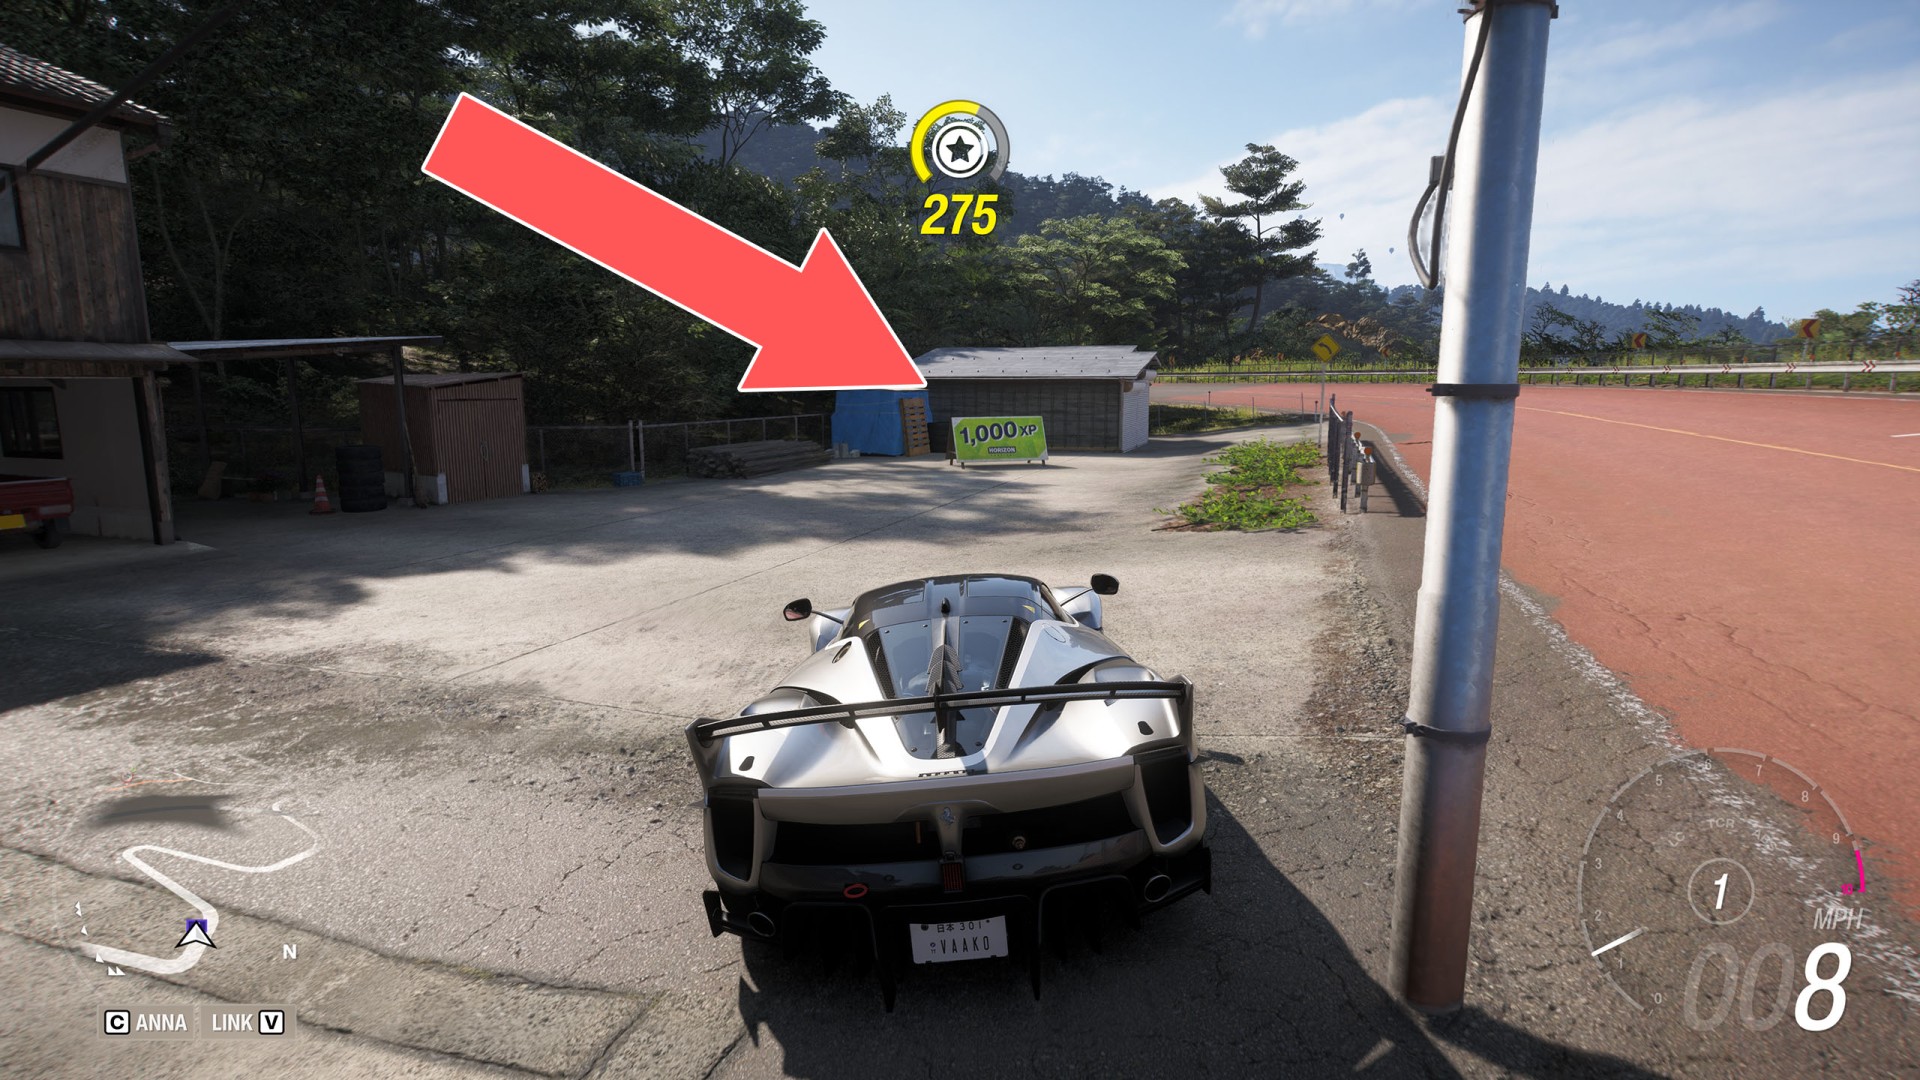
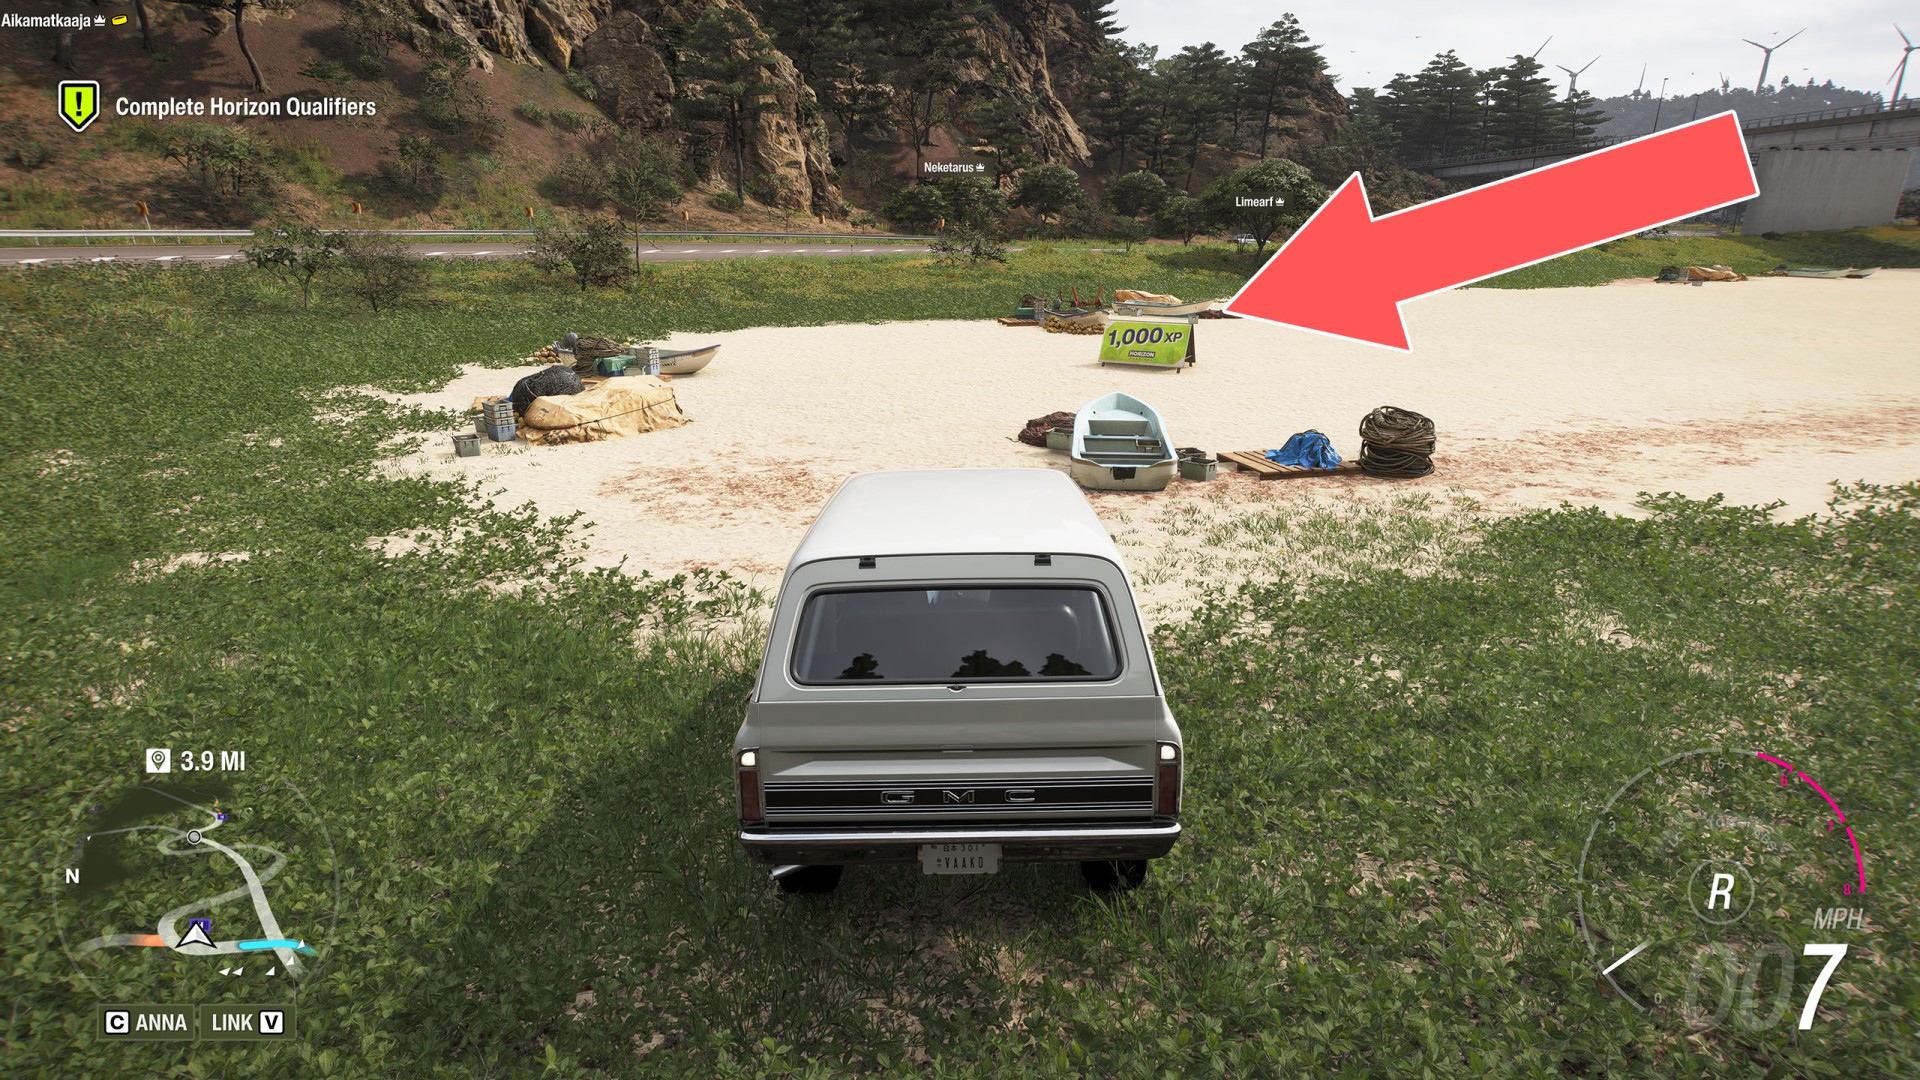
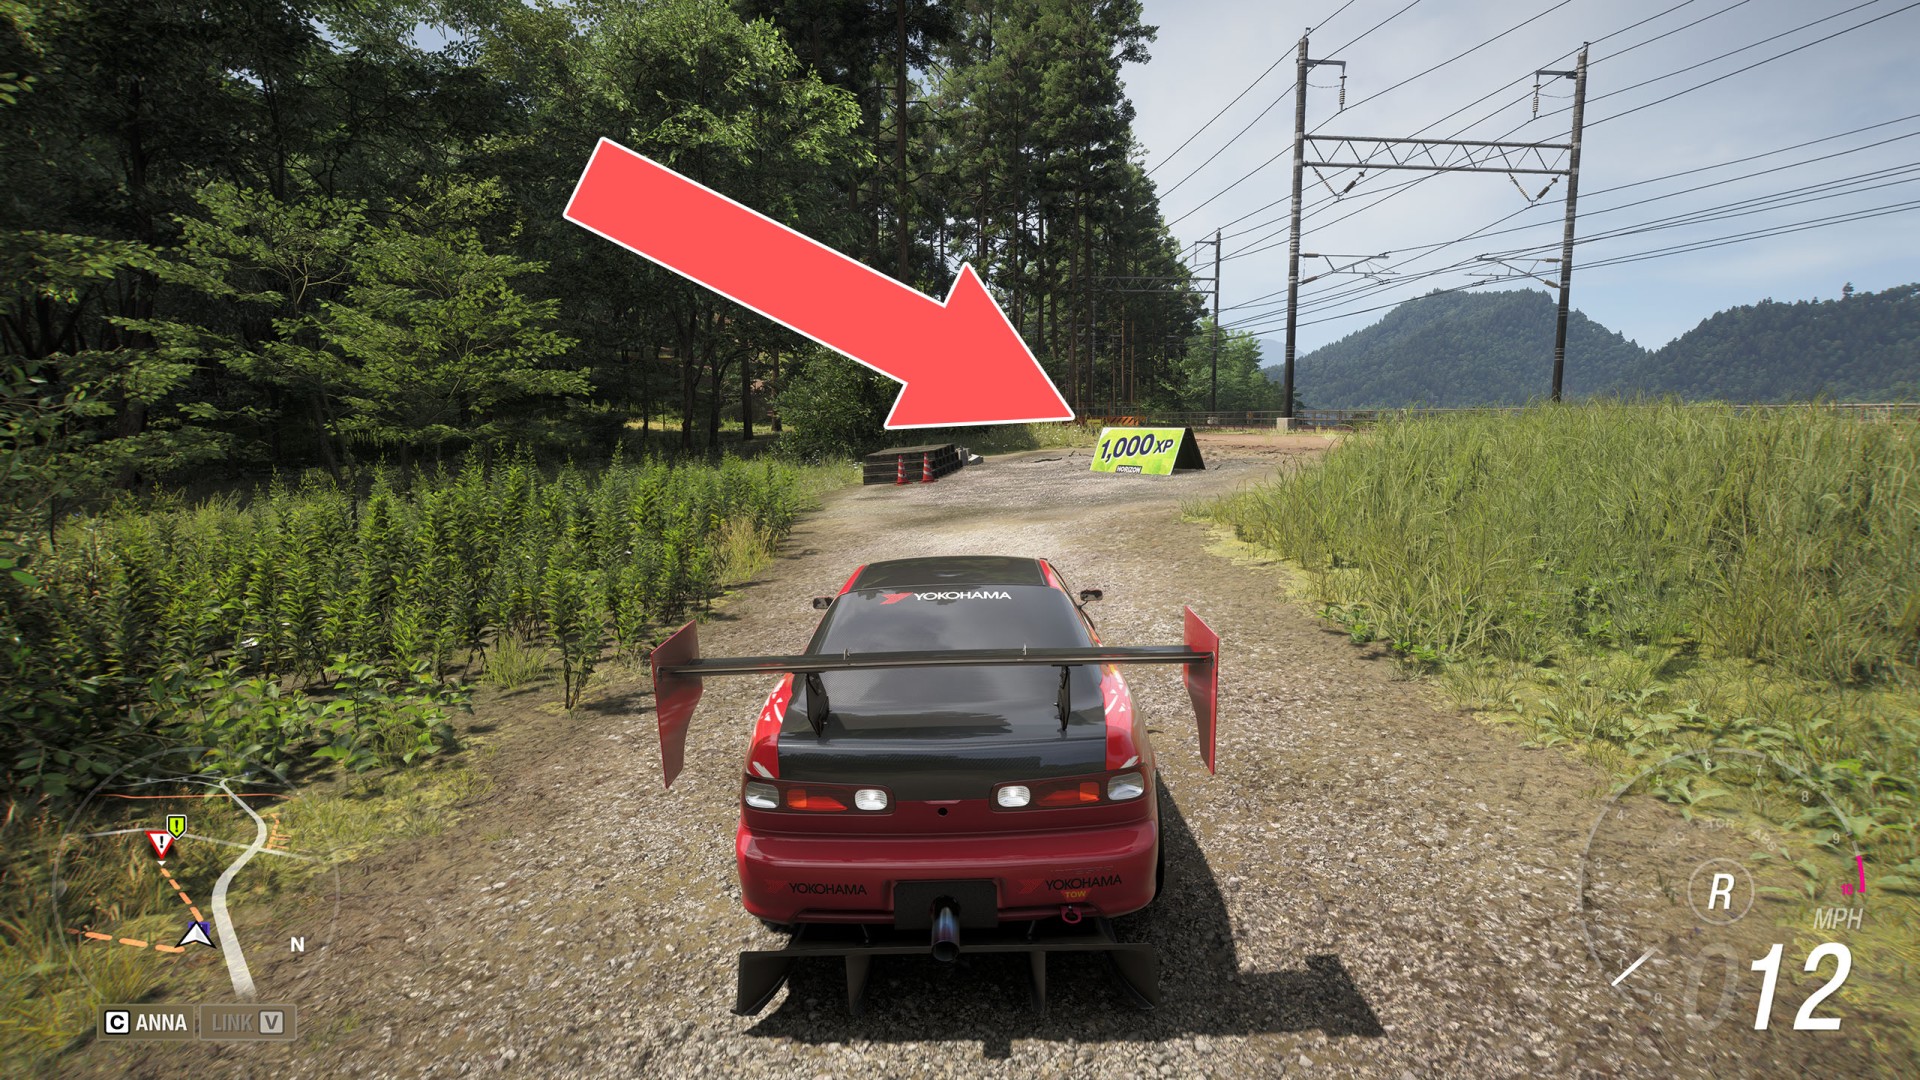
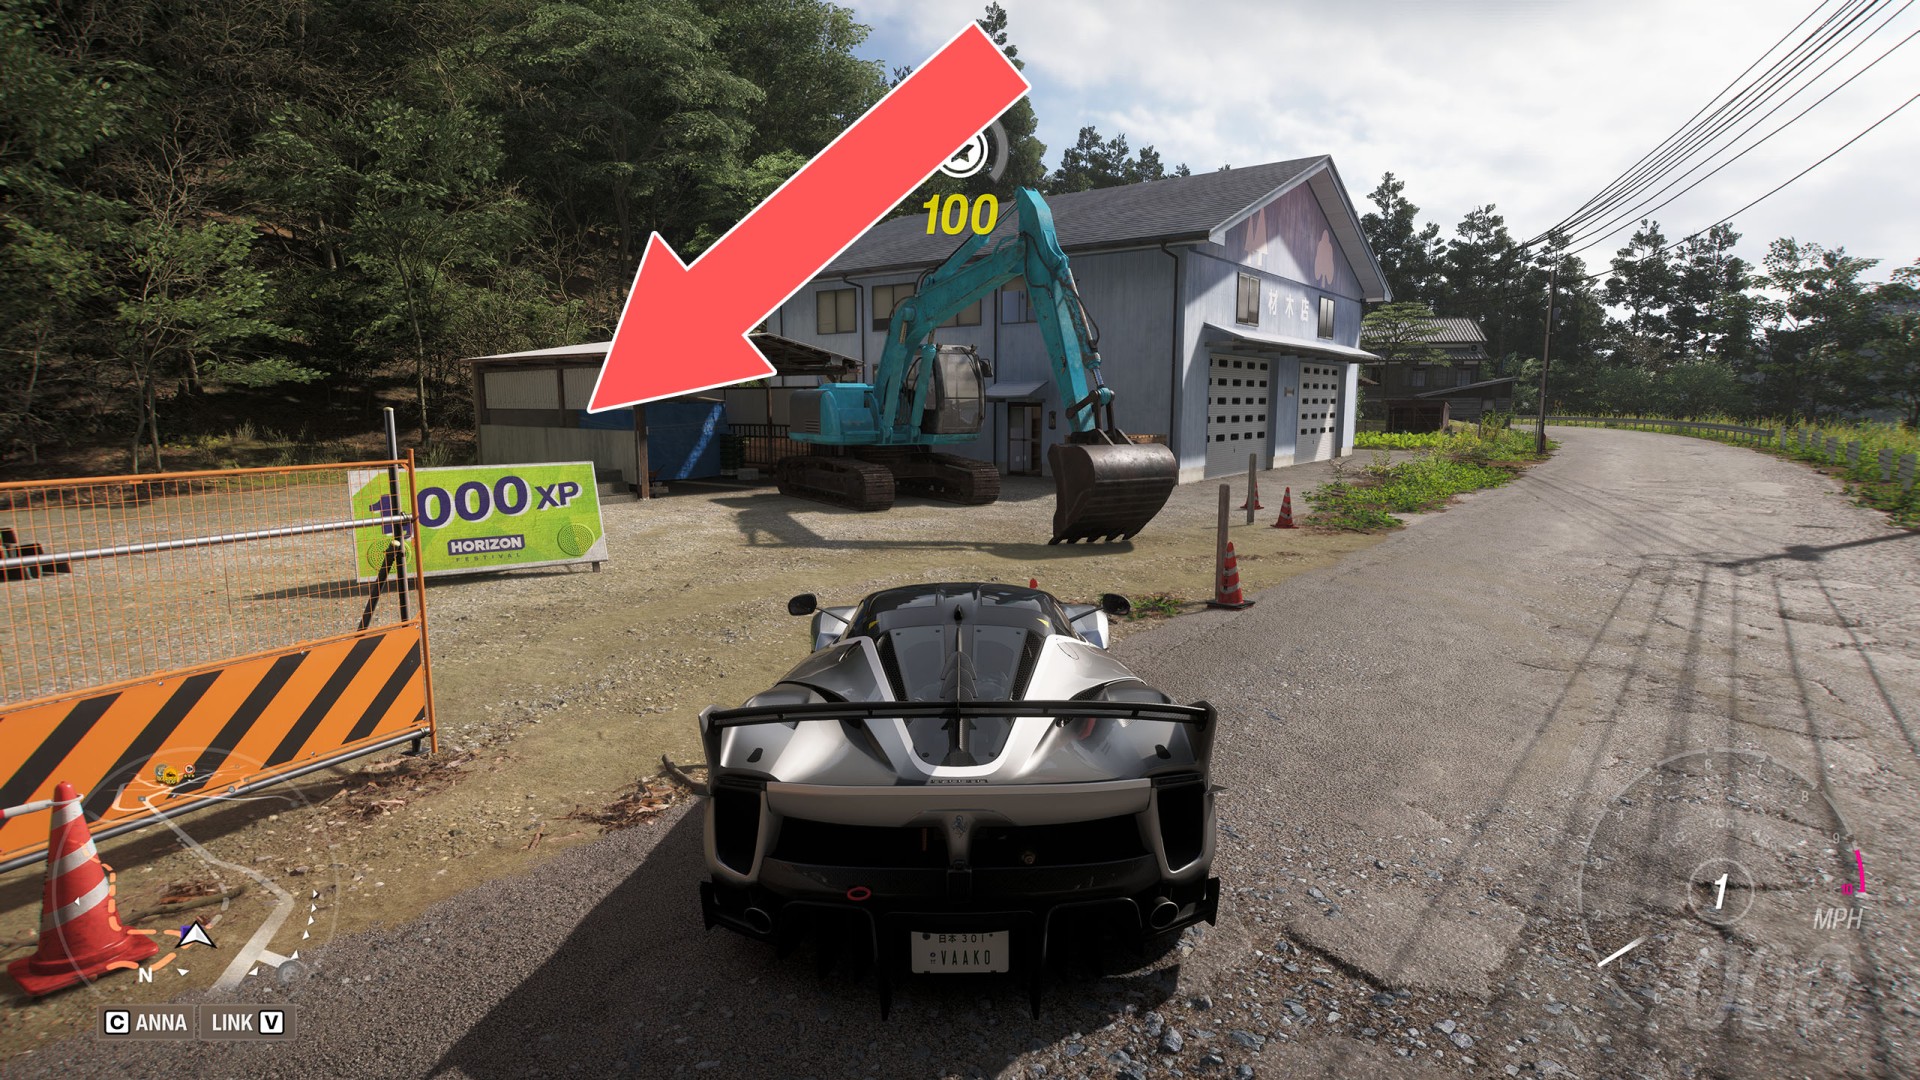
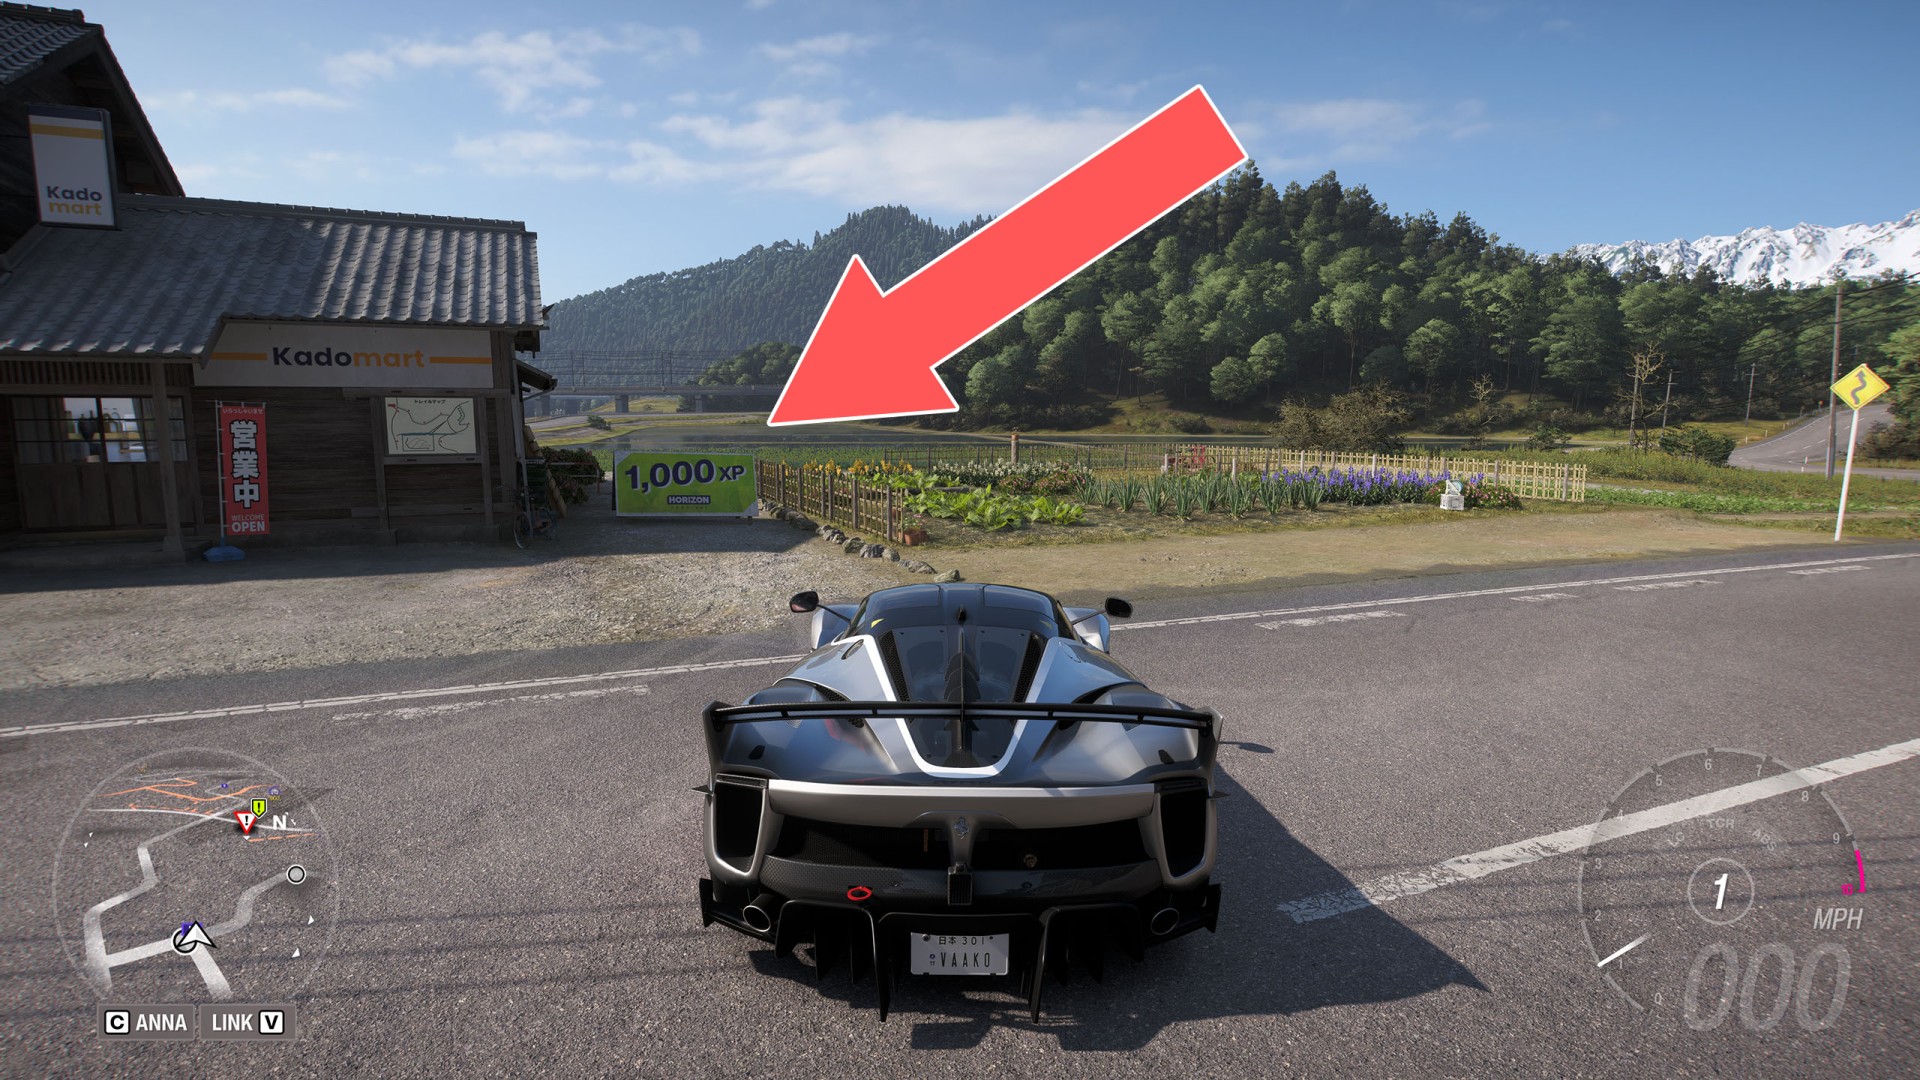
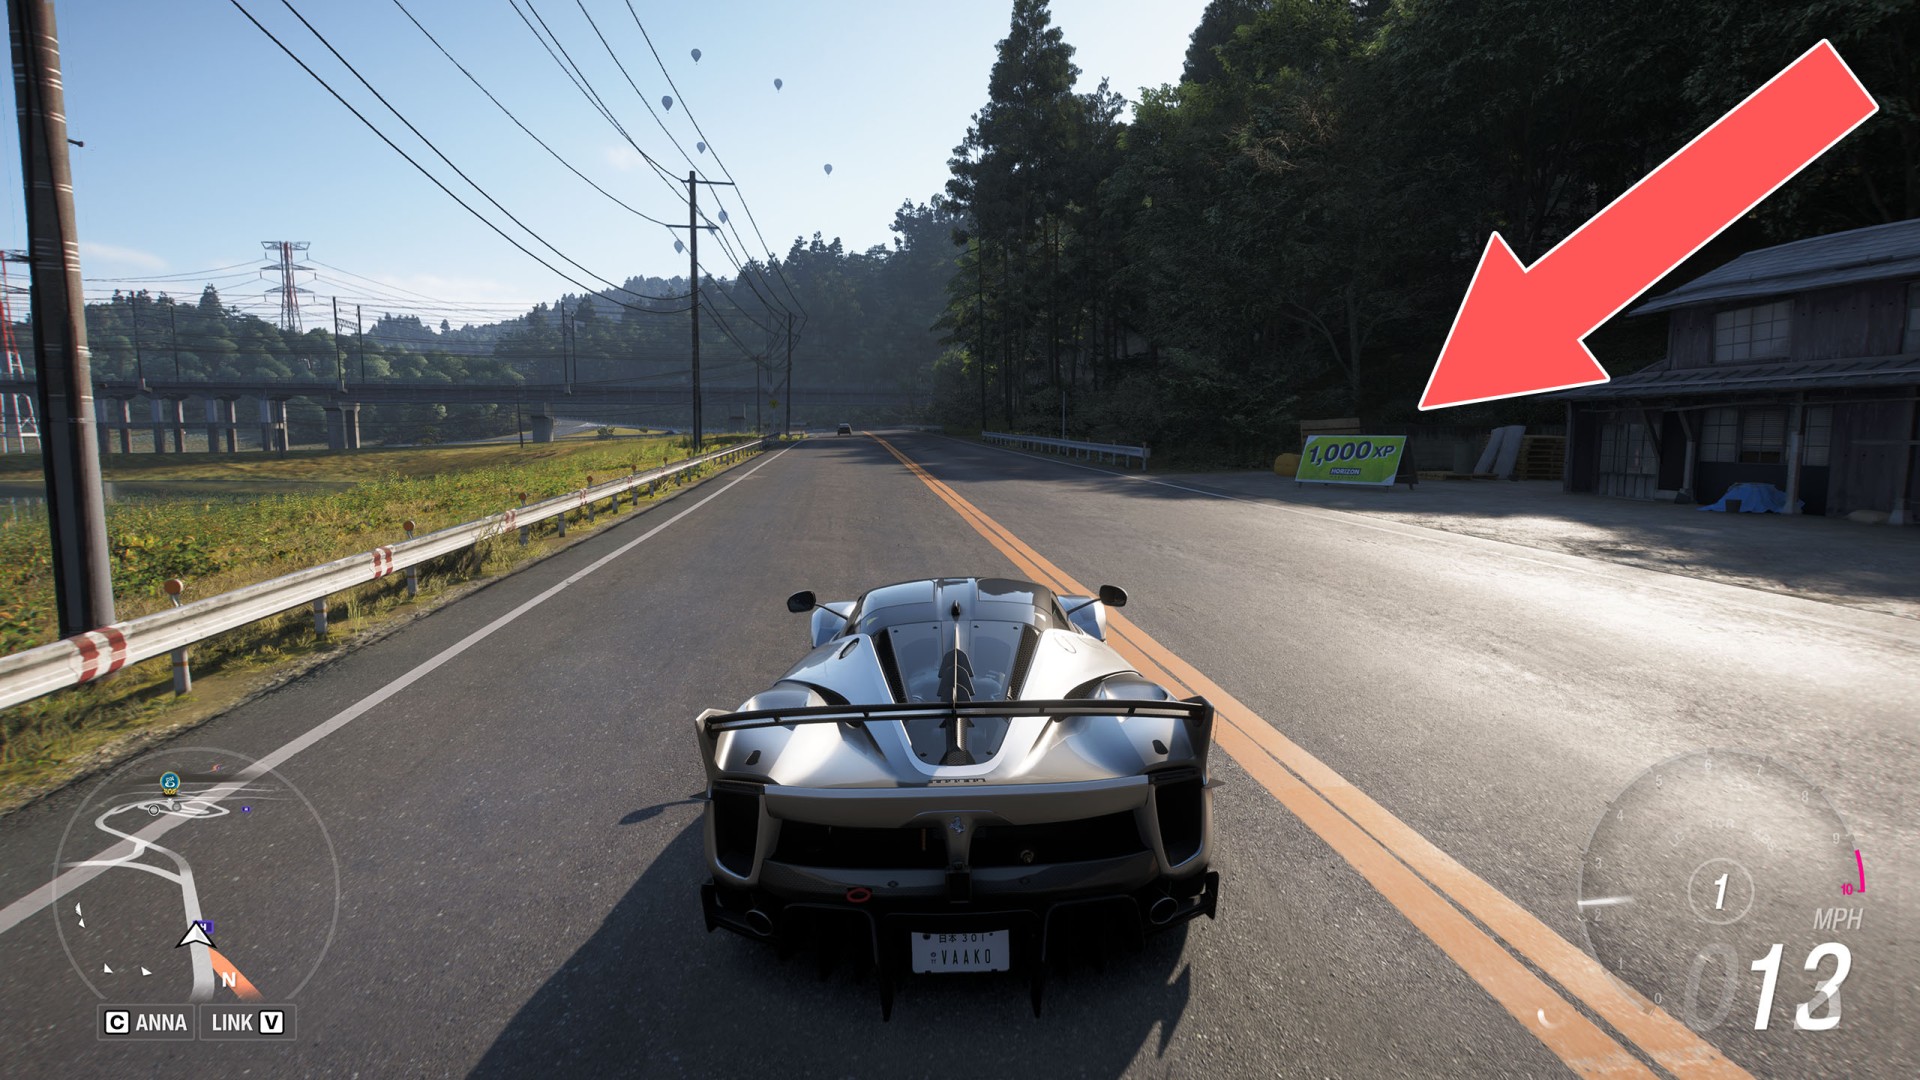
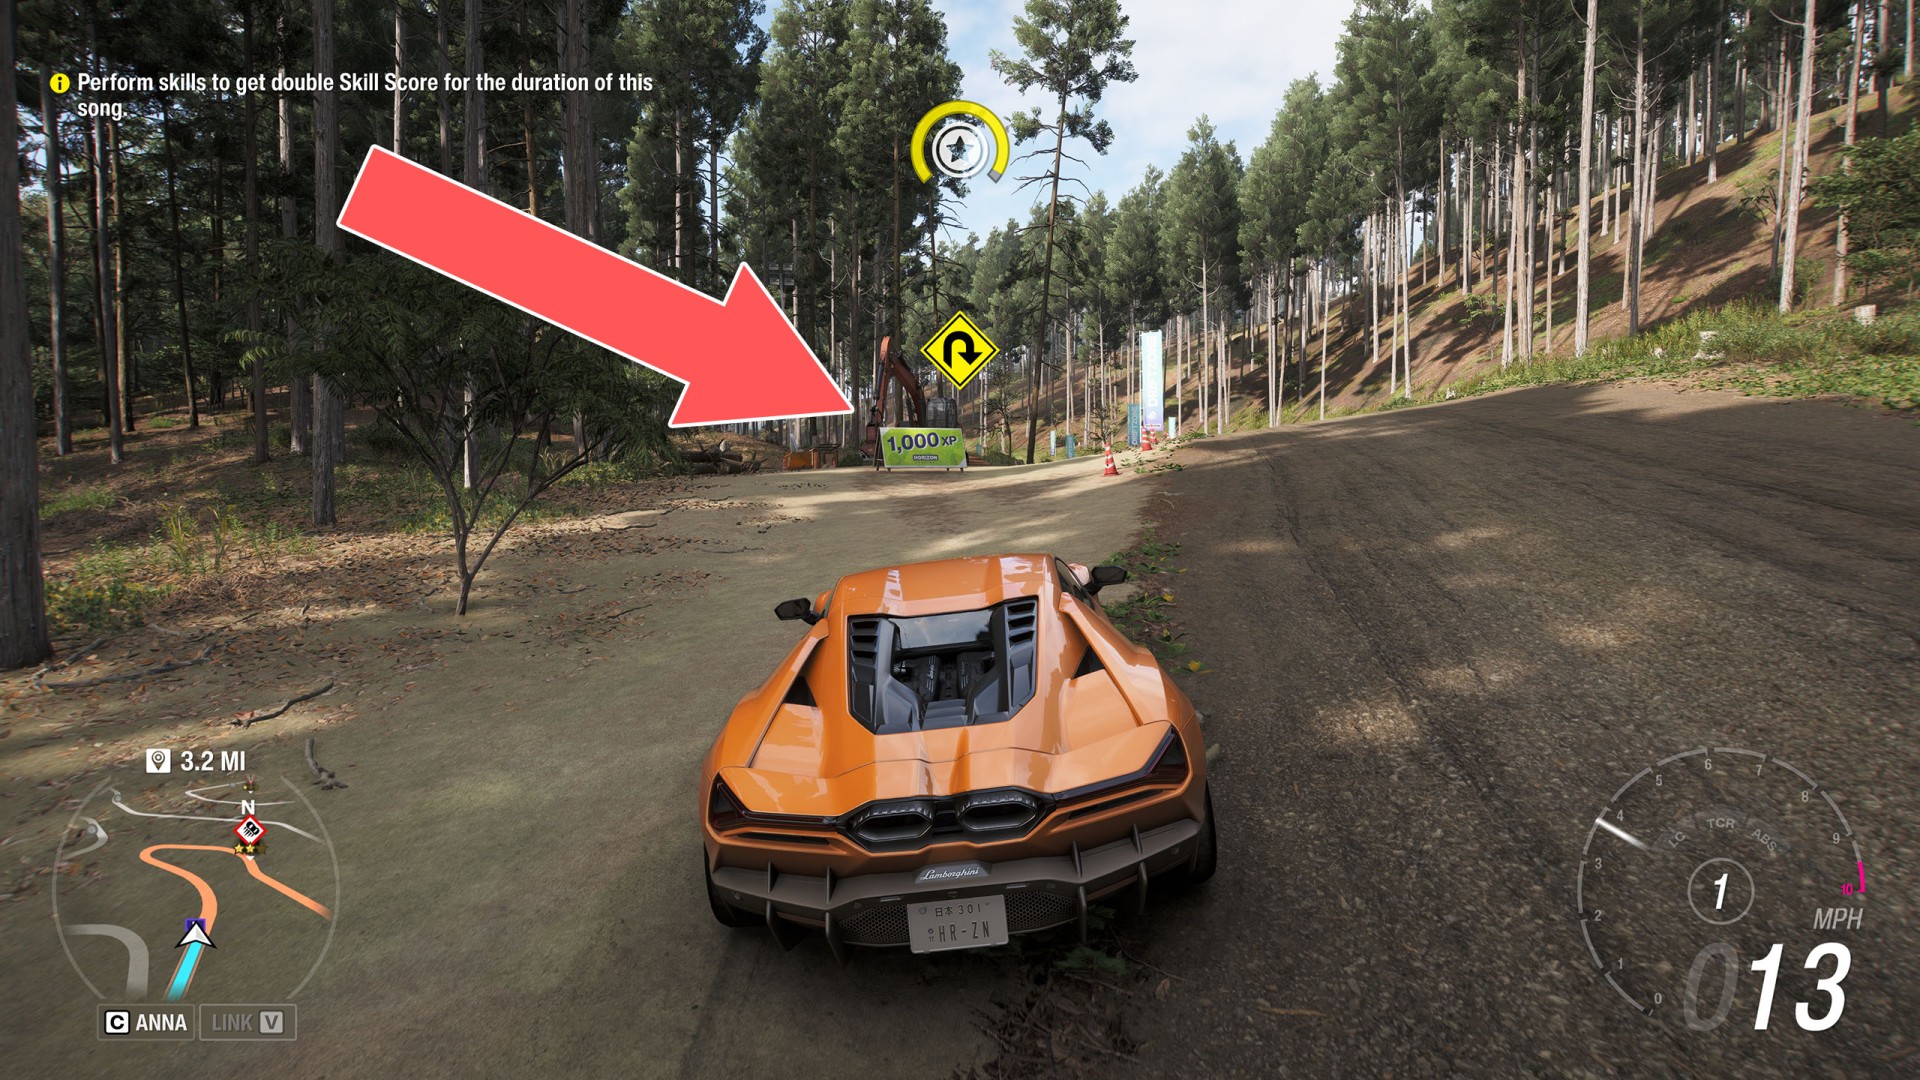
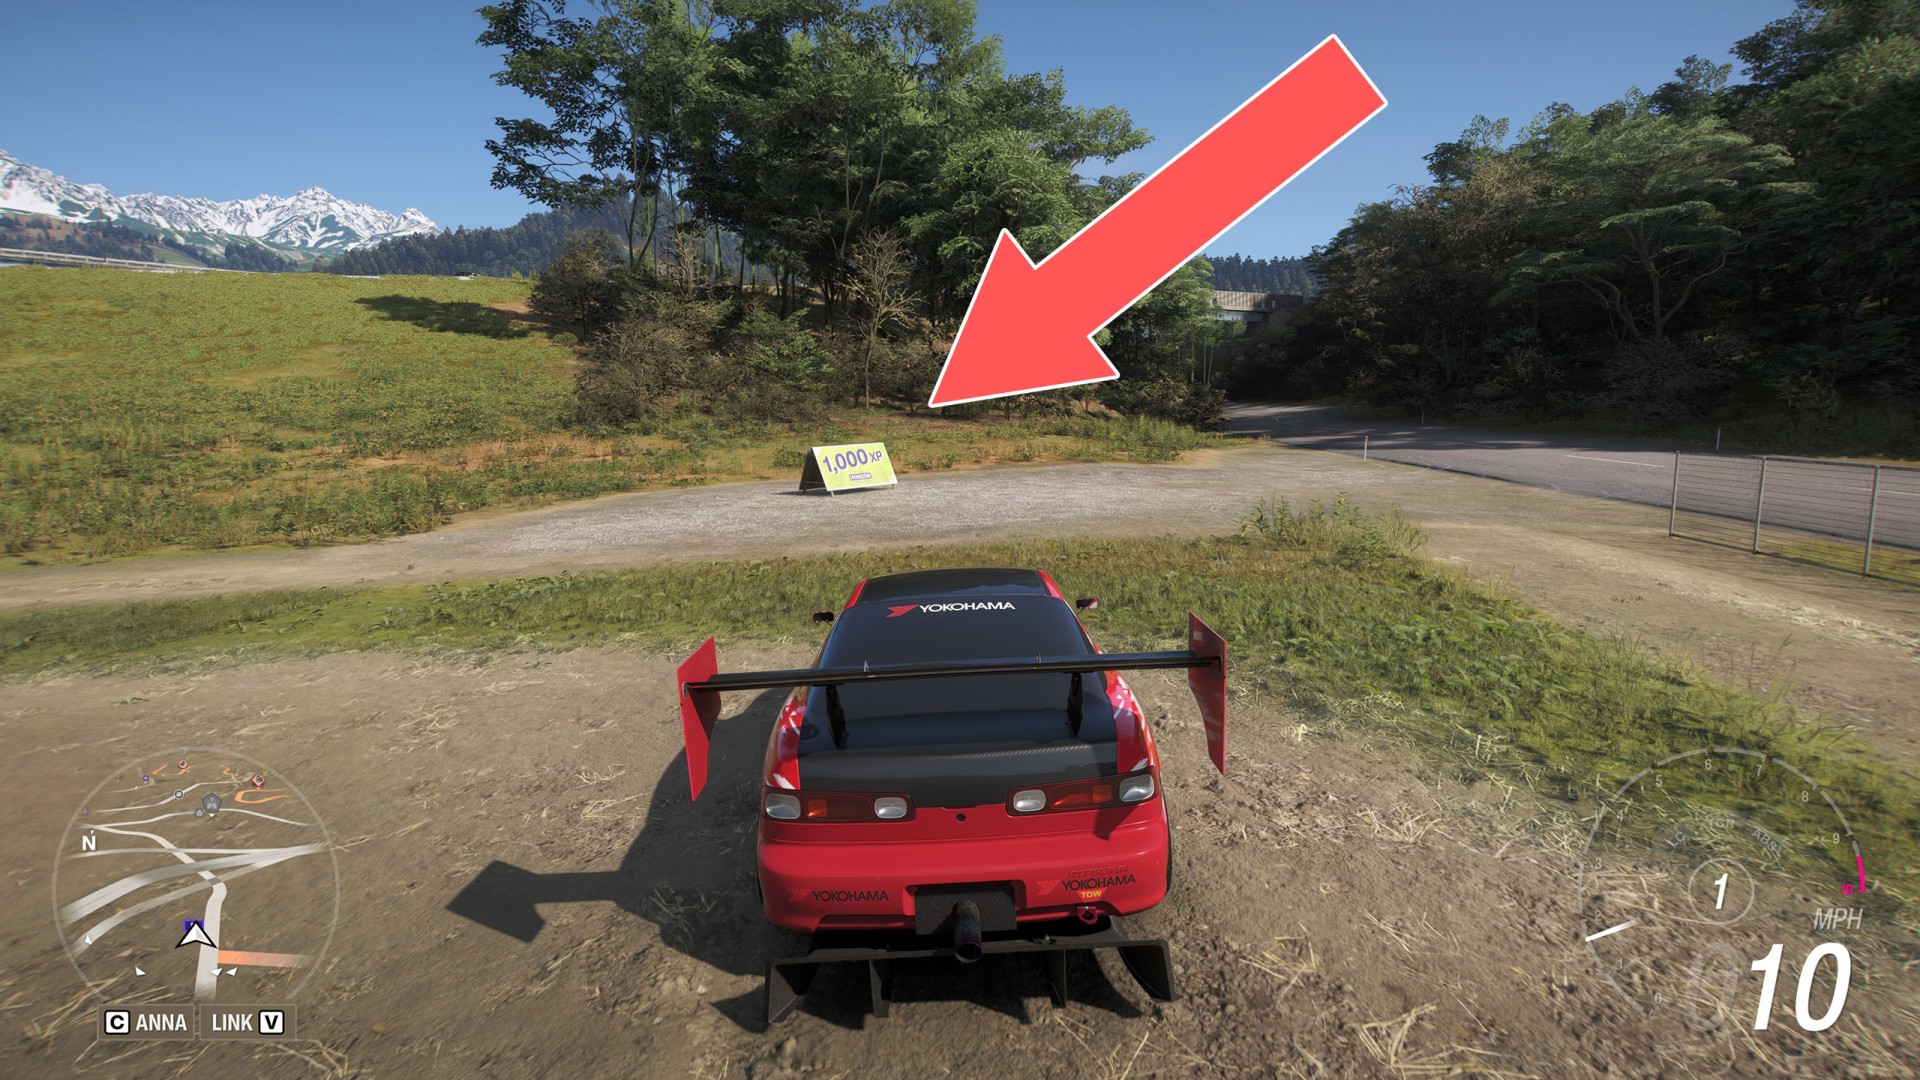
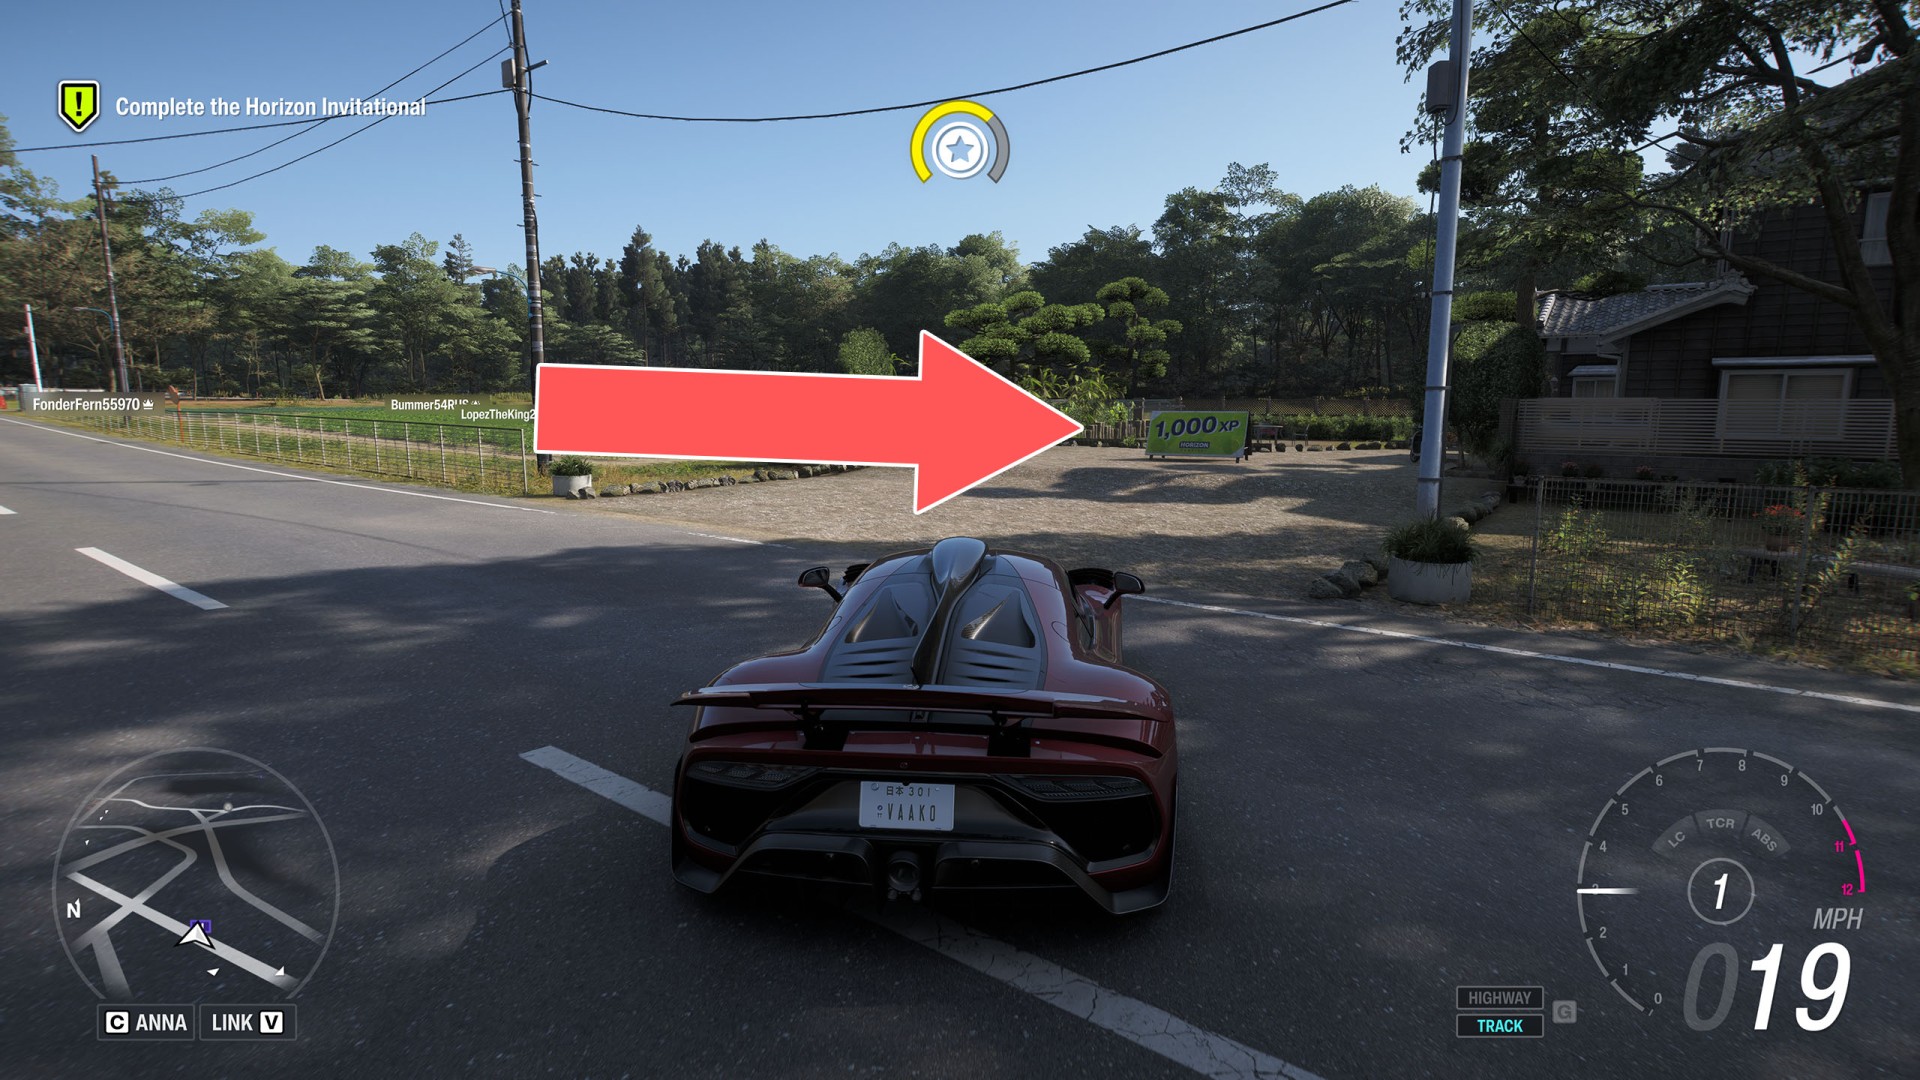
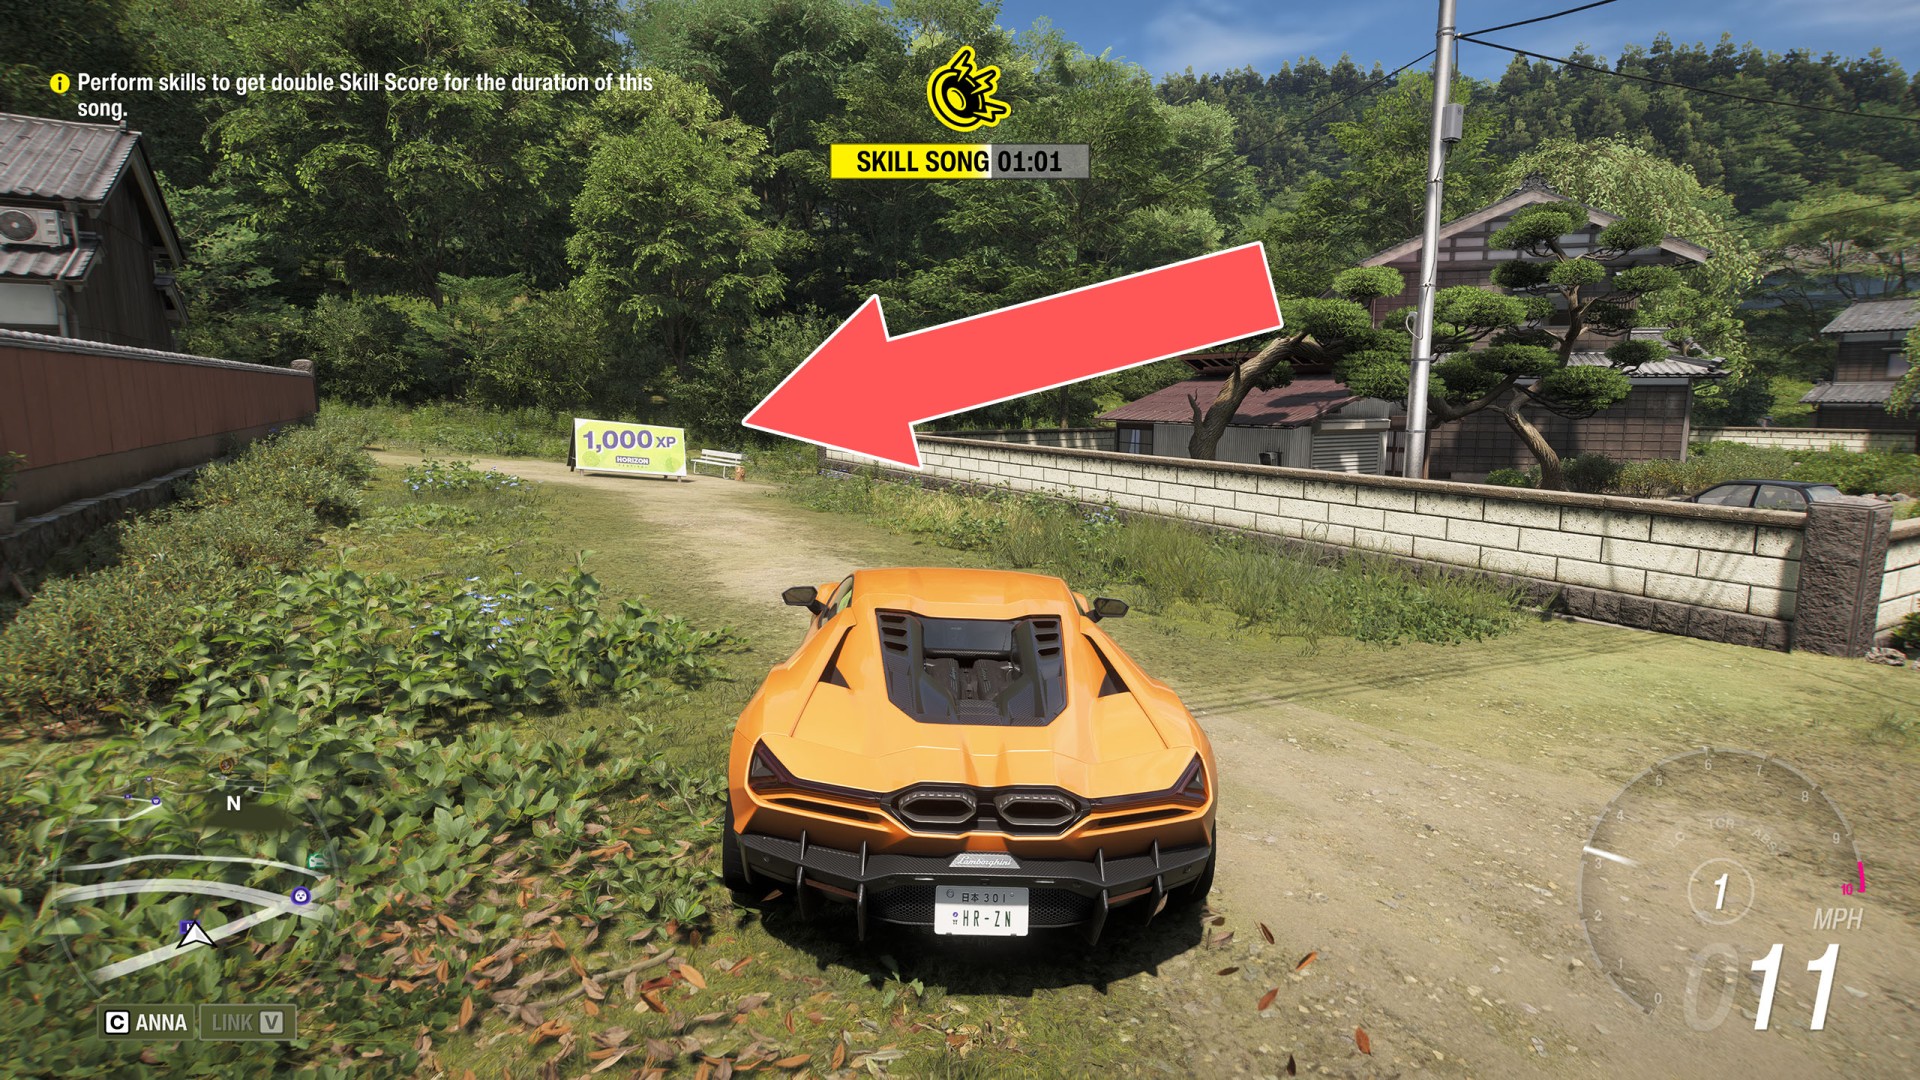
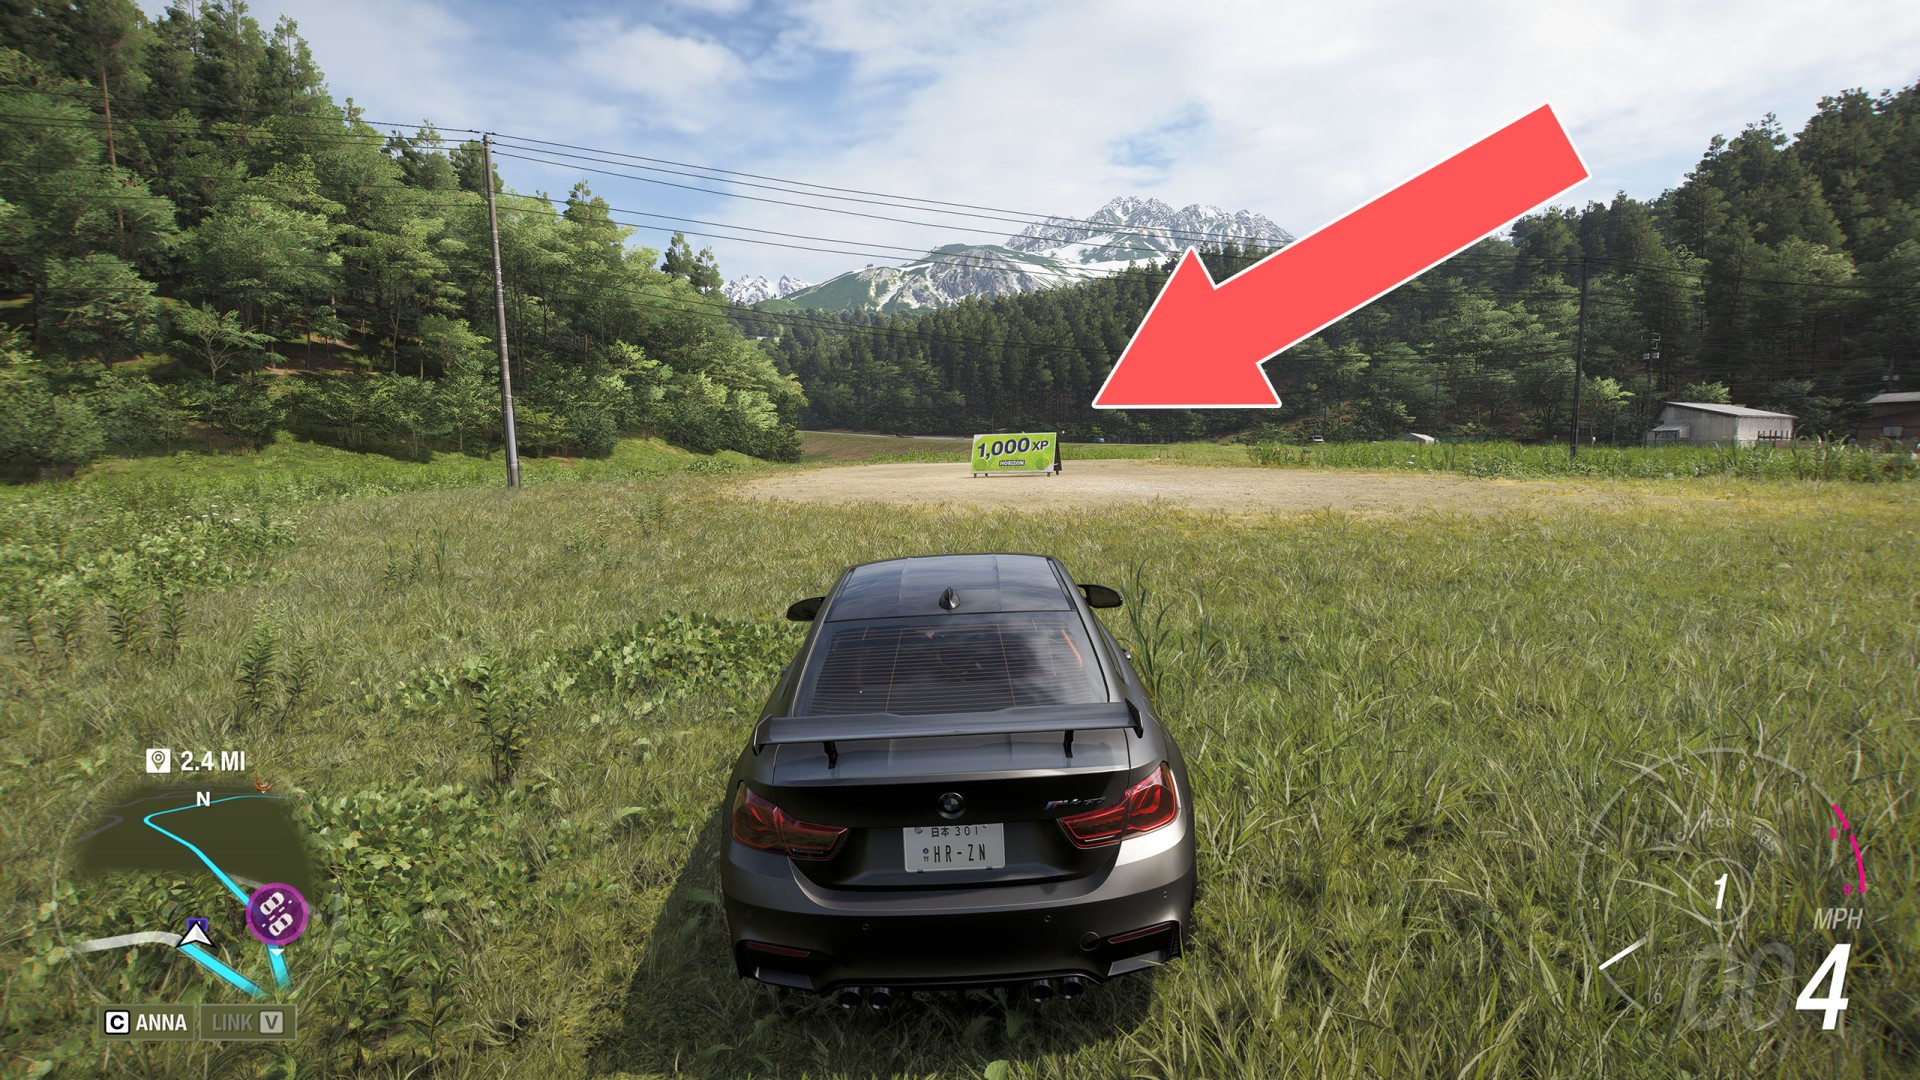
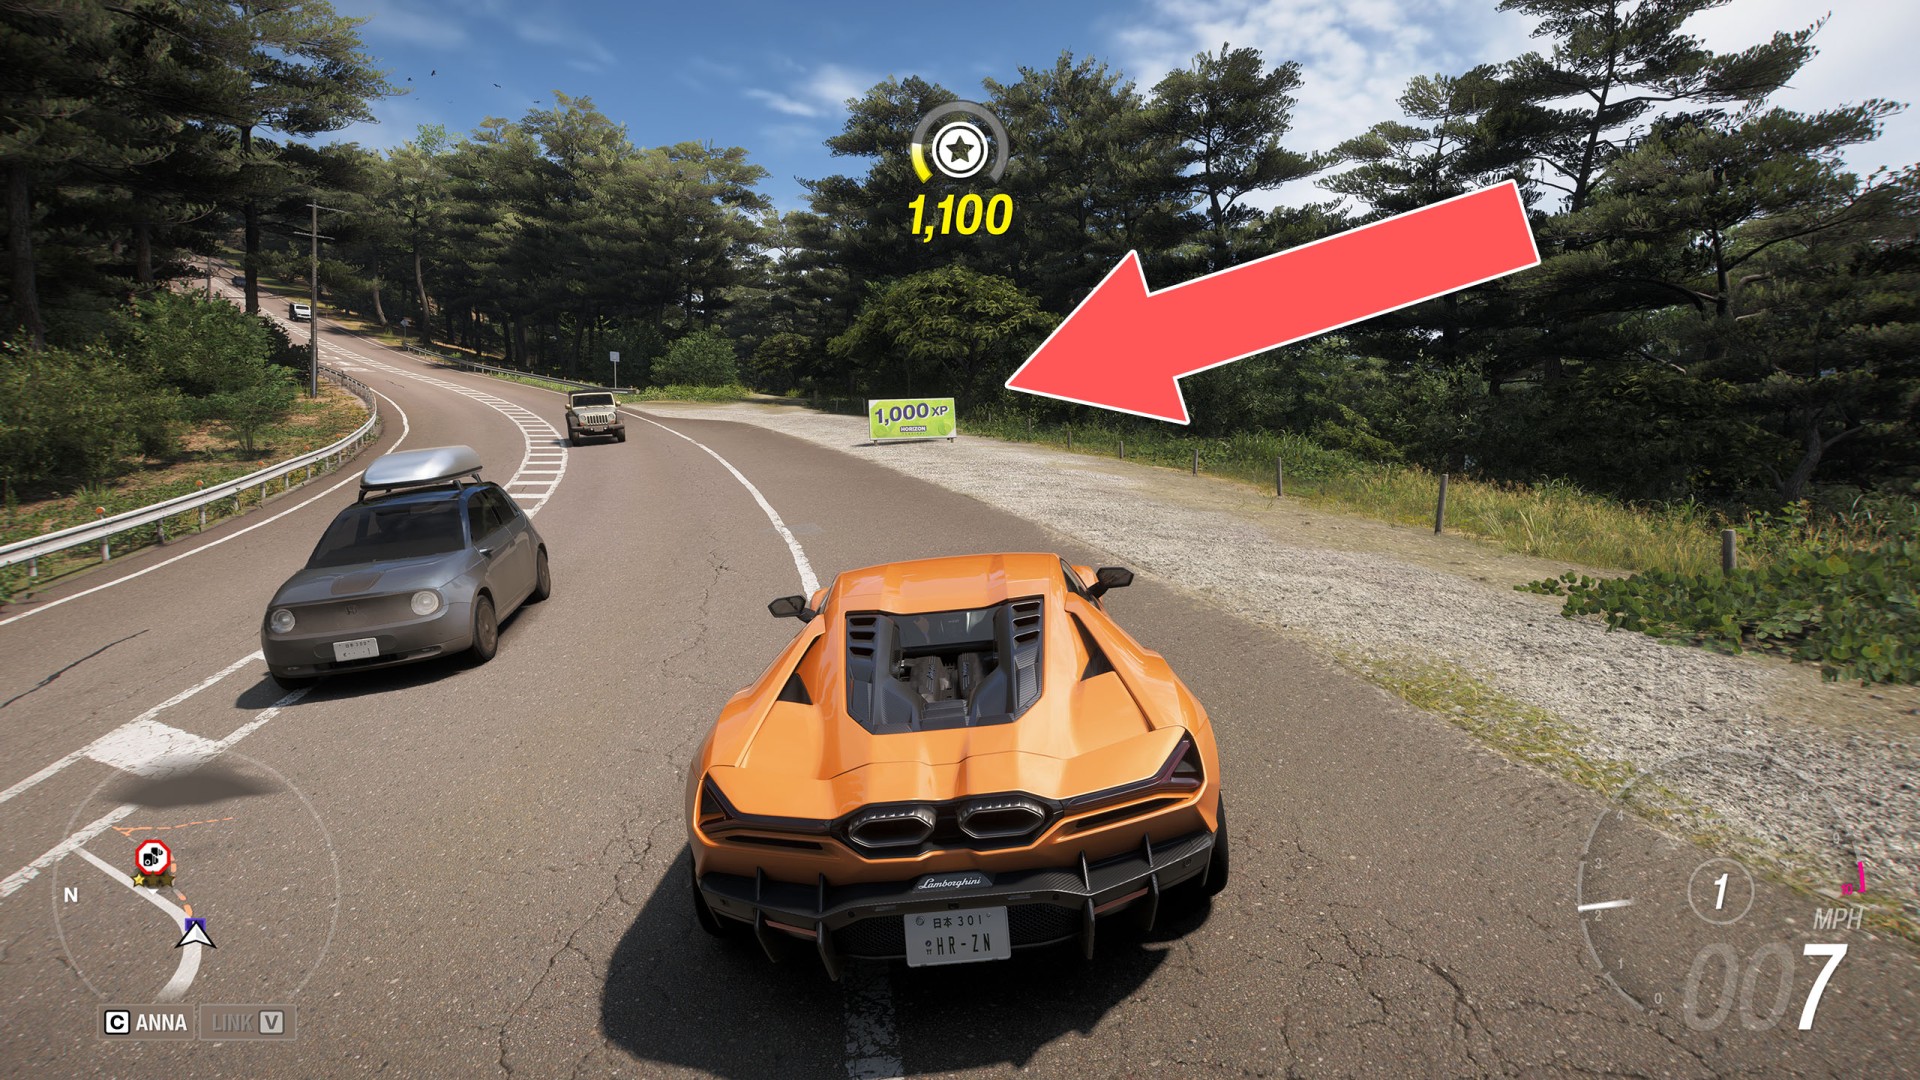
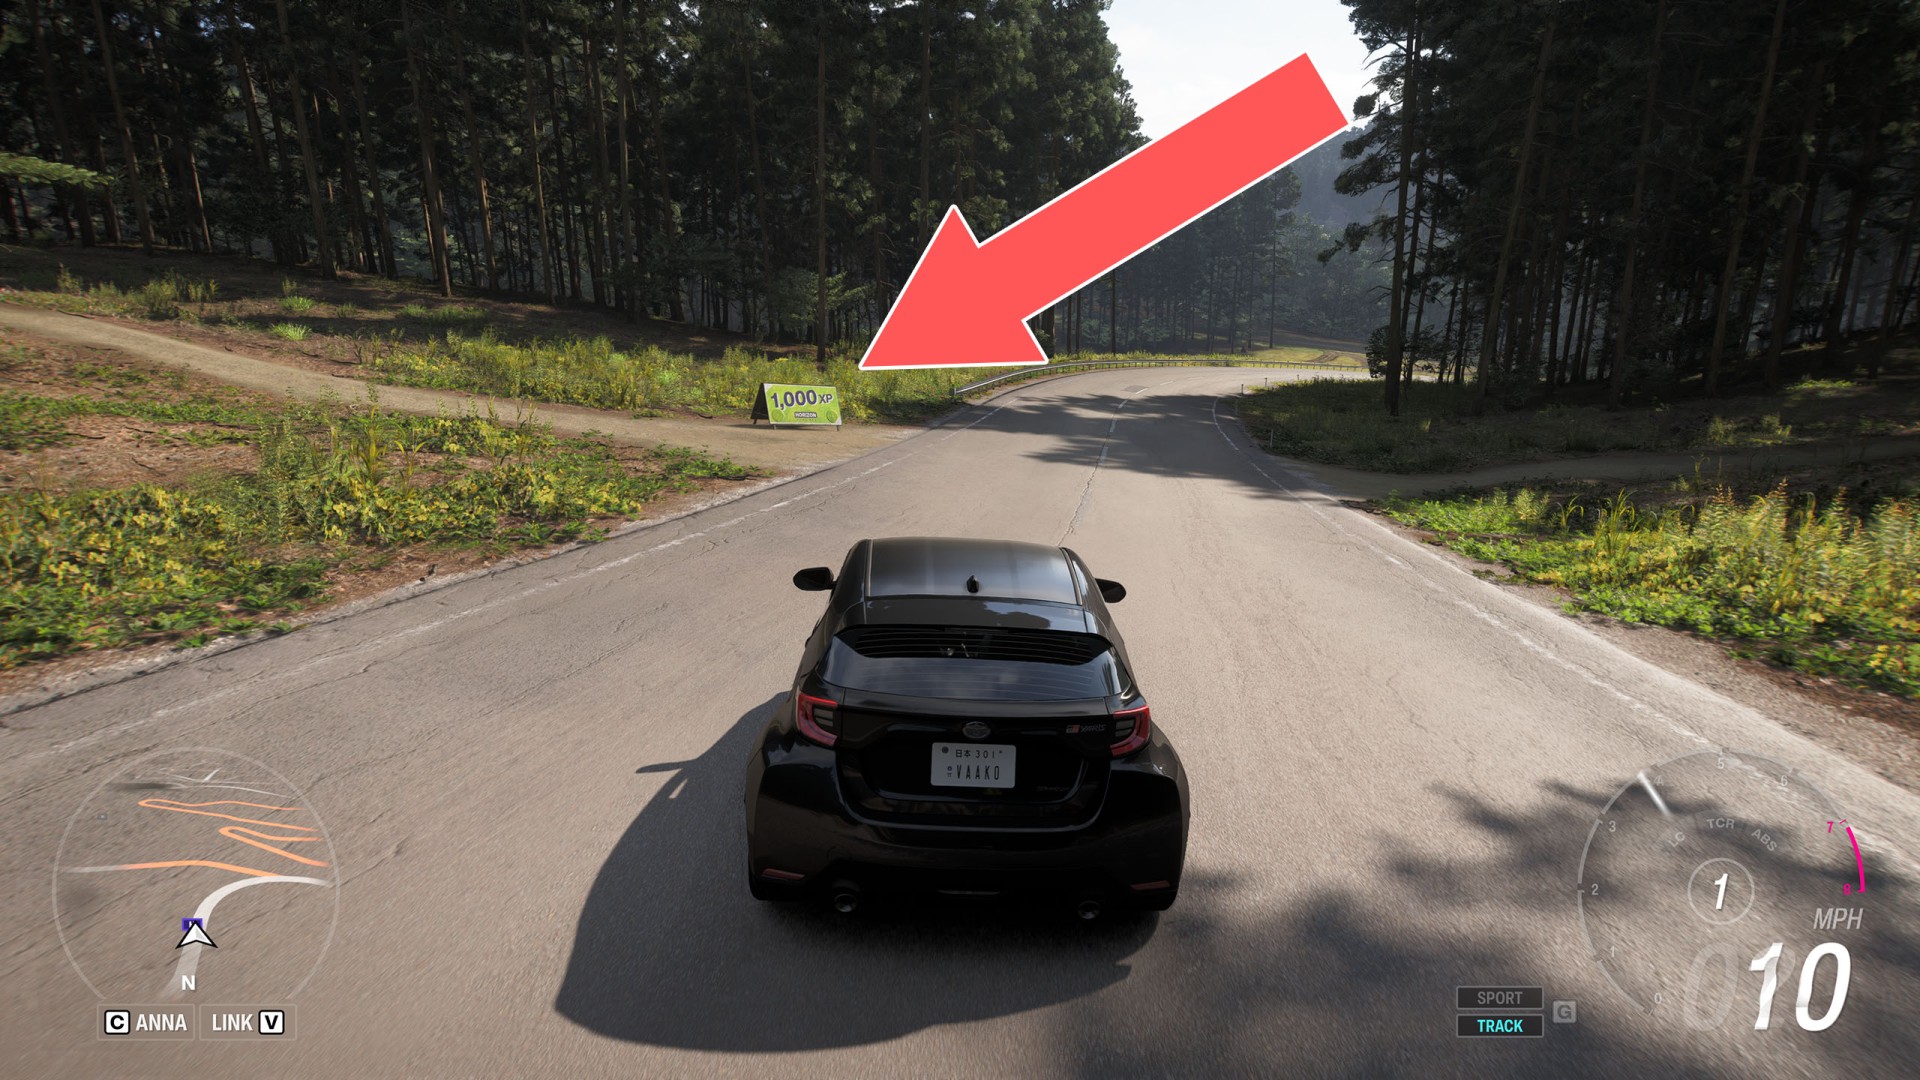
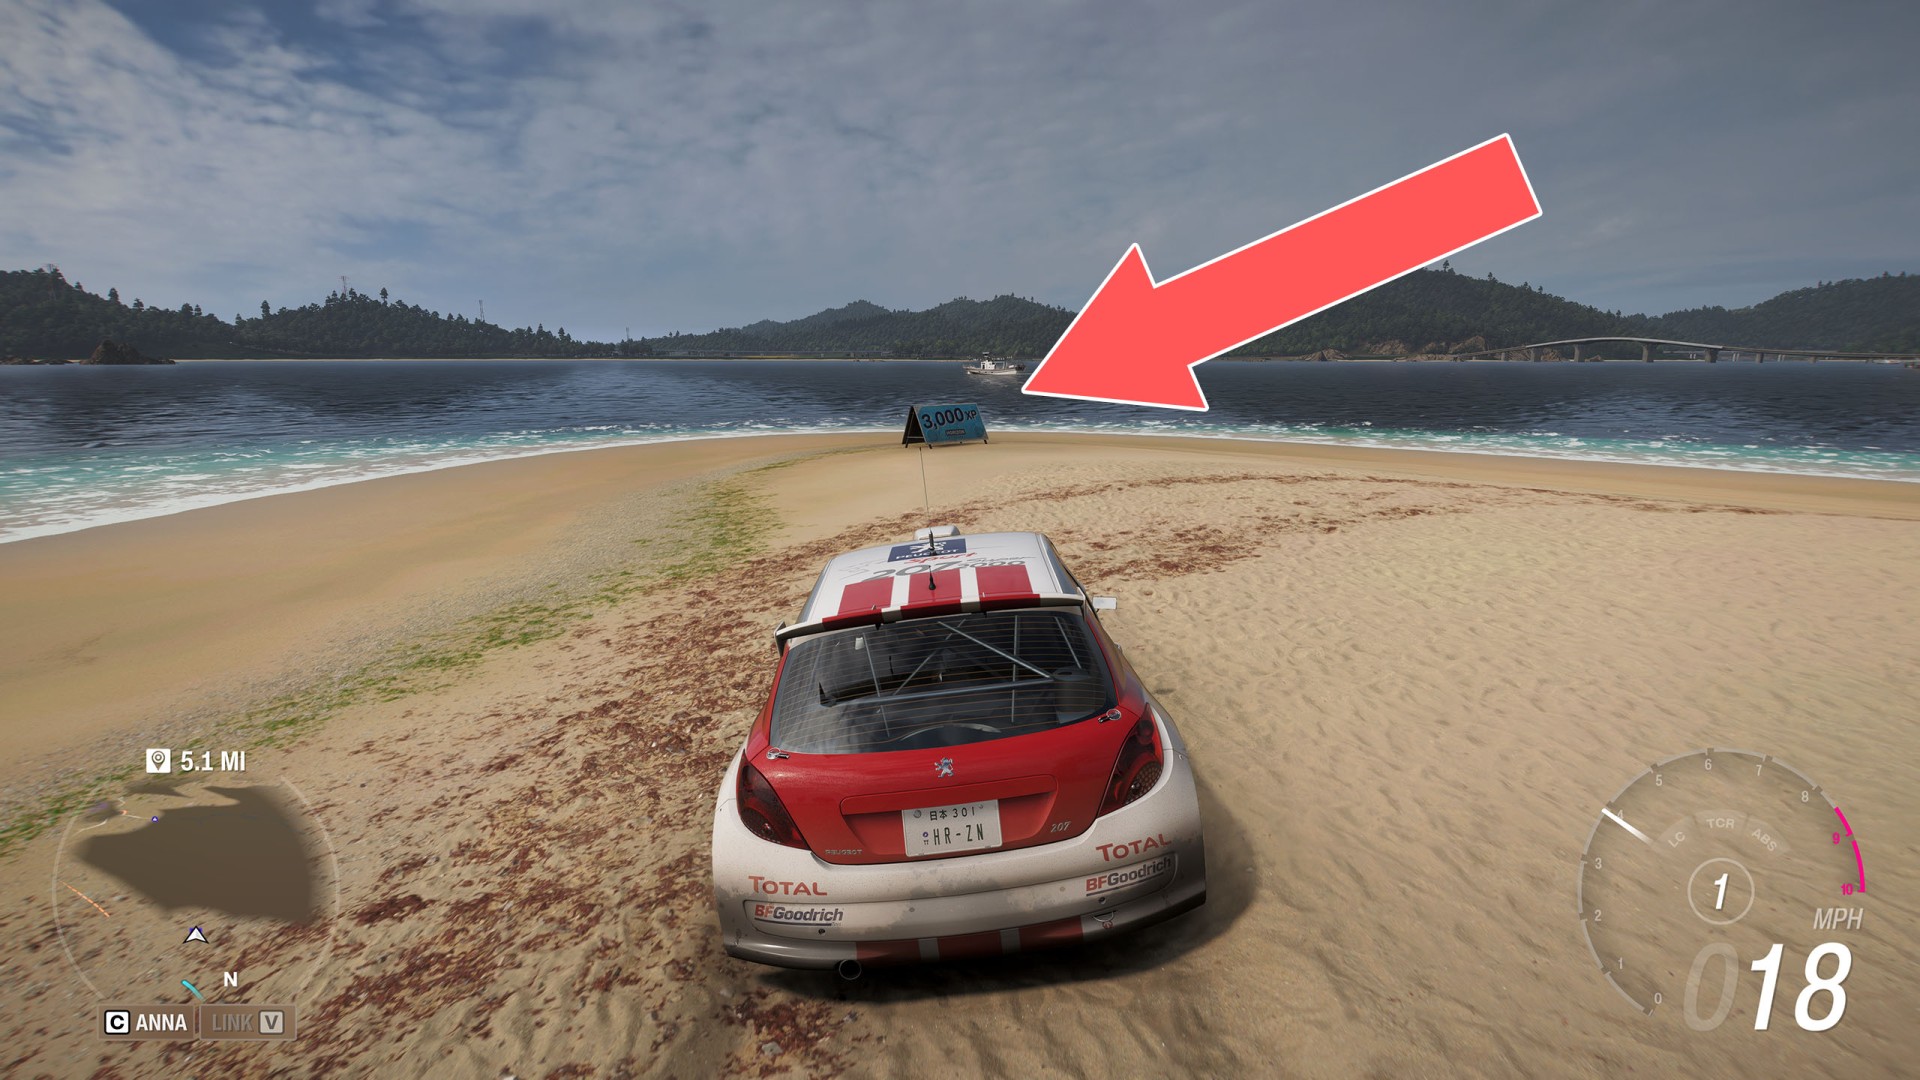
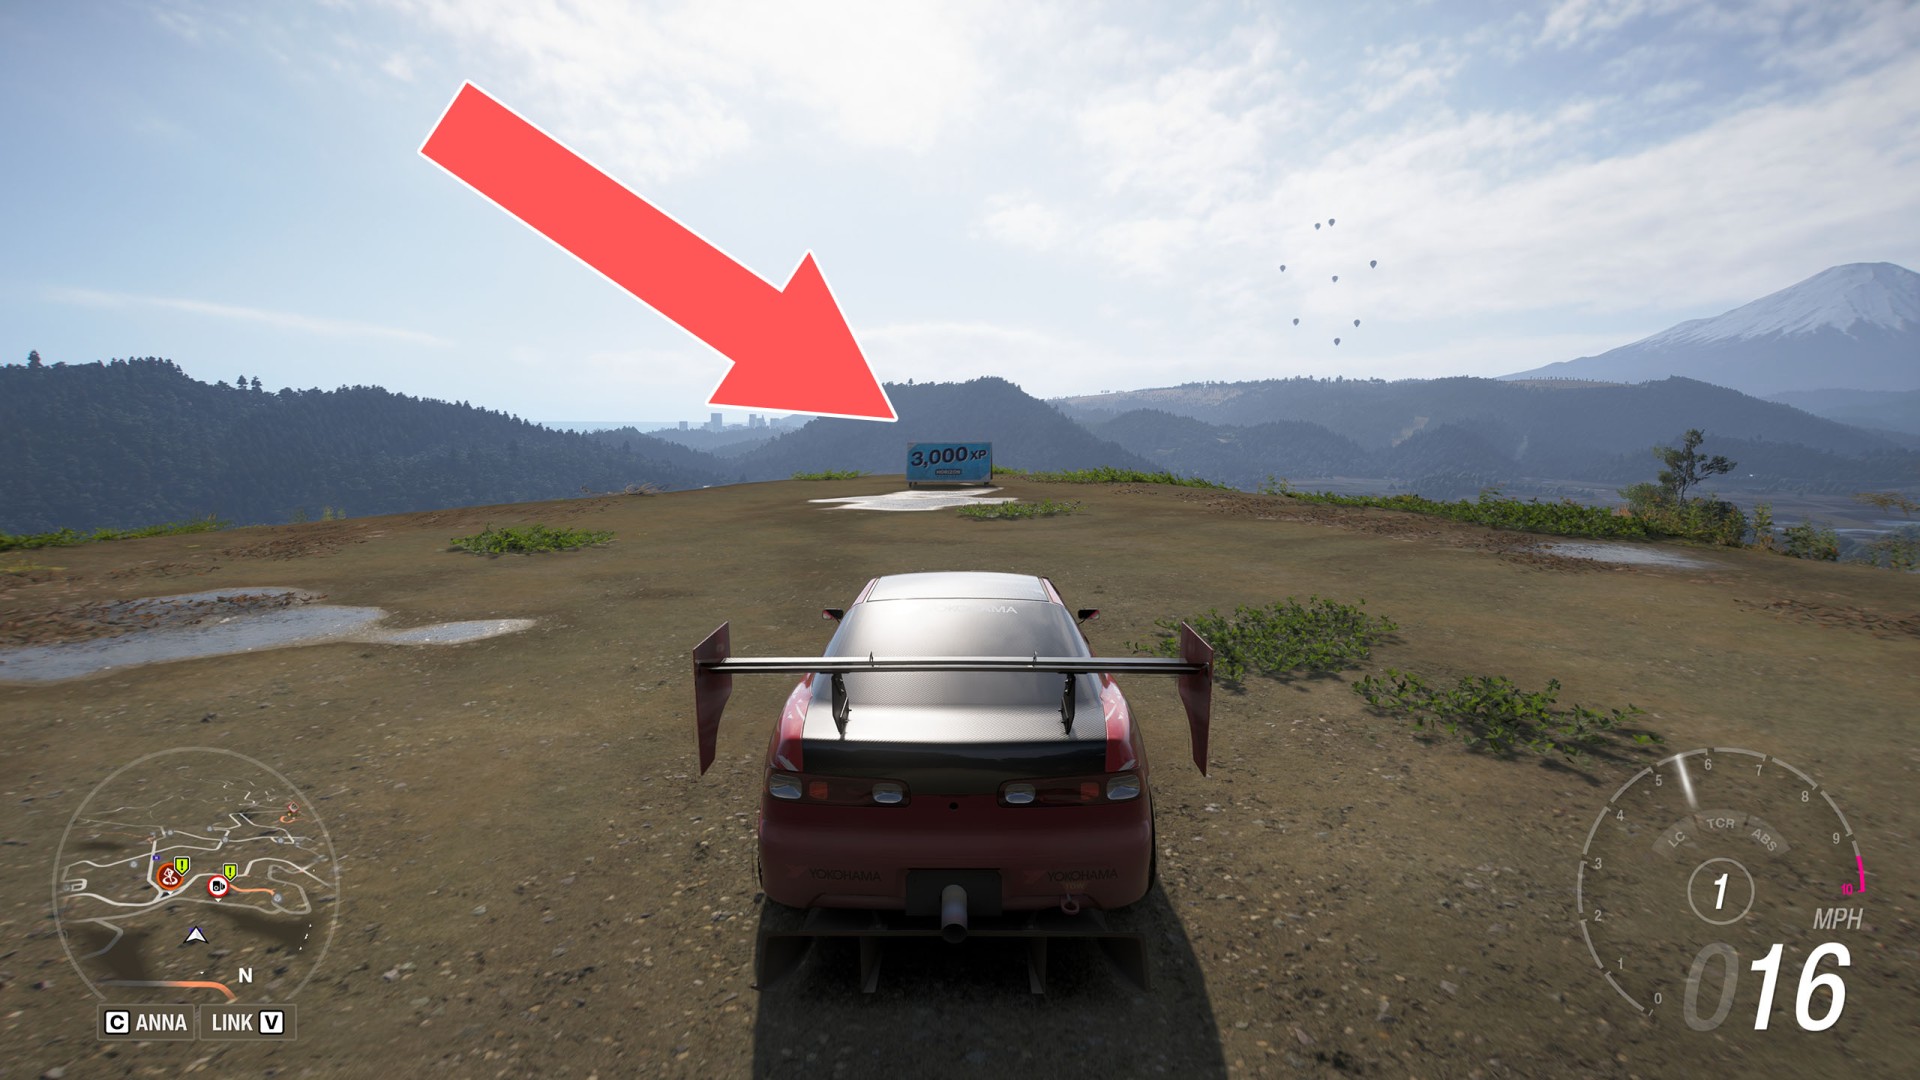
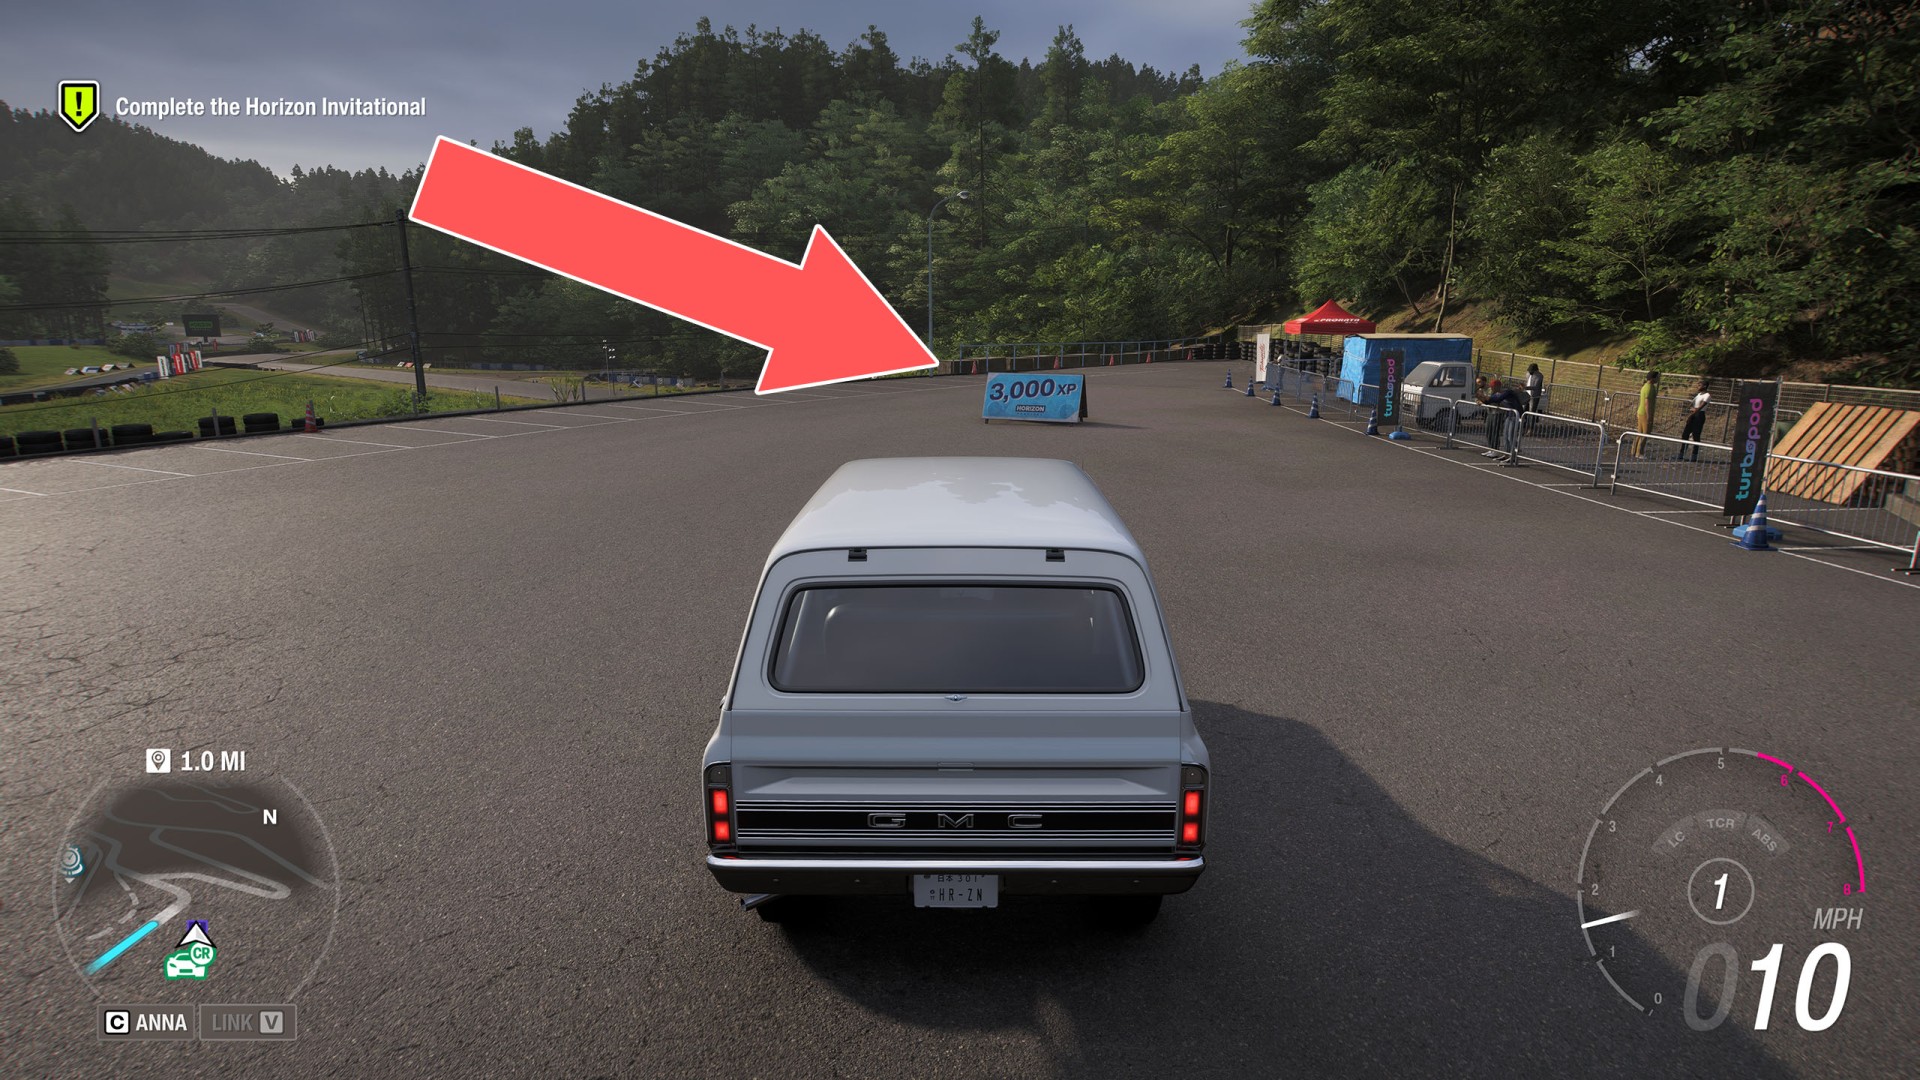
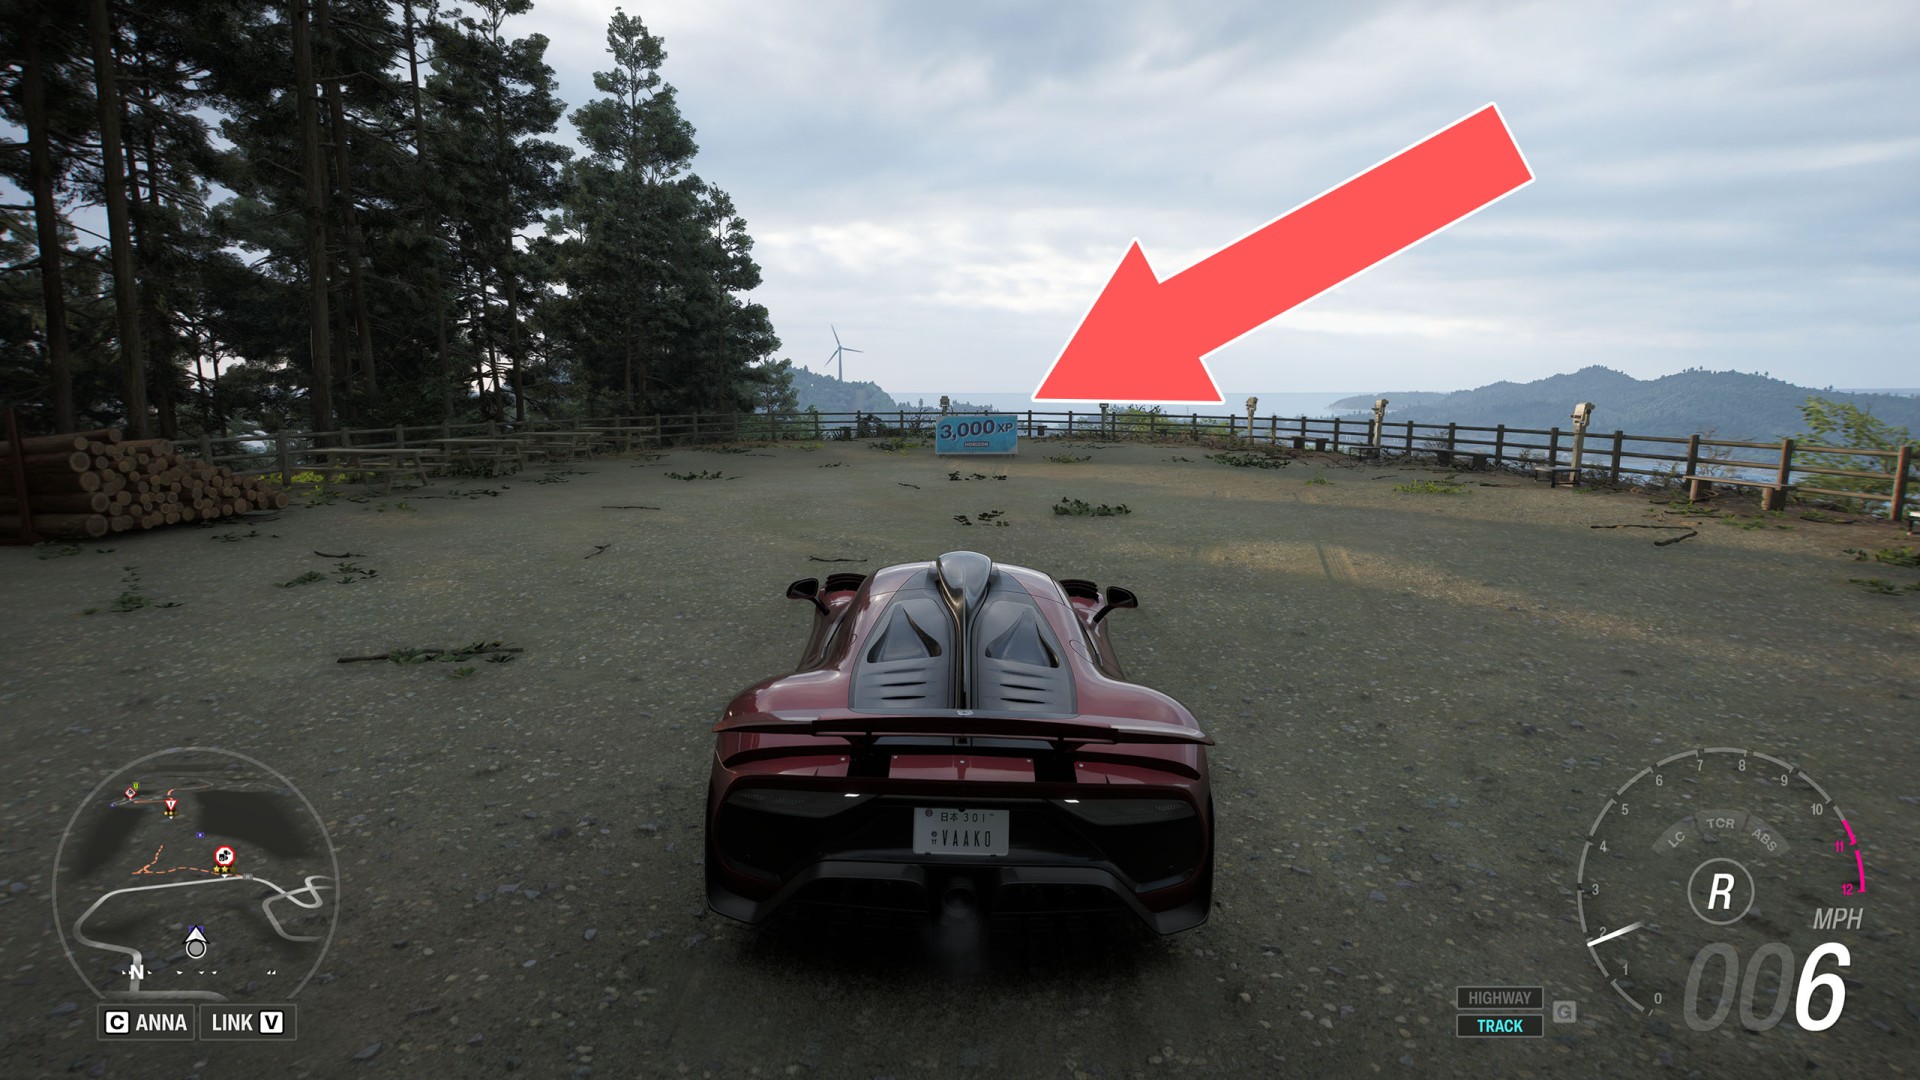
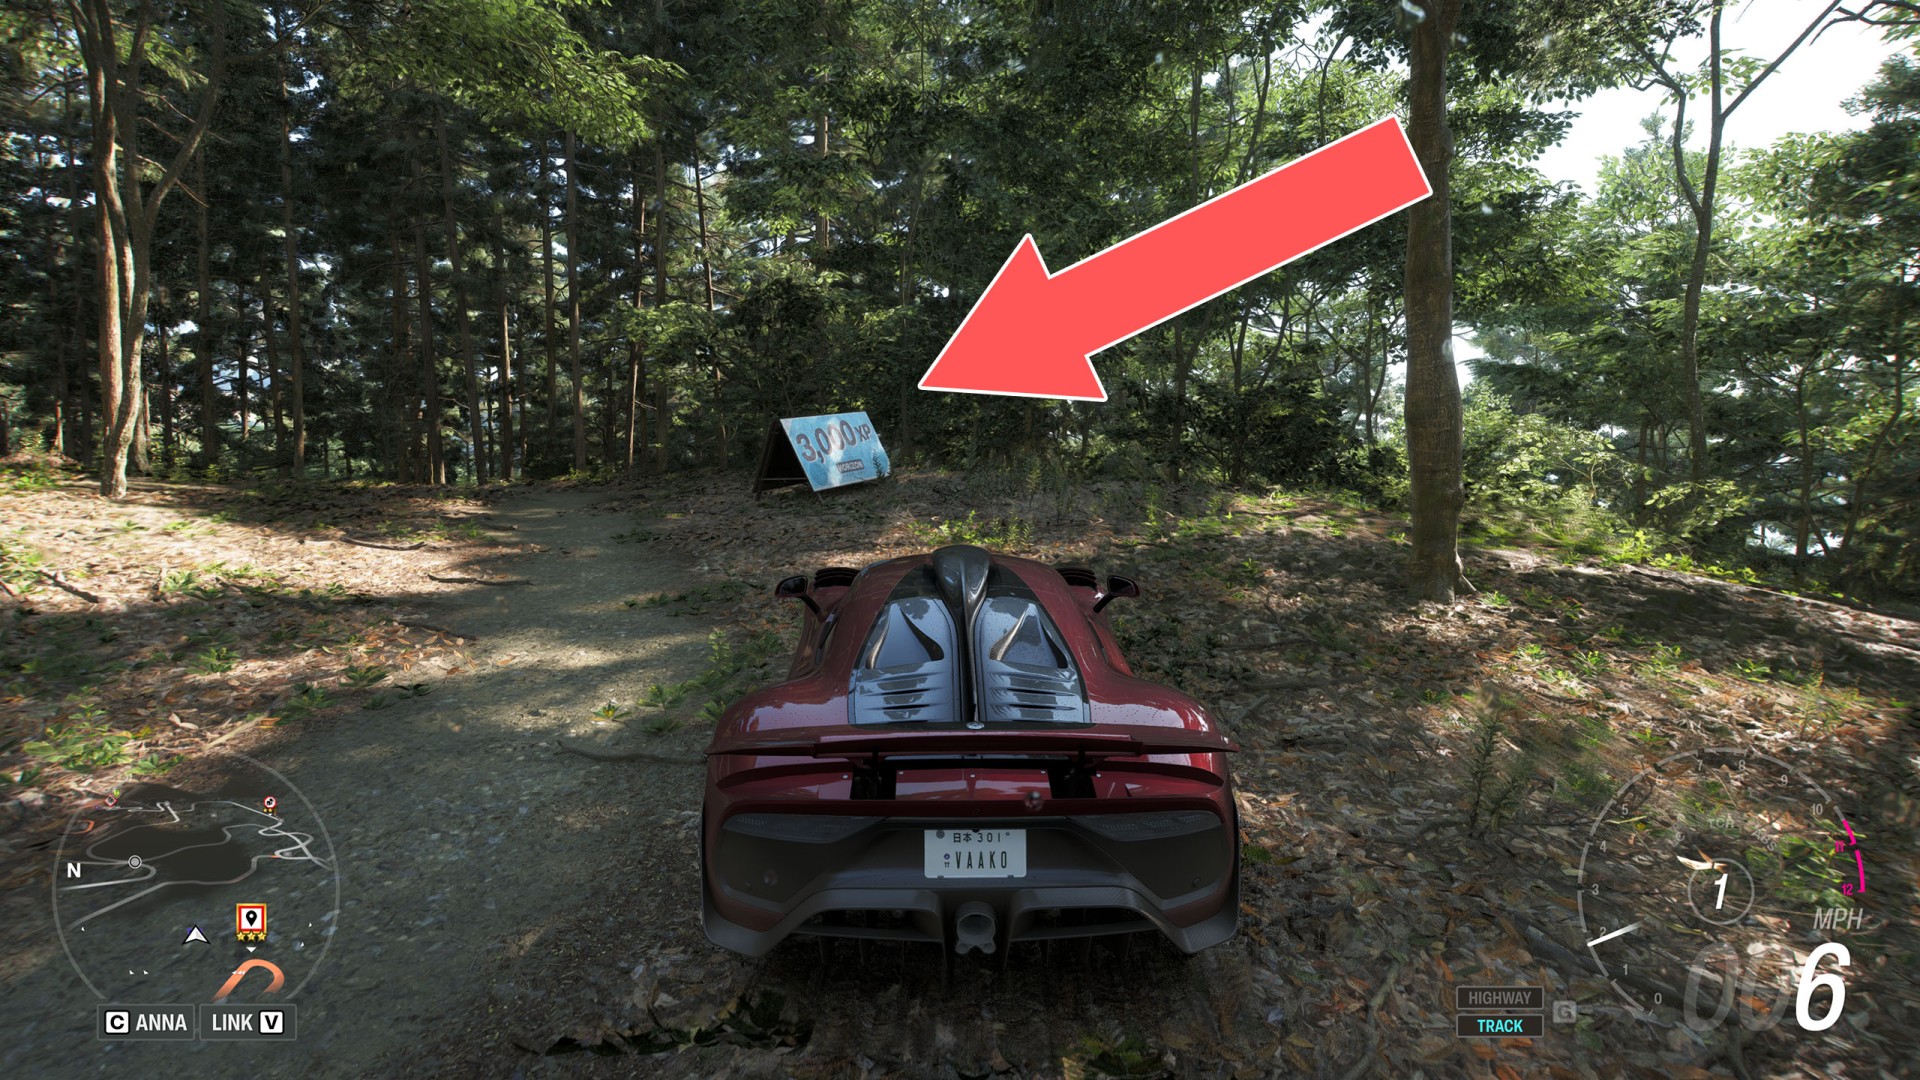
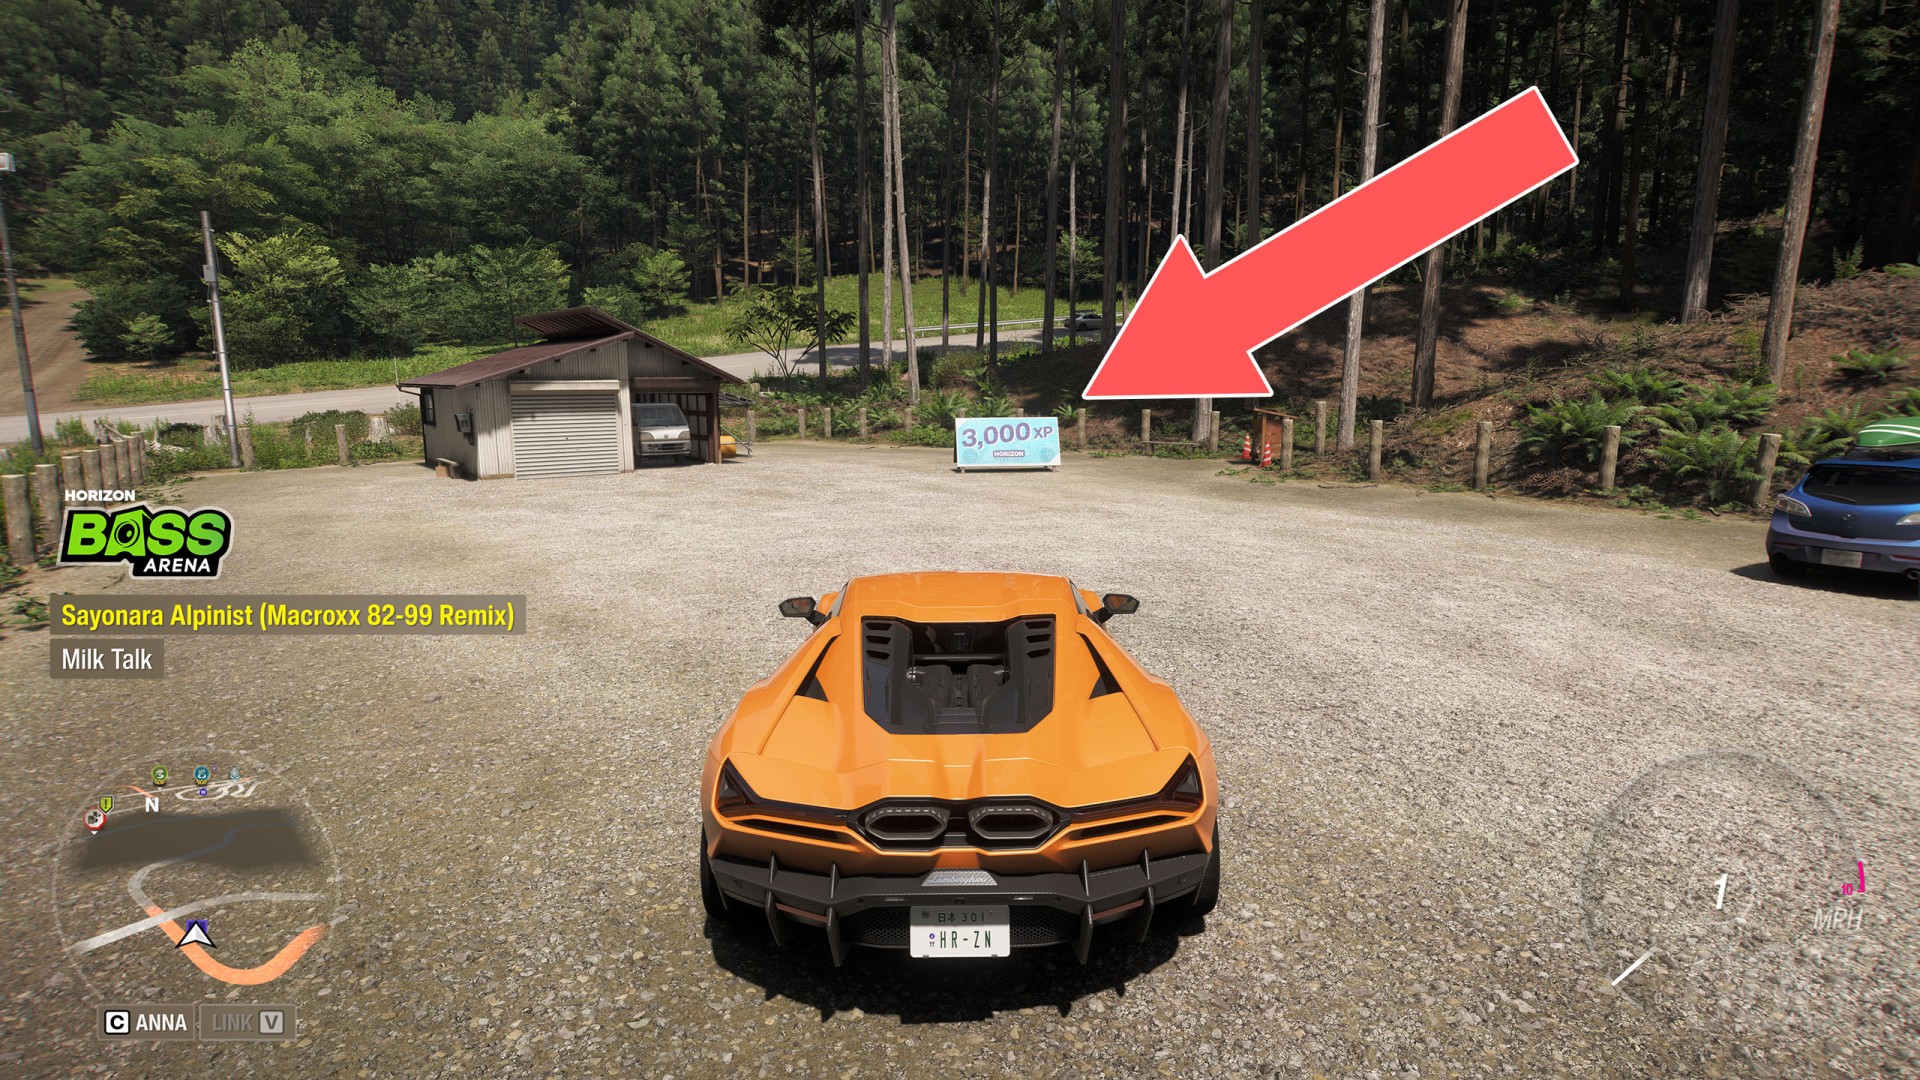
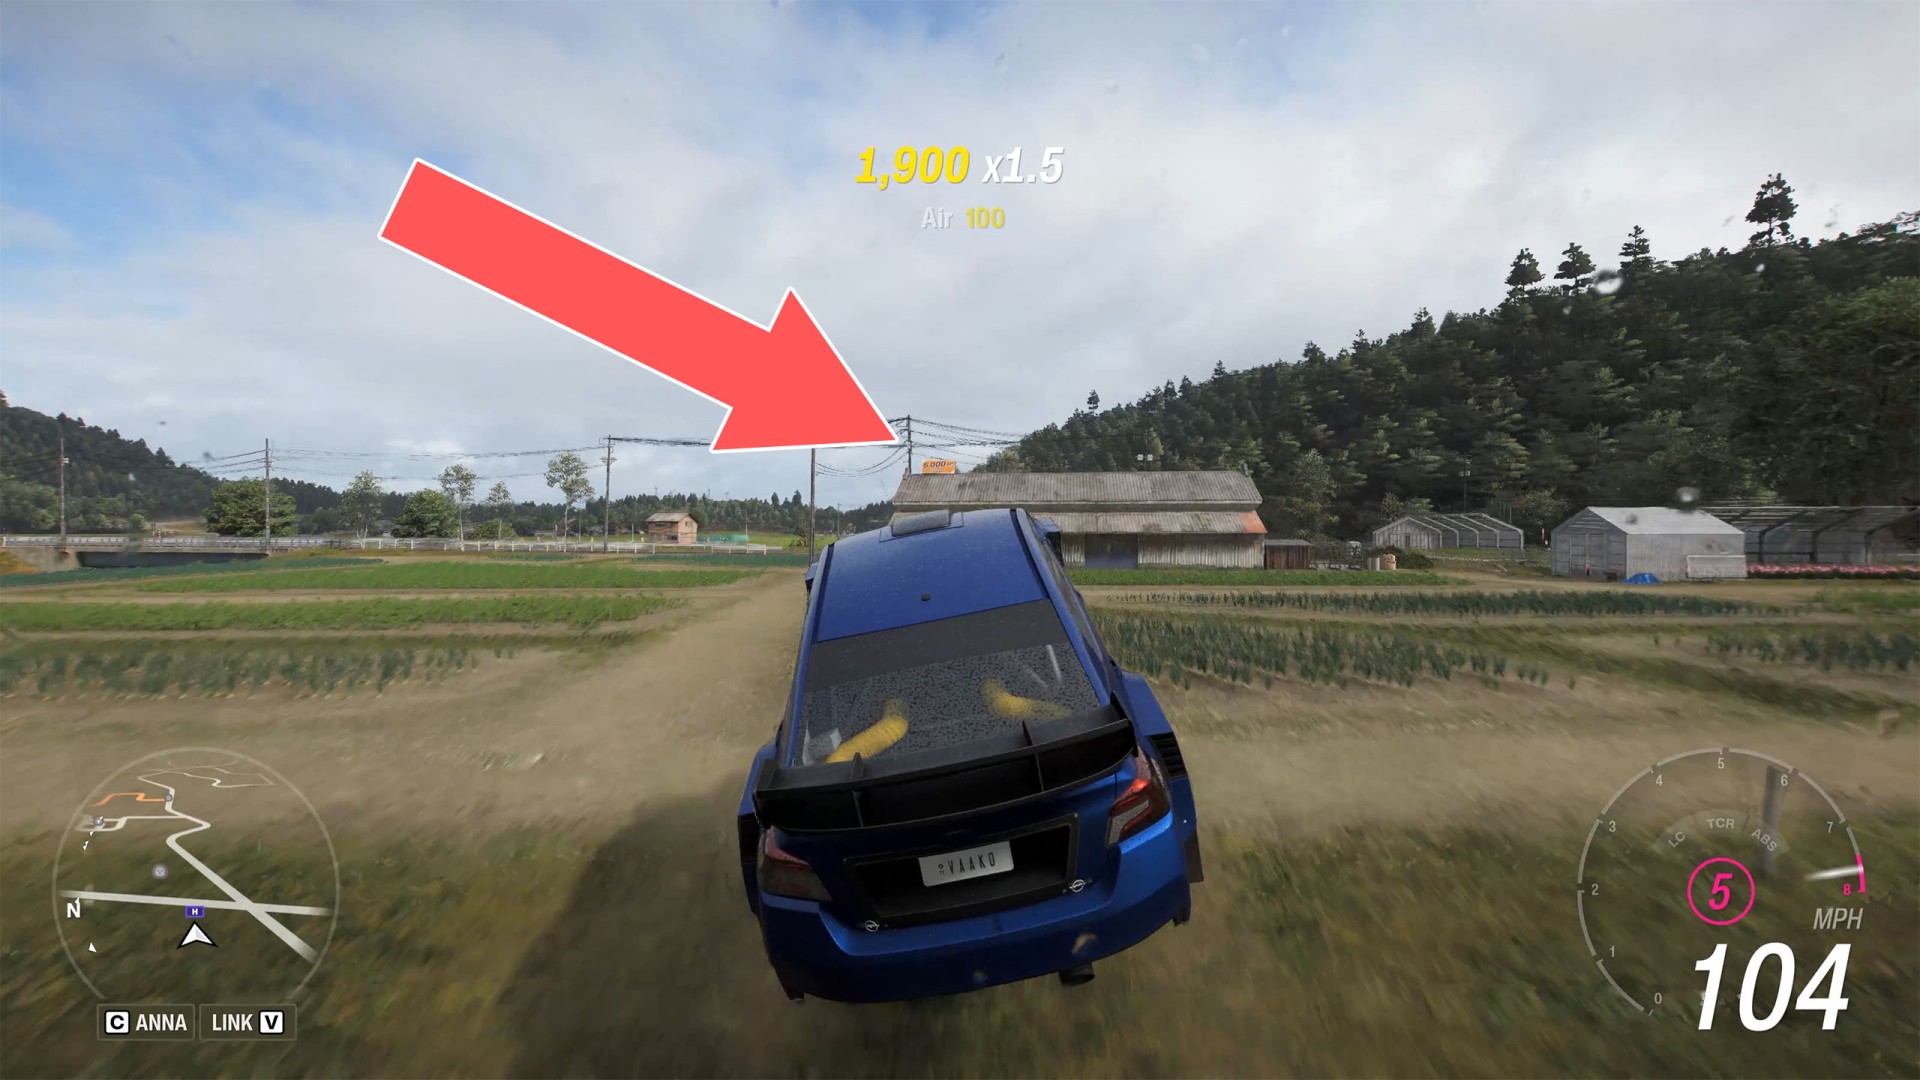
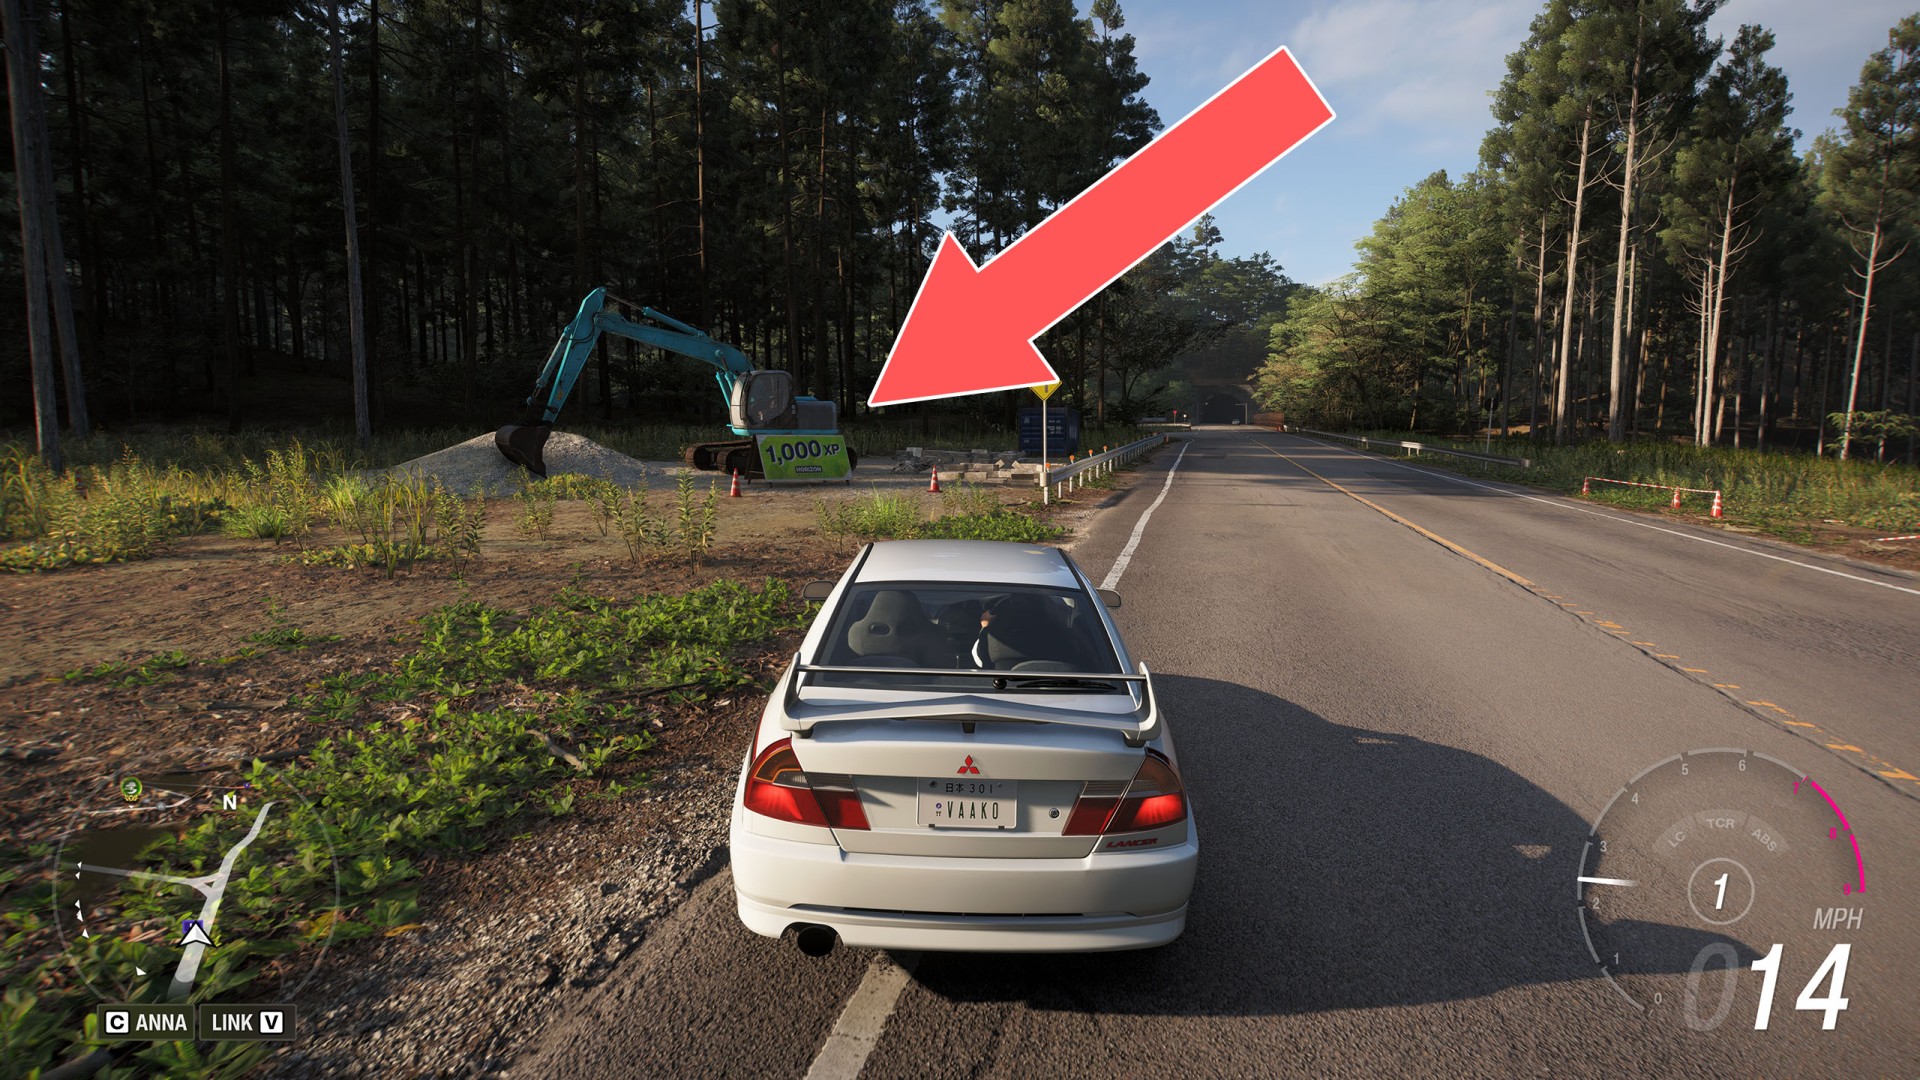
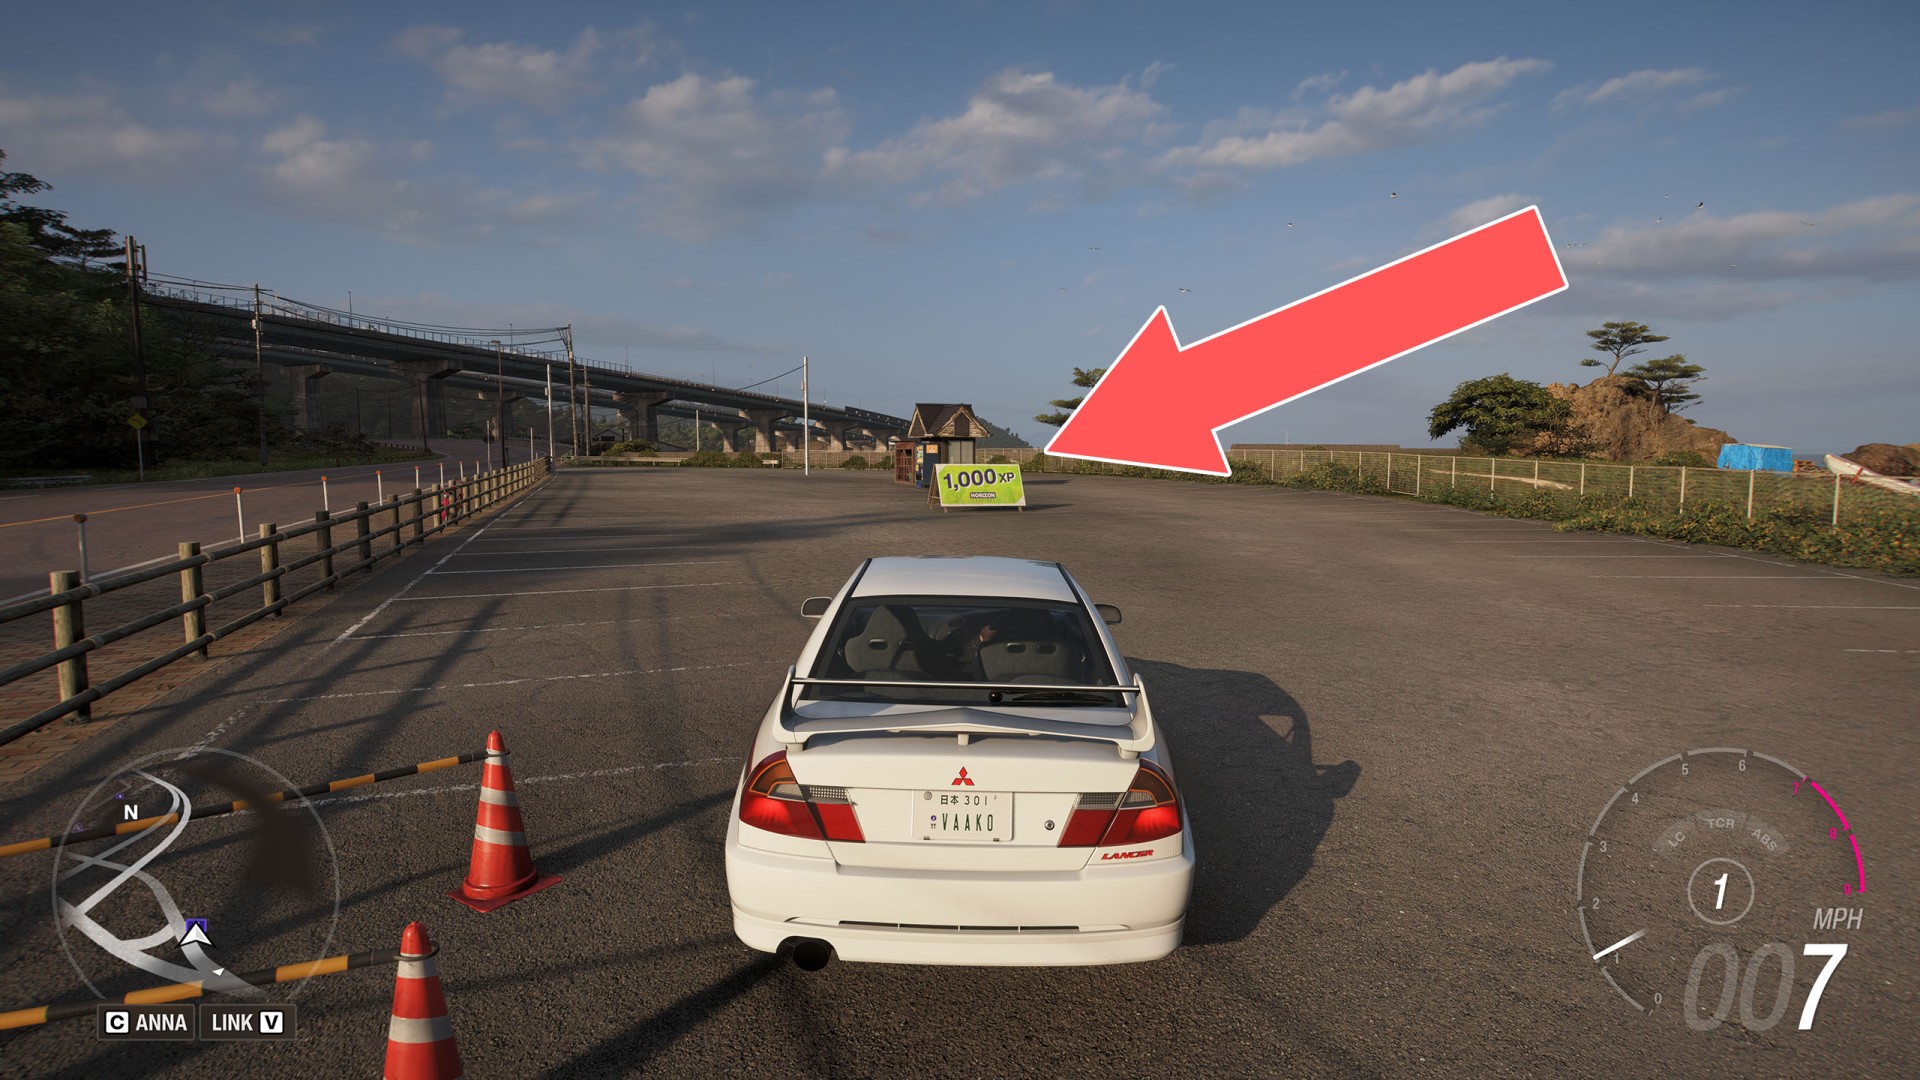
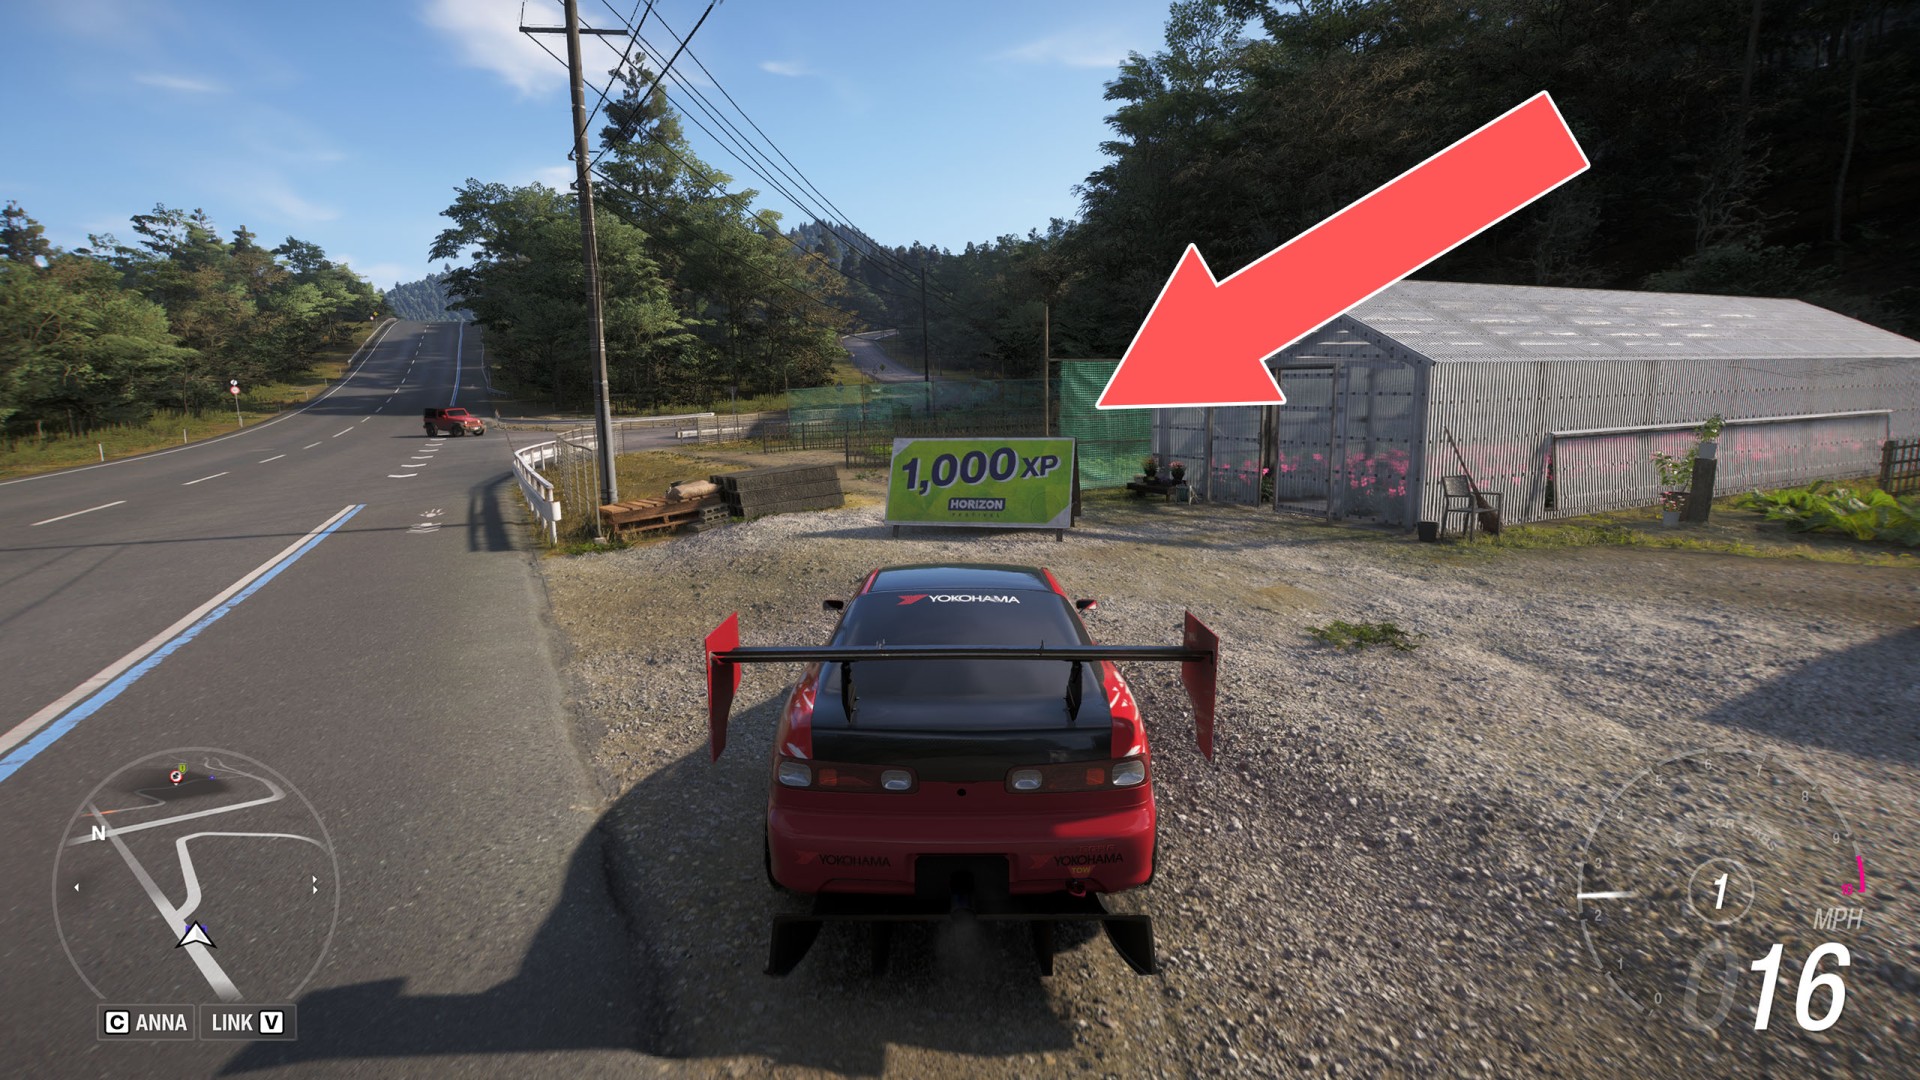
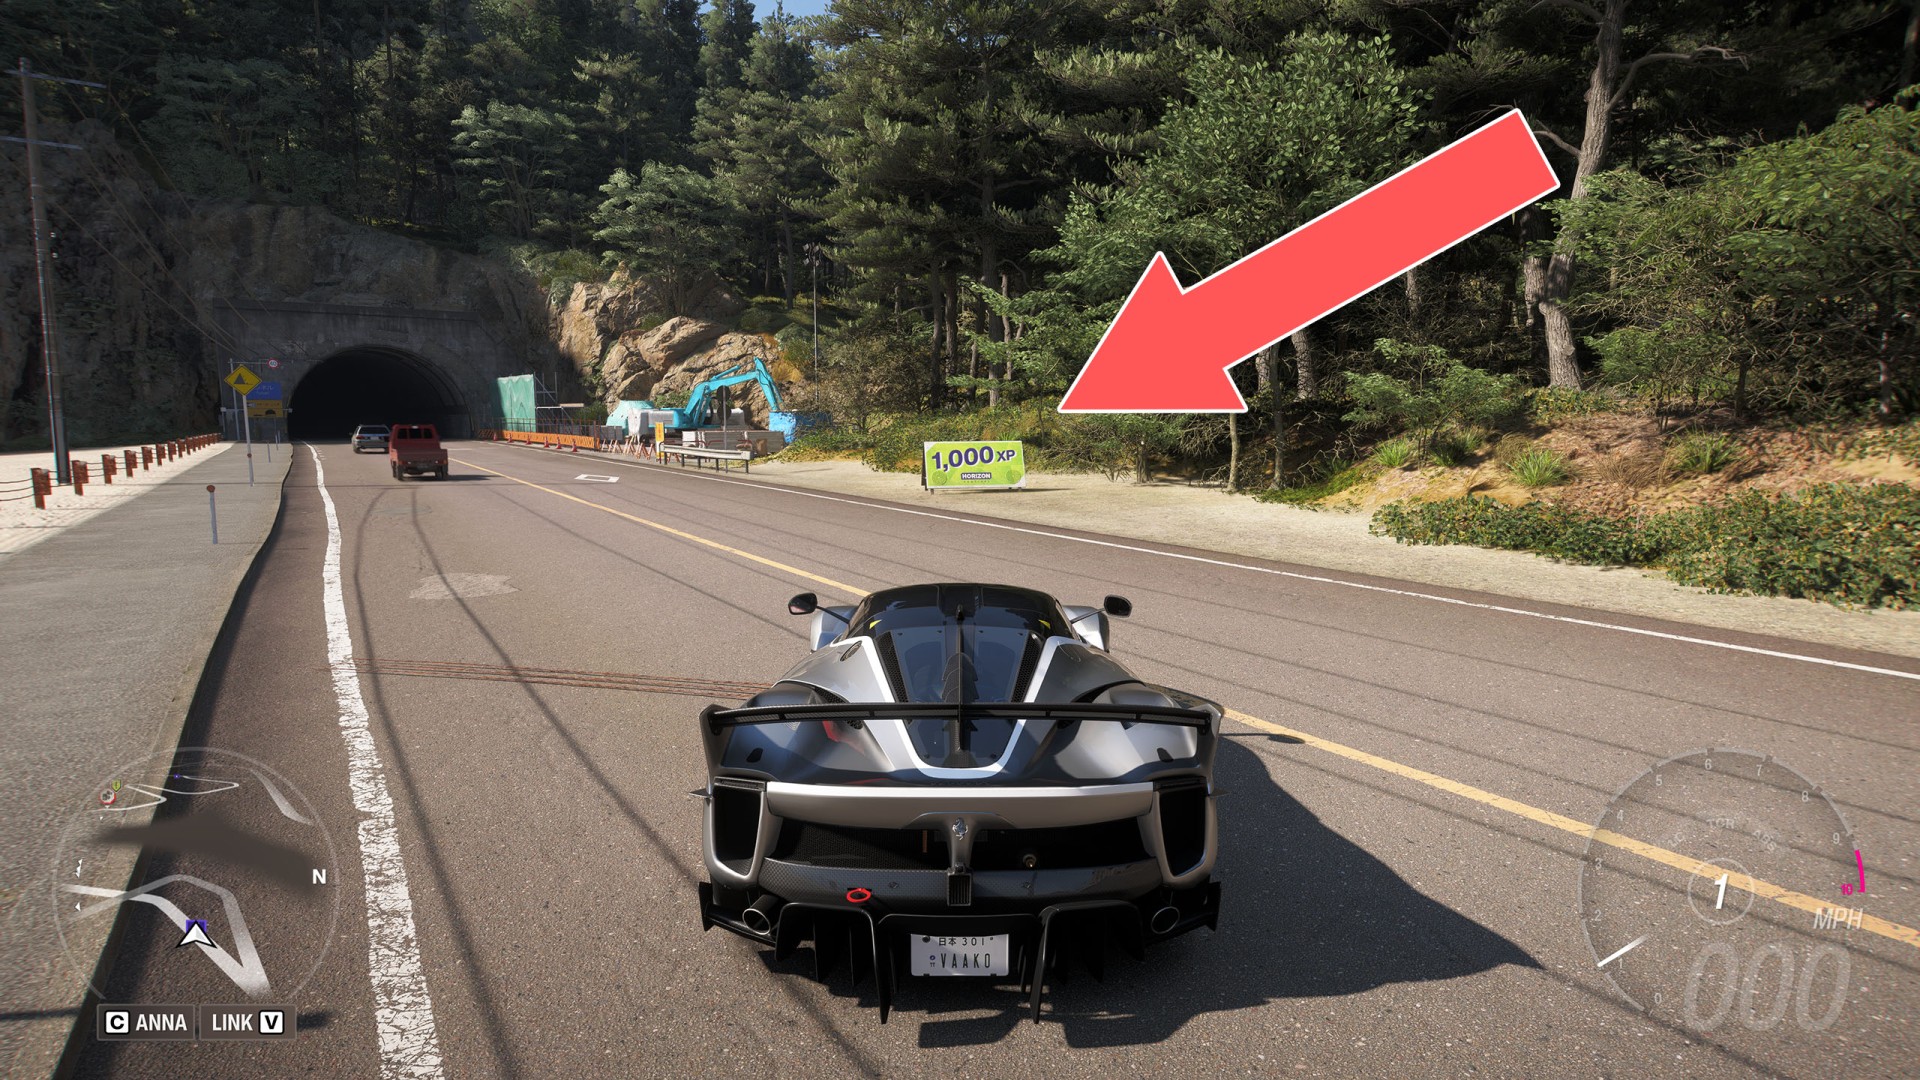
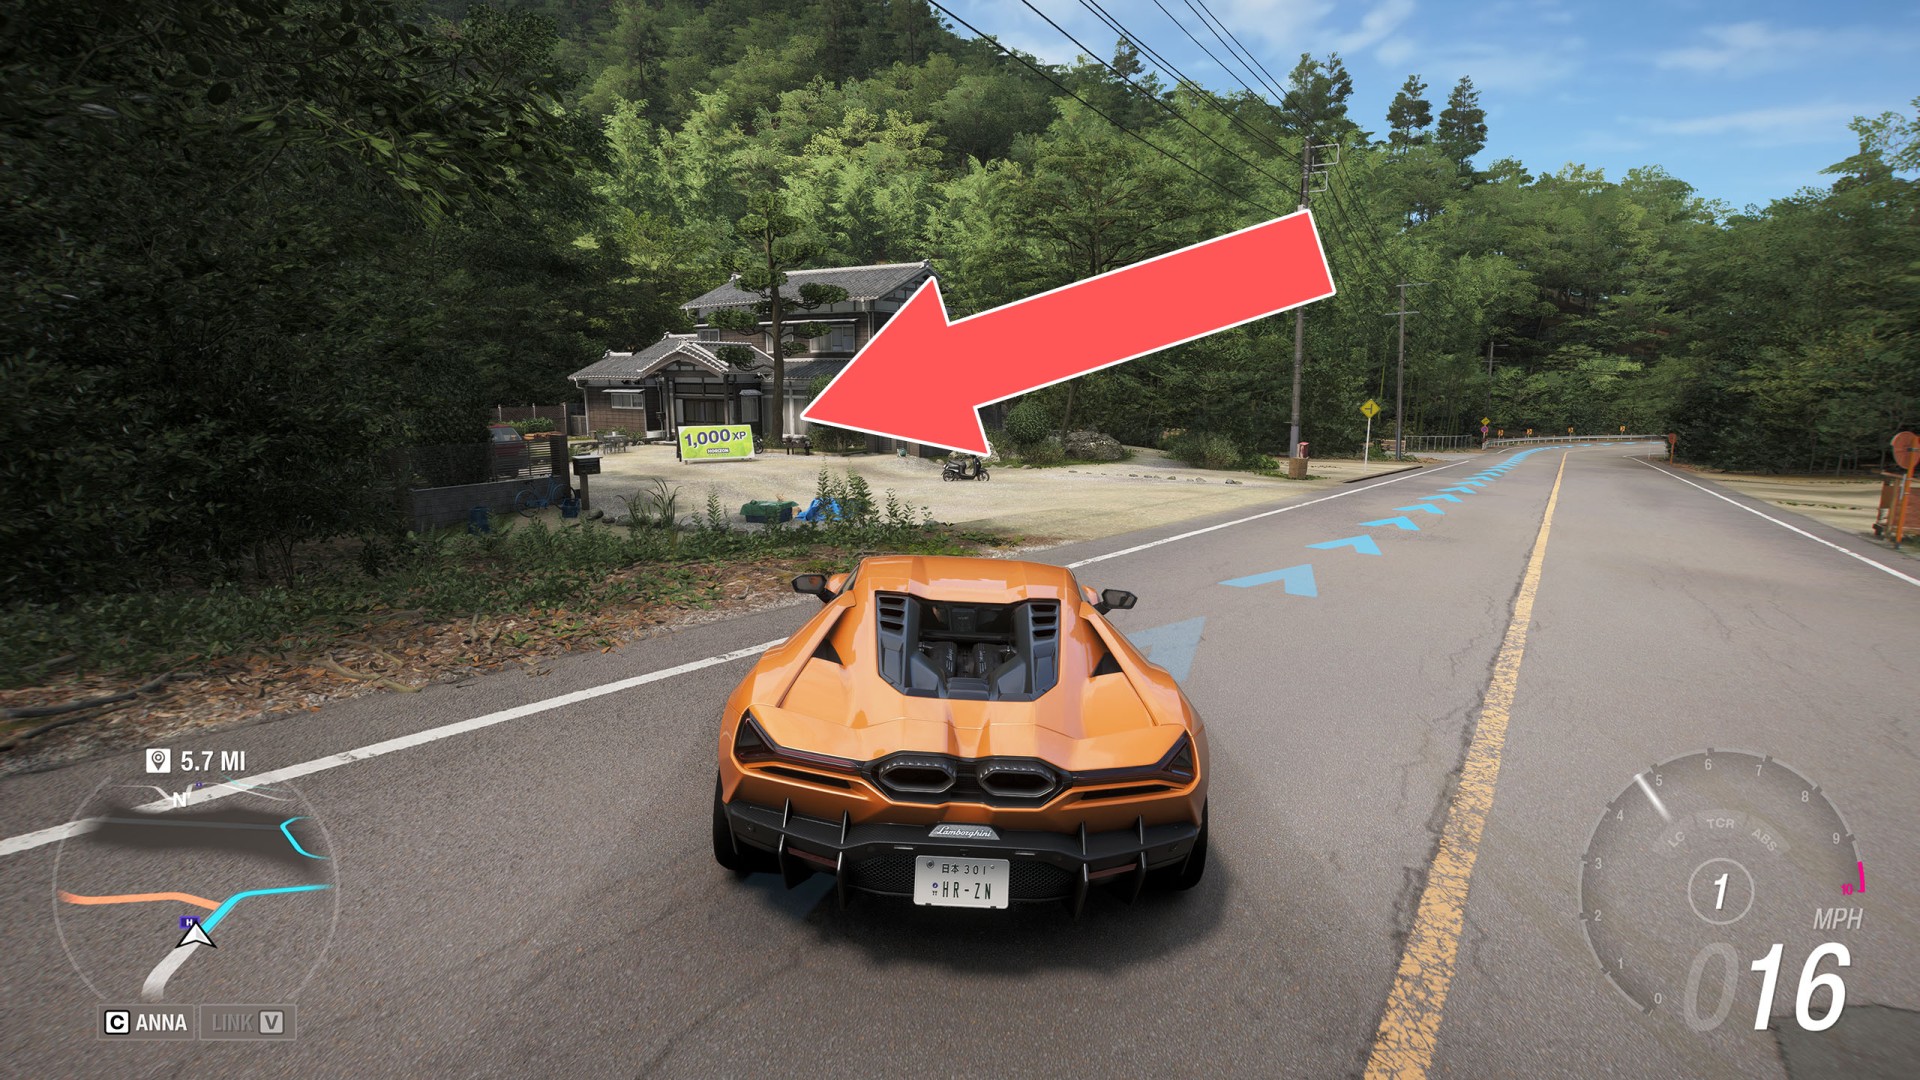
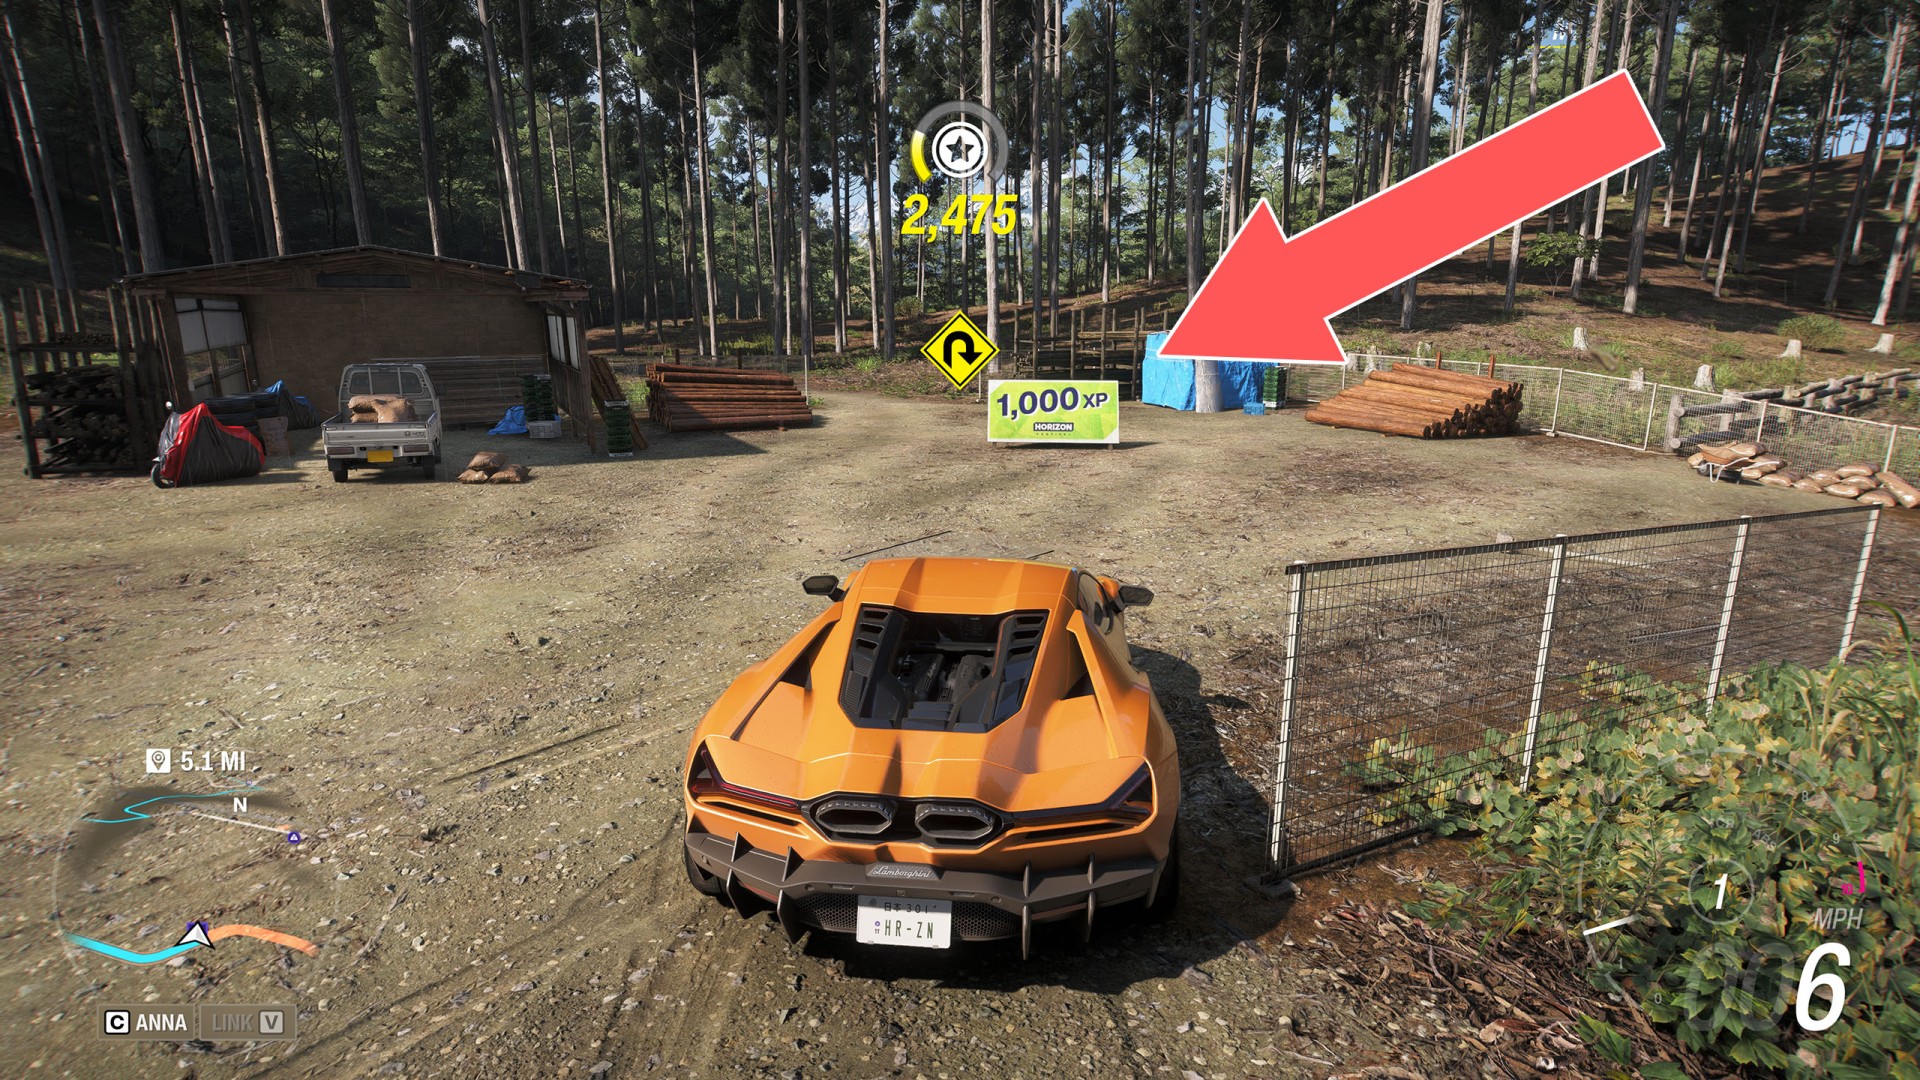
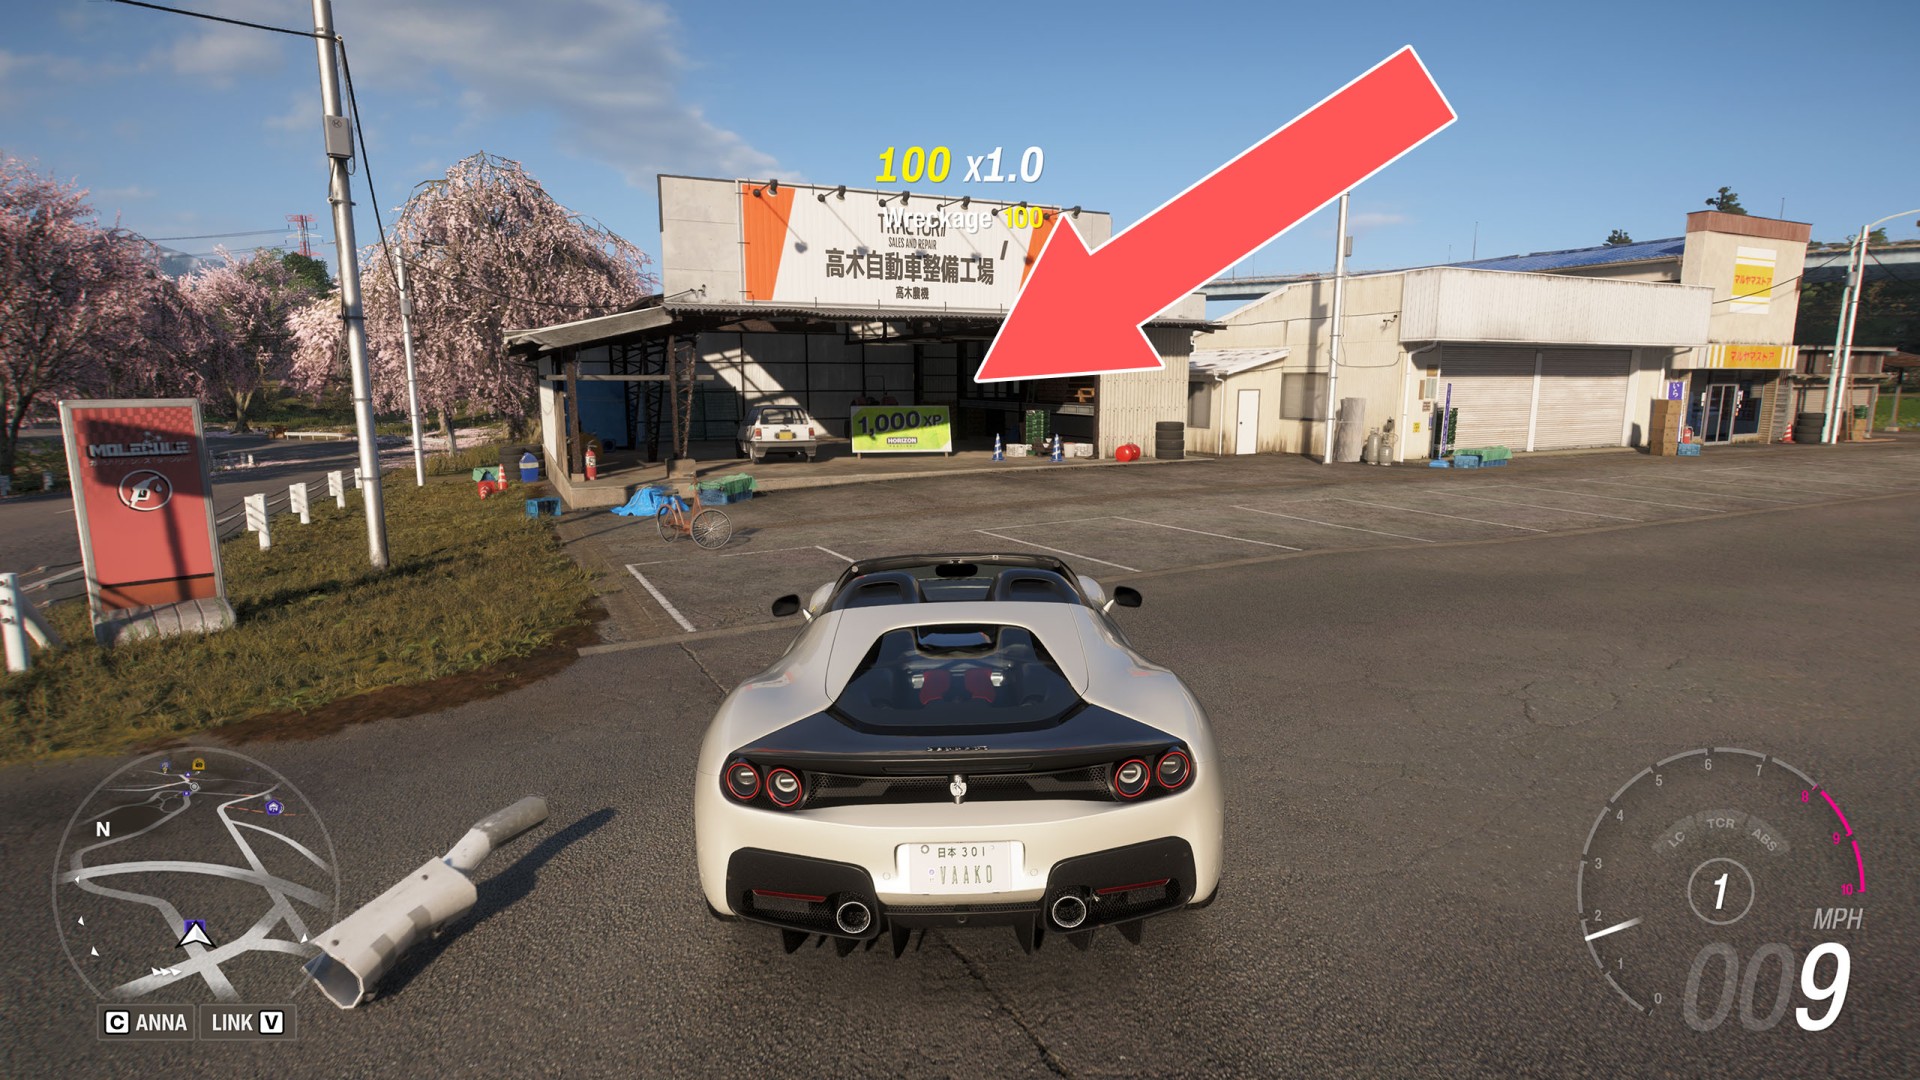
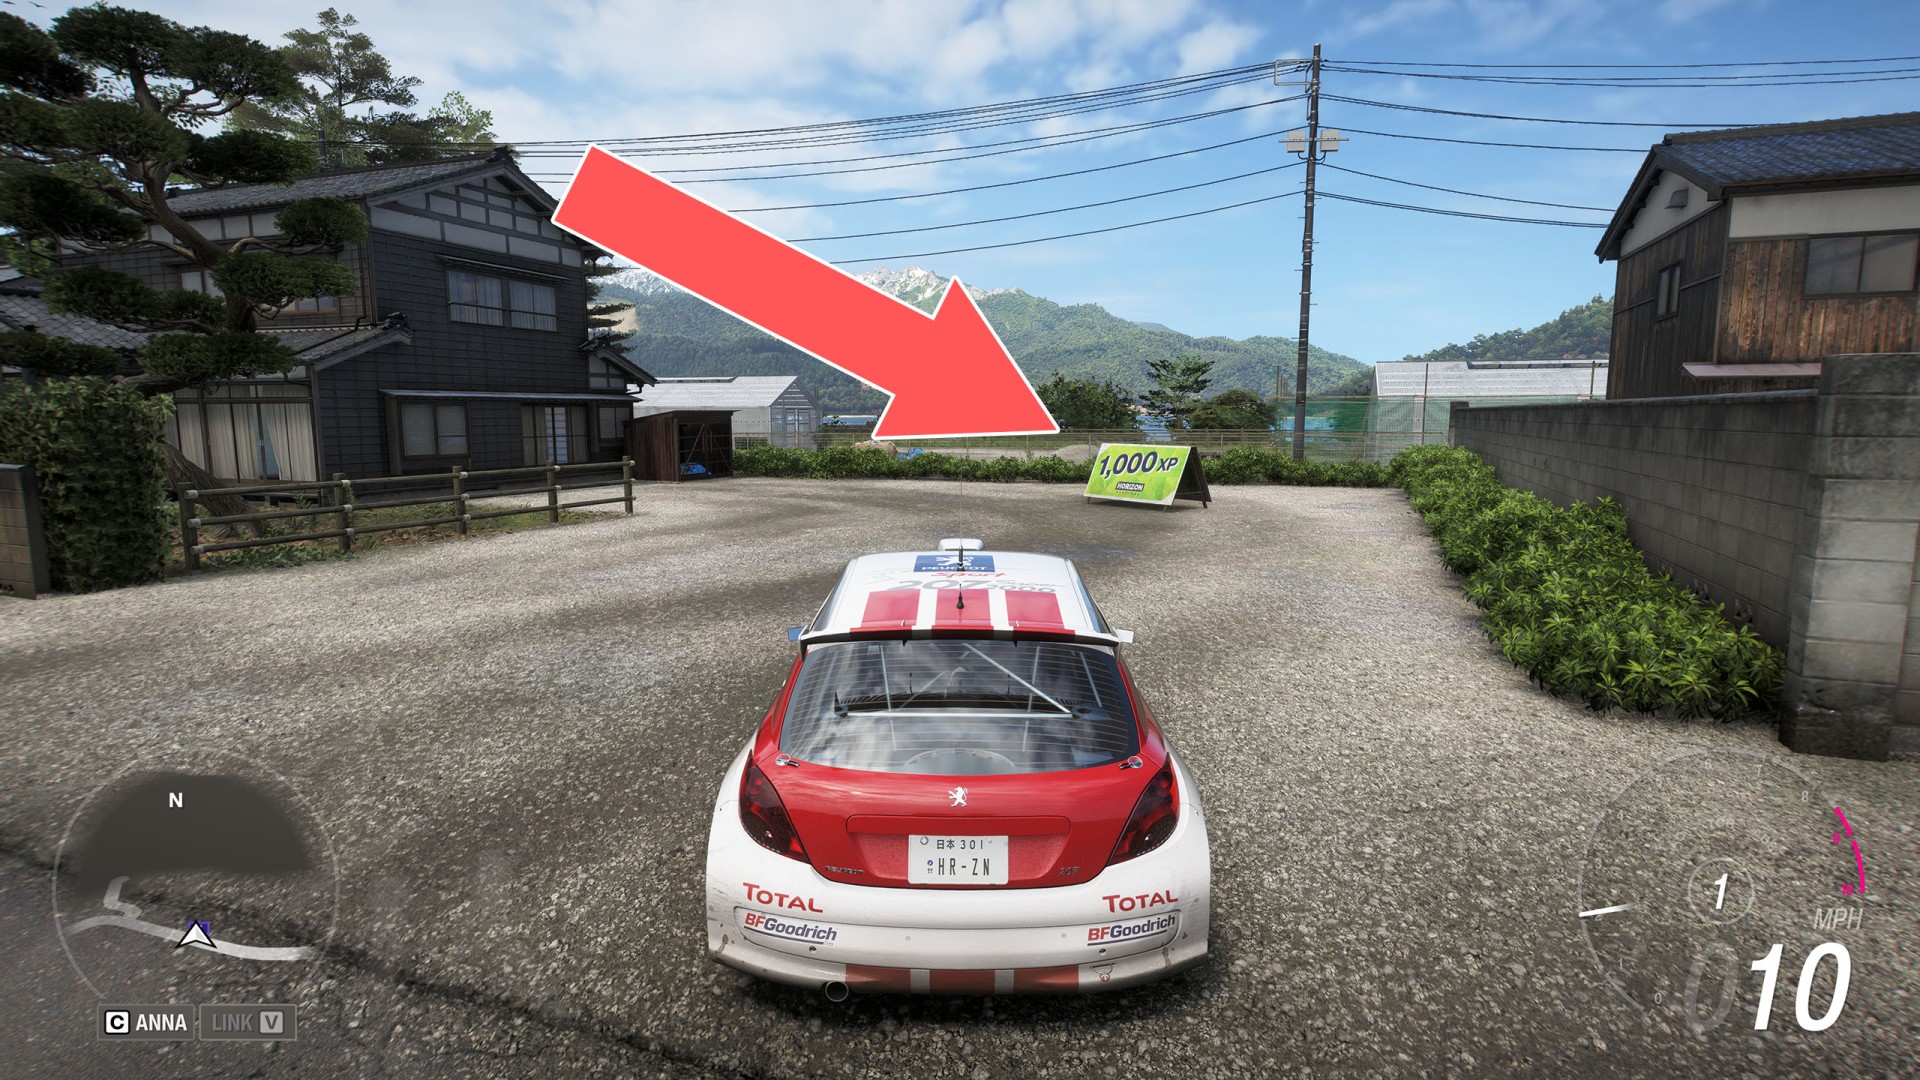
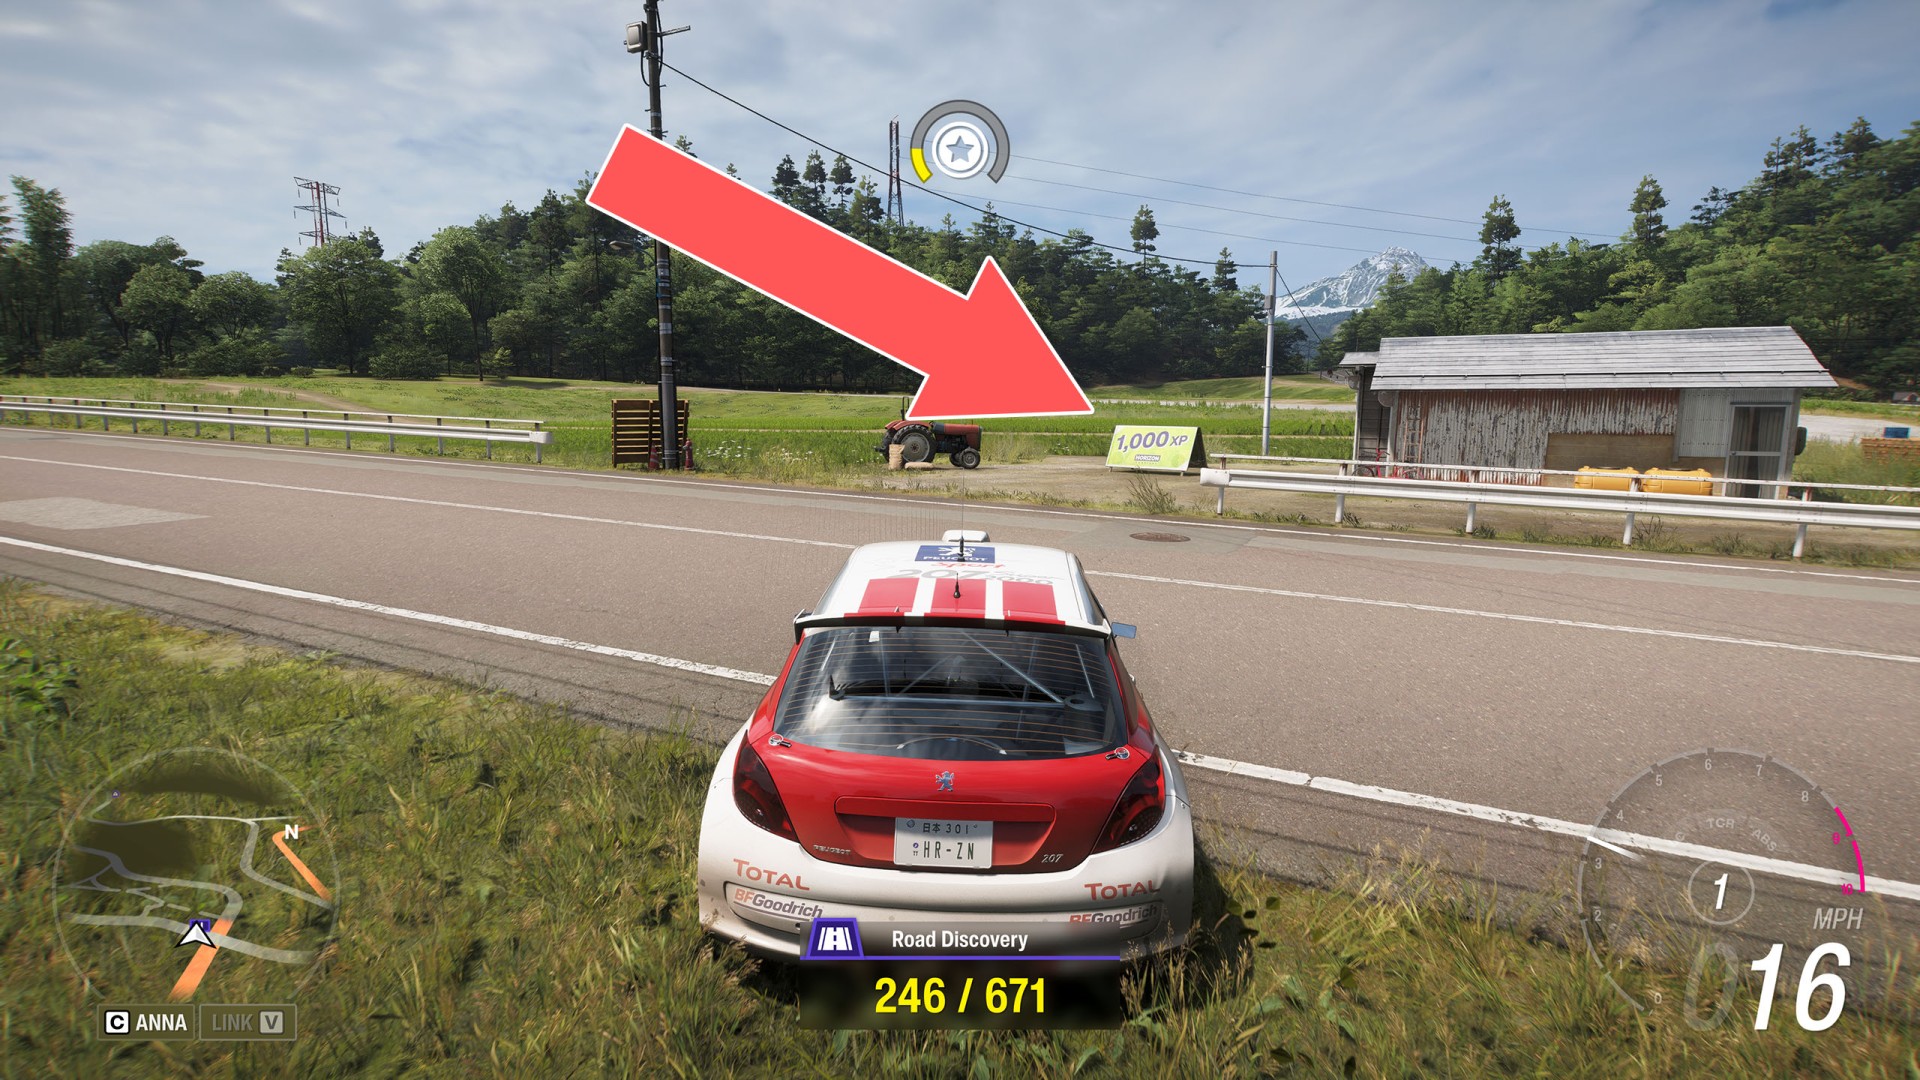
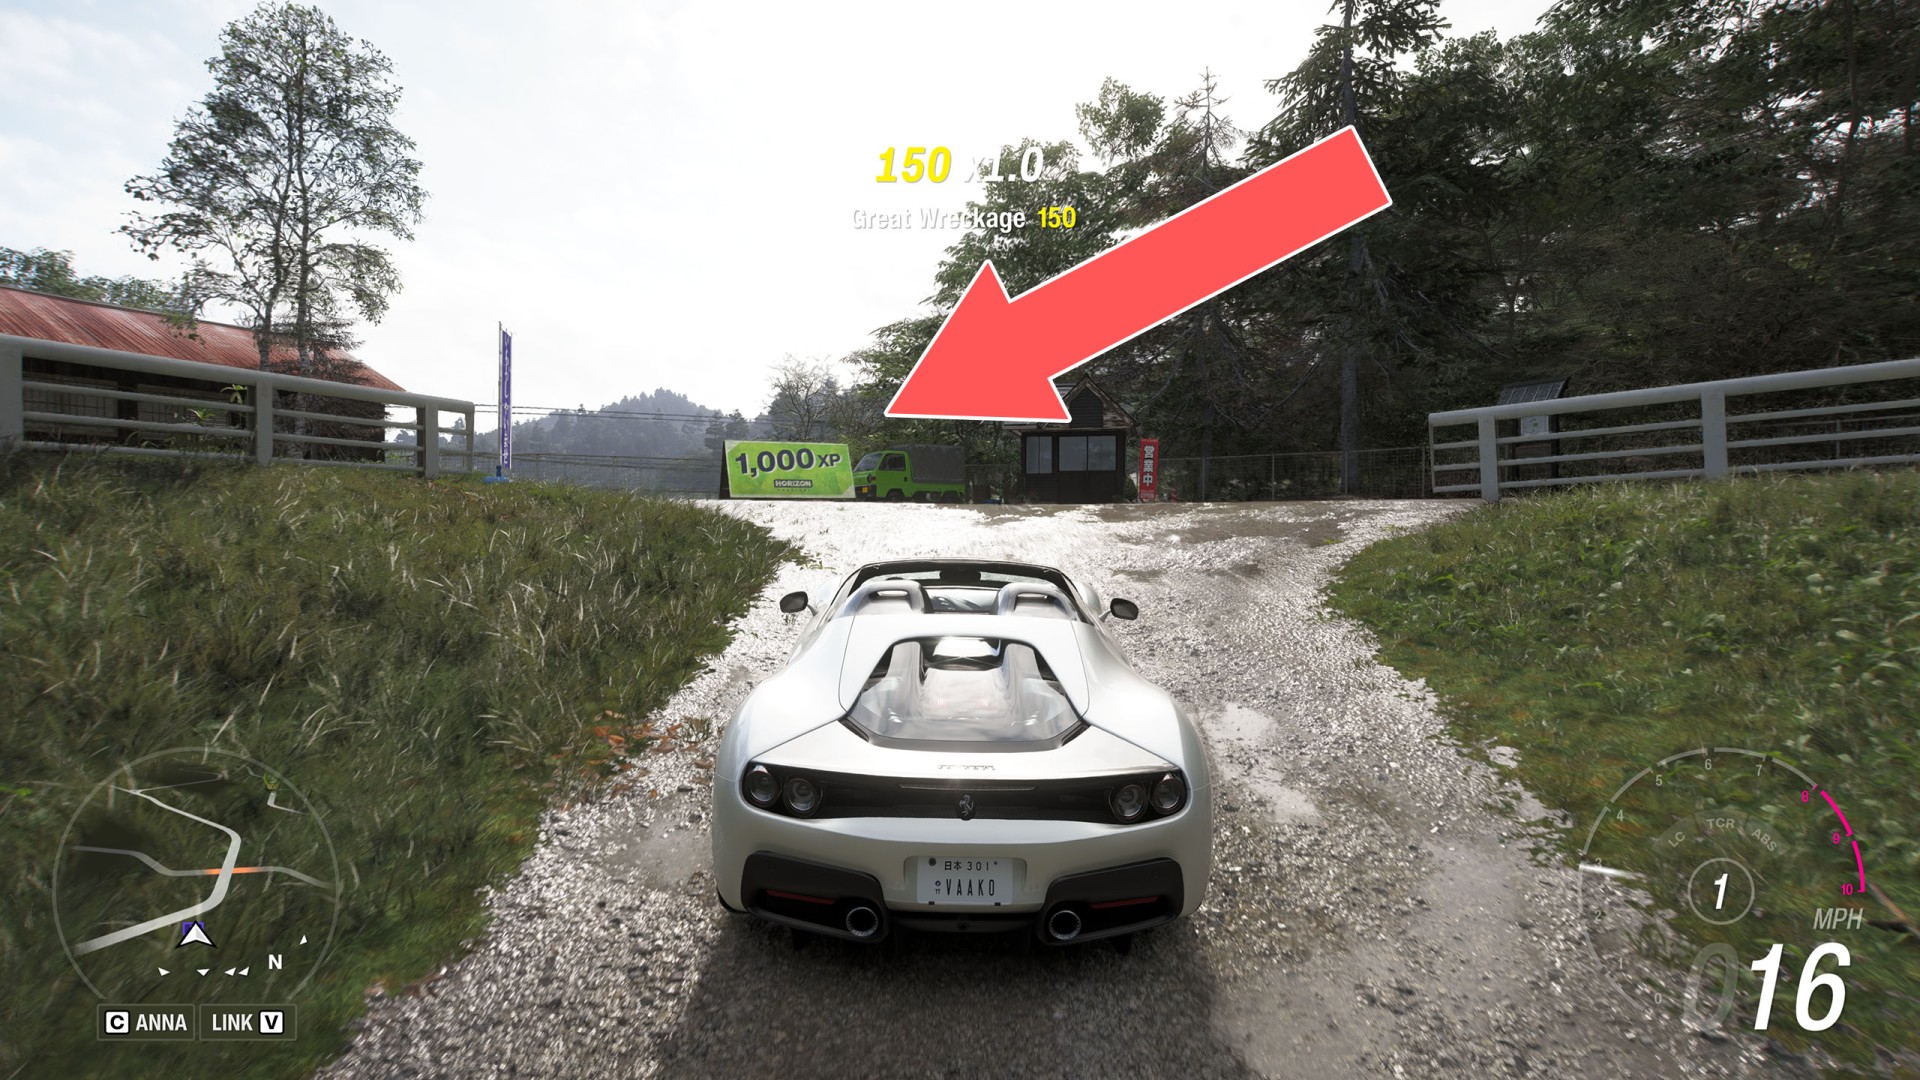
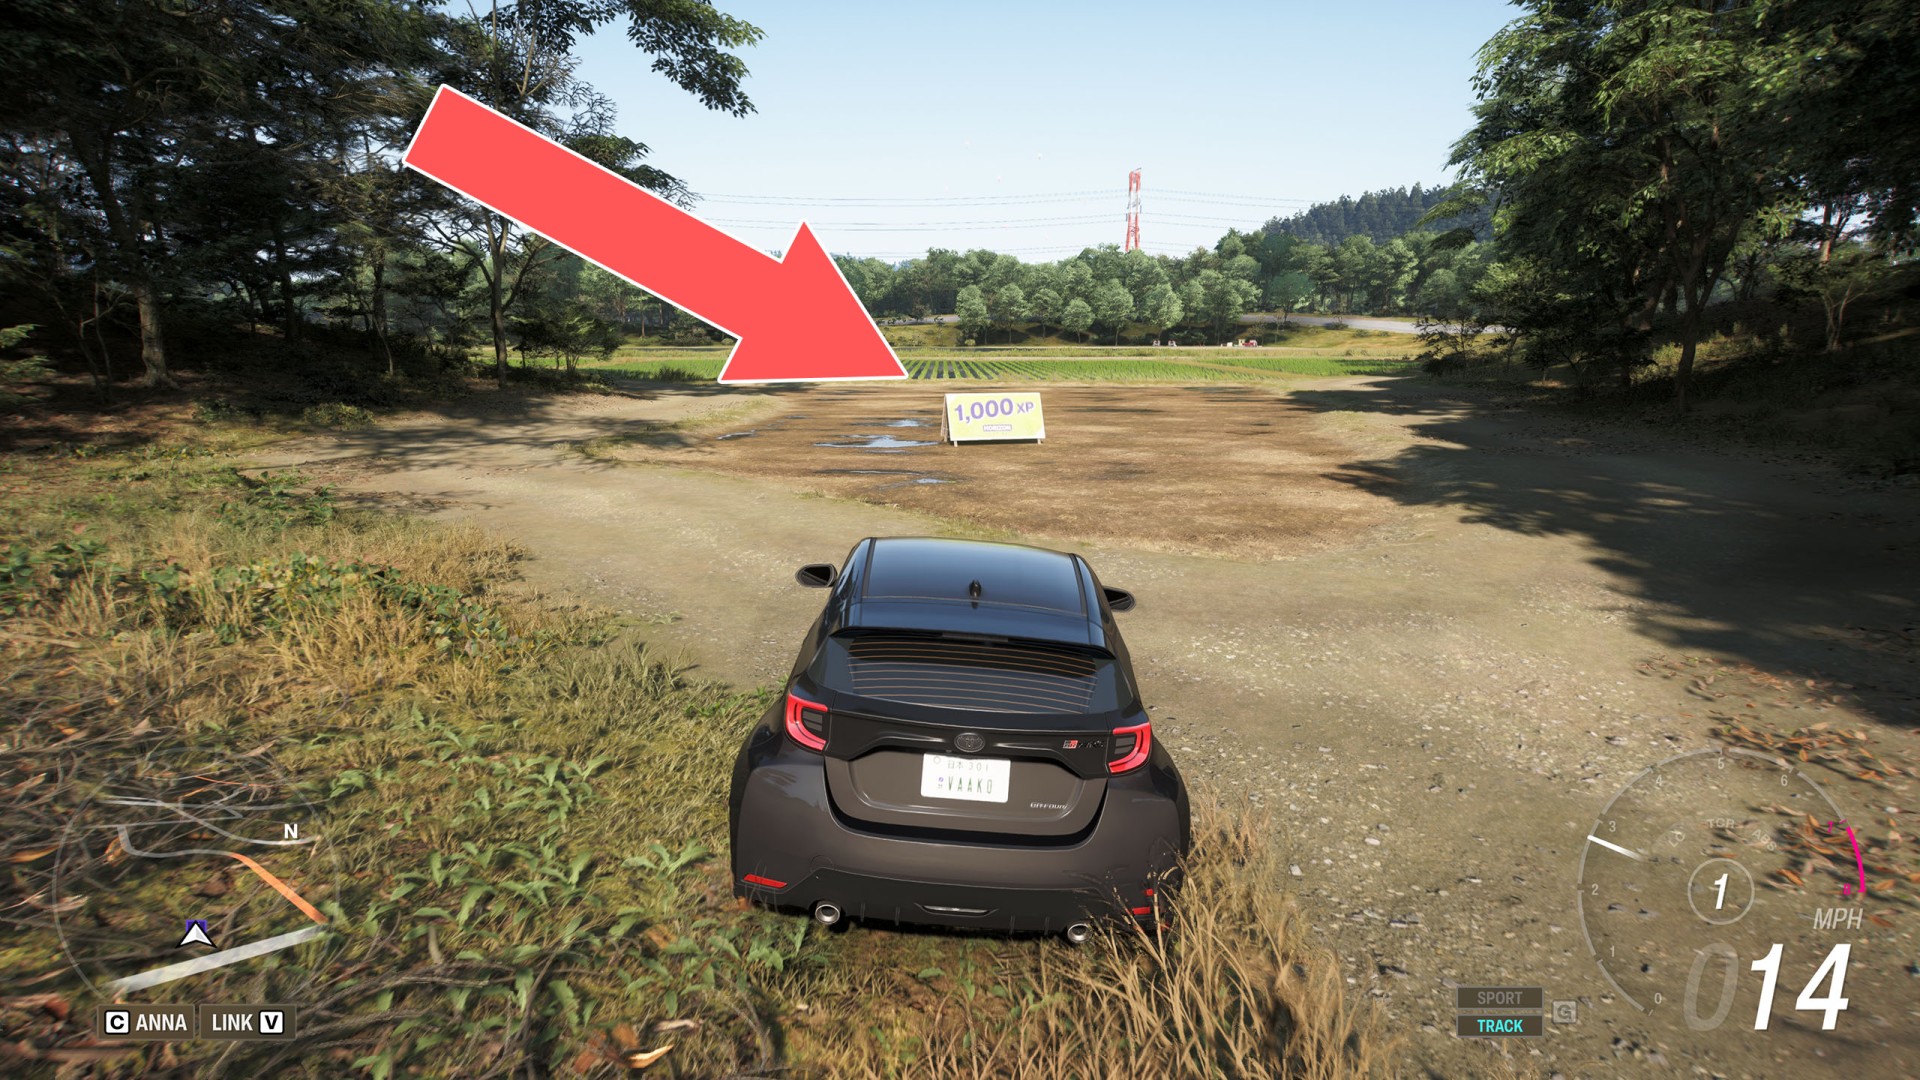
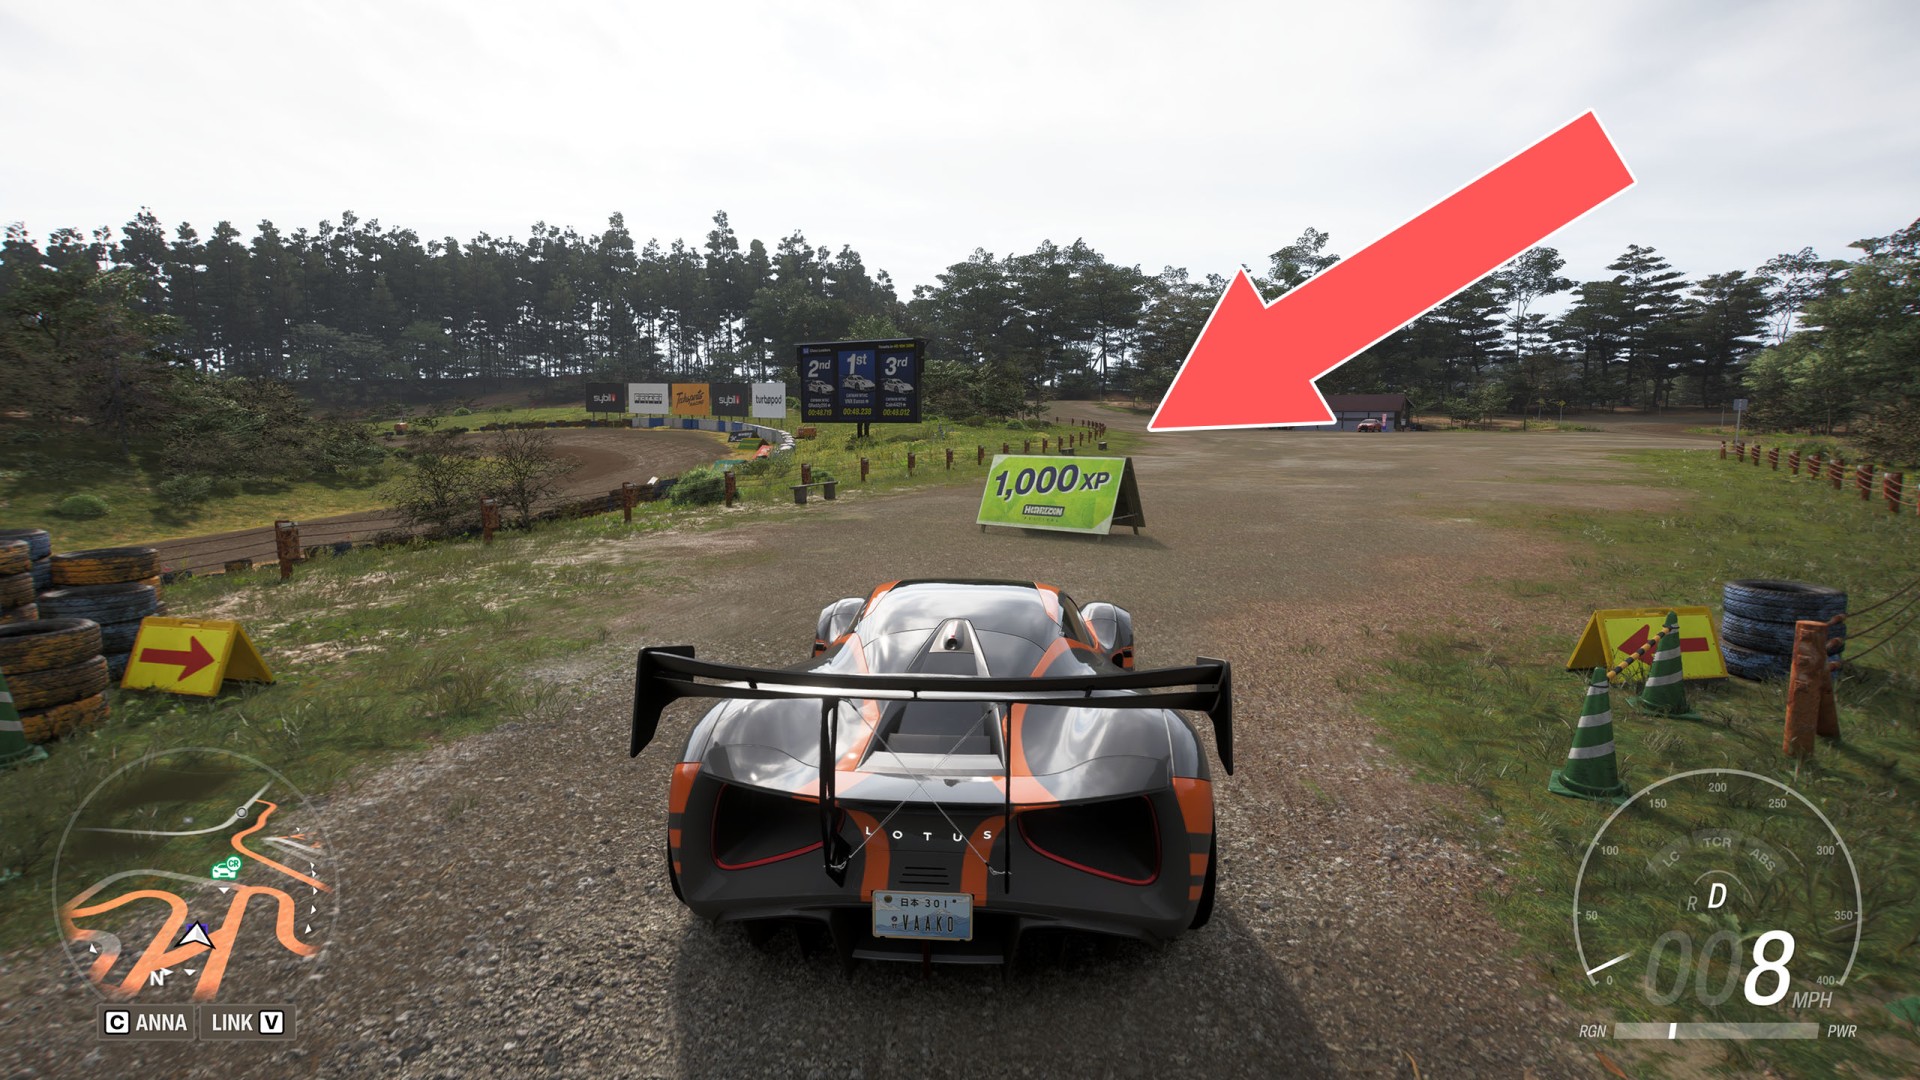
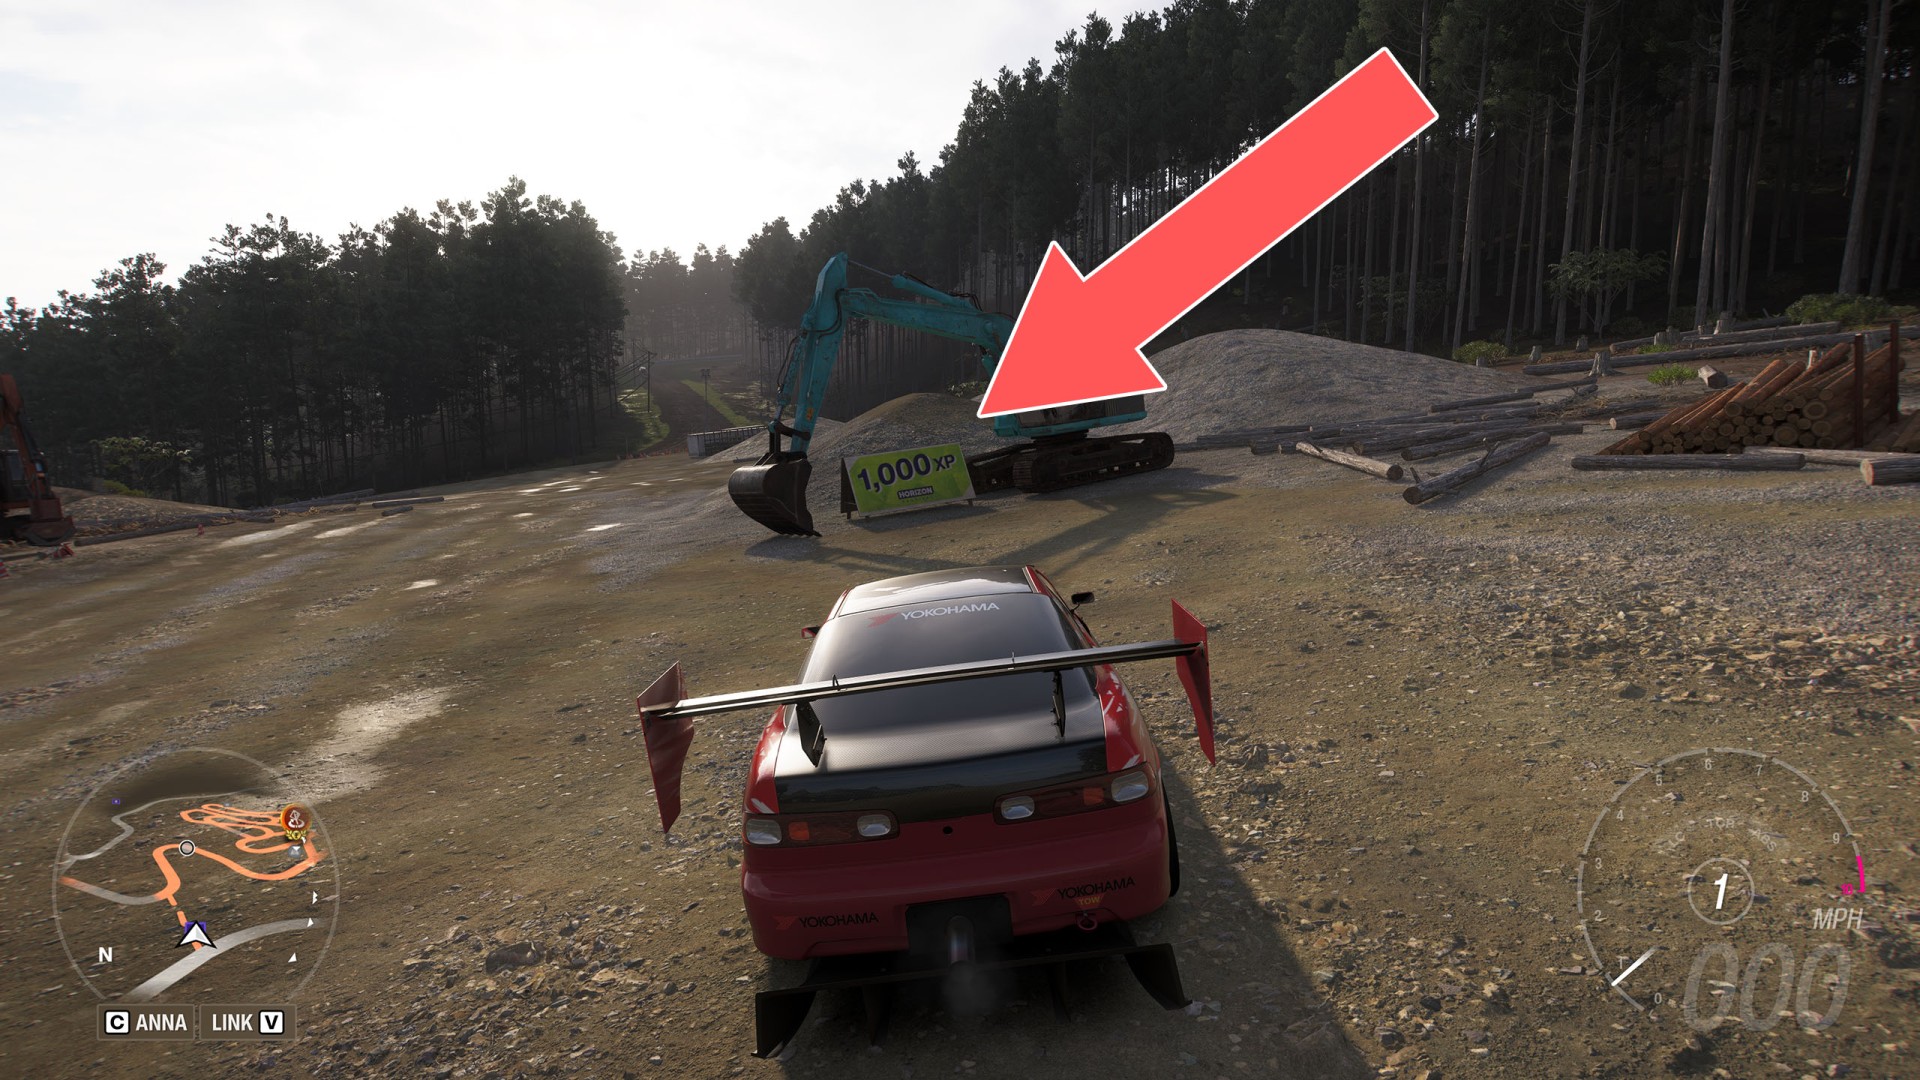
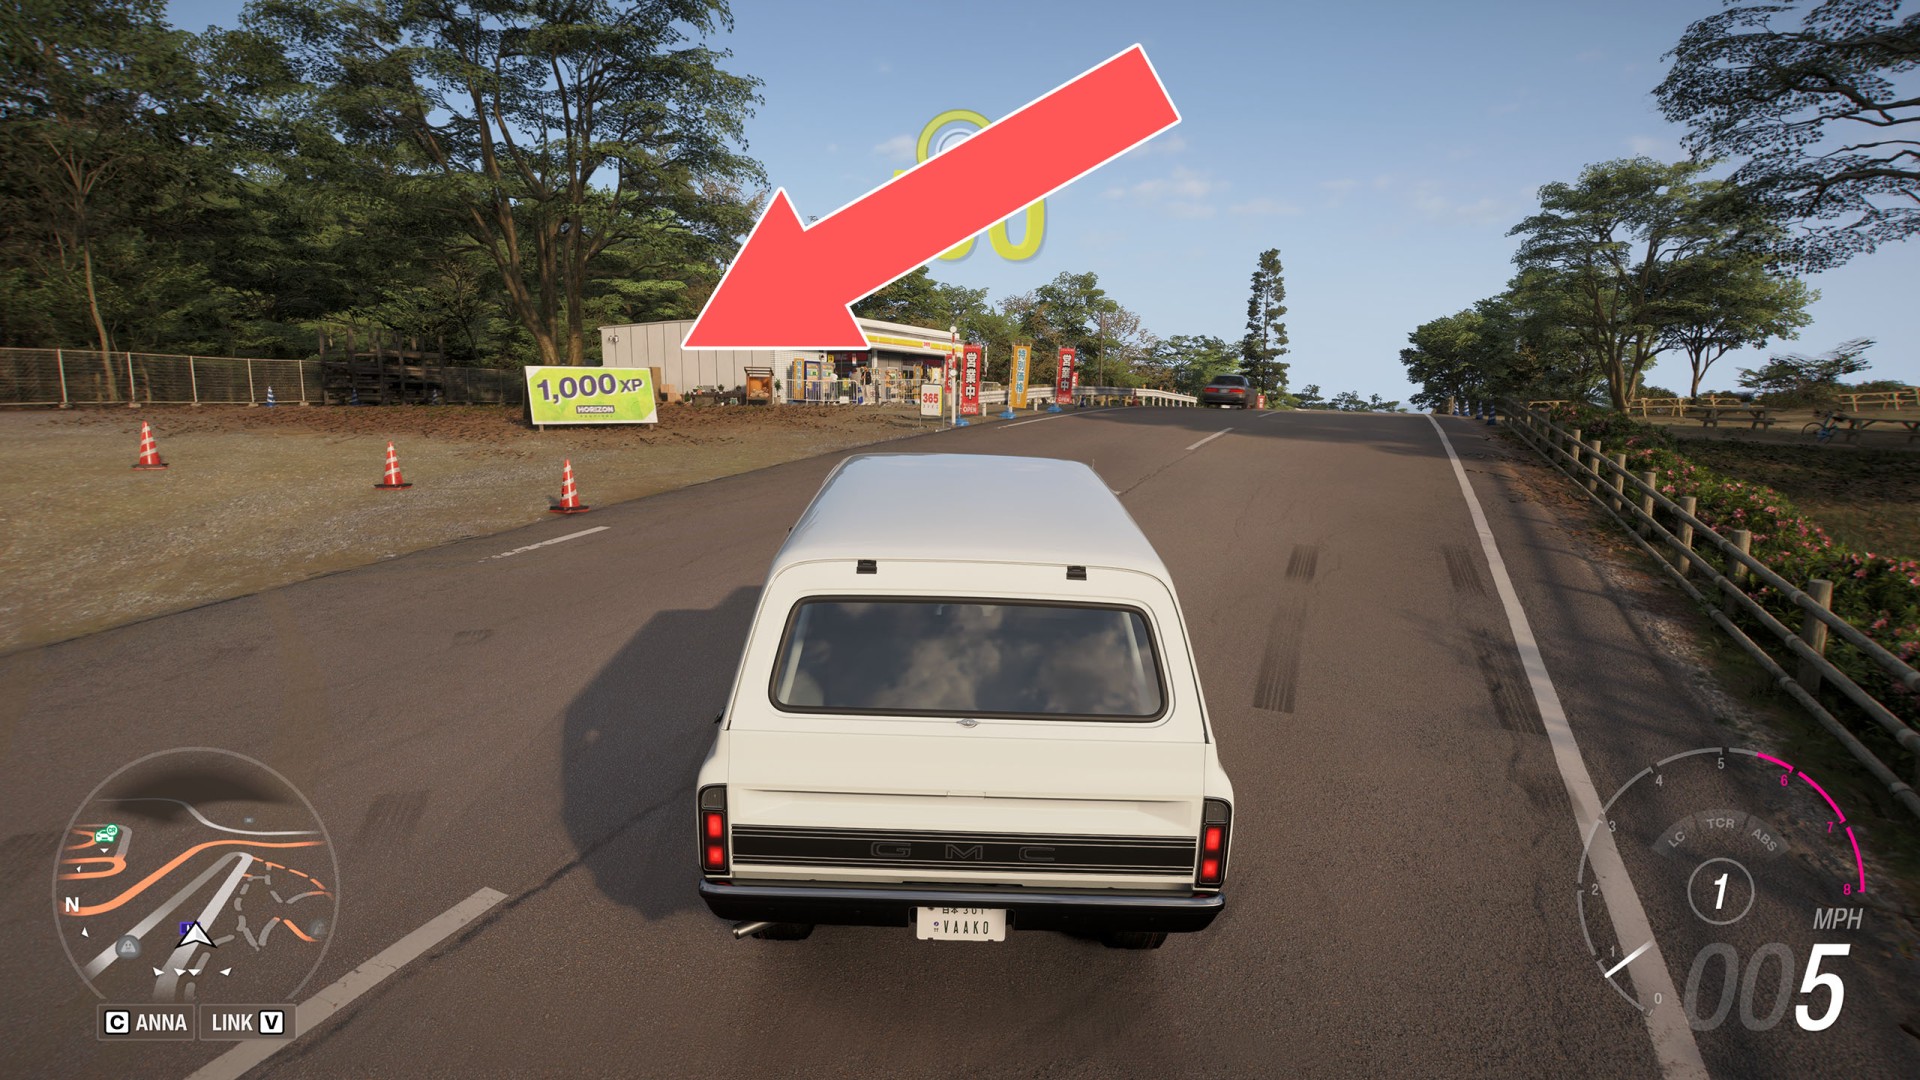
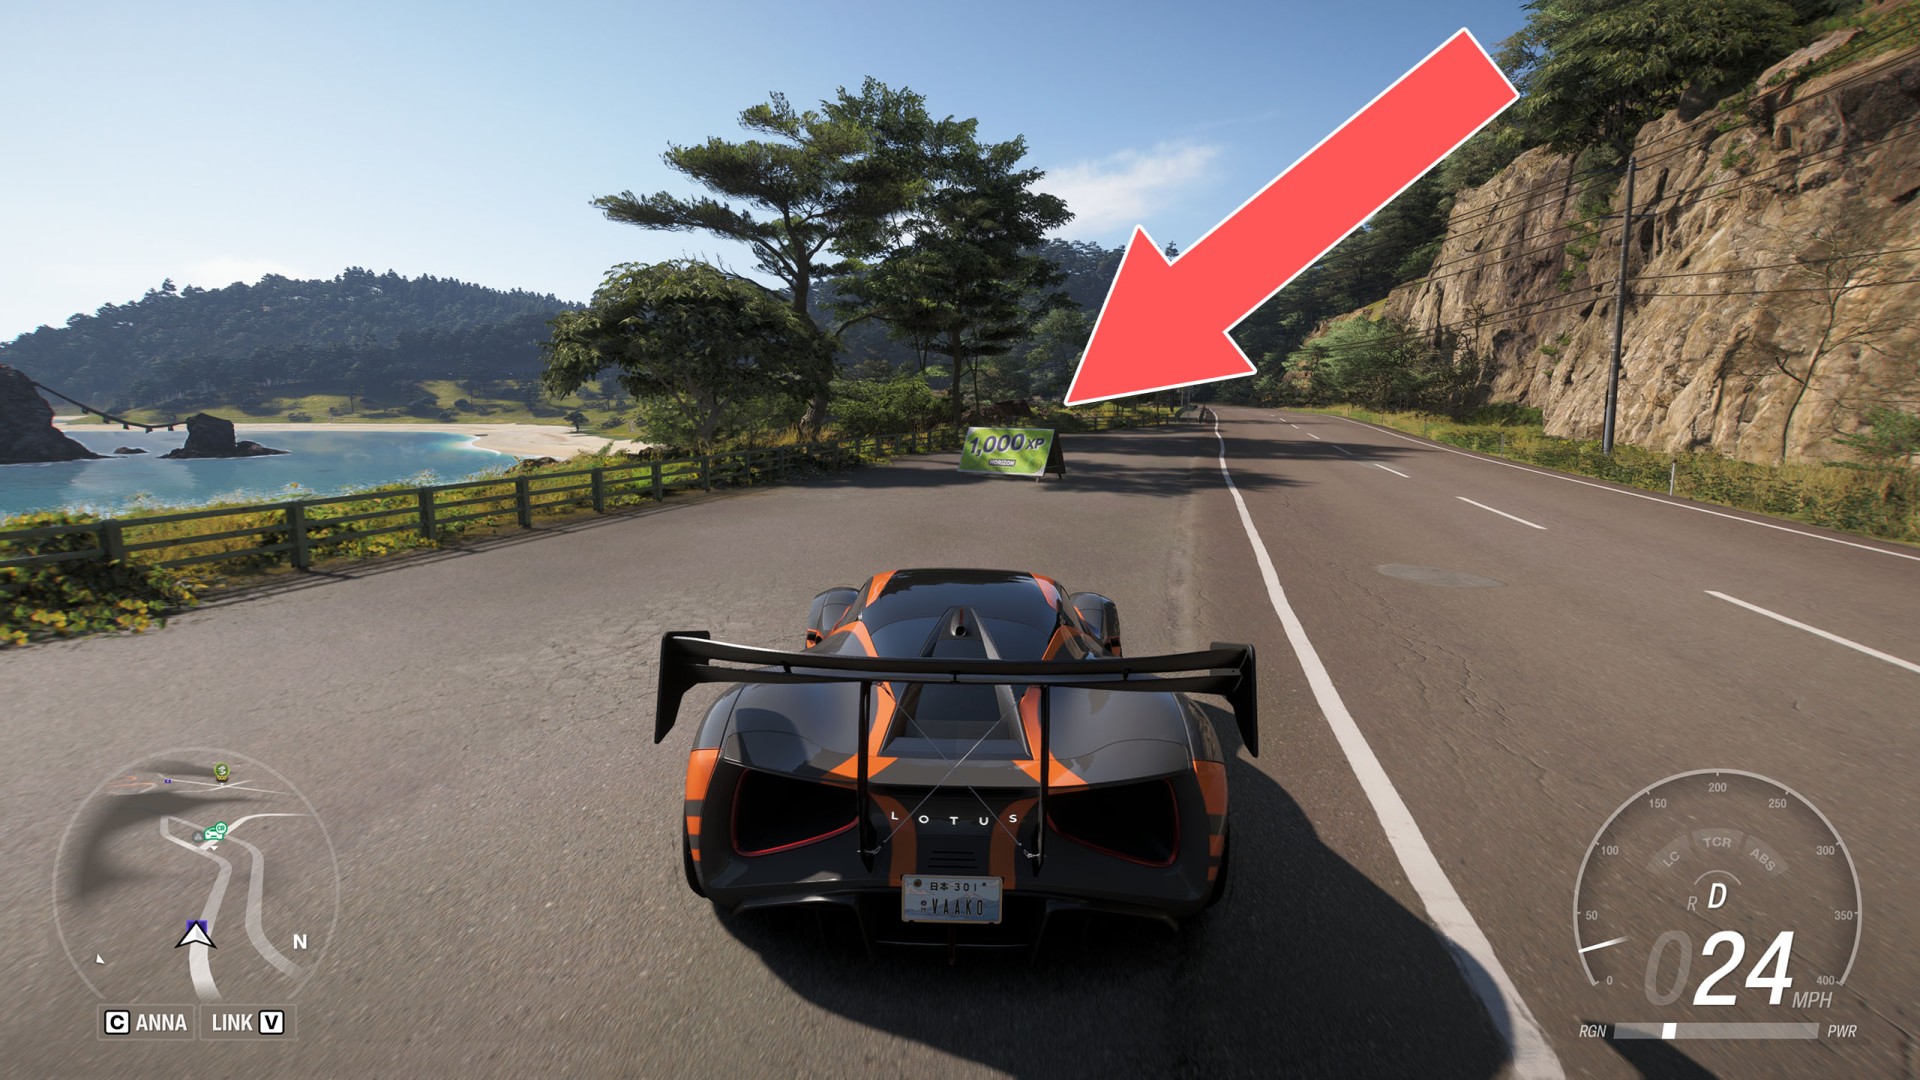
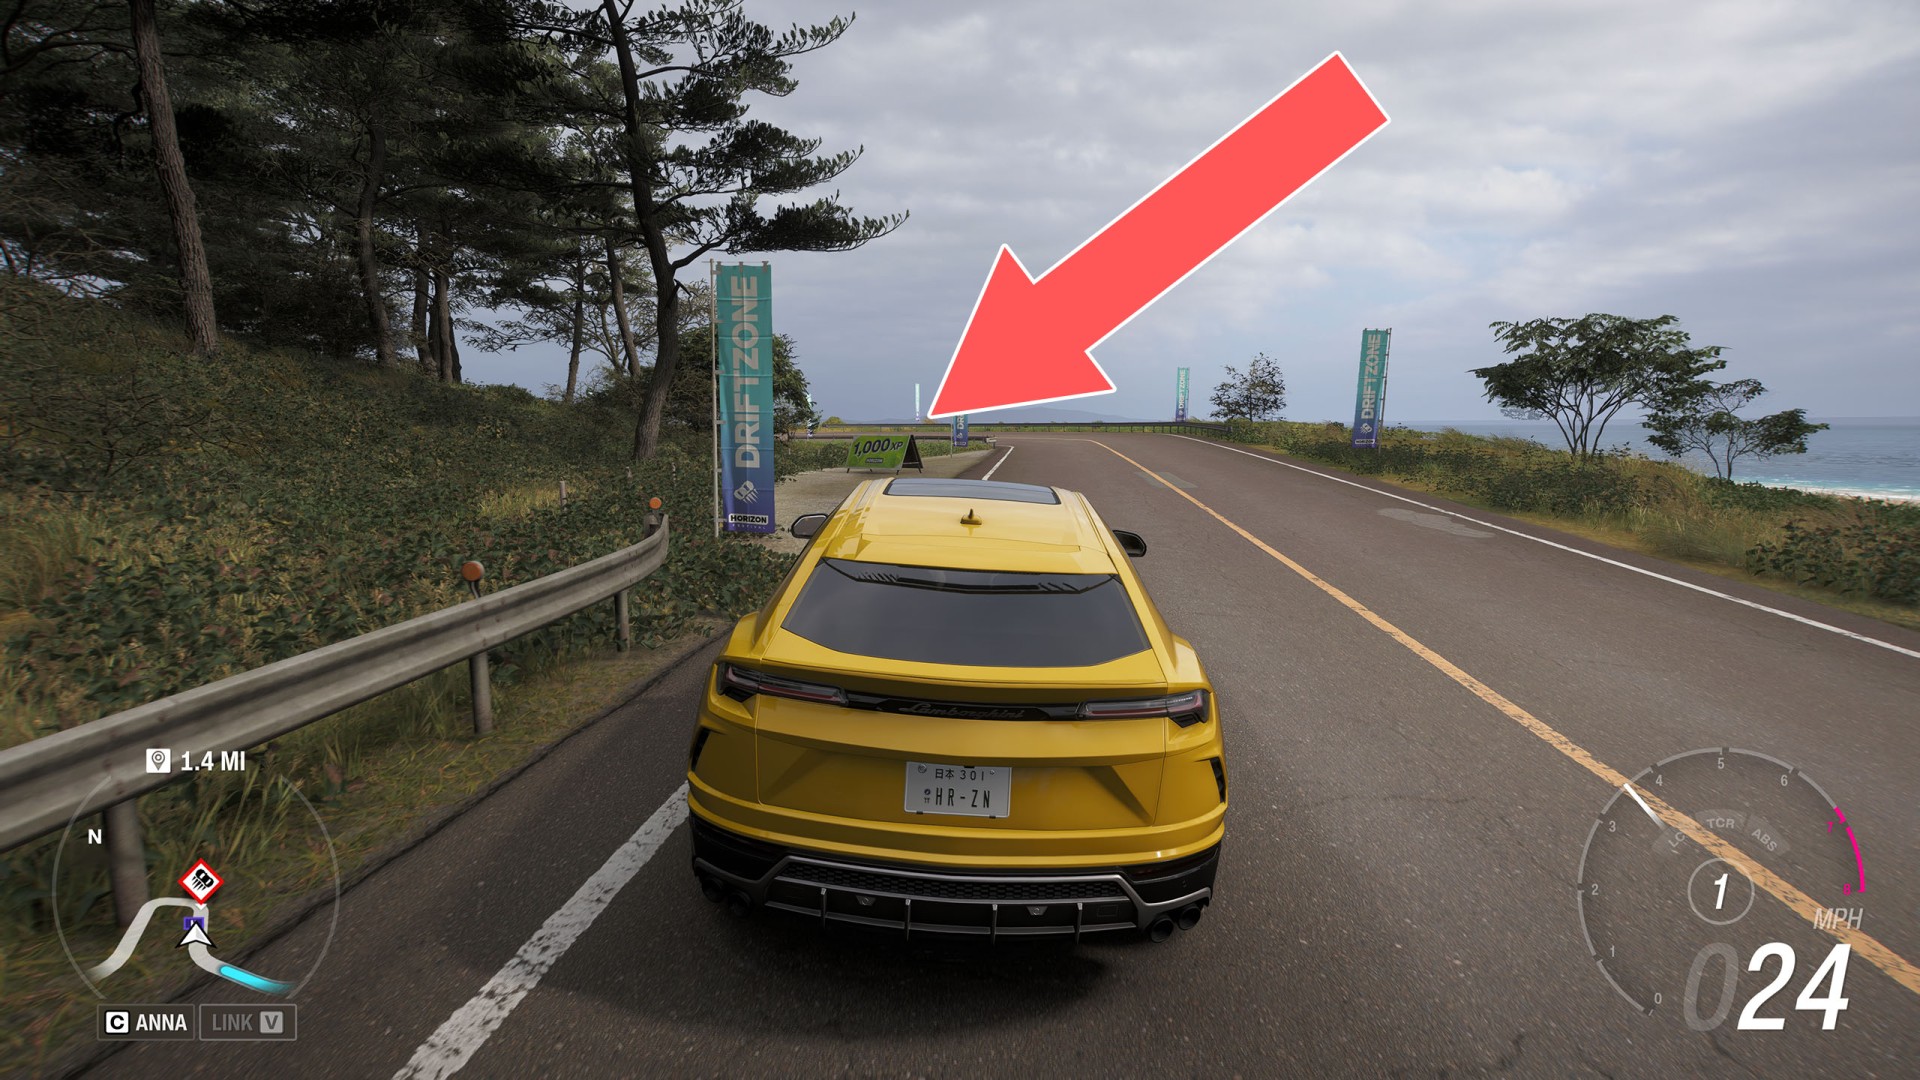
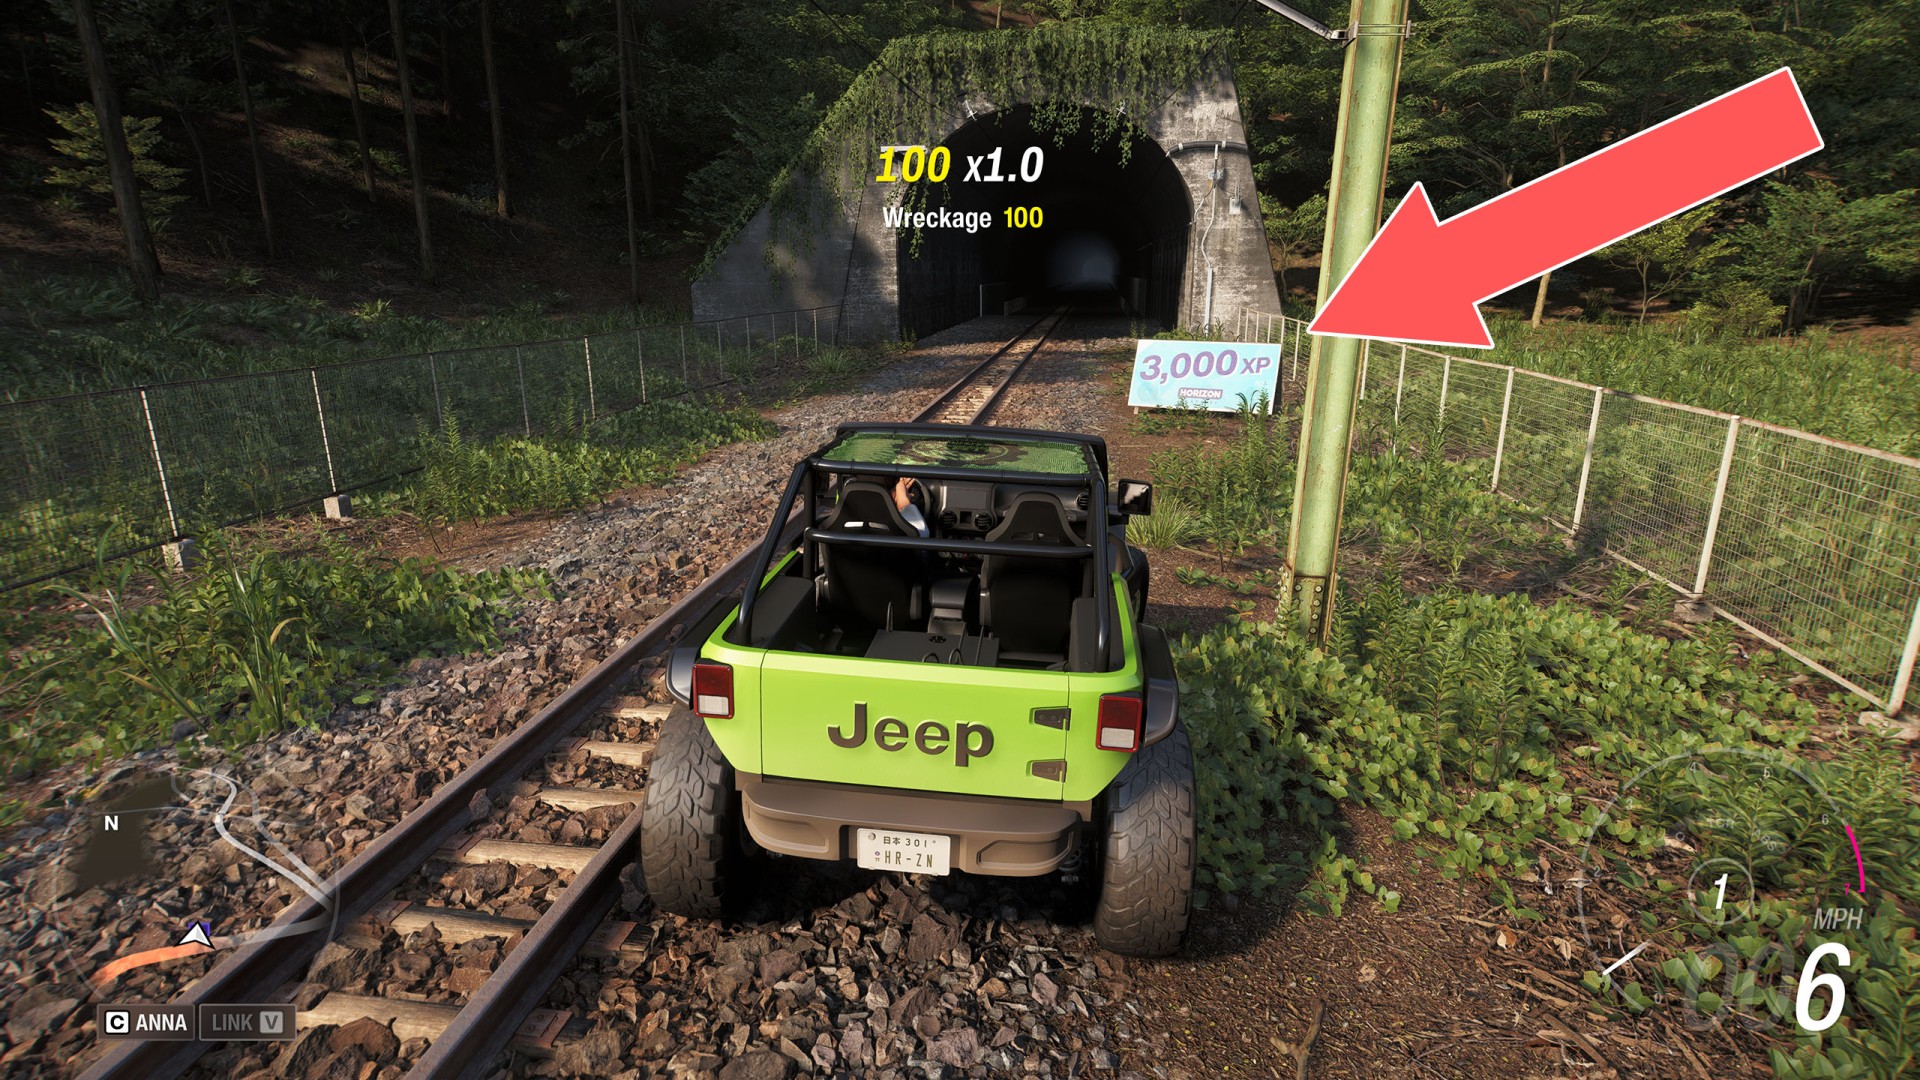
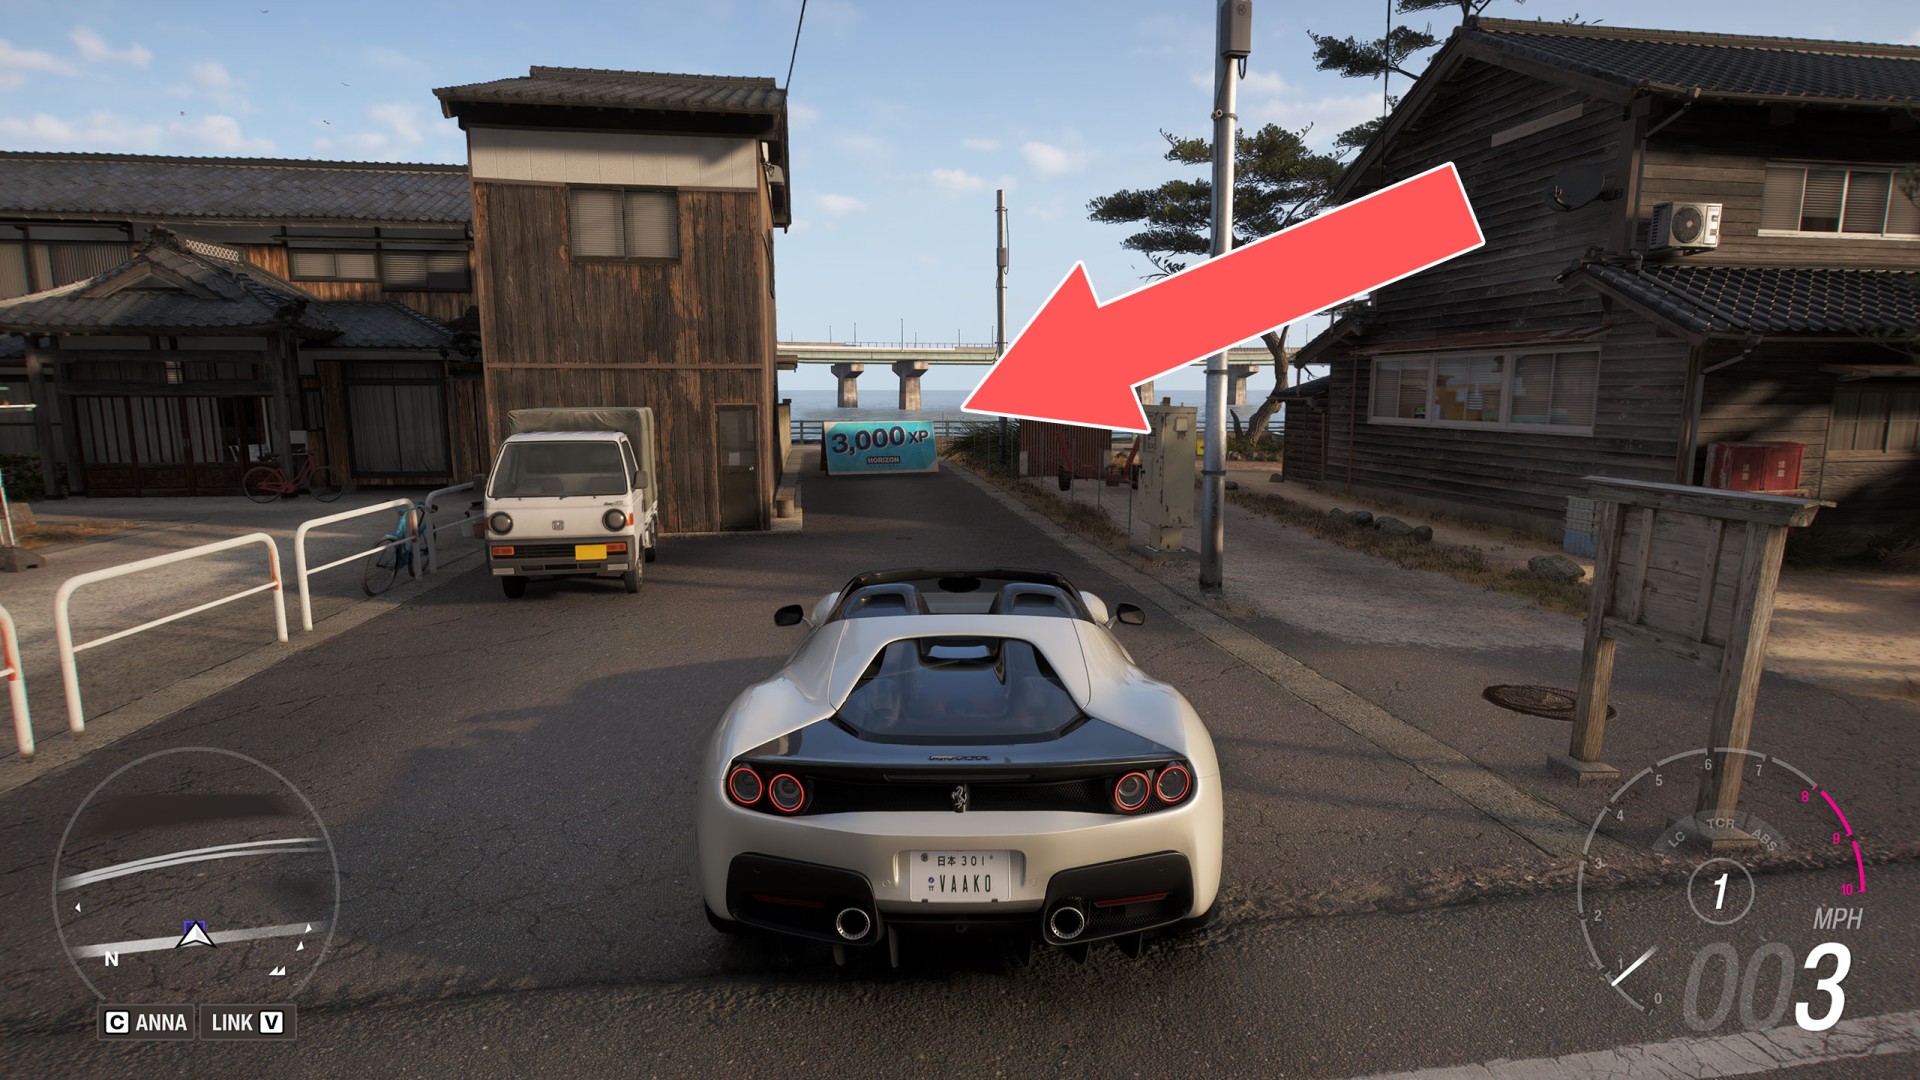
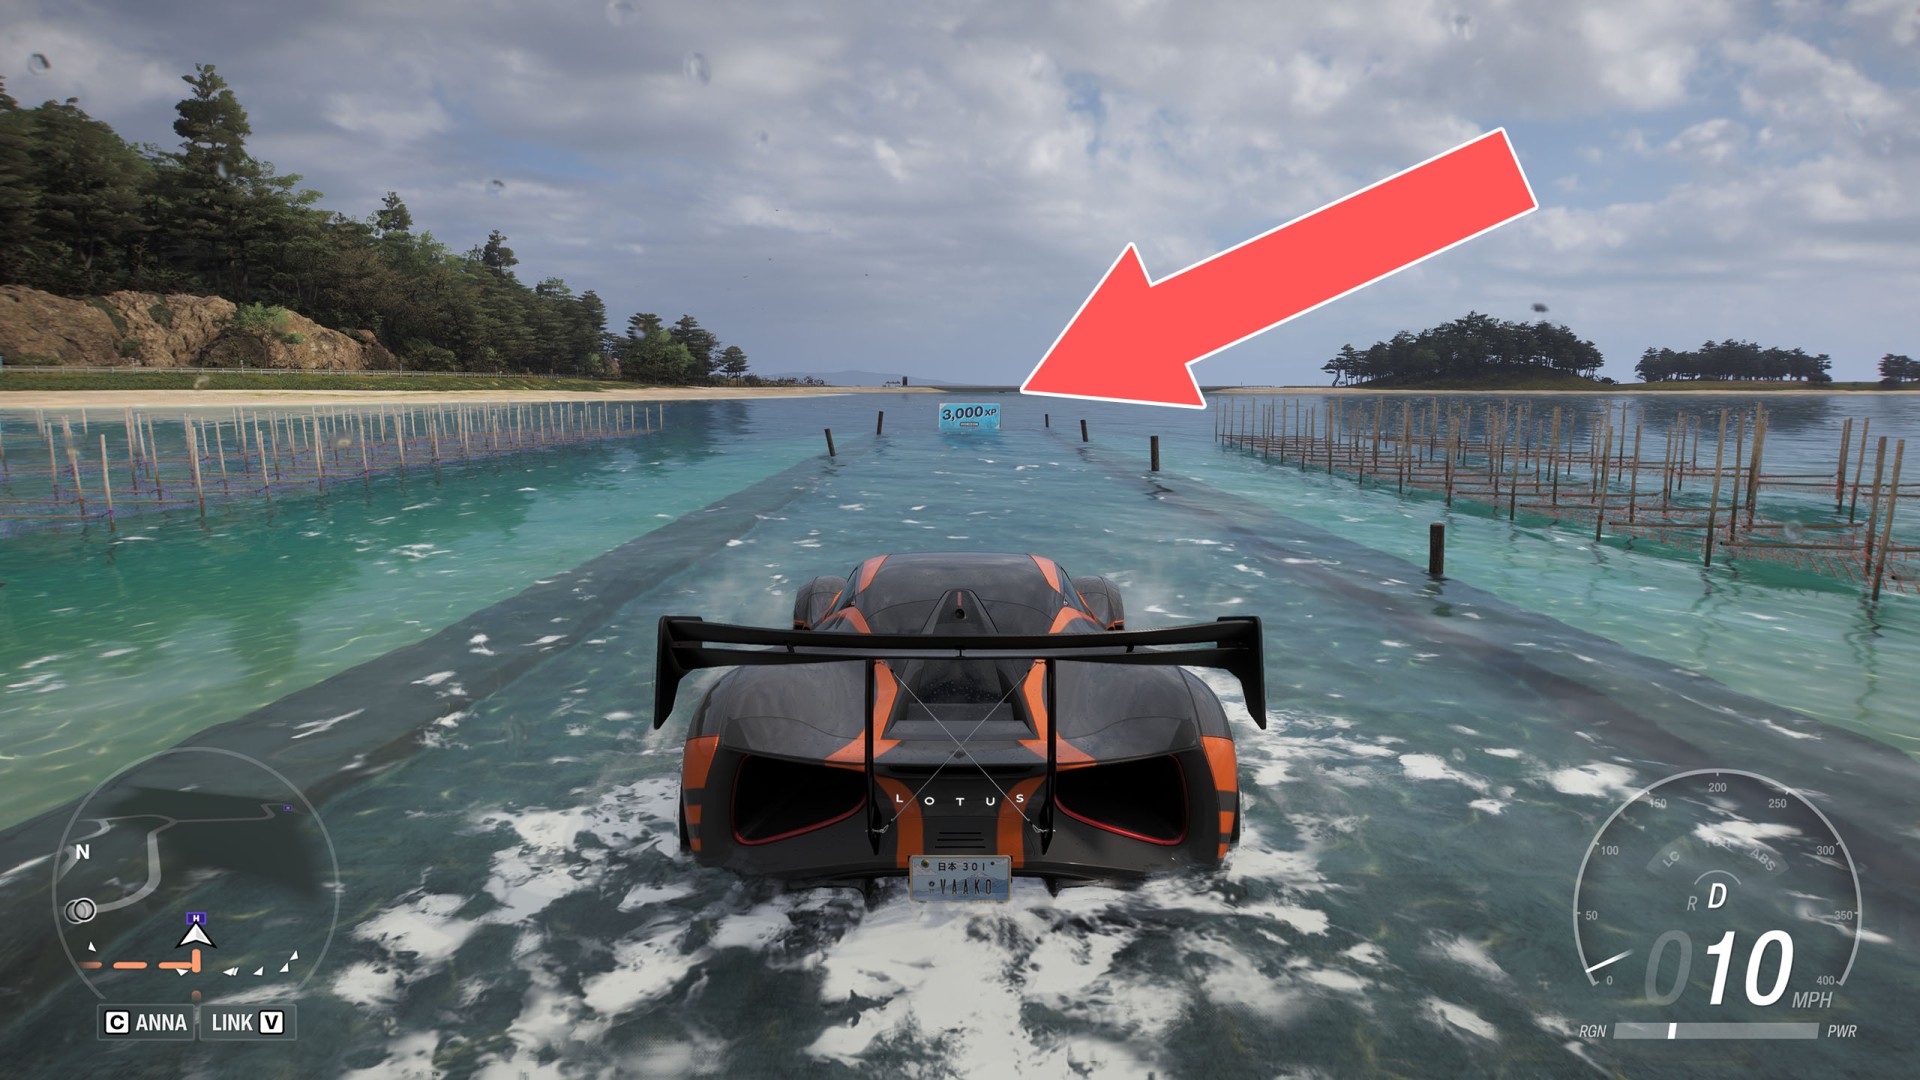
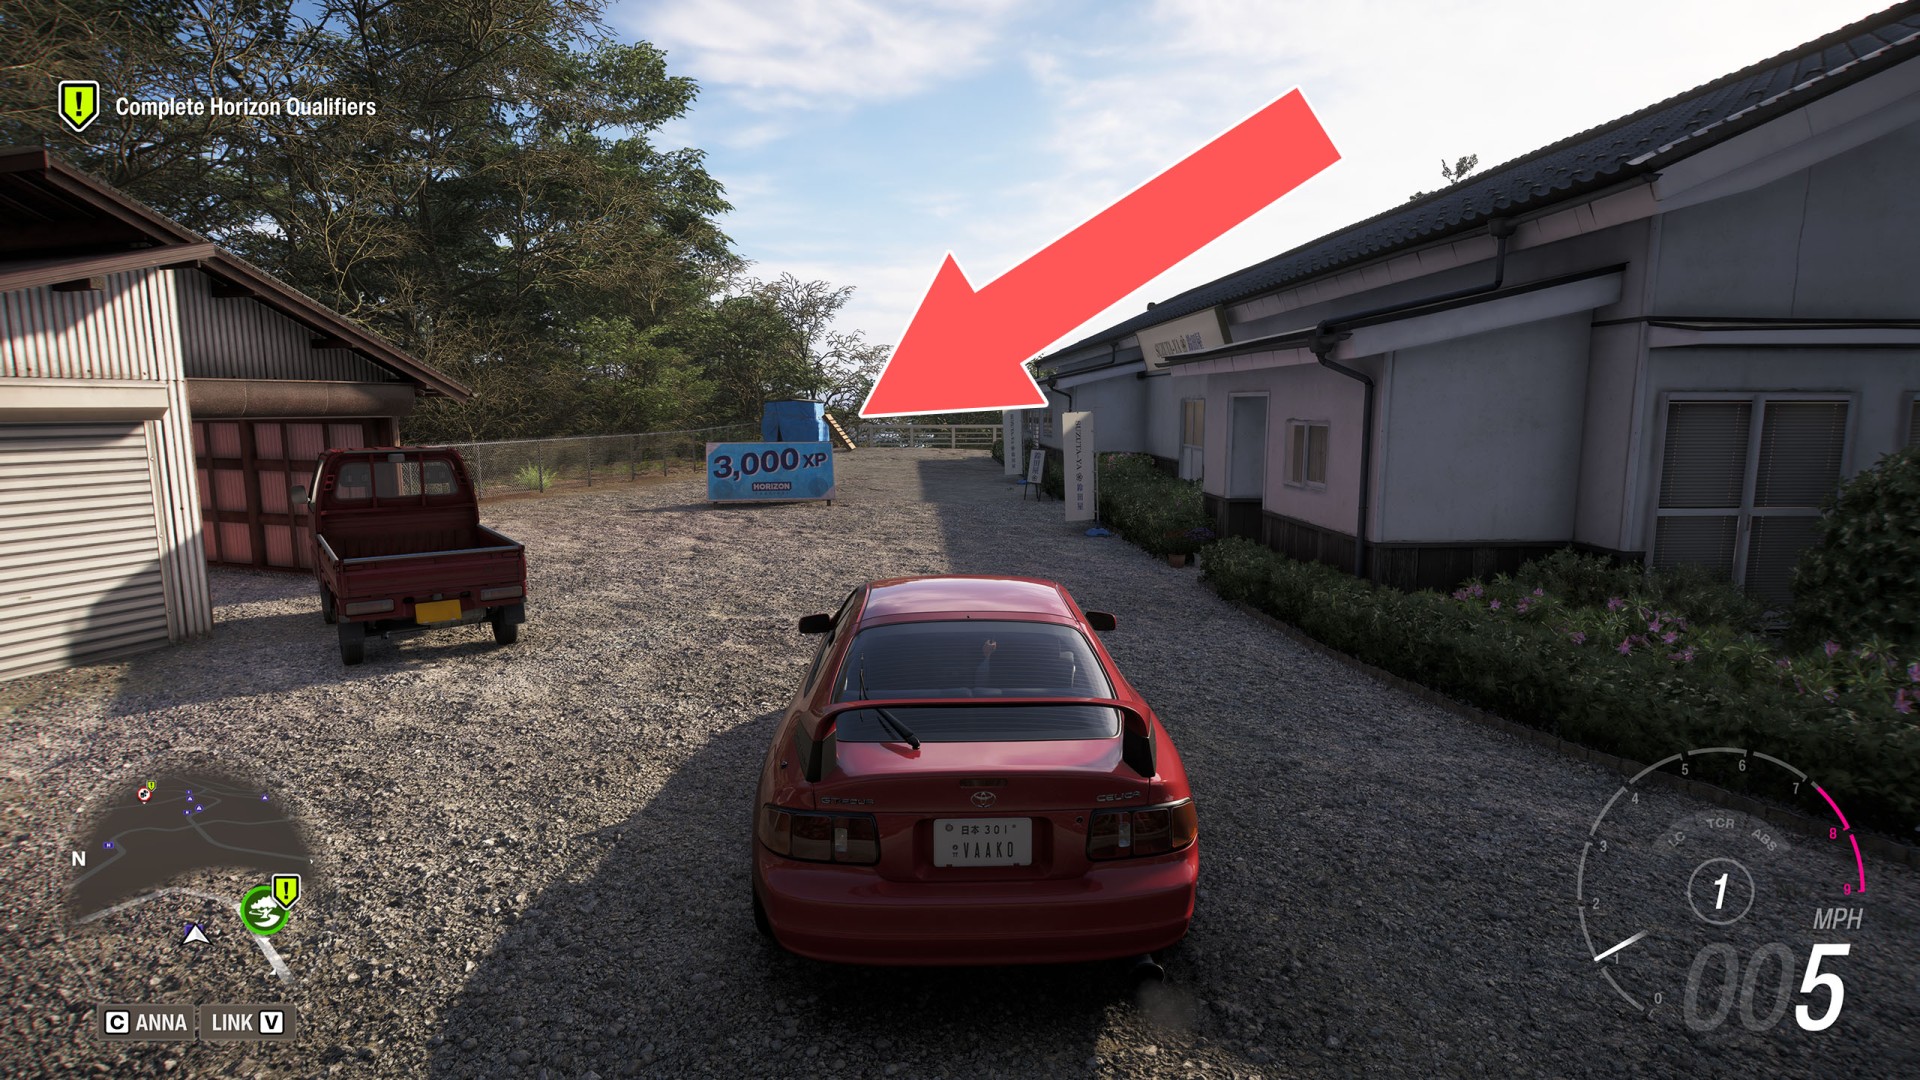
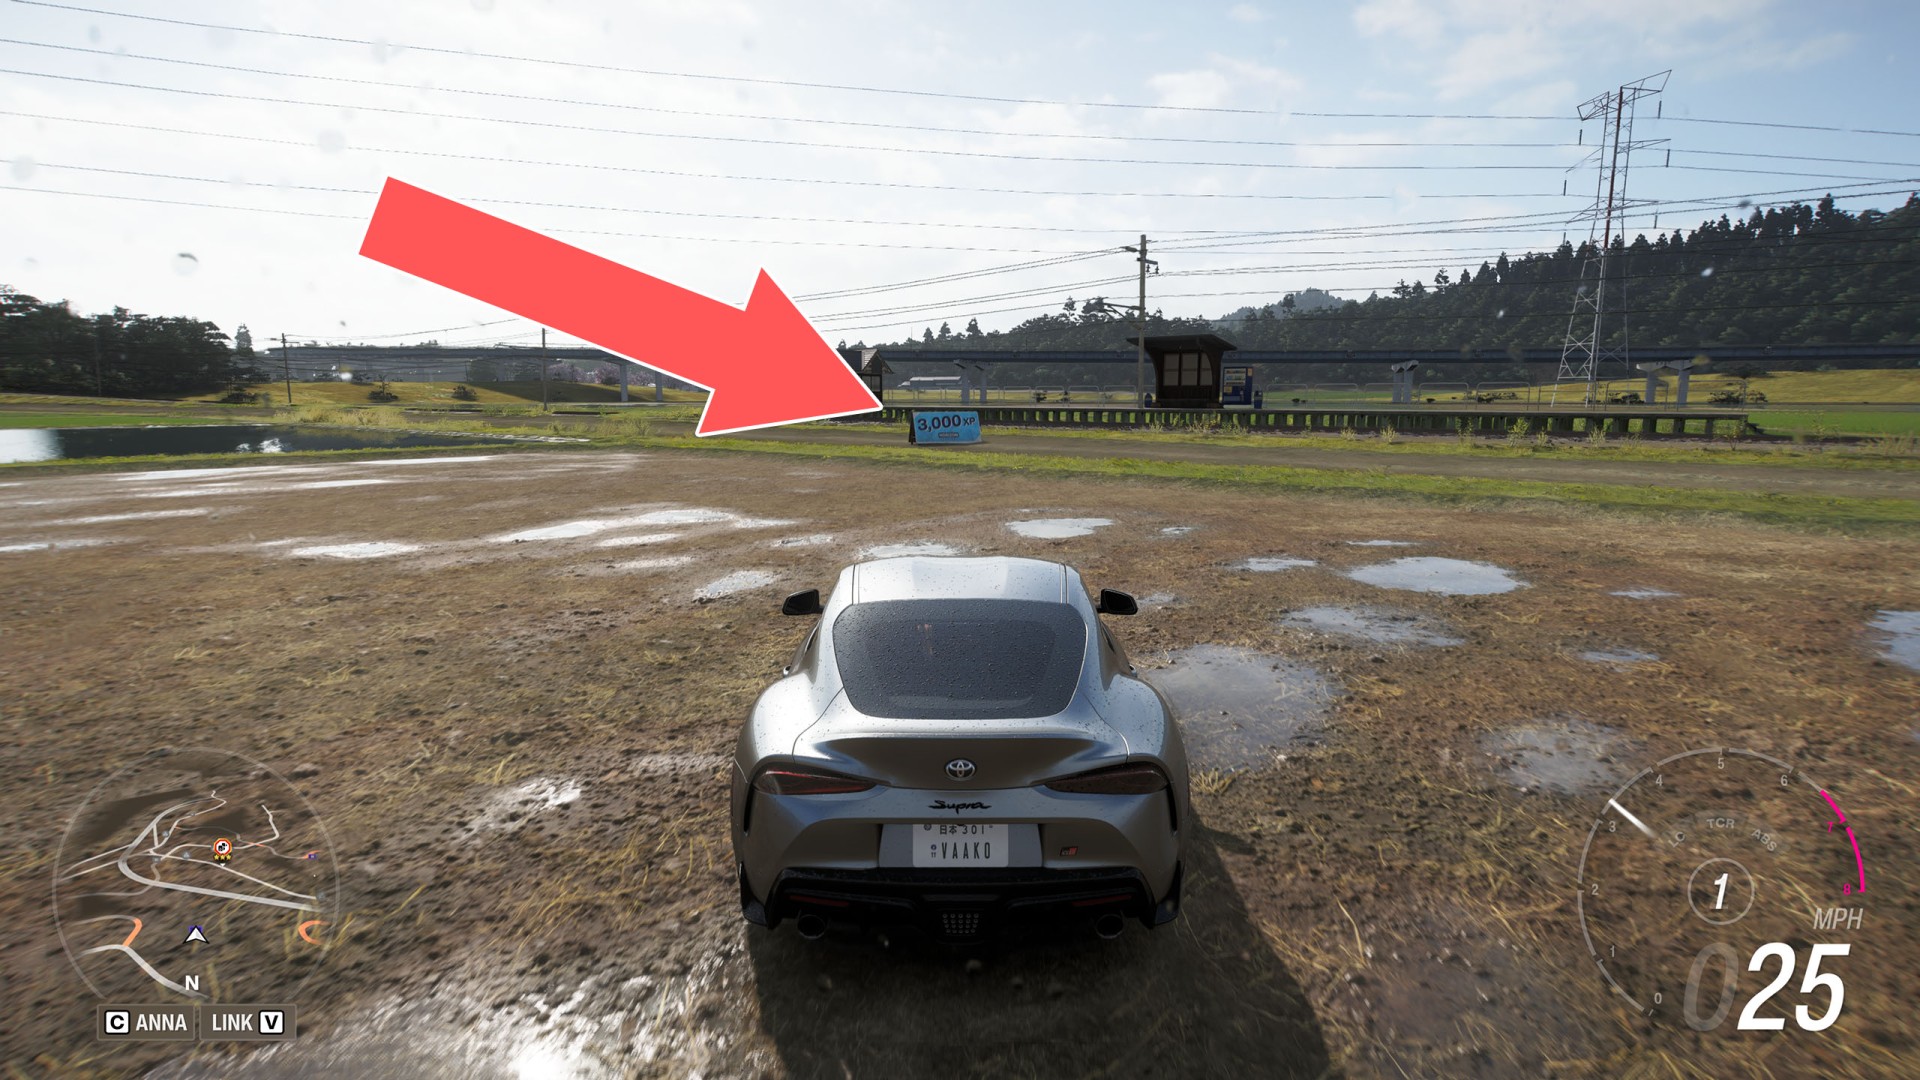
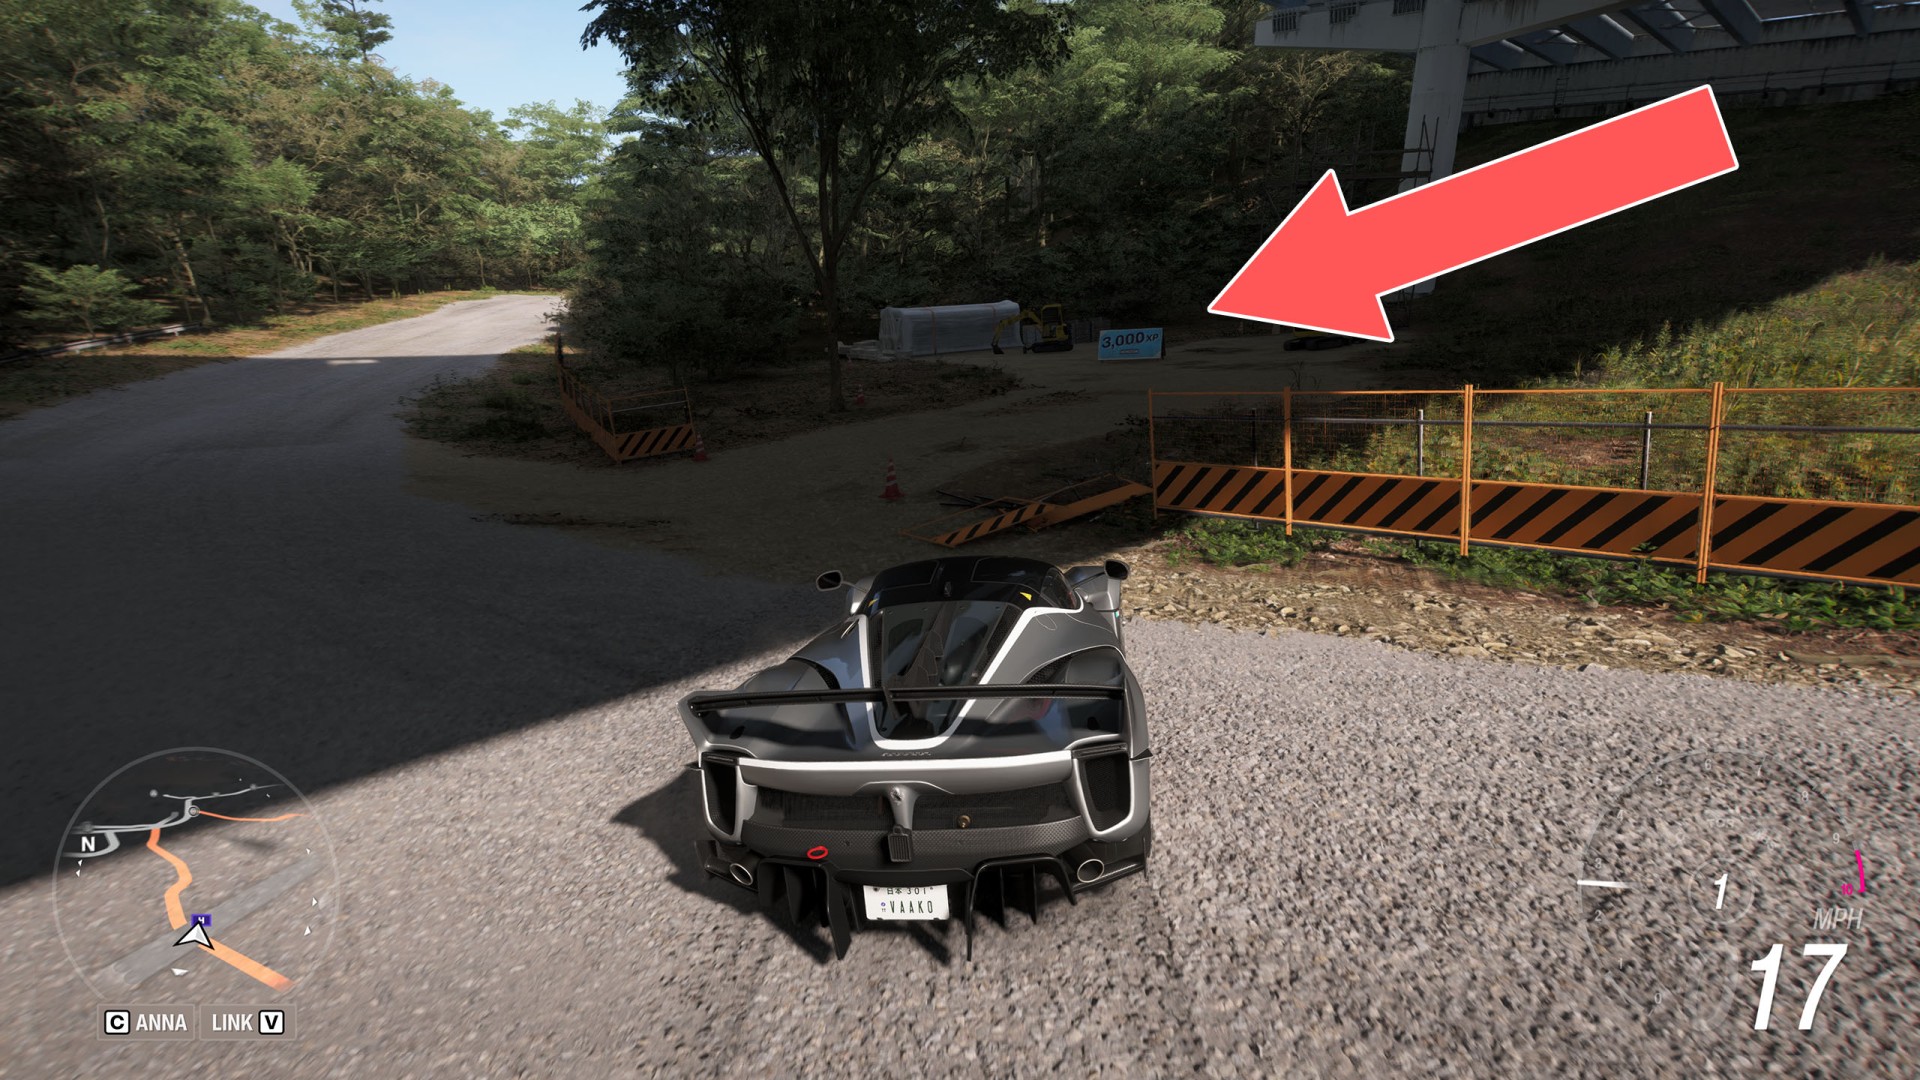
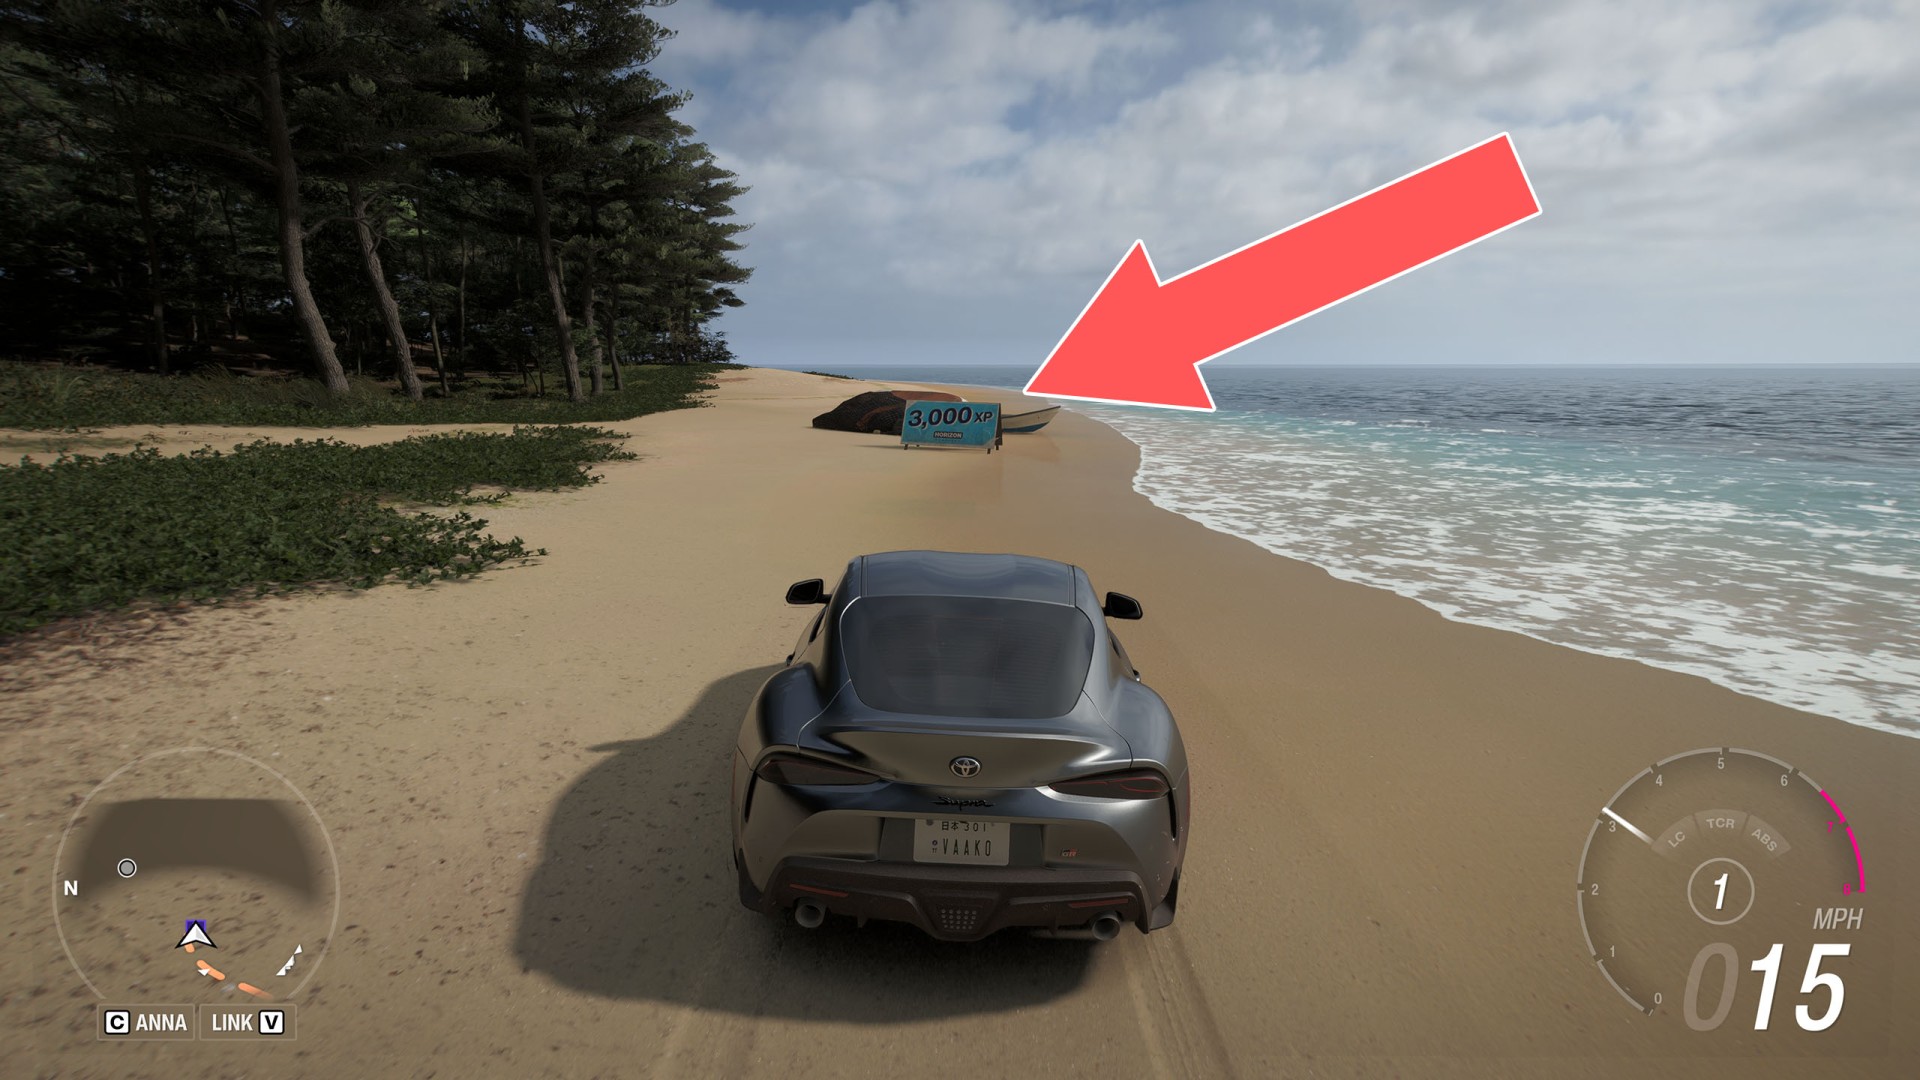
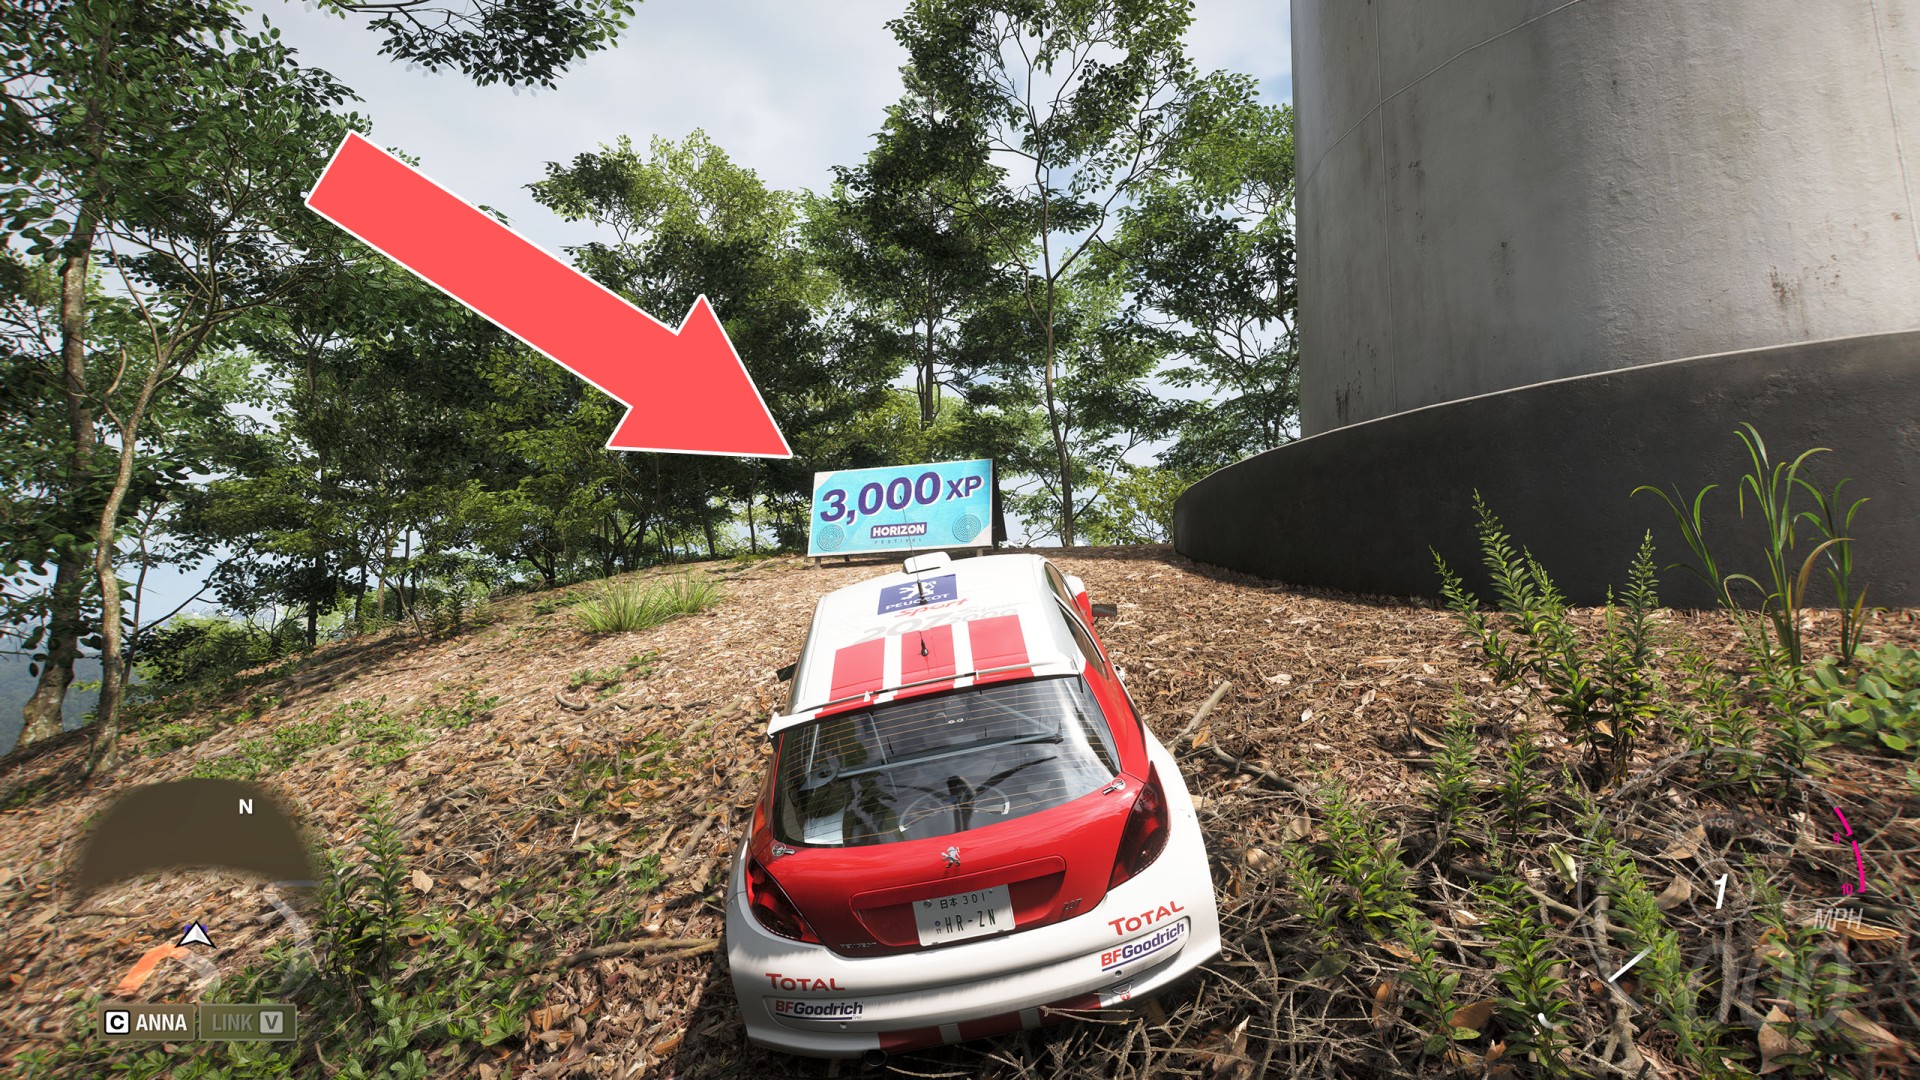
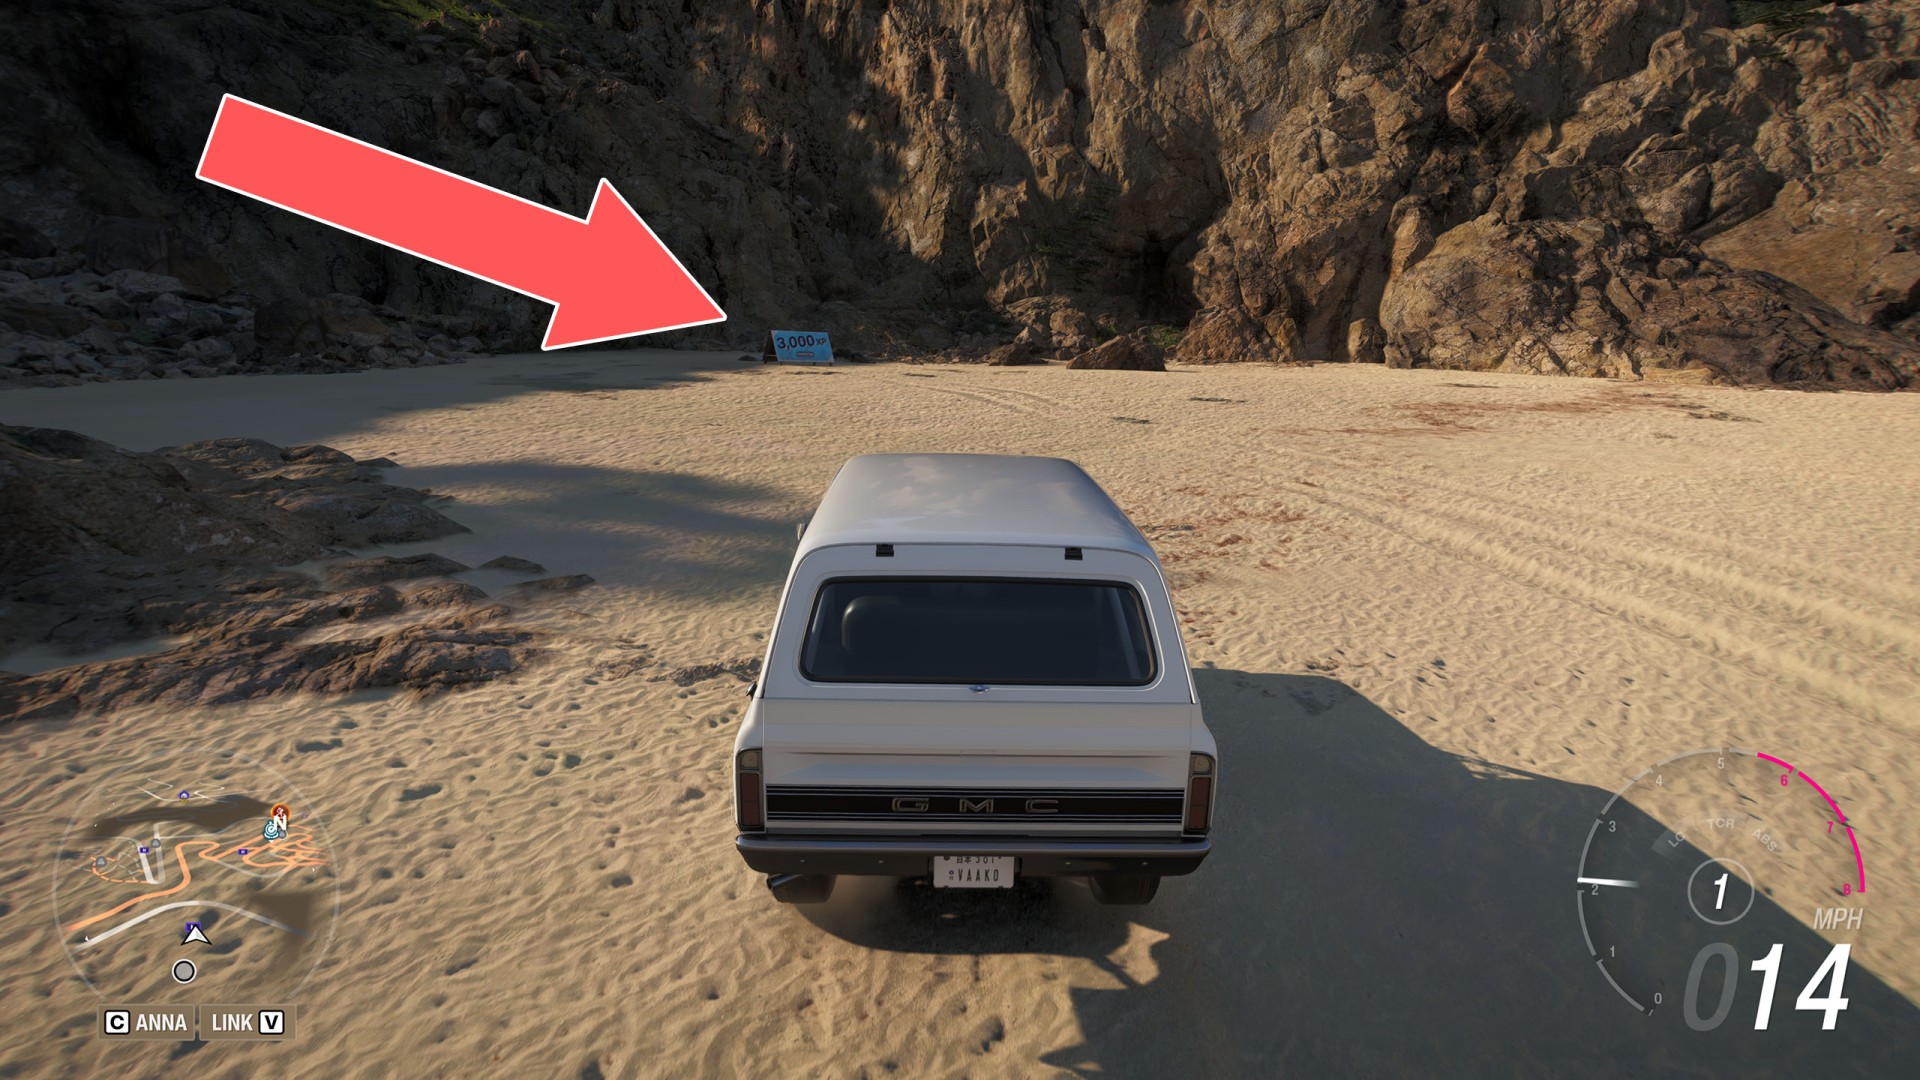
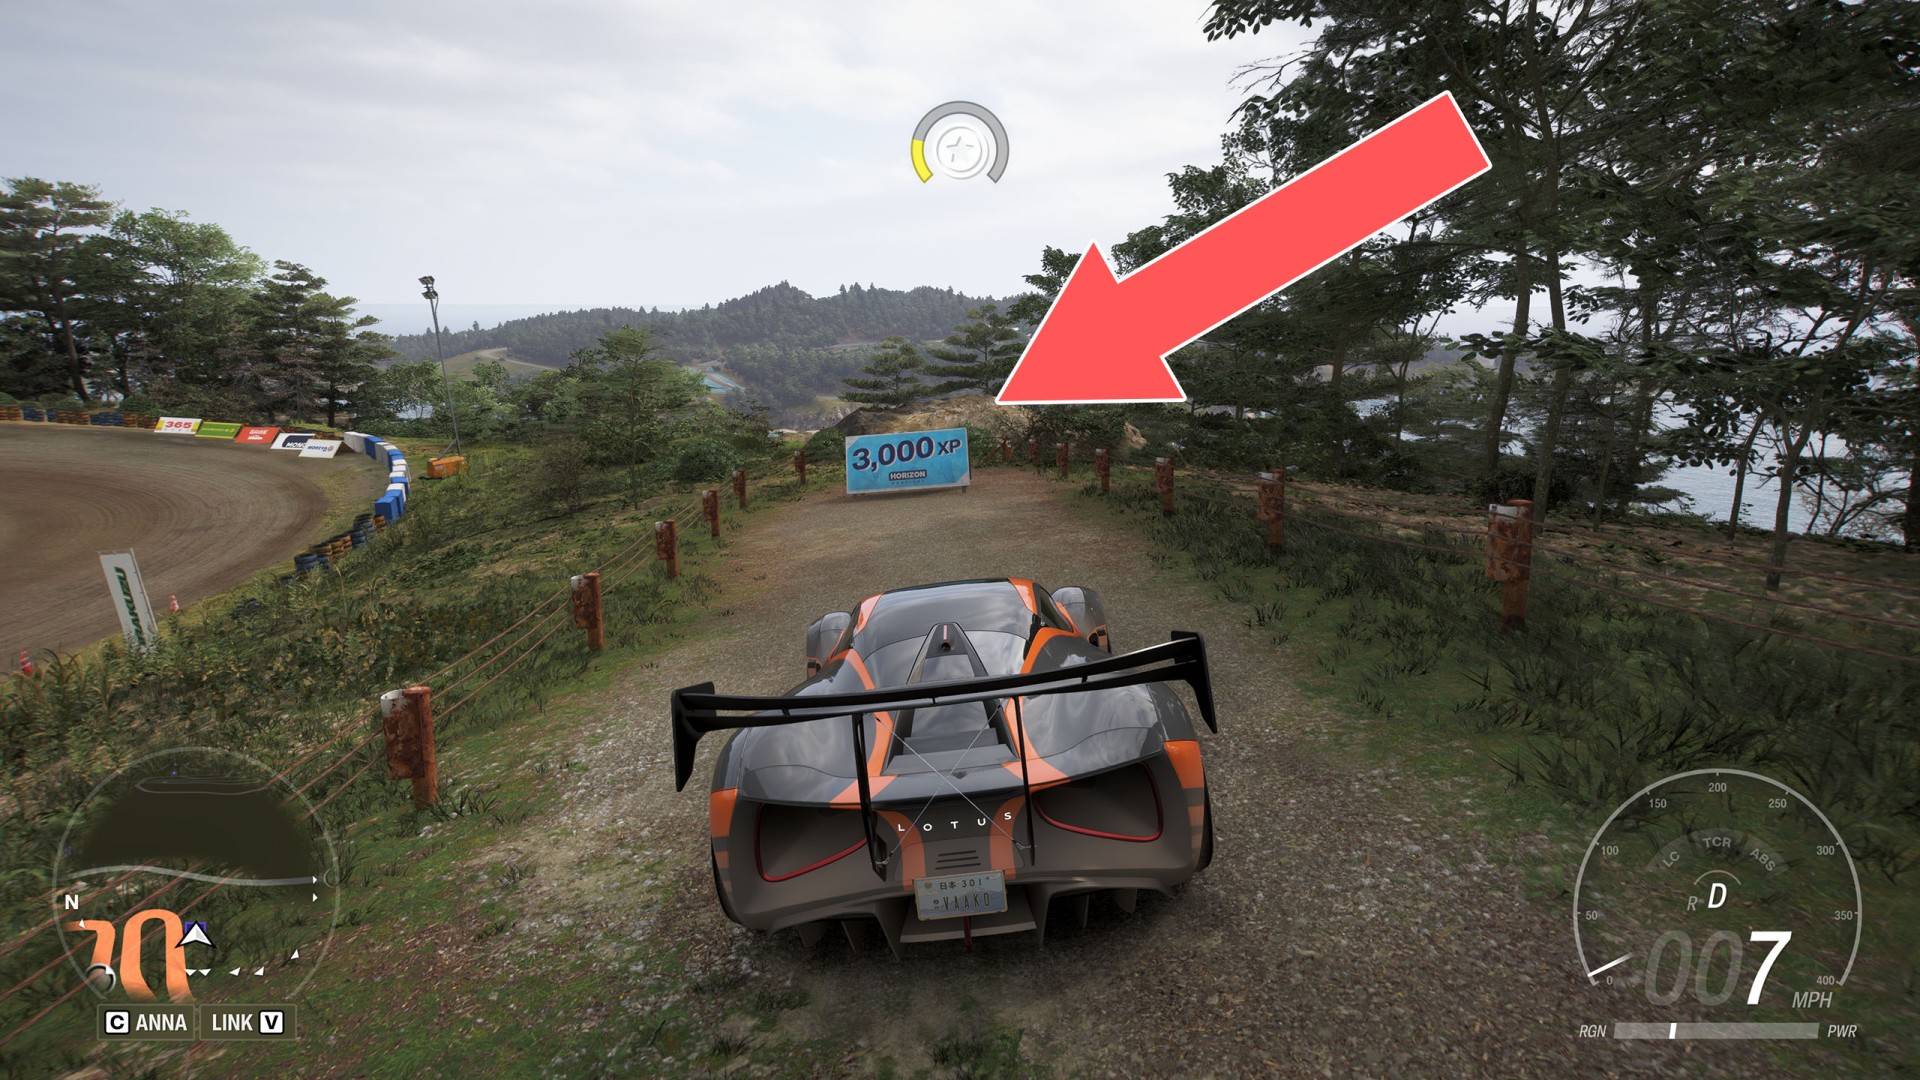
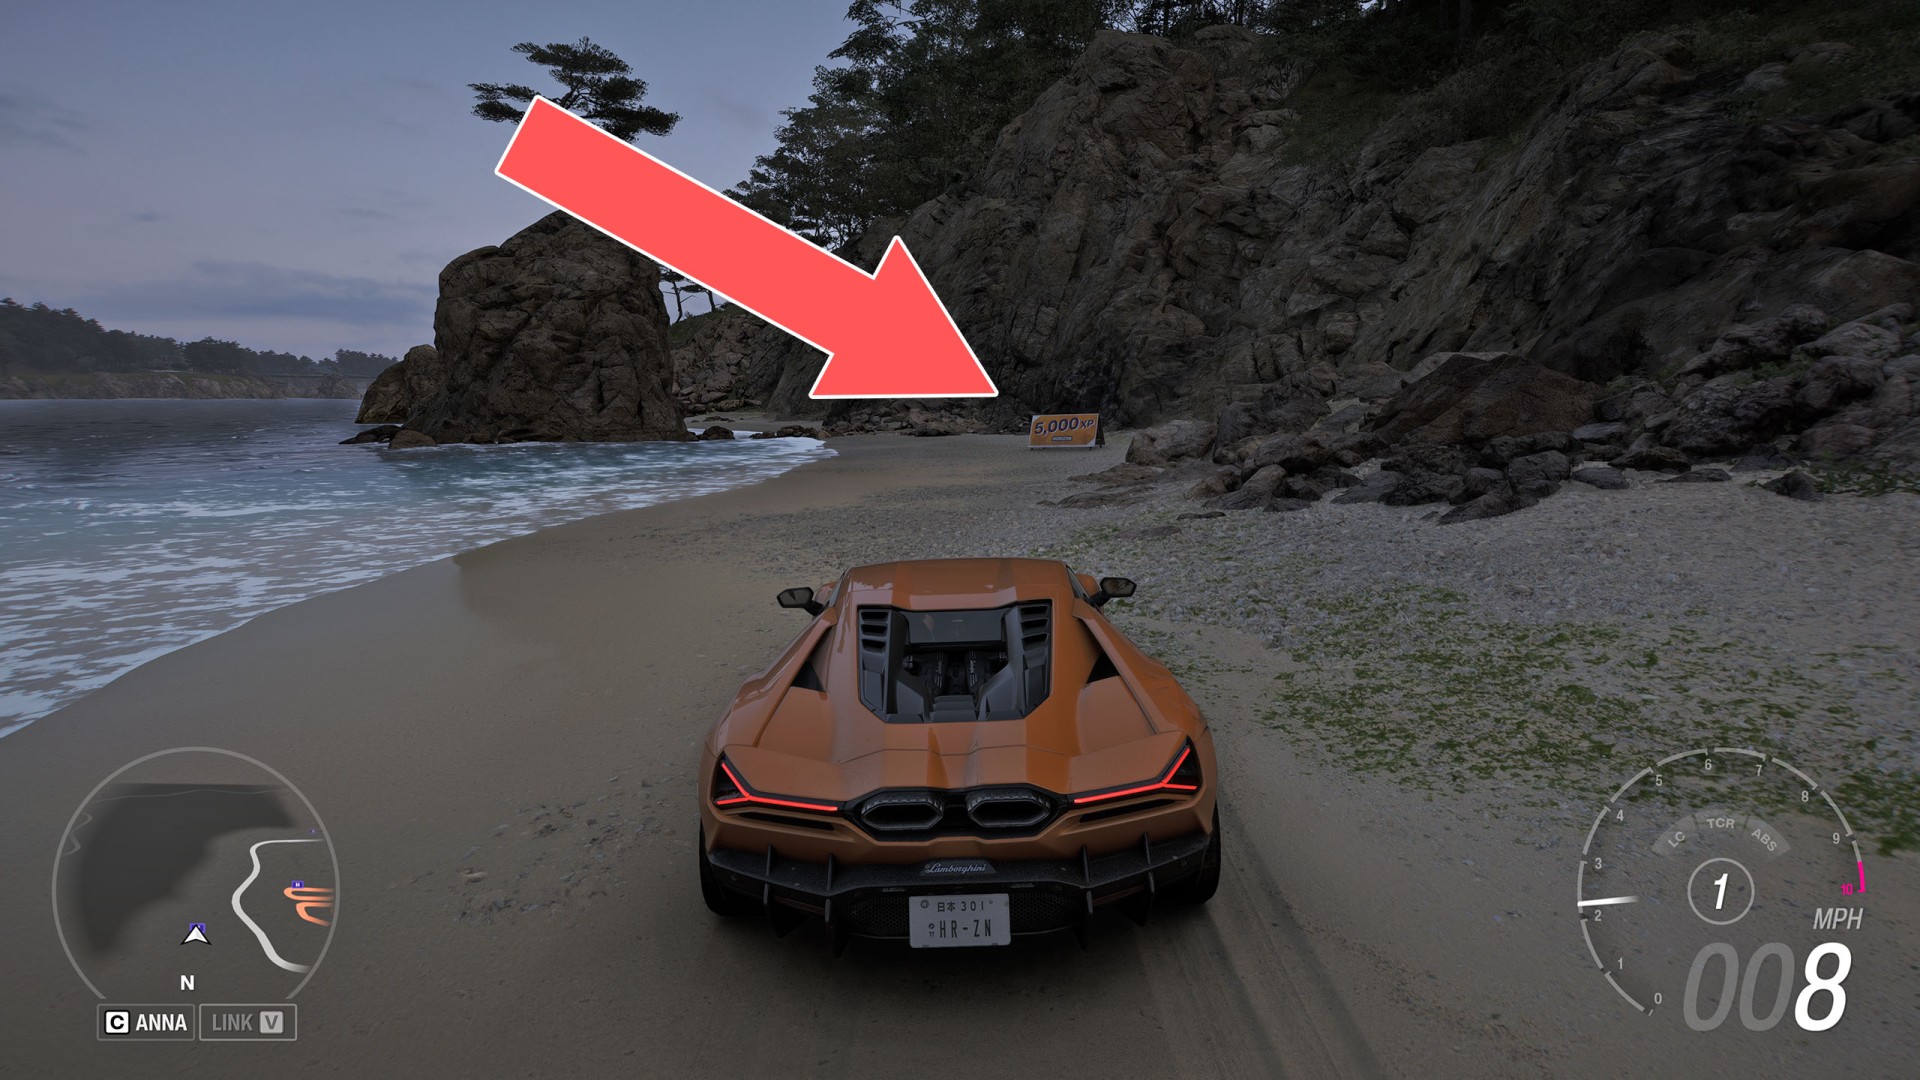
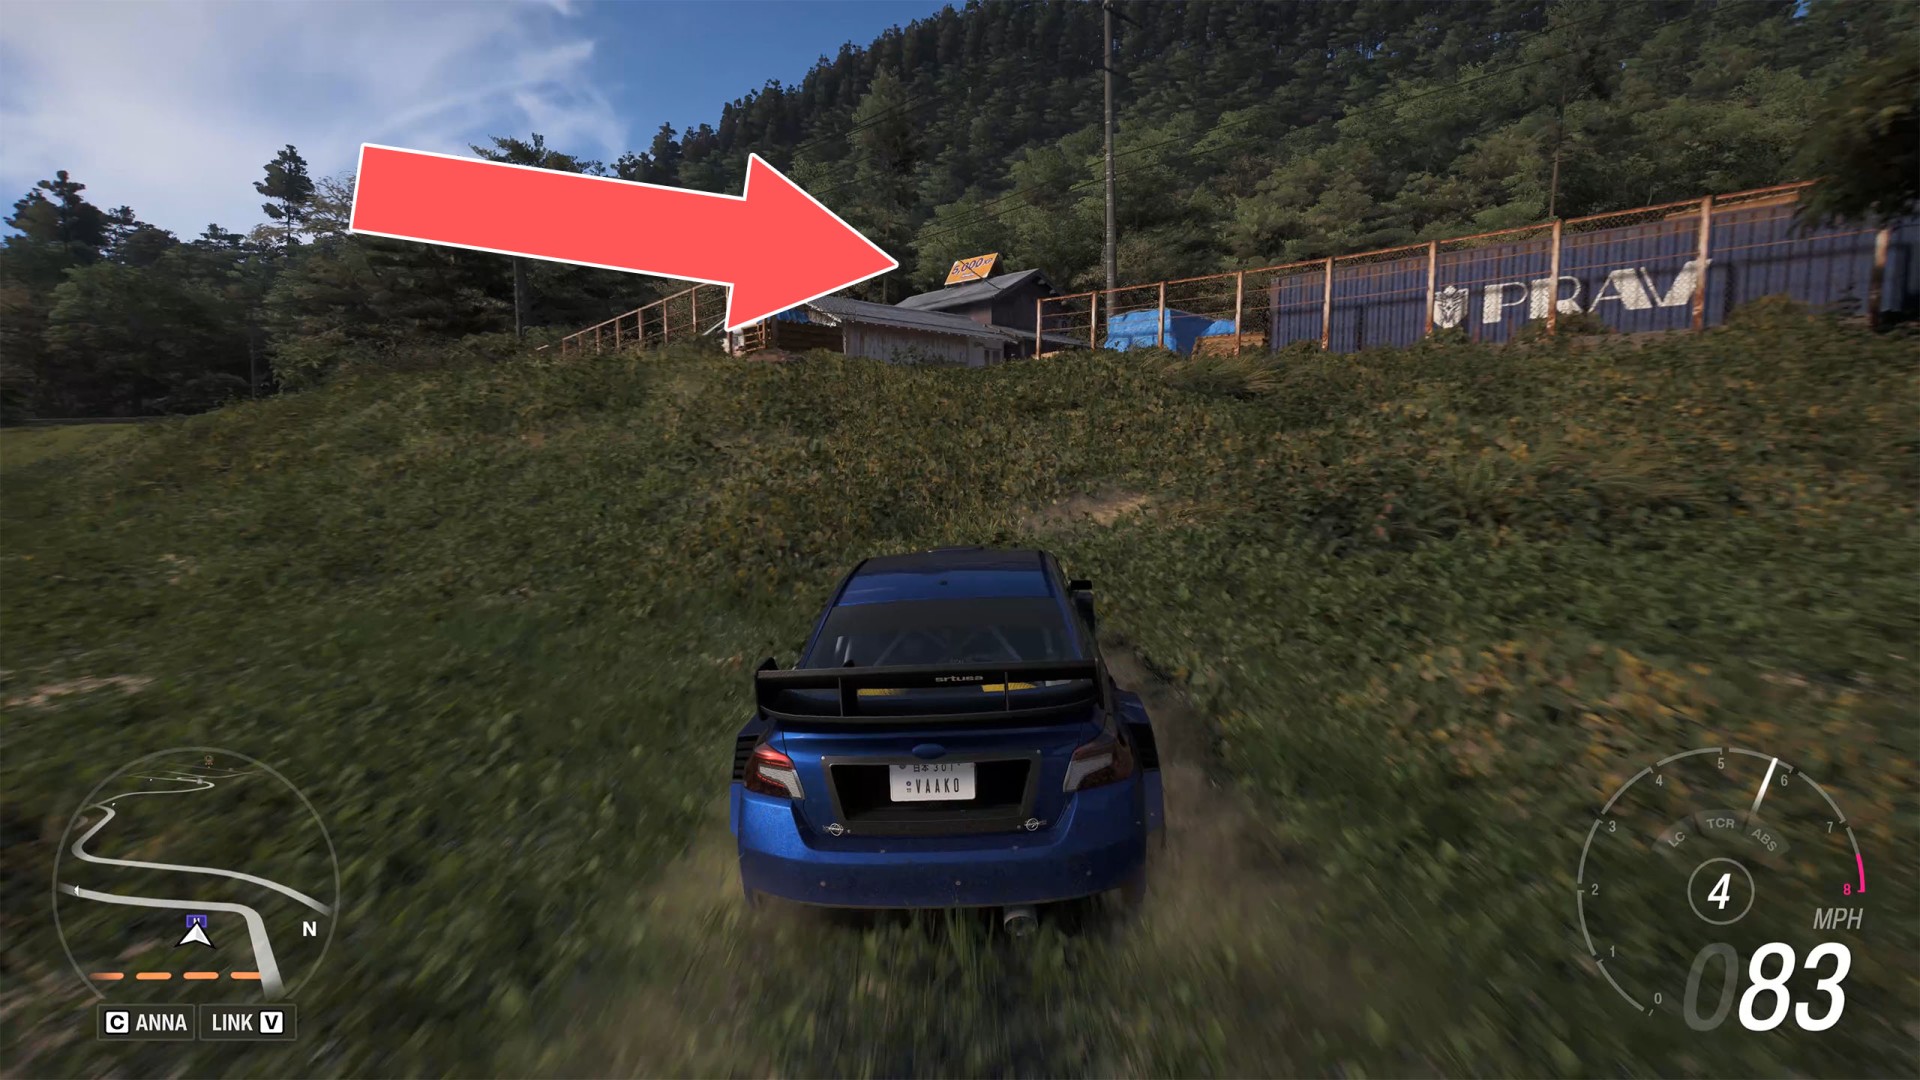
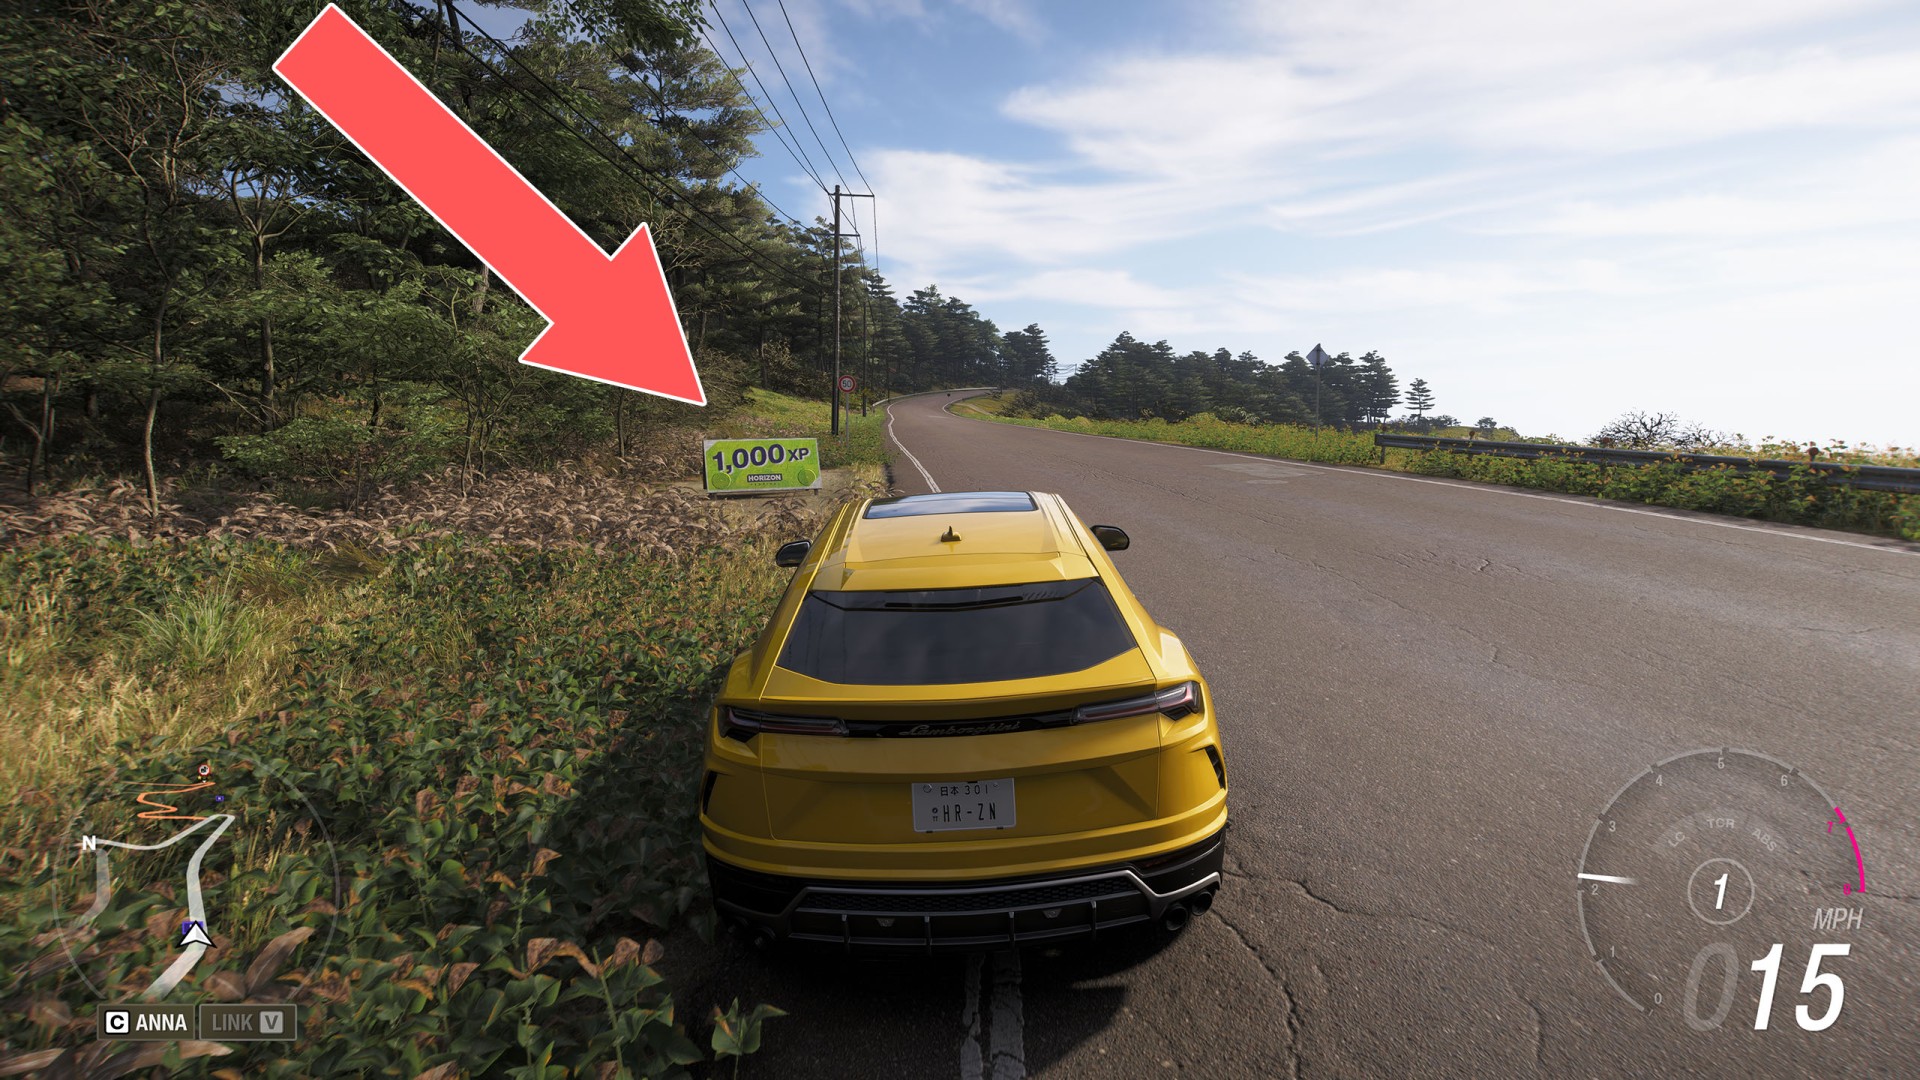
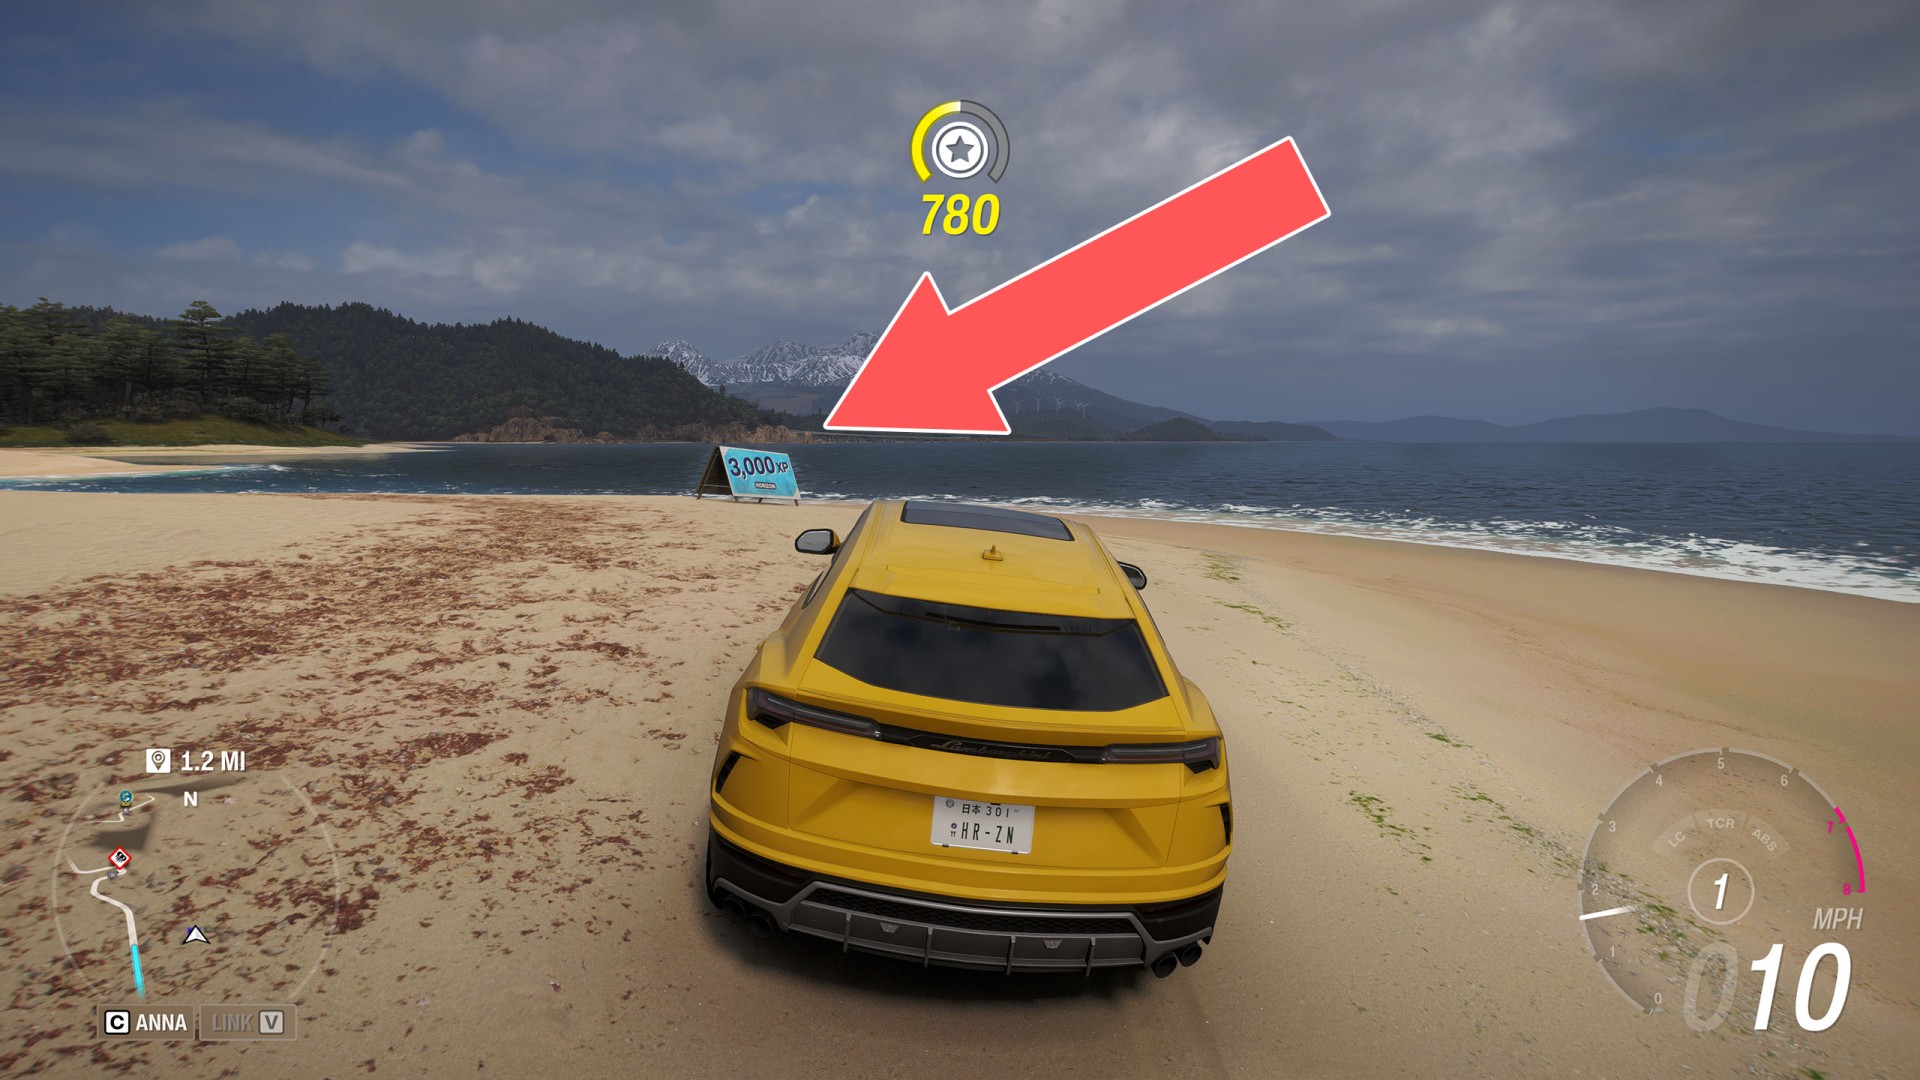
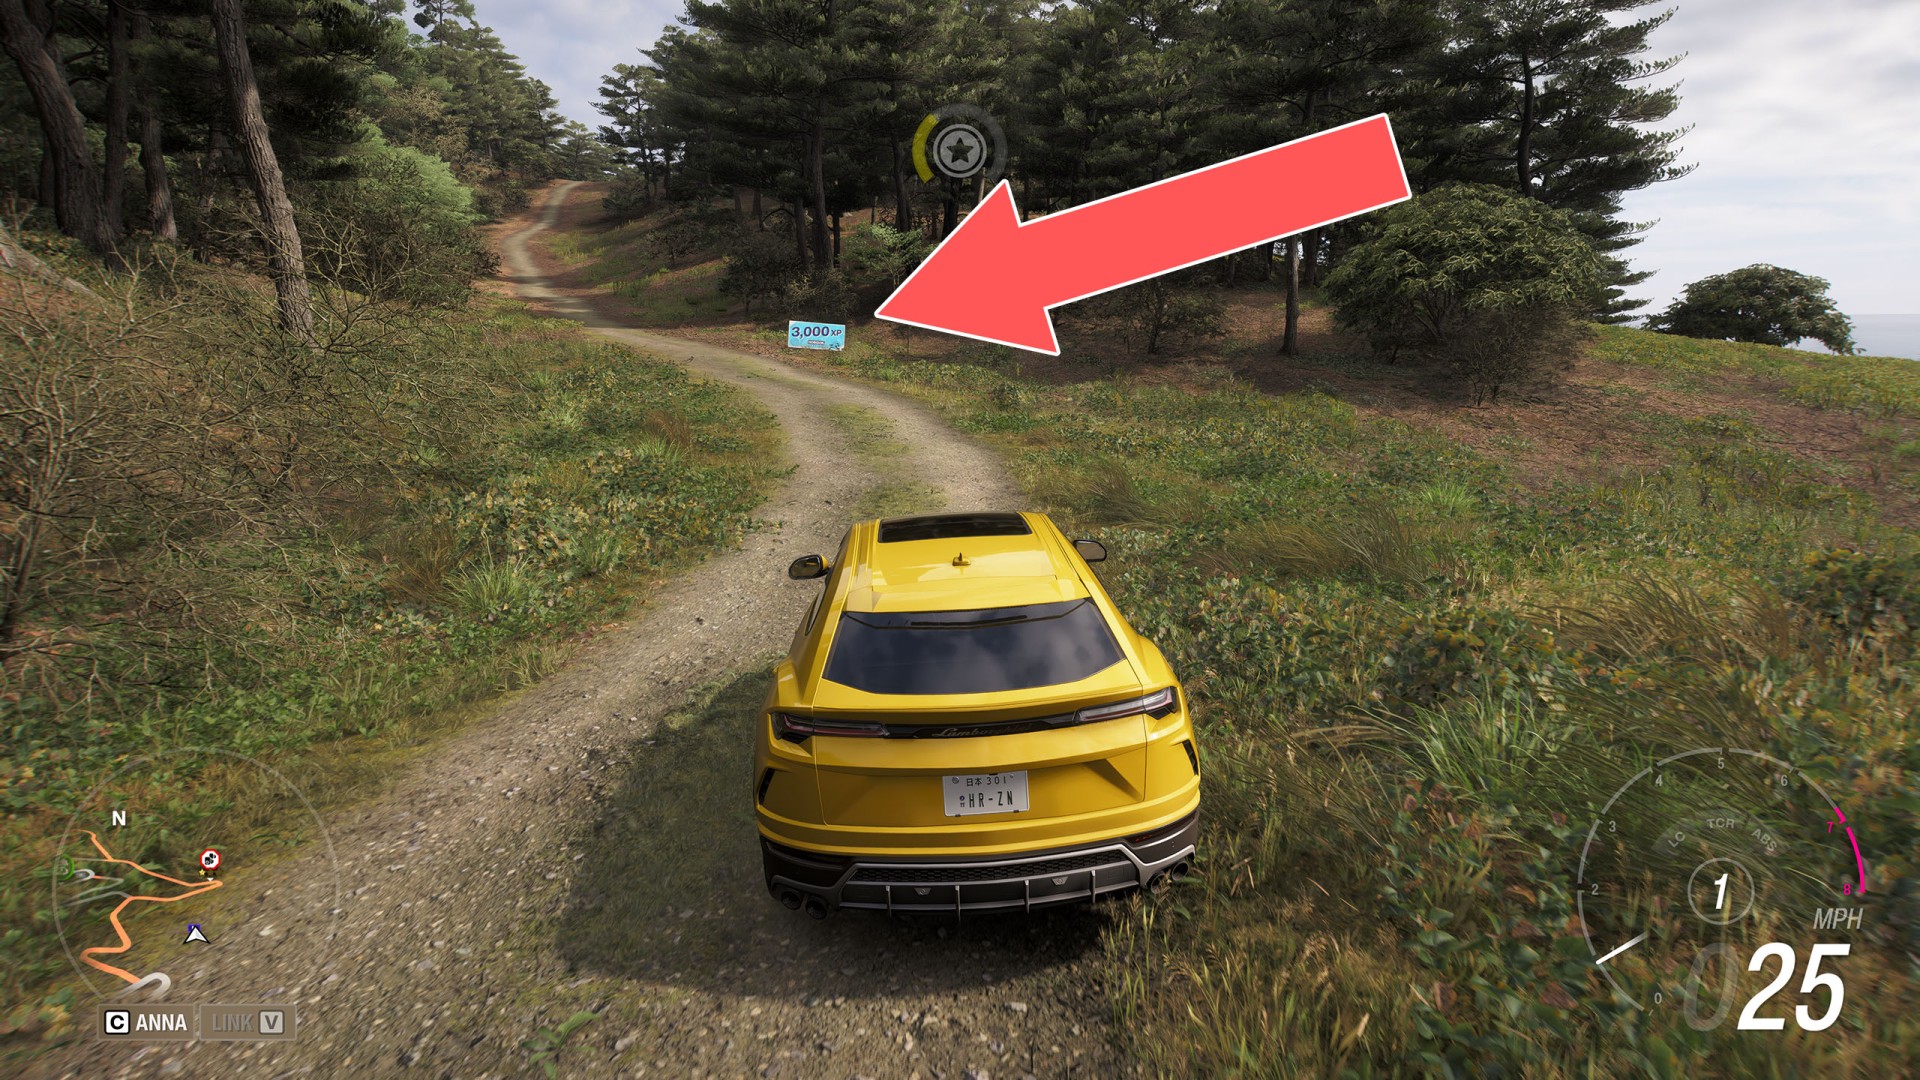
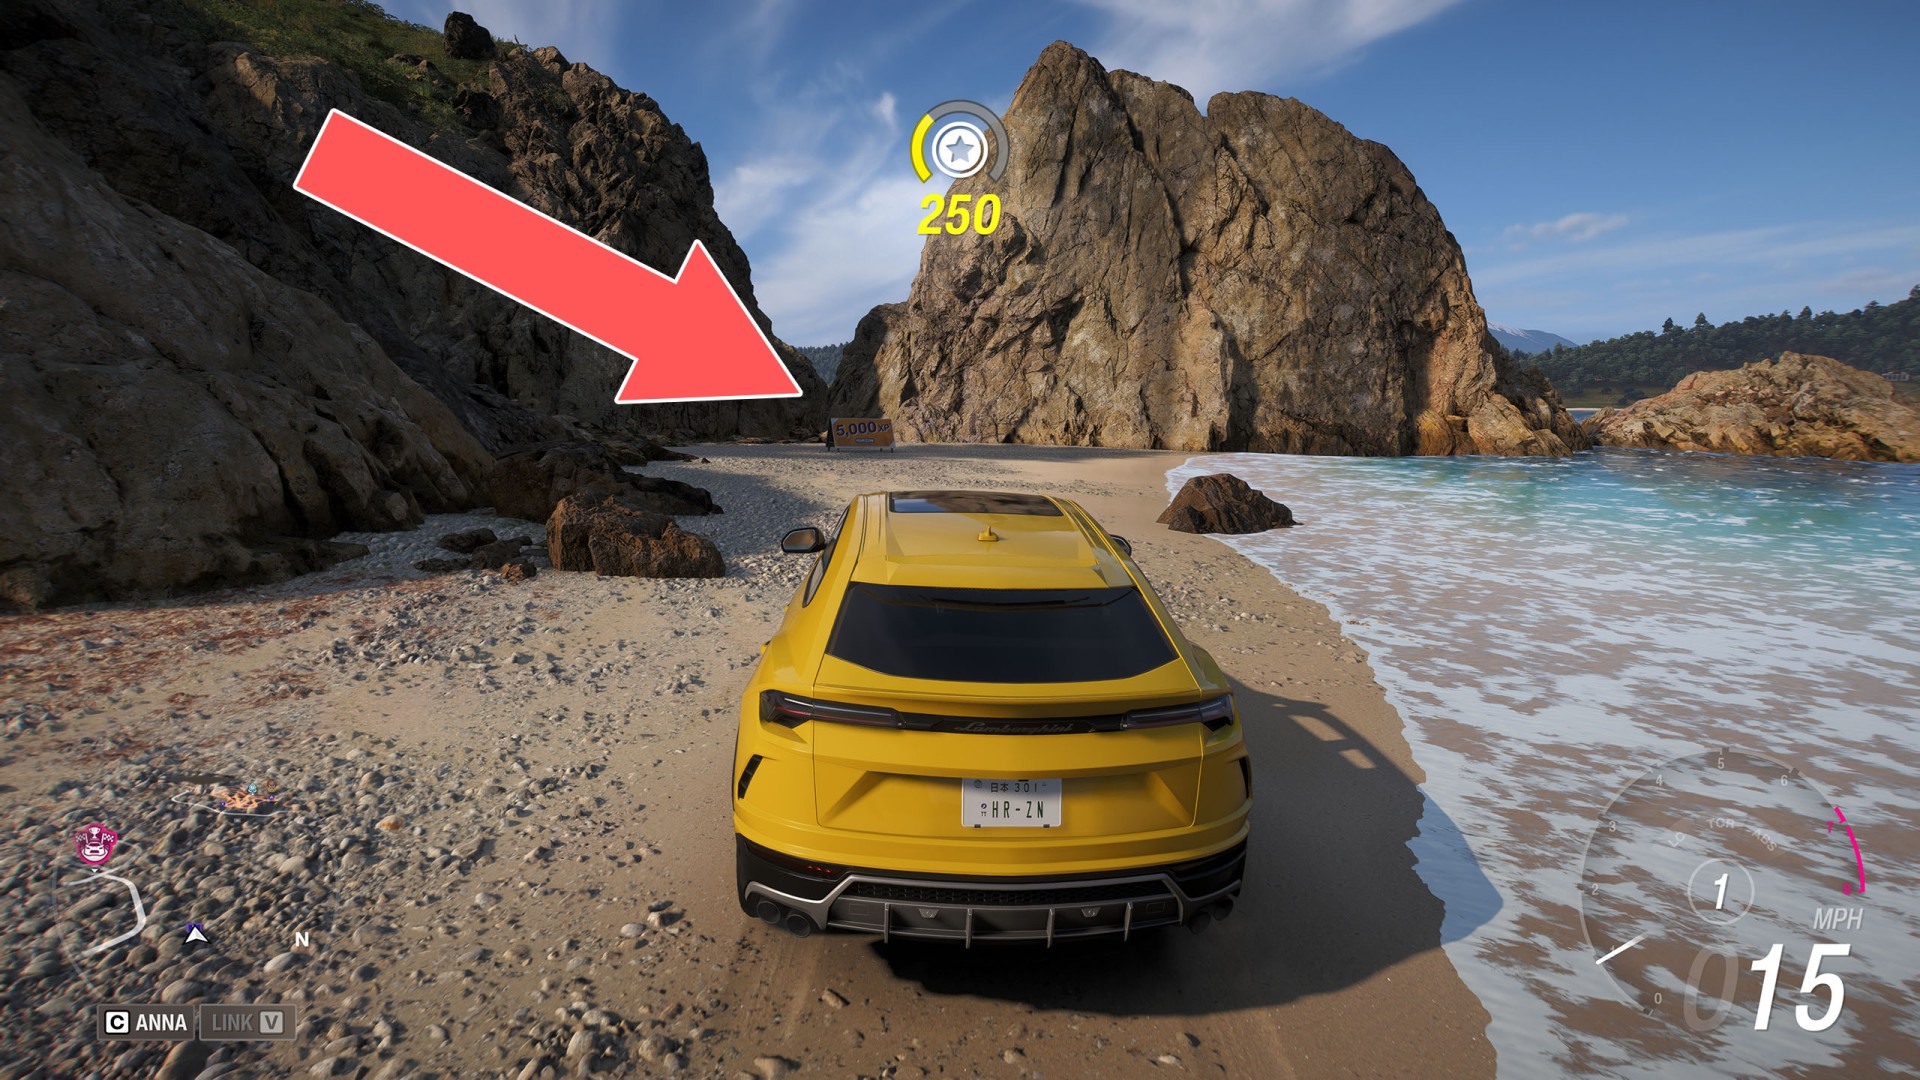
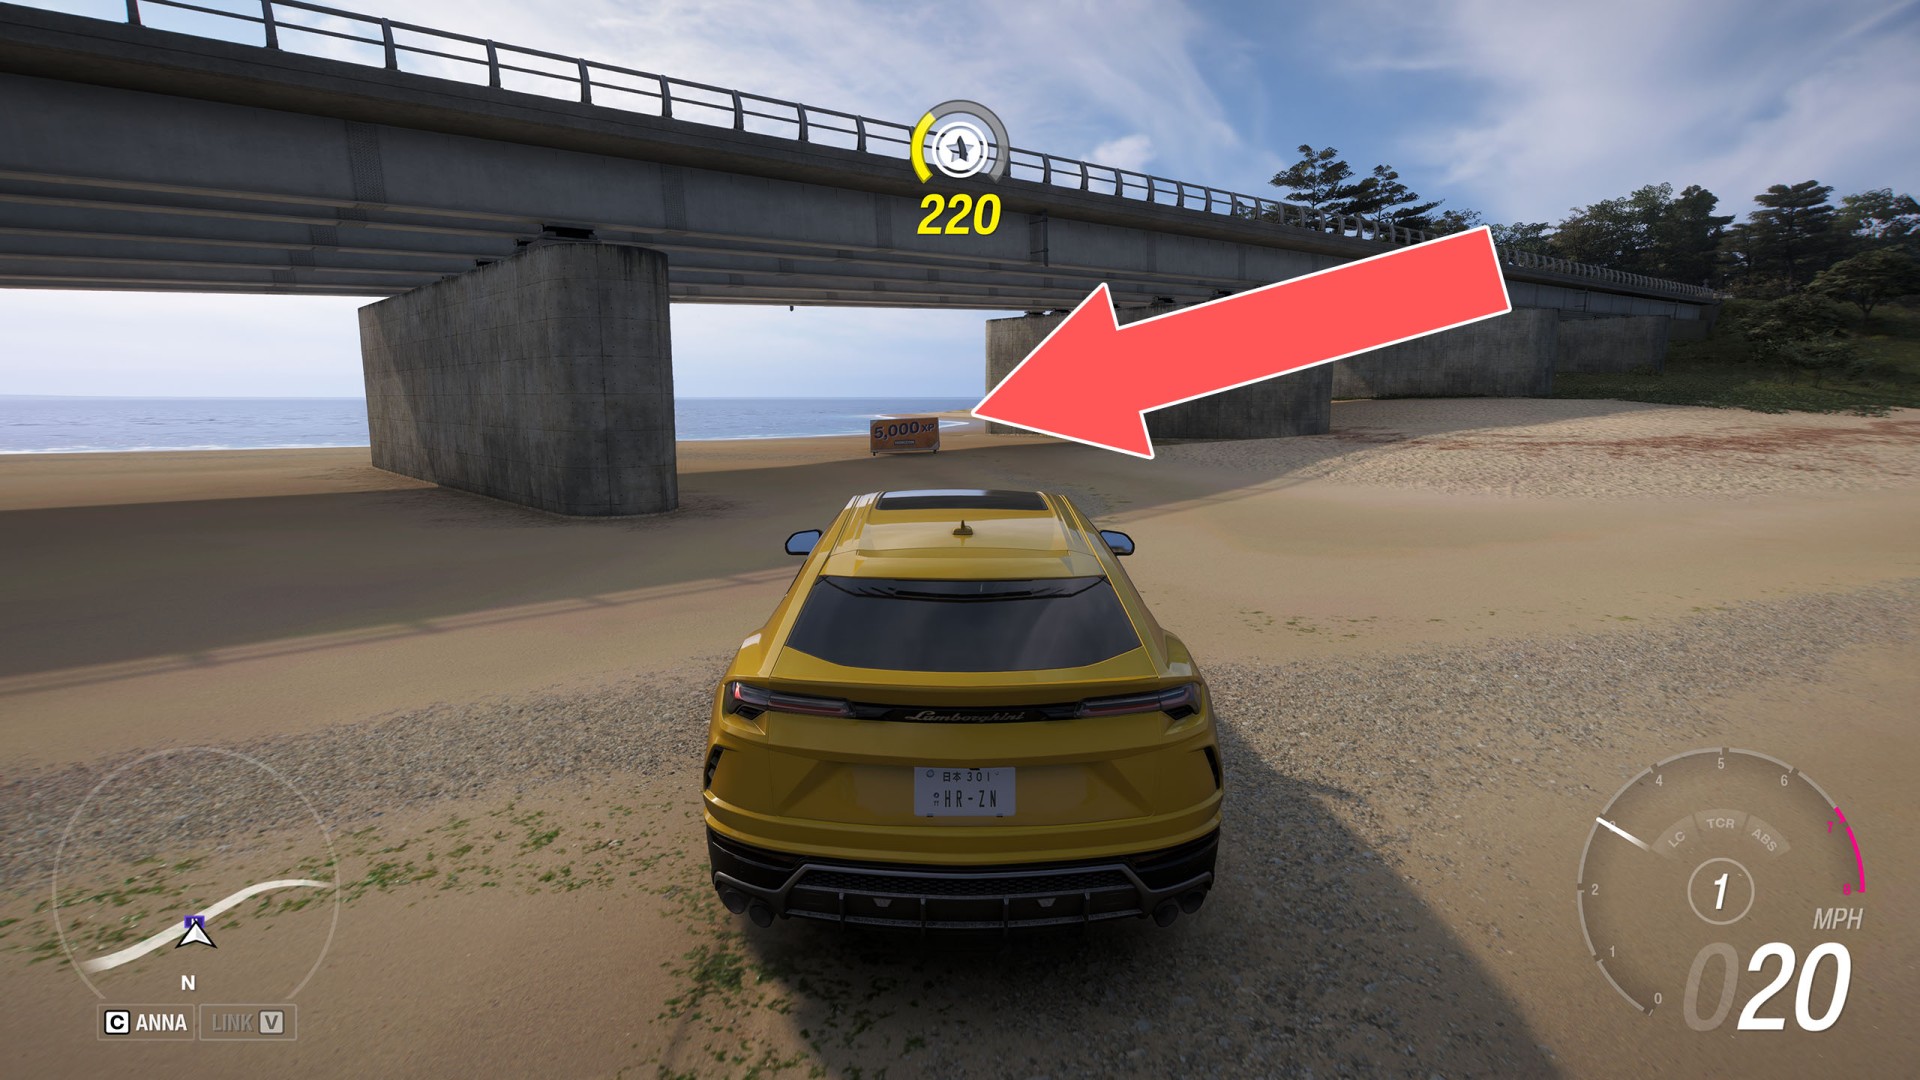
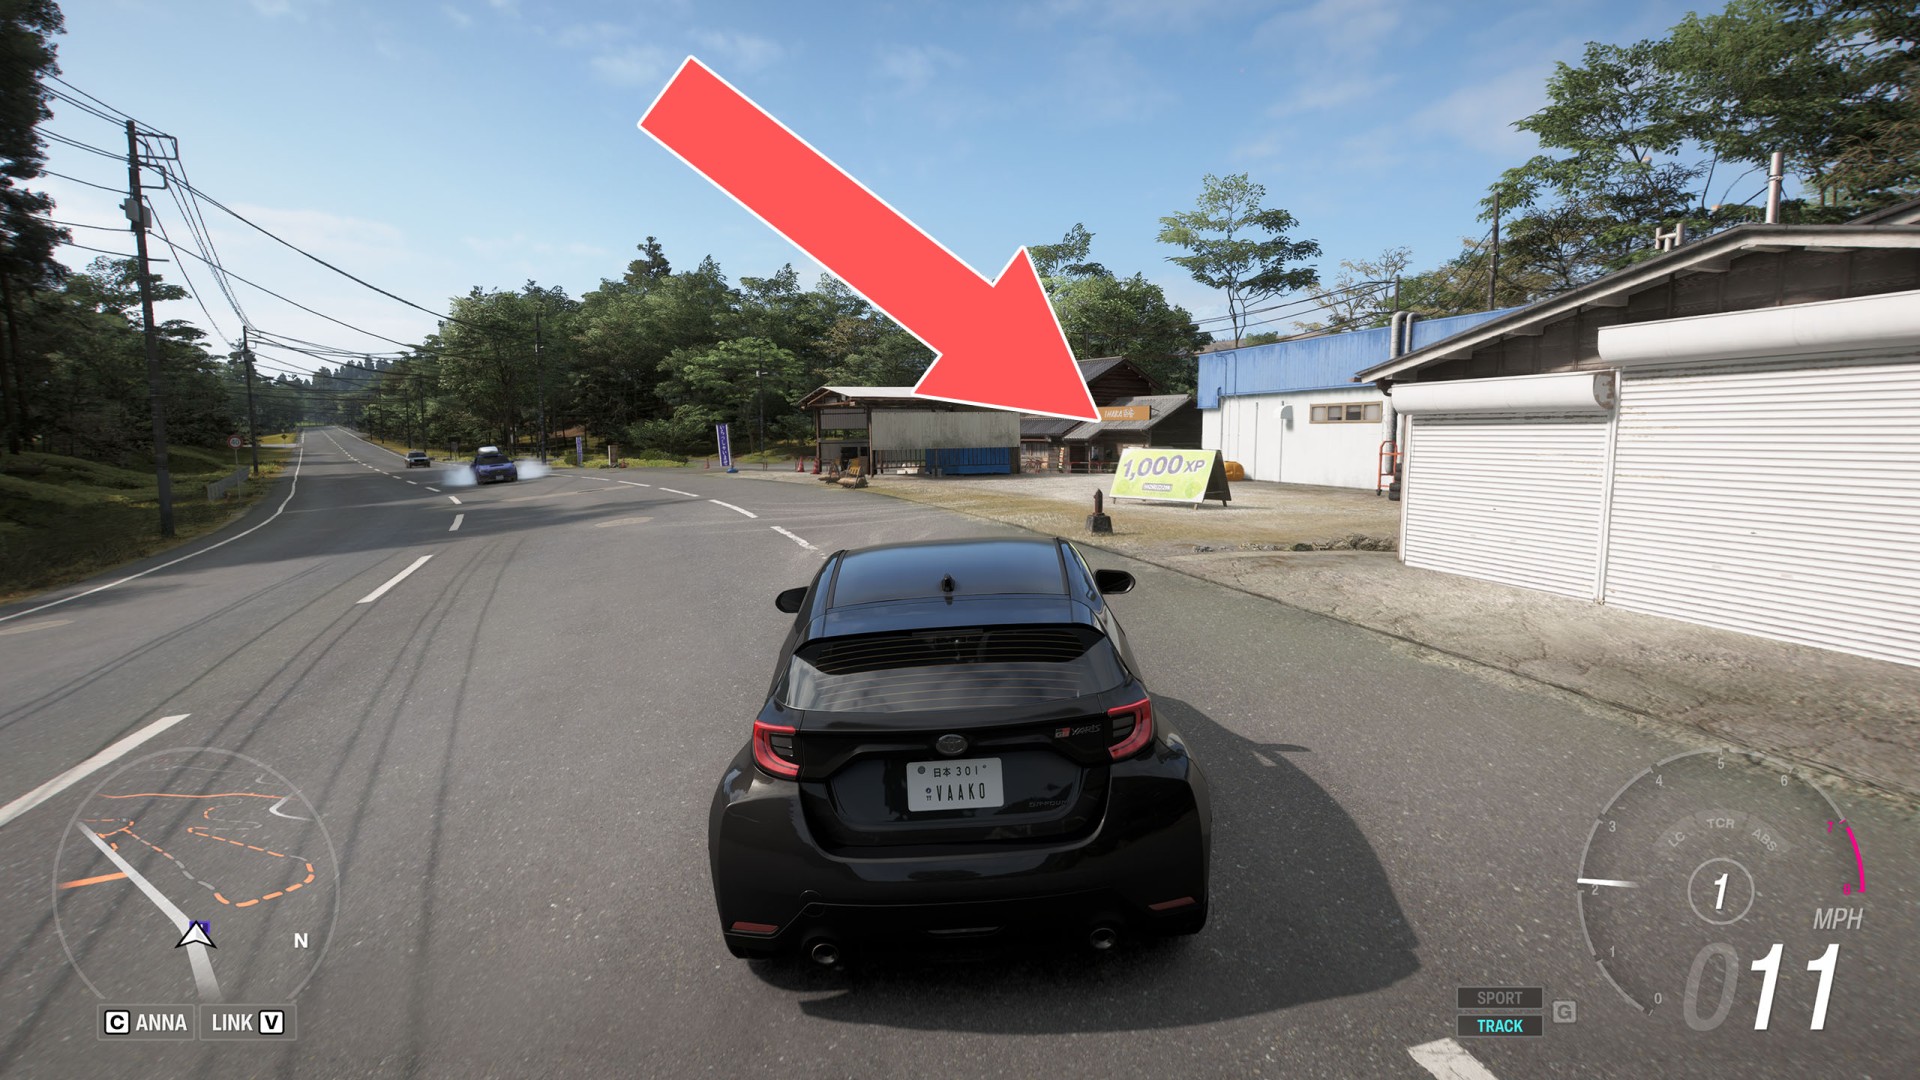
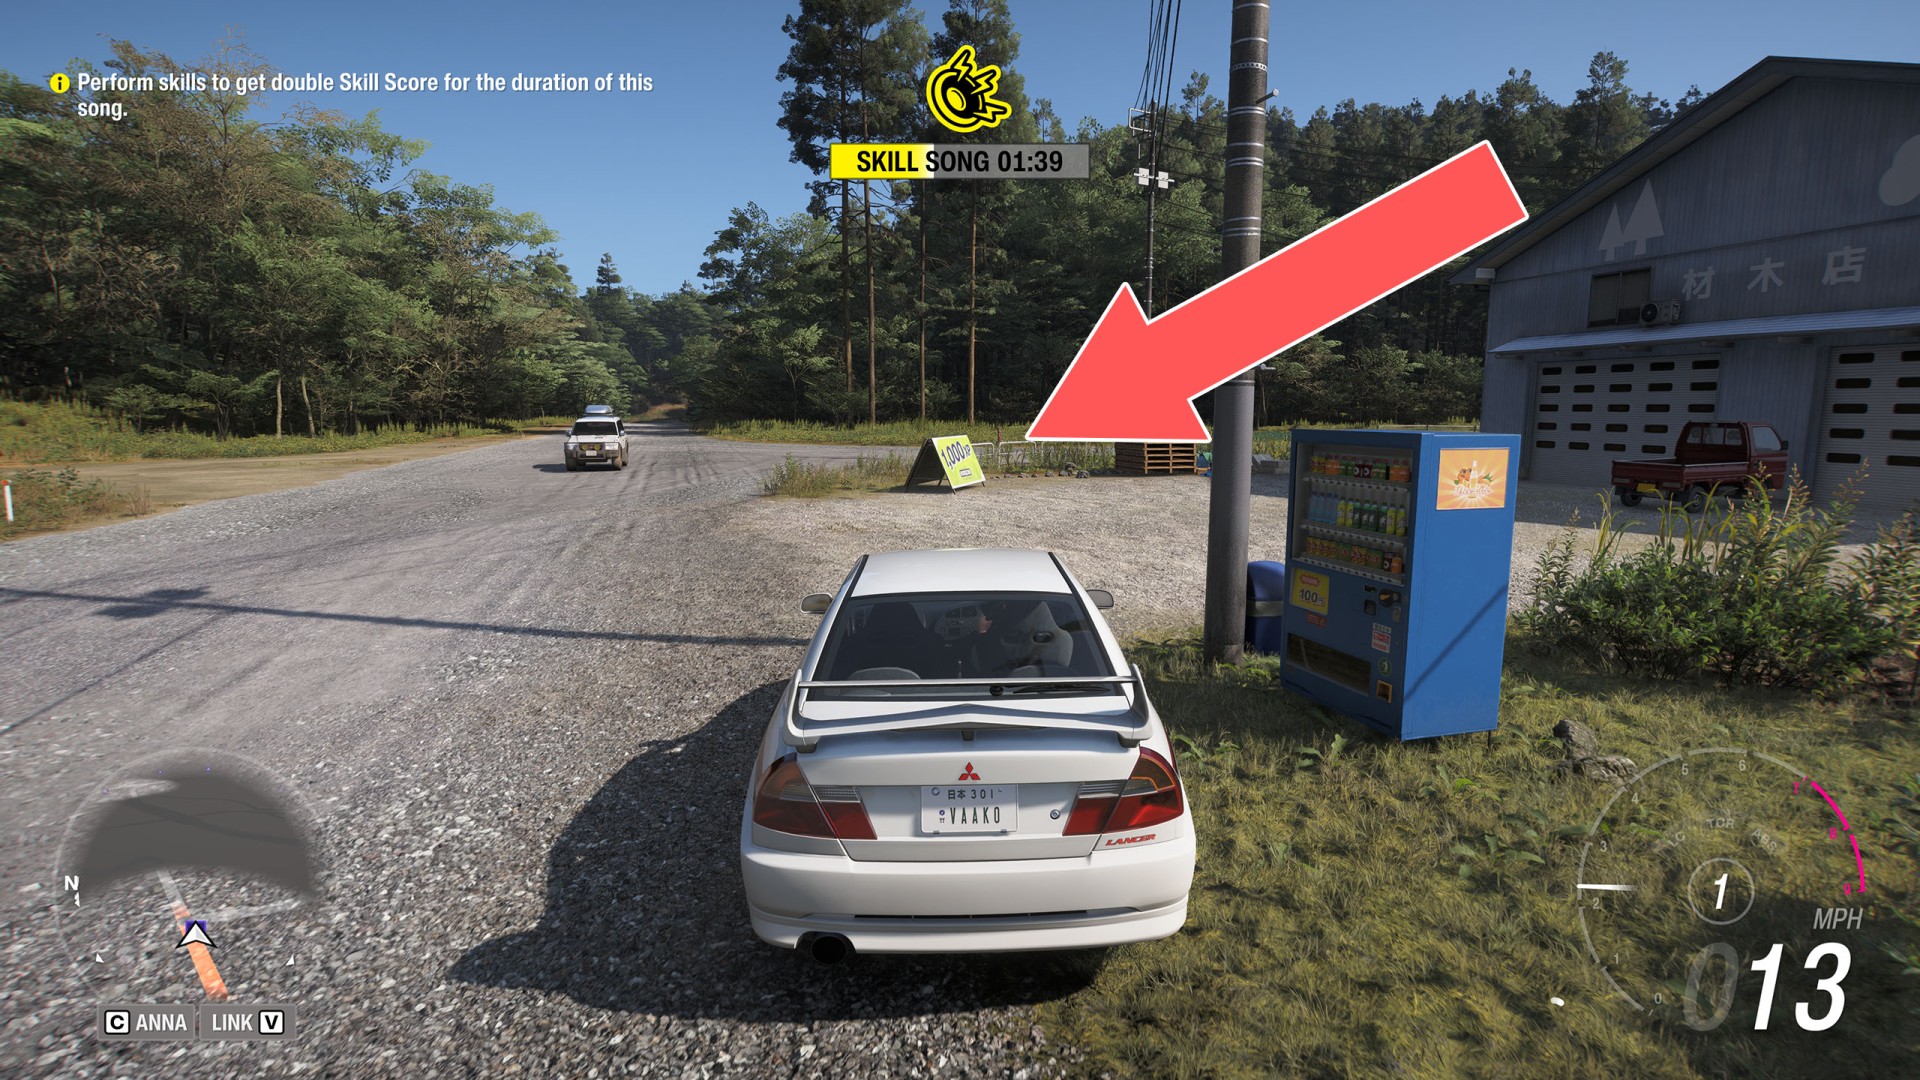
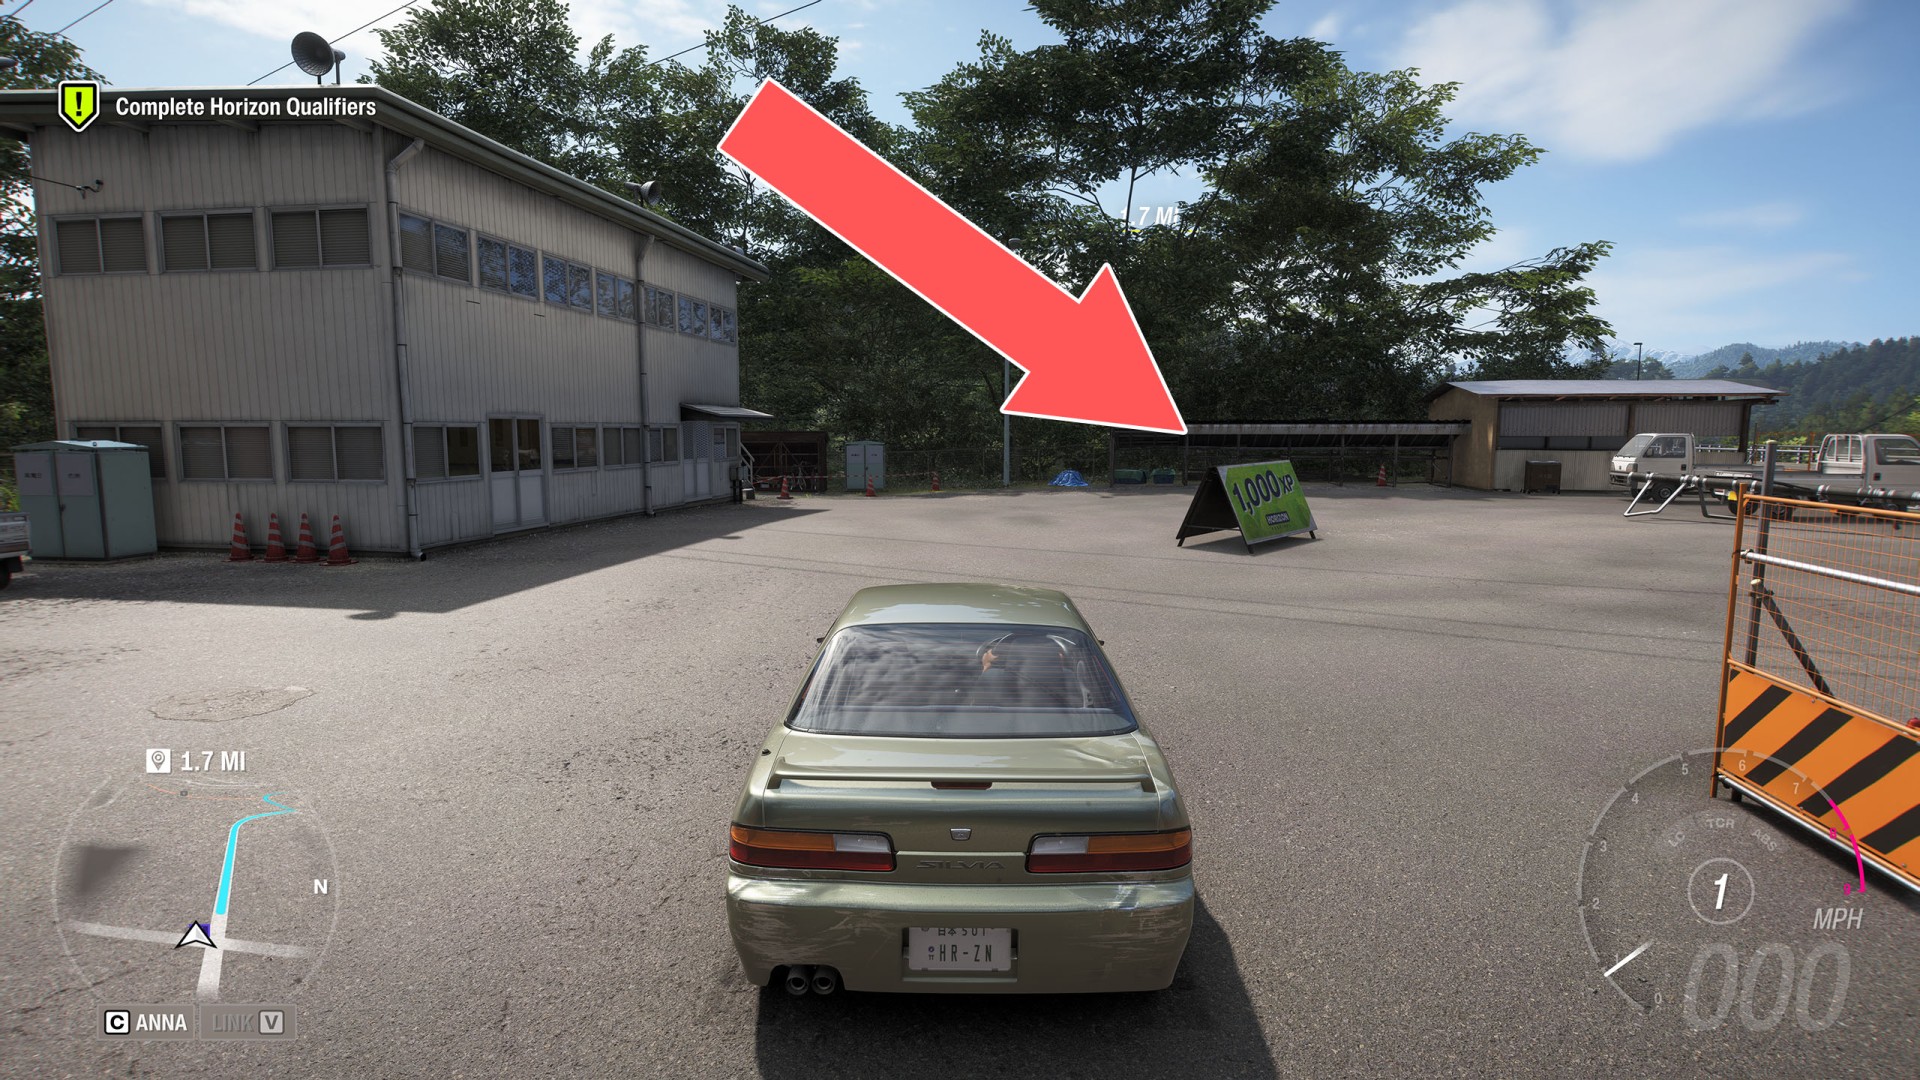
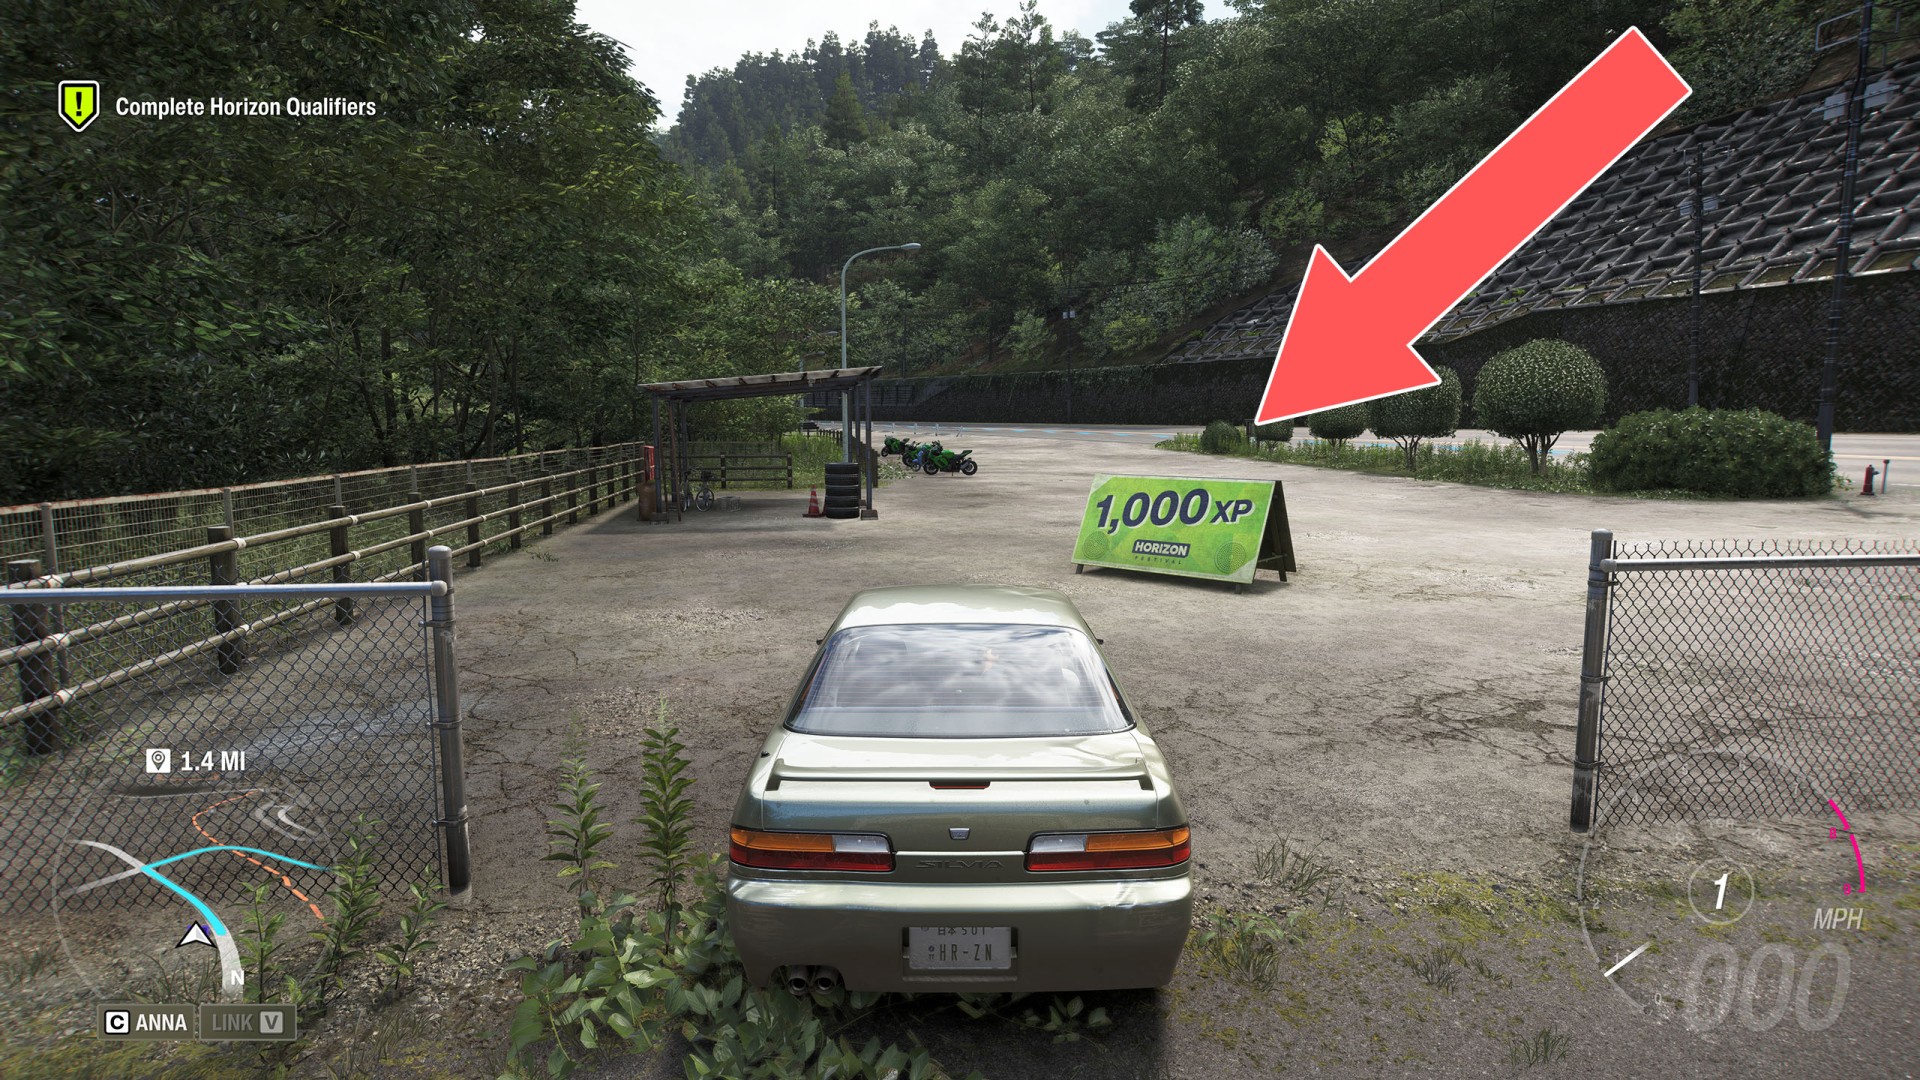
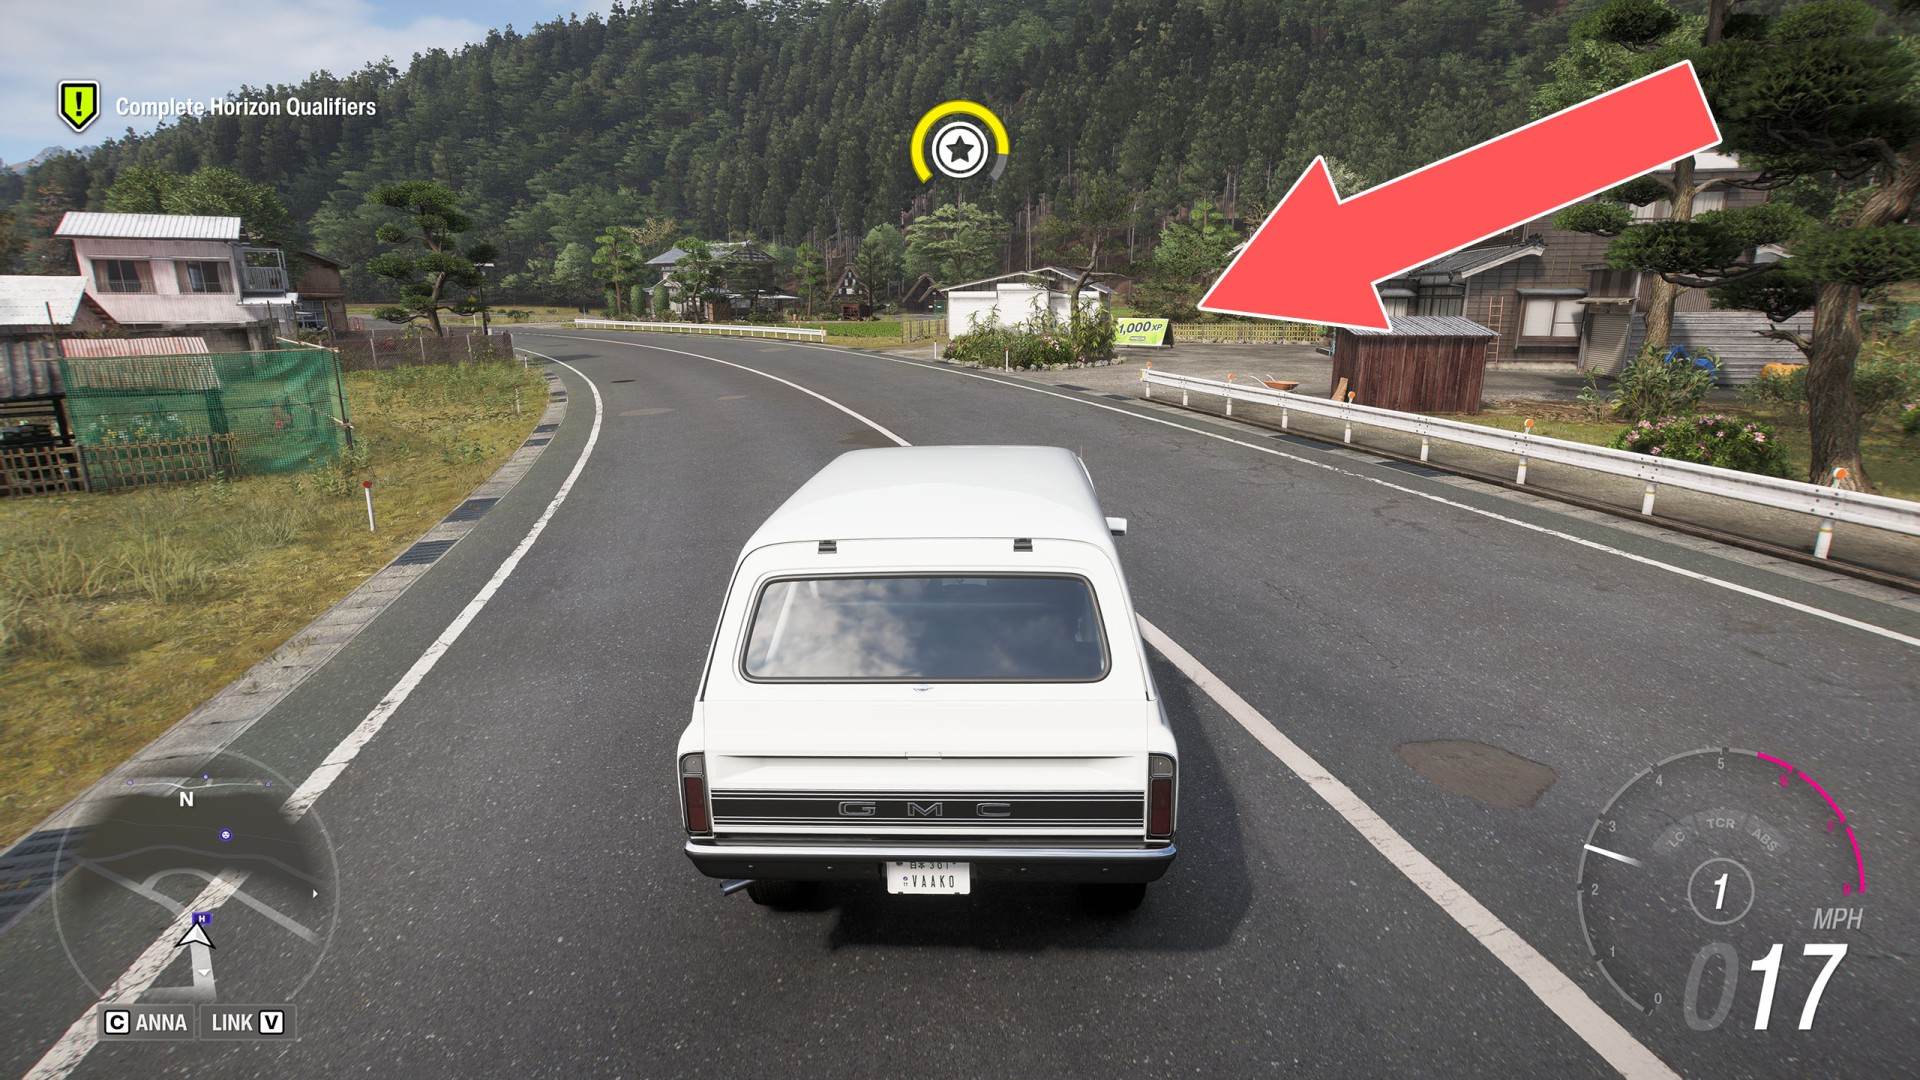
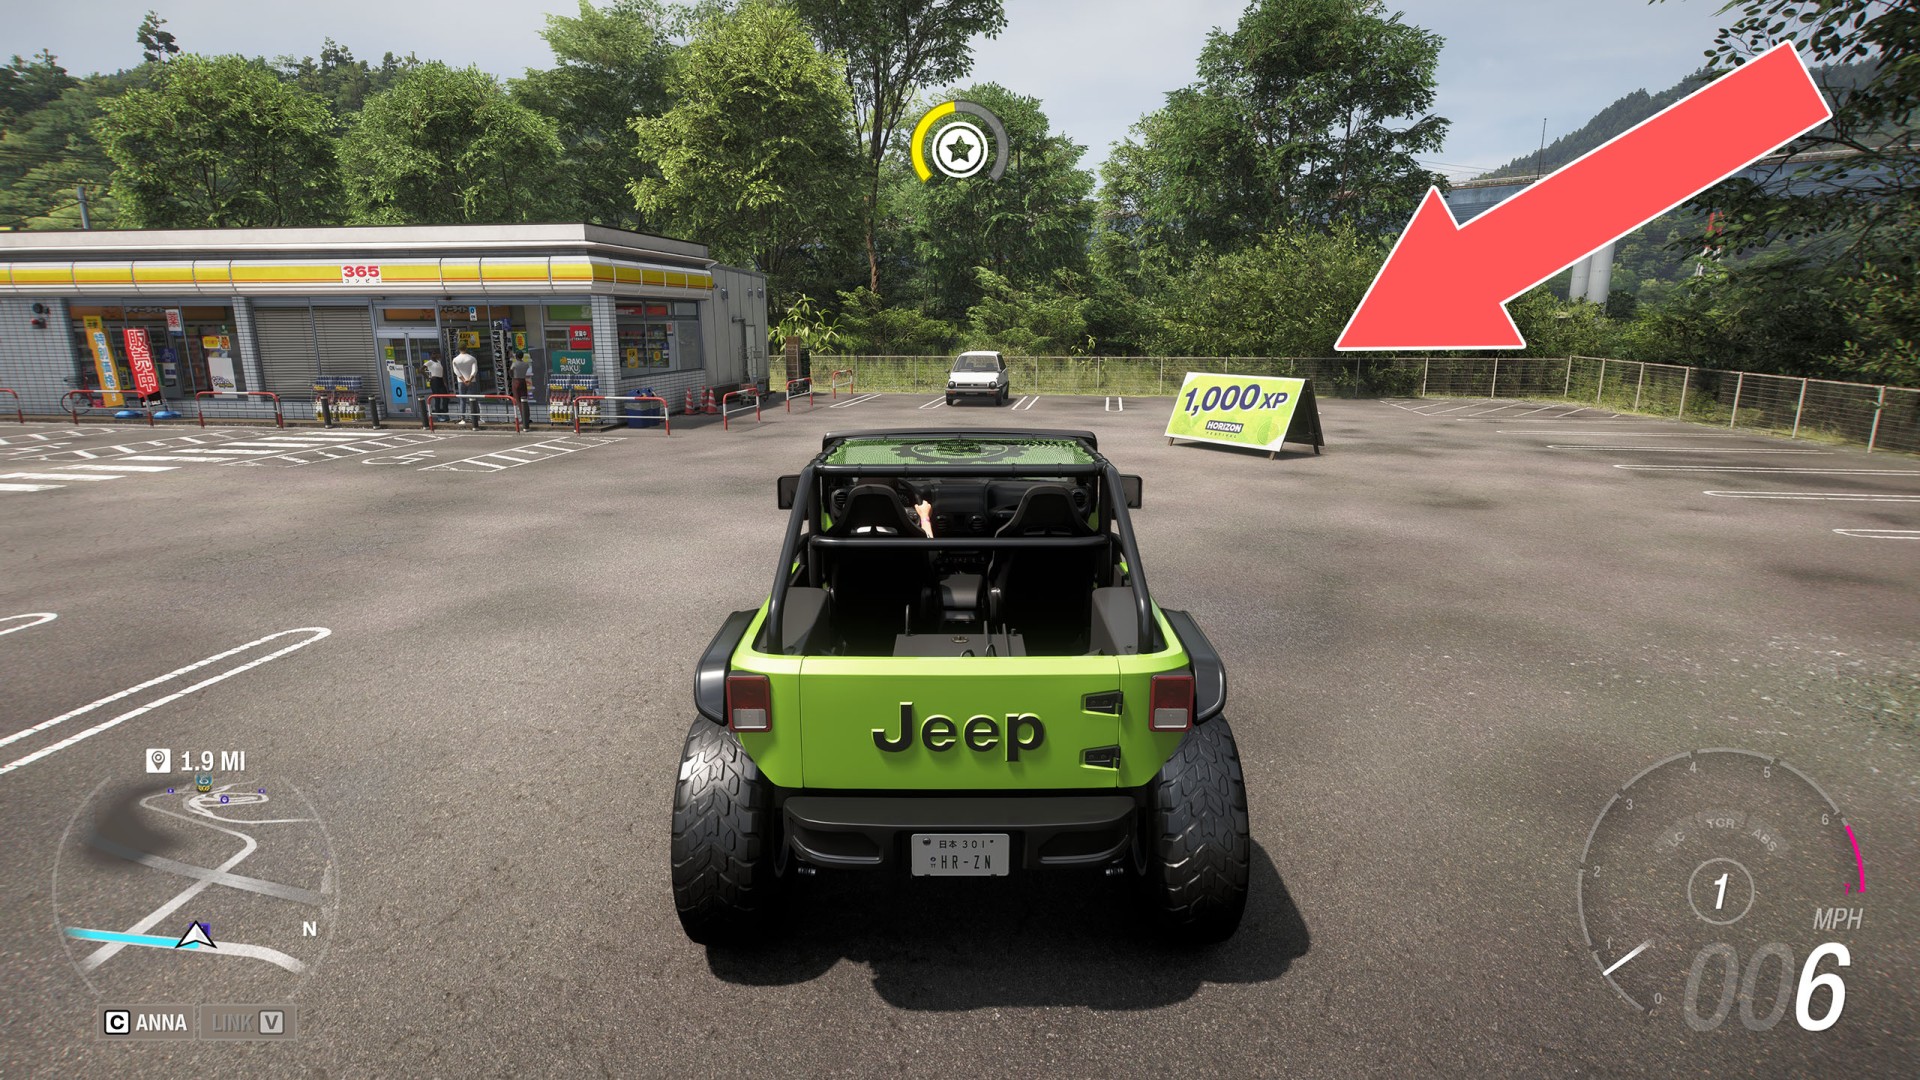
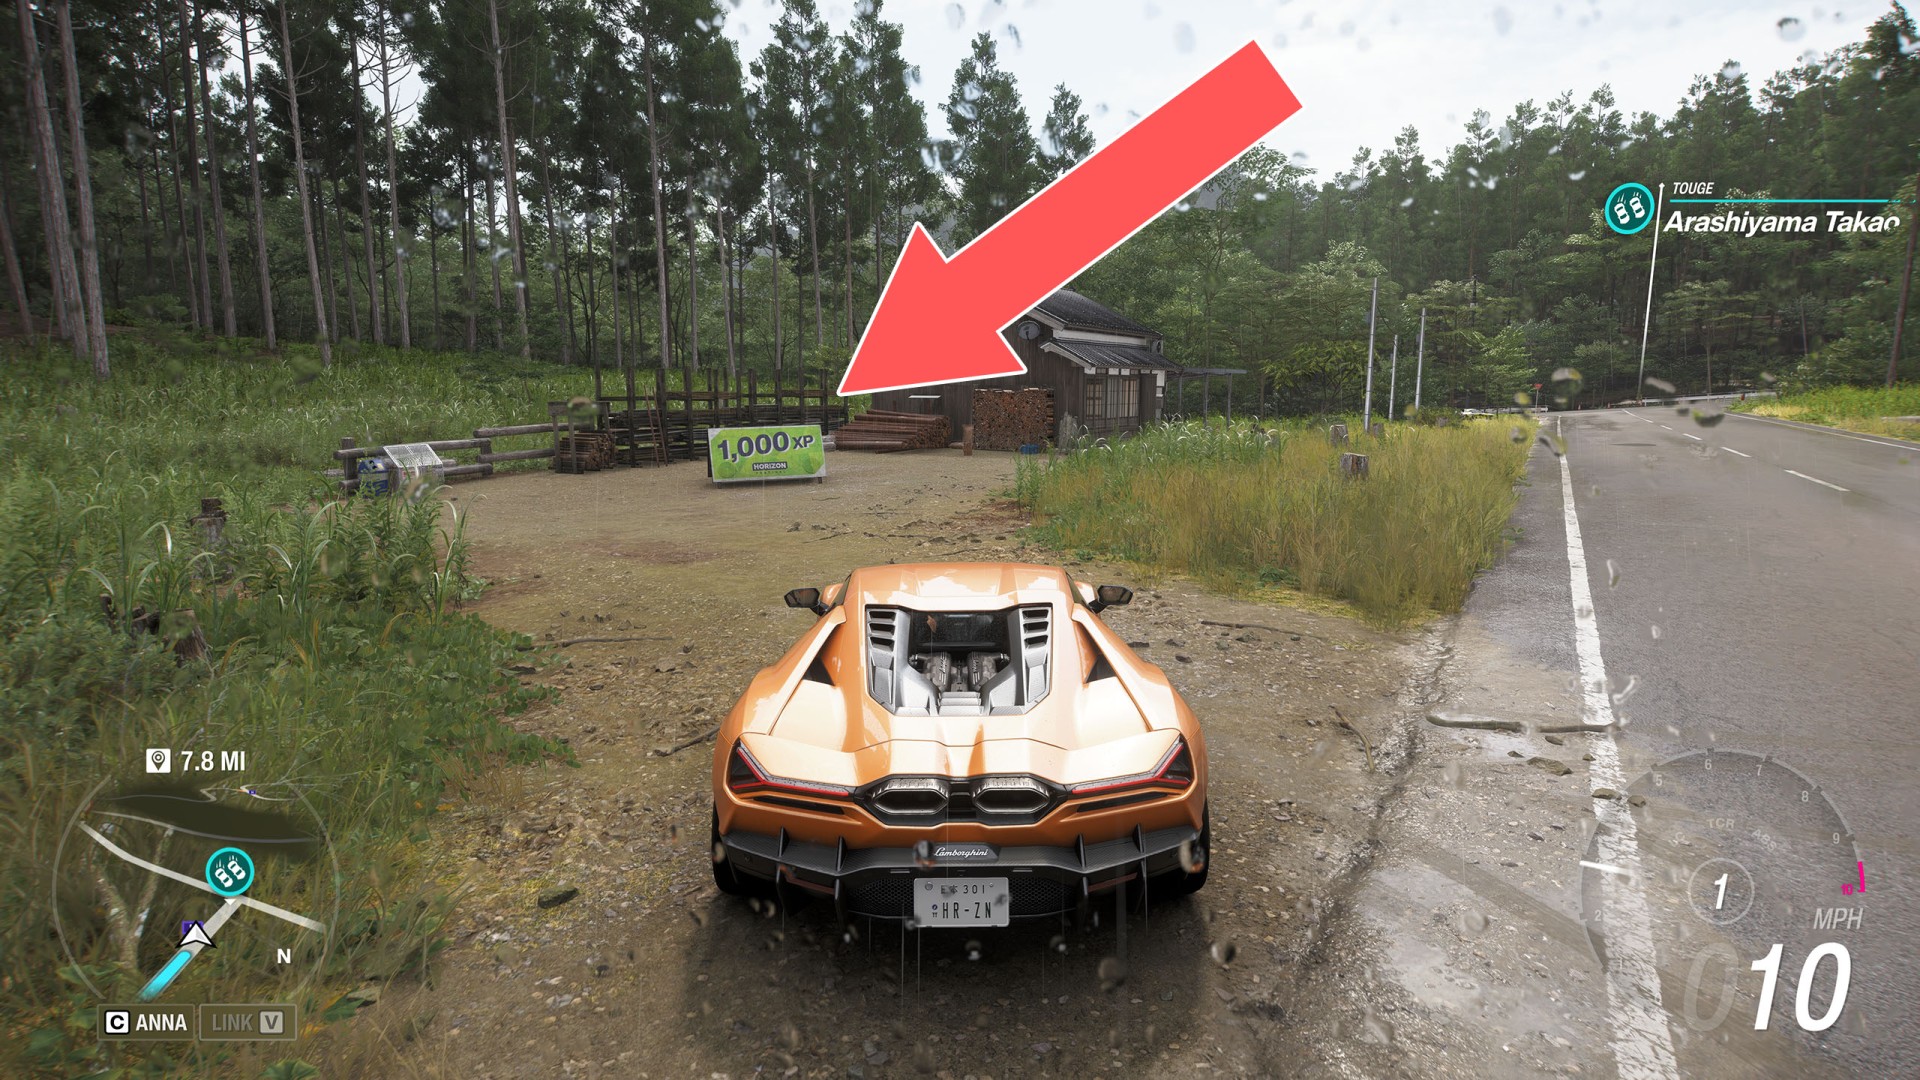
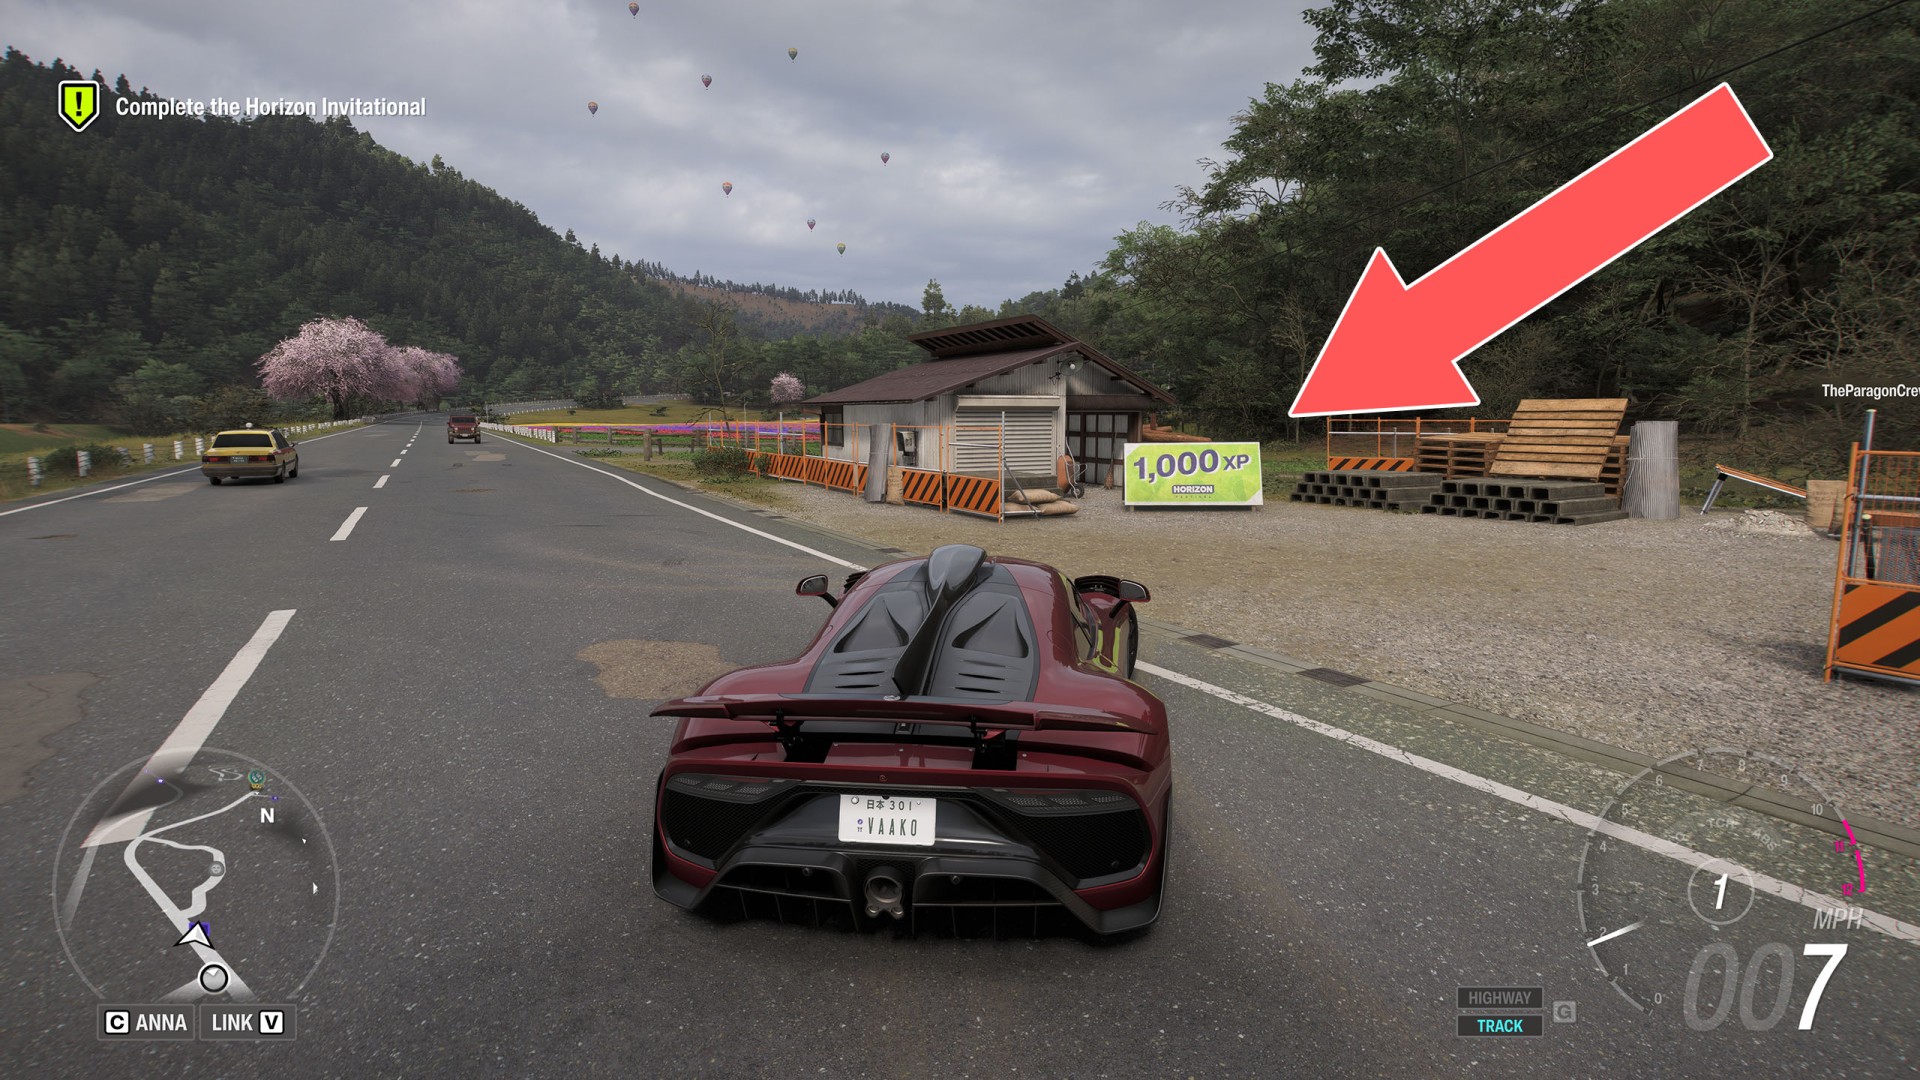
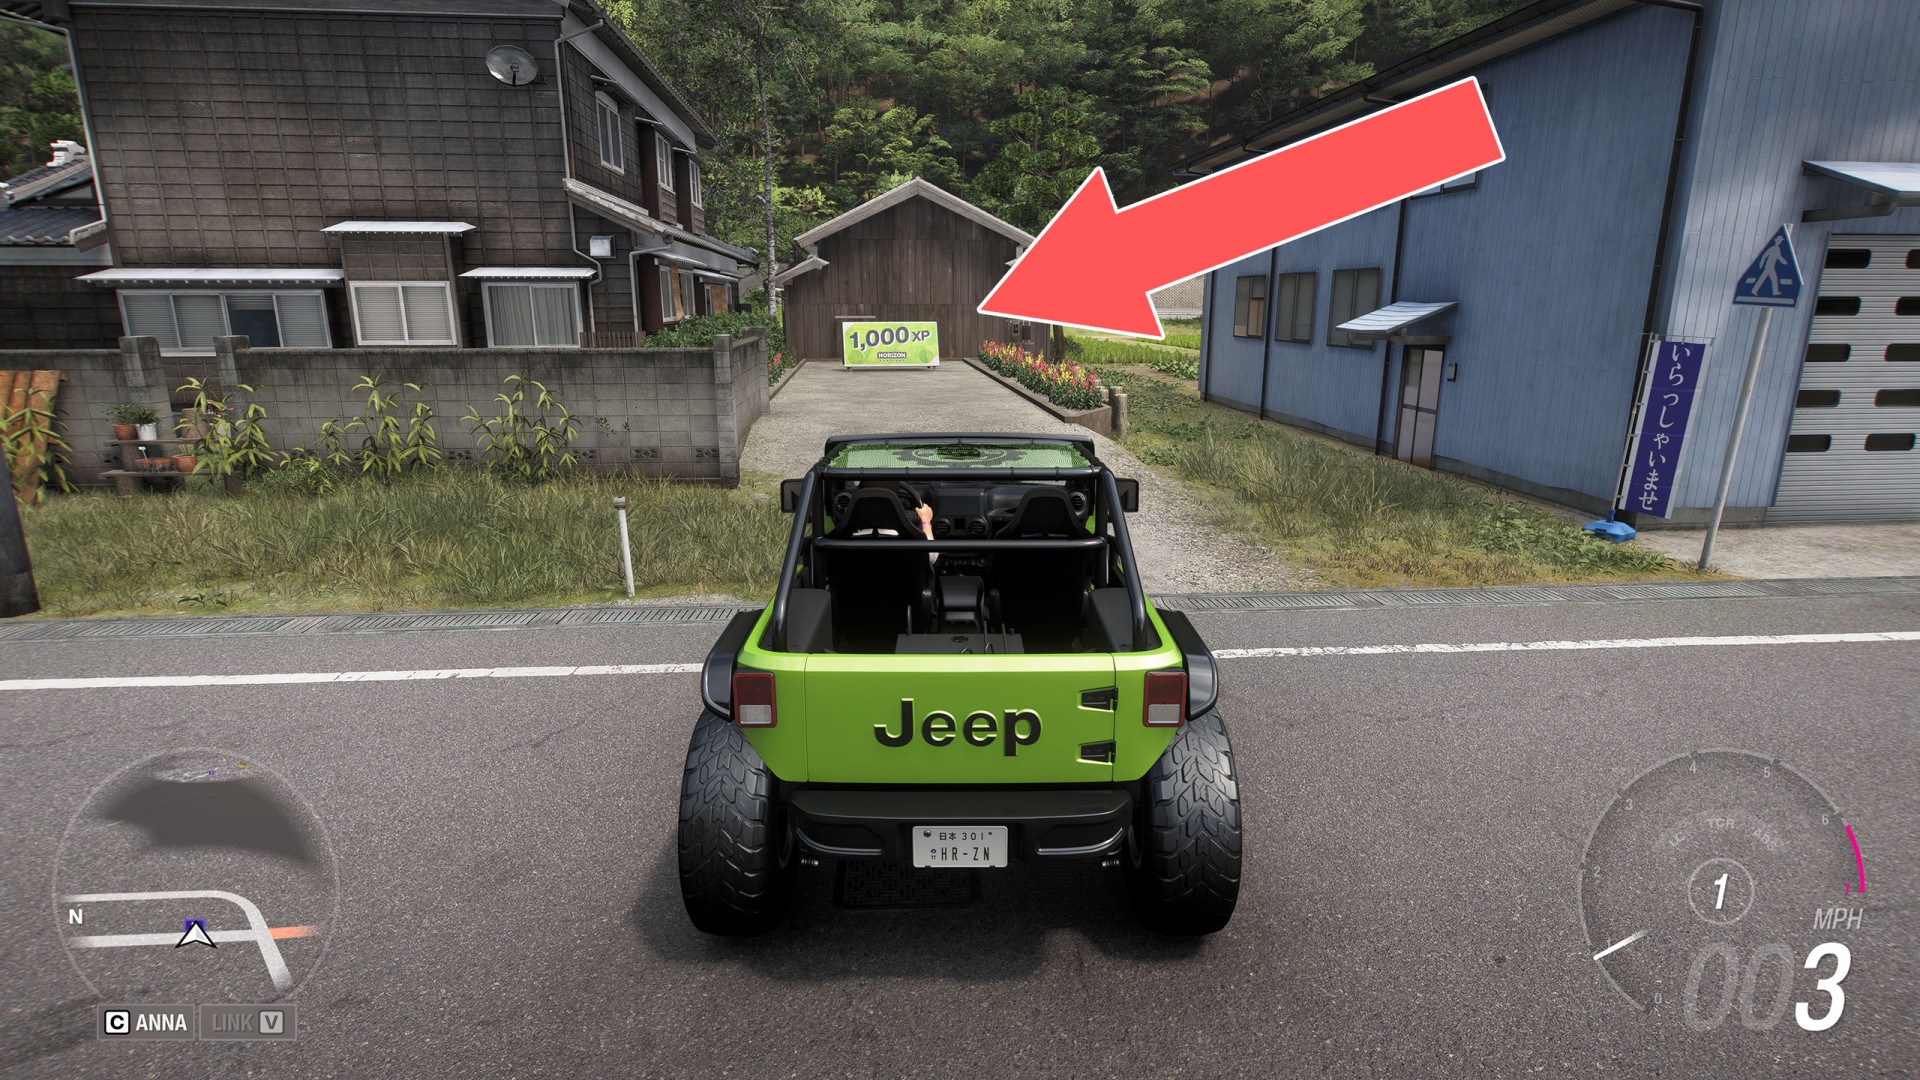
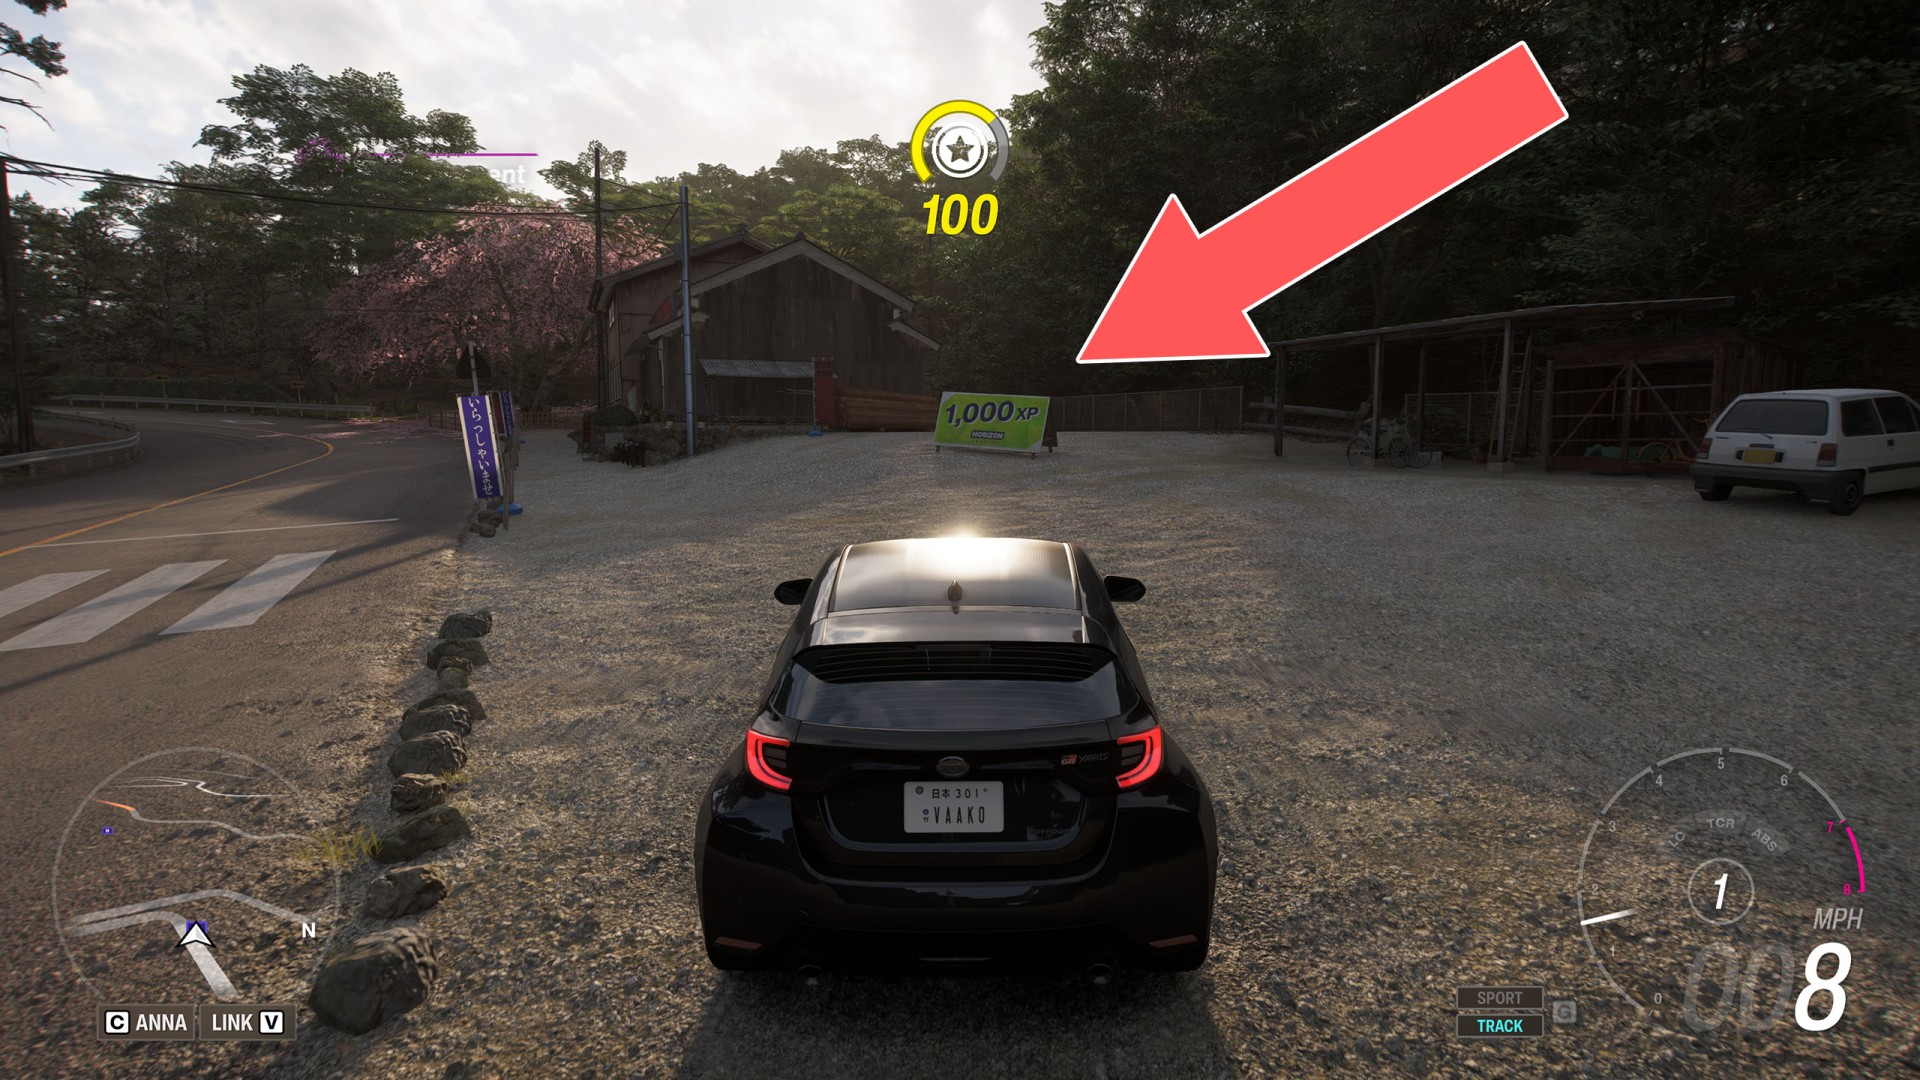
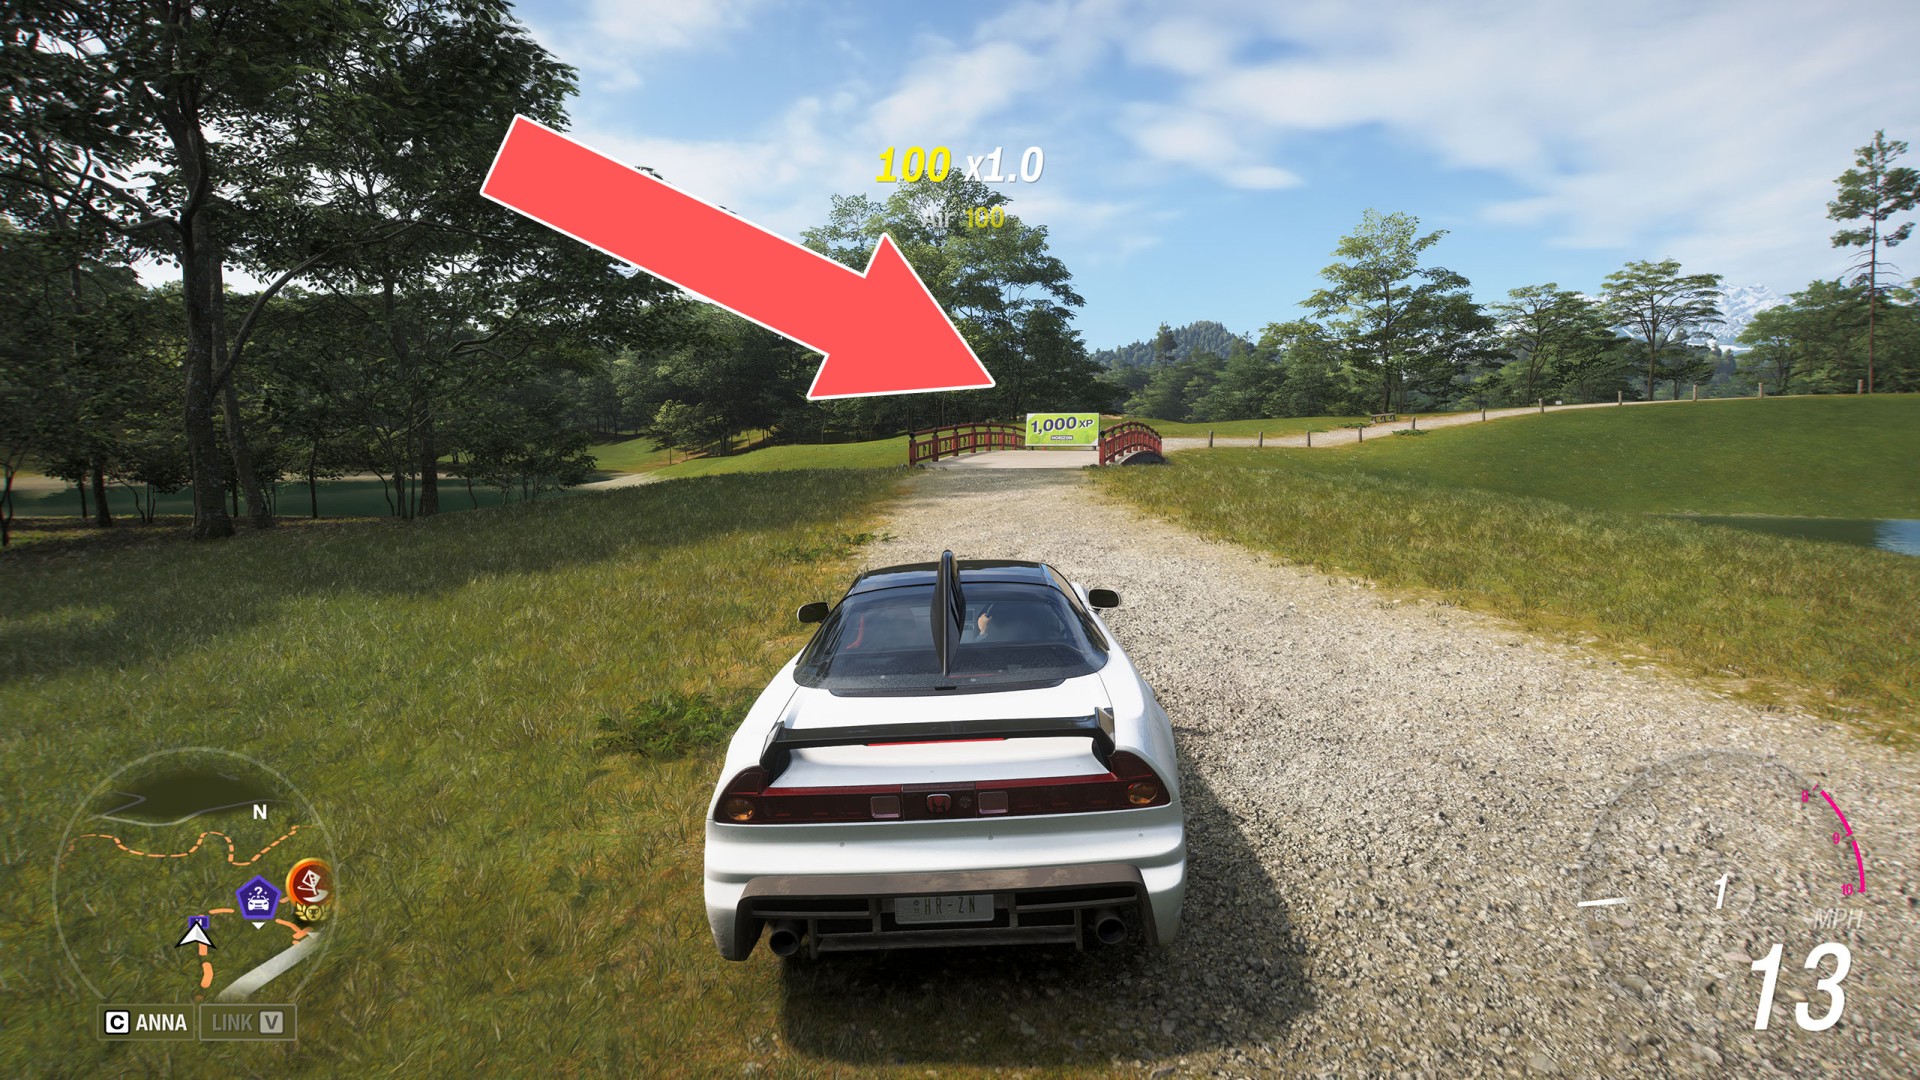
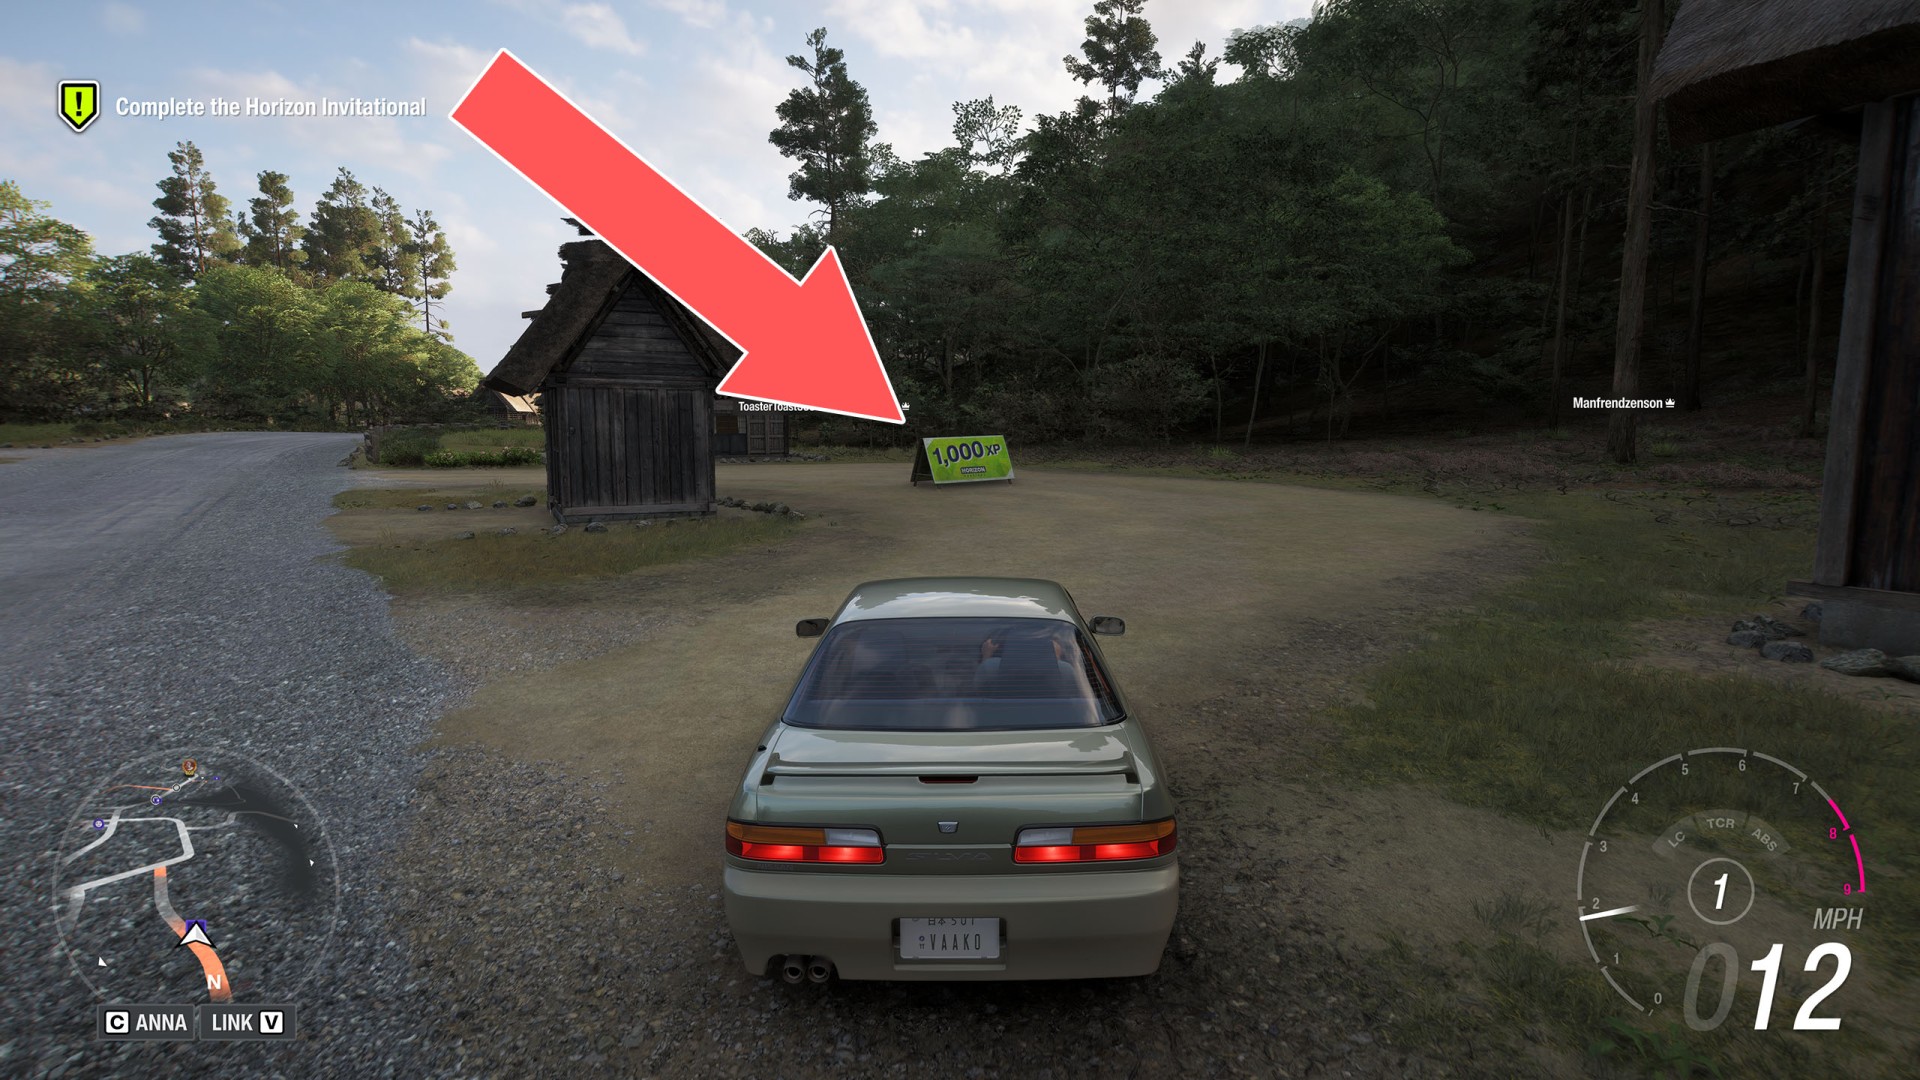
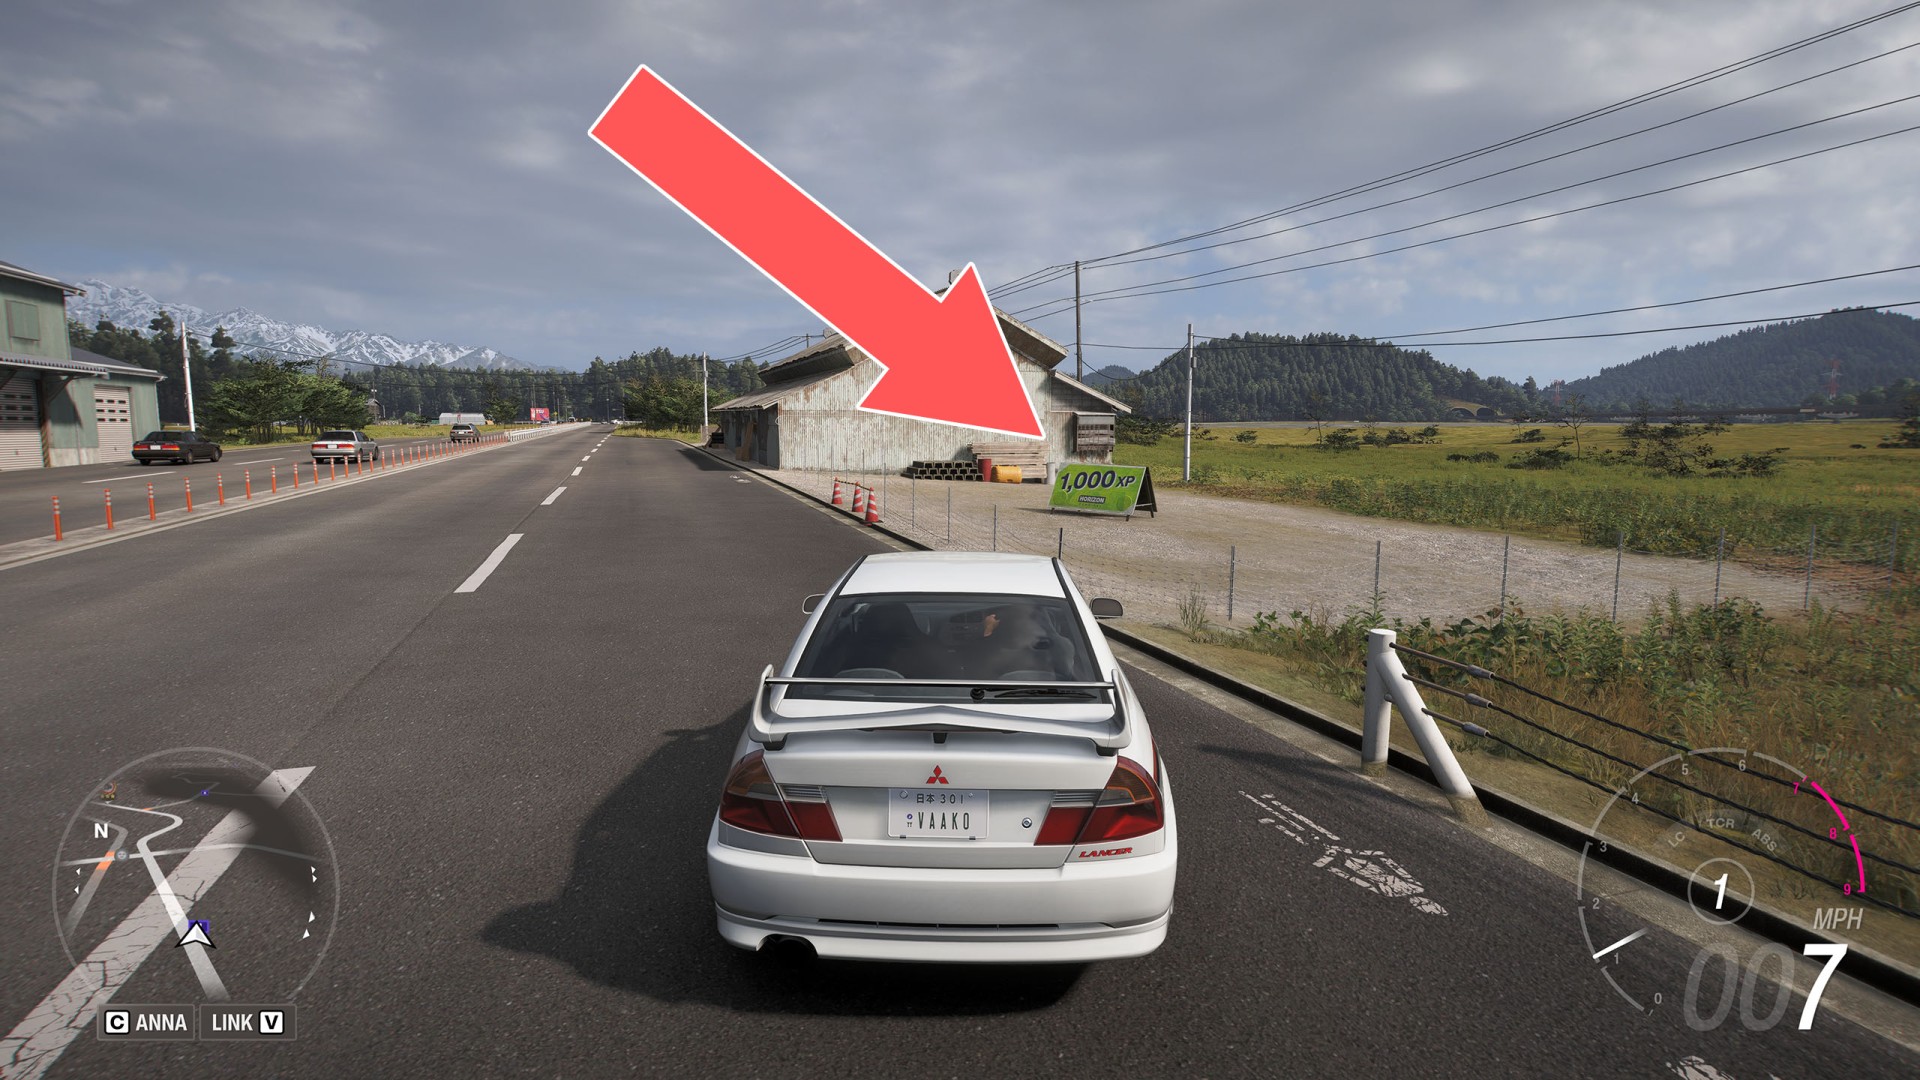
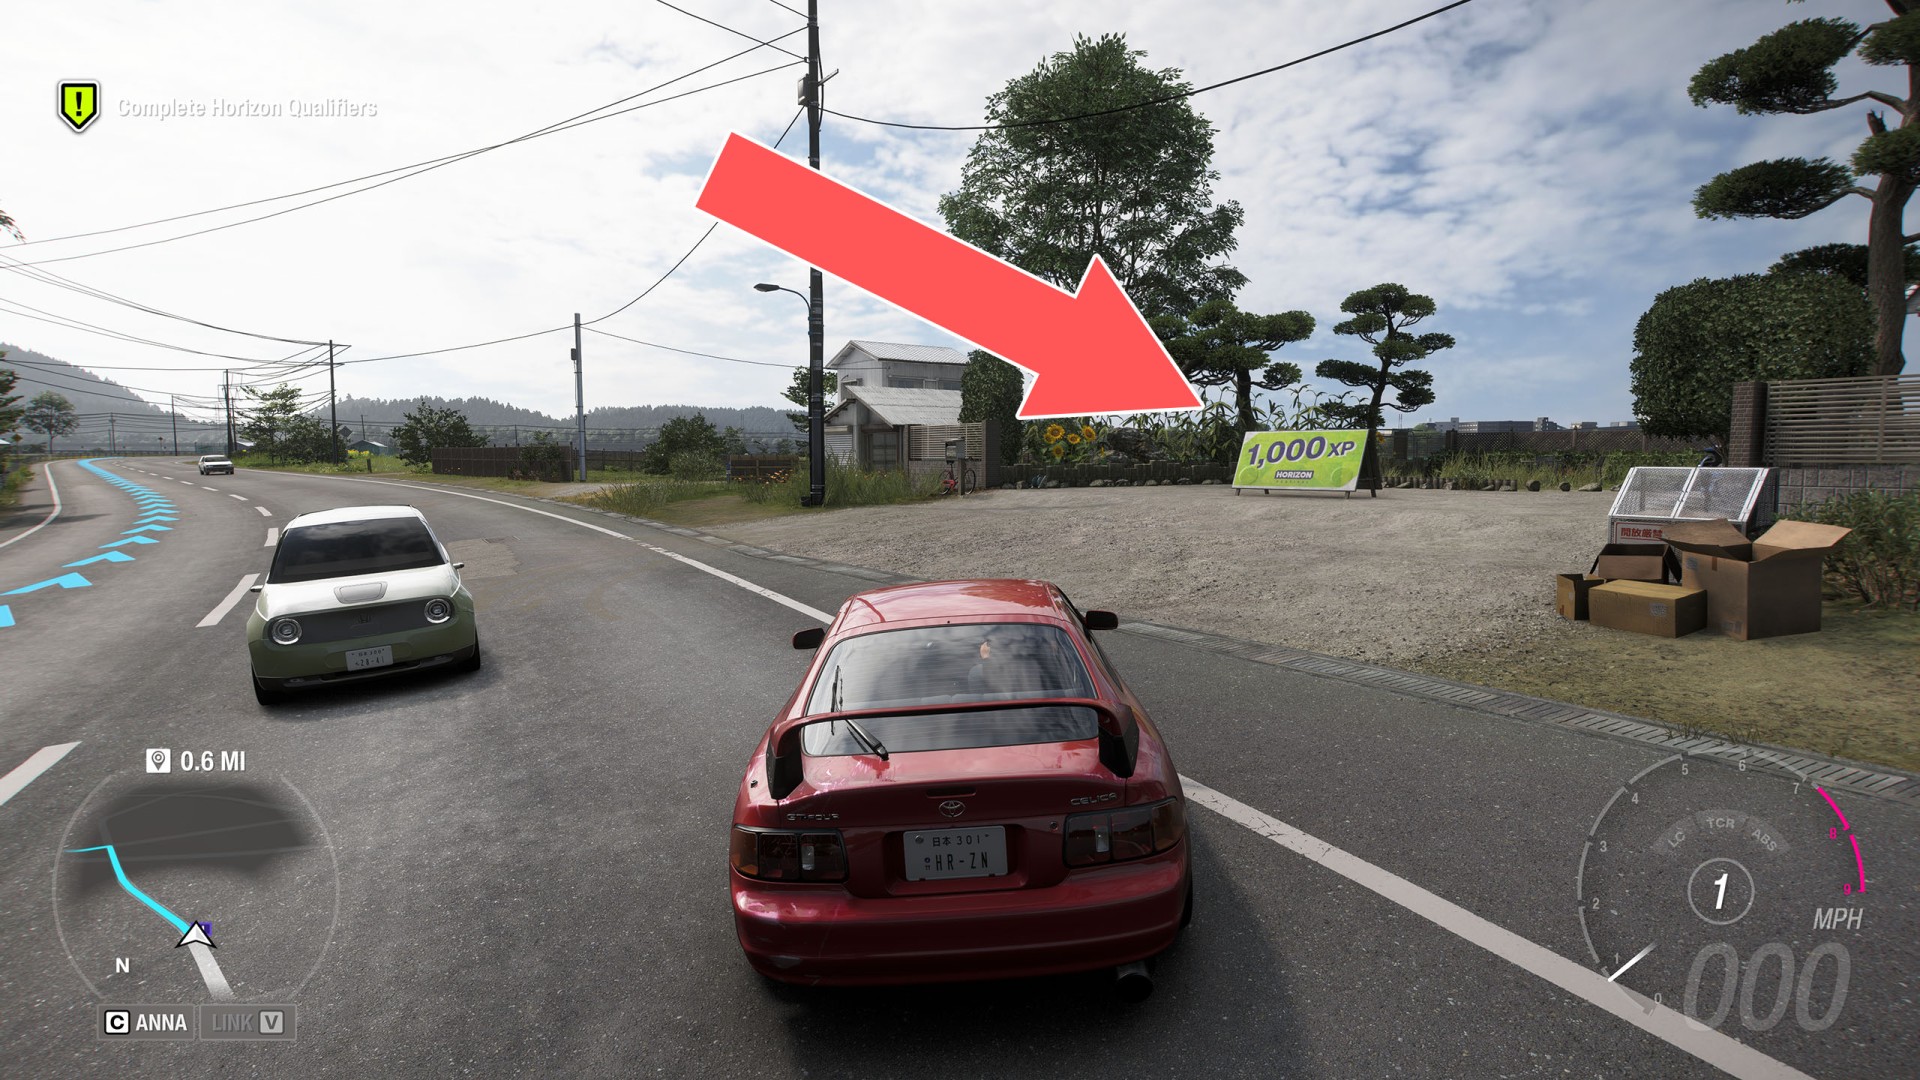
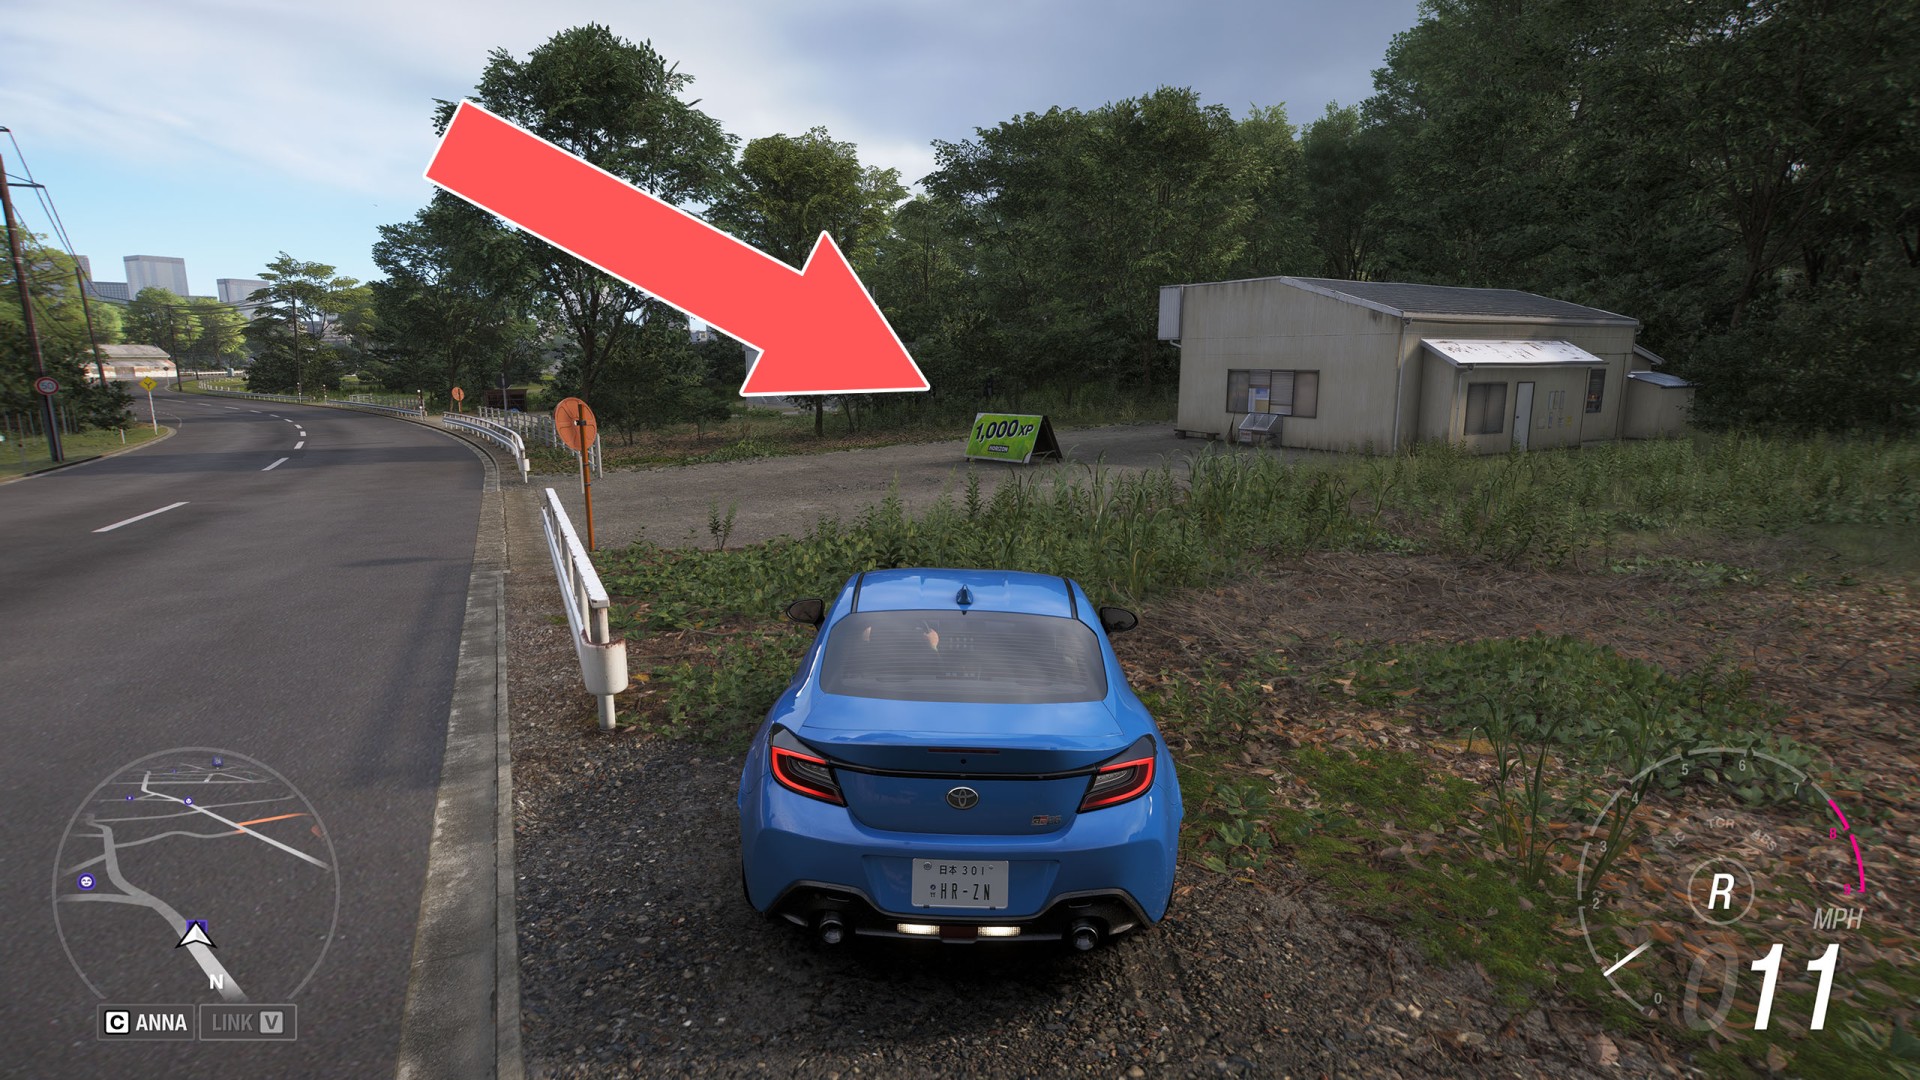
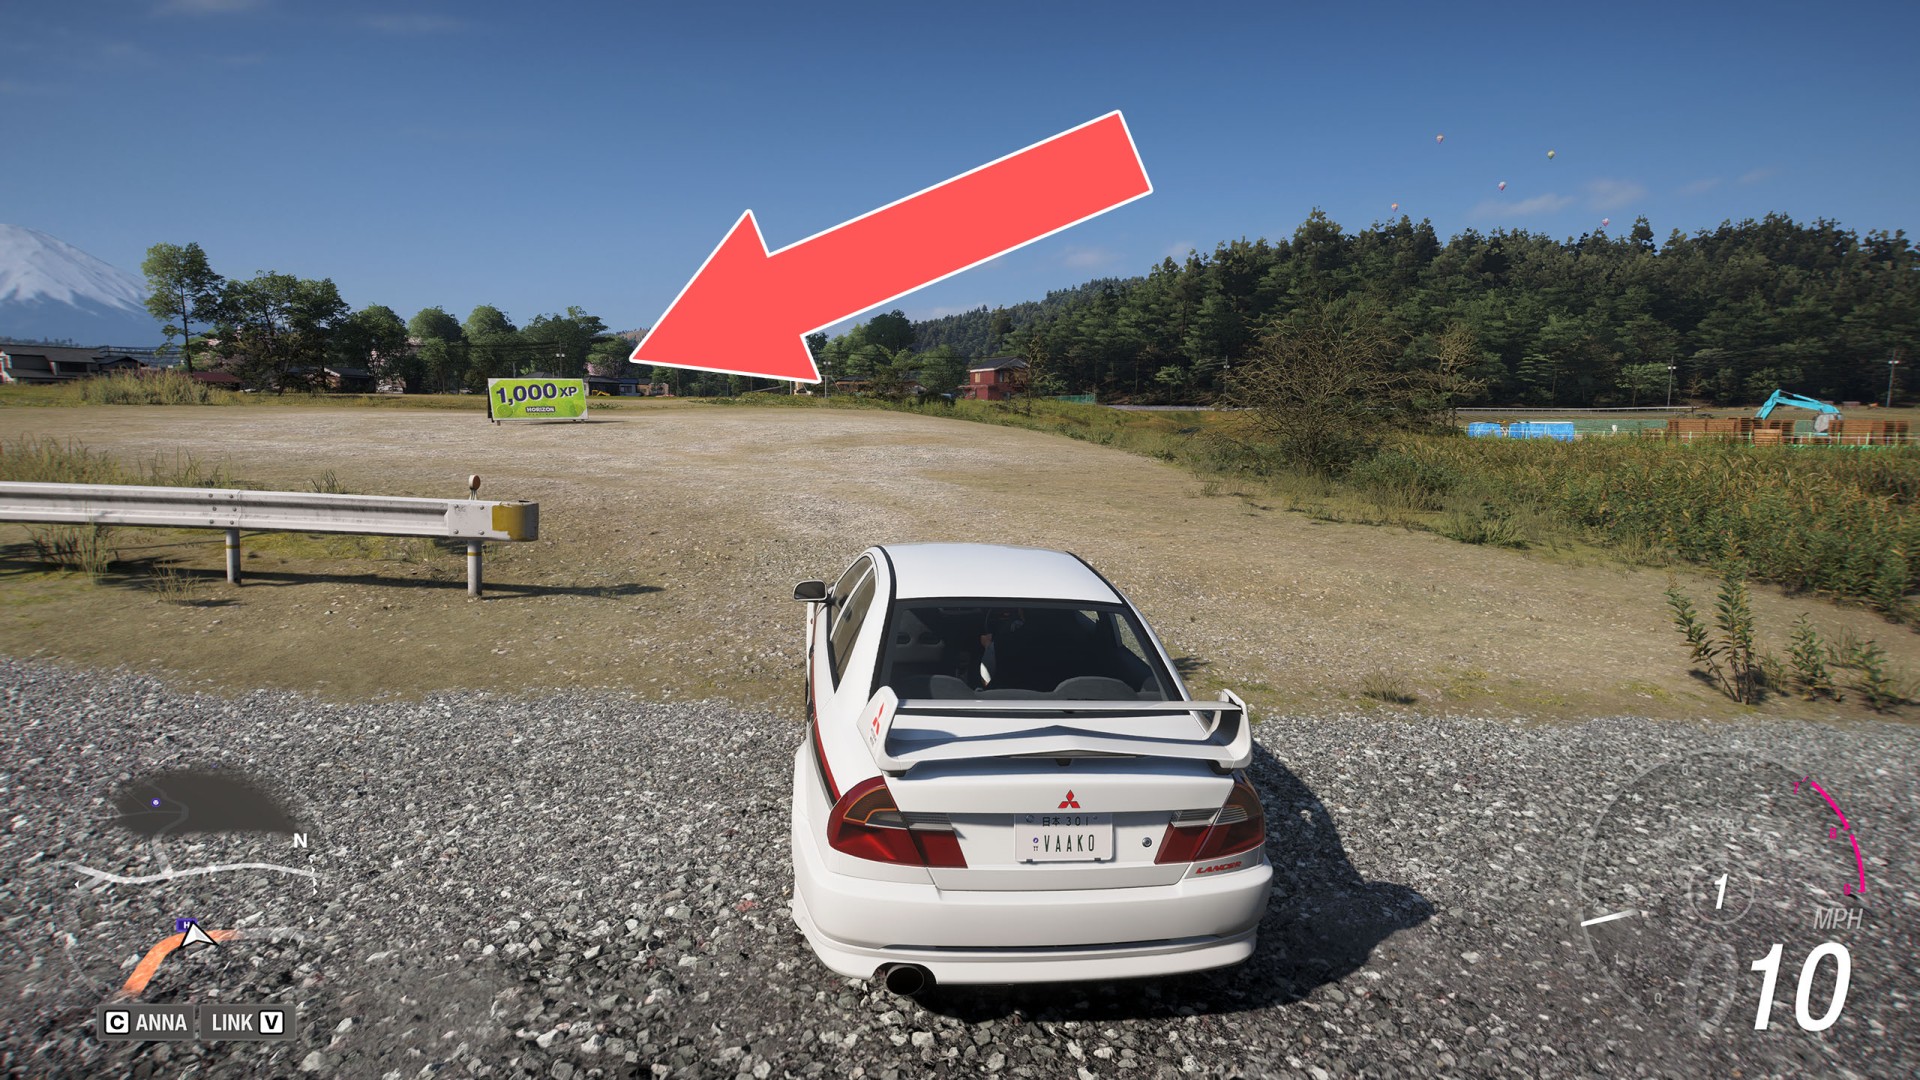
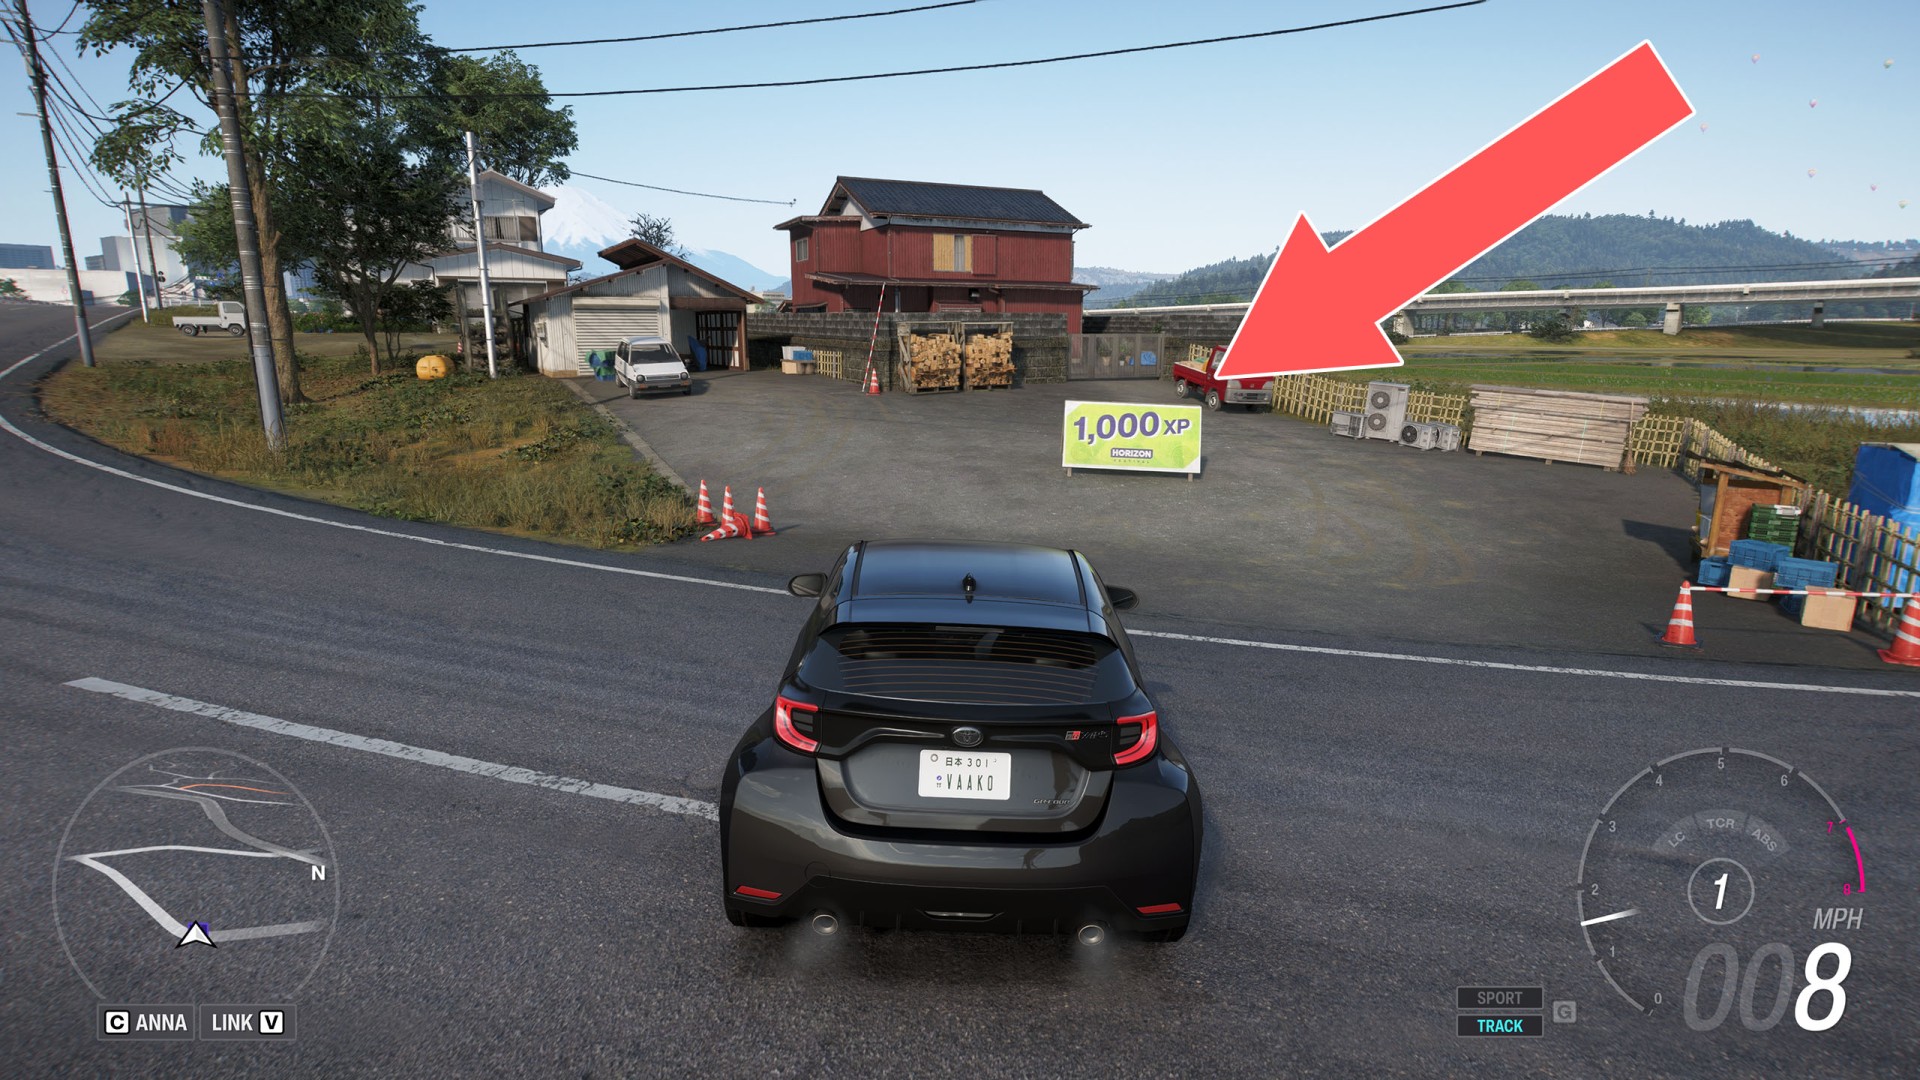
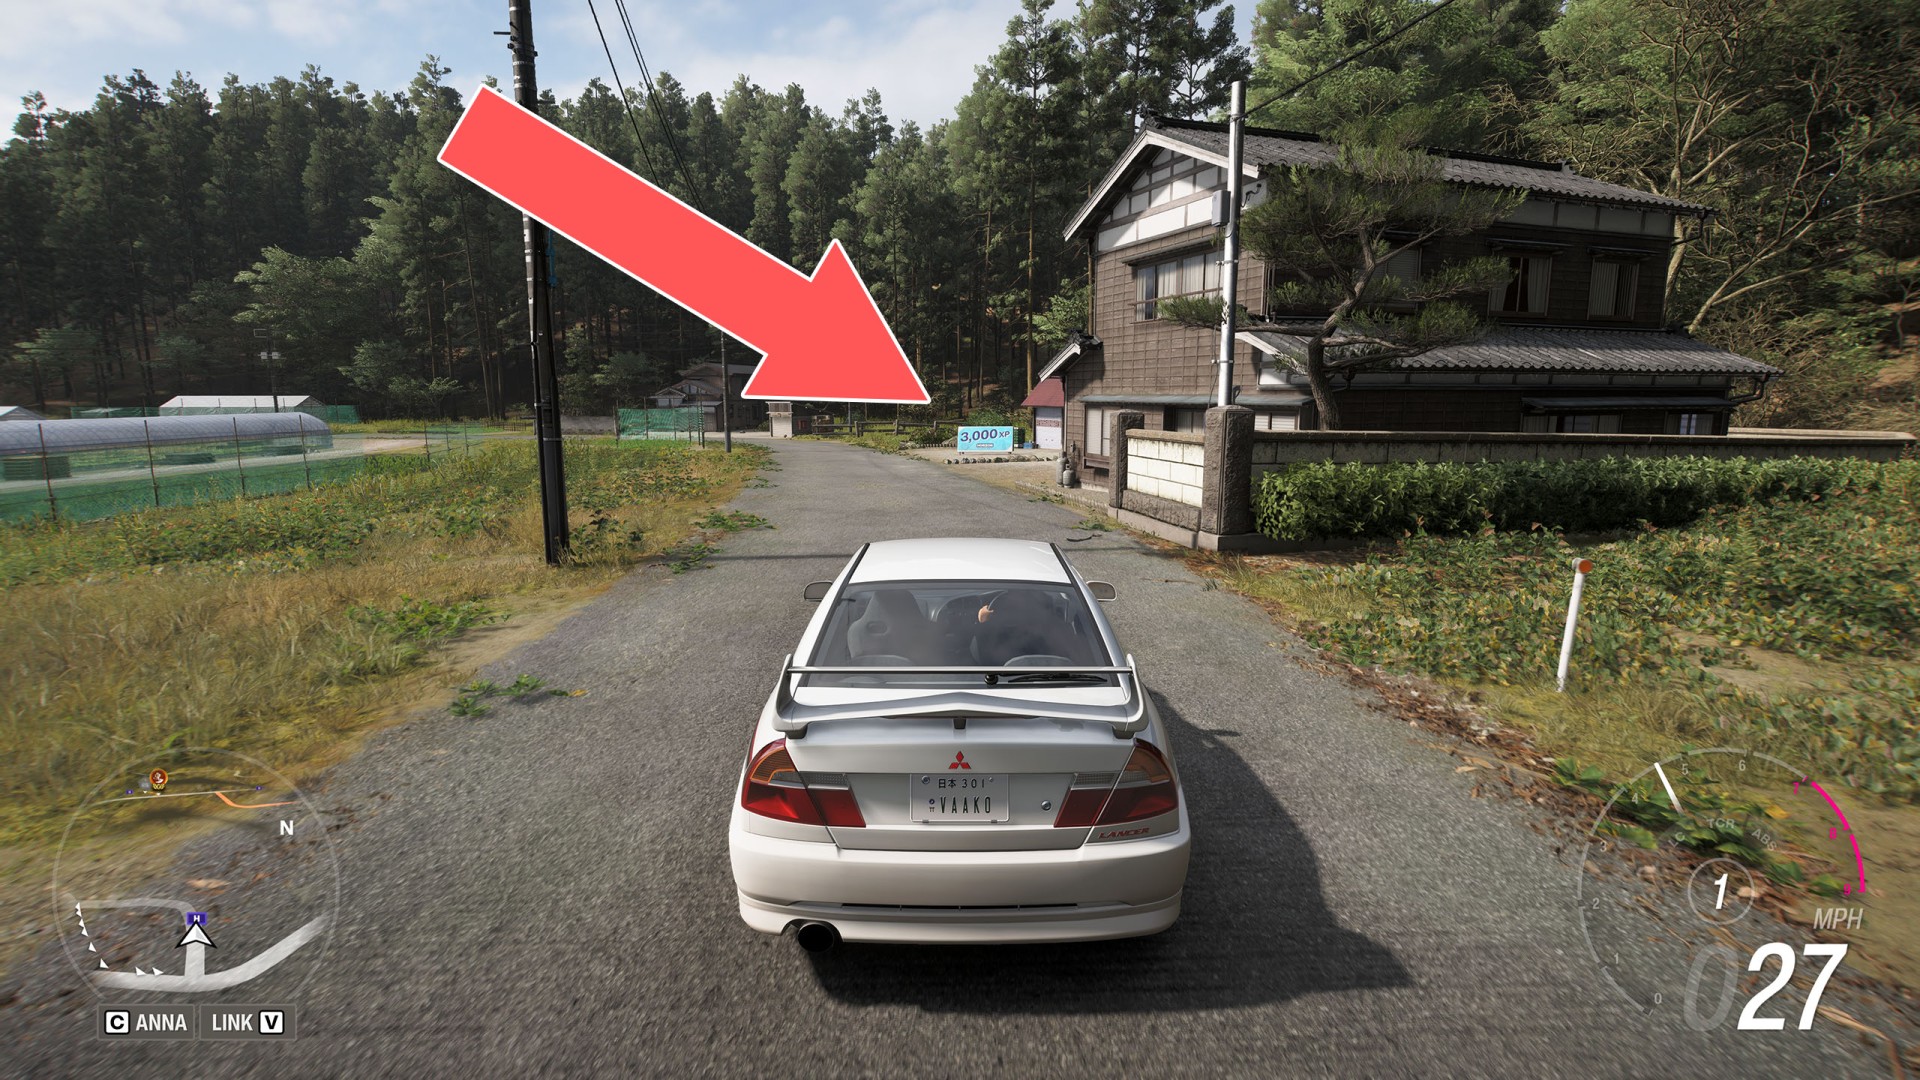
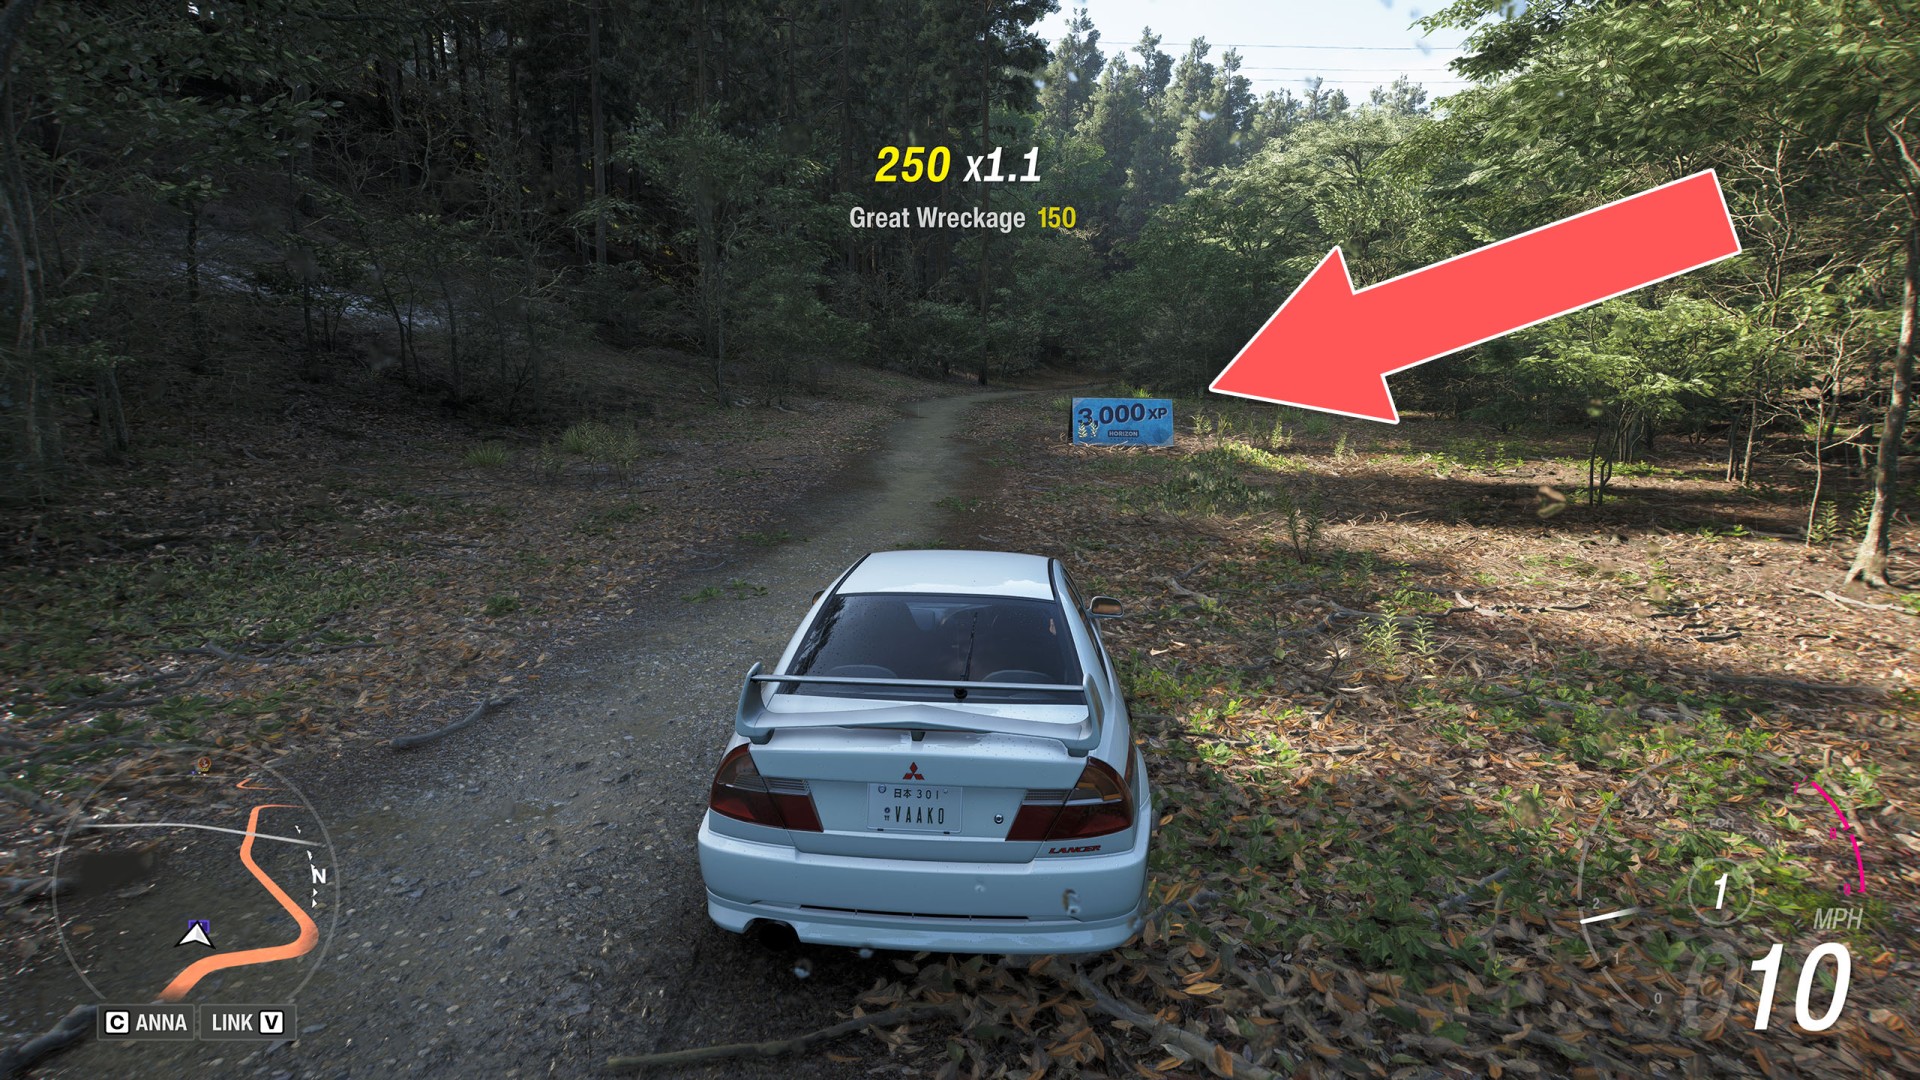
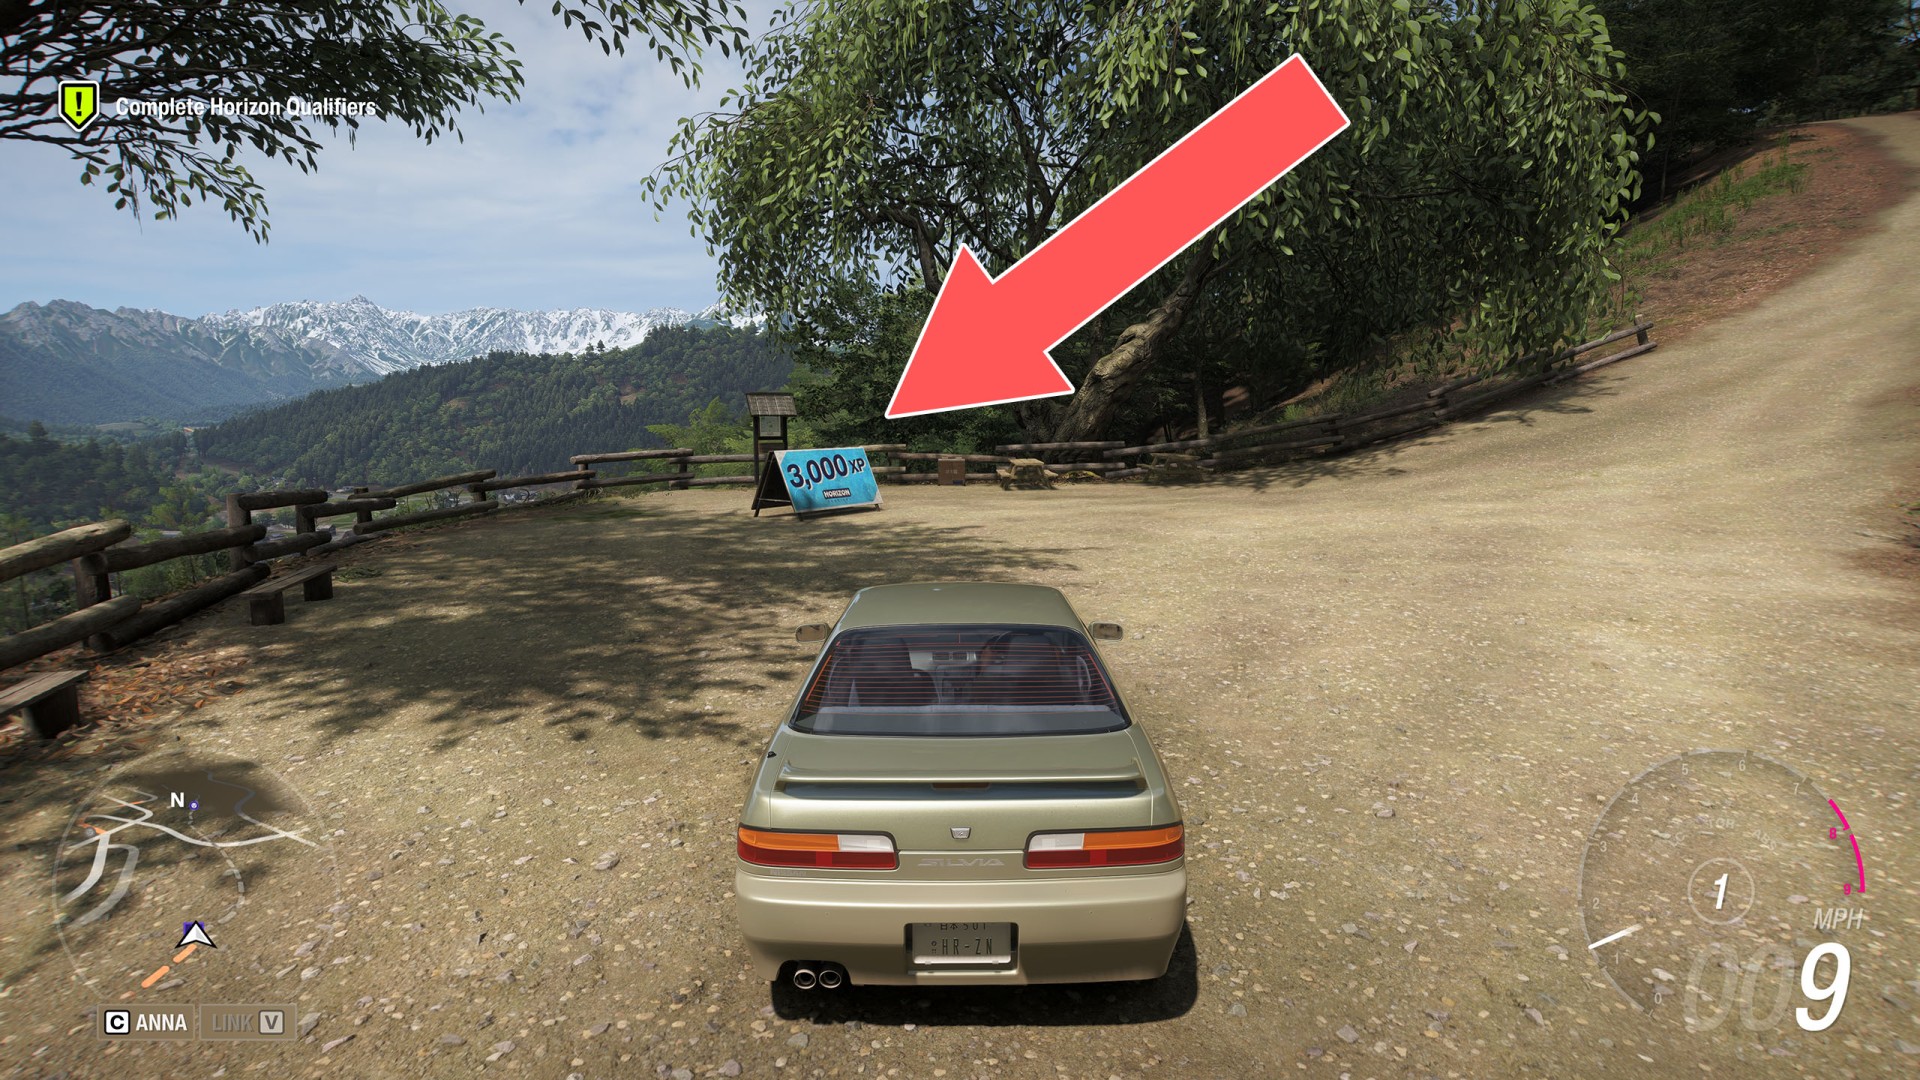
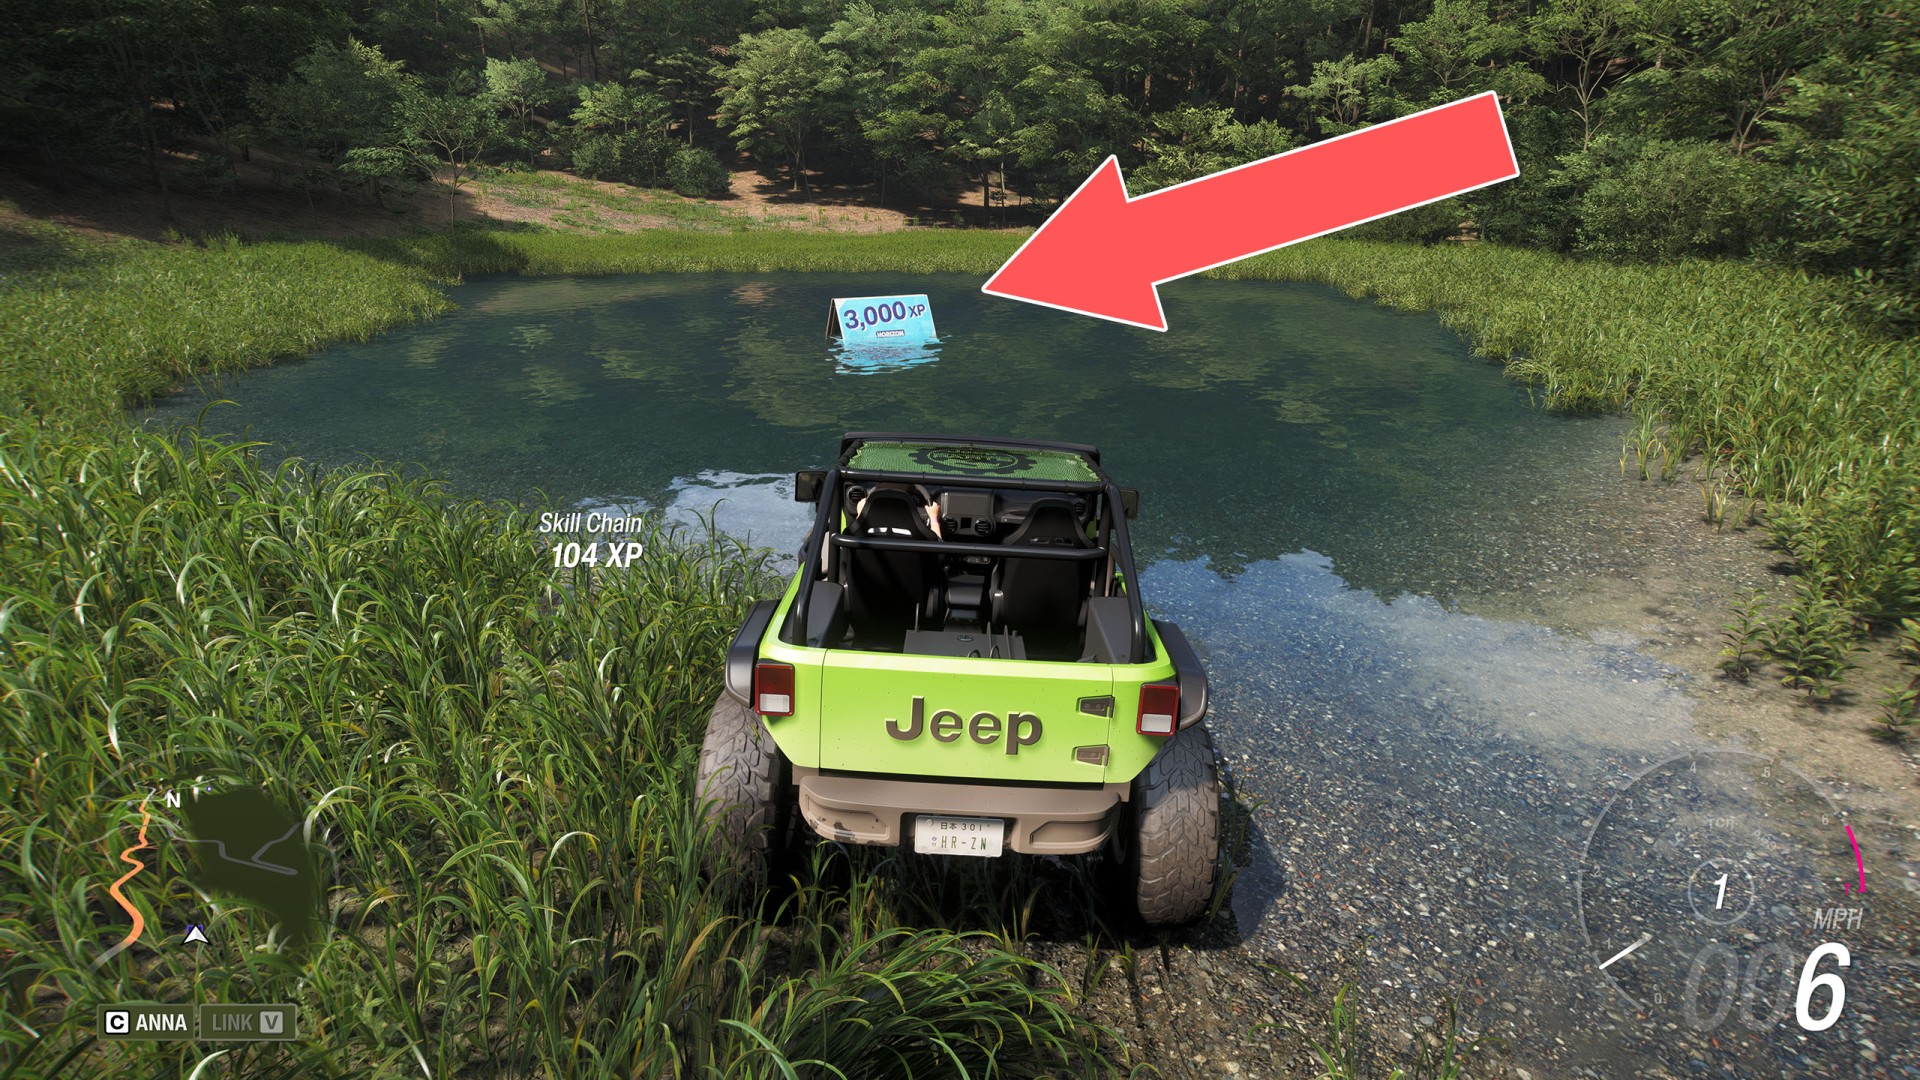
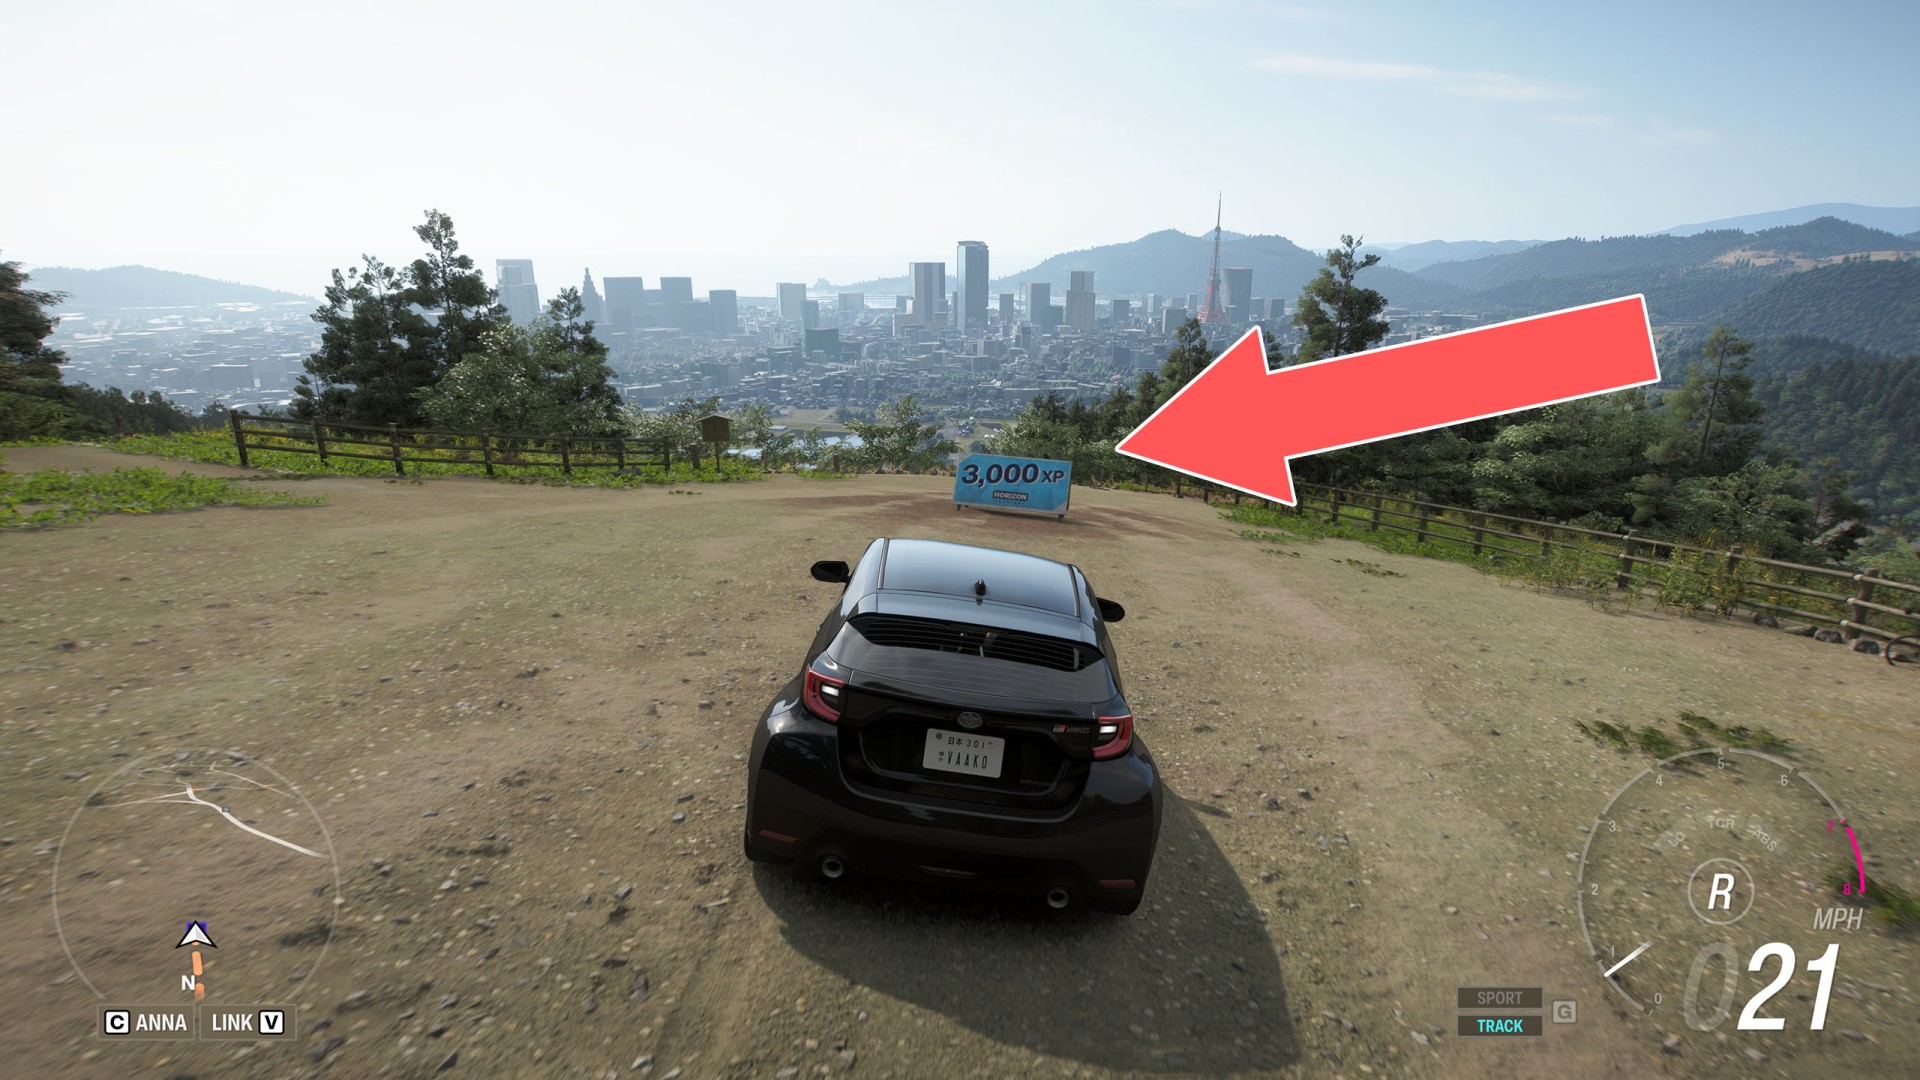
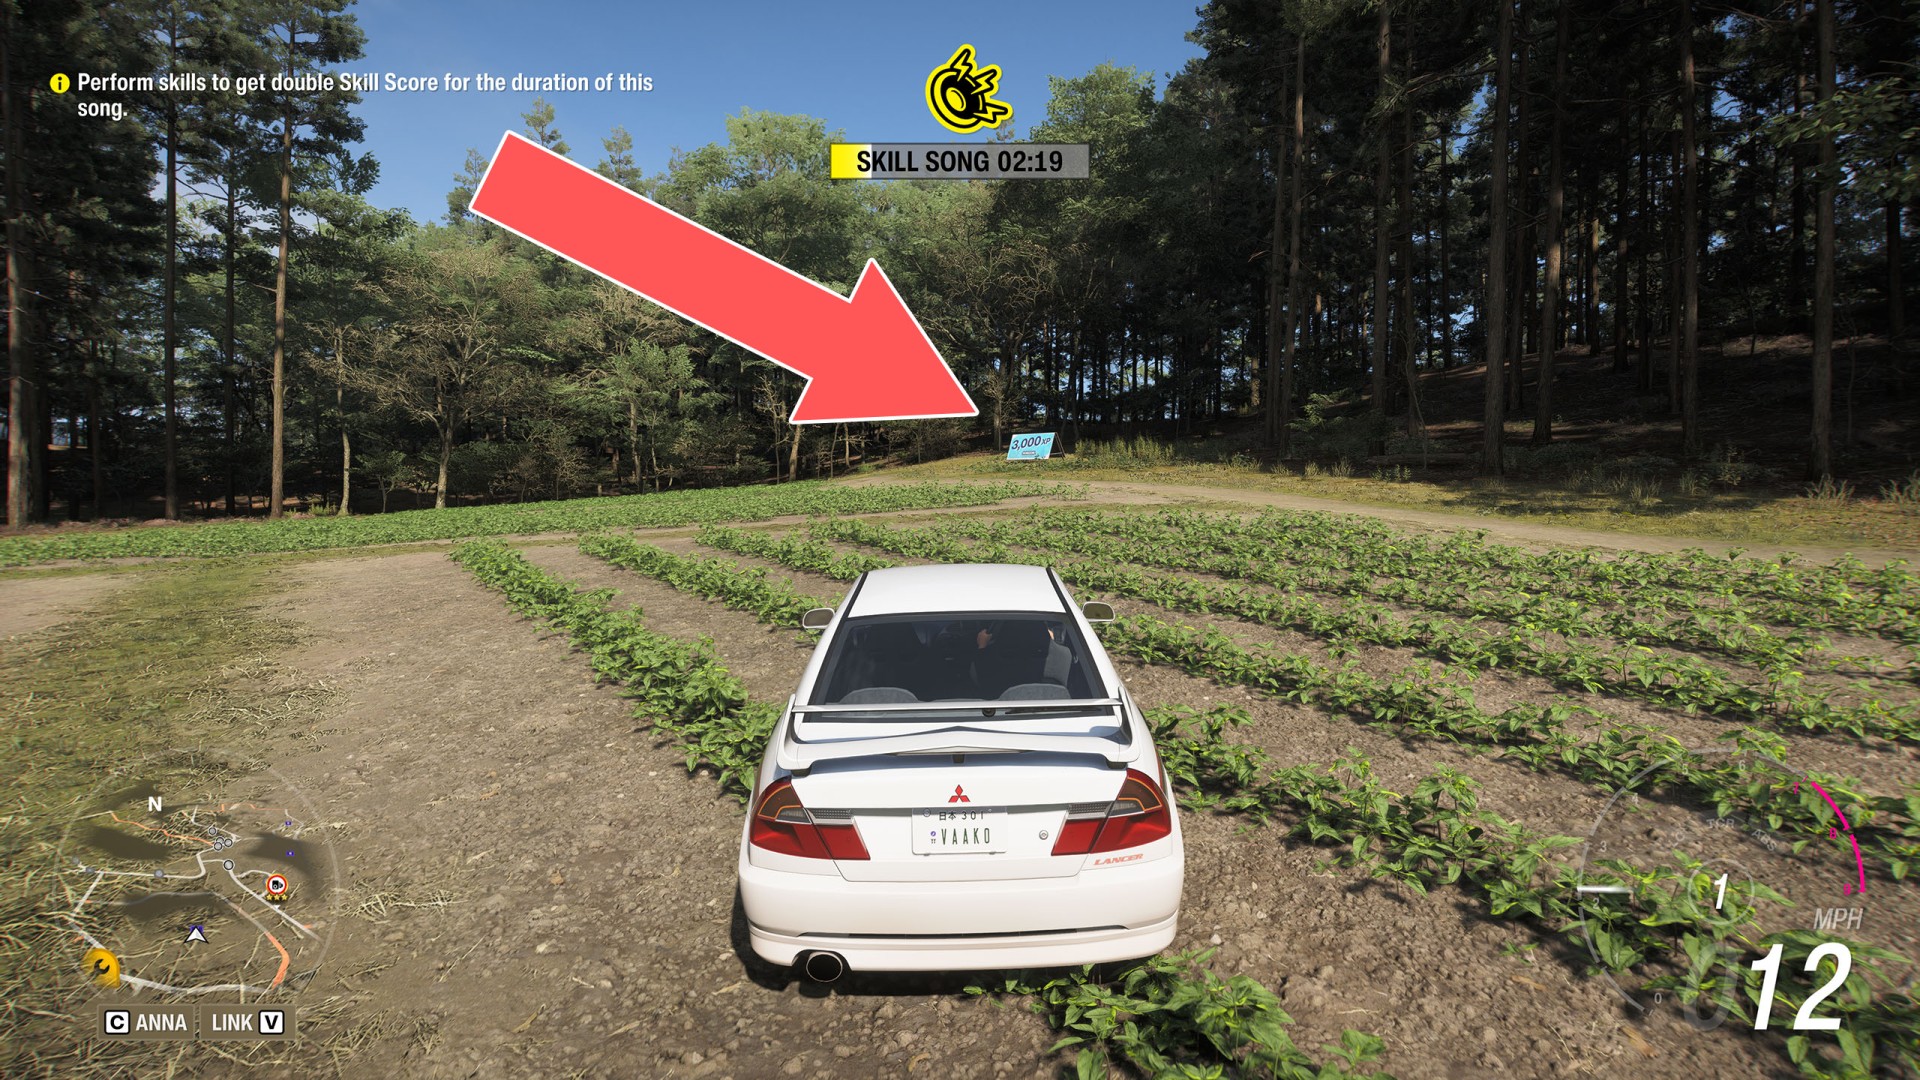
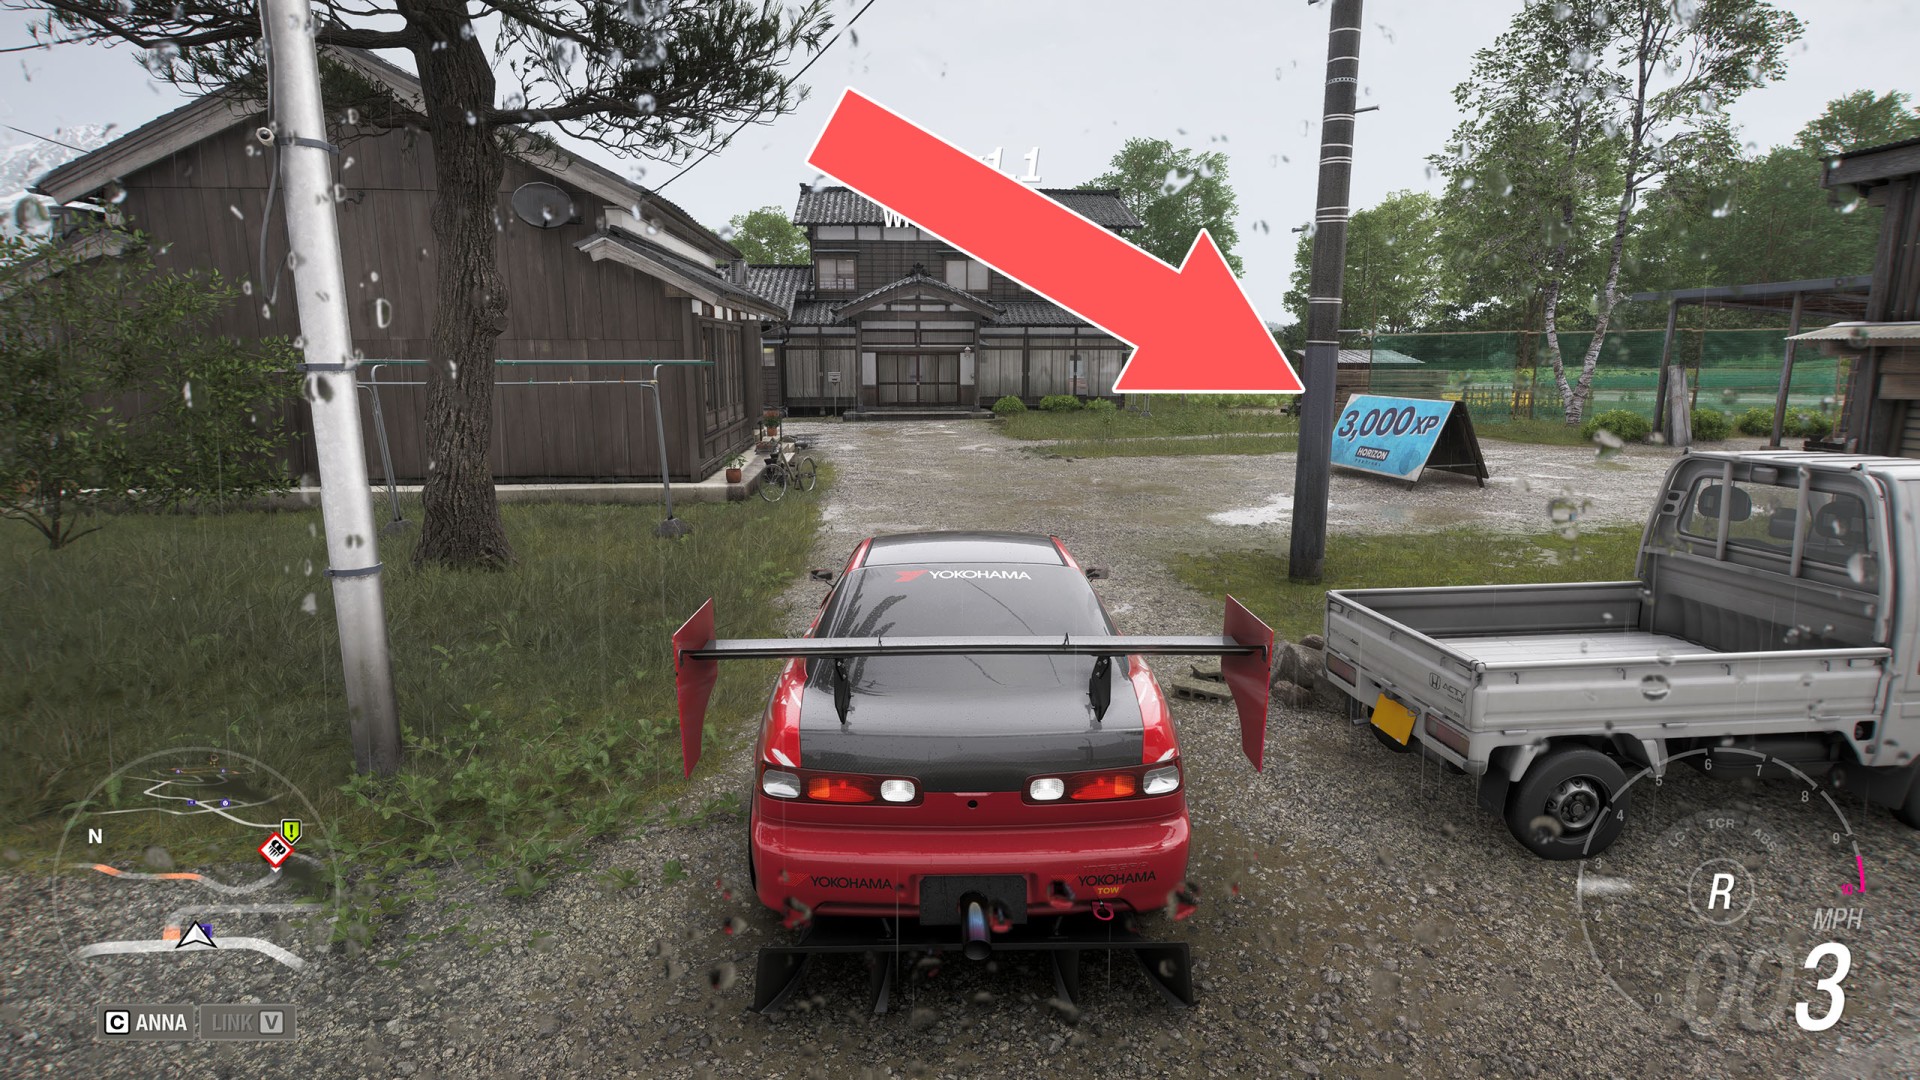
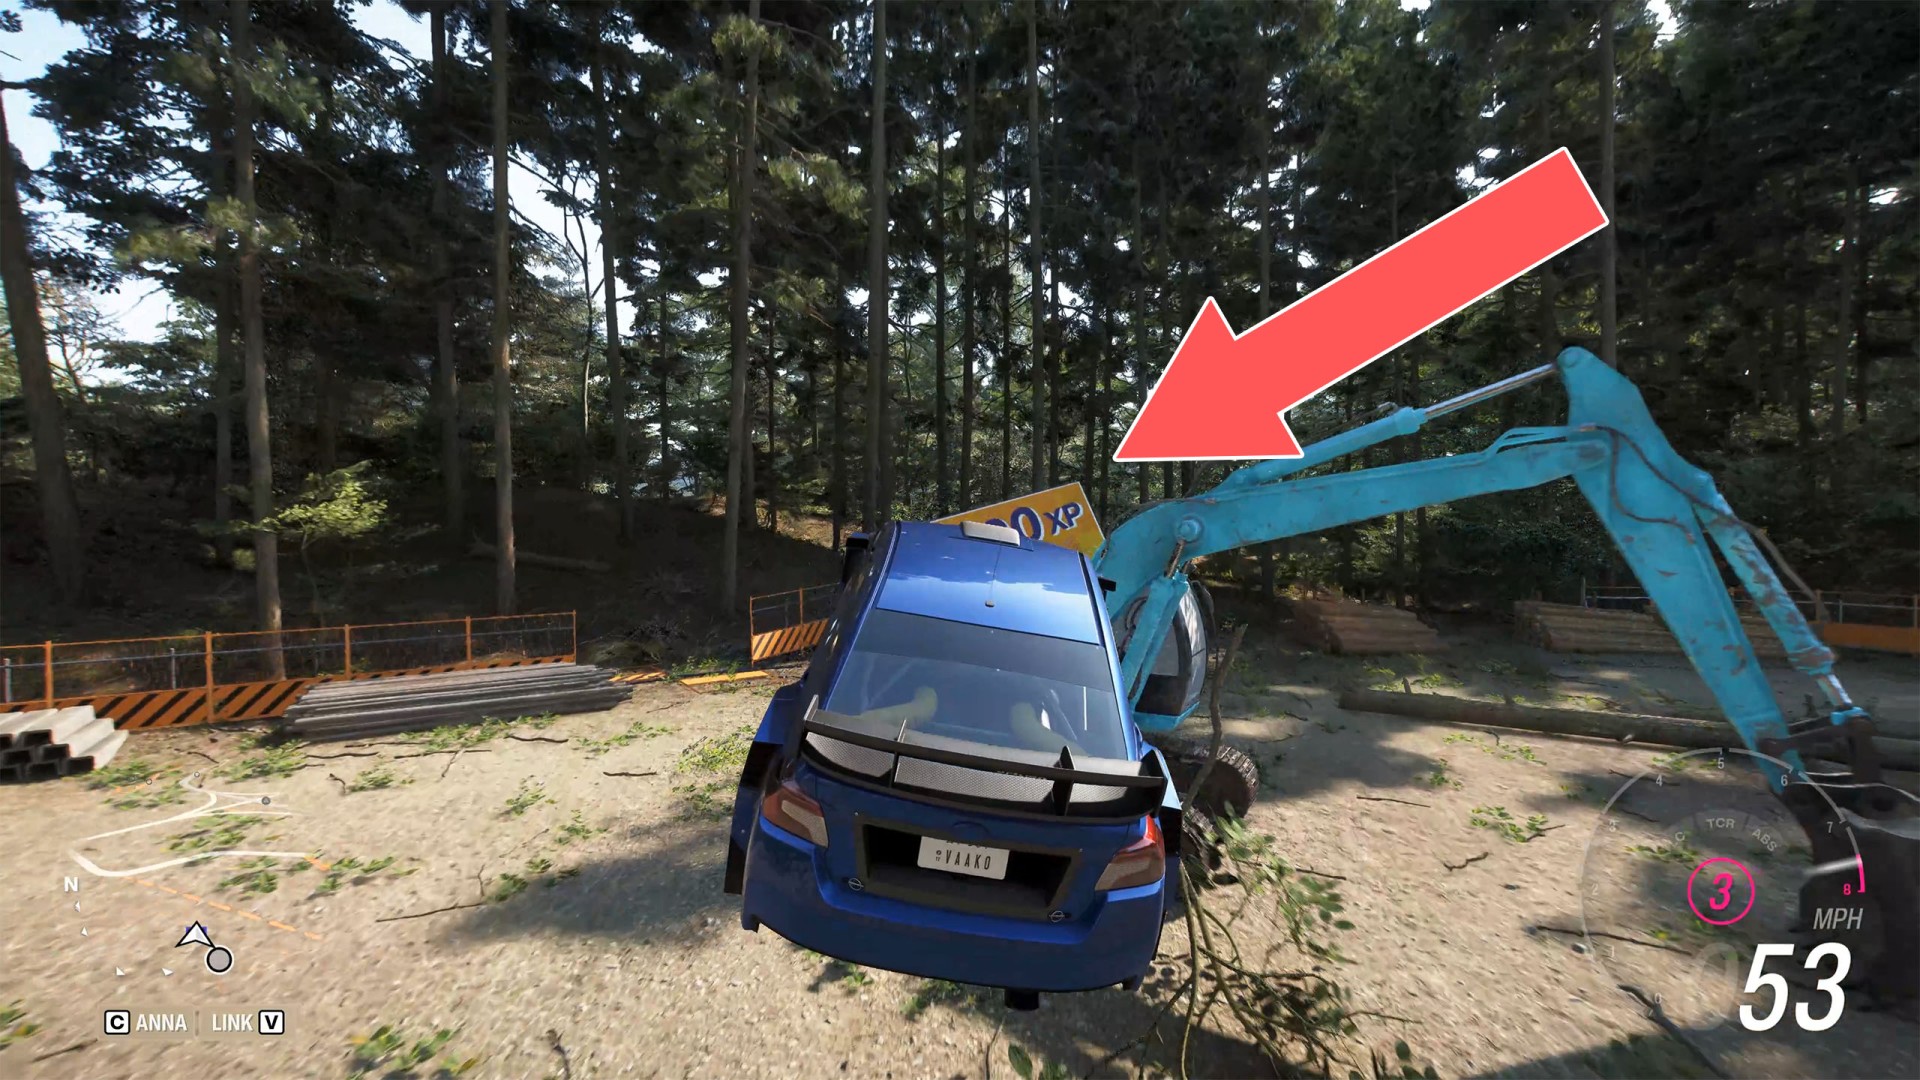
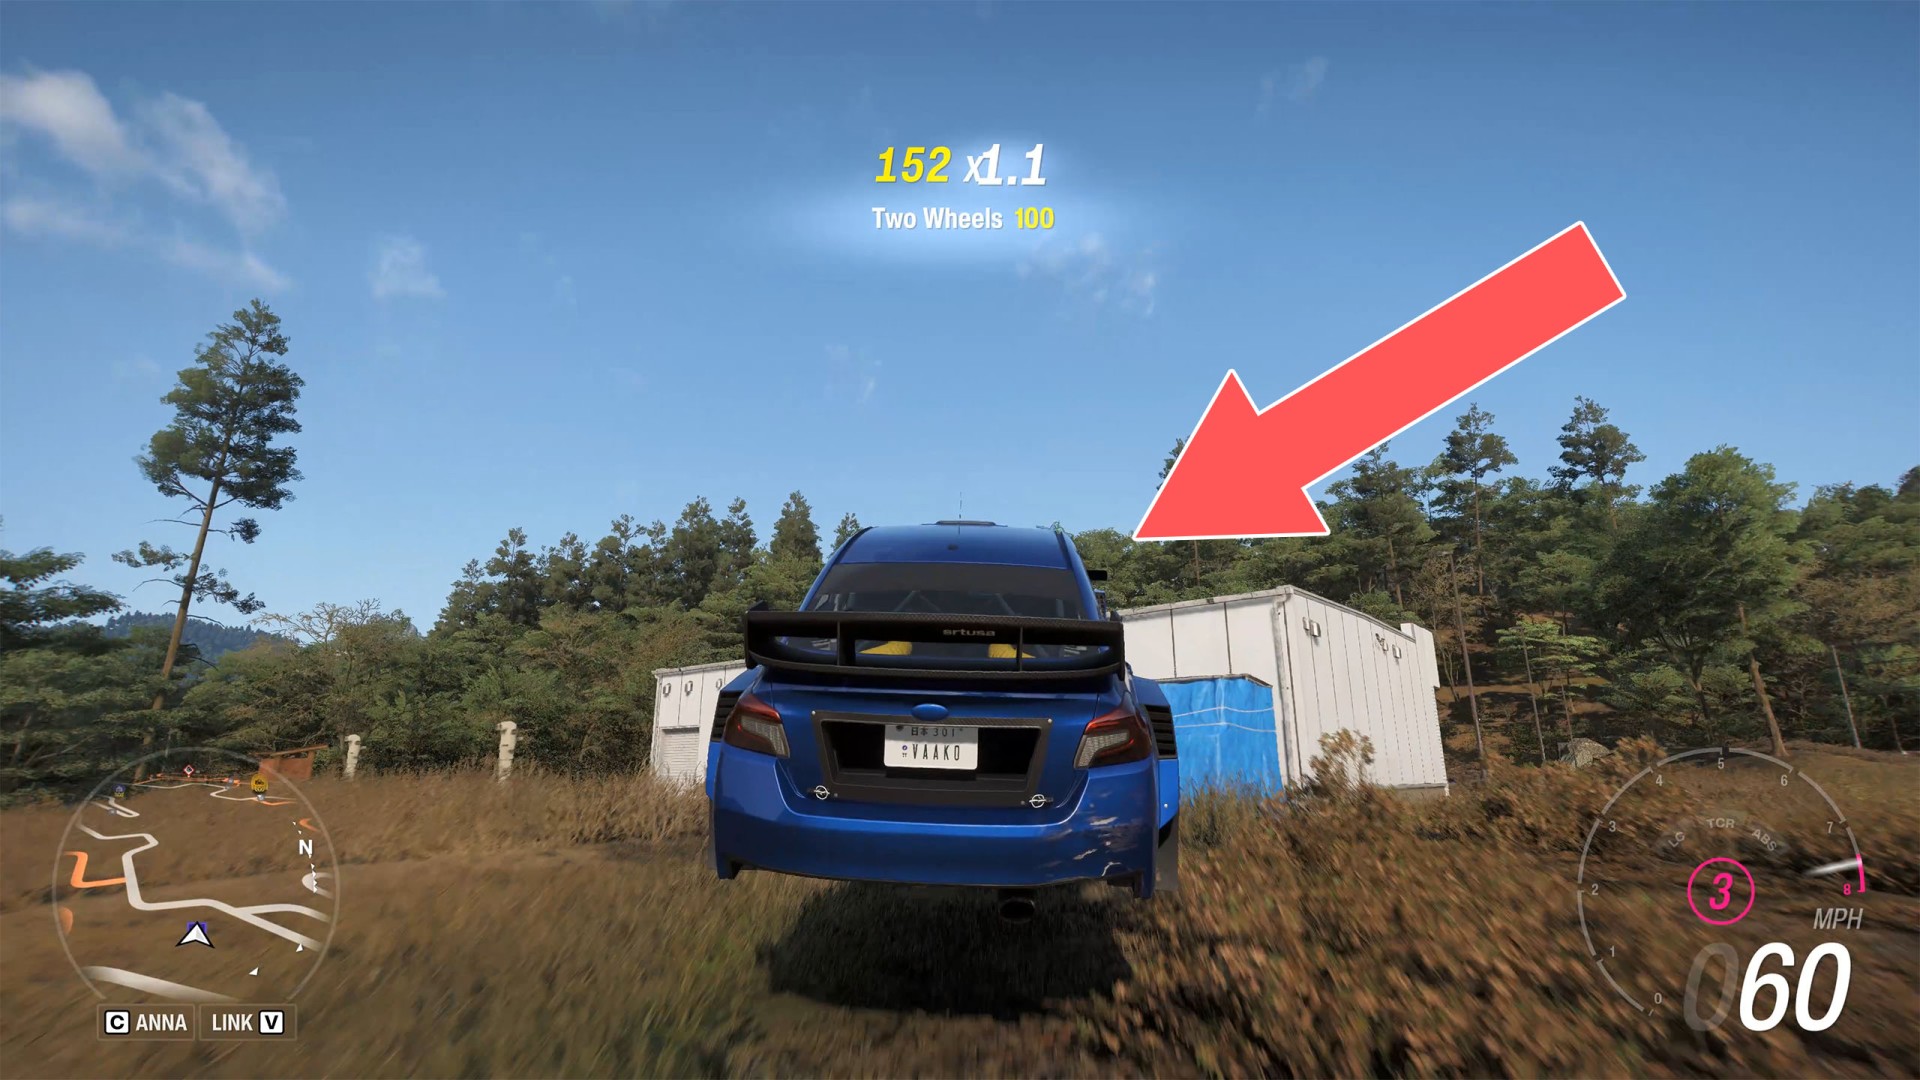
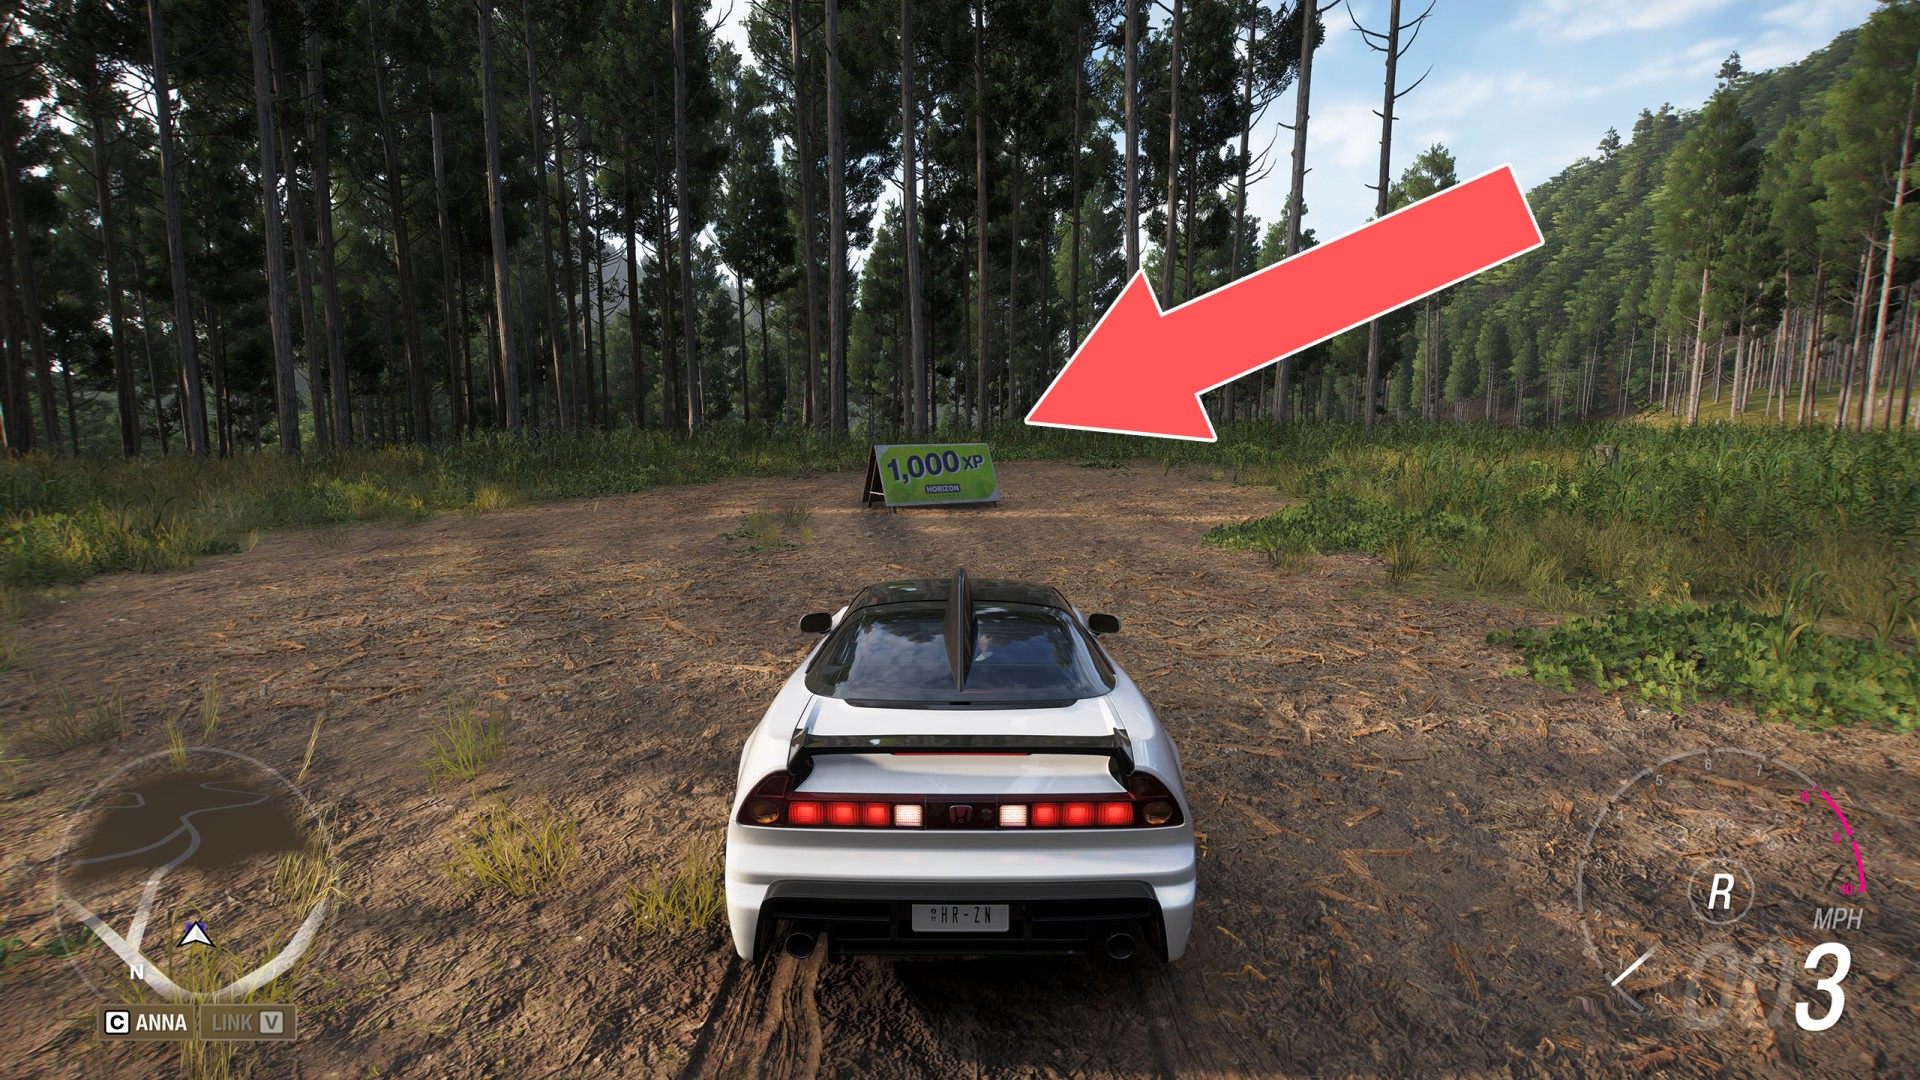
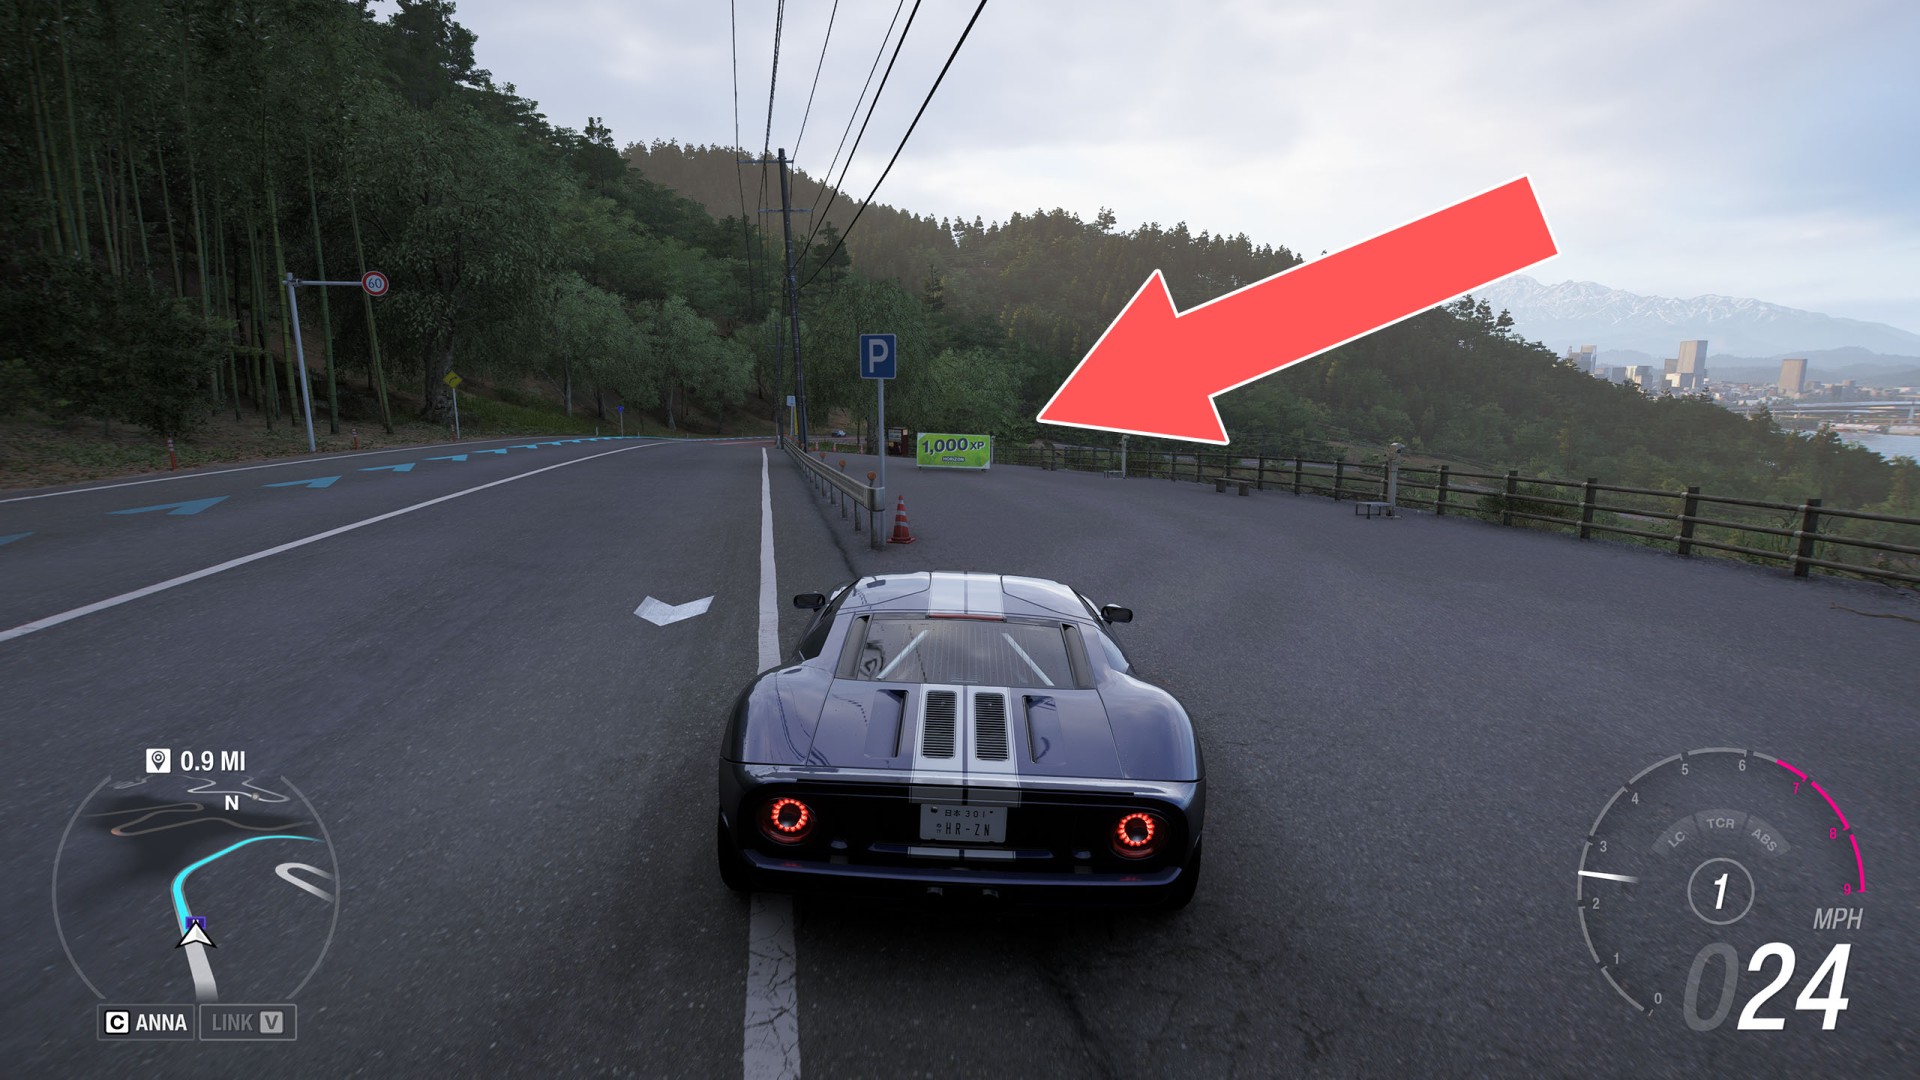
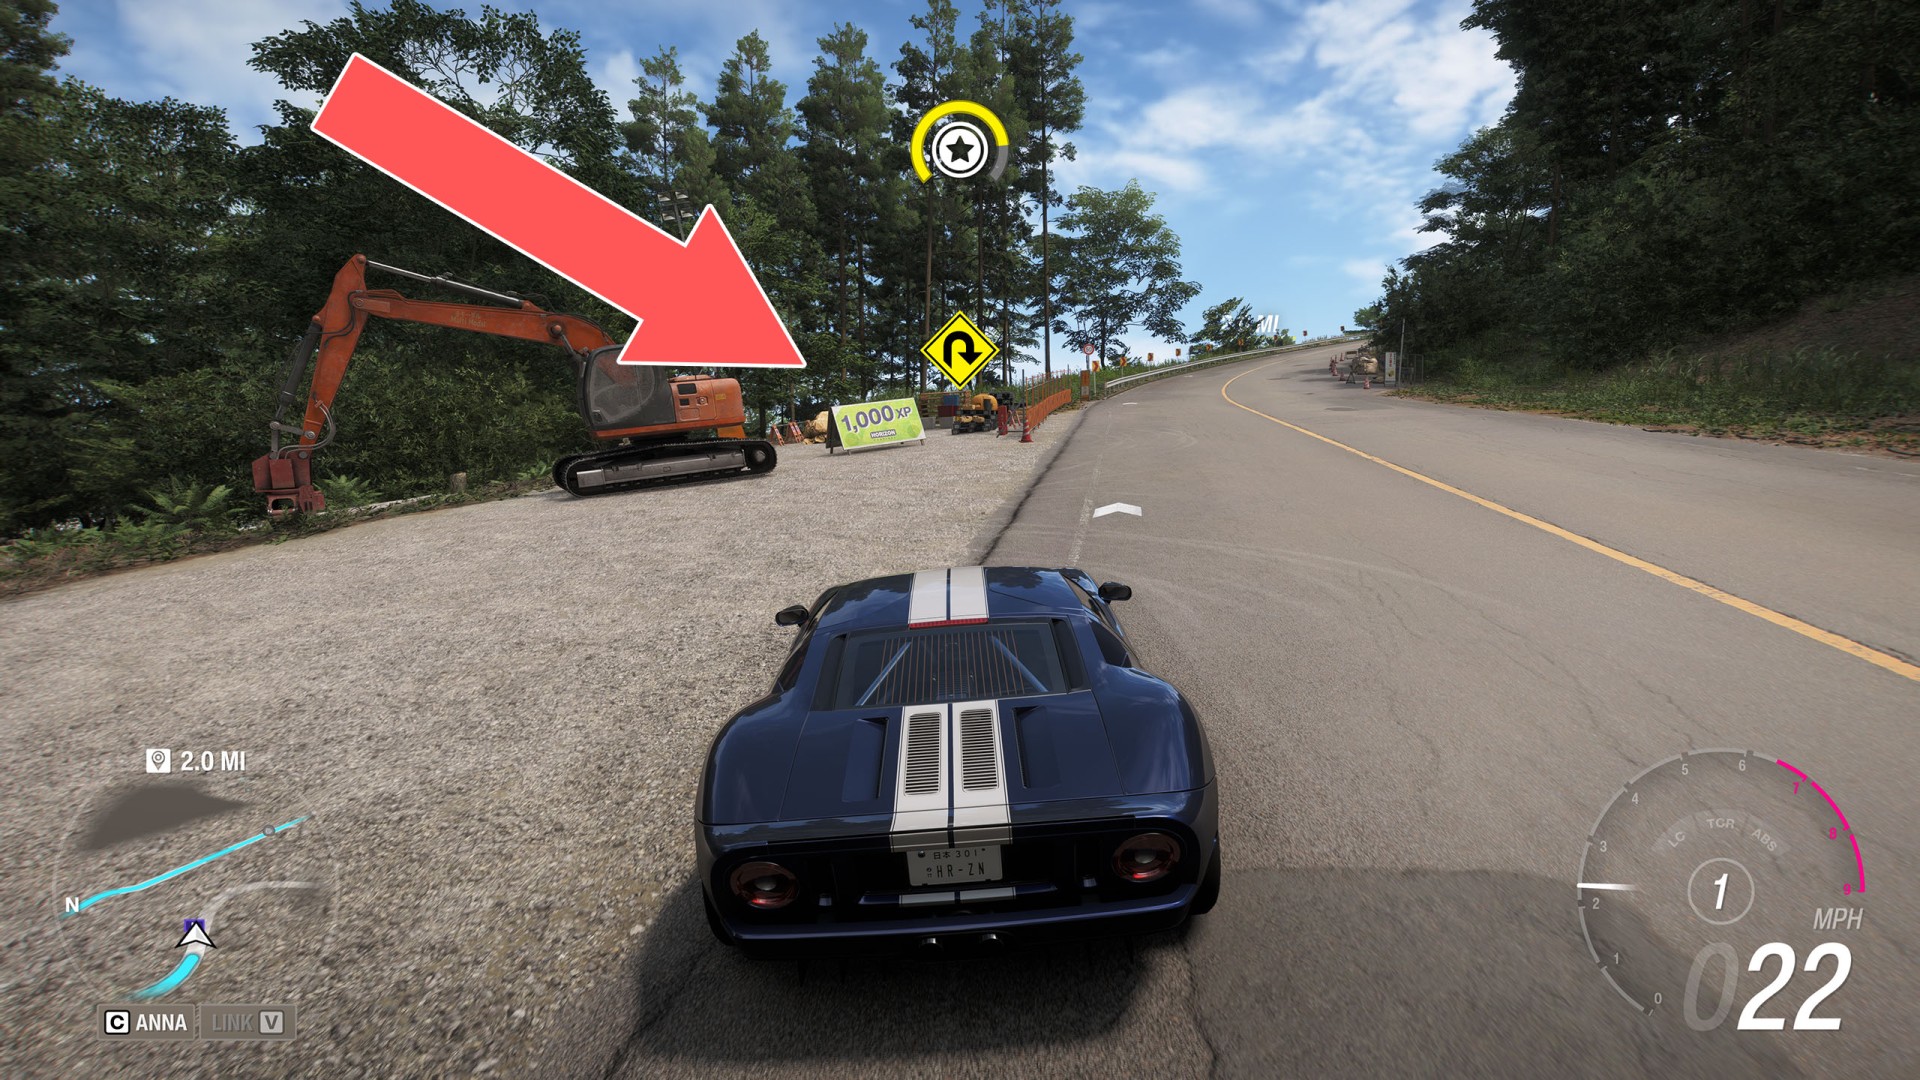
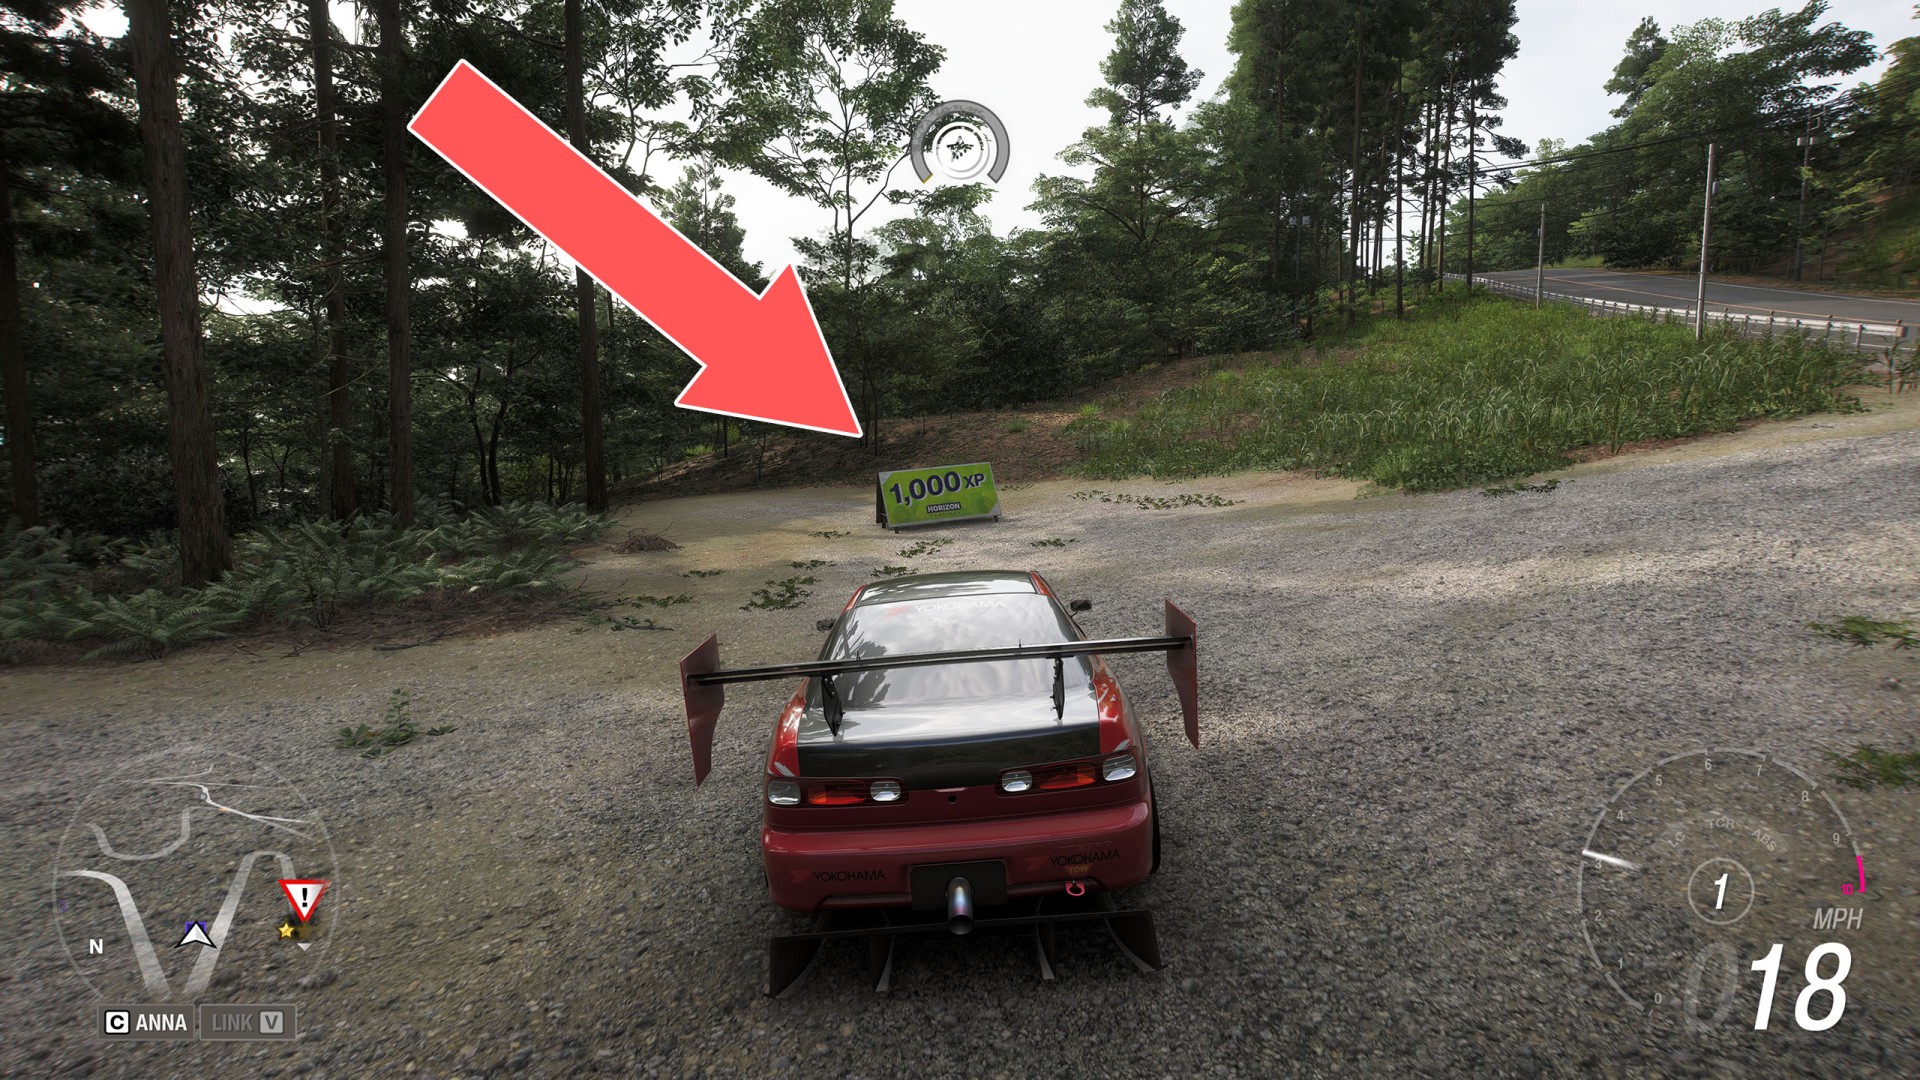
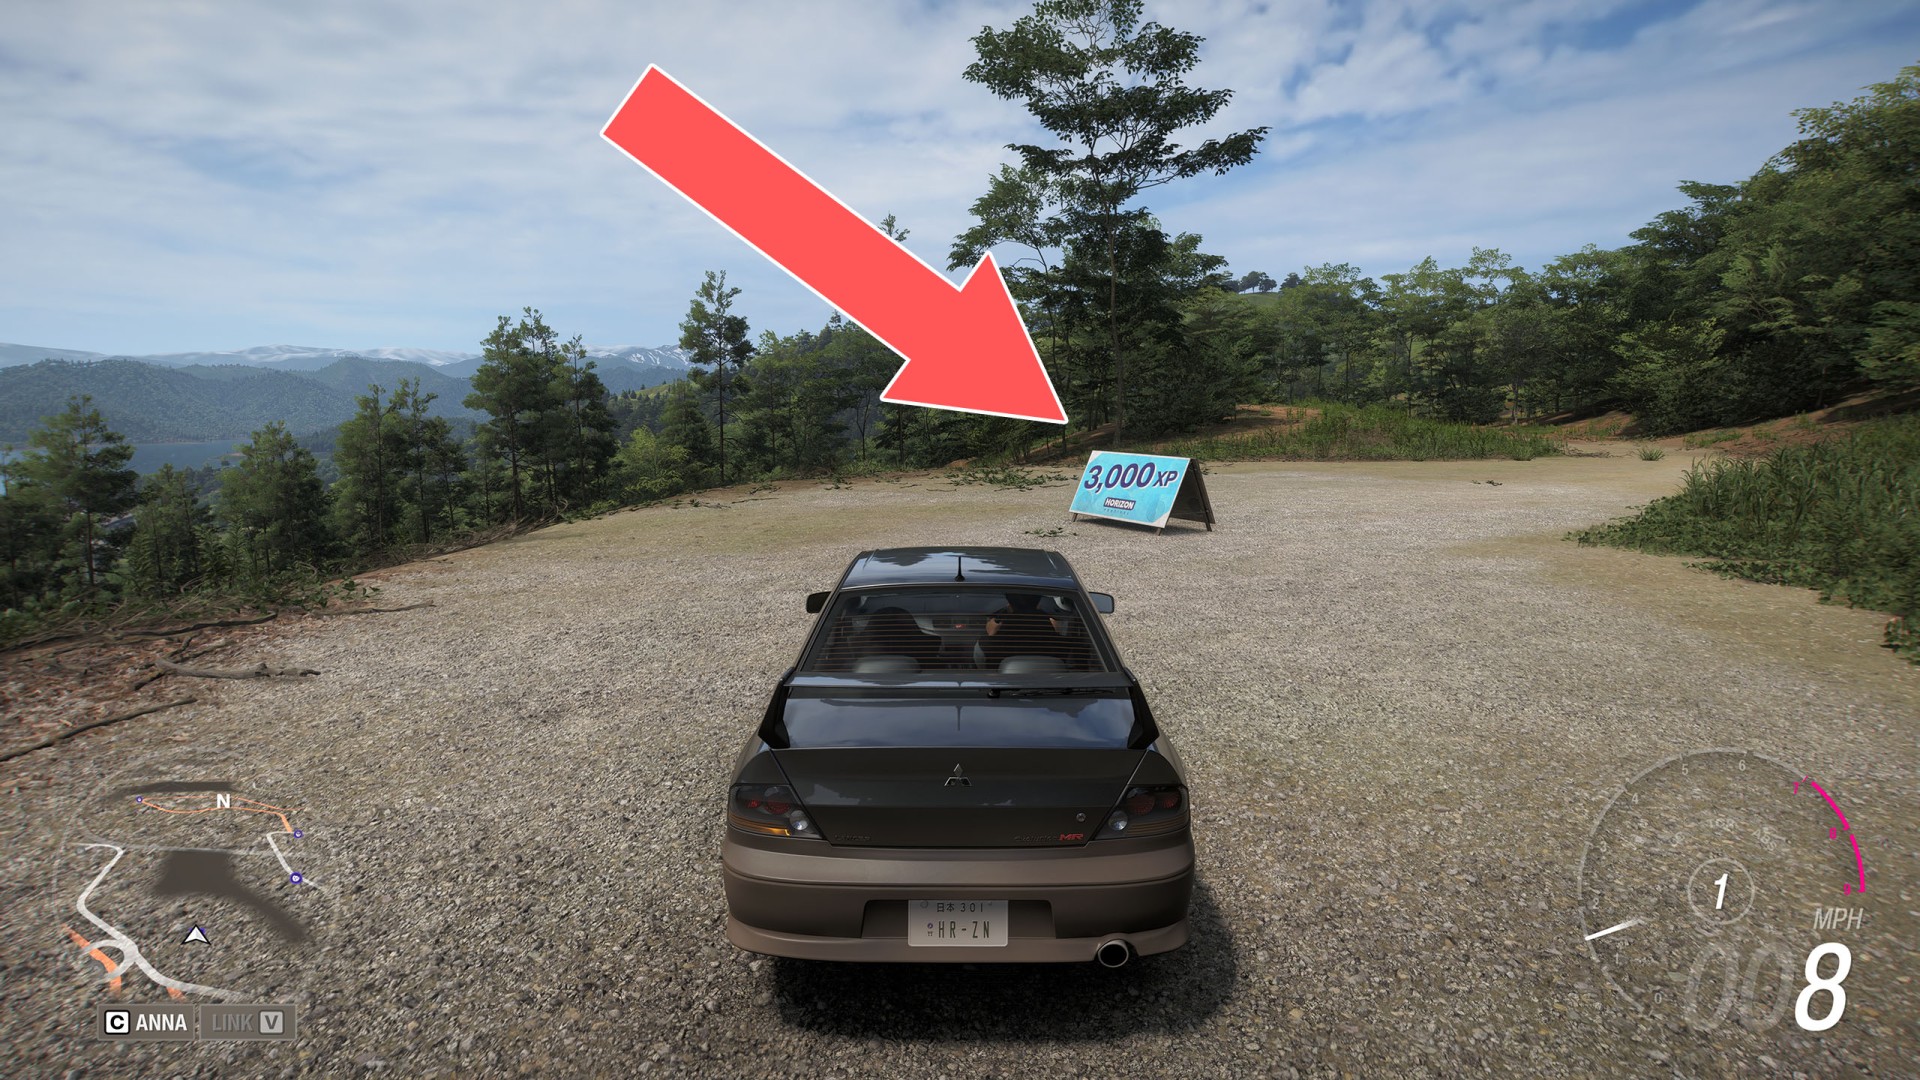
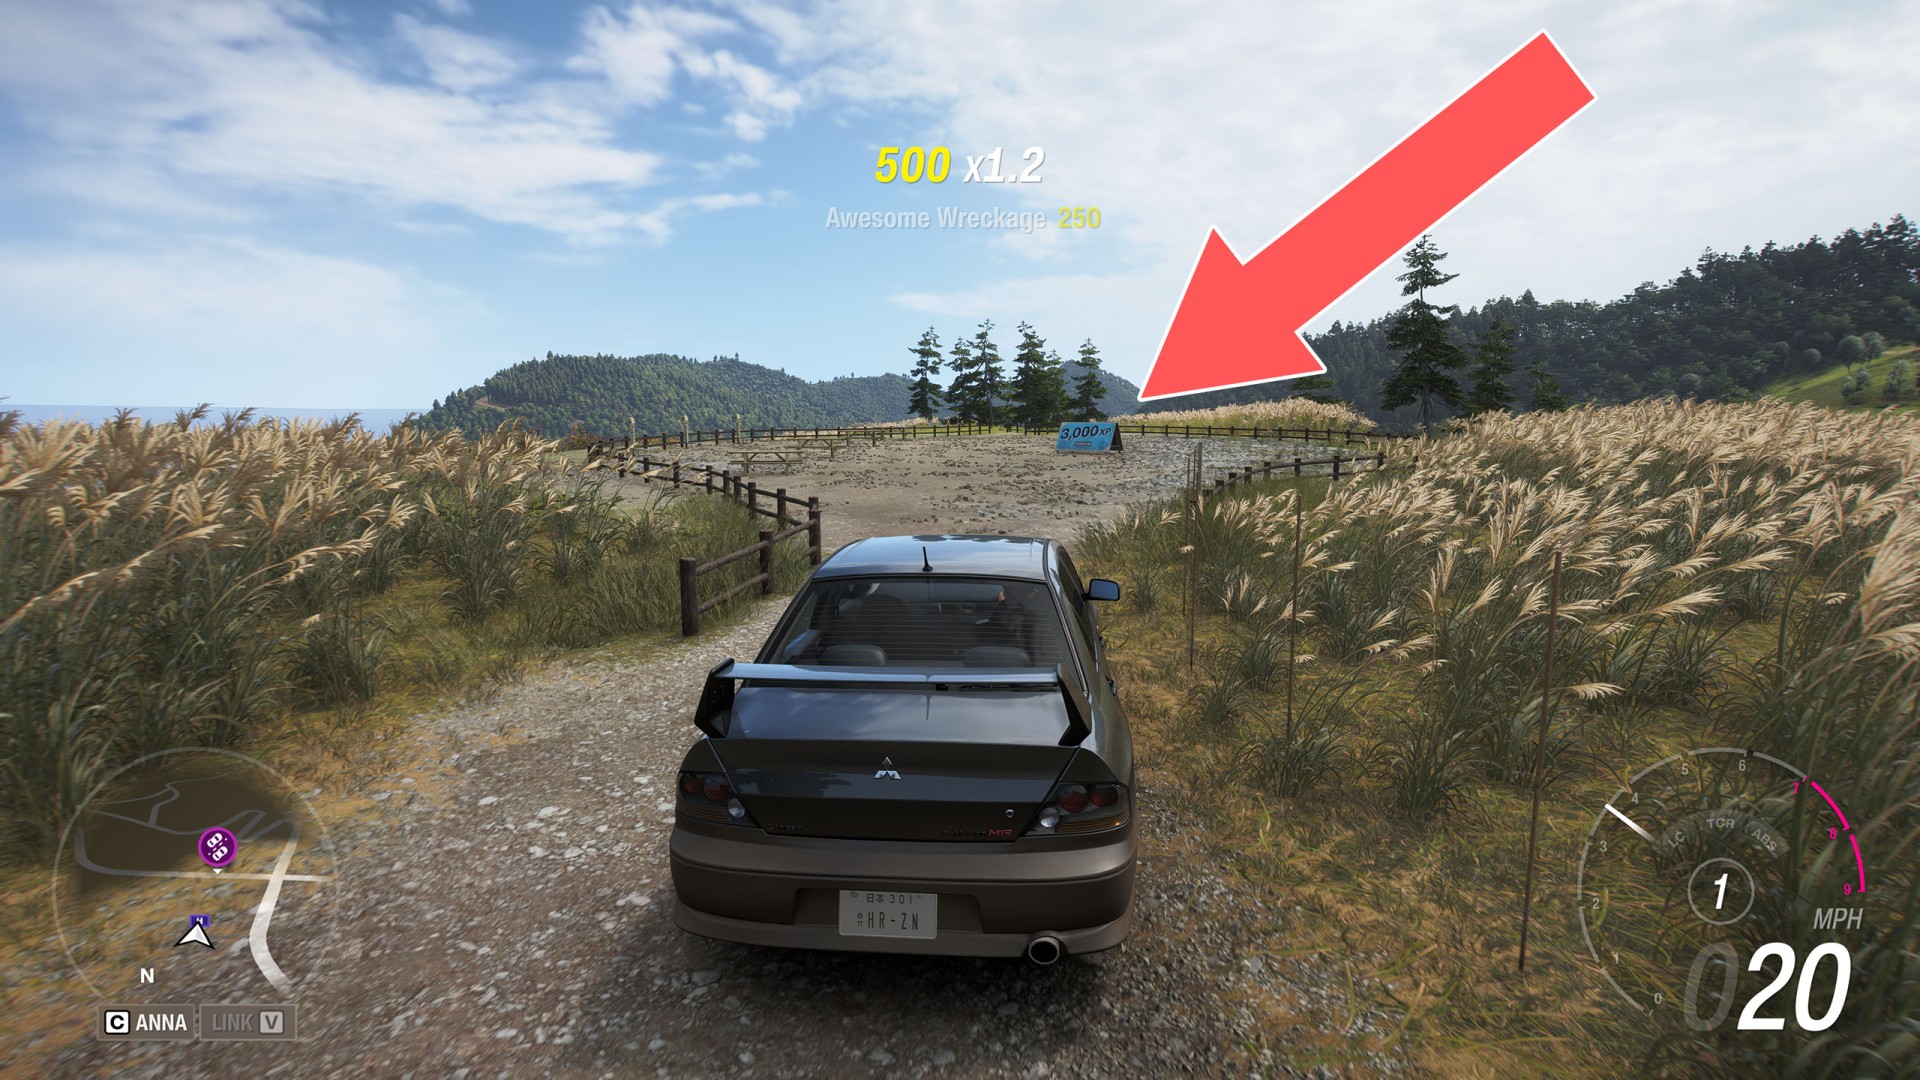
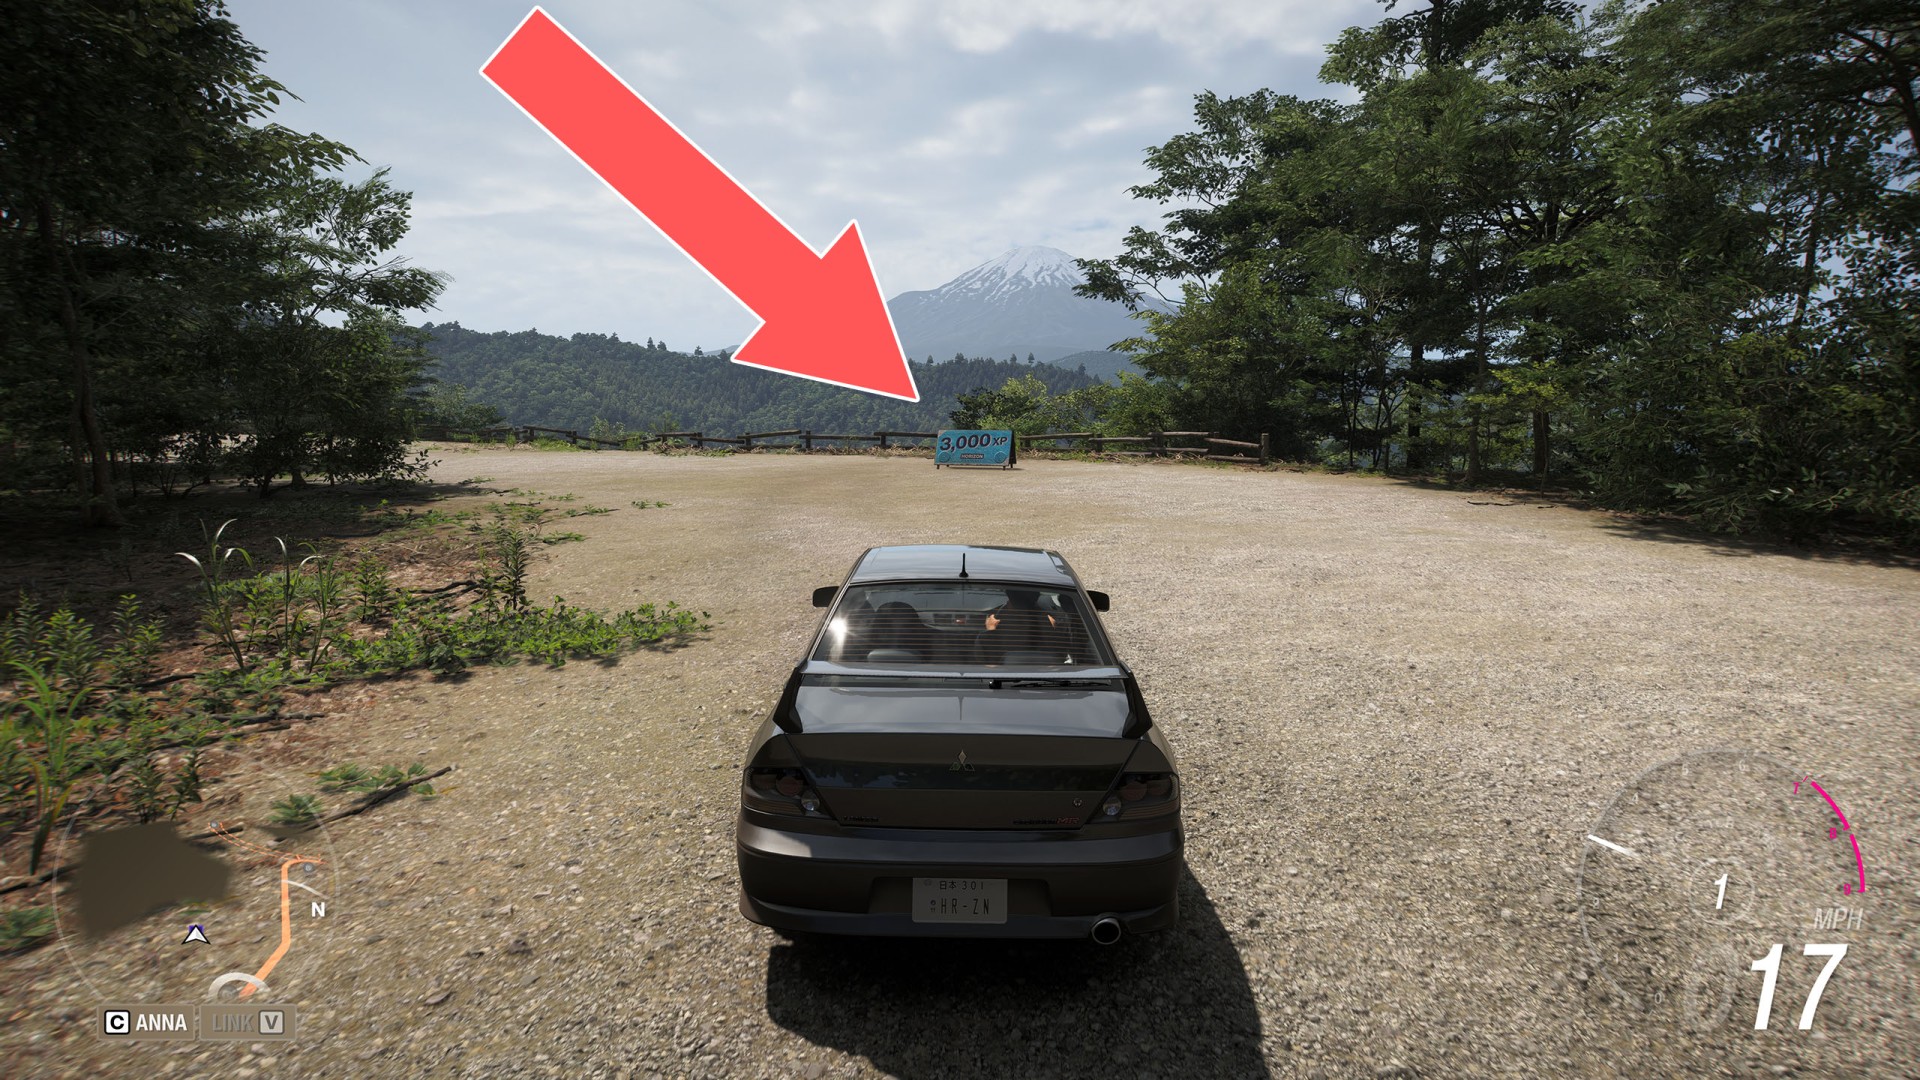
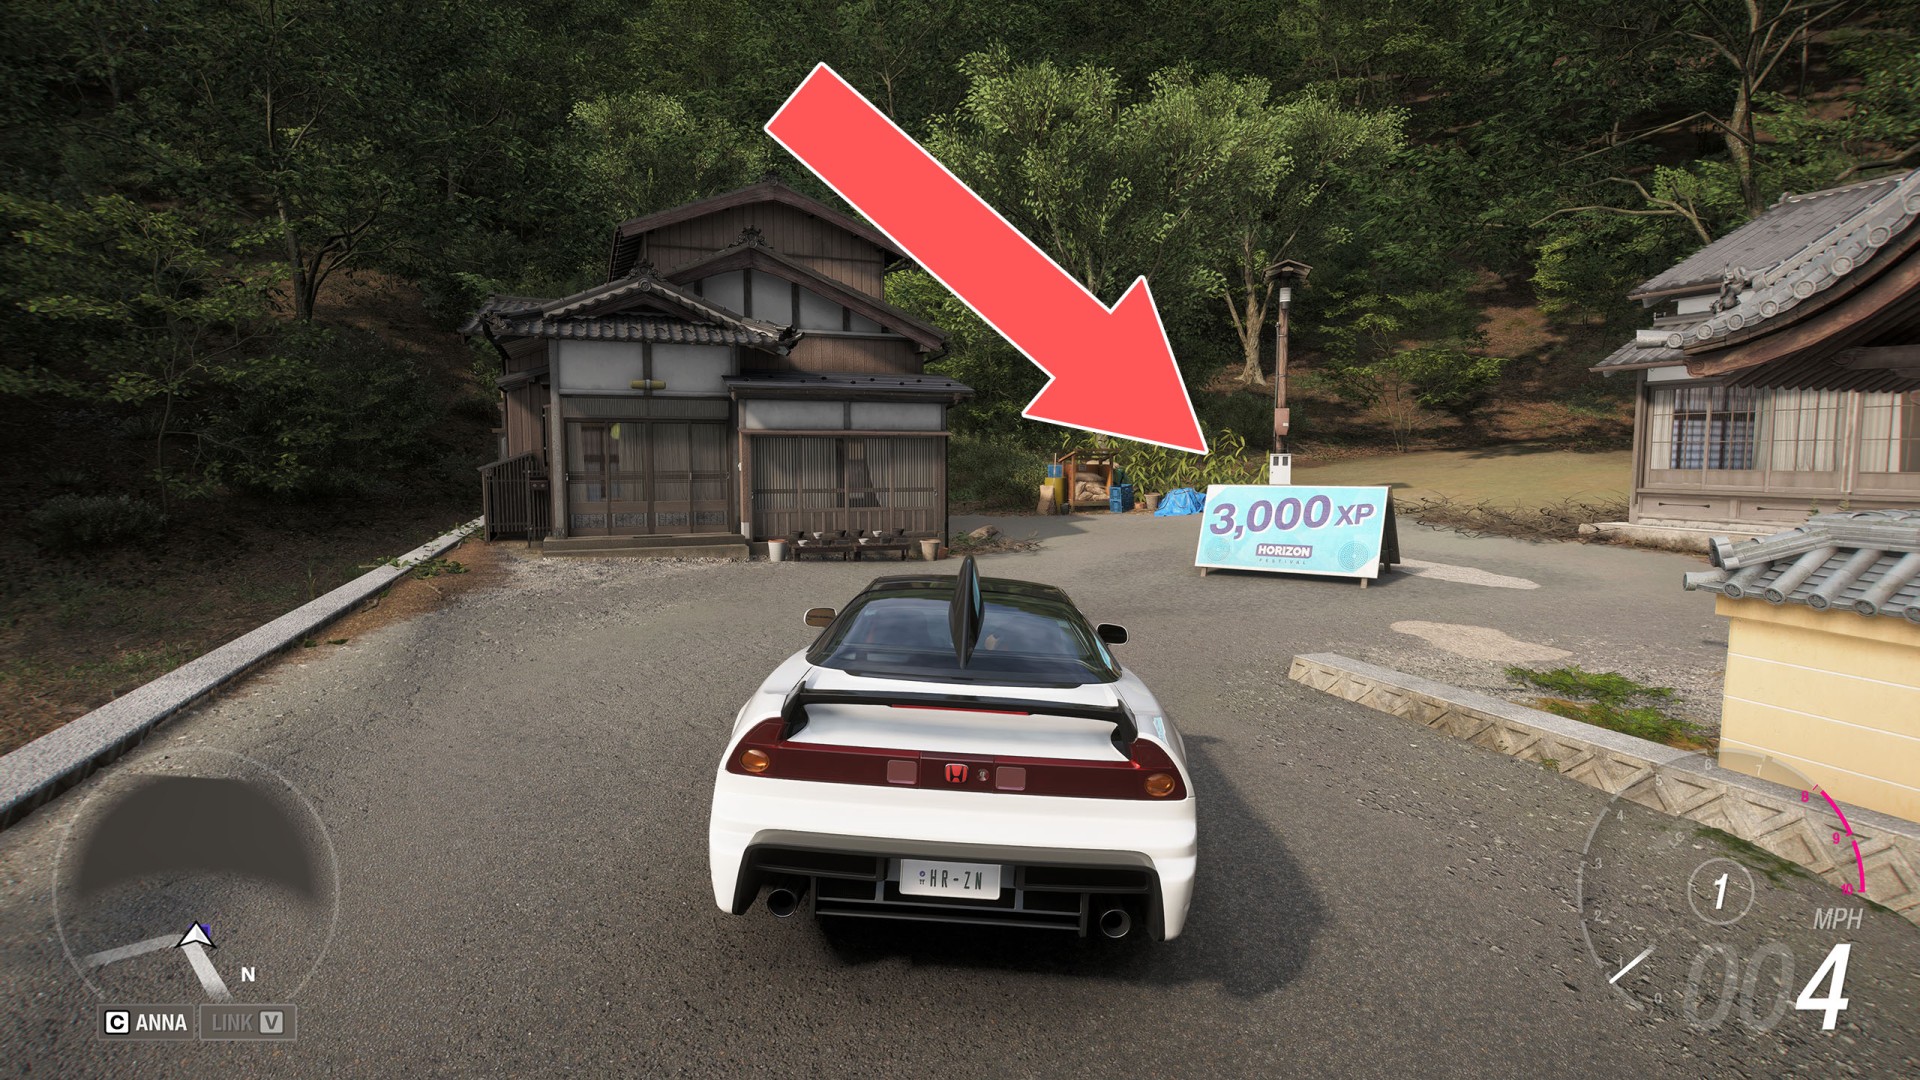
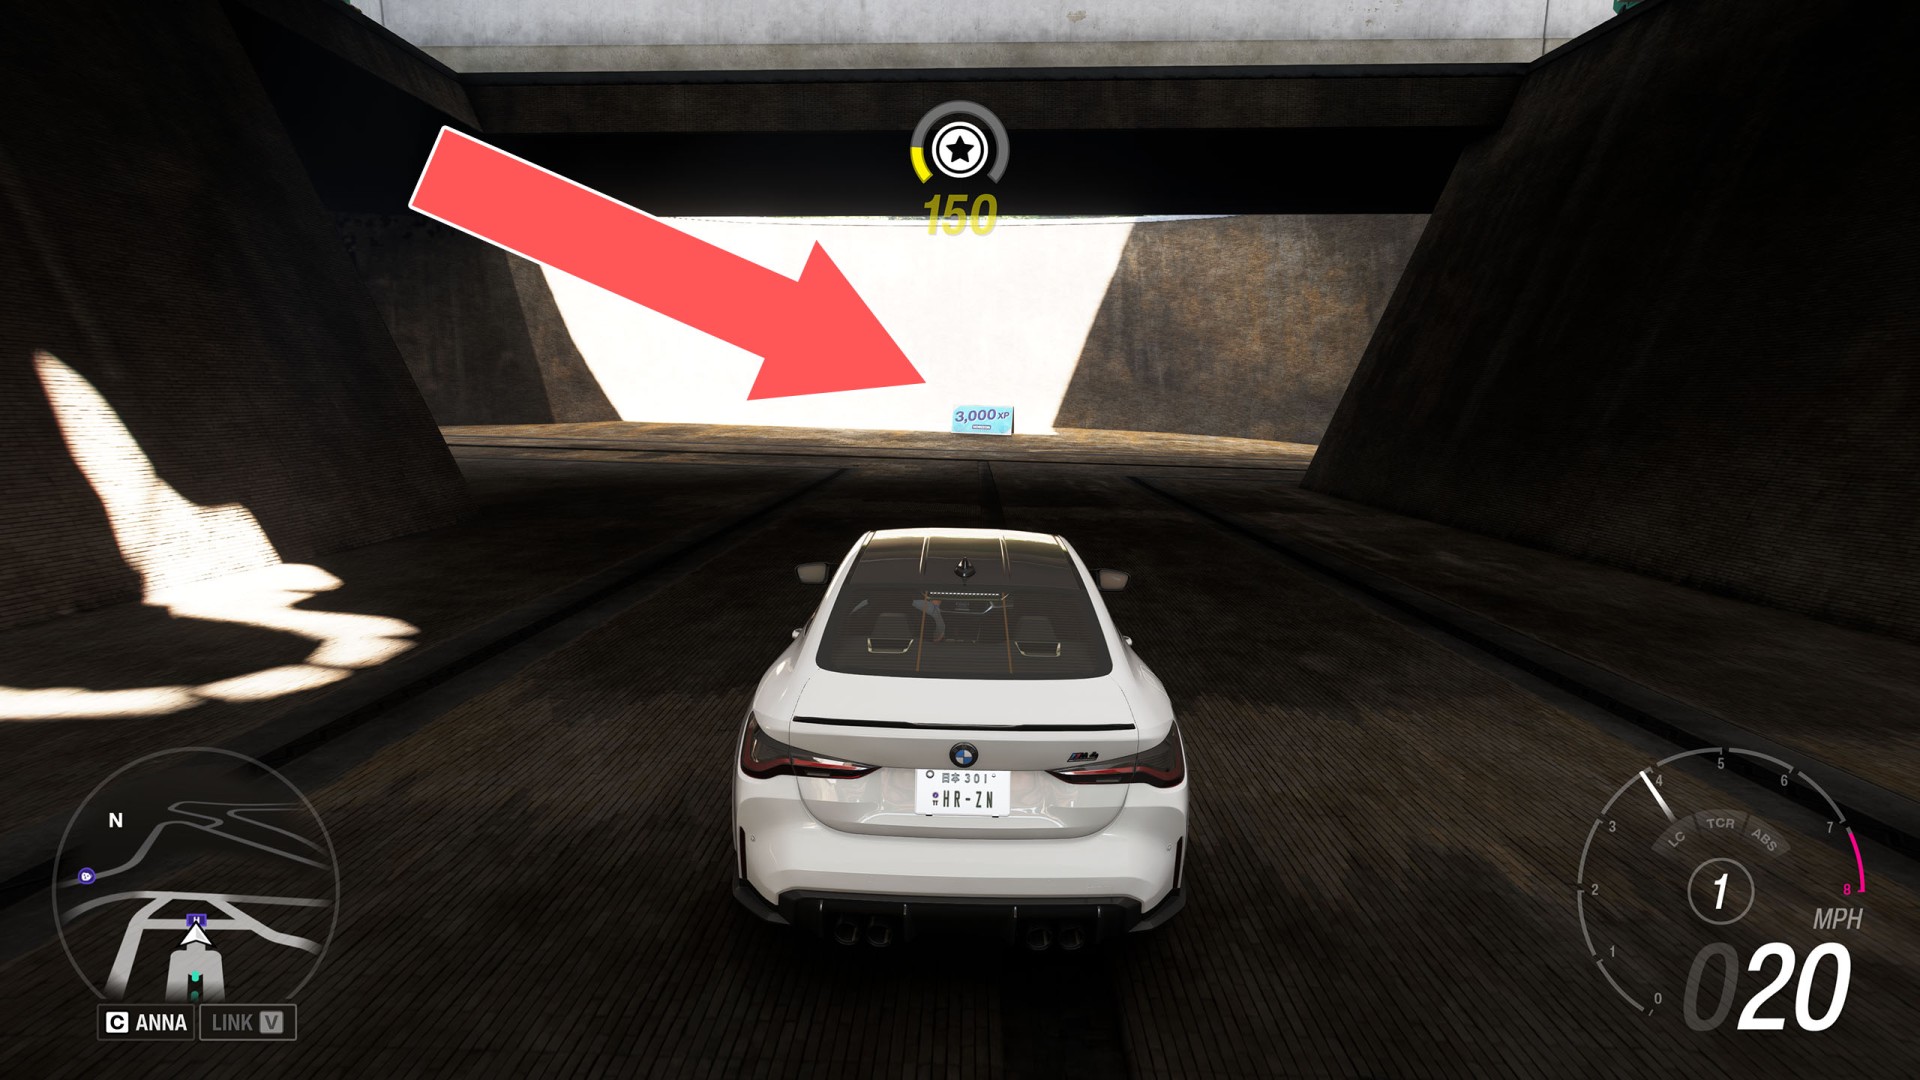
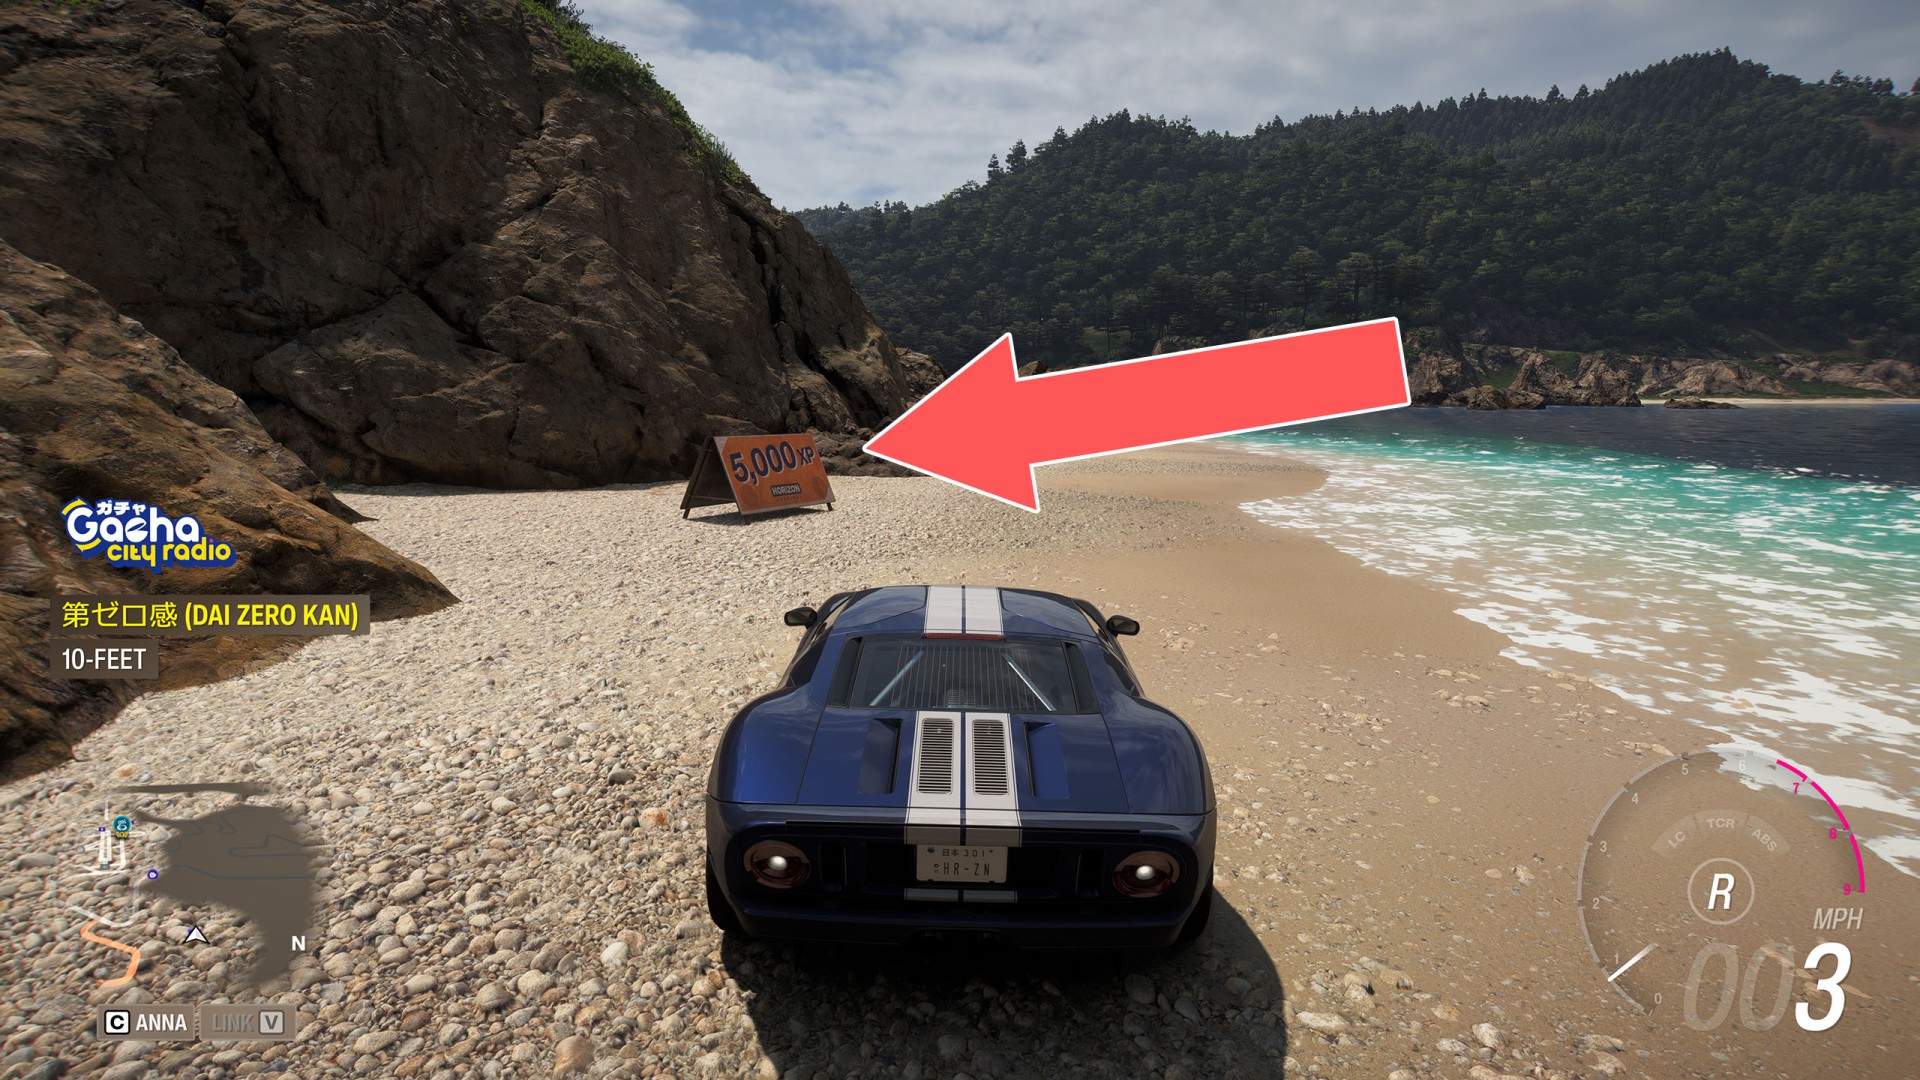
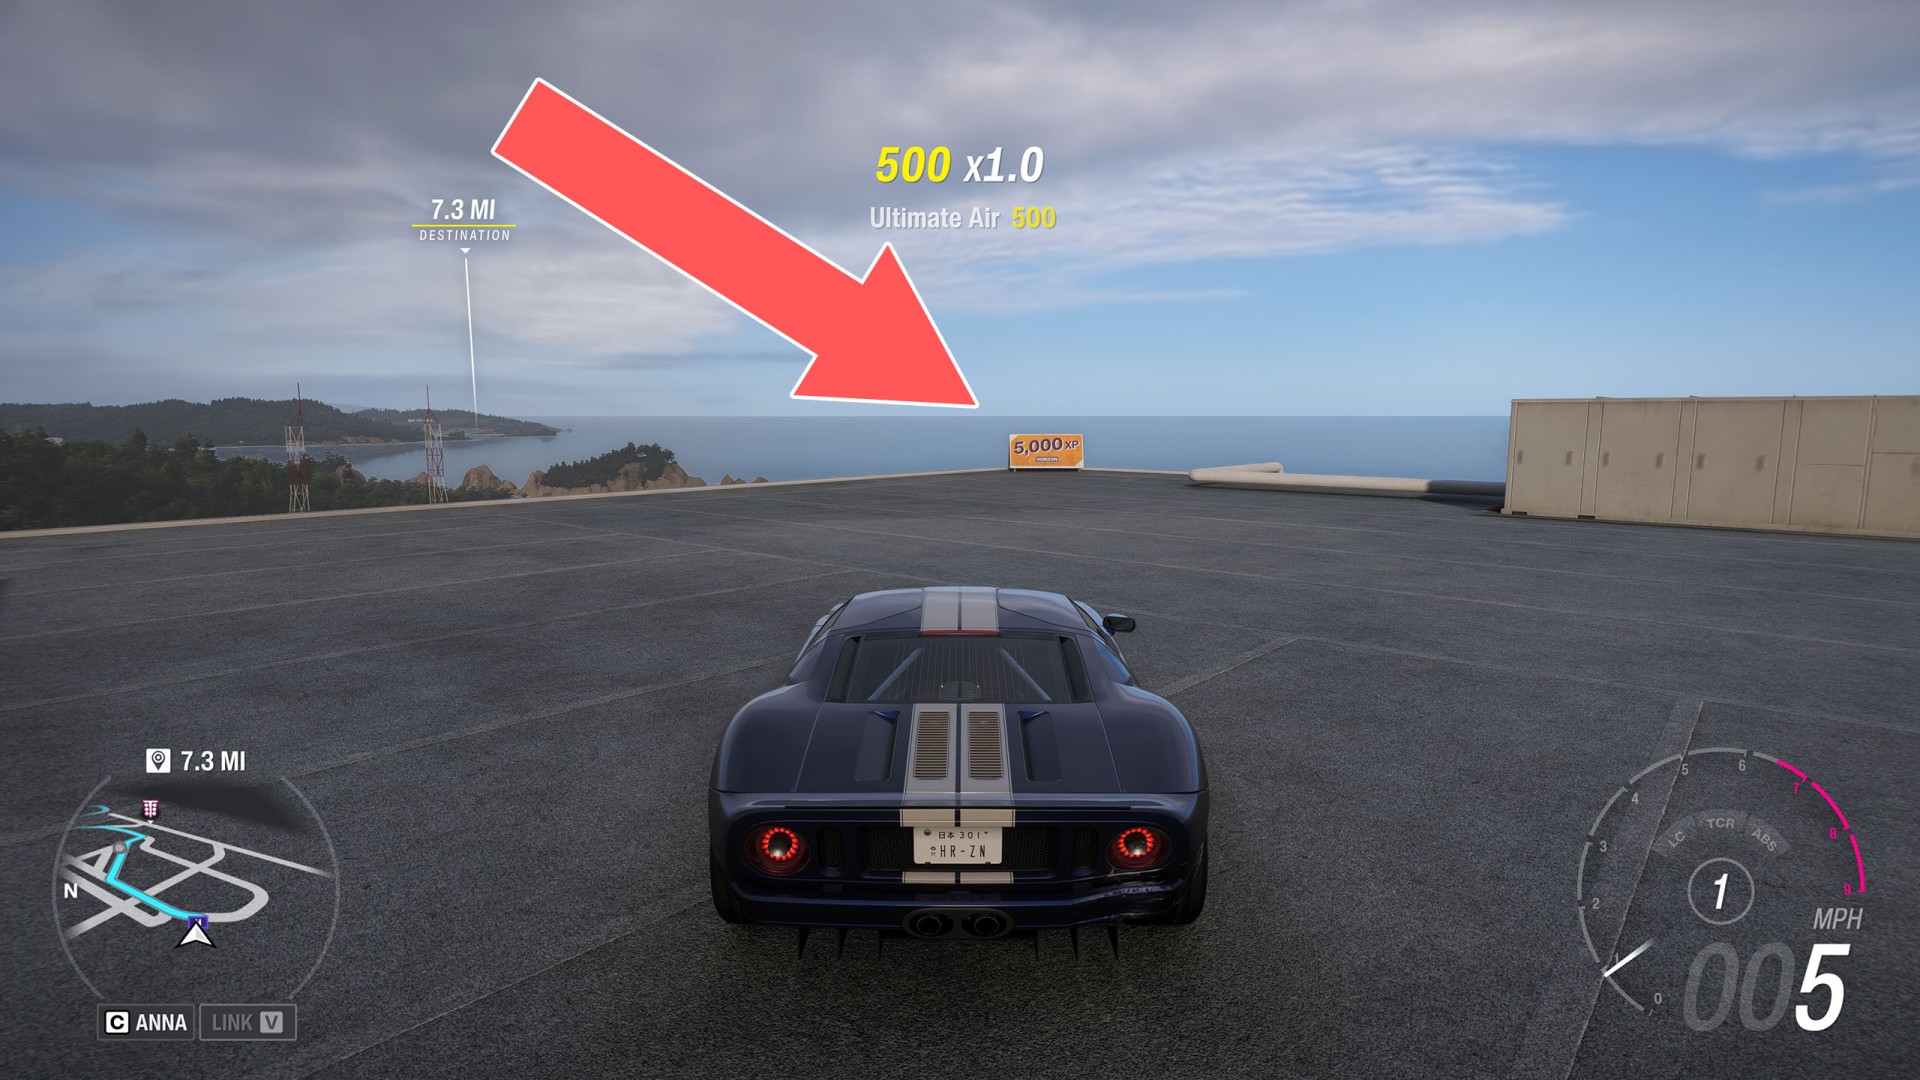
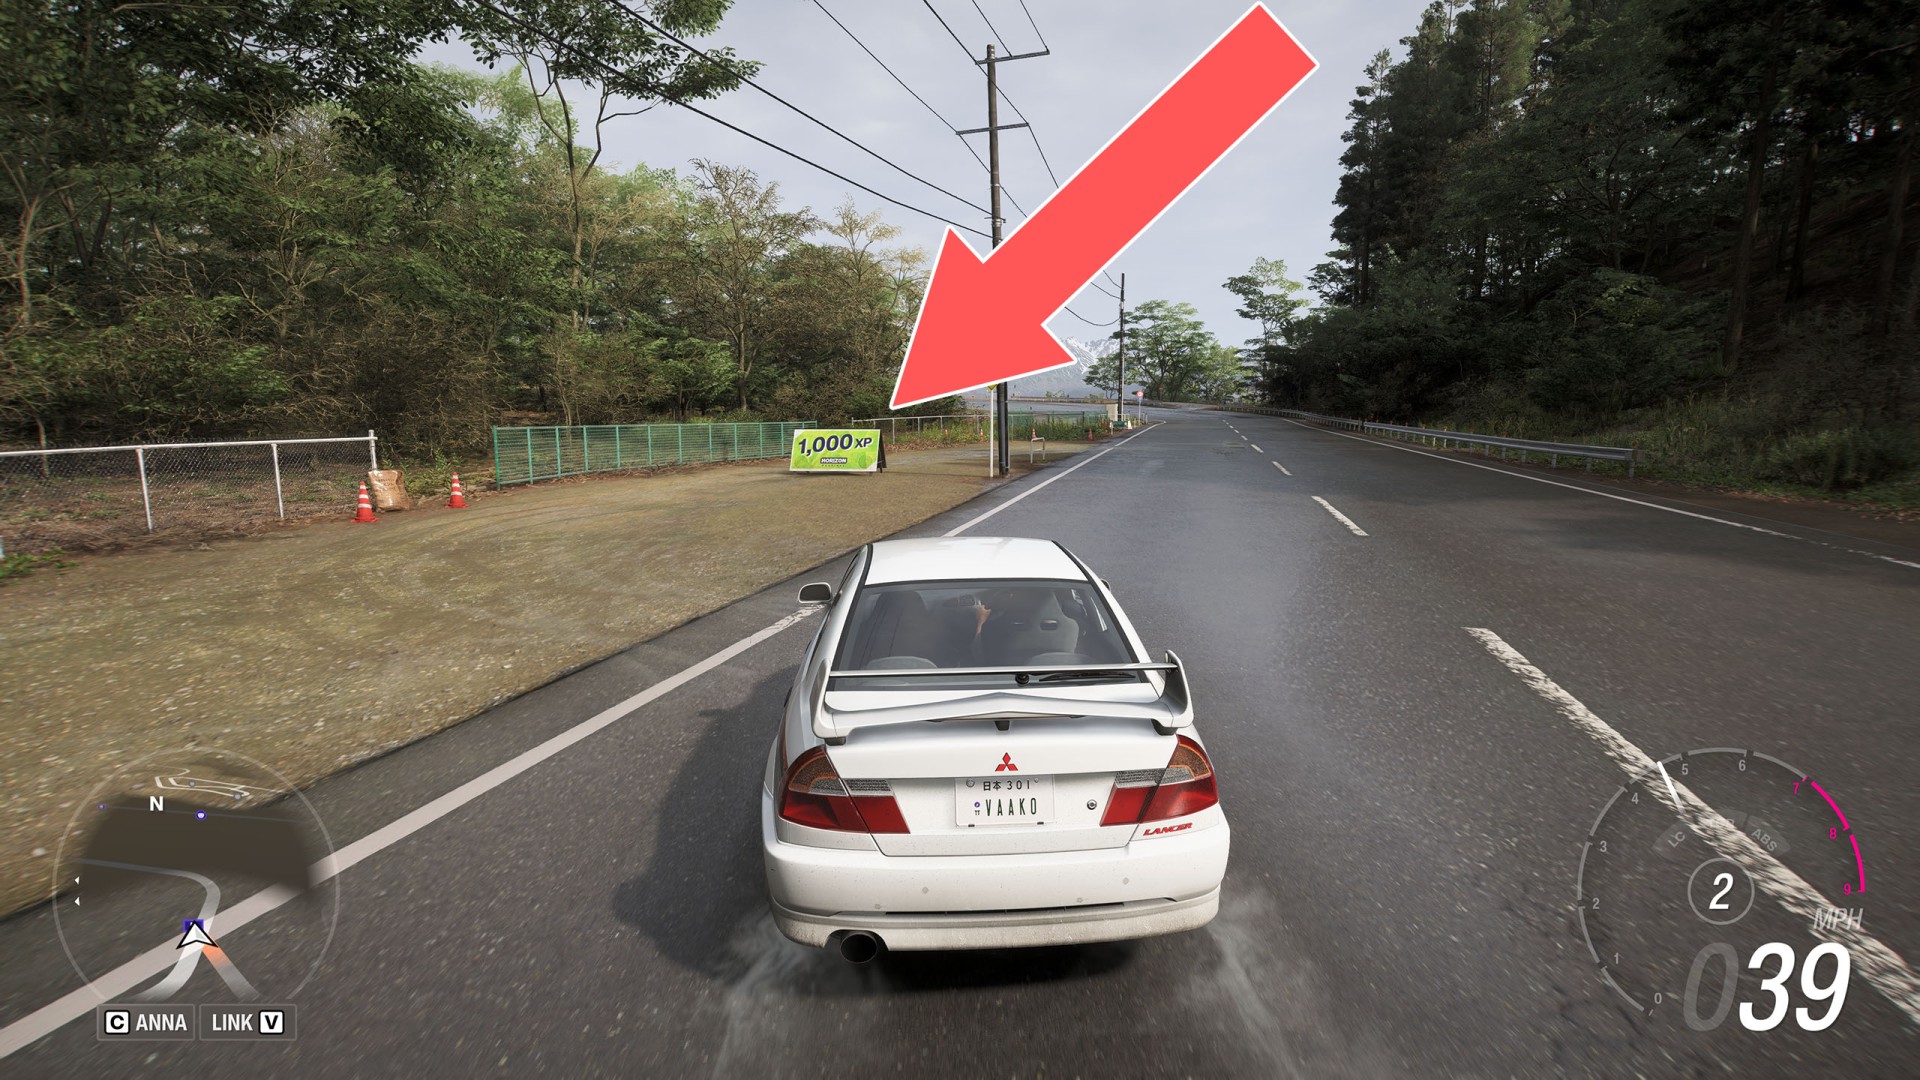
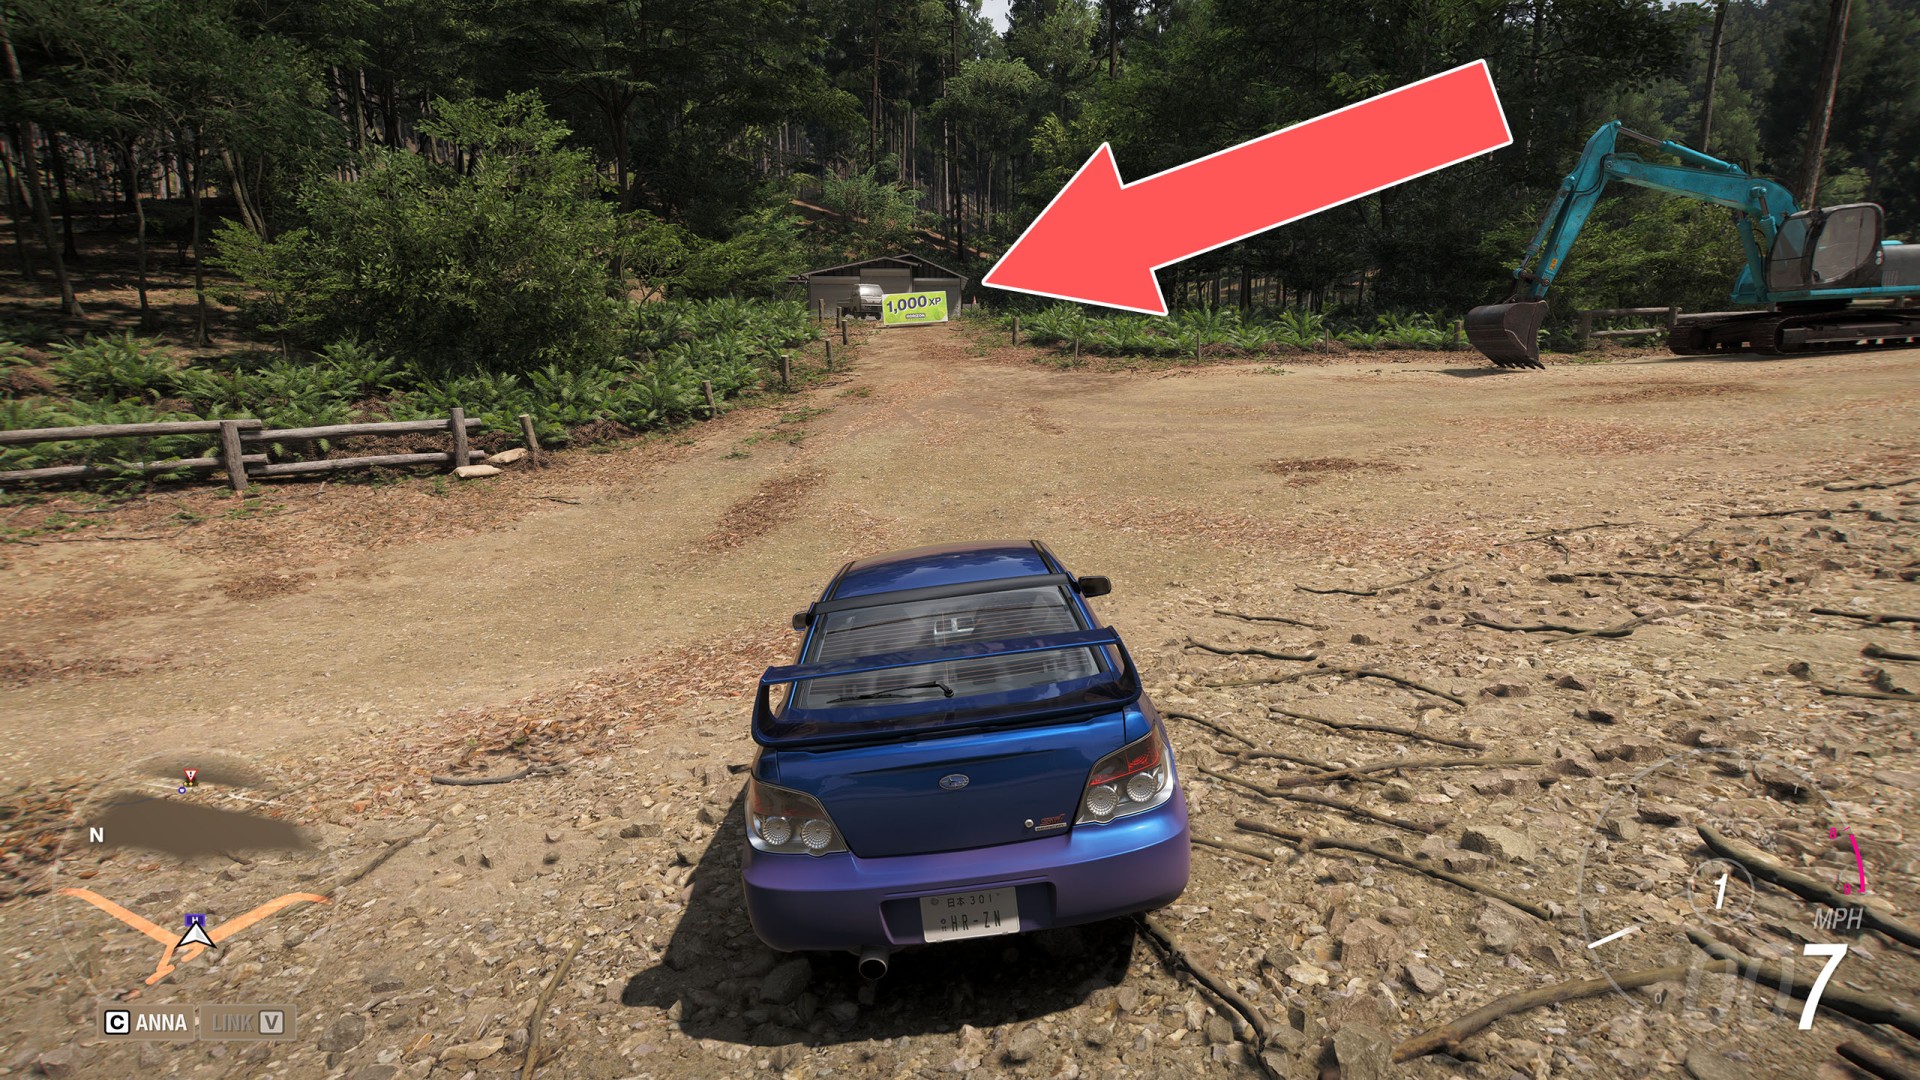
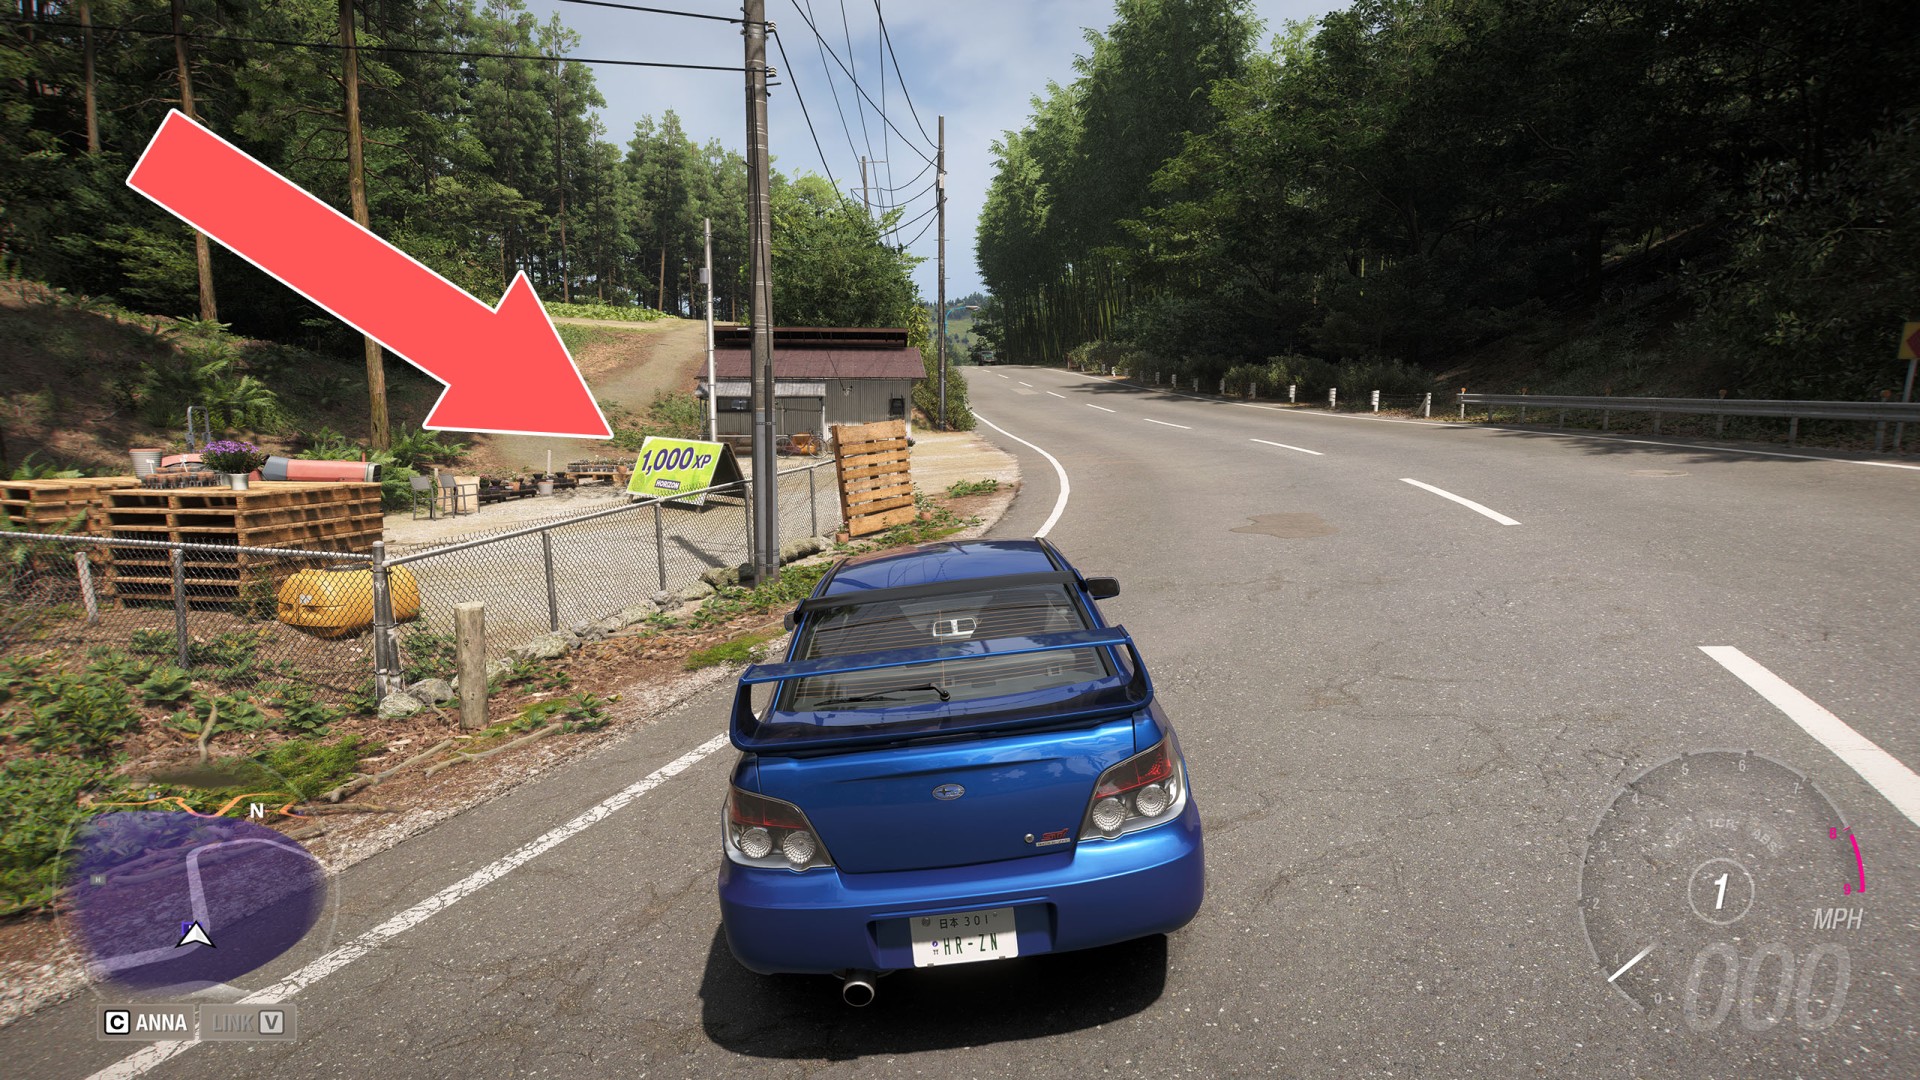
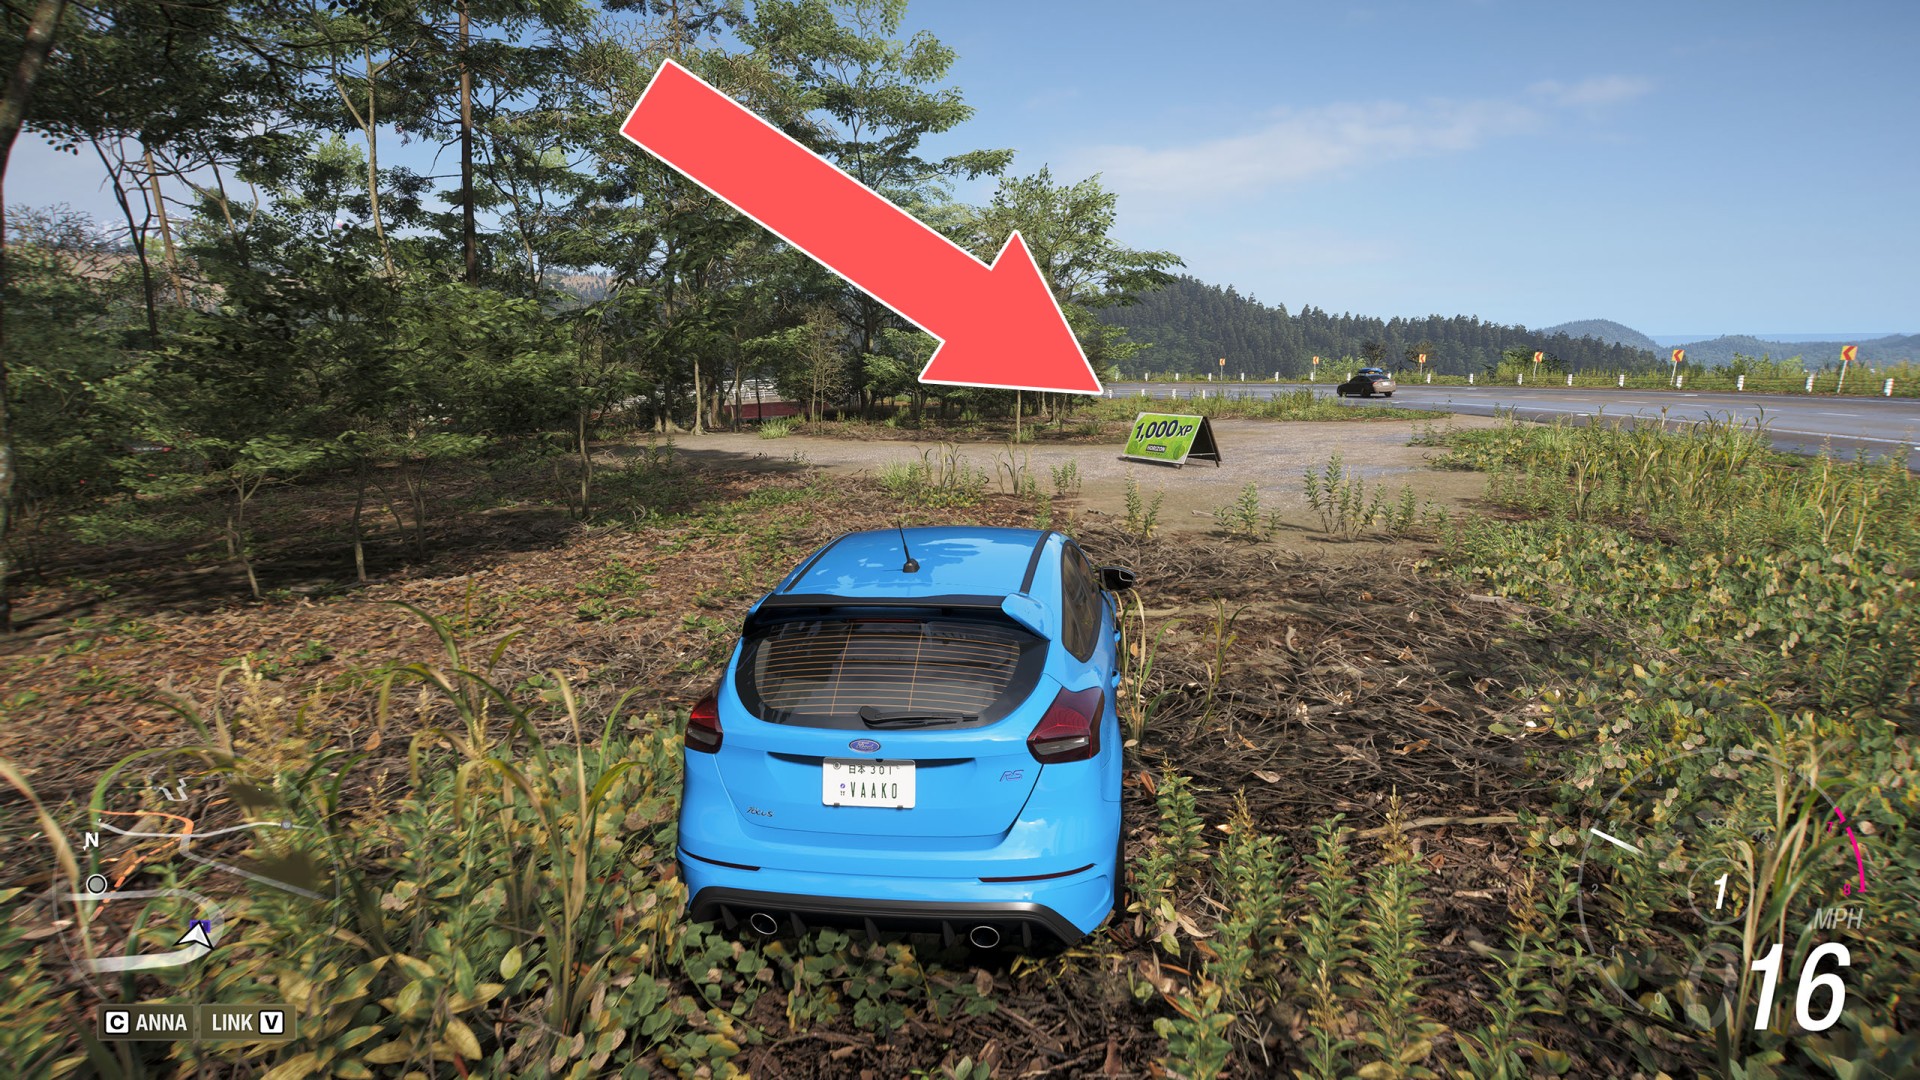
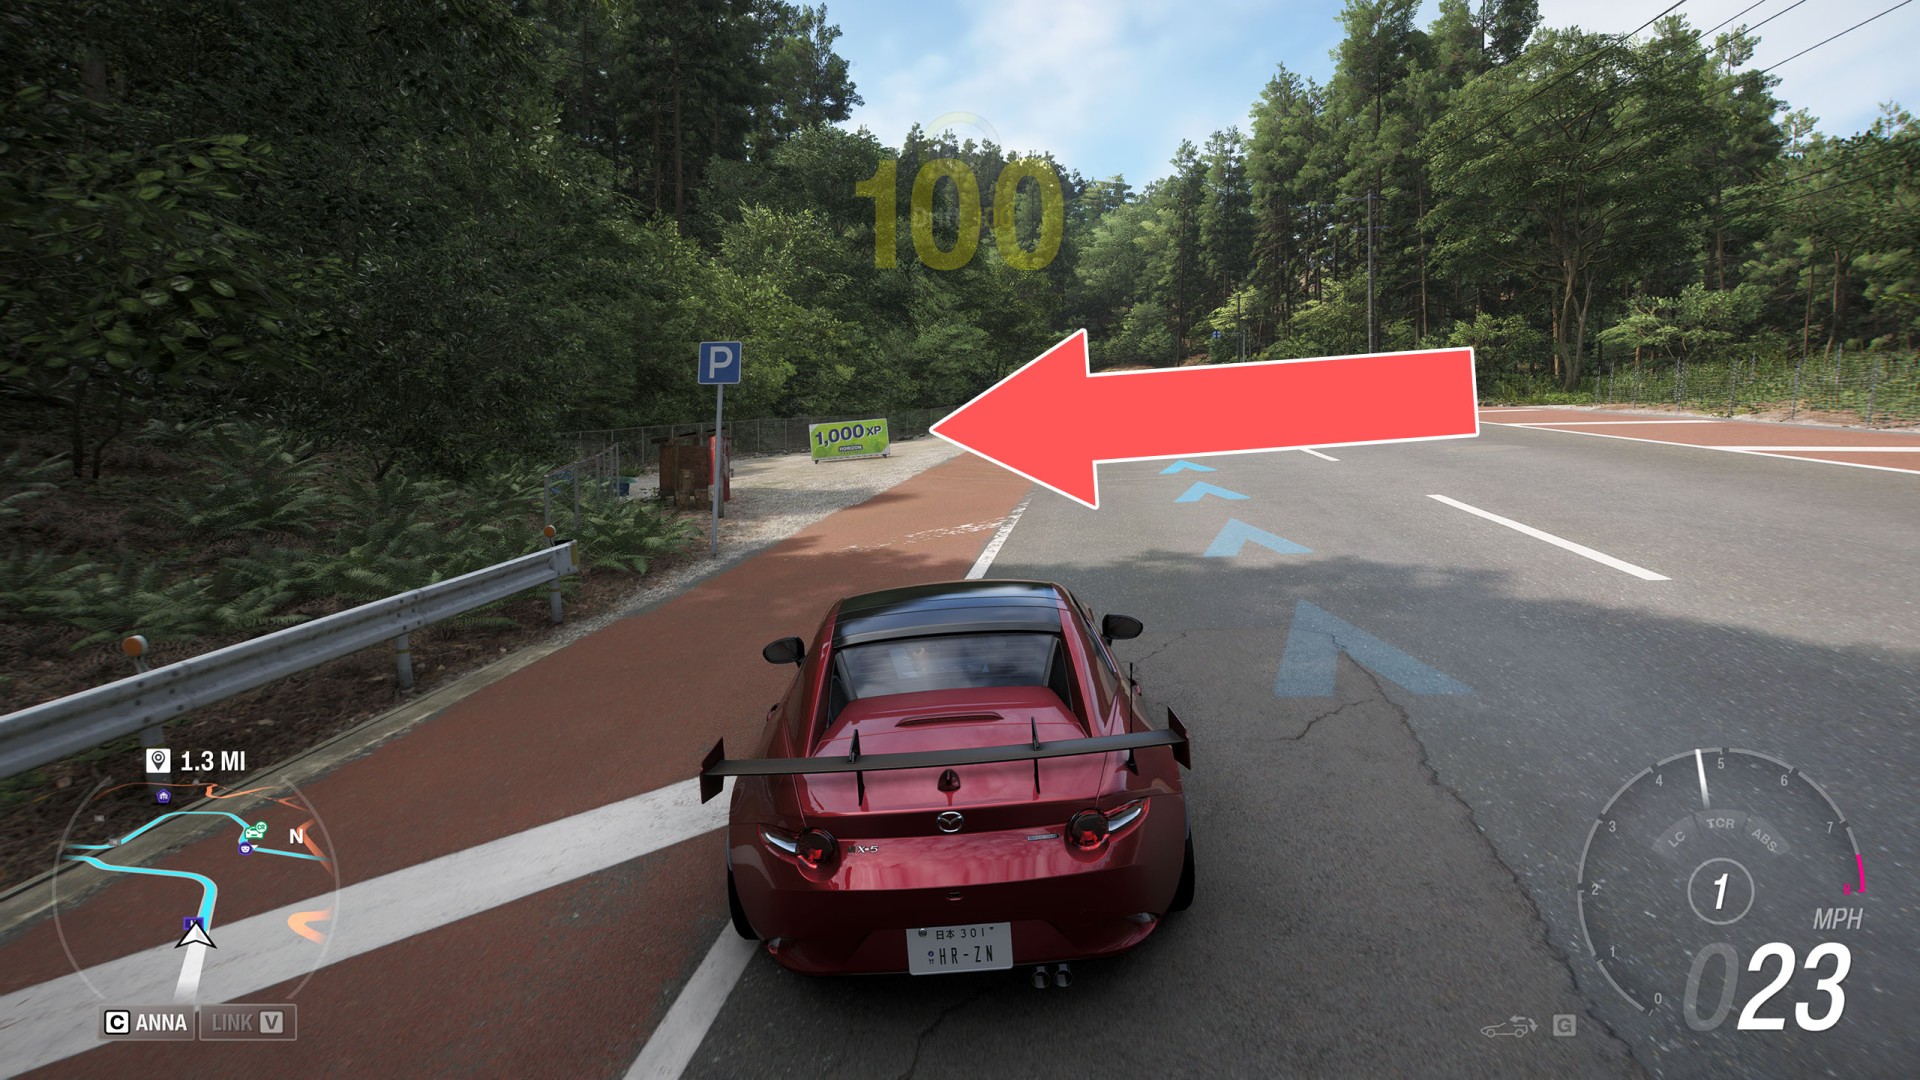
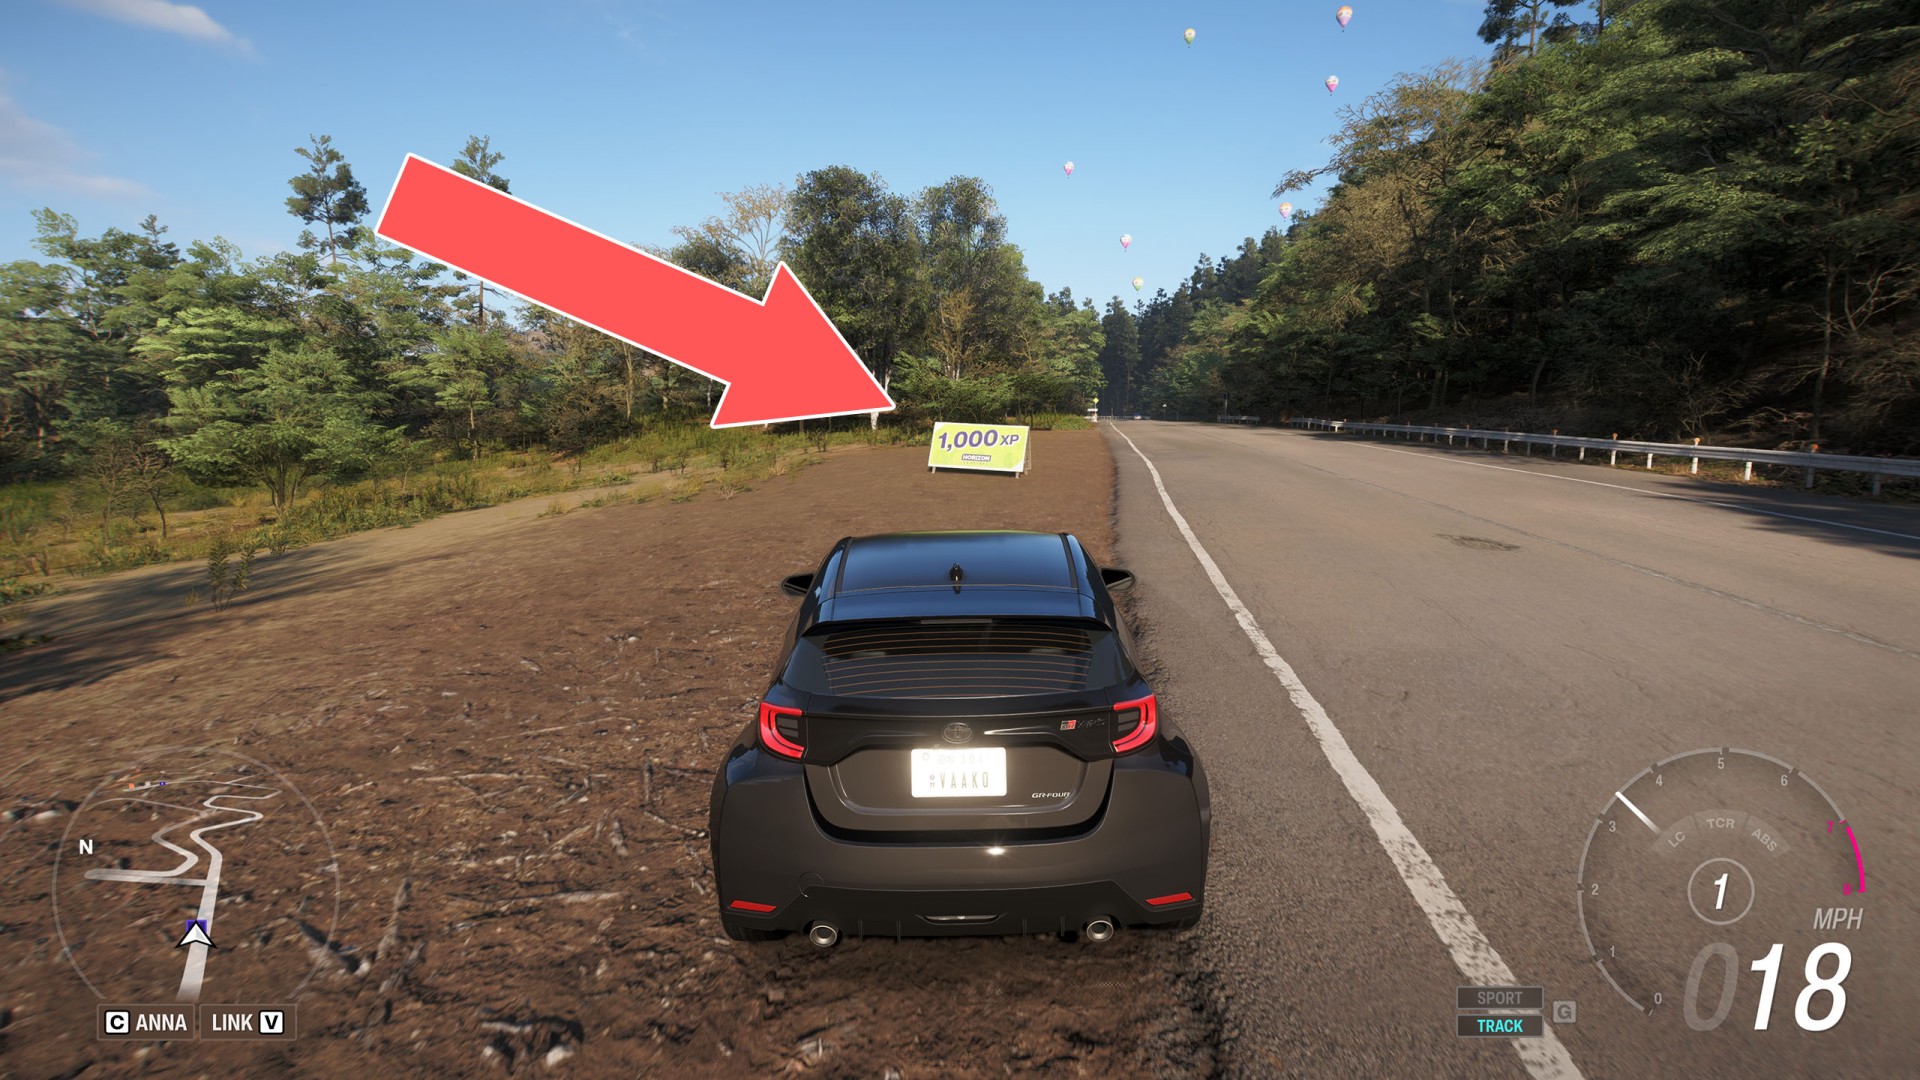
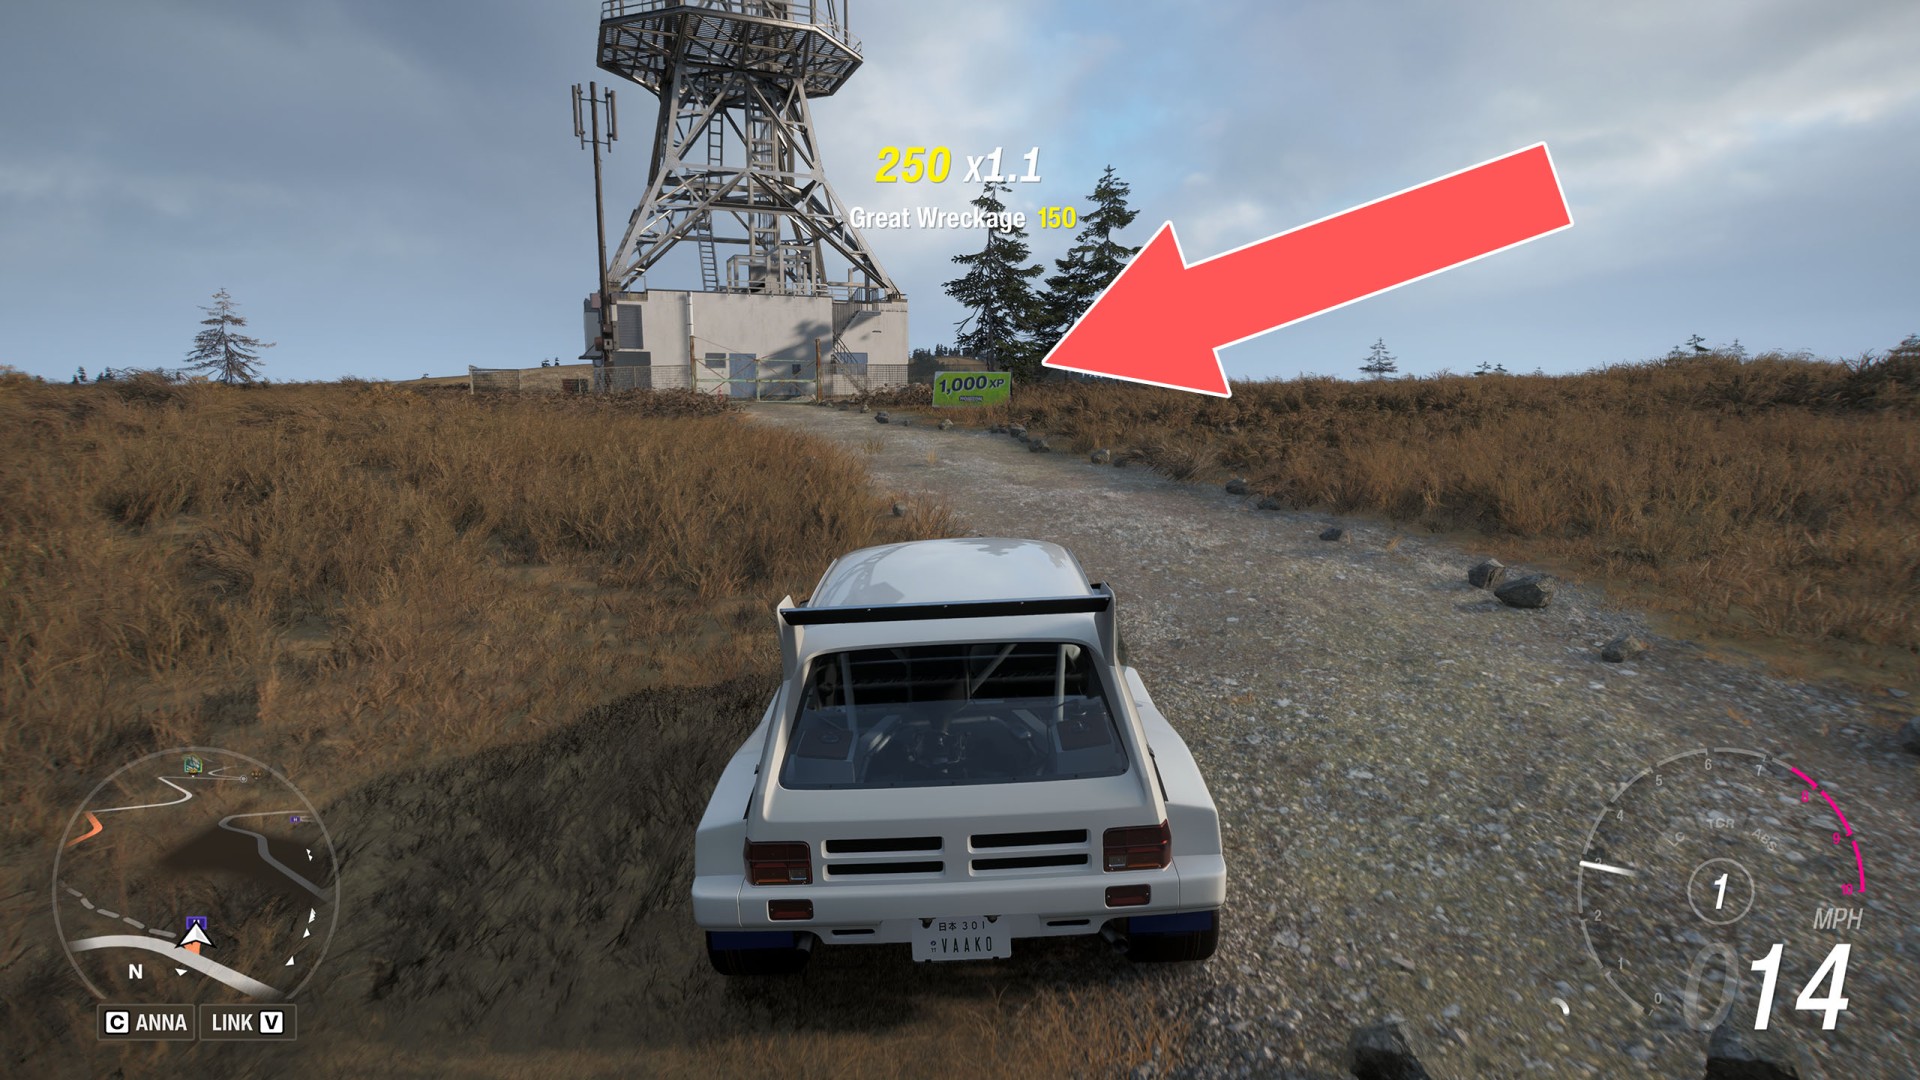
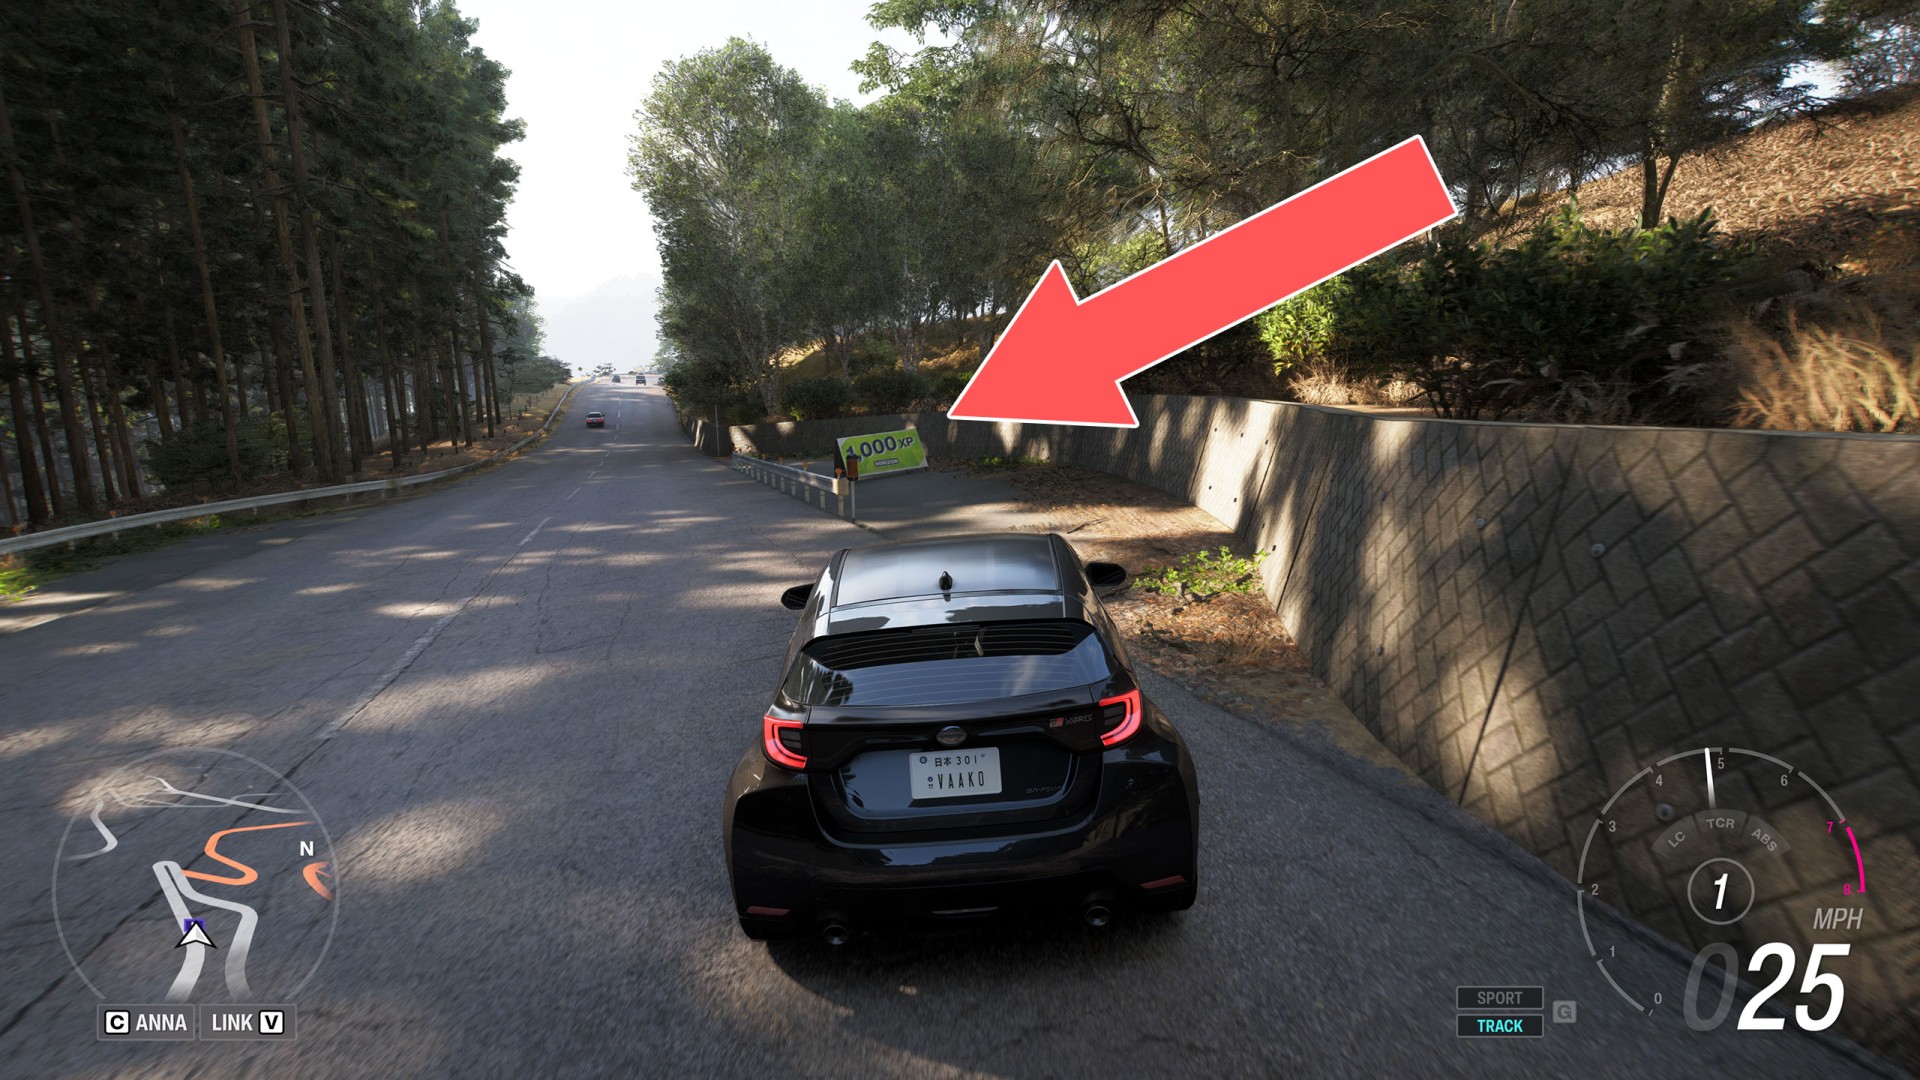
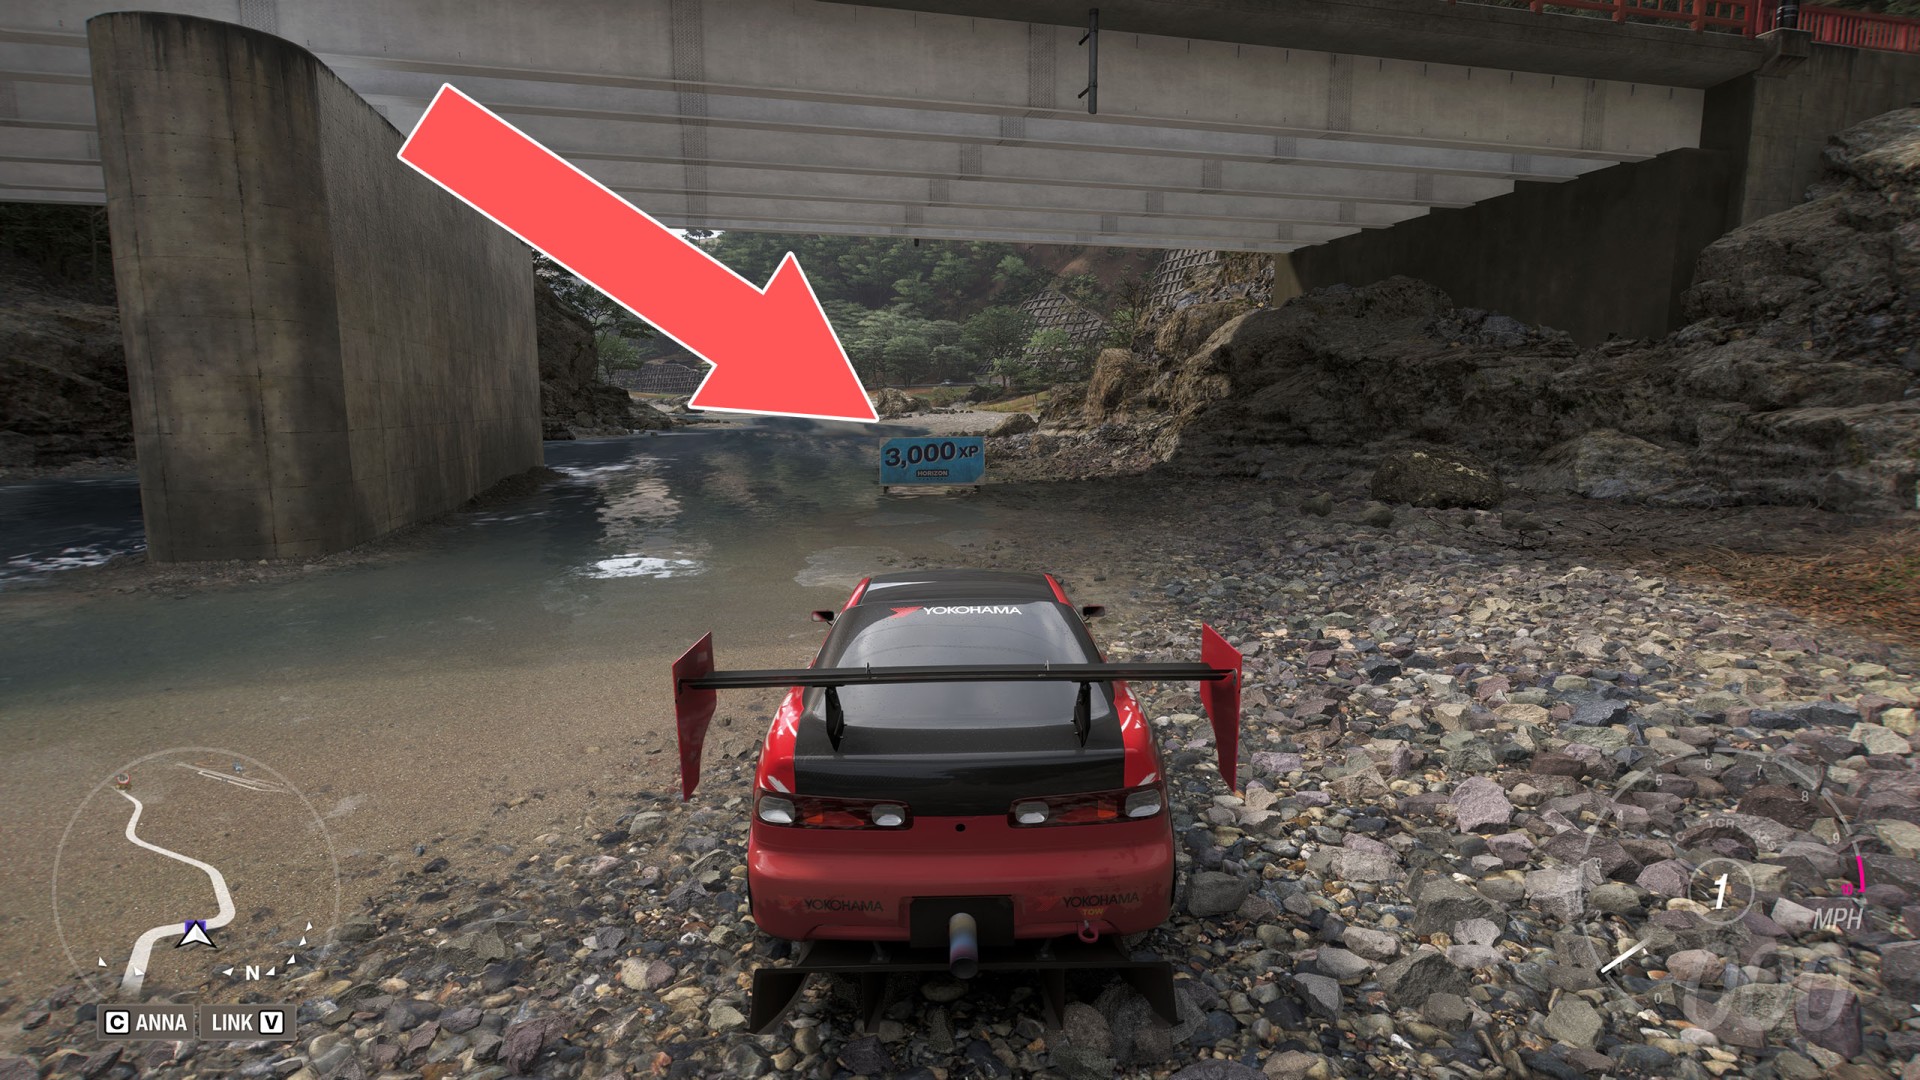
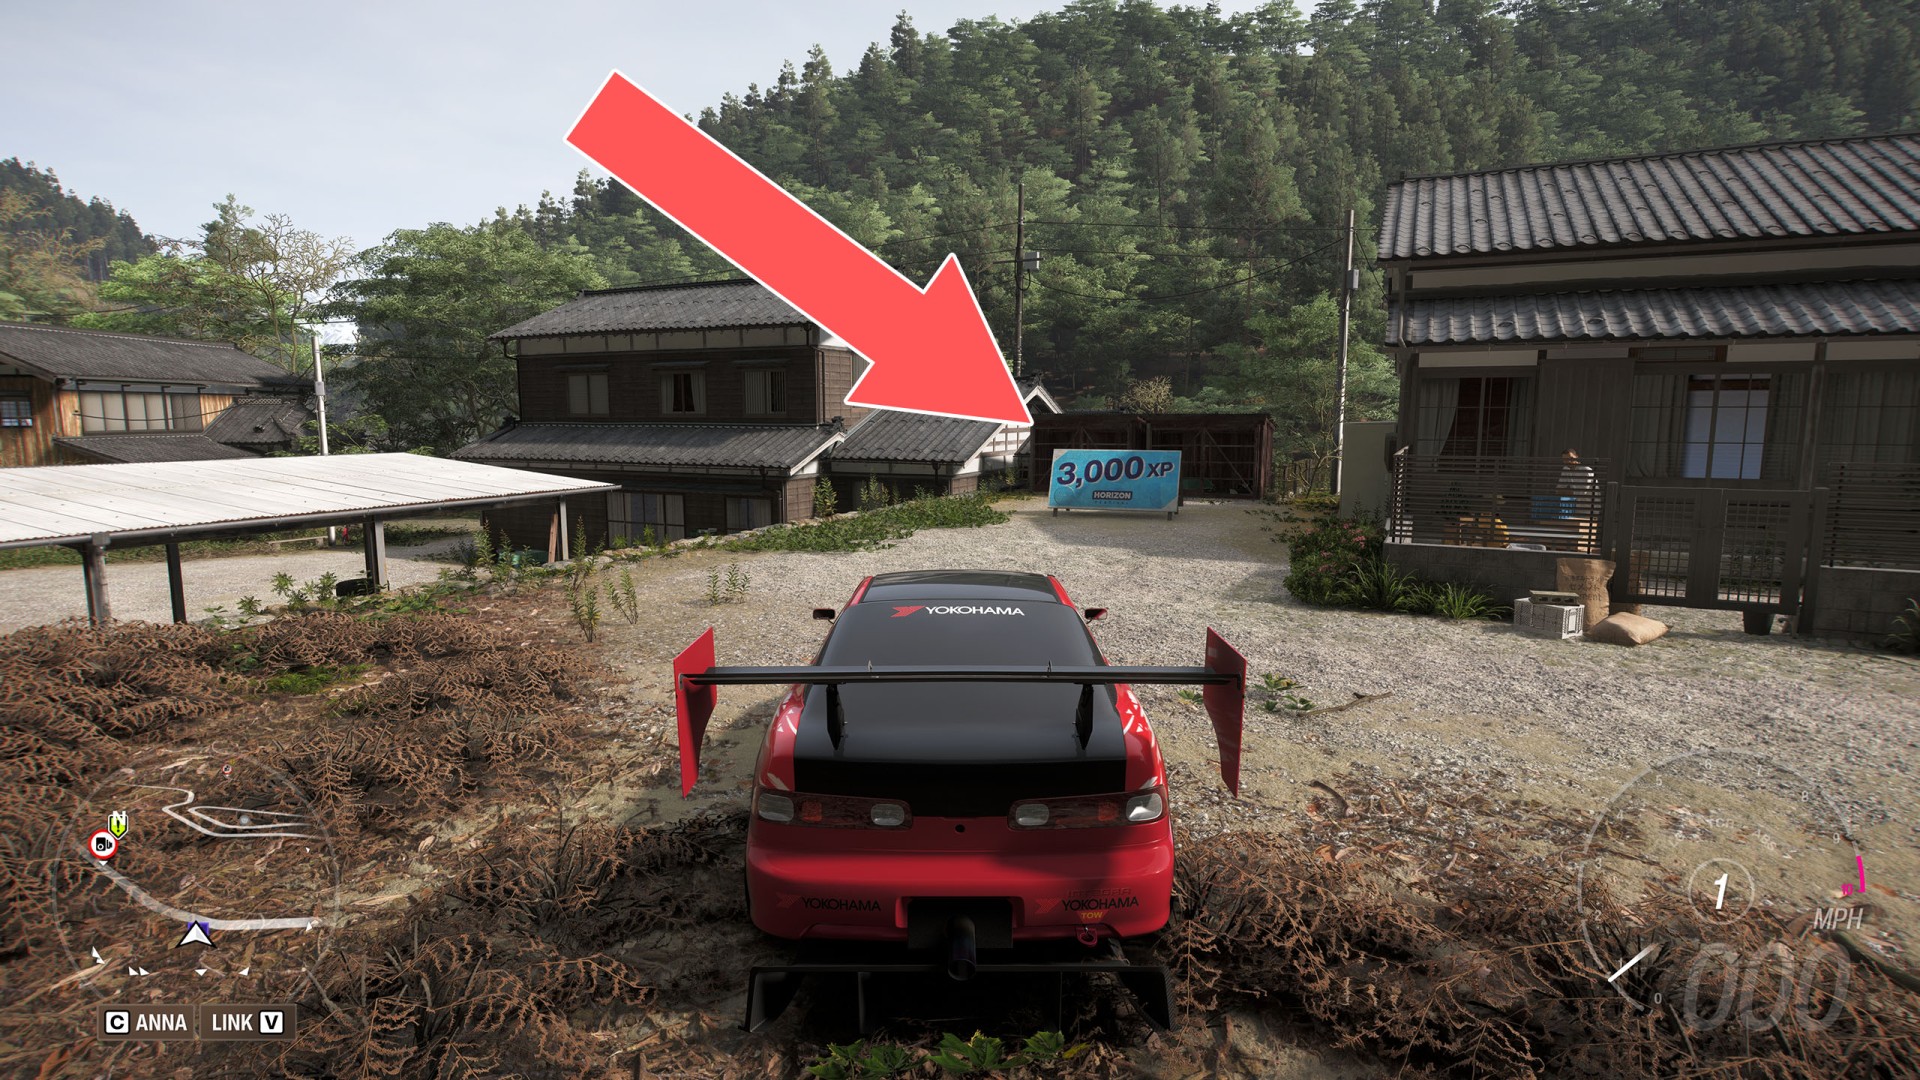
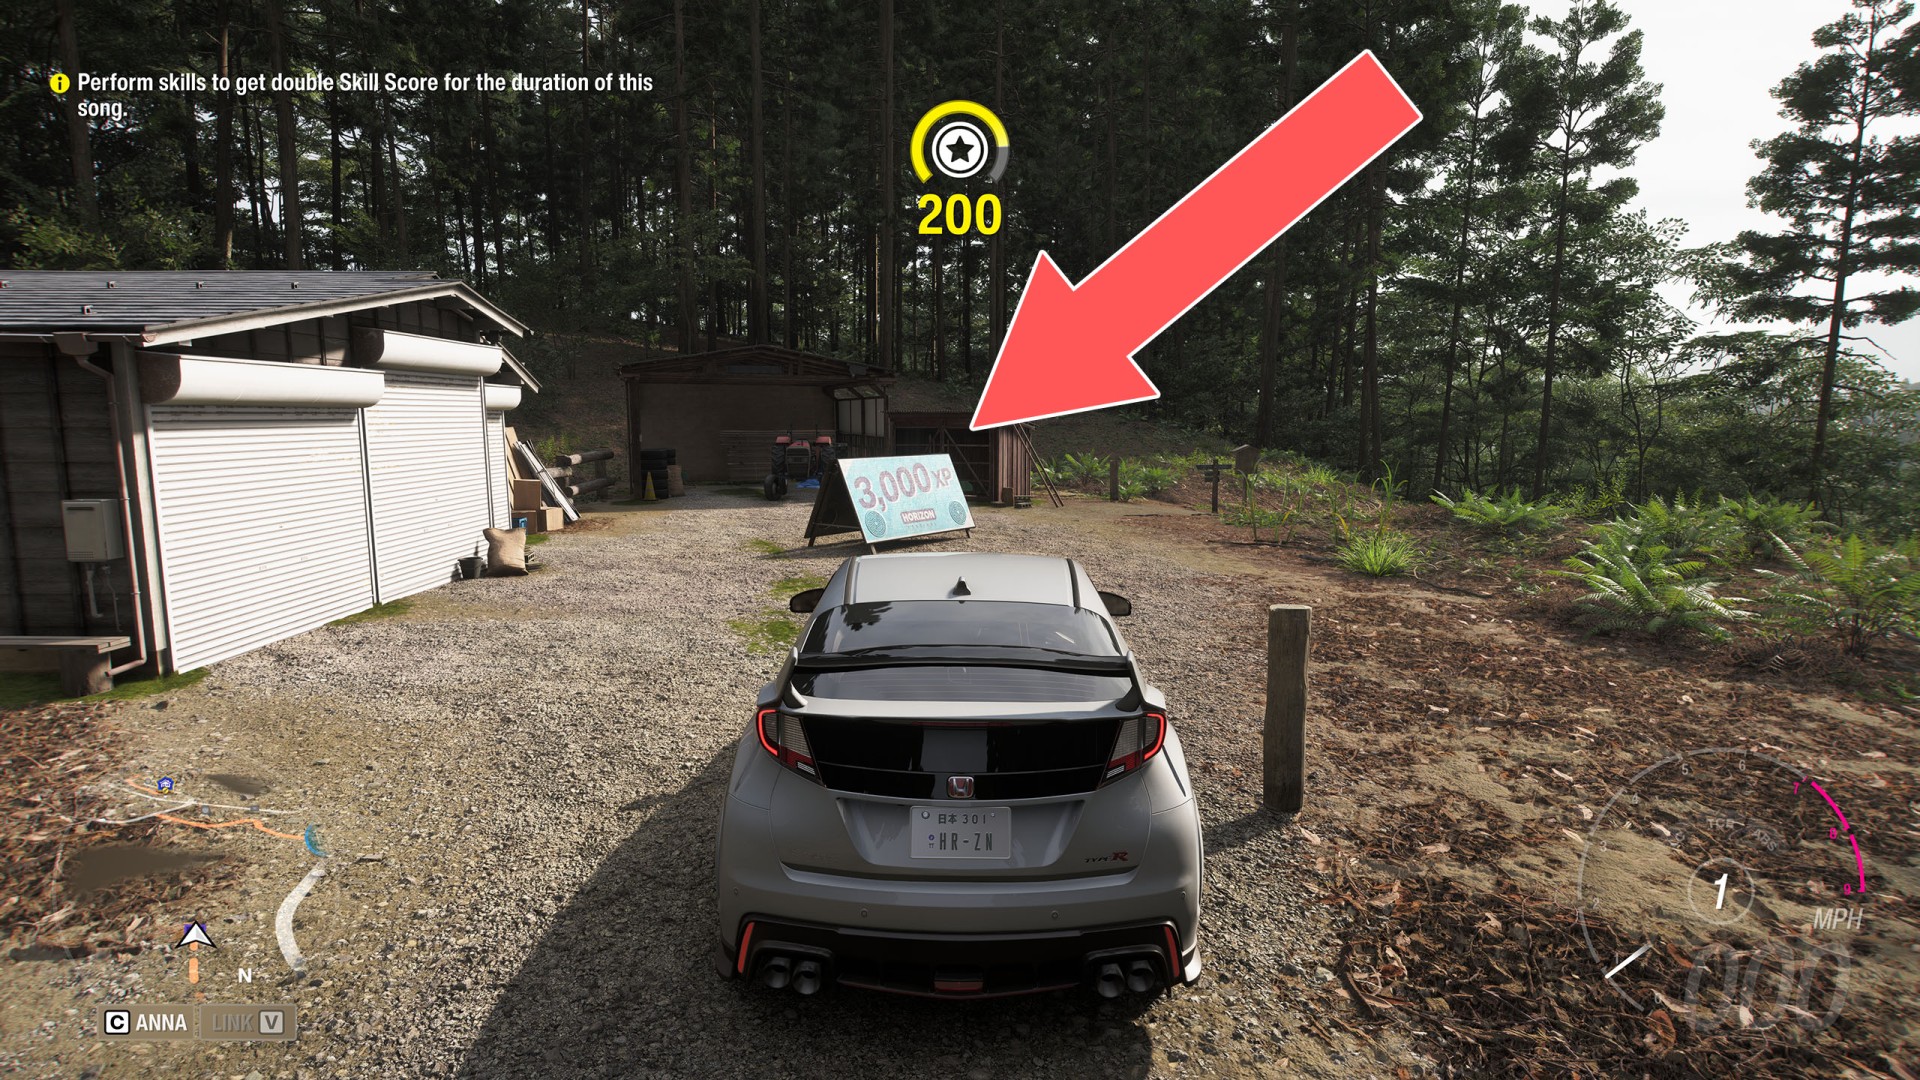
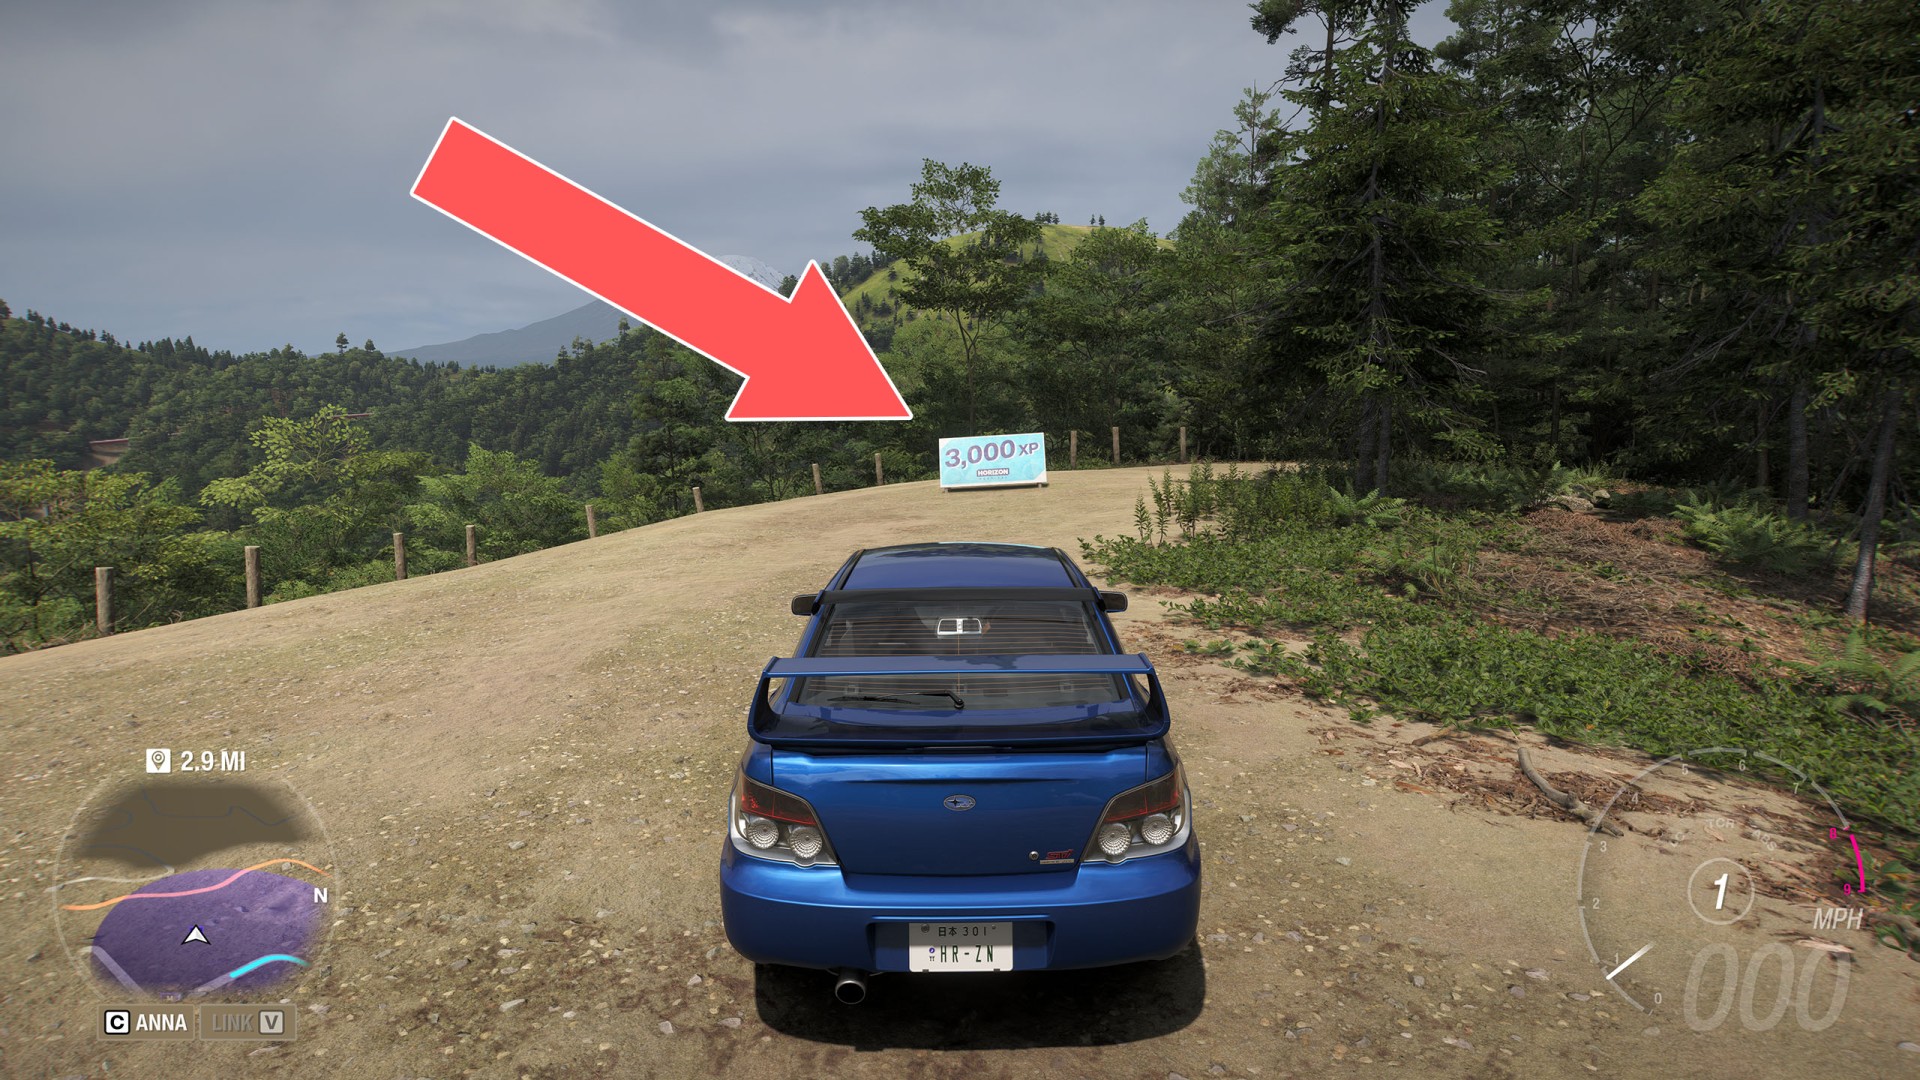
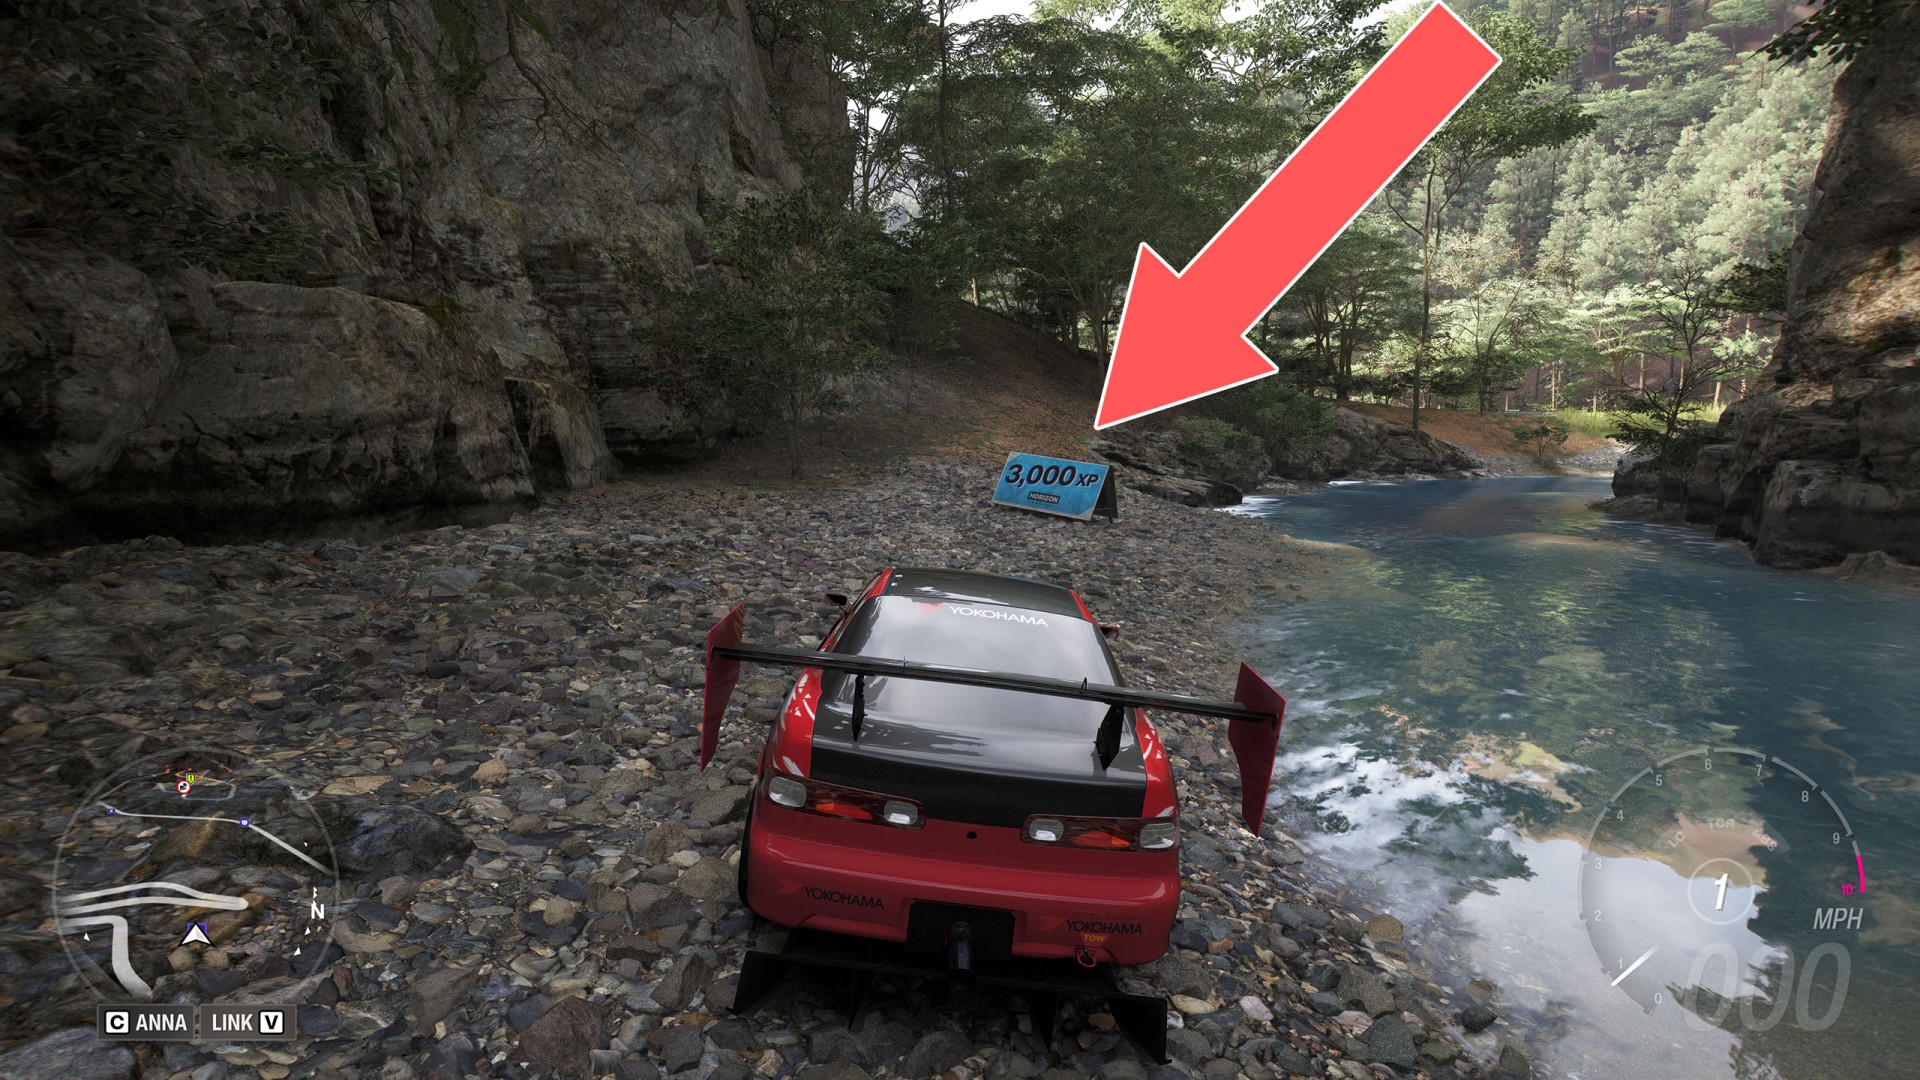
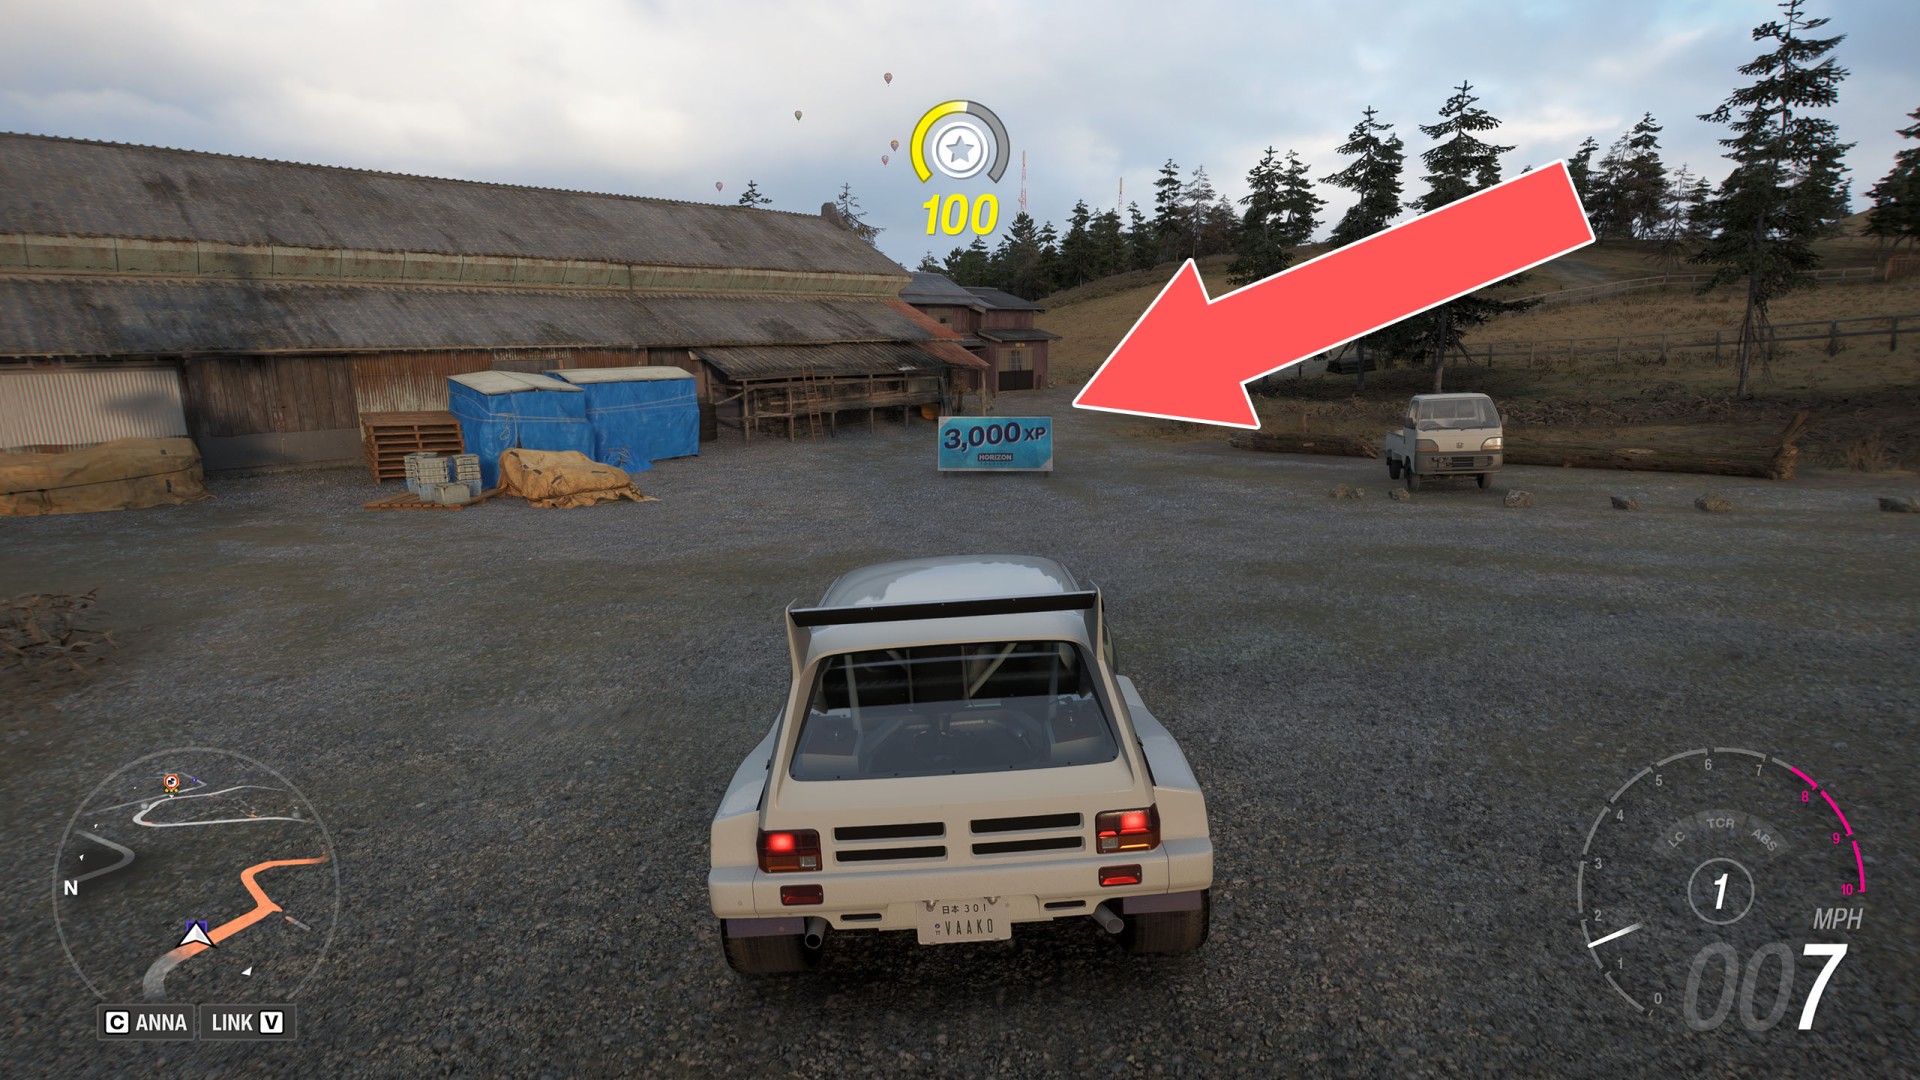
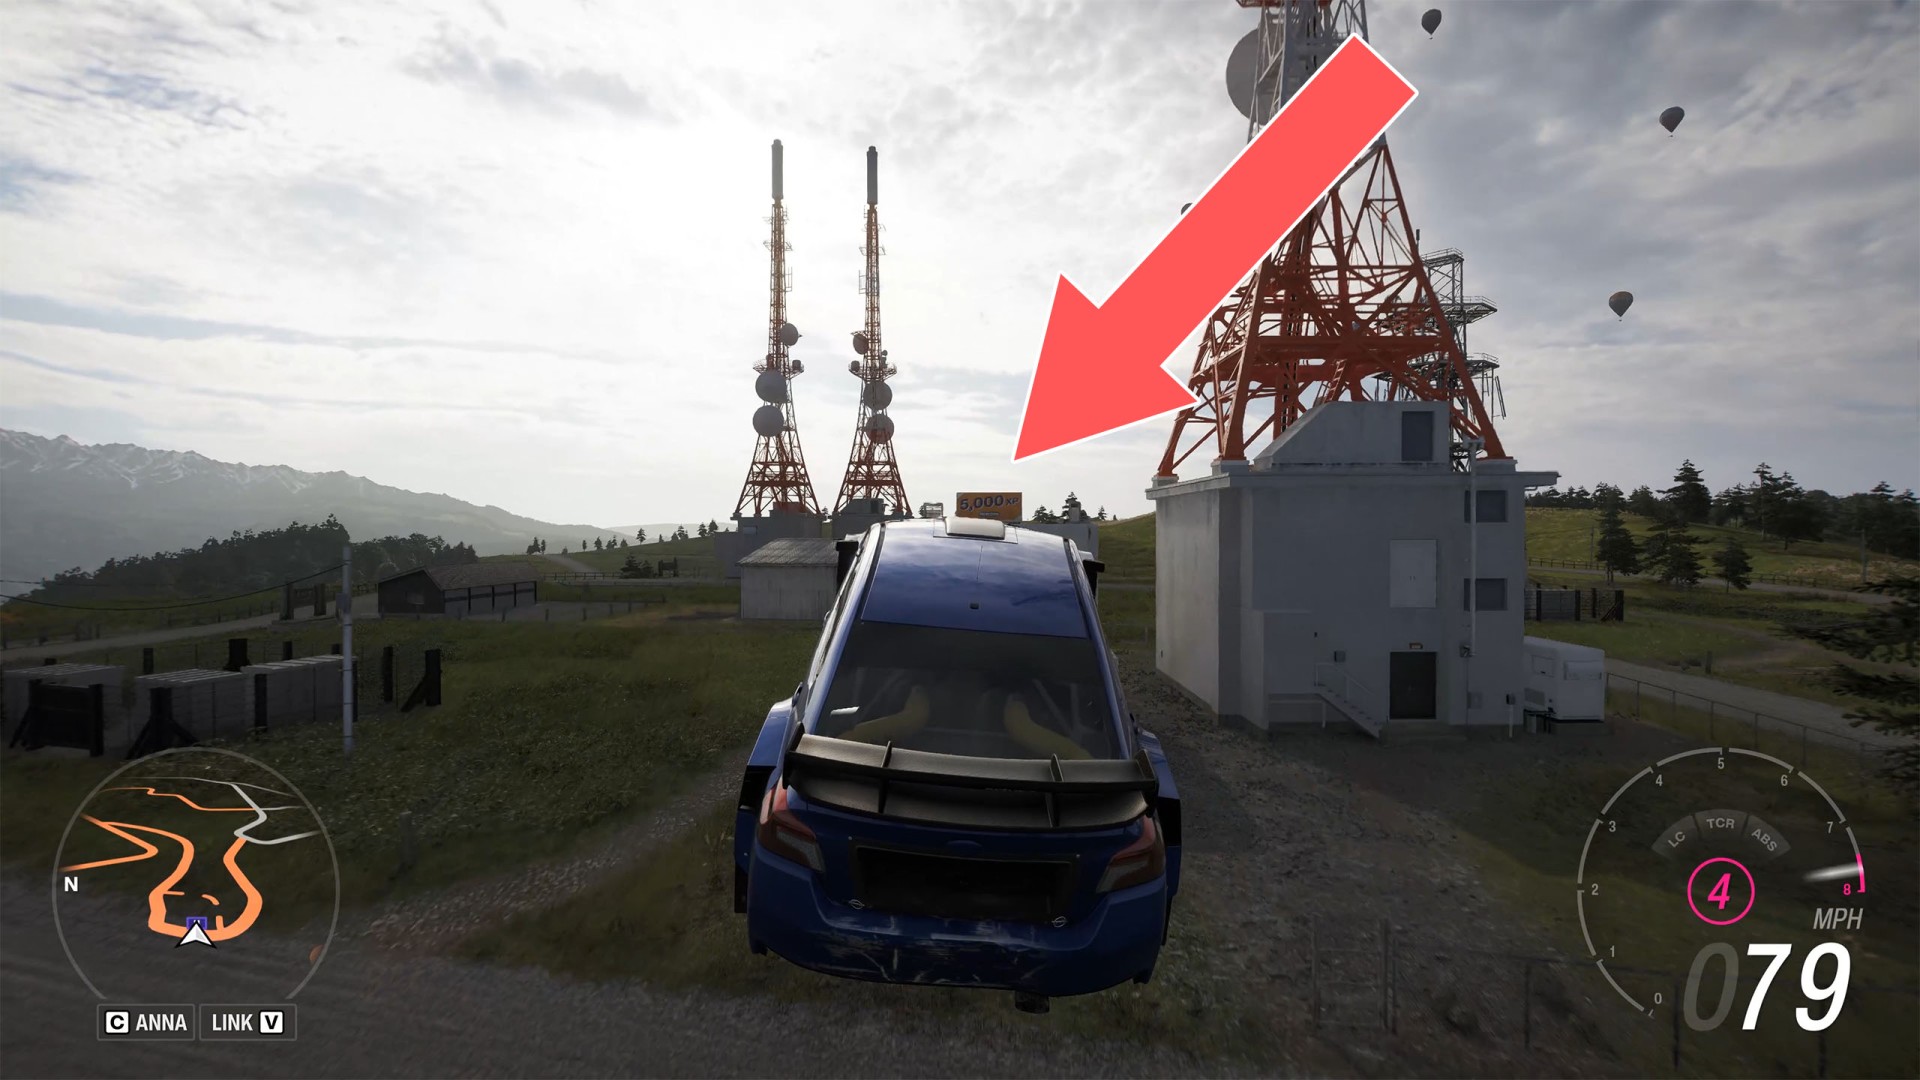
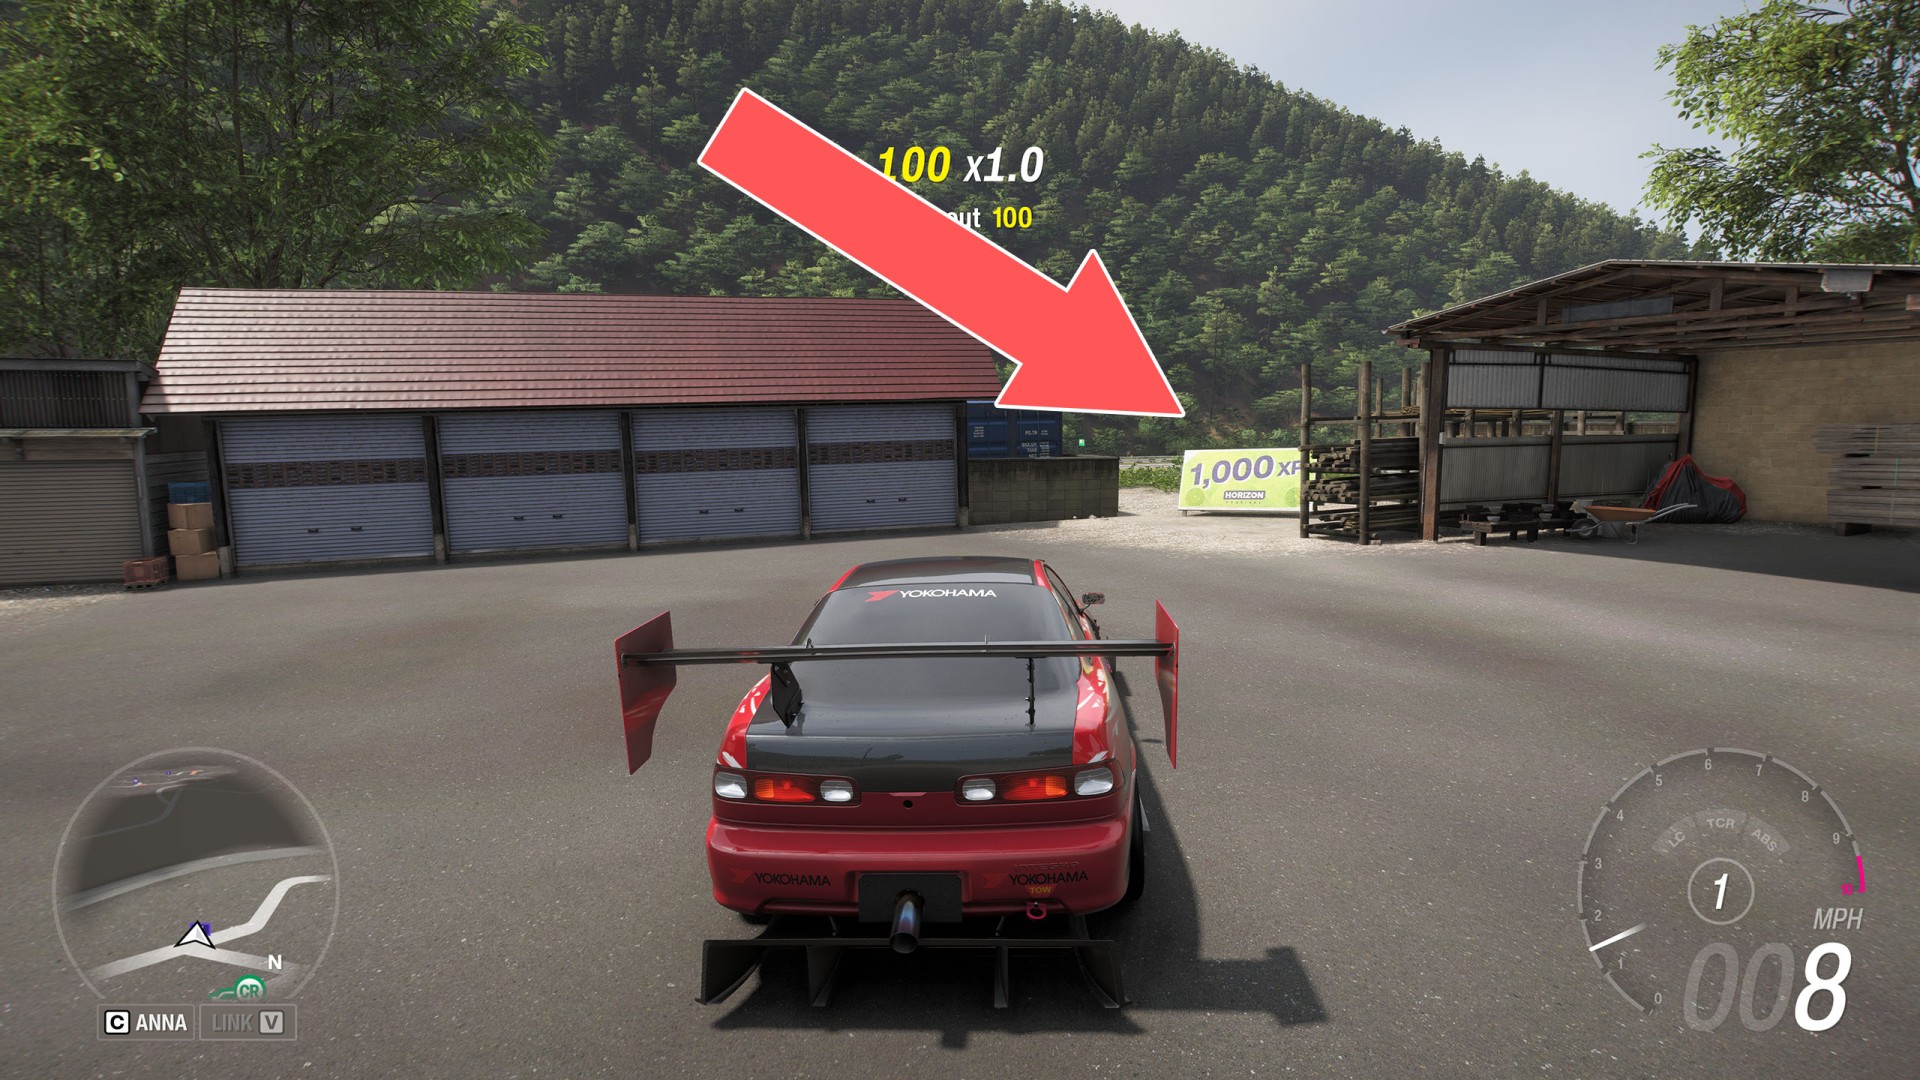
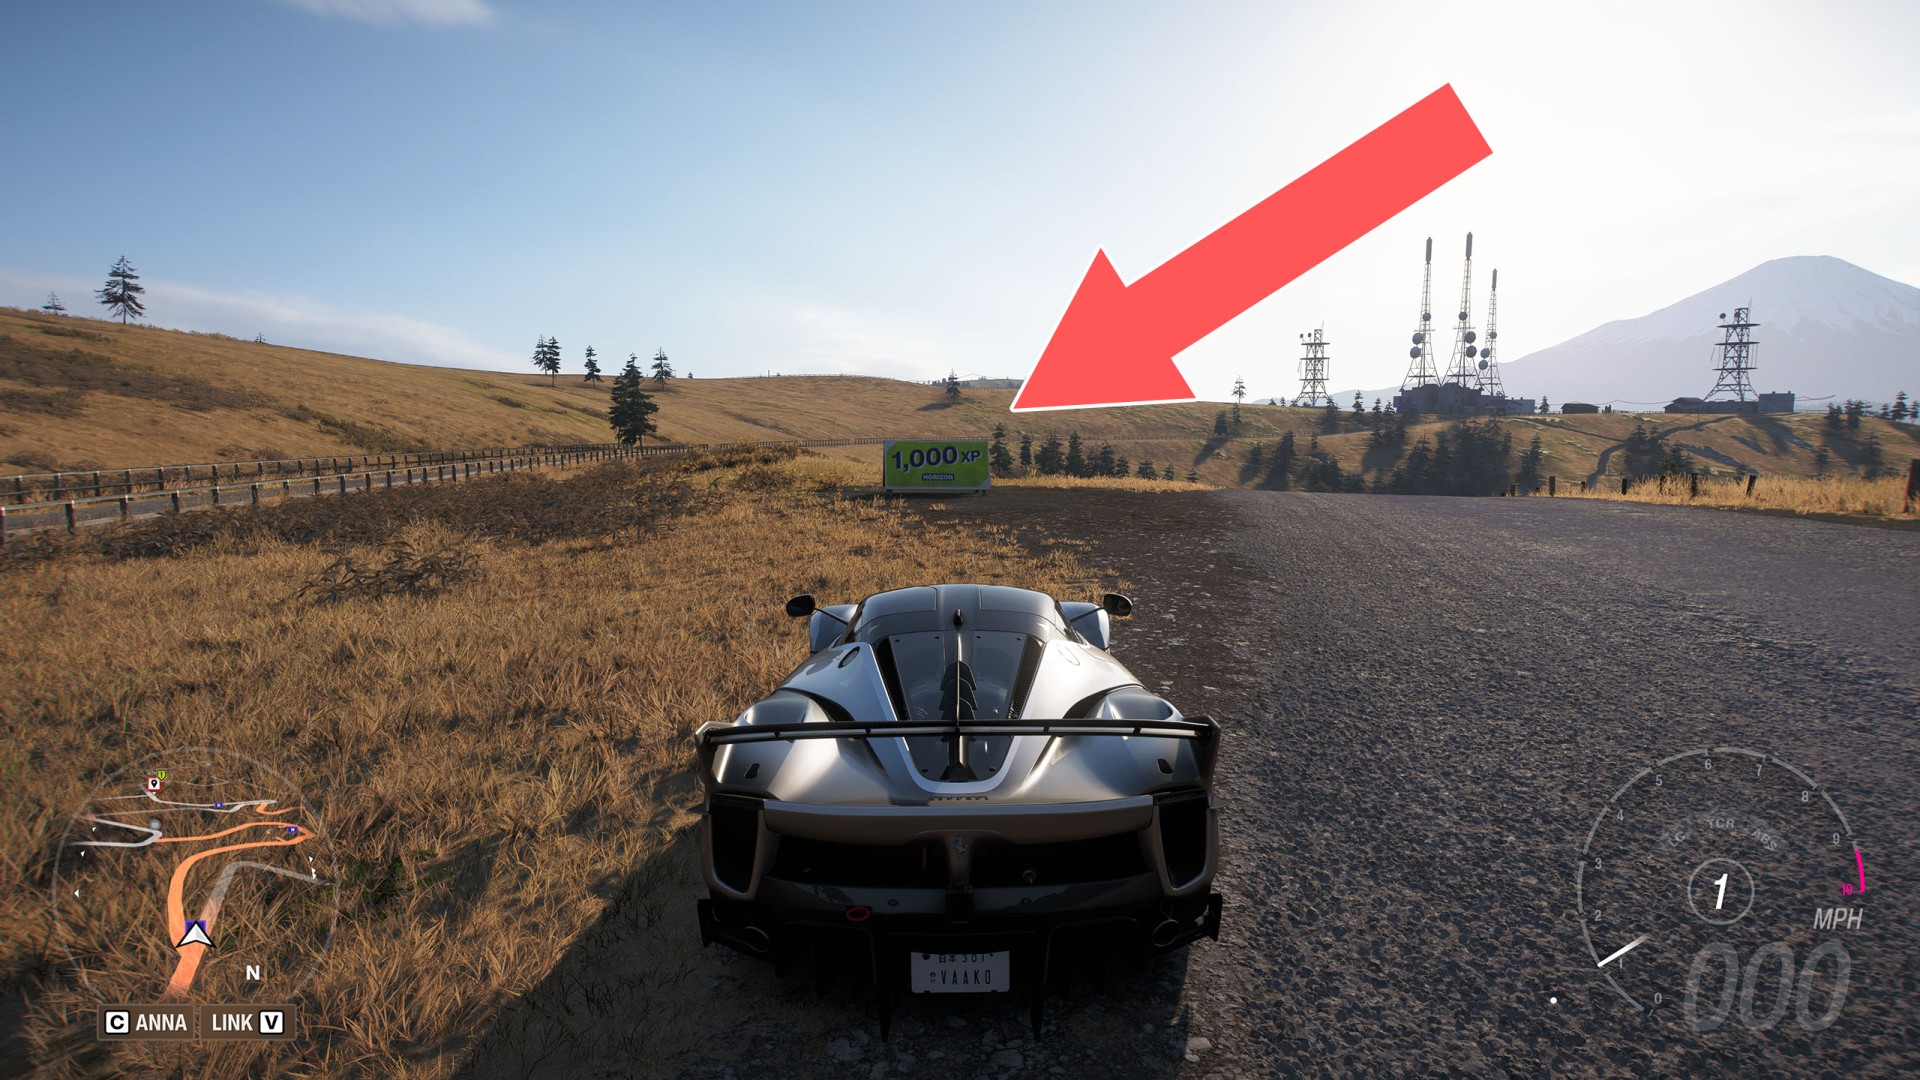
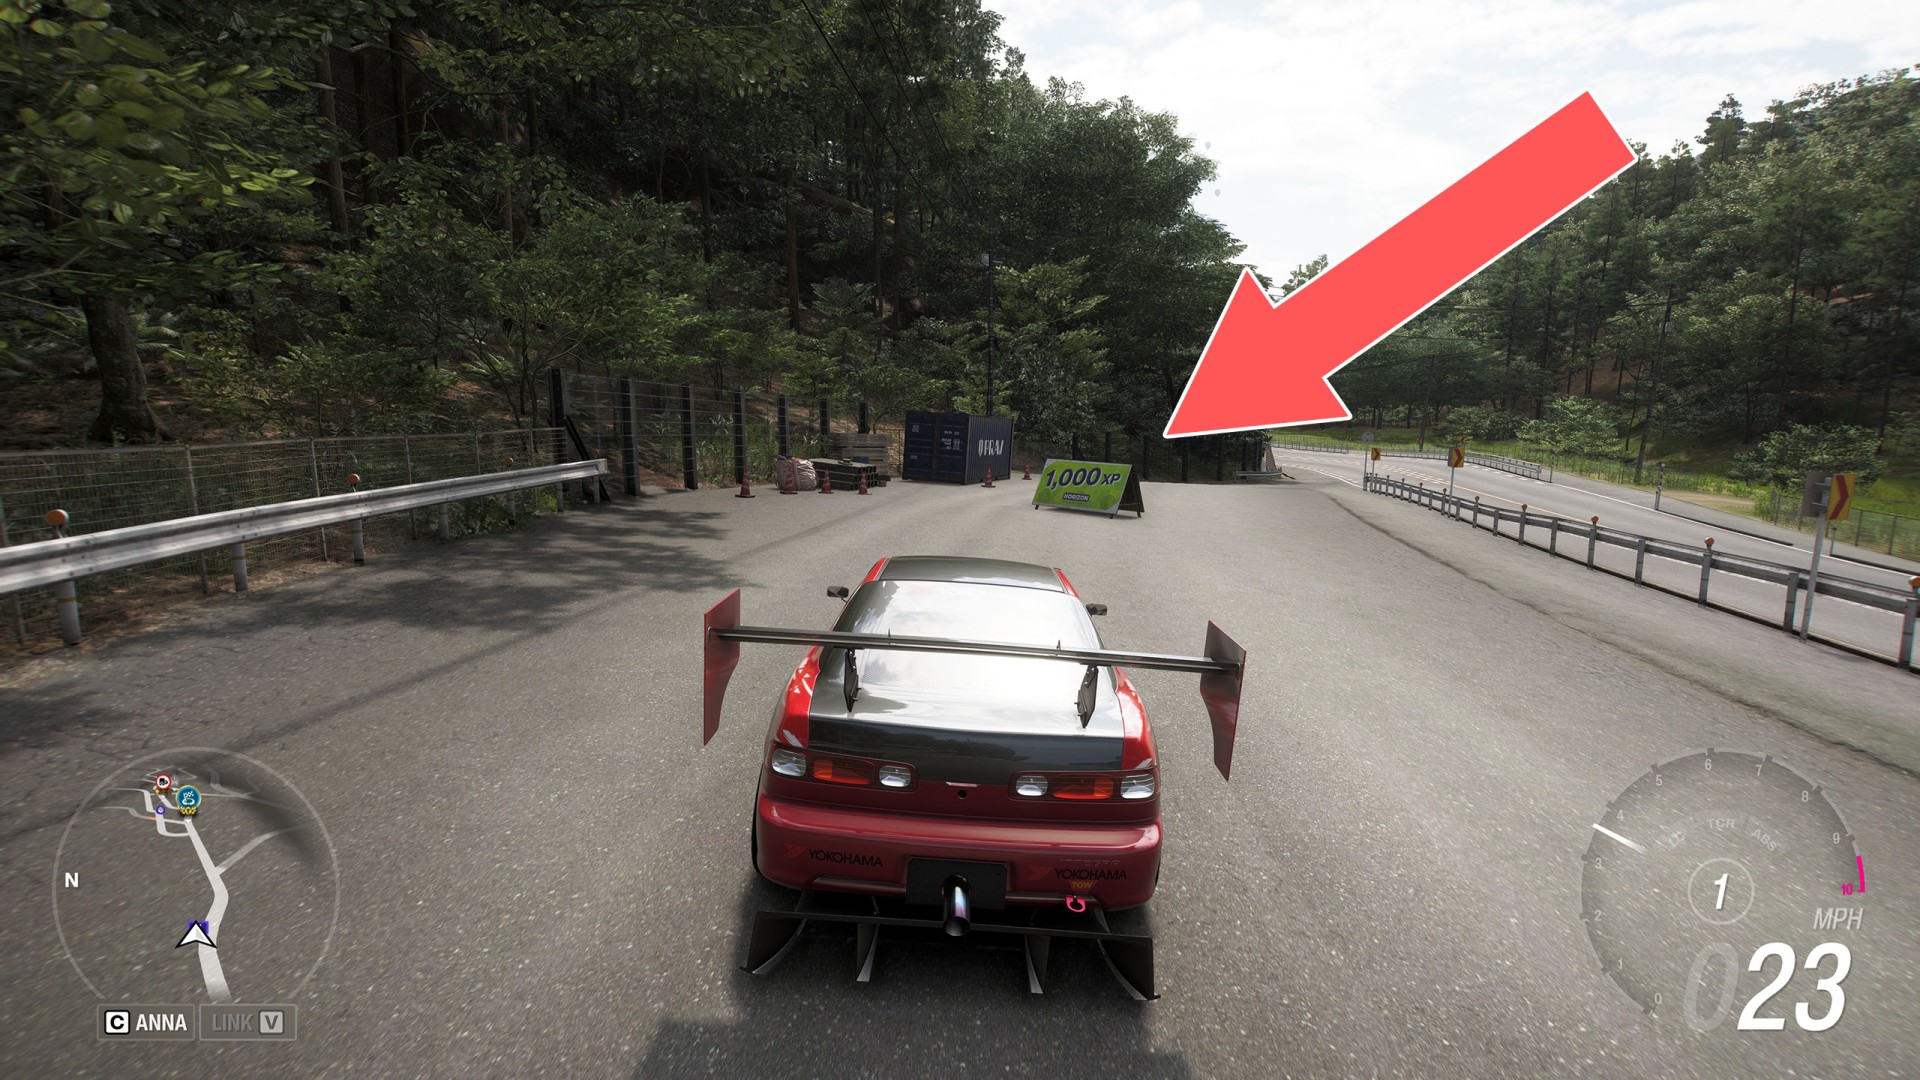
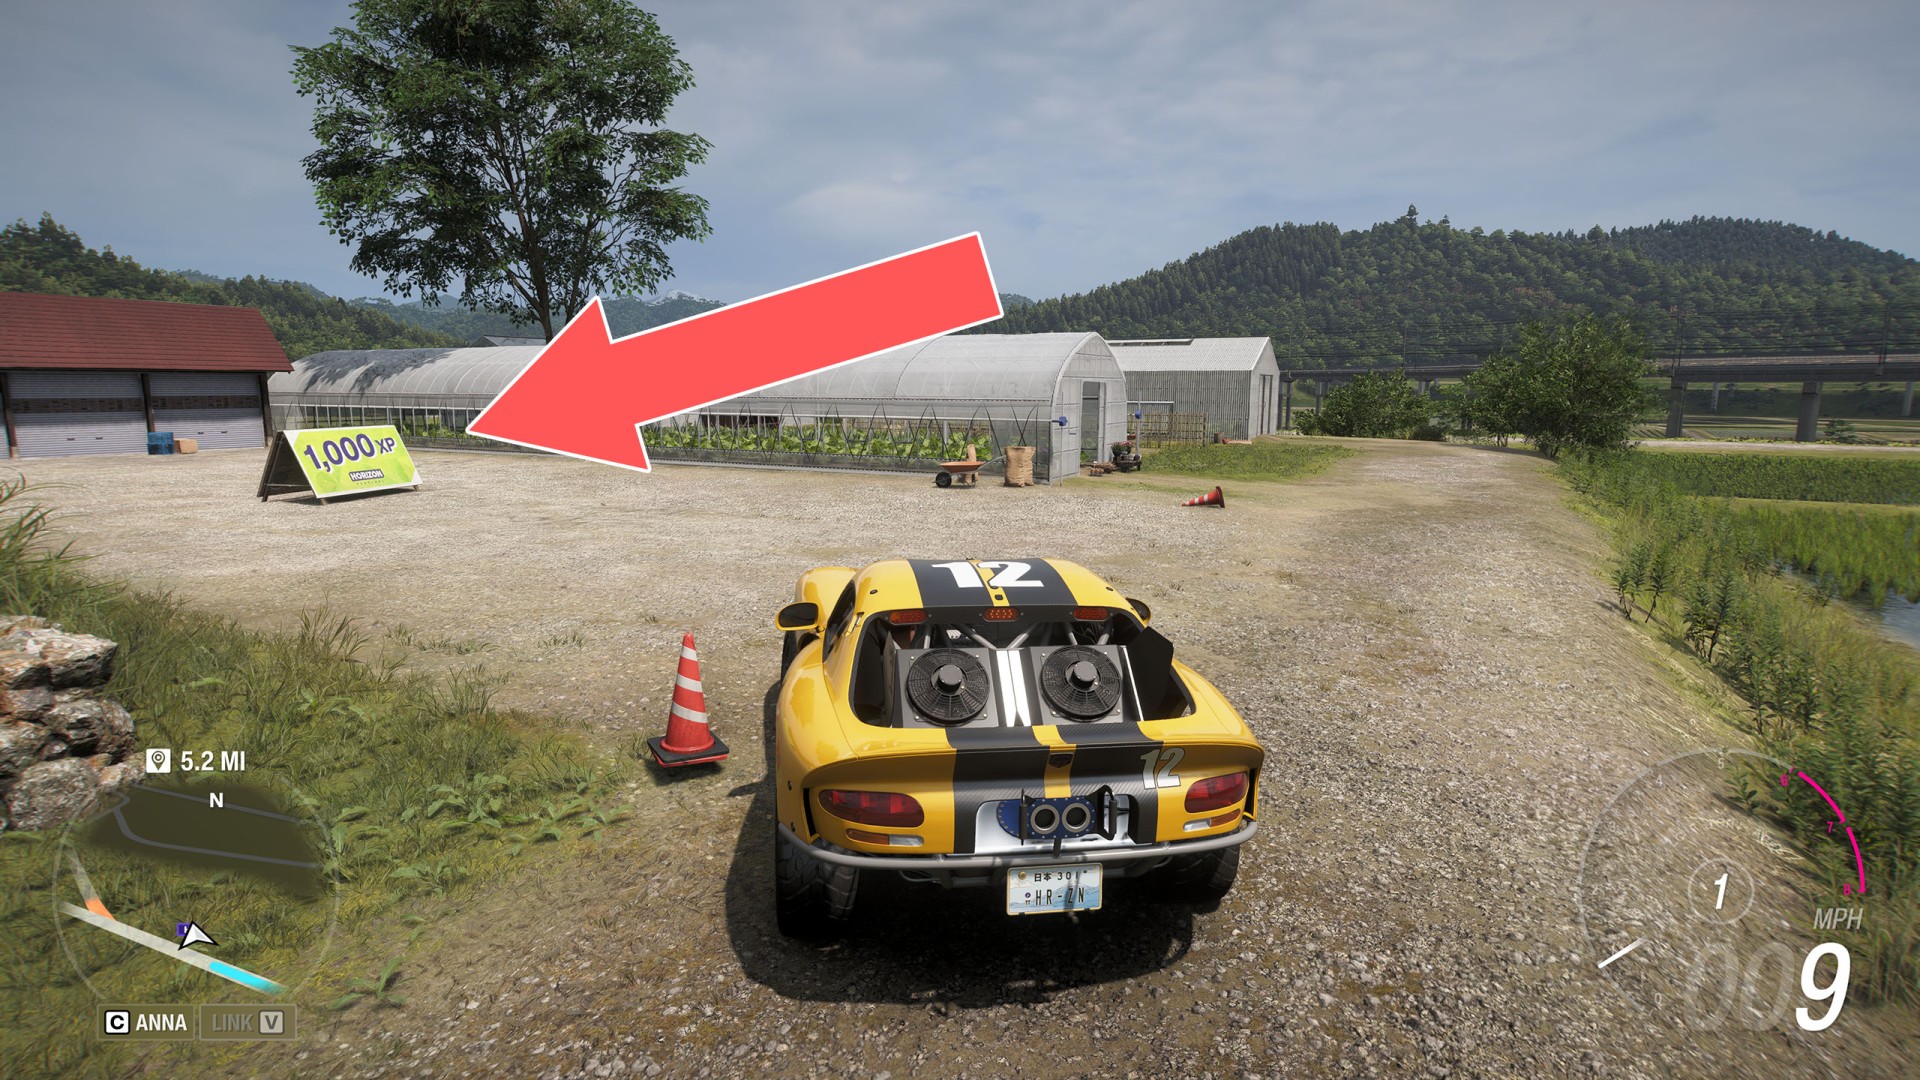
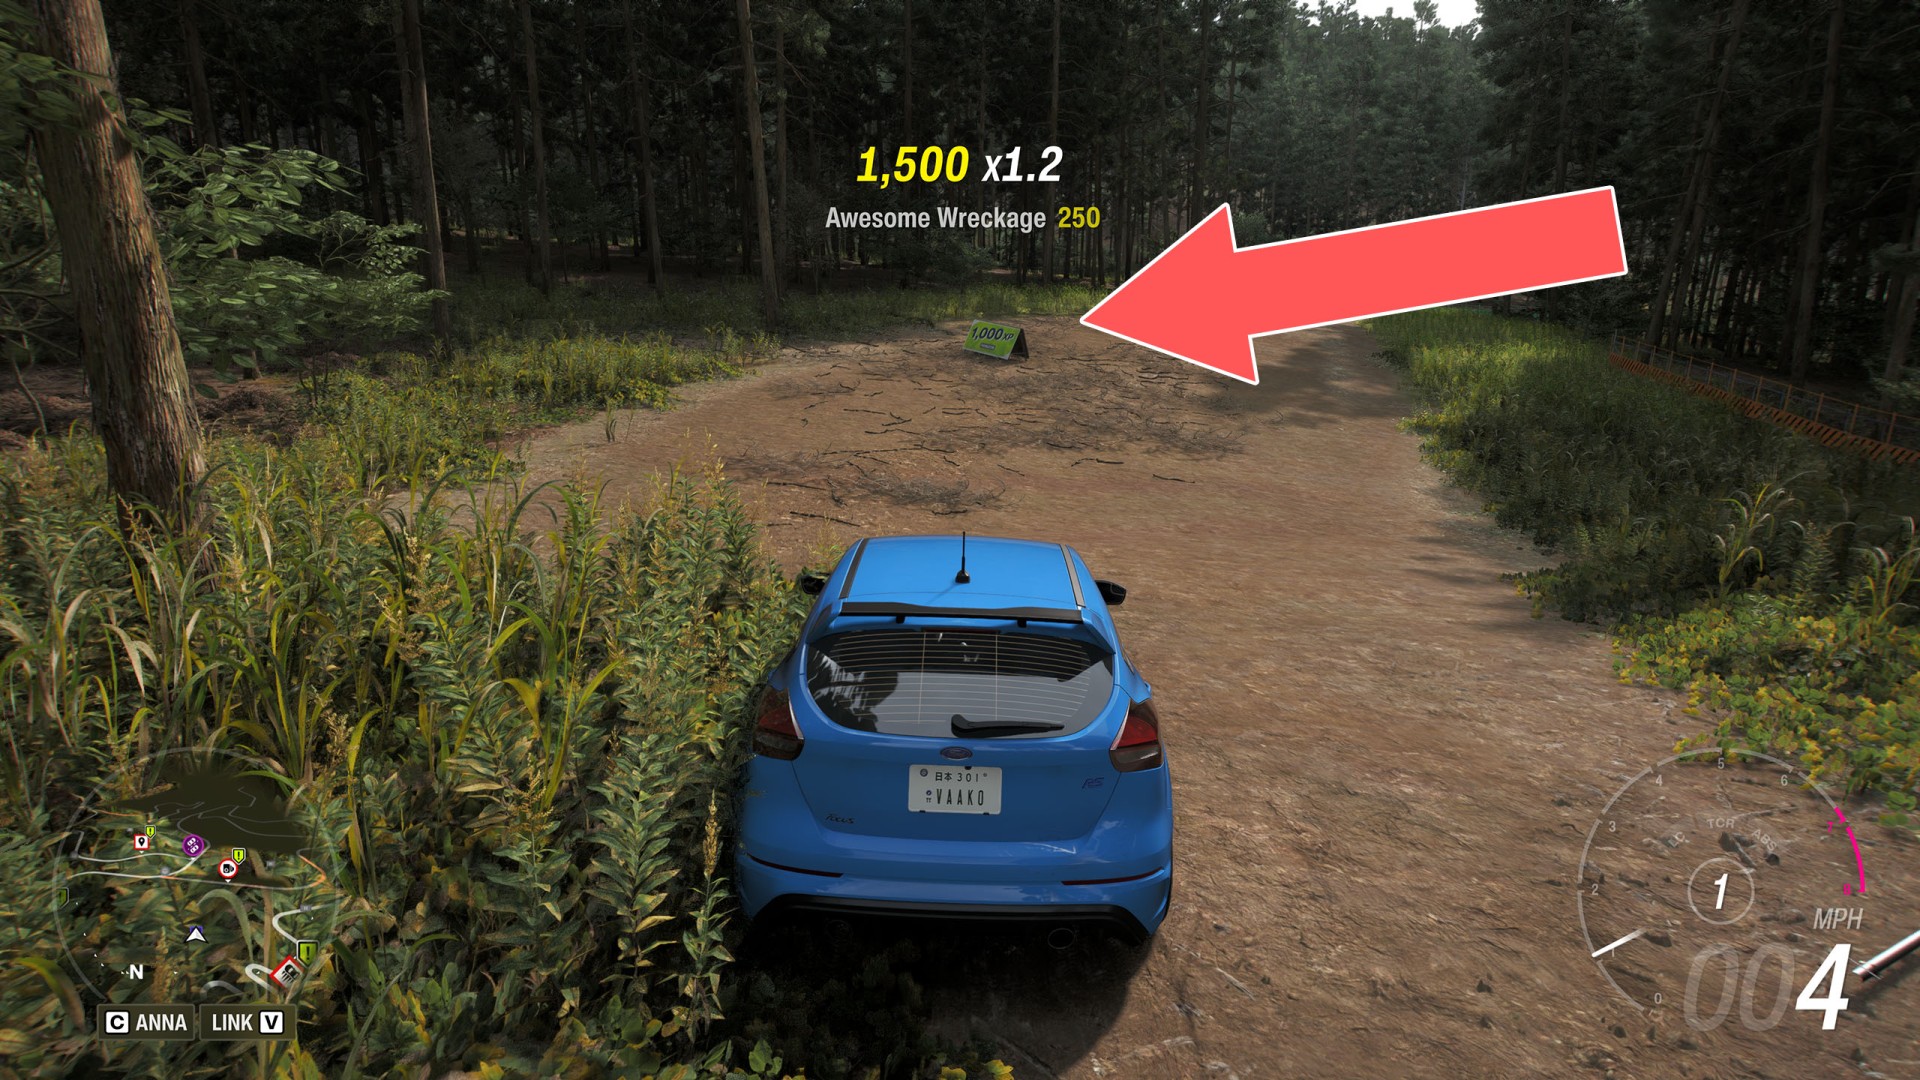
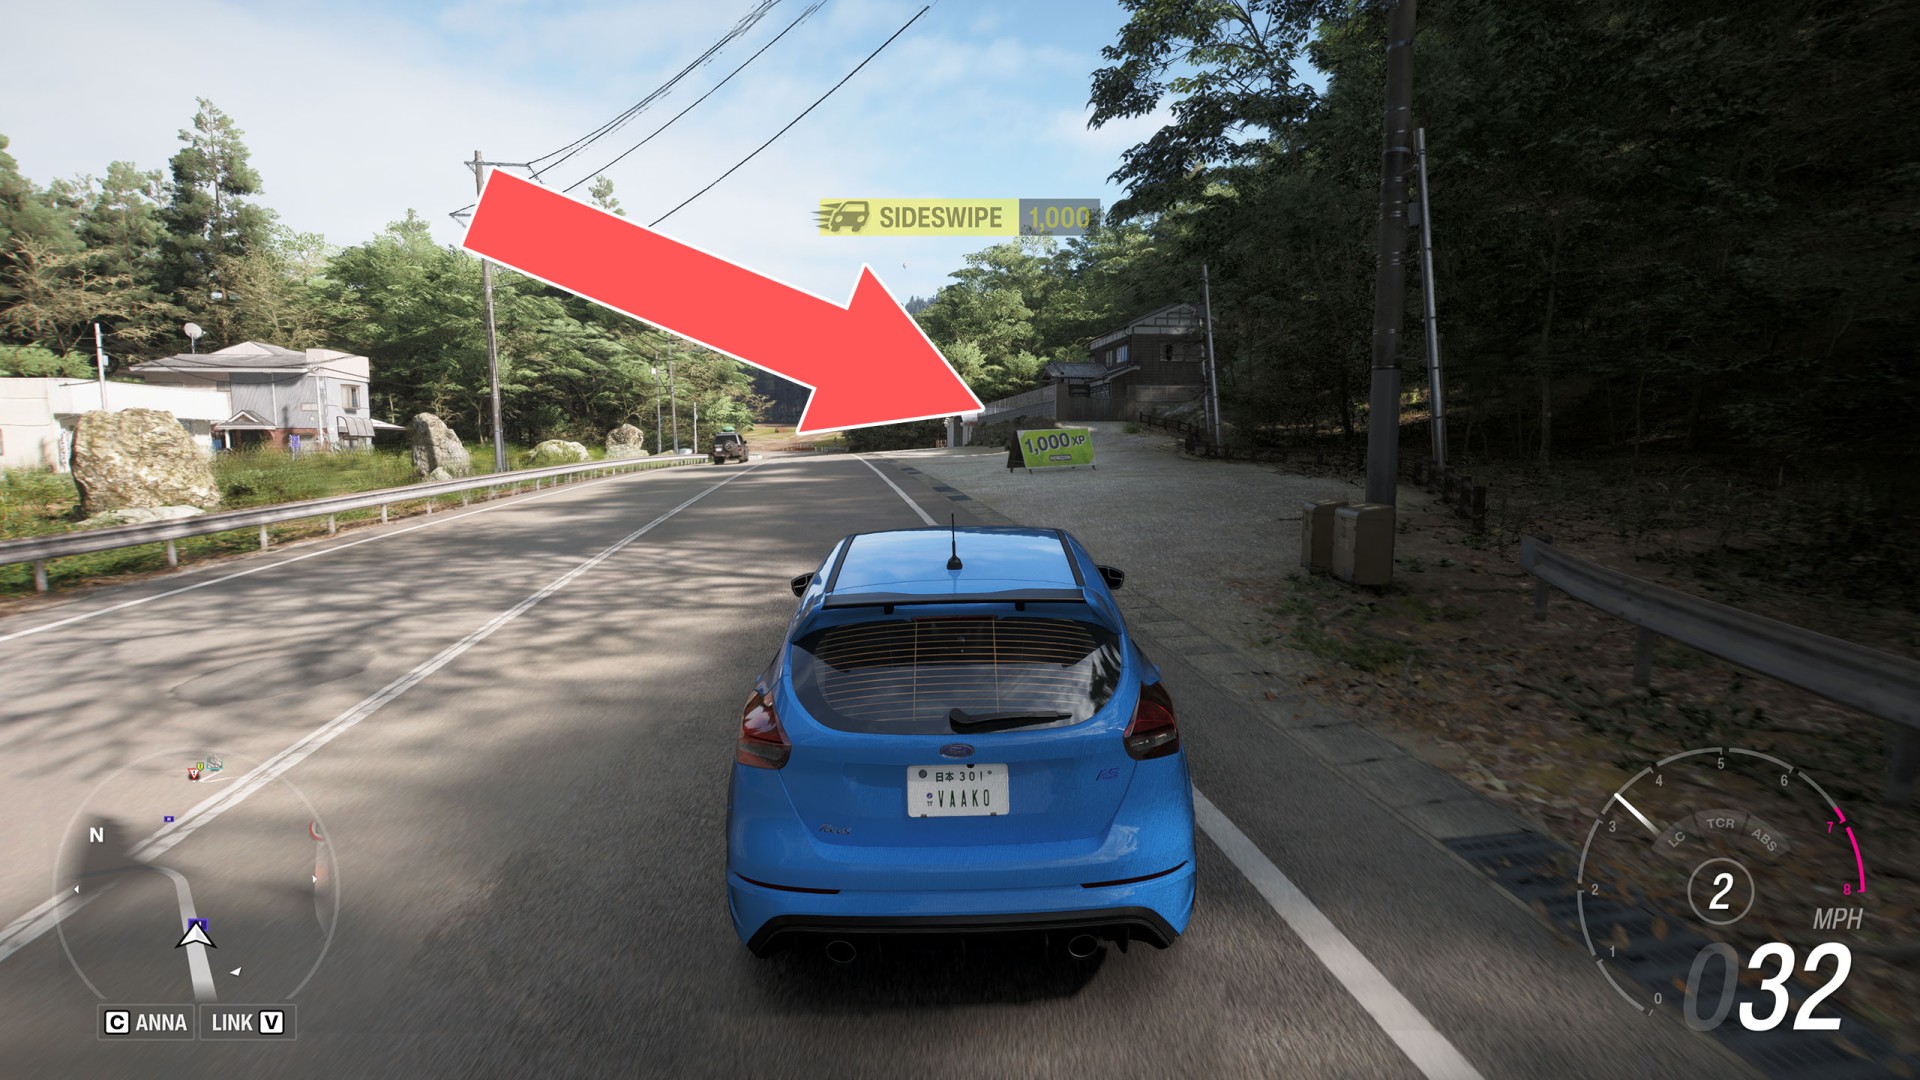
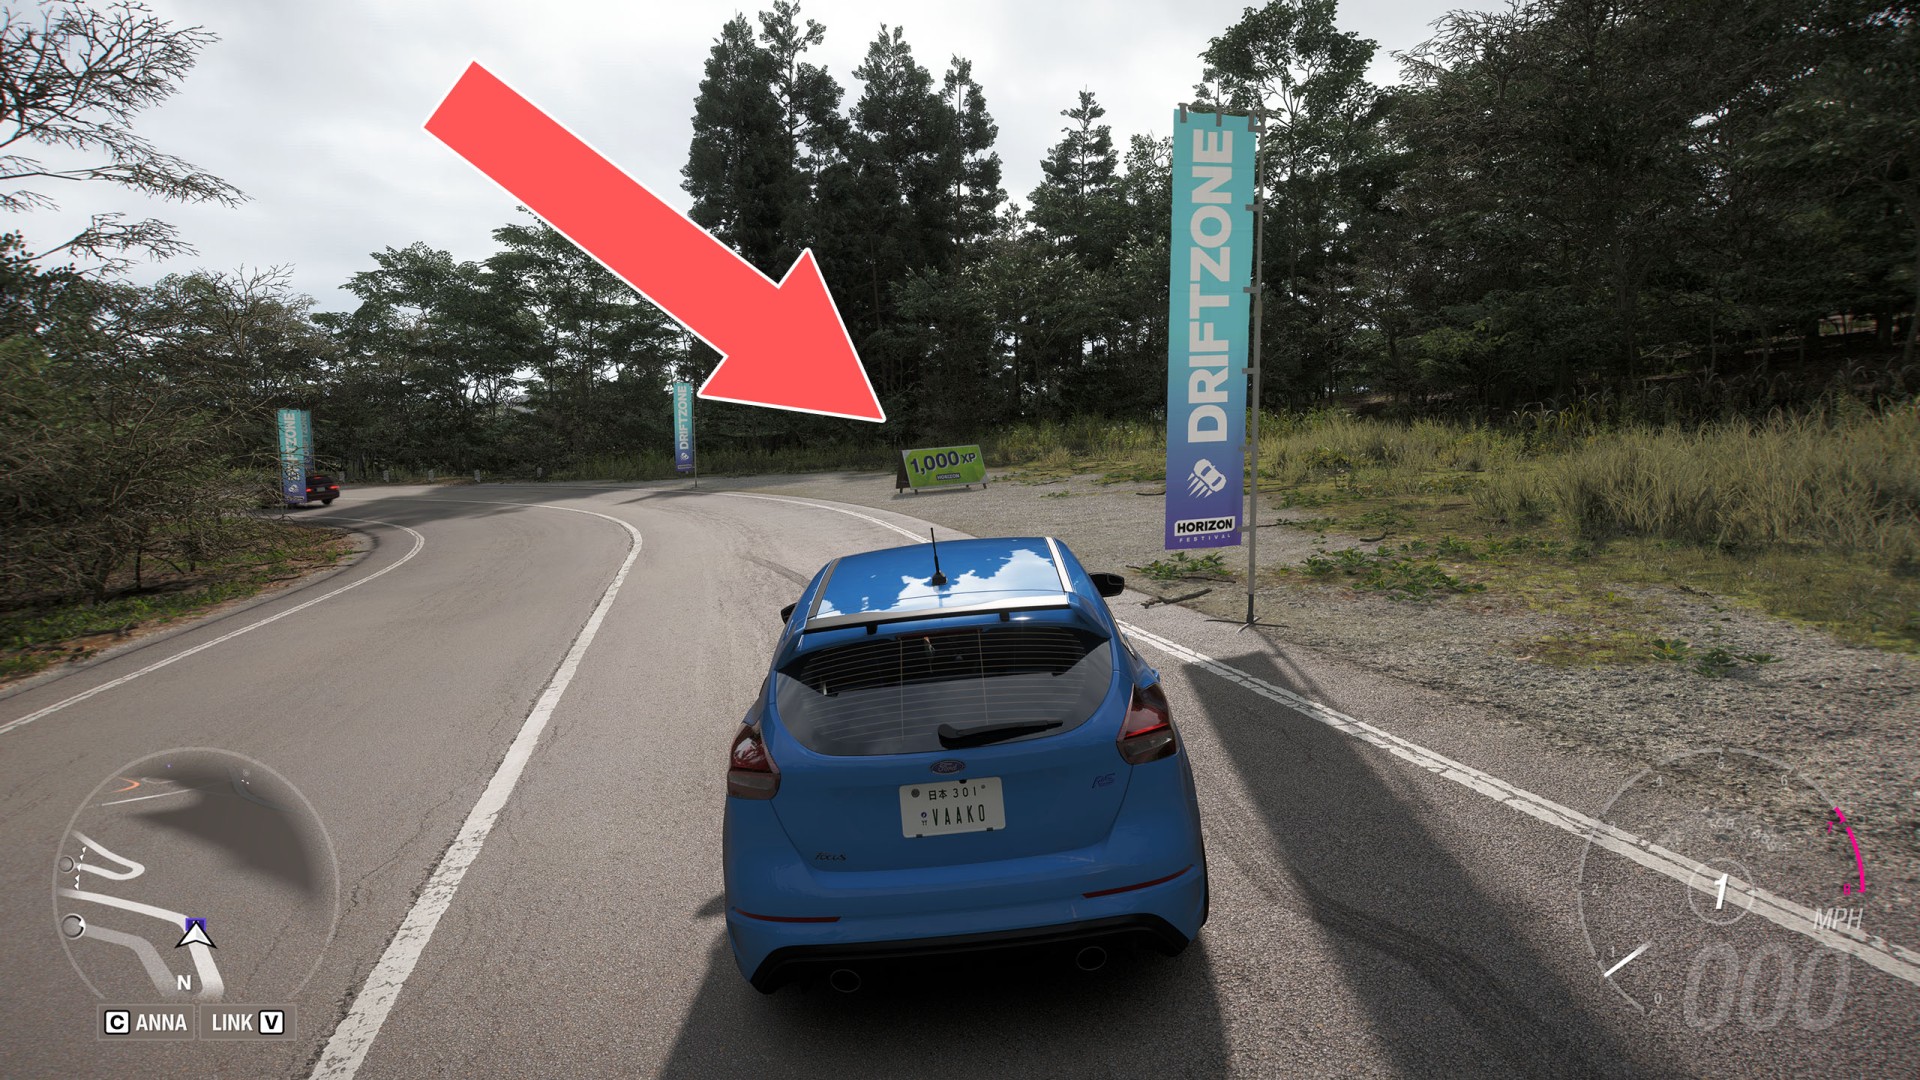
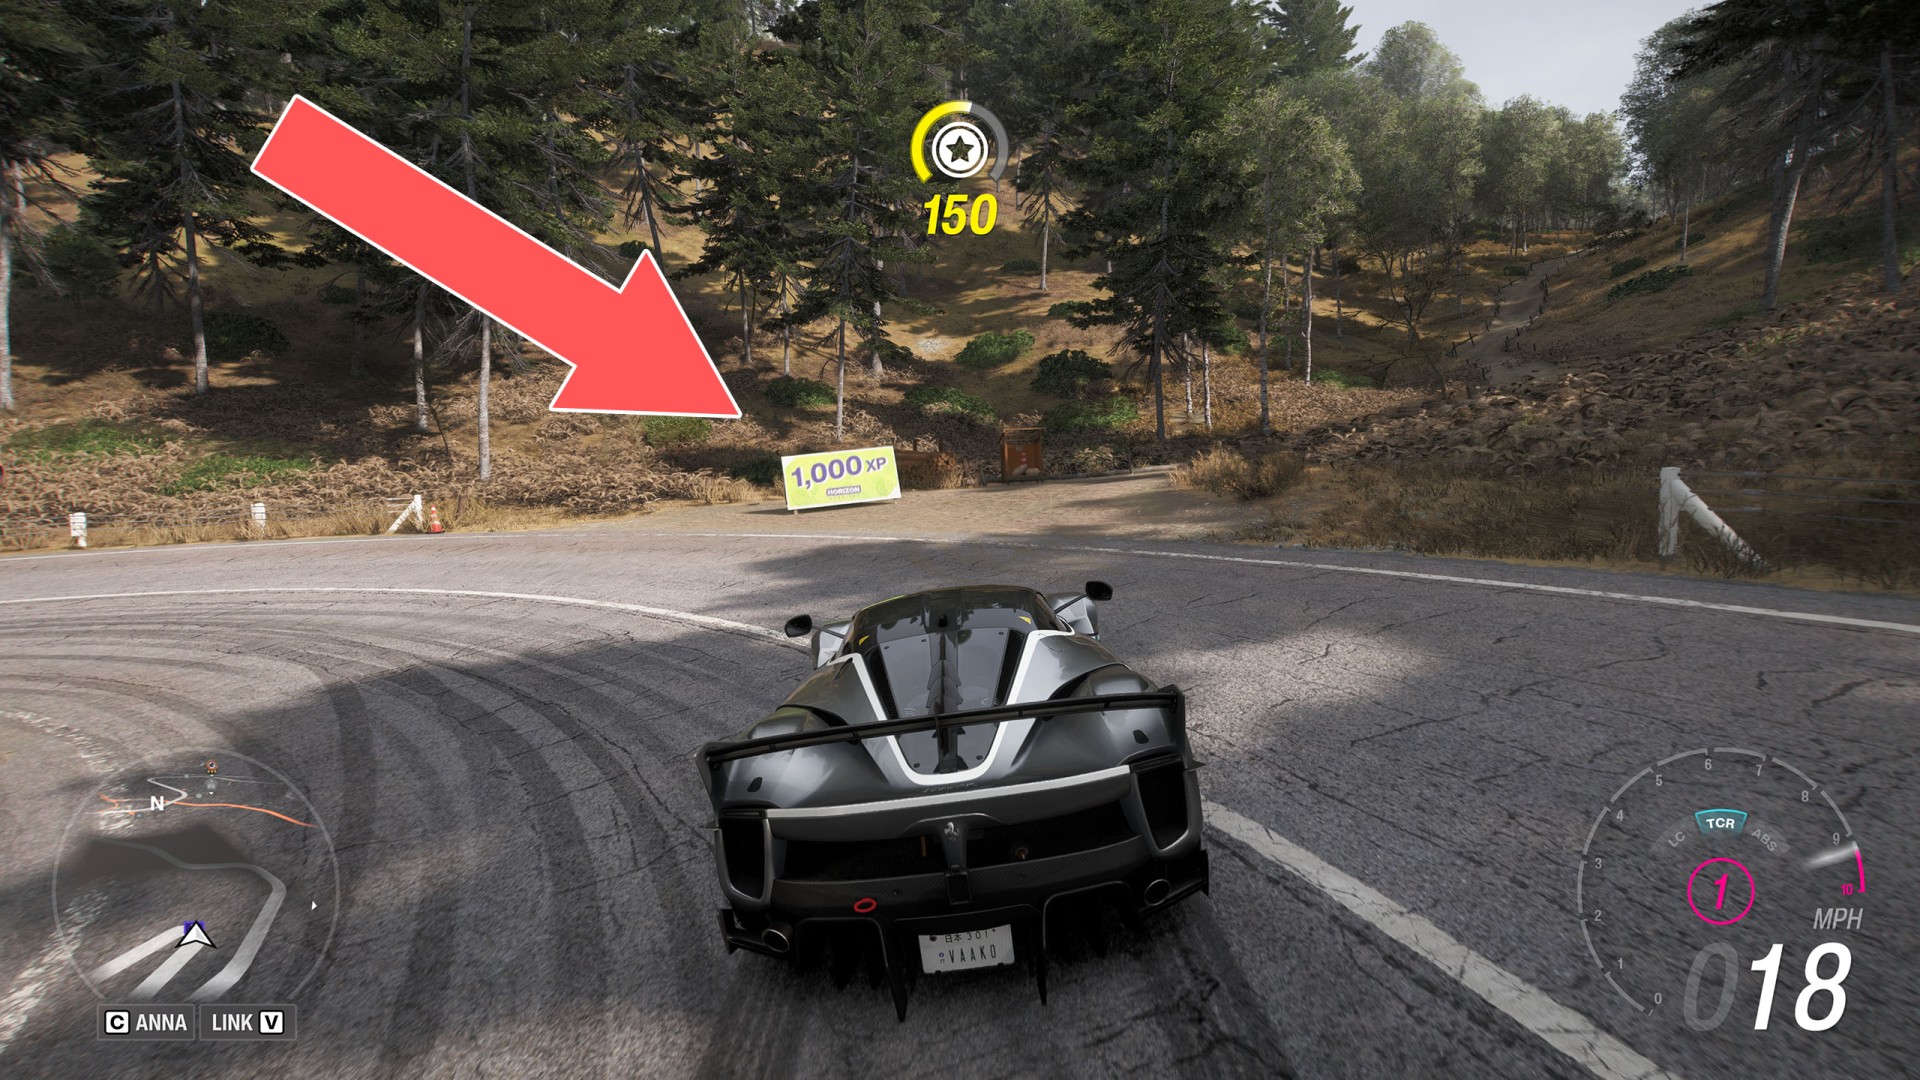
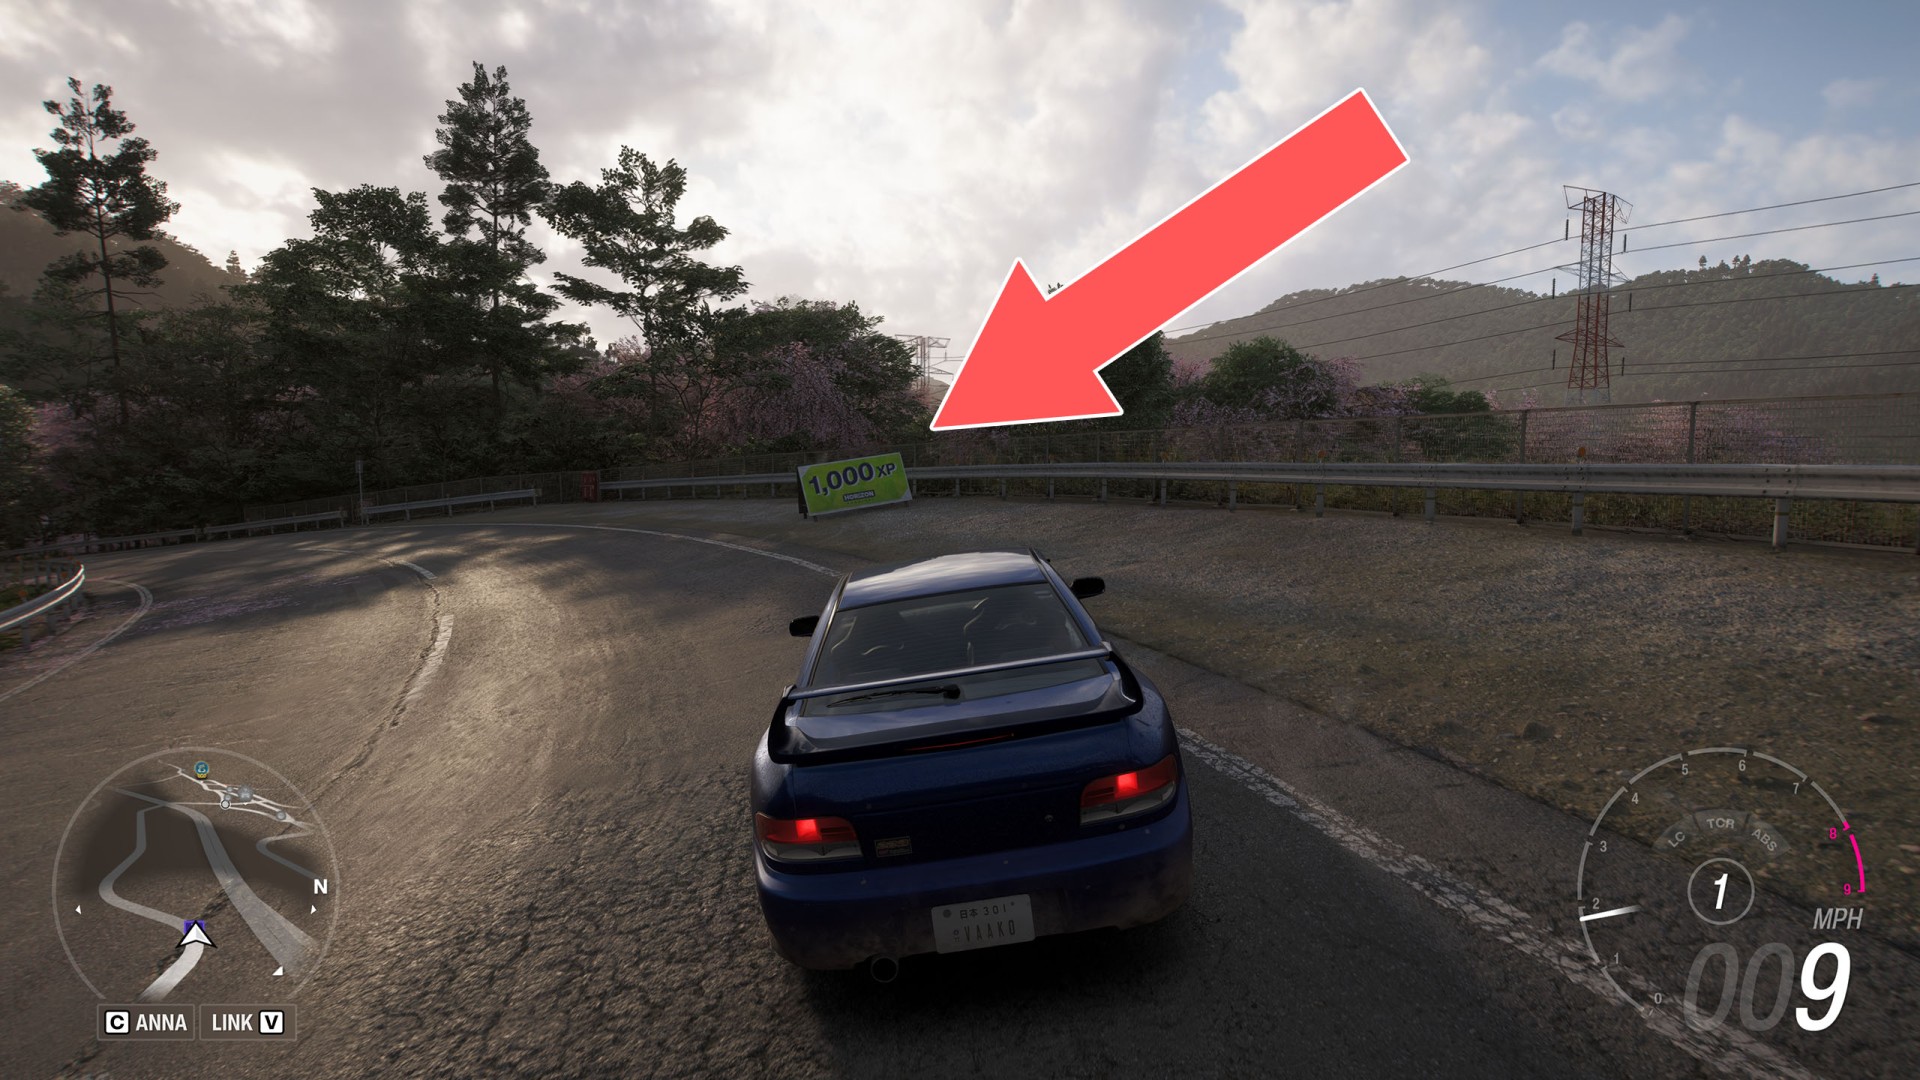
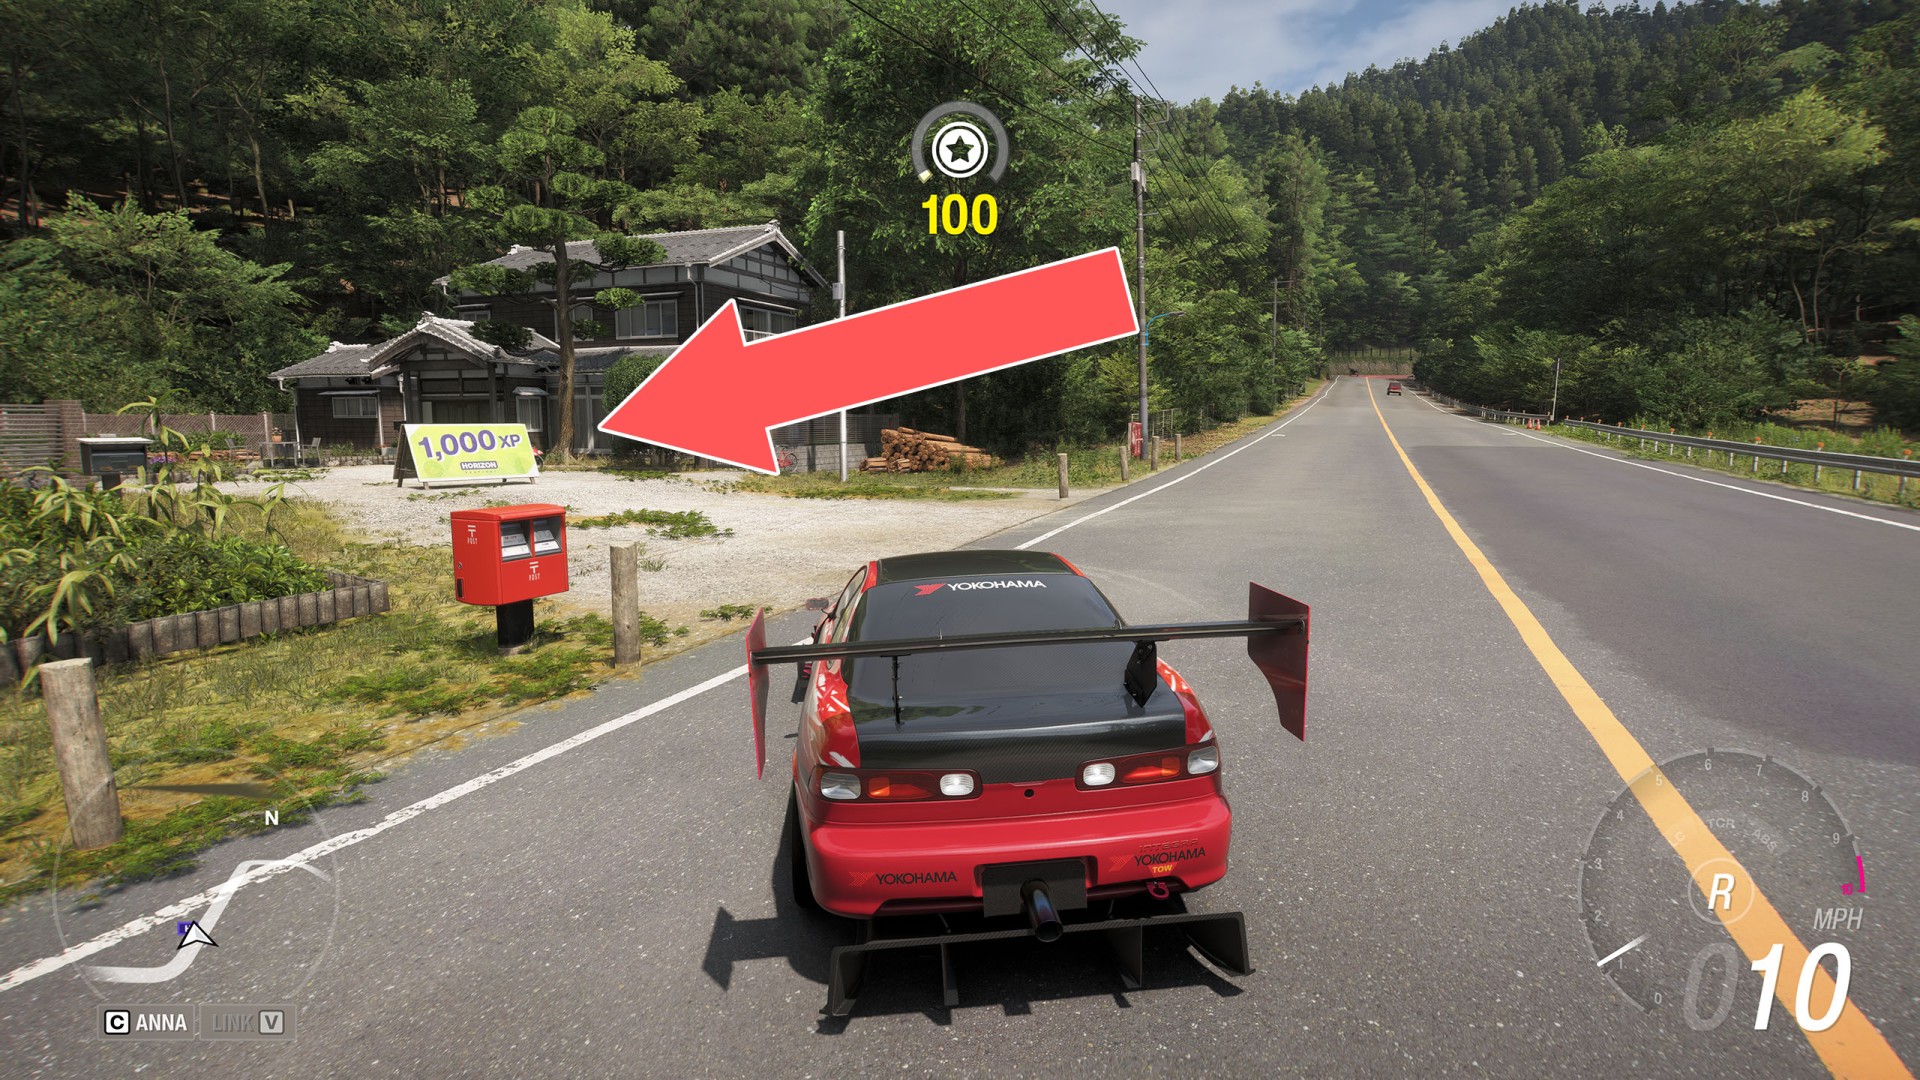
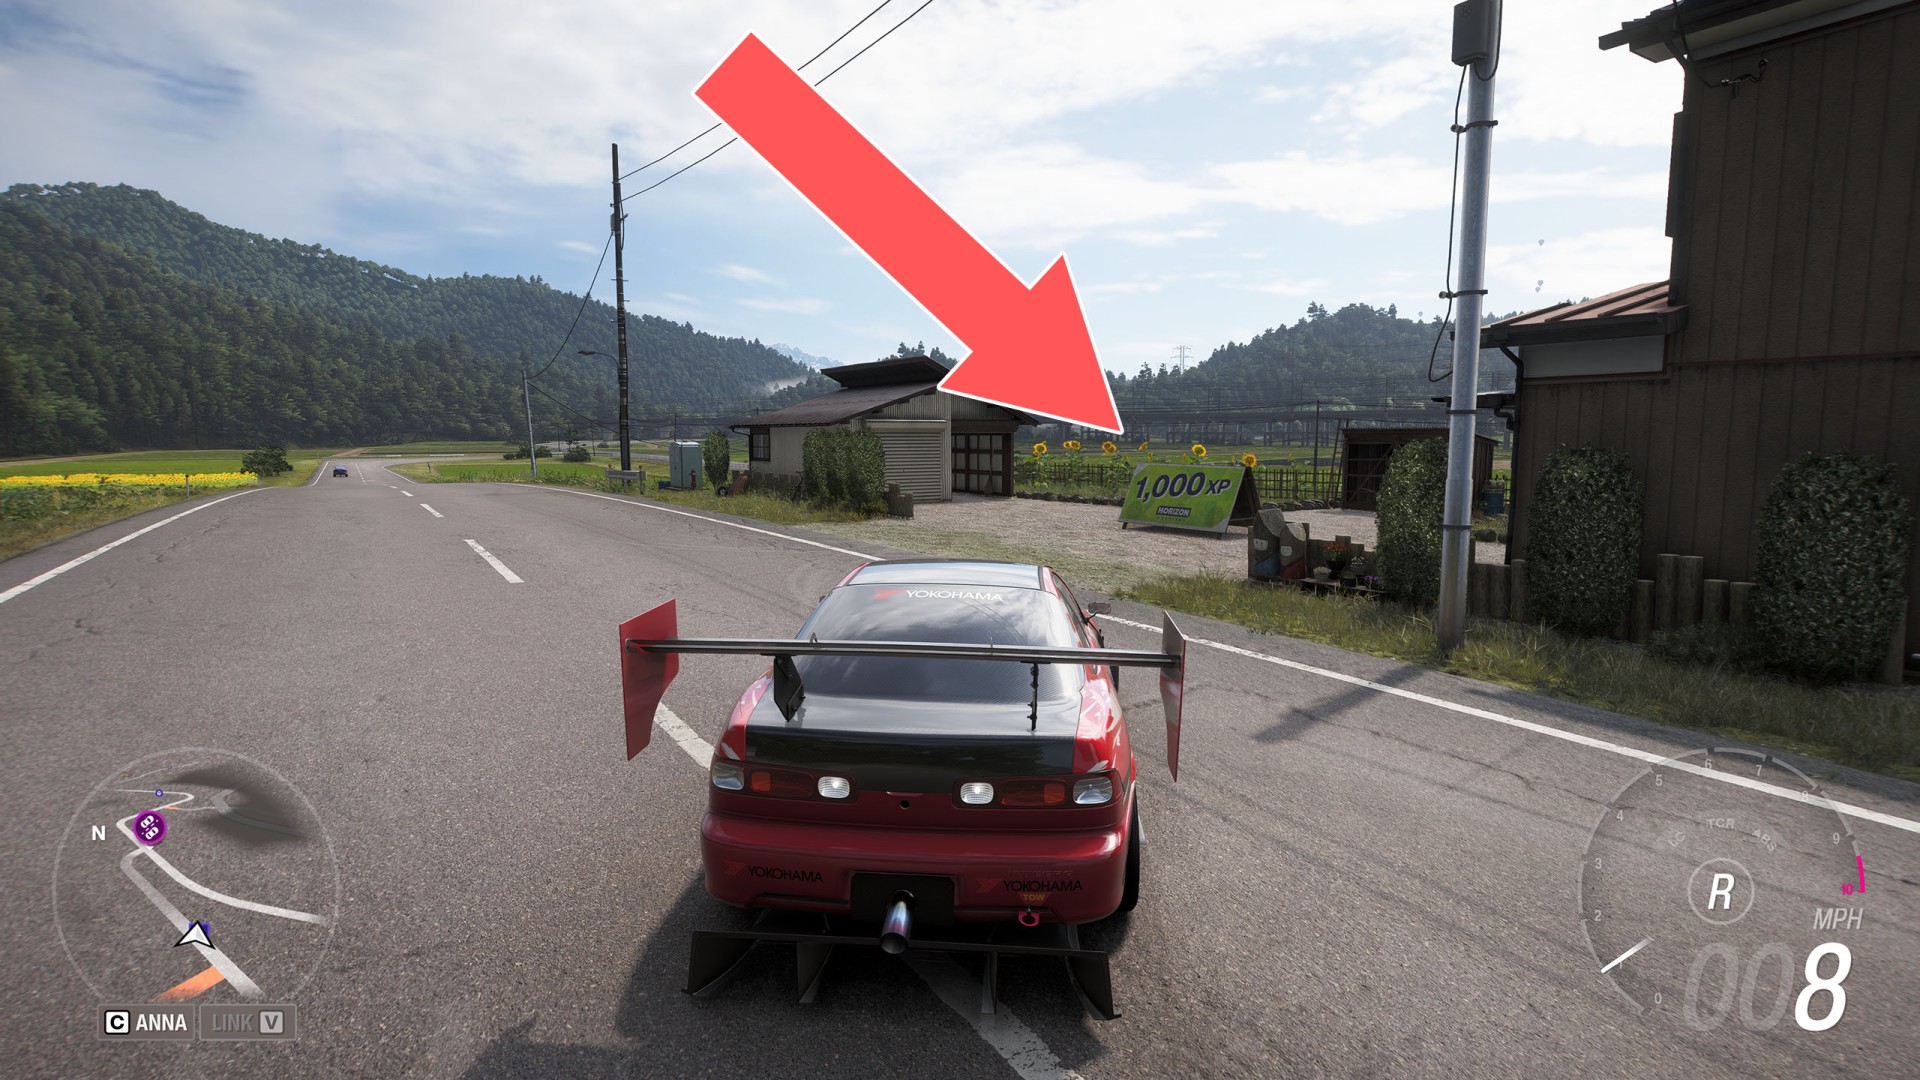
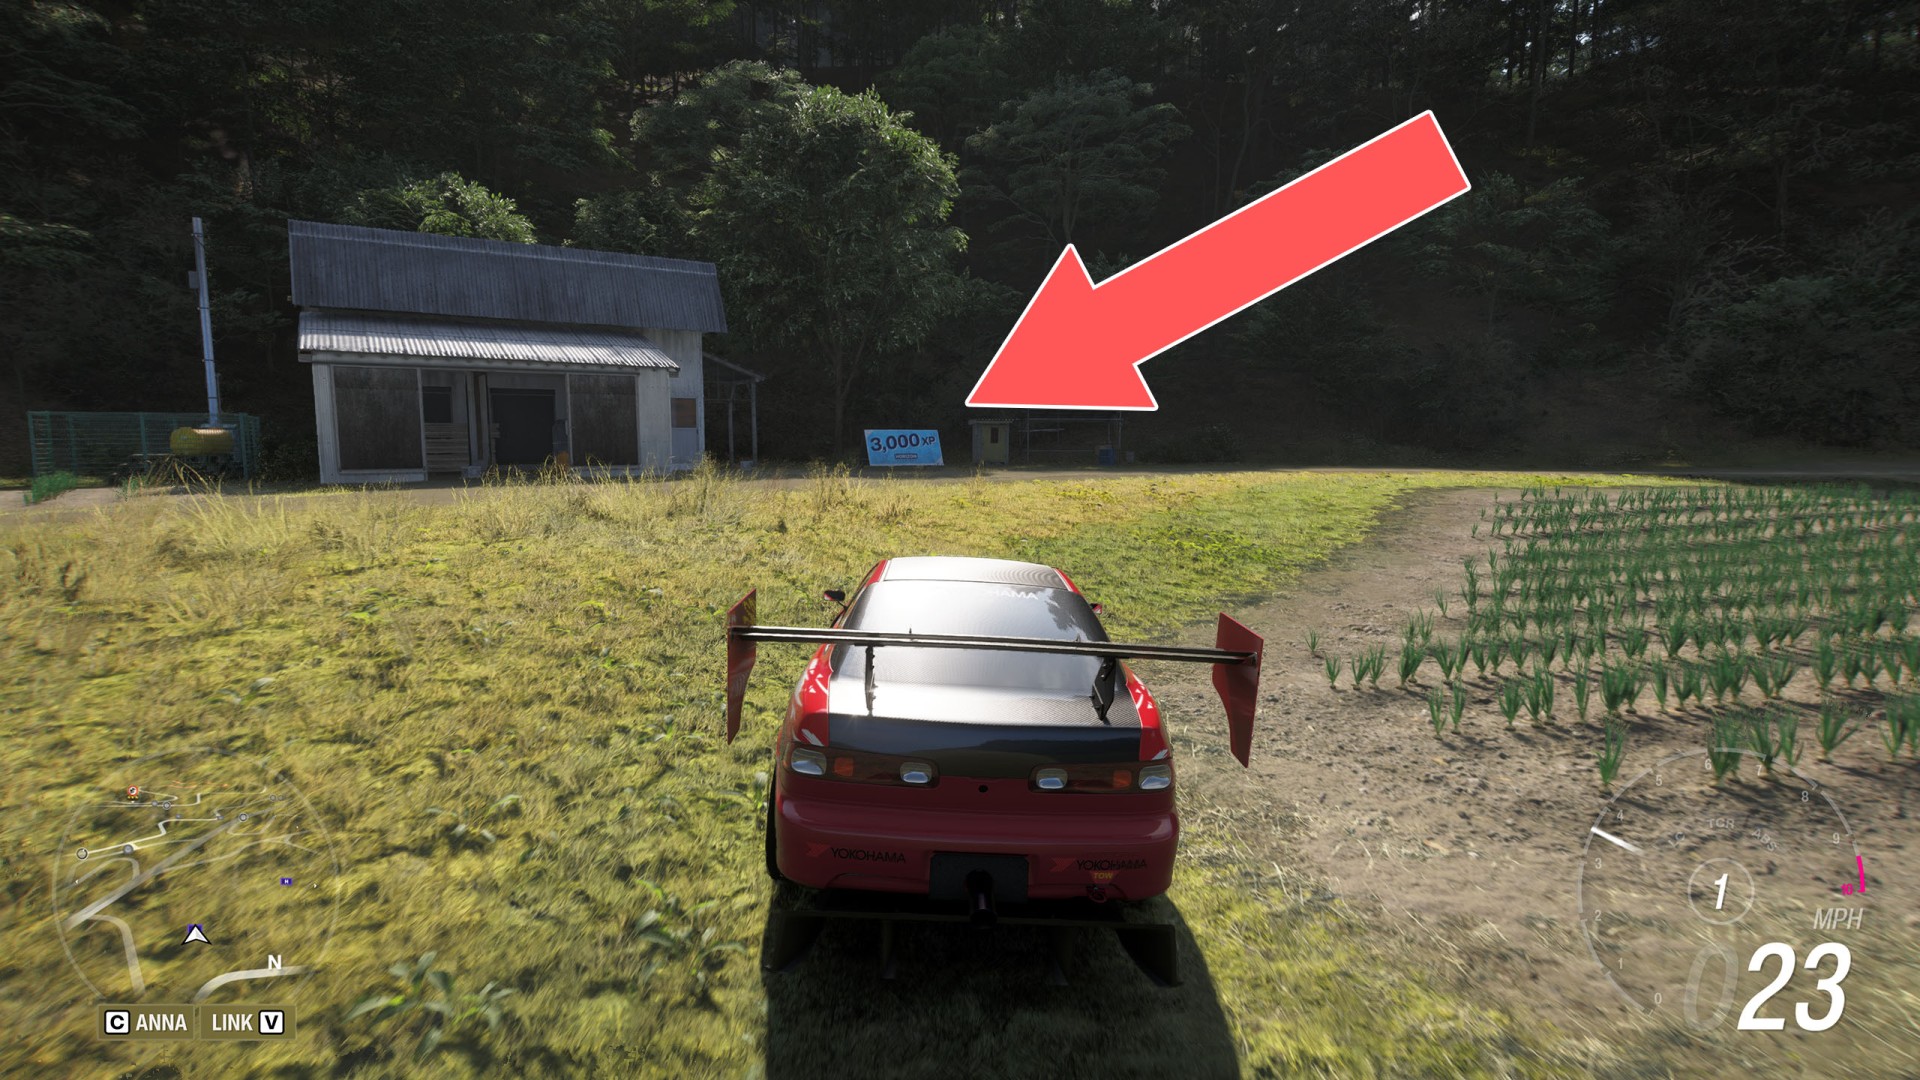
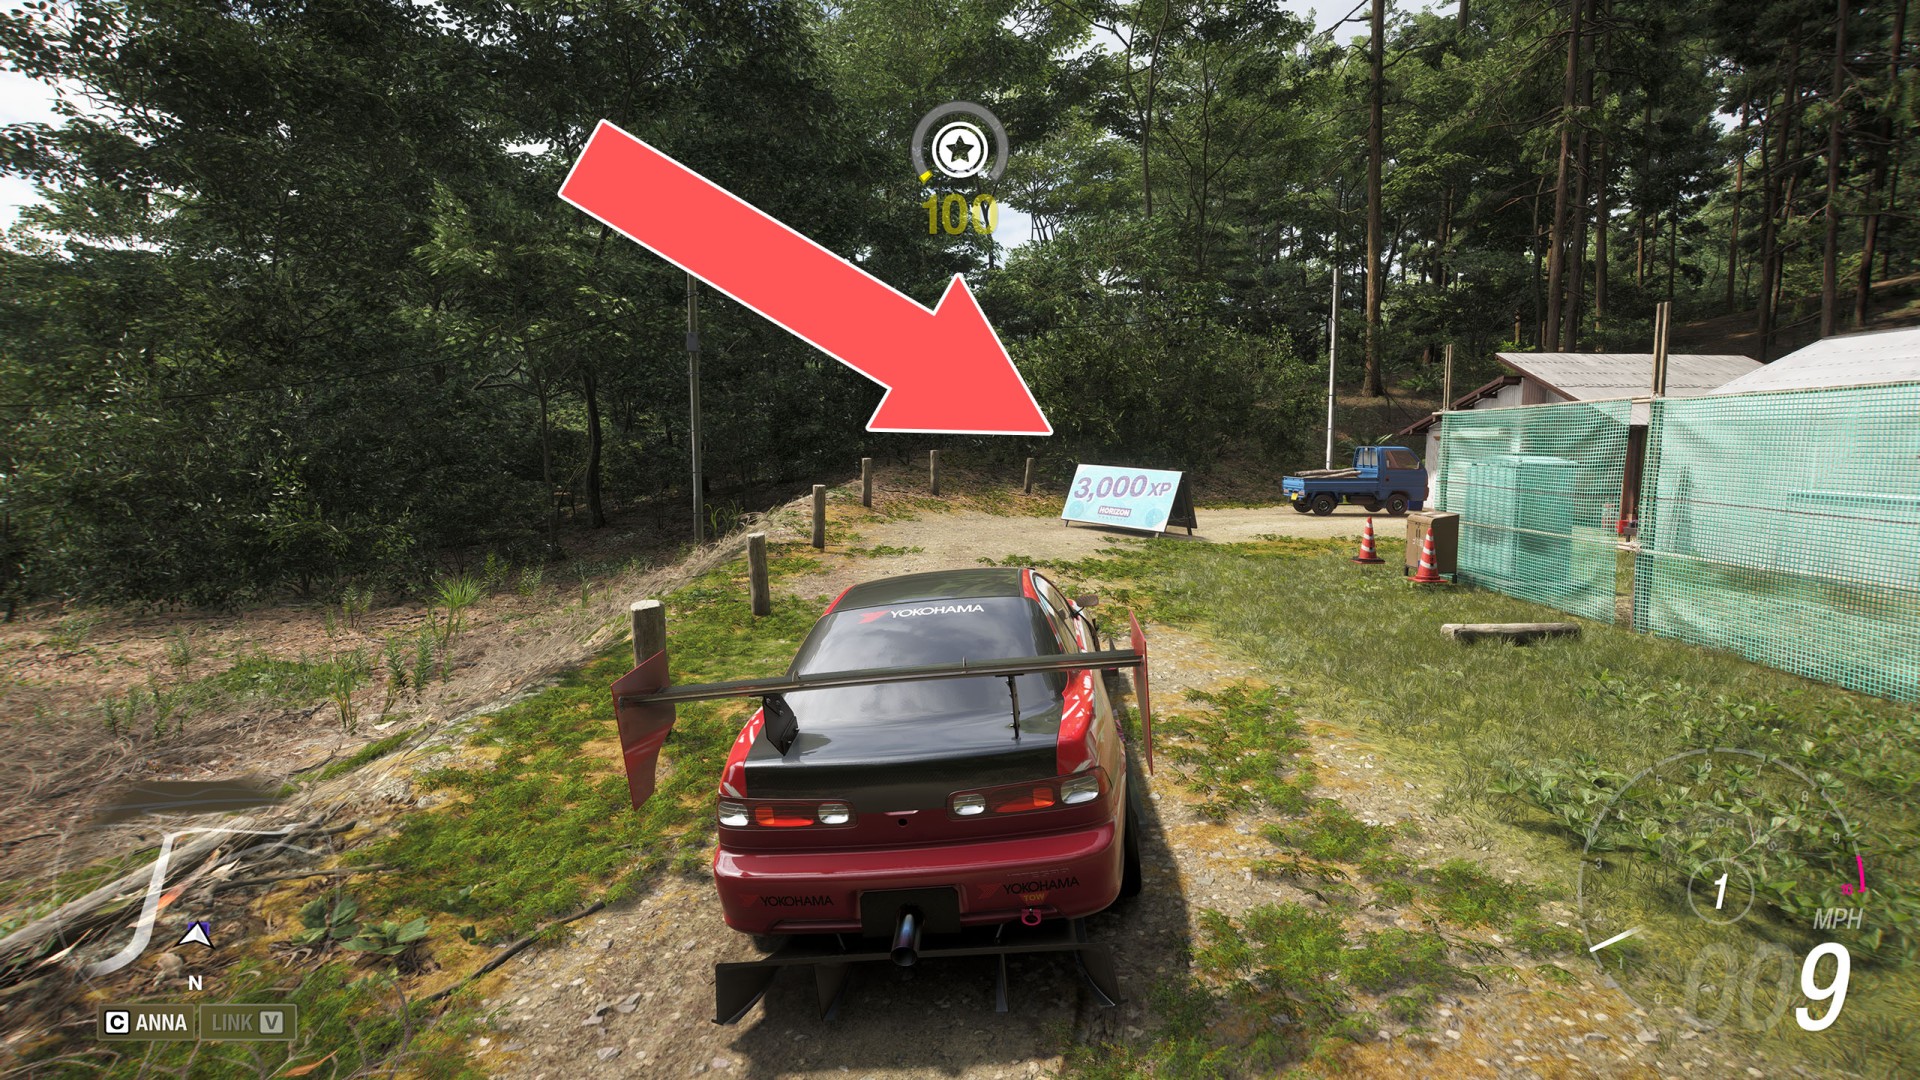
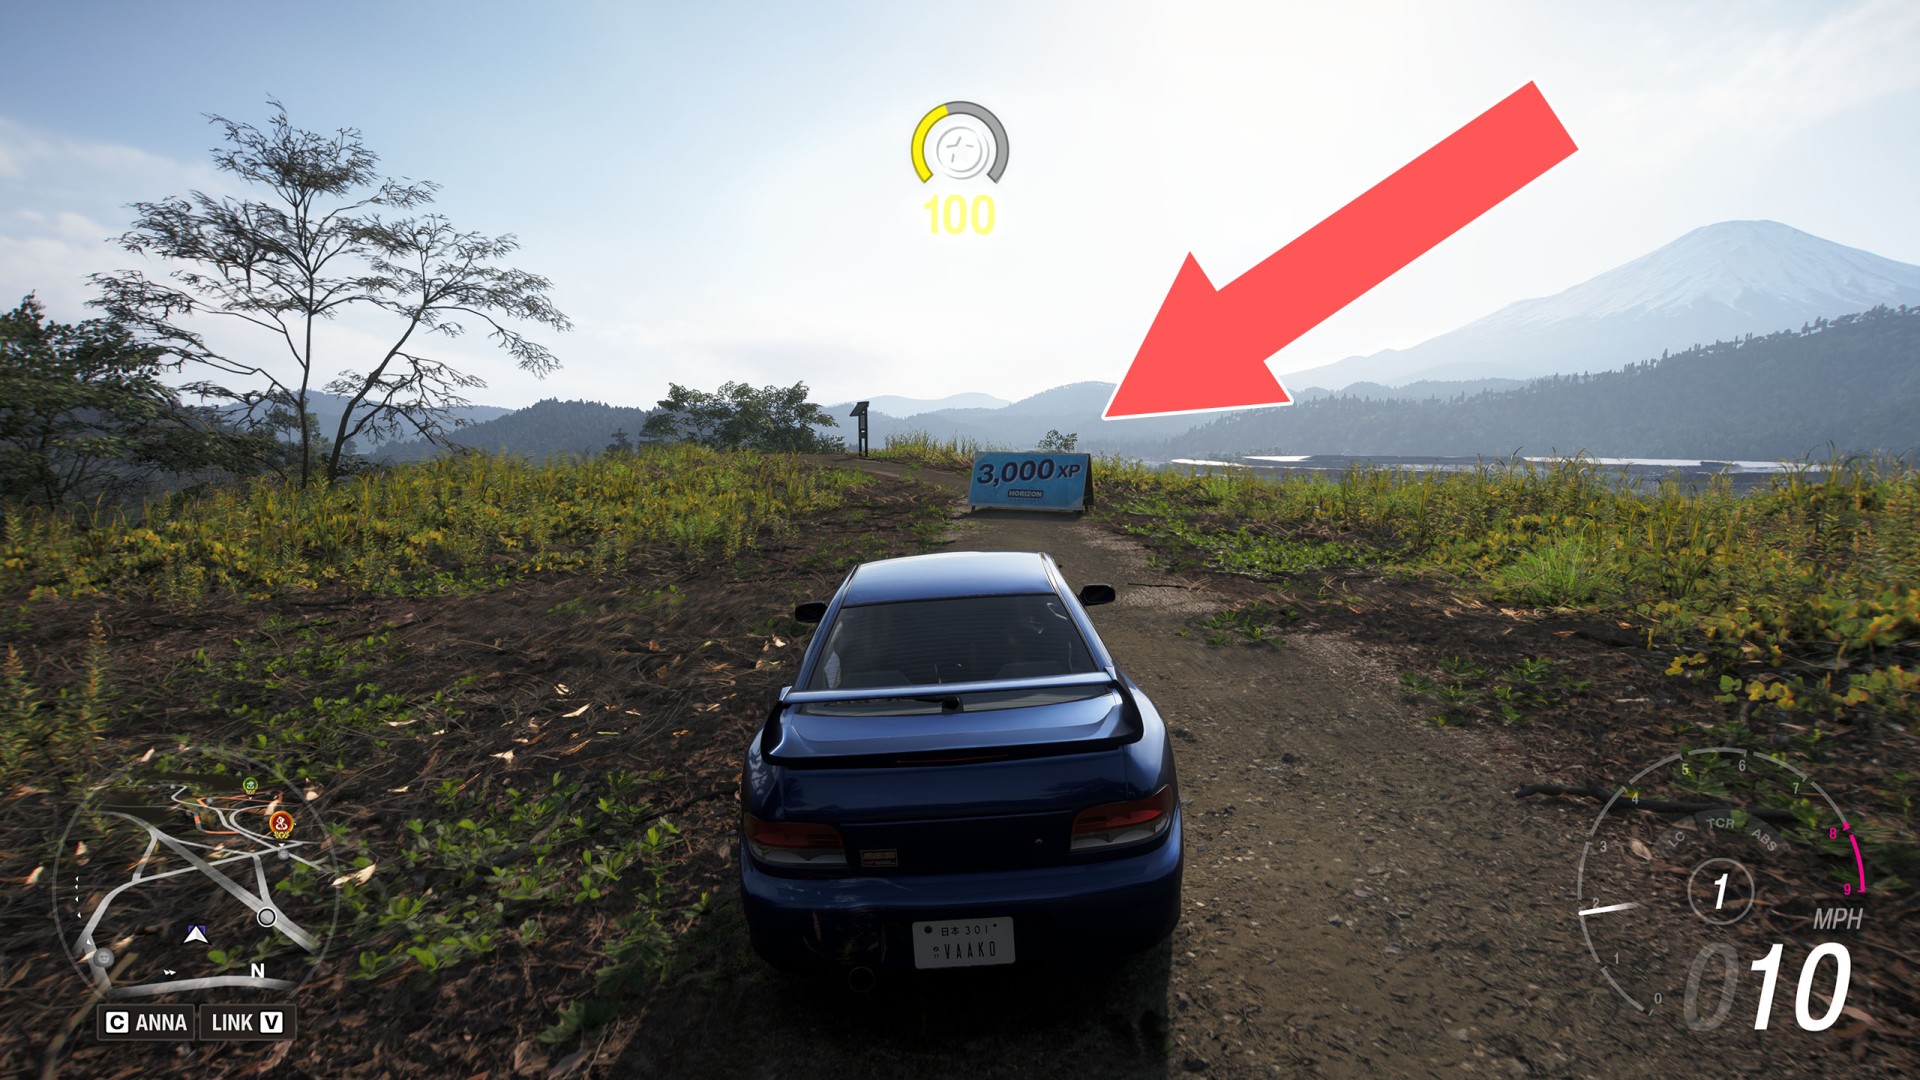
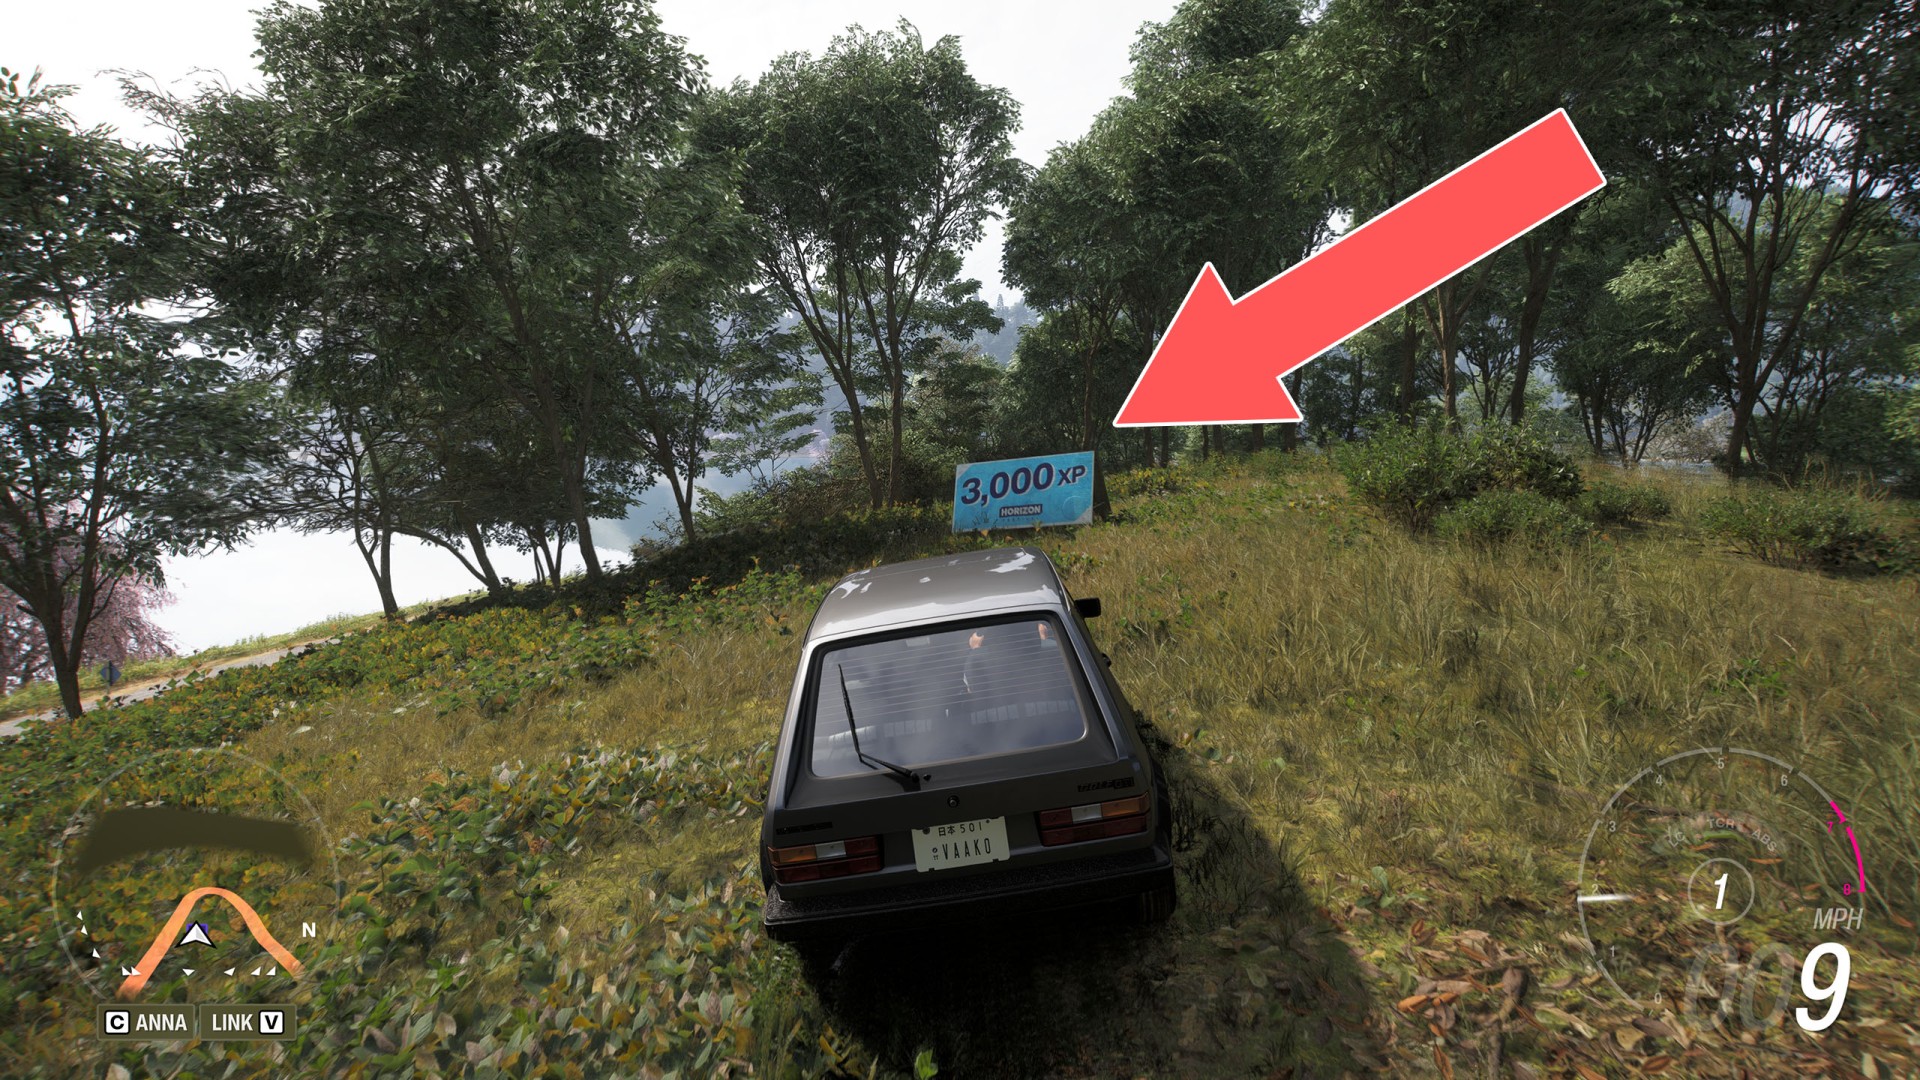
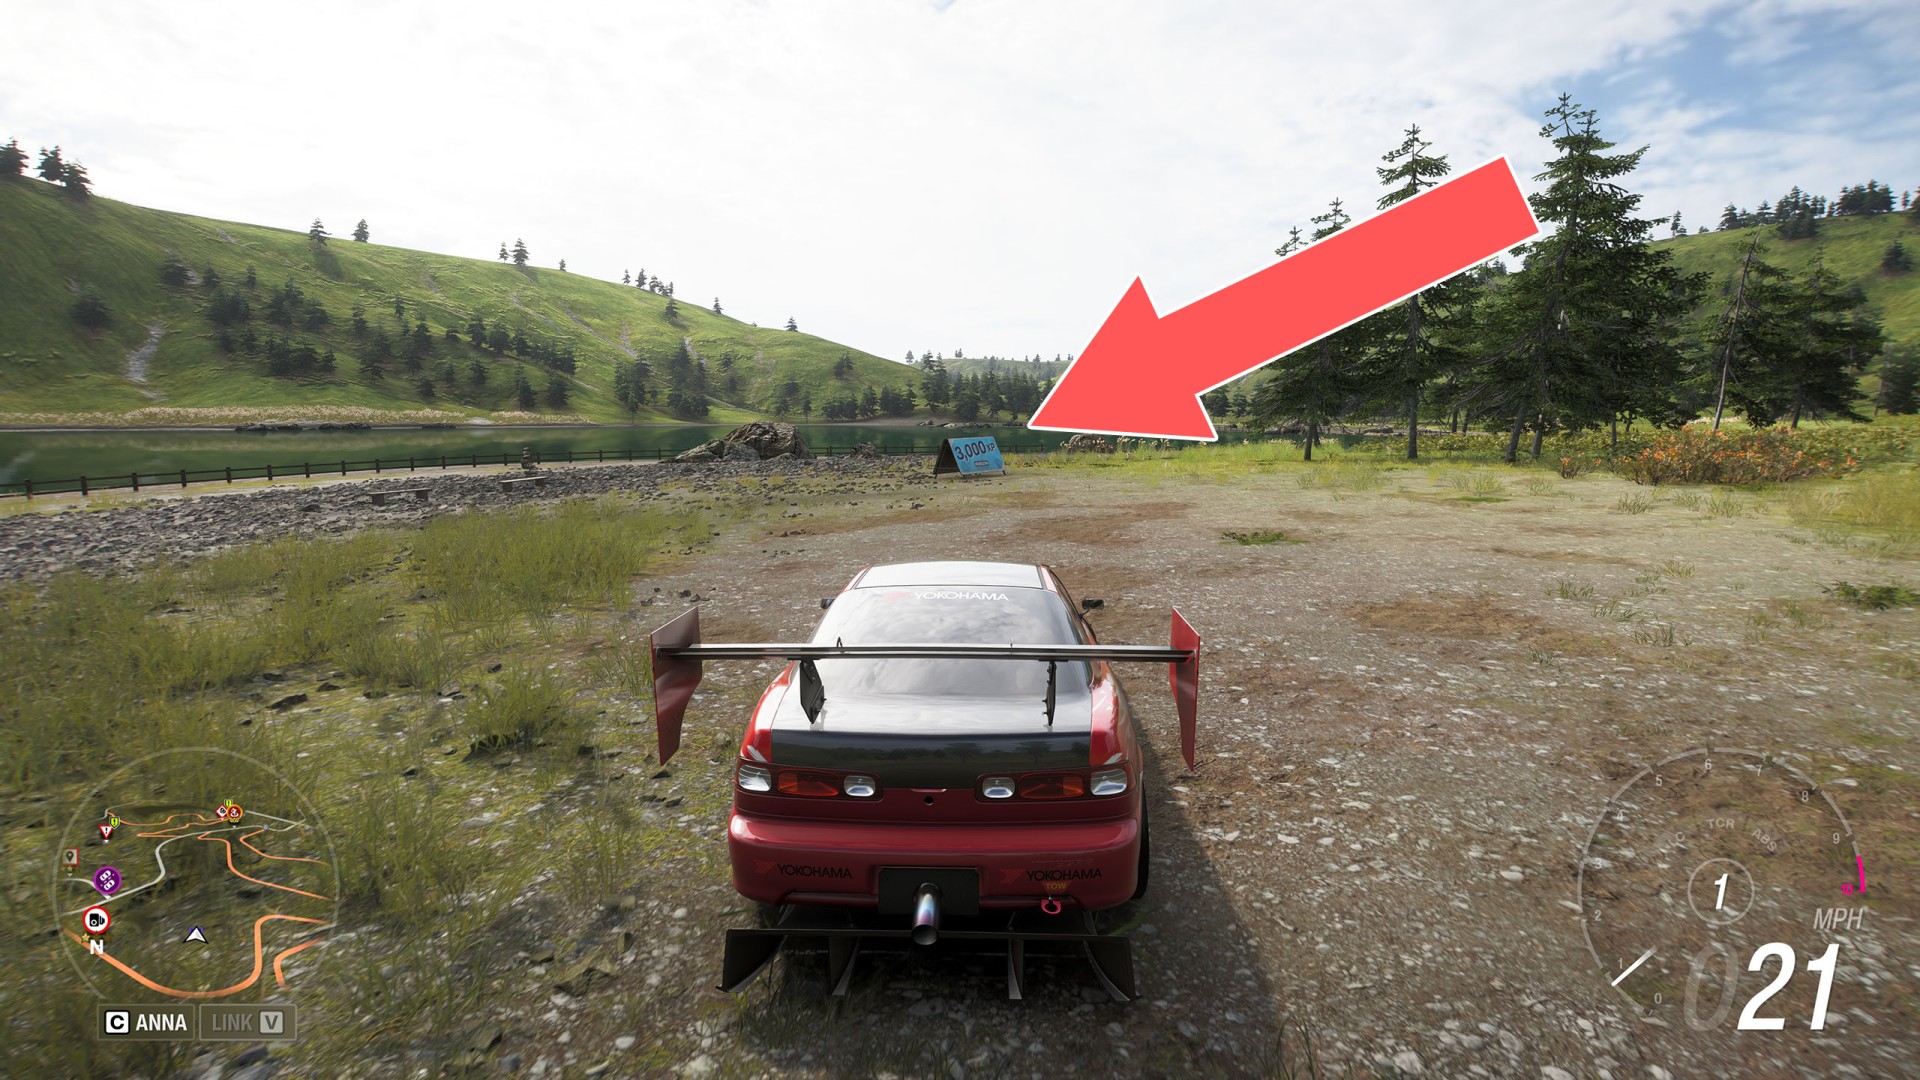
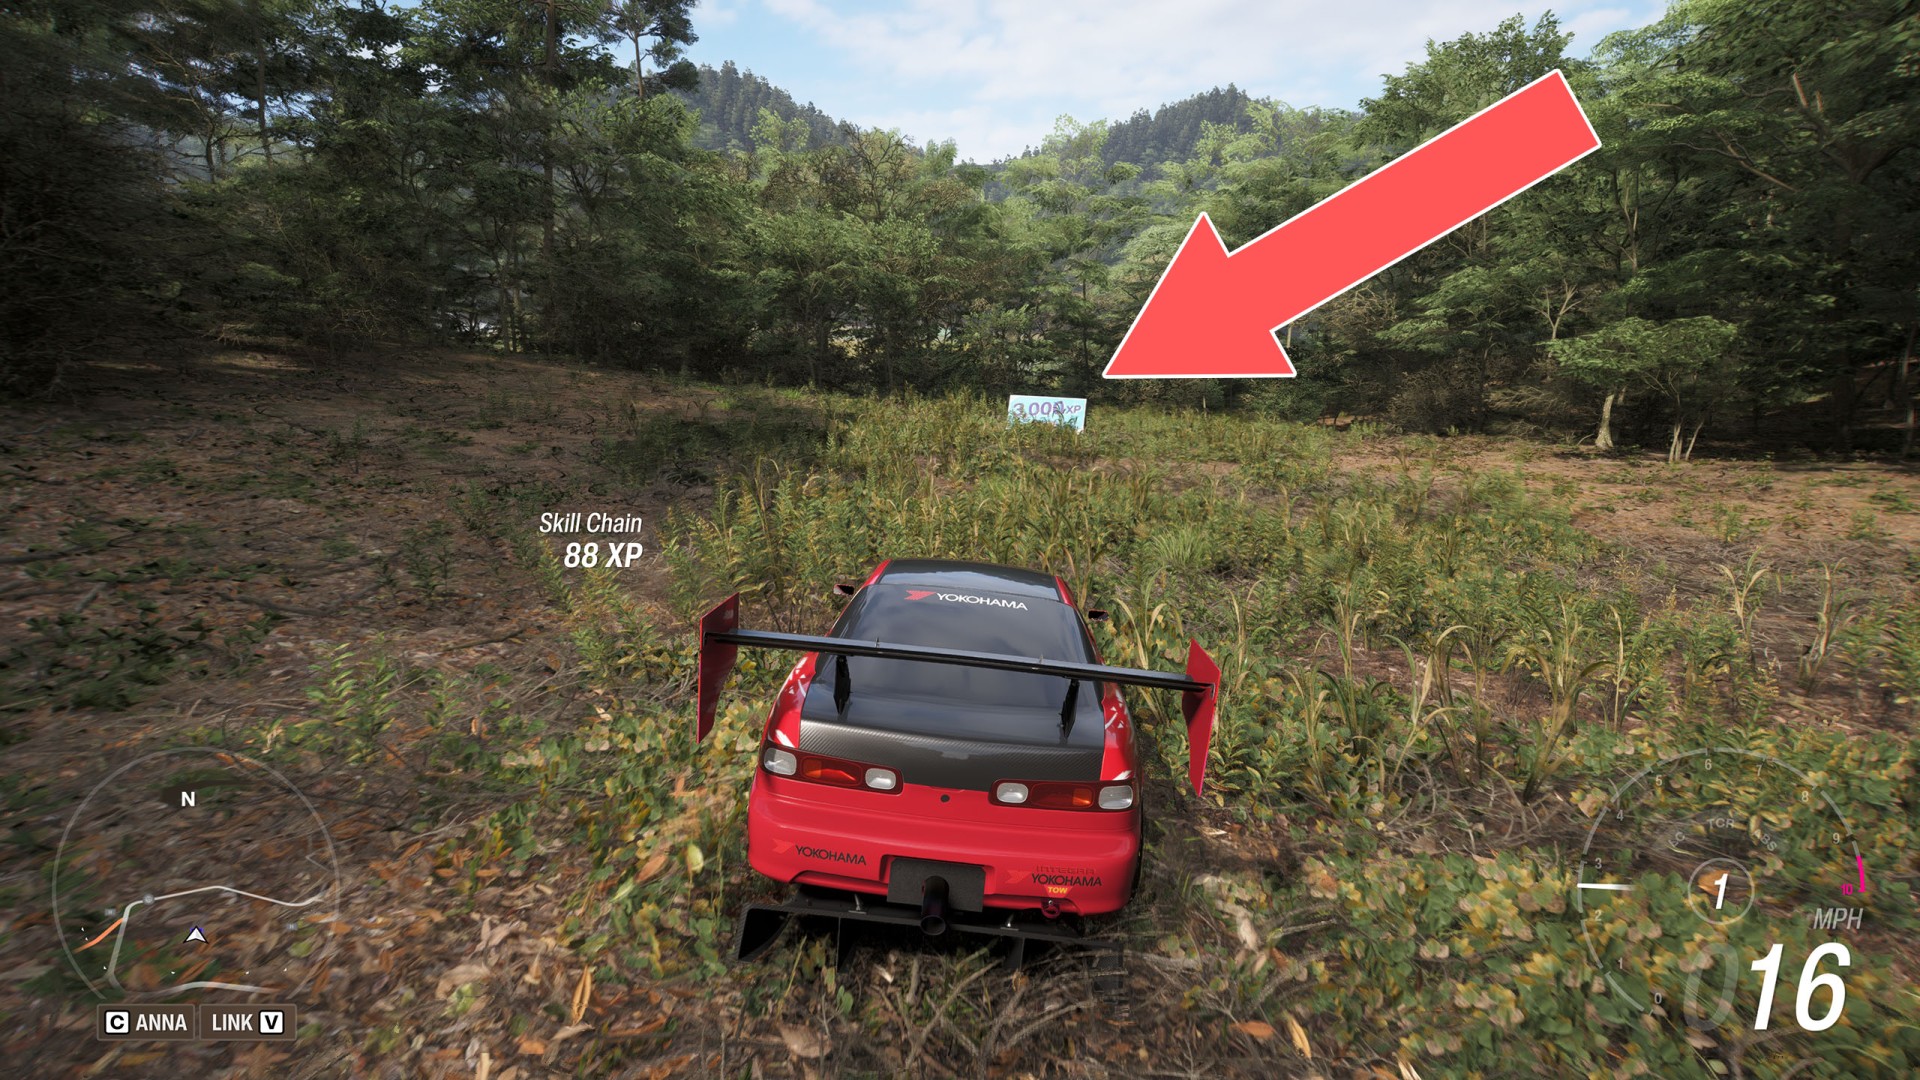
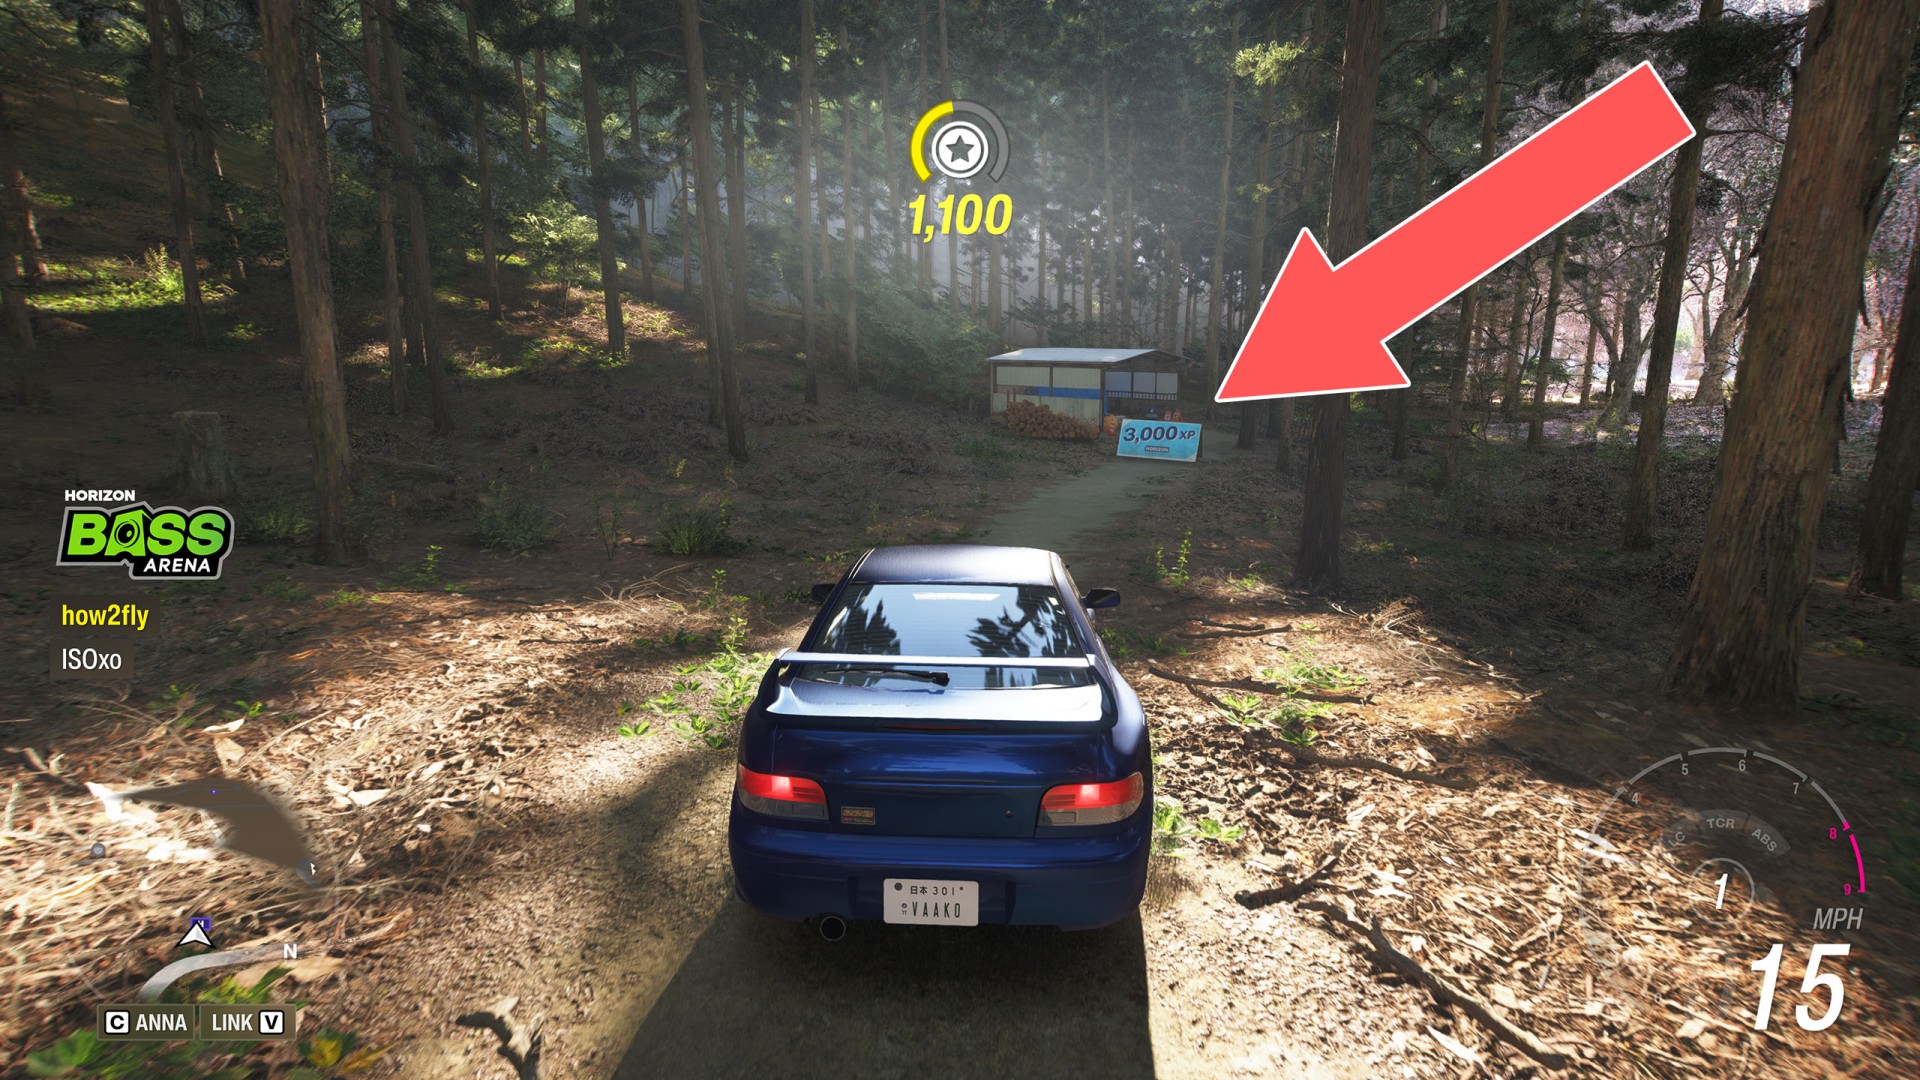
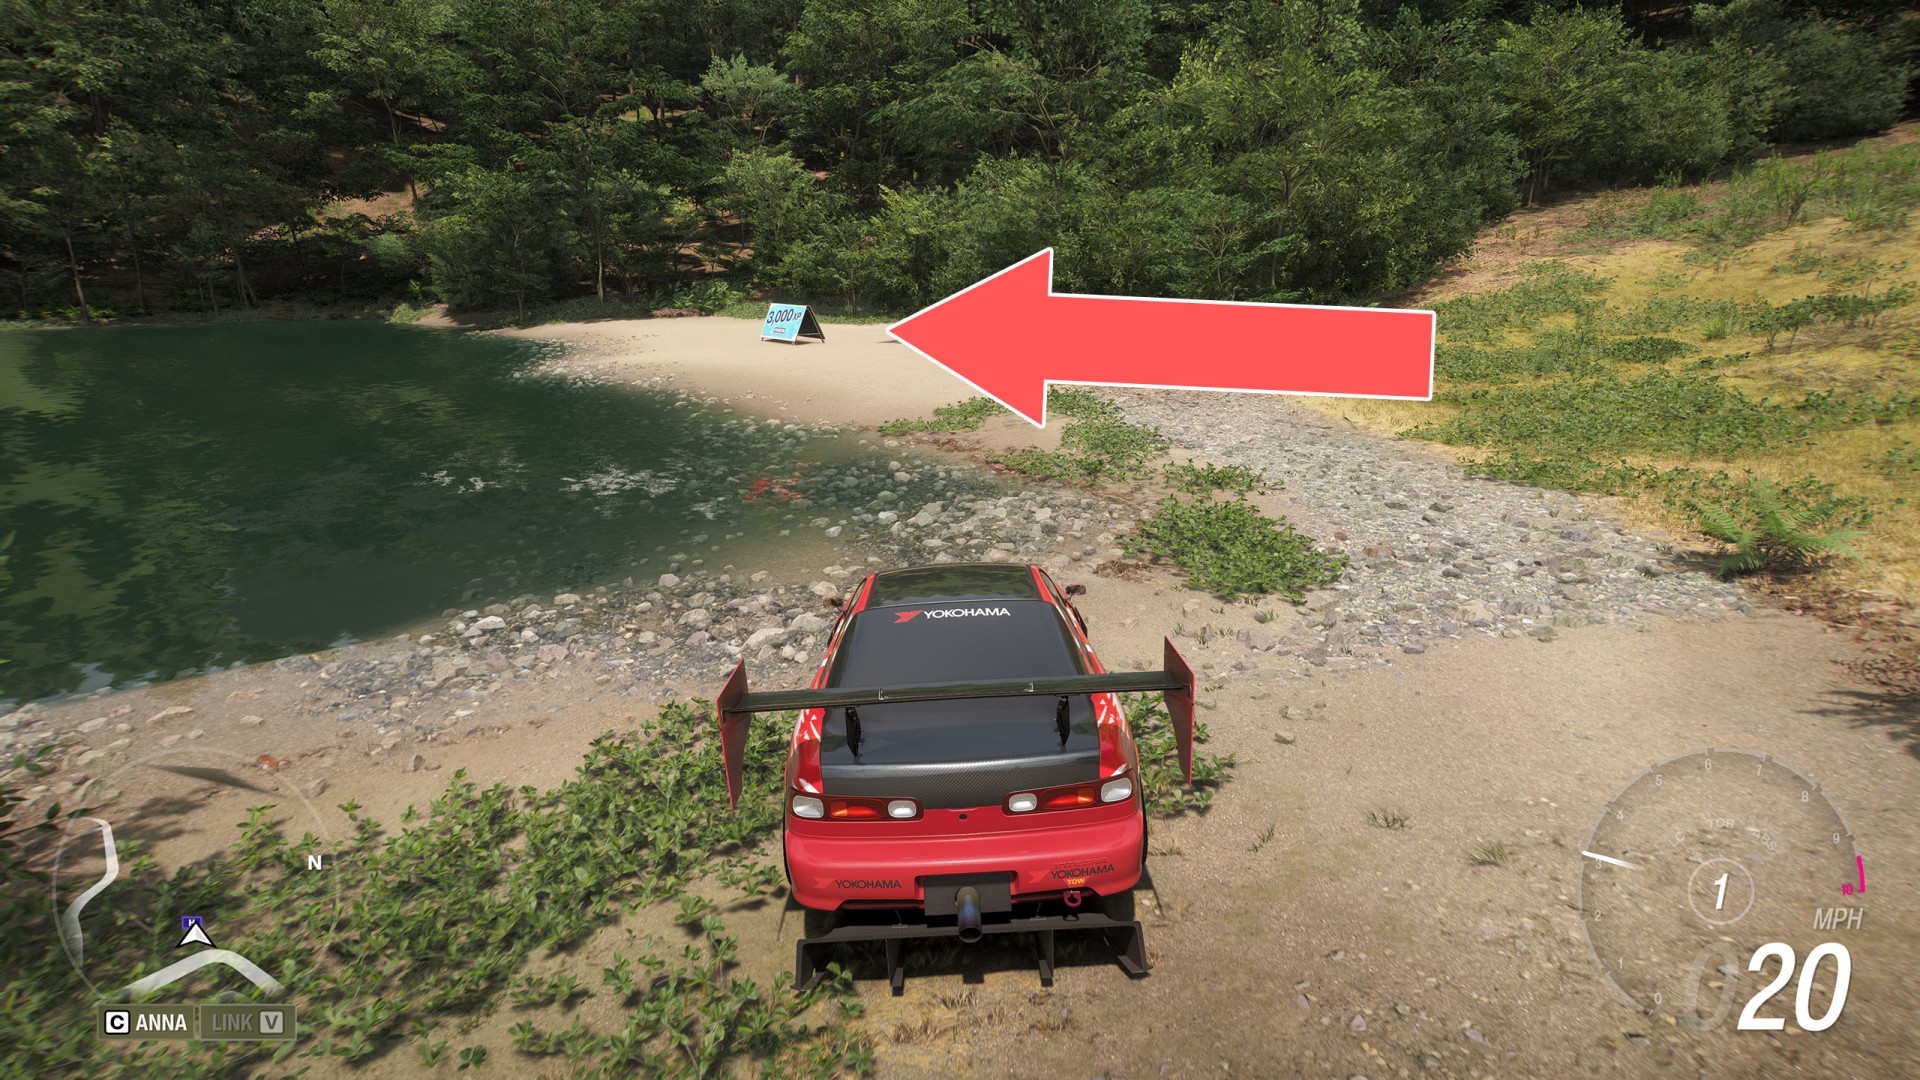
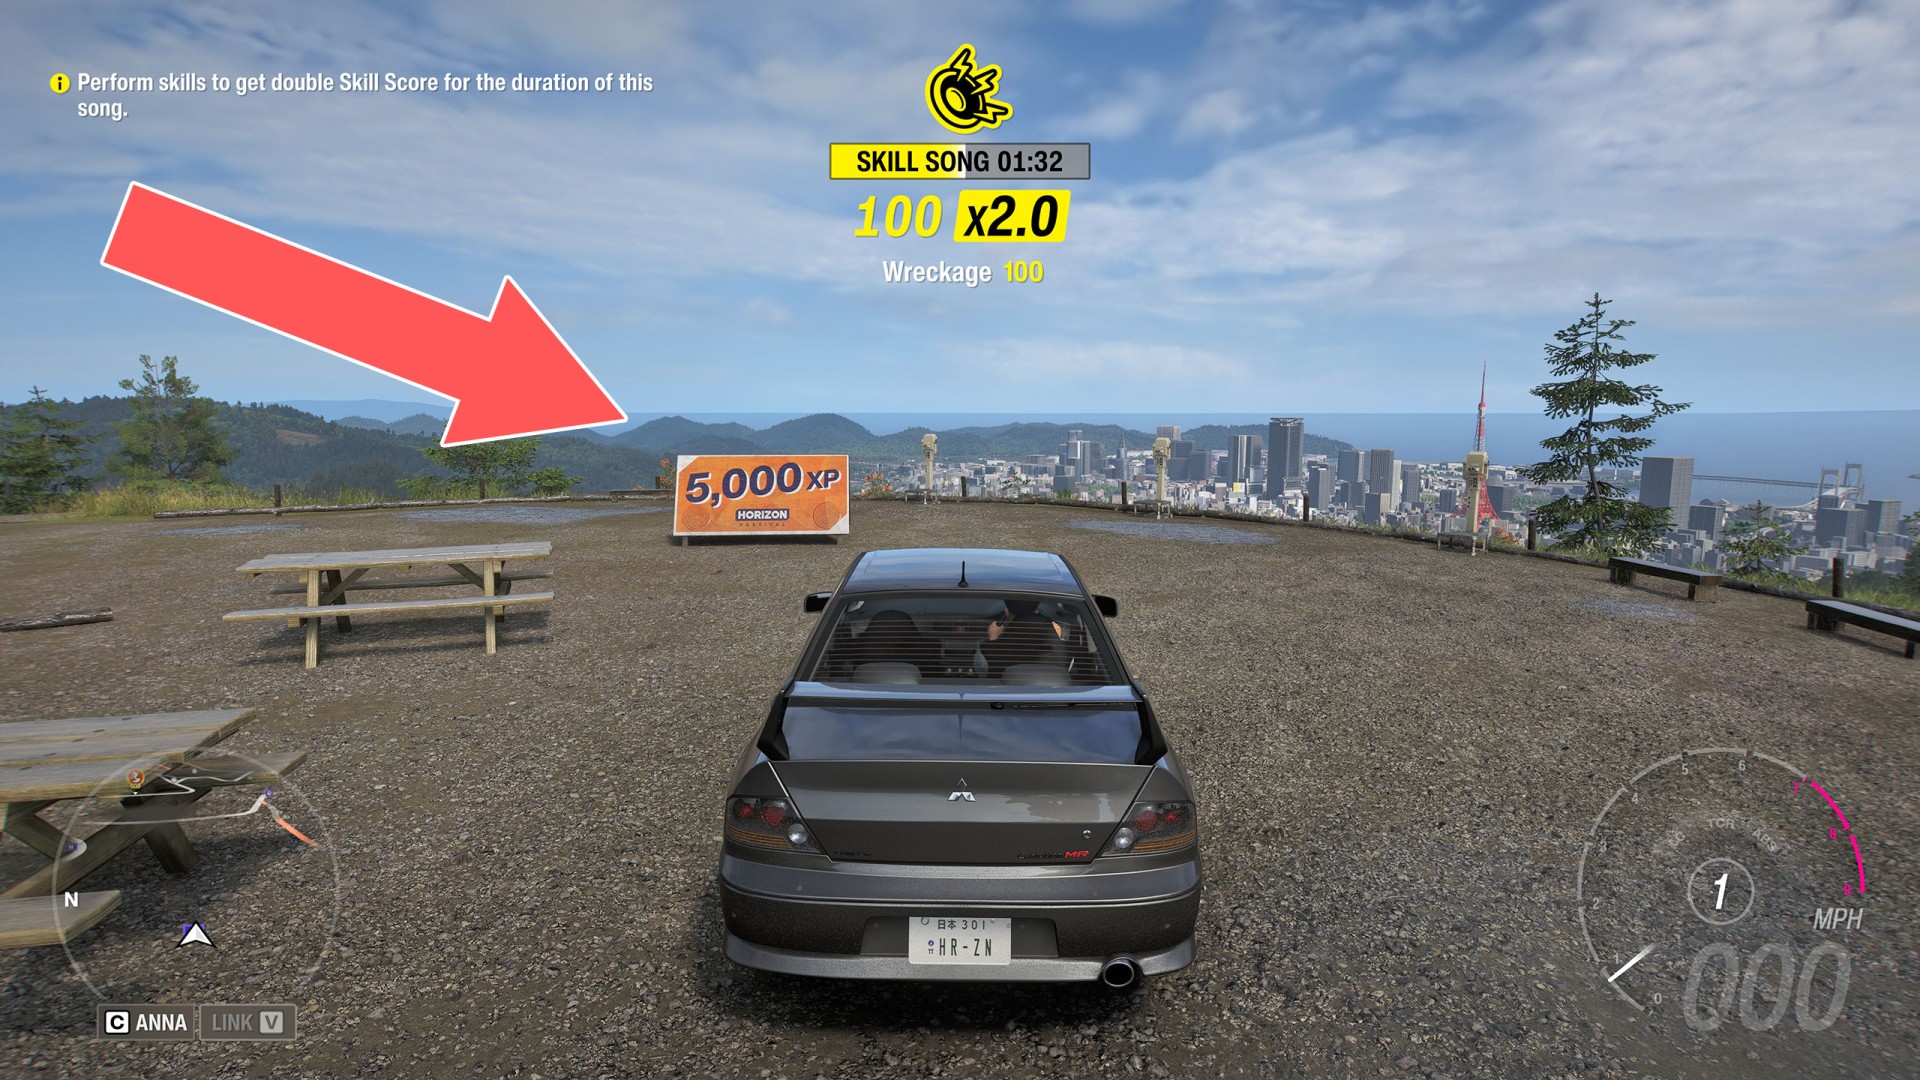
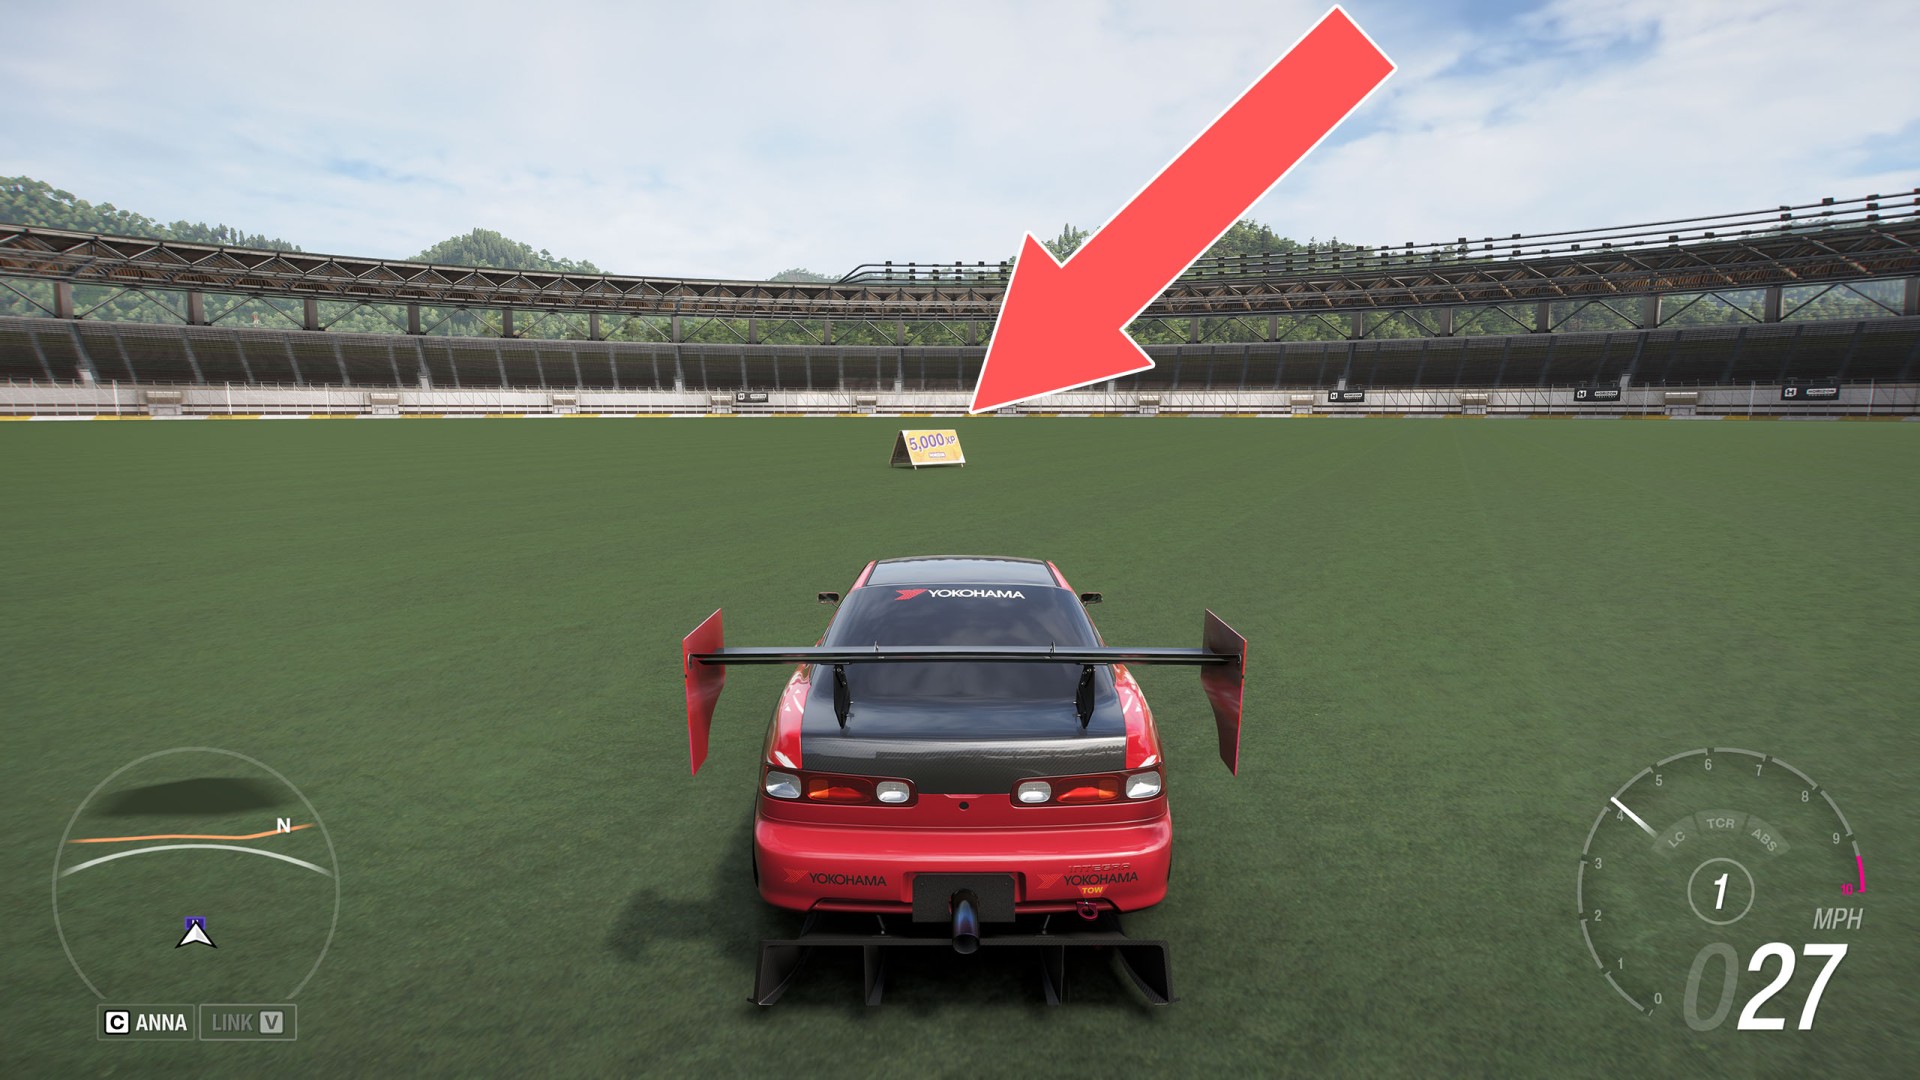
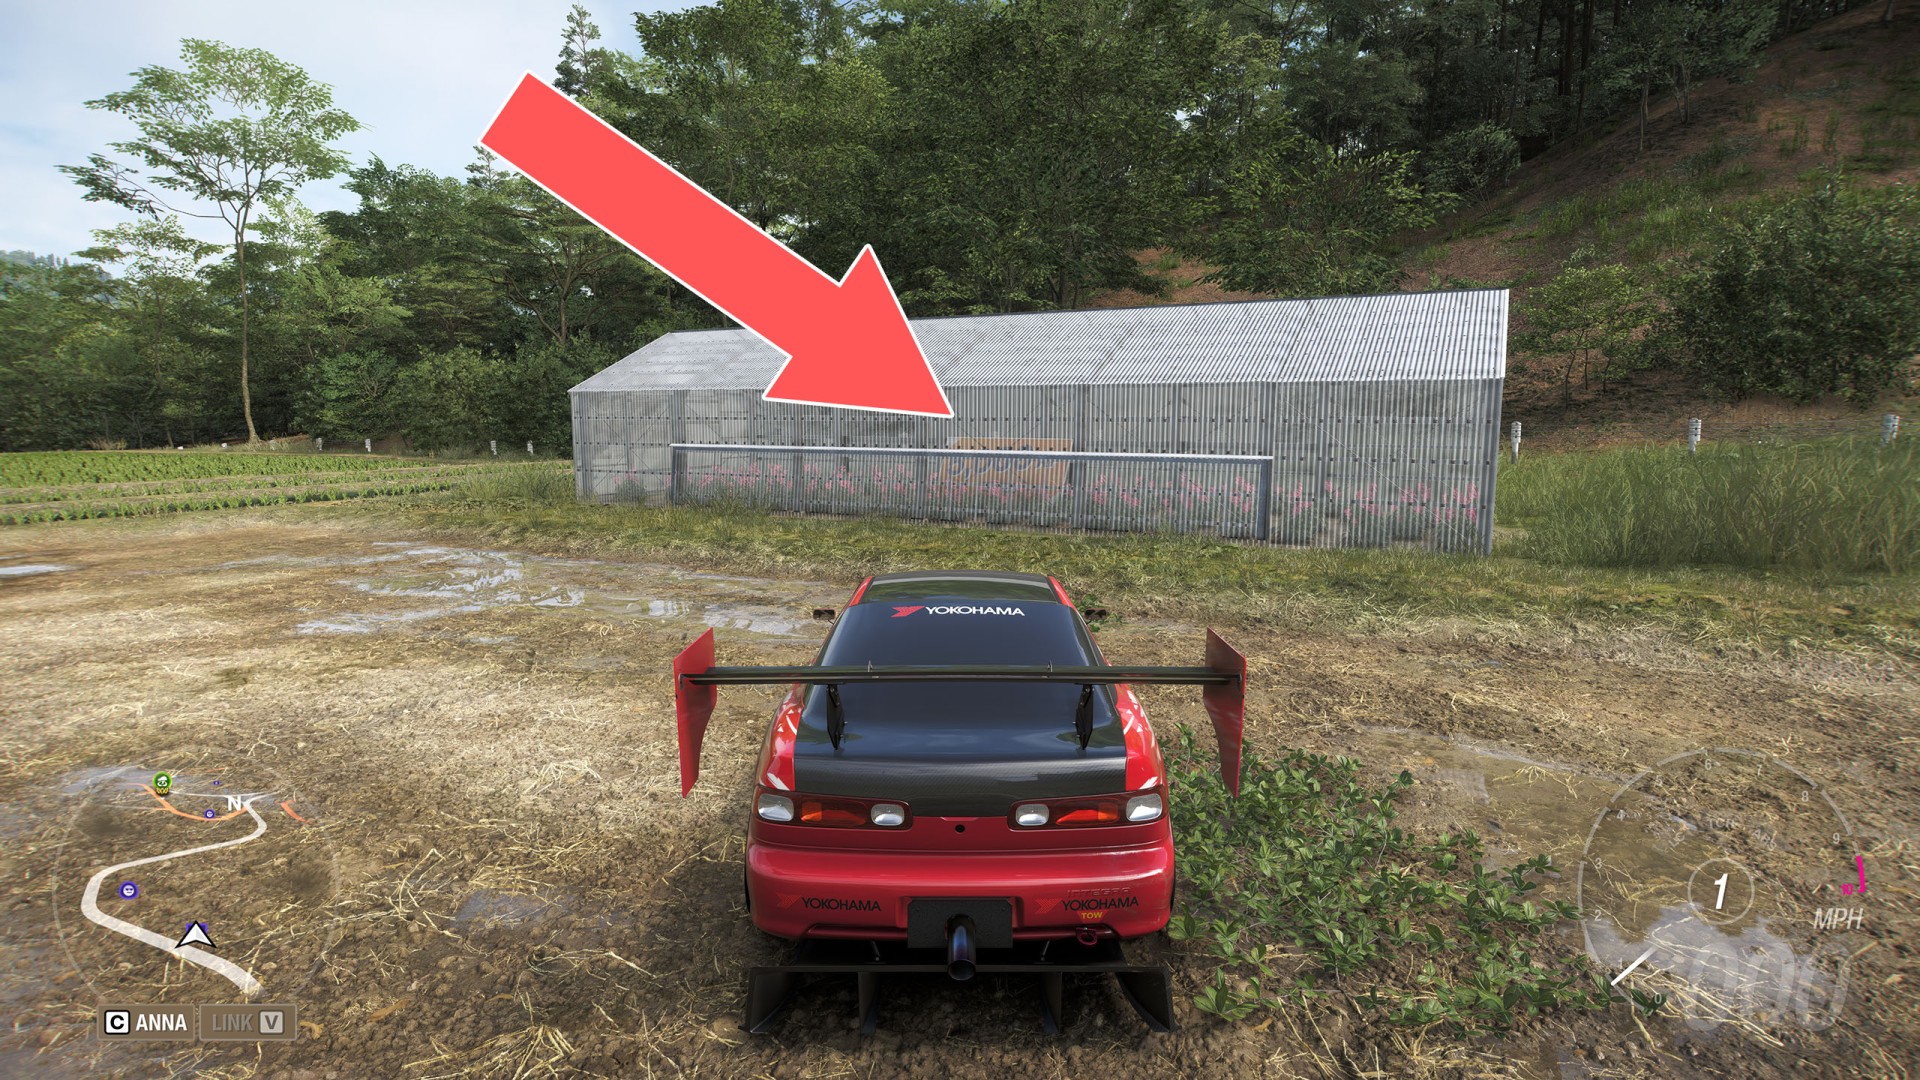
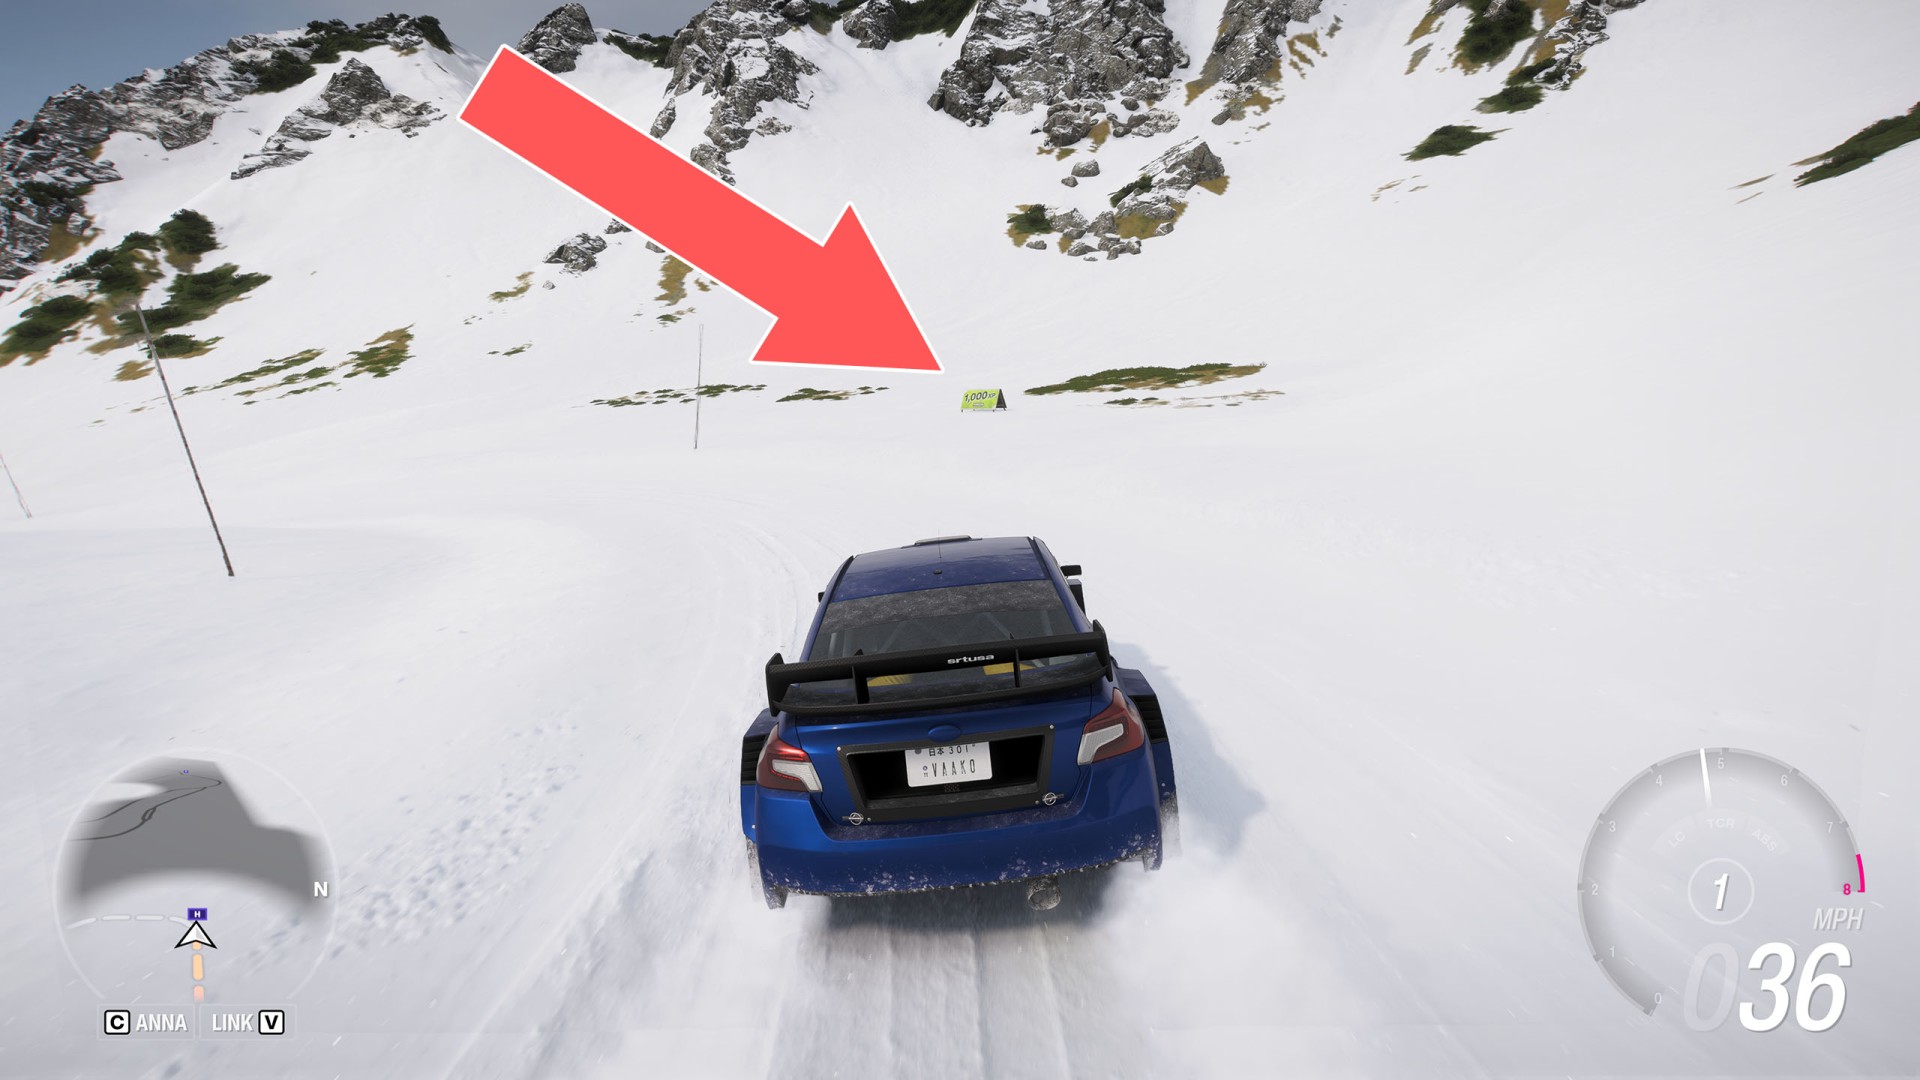
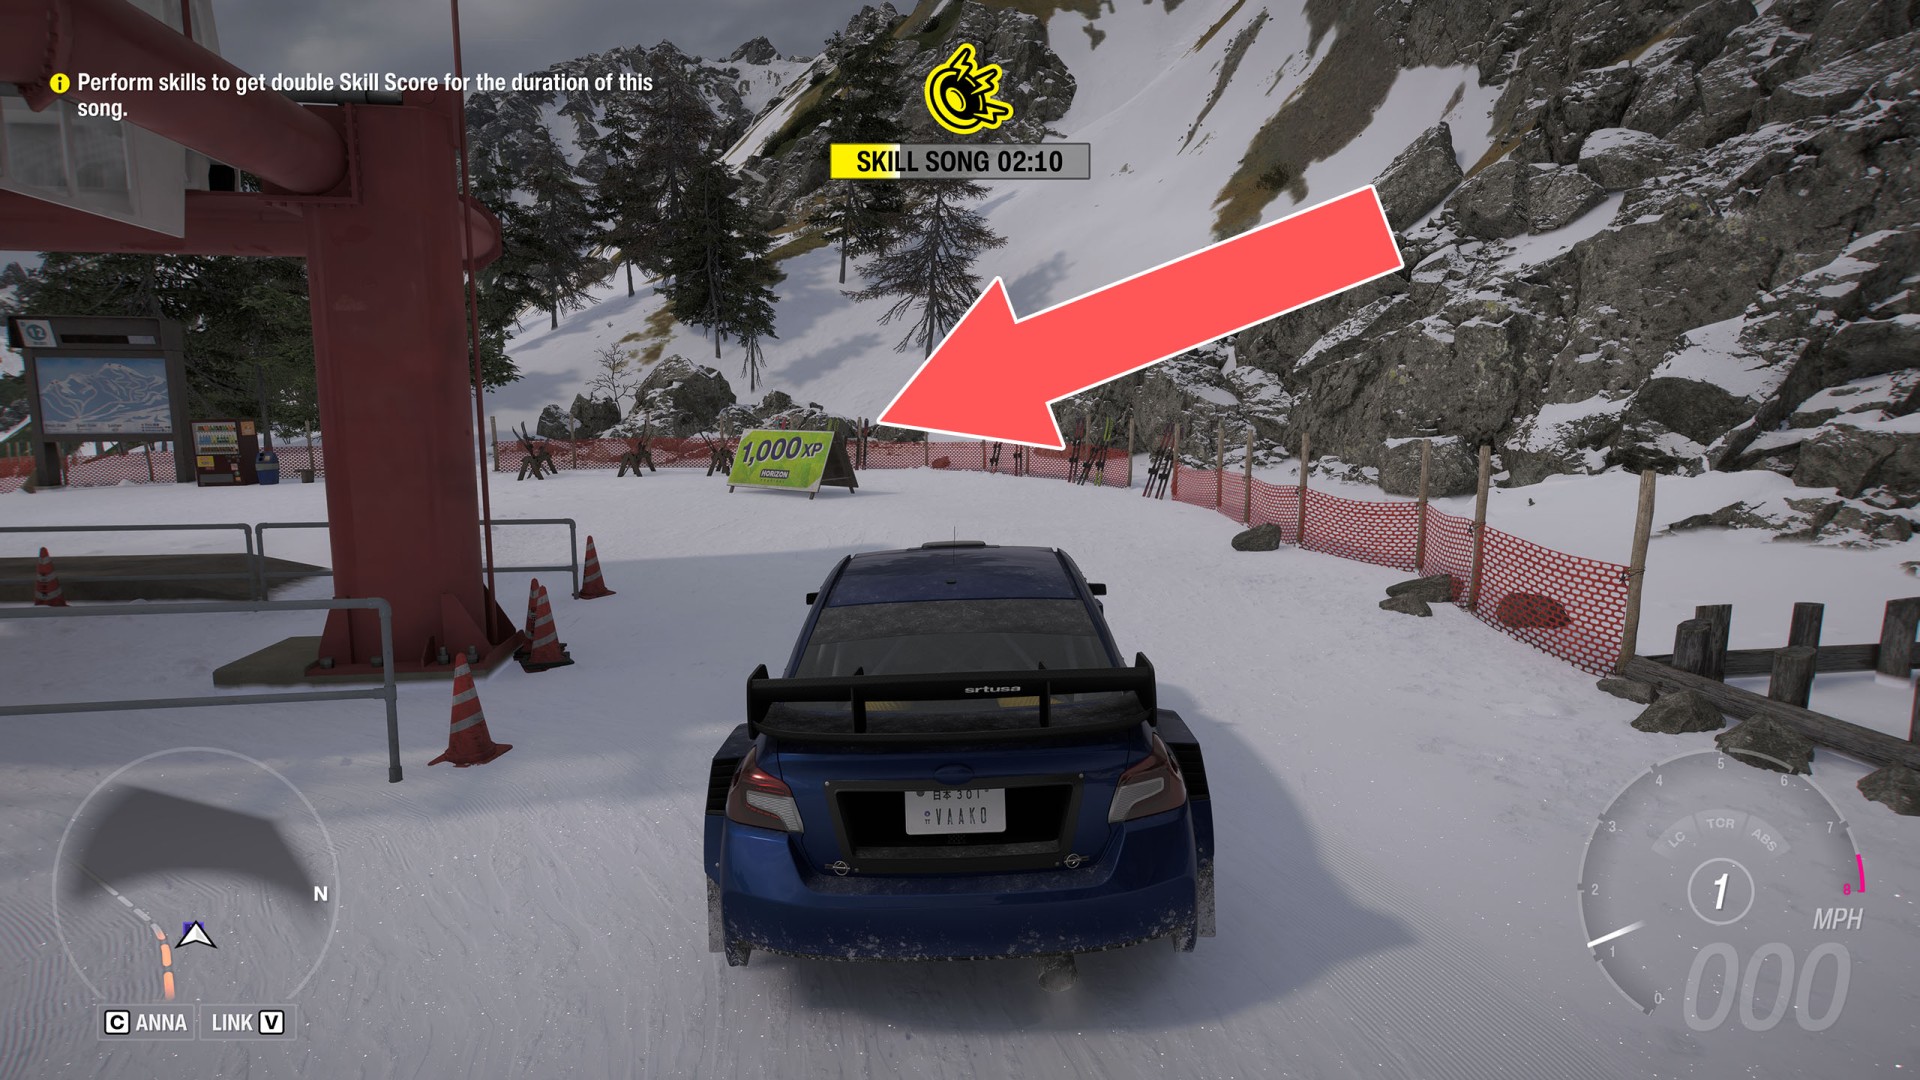
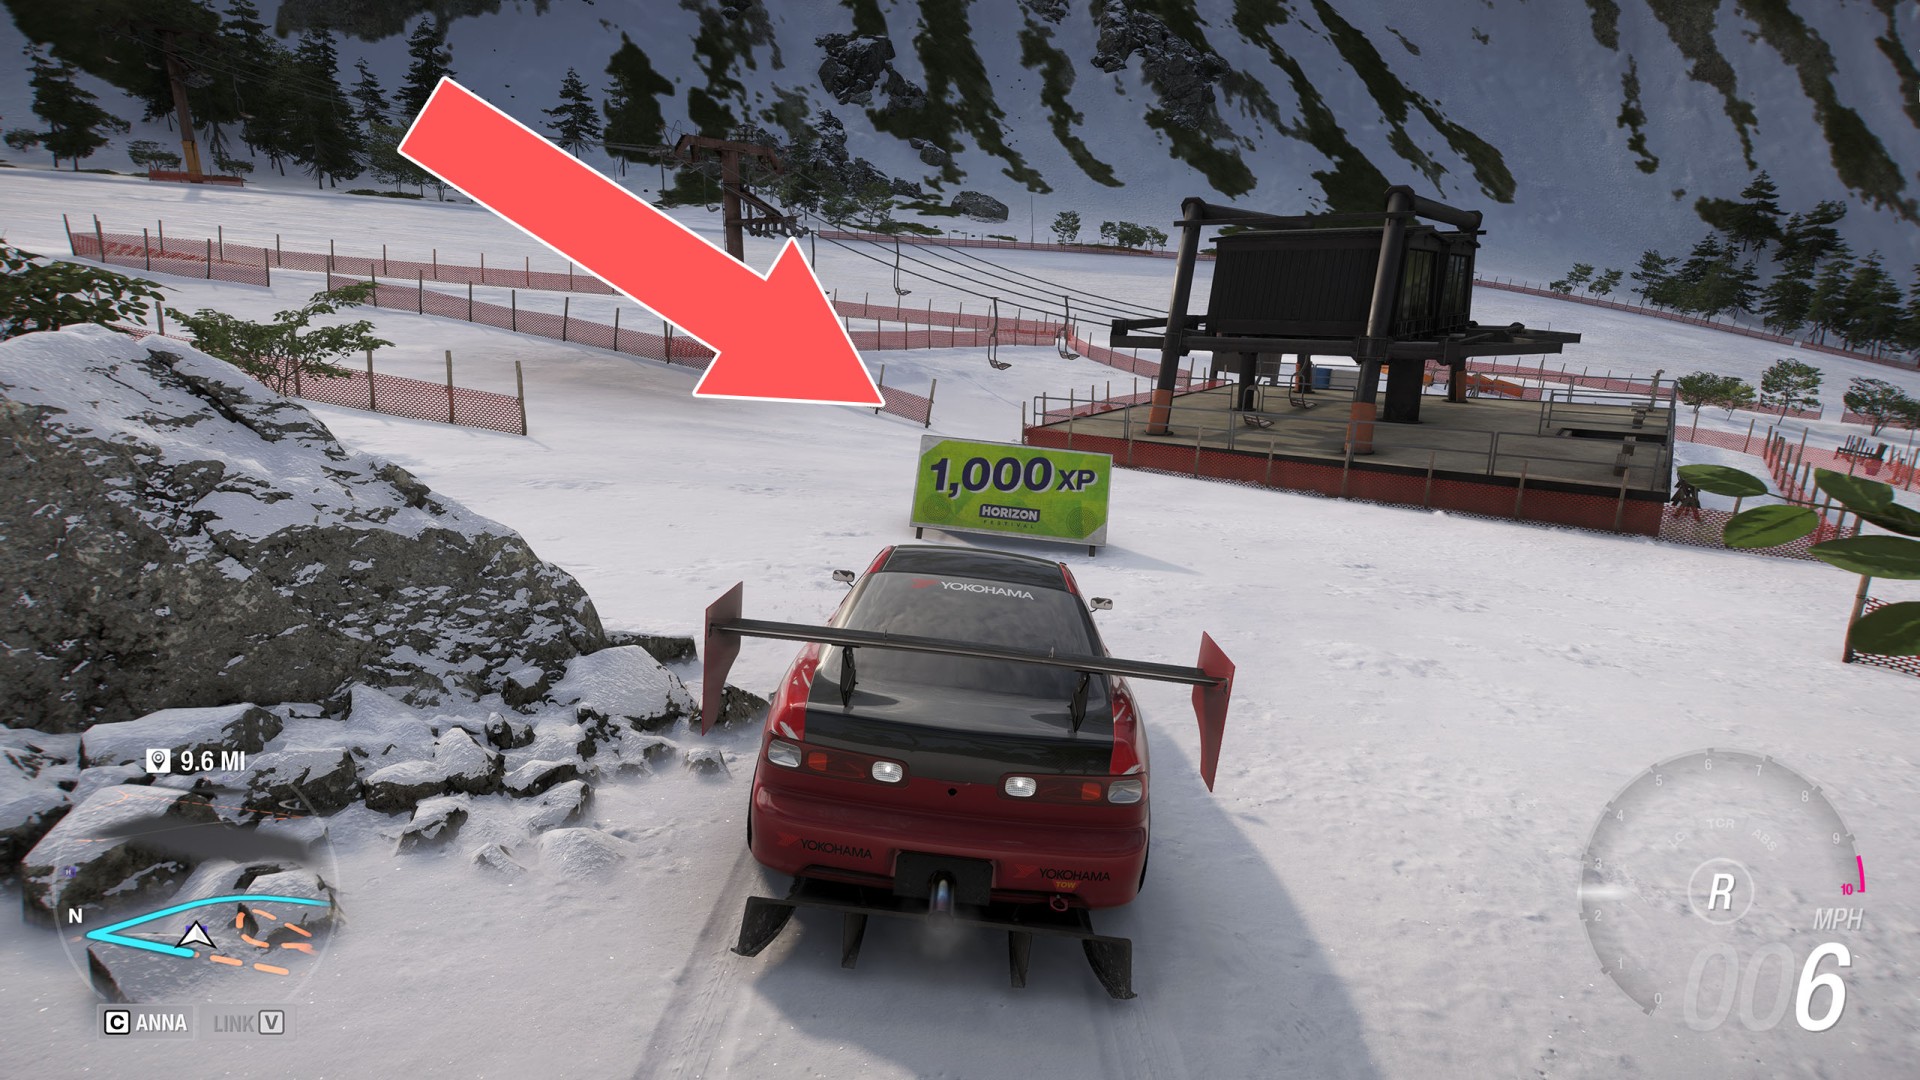
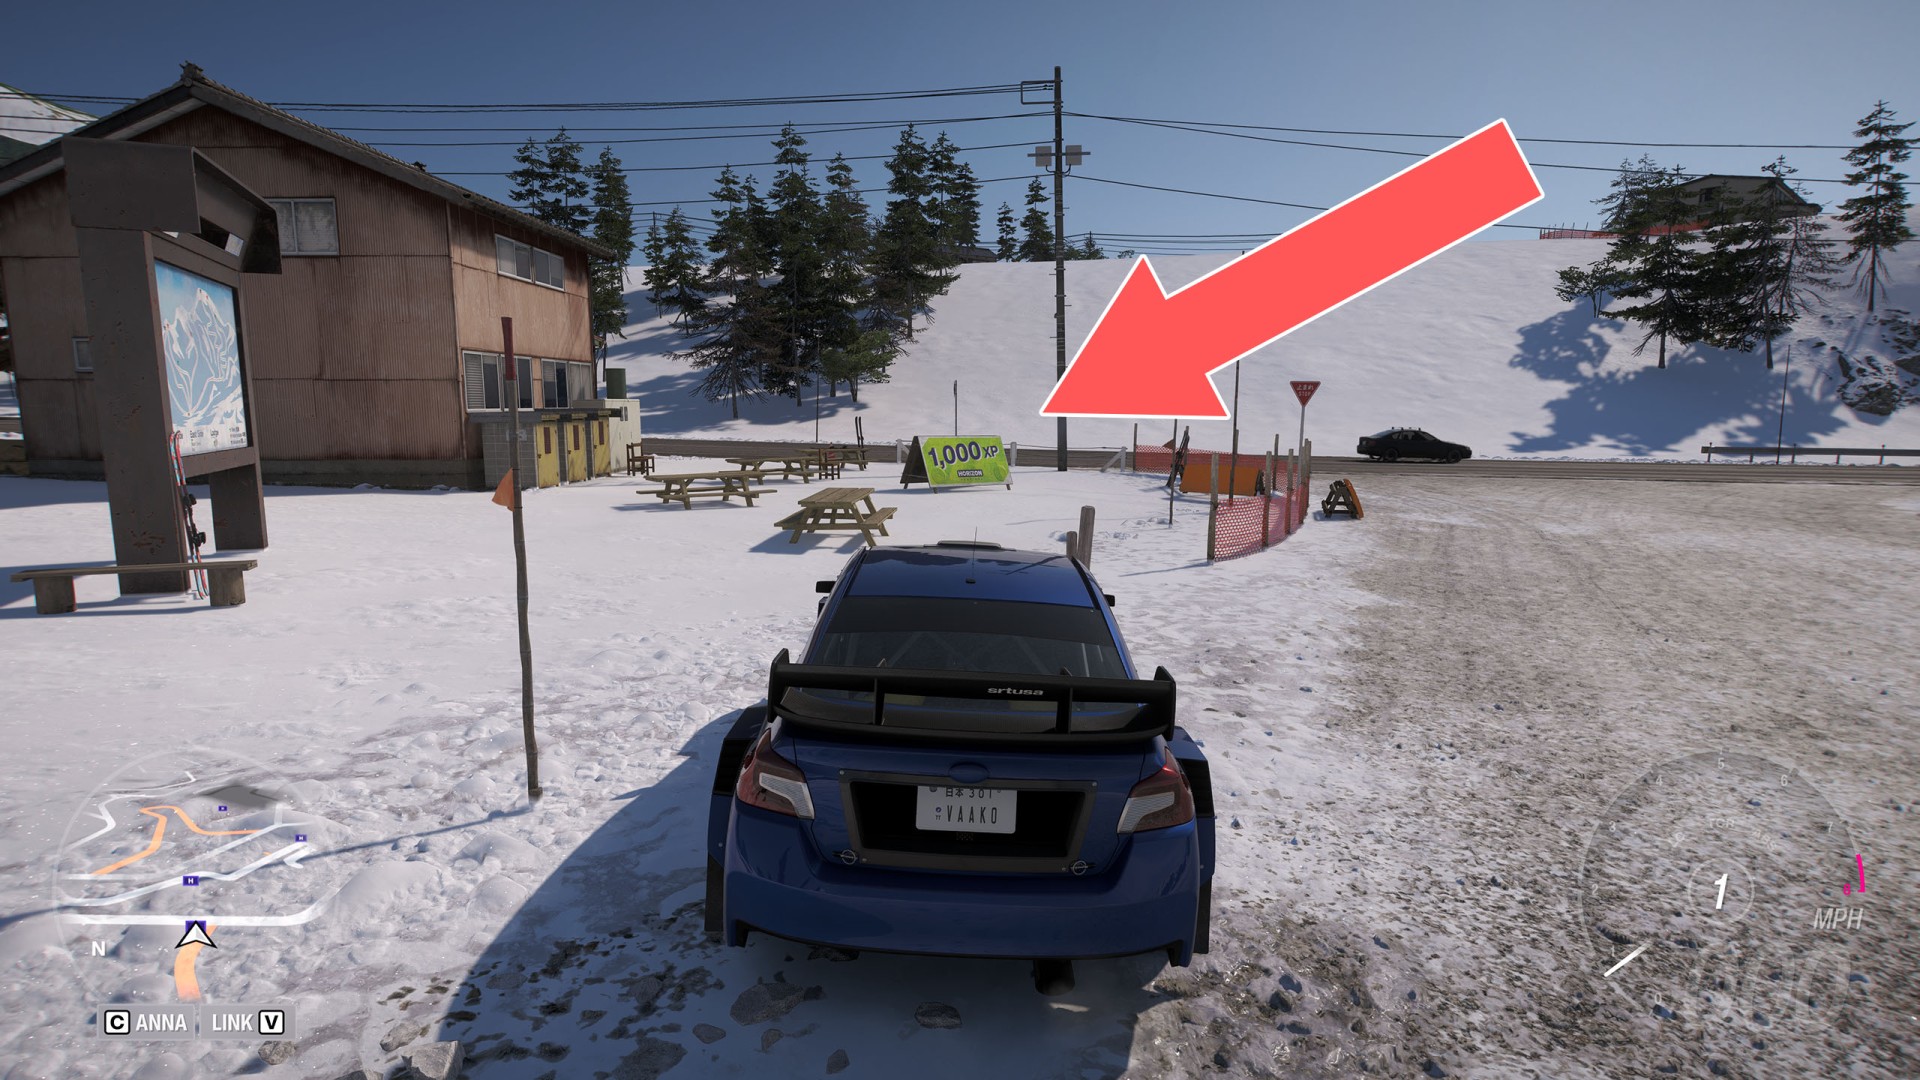
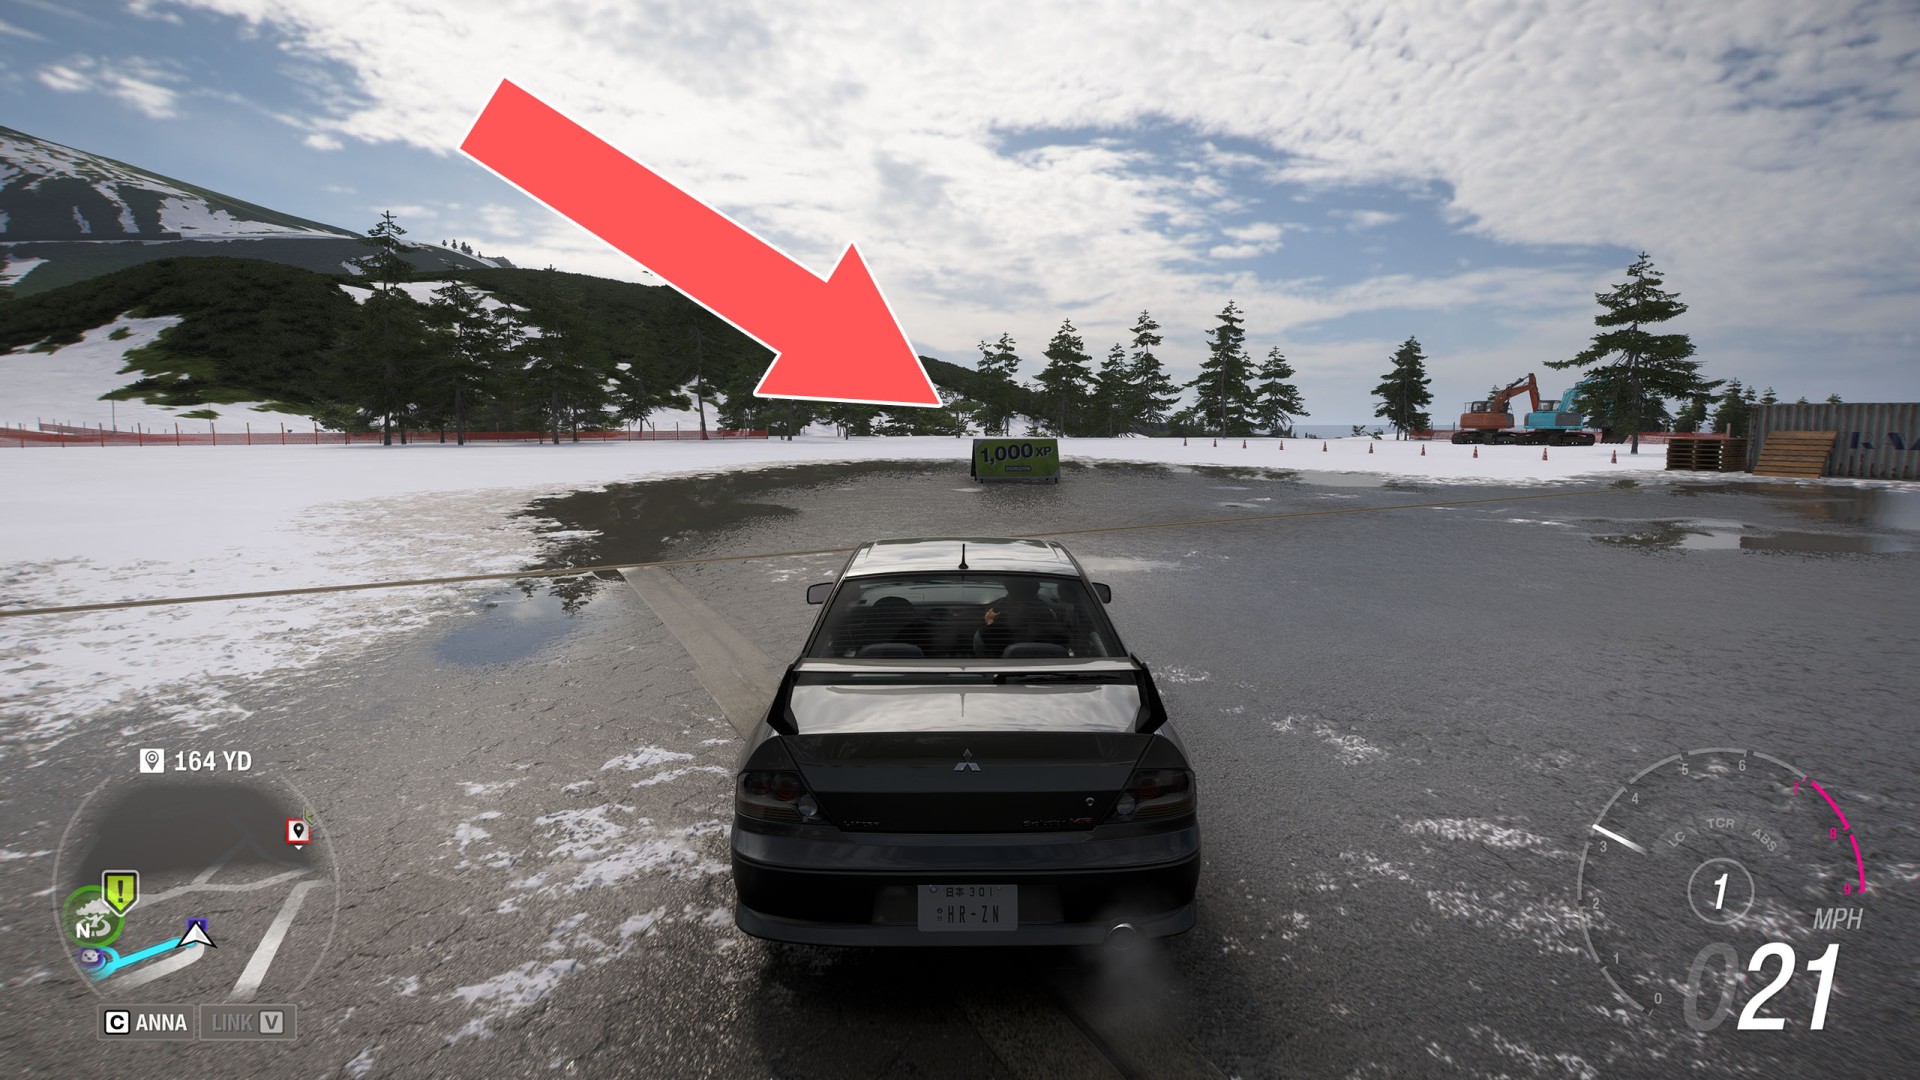
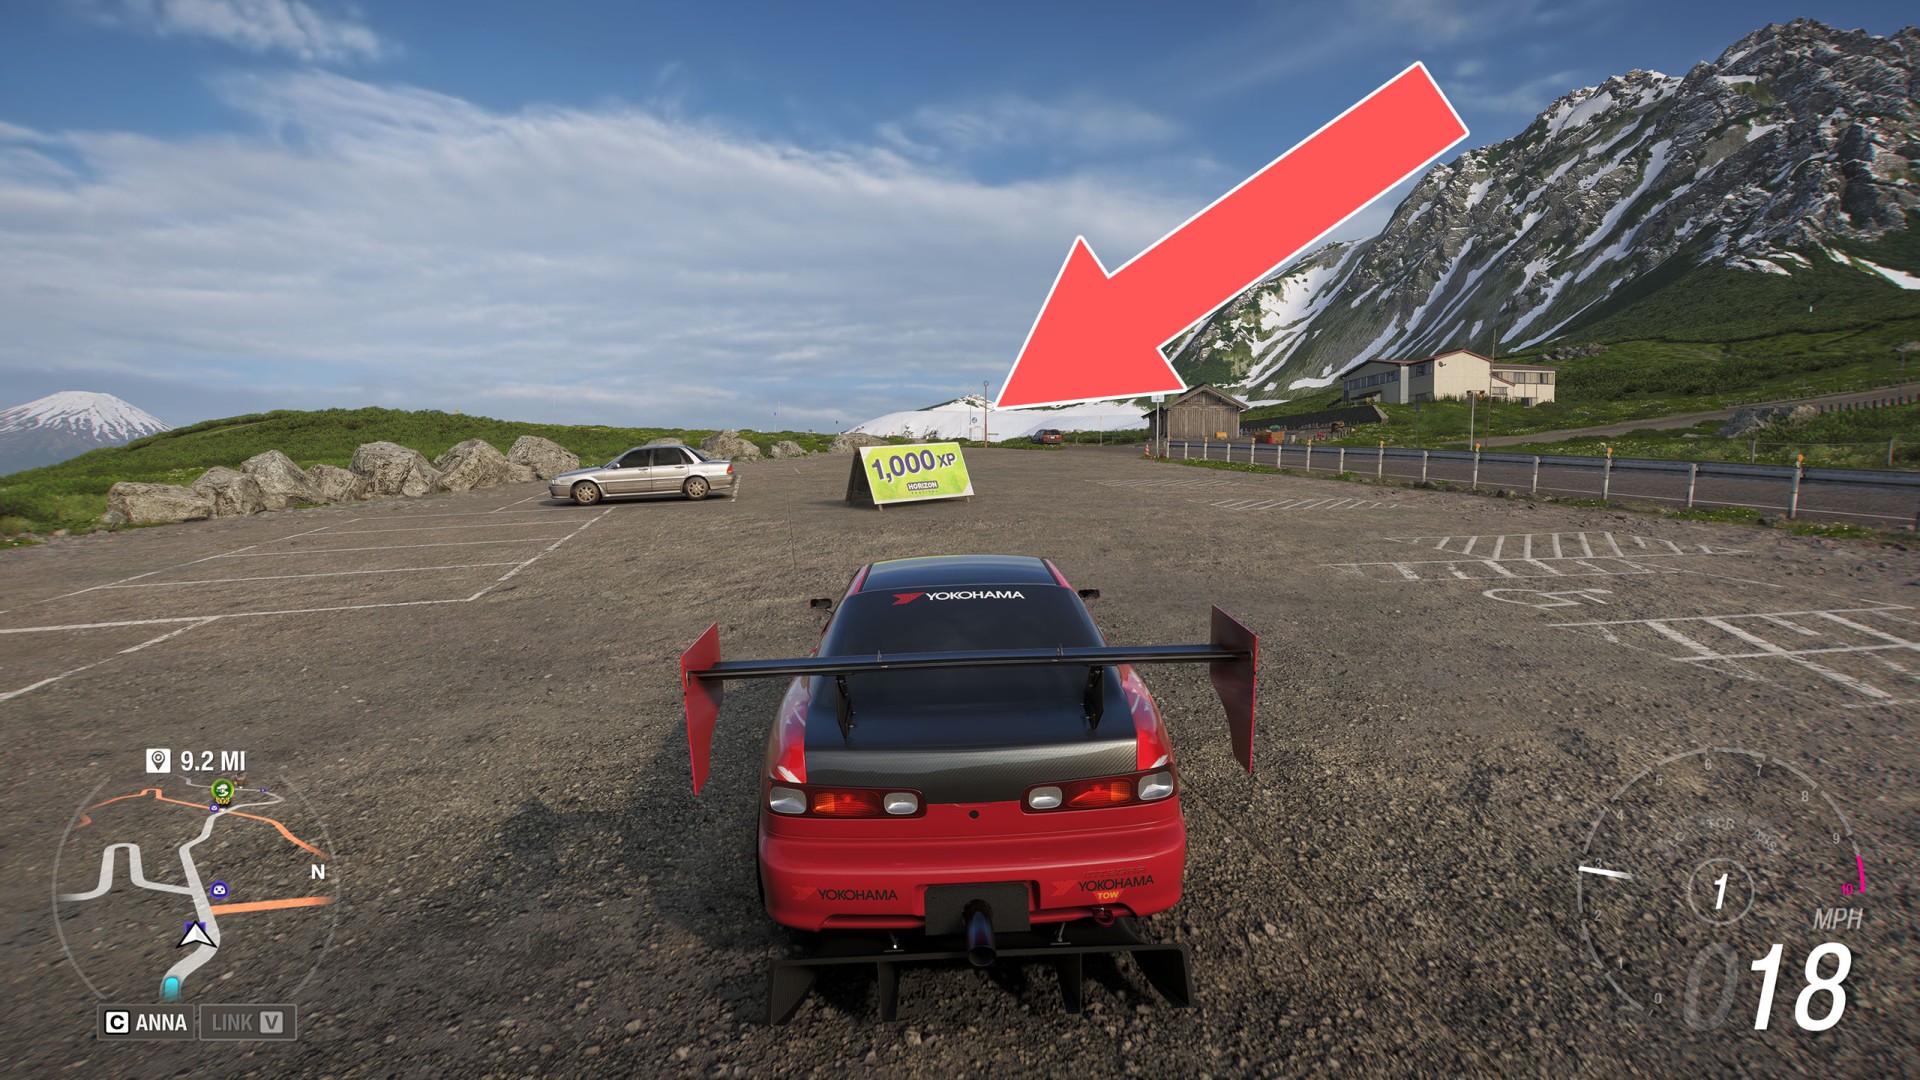
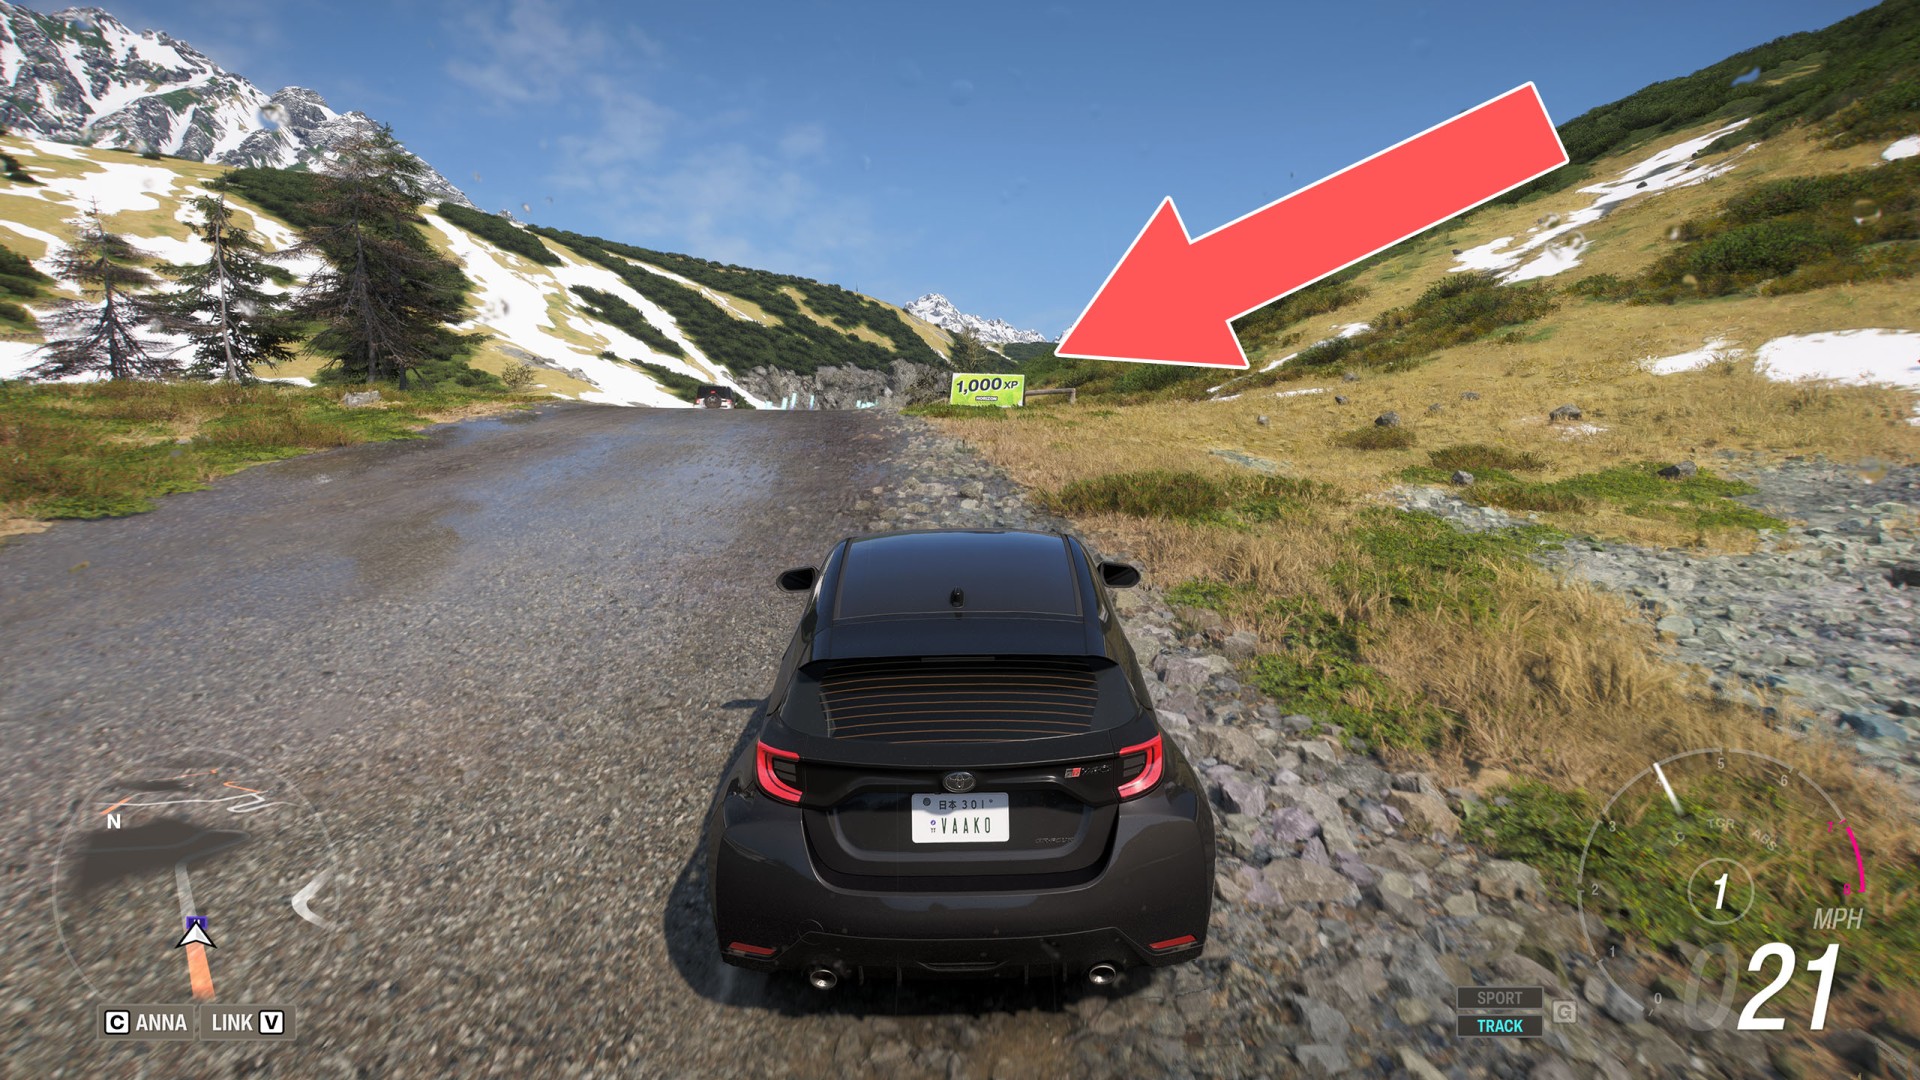
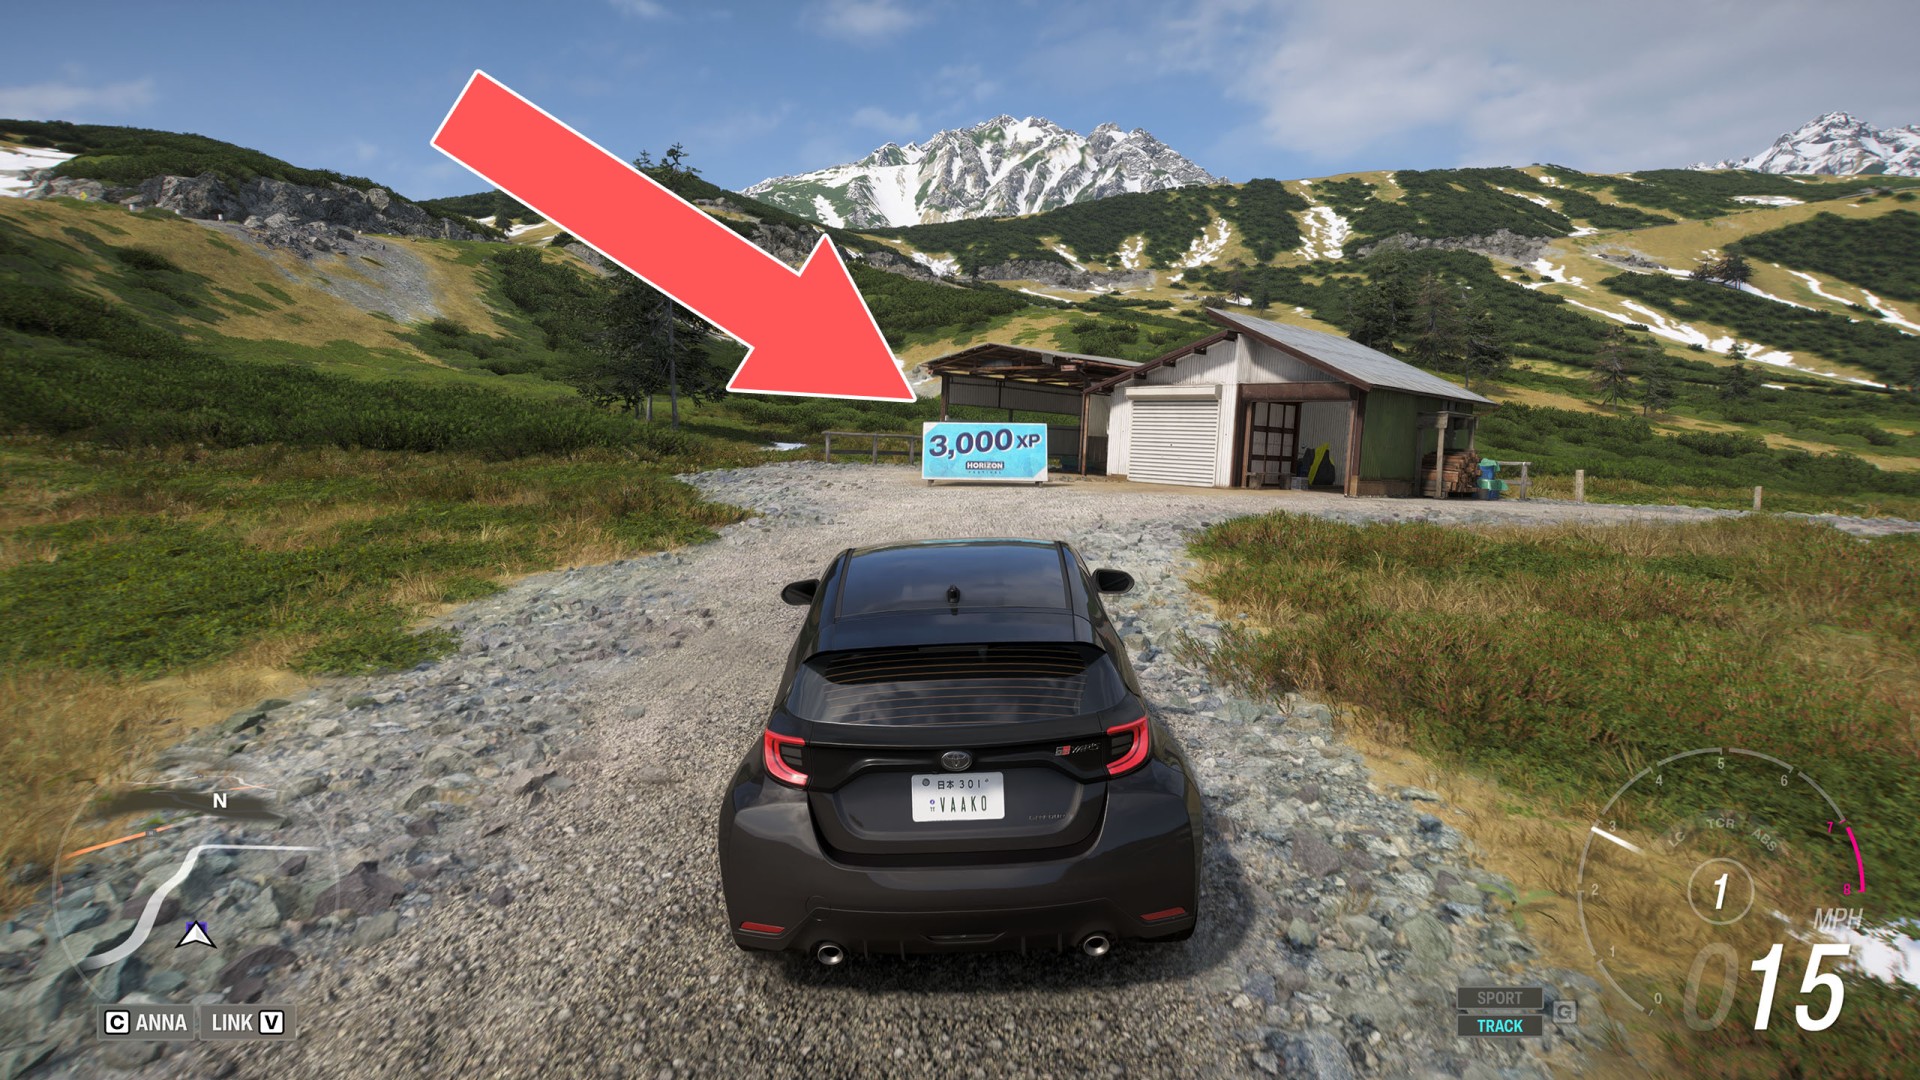
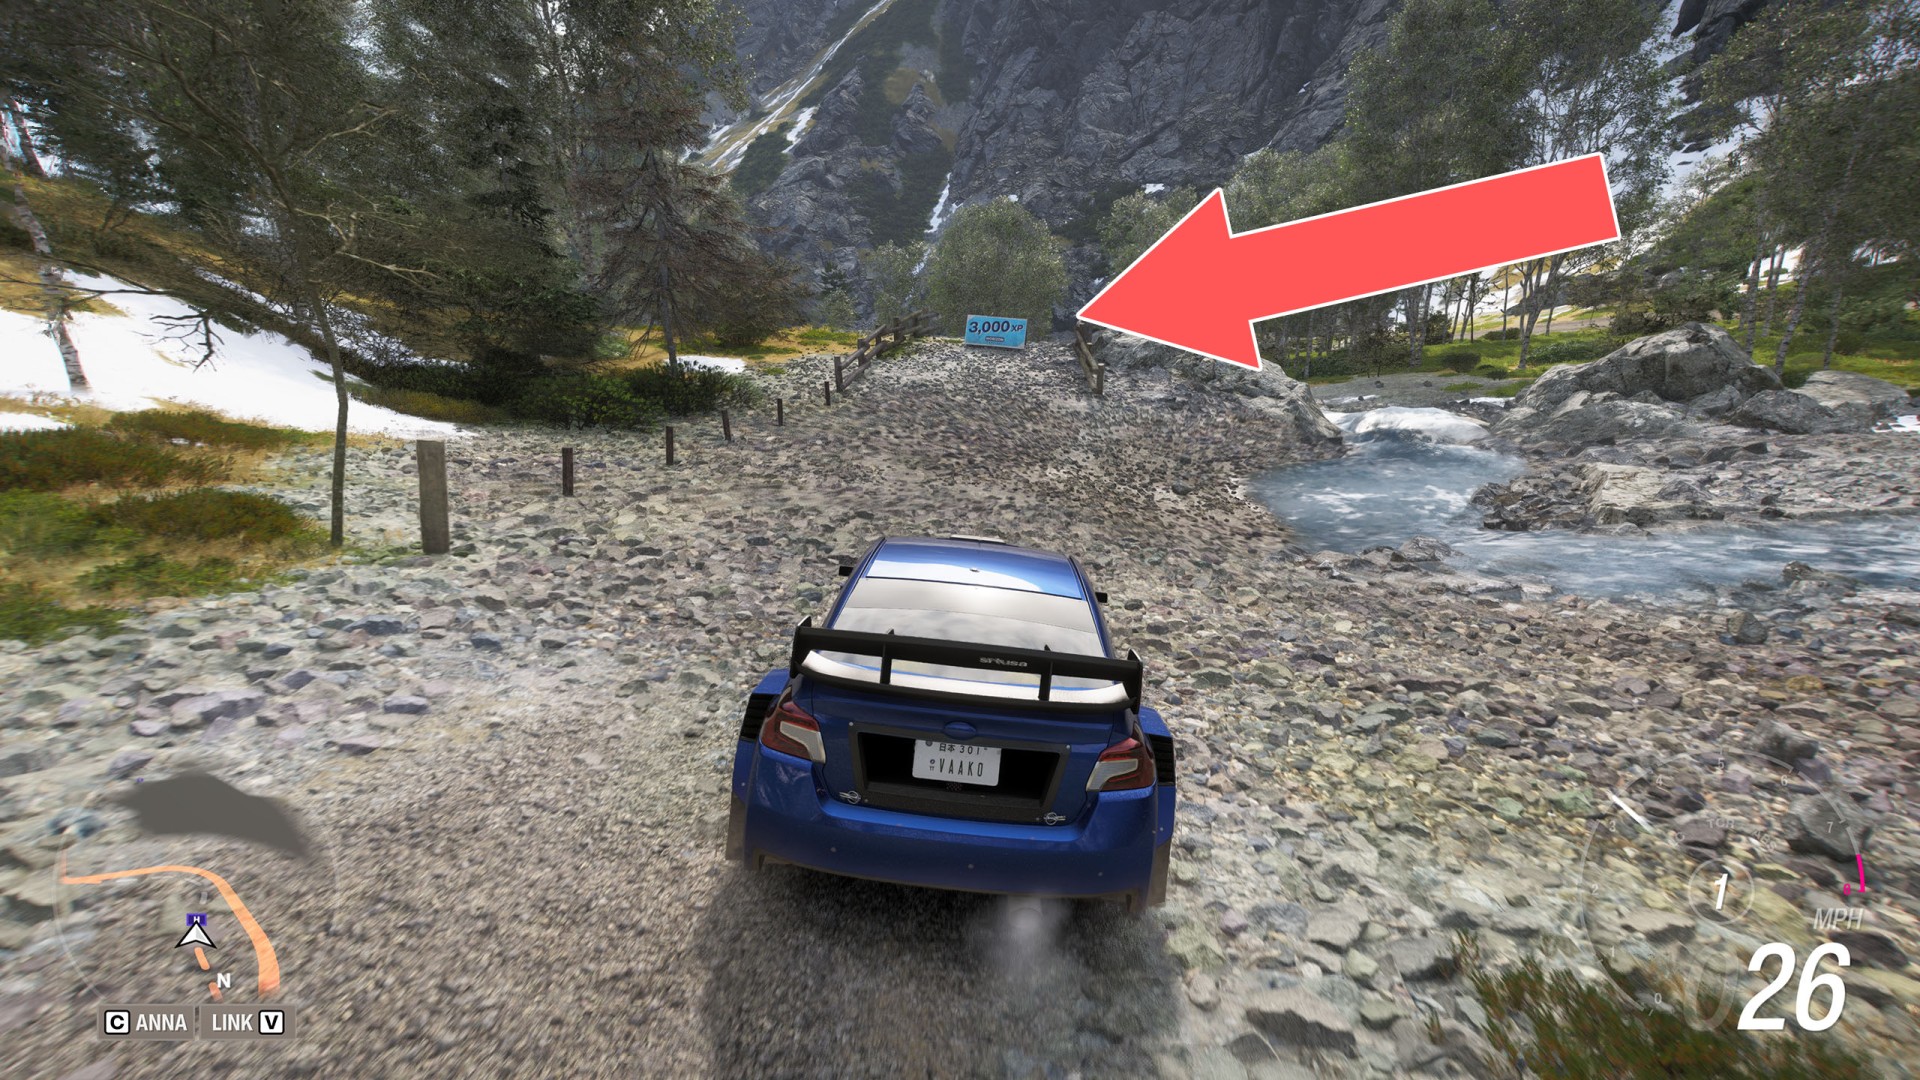
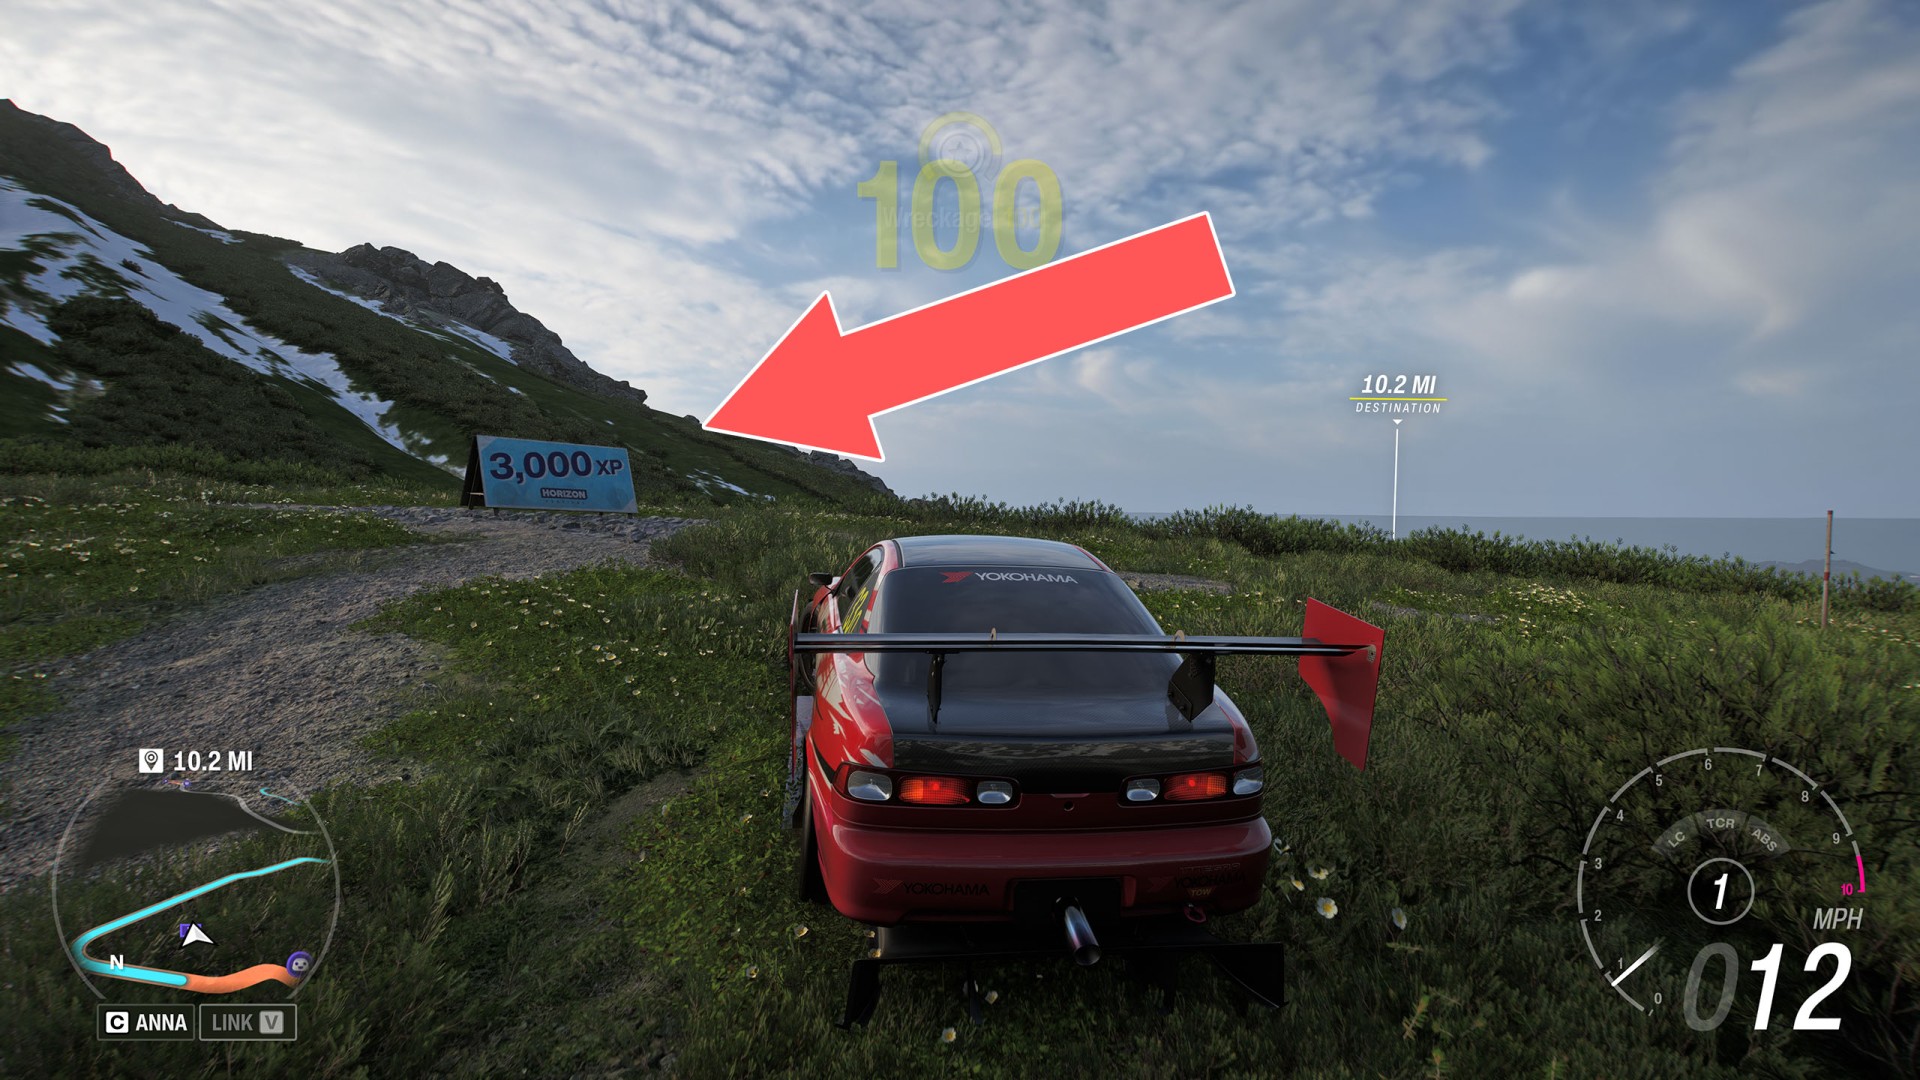
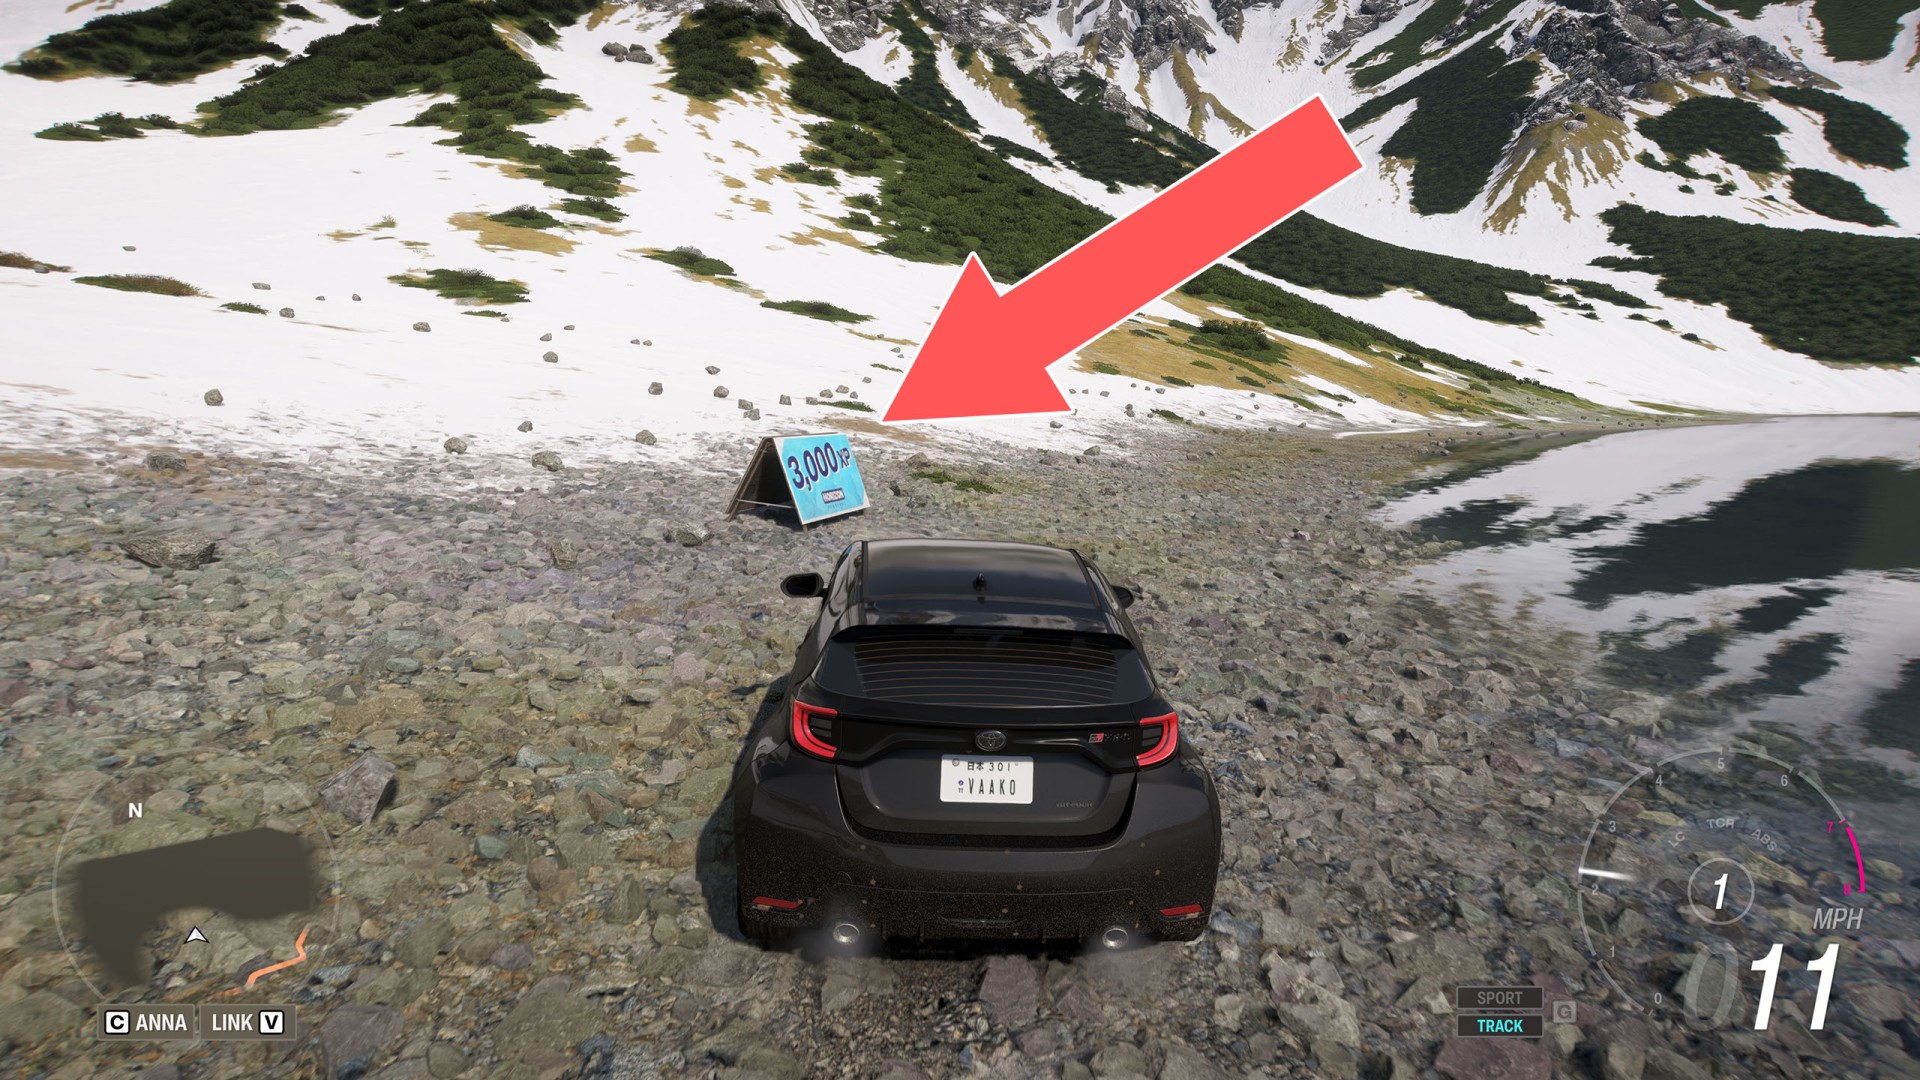
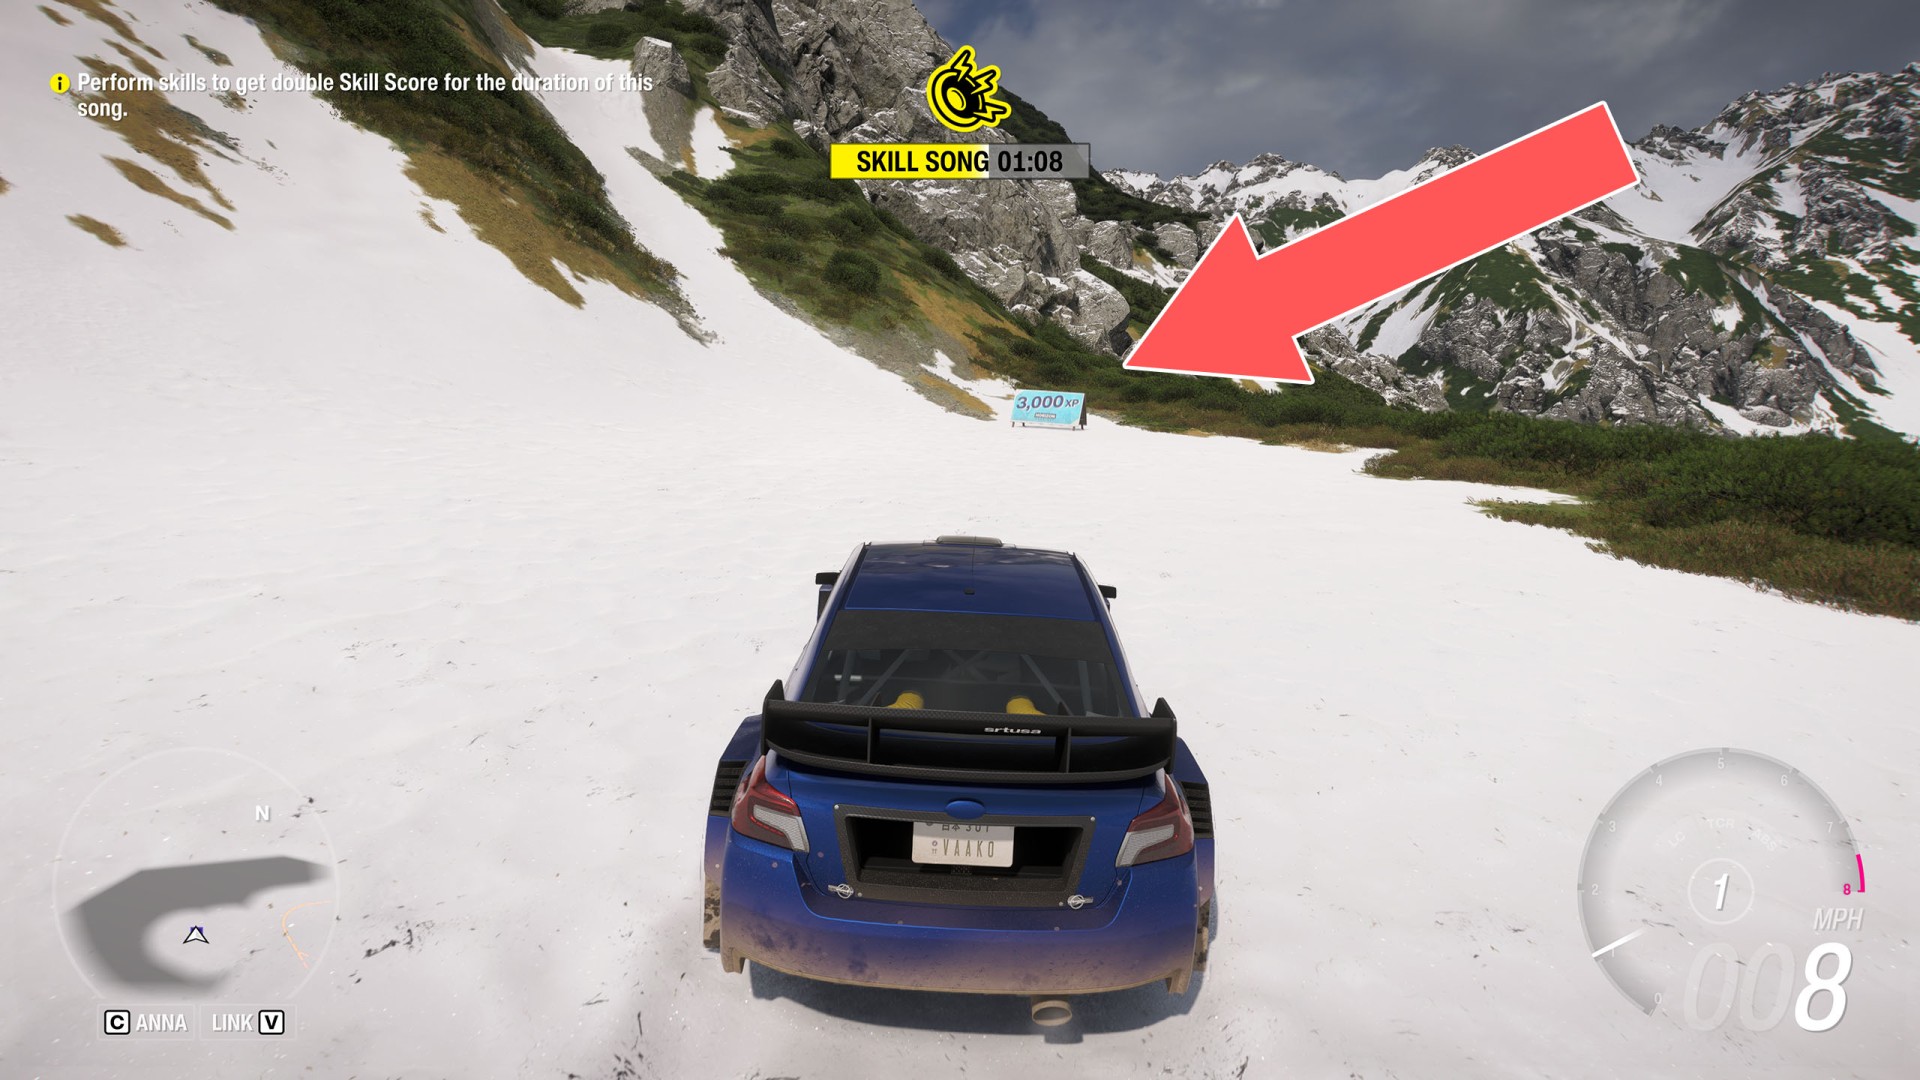
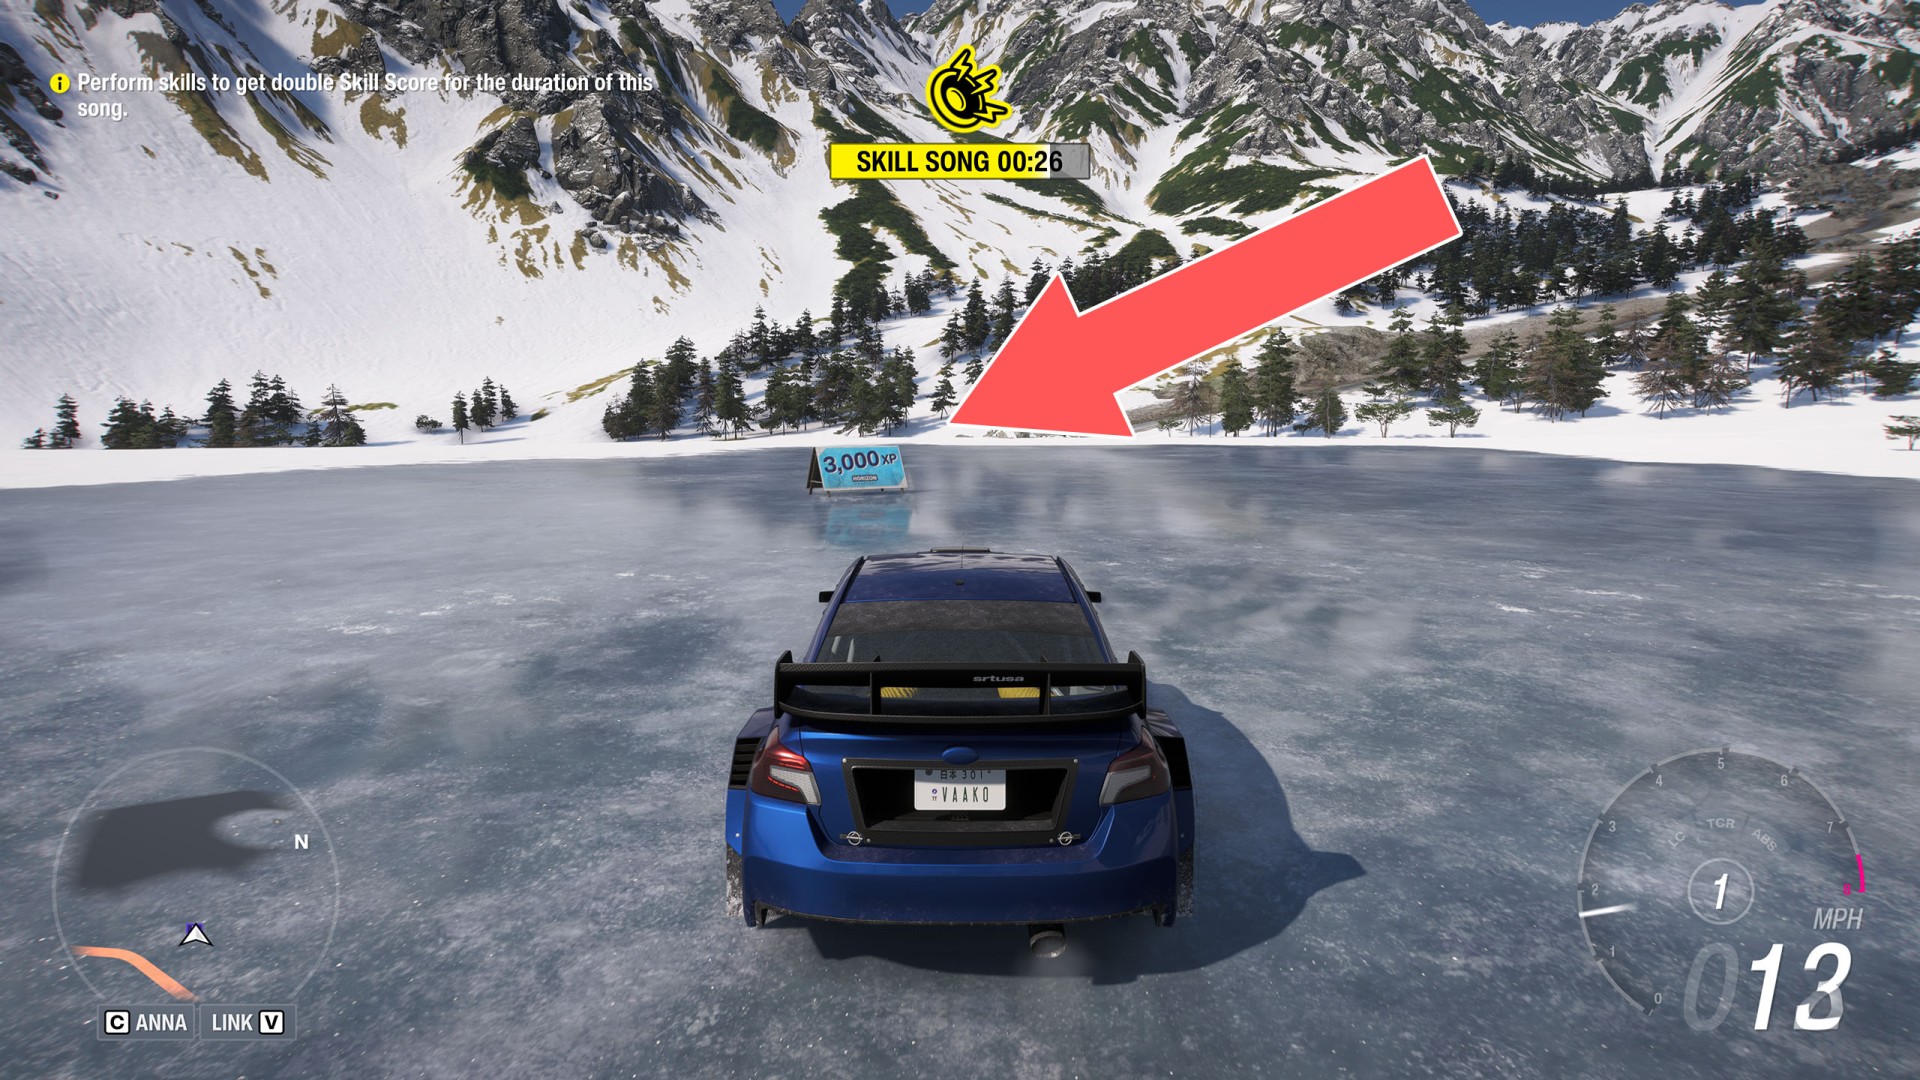
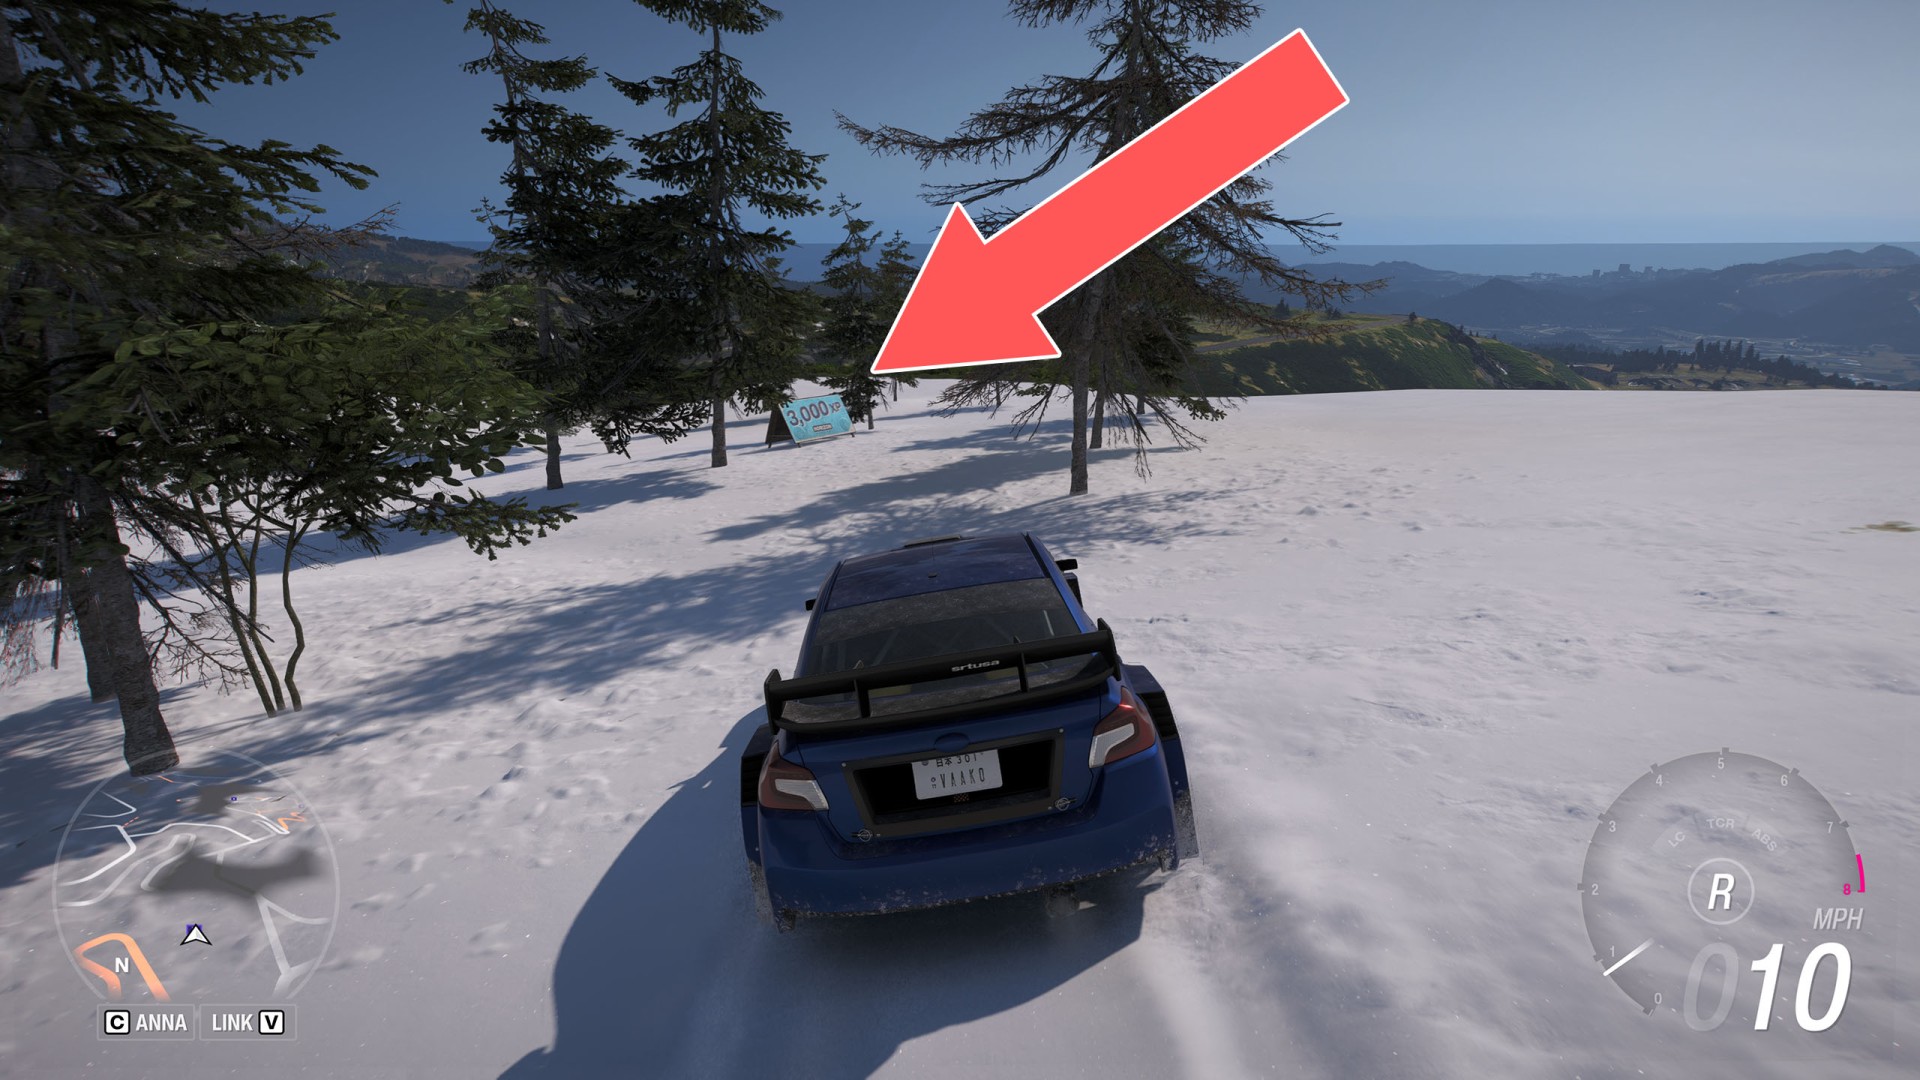
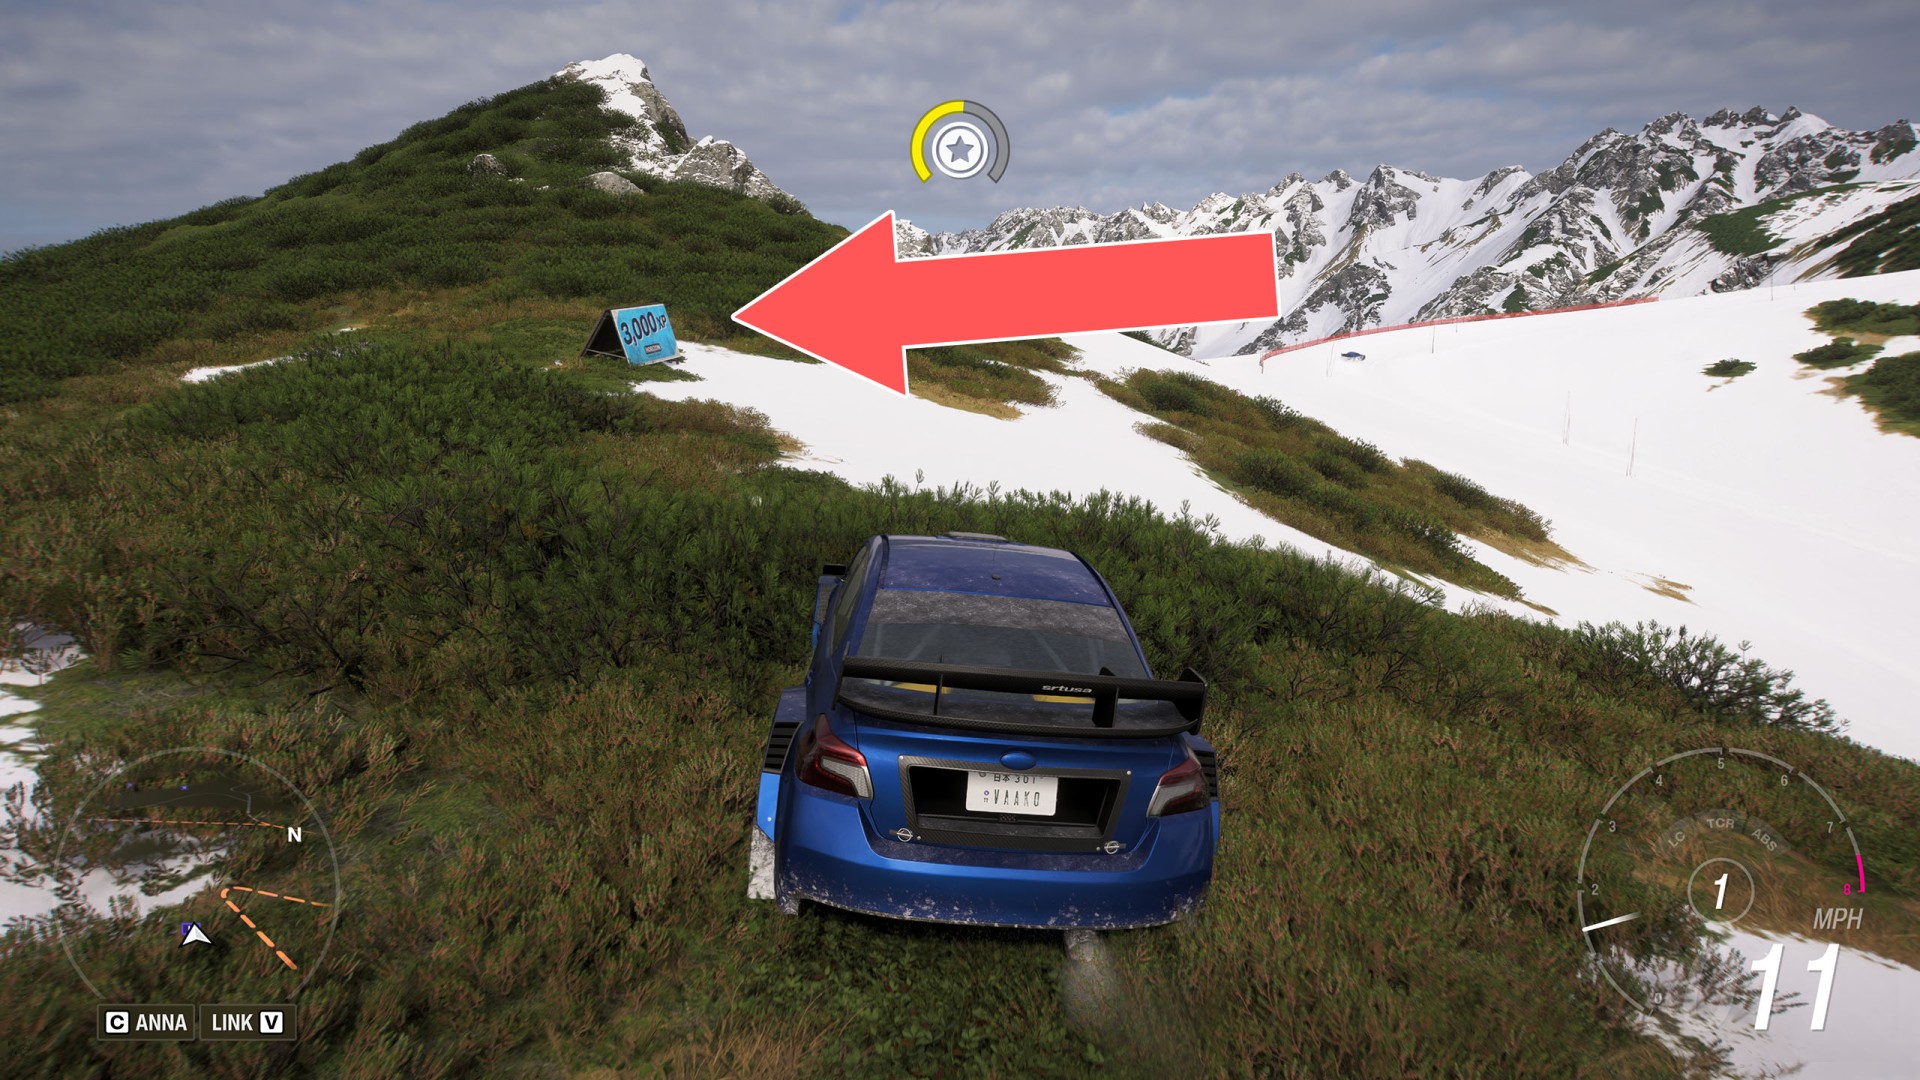
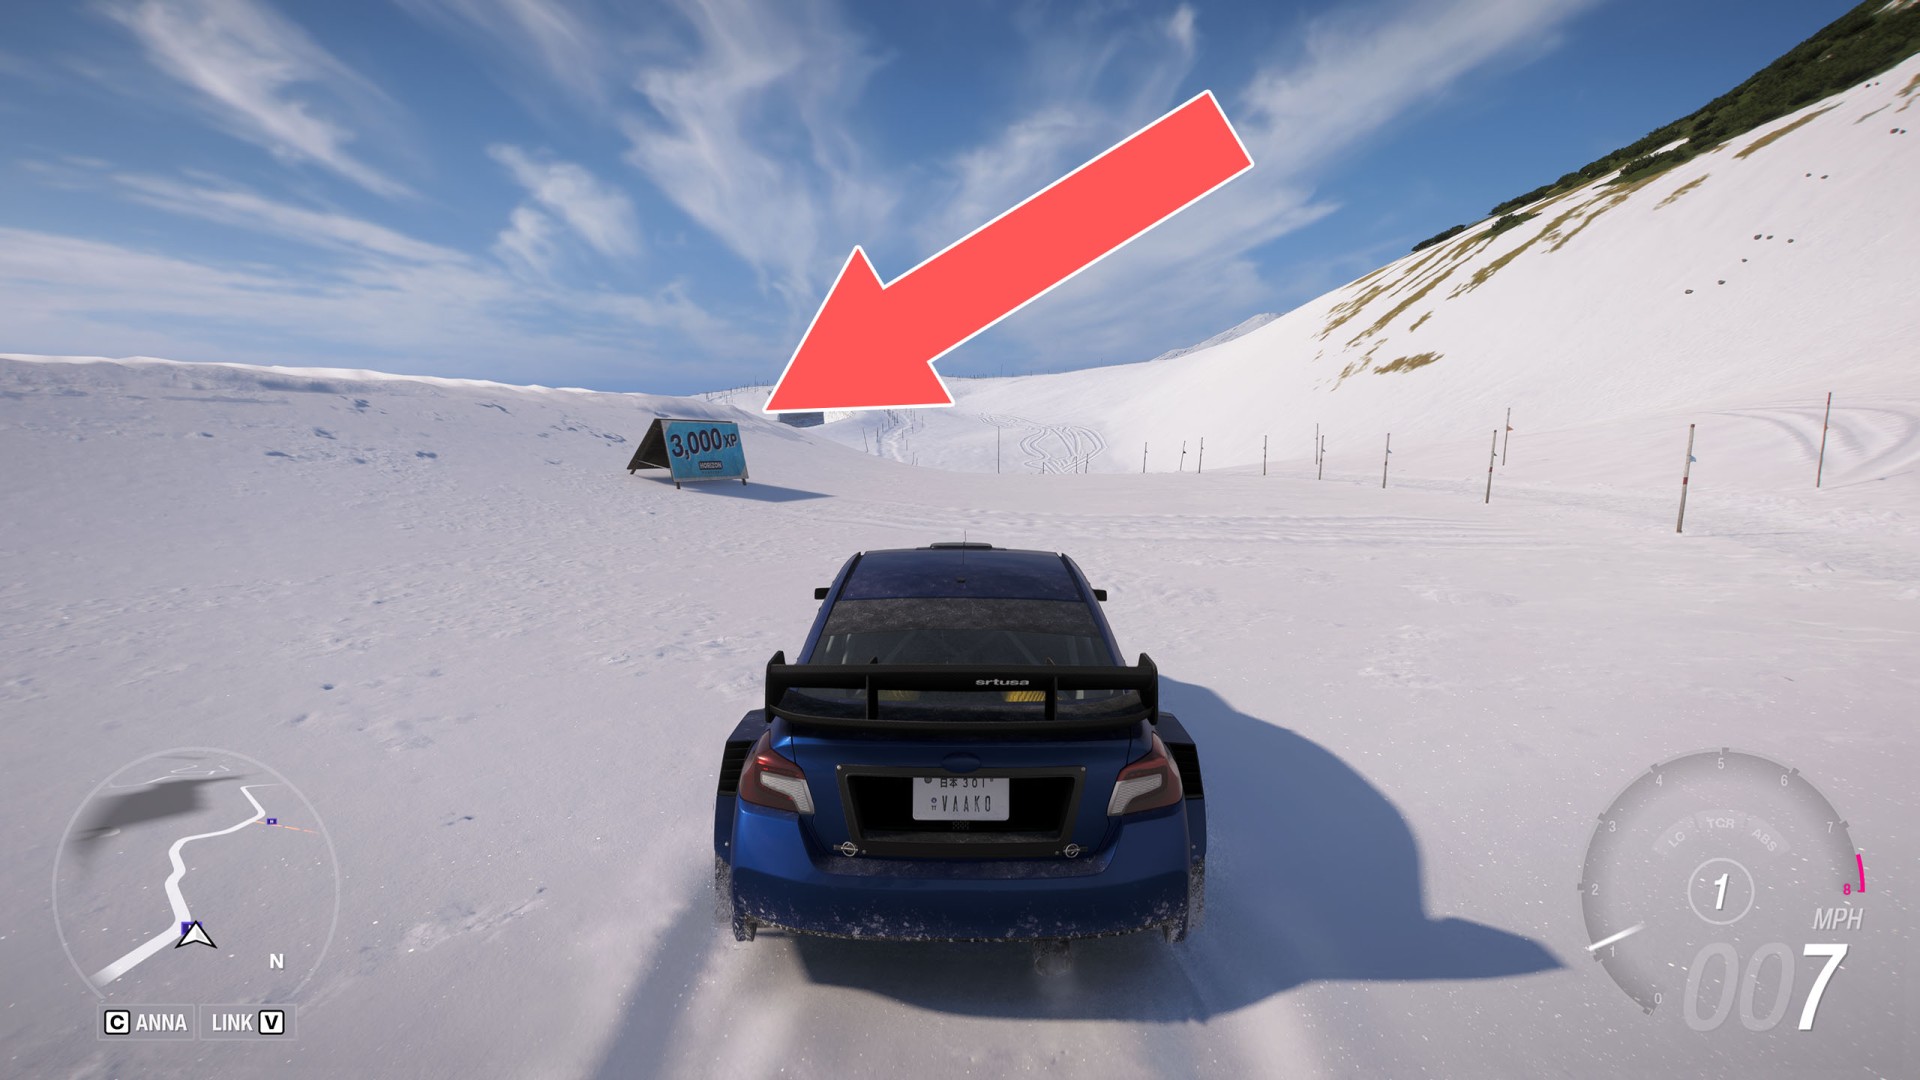
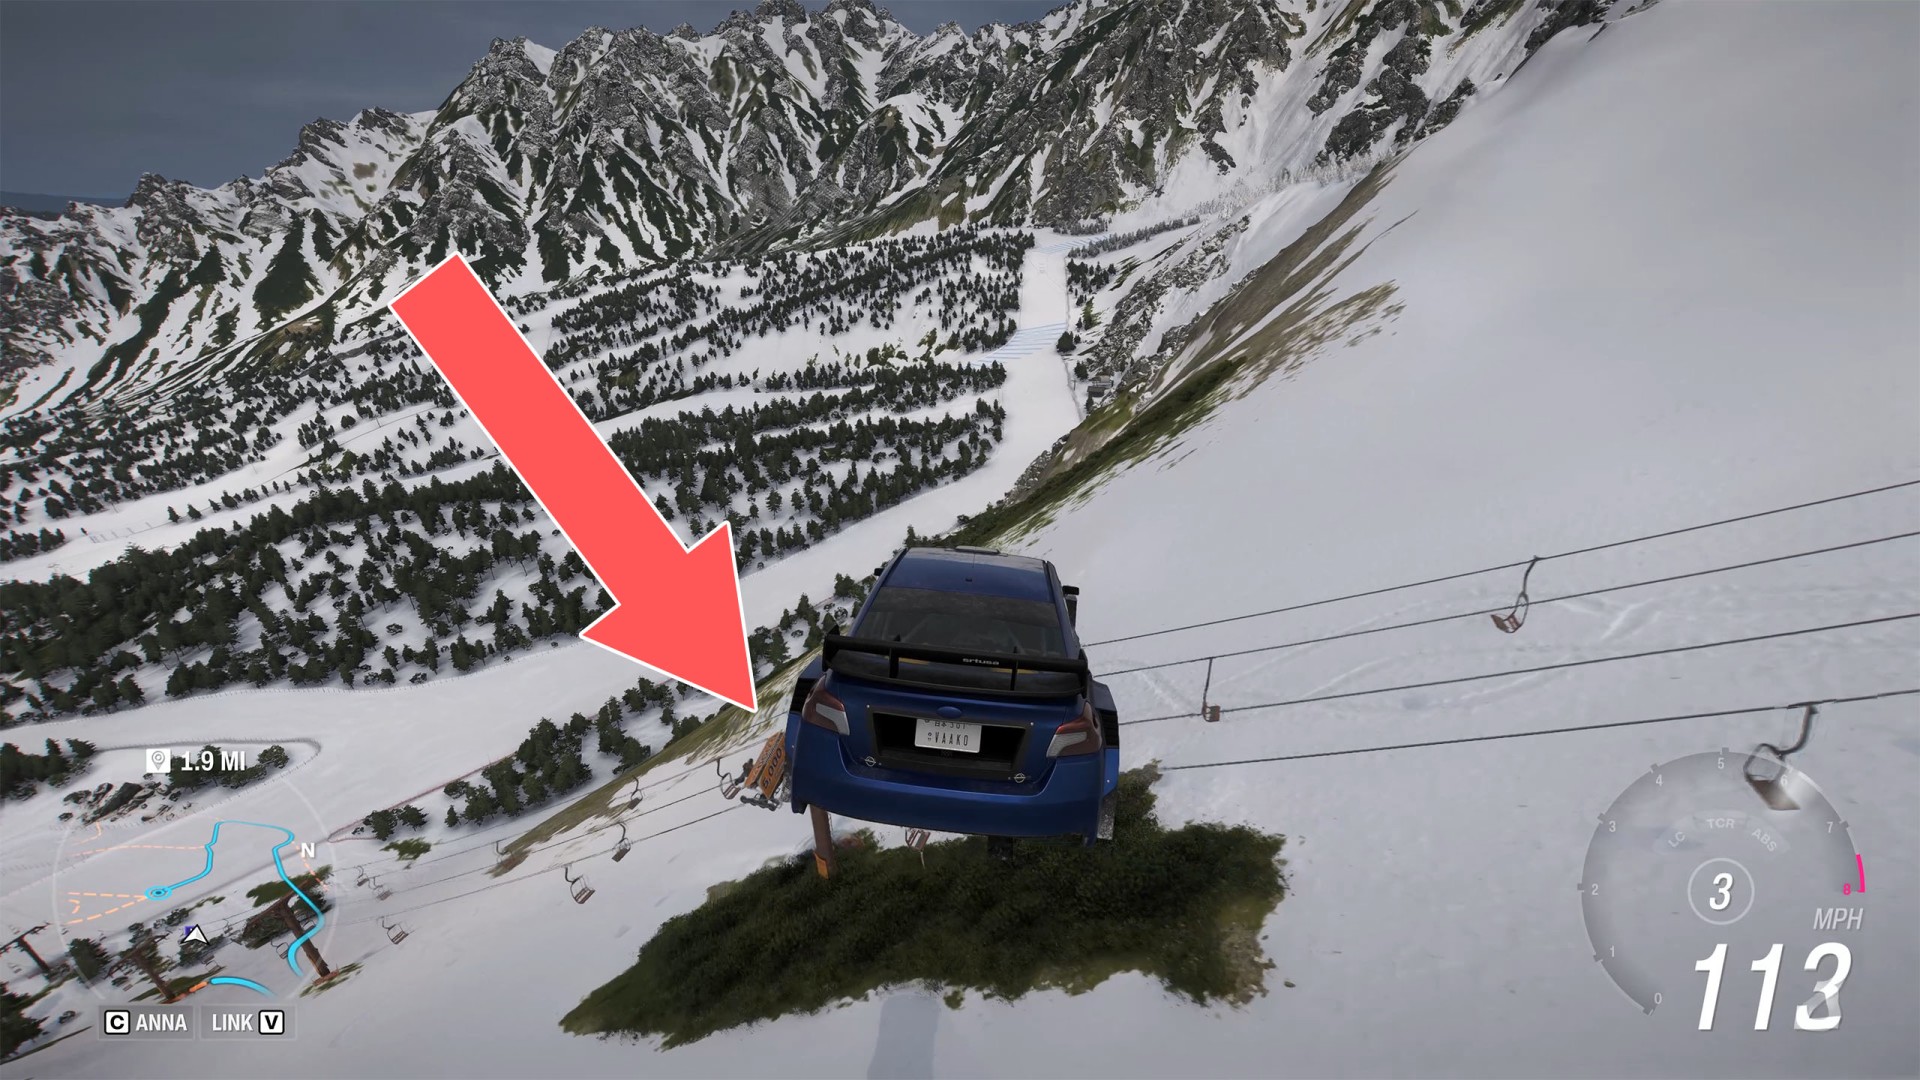
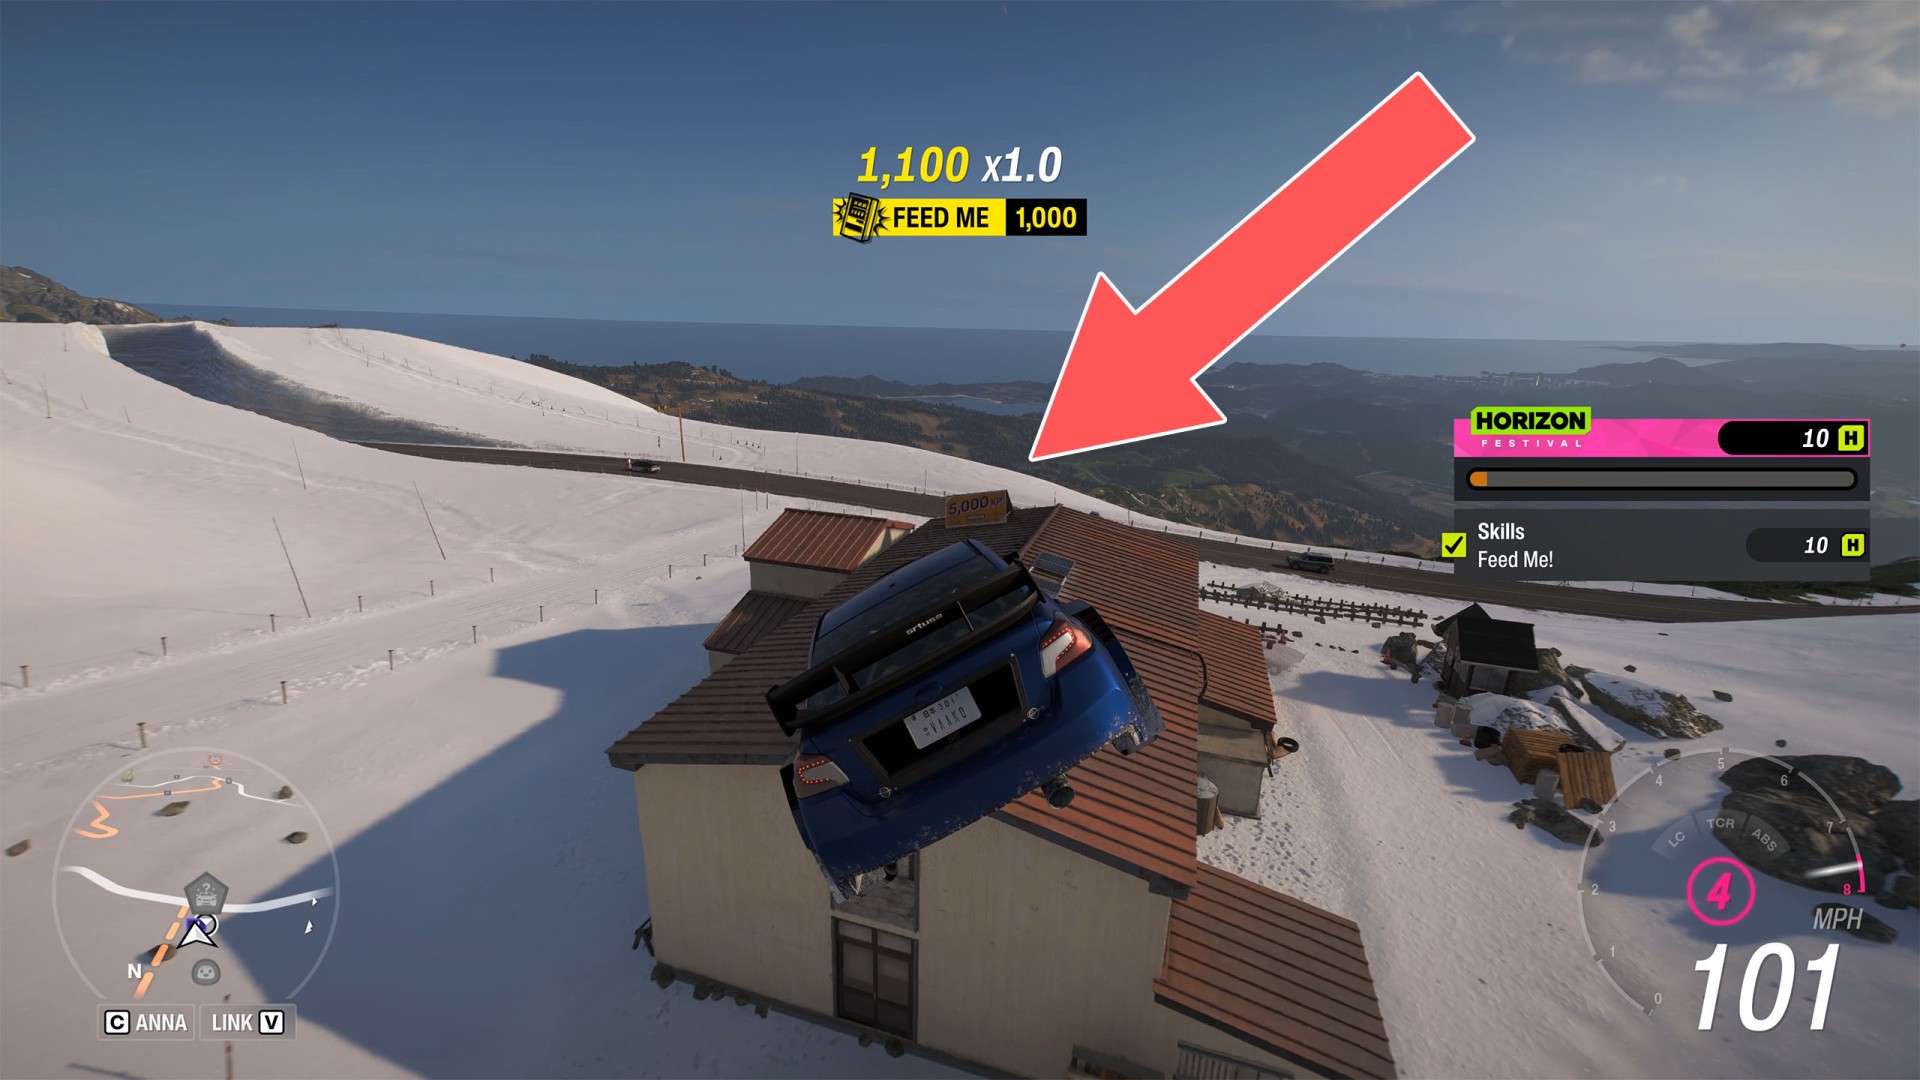
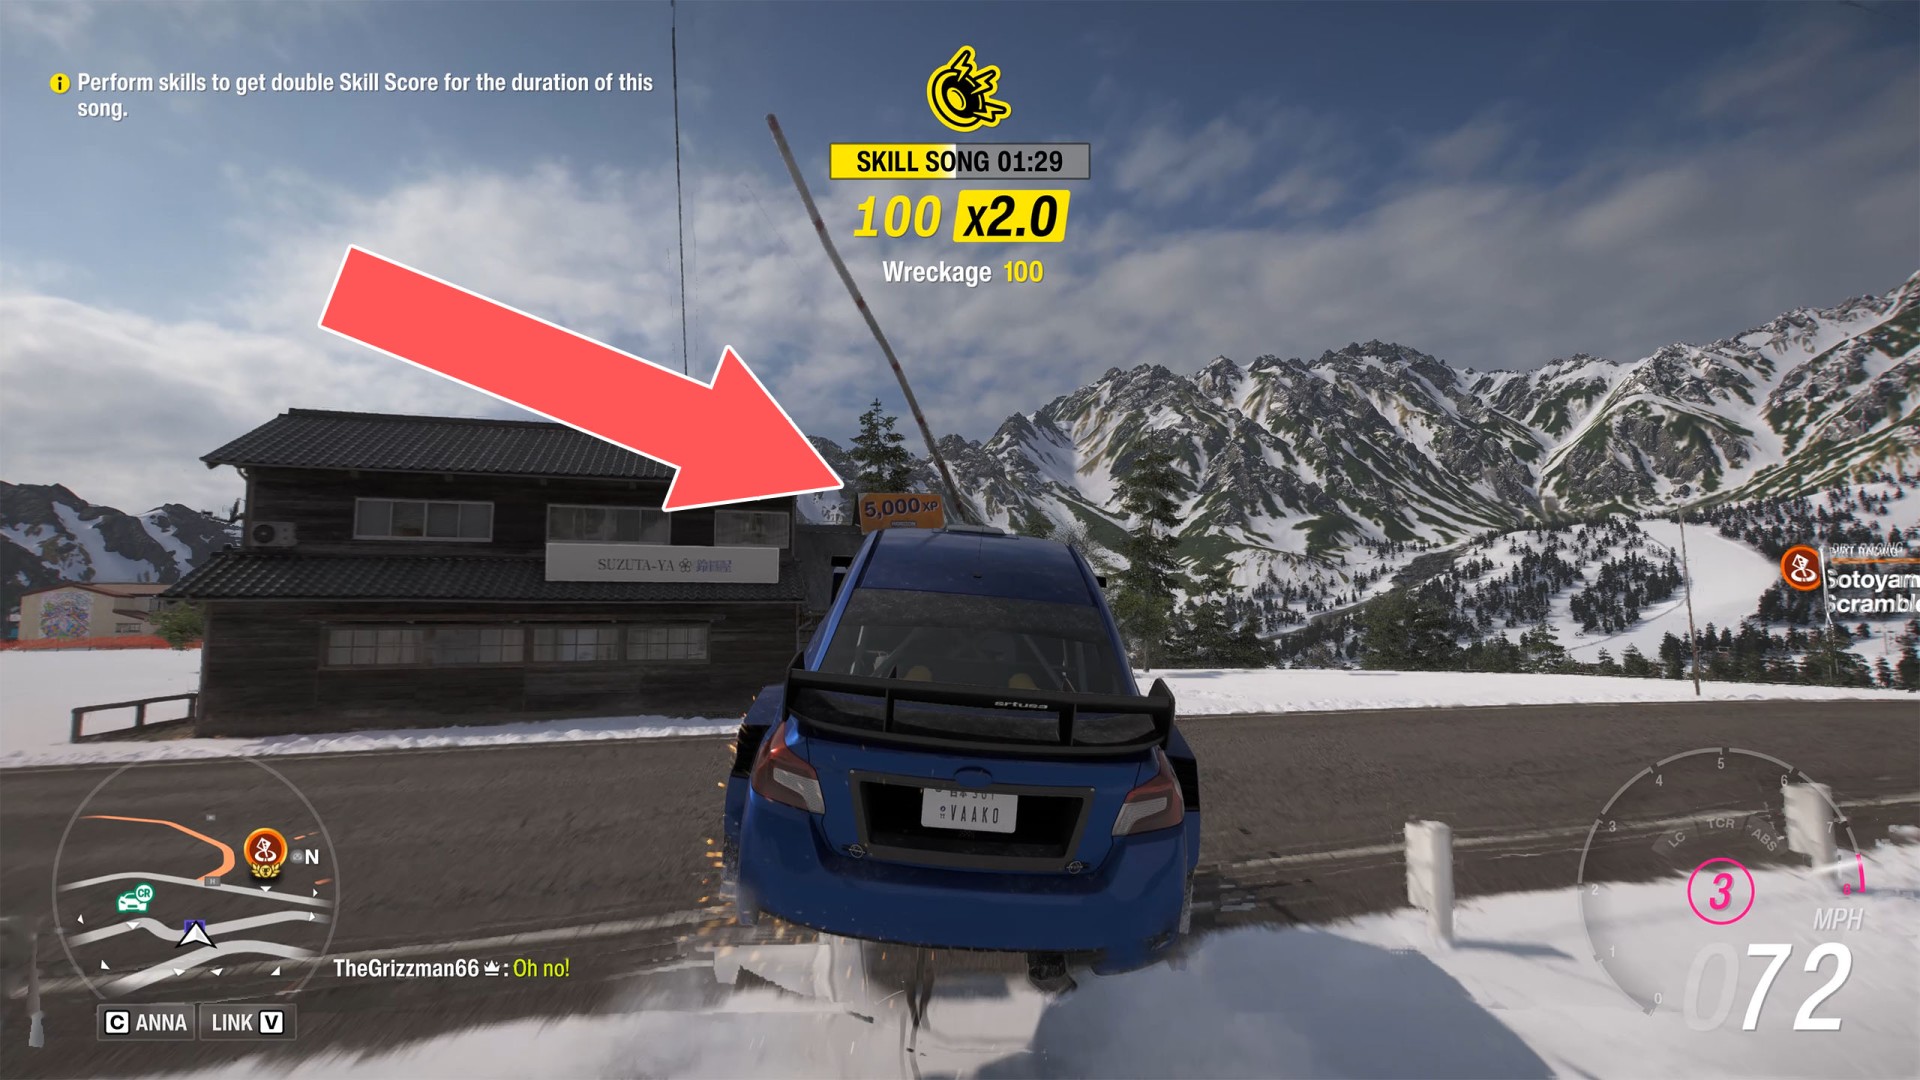
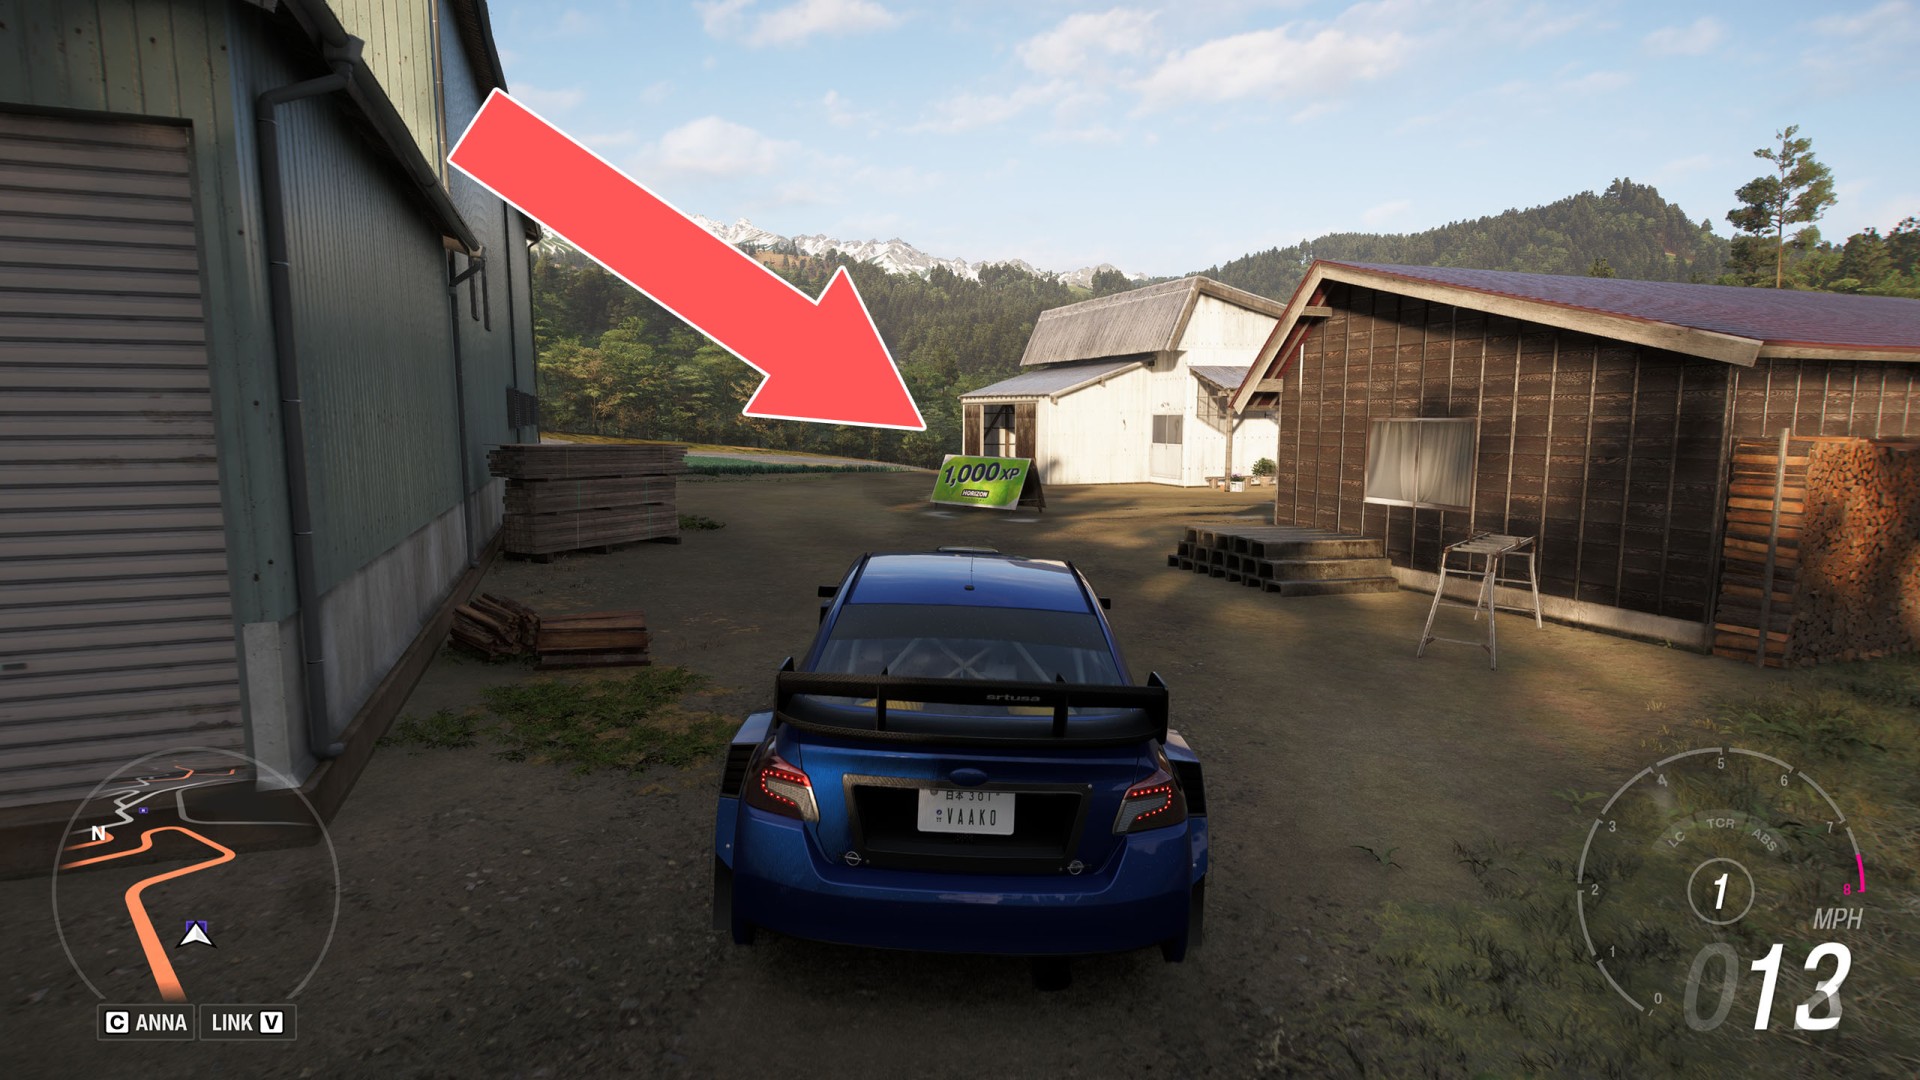
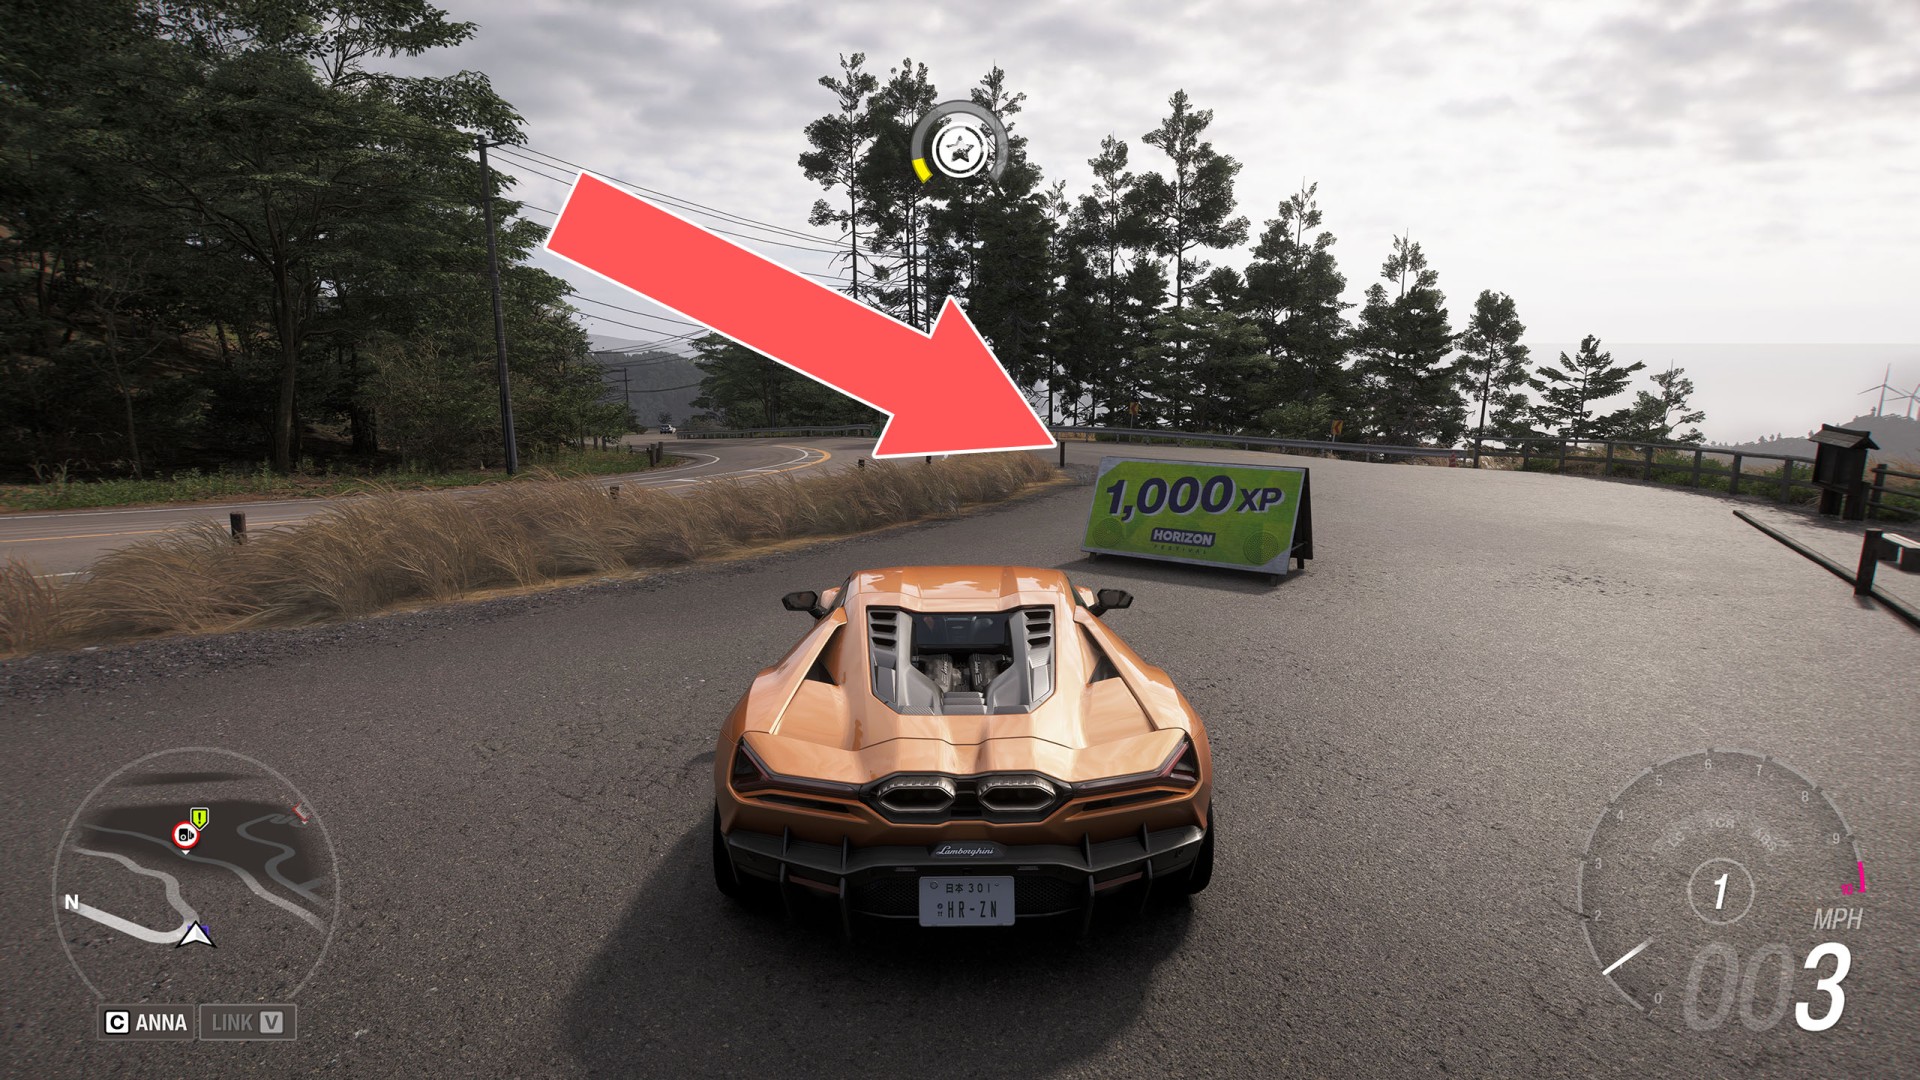
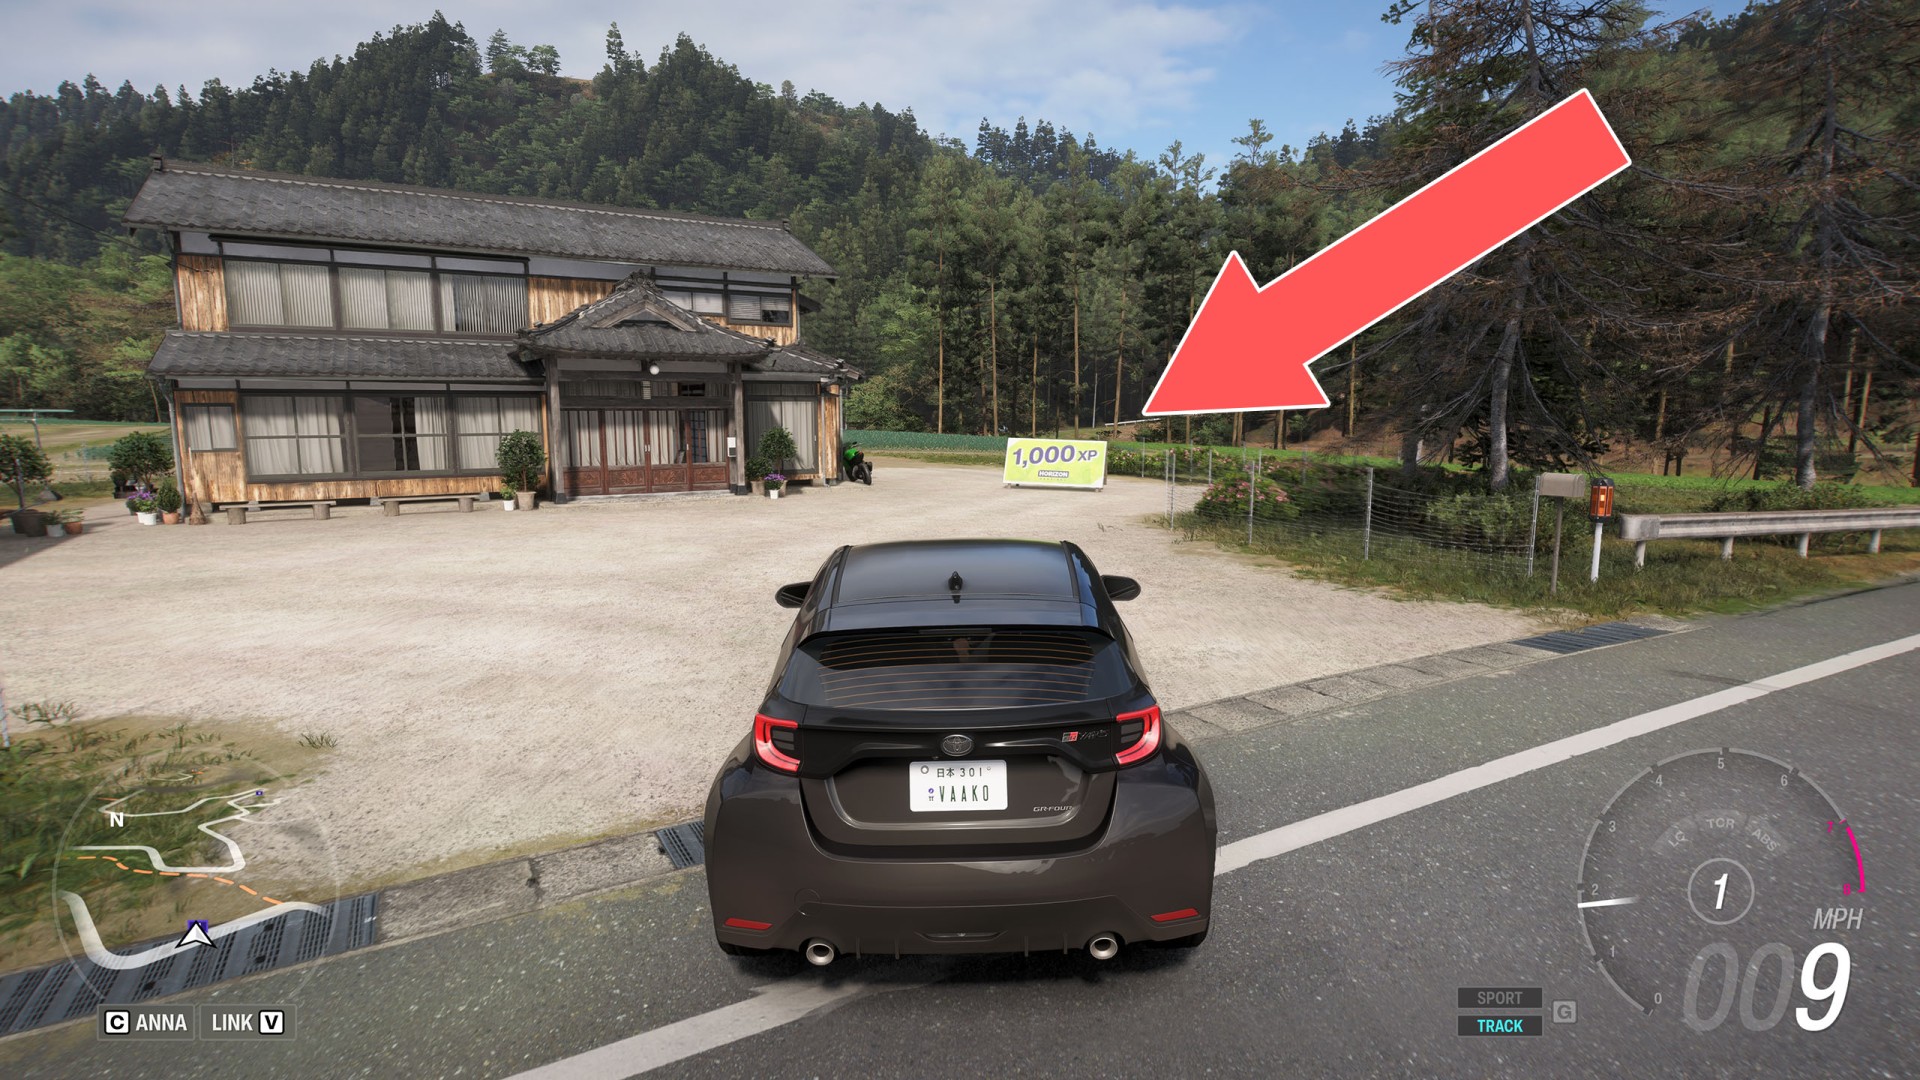
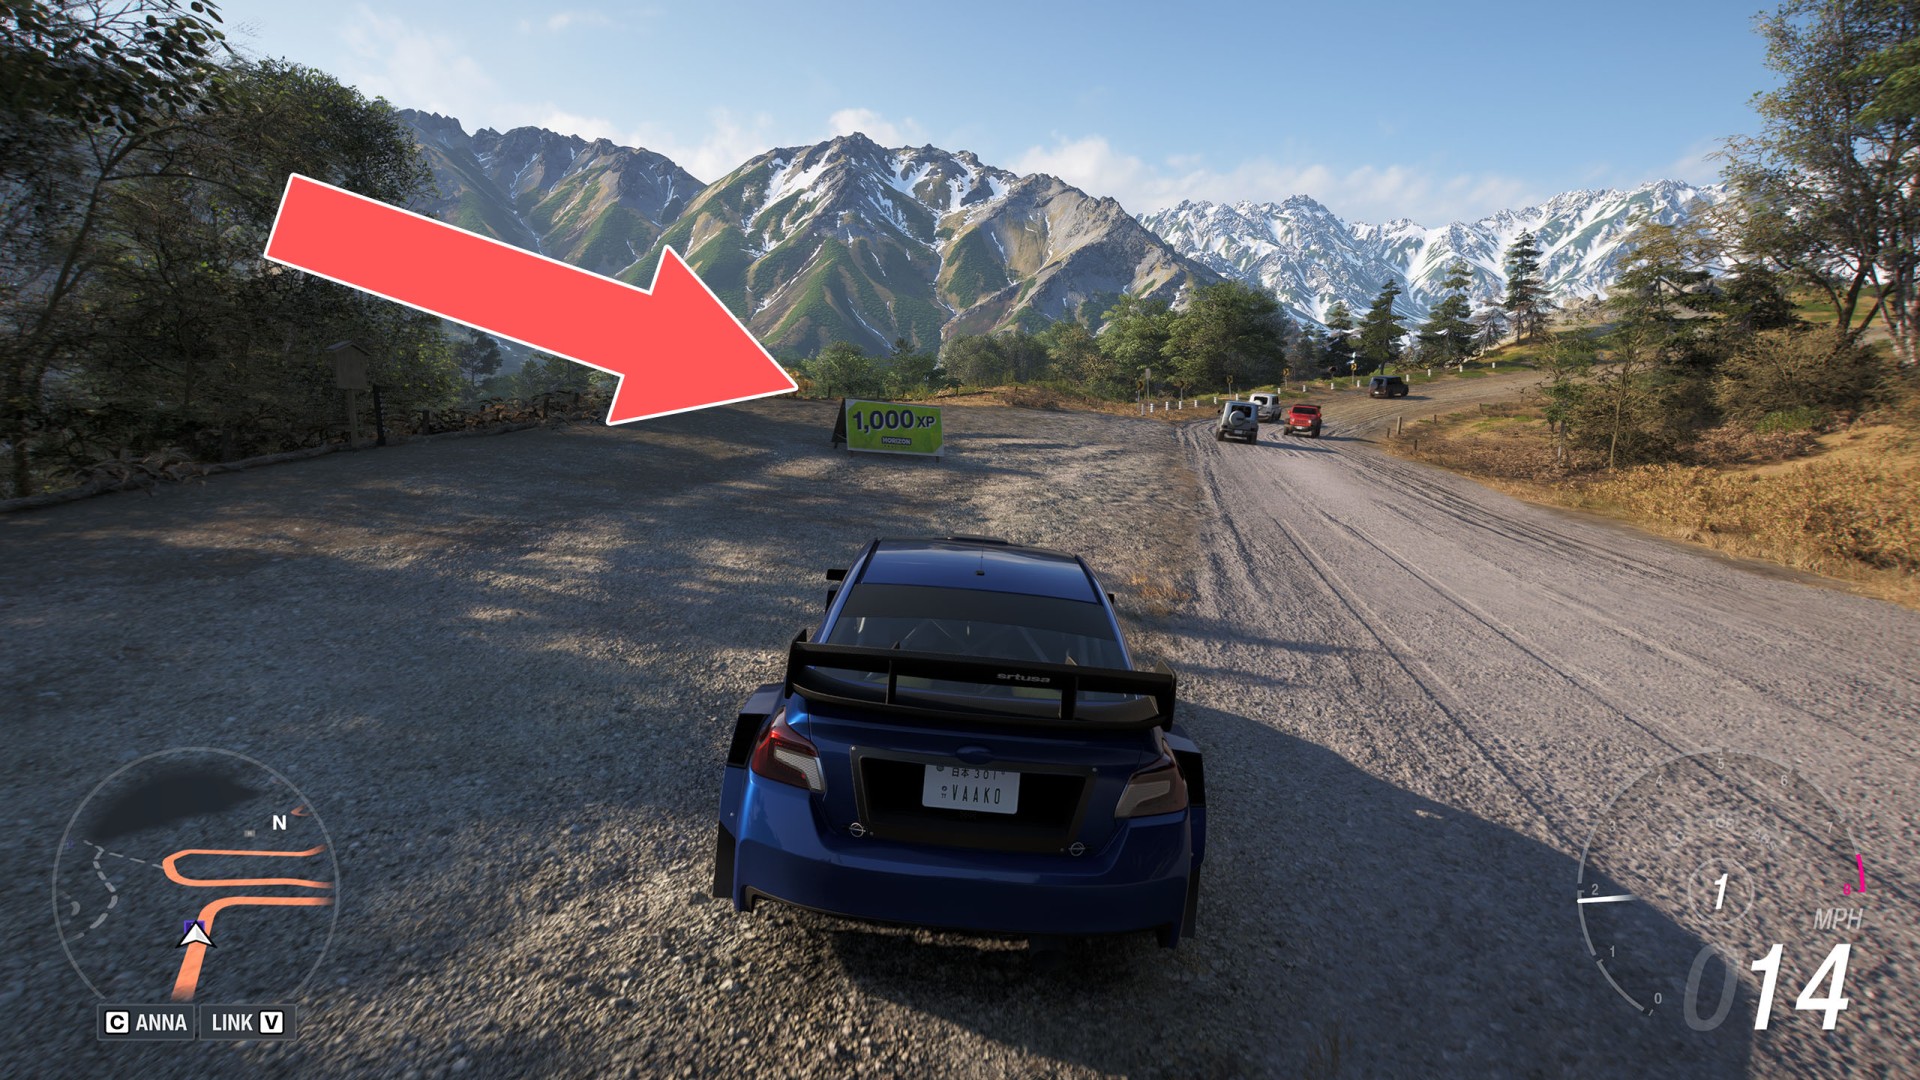
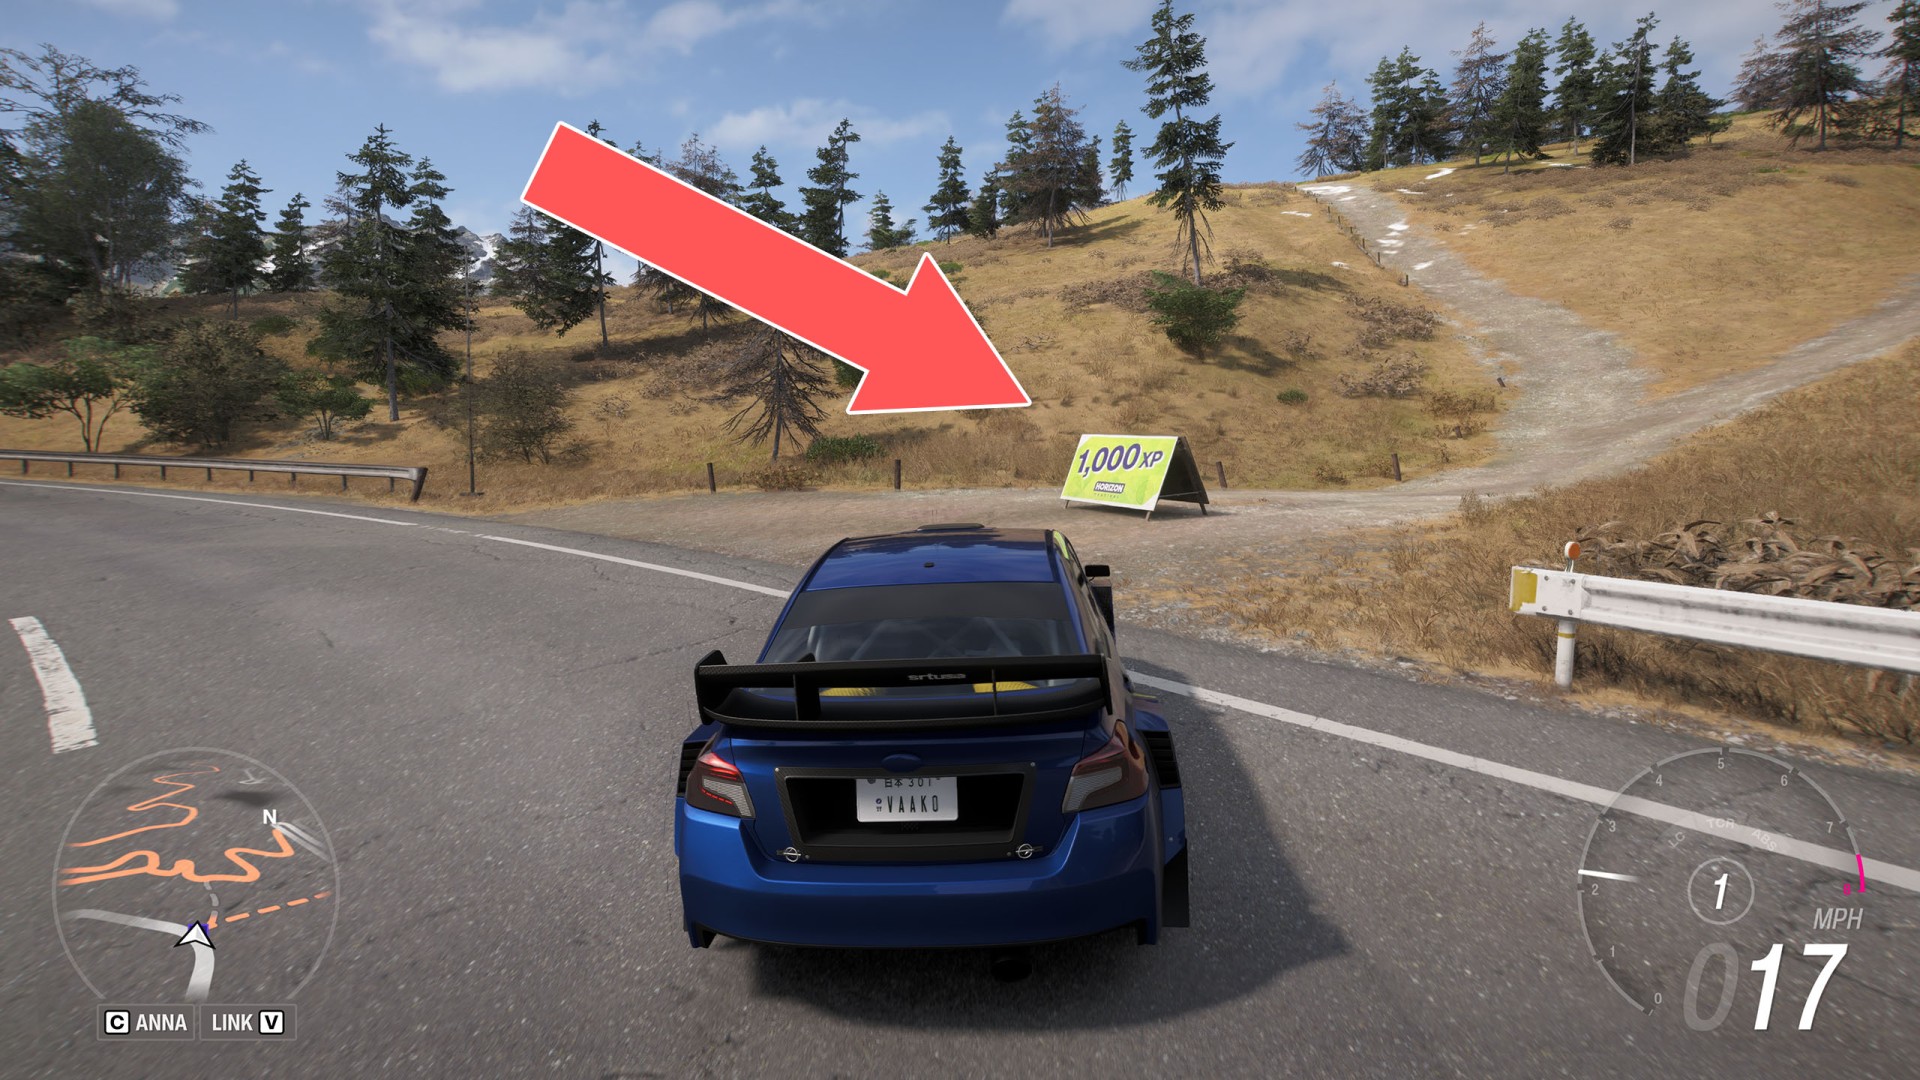
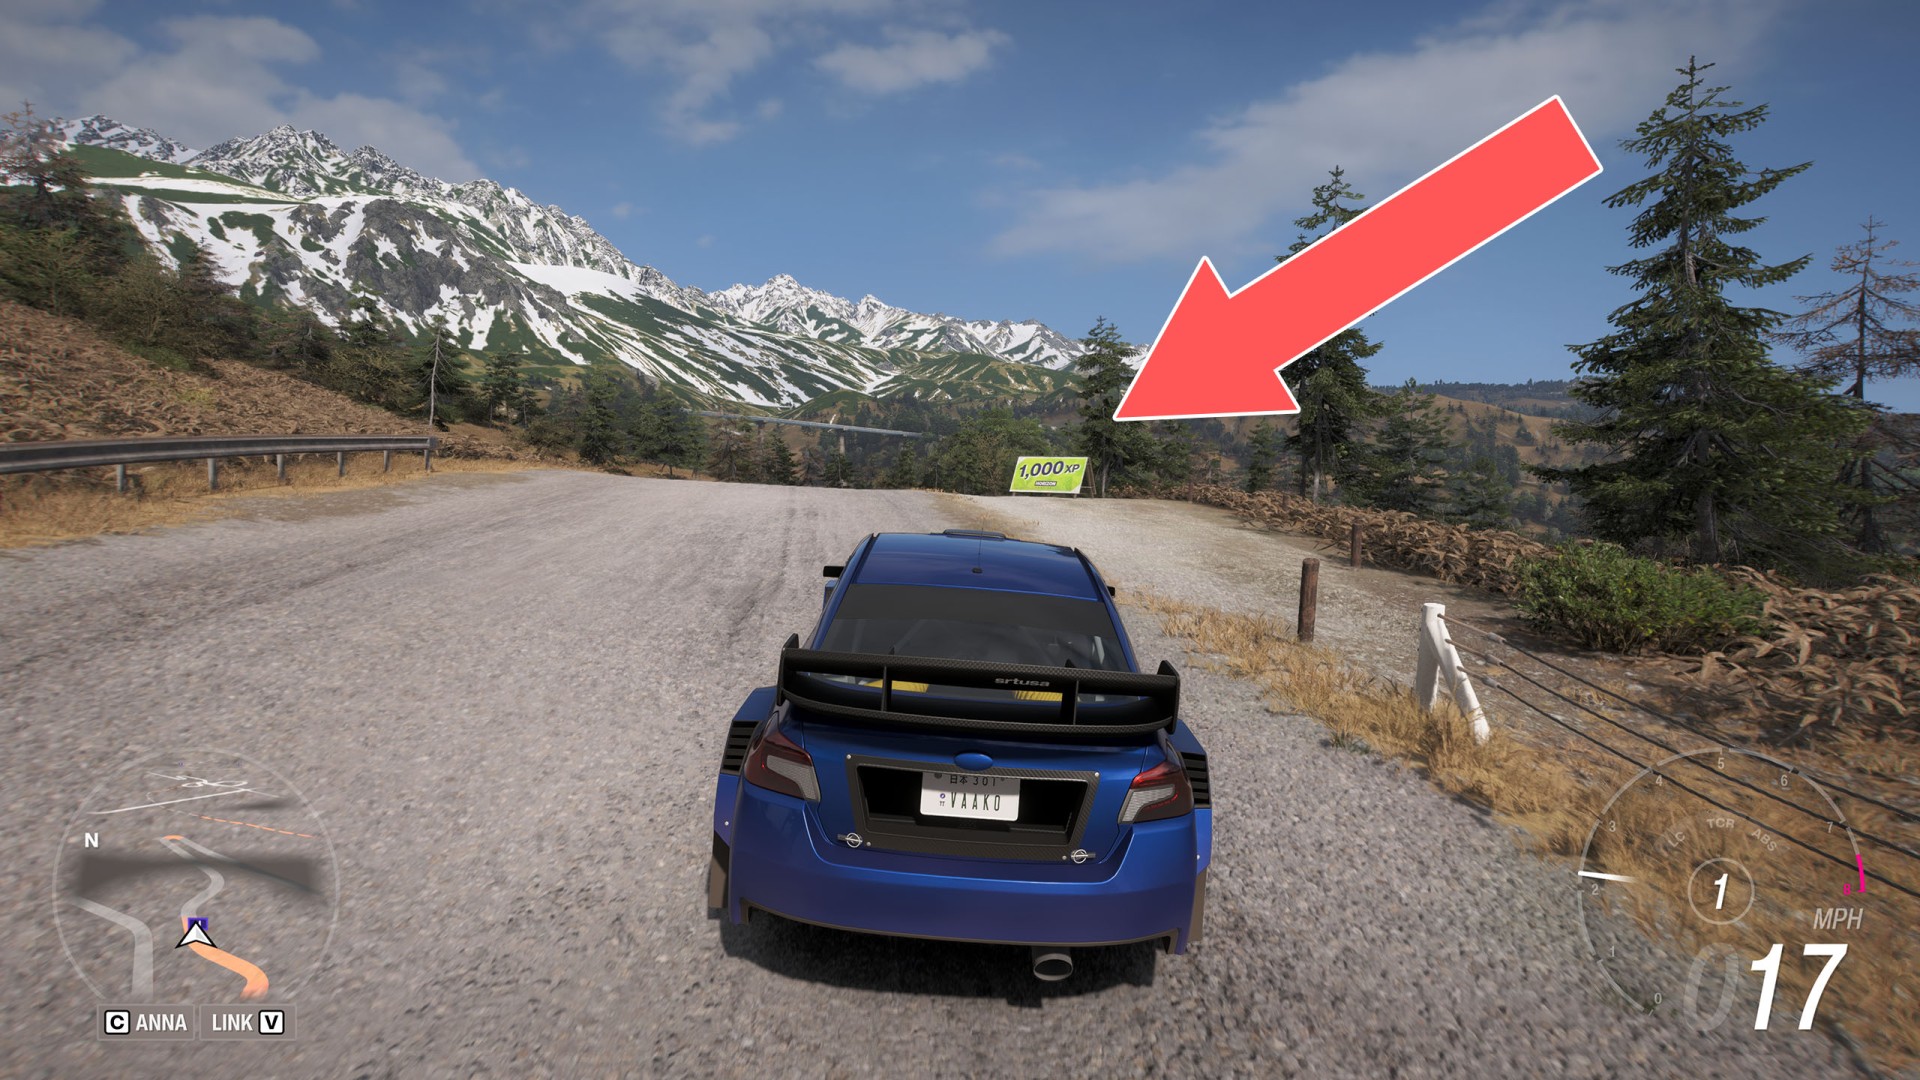
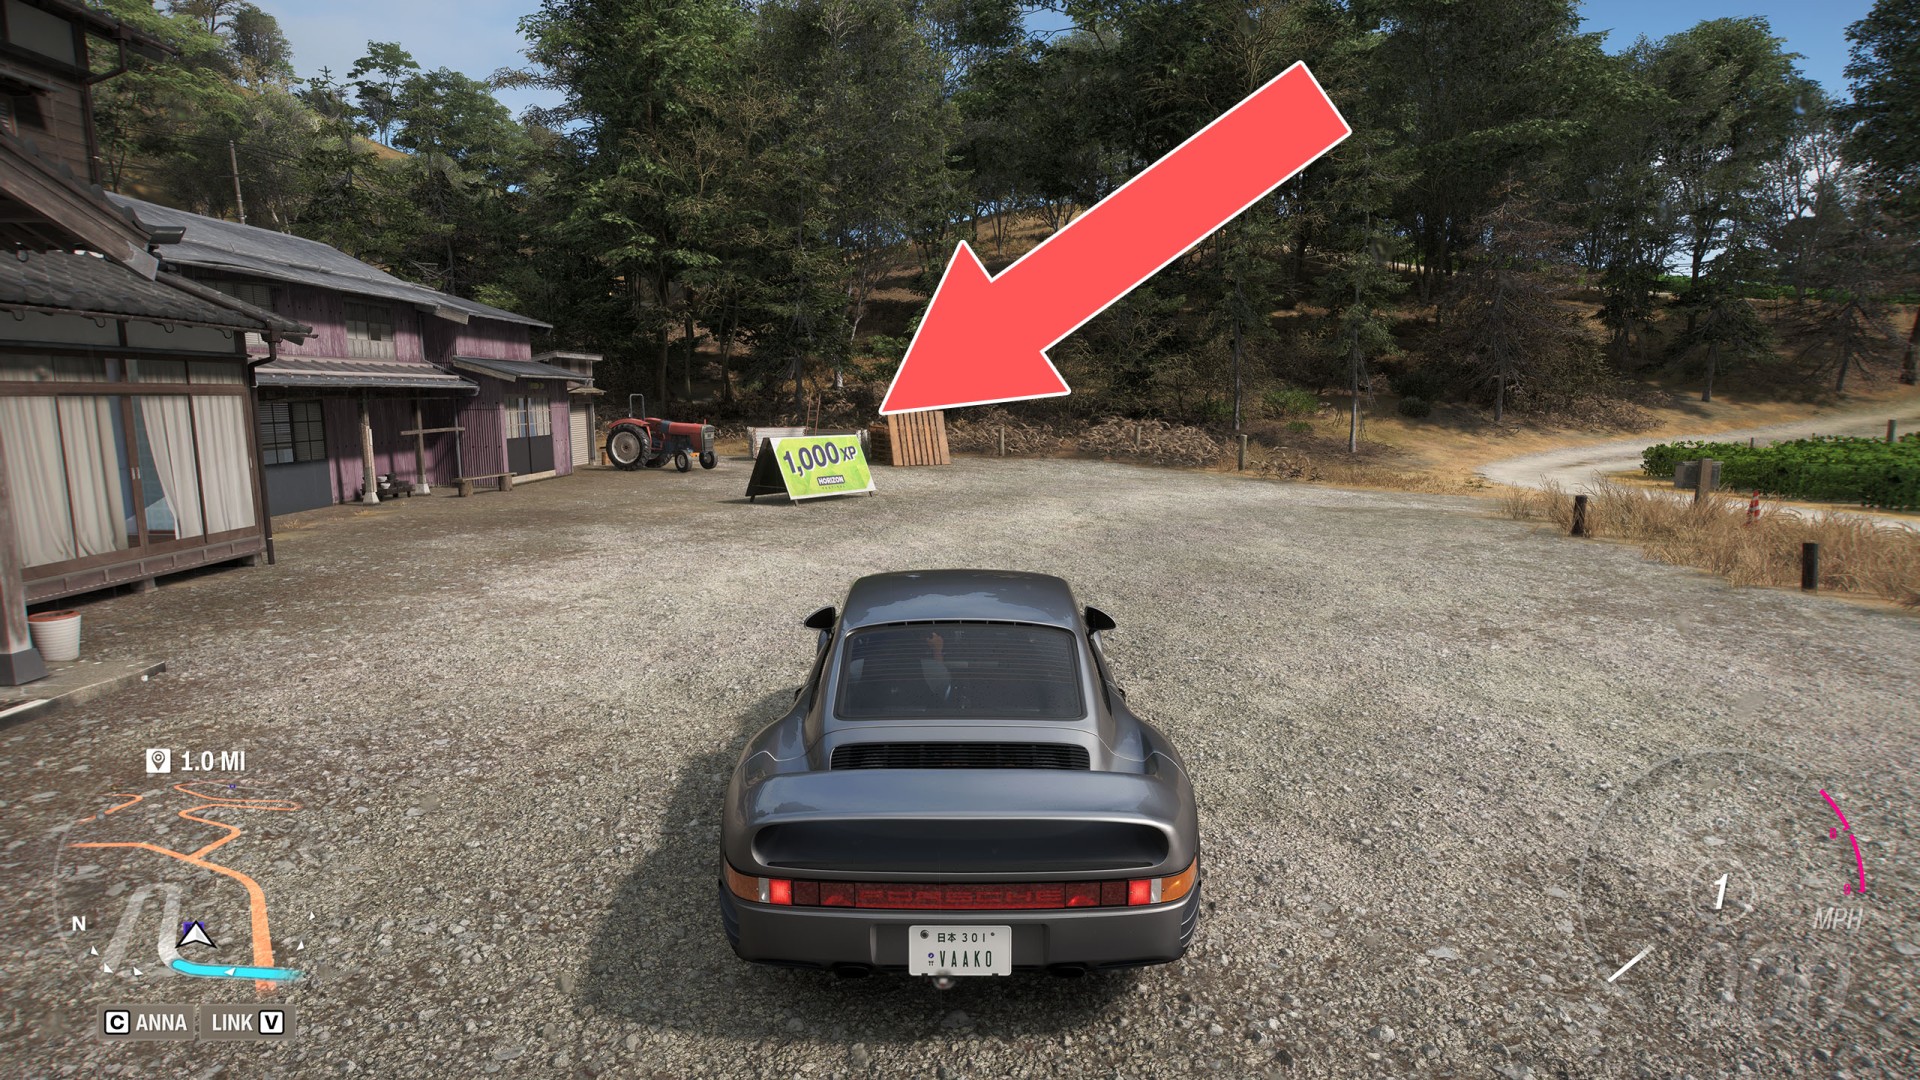
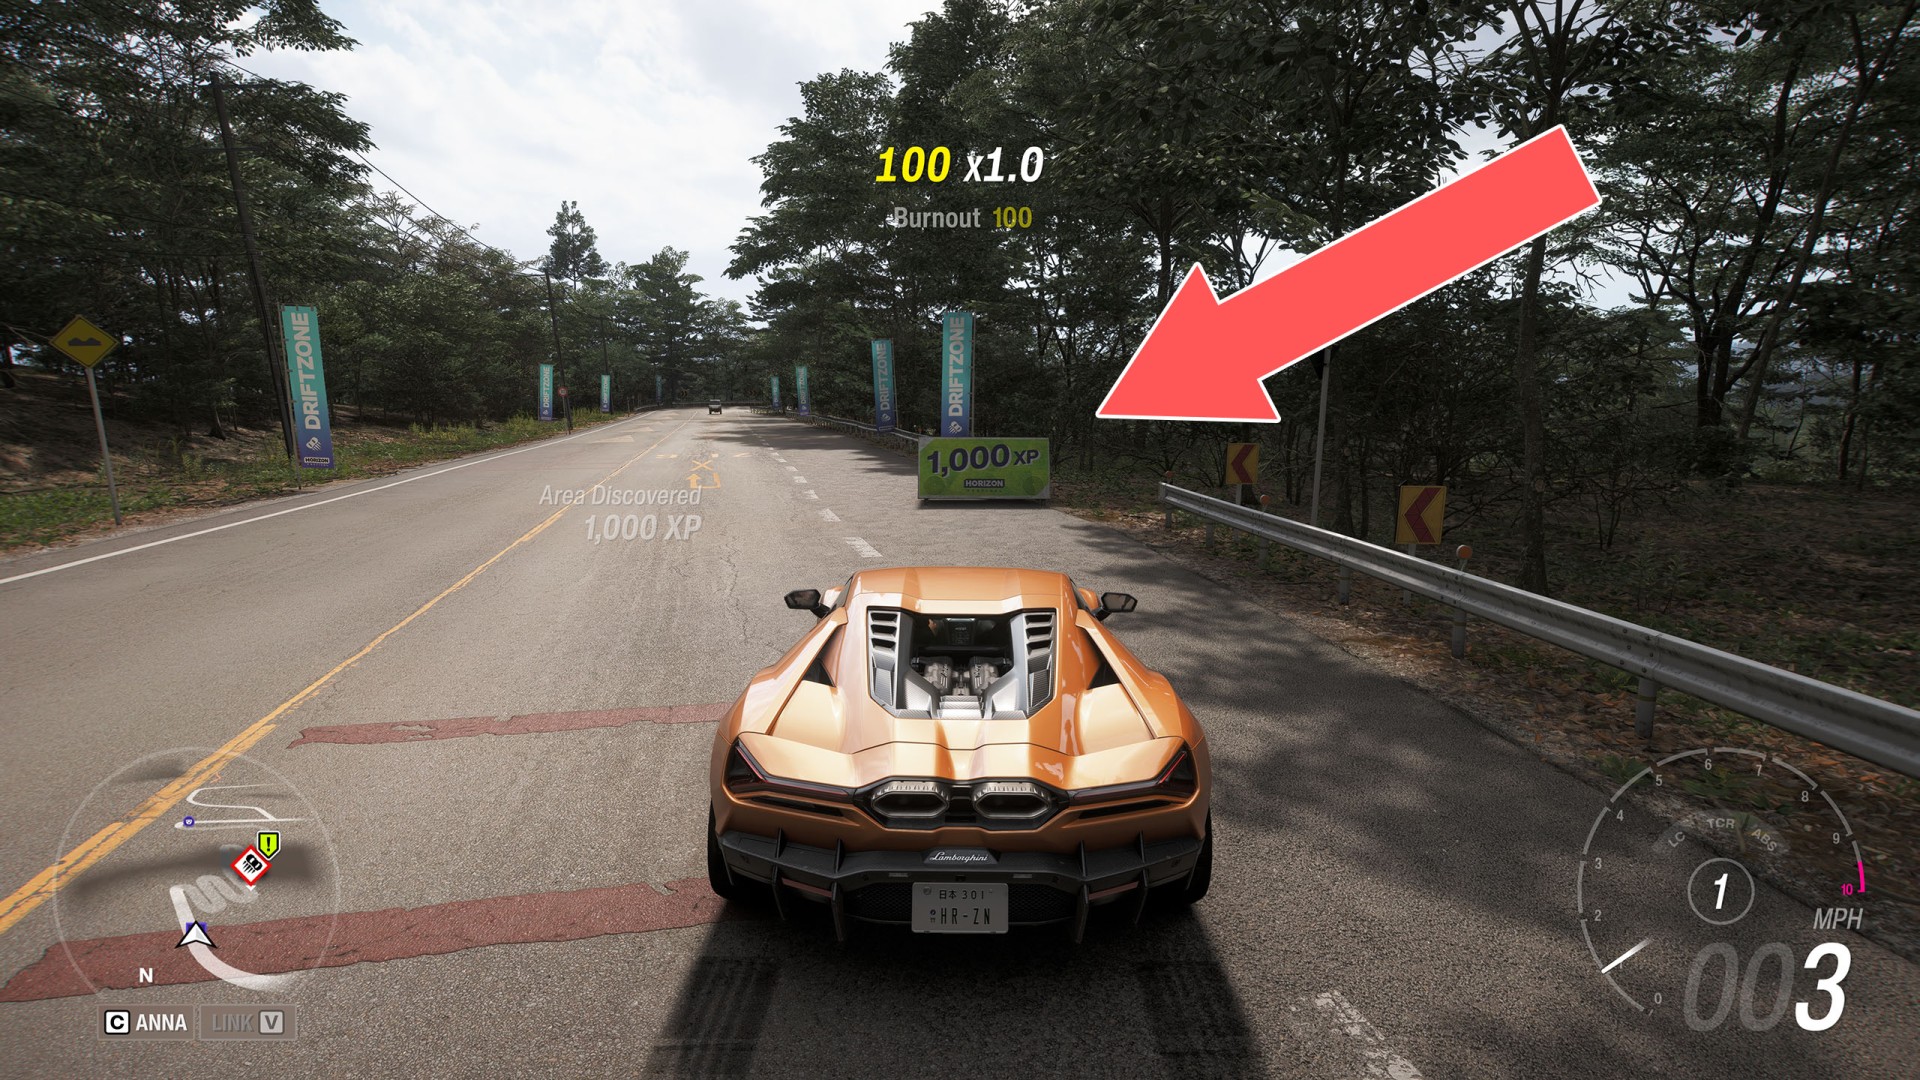
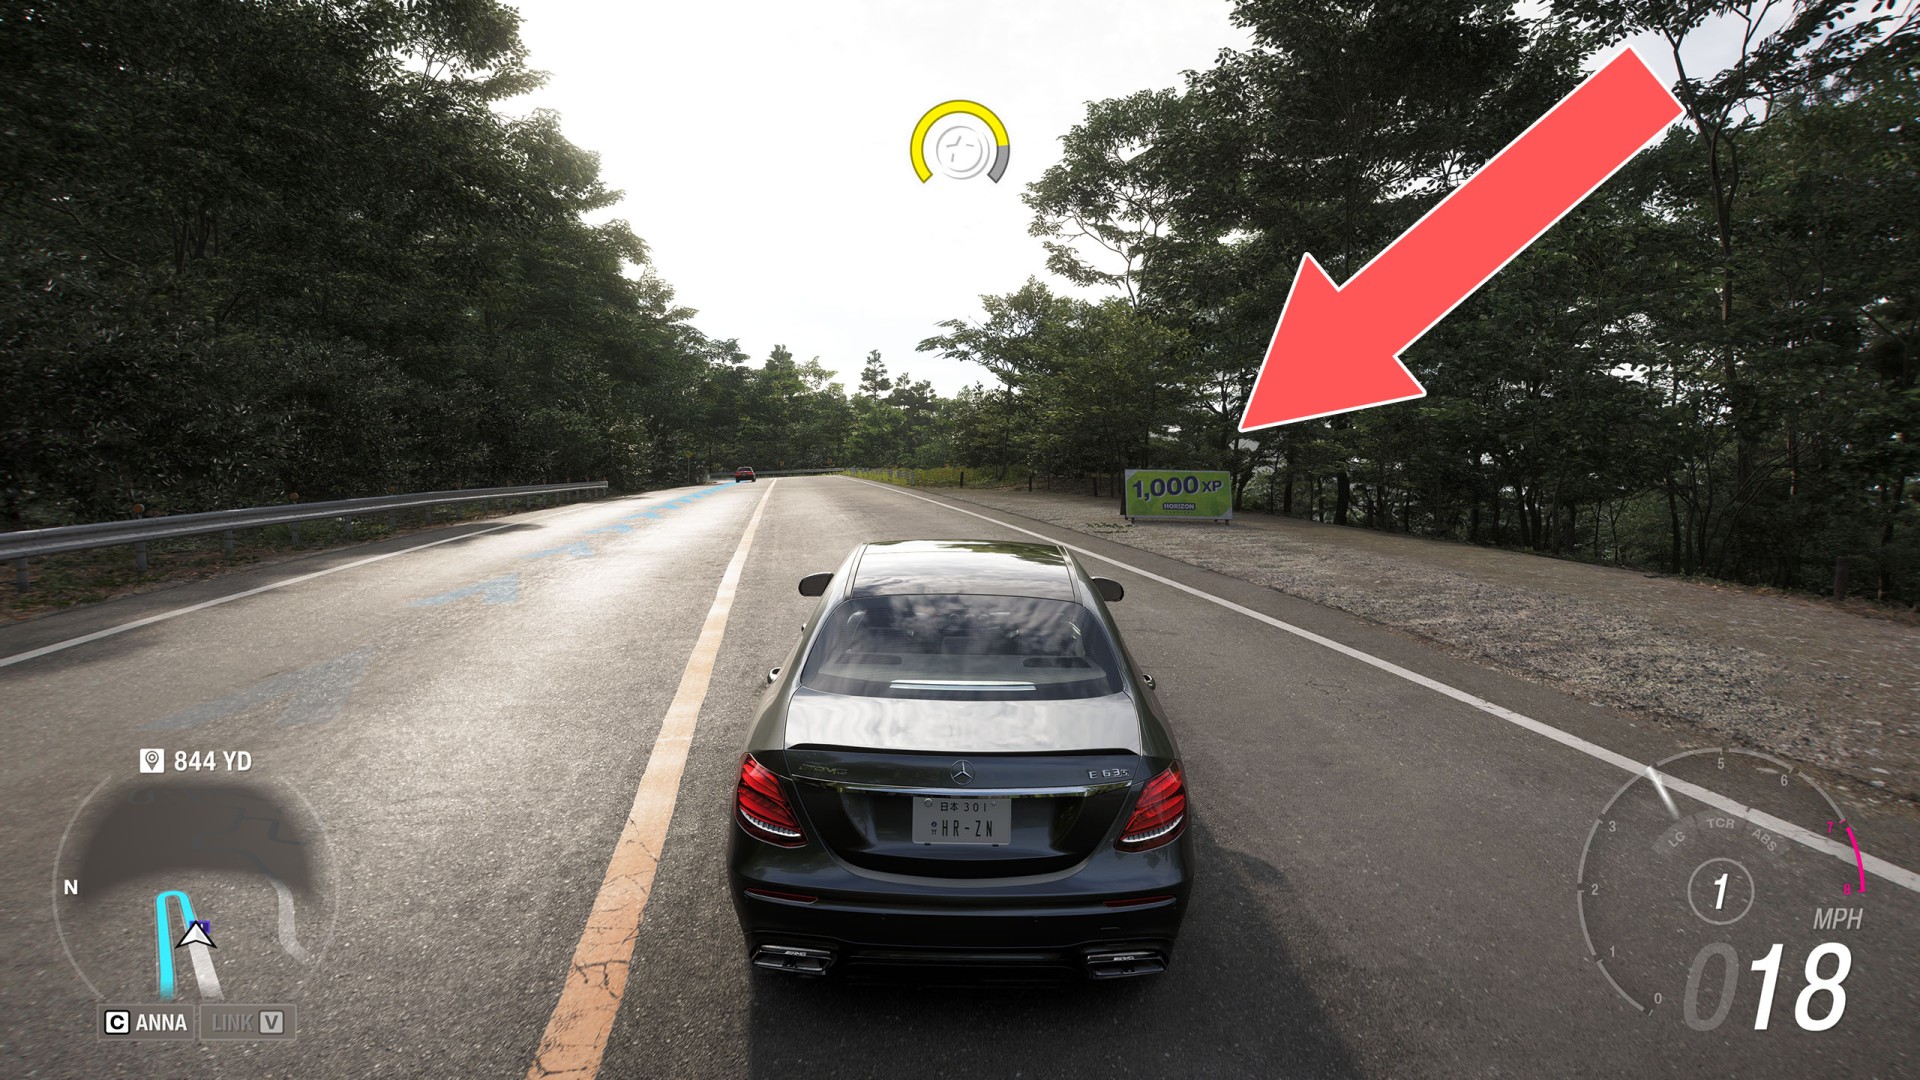
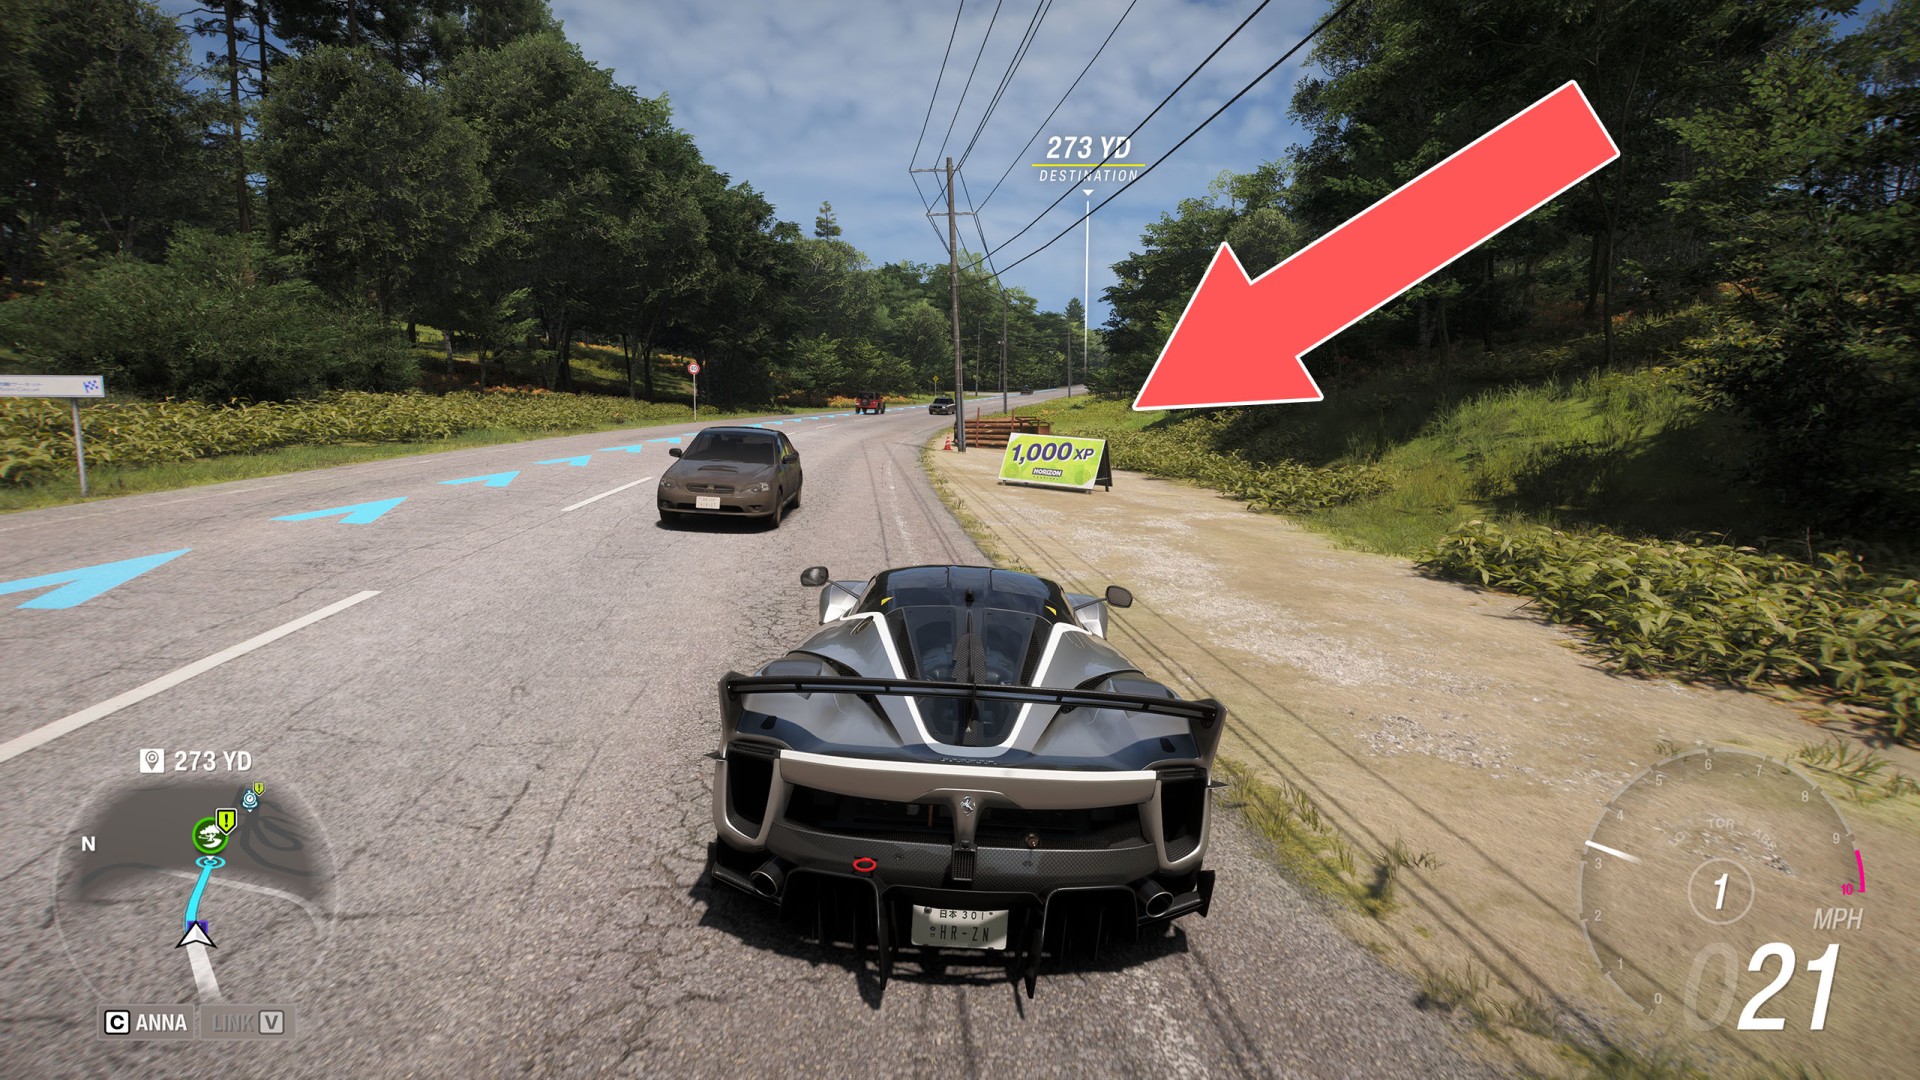
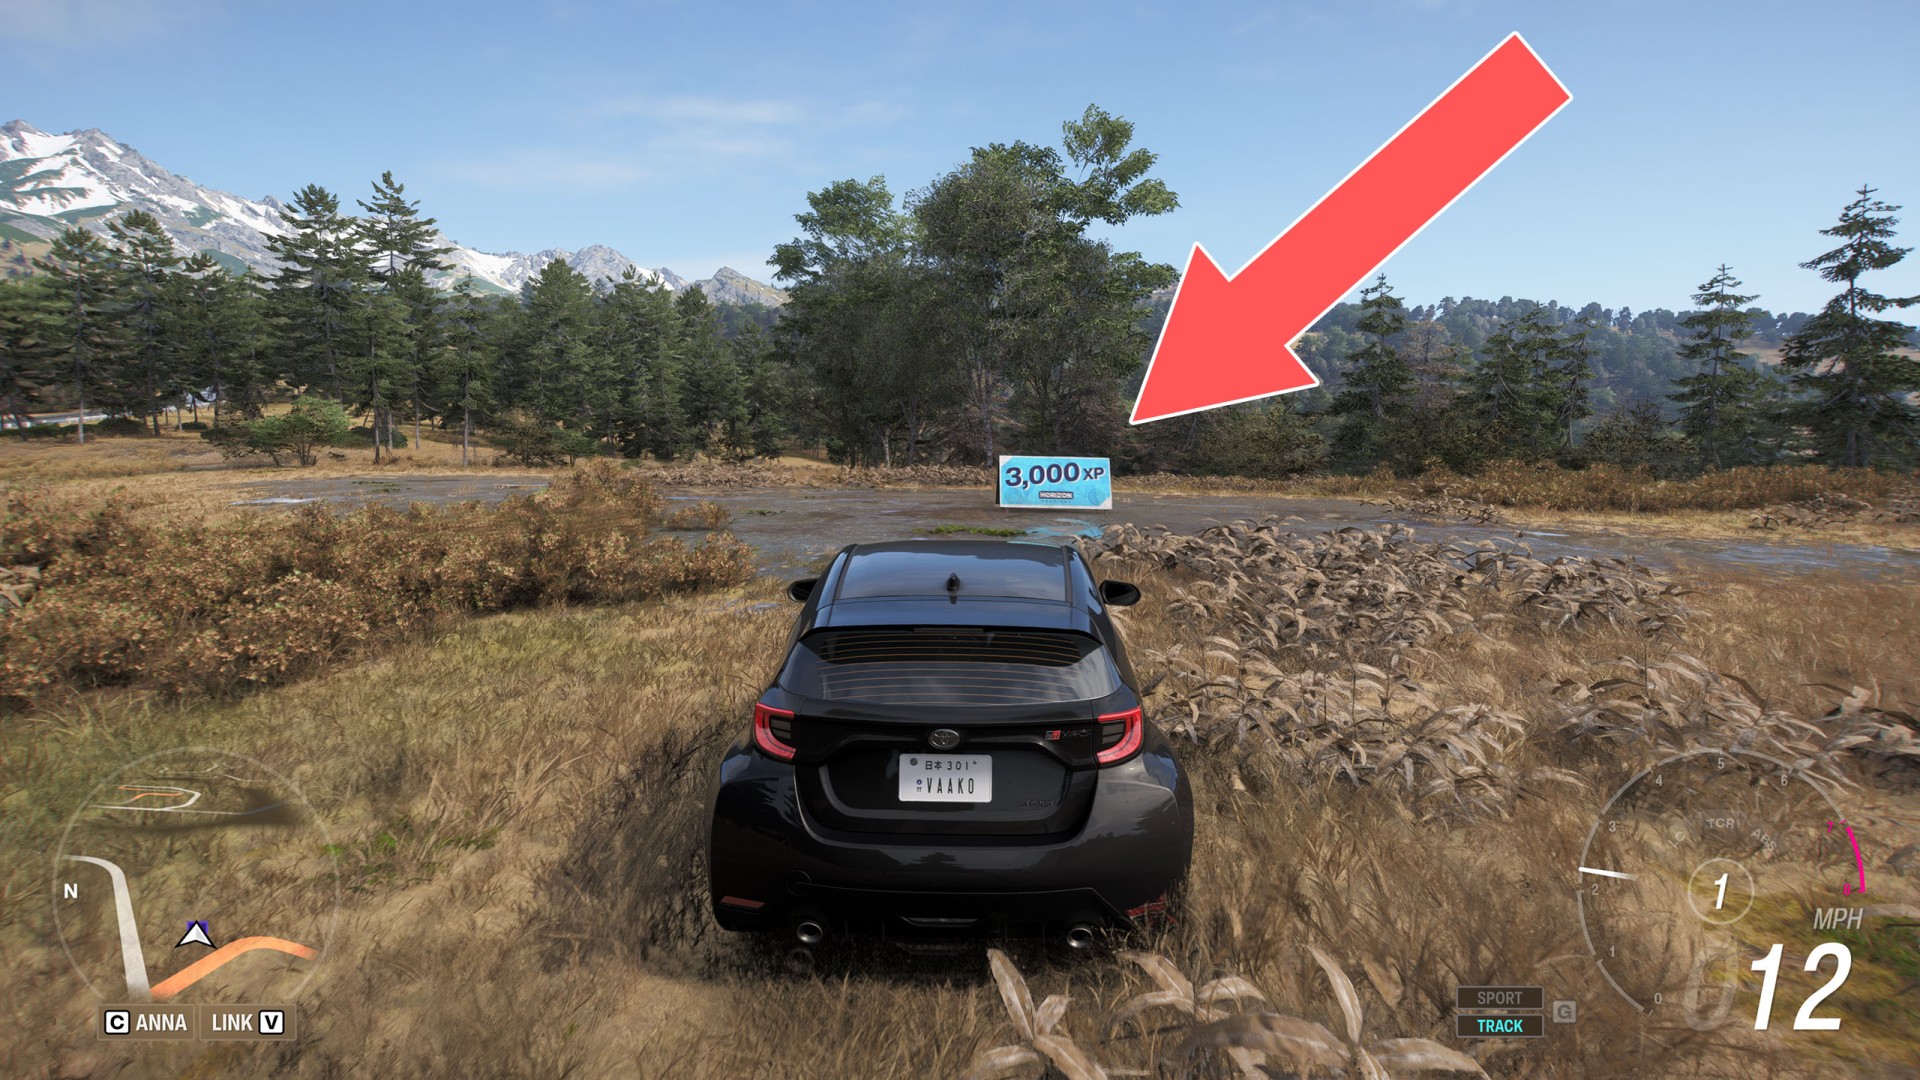
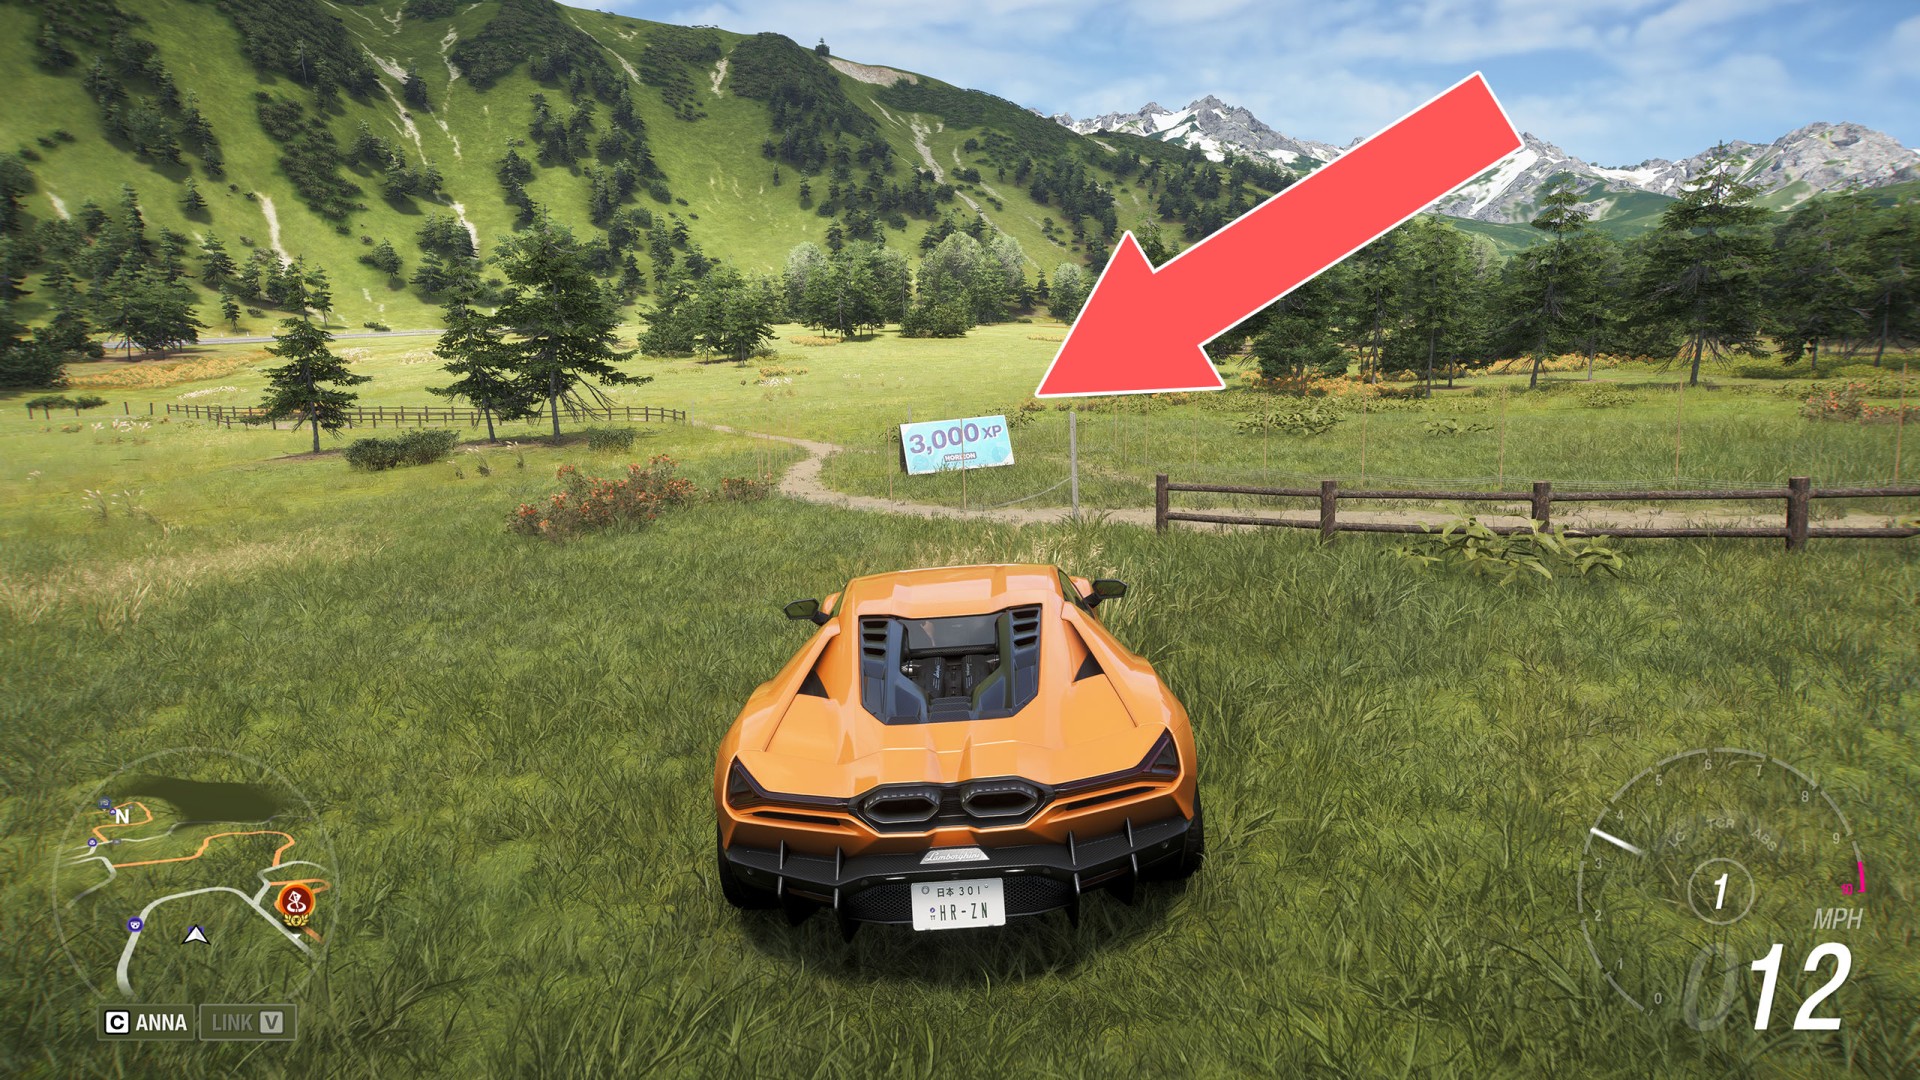
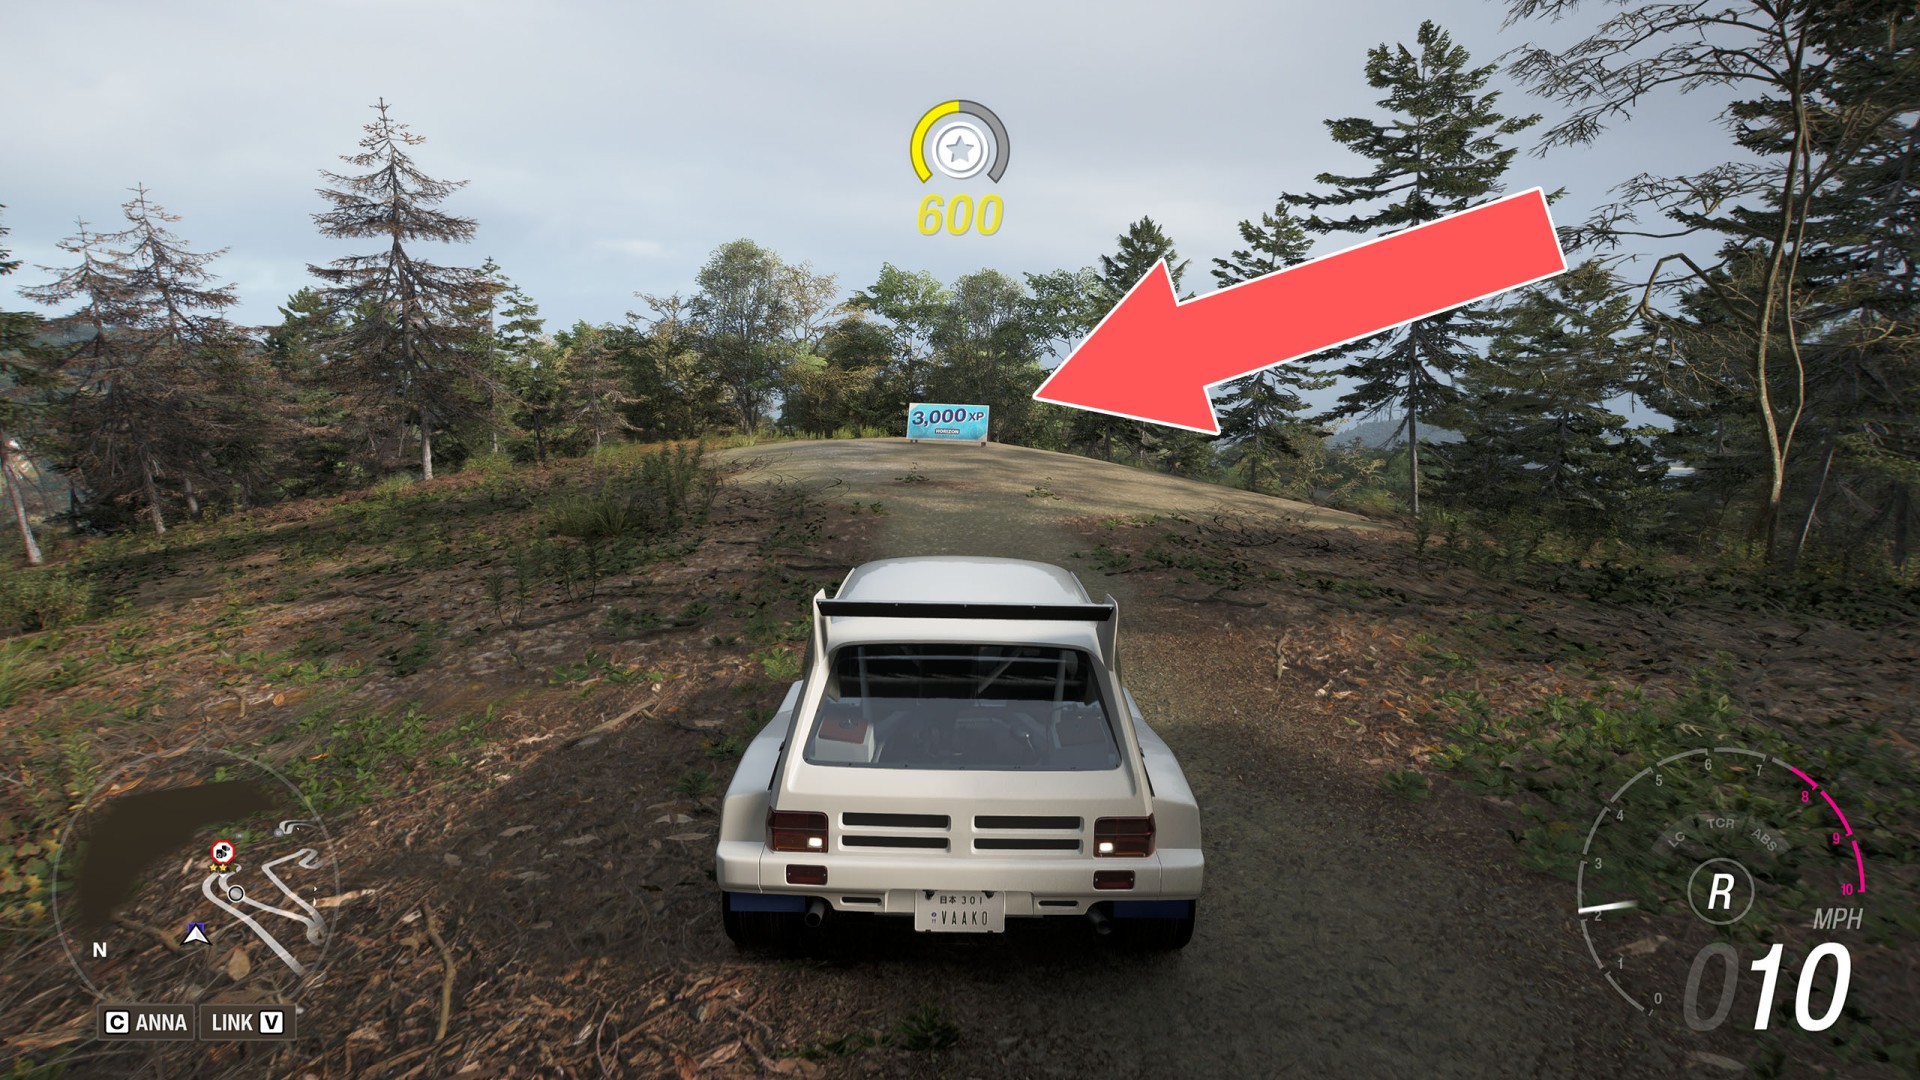
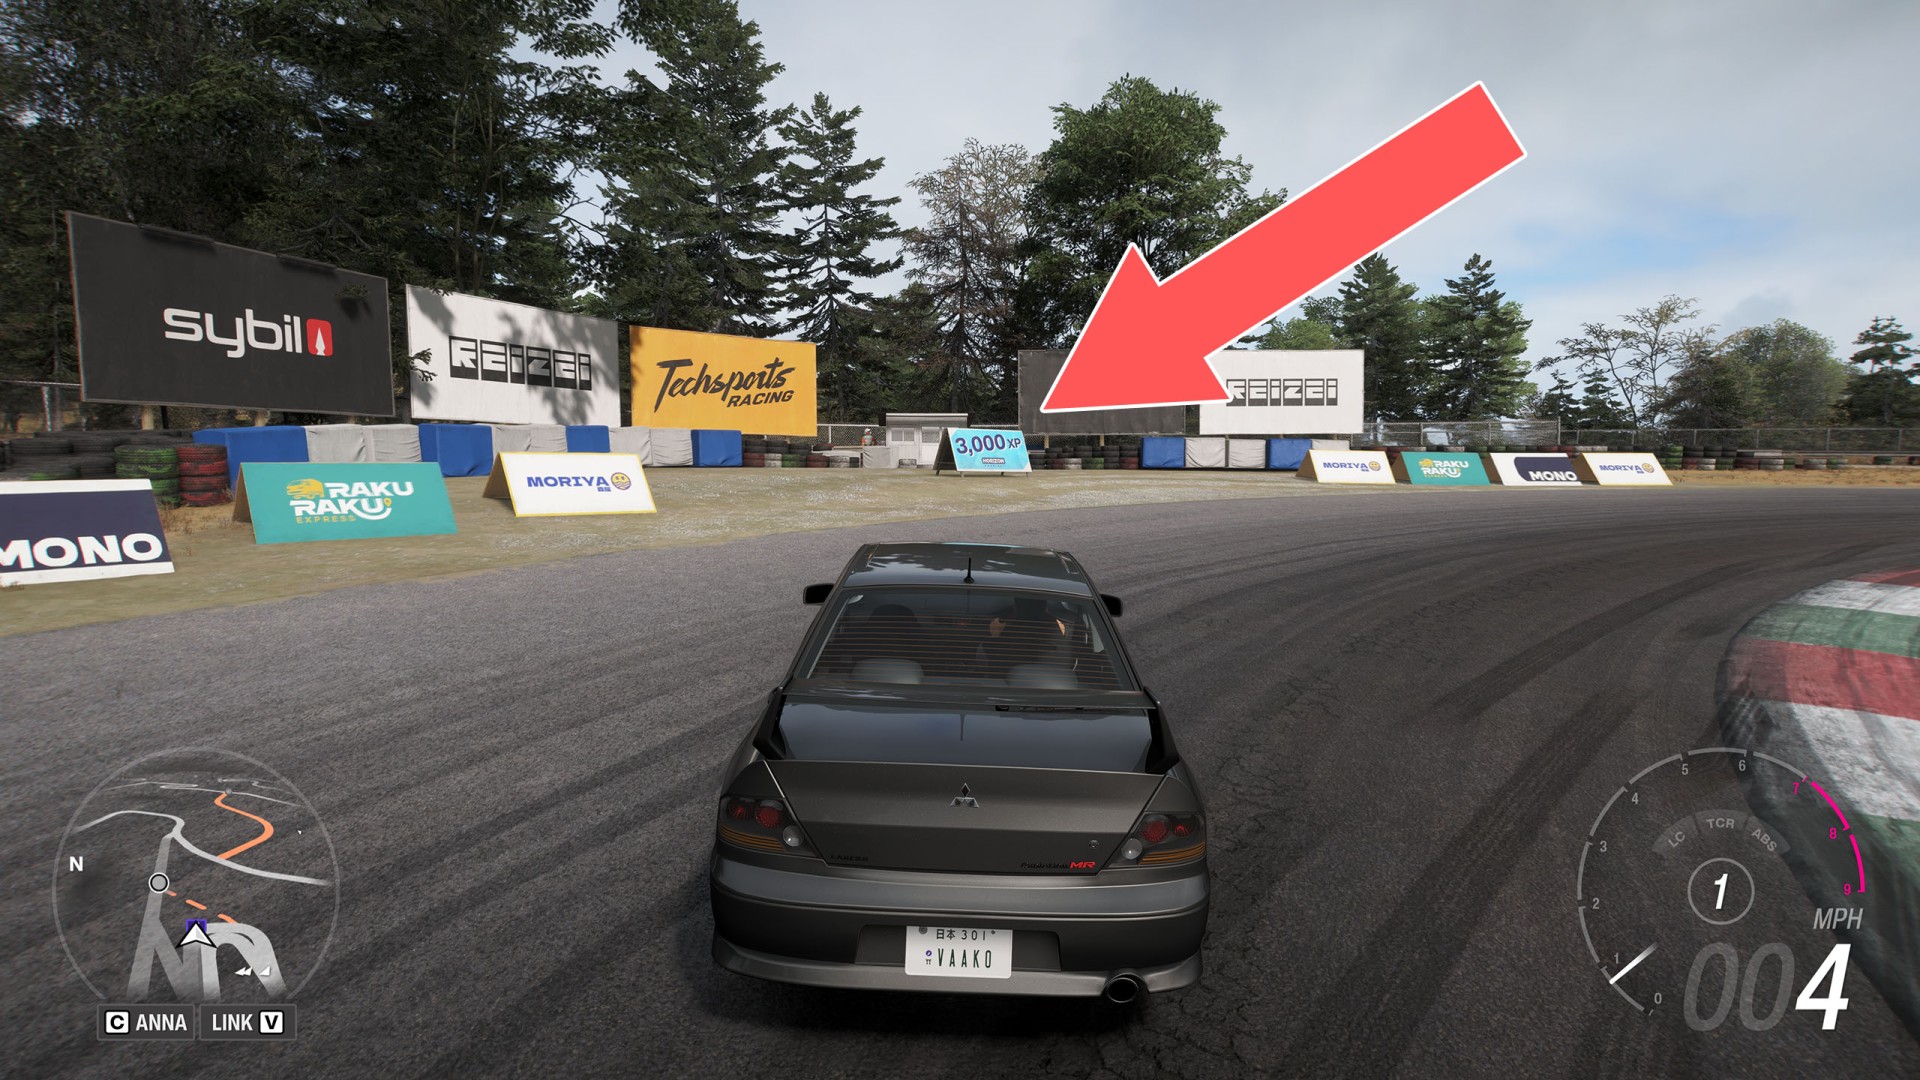
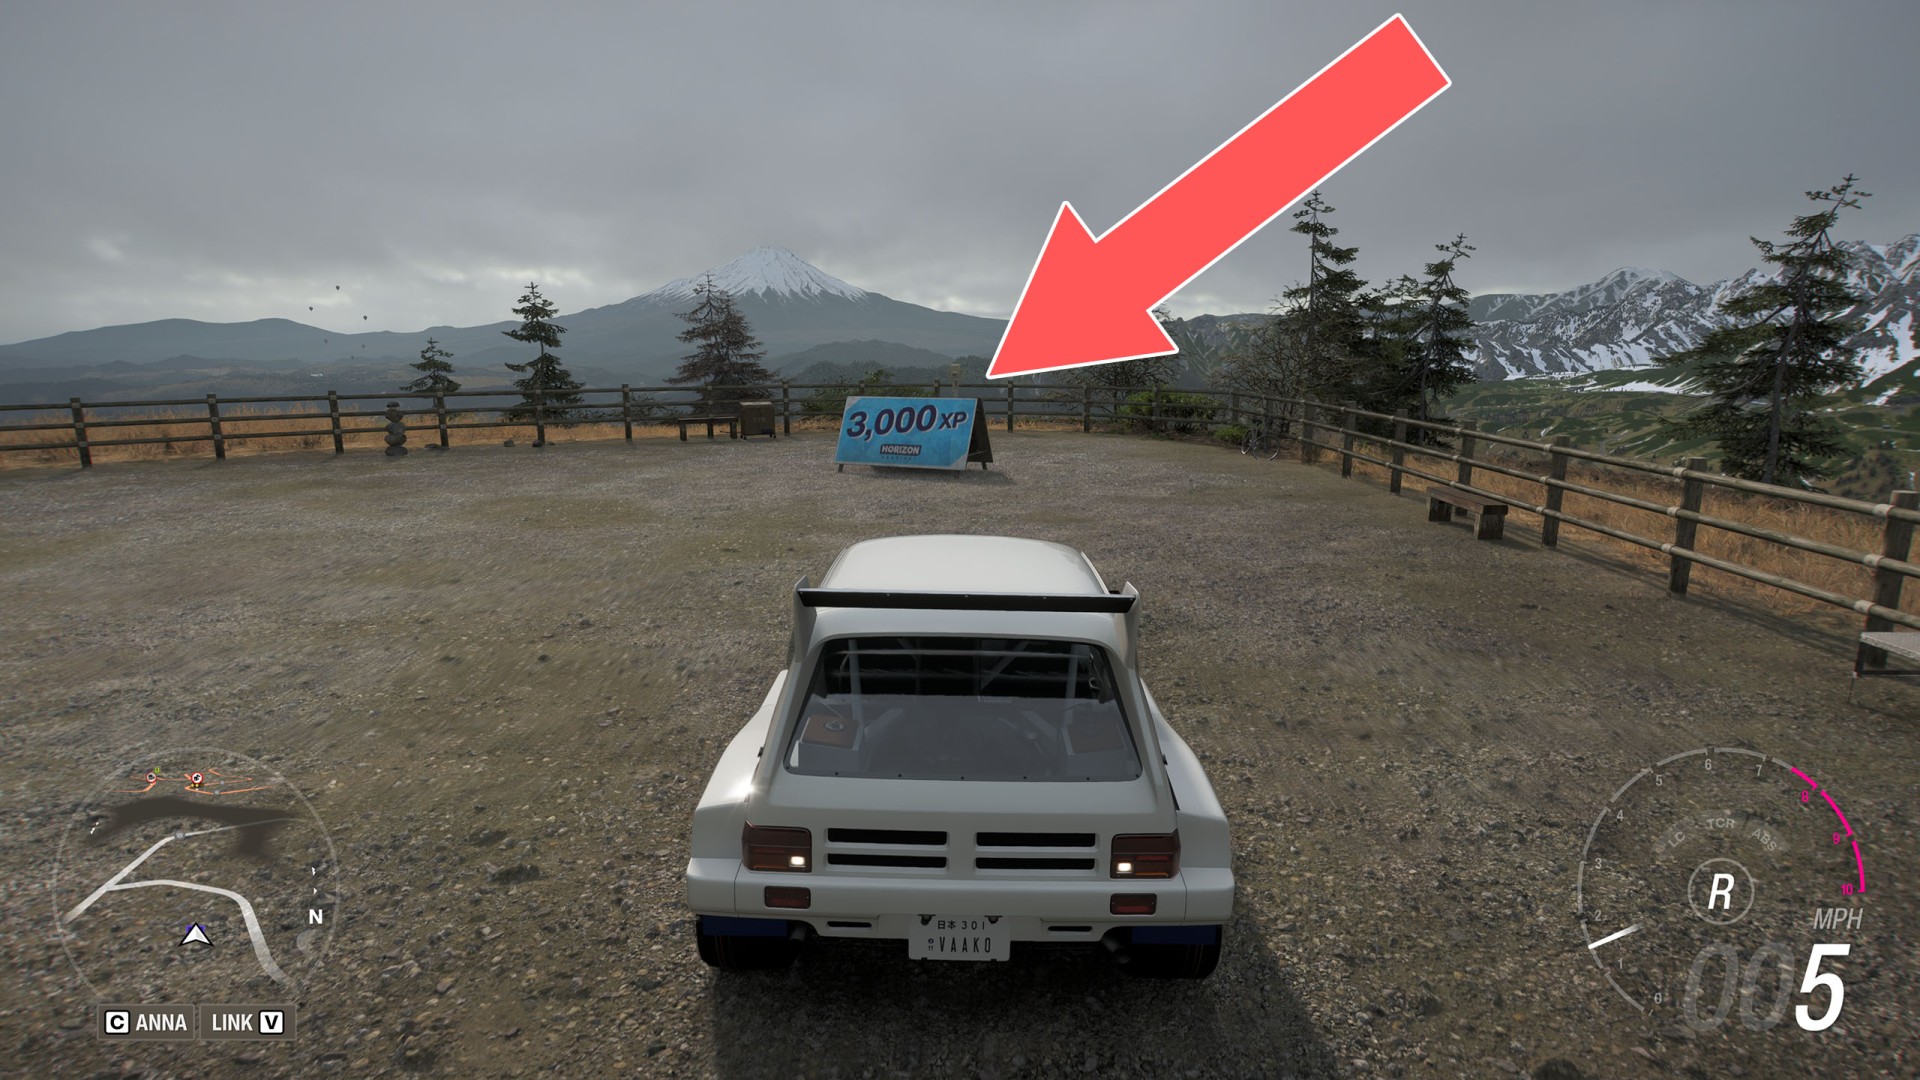
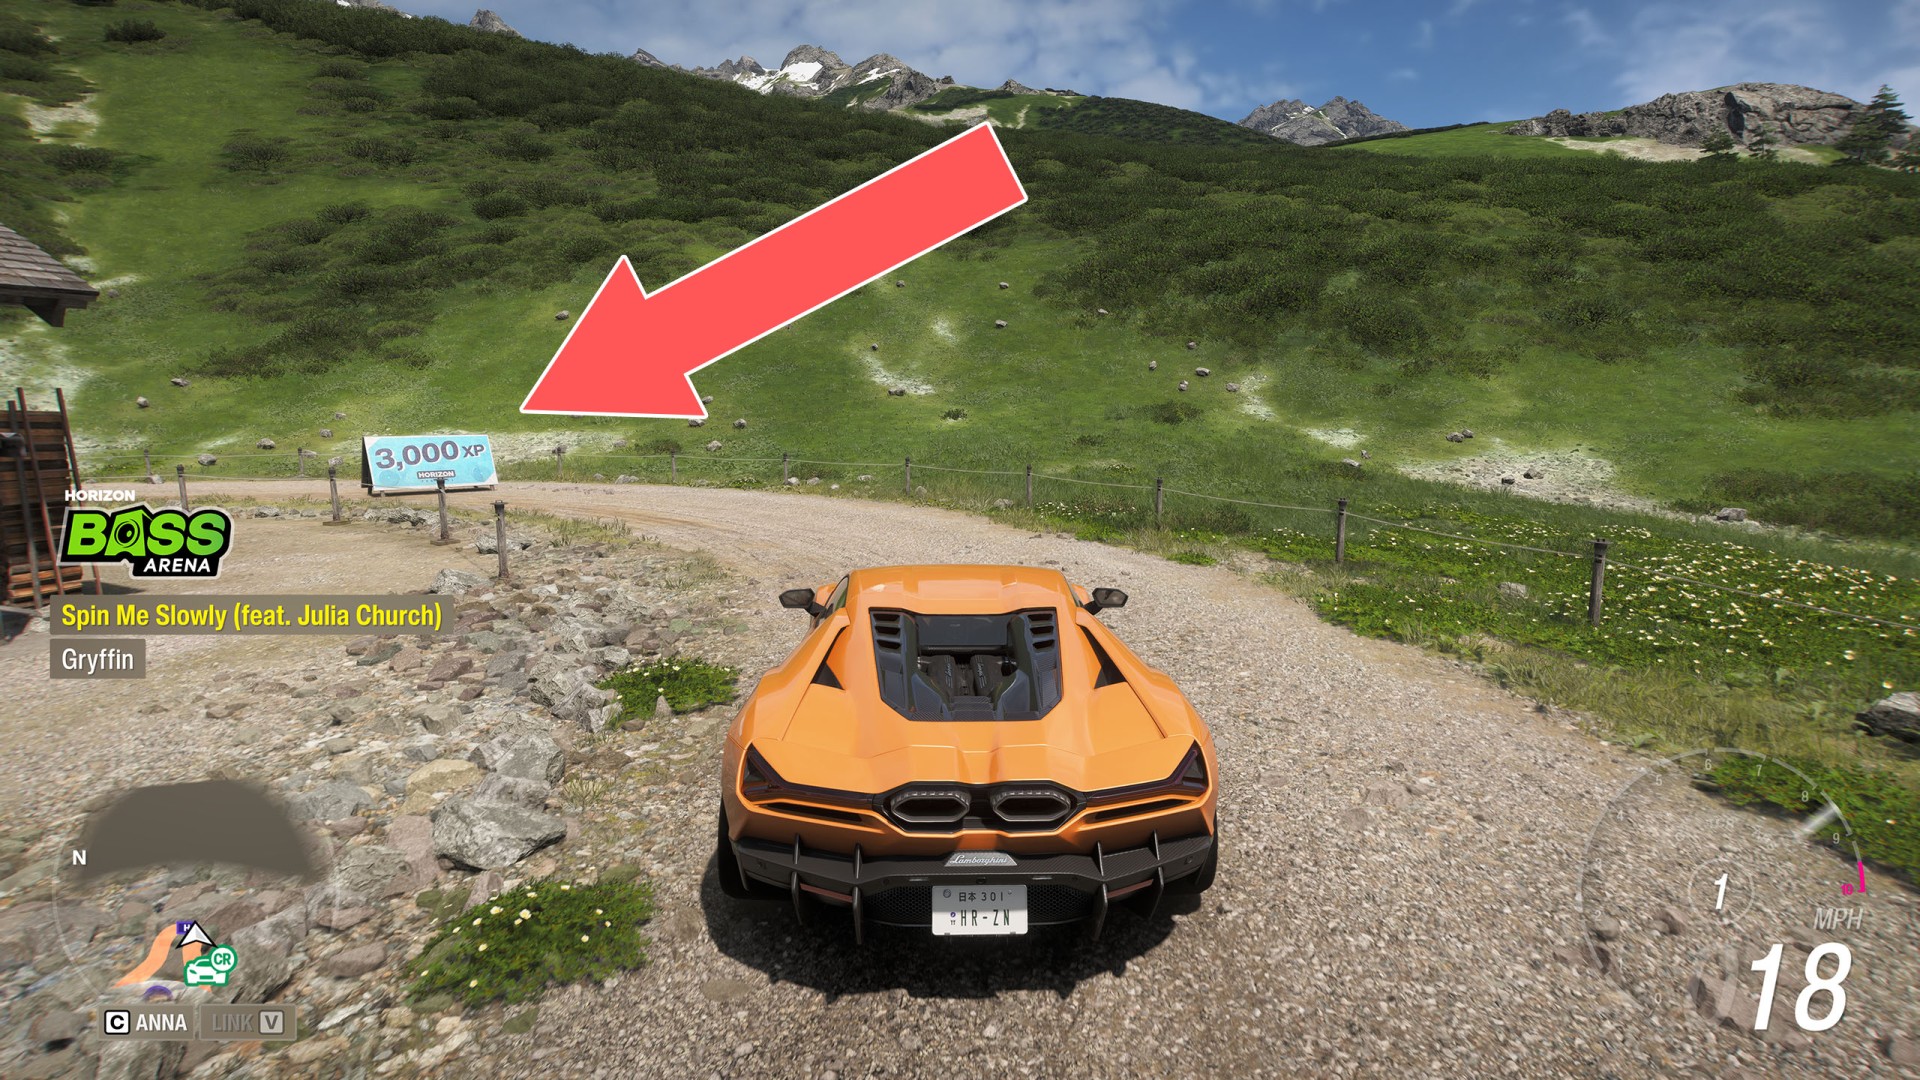
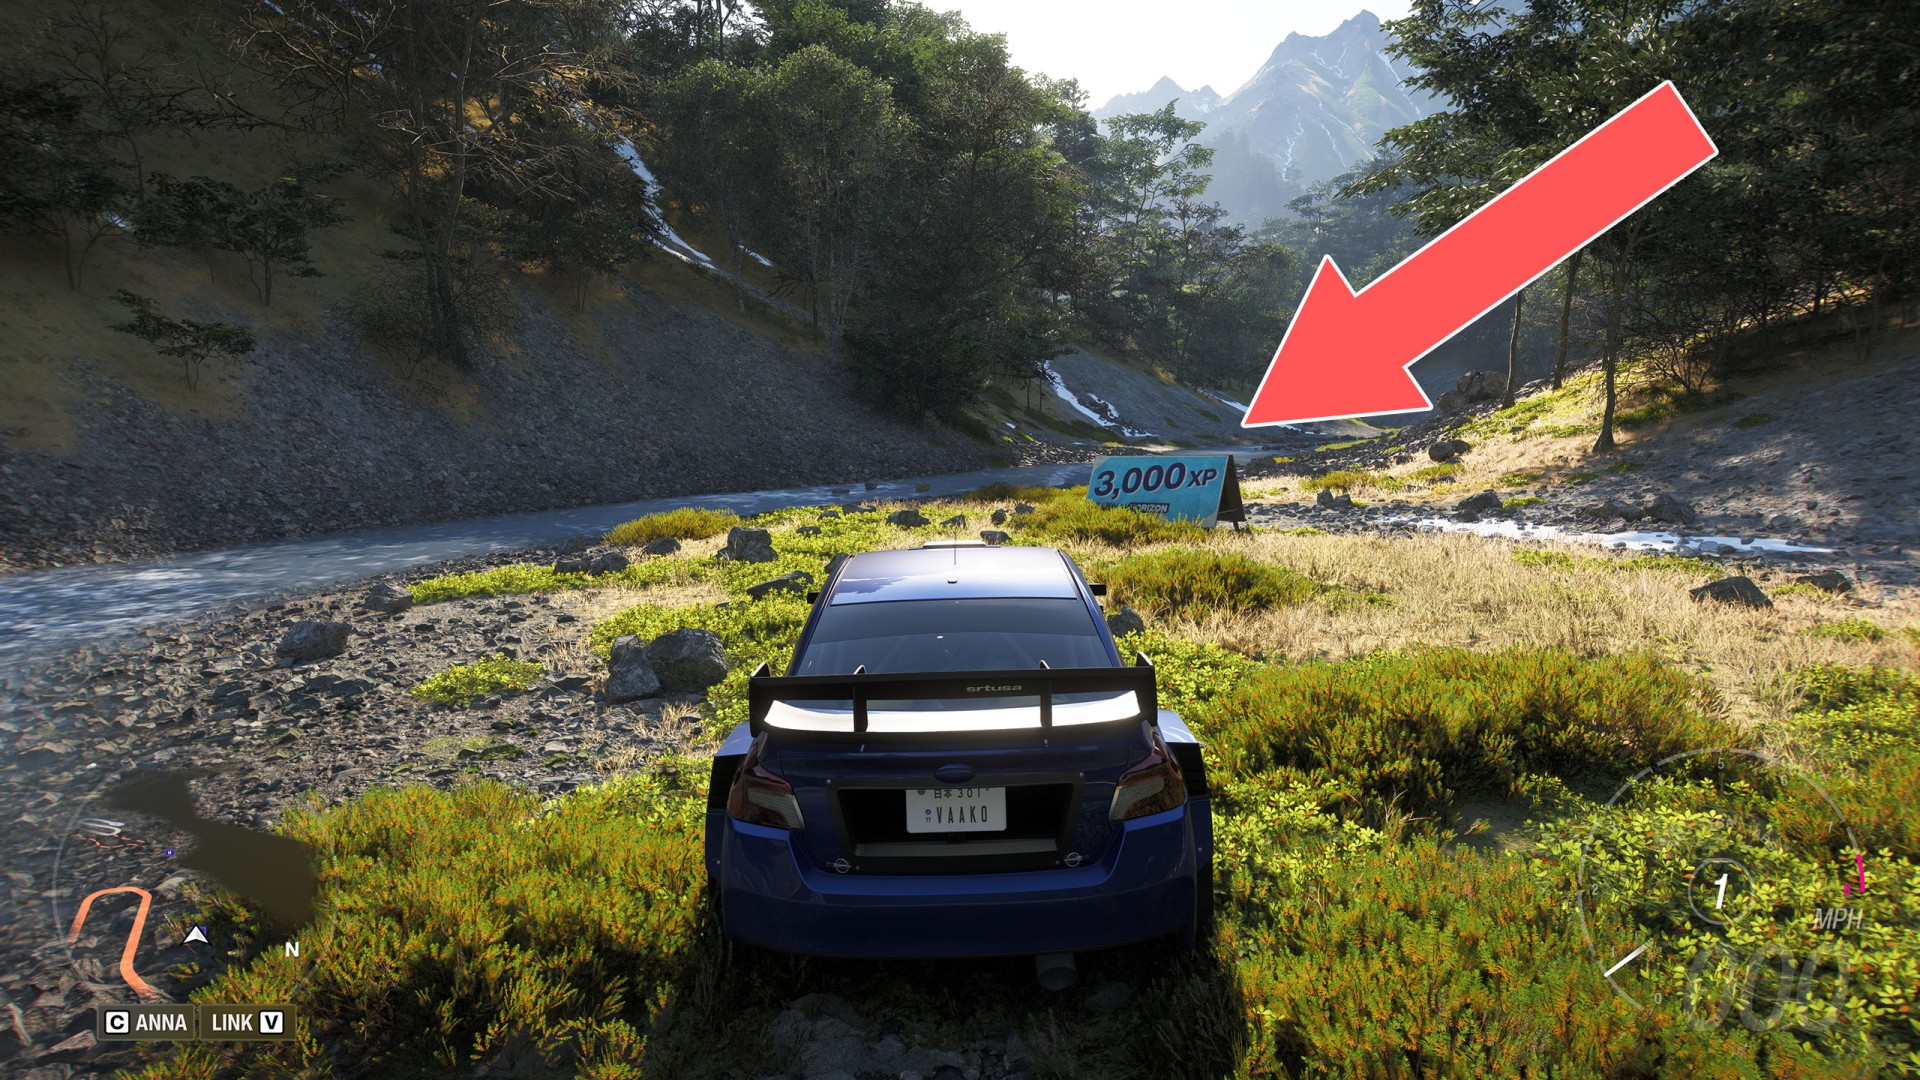
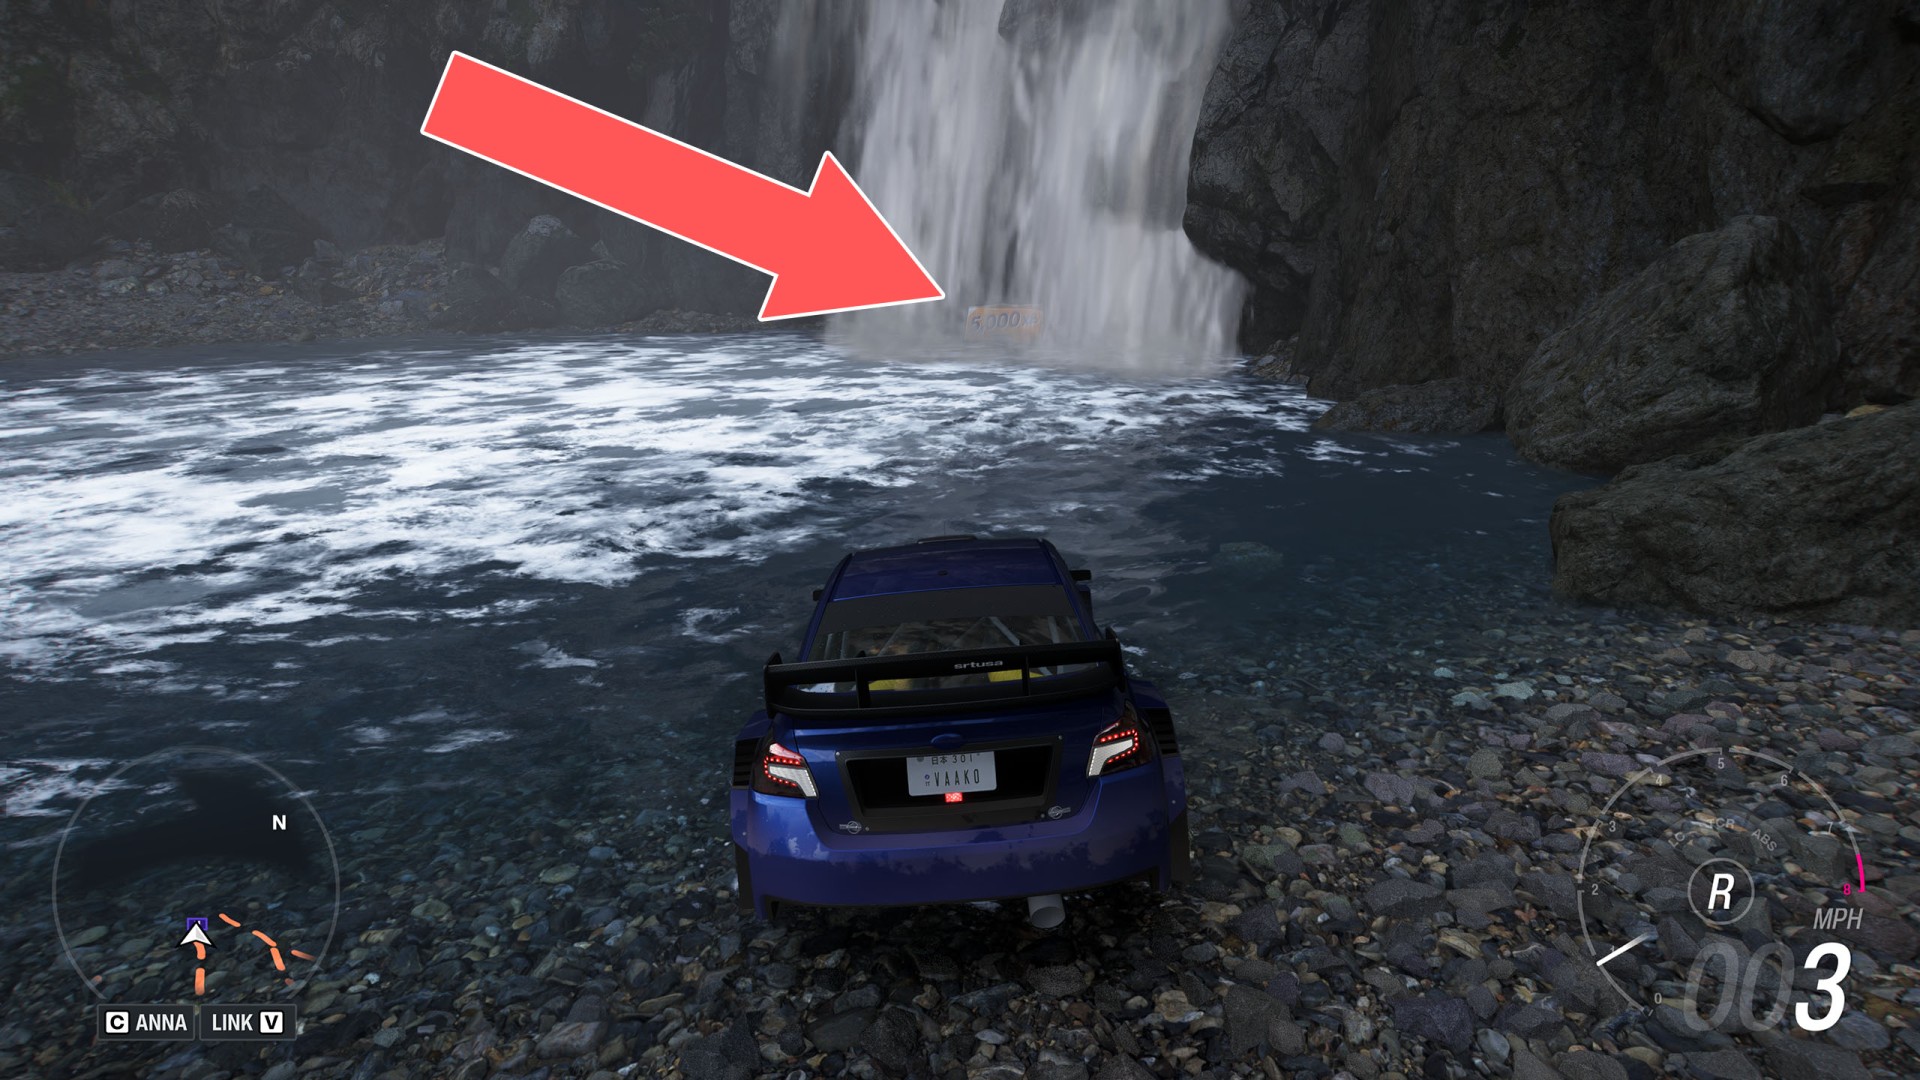
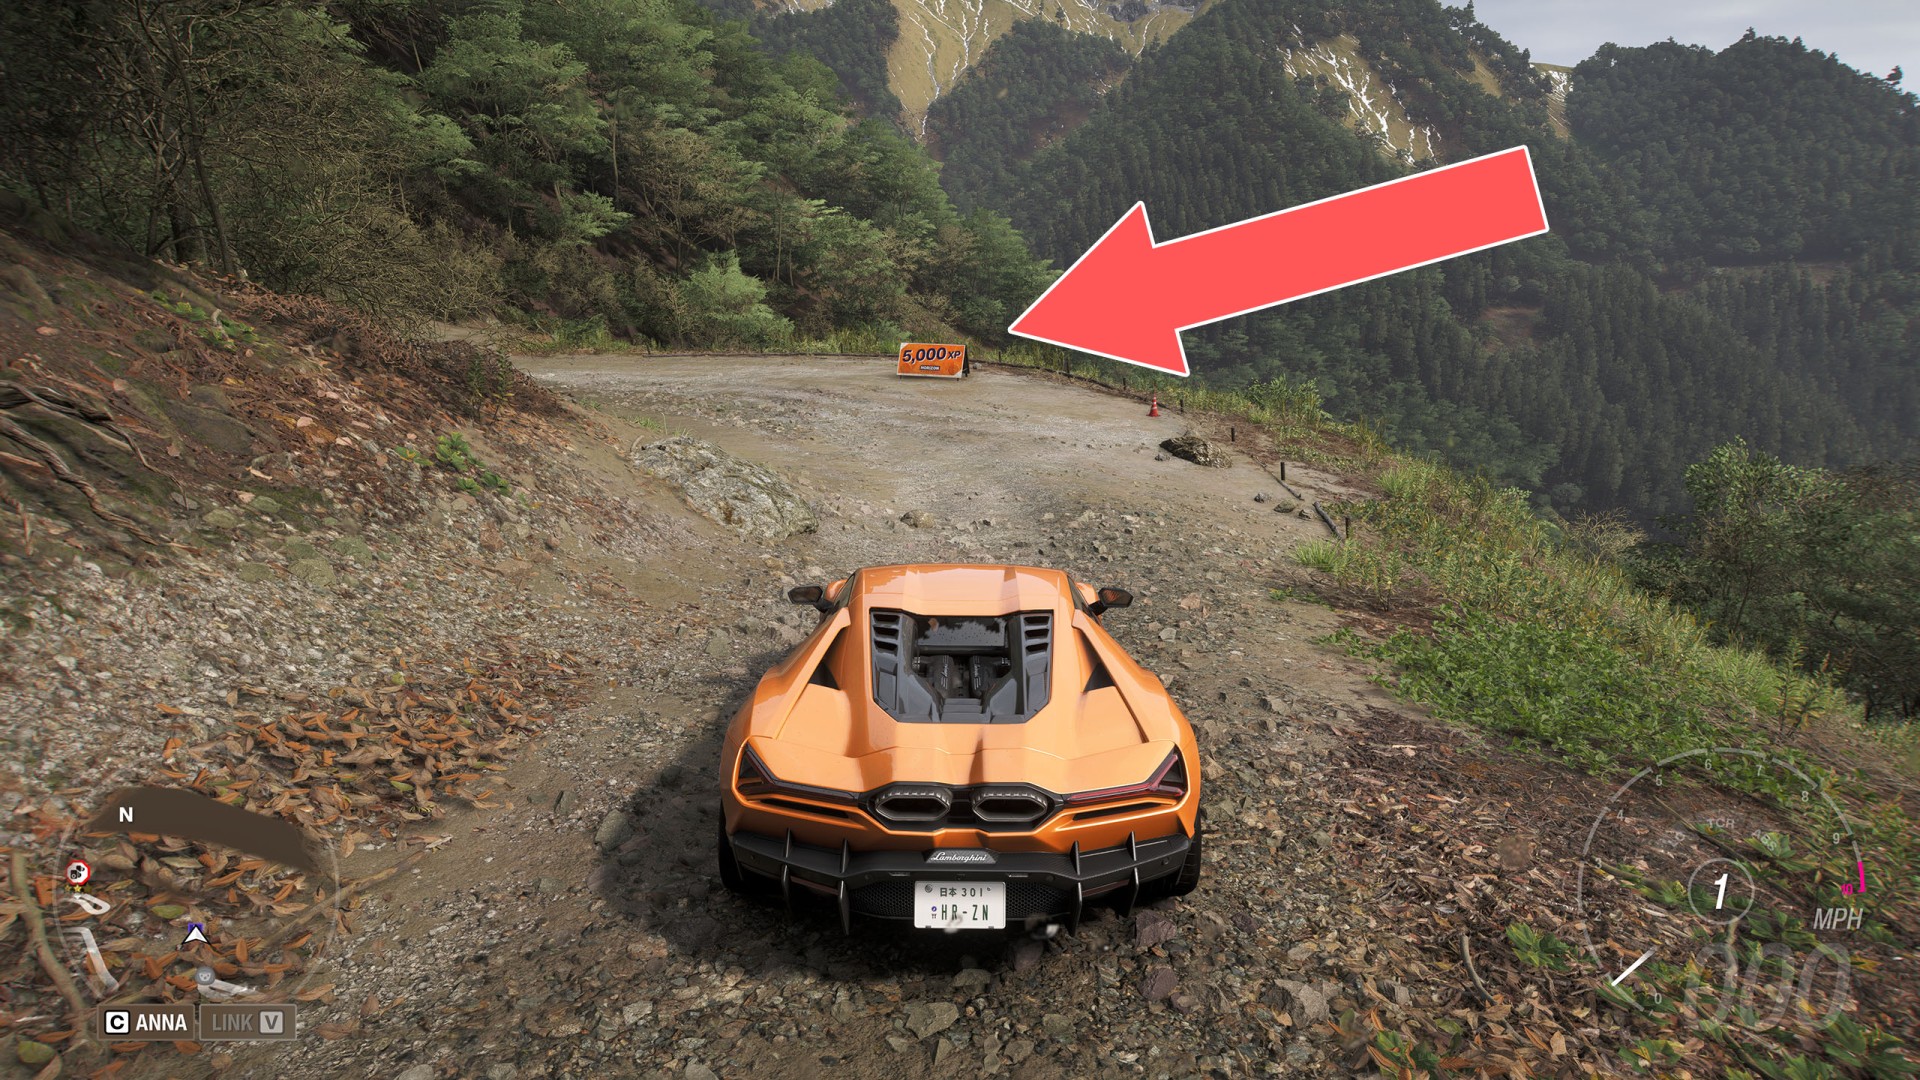
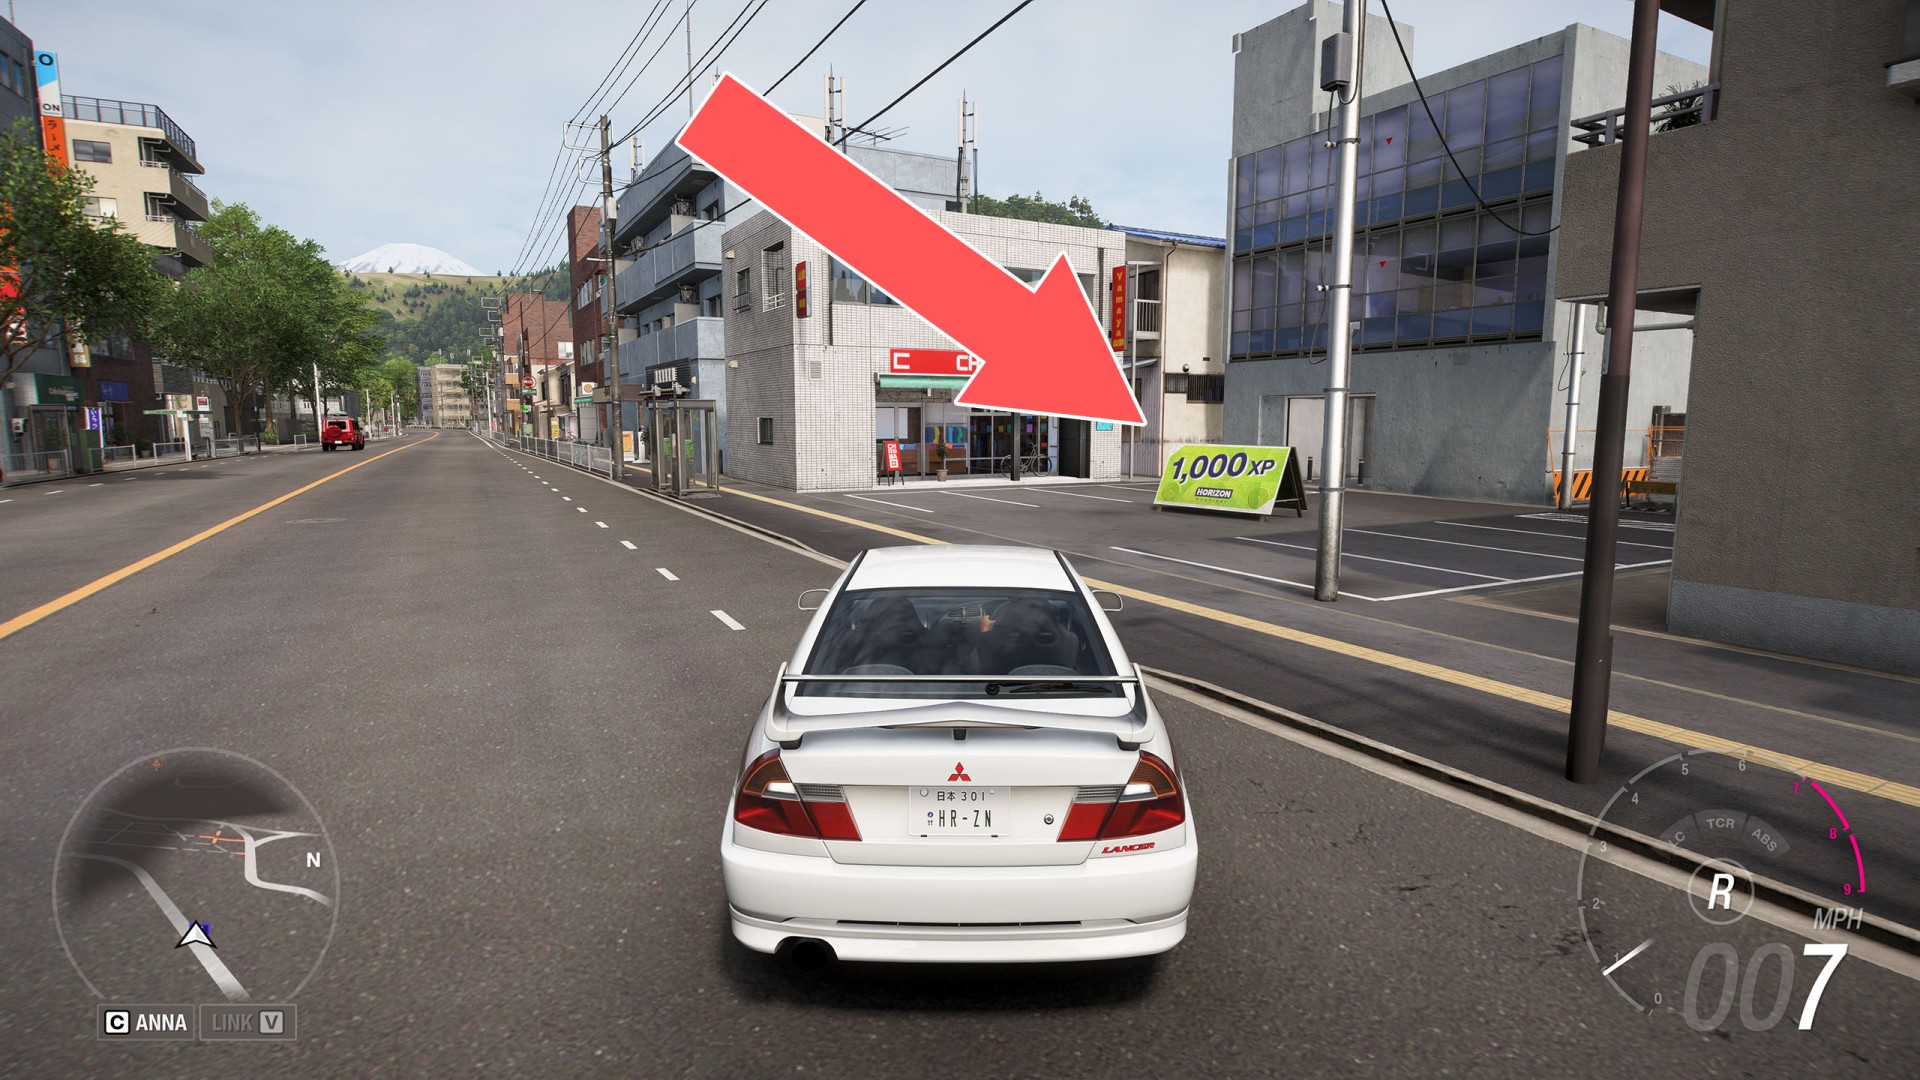
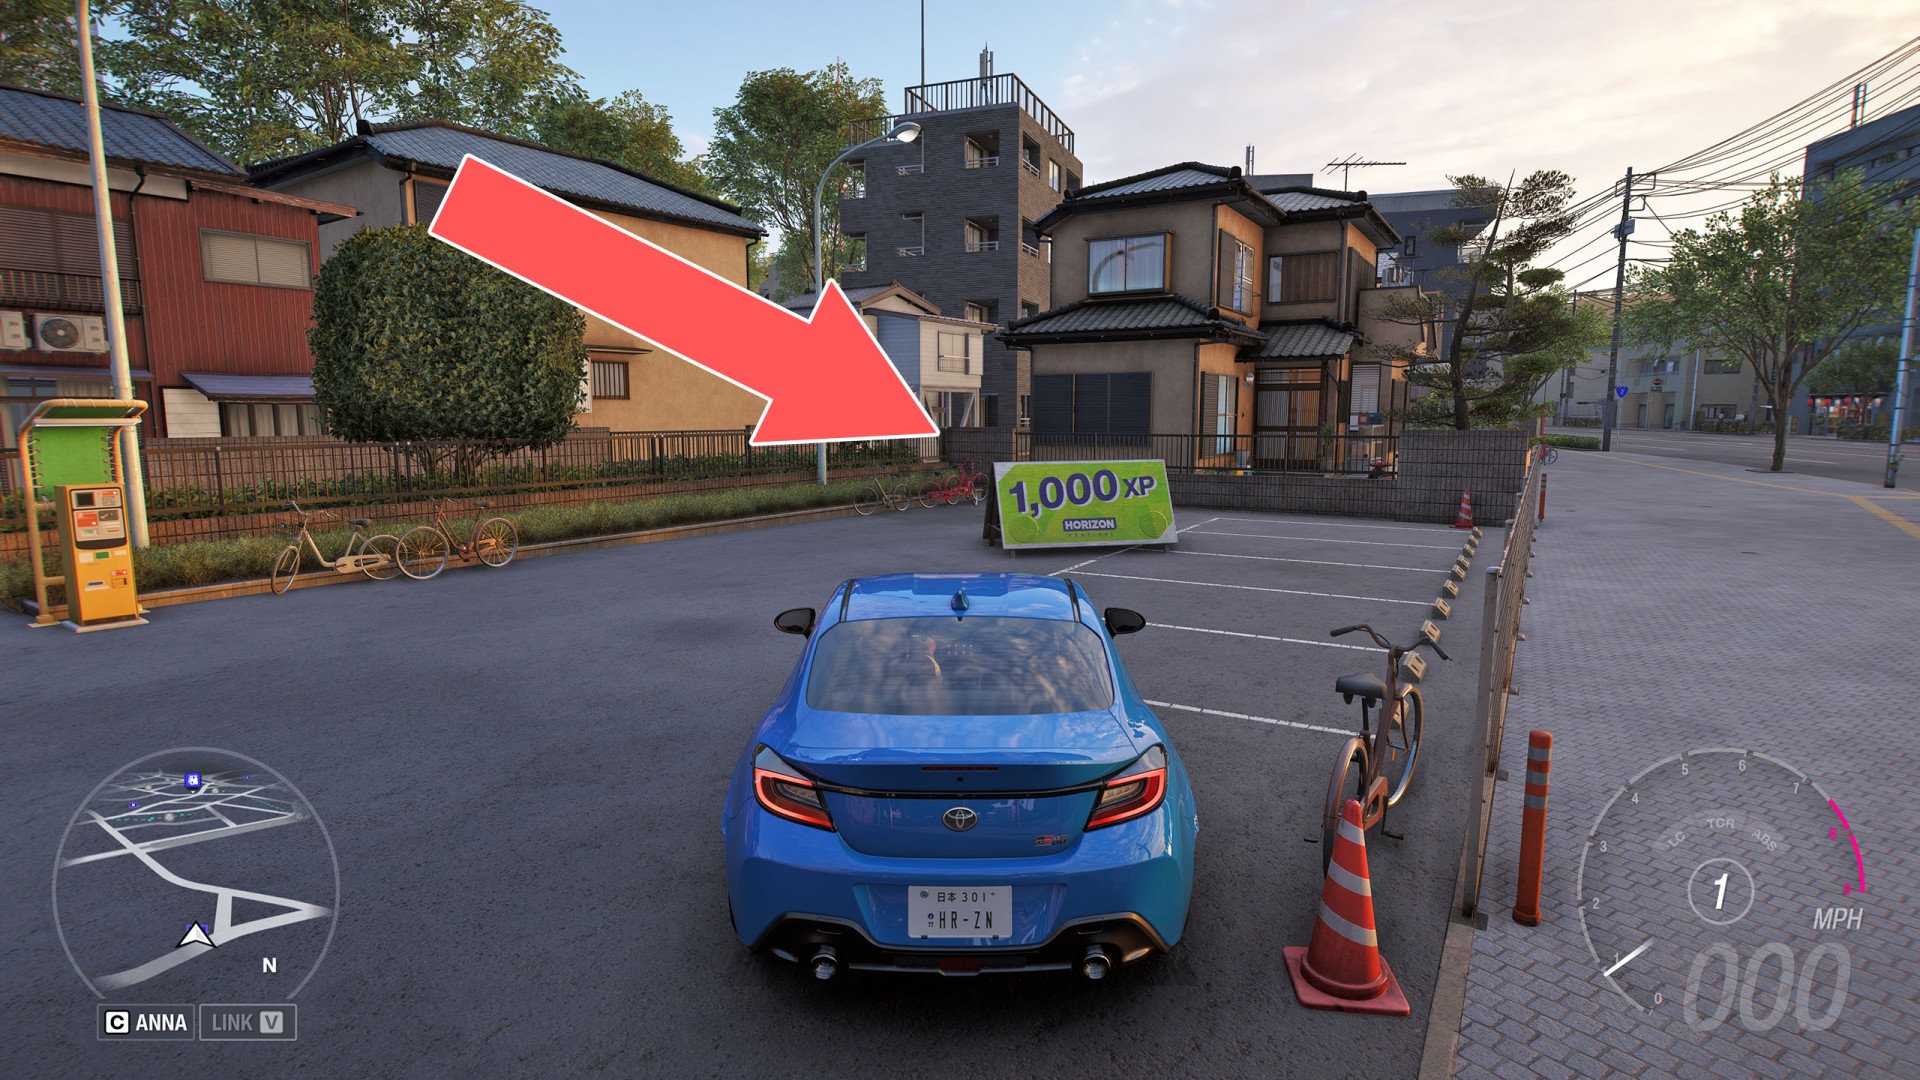
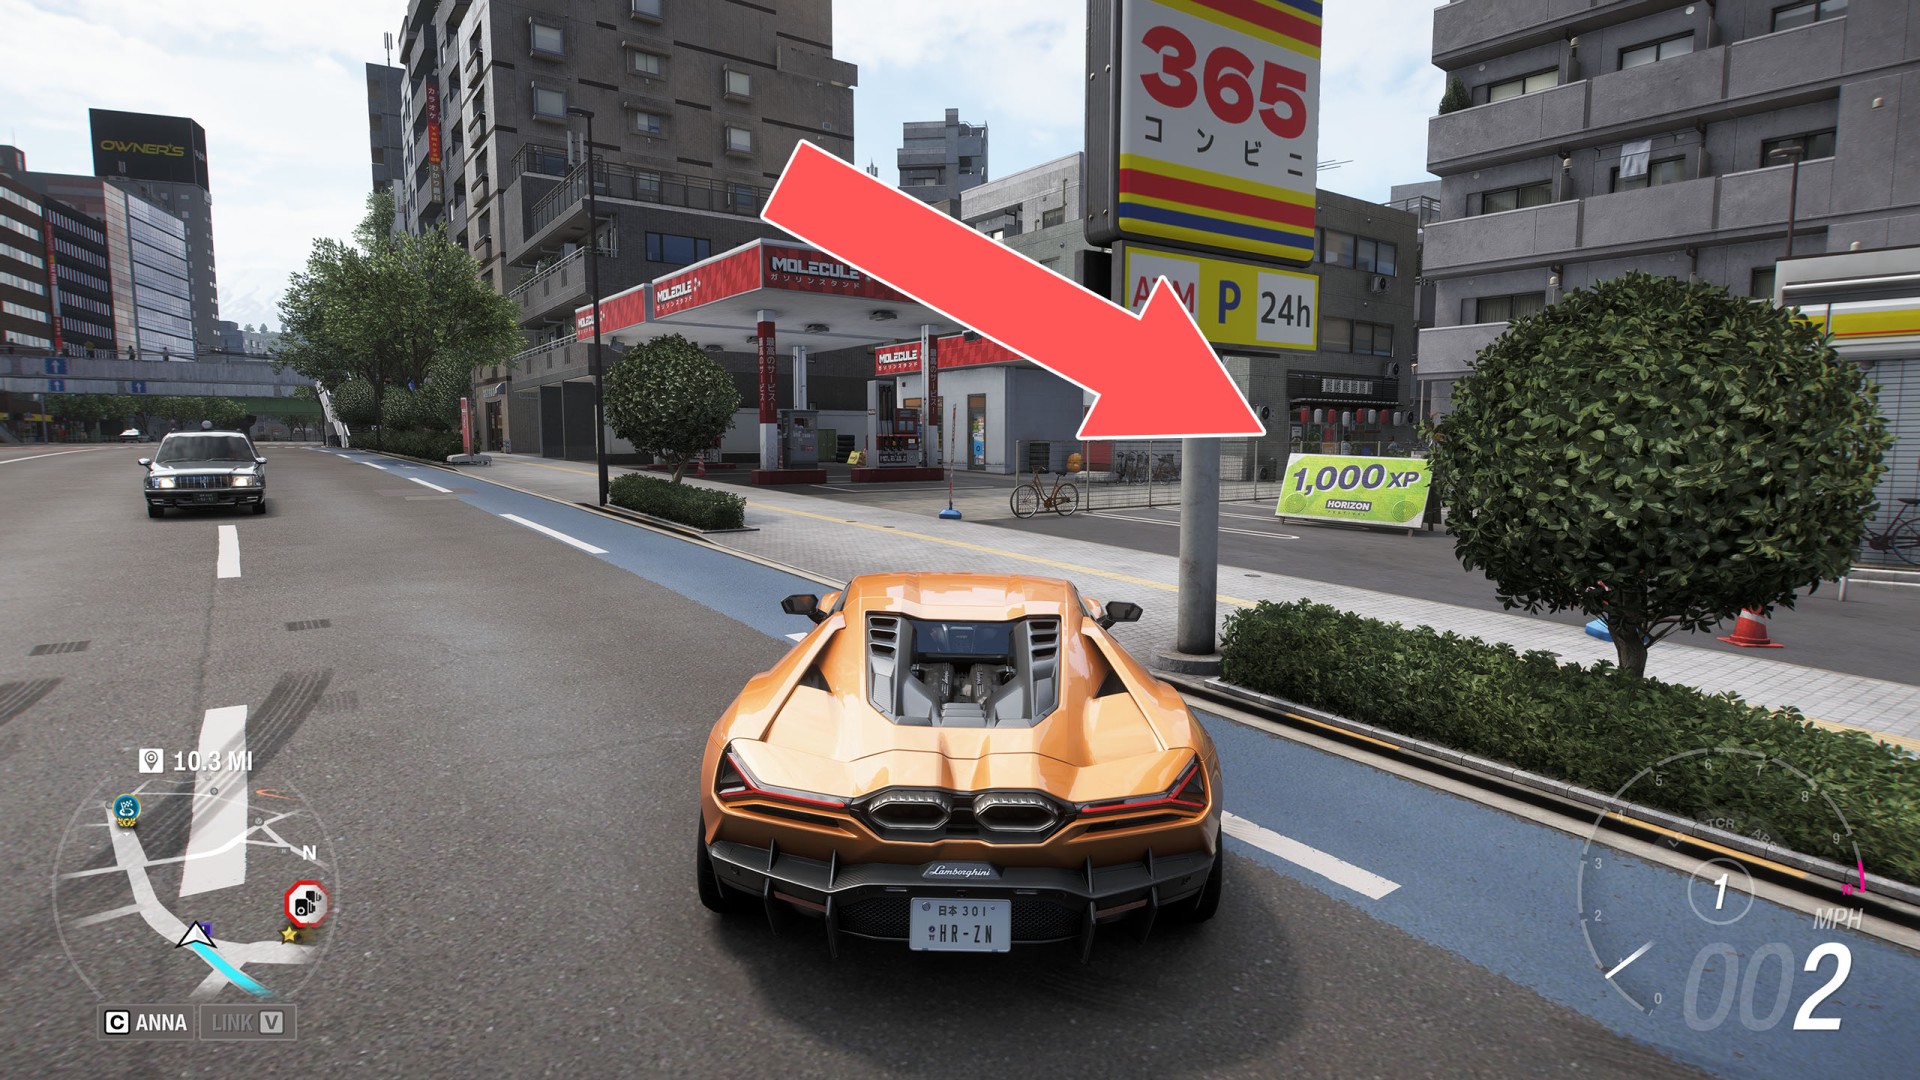
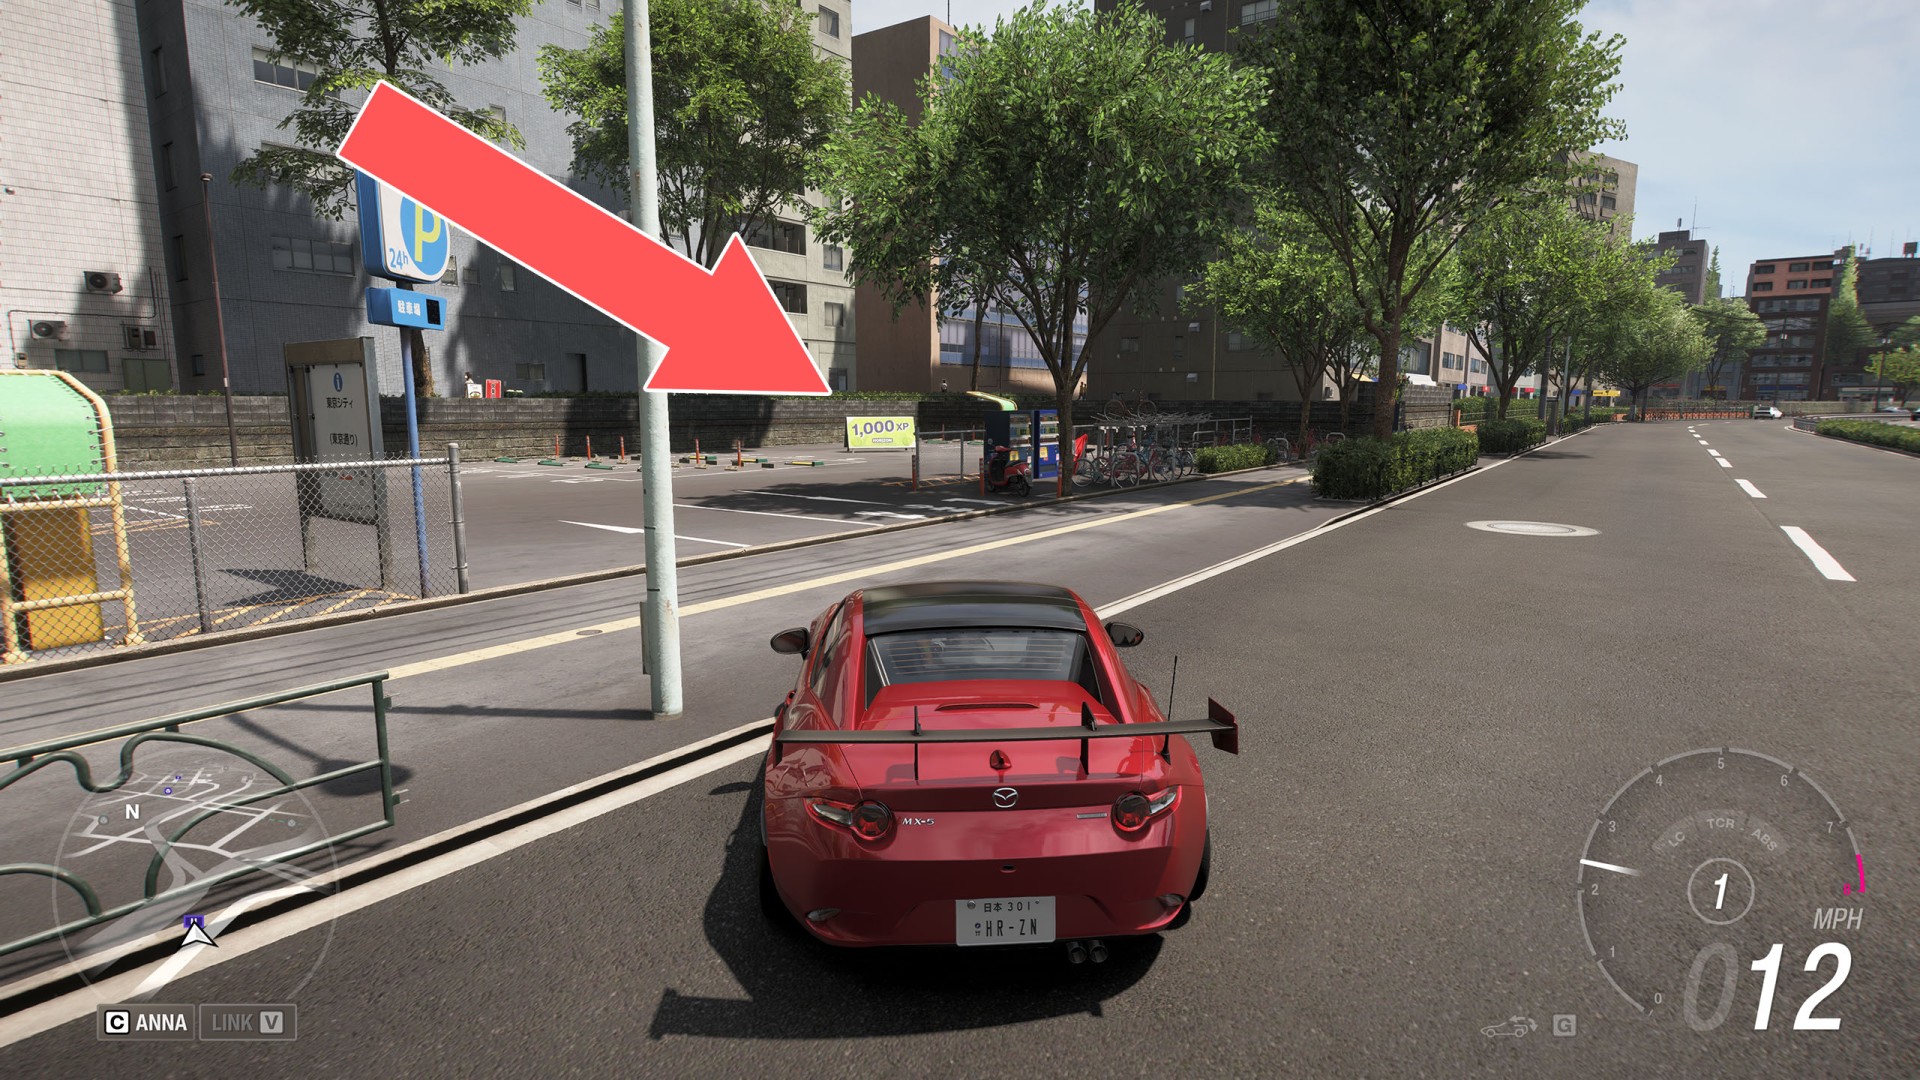
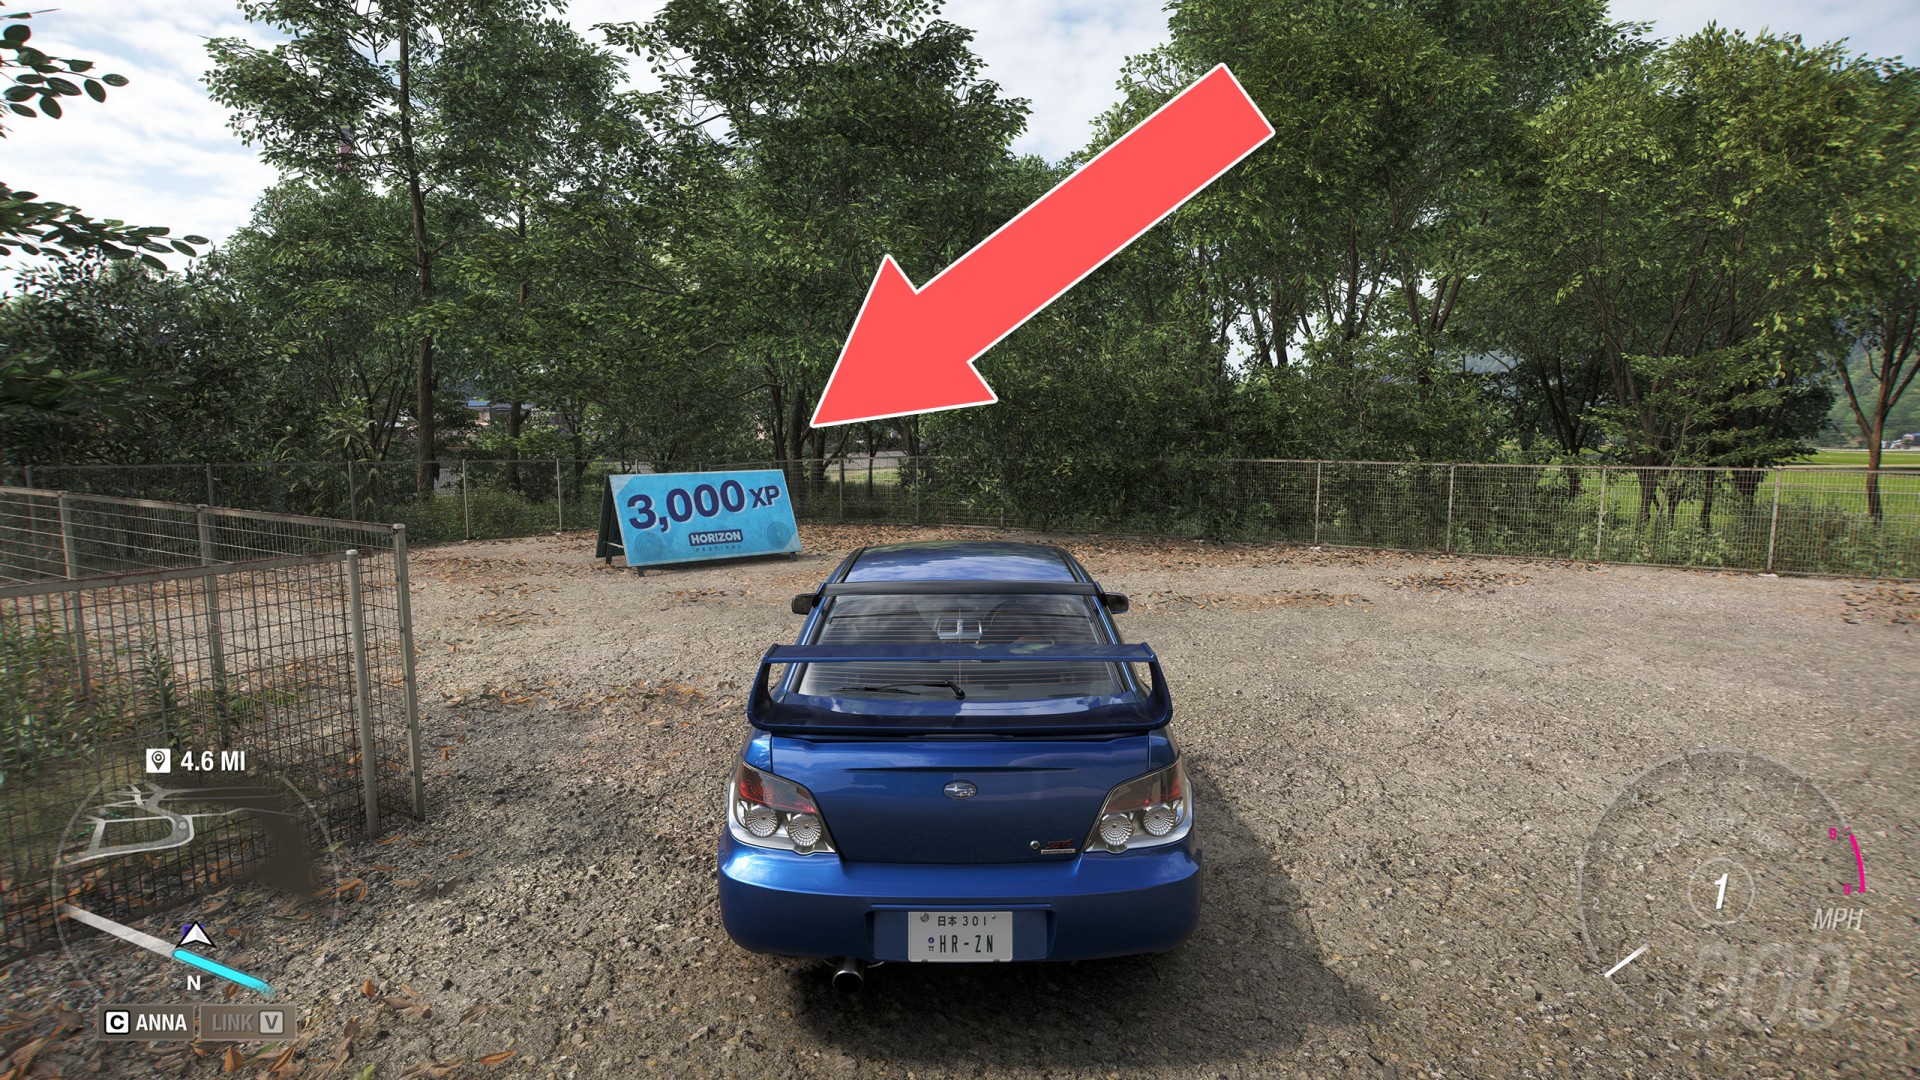
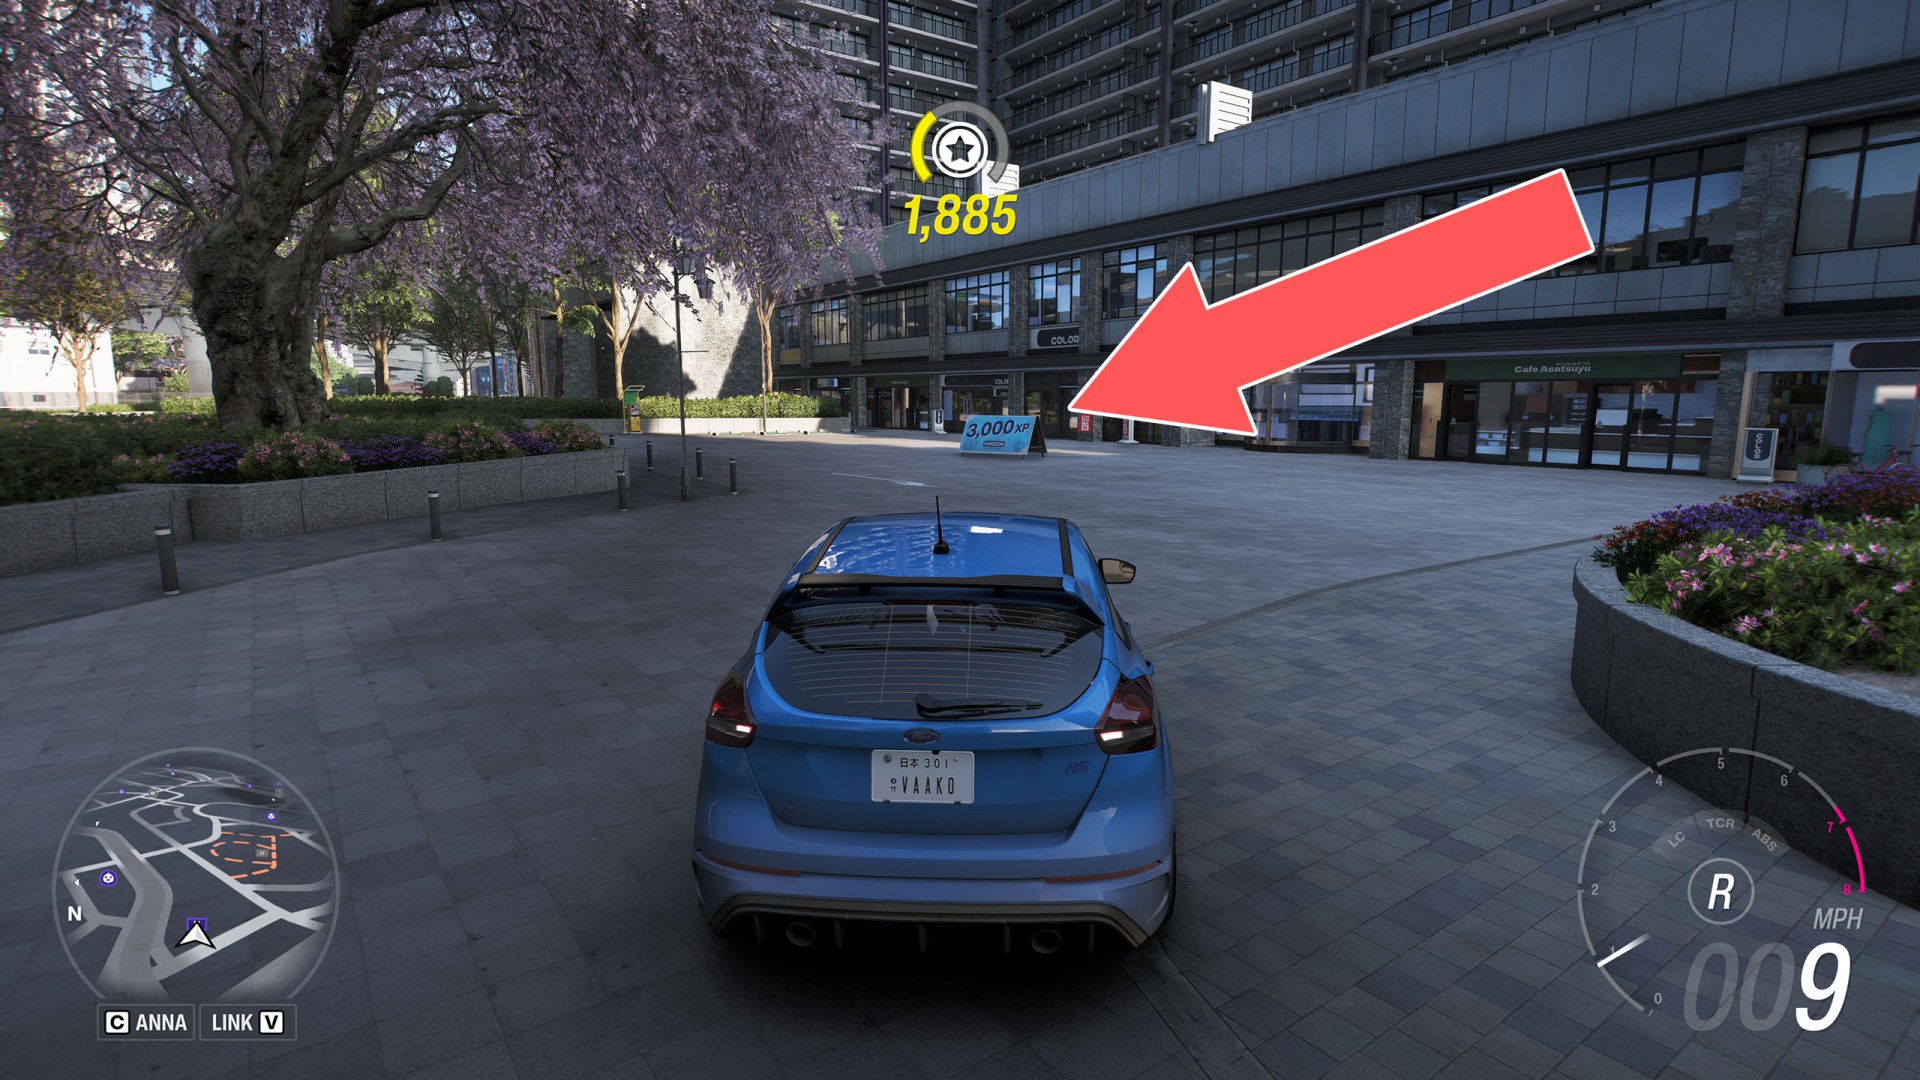
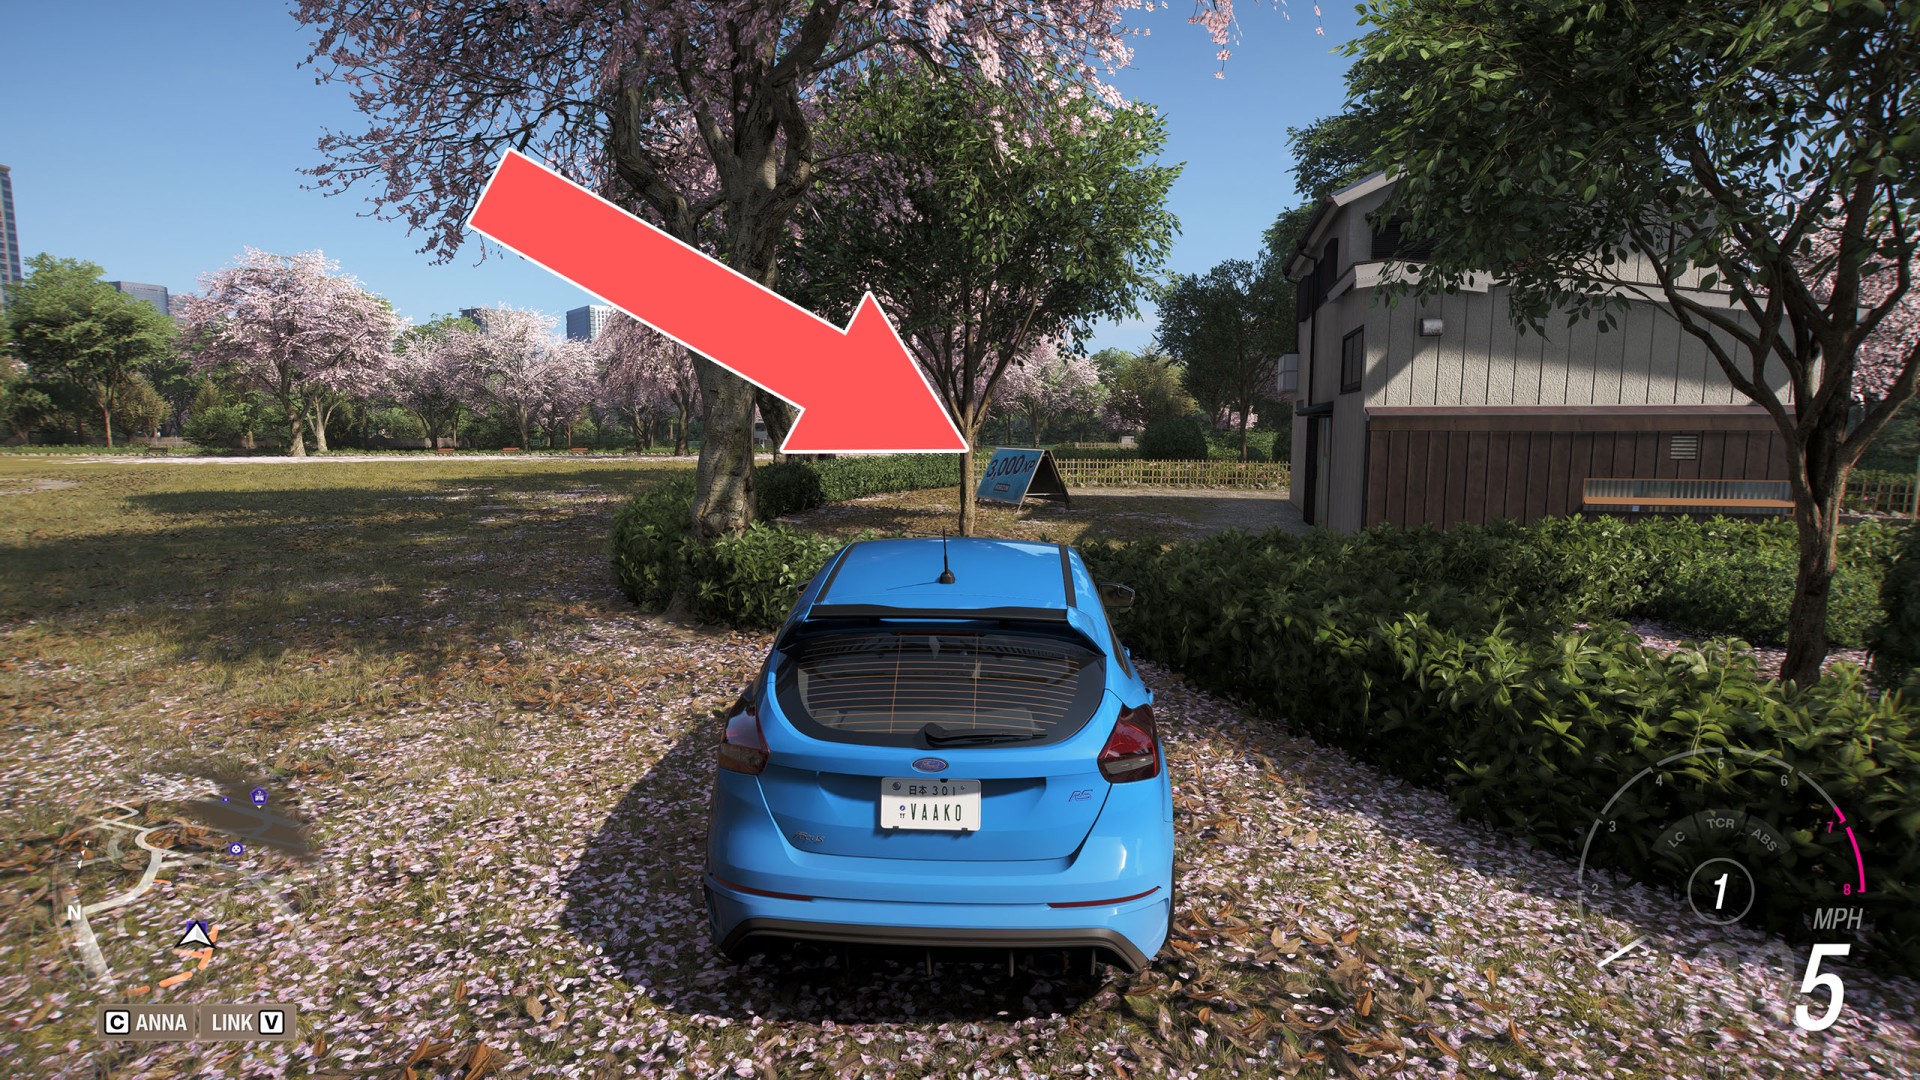
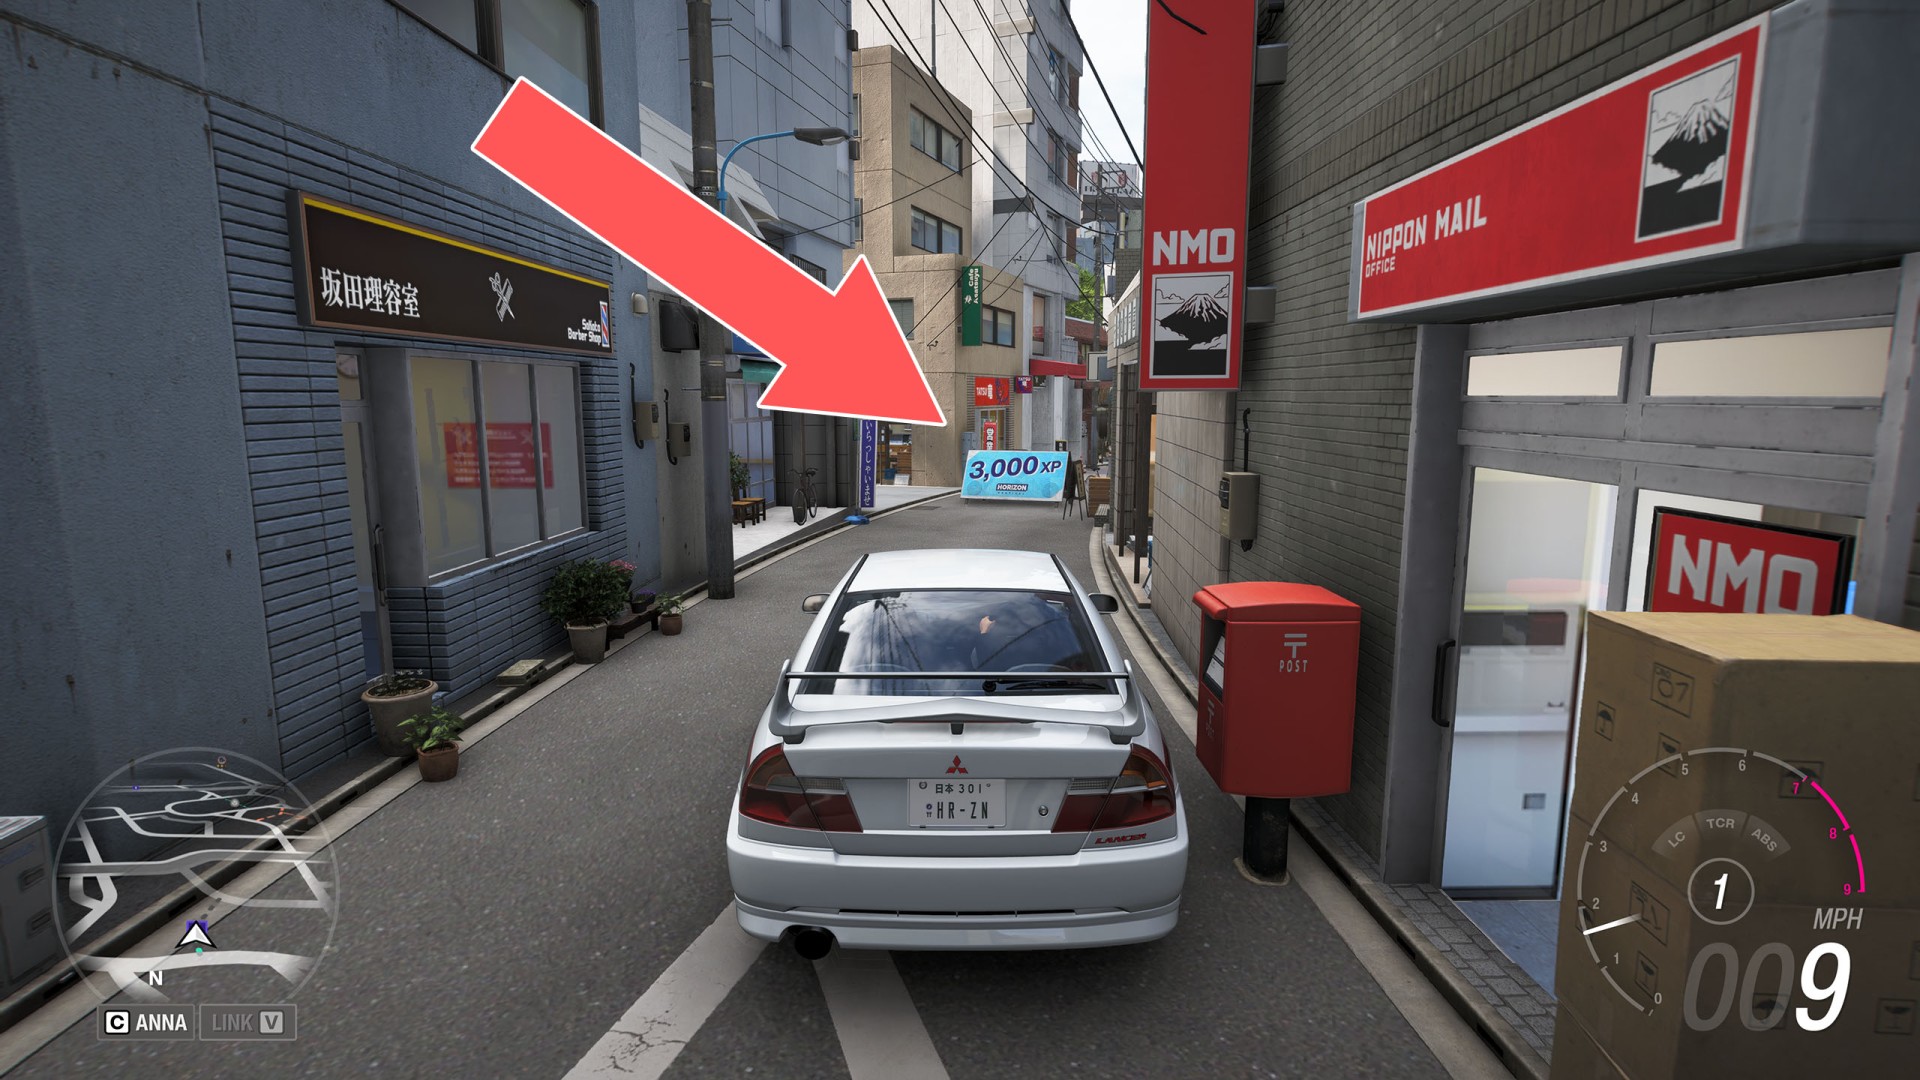
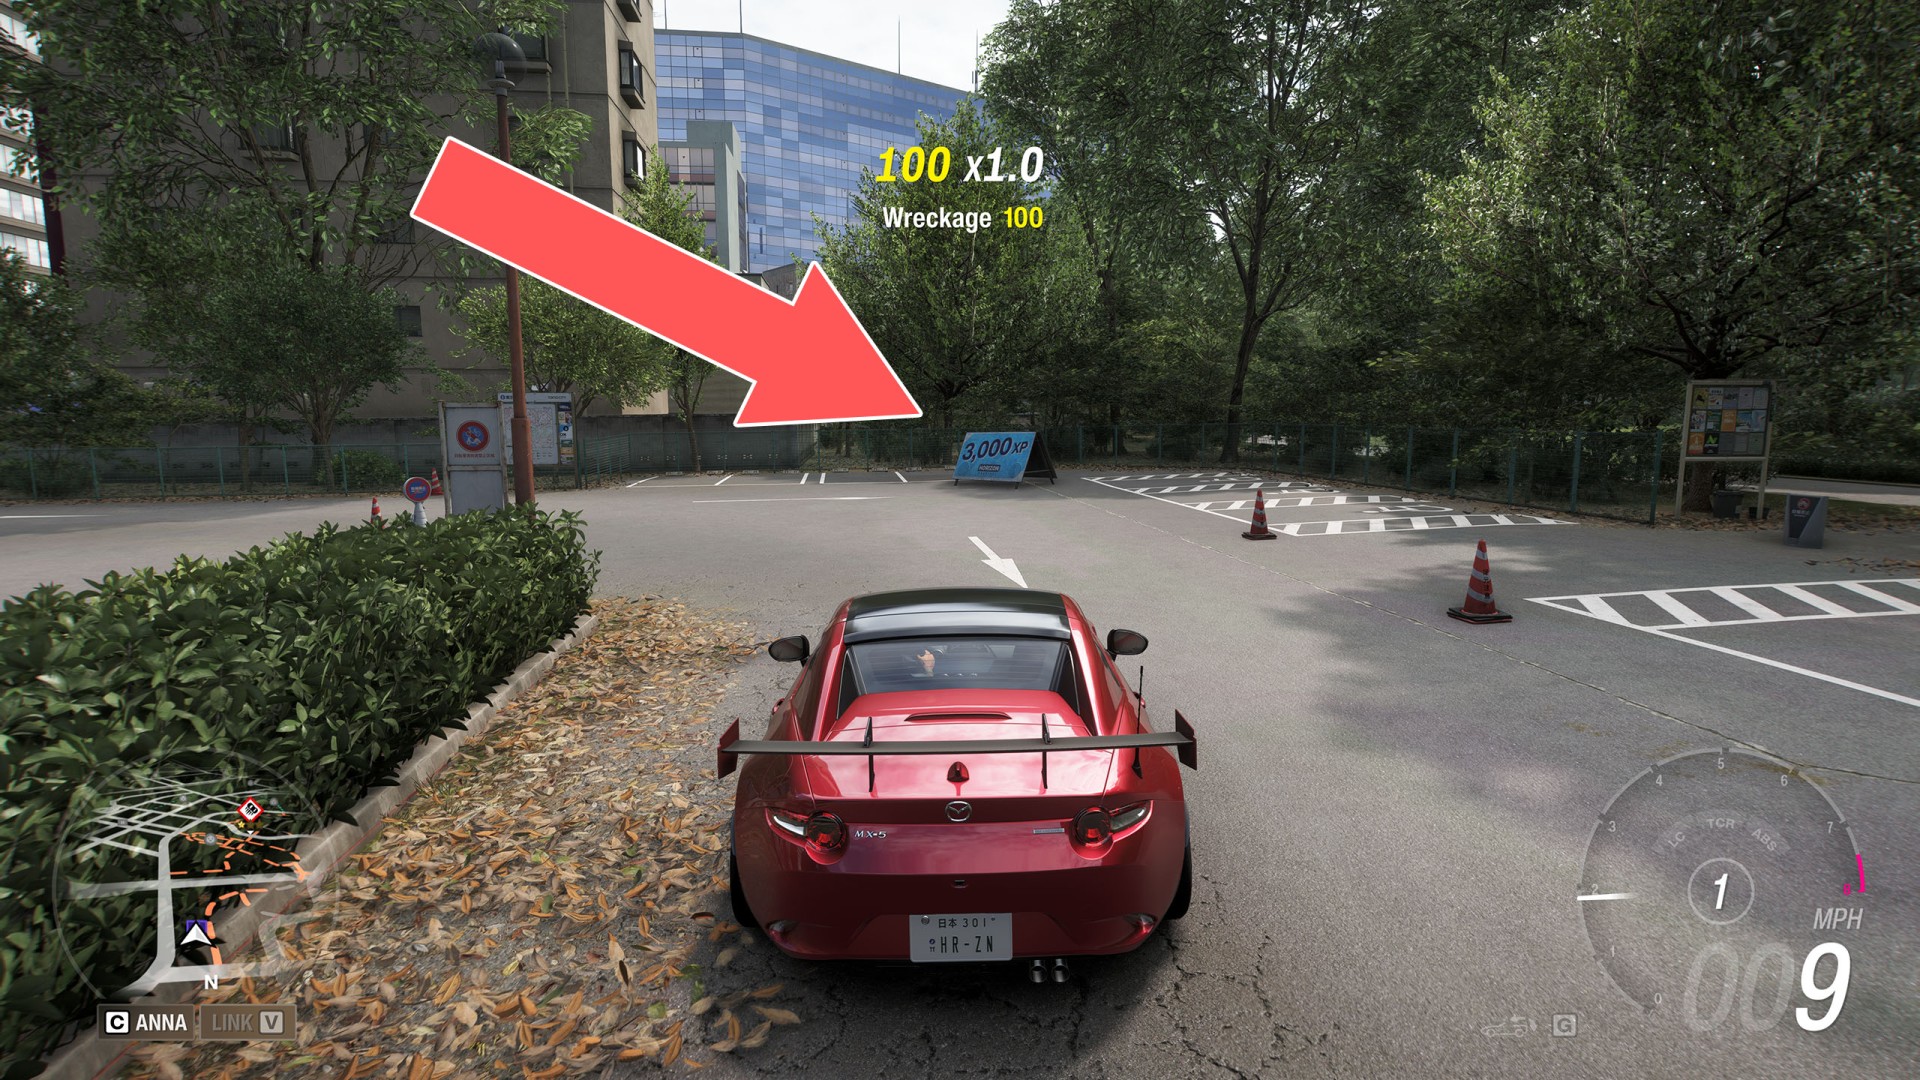
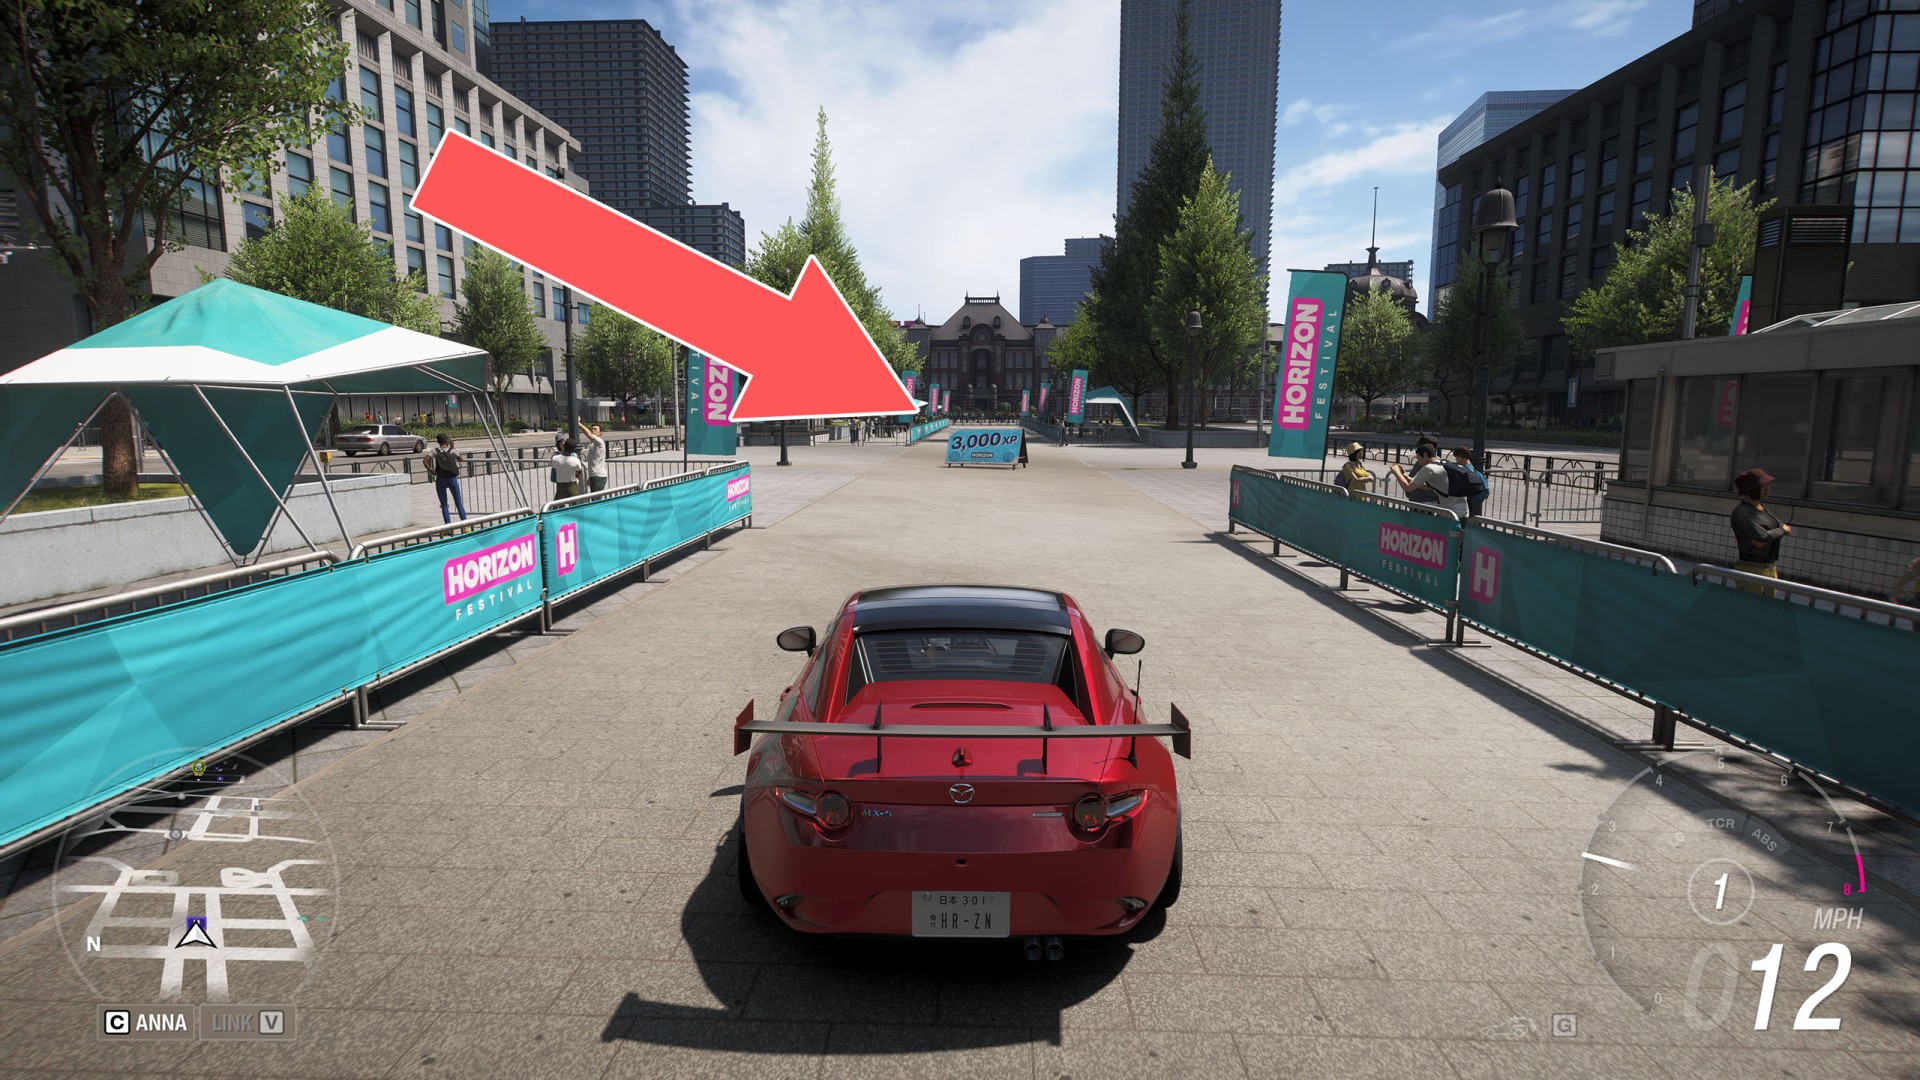
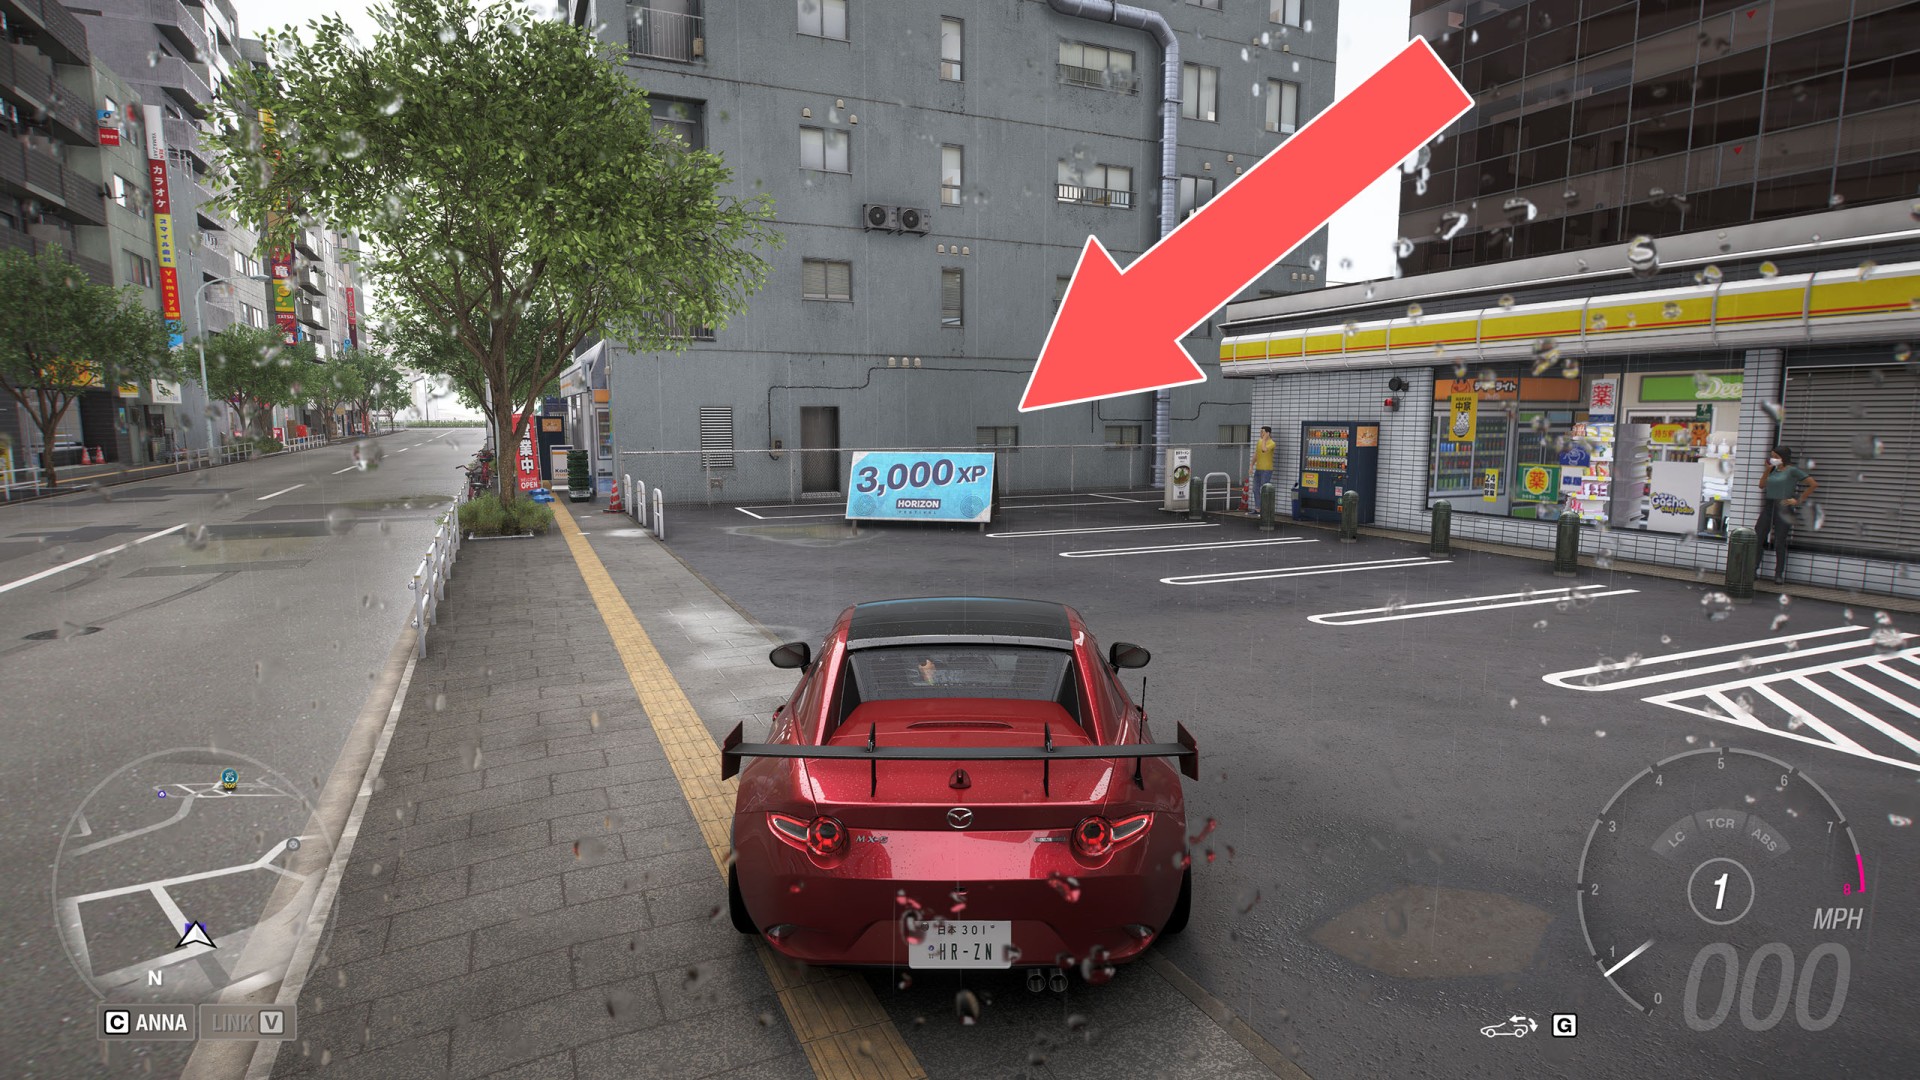
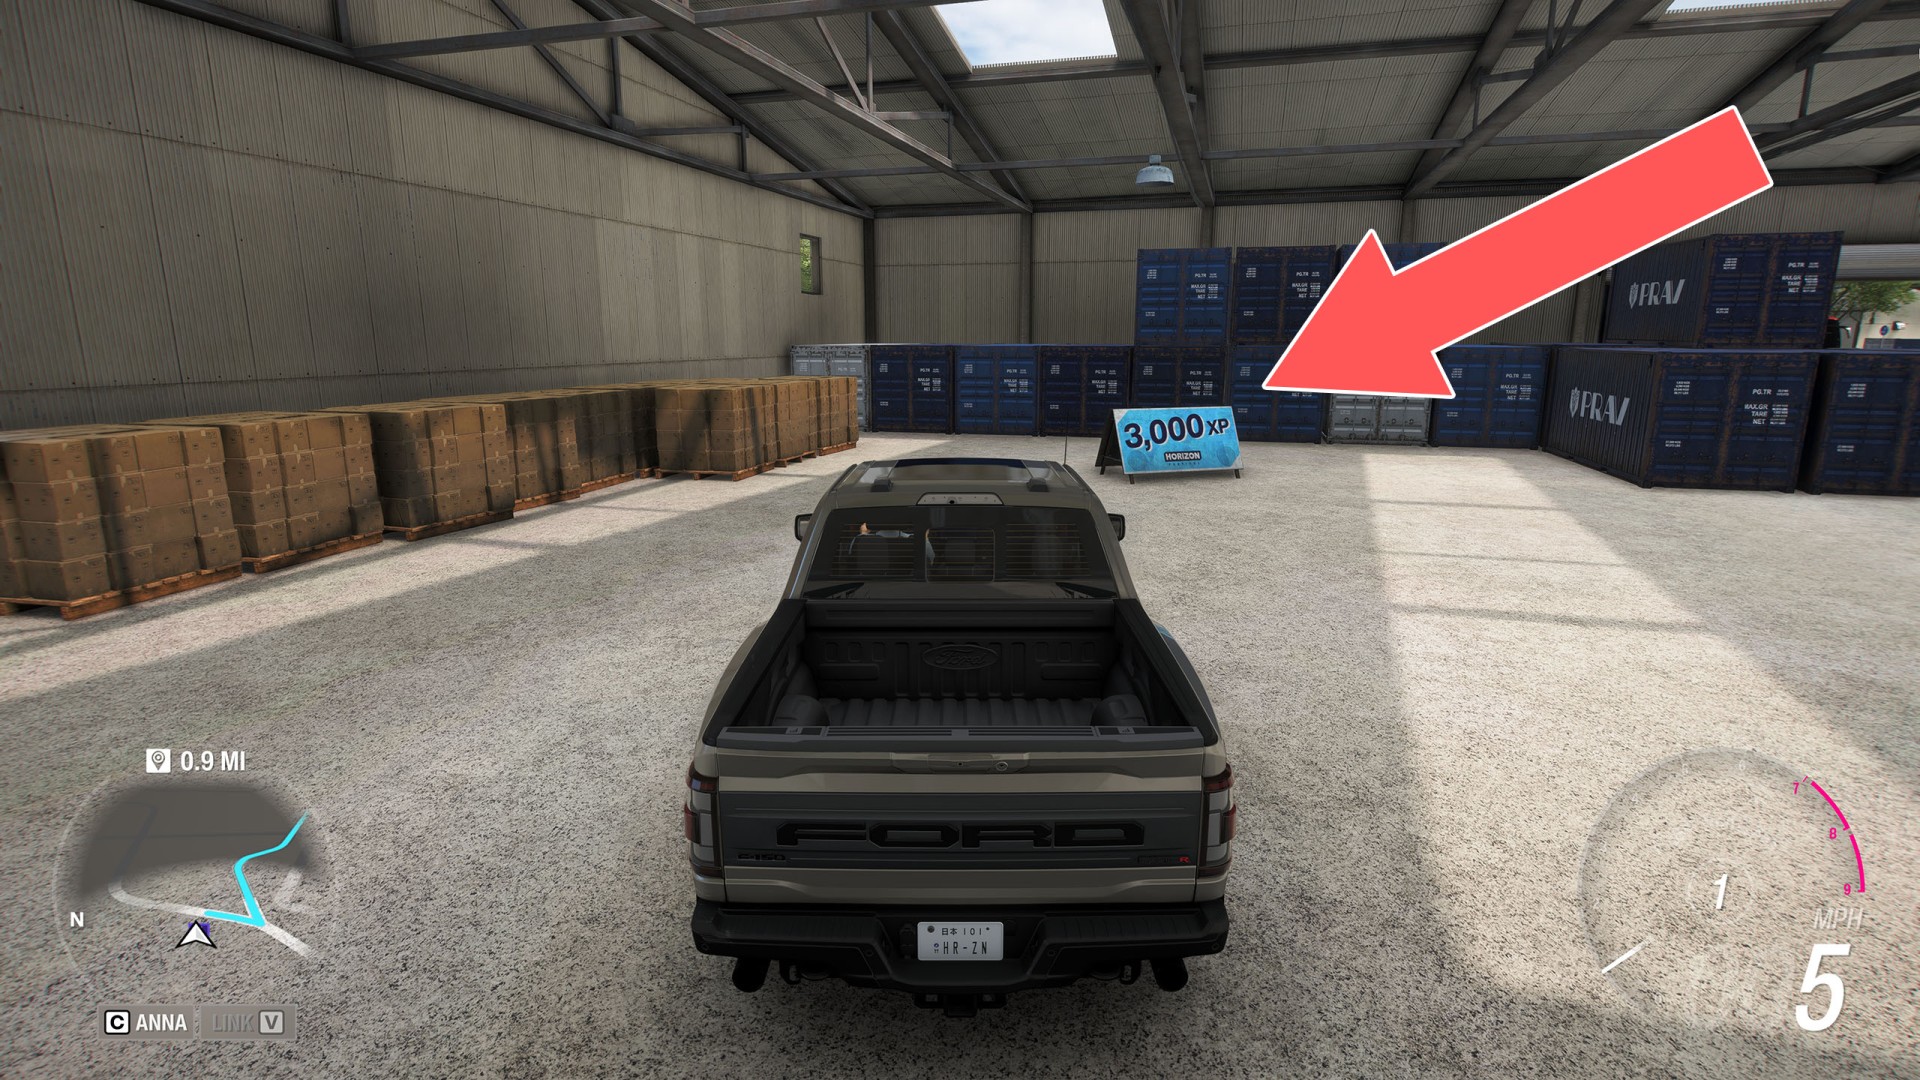
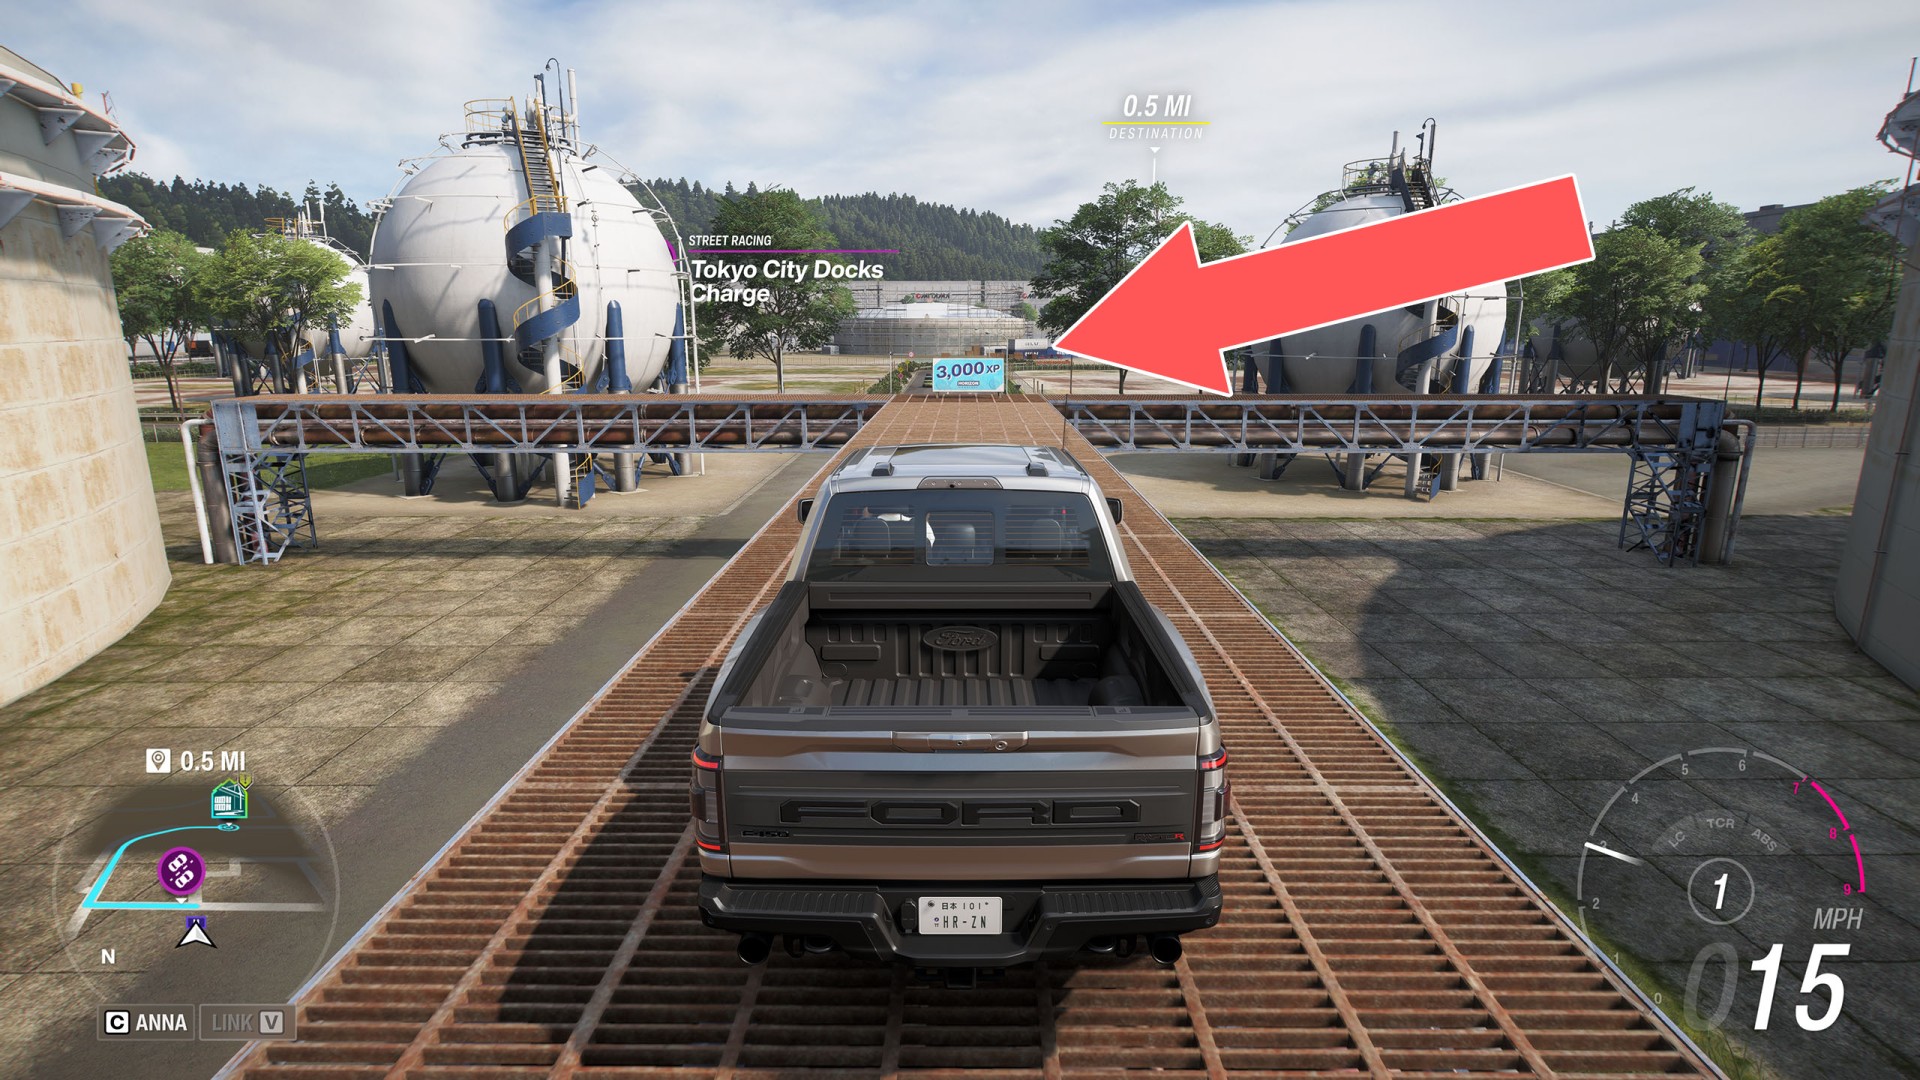
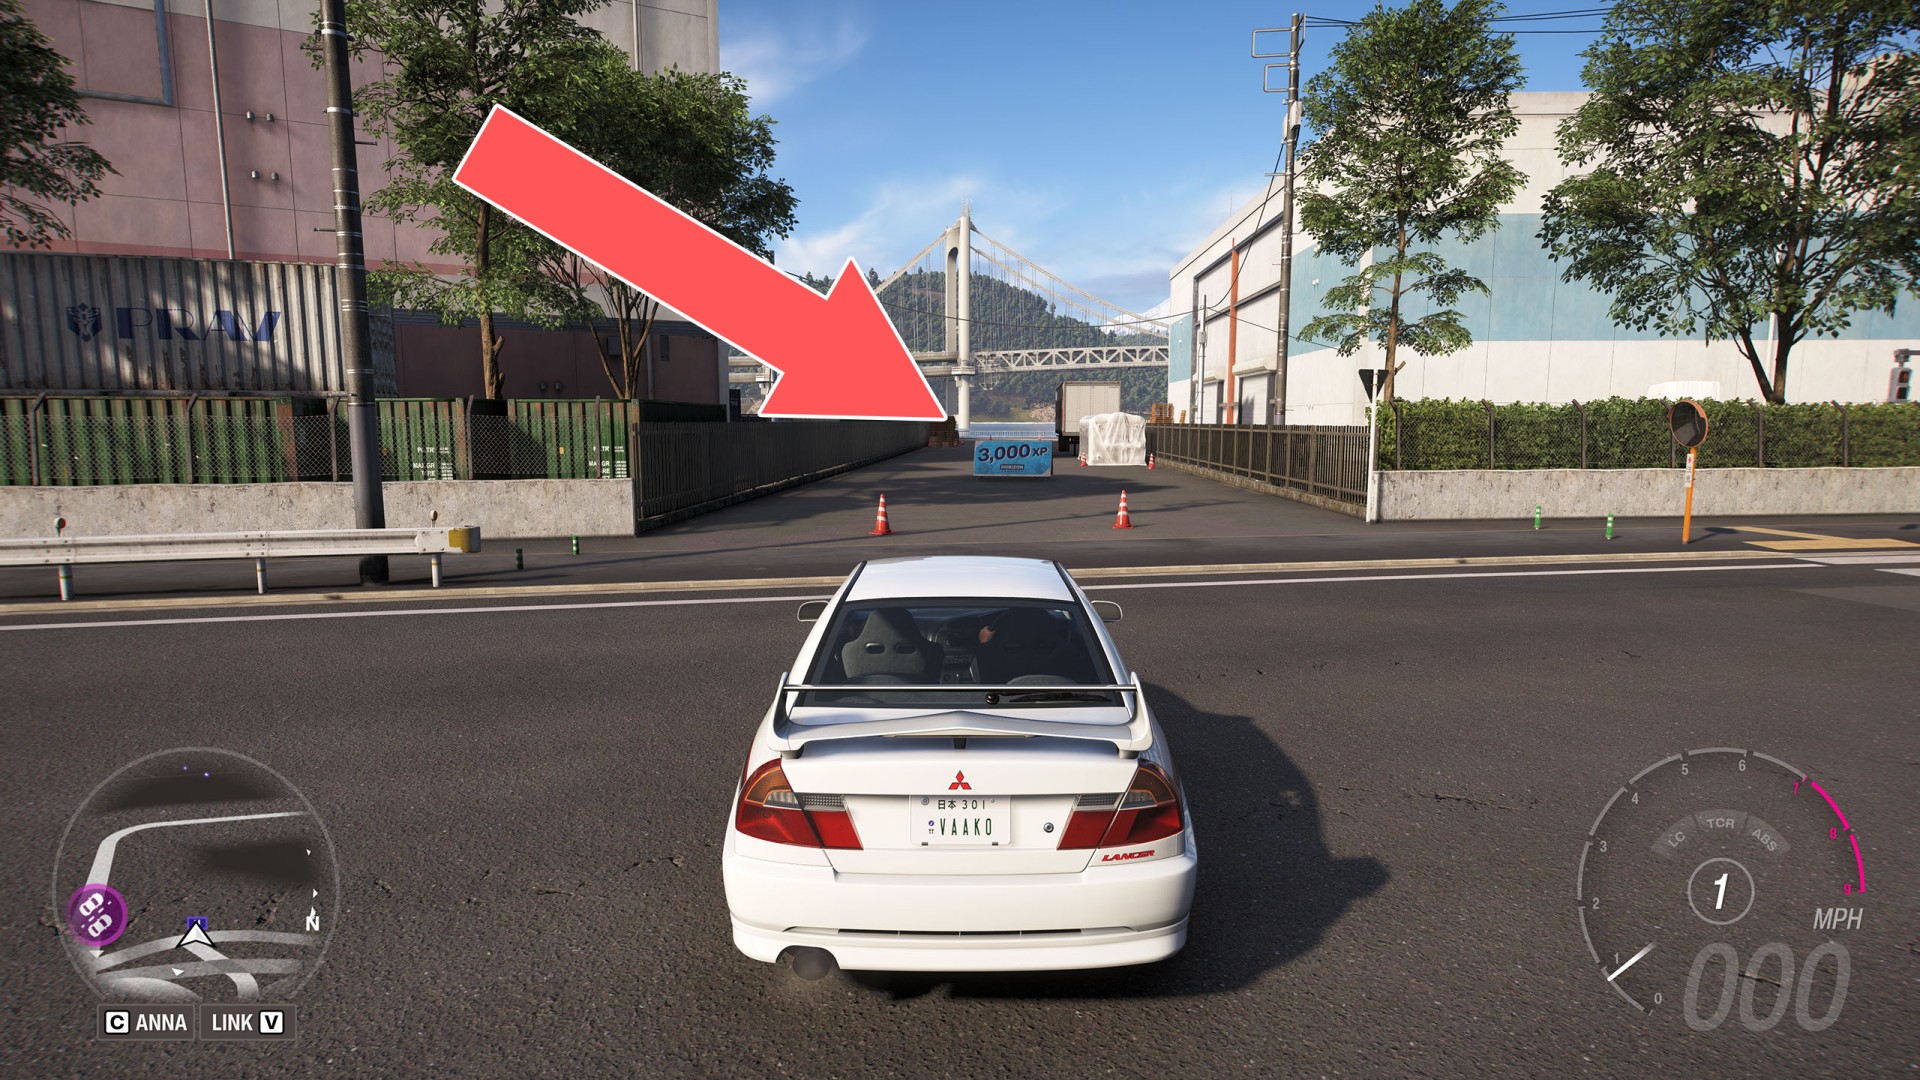
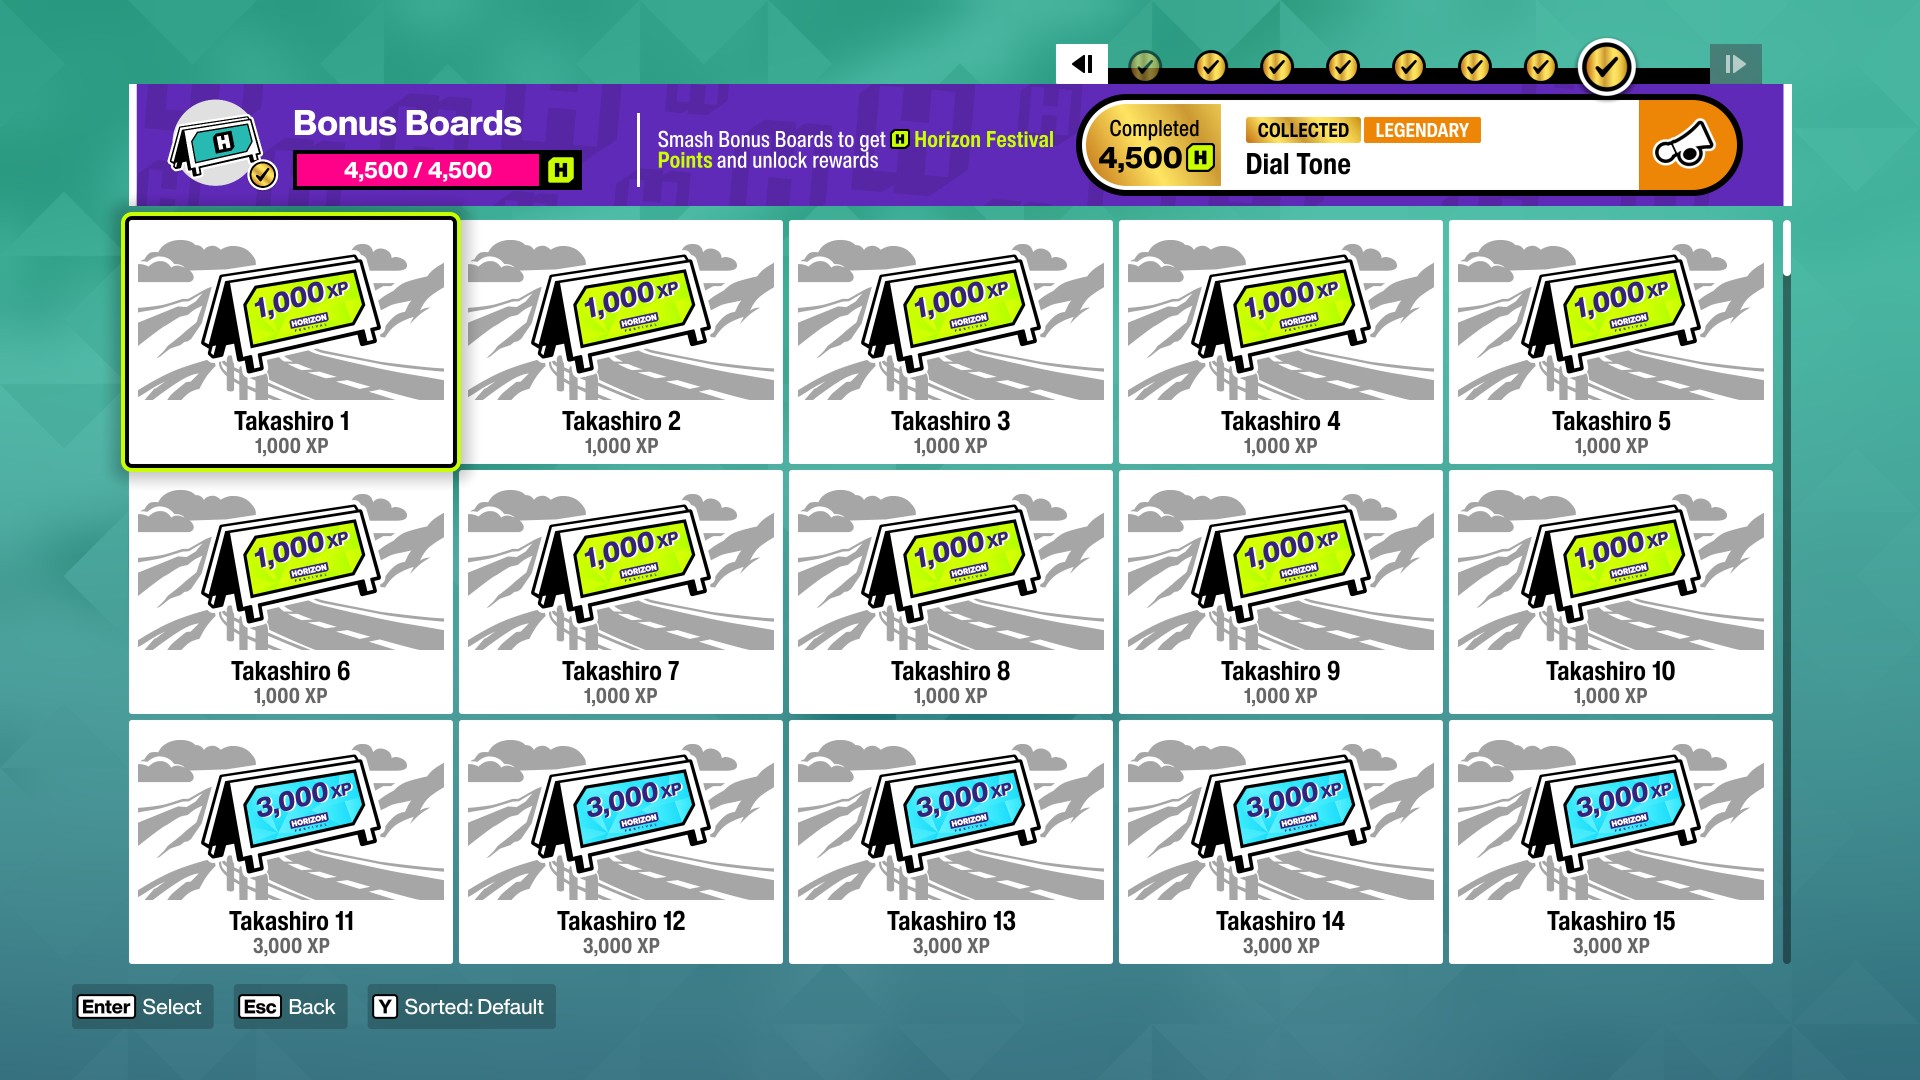
In Forza Horizon 6, Bonus Boards / XP Boards are a type of collectibles with which you can gather some experience relatively quickly. There are a total of 200 Boards in Forza Horizon 6. In order to score a board, all you have to do is simply drive through it and destroy it. They can be divided into three groups, depending on how much experience you get after destroying a certain board.

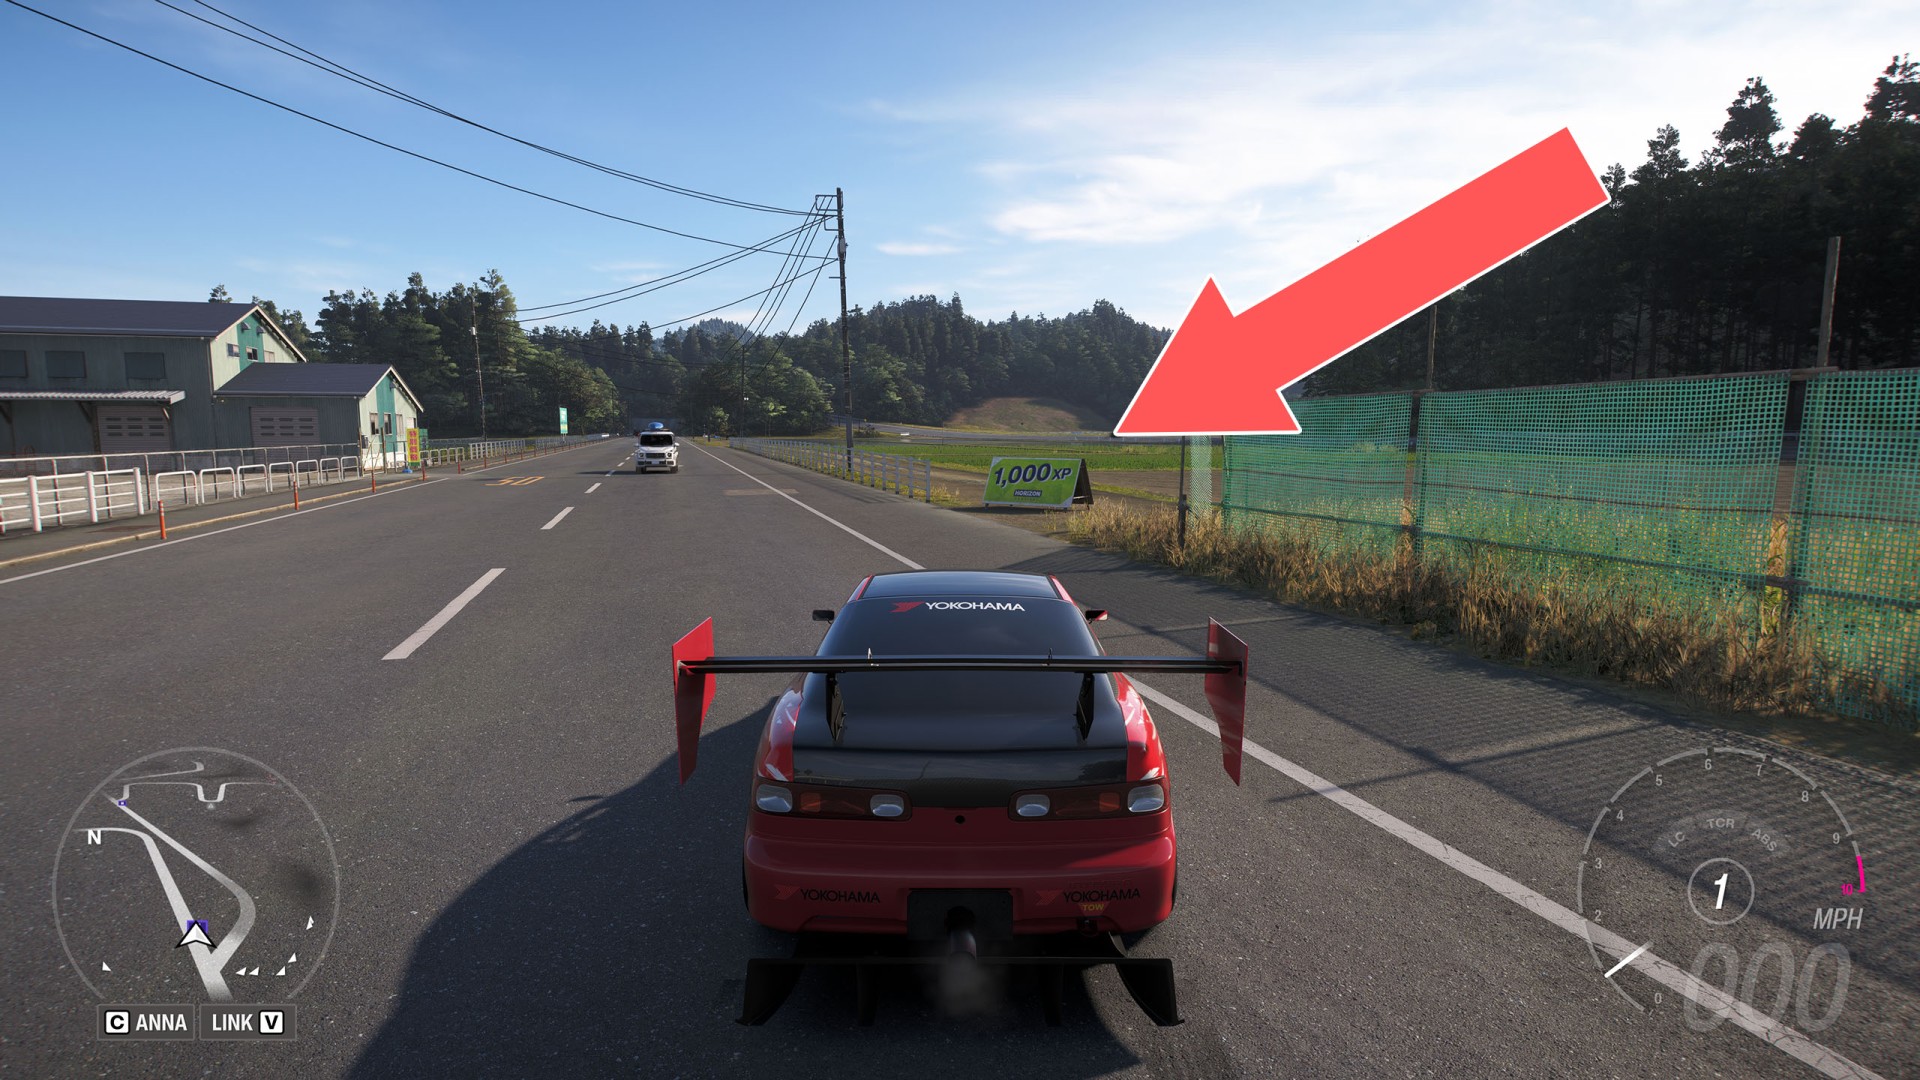
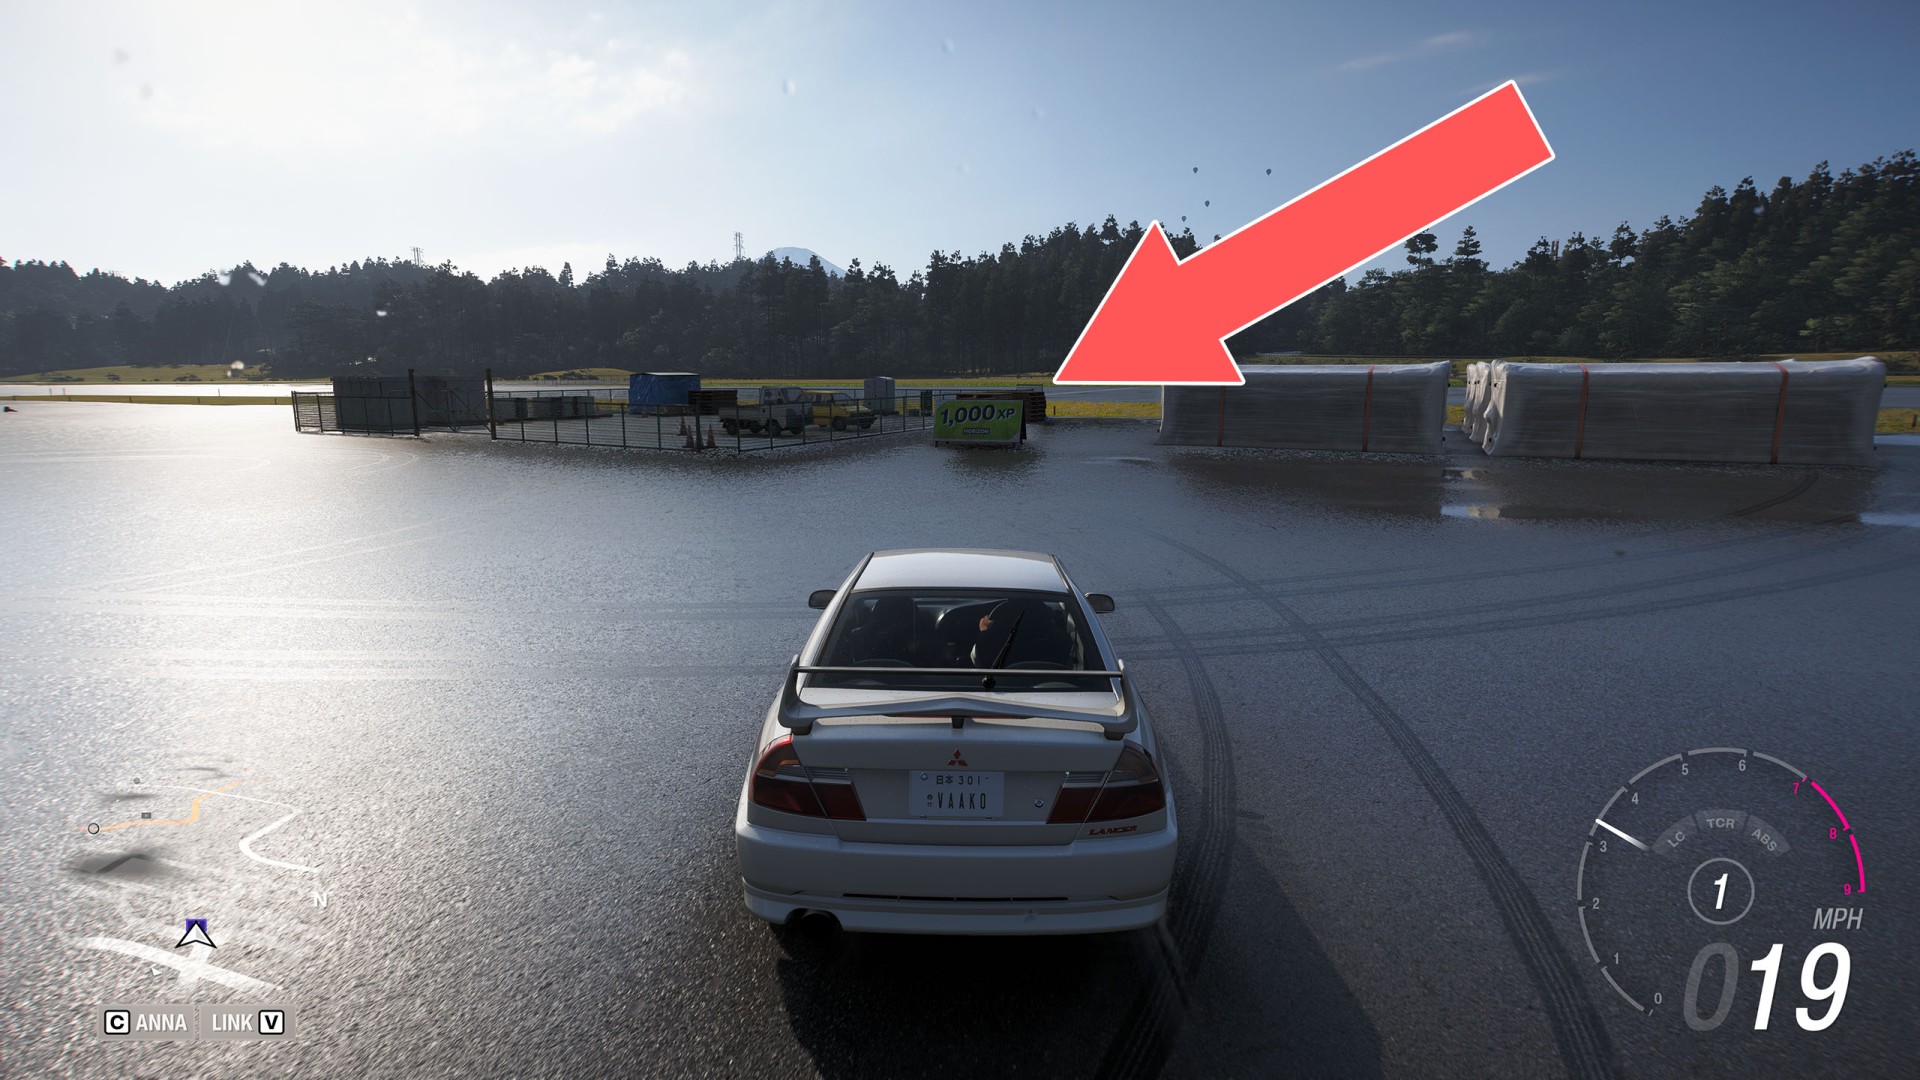
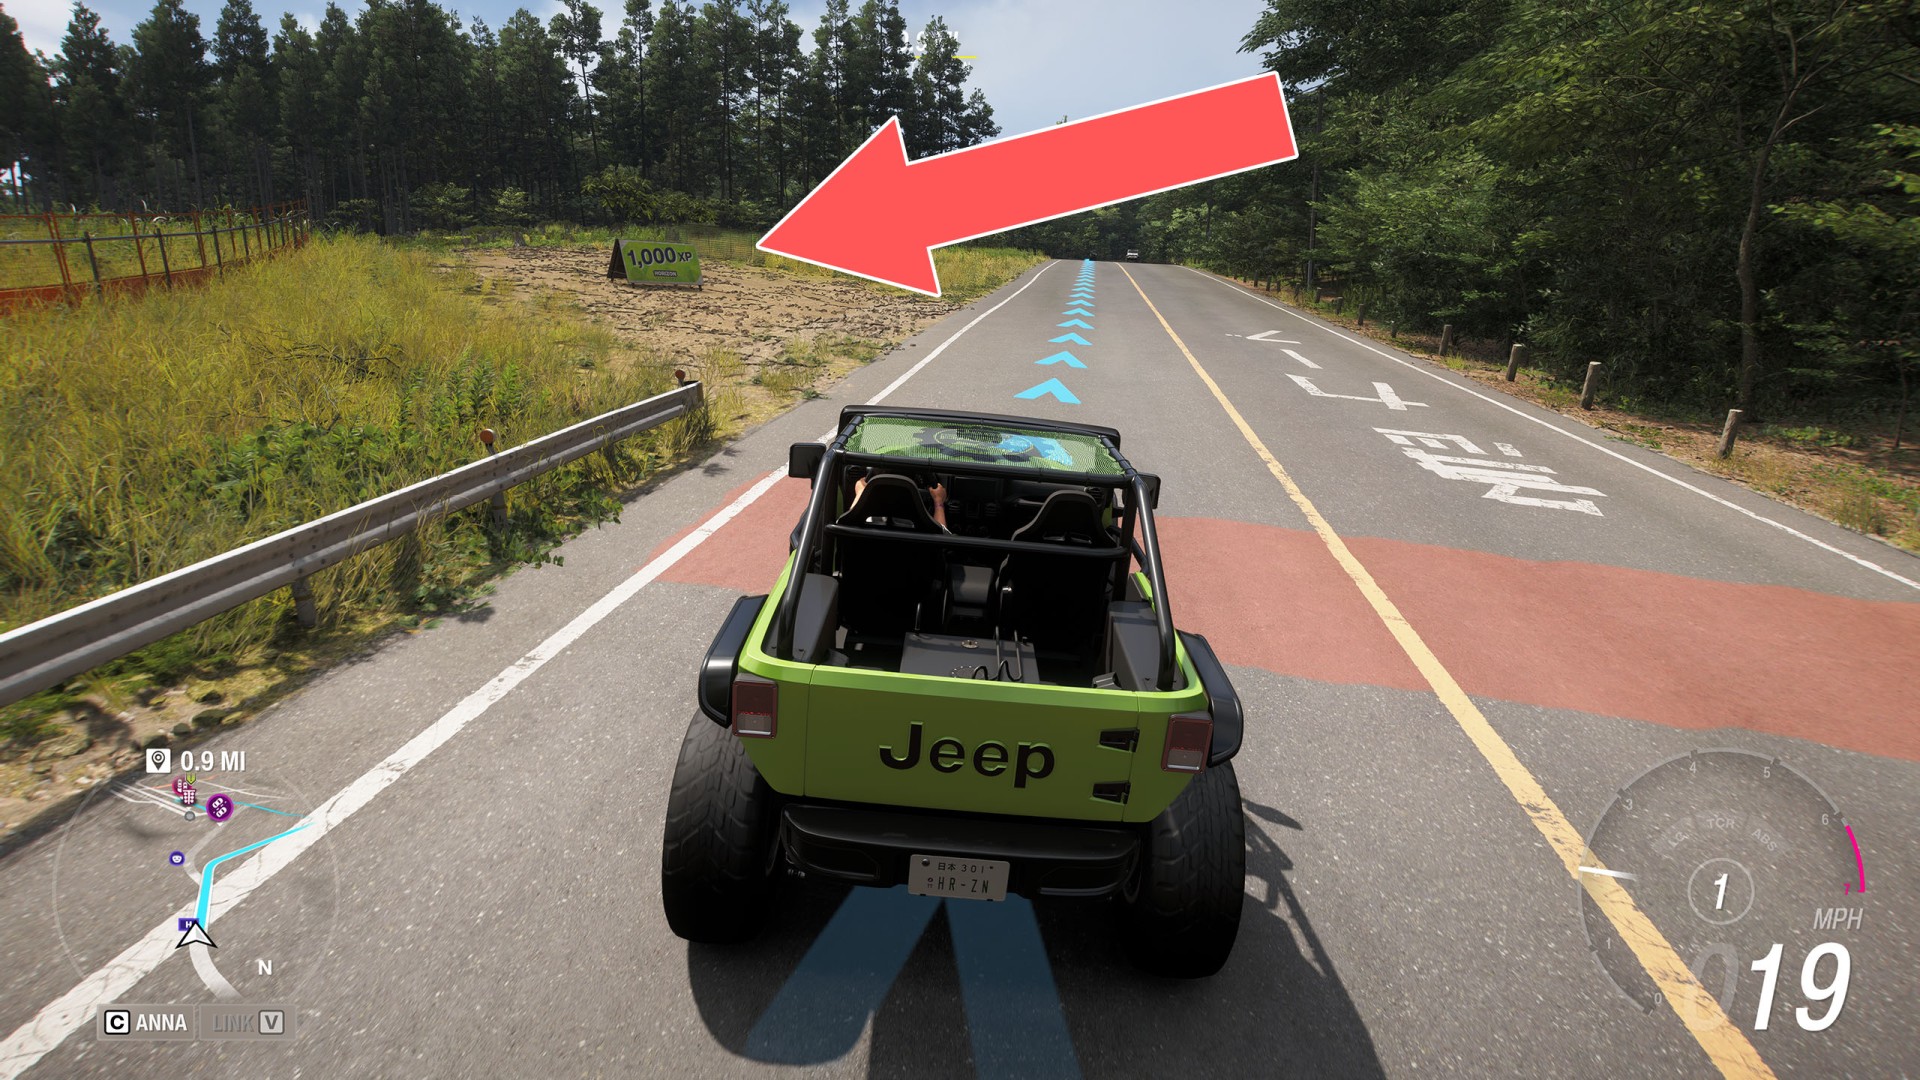
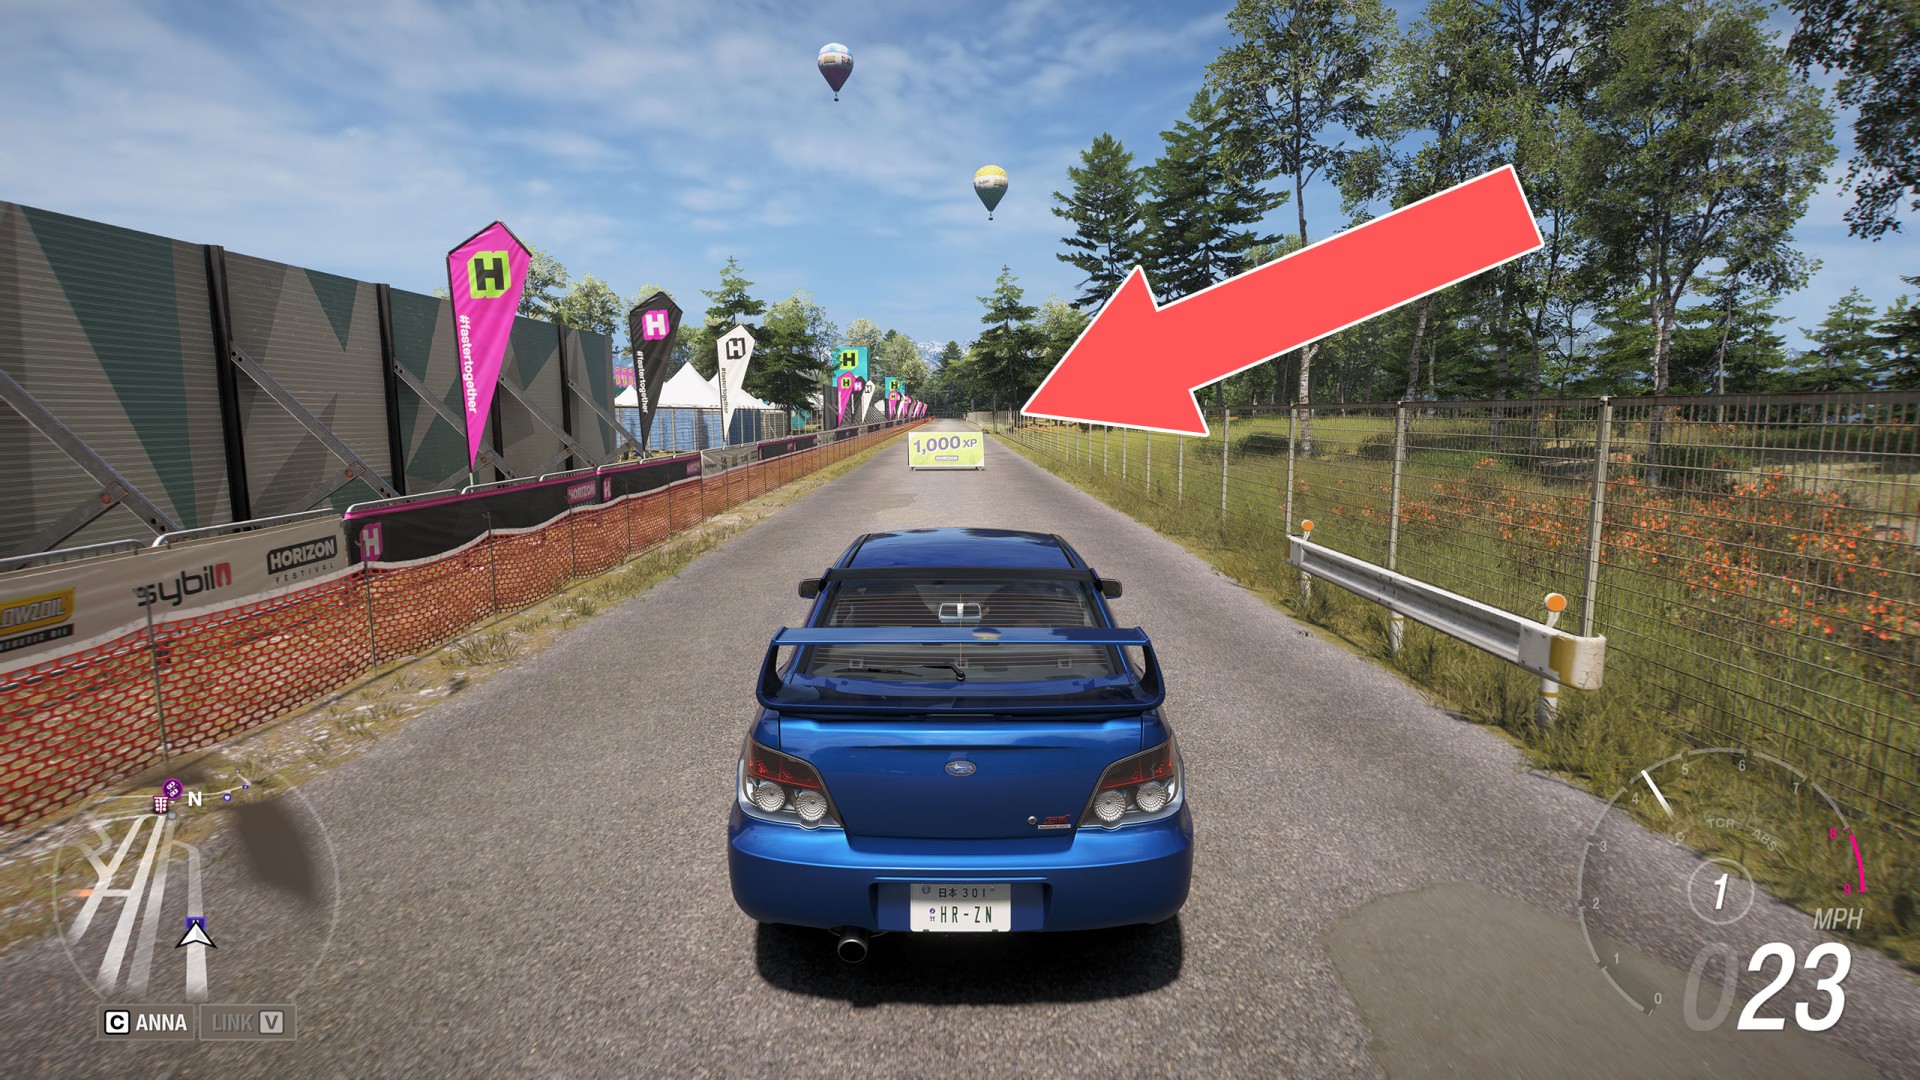
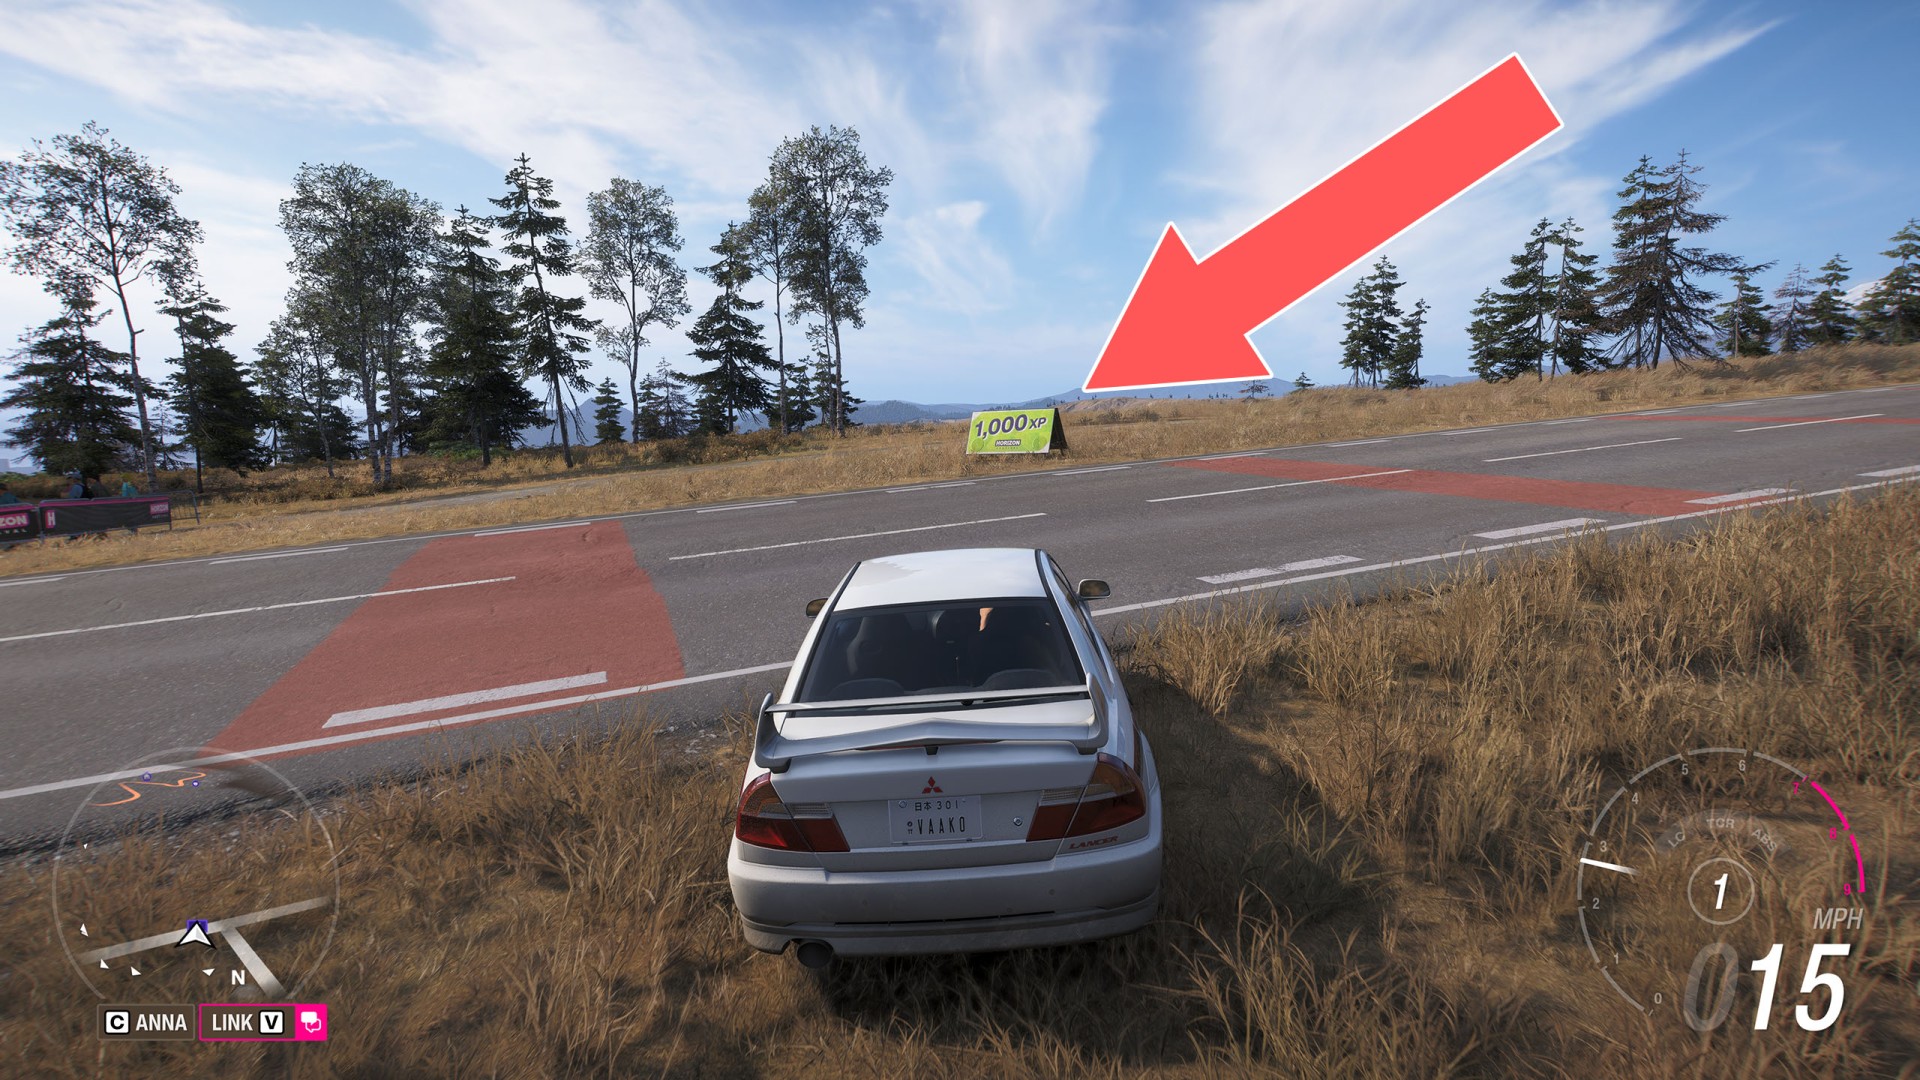
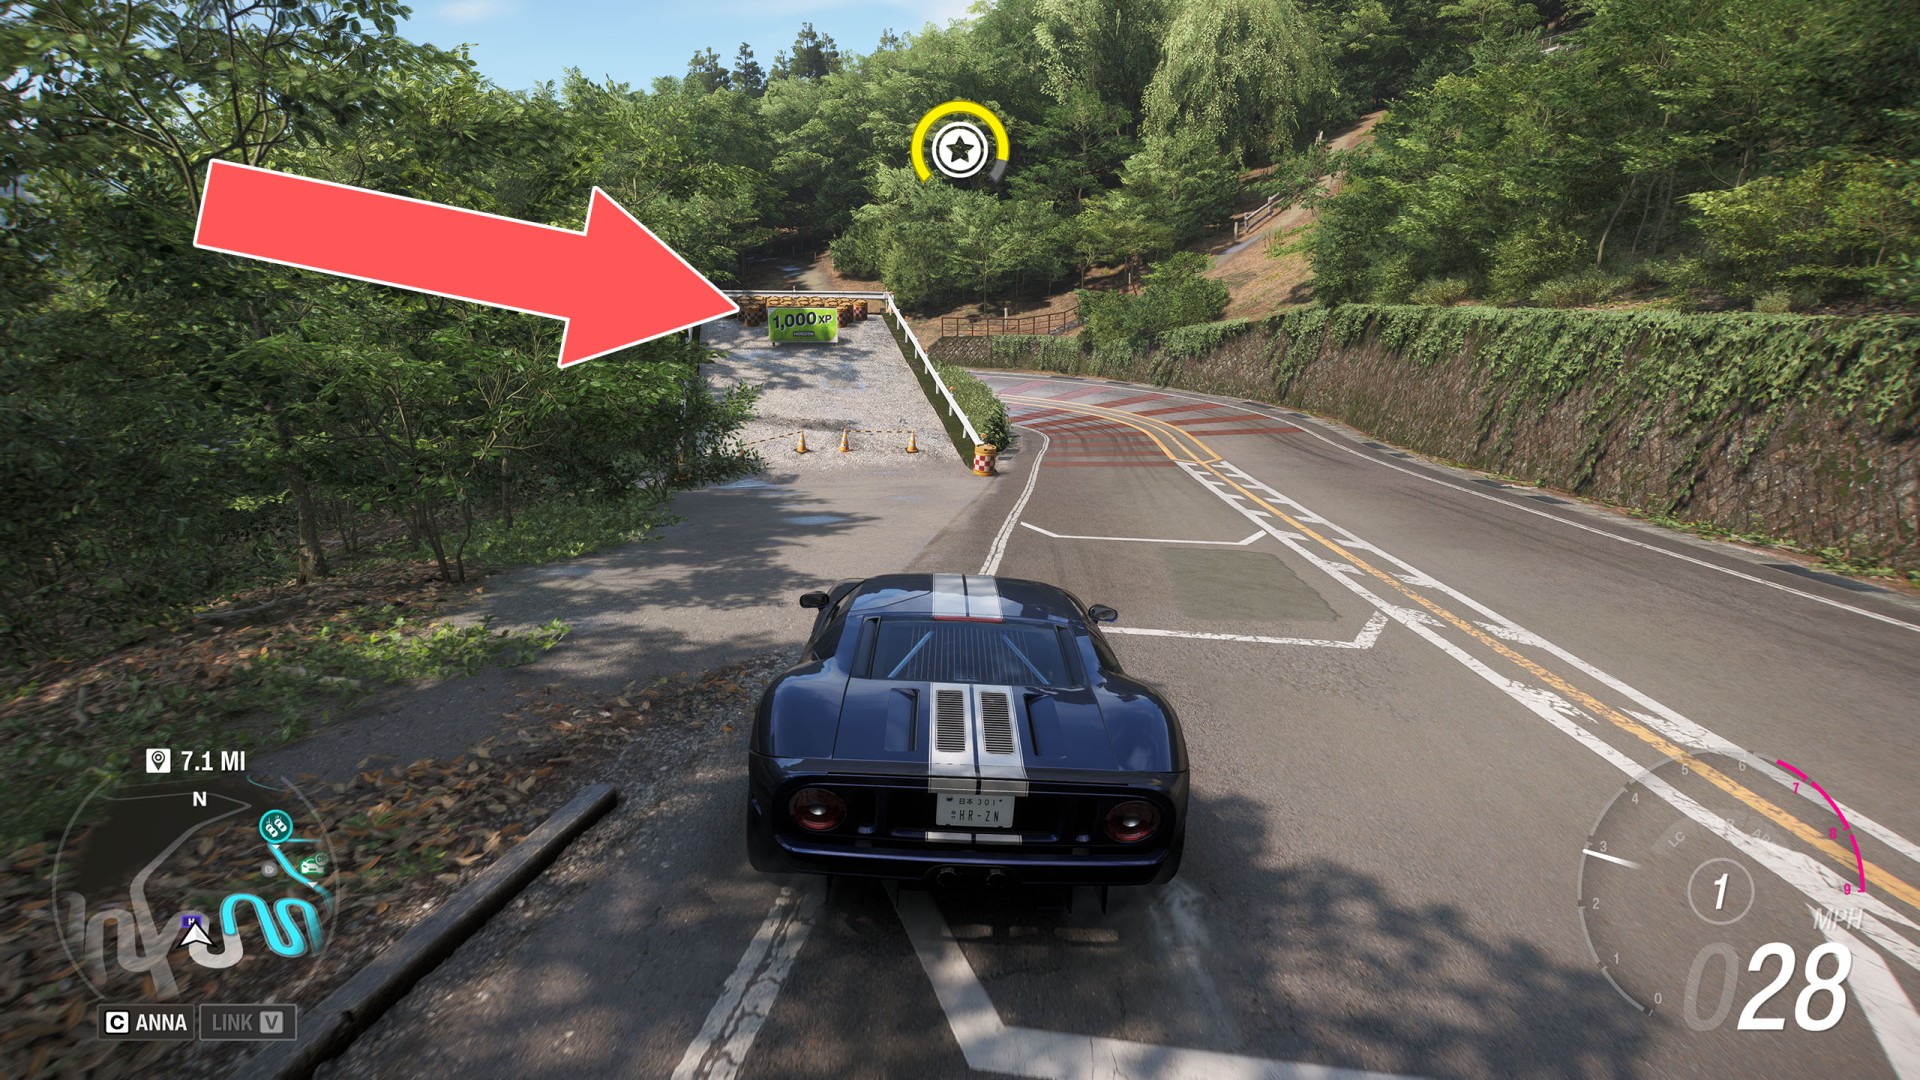
There are a total of 100 XP boards that will grant you 1,000 XP, and they are usually very easy to get, for example they are located near roads, etc.

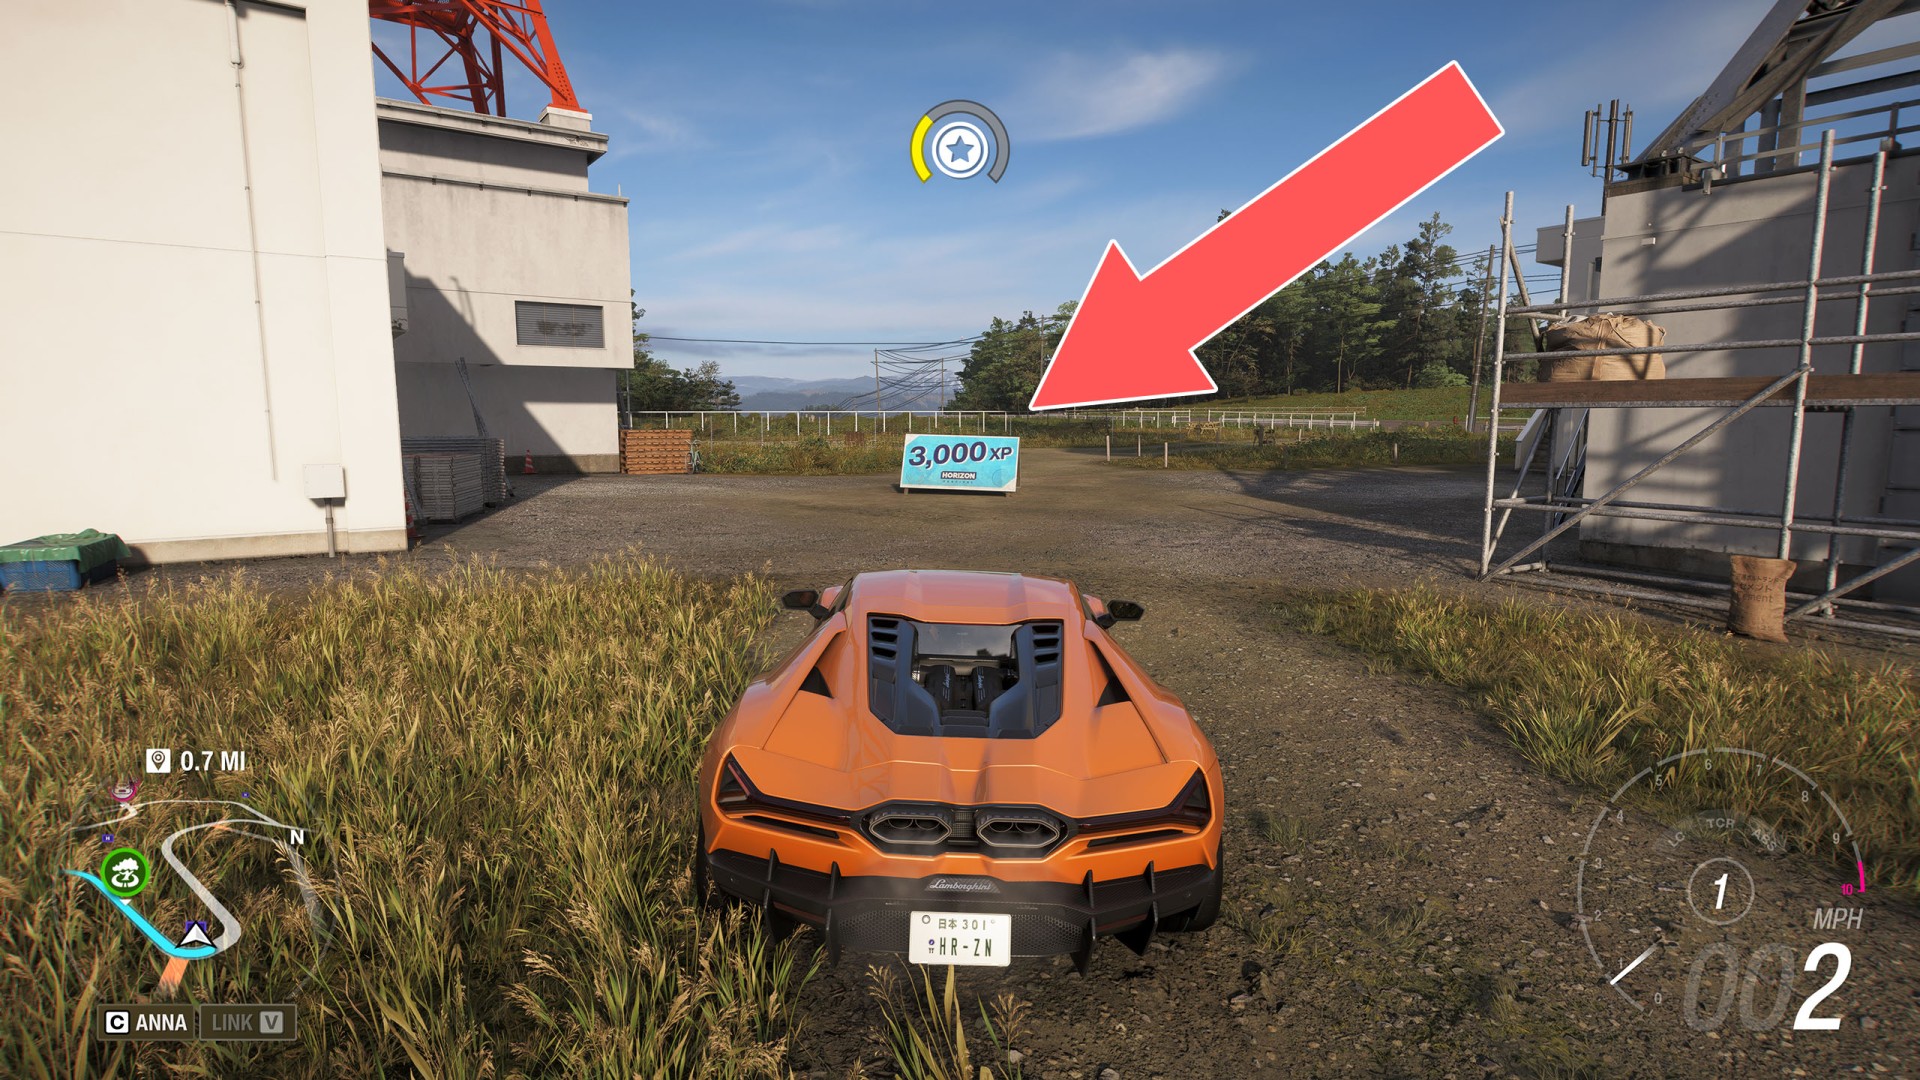
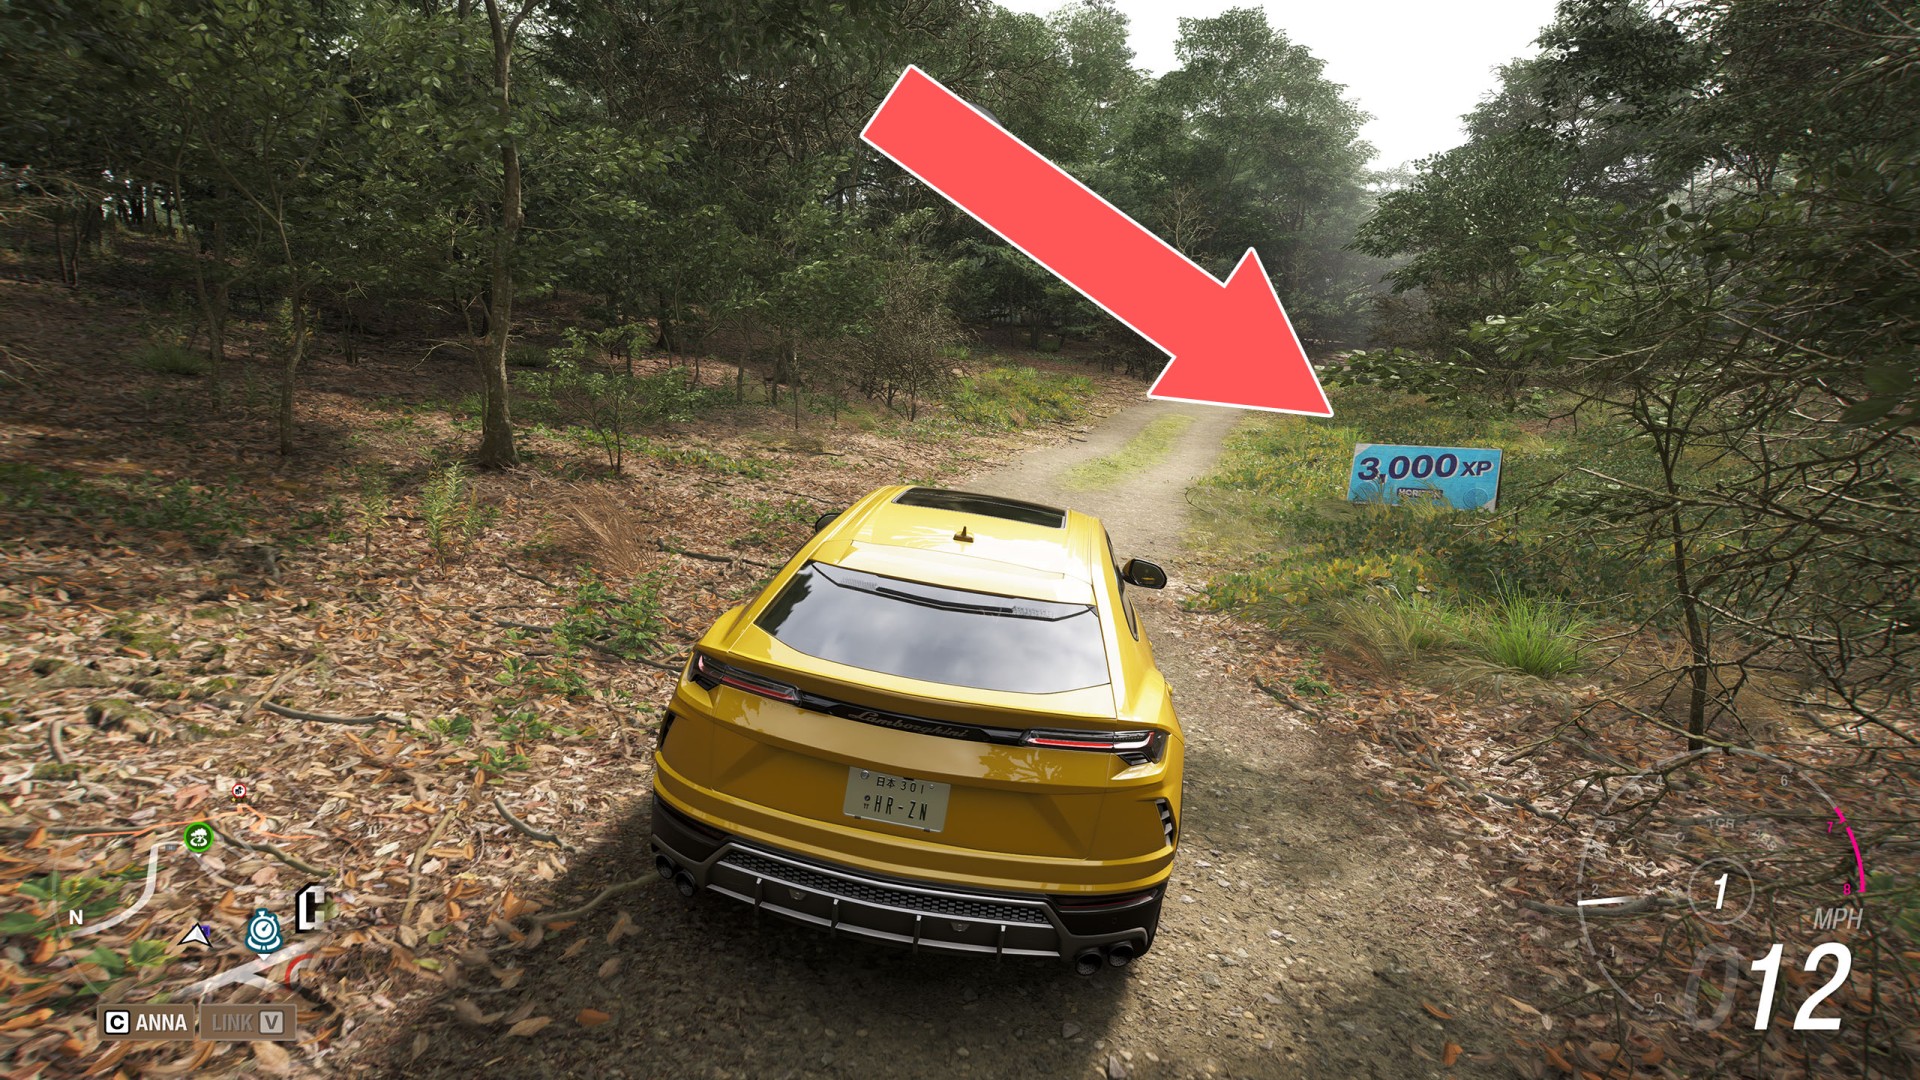
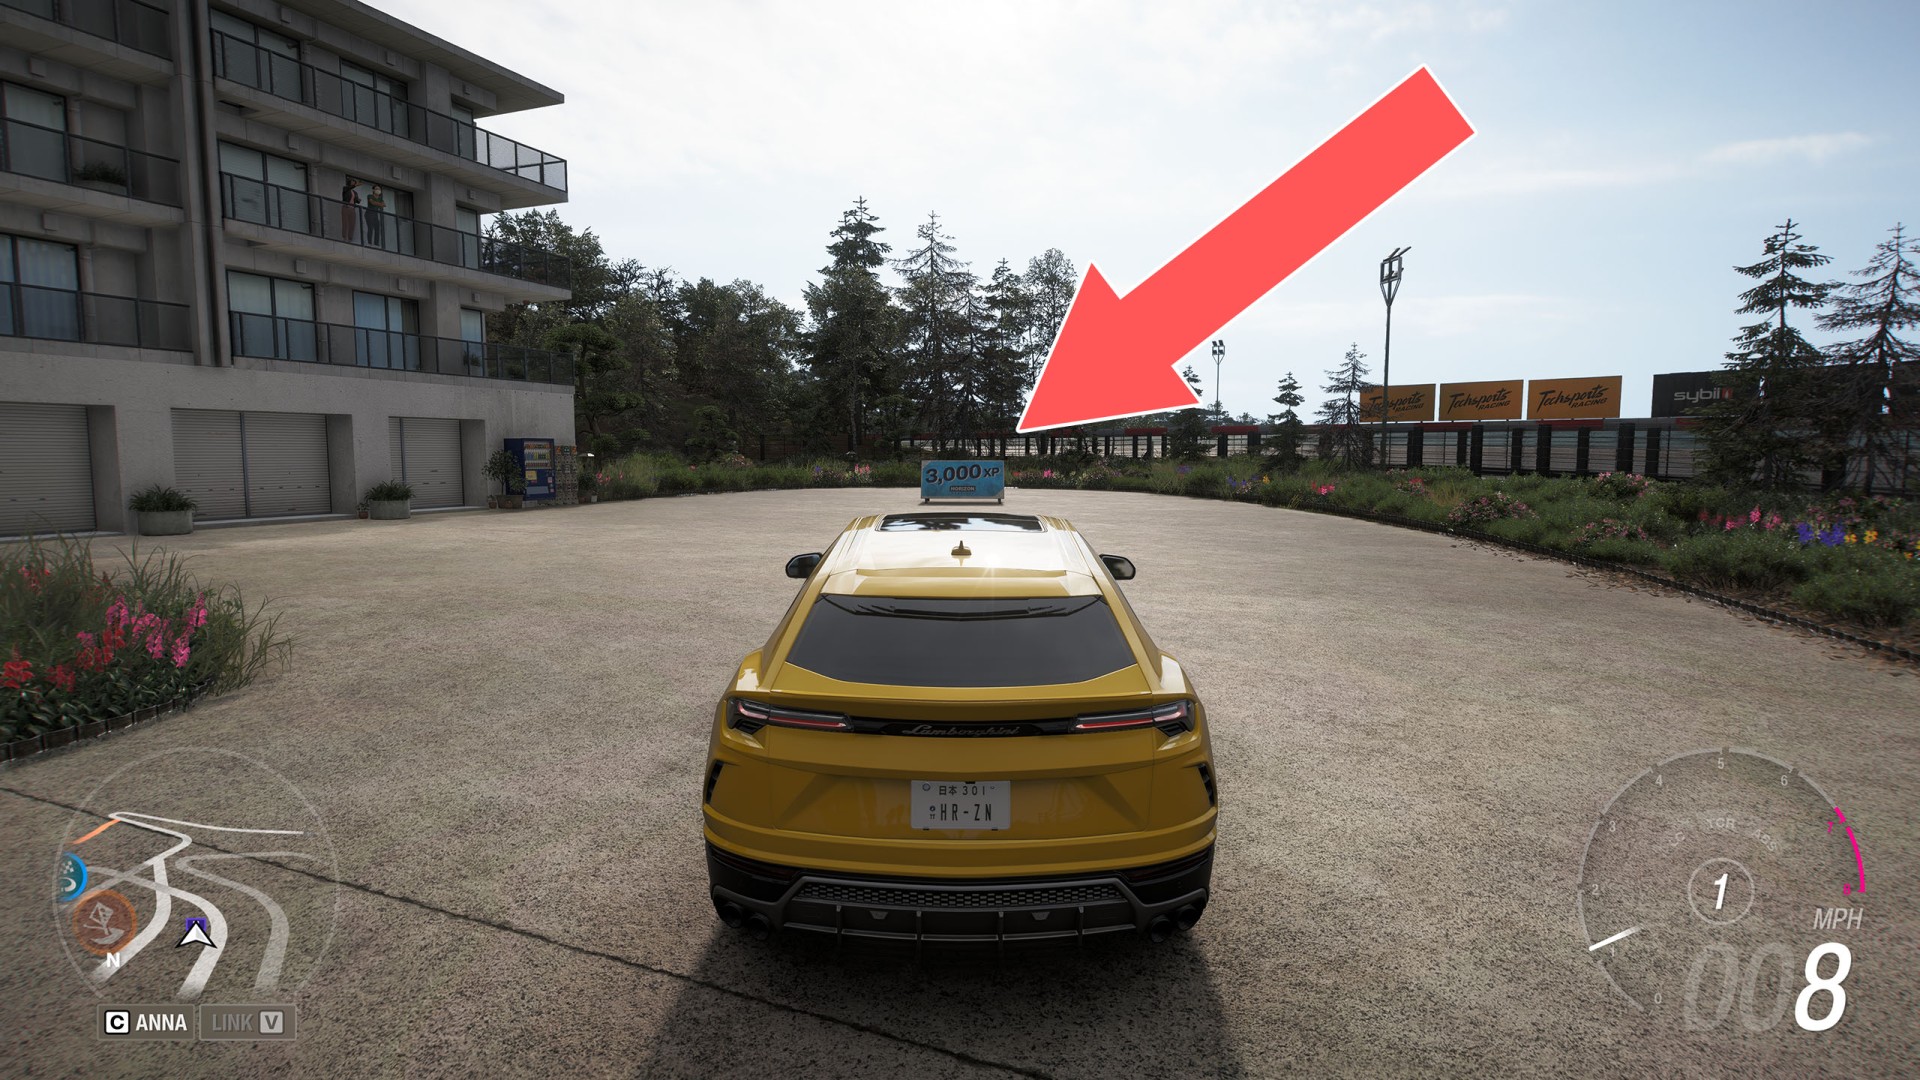
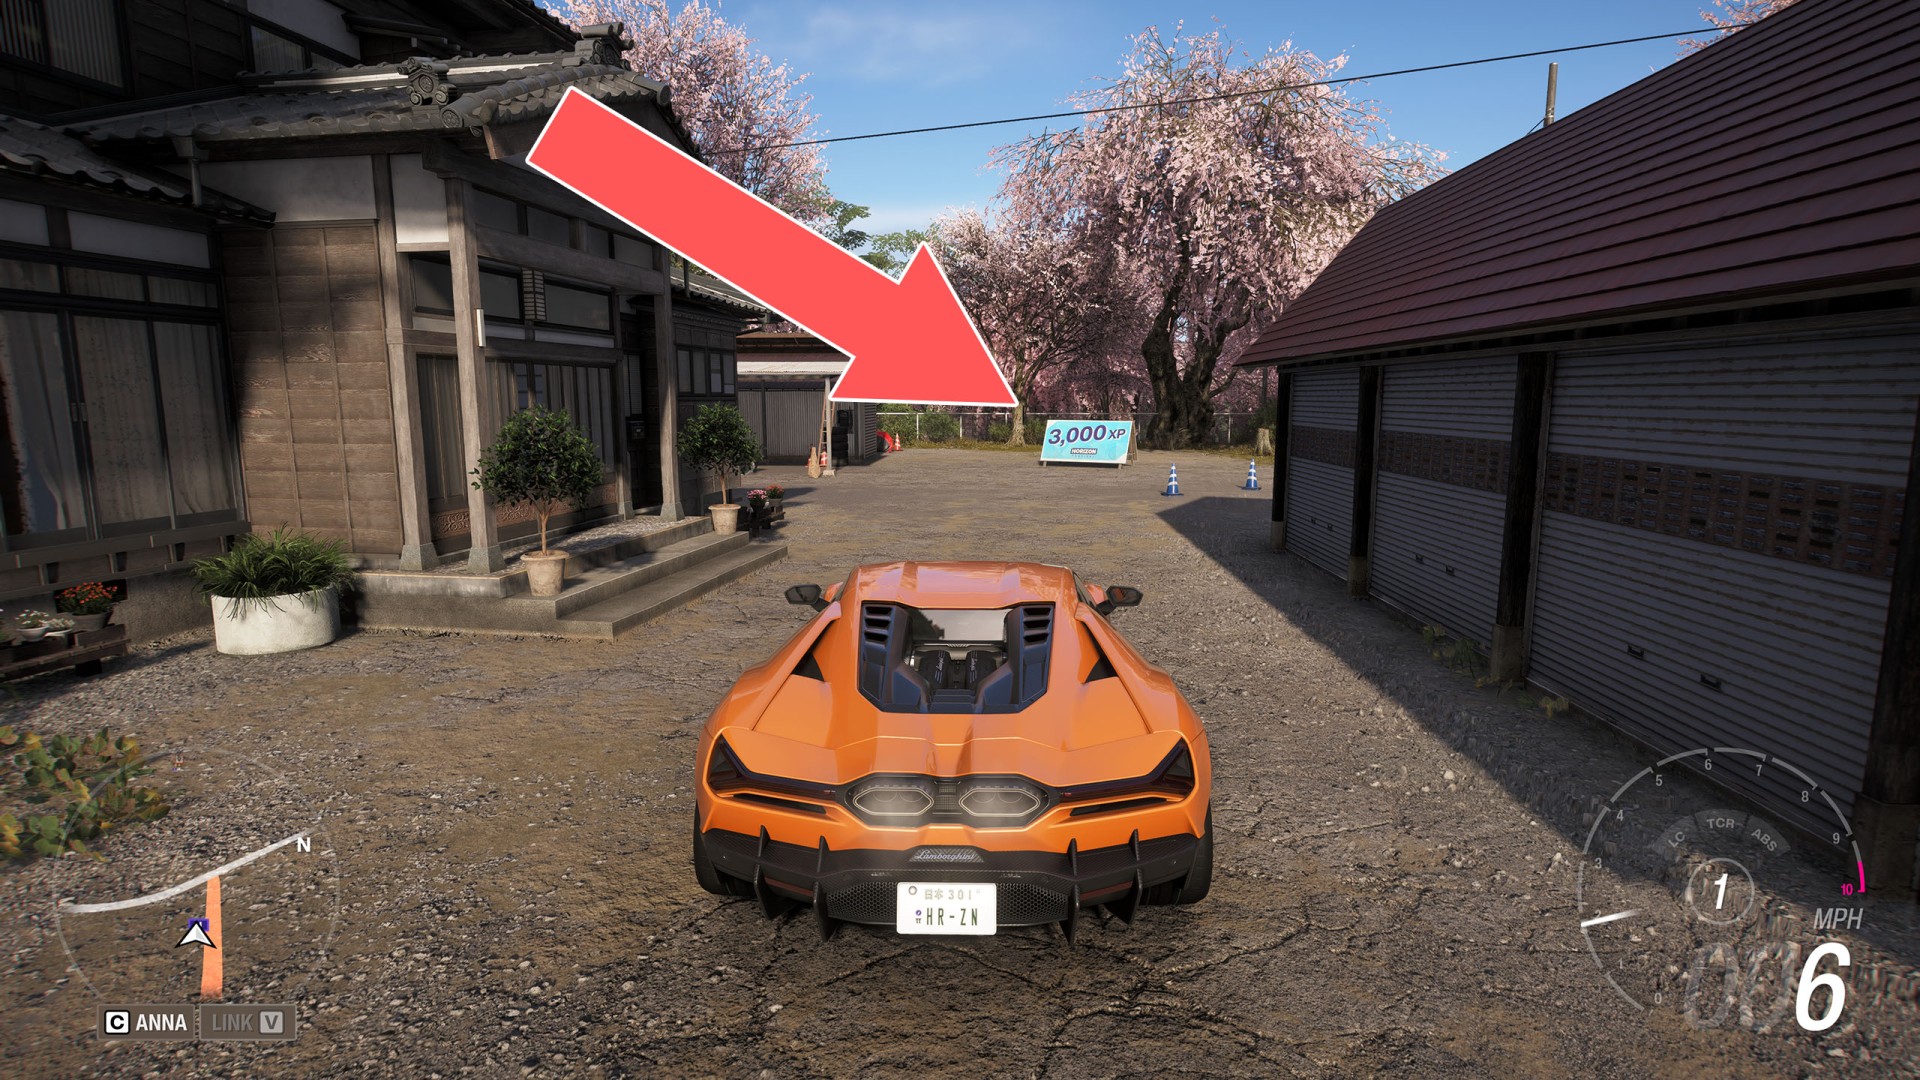
The second group are the boards which will grant you 3,000 XP and are a bit more difficult to find, for example they are hidden behind buildings or in desolate places. There are 75 such boards.

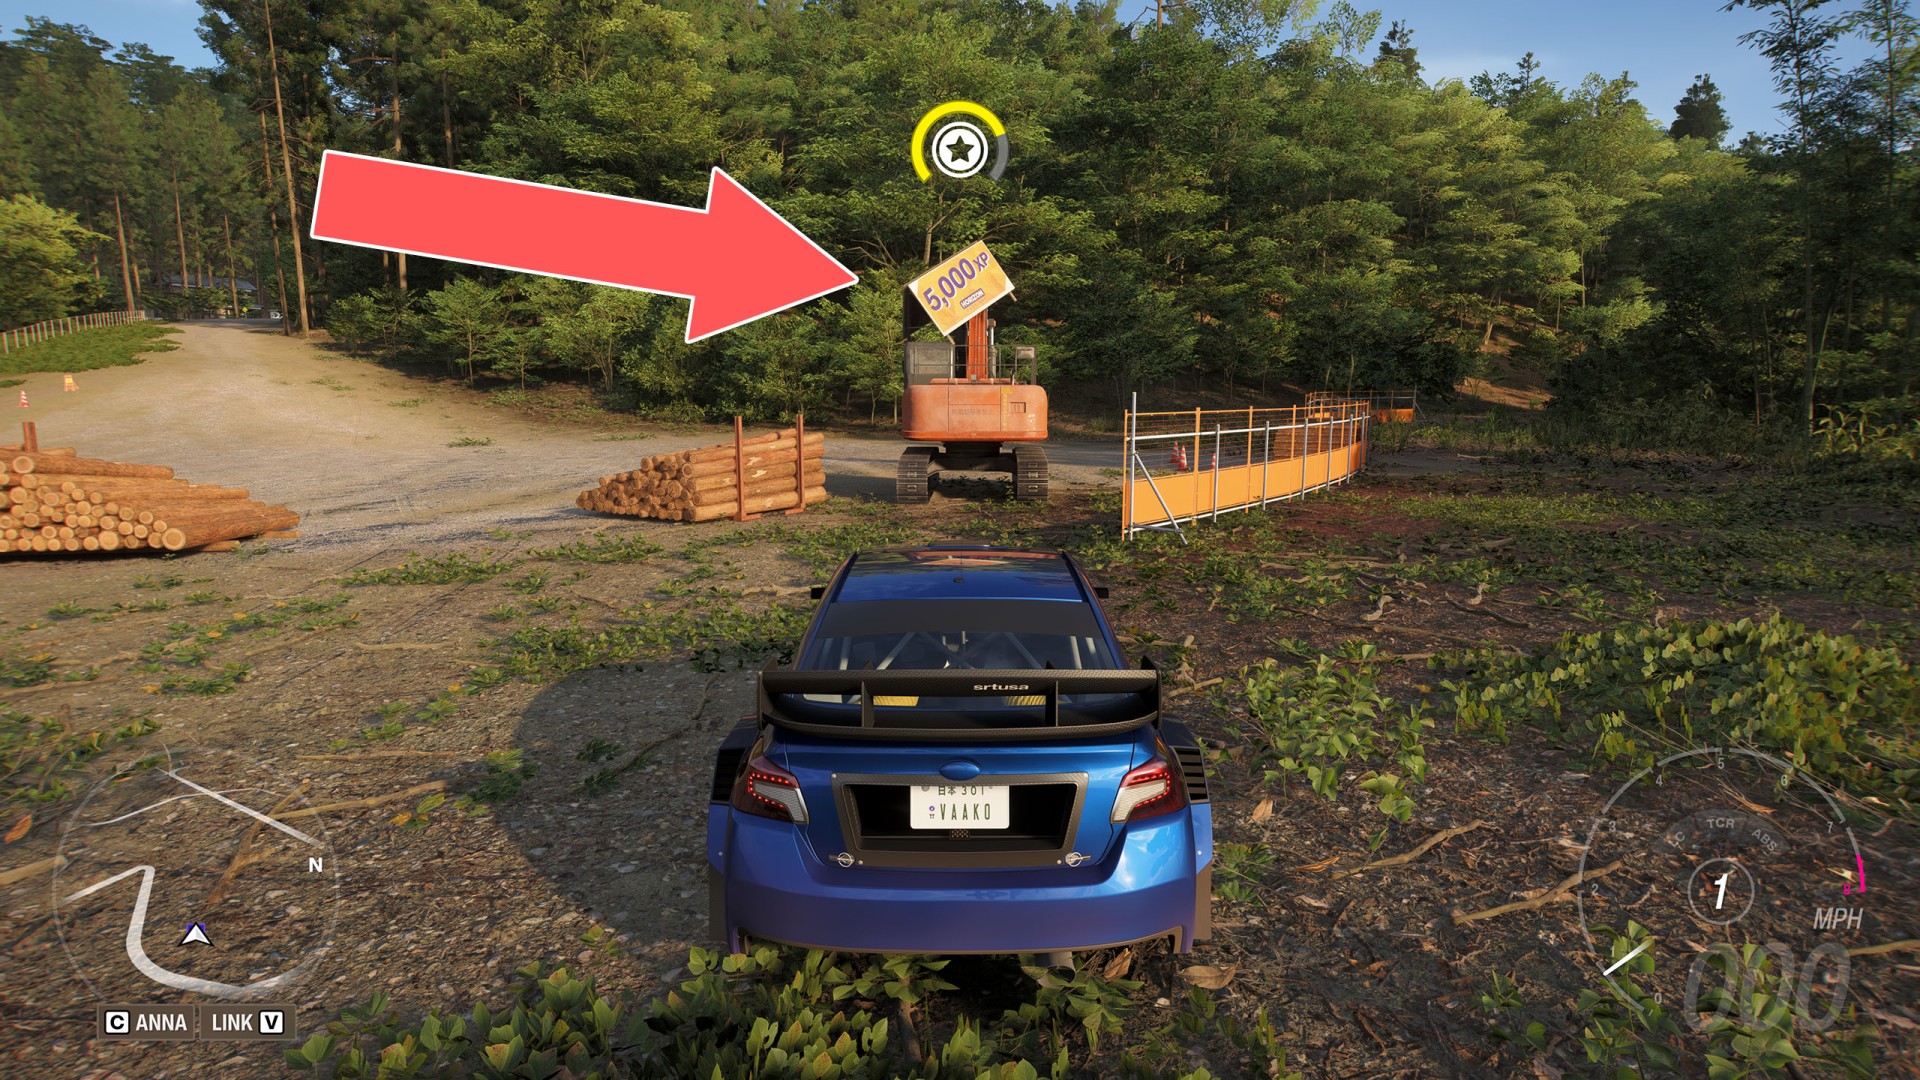
The last group are boards that will deliver 5,000 XP. There are 25 of them. Some of them are easily accessible but many of them are in hard to reach places. You will have to use nearby ramps or terrain to jump in the air to get to them, etc.

In total after collecting all the XP boards you will get 100 * 1,000 + 75 * 3,000 + 25 * 5,000 = 450,000 XP.

Note: To reach certain 5,000 XP boards, I myself used an unmodified 2018 Subaru WRX STI ARX Supercar, which is the reward for completing the Launch Control (Purple) wristband event. Of course, there's nothing stopping you from using any other car.
Bonus Boards

Locations on Japan

1Hokubu 1: 1,000 XP

Hokubu 1: 1,000 XP

Show the map

2Hokubu 2: 1,000 XP

Hokubu 2: 1,000 XP

Show the map

3Hokubu 3: 1,000 XP

Hokubu 3: 1,000 XP

Show the map

4Hokubu 4: 1,000 XP

Hokubu 4: 1,000 XP

Show the map

5Hokubu 5: 1,000 XP

Hokubu 5: 1,000 XP

Show the map

6Hokubu 6: 1,000 XP

Hokubu 6: 1,000 XP

Show the map

7Hokubu 7: 1,000 XP

Hokubu 7: 1,000 XP

Show the map

8Hokubu 8: 1,000 XP

Hokubu 8: 1,000 XP

Show the map

9Hokubu 9: 1,000 XP

Hokubu 9: 1,000 XP

Show the map

10Hokubu 10: 1,000 XP

Hokubu 10: 1,000 XP

Show the map

11Hokubu 11: 1,000 XP

Hokubu 11: 1,000 XP

Show the map

12Hokubu 12: 1,000 XP

Hokubu 12: 1,000 XP

Show the map

13Hokubu 13: 1,000 XP

Hokubu 13: 1,000 XP

Show the map

14Hokubu 14: 3,000 XP

Hokubu 14: 3,000 XP

Show the map

15Hokubu 15: 3,000 XP

Hokubu 15: 3,000 XP

Show the map

16Hokubu 16: 3,000 XP

Hokubu 16: 3,000 XP

Show the map

17Hokubu 17: 3,000 XP

Hokubu 17: 3,000 XP

Show the map

18Hokubu 18: 3,000 XP

Hokubu 18: 3,000 XP

Show the map

19Hokubu 19: 3,000 XP

Hokubu 19: 3,000 XP

Show the map

20Hokubu 20: 5,000 XP

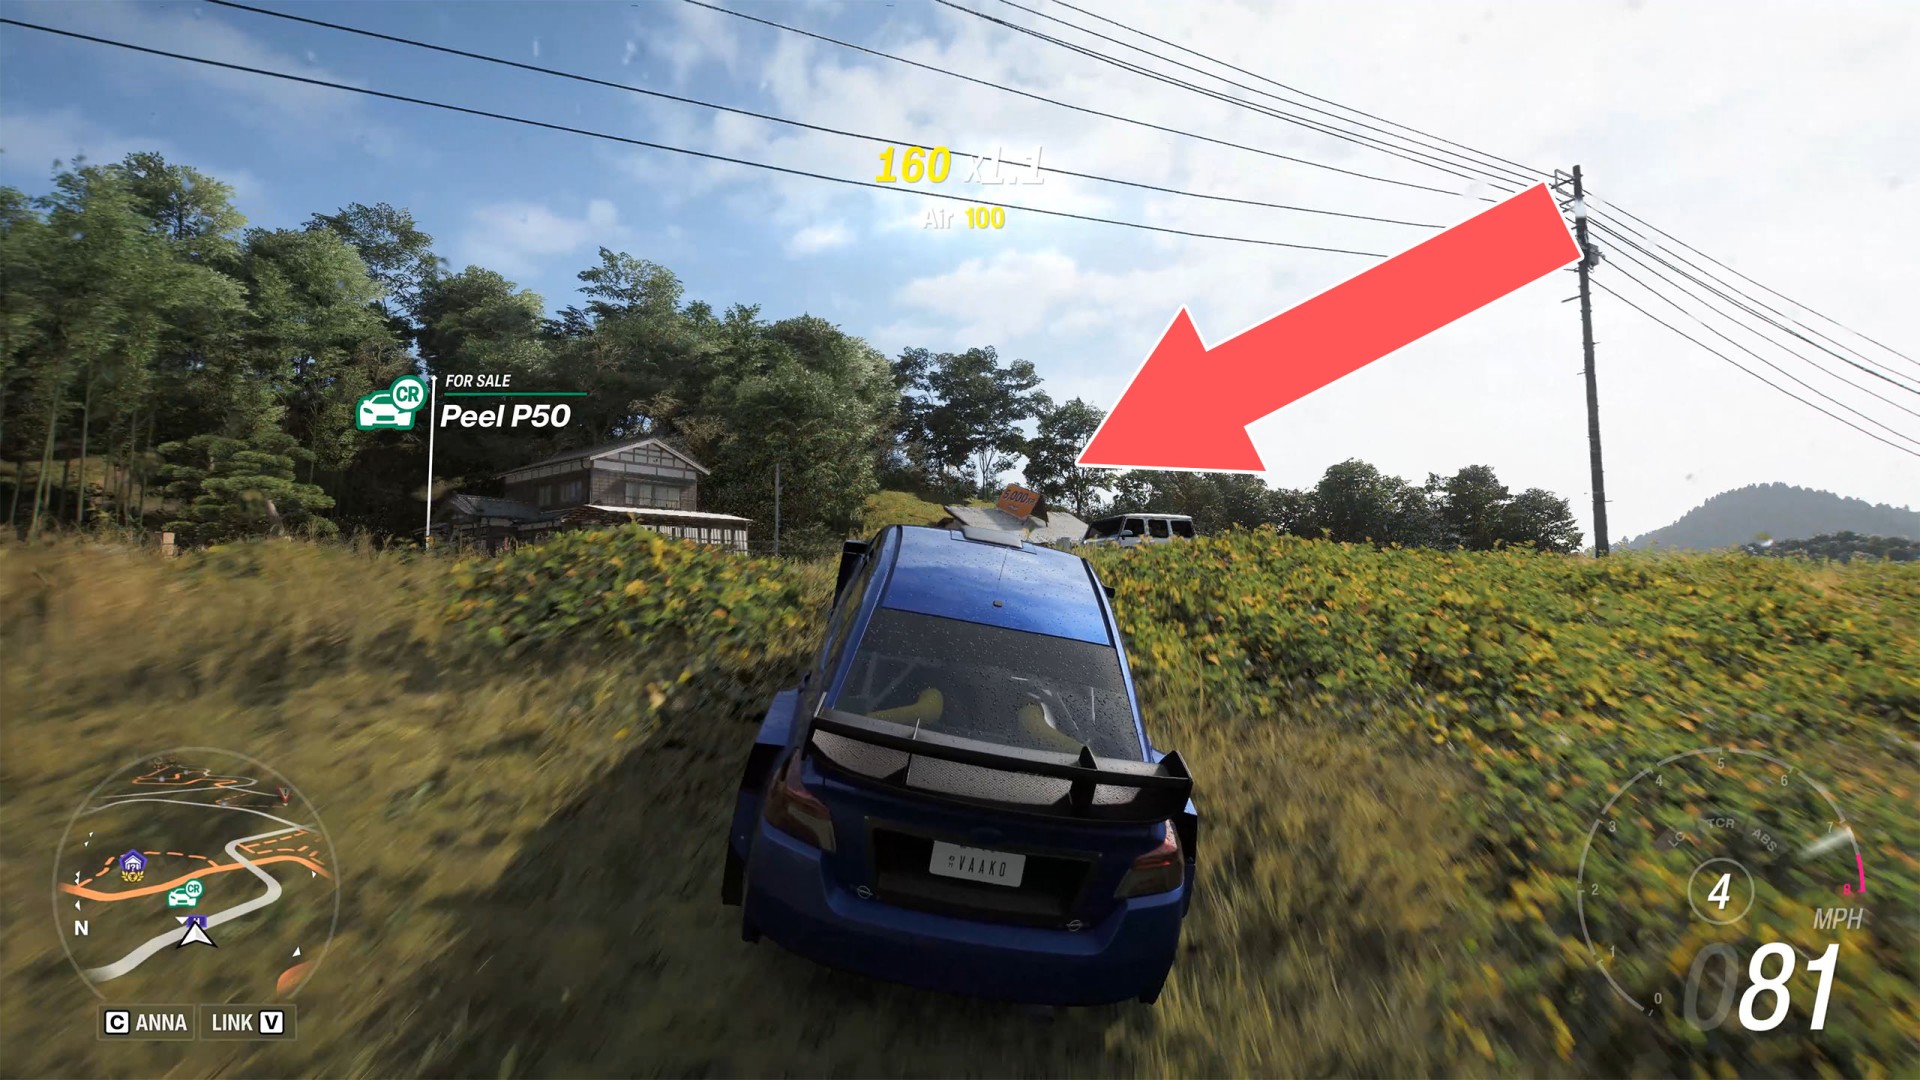
This board is on the building's roof. Pick up speed in your car through the marshy fields behind the building and launch into the air using the bumps in the terrain.

Hokubu 20: 5,000 XP

Show the map

21Hokubu 21: 5,000 XP

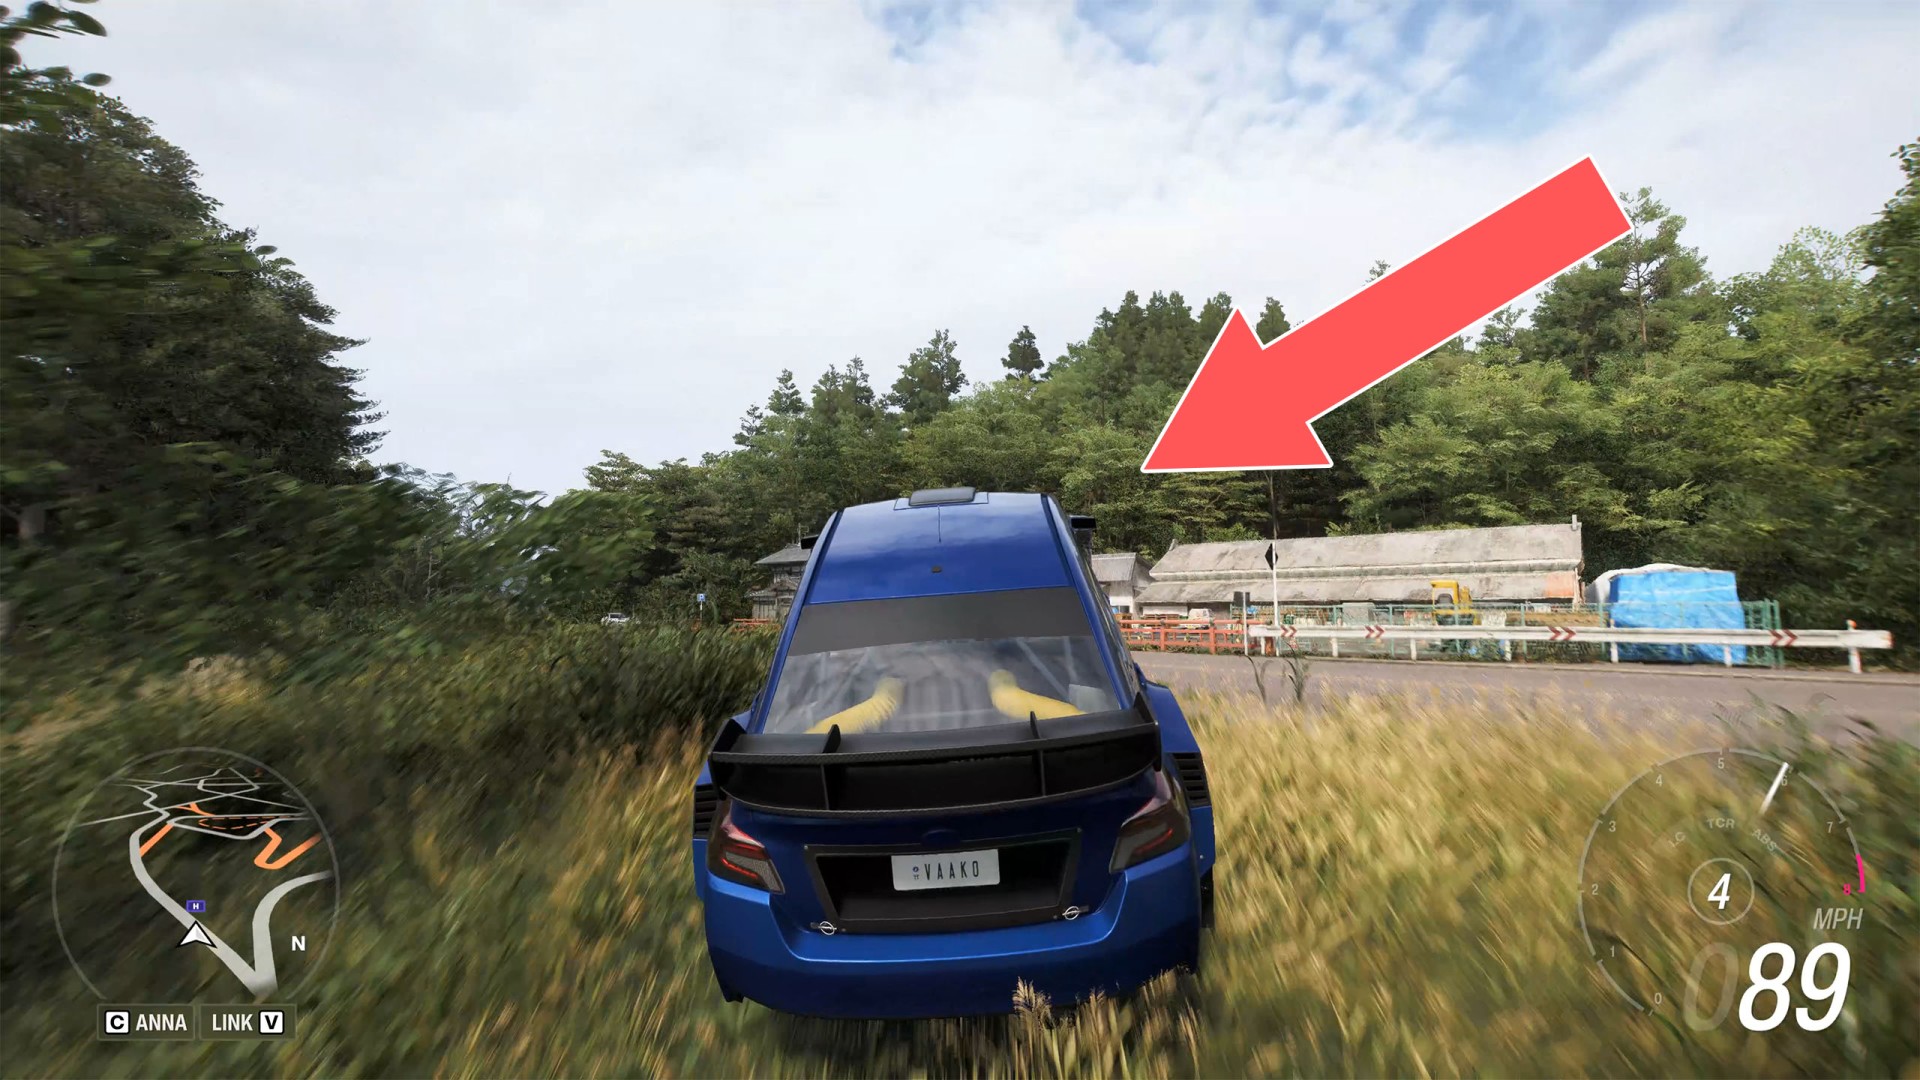
This XP board is located on the roof of a small outbuilding right next to the road. Pick up speed in your car and launch yourself into the air using the slope on the other side of the road. Drive diagonally across the river where the vegetation is thick so you don’t slow down too much.

Hokubu 21: 5,000 XP

Show the map

22Hokubu 22: 5,000 XP

This XP board is located on the roof of the building. You can reach it by using the slope across the street. Not straight on, but at an angle.

Hokubu 22: 5,000 XP

Show the map

23Ito 1: 1,000 XP

Ito 1: 1,000 XP

Show the map

24Ito 2: 1,000 XP

Ito 2: 1,000 XP

Show the map

25Ito 3: 1,000 XP

Ito 3: 1,000 XP

Show the map

26Ito 4: 1,000 XP

Ito 4: 1,000 XP

Show the map

27Ito 5: 1,000 XP

Ito 5: 1,000 XP

Show the map

28Ito 6: 1,000 XP

Ito 6: 1,000 XP

Show the map

29Ito 7: 1,000 XP

Ito 7: 1,000 XP

Show the map

30Ito 8: 1,000 XP

Ito 8: 1,000 XP

Show the map

31Ito 9: 1,000 XP

Ito 9: 1,000 XP

Show the map

32Ito 10: 1,000 XP

Ito 10: 1,000 XP

Show the map

33Ito 11: 1,000 XP

Ito 11: 1,000 XP

Show the map

34Ito 12: 1,000 XP

Ito 12: 1,000 XP

Show the map

35Ito 13: 1,000 XP

Ito 13: 1,000 XP

Show the map

36Ito 14: 1,000 XP

Ito 14: 1,000 XP

Show the map

37Ito 15: 1,000 XP

Ito 15: 1,000 XP

Show the map

38Ito 16: 1,000 XP

Ito 16: 1,000 XP

Show the map

39Ito 17: 1,000 XP

Ito 17: 1,000 XP

Show the map

40Ito 18: 1,000 XP

Ito 18: 1,000 XP

Show the map

41Ito 19: 1,000 XP

Ito 19: 1,000 XP

Show the map

42Ito 20: 1,000 XP

Ito 20: 1,000 XP

Show the map

43Ito 21: 3,000 XP

Ito 21: 3,000 XP

Show the map

44Ito 22: 3,000 XP

Ito 22: 3,000 XP

Show the map

45Ito 23: 3,000 XP

Ito 23: 3,000 XP

Show the map

46Ito 24: 3,000 XP

Ito 24: 3,000 XP

Show the map

47Ito 25: 3,000 XP

Ito 25: 3,000 XP

Show the map

48Ito 26: 3,000 XP

Ito 26: 3,000 XP

Show the map

49Ito 27: 3,000 XP

Ito 27: 3,000 XP

Show the map

50Ito 28: 3,000 XP

Ito 28: 3,000 XP

Show the map

51Ito 29: 3,000 XP

Ito 29: 3,000 XP

Show the map

52Ito 30: 3,000 XP

Ito 30: 3,000 XP

Show the map

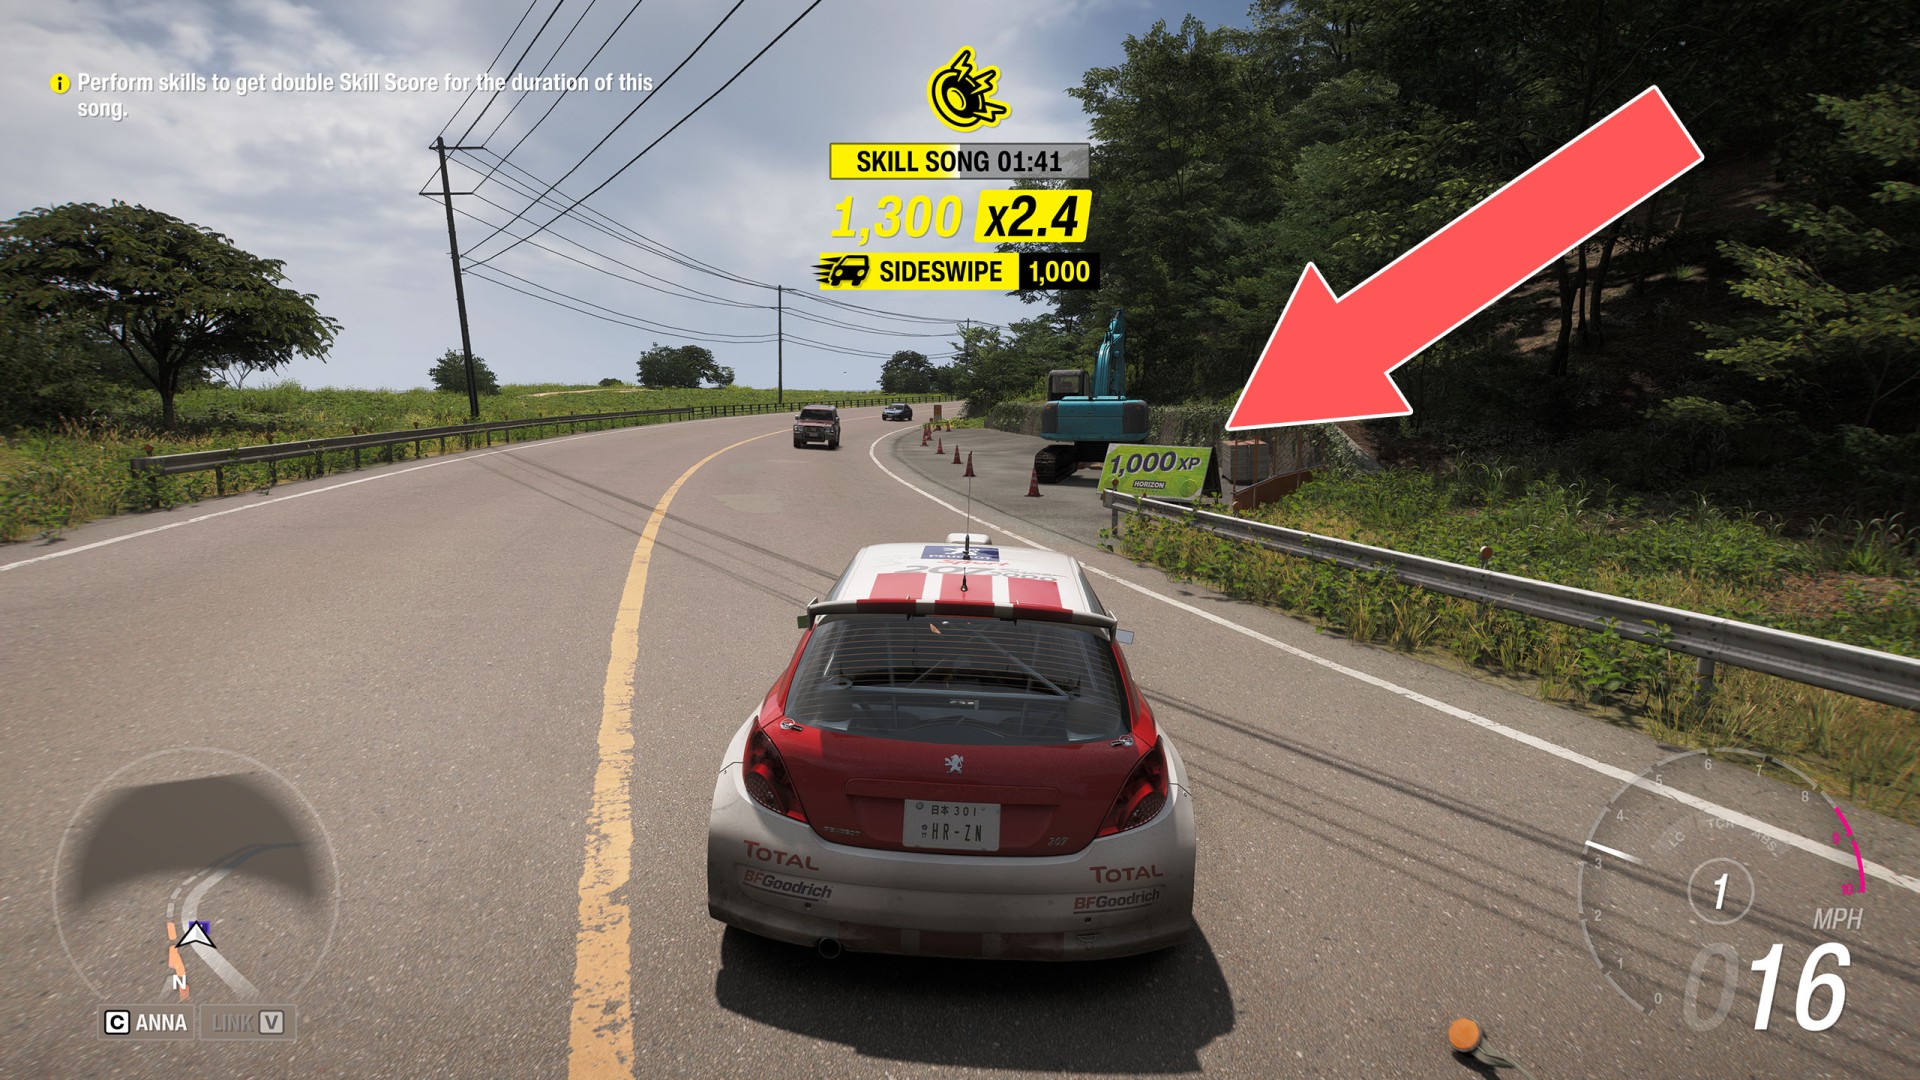
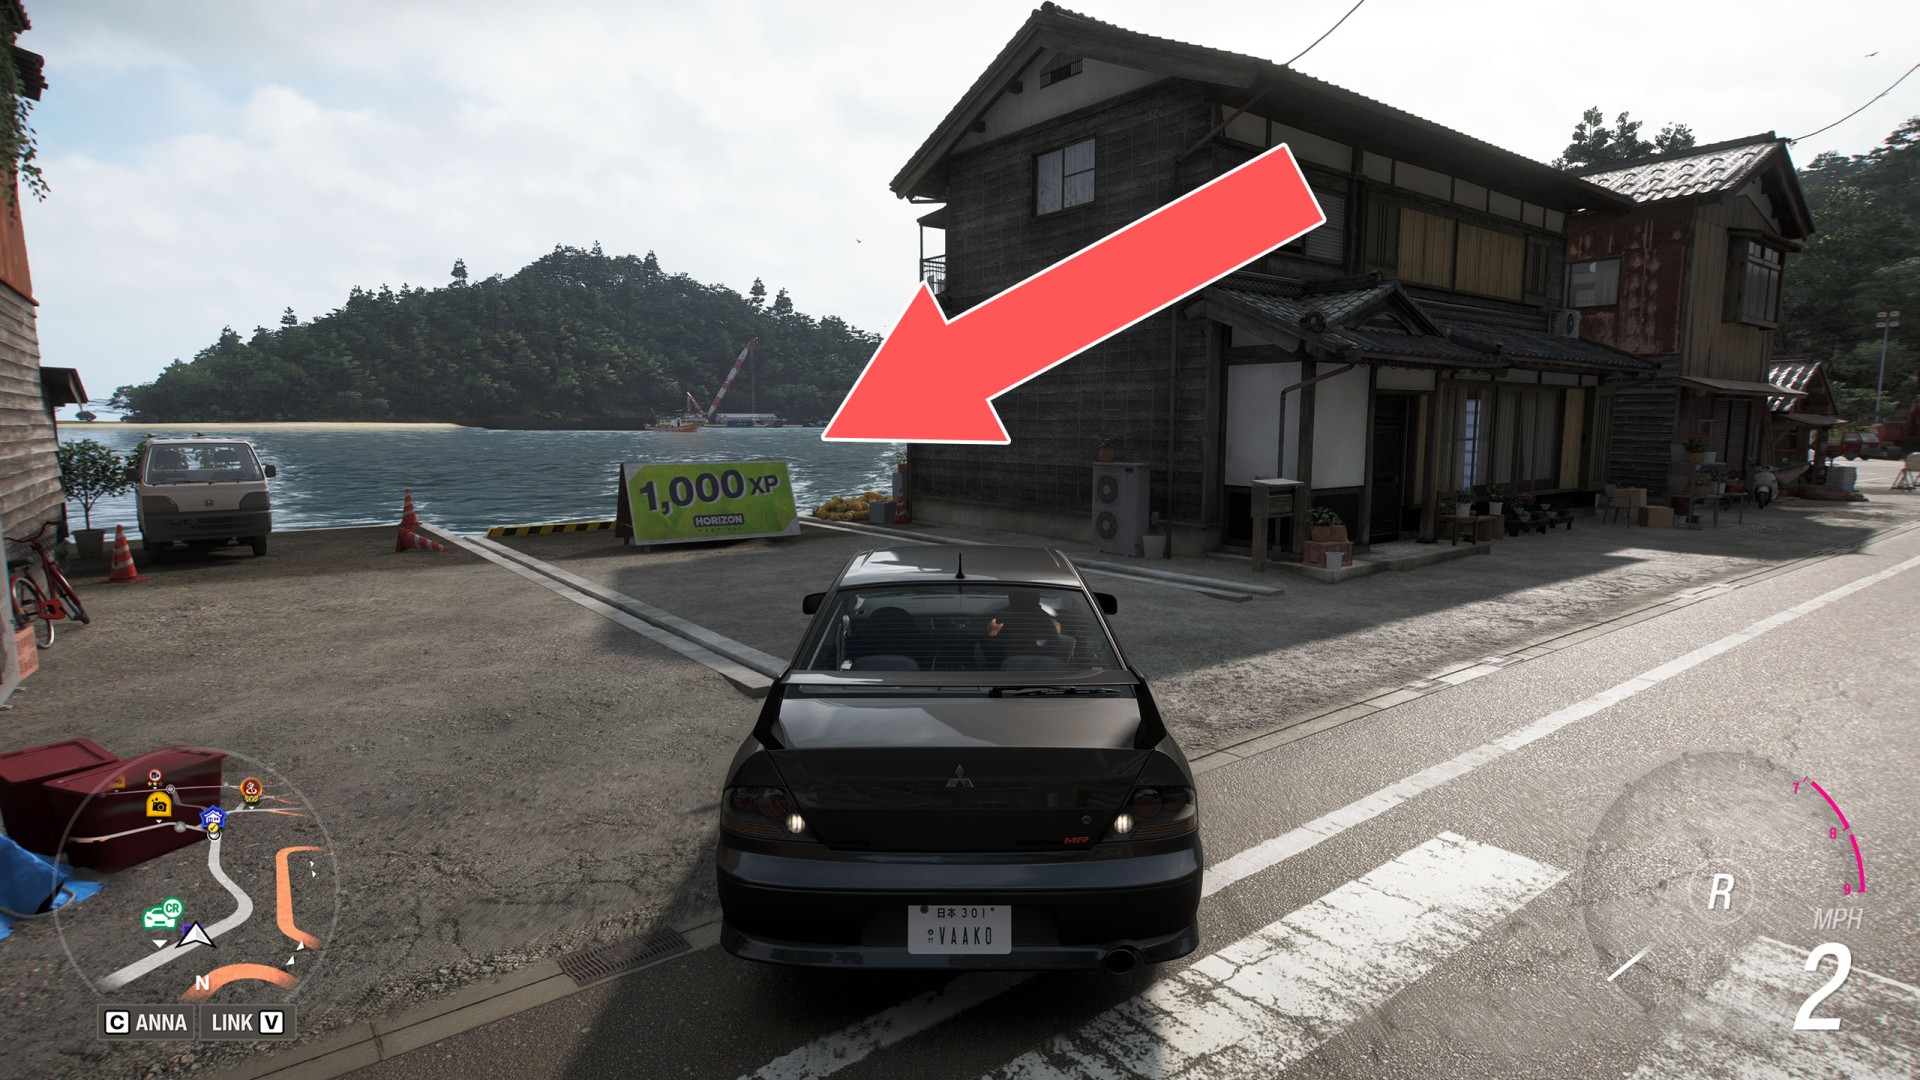
53Ito 31: 5,000 XP

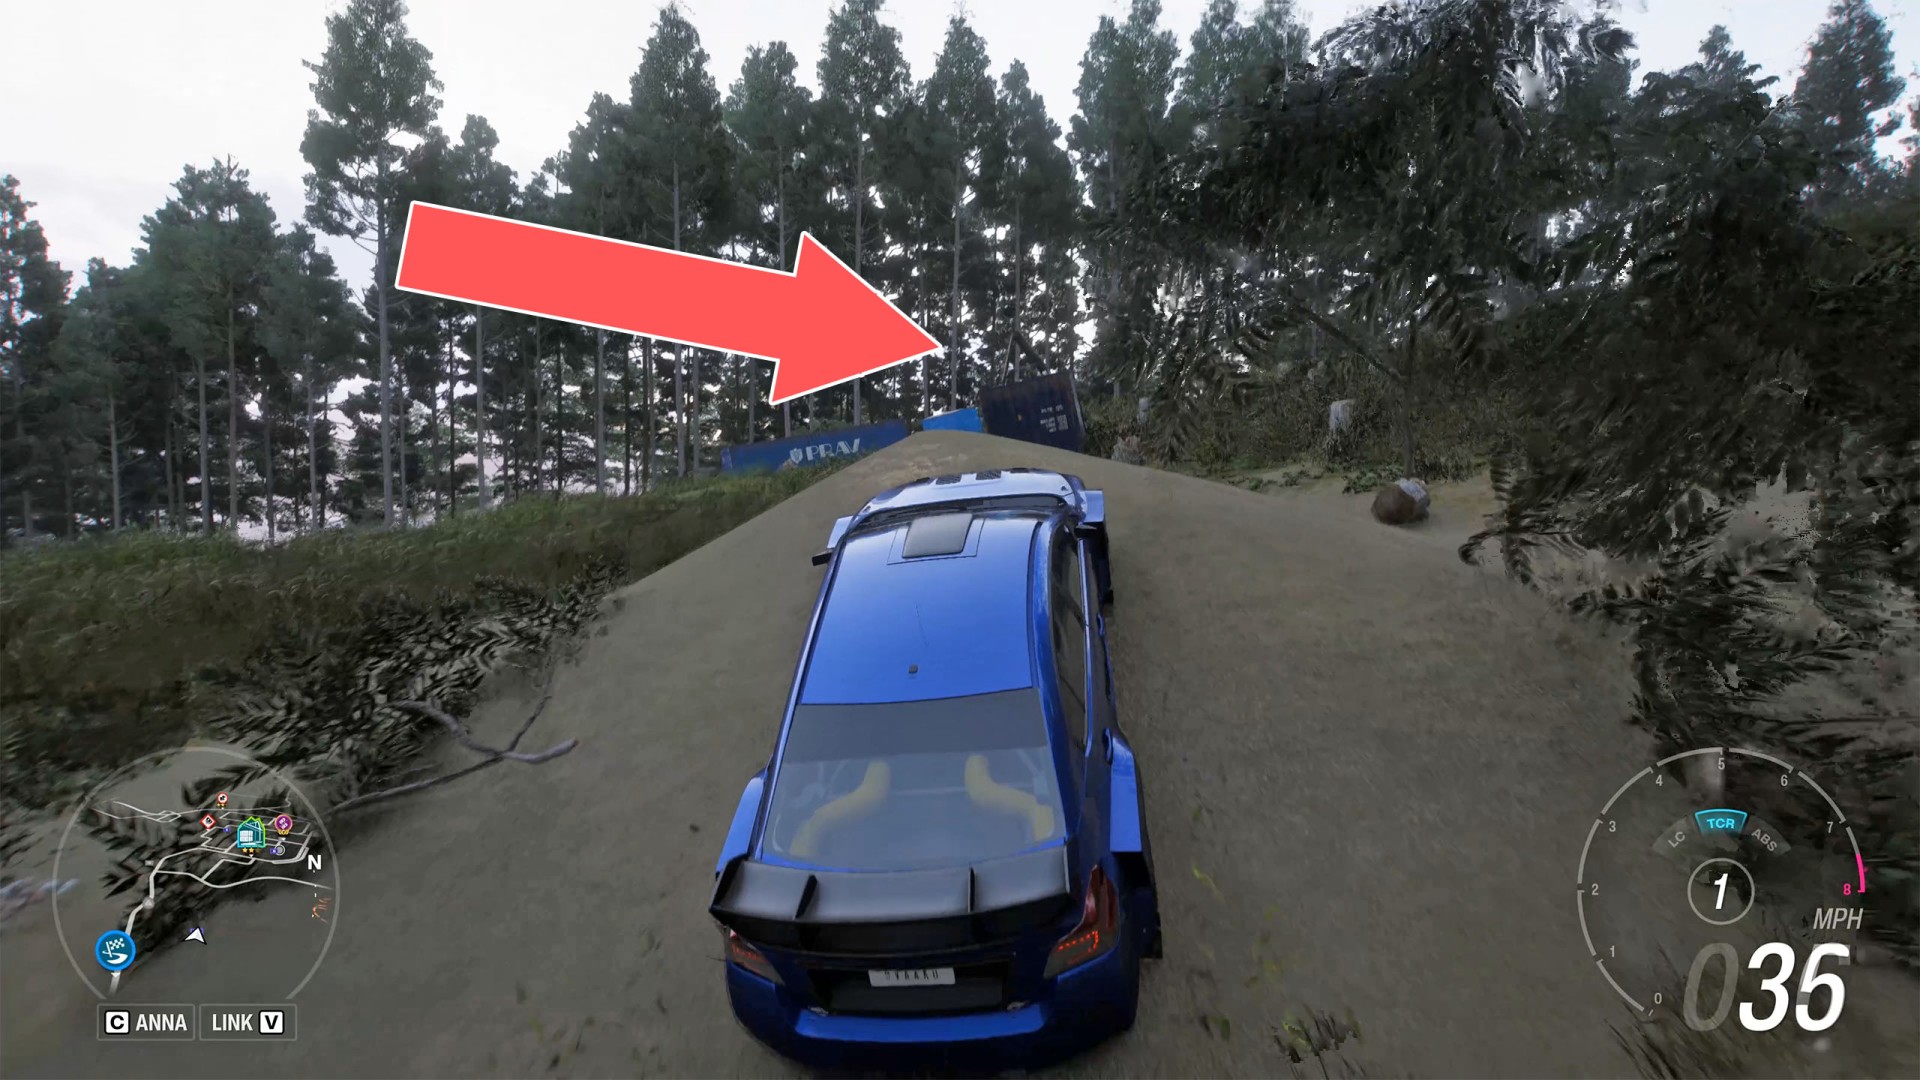
This board is on a container. To destroy it, pick up some speed and launch your car into the air using the nearby sandpile.
Ito 31: 5,000 XP

Show the map

54Ito 32: 5,000 XP

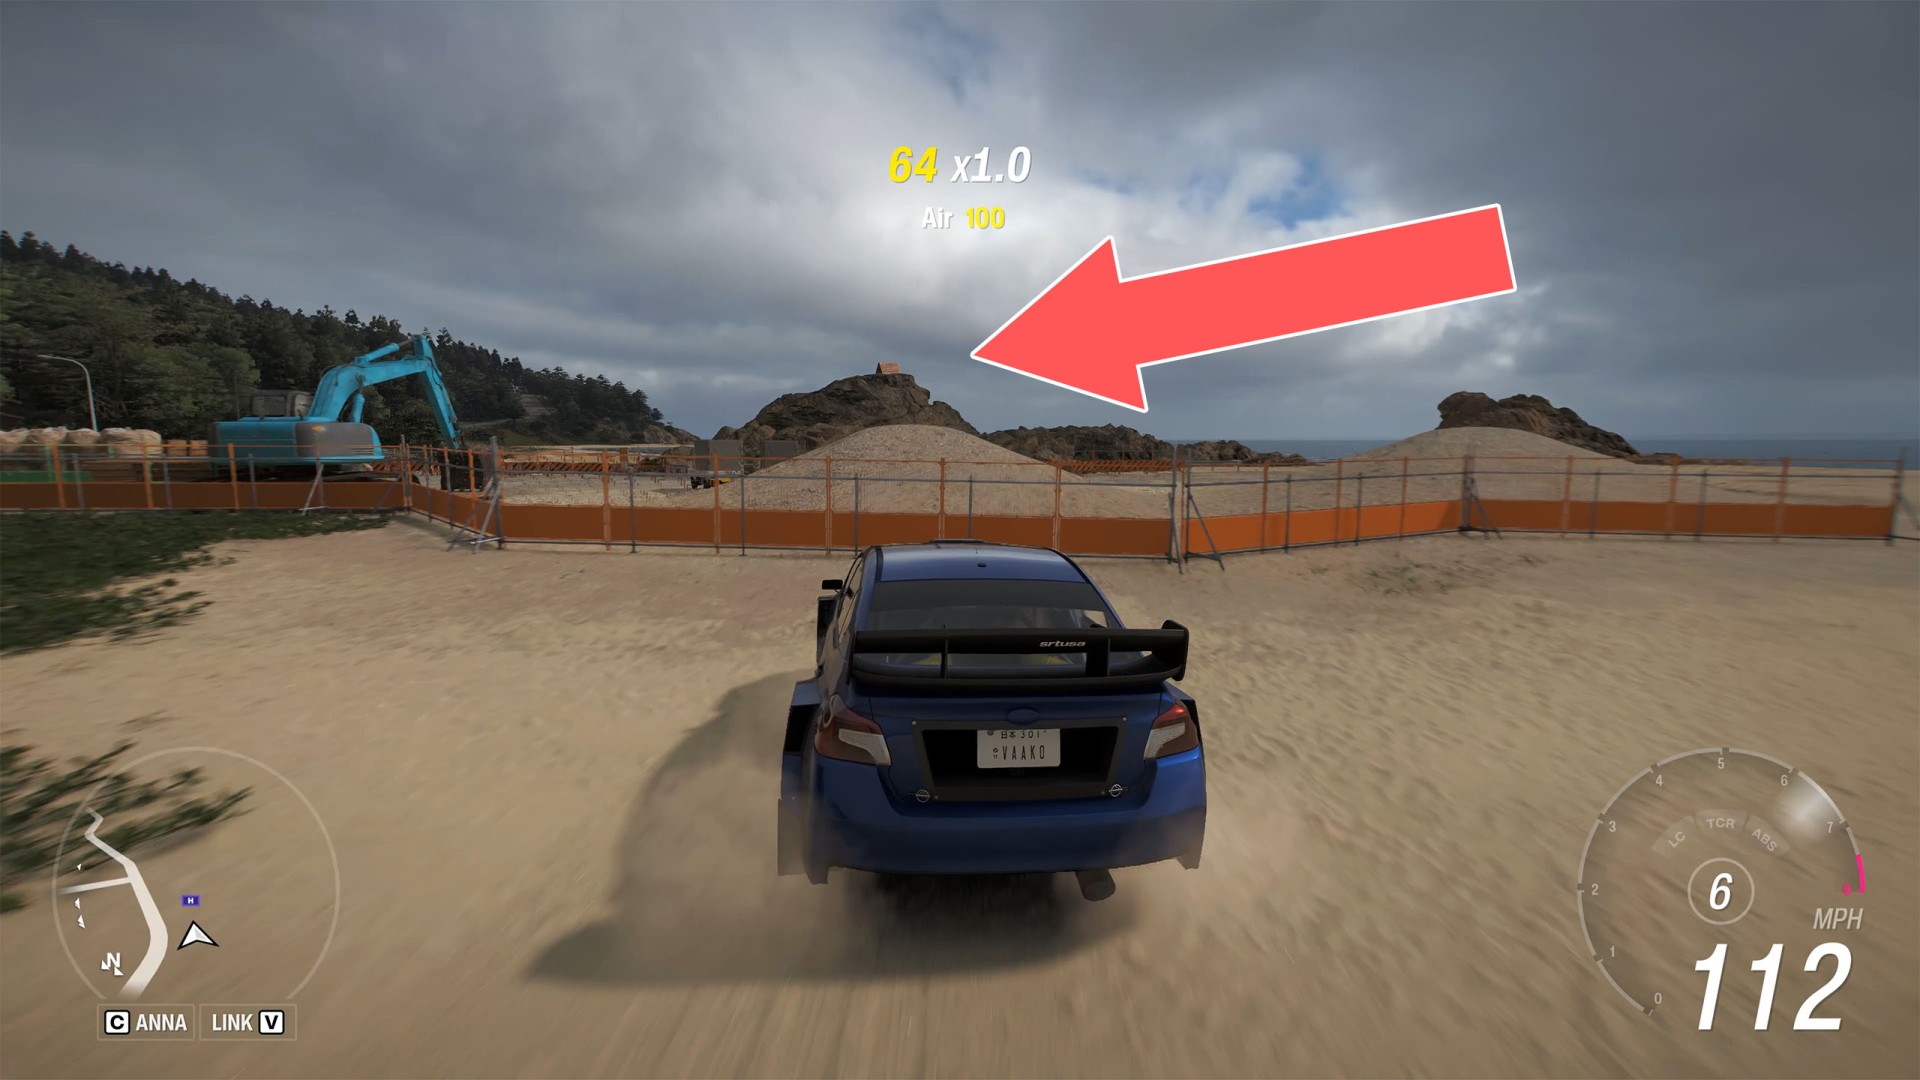
The sign is located on the rocks. To destroy it, gather speed and launch your car into the air using the nearby sandpile.

Ito 32: 5,000 XP

Show the map

55Ito 33: 5,000 XP

Ito 33: 5,000 XP

Show the map

56Ito 34: 5,000 XP

The sign is on the roof of the building. To destroy it, accelerate your car and launch yourself into the air using the slope at the back of the house, on the side facing the sea.

Ito 34: 5,000 XP

Show the map

57Legend Island 1: 1,000 XP

Legend Island 1: 1,000 XP

Show the map

58Legend Island 2: 3,000 XP

Legend Island 2: 3,000 XP

Show the map

59Legend Island 3: 3,000 XP

Legend Island 3: 3,000 XP

Show the map

60Legend Island 4: 3,000 XP

Legend Island 4: 3,000 XP

Show the map

61Legend Island 5: 3,000 XP

Legend Island 5: 3,000 XP

Show the map

62Legend Island 6: 3,000 XP

Legend Island 6: 3,000 XP

Show the map

63Legend Island 7: 3,000 XP

Legend Island 7: 3,000 XP

Show the map

64Legend Island 8: 5,000 XP

Legend Island 8: 5,000 XP

Show the map

65Legend Island 9: 5,000 XP

Legend Island 9: 5,000 XP

Show the map

66Minamino 1: 1,000 XP

Minamino 1: 1,000 XP

Show the map

67Minamino 2: 1,000 XP

Minamino 2: 1,000 XP

Show the map

68Minamino 3: 1,000 XP

Minamino 3: 1,000 XP

Show the map

69Minamino 4: 1,000 XP

Minamino 4: 1,000 XP

Show the map

70Minamino 5: 1,000 XP

Minamino 5: 1,000 XP

Show the map

71Minamino 6: 1,000 XP

Minamino 6: 1,000 XP

Show the map

72Minamino 7: 1,000 XP

Minamino 7: 1,000 XP

Show the map

73Minamino 8: 1,000 XP

Minamino 8: 1,000 XP

Show the map

74Minamino 9: 1,000 XP

Minamino 9: 1,000 XP

Show the map

75Minamino 10: 1,000 XP

Minamino 10: 1,000 XP

Show the map

76Minamino 11: 1,000 XP

Minamino 11: 1,000 XP

Show the map

77Minamino 12: 1,000 XP

Minamino 12: 1,000 XP

Show the map

78Minamino 13: 1,000 XP

Minamino 13: 1,000 XP

Show the map

79Minamino 14: 1,000 XP

Minamino 14: 1,000 XP

Show the map

80Minamino 15: 1,000 XP

Minamino 15: 1,000 XP

Show the map

81Minamino 16: 1,000 XP

Minamino 16: 1,000 XP

Show the map

82Minamino 17: 1,000 XP

Minamino 17: 1,000 XP

Show the map

83Minamino 18: 3,000 XP

Minamino 18: 3,000 XP

Show the map

84Minamino 19: 3,000 XP

Minamino 19: 3,000 XP

Show the map

85Minamino 20: 3,000 XP

Minamino 20: 3,000 XP

Show the map

86Minamino 21: 3,000 XP

Minamino 21: 3,000 XP

Show the map

87Minamino 22: 3,000 XP

Minamino 22: 3,000 XP

Show the map

88Minamino 23: 3,000 XP

Minamino 23: 3,000 XP

Show the map

89Minamino 24: 3,000 XP

Minamino 24: 3,000 XP

Show the map

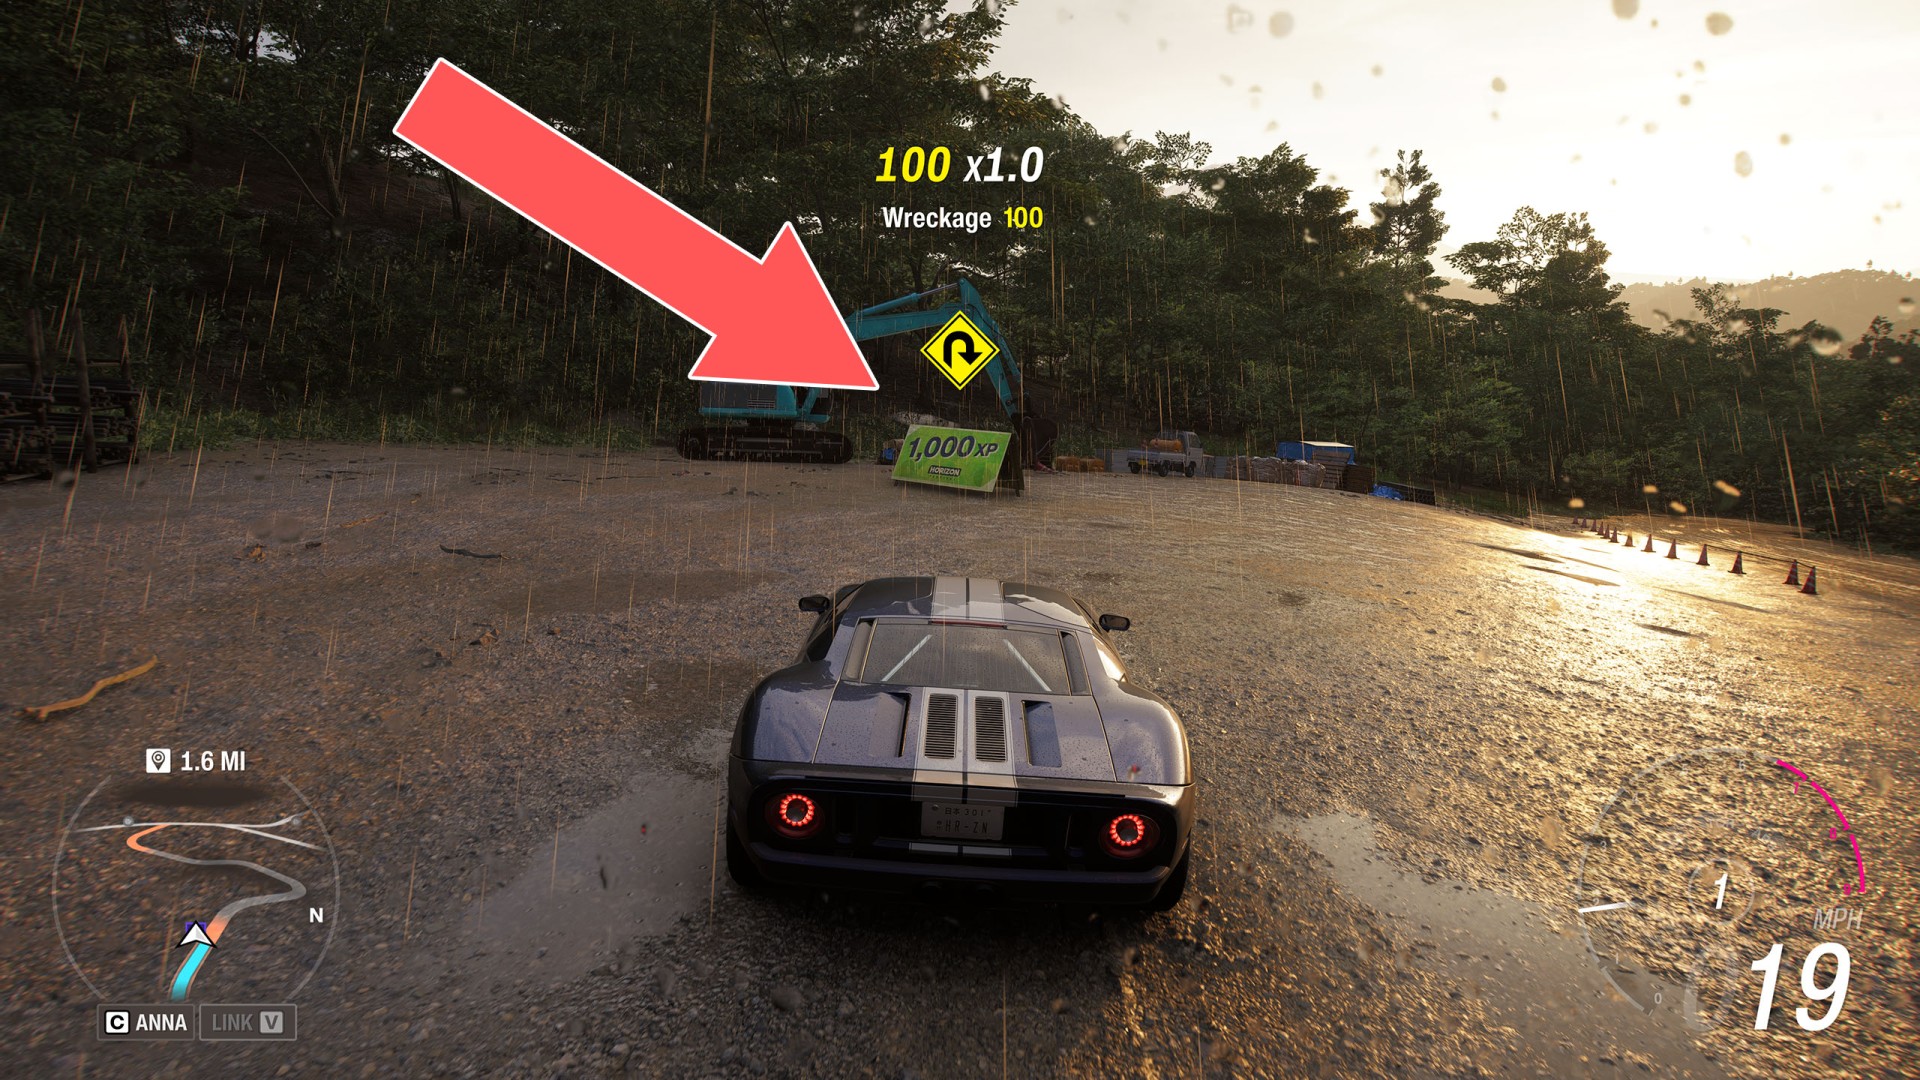
90Minamino 25: 5,000 XP

Build up speed on the nearby slope so you can jump and hit the XP board on the blue excavator.
Minamino 25: 5,000 XP

Show the map

91Minamino 26: 5,000 XP

This XP board is located in Takashiro, but it is marked in the collection as "Minamino 26" - which is clearly an error and will likely be corrected at some point. On the roof of the building - jump up onto it by launching yourself from the steep slope behind it.
Minamino 26: 5,000 XP

Show the map

92Nangan 1: 1,000 XP

Nangan 1: 1,000 XP

Show the map

93Nangan 2: 1,000 XP

Nangan 2: 1,000 XP

Show the map

94Nangan 3: 1,000 XP

Nangan 3: 1,000 XP

Show the map

95Nangan 4: 1,000 XP

Nangan 4: 1,000 XP

Show the map

96Nangan 5: 1,000 XP

Nangan 5: 1,000 XP

Show the map

97Nangan 6: 1,000 XP

Nangan 6: 1,000 XP

Show the map

98Nangan 7: 3,000 XP

Nangan 7: 3,000 XP

Show the map

99Nangan 8: 3,000 XP

Nangan 8: 3,000 XP

Show the map

100Nangan 9: 3,000 XP

Nangan 9: 3,000 XP

Show the map

101Nangan 10: 3,000 XP

Nangan 10: 3,000 XP

Show the map

102Nangan 11: 3,000 XP

Nangan 11: 3,000 XP

Show the map

103Nangan 12: 5,000 XP

Nangan 12: 5,000 XP

Show the map

104Nangan 13: 5,000 XP

This XP board is located on the roof of a large, tall building, which you can reach by jumping down from the hill on the west side.

Nangan 13: 5,000 XP

Show the map

105Nangan 14: 5,000 XP

Nangan 14: 5,000 XP

Show the map

106Ohtani 1: 1,000 XP

Ohtani 1: 1,000 XP

Show the map

107Ohtani 2: 1,000 XP

Ohtani 2: 1,000 XP

Show the map

108Ohtani 3: 1,000 XP

Ohtani 3: 1,000 XP

Show the map

109Ohtani 4: 1,000 XP

Ohtani 4: 1,000 XP

Show the map

110Ohtani 5: 1,000 XP

Ohtani 5: 1,000 XP

Show the map

111Ohtani 6: 1,000 XP

Ohtani 6: 1,000 XP

Show the map

112Ohtani 7: 1,000 XP

Ohtani 7: 1,000 XP

Show the map

113Ohtani 8: 1,000 XP

Ohtani 8: 1,000 XP

Show the map

114Ohtani 9: 1,000 XP

Ohtani 9: 1,000 XP

Show the map

115Ohtani 10: 1,000 XP

Ohtani 10: 1,000 XP

Show the map

116Ohtani 11: 1,000 XP

Ohtani 11: 1,000 XP

Show the map

117Ohtani 12: 3,000 XP

Ohtani 12: 3,000 XP

Show the map

118Ohtani 13: 3,000 XP

Ohtani 13: 3,000 XP

Show the map

119Ohtani 14: 3,000 XP

Ohtani 14: 3,000 XP

Show the map

120Ohtani 15: 3,000 XP

Ohtani 15: 3,000 XP

Show the map

121Ohtani 16: 3,000 XP

Ohtani 16: 3,000 XP

Show the map

122Ohtani 17: 3,000 XP

Ohtani 17: 3,000 XP

Show the map

123Ohtani 18: 5,000 XP

Ohtani 18: 5,000 XP

Show the map

124Shimanoyama 1: 1,000 XP

Shimanoyama 1: 1,000 XP

Show the map

125Shimanoyama 2: 1,000 XP

Shimanoyama 2: 1,000 XP

Show the map

126Shimanoyama 3: 1,000 XP

Shimanoyama 3: 1,000 XP

Show the map

127Shimanoyama 4: 1,000 XP

Shimanoyama 4: 1,000 XP

Show the map

128Shimanoyama 5: 1,000 XP

Shimanoyama 5: 1,000 XP

Show the map

129Shimanoyama 6: 1,000 XP

Shimanoyama 6: 1,000 XP

Show the map

130Shimanoyama 7: 1,000 XP

Shimanoyama 7: 1,000 XP

Show the map

131Shimanoyama 8: 1,000 XP

Shimanoyama 8: 1,000 XP

Show the map

132Shimanoyama 9: 1,000 XP

Shimanoyama 9: 1,000 XP

Show the map

133Shimanoyama 10: 1,000 XP

Shimanoyama 10: 1,000 XP

Show the map

134Shimanoyama 11: 1,000 XP

Shimanoyama 11: 1,000 XP

Show the map

135Shimanoyama 12: 3,000 XP

Shimanoyama 12: 3,000 XP

Show the map

136Shimanoyama 13: 3,000 XP

Shimanoyama 13: 3,000 XP

Show the map

137Shimanoyama 14: 3,000 XP

Shimanoyama 14: 3,000 XP

Show the map

138Shimanoyama 15: 3,000 XP

Shimanoyama 15: 3,000 XP

Show the map

139Shimanoyama 16: 3,000 XP

Shimanoyama 16: 3,000 XP

Show the map

140Shimanoyama 17: 3,000 XP

Shimanoyama 17: 3,000 XP

Show the map

141Shimanoyama 18: 3,000 XP

Shimanoyama 18: 3,000 XP

Show the map

142Shimanoyama 19: 3,000 XP

Shimanoyama 19: 3,000 XP

Show the map

143Shimanoyama 20: 5,000 XP

Shimanoyama 20: 5,000 XP

Show the map

144Shimanoyama 21: 5,000 XP

Shimanoyama 21: 5,000 XP

Show the map

145Shimanoyama 22: 5,000 XP

Shimanoyama 22: 5,000 XP

Show the map

146Sotoyama 1: 1,000 XP

Sotoyama 1: 1,000 XP

Show the map

147Sotoyama 2: 1,000 XP

Sotoyama 2: 1,000 XP

Show the map

148Sotoyama 3: 1,000 XP

Sotoyama 3: 1,000 XP

Show the map

149Sotoyama 4: 1,000 XP

Sotoyama 4: 1,000 XP

Show the map

150Sotoyama 5: 1,000 XP

Sotoyama 5: 1,000 XP

Show the map

151Sotoyama 6: 1,000 XP

Sotoyama 6: 1,000 XP

Show the map

152Sotoyama 7: 1,000 XP

Sotoyama 7: 1,000 XP

Show the map

153Sotoyama 8: 3,000 XP

Sotoyama 8: 3,000 XP

Show the map

154Sotoyama 9: 3,000 XP

Sotoyama 9: 3,000 XP

Show the map

155Sotoyama 10: 3,000 XP

Sotoyama 10: 3,000 XP

Show the map

156Sotoyama 11: 3,000 XP

Sotoyama 11: 3,000 XP

Show the map

157Sotoyama 12: 3,000 XP

Sotoyama 12: 3,000 XP

Show the map

158Sotoyama 13: 3,000 XP

Sotoyama 13: 3,000 XP

Show the map

159Sotoyama 14: 3,000 XP

Sotoyama 14: 3,000 XP

Show the map

160Sotoyama 15: 3,000 XP

Sotoyama 15: 3,000 XP

Show the map

161Sotoyama 16: 3,000 XP

Sotoyama 16: 3,000 XP

Show the map

162Sotoyama 17: 5,000 XP

This is likely the most difficult board to collect. It is located on a ski lift pylon - you must launch yourself from the nearby hill covered in snow-capped trees.

Sotoyama 17: 5,000 XP

Show the map

163Sotoyama 18: 5,000 XP

Sotoyama 18: 5,000 XP

Show the map

164Sotoyama 19: 5,000 XP

Sotoyama 19: 5,000 XP

Show the map

165Takashiro 1: 1,000 XP

Takashiro 1: 1,000 XP

Show the map

166Takashiro 2: 1,000 XP

Takashiro 2: 1,000 XP

Show the map

167Takashiro 3: 1,000 XP

Takashiro 3: 1,000 XP

Show the map

168Takashiro 4: 1,000 XP

Takashiro 4: 1,000 XP

Show the map

169Takashiro 5: 1,000 XP

Takashiro 5: 1,000 XP

Show the map

170Takashiro 6: 1,000 XP

Takashiro 6: 1,000 XP

Show the map

171Takashiro 7: 1,000 XP

Takashiro 7: 1,000 XP

Show the map

172Takashiro 8: 1,000 XP

Takashiro 8: 1,000 XP

Show the map

173Takashiro 9: 1,000 XP

Takashiro 9: 1,000 XP

Show the map

174Takashiro 10: 1,000 XP

Takashiro 10: 1,000 XP

Show the map

175Takashiro 11: 3,000 XP

Takashiro 11: 3,000 XP

Show the map

176Takashiro 12: 3,000 XP

Takashiro 12: 3,000 XP

Show the map

177Takashiro 13: 3,000 XP

Takashiro 13: 3,000 XP

Show the map

178Takashiro 14: 3,000 XP

Takashiro 14: 3,000 XP

Show the map

179Takashiro 15: 3,000 XP

Takashiro 15: 3,000 XP

Show the map

180Takashiro 16: 3,000 XP

Takashiro 16: 3,000 XP

Show the map

181Takashiro 17: 3,000 XP

Takashiro 17: 3,000 XP

Show the map

182Takashiro 18: 5,000 XP

Takashiro 18: 5,000 XP

Show the map

183Takashiro 19: 5,000 XP

Takashiro 19: 5,000 XP

Show the map

184Tokyo City 1: 1,000 XP

Tokyo City 1: 1,000 XP

Show the map

185Tokyo City 2: 1,000 XP

Tokyo City 2: 1,000 XP

Show the map

186Tokyo City 3: 1,000 XP

Tokyo City 3: 1,000 XP

Show the map

187Tokyo City 4: 1,000 XP

Tokyo City 4: 1,000 XP

Show the map

188Tokyo City 5: 3,000 XP

Tokyo City 5: 3,000 XP

Show the map

189Tokyo City 6: 3,000 XP

Tokyo City 6: 3,000 XP

Show the map

190Tokyo City 7: 3,000 XP

Tokyo City 7: 3,000 XP

Show the map

191Tokyo City 8: 3,000 XP

Tokyo City 8: 3,000 XP

Show the map

192Tokyo City 9: 3,000 XP

Tokyo City 9: 3,000 XP

Show the map

193Tokyo City 10: 3,000 XP

Tokyo City 10: 3,000 XP

Show the map

194Tokyo City 11: 3,000 XP

Tokyo City 11: 3,000 XP

Show the map

195Tokyo City 12: 3,000 XP

Tokyo City 12: 3,000 XP

Show the map

196Tokyo City 13: 3,000 XP

Tokyo City 13: 3,000 XP

Show the map

197Tokyo City 14: 3,000 XP

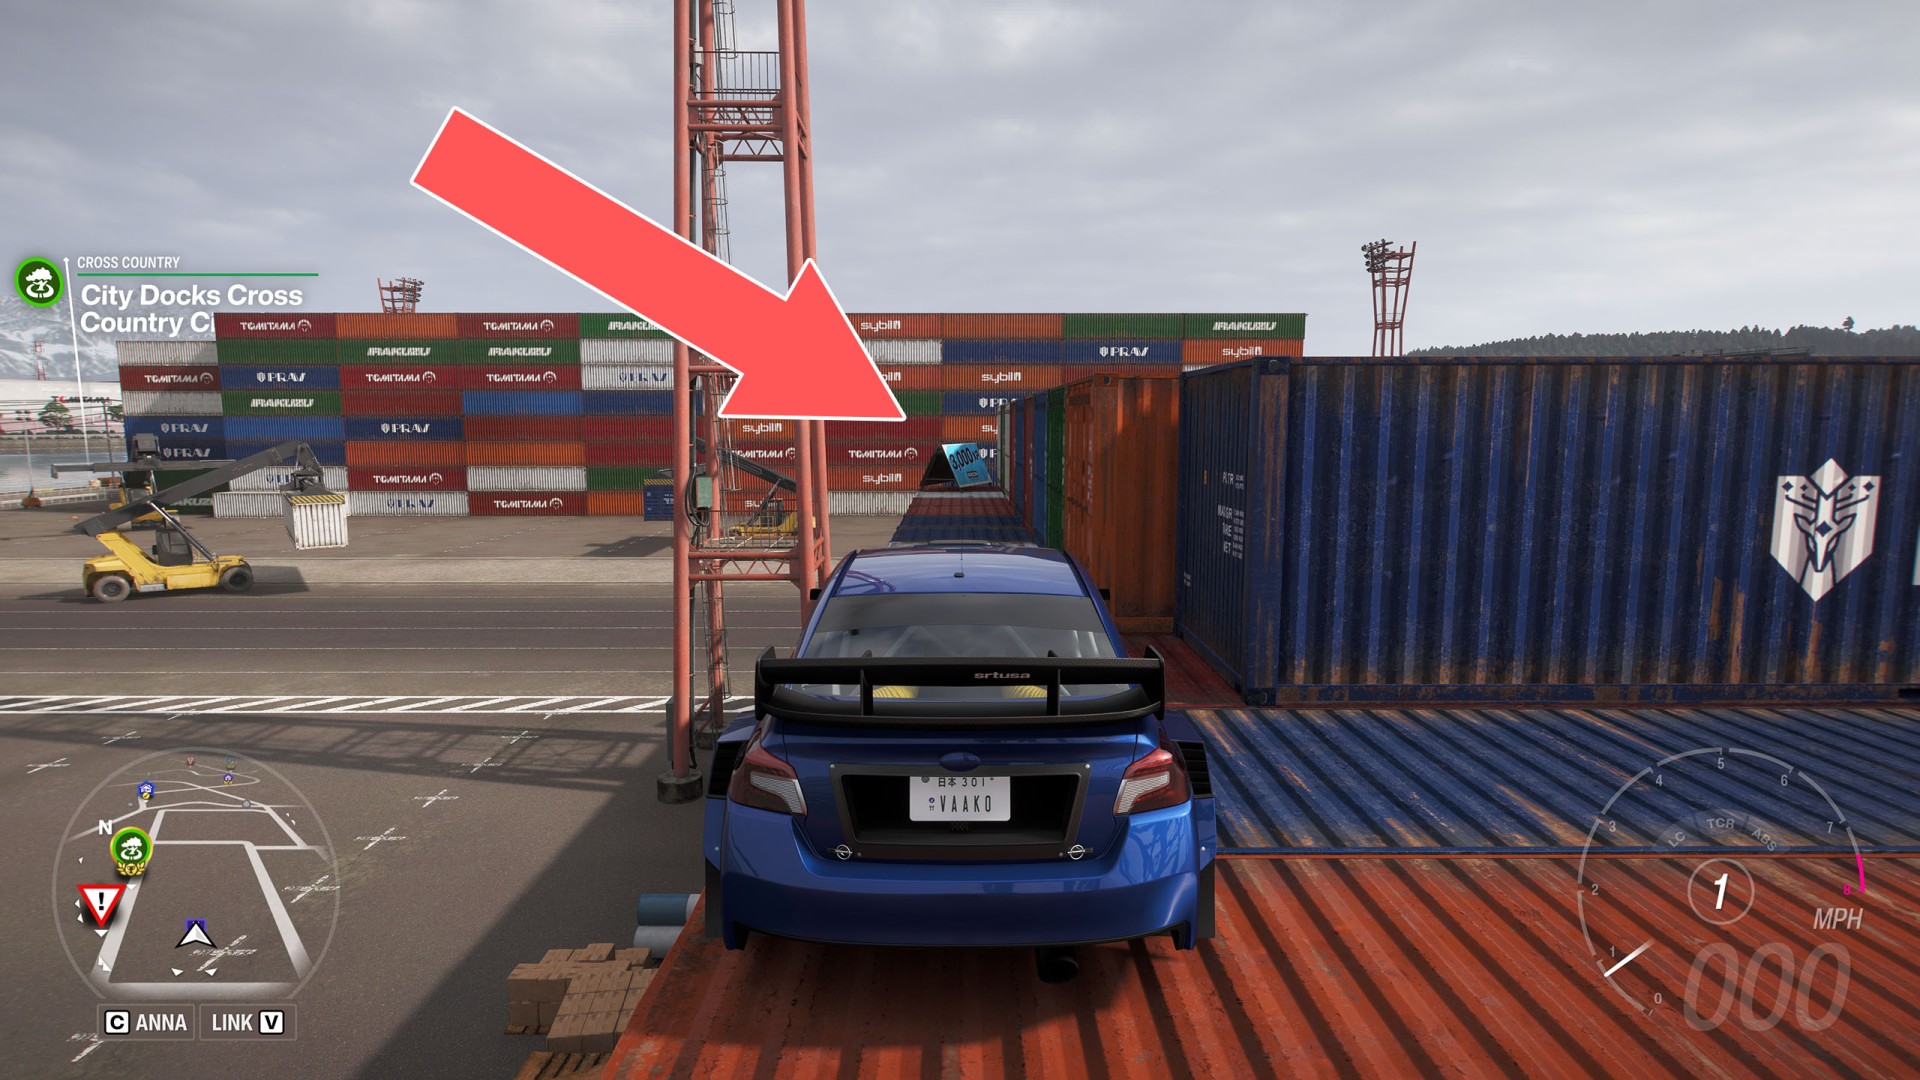
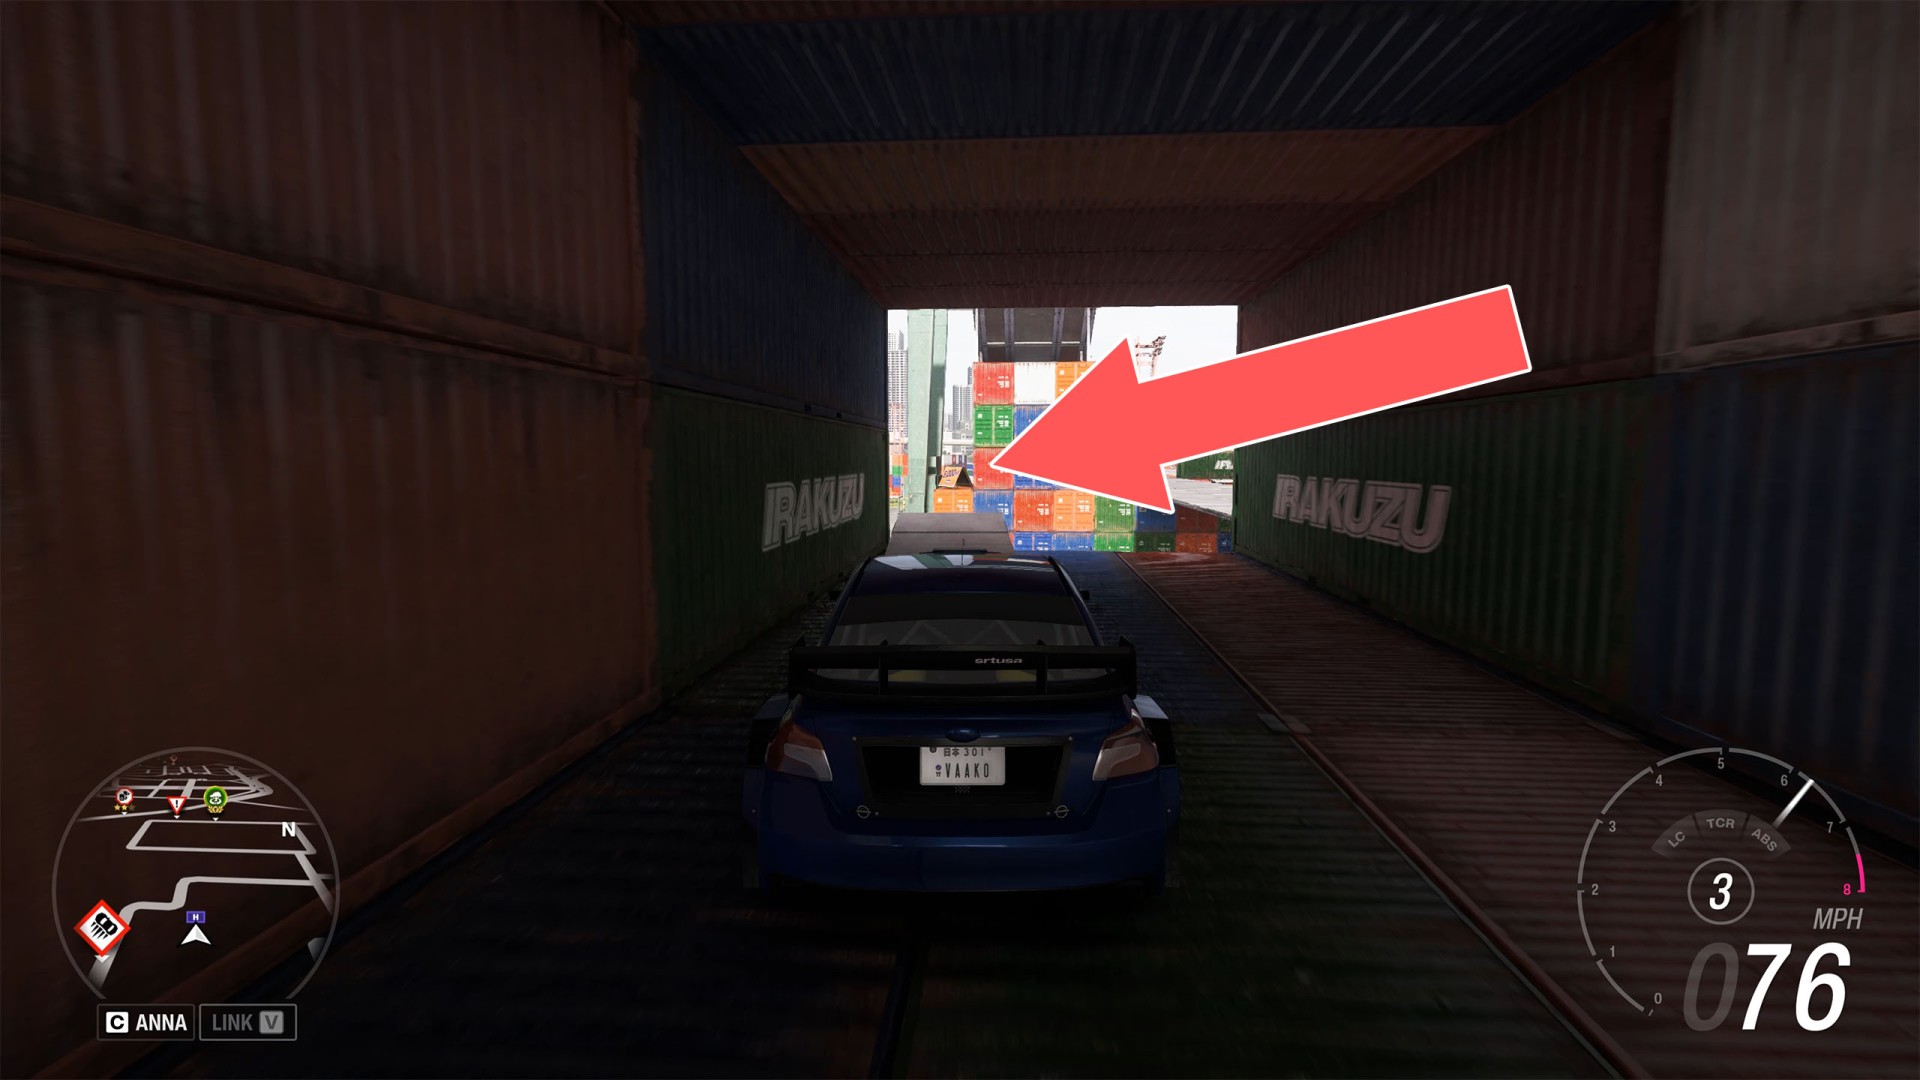
This board is on a shipping container. You can simply drive up the ramp and over the containers - no jumping is required.

Tokyo City 14: 3,000 XP

Show the map

198Tokyo City 15: 3,000 XP

Tokyo City 15: 3,000 XP

Show the map

199Tokyo City 16: 5,000 XP

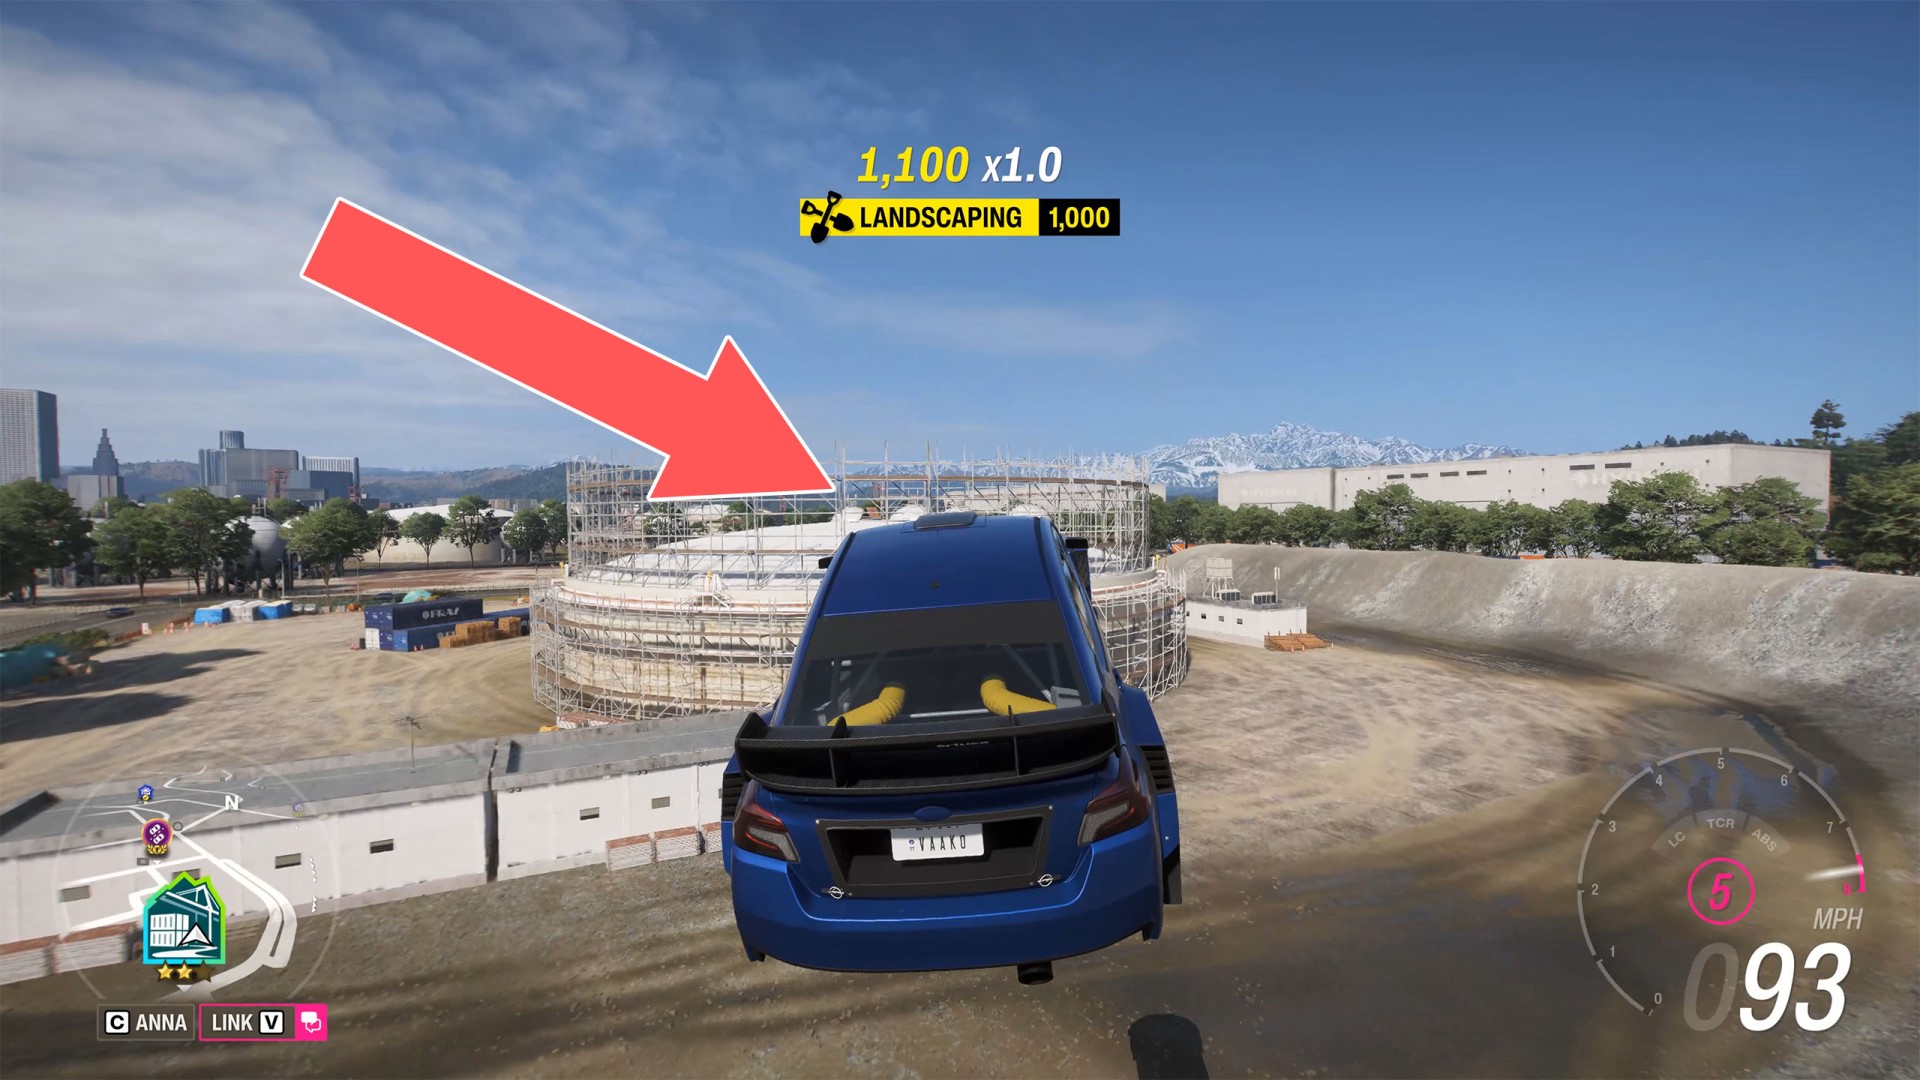
The board is located on the roof of a large, oval tank surrounded by scaffolding. You can jump onto the roof by launching yourself off the nearby large pile of dirt. The scaffolding is not an obstacle - it will break upon impact.

Tokyo City 16: 5,000 XP

Show the map

200Tokyo City 17: 5,000 XP

Tokyo City 17: 5,000 XP

Show the map