Welcome to guides4gamers.com

Criptograma Charts, Far Cry 6 Points of interest

This collection includes every marker from the Criptograma Charts category of points of interest in Far Cry 6, all placed on interactive maps created specifically for the game.

You can find 30 Criptograma Charts if Far Cry 6. They are needed to open the Criptograma Chests. To open each chest you must find two nearby charts.

Criptograma Charts

Index

The index below enables quick navigation to the desired marker / point of interest.

All known locations on the map - Yara

Criptograma Chart#01 - Yaran Flag

#01 - Yaran Flag

Show the map

Criptograma Chart#02 - La Guitarra

You can climb here from the east side (grappling hook + vines).

#02 - La Guitarra

Show the map

Criptograma Chart#03 - Pig

#03 - Pig

Show the map

Criptograma Chart#04 - Starfish

You must destroy the wooden pallet blocking access to the inside of the wrecked car.

#04 - Starfish

Show the map

Criptograma Chart#05 - Machete

#05 - Machete

#05 - Machete

Show the map

Criptograma Chart#06 - Royal Palm

#06 - Royal Palm

Show the map

Criptograma Chart#07 - El Cocodrilo

#07 - El Cocodrilo

#07 - El Cocodrilo

Show the map

Criptograma Chart#08 - Car Clásico

#08 - Car Clásico

Show the map

Criptograma Chart#09 - Tarantula

At the top of the tower. To get there you will have to use your grappling hook and climb the vines.

#09 - Tarantula

Show the map

Criptograma Chart#10 - Rooster

#10 - Rooster

Show the map

Criptograma Chart#11 - Rum

#11 - Rum

Show the map

Criptograma Chart#12 - Shark

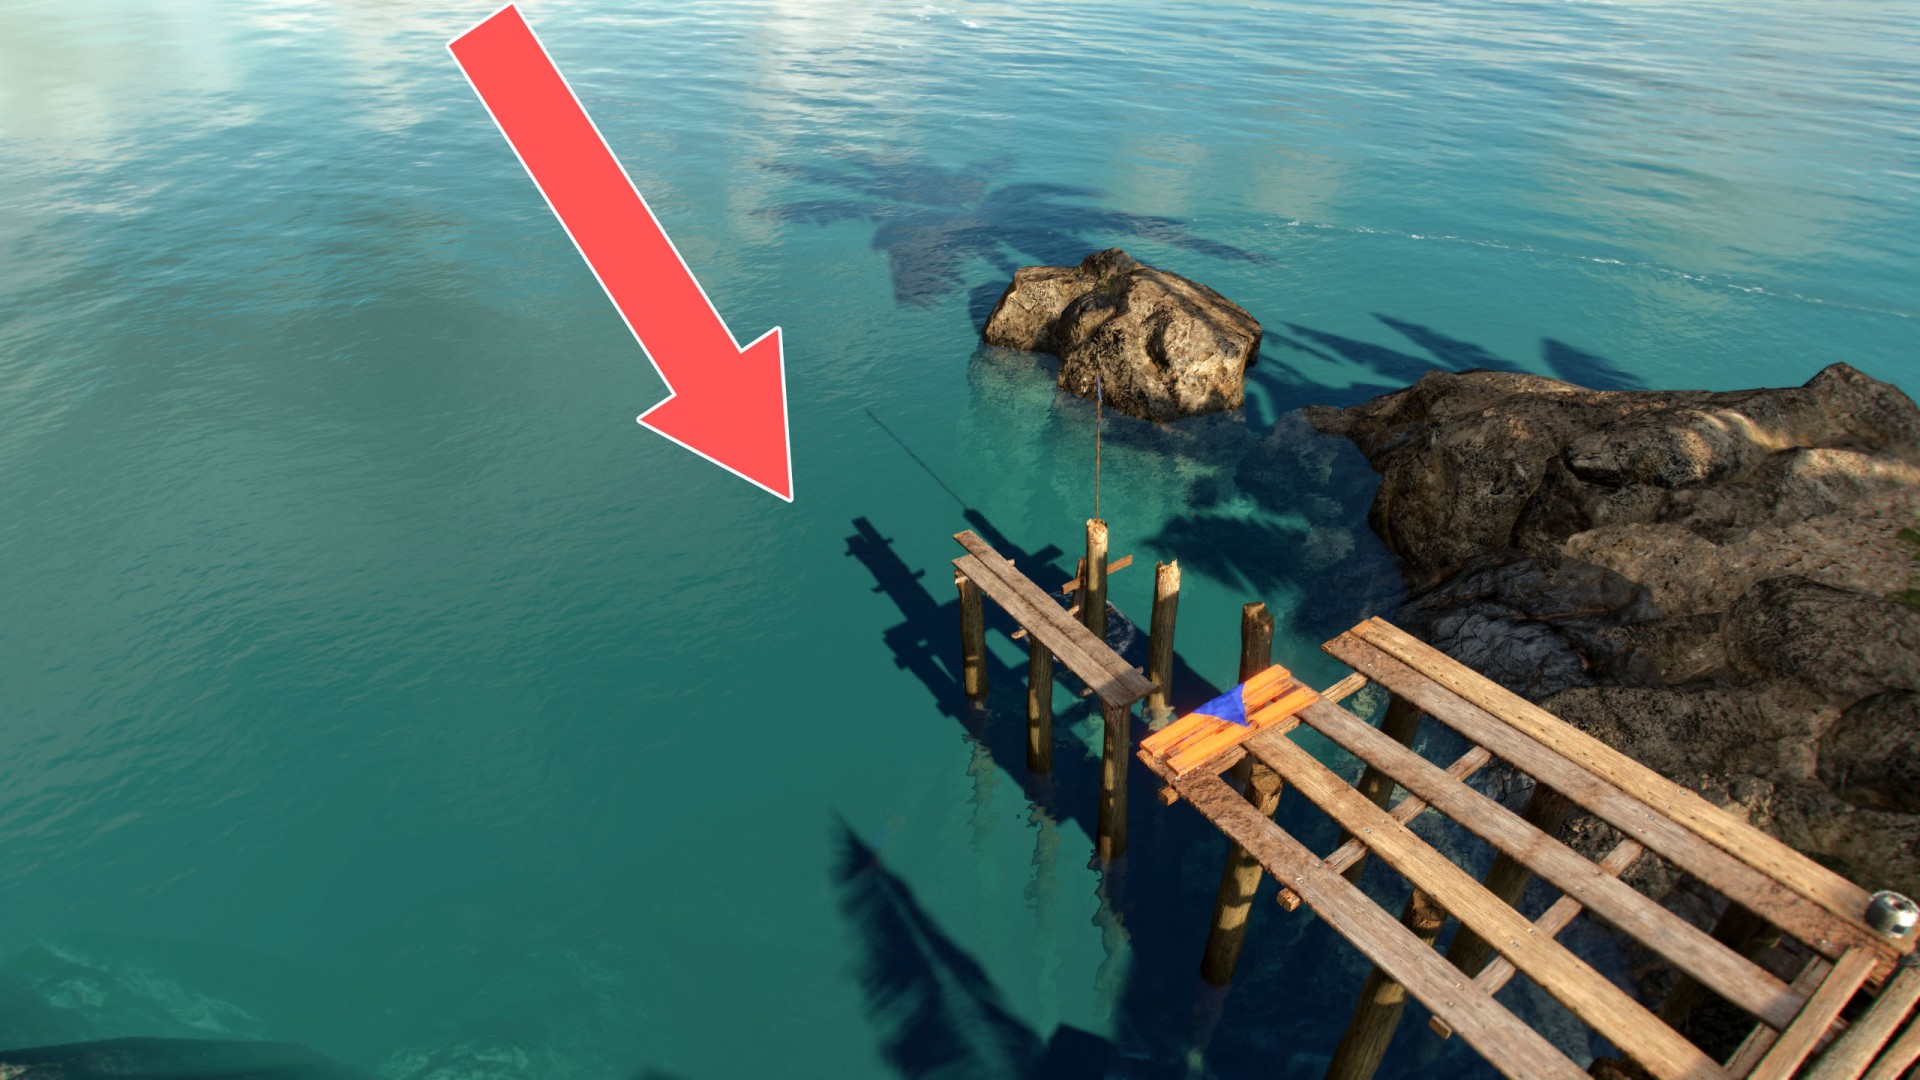
You have to dive to the bottom of the sea.

#12 - Shark

#12 - Shark

Show the map

Criptograma Chart#13 - Cat

You must destroy the boards blocking access.

#13 - Cat

#13 - Cat

Show the map

Criptograma Chart#14 - Horse

#14 - Horse

Show the map

Criptograma Chart#15 - El Flamenco

#15 - El Flamenco

Show the map

Criptograma Chart#16 - El Trompo

#16 - El Trompo

Show the map

Criptograma Chart#17 - Coin

It is in a cave that you can get to in two ways. Through the "back entrance" or from the sea side (you have to destroy the red net).

#17 - Coin

#17 - Coin

#17 - Coin

Show the map

Criptograma Chart#18 - Cigar

Use the grappling hook to get to the roof of the neighboring (southern) building and then ride the zip line.

#18 - Cigar

Show the map

Criptograma Chart#19 - Sunrise Mariposa Flower

#19 - Sunrise Mariposa Flower

Show the map

Criptograma Chart#20 - Mamey Sapote

#20 - Mamey Sapote

Show the map

Criptograma Chart#21 - Croco Taxi

You can reach the roof by climbing the scaffolding located on the bay side.

#21 - Croco Taxi

Show the map

Criptograma Chart#22 - Dog

#22 - Dog

Show the map

Criptograma Chart#23 - Libertad Emblem

First, you must destroy the wooden planks blocking access to the inside.

#23 - Libertad Emblem

#23 - Libertad Emblem

Show the map

Criptograma Chart#24 - Chalice

#24 - Chalice

Show the map

Criptograma Chart#25 - Yara Libre

#25 - Yara Libre

Show the map

Criptograma Chart#26 - Boxing Gloves

The entrance to the tower is underwater.

#26 - Boxing Gloves

#26 - Boxing Gloves

Show the map

Criptograma Chart#27 - Tocororo

#27 - Tocororo

#27 - Tocororo

Show the map

Criptograma Chart#28 - Yaran Queen Butterfly

#28 - Yaran Queen Butterfly

Show the map

Criptograma Chart#29 - Soursop

You must destroy the boards blocking access.

#29 - Soursop

#29 - Soursop

Show the map

Criptograma Chart#30 - Domino

#30 - Domino

Show the map