Side Quests Dragon's Dogma 2 Points of interest
Index
- A Beggar's Tale
- A Candle in the Storm
- A Case of Sculptor's Block
- A Place to Call Home
- A Trial of Archery
- A Veil of Gossamer Clouds
- Brothers Brave and Timid
- Claw Them Into Shape
- Dulled Steel, Cold Forge
- Gift of the Bow
- House of the Blue Sunbright
- Hunt for the Jadeite Orb
- Medicament Predicament
- Mercy among Thieves
- Nesting Troubles
- Ordeals of a New Recruit
- Oxcart Courier
- Prey for the Pack
- Put a Spring in Thy Step
- Scaly Invaders
- Sigurd
- Spellbound
- The Arisen's Shadow
- The Gift of Giving
- The Heel of History
- The Nameless Village
- The Ornate Box
- The Provisioner's Plight
- The Sorcerer's Appraisal
- The Sotted Sage
- Tolled to Rest
- Vocation Frustration
All known locations on the map World Map
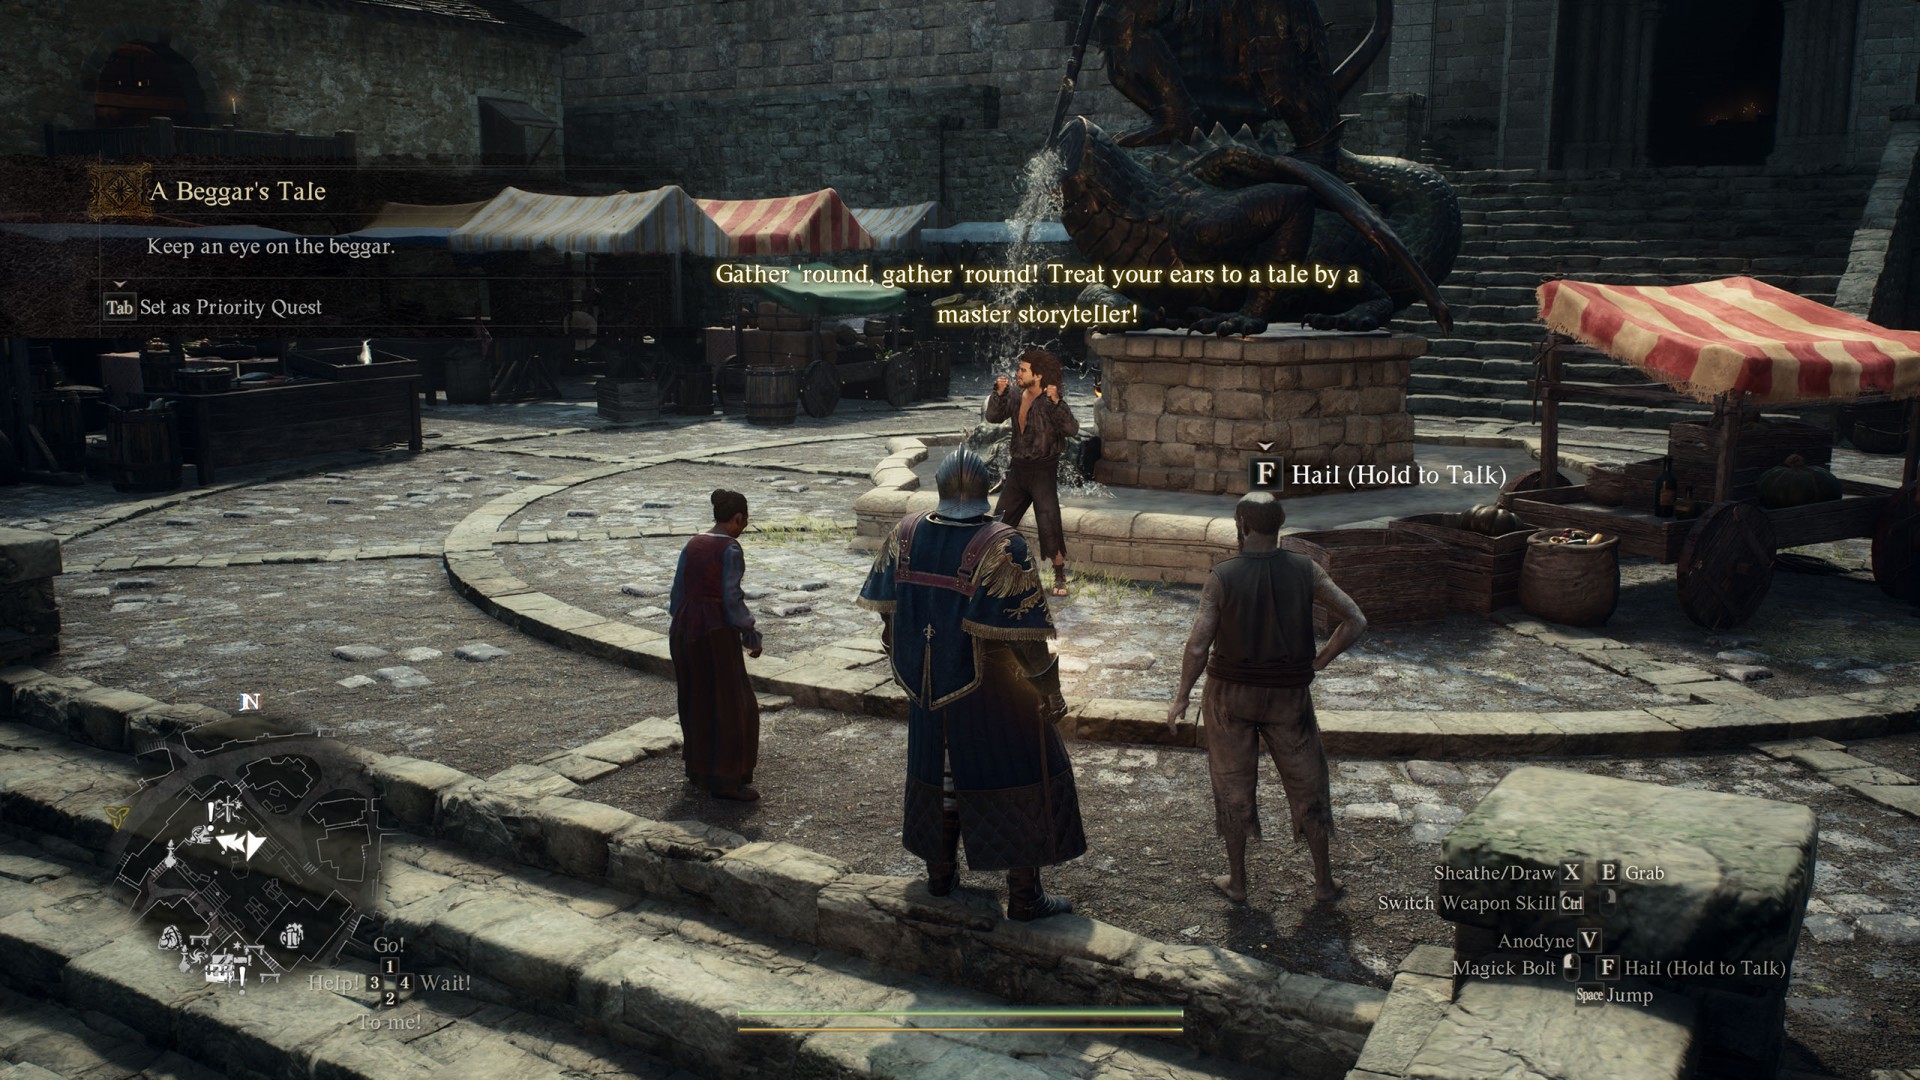
 A Beggar's Tale▶ show the map ◀
Description: Albert of the slums seems to be doing quite well for himself, but even his fellow beggars are baffled by how much coin he has in spite of his meager means.
A Candle in the Storm▶ show the map ◀
Description: As the empress performed her supplications to the Lambent Flame, an assassin's dagger took aim at her back. Though the brigand was caught, the true mastermind is still at large.
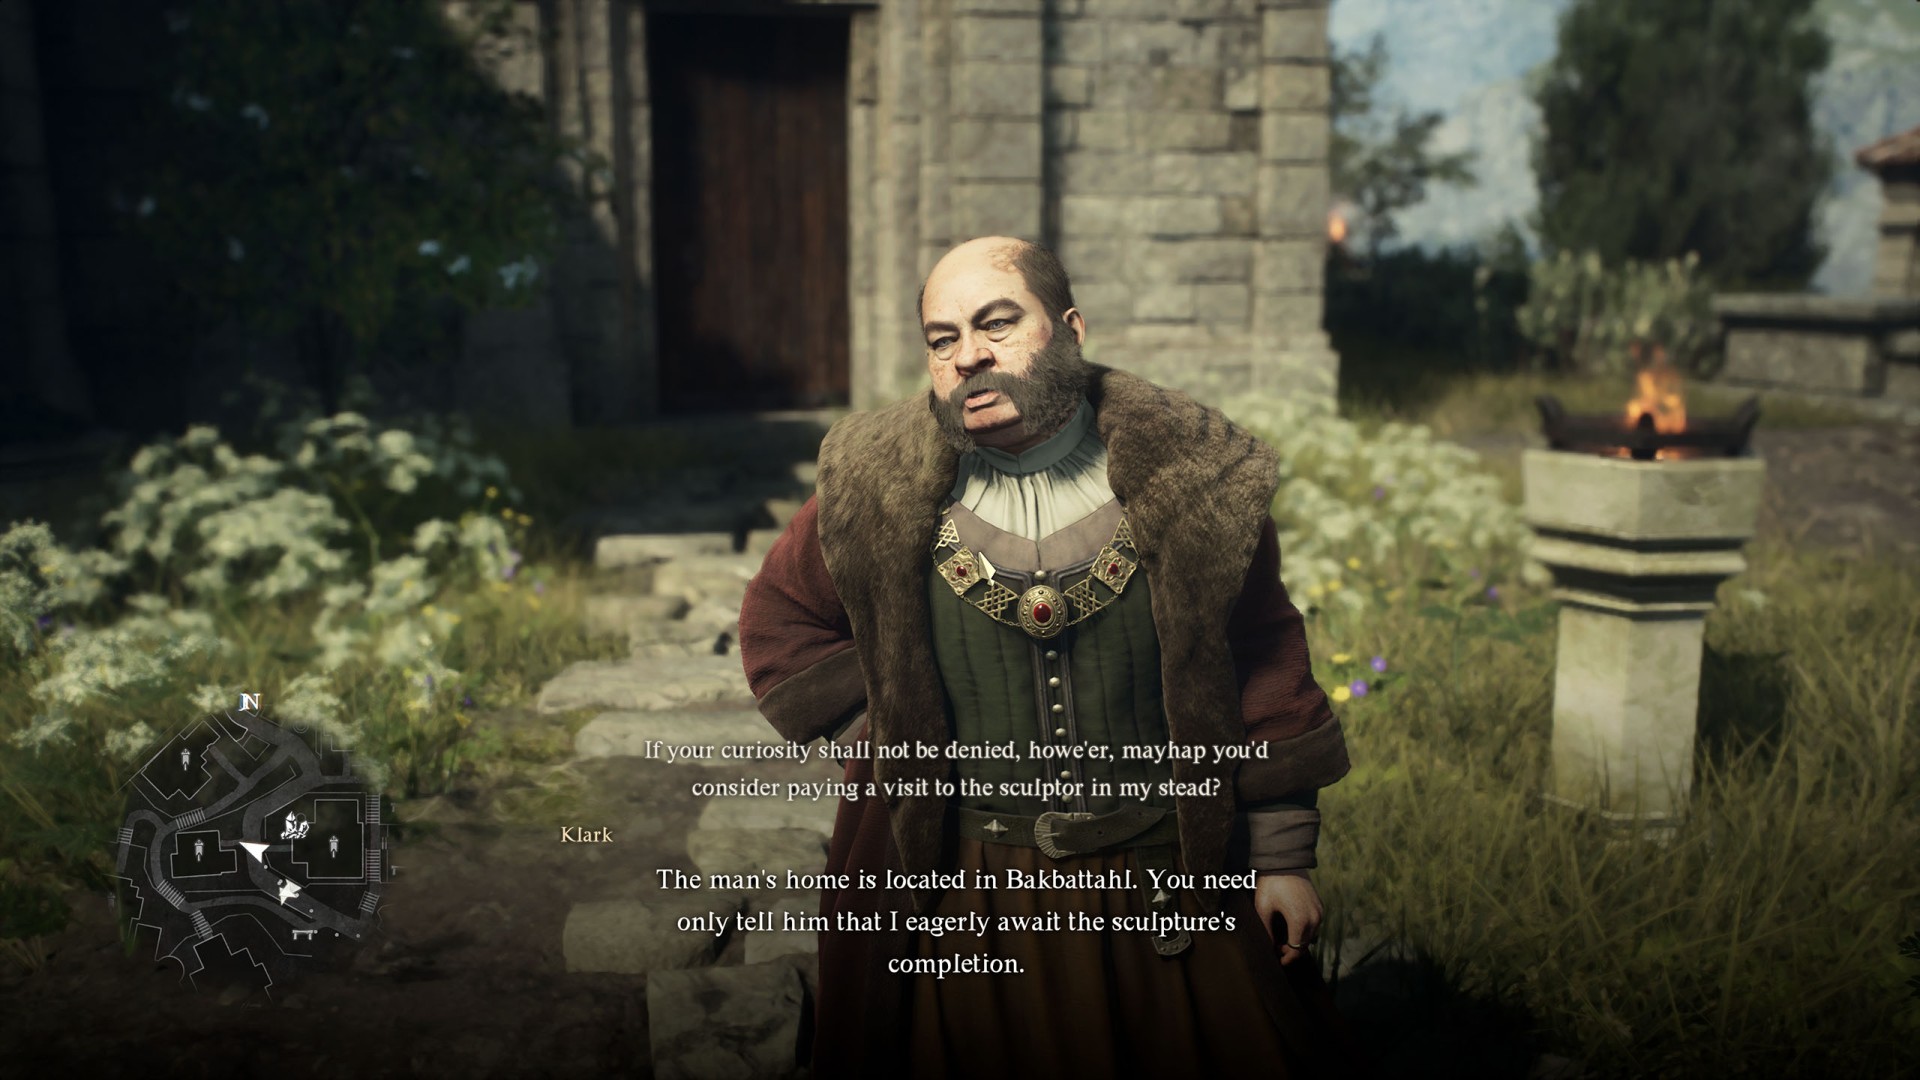
A Case of Sculptor's Block▶ show the map ◀
To receive this quest talk to Klark. It will be possible when the main quest "Nation of the Lambent Flame" is started.
Description: You happened upon the estate of a noble marked for its collection of sculptures, but it seems to be one masterpiece short. Perhaps a word with the sculptor himself is in order.
Objectives:
- Visit Fulvio in Battahl. - Pay a visit to Fulvio, a sculptor residing in Battahl.
A Place to Call Home▶ show the map ◀
To start this quest visit this place and someday you will be chatted up by Mildred.
Description: A place to set down one's pack and put up one's feet makes all the difference at the end of a long journey. Looking to travel herself, Mildred has offered to lend you her home.
Objectives:
- Meet Mildred at her home. - Mildred has a request to make of you, and has asked you to meet her at her abode if you are interested.
- Occupy the dwelling for a week. - Fulfill your obligation to Mildred by frequenting her dwelling for a week.
- Speak with Mildred. - Now that she has returned from her travels, Mildred will doubtless want to hear how you fared in her absence. -
- Purchase Mildred's dwelling. - If you are prepared to call Mildred's dwelling home, raise the funds required to purchase it. You can buy her house for 20,000G.
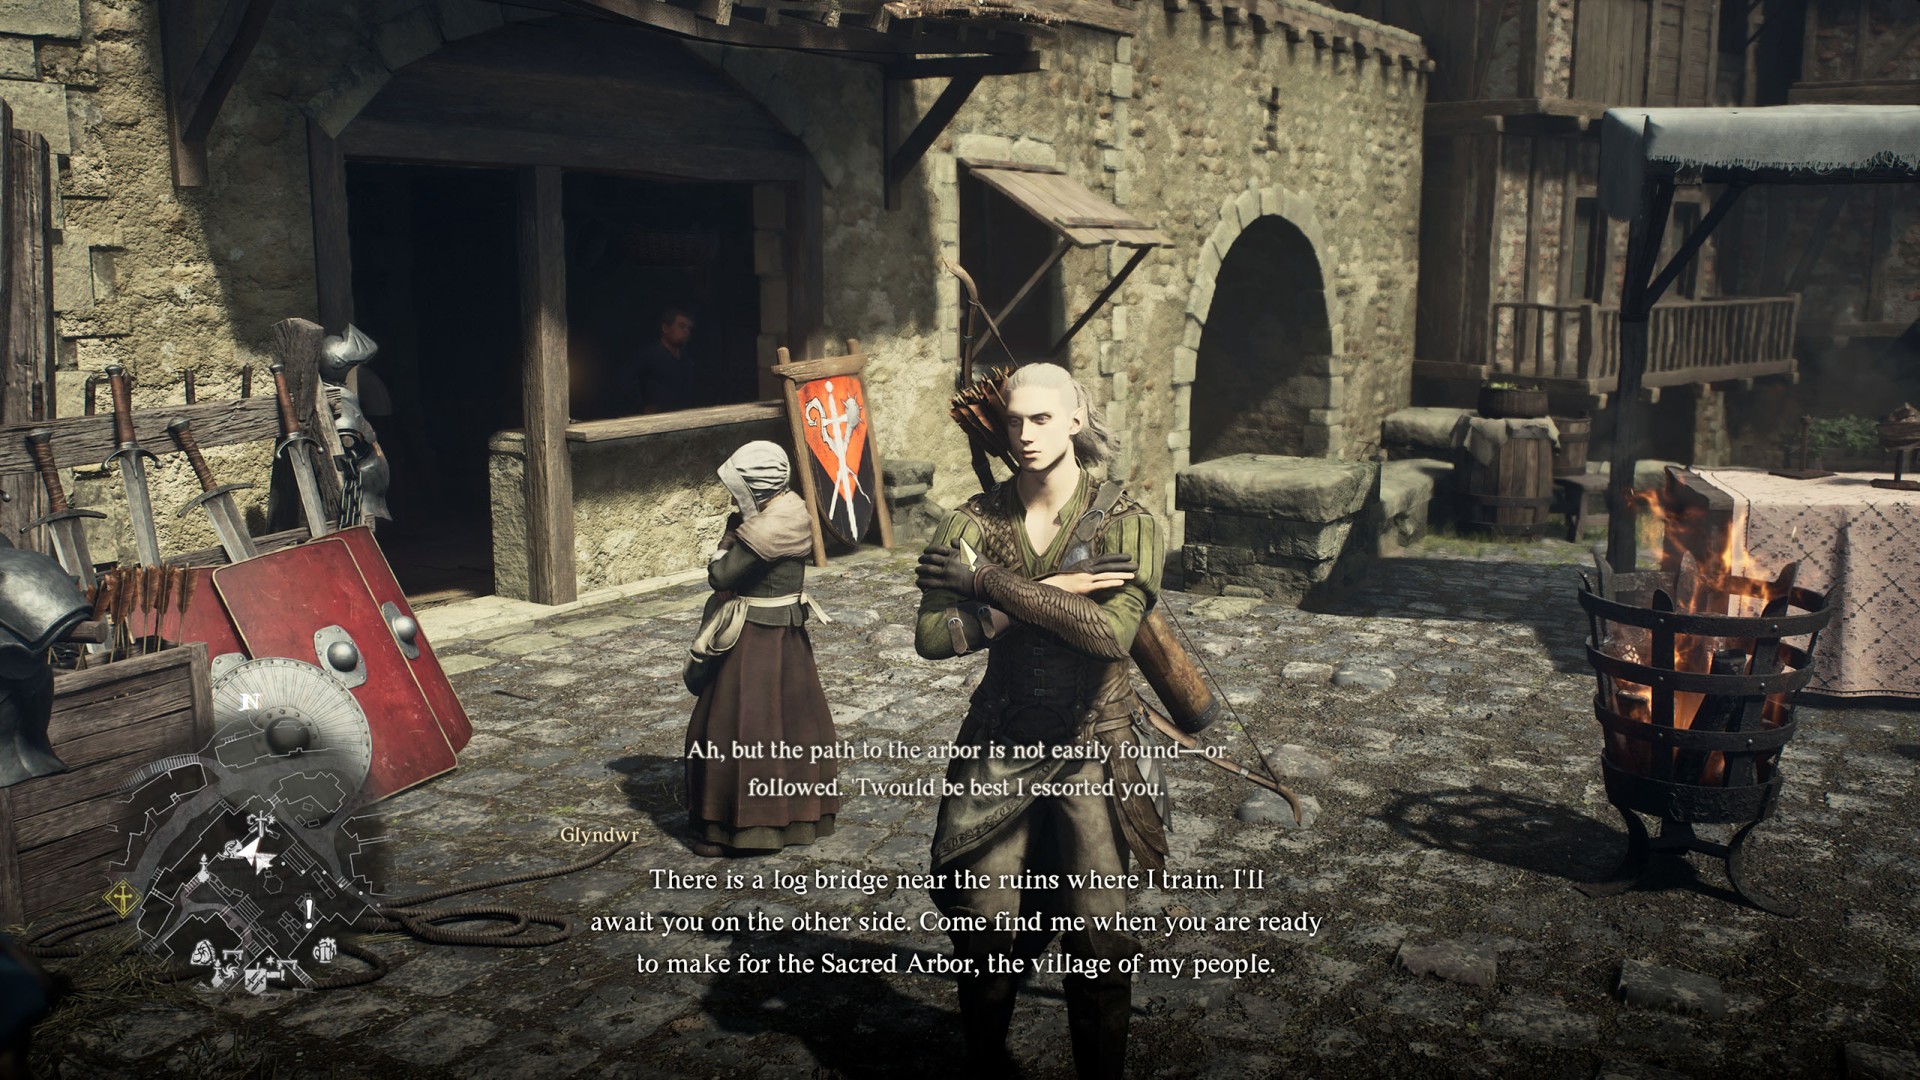
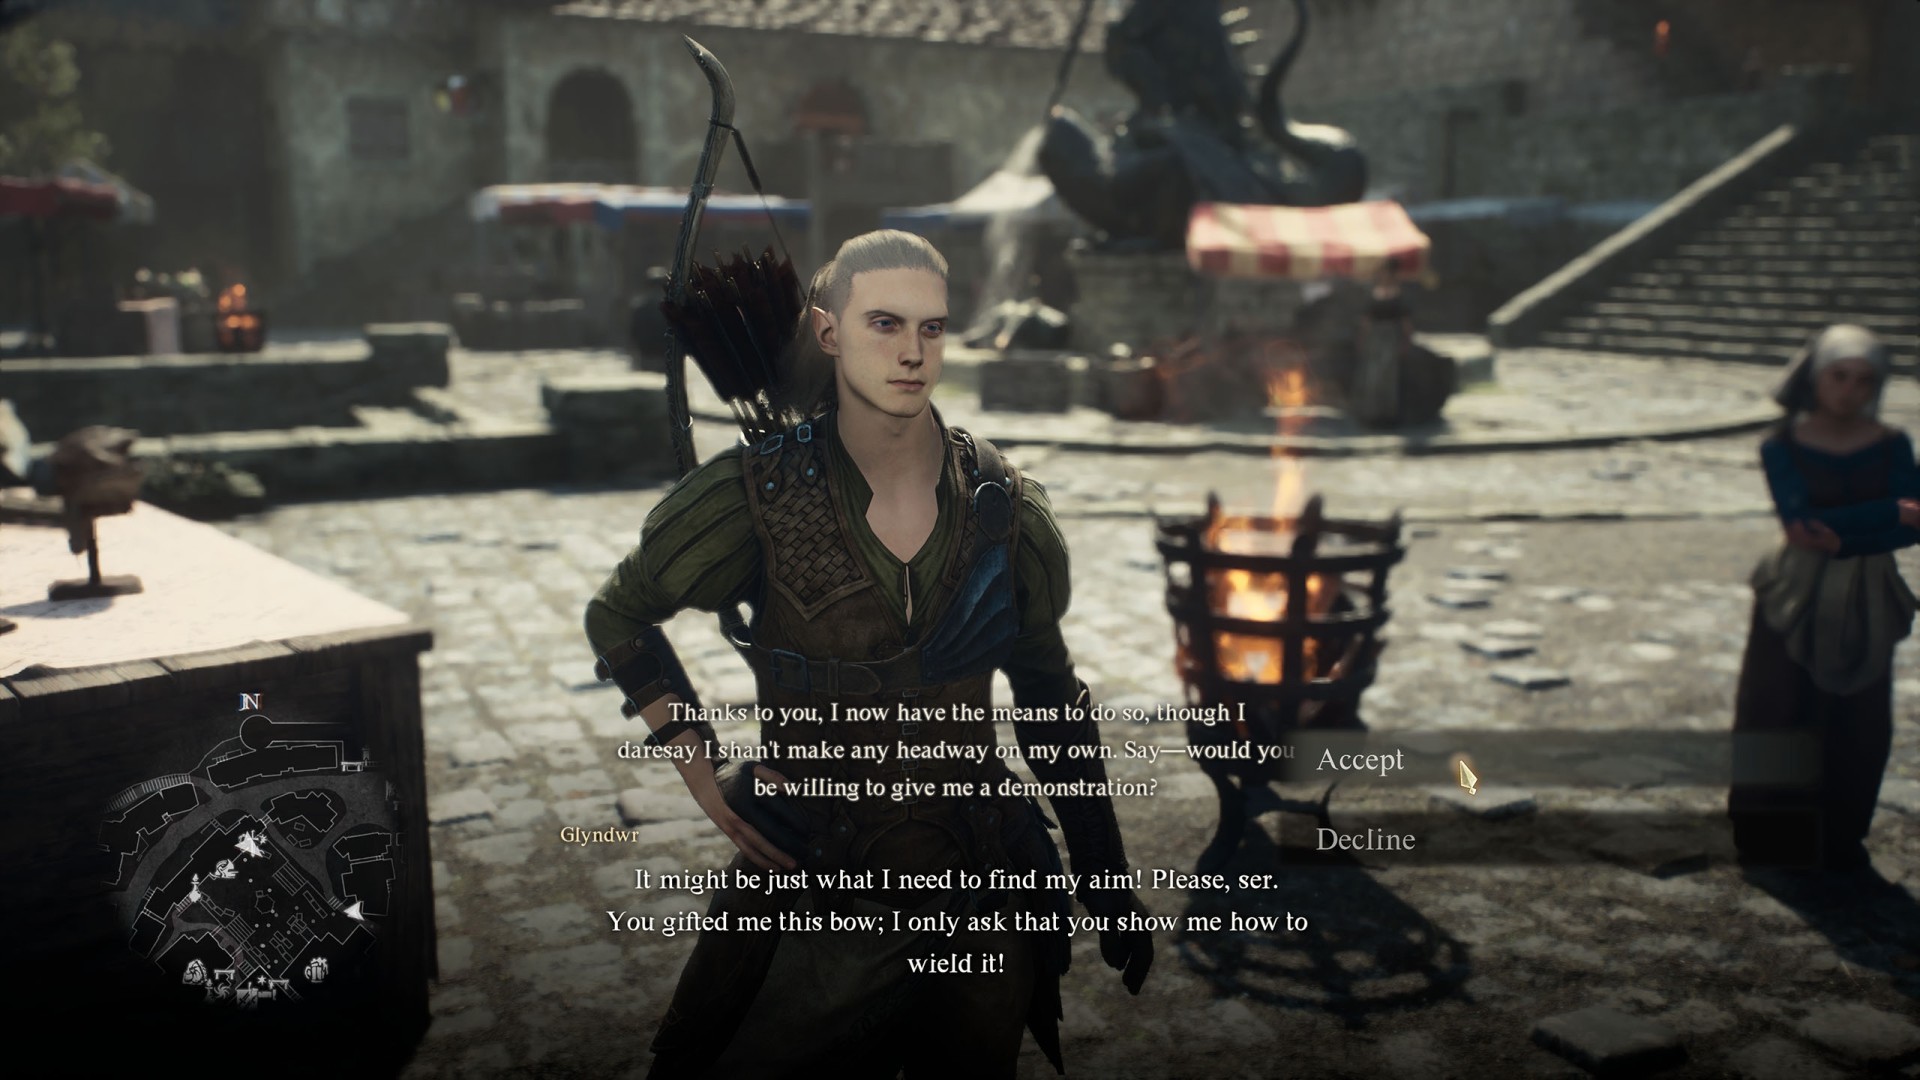
A Trial of Archery▶ show the map ◀
To start this quest complete the "Gift of the Bow" side quest then talk to the Glyndwr again.
Description: In preparation for his Trial of Archery, Glyndwr has devoted himself to training with the bow you gifted him. Now the time has come for him to show his people all he has learned.
Rewards: 2800XP, 16000G, Portcrystal, Repeller Bow.
Objectives:
- Attend Glyndwr's Trial of Archery. - Join Glyndwr at his place of training, that he might lead you to the Sacred Arbor, where his Trial is to take place.
- Accompany Glyndwr. - Glyndwr will lead the way to the Sacred Arbor, the village of the elves. Try to keep pace.
- Make for the ancestral chamber. - Venture to the ancestral chamber, where the ogre holds Doireann in its clutches.
- Venture in and rescue Doireann. - Proceed into the cavern and do what you must to deliver Doireann from danger.
- Carry Doireann out of the ancestral chamber. - See Doireann safely out of harm's way by carrying her from the ancestral chamber.
- Speak with Taliesin. - Share words with Arborist Taliesin, Archer-Maister and father of Doireann and Glyndwr.
A Veil of Gossamer Clouds▶ show the map ◀
To receive this quest talk to Sven. It will be possible when the main quest "Nation of the Lambent Flame" is started.
Description: You are not the only one investigating the queen regent's plots. Her son, Regentkin Sven, has been prying also, and uncovered an intriguing letter that hints at untold secrets.
Objectives:
- Investigate the letter and report back to Sven. - Investigate the intent behind the unfinished letter and share your findings with the regentkin.
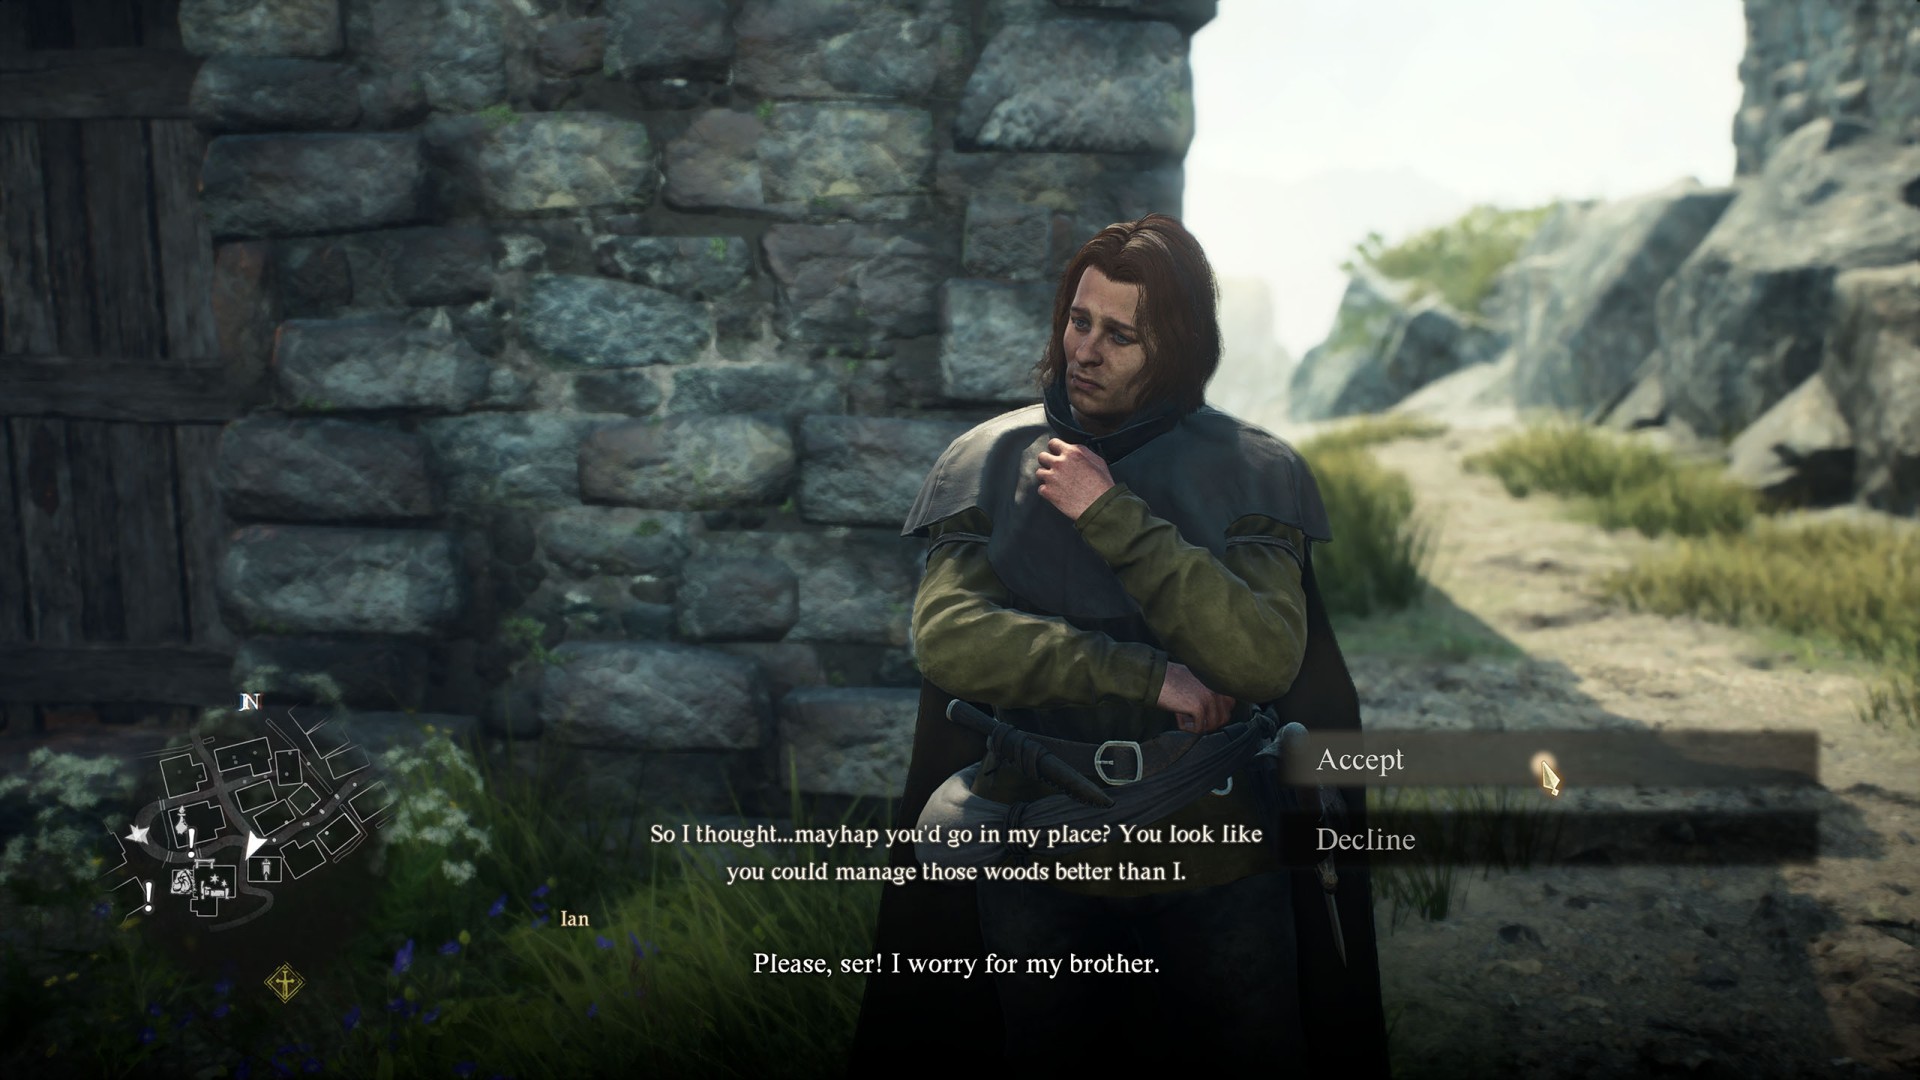
Brothers Brave and Timid▶ show the map ◀
To start this quest talk to Ian and agree to help him.
Description: Norbert ventured into the forest to collect medicinal herbs, sorely needed in Melve in the wake of the dragon's fury. But he has yet to return, and his brother, Ian, is very worried.
Rewards: 400XP, 1,500G, Homespun Cloak (A short cloak of coarse cloth. Crafted with the presumption that it will soon become soiled, obviating the point of trimmings.)
Objectives:
- Find Norbert. - Search for Norbert, who has gone to gather herbs in the forest.
- Escort the brothers back to Melve. - Accompany Ian and Norbert back to Melve and see to it that they arrive safely.
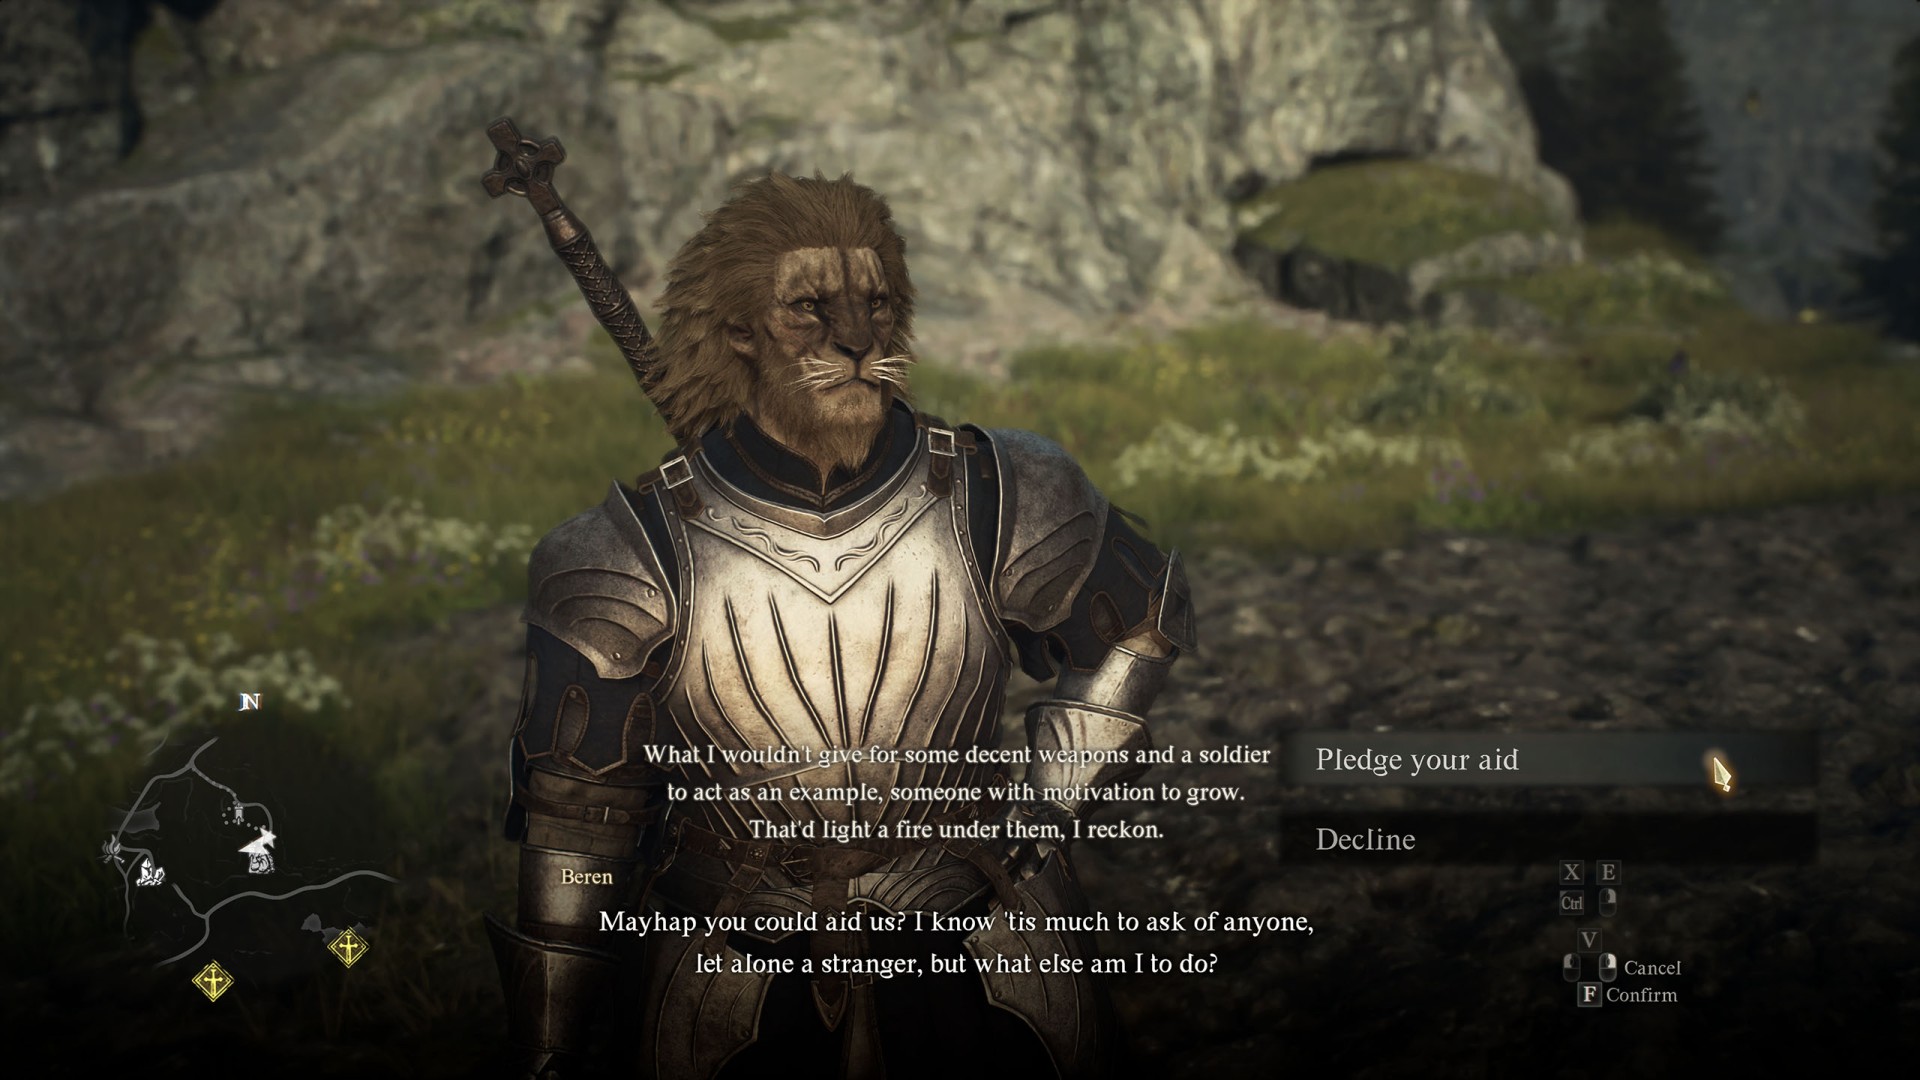
Claw Them Into Shape▶ show the map ◀
To start this side quest talk to Beren. If he is not present, rest at the campsite and return in the morning.
Description: You encountered Beren, a beastren training recruits at the encampment by the border. Though he is a warrior of skill, his presence seems to be discouraging new enlistments.
Rewards: 1200XP, 4500G.
Objectives:
- Procure weapons and find a motivated soldier. - Beren requires the proper tools if he is to temper his recruits. Find him some decent weapons and a soldier with motivation to grow to add to his training regime.
- Find Beren a motivated soldier to train.
- Procure three swords for Beren. - He will accept any three swords. You can find them as a loot, or purchase from the vendor, for example at the Borderwatch Outpost (850G each).
- Have a bout with Beren. - Beren has proposed a game of sorts, where the victor is the last one standing in the arena.
- Follow Beren. - The new recruits are beset by goblins, and aren't likely to fare well against them without aid. Trusting in the strength of your arm, Beren has asked you to join the fray.
Dulled Steel, Cold Forge▶ show the map ◀
Description: You have been entrusted with the repair of a regalia sword wielded by generations of Vermundian rulers. Having it at your hip would do much to aid your claim to the throne.
Gift of the Bow▶ show the map ◀
To start this quest to the the elf named Glyndwr and give him a human-made bow.
Description: You encountered Glyndwr, a lone elf wandering the streets of Vernworth. Elves are typically withdrawn and reluctant to travel, but curiosity has drawn this one out of the forest.
Rewards: 1600XP, 8500G, Ring of Proximity.
Objectives:
- Make for Glyndwr's place of training. - Venture north of Trevo Mine and seek out the ruins where Glyndwr trains.
- Help Glyndwr train with his new bow. - Demonstrate your form for Glyndwr, that he might learn how to wield a bow not of elven make.
House of the Blue Sunbright▶ show the map ◀
To start this quest complete "The Gift of Giving" side quest then talk to Diana.
Description: A maid serving a noble family in Vernworth has approached you with a request. You've not met her before, but she seems to know who you are. Just what does she want from you?
Rewards: 900XP, 3000G, Fine Harspud Roborant x 2.
Objectives:
- Visit the manor. - Diana requested that you meet her at her master's manor in the noble quarter.
- Find Sebastian's look-alike. - Apparently, someone in the slums is Sebastian's spitting image. You have been tasked with tracking down this individual.
- Escort Daphne to the manor. - Accompany Daphne to Sebastian's family manor in the noble quarter.Help Sebastian prepare. - Speak to Daphne and Diana, and find out what Sebastian requires to prepare for his trip to Melve.
- Procure the necessary supplies for Sebastian. - Help Sebastian prepare for his journey by bringing him something that reeks of cyclops, as well as some medicine that can cure the debilitations of blight and sleep.
- Wait a day or so, then return to the manor. - Give Sebastian time to make the trip to Melve and back, then stop by the manor to see how he fared.
- Find Sebastian. - Head out to look for Sebastian, who has yet to return from his trip to Melve.
- Report back to the manor. - Bring word of Sebastian's fate back to his family manor.
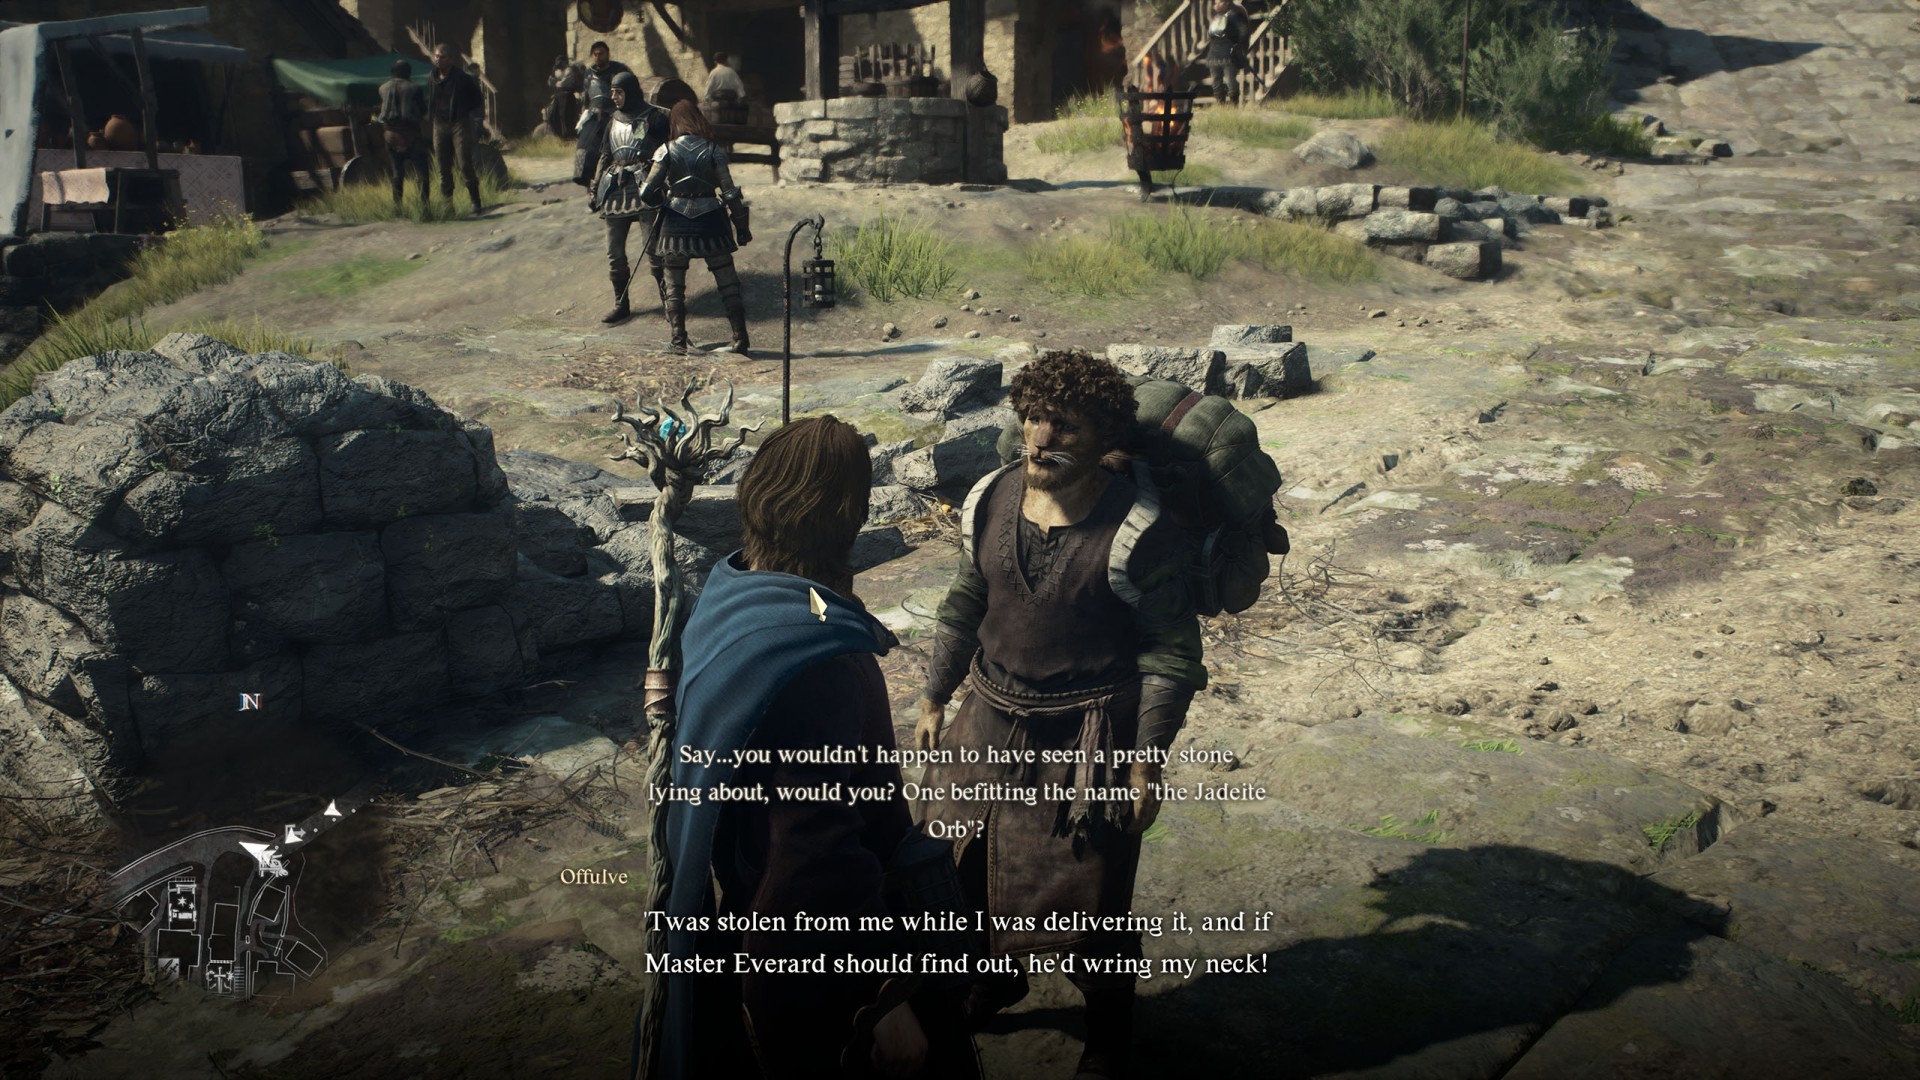
Hunt for the Jadeite Orb▶ show the map ◀
Description: On your wanderings, you encountered a man desperate to reclaim a stolen treasure: the Jadeite Orb.
Rewards: 1000XP, 3000G, Elite Camping Kit.
Objectives:
- Find the Jadeite Orb. - You have been tasked with seeking out the Jadeite Orb.
- Deliver the Jadeite Orb. - Bring the Jadeite Orb to the individual who requested it.
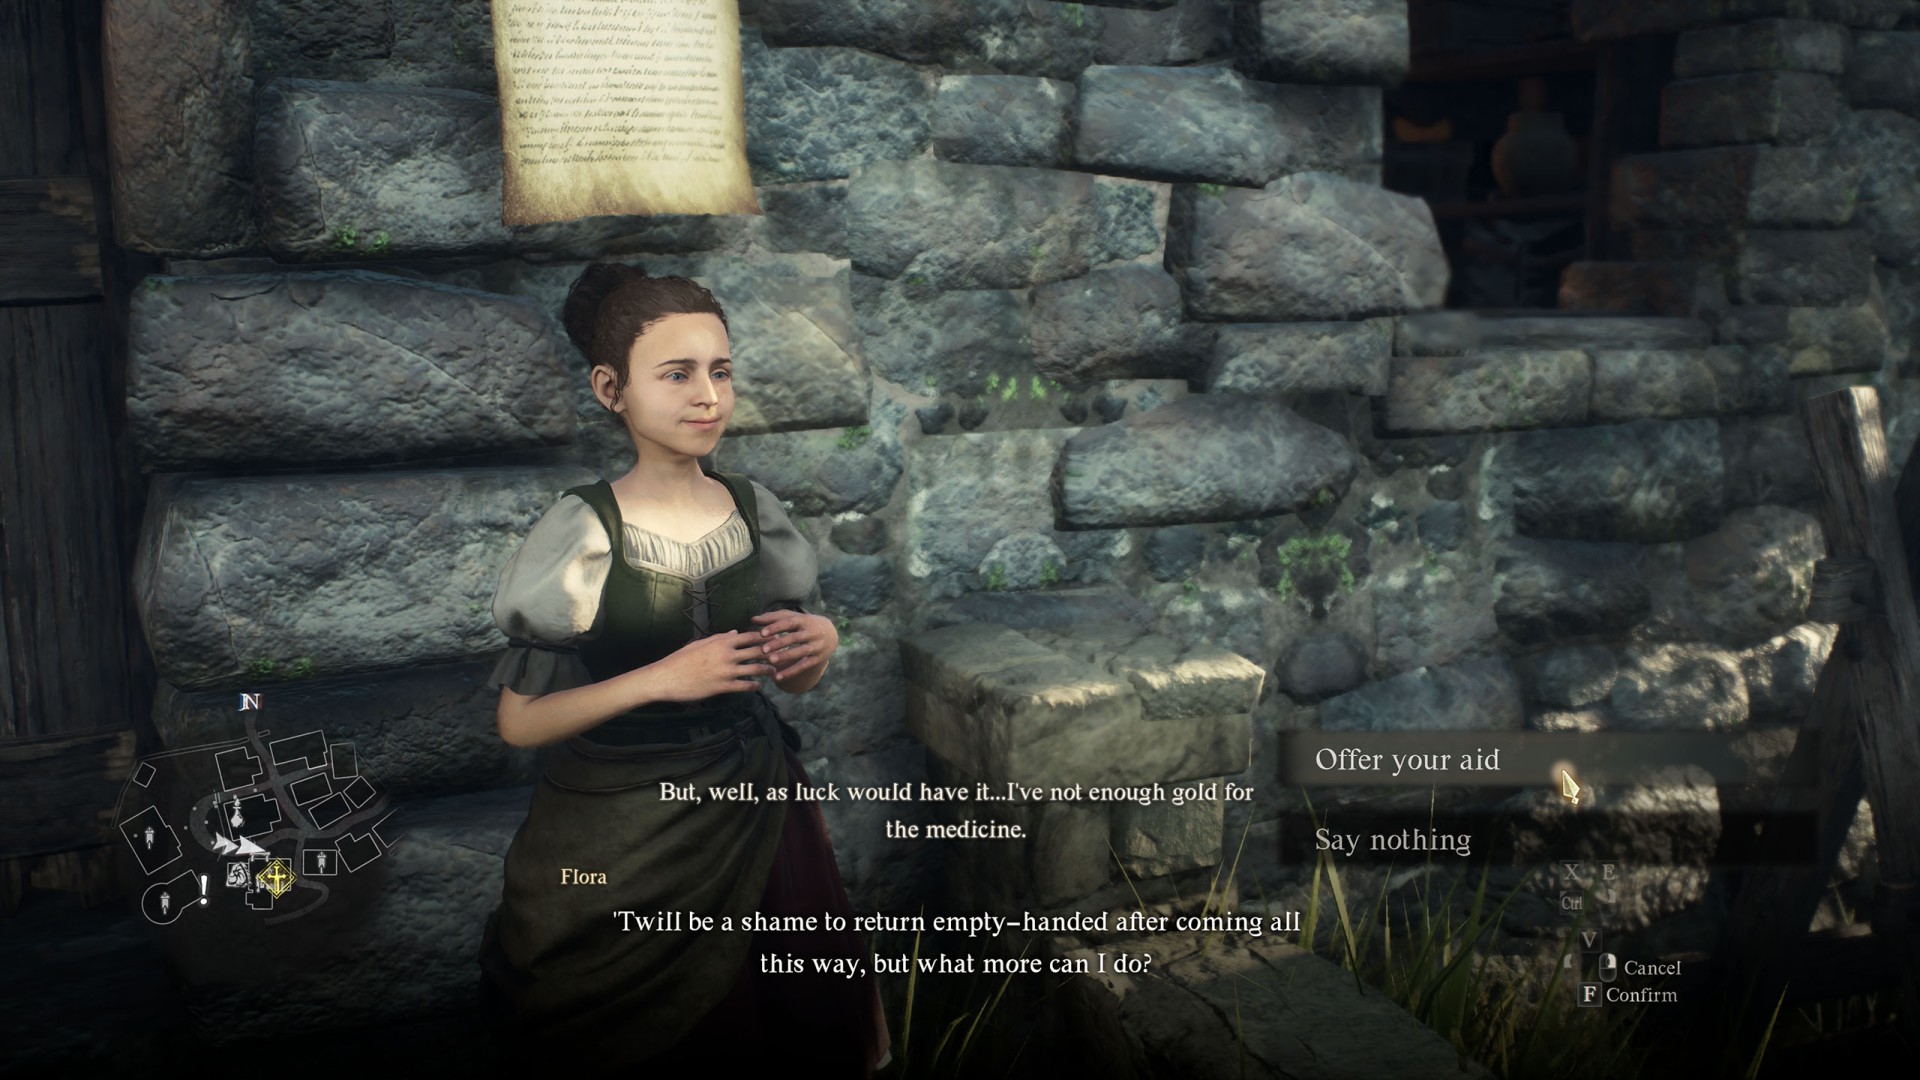
Medicament Predicament▶ show the map ◀
To start this quest talk to Flora and offer her your help.
Rewards: 500XP, 100G, Ring of Exultation.
Description: A merchant is no less than the sum of their wares. This simple truth is not lost on young Flora, who ventured out from Vernworth to procure a medicament sold only in Melve.
Mercy among Thieves▶ show the map ◀
To start this quest talk to Lyssandro.
Description: A gang of bandits has been menacing the highroad of late, targeting oxcarts with deadly efficiency. But their days are numbered, now that you have been called upon to rout them.
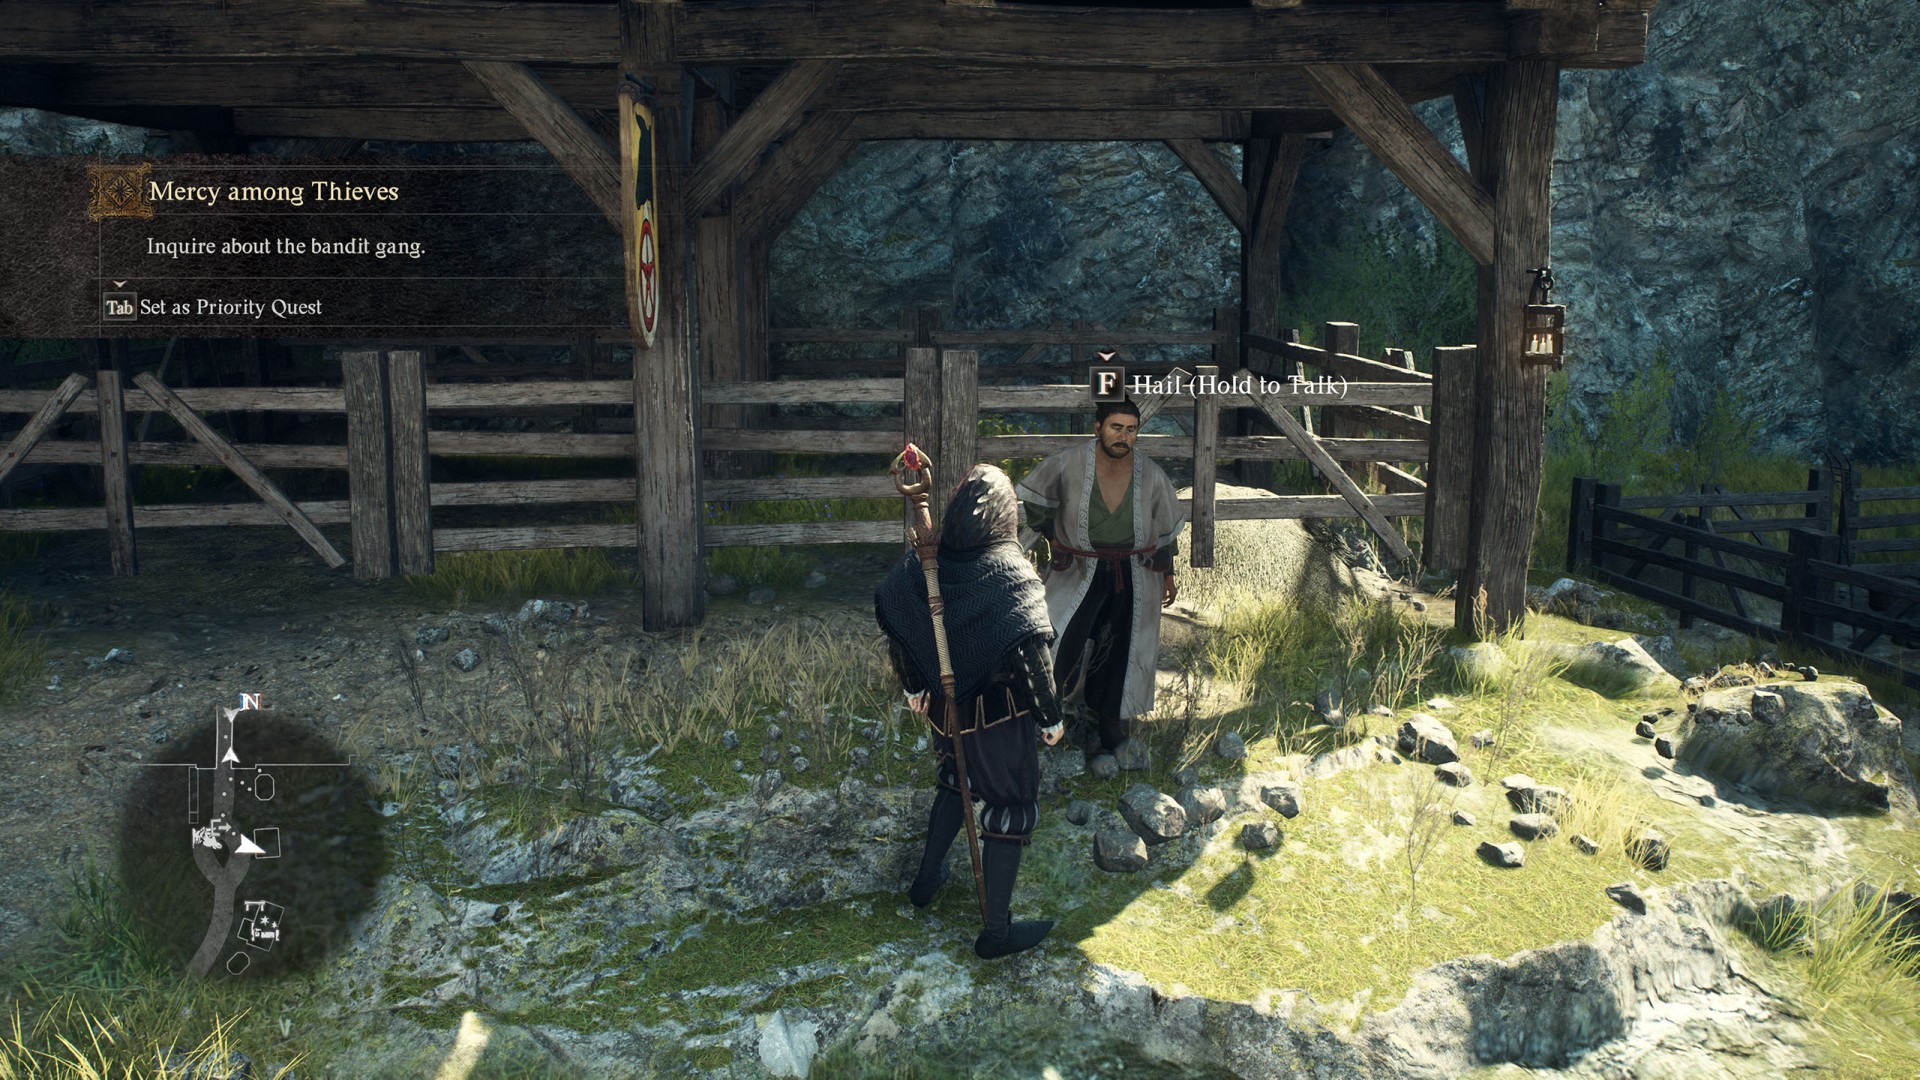
Objectives:
- Locate the Coral Snakes' hideout. - The Coral Snakes are based somewhere in Battahl. Determine where their hideout lies.
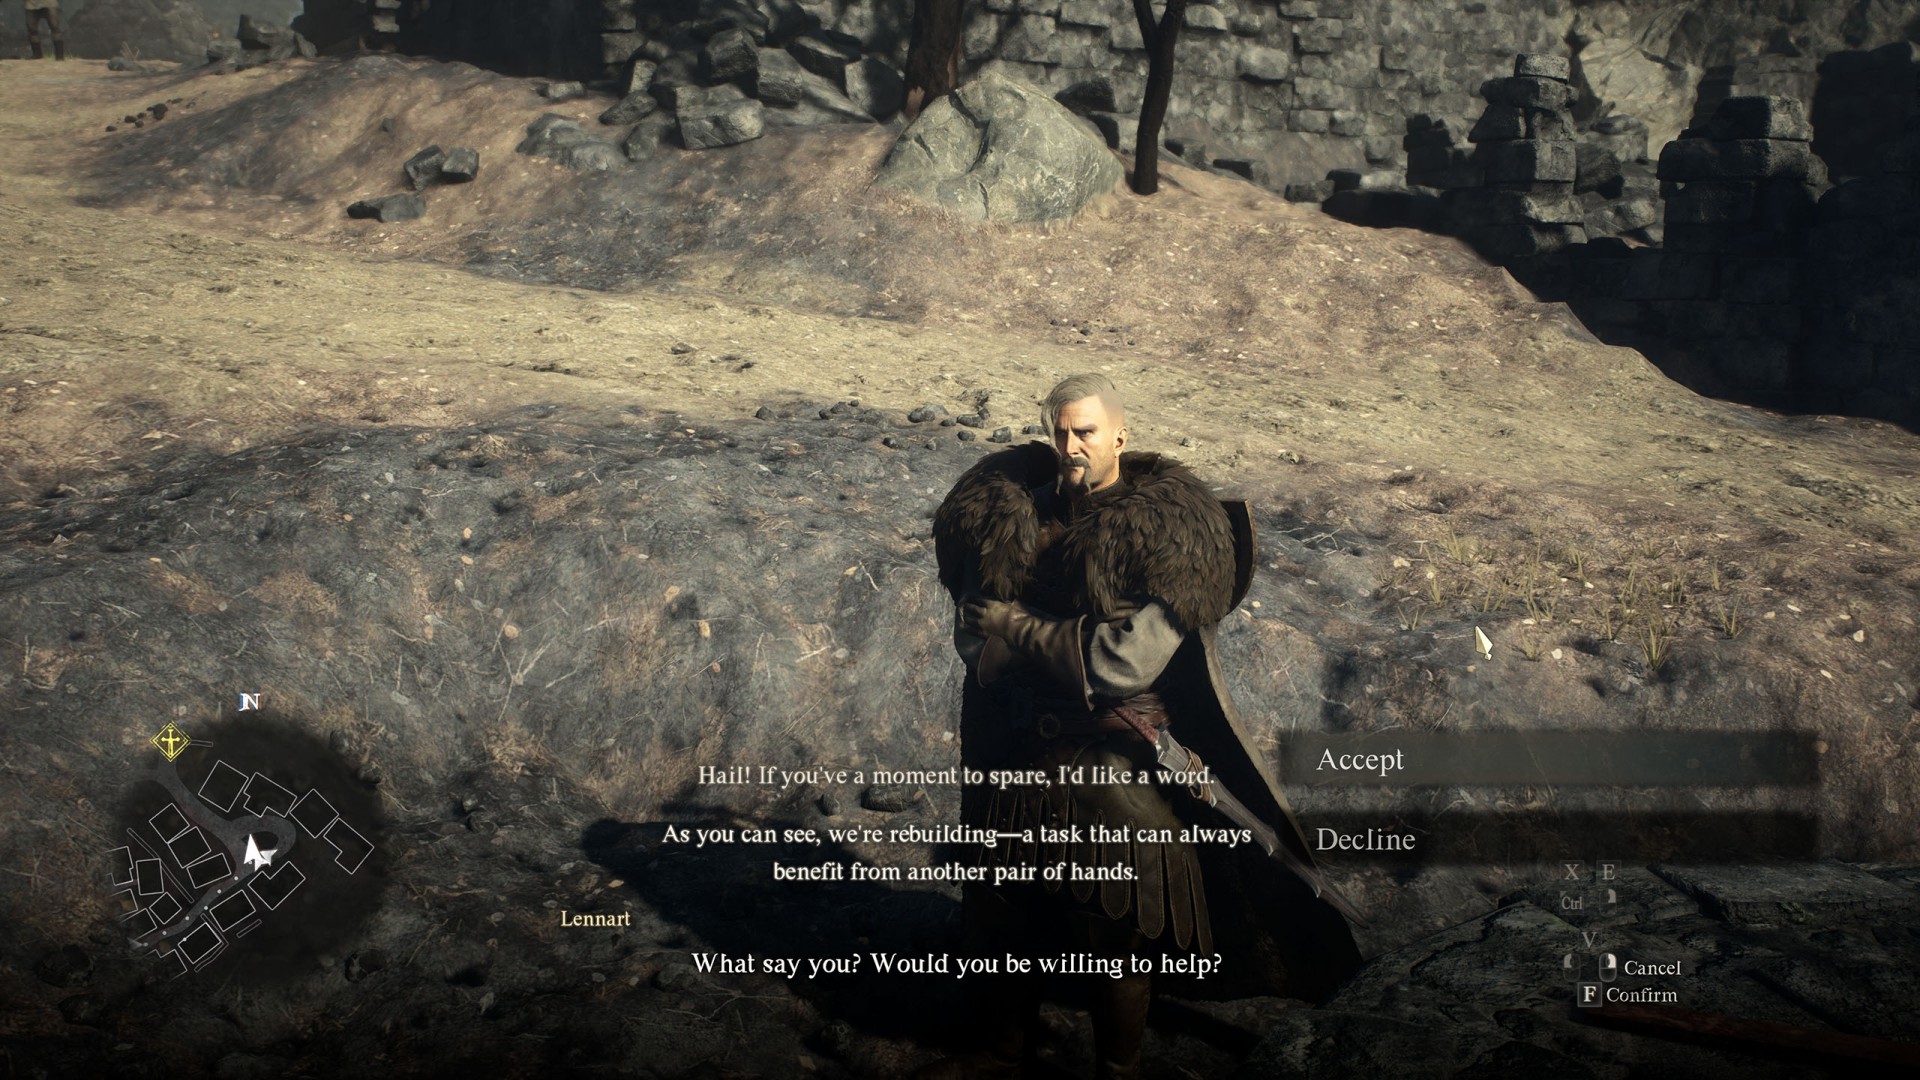
Nesting Troubles▶ show the map ◀
To start this quest talk to Lennart. You will meet him here after you talk to him at the inn.
Description: Melve's defenses are greatly diminished in the wake of the dragon's attack, making the village a target for all manner of opportunistic monsters.
Rewards: 400XP, Stoutness Extract, 1250G.
Objectives:
- Throw explosive casks into the saurian nest. - Toss the explosive casks Lennart prepared into the saurians' nest.
- Report back to Lennart. - Tell Lennart how you fared in your endeavor to scatter the saurians with explosive casks.
- Throw a jar of poison into the saurian nest. - Toss one of the jars of poison Lennart prepared into the saurians' nest.
- Report back to Lennart. - Tell Lennart how you fared in your attempt to poison the saurians' nest.
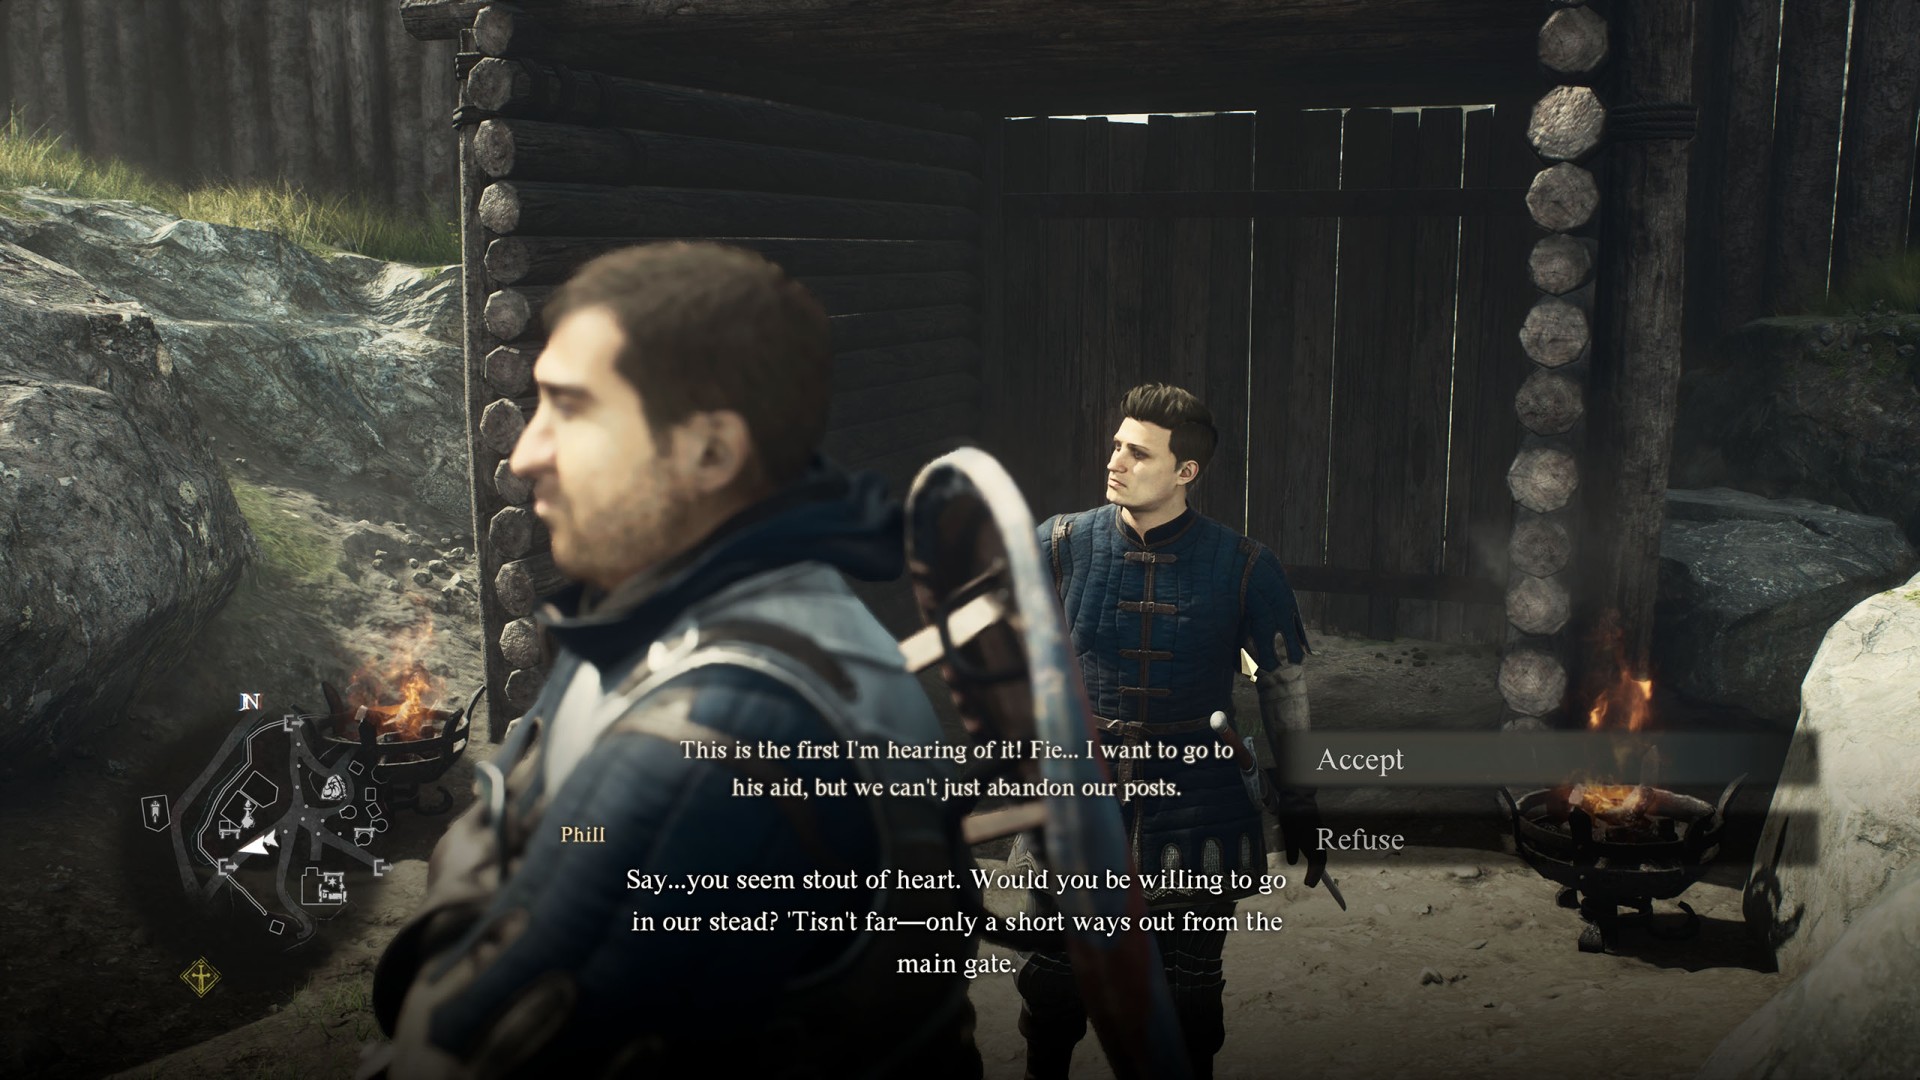
Ordeals of a New Recruit▶ show the map ◀
Time-limited. To start this quest complete the "Tale's Beginning" main quest and then approach Phill and agree to help him.
Rewards: 1000G, Lantern Oil.
Description: To a monster, new recruits are simply easy pickings. As such, sending an untrained soldier into the heart of a harpy flock was probably not the wisest choice.
Objectives:
- Aid Accardo. - Go to Accardo's aid and see to it that the recruit survives his first brush with harpies.
- Report back to Phill. - Inform Phill of Accardo's fate.
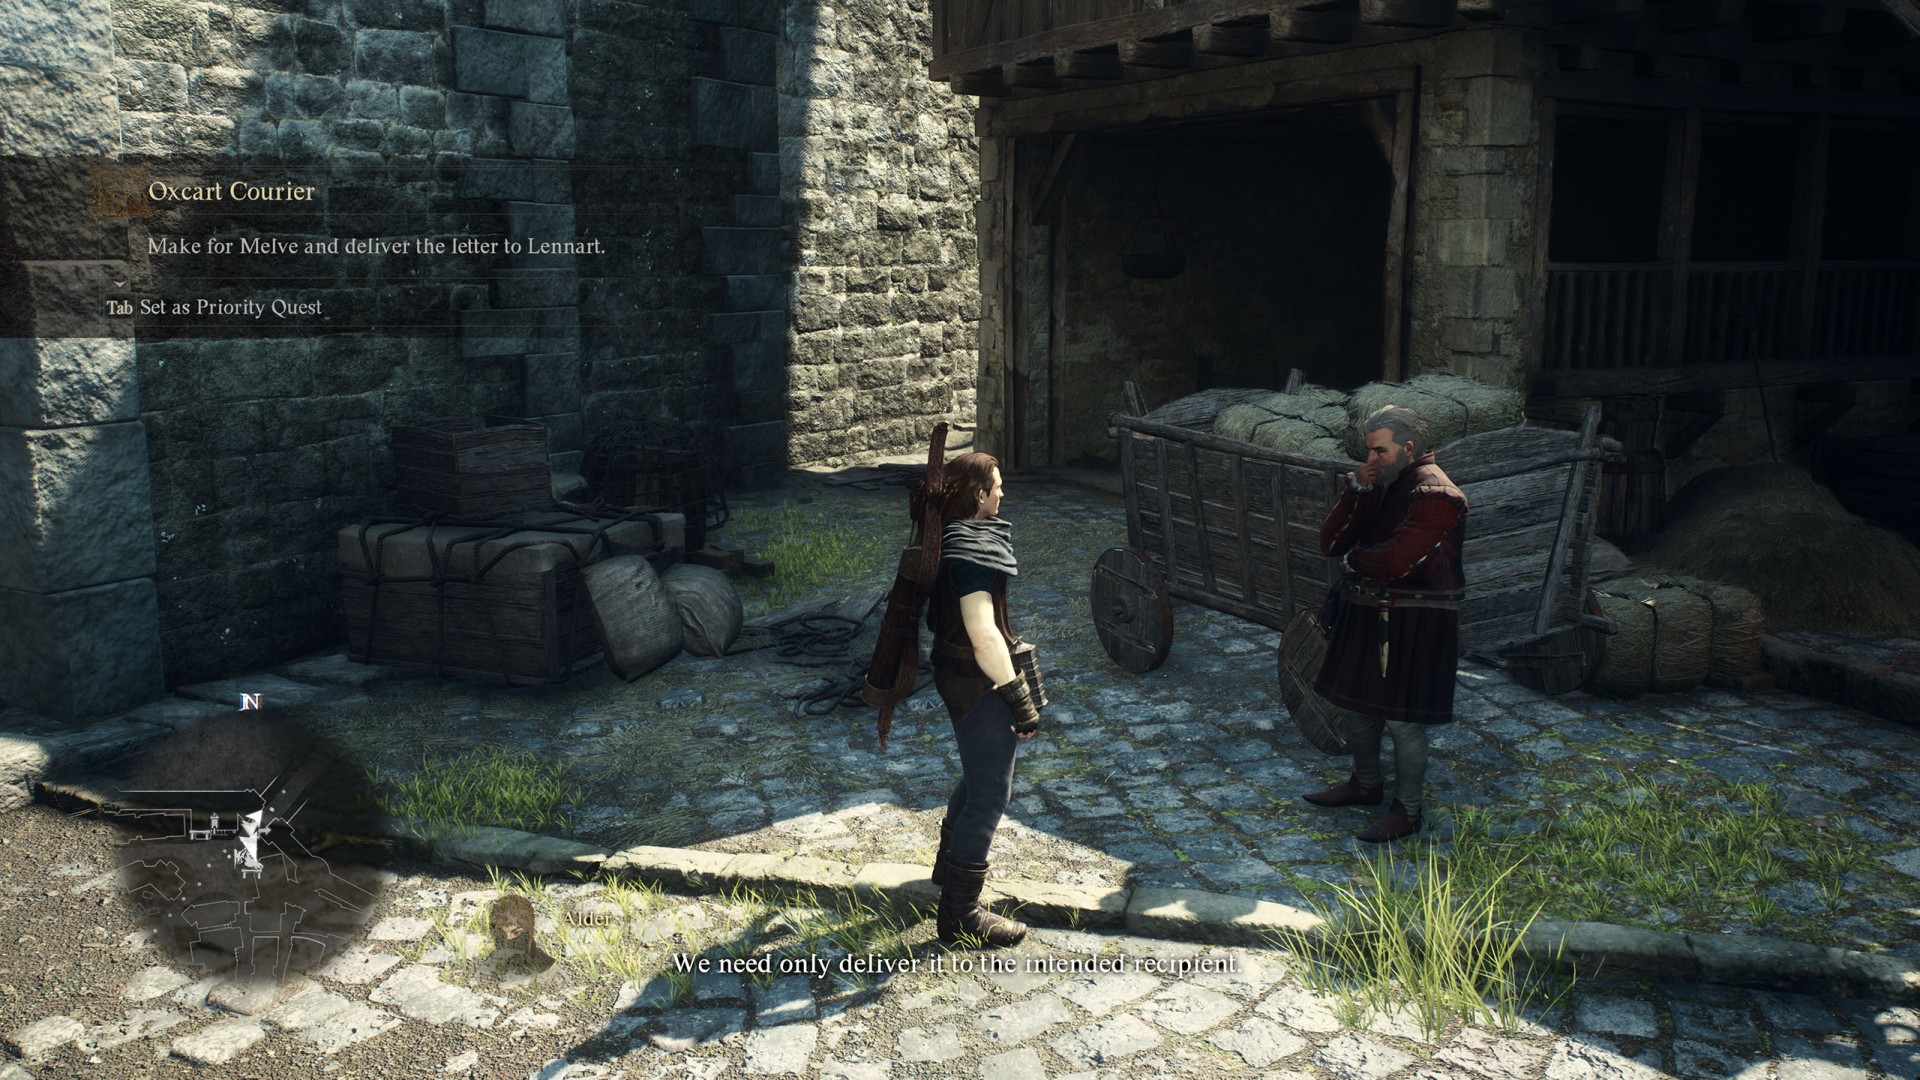
Oxcart Courier▶ show the map ◀
To start this side quest listen to Donovan and agree to help him.
Description: Oxcart service to Melve has resumed, and the proprietor of the carts has asked your aid in inspecting the road and delivering a letter. This could make a nice change of pace.
Rewards: 300XP, 5000G, Miner's Hosen.
Objectives:
- Make for Melve and deliver the letter to Lennart. - Board an oxcart to Melve and see Margit's letter to its recipient.
- Report back to Donovan. - Inform Donovan that the letter has found its recipient.
Prey for the Pack▶ show the map ◀
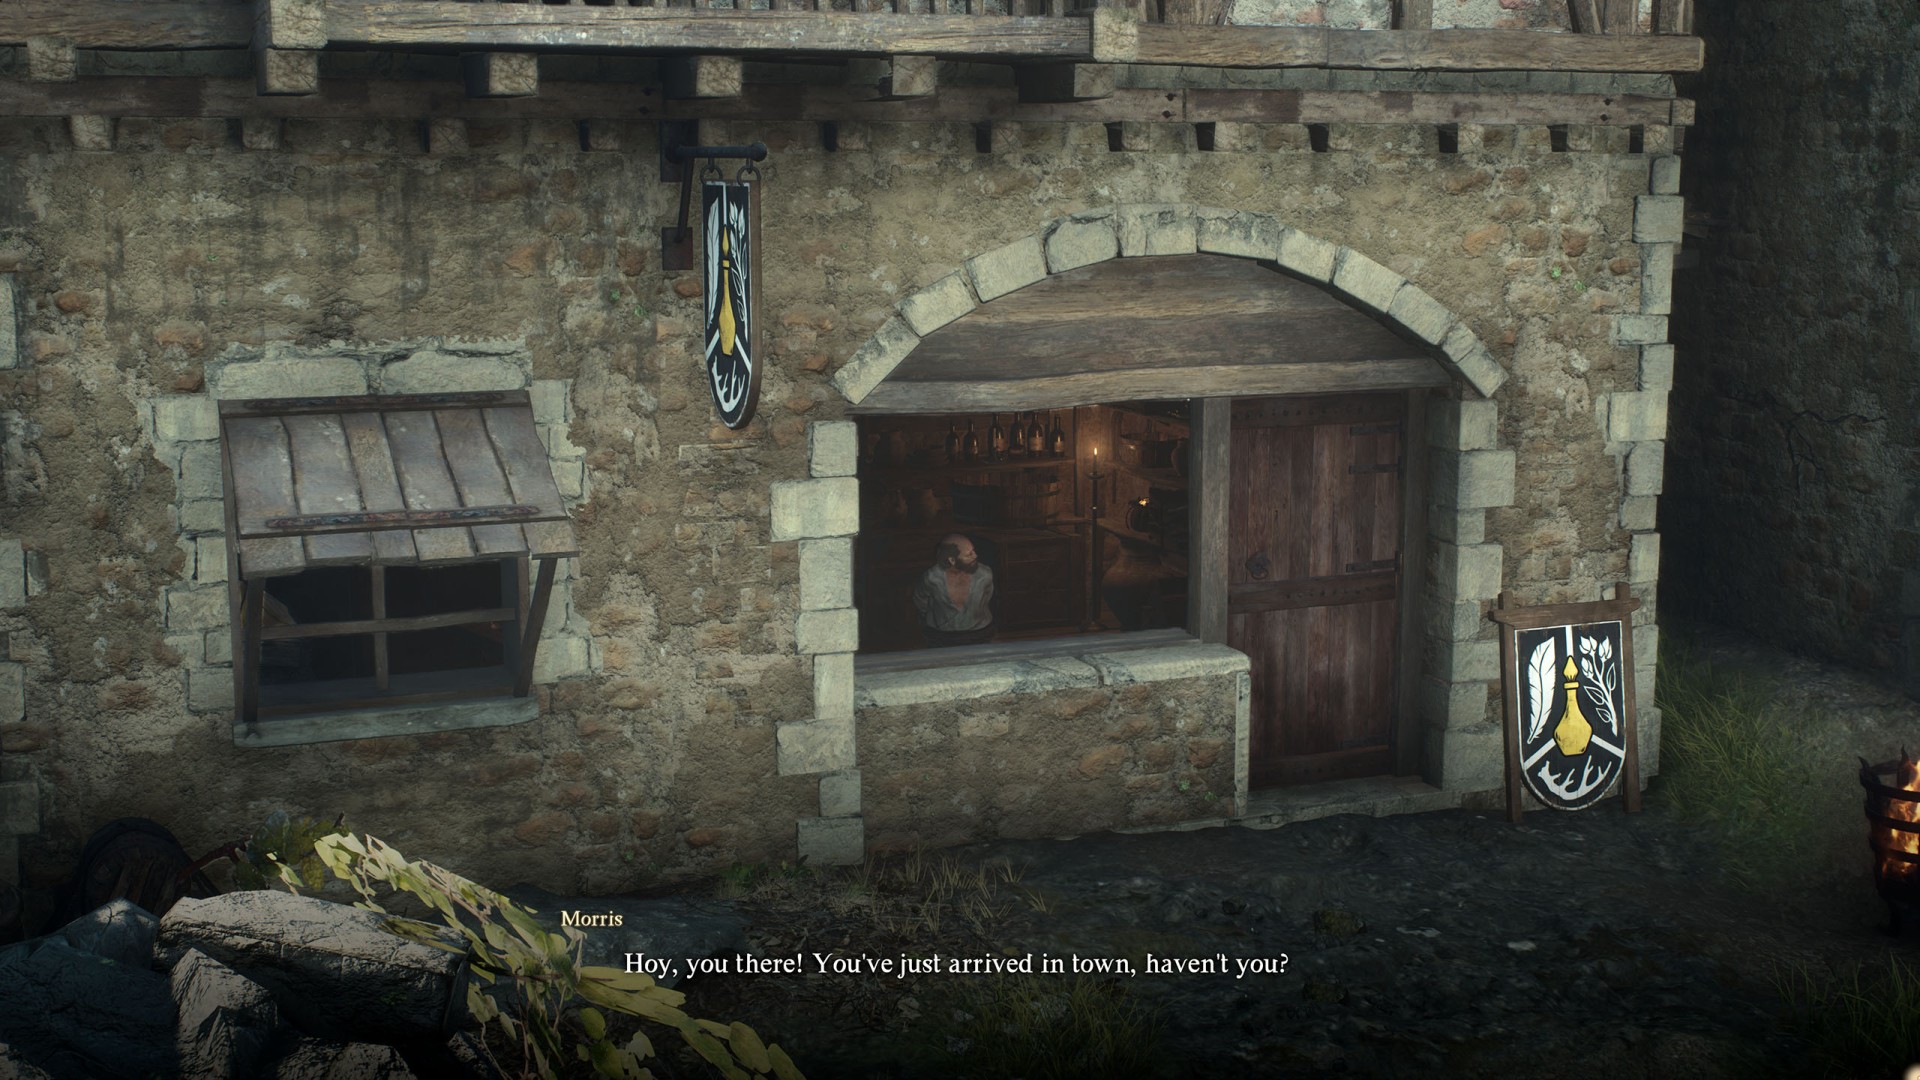
Description: A pall hangs over the checkpoint rest town, as fear for the grandson of the local apothecary lines every face. It falls to you to find the boy, and spare him a grizzly fate.
Rewards: 4000XP, 11000G, Miracle Roborant x 2.
Objectives:
- Find Rodge and go to his aid. - Rodge, the apothecary's grandson, has fallen prey to a pack of wolves. Speak with the townsfolk to find out where the lad was last seen and determine where the beasts have taken him, then hasten to his aid.
- Report back to Morris. - Inform Morris of Rodge's wellbeing.
Put a Spring in Thy Step▶ show the map ◀
Description: While traveling in the south, you encountered an old dwarf with an achy back, groaning in pain by the wayside. It would be most unseemly if you were to abandon him to his plight.
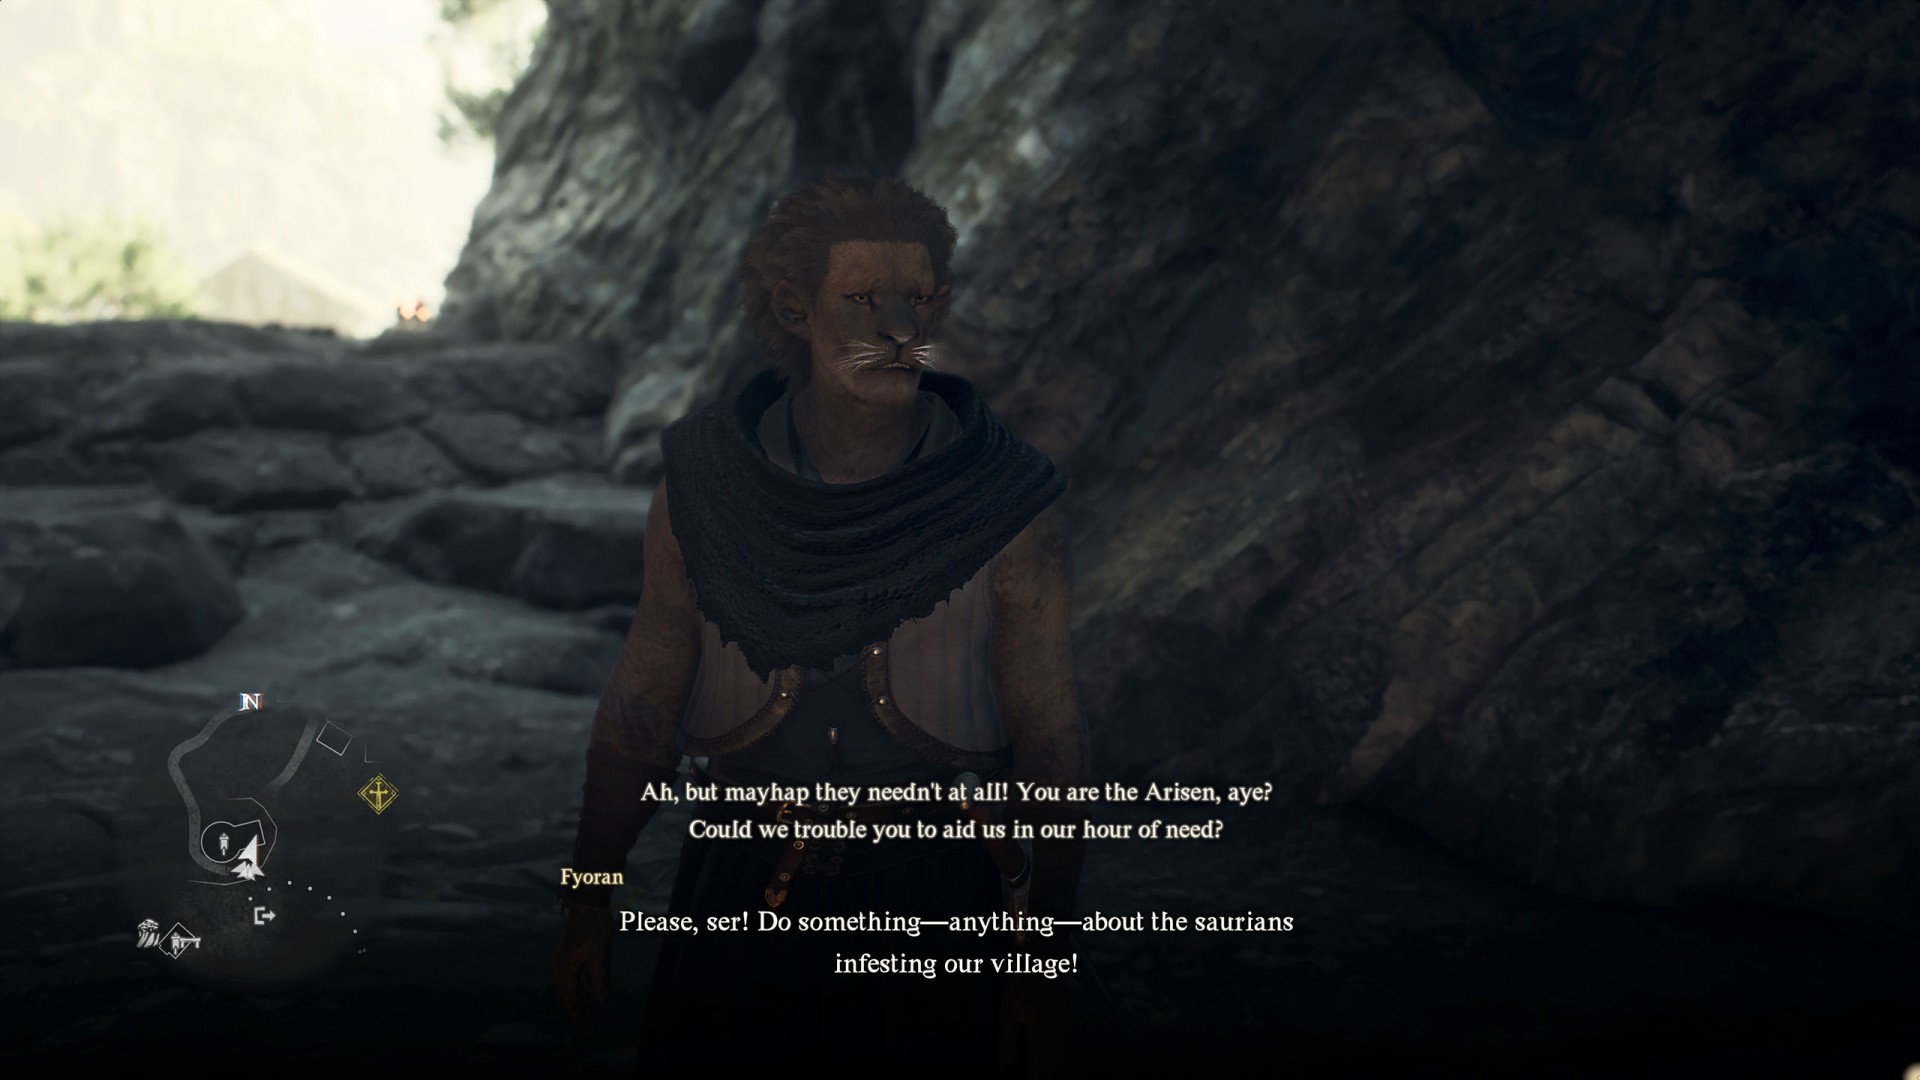
Scaly Invaders▶ show the map ◀
This quest will become available when you return to the settlement after visiting Stormwind Cave.
Description: The people of Harve fled the dragon's fury, only to return to find the village occupied by saurians. However, they may yet reclaim their homes if you cull the scaly fiends.
Rewards: 1,800XP, 5,000G, Saurian Scale x 6.
Objectives:
- Defeat the saurians. - Rid the village of its saurian infestation.
- Report back to Fyoran. - Return to Fyoran and tell him that the saurians are no more.
- Wait a few days, then return to Harve Village. - Return to Harve Village in a few days' time to see how it's getting on.
- Defeat the saurians. - Rid the village of its saurian infestation once again.
- Report back to Fyoran. - Return to Fyoran and tell him that the saurians are no more.
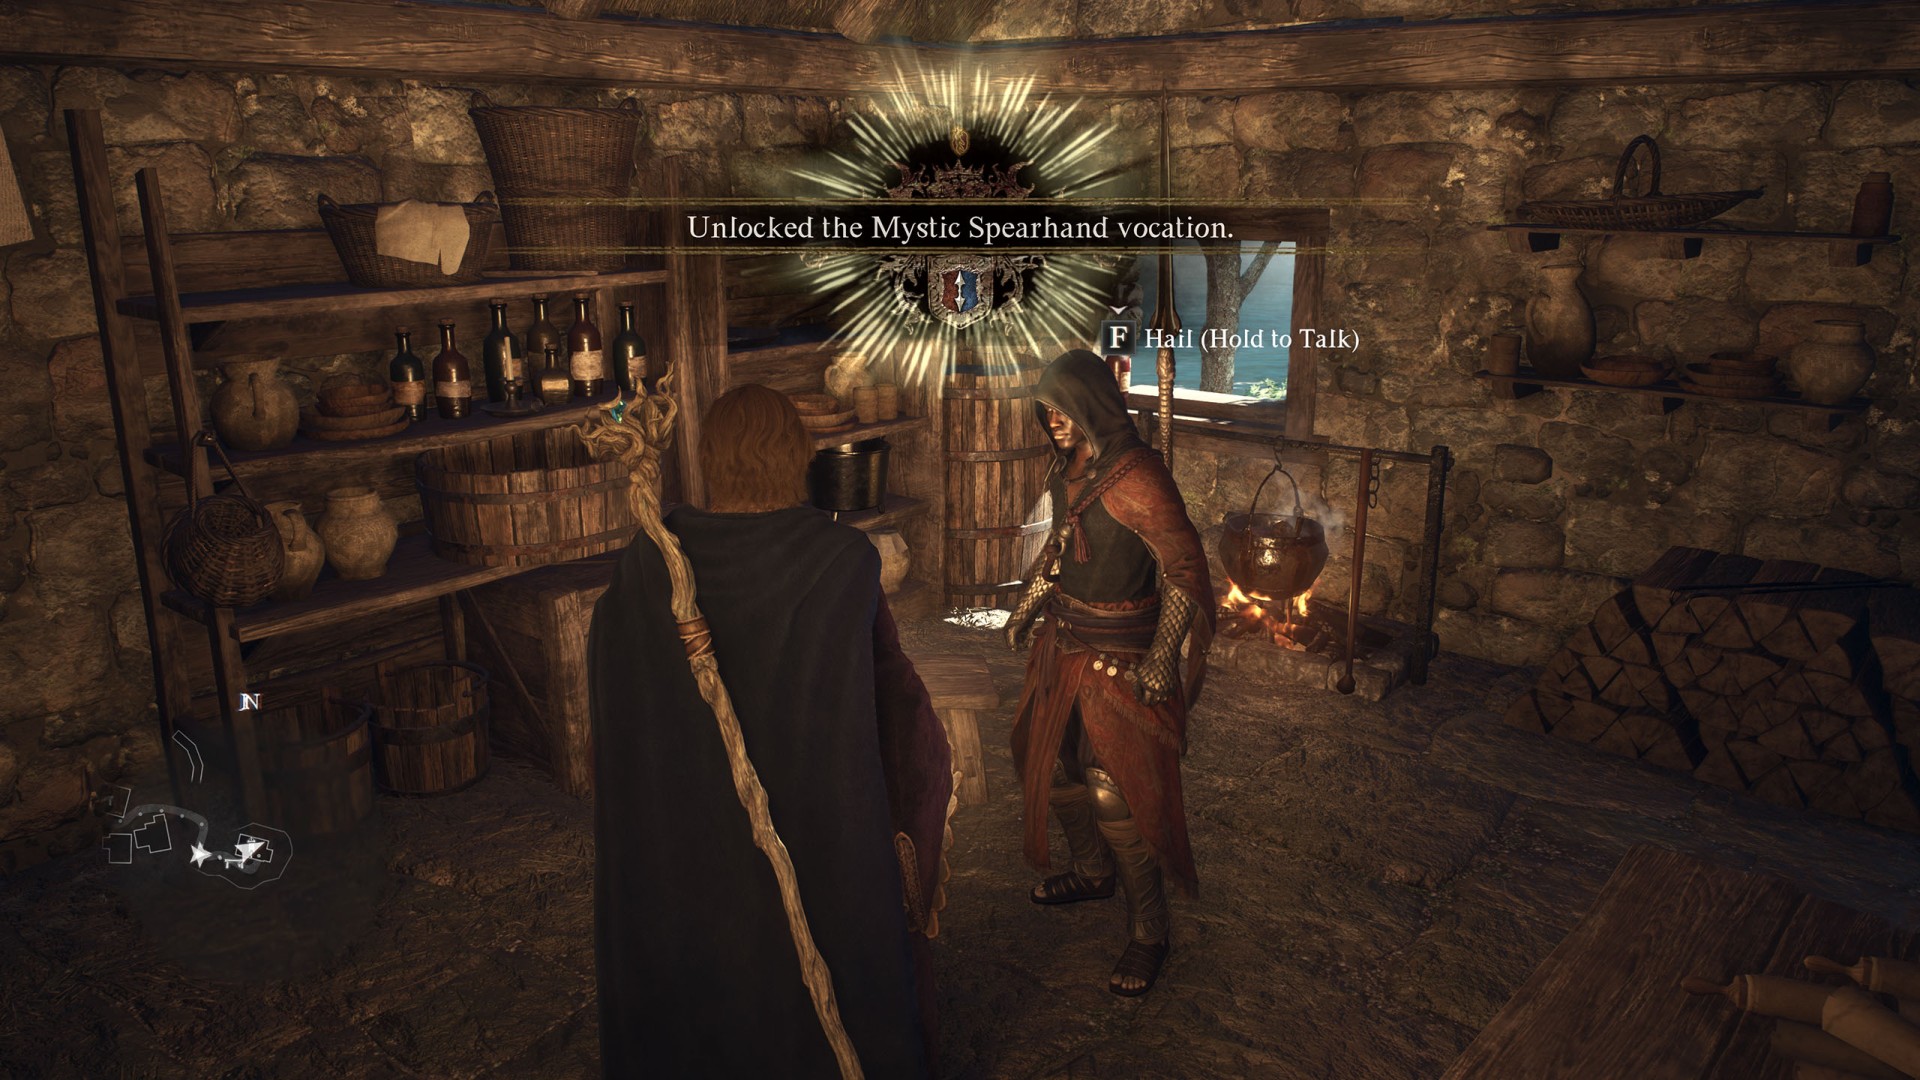
 Sigurd▶ show the map ◀
You should find him here when you complete the quest "Scaly Invaders" and start the quest "Nation of the Lambent Flame" (maybe earlier.) Talk to him to unlock the "Mystic Spearhand" vocation.
Spellbound▶ show the map ◀
To start this quest wait until the grandparents leave the house then talk to Trysha.
Description: You encountered Trysha, a young girl living with her grandparents on the outskirts of Vermund. Fed up with her dreary days, she dreams of only one thing: studying magick.
She wants 5 grimoires: Let There Be Light, Fulminous Shield, Nation's Death Kneel, Howling Blizzard, Towering Earth.

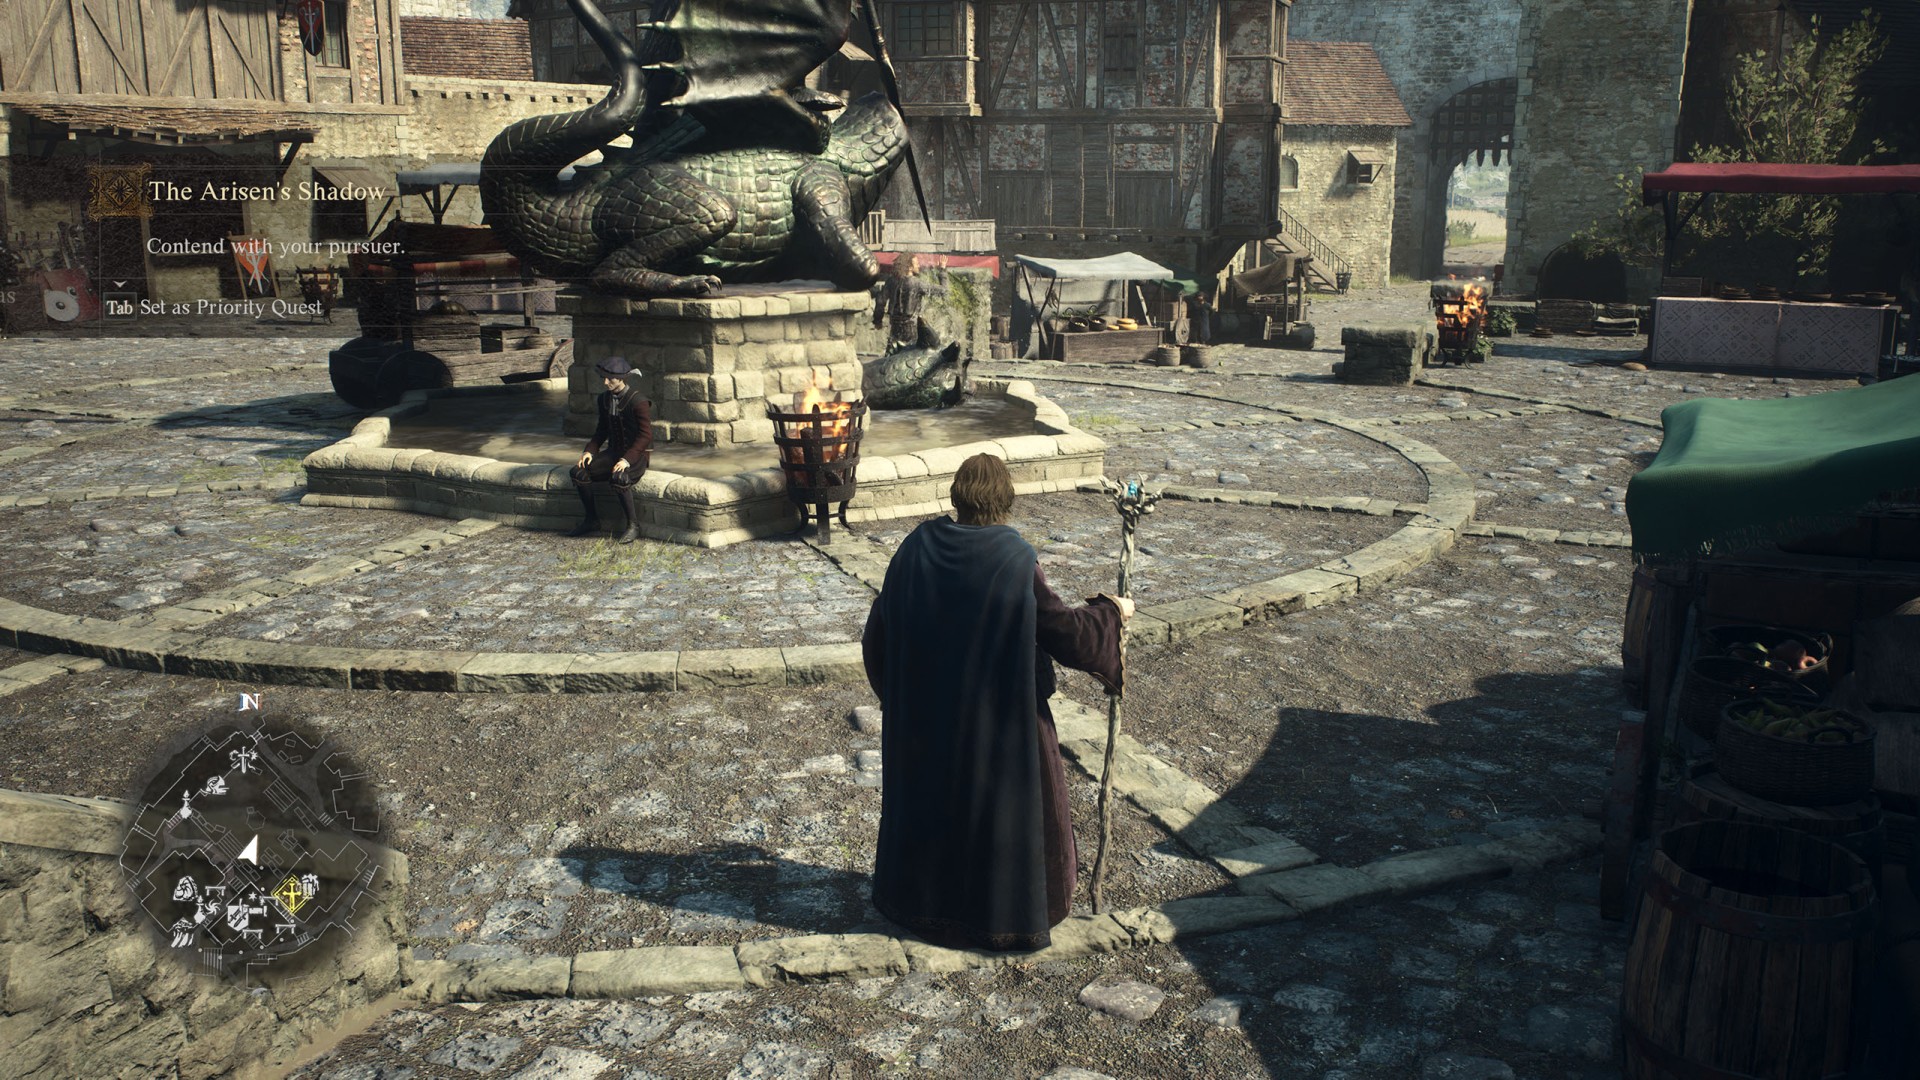
The Arisen's Shadow▶ show the map ◀
This quest will start automatically when you arrive in Vernworth after completing at least one of the quests assigned by Brant, possibly after completing "The Nameless Village" quest.
Description: A shadow dogs your every step—perhaps sent by someone who did not take kindly to you prying into palace affairs? You had best confront this individual and find out their intent.
Rewards: 1,000XP, 4,000G.
Objectives:
- Contend with your pursuer. - Make contact with the mysterious figure who has been shadowing your every step. - Follow the guy who is running away (Bermudo) and try to grab him. This way you will knock him down and you will begin to talk.
- Wait a few days, then speak with Captain Brant. - Return to Captain Brant and hear the findings of his investigation.
The Gift of Giving▶ show the map ◀
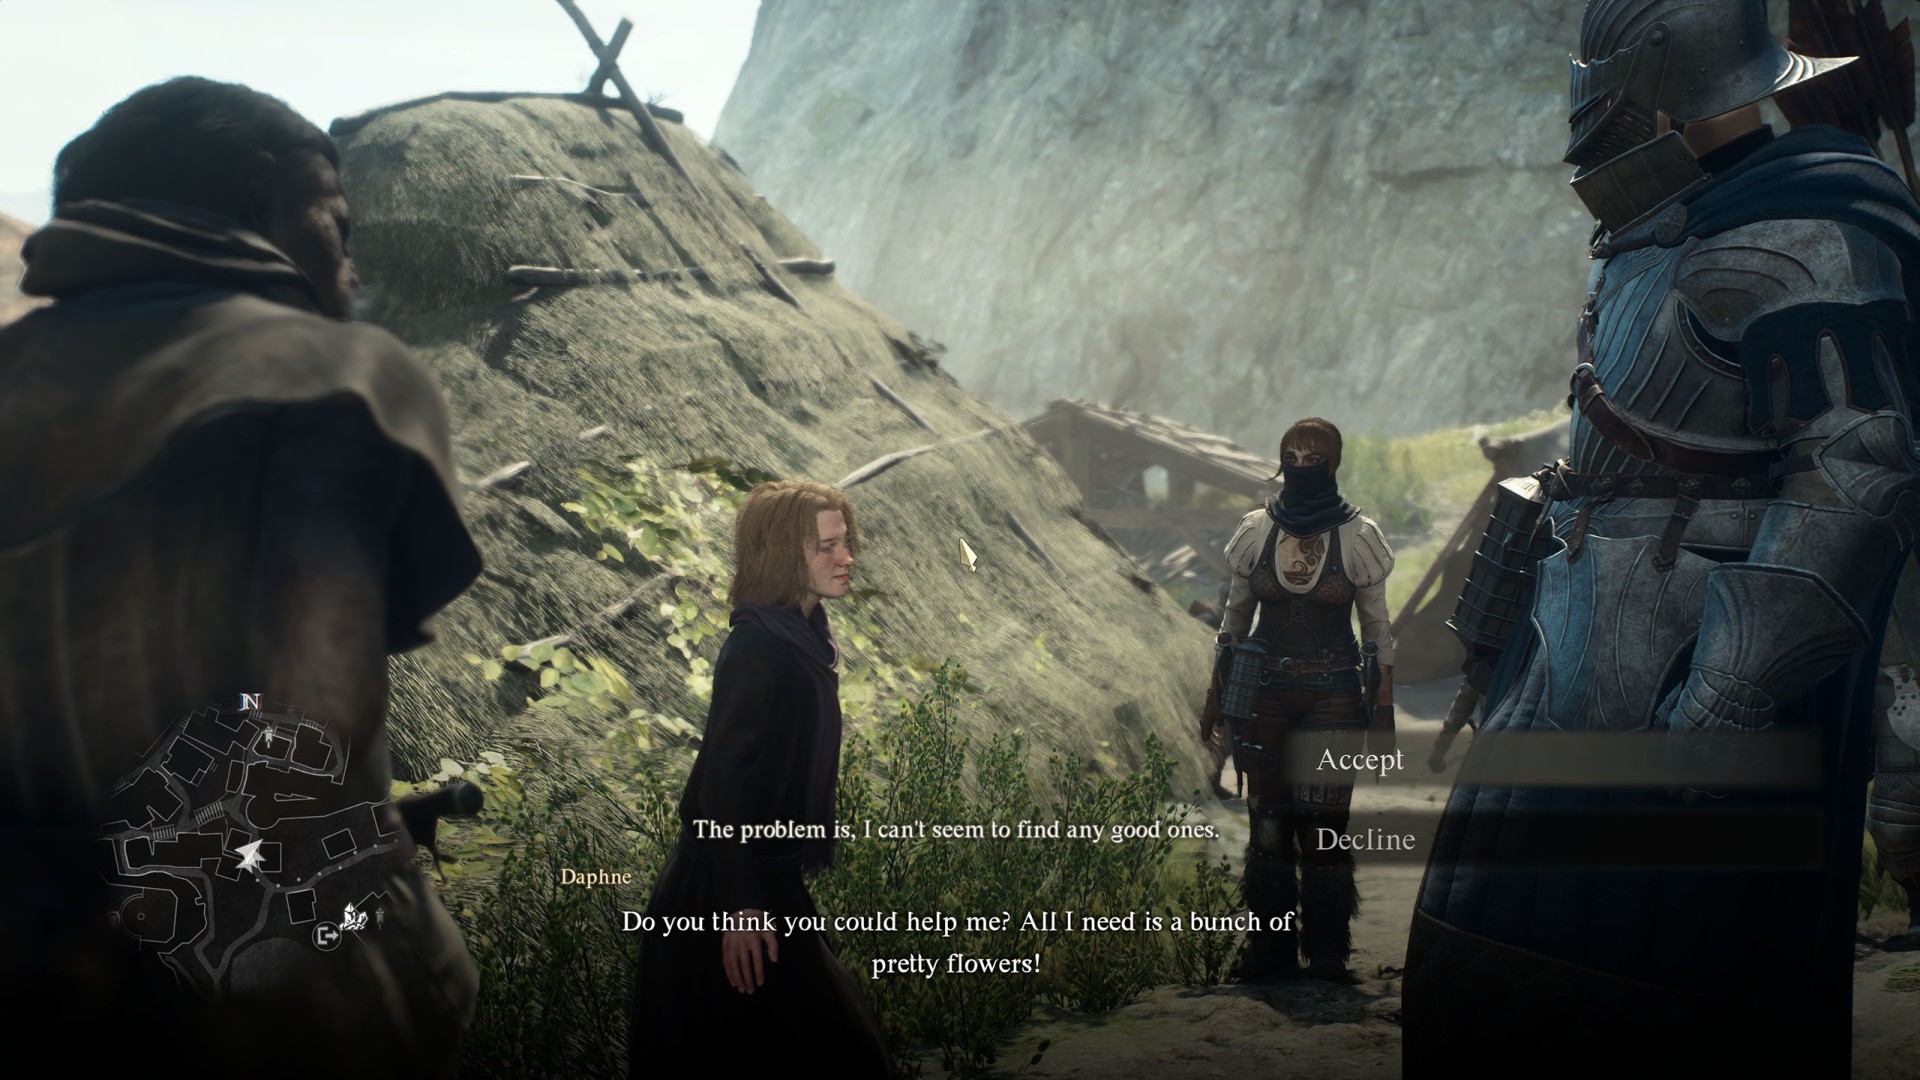
To start this quest, talk to Daphne. She should be here after completing the quest "The Heel of History" (maybe earlier?).
Description: The Gracious Hand is home to many an orphan, including one young girl whose kind heart impels her to do whatever she can to help the community that took her in.
Rewards: 900XP, Golden Trove Beetle, 100G.
Objectives:
- Find a bunch of flowers. - Prepare a bunch of flowers for Daphne, to help her express her gratitude to the people of the Gracious Hand.
- Bring Daphne the bunch of flowers. - Give Daphne the bunch of flowers and see if she has anything else to ask of you.
- Find some silver ore. - Obtain some silver ore to help make Daphne's wish come true.
- Bring Daphne the silver ore. - Give Daphne the silver ore and see if she has anything else to ask of you.
- Return in a few days' time. - Pay Daphne another visit in a few days' time to see how she's getting on.
- Obtain two pieces of gold ore. - Find and obtain two pieces of gold ore to donate to the priests of the slums, so that they can create more holy water.
- Bring Daphne the gold ore. - Take the gold ore to Daphne and see if she has anything else to ask of you.
- Bring Daphne medicine for treating blight. - Obtain five portions of a medicine that can be used to treat the blighted debilitation, and deliver them to Daphne.
- Give Daphne the medicine. - Bring Daphne the medicine needed to cure the people in the slums of the blight that ails them. 5 x Detoxifying Decoction or Panacea.
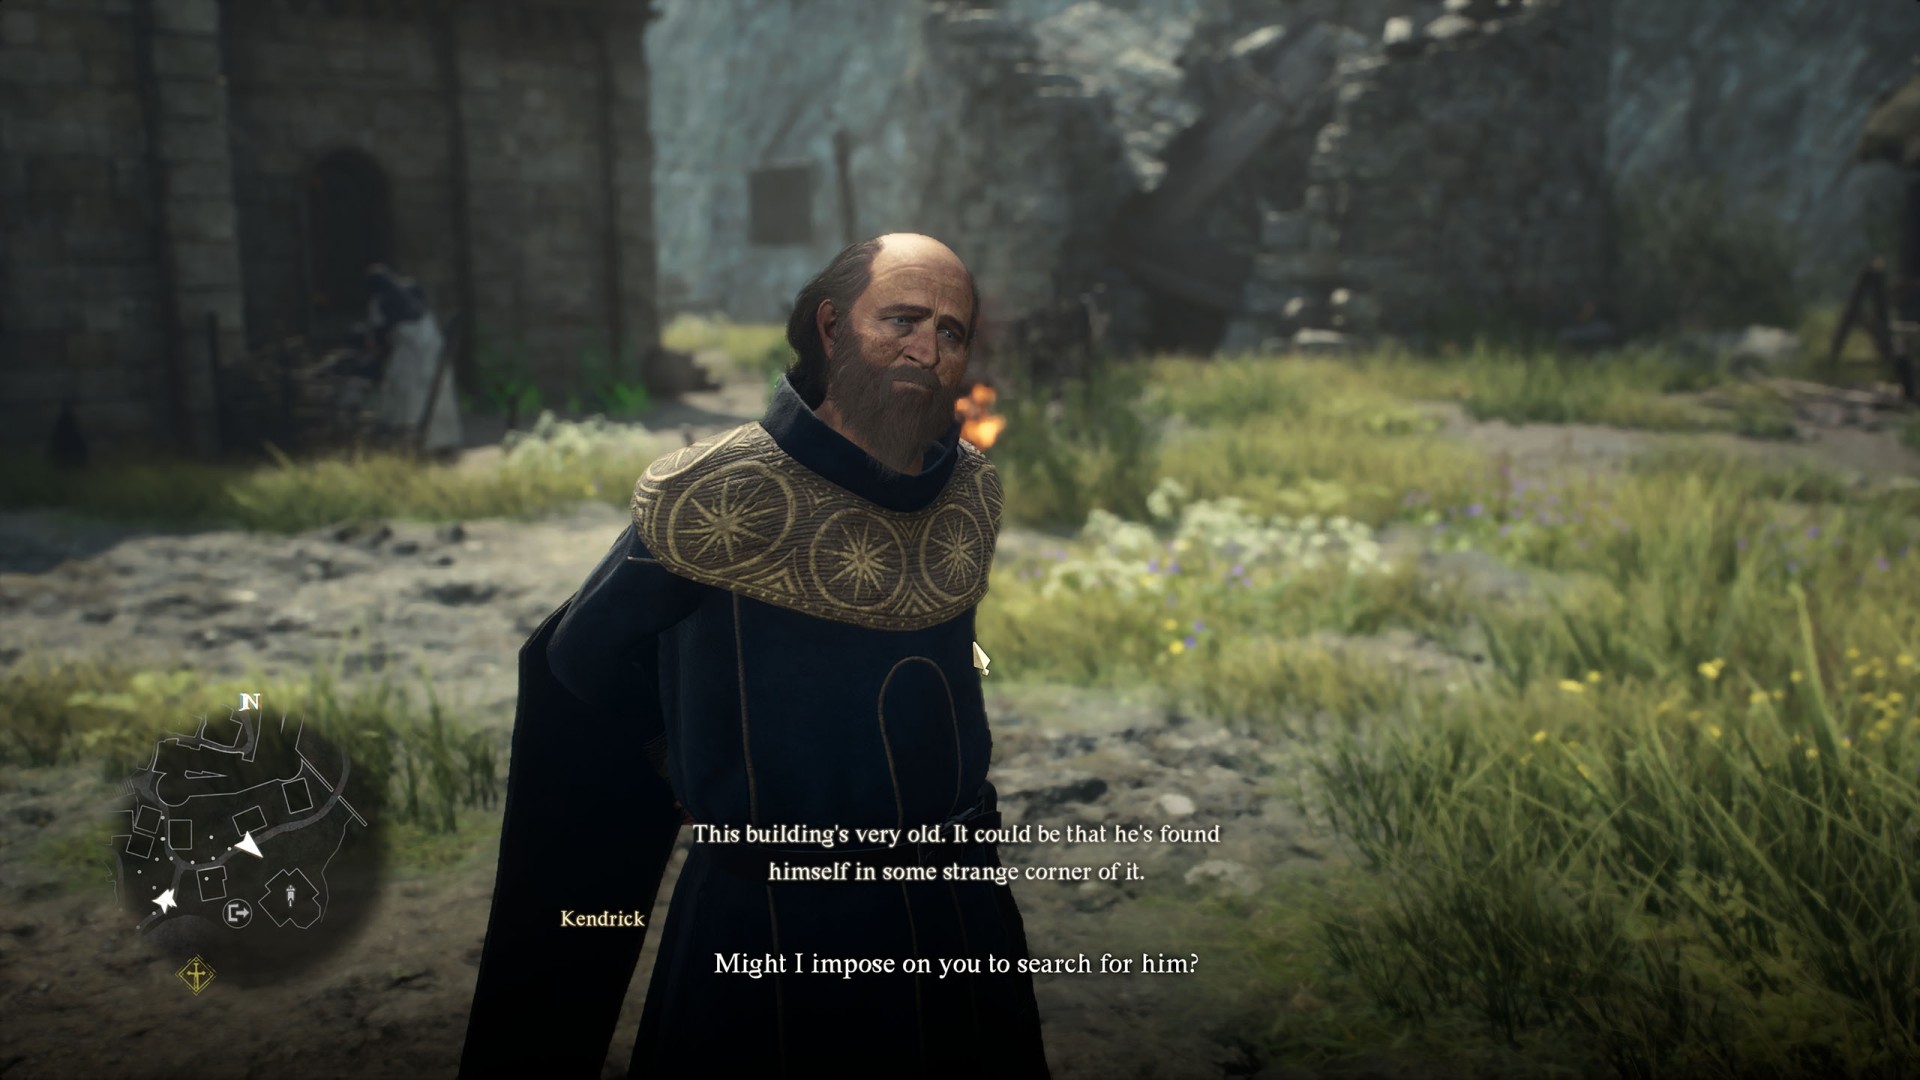
The Heel of History▶ show the map ◀
To start this quest donate any food and coin (1000G) to Kendrick.
Description: In a land overrun with monsters, orphans are no rarity. The Gracious Hand provides for as many as it can, but one of its wards, a boy named Malcolm, seems to have gone missing.
Rewards: 900XP, 3000G, Panacea.
Objectives:
- Determine Malcolm's location. - A boy named Malcolm has gone missing. Ask around, and see if anyone knows where he might have gone.
- Report back to Kendrick. - Tell Kendrick what you have learned of Malcolm's whereabouts and see if he knows anything of these "vaults."
- Search the vaults for Malcolm. - Malcolm seems to have gone exploring in the vaults beneath the Gracious Hand. Accompany Kendrick and help him search for the boy.
- Follow Malcolm. - According to Malcolm, there is a place of interest deeper in the vaults.
The Nameless Village▶ show the map ◀
Description: Suspicions alone will not suffice if you are to expose the false Sovran. Venture to Vermund's eastern edge and scour for evidence that will help you prove him a pretender.
Rewards: 1,200XP, 7,500G, Dragon's Gaze (An artifact capable of revealing the locations of Wakestone shards.)

Objectives:
- Investigate the false Sovran and report to Brant. - Venture to the eastern edge of Vermund and uncover what you can of the false Sovran's origins, then return to Captain Brant and apprise him of your findings.
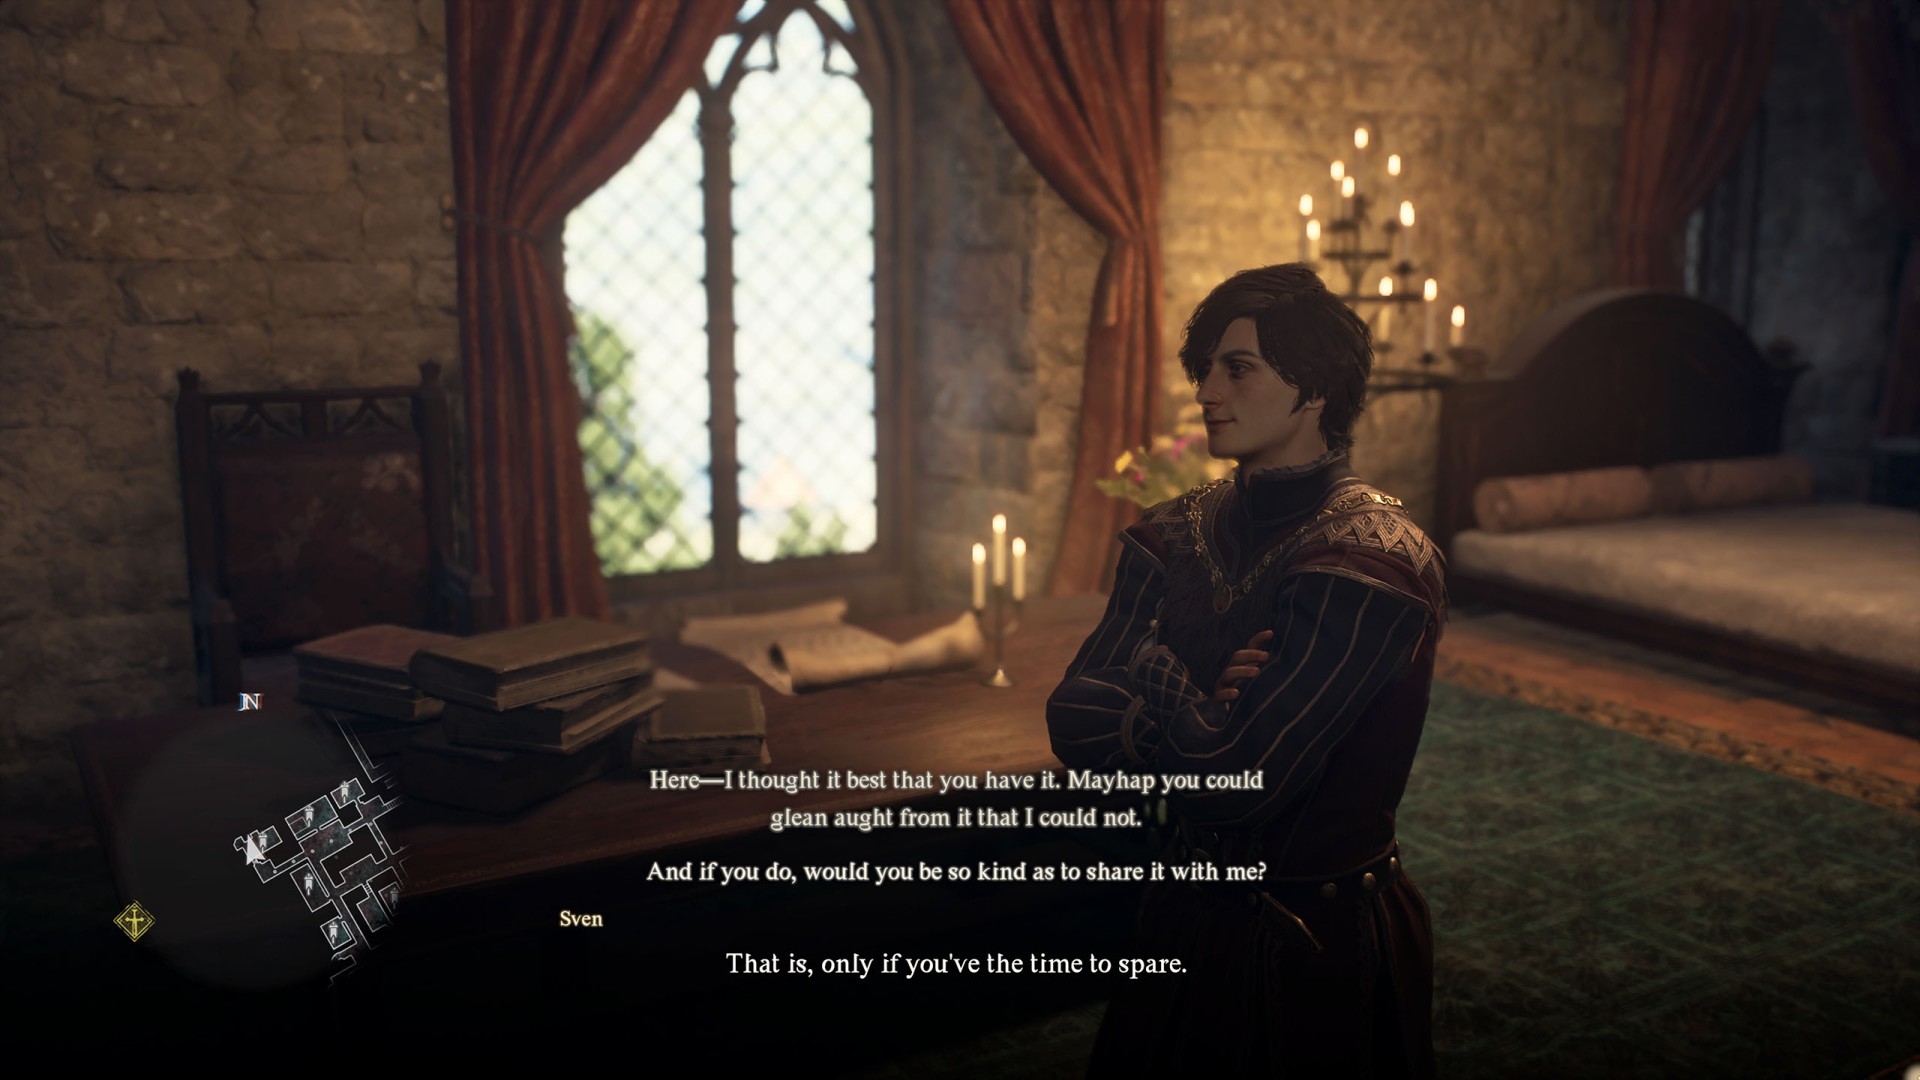
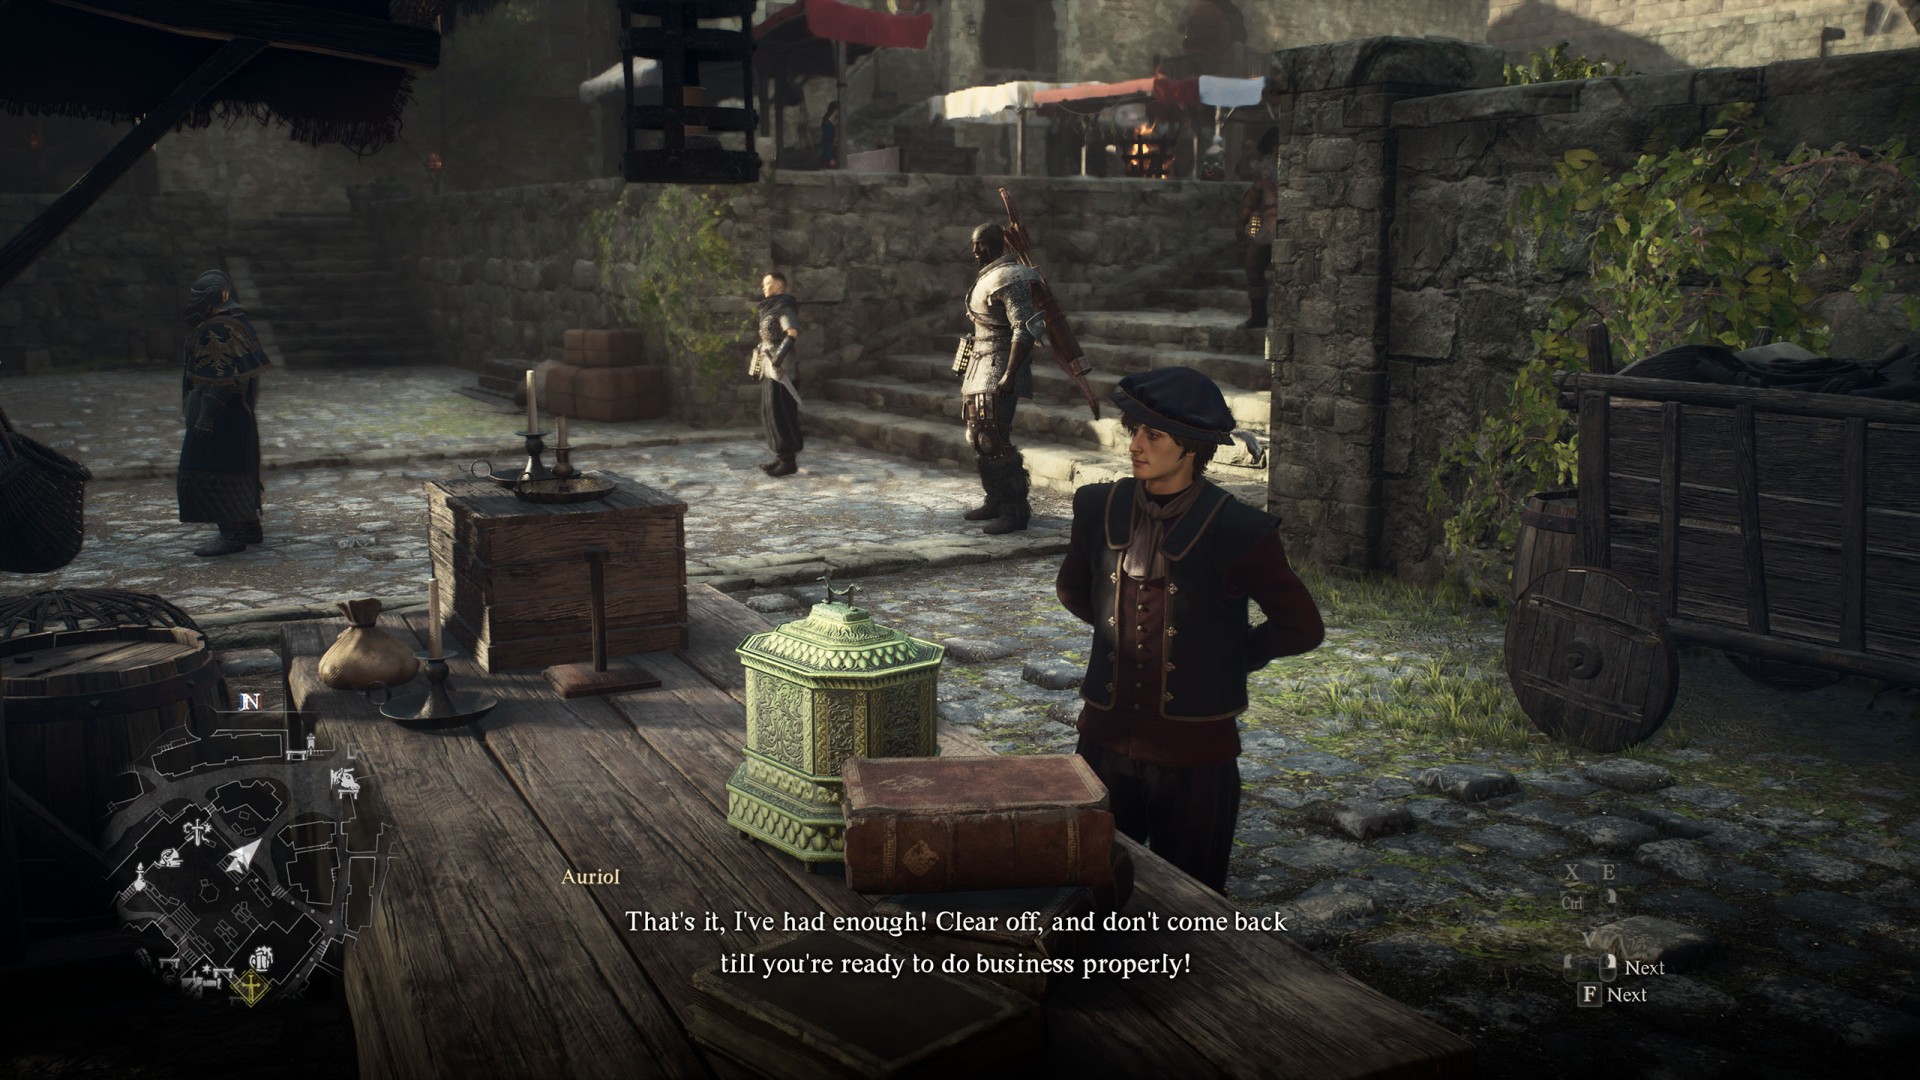
The Ornate Box▶ show the map ◀
Description: Amidst the bustle and clamor of Vernworth's marketplace, you espy a young man arguing with the proprietor of one of the shops.
Rewards: 200G + 300G + 500G + 4,000G, 900XP, Courtly Breeches + Courtly Tunic.
Objectives:
- Find out what's going on. - It seems an argument has broken out between a merchant and his customer. Perhaps you should see what all the fuss is about.
- Receive recompense from Sven in a few days' time. - Sven seemed determined to repay you for your troubles. Seek him out in Vernworth in a few days' time to receive recompense for the ornate box.
The Provisioner's Plight▶ show the map ◀
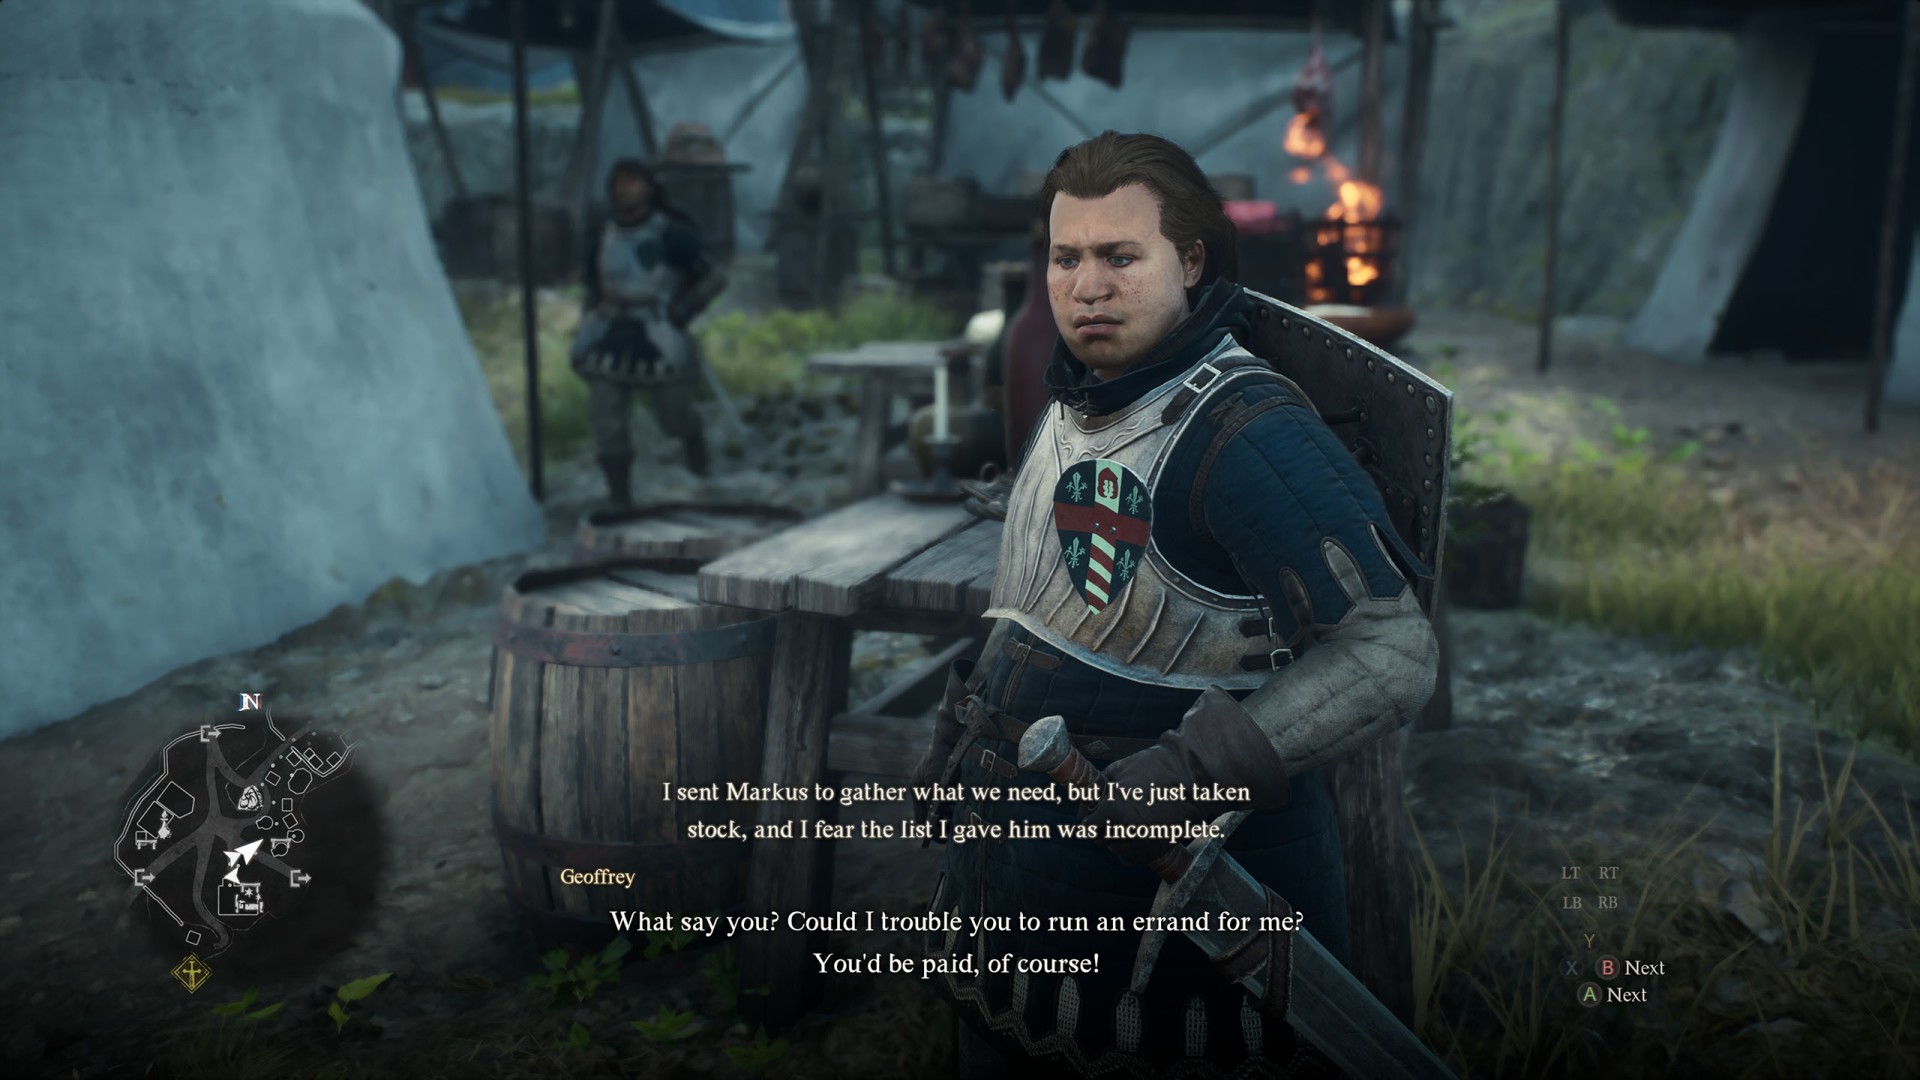
To start this quest complete the "Tale's Beginning" main quest and then approach Geoffrey and agree to help him.
Rewards: 400XP, 900G, Dried Fruit, Waking Powder.
Description: Oft what matters is that the work gets done, not the hands that do it. When saddled with another's task, you can but hope that the trust you earn will make it worth the effort.
Objectives:
- Deliver the provisioner's note to Markus. - Seek out Markus north of the encampment and give him the provisioner's note.
- Procure some harspuds and salubrious draughts. - Gather three harspuds and two salubrious draughts for Markus.
- Give Markus the provisions. - Deliver three harspuds and two salubrious draughts to Markus.
- Report back to Geoffrey. - Return to the provisioner and inform him that you have done as he requested.
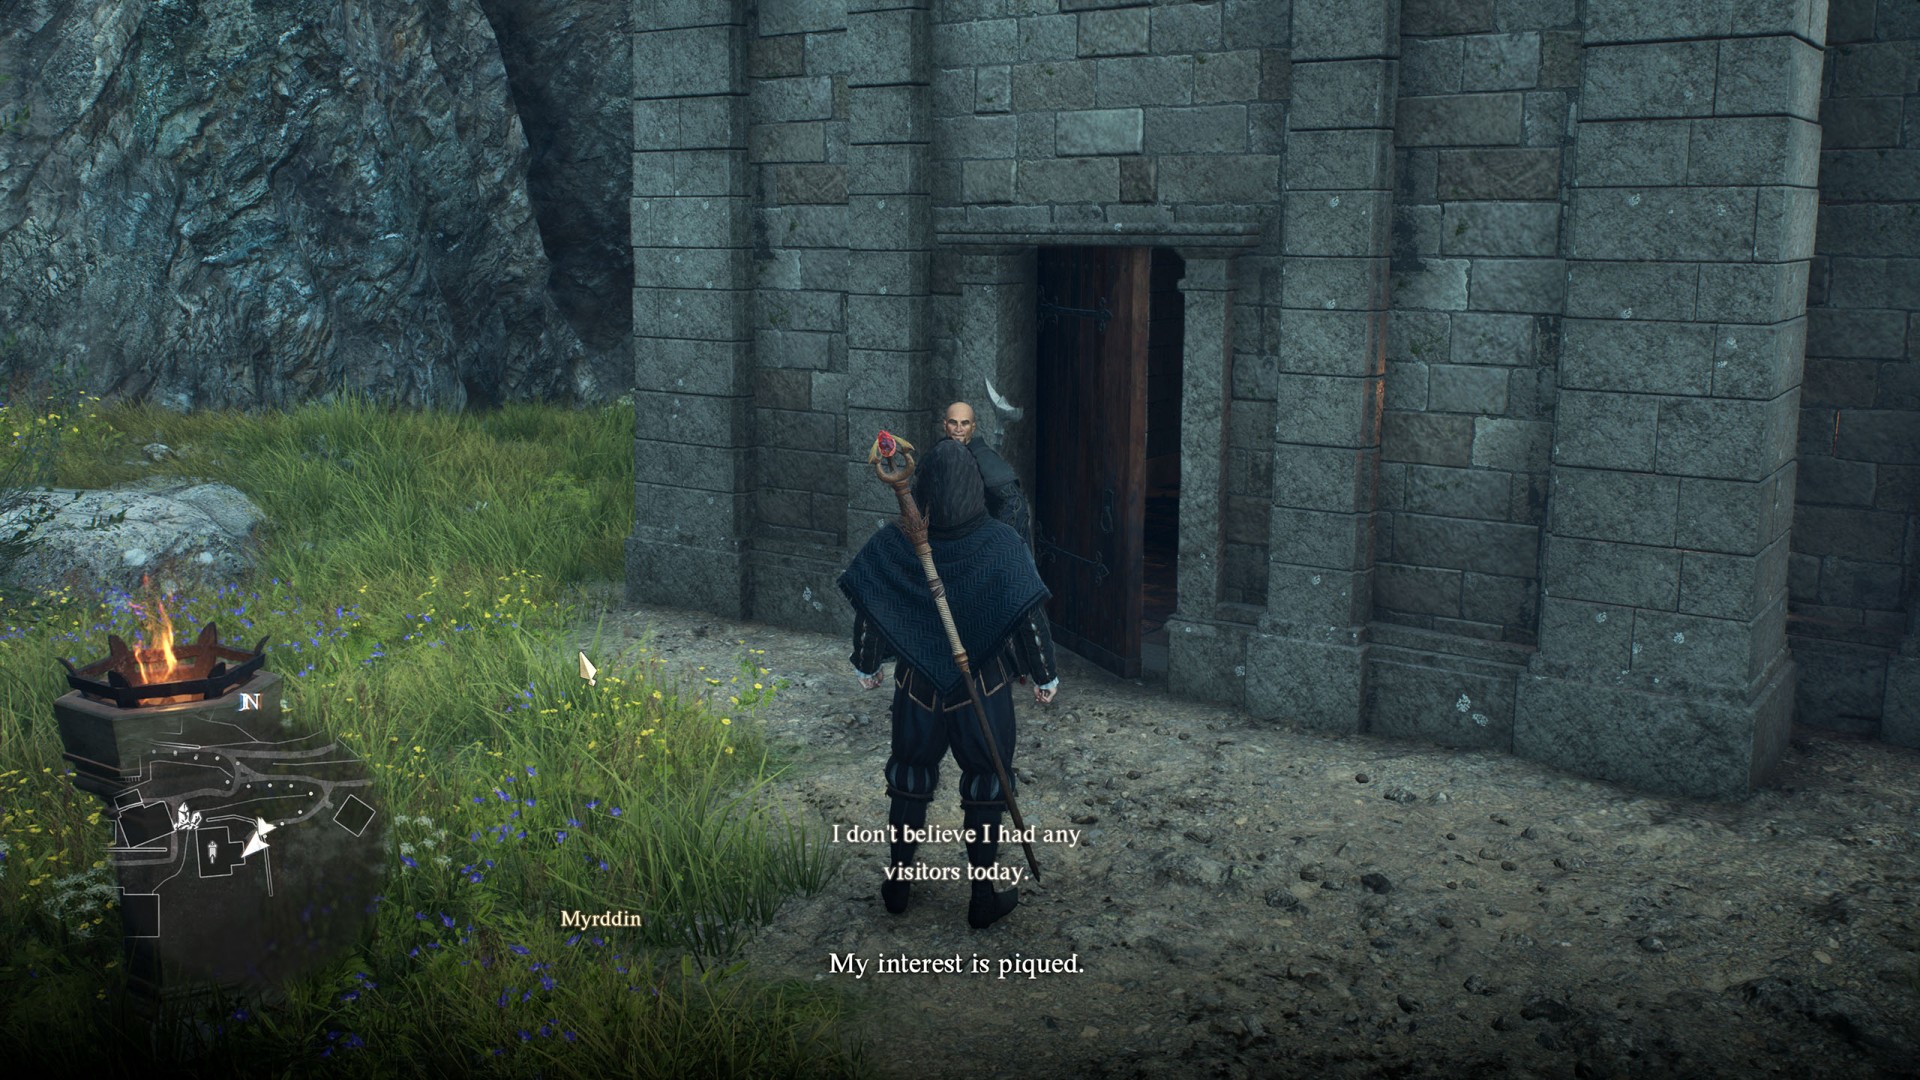
The Sorcerer's Appraisal▶ show the map ◀
To start this quest put on Noble Clothing such as Courtly Tunic and Courtly Breeches and visit Myrddin's house. When you are properly dressed he will let you in. Once you are inside talk to him.
Description: Residing in a manor in the checkpoint rest town is Myrddin, a sorcerer of great renown. He is even willing to share the secrets of his art-provided he finds you worthy, that is.
Objectives:
- Gather grimoires for Myrddin. - Find a number of the following grimoires and deliver them to Myrddin: "Let There Be Light" "Fulminous Shield" "Nation's Death Knell" "Howling Blizzard" "Towering Earth"
The Sotted Sage▶ show the map ◀
Description: You encountered Lamond, a tippled patron of the hot springs. But is that all he is? There's a curious air about him that hints at something more—unless that's just the sulfur?
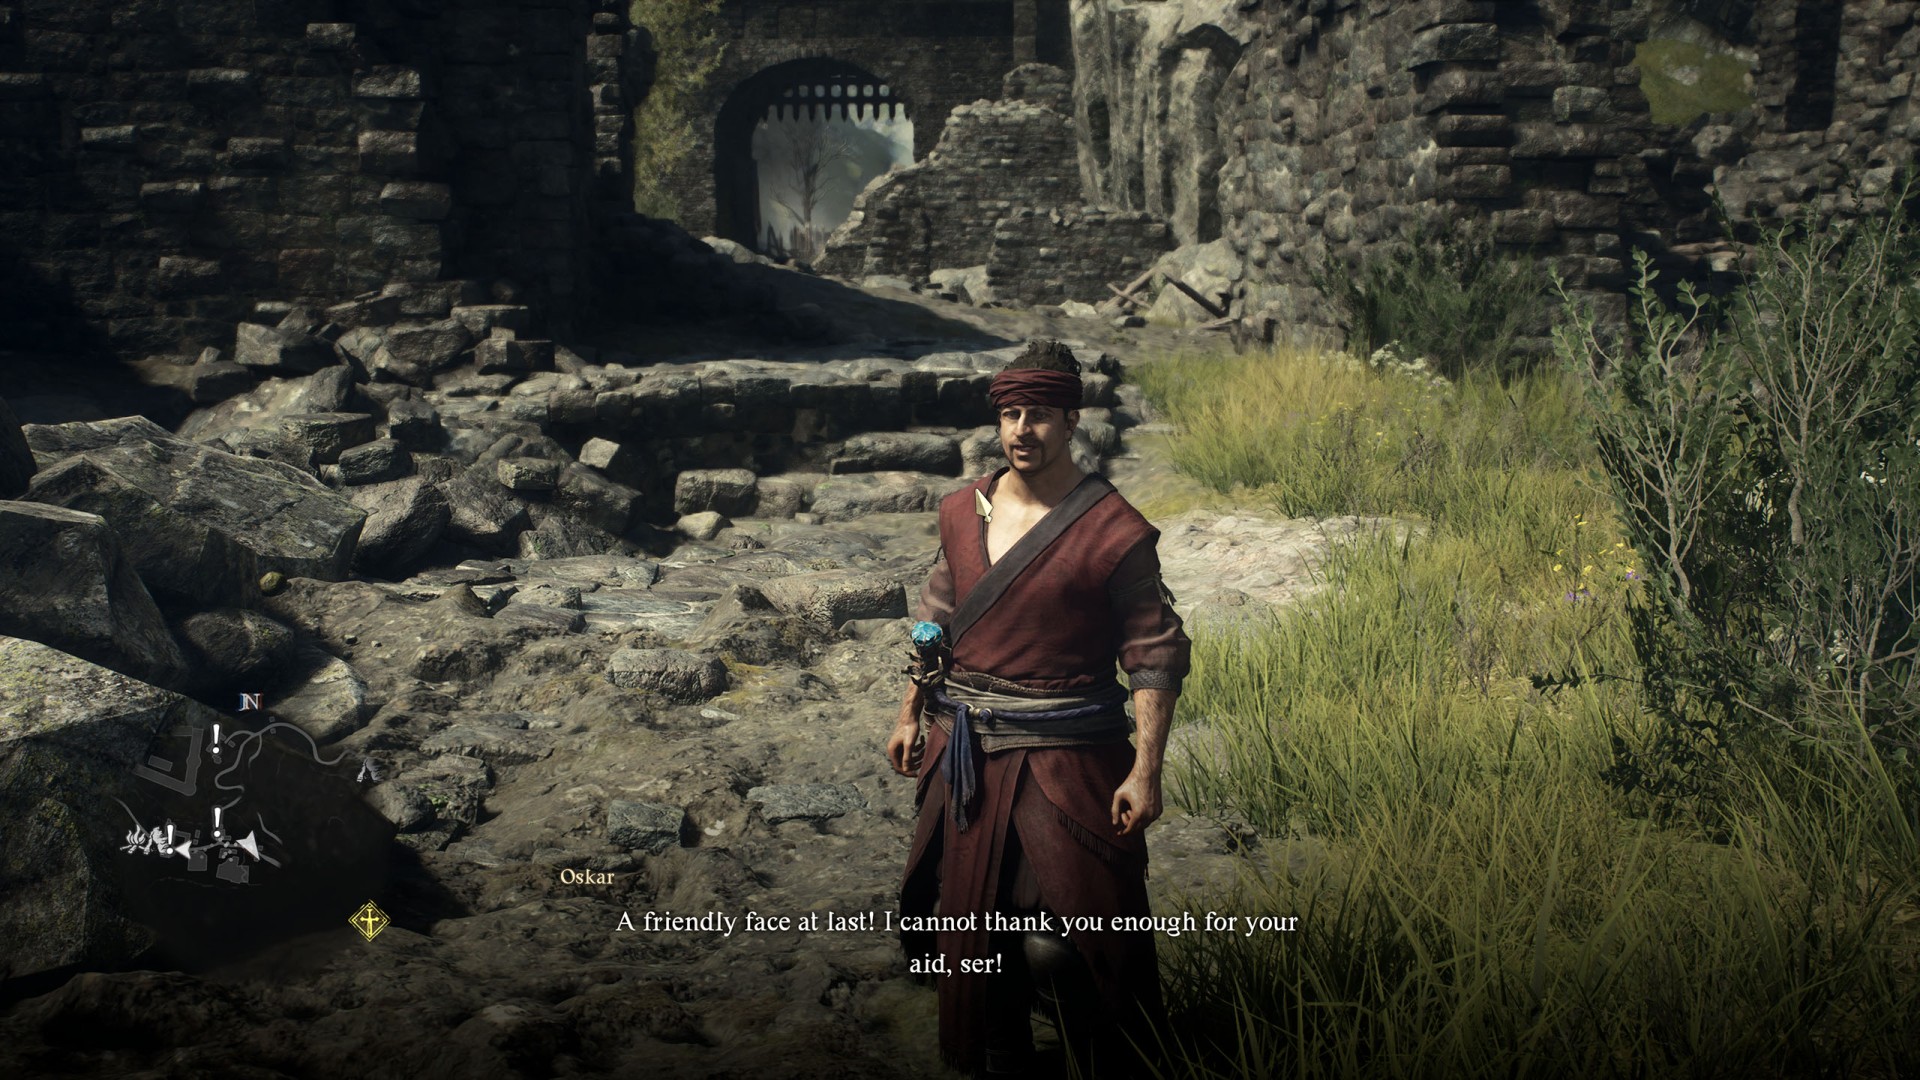
Tolled to Rest▶ show the map ◀
Description: Once the site of a war between Vermund and Battahl, the ancient battleground is now overrun with monsters. Yet there is one soul who braves it still, driven by a sense of duty.
Rewards: Ancient Battleground Key, 9000G.
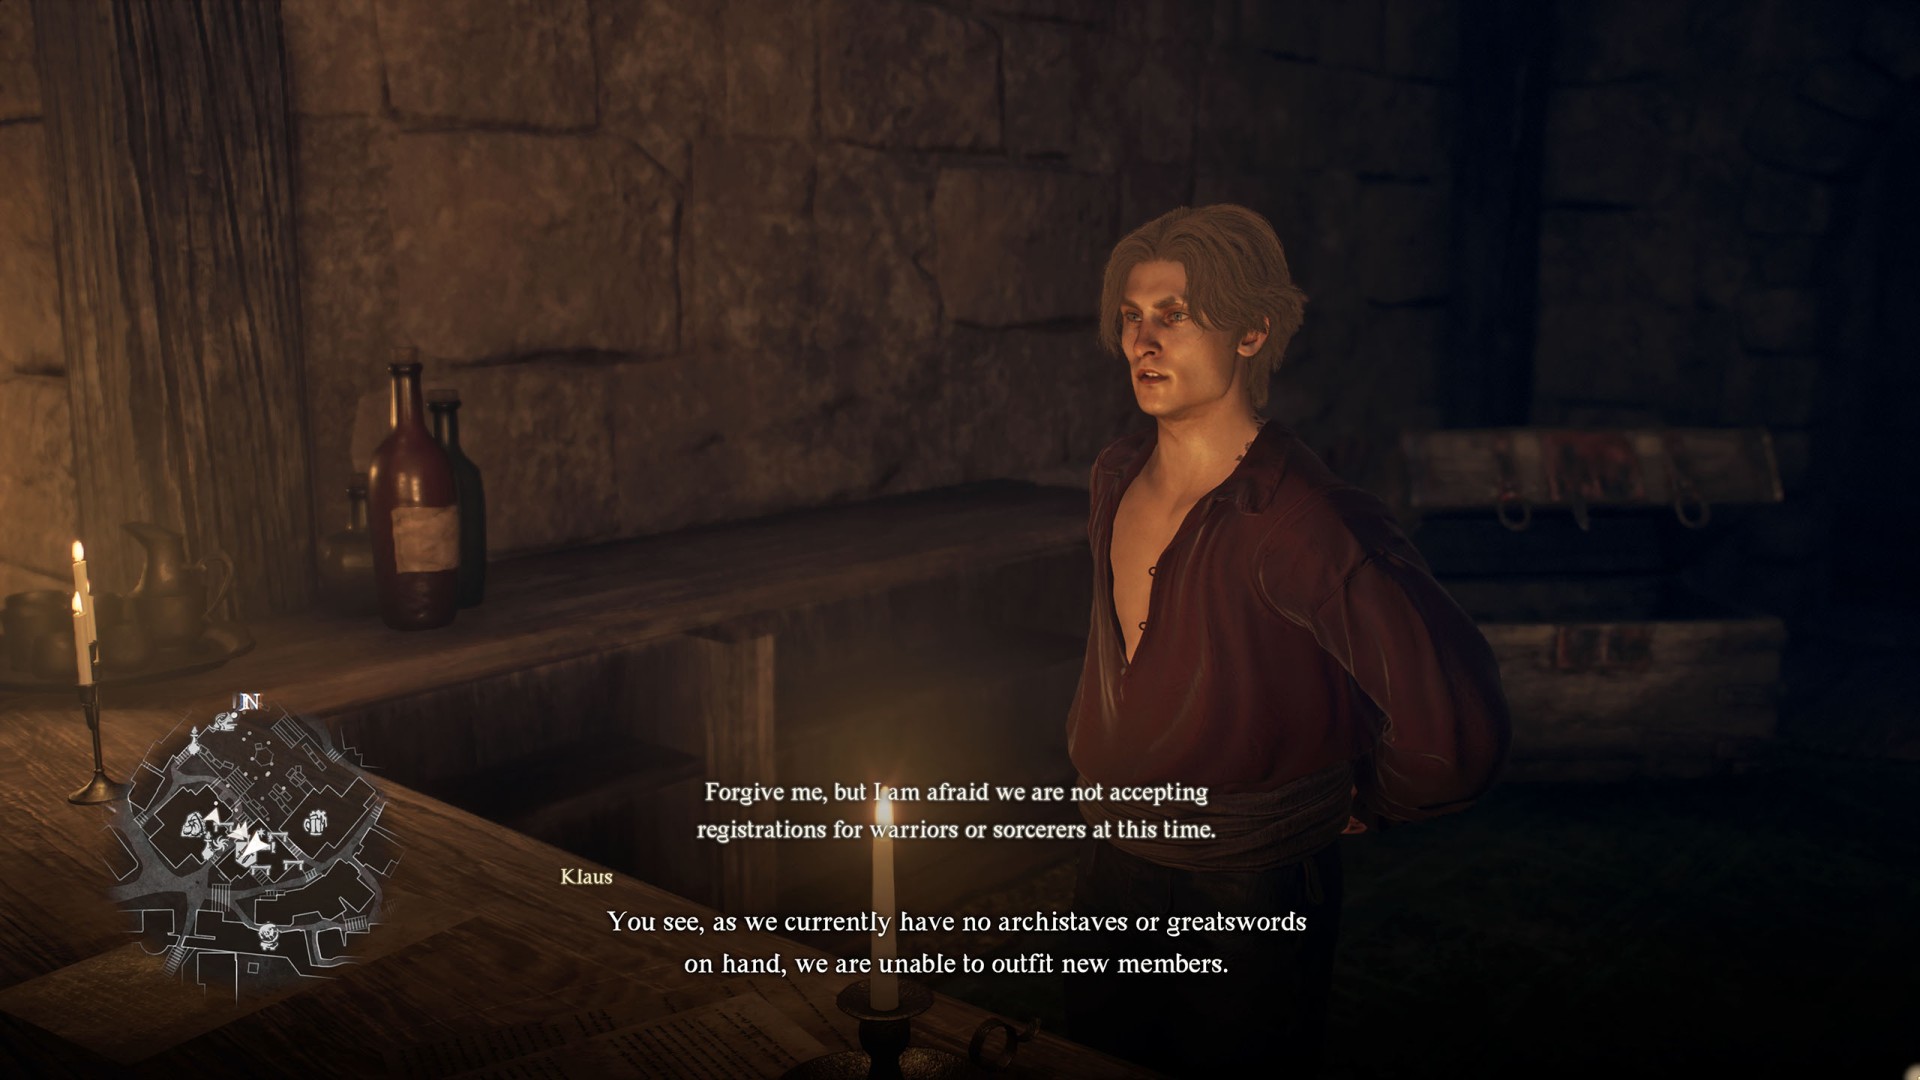
Vocation Frustration▶ show the map ◀
To start this quest talk to Klaus at the Vernworth Vocation Guild.
Description: It seems certain vocations are unavailable for registration at the guild hall at present, unless you have the weapons required to hand. Perhaps the townsfolk can tell you more.
Objectives:
- You were advised to speak with the local armorer. - As the guild's arms are supplied by Roderick's Smithy, the proprietor may have information to share with you about the stolen shipment.
- Obtain an archistaff and greatsword. - According to the guildhead, you will need to procure your own weapon if you wish to register as either a sorcerer or a warrior.
- Take the archistaff and greatsword to the guild. - Bring the weapons you have acquired to the guild and present them to the guildhead.