Main Objectives, Sniper Elite 5 Points of interest
This collection includes every marker from the Main Objectives category of points of interest in Sniper Elite 5, all placed on interactive maps created specifically for the game.
This collection includes every marker from the Main Objectives category of points of interest in Sniper Elite 5, all placed on interactive maps created specifically for the game.
Main Objectives in Sniper Elite 5 are the primary, mandatory tasks that a player must complete in order to unlock exfiltration points, finish the mission, and advance to the next stage of the campaign.
The index below enables quick navigation to the desired marker / point of interest.
Objective: Secure a Crossing, Option B - Defuse Bridge Explosives.
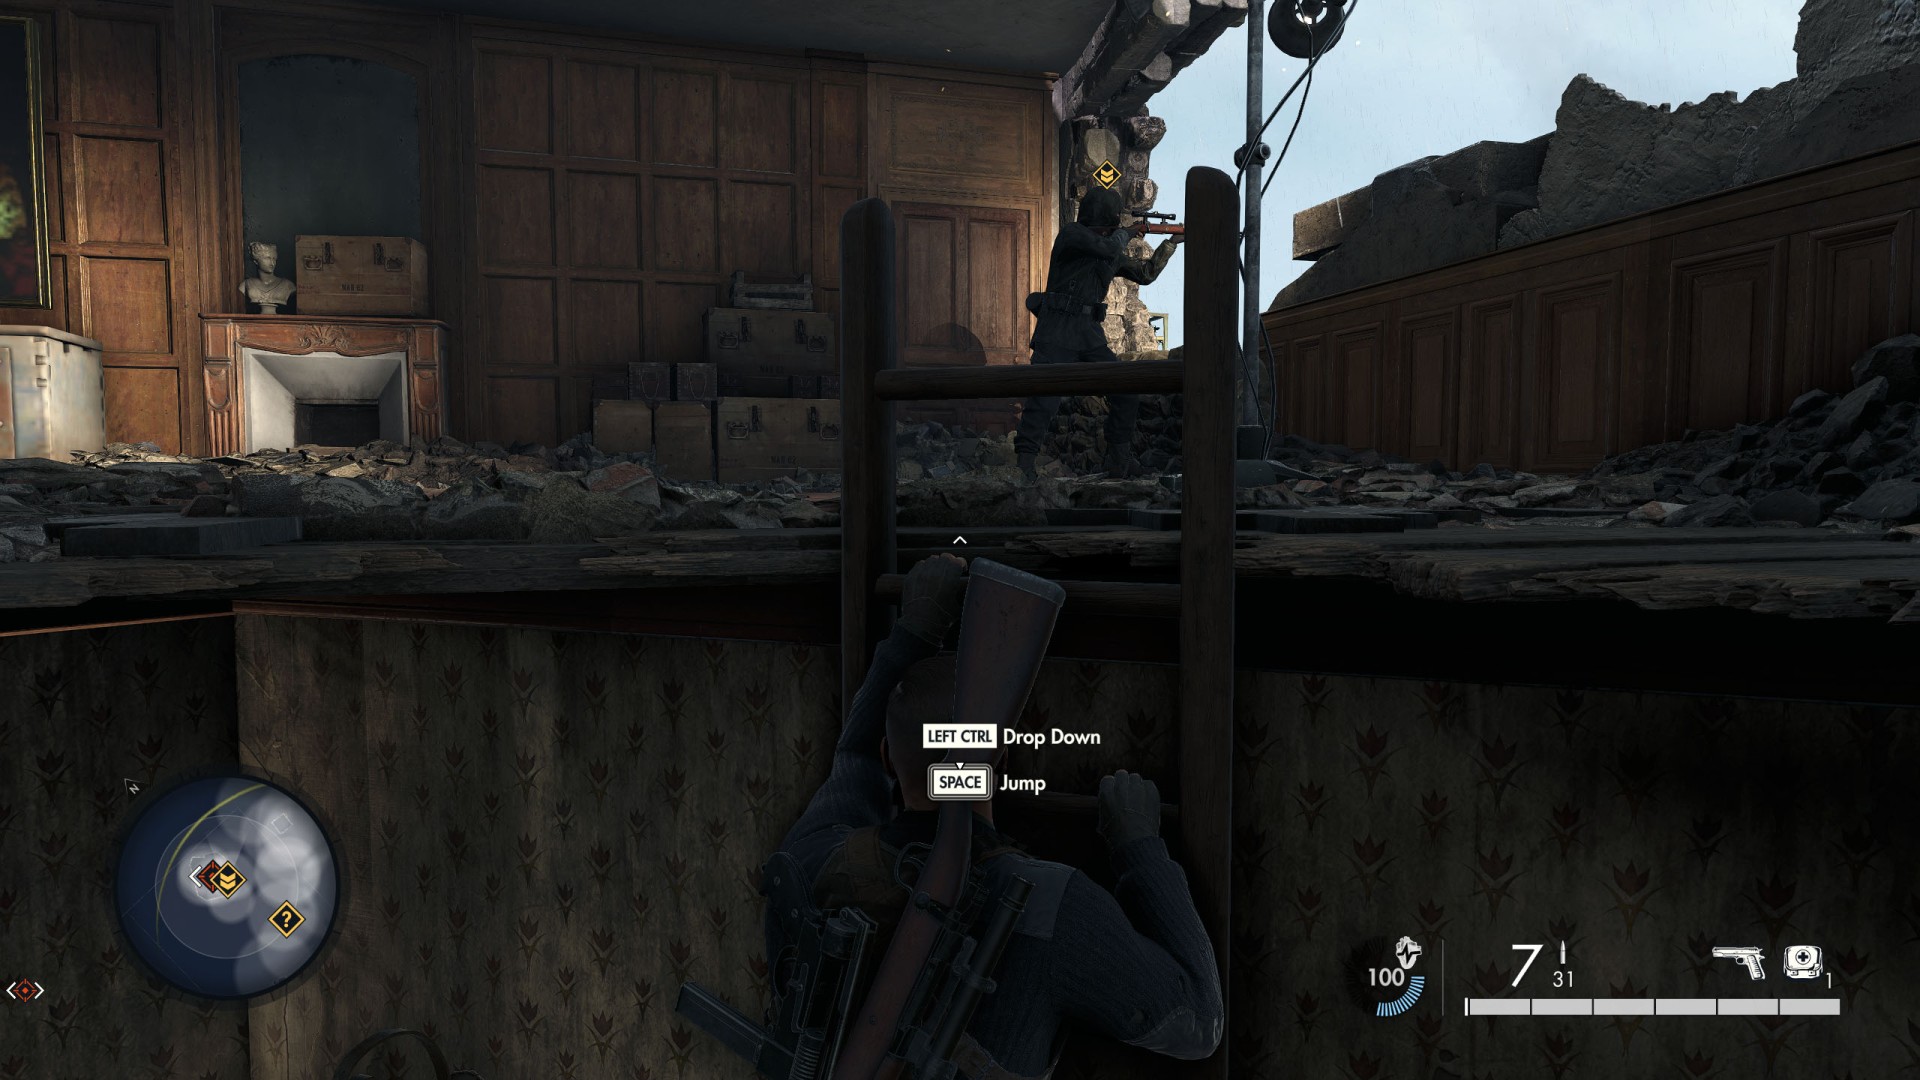
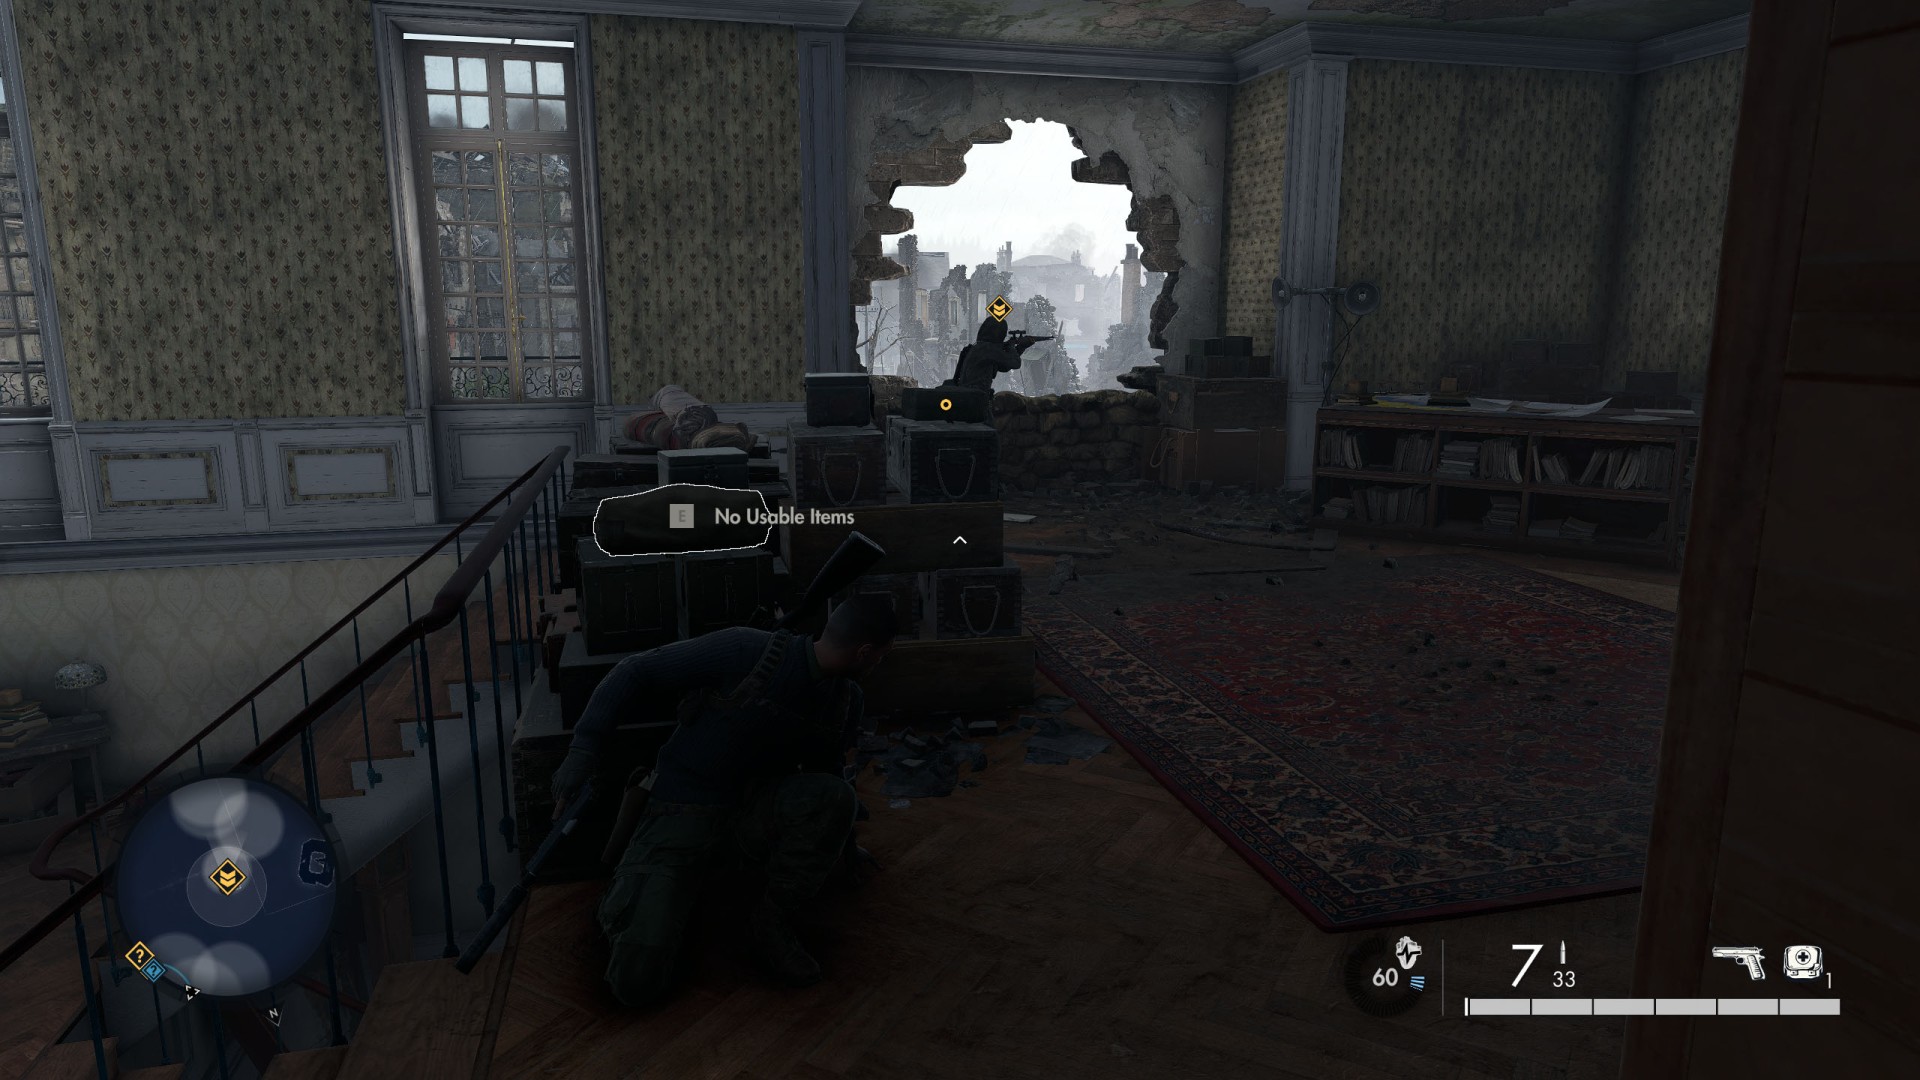
Show the mapIn a room on the upper floor. Objective: Liberate the Southern Town.
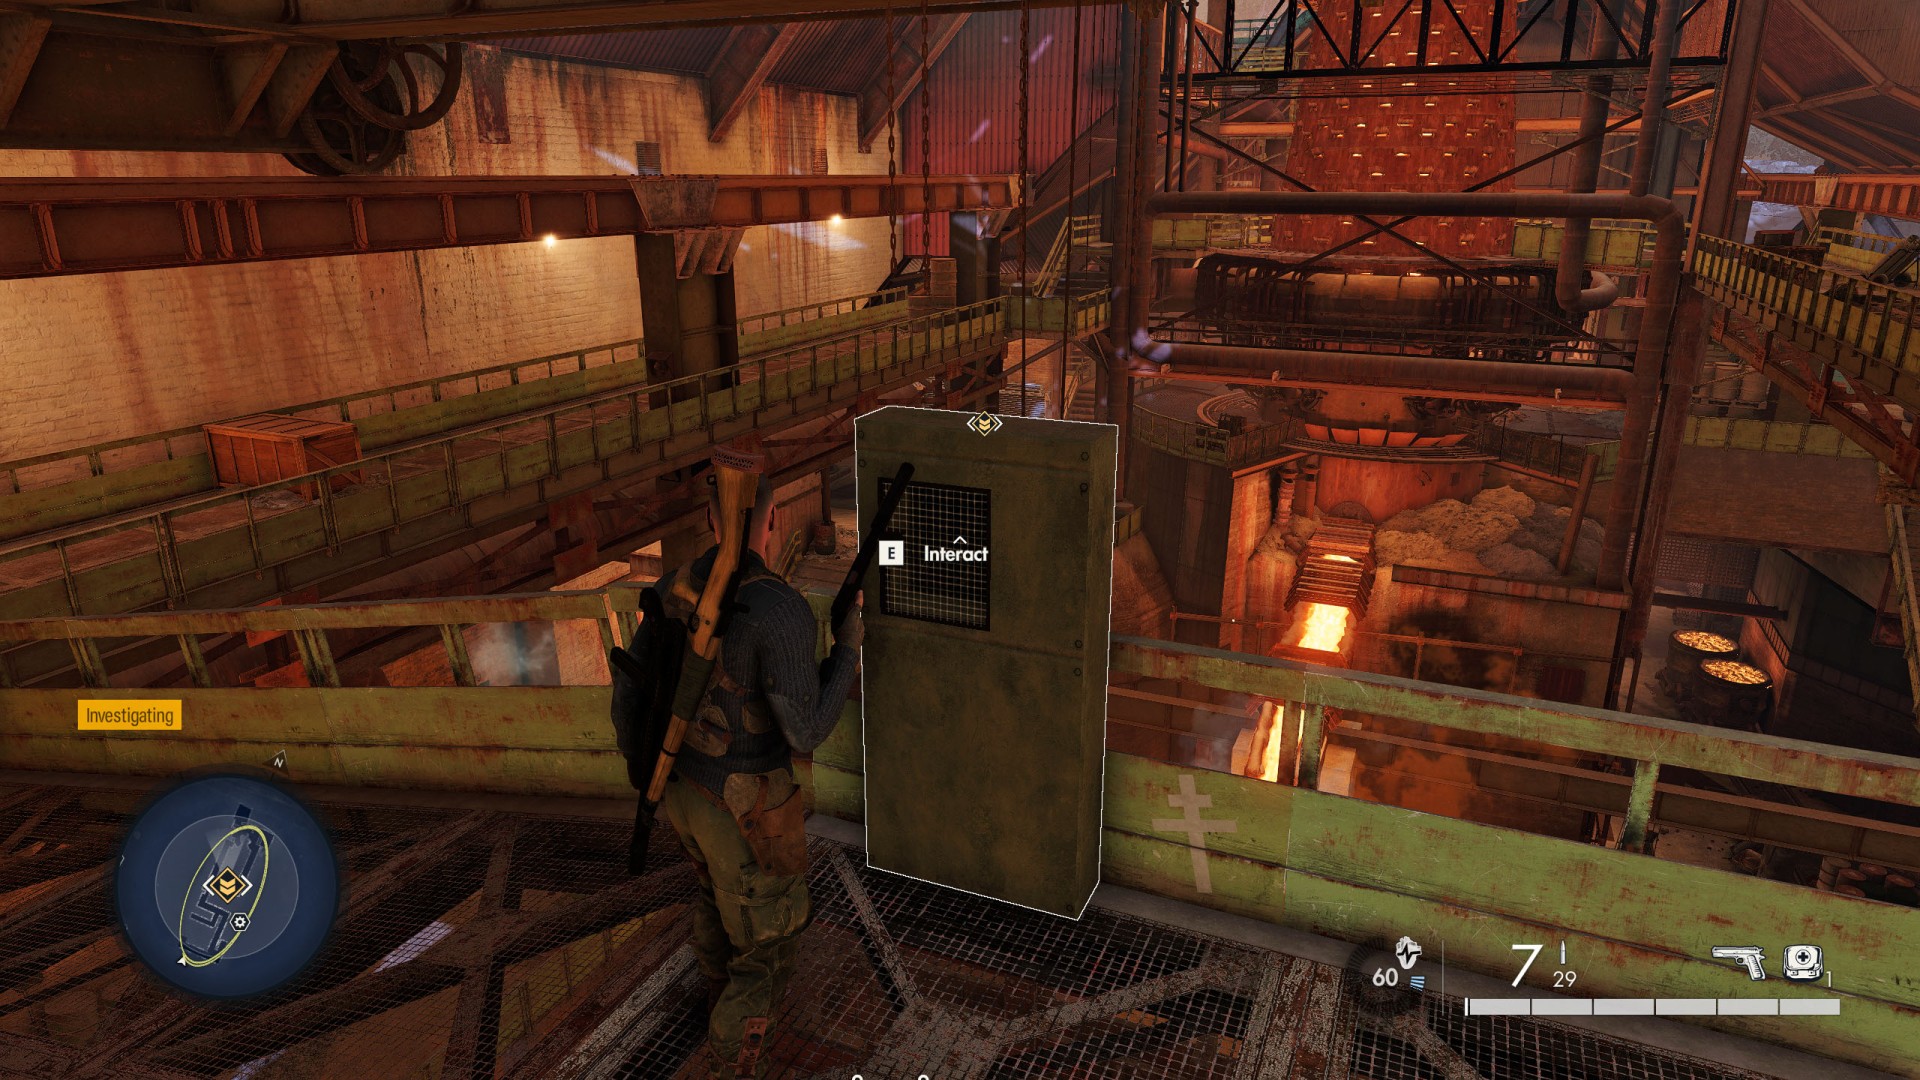
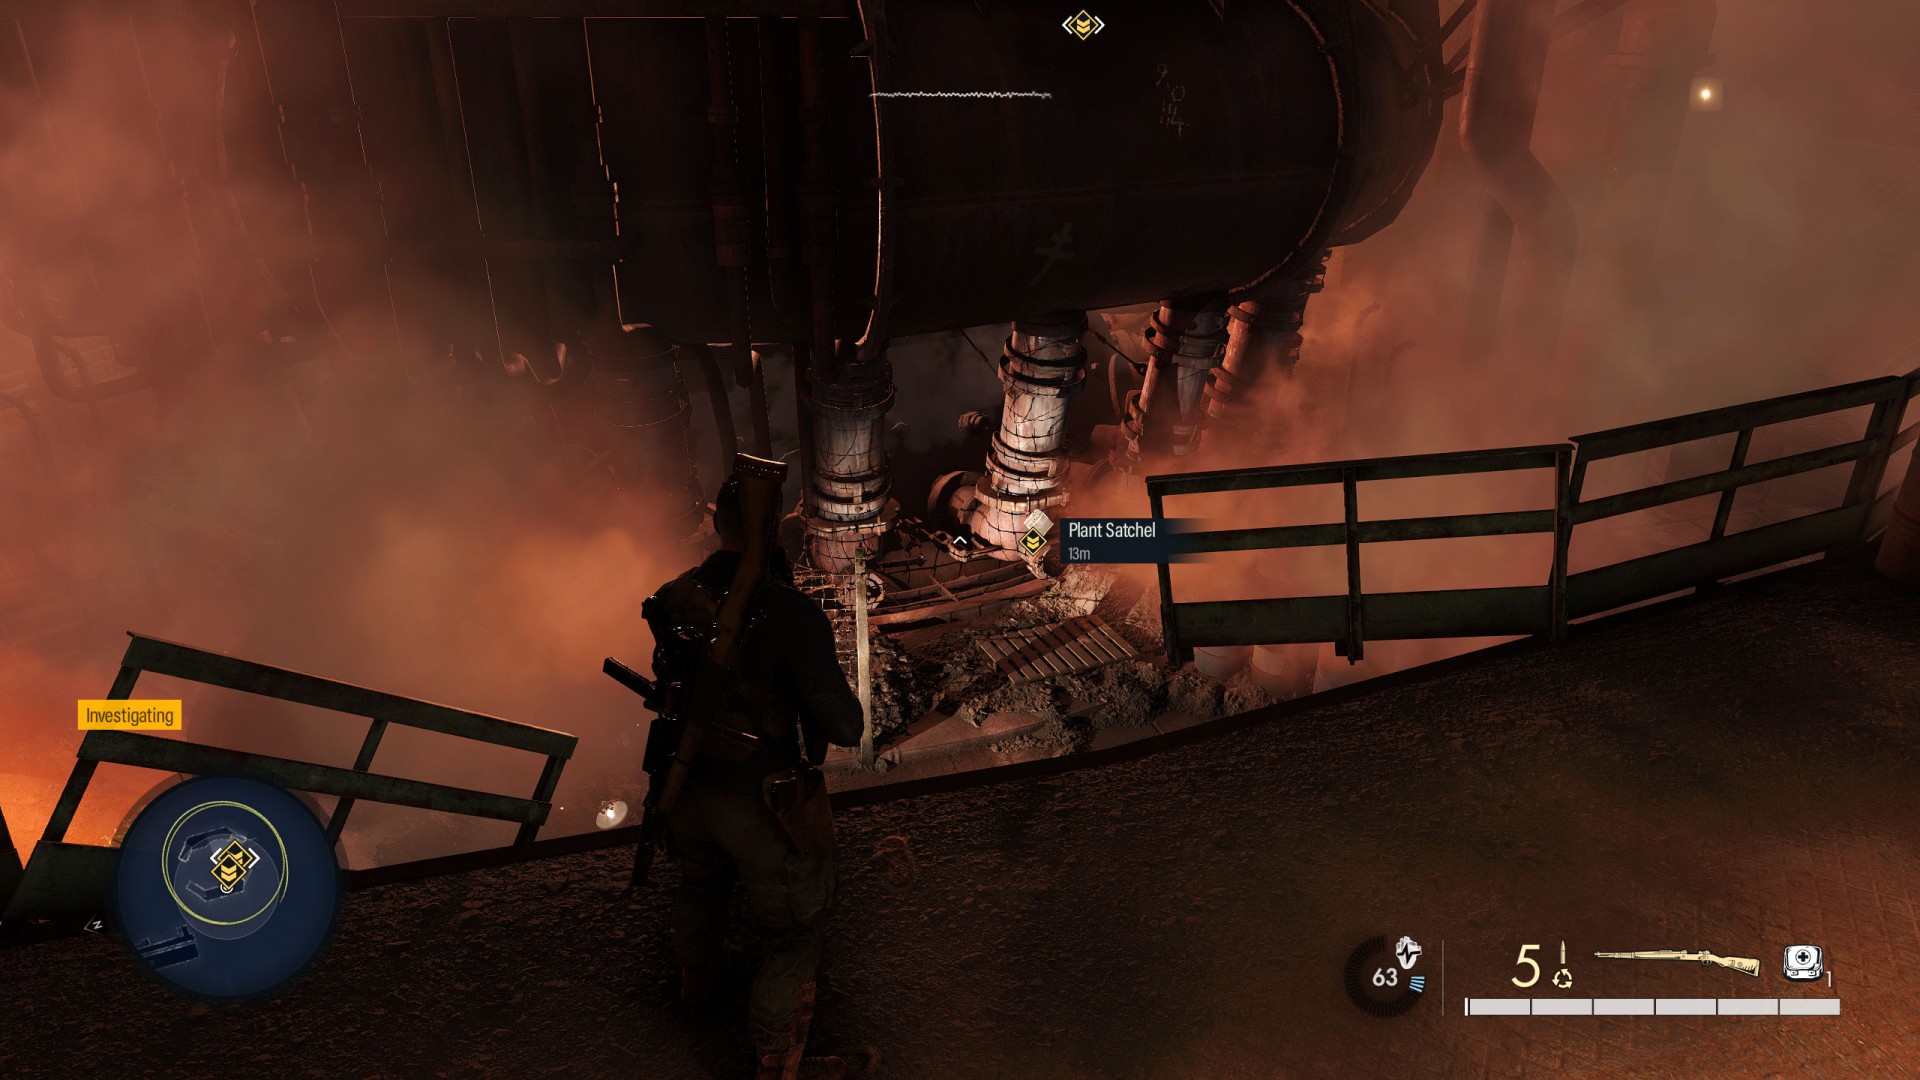
Show the mapObjectives: Destroy the Furnace - Investigate the Furnace / Option A - Destroy the Injector Pipe / Option B - Overload the Furnace (x/2).
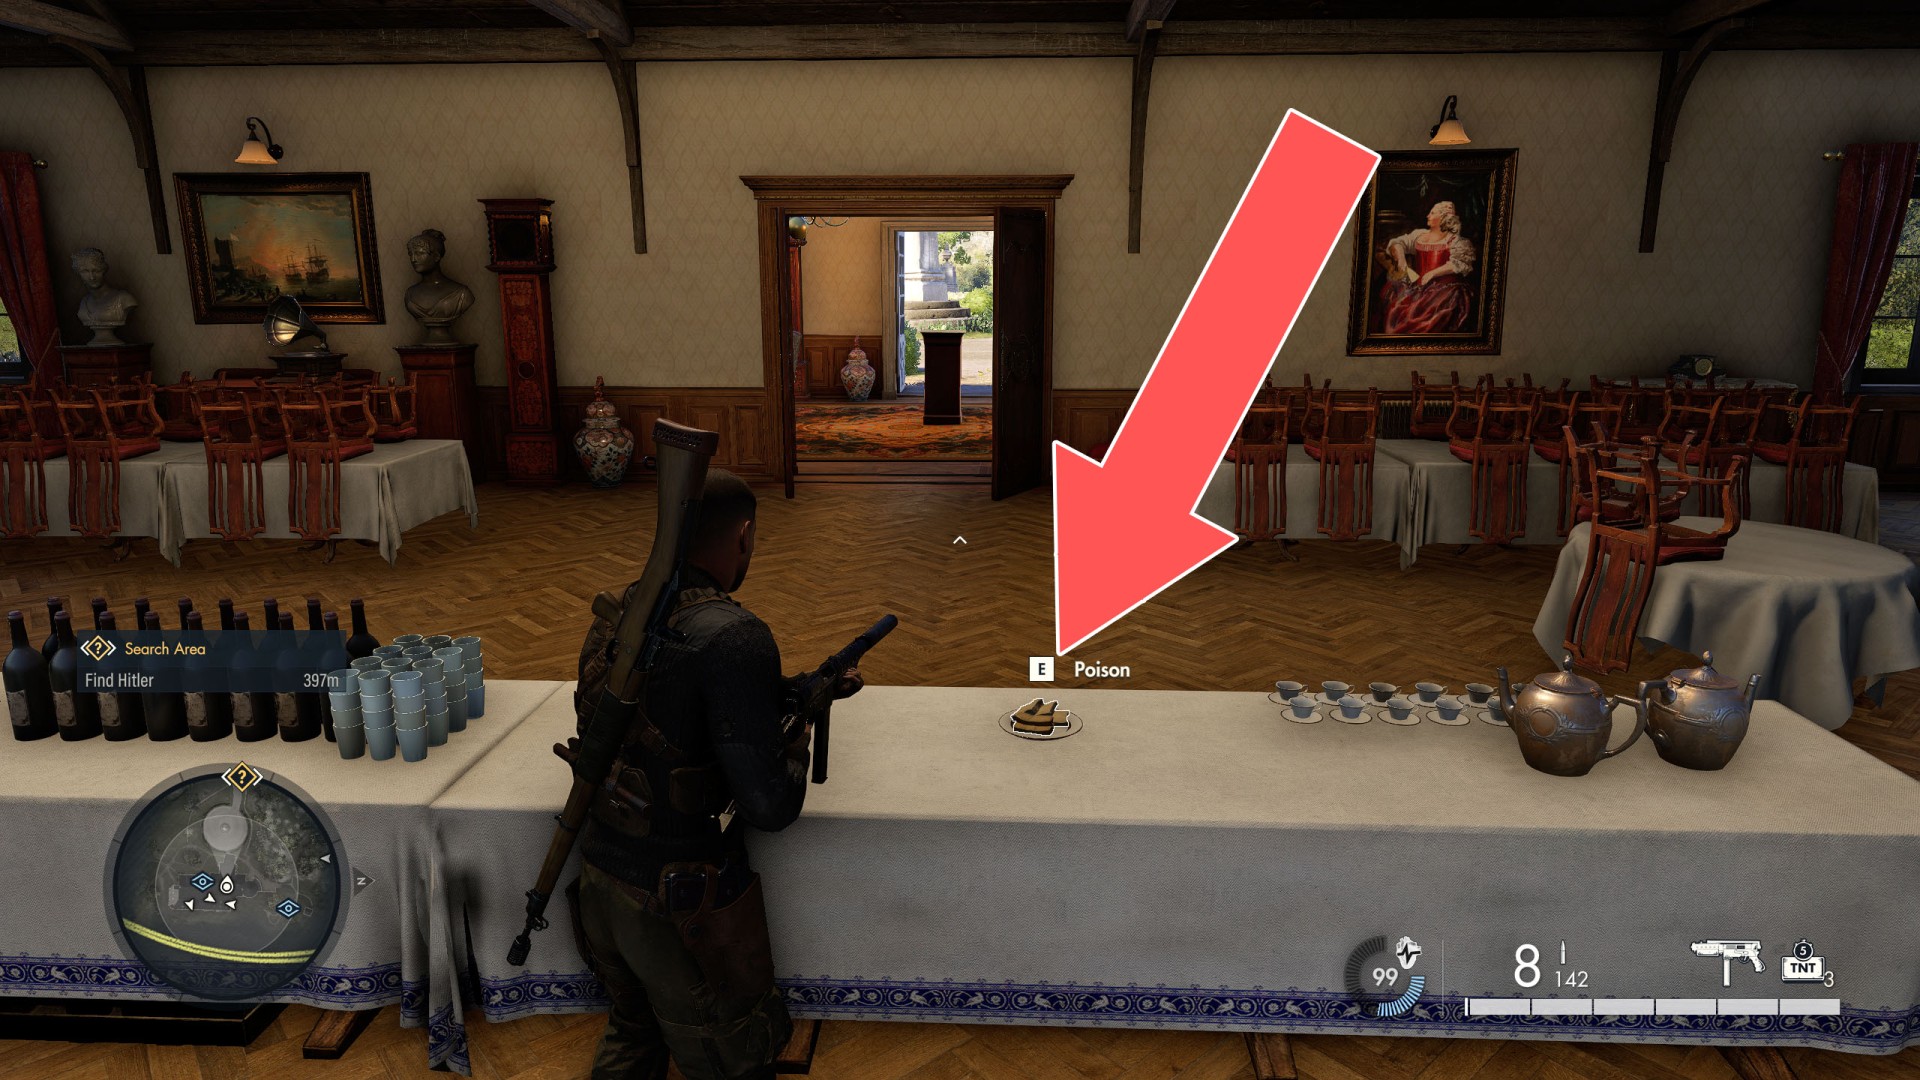
Objectives: Sabotage the V2 Capsule Test - Investigate the Lake compound / Sabotage the Capsule Release Hatch / Launch V2 Rocket.
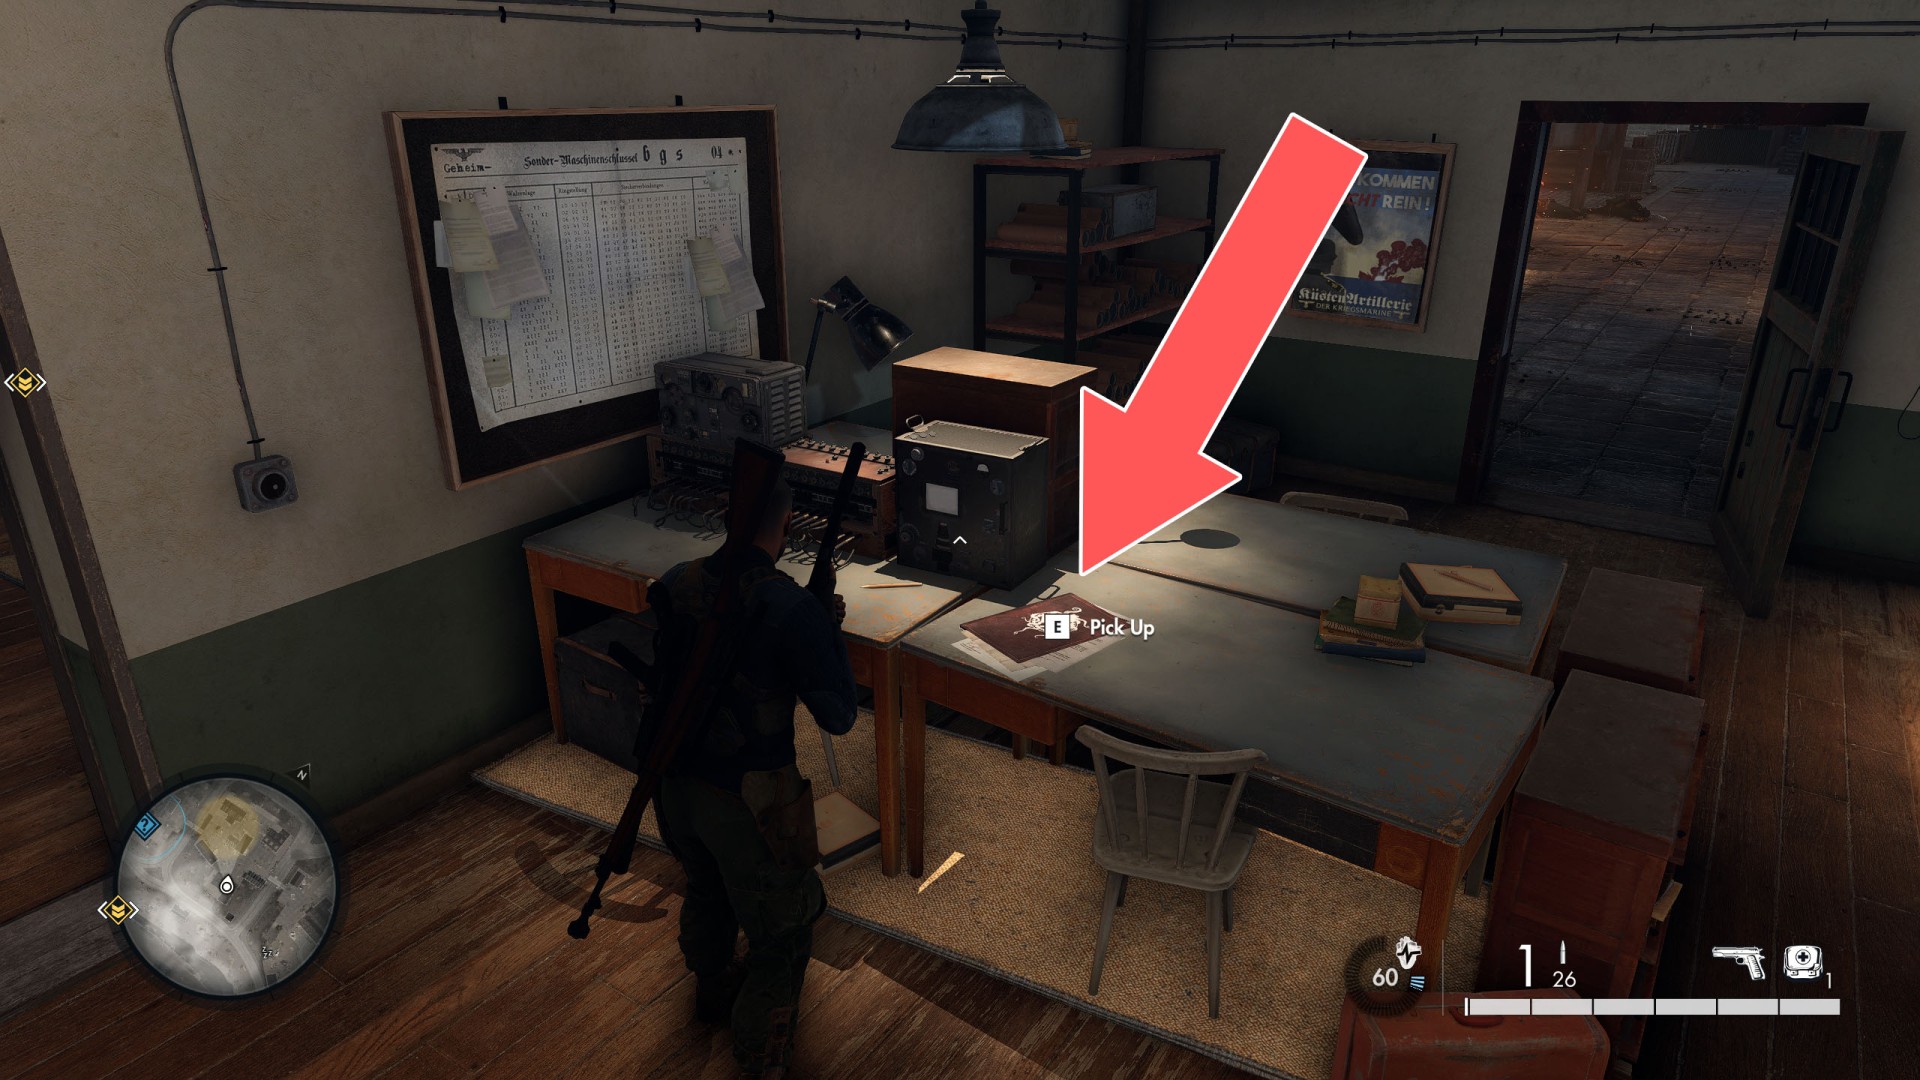
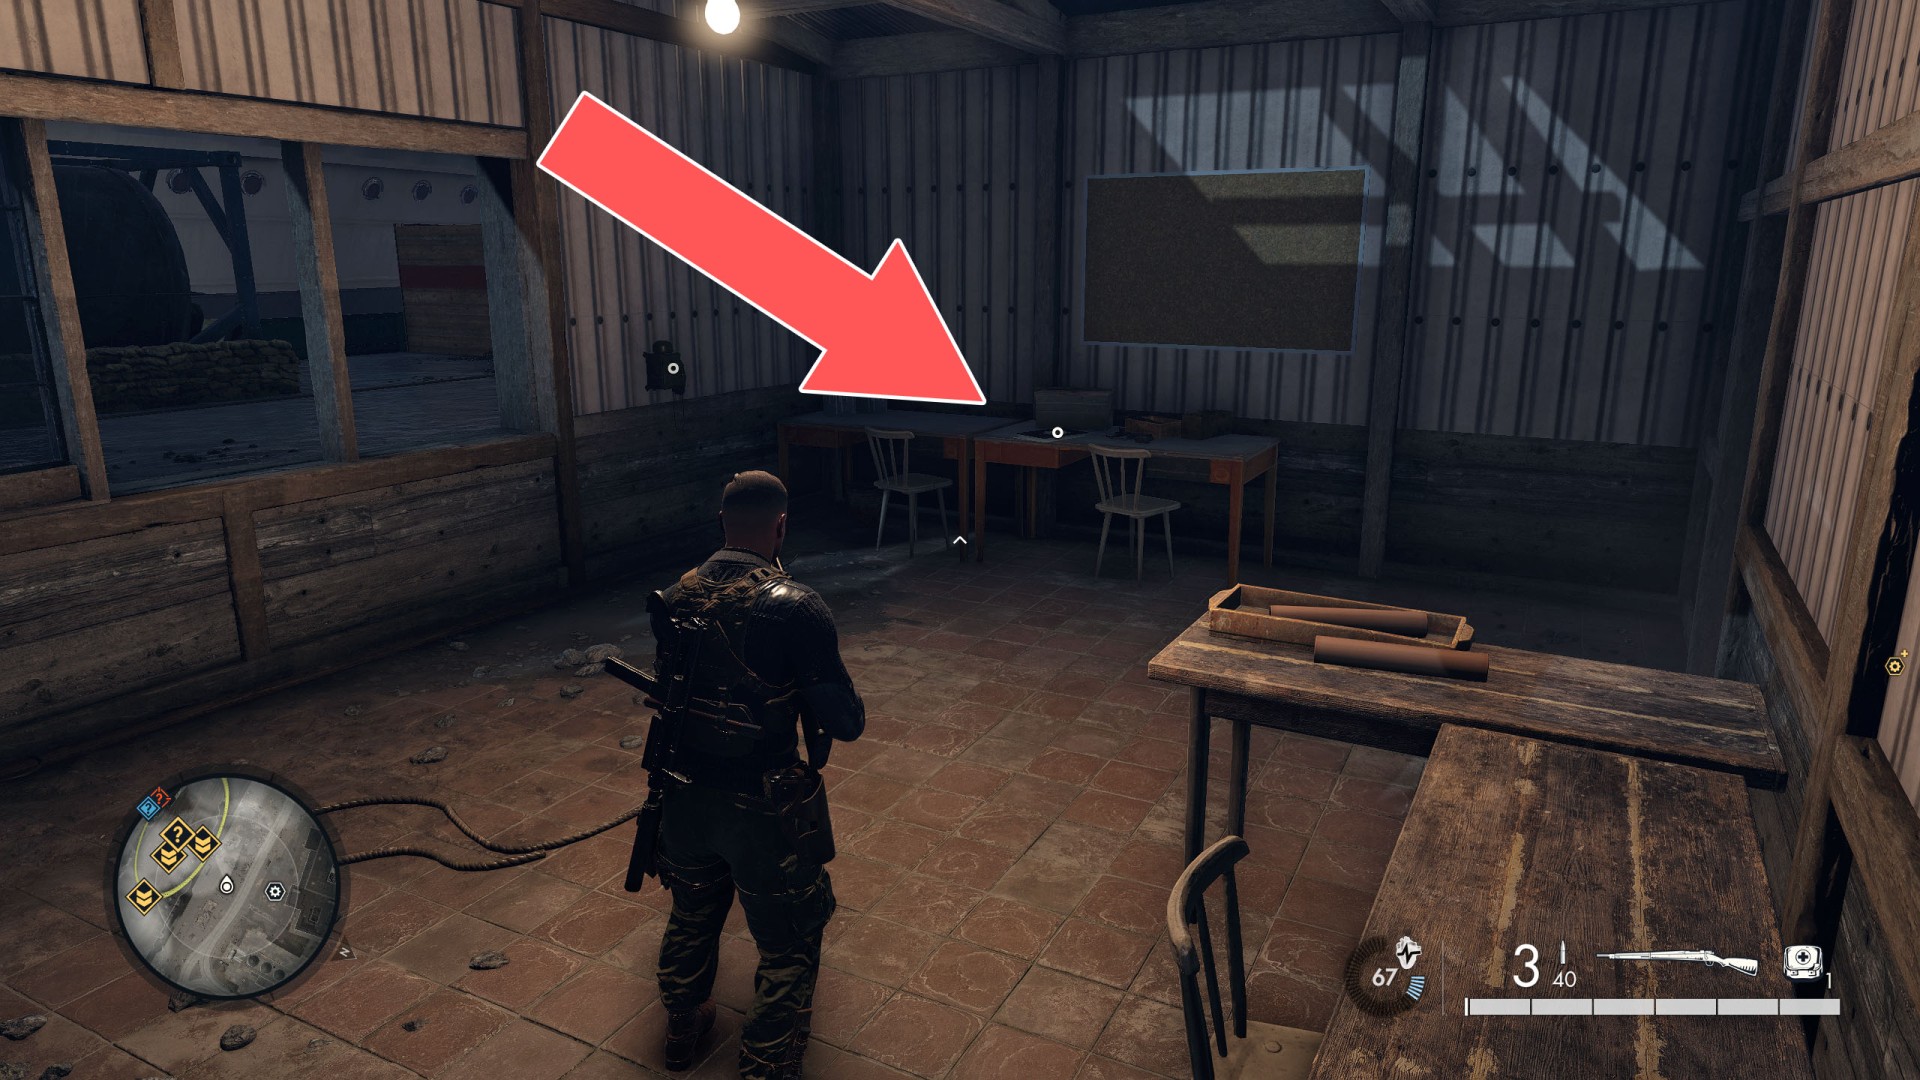
Show the mapObjectives: Find the Kraken shipping manifest - Search the Logistics Office / Acquire the Manifest.
Show the mapObjectives: Sabotage the V2 Refueling Site - Overload the Pipelines (0/2).
Show the mapObjectives: Infiltrate Krakens U-Boat Pen / Find the way in / Find the Sewer Entrance.
Show the mapObjectives: Investigate Operation Kraken - Infiltrate the Dome / Locate Krakens War Room / Infiltrate the War Room / Inspect the Kraken Plans.
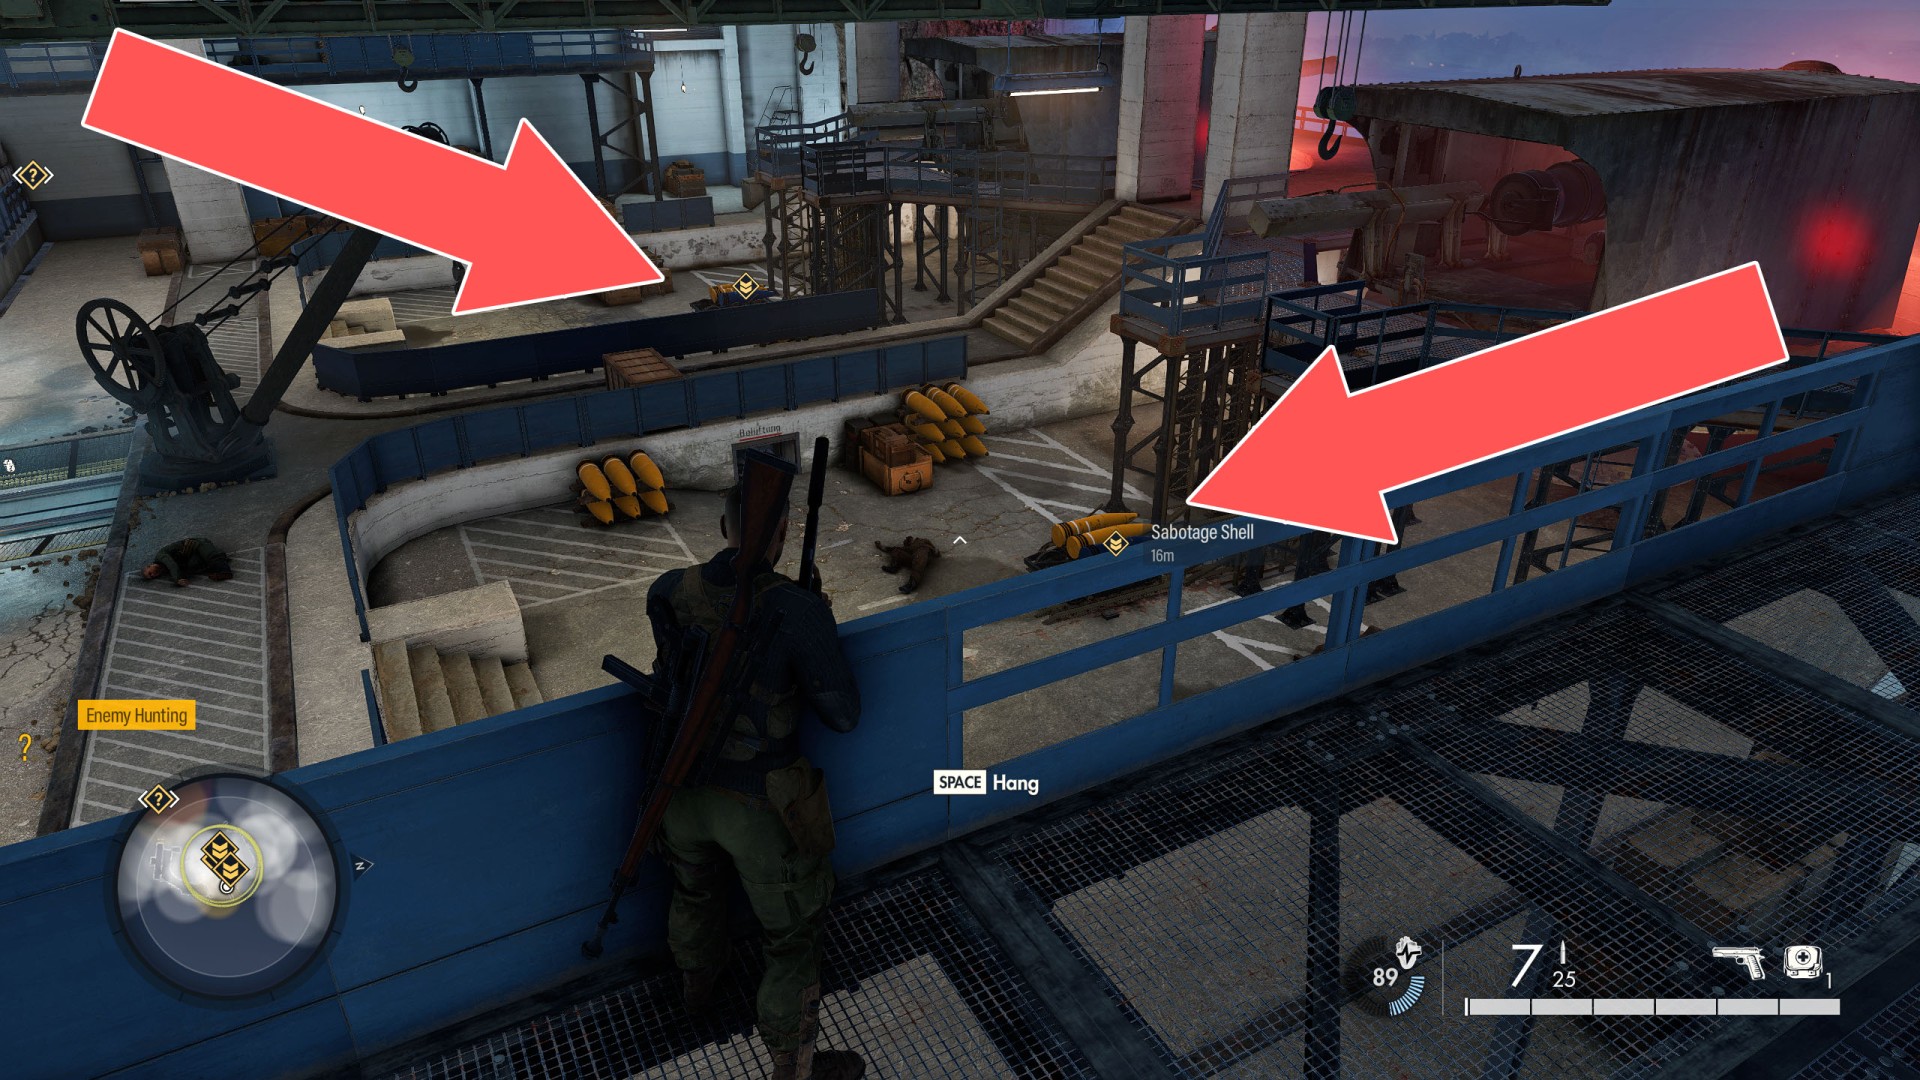
Show the mapObjective of: Destroy the Gun Battery - Option B - Sabotage the Artillery Shells (0/2) (Live shells are being taken straight to the guns).
The cannons are located on the top level of the compound.
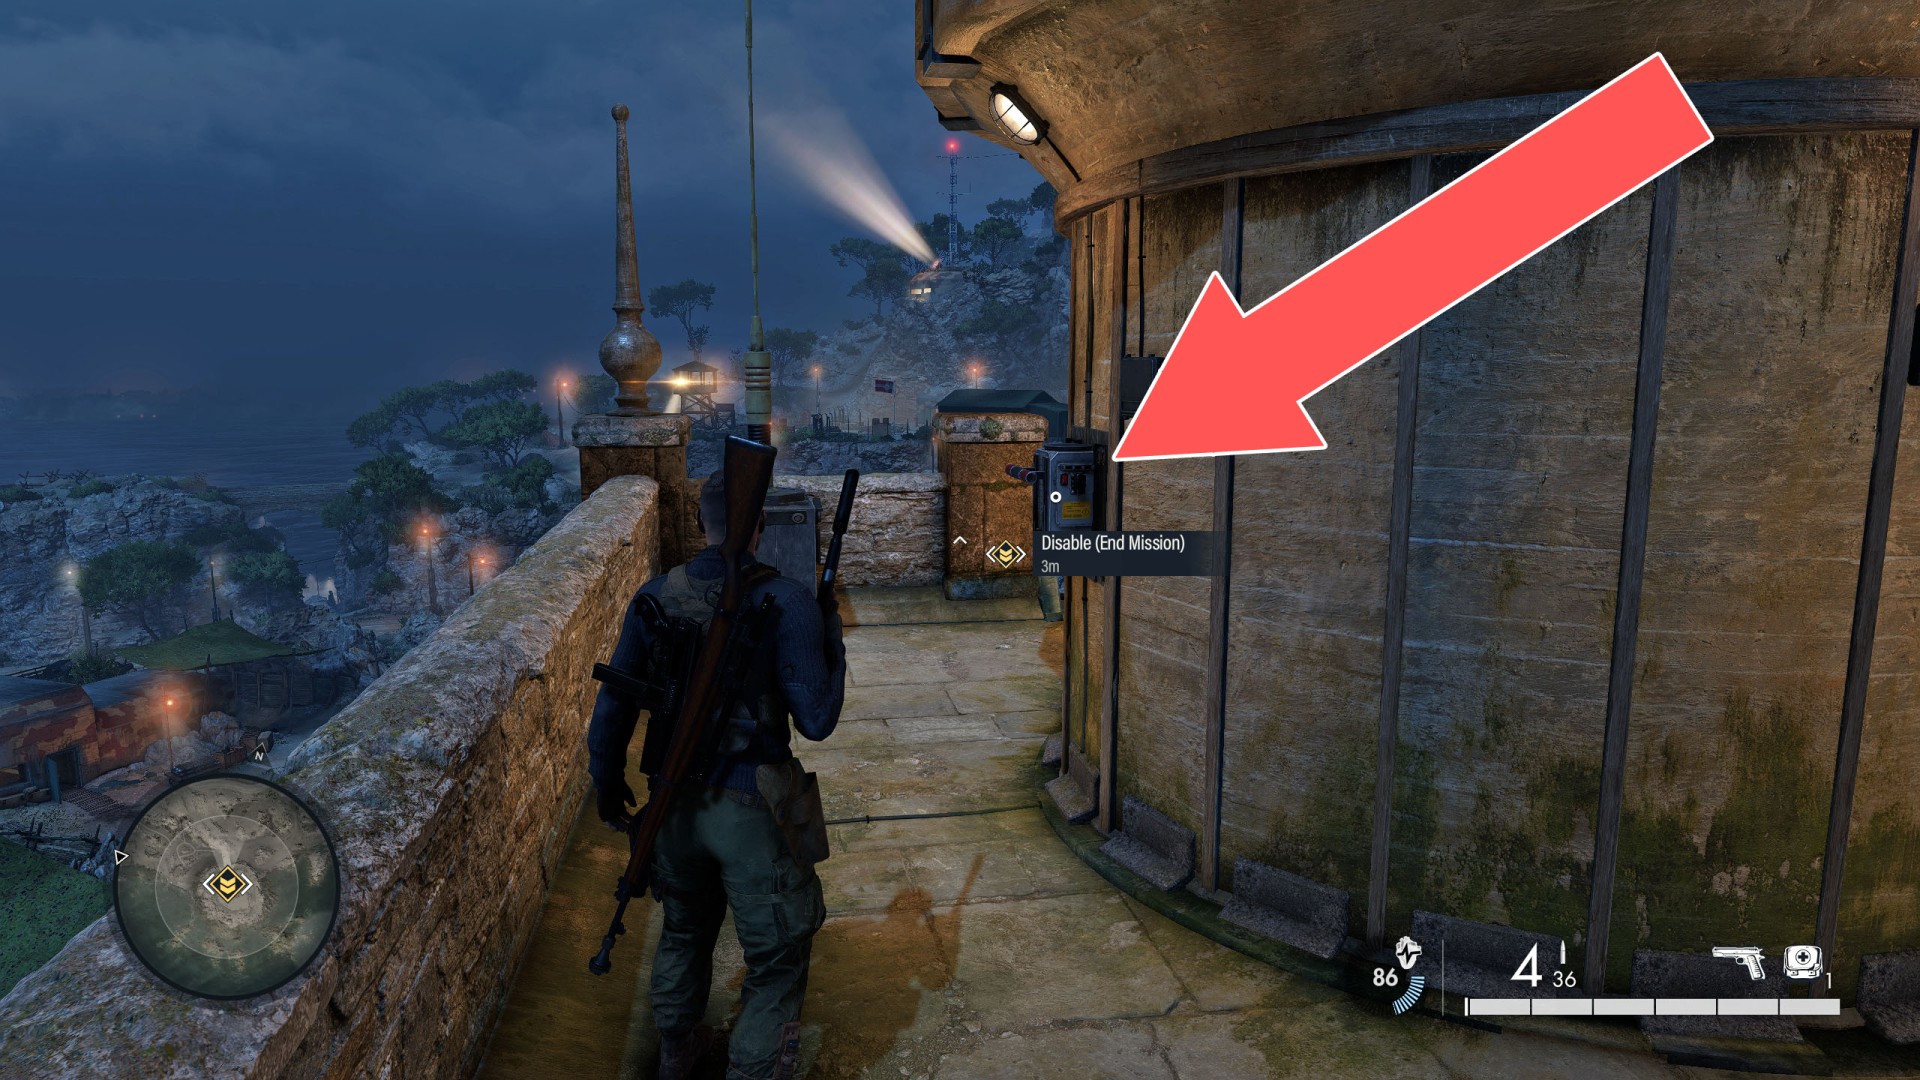
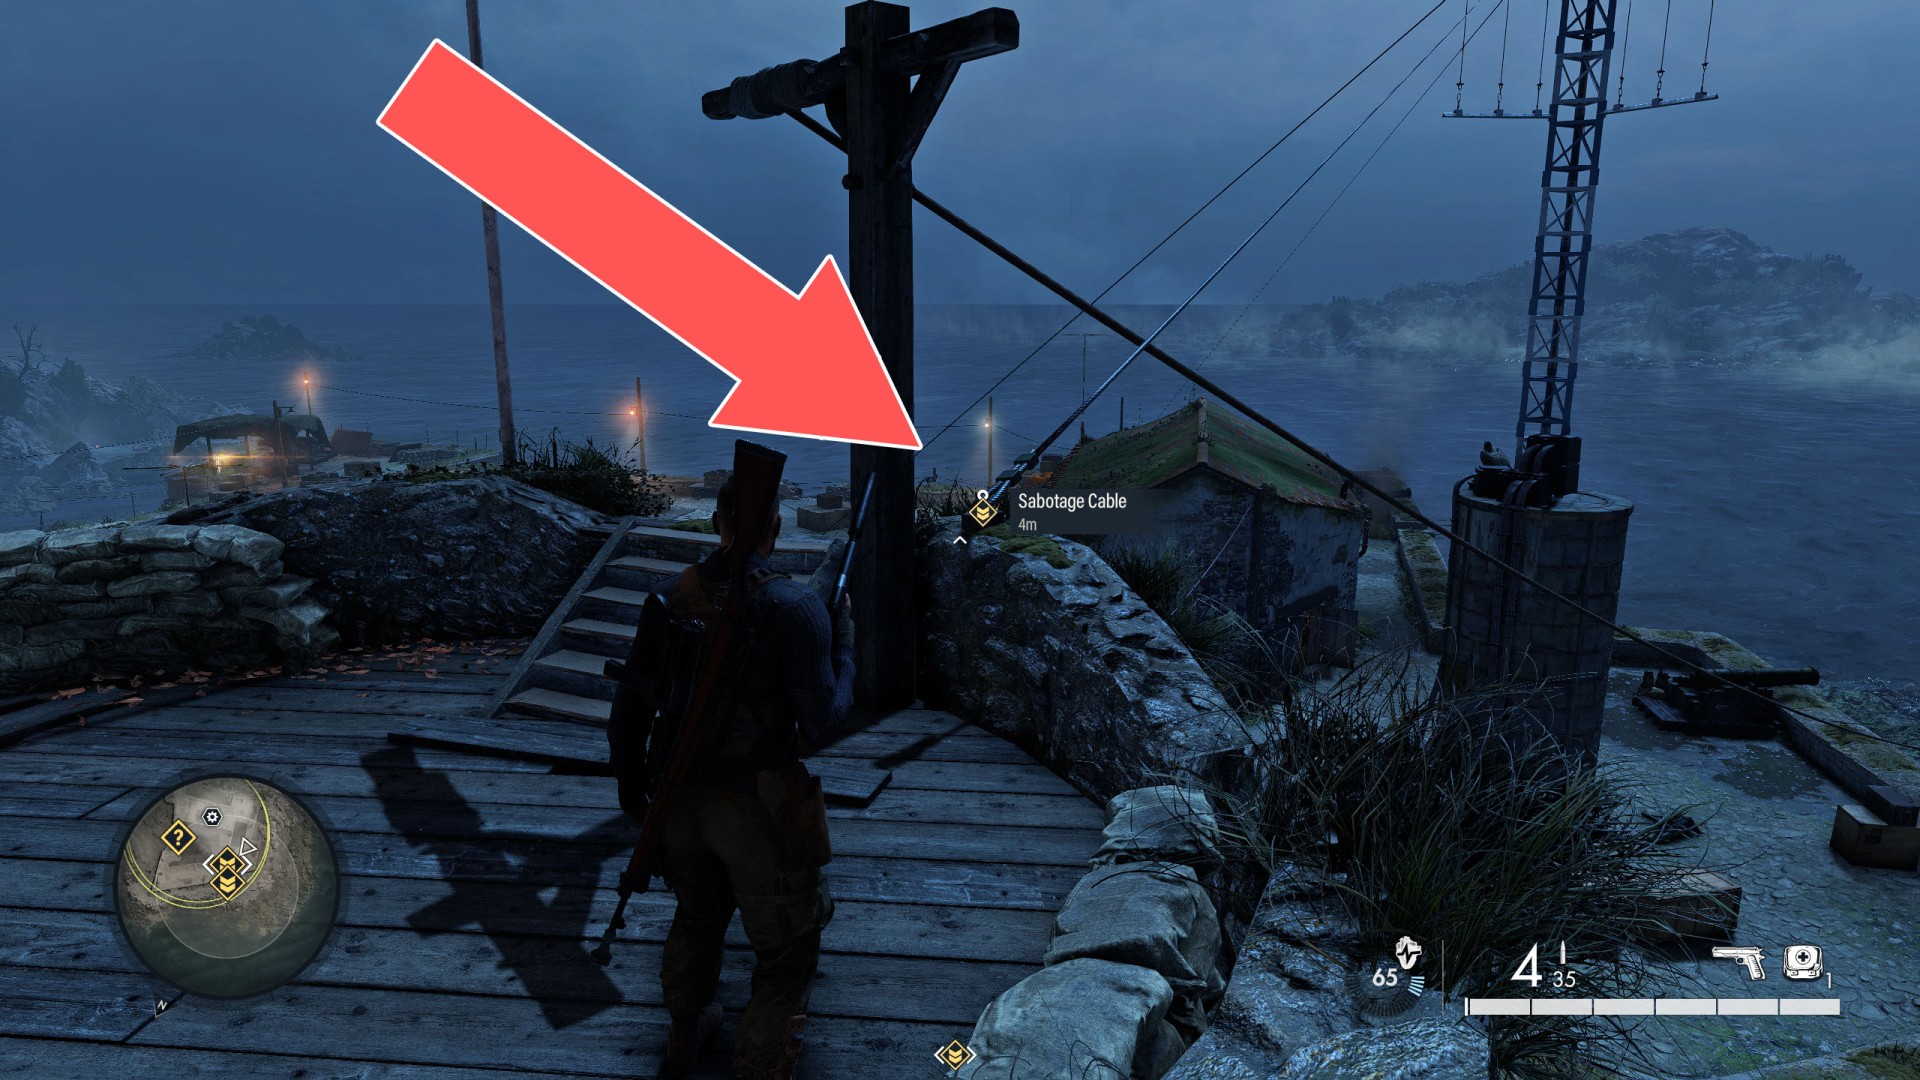
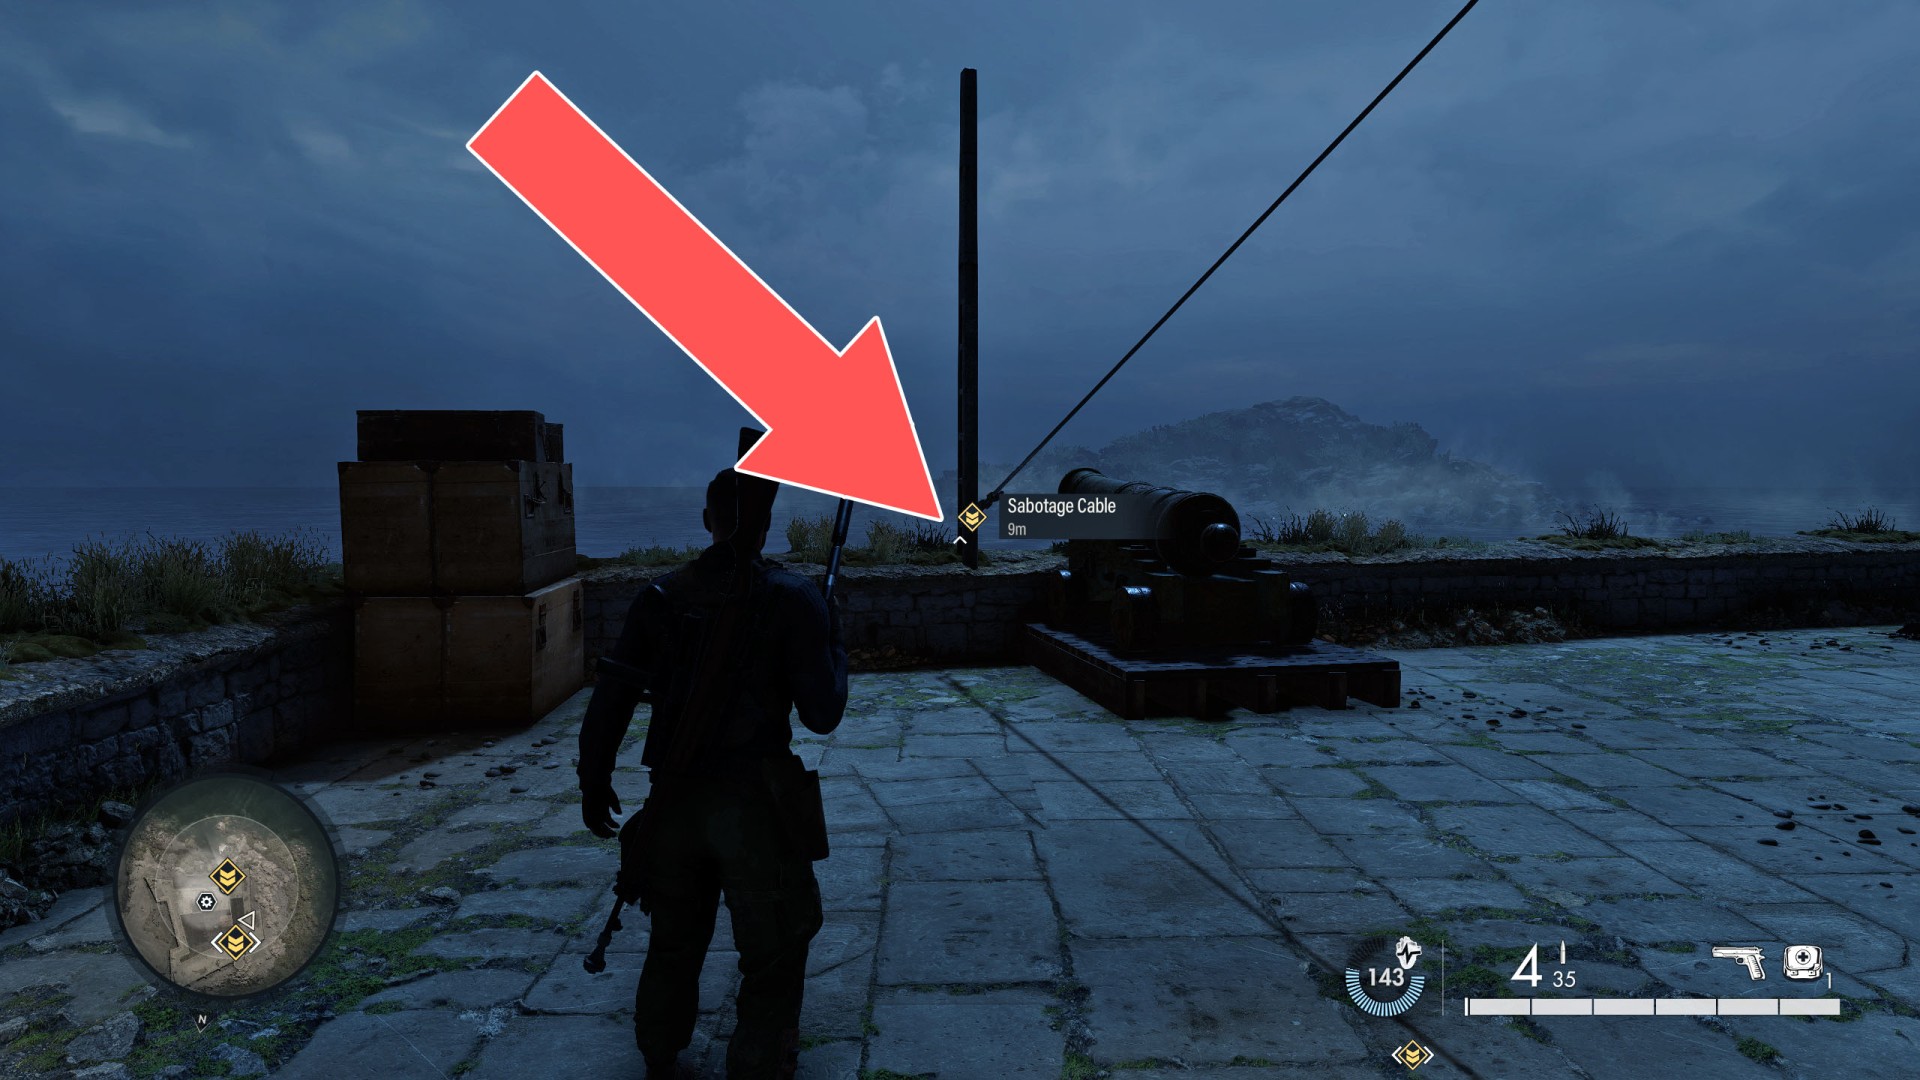
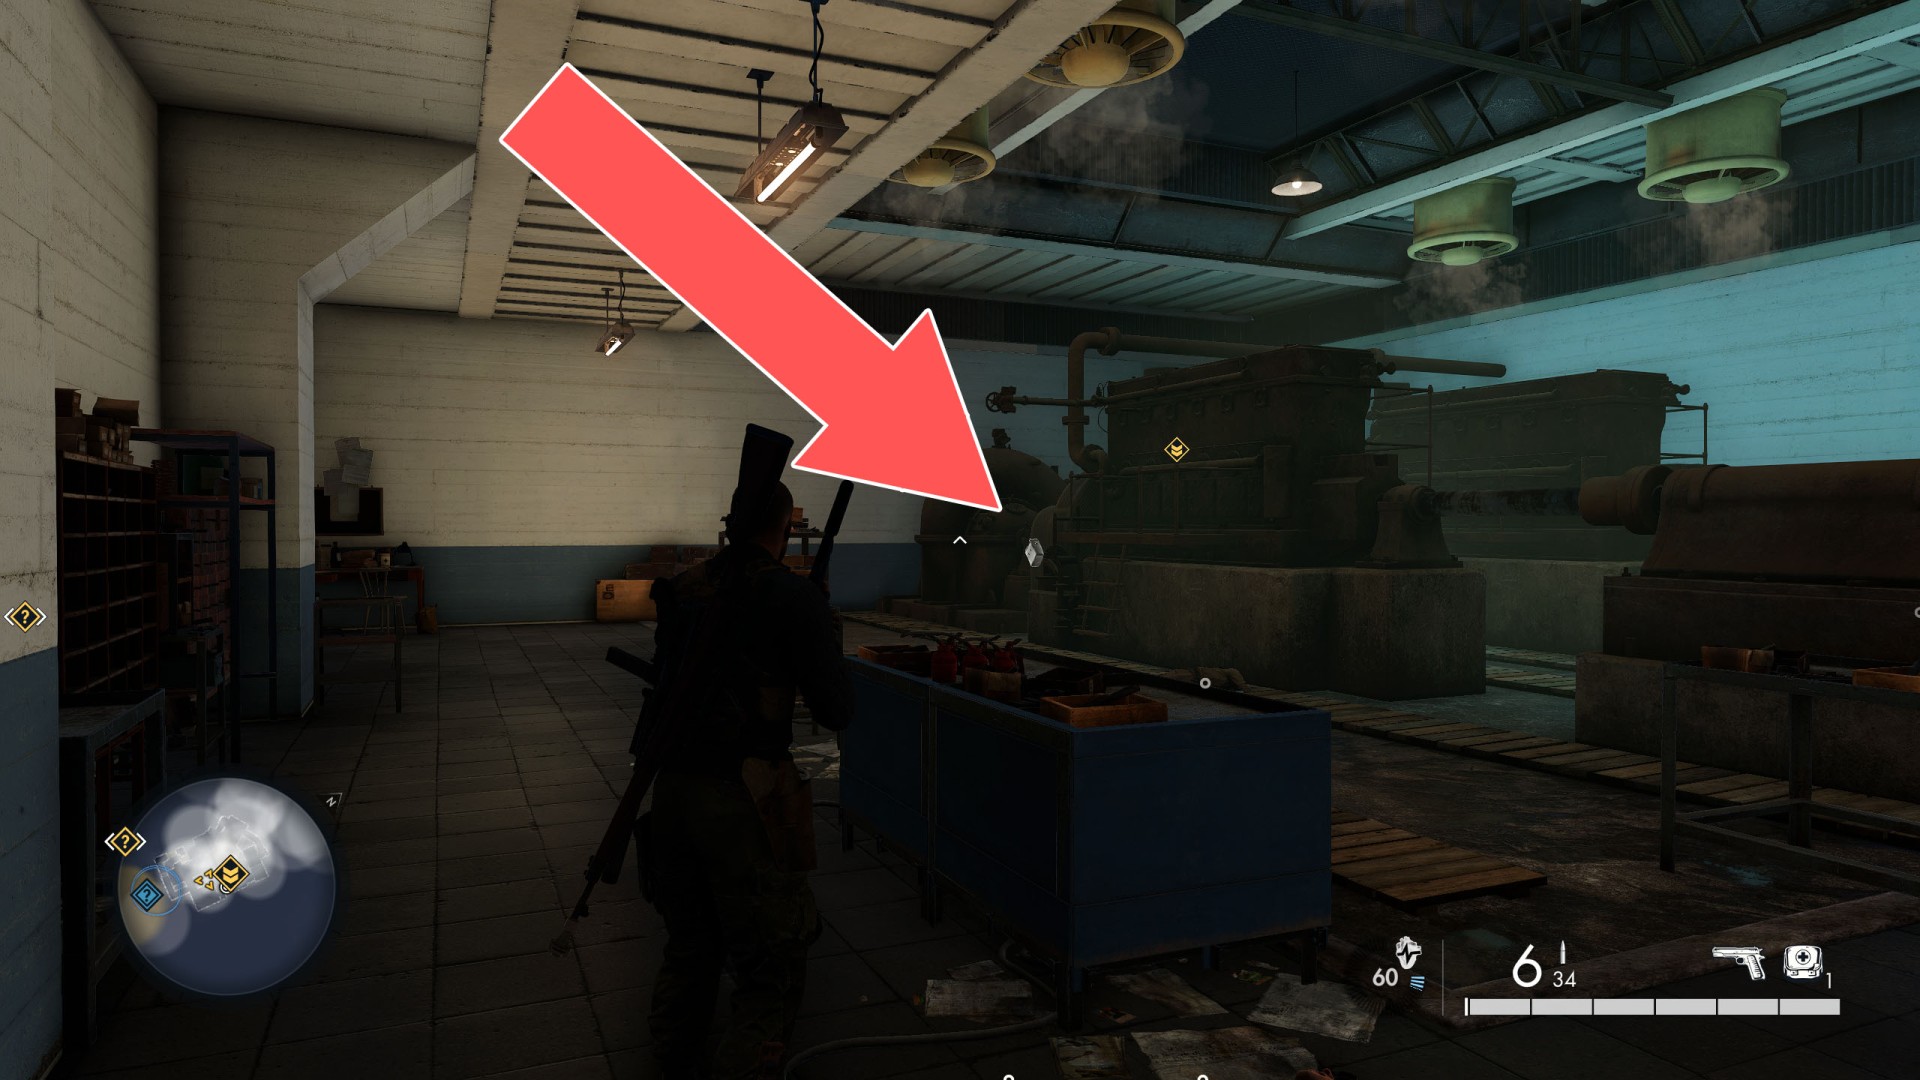
Objective of: Neutralise Radio Communications - Option B - Sabotage the Cables (0/2).
Objective of: Neutralise Radio Communications - Option B - Sabotage the Cables (0/2).
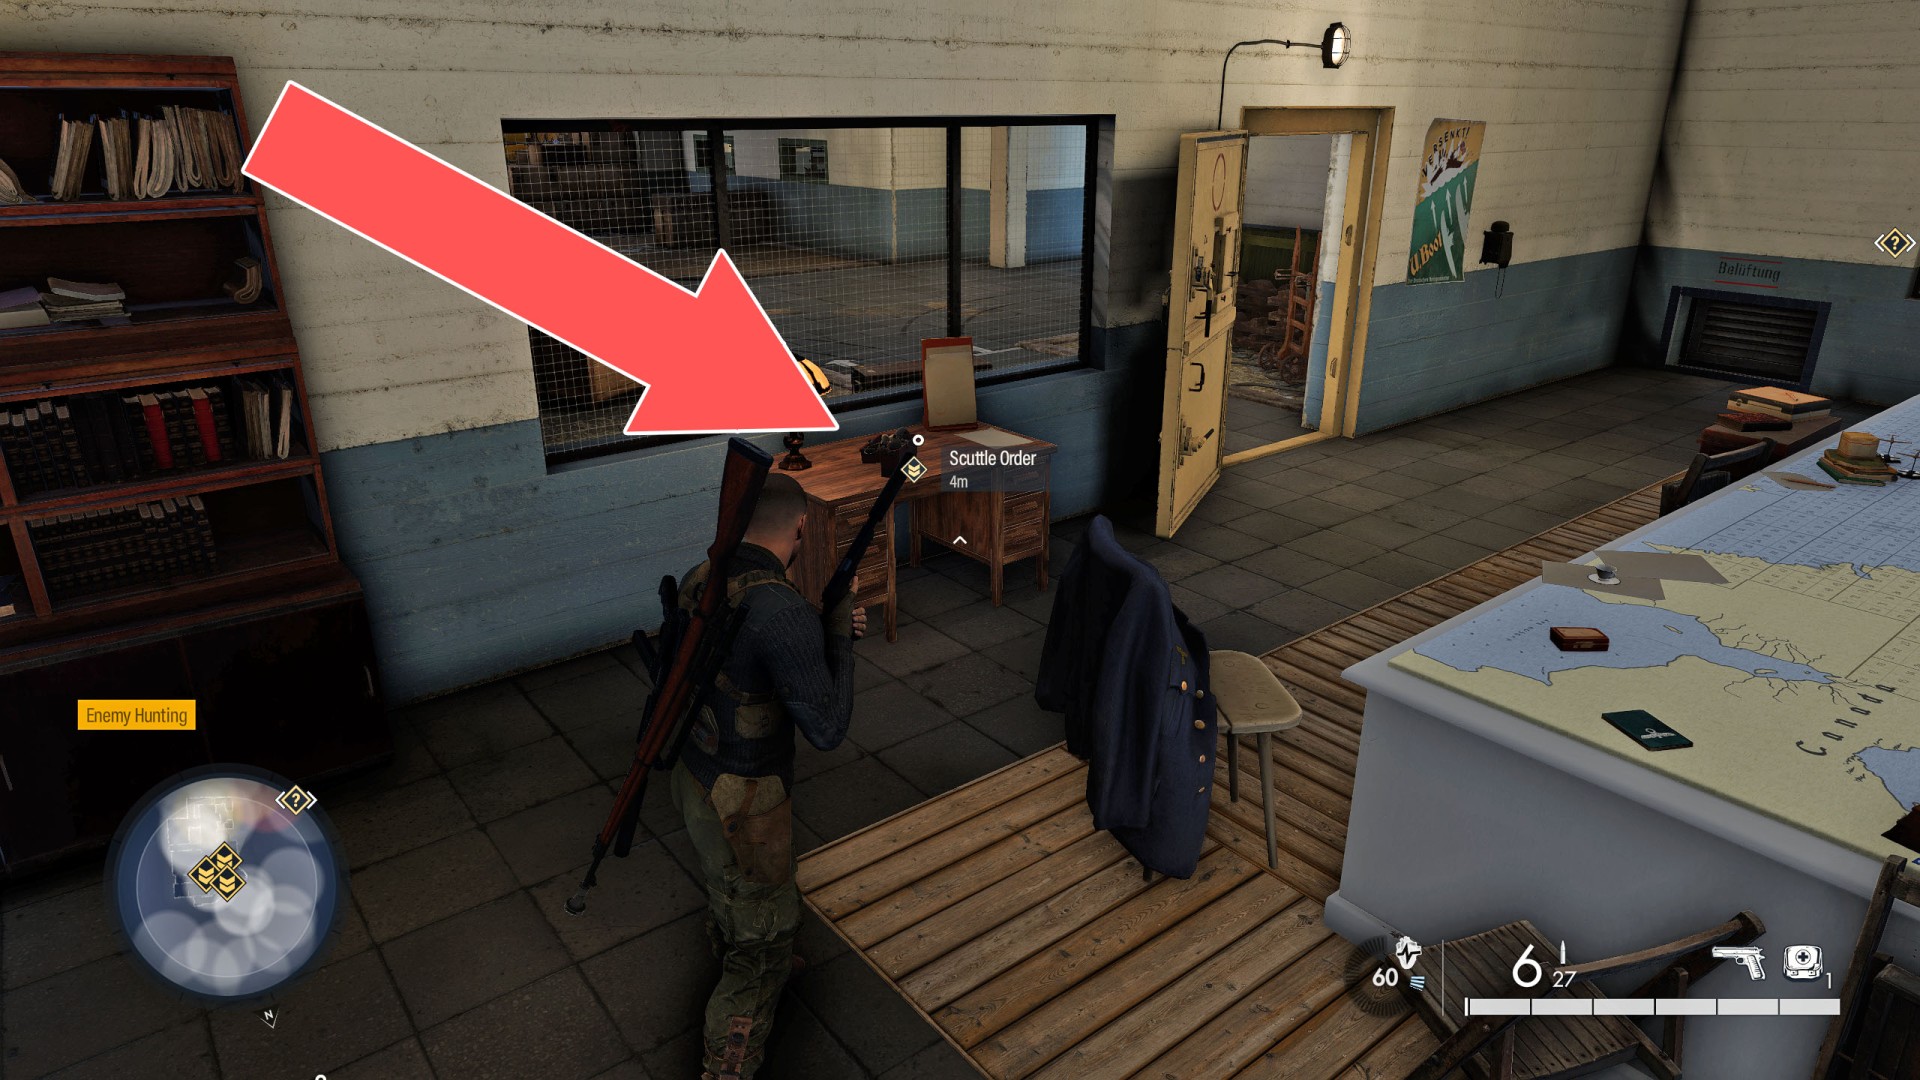
Objective of: Destroy the Gun Battery - Option A - Call in the Scuttle Code.
The office where the phone is located is on the level below the one with the canons. You will be able to use the phone when you obtain both halves of the code.
Find a way to Sabotage or Destroy the Gun Battery.
Option A - Call in the Scuttle Code (Commander Schmidt is in possession of half the Scuttle Code / A high ranking officer is in charge of keeping a part of the Scuttle Code safe).
Option B - Sabotage the Artillery Shells (0/2) (Live shells are being taken straight to the guns).
Option C - Sabotage the Generator (Sabotaging the generator will neutralise the Gun Battery).
Show the mapObjective of: Destroy the Gun Battery - Option C - Sabotage the Generator (Sabotaging the generator will neutralise the Gun Battery).
You can plant a Satchel Charge here.
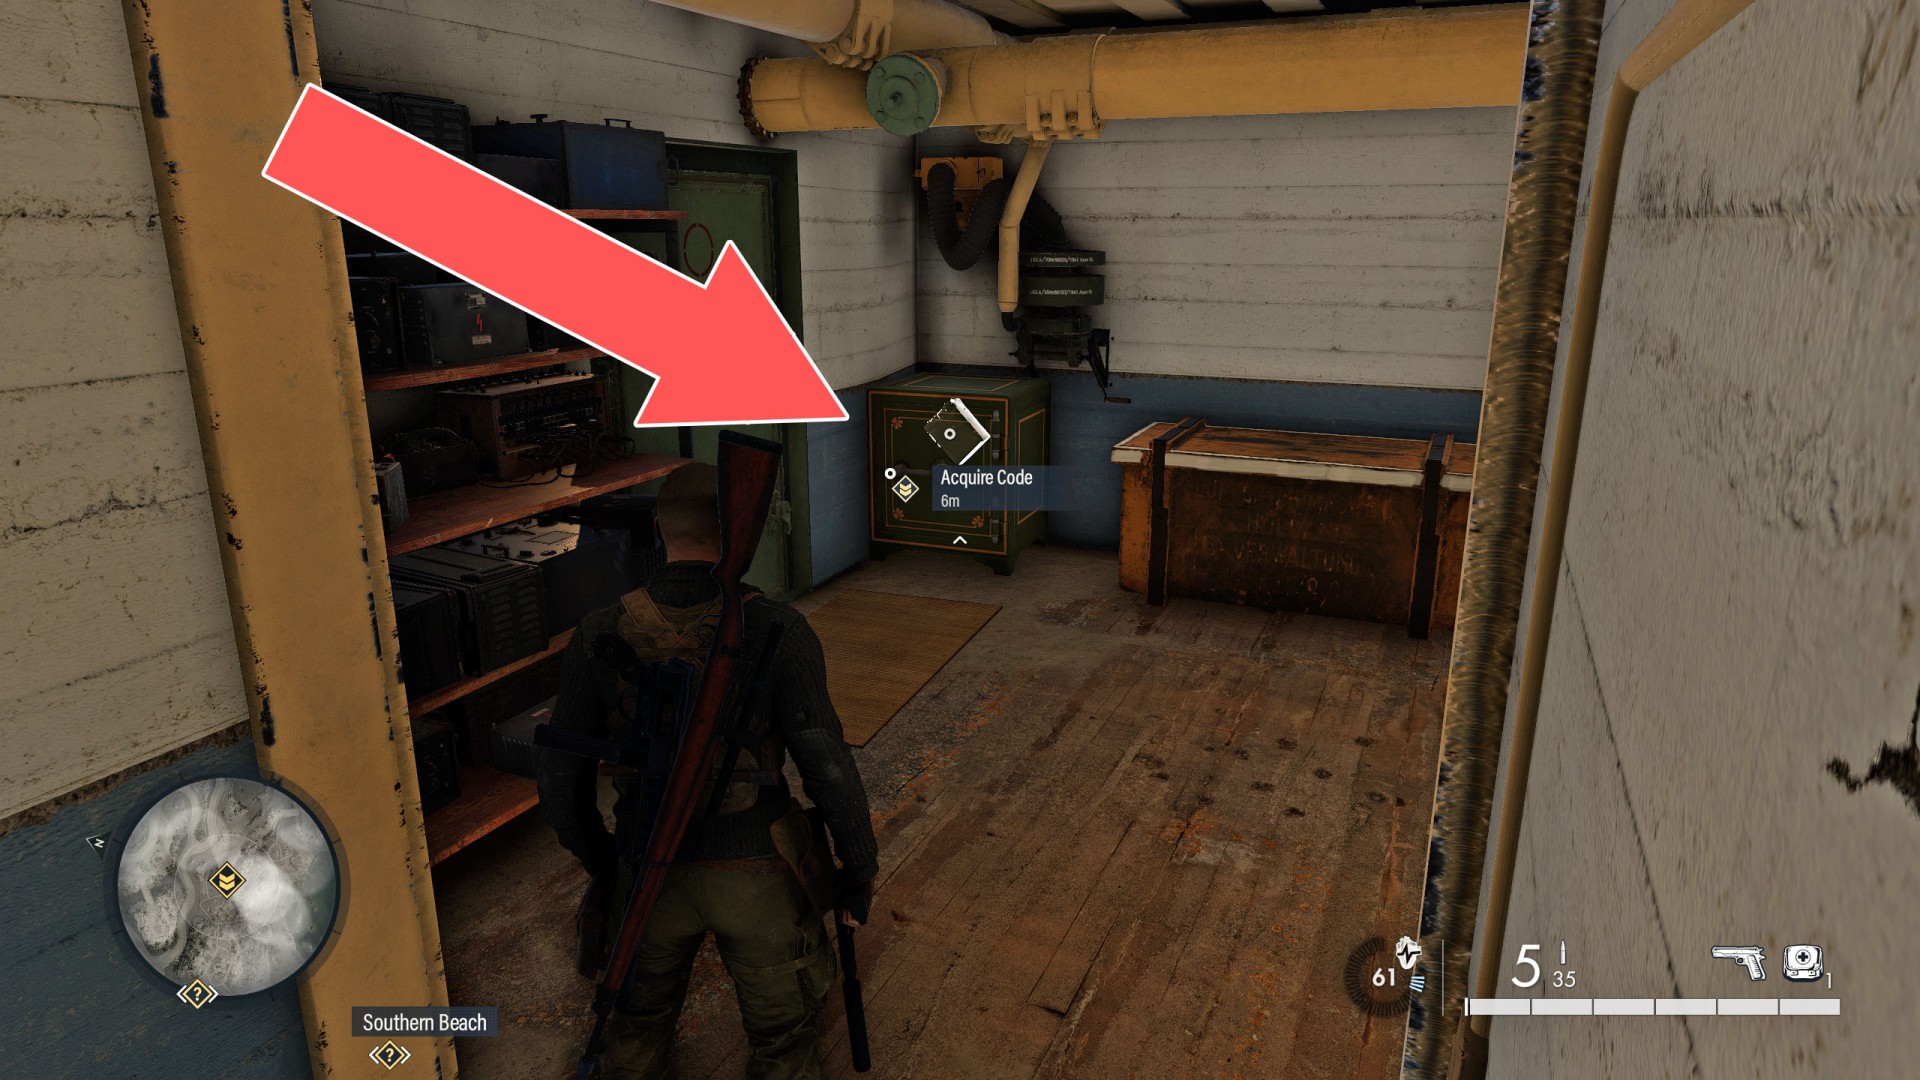
Objective of: Destroy the Gun Battery - Option A - Find the Scuttle Code (Commander Schmidt is in possession of half the Scuttle Code).
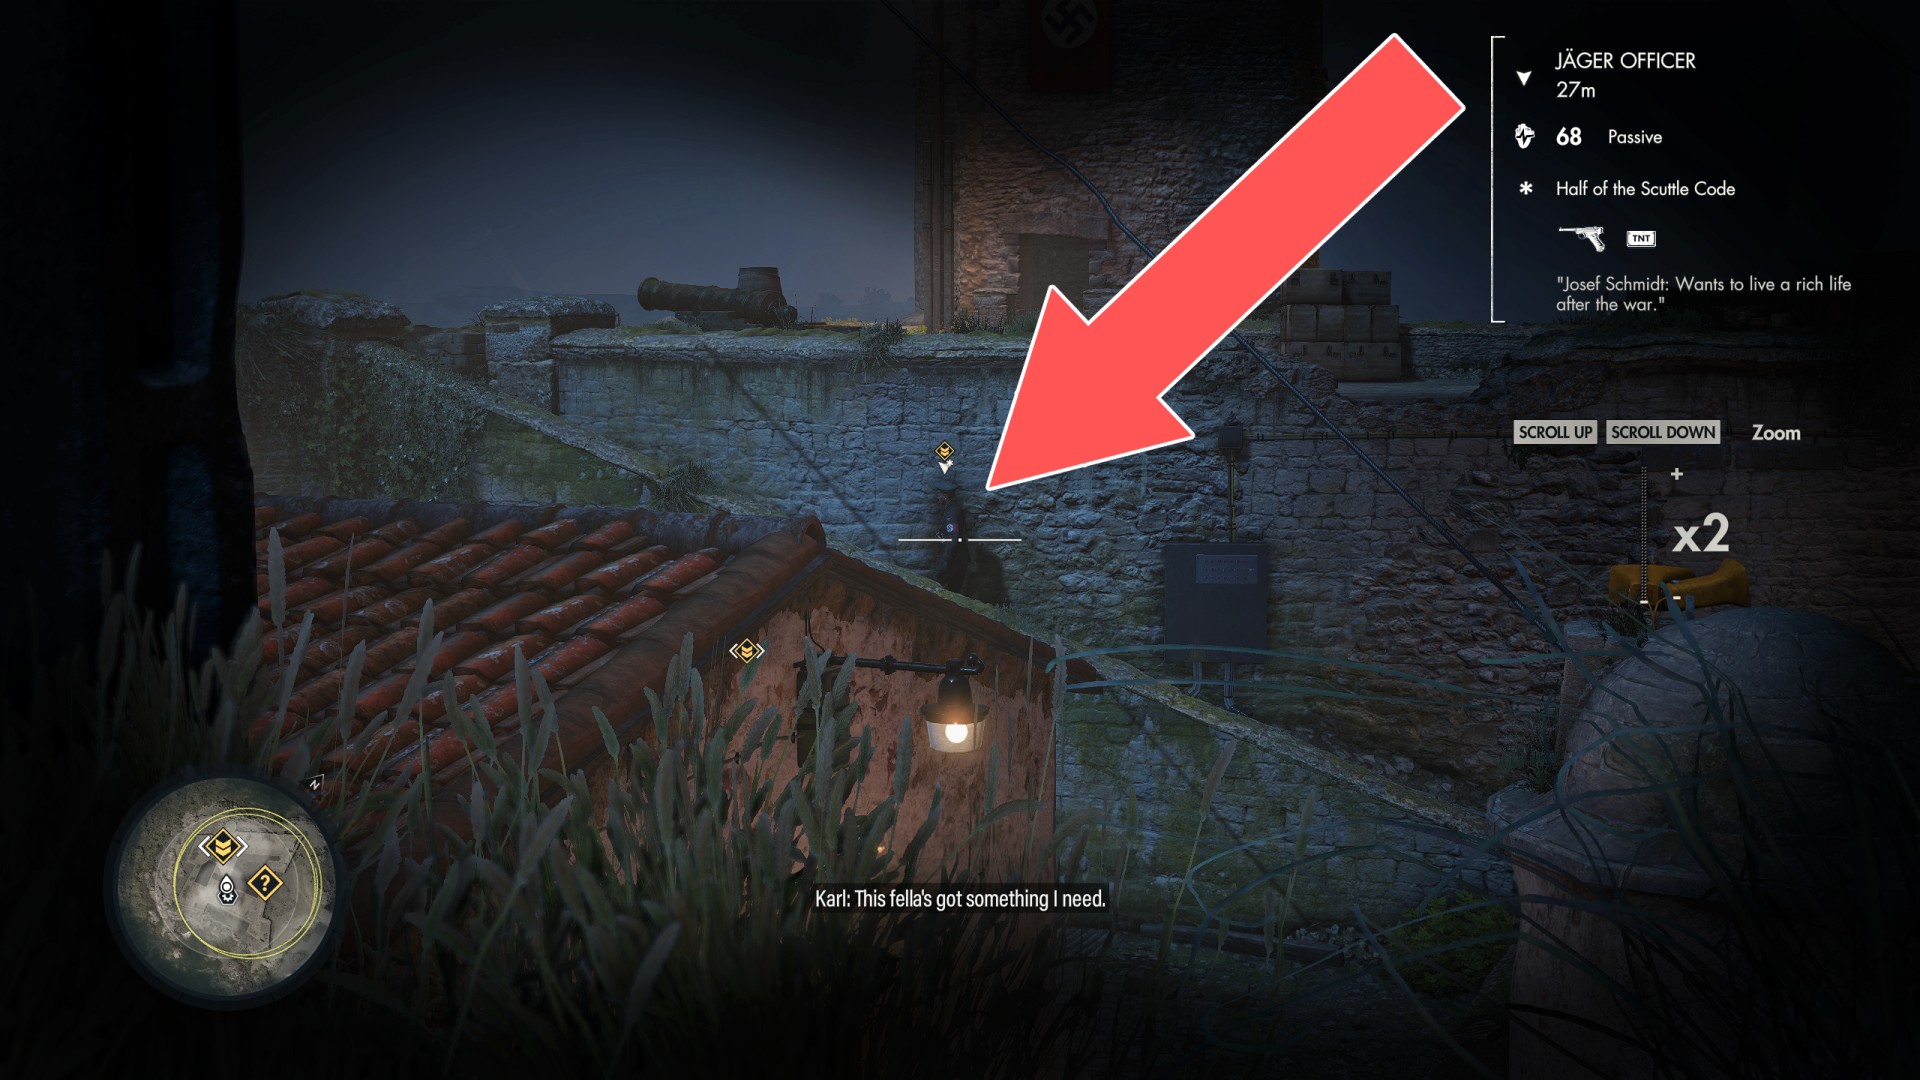
Objective of: Destroy the Gun Battery - Option A - Find the Scuttle Code (A high ranking officer is in charge of keeping a part of the Scuttle Code safe).
It's in a locked safe located at the bottom level of the bunker. You need South Bunker Safe Combination or Satchel Charge to open the safe.
Find a way to disable the Radio Communications.
Option A - Disable the Radio Equipment
Option B - Sabotage the Cables (0/2)
Show the mapObjective of: Neutralise Radio Communications - Option A - Disable the Radio Equipment.

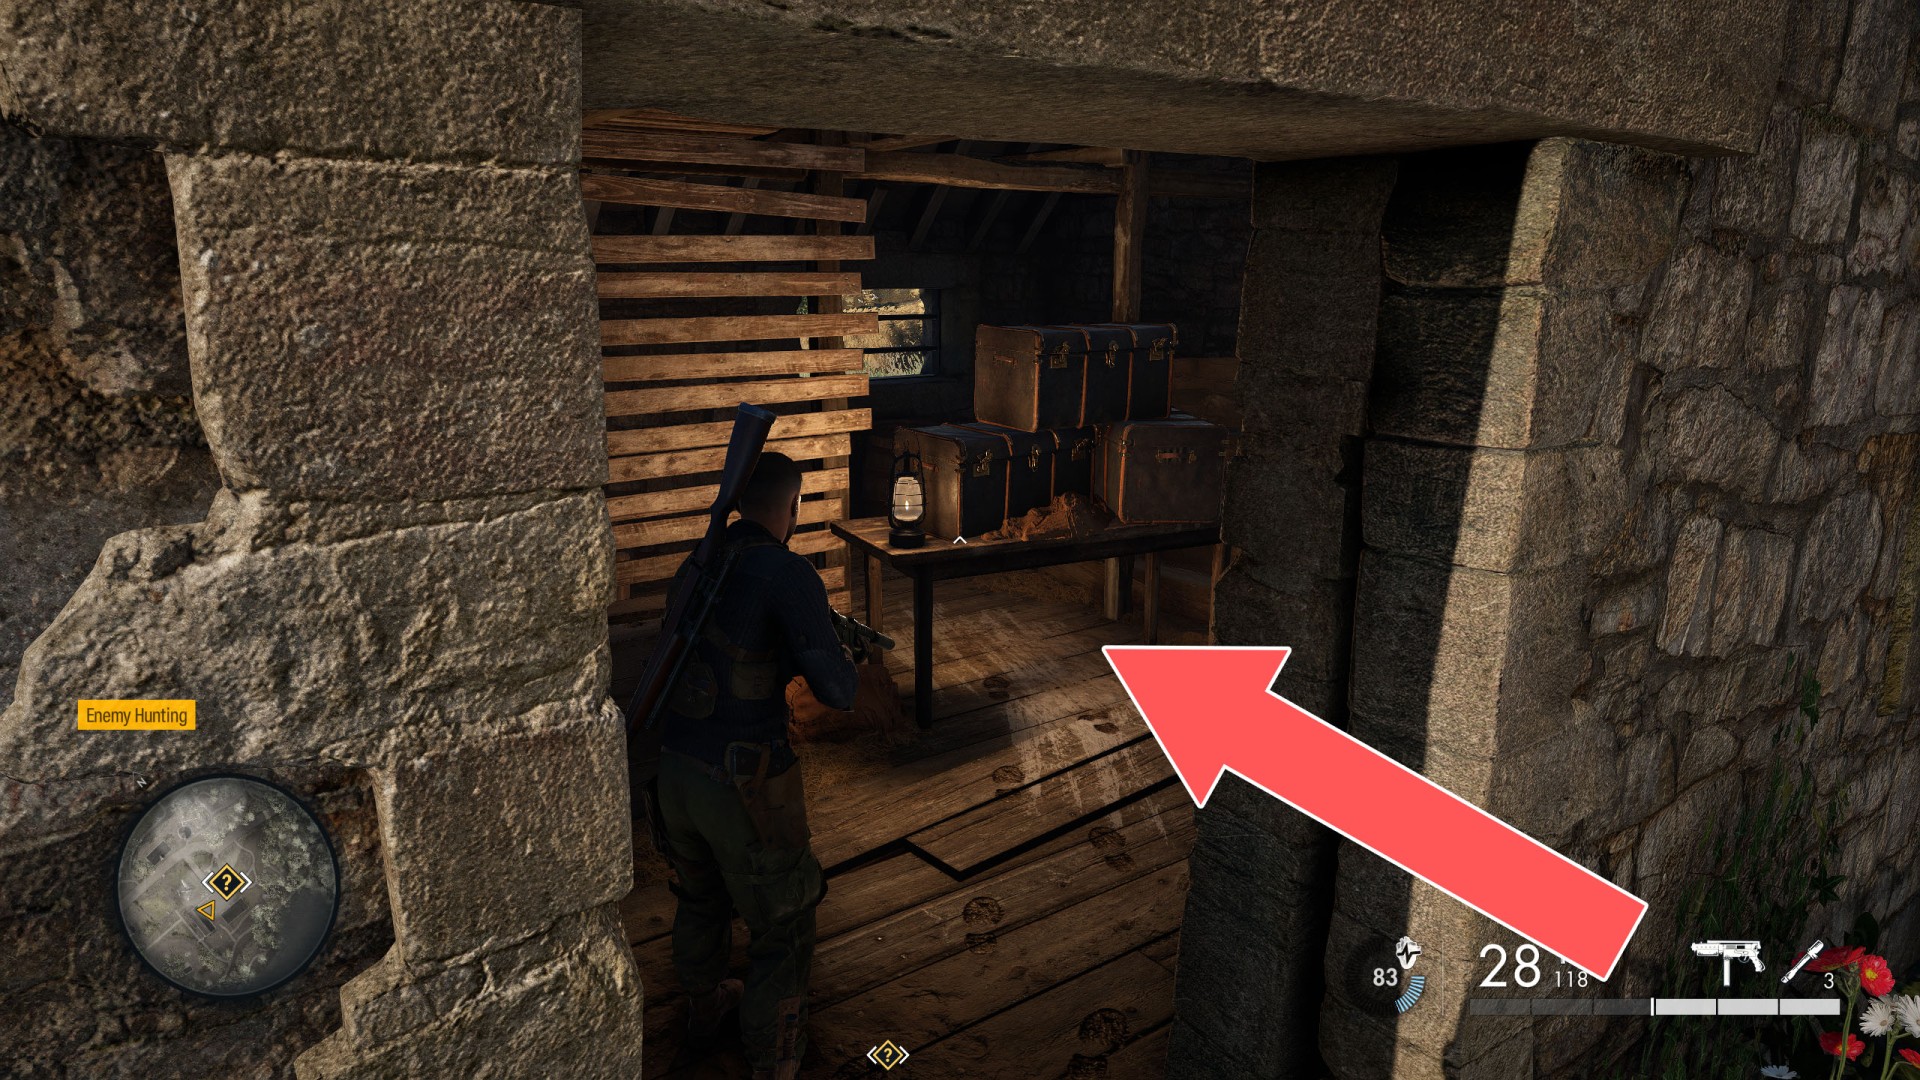
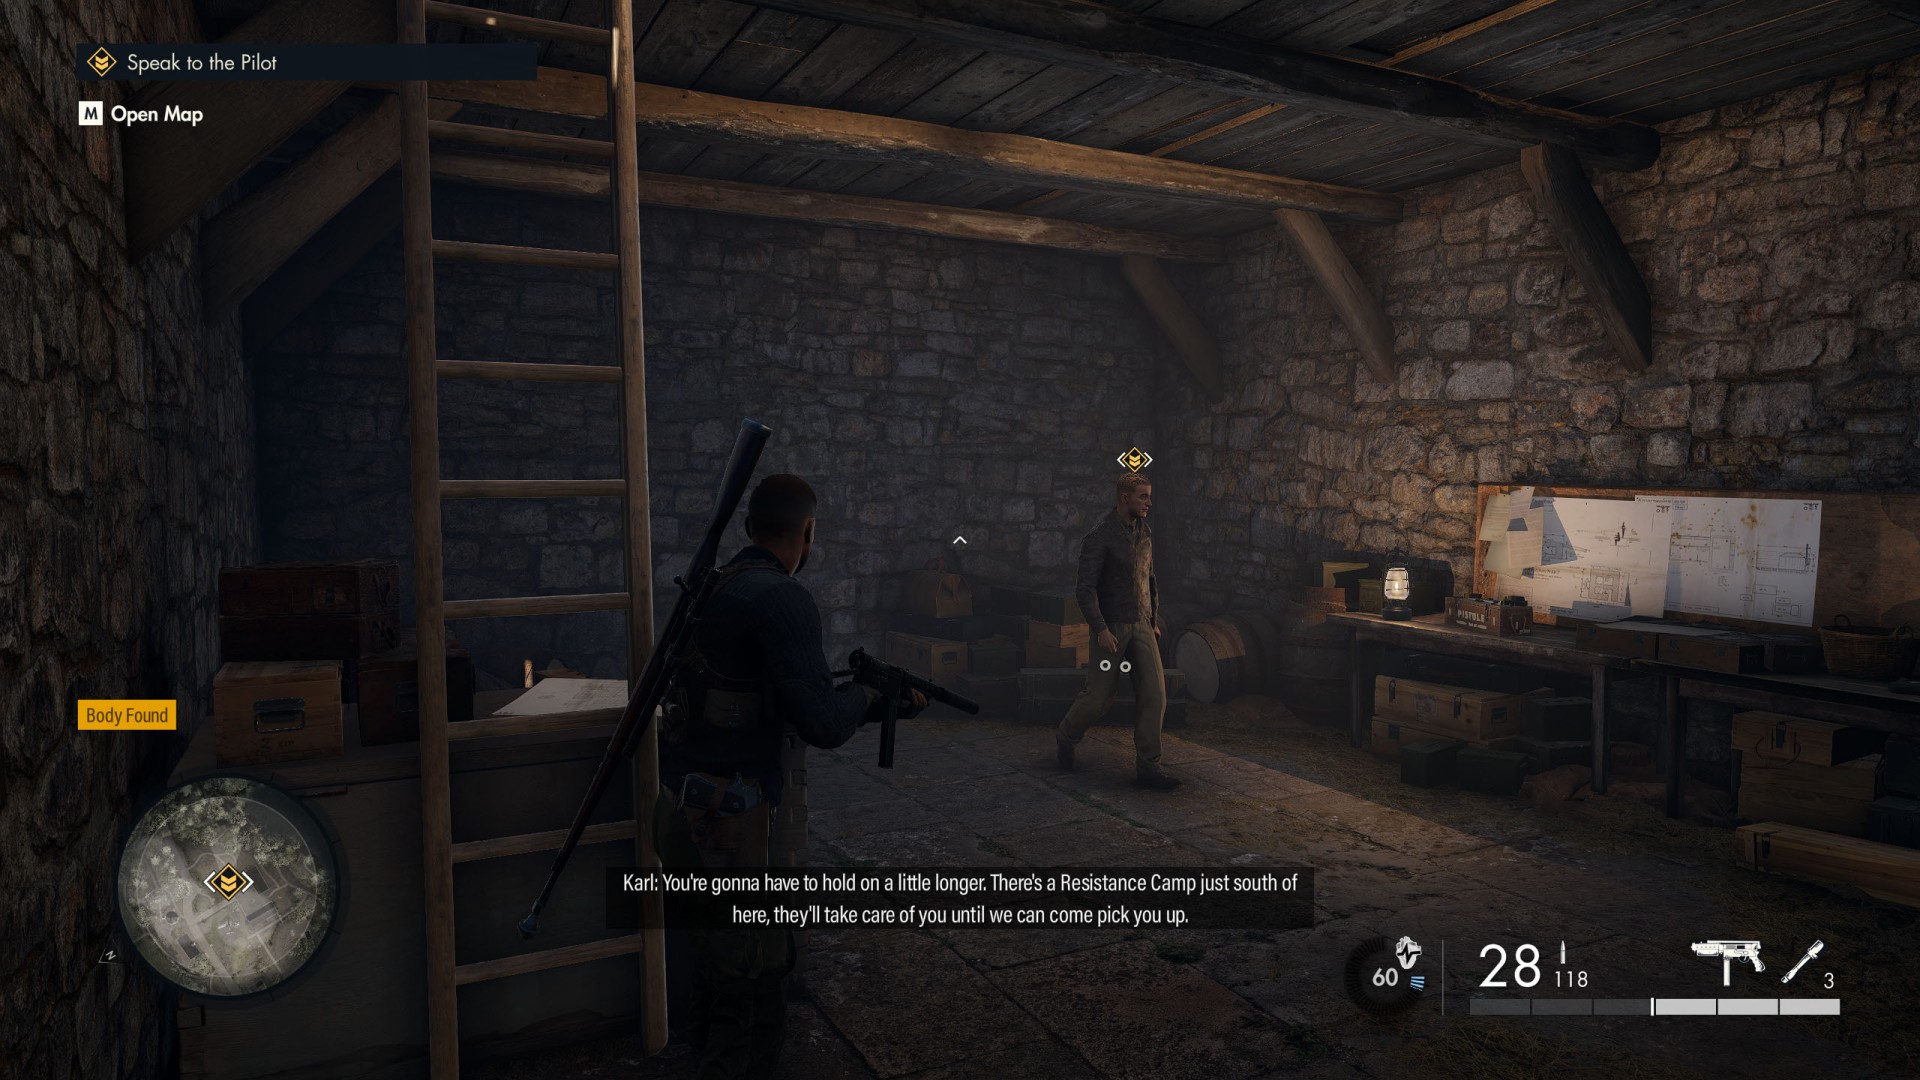
Locate the Allied Pilot in the Farm. Objectives: Investigate the Crash Site / Locate the Pilot / Speak to the Pilot.
The pilot is in the basement of the building. to get there you must crawl under the table.
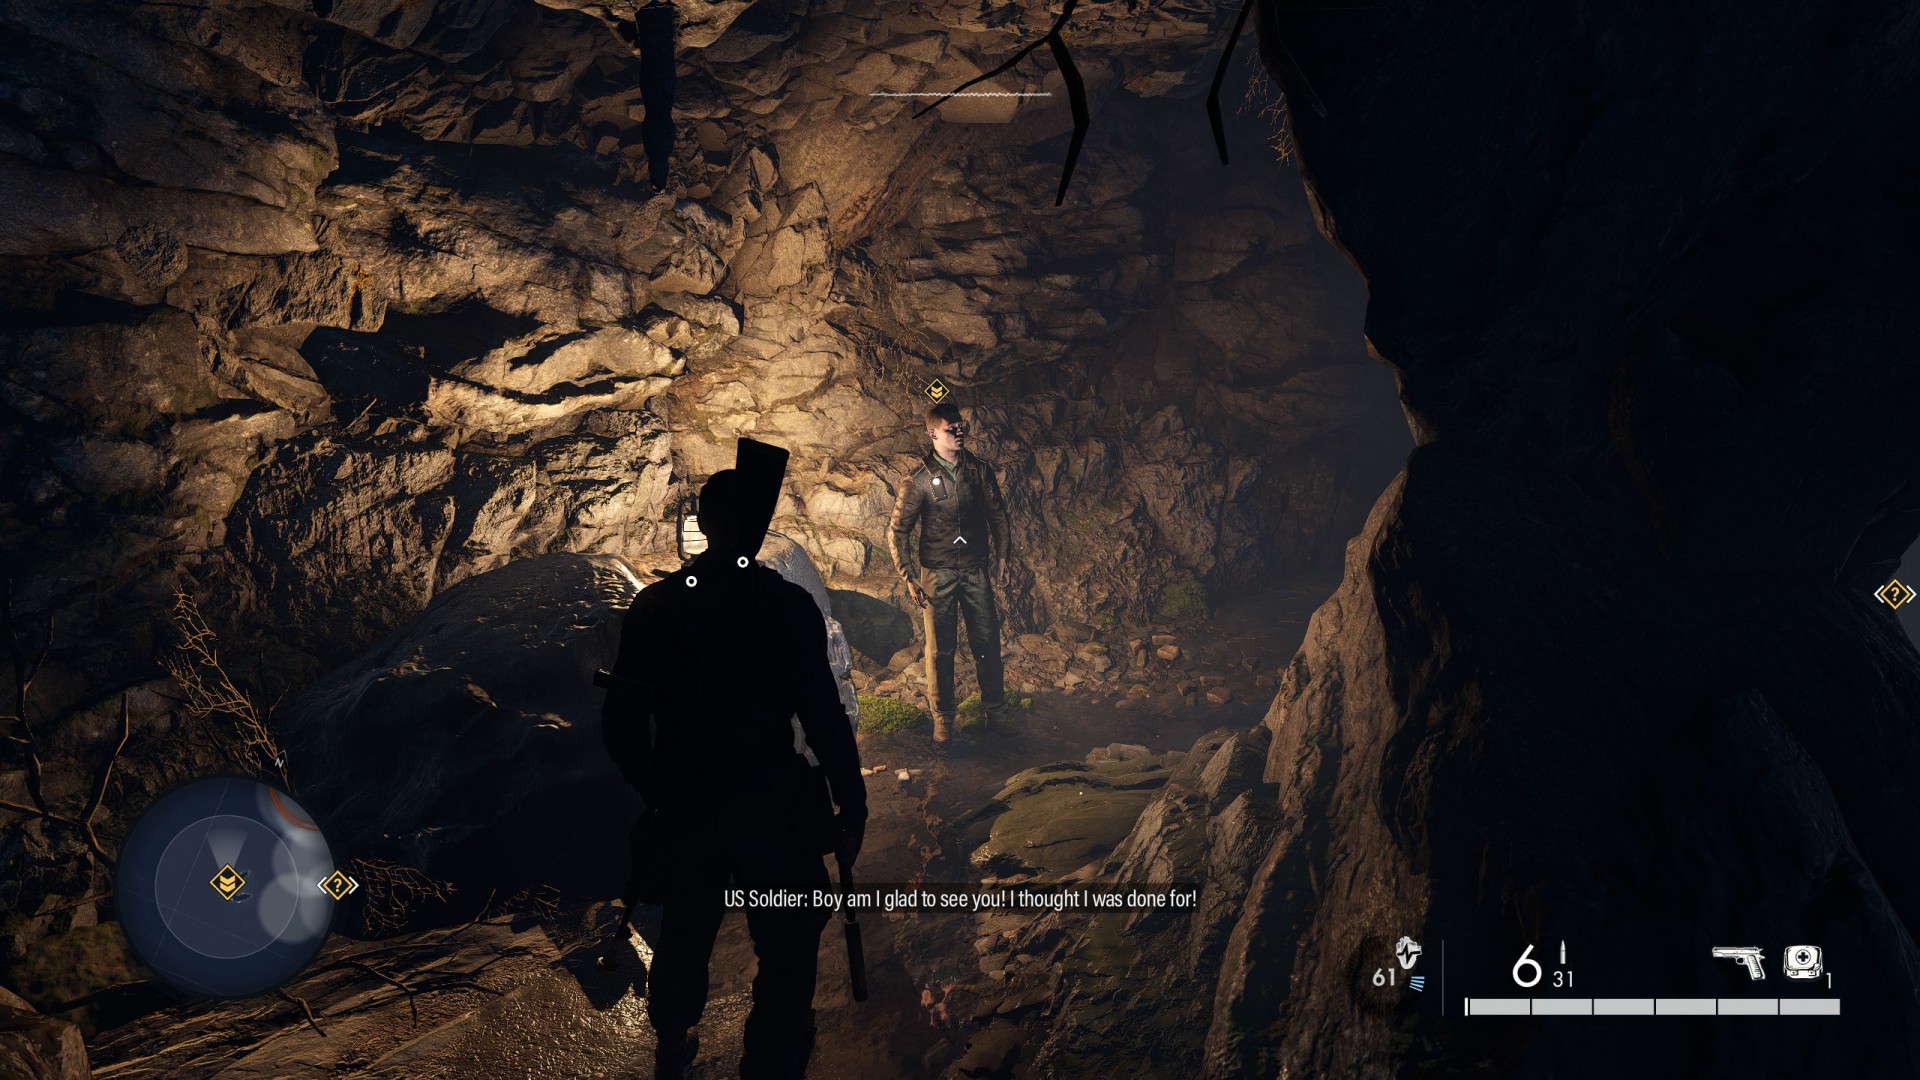
Locate the Allied Pilot in the Forest. Objectives: Investigate the Crash Site / Locate the Pilot / Speak to the Pilot.
This pilot hid in a cave.
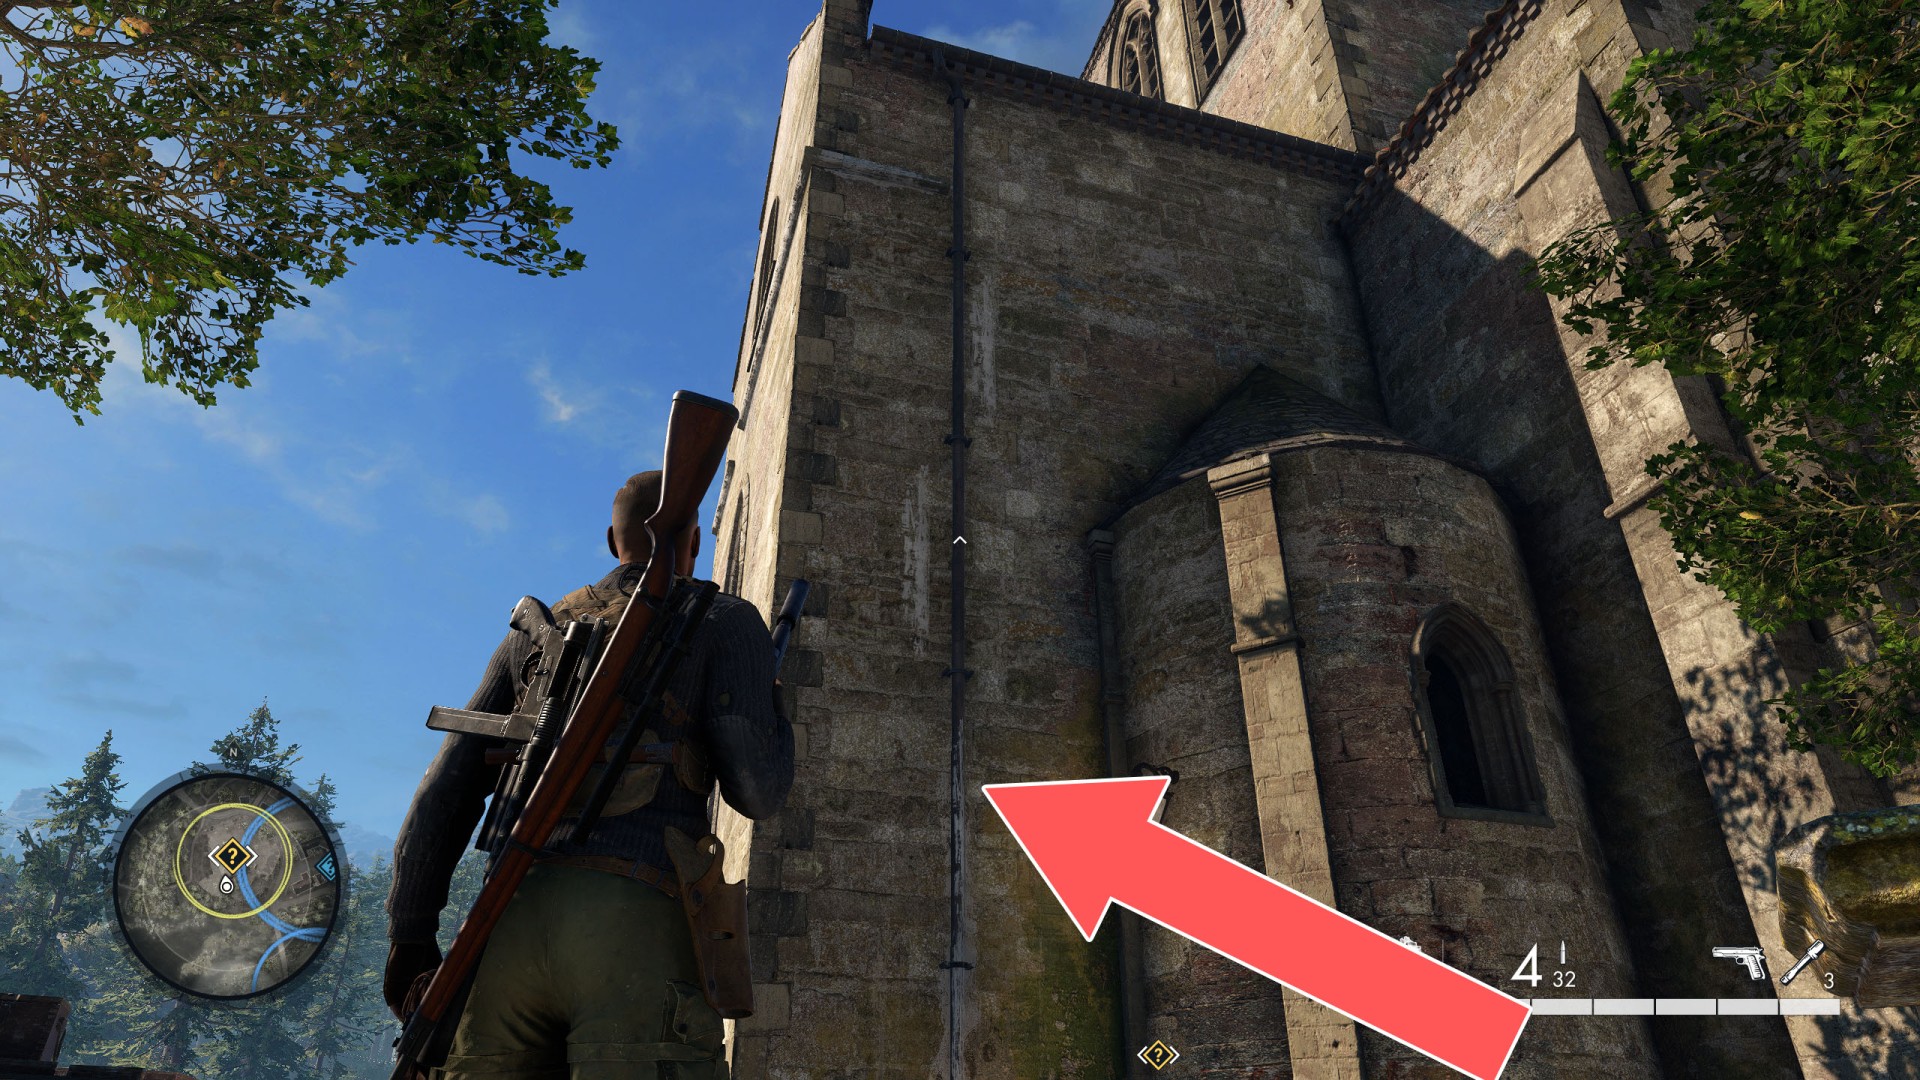
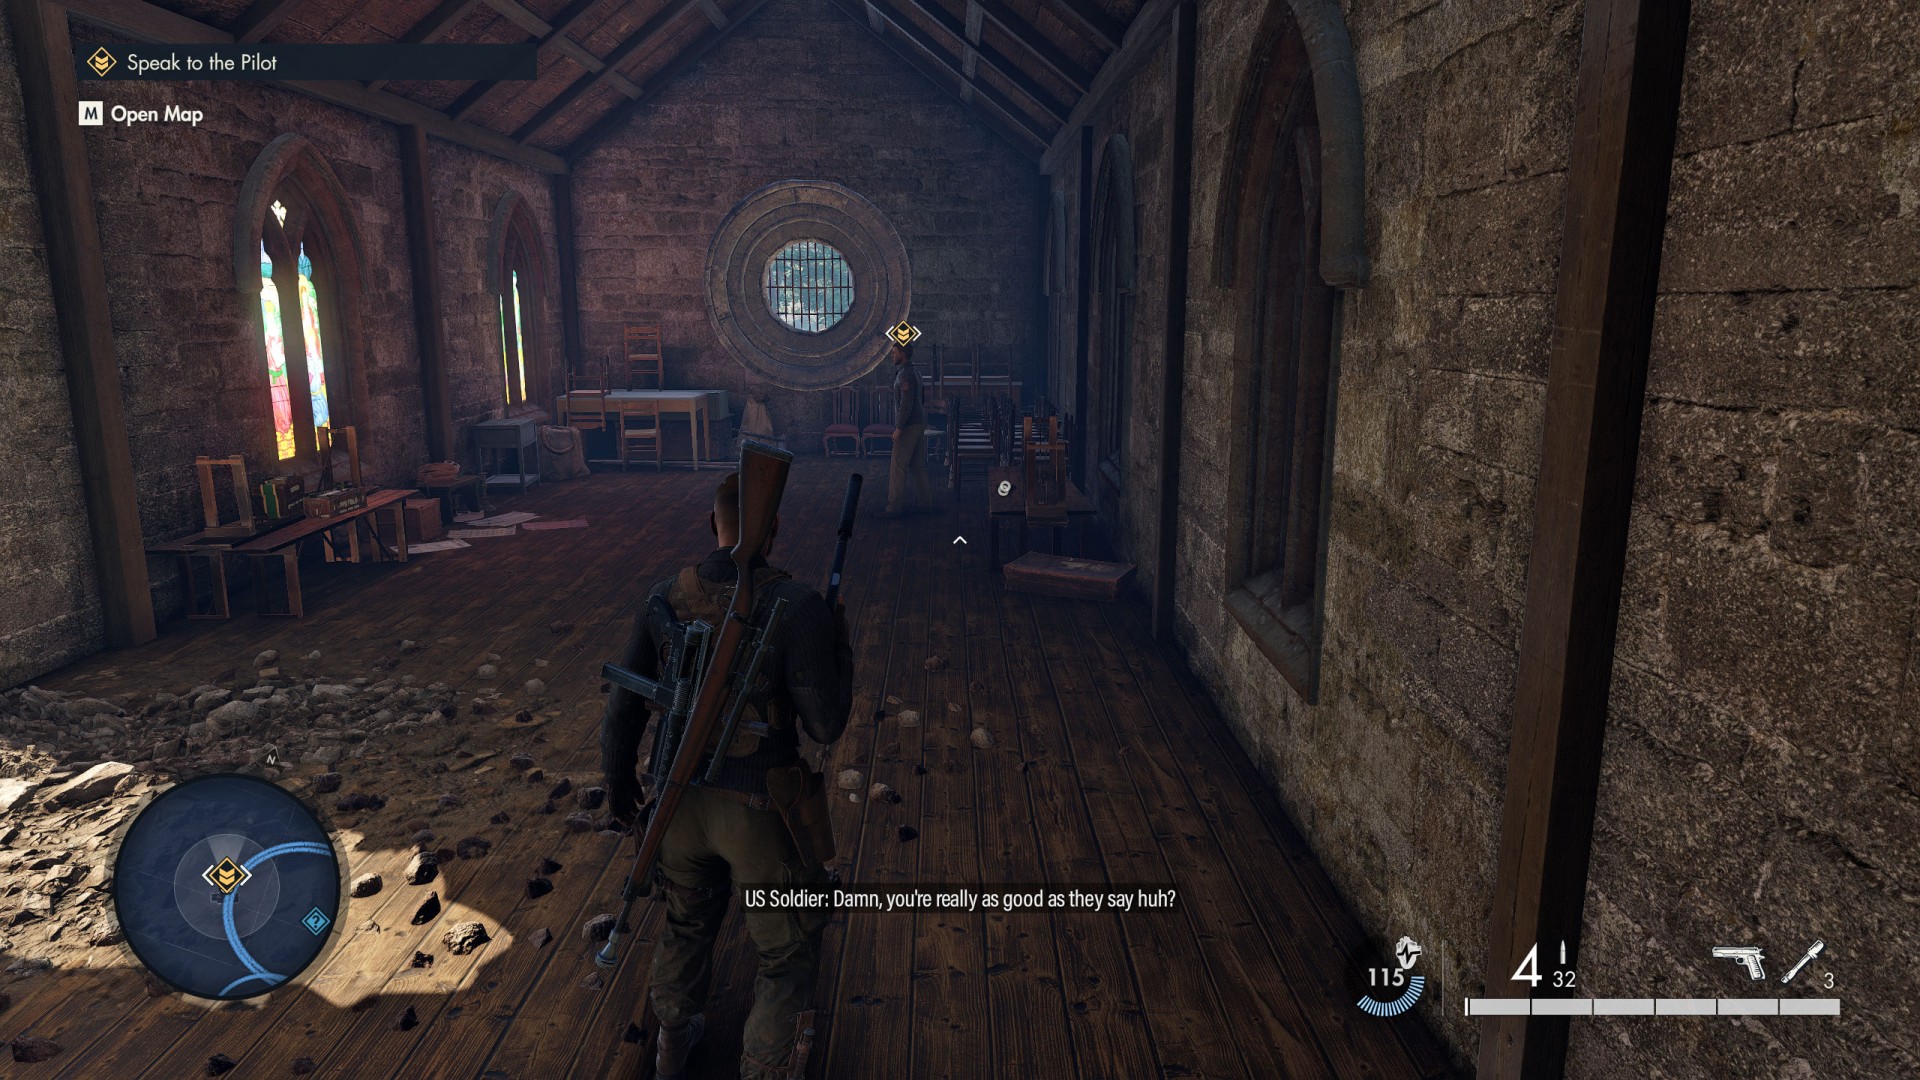
Locate the Allied Pilot in the Village. Objectives: Investigate the Crash Site / Locate the Pilot / Speak to the Pilot.
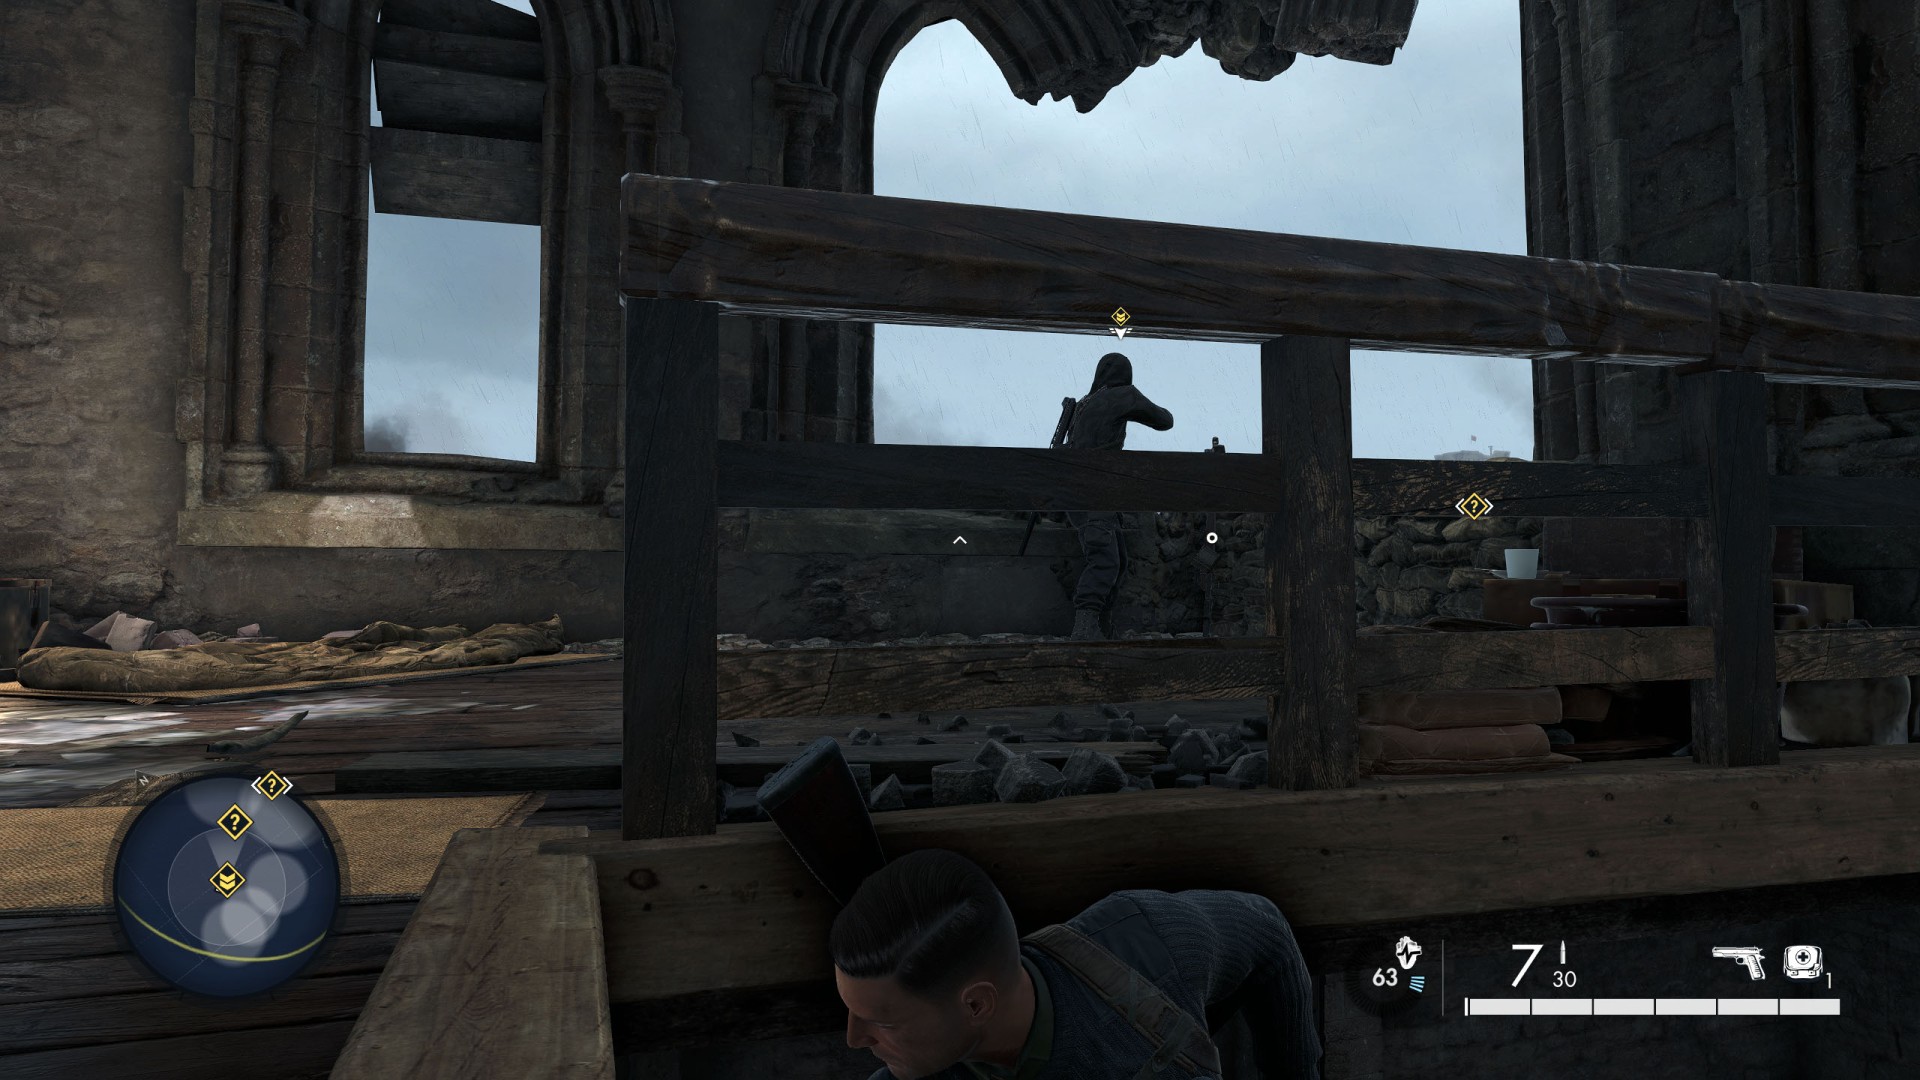
The pilot is in the attic of the church. To get here you must climb up the gutter.
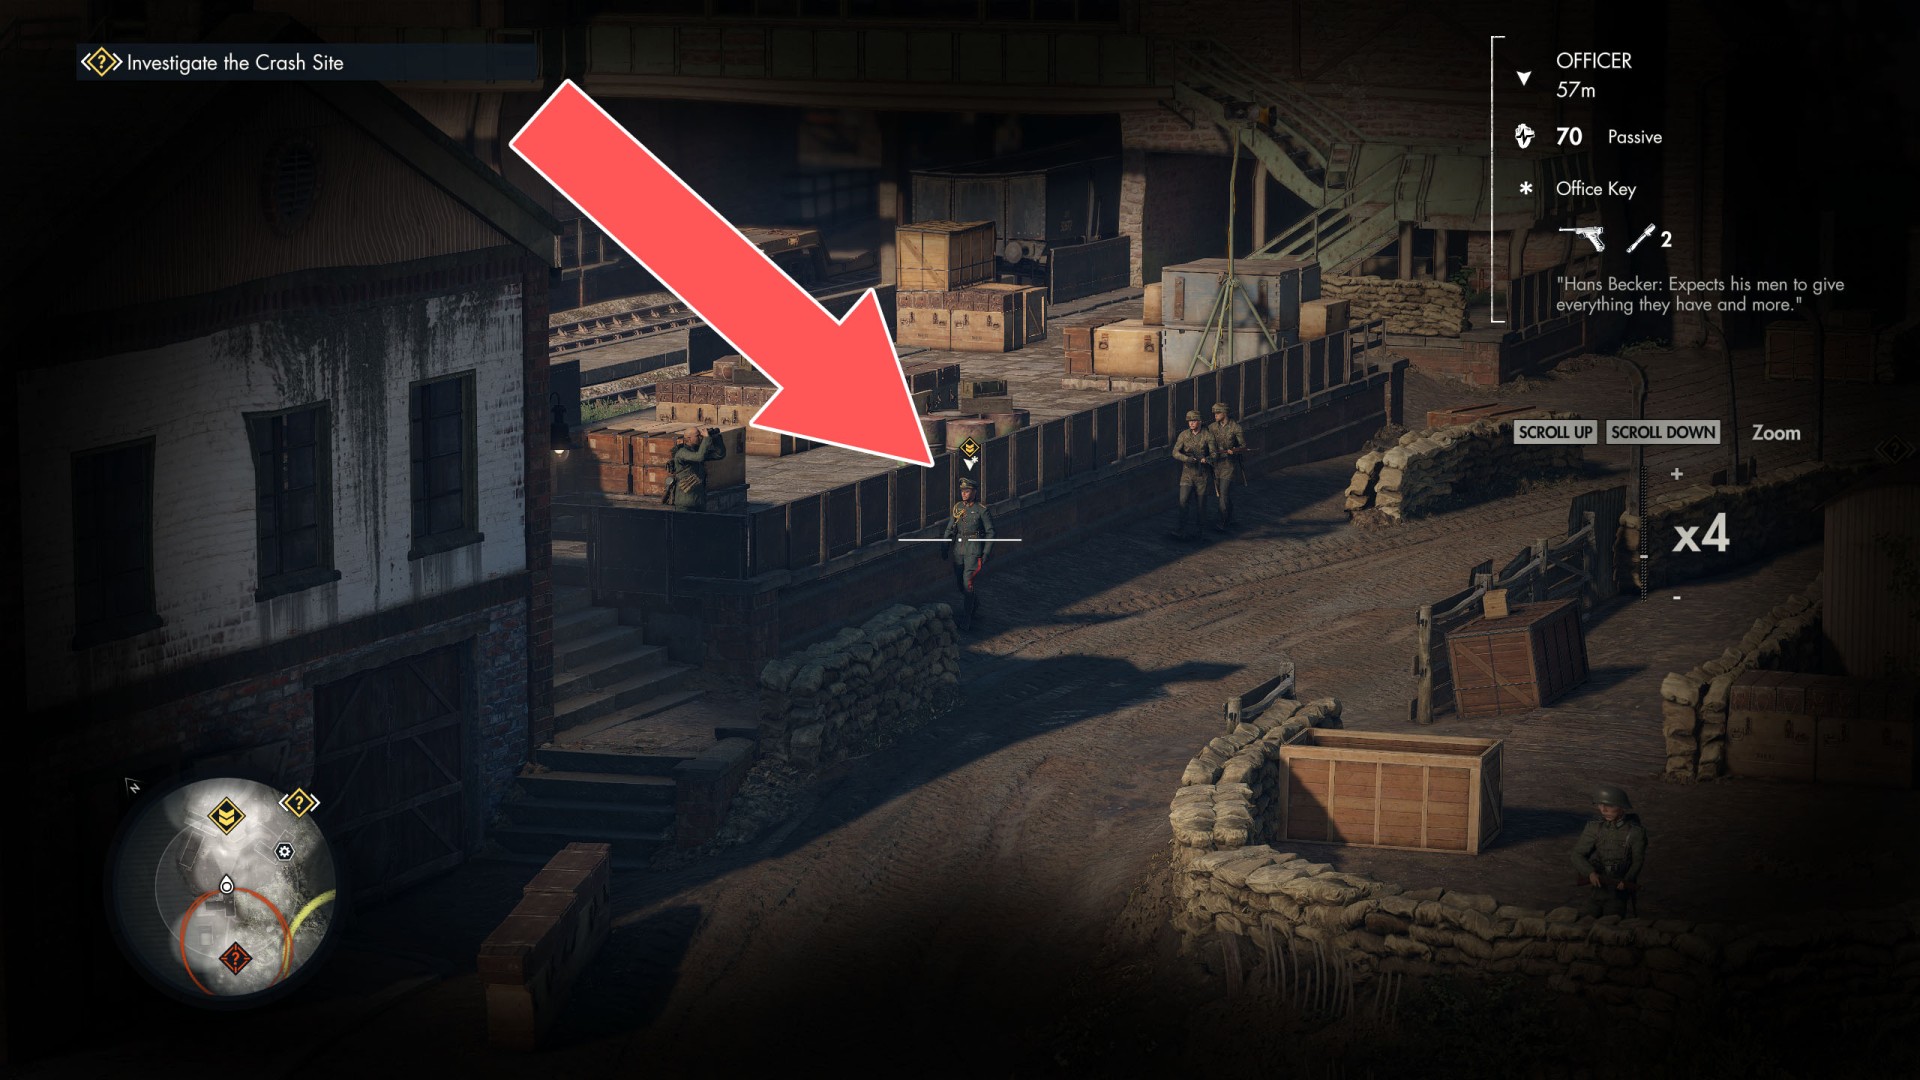
Objective of Find and Kill Hans Becker - Locate Hans Becker. He will come to the area in a white car and will stroll nearby.
A hint for "Sabotage the Aircraft Carrier" - "Room E - Sabotage Valves (0/3)".
A hint for "One Last Target" - "Eliminate Vogel" - "Vogel is inspecting the engine room".

A hint for "Sabotage the Aircraft Carrier" - "Room A - Sabotage the Armoury".