Maps ►
Waford
Alabasta
Water Seven
Dressrosa
Marineford
More ►
Cube Fragments
Locked Treasure Chests
Nami Items
Robin Items
Wandering Clan's Journal
Transitions One Piece Odyssey Points of interest
Index
- Elevator
- Elevator
- Elevator
- Elevator
- Elevator to Dust Ruins Plaza
- From Level 4
- From Level 1
- From Level 2
- From Level 3
- From Lobby
- From Lower Level
- From Lower Level
- From Lower Part / To Middle Part
- From Middle Level
- From Middle Level
- From Purity Garden
- From Room of Longevity
- From Second Vault
- From Underground Prison
- Kitchen Elevator
- Kitchen Elevator (To Pantry)
- Ladder (To / From Baroque Works Hideout)
- Ladder to Sewer (B1F)
- Ladder to Sewer (B2F)
- Ladder to The Royal Army Garrison
- Small Elevator
- Small Elevator
- To Engine Room
- To Floor 3
- To Great Botomless Waterfall
- To Ice Block Ruins Entrance
- To Joint Accessway to Last Exp. Room entrance
- To Last Experiment Room Entrance
- To Level 1
- To Level 1
- To Level 2
- To Level 3
- To Level 4
- To Lower Part / To Upper Part
- To Middle Level
- To Middle Level
- To Middle Part
- To Middle Part
- To New Royal Plateau: Bottom - 2nd Level
- To Purity Garden
- To Room of Longevity
- To Rooms of Recollection
- To Second Control Room
- To Second Lift
- To Second Lift
- To Second Vault
- To Sewer
- To Sewer 1F
- To Sewer B1F
- To Sewer Rocketman Hangar
- To Third Experiment Room
- To Tower of Law (1F)
- To Tower of Law (Underground Prison)
- To Underground Storeroom
- To Underground Storeroom
- To Upper Level
- To Upper Level
- To Upper Part
- To Upper Part
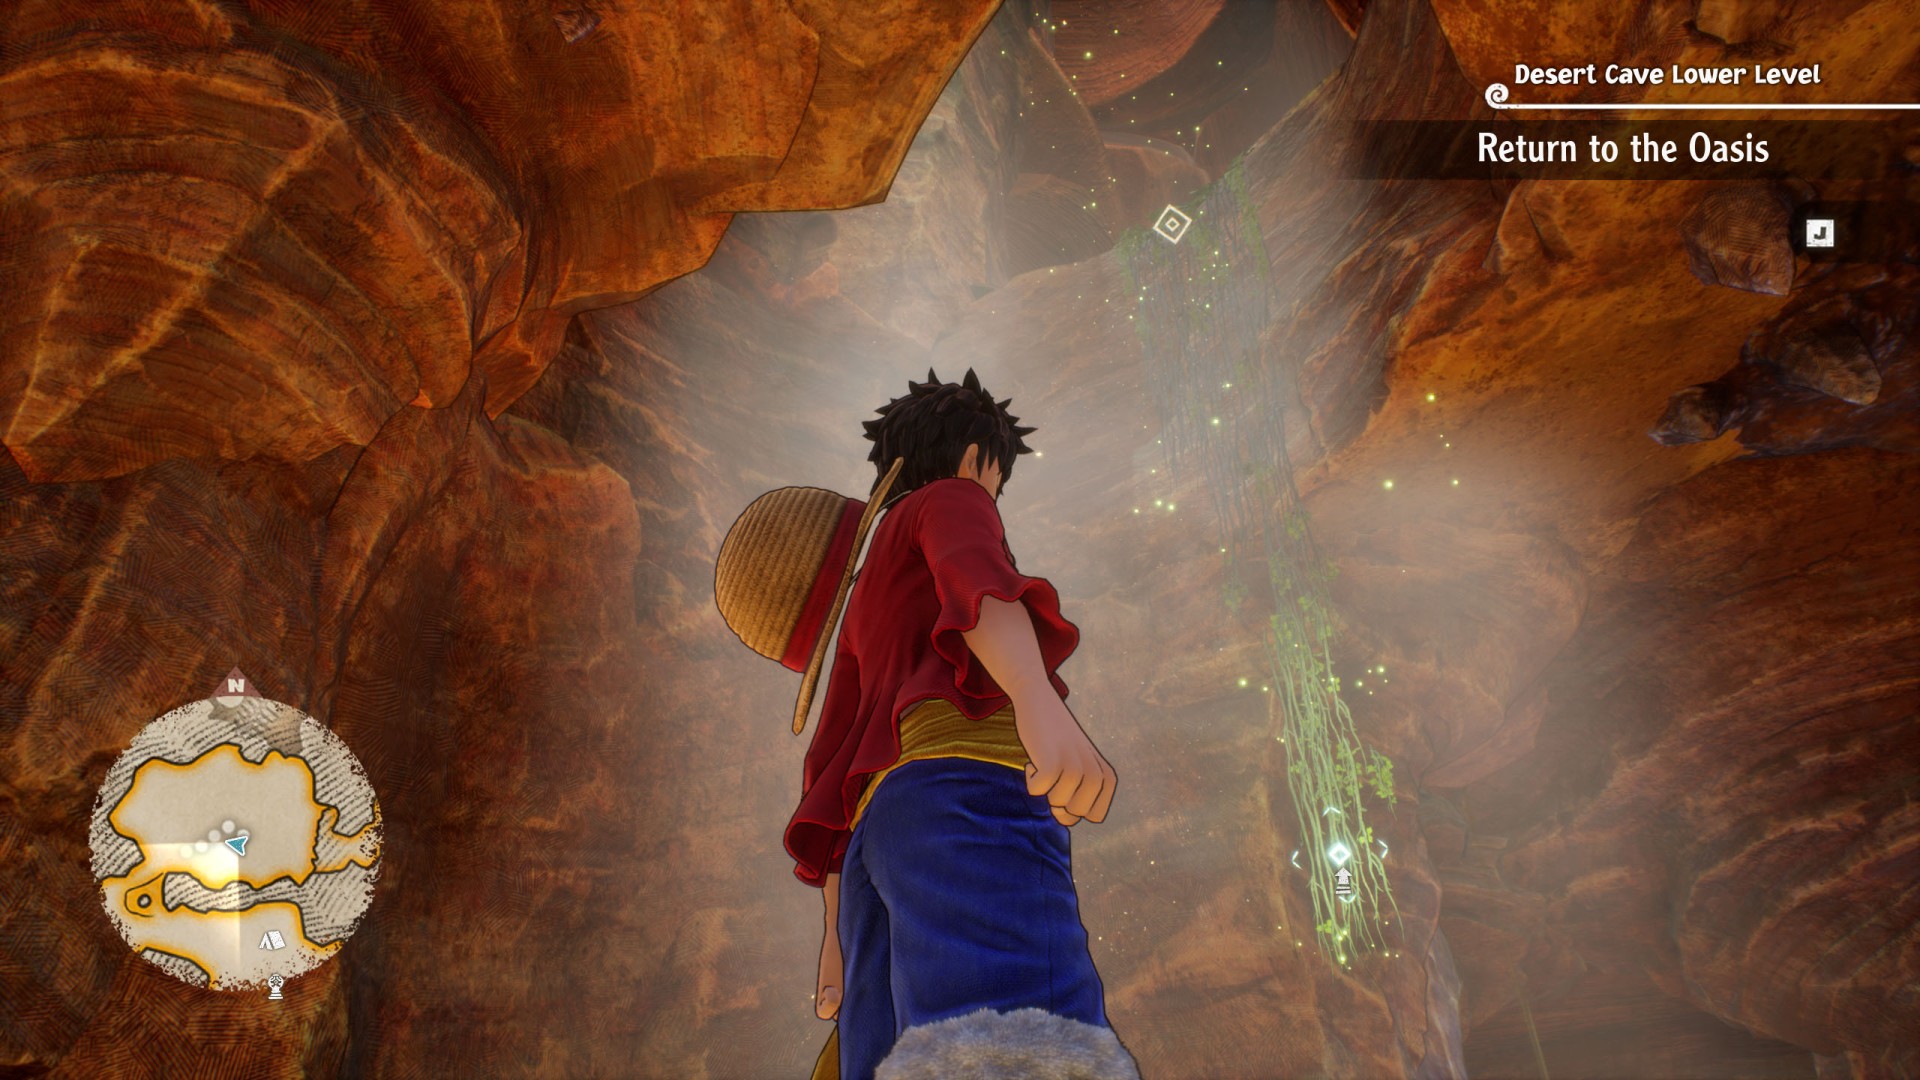
- Vines Down To The Underground Desert
- Vines From Lower Level
- Vines to Upper Level
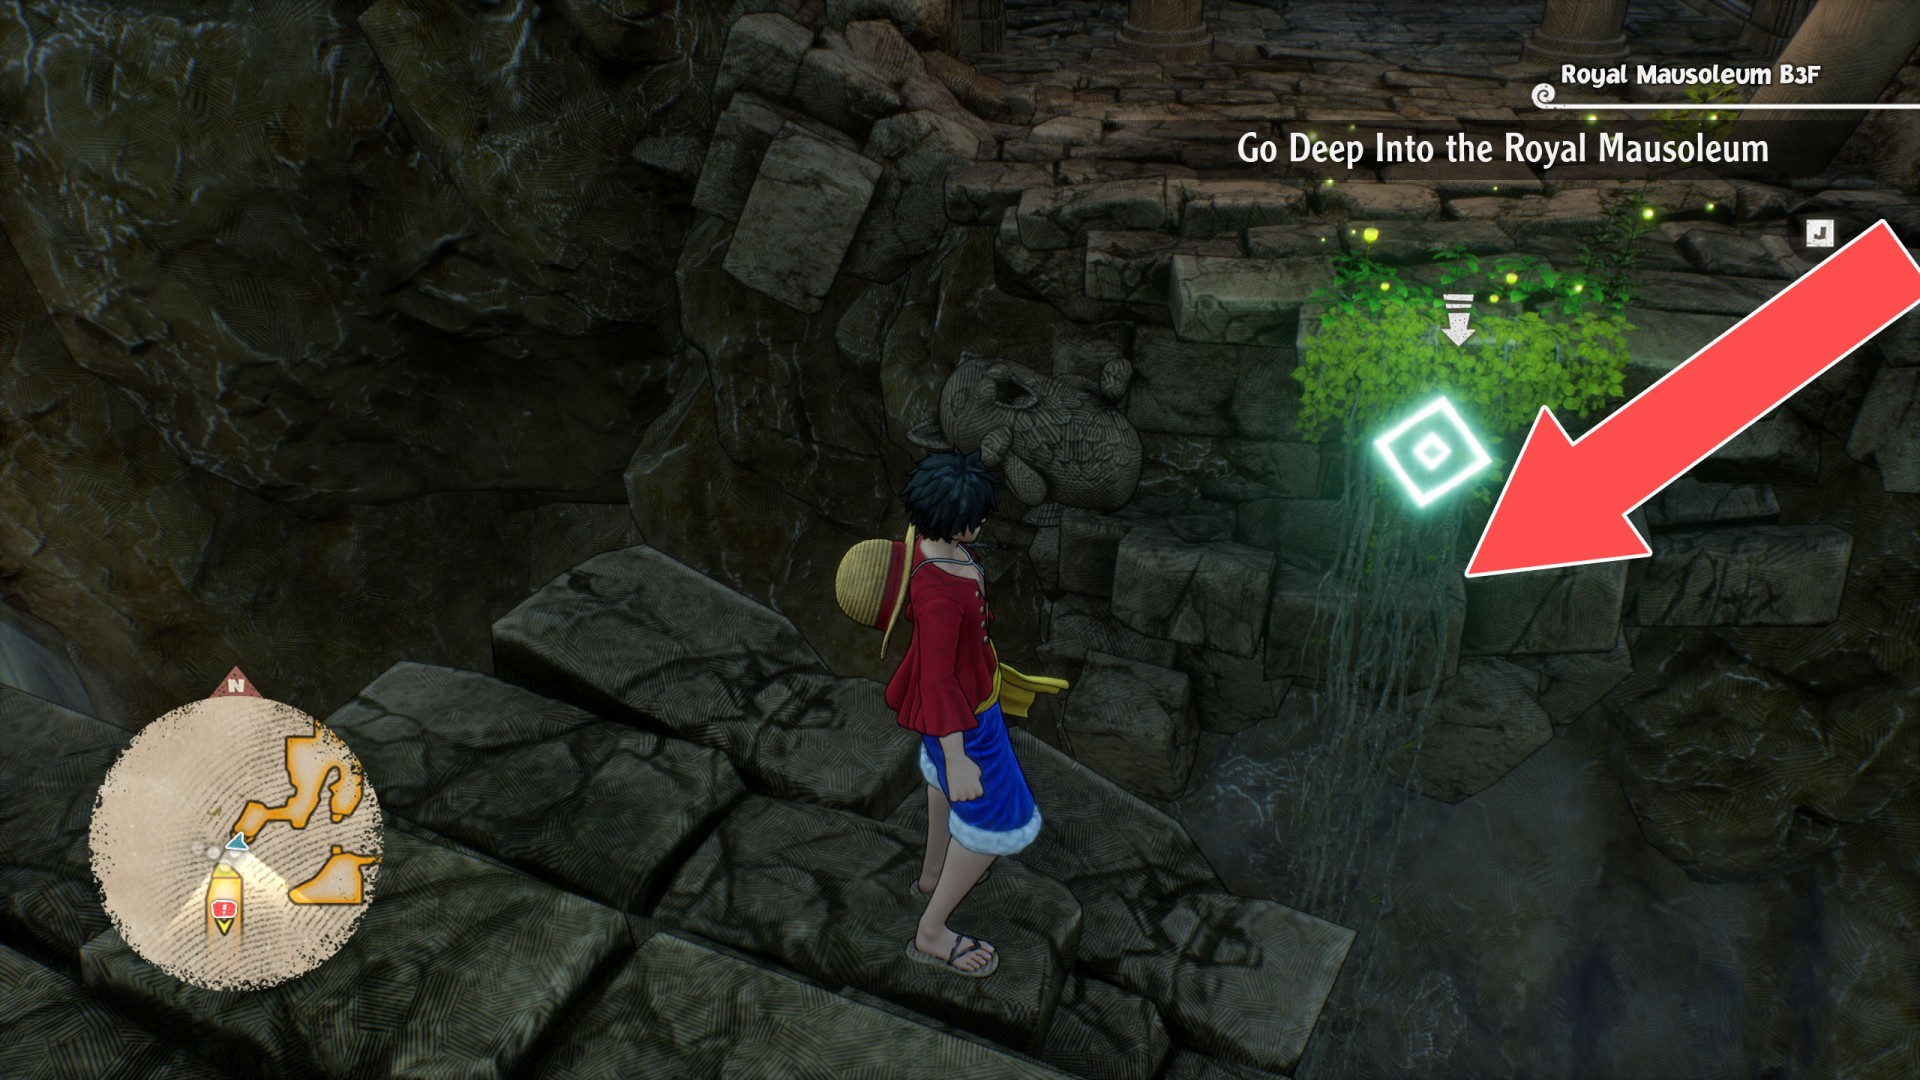
- Vines Up to Royal Mausoleum B3F
All known locations on the map Waford
 Elevator▶ show the map ◀
Elevator to Dust Ruins Plaza▶ show the map ◀
To use it, you must first reach the other end on foot and turn on the power.
From Level 4▶ show the map ◀
From Level 1▶ show the map ◀
From Level 2▶ show the map ◀
From Level 3▶ show the map ◀
From Lobby▶ show the map ◀
From Lower Part / To Middle Part▶ show the map ◀
From Purity Garden▶ show the map ◀
From Room of Longevity▶ show the map ◀
From Second Vault▶ show the map ◀
To Floor 3▶ show the map ◀
You must first activate this connection by reaching its other end on foot.
To Great Botomless Waterfall▶ show the map ◀
To Ice Block Ruins Entrance▶ show the map ◀
To Joint Accessway to Last Exp. Room entrance▶ show the map ◀
To Last Experiment Room Entrance▶ show the map ◀
To Level 1▶ show the map ◀
To Level 1▶ show the map ◀
To Level 2▶ show the map ◀
To Level 3▶ show the map ◀
To Level 4▶ show the map ◀
To Lower Part / To Upper Part▶ show the map ◀
To Middle Part▶ show the map ◀
To Middle Part▶ show the map ◀
To Purity Garden▶ show the map ◀
To Room of Longevity▶ show the map ◀
To Rooms of Recollection▶ show the map ◀
To Second Control Room▶ show the map ◀
To Second Lift▶ show the map ◀
To Second Lift▶ show the map ◀
To Second Vault▶ show the map ◀
To Third Experiment Room▶ show the map ◀
To Upper Part▶ show the map ◀
To Upper Part▶ show the map ◀
All known locations on the map Alabasta
Ladder (To / From Baroque Works Hideout)▶ show the map ◀
Available after leaving the Baroque Works Hideout through this exit.
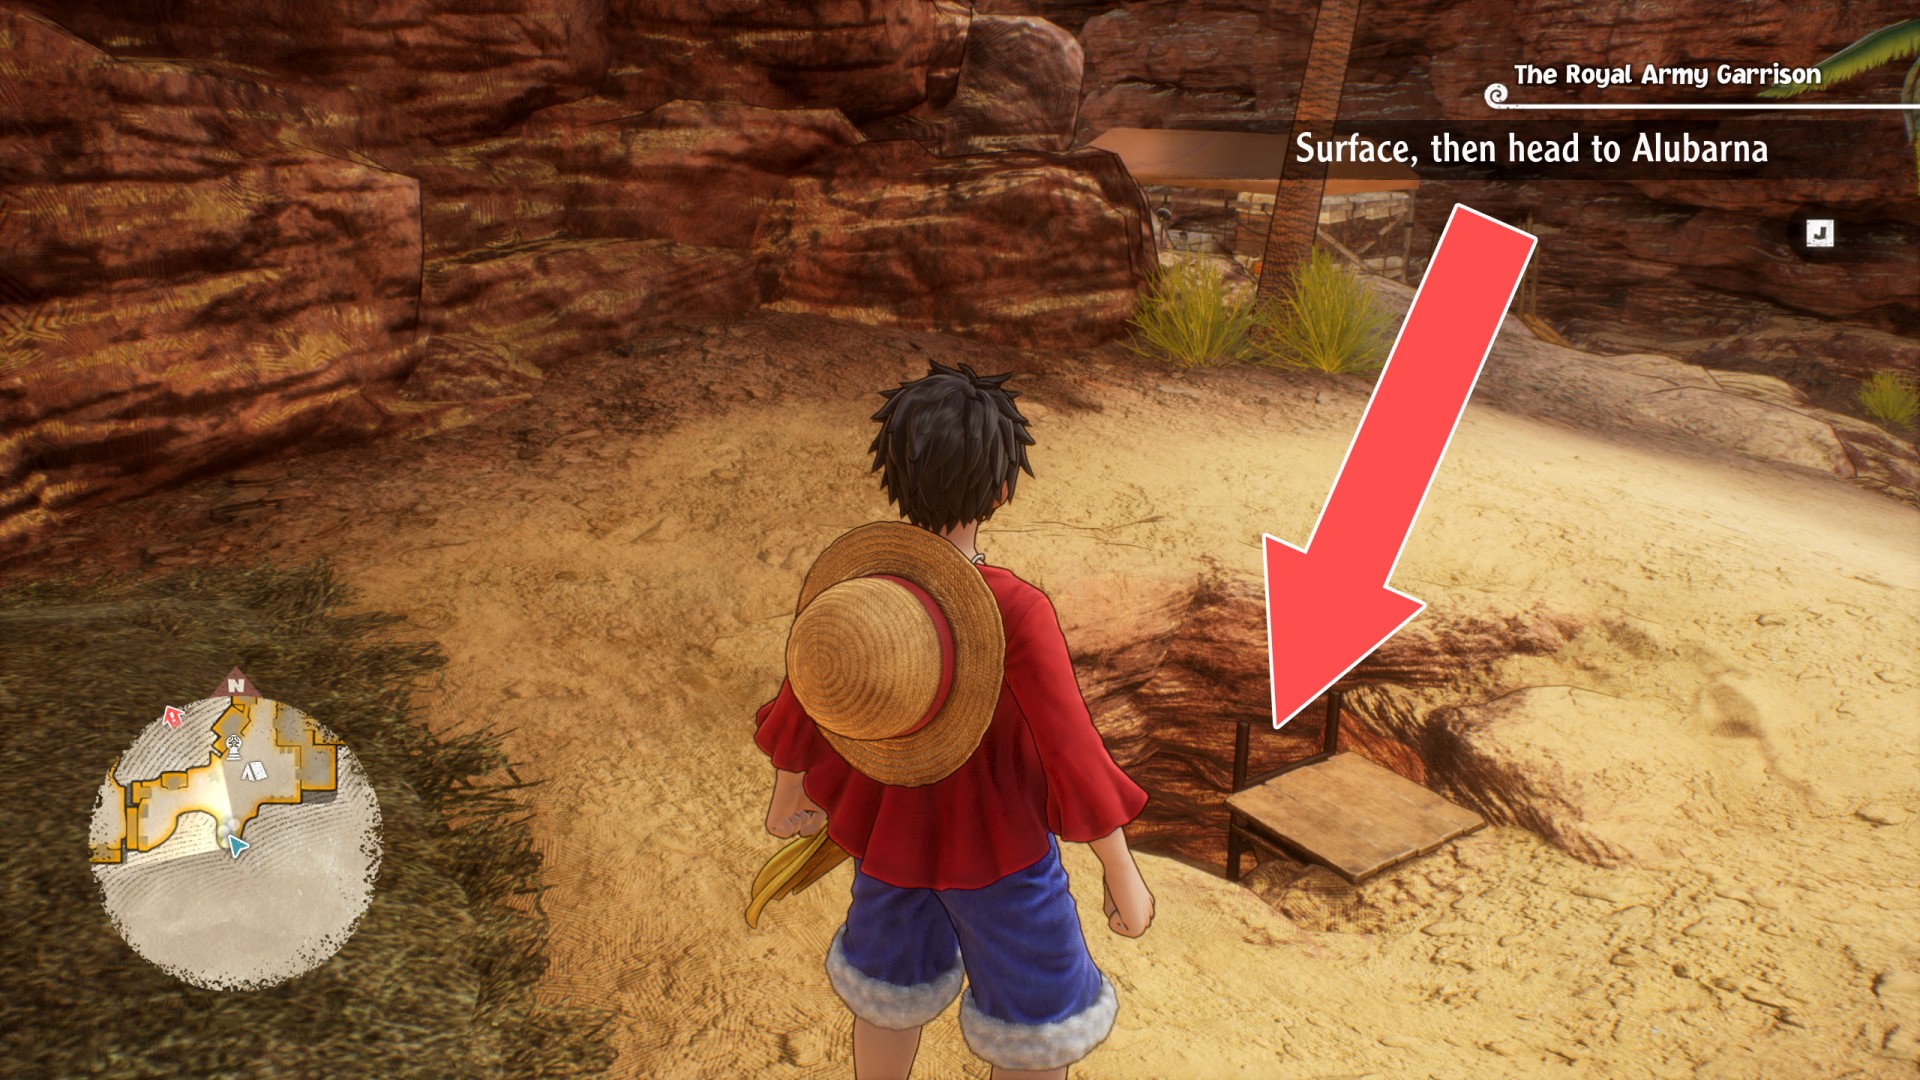
Ladder to The Royal Army Garrison▶ show the map ◀
Vines Down To The Underground Desert▶ show the map ◀
Vines From Lower Level▶ show the map ◀
Vines to Upper Level▶ show the map ◀
Vines Up to Royal Mausoleum B3F▶ show the map ◀
All known locations on the map Water Seven
Elevator▶ show the map ◀
The elevator will be made available at some stage of the game's main storyline.
Elevator▶ show the map ◀
The elevator will be made available at some stage of the game's main storyline.
Elevator▶ show the map ◀
The elevator will be made available at some stage of the game's main storyline.
From Lower Level▶ show the map ◀
From Lower Level▶ show the map ◀
From Middle Level▶ show the map ◀
From Middle Level▶ show the map ◀
From Underground Prison▶ show the map ◀
You can't go back to the upper level this way.