Welcome to guides4gamers.com

Billboards, Need for Speed Heat Points of interest

This collection includes every marker from the Billboards category of points of interest in Need for Speed Heat, all placed on interactive maps created specifically for the game.

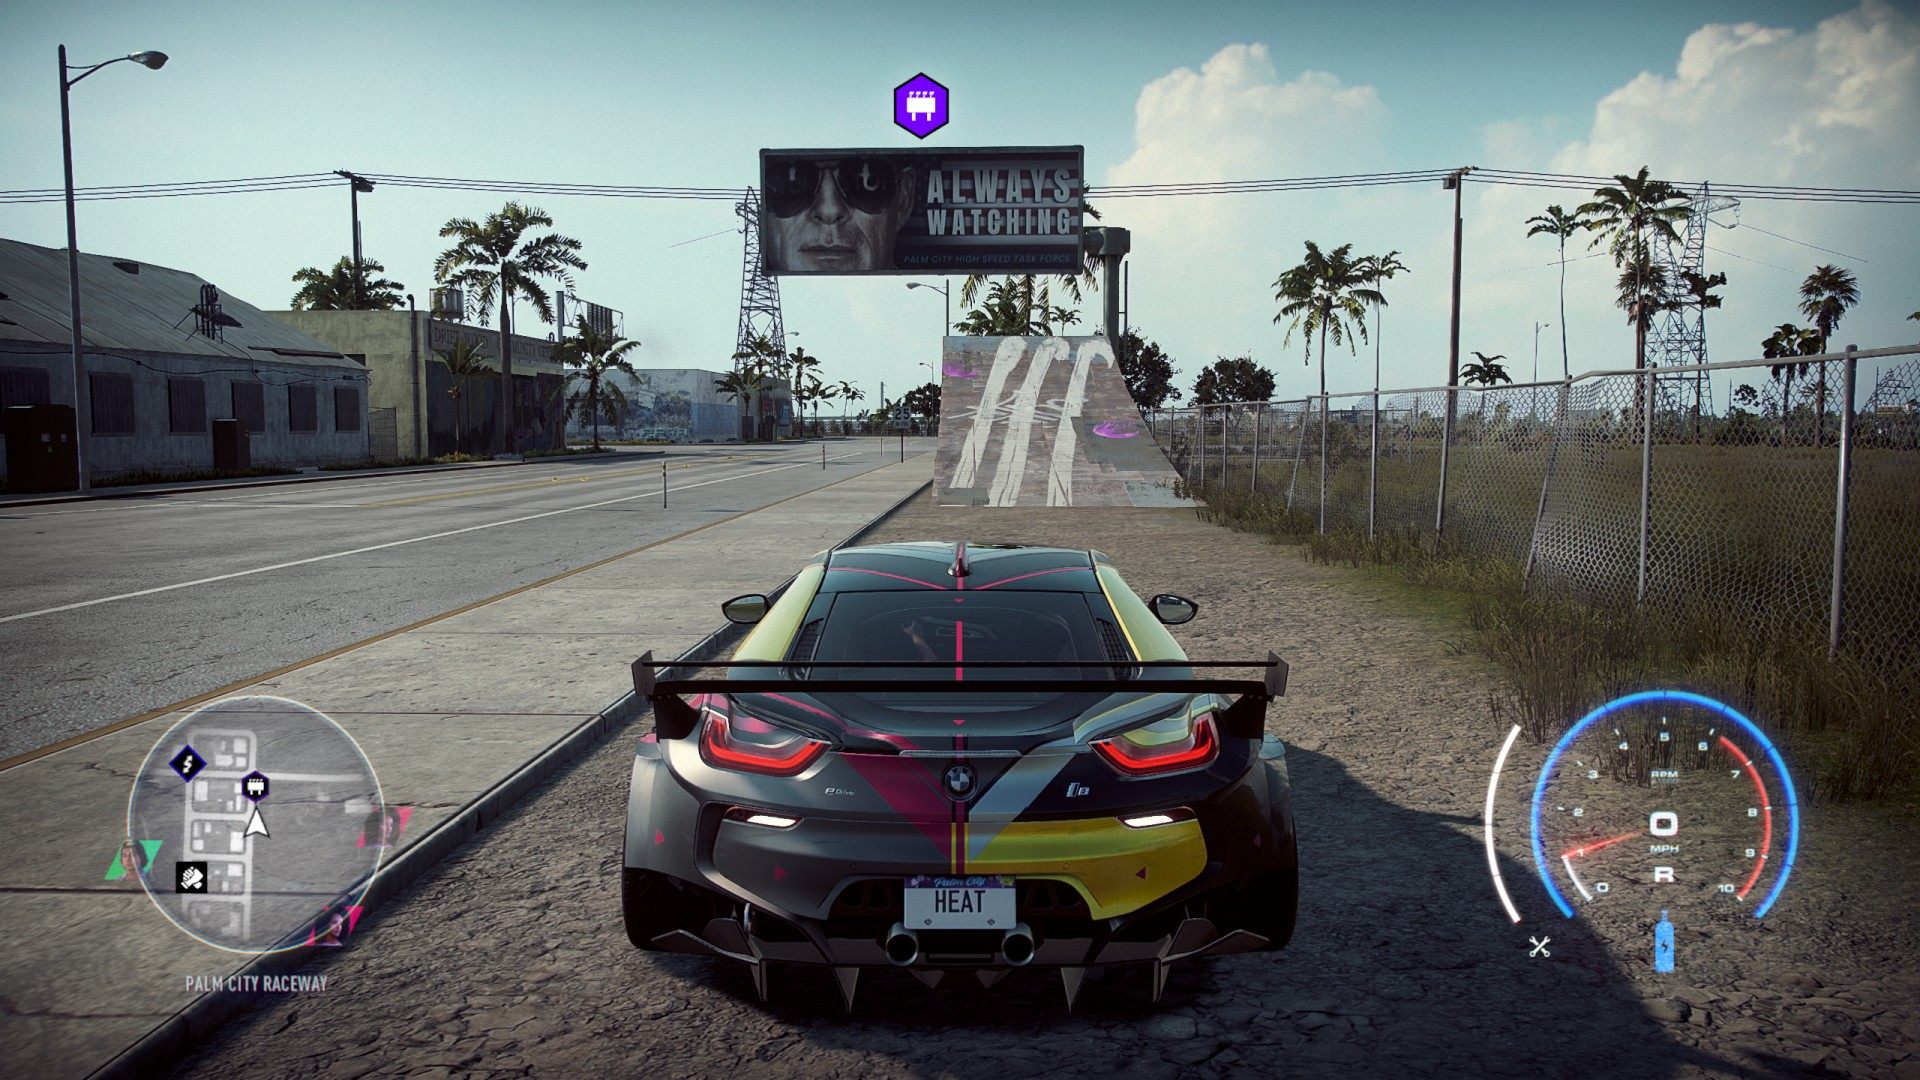
You can start collecting billboards right at the beginning of the game. Billboards can be collected by driving or jumping through them and destroying them. Once you collect all billboards, you'll unlock a Nissan GT-R Nismo '17, Cyan Tire Smoke, and Billboard Decals Set.

Billboards

Nissan GT-R Nismo '17

Billboards

Index

The index below enables quick navigation to the desired marker / point of interest.

All known locations on the map - Palm City

BillboardBayview Park #1

Show the map

BillboardBayview Park #2

Show the map

BillboardBayview Park #3

Show the map

BillboardBayview Park #4

Show the map

BillboardBayview Park #5

Show the map

BillboardBlackwood Heights #1

Show the map

BillboardBlackwood Heights #2

Show the map

BillboardBlackwood Heights #3

Show the map

BillboardCape Castille #1

Show the map

BillboardCape Castille #2

Show the map

BillboardCape Castille #3

Show the map

BillboardCape Castille #4

Show the map

BillboardCape Castille #5

Show the map

BillboardCloudbank #1

Show the map

BillboardCloudbank #2

Show the map

BillboardCloudbank #3

Show the map

BillboardCloudbank #4

Show the map

BillboardDowntown Palm City #1

Show the map

BillboardDowntown Palm City #2

Show the map

BillboardDowntown Palm City #3

Show the map

BillboardDowntown Palm City #4

Show the map

BillboardDowntown Palm City #5

Show the map

BillboardEden Shores #1

Show the map

BillboardEden Shores #2

Show the map

BillboardEden Shores #3

Show the map

BillboardEden Shores #4

Show the map

BillboardEden Shores #5

Show the map

BillboardEdgewood Valley #1

Show the map

BillboardEdgewood Valley #2

Show the map

BillboardEdgewood Valley #3

Show the map

BillboardEdgewood Valley #4

Show the map

BillboardEdgewood Valley #5

Show the map

BillboardFairview Fields #1

Show the map

BillboardFairview Fields #2

Show the map

BillboardFairview Fields #3

Show the map

BillboardFairview Fields #4

Show the map

BillboardFairview Fields #5

Show the map

BillboardFort Callahan #1

Show the map

BillboardFort Callahan #2

Show the map

BillboardFort Callahan #3

Show the map

BillboardFort Callahan #4

Show the map

BillboardFort Callahan #5

Show the map

BillboardFrontera Hills #1

Show the map

BillboardFrontera Hills #2

Show the map

BillboardFrontera Hills #3

Show the map

BillboardFrontera Hills #4

Show the map

BillboardFrontera Hills #5

Show the map

BillboardFrontera Hills #6

Show the map

BillboardGrenada Wetlands #1

Show the map

BillboardGrenada Wetlands #2

Show the map

BillboardGrenada Wetlands #3

Show the map

BillboardGrenada Wetlands #4

Show the map

BillboardGrenada Wetlands #5

Show the map

BillboardMendoza Keys #1

Show the map

BillboardMendoza Keys #2

Show the map

BillboardMendoza Keys #3

Show the map

BillboardMendoza Keys #4

Show the map

BillboardMendoza Keys #5

Show the map

BillboardPalm City Raceway #1

Show the map

BillboardPalm City Raceway #2

Show the map

BillboardPalm City Raceway #3

Show the map

BillboardPalm City Raceway #4

Show the map

BillboardPort Murphy #1

Show the map

BillboardPort Murphy #2

Show the map

BillboardPort Murphy #3

Show the map

BillboardPort Murphy #4

Show the map

BillboardPort Murphy #5

Show the map

BillboardPort Murphy #6

Show the map

BillboardRockville #1

Show the map

BillboardRockville #2

Show the map

BillboardRockville #3

Show the map

BillboardRockville #4

Show the map

BillboardSandino Ranches #1

Show the map

BillboardSandino Ranches #2

Show the map

BillboardSandino Ranches #3

Show the map

BillboardSandino Ranches #4

Show the map

BillboardSandino Ranches #5

Show the map

BillboardSandpiper Forest #1

Show the map

BillboardSandpiper Forest #2

Show the map

BillboardSandpiper Forest #3

Show the map

BillboardSandpiper Forest #4

Show the map

BillboardWestside #1

Show the map

BillboardWestside #2

Show the map

BillboardWestside #3

Show the map

BillboardWestside #4

Show the map