Saints Row 5 All Threat Locations
Threats are unlocked after completing the "Networking" main mission. They only appear after you build a criminal venture in the district which can be done through the Empire Table at your HQ. There are 5 Threats in each district, what with 15 districts in which you can build a Criminal Venture gives you a total of 75 threats. Clearing the Threats increases the hourly passive income from your criminal venture in the district in which they are located.
There are a few types of threats that can be specified:
- Panteros Muscle / Idols Vandals / Marshall Security - You have to defeat all enemies.
- Panteros Cars - You have to destroy all cars.
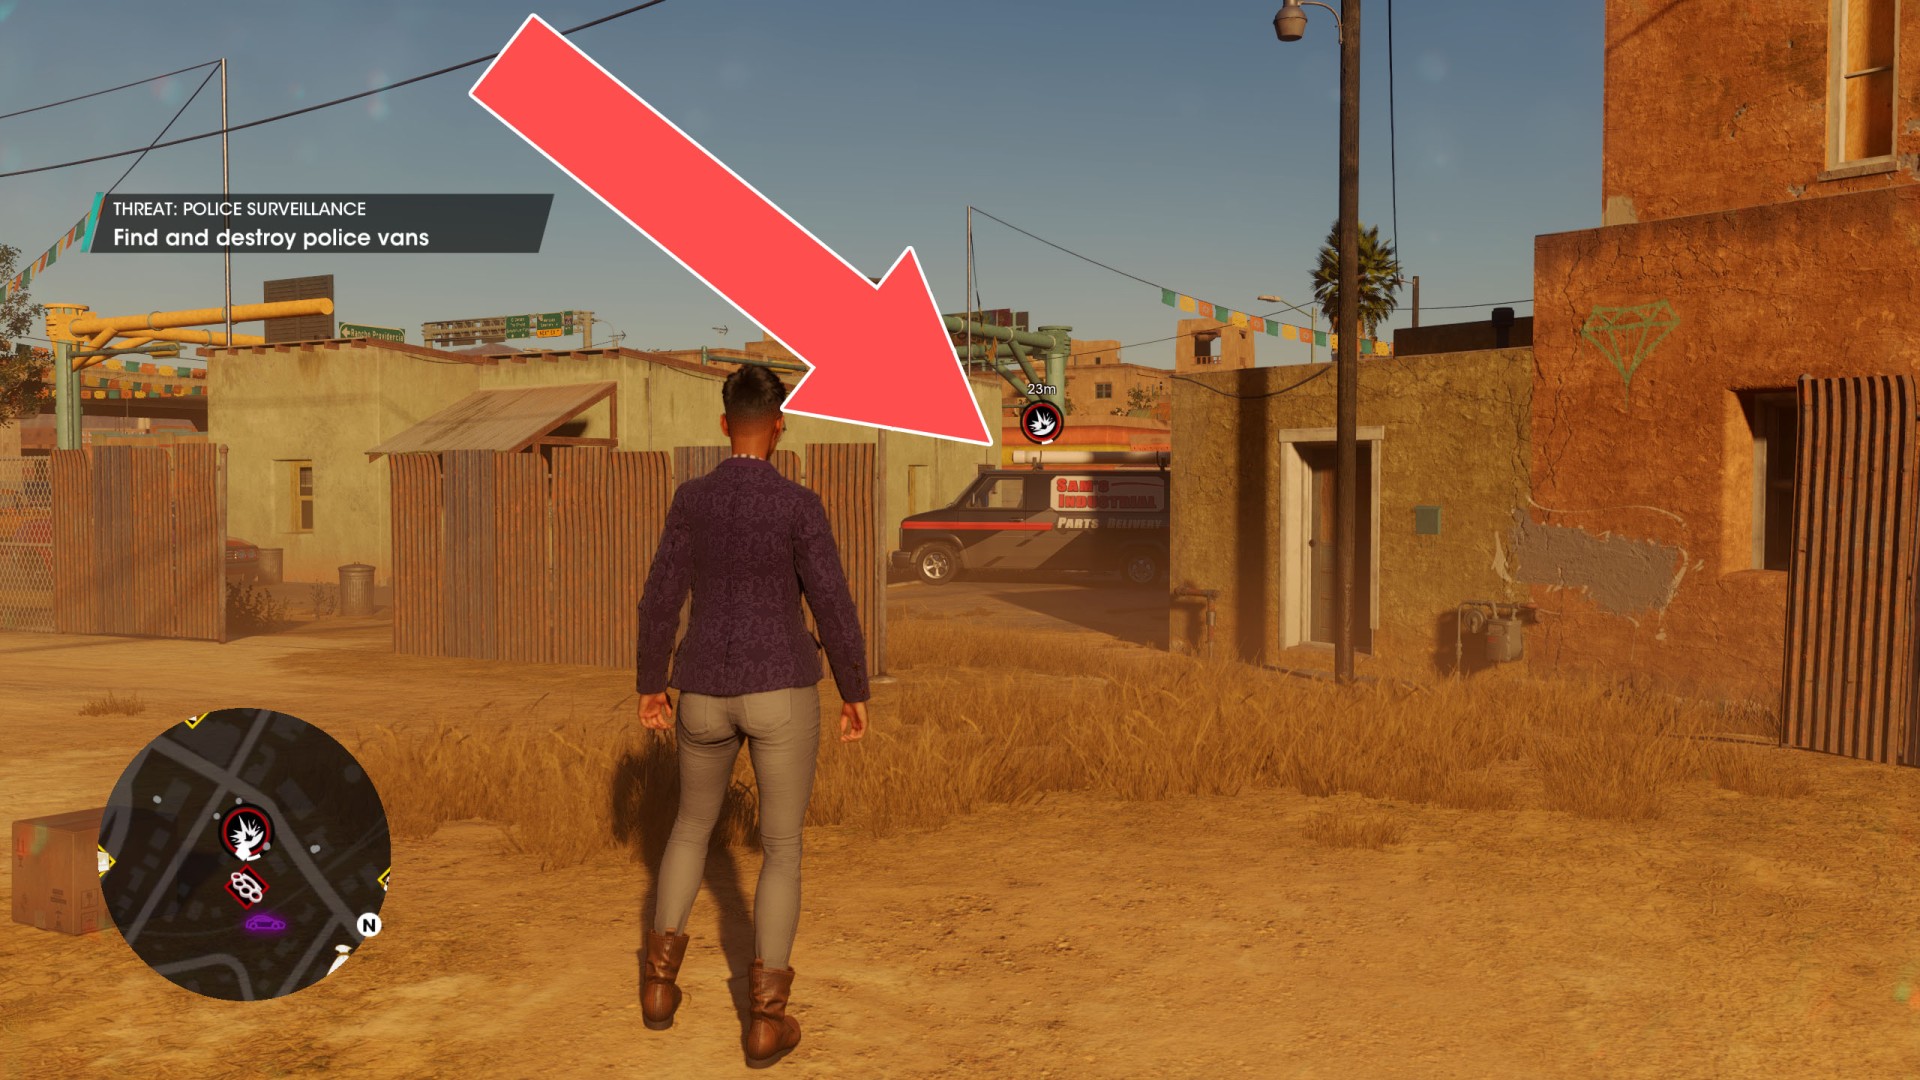
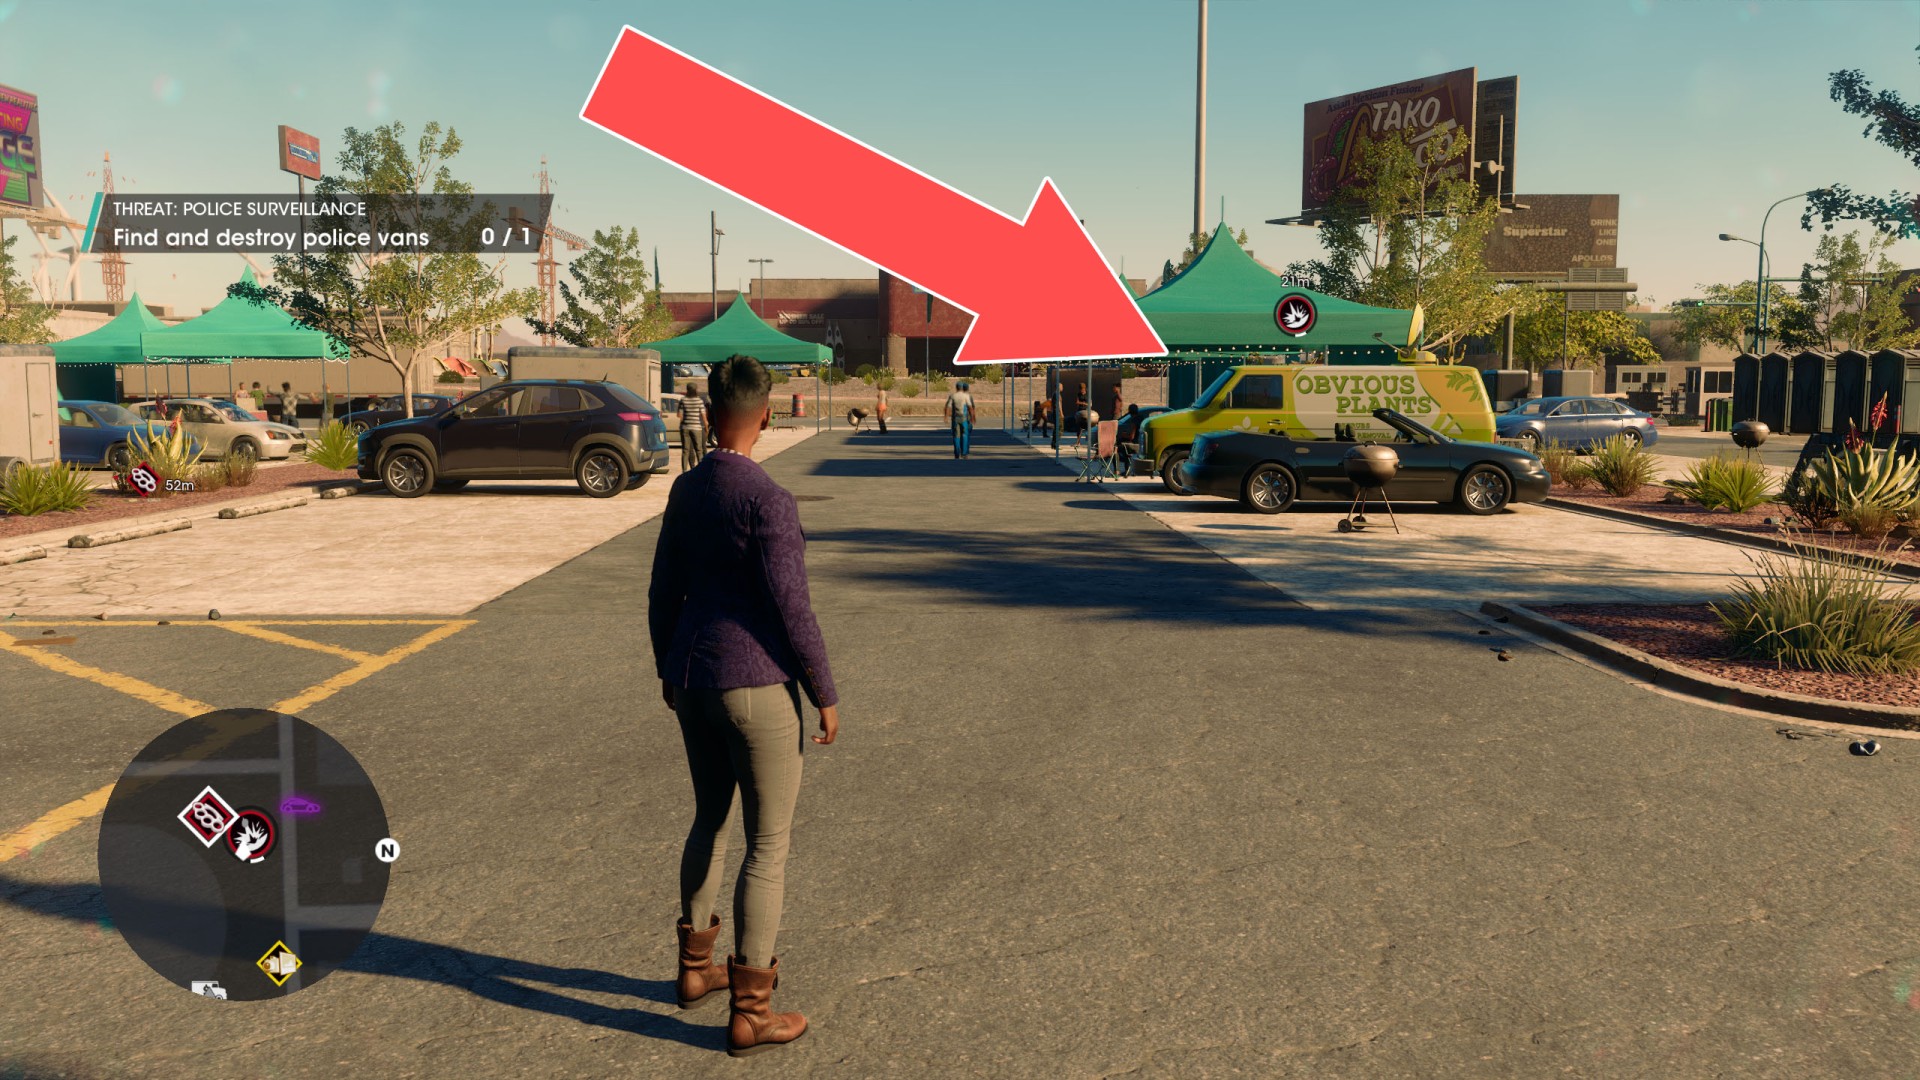
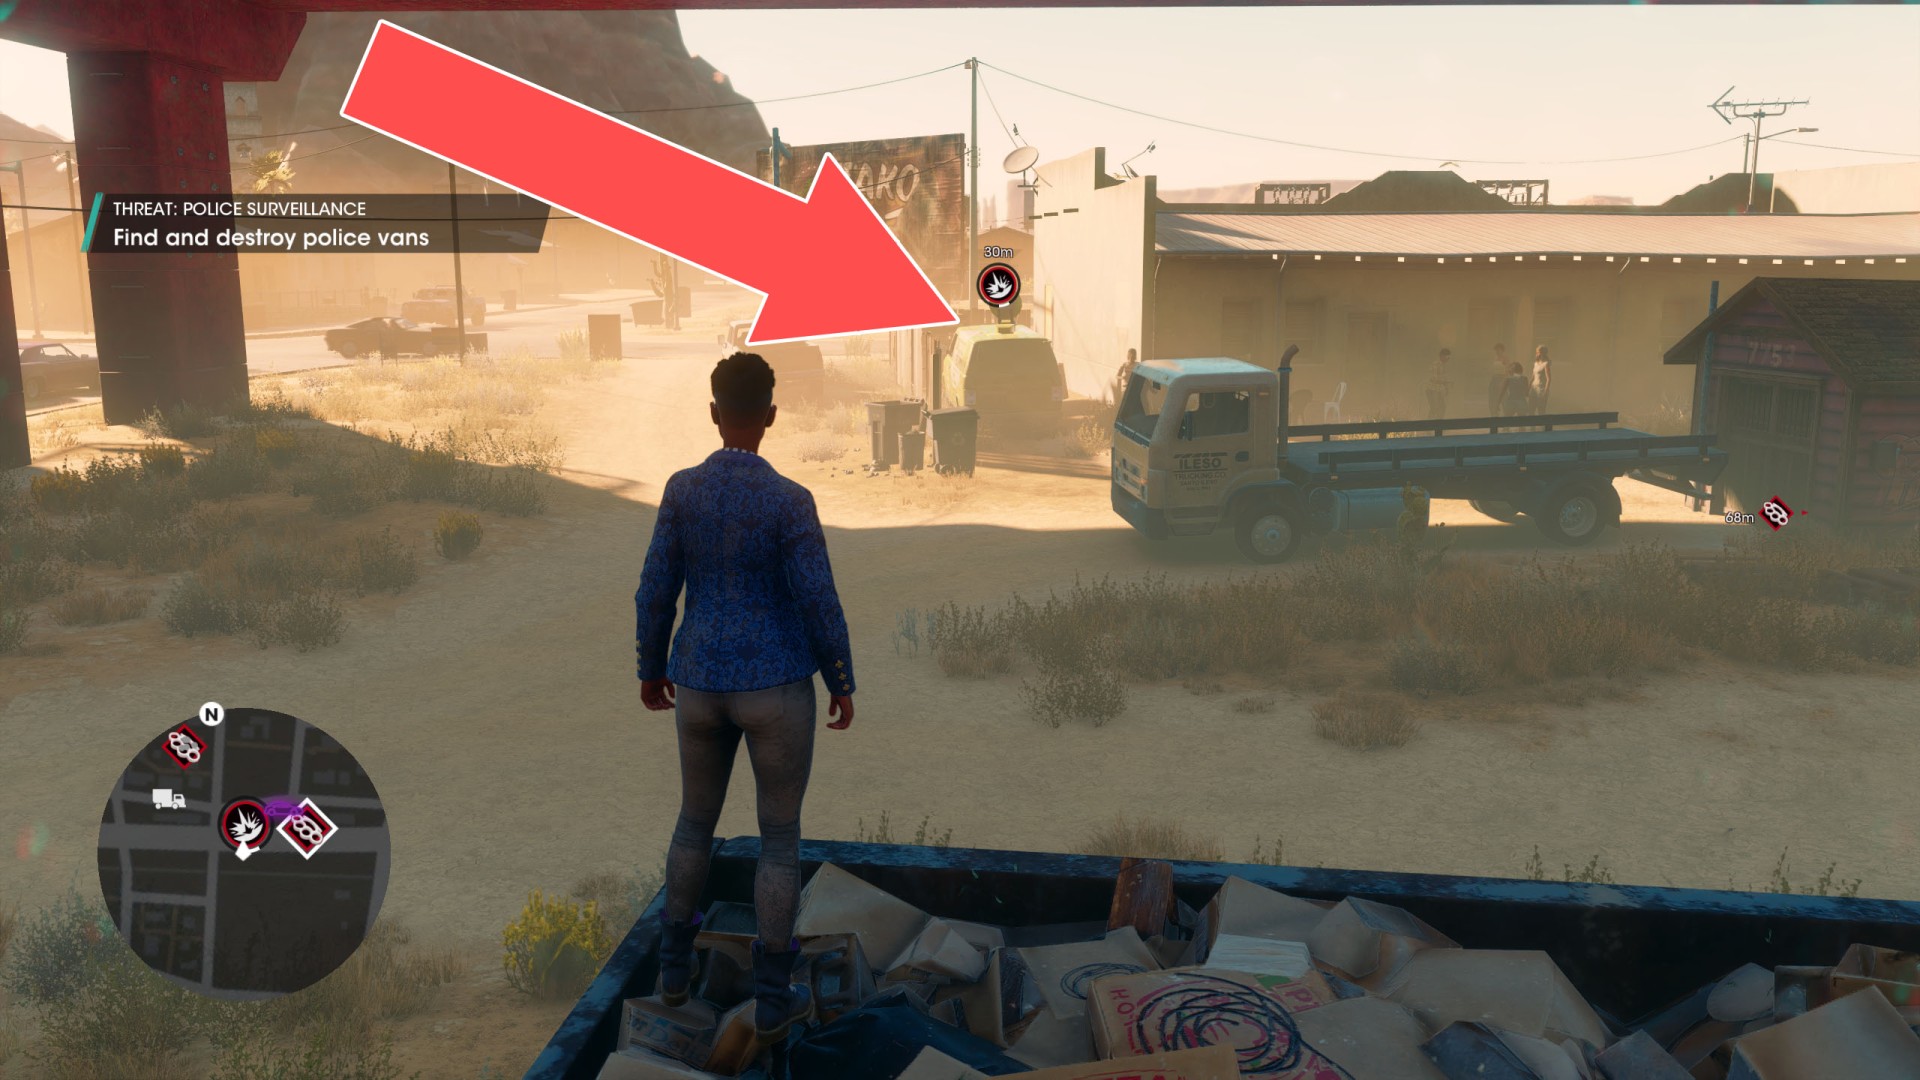
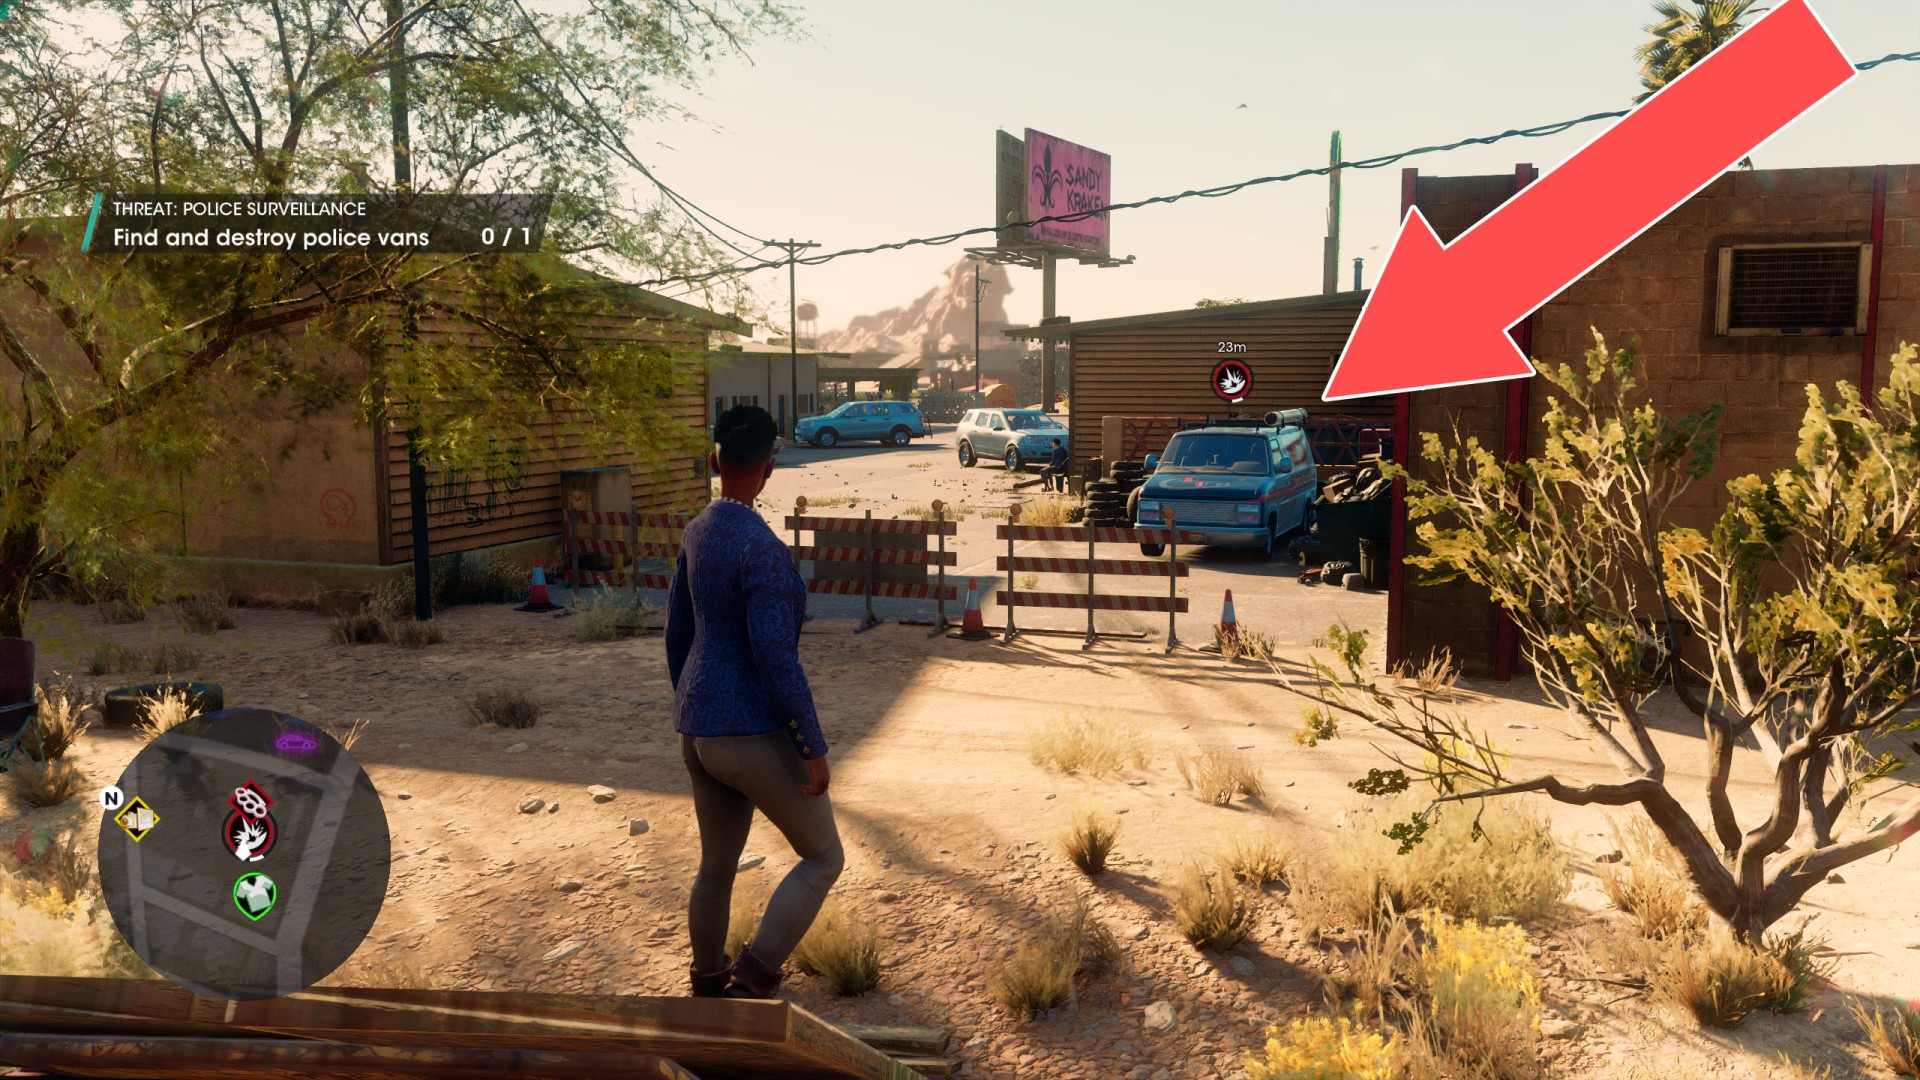
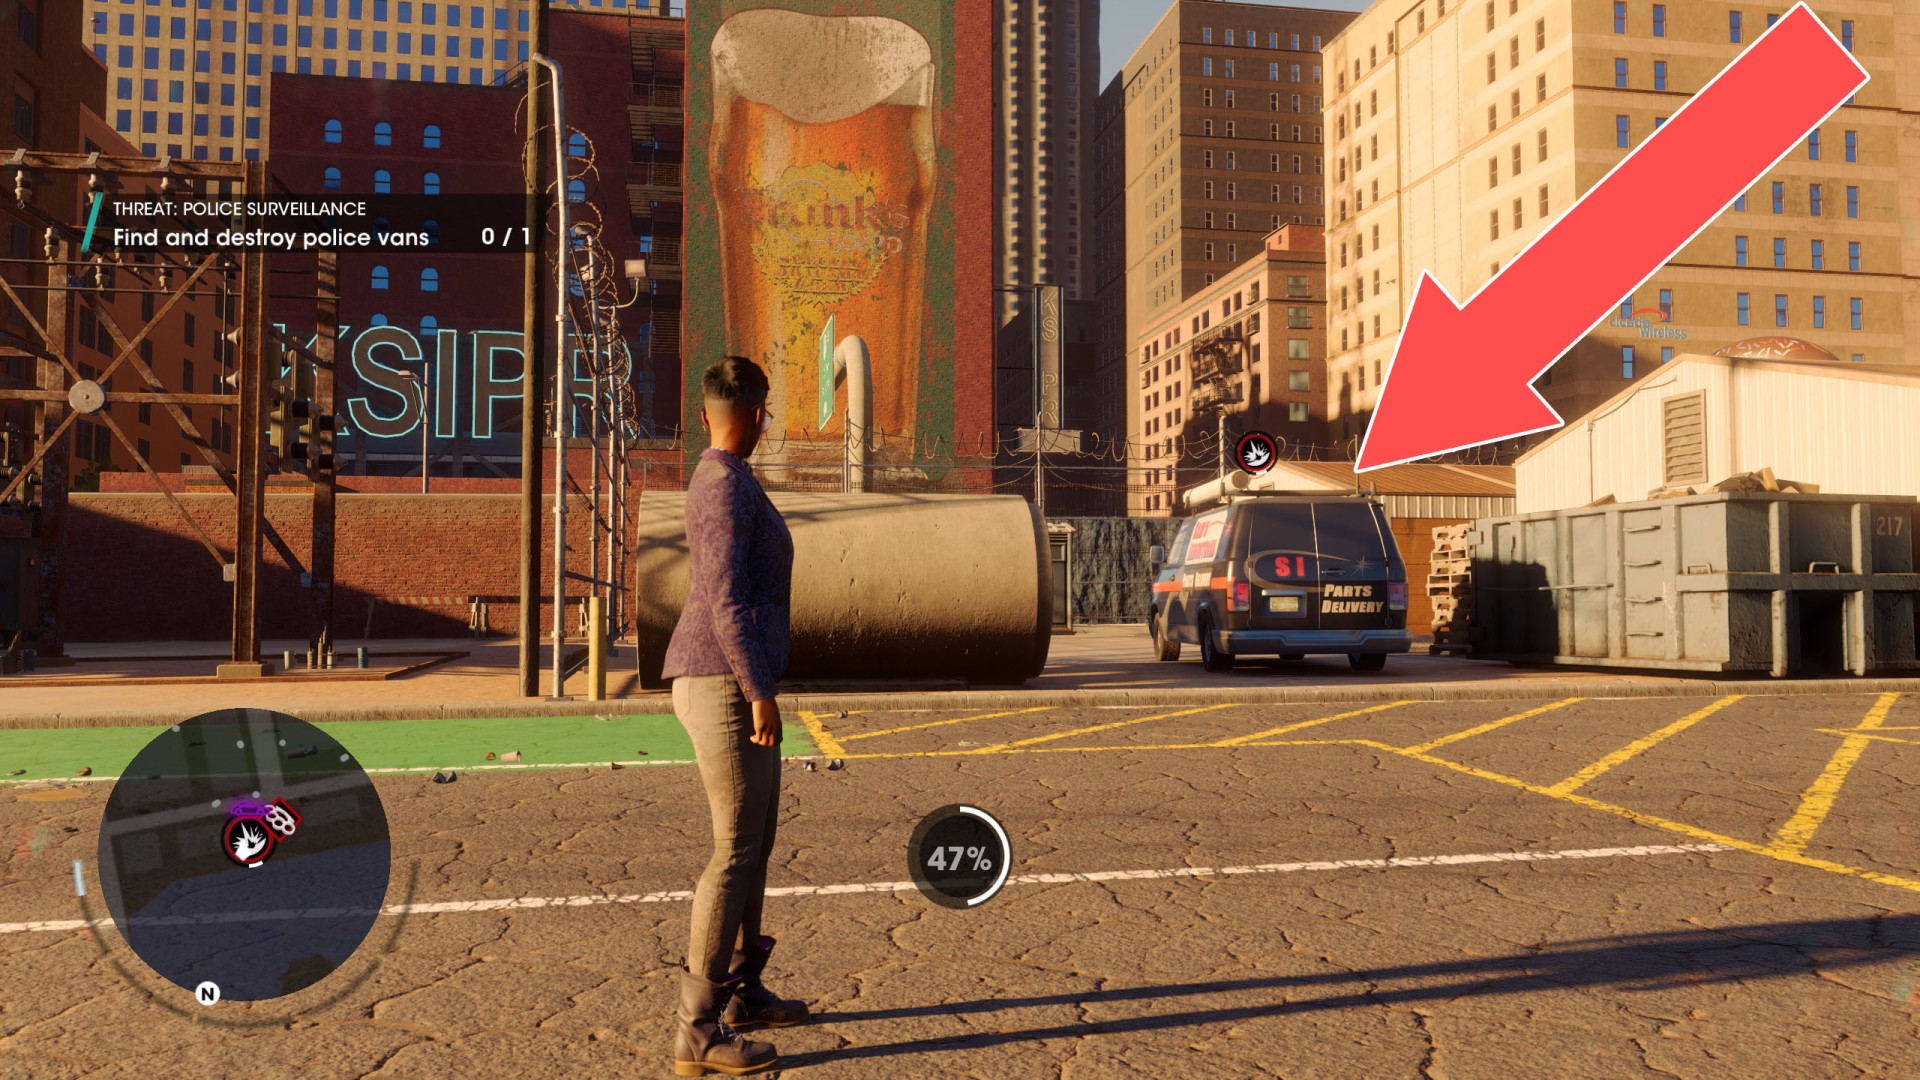
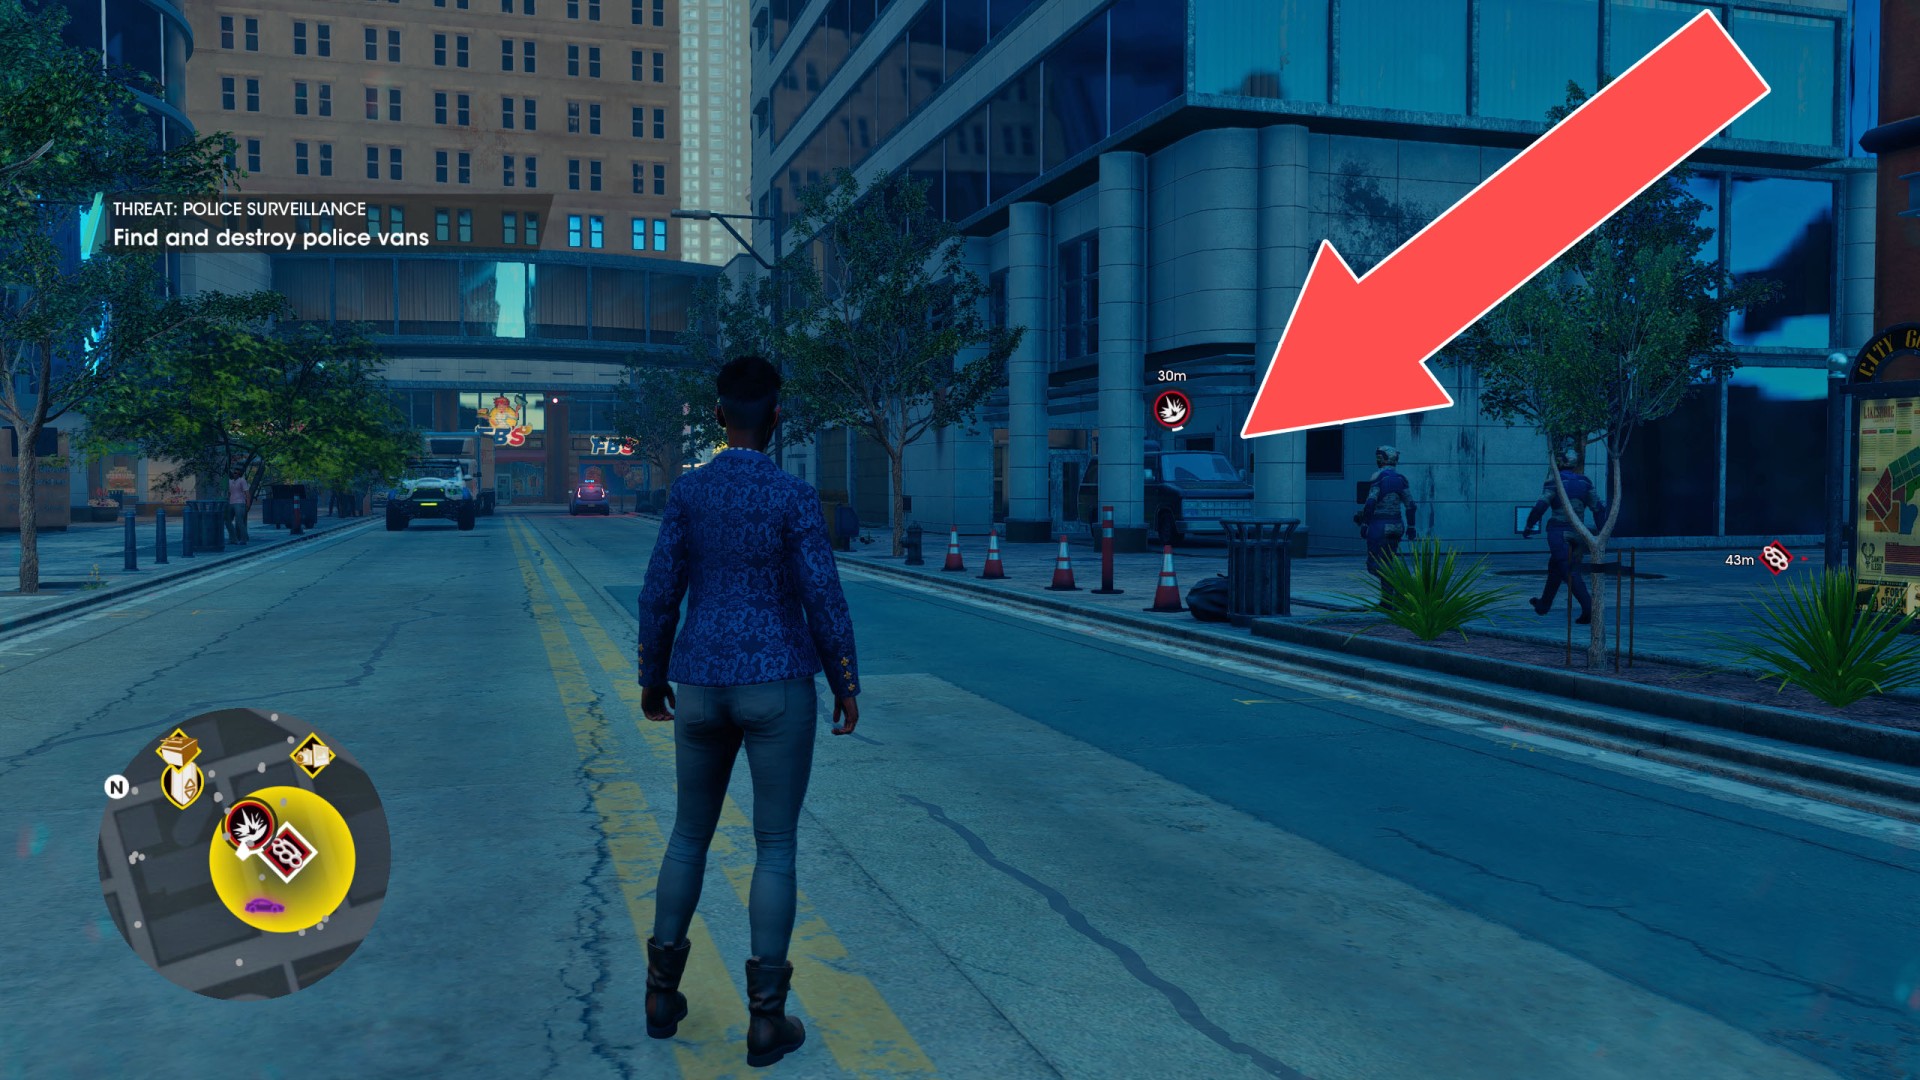
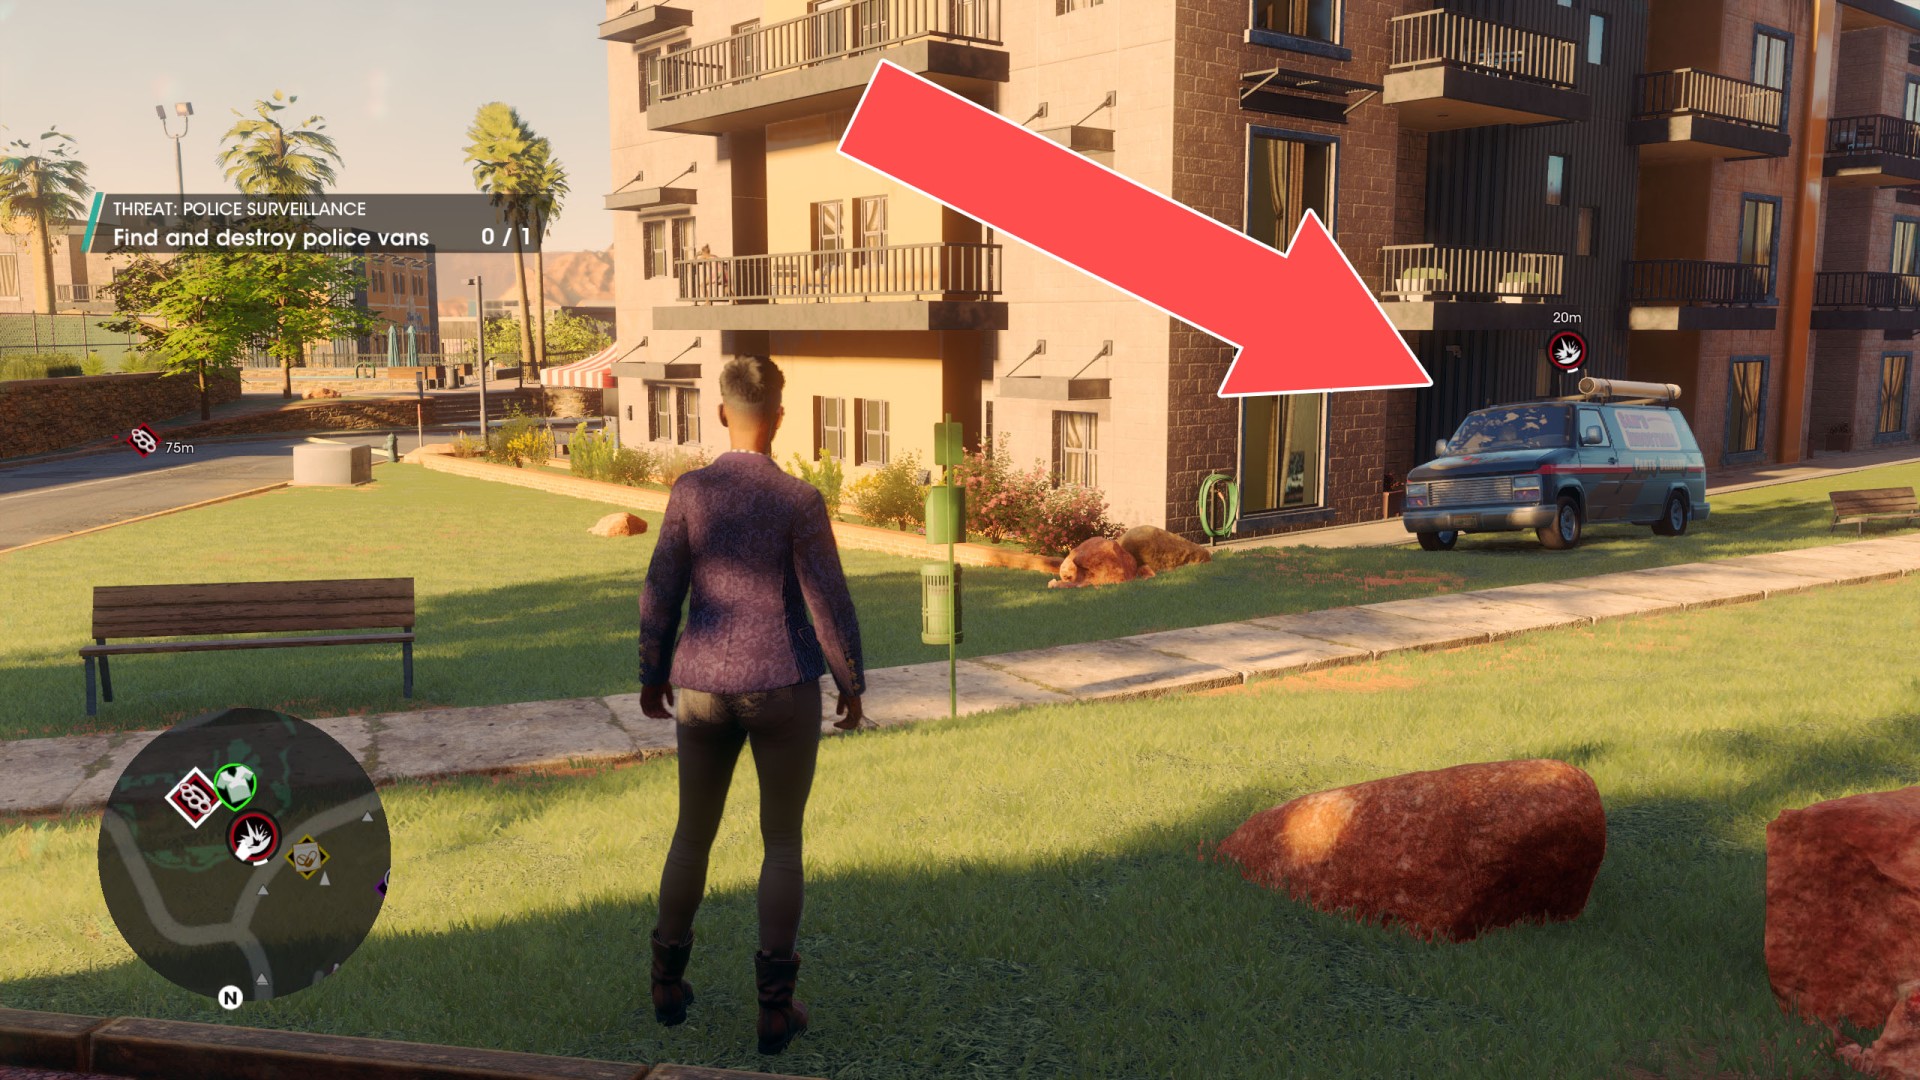
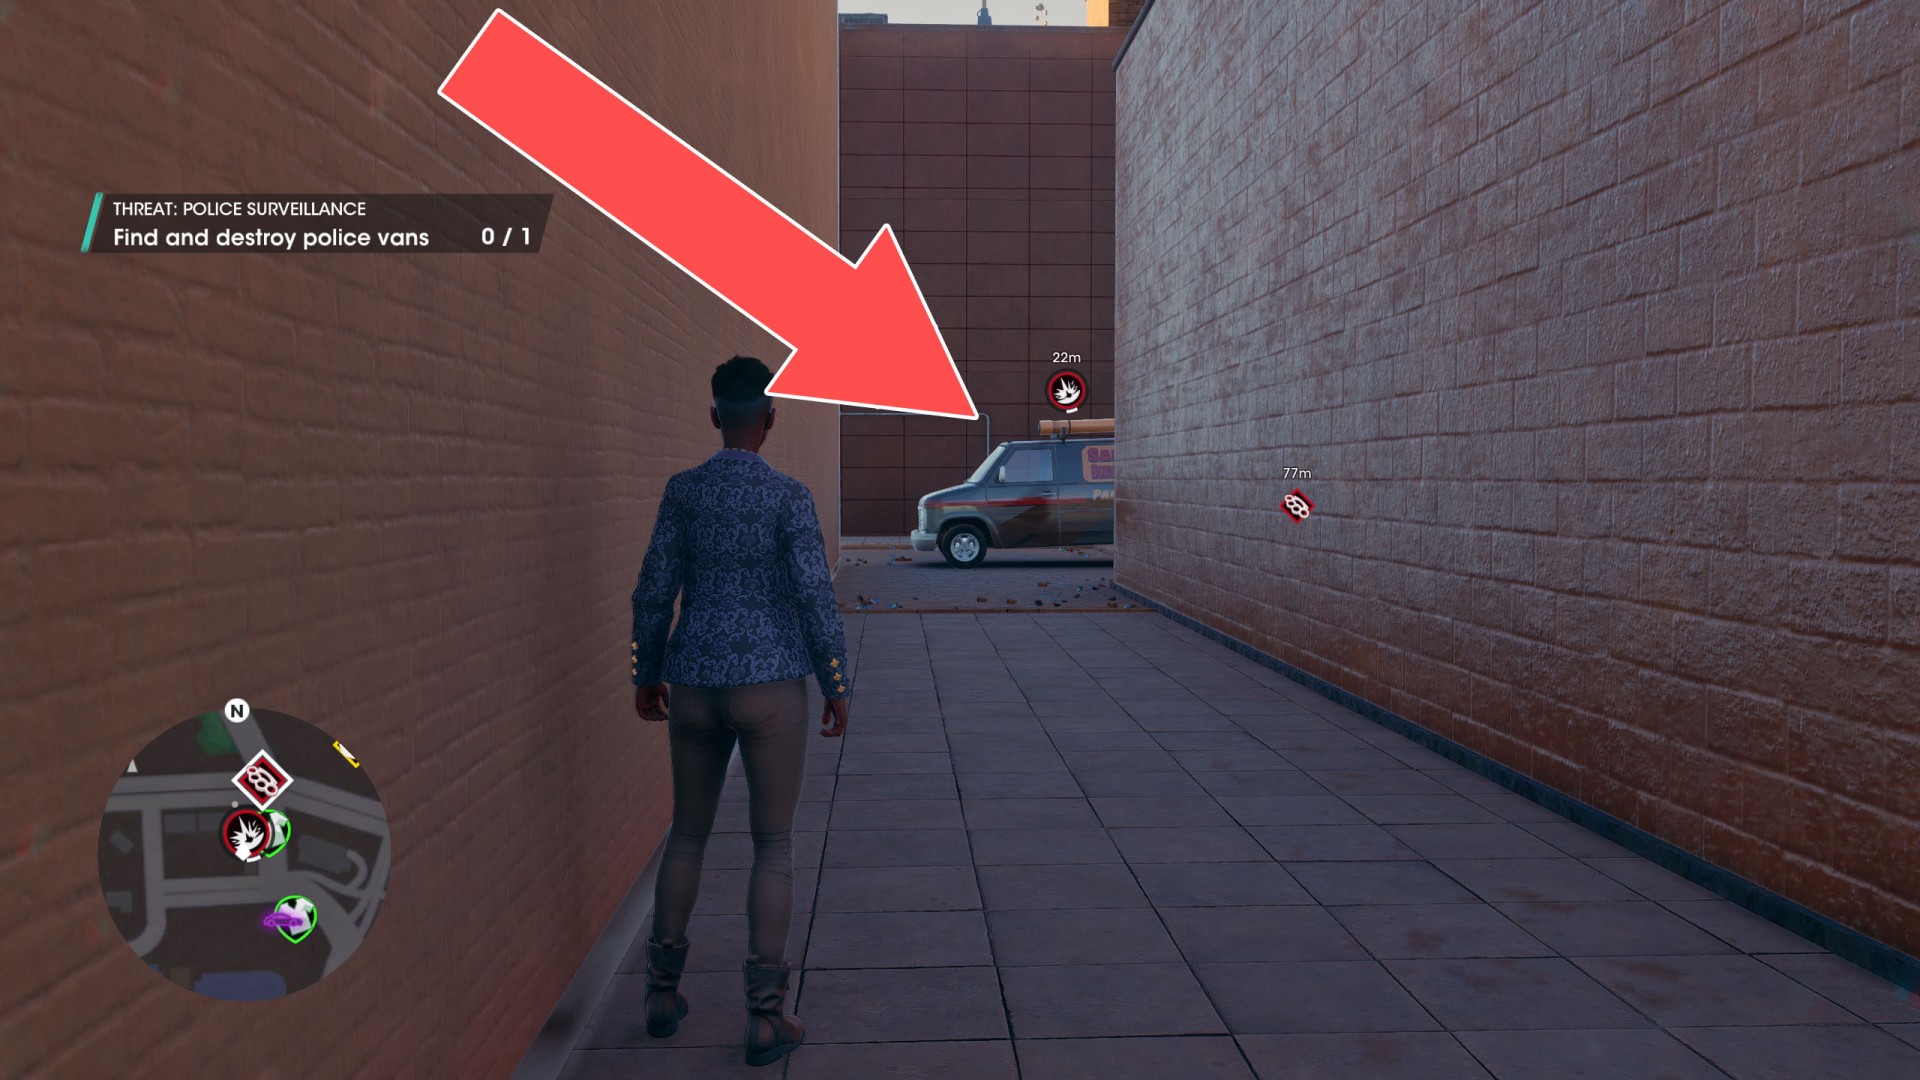
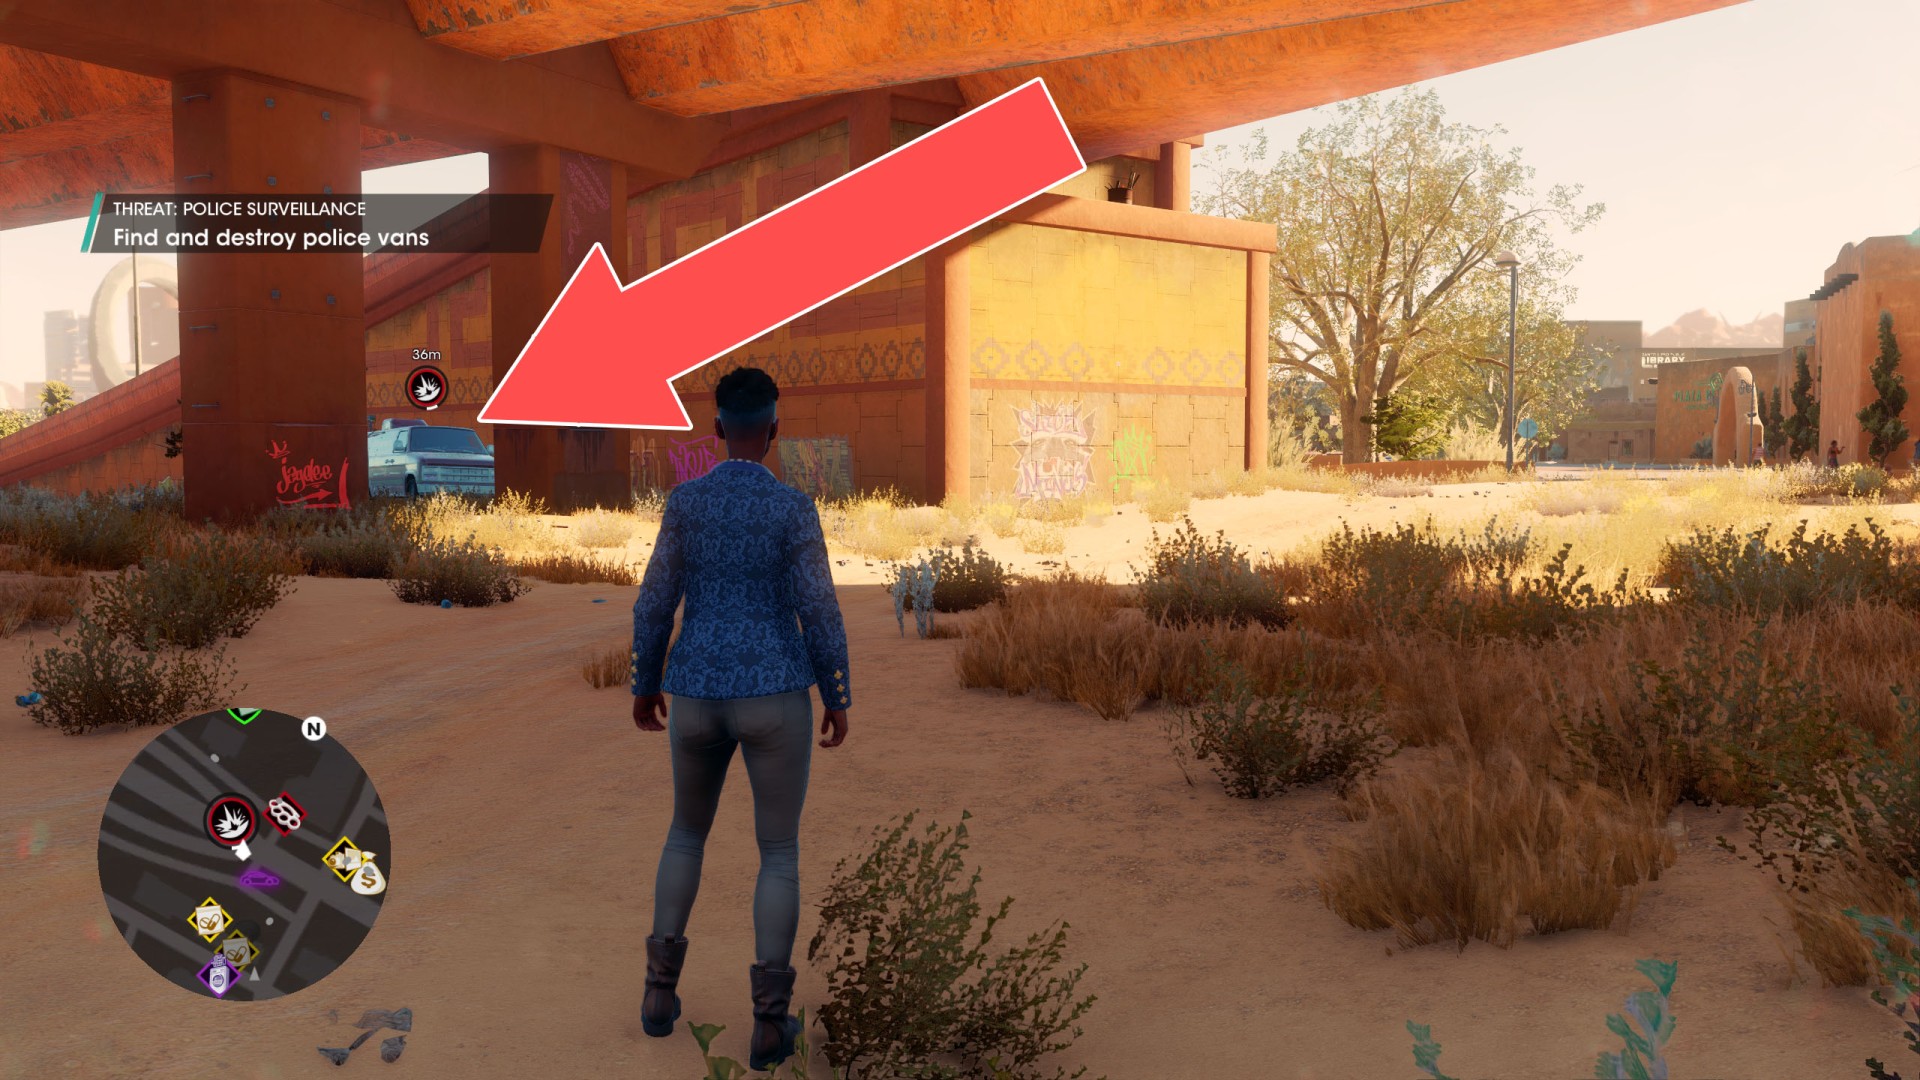
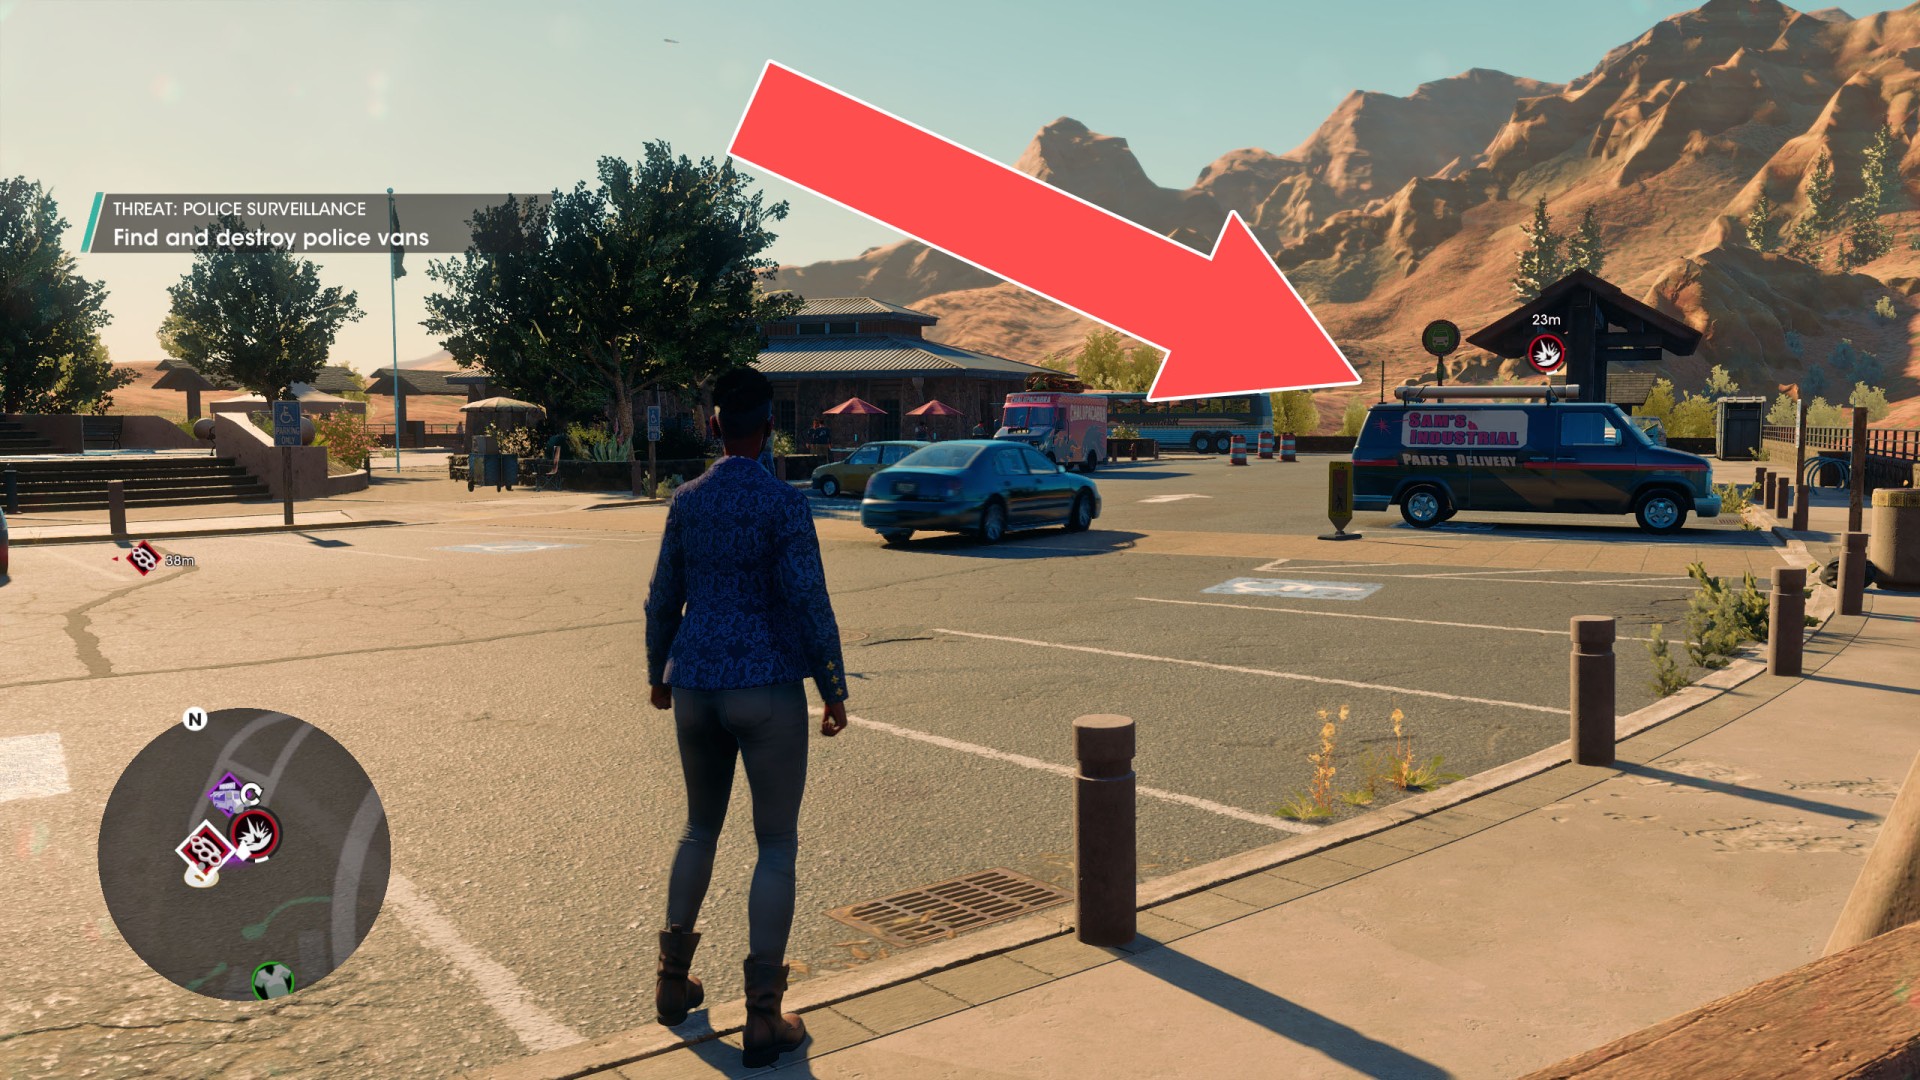
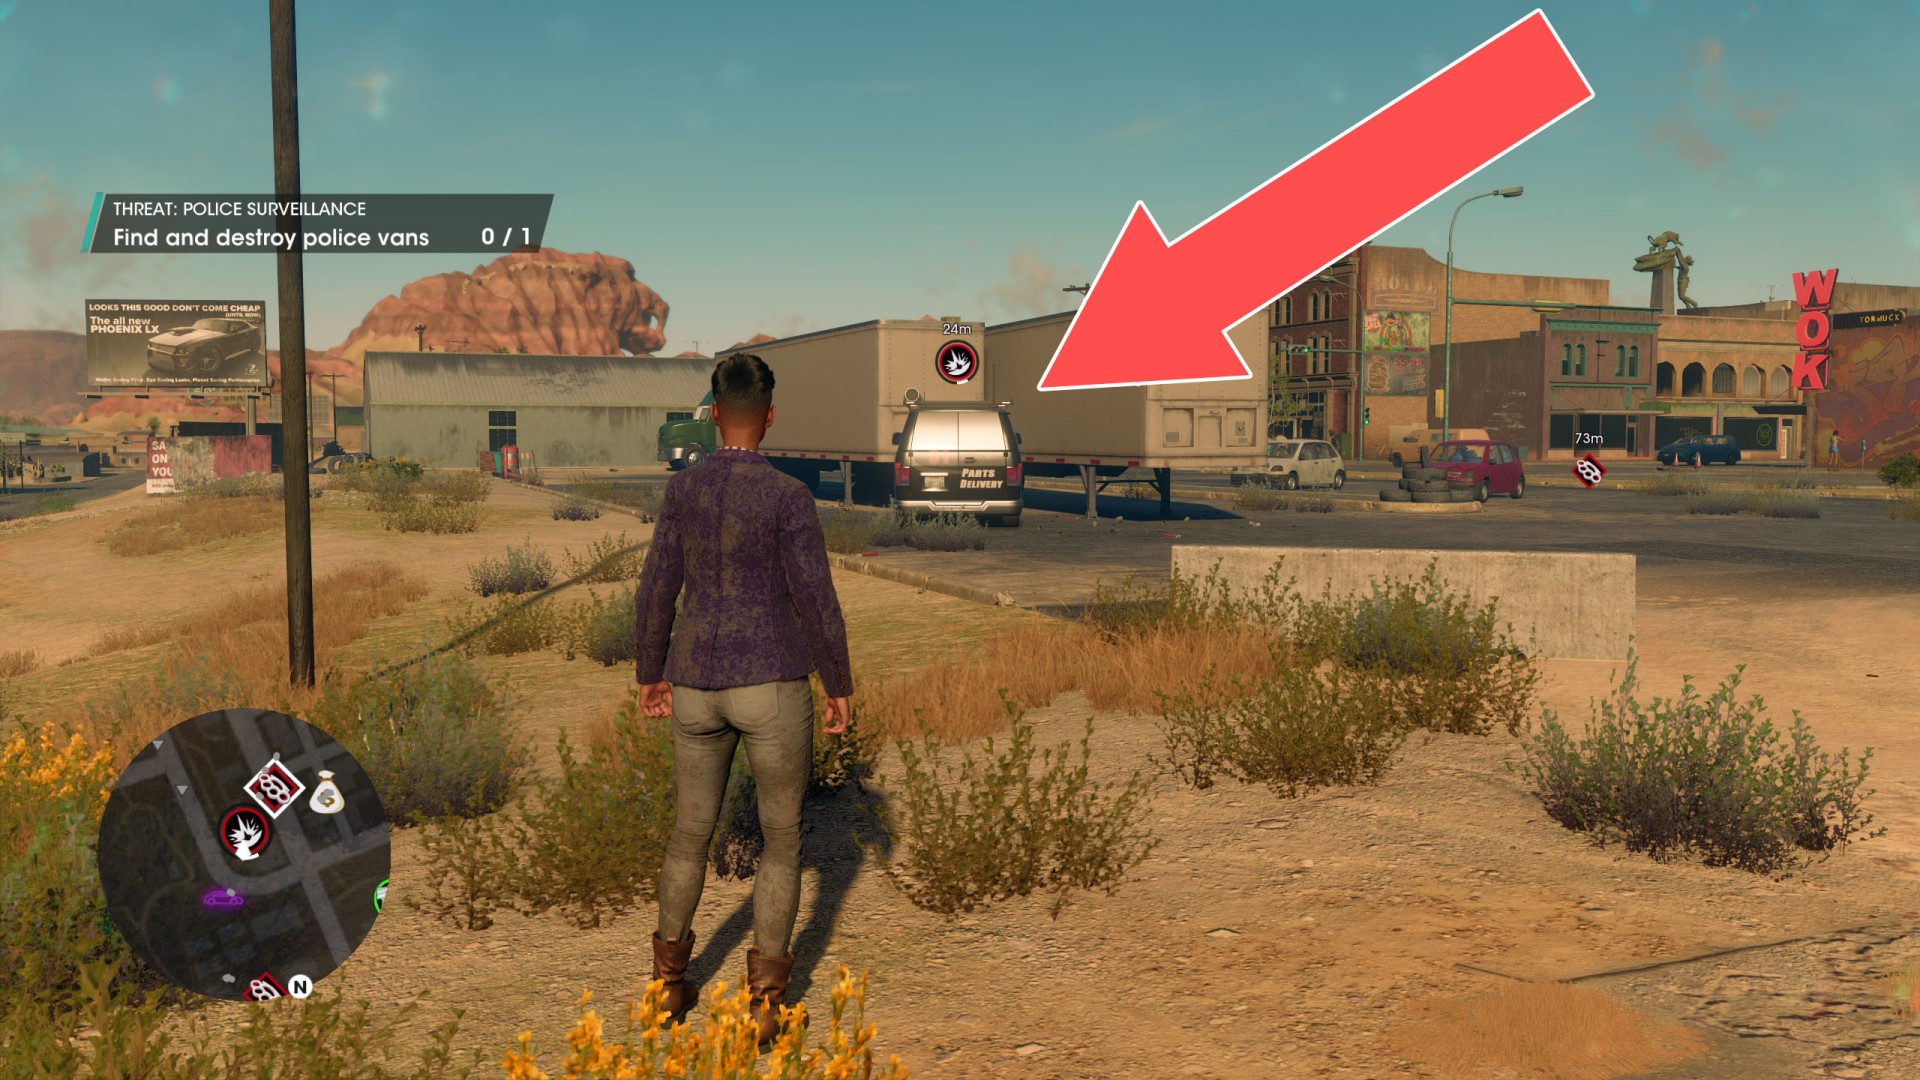
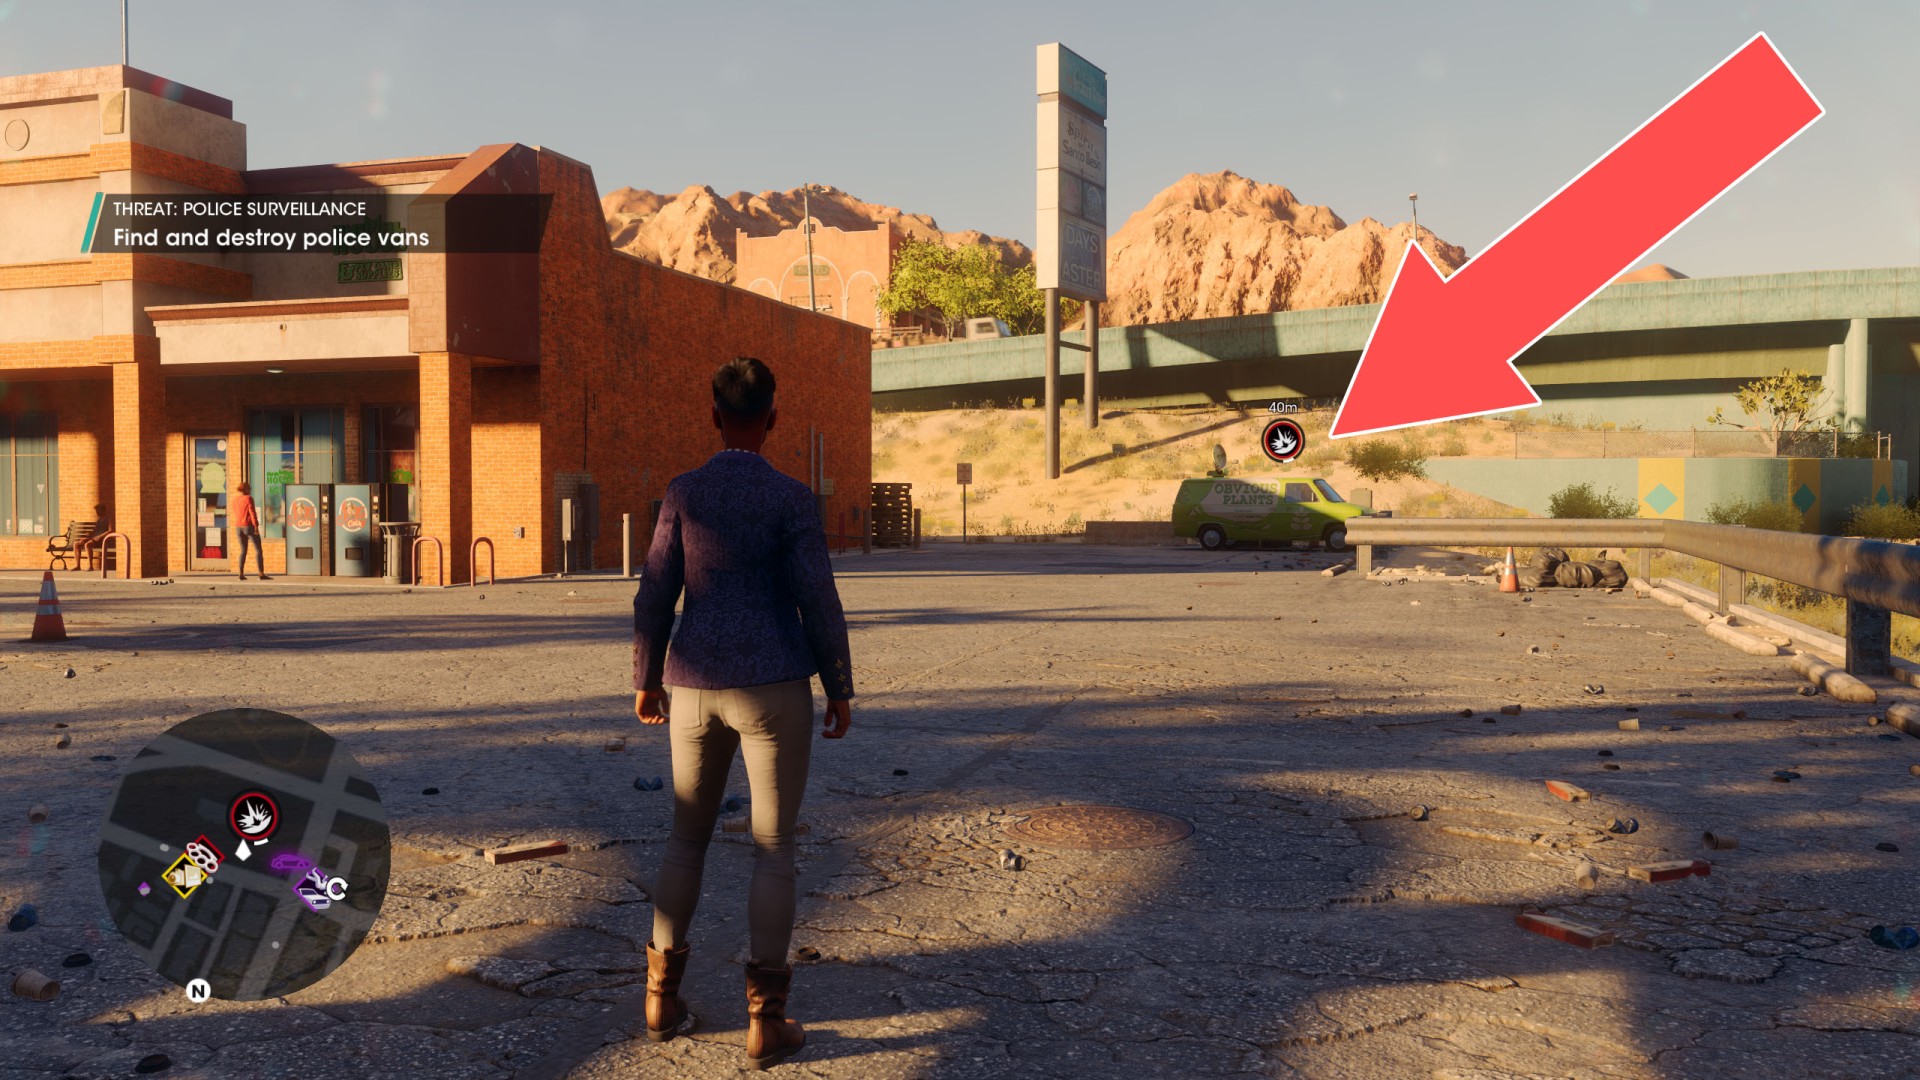
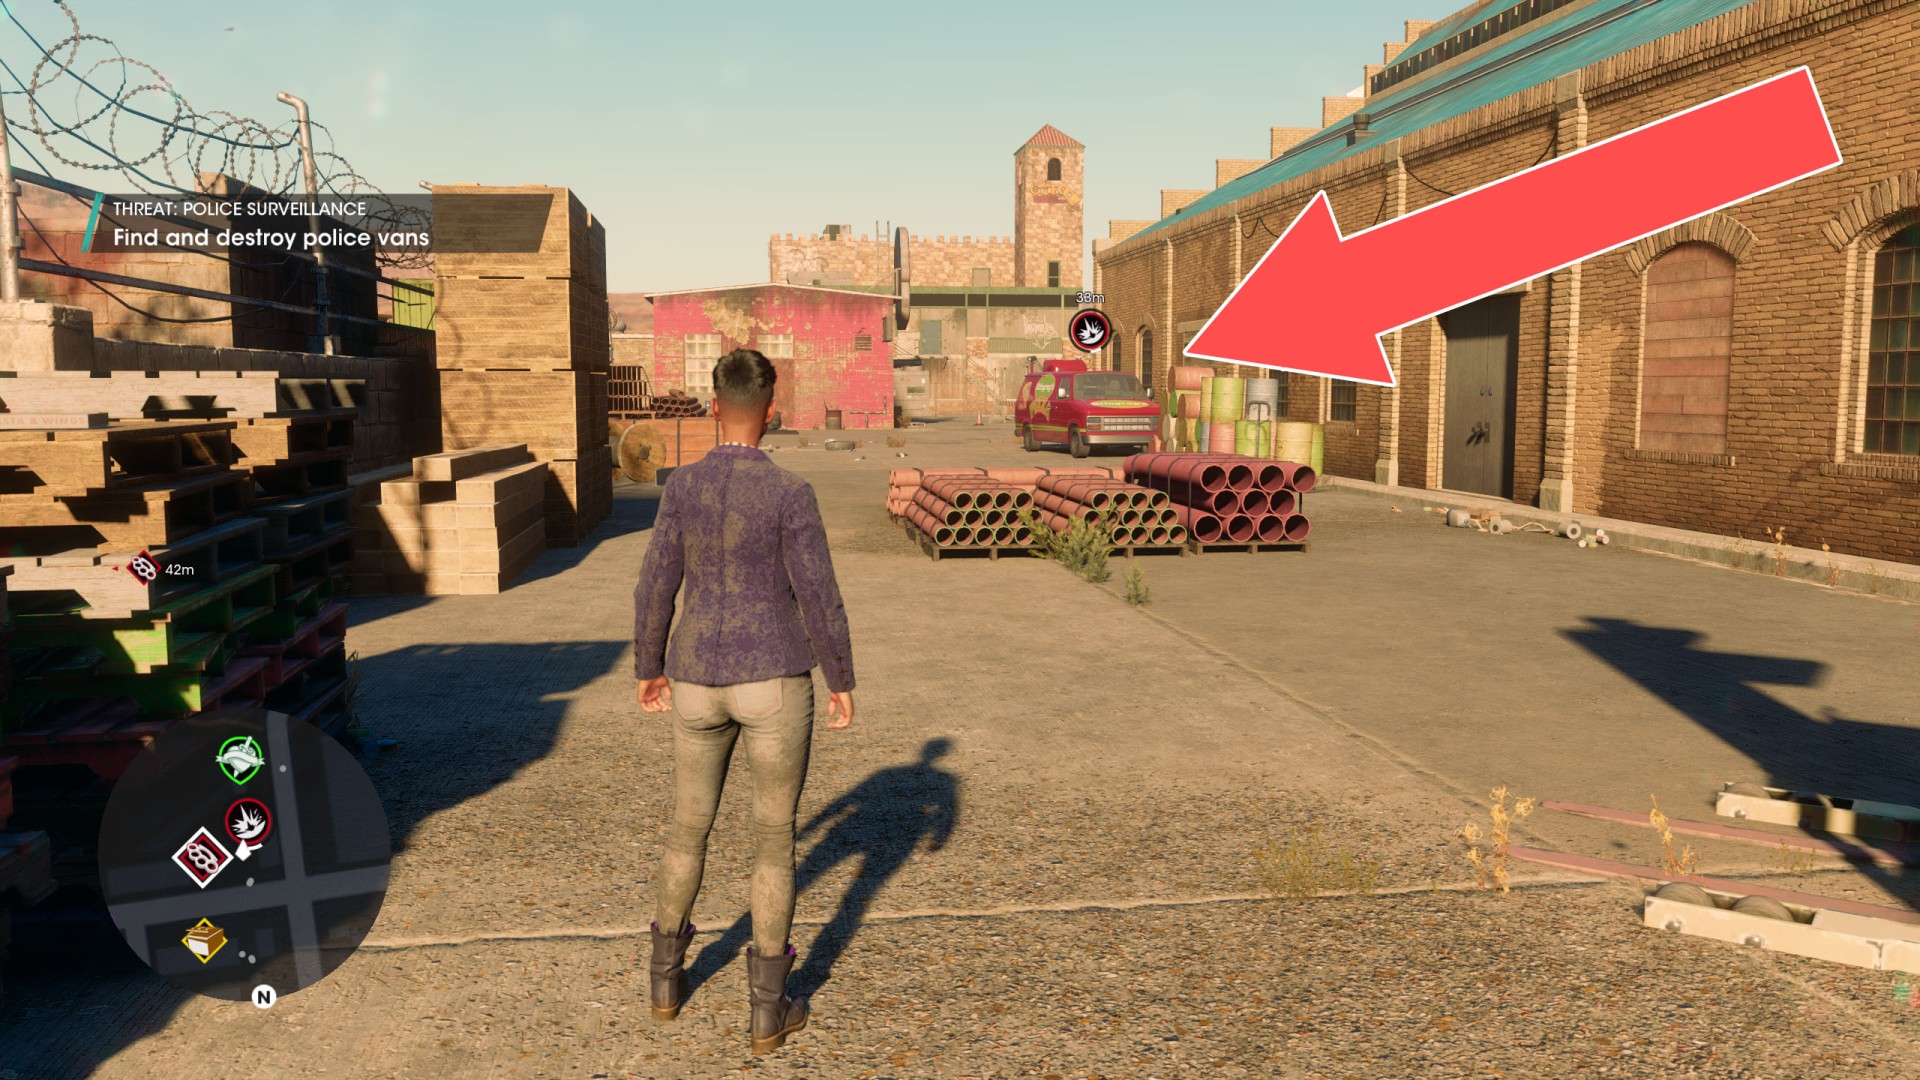
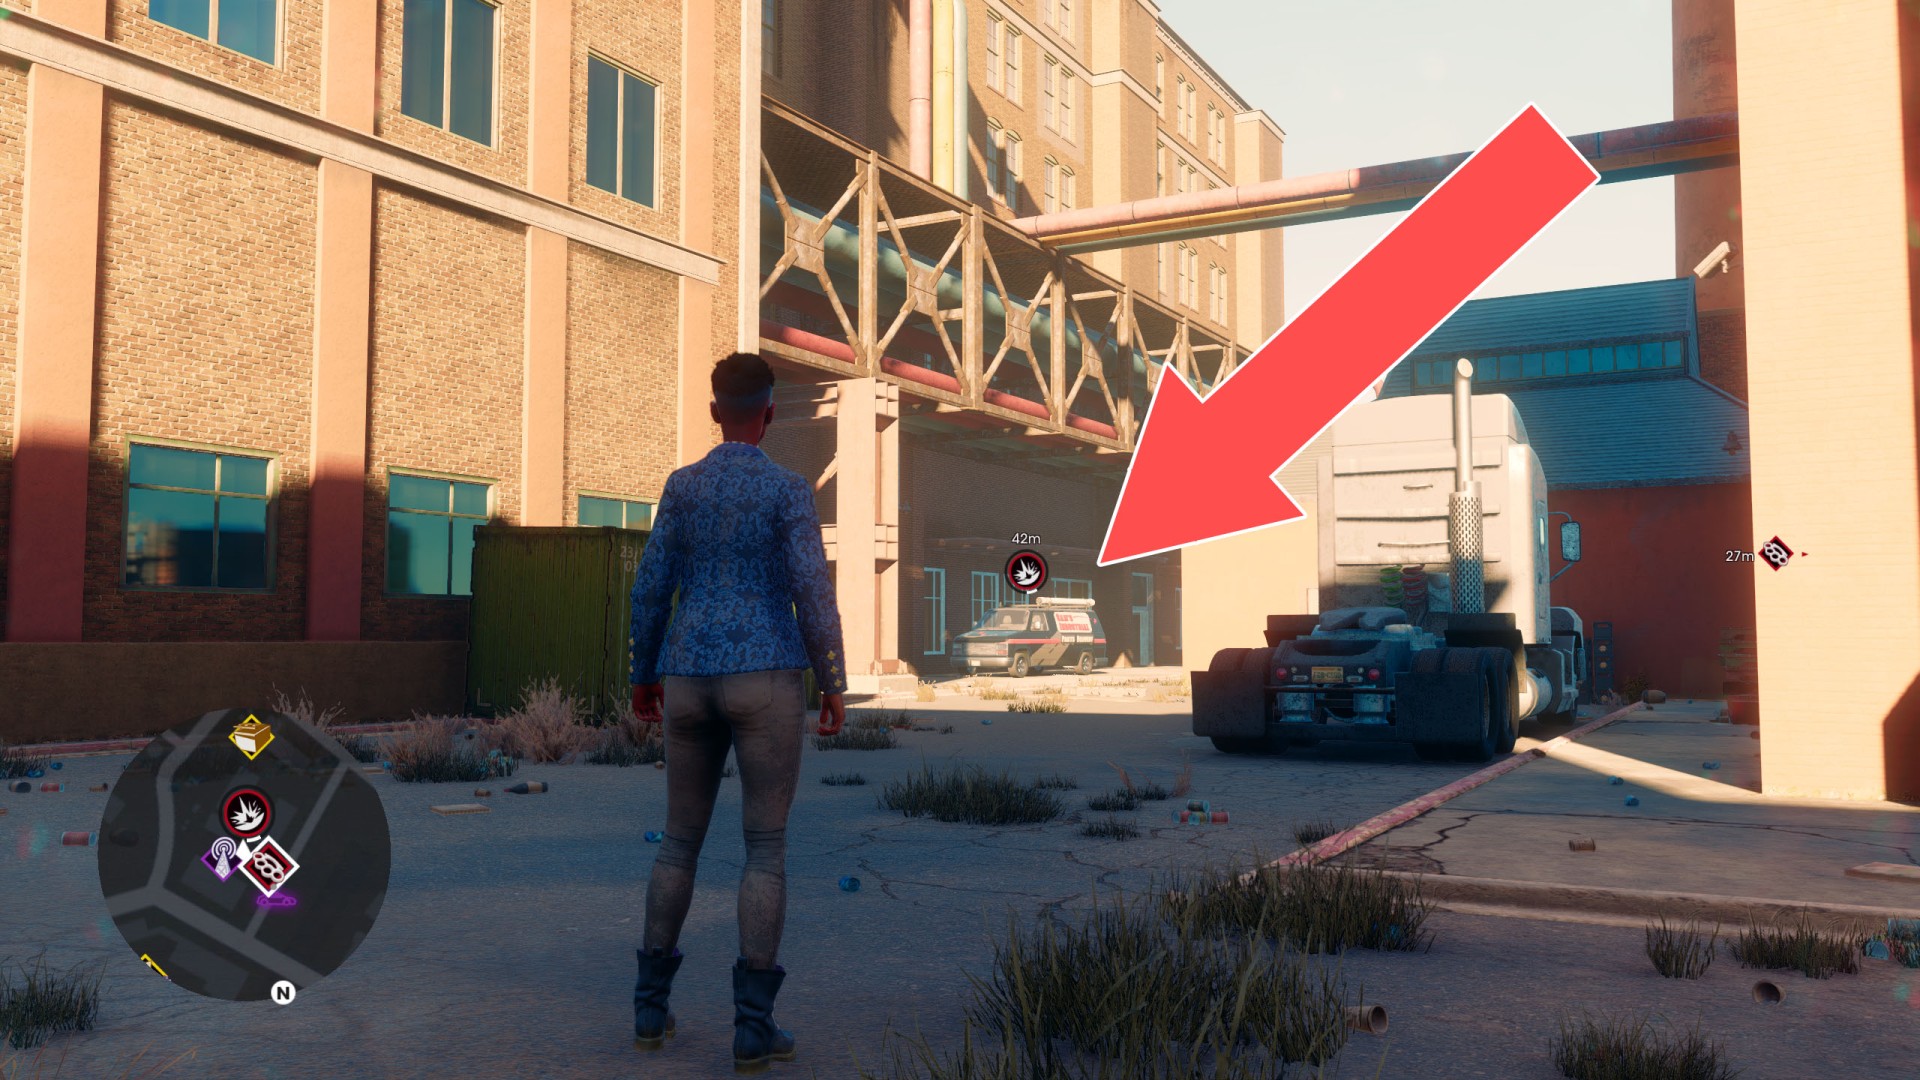
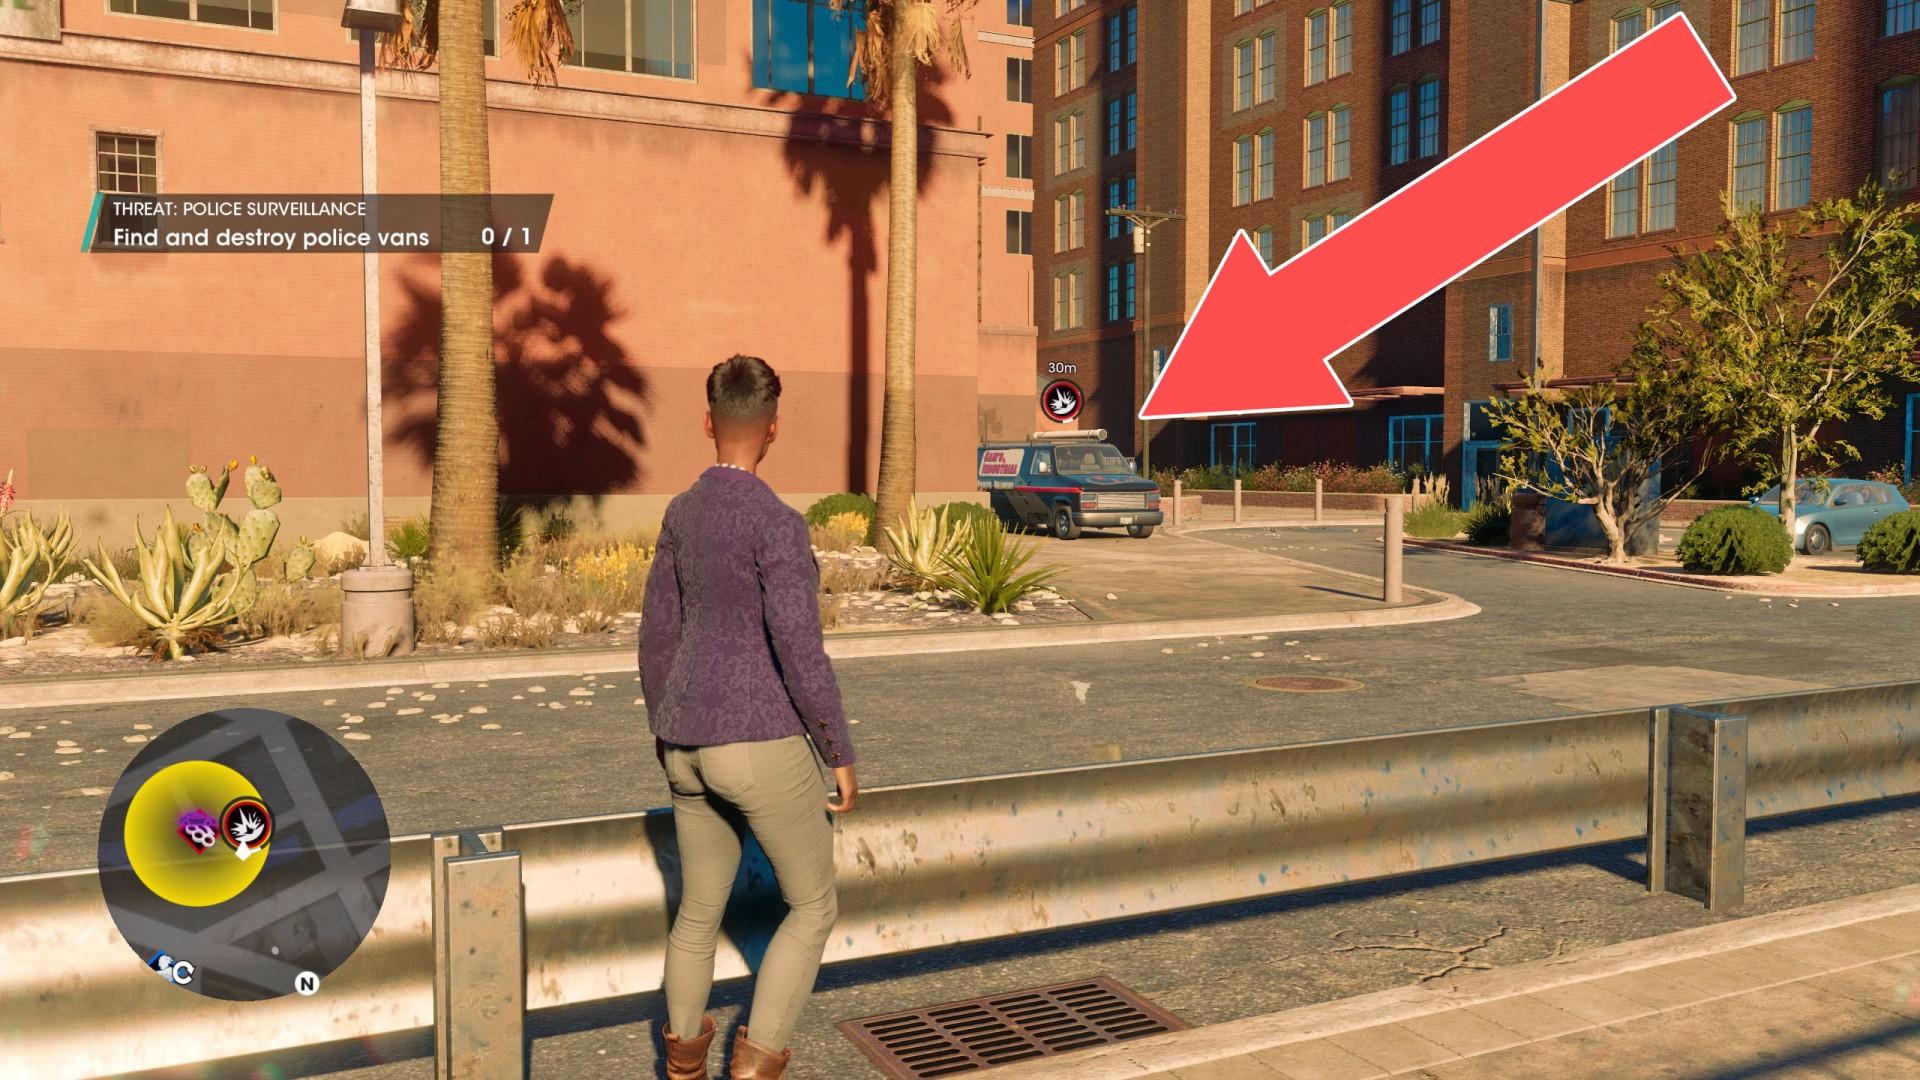
- Police Surveillance - Find and destroy the parked police van.
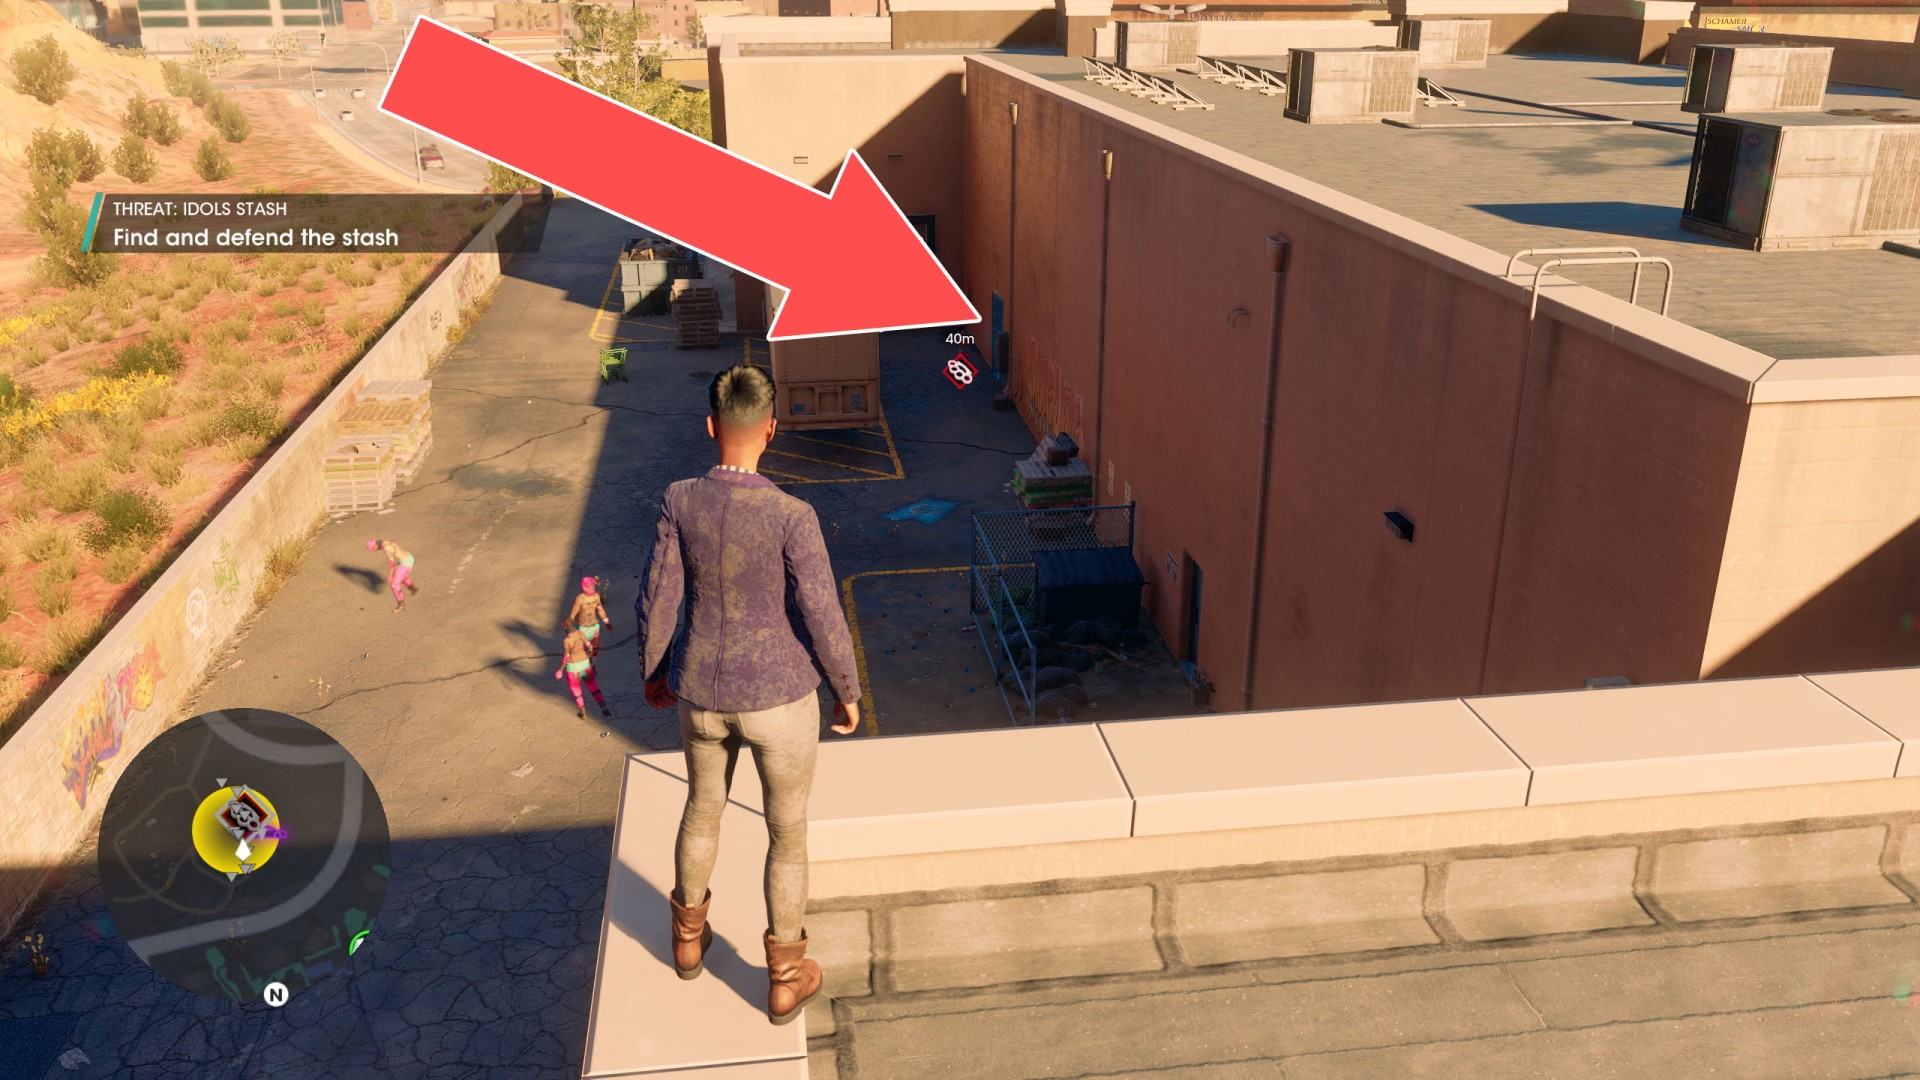
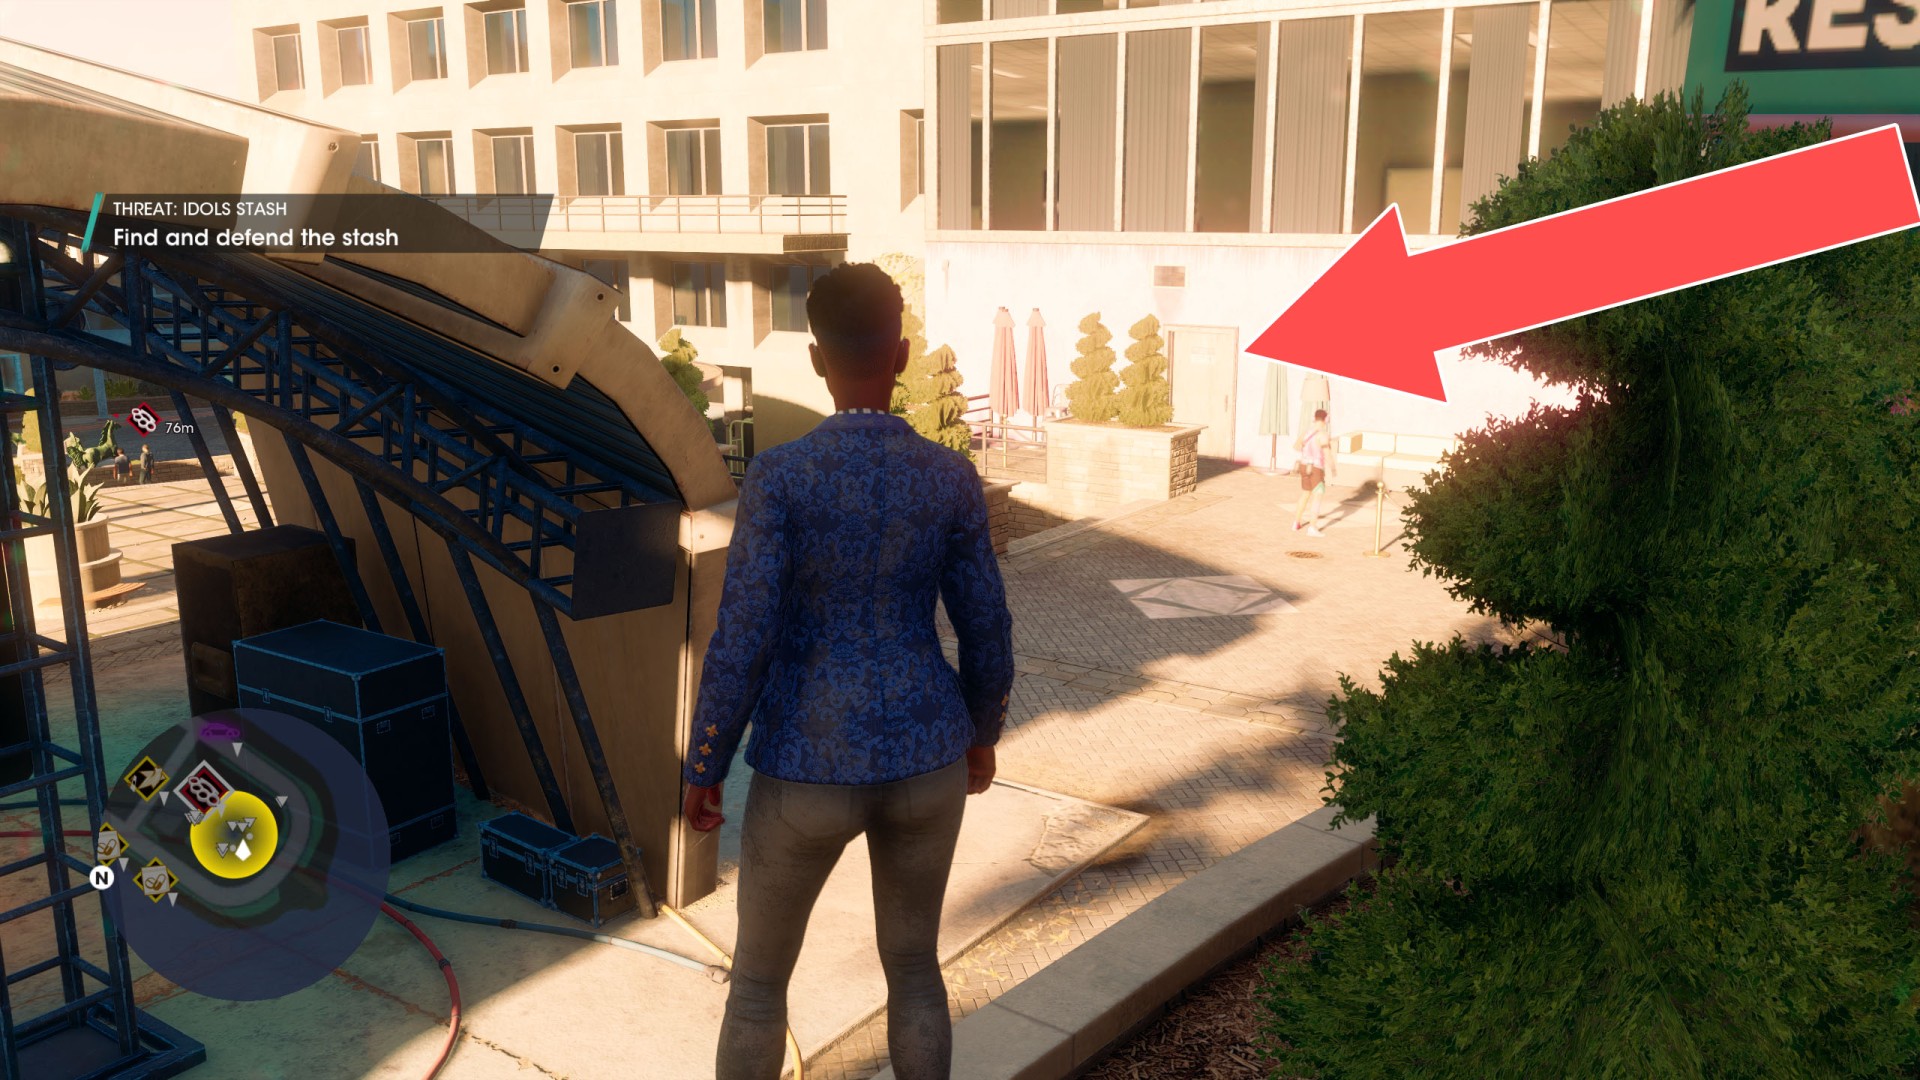
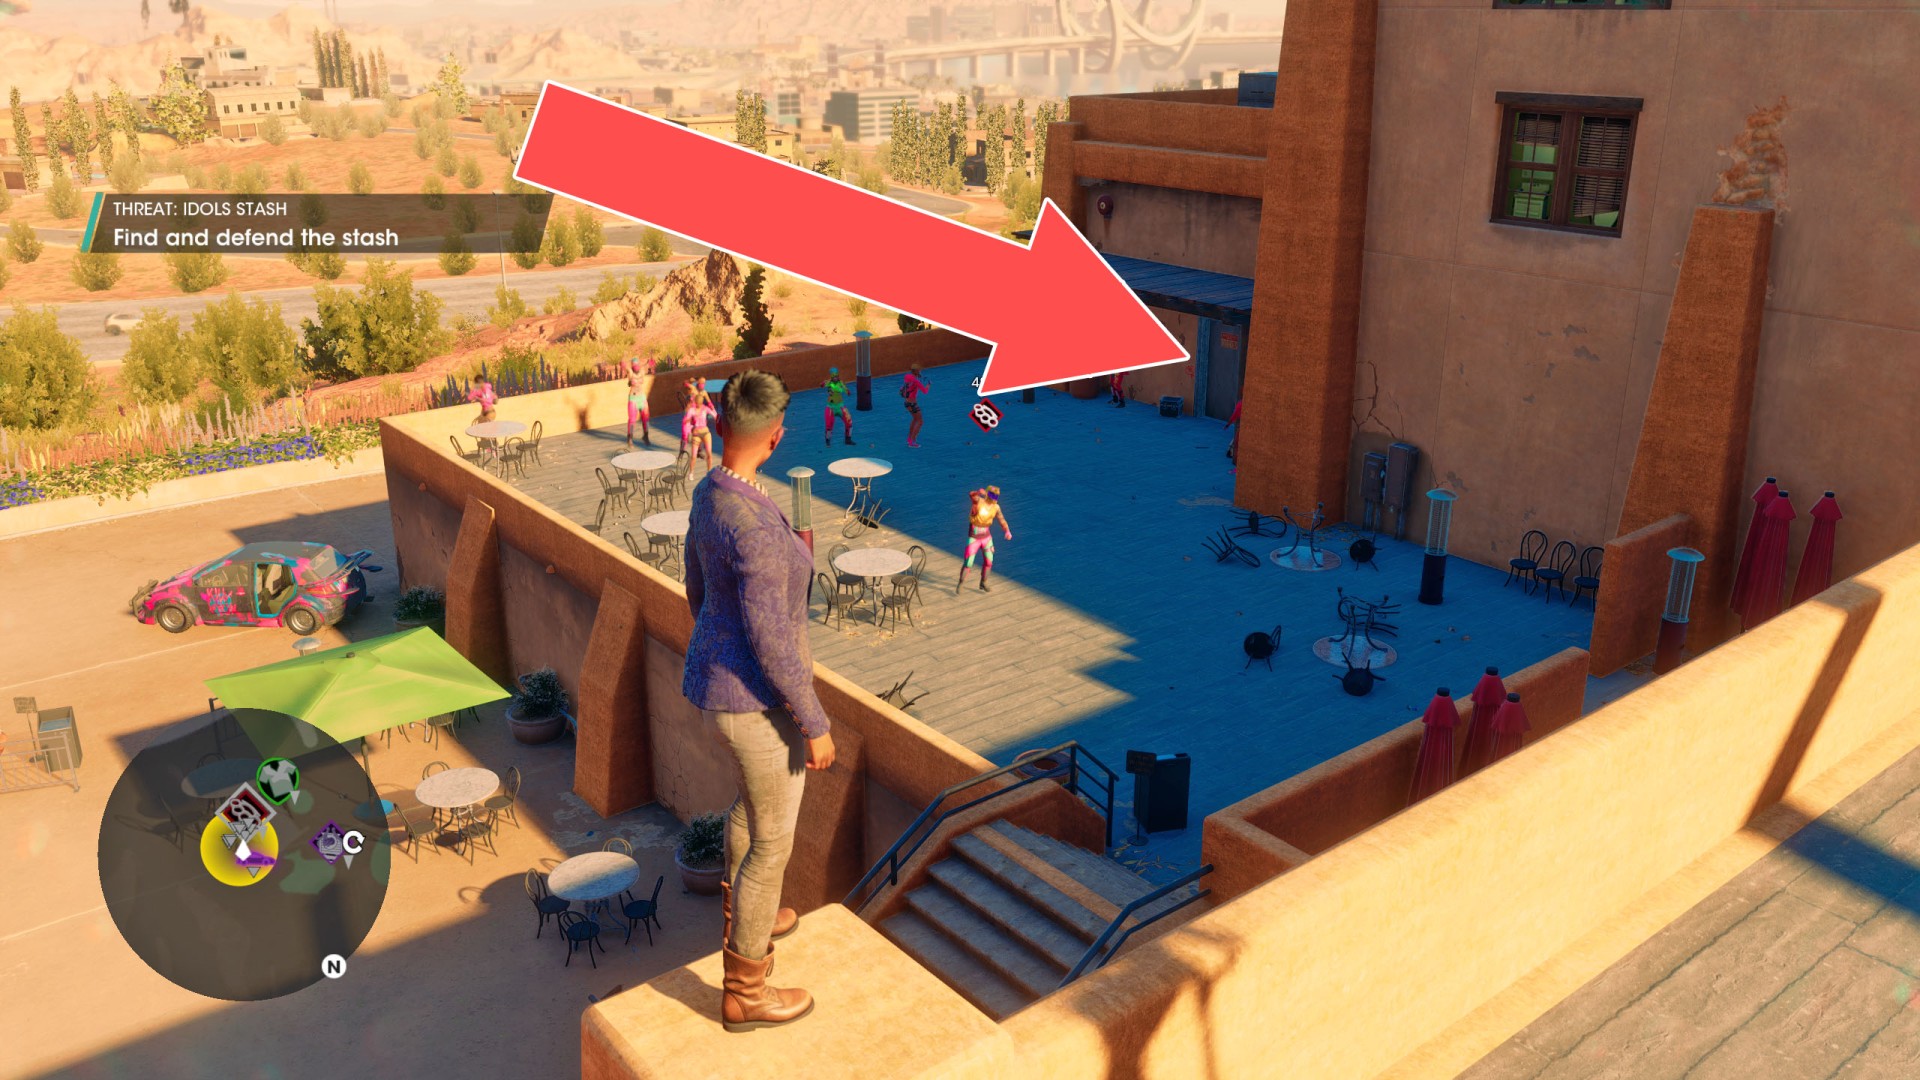
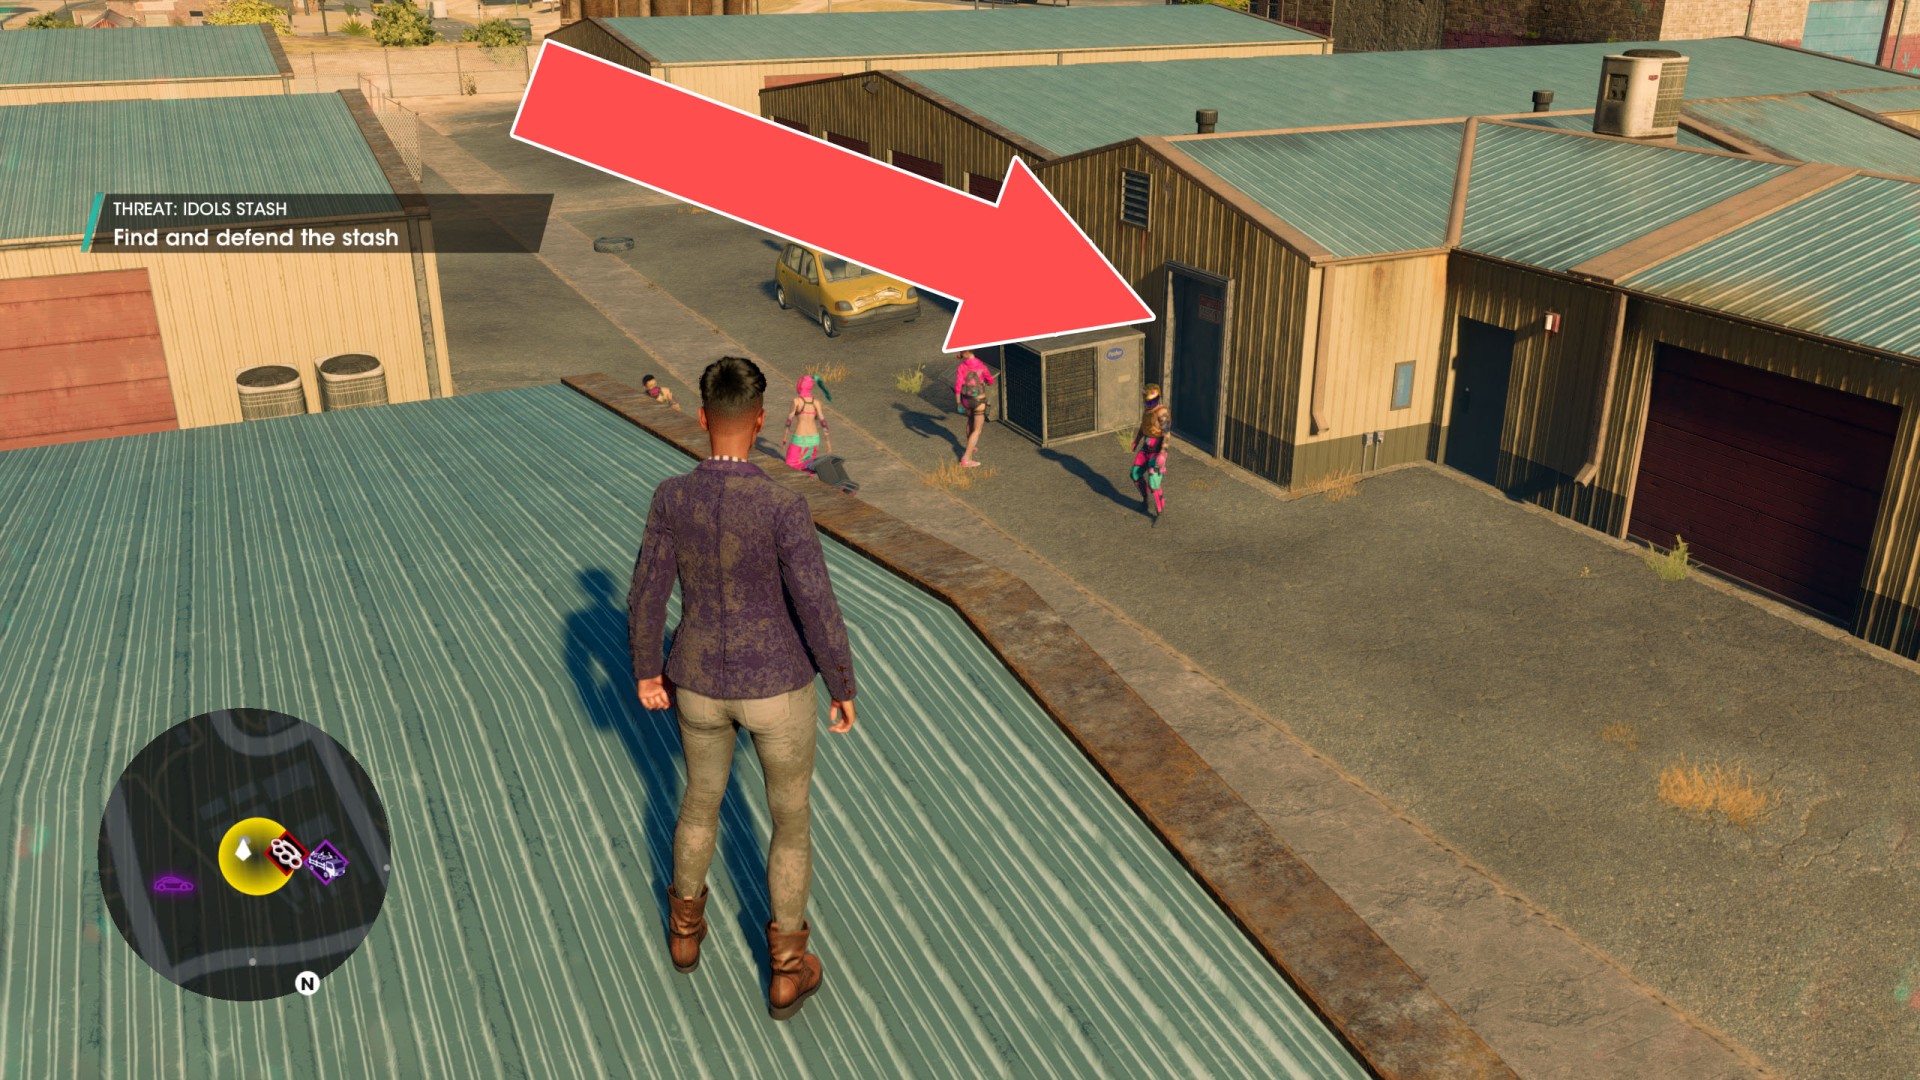
- Idols Stash - Find the stash and defend it against the waves of enemies until the 90-second countdown is up.
- Marshall Drones - Find and destroy all of the flying drones in the search area.
Index
- Idols Stash (Marina East)
- Idols Stash (Marina West)
- Idols Stash (Monte Vista)
- Idols Stash (Old Town East)
- Idols Stash (Old Town West)
- Idols Vandals (Marina East #1)
- Idols Vandals (Marina East #2)
- Idols Vandals (Marina East #3)
- Idols Vandals (Marina West #1)
- Idols Vandals (Marina West #2)
- Idols Vandals (Marina West #3)
- Idols Vandals (Monte Vista #1)
- Idols Vandals (Monte Vista #2)
- Idols Vandals (Monte Vista #3)
- Idols Vandals (Old Town East #1)
- Idols Vandals (Old Town East #2)
- Idols Vandals (Old Town East #3)
- Idols Vandals (Old Town West #1)
- Idols Vandals (Old Town West #2)
- Idols Vandals (Old Town West #3)
- Marshall Drones (East Flats)
- Marshall Drones (El Dorado)
- Marshall Drones (Lakeshore North)
- Marshall Drones (Lakeshore South)
- Marshall Drones (West Flats)
- Marshall Security (East Flats #1)
- Marshall Security (East Flats #2)
- Marshall Security (East Flats #3)
- Marshall Security (El Dorado #1)
- Marshall Security (El Dorado #2)
- Marshall Security (El Dorado #3)
- Marshall Security (Lakeshore North #1)
- Marshall Security (Lakeshore North #2)
- Marshall Security (Lakeshore North #3)
- Marshall Security (Lakeshore South #1)
- Marshall Security (Lakeshore South #2)
- Marshall Security (Lakeshore South #3)
- Marshall Security (West Flats #1)
- Marshall Security (West Flats #2)
- Marshall Security (West Flats #3)
- Panteros Cars (East Providencia)
- Panteros Cars (Mercado)
- Panteros Cars (Smelterville East)
- Panteros Cars (Smelterville West)
- Panteros Cars (West Providencia)
- Panteros Muscle (East Providencia #1)
- Panteros Muscle (East Providencia #2)
- Panteros Muscle (East Providencia #3)
- Panteros Muscle (Mercado #1)
- Panteros Muscle (Mercado #2)
- Panteros Muscle (Mercado #3)
- Panteros Muscle (Smelterville East #1)
- Panteros Muscle (Smelterville East #2)
- Panteros Muscle (Smelterville East #3)
- Panteros Muscle (Smelterville West #1)
- Panteros Muscle (Smelterville West #2)
- Panteros Muscle (Smelterville West #3)
- Panteros Muscle (West Providencia #1)
- Panteros Muscle (West Providencia #2)
- Panteros Muscle (West Providencia #3)
- Police Surveillance (East Flats)
- Police Surveillance (East Providencia)
- Police Surveillance (El Dorado)
- Police Surveillance (Lakeshore North)
- Police Surveillance (Lakeshore South)
- Police Surveillance (Marina East)
- Police Surveillance (Marina West)
- Police Surveillance (Mercado)
- Police Surveillance (Monte Vista)
- Police Surveillance (Old Town East)
- Police Surveillance (Old Town West)
- Police Surveillance (Smelterville East)
- Police Surveillance (Smelterville West)
- Police Surveillance (West Flats)
- Police Surveillance (West Providencia)
All known locations on the map Santo Ileso
 Idols Stash (Marina East)▶ show the map ◀
Idols Stash (Marina West)▶ show the map ◀
Idols Stash (Monte Vista)▶ show the map ◀
Idols Stash (Old Town East)▶ show the map ◀
Idols Stash (Old Town West)▶ show the map ◀
Idols Vandals (Marina East #1)▶ show the map ◀
Idols Vandals (Marina East #2)▶ show the map ◀
Idols Vandals (Marina East #3)▶ show the map ◀
Idols Vandals (Marina West #1)▶ show the map ◀
Idols Vandals (Marina West #2)▶ show the map ◀
Idols Vandals (Marina West #3)▶ show the map ◀
Idols Vandals (Monte Vista #1)▶ show the map ◀
Idols Vandals (Monte Vista #2)▶ show the map ◀
Idols Vandals (Monte Vista #3)▶ show the map ◀
Idols Vandals (Old Town East #1)▶ show the map ◀
Idols Vandals (Old Town East #2)▶ show the map ◀
Idols Vandals (Old Town East #3)▶ show the map ◀
Idols Vandals (Old Town West #1)▶ show the map ◀
Idols Vandals (Old Town West #2)▶ show the map ◀
Idols Vandals (Old Town West #3)▶ show the map ◀
Marshall Drones (East Flats)▶ show the map ◀
Drones x 7.
Marshall Drones (El Dorado)▶ show the map ◀
Drones x 7.
Marshall Drones (Lakeshore North)▶ show the map ◀
Drones x 7.
Marshall Drones (Lakeshore South)▶ show the map ◀
Drones x 7.
Marshall Drones (West Flats)▶ show the map ◀
Drones x 7.
Marshall Security (East Flats #1)▶ show the map ◀
Marshall Security (East Flats #2)▶ show the map ◀
Marshall Security (East Flats #3)▶ show the map ◀
Marshall Security (El Dorado #1)▶ show the map ◀
Marshall Security (El Dorado #2)▶ show the map ◀
Marshall Security (El Dorado #3)▶ show the map ◀
Marshall Security (Lakeshore North #1)▶ show the map ◀
Marshall Security (Lakeshore North #2)▶ show the map ◀
Marshall Security (Lakeshore North #3)▶ show the map ◀
Marshall Security (Lakeshore South #1)▶ show the map ◀
Marshall Security (Lakeshore South #2)▶ show the map ◀
Marshall Security (Lakeshore South #3)▶ show the map ◀
Marshall Security (West Flats #1)▶ show the map ◀
Marshall Security (West Flats #2)▶ show the map ◀
Marshall Security (West Flats #3)▶ show the map ◀
Panteros Cars (East Providencia)▶ show the map ◀
Cars x 4.
Panteros Cars (Mercado)▶ show the map ◀
Cars x 4.
Panteros Cars (Smelterville East)▶ show the map ◀
Cars x 4.
Panteros Cars (Smelterville West)▶ show the map ◀
Cars x 4.
Panteros Cars (West Providencia)▶ show the map ◀
Cars x 4. The camp is under the overpass.
Panteros Muscle (East Providencia #1)▶ show the map ◀
Panteros Muscle (East Providencia #2)▶ show the map ◀
Panteros Muscle (East Providencia #3)▶ show the map ◀
Panteros Muscle (Mercado #1)▶ show the map ◀
Panteros Muscle (Mercado #2)▶ show the map ◀
Panteros Muscle (Mercado #3)▶ show the map ◀
Panteros Muscle (Smelterville East #1)▶ show the map ◀
Panteros Muscle (Smelterville East #2)▶ show the map ◀
Panteros Muscle (Smelterville East #3)▶ show the map ◀
Panteros Muscle (Smelterville West #1)▶ show the map ◀
Panteros Muscle (Smelterville West #2)▶ show the map ◀
Panteros Muscle (Smelterville West #3)▶ show the map ◀
Panteros Muscle (West Providencia #1)▶ show the map ◀
Panteros Muscle (West Providencia #2)▶ show the map ◀
Panteros Muscle (West Providencia #3)▶ show the map ◀
Their camp is under the overpass.
Police Surveillance (East Flats)▶ show the map ◀
Police Surveillance (East Providencia)▶ show the map ◀
Police Surveillance (El Dorado)▶ show the map ◀
Police Surveillance (Lakeshore North)▶ show the map ◀
Police Surveillance (Lakeshore South)▶ show the map ◀
Police Surveillance (Marina East)▶ show the map ◀
Police Surveillance (Marina West)▶ show the map ◀
Police Surveillance (Mercado)▶ show the map ◀
Police Surveillance (Monte Vista)▶ show the map ◀
Police Surveillance (Old Town East)▶ show the map ◀
Police Surveillance (Old Town West)▶ show the map ◀
Police Surveillance (Smelterville East)▶ show the map ◀
Police Surveillance (Smelterville West)▶ show the map ◀
Police Surveillance (West Flats)▶ show the map ◀
Police Surveillance (West Providencia)▶ show the map ◀