Story Related Resident Evil 4 Remake Point of interest
Index
- AA Gun
- Bridge Controls
- Button
- Chandelier Controls
- Chapter 1 End
- Chapter 1 End / Chapter 2 Start
- Chapter 1 Start
- Chapter 10 End / Chapter 11 Start
- Chapter 11 End / Chapter 12 Start
- Chapter 12 End
- Chapter 13 End / Chapter 14 Start
- Chapter 13 Start
- Chapter 14 End / Chapter 15 Start
- Chapter 15 End / Chapter 16 Start
- Chapter 2 End / Chapter 3 Start
- Chapter 2 Start
- Chapter 3 End
- Chapter 4 End / Chapter 5 Start
- Chapter 4 Start
- Chapter 5 End / Chapter 6 Start
- Chapter 6 End
- Chapter 7 Start
- Chapter 8 End / Chapter 9 Start
- Chapter 9 End / Chapter 10 Start
- Clock Tower Cable Car
- Door Switch
- Footbridge Controls
- Full Moon Pedestal
- Gate Lever #1
- Gate Lever #2
- Handle
- Handle
- Handle
- Handle
- Handle (Specimen Storage)
- Hidden Platform Halo Wheel Pedestal (1/3)
- Hidden Platform Halo Wheel Pedestal (2/3)
- Hidden Platform Halo Wheel Pedestal (3/3)
- Lamp Pedestal
- Laser Field Turret
- Laser Field Turret
- Laser Field Turret
- Laser Field Turret
- Laser Field Turret
- Laser Field Turret
- Last Quarter Moon Pedestal
- Lever
- Lever
- Lever #1
- Lever #2
- Liquid Nitrogen Shower
- Liquid Nitrogen Shower
- Liquid Nitrogen Shower
- Liquid Nitrogen Shower
- Mine Cart
- Painting (King)
- Painting (Queen)
- Power Control Level
- Power Switch
- Power Switch
- Seat (Ashley)
- Seat (You)
- Star Pedestal
- Sun / Moon Switch
- Sun / Moon Switch #1
- Sun / Moon Switch #2
- Sun / Moon Switch #3
- Sun / Moon Switch #4
- Sun / Moon Switch #5
- Sun / Moon Switch #6
- Symbol Lamp #1
- Symbol Lamp #2
- Symbol Lamp #3
- Symbol Lamp #4
- Tower Lever #1
- Tower Lever #2
- Tower Lever #3
- Trebuchet
- Trebuchet
- Trebuchet
- Trebuchet
- Turret Gun
- UV Lamp
- Villa Gate
- Wooden Wall
All known locations on the map The Village
 Chapter 1 End▶ show the map ◀
The place where Chapter 1 ends.
Chapter 1 Start▶ show the map ◀
The starting point of Chapter 1 and thus the entire game.
Chapter 2 End / Chapter 3 Start▶ show the map ◀
This will happen when you take the Insignia Key from the drawer.
Chapter 2 Start▶ show the map ◀
The starting point of Chapter 2.
Chapter 3 End▶ show the map ◀
Chapter 3 ends after Del Lago is defeated.
Chapter 4 End / Chapter 5 Start▶ show the map ◀
This will happen when you enter the room where Ashley is hiding.
Chapter 4 Start▶ show the map ◀
The starting point of Chapter 4.
Chapter 5 End / Chapter 6 Start▶ show the map ◀
Chapter 5 ends and Chapter 6 begins after the battle at the Villa is done.
Chapter 6 End▶ show the map ◀
This chapter ends when you reach the castle grounds.
 Villa Gate▶ show the map ◀
You will not be able to enter the villa until the late Chapter 5.
Wooden Wall▶ show the map ◀
Locked by story progress. It will open when you step down into the basement and find the corpse that is there.
All known locations on the map The Castle
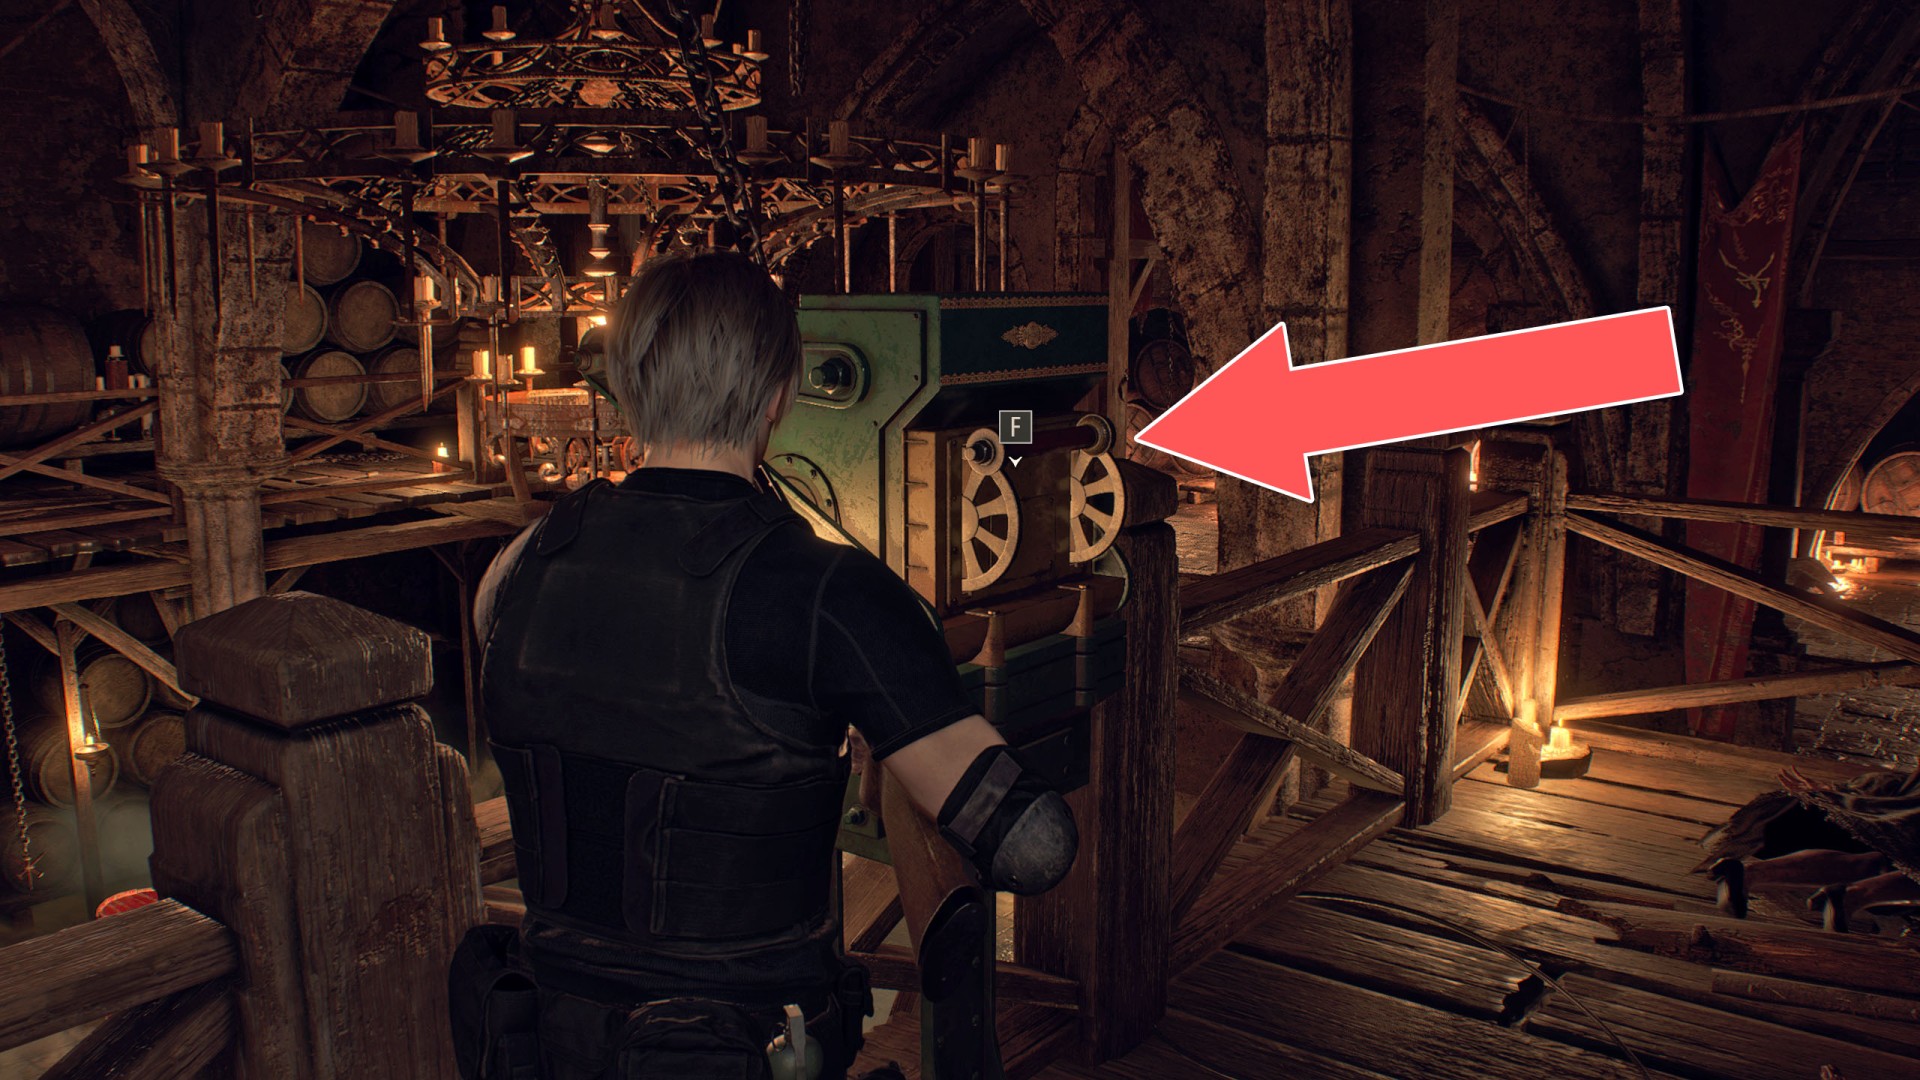
 Bridge Controls▶ show the map ◀

Chandelier Controls▶ show the map ◀
It's on the upper ramp. When you pull this lever the chandelier will fall down.
Chapter 1 End / Chapter 2 Start▶ show the map ◀
Chapter 10 End / Chapter 11 Start▶ show the map ◀
Chapter 11 End / Chapter 12 Start▶ show the map ◀
Chapter 12 End▶ show the map ◀
Chapter 7 Start▶ show the map ◀
Chapter 8 End / Chapter 9 Start▶ show the map ◀
Chapter 9 End / Chapter 10 Start▶ show the map ◀
Clock Tower Cable Car▶ show the map ◀

Door Switch▶ show the map ◀


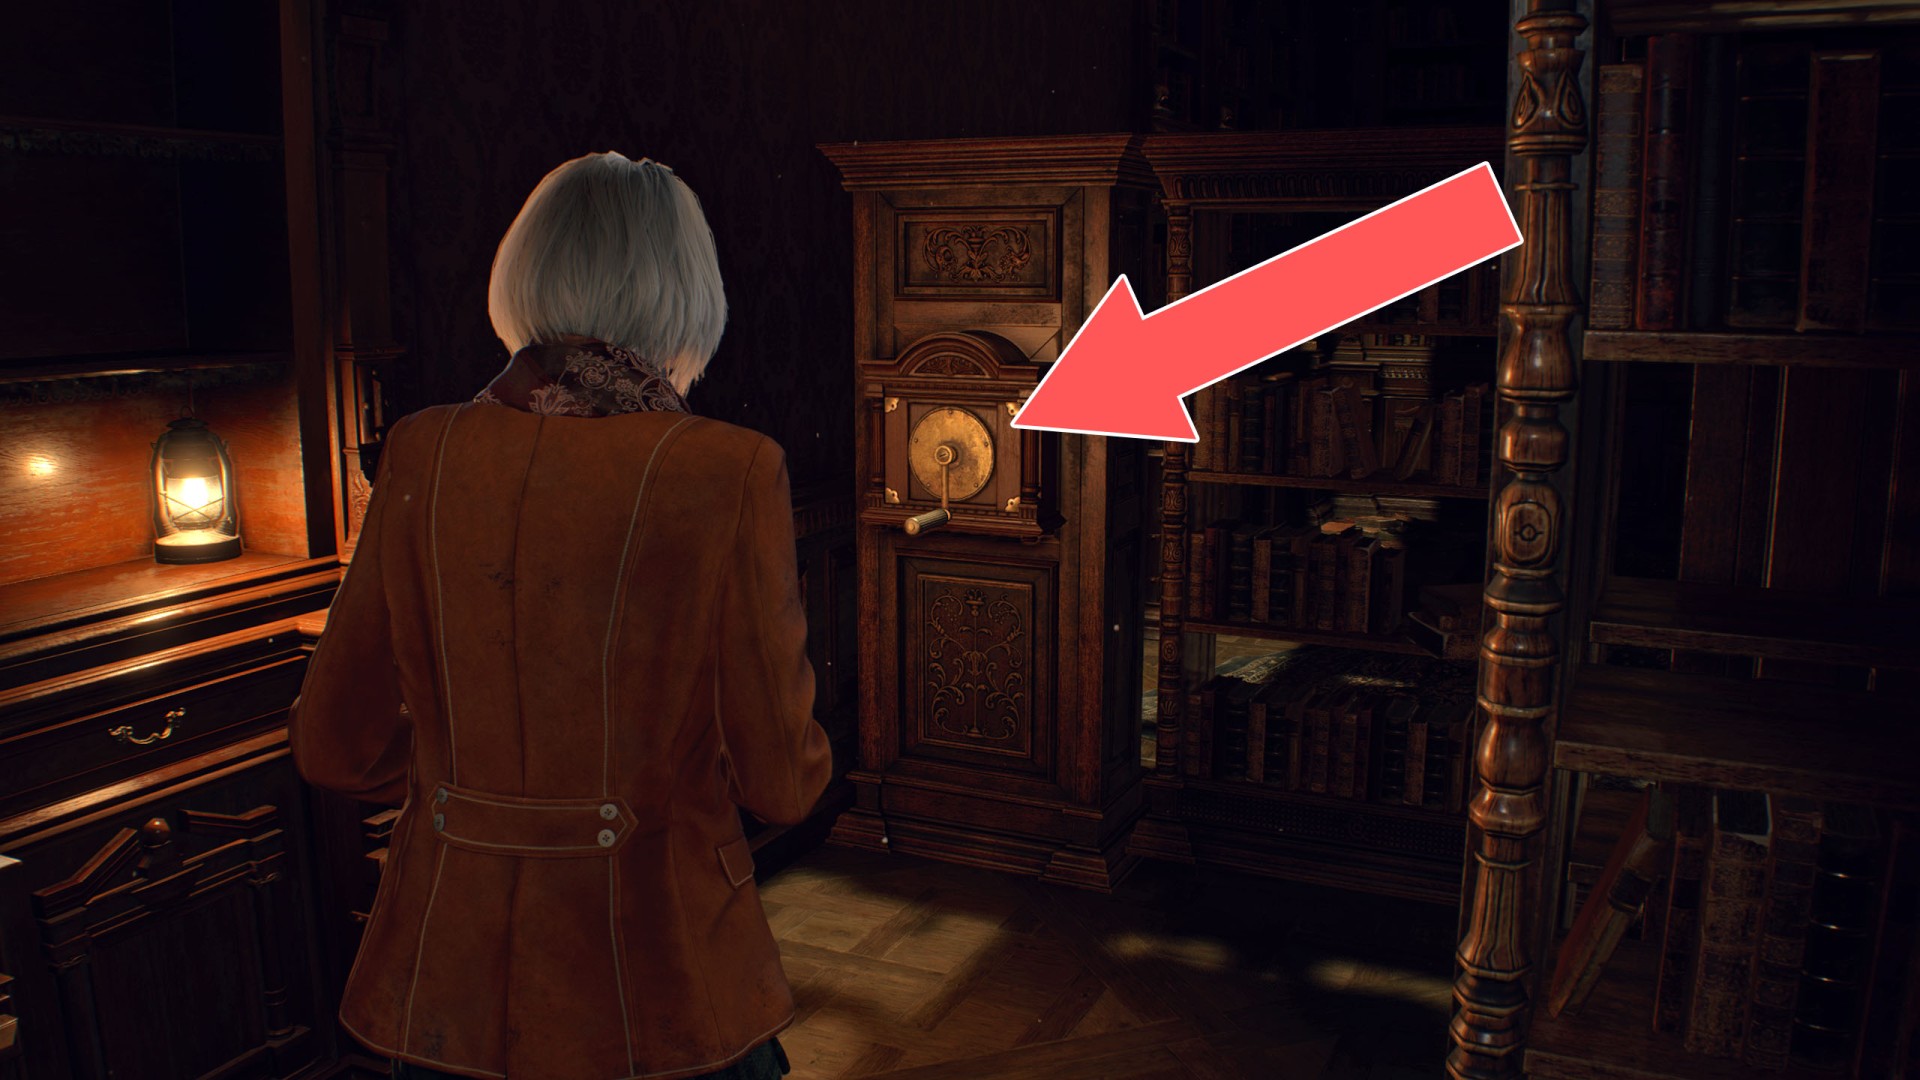
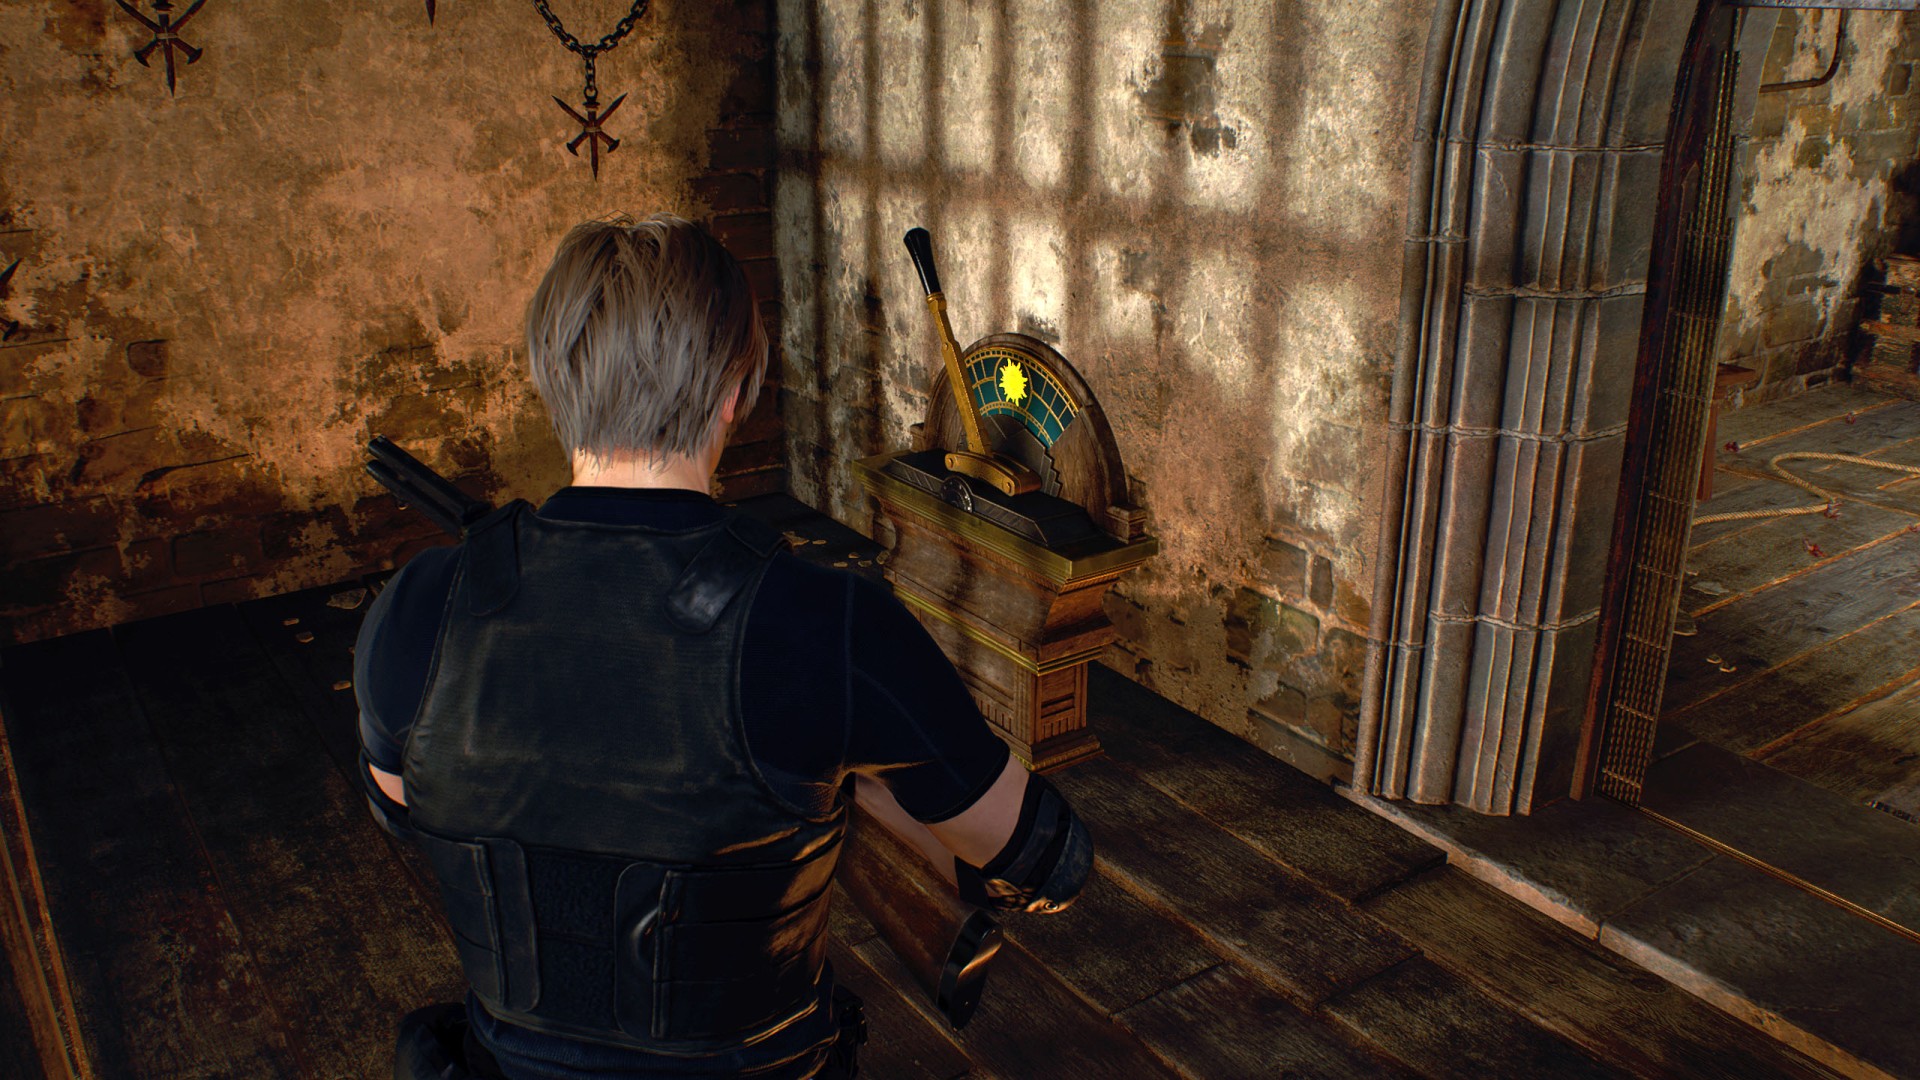
Handle▶ show the map ◀
Use this handle to lower the stairs on the other side of the bookcase by which you can get to the upper level.
Hidden Platform Halo Wheel Pedestal (1/3)▶ show the map ◀

Hidden Platform Halo Wheel Pedestal (2/3)▶ show the map ◀

Hidden Platform Halo Wheel Pedestal (3/3)▶ show the map ◀


Lever #1▶ show the map ◀

Lever #2▶ show the map ◀

Liquid Nitrogen Shower▶ show the map ◀
Liquid Nitrogen Shower▶ show the map ◀
Liquid Nitrogen Shower▶ show the map ◀
Liquid Nitrogen Shower▶ show the map ◀
Mine Cart▶ show the map ◀

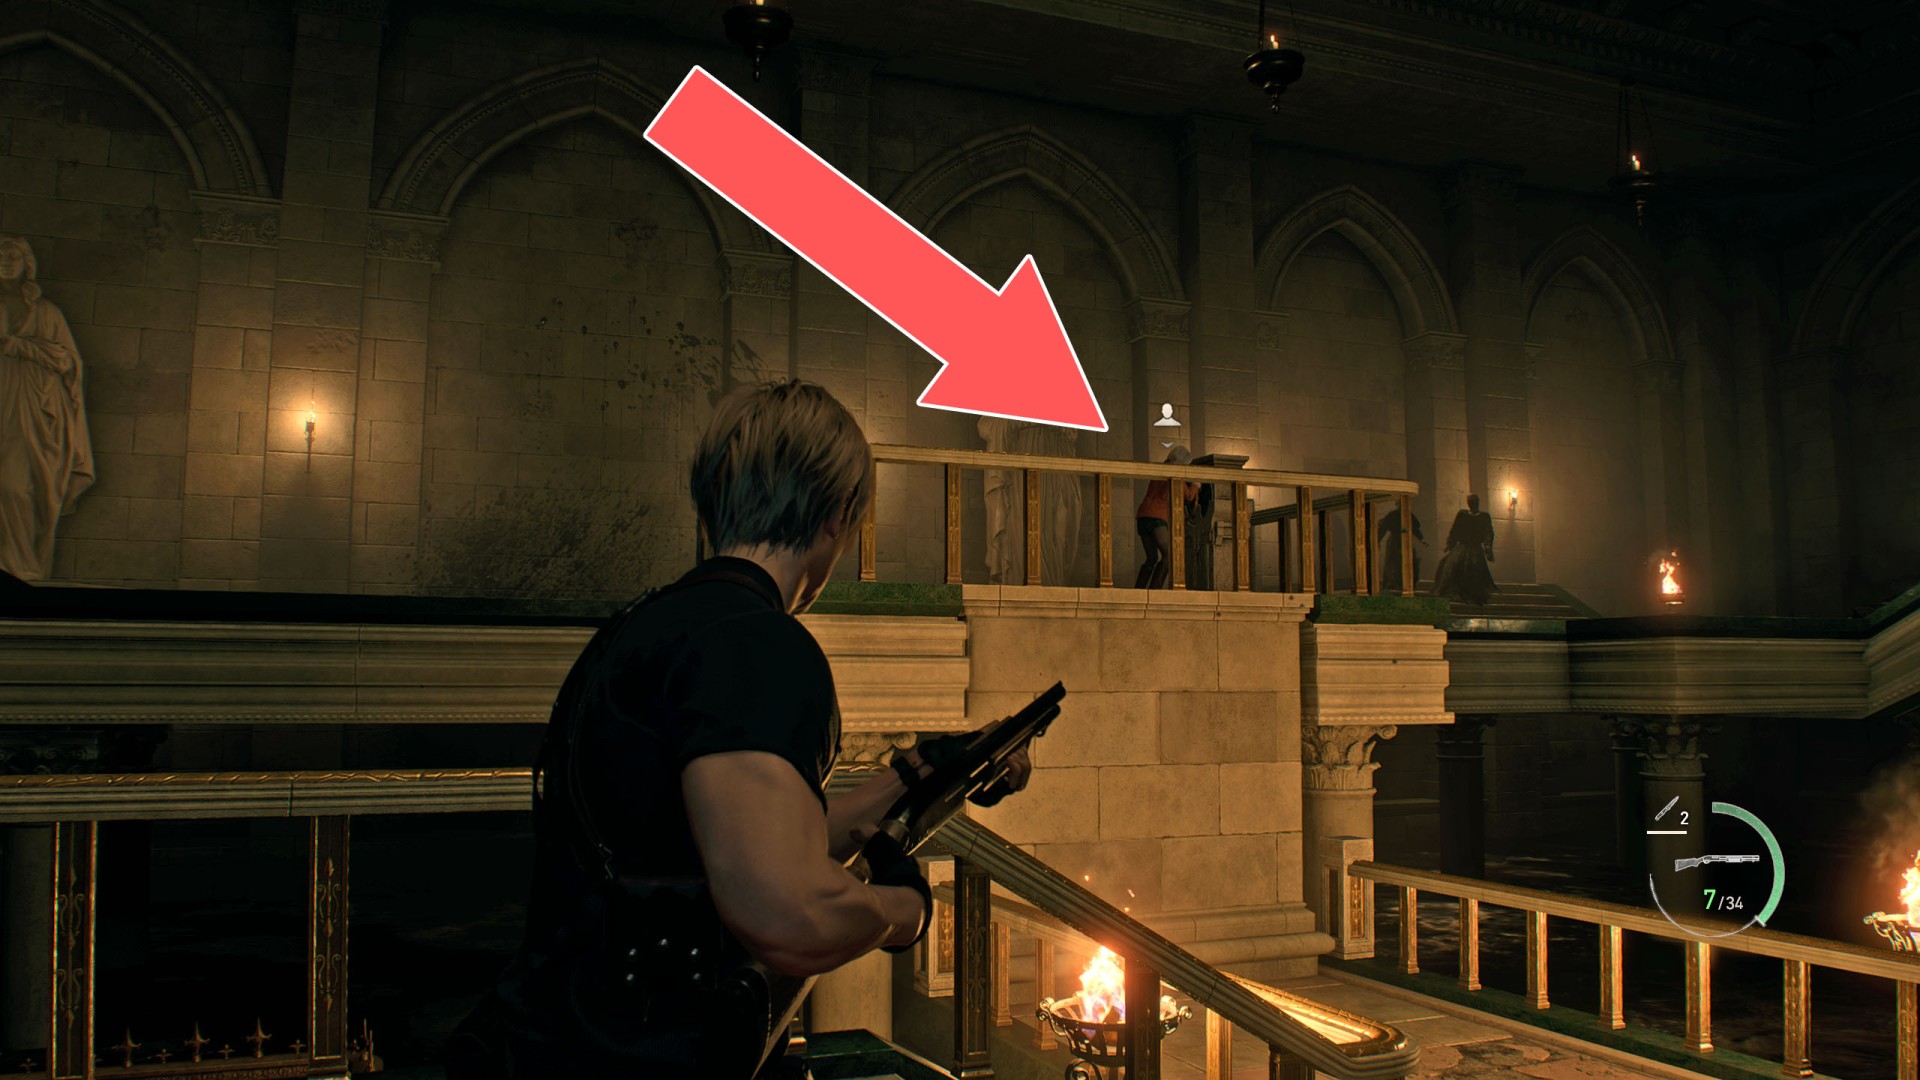
Painting (King)▶ show the map ◀
The painting provides a clue to where you should sit to be able to access the Serpent Head.

Painting (Queen)▶ show the map ◀
The painting provides a clue to where you should sit Ashley to be able to access the Serpent Head.

Power Switch▶ show the map ◀

Seat (Ashley)▶ show the map ◀
Here you need to place Ashley to remove the cage blocking access to the Serpent Head.

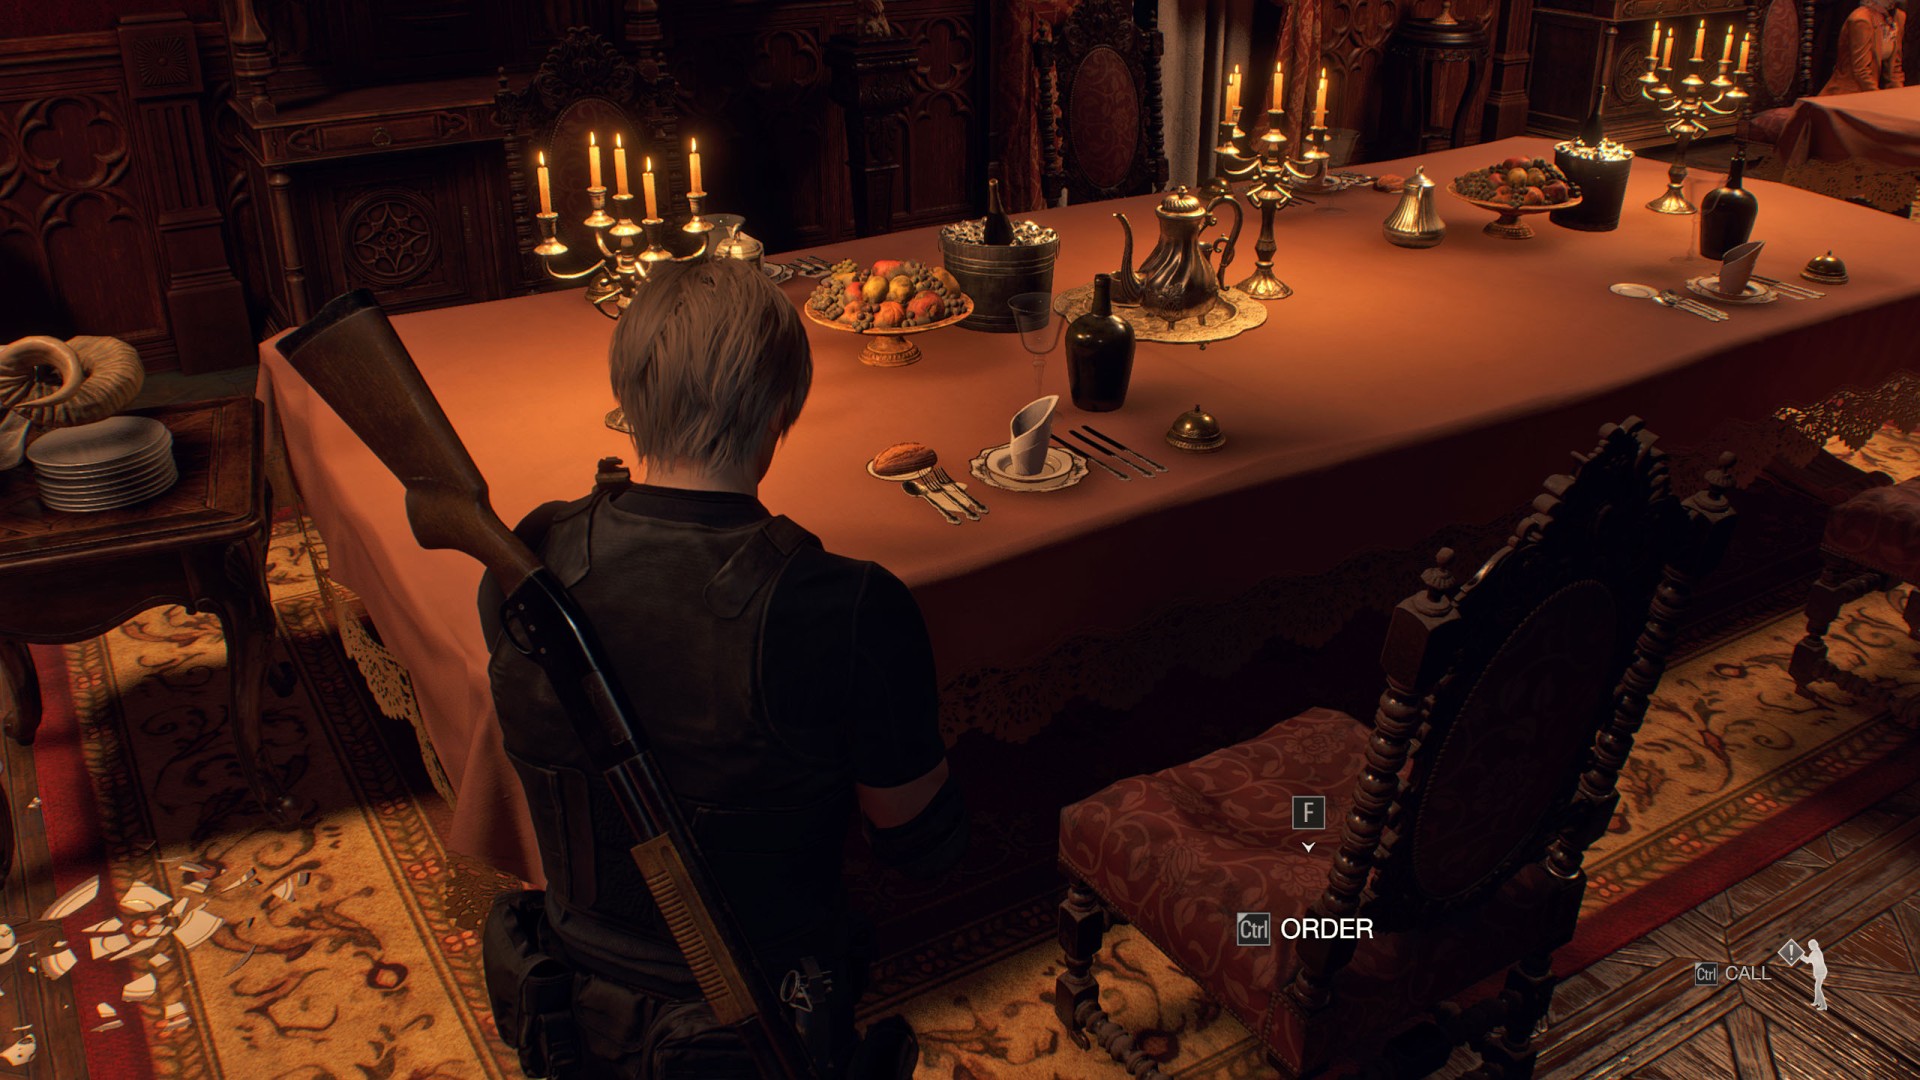
Seat (You)▶ show the map ◀
Here you need to sit down to remove the cage blocking access to the snake's head.

Sun / Moon Switch▶ show the map ◀

Sun / Moon Switch #1▶ show the map ◀

Sun / Moon Switch #2▶ show the map ◀


Sun / Moon Switch #4▶ show the map ◀

Sun / Moon Switch #5▶ show the map ◀
Sun / Moon Switch #6▶ show the map ◀

Symbol Lamp #1▶ show the map ◀
One of the four lamps you need to activate to open the Locked Gate (Mausoleum).
Warning: Activating the lamp brings some of the knights that are in the room to life.

Symbol Lamp #2▶ show the map ◀
One of the four lamps you need to activate to open the Locked Gate (Mausoleum).
Warning: Activating the lamp brings some of the knights that are in the room to life.

Symbol Lamp #3▶ show the map ◀
One of the four lamps you need to activate to open the Locked Gate (Mausoleum).
Warning: Activating the lamp brings some of the knights that are in the room to life.

Symbol Lamp #4▶ show the map ◀
One of the four lamps you need to activate to open the Locked Gate (Mausoleum).
Warning: Activating the lamp brings some of the knights that are in the room to life.

Tower Lever #1▶ show the map ◀

Tower Lever #2▶ show the map ◀

Tower Lever #3▶ show the map ◀


UV Lamp▶ show the map ◀

All known locations on the map The Island
AA Gun▶ show the map ◀

Chapter 13 End / Chapter 14 Start▶ show the map ◀
Chapter 13 Start▶ show the map ◀
Chapter 14 End / Chapter 15 Start▶ show the map ◀
Chapter 15 End / Chapter 16 Start▶ show the map ◀
Gate Lever #1▶ show the map ◀
Gate Lever #2▶ show the map ◀

Handle▶ show the map ◀

Handle▶ show the map ◀
Order Ashley to use it and you walk on the bridge that comes out to the other side.

Handle (Specimen Storage)▶ show the map ◀

Laser Field Turret▶ show the map ◀
Laser Field Turret▶ show the map ◀
Laser Field Turret▶ show the map ◀
Laser Field Turret▶ show the map ◀
Laser Field Turret▶ show the map ◀
Laser Field Turret▶ show the map ◀

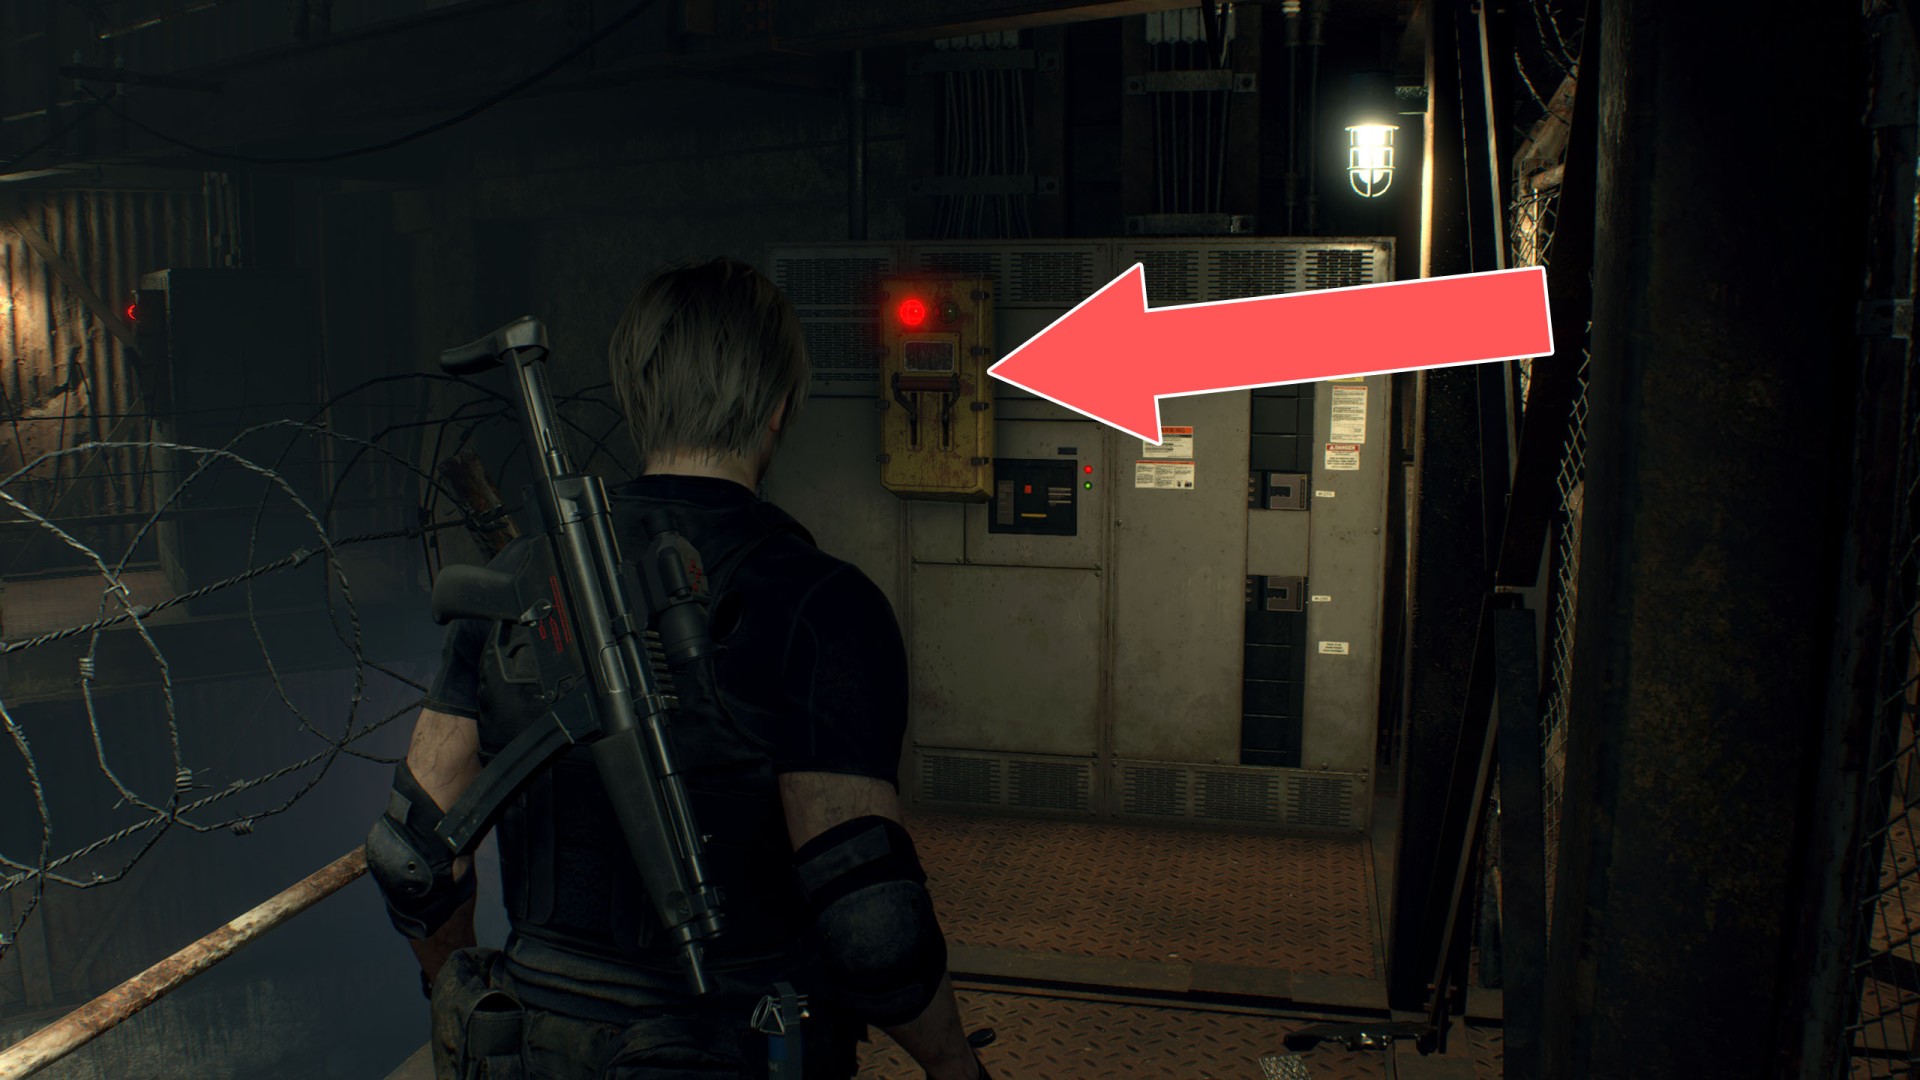
Power Control Level▶ show the map ◀
This lever will switch the power supply between the two sections of the complex.


