Welcome to guides4gamers.com

Speed Zones, Forza Horizon 4 Points of interest

This collection includes every marker from the Speed Zones category of points of interest in Forza Horizon 4, all placed on interactive maps created specifically for the game.

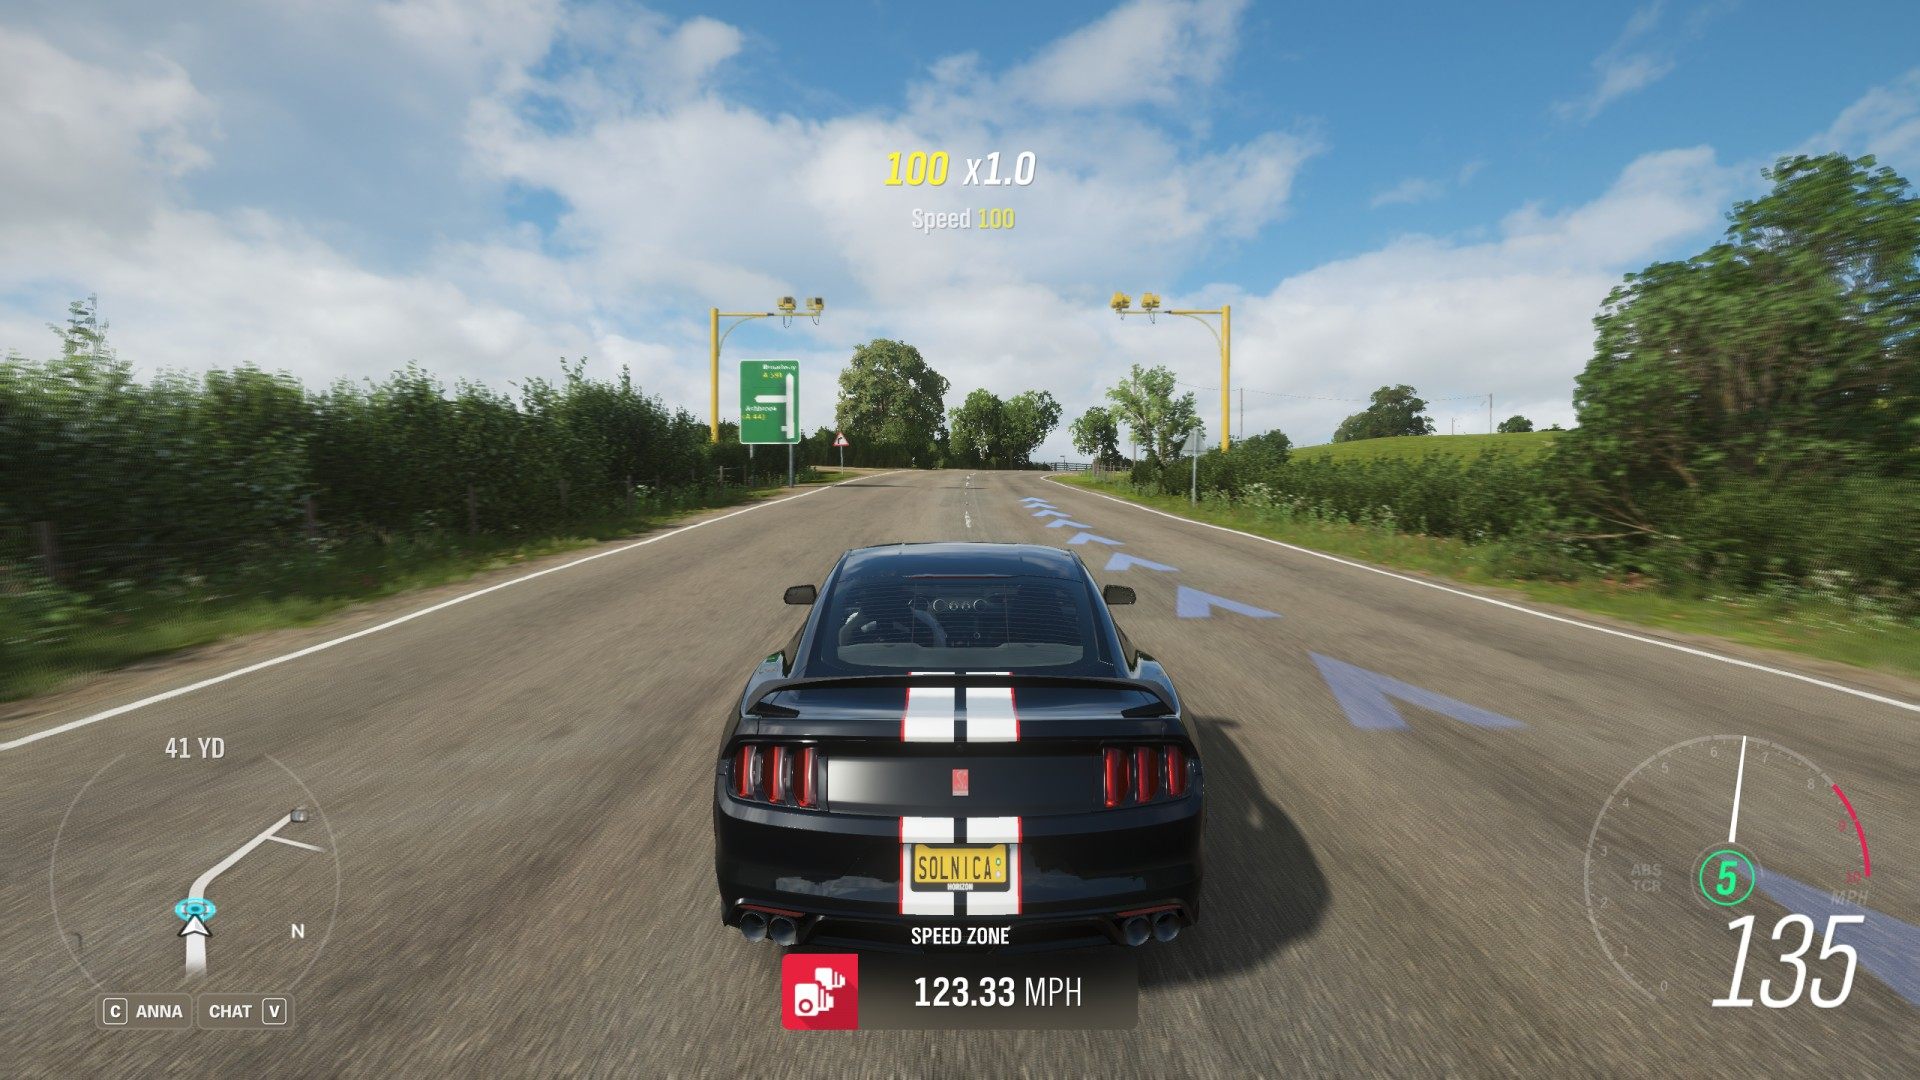
Speed Zones are road sections where your average speed over the entire distance will be measured. Speed recording starts when you drive in the right direction through one of the two gates located on both sides of the designated road section. The speed you achieve will be rated with 1-3 stars. More speed zones will be unlocked as you gain higher "Speed Zone Hero" levels.

Speed Zones

Index

The index below enables quick navigation to the desired marker / point of interest.

All known locations on the map - World Map

Speed ZoneLevel 1 - Broadway Commons

55 MPH / 105 MPH / 160 MPH

Show the map

Speed ZoneLevel 2 - Lakeshore

55 MPH / 75 MPH / 95 MPH

Show the map

Speed ZoneLevel 2 - Sudmoss

55 MPH / 100 MPH / 145 MPH

Show the map

Speed ZoneLevel 3 - Coppice

40 MPH / 60 MPH / 85 MPH

Show the map

Speed ZoneLevel 3 - Forest Green

65 MPH / 75 MPH / 90 MPH

Show the map

Speed ZoneLevel 3 - Oldweir

60 MPH / 100 MPH / 145 MPH

Show the map

Speed ZoneLevel 4 - Johnston Terrace

70 MPH / 105 MPH / 140 MPH

Show the map

Speed ZoneLevel 4 - Pennine Way

45 MPH / 110 MPH / 180 MPH

Show the map

Speed ZoneLevel 4 - Royal Botanic Gardens

65 MPH / 110 MPH / 155 MPH

Show the map

Speed ZoneLevel 4 - Royal Terrace

60 MPH / 80 MPH / 100 MPH

Show the map

Speed ZoneLevel 5 - Glen Rannoch

50 MPH / 70 MPH / 95 MPH

Show the map

Speed ZoneLevel 5 - Hillside

30 MPH / 55 MPH / 85 MPH

Show the map

Speed ZoneLevel 5 - Strathbridge

65 MPH / 100 MPH / 135 MPH

Show the map

Speed ZoneLevel 6 - Ambleside Approach

40 MPH / 55 MPH / 70 MPH

Show the map

Speed ZoneLevel 6 - The Bridge House

60 MPH / 80 MPH / 105 MPH

Show the map

Speed ZoneLevel 6 - Toft

60 MPH / 95 MPH / 130 MPH

Show the map

Speed ZoneLevel 7 - Brookside

65 MPH / 105 MPH / 145 MPH

Show the map

Speed ZoneLevel 7 - Nether End

45 MPH / 60 MPH / 80 MPH

Show the map

Speed ZoneLevel 7 - The Orchards

60 MPH / 75 MPH / 95 MPH

Show the map

Speed ZoneLevel 8 - Camelbacks

65 MPH / 100 MPH / 135 MPH

Show the map

Speed ZoneLevel 8 - Carden Creag

45 MPH / 65 MPH / 90 MPH

Show the map

Speed ZoneLevel 8 - Foothills

65 MPH / 95 MPH / 130 MPH

Show the map

Speed ZoneLevel 9 - Crescent

55 MPH / 80 MPH / 105 MPH

Show the map

Speed ZoneLevel 9 - Queen's Drive

65 MPH / 90 MPH / 120 MPH

Show the map

Speed ZoneLevel 9 - Rolling Fields

60 MPH / 80 MPH / 105 MPH

Show the map

Speed ZoneLevel 10 - Bridlewood

60 MPH / 95 MPH / 130 MPH

Show the map

Speed ZoneLevel 10 - Croft

55 MPH / 80 MPH / 105 MPH

Show the map

Speed ZoneLevel 10 - Derwent Water

50 MPH / 70 MPH / 95 MPH

Show the map