Switches DOOM: The Dark Ages Points of interest
Various types of switches, levers, valves, and similar mechanisms that need to be activated to open a passage, remove a barrier blocking a path, etc.
Index
- Cosmic Eye (City of Ry'uul #1)
- Cosmic Eye (City of Ry'uul #2)
- Cosmic Eye (City of Ry'uul #3)
- Cosmic Eye (Temple of Lomarith #1)
- Cosmic Eye (Temple of Lomarith #2)
- Cosmic Eye (Temple of Lomarith #3)
- Crane Switch (Ancestral Forge)
- Energy Node (Abyssal Forest)
- Energy Node (Ancestral Forge #1)
- Energy Node (Ancestral Forge #2)
- Energy Node (Belly of the Beast #1)
- Energy Node (Belly of the Beast #2)
- Energy Node (Belly of the Beast #3)
- Energy Node (Belly of the Beast #4)
- Energy Node (City of Ry'uul #1)
- Energy Node (City of Ry'uul #2)
- Energy Node (City of Ry'uul #3)
- Energy Node (Harbor of Souls #1)
- Energy Node (Harbor of Souls #2)
- Energy Node (Reckoning #1)
- Energy Node (Reckoning #2)
- Energy Node (Reckoning #3)
- Energy Node (Reckoning #4)
- Energy Node (Resurrection #1)
- Energy Node (Resurrection #2)
- Energy Node (Resurrection #3)
- Energy Node (Siege - Part 1 #1)
- Energy Node (Siege - Part 1 #2)
- Energy Node (Siege - Part 1 #3)
- Energy Node (Siege - Part 1 #4)
- Energy Node (Siege - Part 1 #5)
- Energy Node (Temple of Lomarith #1)
- Energy Node (The Kar'Thul Marshes #1)
- Energy Node (The Kar'Thul Marshes #2)
- Lever (Reckoning #1)
- Lever (Siege - Part 1 #1)
- Lever (Siege - Part 1 #2)
- Lever (Spire of Nerathul)
- Power Core Switch #1
- Power Core Switch #2
- Power Core Switch #3
- Pressure Plate (Harbor of Souls #1)
- Pressure Plate (Reckoning #1)
- Pressure Plate (Reckoning #2)
- Pressure Plate (Sentinel Barracks #1)
- Pressure Plate (Sentinel Barracks #2)
- Pressure Plate (Siege - Part 1 #1)
- Pressure Plate (Siege - Part 1 #2)
- Pressure Plate (Siege - Part 1 #3)
- Pressure Plate (Spire of Nerathul)
- Pressure Plate (The Holy City of Aratum #1)
- Pressure Plate (The Holy City of Aratum #2)
- Pressure Plate (The Kar'Thul Marshes #1)
- Switch (City of Ry'uul #1)
- Switch (Harbor of Souls #1)
- Switch (Harbor of Souls #2)
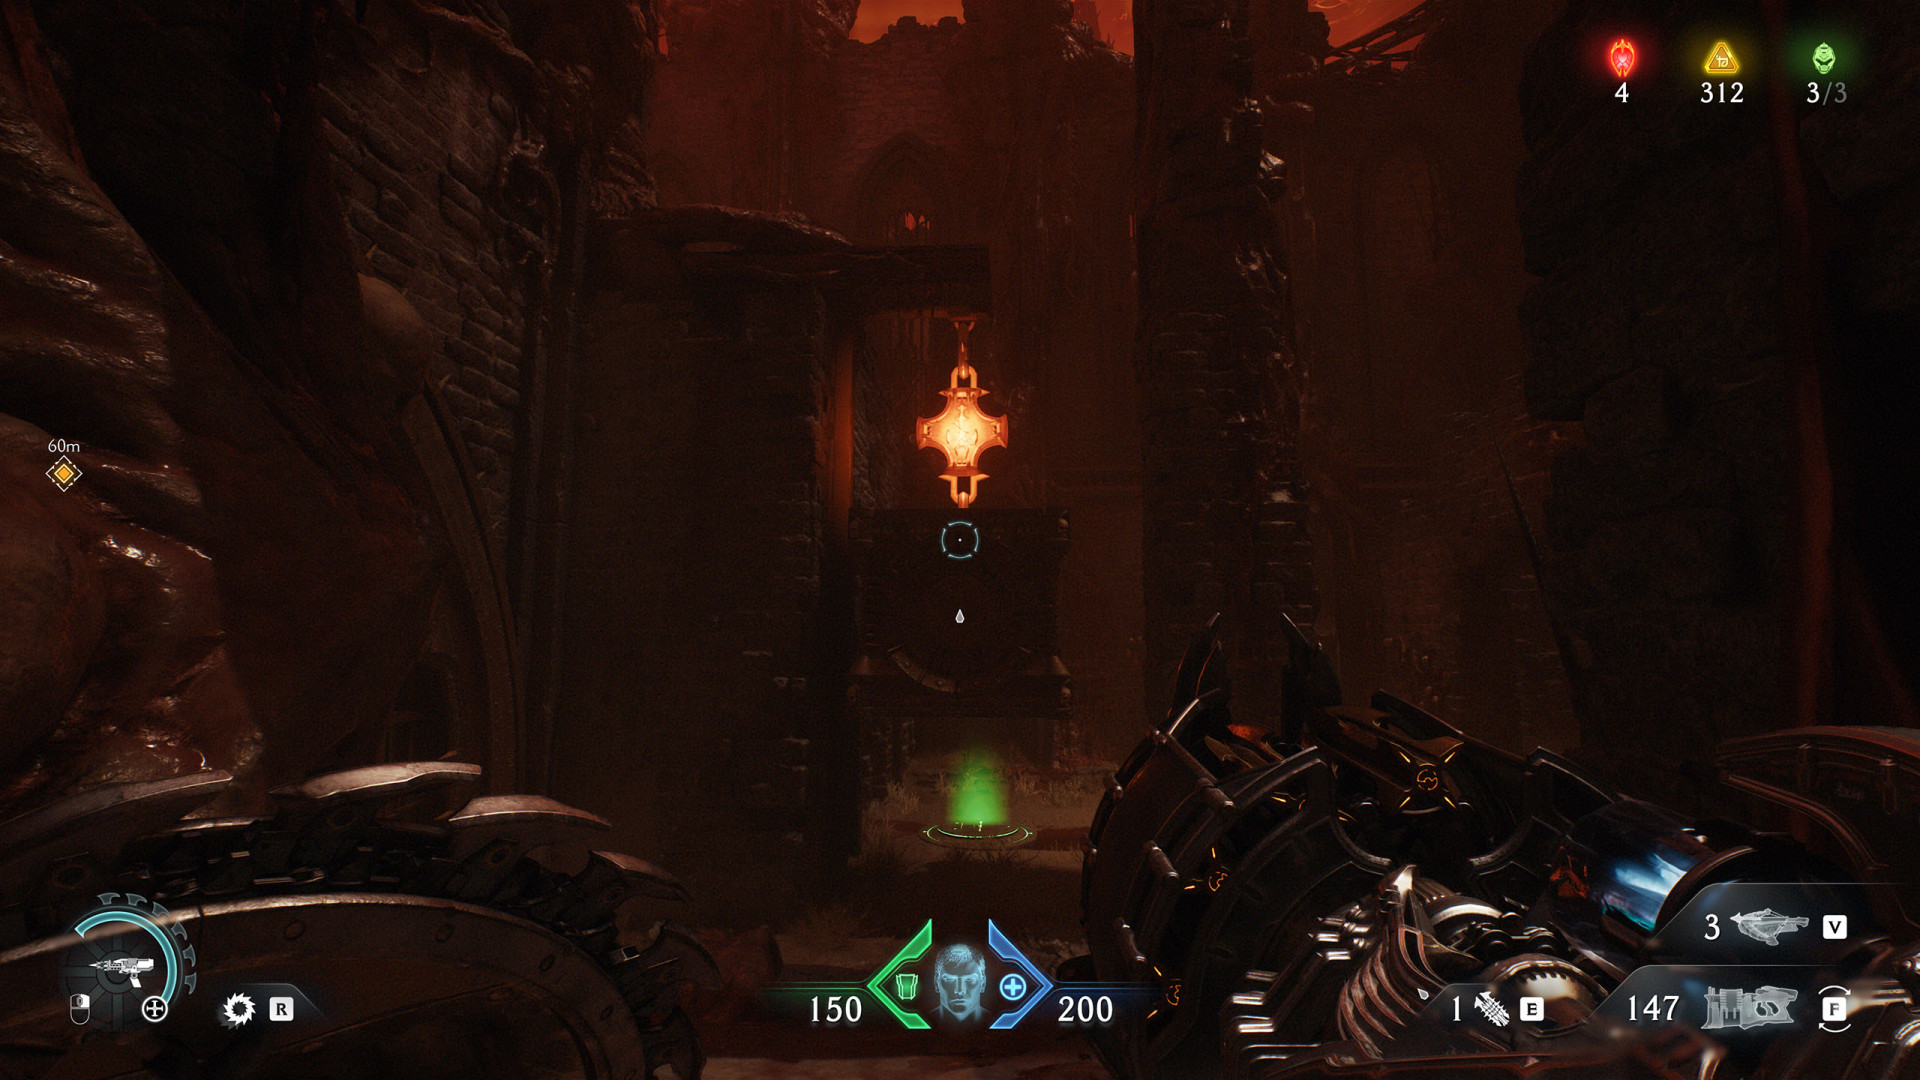
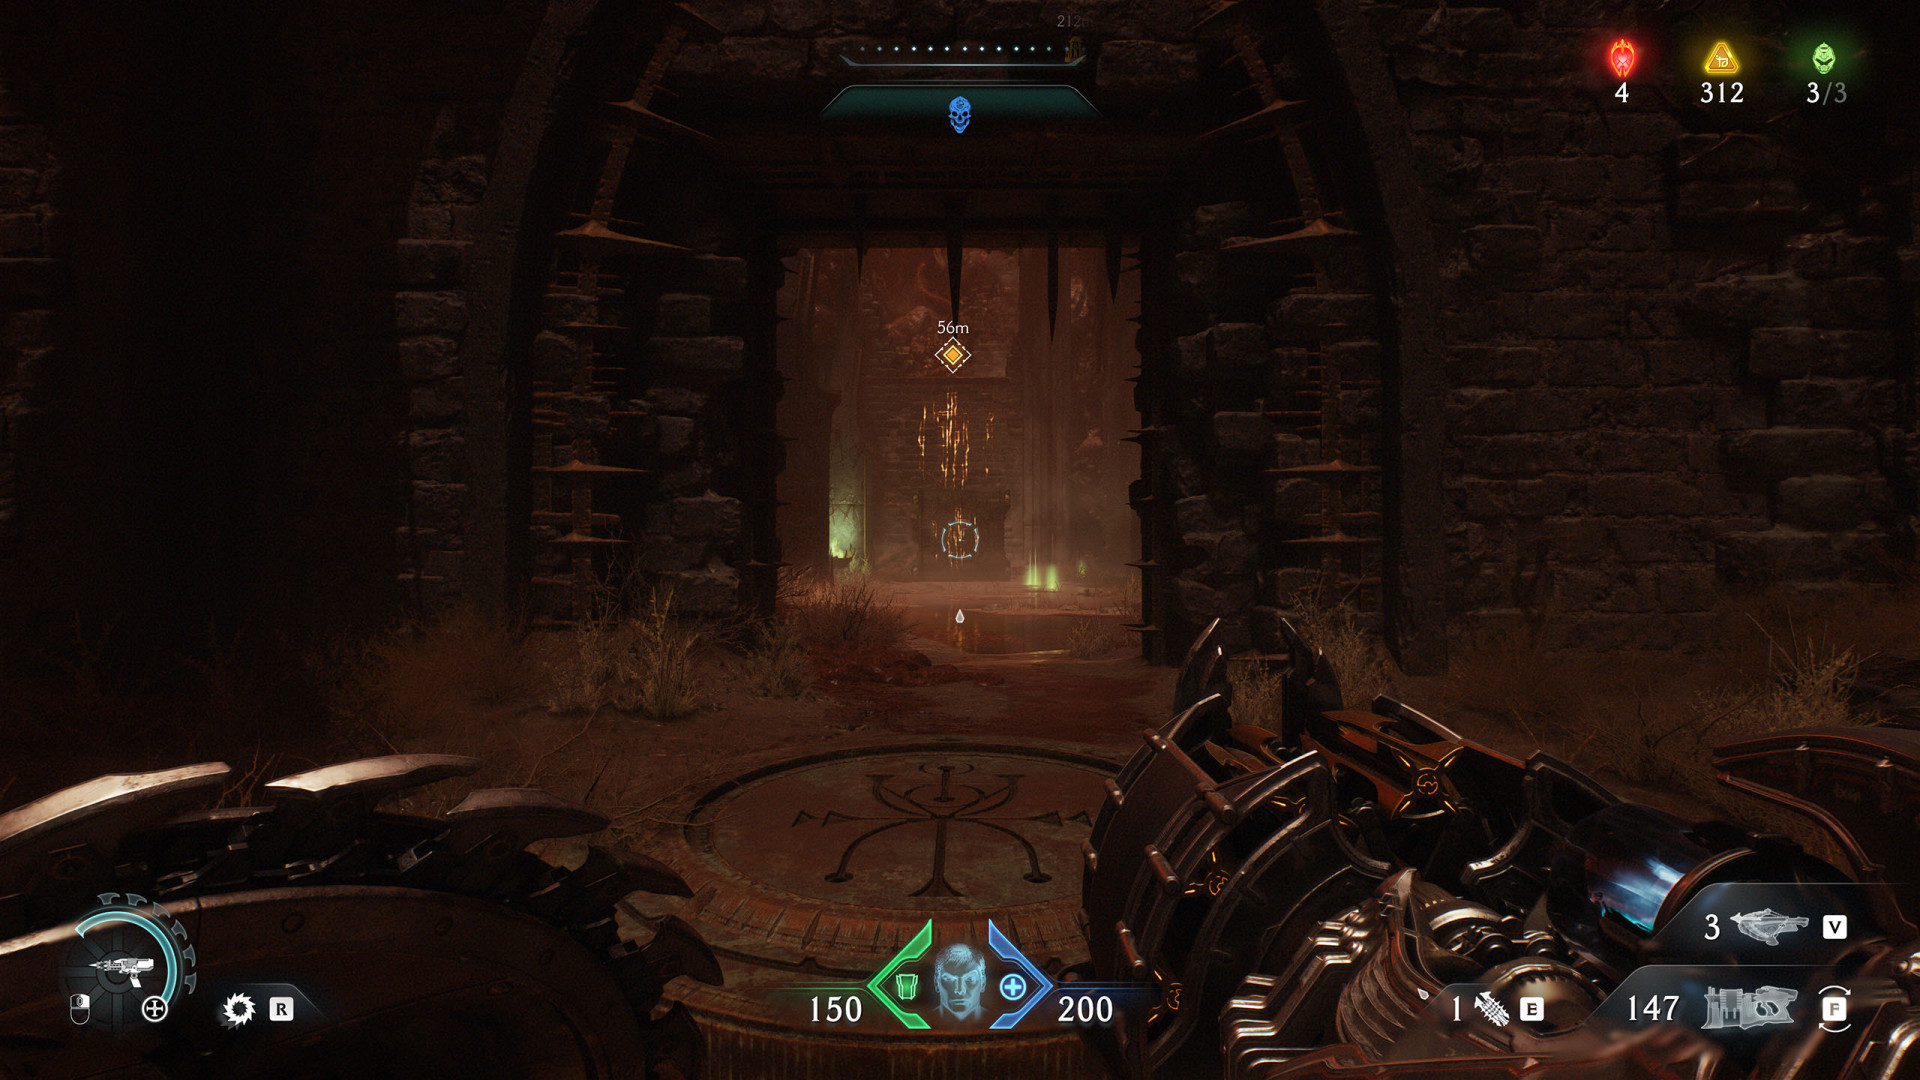
- Switch (Hebeth #1)
- Switch (Hebeth #2)
- Switch (Reckoning #1)
- Switch (Resurrection #1)
- Switch (Resurrection #2)
- Switch (Resurrection #3)
- Switch (Resurrection #4)
- Switch (Sentinel Barracks)
- Switch (Sentinel Command Station #1)
- Switch (Sentinel Command Station #2)
- Switch (Sentinel Command Station #3)
- Switch (Sentinel Command Station #4)
- Switch (Sentinel Command Station #5)
- Switch (Siege - Part 1 #1)
- Switch (Siege - Part 1 #2)
- Switch (Siege - Part 1 #3)
- Switch (Siege - Part 1 #4)
- Switch (Siege - Part 2)
- Switch (Spire of Nerathul)
- Valve (Hebeth)
- Valve (Resurrection #1)
- Valve (Resurrection)
- Valve (The Holy City of Aratum)
All known locations on the map Hebeth
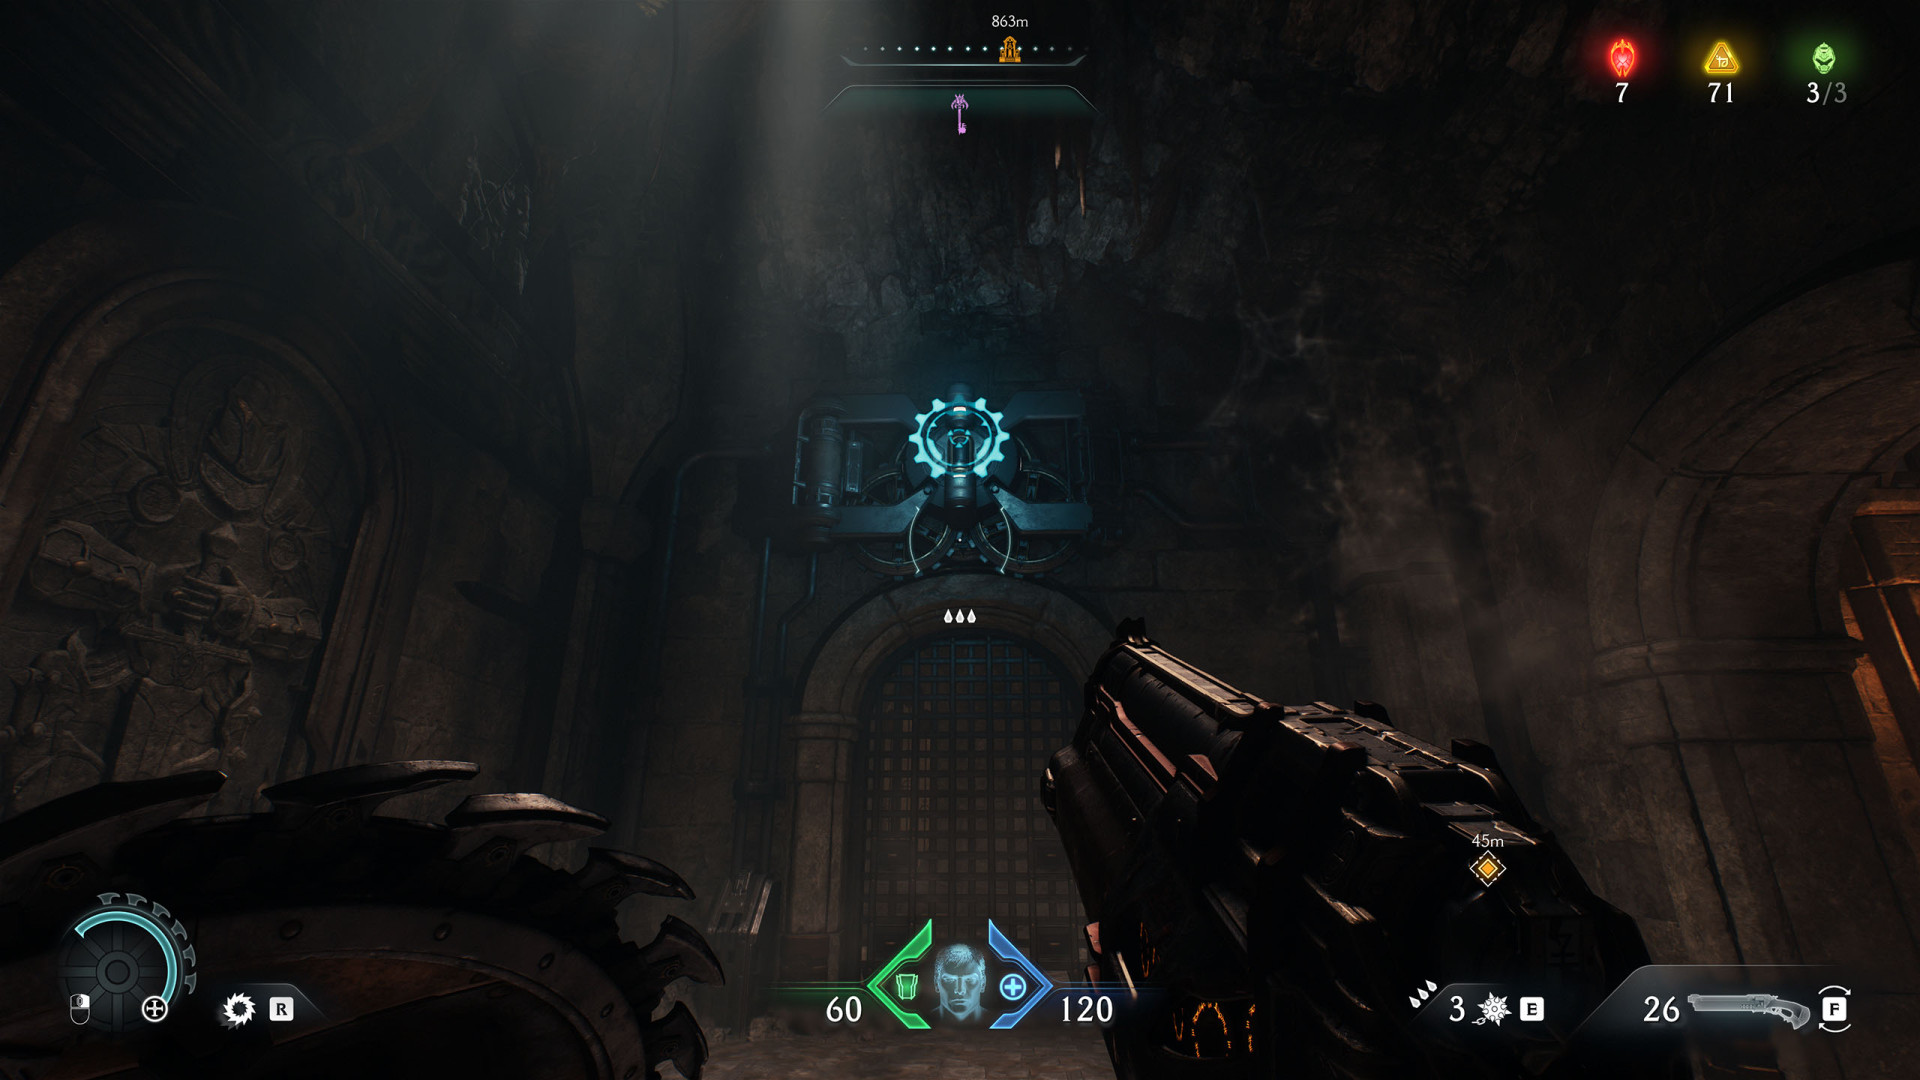
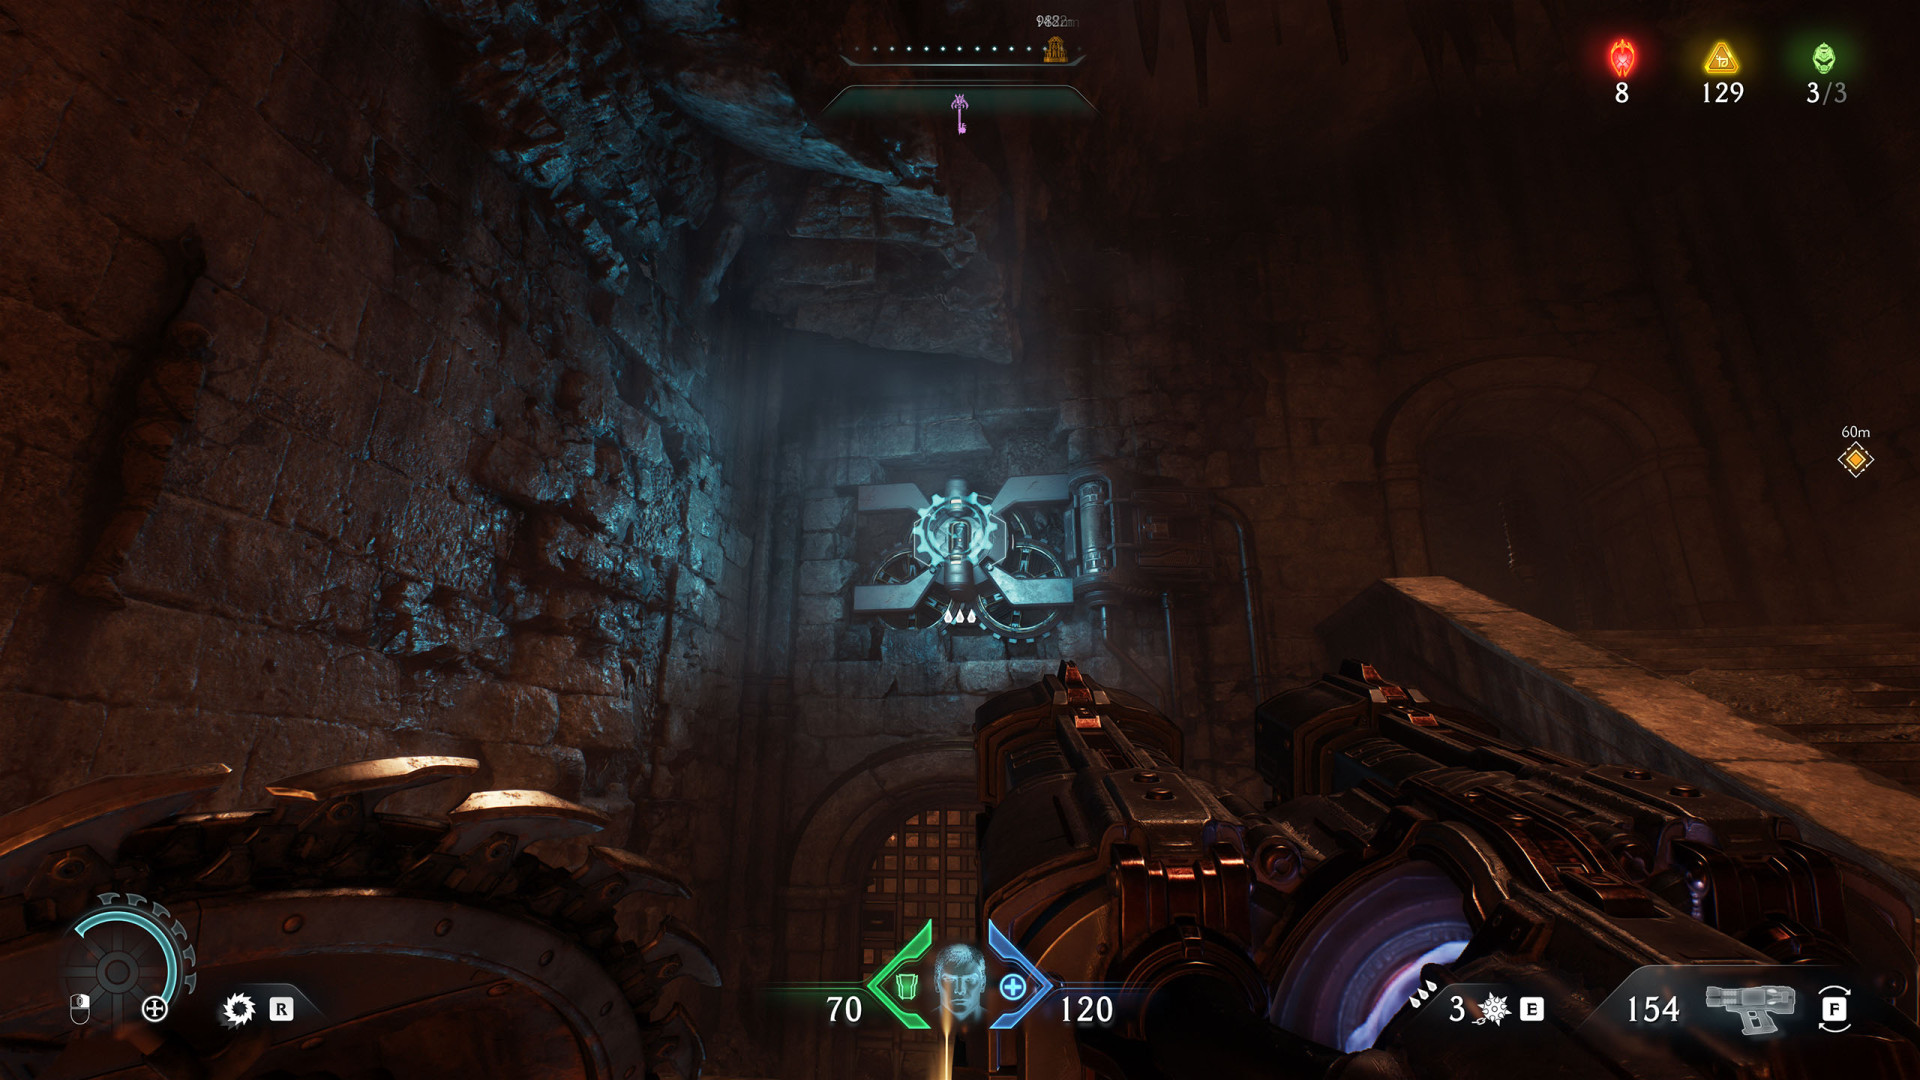
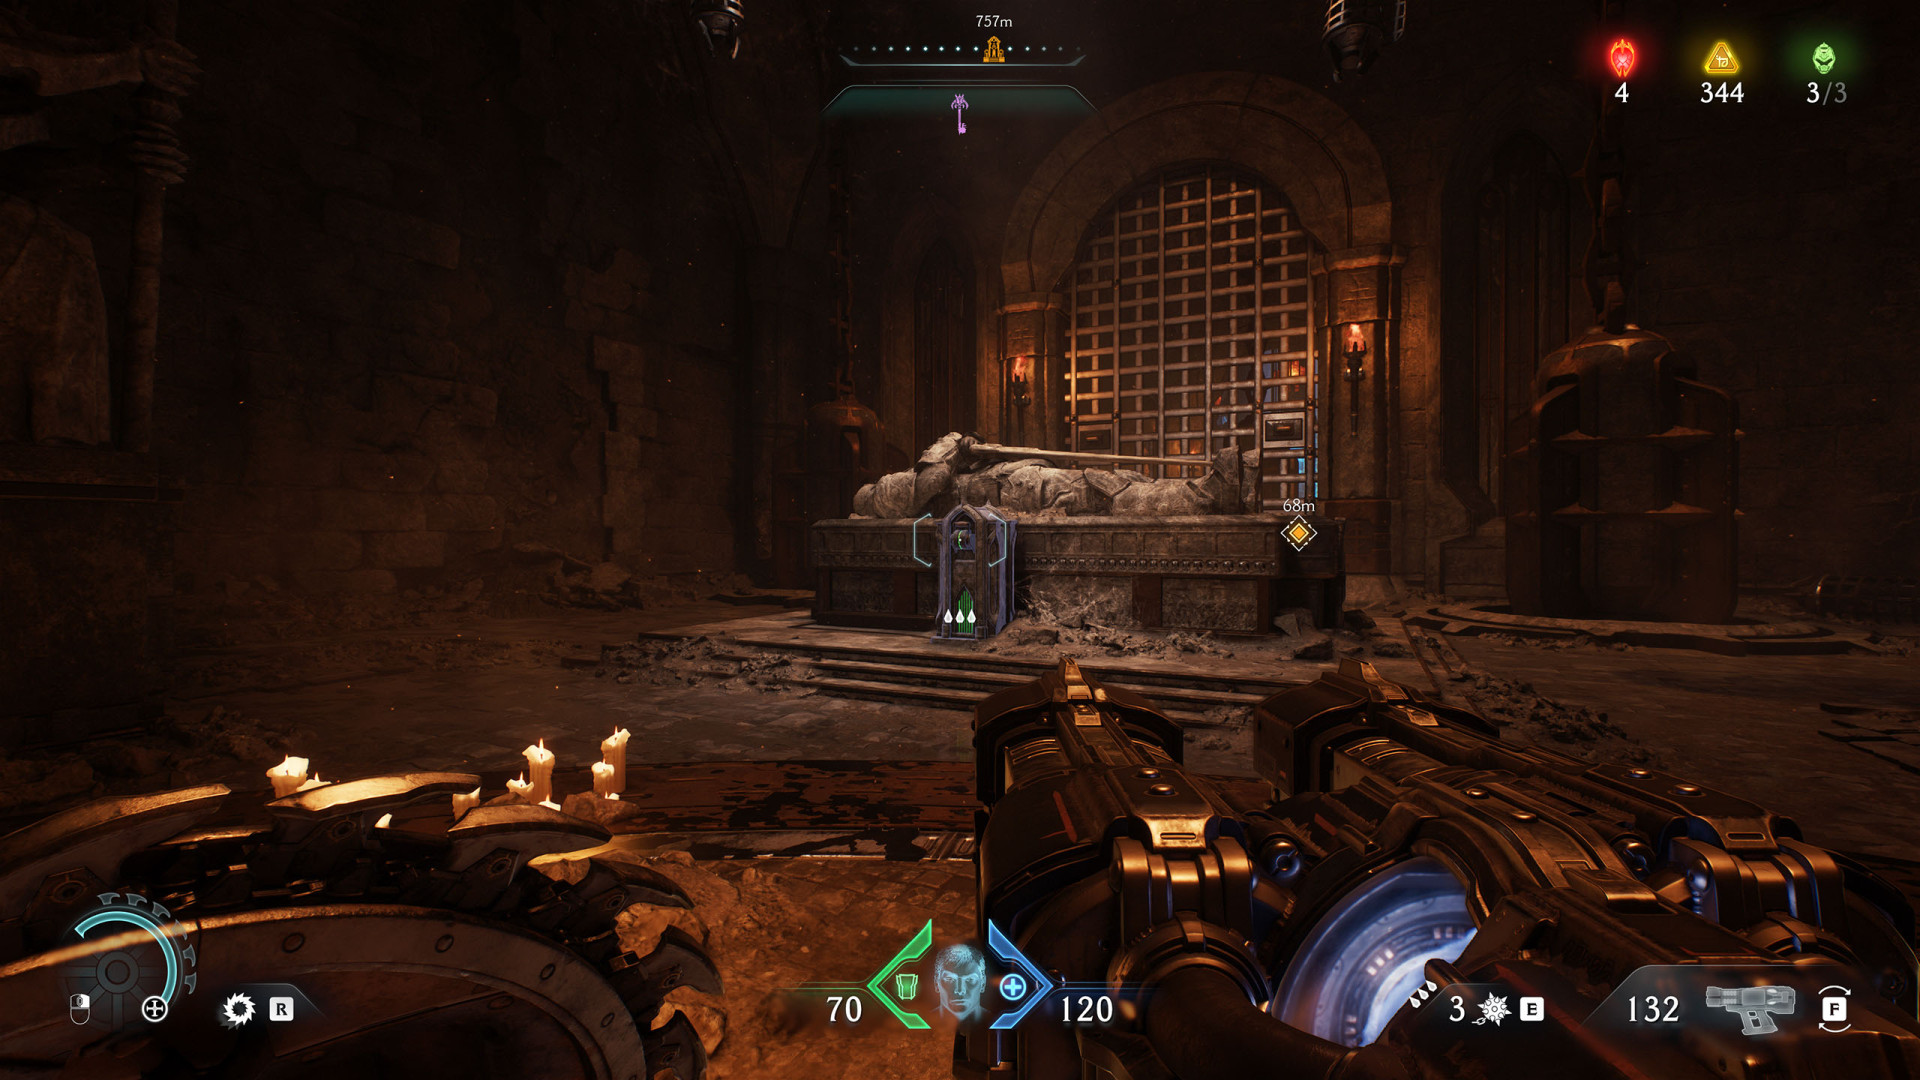
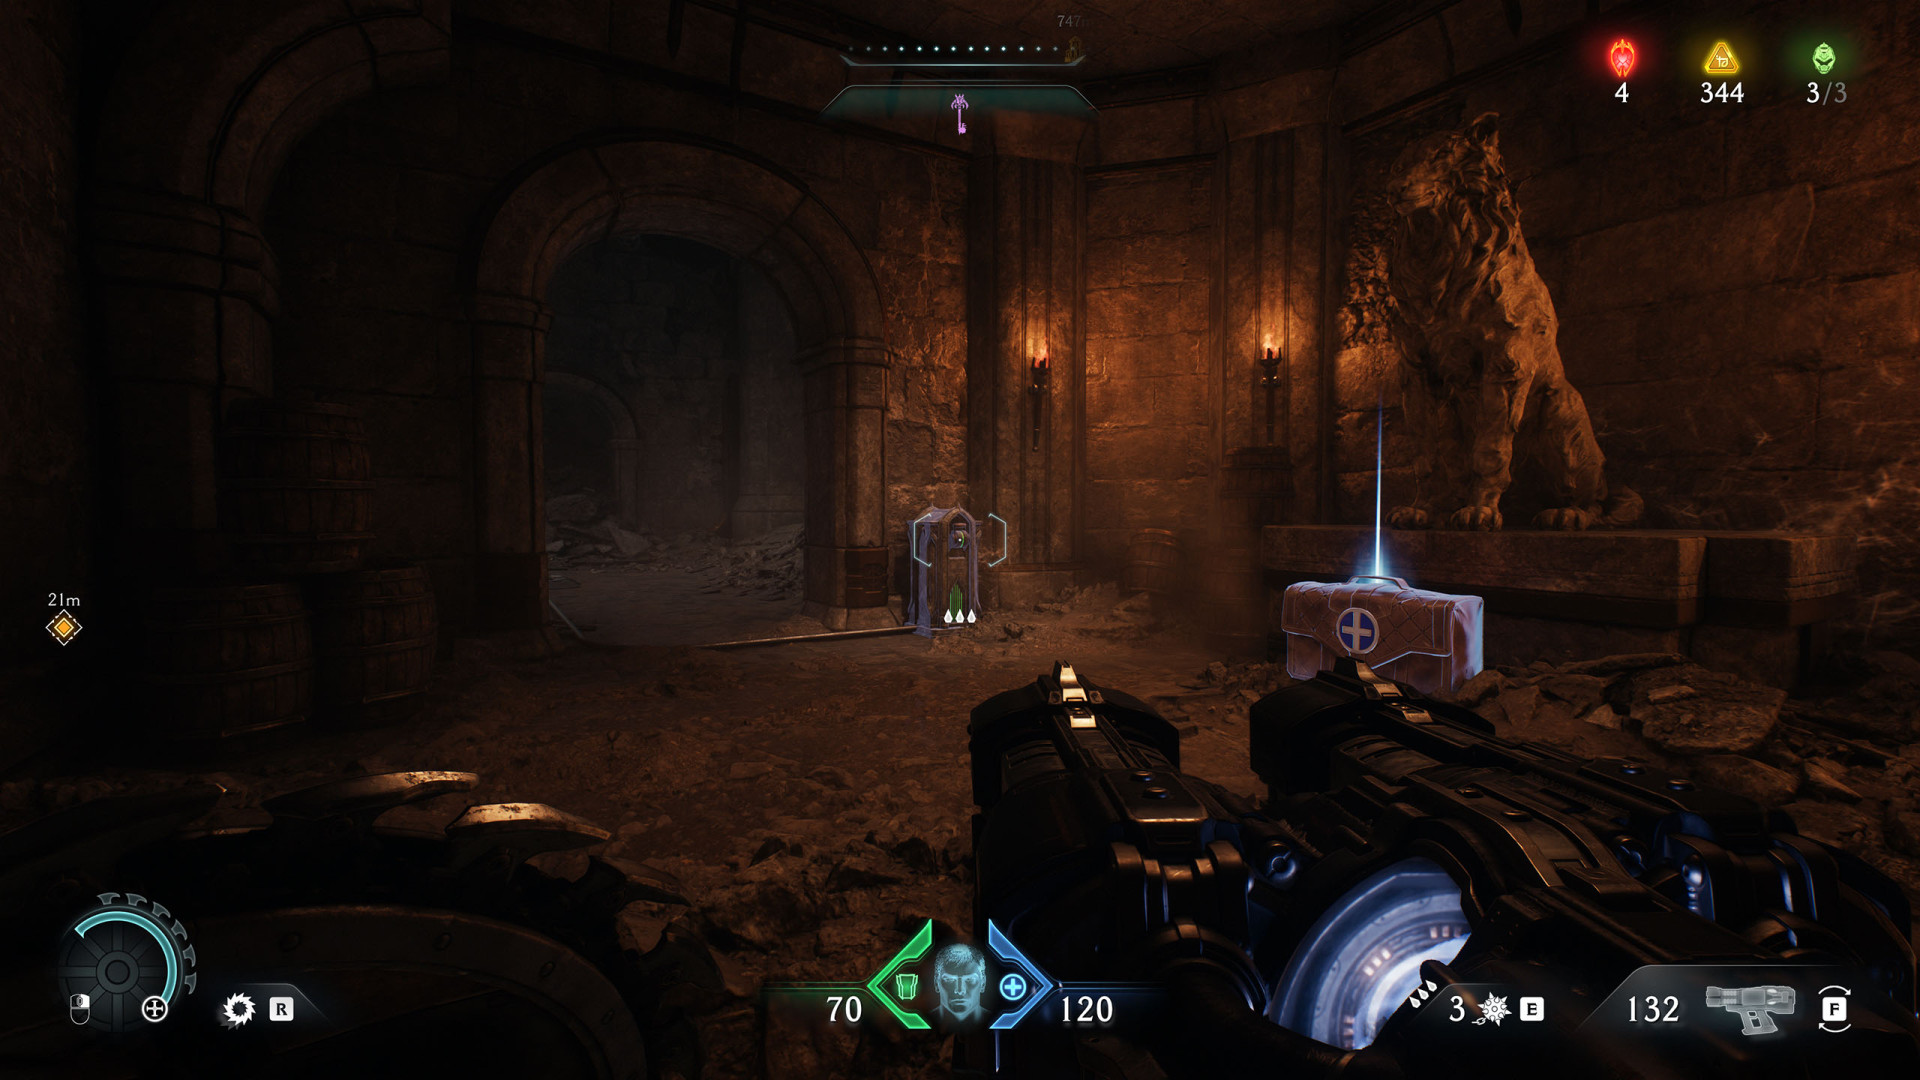
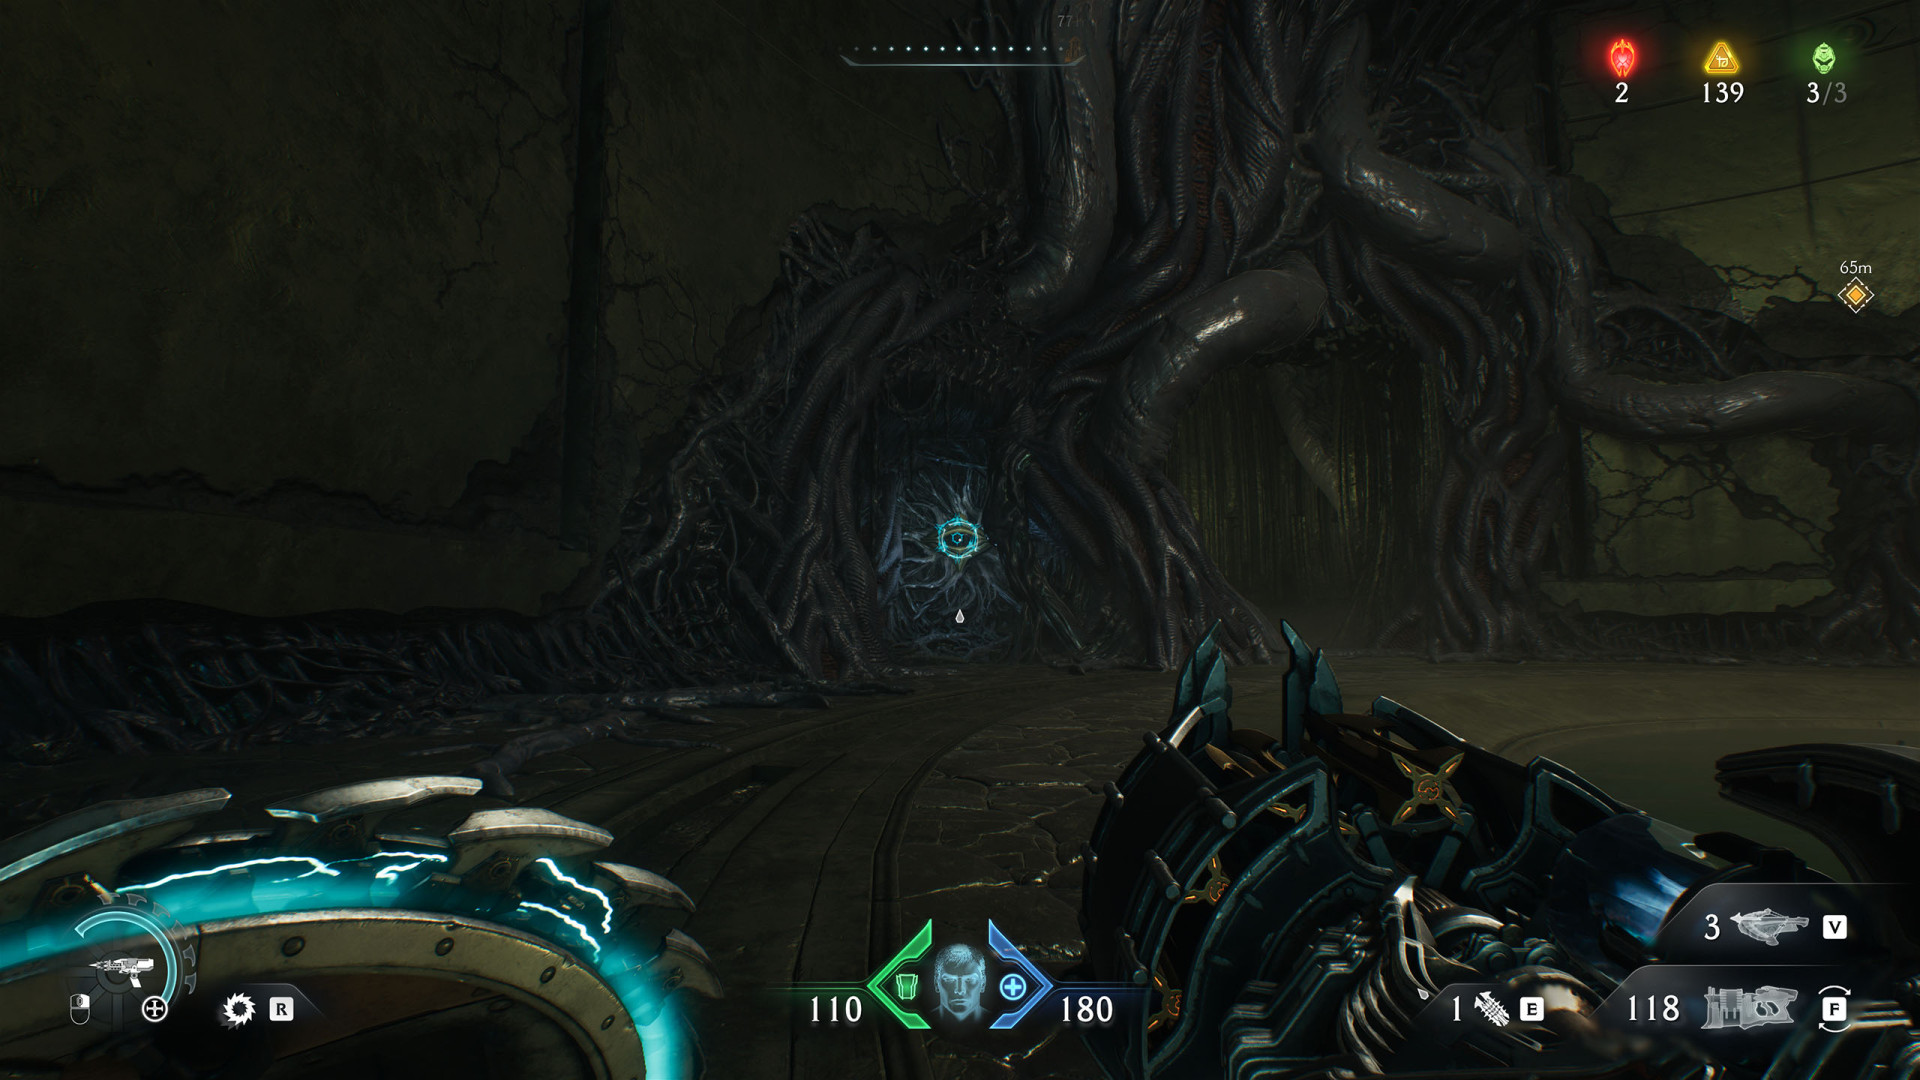
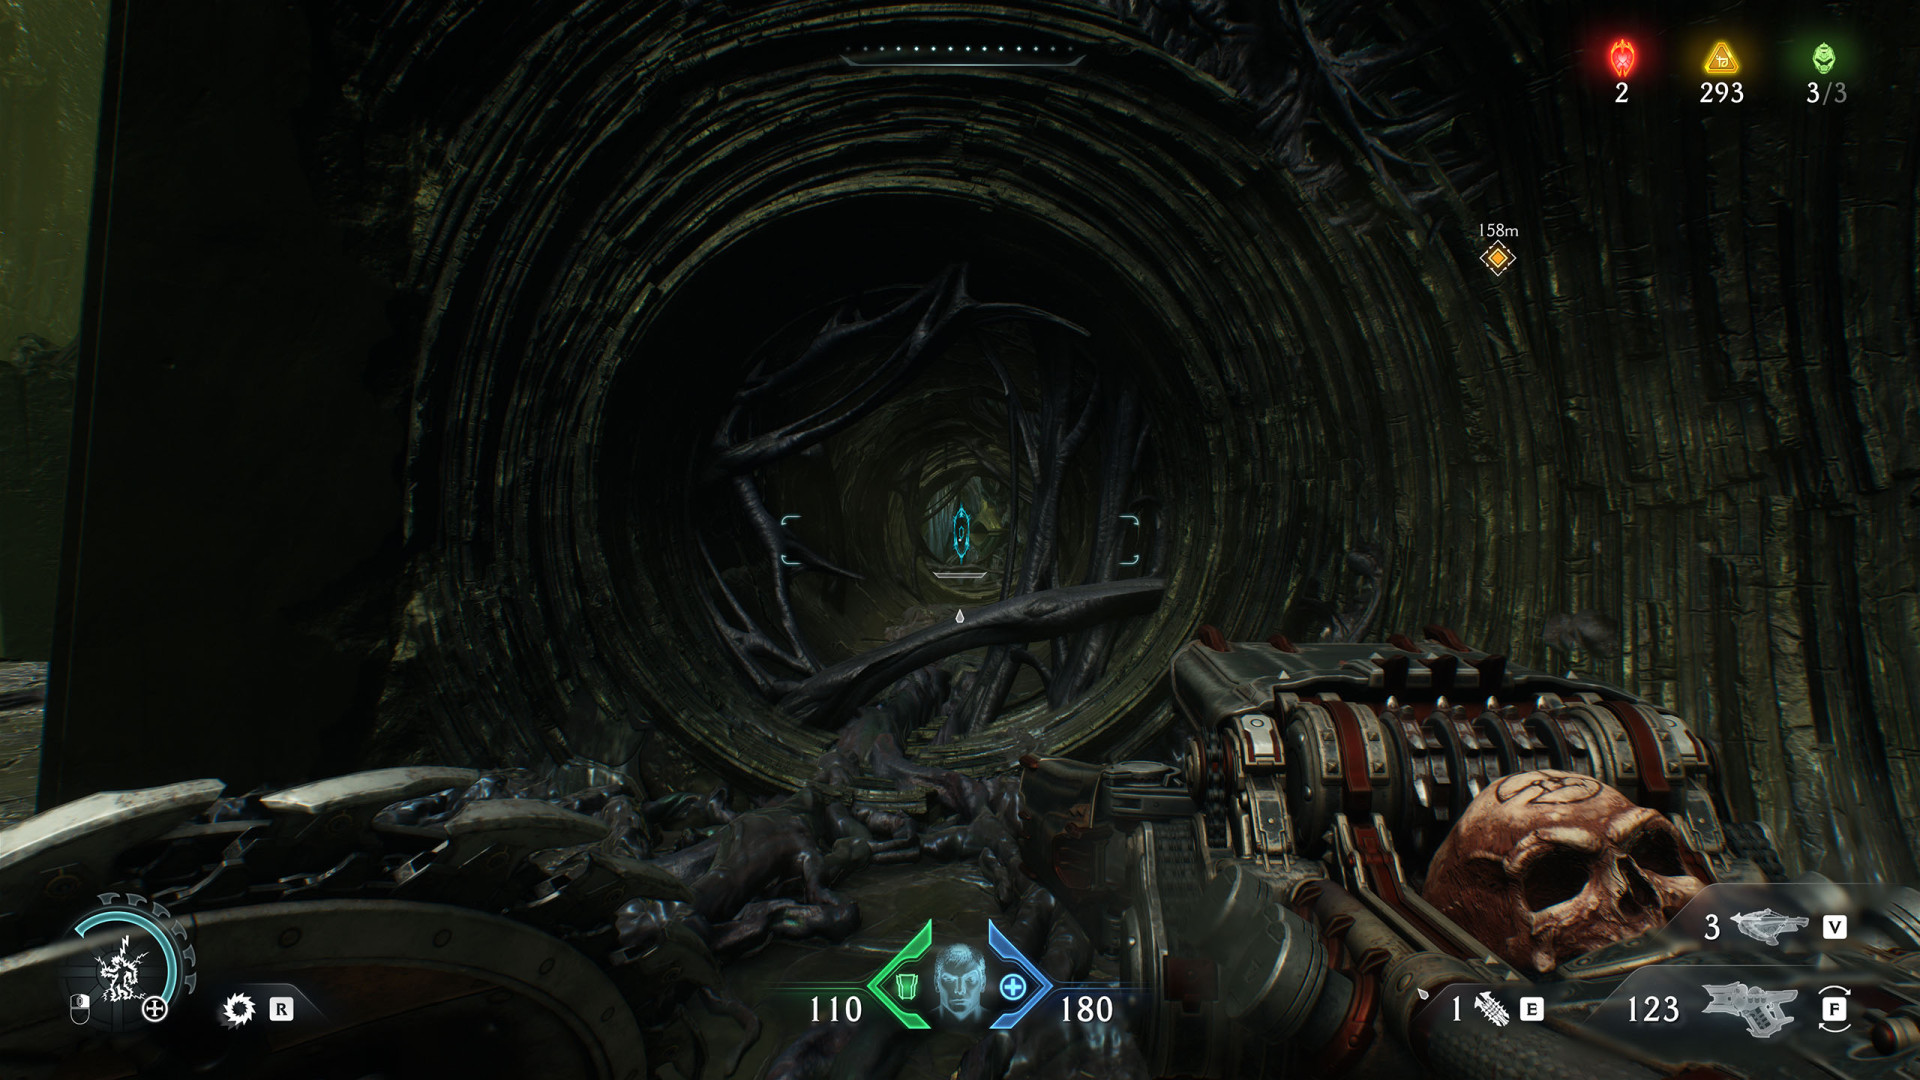
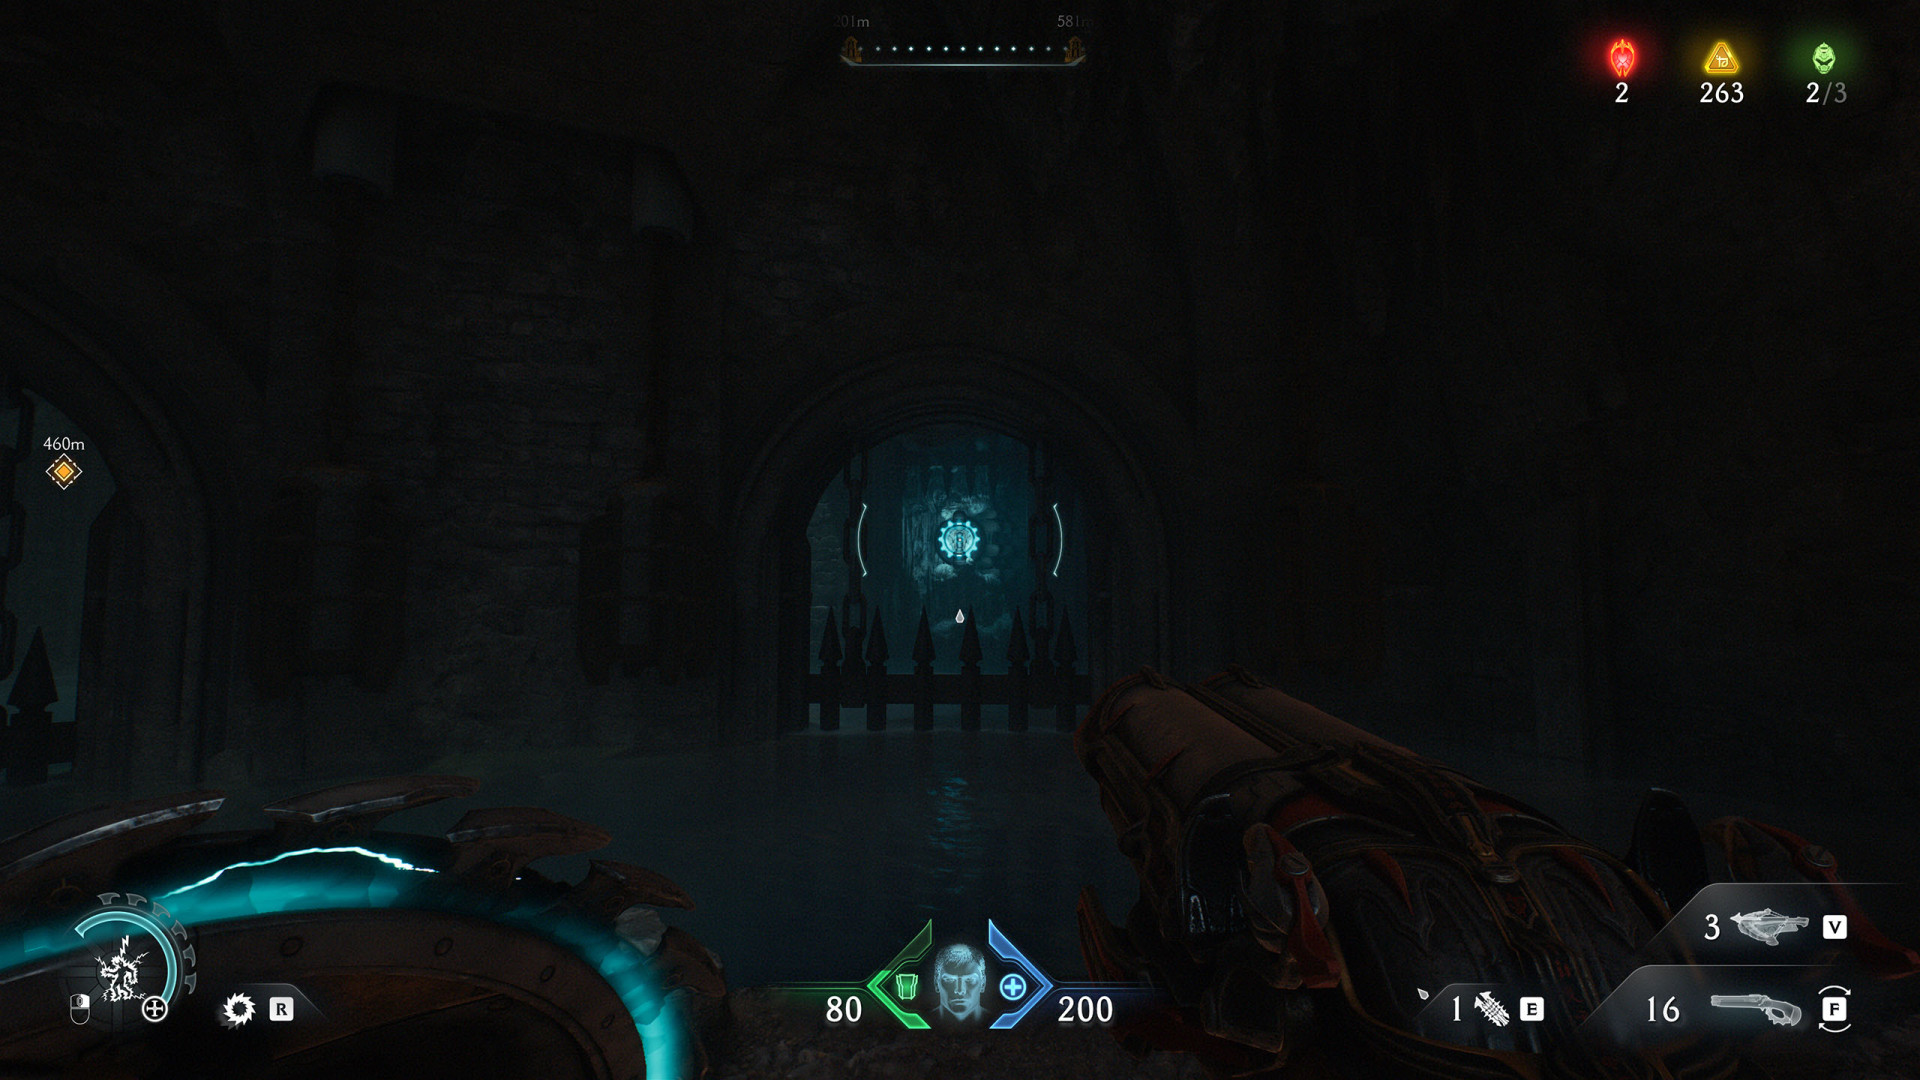
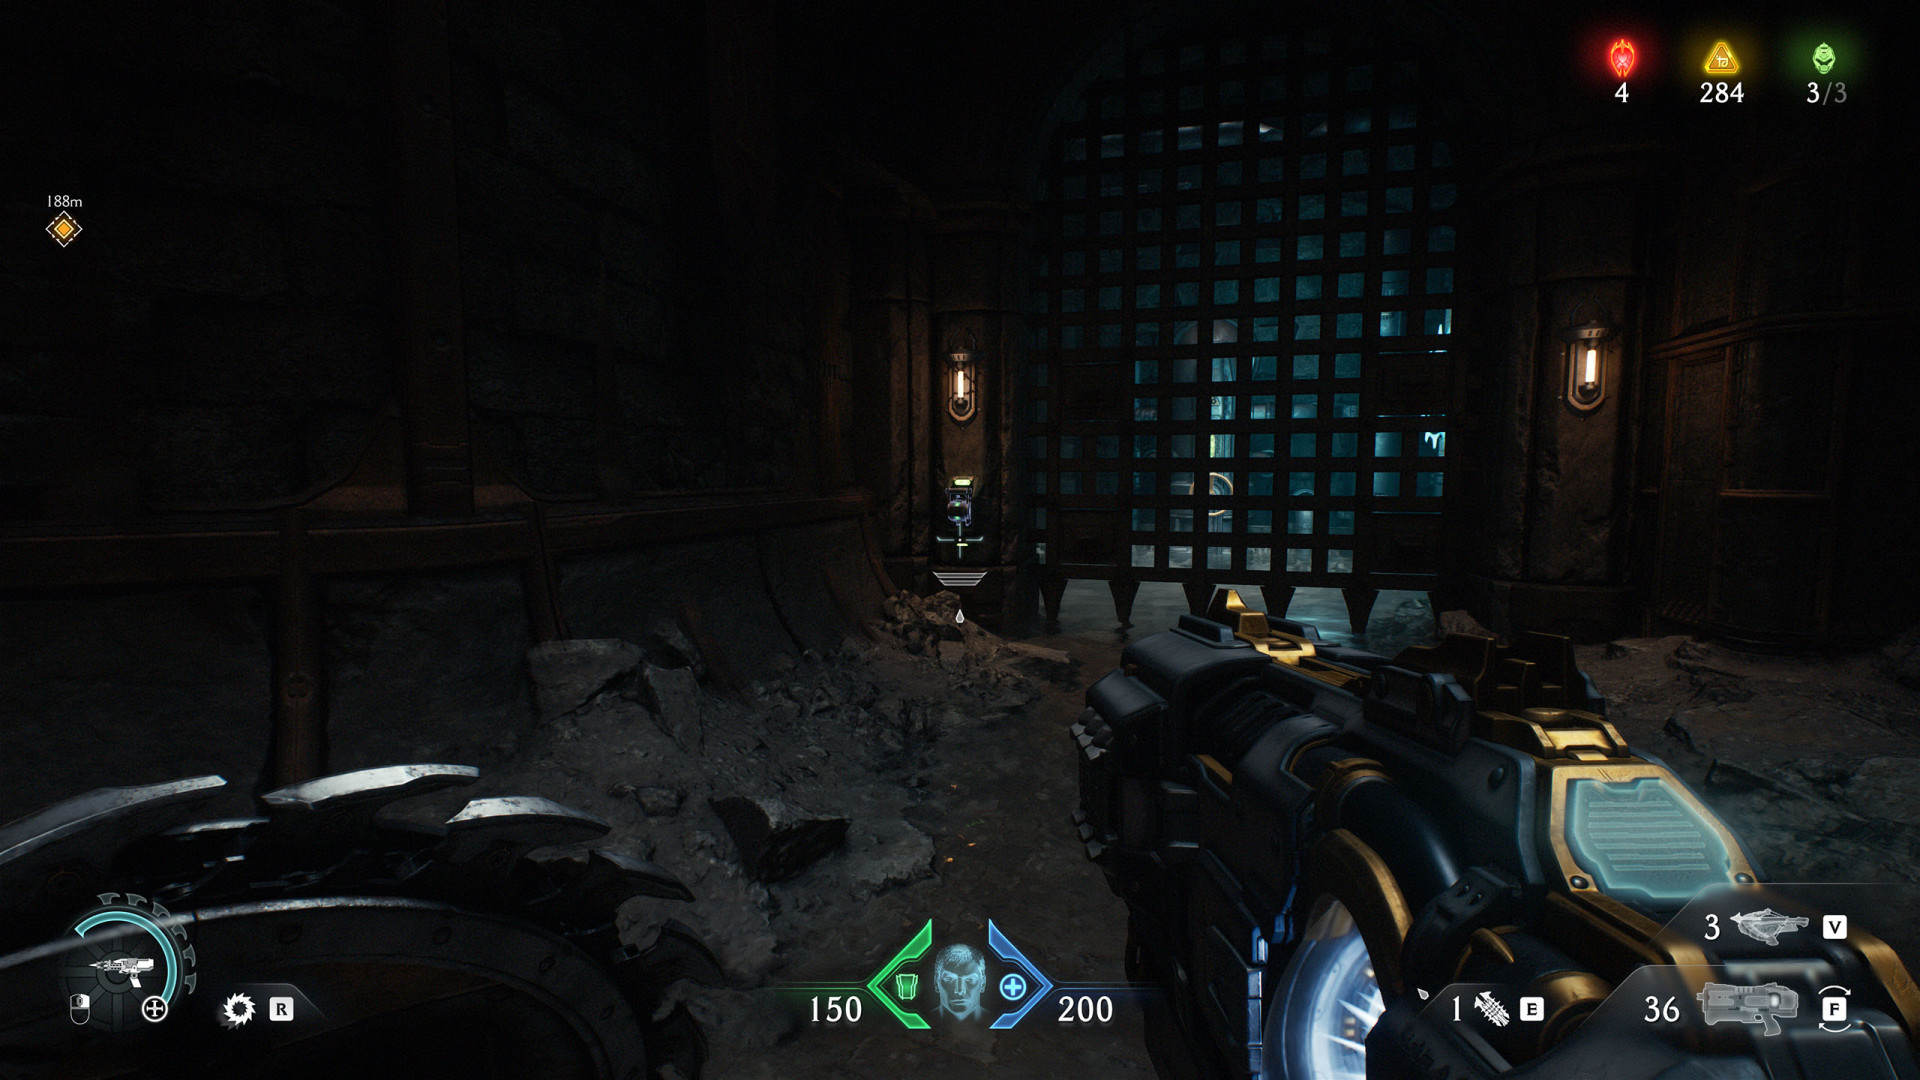
 Switch (Hebeth #2)▶ show the map ◀
Unlocks the gate it is located next to, and another gate behind which there is a way to the higher level.
All known locations on the map Sentinel Barracks
Pressure Plate (Sentinel Barracks #1)▶ show the map ◀
On the upper floor. Stand on it, then throw the shield saw to shatter the Metal Lock (Sentinel Barracks).
Pressure Plate (Sentinel Barracks #2)▶ show the map ◀
Use the Shield Recall Jump (Sentinel Barracks #3) and then push the crate which will stop on the plate, pressing it permanently.

All known locations on the map The Holy City of Aratum
Pressure Plate (The Holy City of Aratum #1)▶ show the map ◀
Pressure Plate (The Holy City of Aratum #2)▶ show the map ◀
When you press this platform, the Metal Lock (The Holy City of Aratum #2) will be revealed.
Valve (The Holy City of Aratum)▶ show the map ◀
Dive into the water tank and turn this valve to drain the water.
All known locations on the map Siege - Part 1
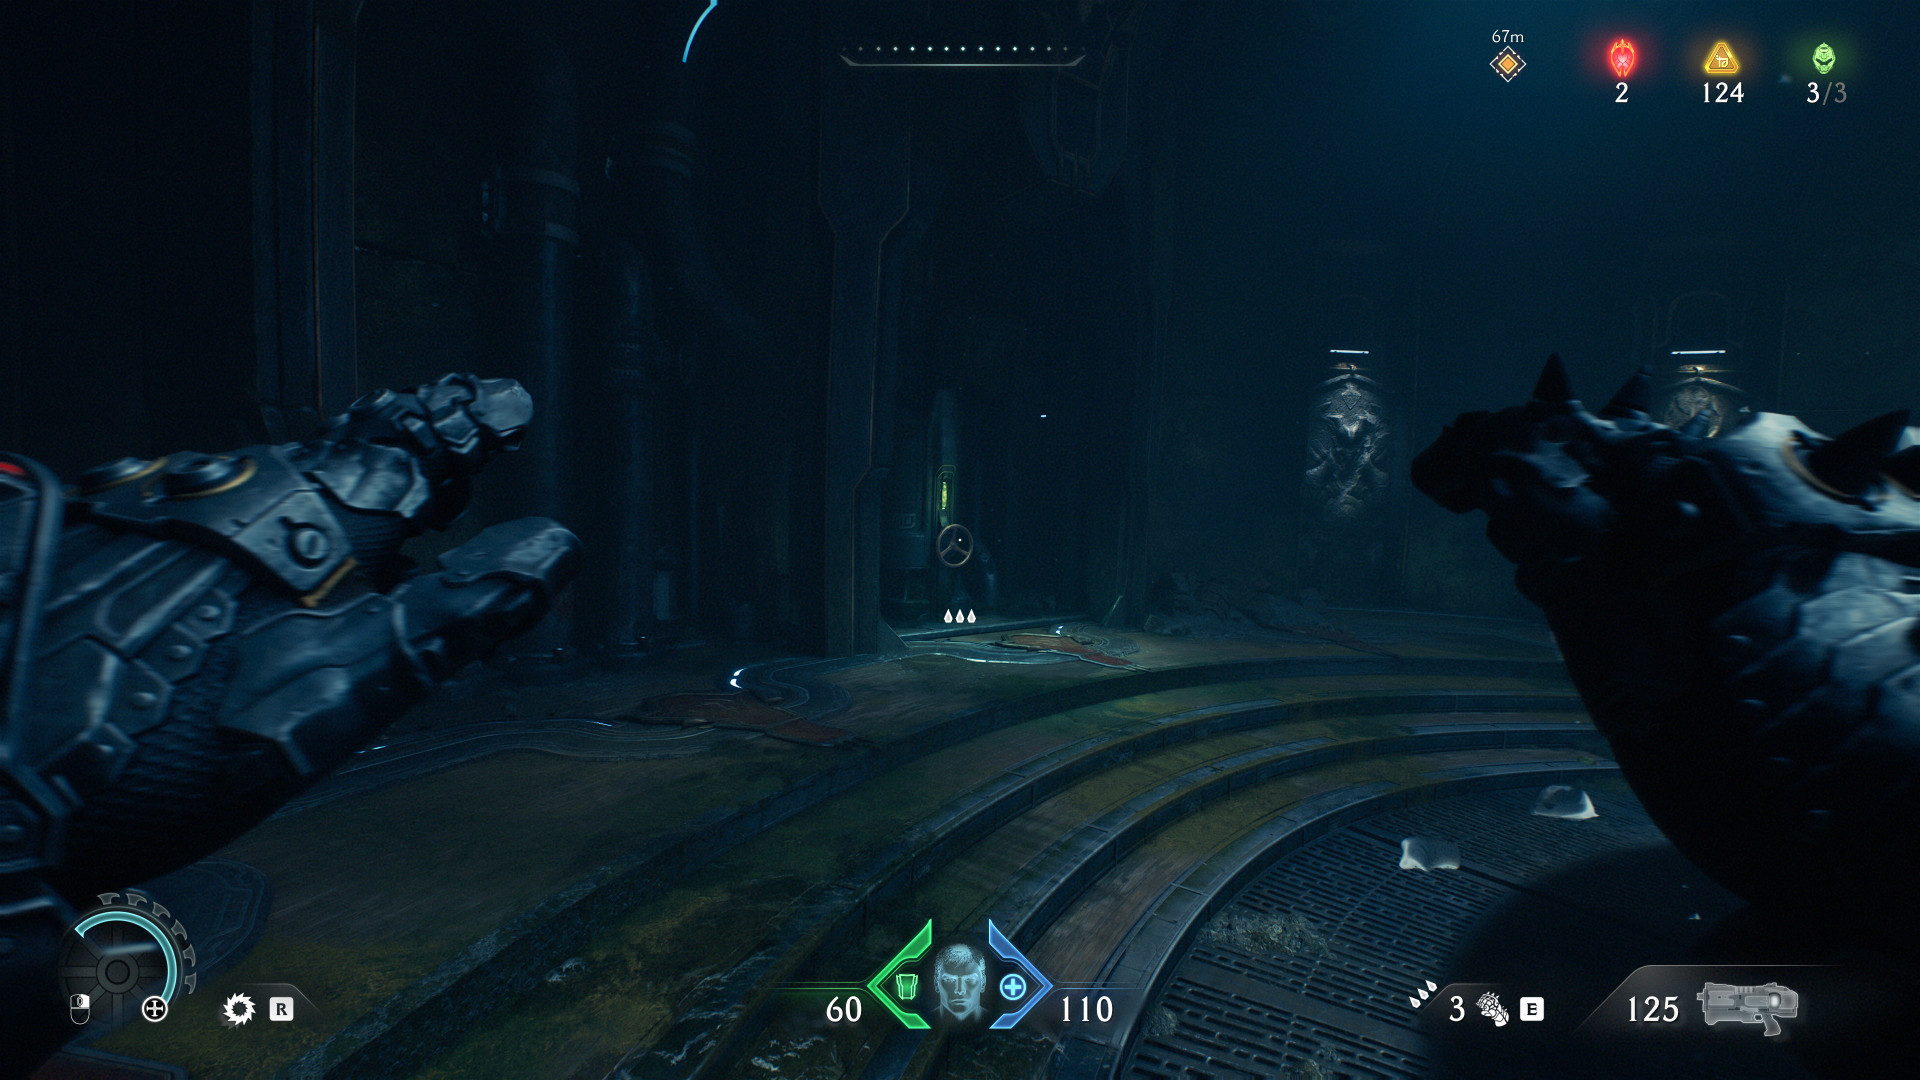
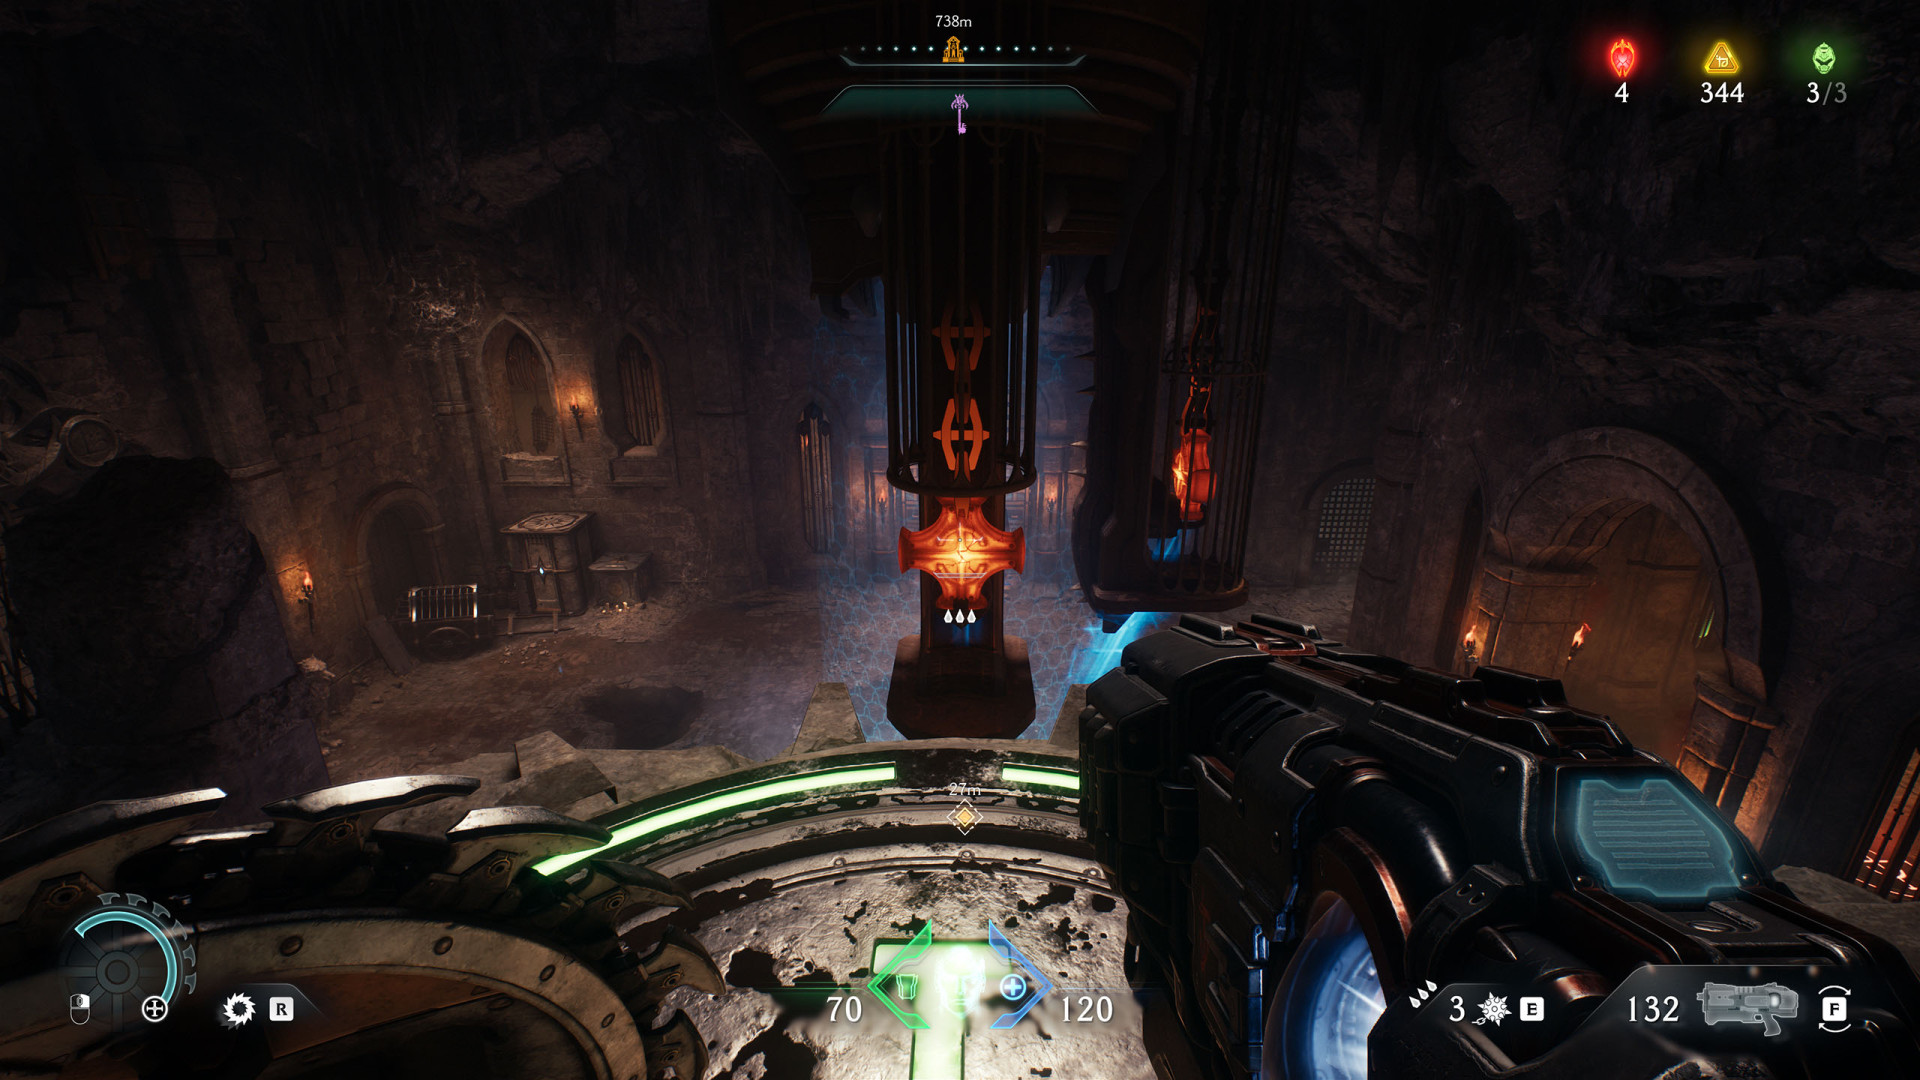
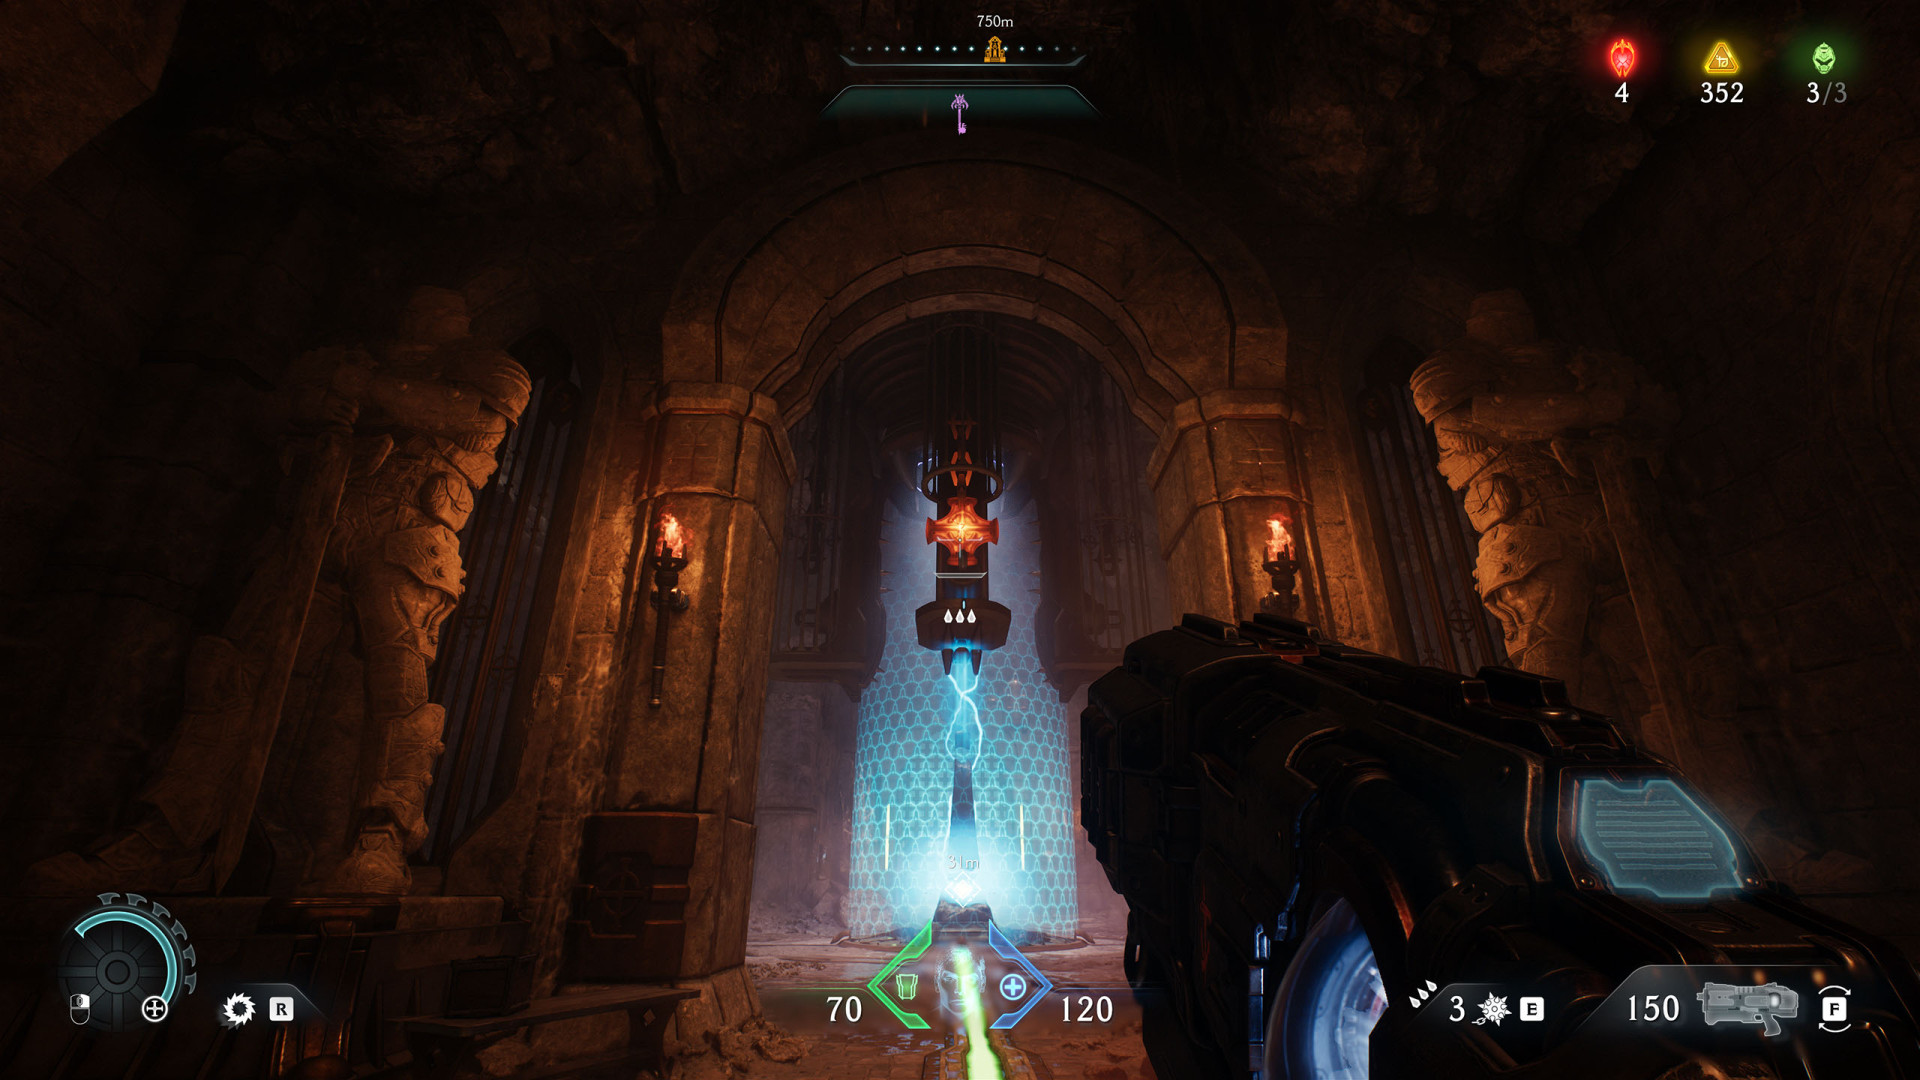
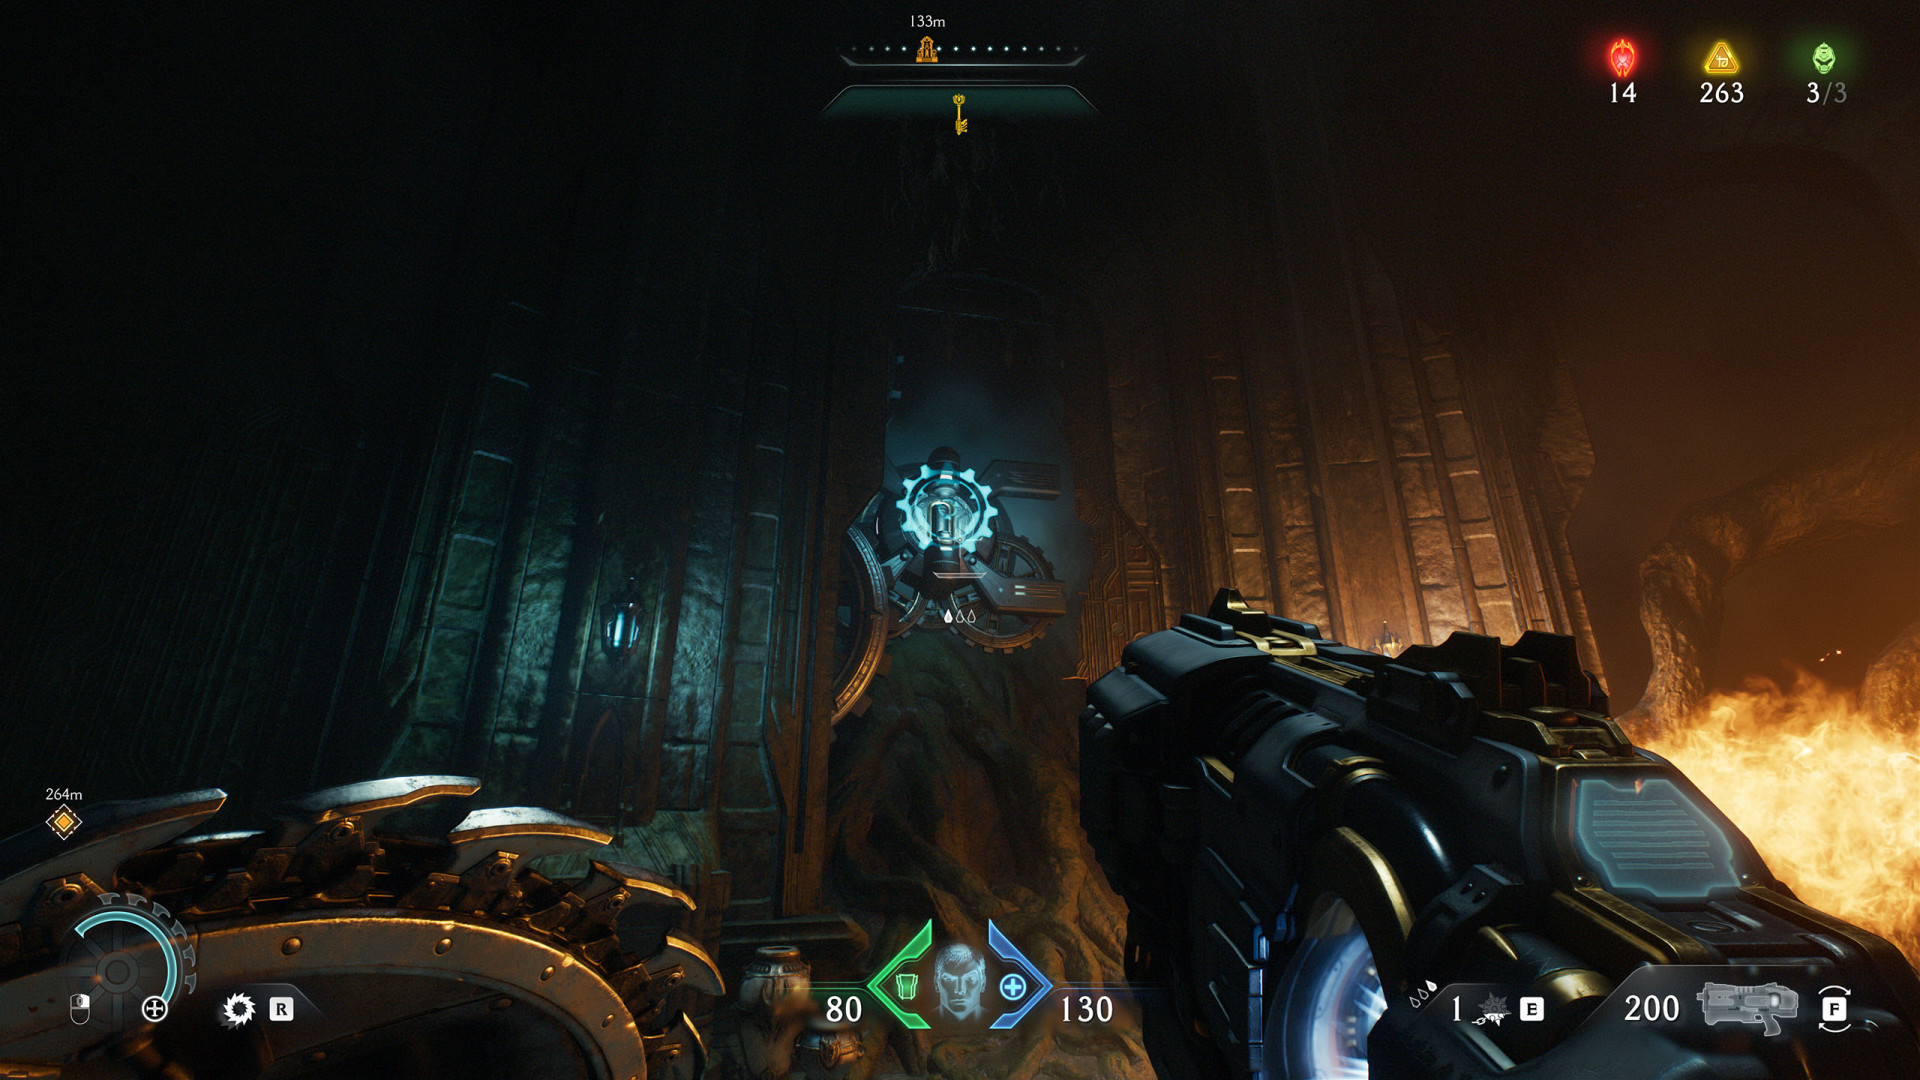
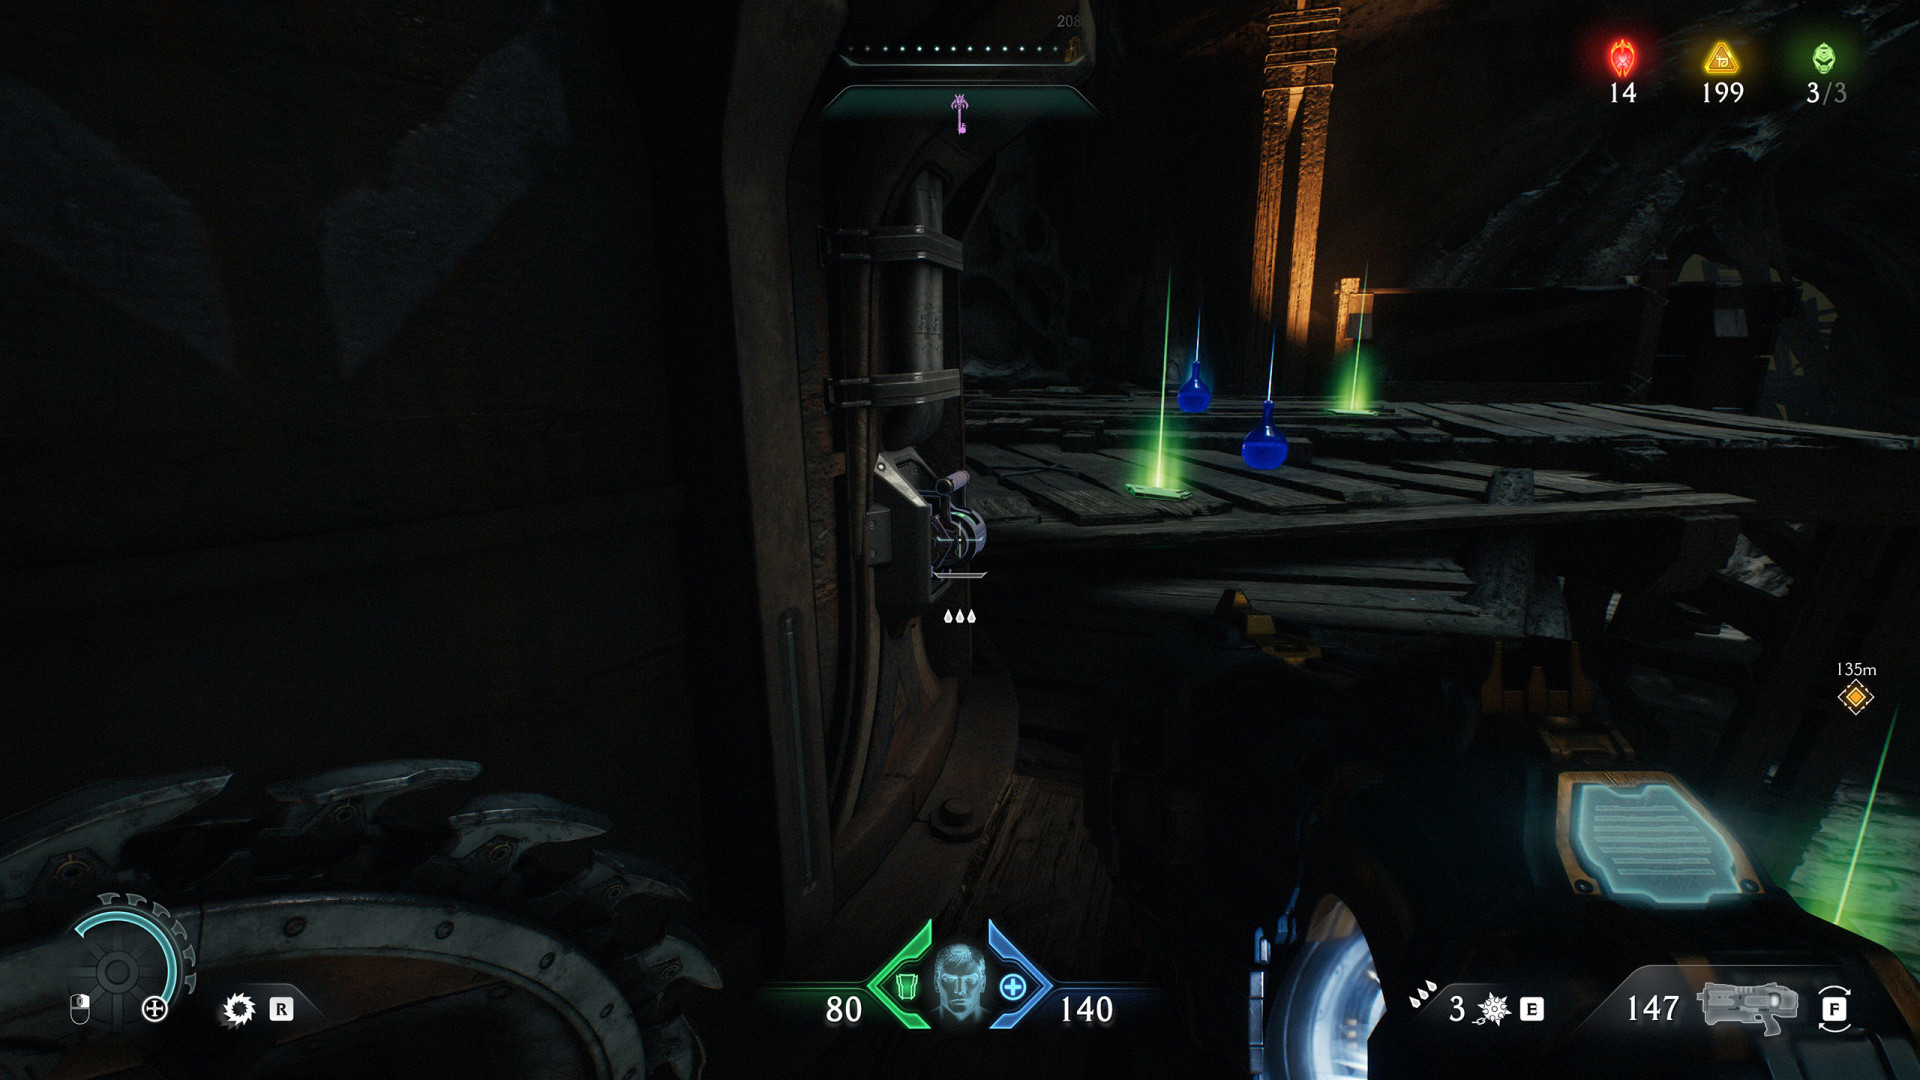
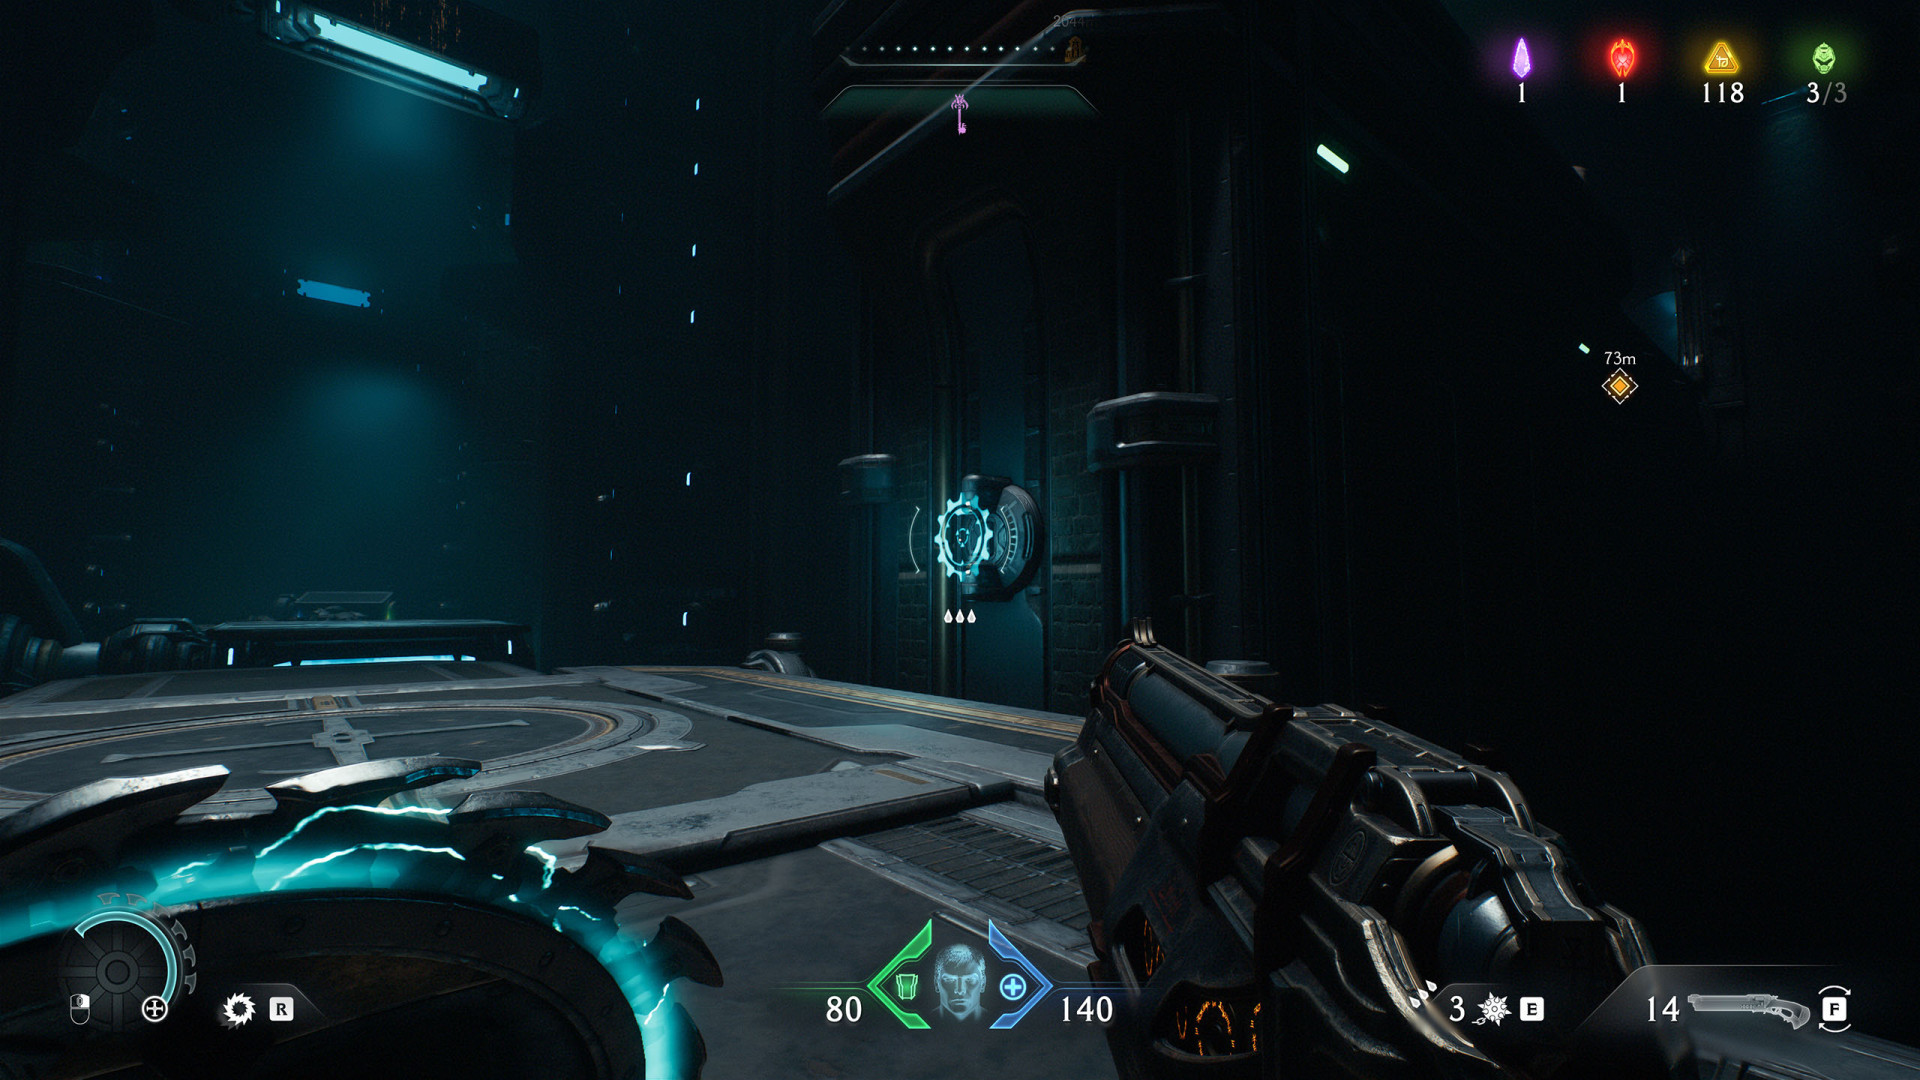
Energy Node (Siege - Part 1 #1)▶ show the map ◀
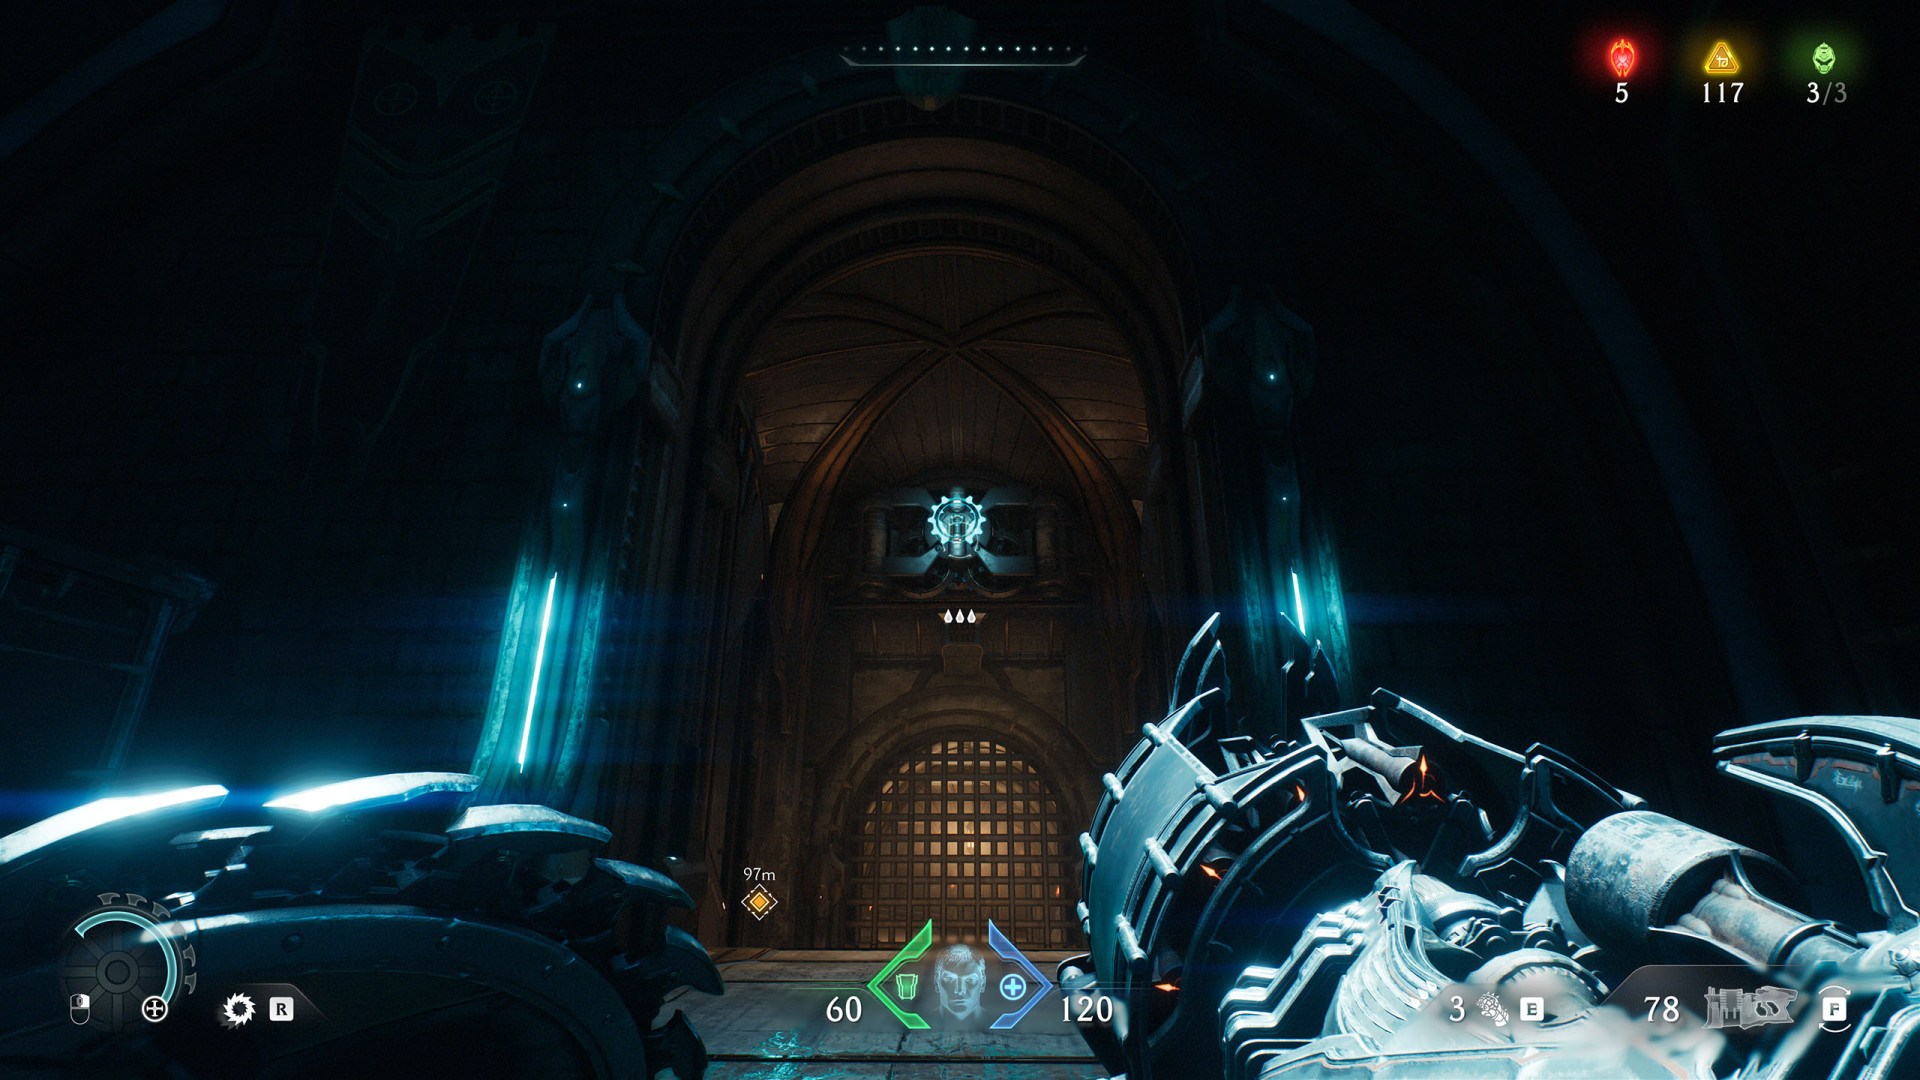
Energy Node (Siege - Part 1 #2)▶ show the map ◀
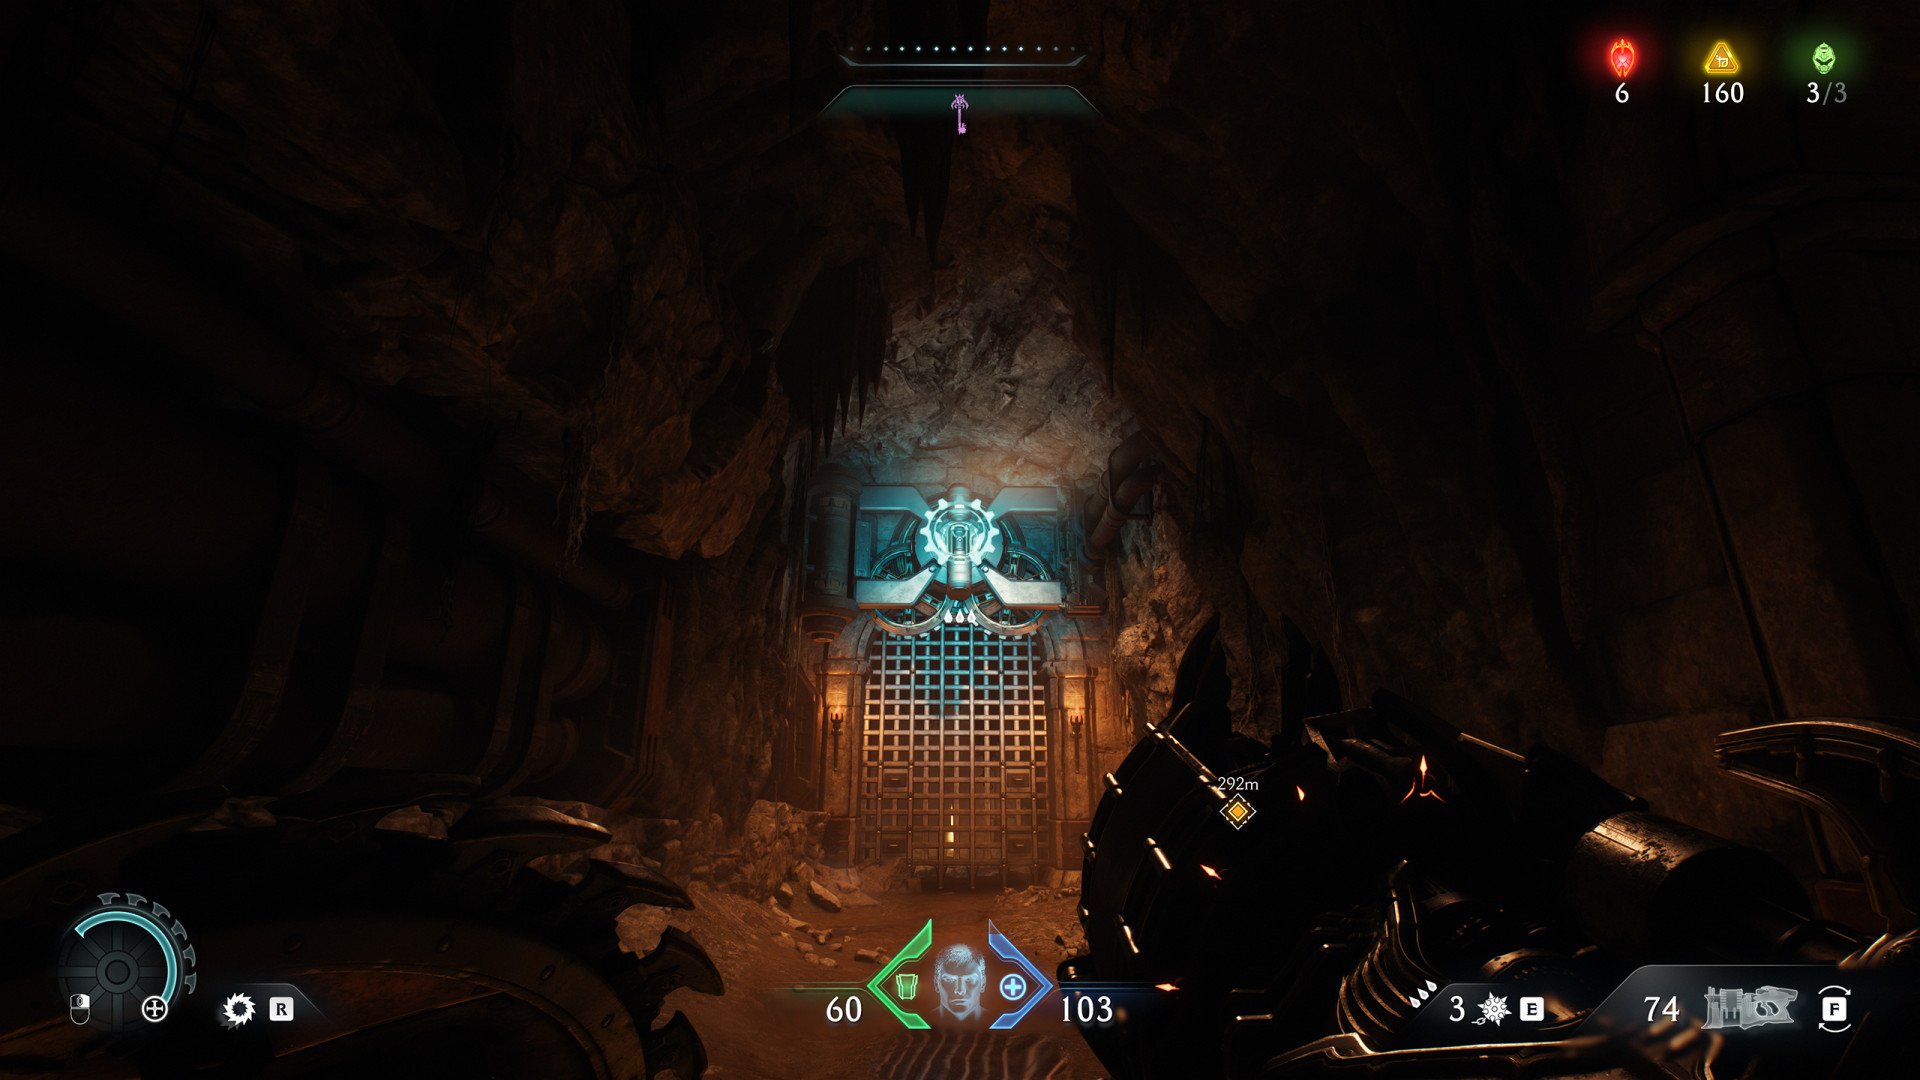
Energy Node (Siege - Part 1 #3)▶ show the map ◀
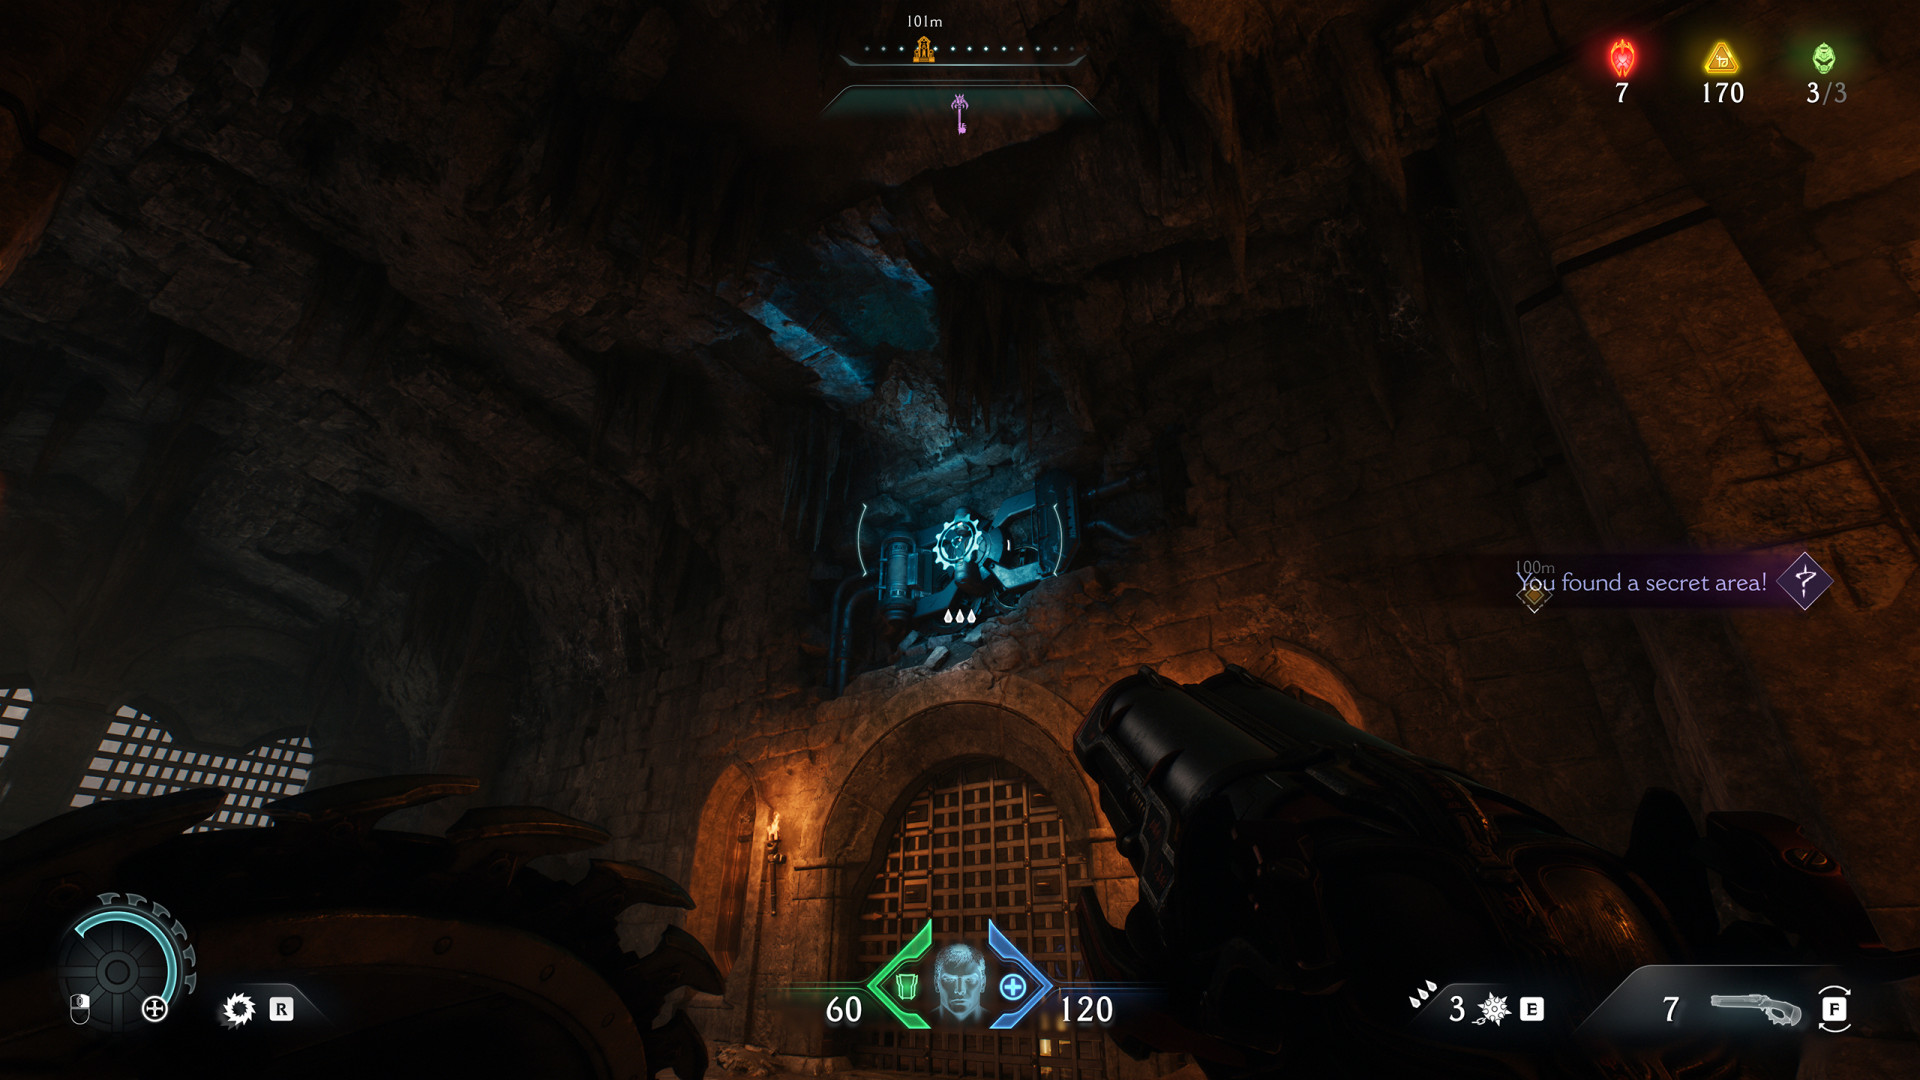
Energy Node (Siege - Part 1 #4)▶ show the map ◀
Energy Node (Siege - Part 1 #5)▶ show the map ◀
Lever (Siege - Part 1 #1)▶ show the map ◀
Lever (Siege - Part 1 #2)▶ show the map ◀
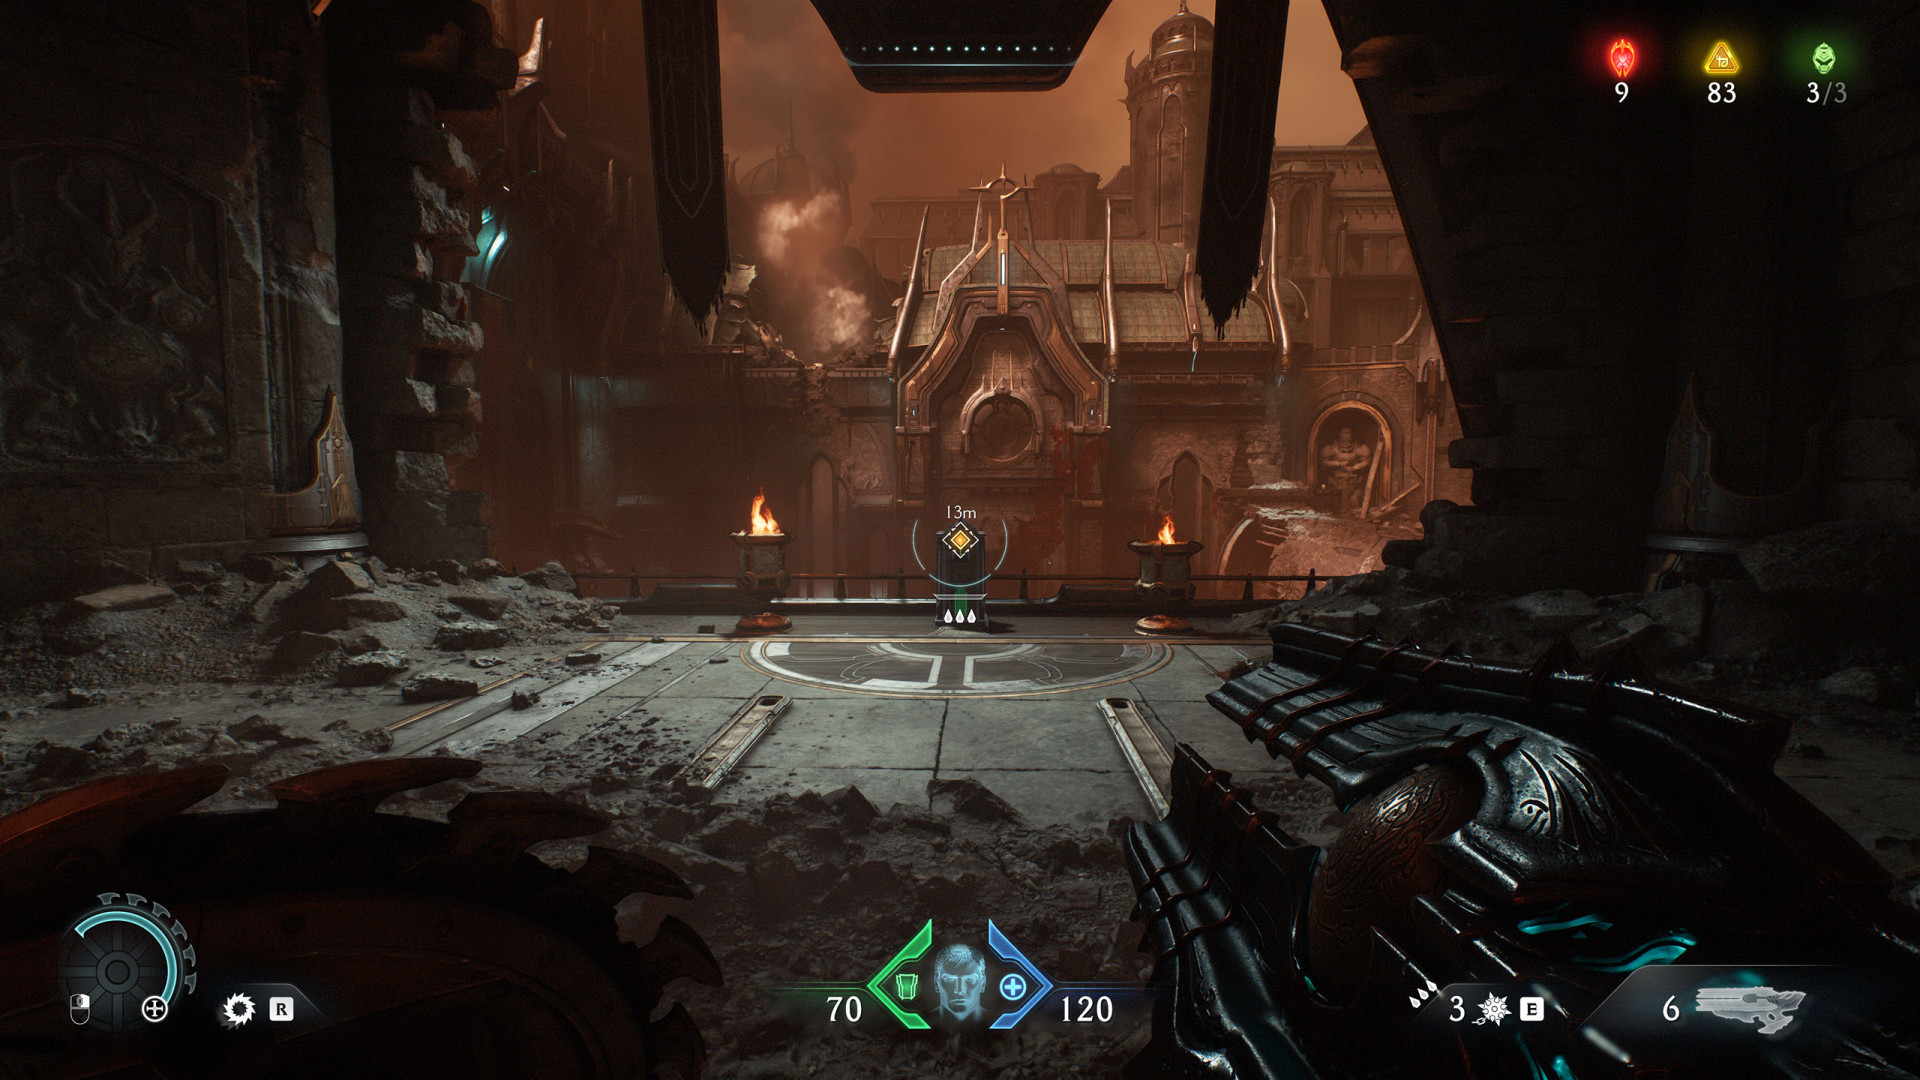
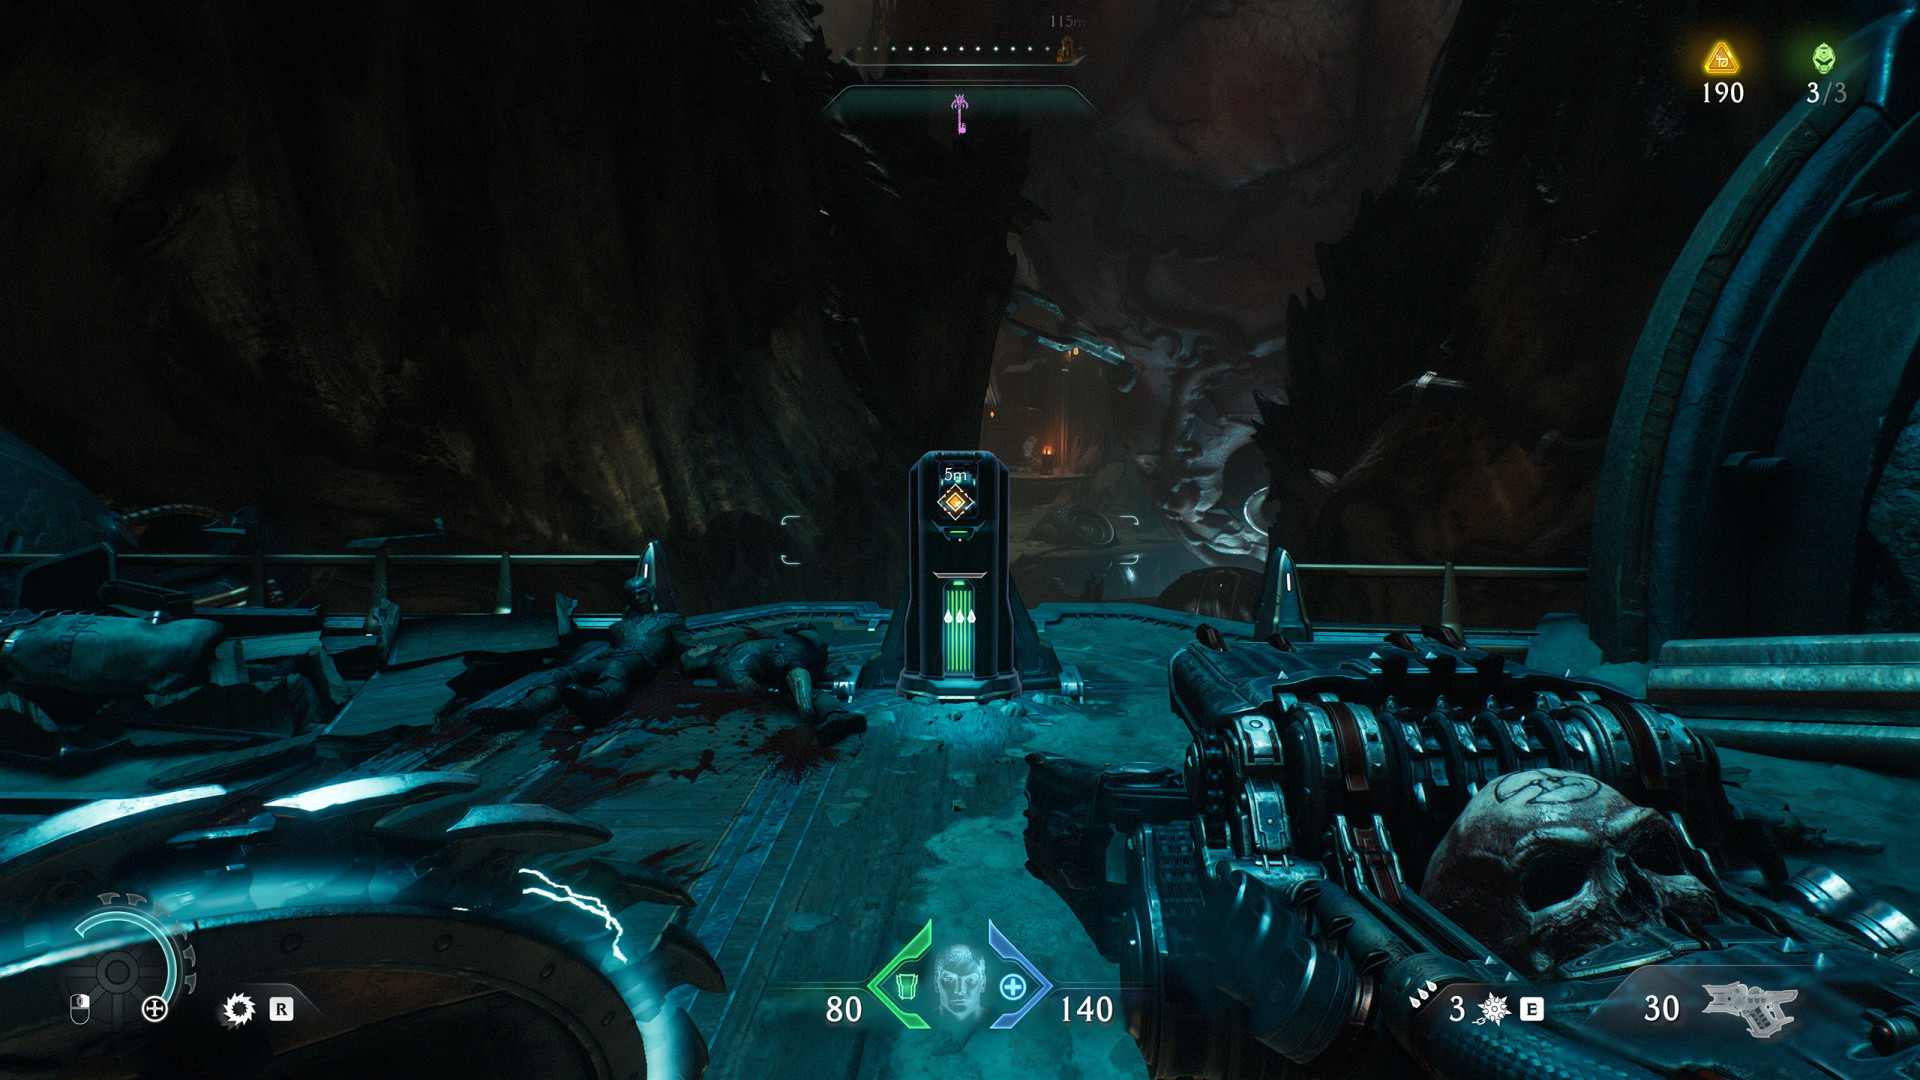
Pressure Plate (Siege - Part 1 #1)▶ show the map ◀
Stand on this pressure plate to expose one of the metal locks blocking access to the Chainshot.
Pressure Plate (Siege - Part 1 #2)▶ show the map ◀
Stand on this pressure plate to expose one of the metal locks blocking access to the Chainshot.

Pressure Plate (Siege - Part 1 #3)▶ show the map ◀
Stand on this pressure plate to expose one of the metal locks blocking access to the Chainshot.
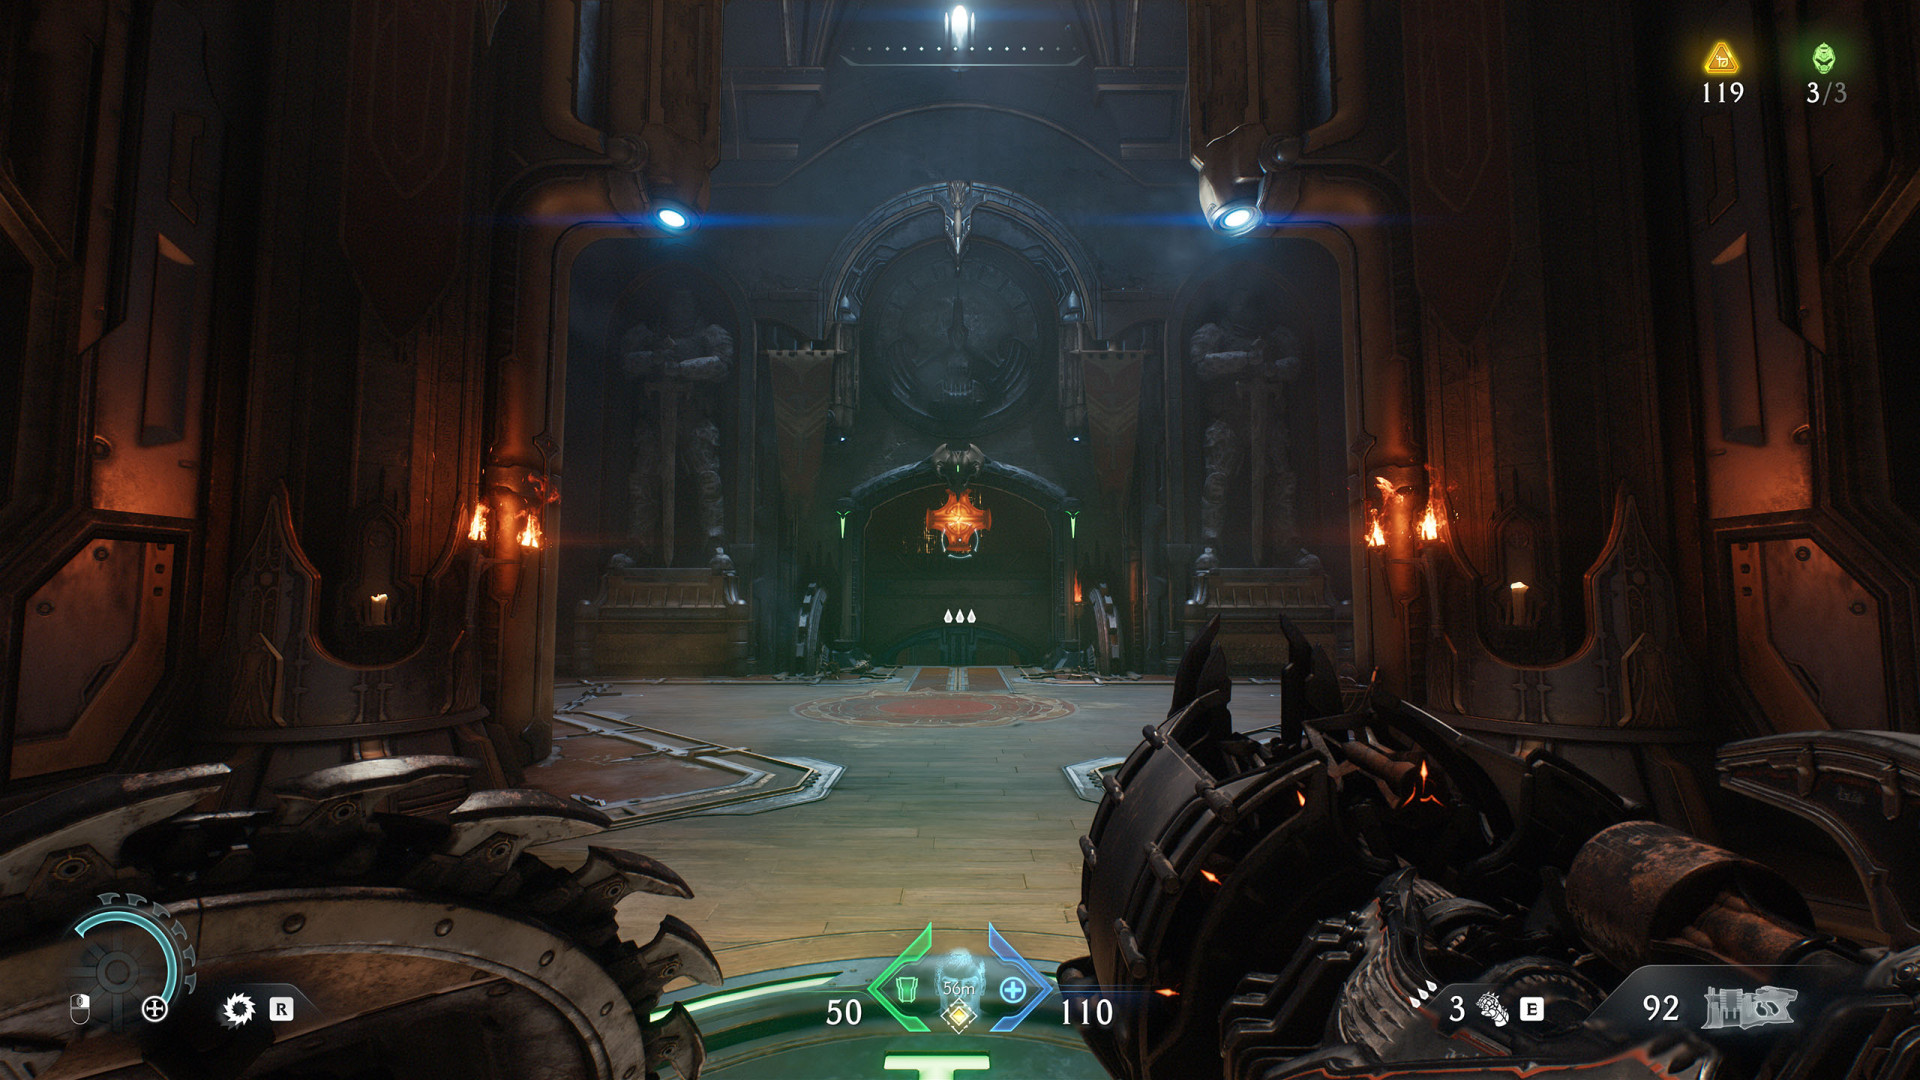
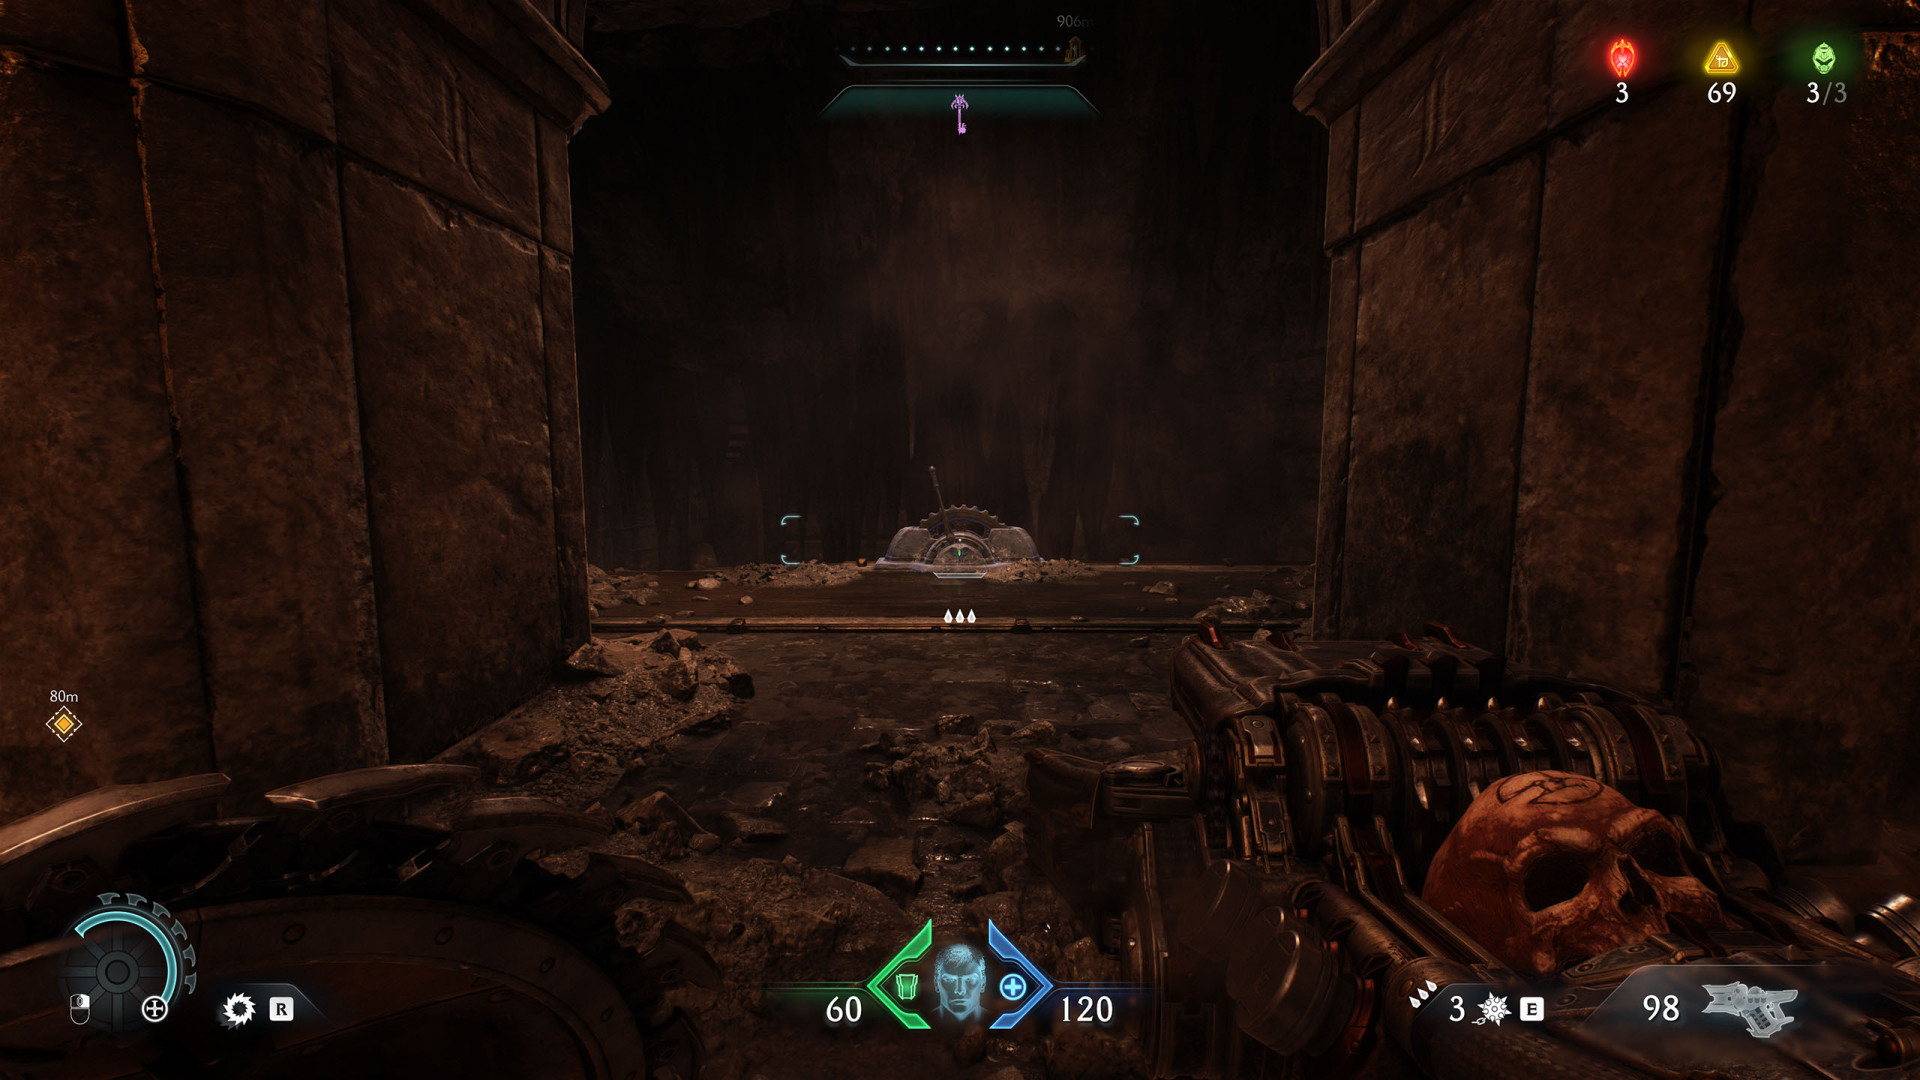
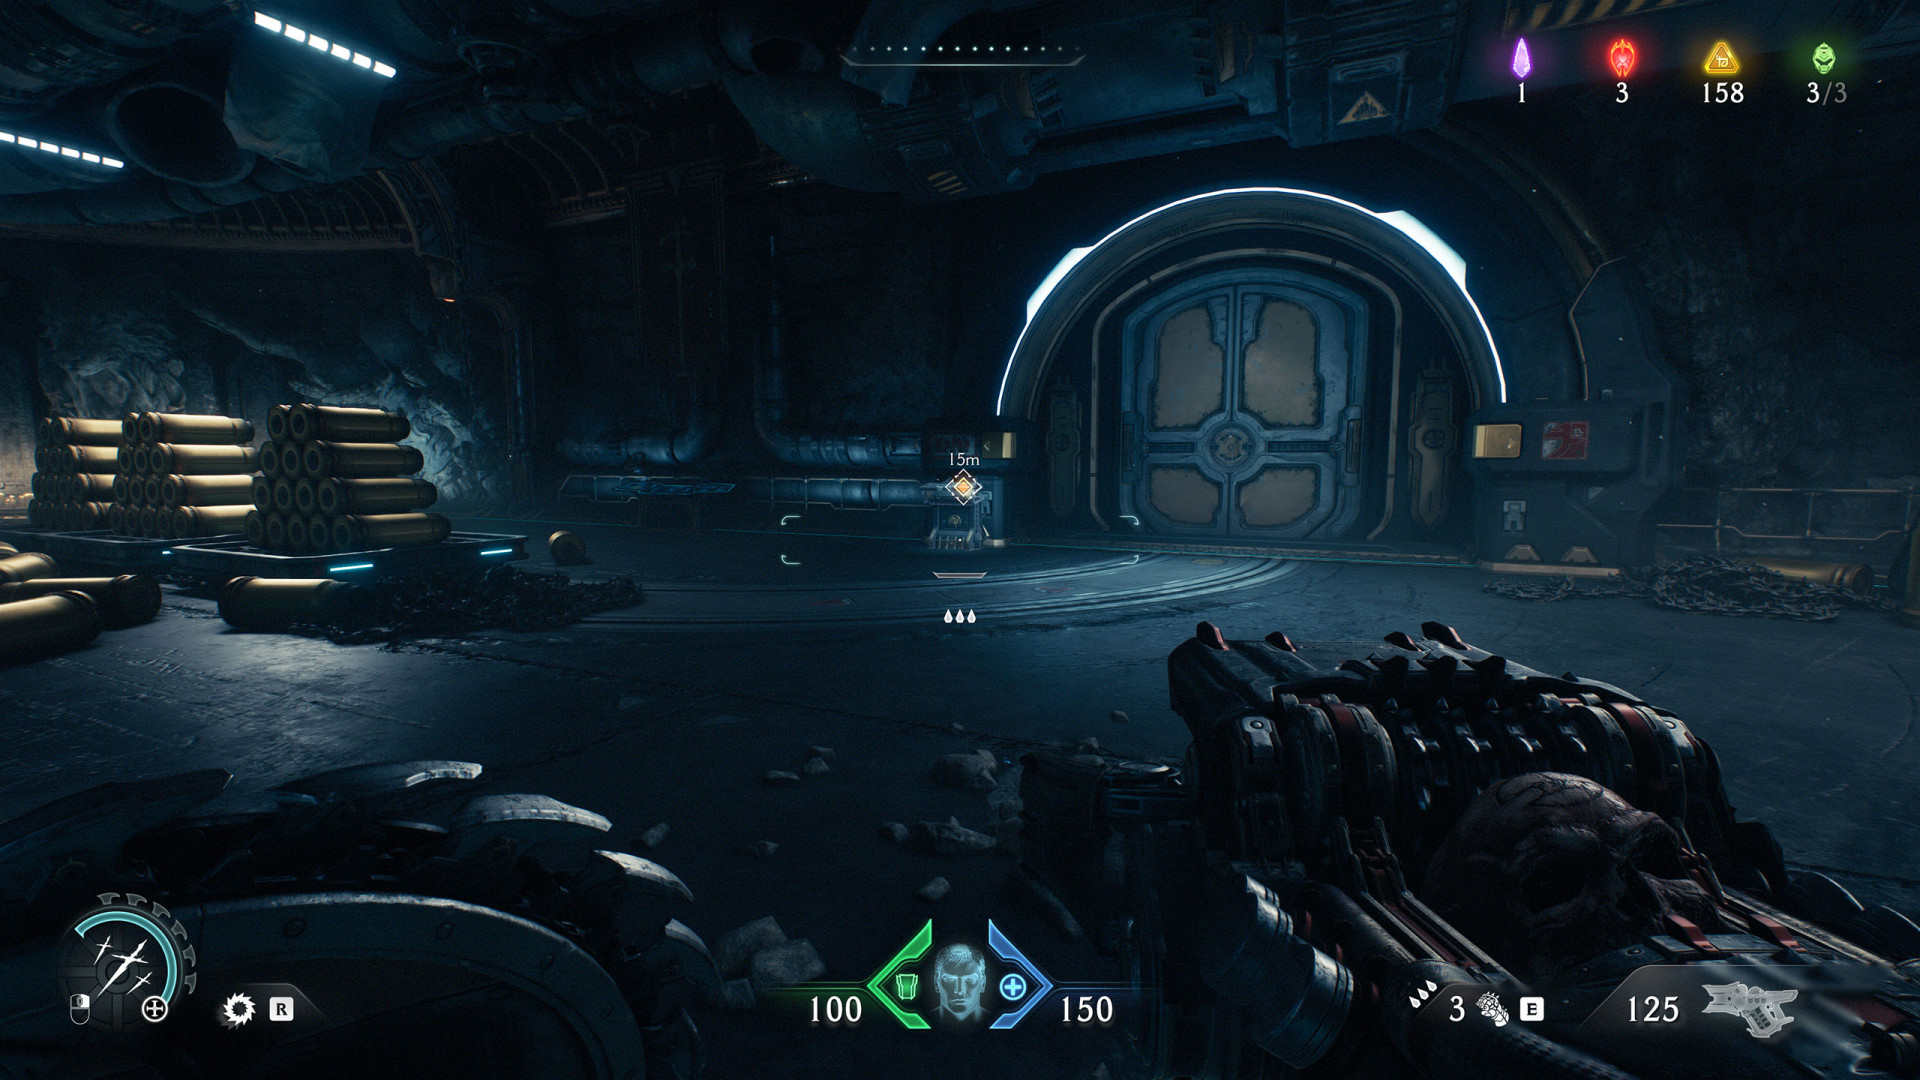
Switch (Siege - Part 1 #1)▶ show the map ◀
This switch will lower the cage containing the Ruby (Siege - Part 1 #2).
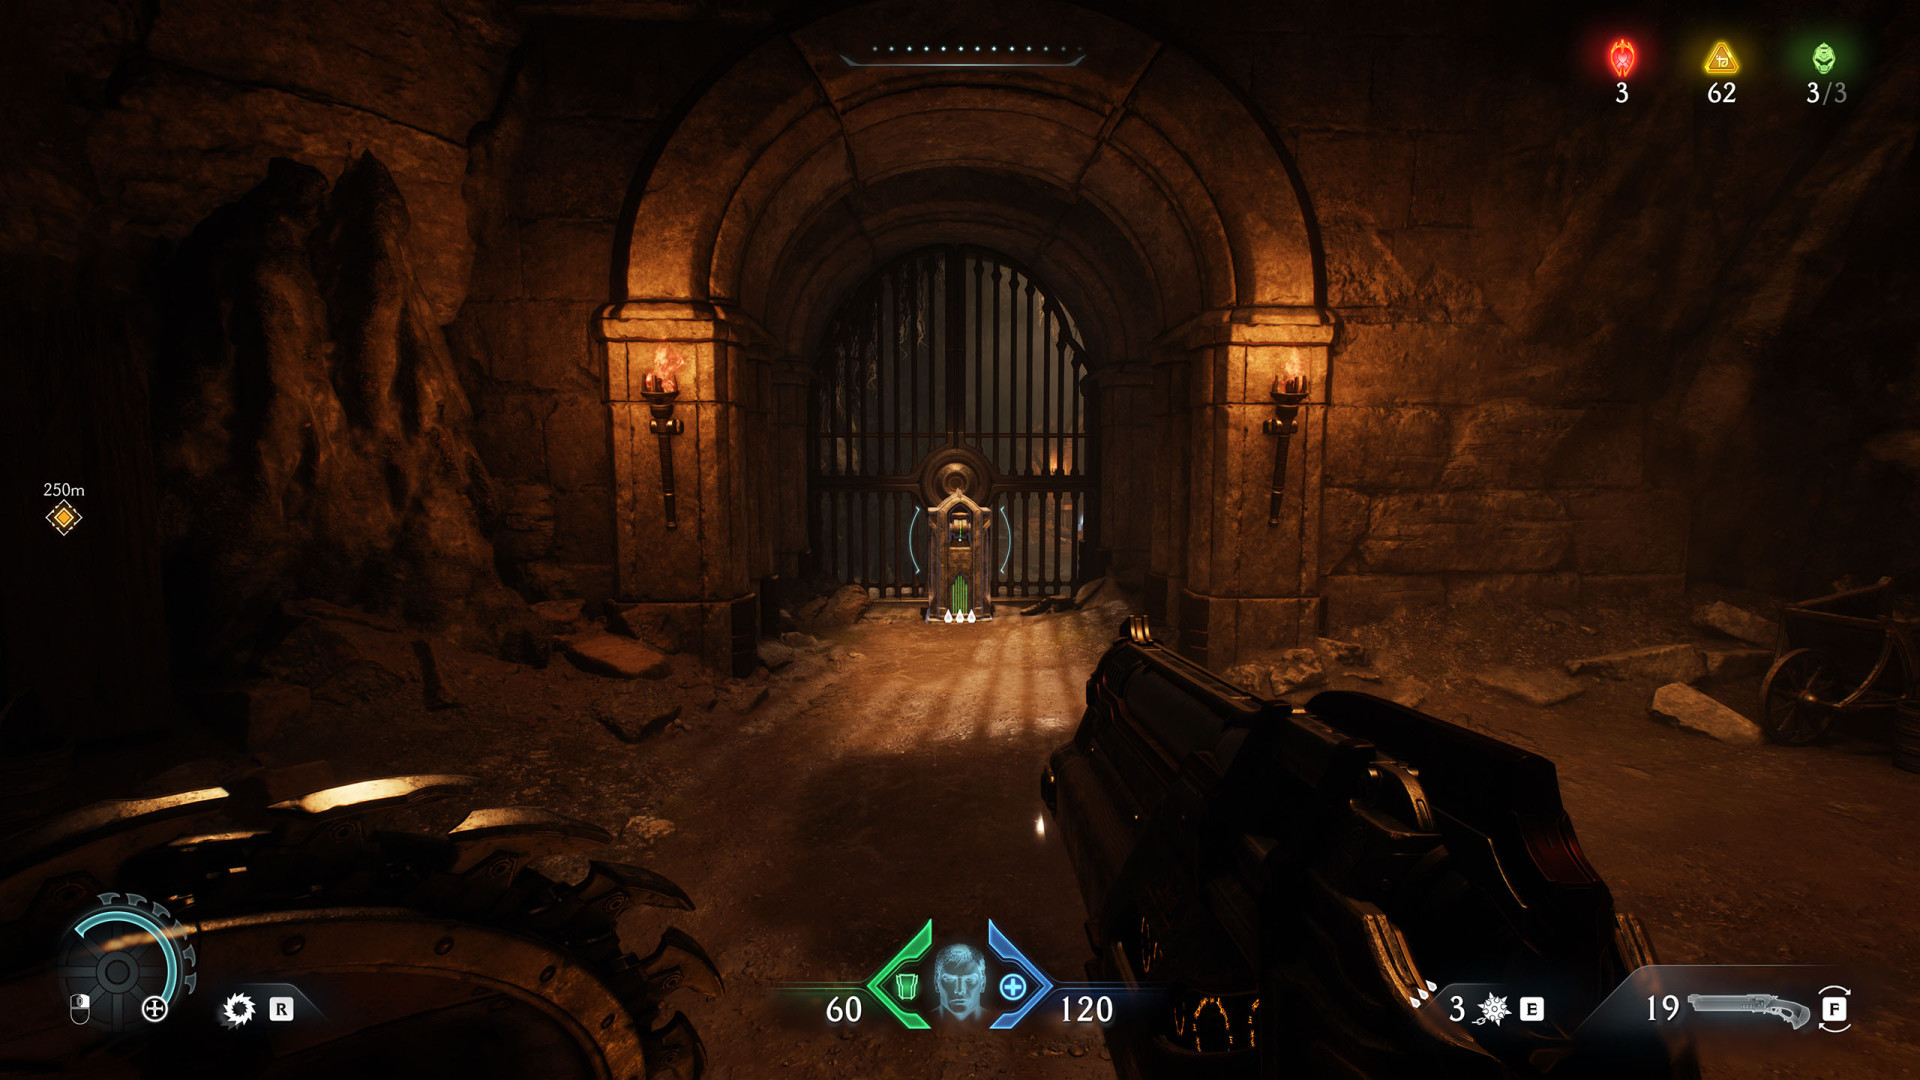
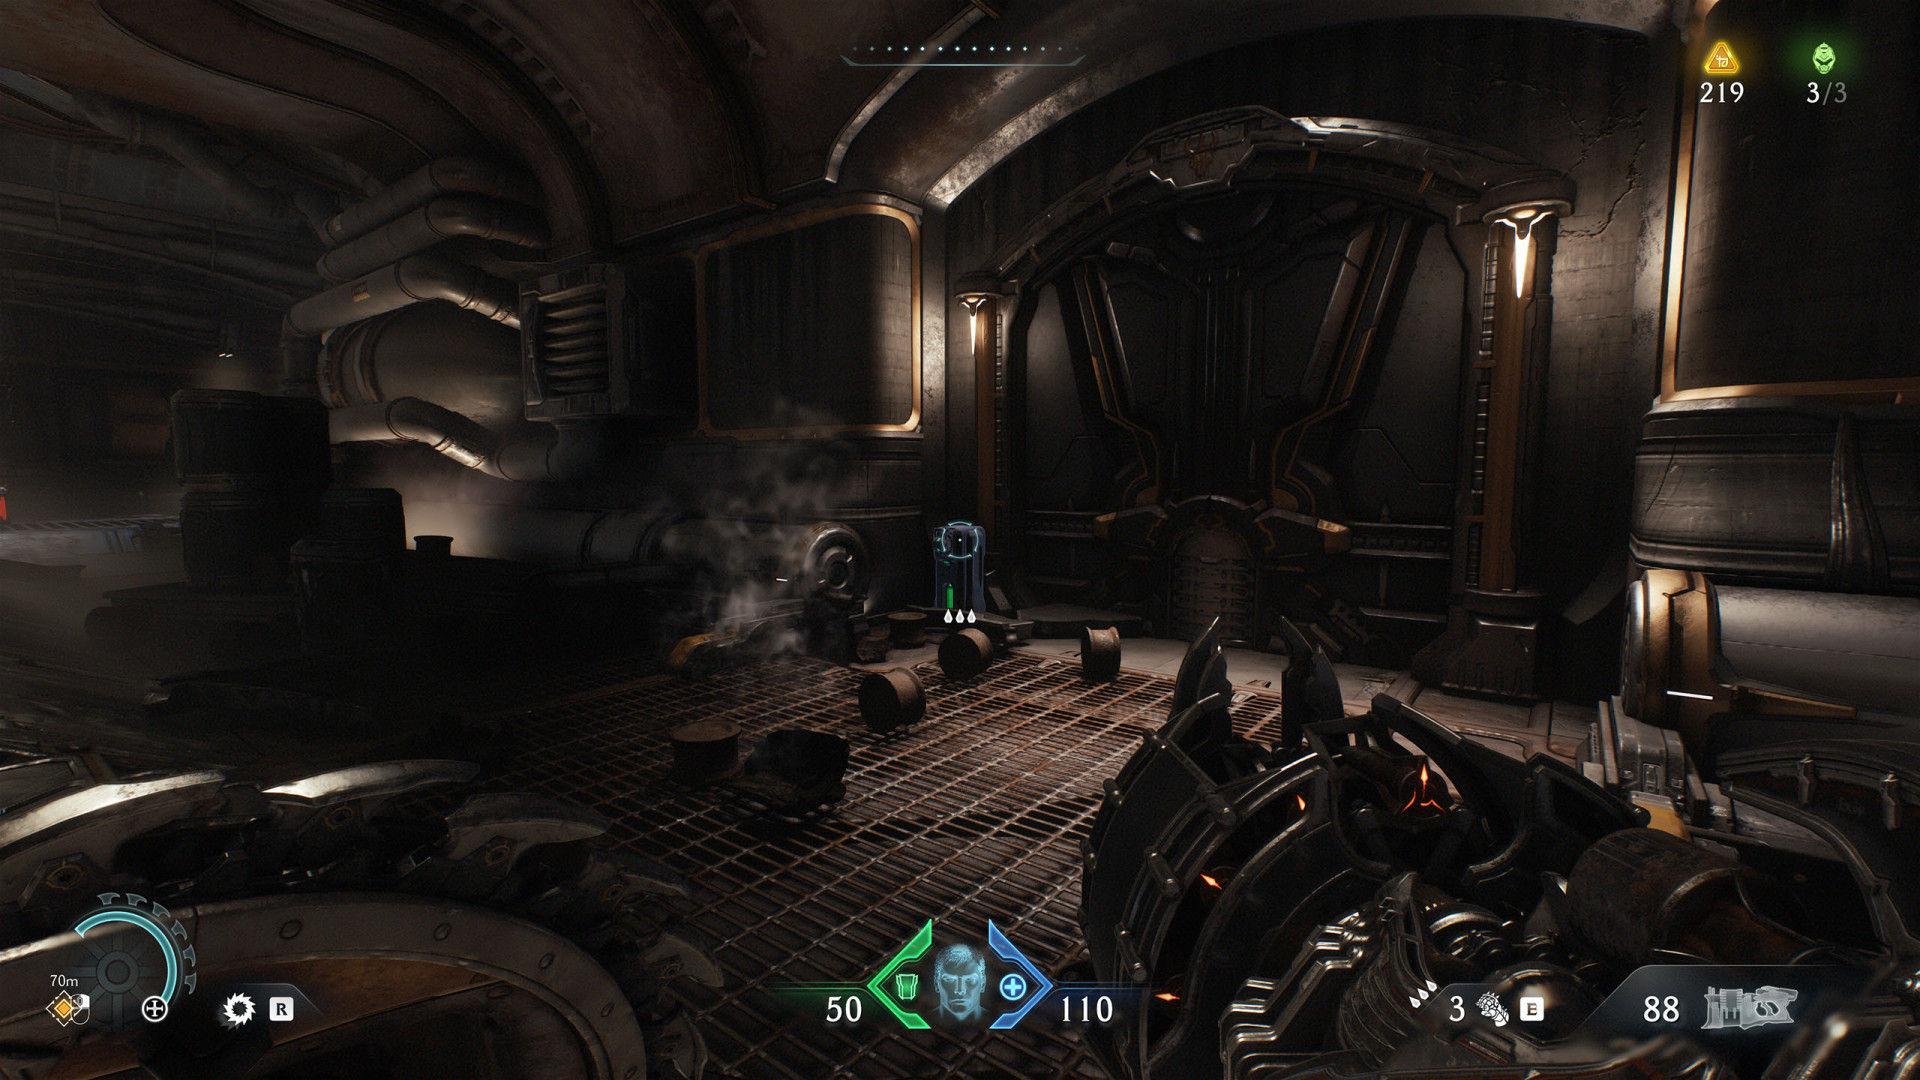
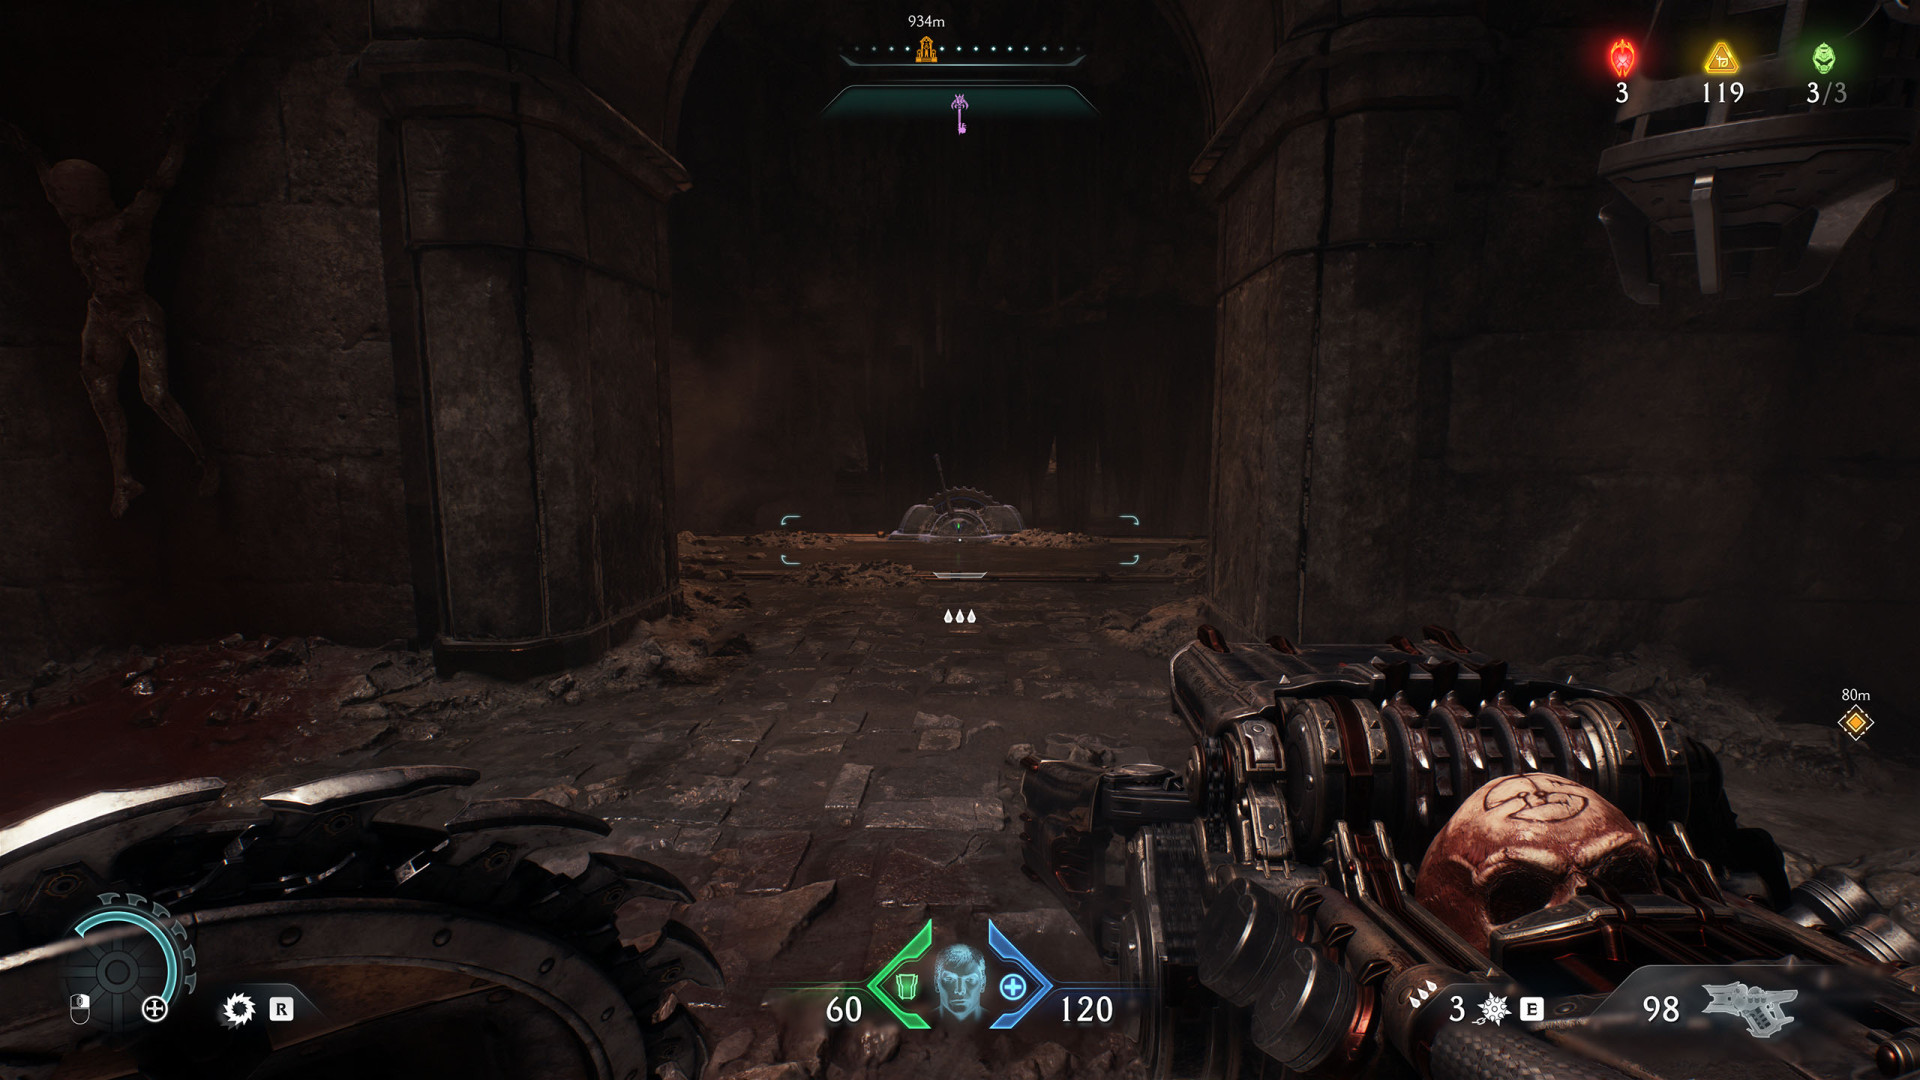
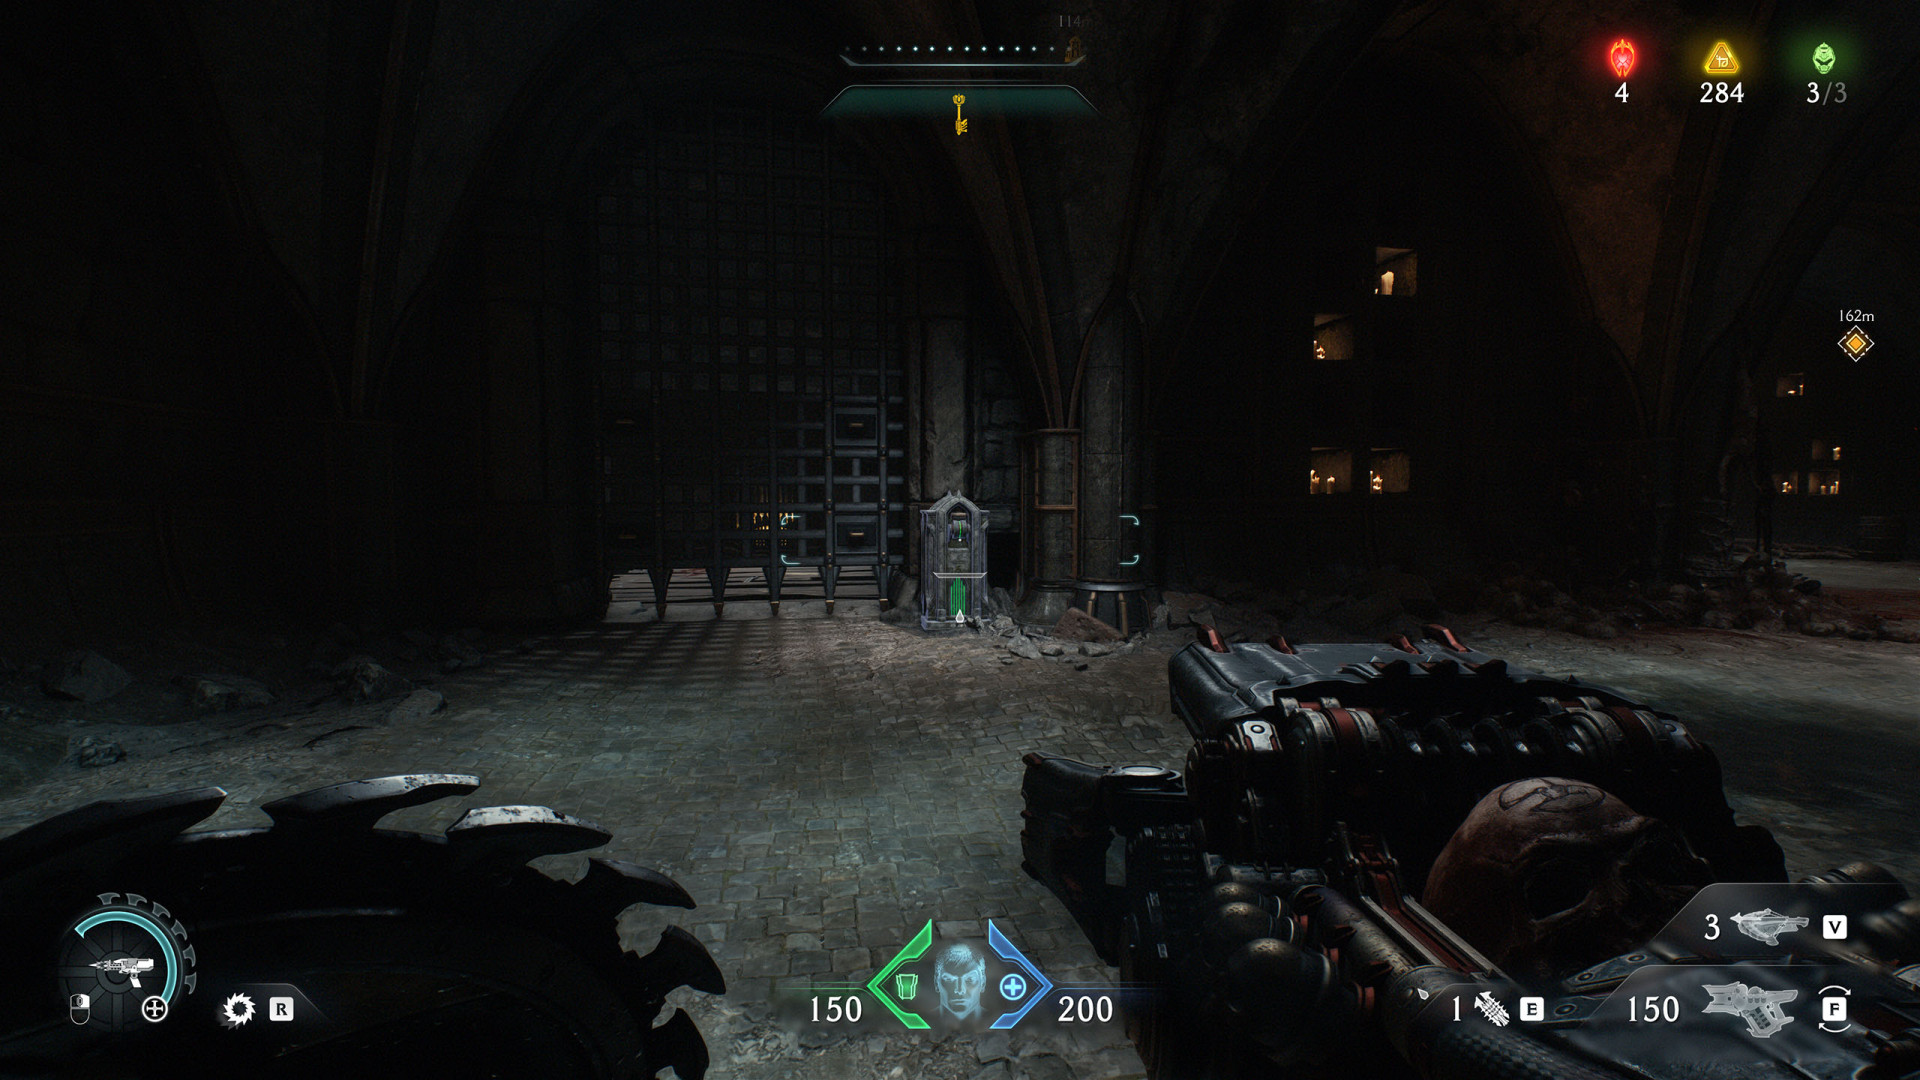
Switch (Siege - Part 1 #2)▶ show the map ◀
Opens the gate through which you can leave the underground.
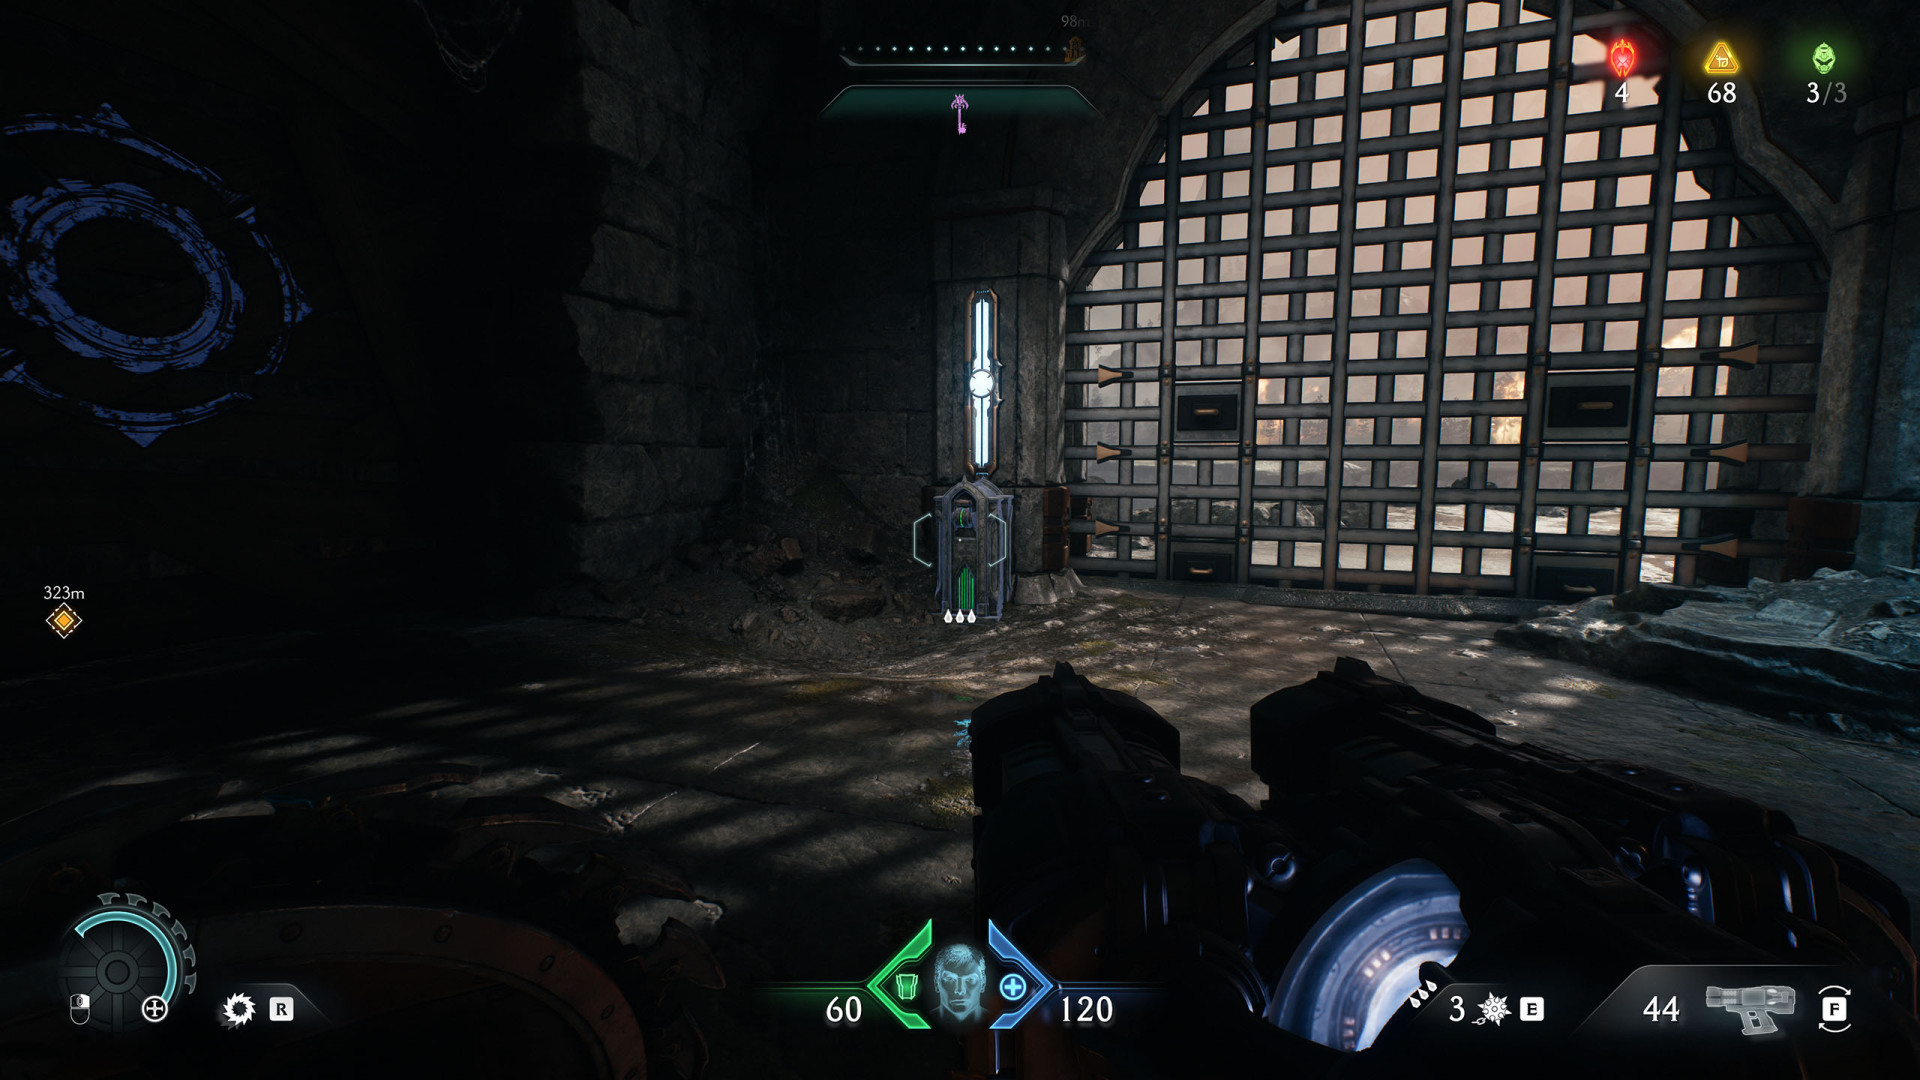
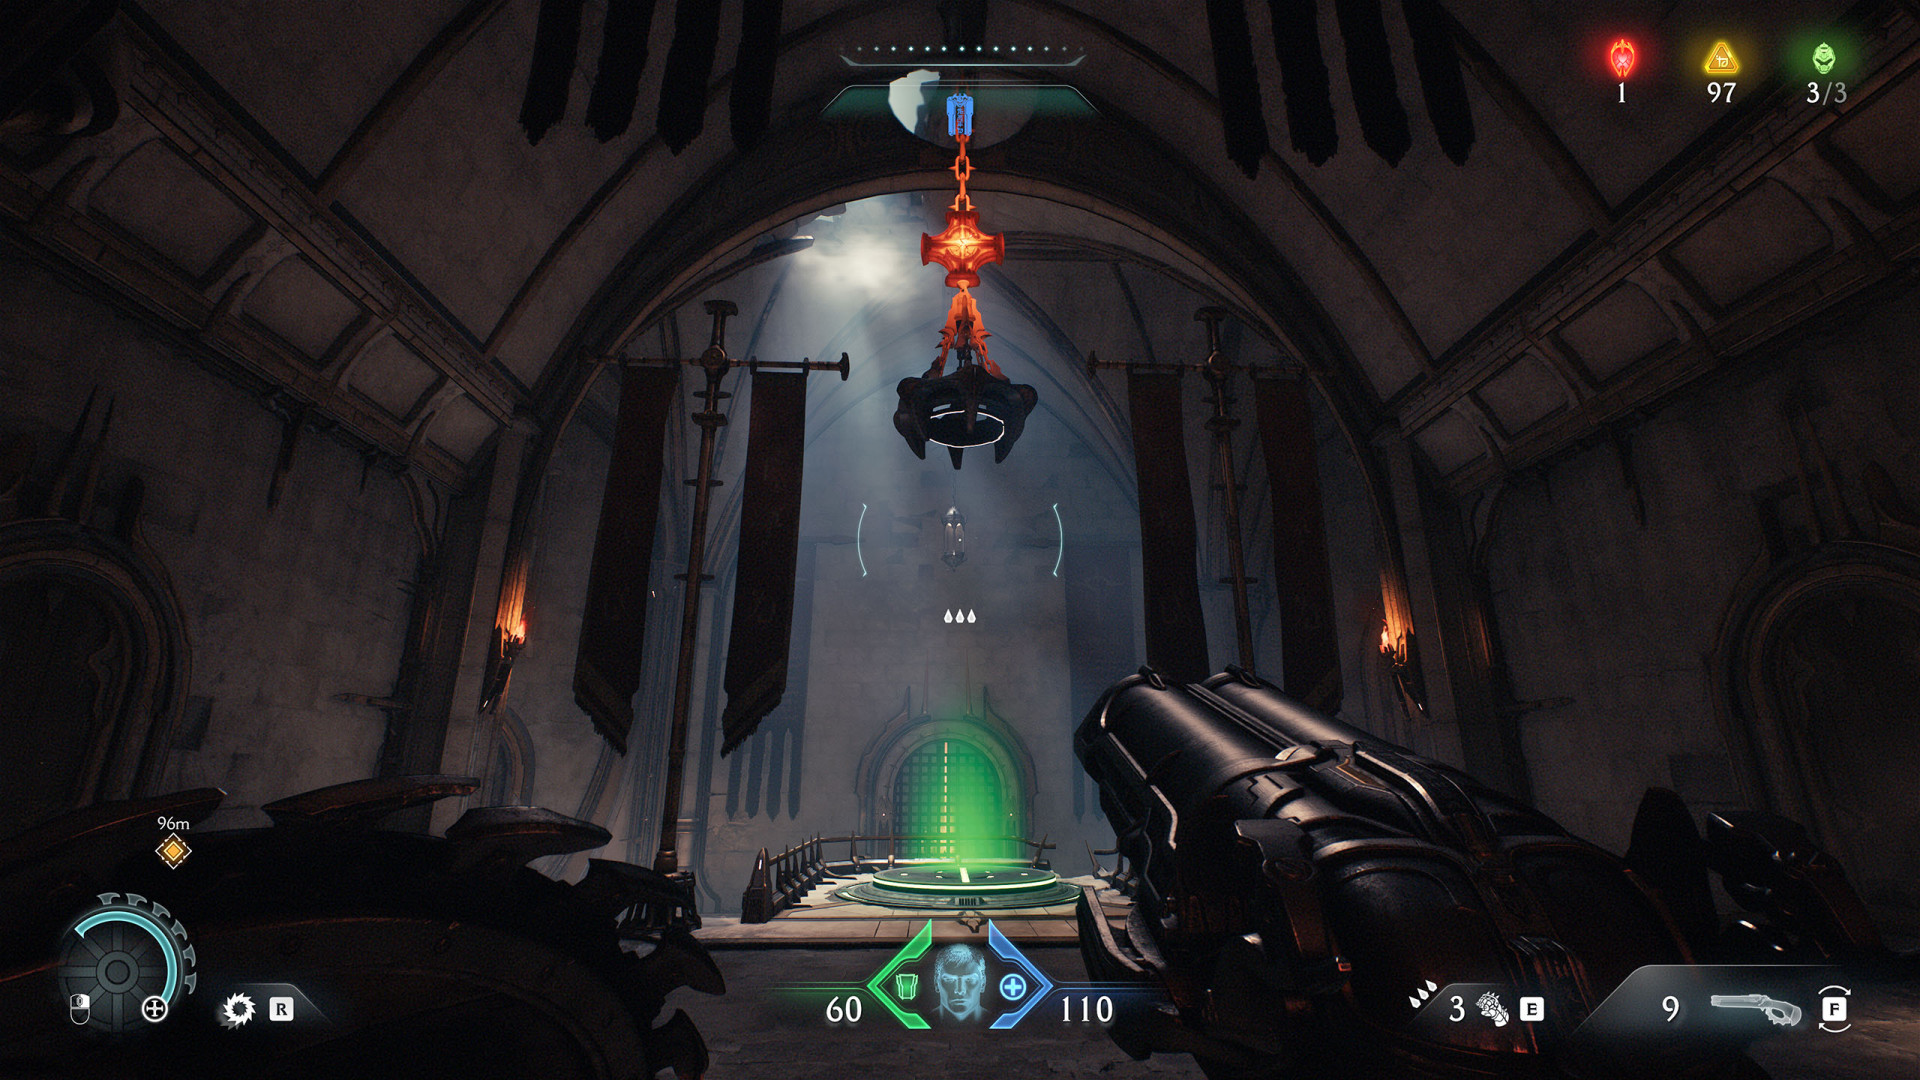
Switch (Siege - Part 1 #3)▶ show the map ◀
Switch (Siege - Part 1 #4)▶ show the map ◀
It activates the launch pad that will take you to the upper level.
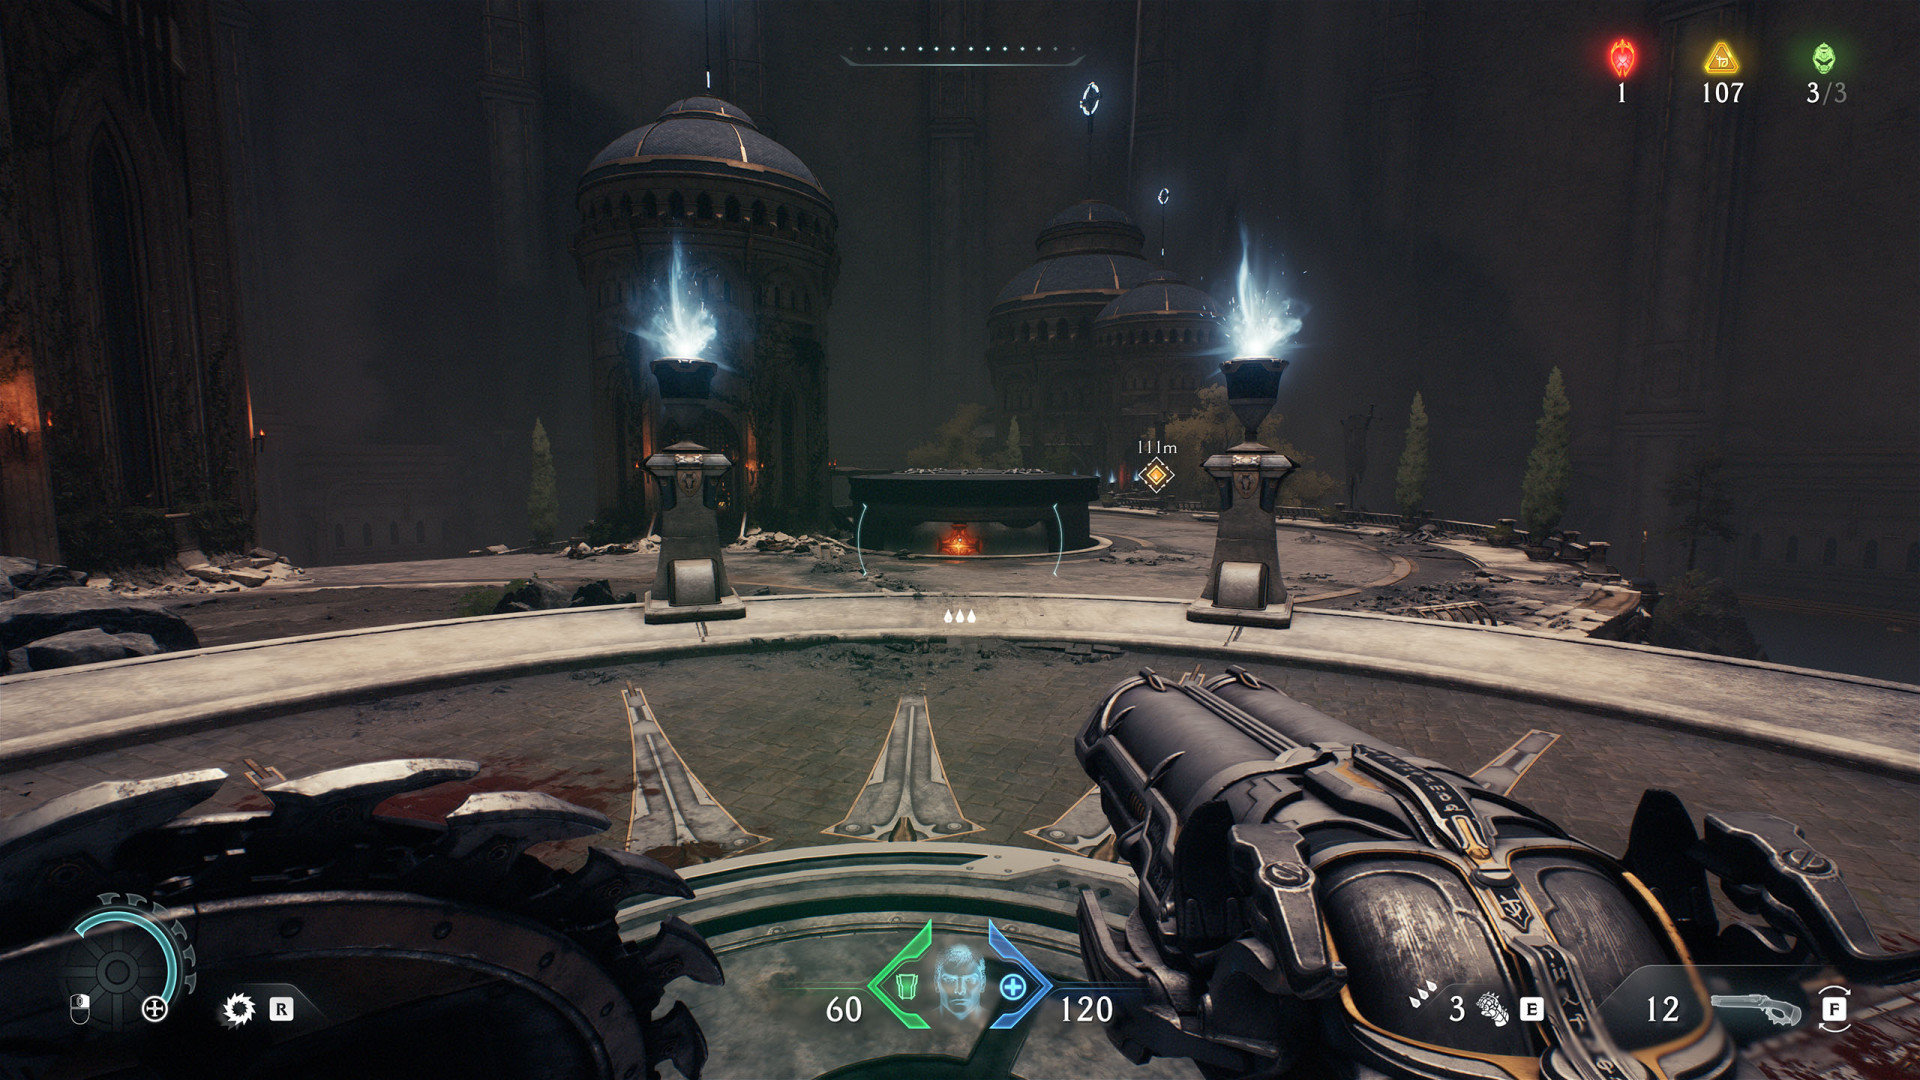
All known locations on the map Siege - Part 2
Switch (Siege - Part 2)▶ show the map ◀
All known locations on the map Abyssal Forest
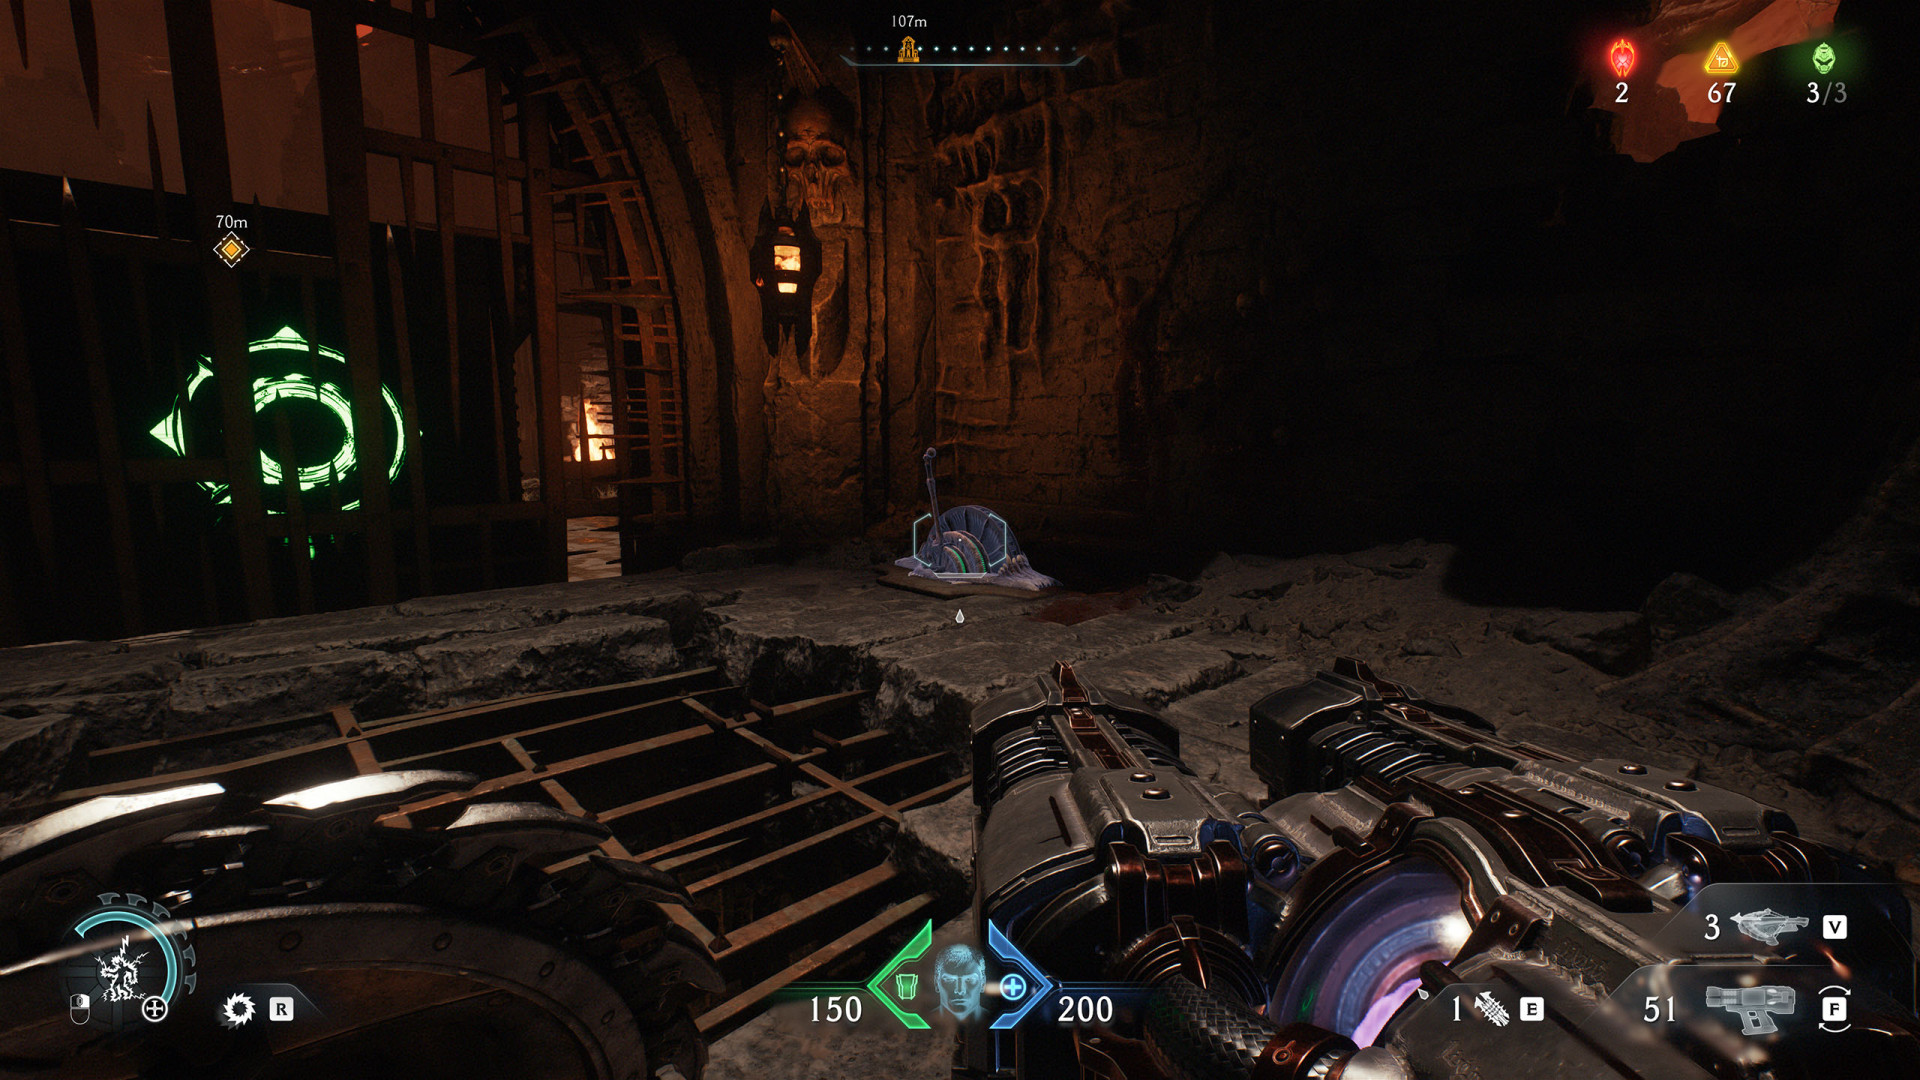
Energy Node (Abyssal Forest)▶ show the map ◀
All known locations on the map Ancestral Forge
Crane Switch (Ancestral Forge)▶ show the map ◀
Use it to drop Life Sigil (Ancestral Forge #2) to the ground.
Energy Node (Ancestral Forge #1)▶ show the map ◀

Energy Node (Ancestral Forge #2)▶ show the map ◀


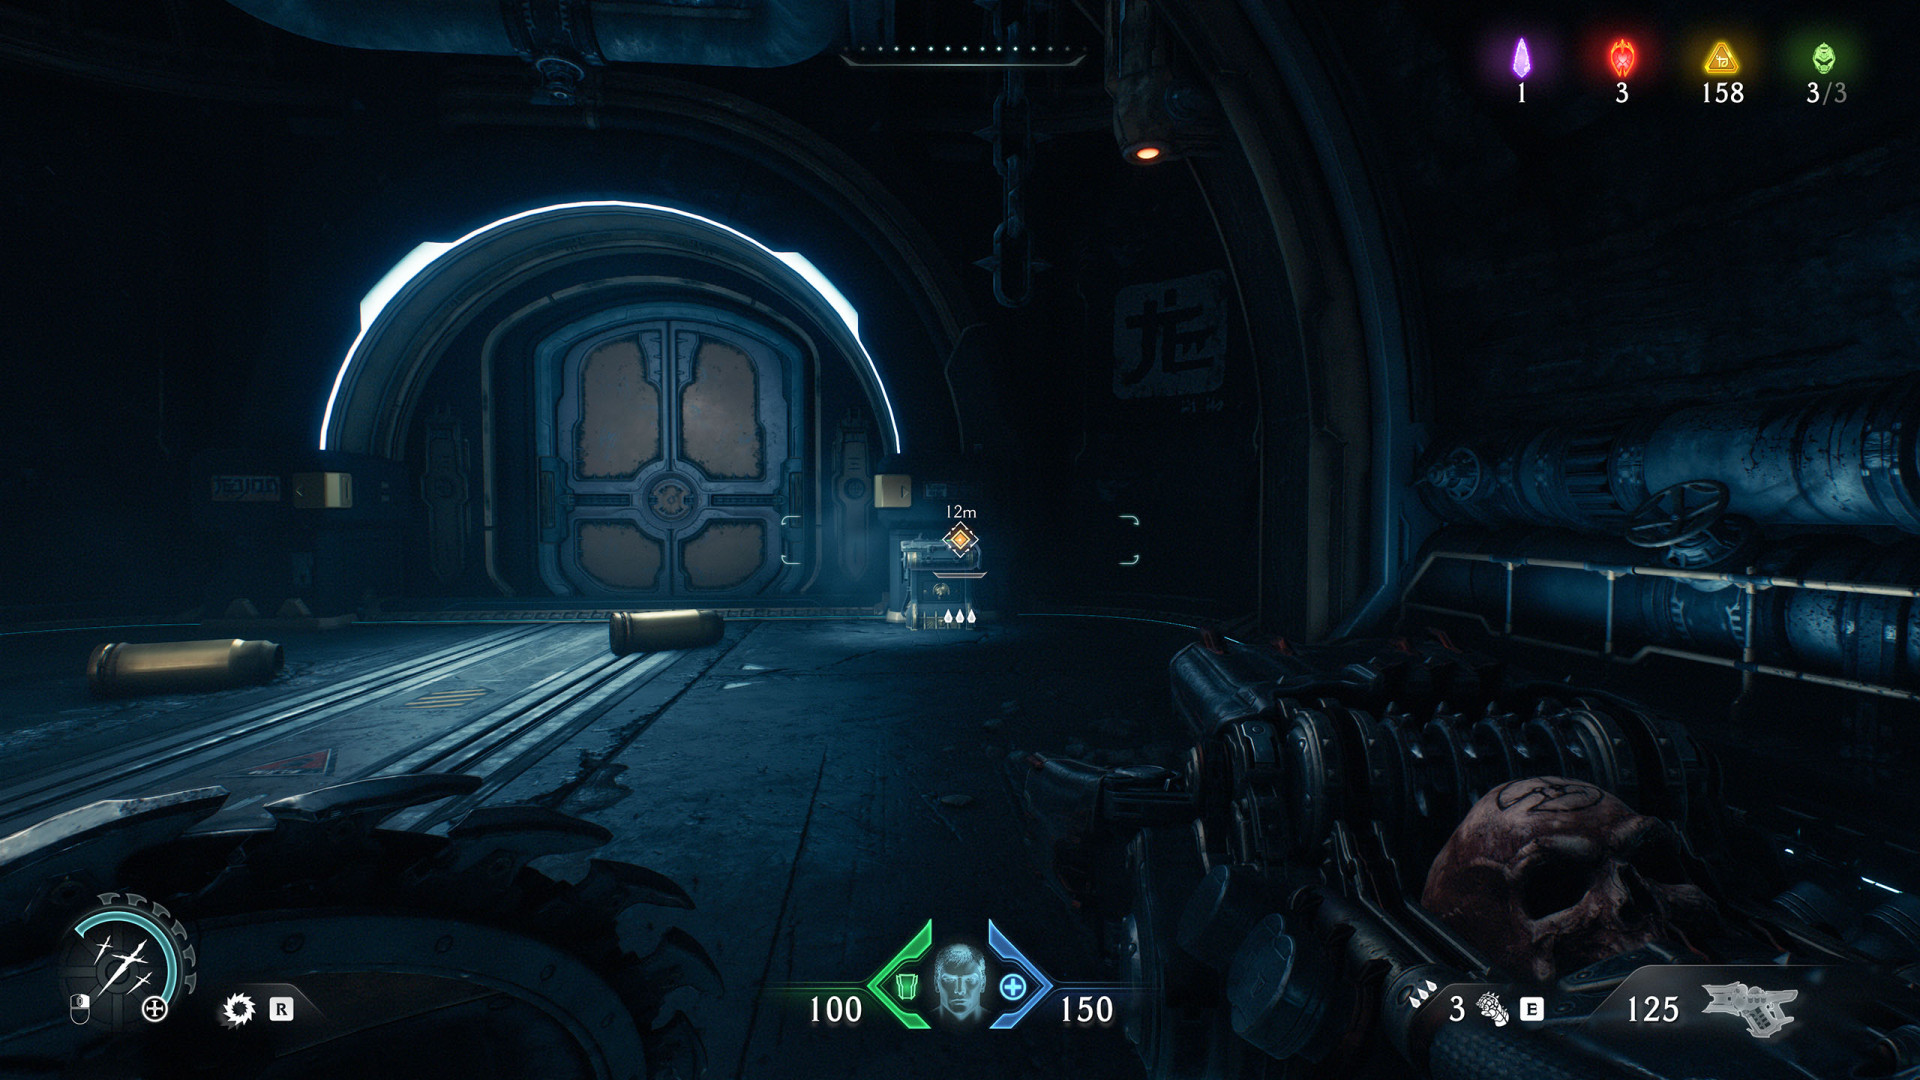
All known locations on the map Sentinel Command Station
Switch (Sentinel Command Station #1)▶ show the map ◀
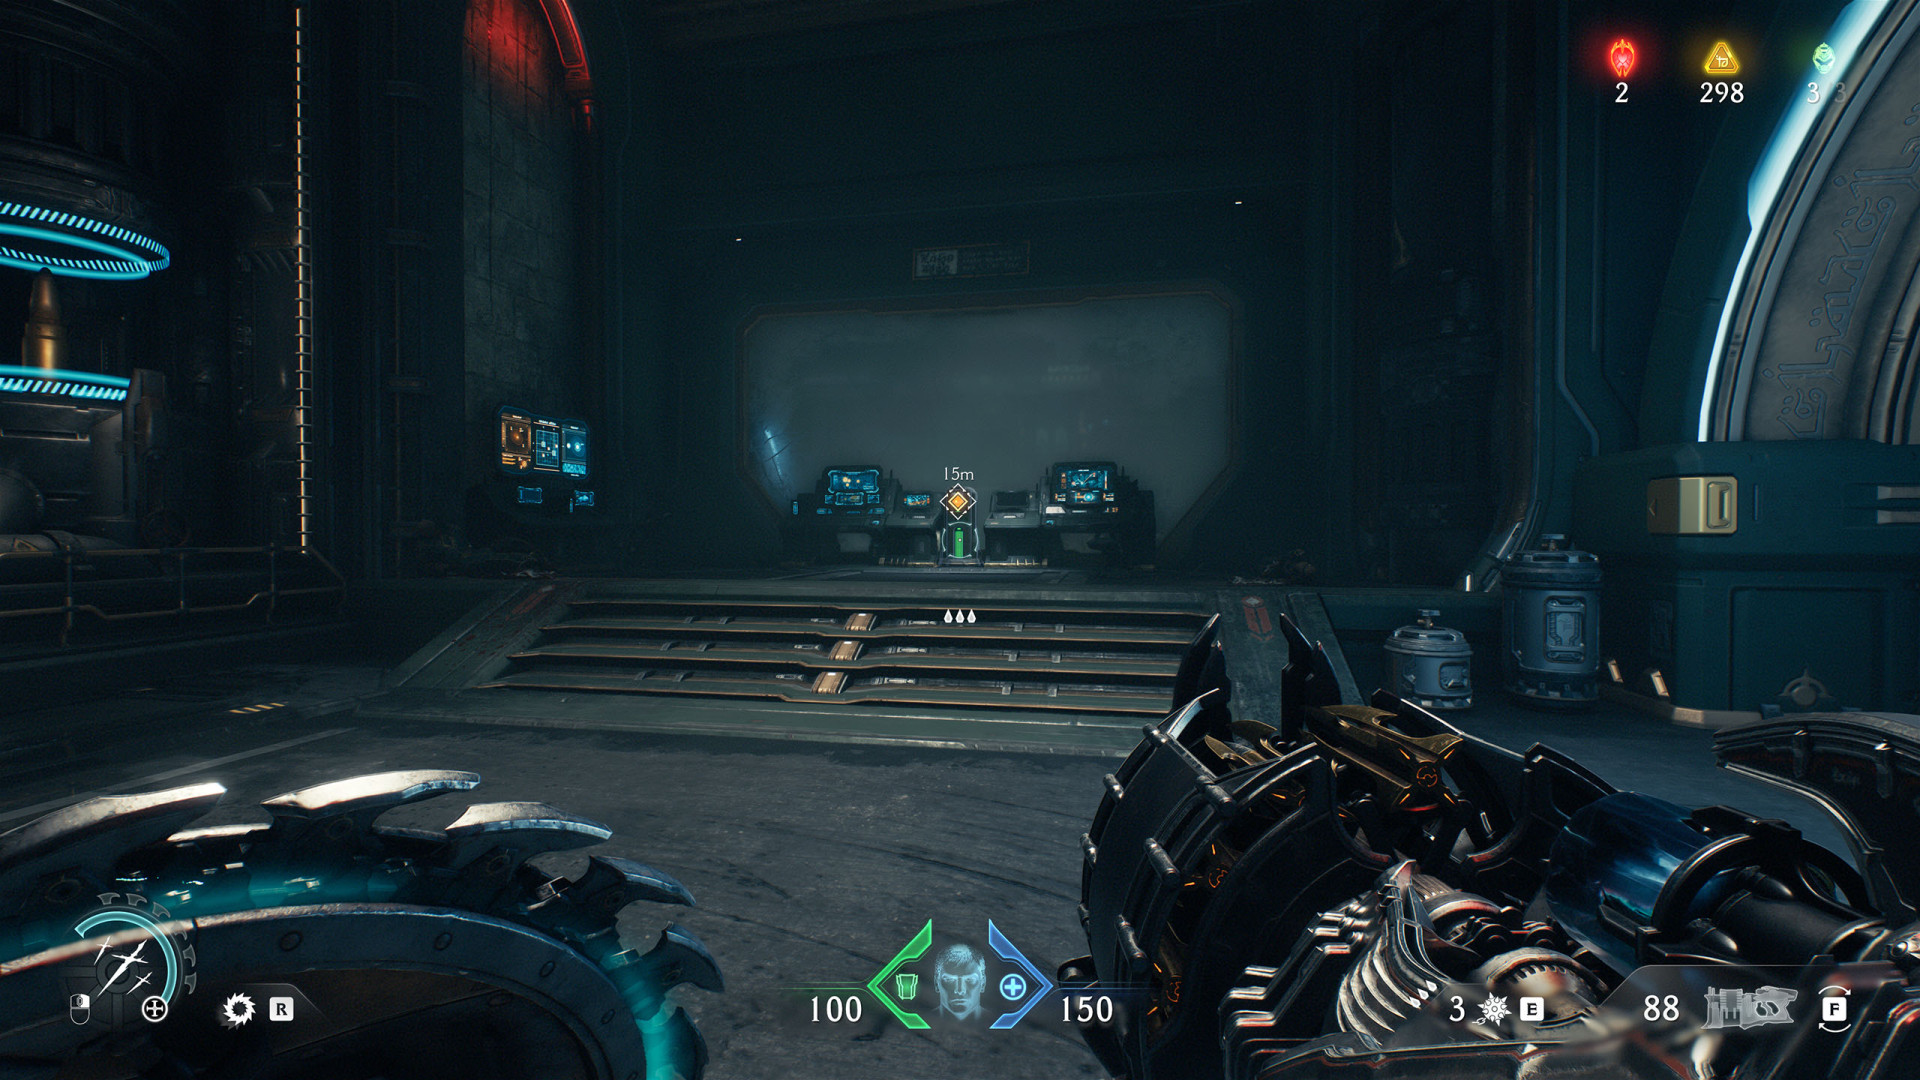
Switch (Sentinel Command Station #2)▶ show the map ◀
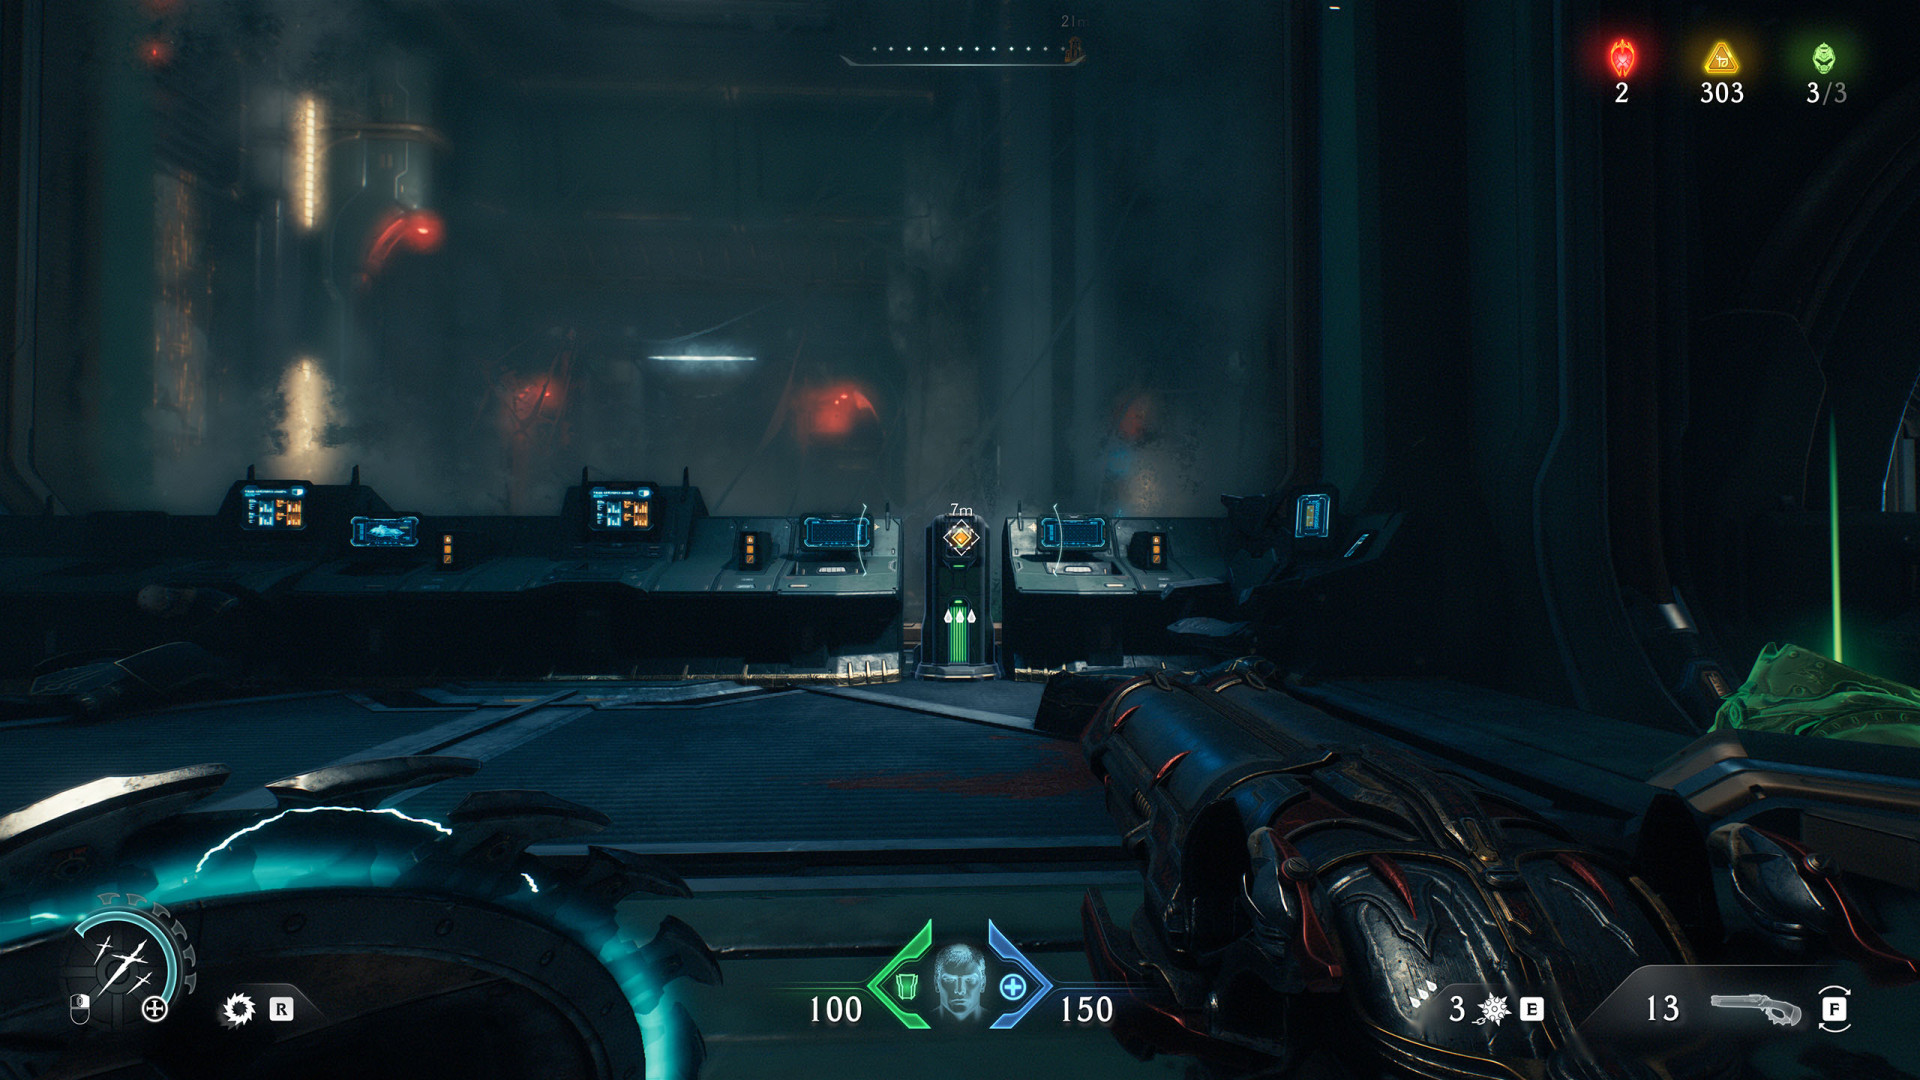
Switch (Sentinel Command Station #3)▶ show the map ◀
It opens the gate through which you can proceed.
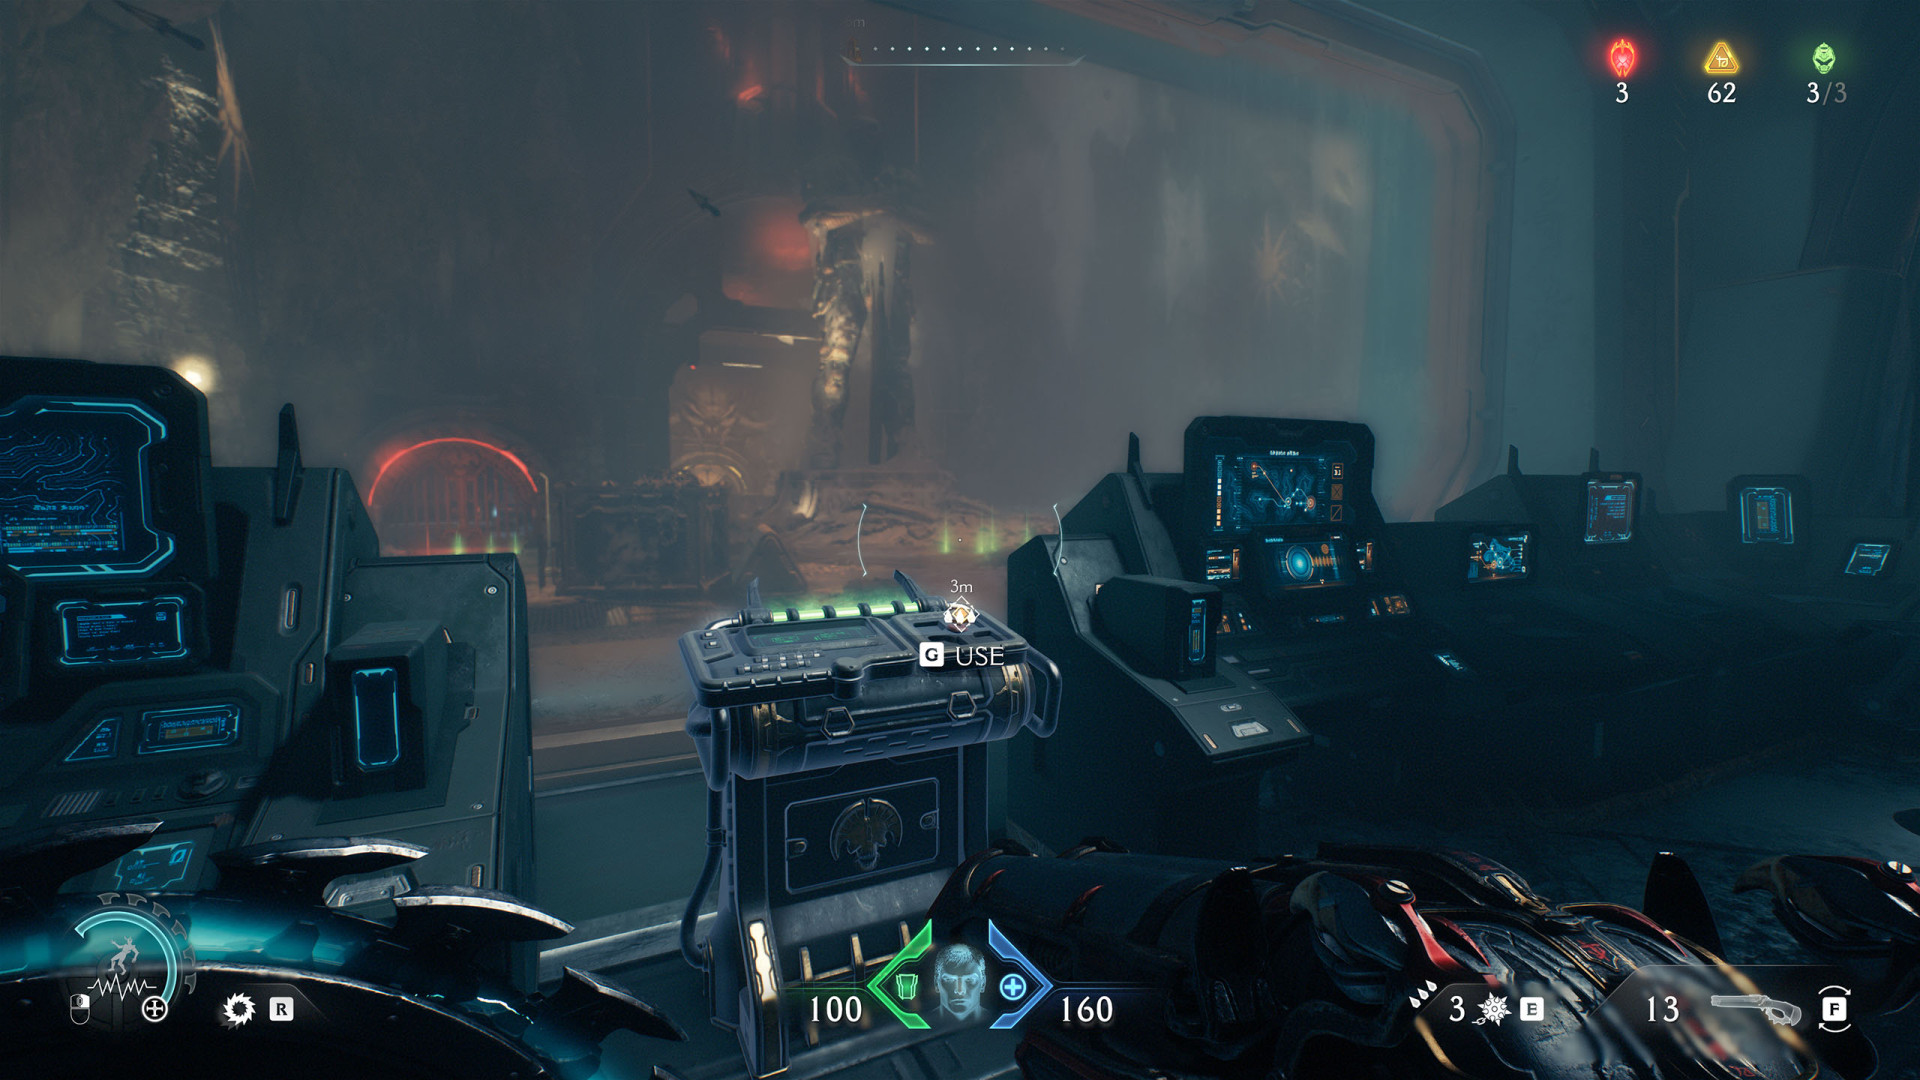
Switch (Sentinel Command Station #4)▶ show the map ◀
Opens the entrance to the ventilation duct through which you can proceed further.
Switch (Sentinel Command Station #5)▶ show the map ◀
All known locations on the map Spire of Nerathul
Lever (Spire of Nerathul)▶ show the map ◀
Pull this lever to lower the water level and access the Stasis Emitter #2.
Pressure Plate (Spire of Nerathul)▶ show the map ◀
Drop the crate hanging above it onto this plate. This will grant you an access to the Launch Pad and Secret Area (Spire of Nerathul #7).
All known locations on the map City of Ry'uul
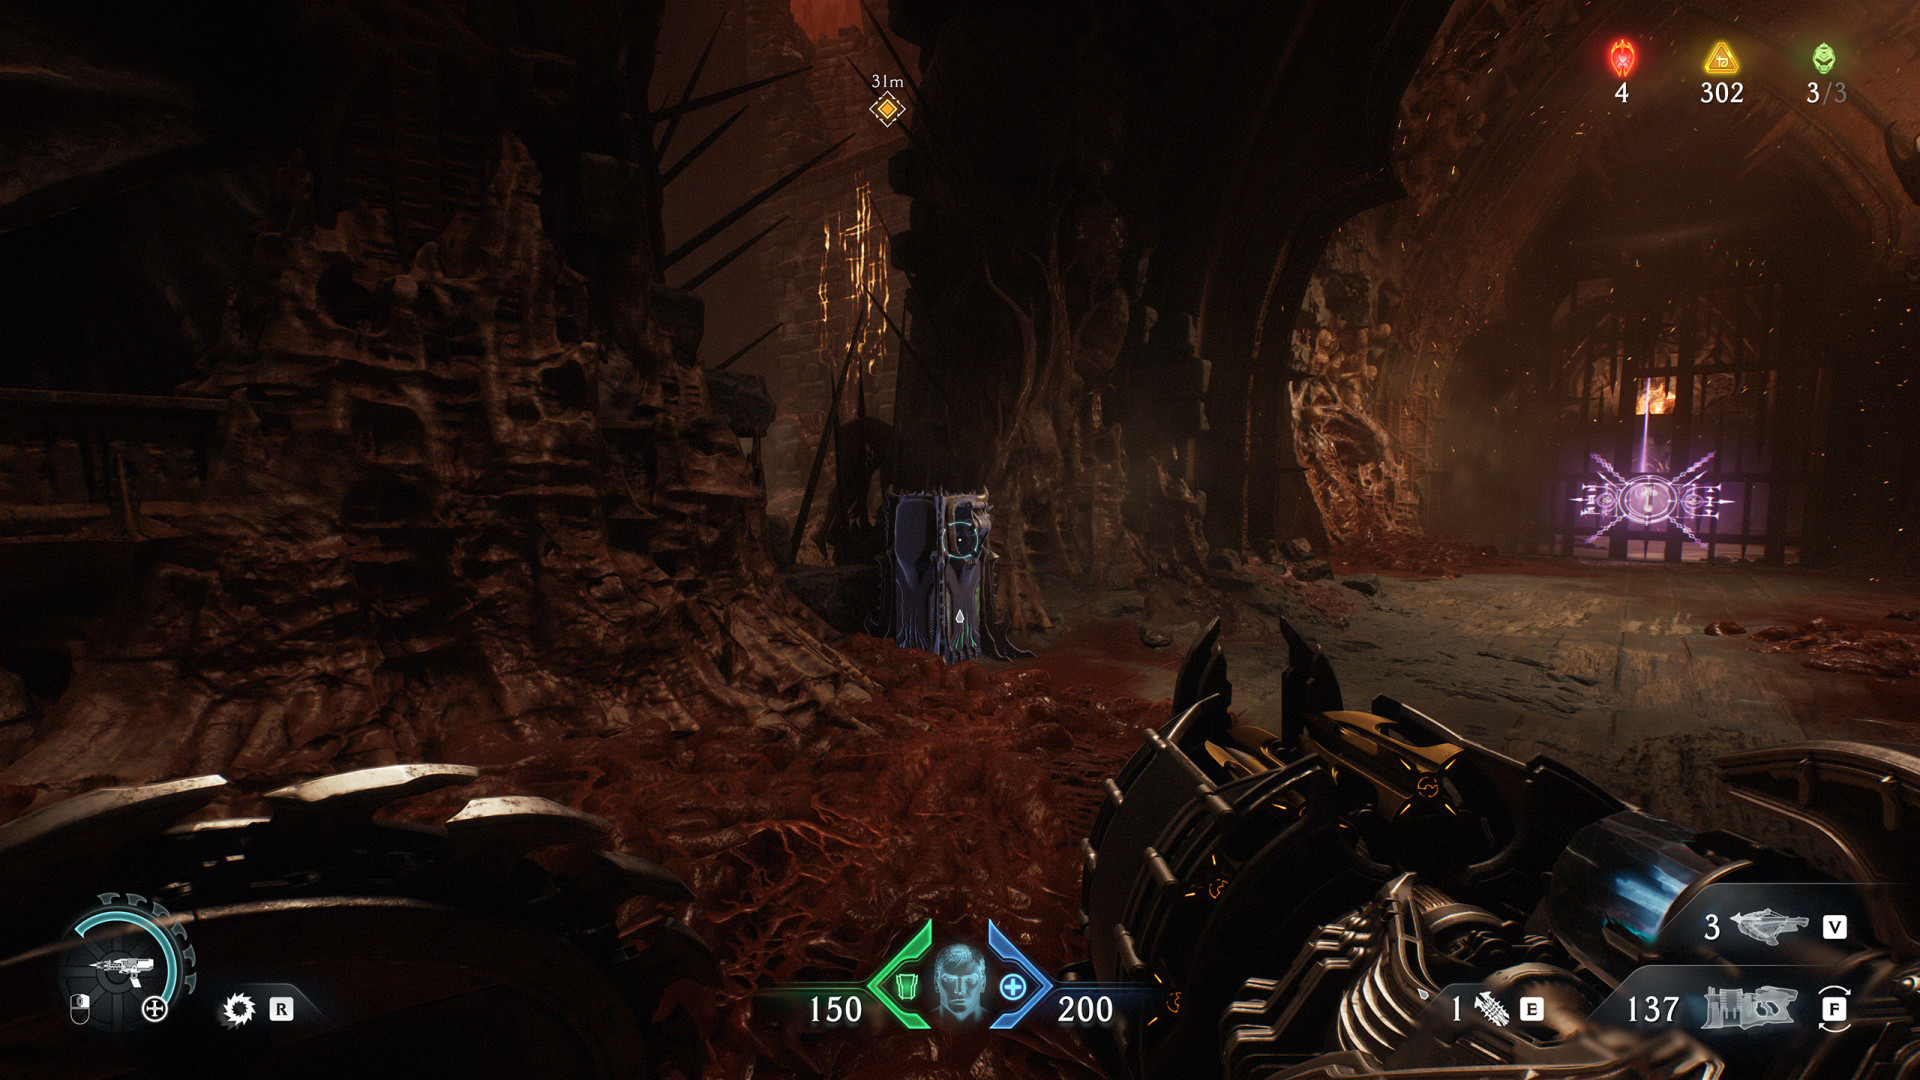
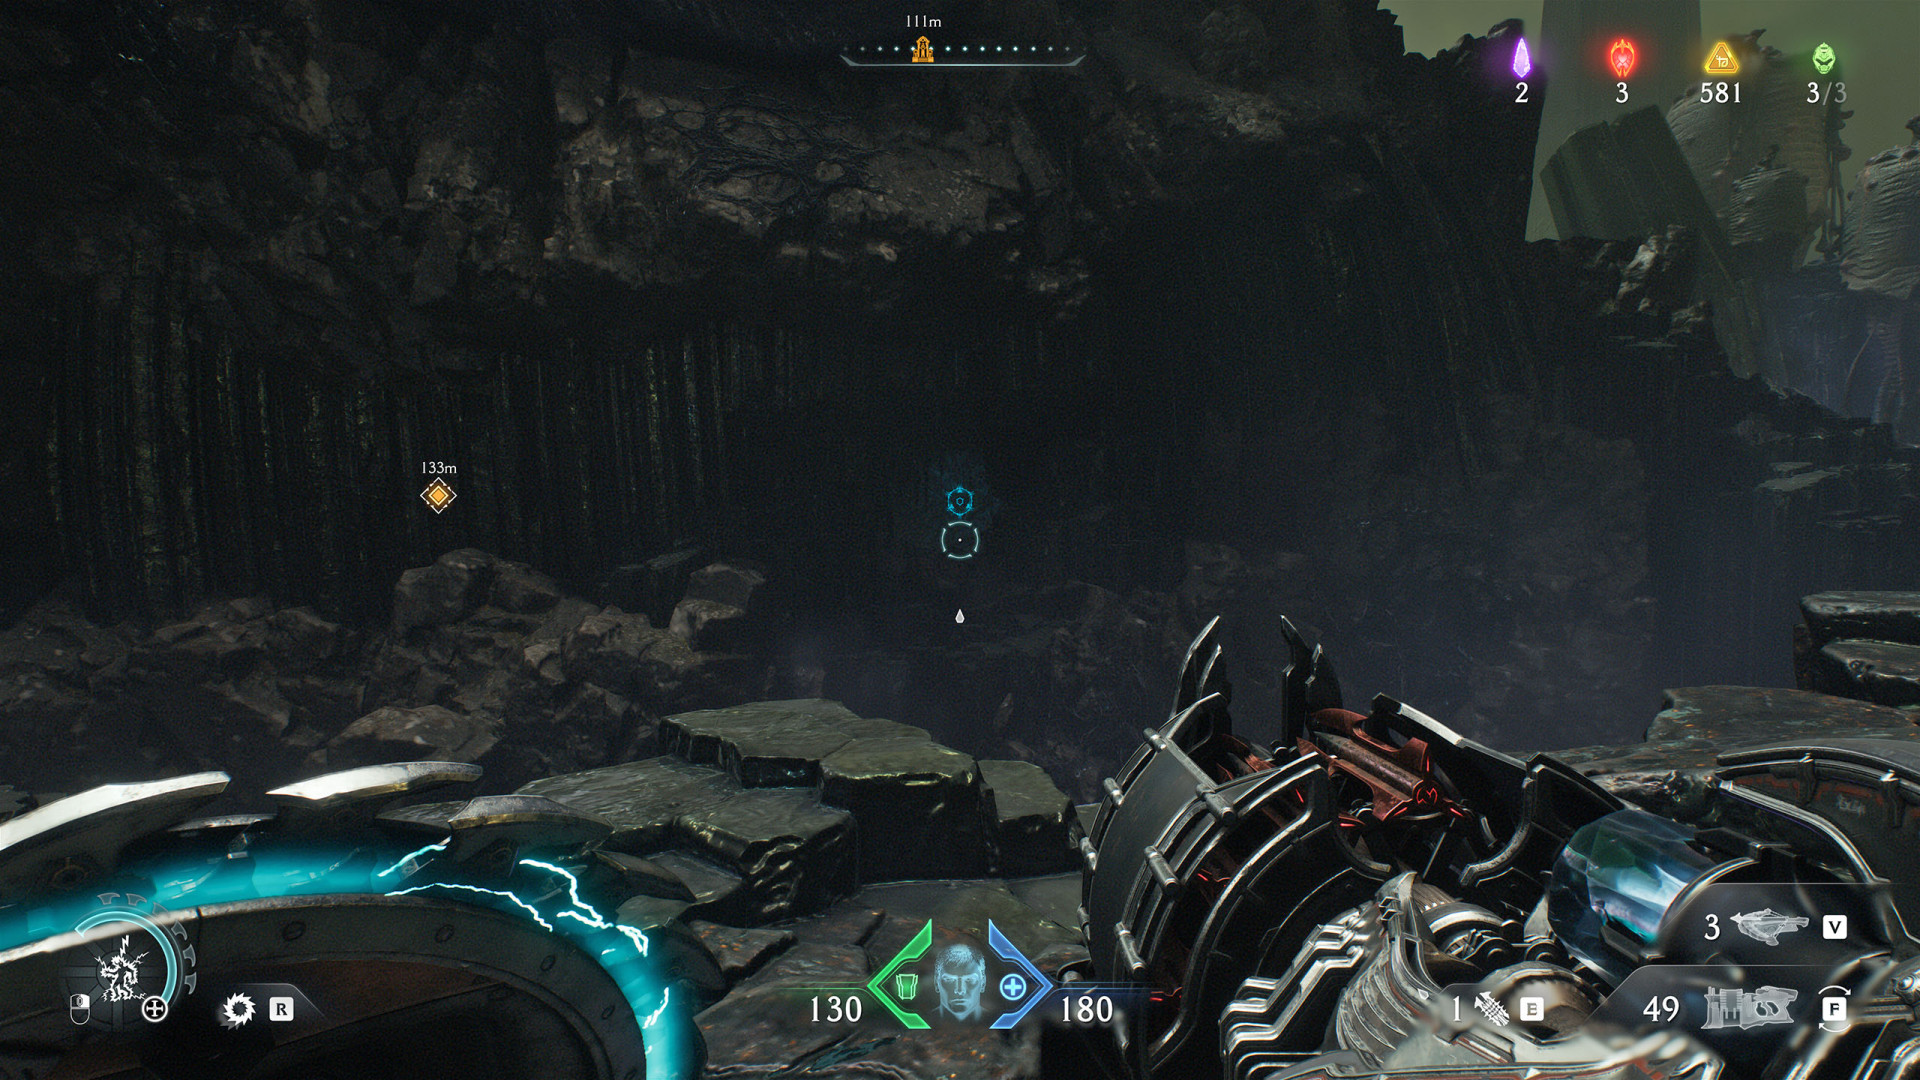
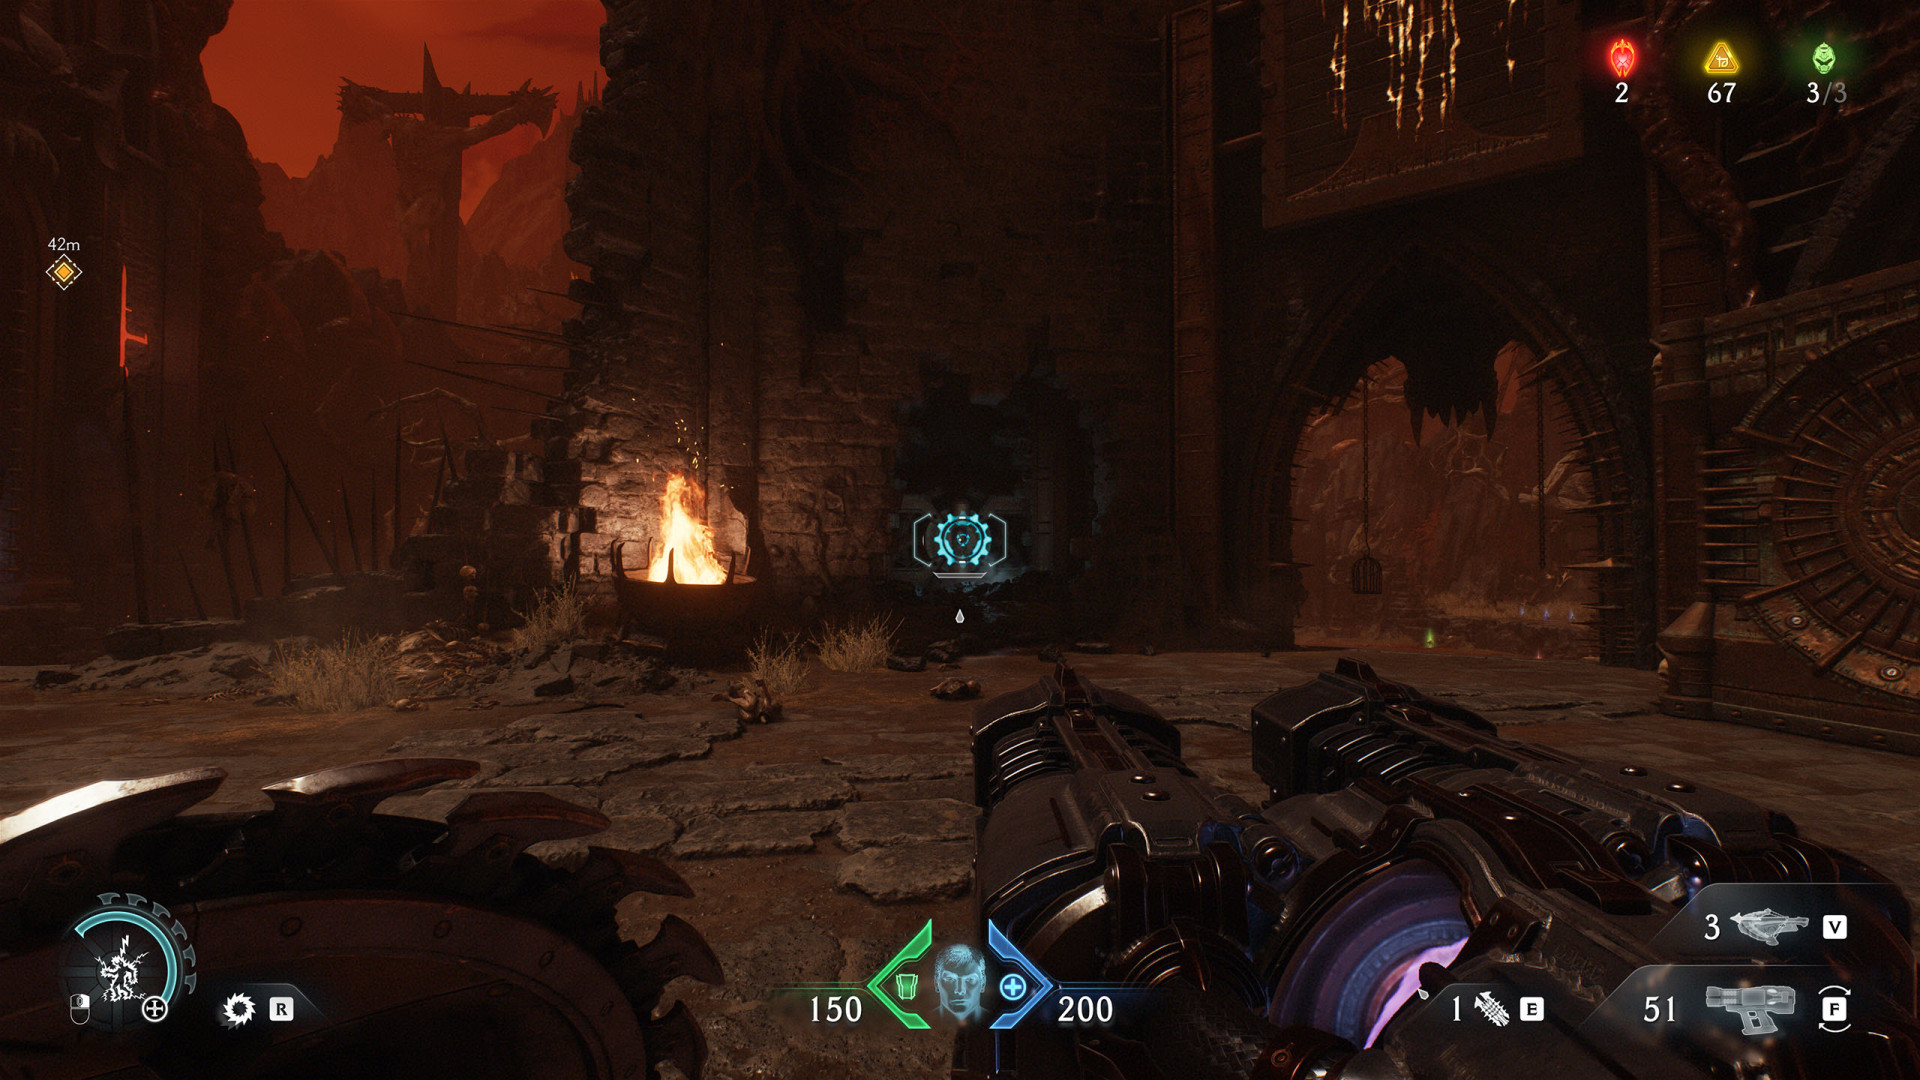
Cosmic Eye (City of Ry'uul #1)▶ show the map ◀
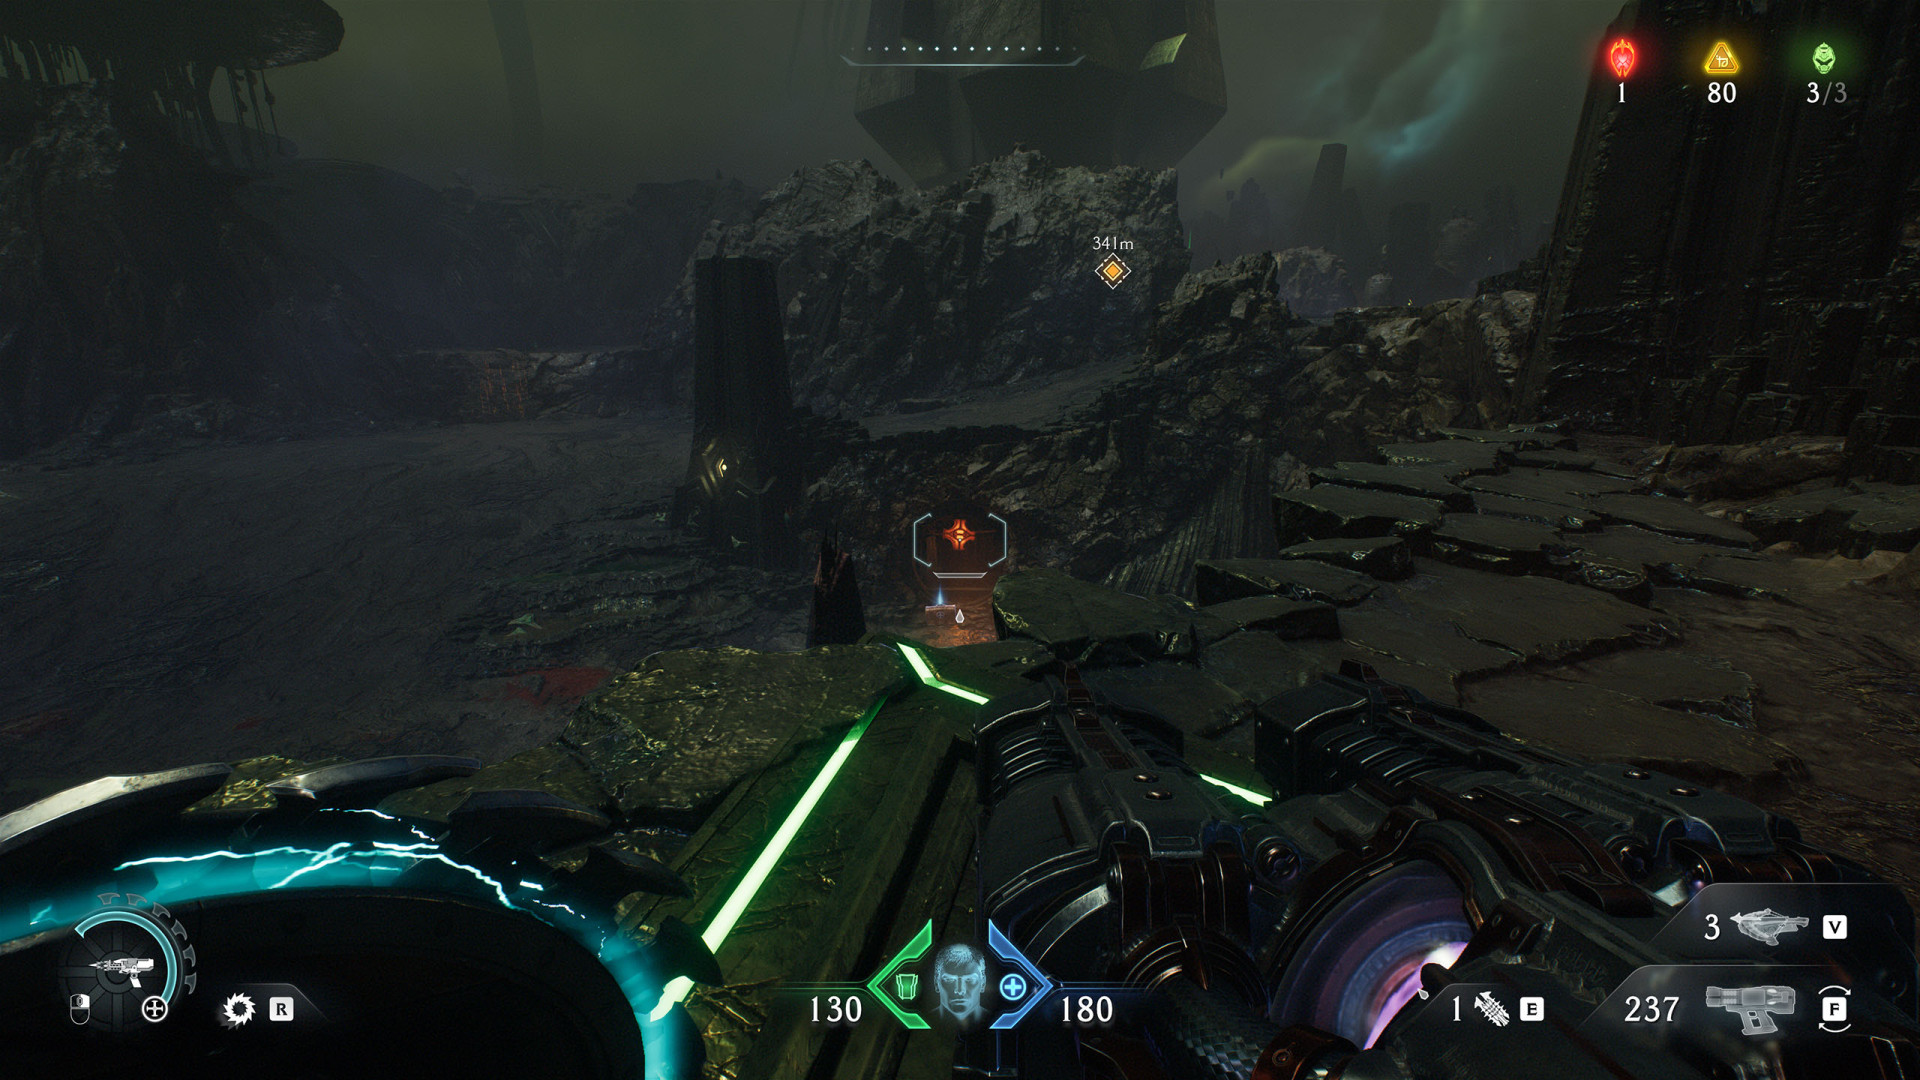
Cosmic Eye (City of Ry'uul #2)▶ show the map ◀
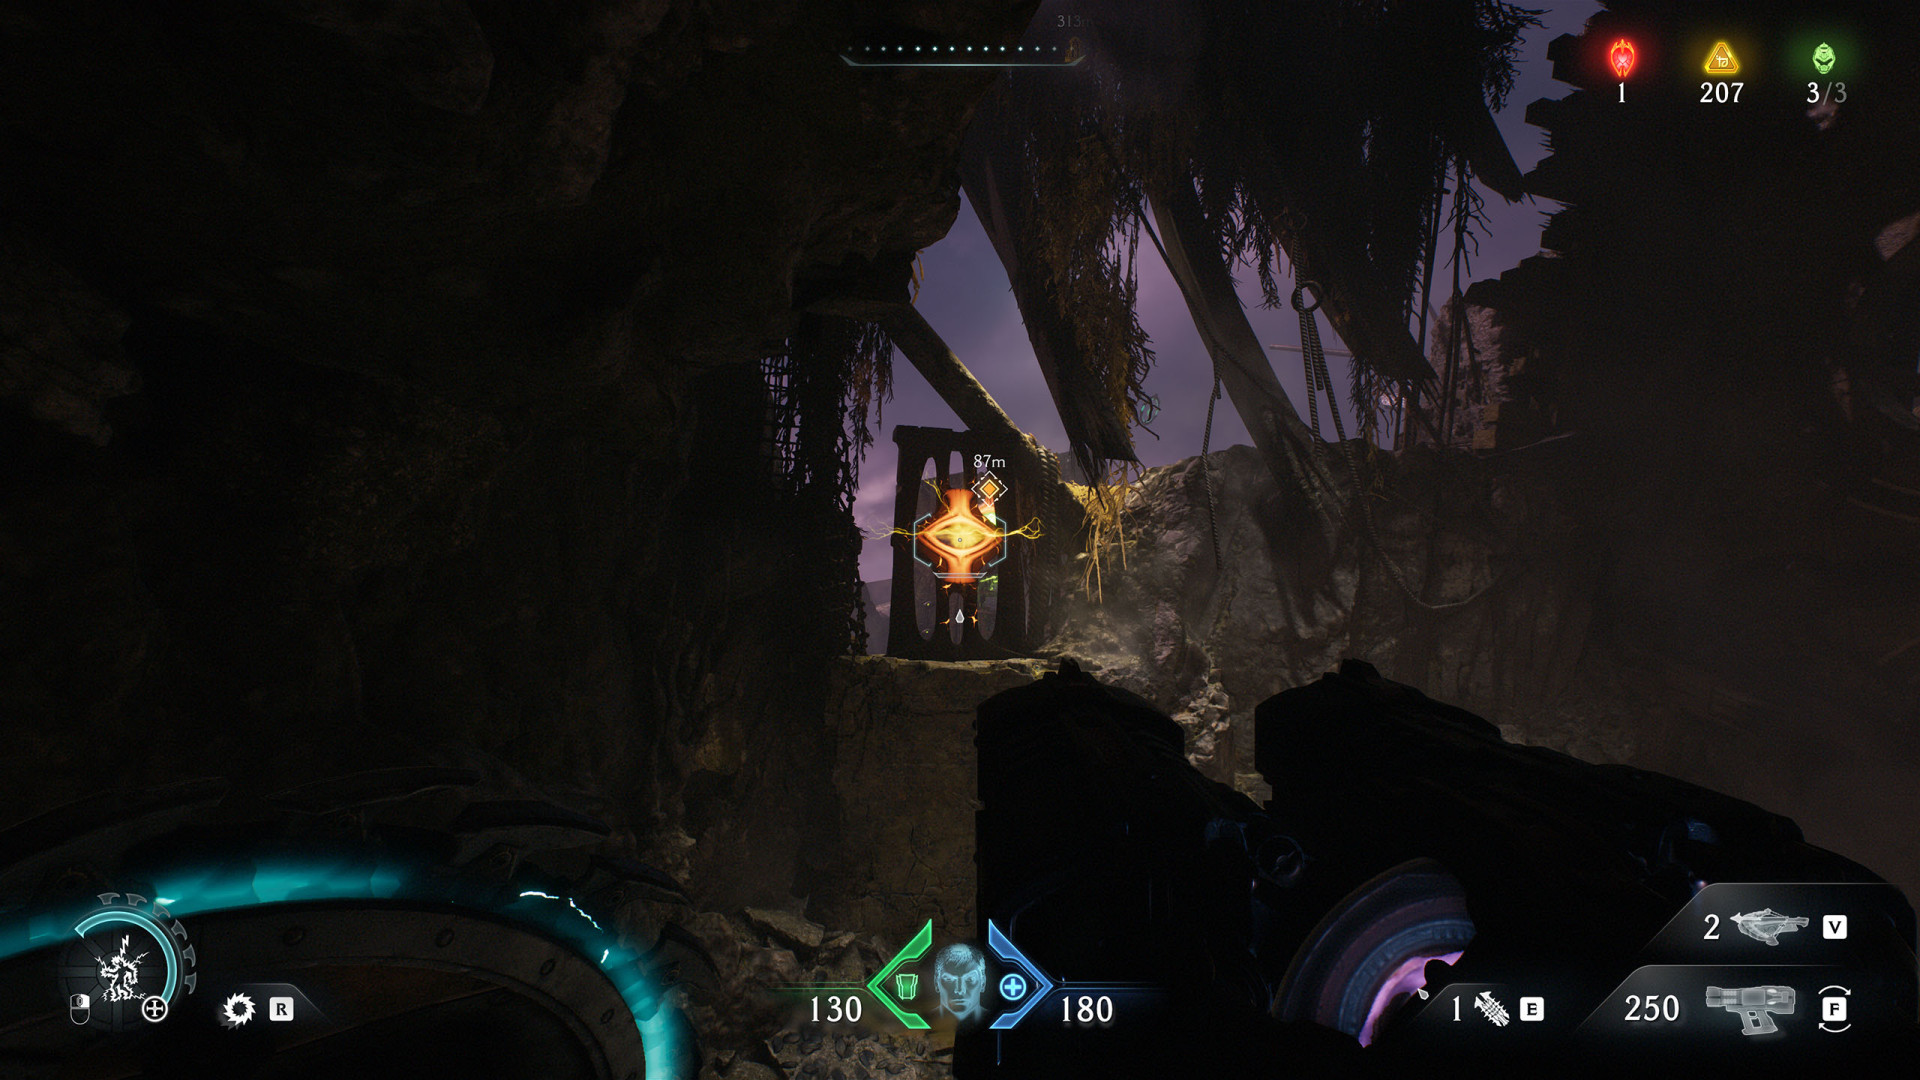
Cosmic Eye (City of Ry'uul #3)▶ show the map ◀
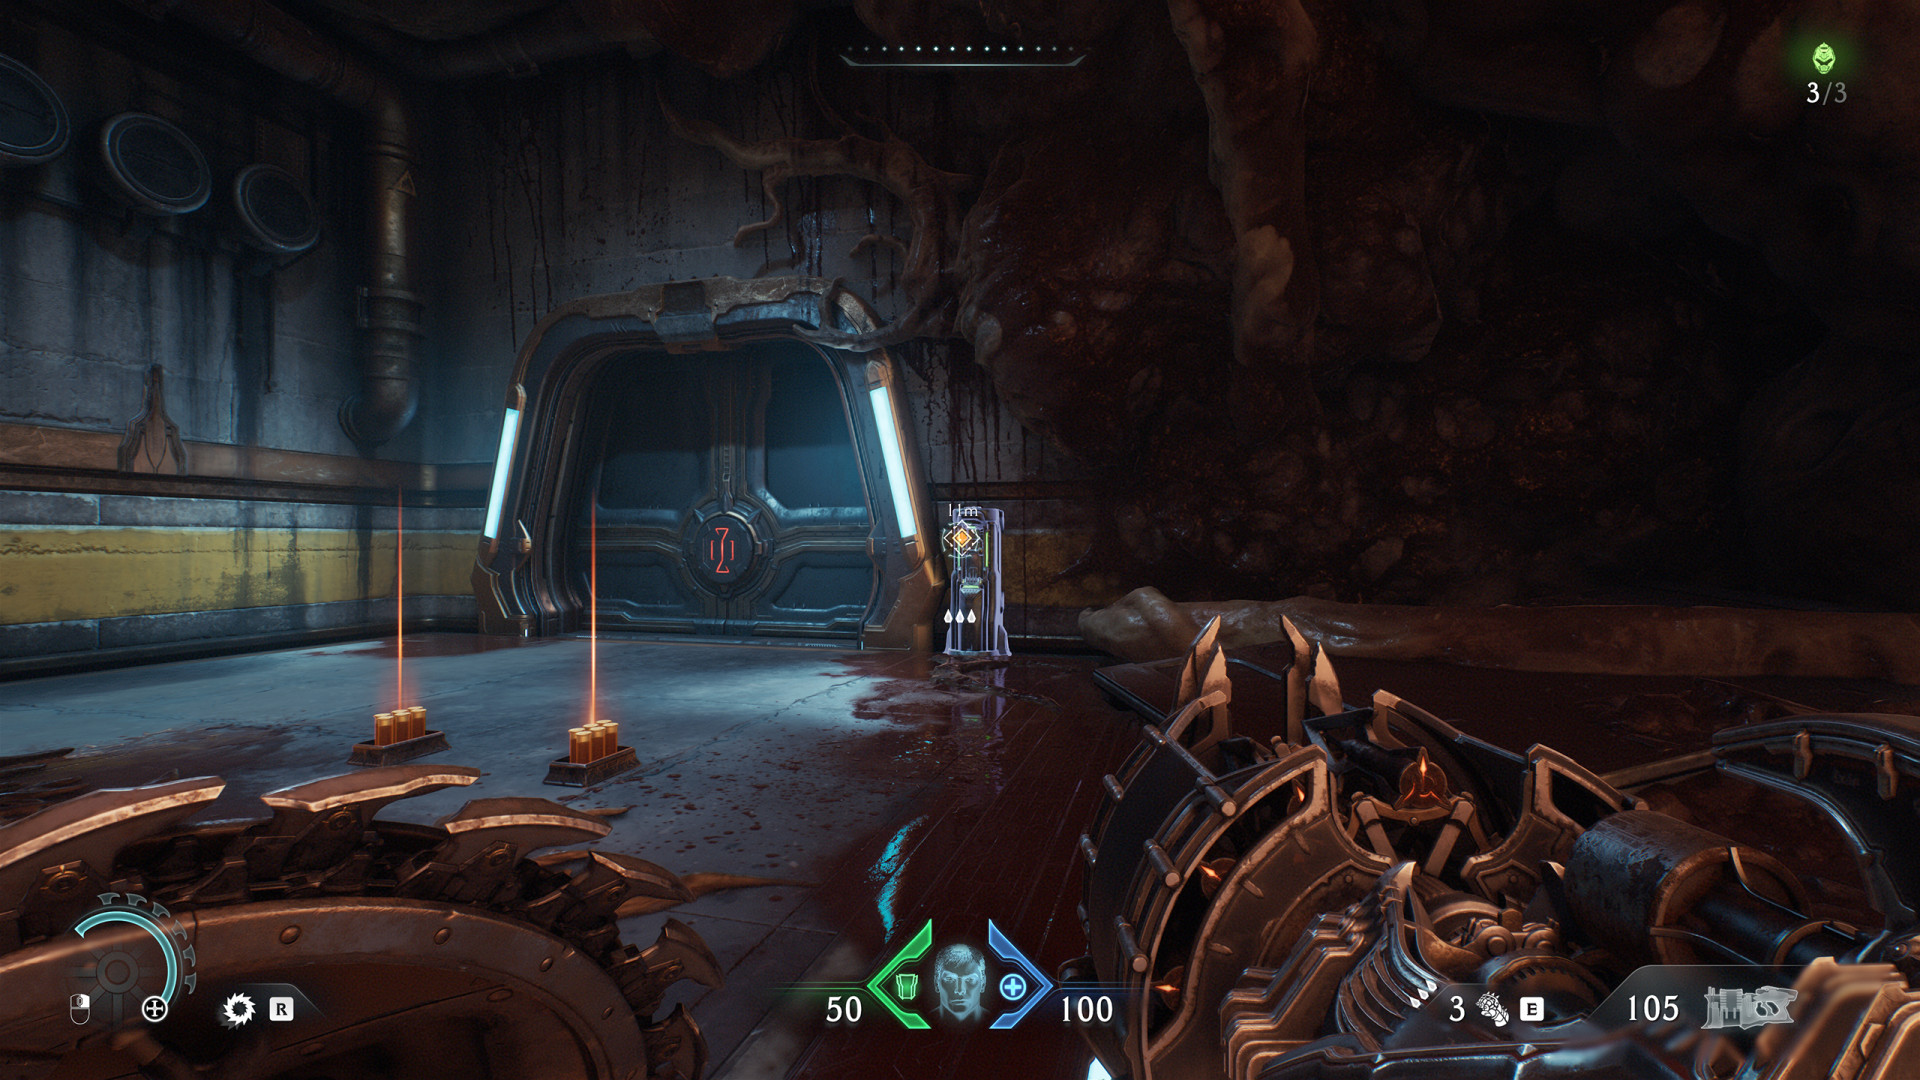
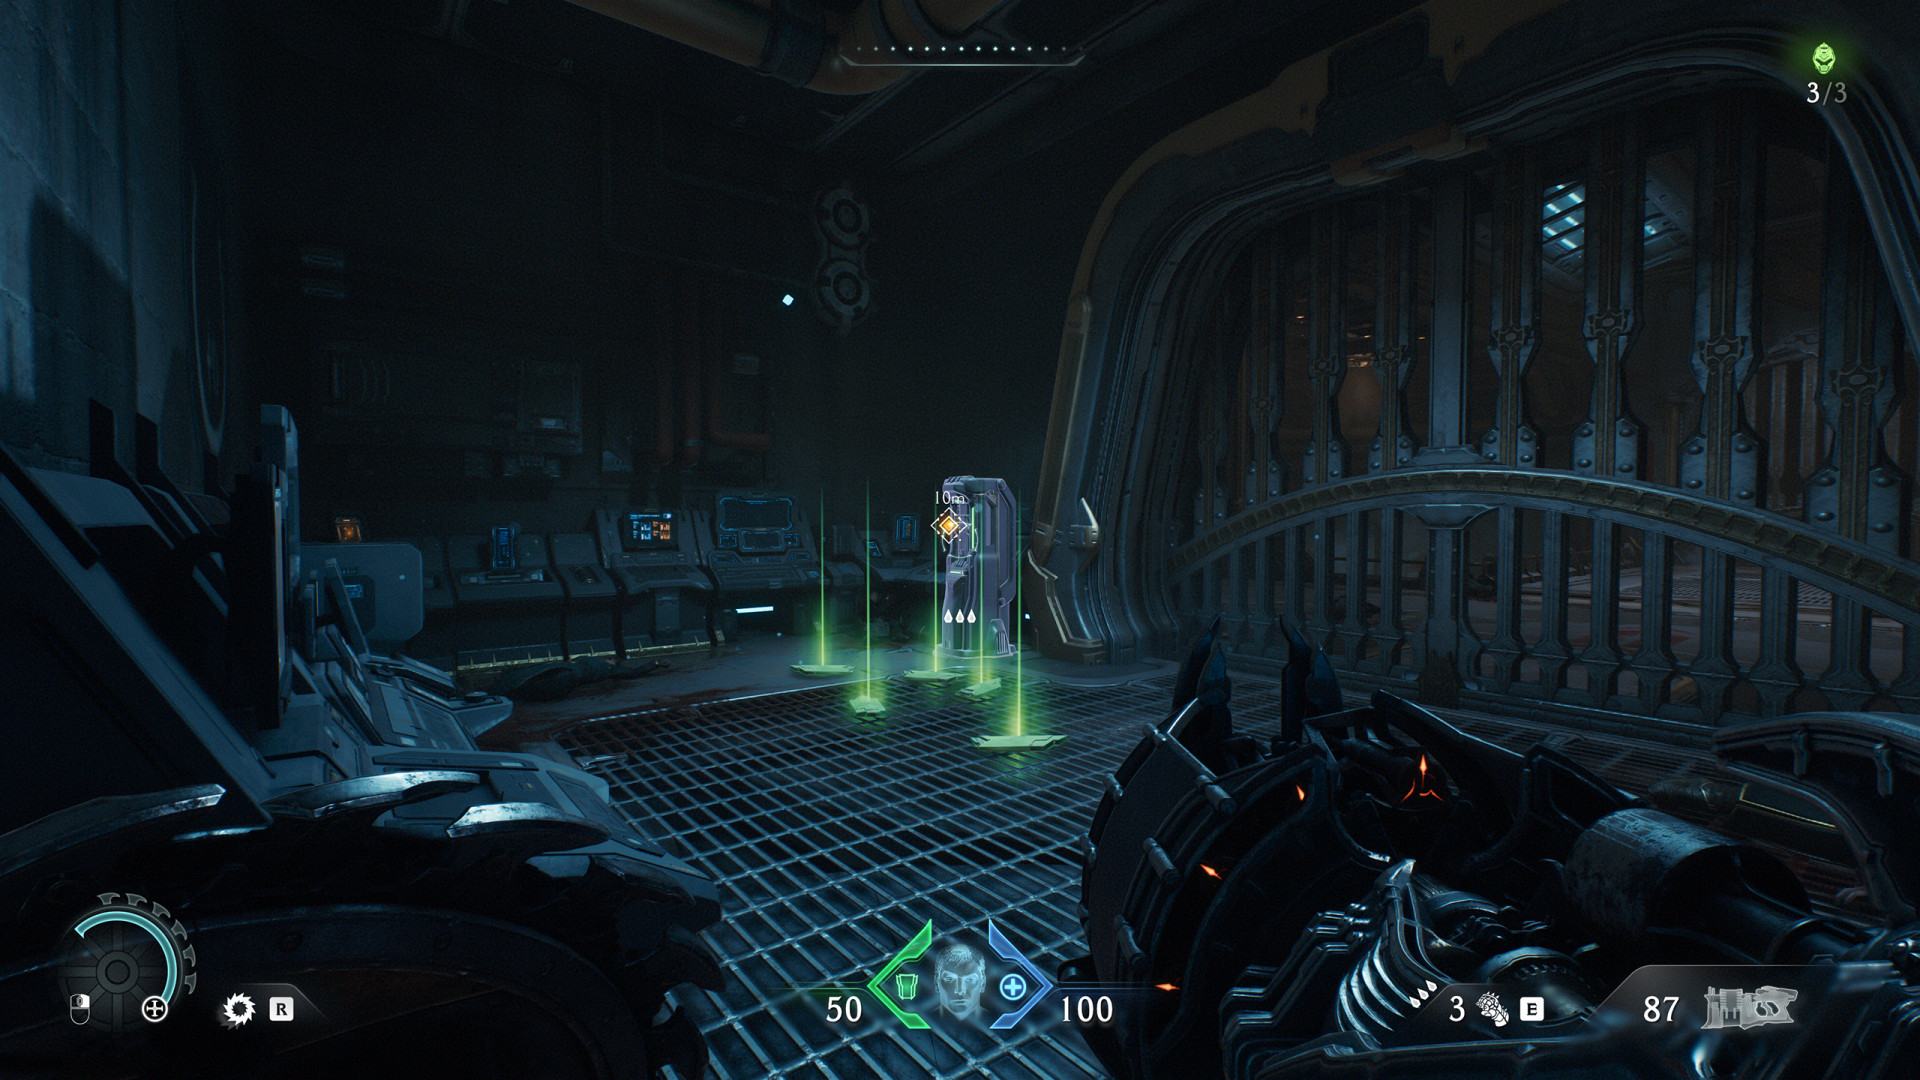
Energy Node (City of Ry'uul #1)▶ show the map ◀
Energy Node (City of Ry'uul #2)▶ show the map ◀
Energy Node (City of Ry'uul #3)▶ show the map ◀
Activates the launch pad that will allow you to reach the higher level.
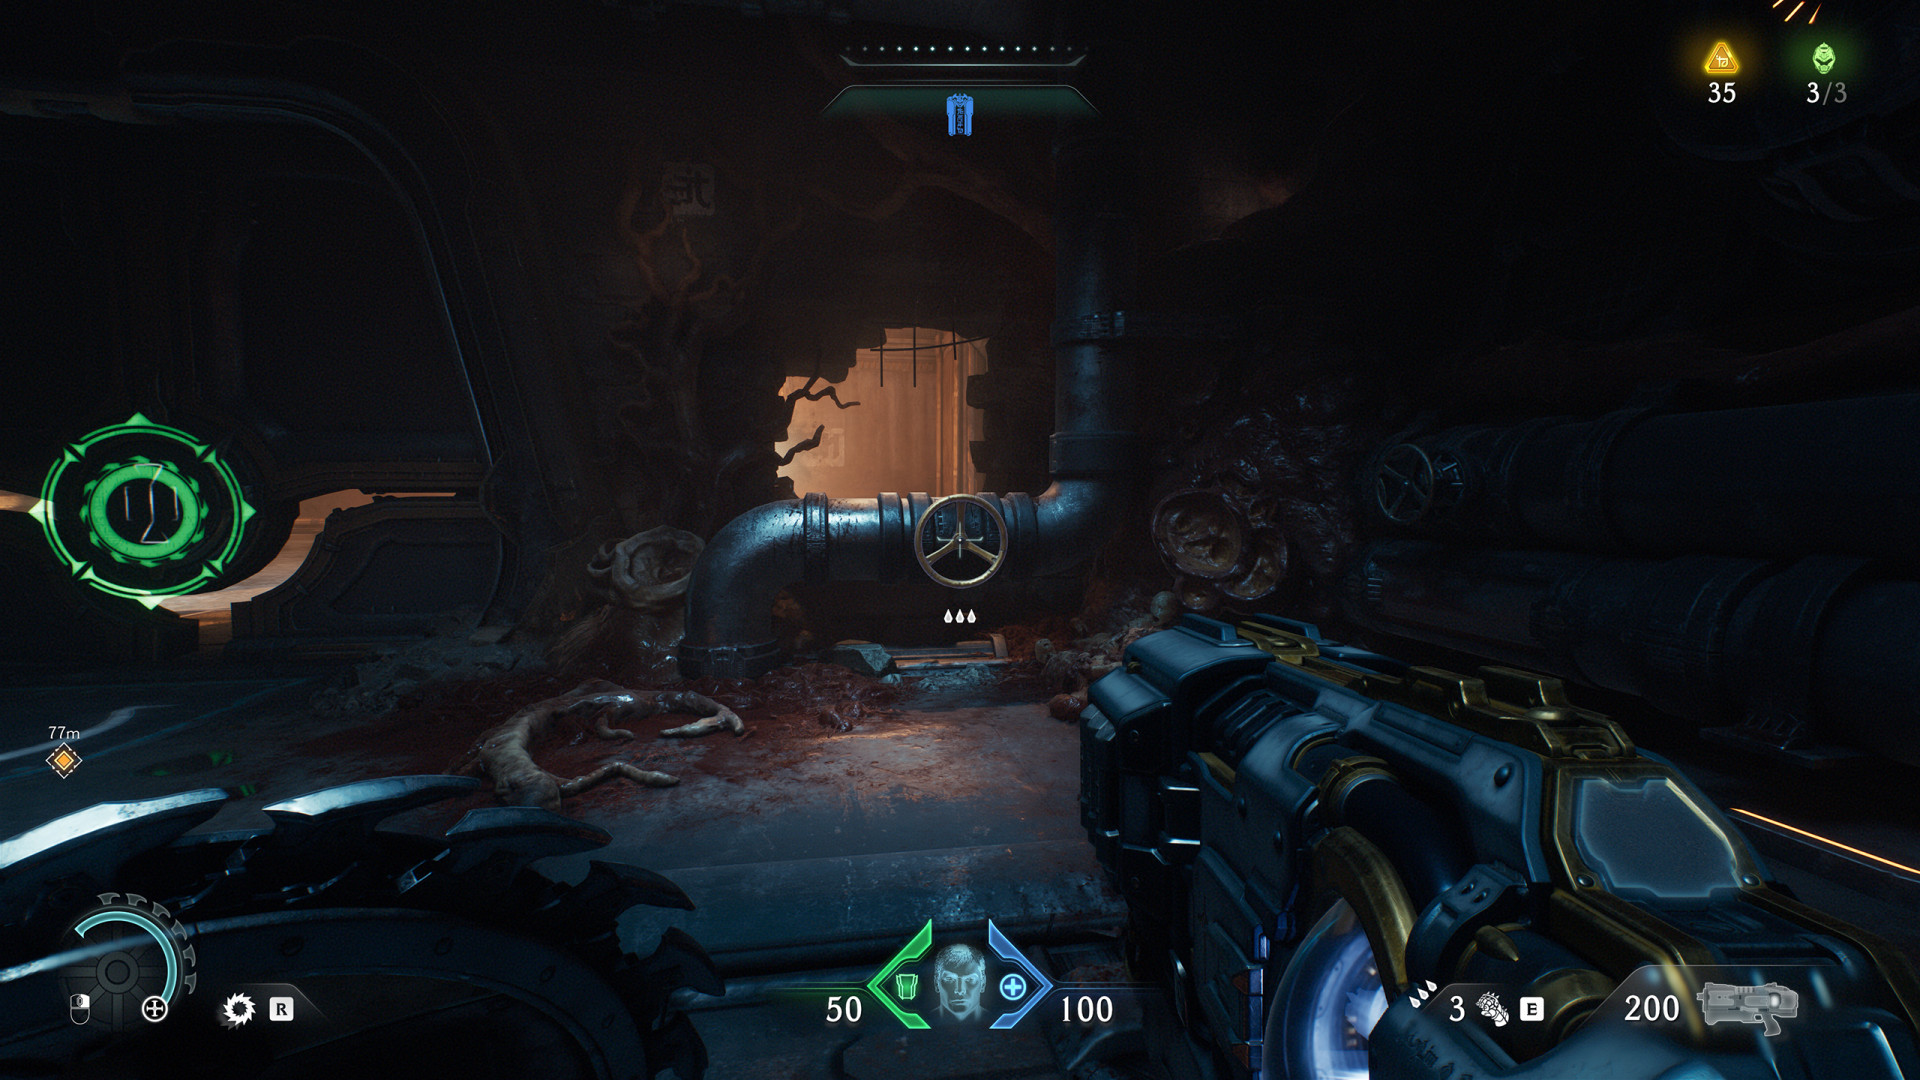
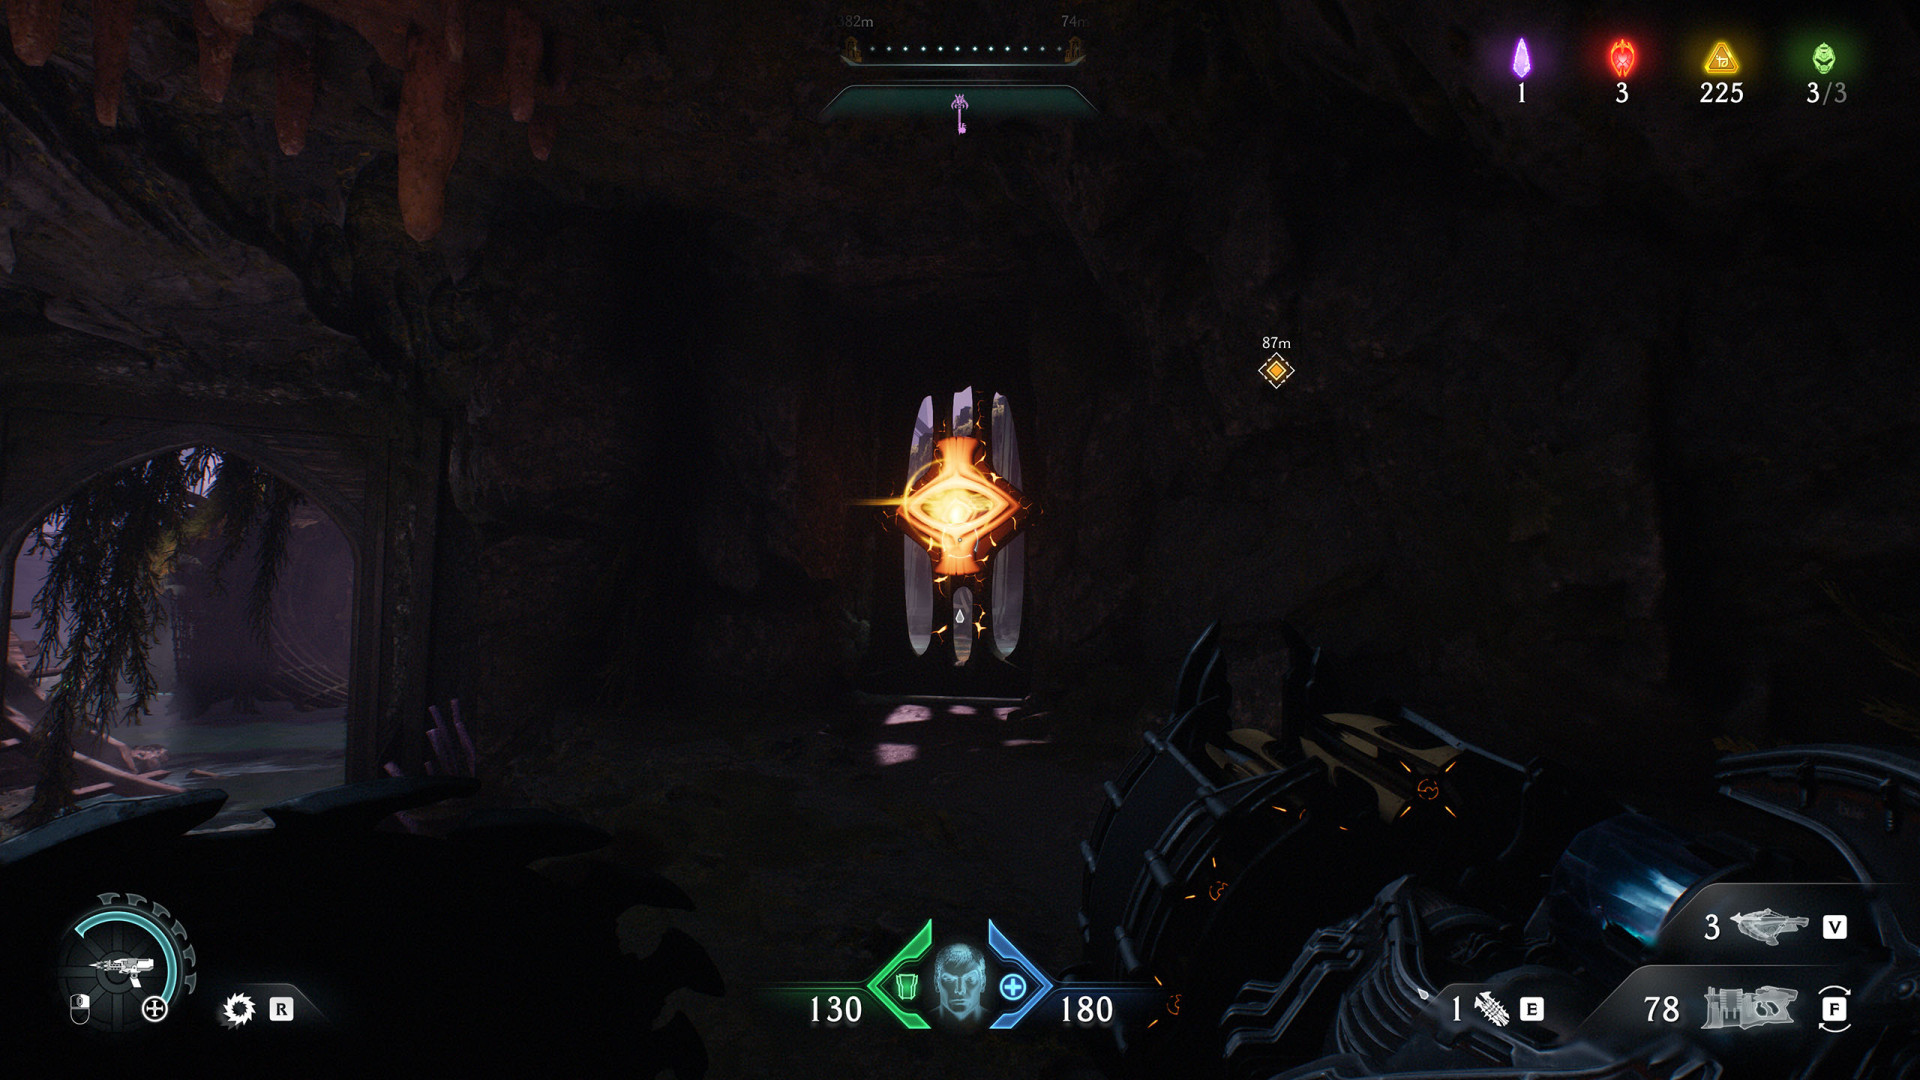
Switch (City of Ry'uul #1)▶ show the map ◀
Activates the launch pad that will allow you to get to the Secret Area (City of Ry'uul #2).
All known locations on the map The Kar'Thul Marshes
Energy Node (The Kar'Thul Marshes #1)▶ show the map ◀
Energy Node (The Kar'Thul Marshes #2)▶ show the map ◀
Pressure Plate (The Kar'Thul Marshes #1)▶ show the map ◀
All known locations on the map Temple of Lomarith
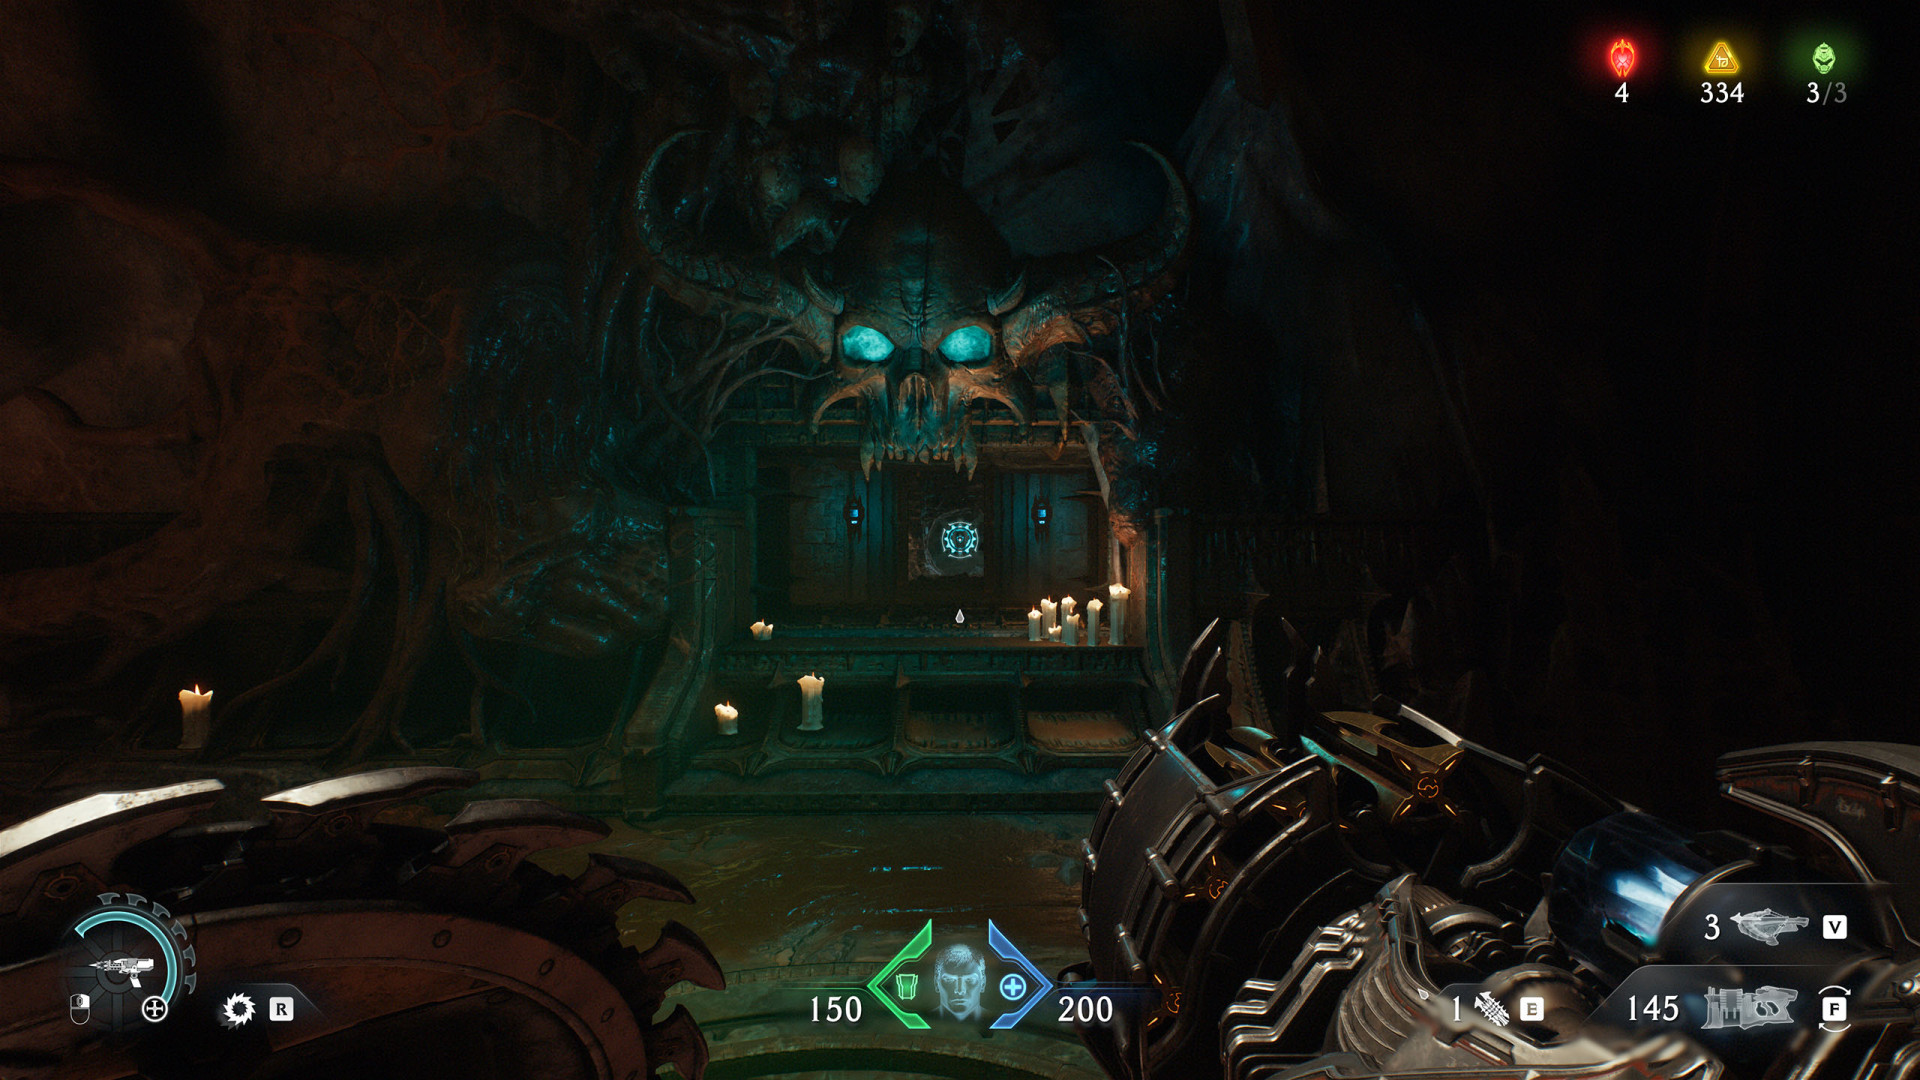
Cosmic Eye (Temple of Lomarith #1)▶ show the map ◀
Cosmic Eye (Temple of Lomarith #2)▶ show the map ◀
Available once you move the box with the Cacodemon Hybrid toy.

Cosmic Eye (Temple of Lomarith #3)▶ show the map ◀
Energy Node (Temple of Lomarith #1)▶ show the map ◀
All known locations on the map Belly of the Beast
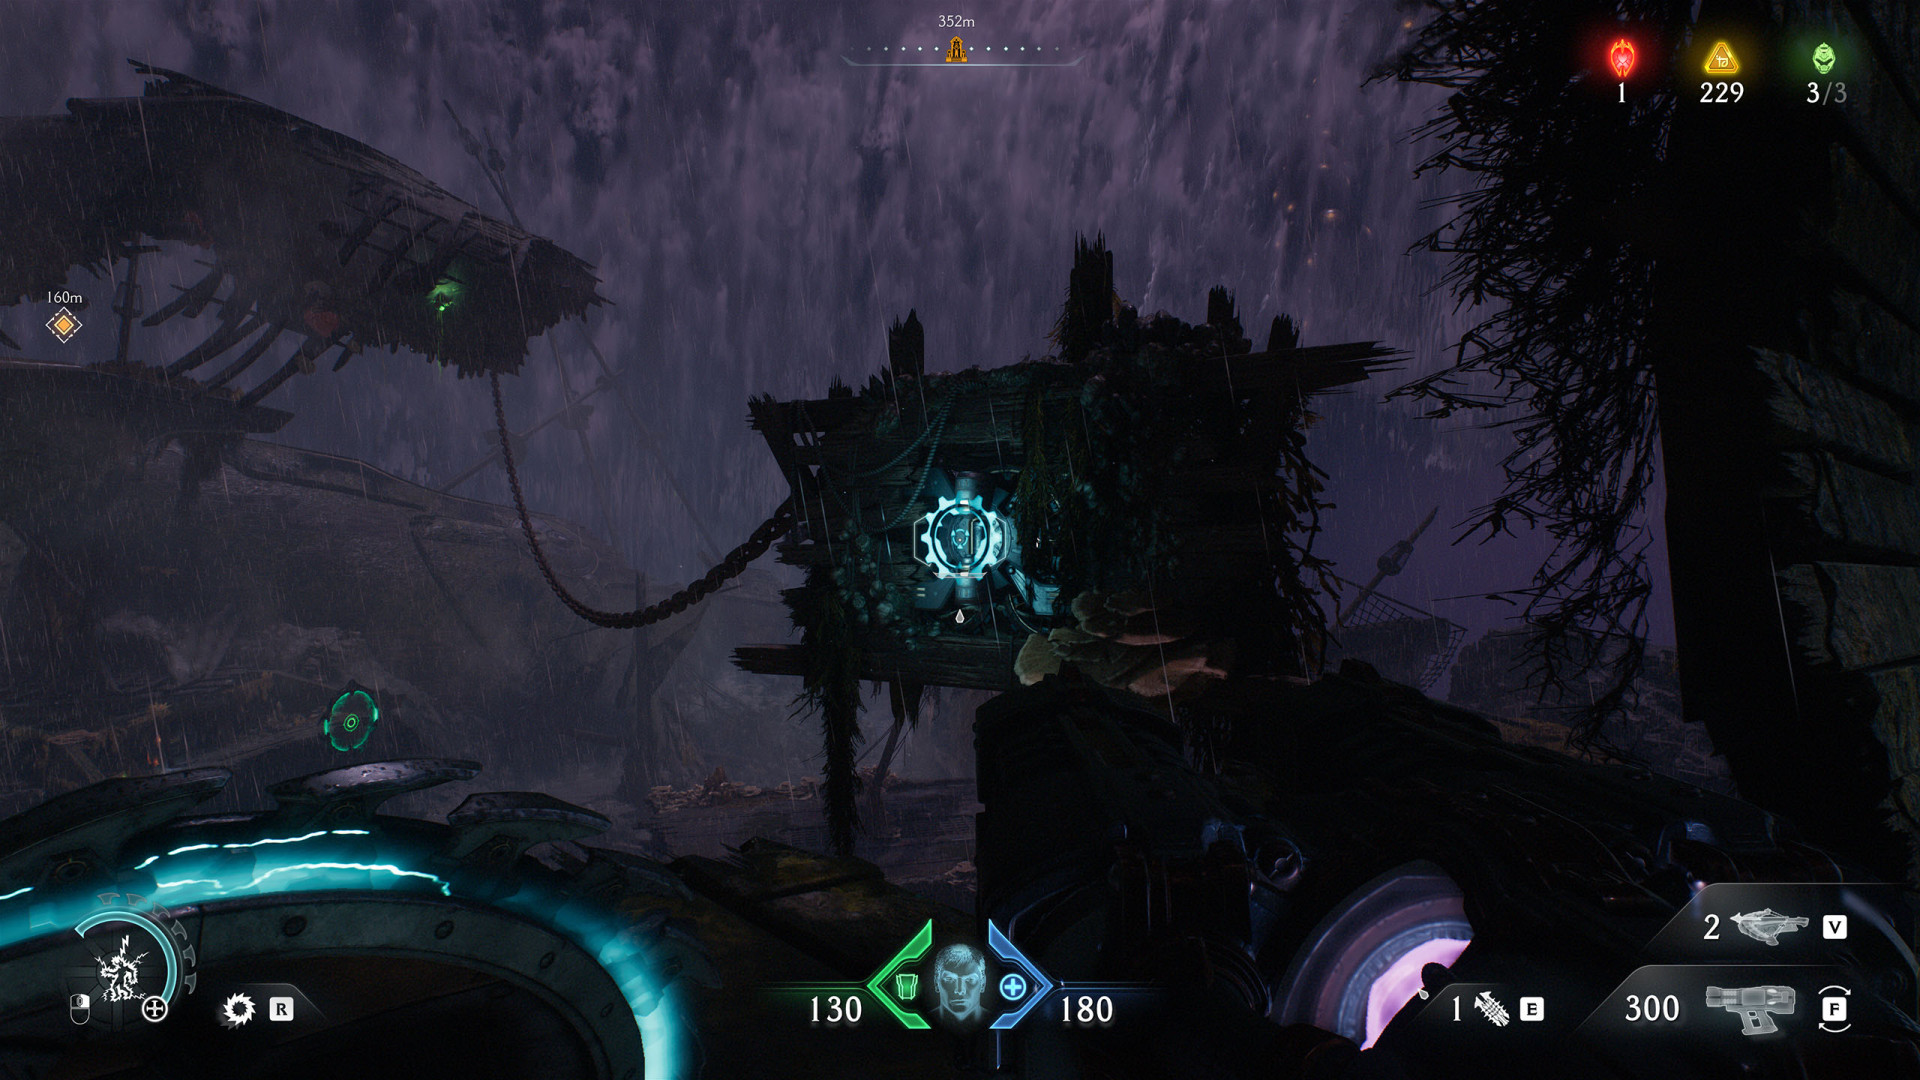
Energy Node (Belly of the Beast #1)▶ show the map ◀

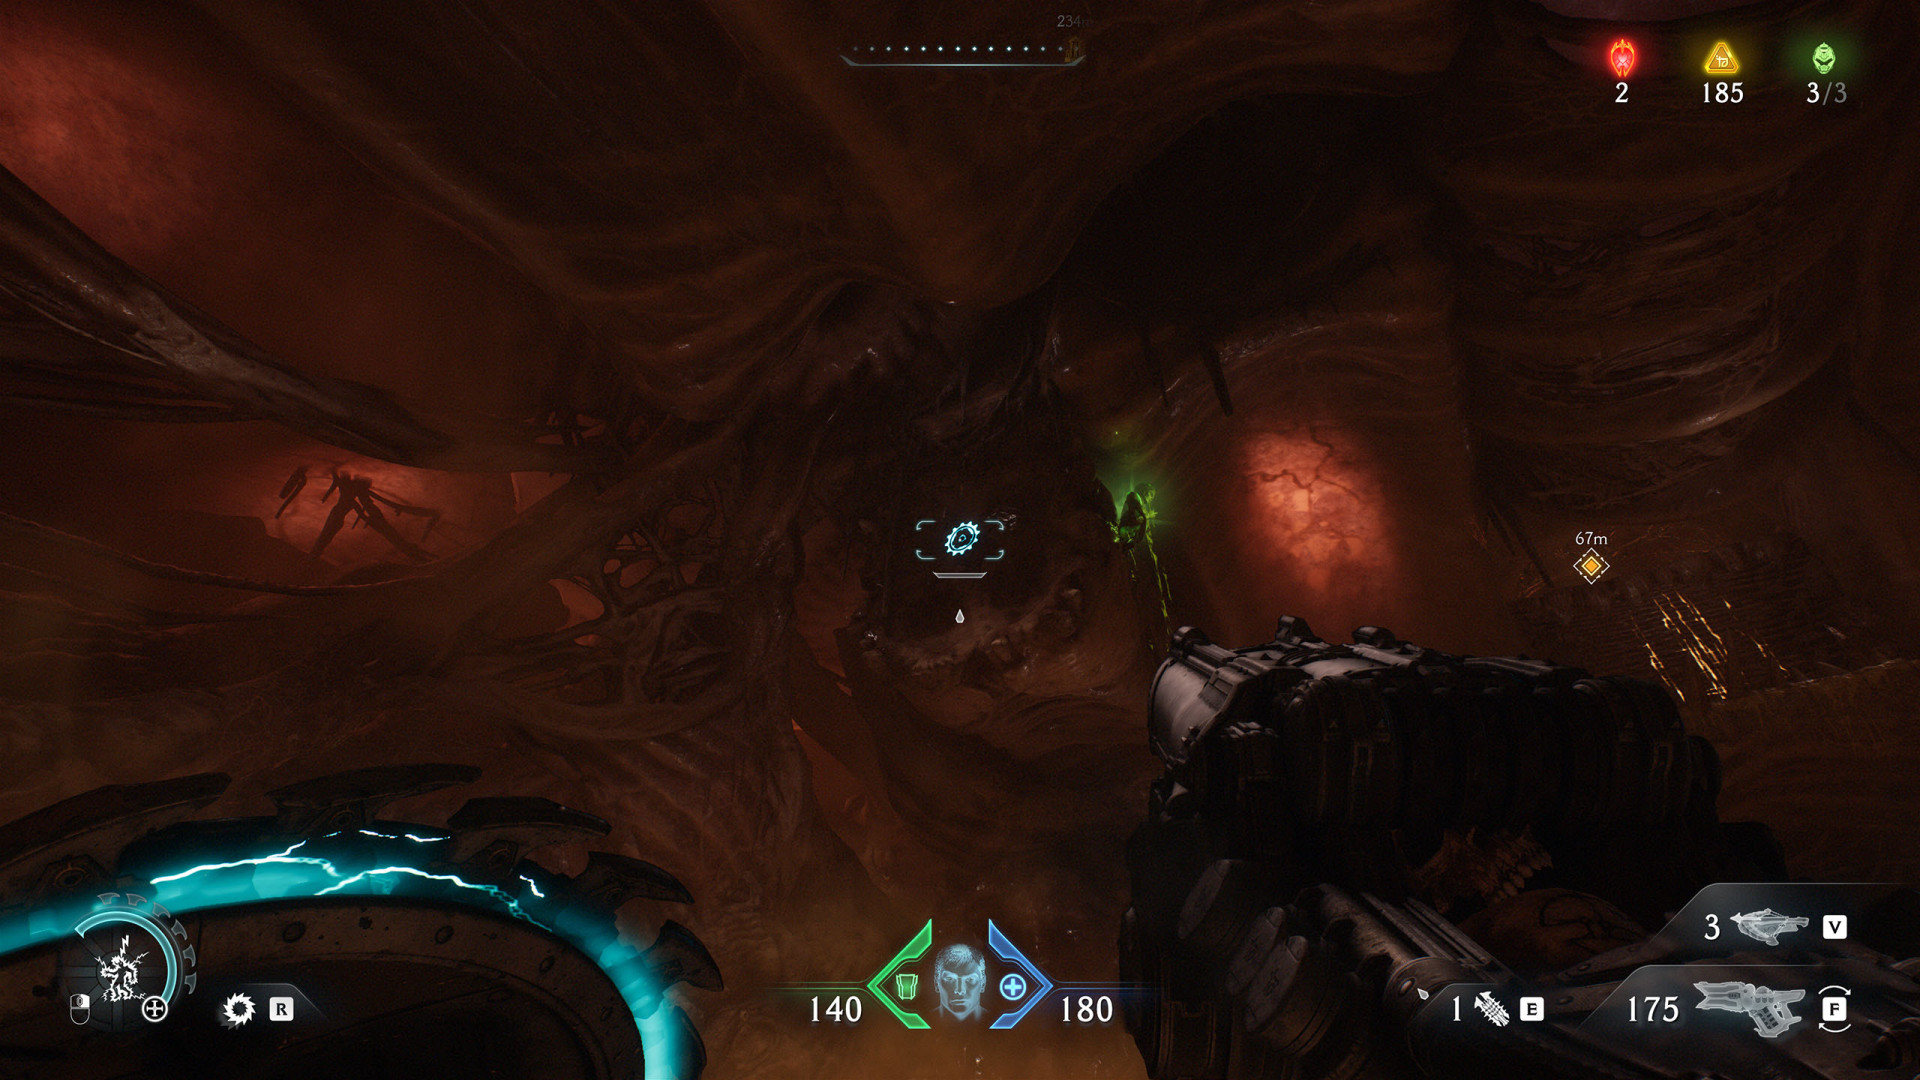
Energy Node (Belly of the Beast #2)▶ show the map ◀
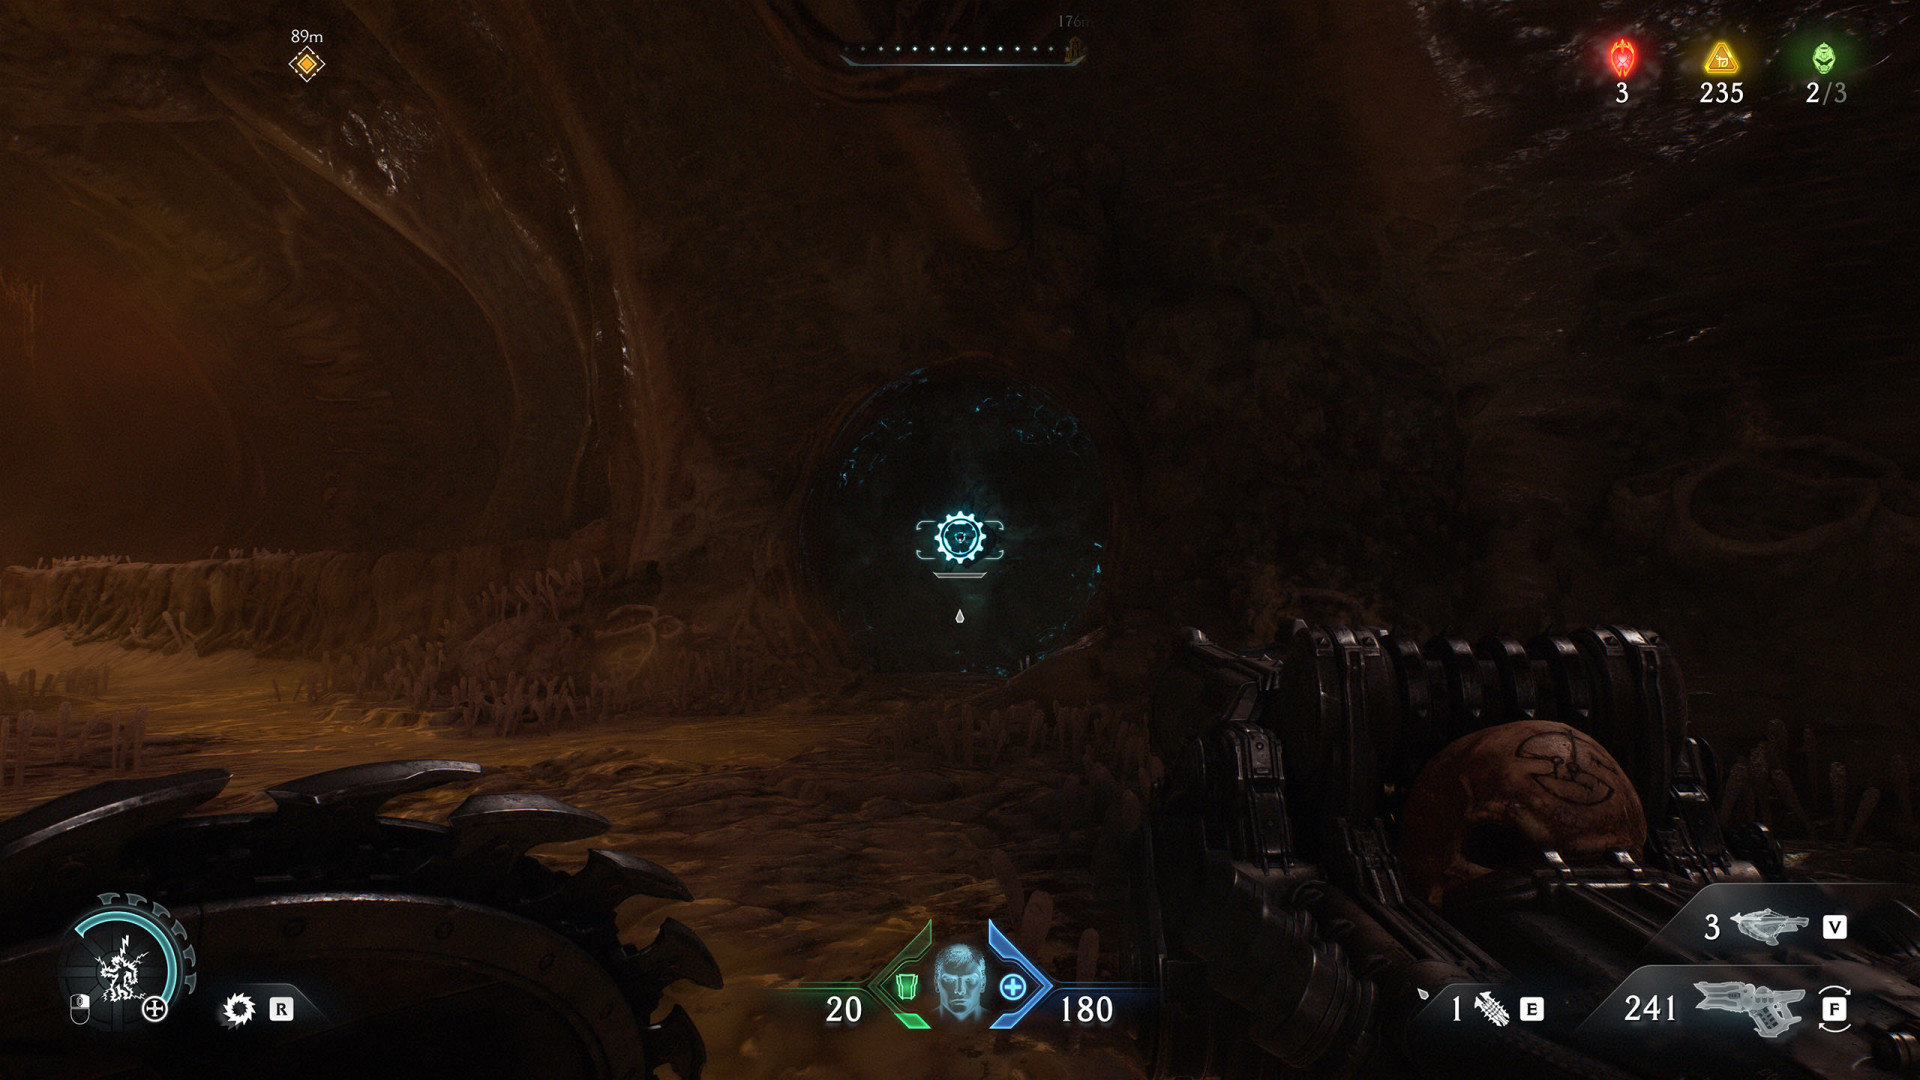
Energy Node (Belly of the Beast #3)▶ show the map ◀
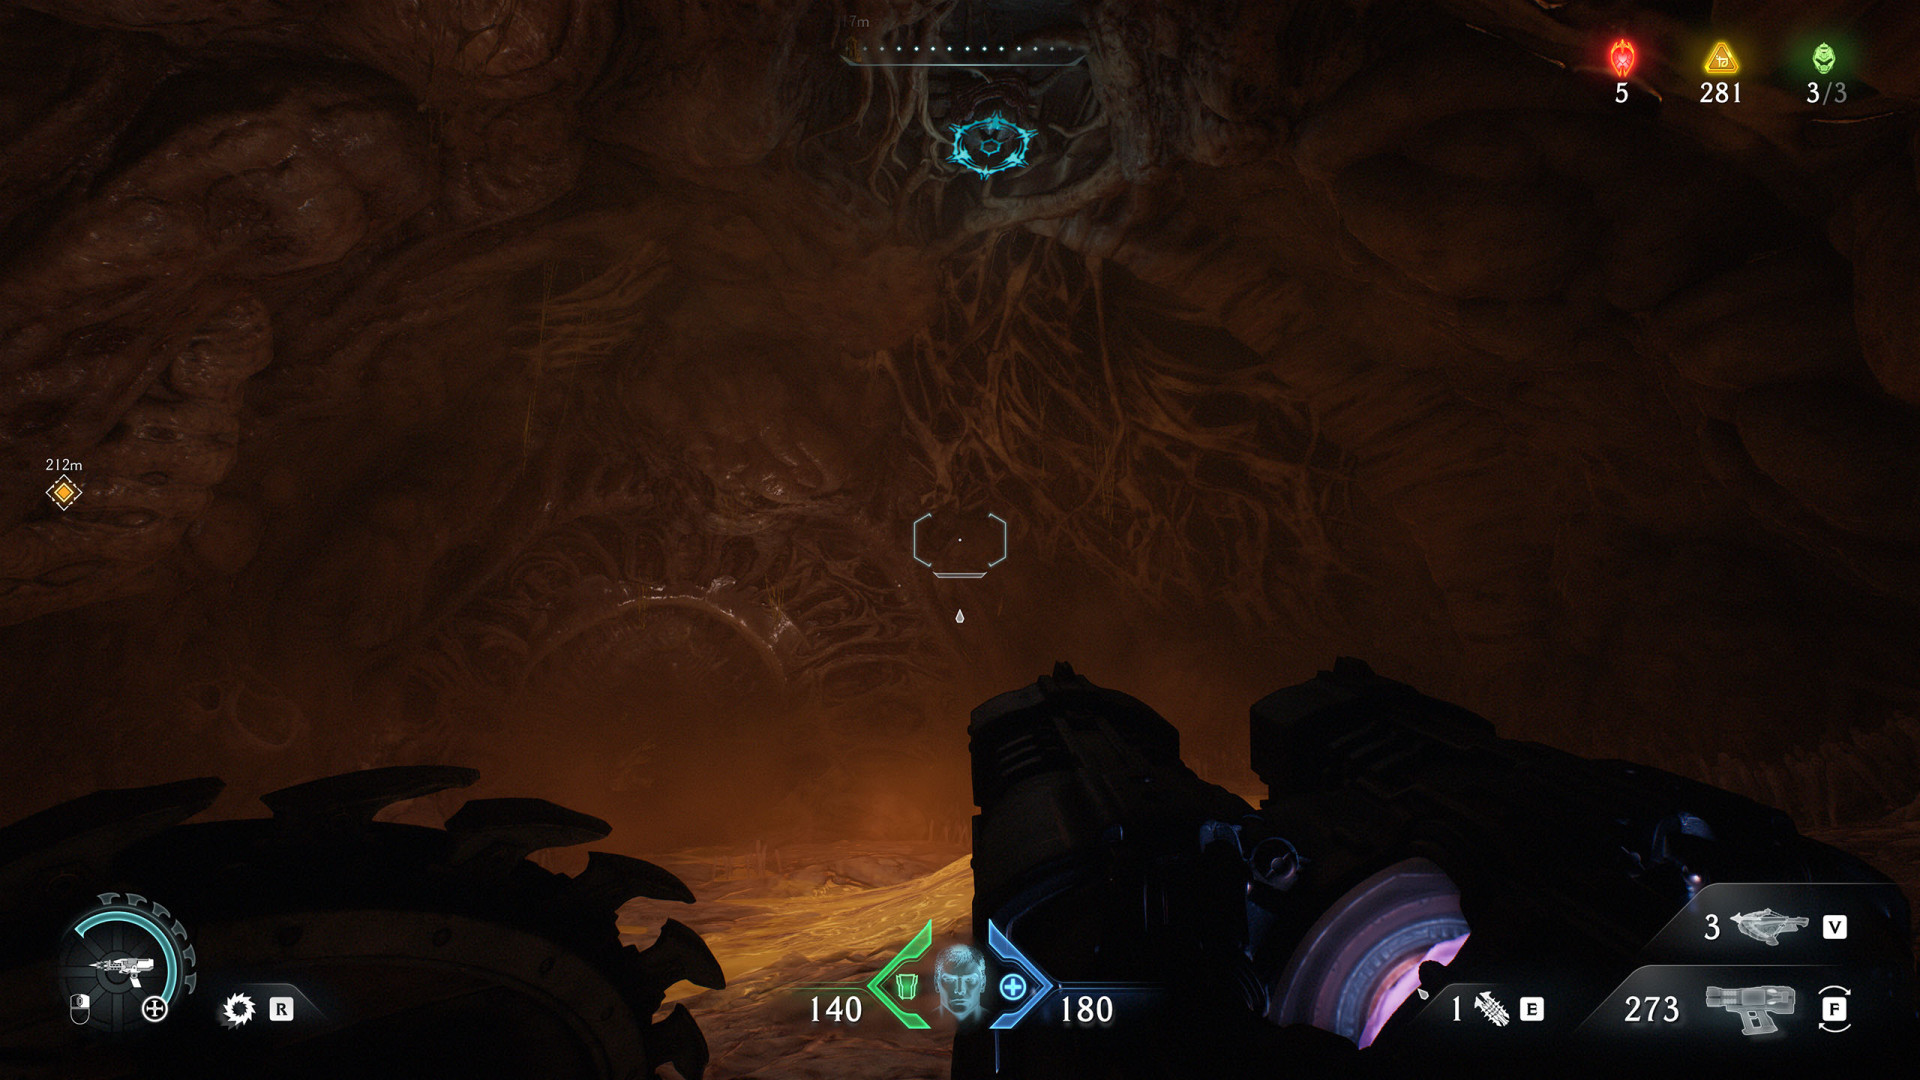
Energy Node (Belly of the Beast #4)▶ show the map ◀
All known locations on the map Harbor of Souls
Energy Node (Harbor of Souls #1)▶ show the map ◀
Energy Node (Harbor of Souls #2)▶ show the map ◀
Pressure Plate (Harbor of Souls #1)▶ show the map ◀
Switch (Harbor of Souls #1)▶ show the map ◀
Switch (Harbor of Souls #2)▶ show the map ◀
All known locations on the map Resurrection
Energy Node (Resurrection #1)▶ show the map ◀
Use it to open the grate. To be able to do this, you must first interact with the Switch (Resurrection #1).
Energy Node (Resurrection #2)▶ show the map ◀
Energy Node (Resurrection #3)▶ show the map ◀
This will become available when you interact with the Switch (Resurrection #3).

Switch (Resurrection #1)▶ show the map ◀
Switch (Resurrection #2)▶ show the map ◀
Interact with it to open the hatch of the Secret Area (Resurrection #6).
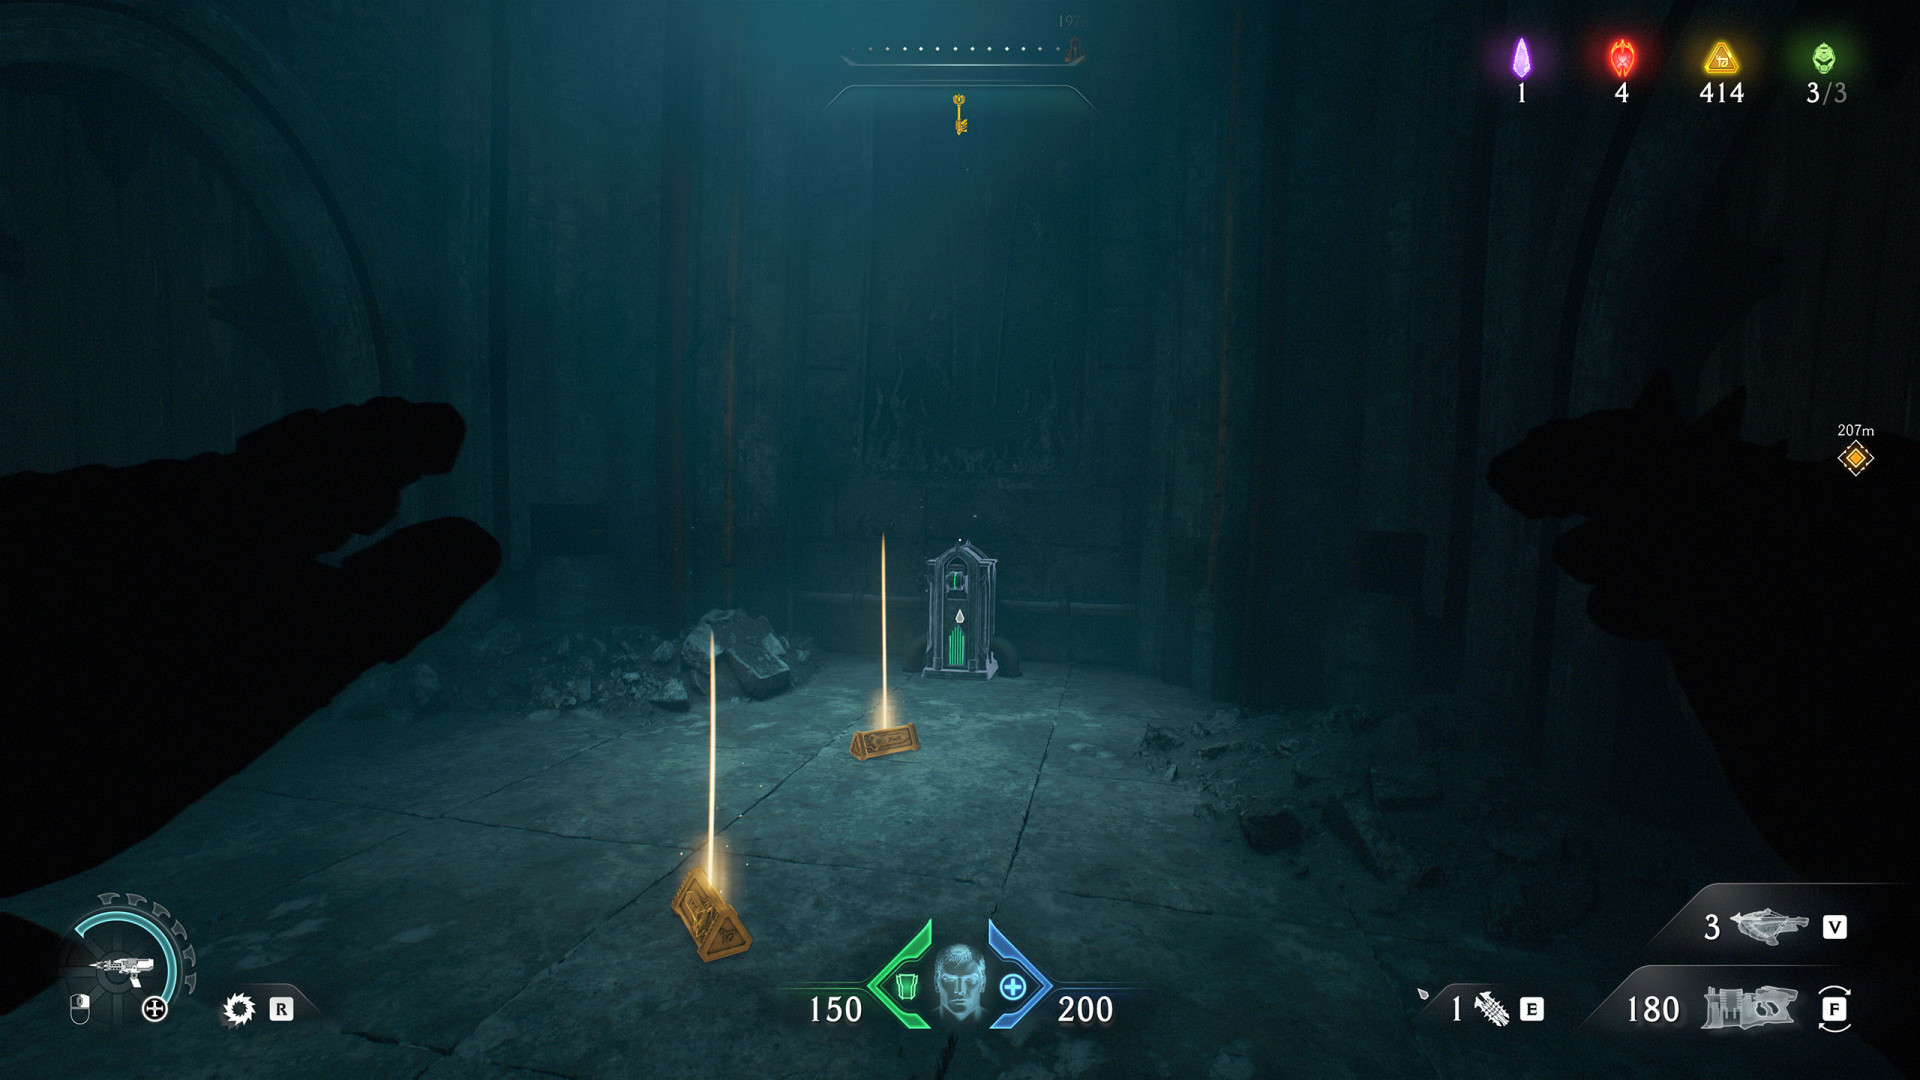
Switch (Resurrection #3)▶ show the map ◀
Switch (Resurrection #4)▶ show the map ◀
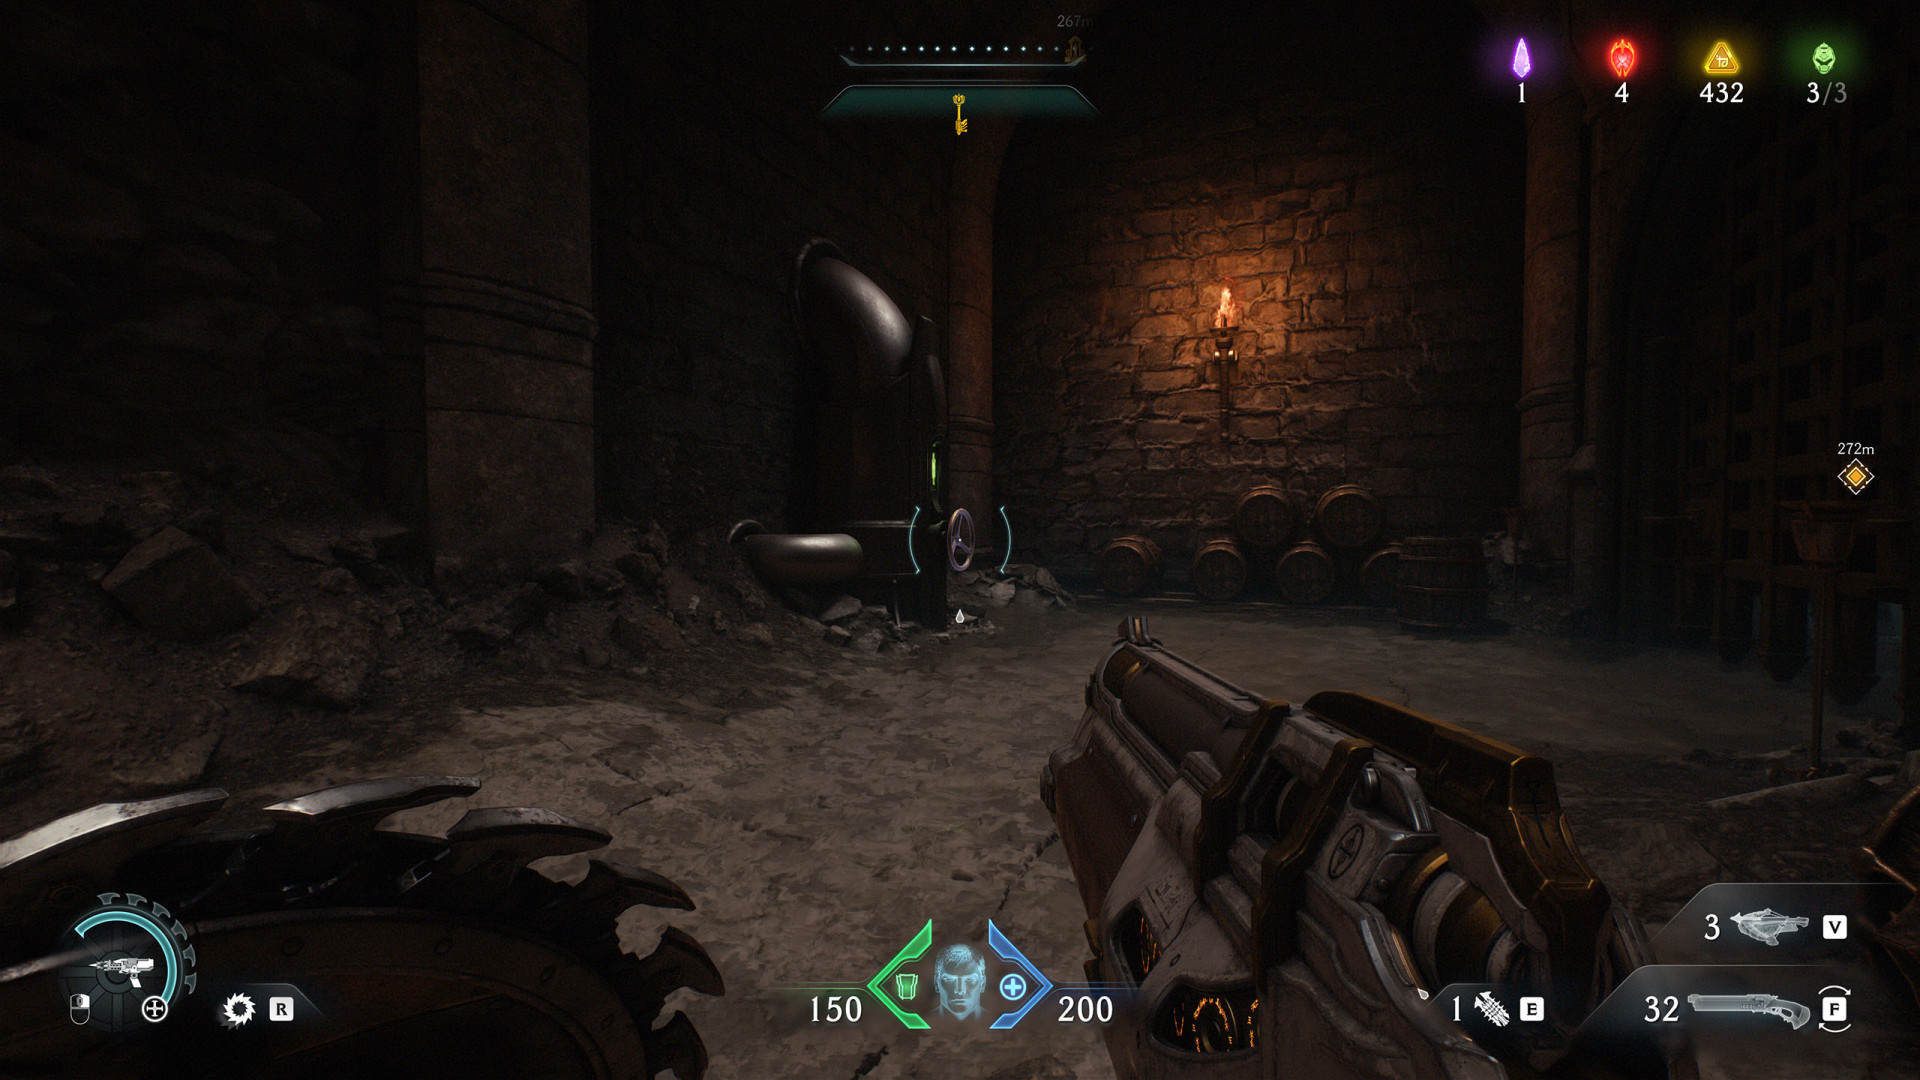
Valve (Resurrection #1)▶ show the map ◀
Turn it to fill the room with water, which will open the way forward.
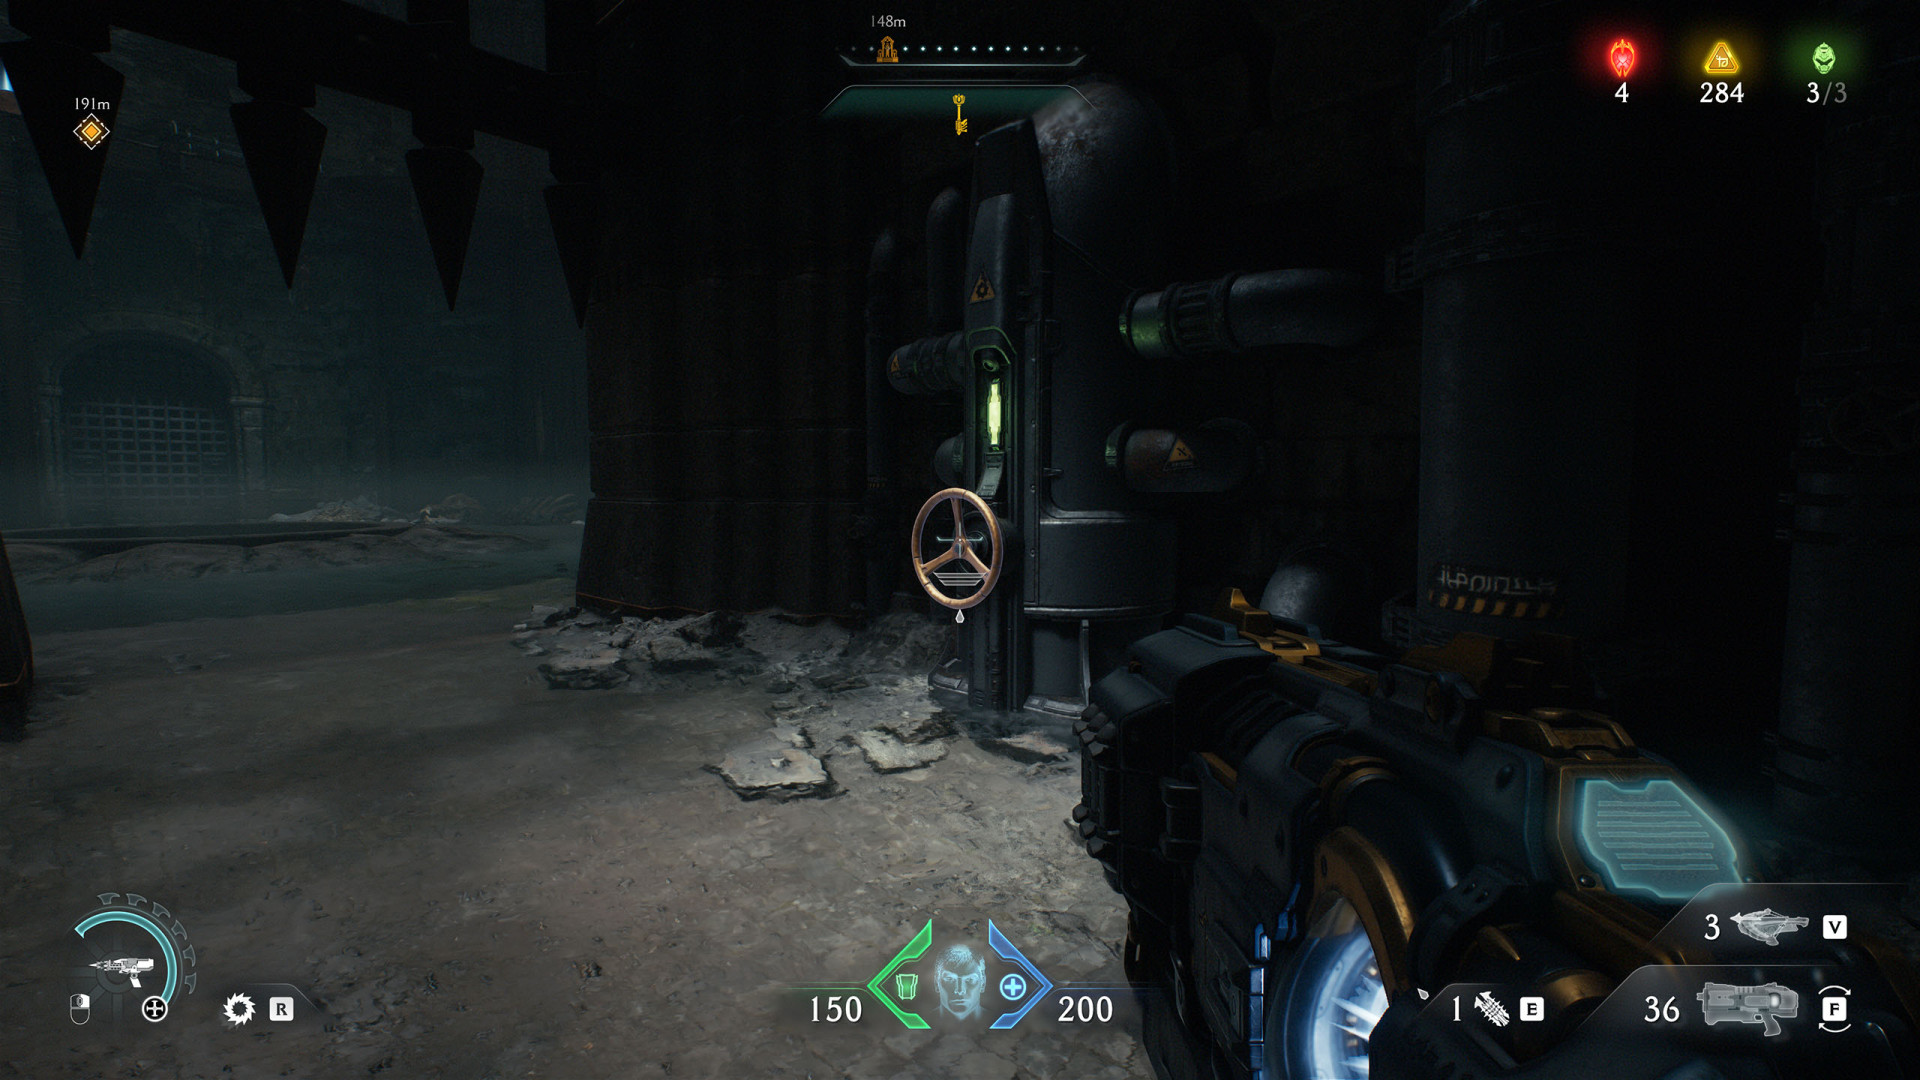
Valve (Resurrection)▶ show the map ◀
All known locations on the map Reckoning
Energy Node (Reckoning #1)▶ show the map ◀
Energy Node (Reckoning #2)▶ show the map ◀
Energy Node (Reckoning #3)▶ show the map ◀

Energy Node (Reckoning #4)▶ show the map ◀
Lever (Reckoning #1)▶ show the map ◀
Pressure Plate (Reckoning #2)▶ show the map ◀