All Secret Areas in Doom: The Dark Ages
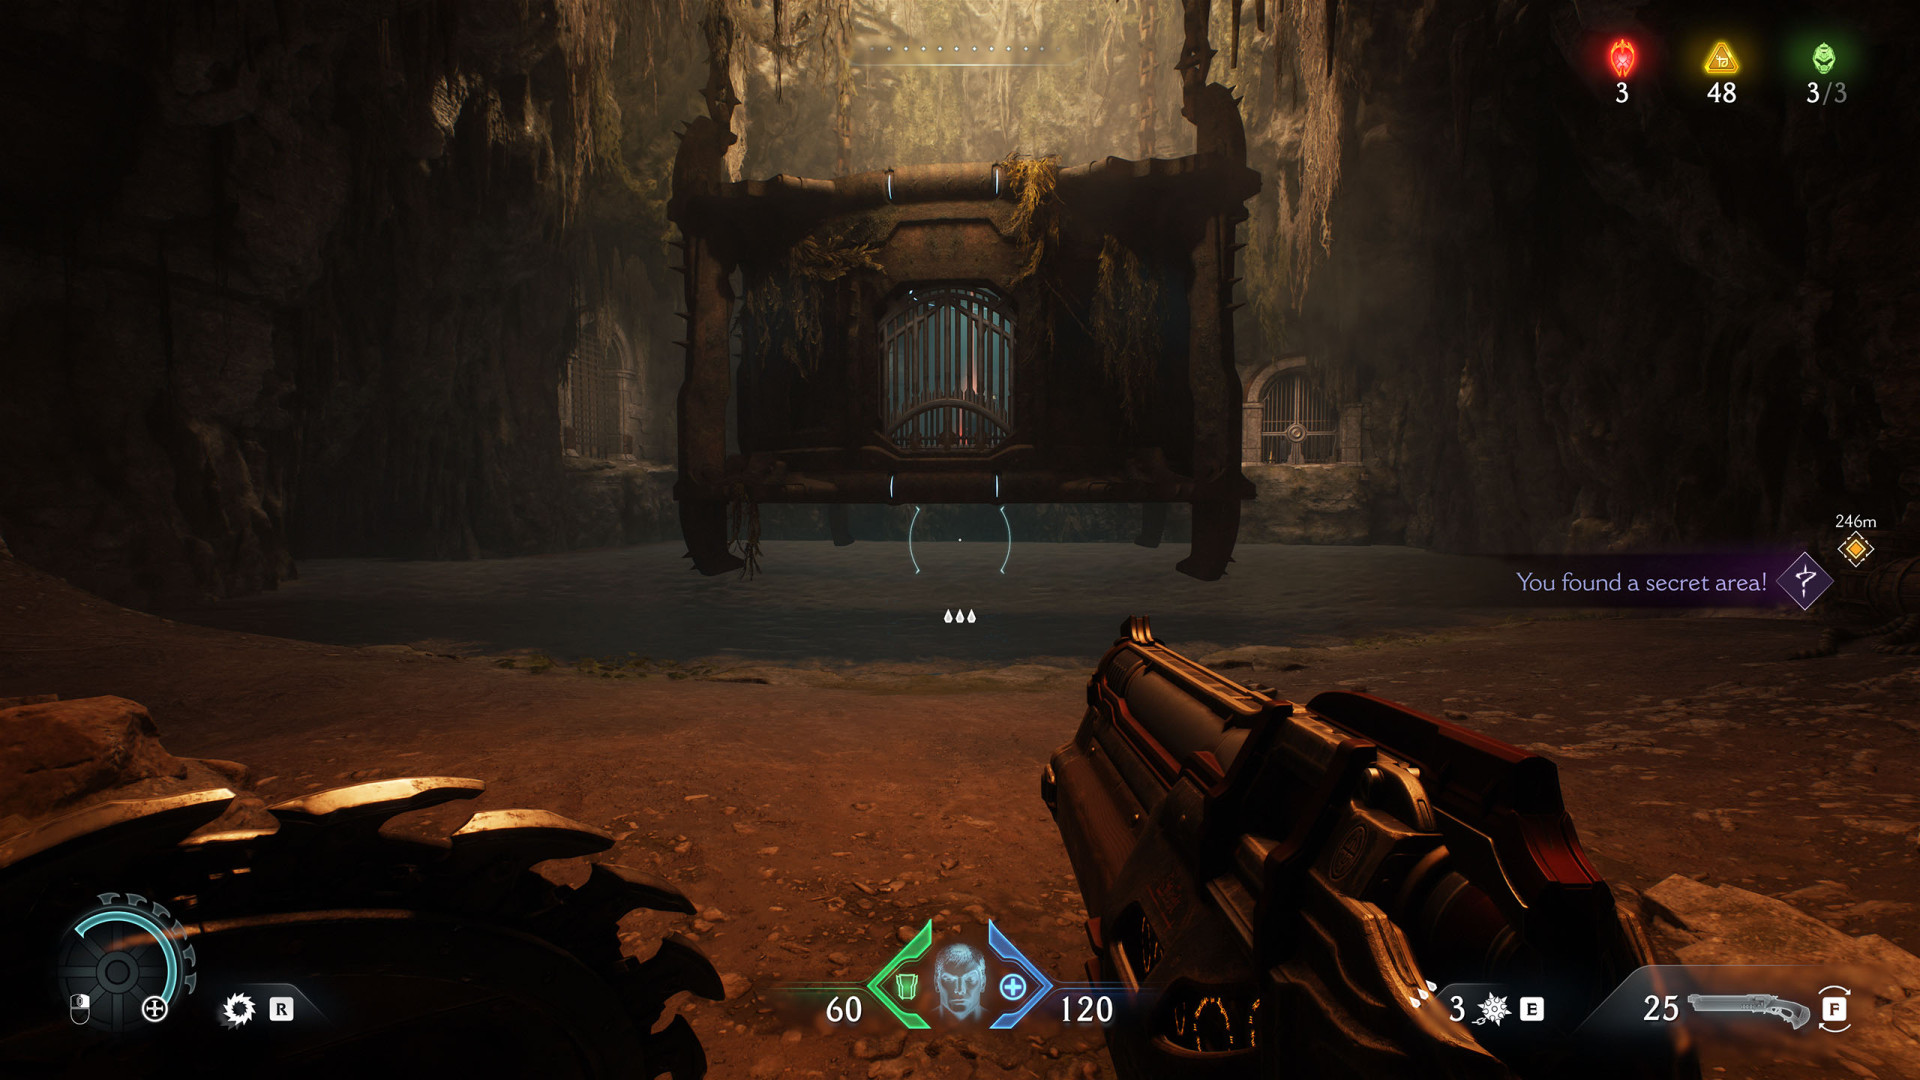
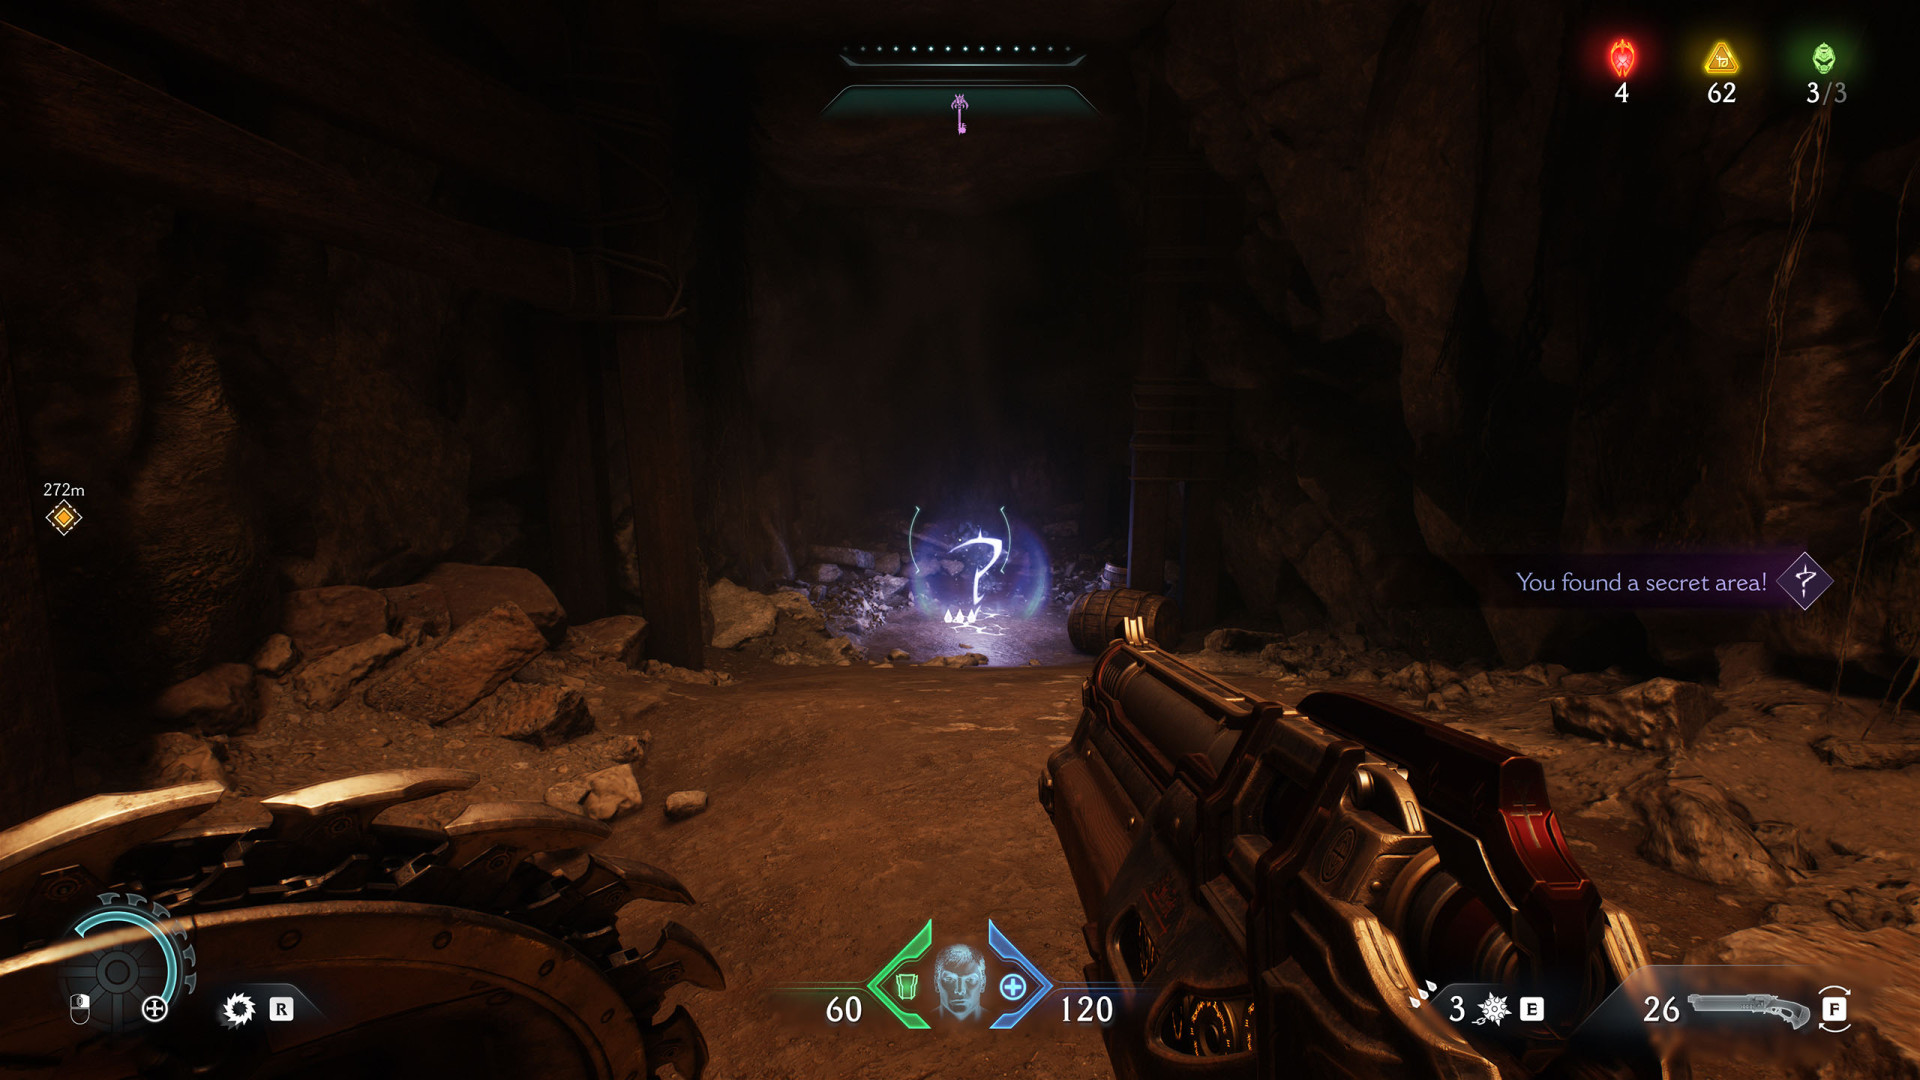
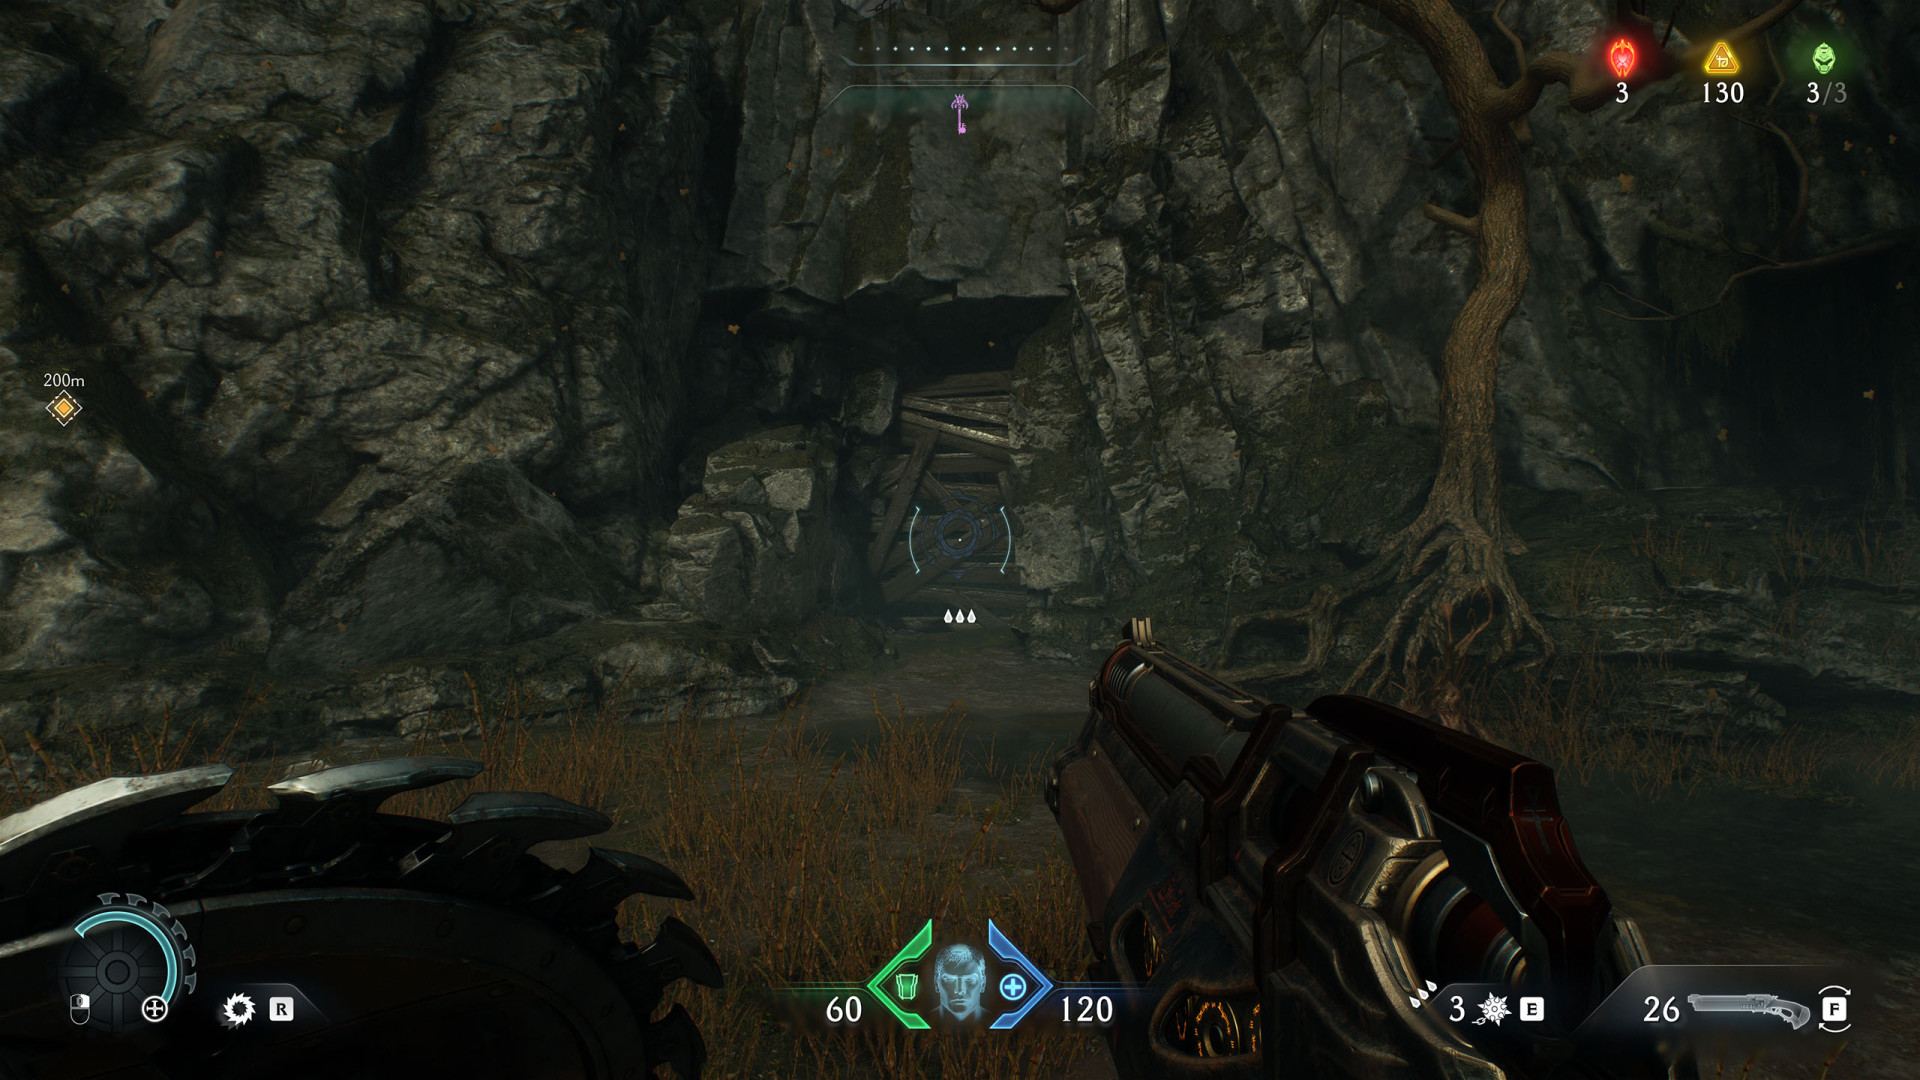
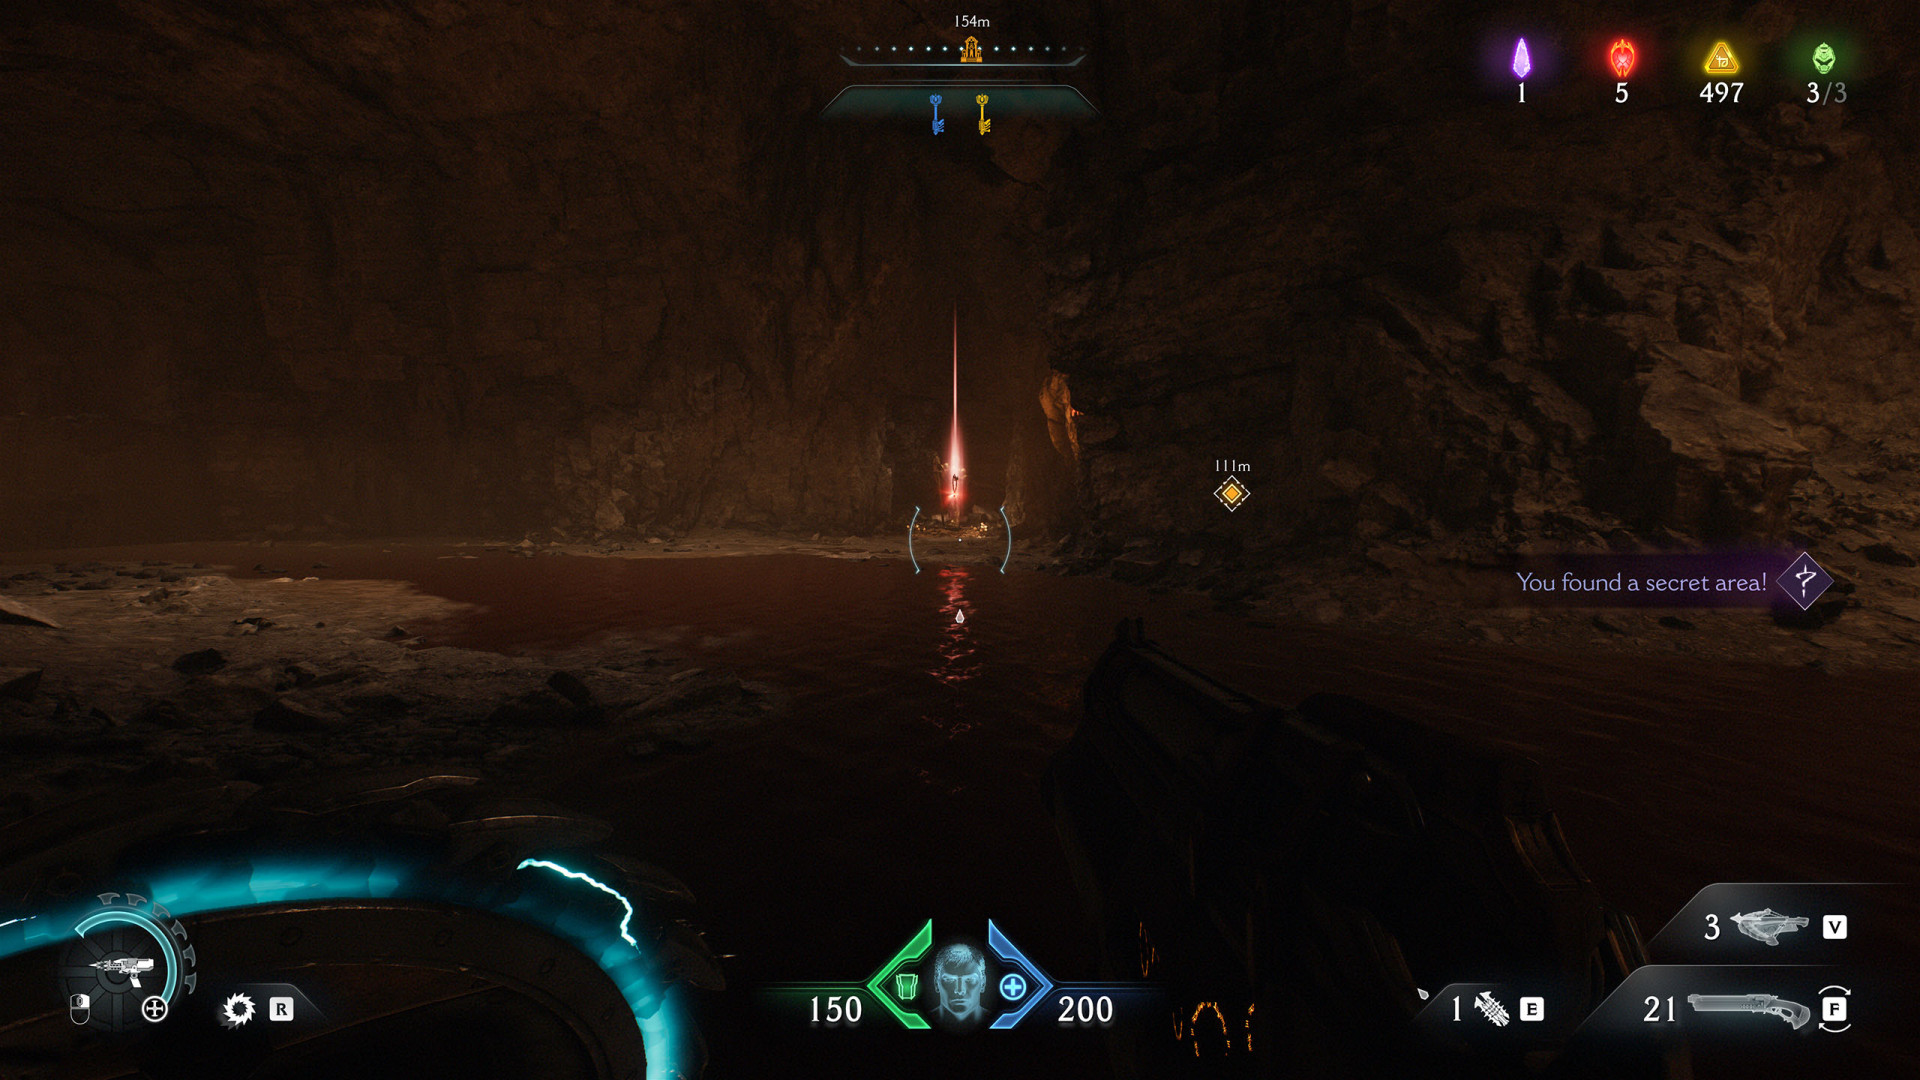
In Doom: The Dark Ages, Secret Areas are hidden level sections containing collectibles like Codex Entries, Toys, Life Sigils, Gold, or Weapon Skins. To reach them, you will have to find hidden paths, obtain the necessary key, and so on.
Index
- Secret Area (Abyssal Forest #1)
- Secret Area (Abyssal Forest #2)
- Secret Area (Abyssal Forest #3)
- Secret Area (Abyssal Forest #4)
- Secret Area (Abyssal Forest #5)
- Secret Area (Abyssal Forest #6)
- Secret Area (Abyssal Forest #7)
- Secret Area (Abyssal Forest #8)
- Secret Area (Abyssal Forest #9)
- Secret Area (Abyssal Forest #10)
- Secret Area (Abyssal Forest #11)
- Secret Area (Ancestral Forge #1)
- Secret Area (Ancestral Forge #2)
- Secret Area (Ancestral Forge #3)
- Secret Area (Ancestral Forge #4)
- Secret Area (Ancestral Forge #5)
- Secret Area (Ancestral Forge #6)
- Secret Area (Ancestral Forge #7)
- Secret Area (Ancestral Forge #8)
- Secret Area (Ancestral Forge #9)
- Secret Area (Belly of the Beast #1)
- Secret Area (Belly of the Beast #2)
- Secret Area (Belly of the Beast #3)
- Secret Area (Belly of the Beast #4)
- Secret Area (Belly of the Beast #5)
- Secret Area (Belly of the Beast #6)
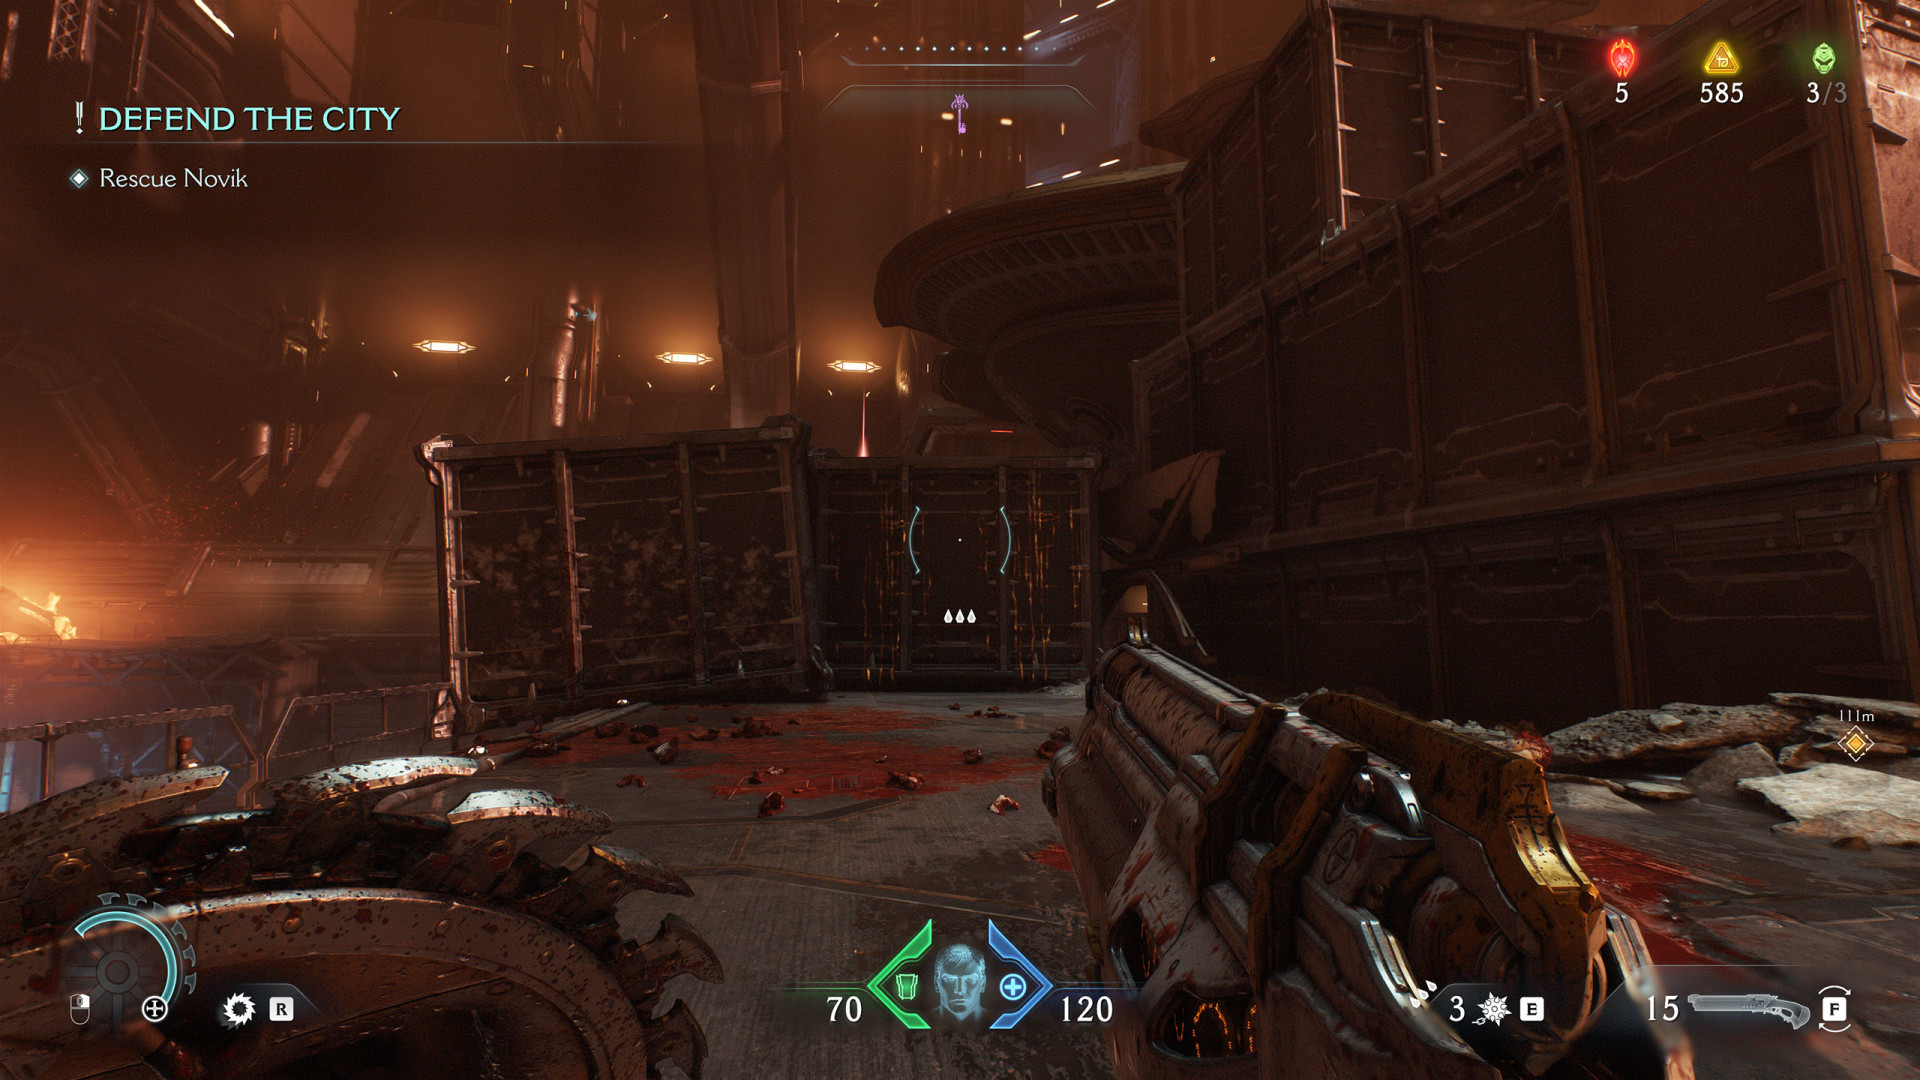
- Secret Area (City of Ry'uul #1)
- Secret Area (City of Ry'uul #2)
- Secret Area (City of Ry'uul #3)
- Secret Area (City of Ry'uul #4)
- Secret Area (City of Ry'uul #5)
- Secret Area (City of Ry'uul #6)
- Secret Area (City of Ry'uul #7)
- Secret Area (City of Ry'uul #8)
- Secret Area (City of Ry'uul #9)
- Secret Area (City of Ry'uul #10)
- Secret Area (Harbor of Souls #1)
- Secret Area (Harbor of Souls #2)
- Secret Area (Harbor of Souls #3)
- Secret Area (Harbor of Souls #4)
- Secret Area (Harbor of Souls #5)
- Secret Area (Harbor of Souls #6)
- Secret Area (Harbor of Souls #7)
- Secret Area (Harbor of Souls #8)
- Secret Area (Harbor of Souls #9)
- Secret Area (Harbor of Souls #10)
- Secret Area (Hebeth #1)
- Secret Area (Hebeth #2)
- Secret Area (Hebeth #3)
- Secret Area (Hebeth #4)
- Secret Area (Hebeth #5)
- Secret Area (Hebeth #6)
- Secret Area (Hebeth #7)
- Secret Area (Hebeth #8)
- Secret Area (Hebeth #9)
- Secret Area (Hellbreaker)
- Secret Area (Reckoning #1)
- Secret Area (Reckoning #2)
- Secret Area (Reckoning #3)
- Secret Area (Reckoning #4)
- Secret Area (Reckoning #5)
- Secret Area (Reckoning #6)
- Secret Area (Reckoning #7)
- Secret Area (Reckoning #8)
- Secret Area (Reckoning #9)
- Secret Area (Reckoning #10)
- Secret Area (Reckoning #11)
- Secret Area (Resurrection #1)
- Secret Area (Resurrection #2)
- Secret Area (Resurrection #3)
- Secret Area (Resurrection #4)
- Secret Area (Resurrection #5)
- Secret Area (Resurrection #6)
- Secret Area (Resurrection #7)
- Secret Area (Resurrection #8)
- Secret Area (Resurrection #9)
- Secret Area (Resurrection #10)
- Secret Area (Resurrection #11)
- Secret Area (Resurrection #12)
- Secret Area (Sentinel Barracks #1)
- Secret Area (Sentinel Barracks #2)
- Secret Area (Sentinel Barracks #3)
- Secret Area (Sentinel Barracks #4)
- Secret Area (Sentinel Barracks #5)
- Secret Area (Sentinel Barracks #6)
- Secret Area (Sentinel Command Station #1)
- Secret Area (Sentinel Command Station #2)
- Secret Area (Sentinel Command Station #3)
- Secret Area (Sentinel Command Station #4)
- Secret Area (Sentinel Command Station #5)
- Secret Area (Sentinel Command Station #6)
- Secret Area (Sentinel Command Station #7)
- Secret Area (Sentinel Command Station #8)
- Secret Area (Sentinel Command Station #9)
- Secret Area (Siege - Part 1 #1)
- Secret Area (Siege - Part 1 #2)
- Secret Area (Siege - Part 1 #3)
- Secret Area (Siege - Part 1 #4)
- Secret Area (Siege - Part 1 #5)
- Secret Area (Siege - Part 1 #6)
- Secret Area (Siege - Part 1 #7)
- Secret Area (Siege - Part 1 #8)
- Secret Area (Siege - Part 1 #9)
- Secret Area (Siege - Part 1 #10)
- Secret Area (Siege - Part 1 #11)
- Secret Area (Siege - Part 2 #1)
- Secret Area (Siege - Part 2 #2)
- Secret Area (Siege - Part 2 #3)
- Secret Area (Siege - Part 2 #4)
- Secret Area (Siege - Part 2 #5)
- Secret Area (Siege - Part 2 #6)
- Secret Area (Siege - Part 2 #7)
- Secret Area (Siege - Part 2 #8)
- Secret Area (Siege - Part 2 #9)
- Secret Area (Spire of Nerathul #1)
- Secret Area (Spire of Nerathul #2)
- Secret Area (Spire of Nerathul #3)
- Secret Area (Spire of Nerathul #4)
- Secret Area (Spire of Nerathul #5)
- Secret Area (Spire of Nerathul #6)
- Secret Area (Spire of Nerathul #7)
- Secret Area (Spire of Nerathul #8)
- Secret Area (Spire of Nerathul #9)
- Secret Area (Spire of Nerathul #10)
- Secret Area (Spire of Nerathul #11)
- Secret Area (Temple of Lomarith #1)
- Secret Area (Temple of Lomarith #2)
- Secret Area (Temple of Lomarith #3)
- Secret Area (Temple of Lomarith #4)
- Secret Area (Temple of Lomarith #5)
- Secret Area (Temple of Lomarith #6)
- Secret Area (Temple of Lomarith #7)
- Secret Area (Temple of Lomarith #8)
- Secret Area (Temple of Lomarith #9)
- Secret Area (The Forsaken Plains #1)
- Secret Area (The Forsaken Plains #2)
- Secret Area (The Forsaken Plains #3)
- Secret Area (The Forsaken Plains #4)
- Secret Area (The Forsaken Plains #5)
- Secret Area (The Forsaken Plains #6)
- Secret Area (The Forsaken Plains #7)
- Secret Area (The Forsaken Plains #8)
- Secret Area (The Forsaken Plains #9)
- Secret Area (The Forsaken Plains #10)
- Secret Area (The Holy City of Aratum #1)
- Secret Area (The Holy City of Aratum #2)
- Secret Area (The Holy City of Aratum #3)
- Secret Area (The Holy City of Aratum #4)
- Secret Area (The Holy City of Aratum #5)
- Secret Area (The Holy City of Aratum #6)
- Secret Area (The Holy City of Aratum #7)
- Secret Area (The Holy City of Aratum #8)
- Secret Area (The Holy City of Aratum #9)
- Secret Area (The Kar'Thul Marshes #1)
- Secret Area (The Kar'Thul Marshes #2)
- Secret Area (The Kar'Thul Marshes #3)
- Secret Area (The Kar'Thul Marshes #4)
- Secret Area (The Kar'Thul Marshes #5)
- Secret Area (Village of Khalim #1)
- Secret Area (Village of Khalim #2)
- Secret Area (Village of Khalim #3)
- Secret Area (Village of Khalim #4)
- Secret Area (Village of Khalim #5)
- Secret Area (Village of Khalim #6)
All known locations on the map Village of Khalim
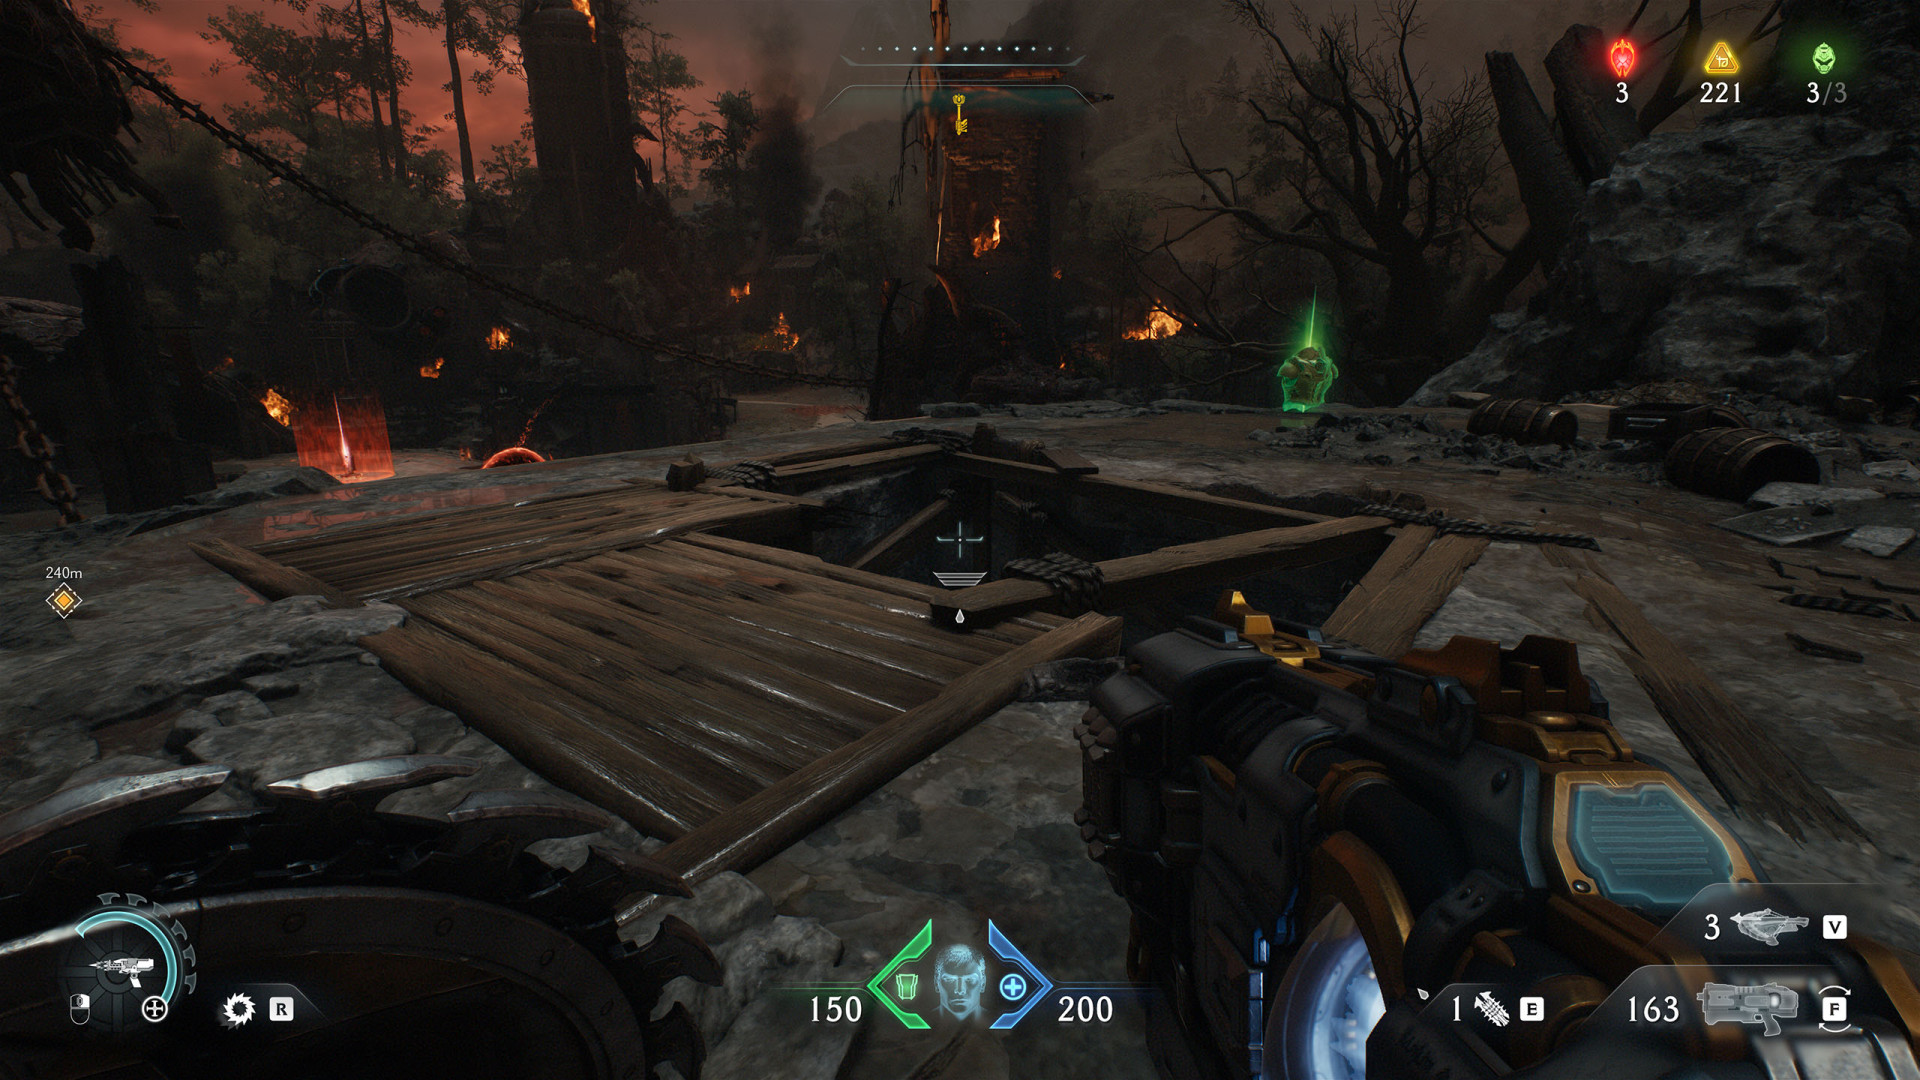
 Secret Area (Village of Khalim #1)▶ show the map ◀
To get here use the shield charge to break through the wooden barrier.
Secret Area (Village of Khalim #2)▶ show the map ◀
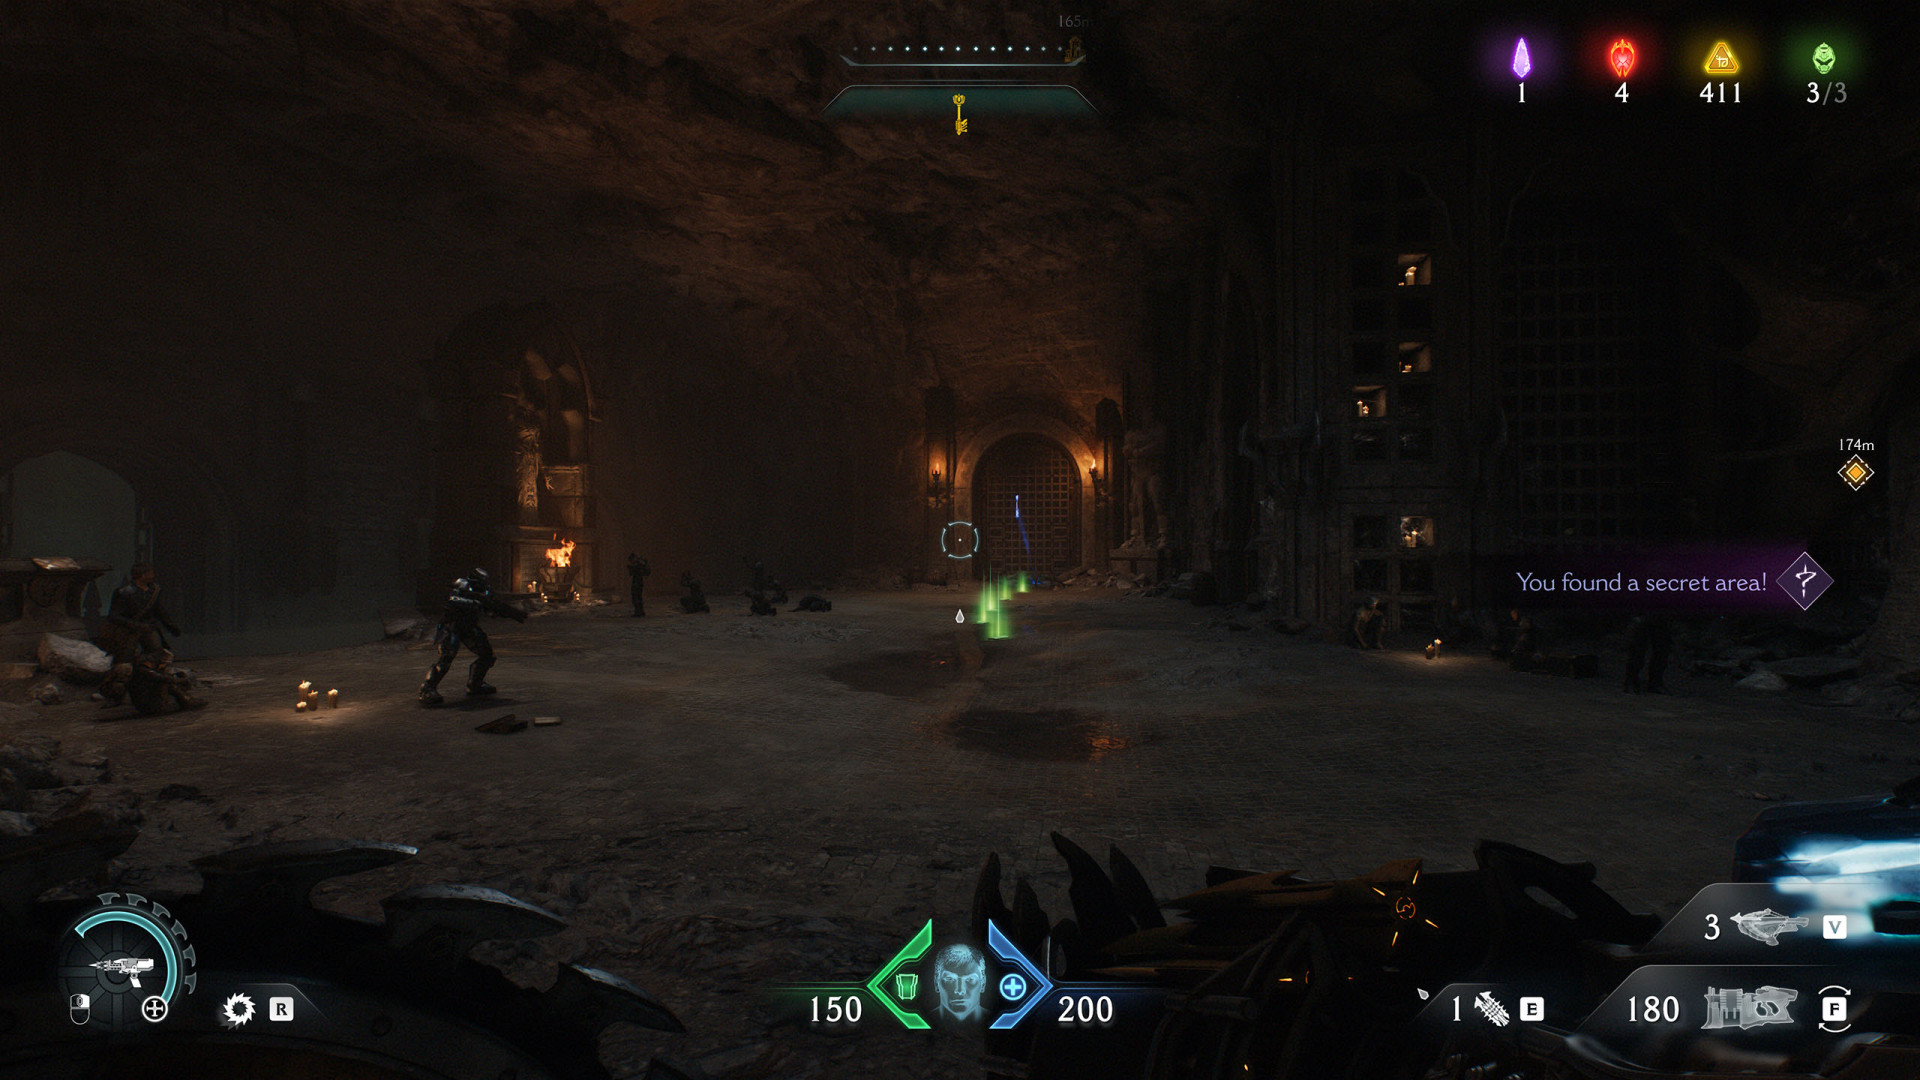
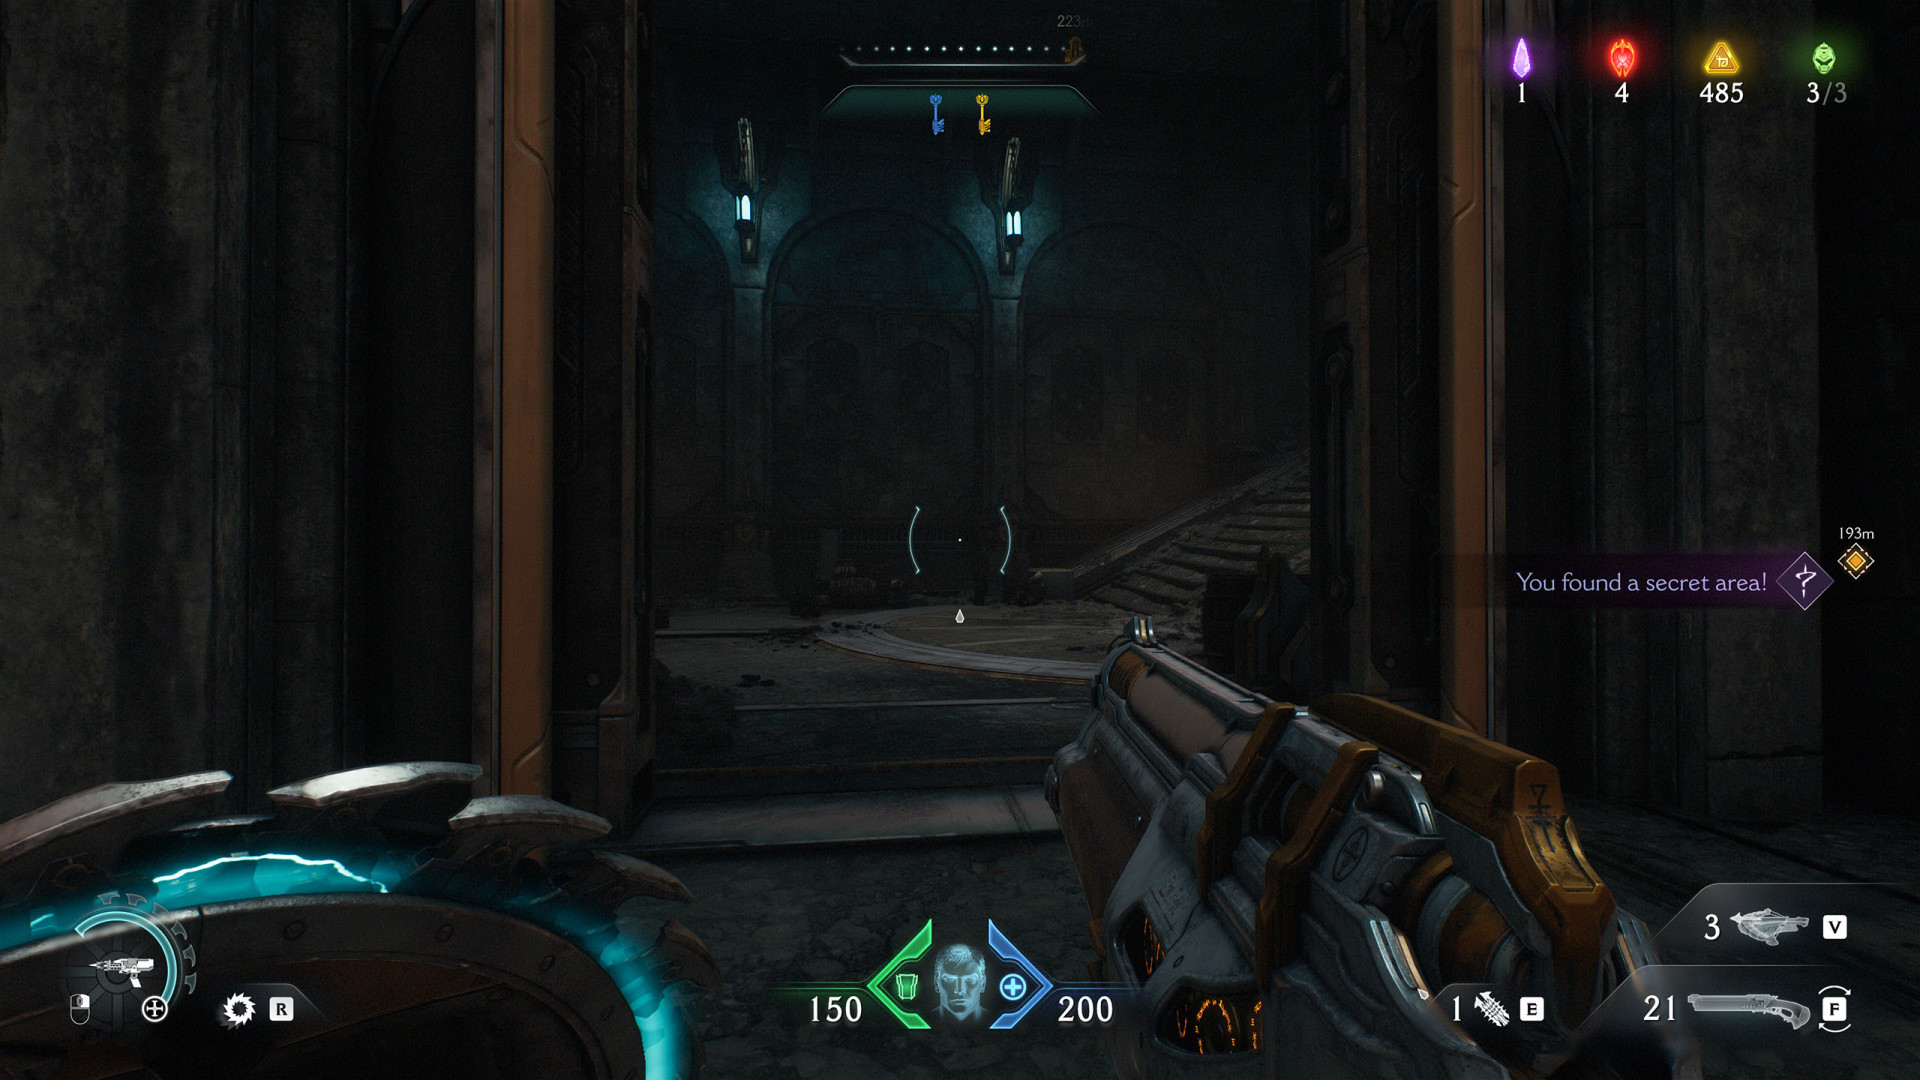
A small room behind a locked gate. Unlocks with: Blue Key (Village of Khalim).
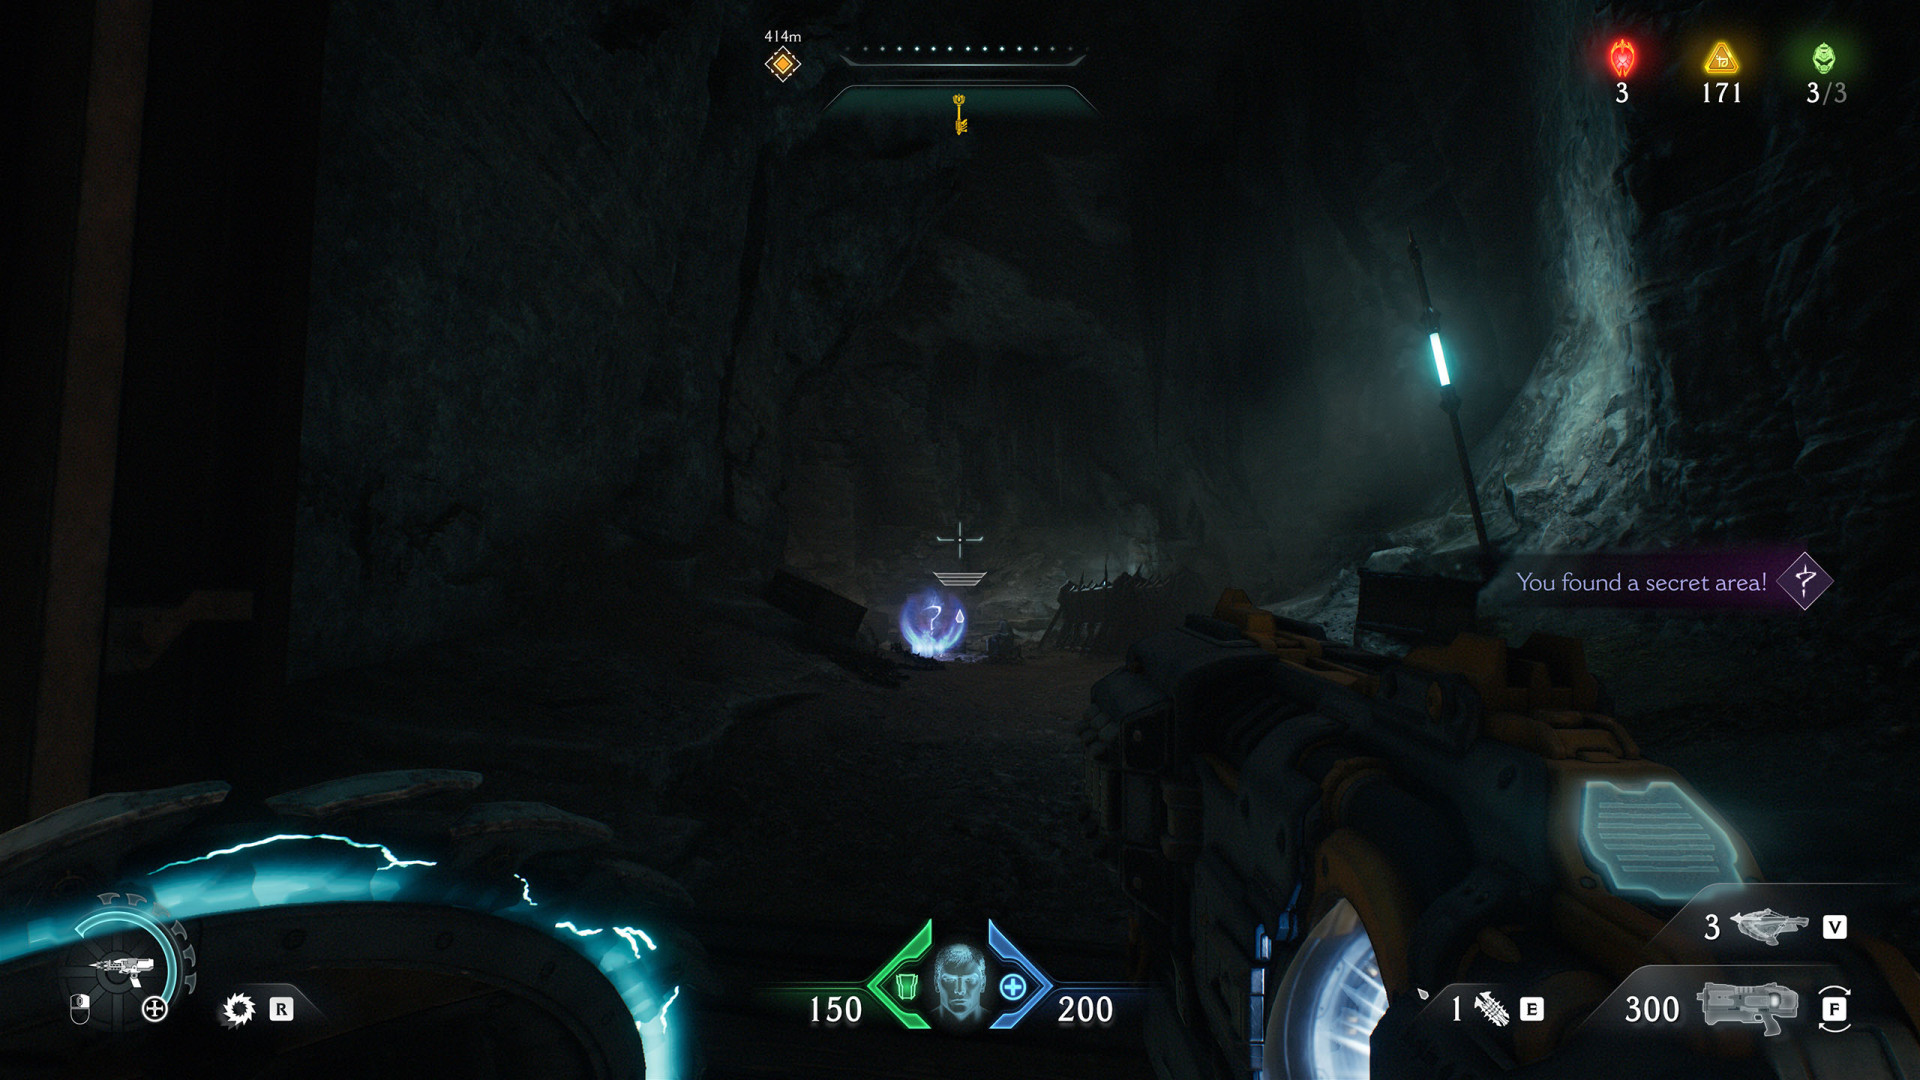
Secret Area (Village of Khalim #3)▶ show the map ◀
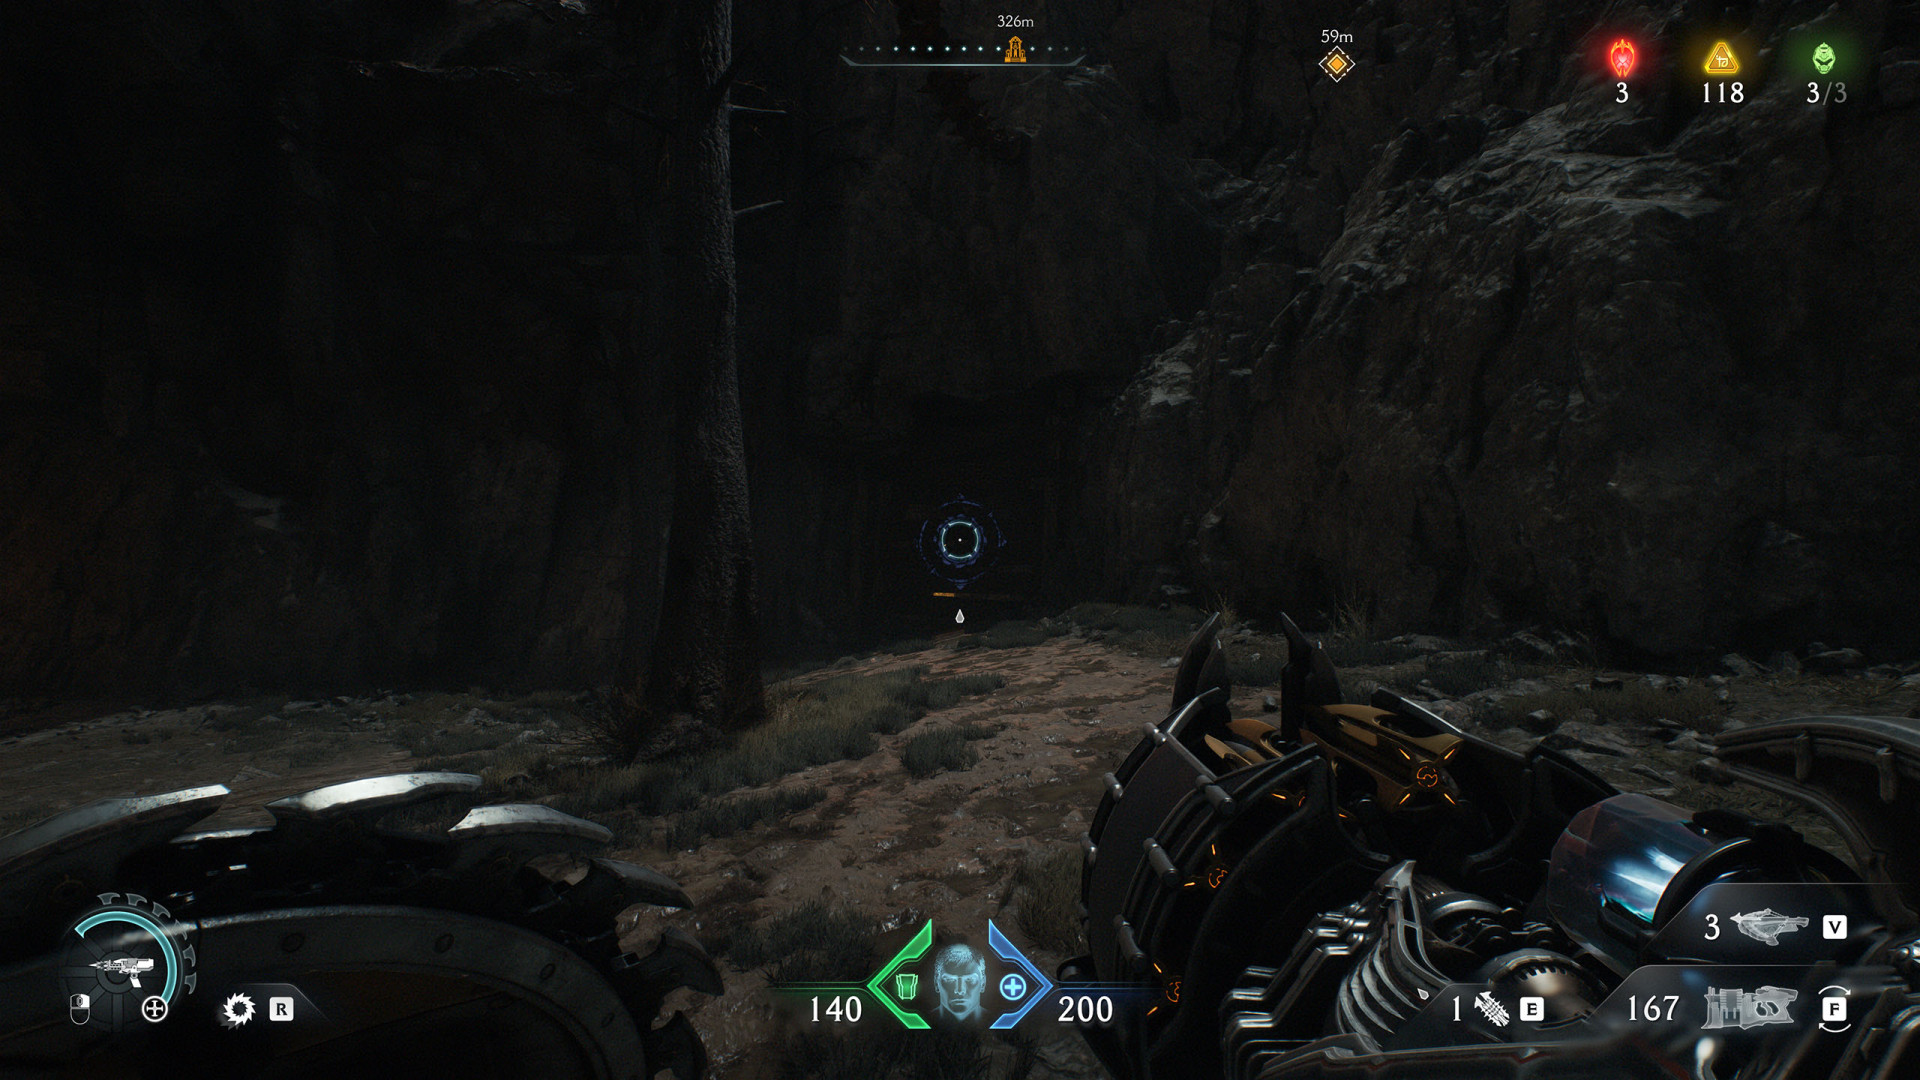
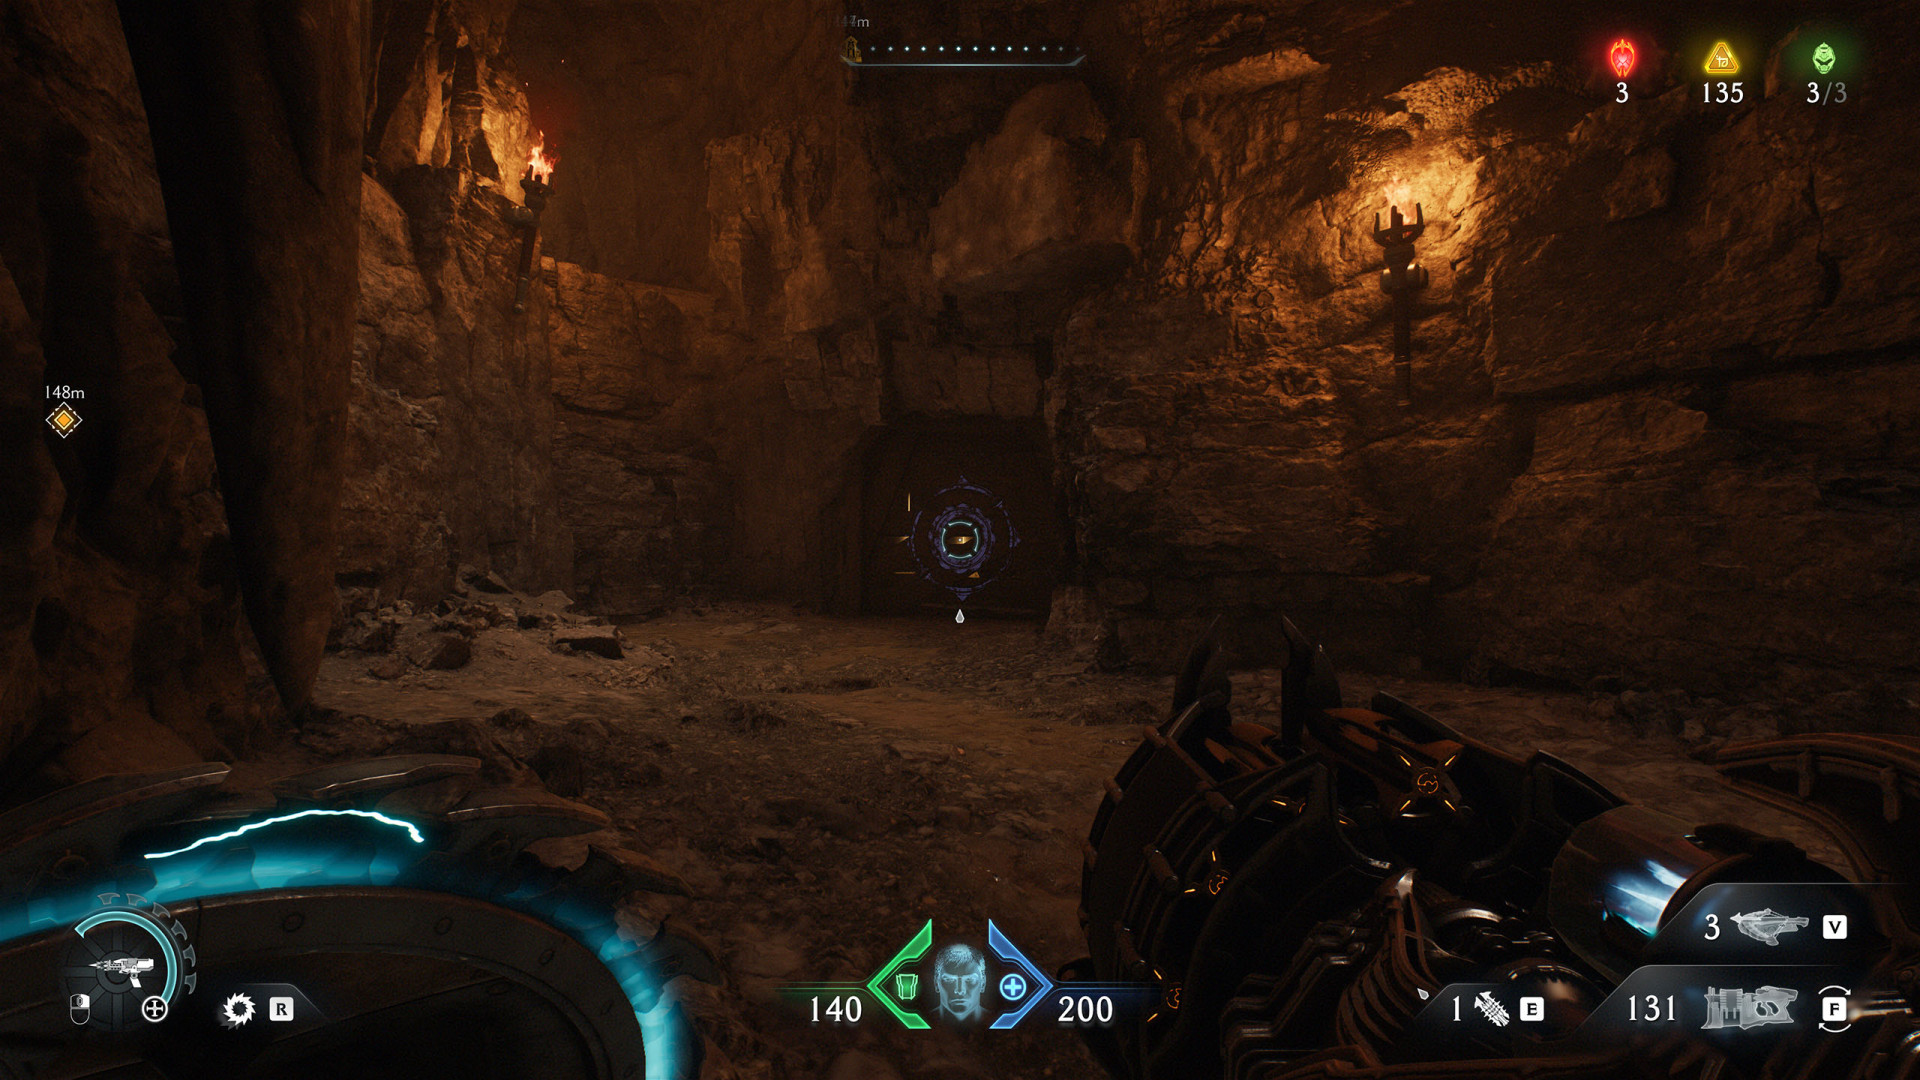
It's a cave on the lower level. To get here, you have to jump over the chasm.
Secret Area (Village of Khalim #4)▶ show the map ◀
In the cave. To get here, jump off the cliff to the lower level.
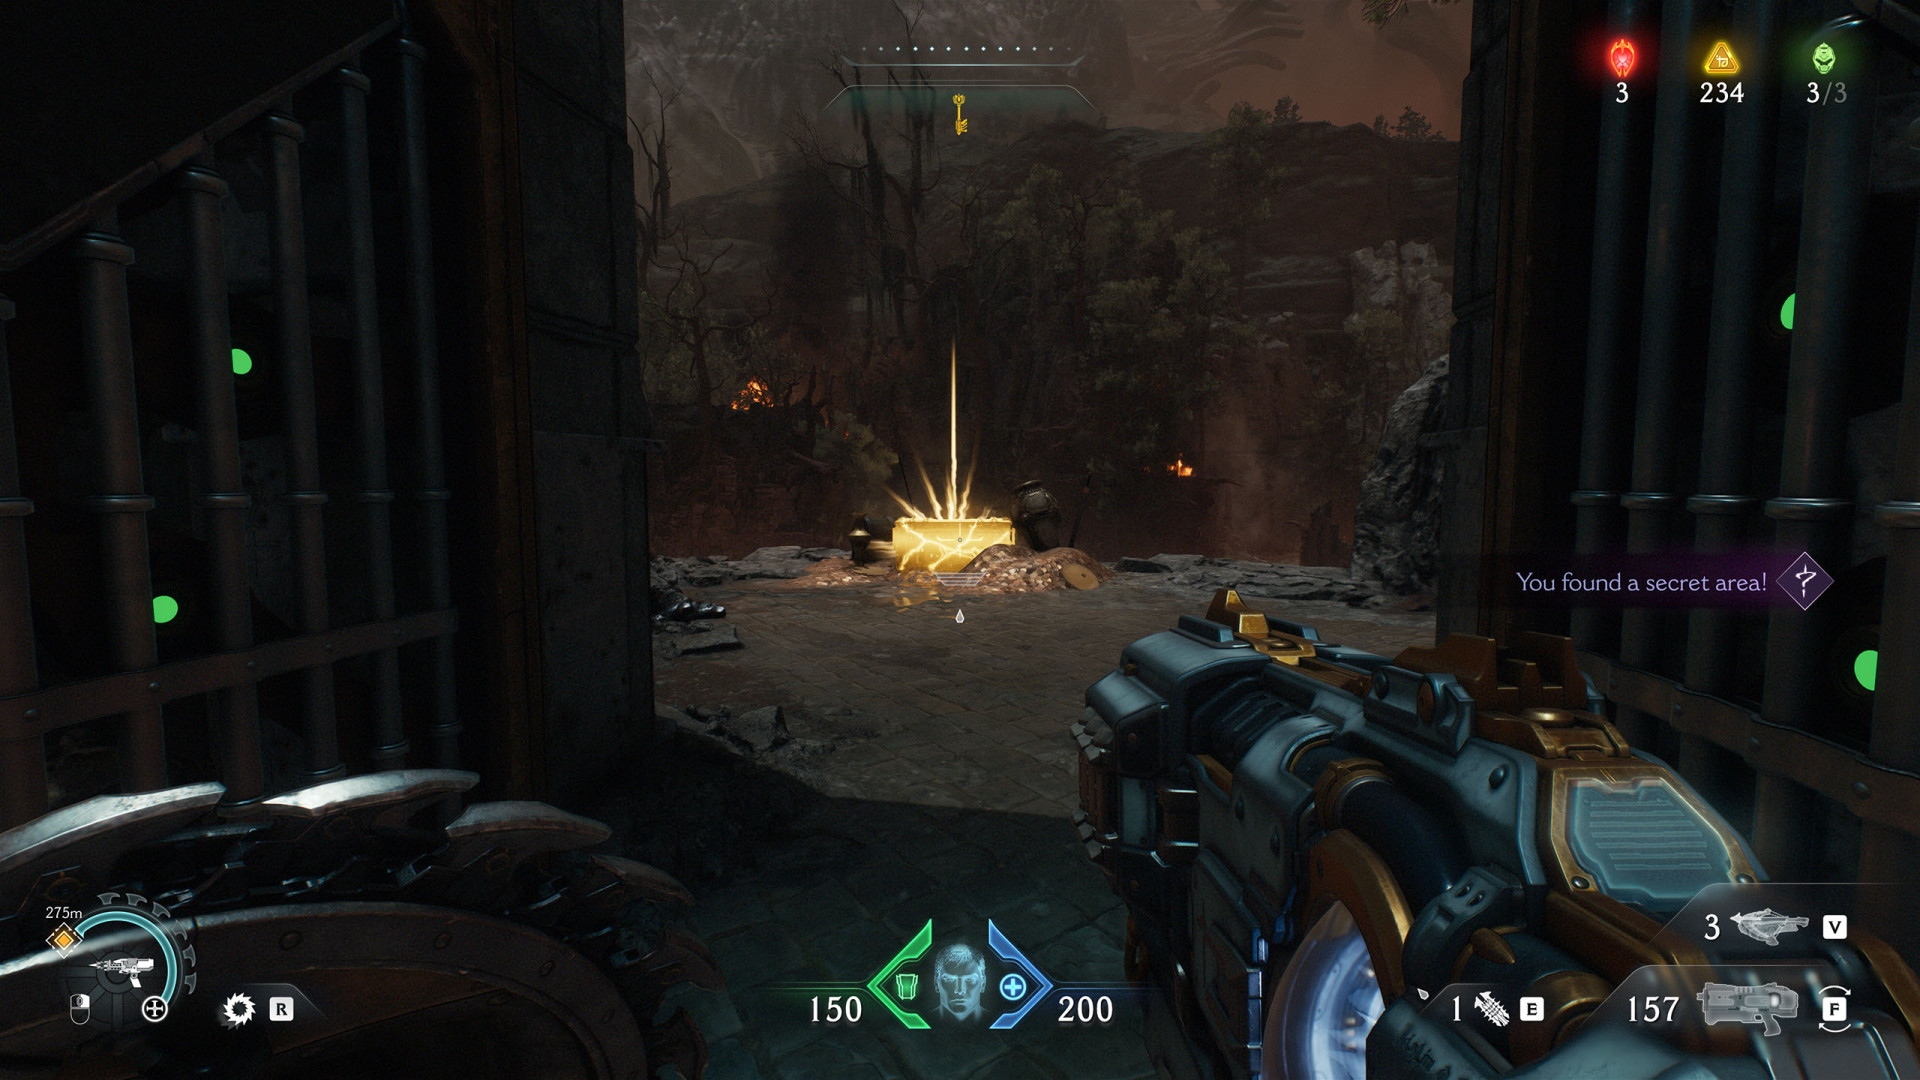
Secret Area (Village of Khalim #5)▶ show the map ◀
A small cave behind a locked gate. Unlocks with: Secret Key (Village of Khalim).
All known locations on the map Hebeth
Secret Area (Hebeth #1)▶ show the map ◀
At the lower level. To get here use the shield charge to break through the door.
Secret Area (Hebeth #2)▶ show the map ◀
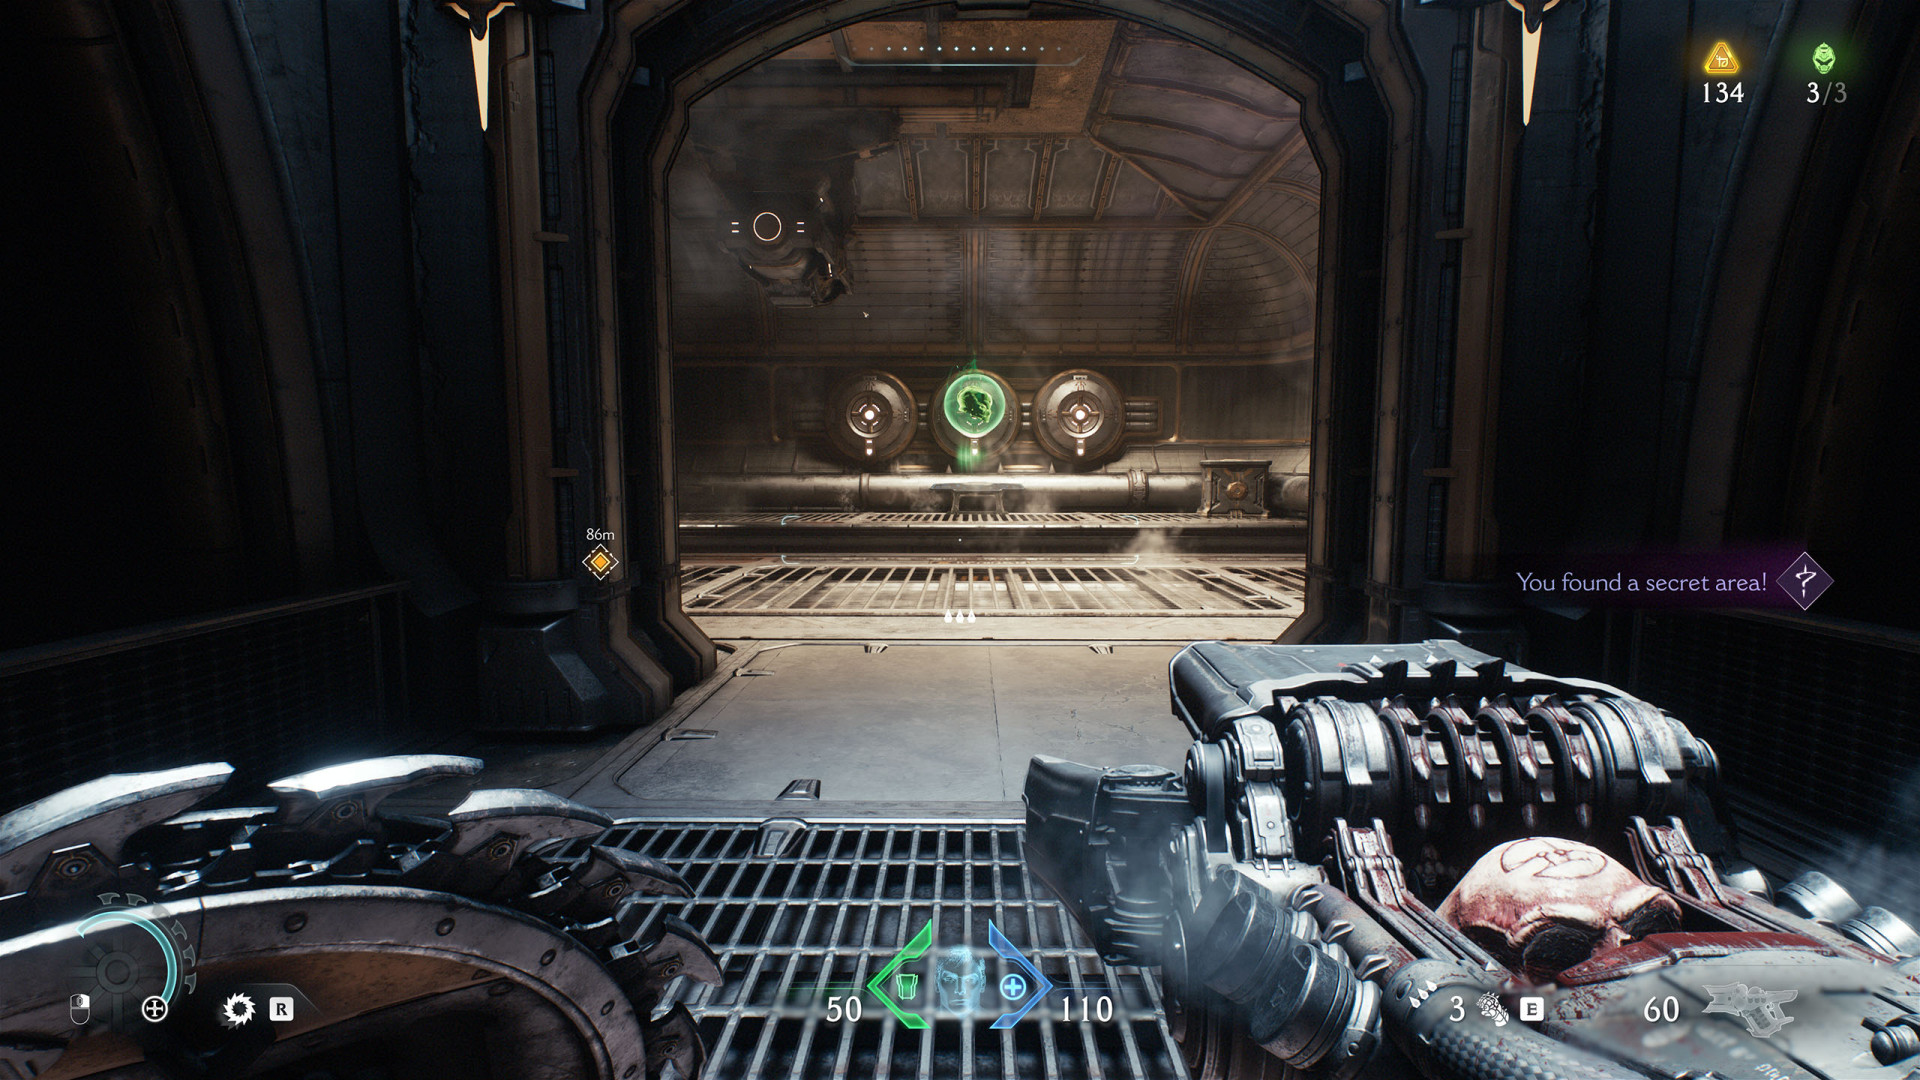
To access this area, locate the ventilation shaft entrance on the upper level and jump in.
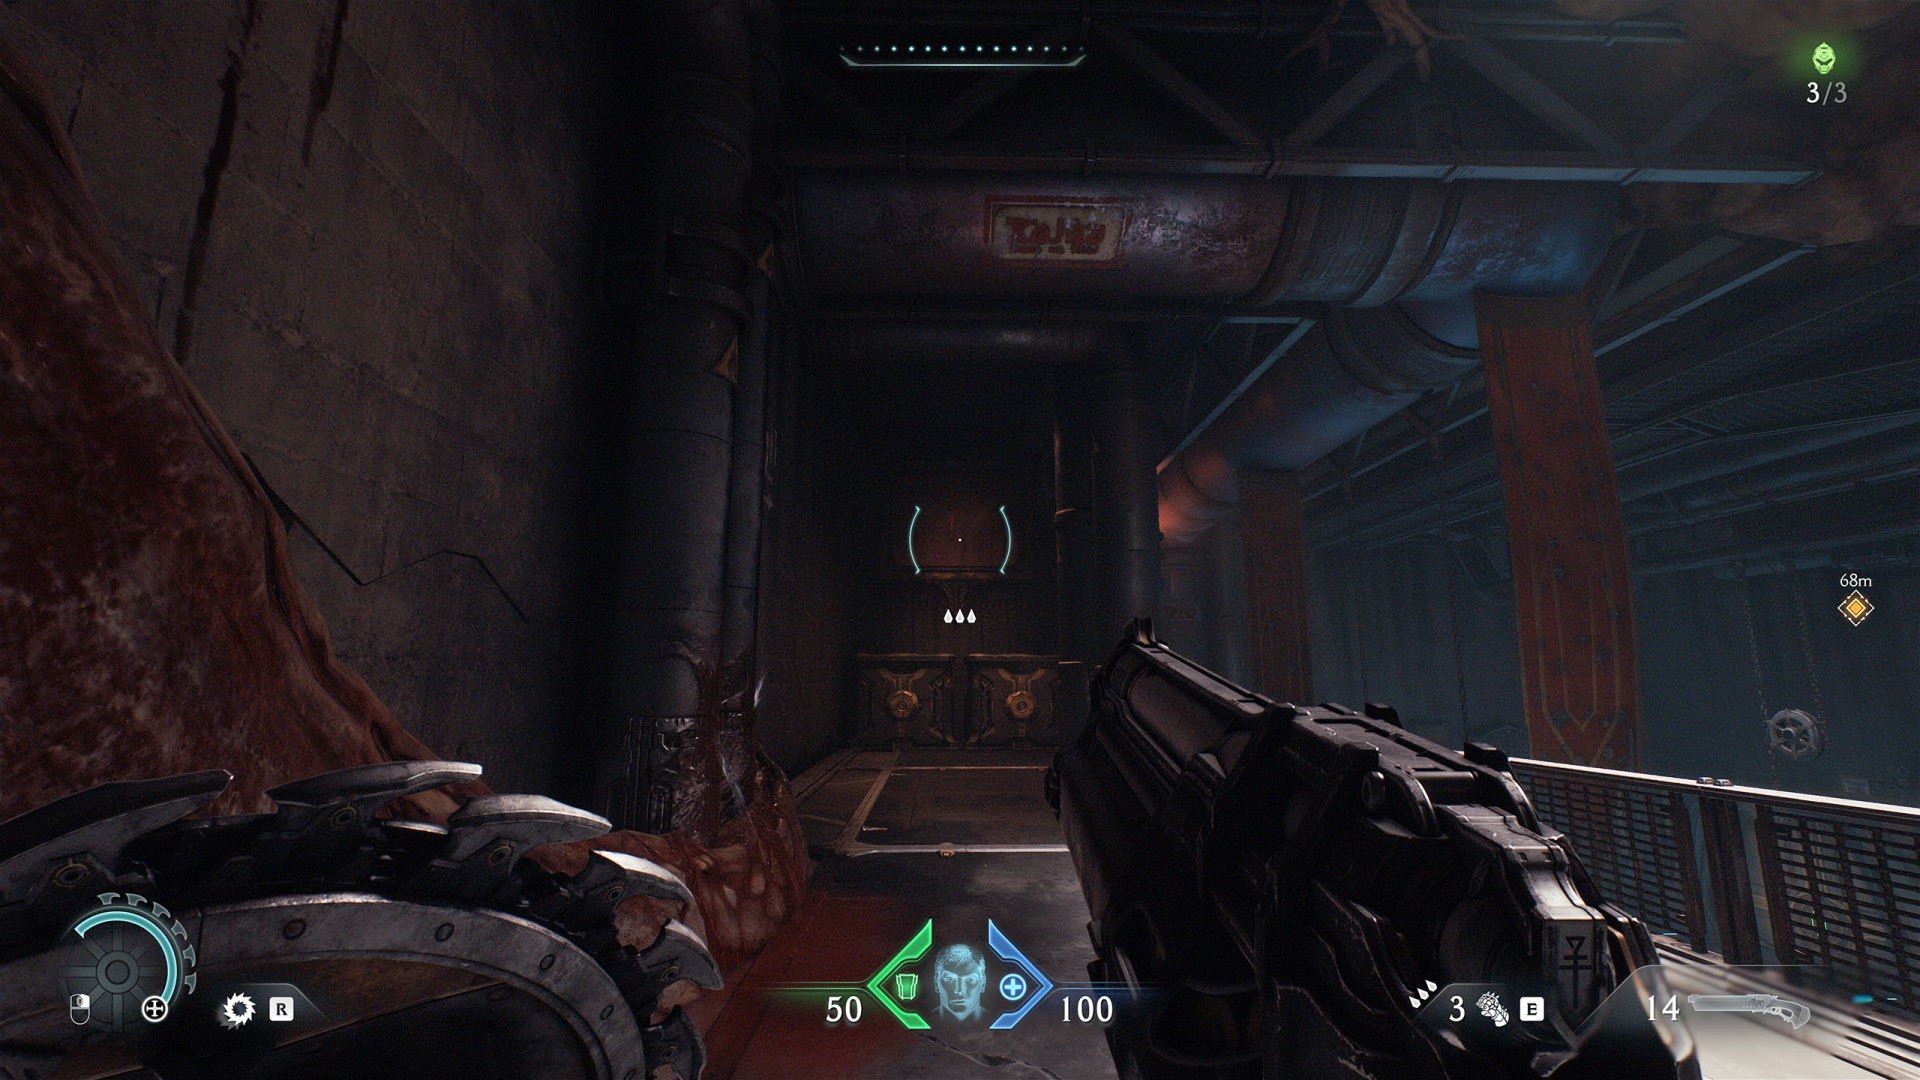
Secret Area (Hebeth #4)▶ show the map ◀
On the lower level, behind the door that can be destroyed with a shield.
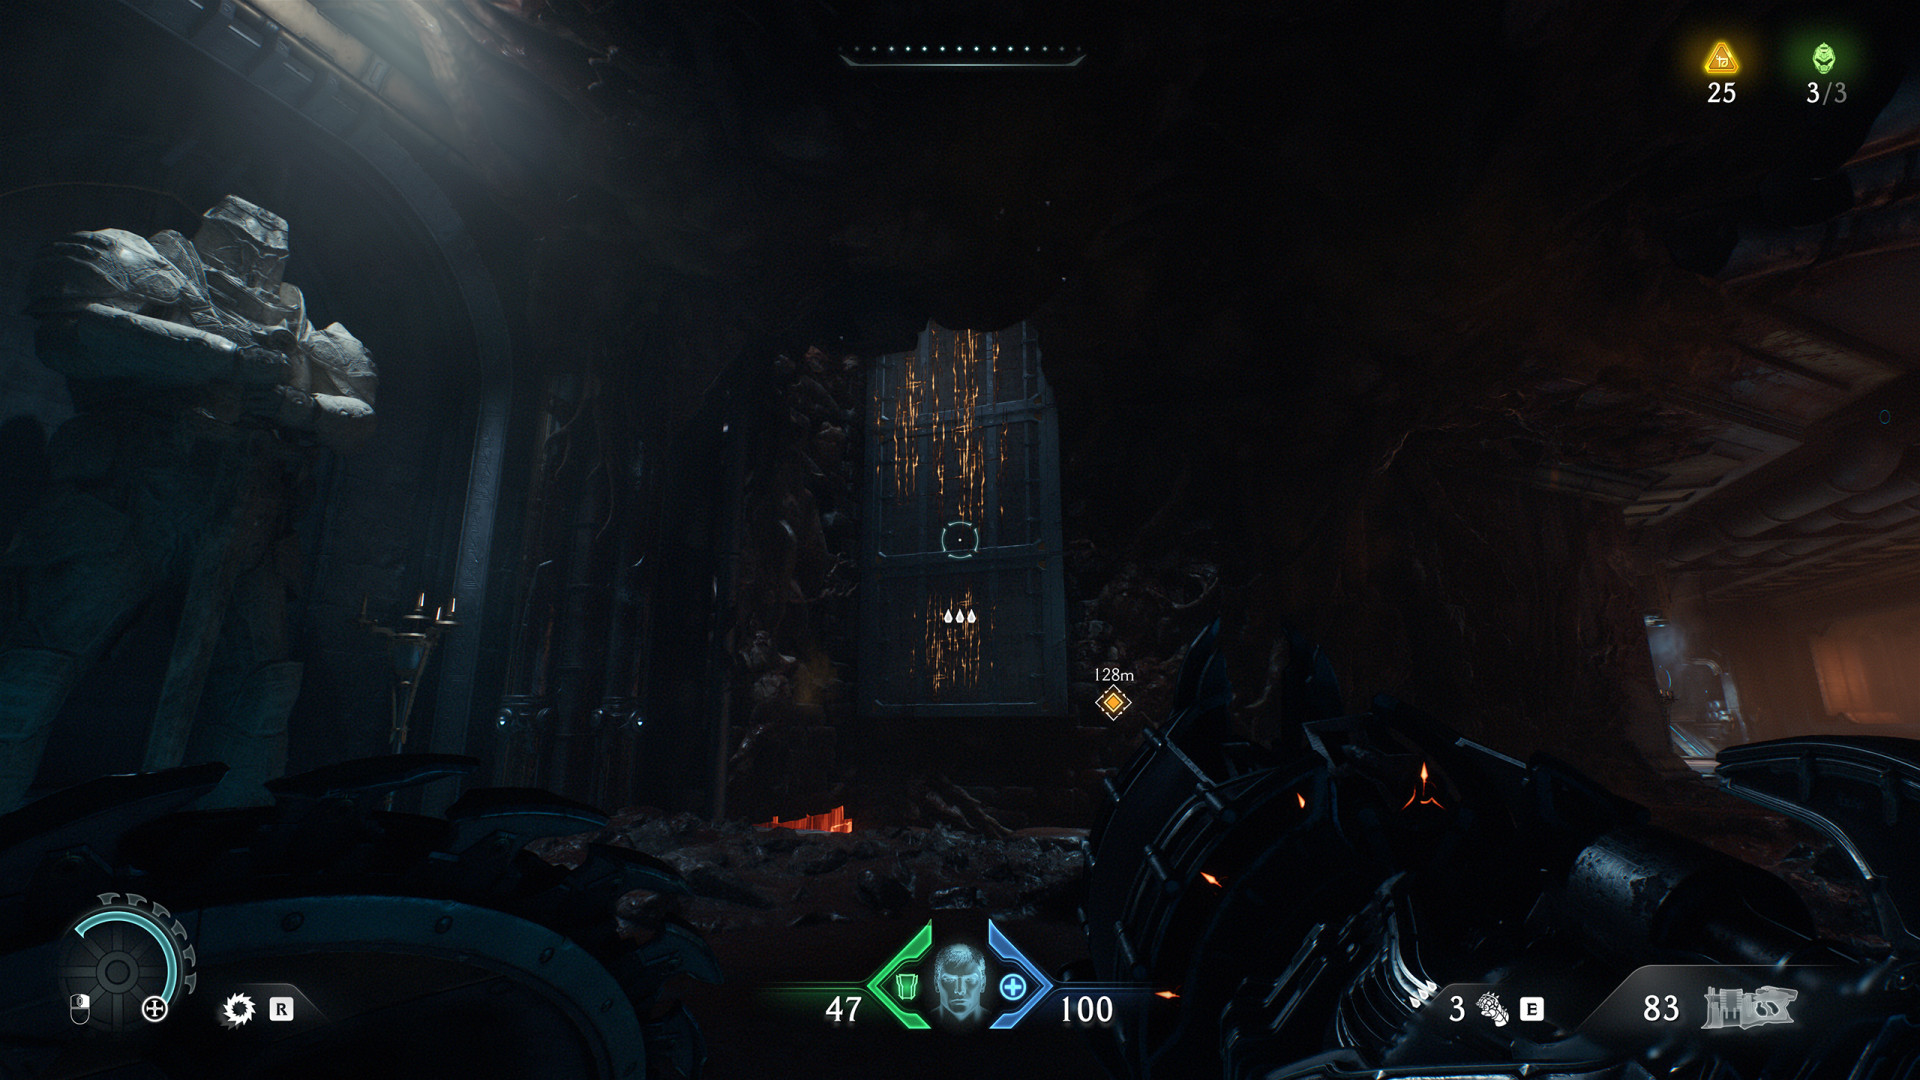
Secret Area (Hebeth #5)▶ show the map ◀
On the lowest level, inside the vent. Use your shield to destroy the cover of the vent.
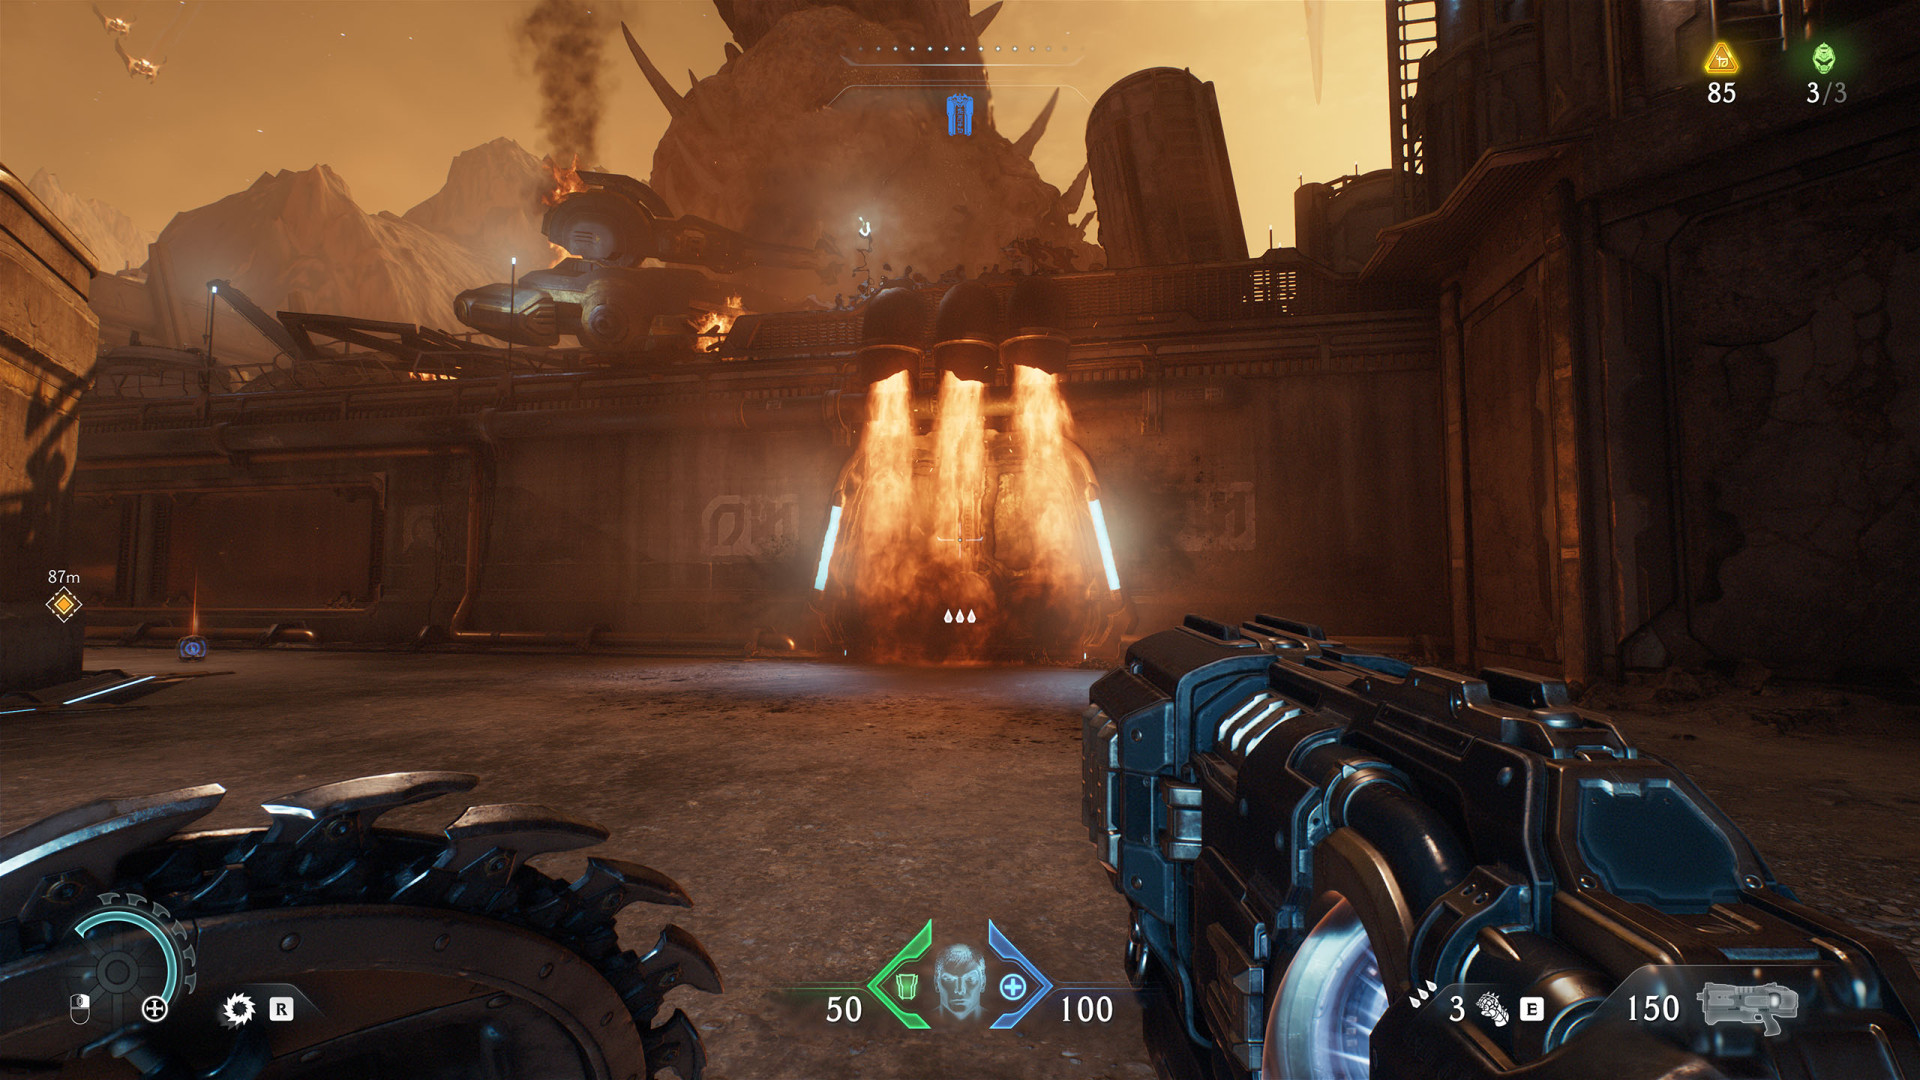
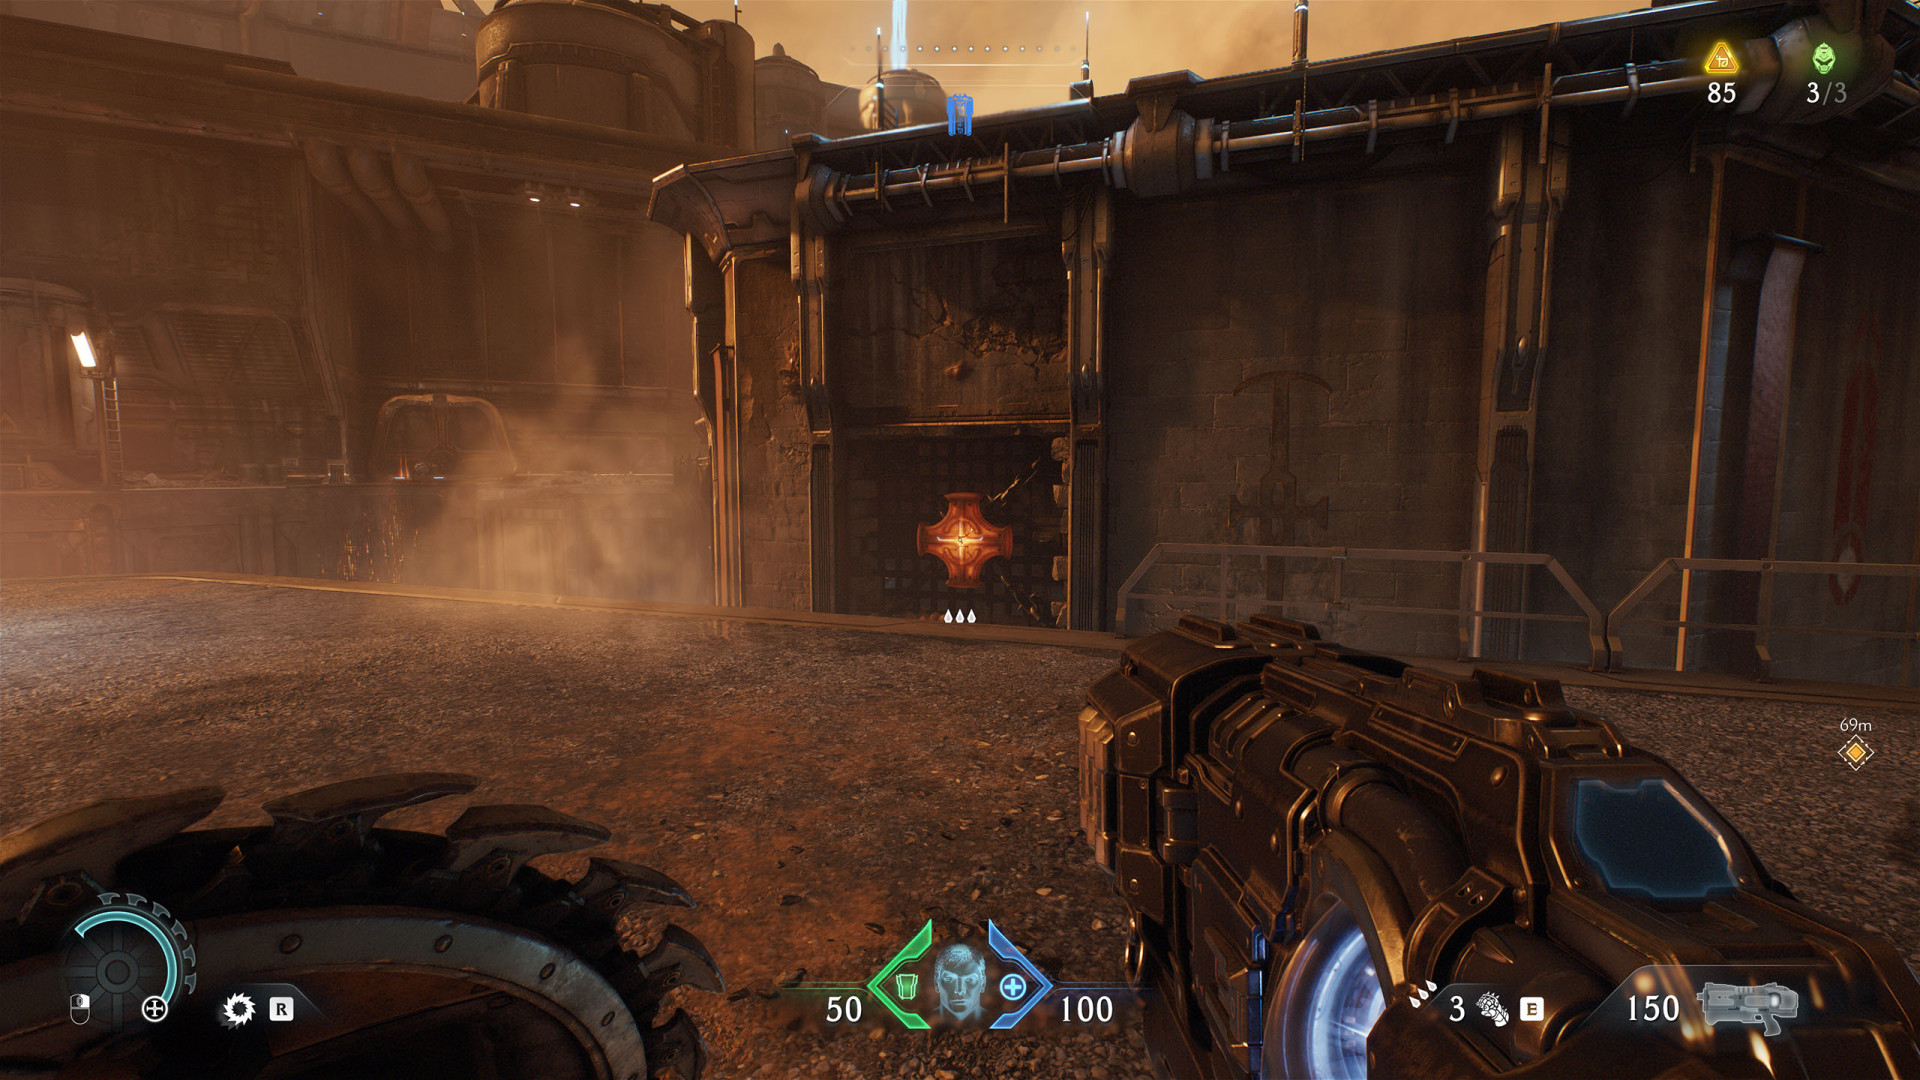
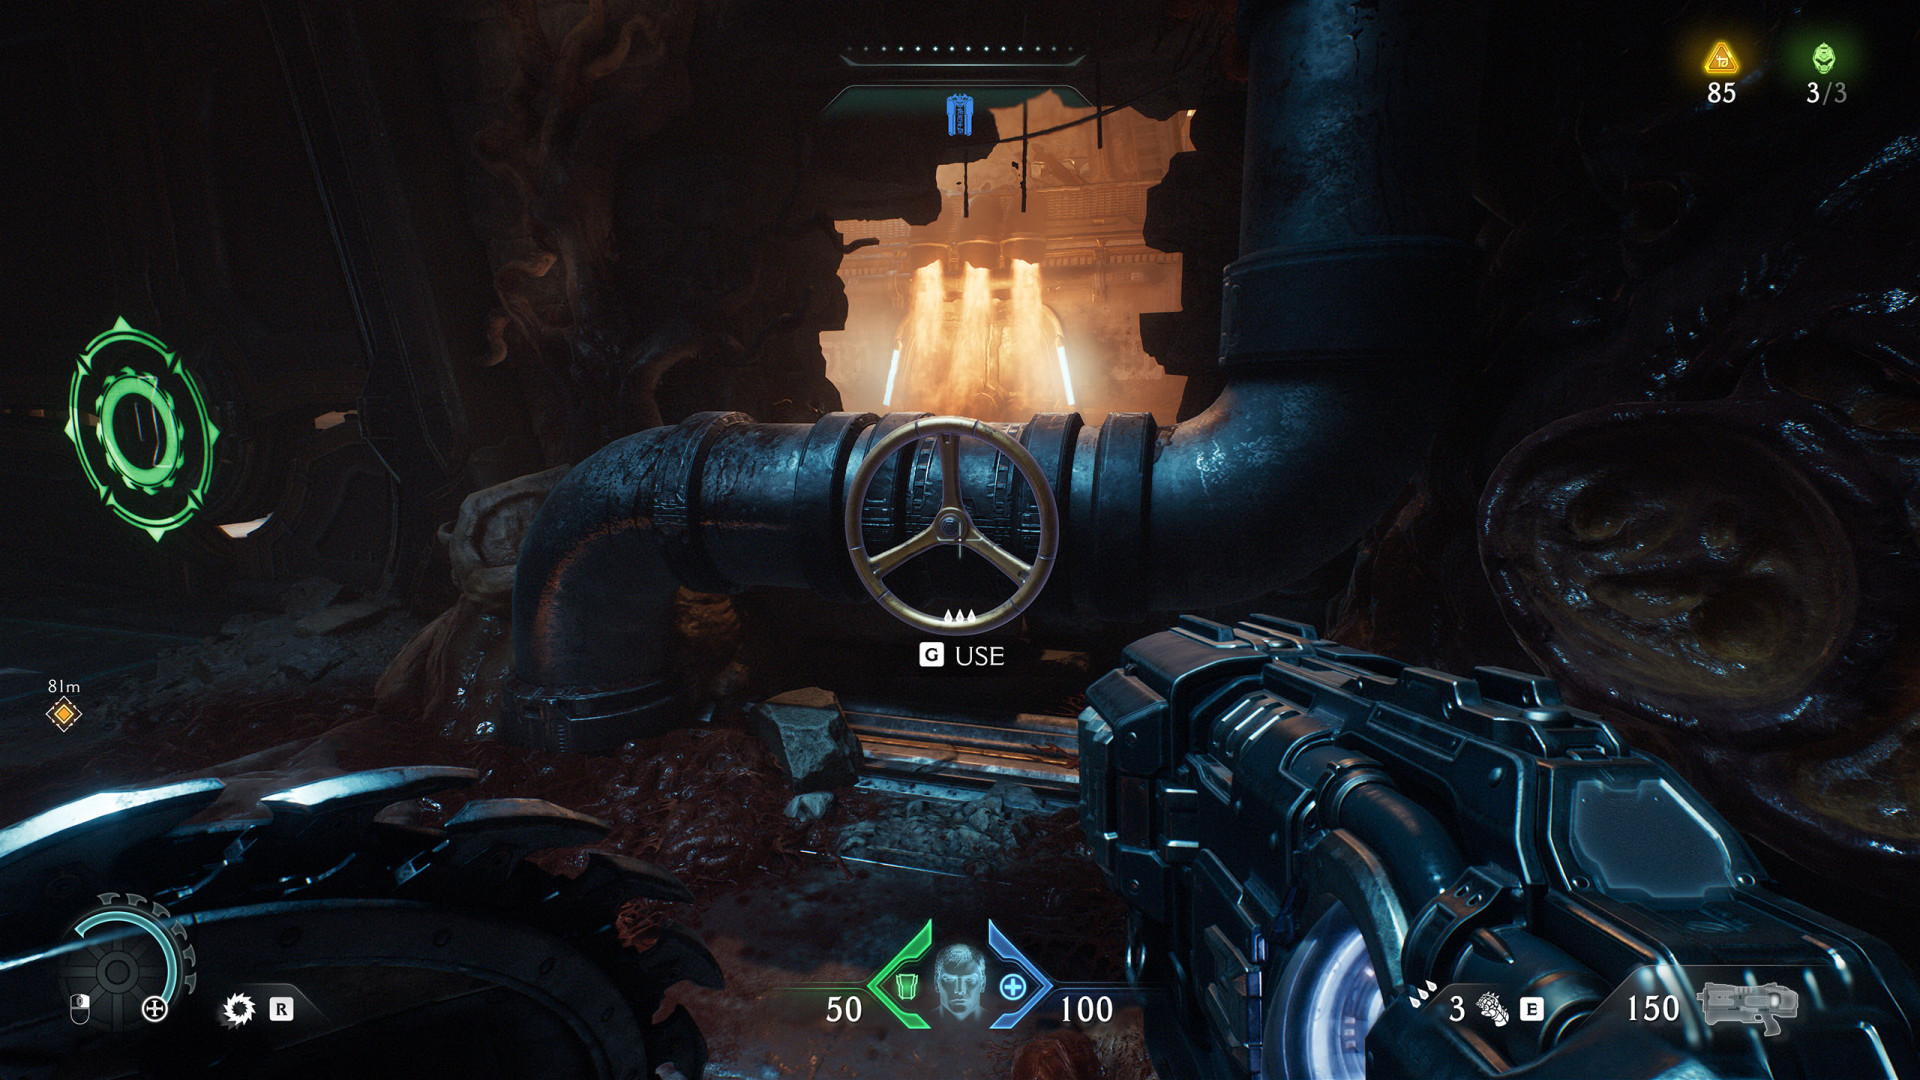
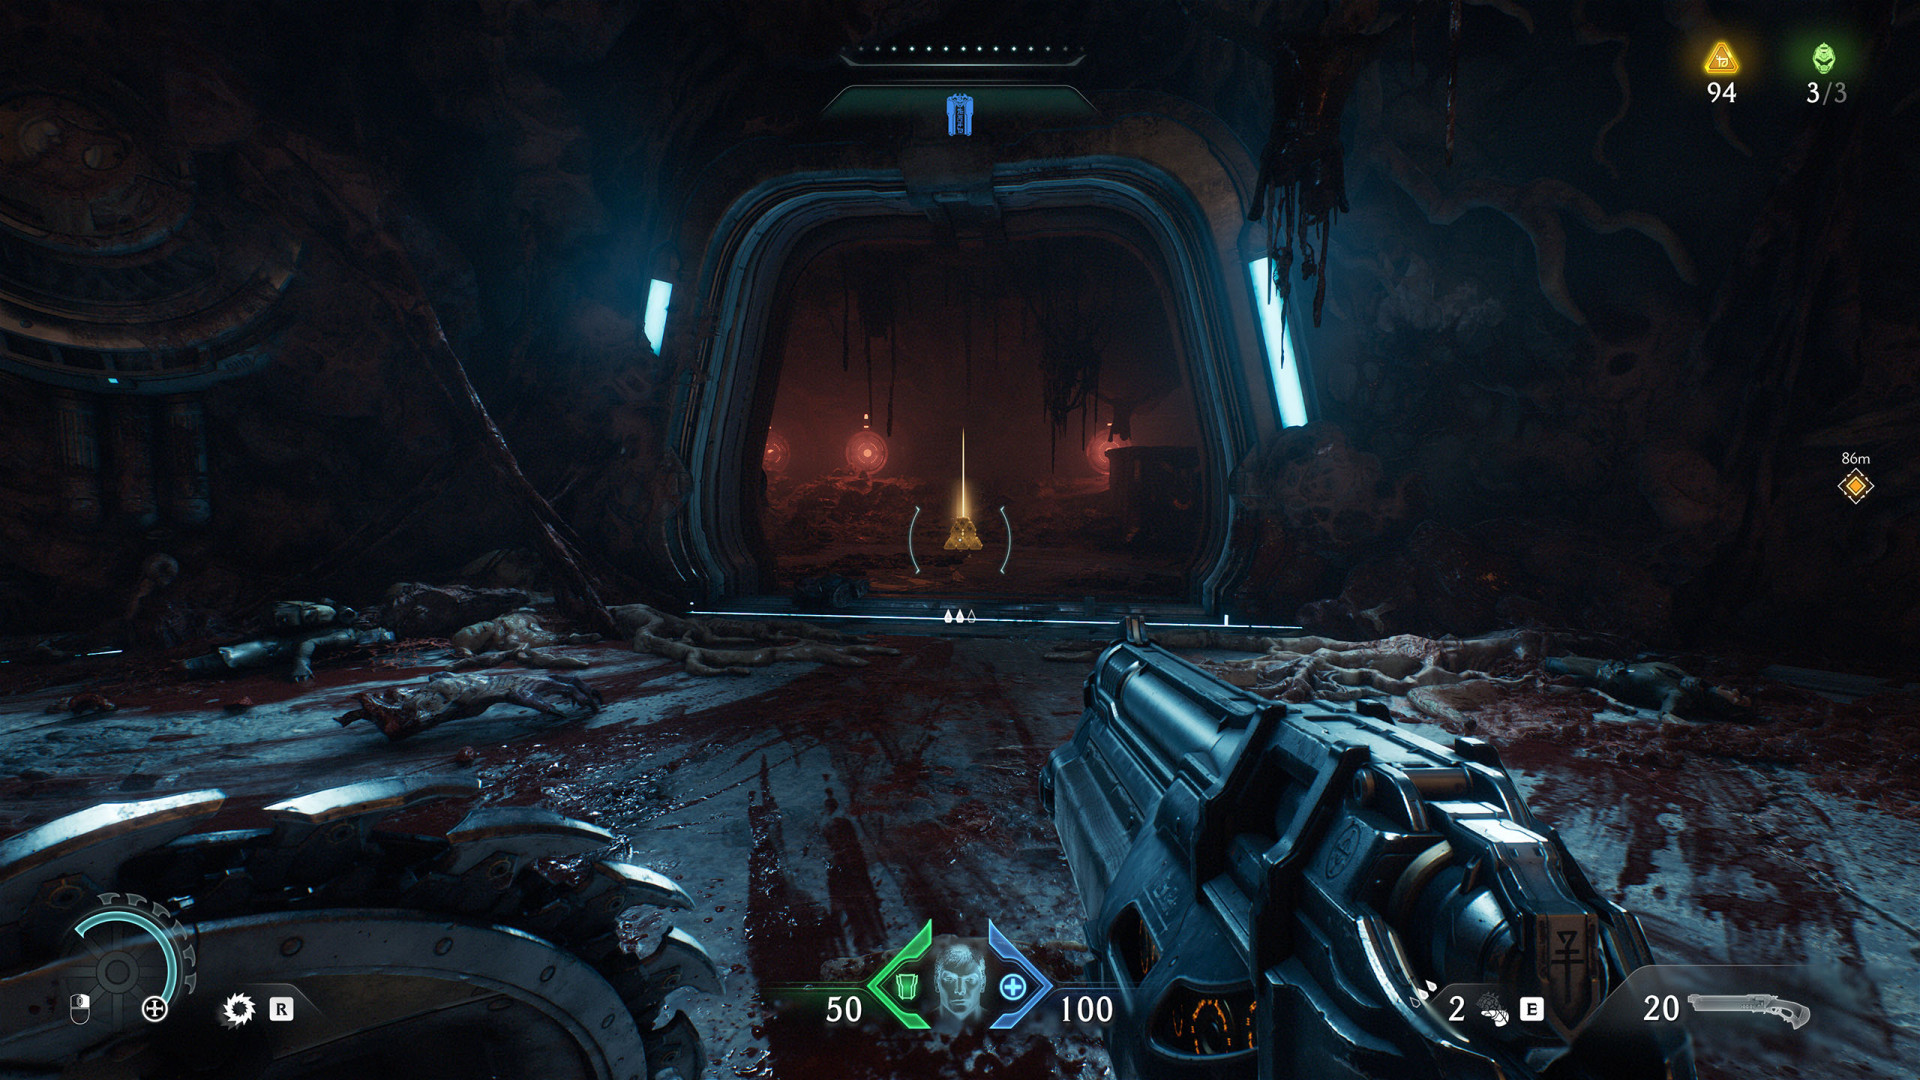
Secret Area (Hebeth #6)▶ show the map ◀
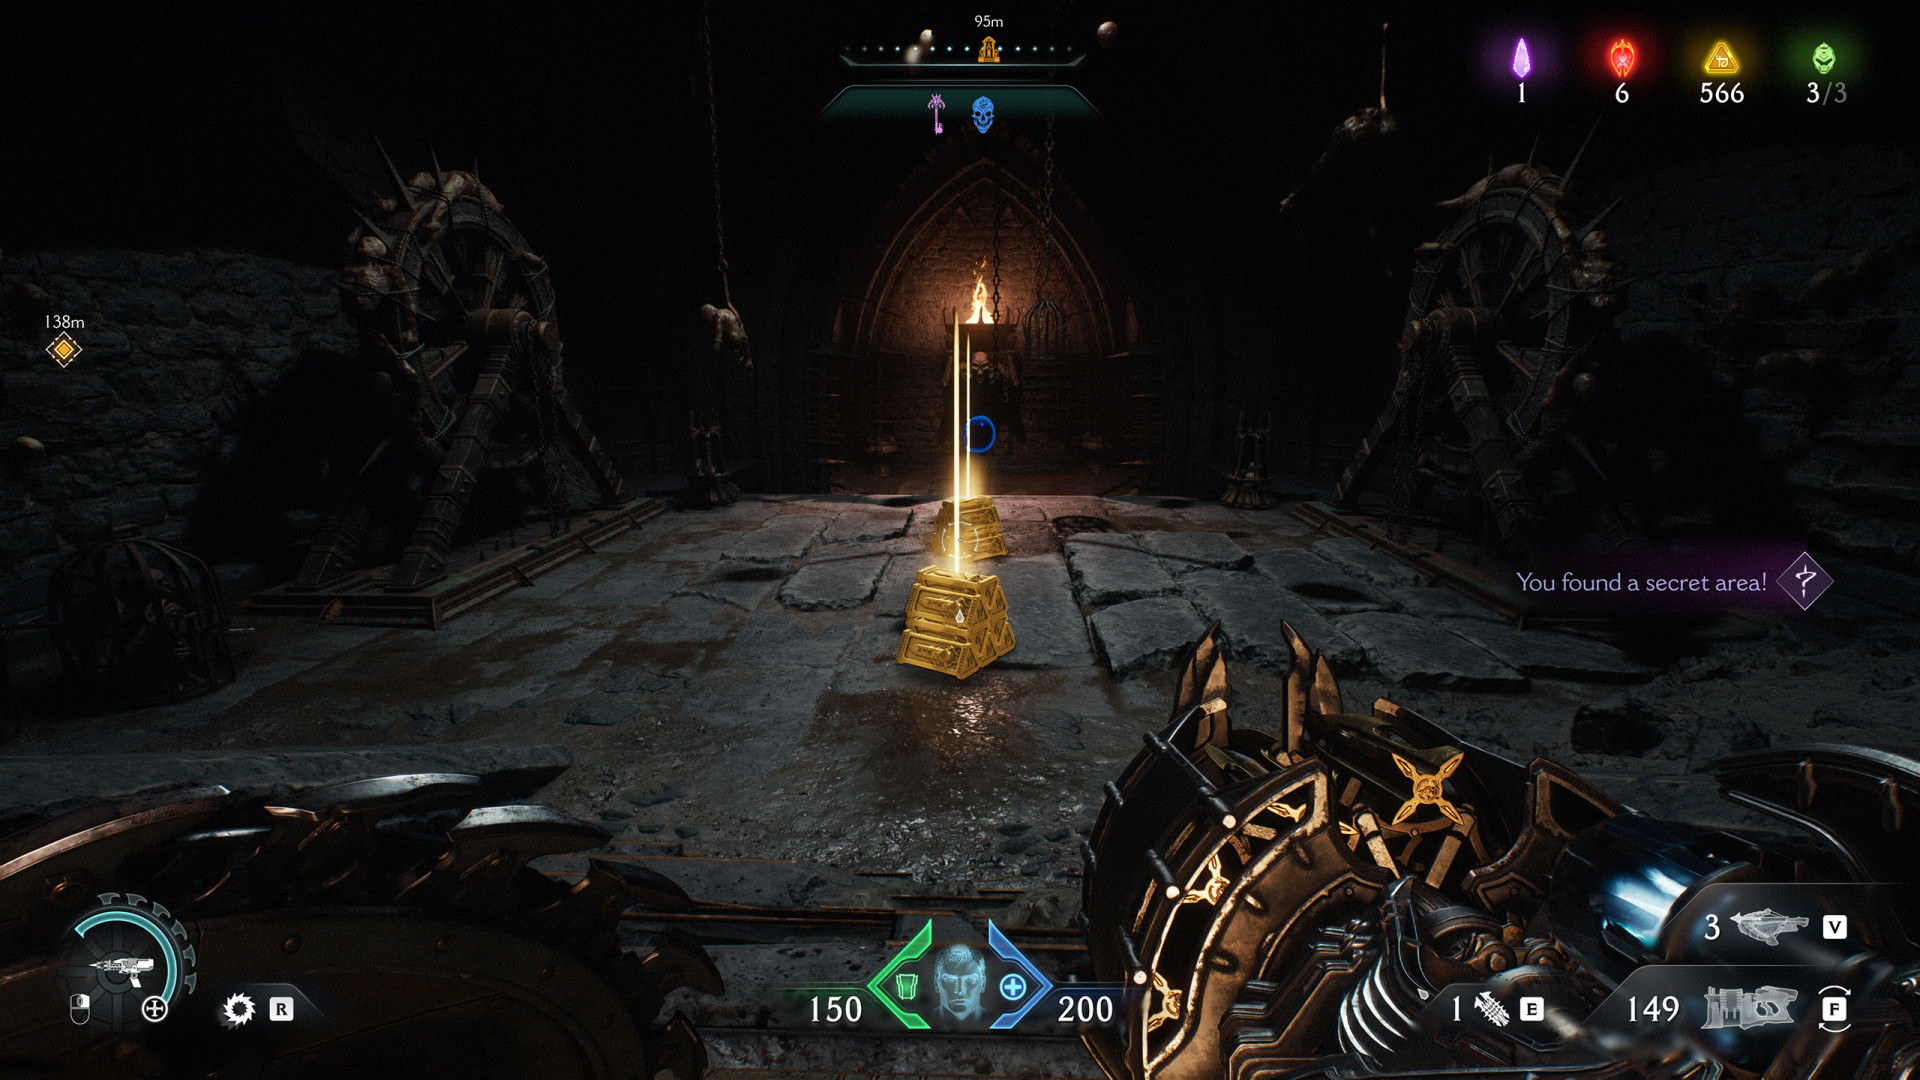
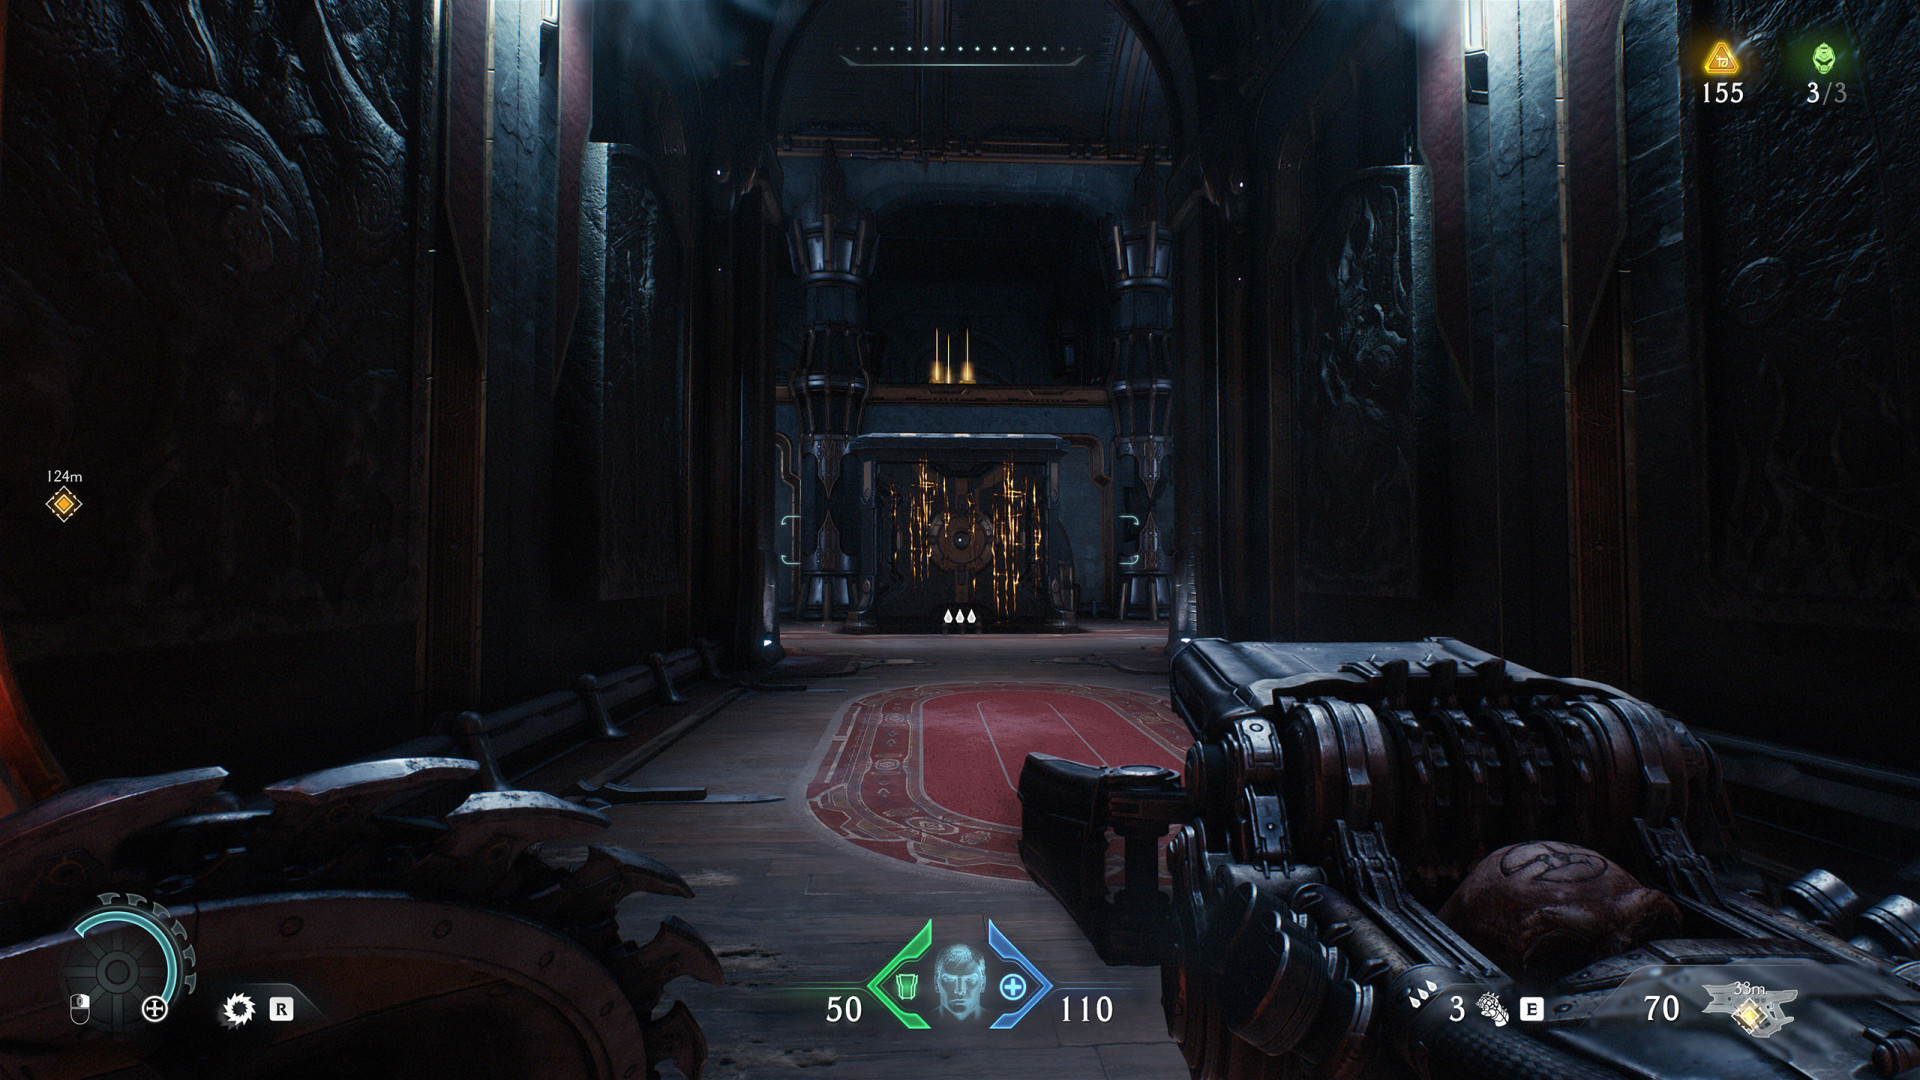
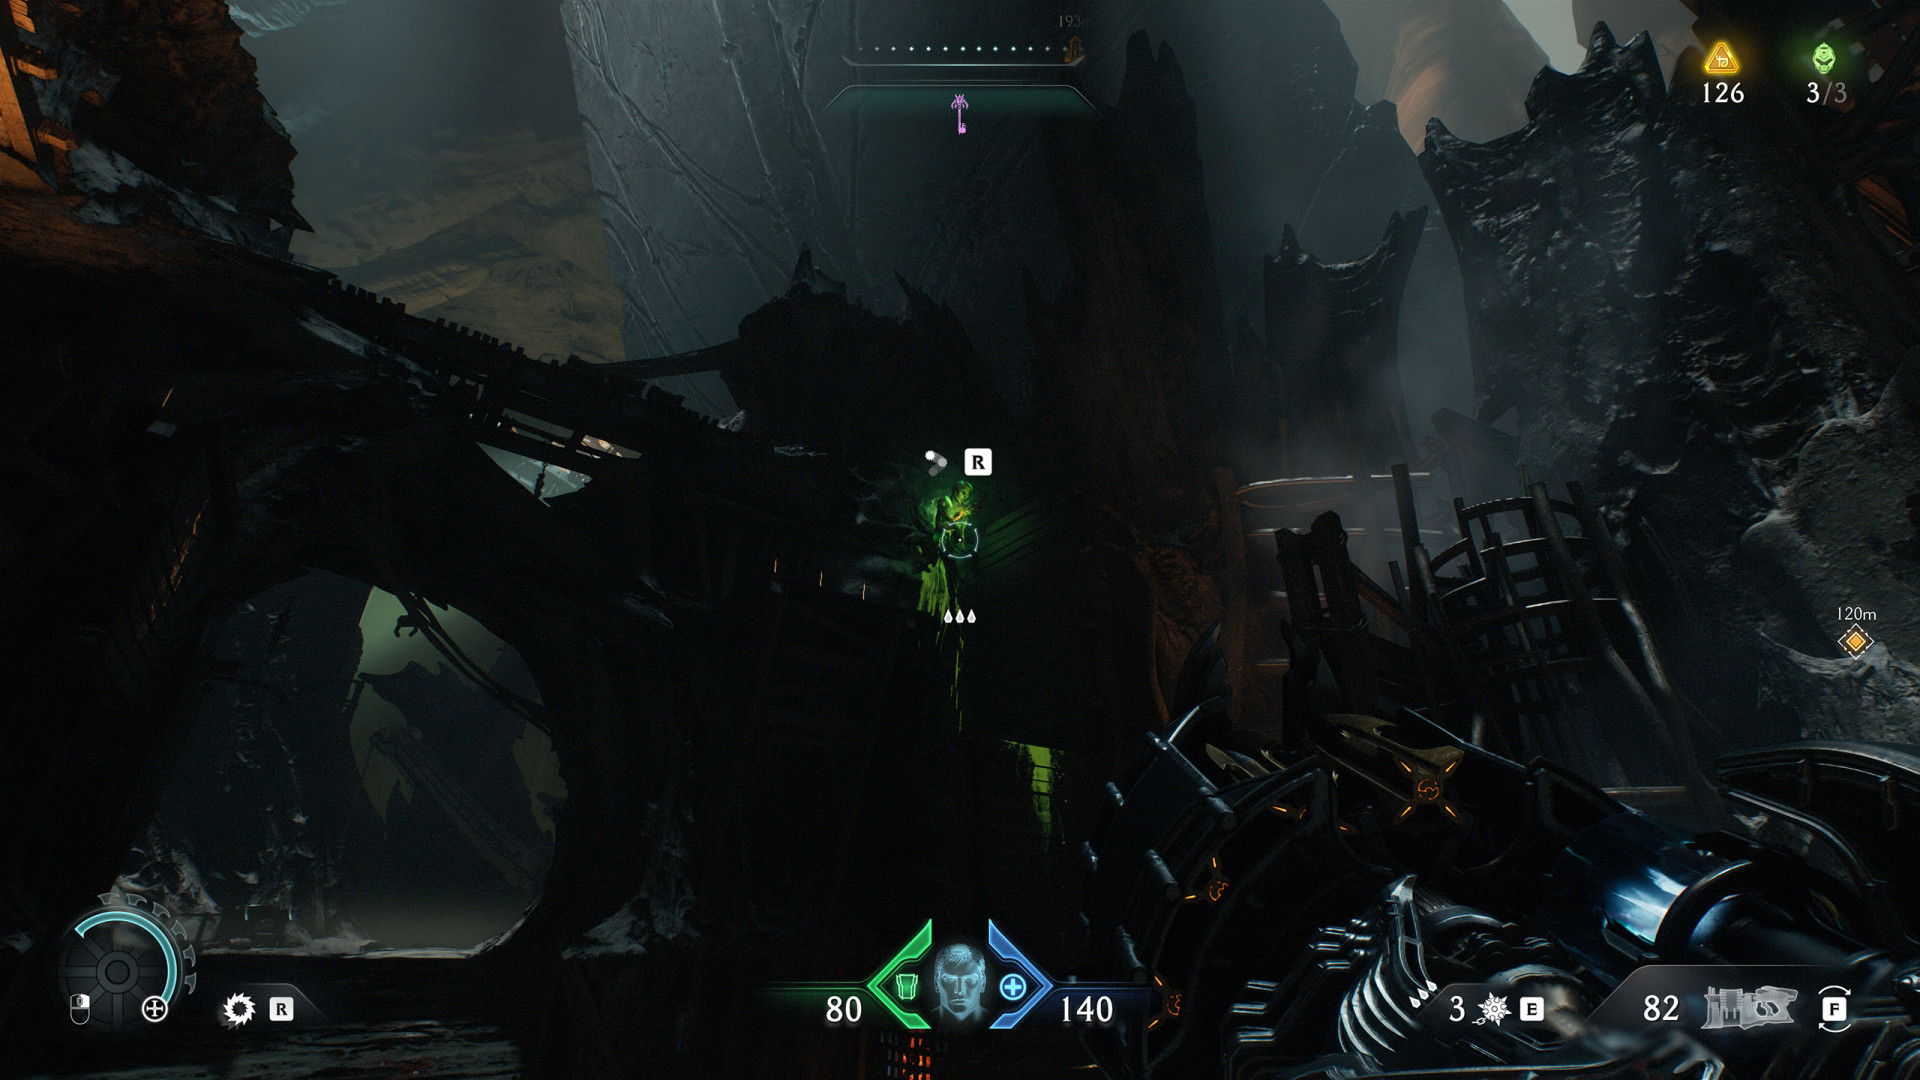
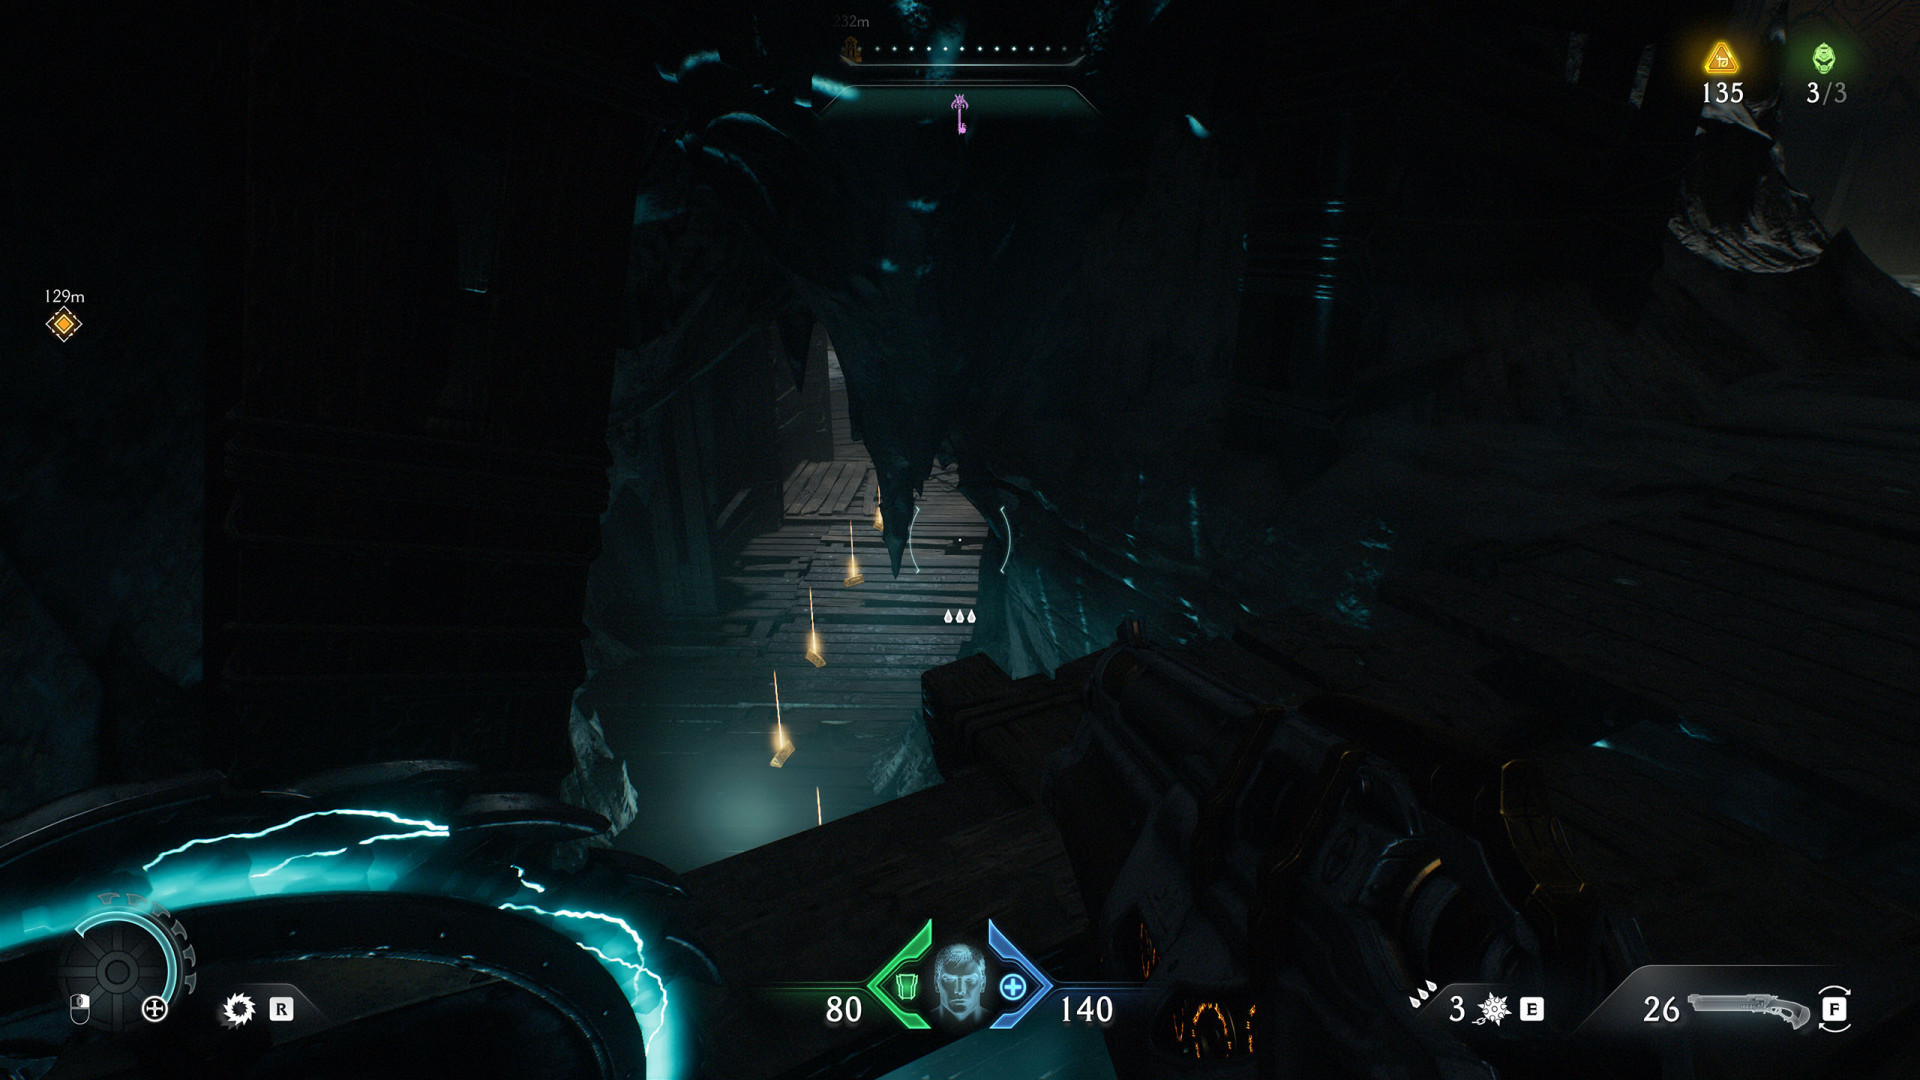
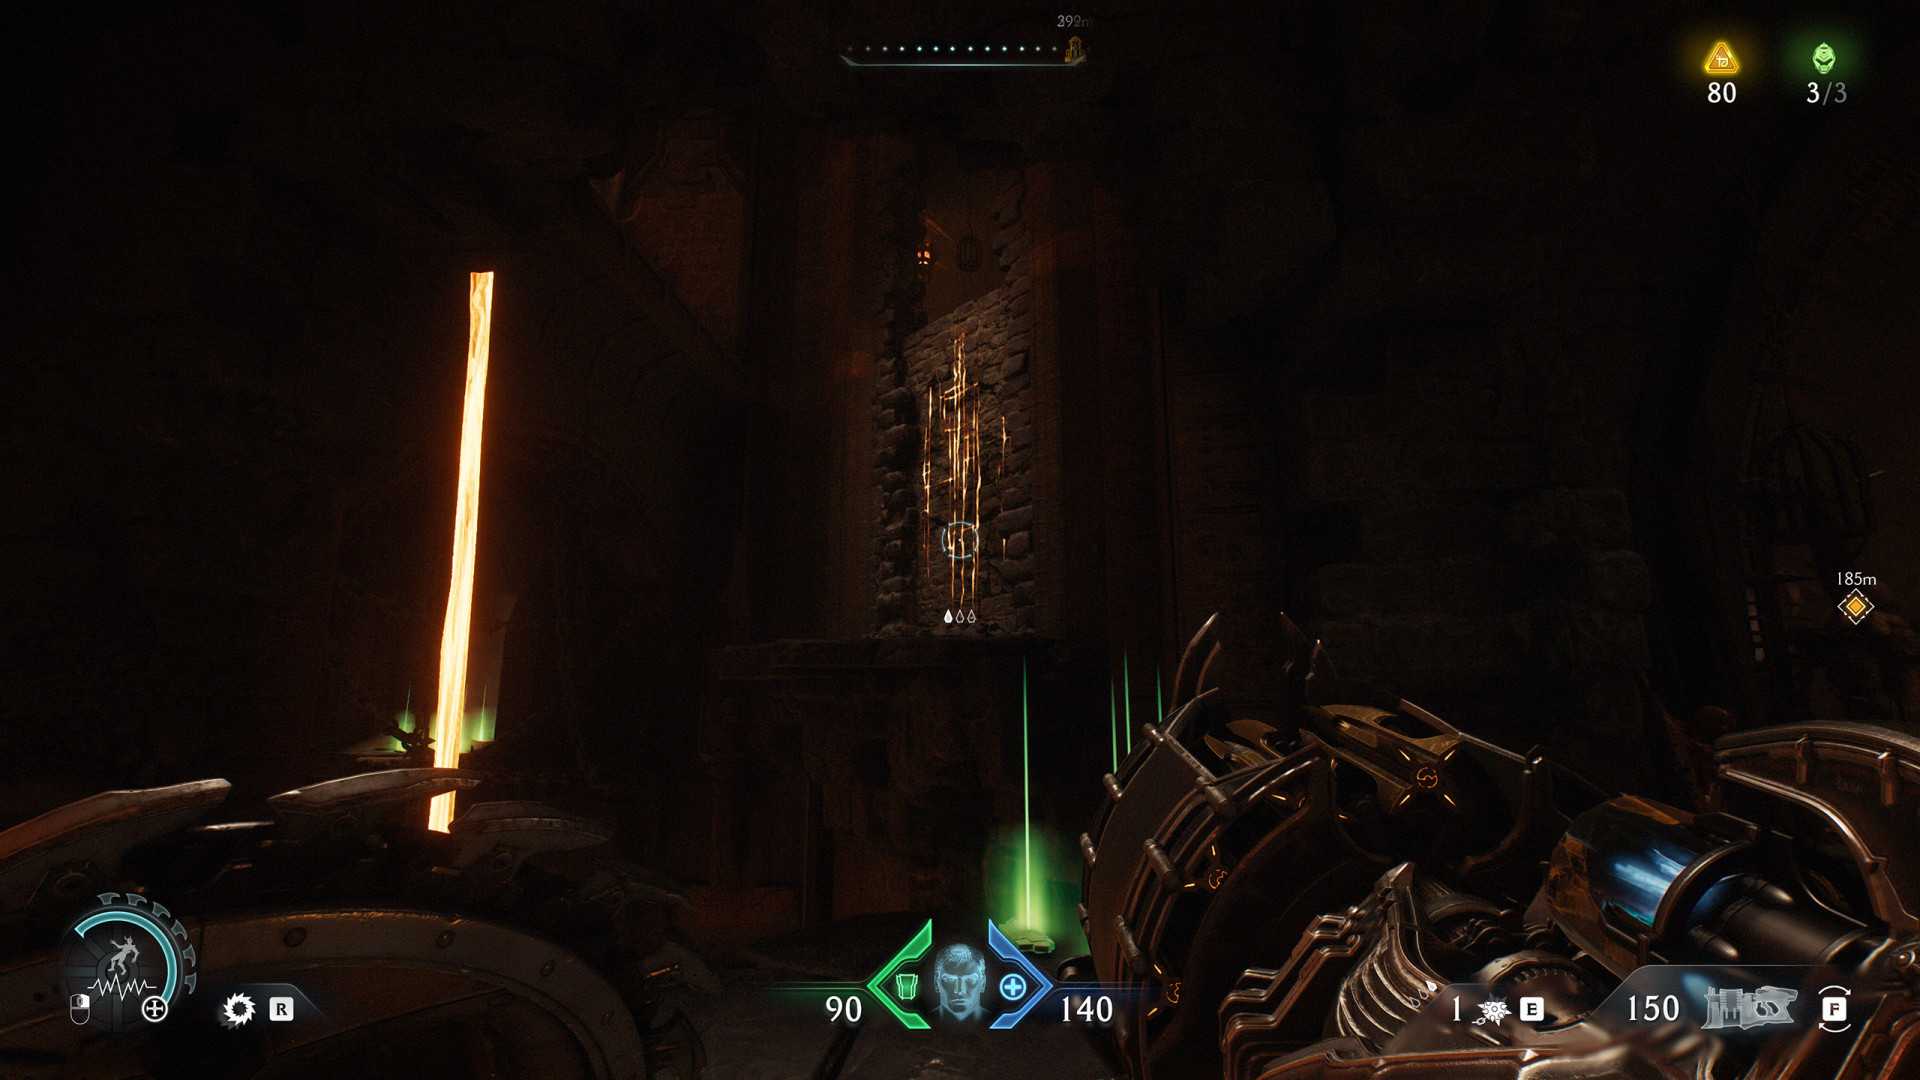
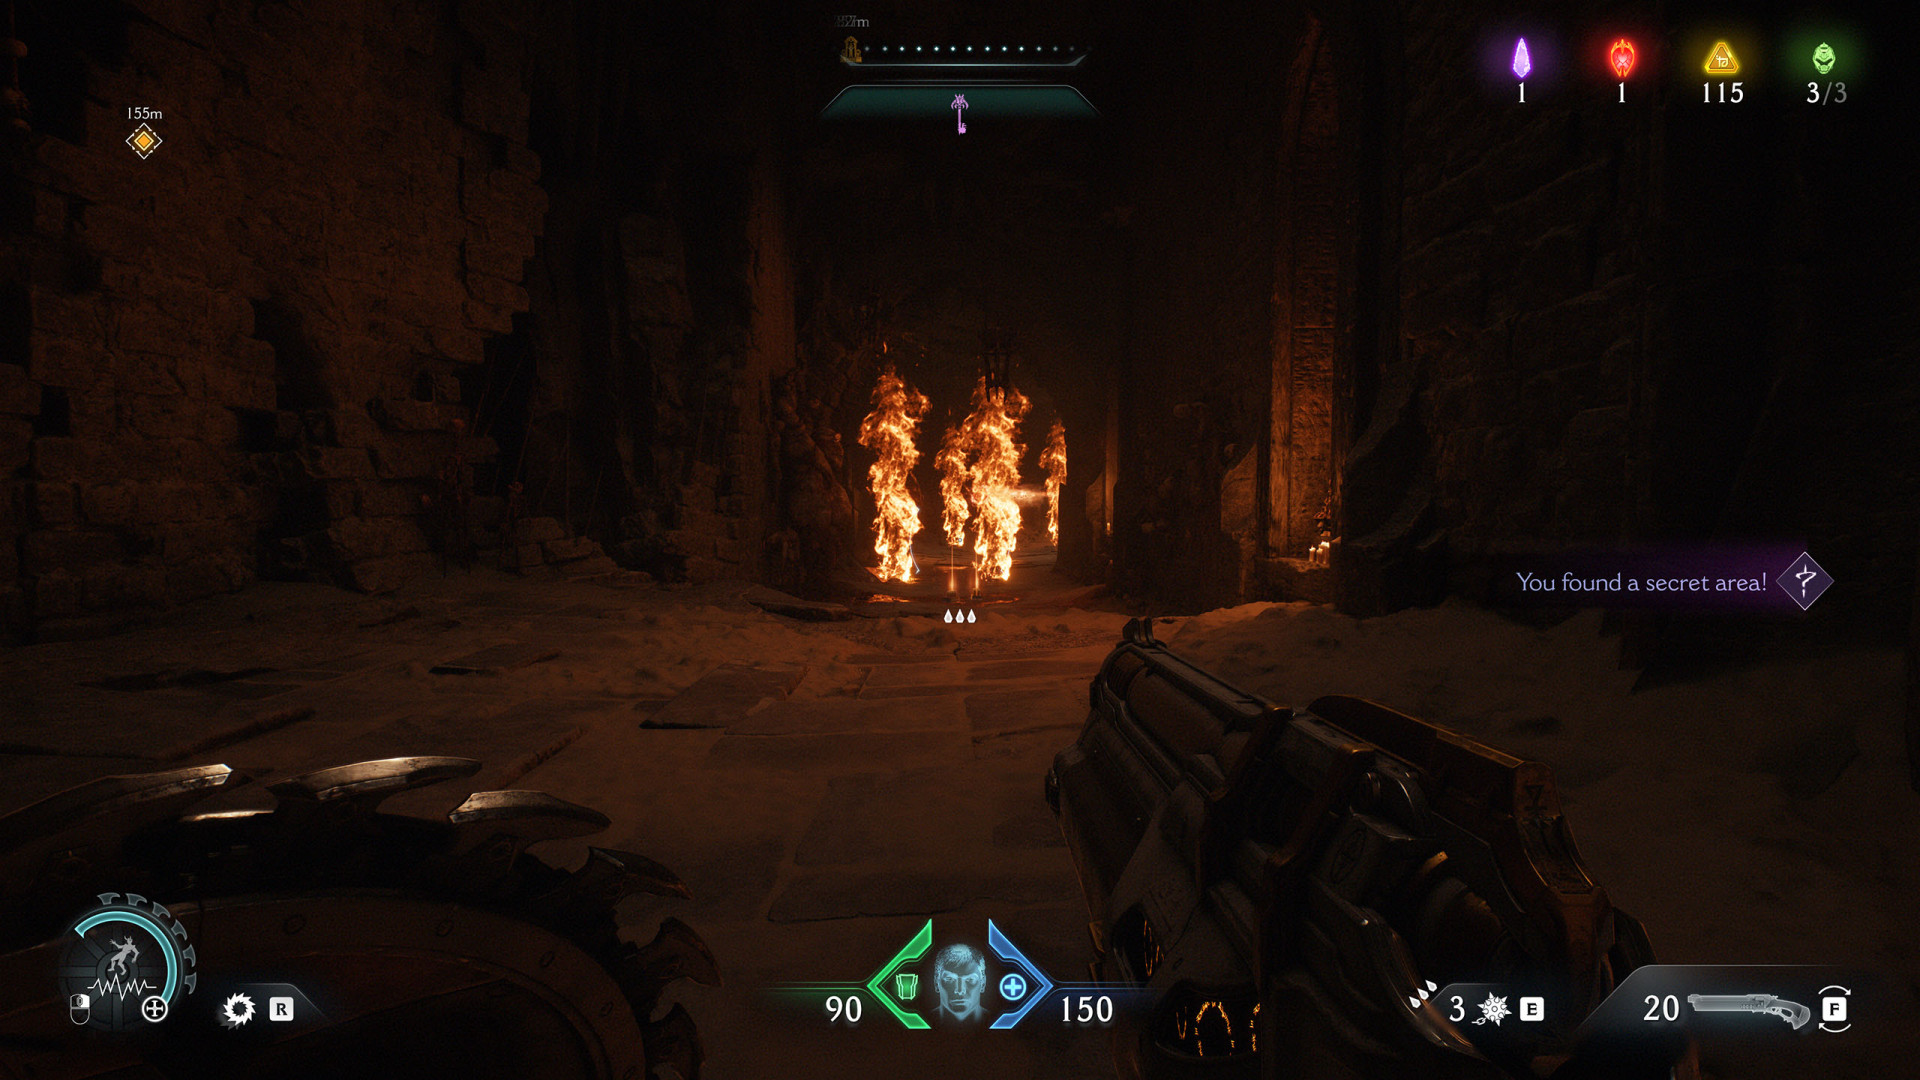
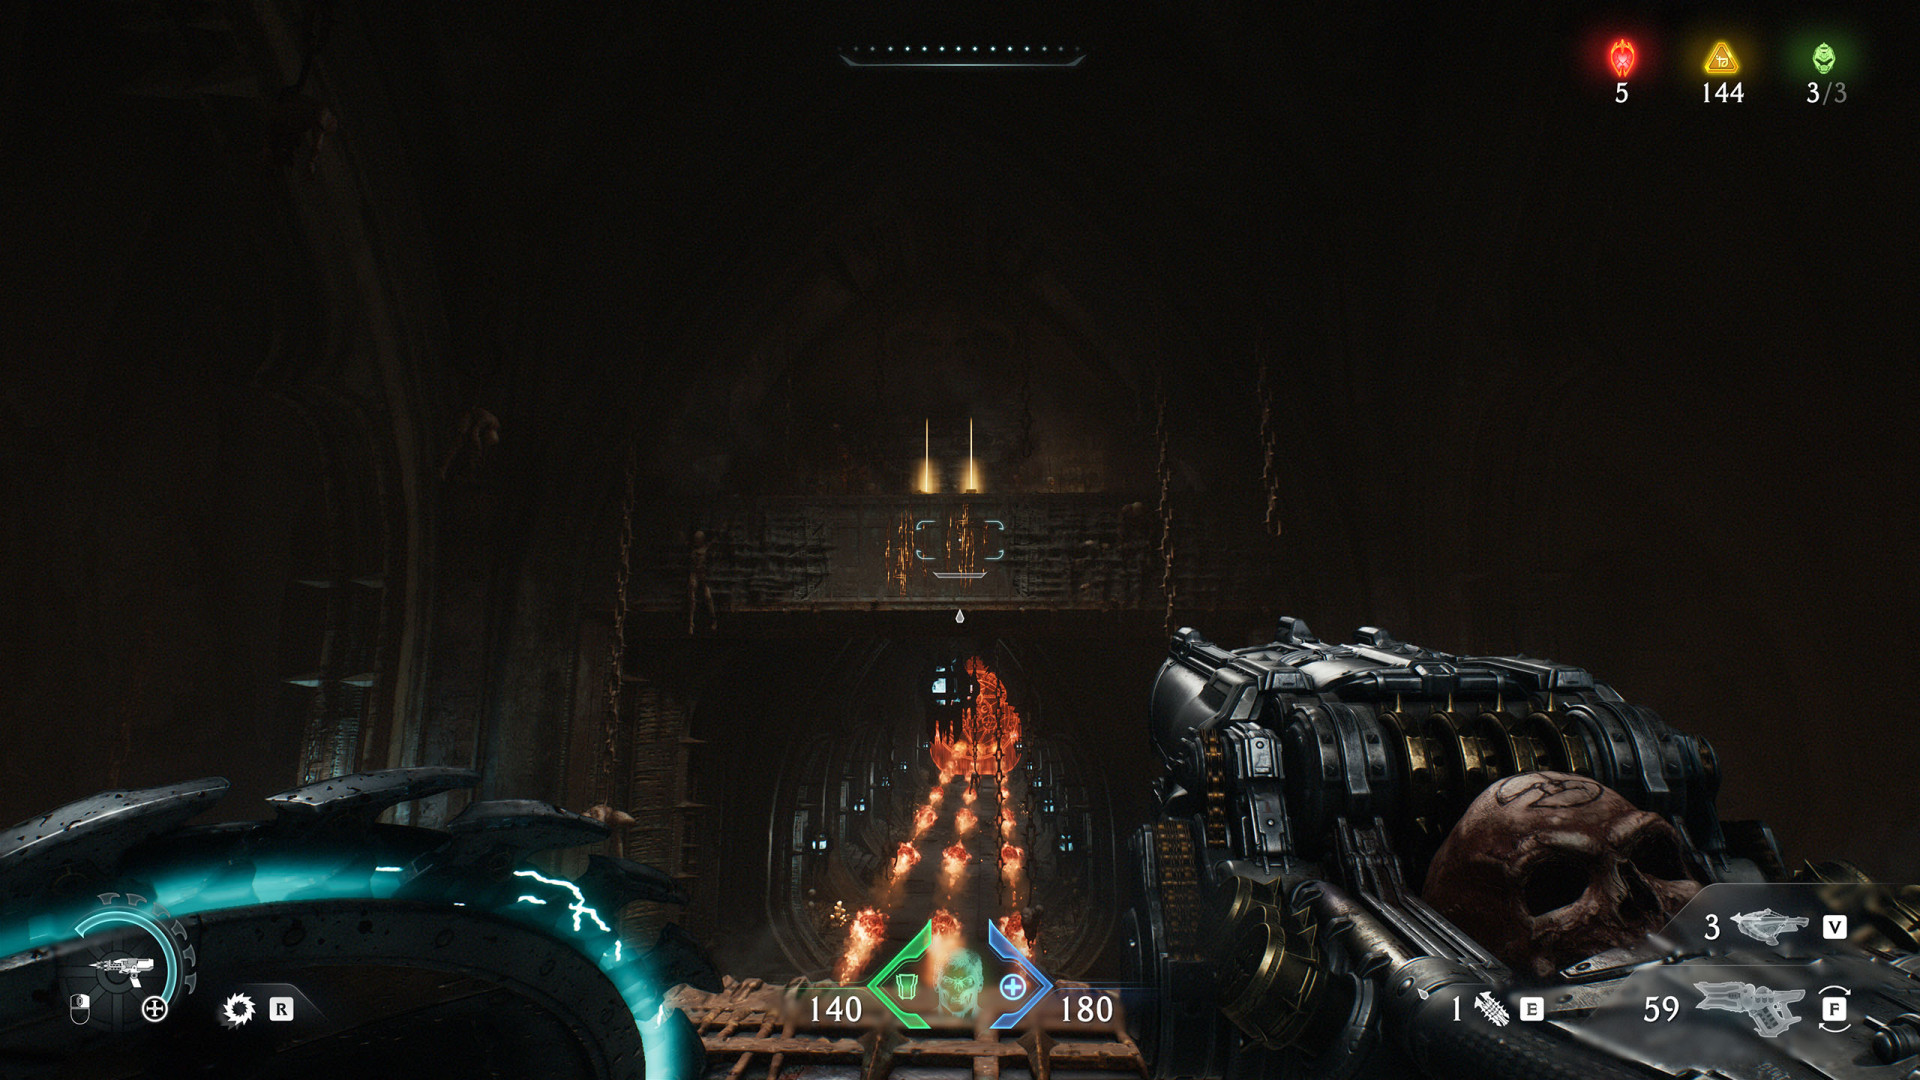
To get inside, you must first extinguish the fire. To do this, climb onto the nearby platform with the five gold bars, destroy the breakable wall, jump inside, and turn the valve.
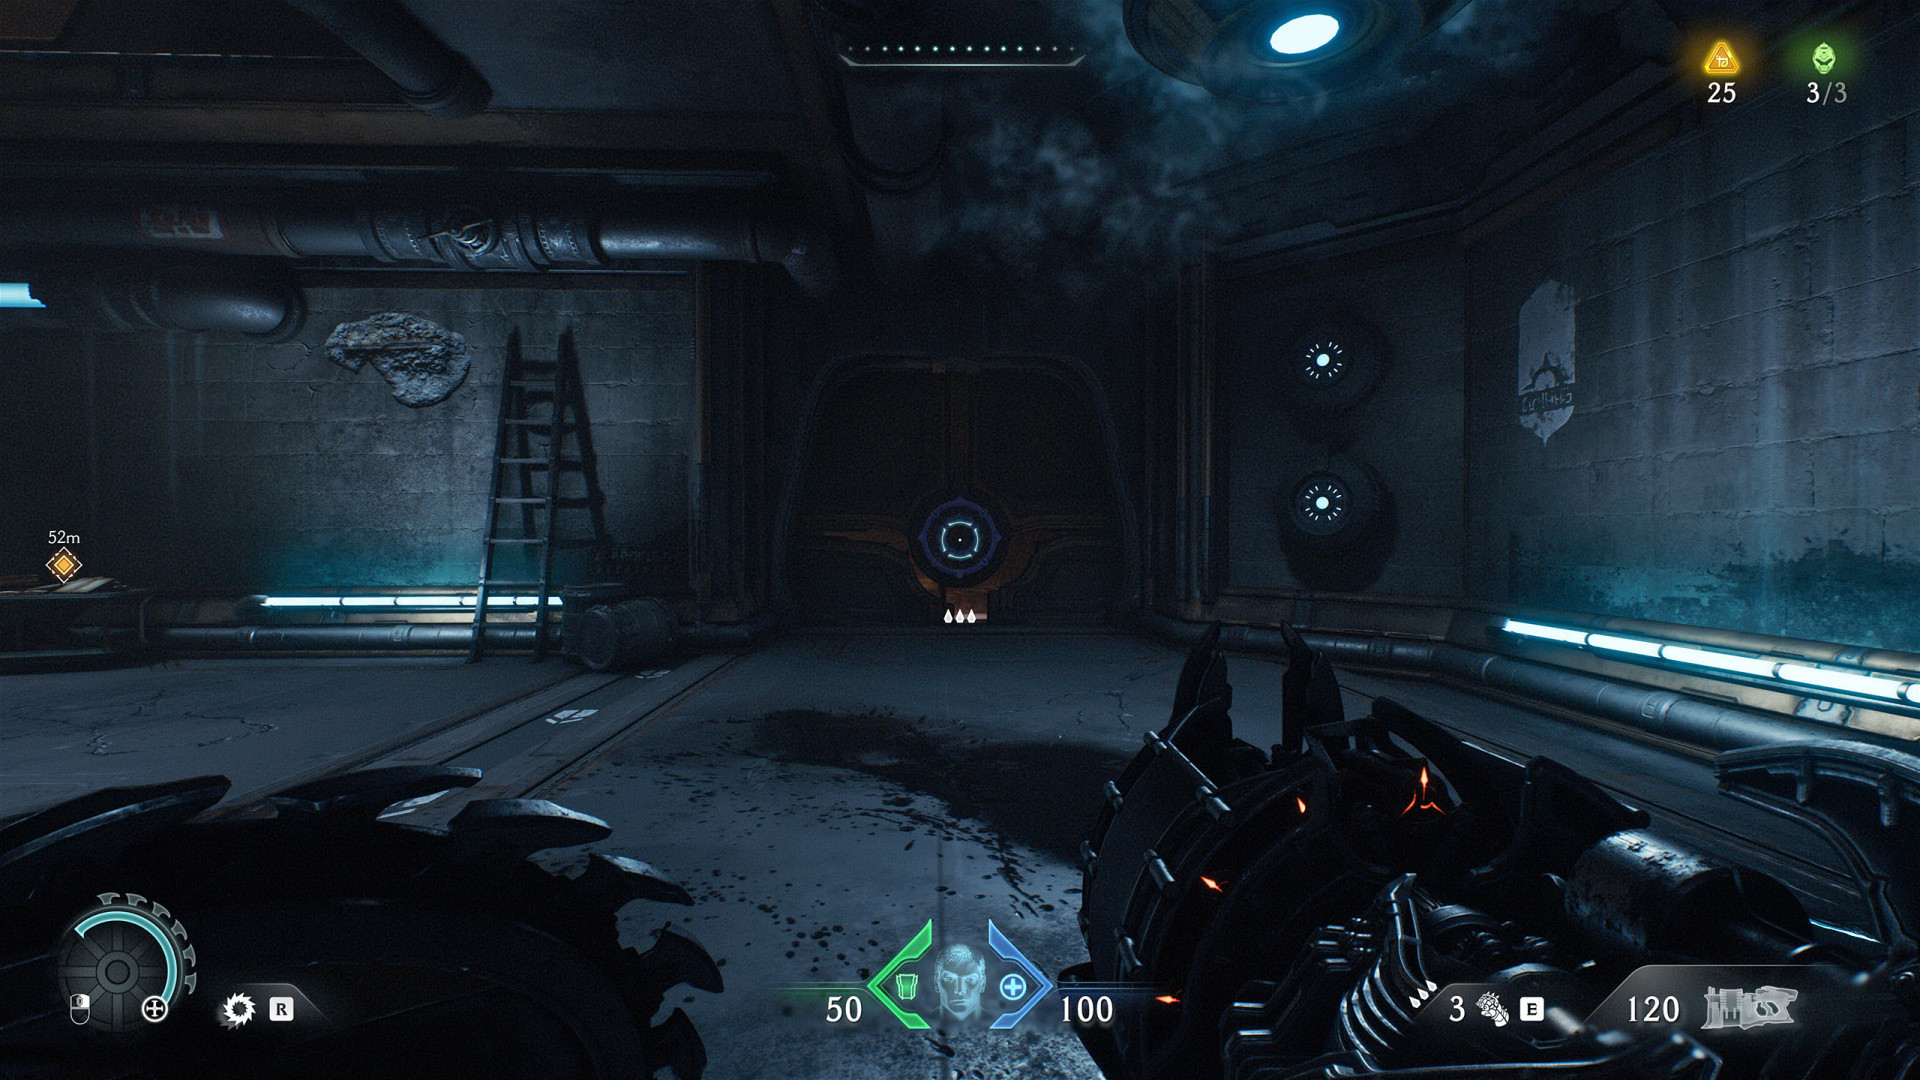
Secret Area (Hebeth #7)▶ show the map ◀
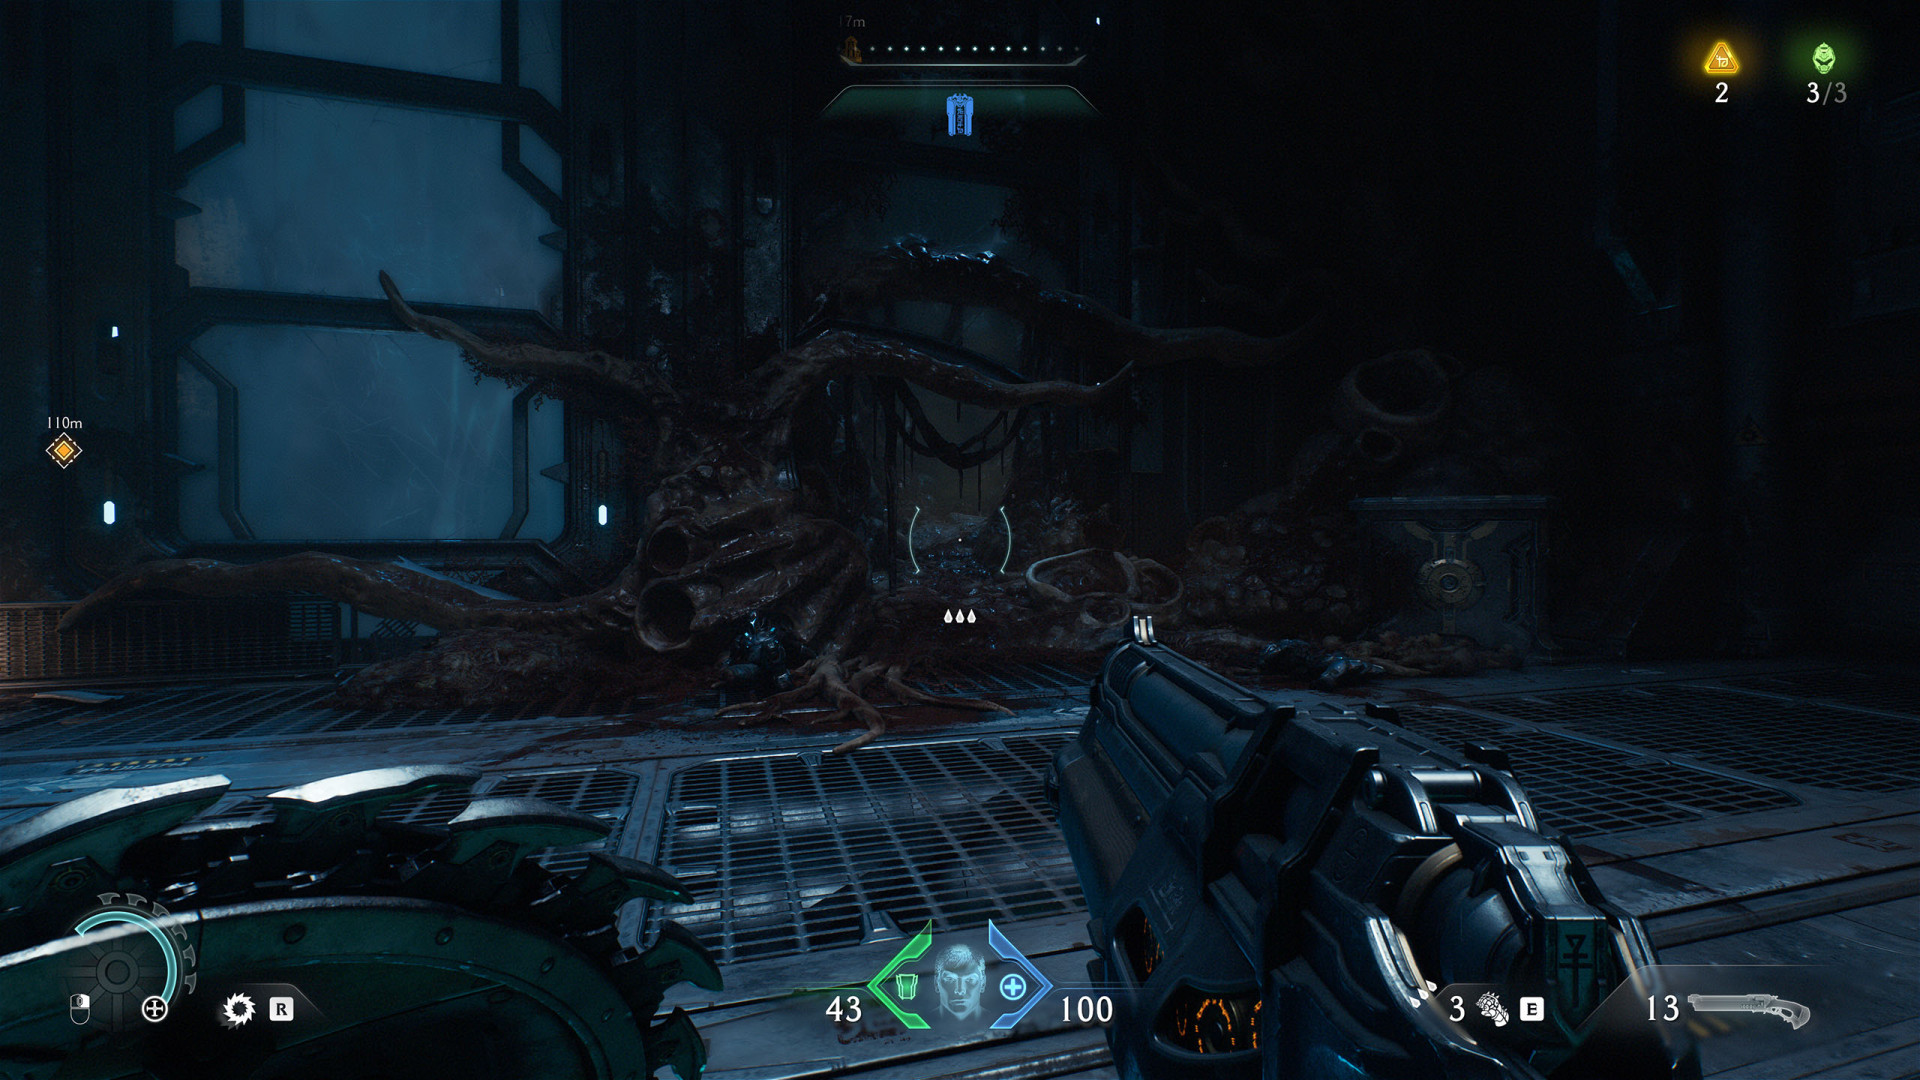
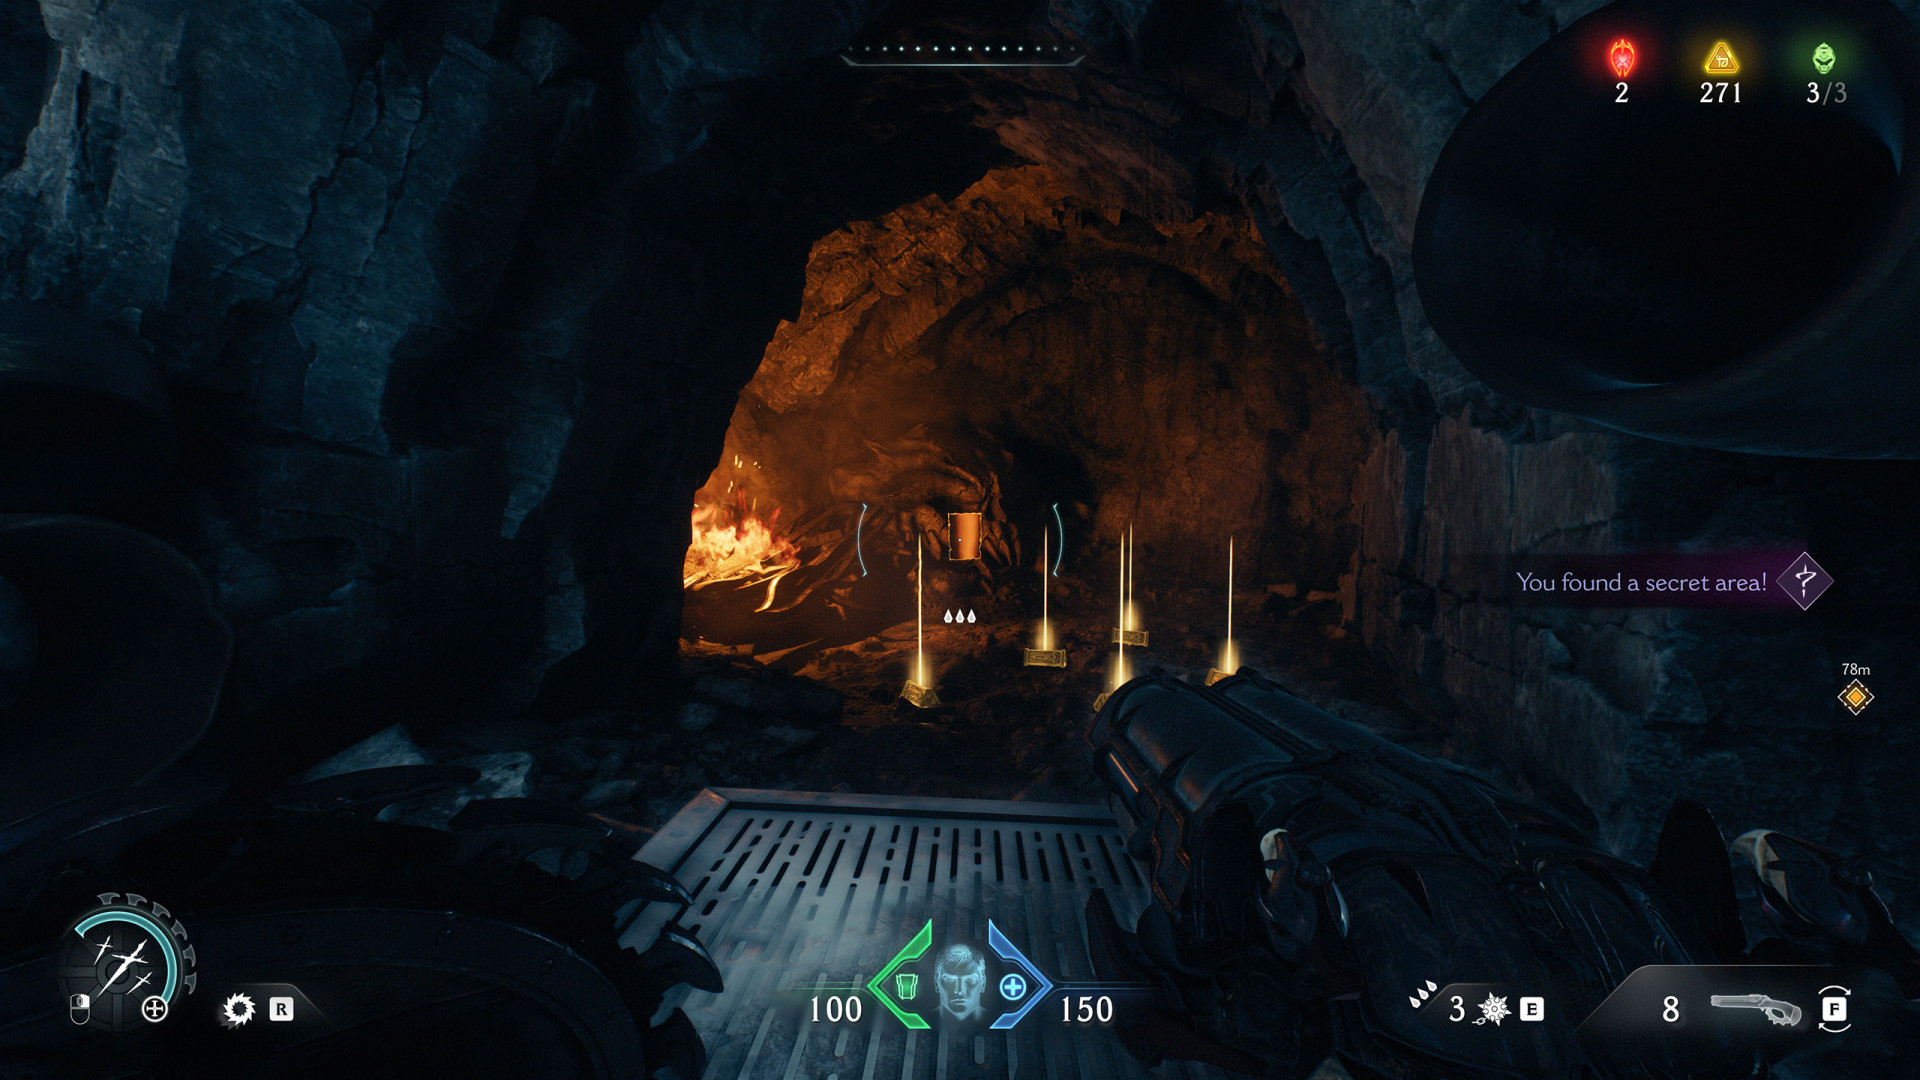
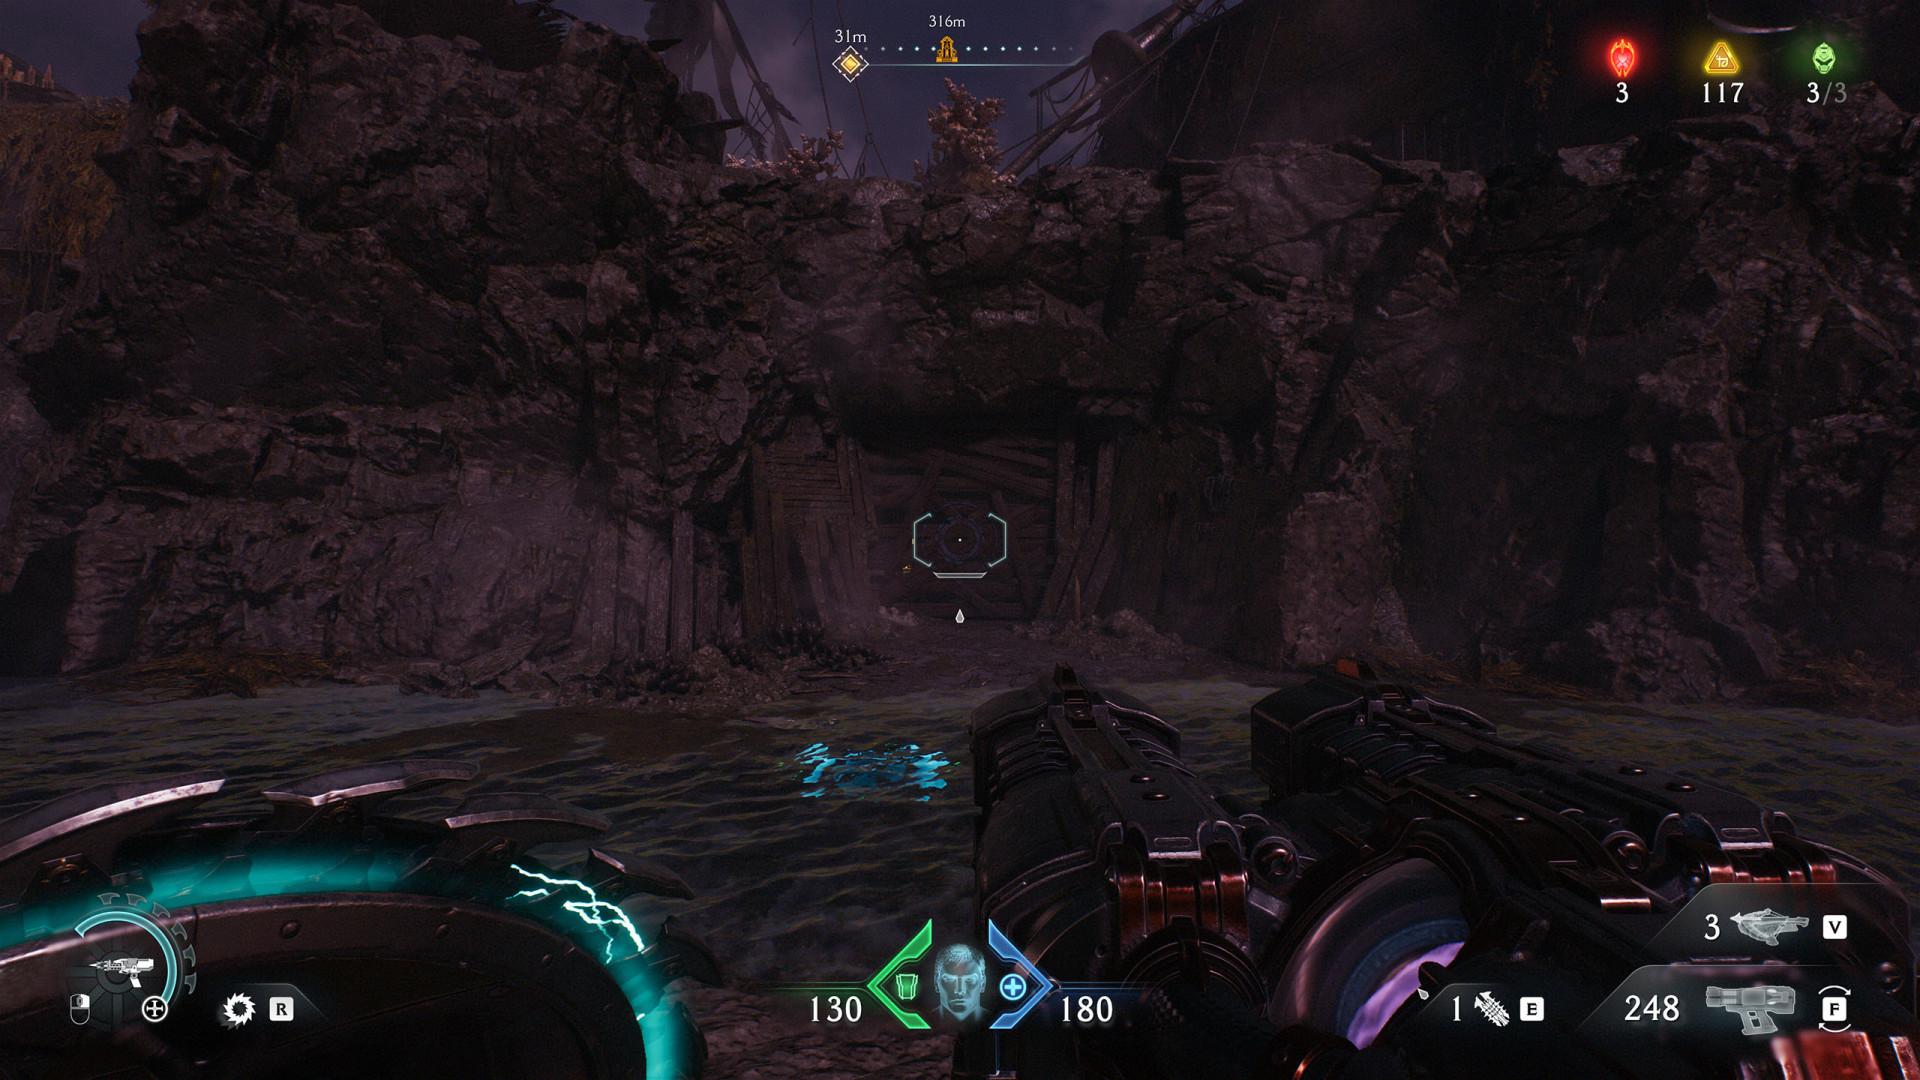
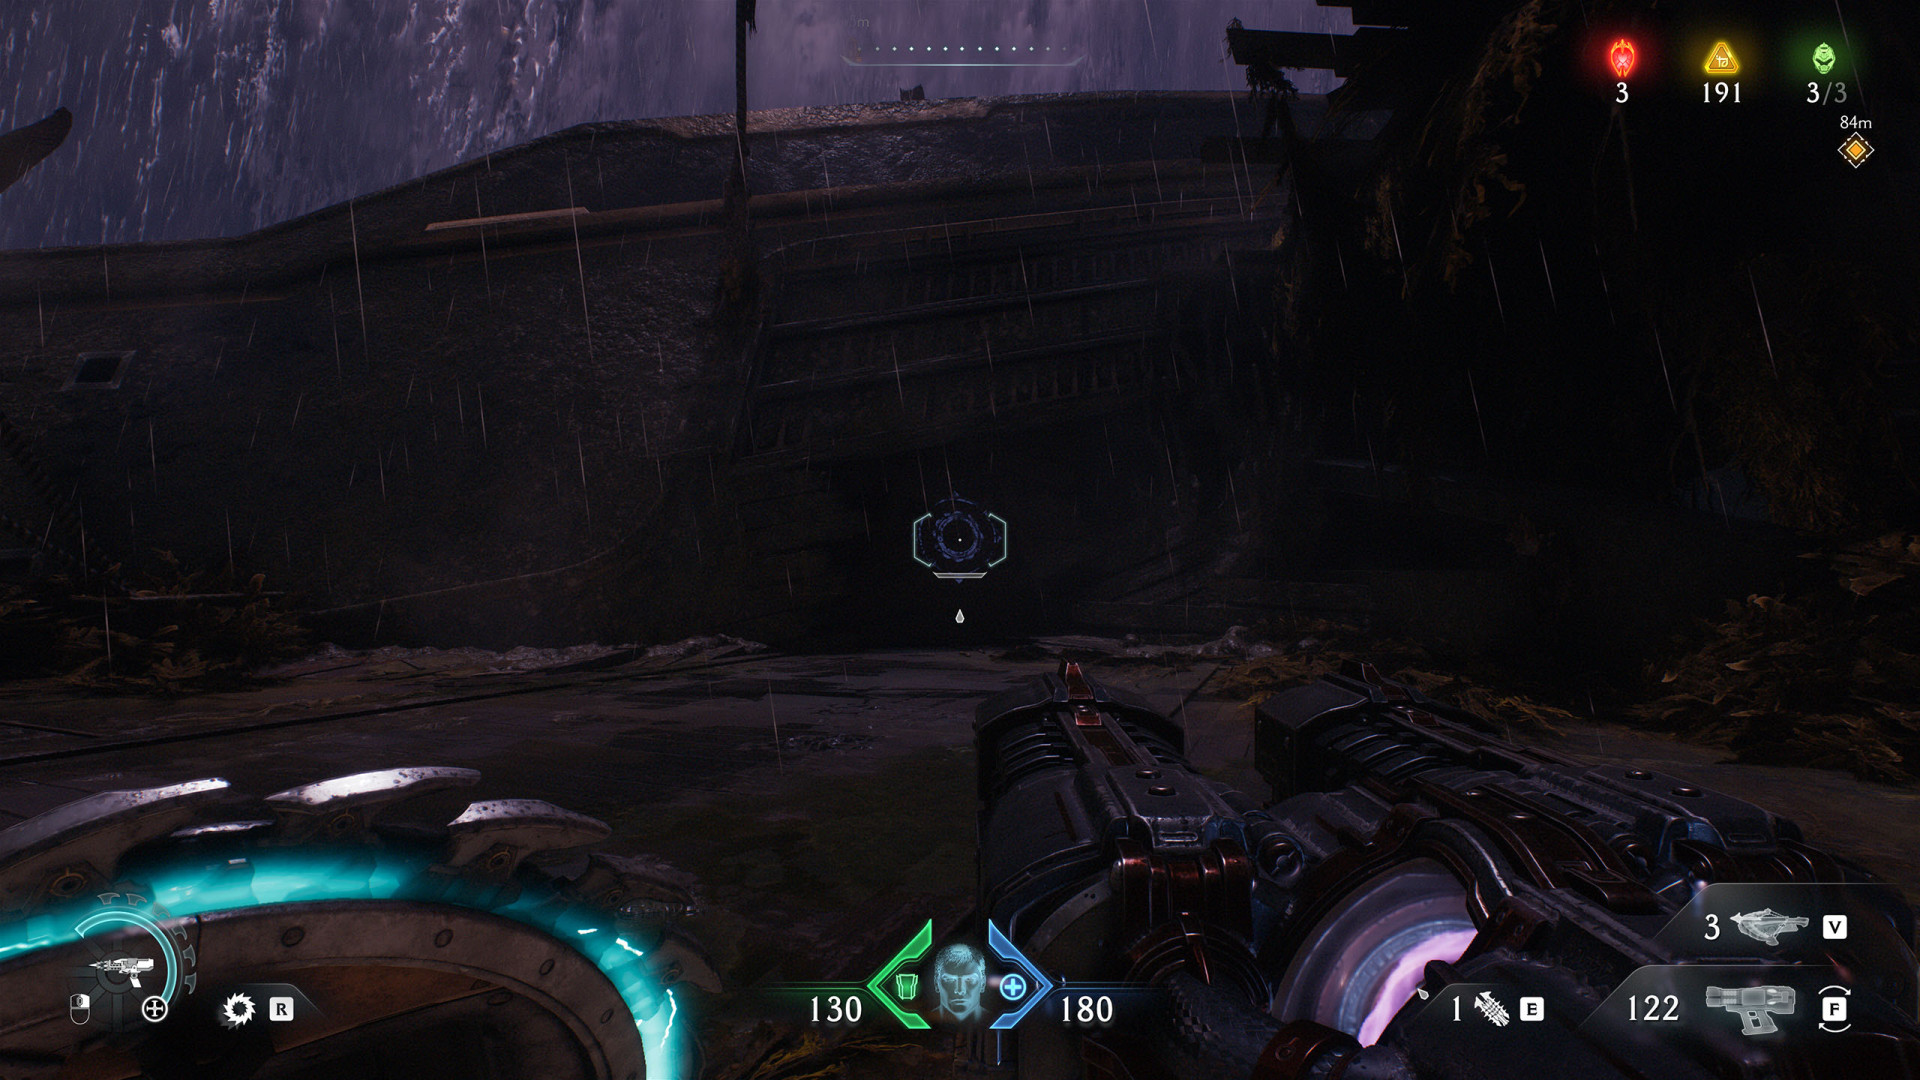
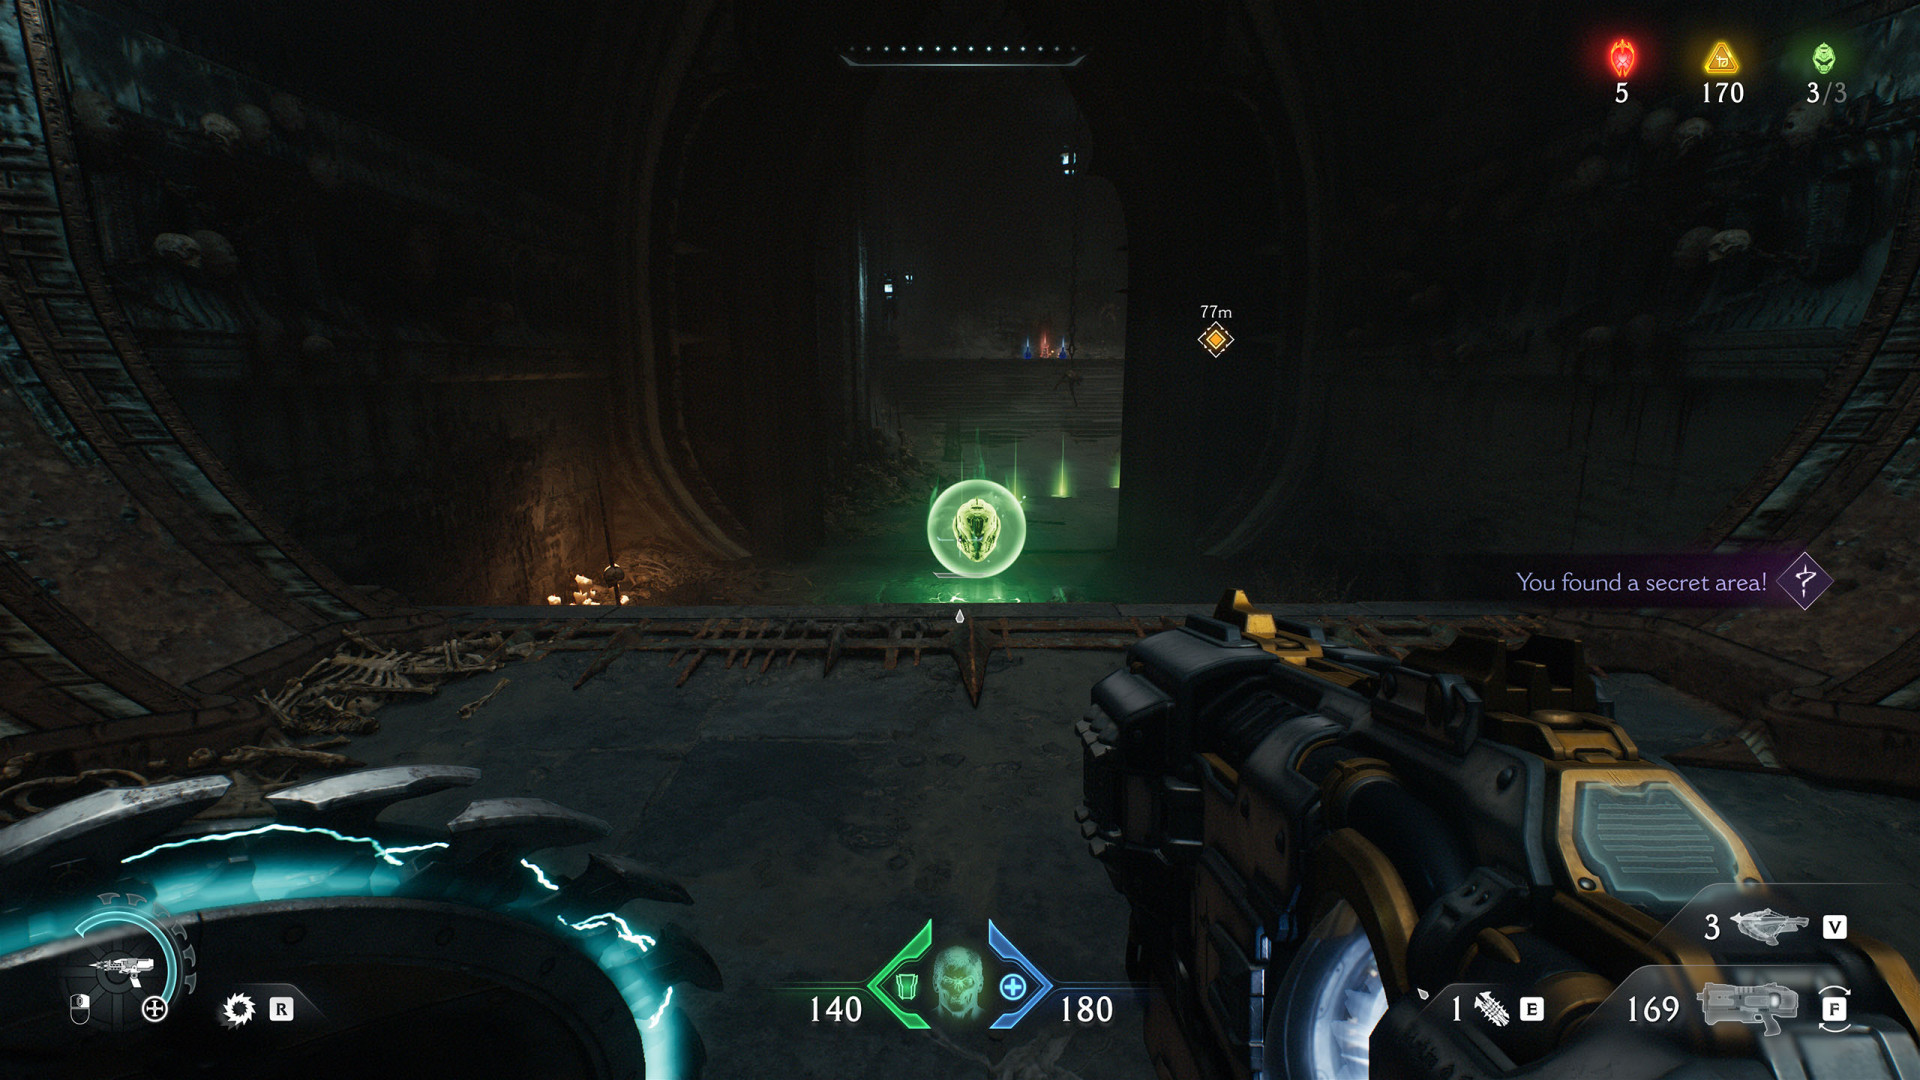
In the cave you can enter once you defeat all nearby enemies.
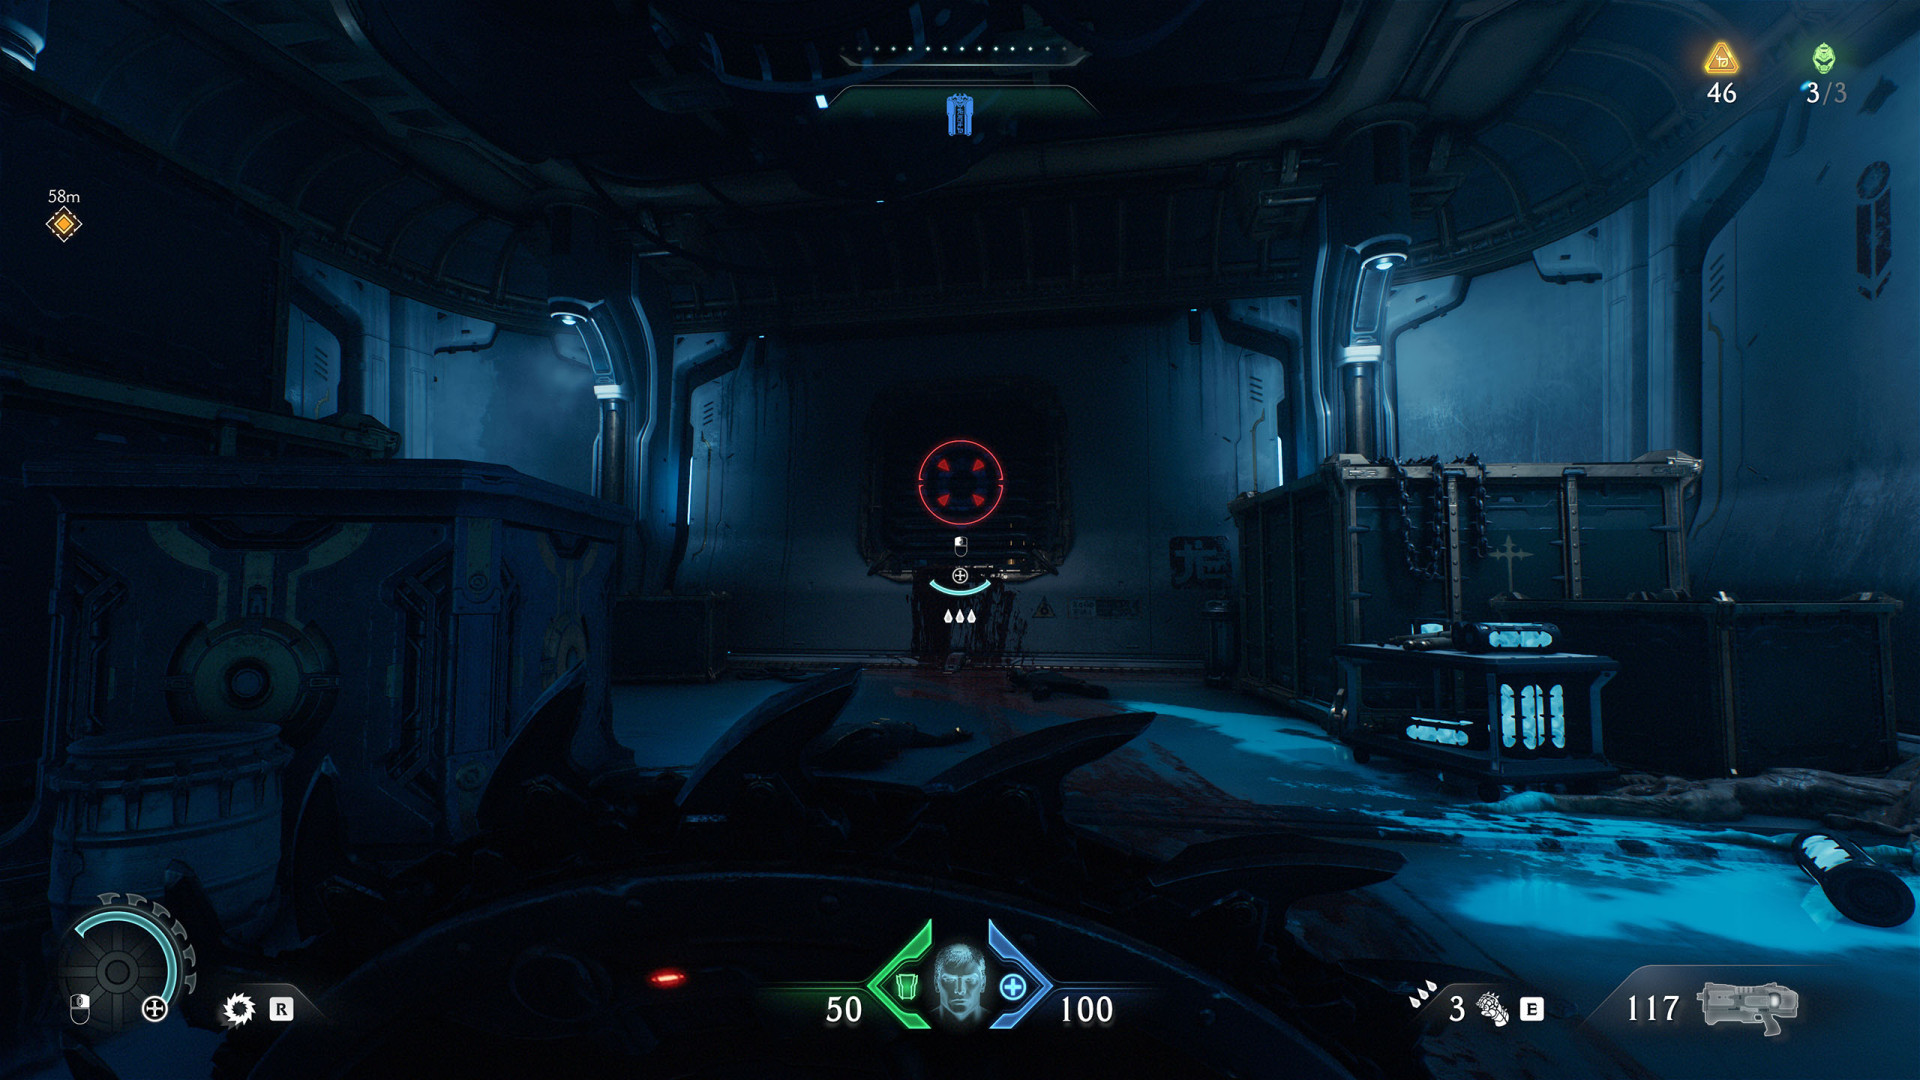
Secret Area (Hebeth #9)▶ show the map ◀
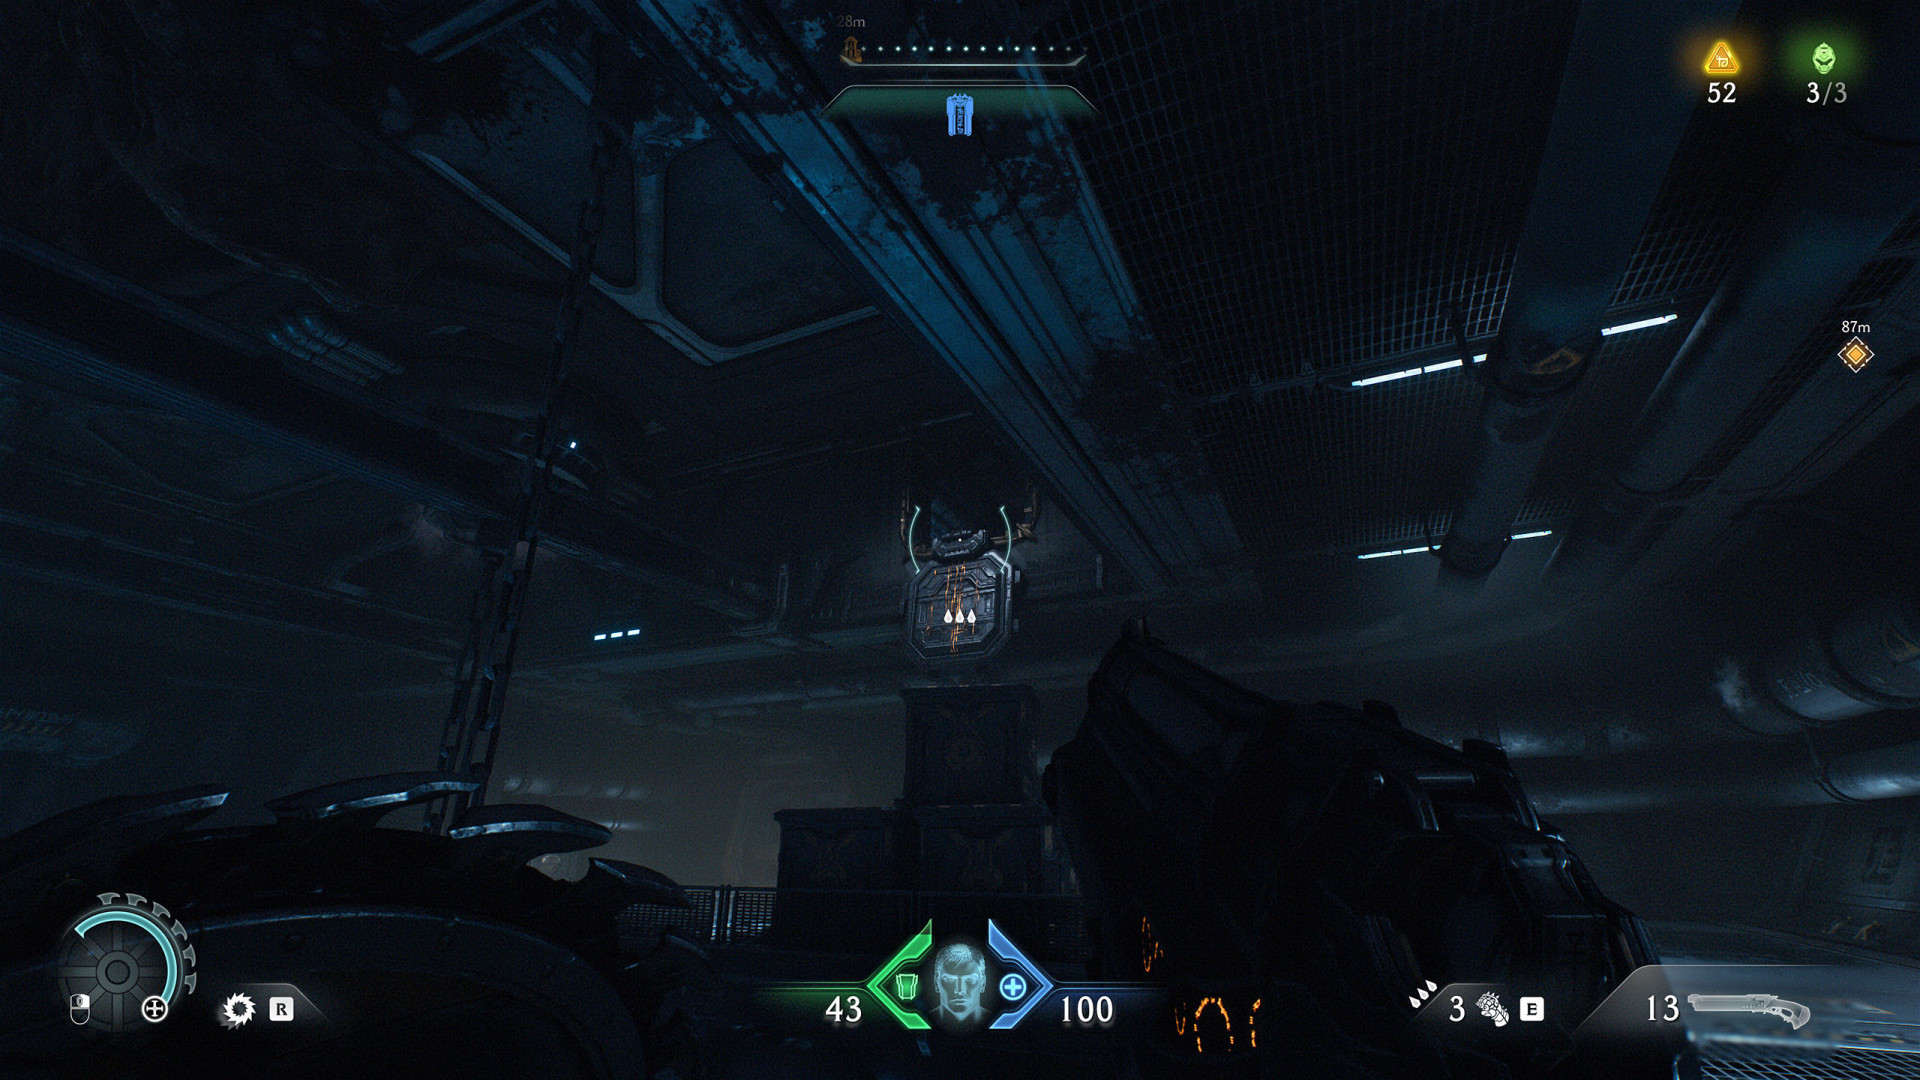
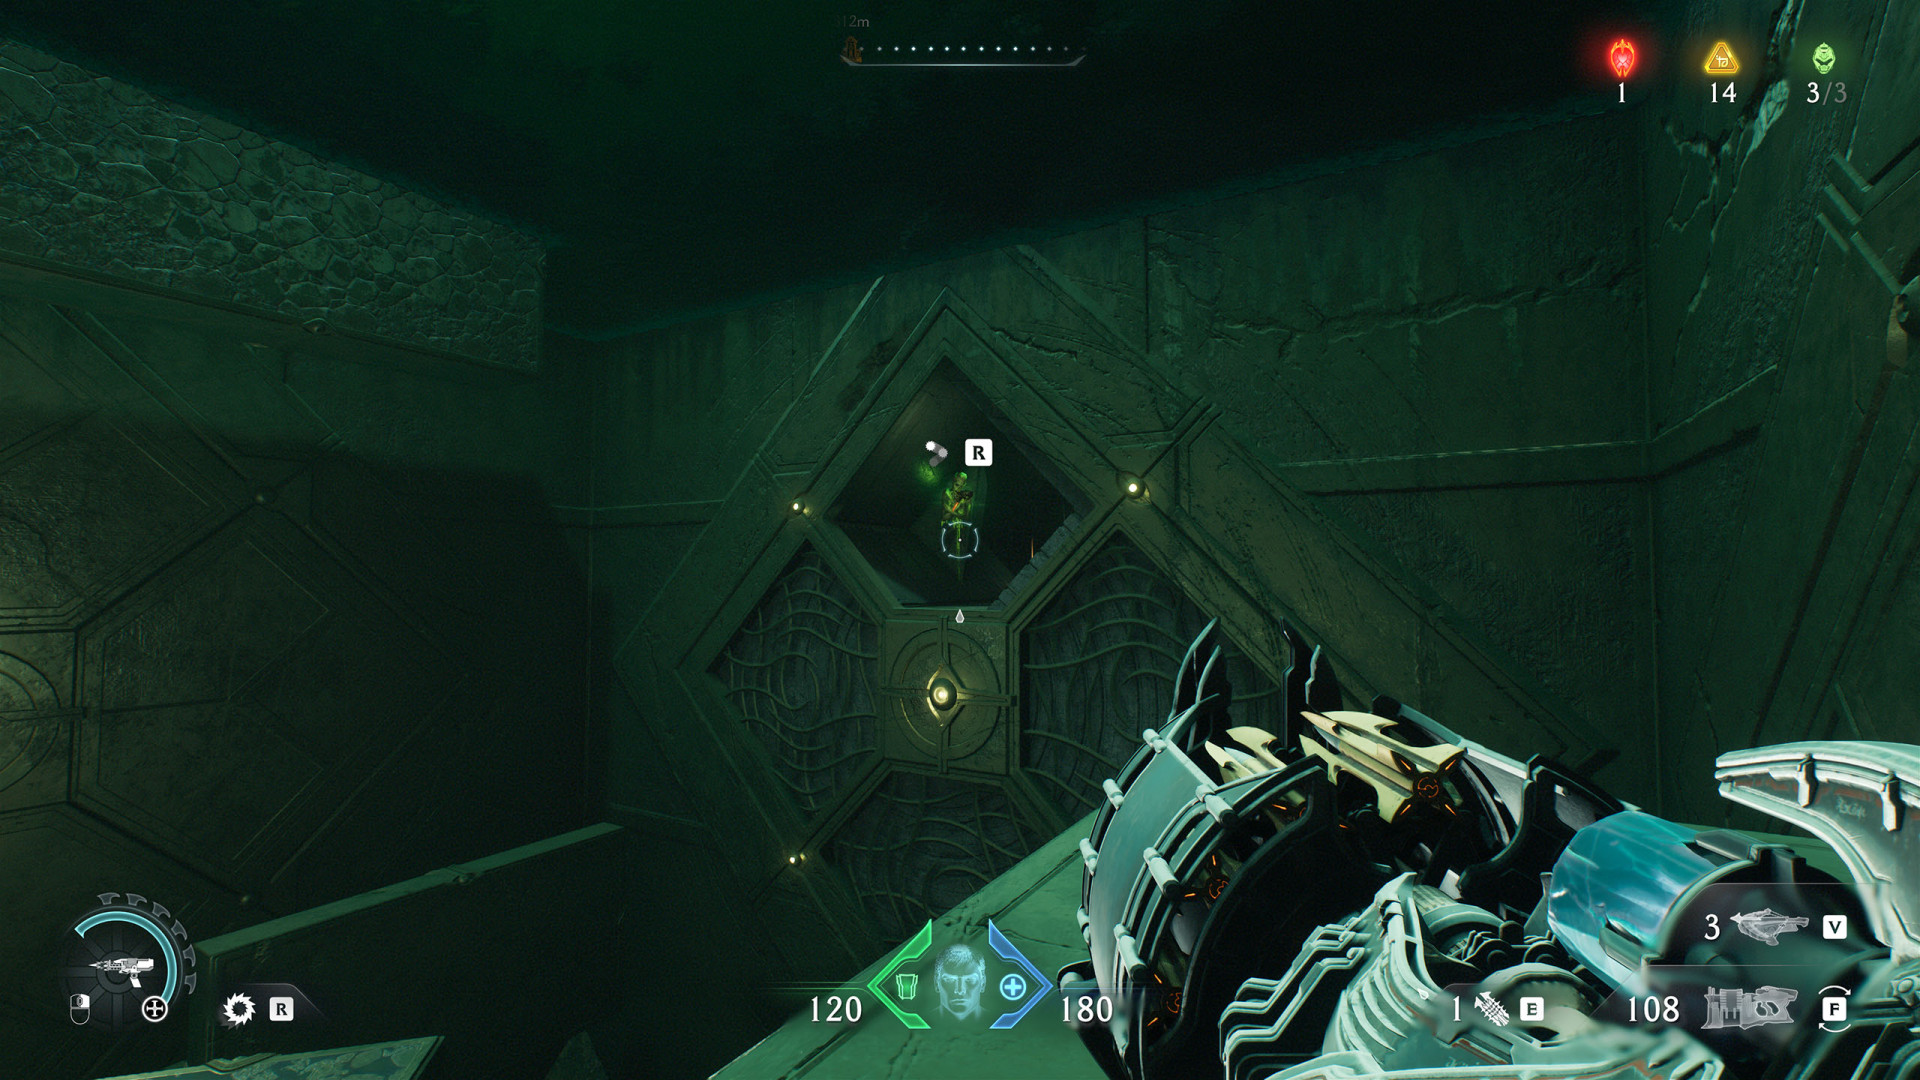
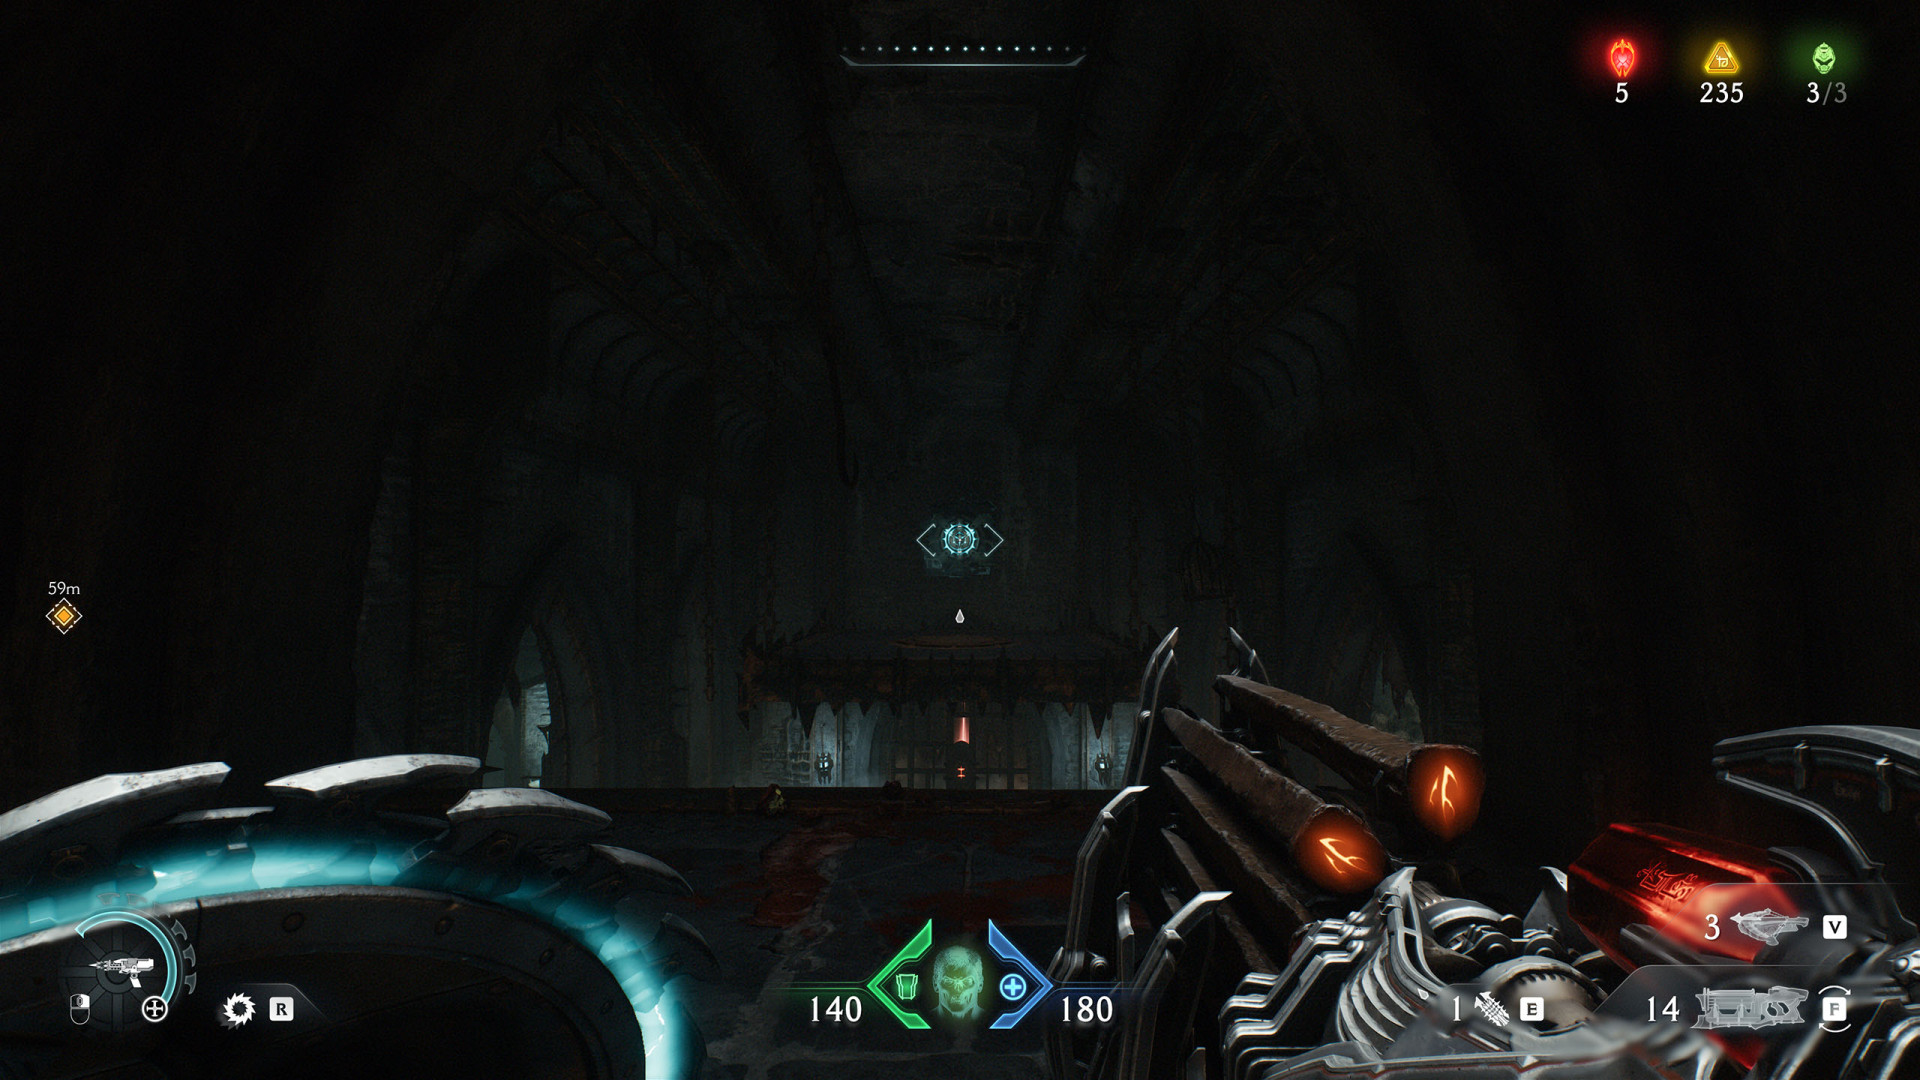
On the upper level. Look up and you will see the entrance to the ventilation duct.
All known locations on the map Sentinel Barracks
Secret Area (Sentinel Barracks #1)▶ show the map ◀
Use the shield charge to break through the wooden barrier.
Secret Area (Sentinel Barracks #2)▶ show the map ◀
To get here start at Shield Recall Jump (Sentinel Barracks #2).
Secret Area (Sentinel Barracks #3)▶ show the map ◀
Use the Switch (Sentinel Barracks) to unlock the door, then find your way to the upper level.
Secret Area (Sentinel Barracks #4)▶ show the map ◀
To reach this hidden place, jump from the cliff over the abyss onto the rock ledge below.
Secret Area (Sentinel Barracks #5)▶ show the map ◀
Jump over the gap in the bridge, then turn around and jump onto the platform below.
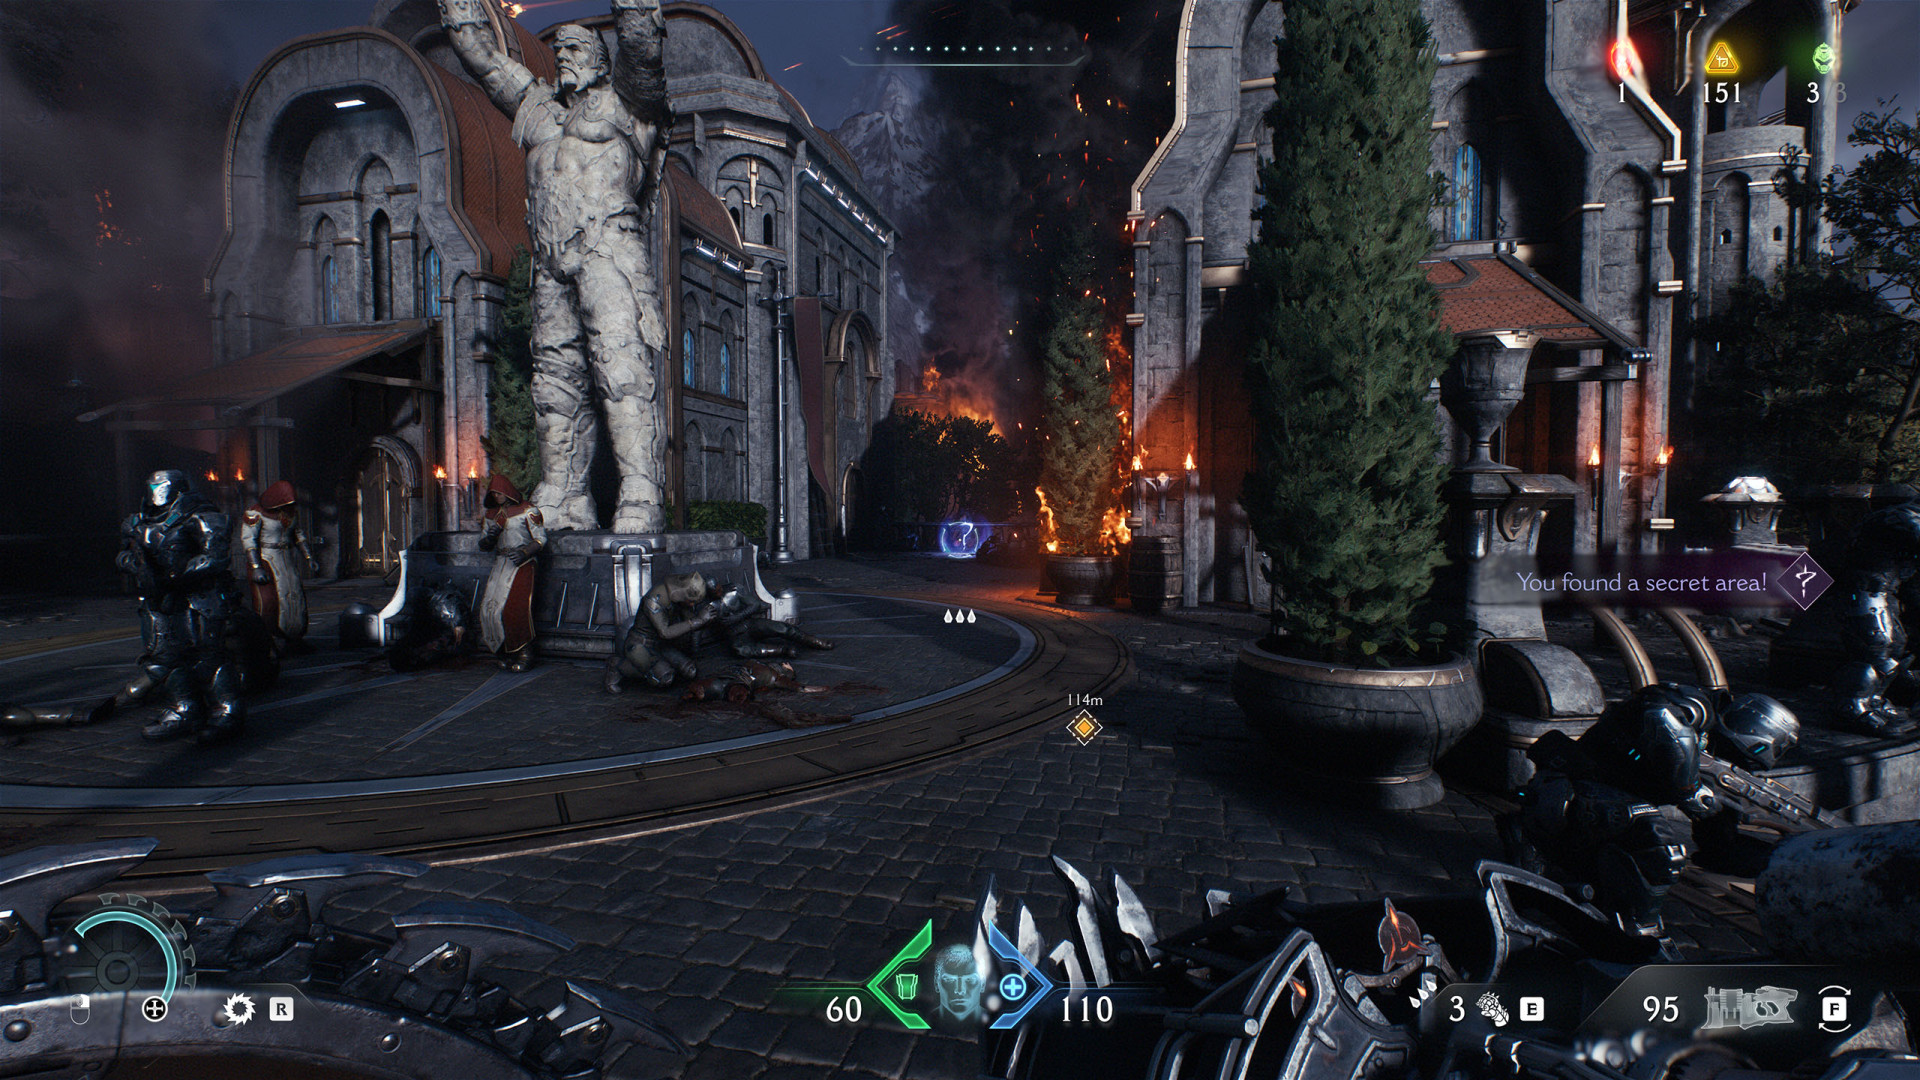
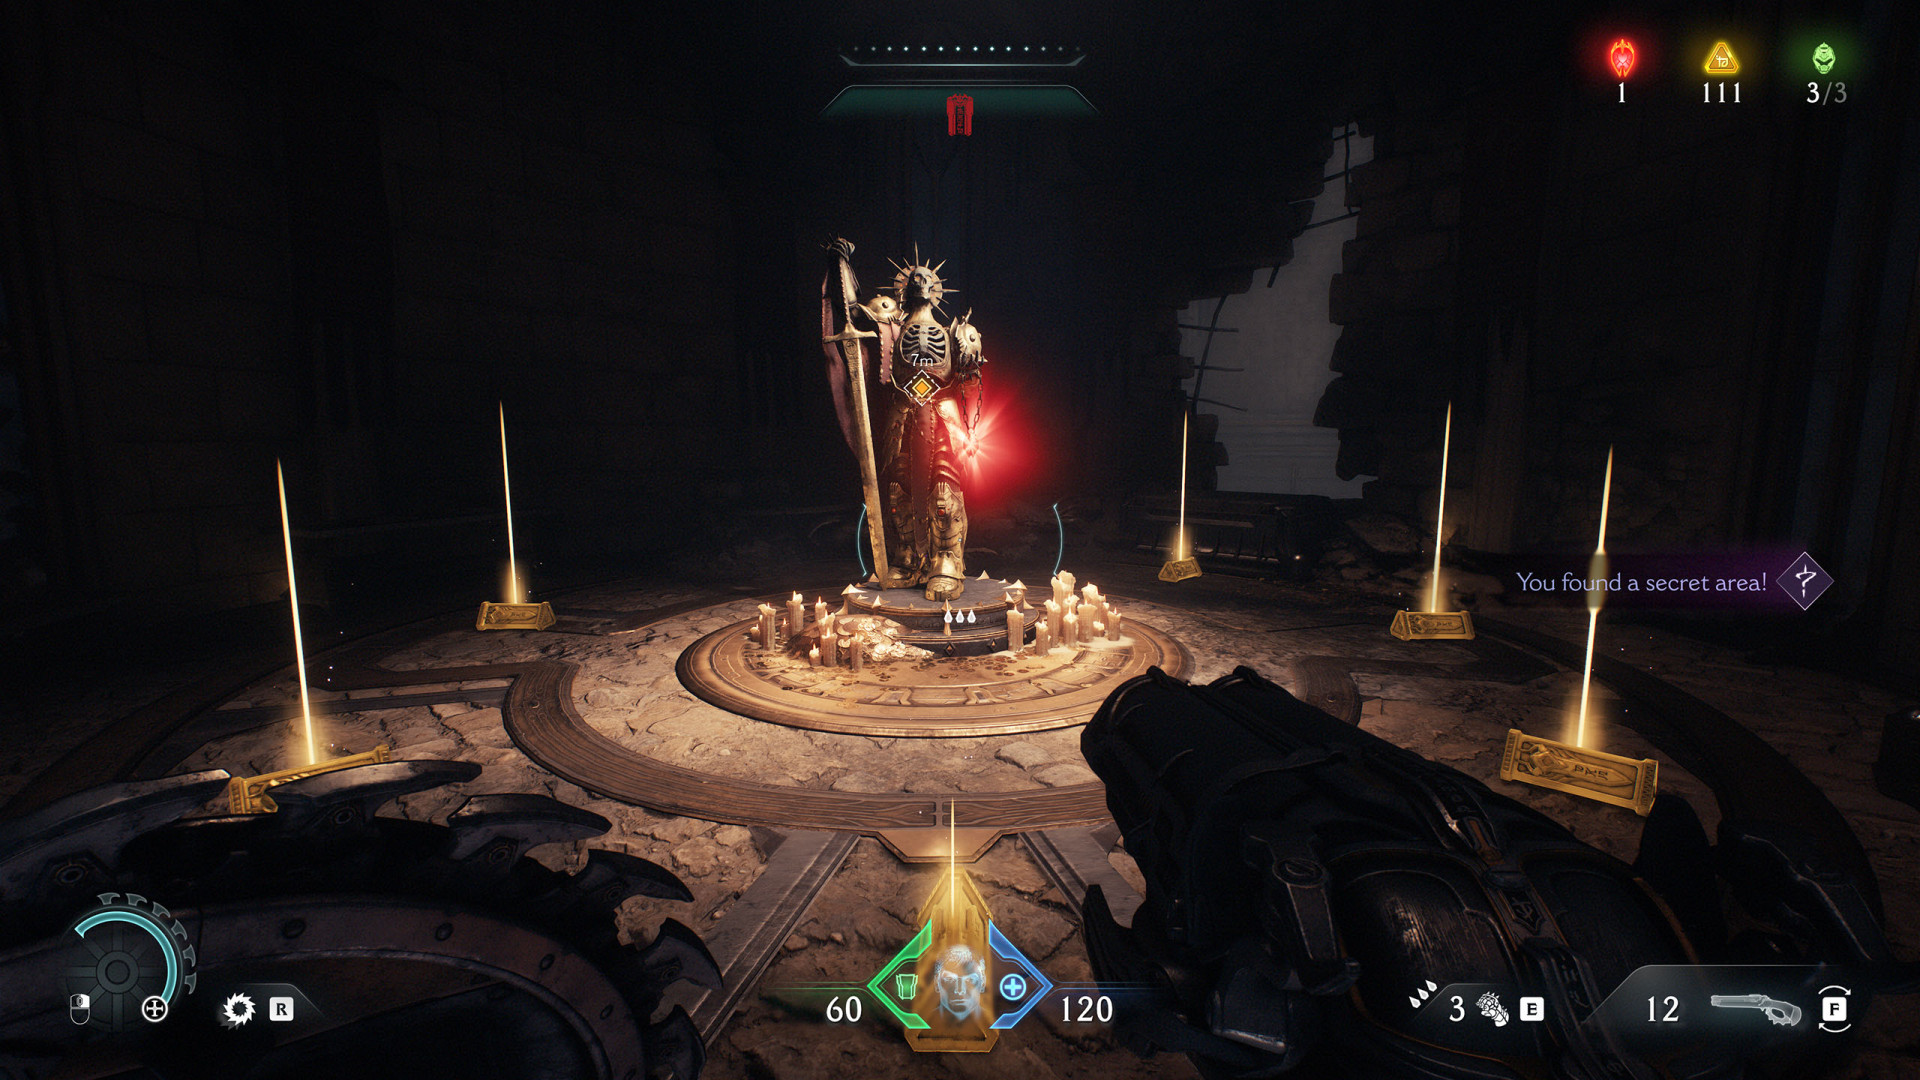
All known locations on the map The Holy City of Aratum
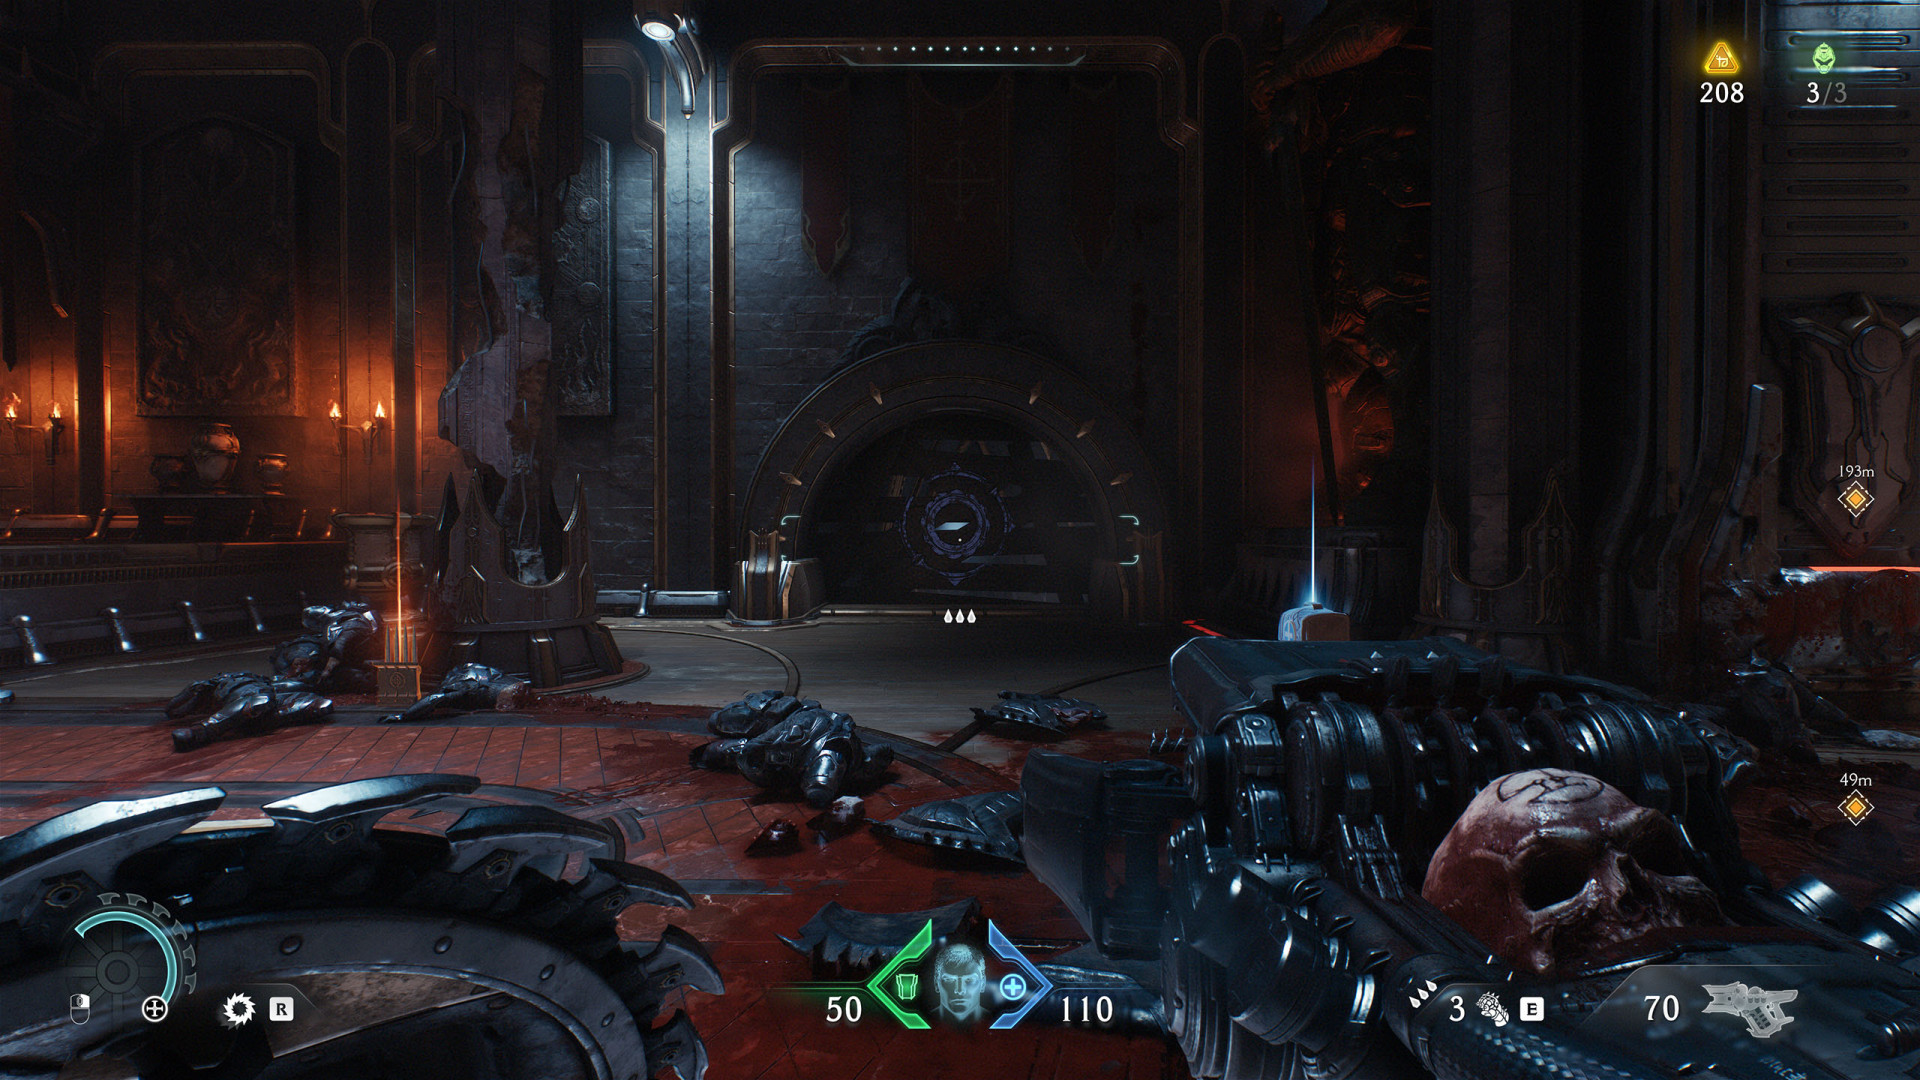
Secret Area (The Holy City of Aratum #1)▶ show the map ◀
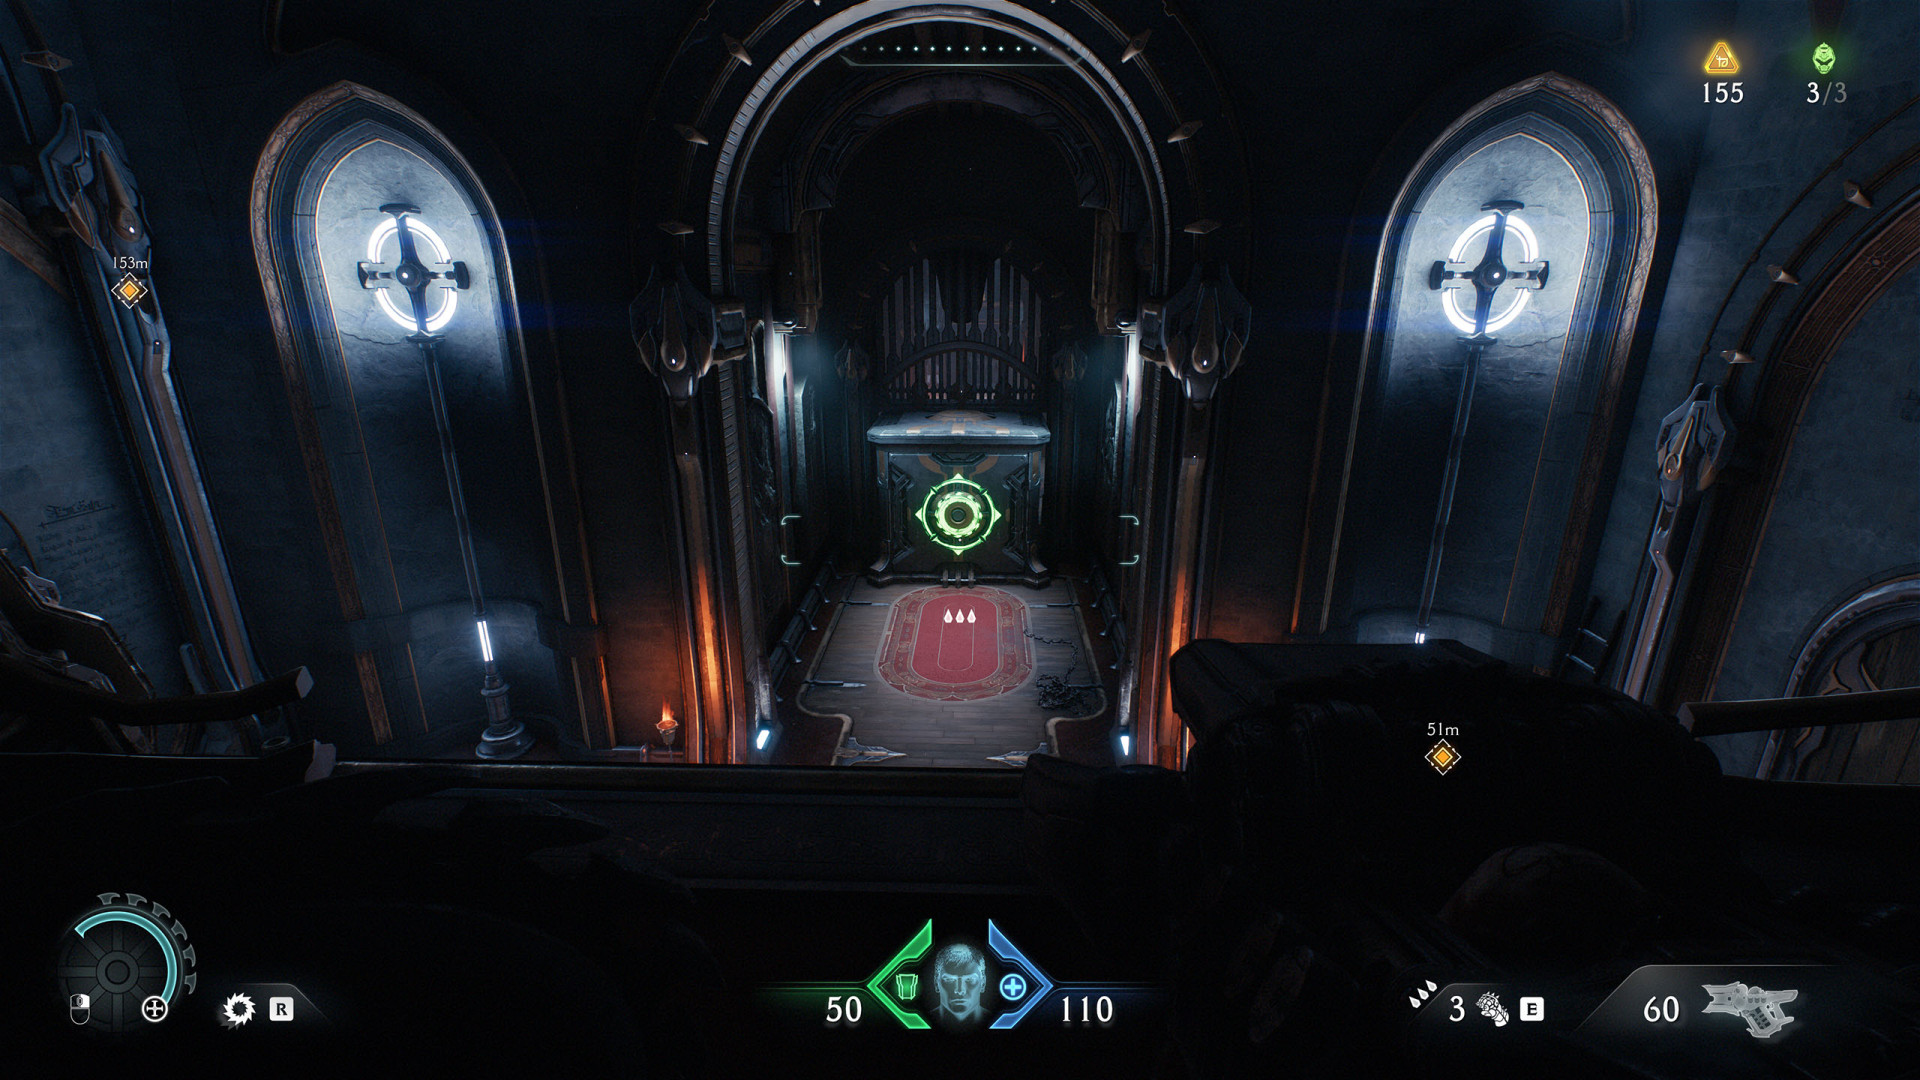
Secret Area (The Holy City of Aratum #2)▶ show the map ◀
Secret Area (The Holy City of Aratum #3)▶ show the map ◀
Secret Area (The Holy City of Aratum #4)▶ show the map ◀
Secret Area (The Holy City of Aratum #5)▶ show the map ◀

Secret Area (The Holy City of Aratum #7)▶ show the map ◀
Secret Area (The Holy City of Aratum #8)▶ show the map ◀
Secret Area (The Holy City of Aratum #9)▶ show the map ◀
All known locations on the map Siege - Part 1
Secret Area (Siege - Part 1 #2)▶ show the map ◀
To get here, you must first obtain the Secret Key (Siege - Part 1).
Secret Area (Siege - Part 1 #3)▶ show the map ◀
Secret Area (Siege - Part 1 #4)▶ show the map ◀
To get here, you must first obtain the Secret Key (Siege - Part 1).
Secret Area (Siege - Part 1 #5)▶ show the map ◀
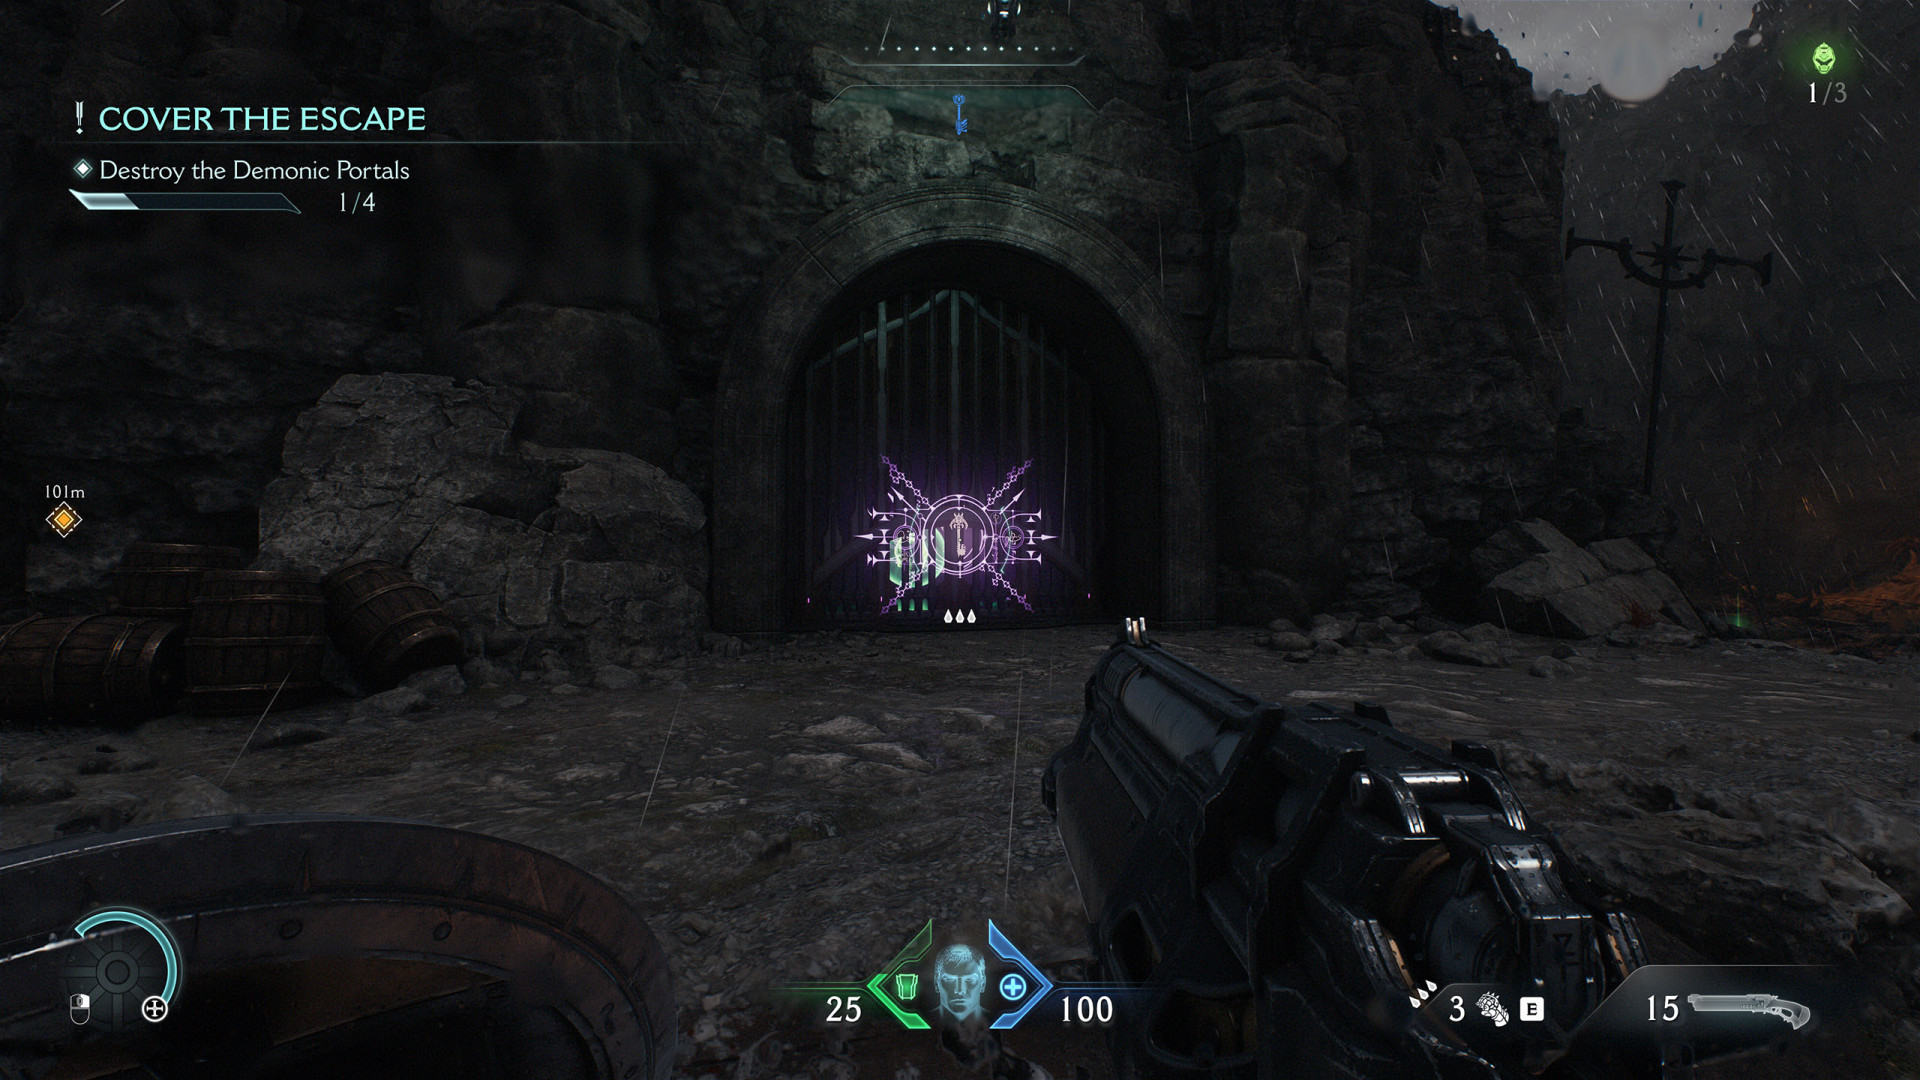
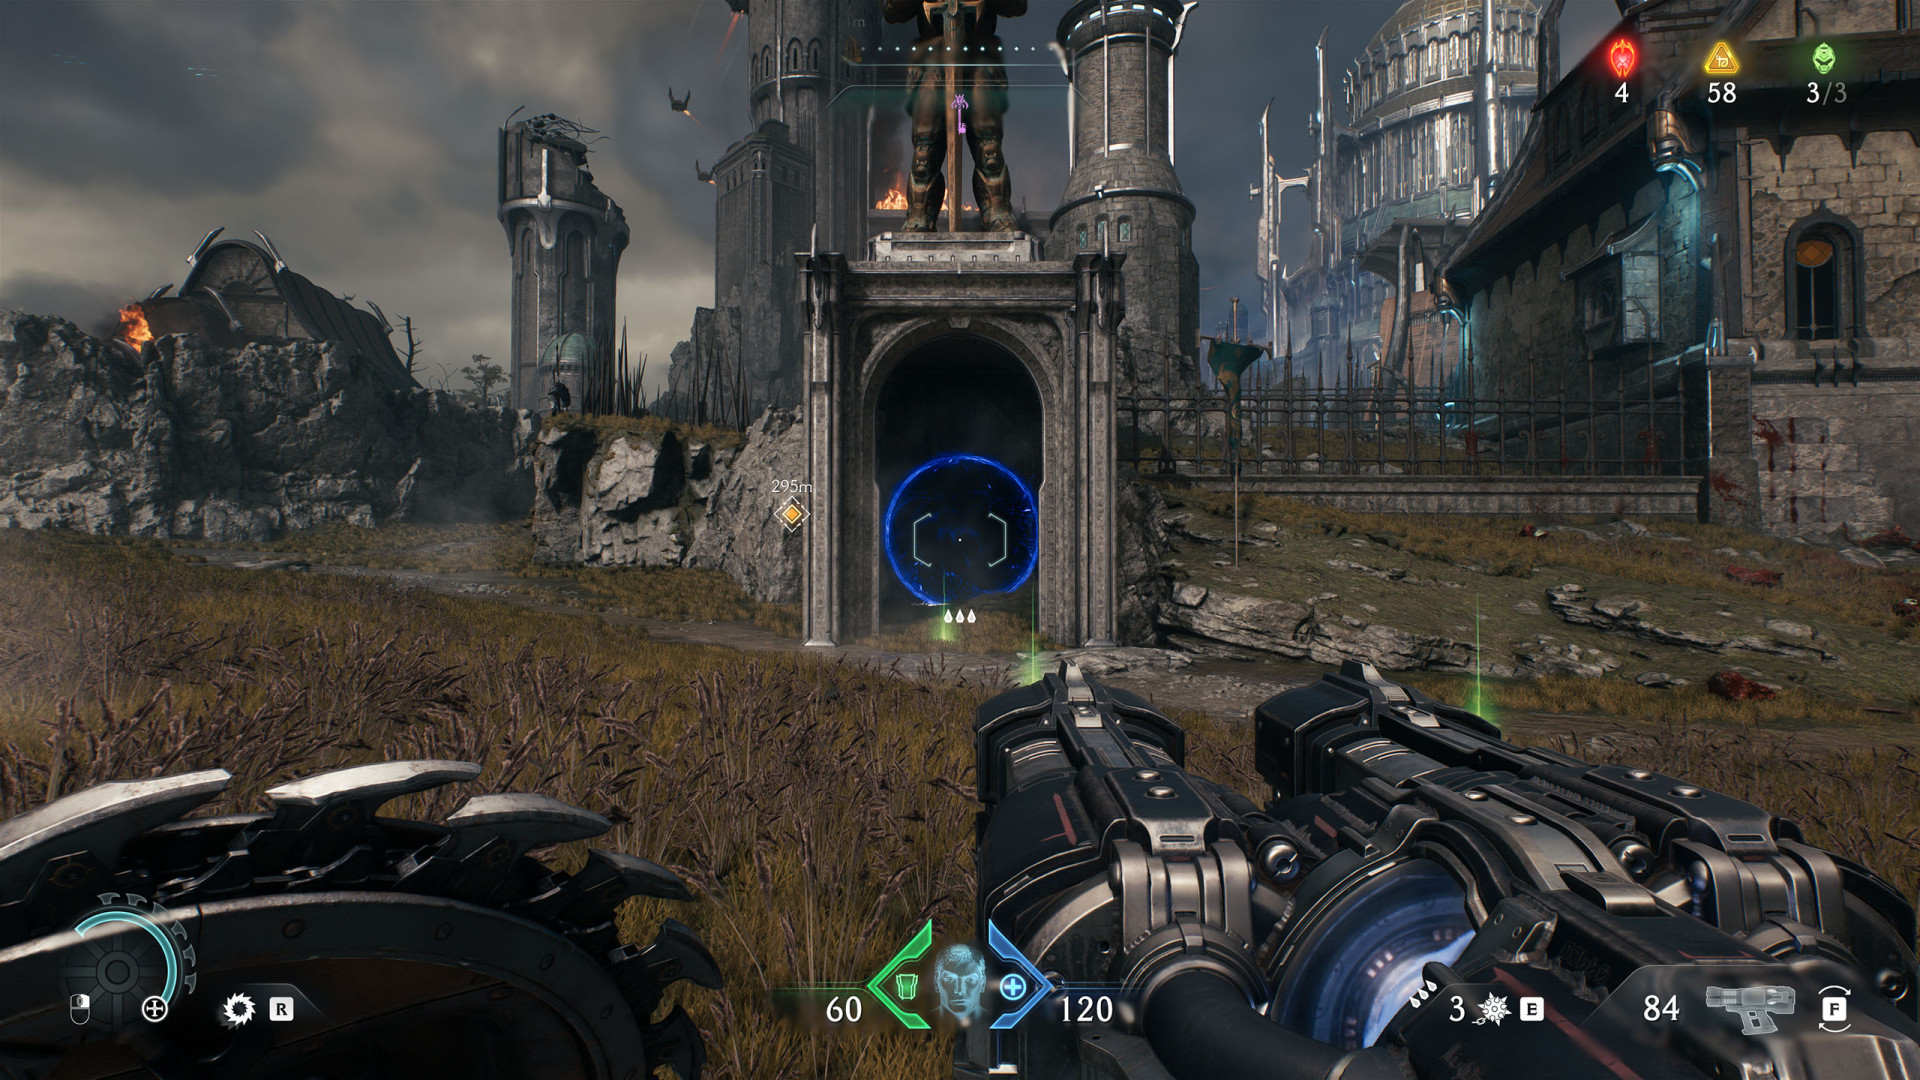
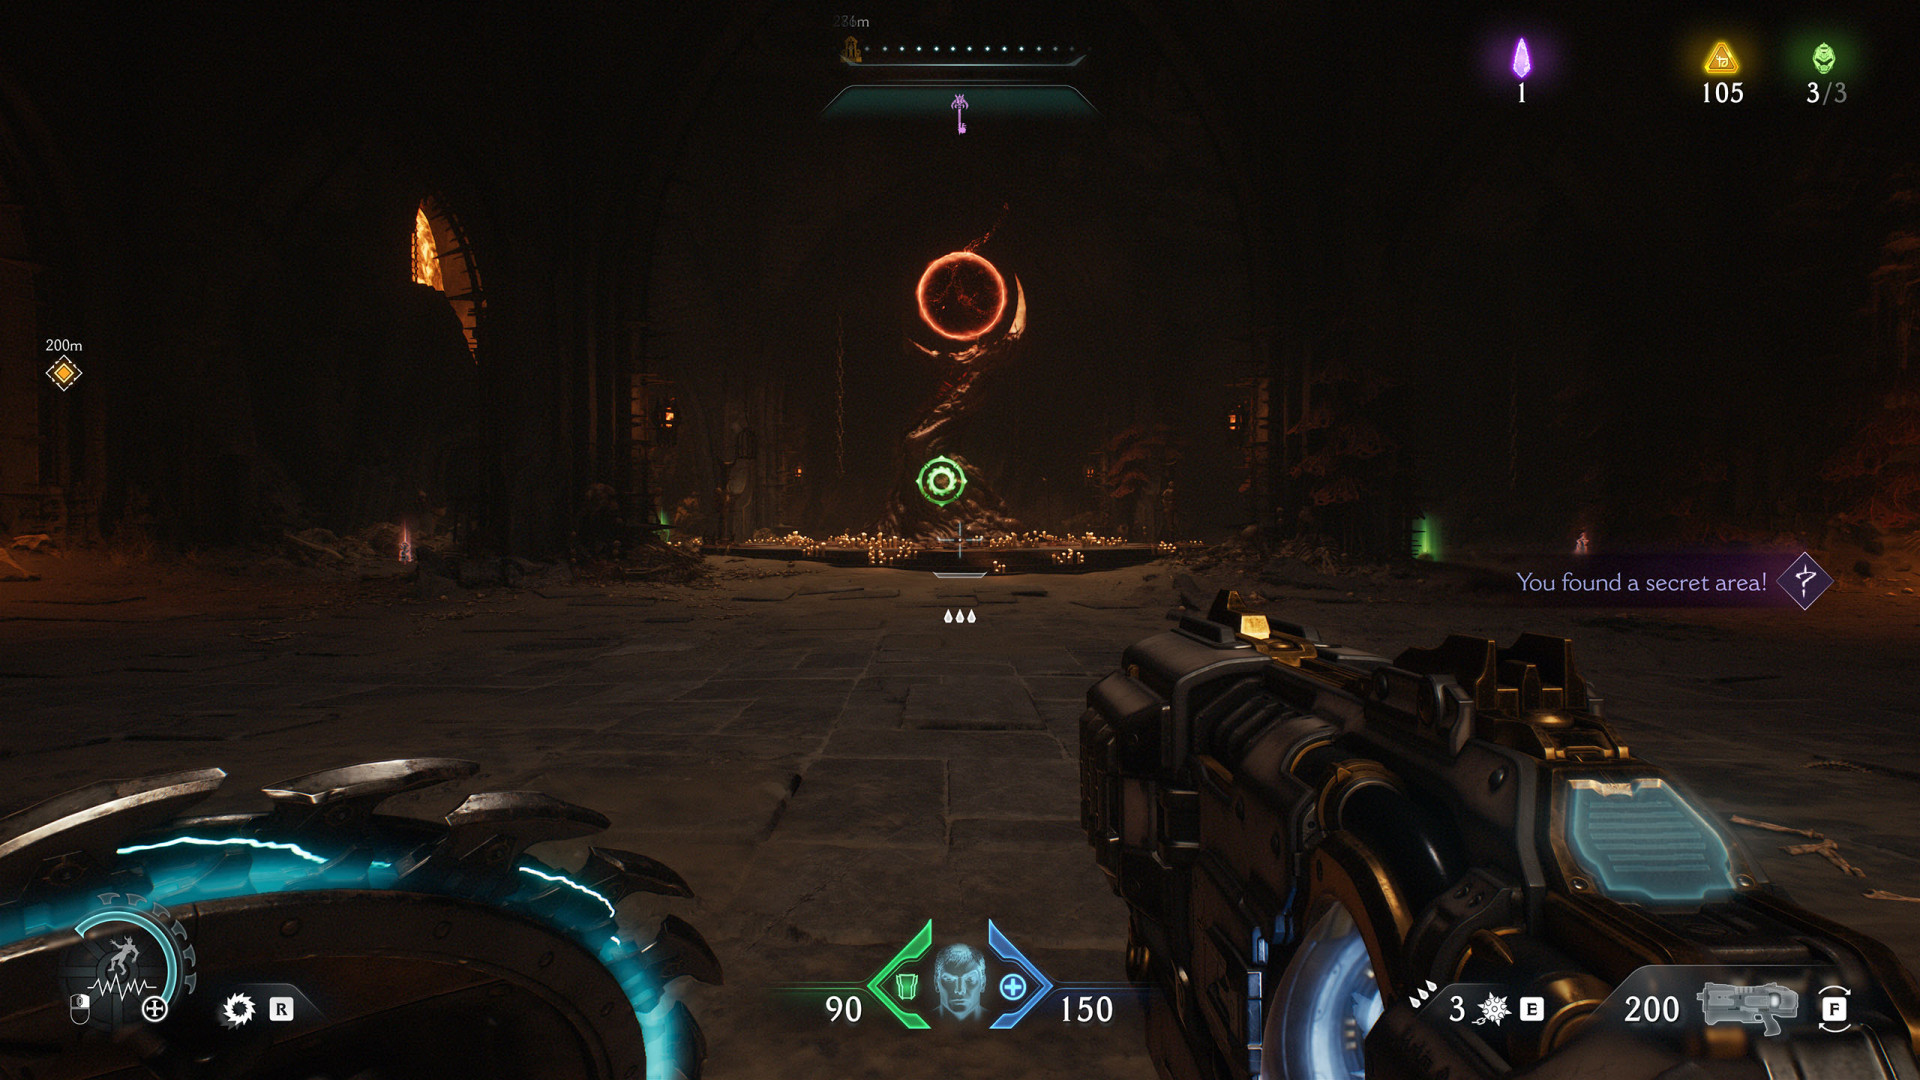
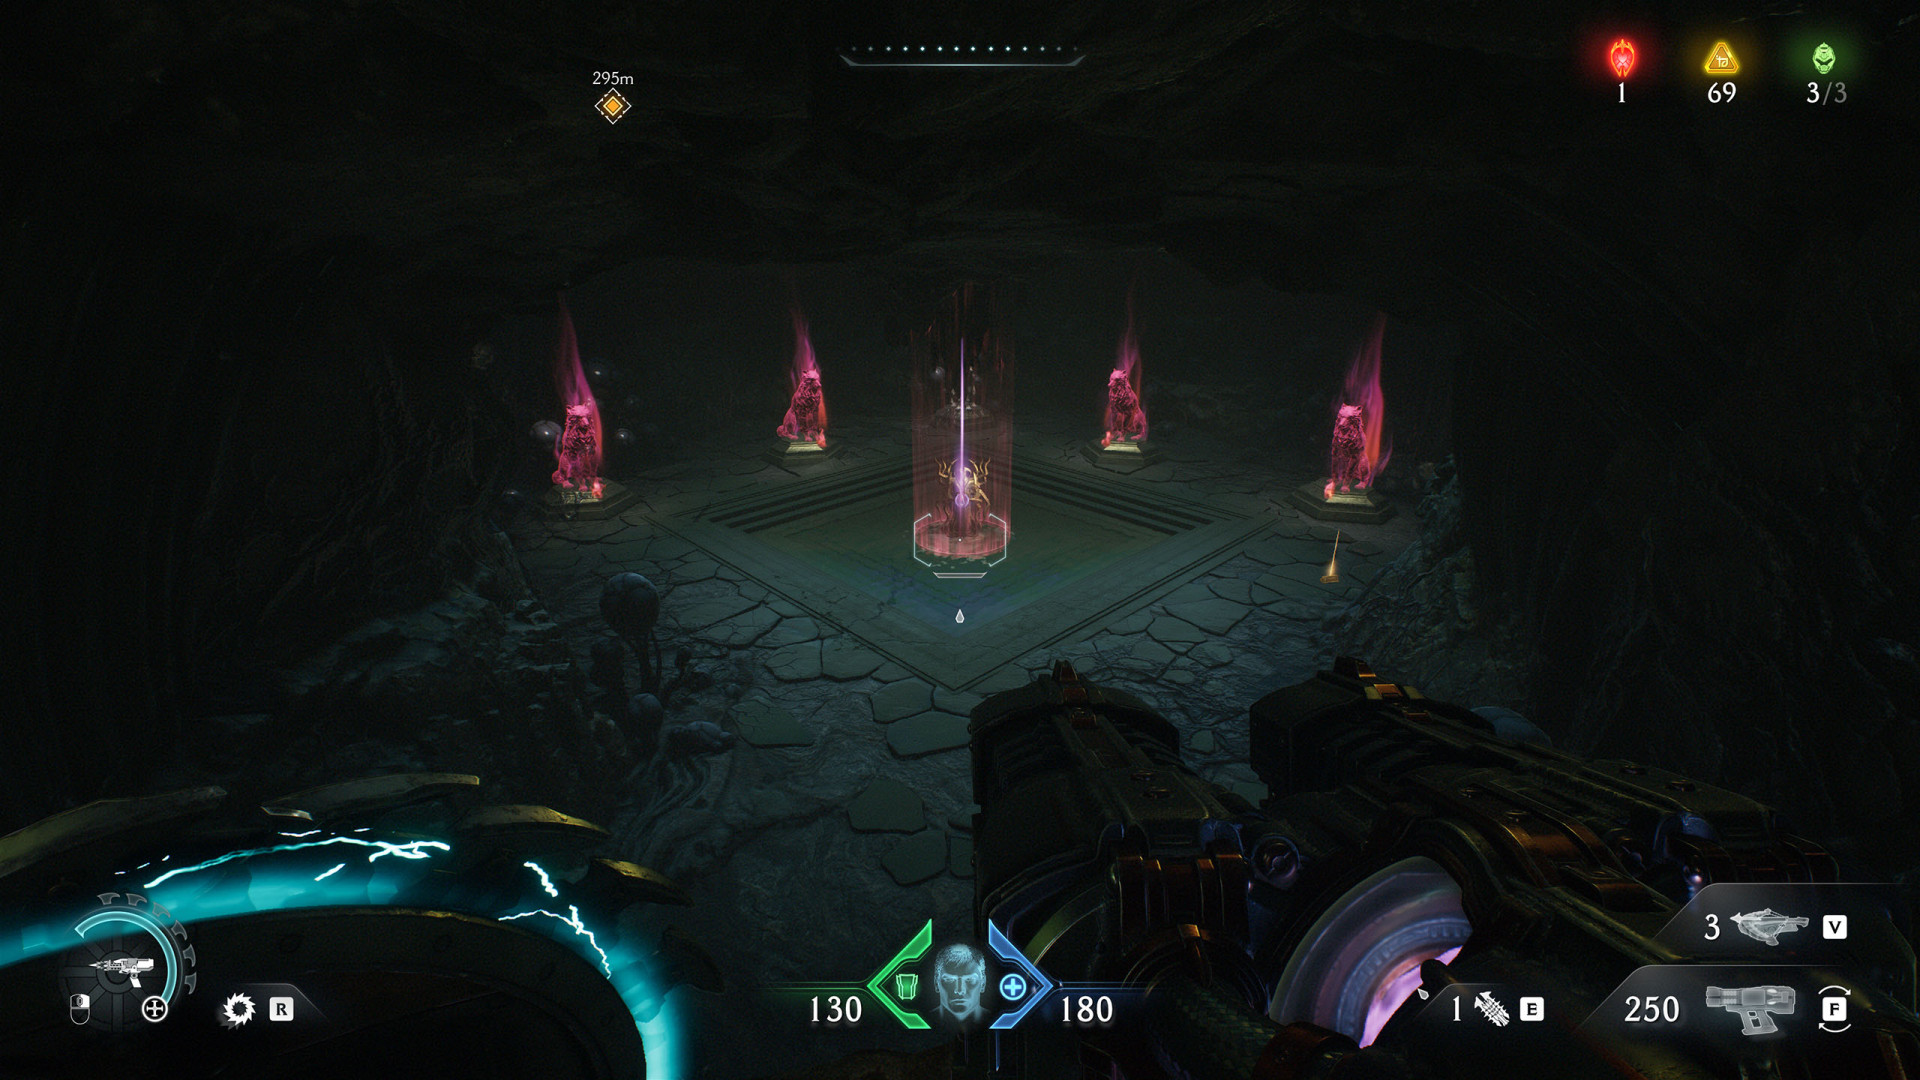
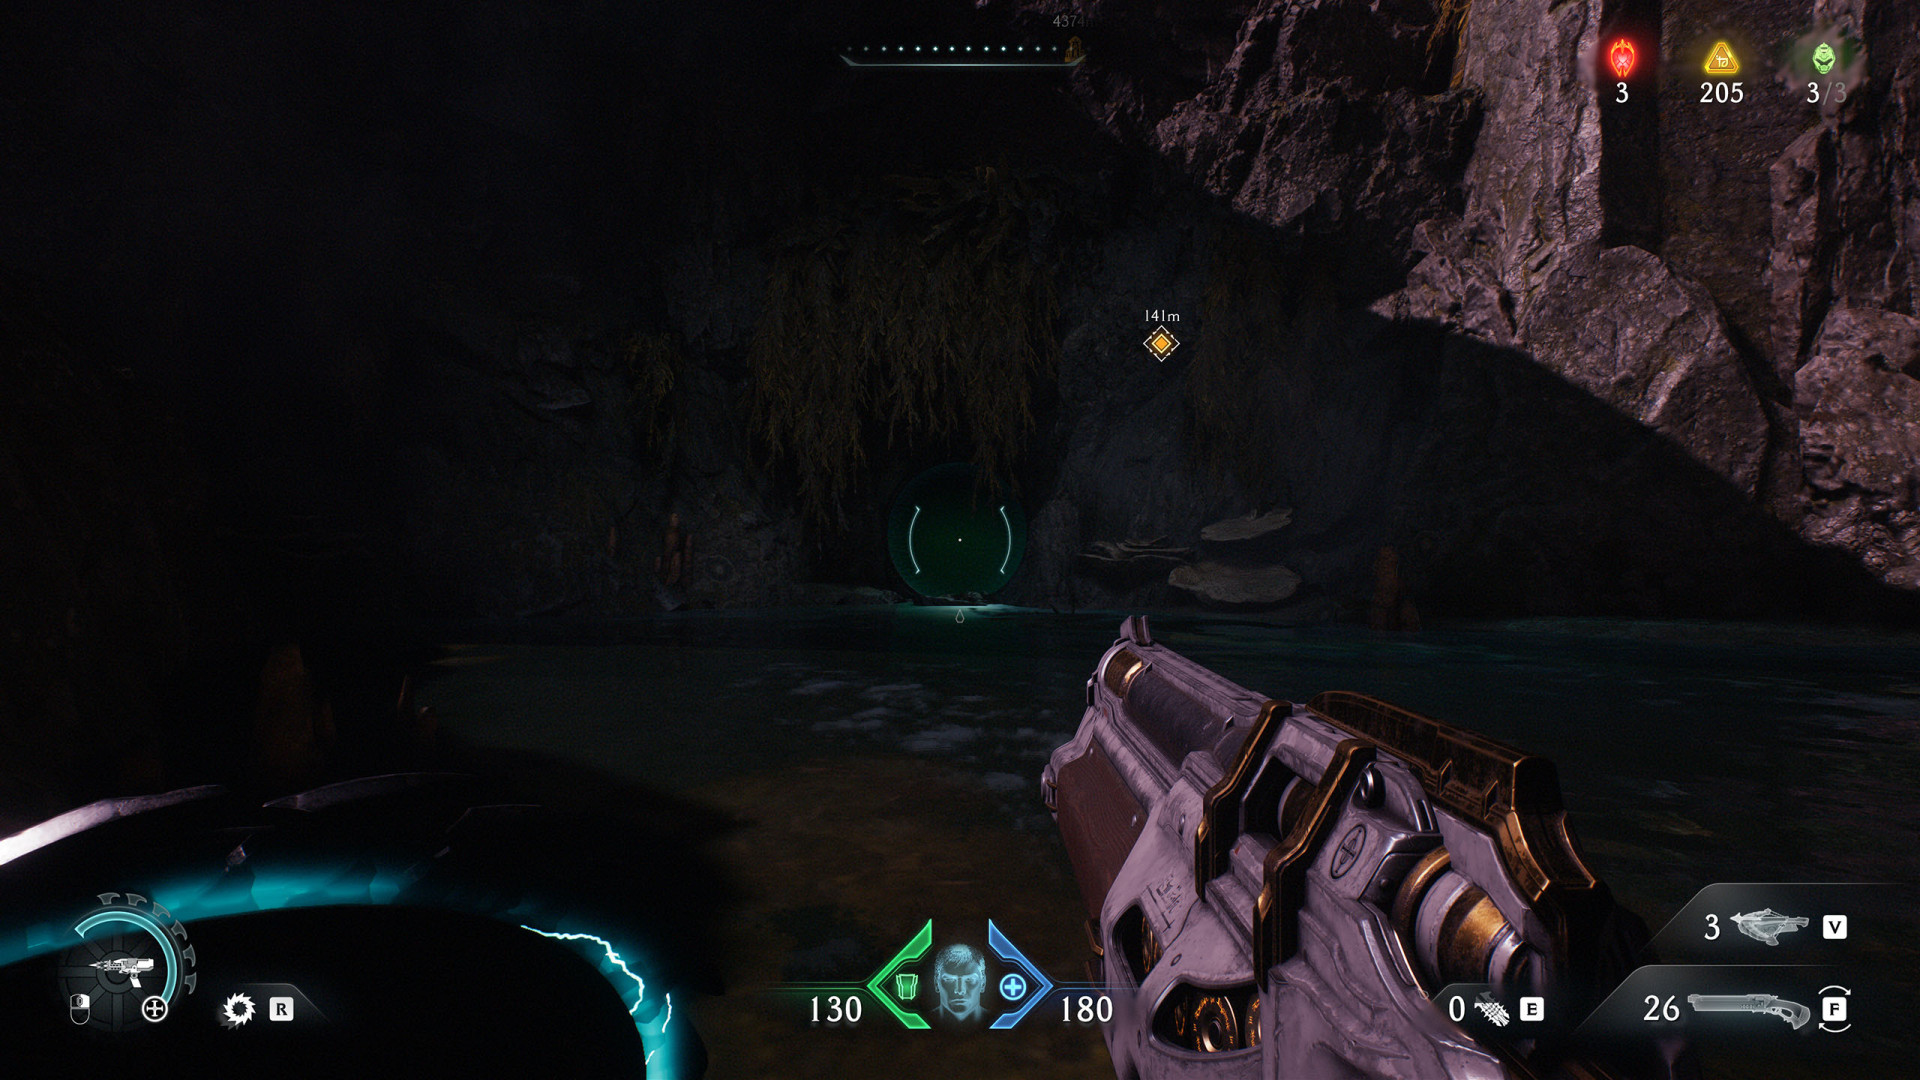
The portal will appear after defeating the enemies in the area. It will transport you to the underground.
Secret Area (Siege - Part 1 #6)▶ show the map ◀
Use the shield charge to break through the wooden wall.
Secret Area (Siege - Part 1 #8)▶ show the map ◀
Secret Area (Siege - Part 1 #9)▶ show the map ◀
Secret Area (Siege - Part 1 #10)▶ show the map ◀
Secret Area (Siege - Part 1 #11)▶ show the map ◀
Climb up the crates to the other side and then use the shield charge to break through the weak wall.
All known locations on the map Siege - Part 2
Secret Area (Siege - Part 2 #1)▶ show the map ◀
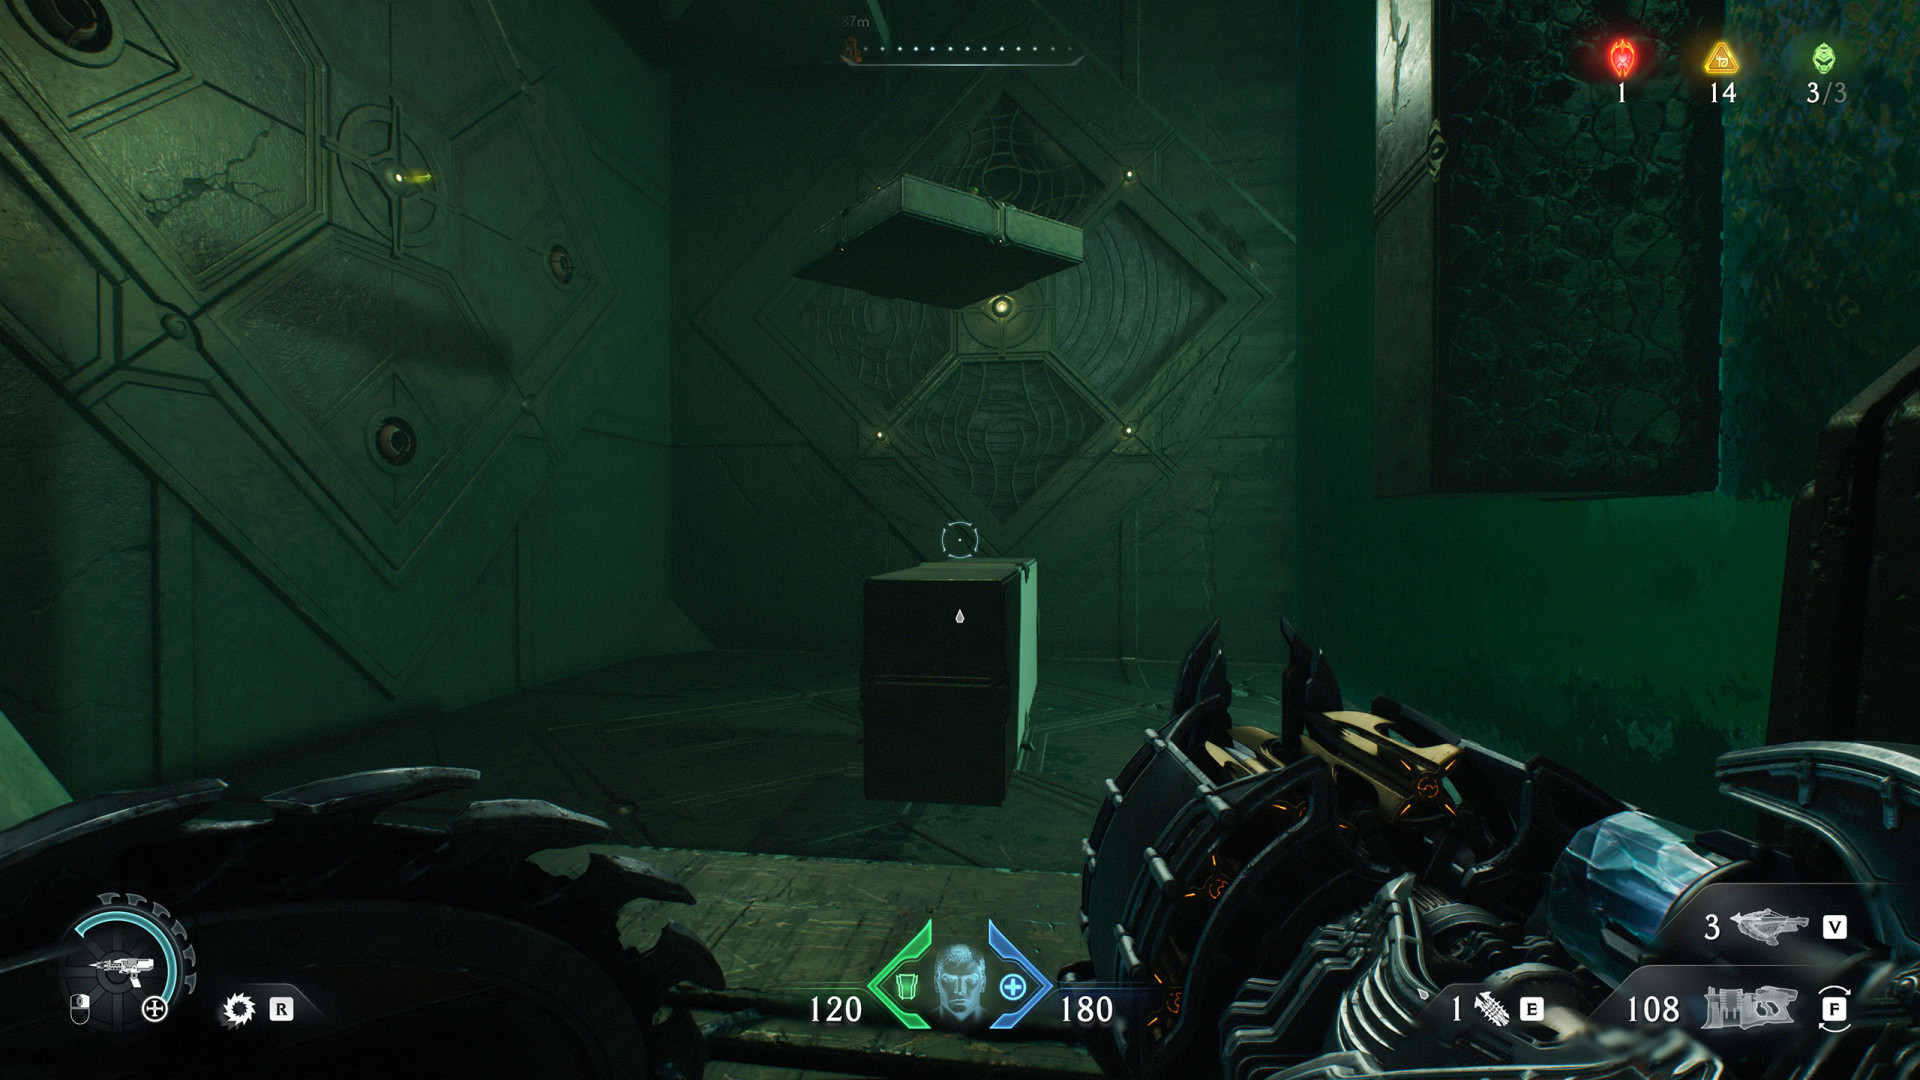
First, move the crate and then use the shield charge to break through the wooden wall.
Secret Area (Siege - Part 2 #3)▶ show the map ◀
Secret Area (Siege - Part 2 #4)▶ show the map ◀

Secret Area (Siege - Part 2 #5)▶ show the map ◀
Secret Area (Siege - Part 2 #6)▶ show the map ◀
Secret Area (Siege - Part 2 #7)▶ show the map ◀
Secret Area (Siege - Part 2 #8)▶ show the map ◀
Secret Area (Siege - Part 2 #9)▶ show the map ◀
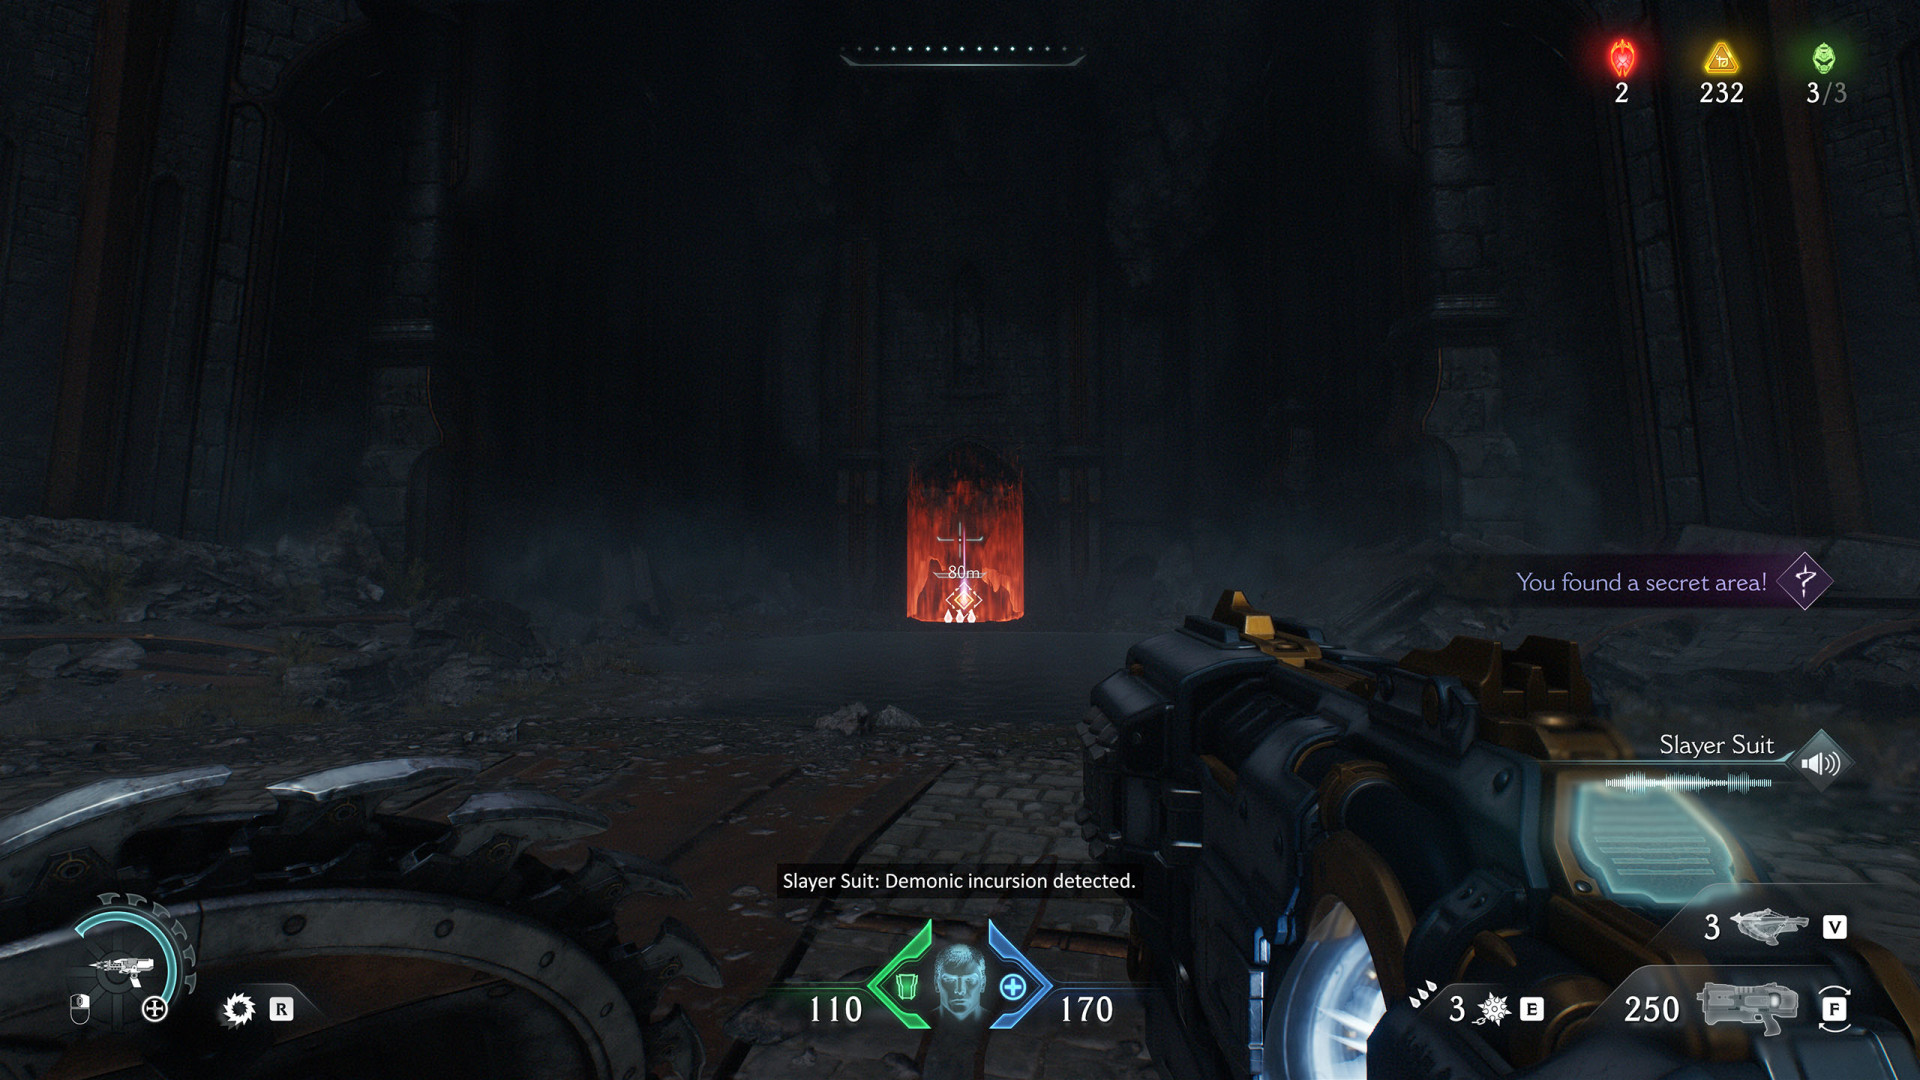
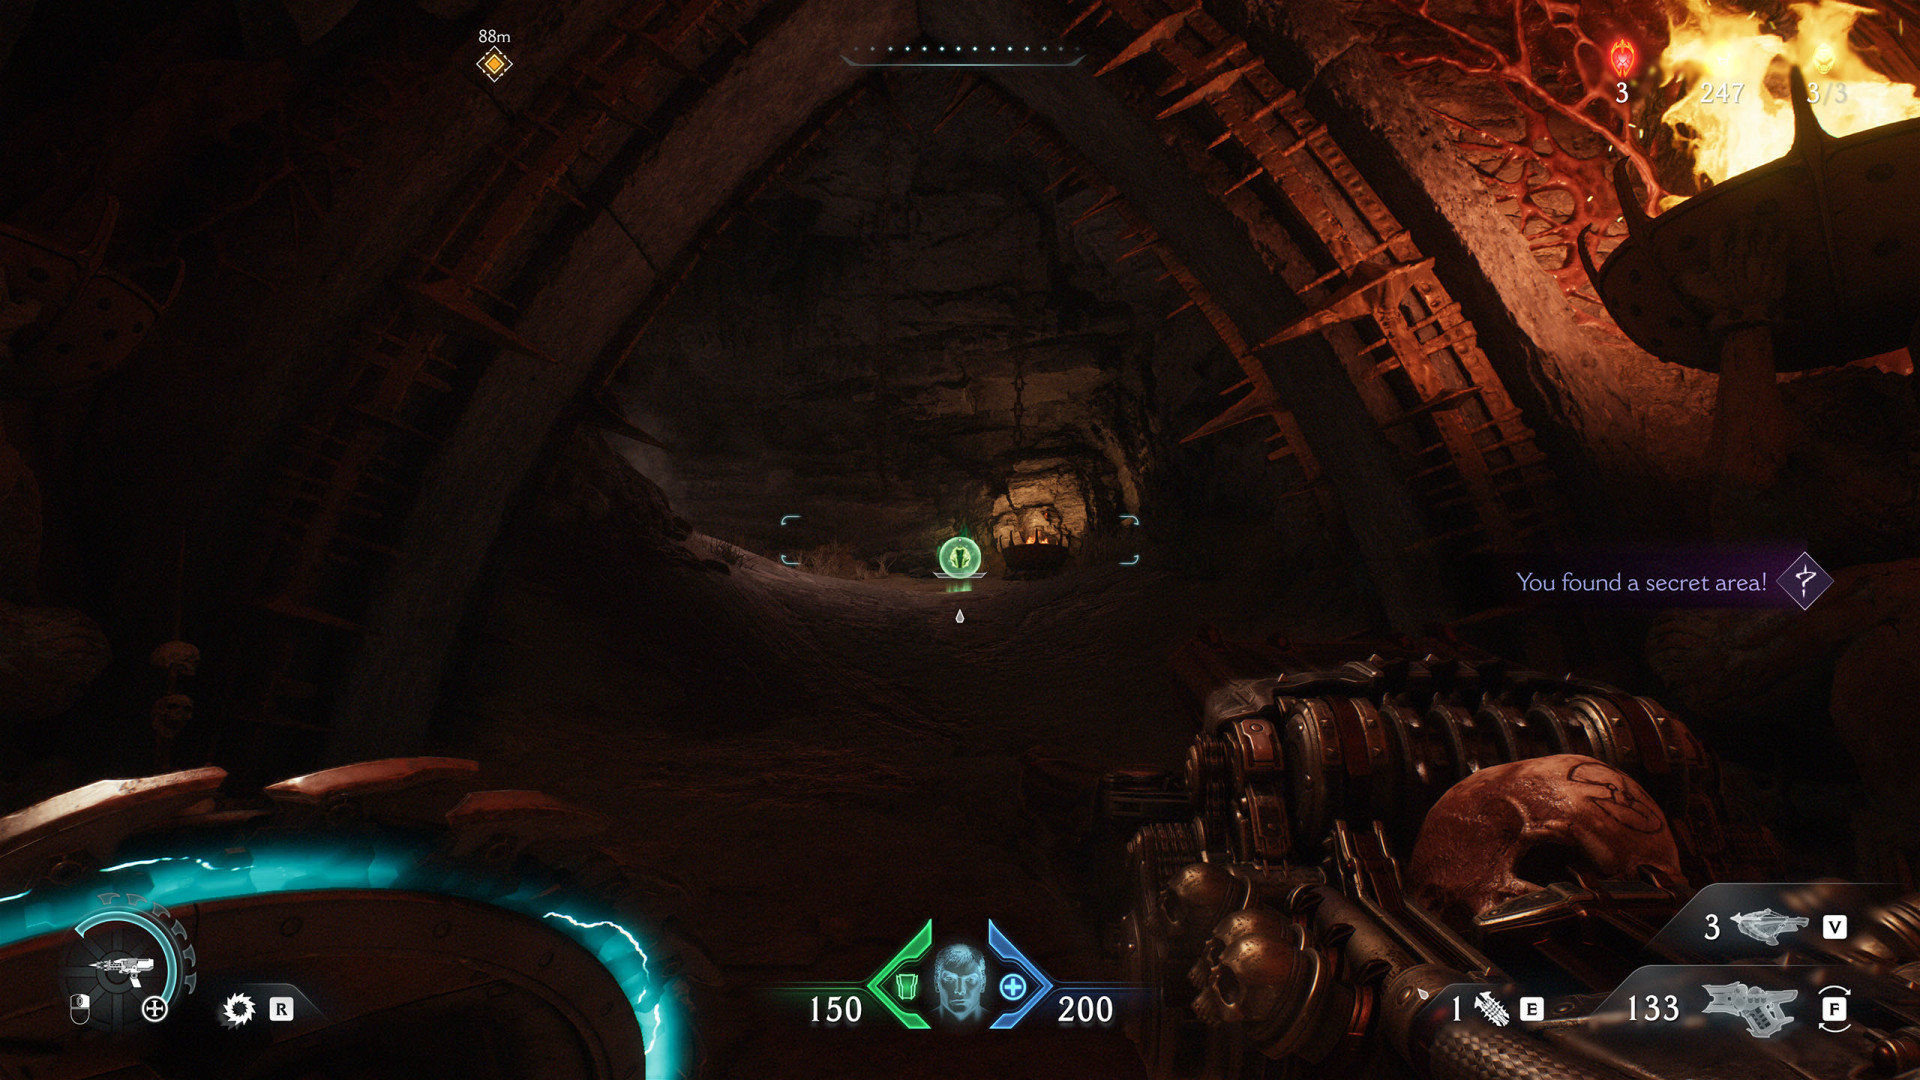
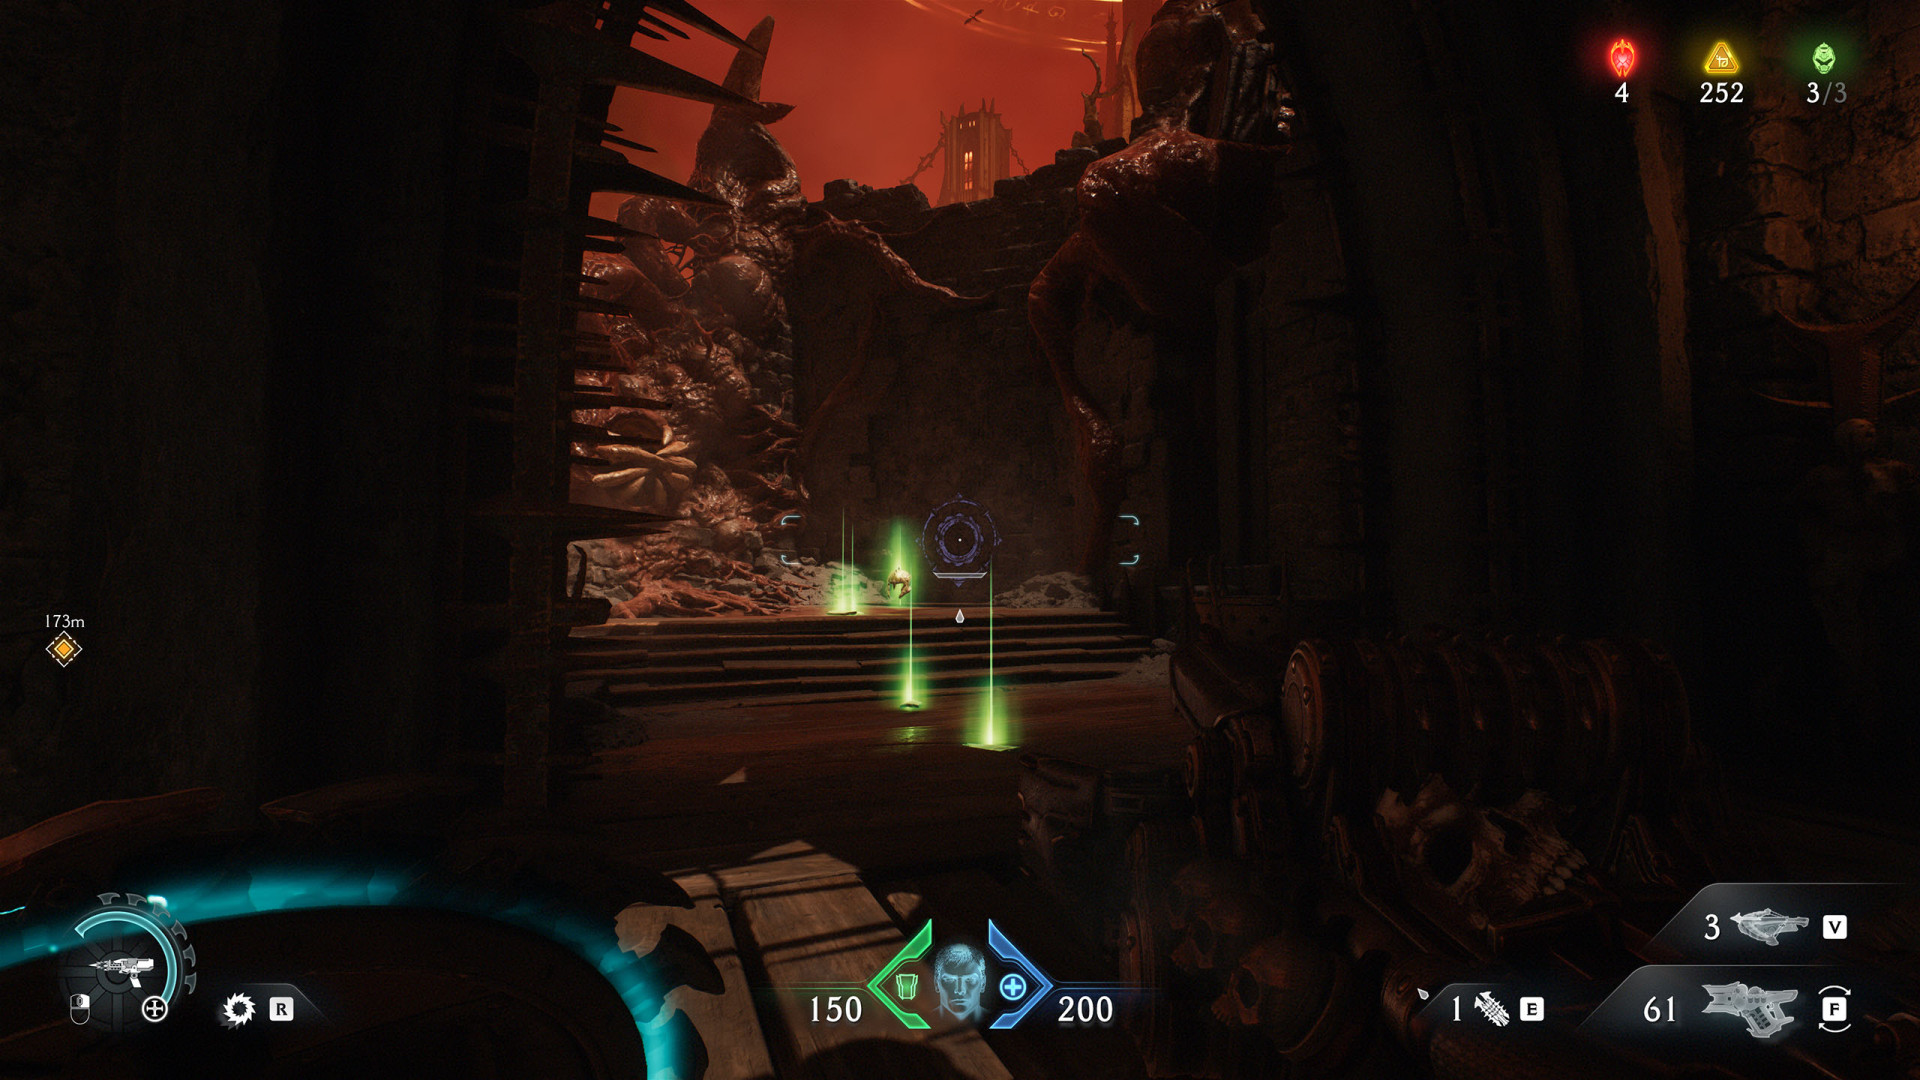
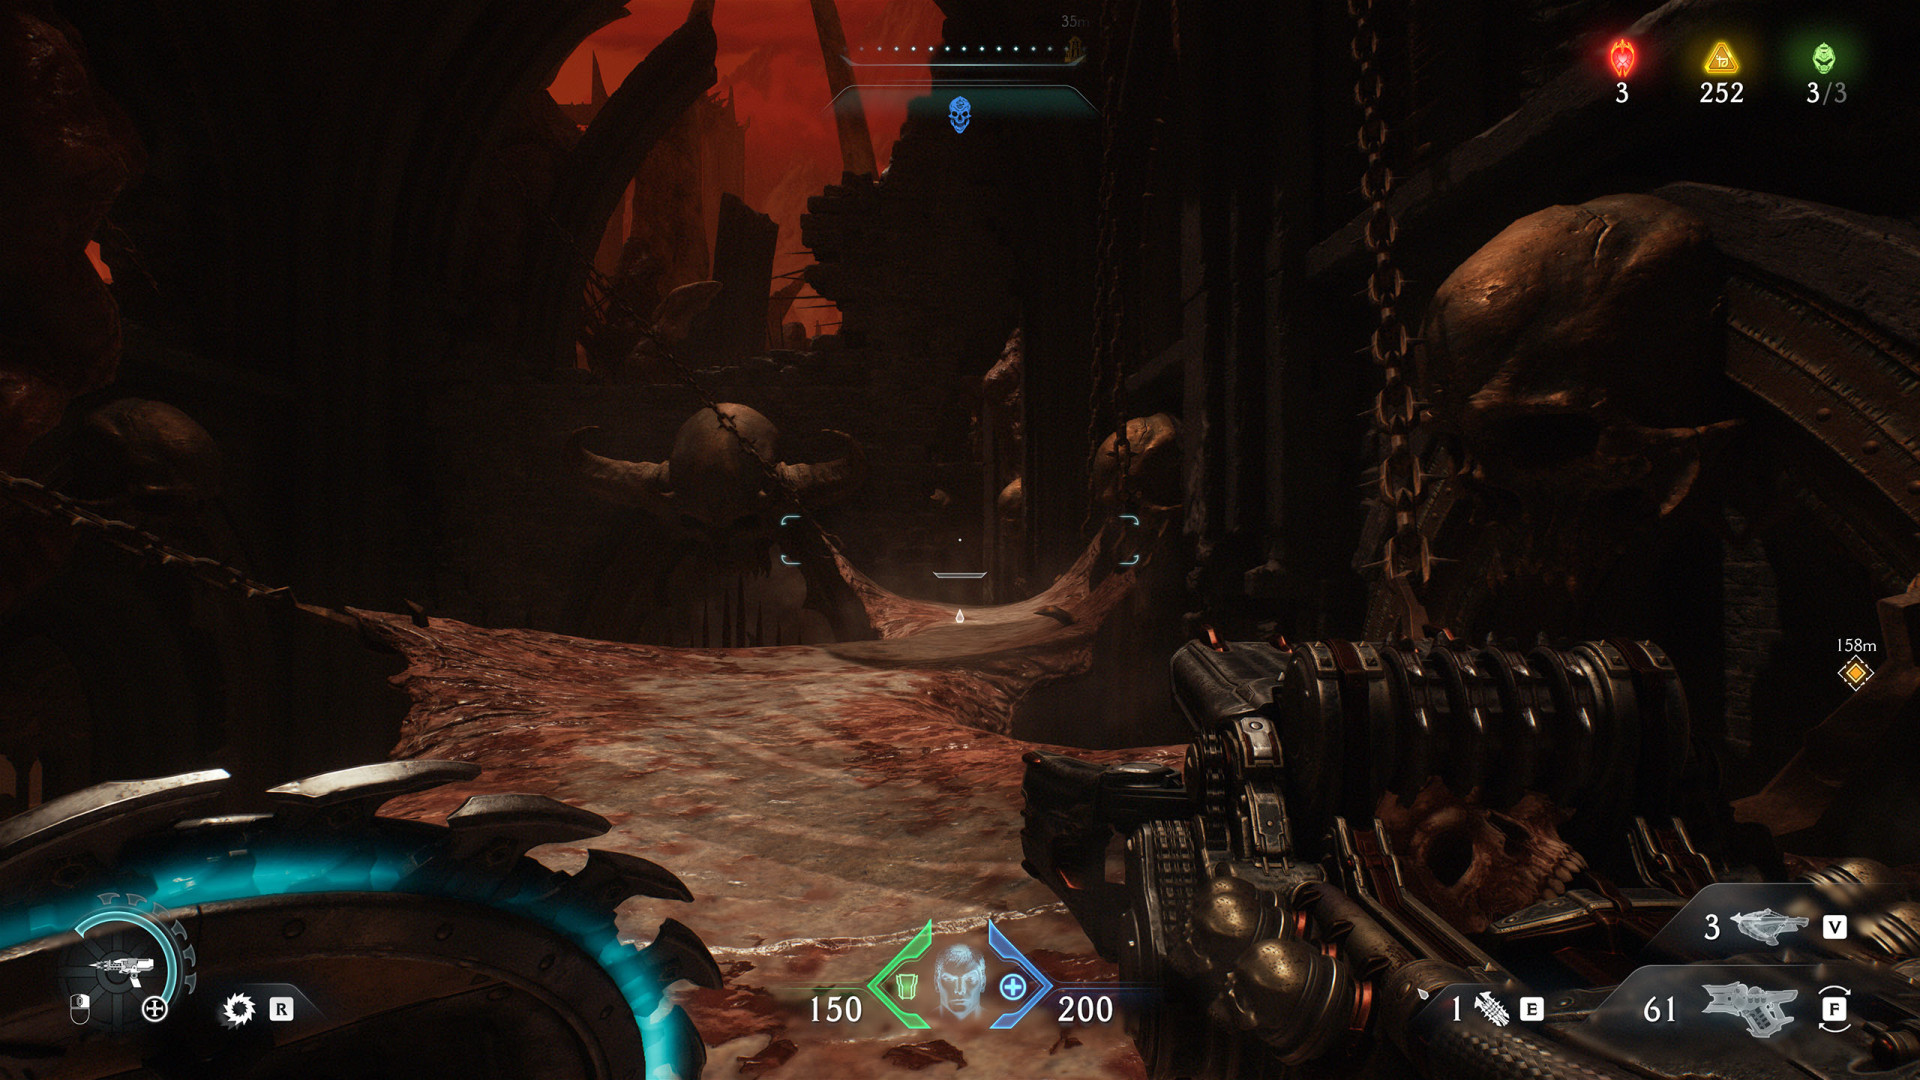
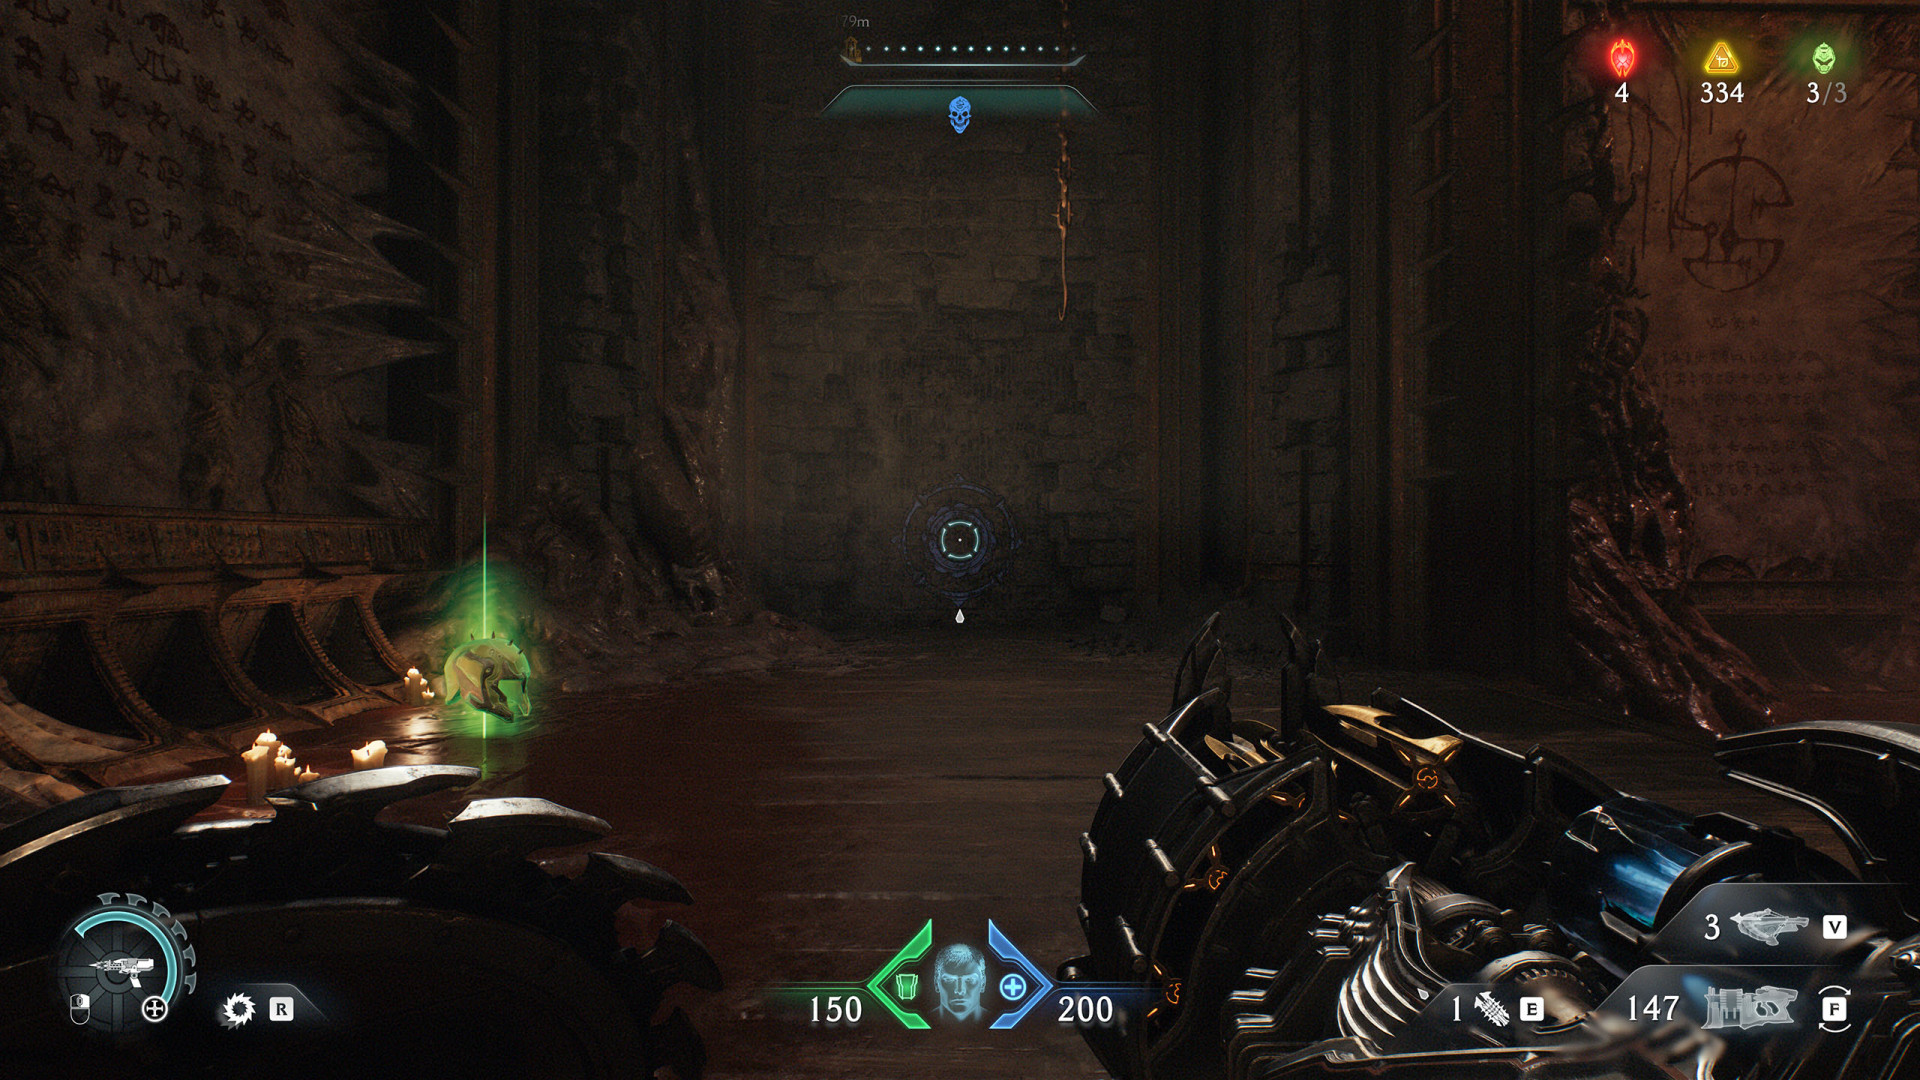
All known locations on the map Abyssal Forest
Secret Area (Abyssal Forest #1)▶ show the map ◀
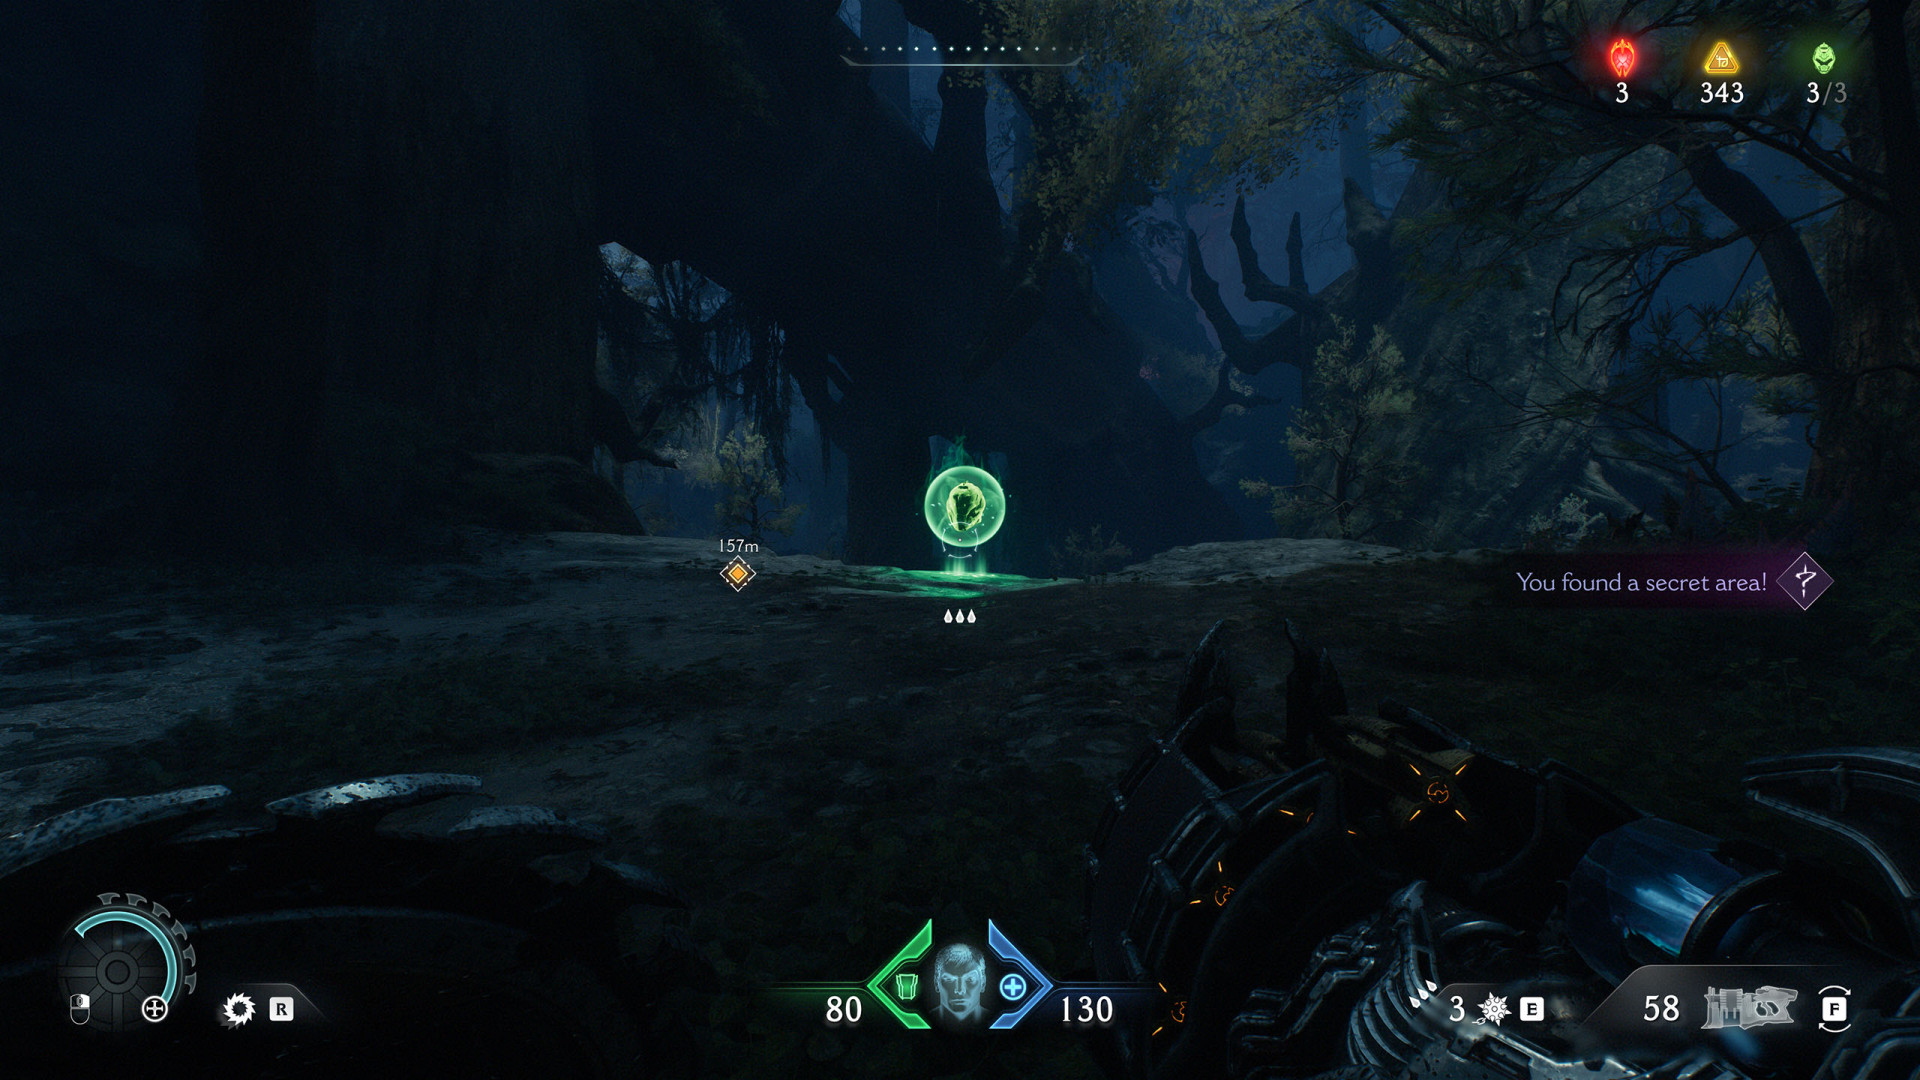
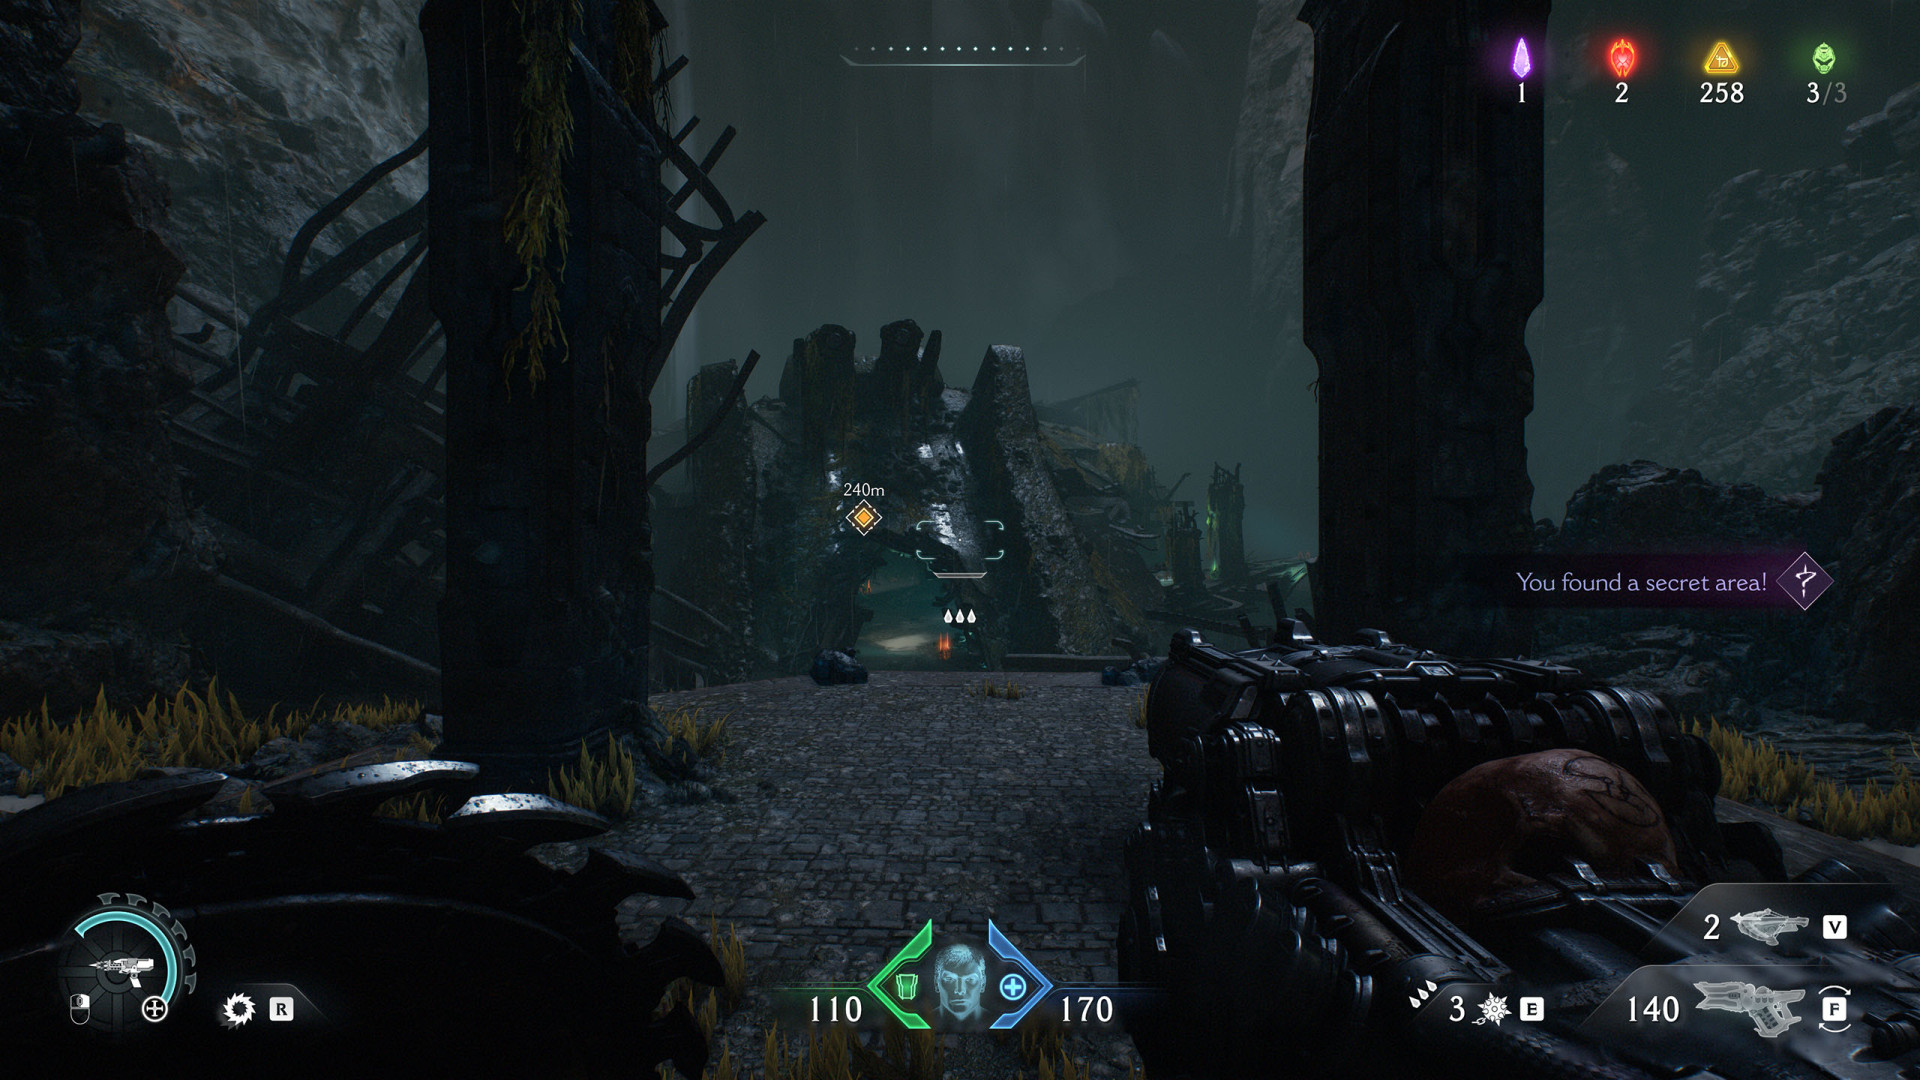
Secret Area (Abyssal Forest #3)▶ show the map ◀
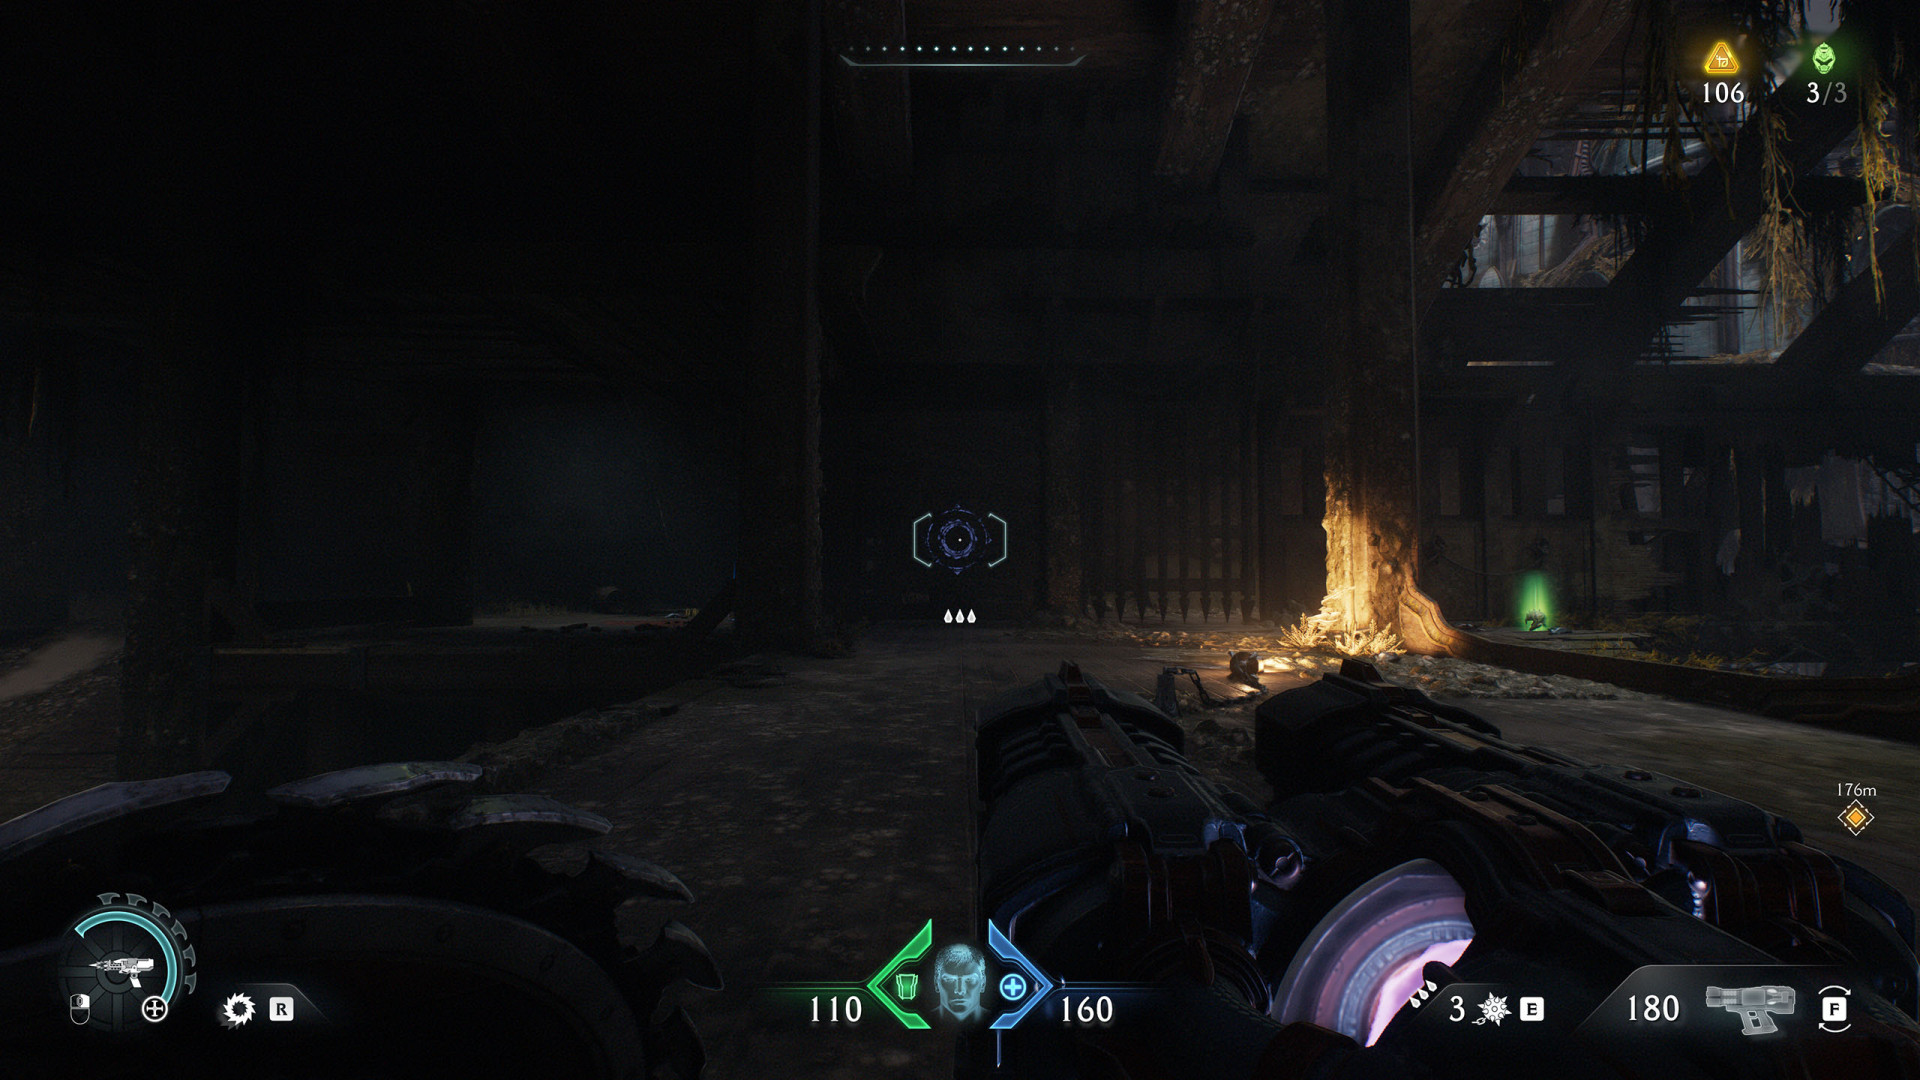
Secret Area (Abyssal Forest #4)▶ show the map ◀
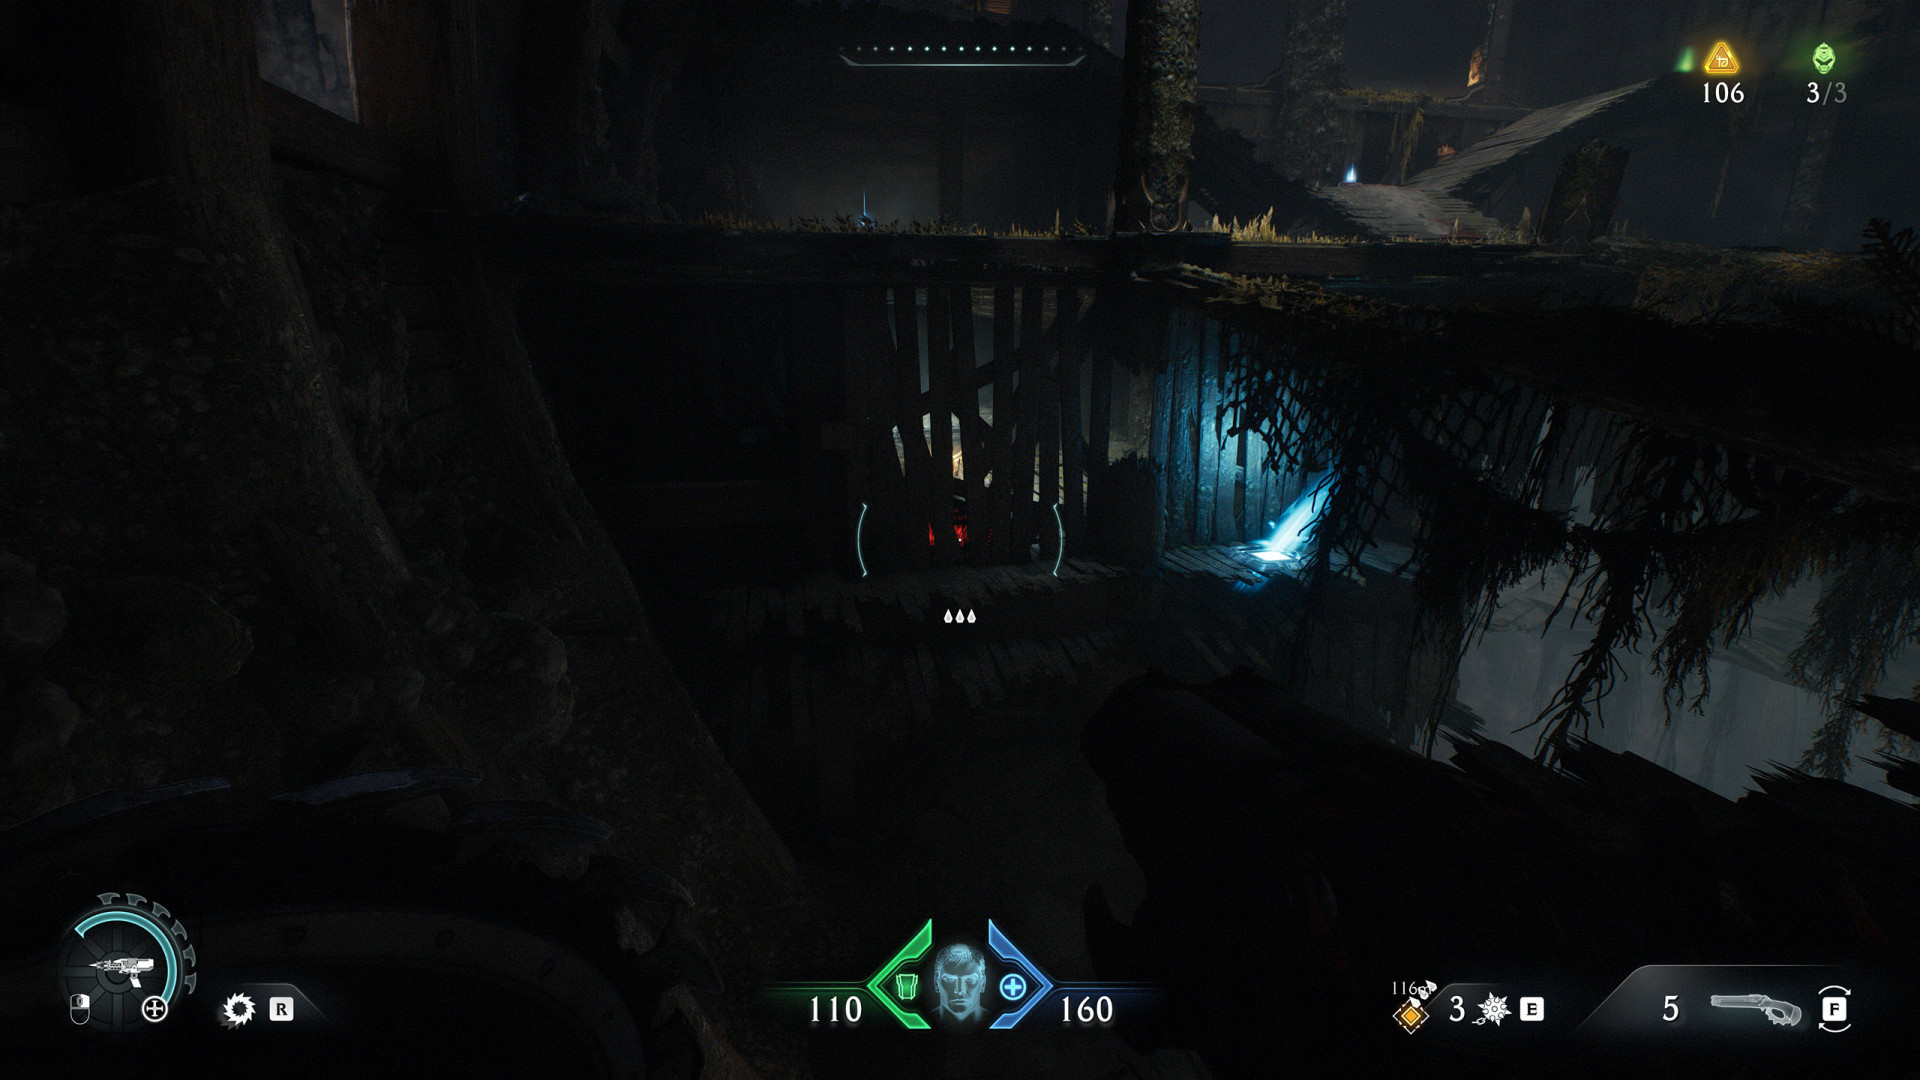
Secret Area (Abyssal Forest #5)▶ show the map ◀
Secret Area (Abyssal Forest #6)▶ show the map ◀
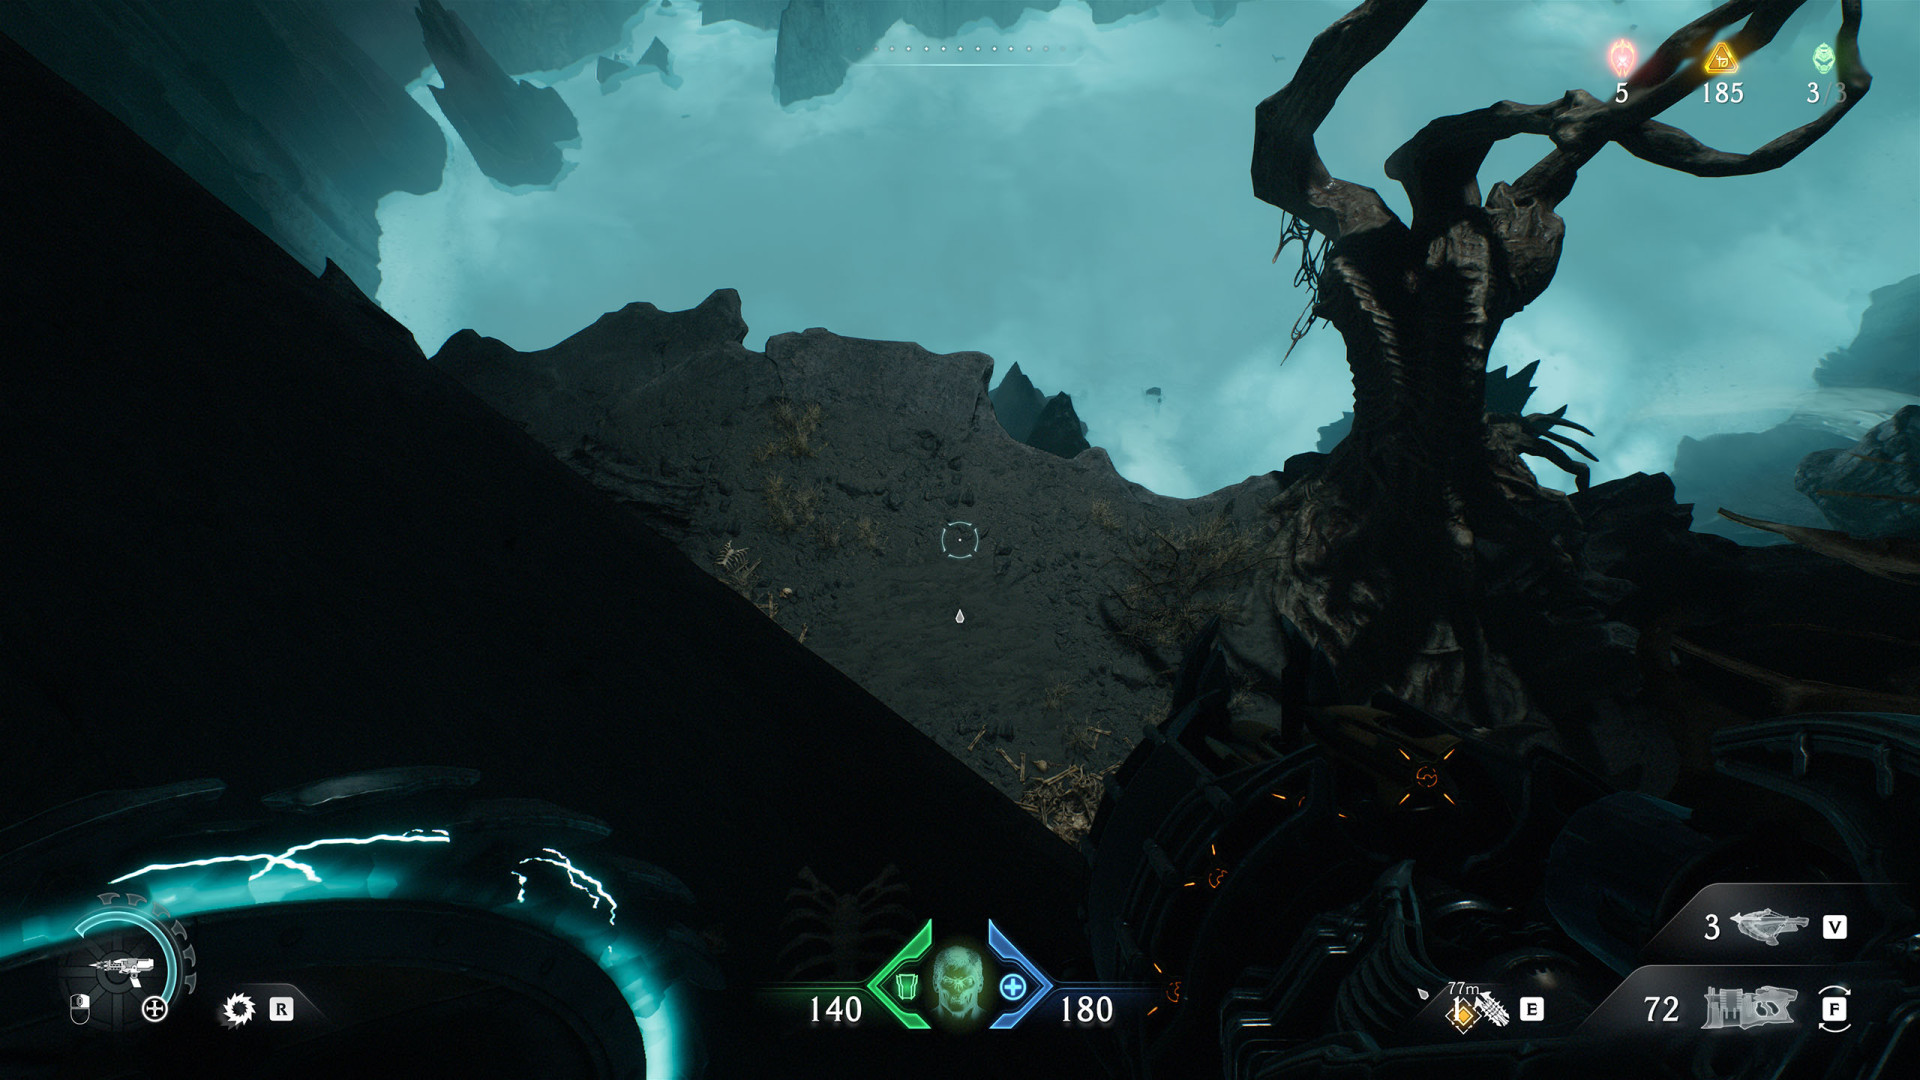
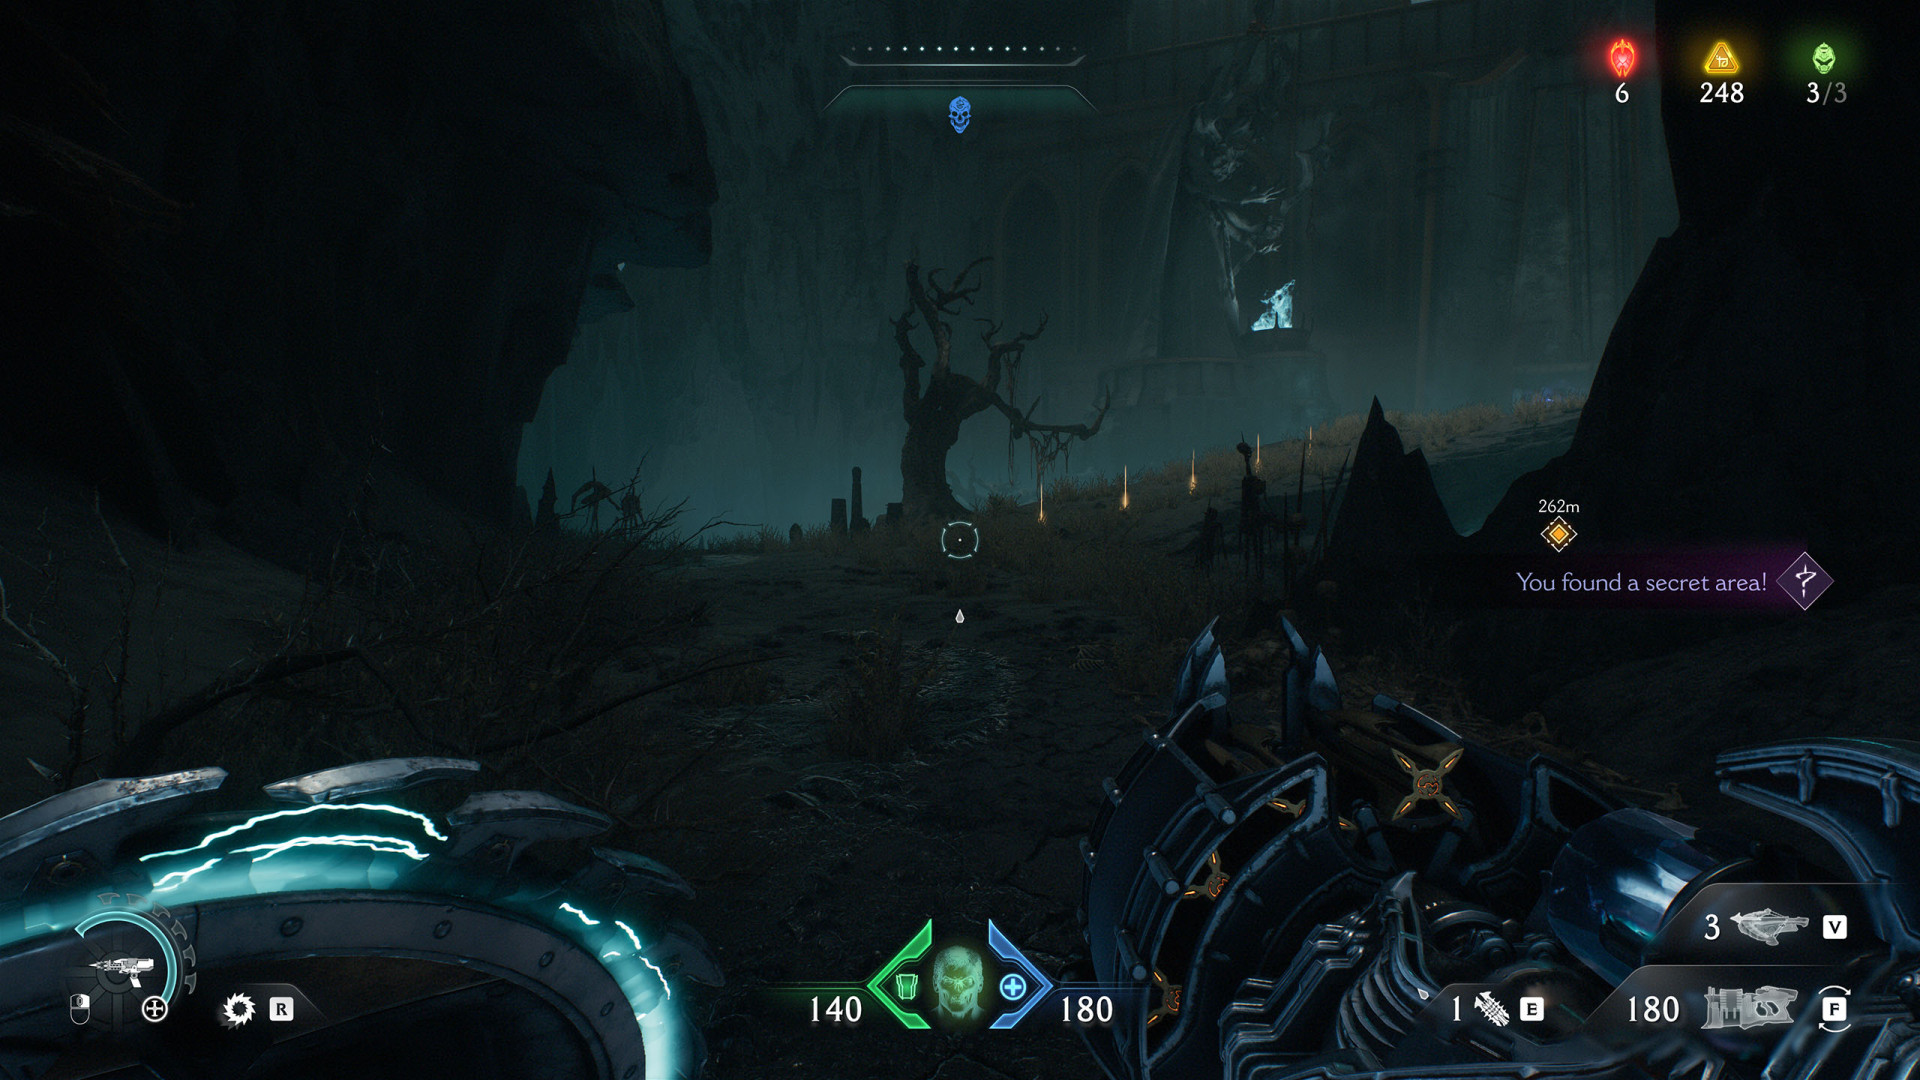
Secret Area (Abyssal Forest #7)▶ show the map ◀
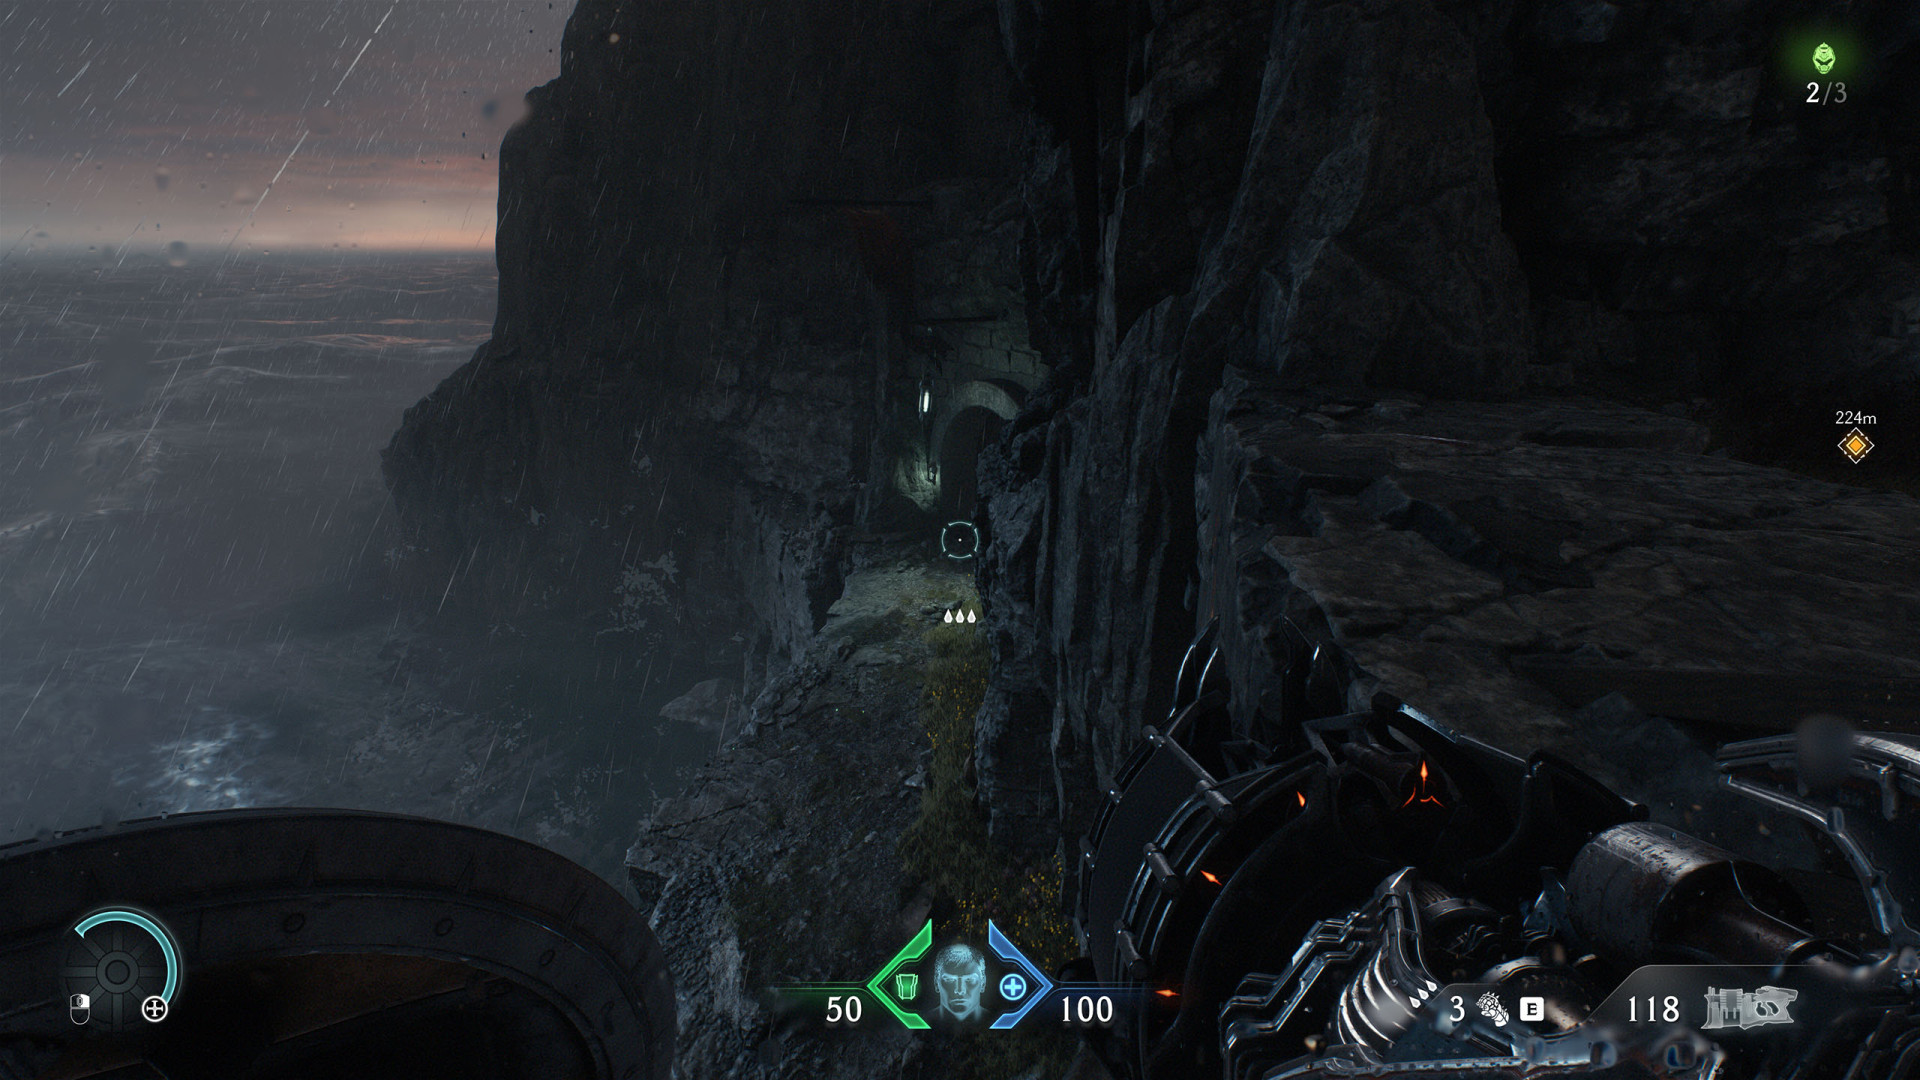
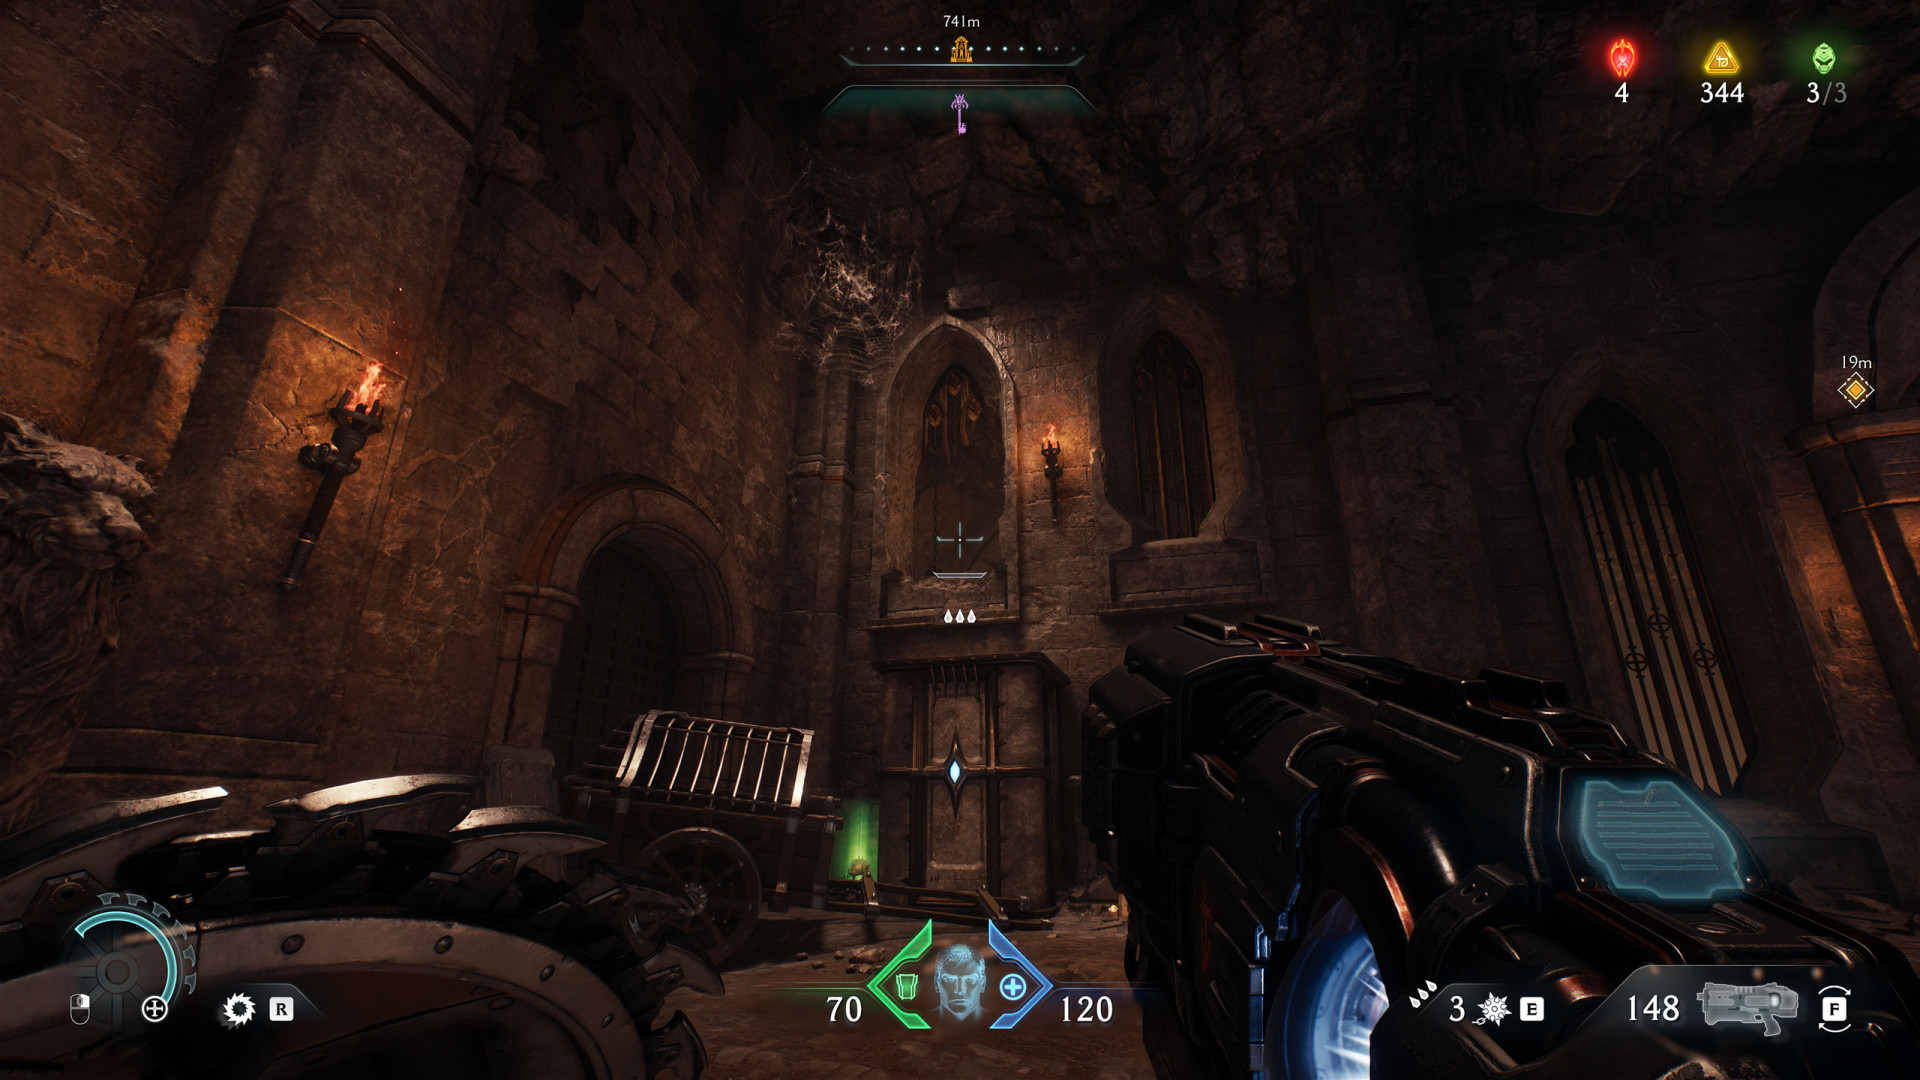
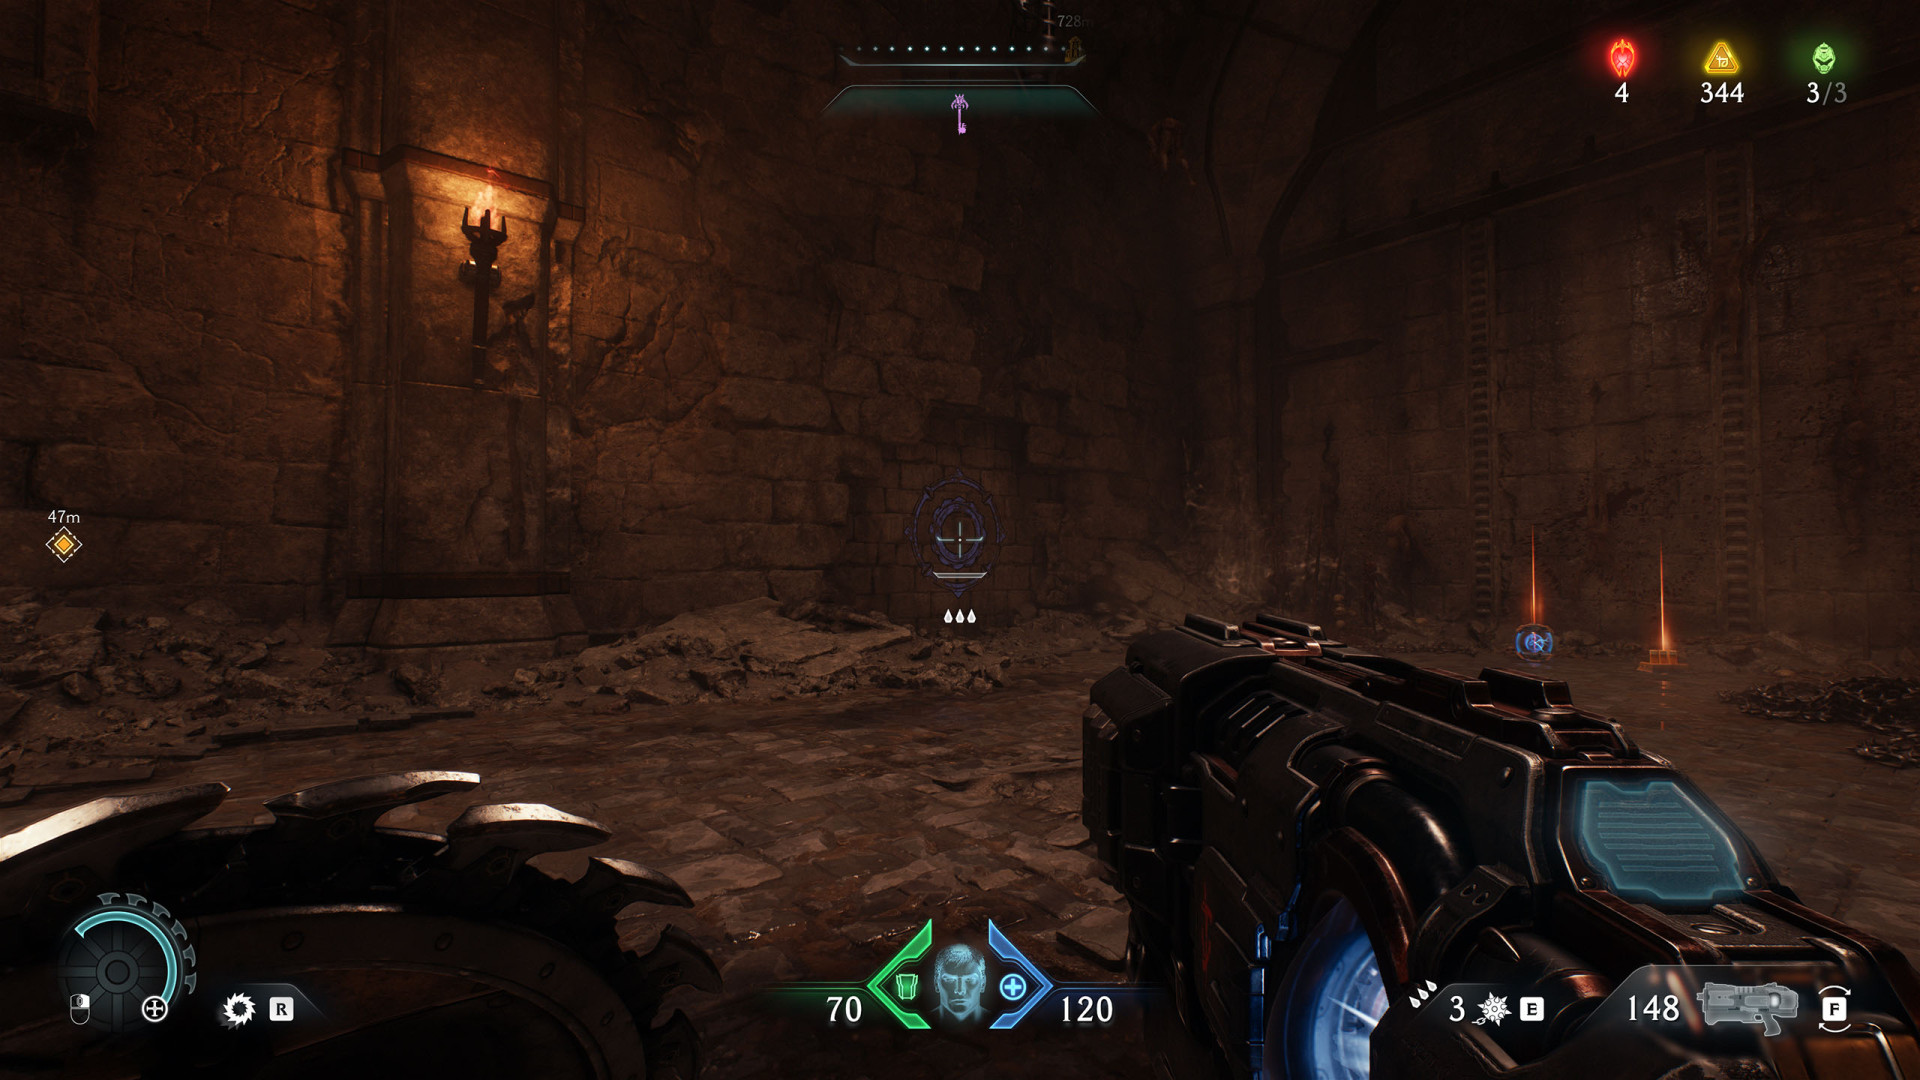
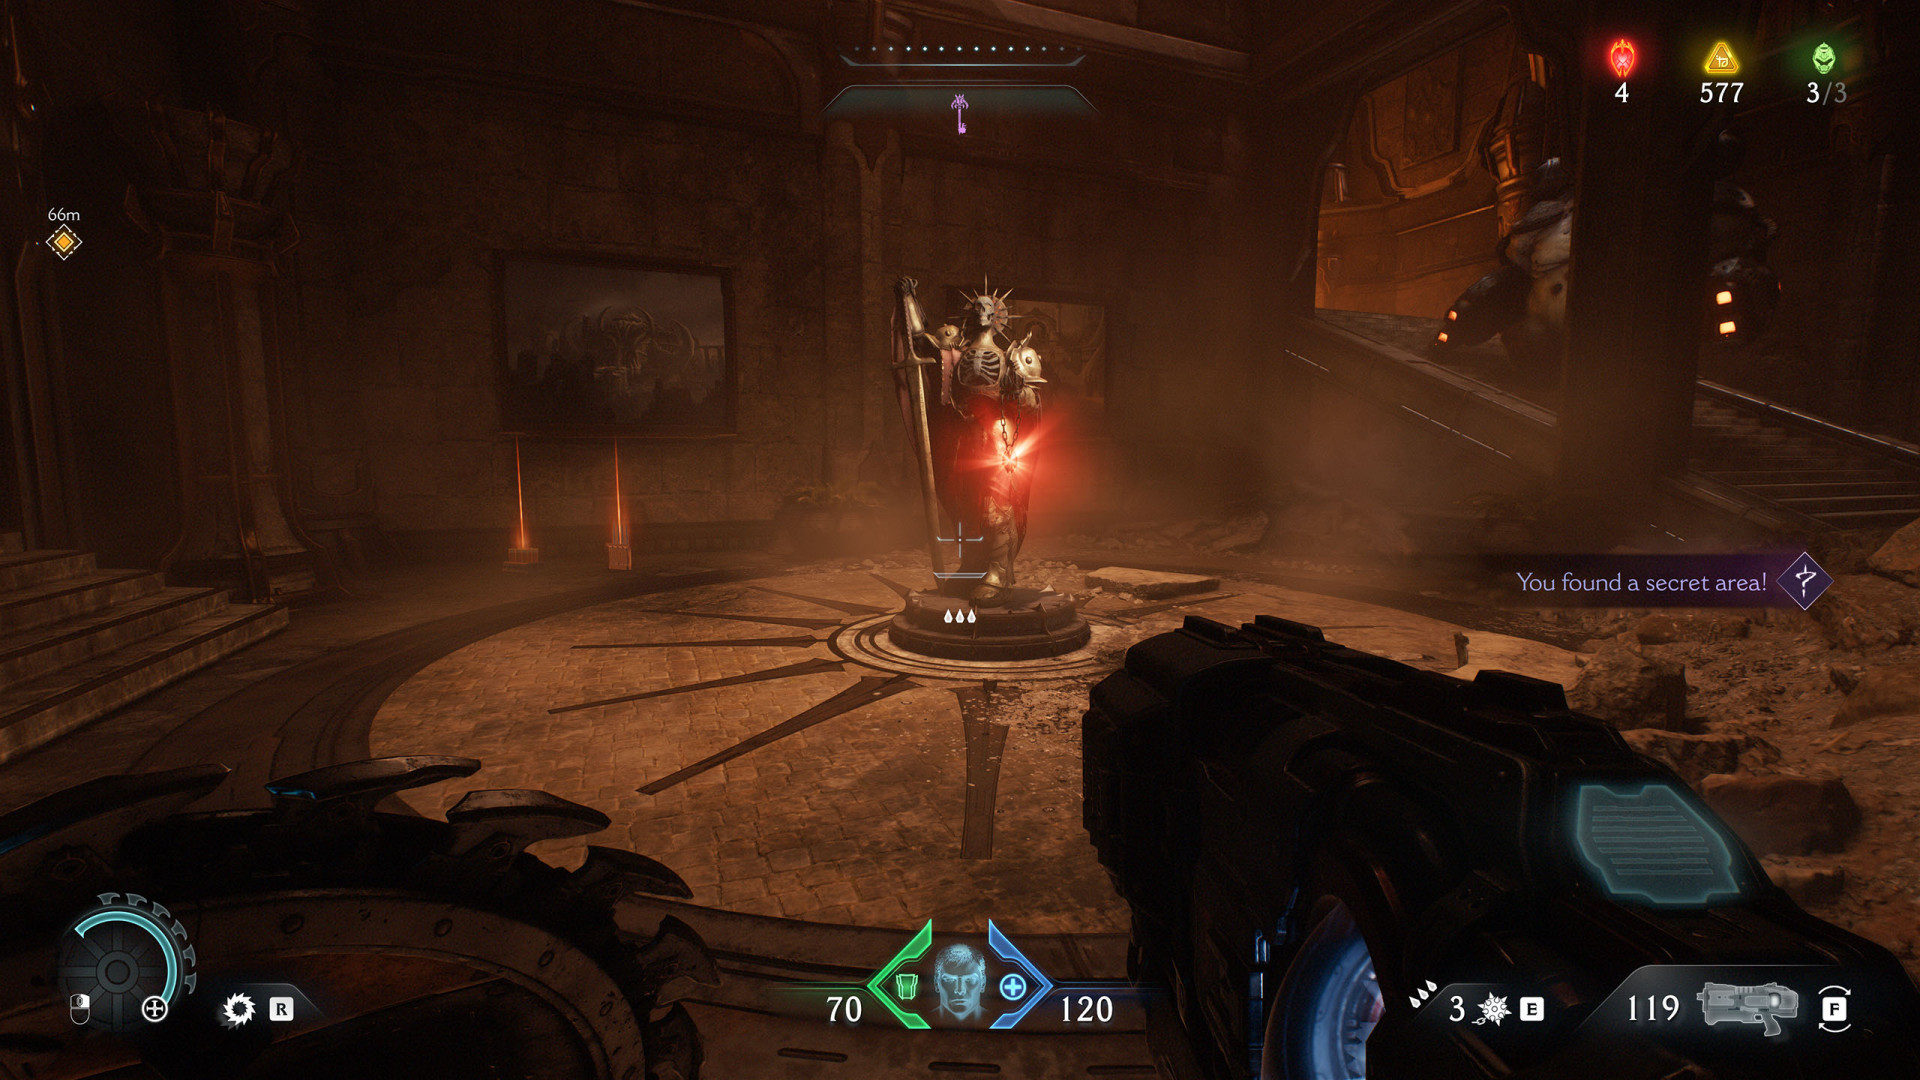
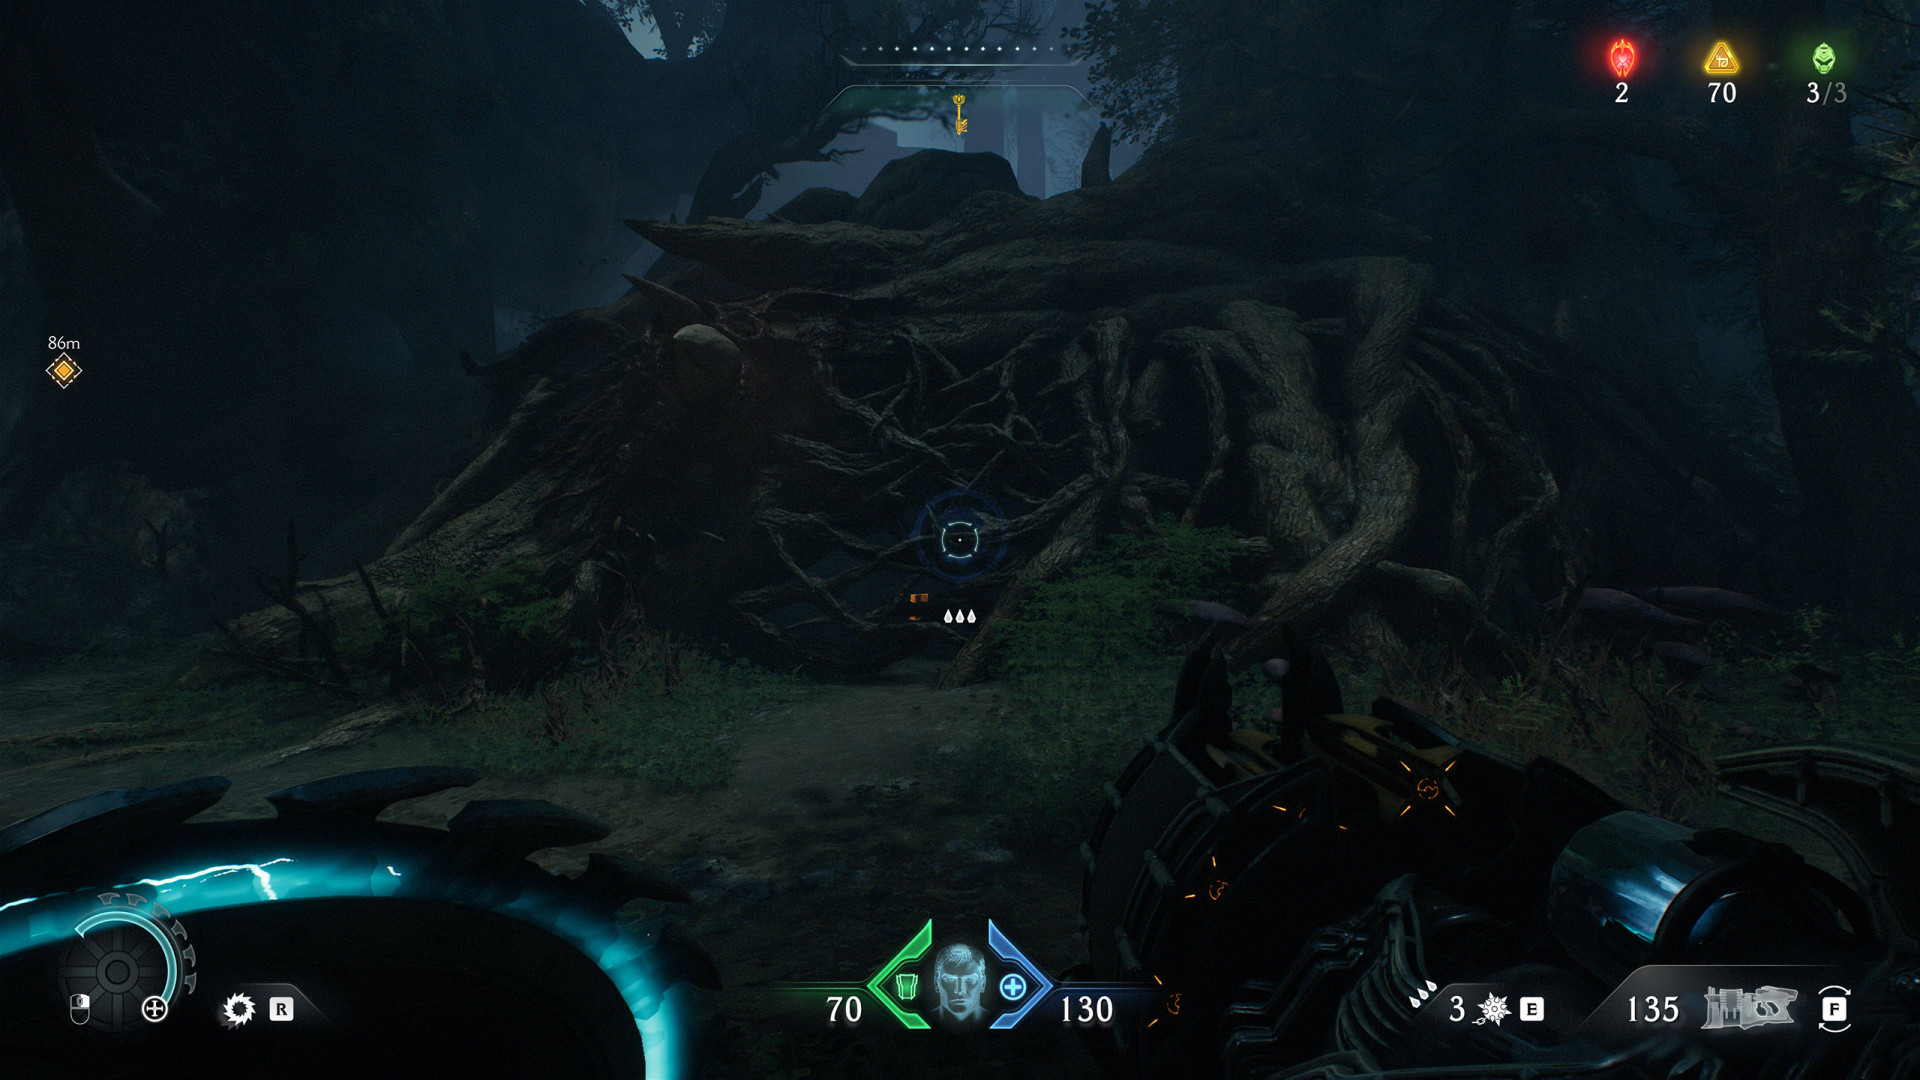
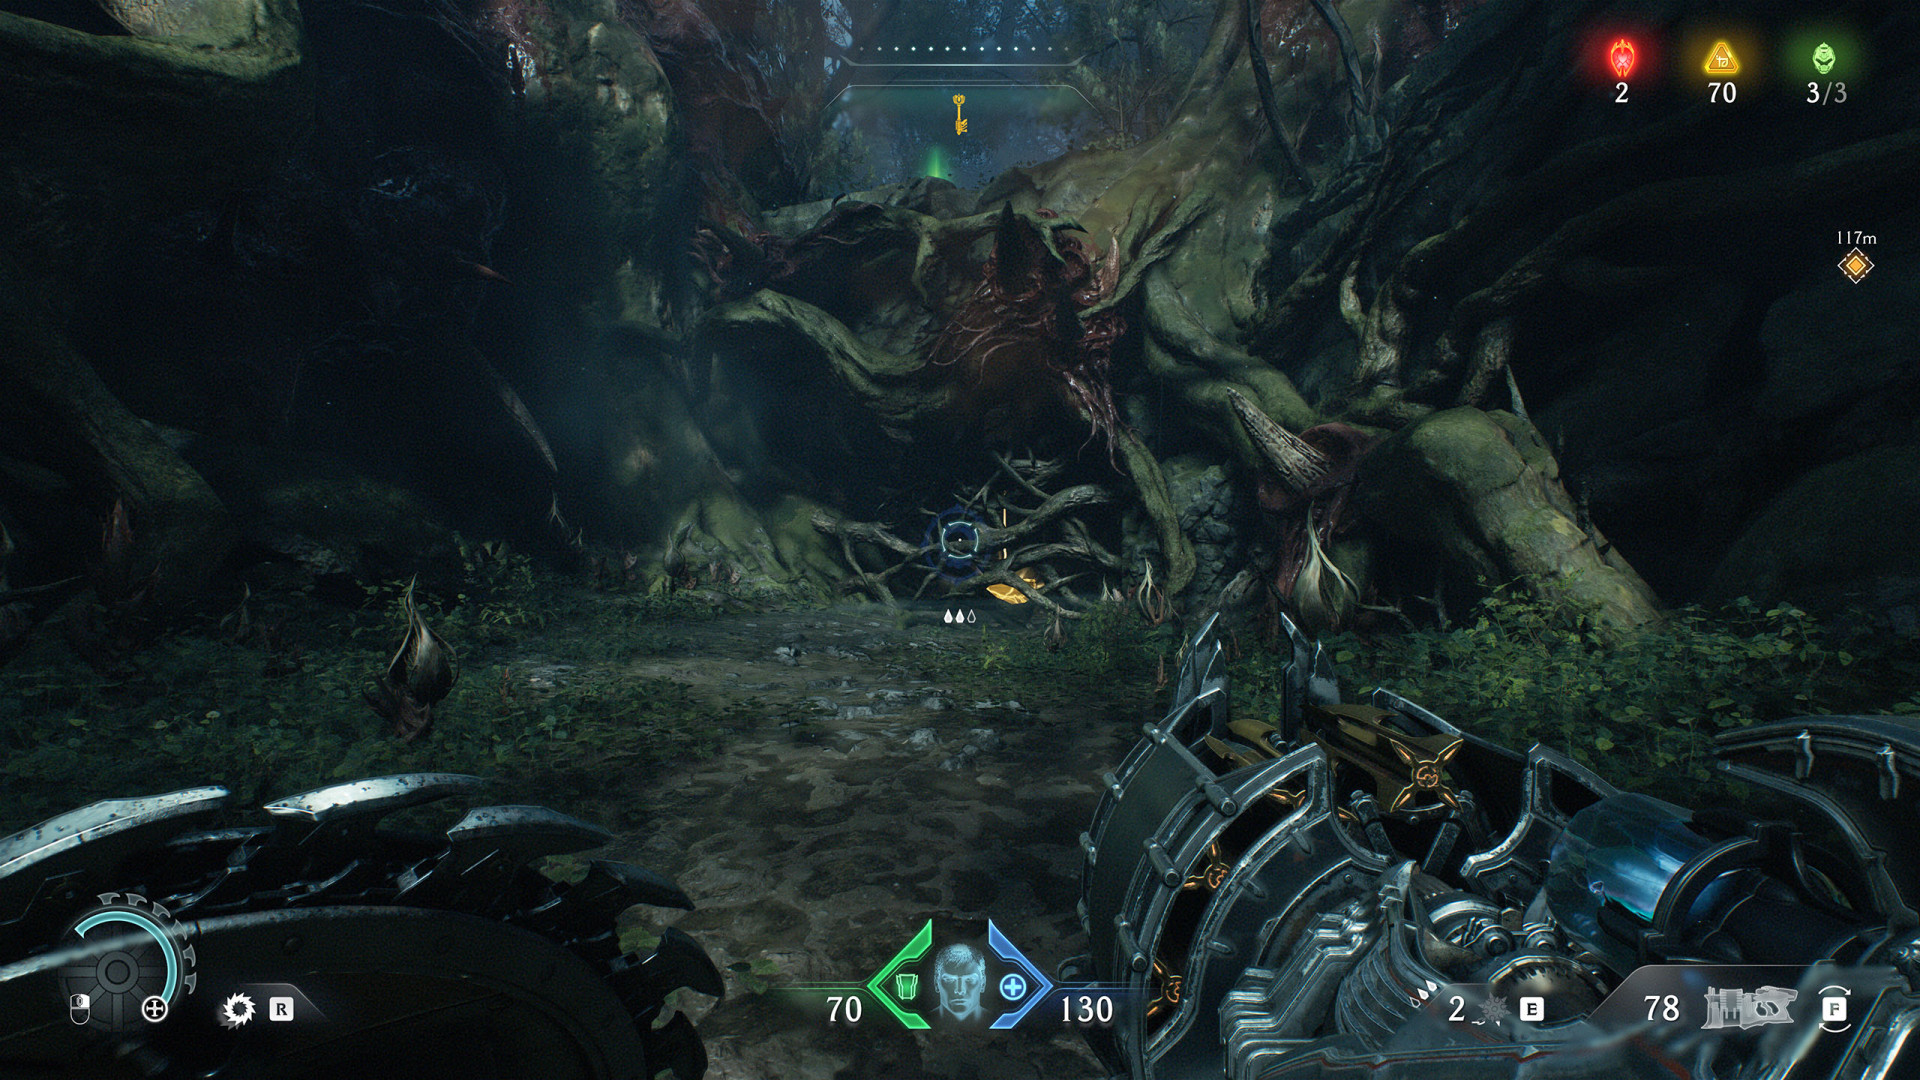
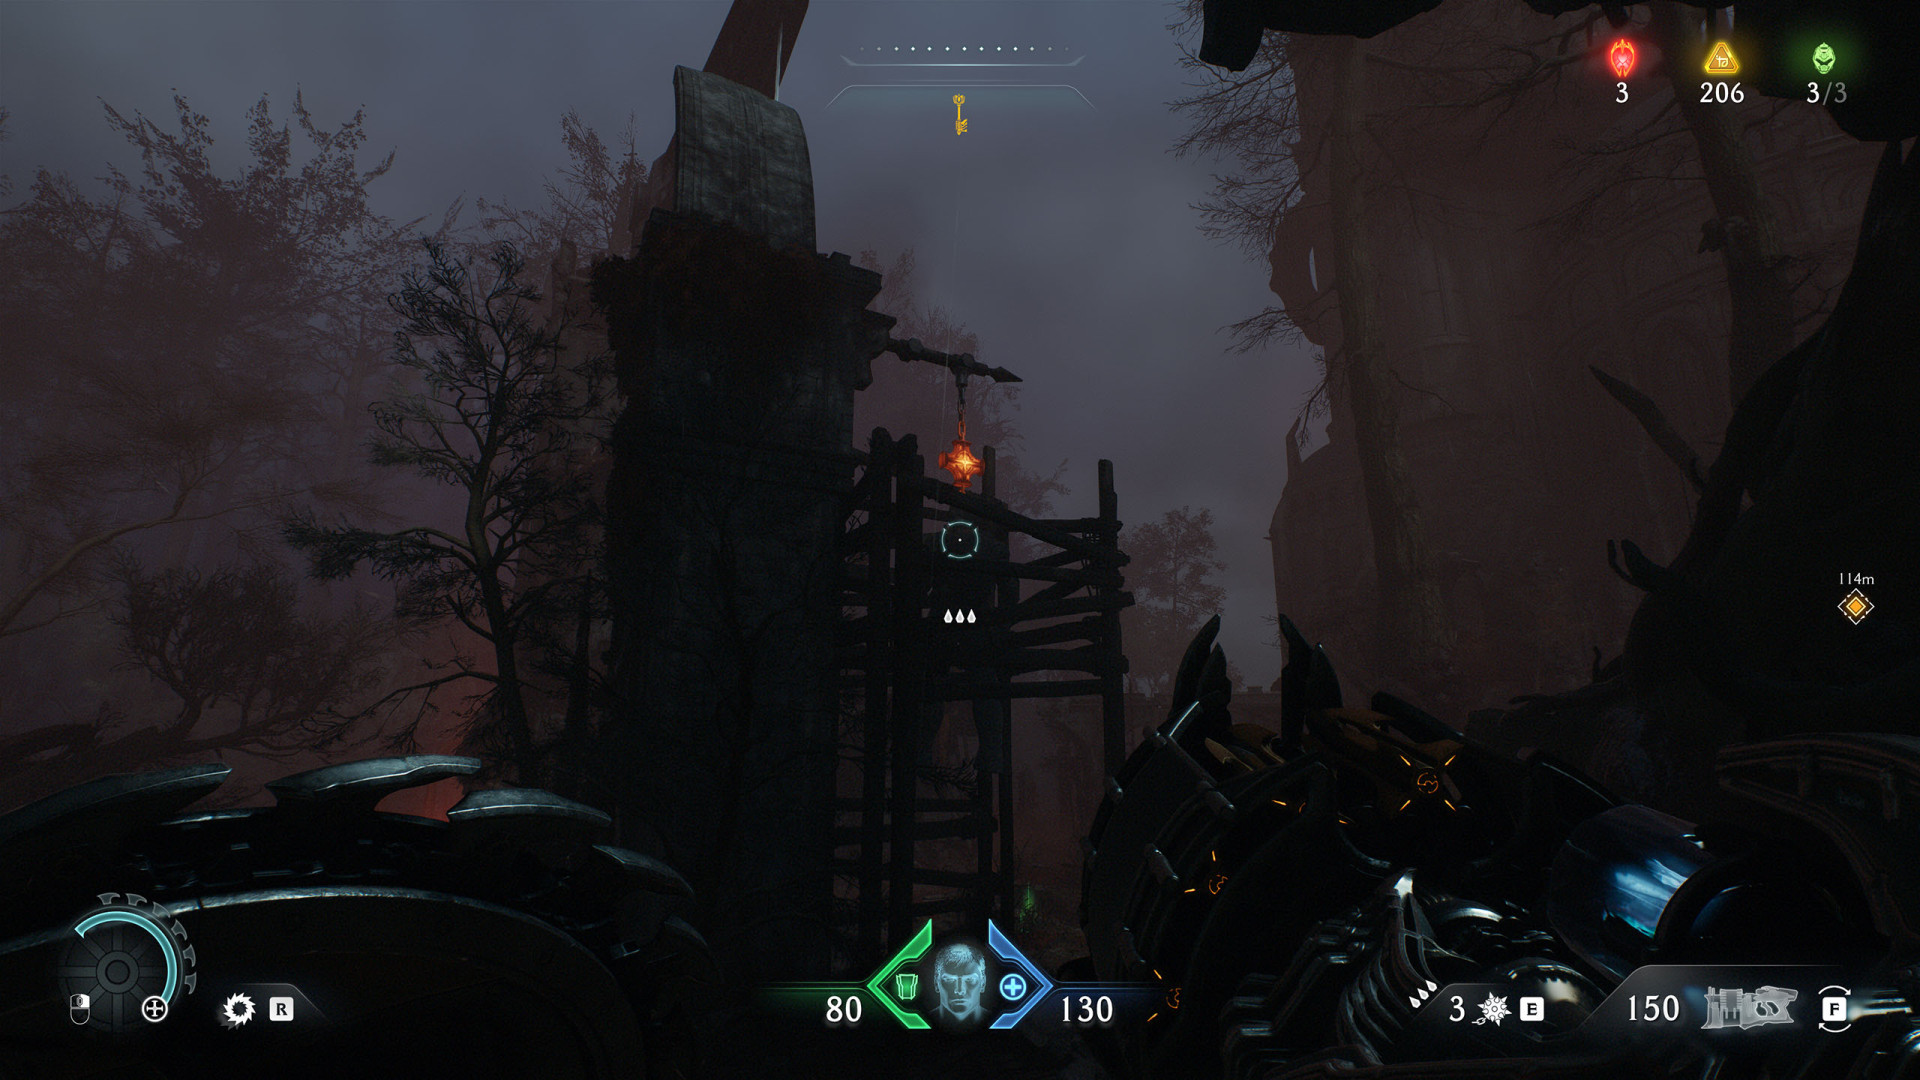
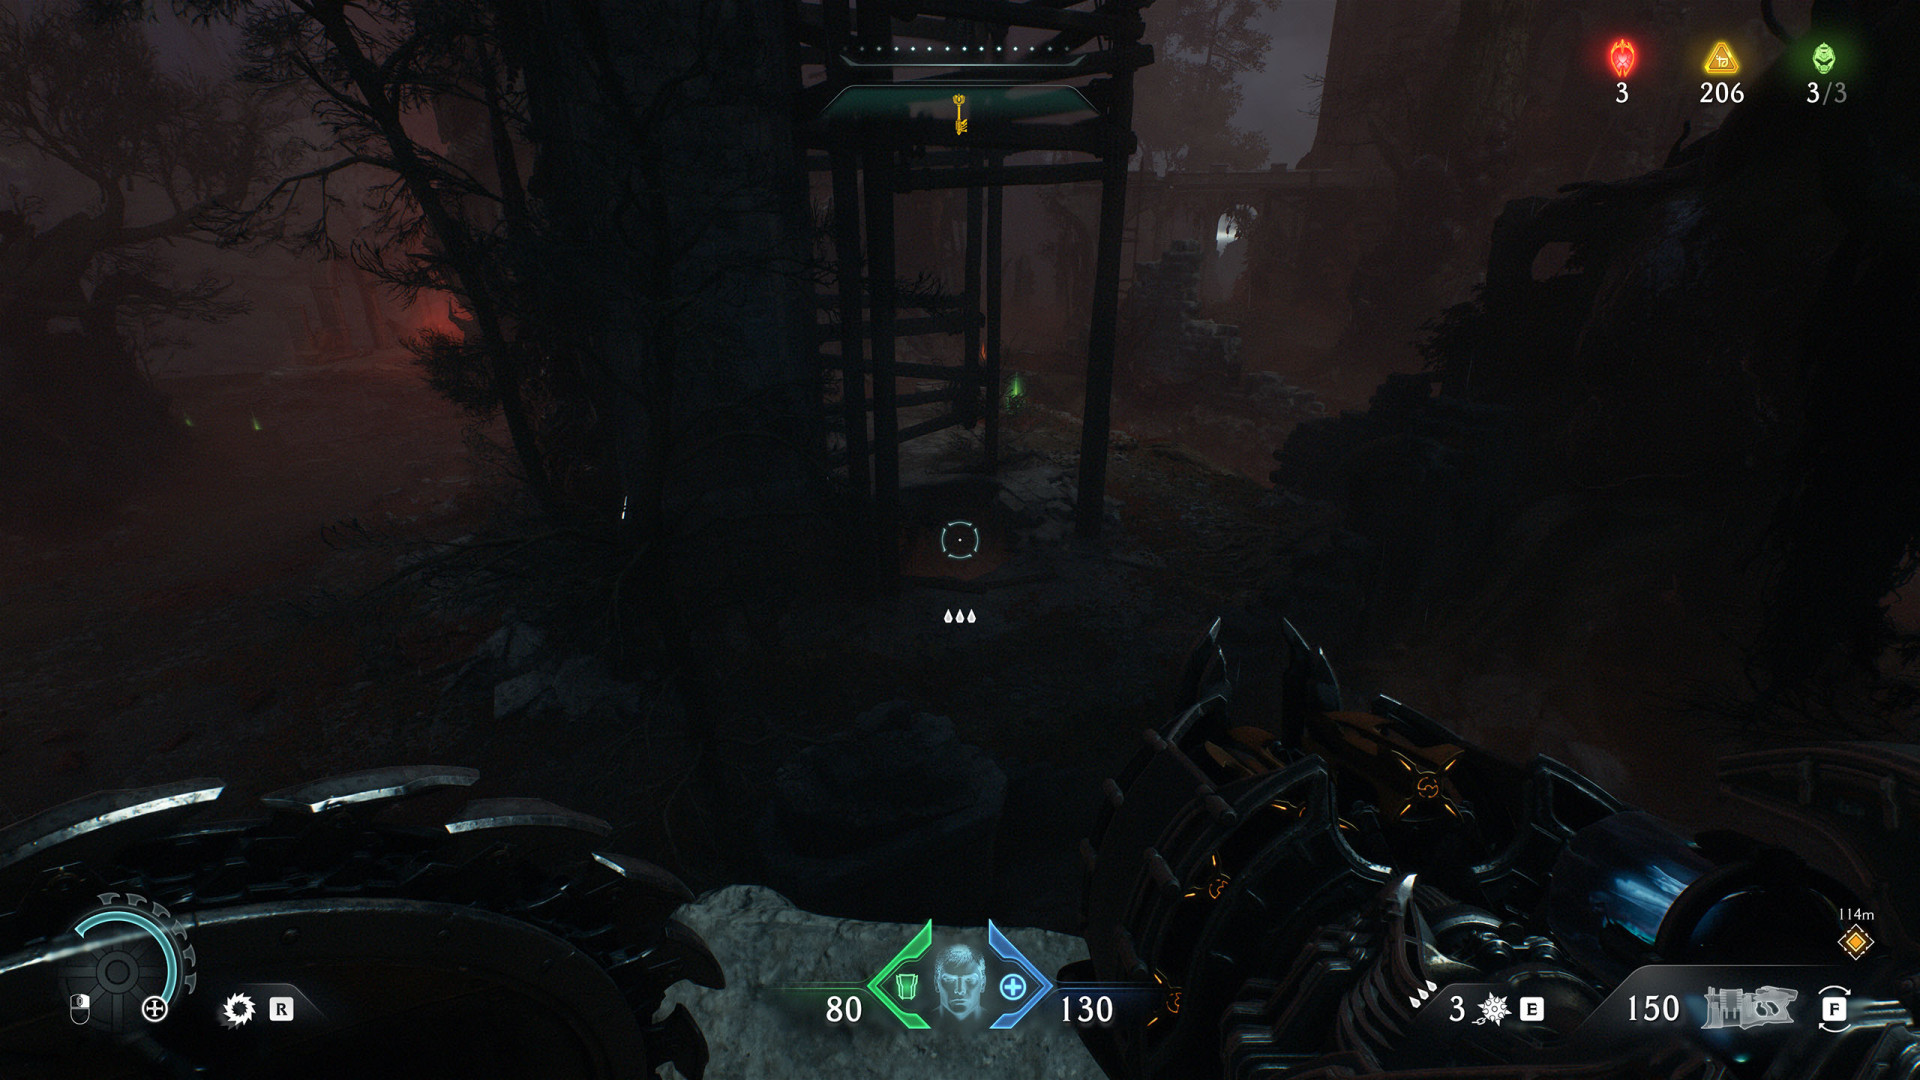
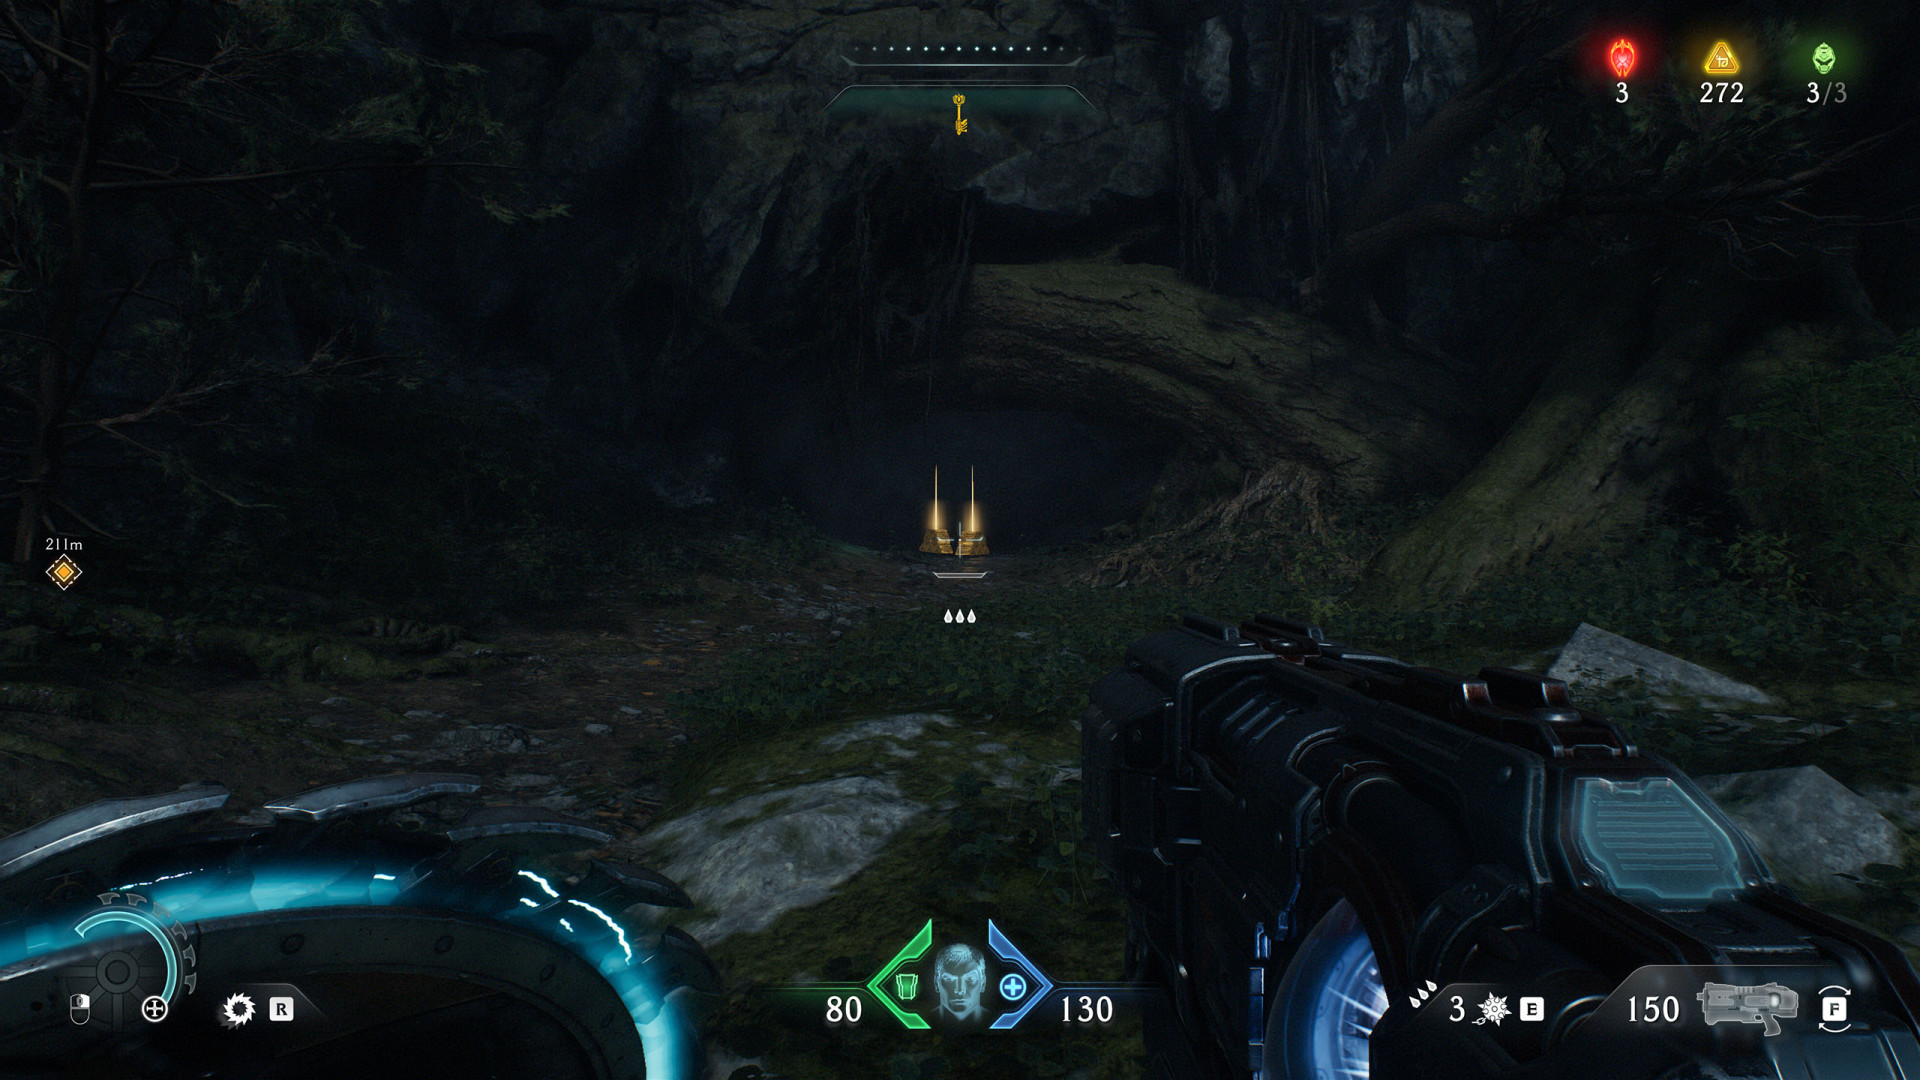
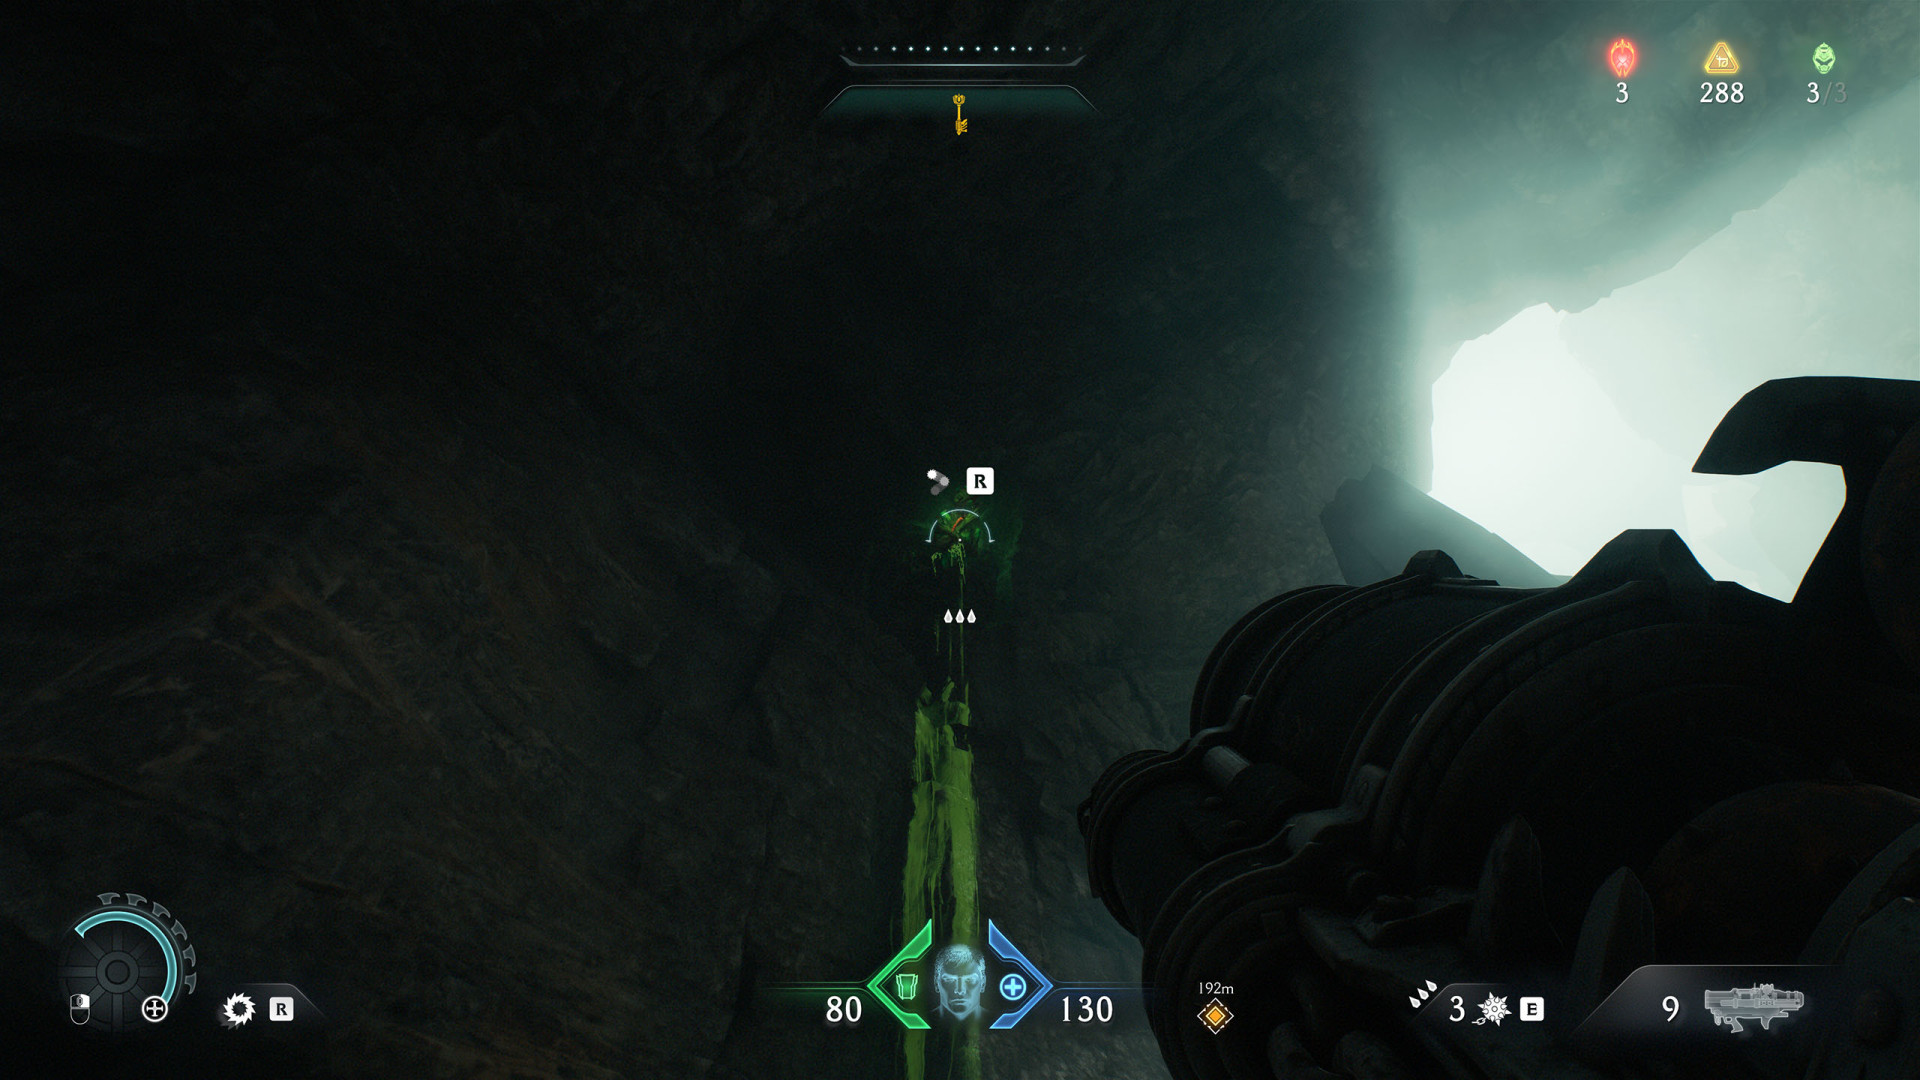
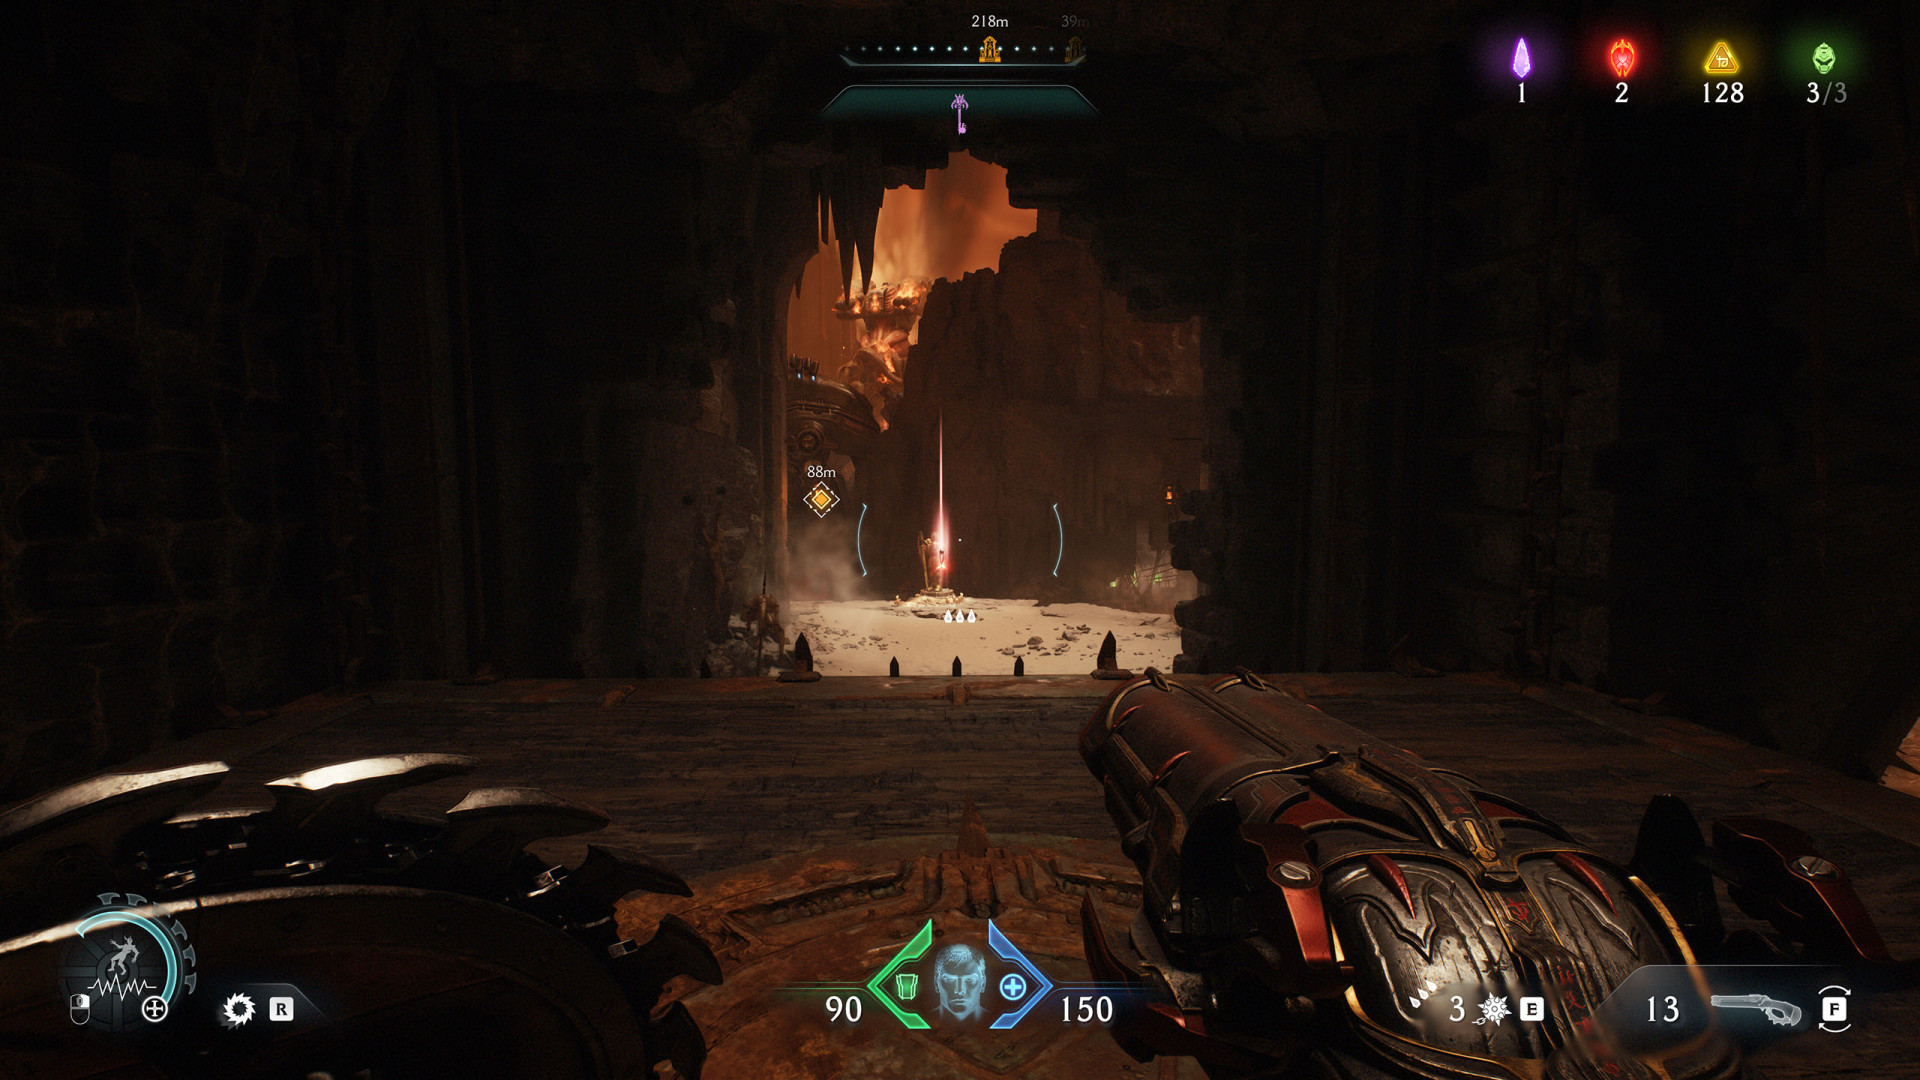
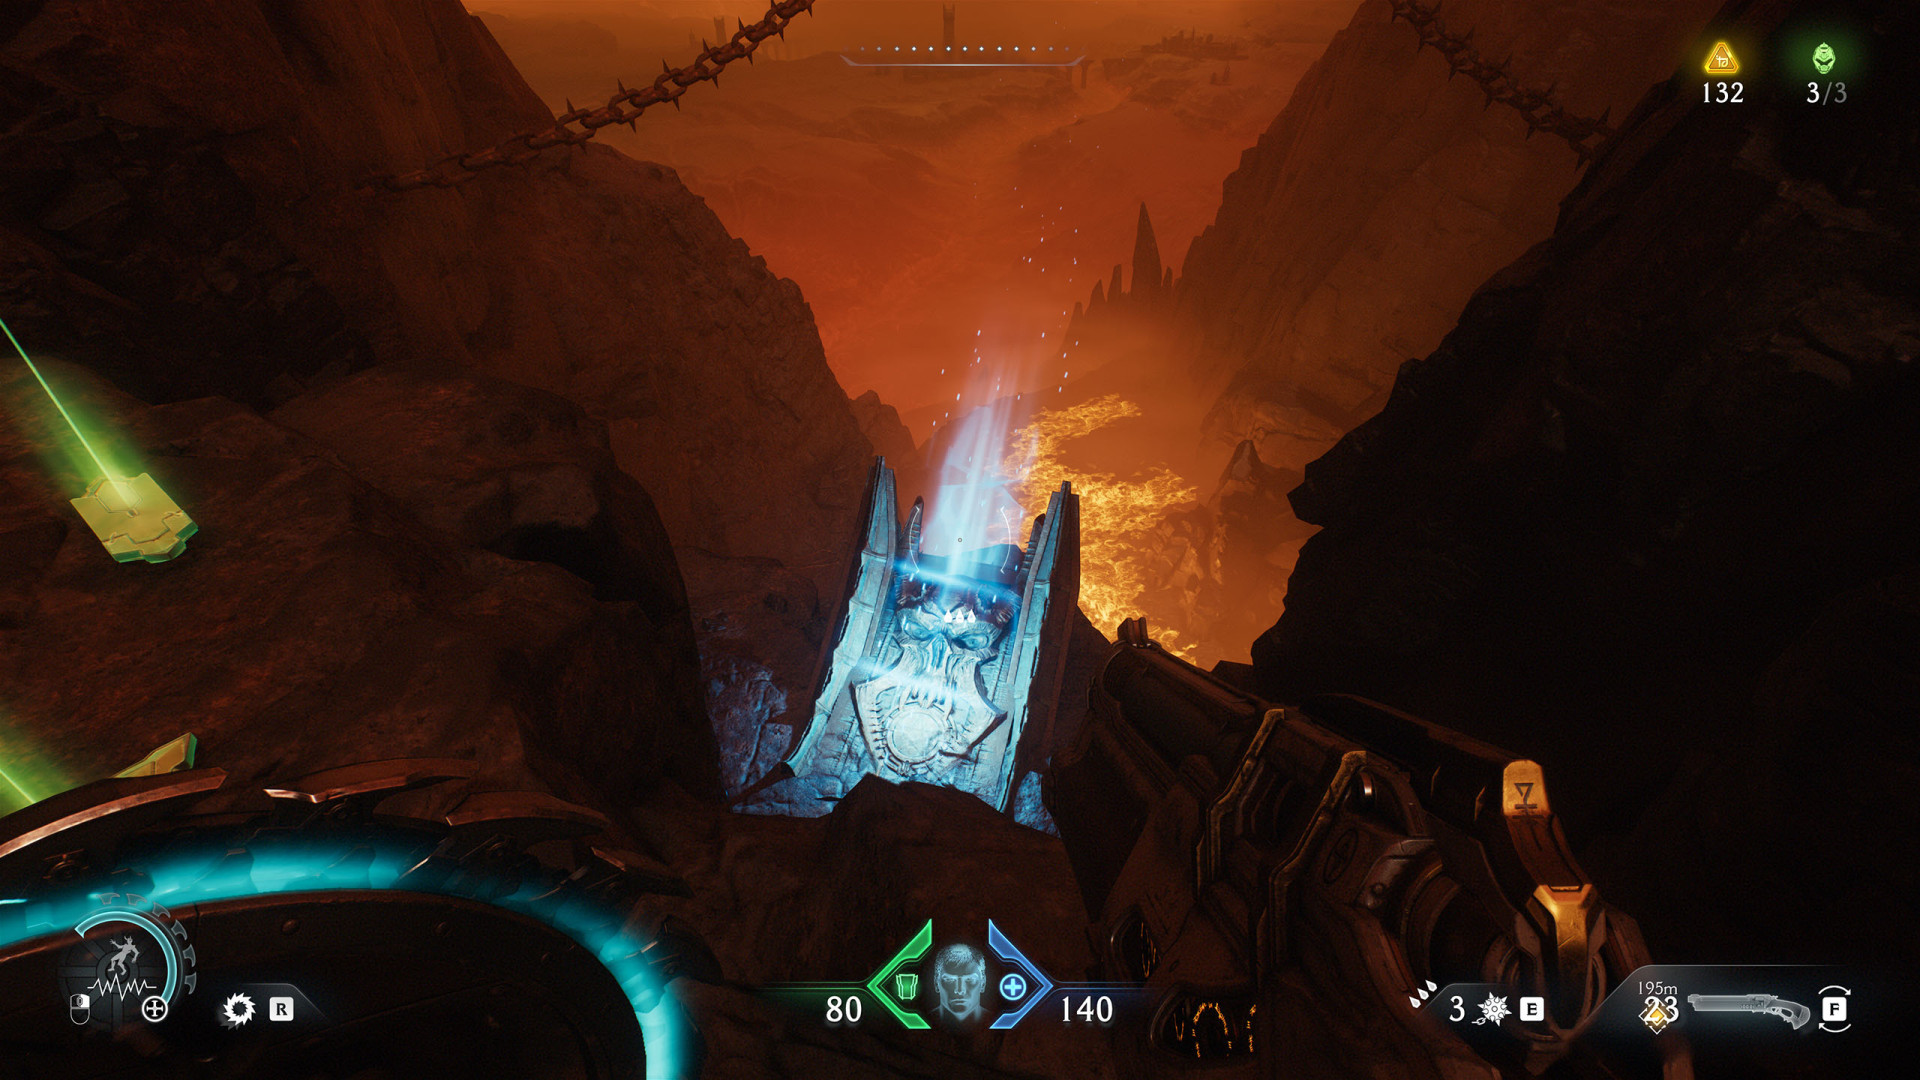
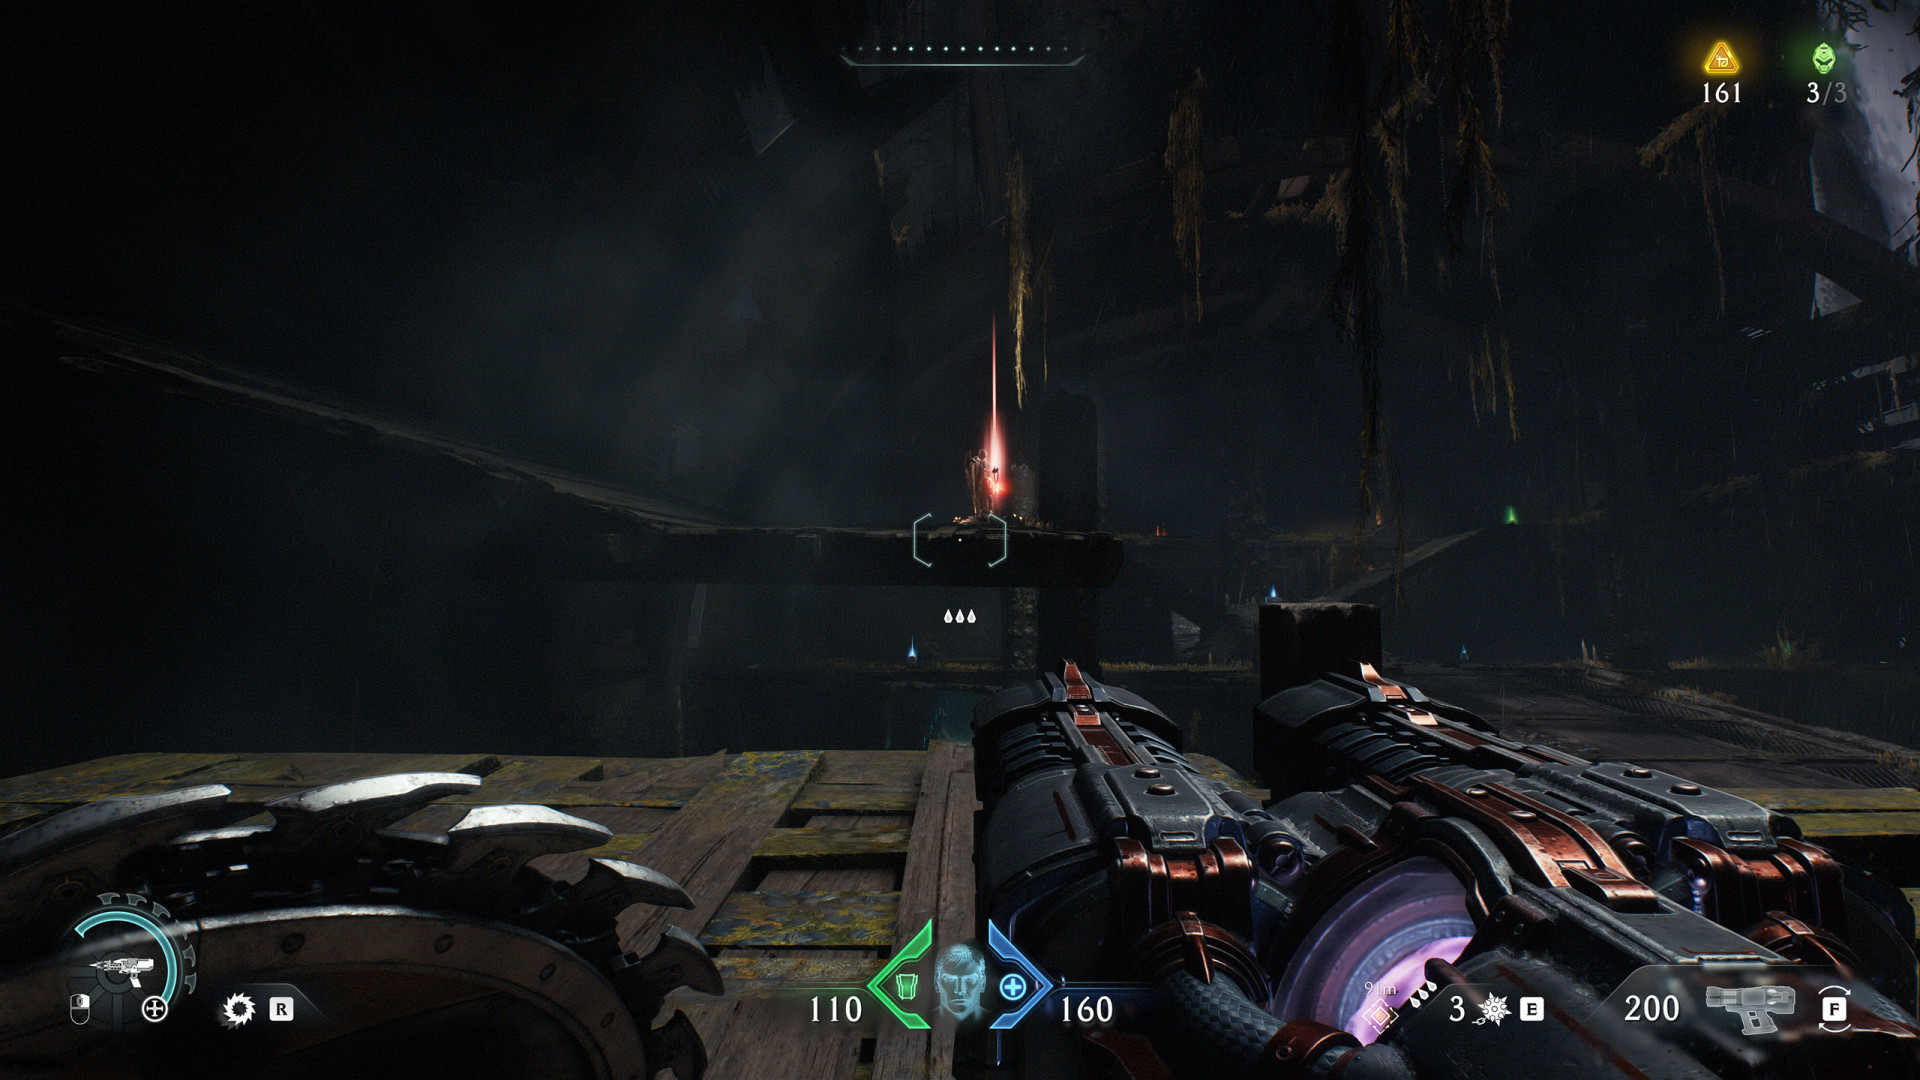
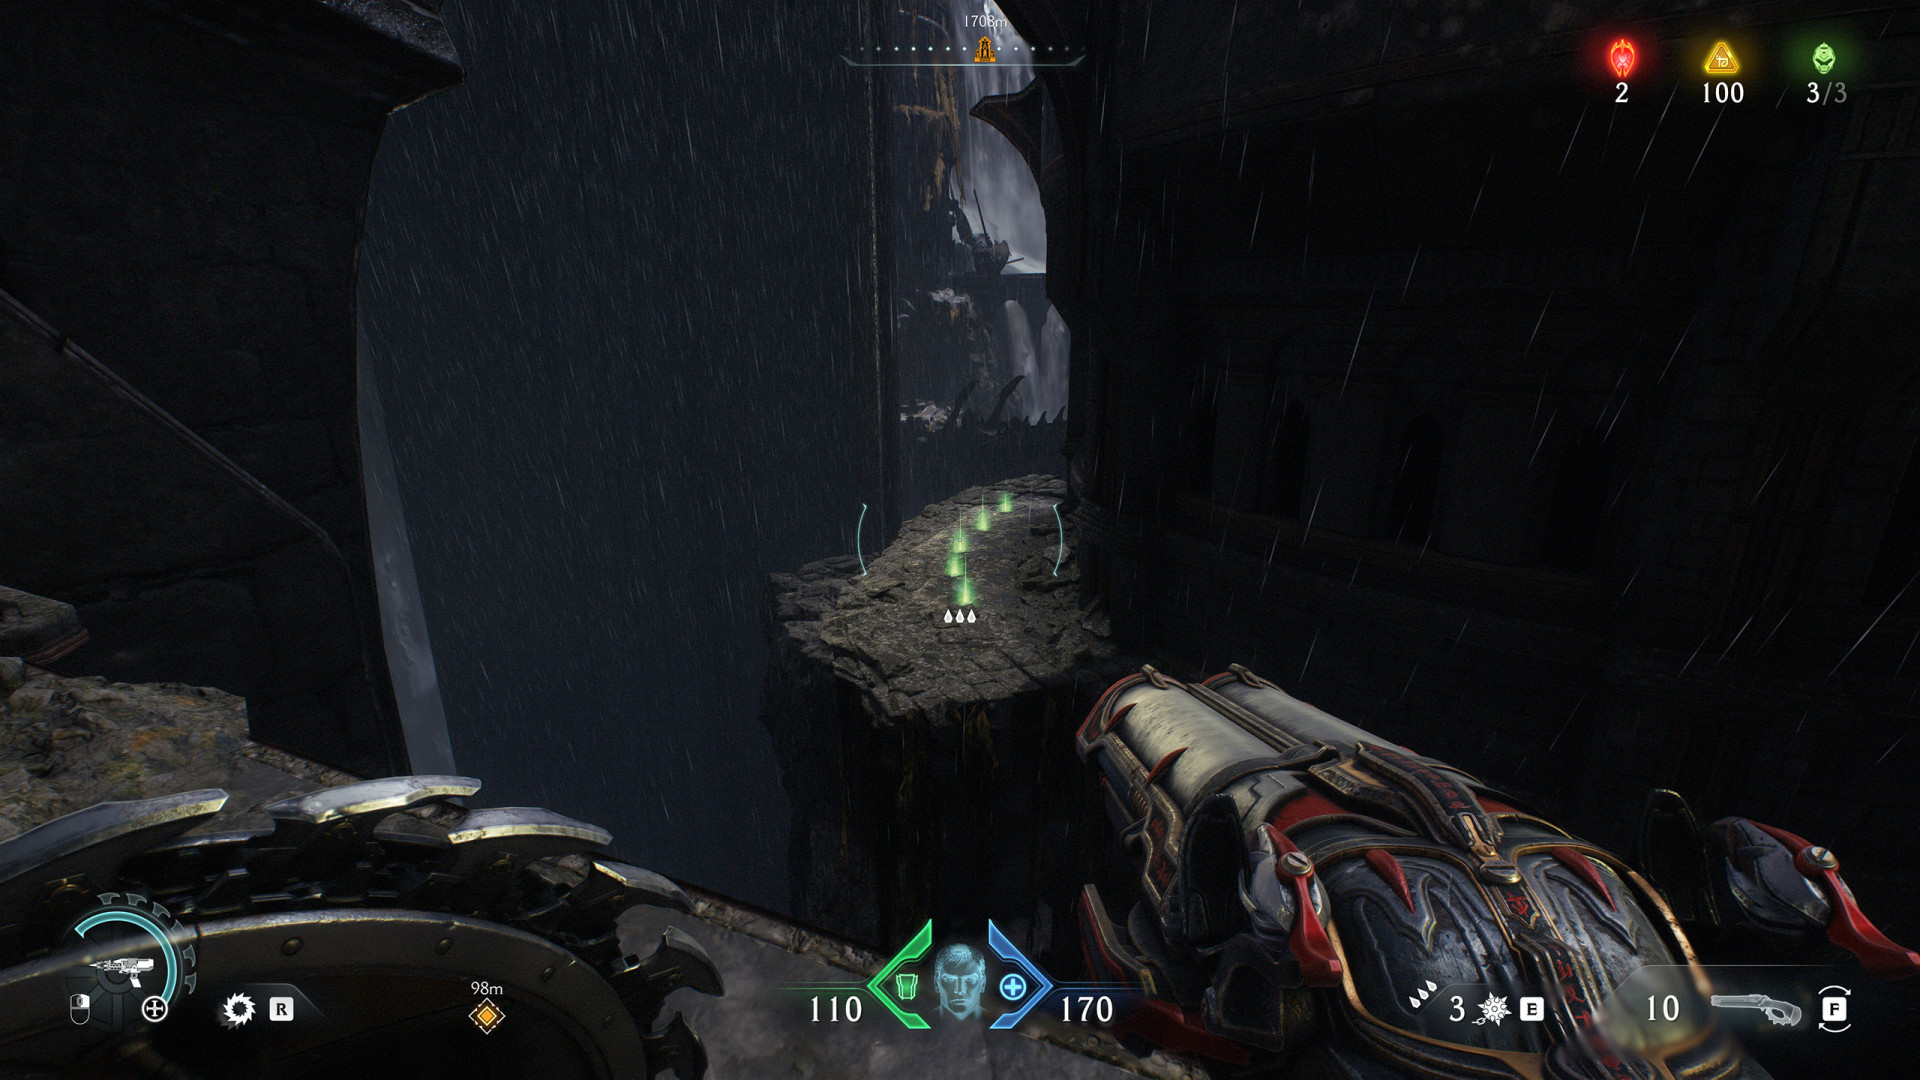
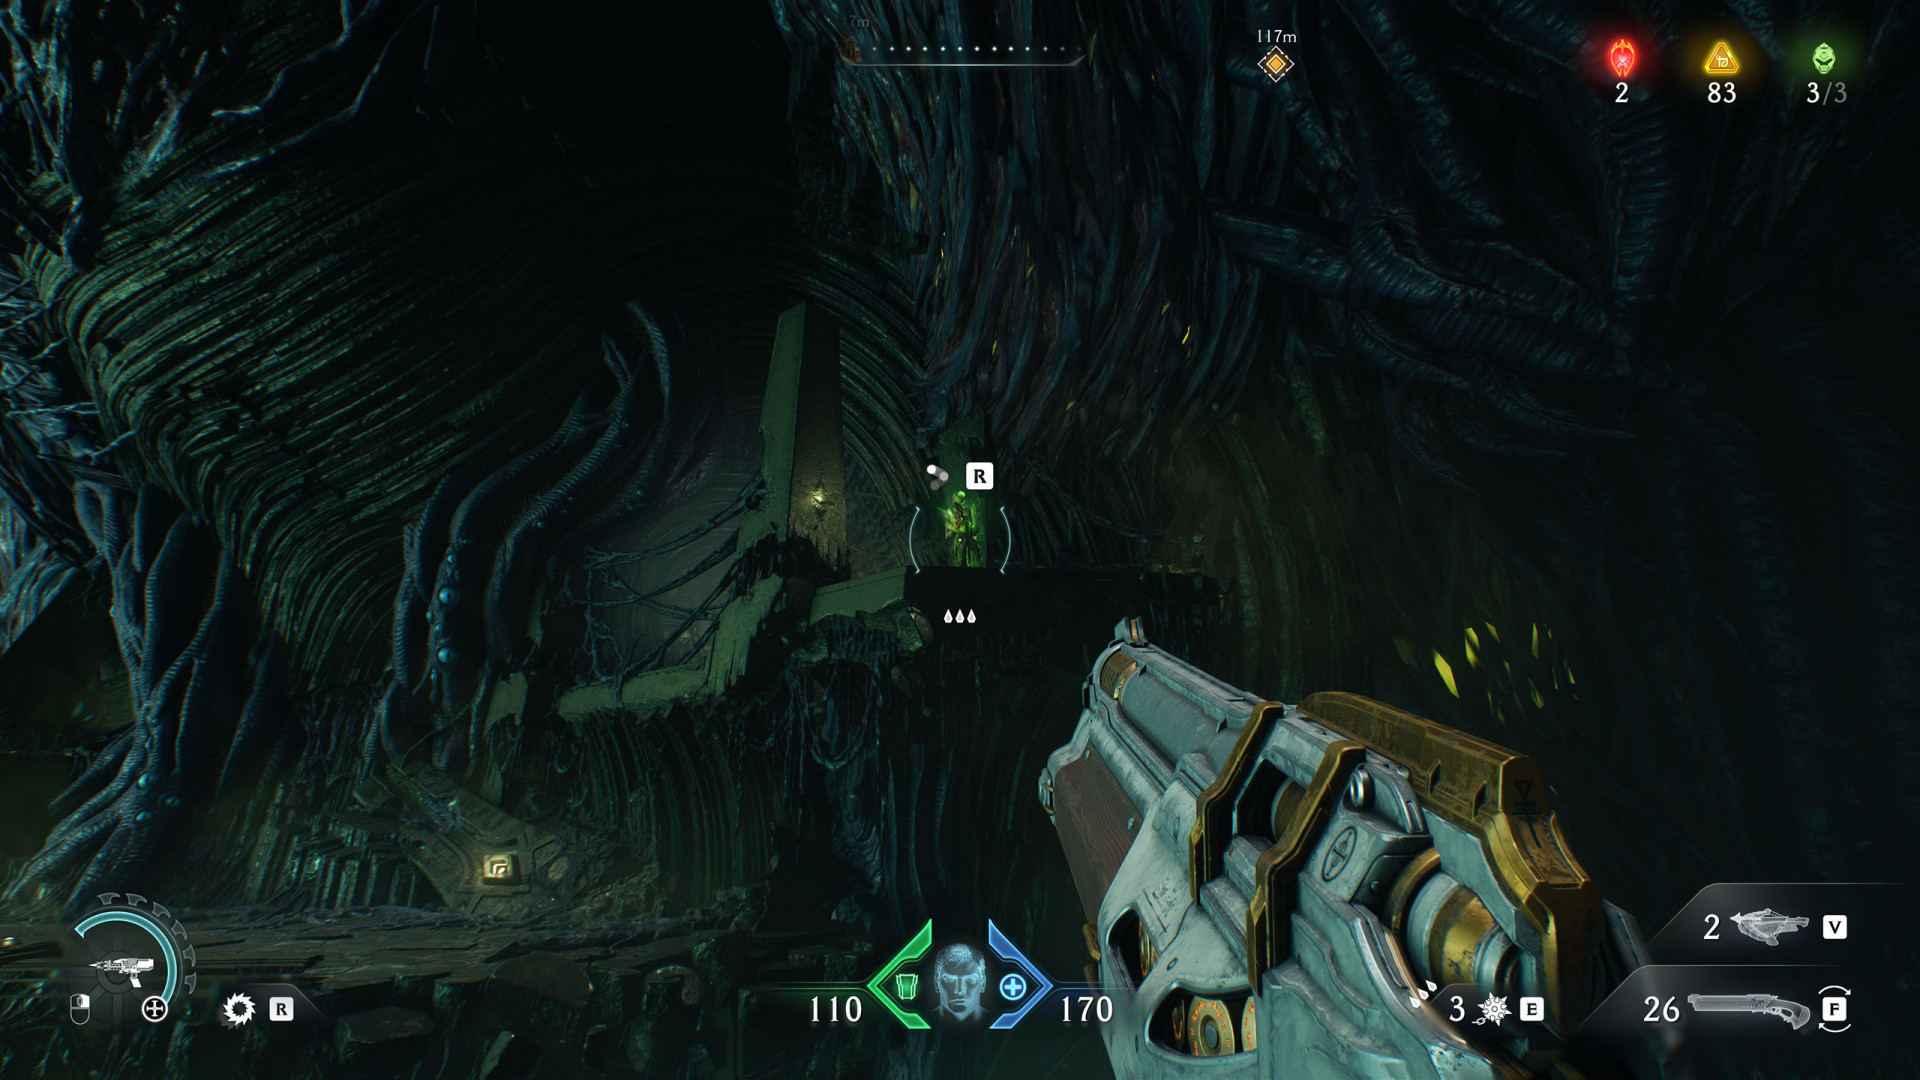
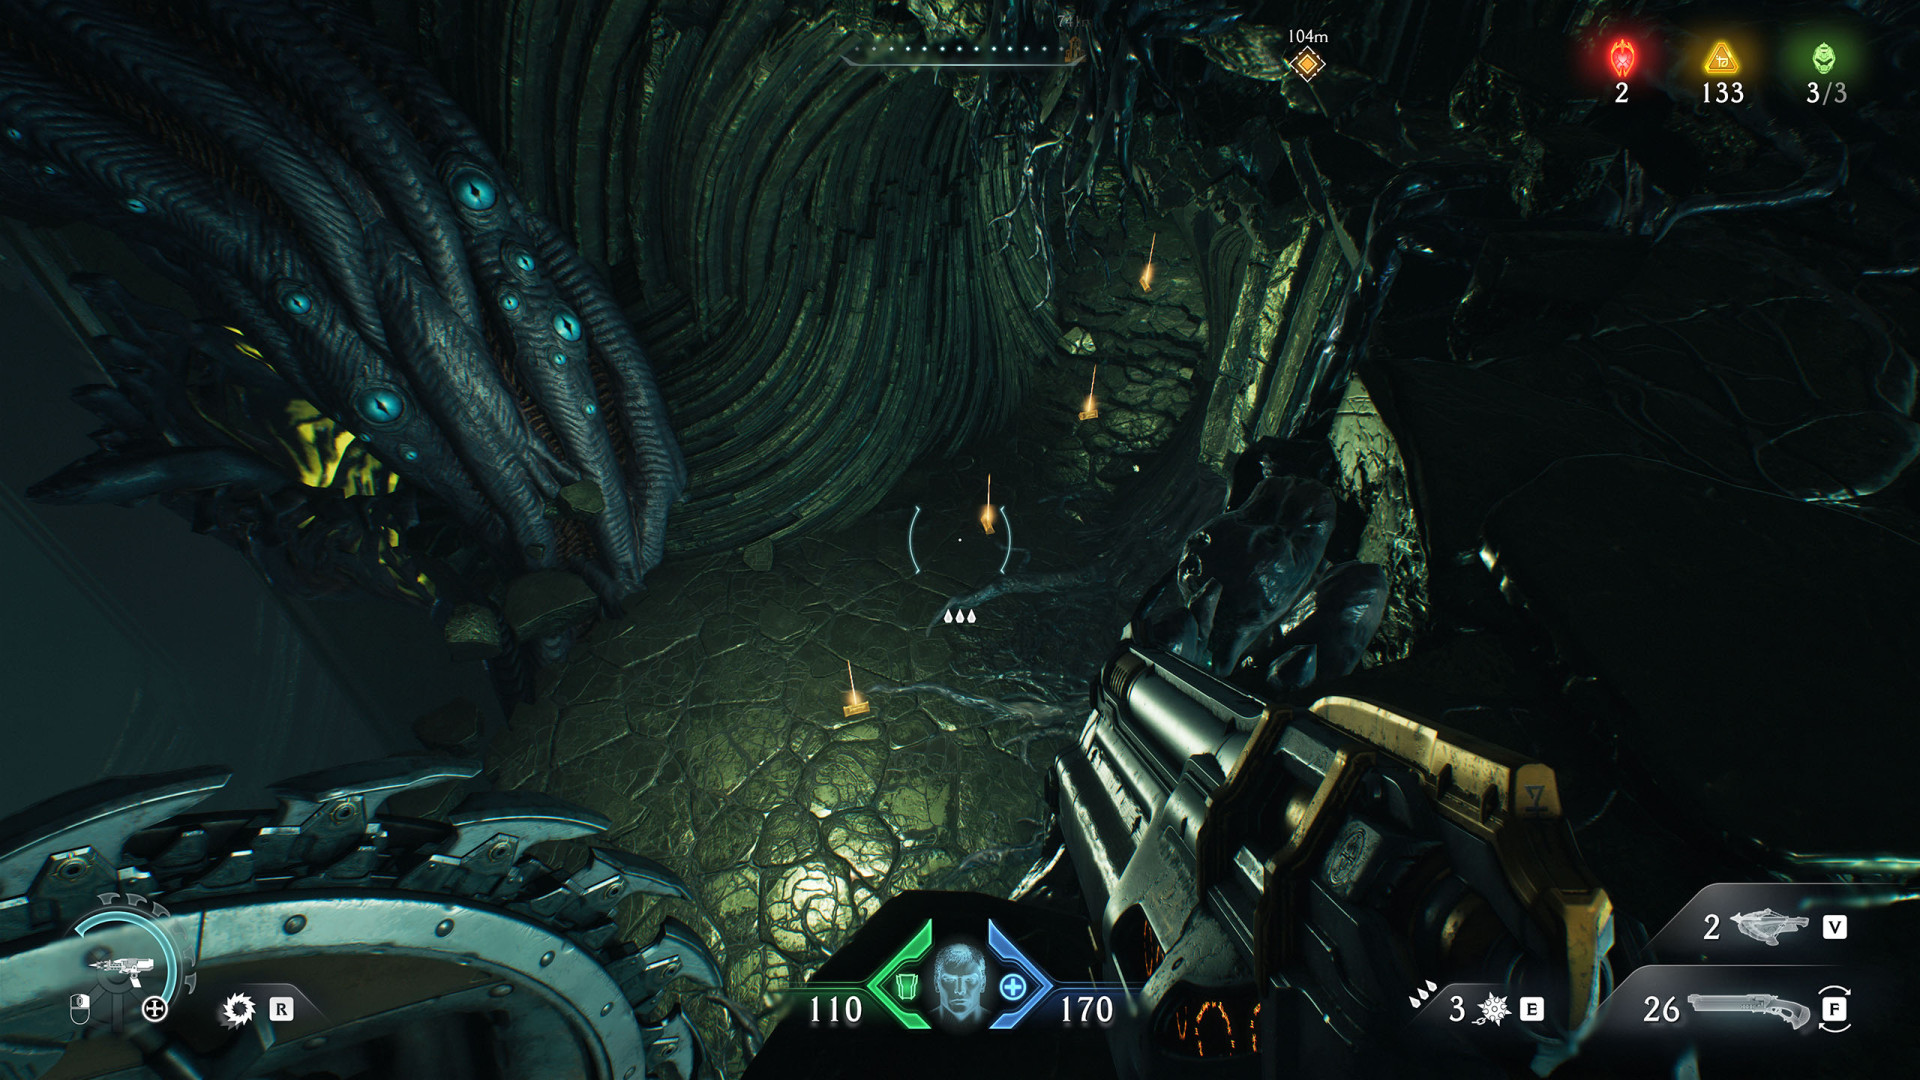
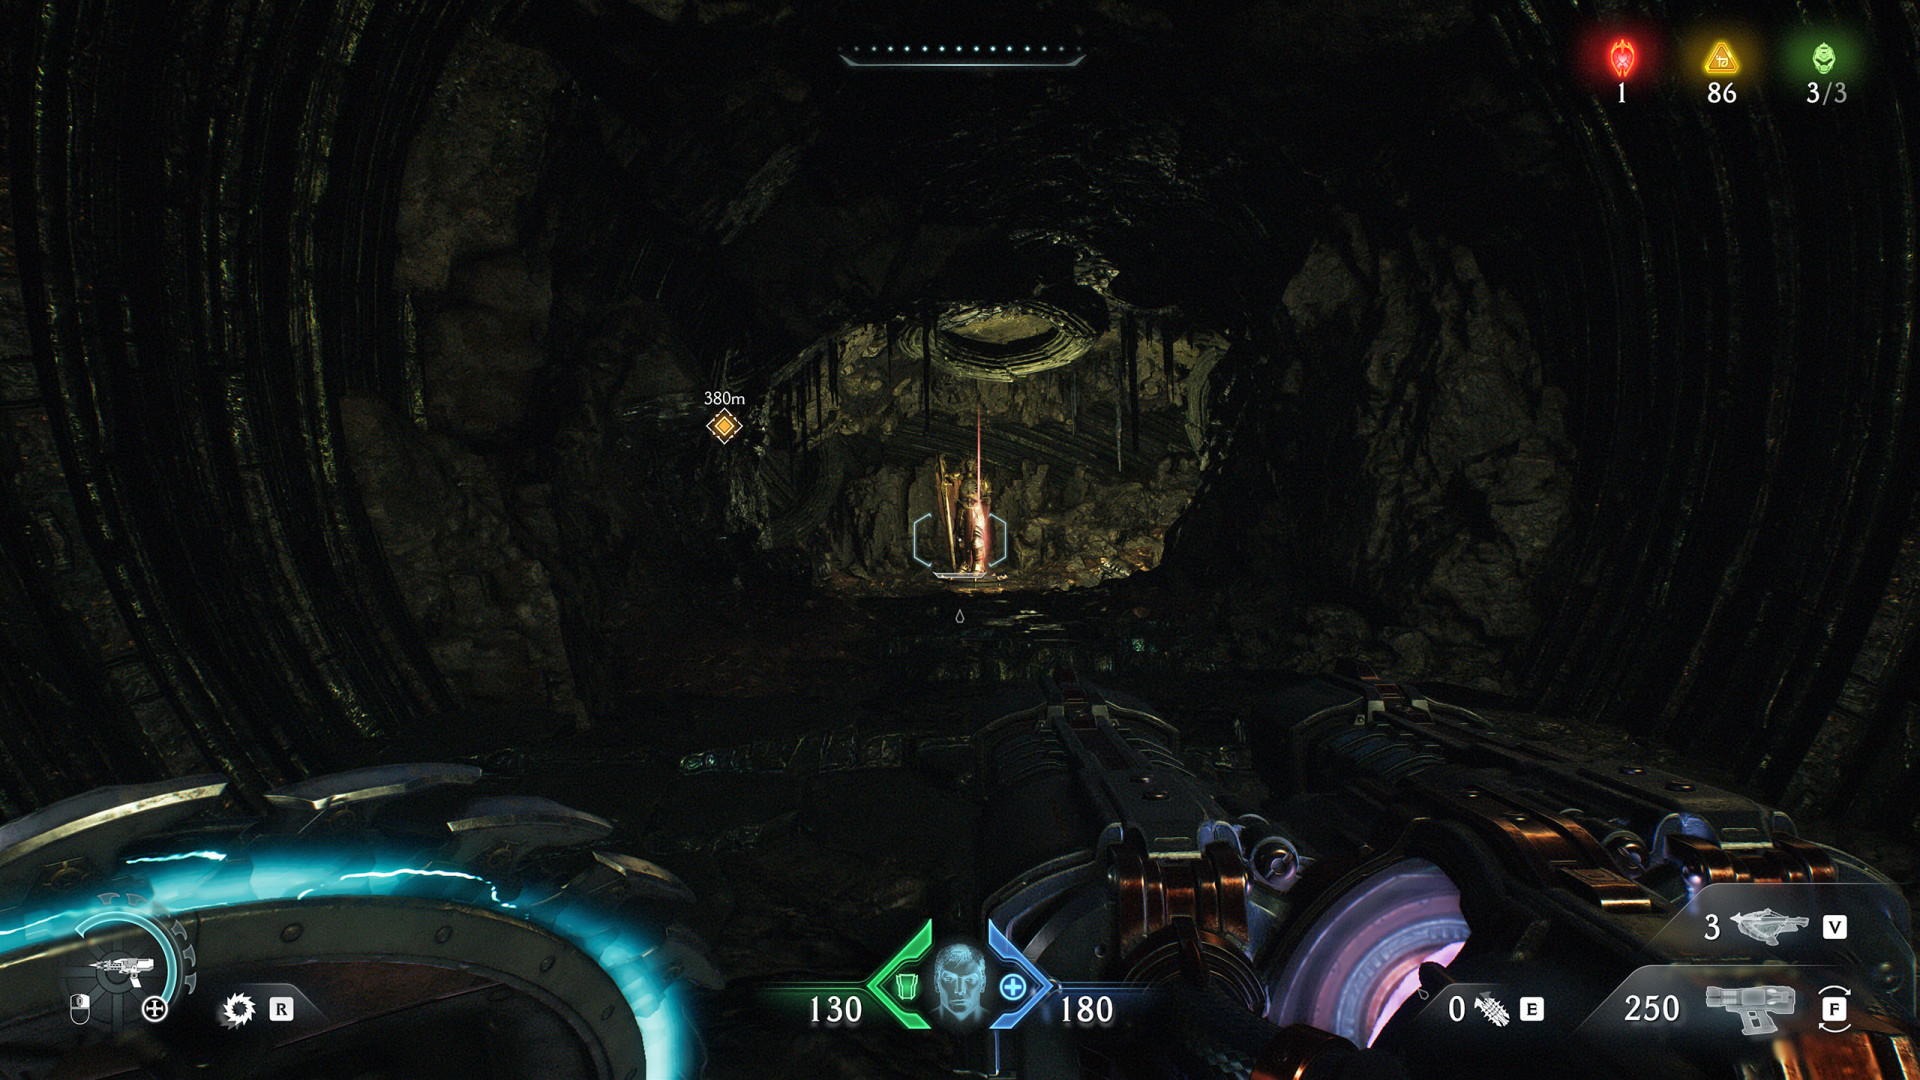
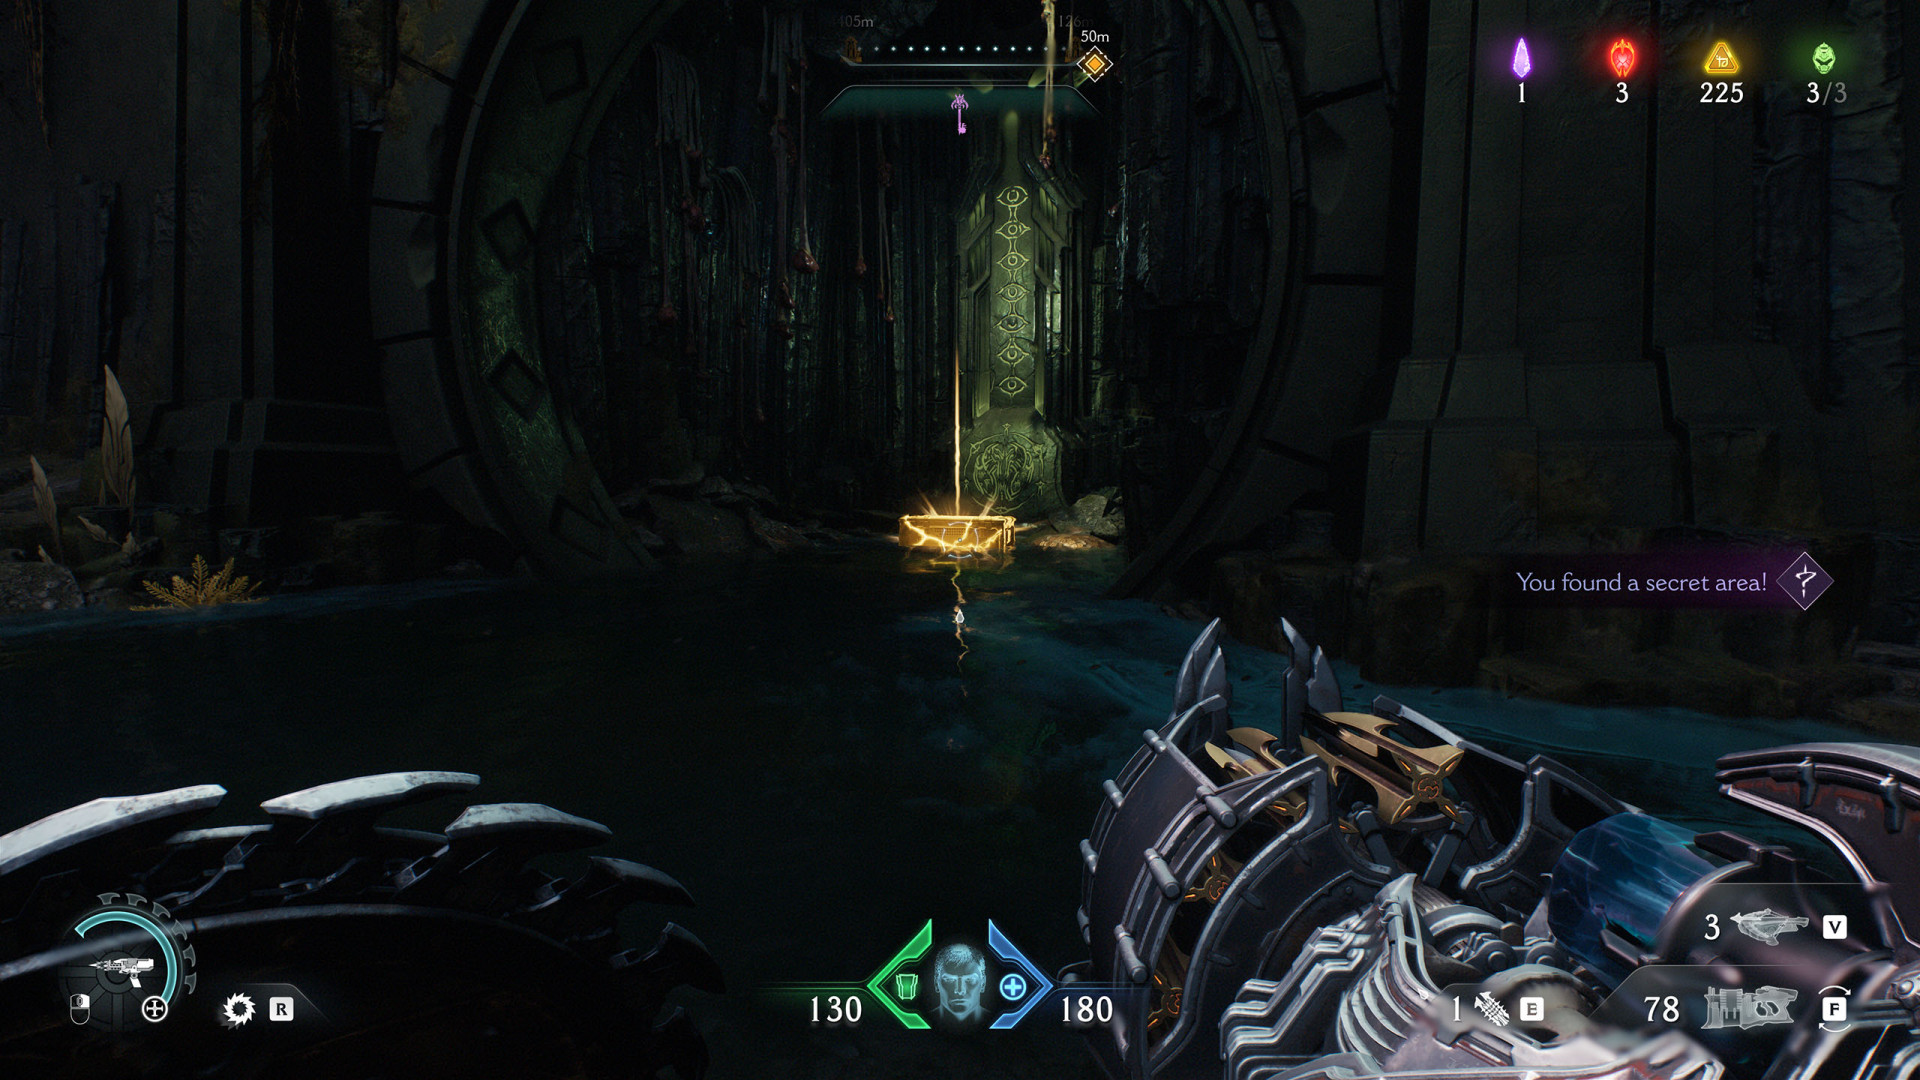
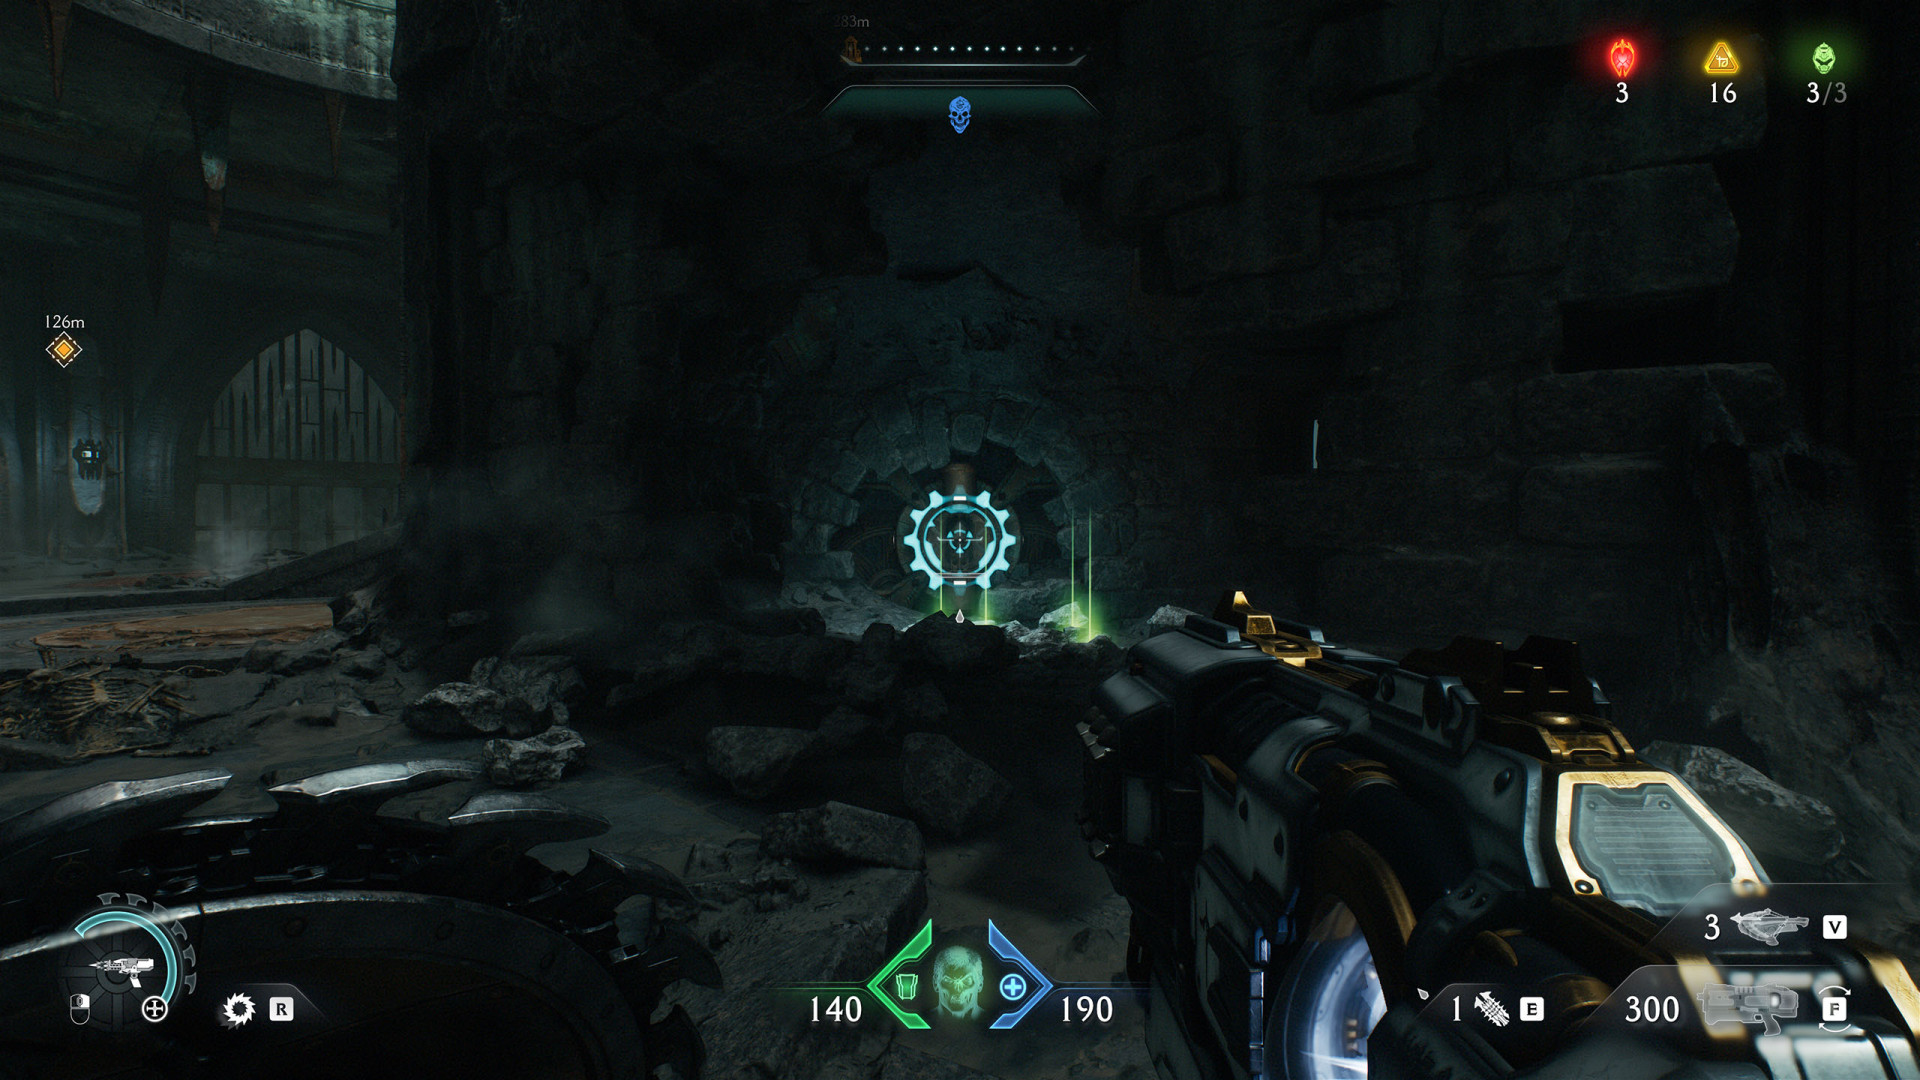
Climb the nearby cliff and throw the shield at the seal. The falling statue will create a hole in the ground.
Secret Area (Abyssal Forest #9)▶ show the map ◀
Secret Area (Abyssal Forest #10)▶ show the map ◀
Secret Area (Abyssal Forest #11)▶ show the map ◀
All known locations on the map Ancestral Forge
Secret Area (Ancestral Forge #1)▶ show the map ◀
Secret Area (Ancestral Forge #2)▶ show the map ◀
Secret Area (Ancestral Forge #3)▶ show the map ◀
Secret Area (Ancestral Forge #4)▶ show the map ◀


Secret Area (Ancestral Forge #8)▶ show the map ◀
Secret Area (Ancestral Forge #9)▶ show the map ◀

All known locations on the map The Forsaken Plains
Secret Area (The Forsaken Plains #3)▶ show the map ◀
Secret Area (The Forsaken Plains #4)▶ show the map ◀
Secret Area (The Forsaken Plains #5)▶ show the map ◀
Secret Area (The Forsaken Plains #6)▶ show the map ◀
Secret Area (The Forsaken Plains #7)▶ show the map ◀
Secret Area (The Forsaken Plains #8)▶ show the map ◀
Secret Area (The Forsaken Plains #9)▶ show the map ◀
Secret Area (The Forsaken Plains #10)▶ show the map ◀
All known locations on the map Hellbreaker
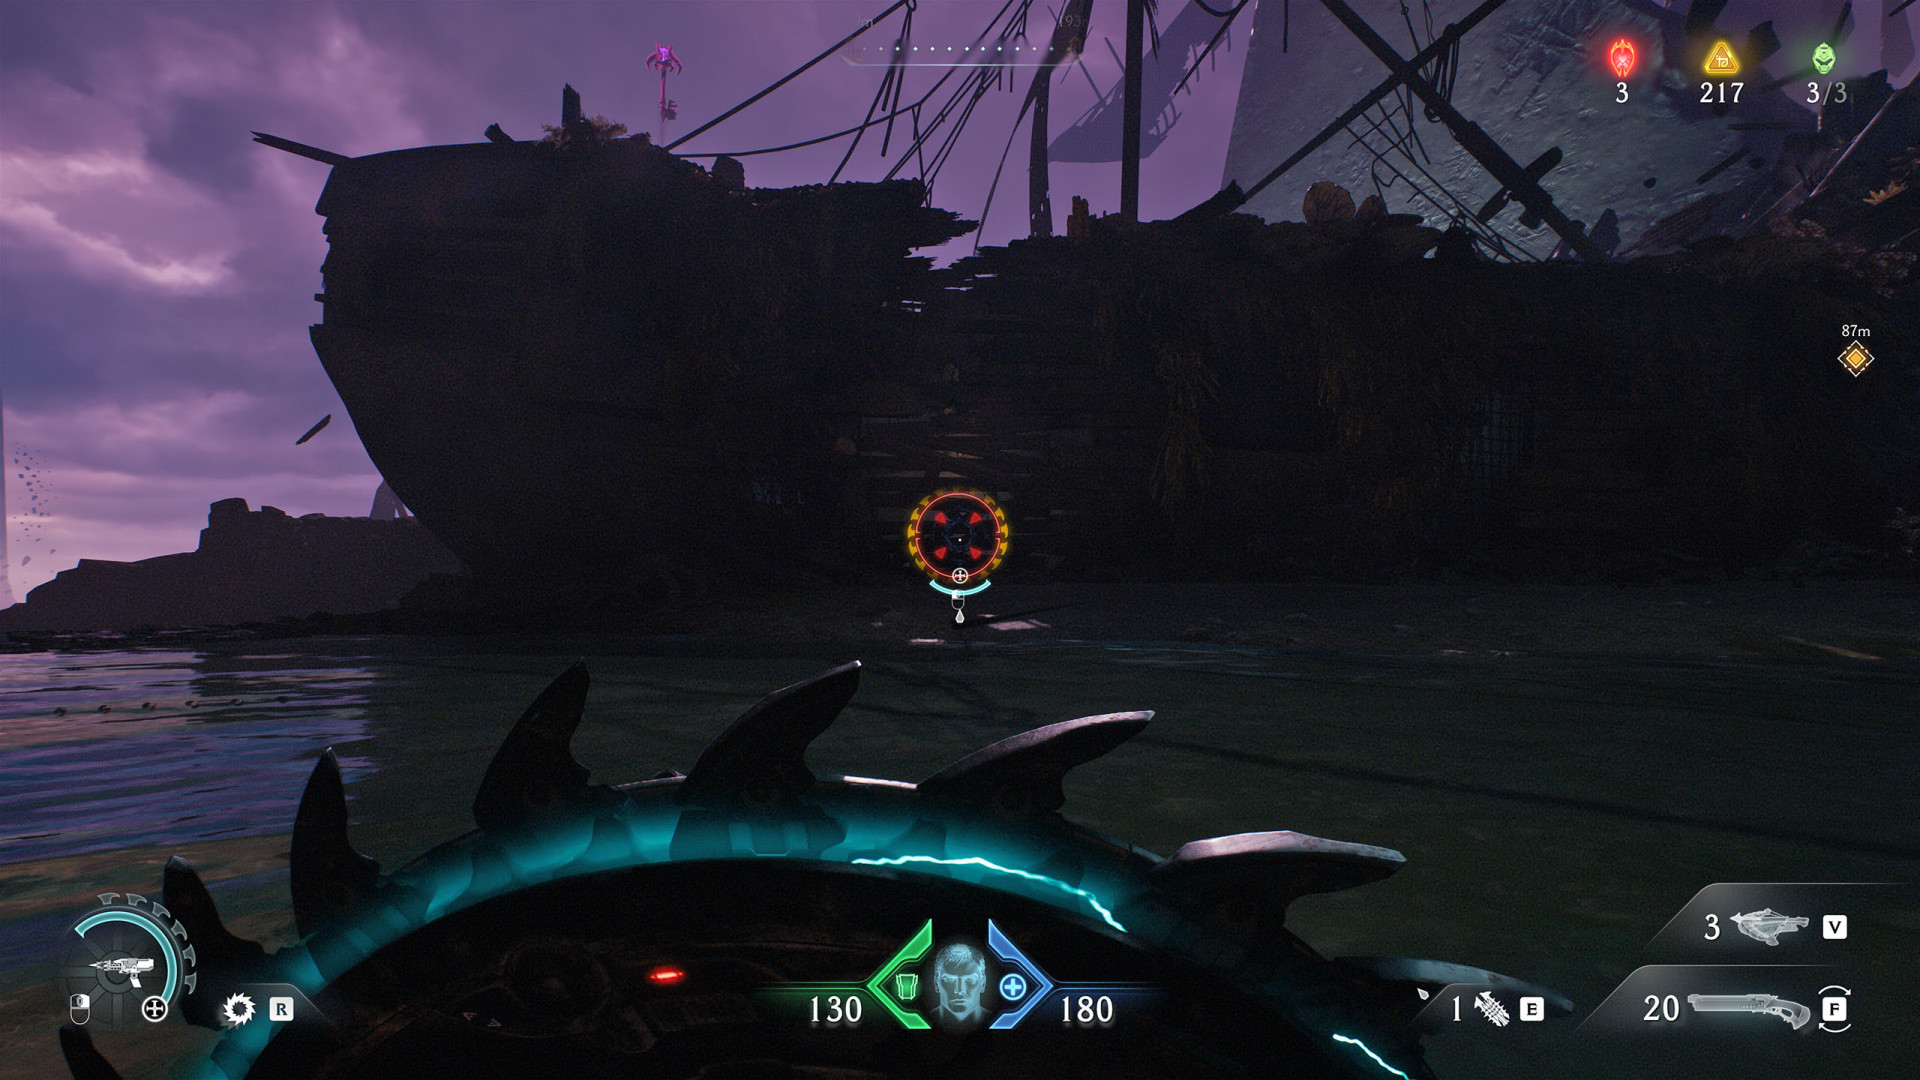
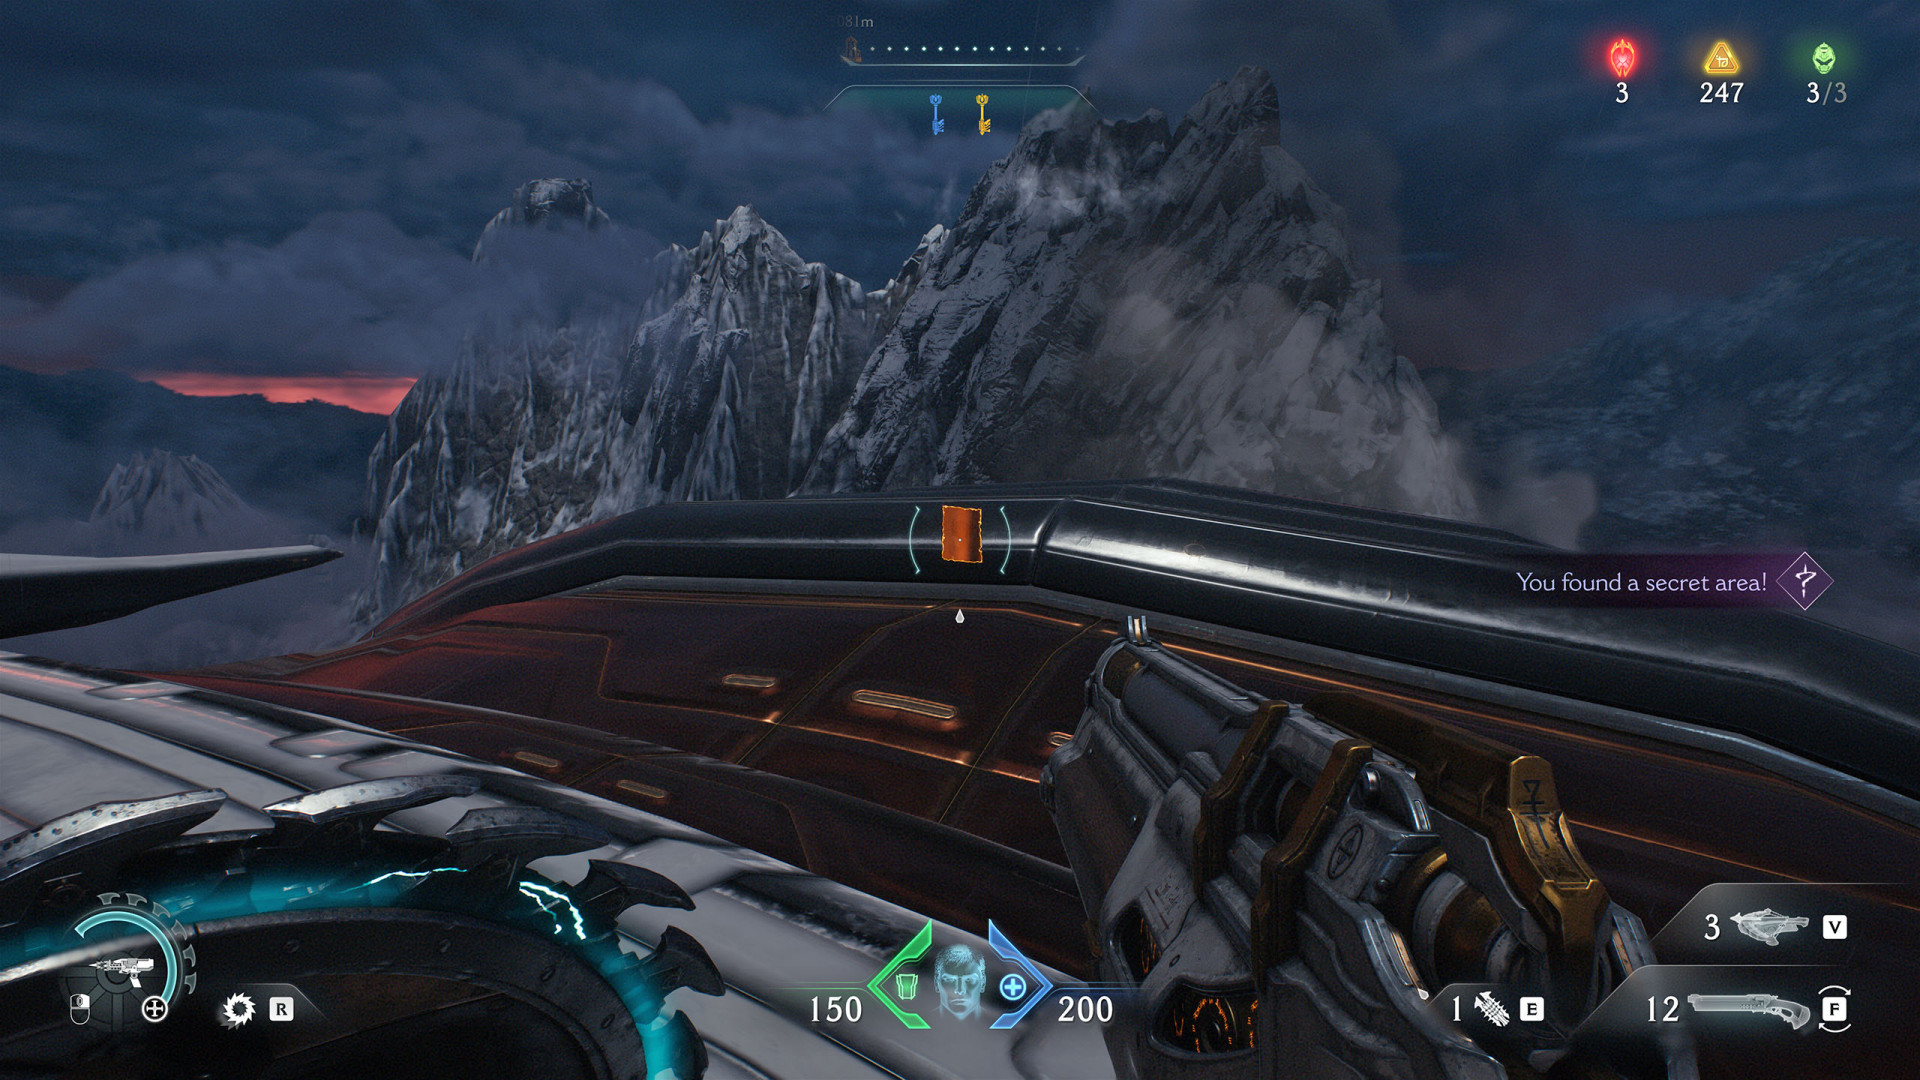
Secret Area (Hellbreaker)▶ show the map ◀
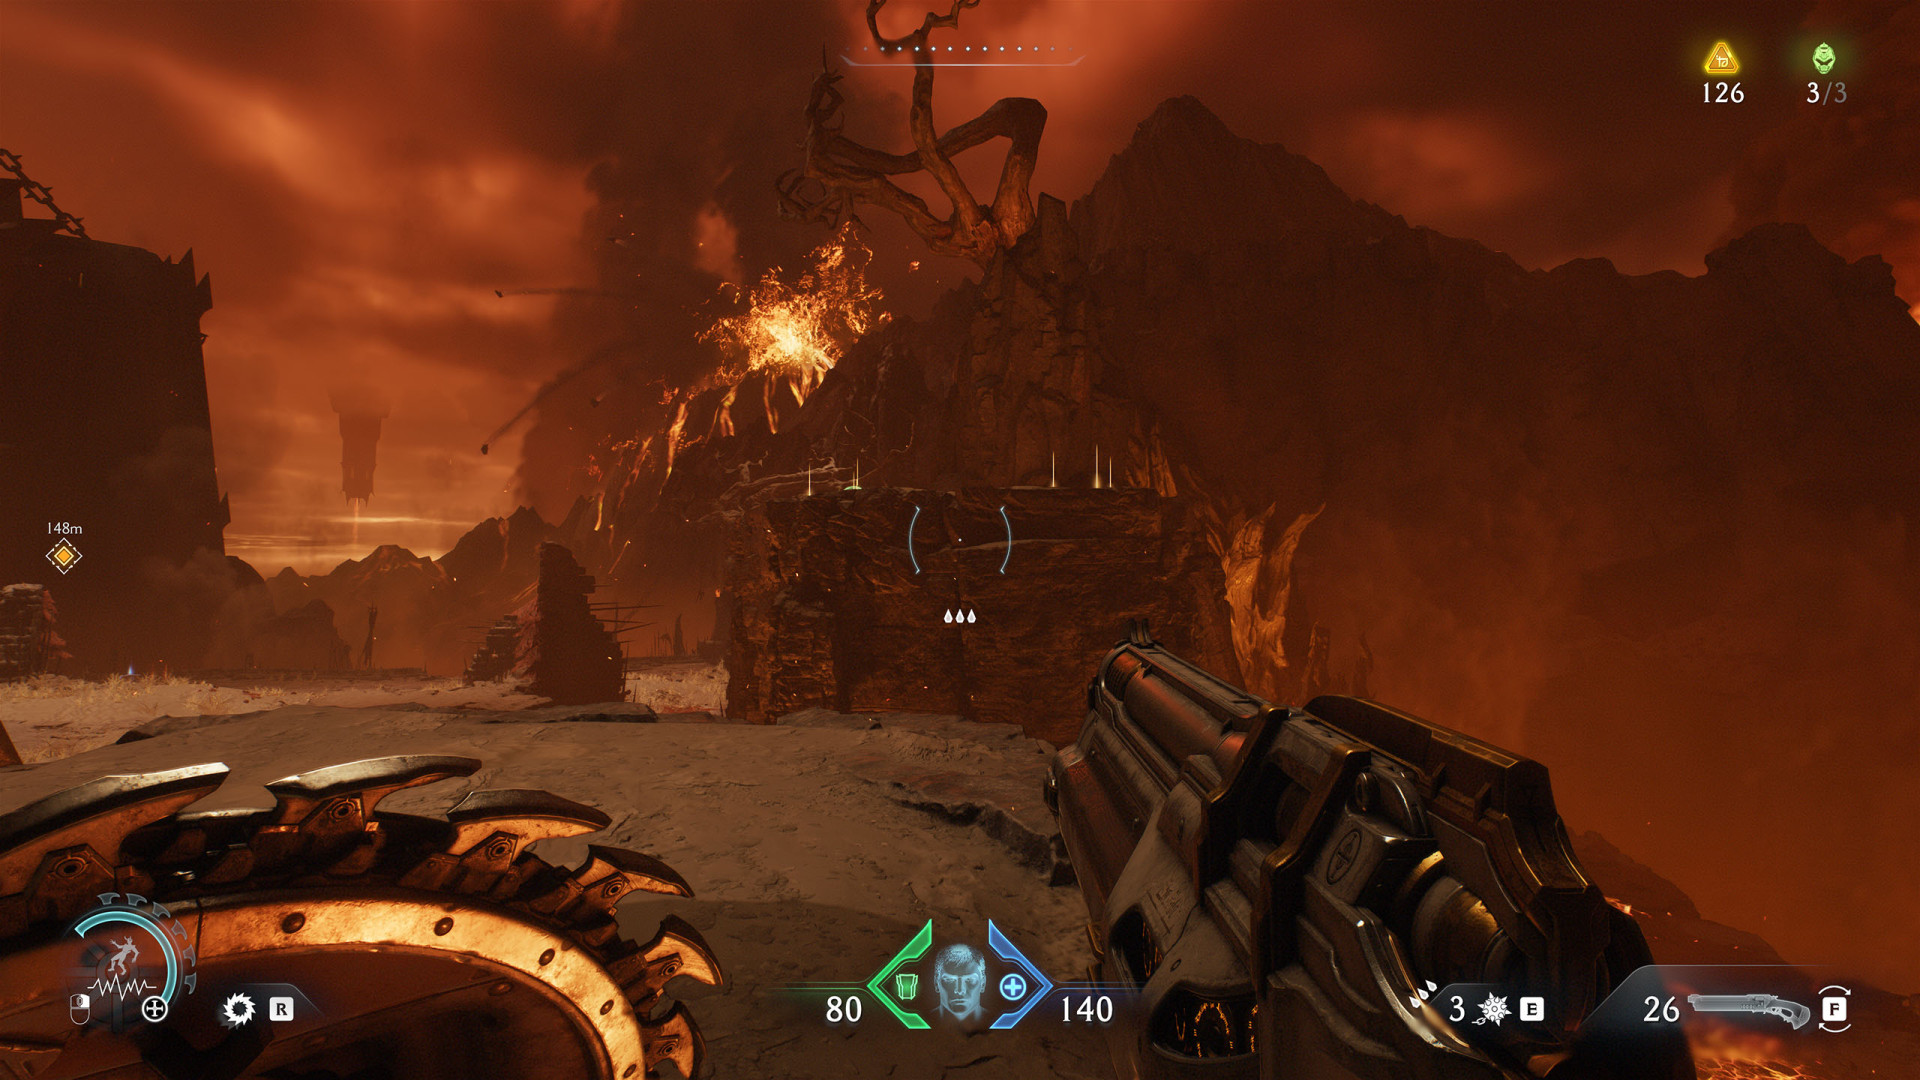
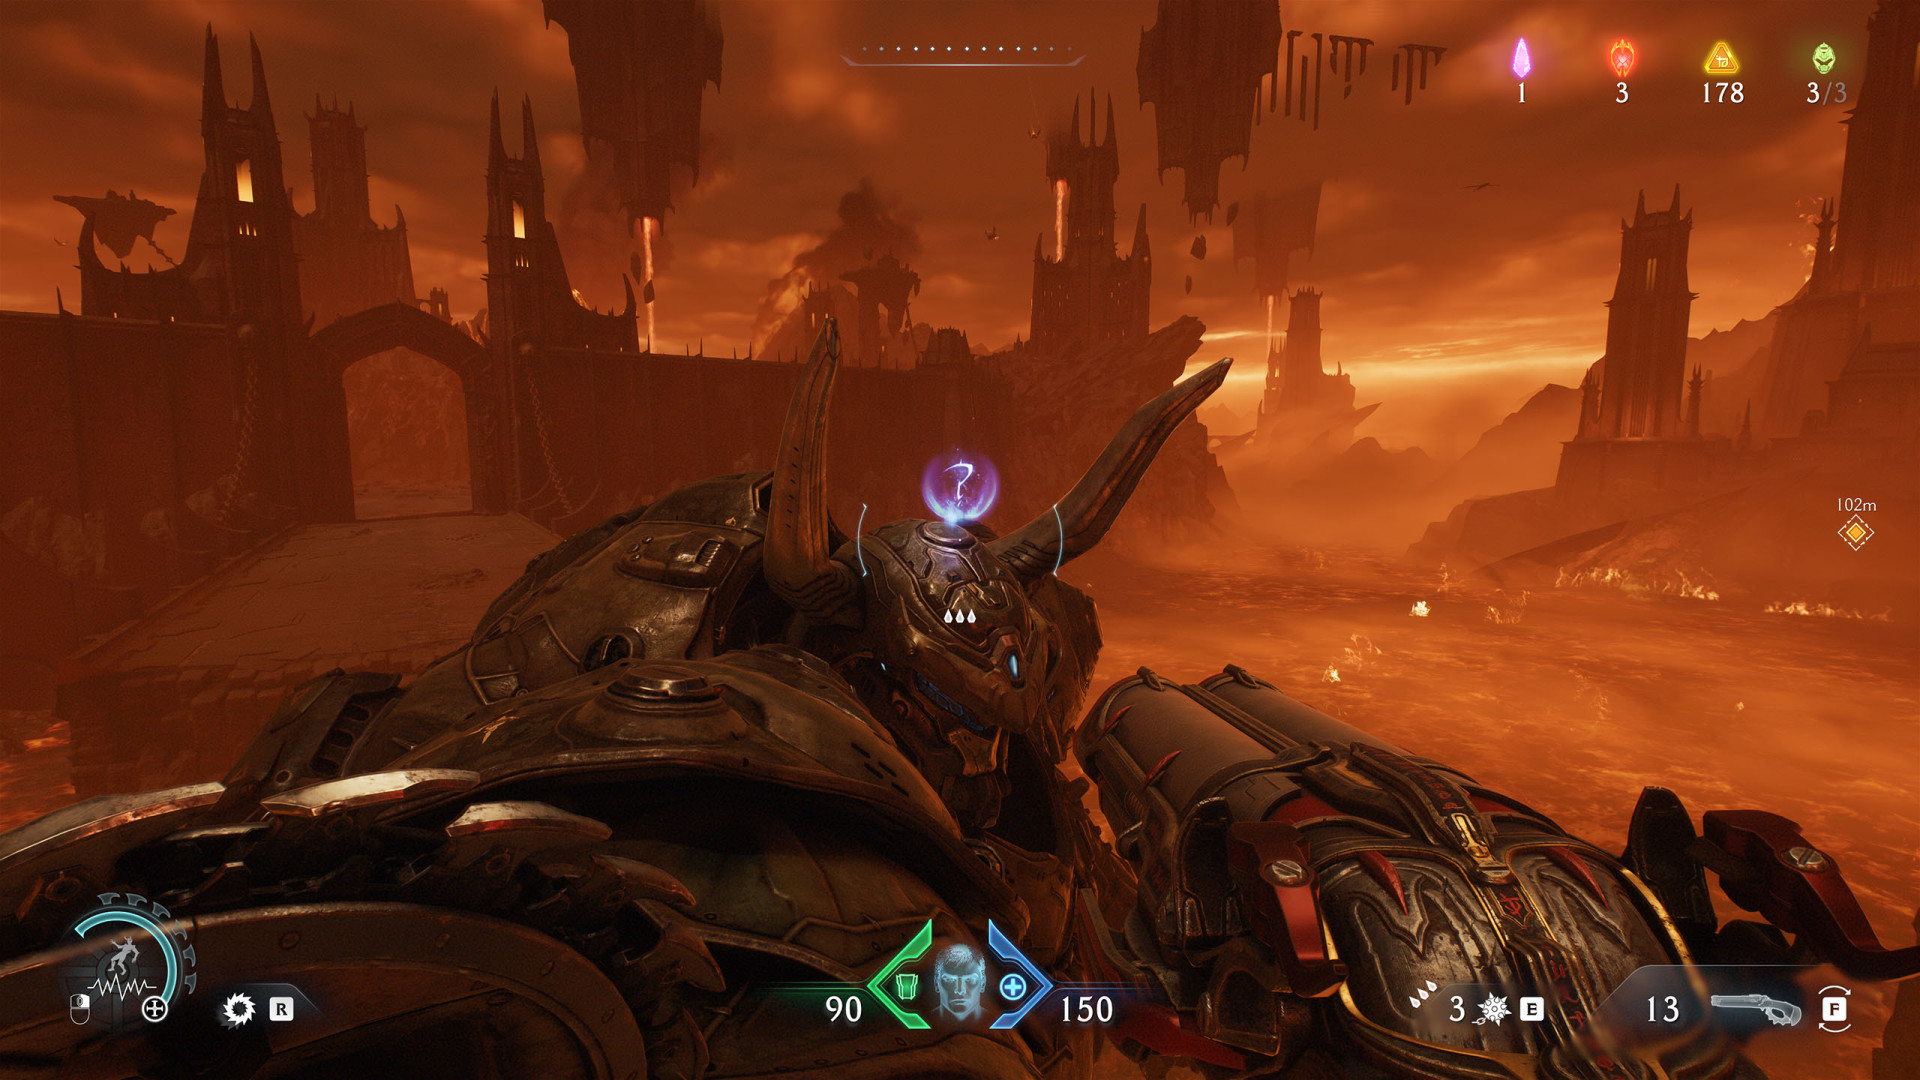
As soon as you get out of the Atlan, turn around and take a few steps along its shell.
All known locations on the map Sentinel Command Station
Secret Area (Sentinel Command Station #1)▶ show the map ◀
Secret Area (Sentinel Command Station #2)▶ show the map ◀
Secret Area (Sentinel Command Station #3)▶ show the map ◀
Secret Area (Sentinel Command Station #4)▶ show the map ◀
Secret Area (Sentinel Command Station #5)▶ show the map ◀
Secret Area (Sentinel Command Station #6)▶ show the map ◀
Secret Area (Sentinel Command Station #7)▶ show the map ◀
Secret Area (Sentinel Command Station #8)▶ show the map ◀
Secret Area (Sentinel Command Station #9)▶ show the map ◀
All known locations on the map Spire of Nerathul
Secret Area (Spire of Nerathul #1)▶ show the map ◀
Secret Area (Spire of Nerathul #2)▶ show the map ◀
Secret Area (Spire of Nerathul #3)▶ show the map ◀
Secret Area (Spire of Nerathul #4)▶ show the map ◀

Secret Area (Spire of Nerathul #5)▶ show the map ◀
Secret Area (Spire of Nerathul #6)▶ show the map ◀
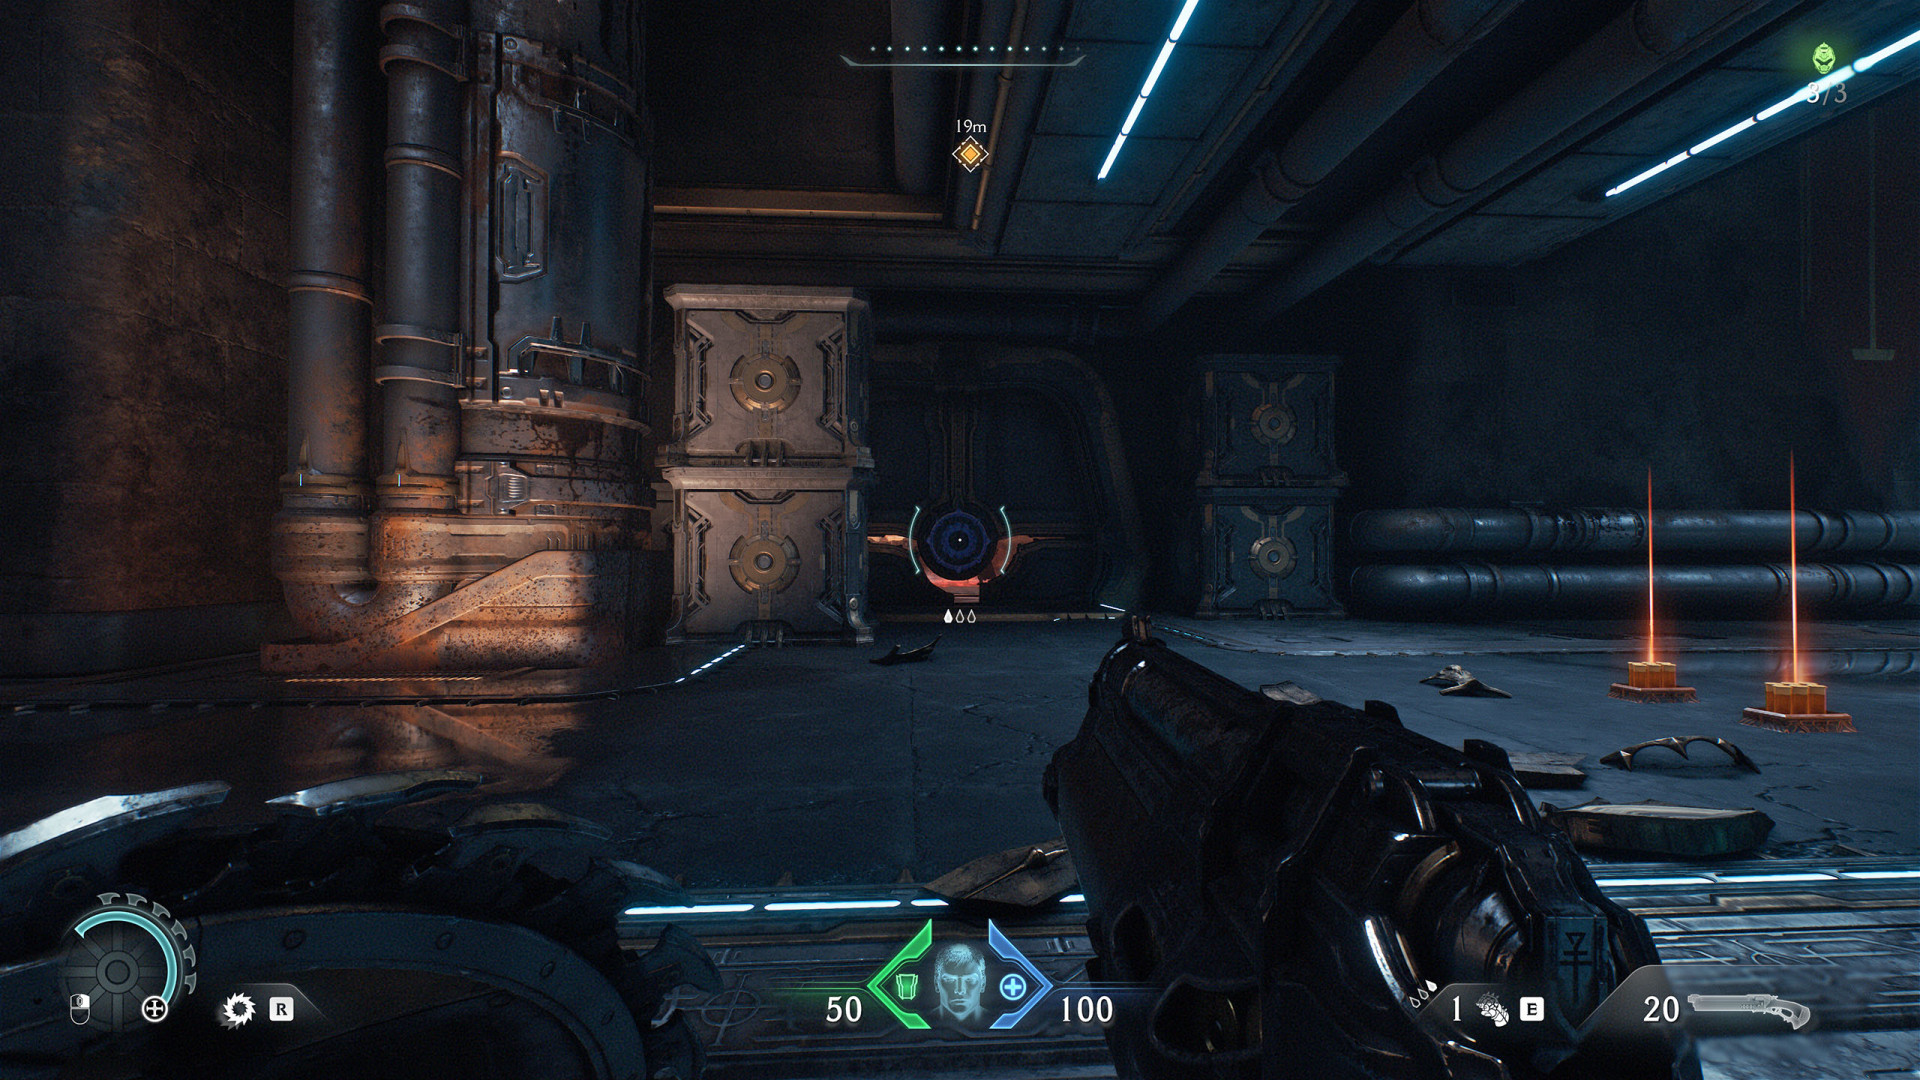
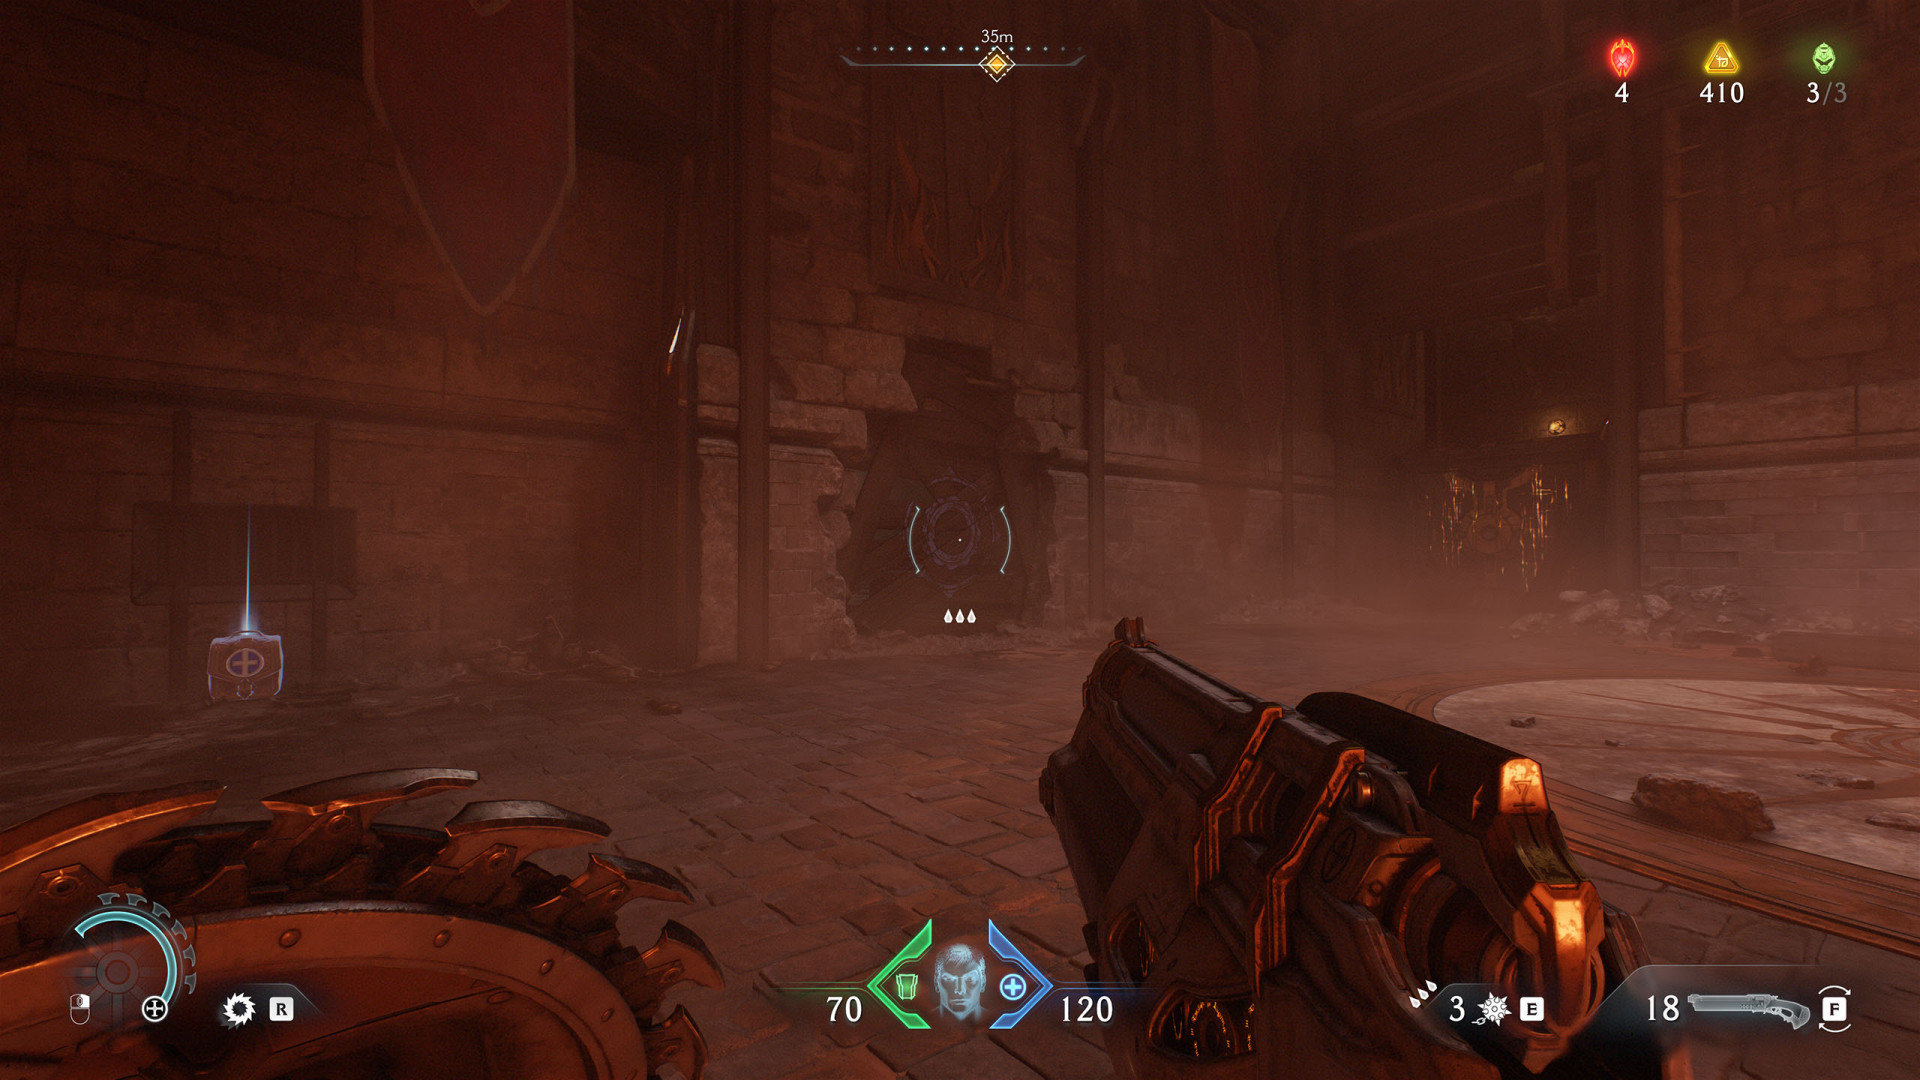
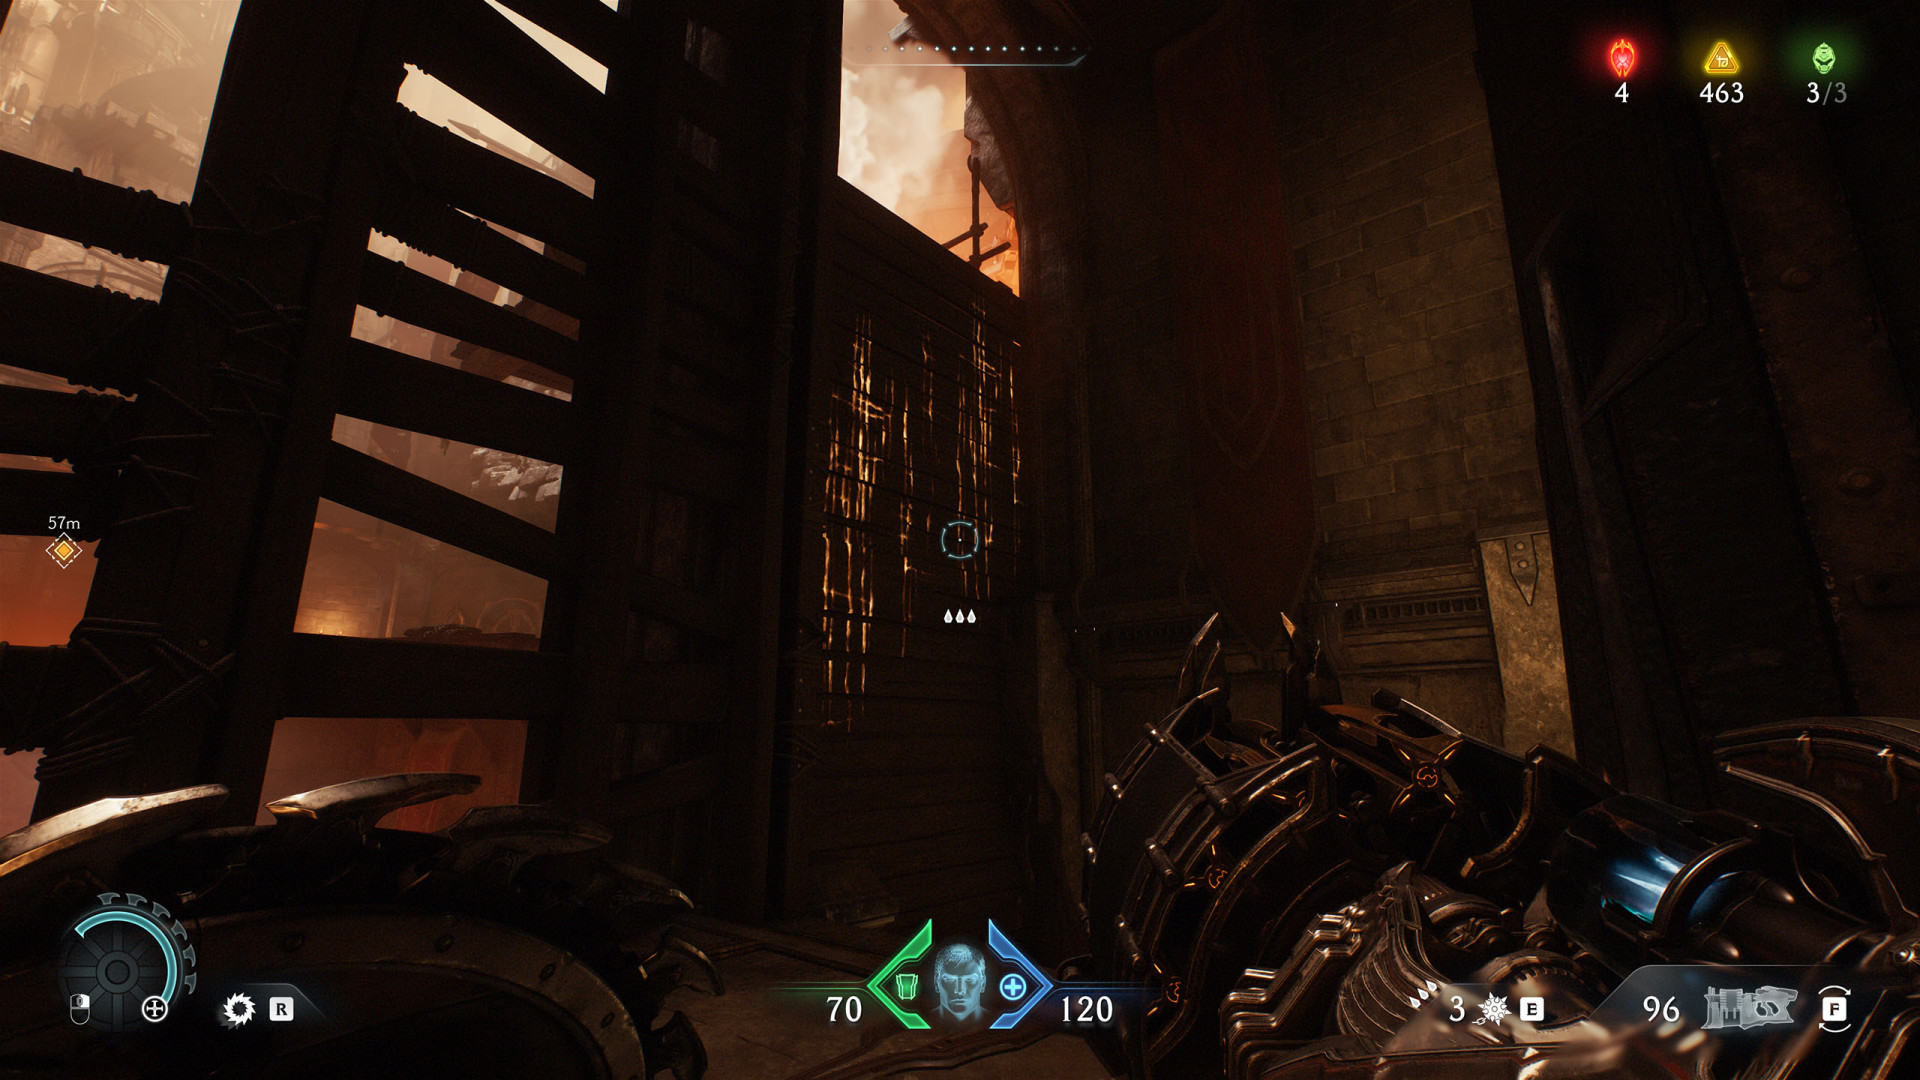
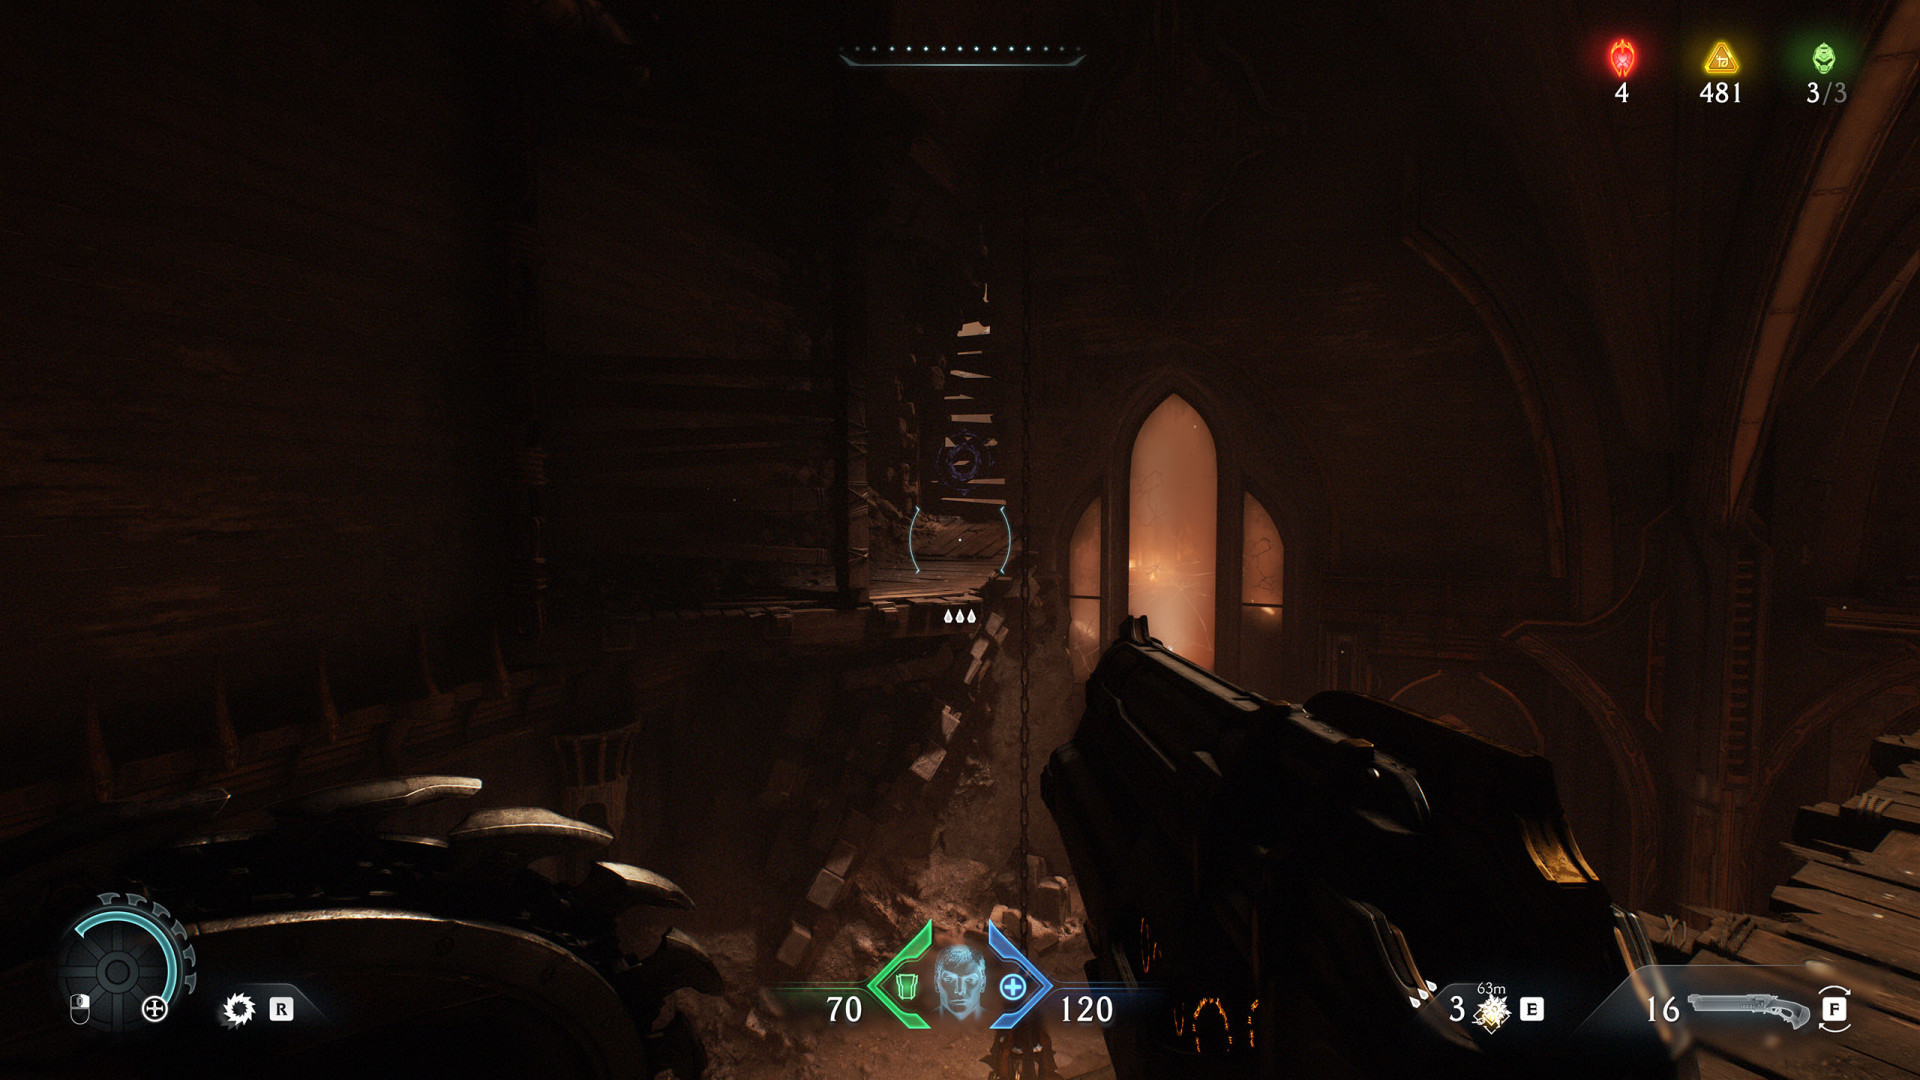
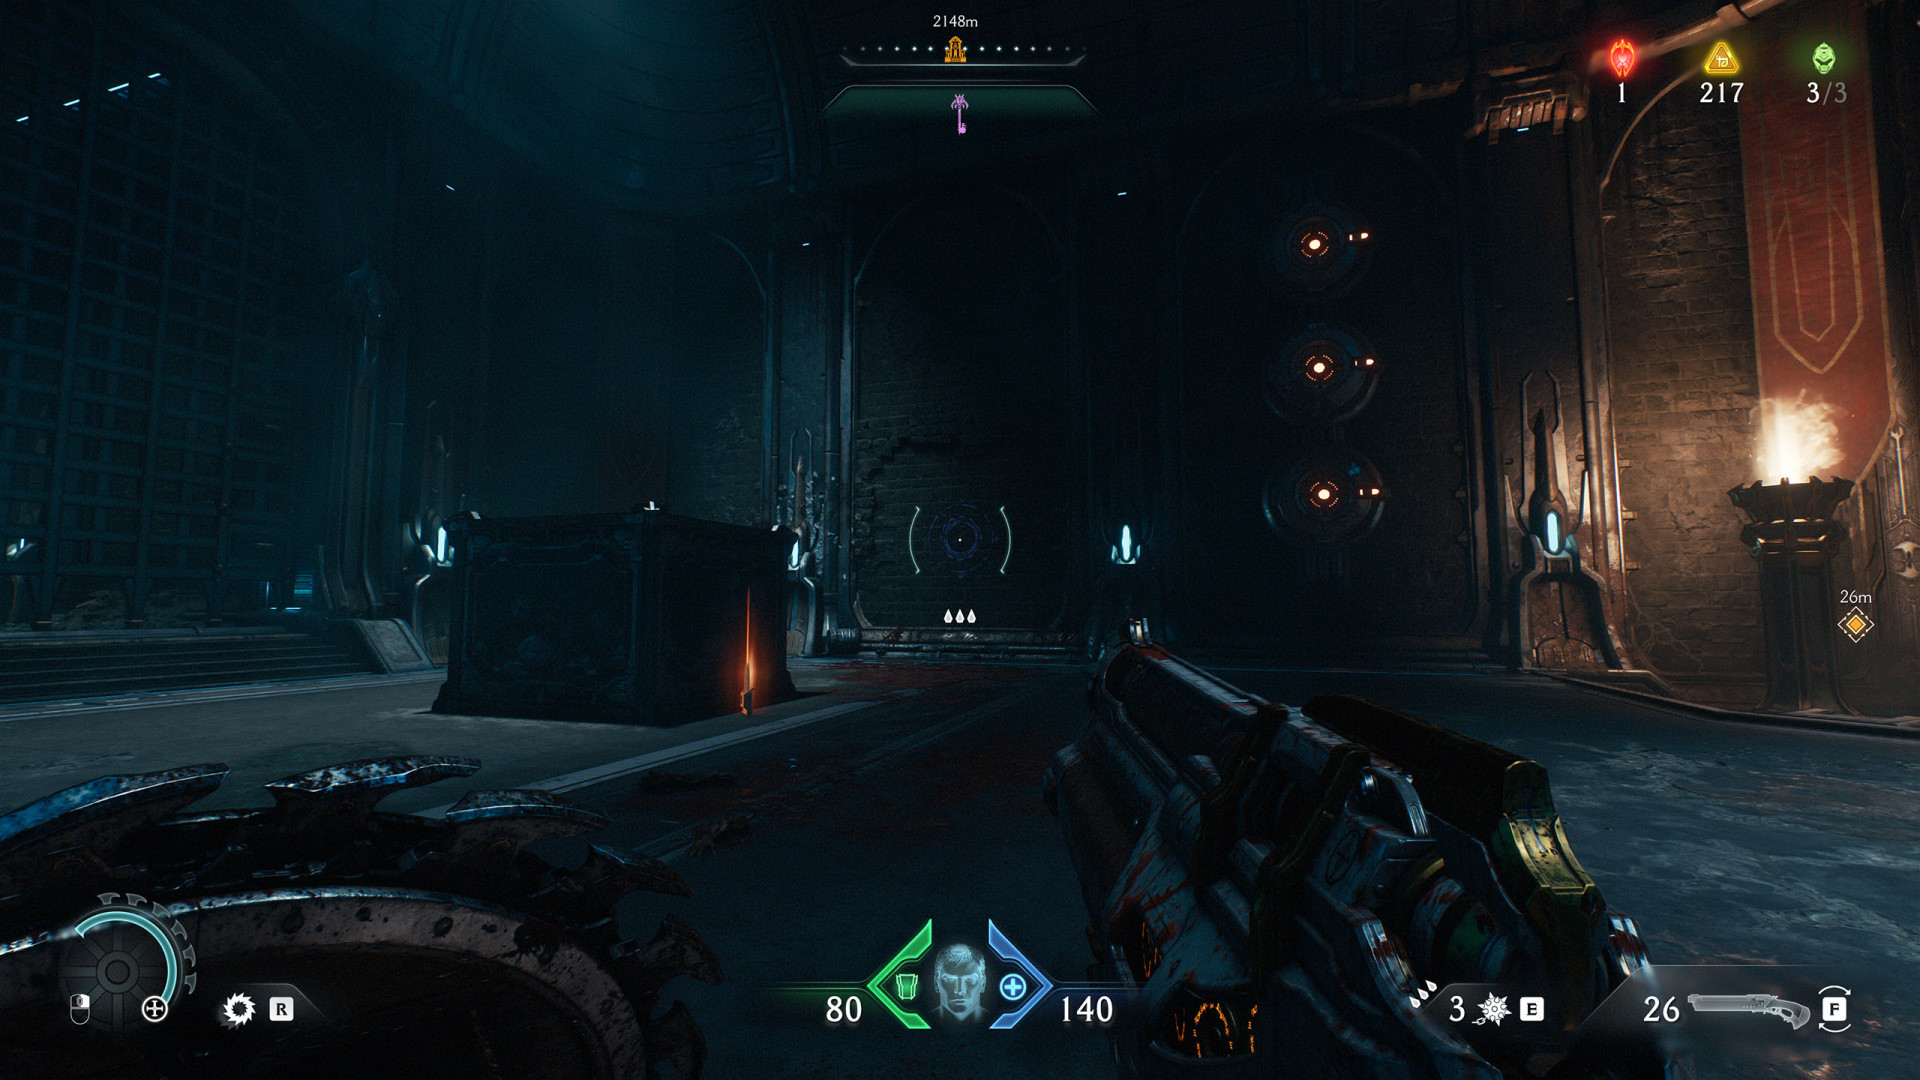
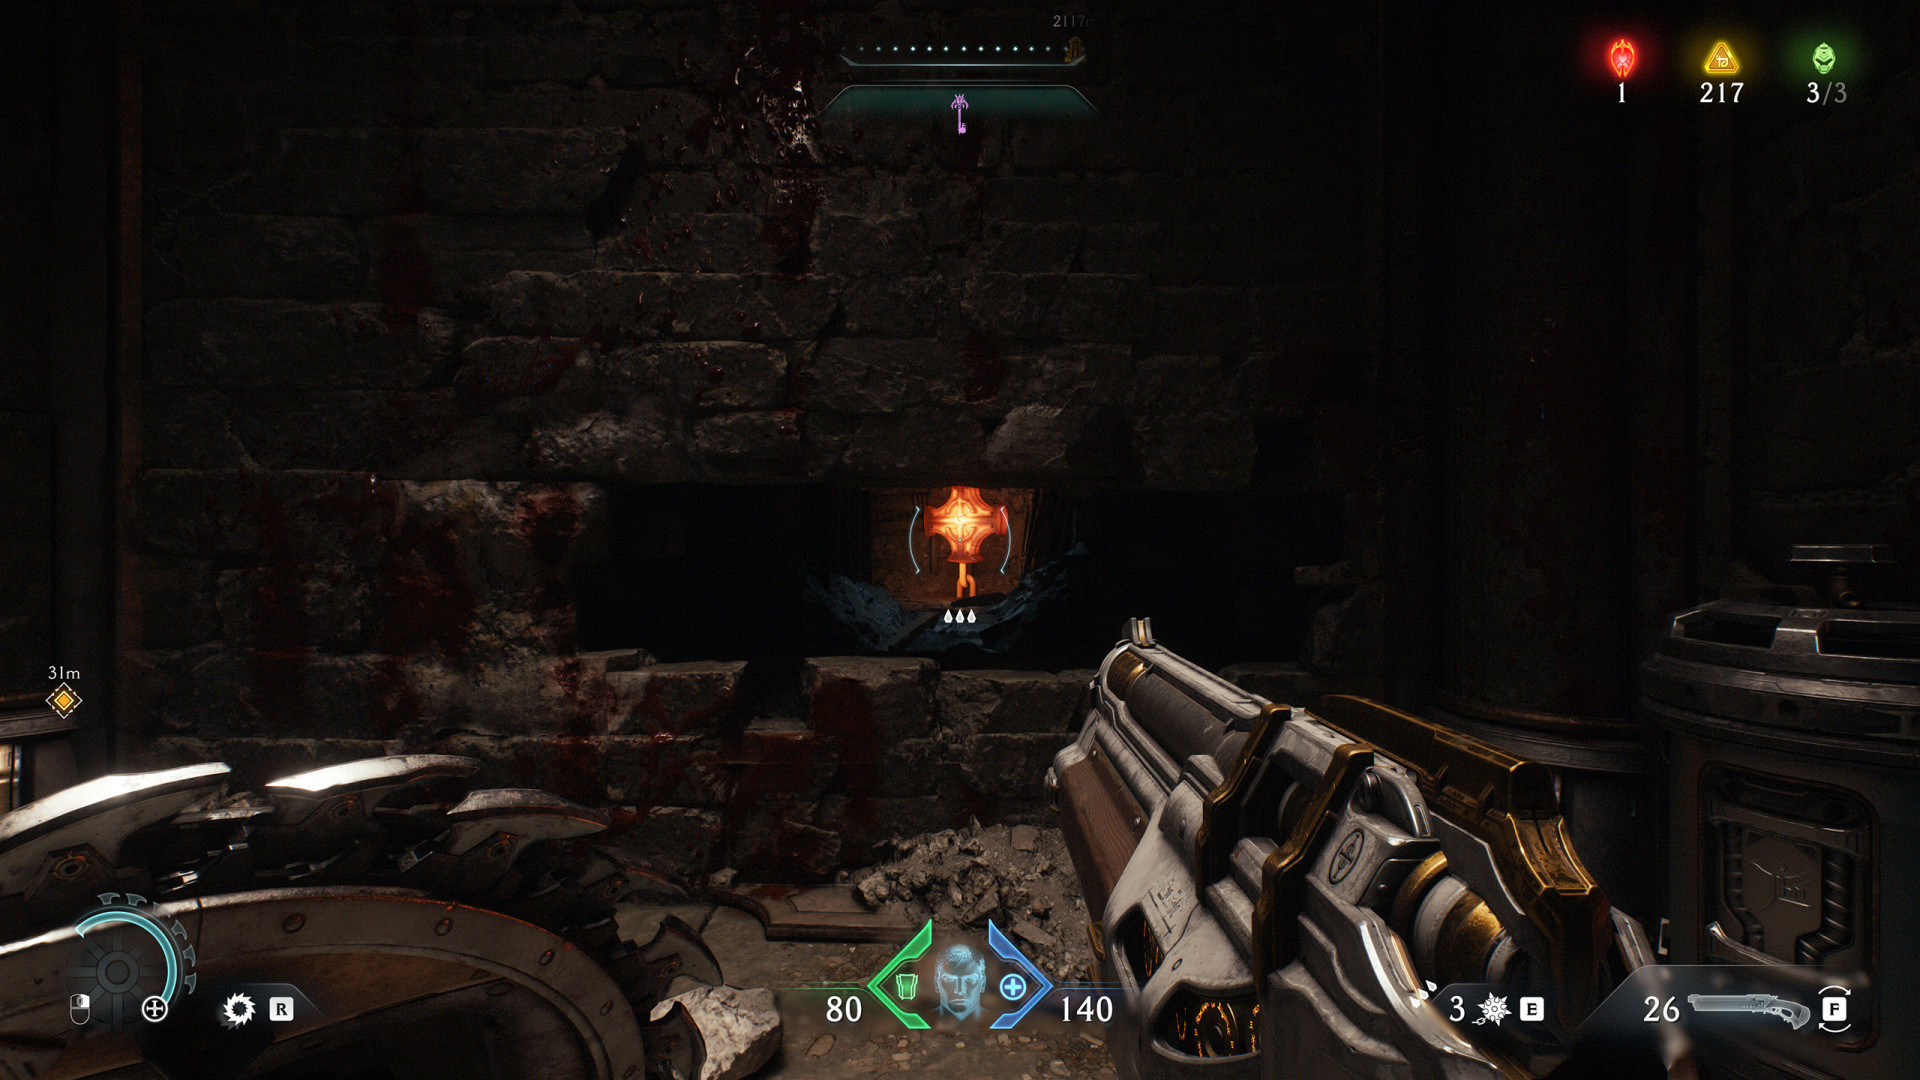
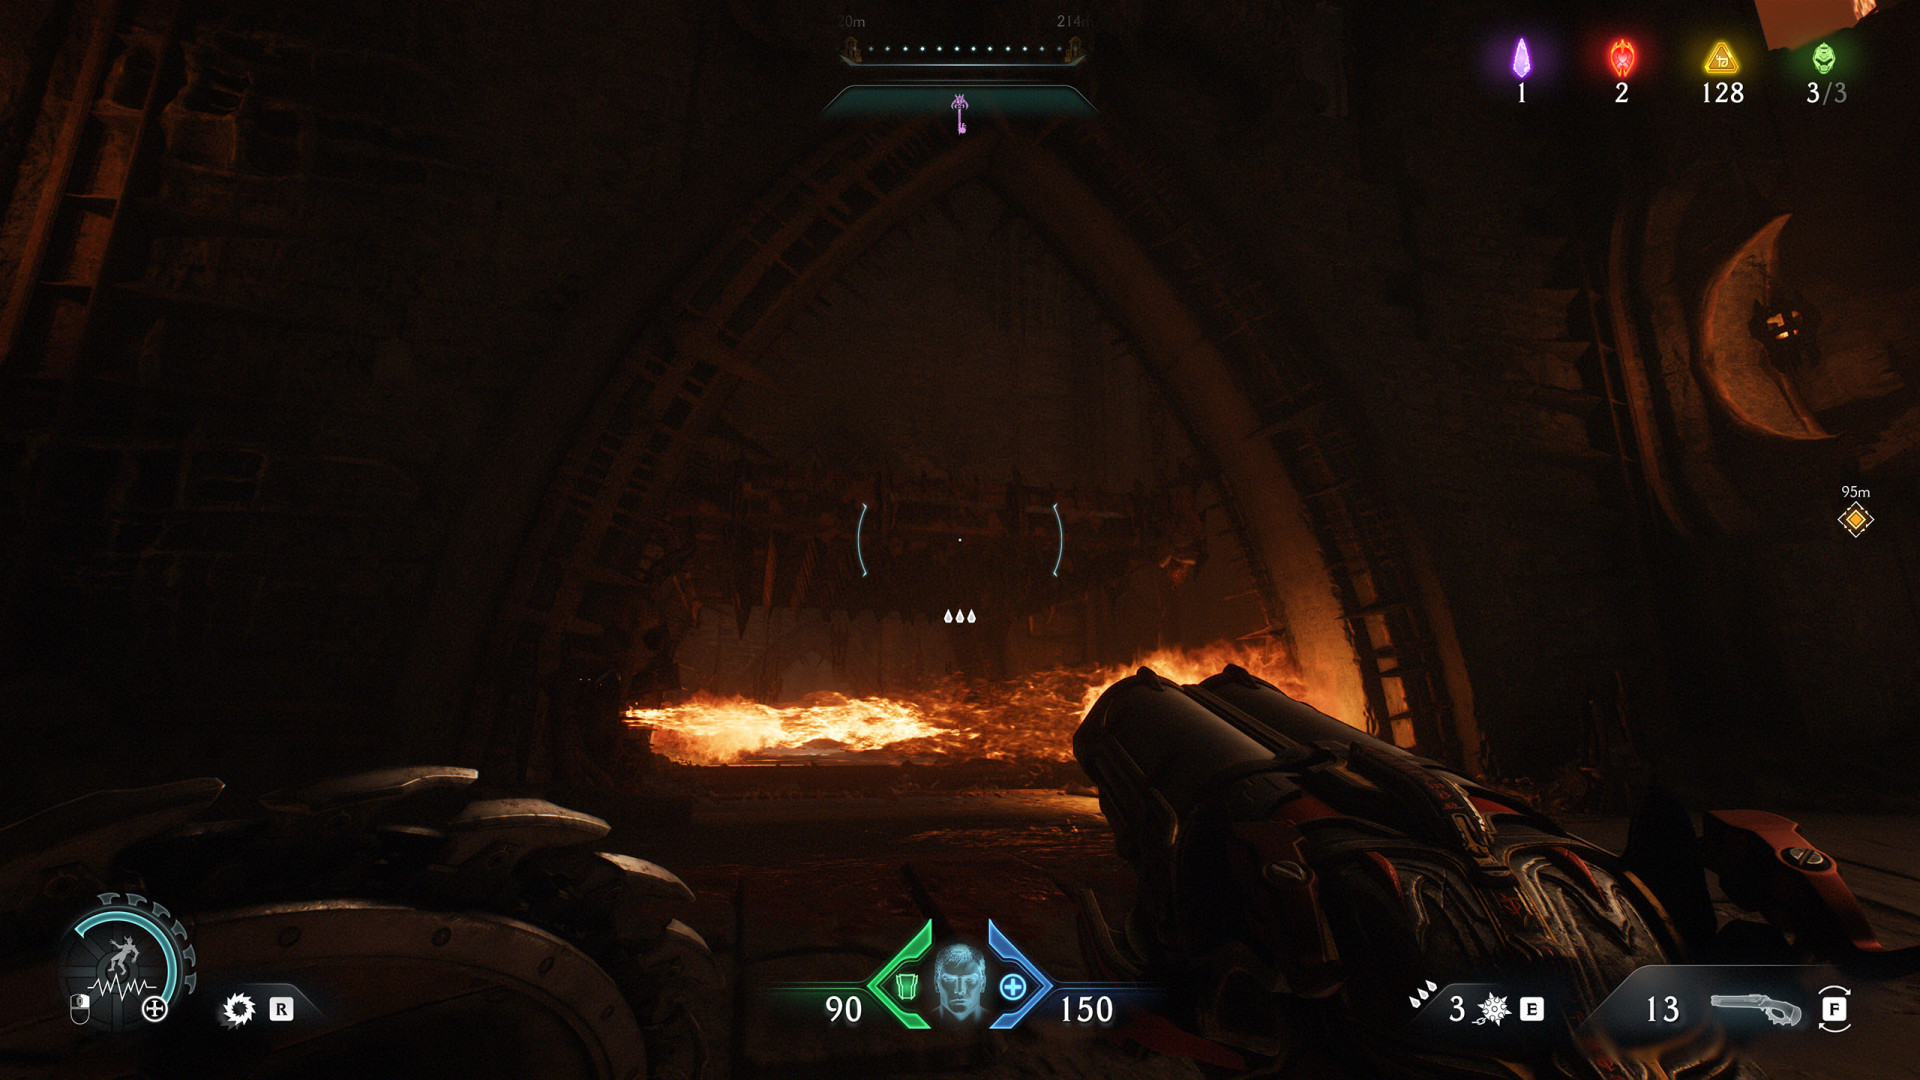
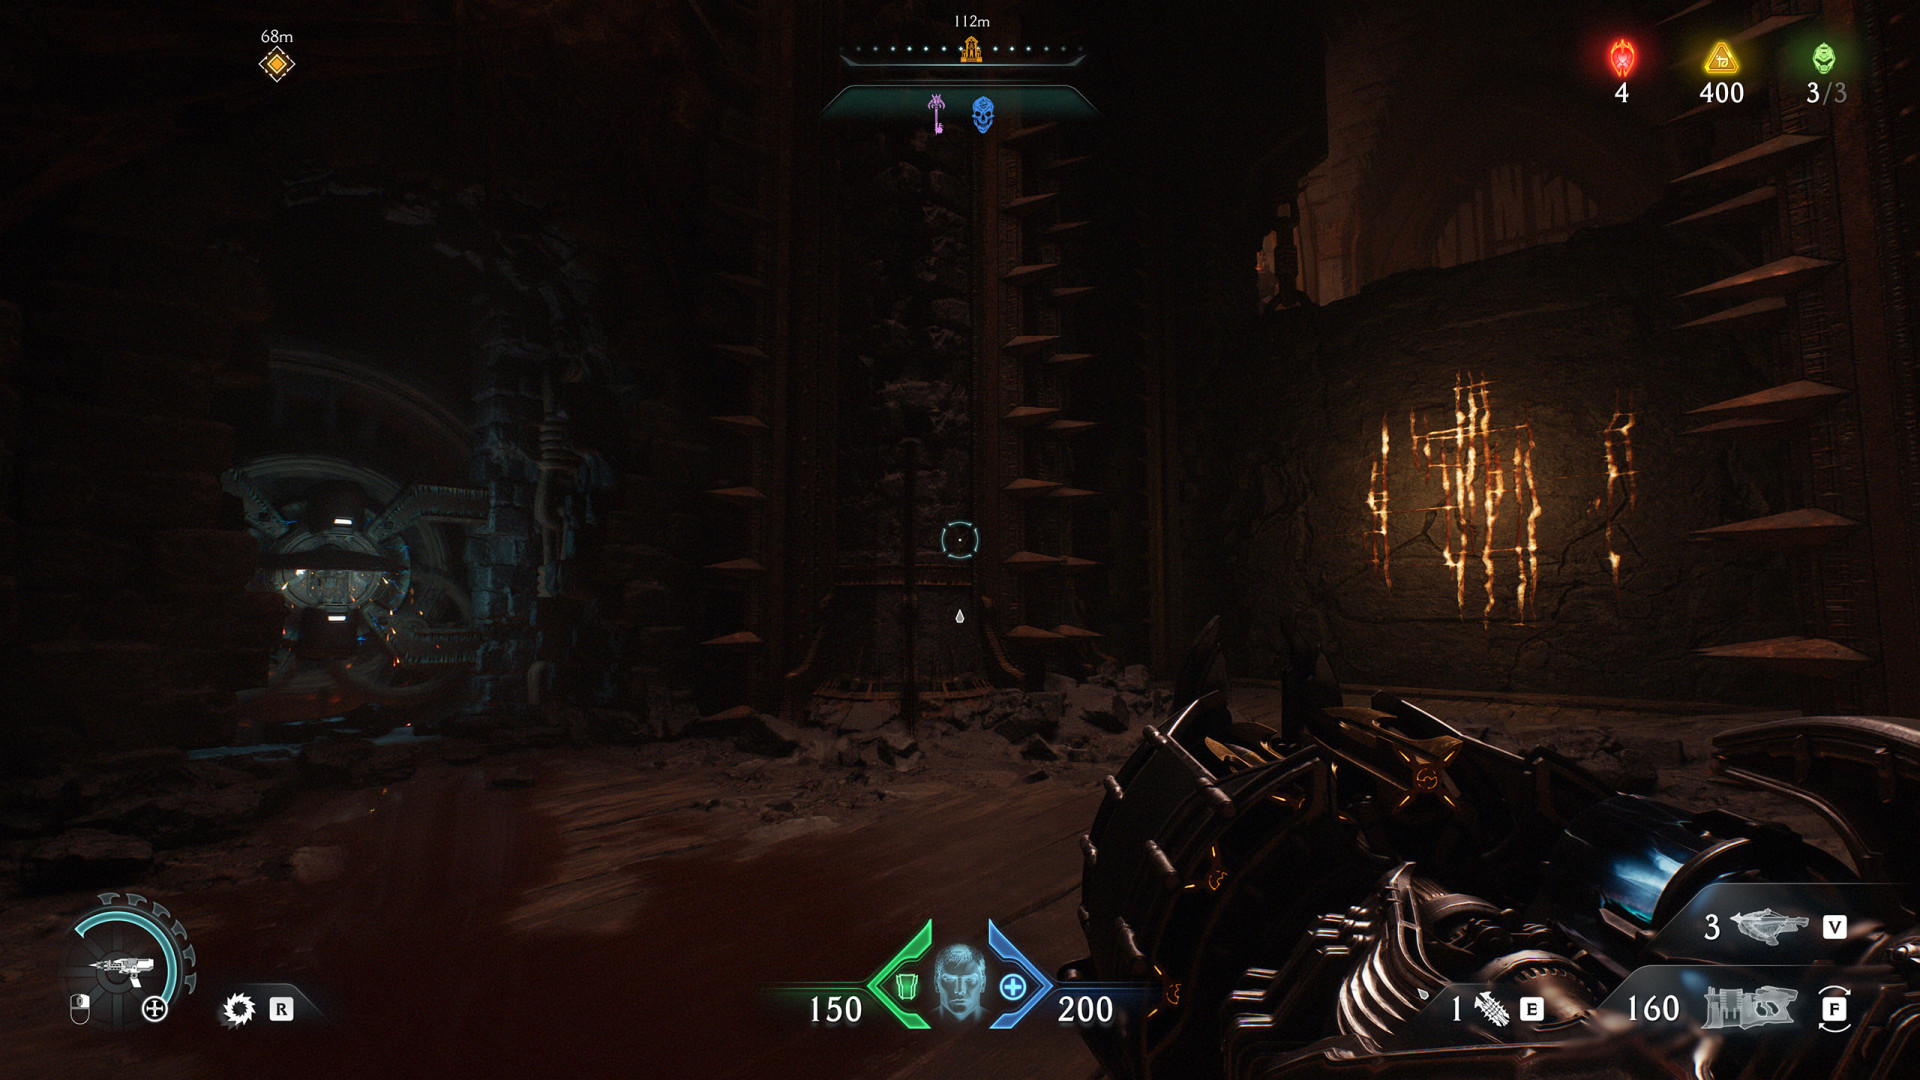
Shoot through the gap to hit the red barrels of explosives. This will cause an explosion that will destroy the boards blocking the passage.

Secret Area (Spire of Nerathul #7)▶ show the map ◀
Secret Area (Spire of Nerathul #8)▶ show the map ◀
Secret Area (Spire of Nerathul #9)▶ show the map ◀
Secret Area (Spire of Nerathul #10)▶ show the map ◀
Secret Area (Spire of Nerathul #11)▶ show the map ◀
All known locations on the map City of Ry'uul
Secret Area (City of Ry'uul #2)▶ show the map ◀
To activate the launch pad that will allow you to get here, you need to use the Switch (City of Ry'uul #1).
Secret Area (City of Ry'uul #4)▶ show the map ◀
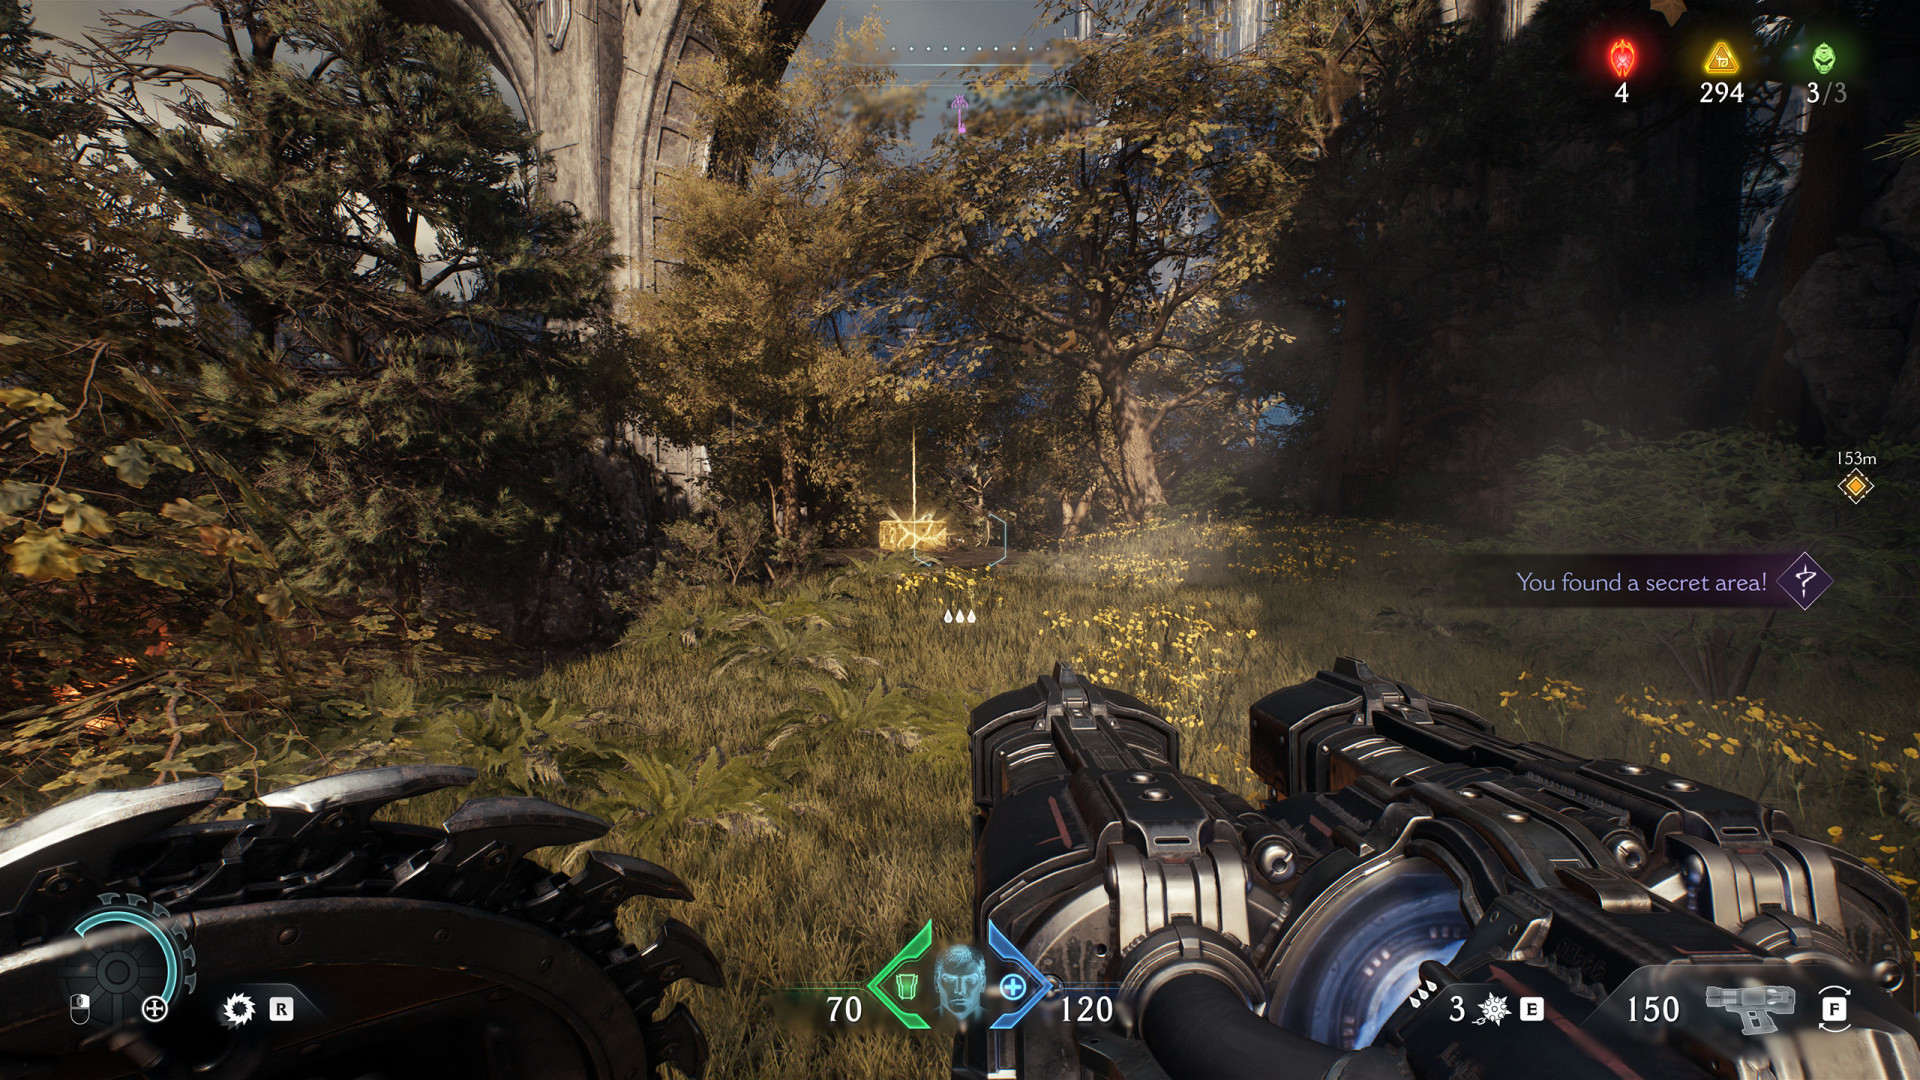
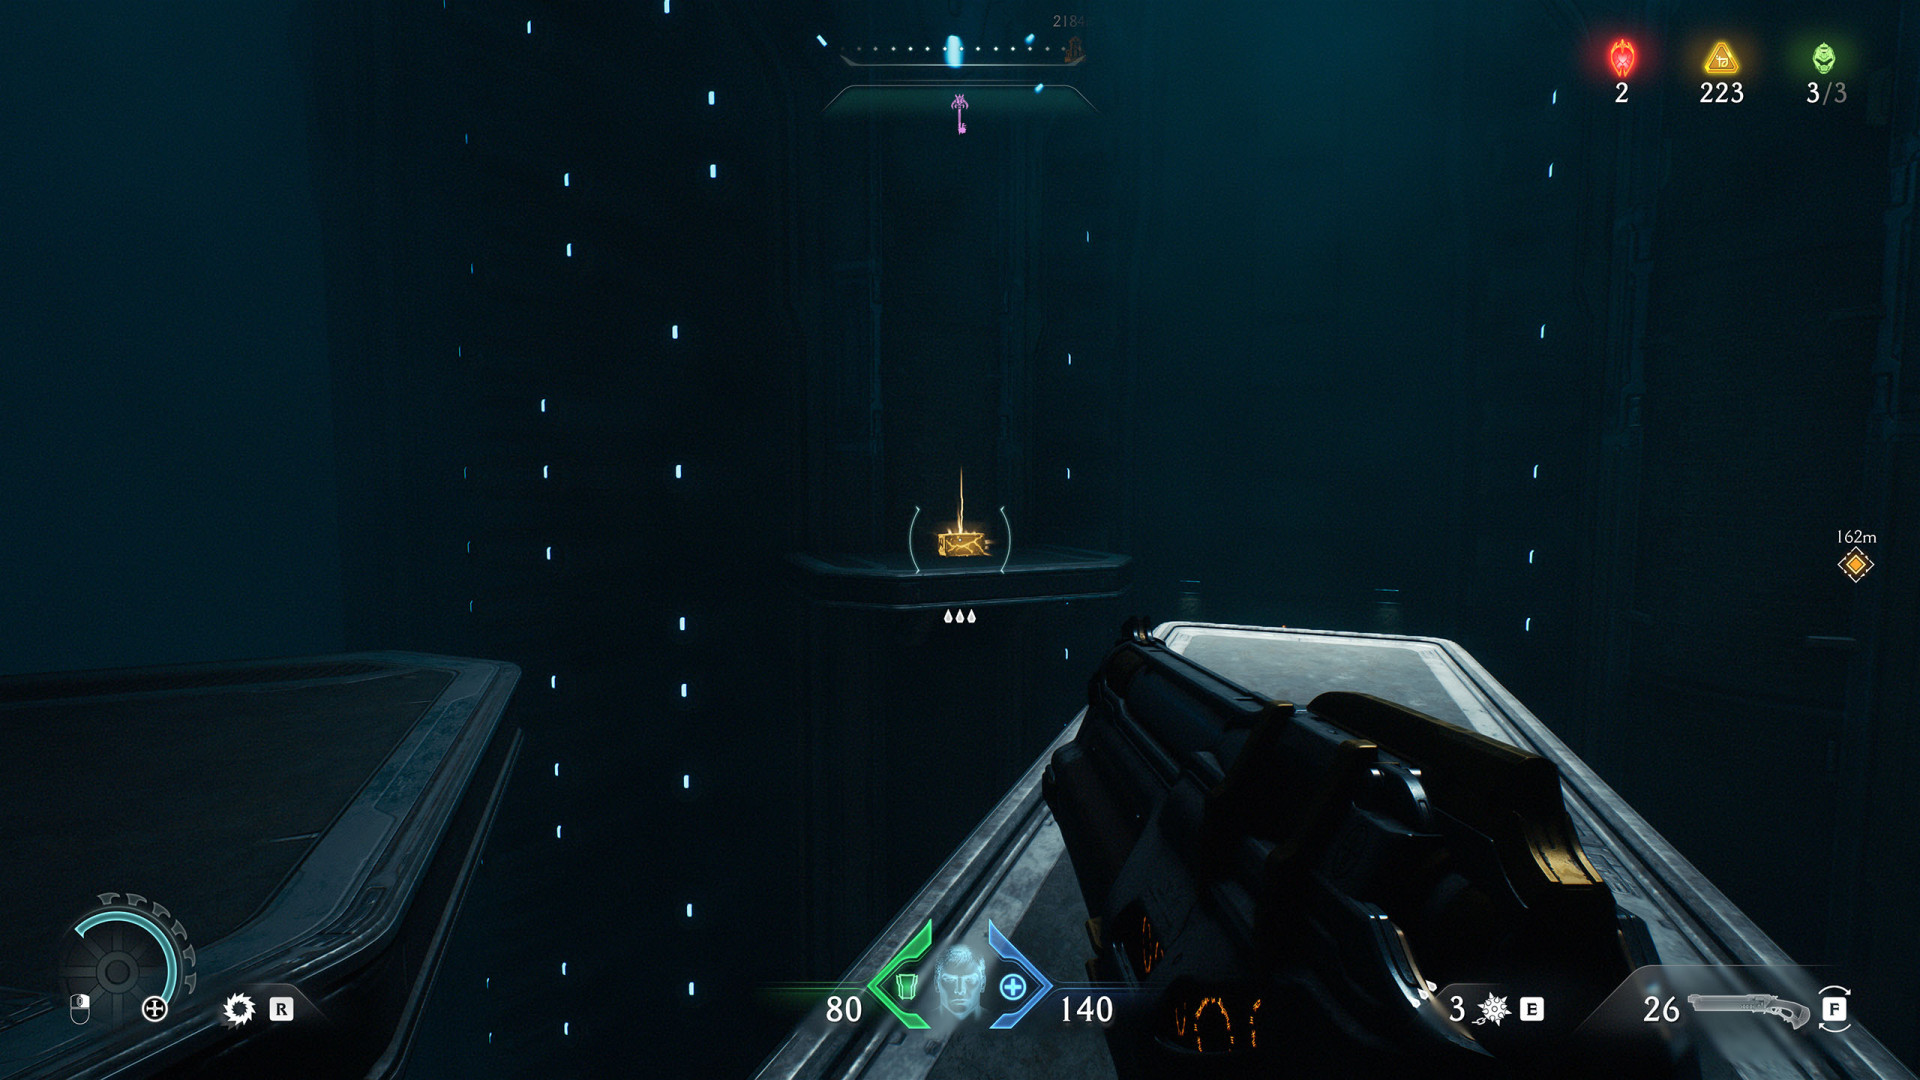
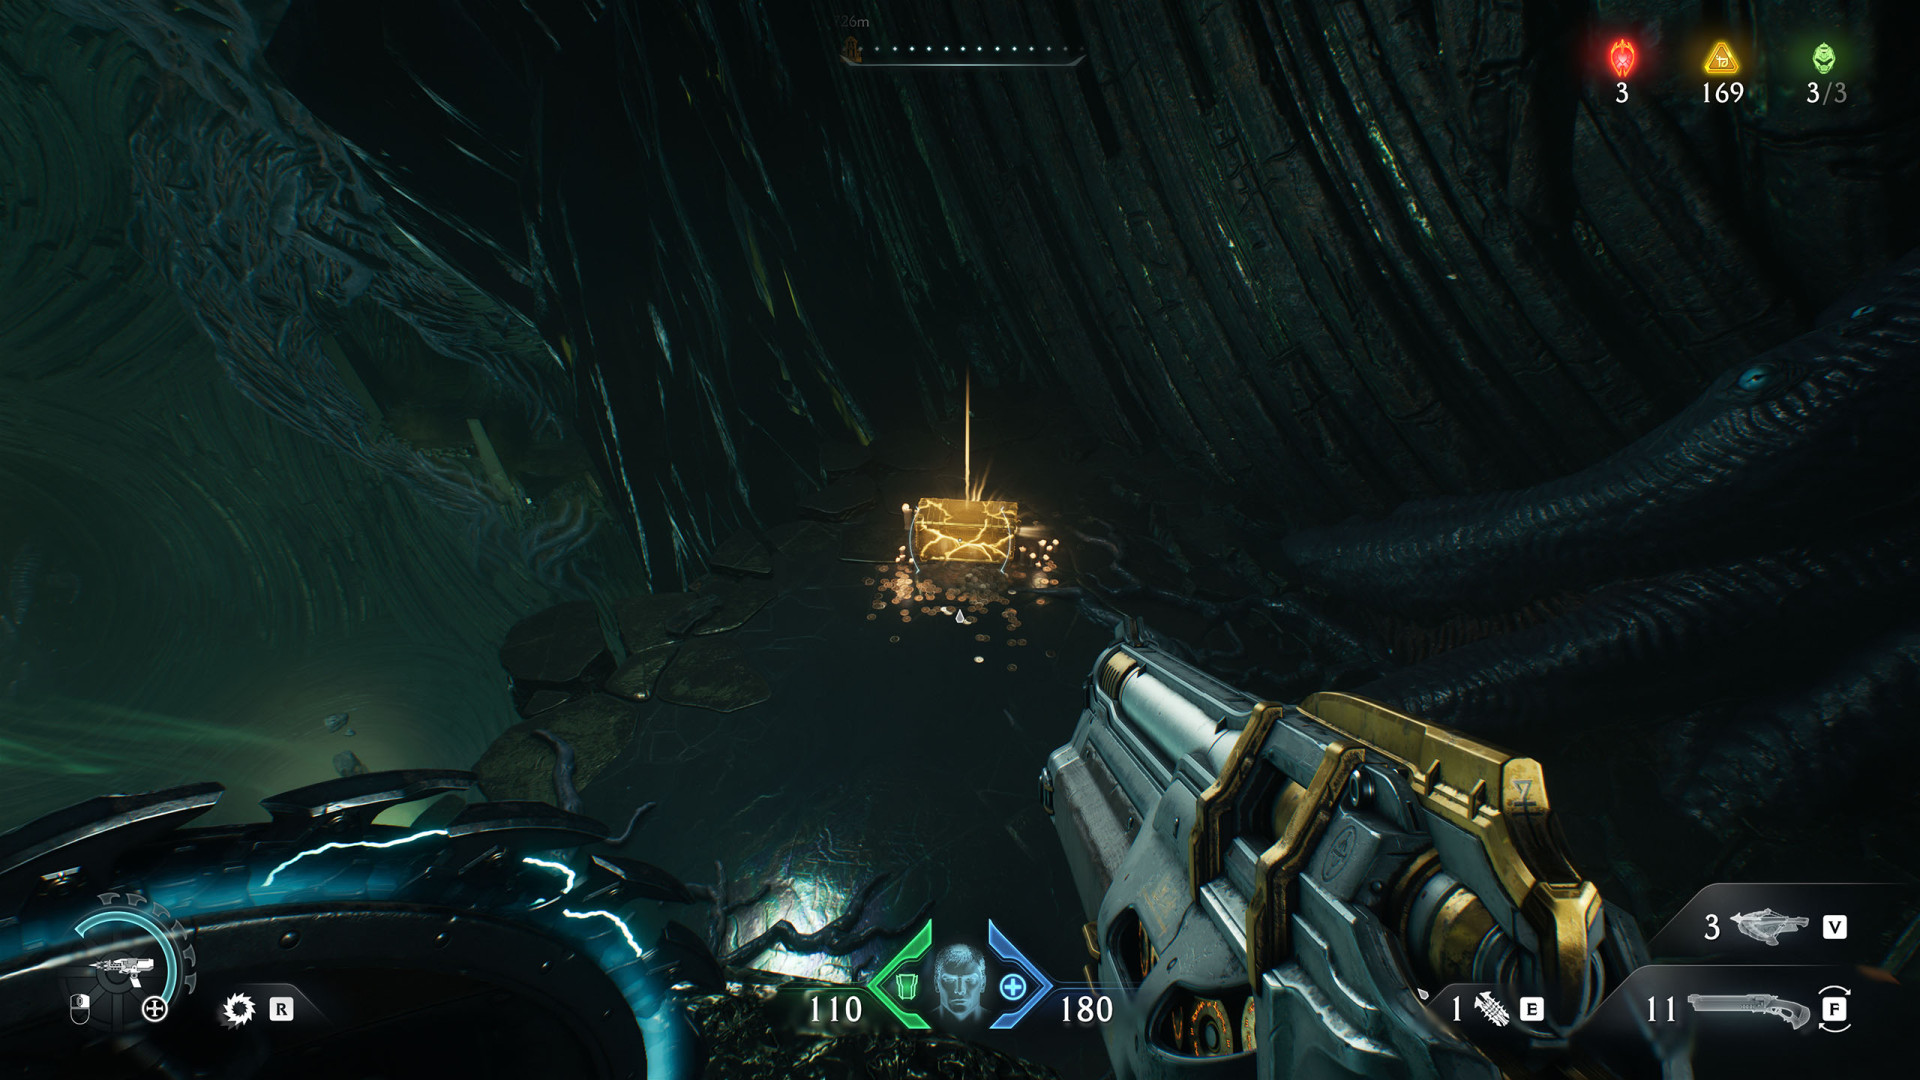
Use the Shield Recall Jump (City of Ry'uul #2) to get to the platform where the gold chest is.
Secret Area (City of Ry'uul #6)▶ show the map ◀
Make the elevator go up and jump into the opening underneath it.
Secret Area (City of Ry'uul #7)▶ show the map ◀
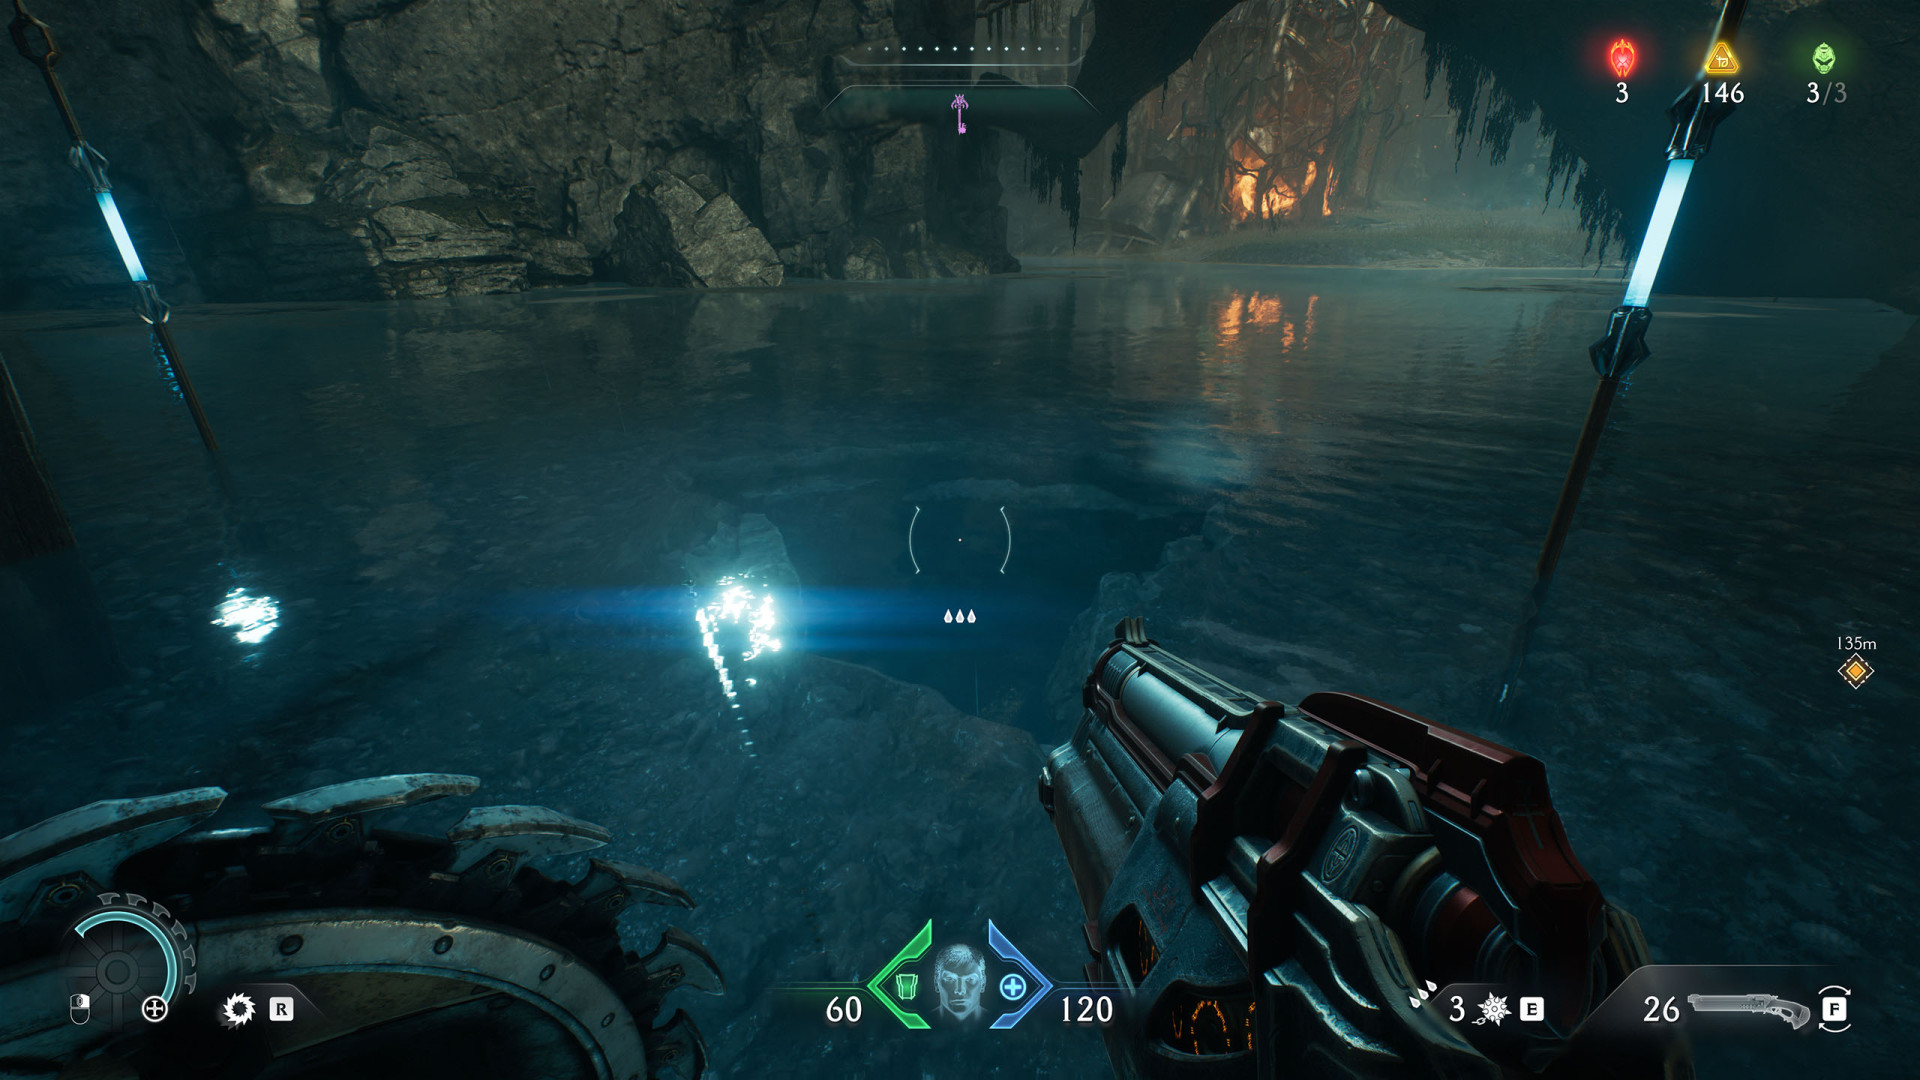
Enter the water tunnel and swim left to the Life Sigil (City of Ry'uul #2).
Secret Area (City of Ry'uul #8)▶ show the map ◀
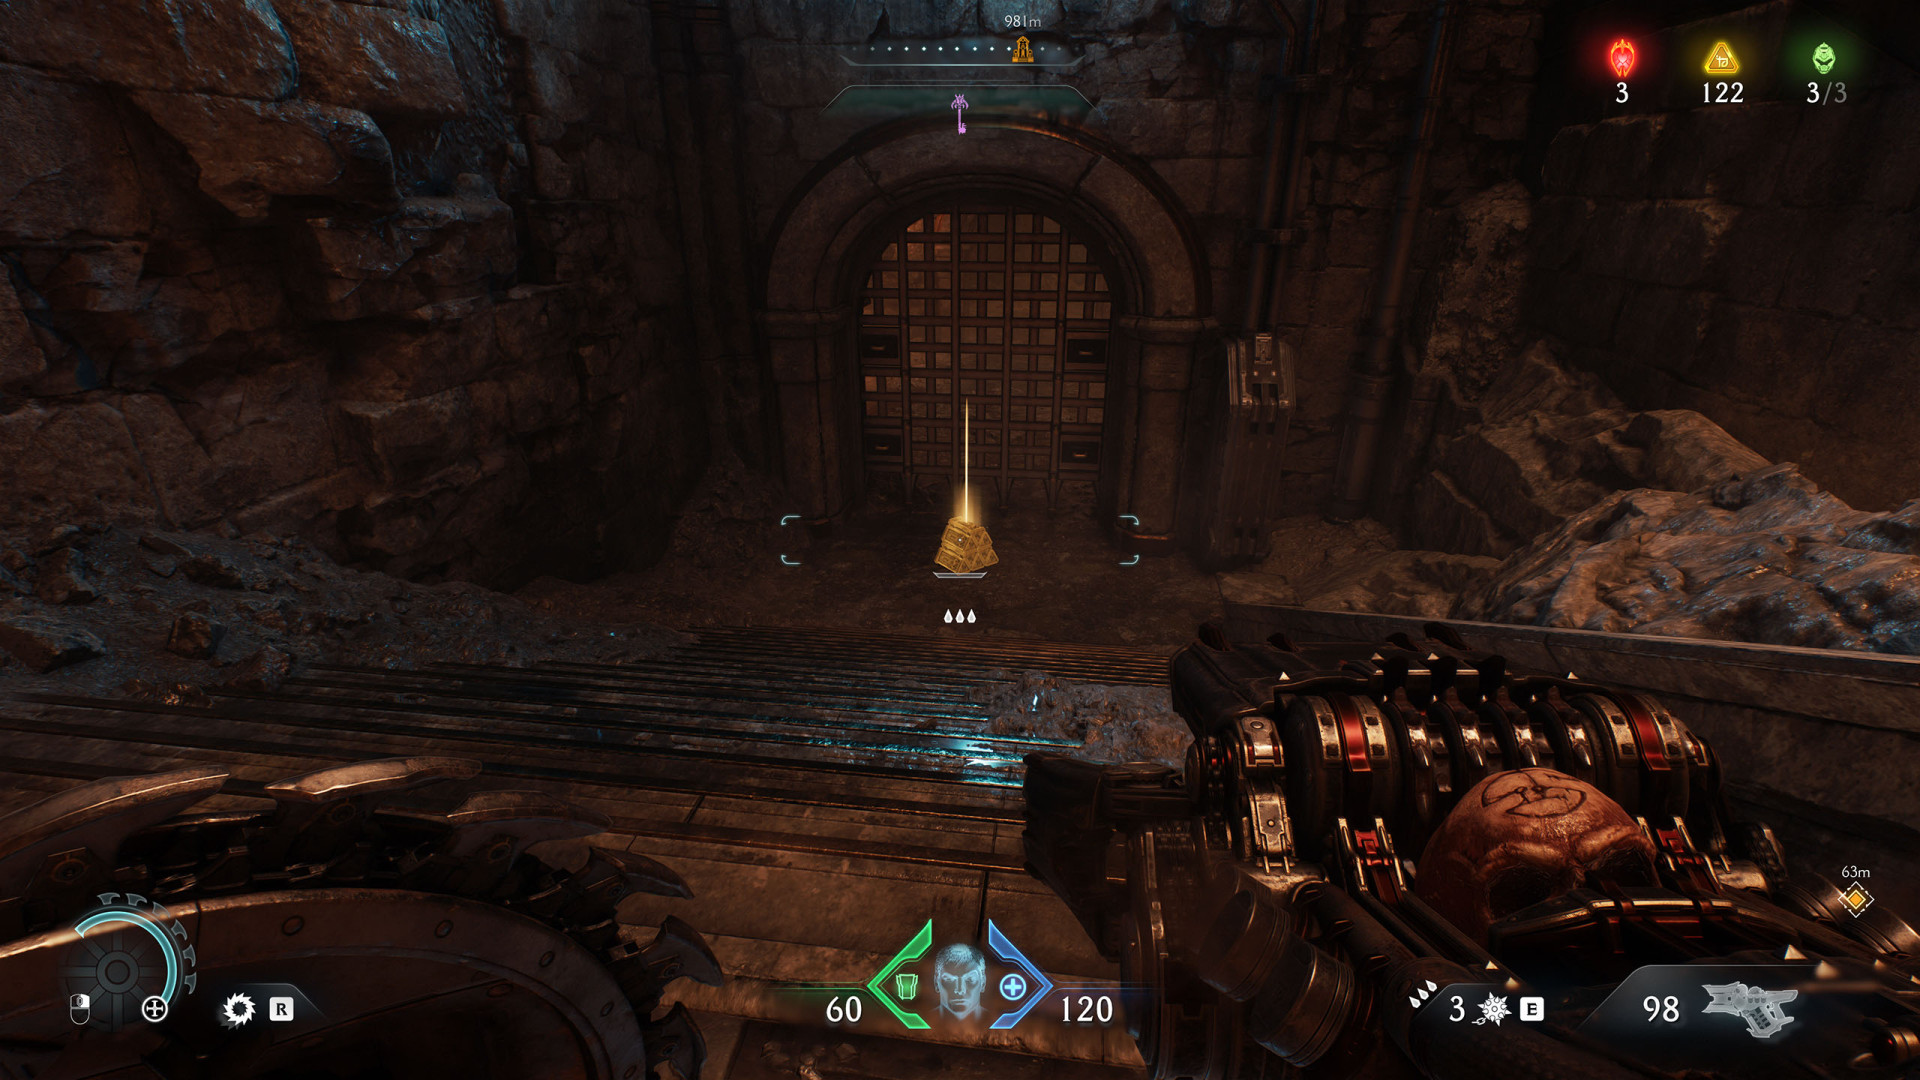
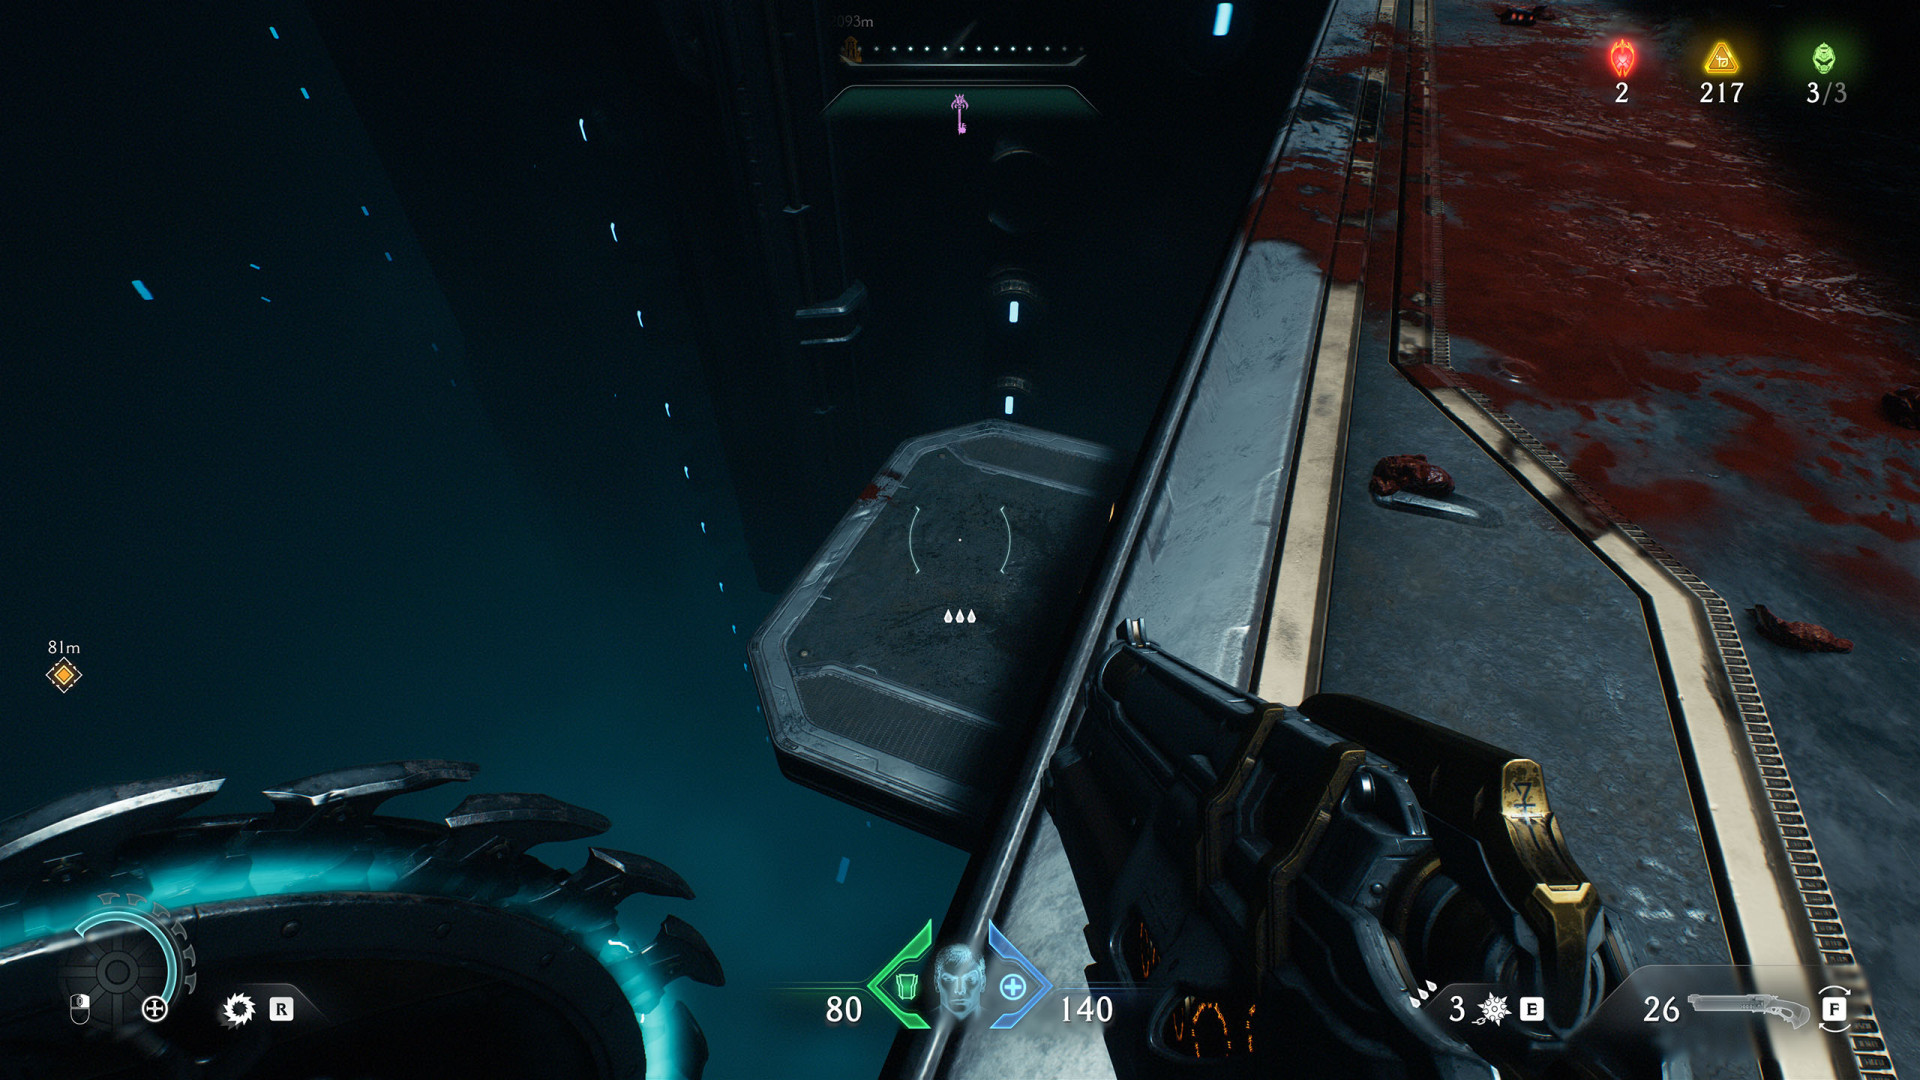
Jump off the edge to the lower level where the gold chest is located.
Secret Area (City of Ry'uul #9)▶ show the map ◀
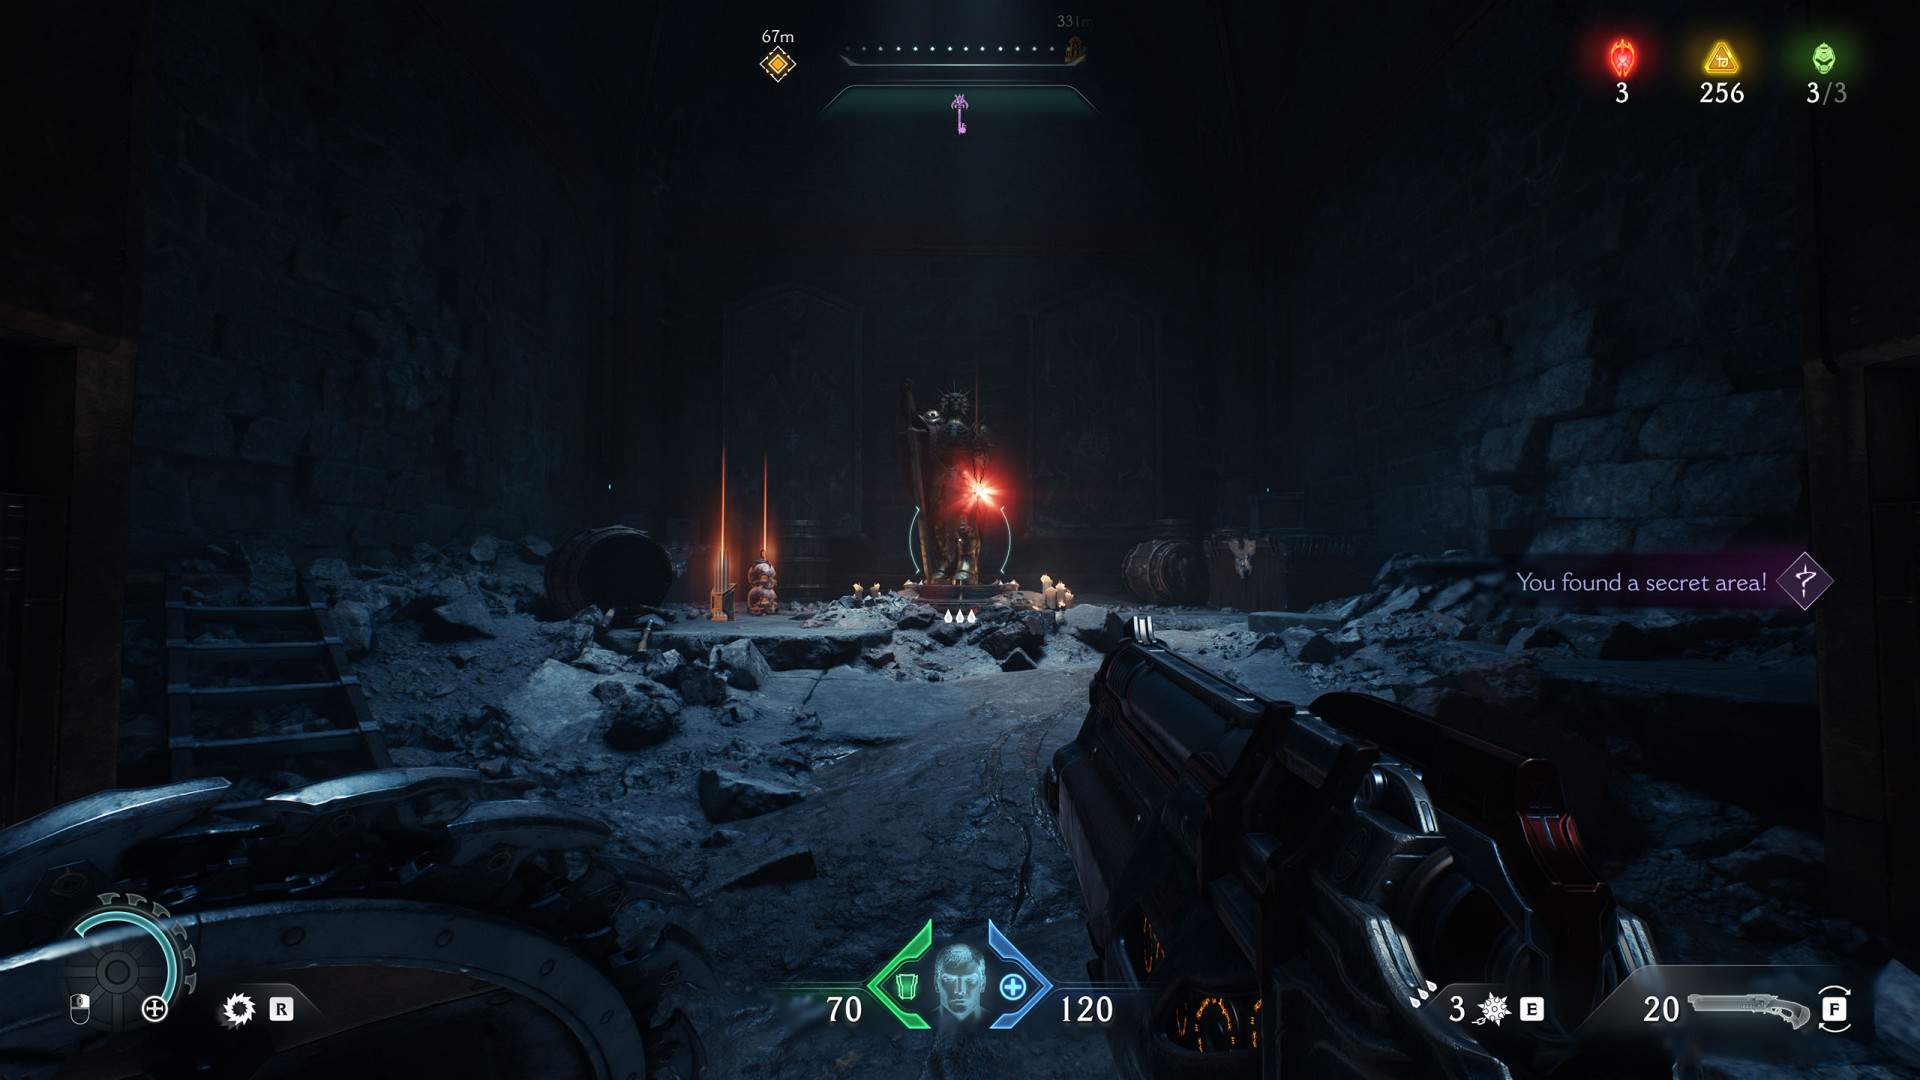
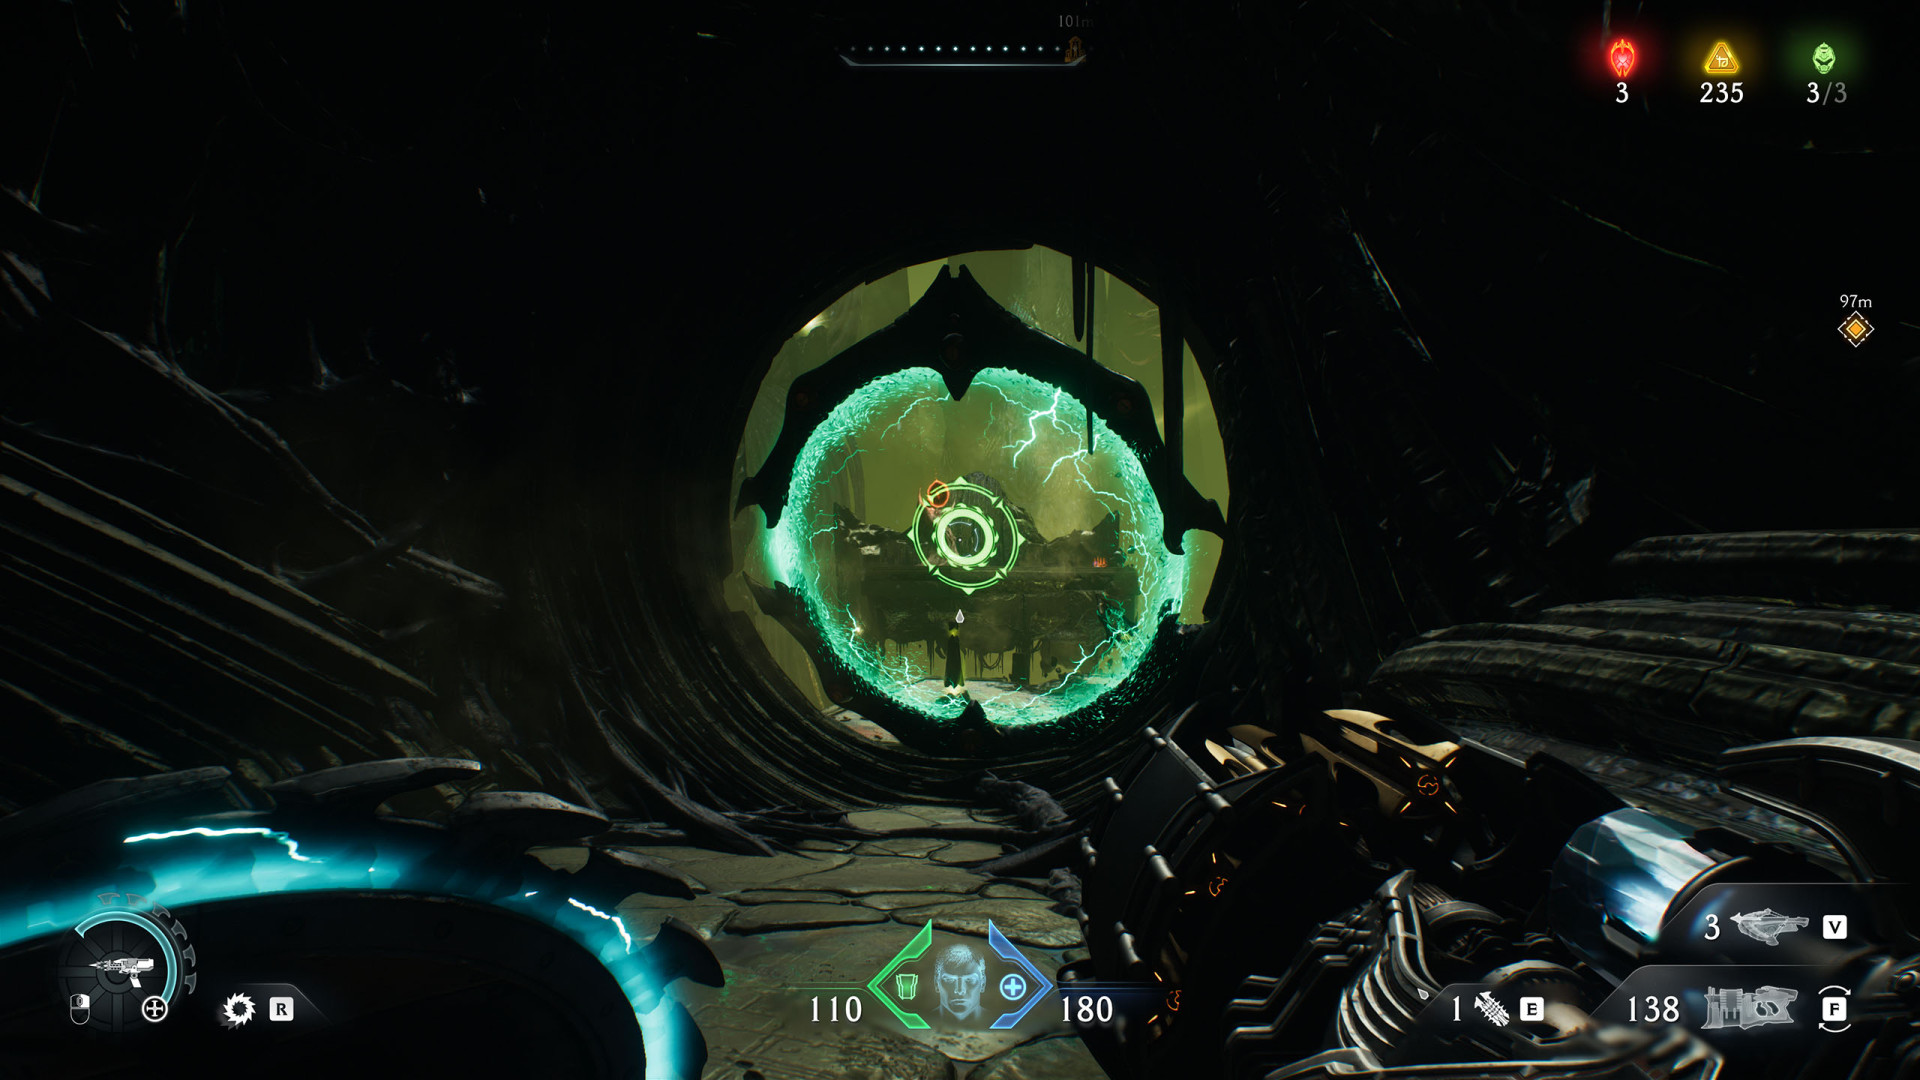
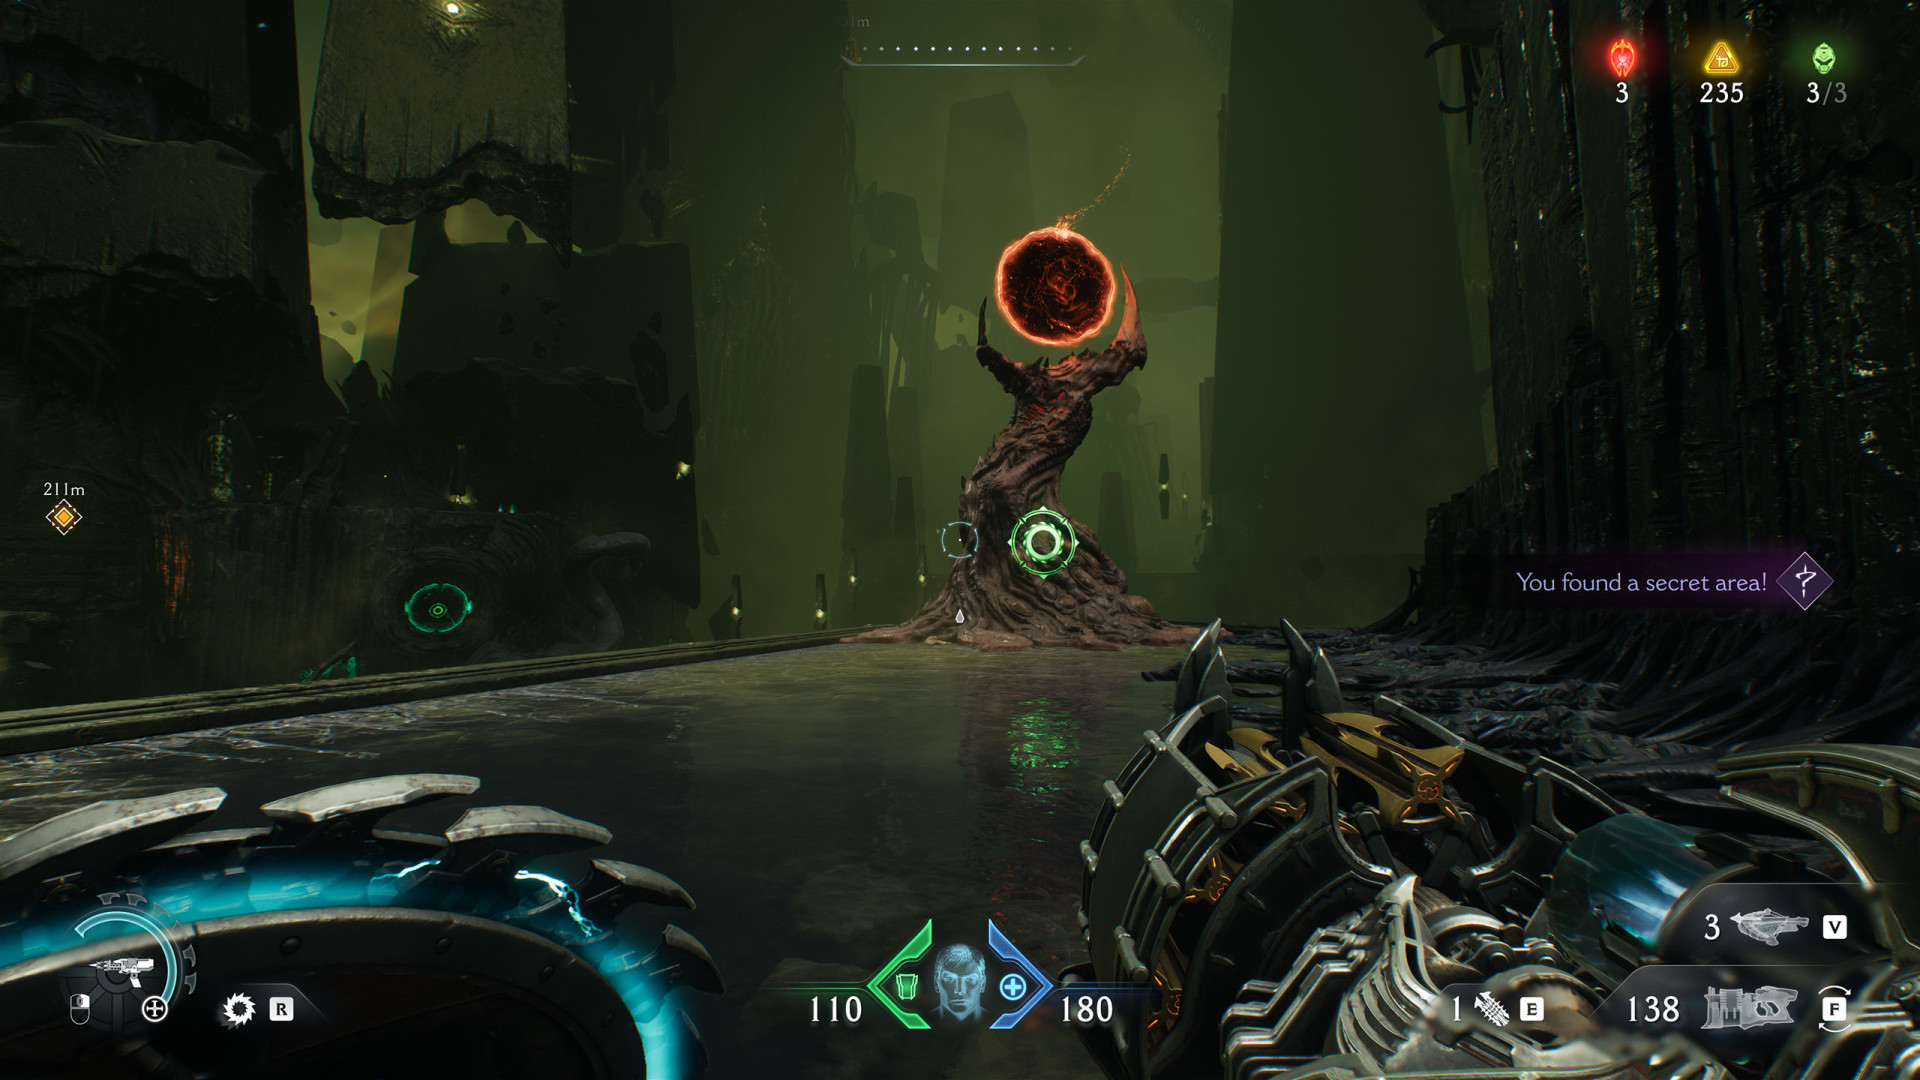
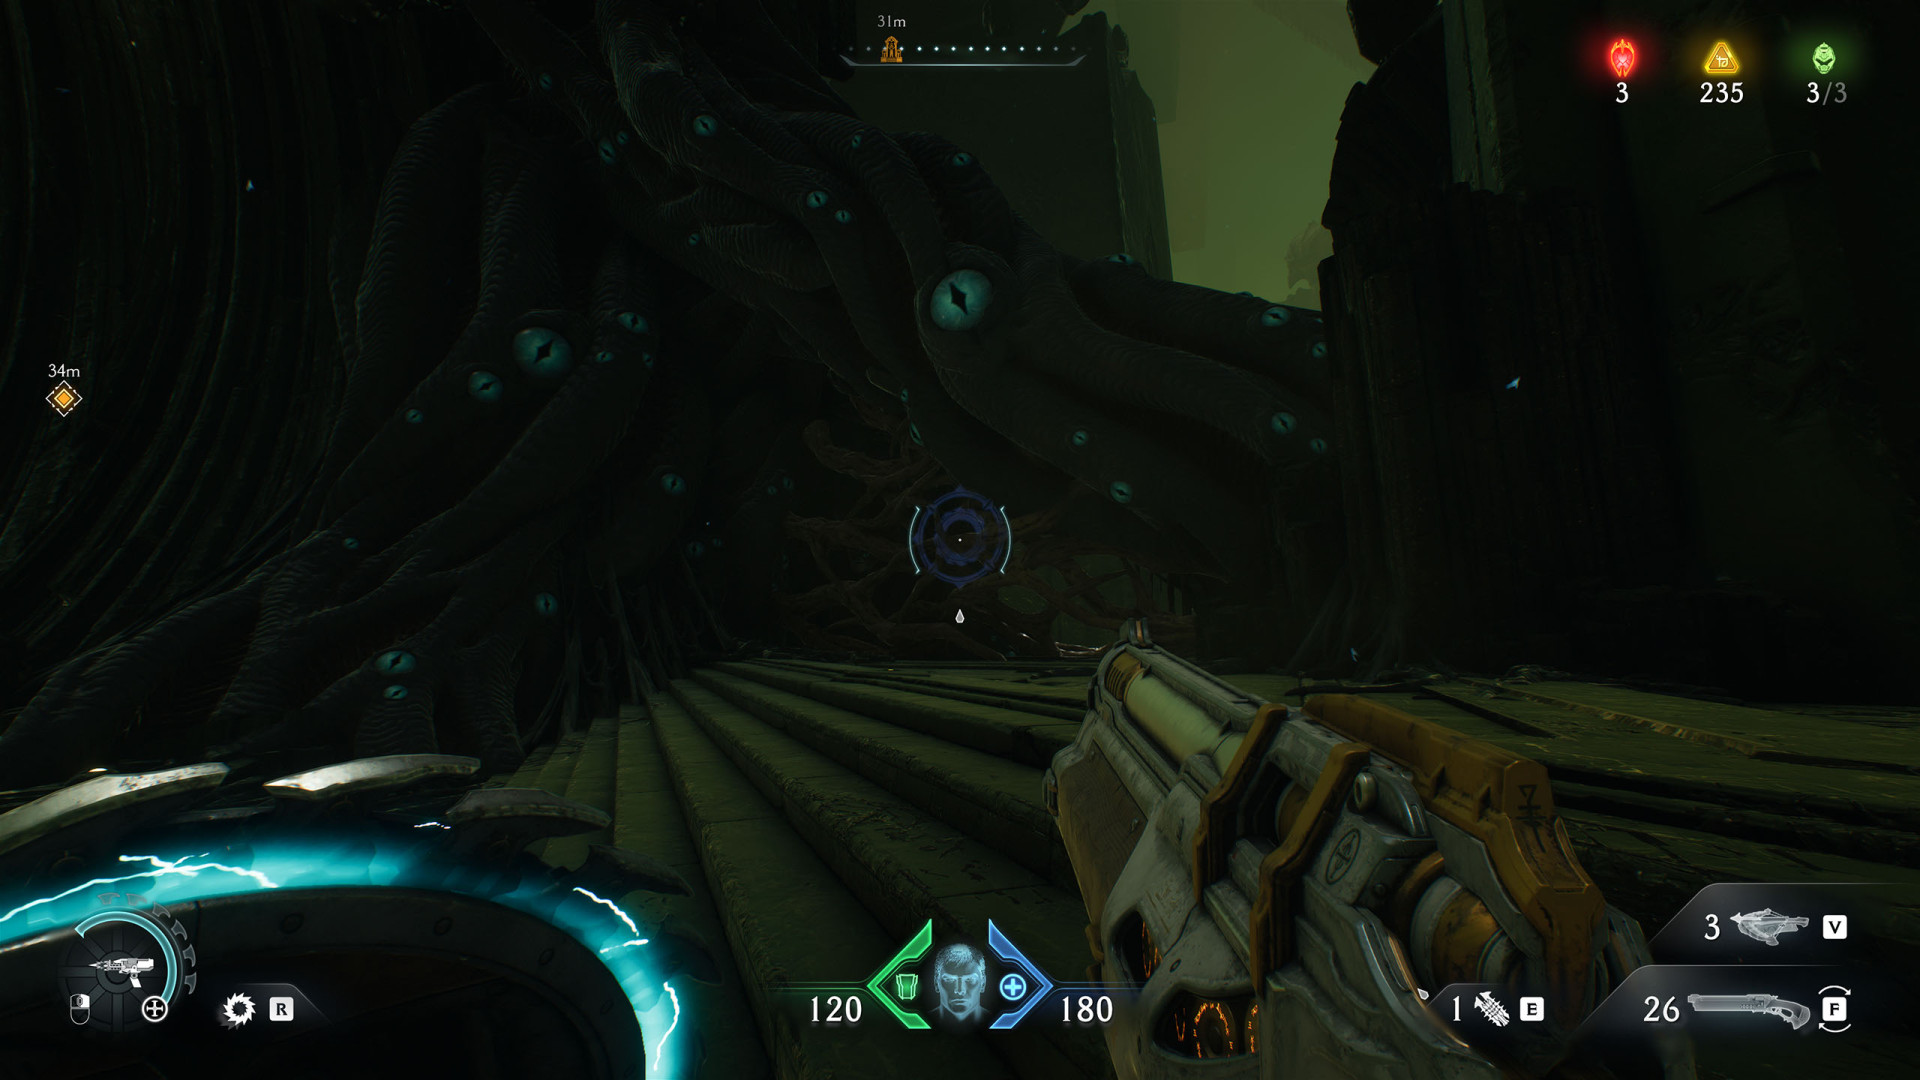
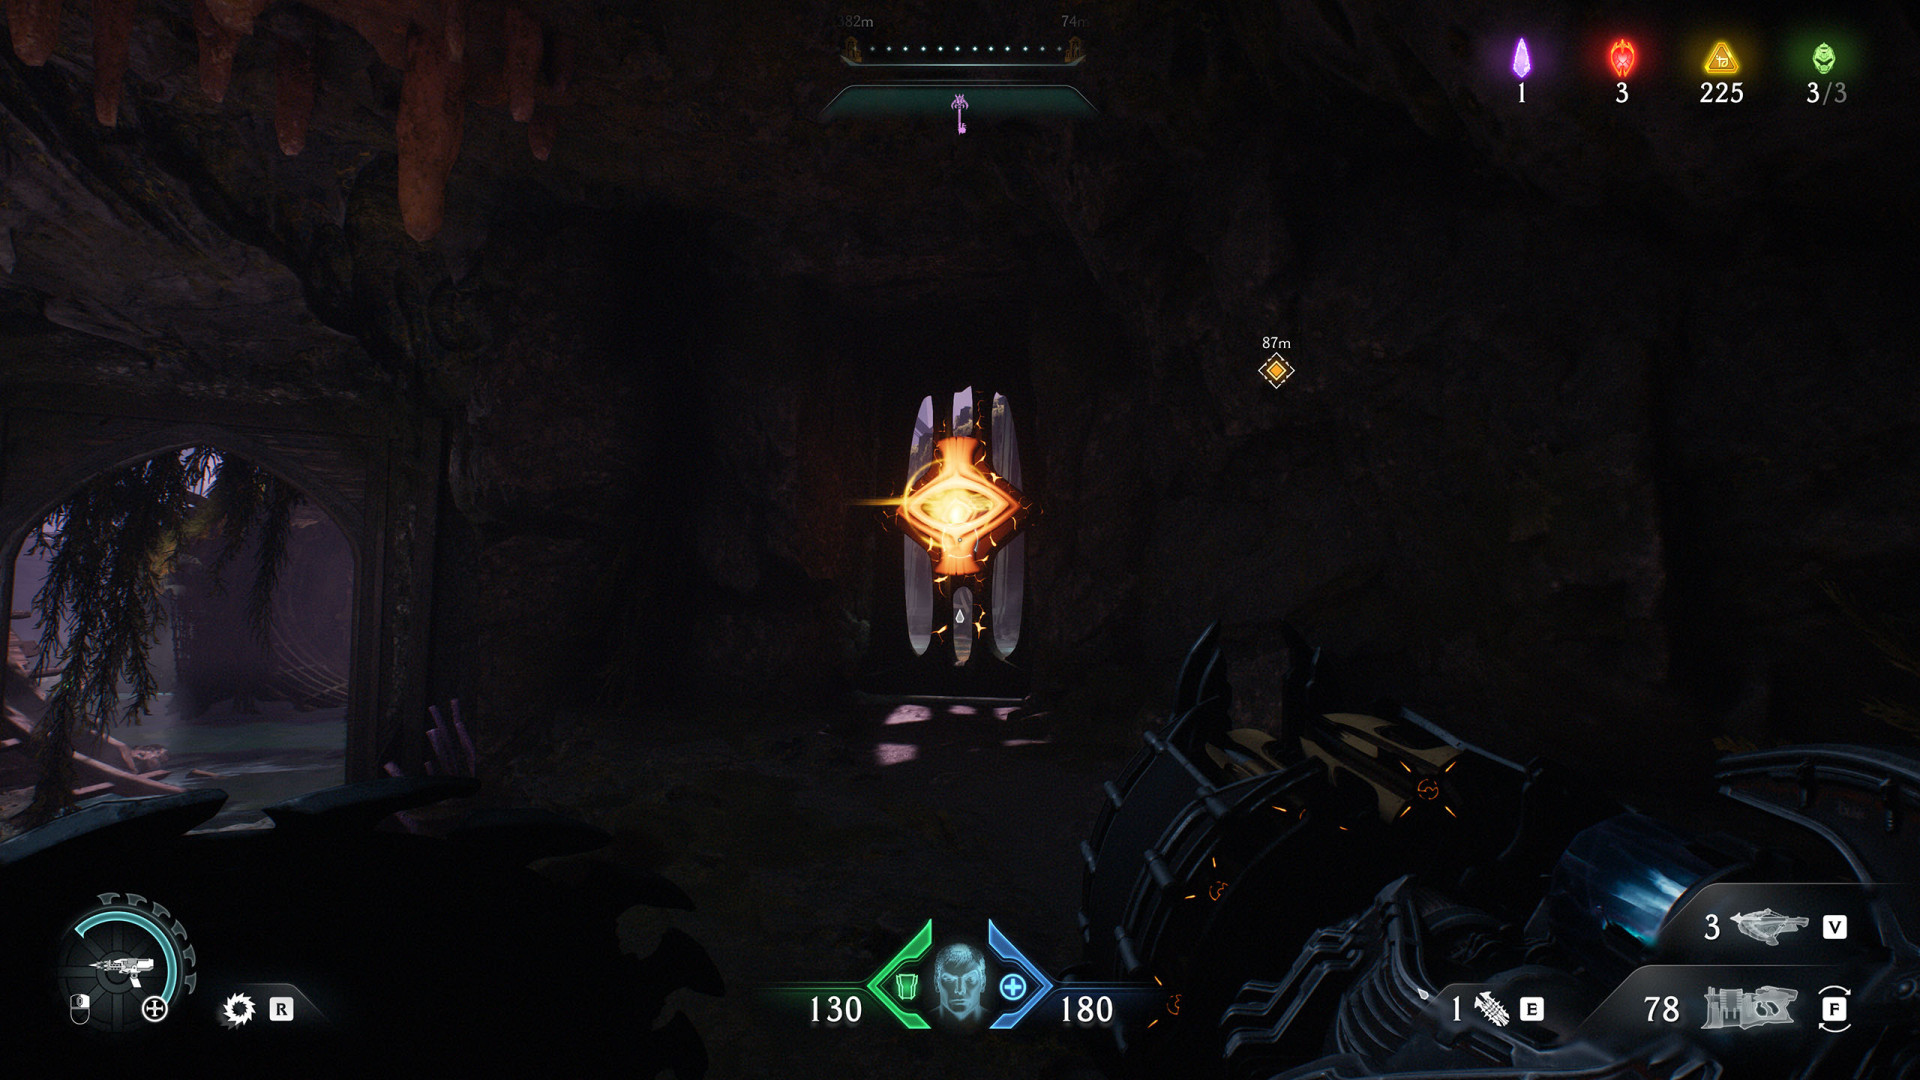
Use the portal to get to the platform where the gore nest is located.
All known locations on the map The Kar'Thul Marshes
Secret Area (The Kar'Thul Marshes #1)▶ show the map ◀
A cave at the lower level. Teleport to another area with no map, puzzle and Ruby (The Kar'Thul Marshes).
Secret Area (The Kar'Thul Marshes #2)▶ show the map ◀

All known locations on the map Temple of Lomarith
Secret Area (Temple of Lomarith #1)▶ show the map ◀
Secret Area (Temple of Lomarith #2)▶ show the map ◀


Secret Area (Temple of Lomarith #4)▶ show the map ◀
Secret Area (Temple of Lomarith #5)▶ show the map ◀
Secret Area (Temple of Lomarith #6)▶ show the map ◀
Secret Area (Temple of Lomarith #8)▶ show the map ◀
Secret Area (Temple of Lomarith #9)▶ show the map ◀
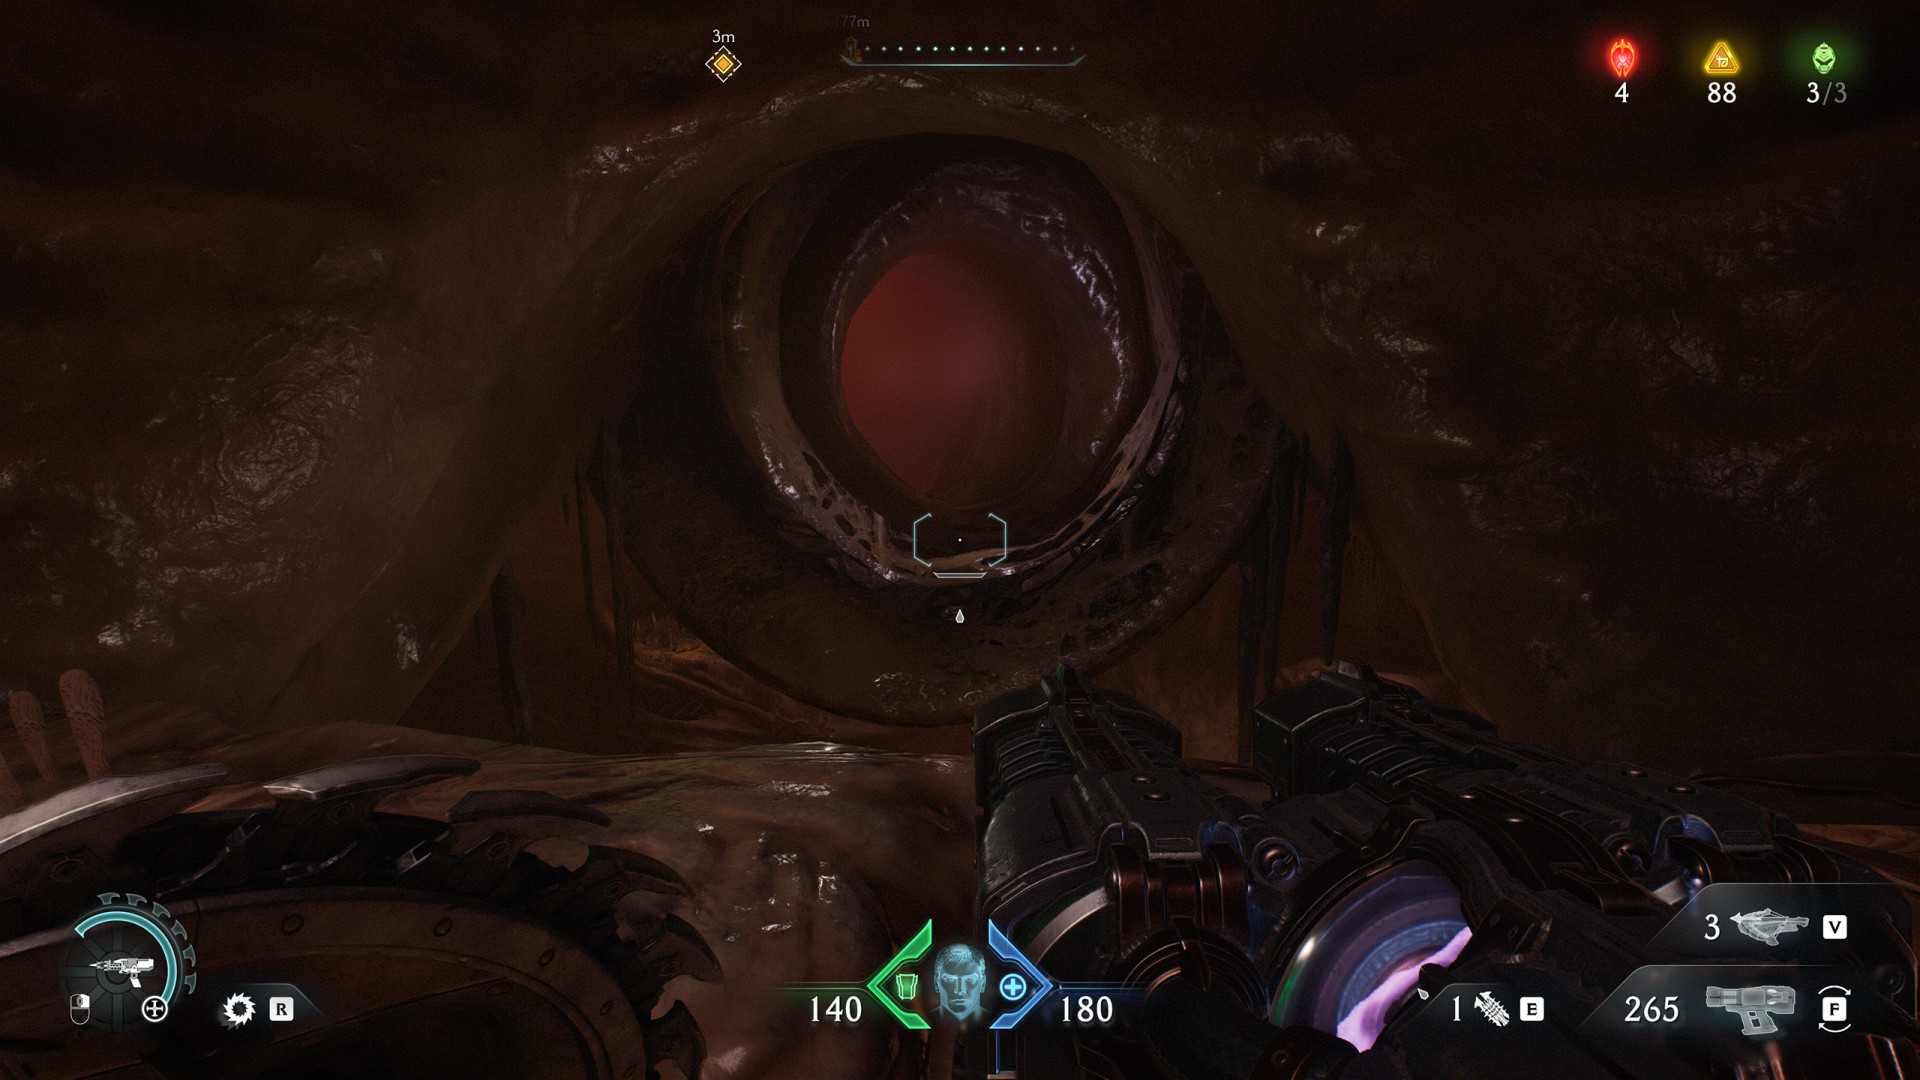
All known locations on the map Belly of the Beast
Secret Area (Belly of the Beast #1)▶ show the map ◀
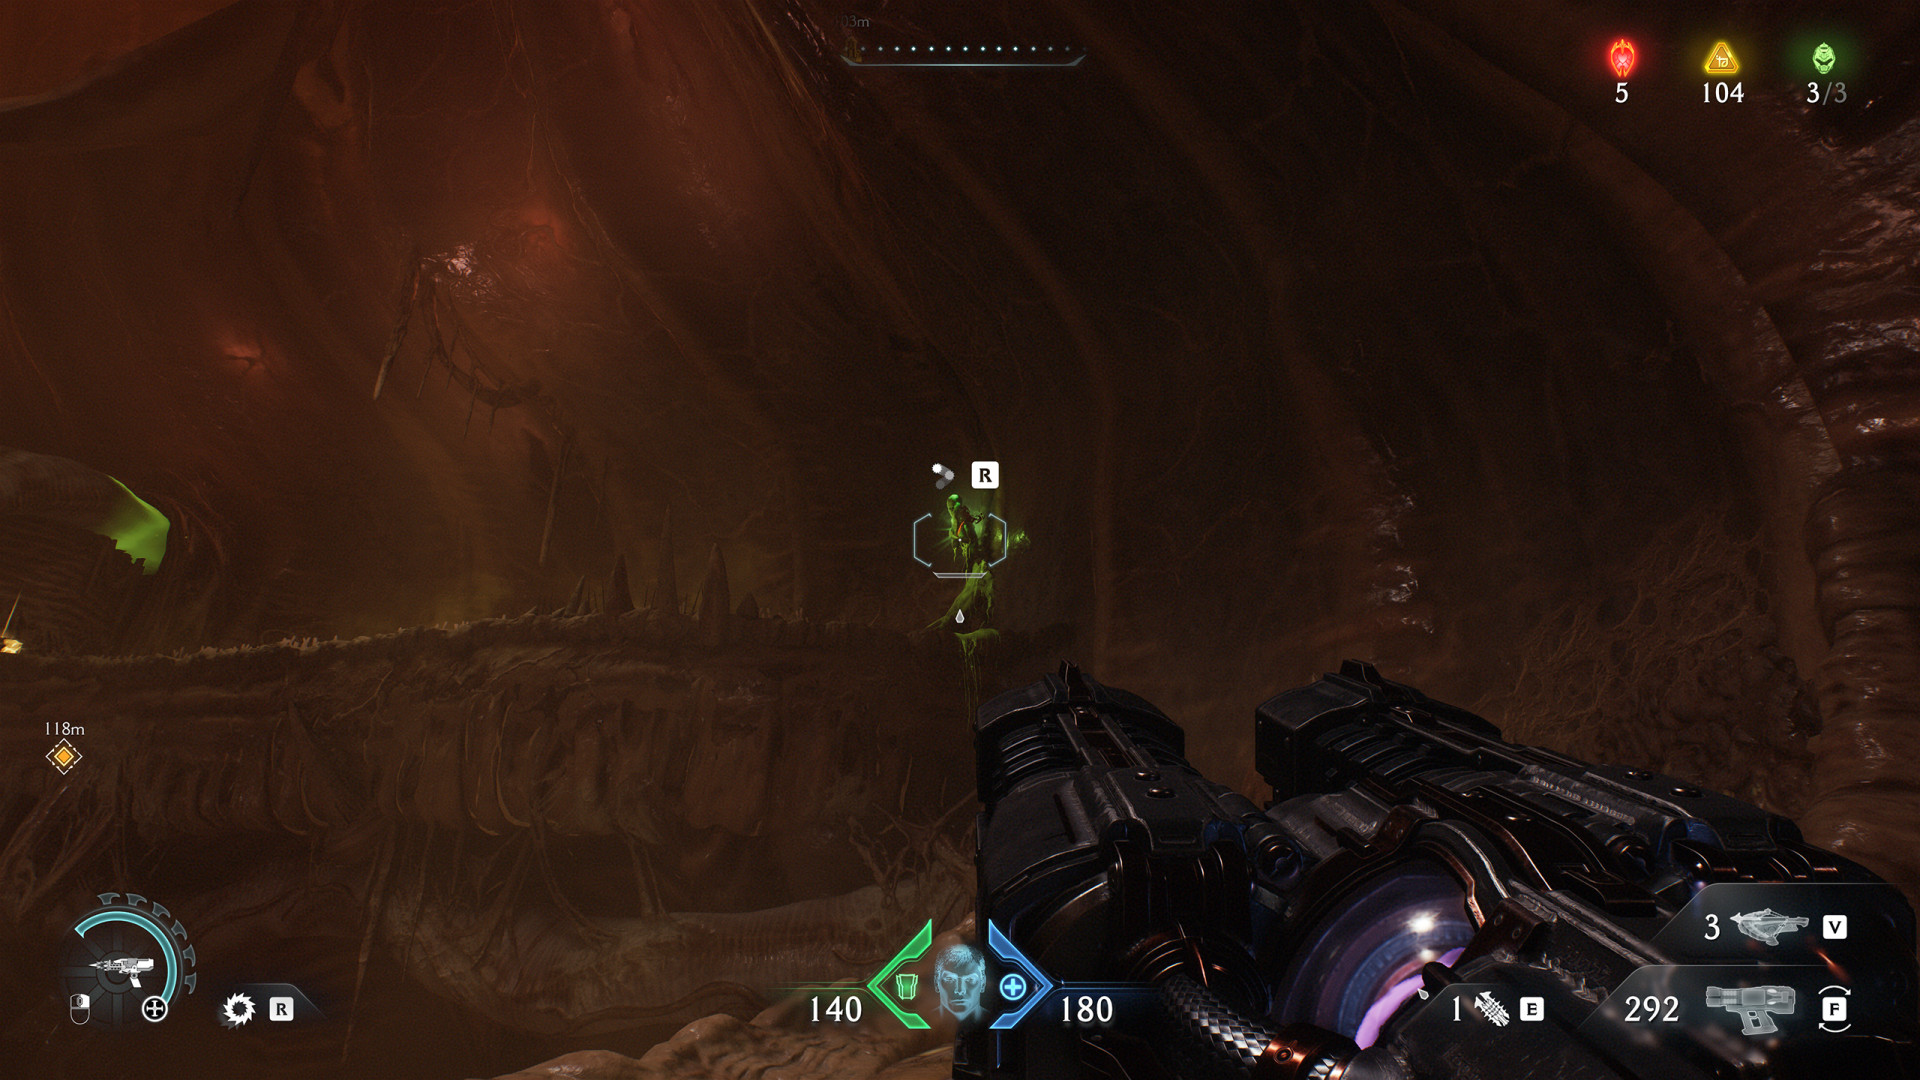
Secret Area (Belly of the Beast #2)▶ show the map ◀

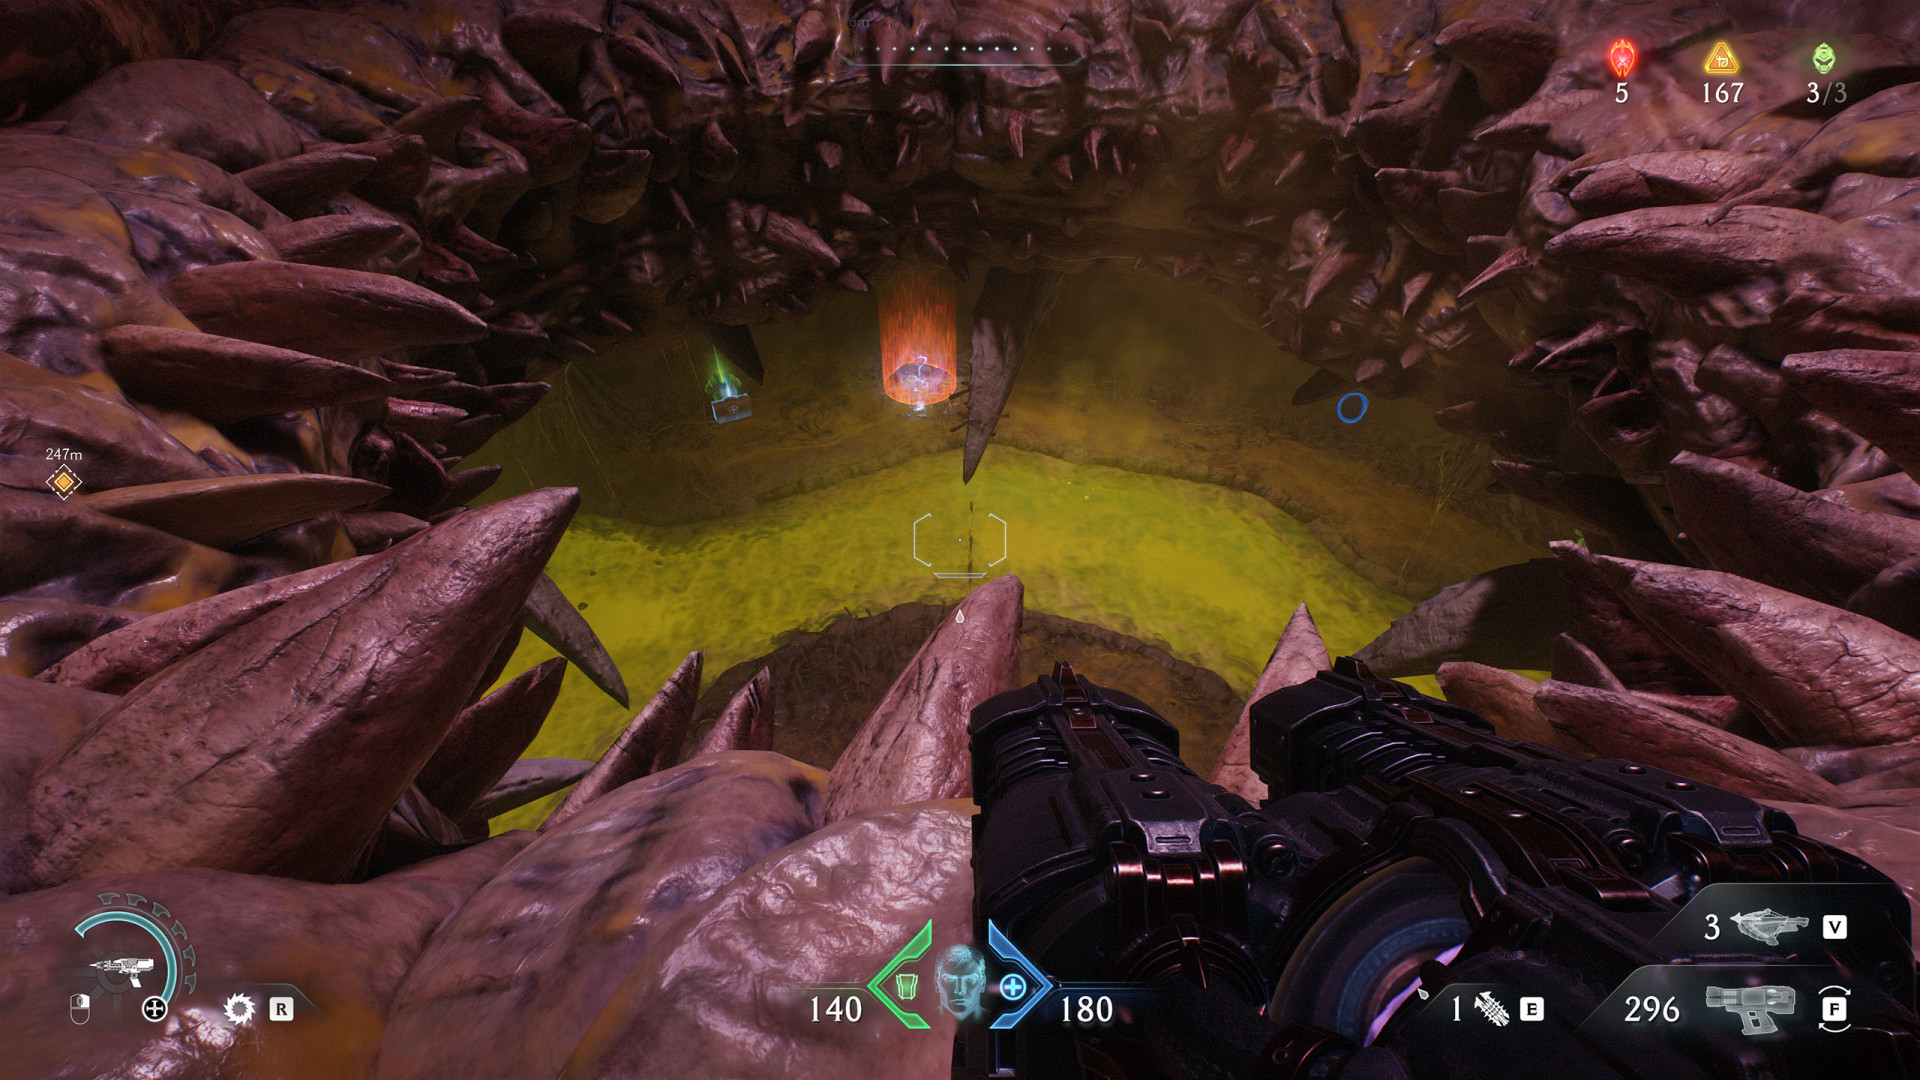
Secret Area (Belly of the Beast #3)▶ show the map ◀
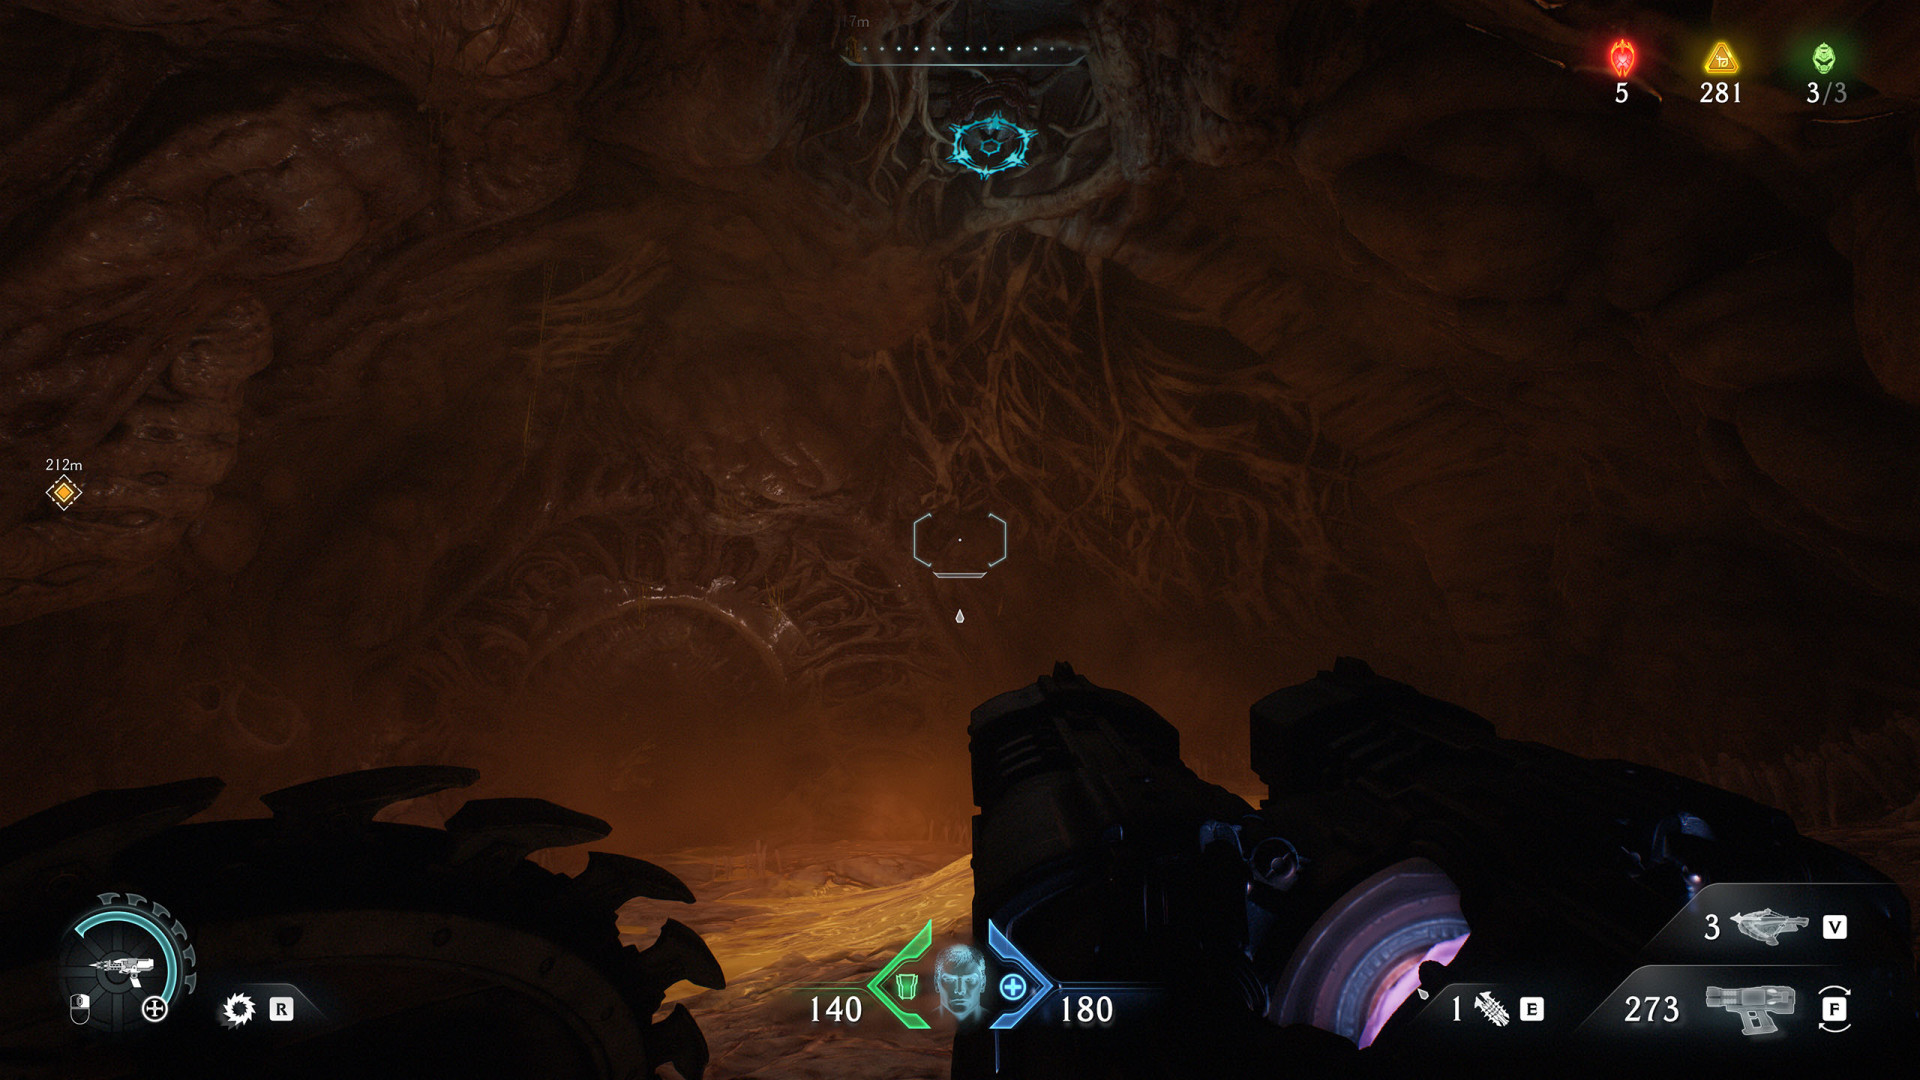
Secret Area (Belly of the Beast #4)▶ show the map ◀
Secret Area (Belly of the Beast #5)▶ show the map ◀
Secret Area (Belly of the Beast #6)▶ show the map ◀
All known locations on the map Harbor of Souls
Secret Area (Harbor of Souls #1)▶ show the map ◀
Secret Area (Harbor of Souls #2)▶ show the map ◀
Secret Area (Harbor of Souls #4)▶ show the map ◀
Secret Area (Harbor of Souls #5)▶ show the map ◀
Secret Area (Harbor of Souls #6)▶ show the map ◀
Secret Area (Harbor of Souls #8)▶ show the map ◀
Secret Area (Harbor of Souls #9)▶ show the map ◀
Secret Area (Harbor of Souls #10)▶ show the map ◀
All known locations on the map Resurrection
Secret Area (Resurrection #1)▶ show the map ◀
Secret Area (Resurrection #2)▶ show the map ◀
Secret Area (Resurrection #3)▶ show the map ◀
Secret Area (Resurrection #4)▶ show the map ◀
Secret Area (Resurrection #5)▶ show the map ◀
Secret Area (Resurrection #6)▶ show the map ◀
To get here use the Switch (Resurrection #2) to open the hatch and jump down.
Secret Area (Resurrection #7)▶ show the map ◀
Secret Area (Resurrection #8)▶ show the map ◀
Secret Area (Resurrection #9)▶ show the map ◀
Secret Area (Resurrection #10)▶ show the map ◀
Secret Area (Resurrection #11)▶ show the map ◀
Secret Area (Resurrection #12)▶ show the map ◀
All known locations on the map Reckoning
Secret Area (Reckoning #1)▶ show the map ◀
Secret Area (Reckoning #4)▶ show the map ◀
Secret Area (Reckoning #5)▶ show the map ◀
Secret Area (Reckoning #7)▶ show the map ◀
Secret Area (Reckoning #8)▶ show the map ◀
Secret Area (Reckoning #9)▶ show the map ◀
Secret Area (Reckoning #10)▶ show the map ◀
Secret Area (Reckoning #11)▶ show the map ◀