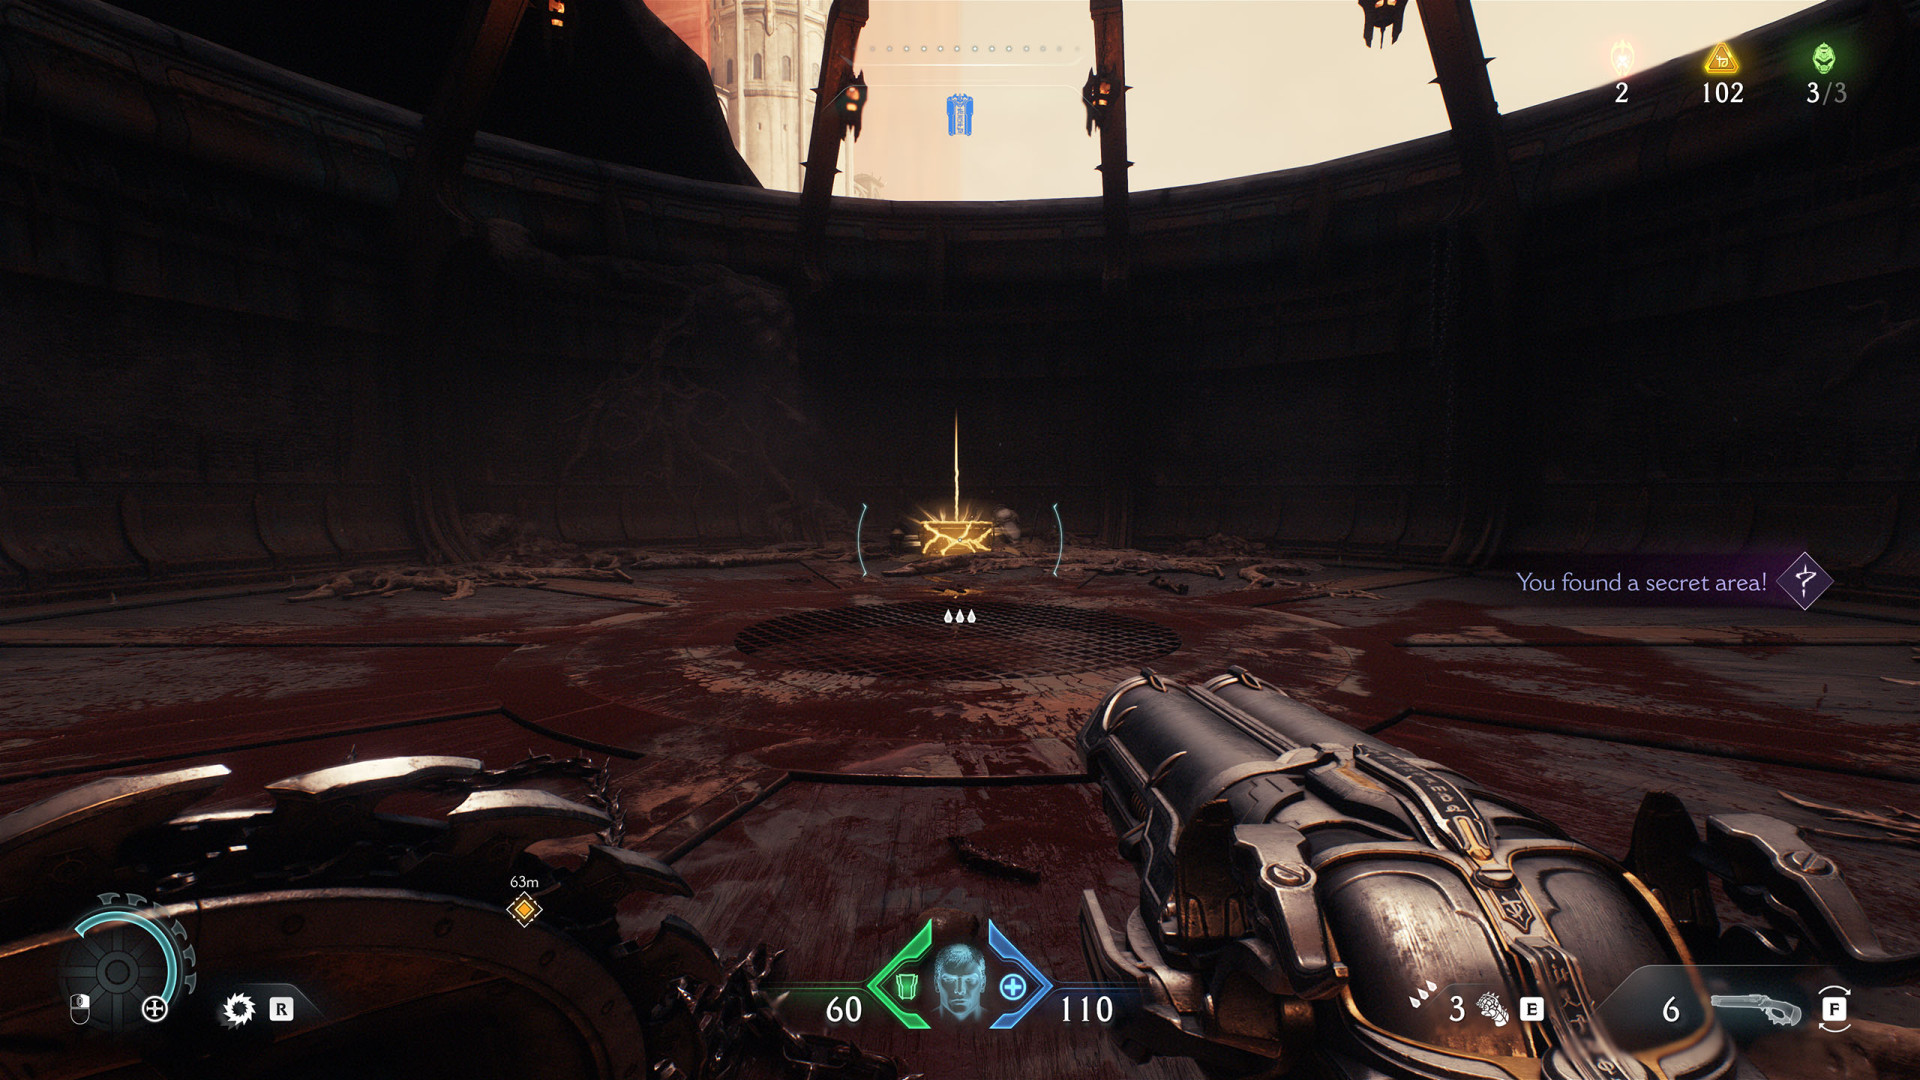
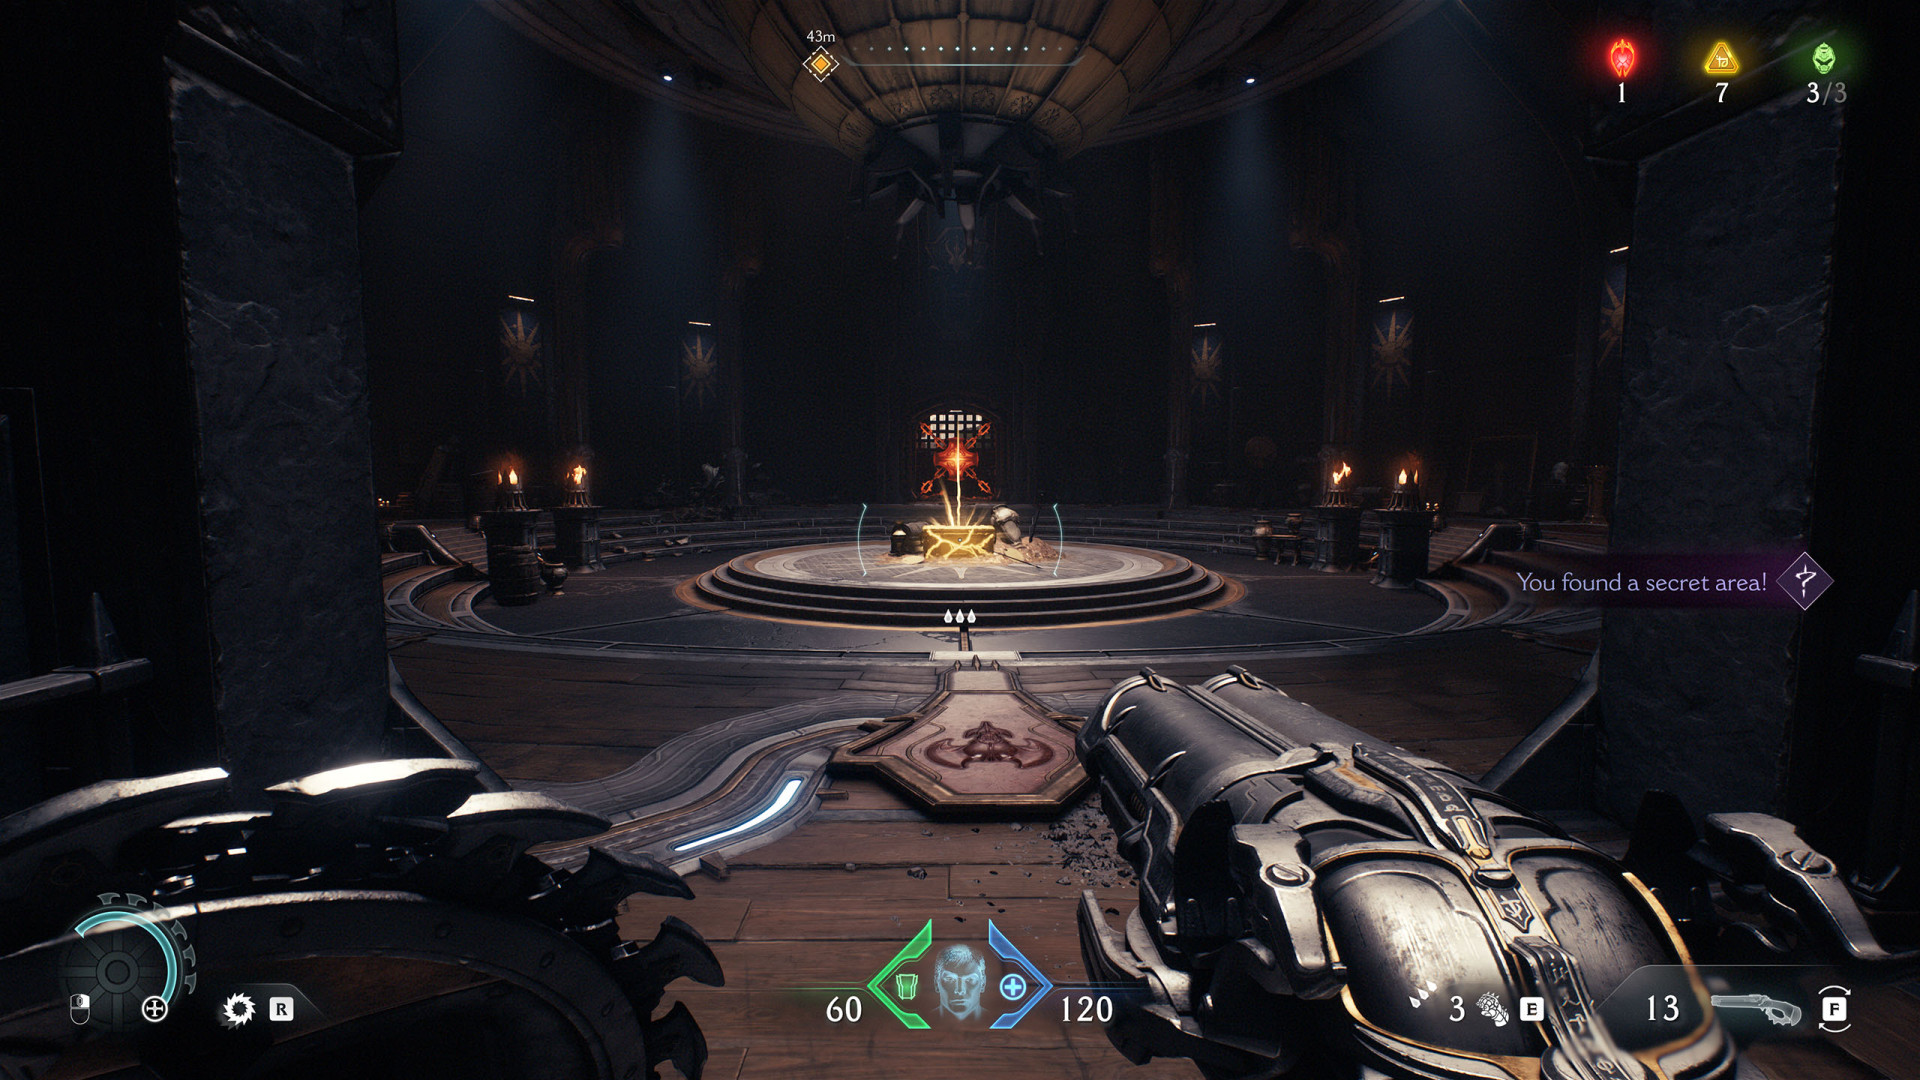
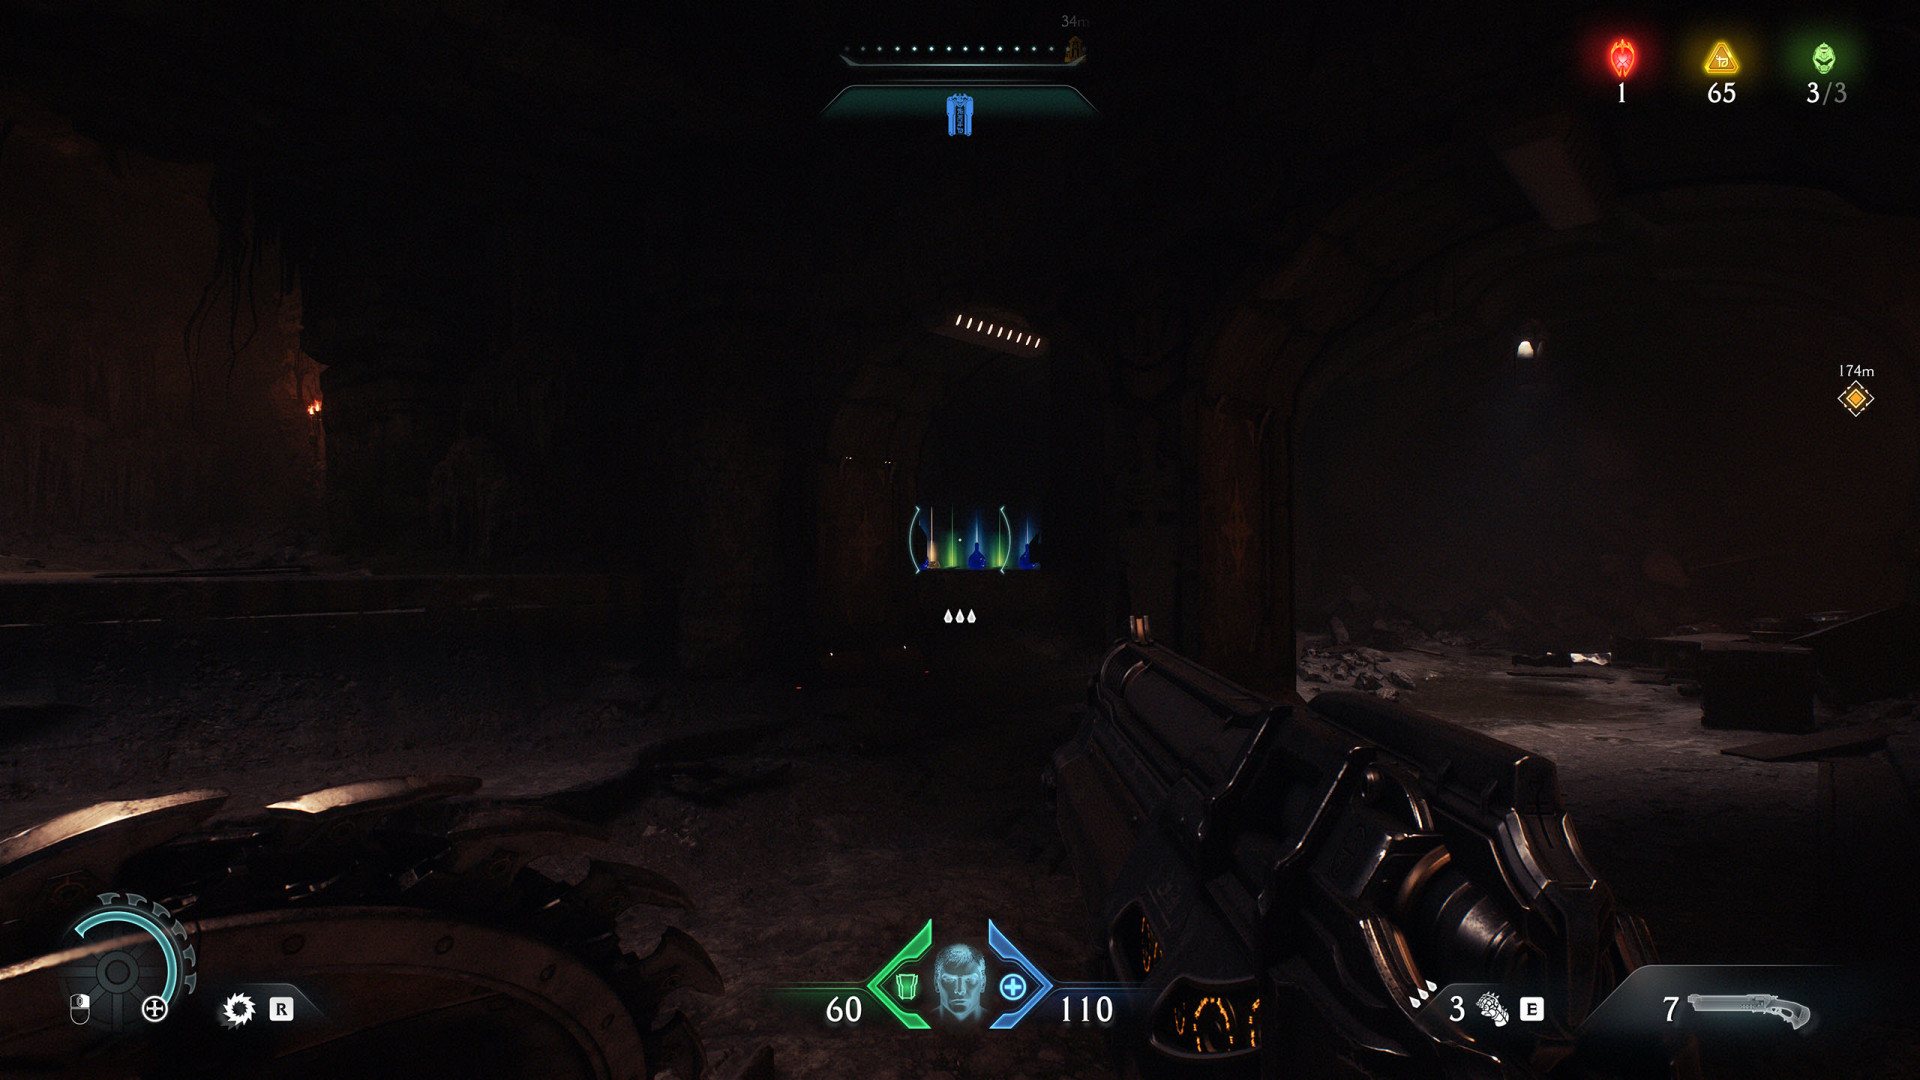
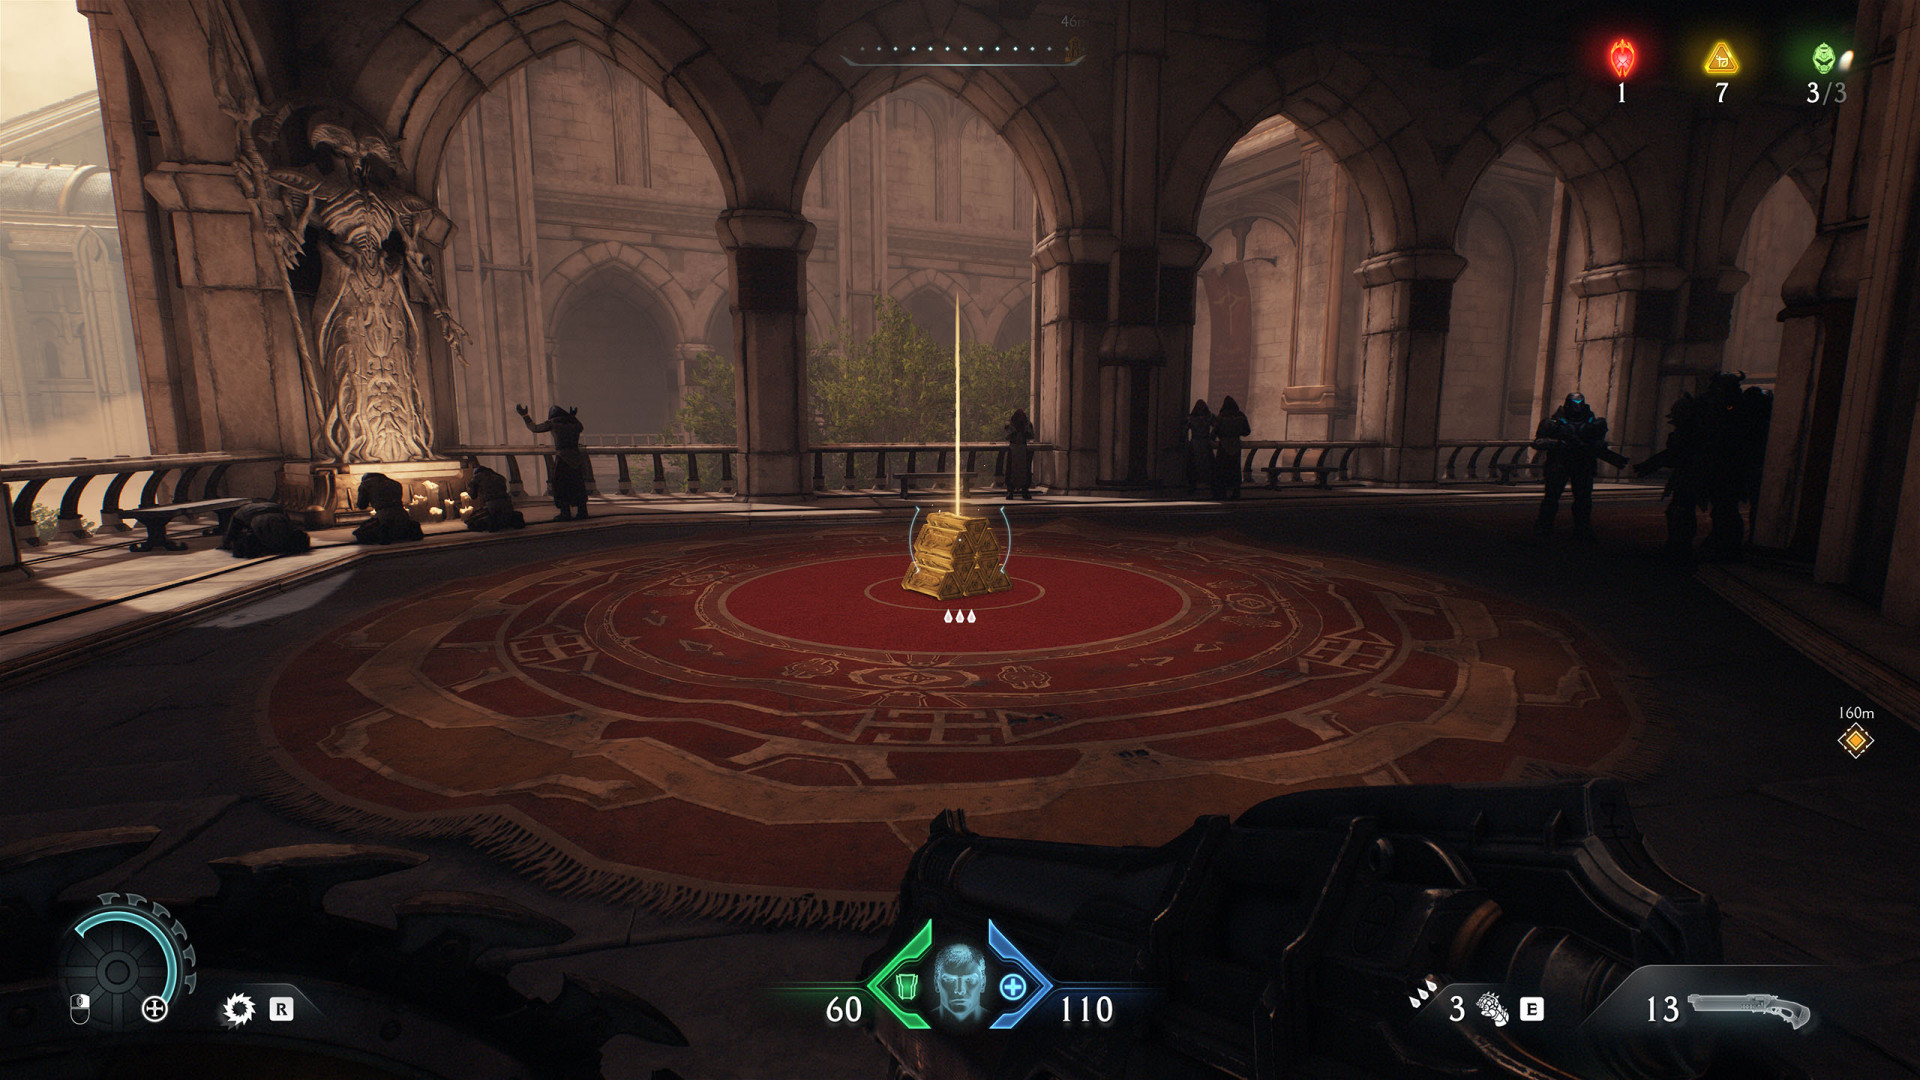
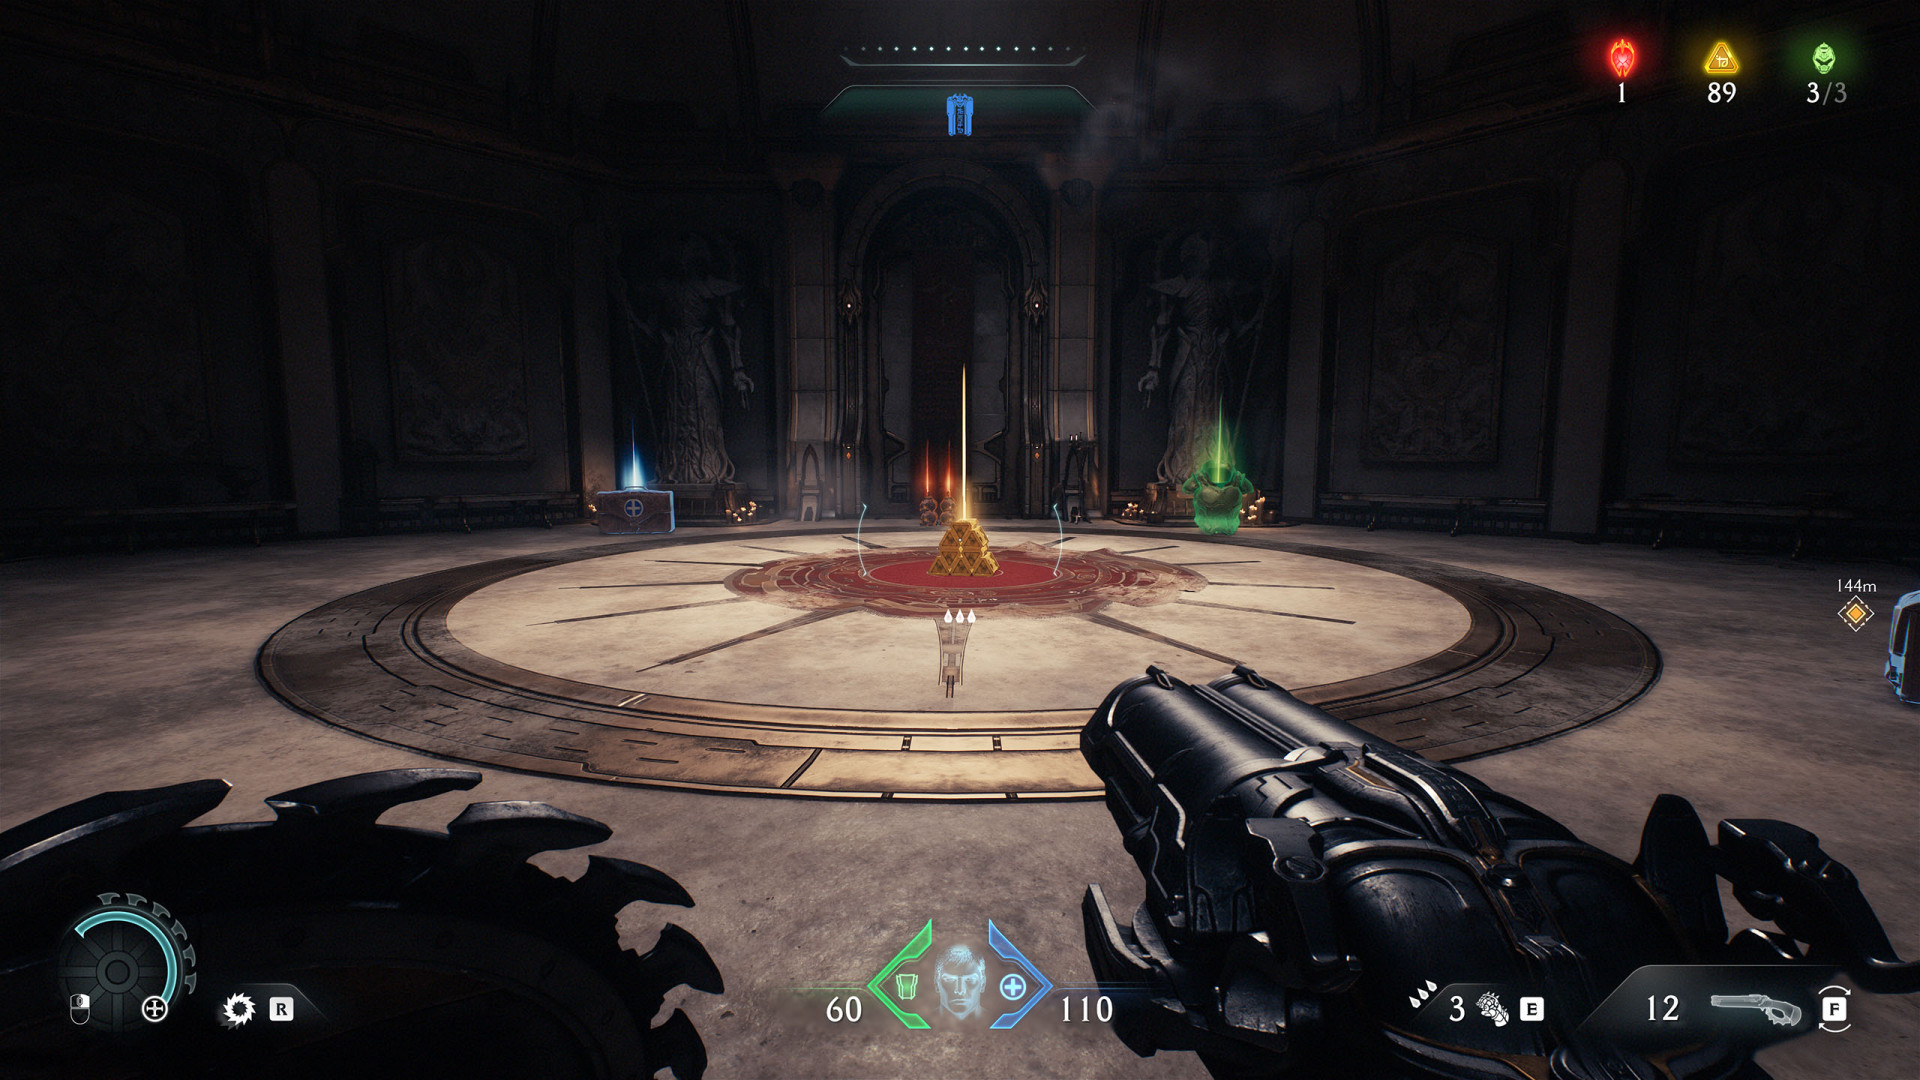
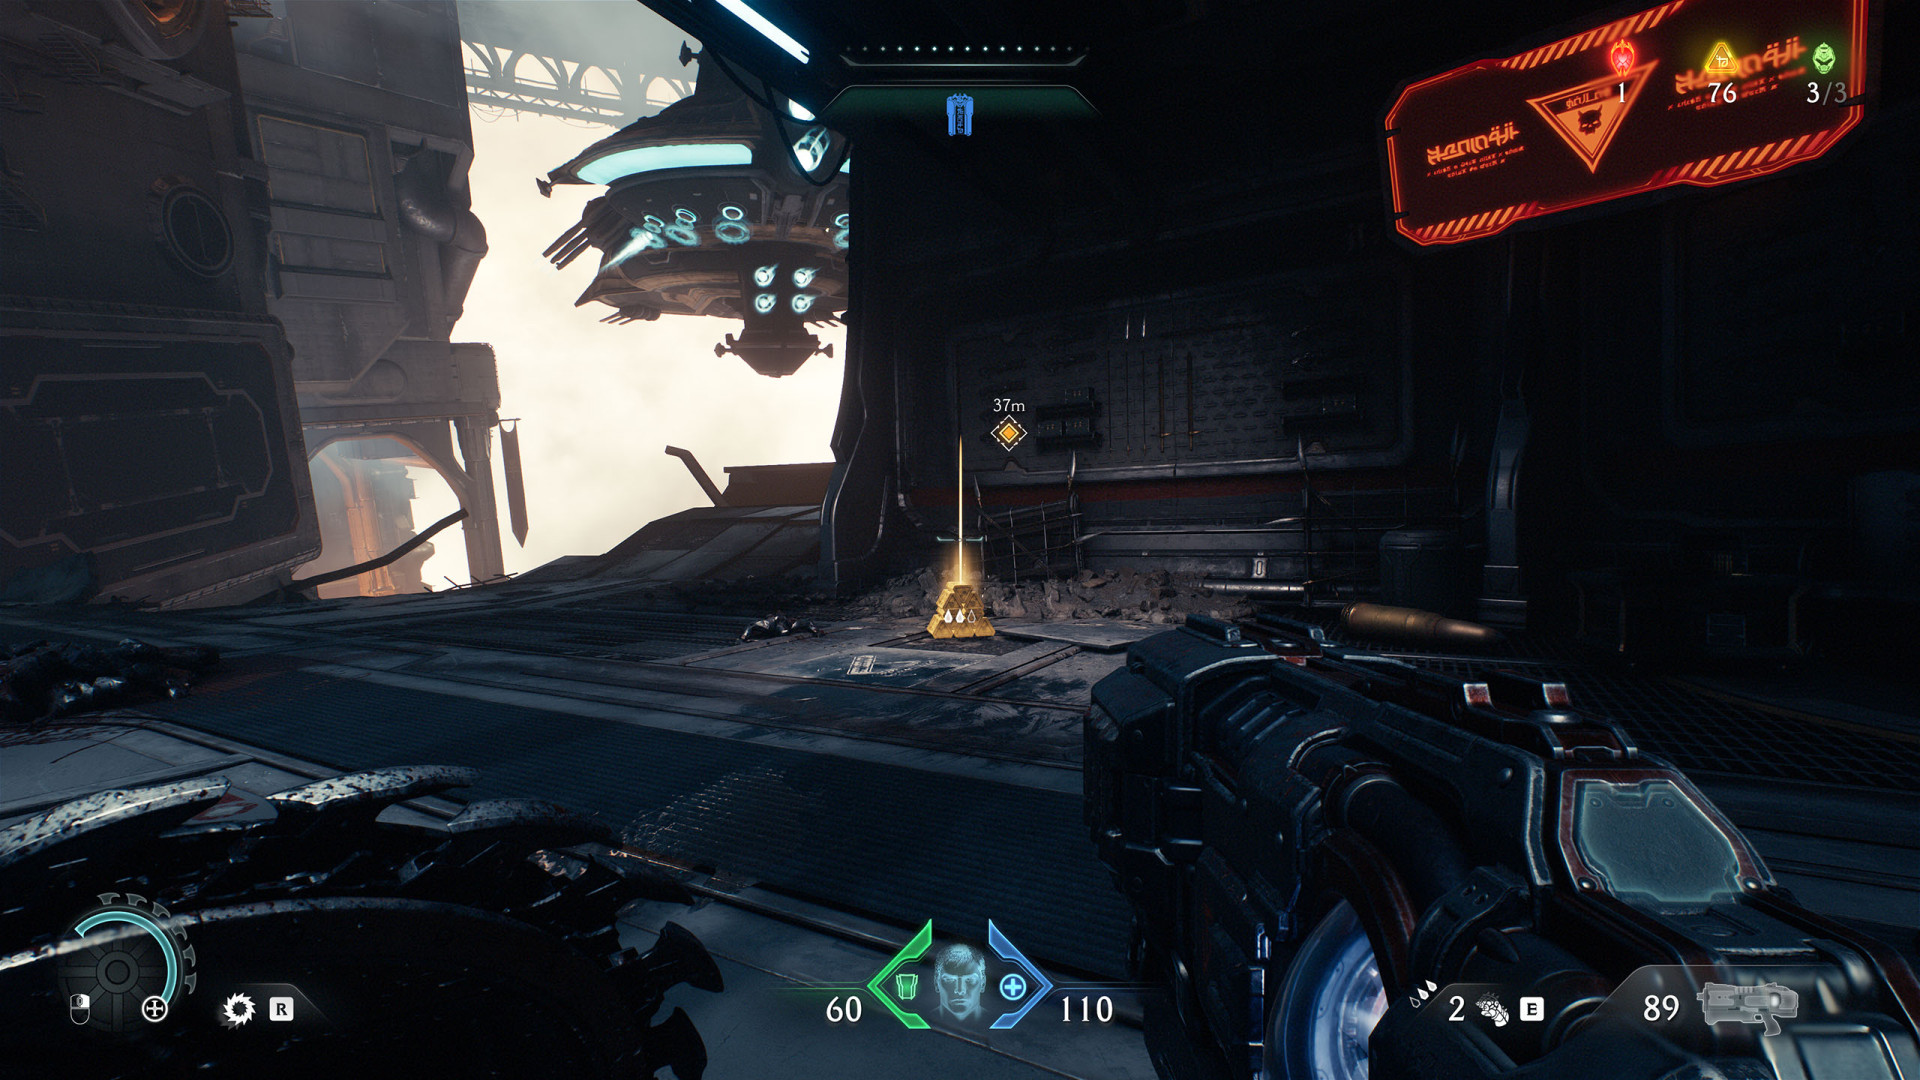
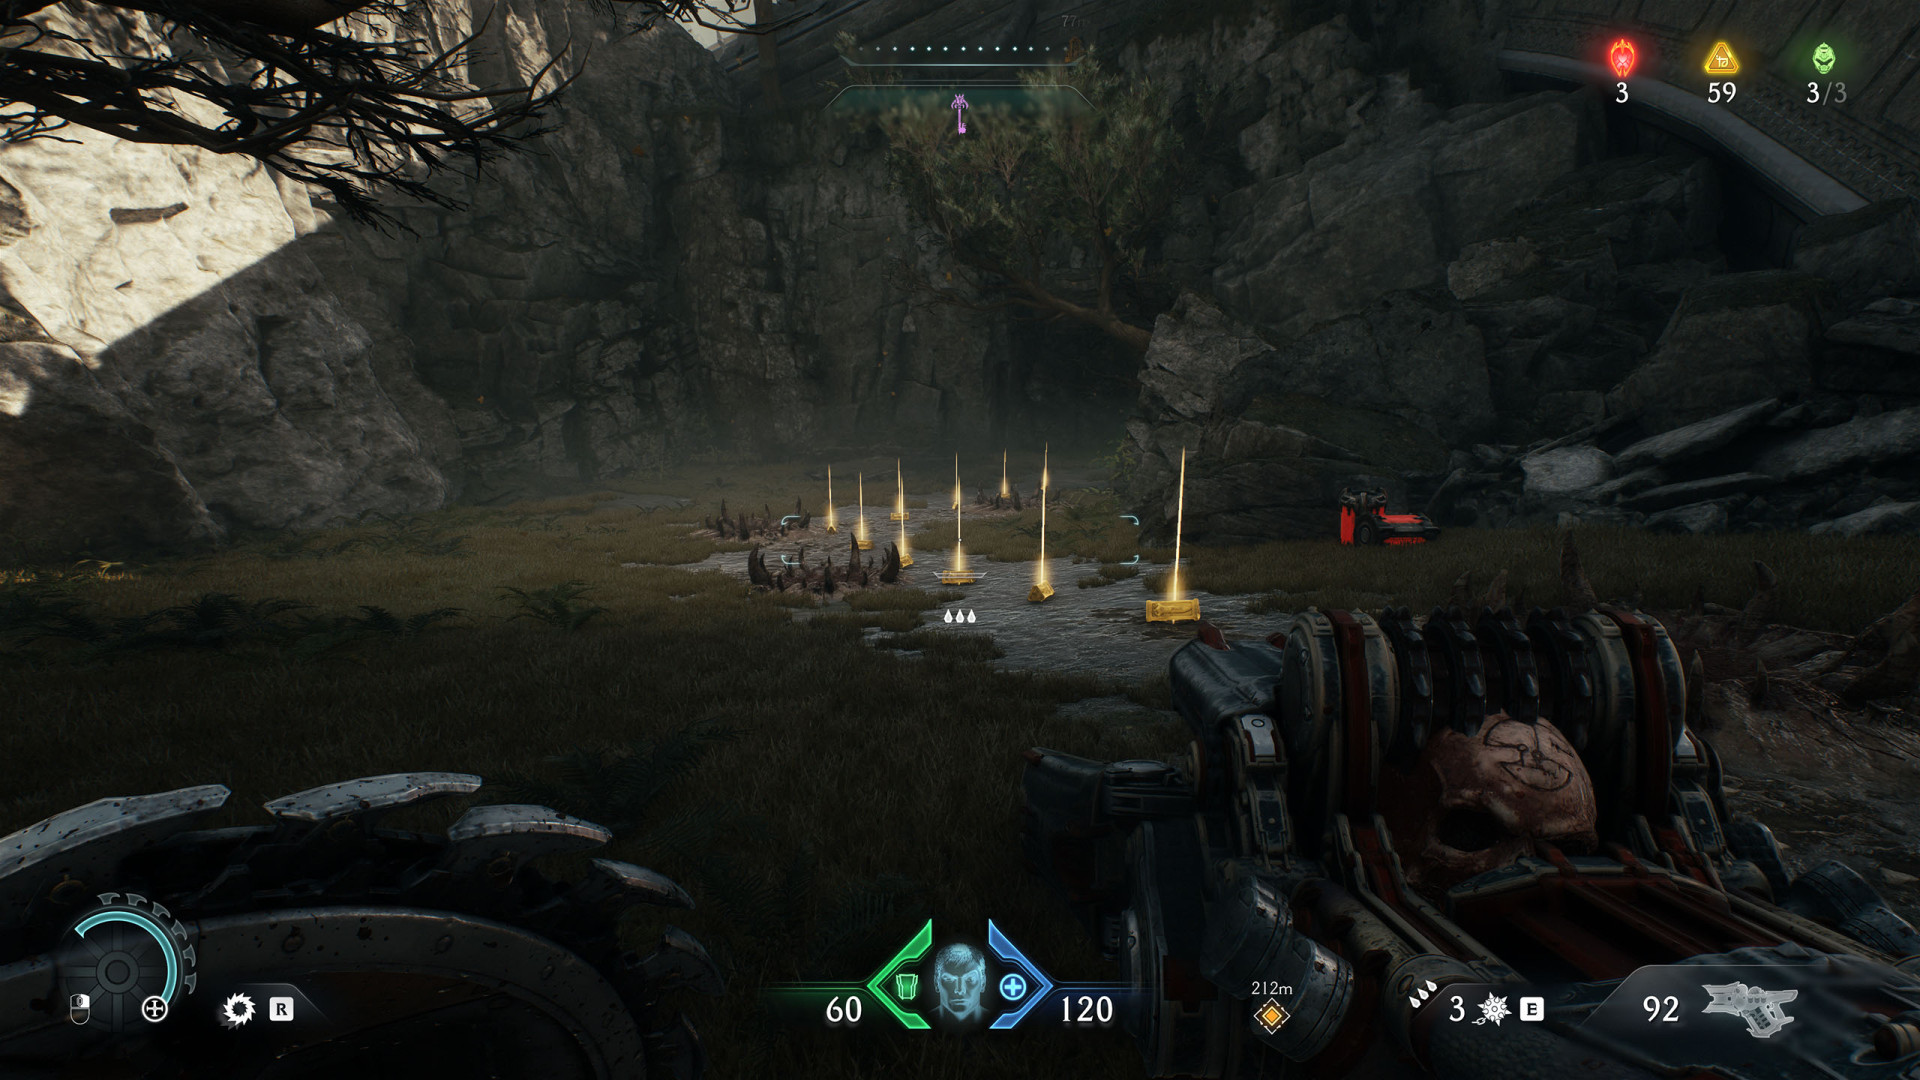
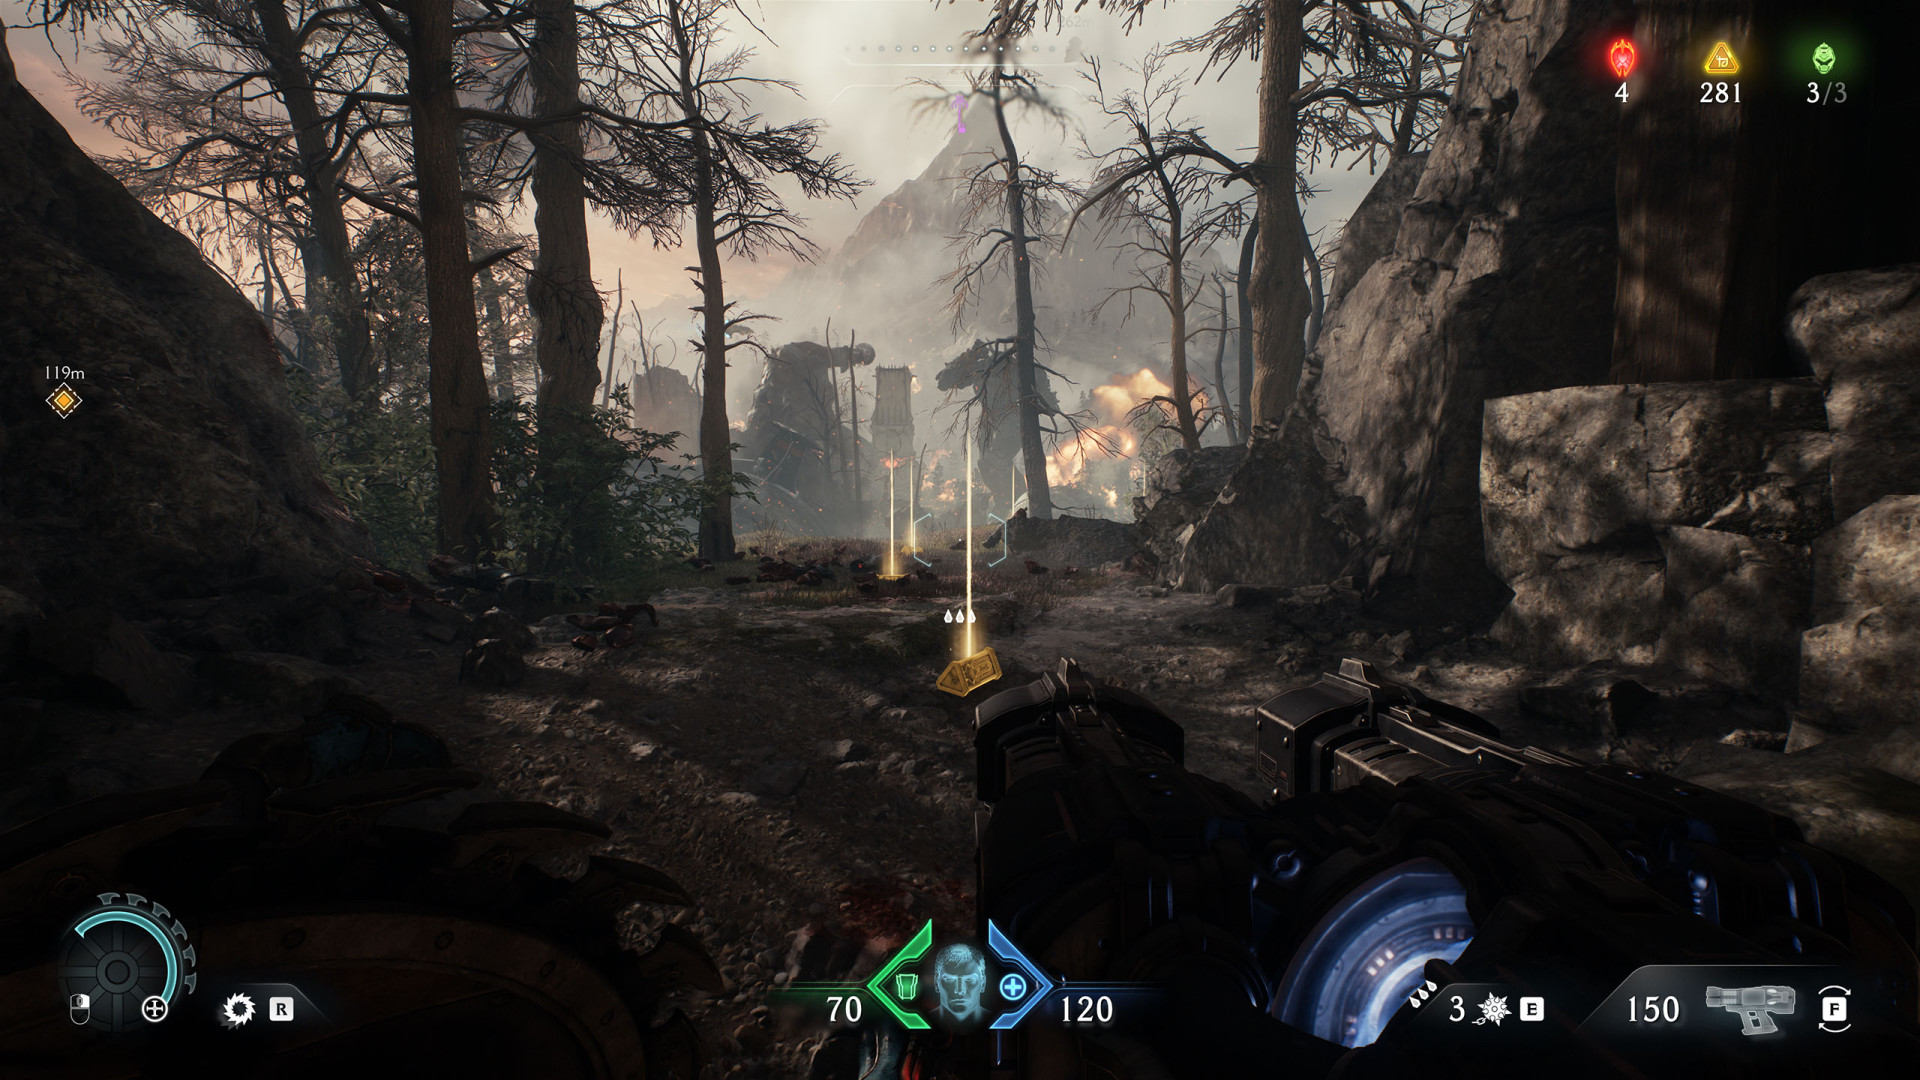
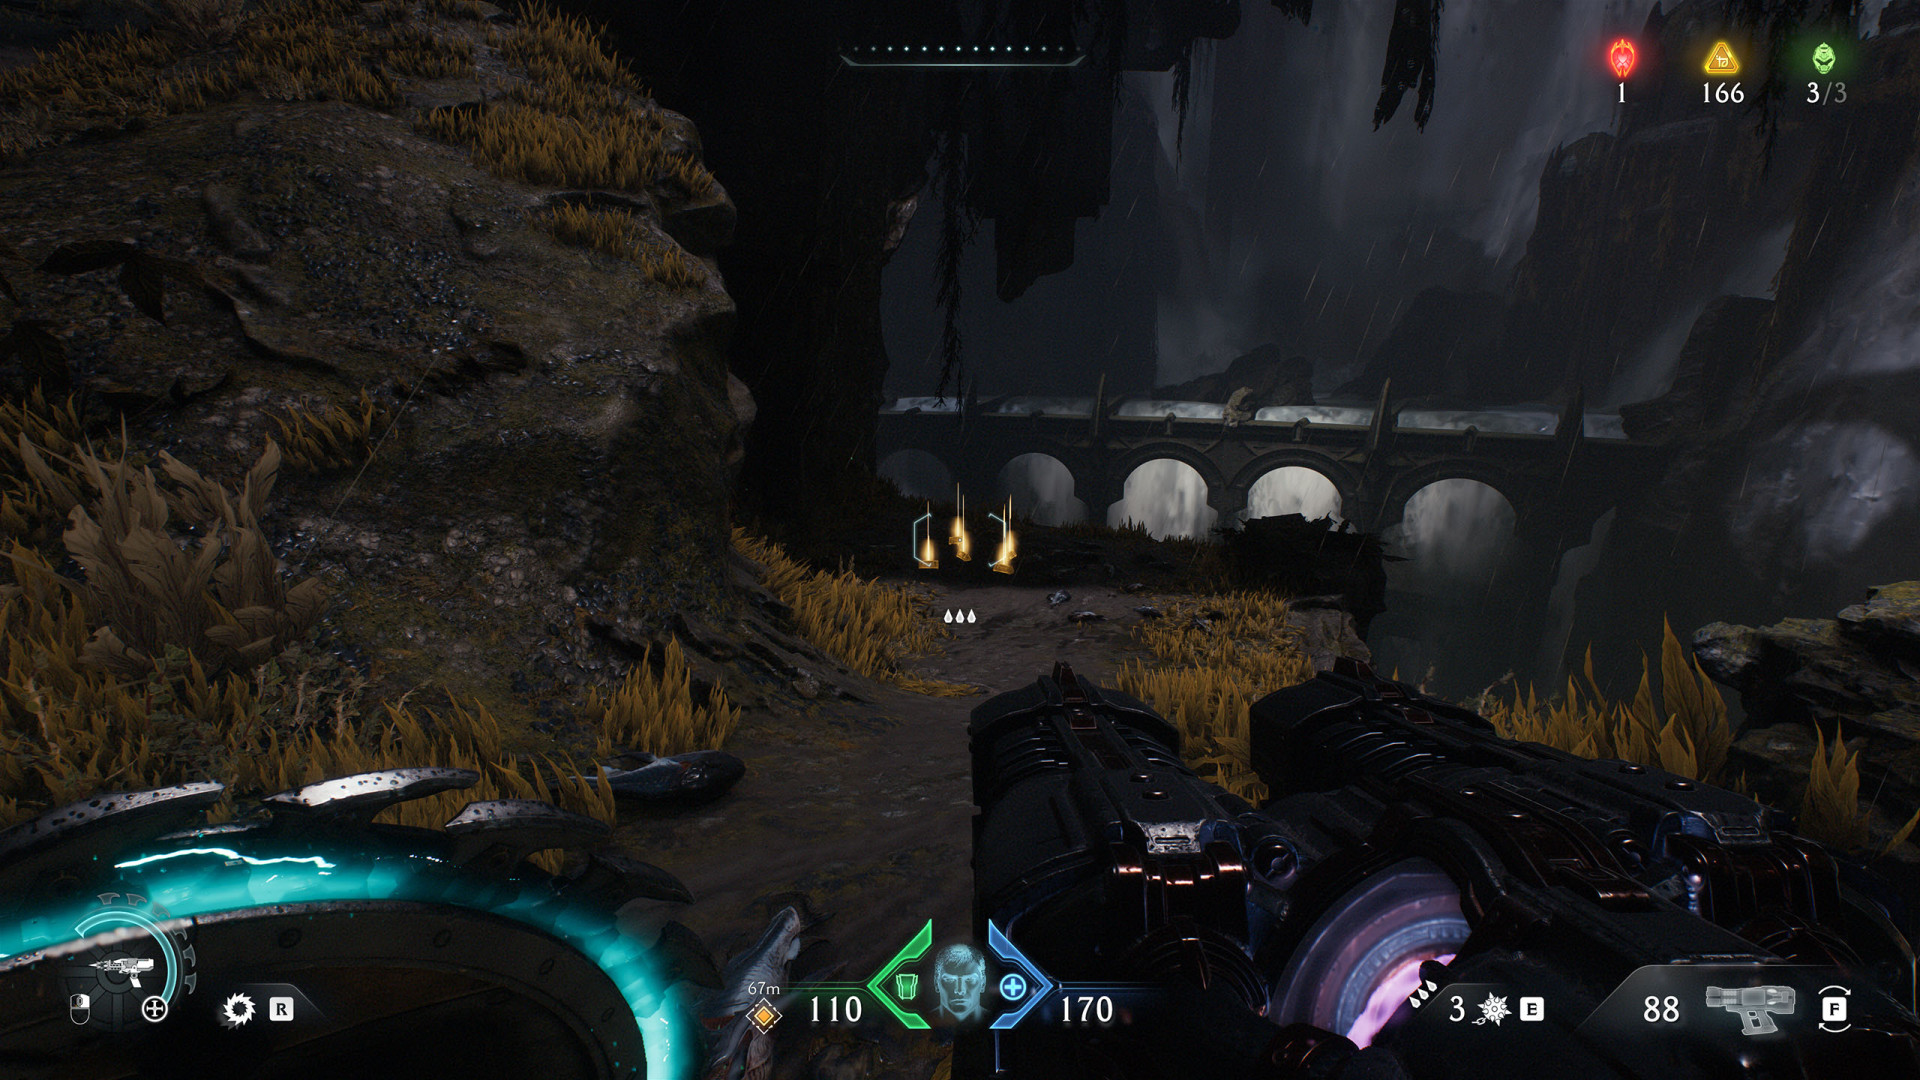
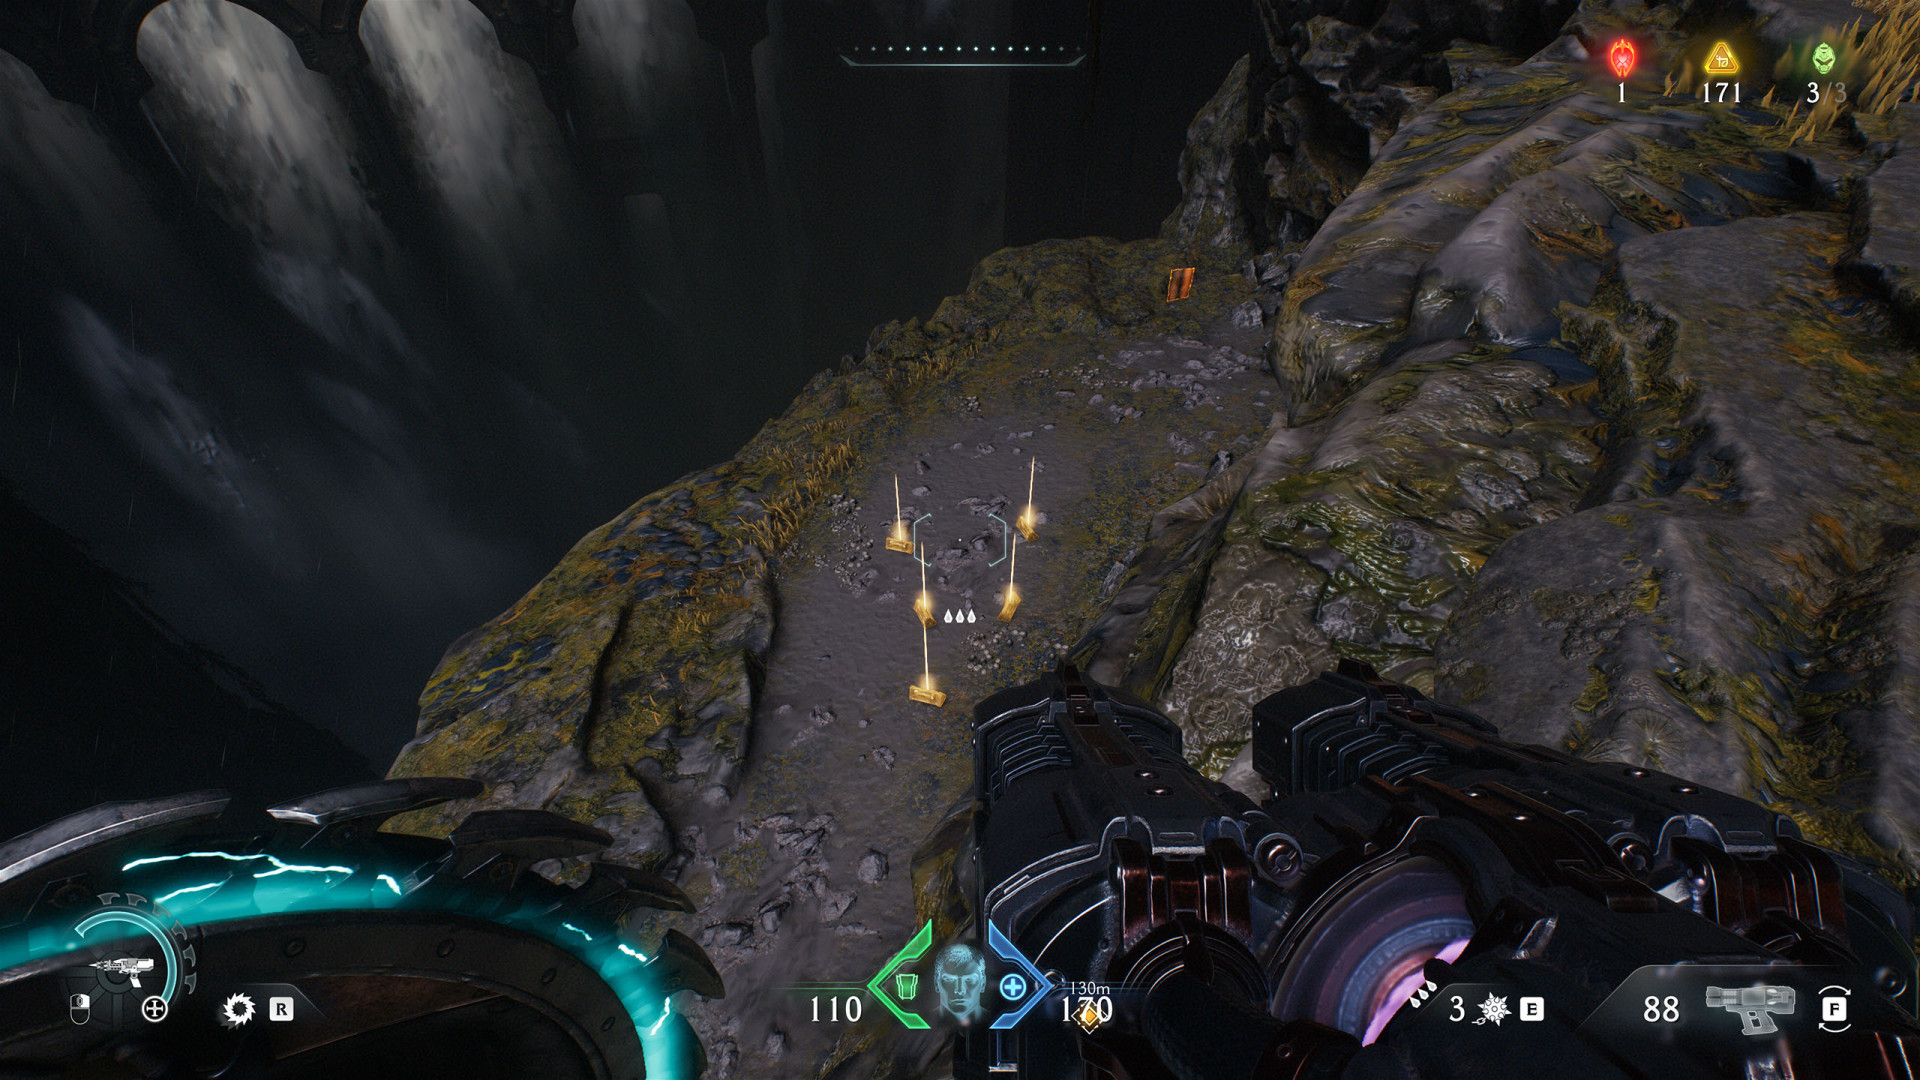
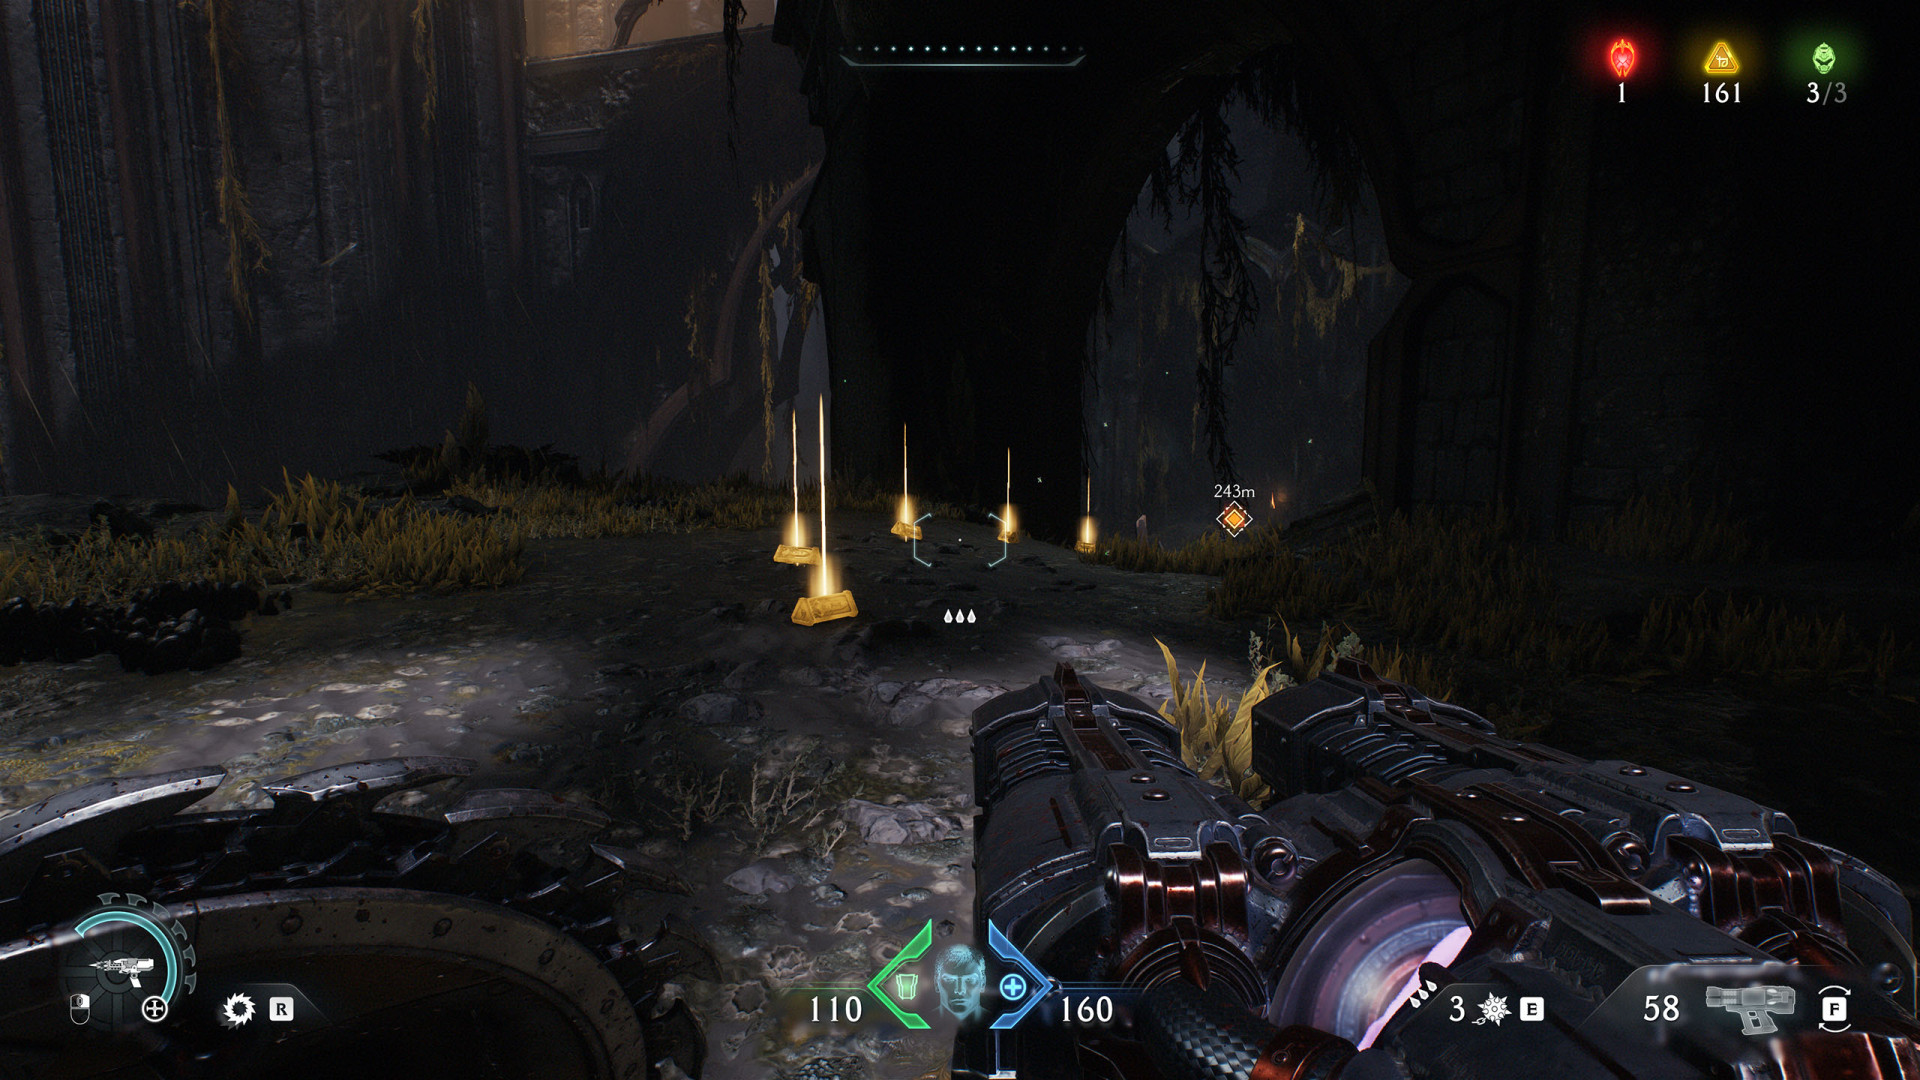
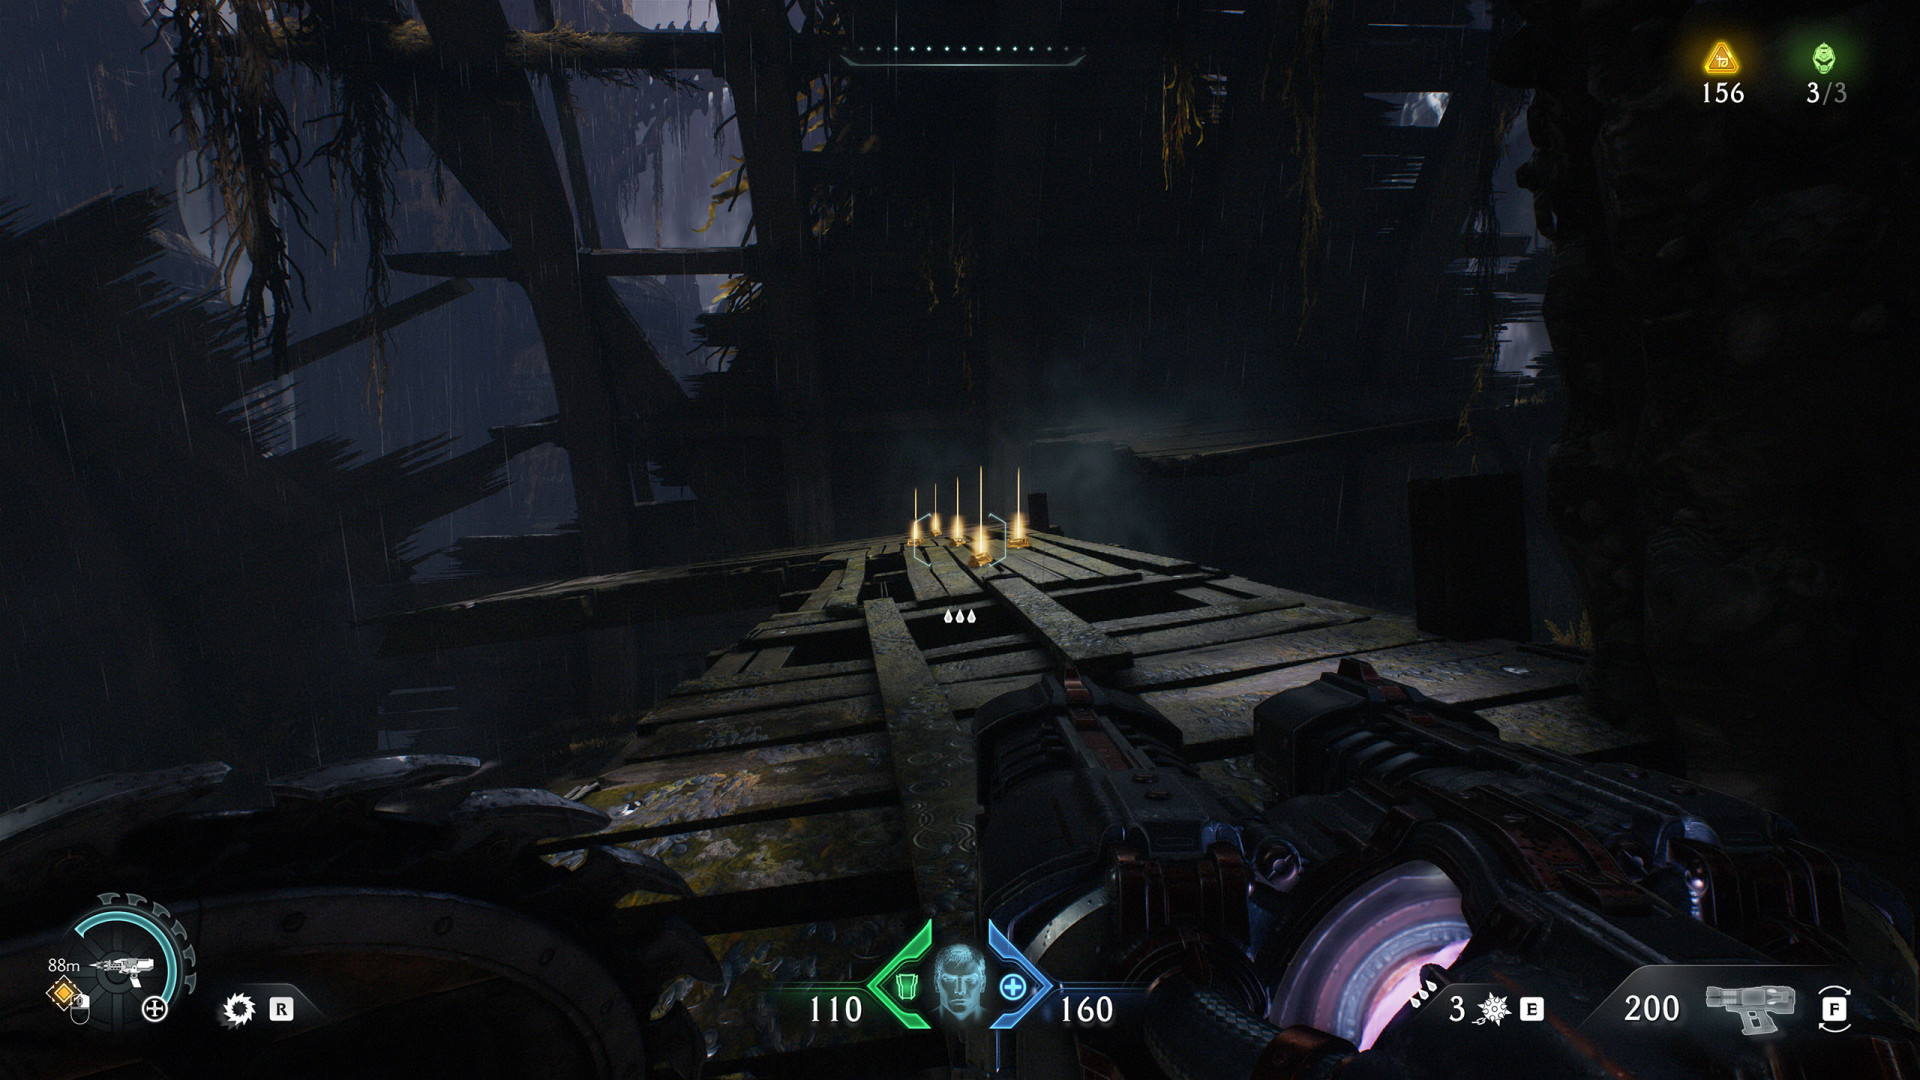
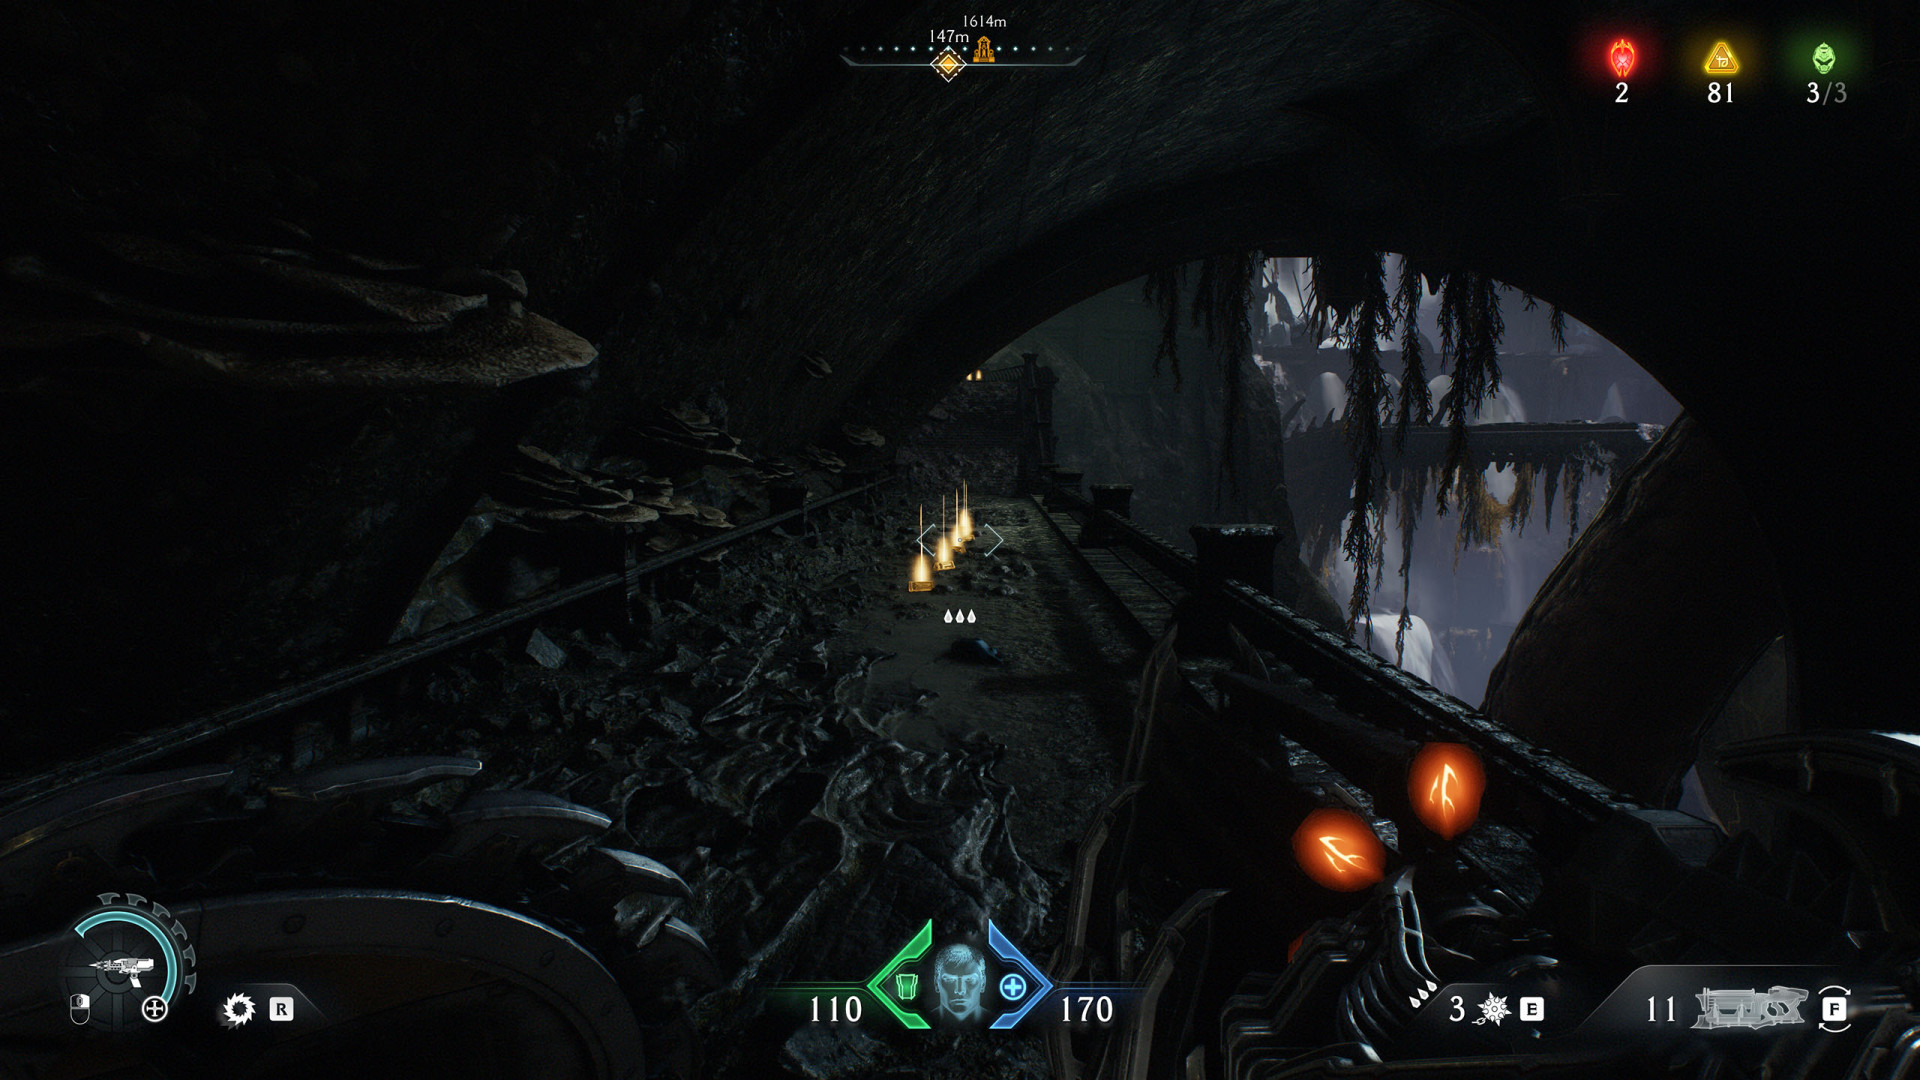
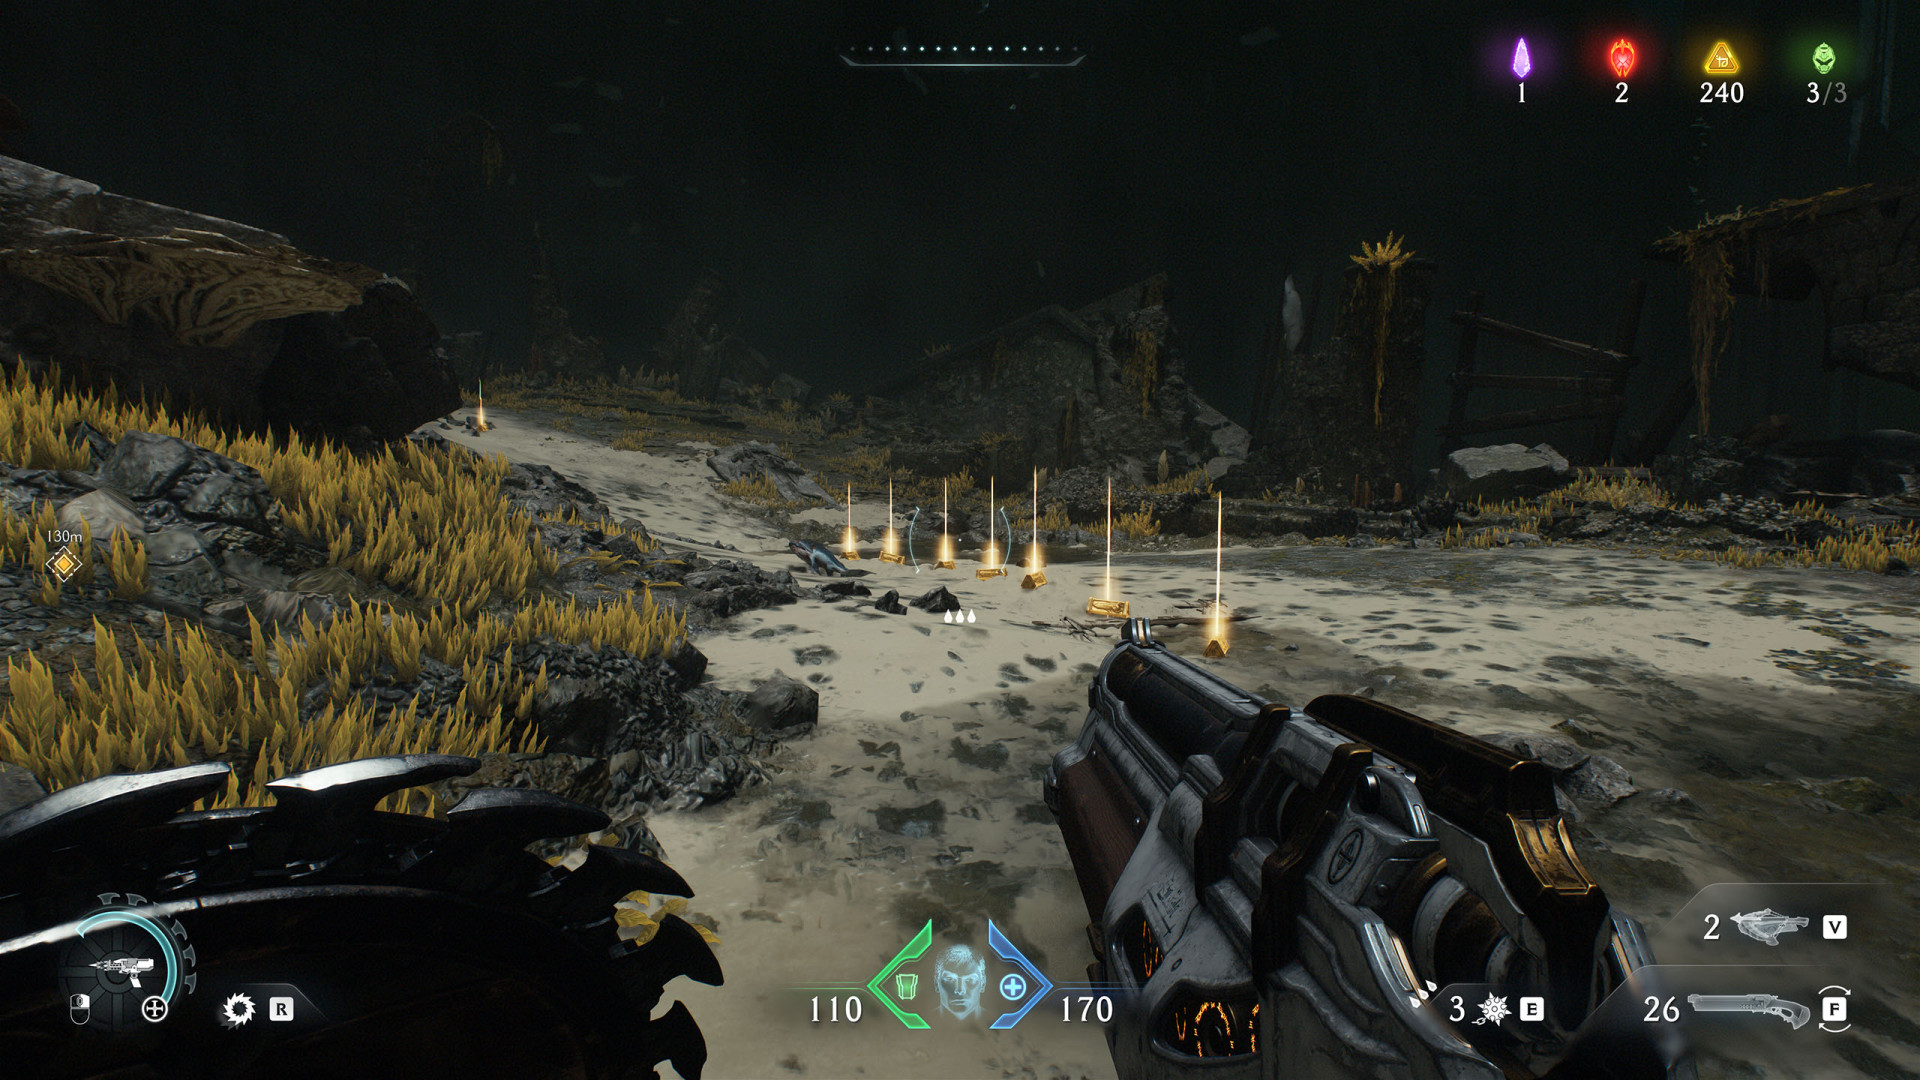
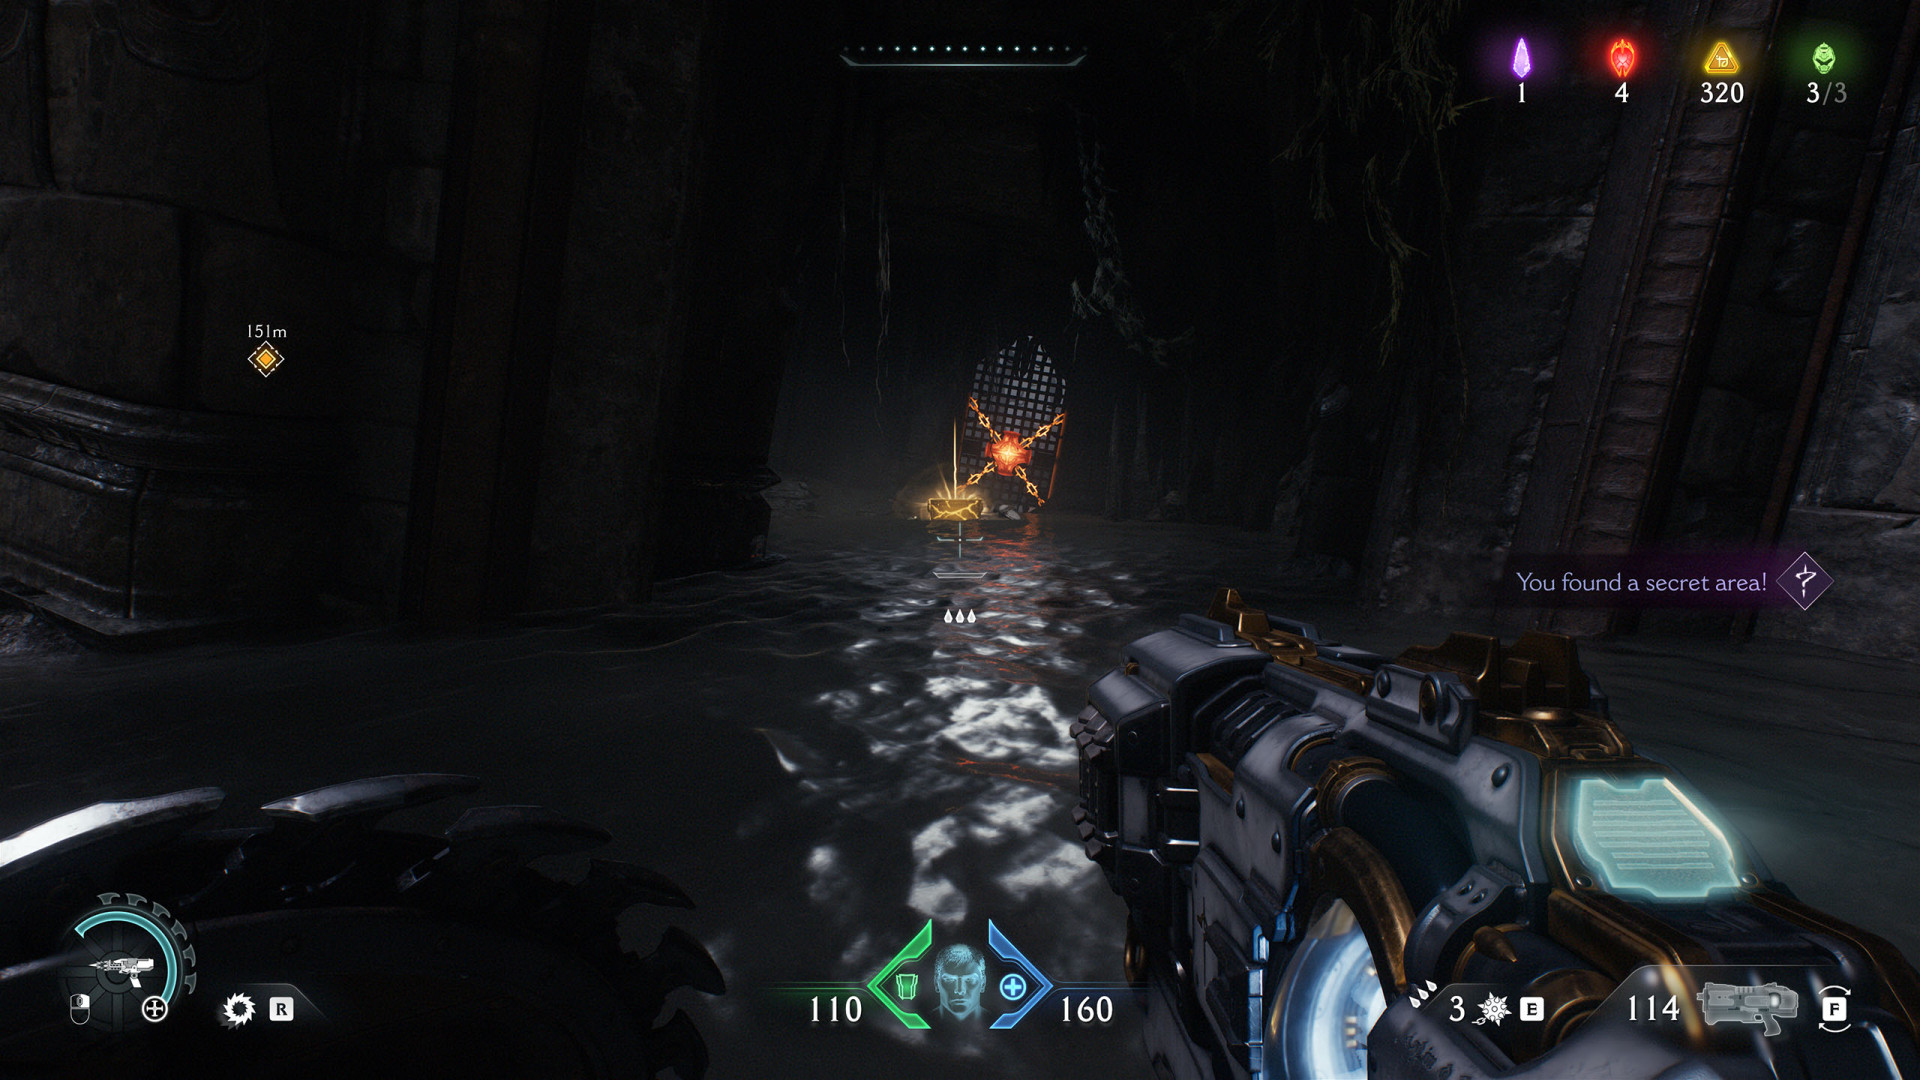
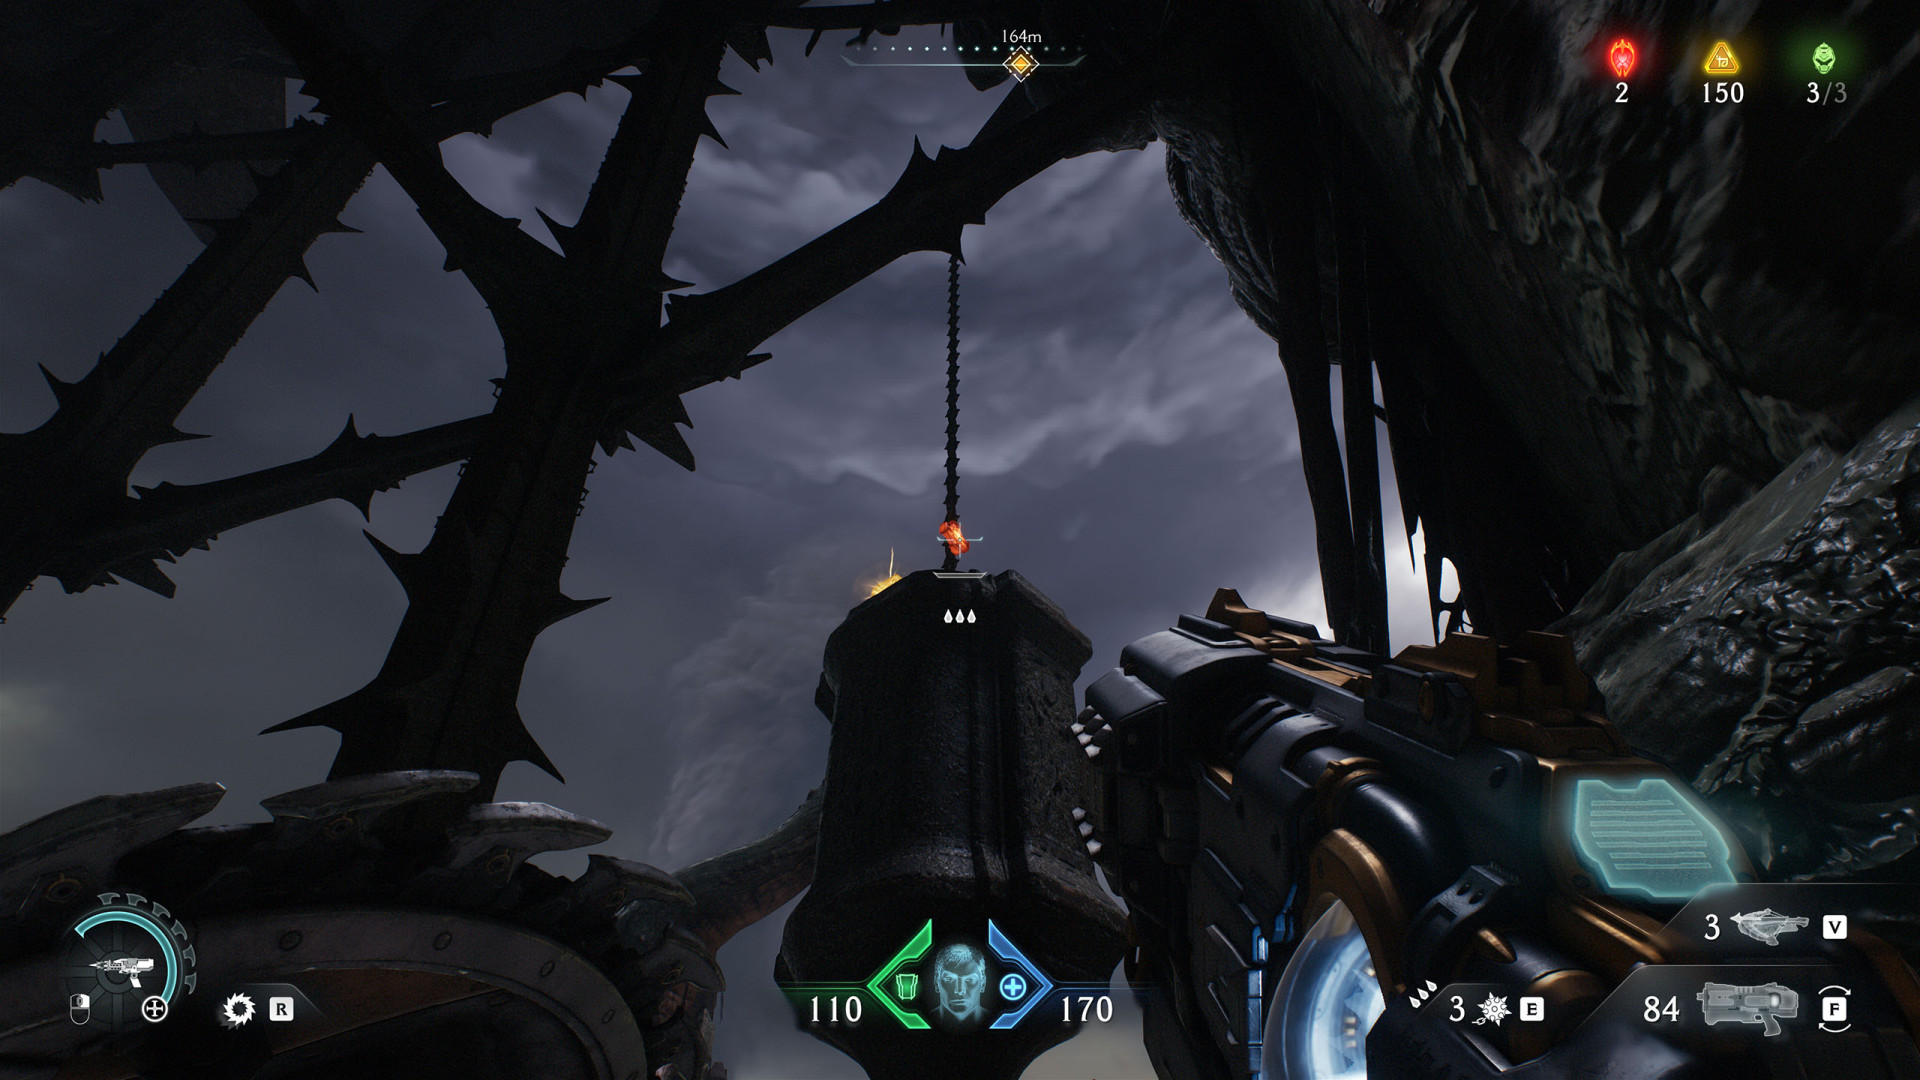
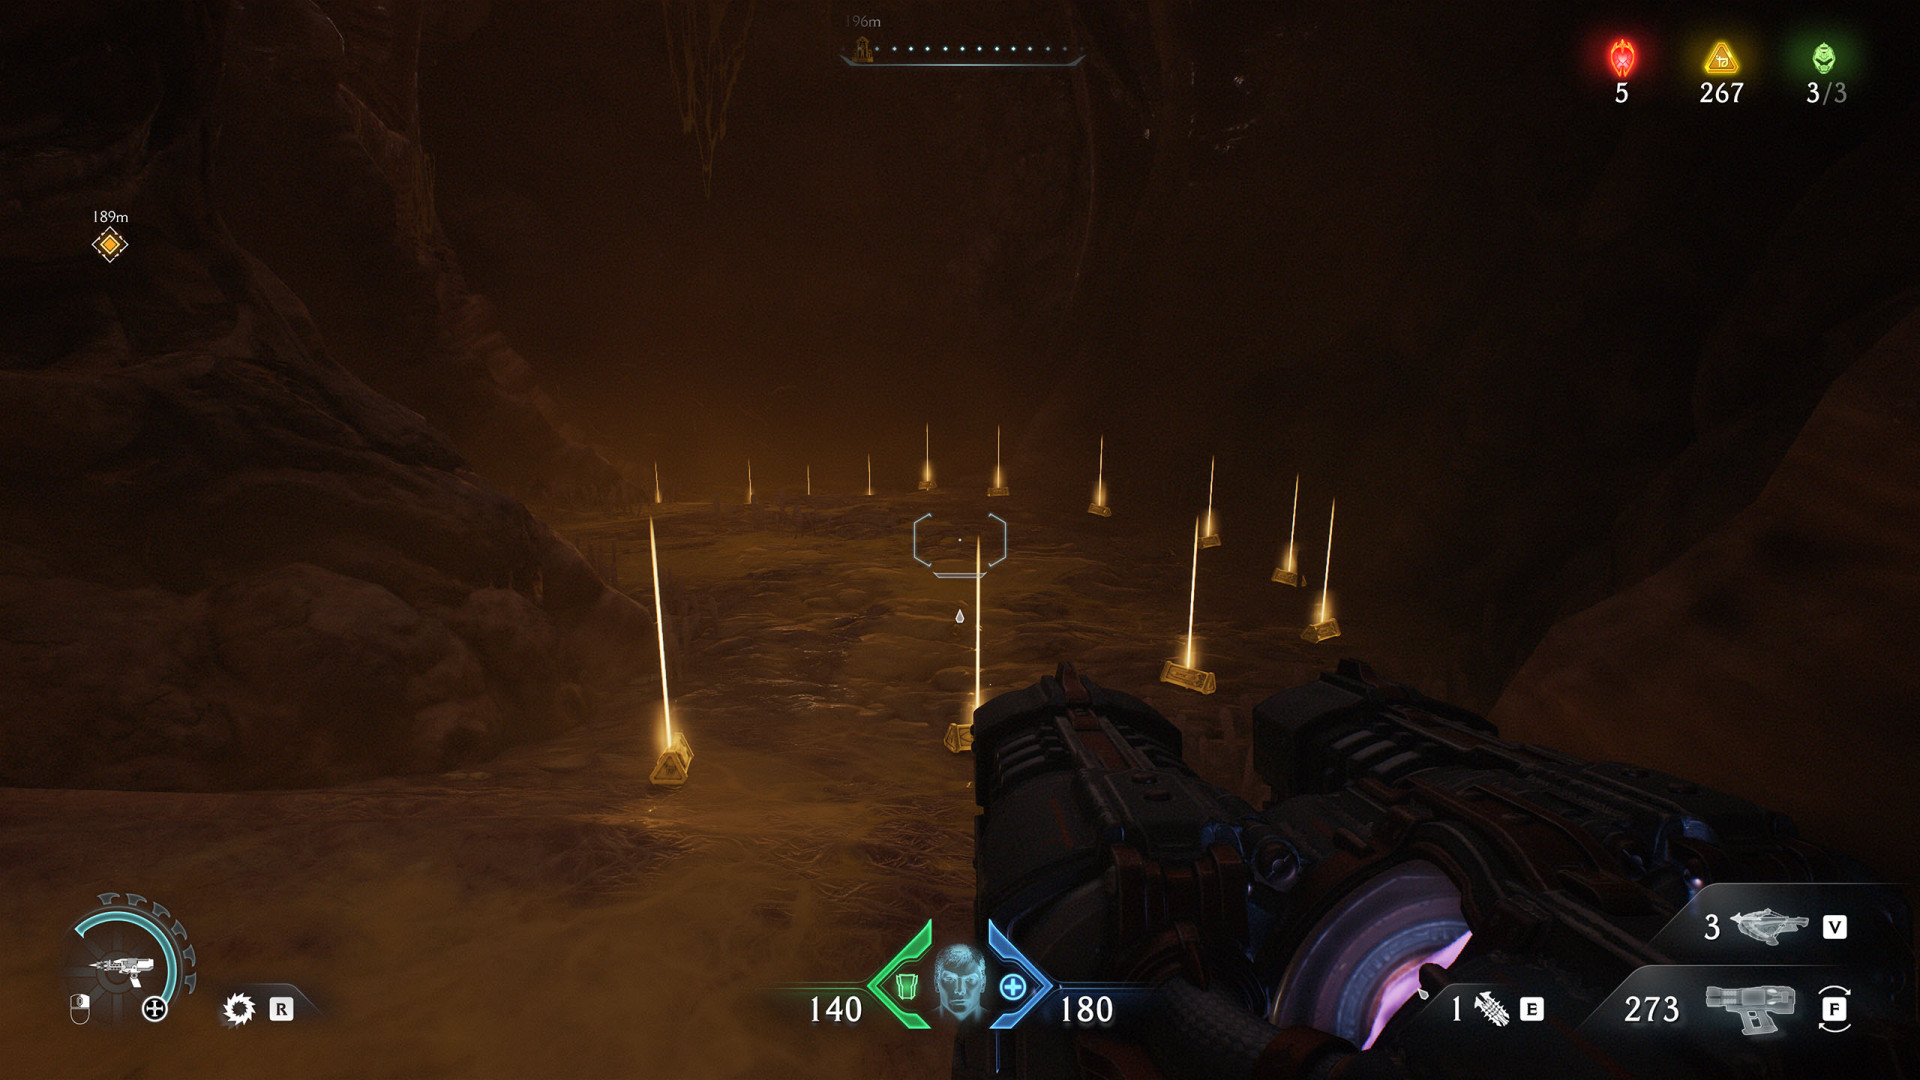
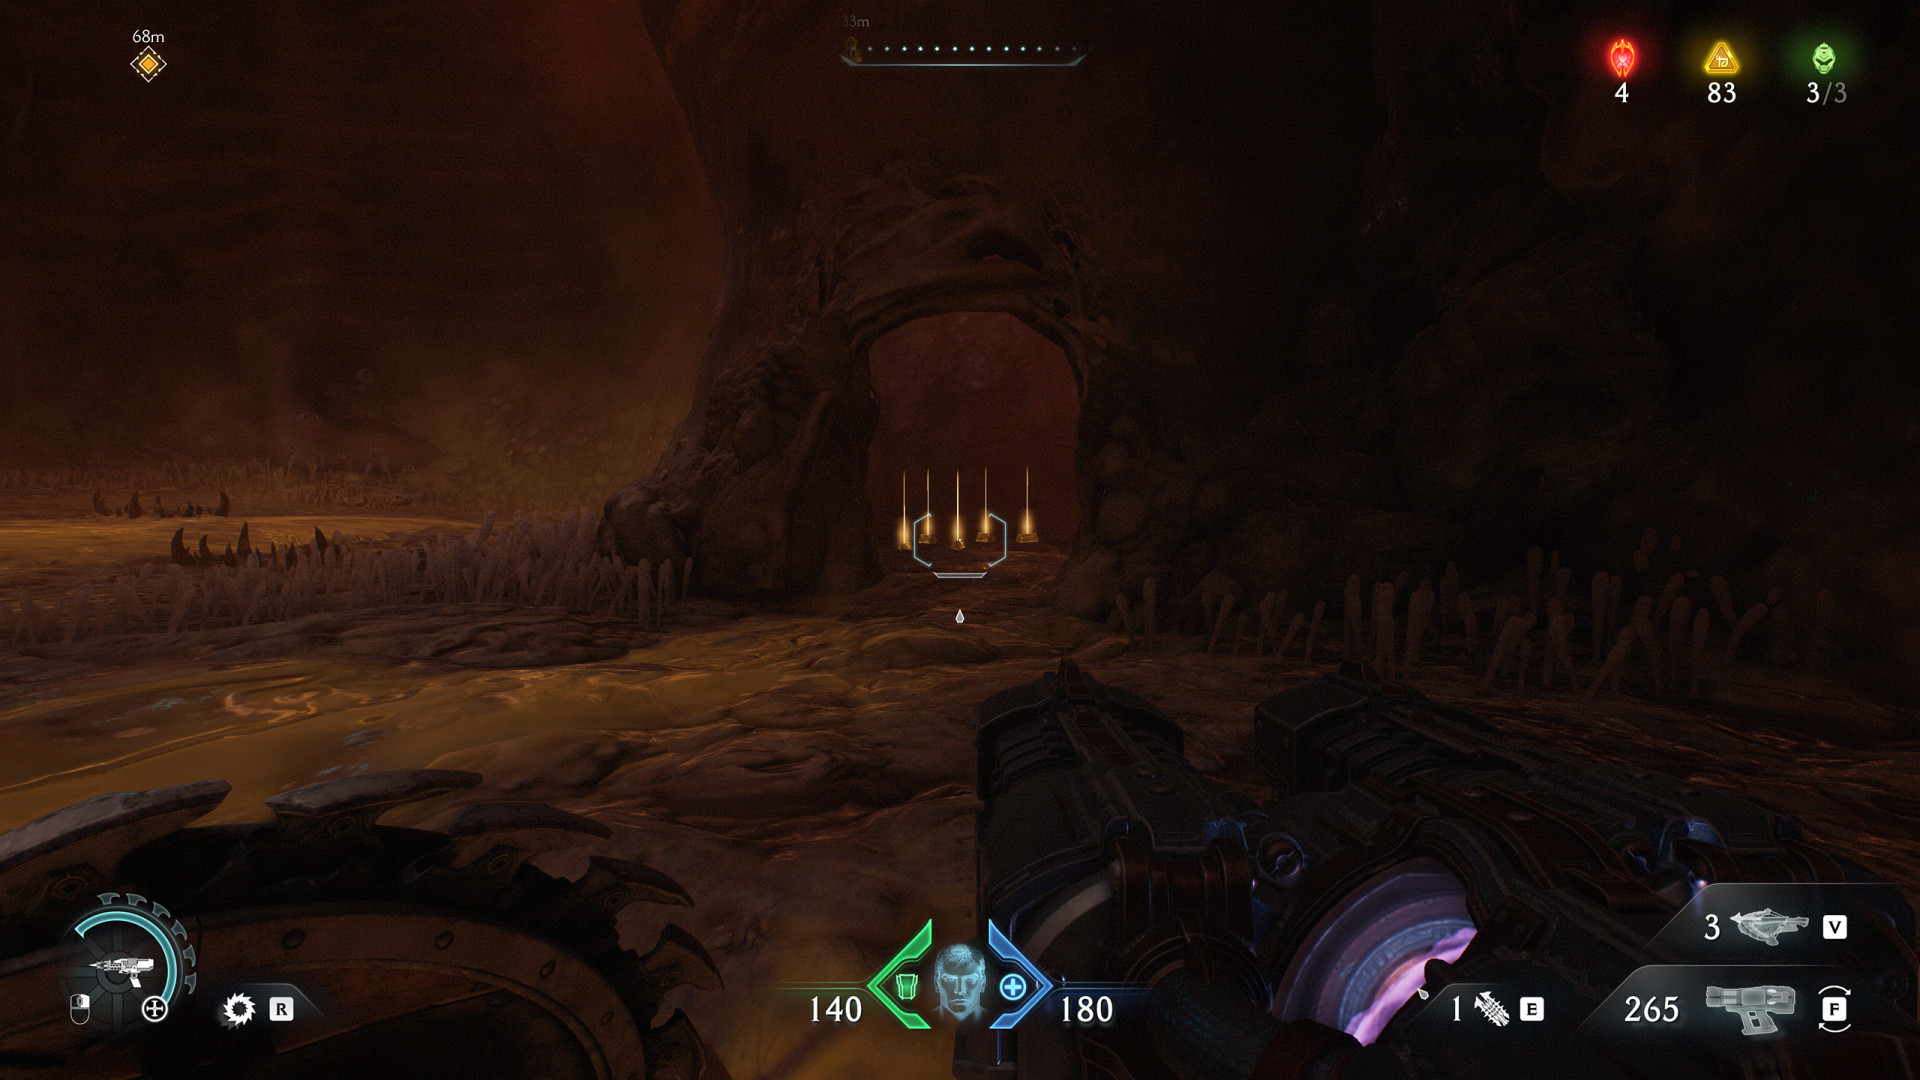
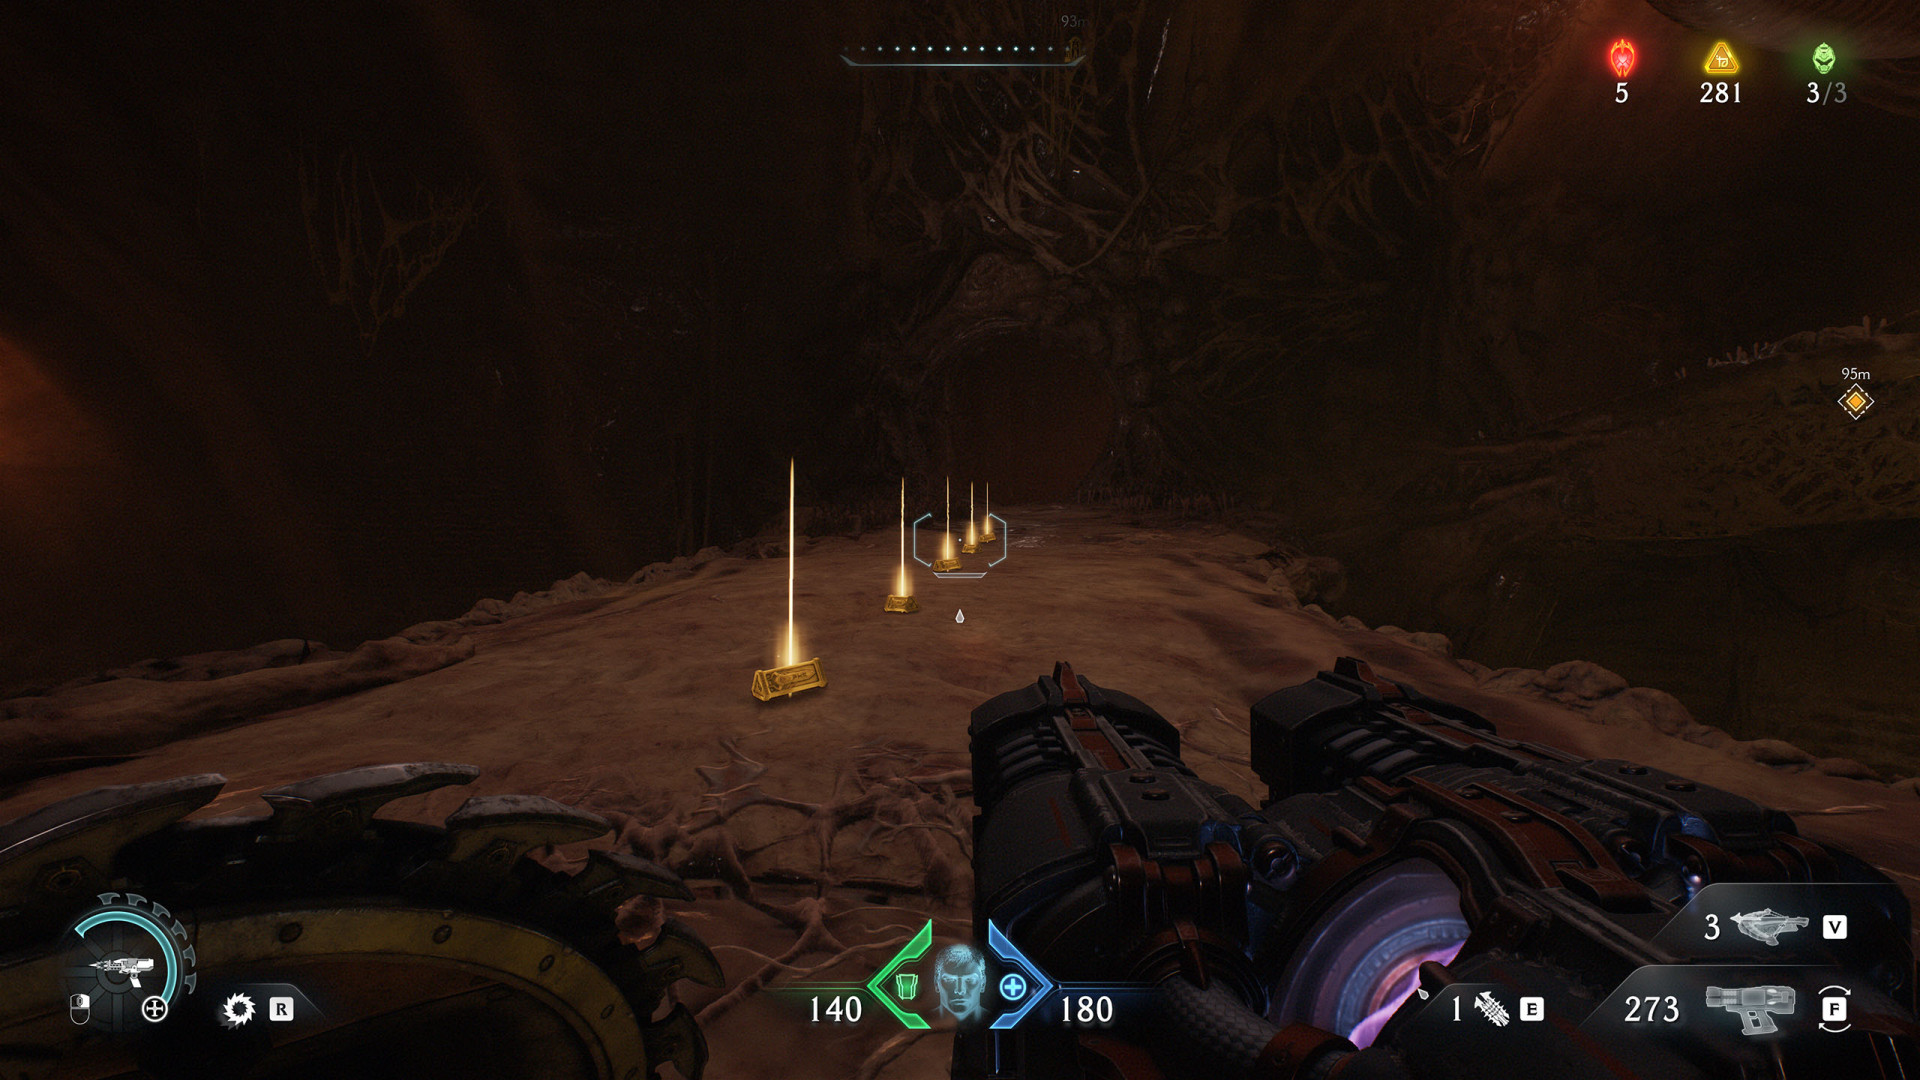
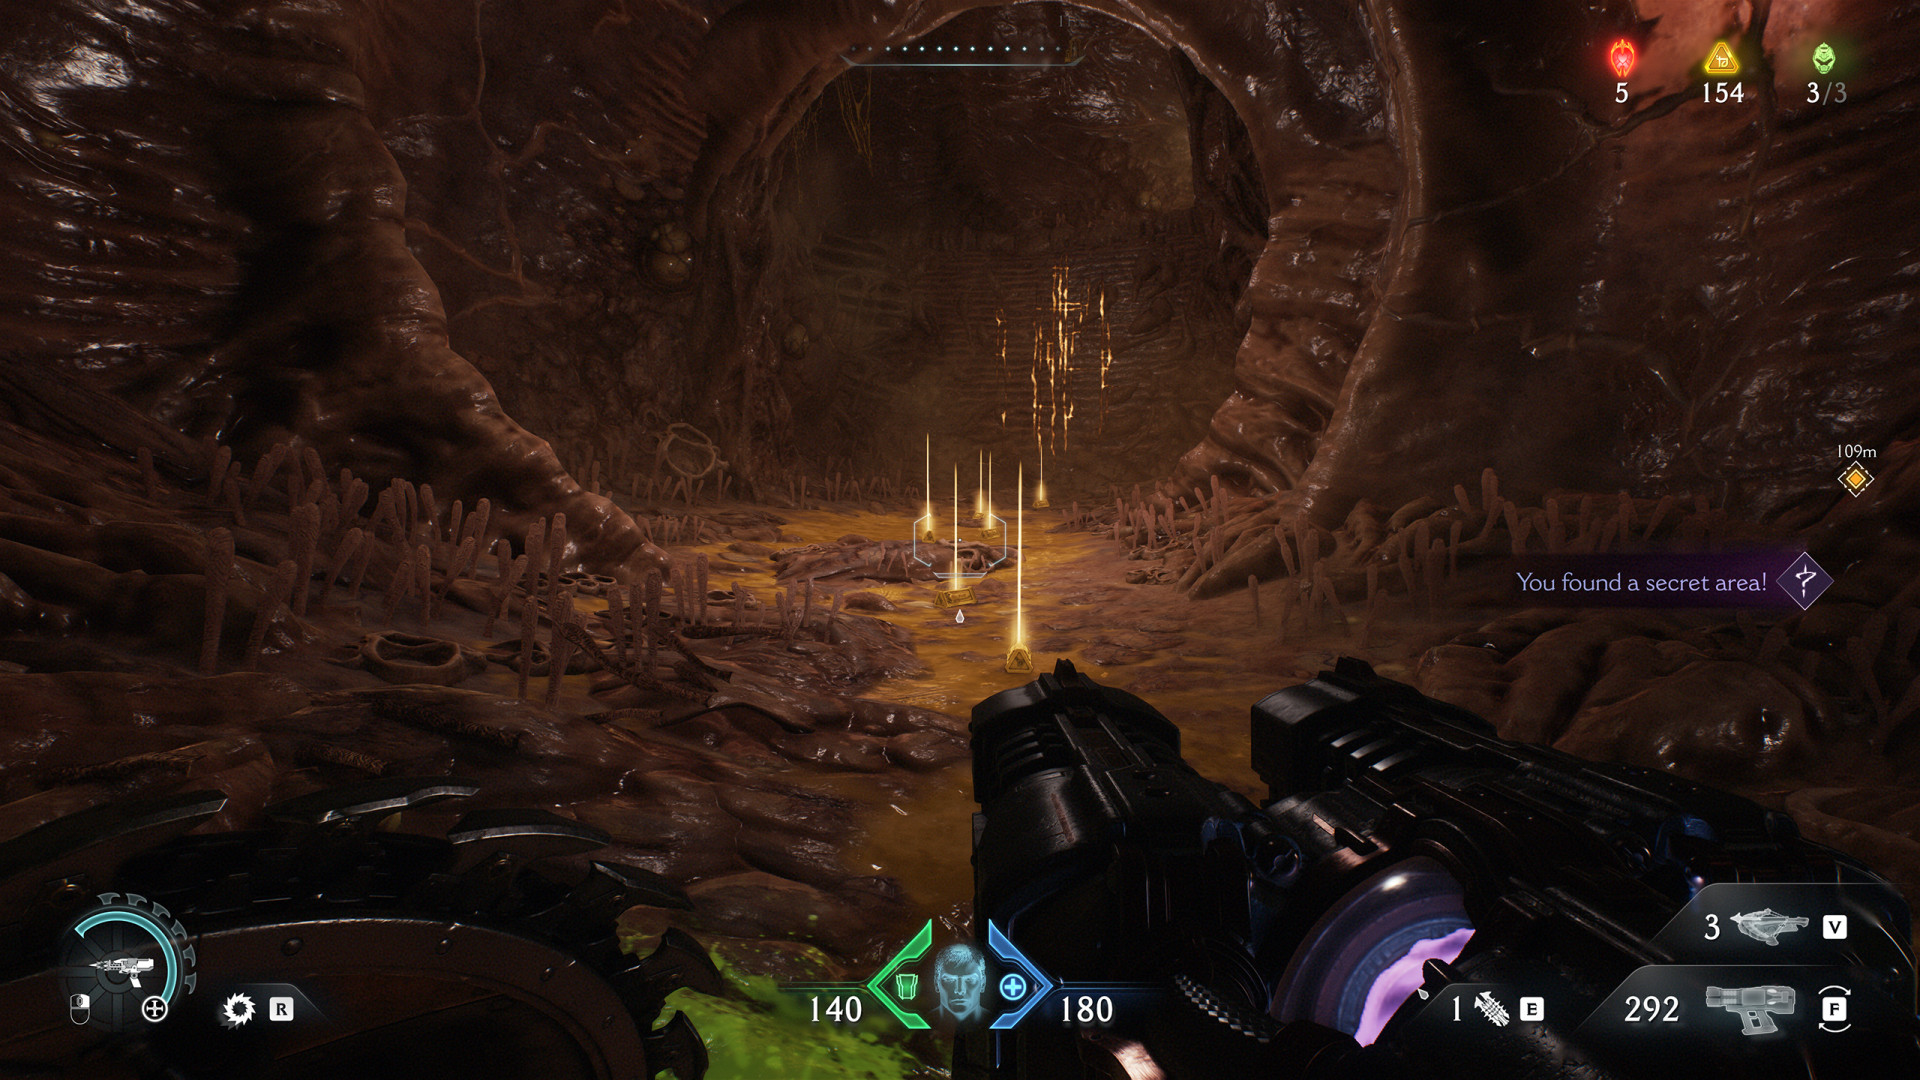
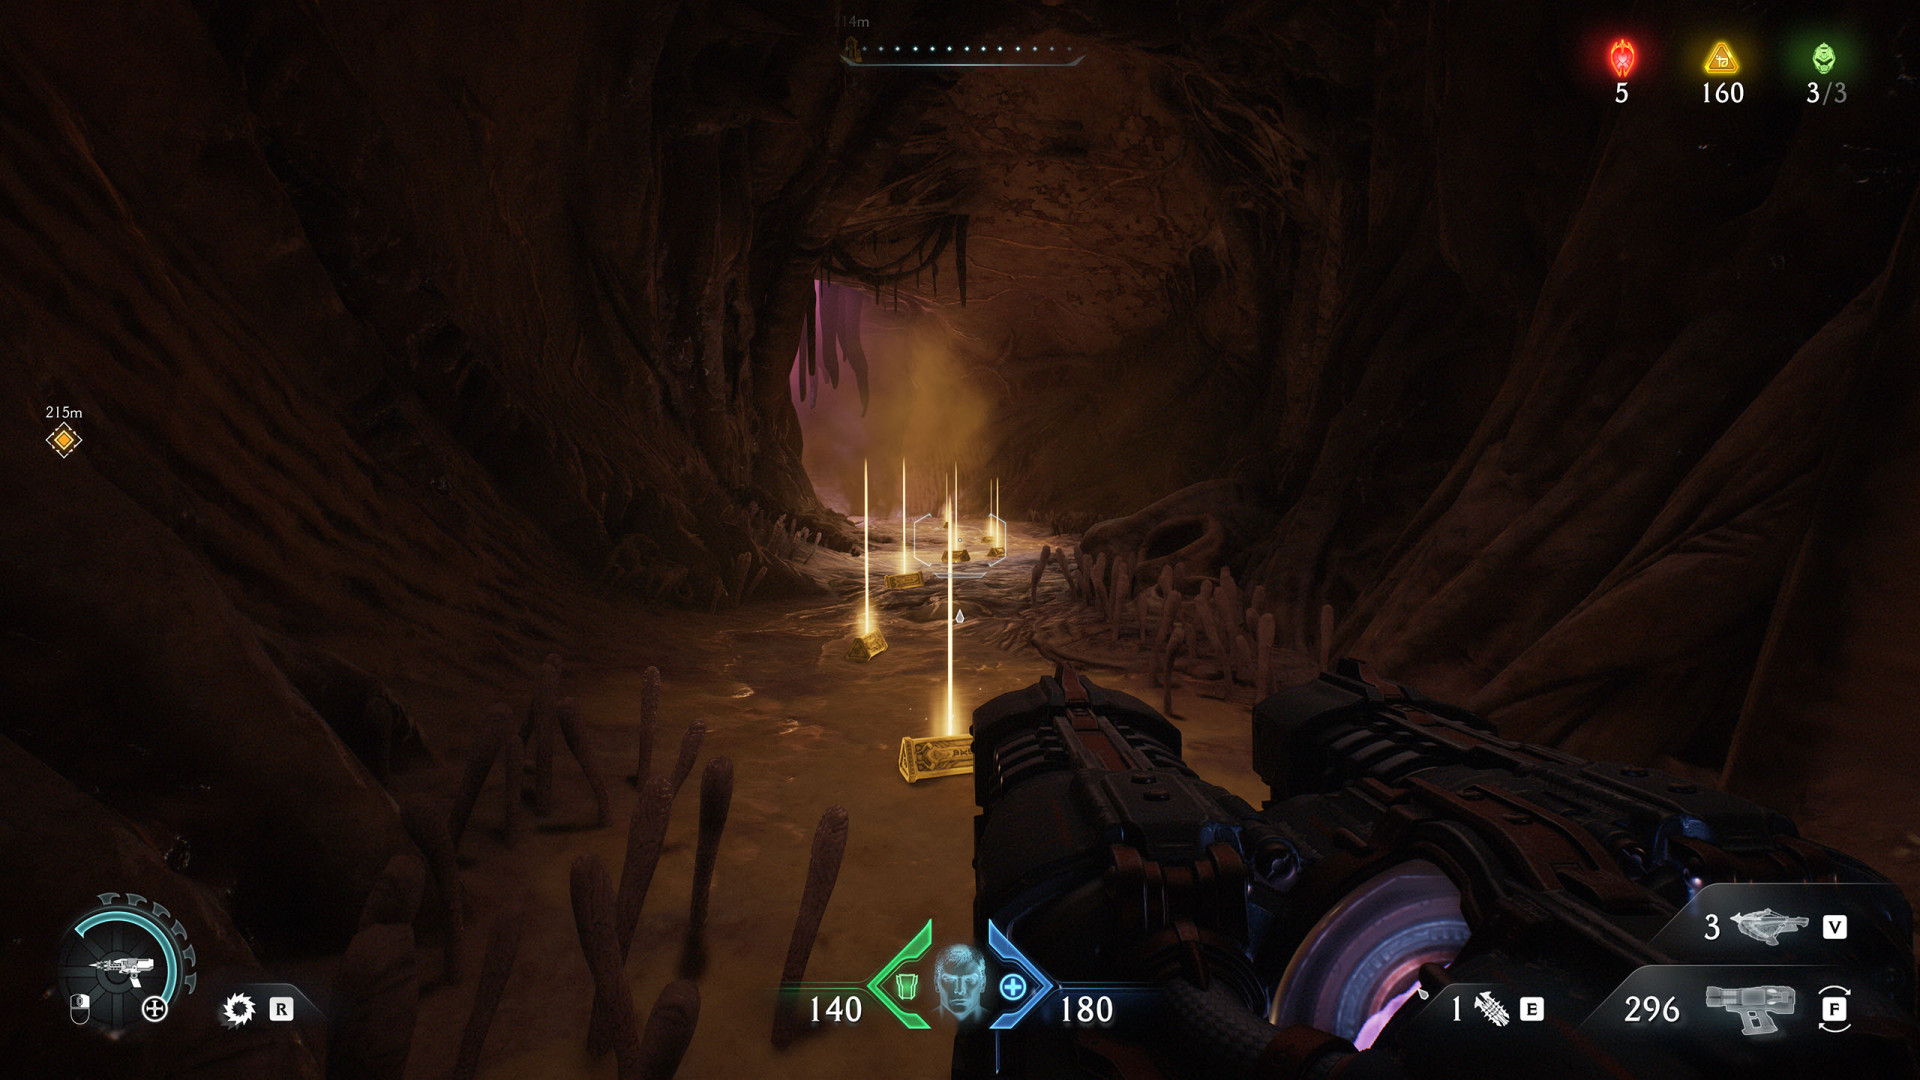
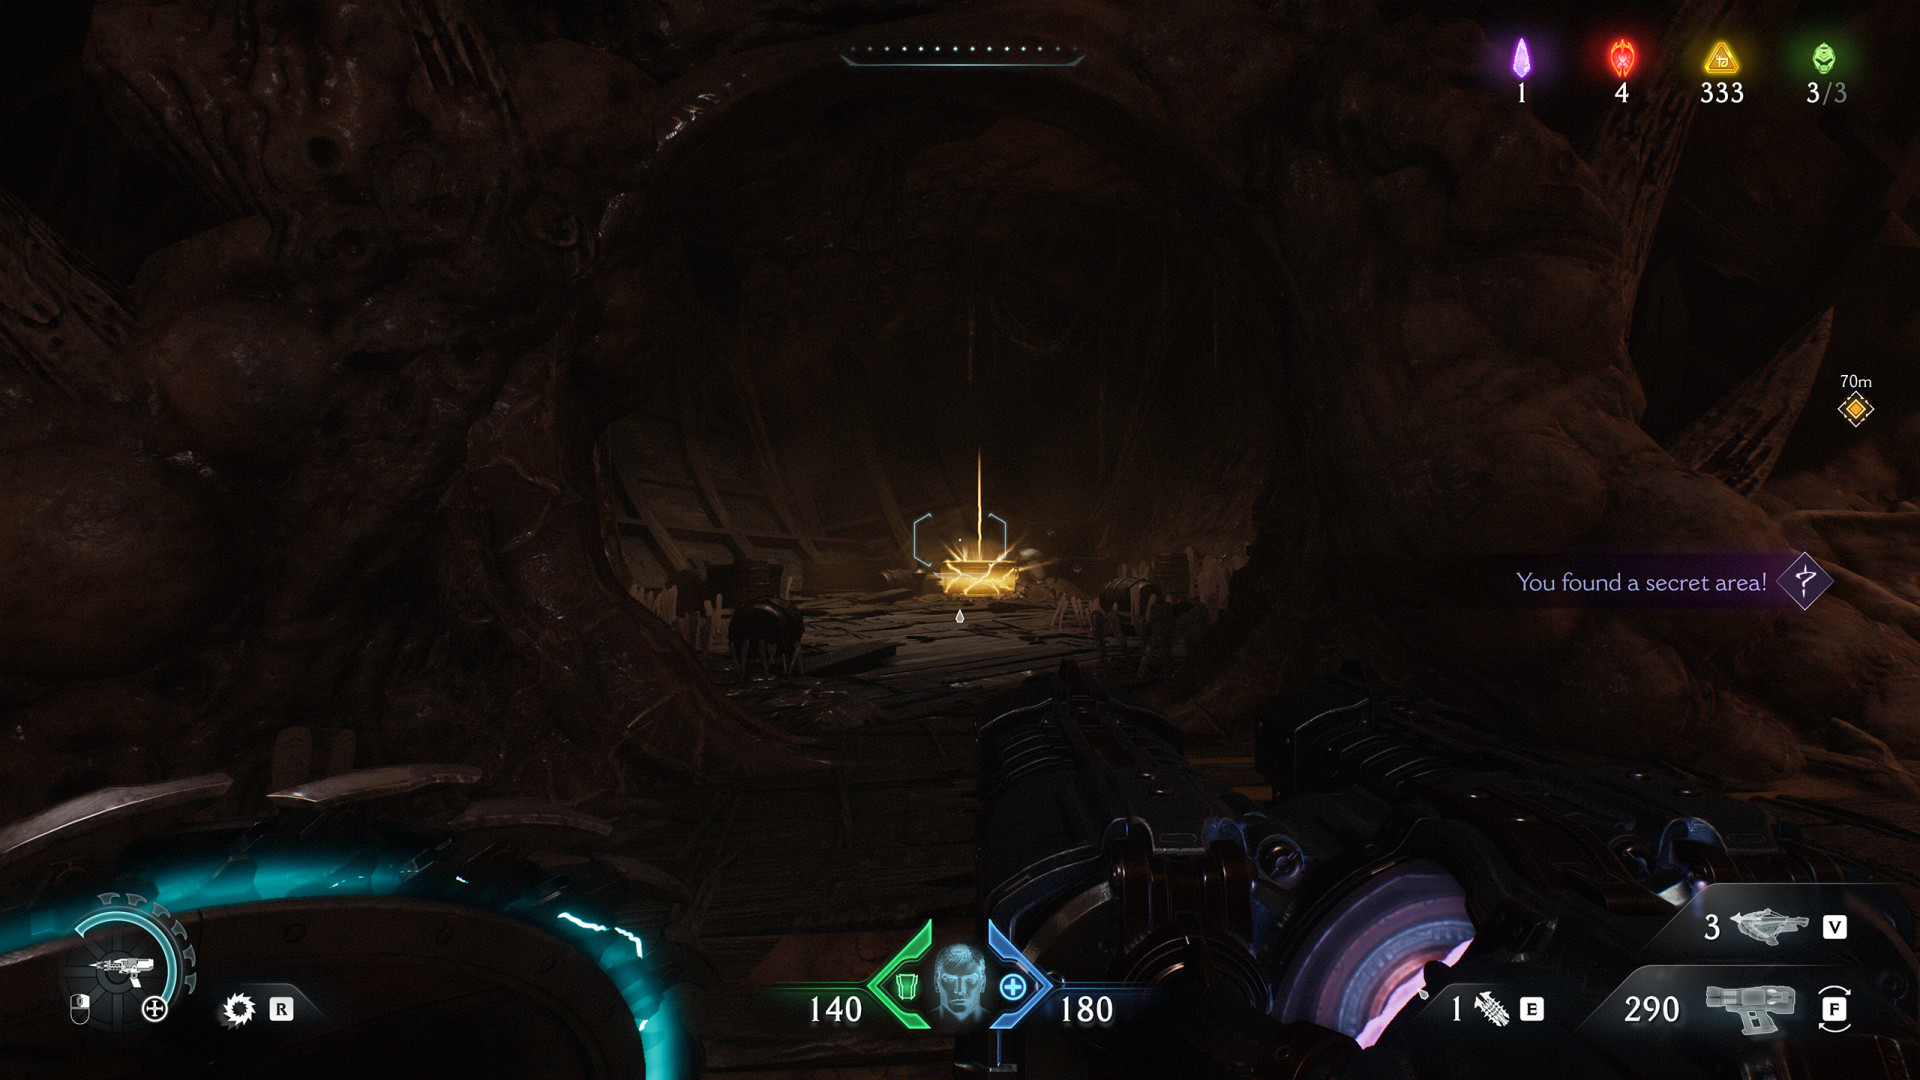
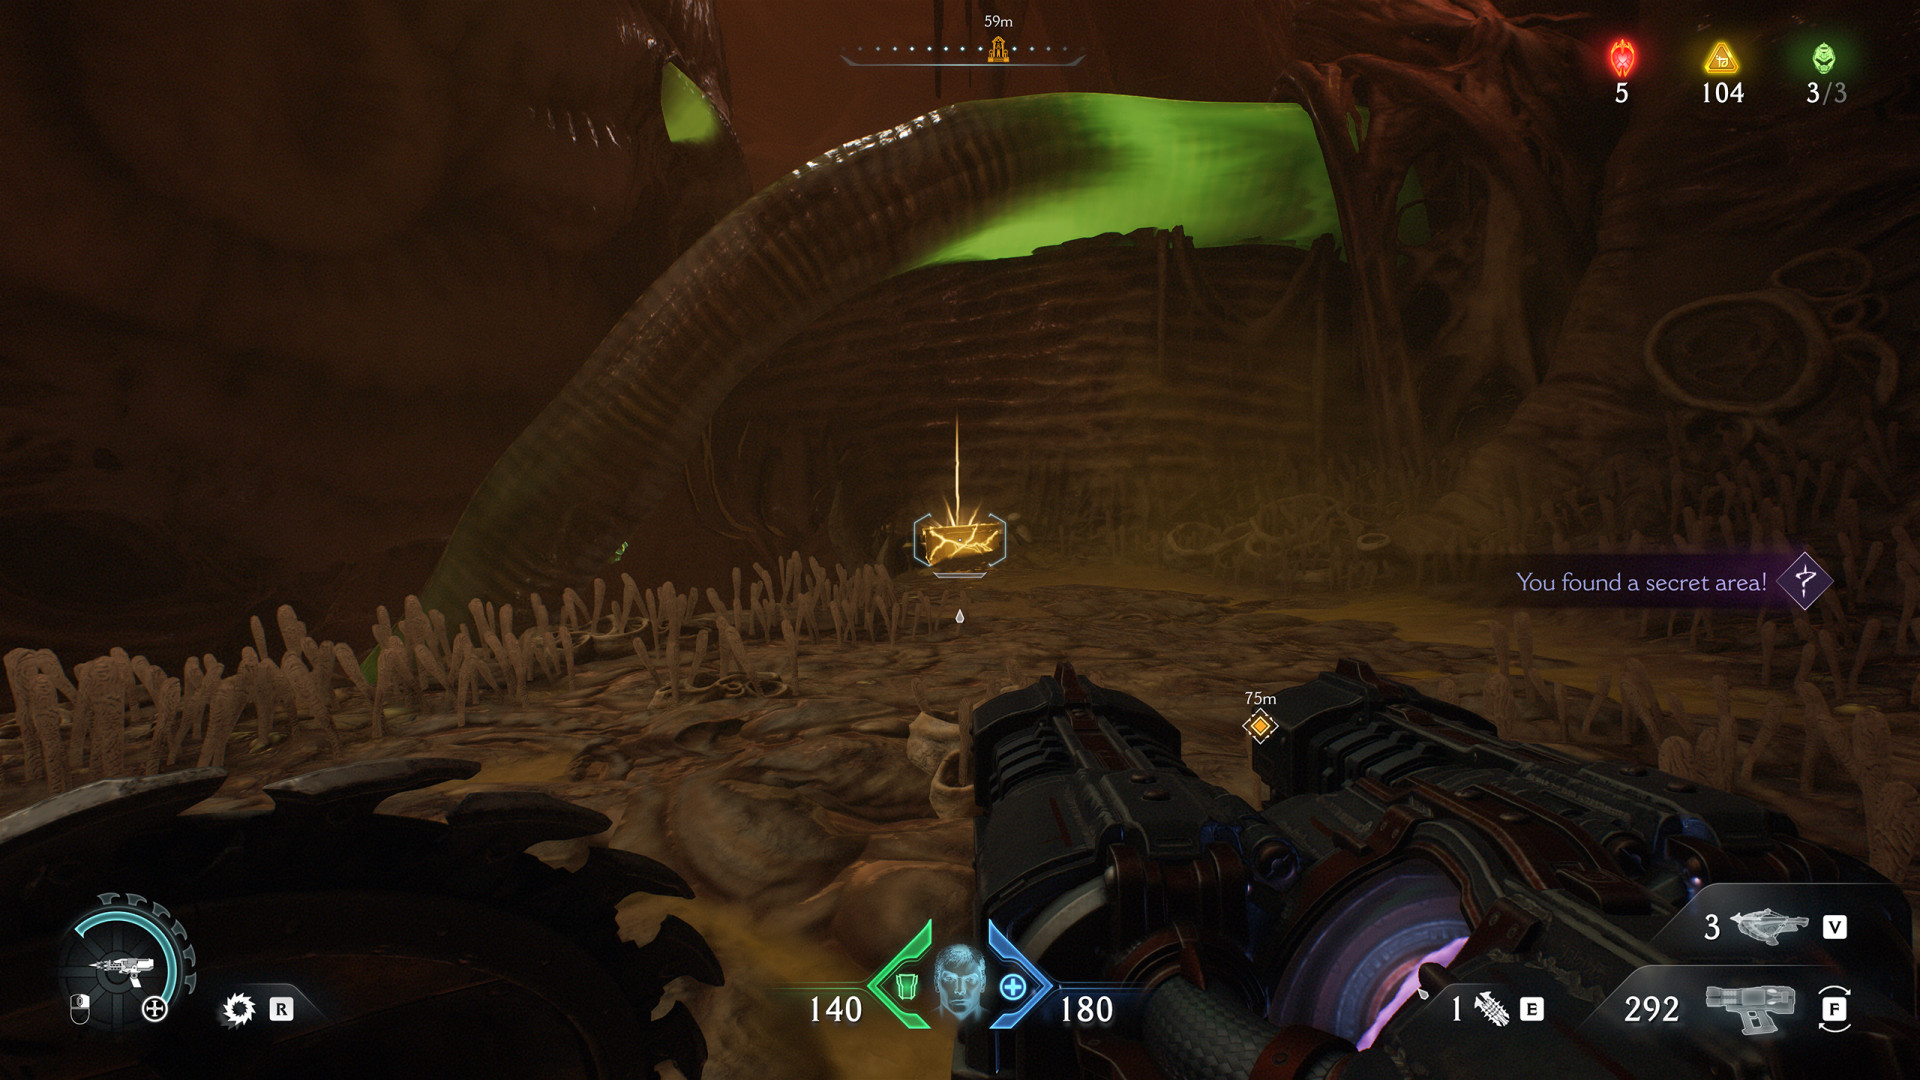
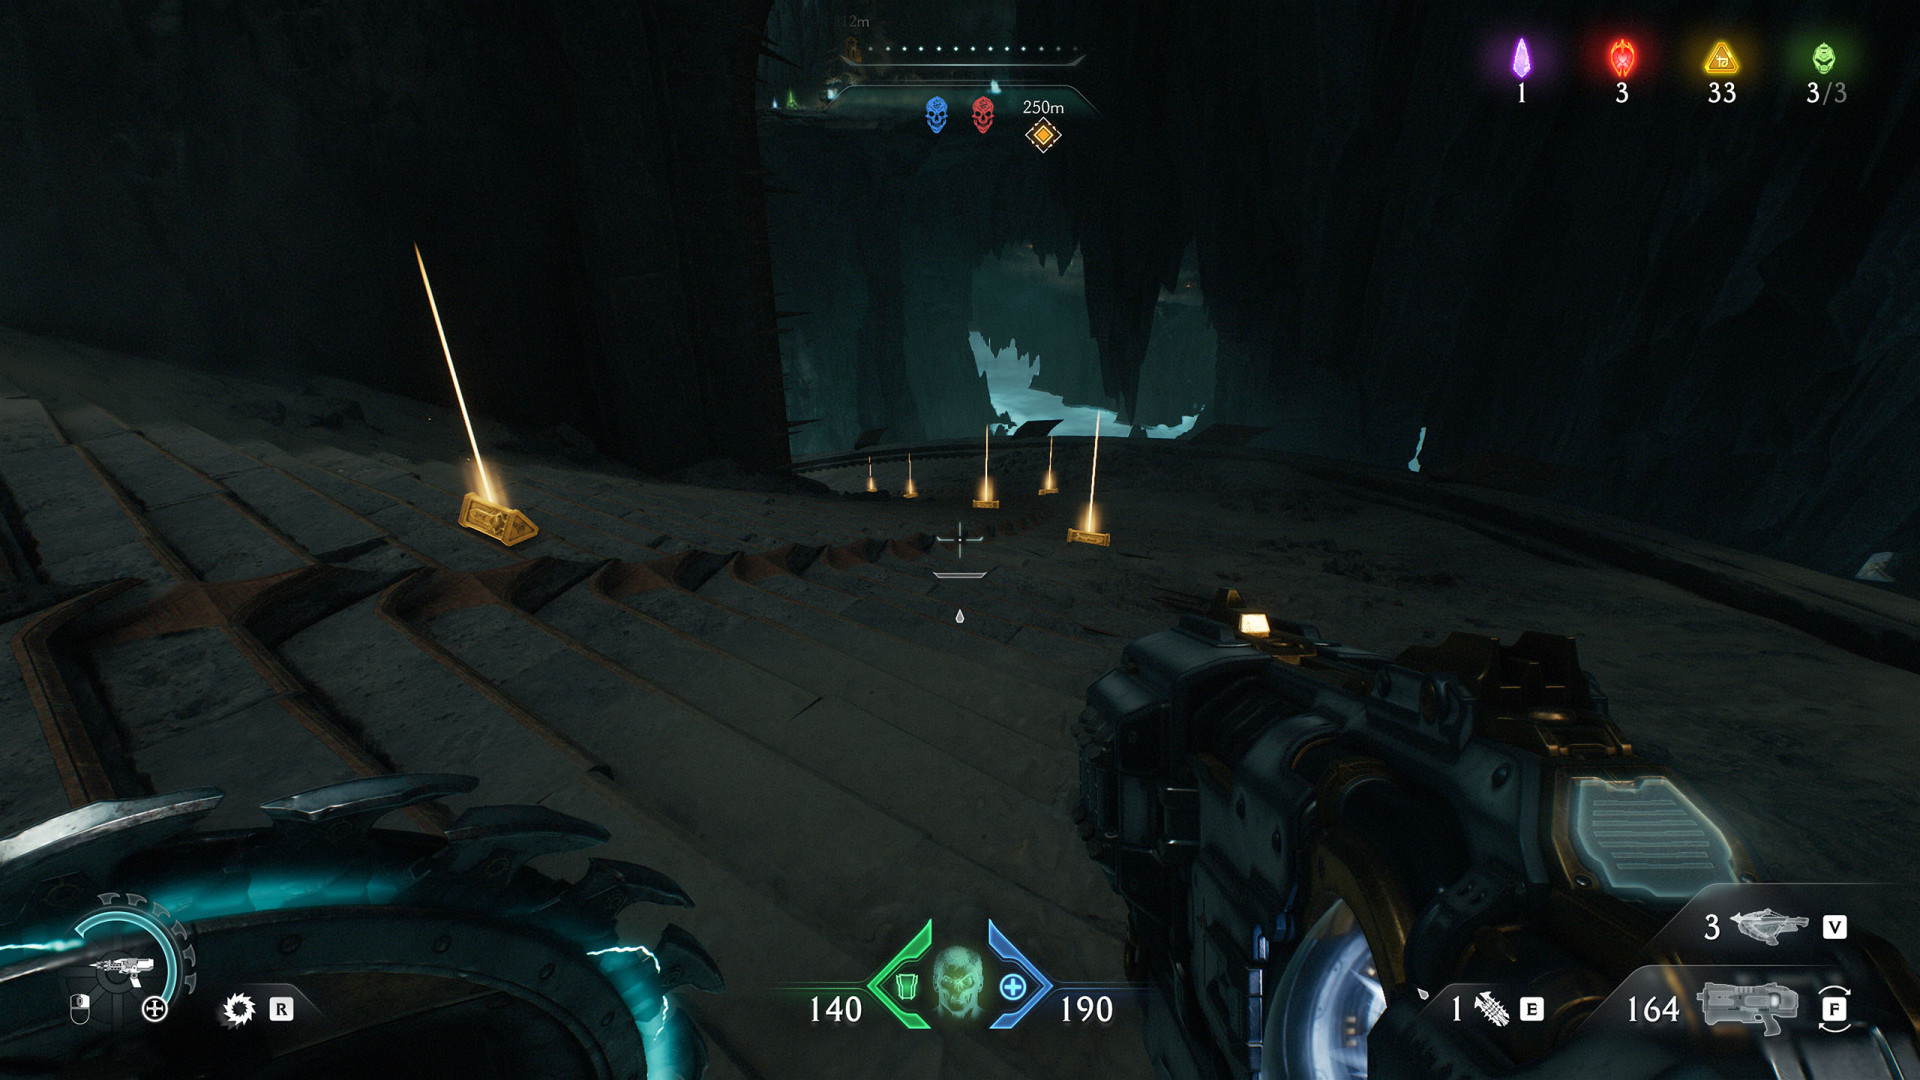
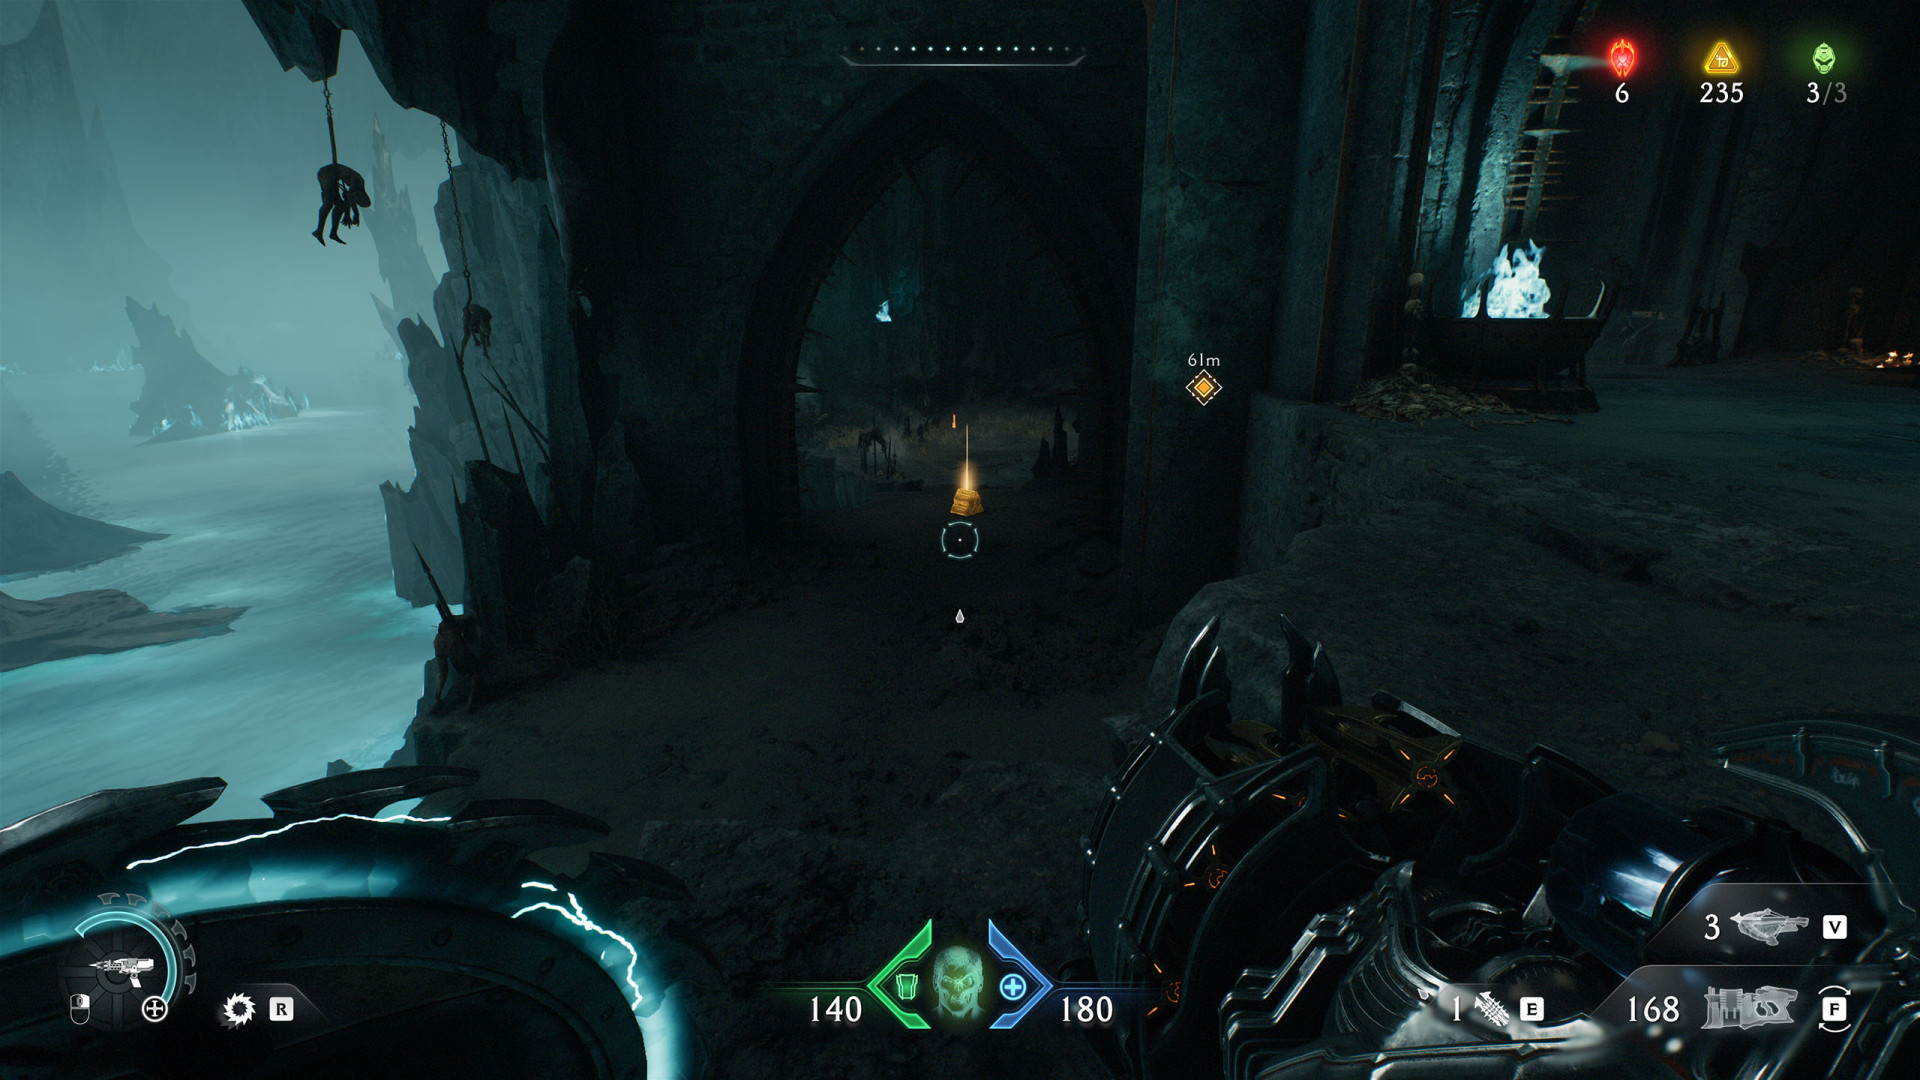
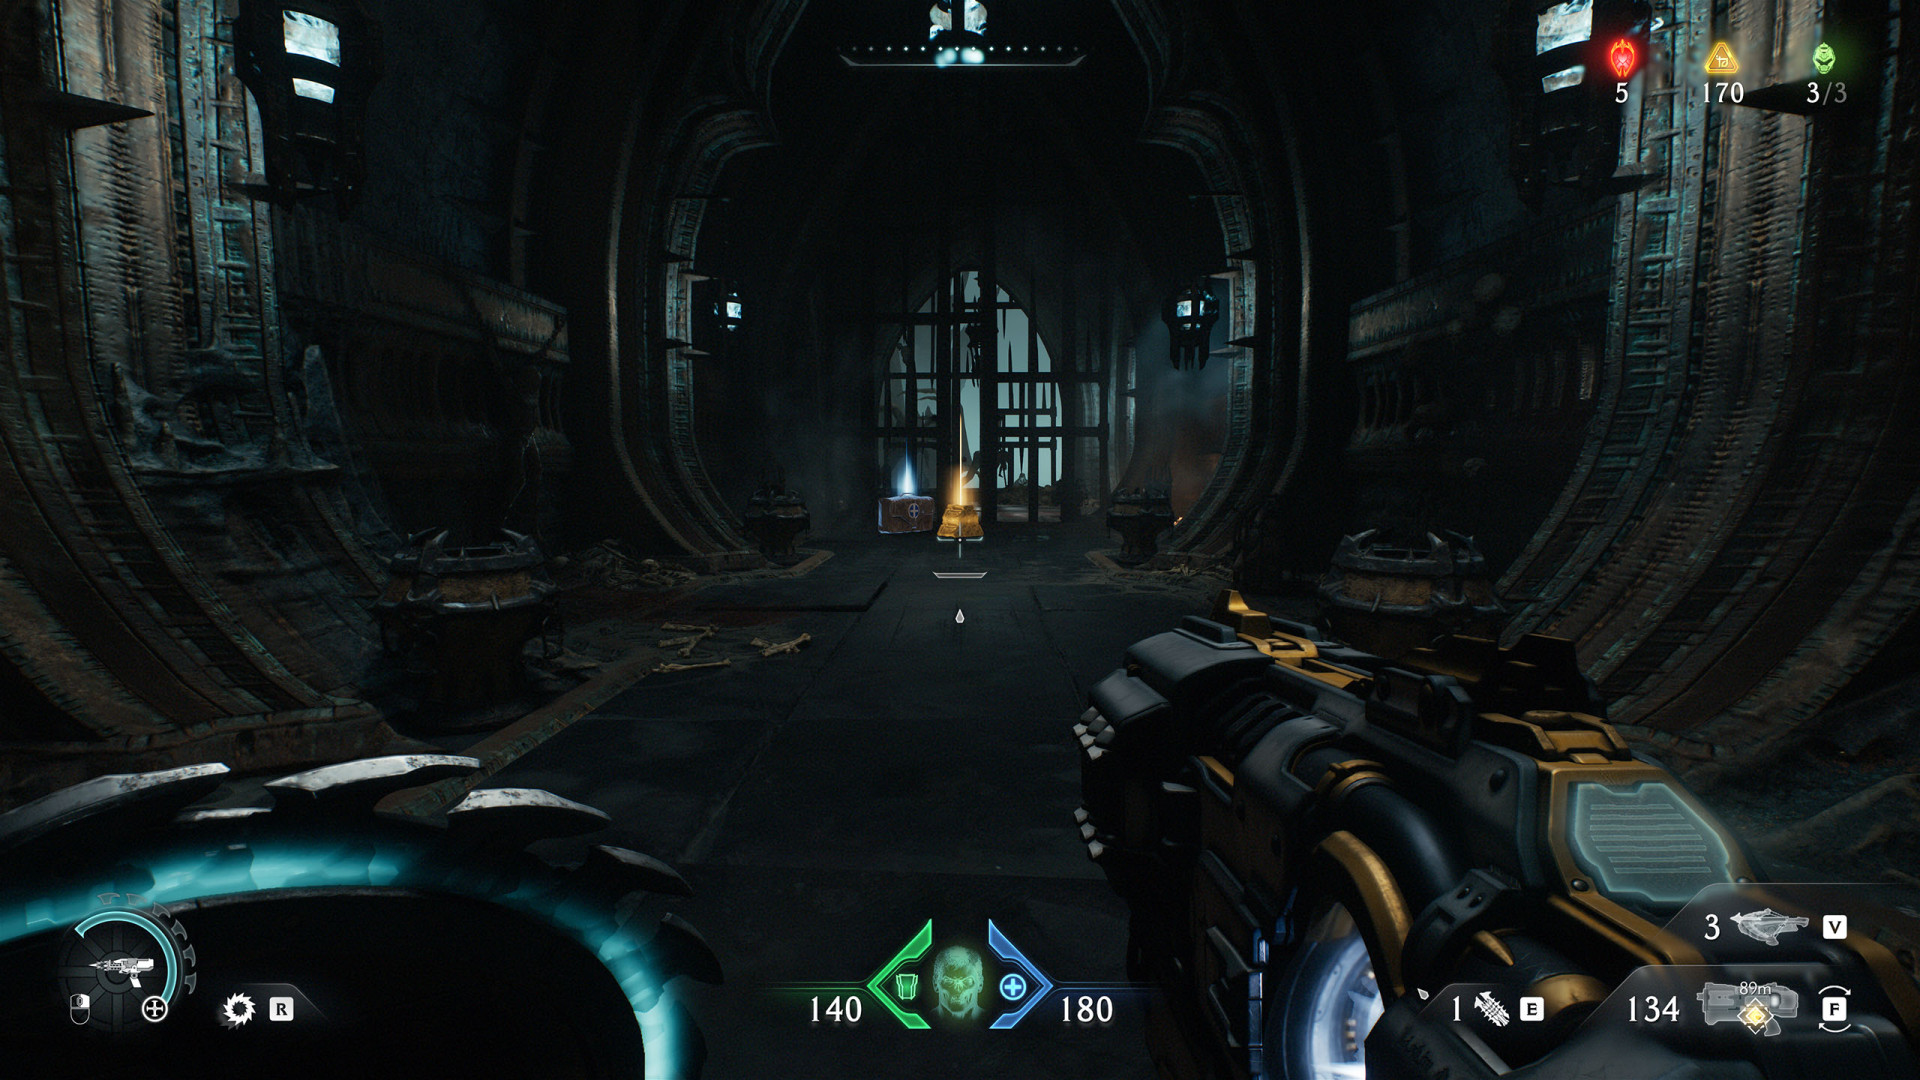
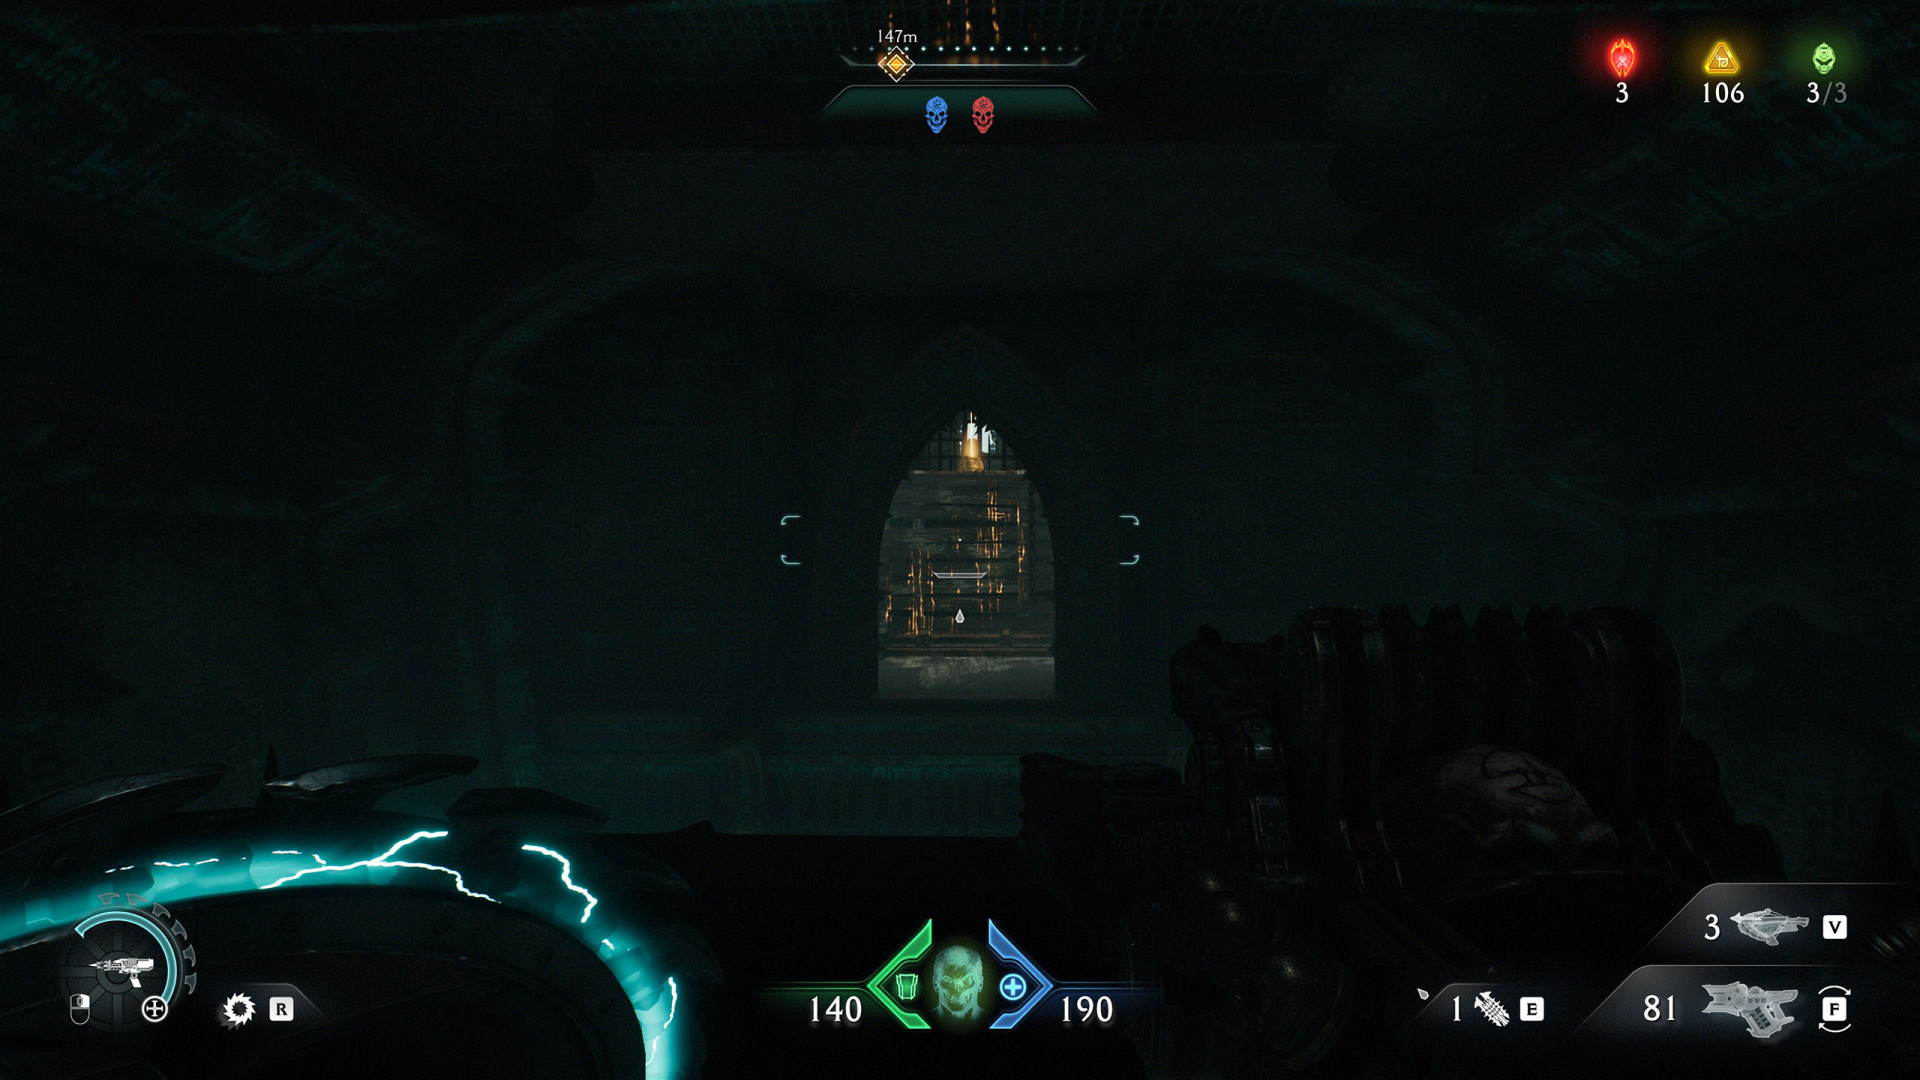
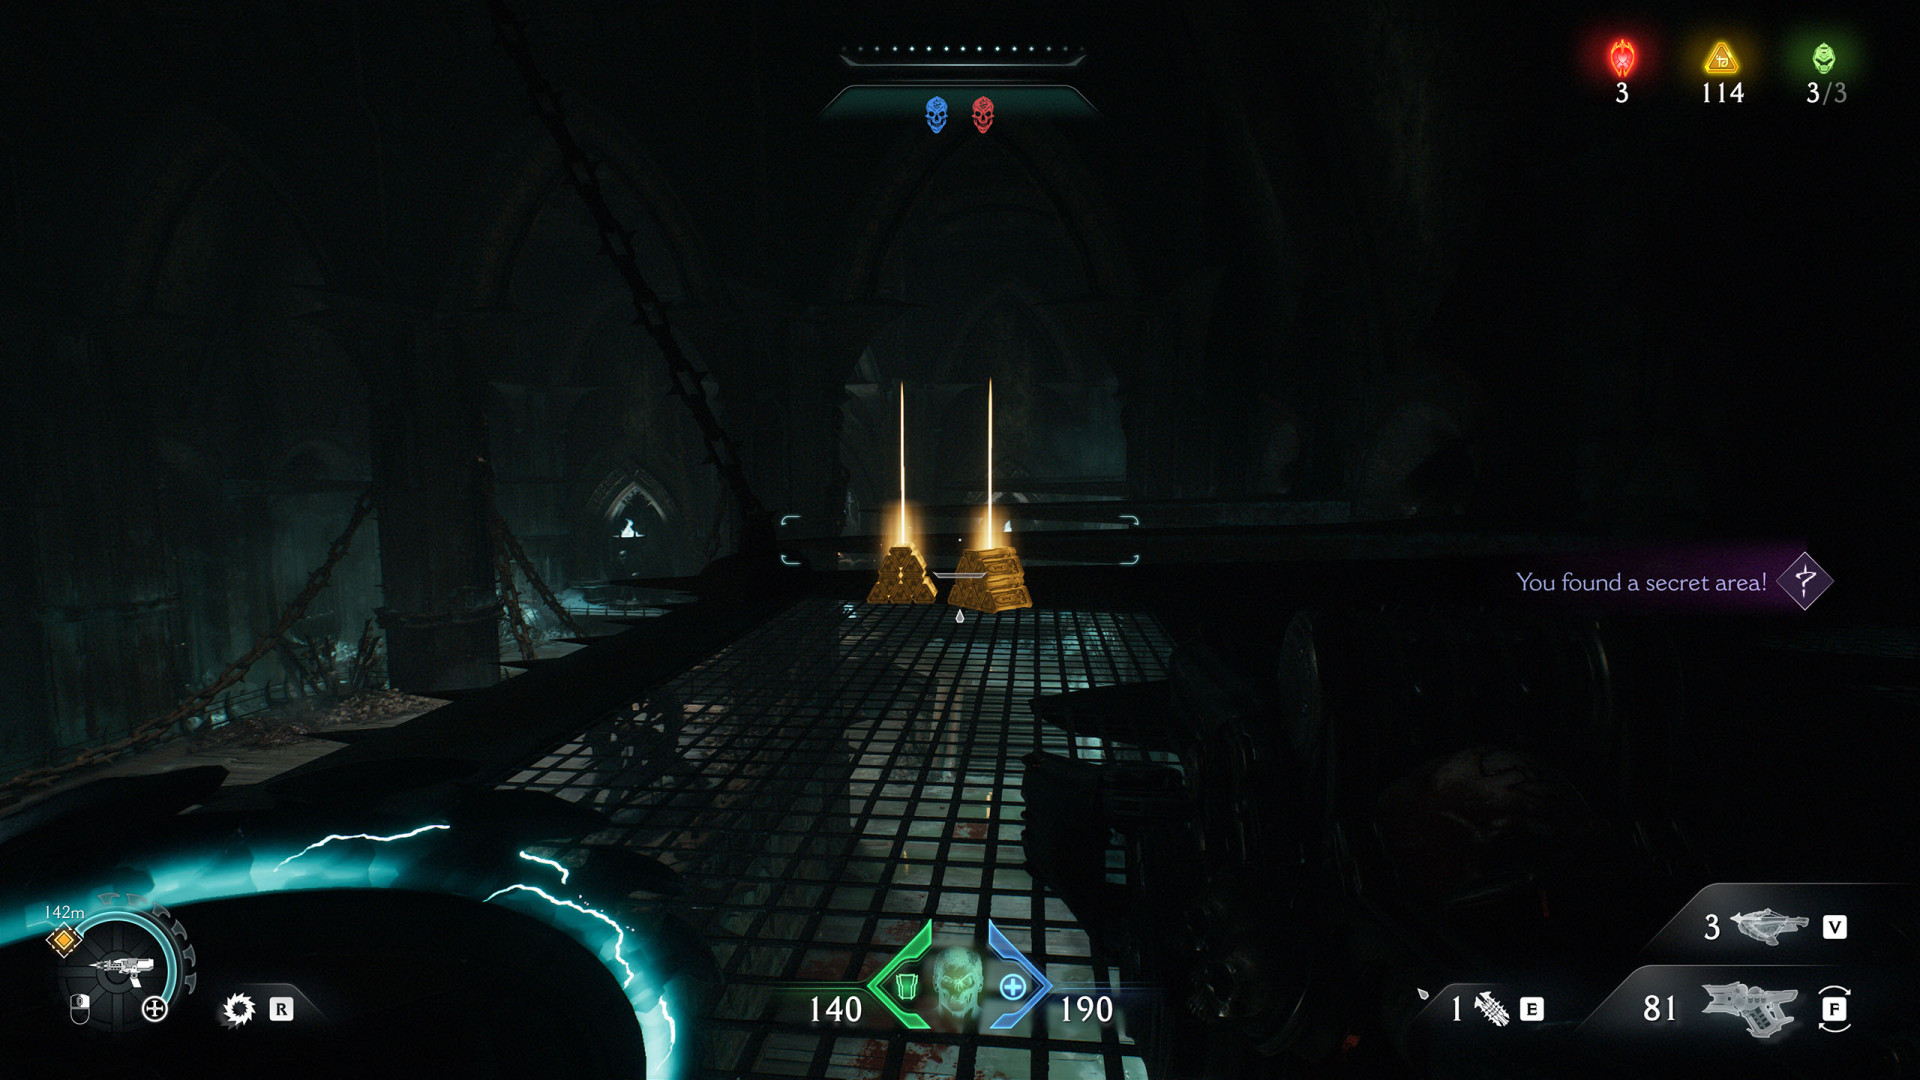
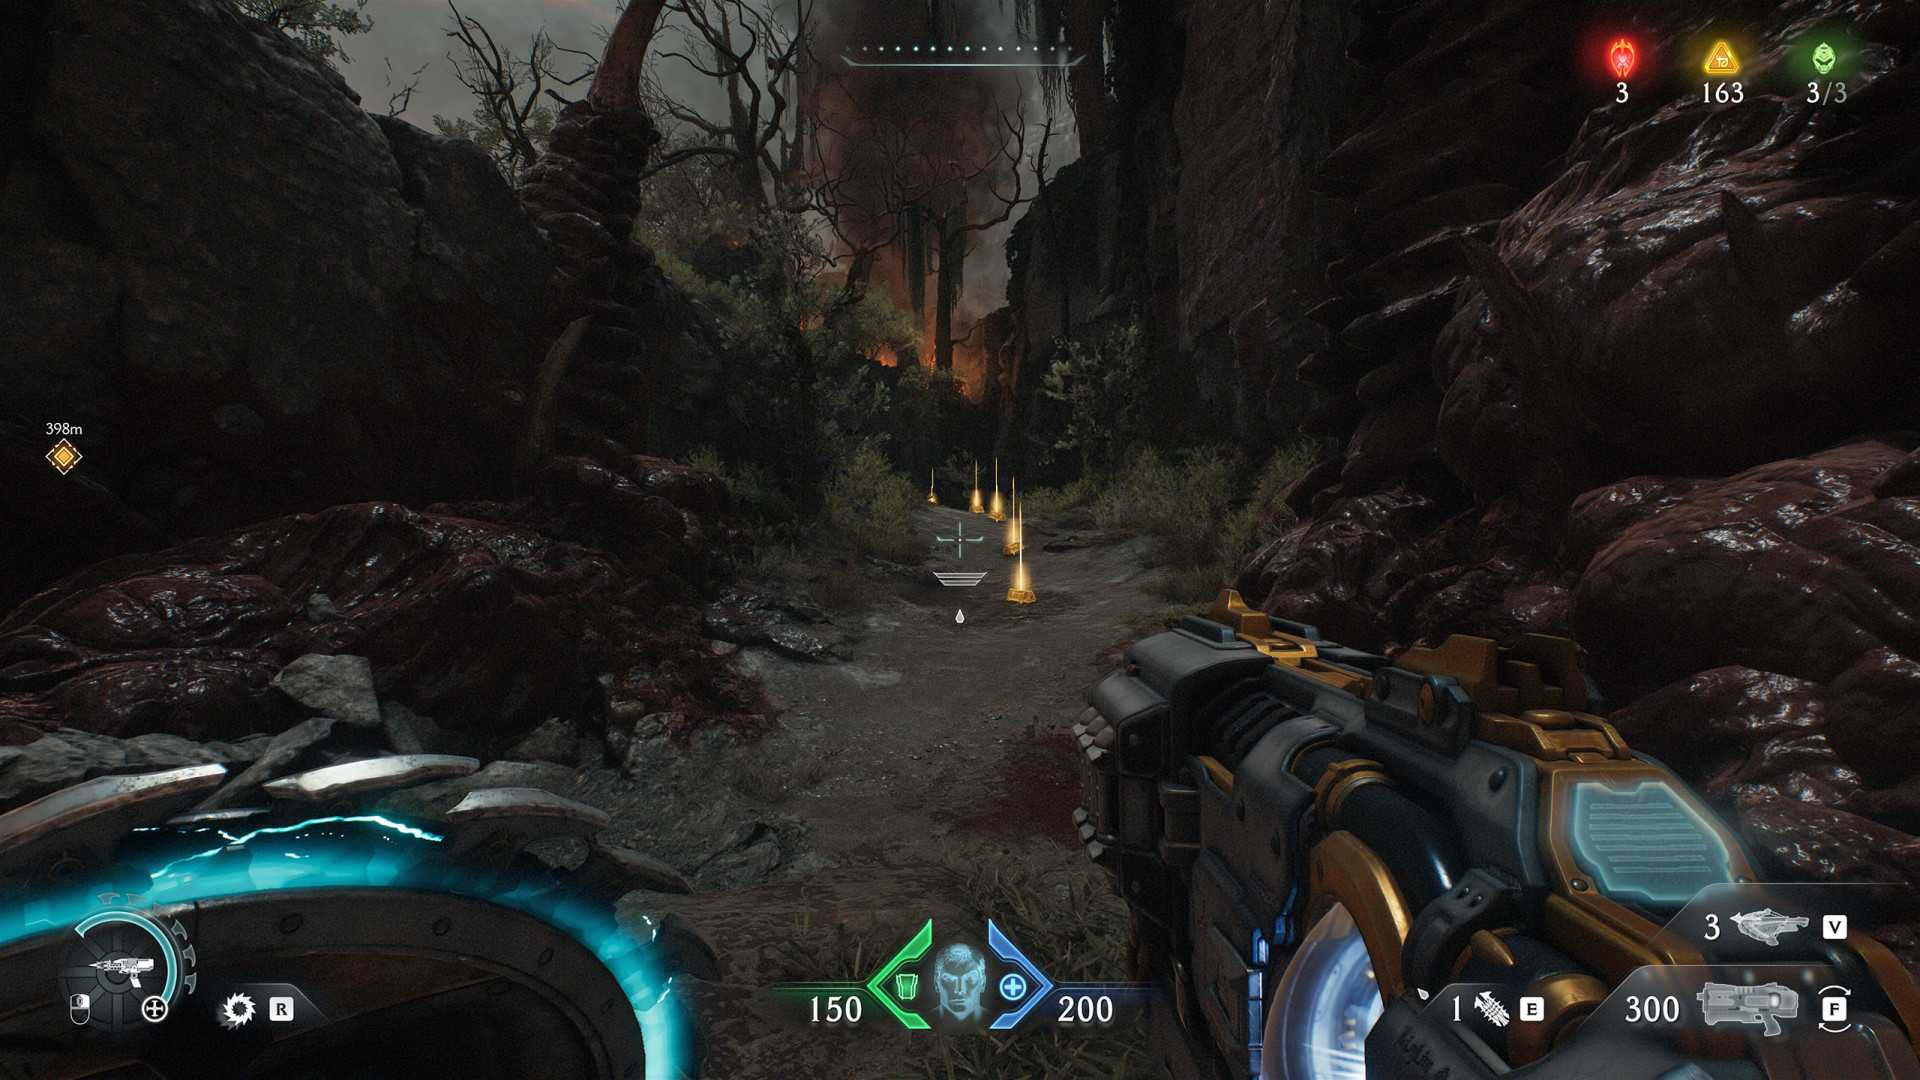
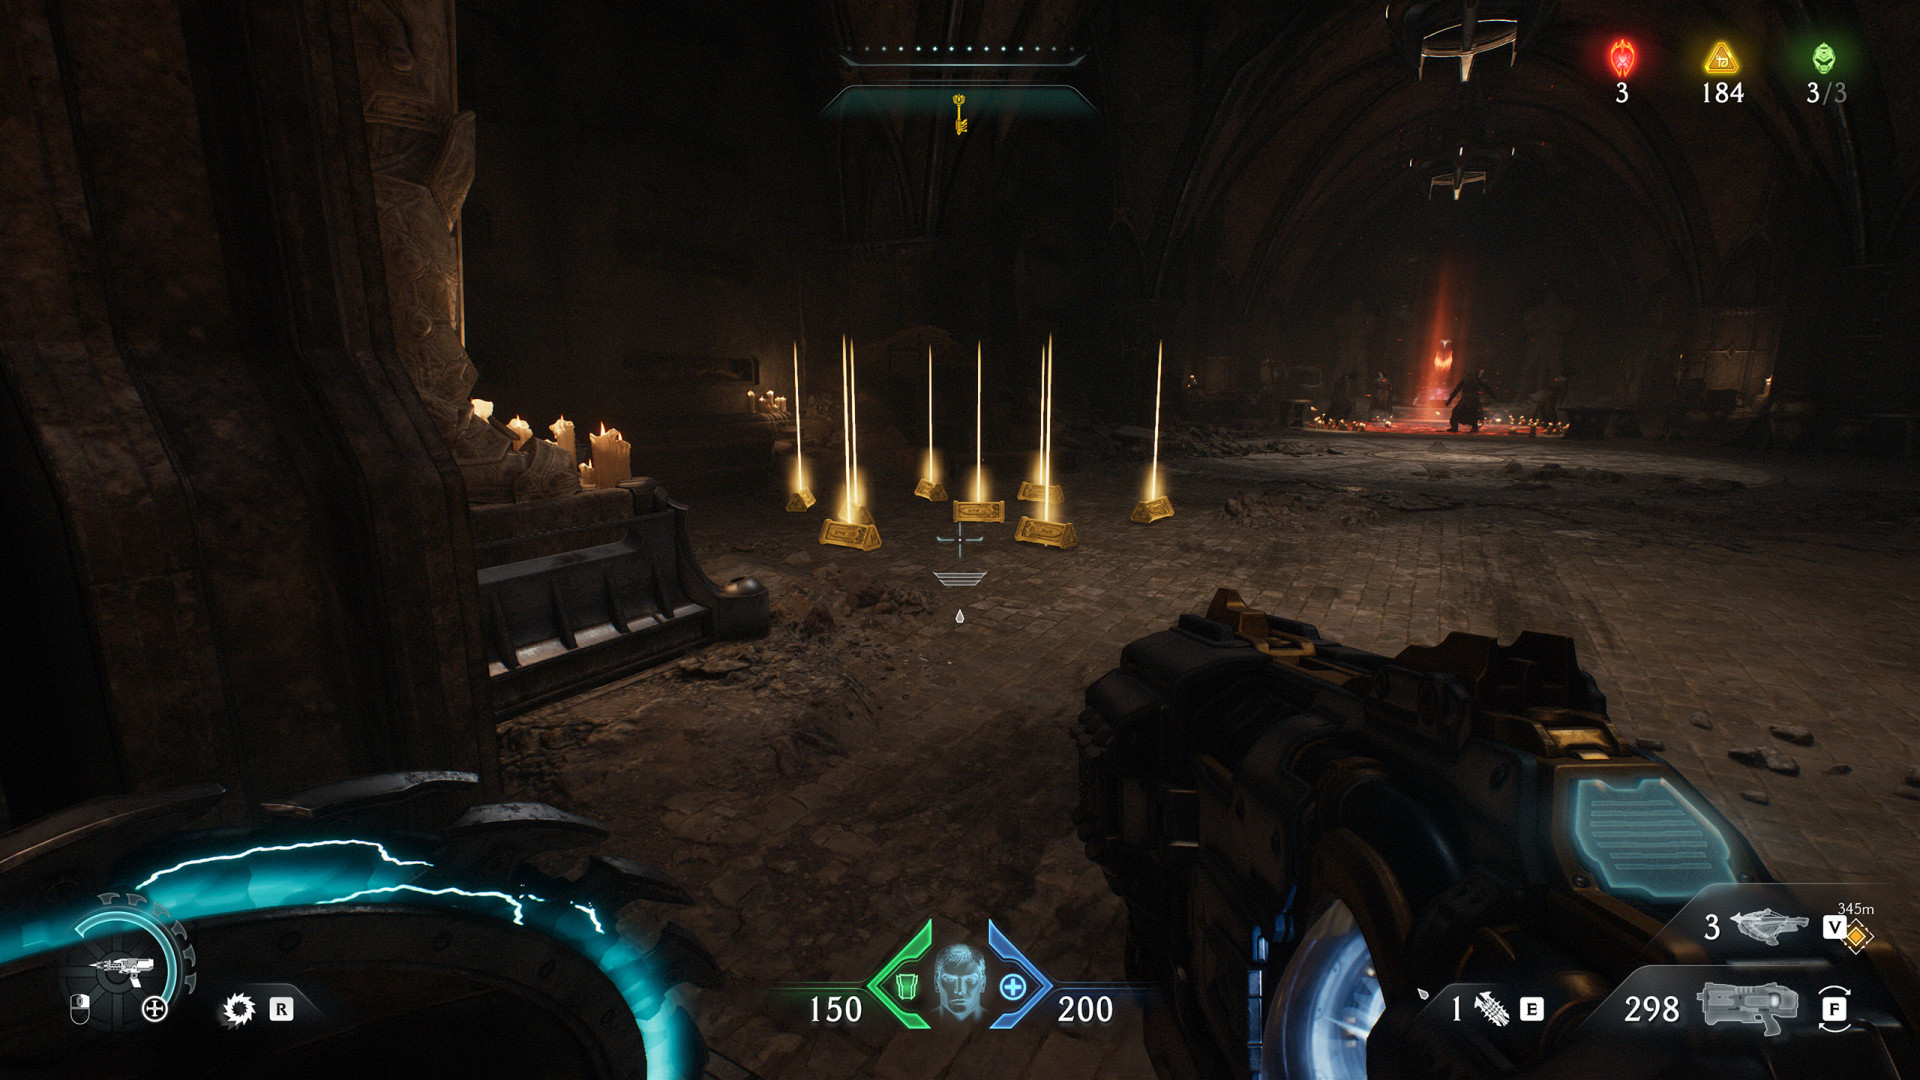
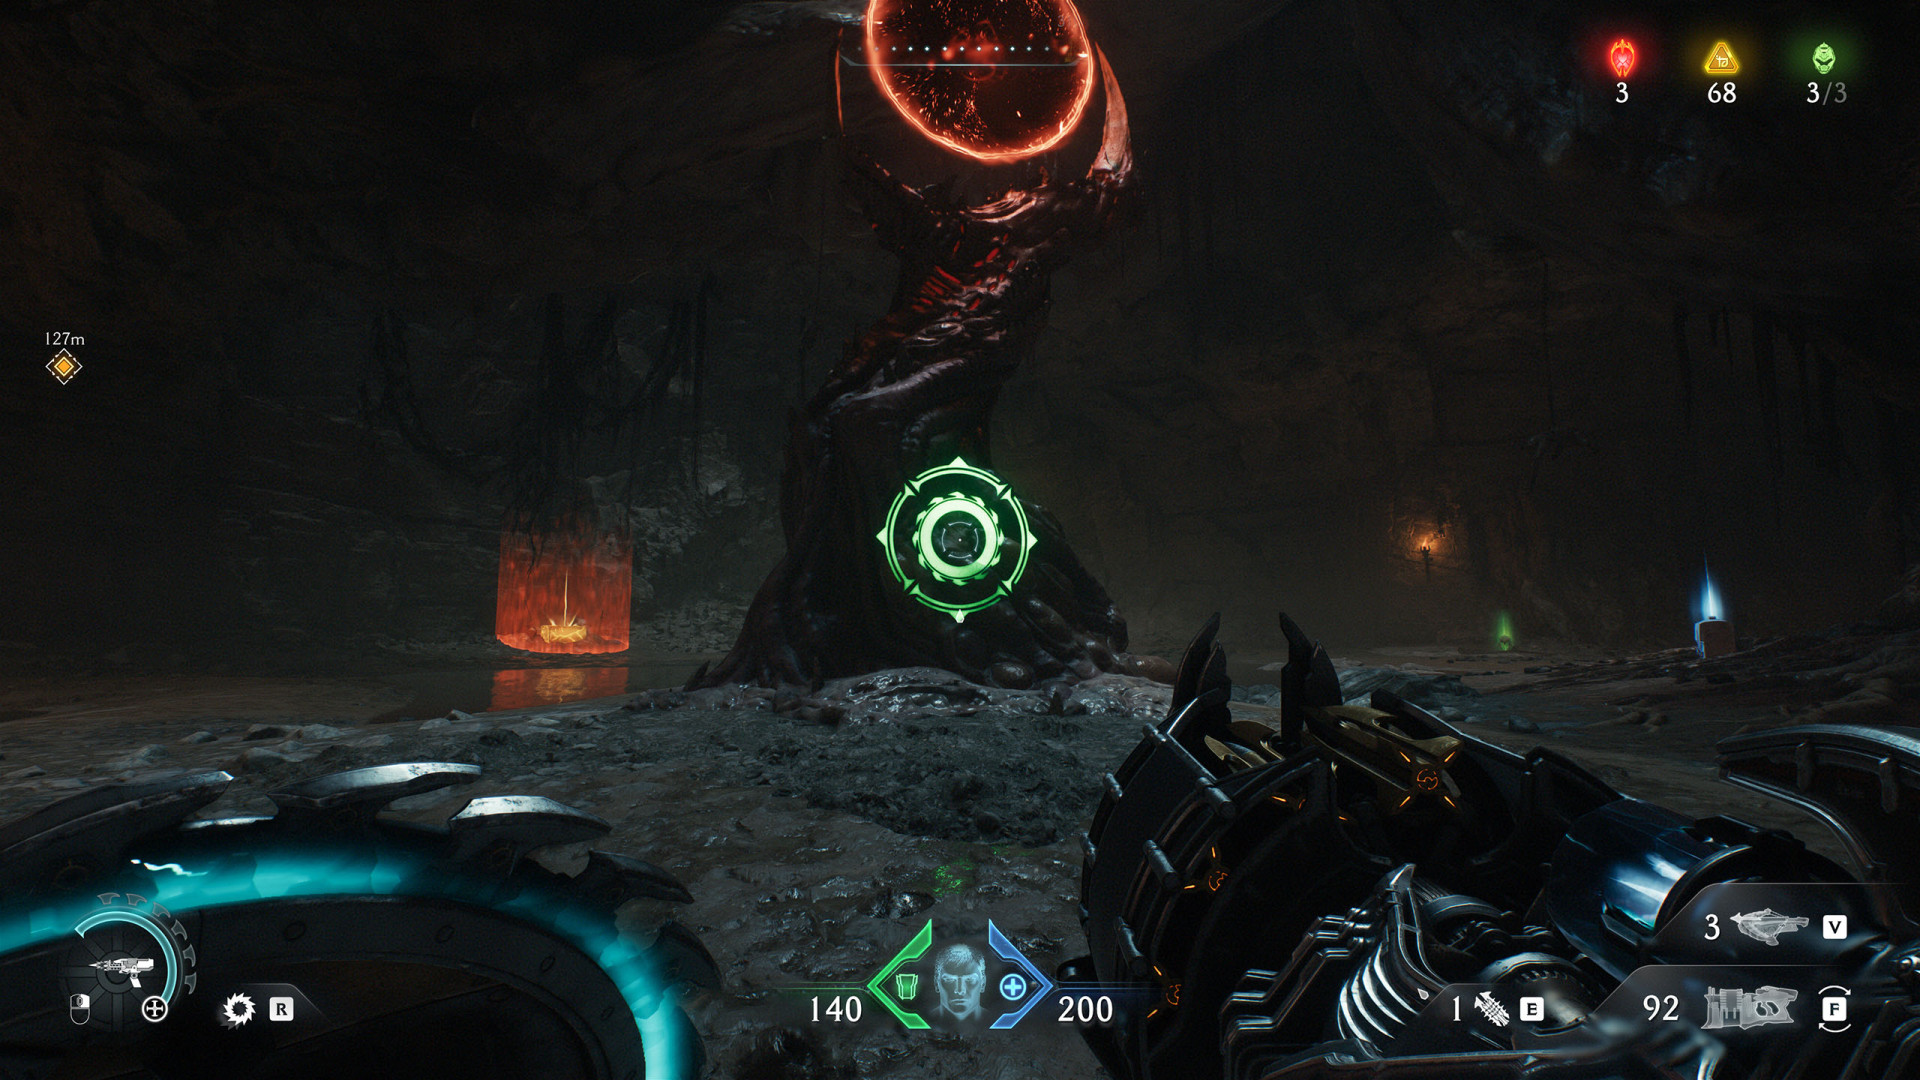
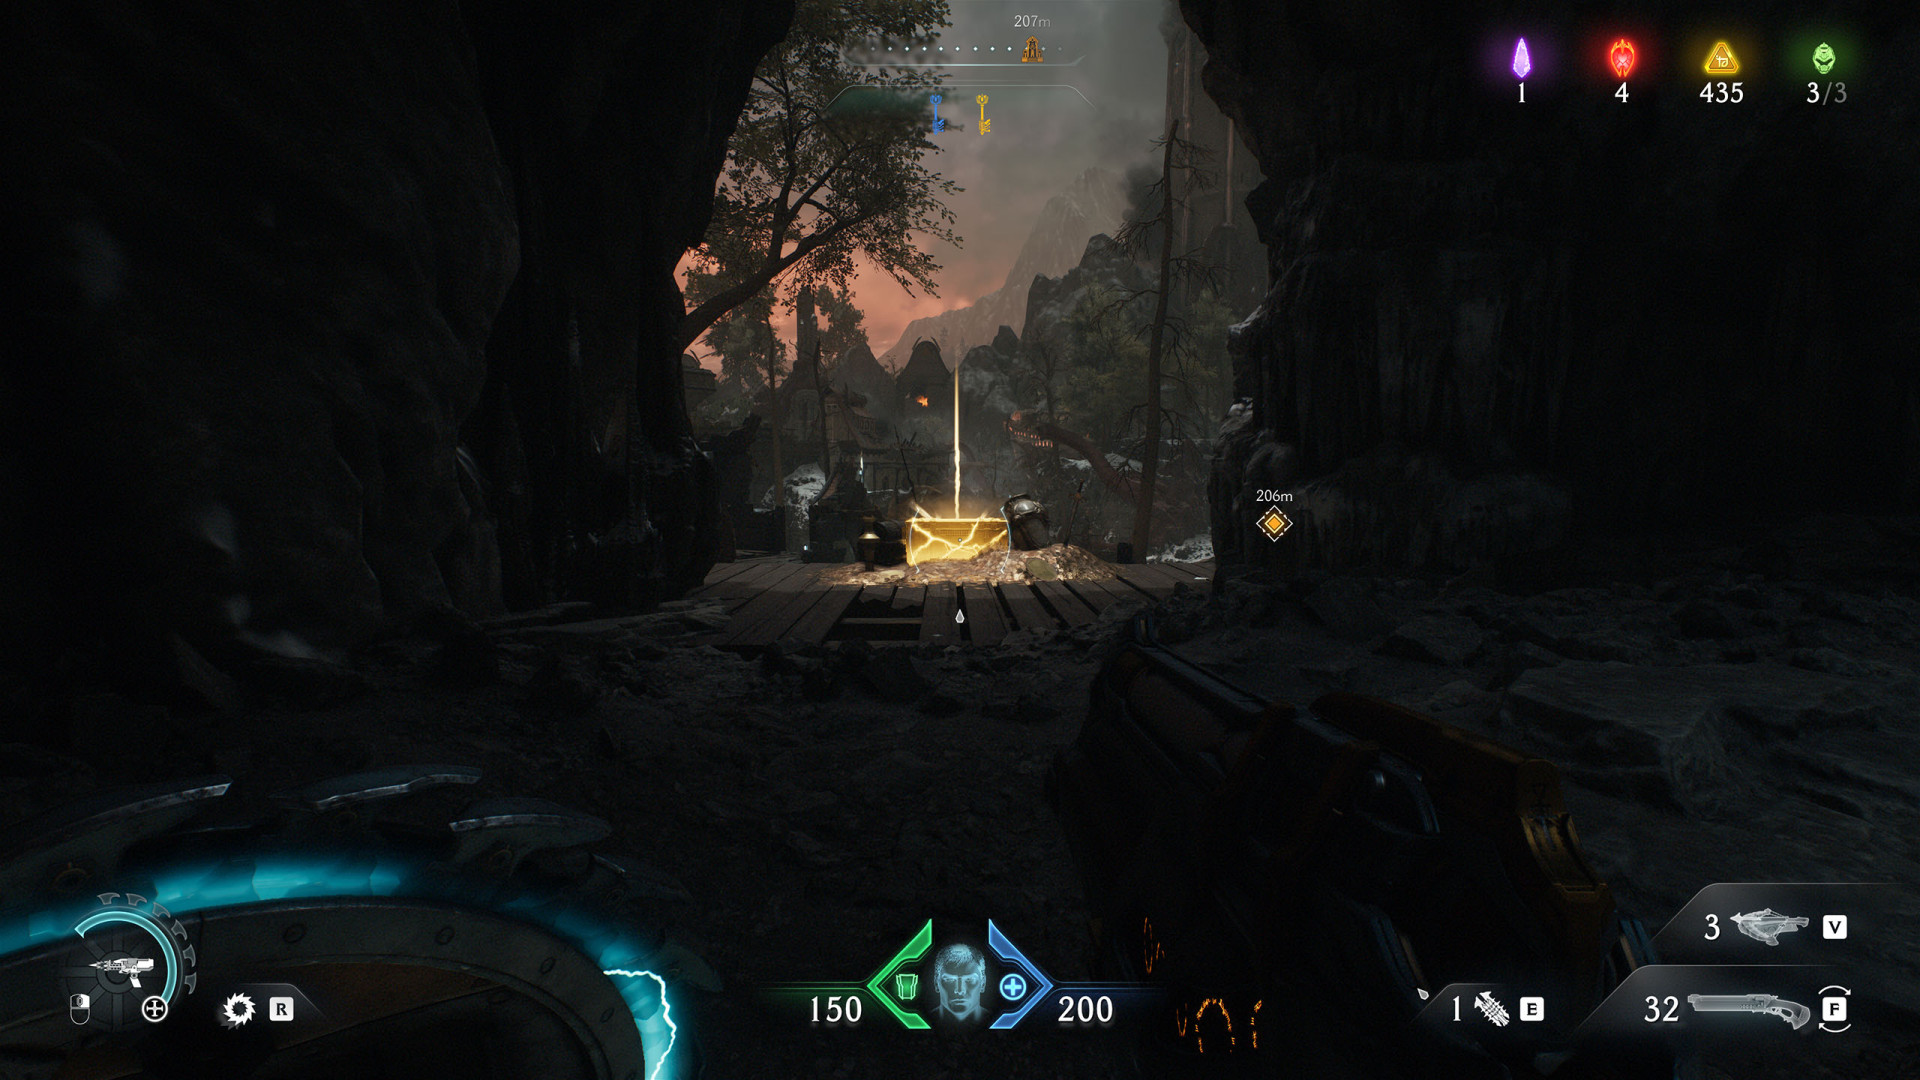
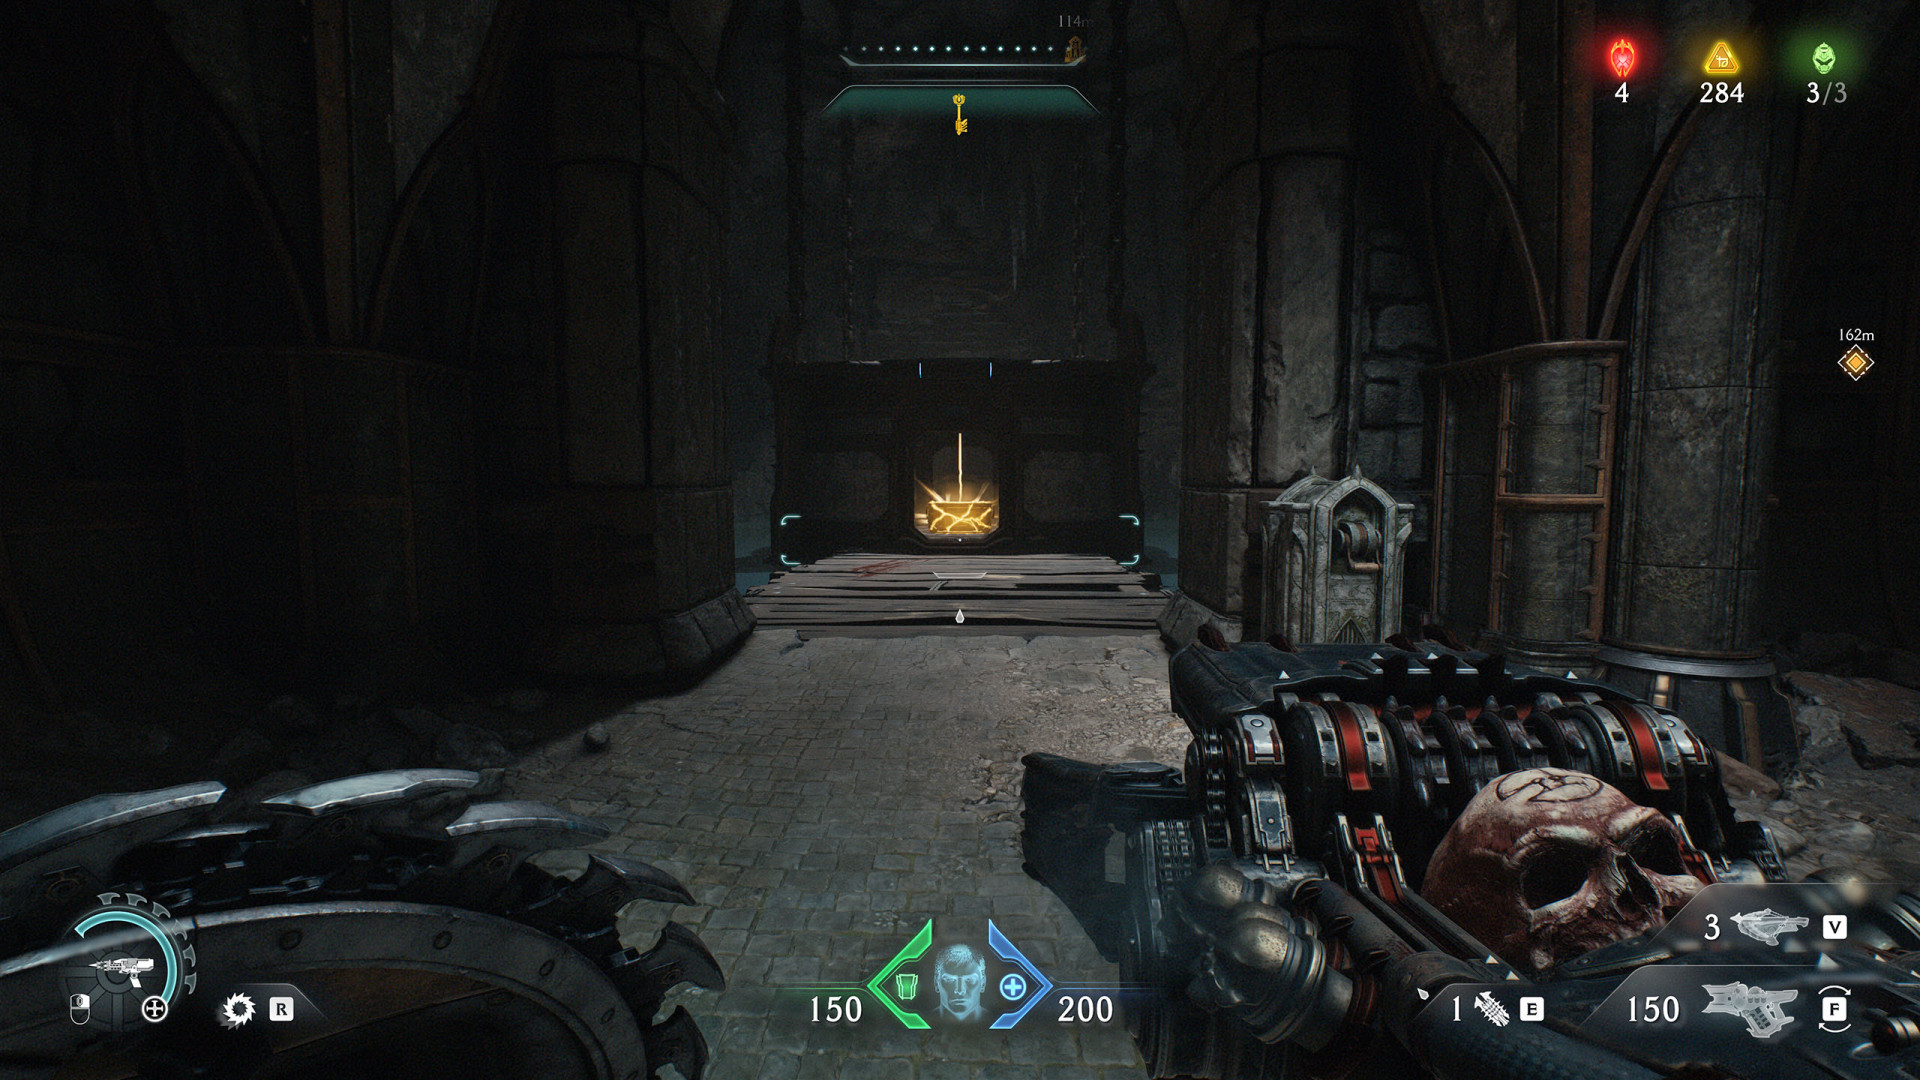
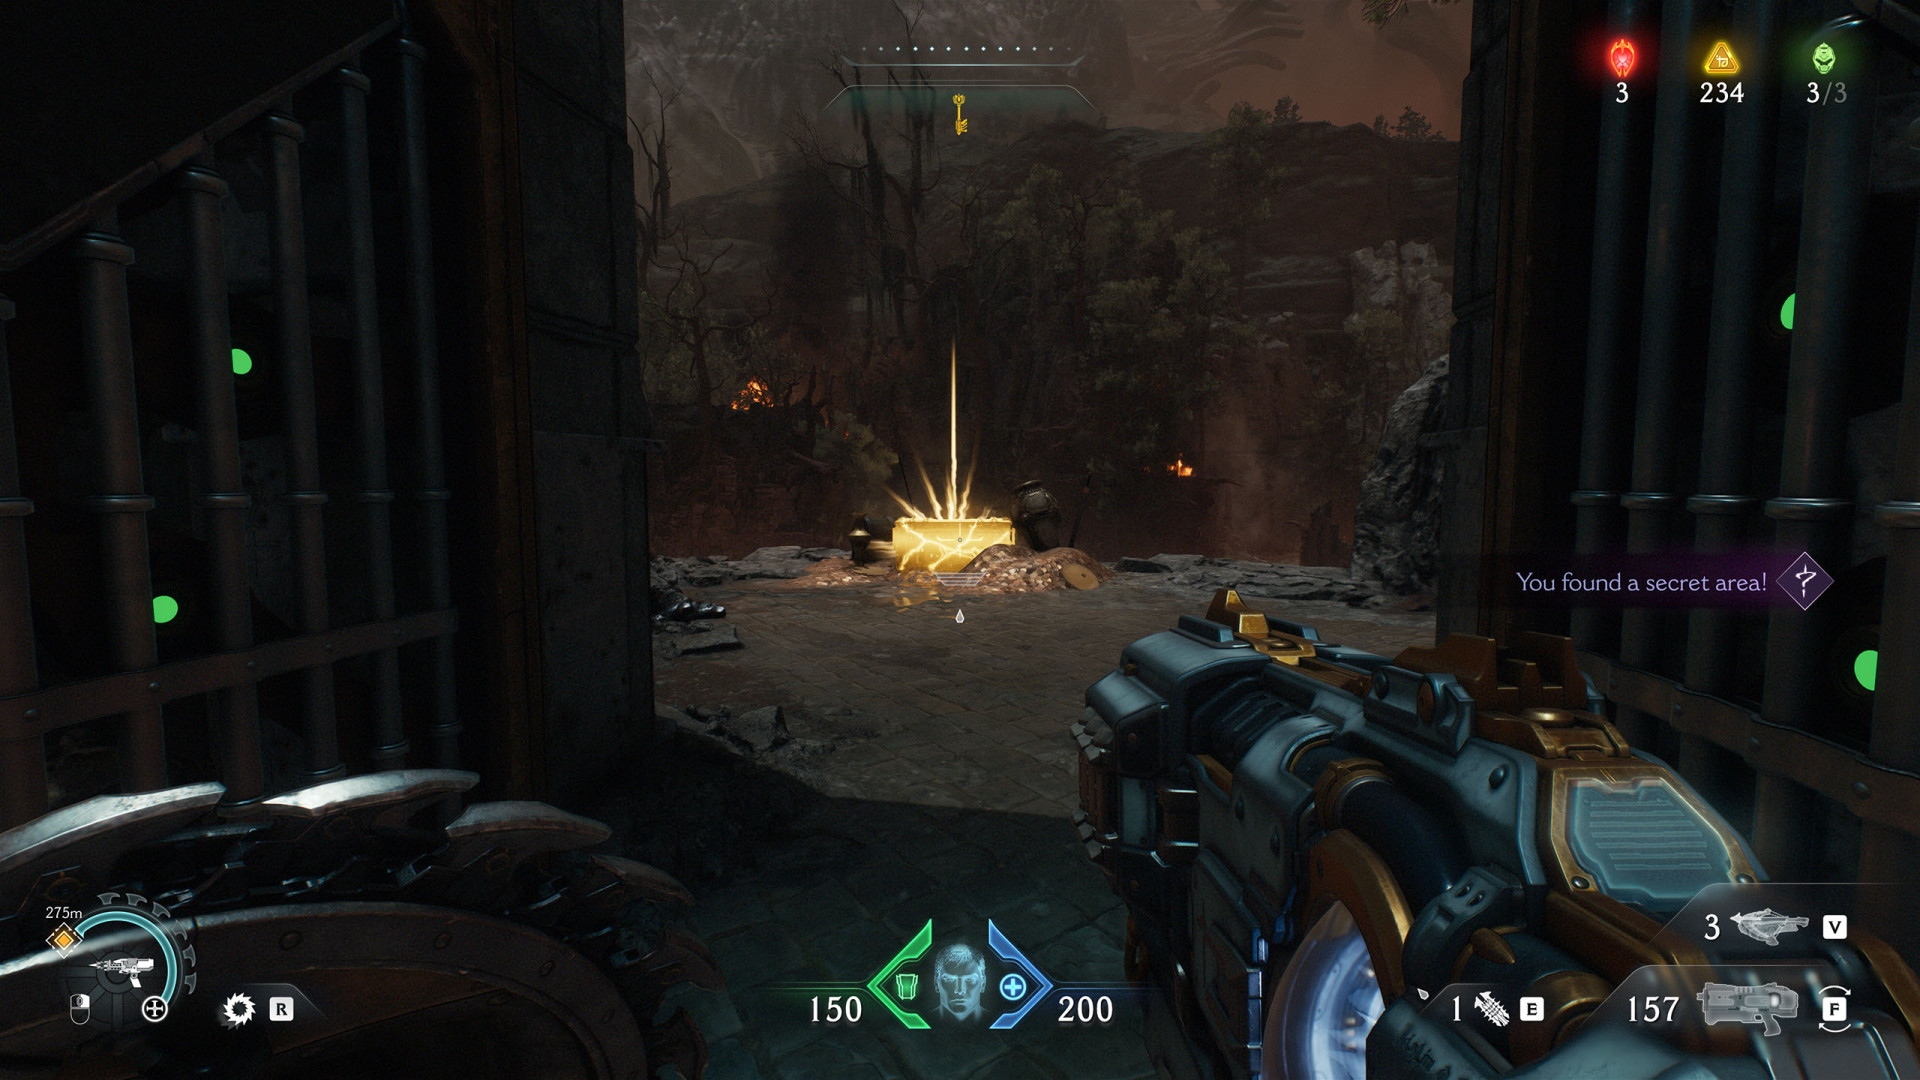
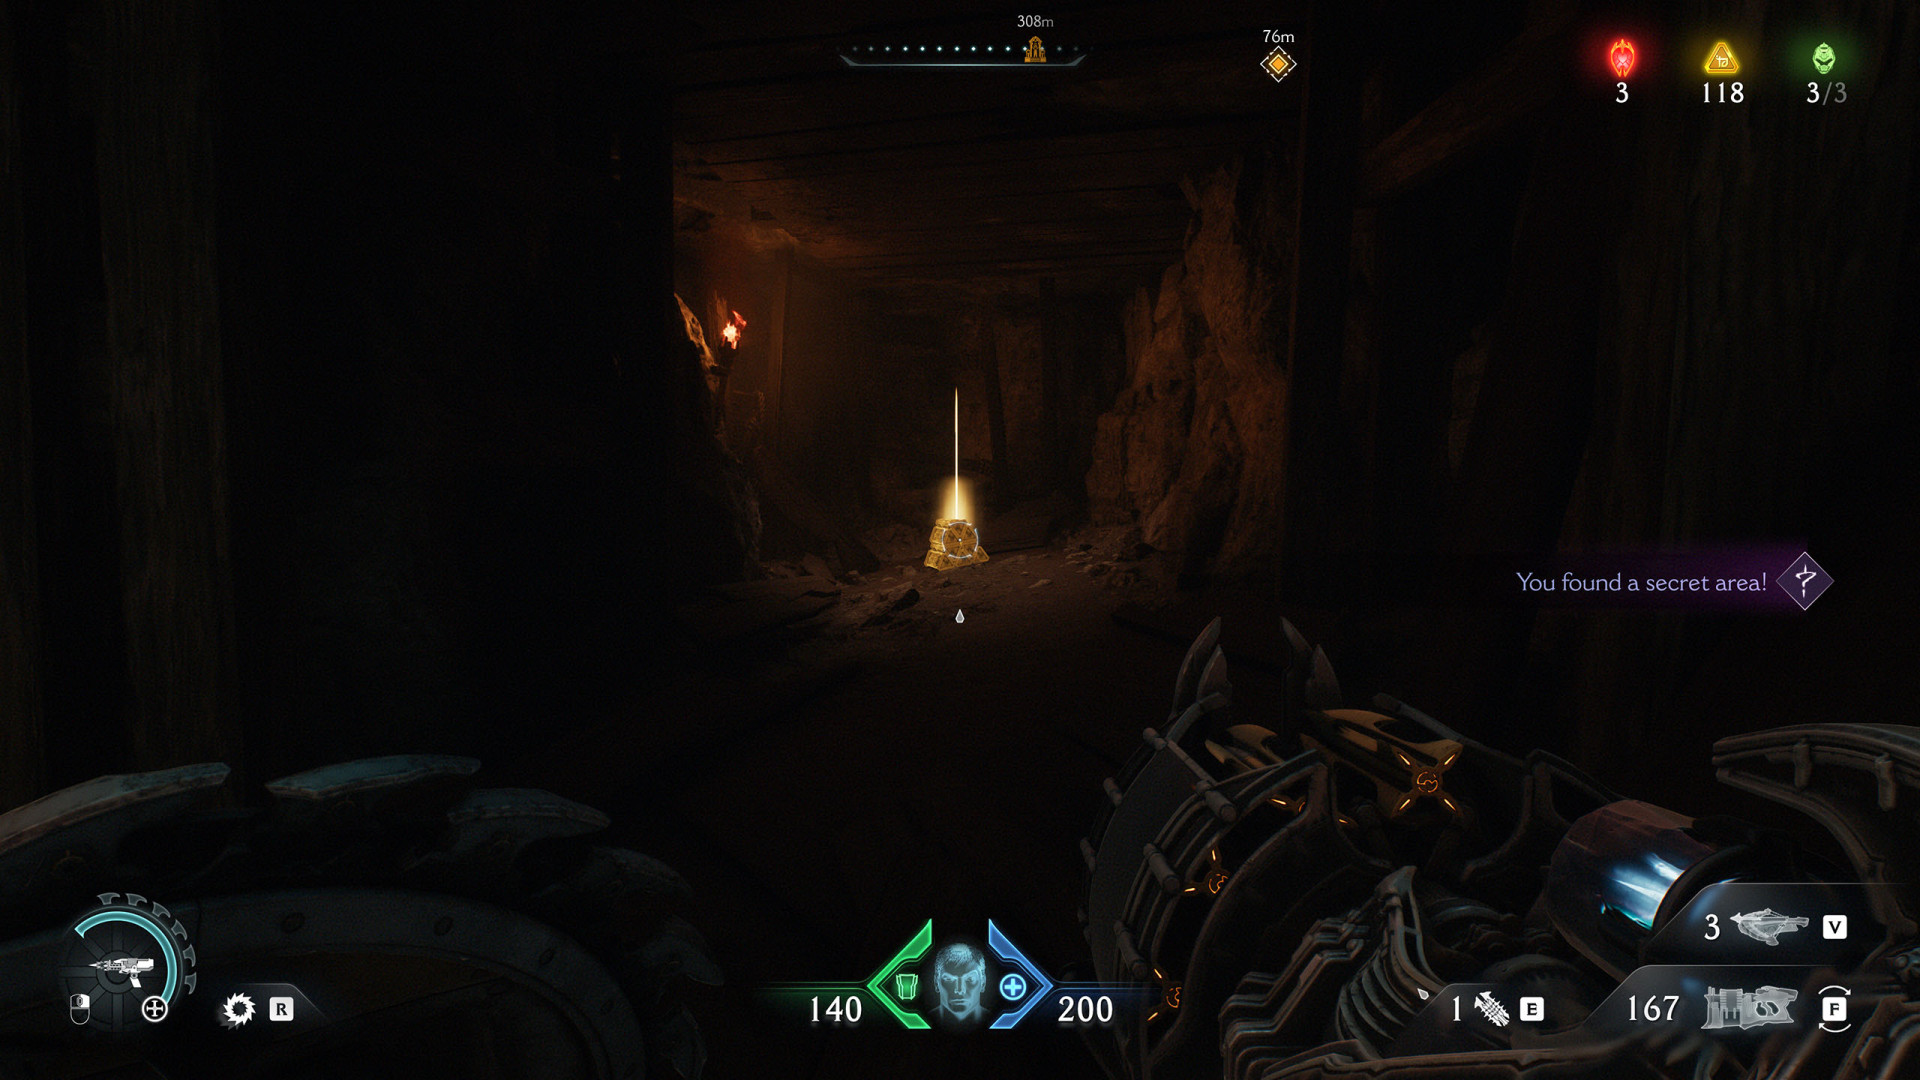
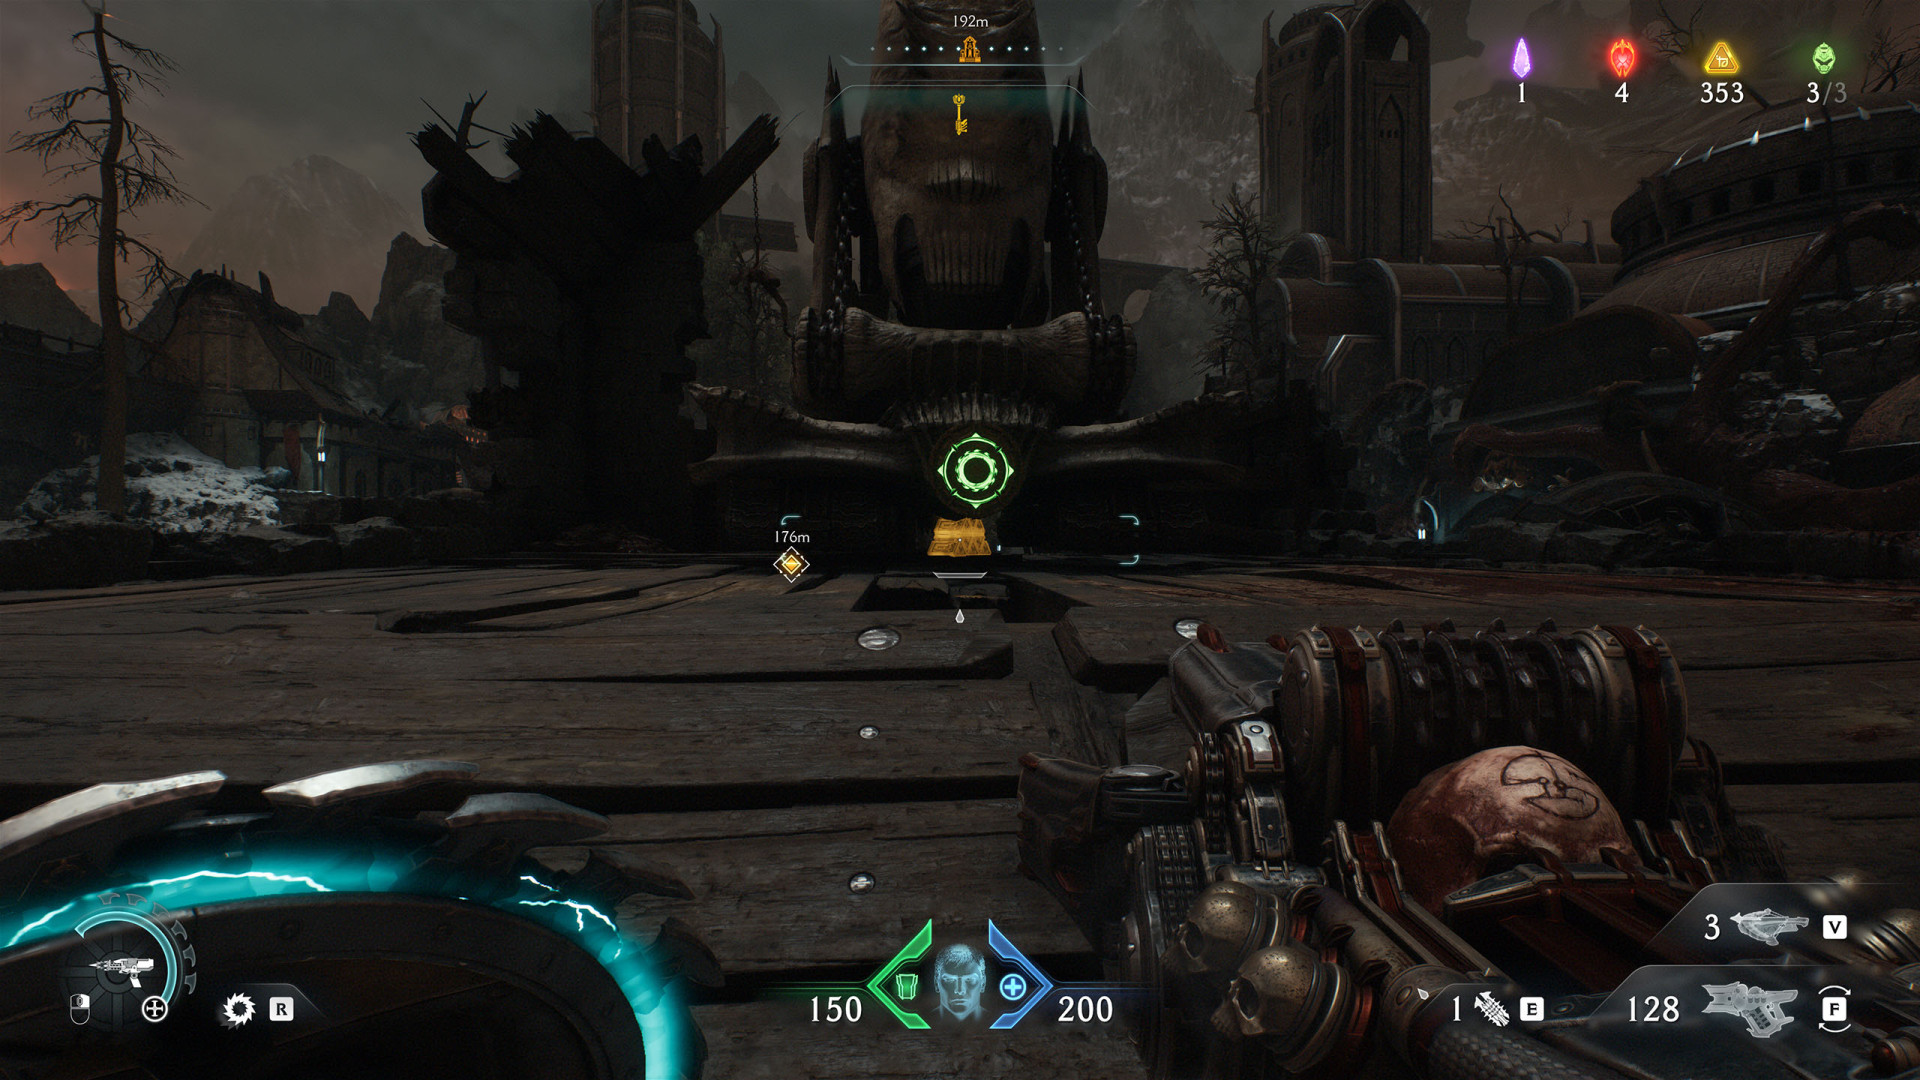
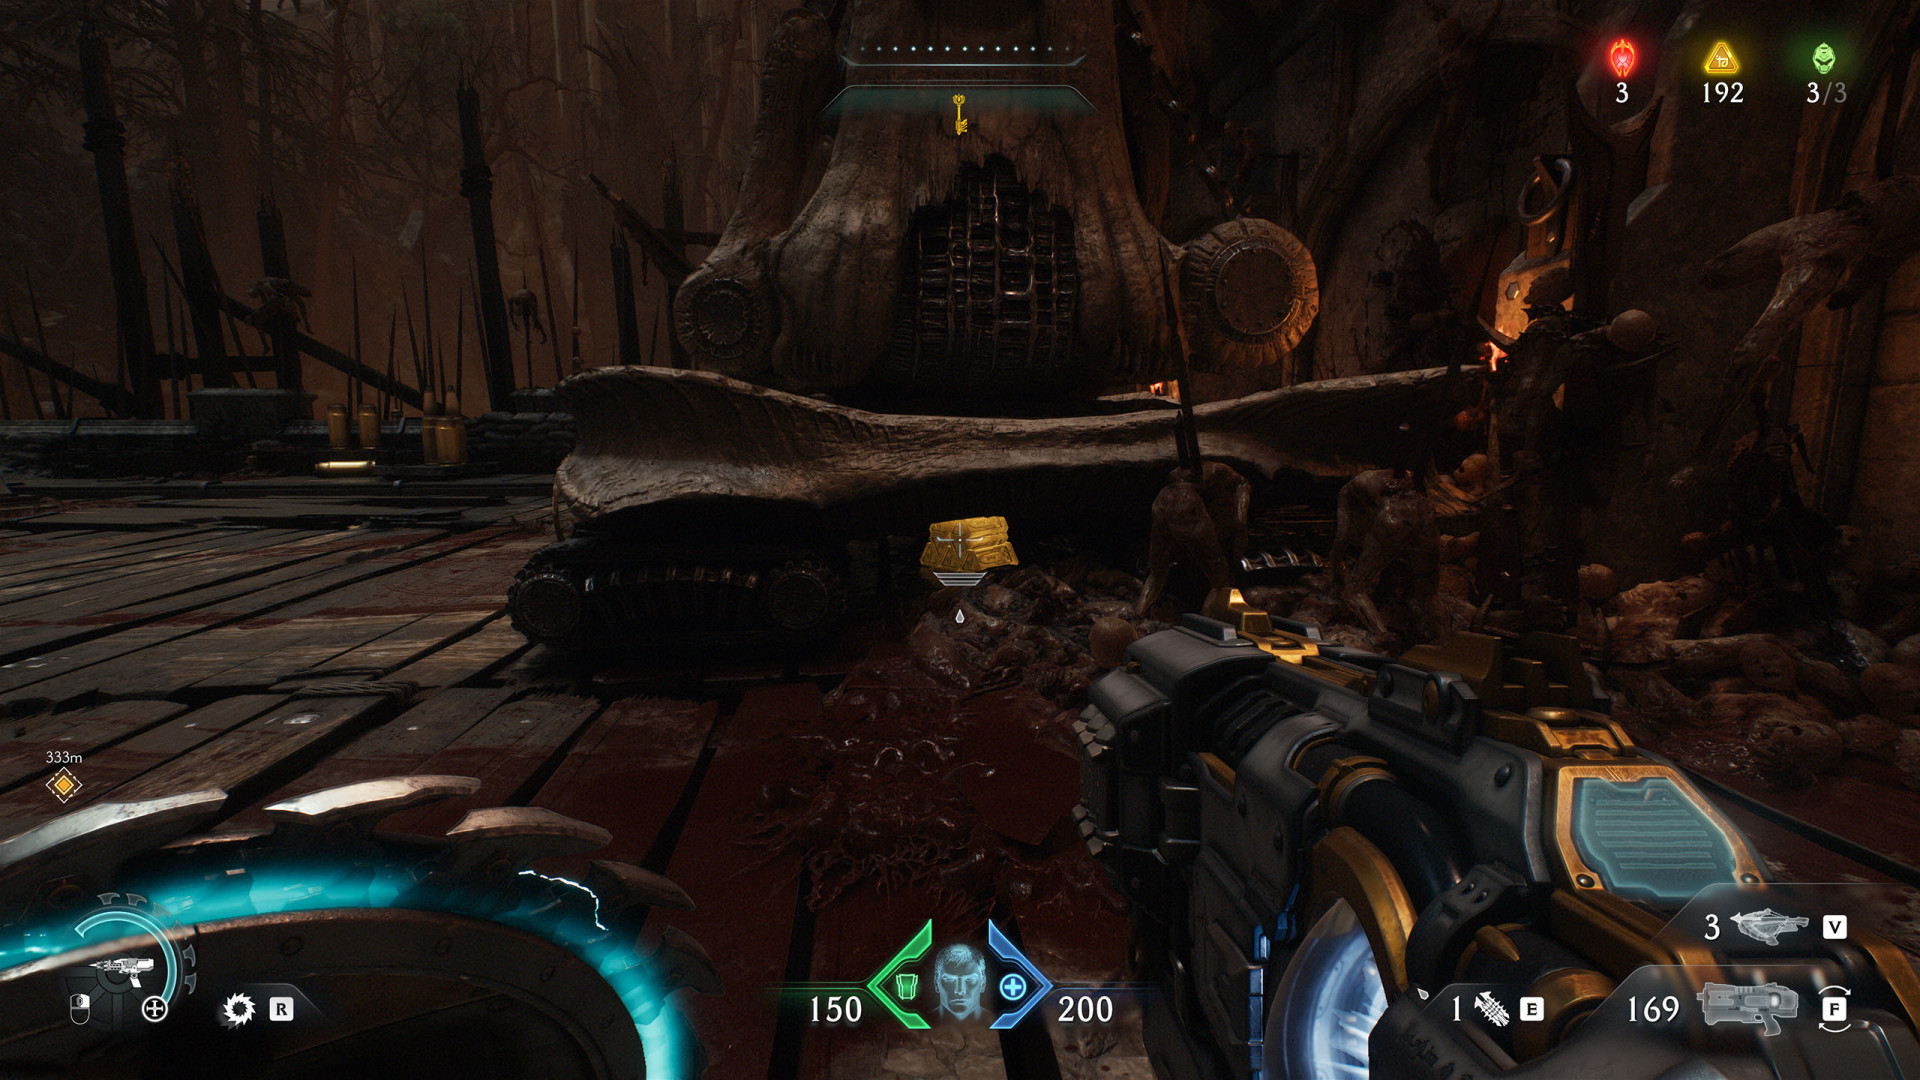
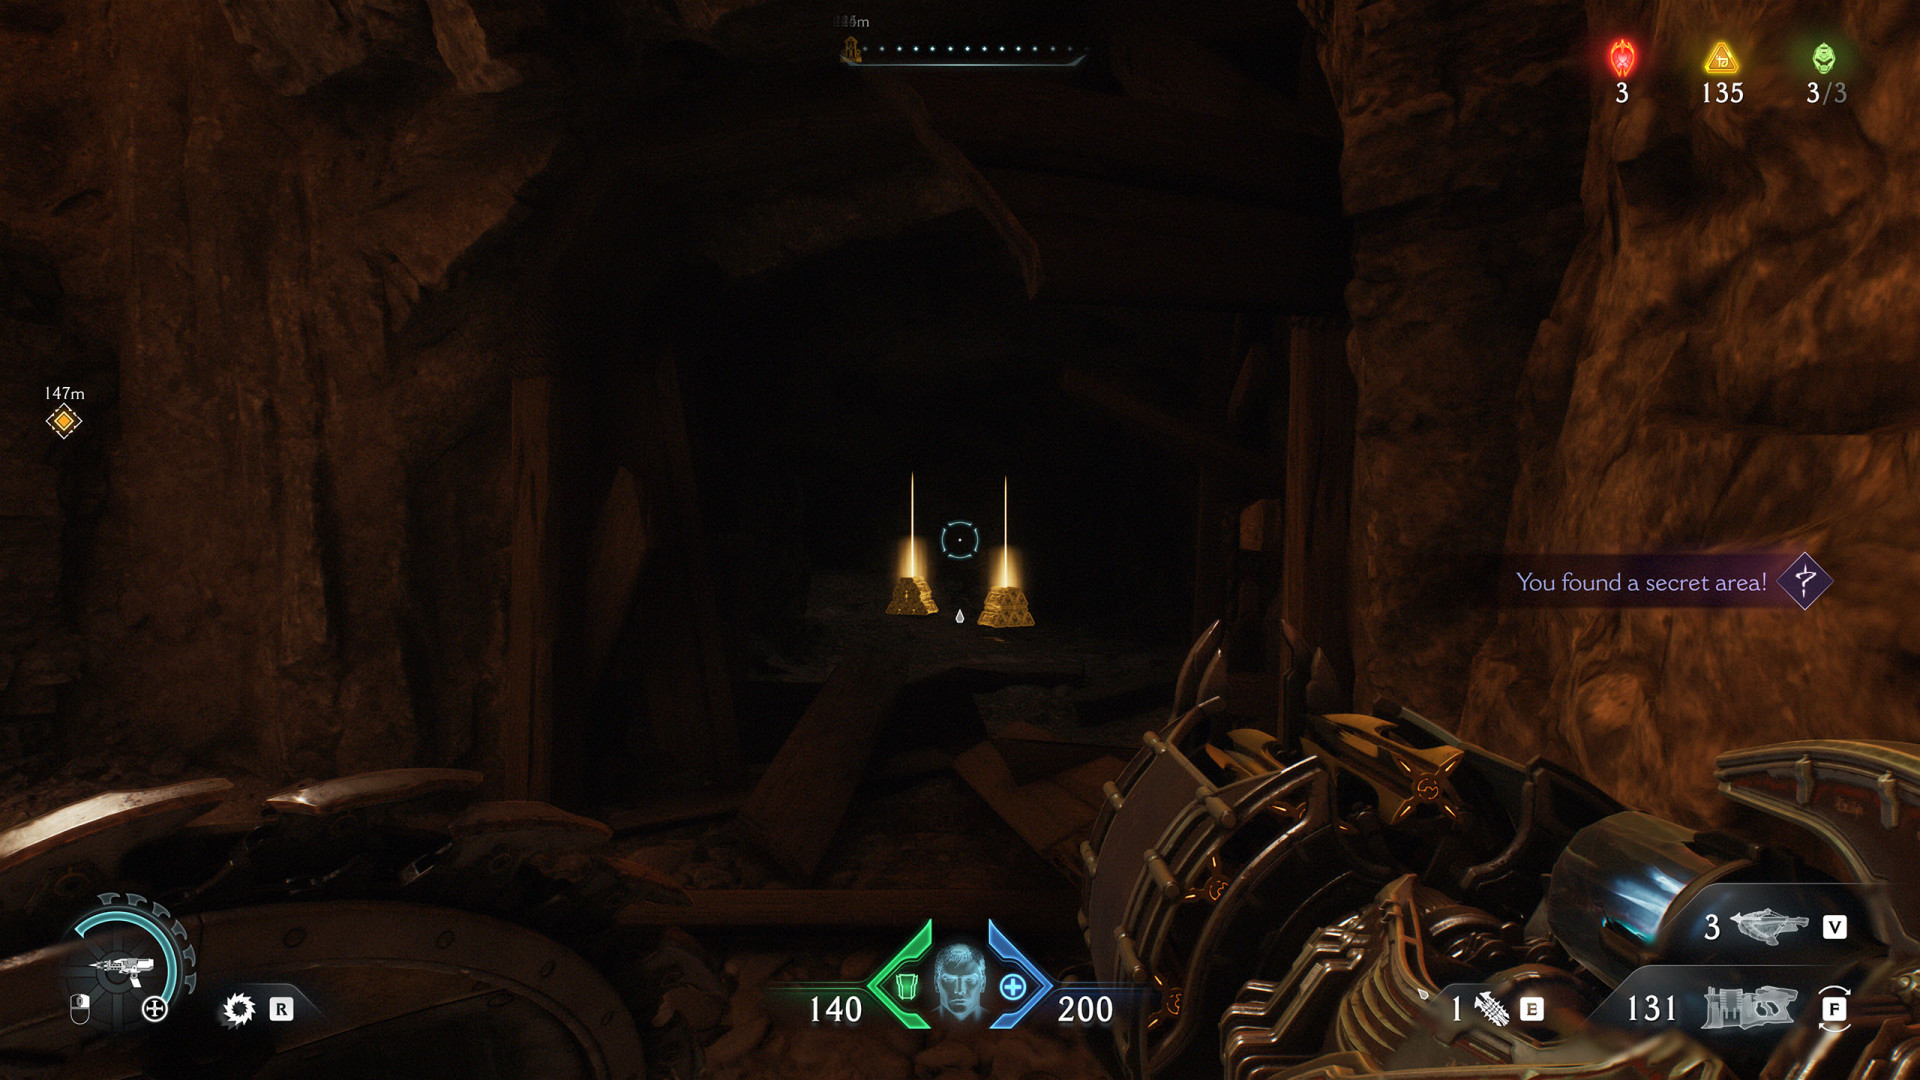
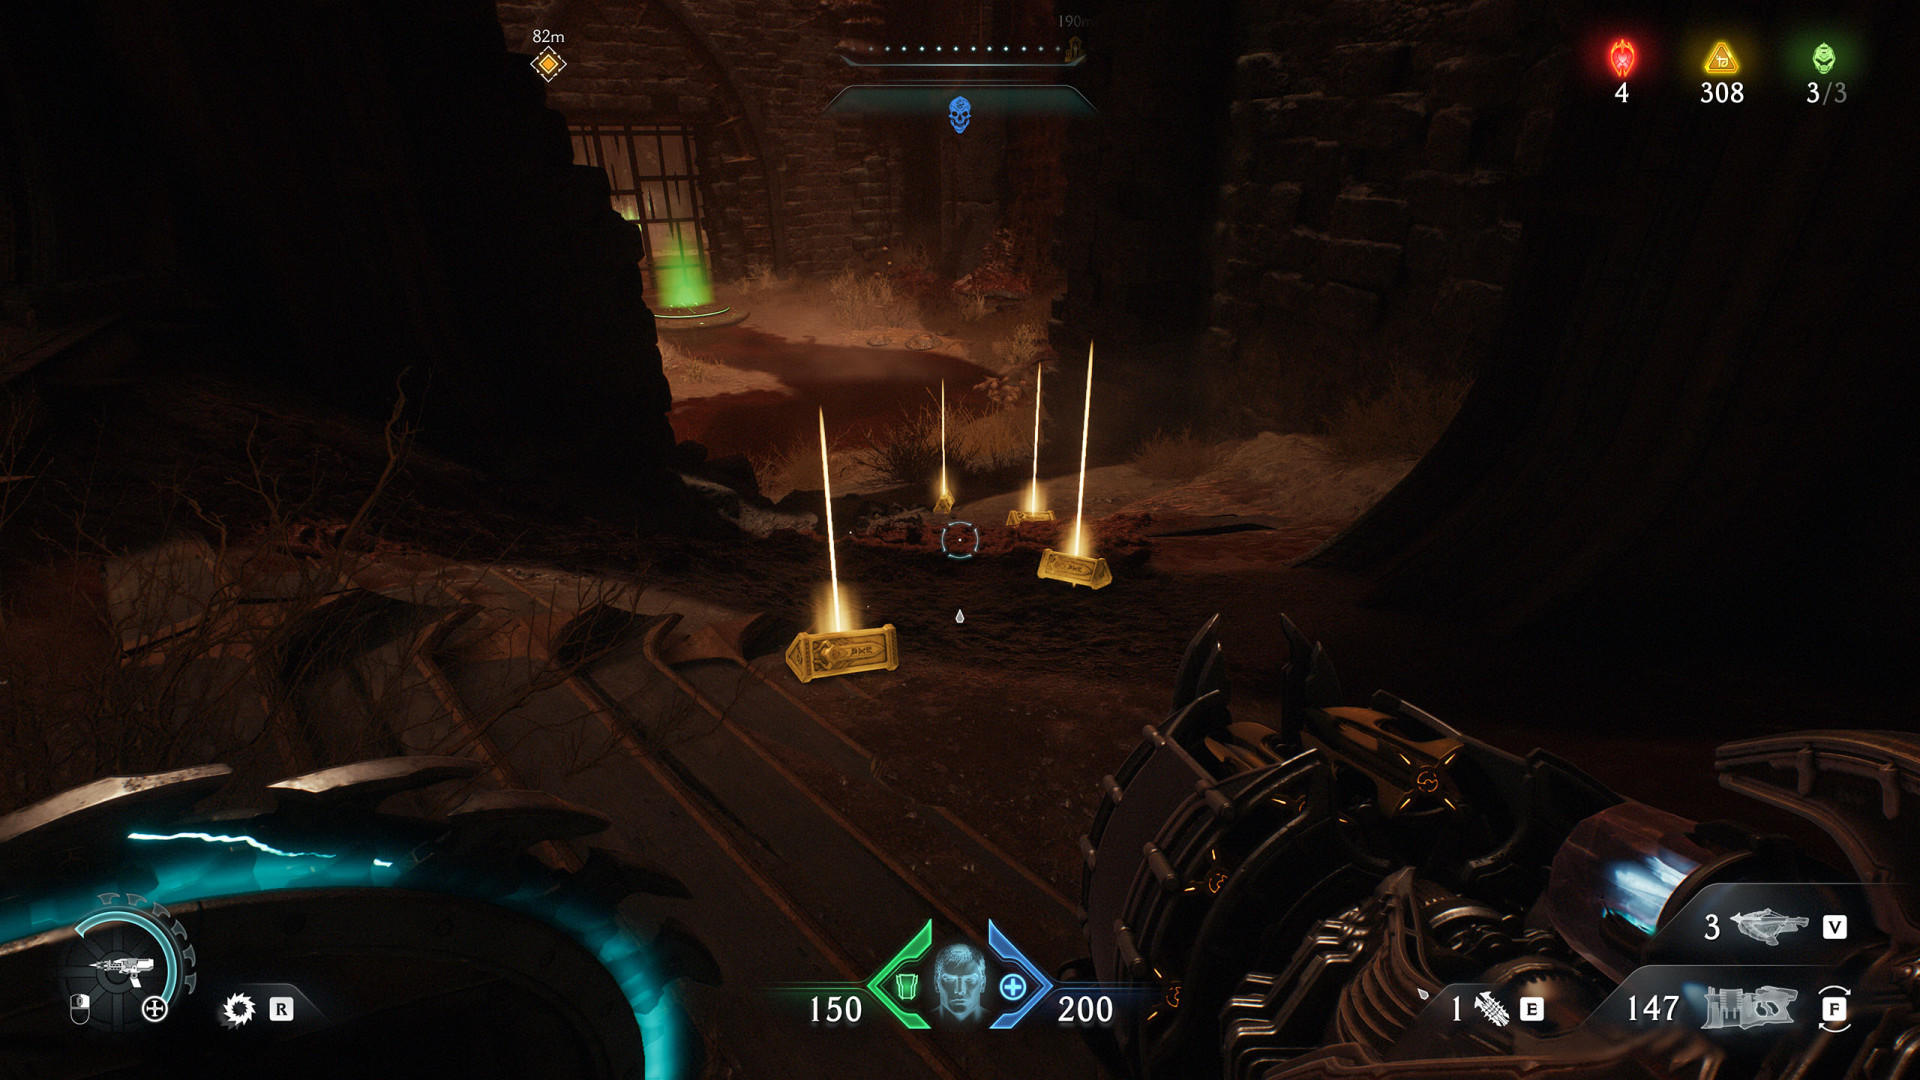
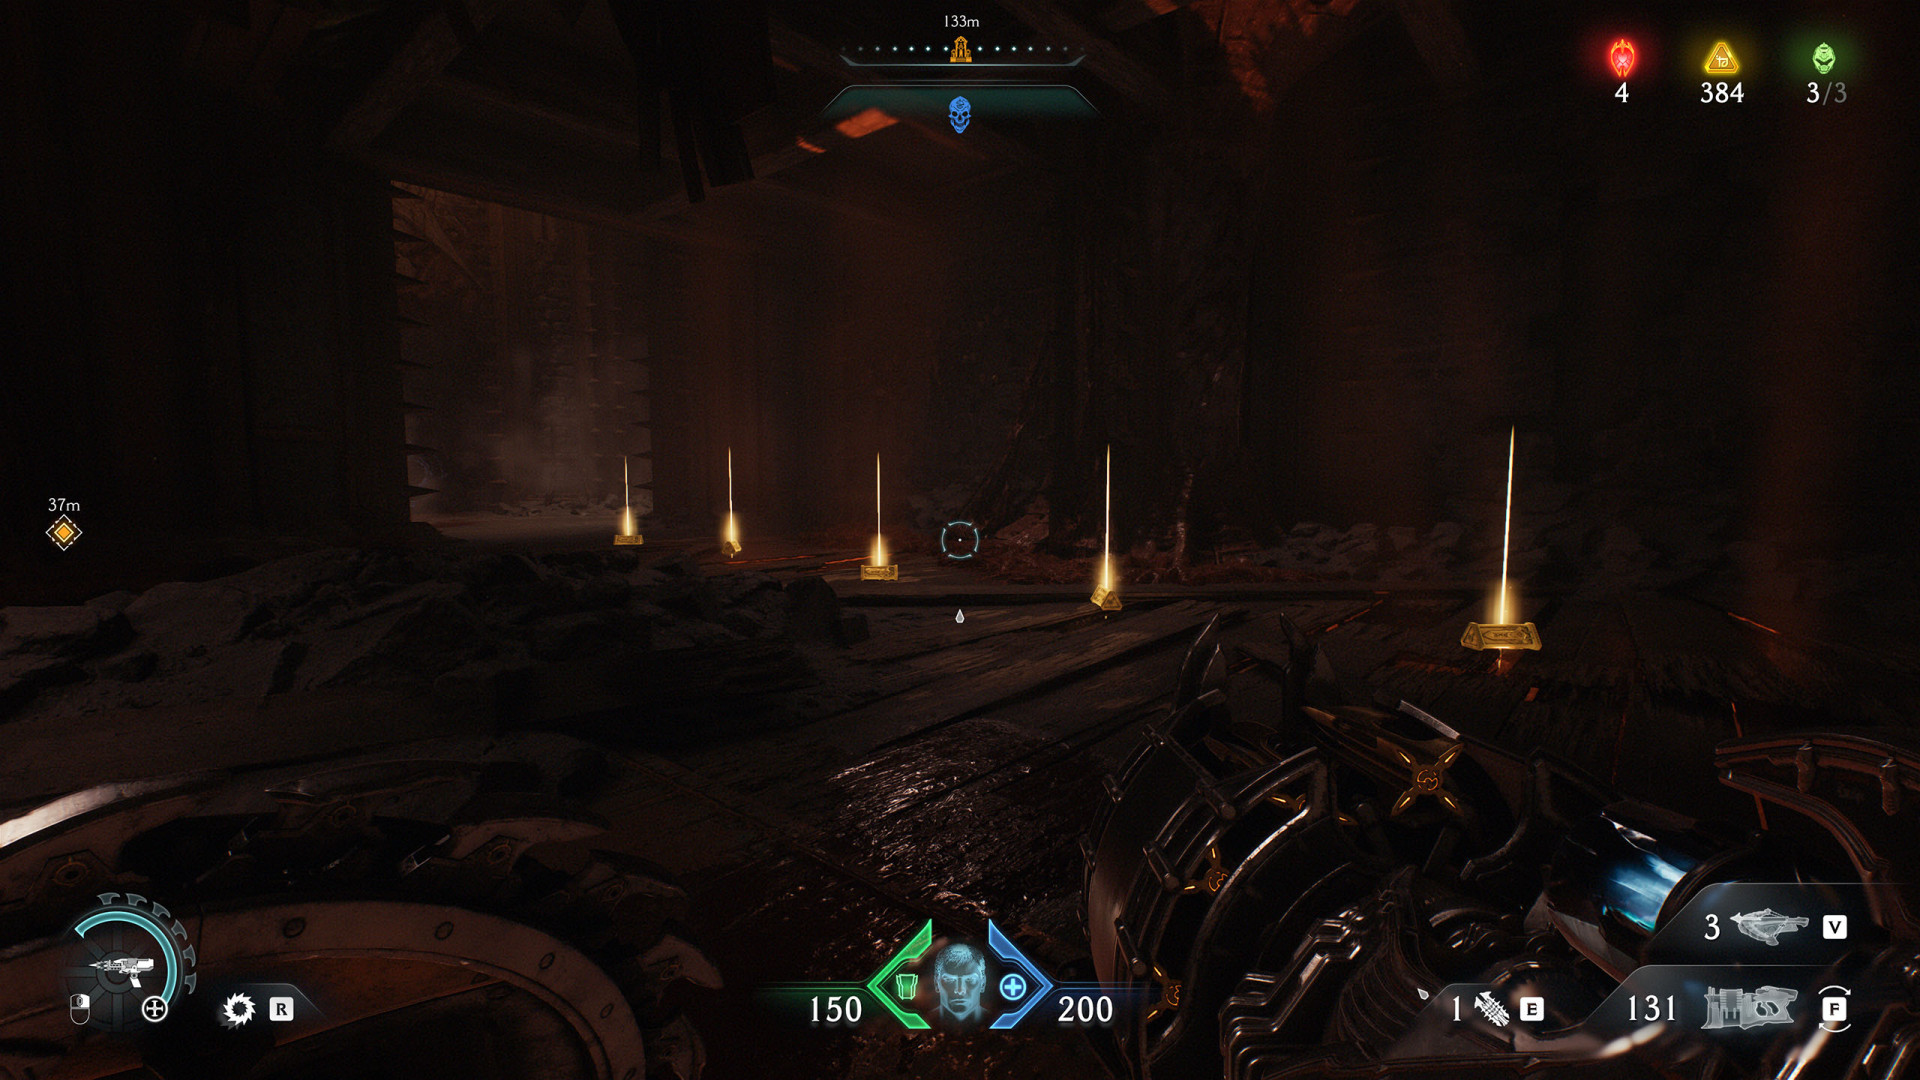
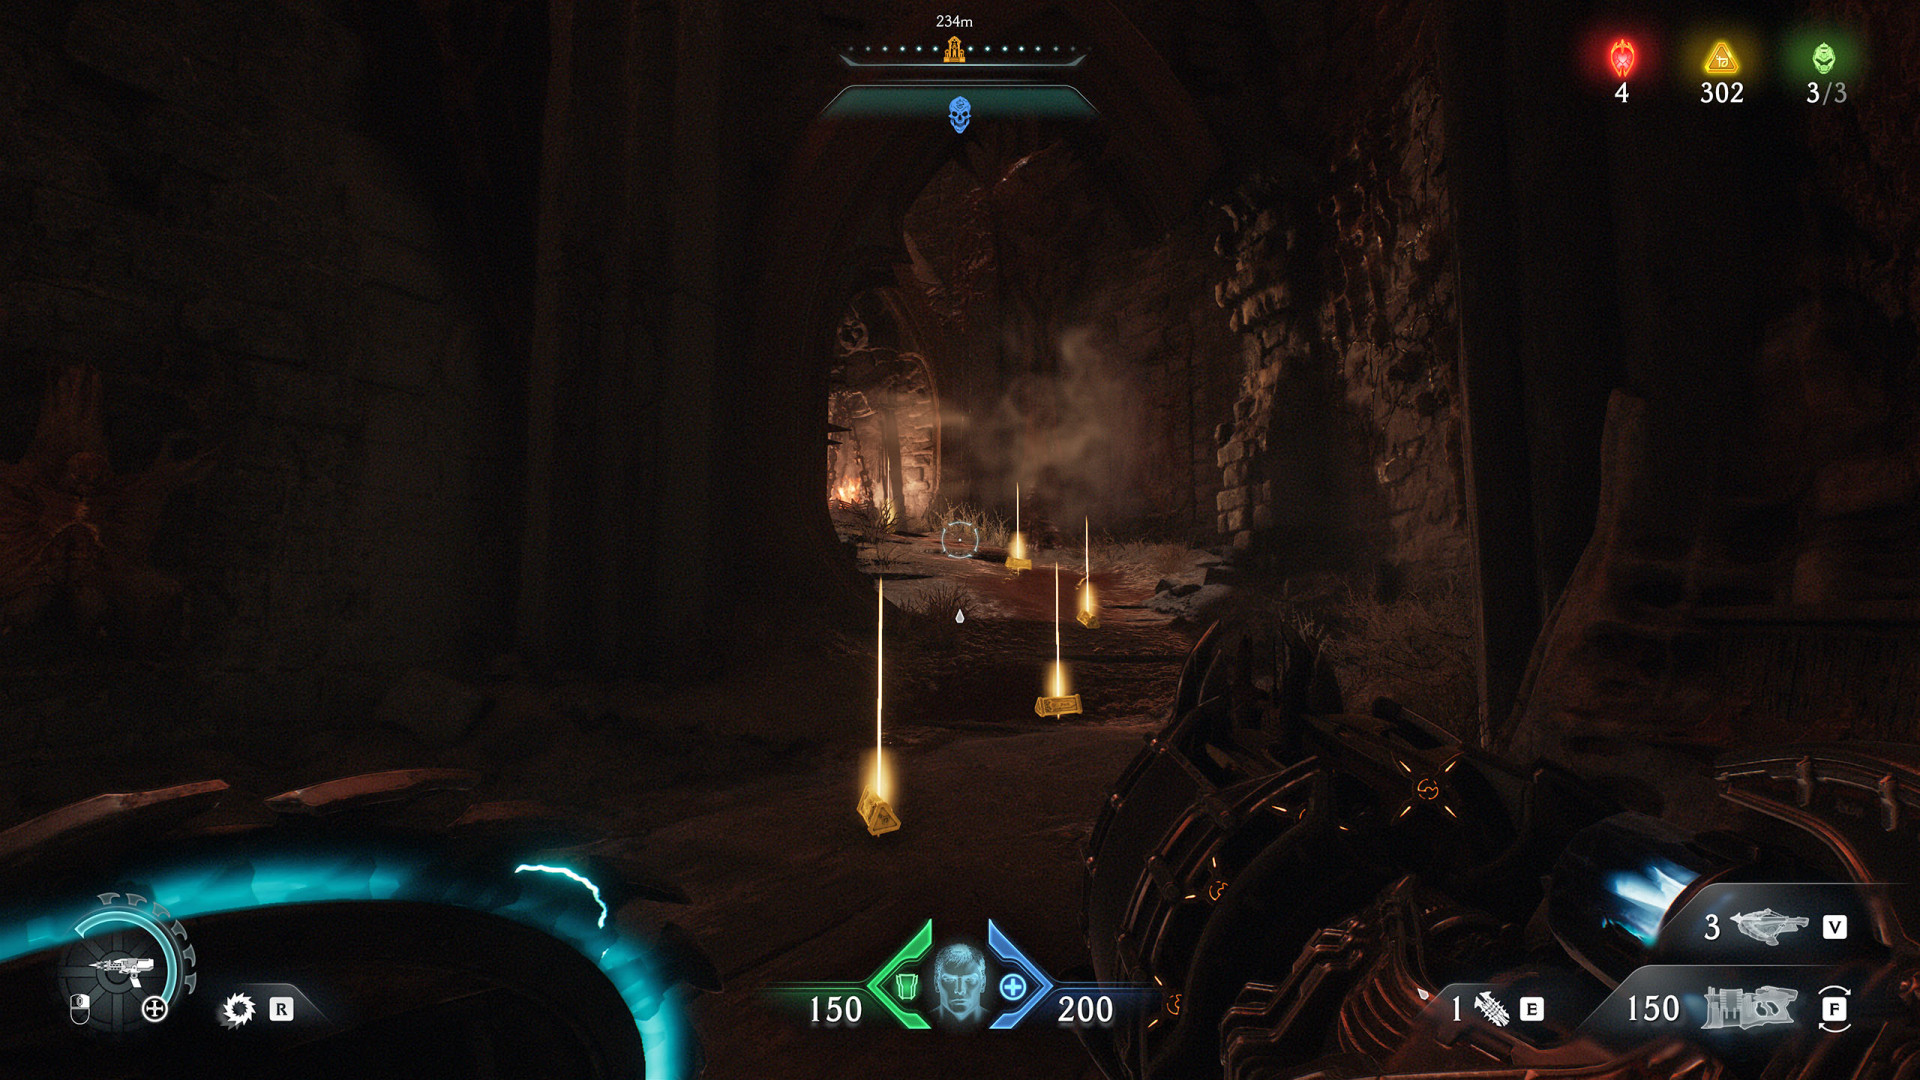
Gold DOOM: The Dark Ages Point of interest
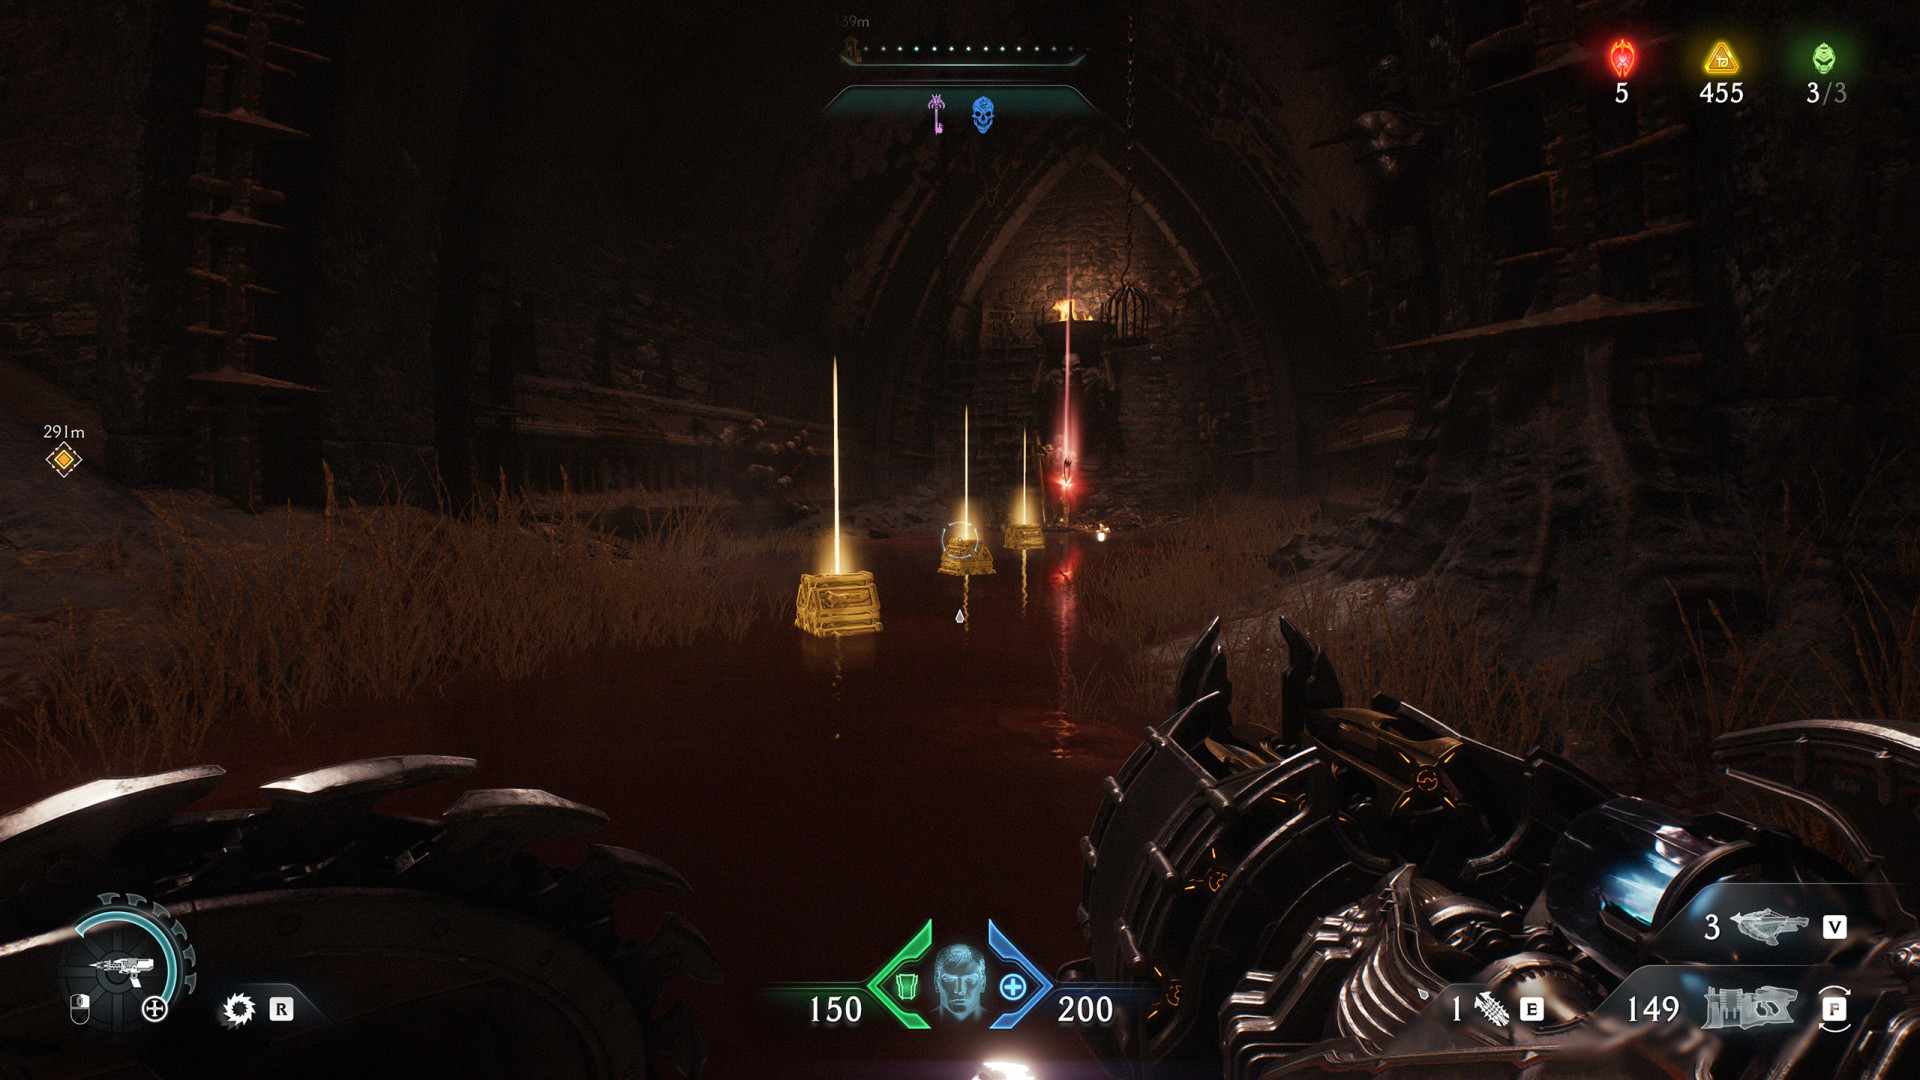
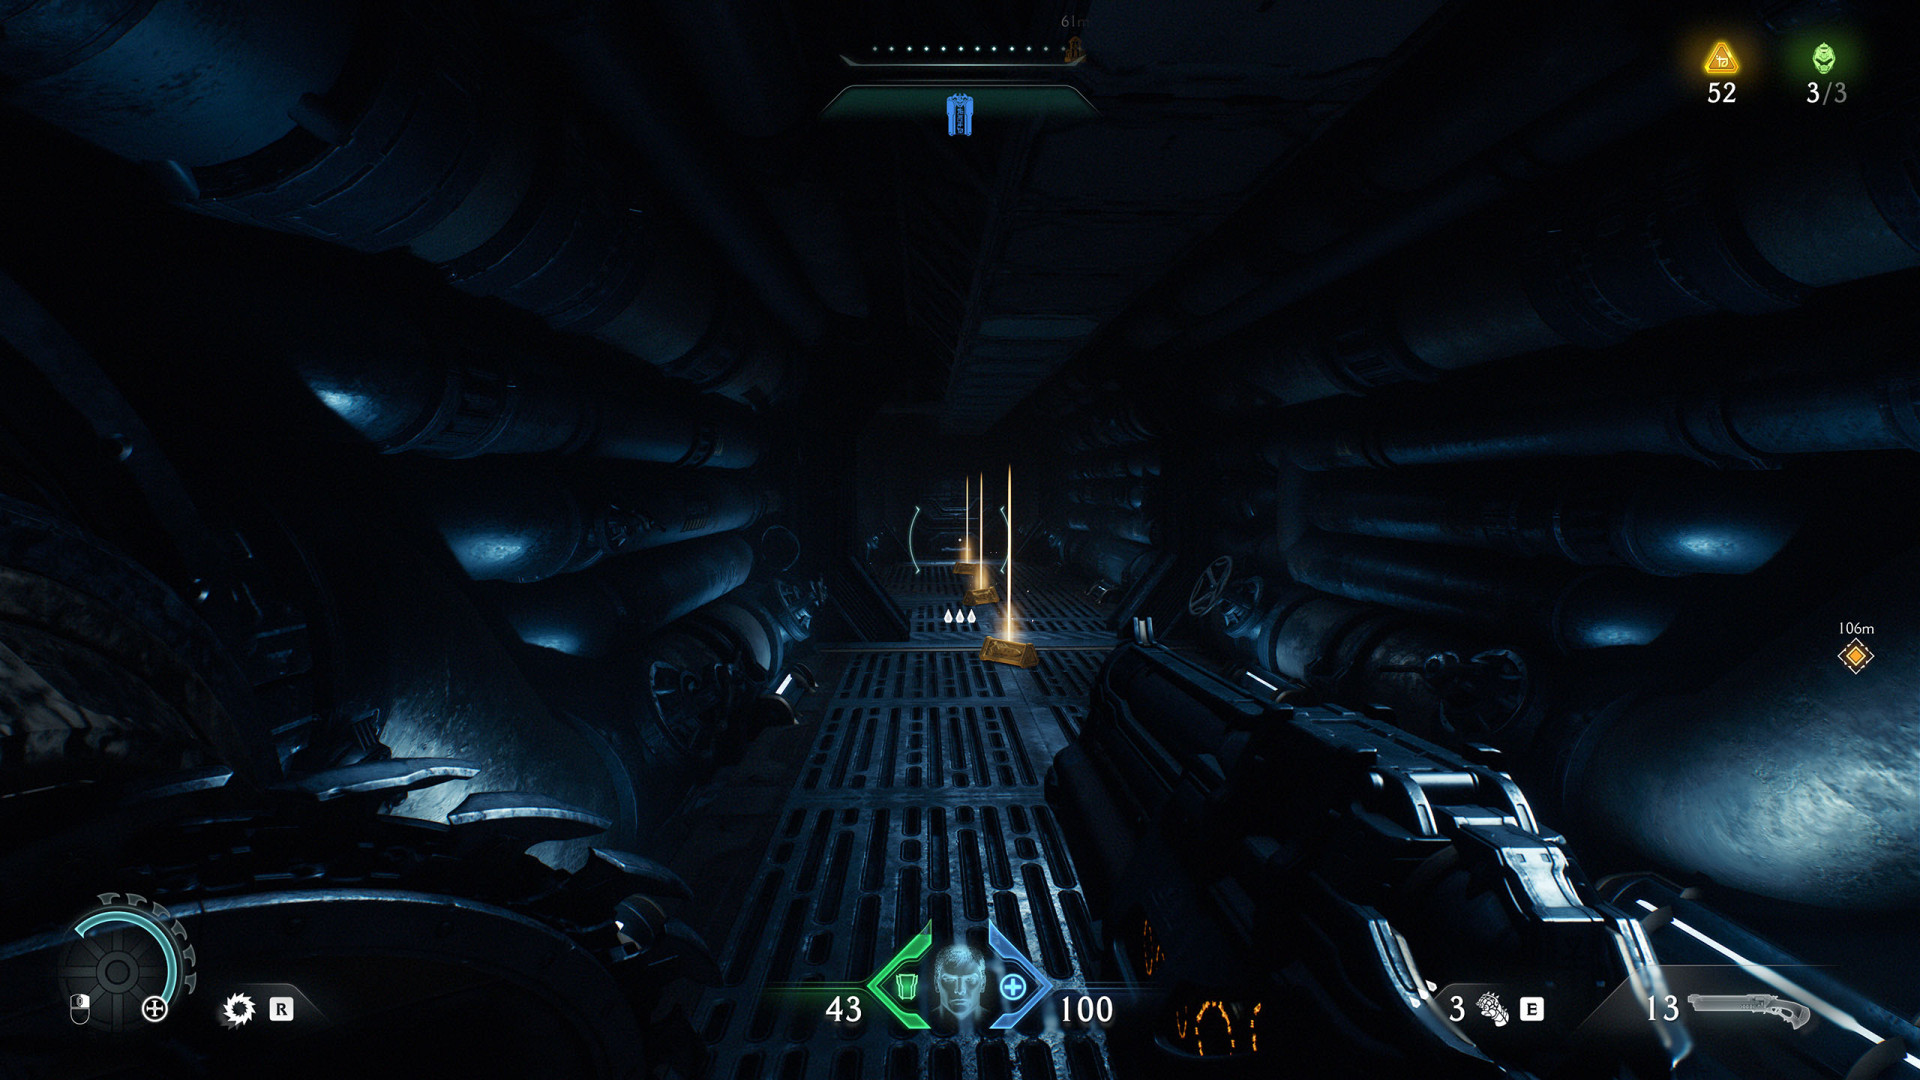
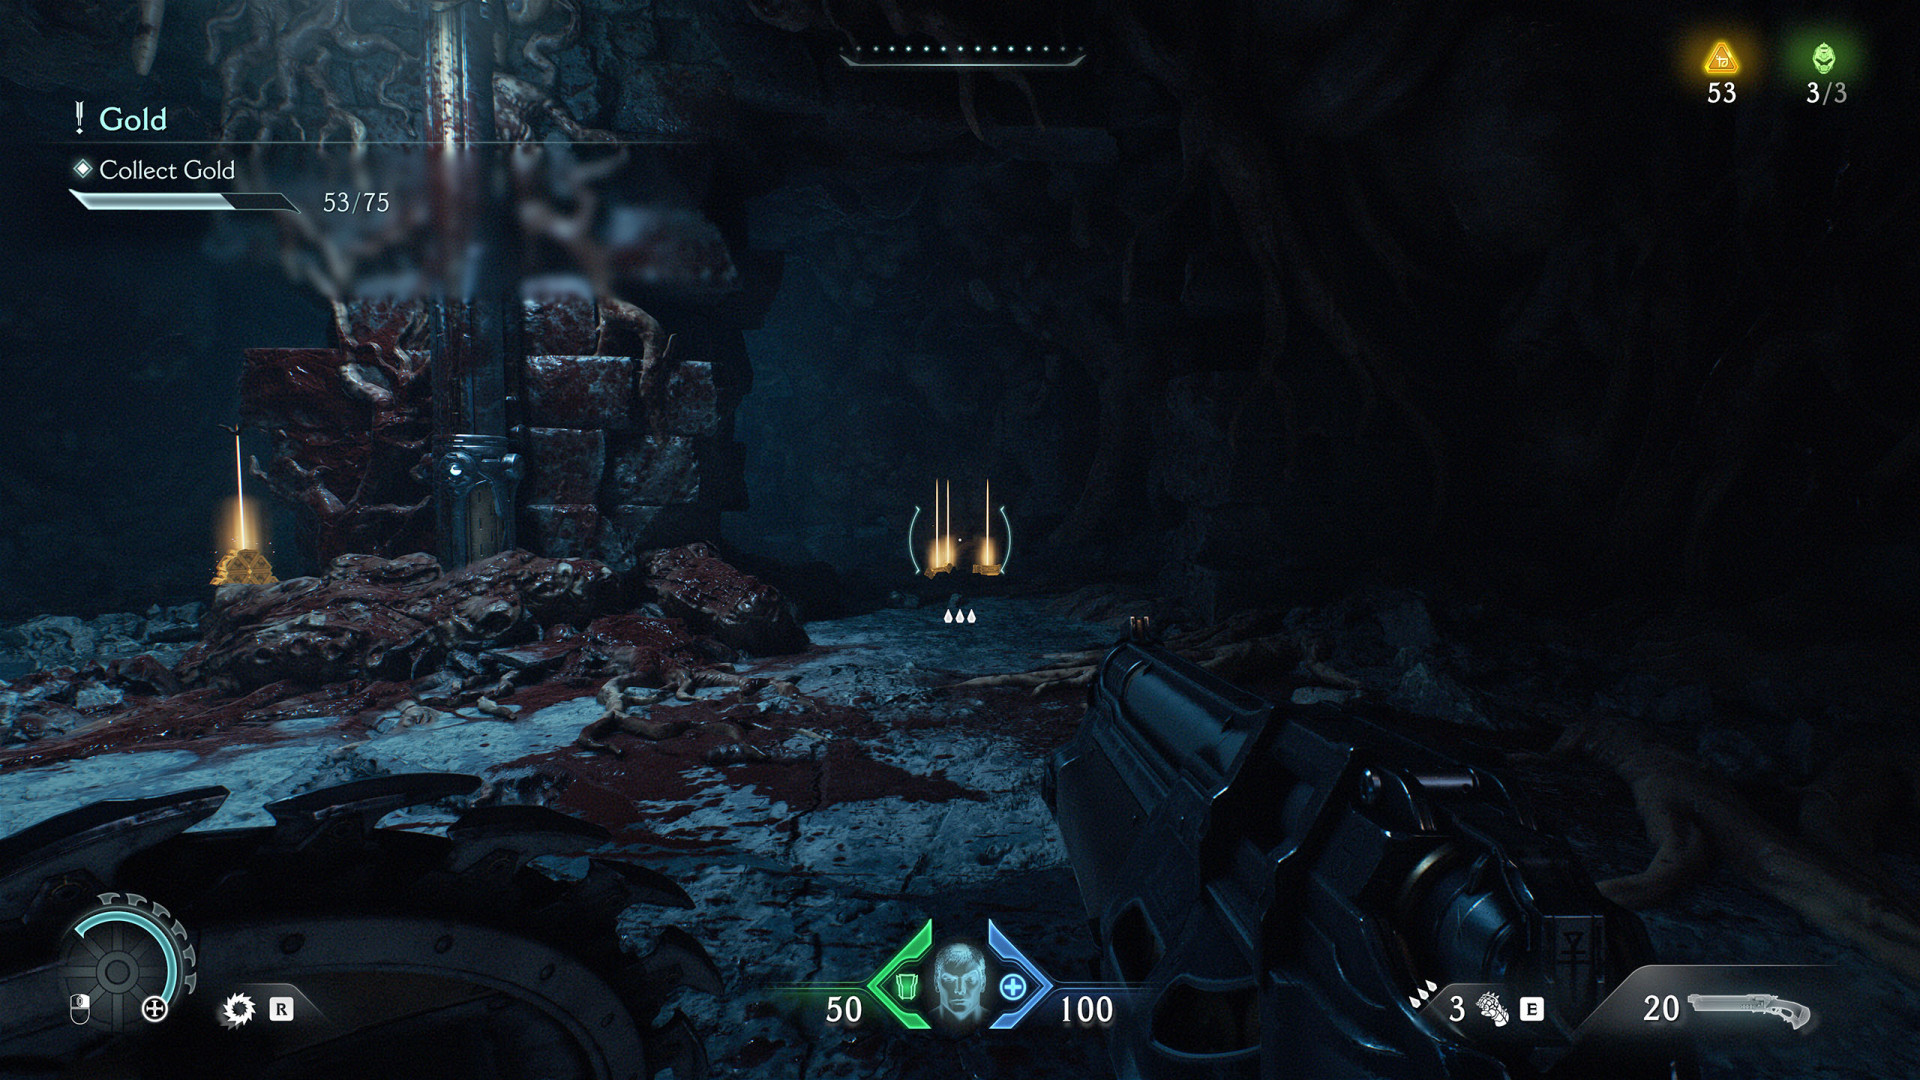
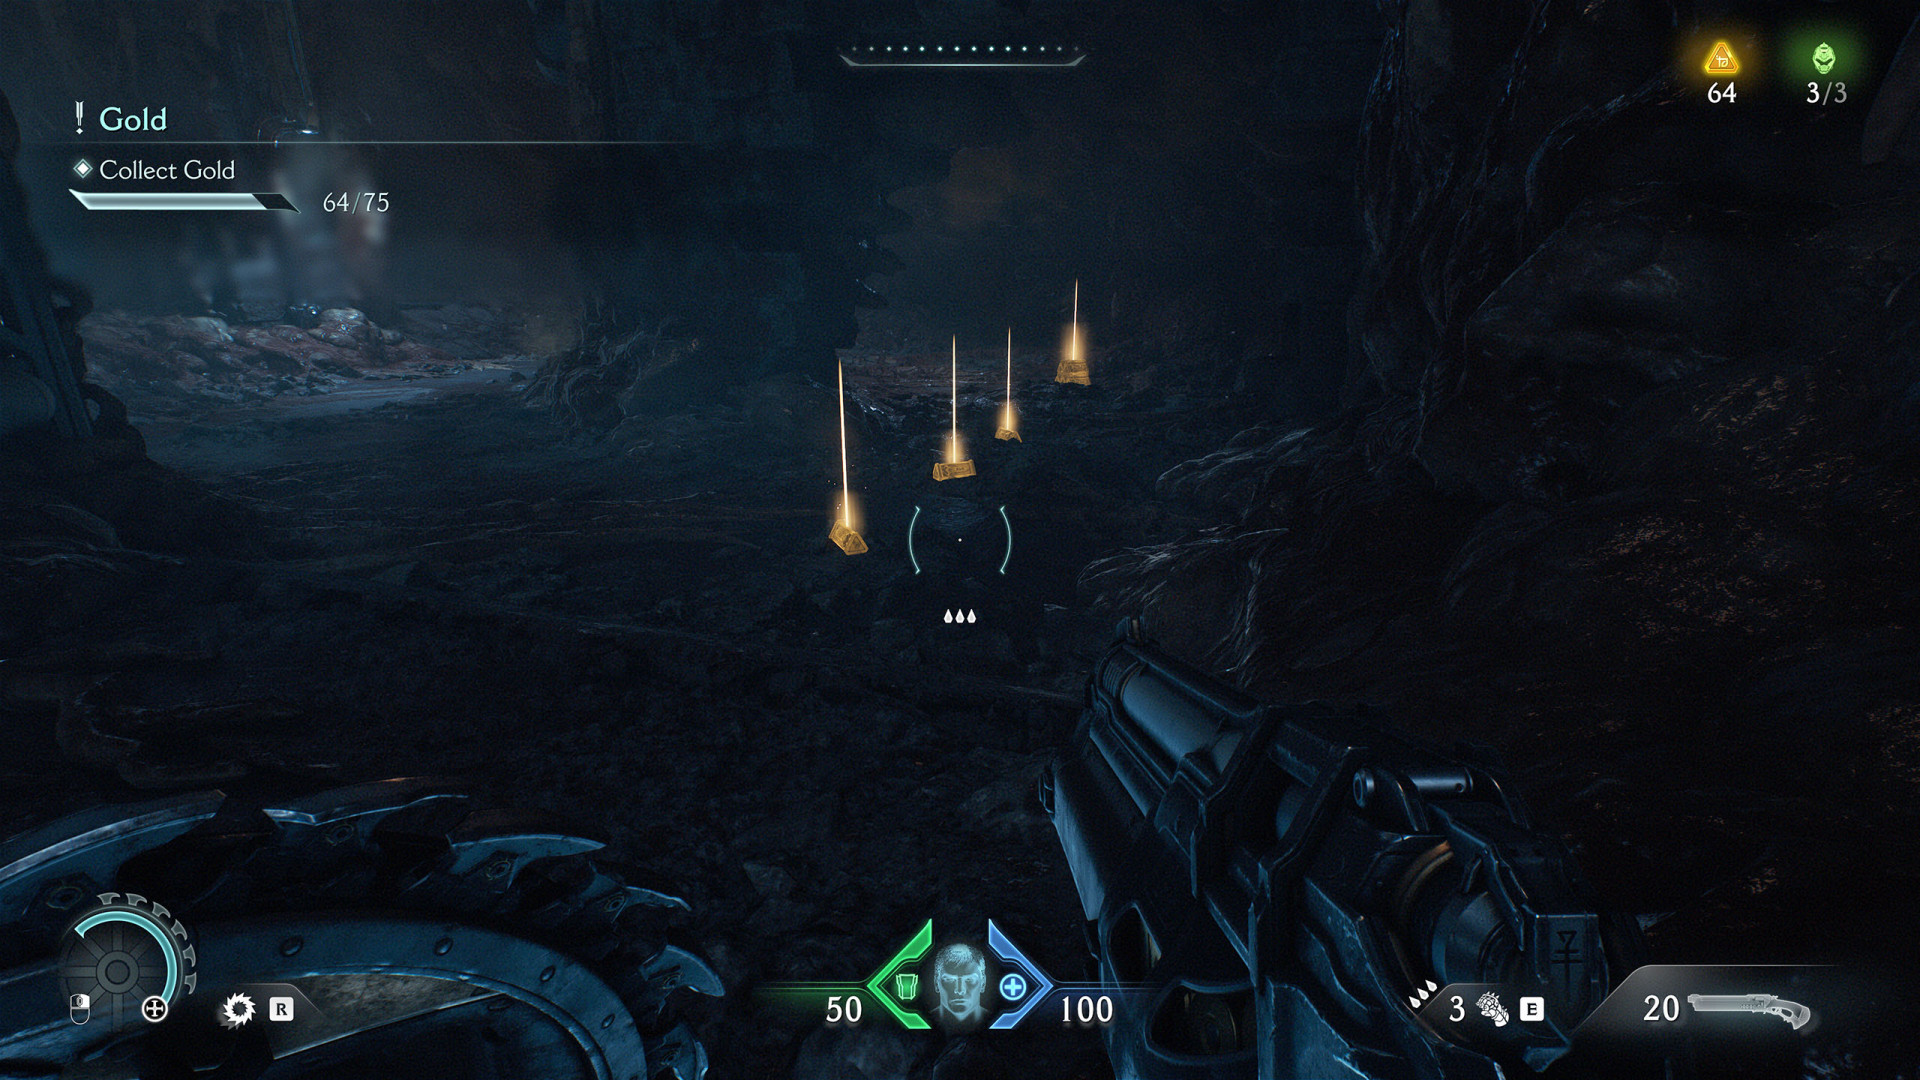
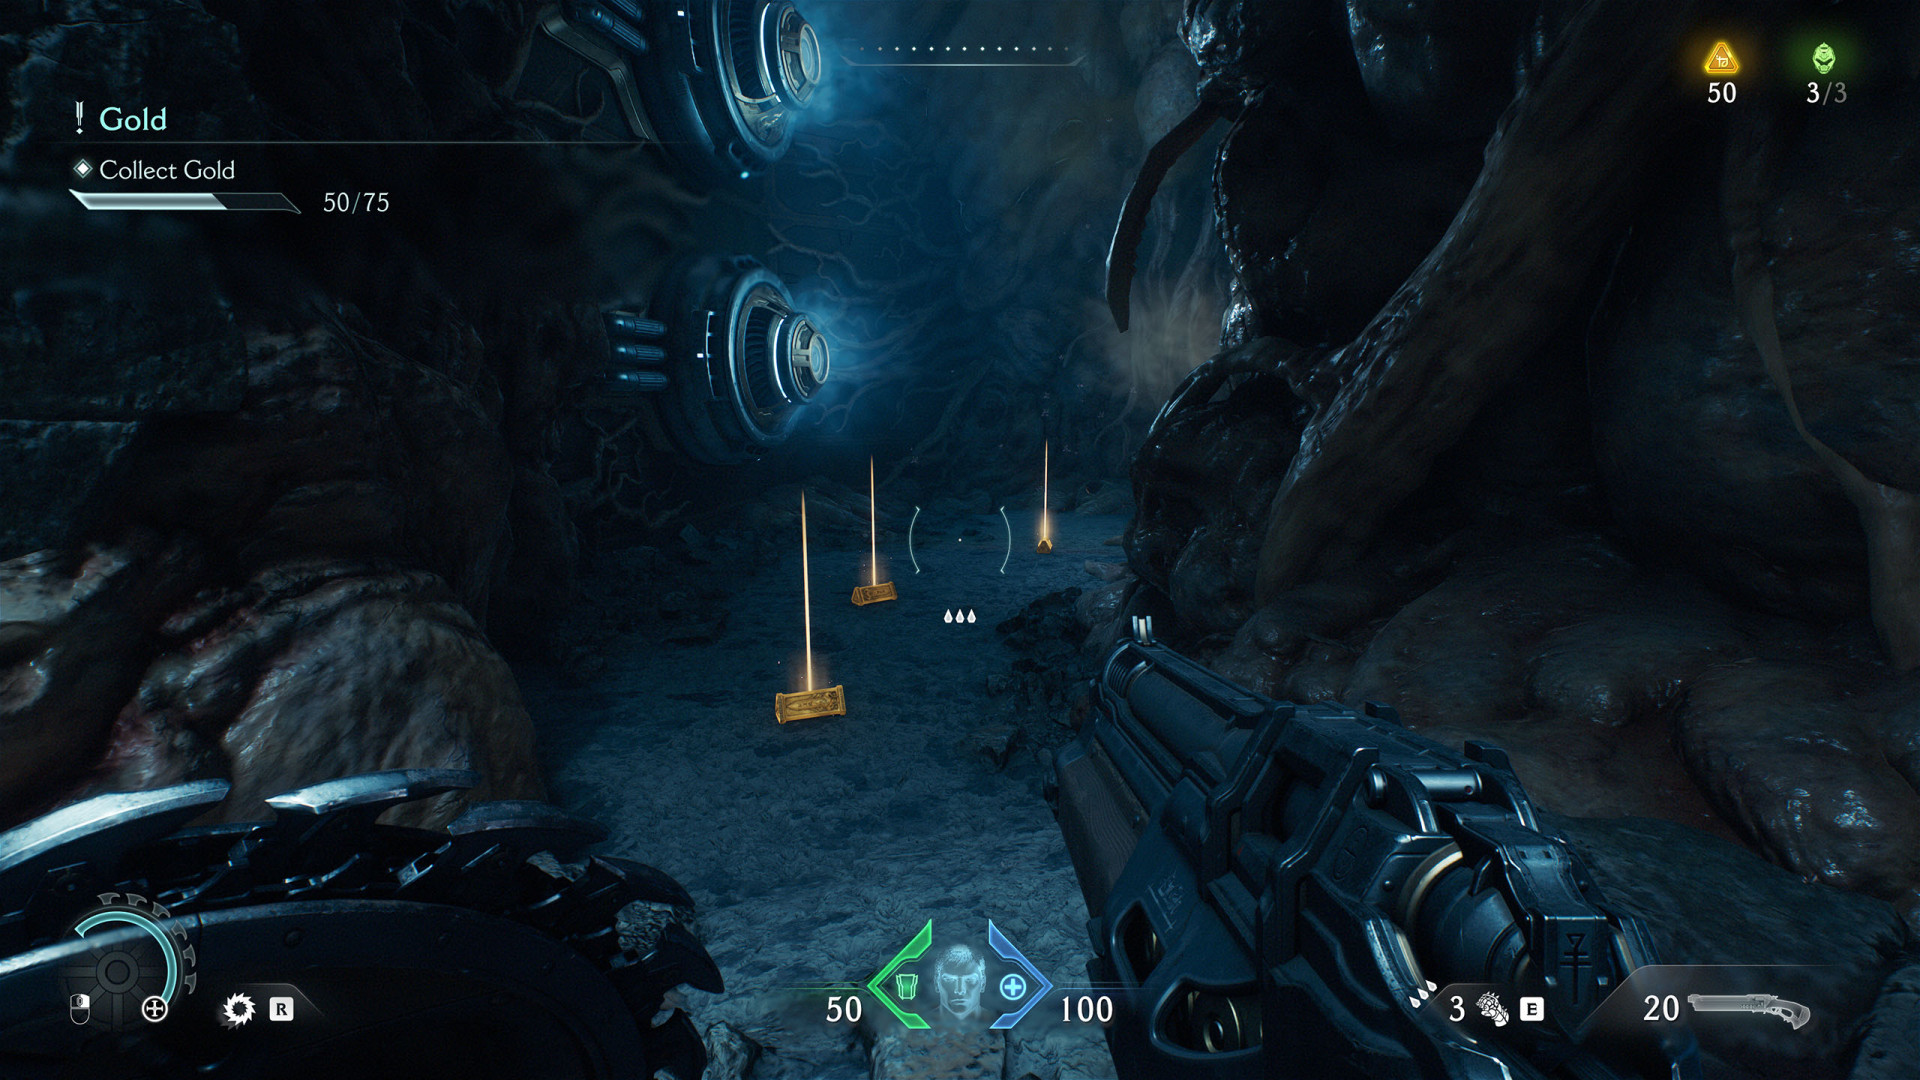
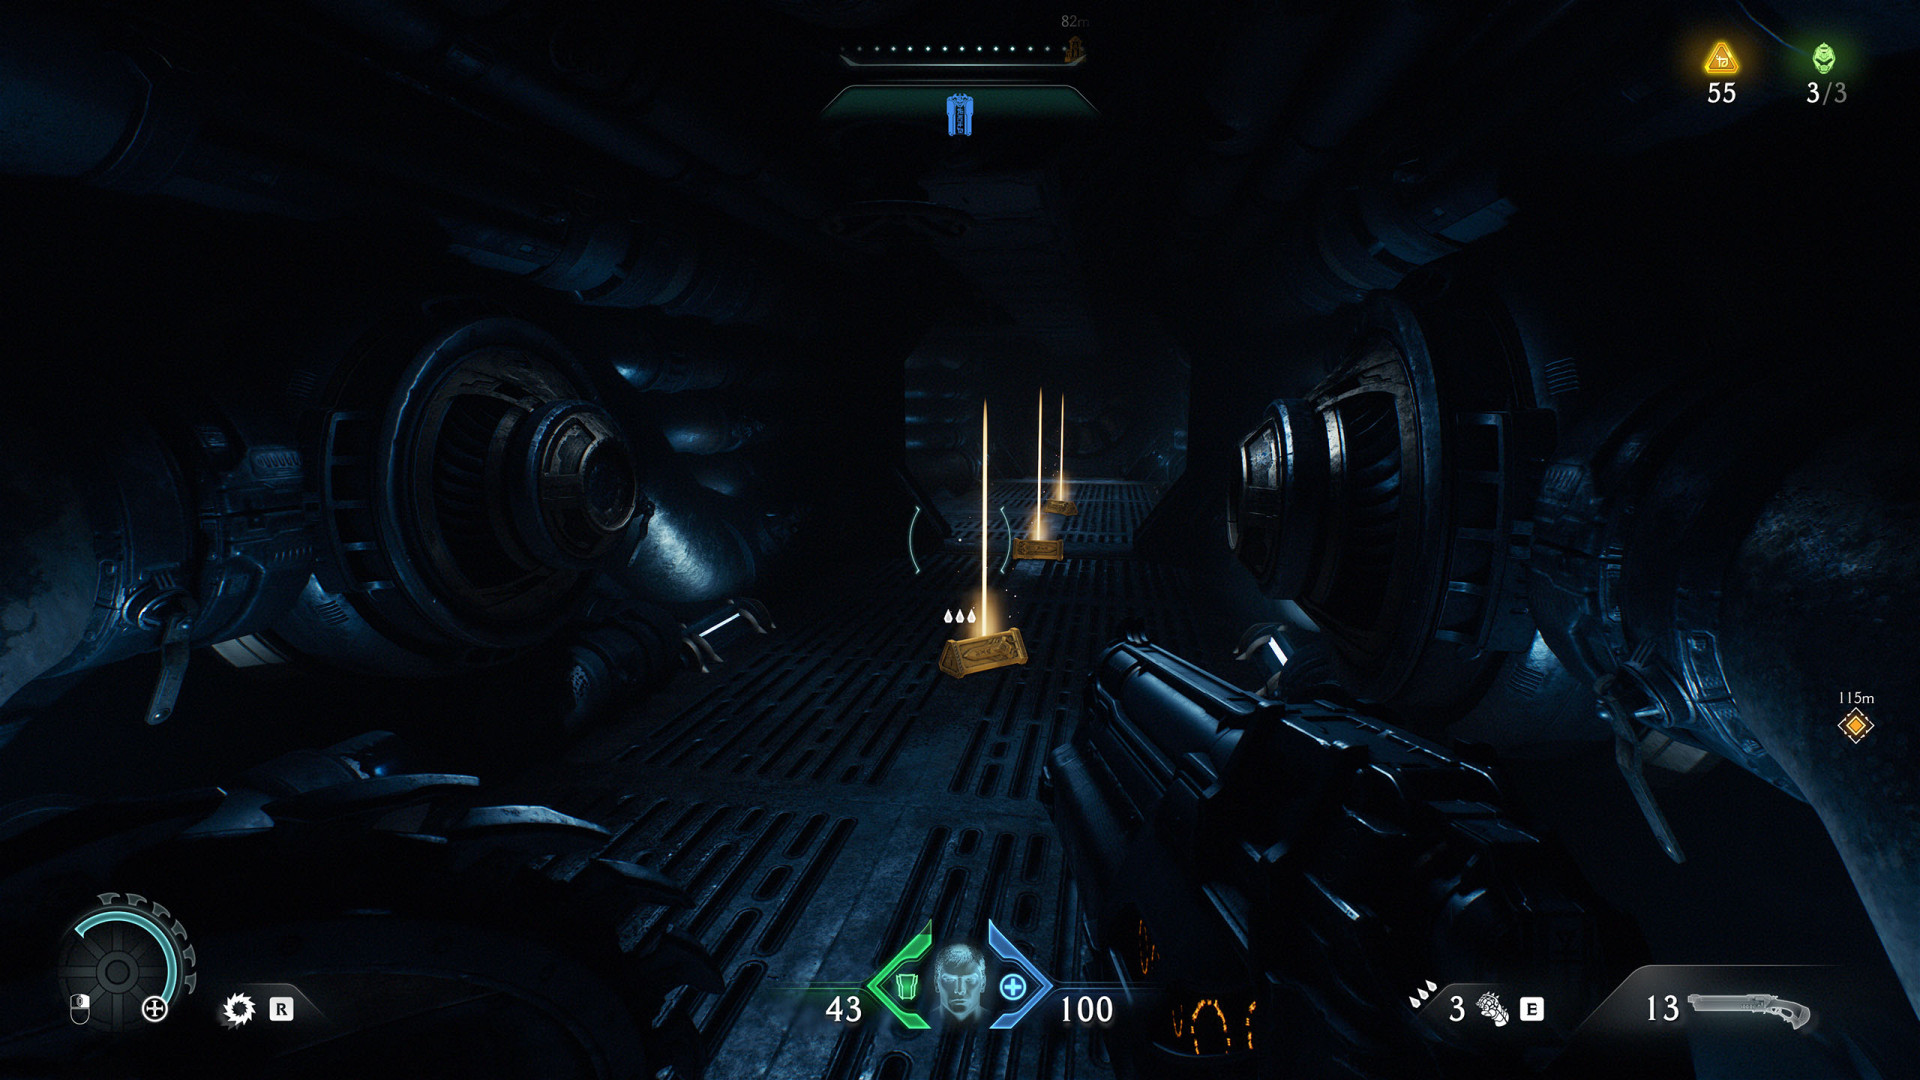
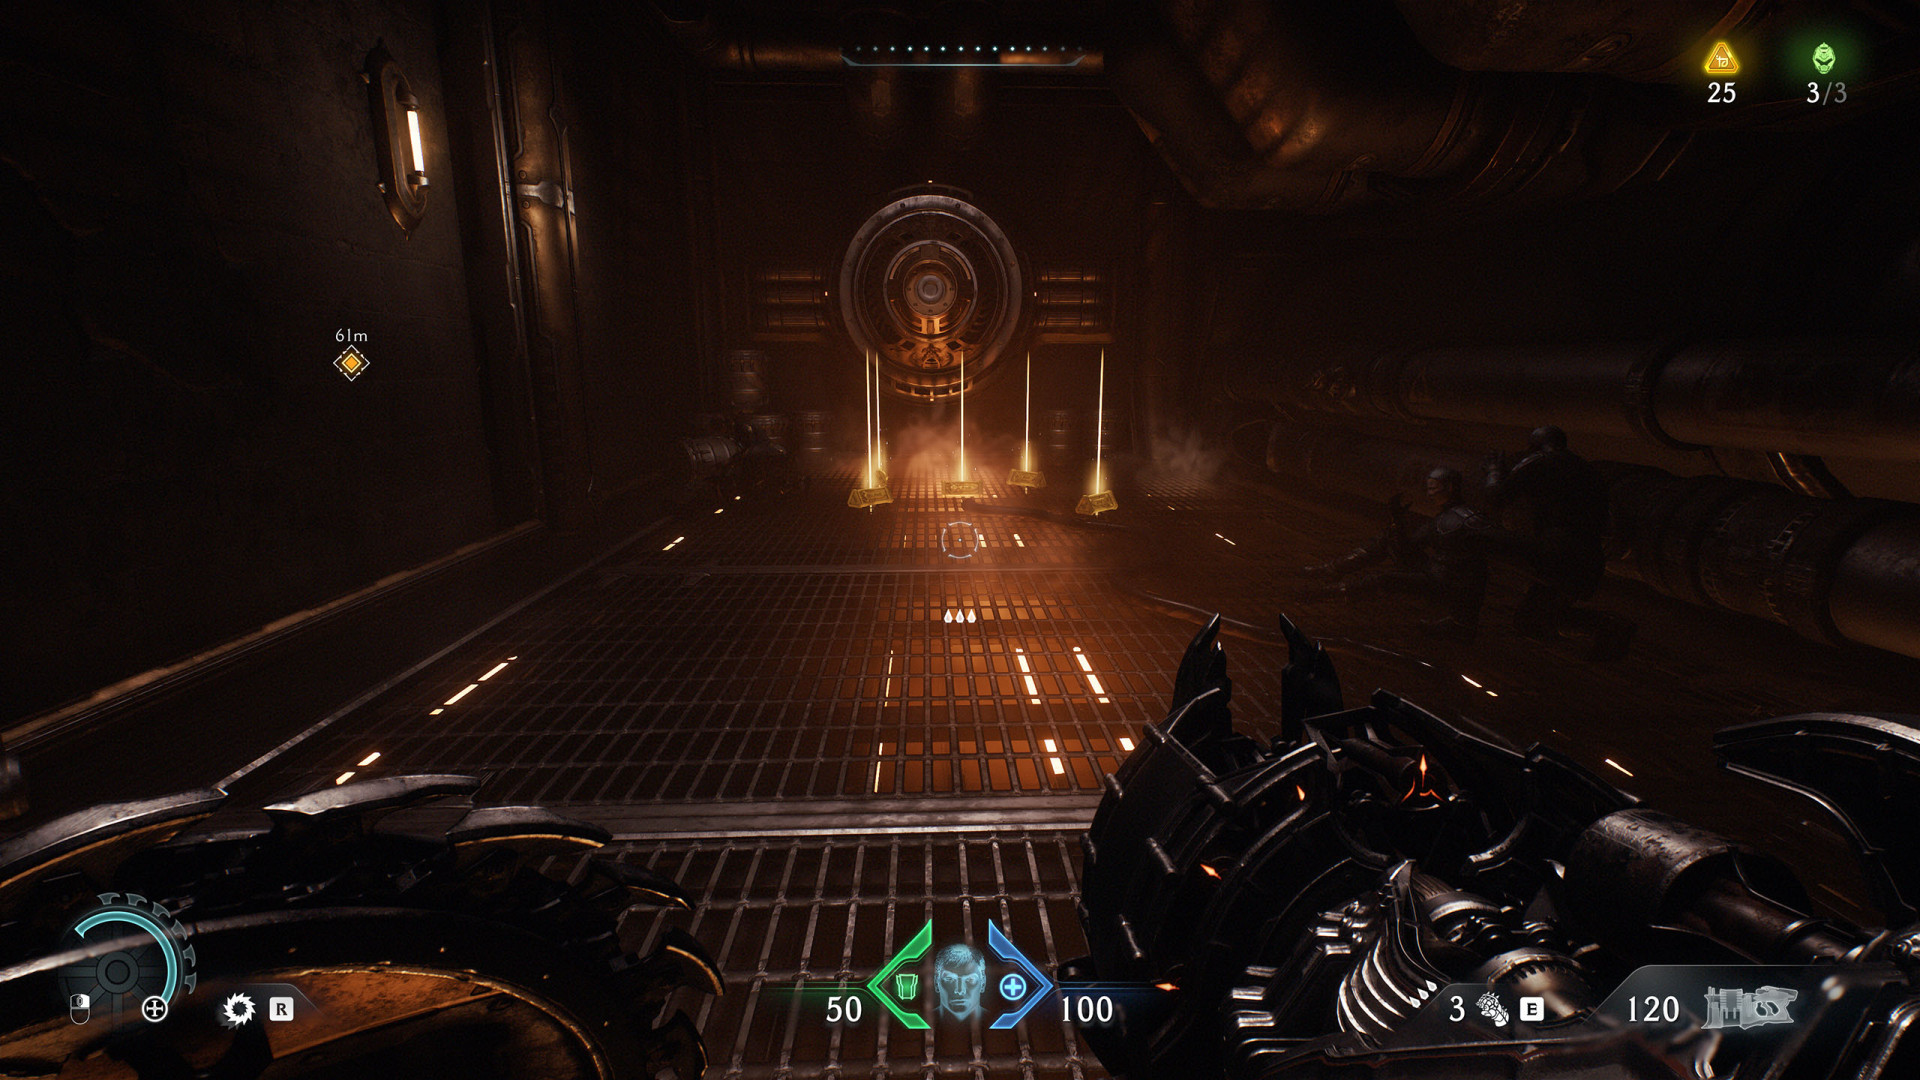
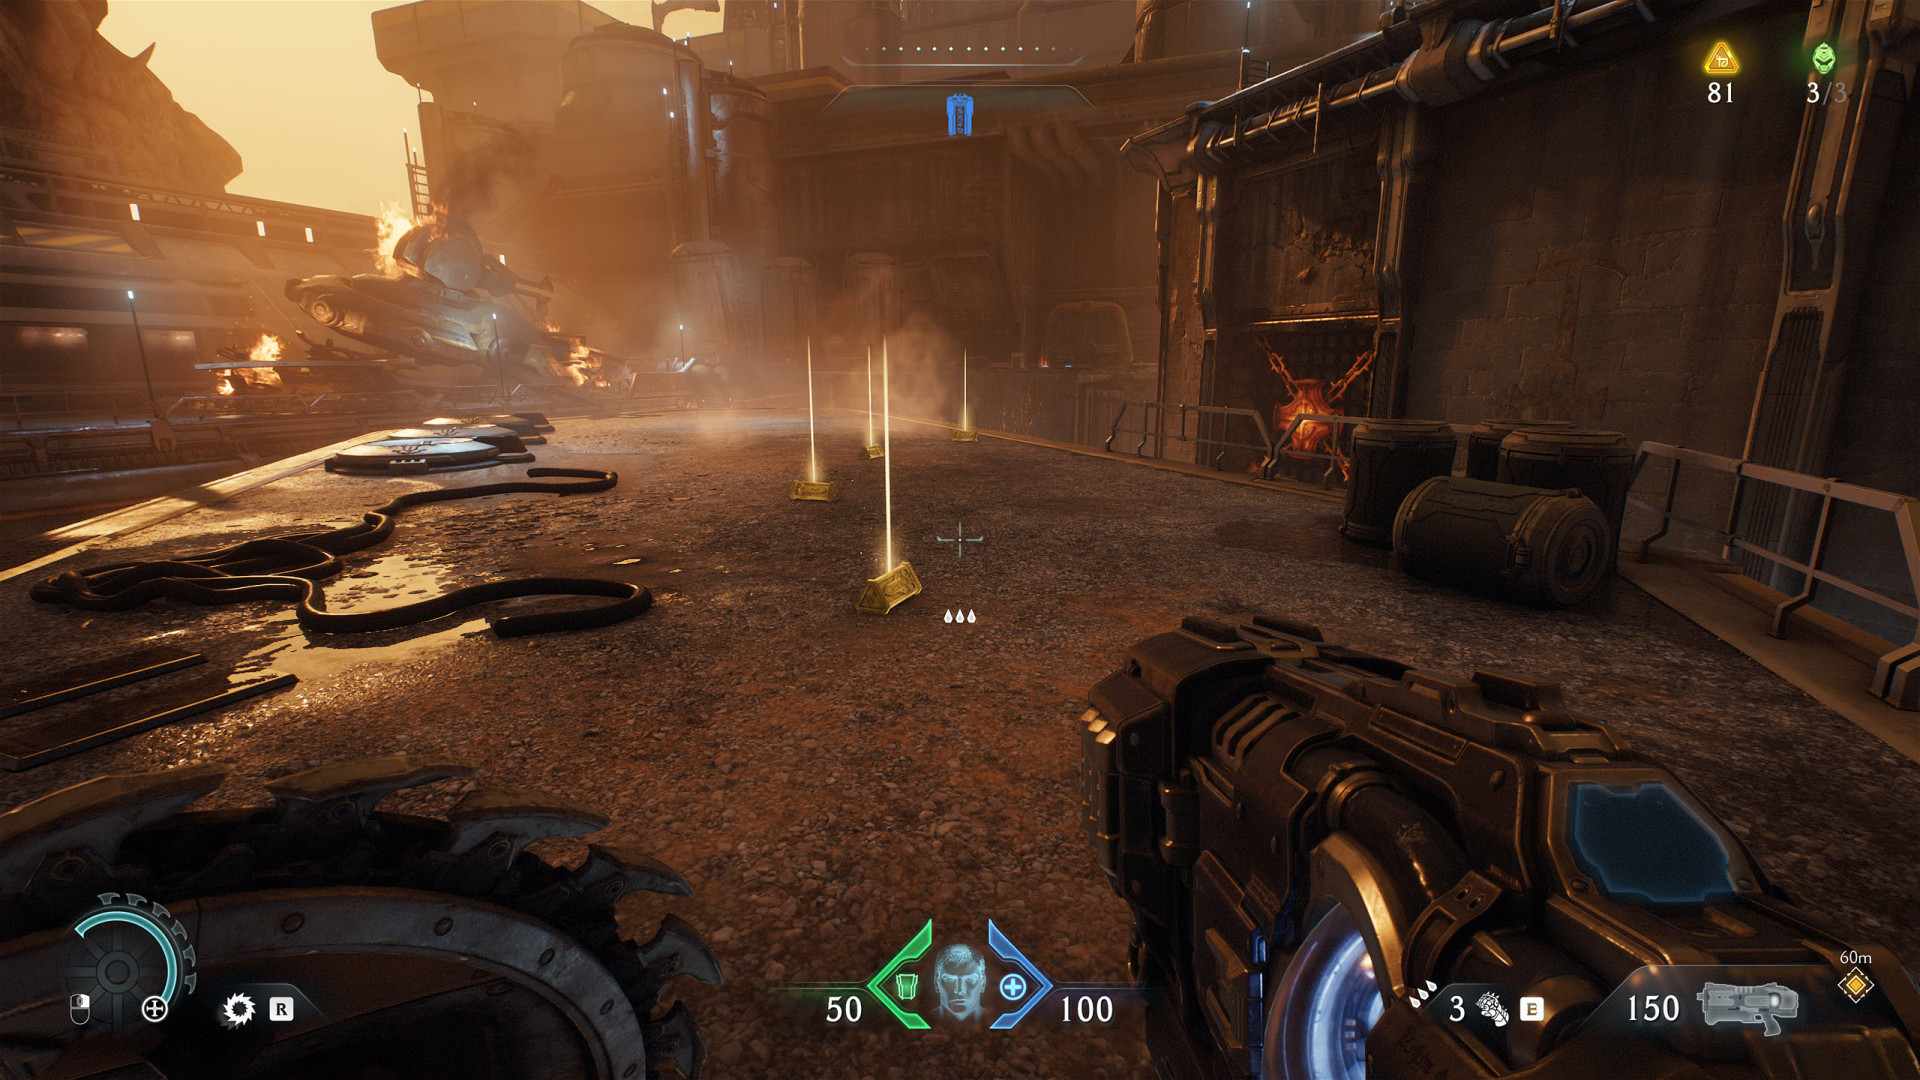
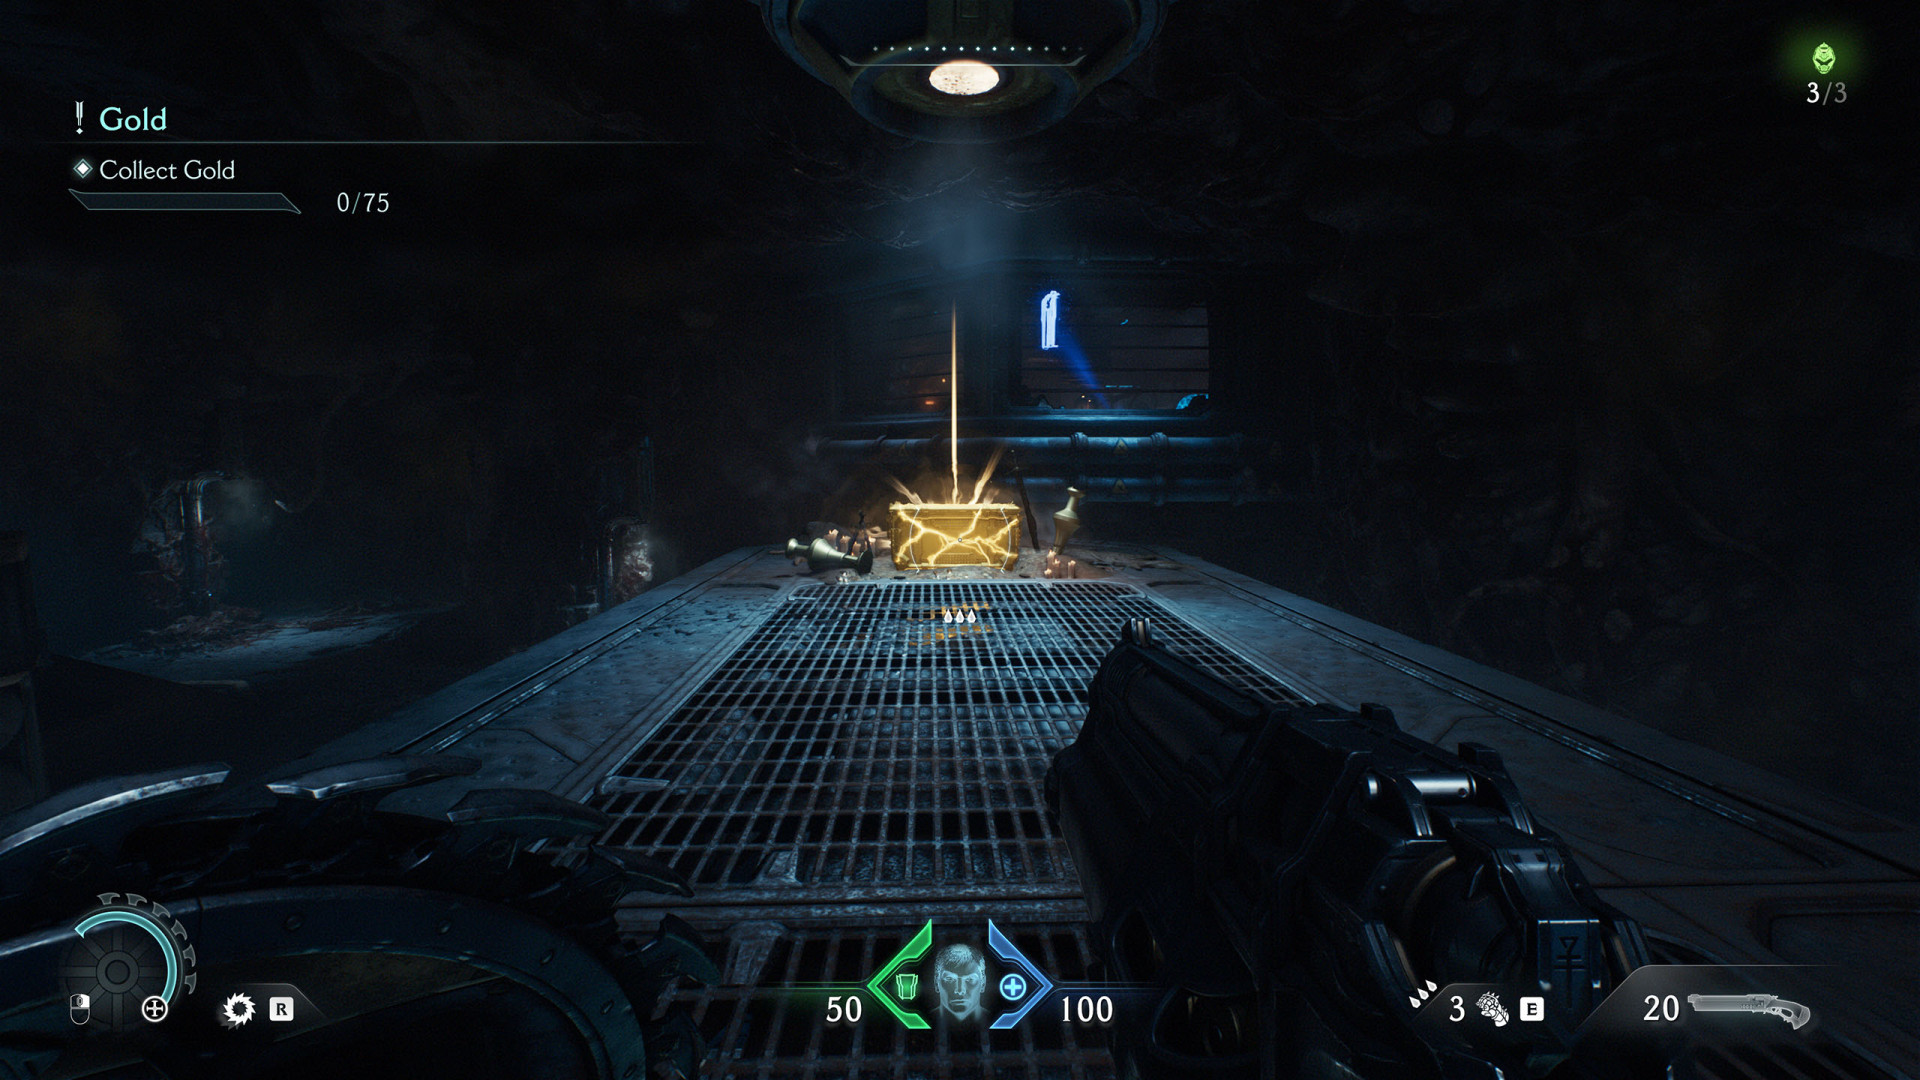
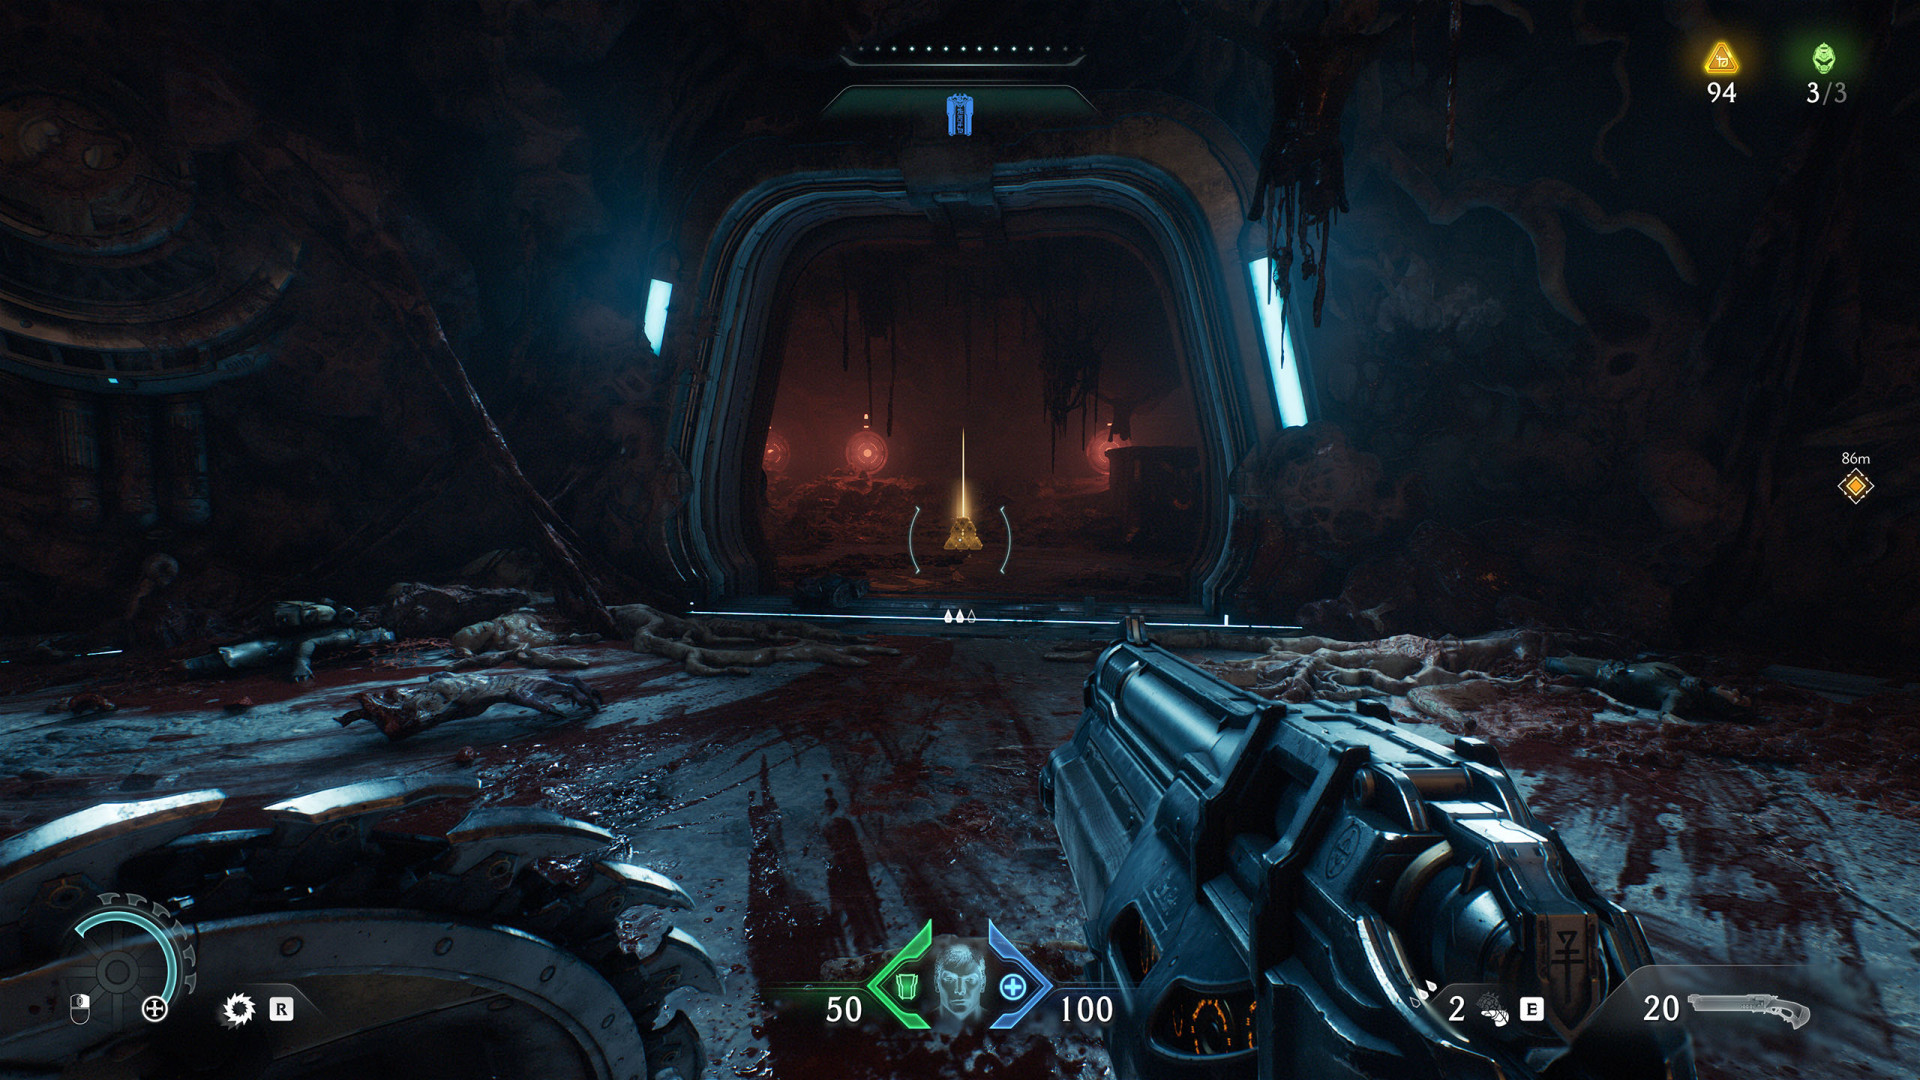
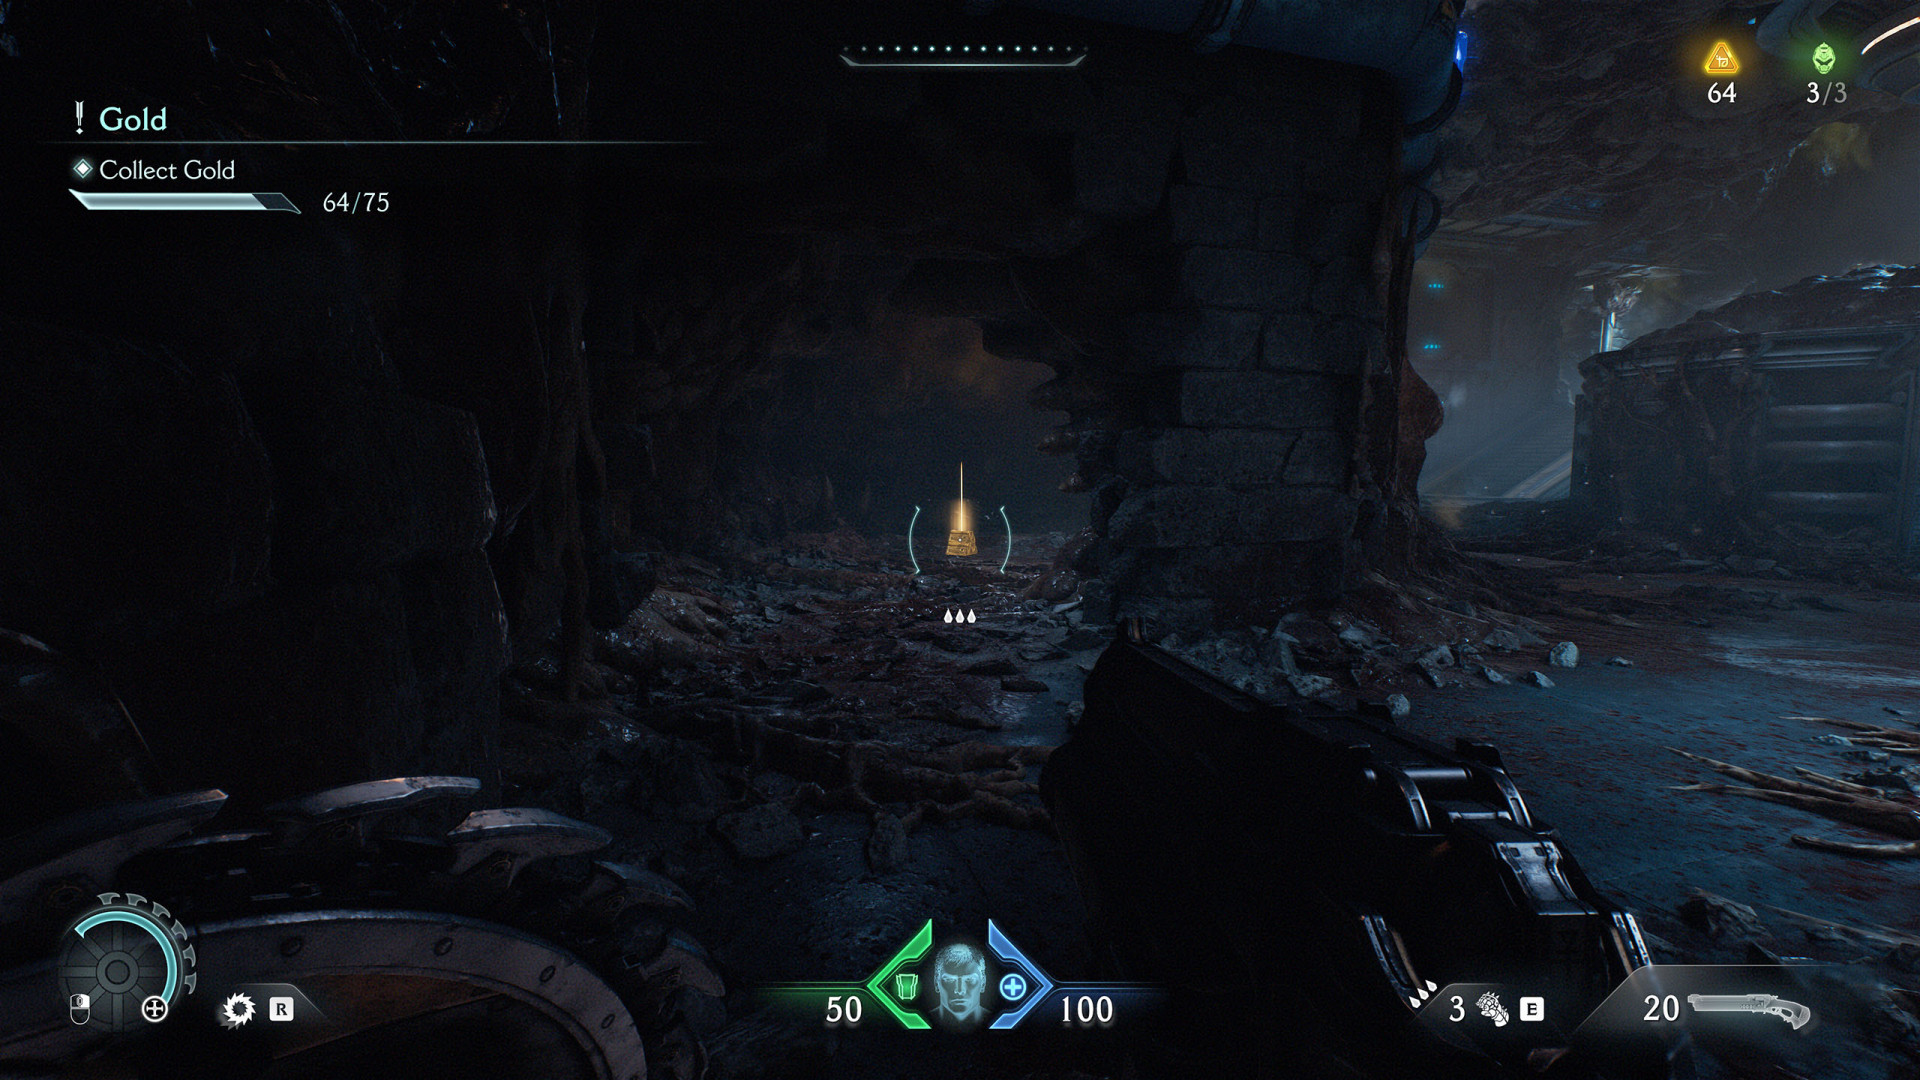
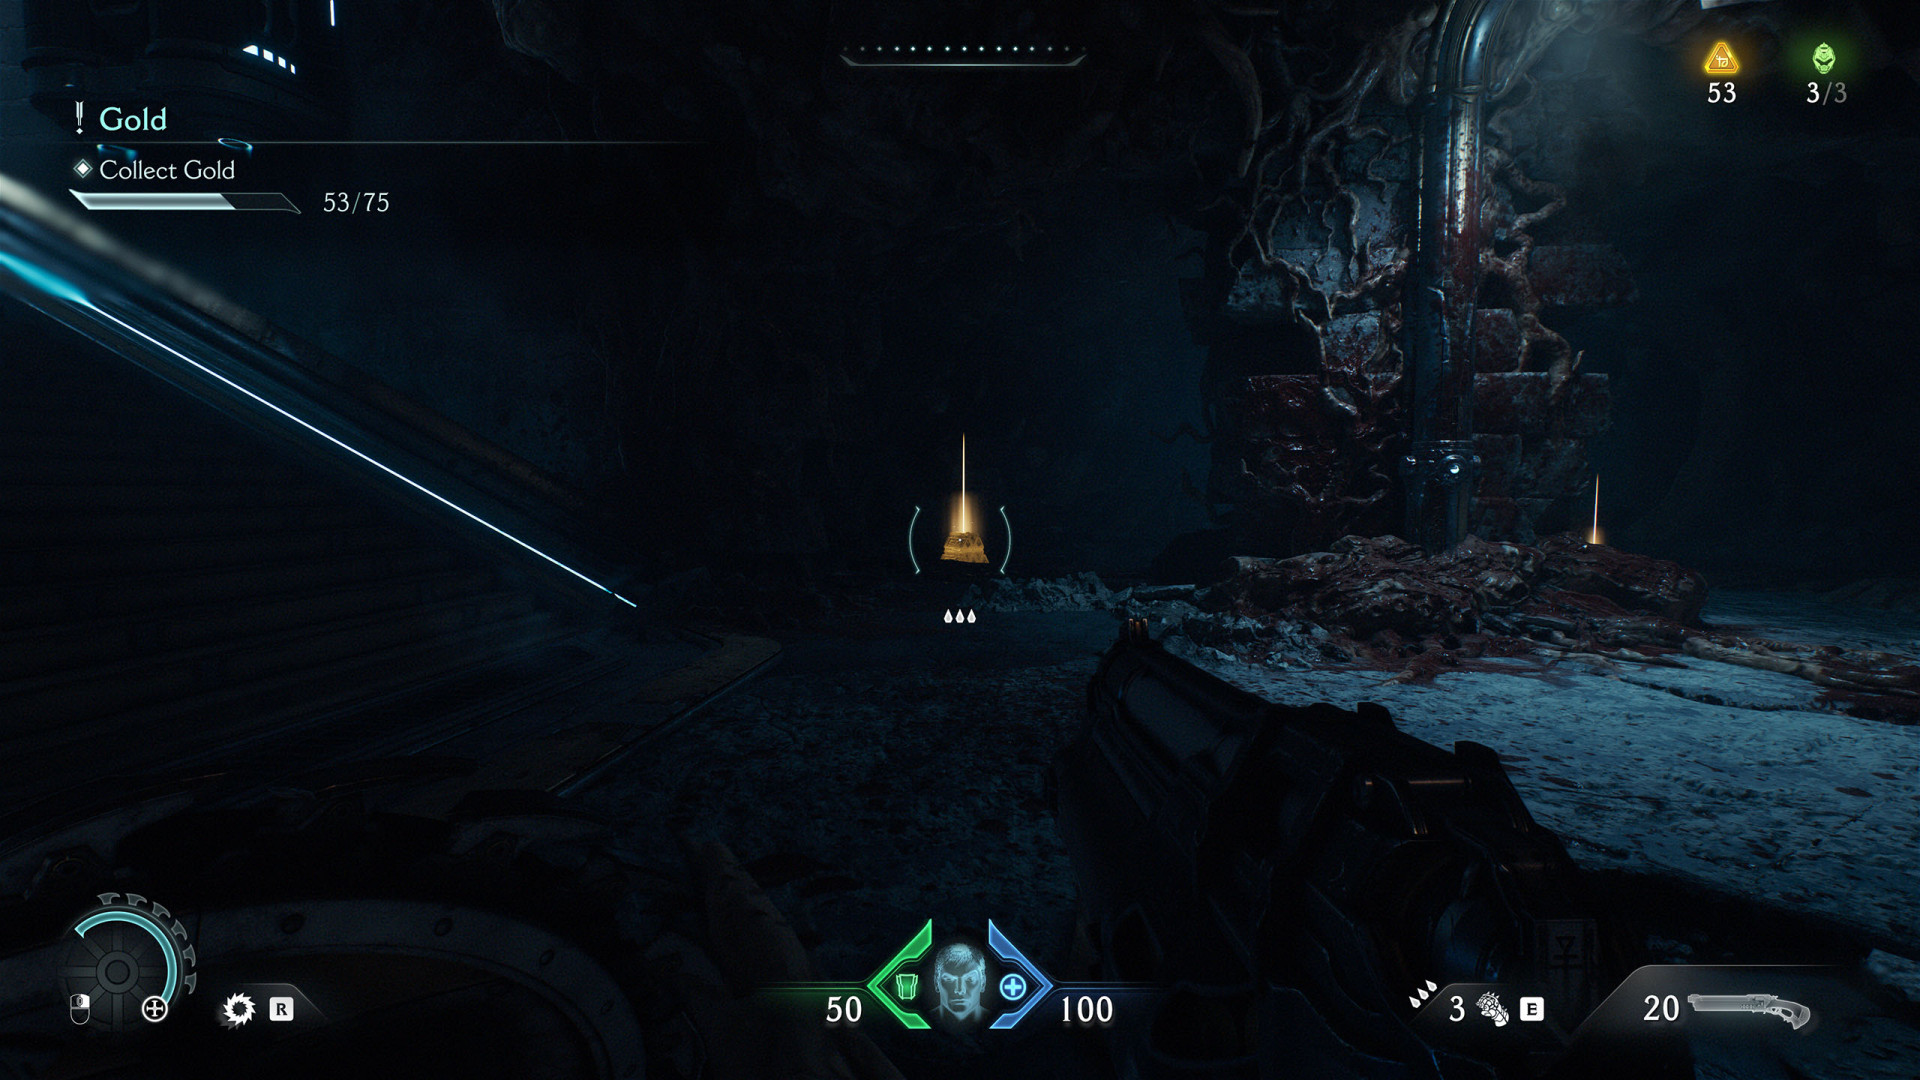
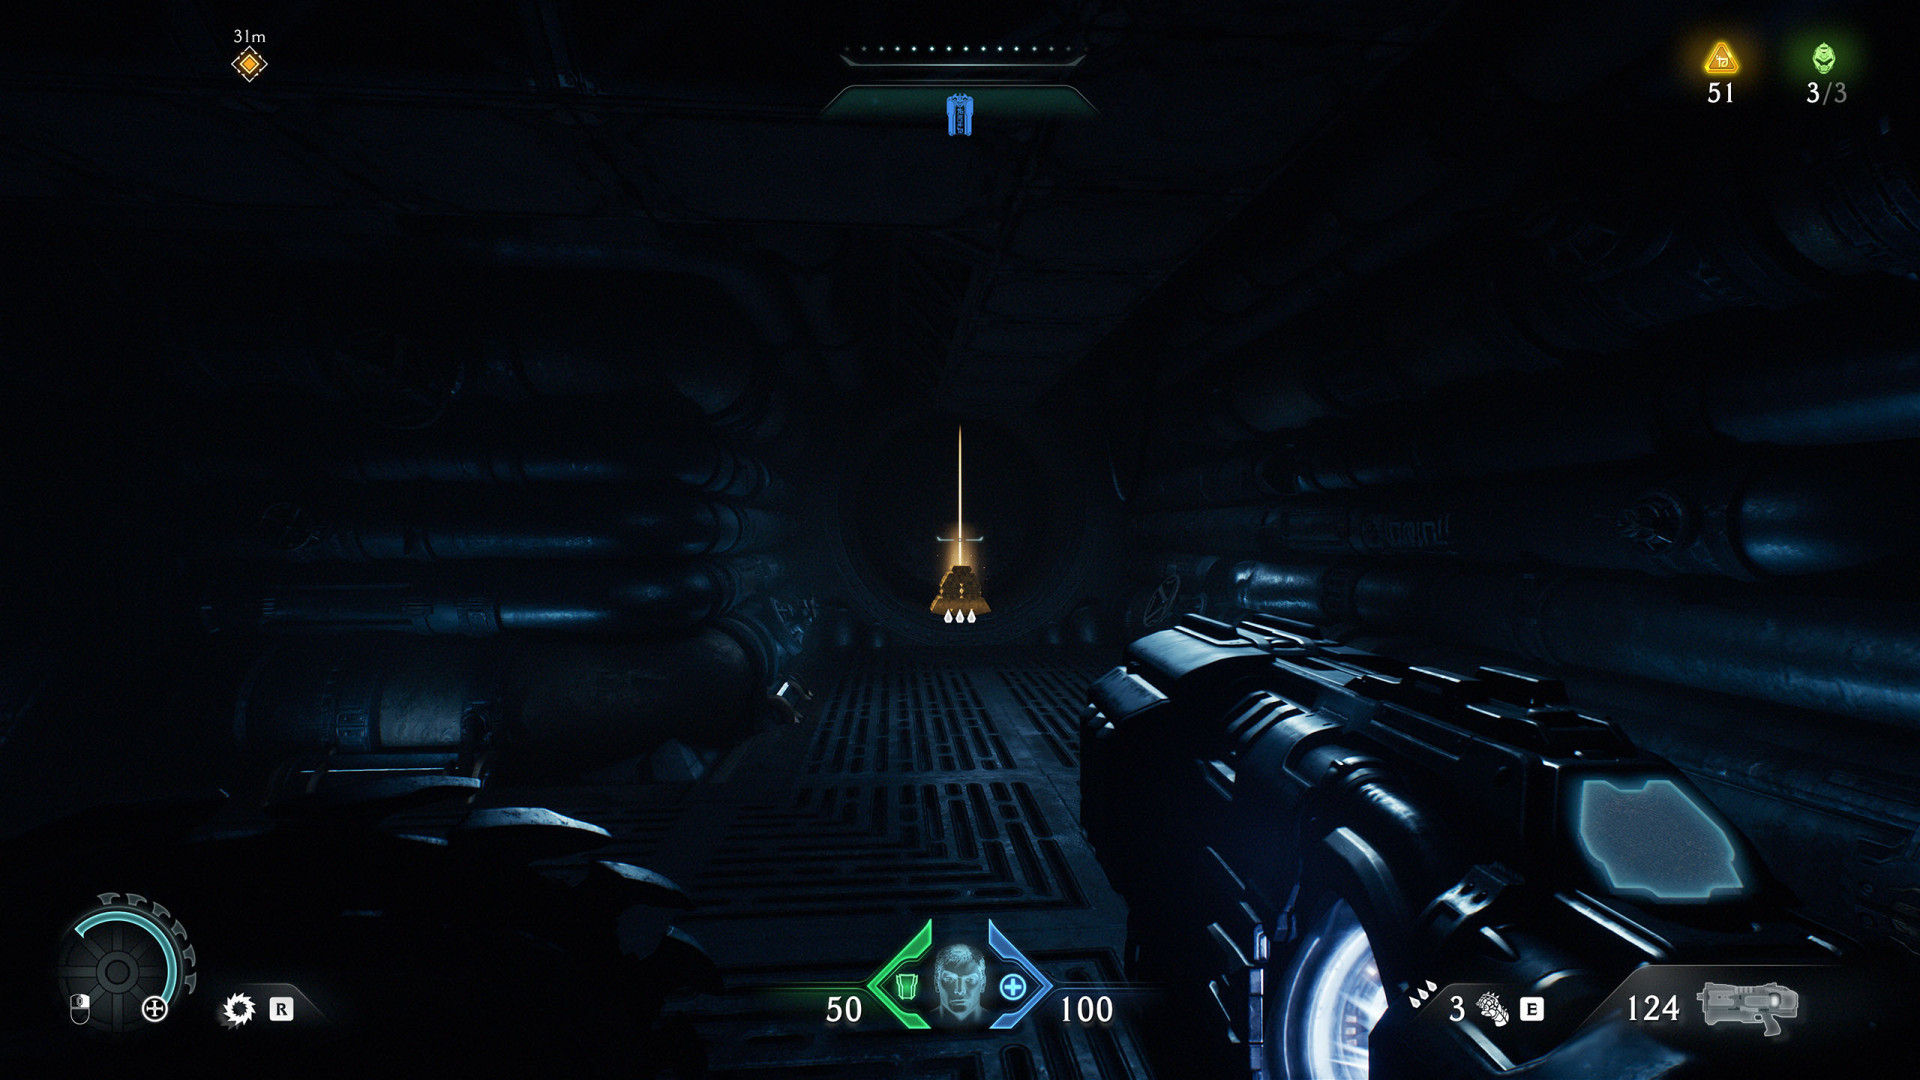
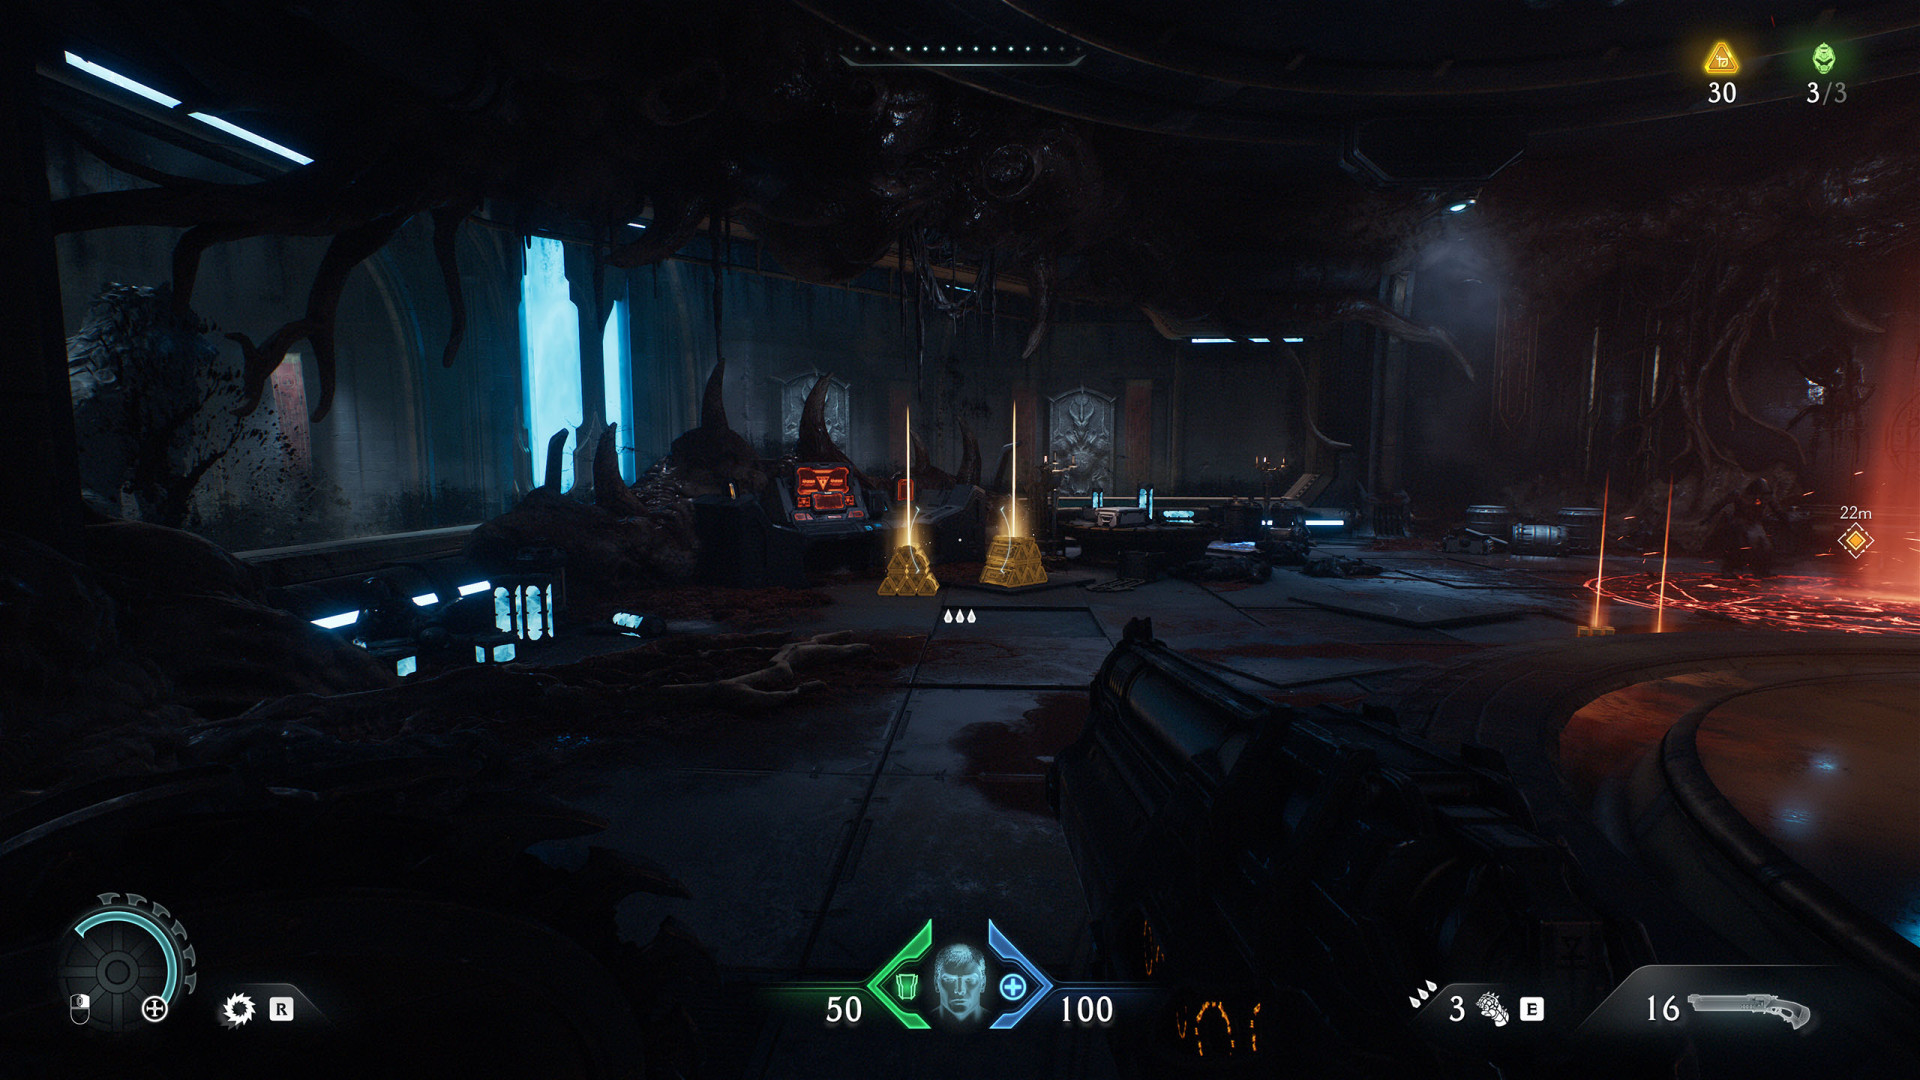
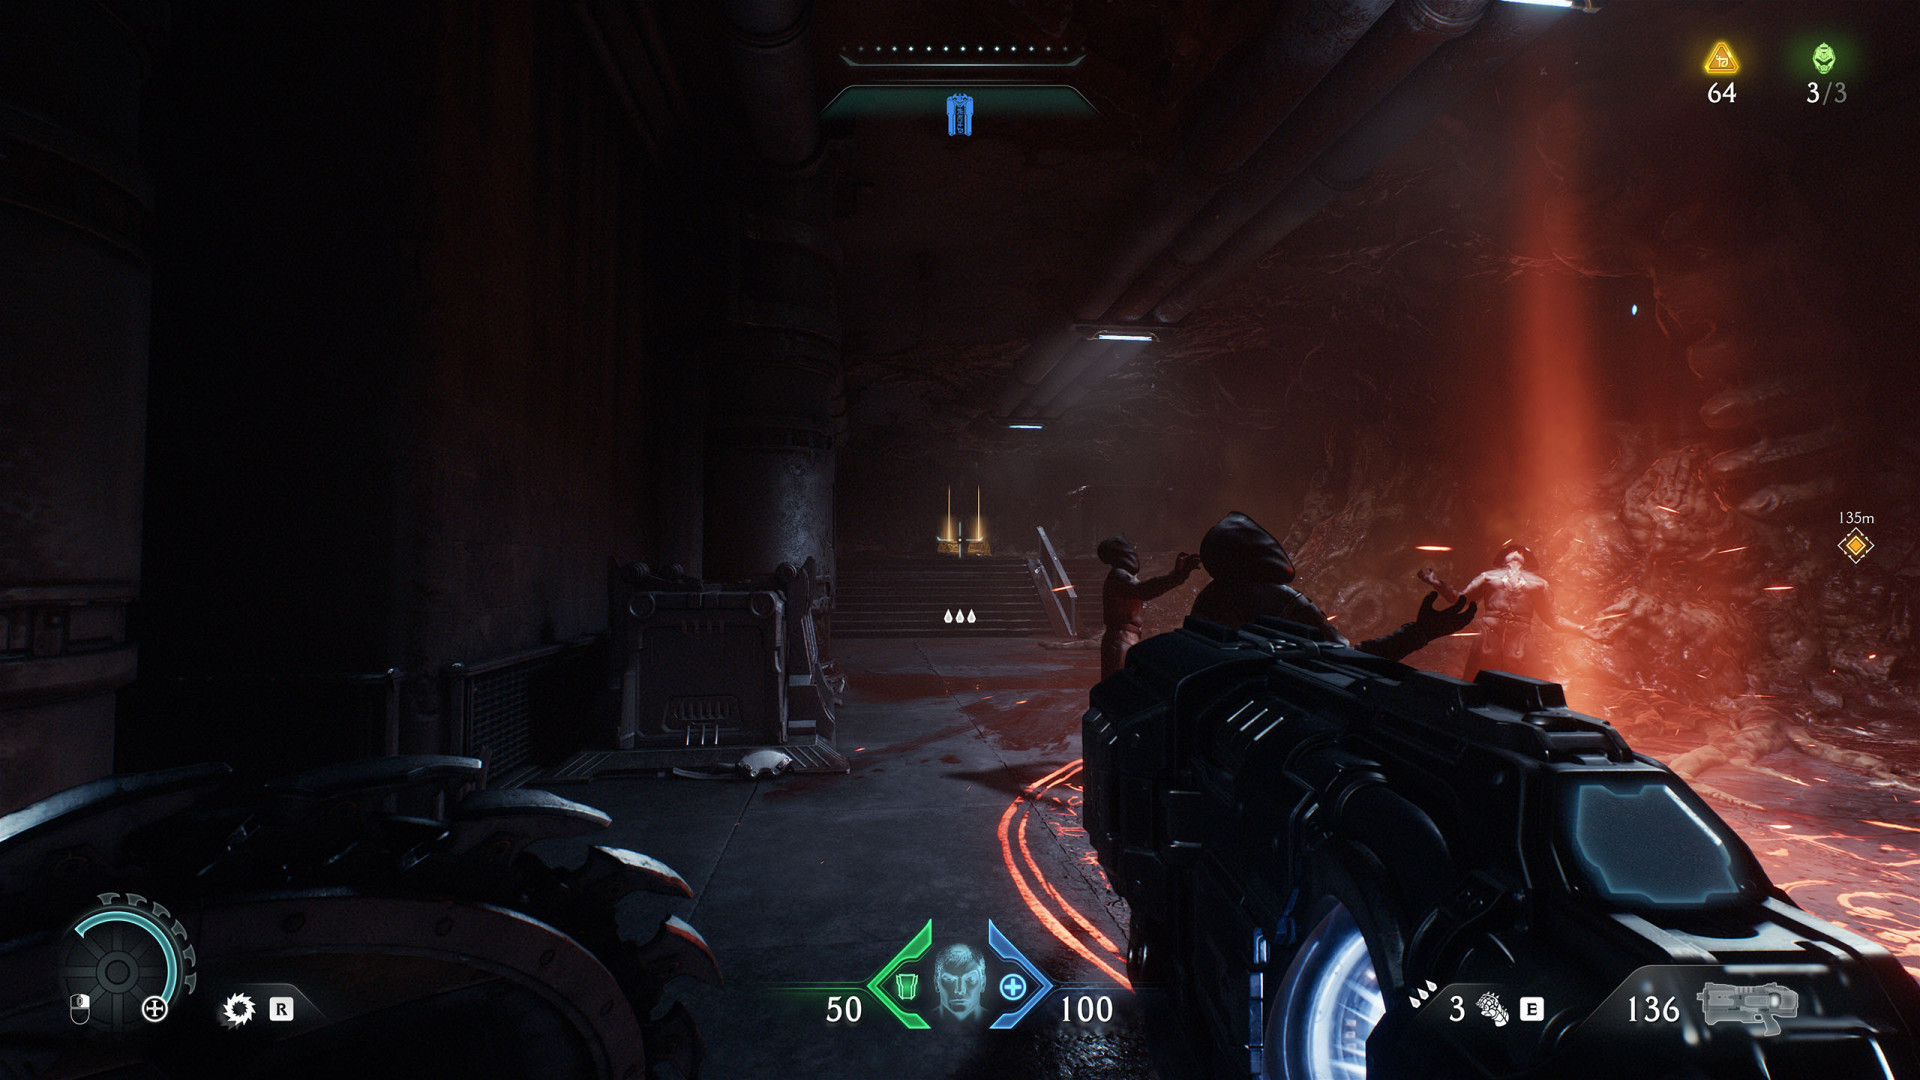
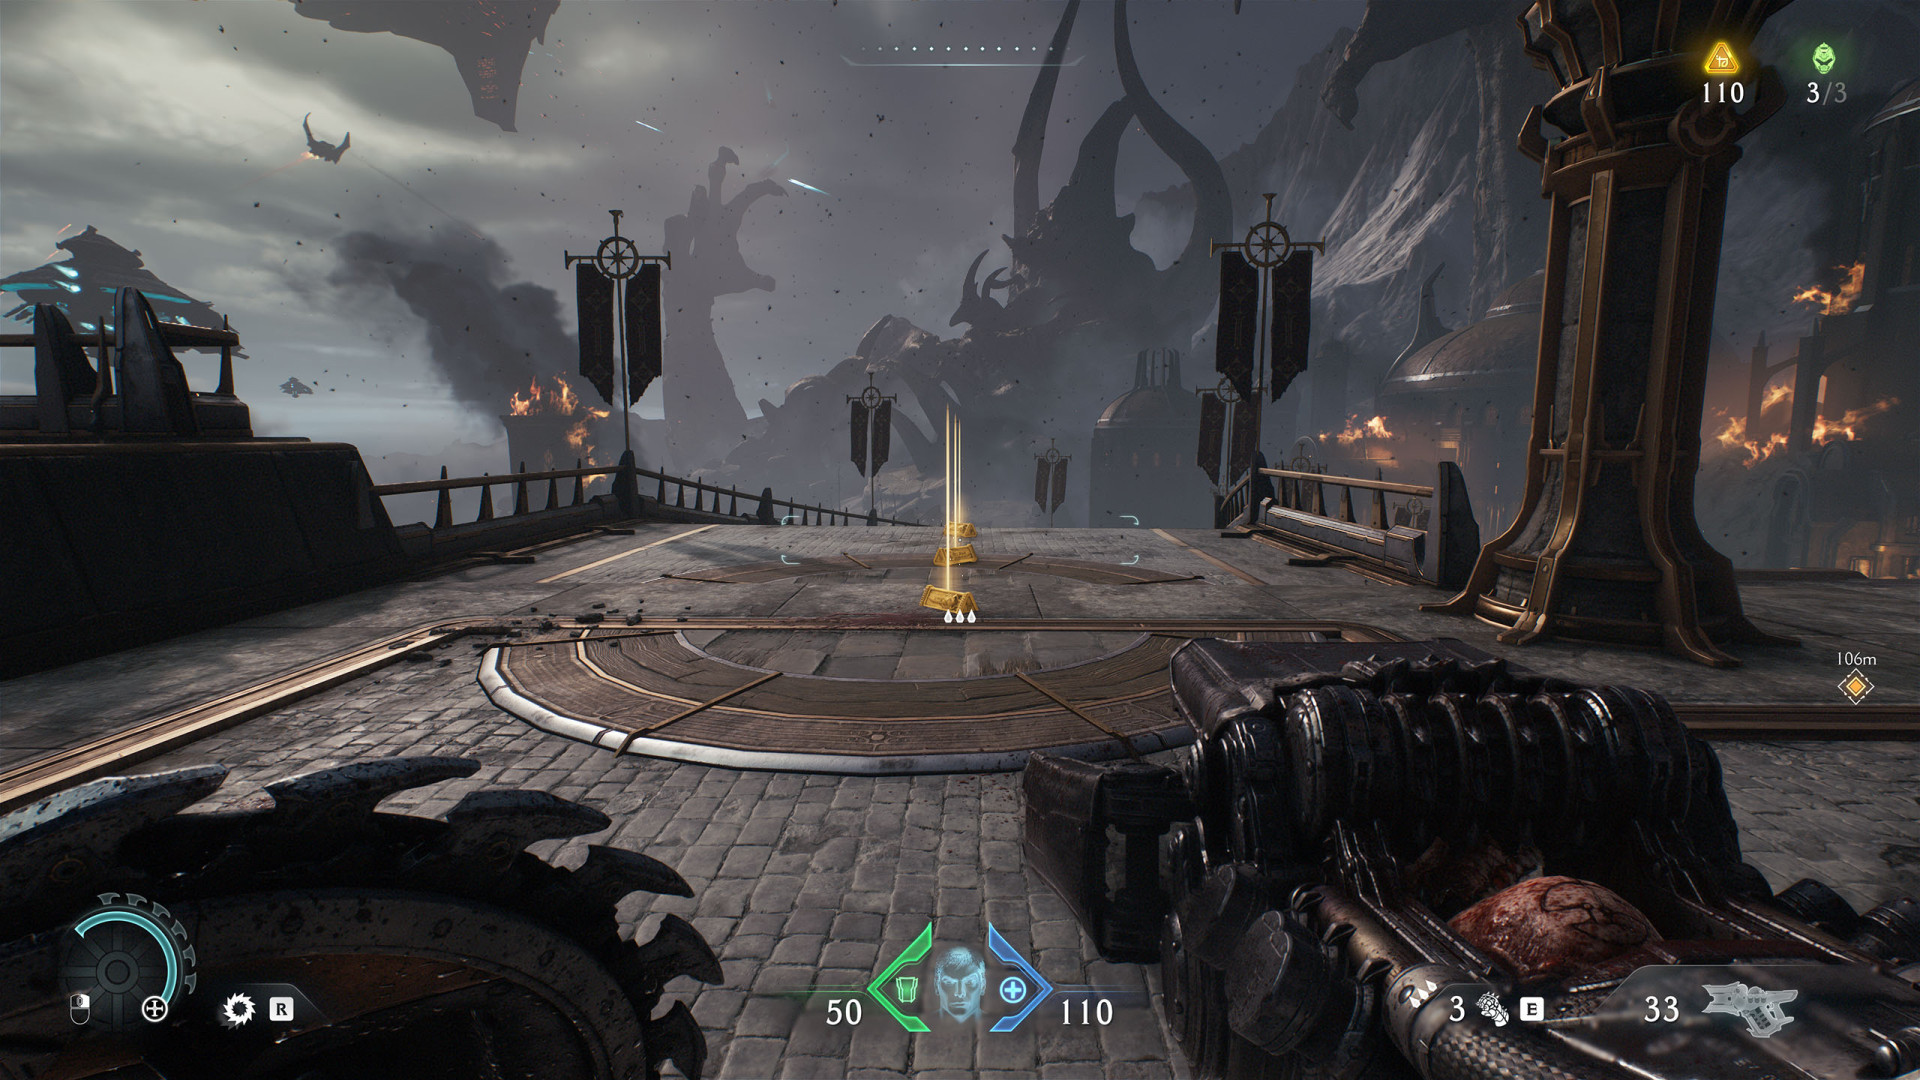
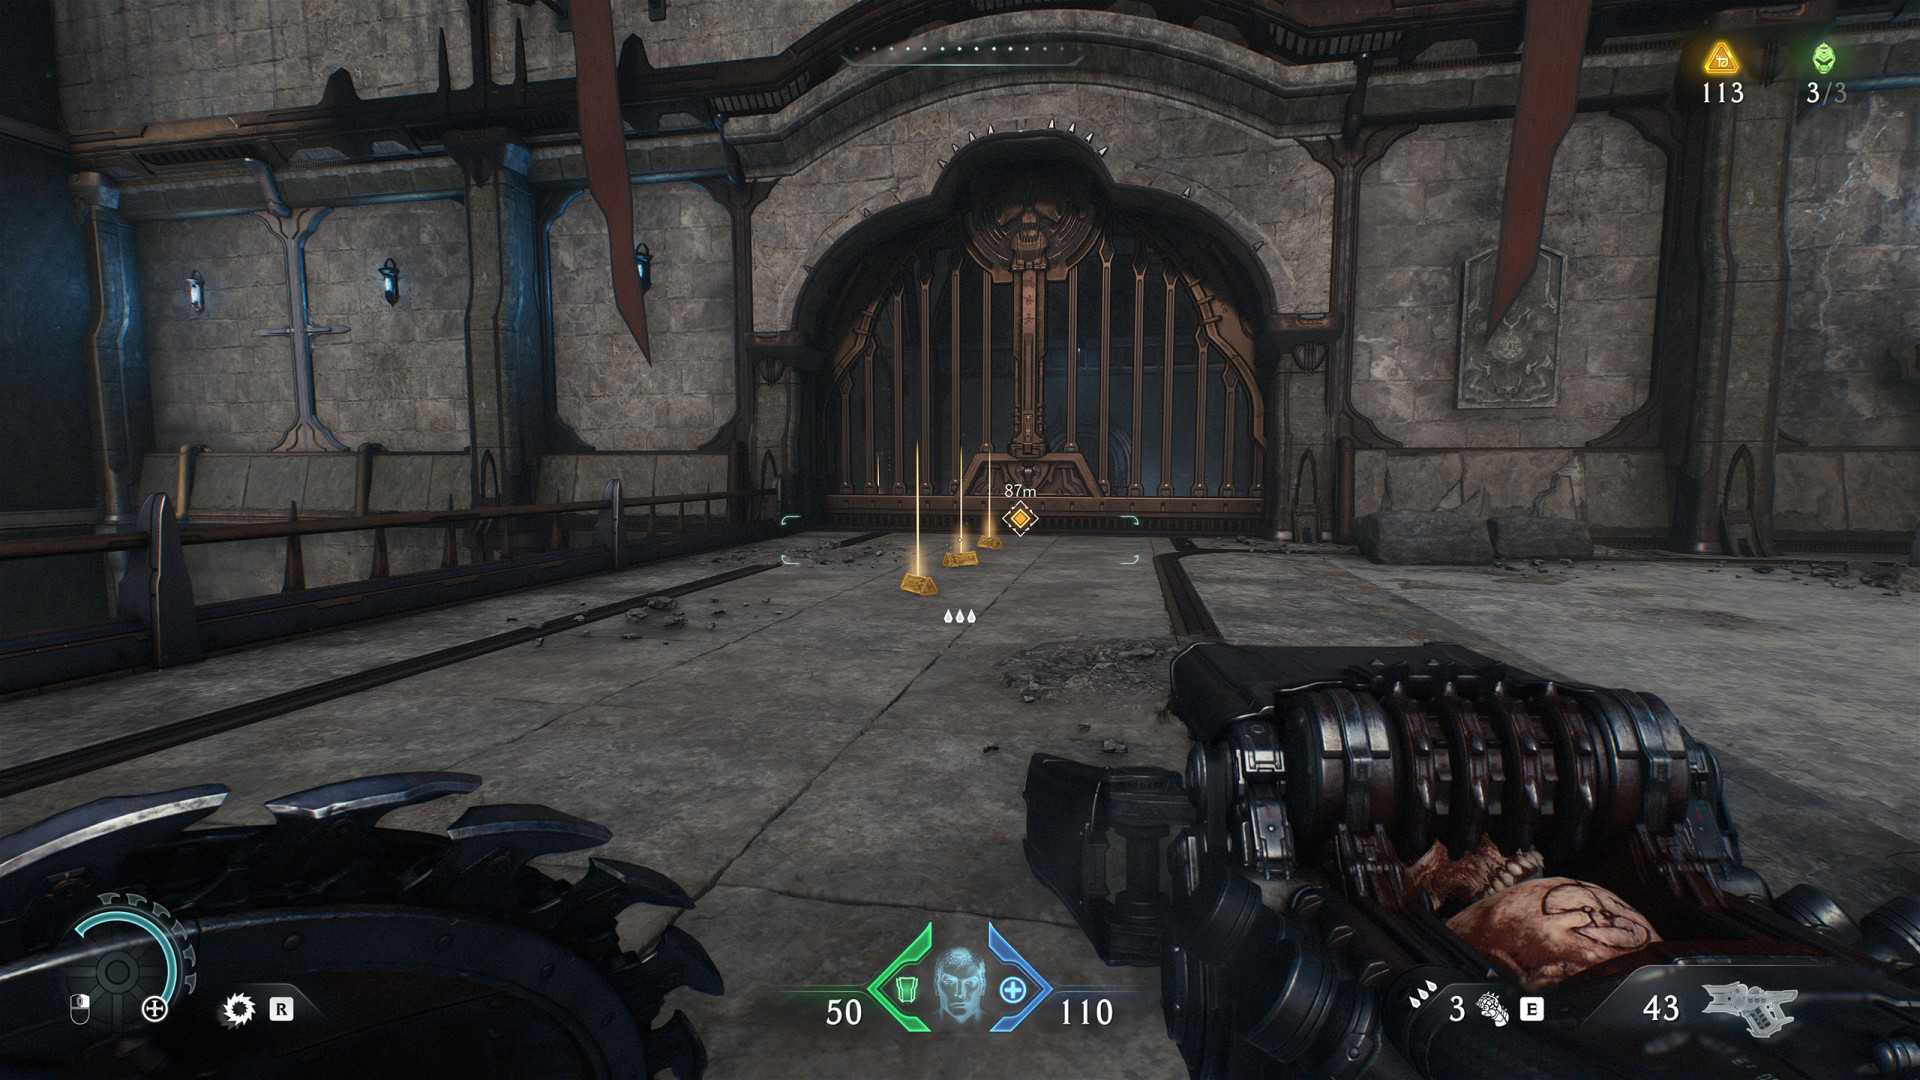
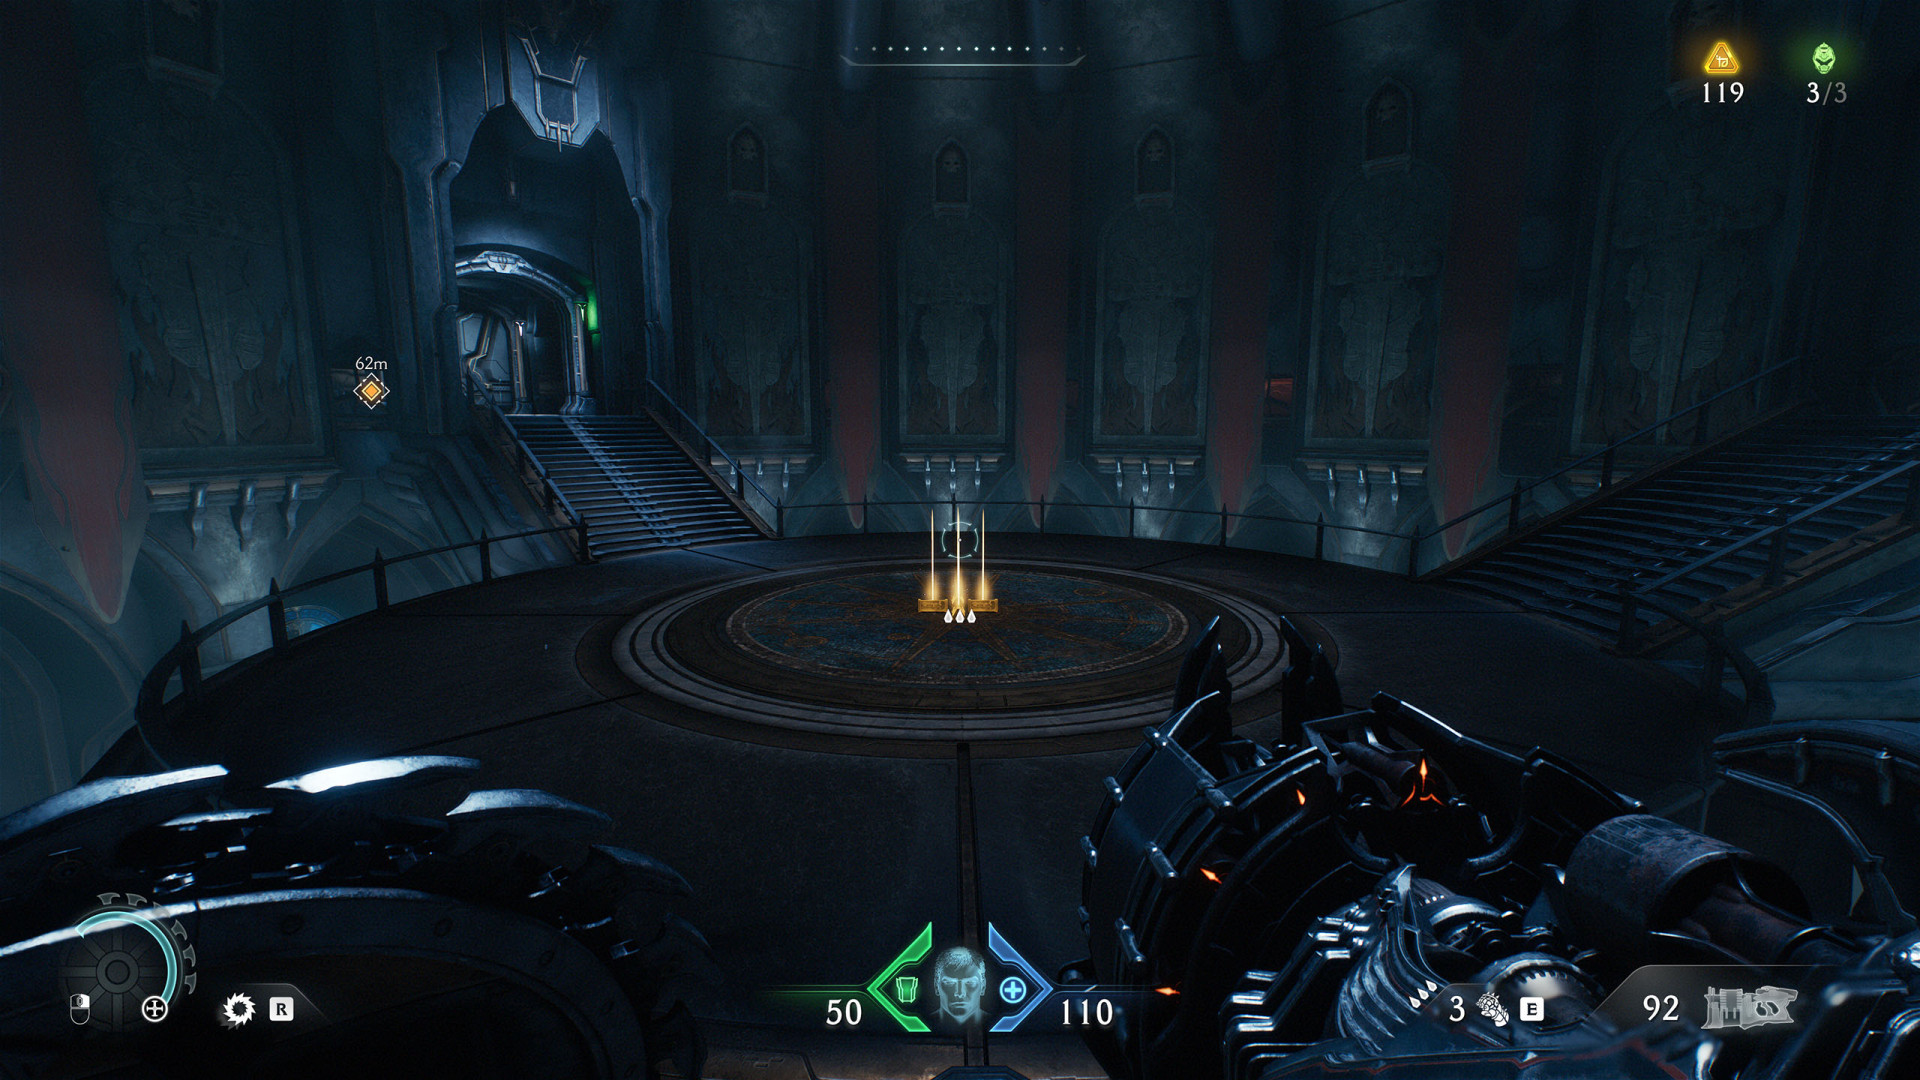
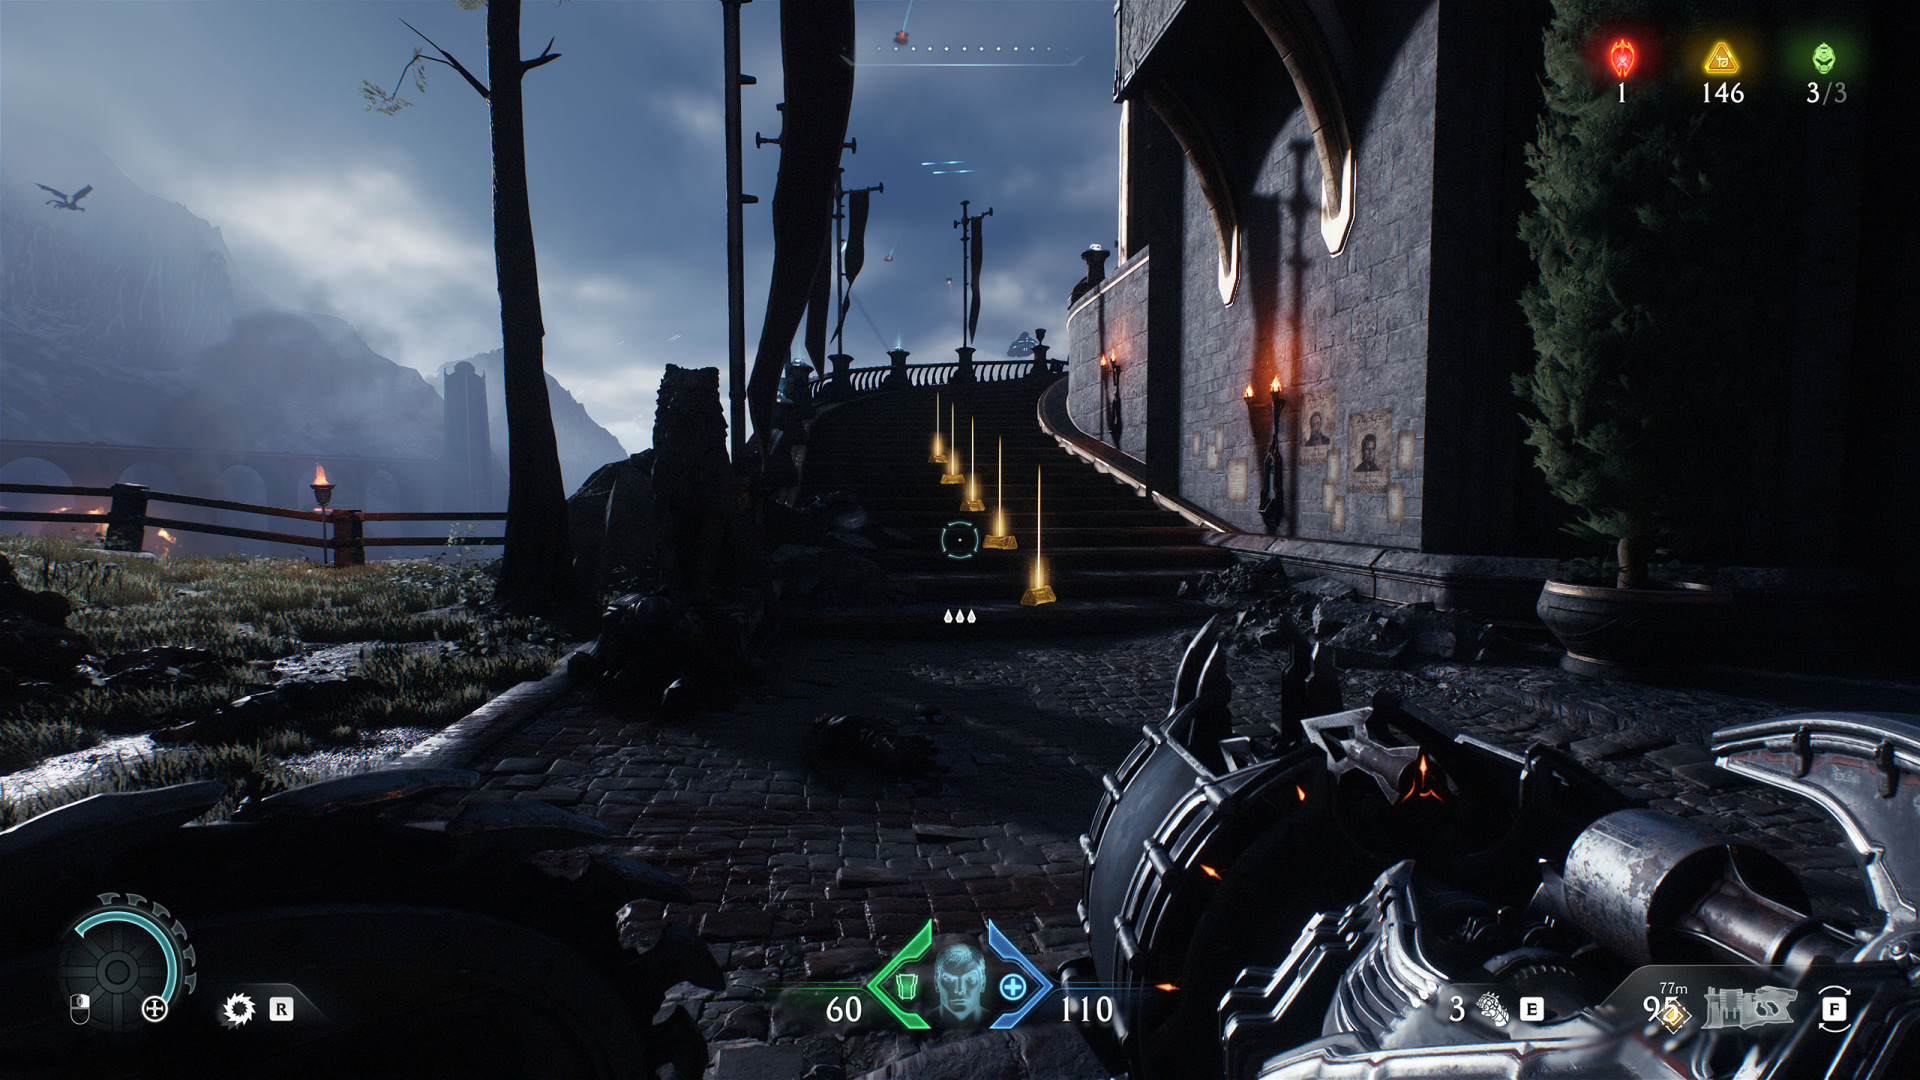
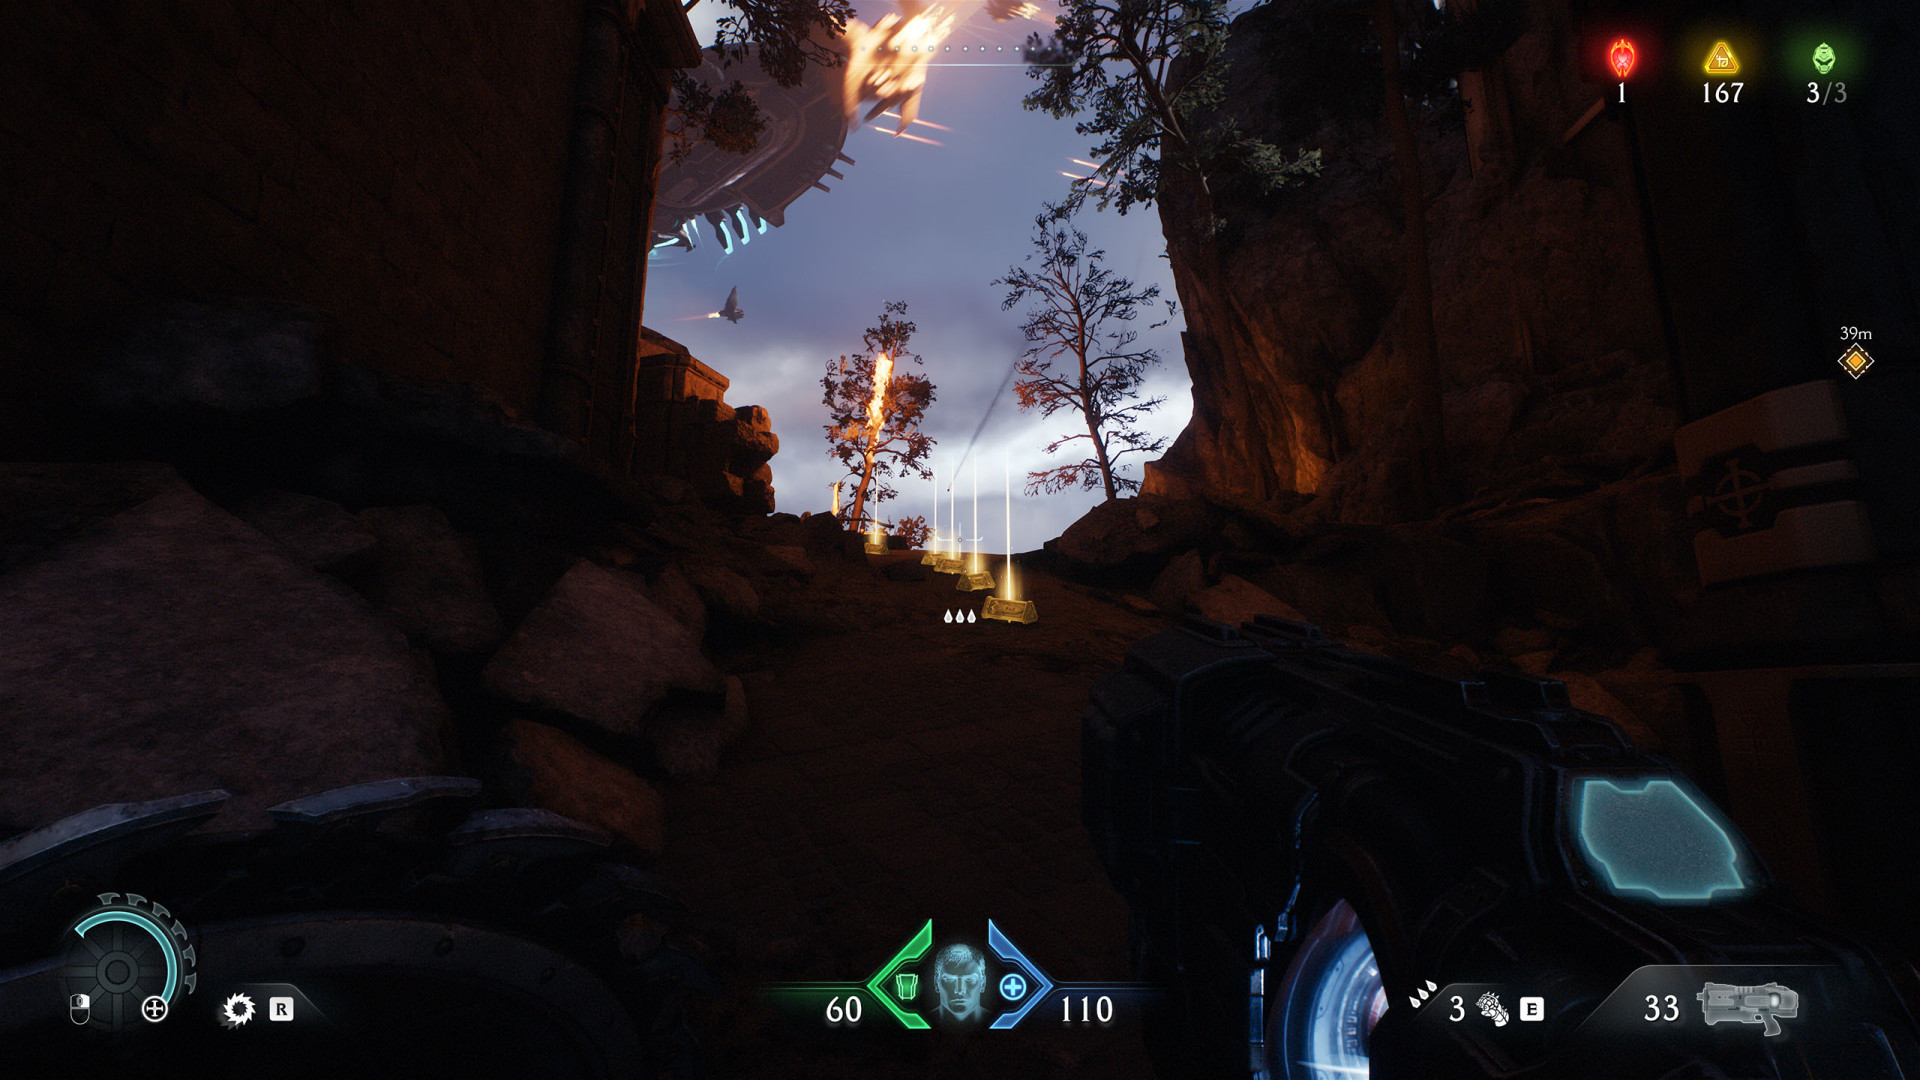
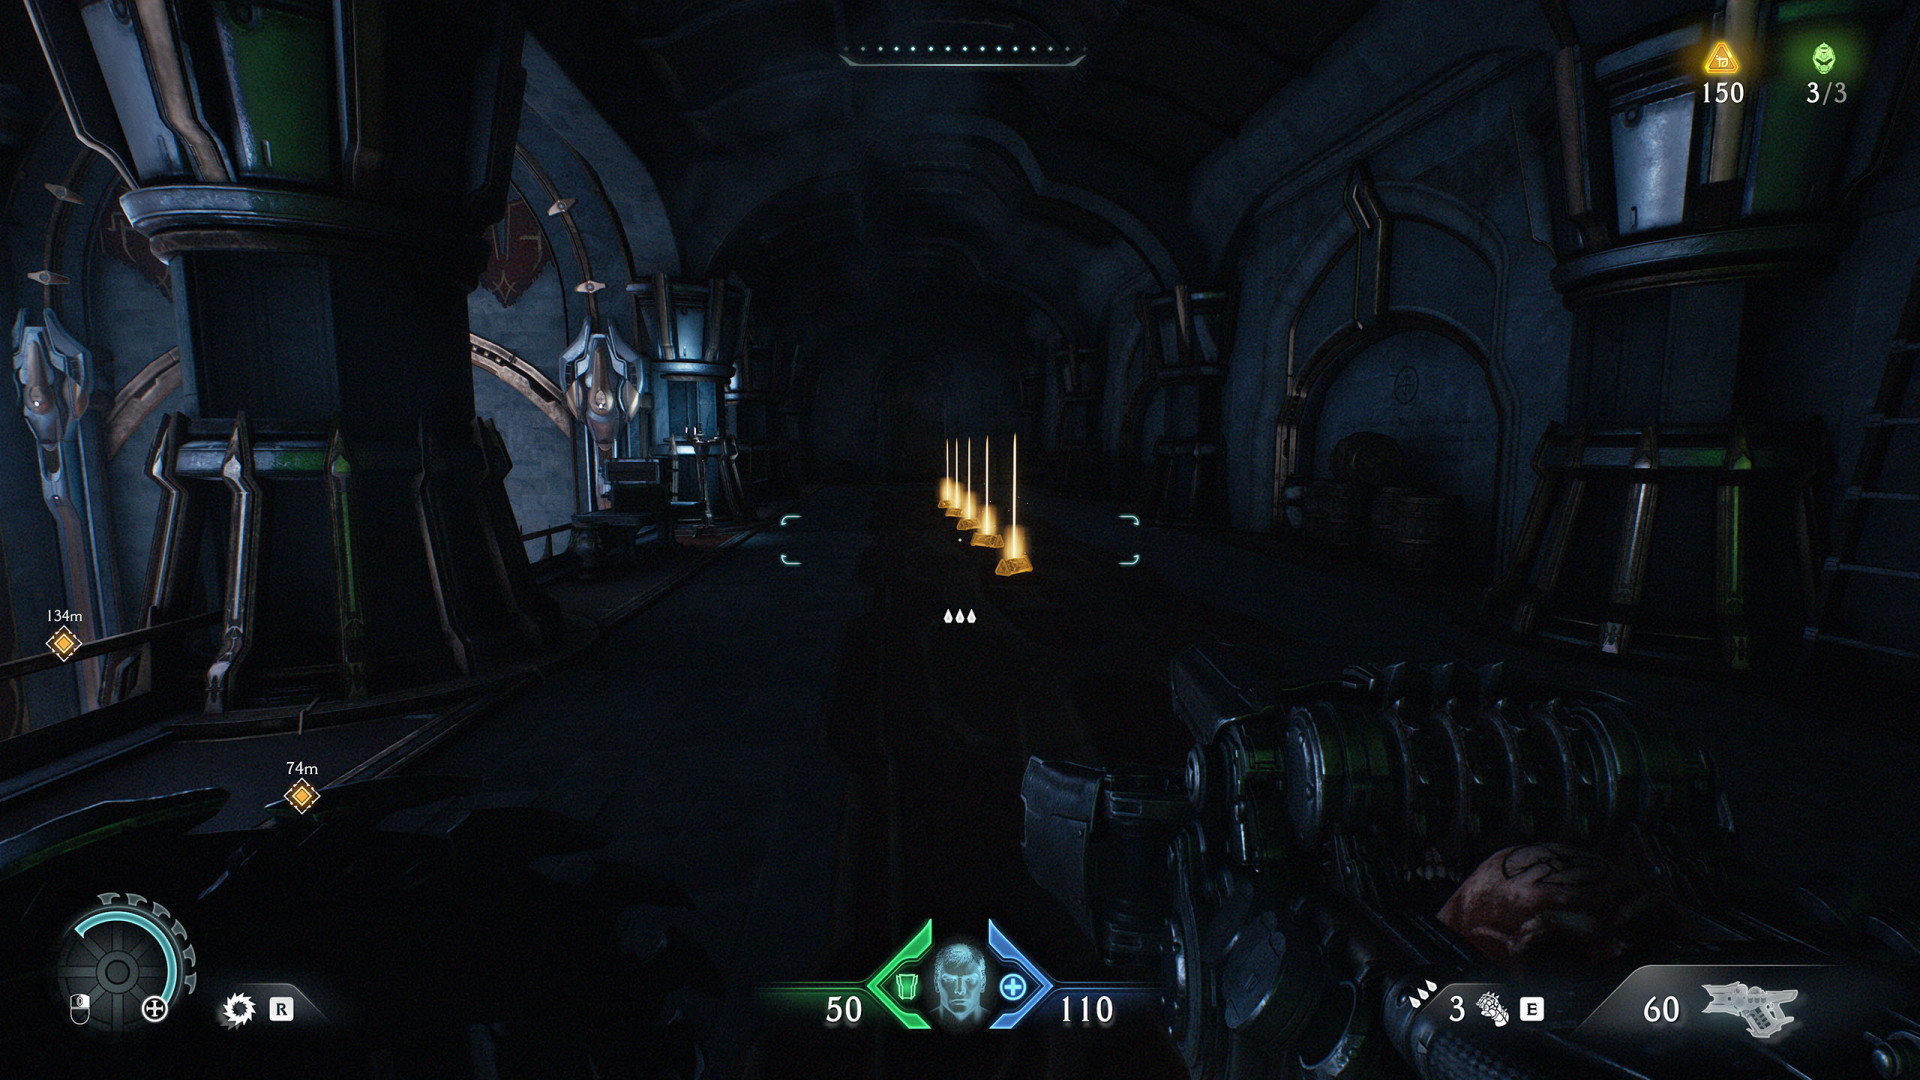
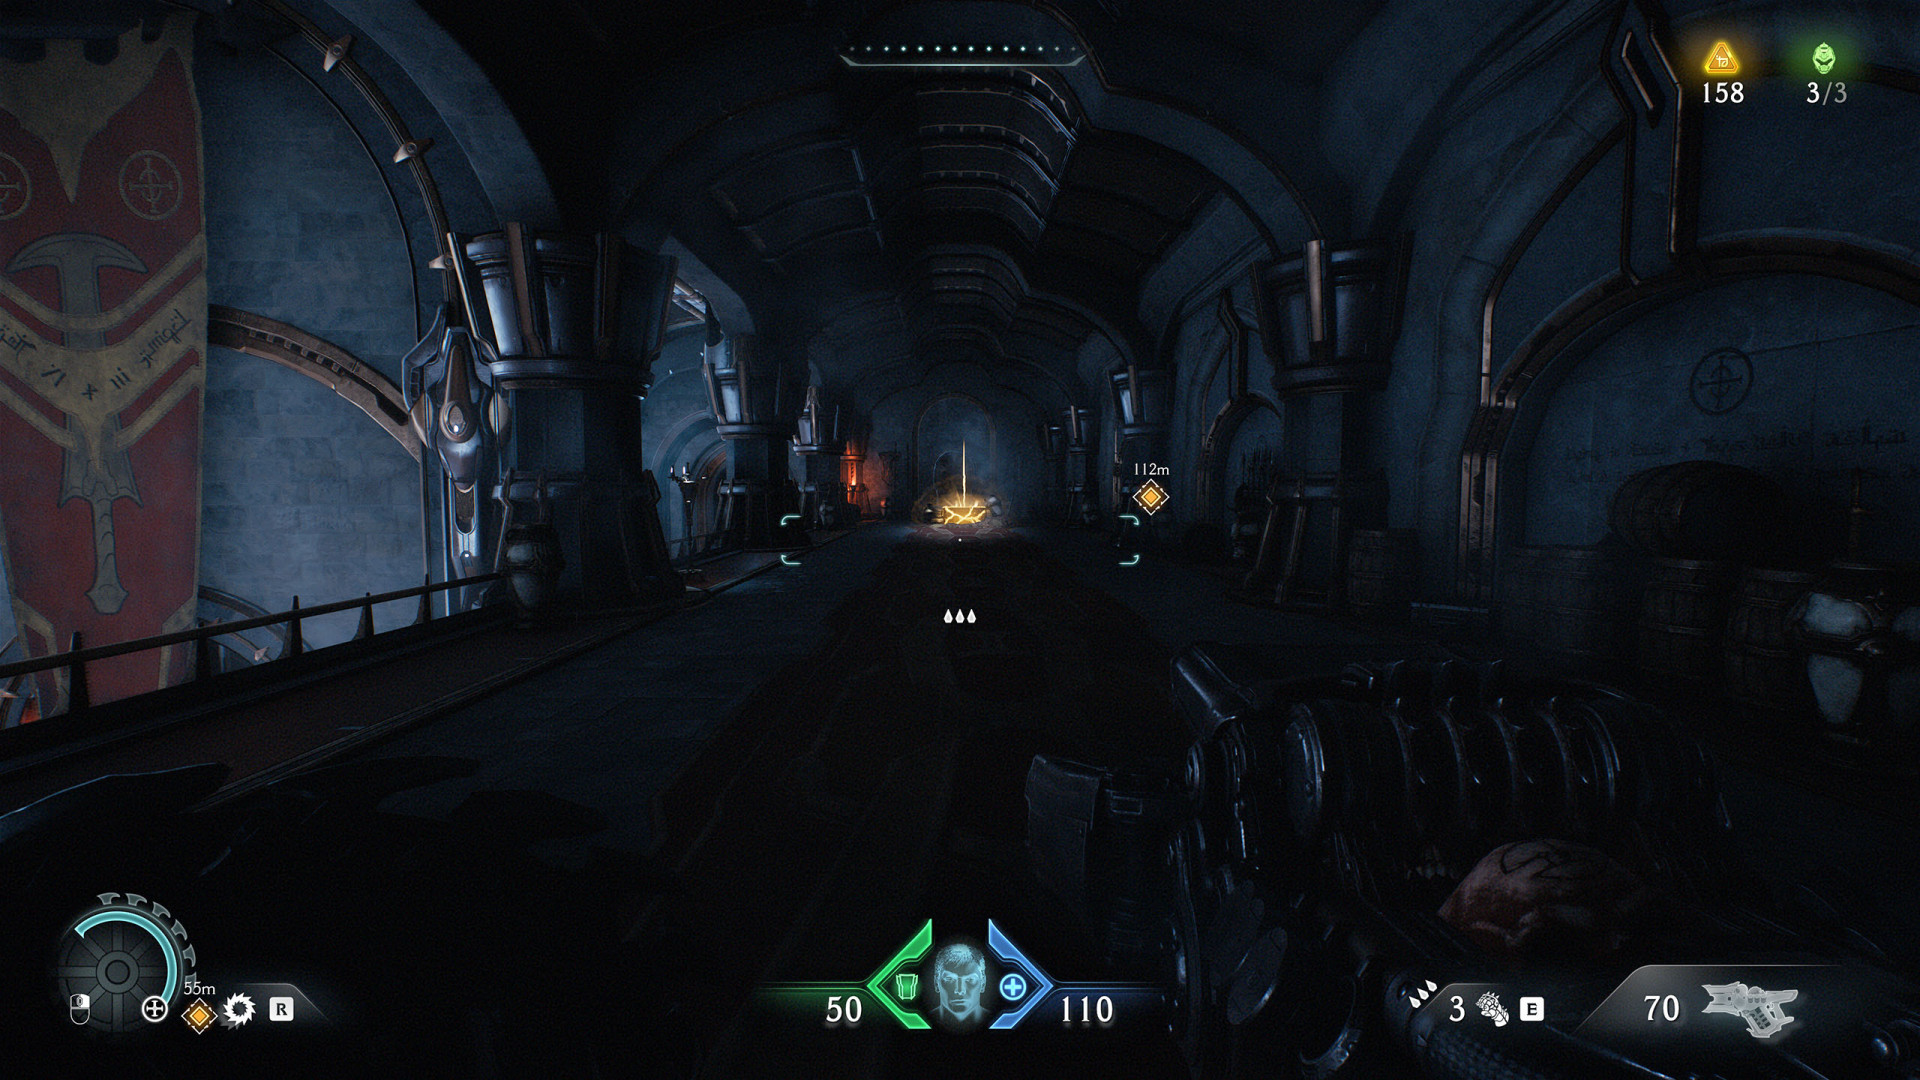
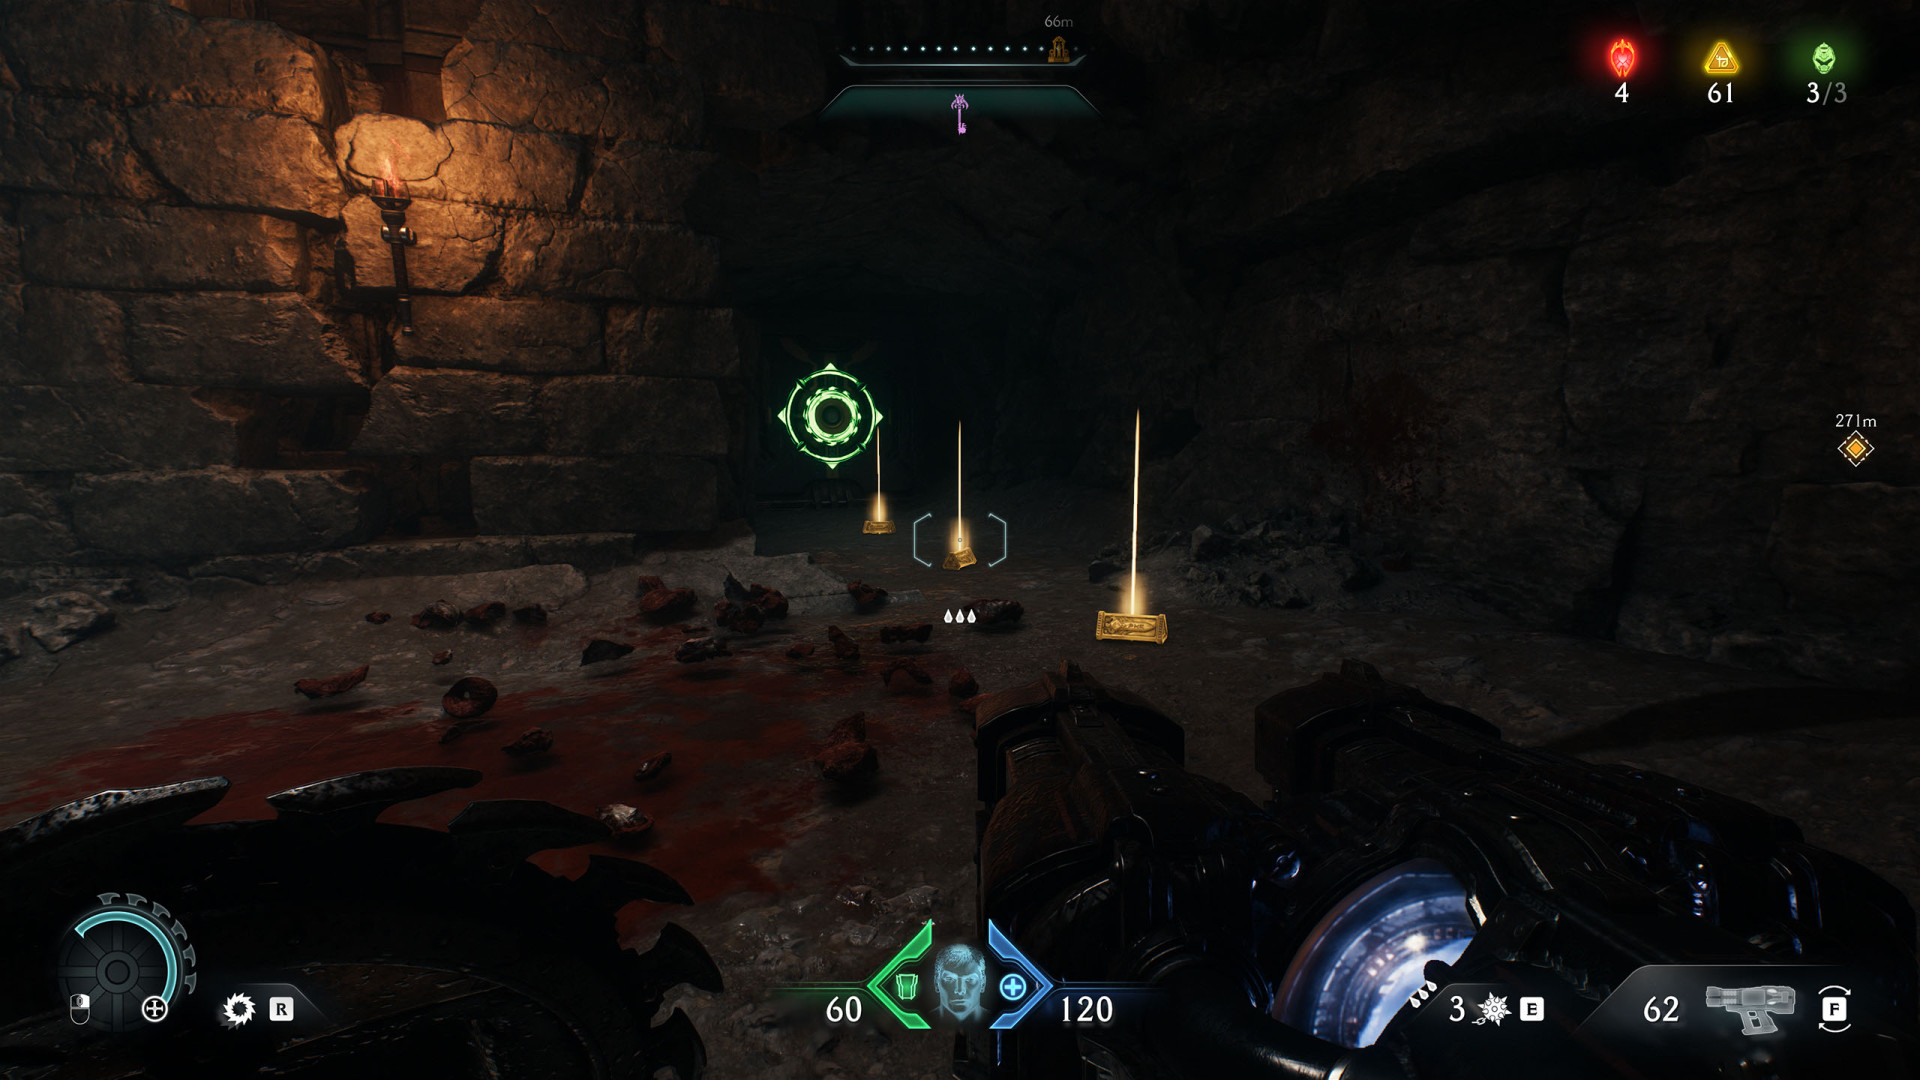
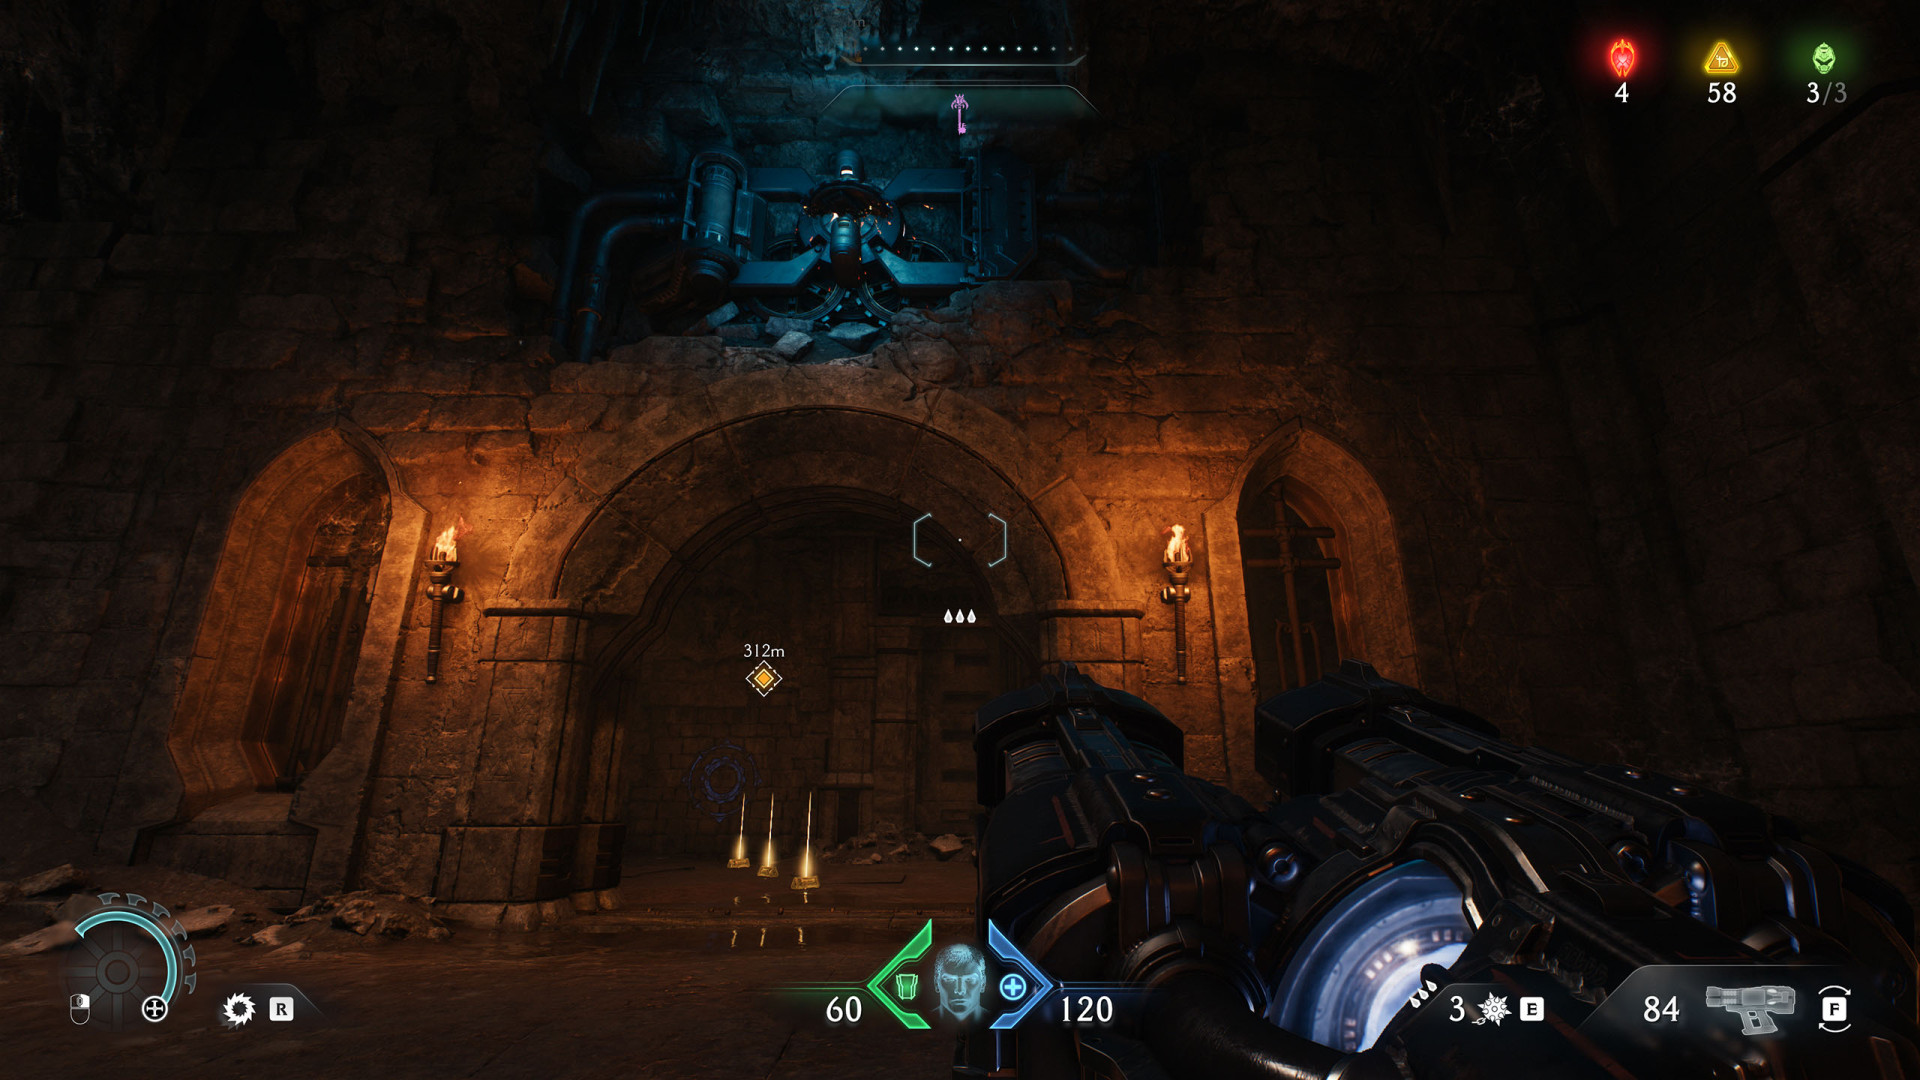
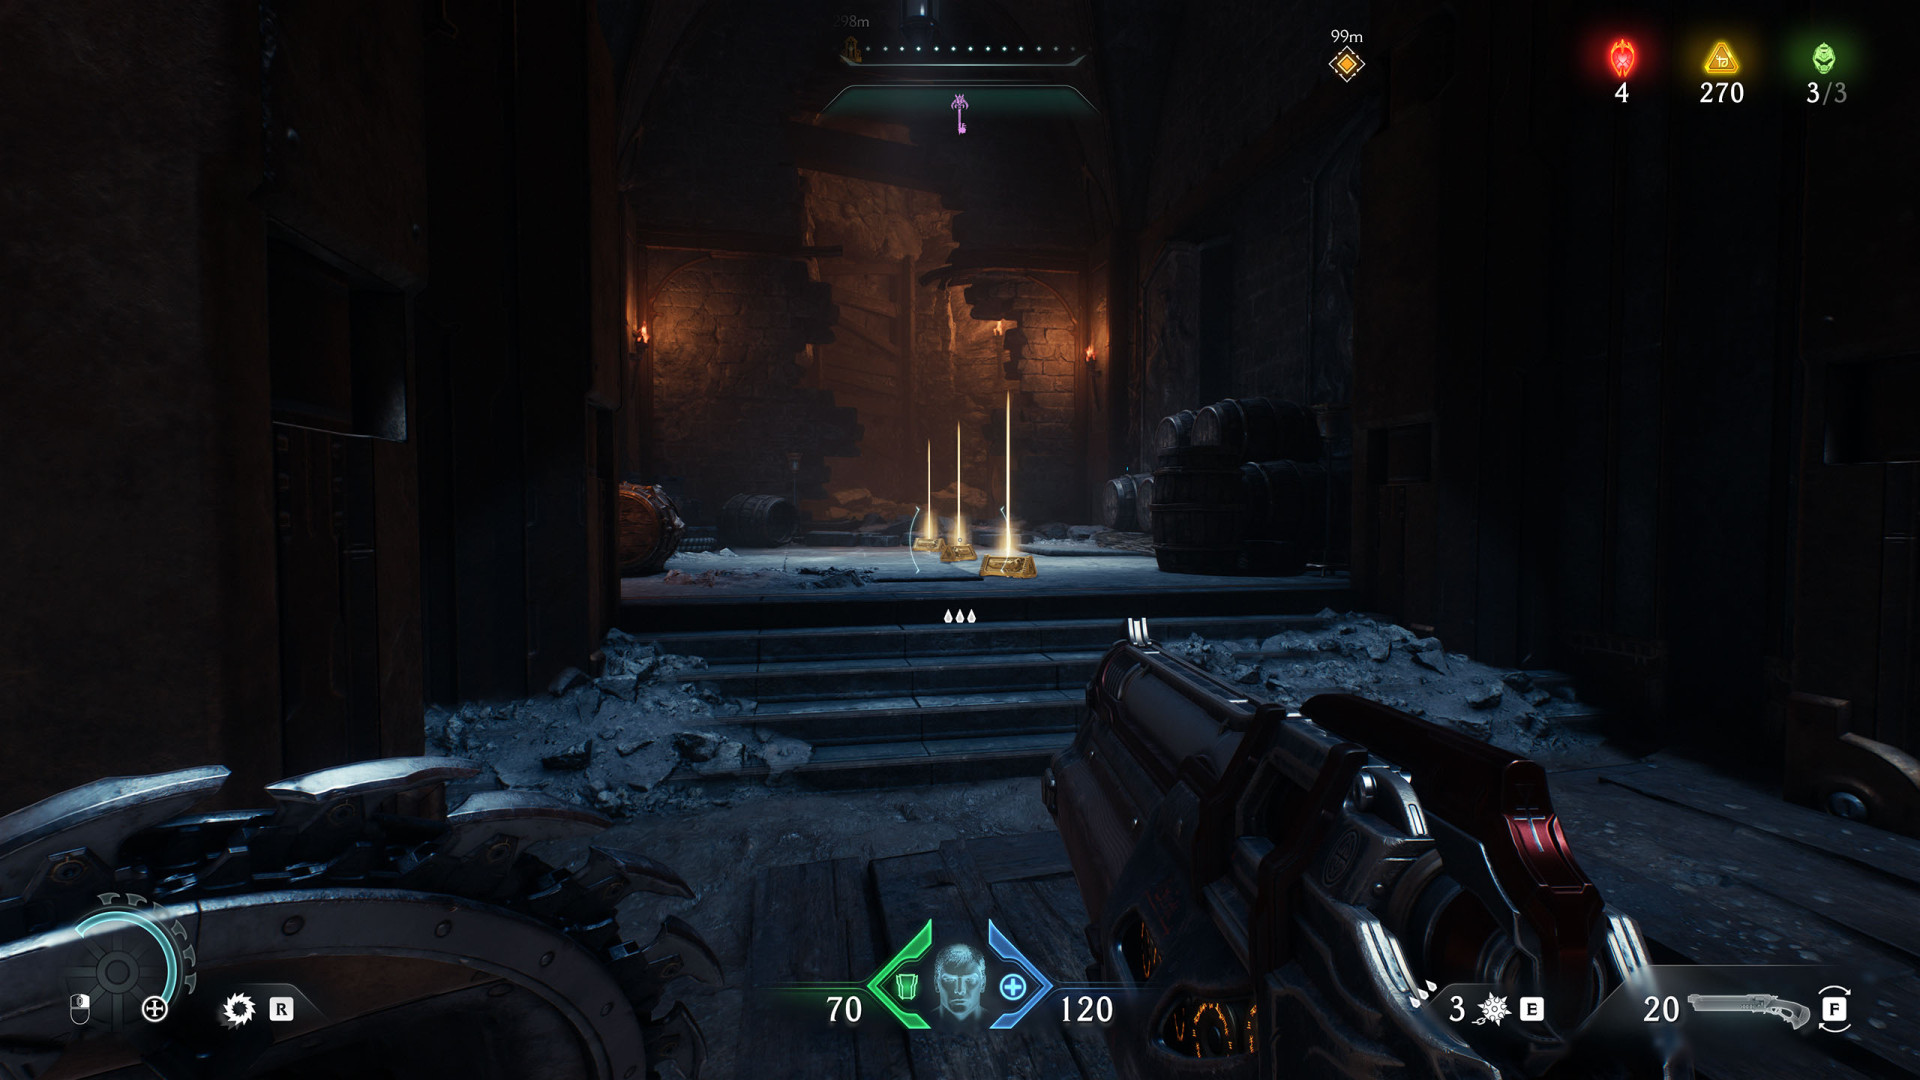
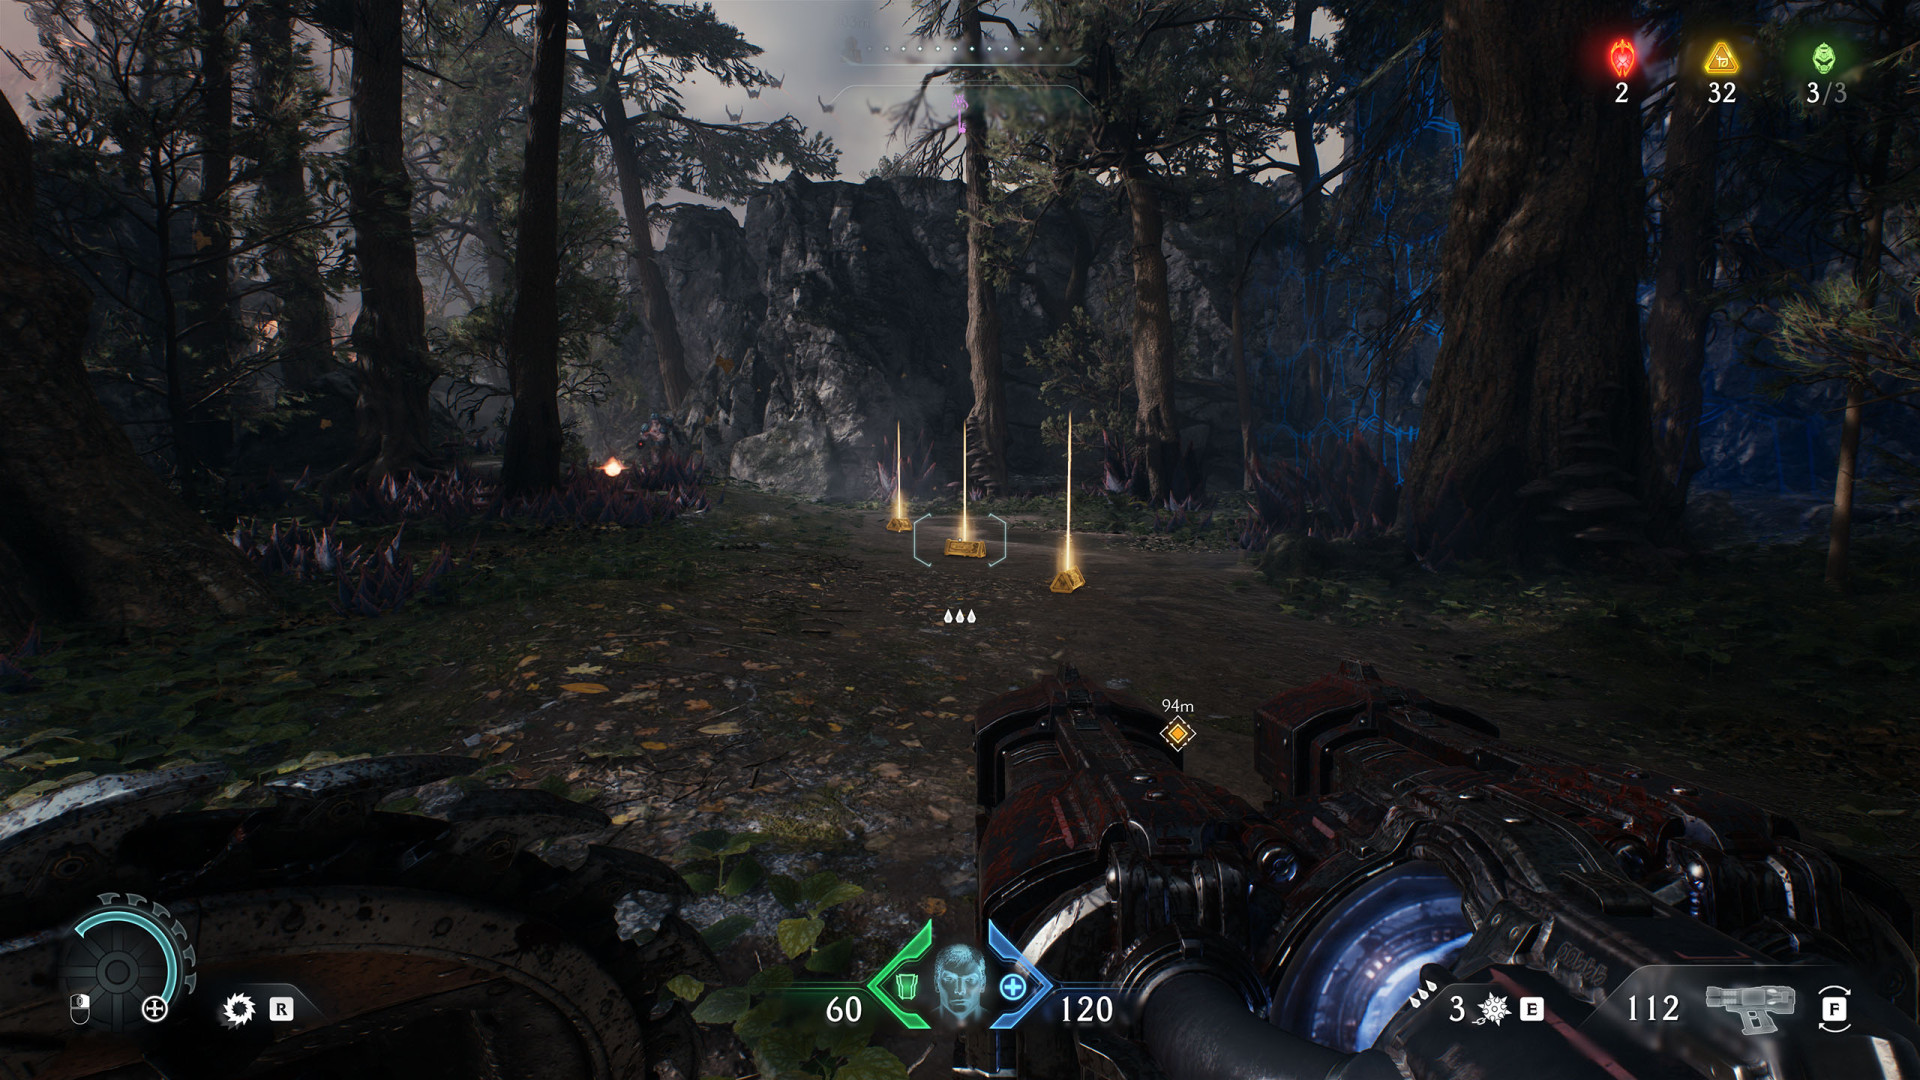
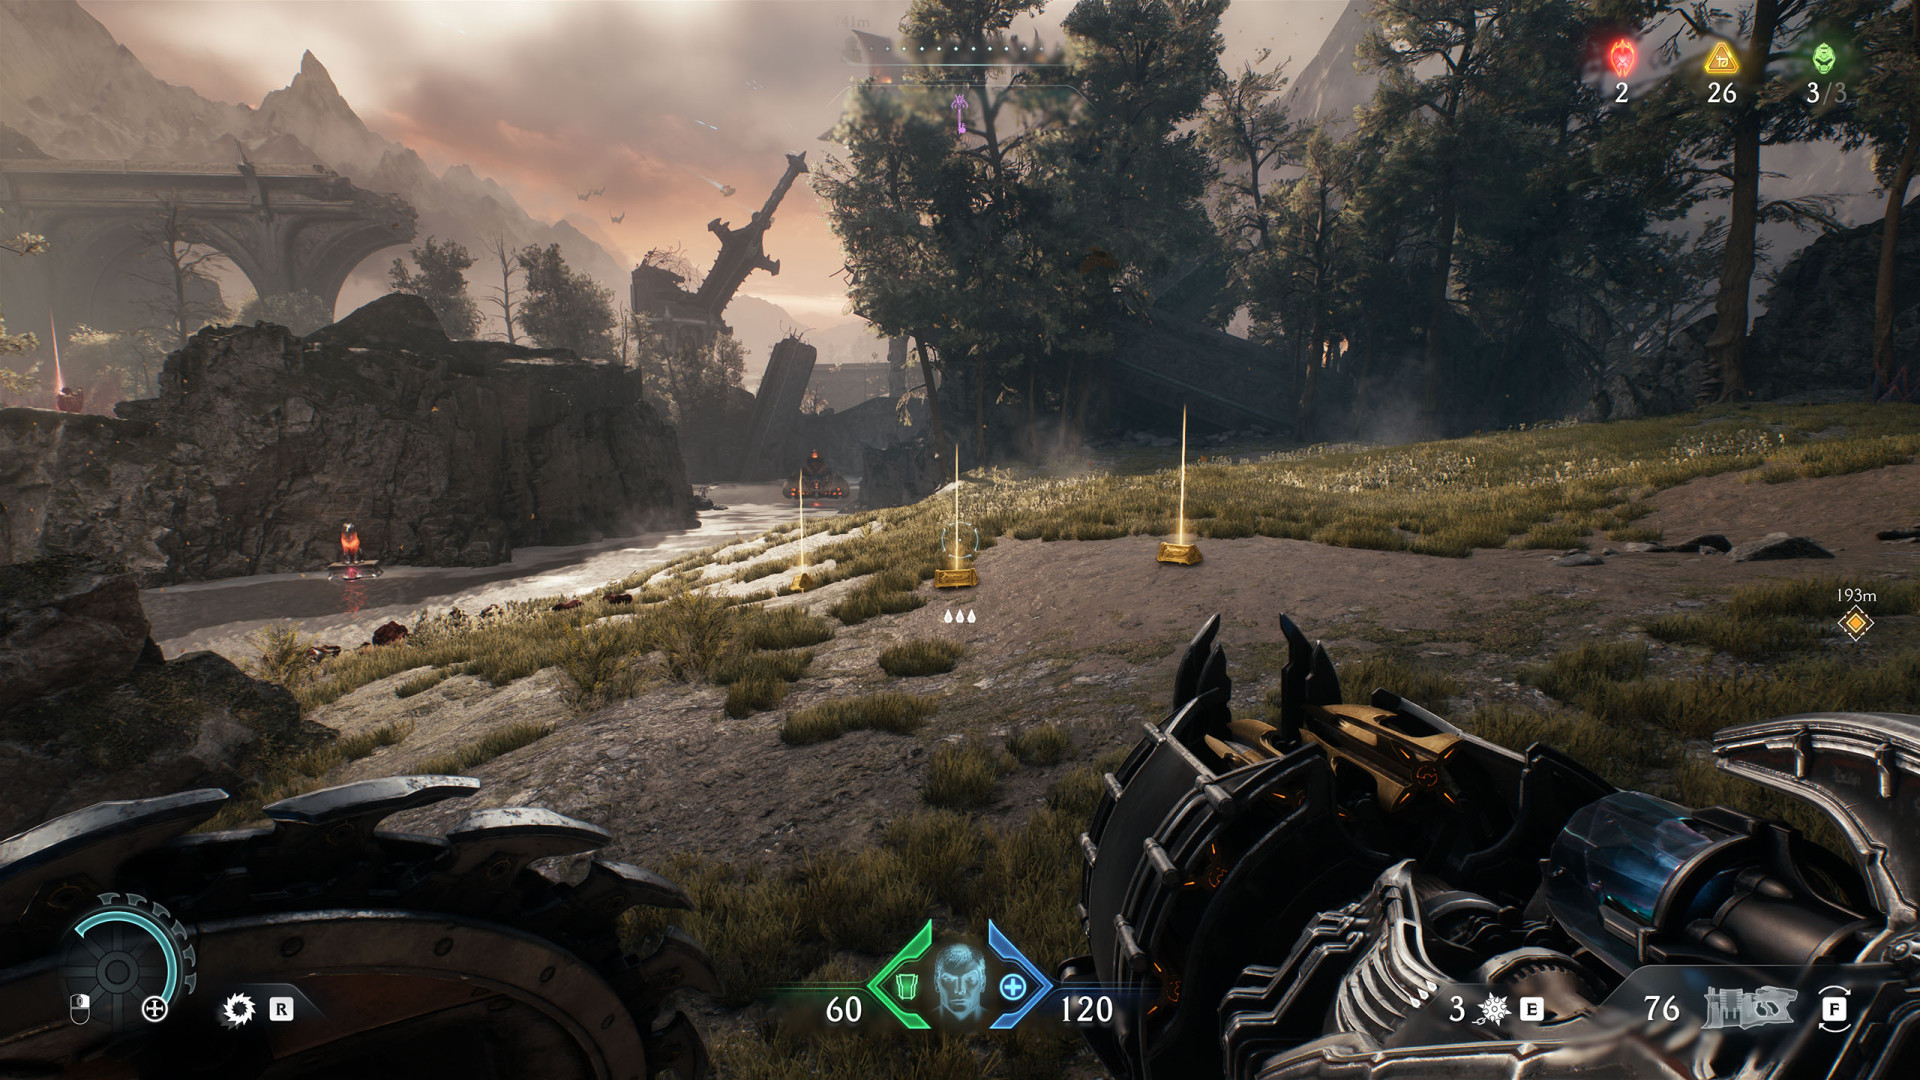
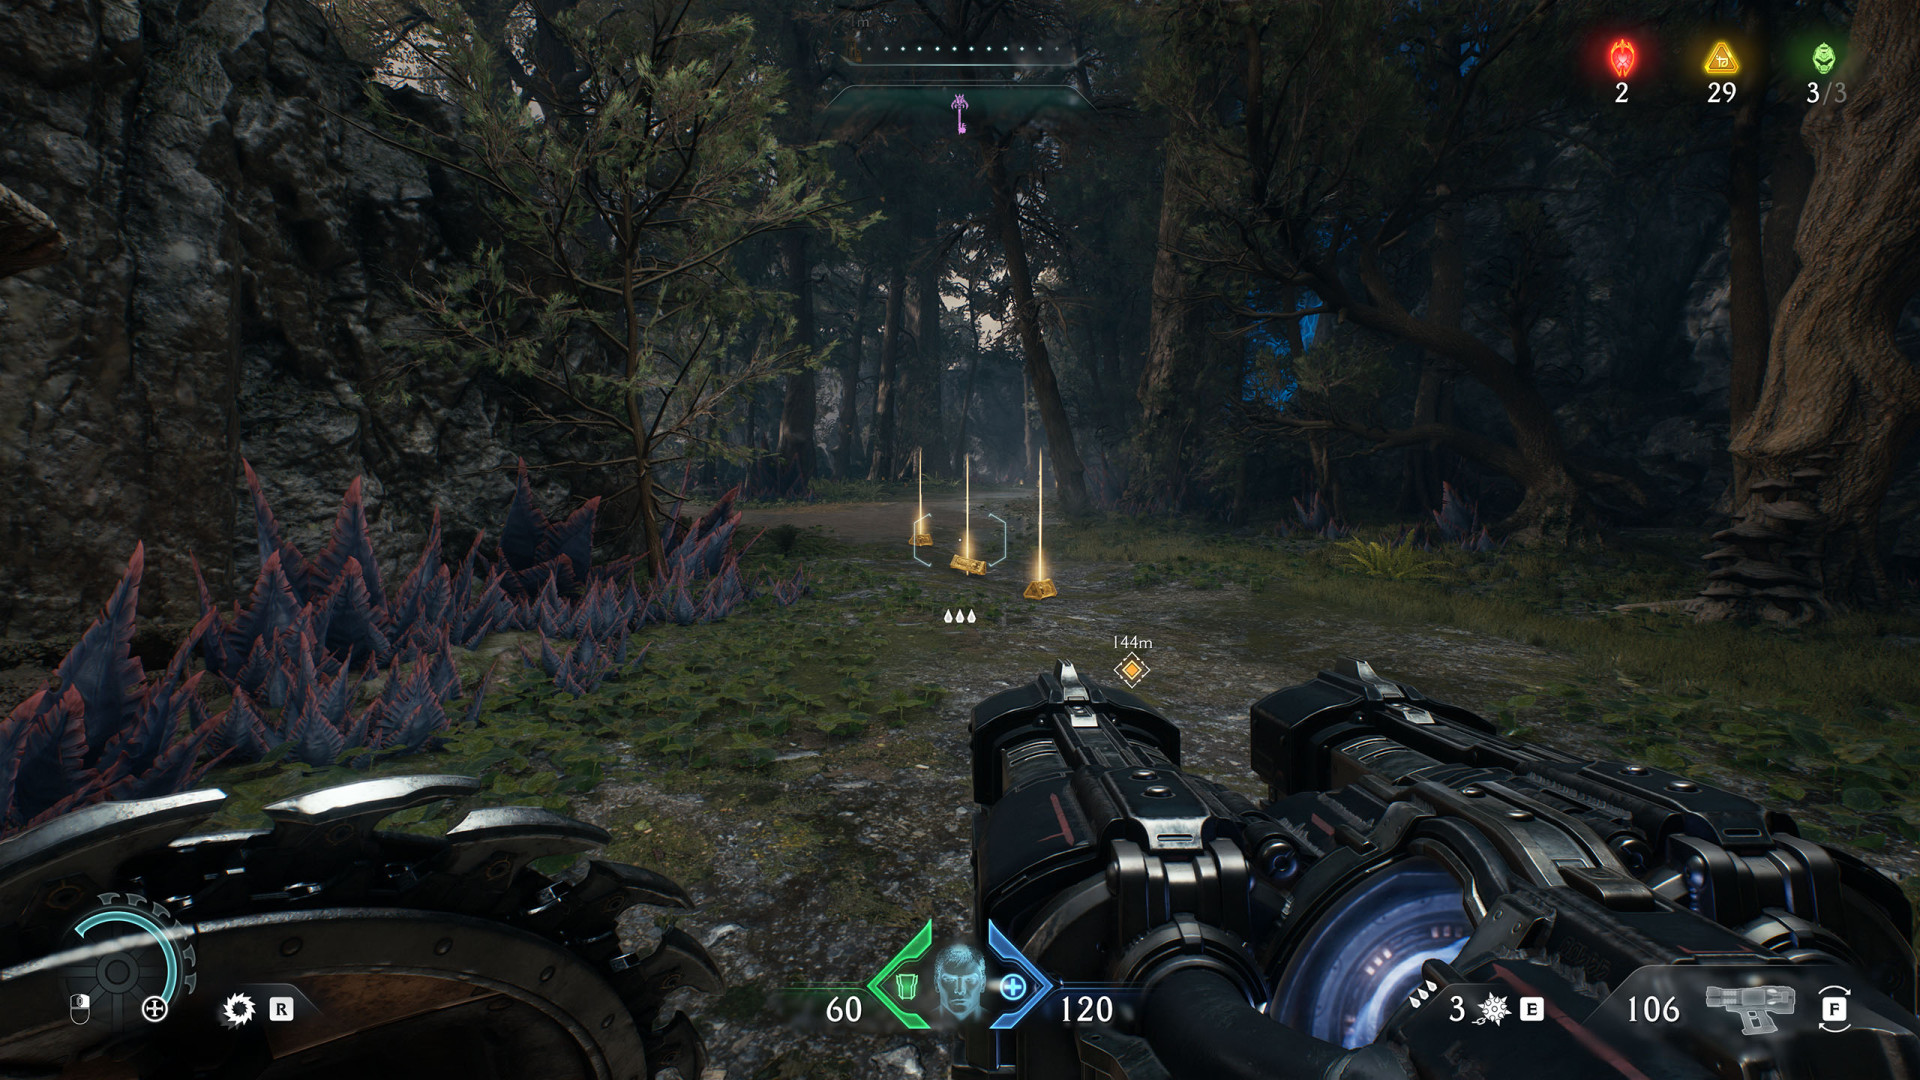
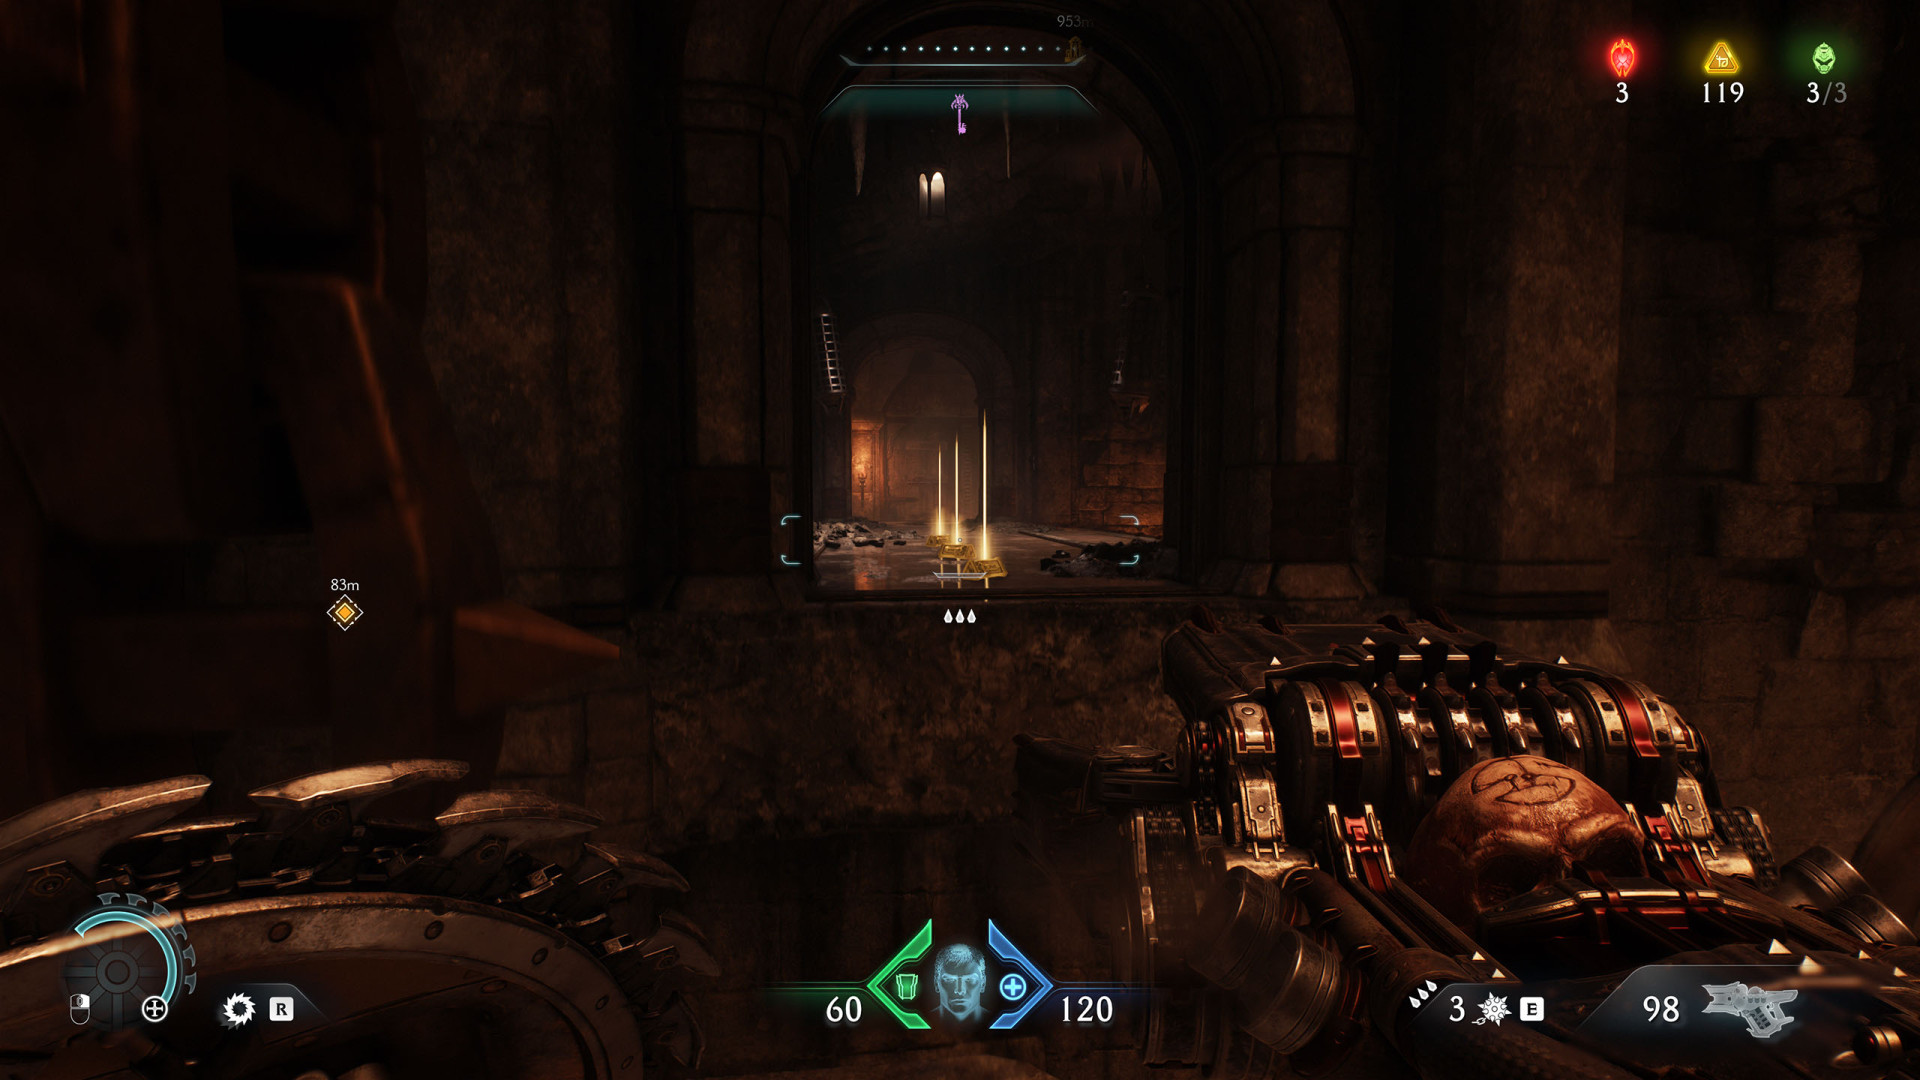
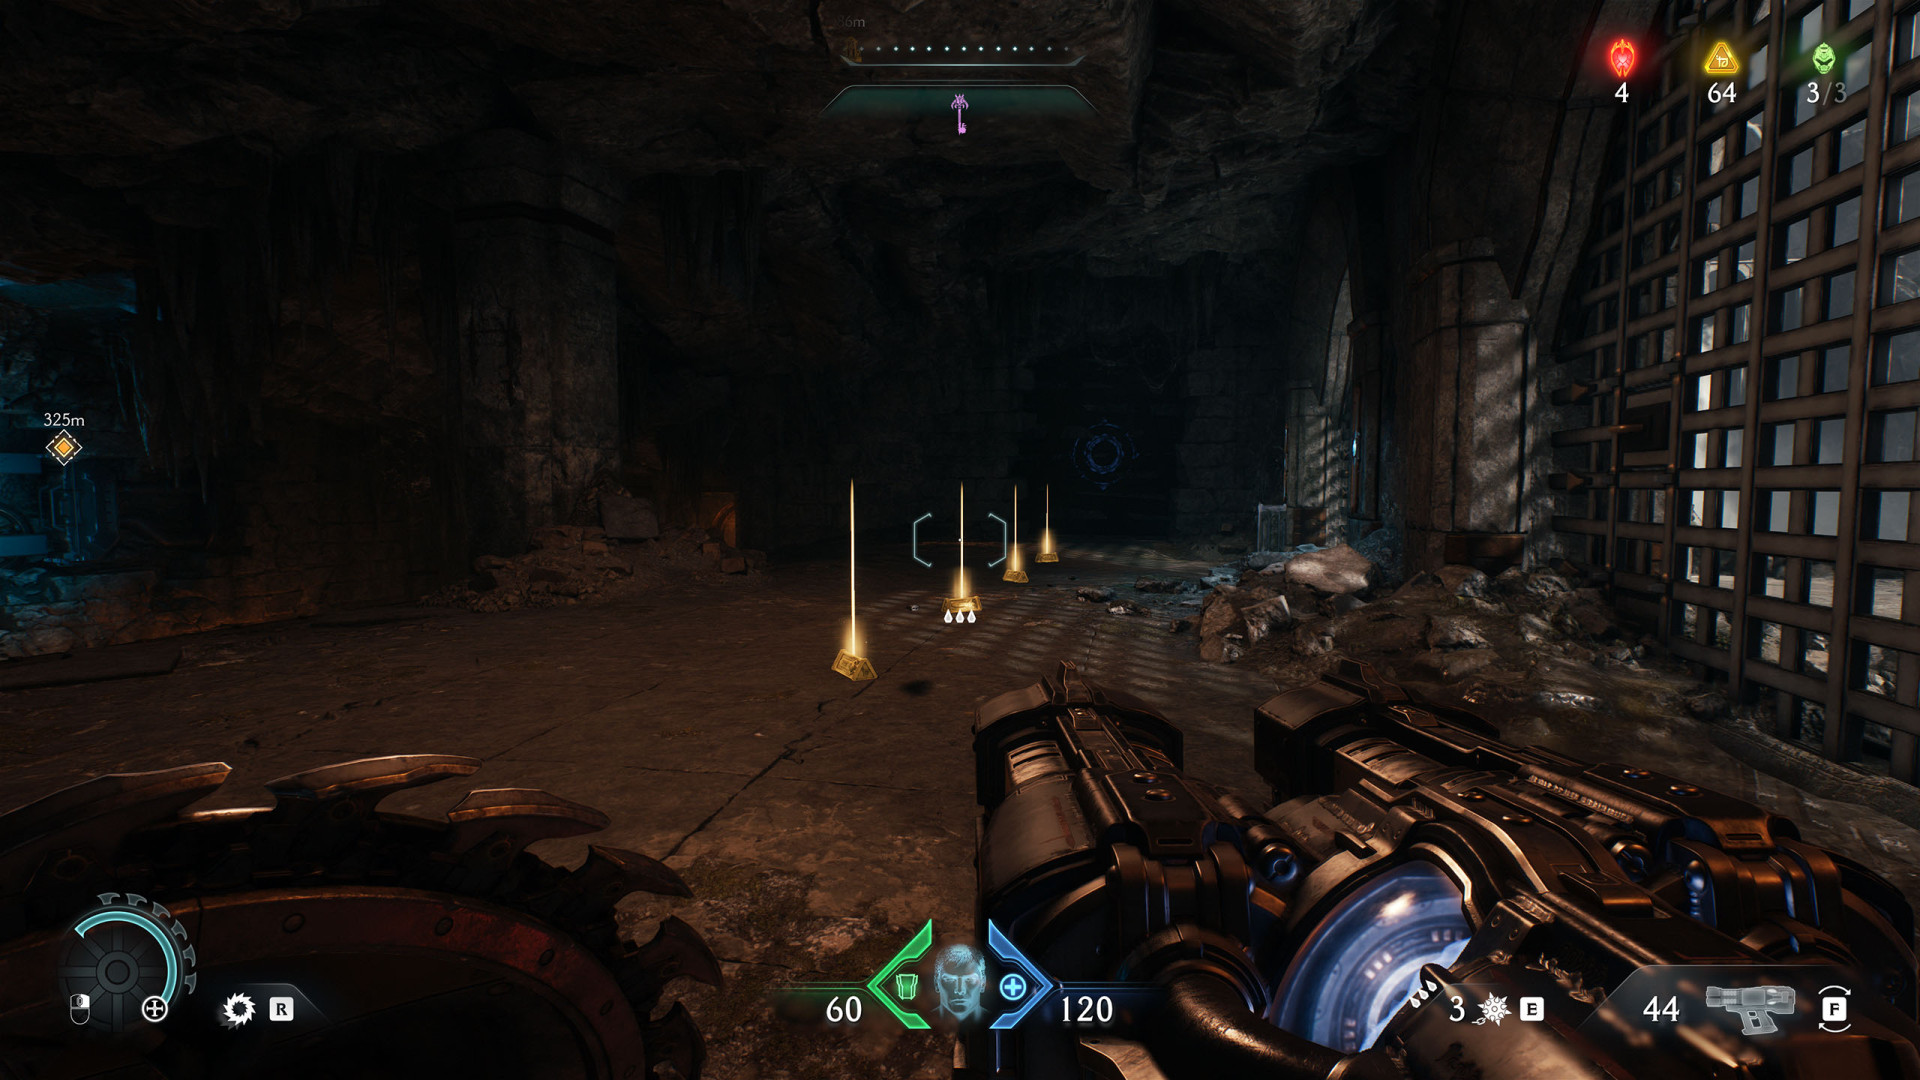
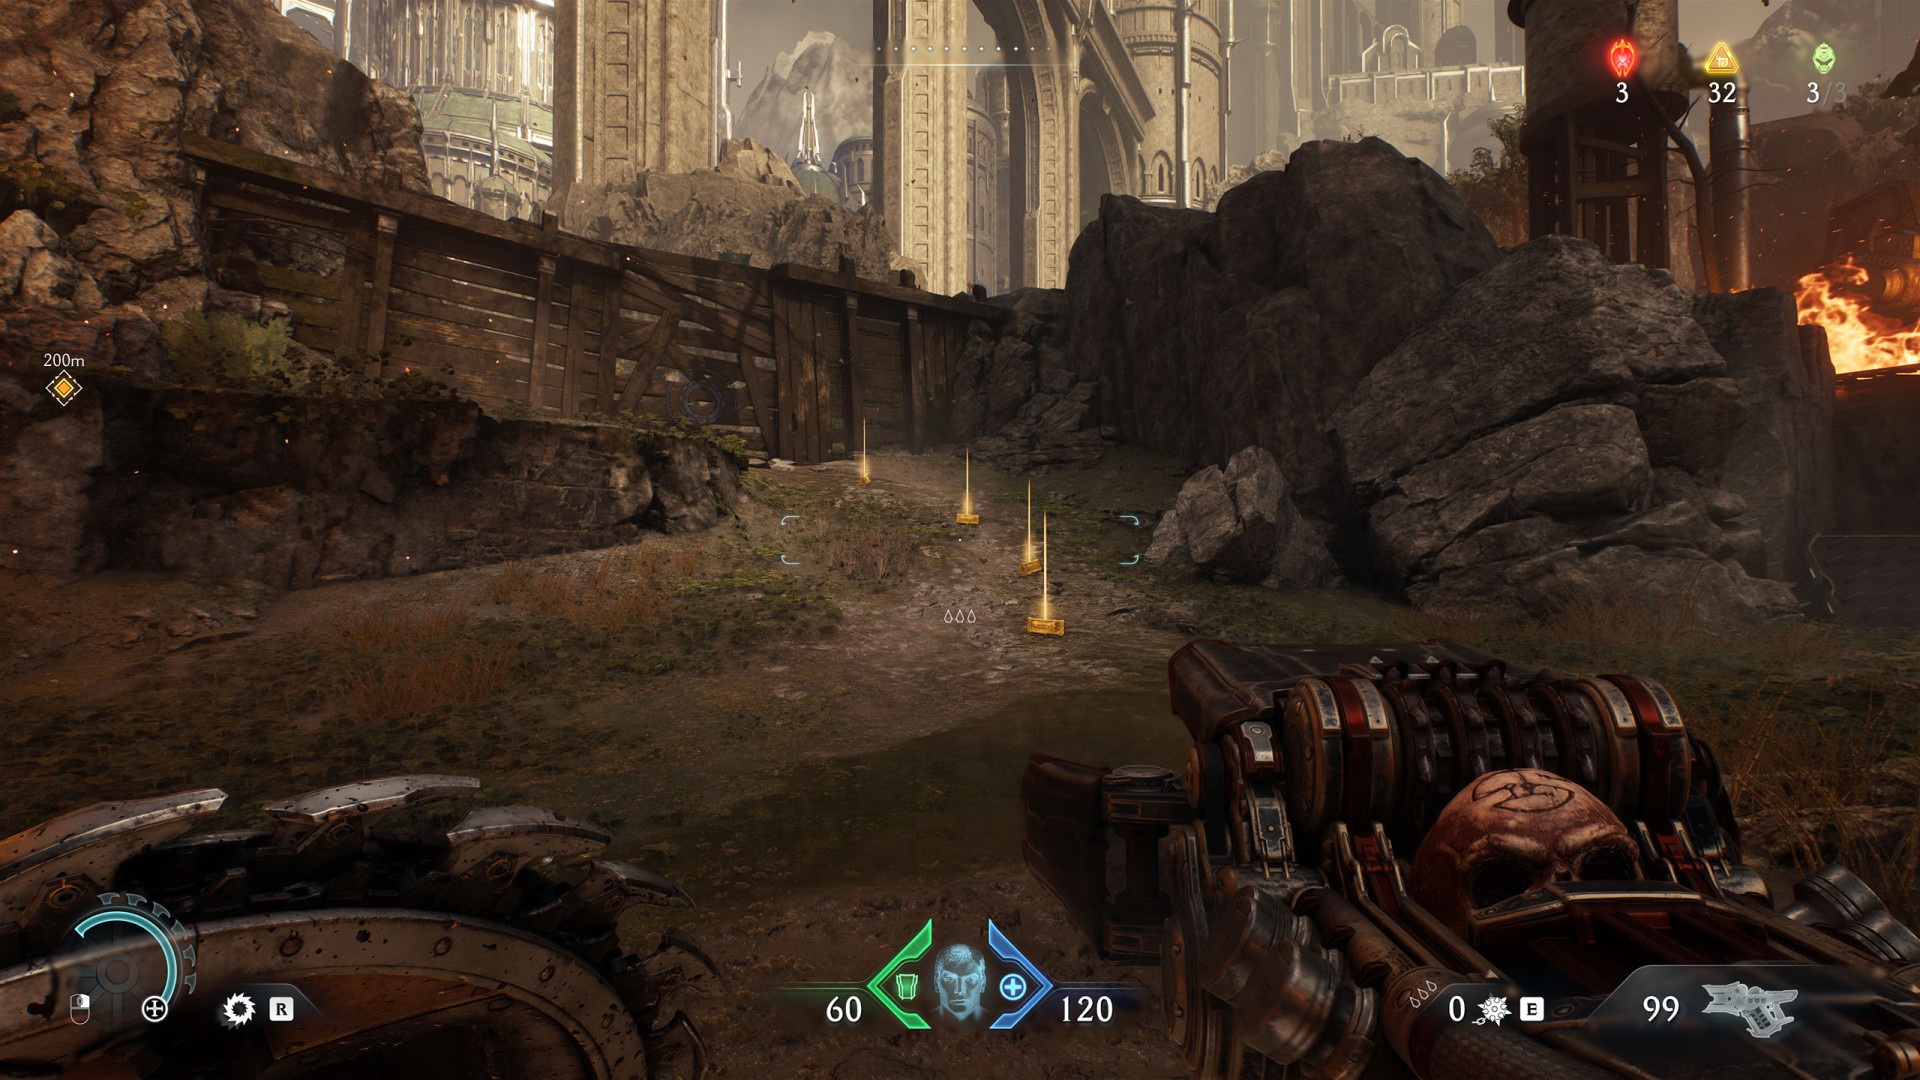
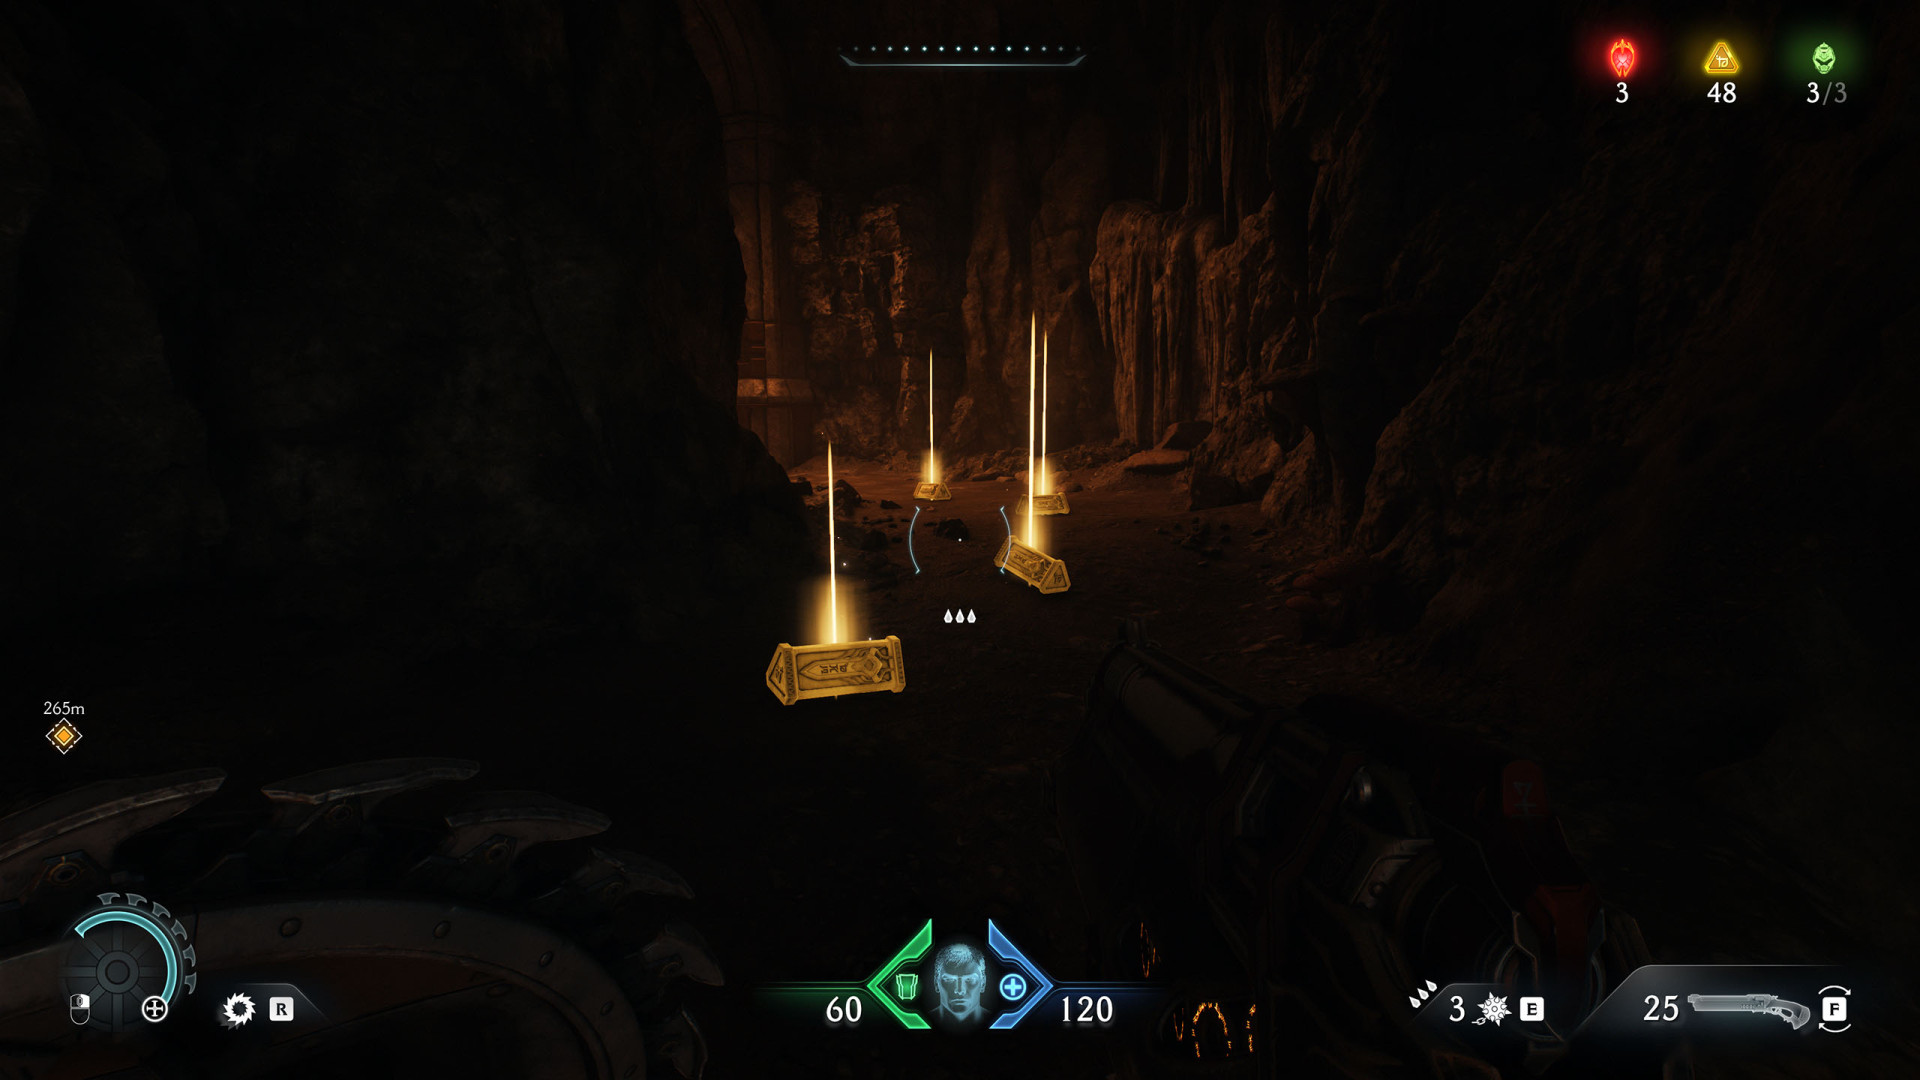
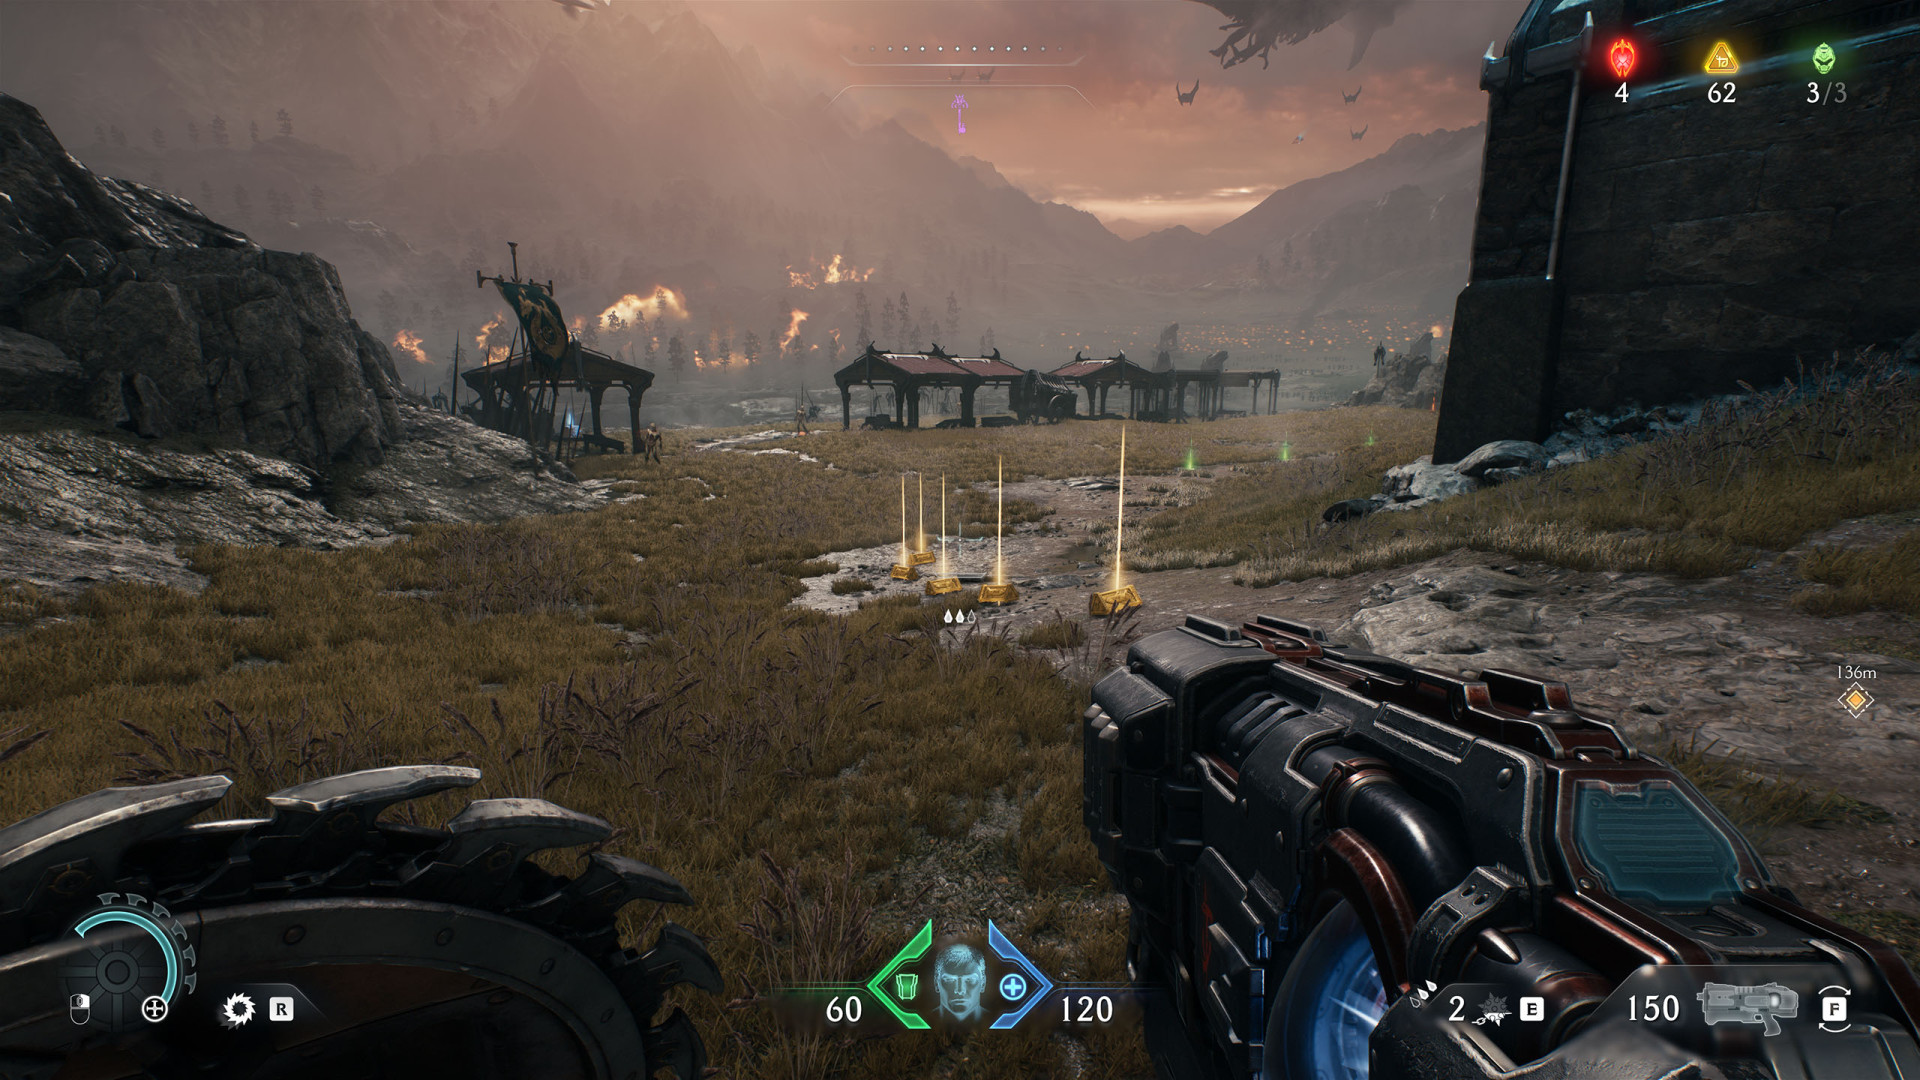
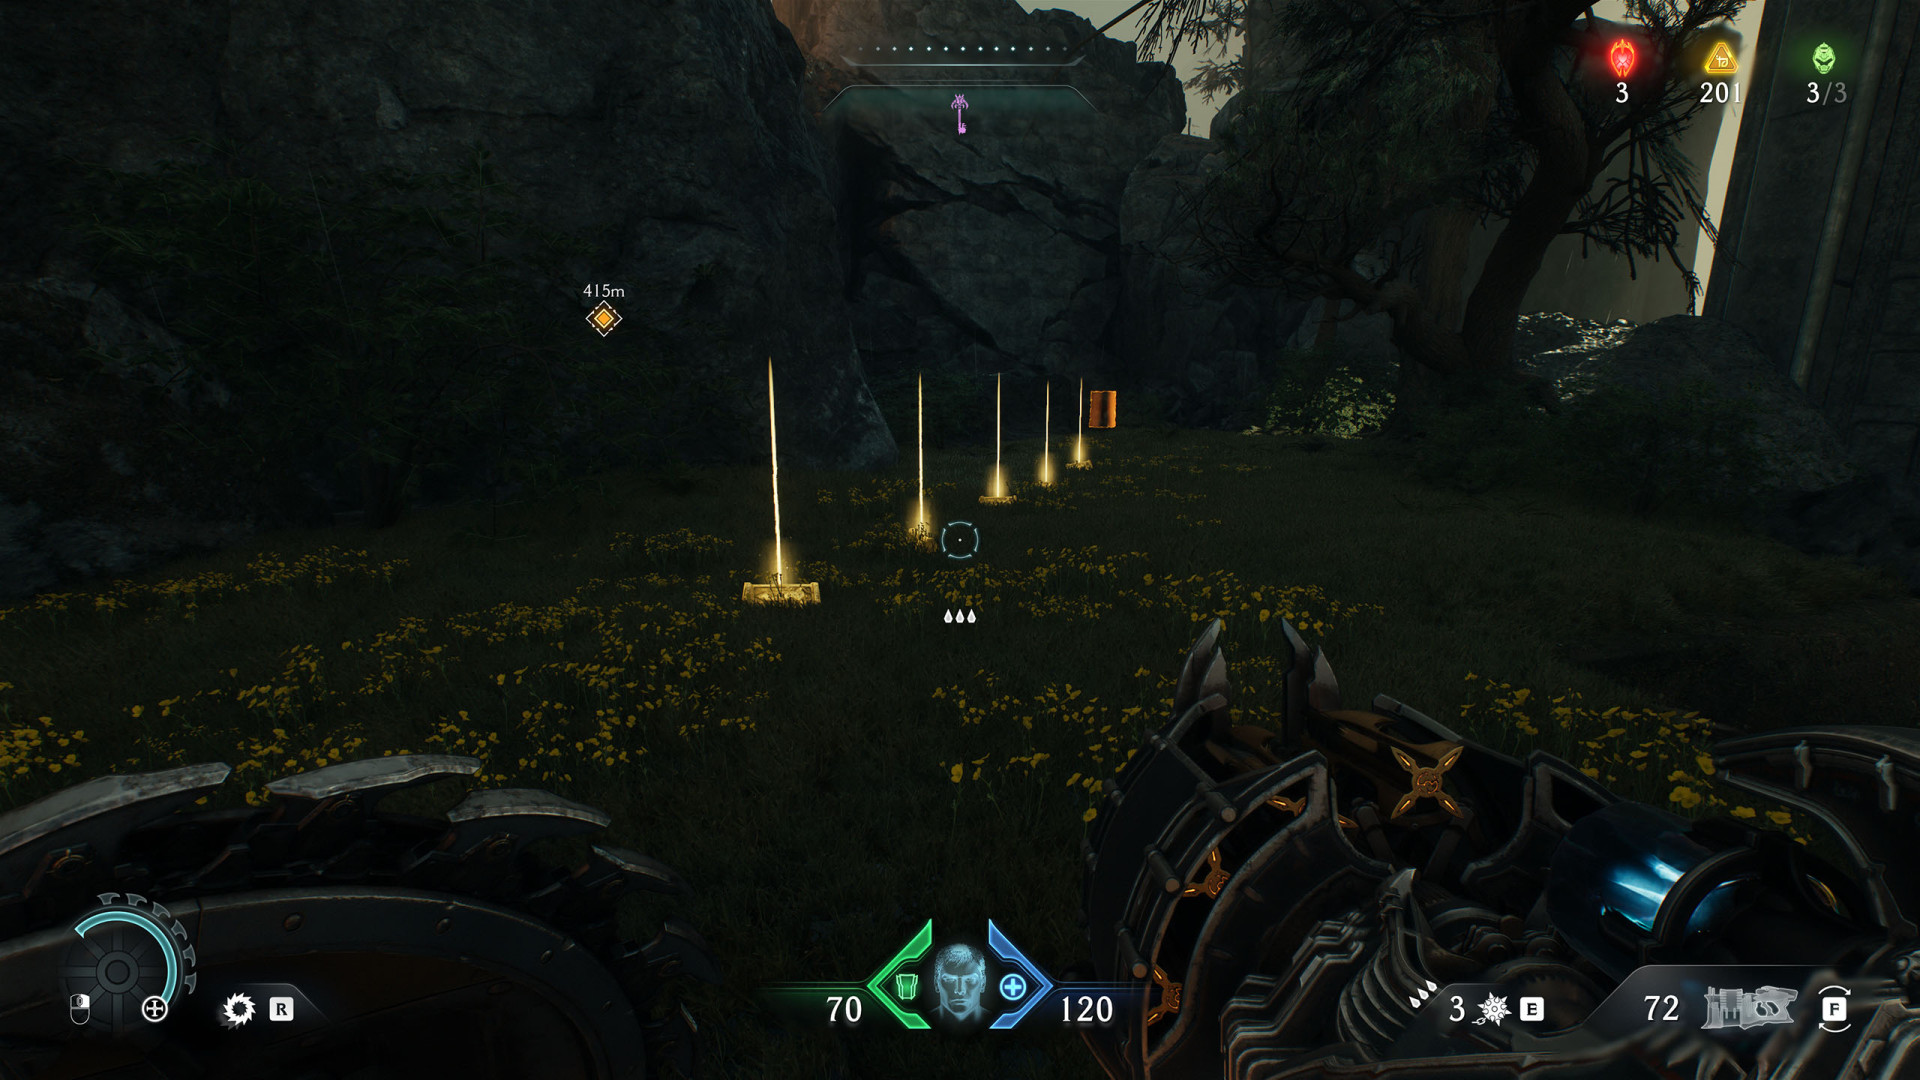
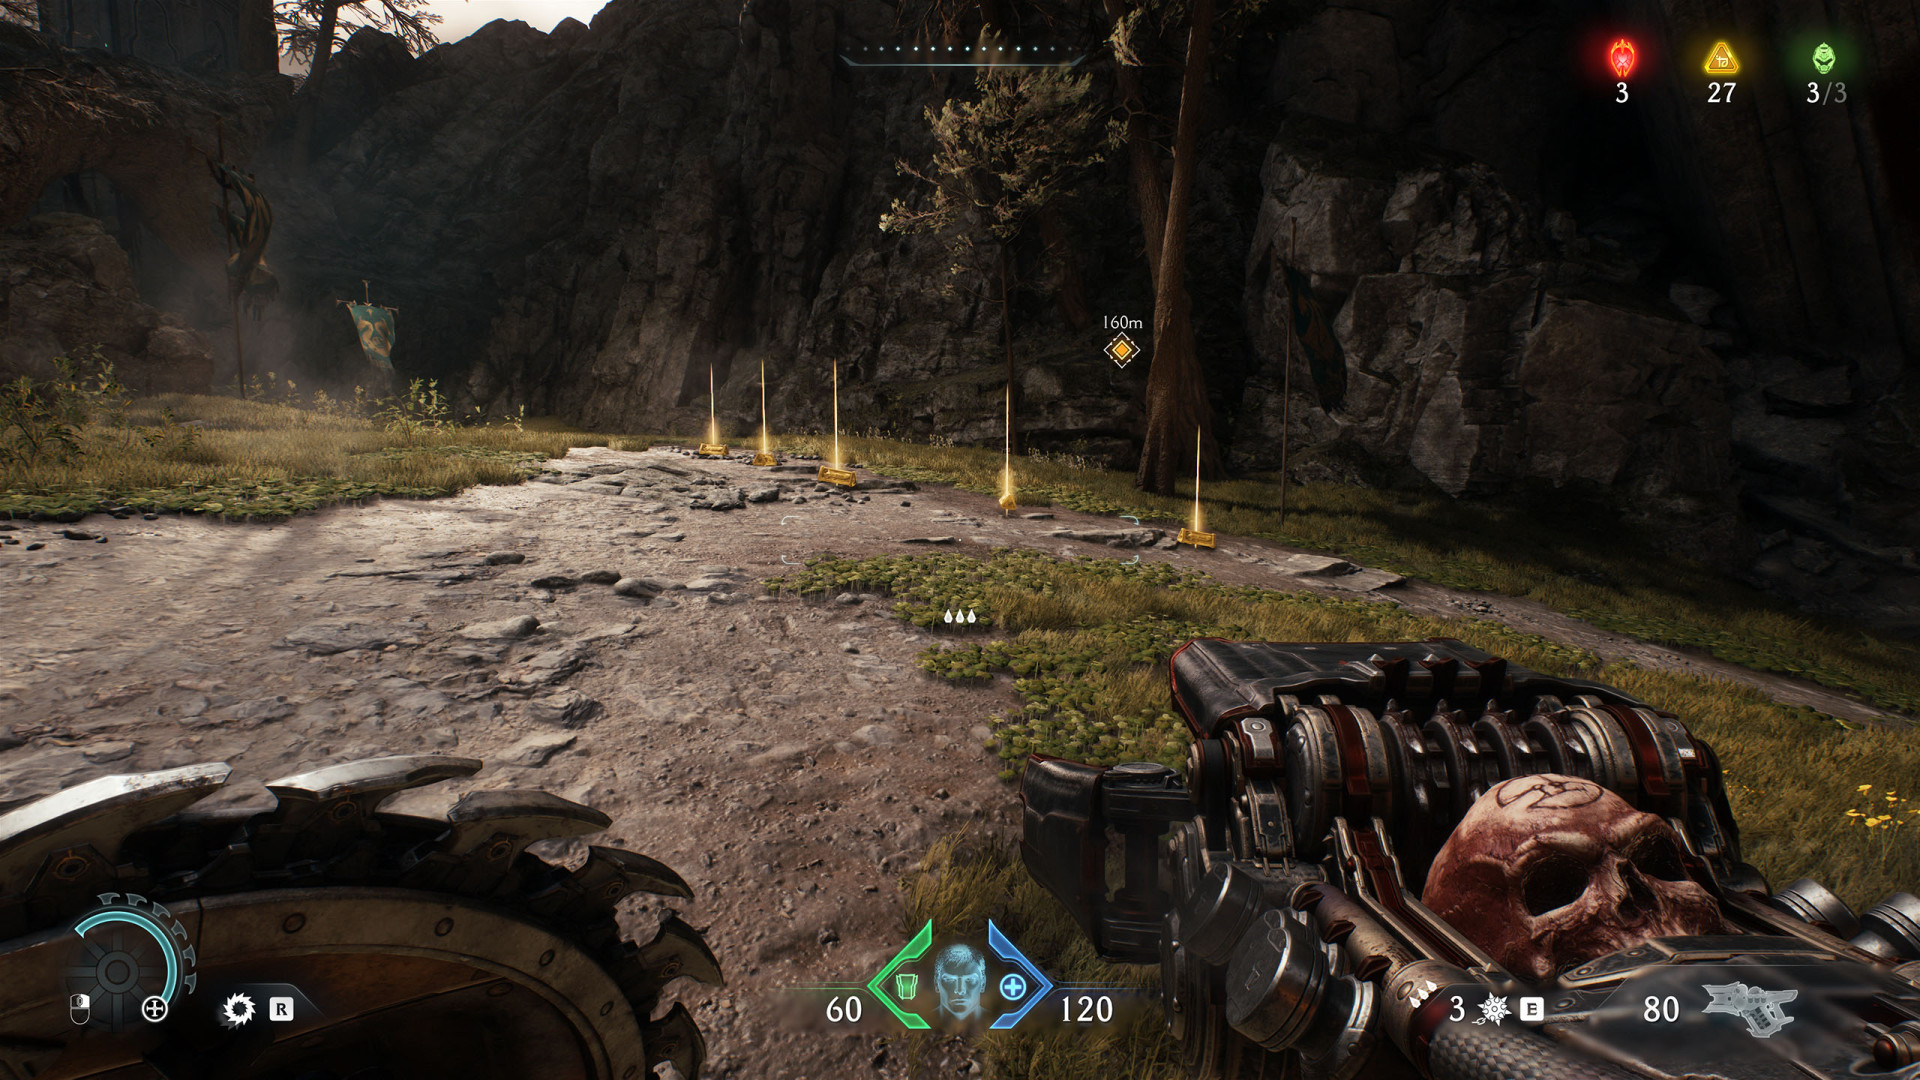
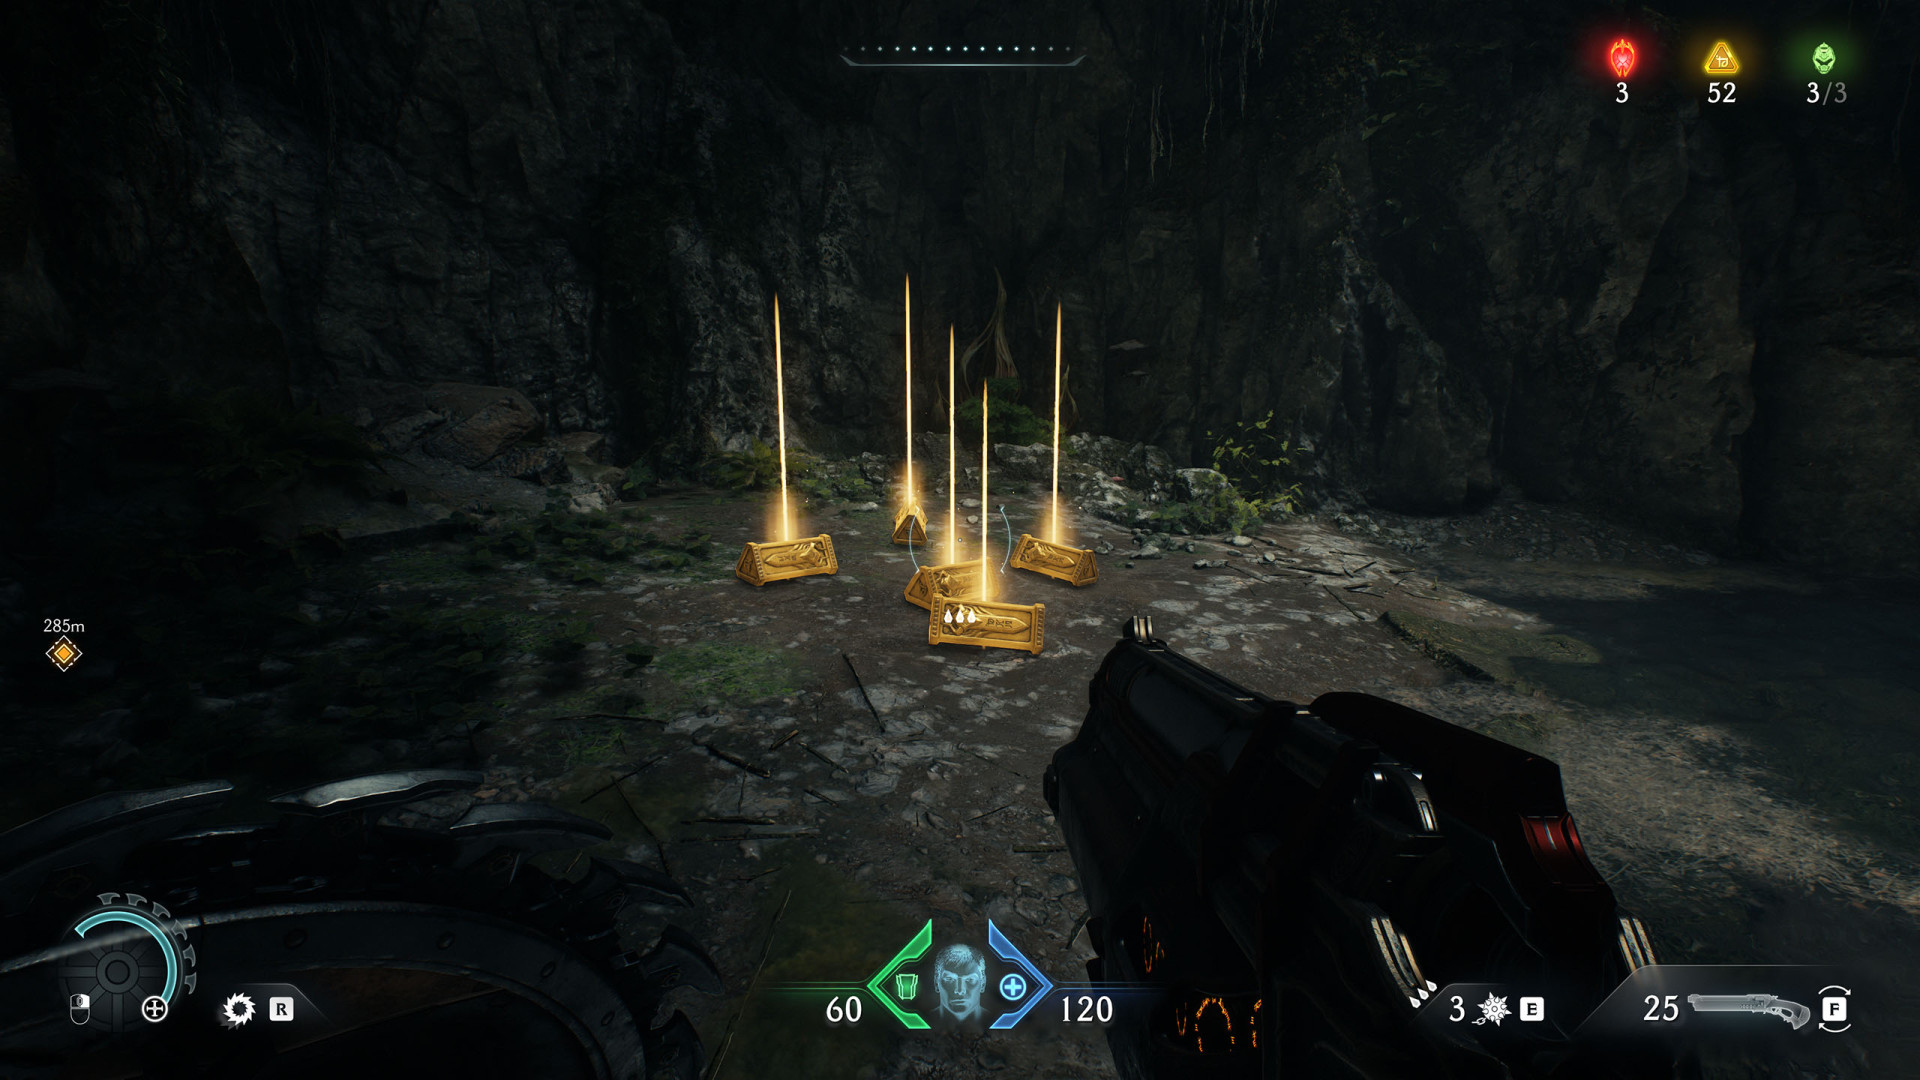
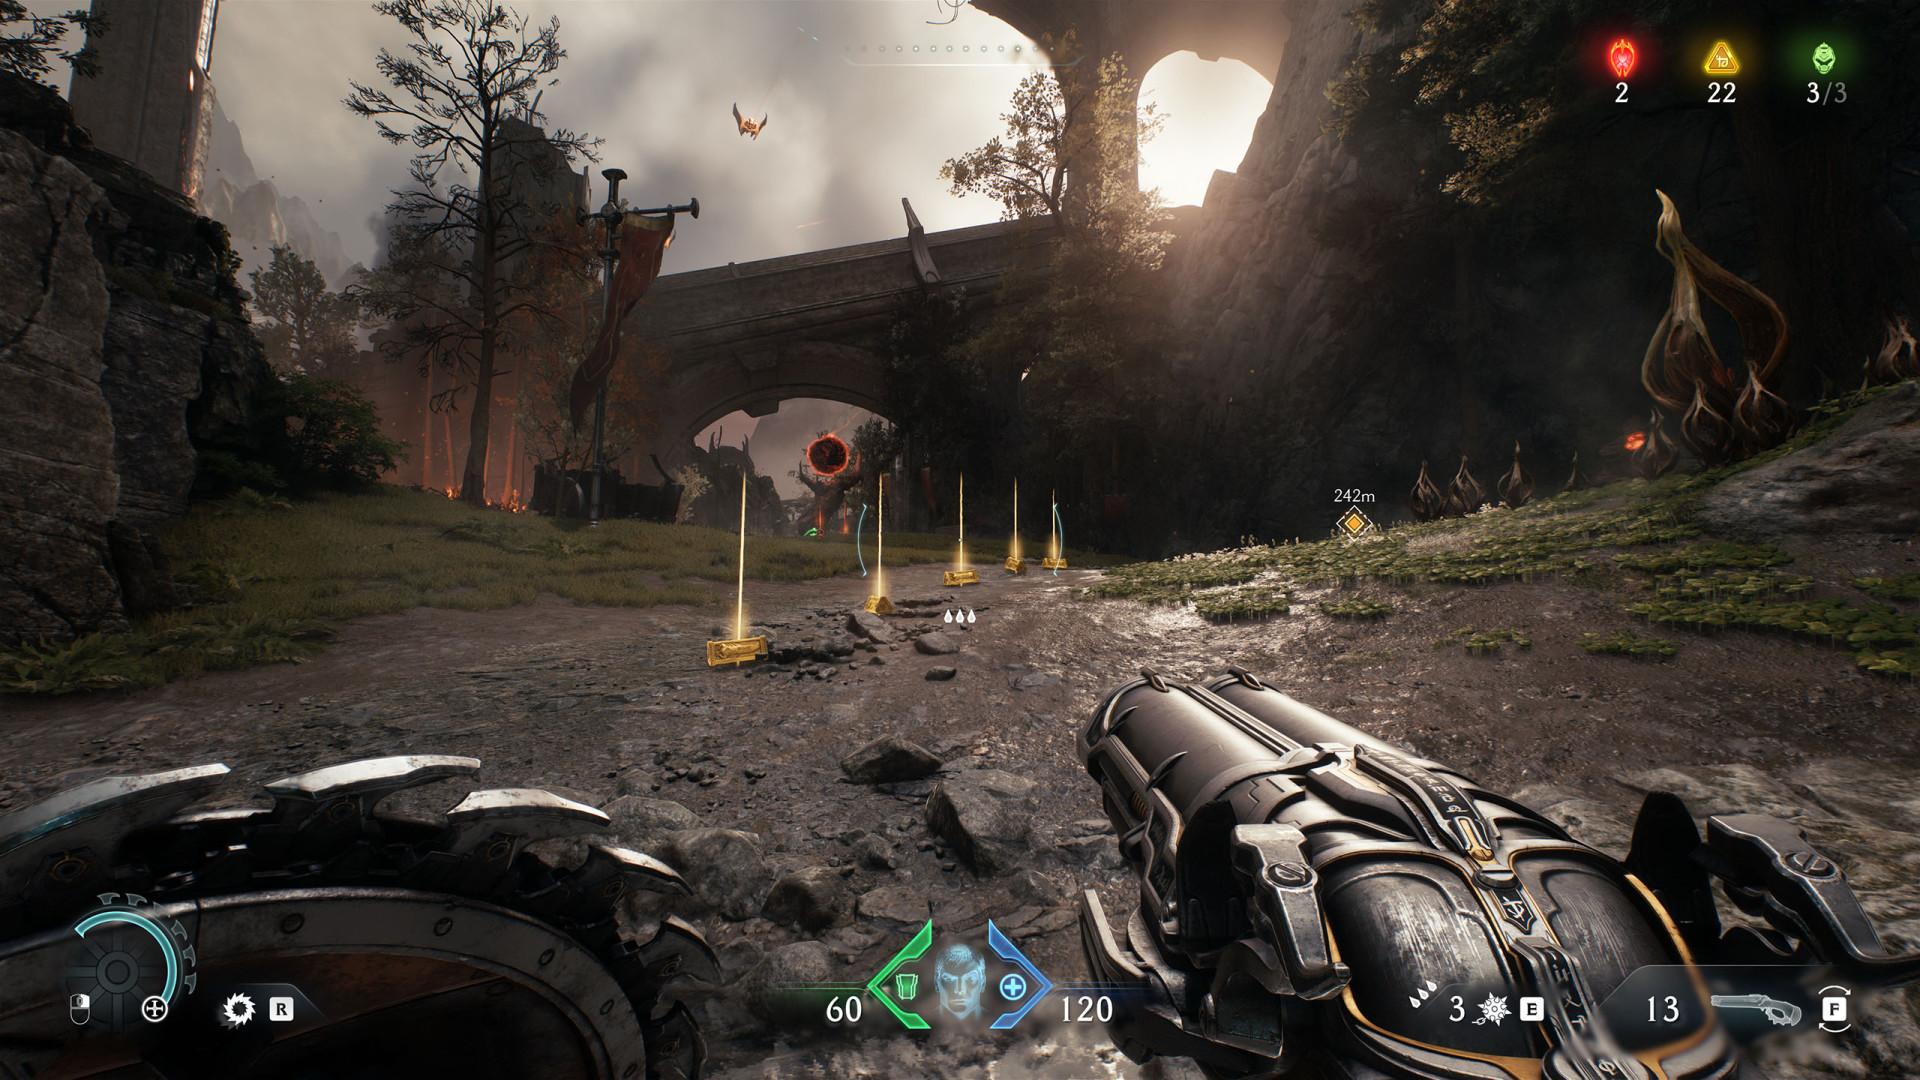
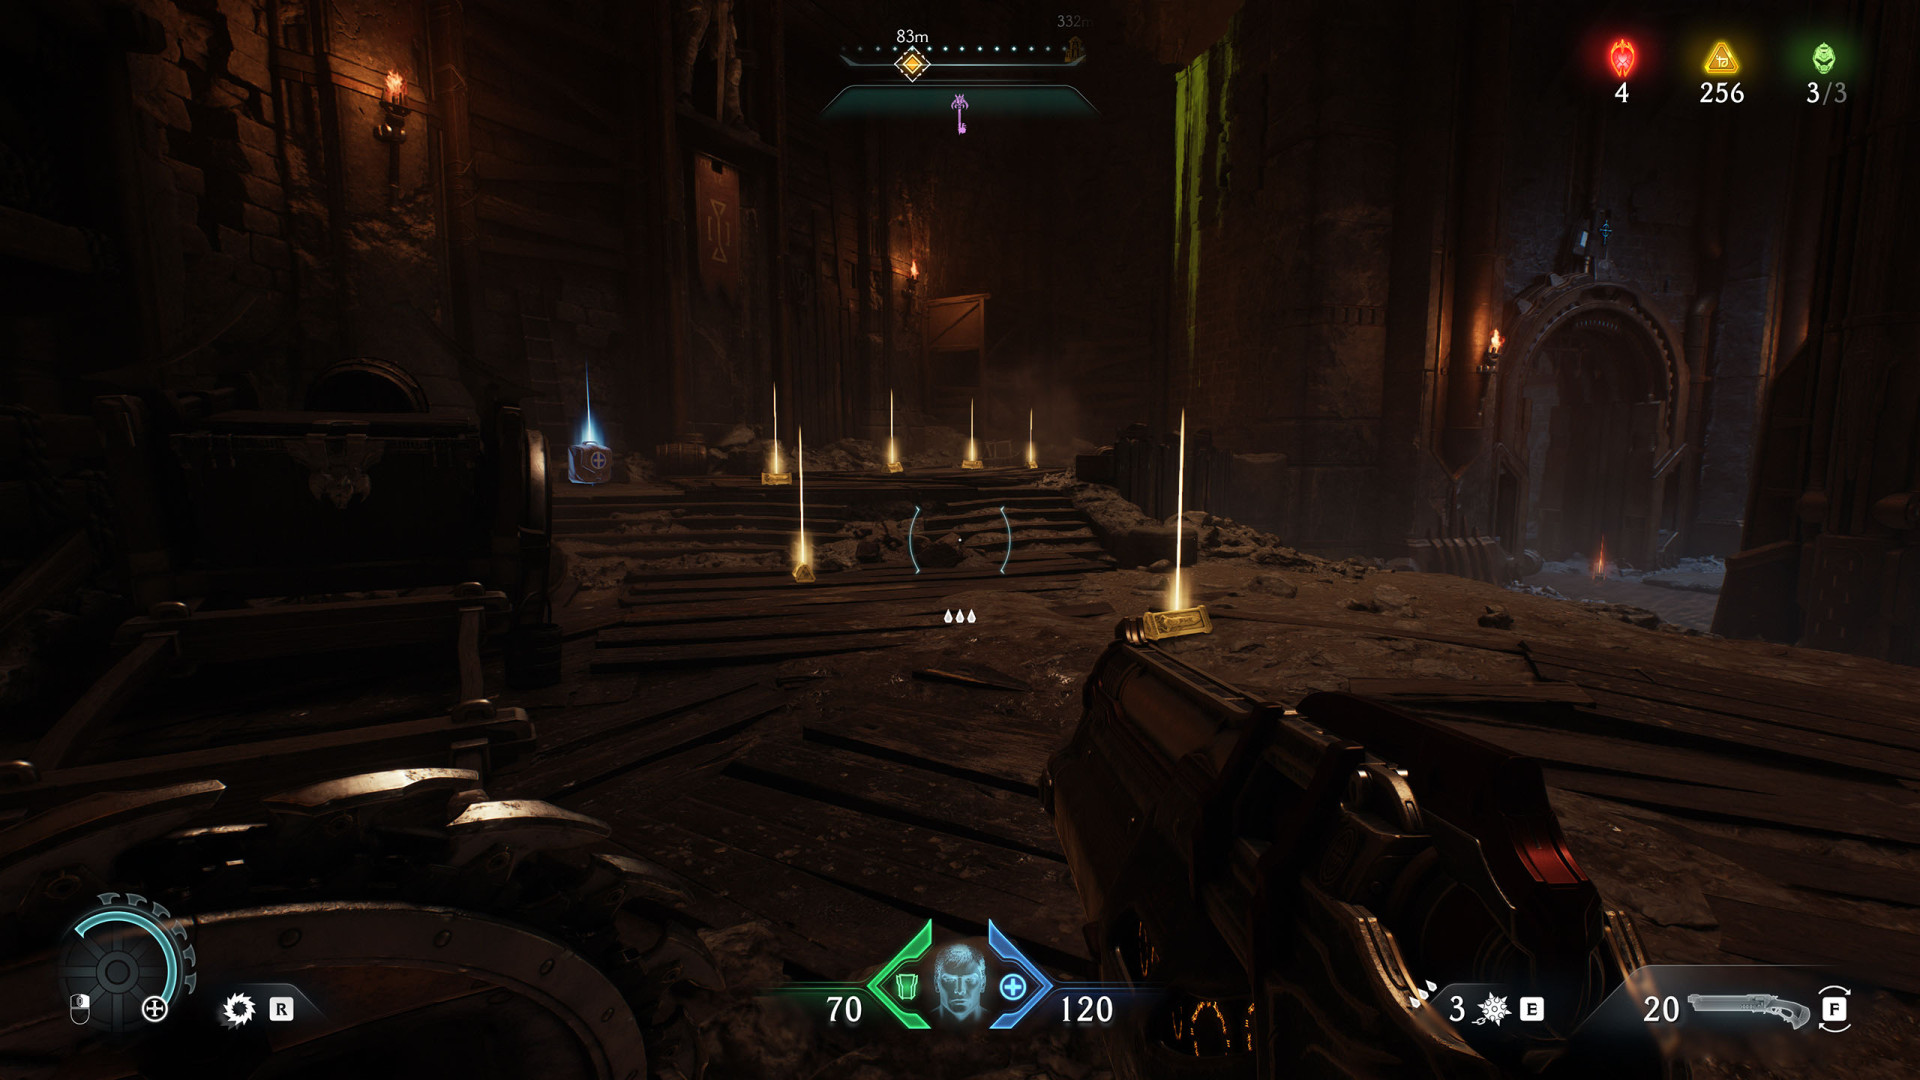
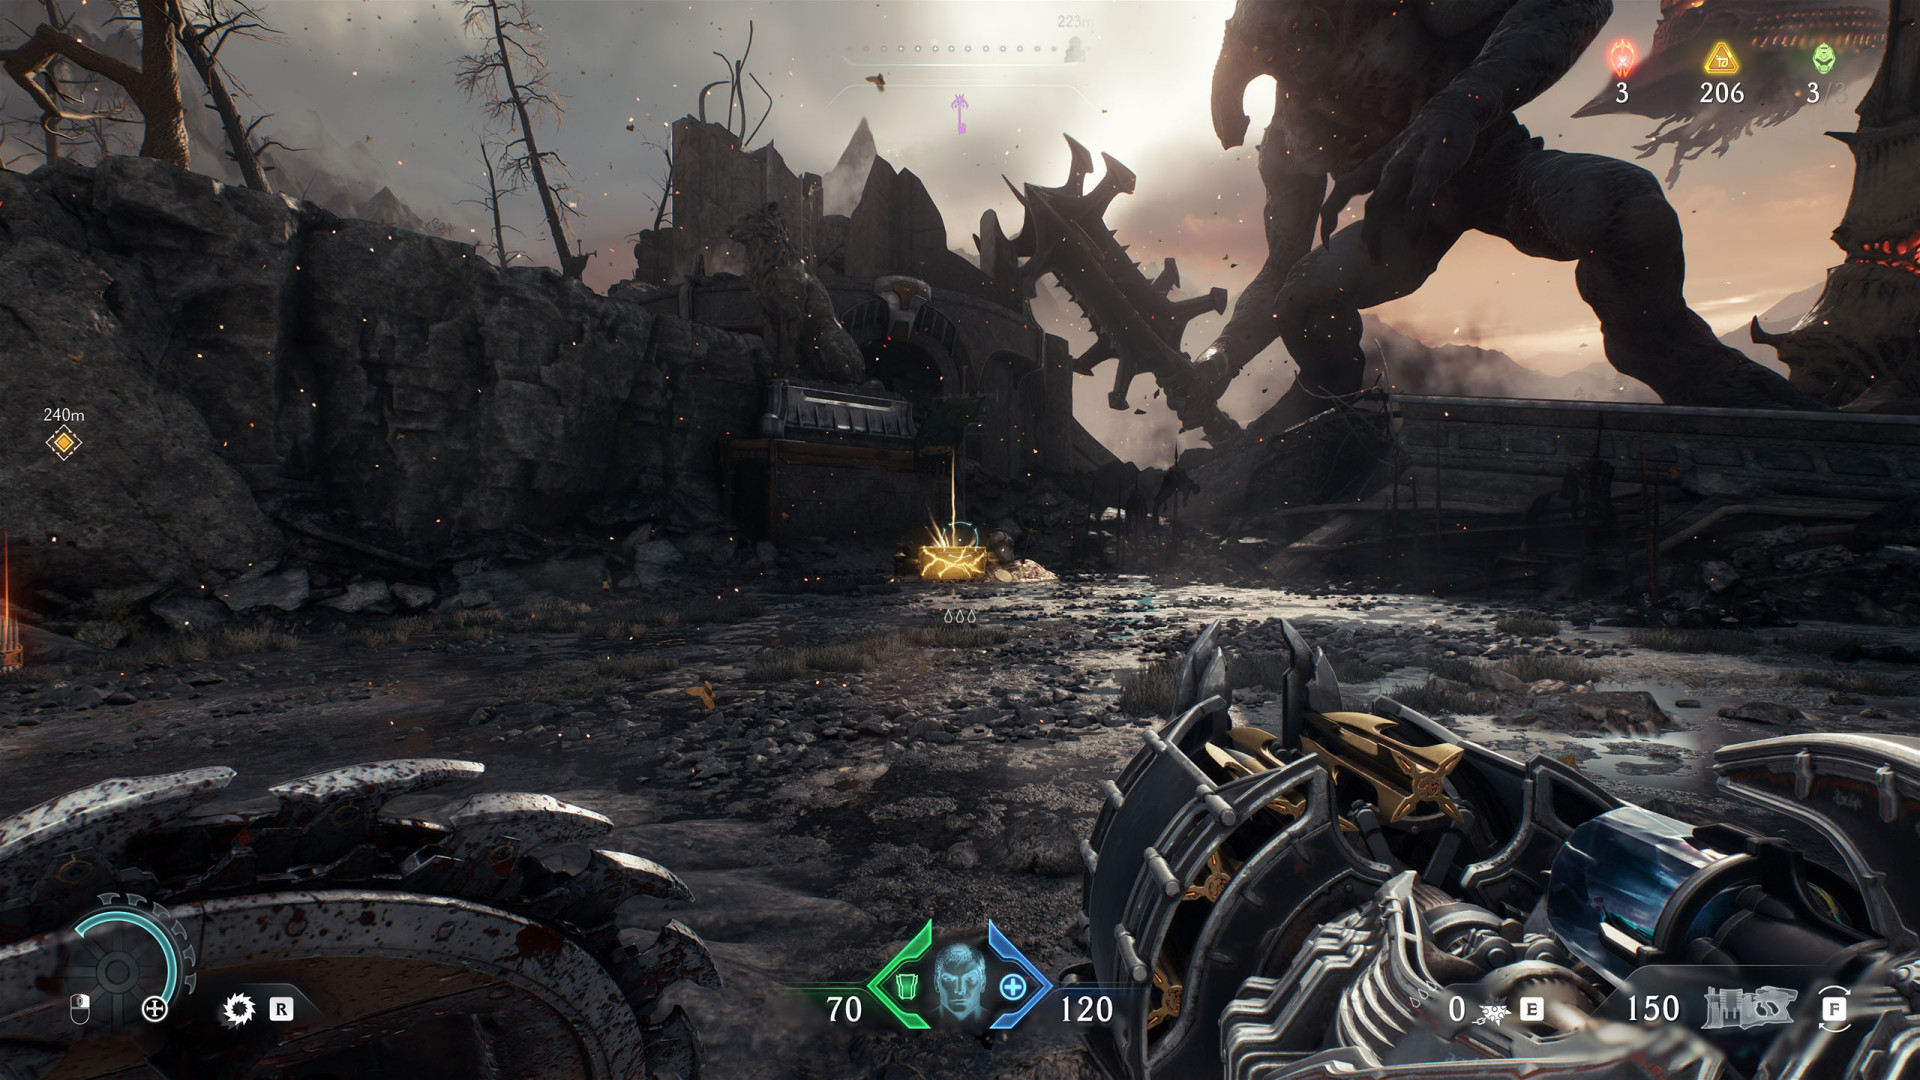
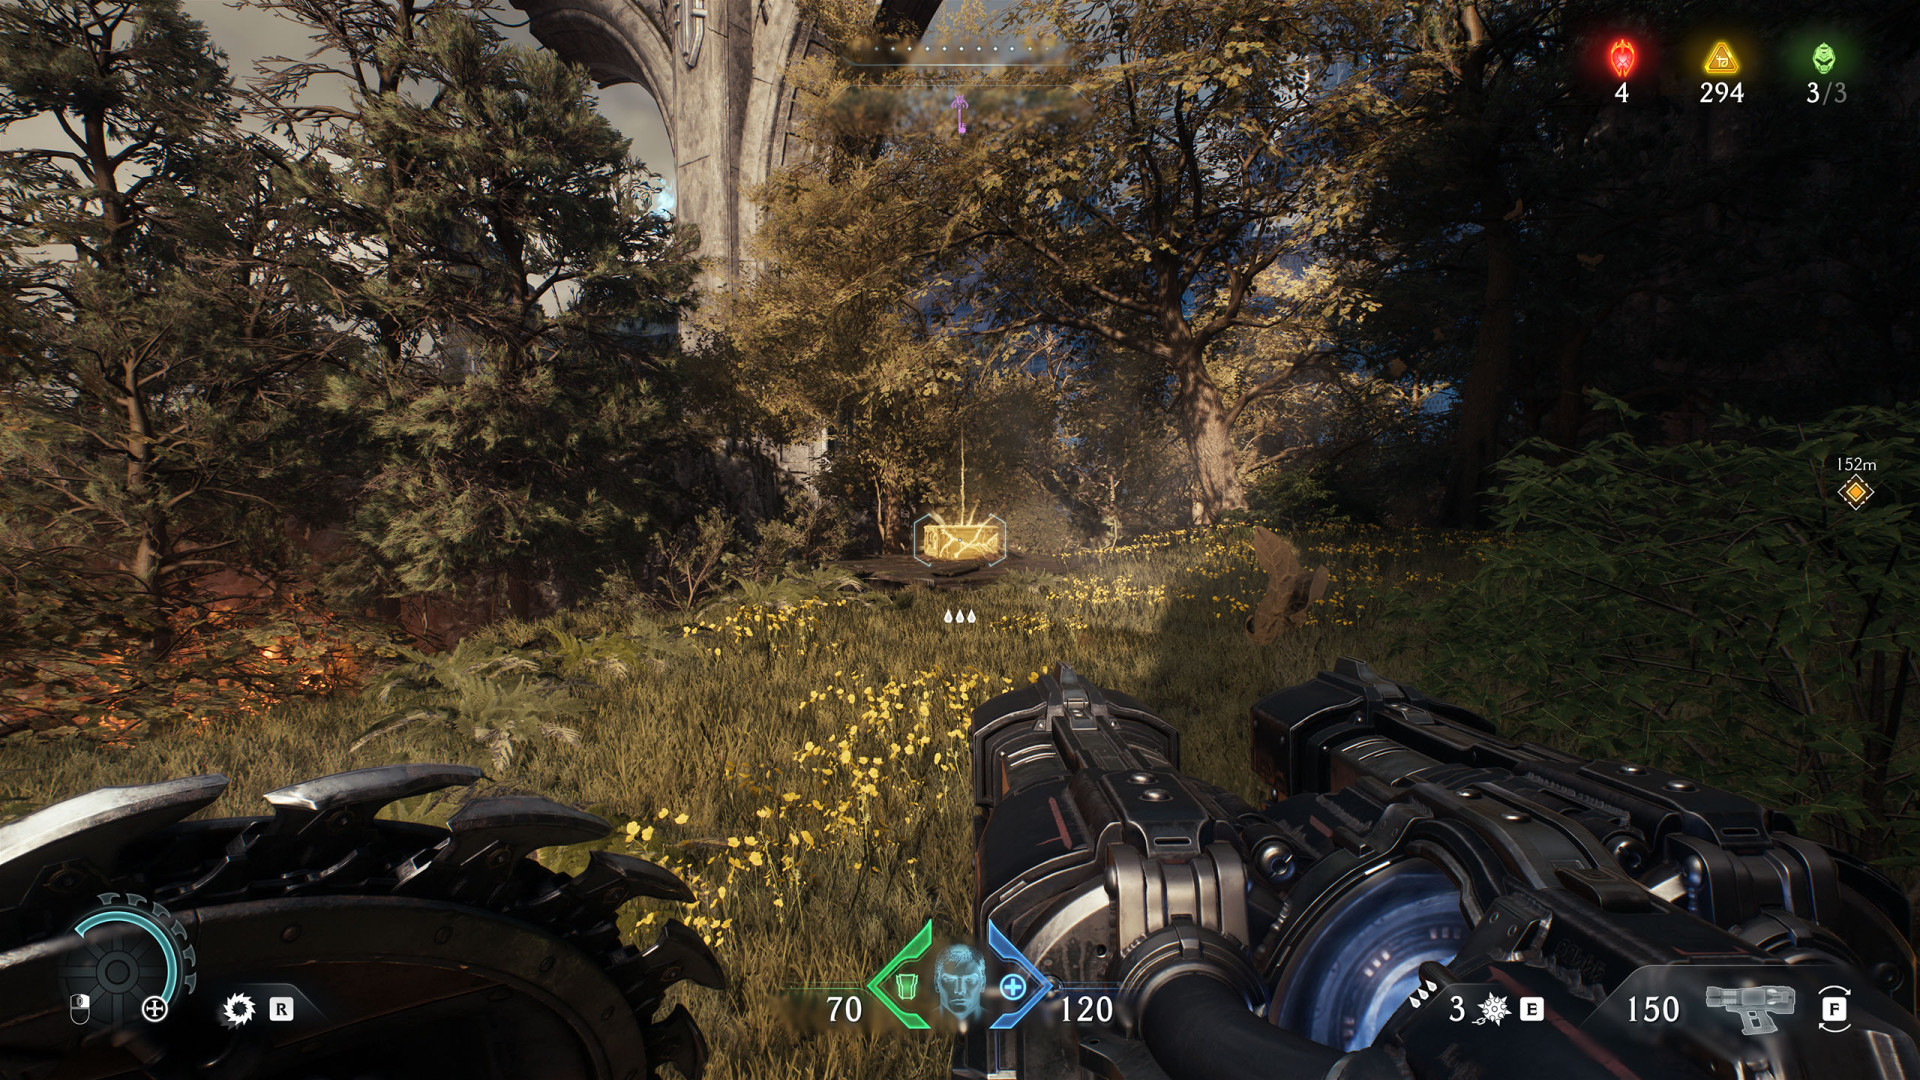
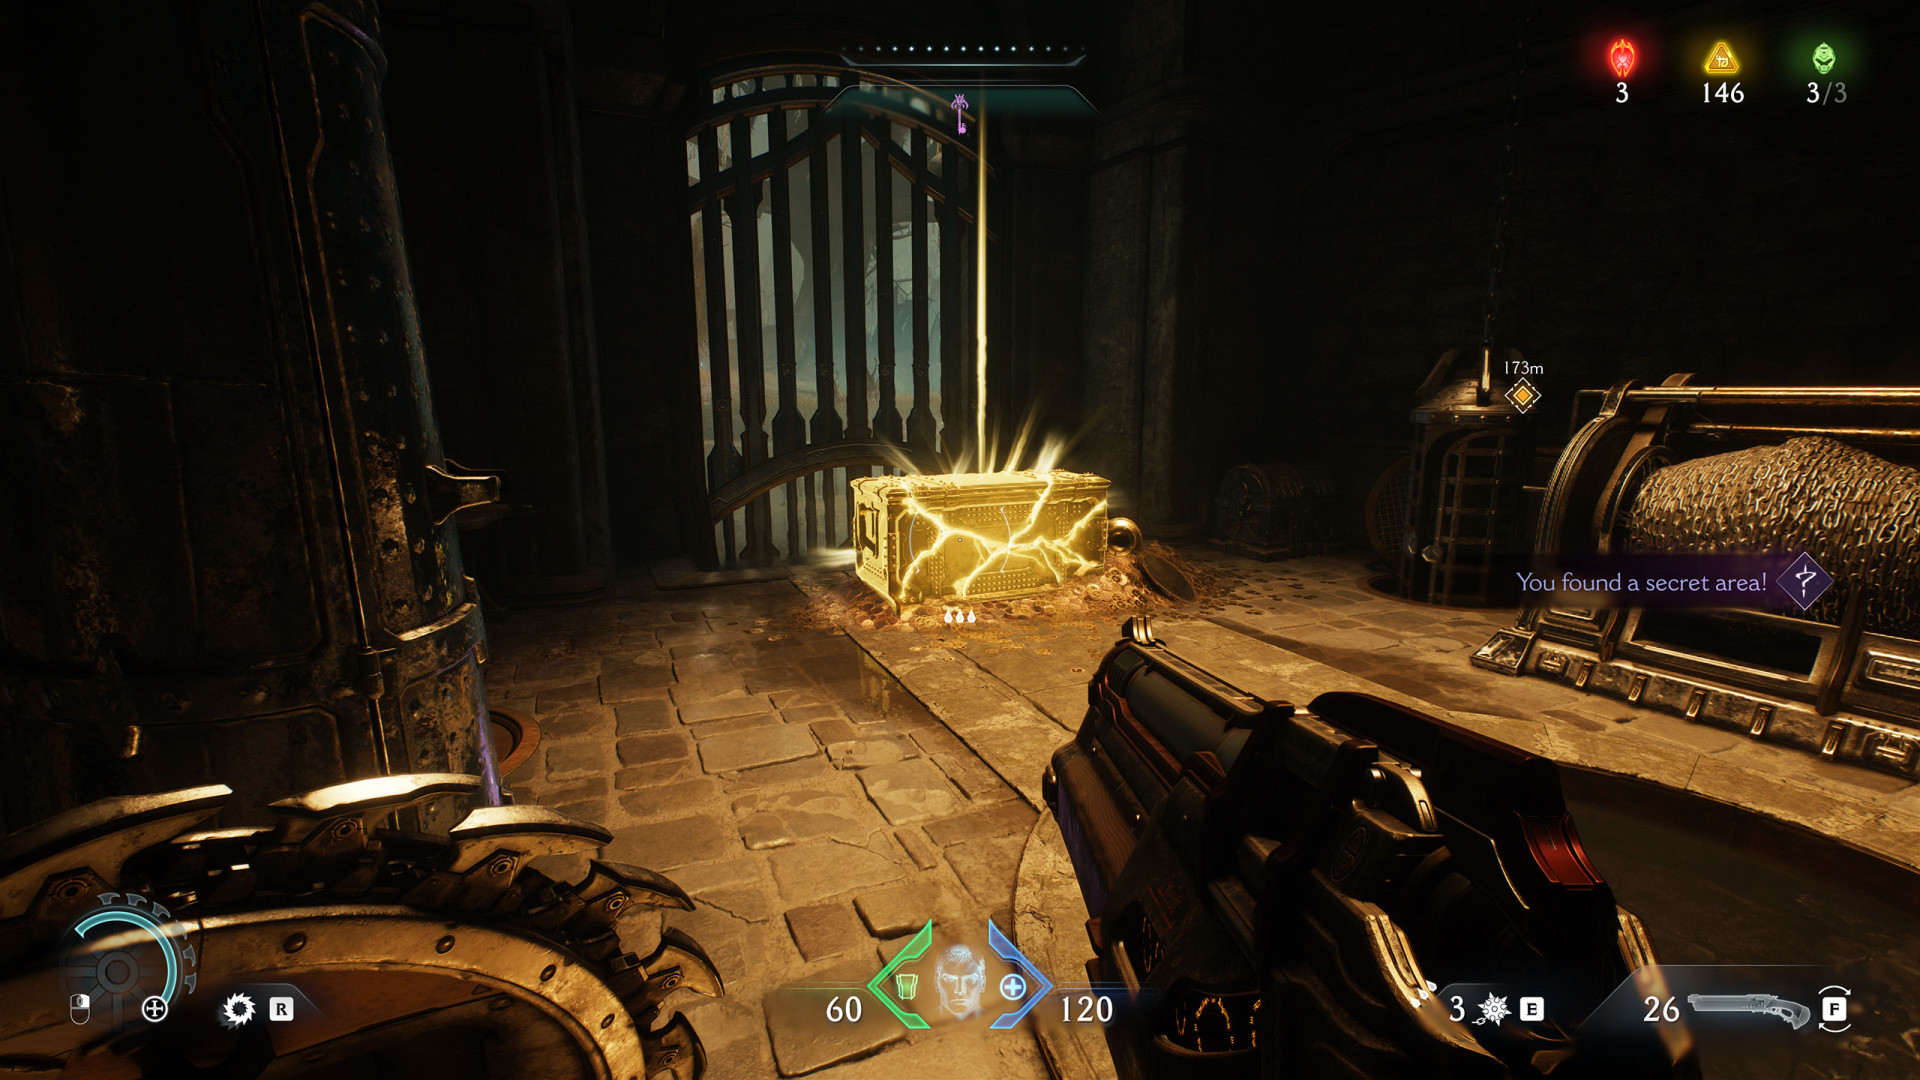
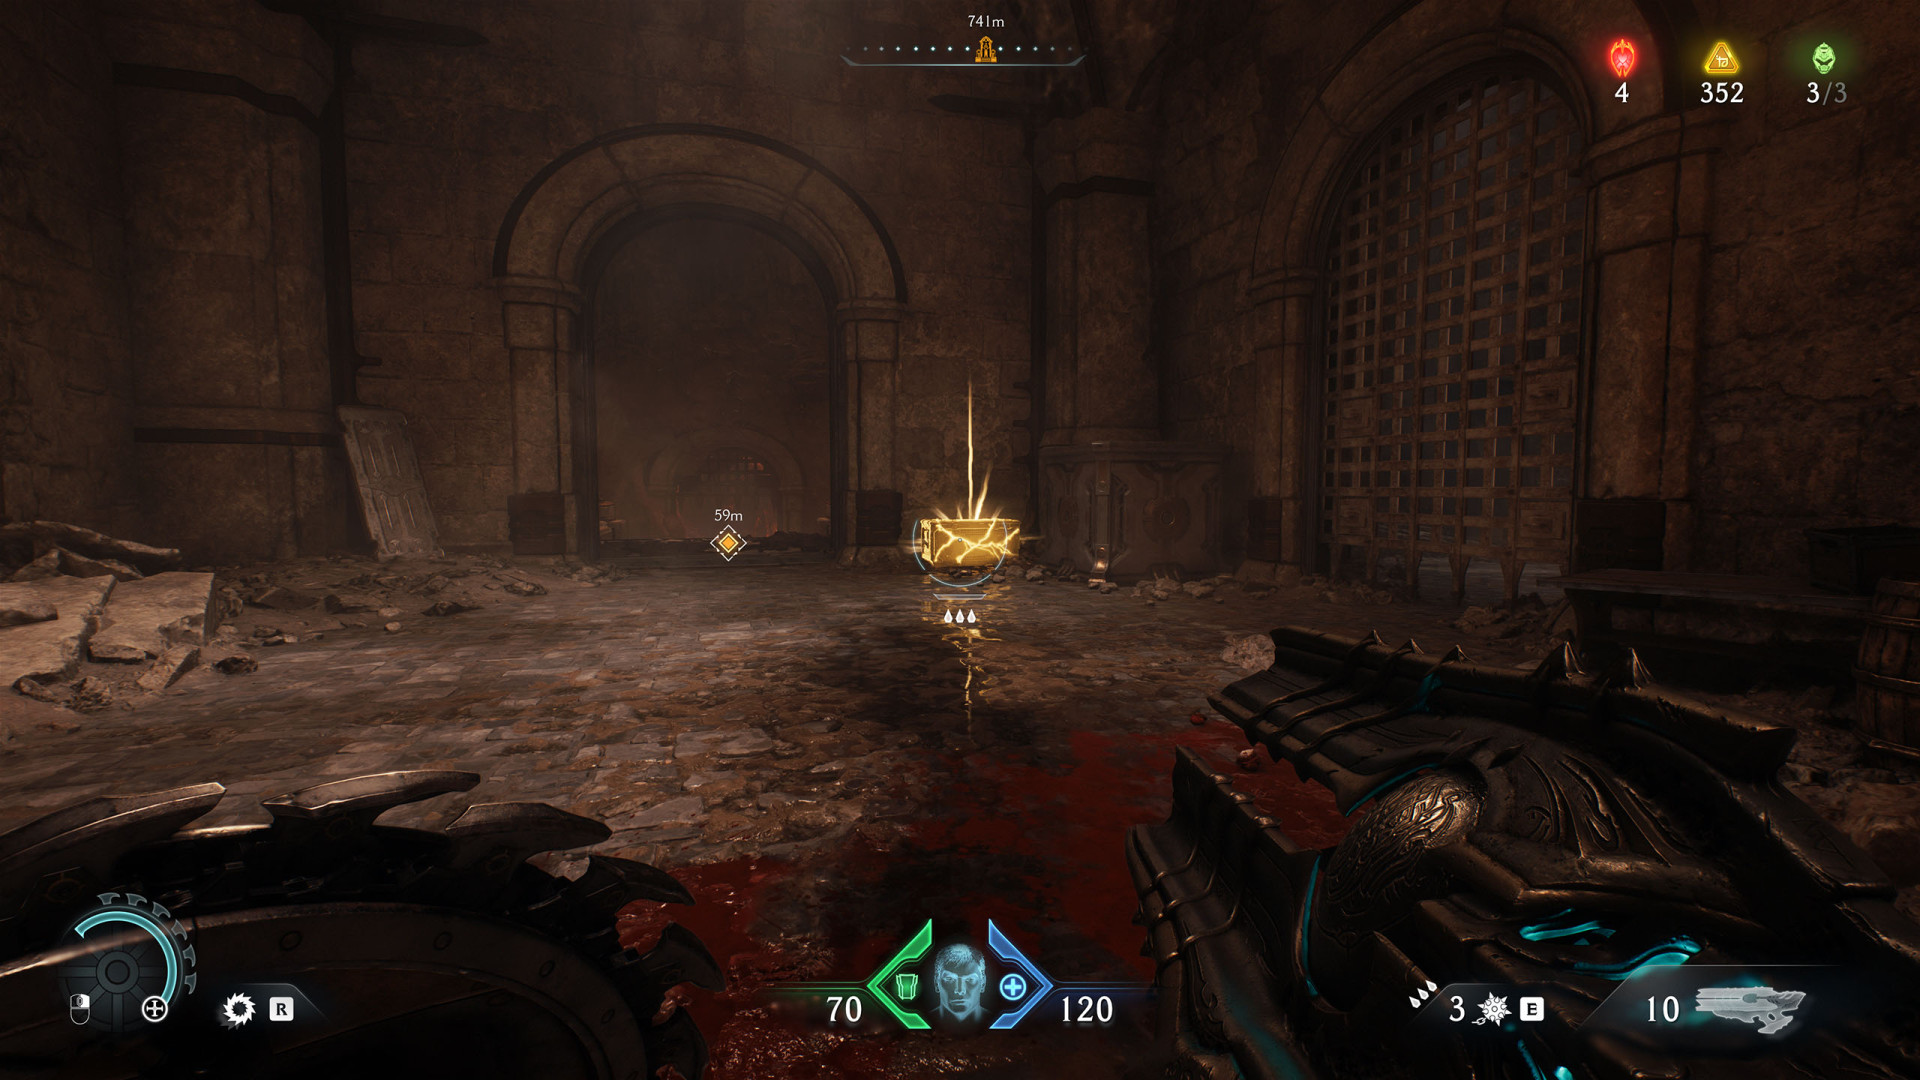
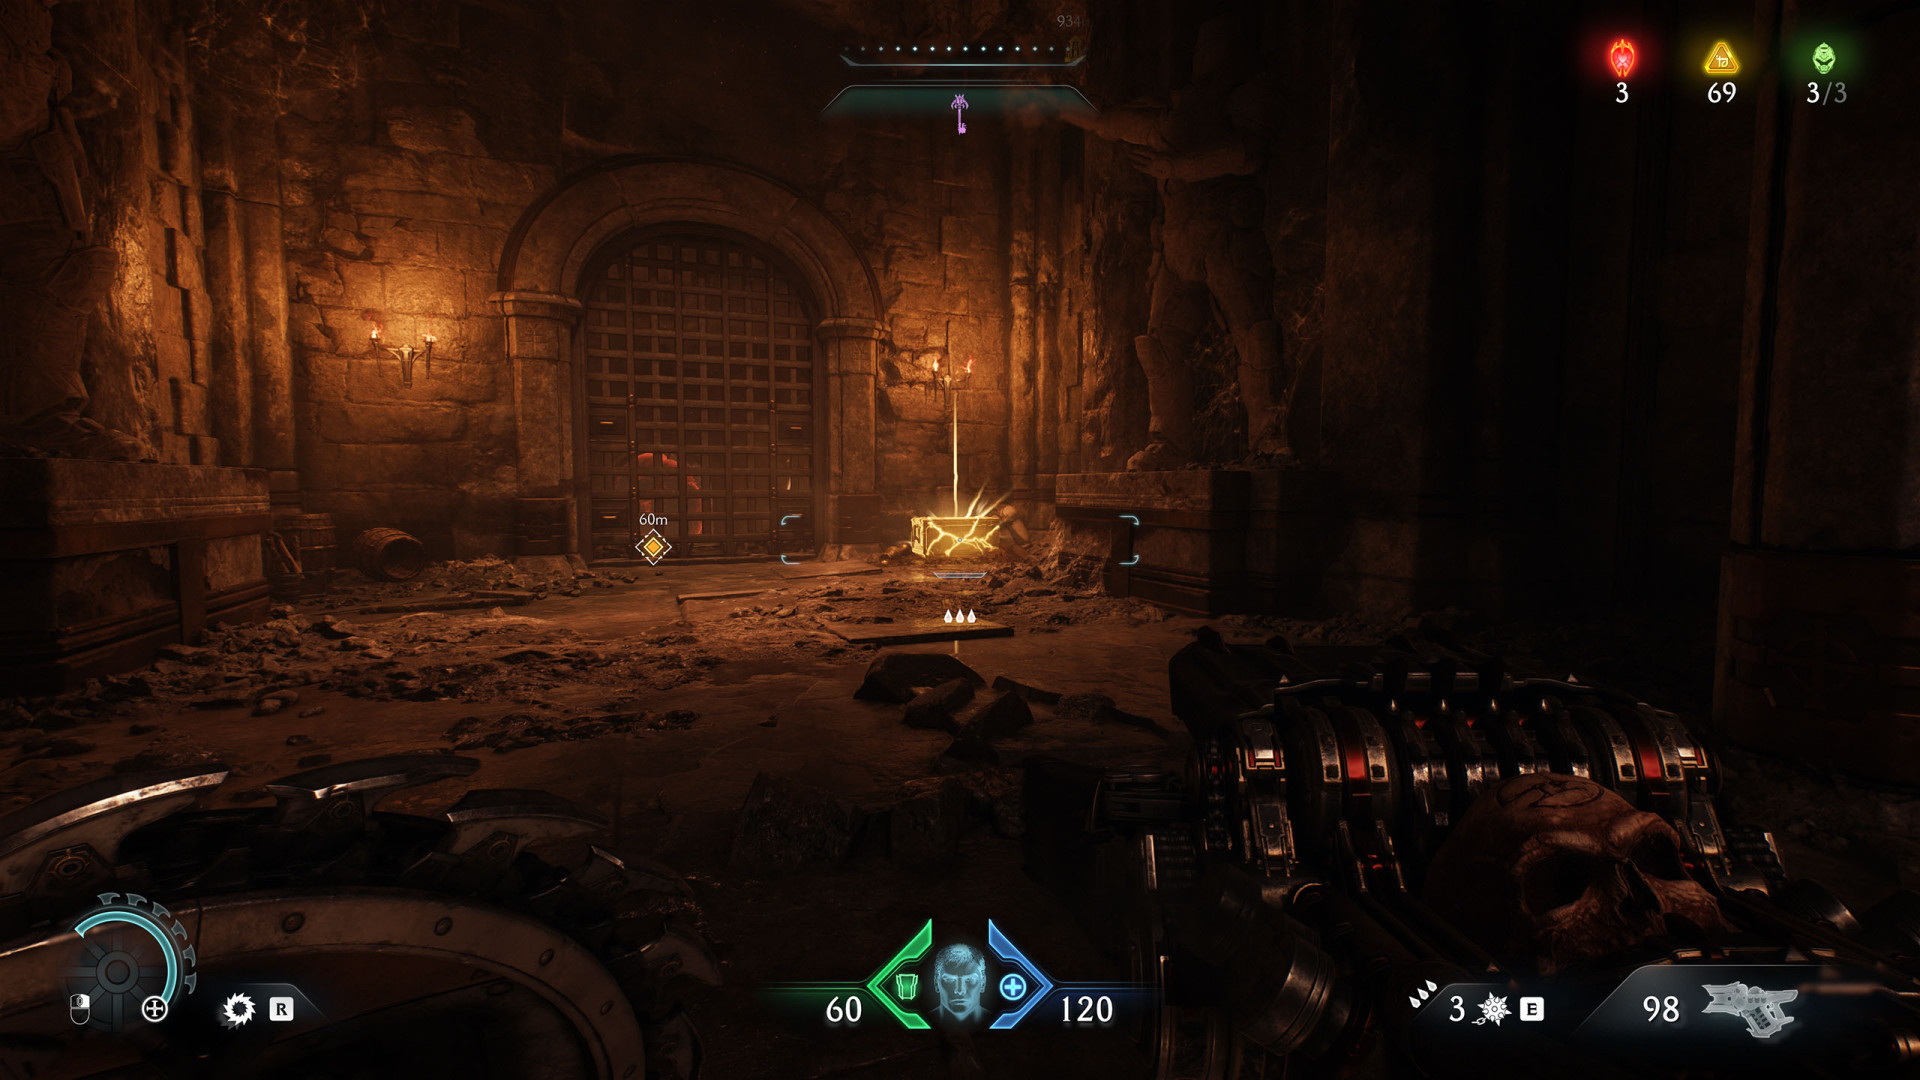
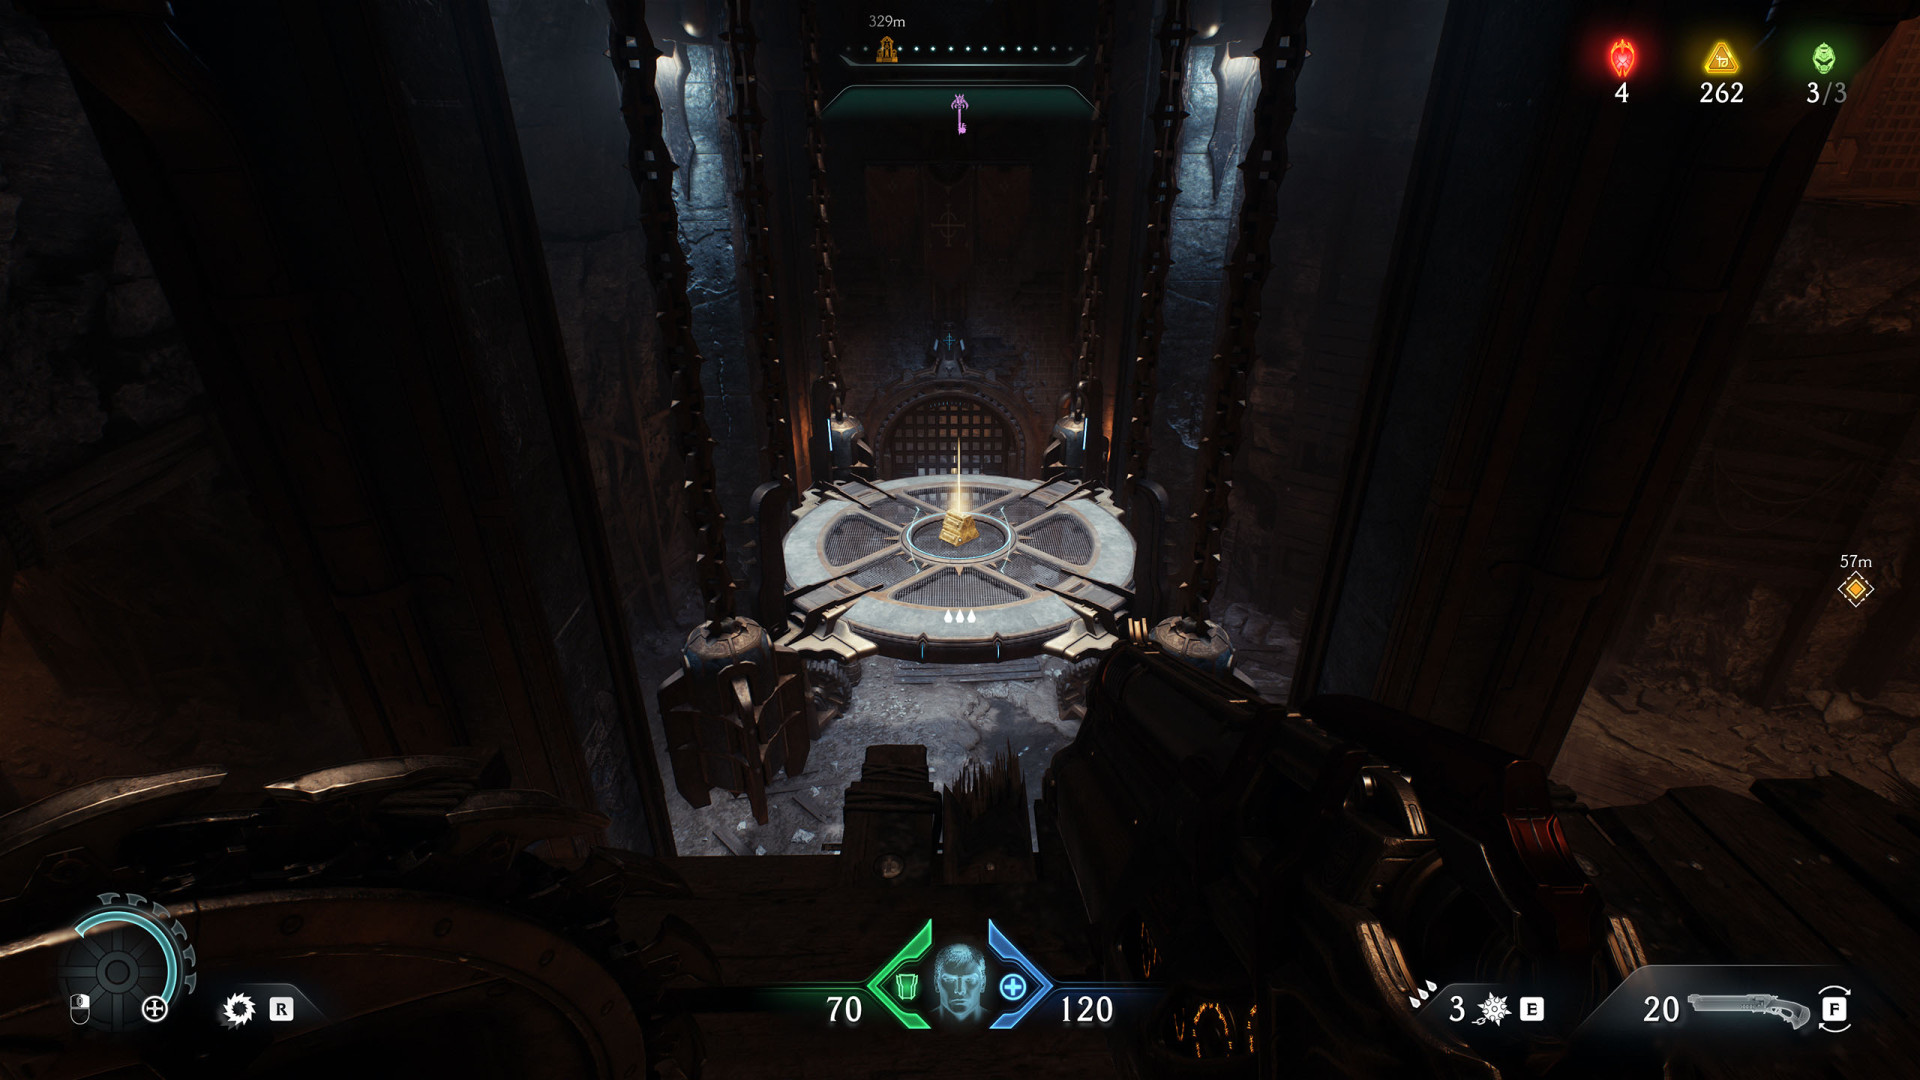
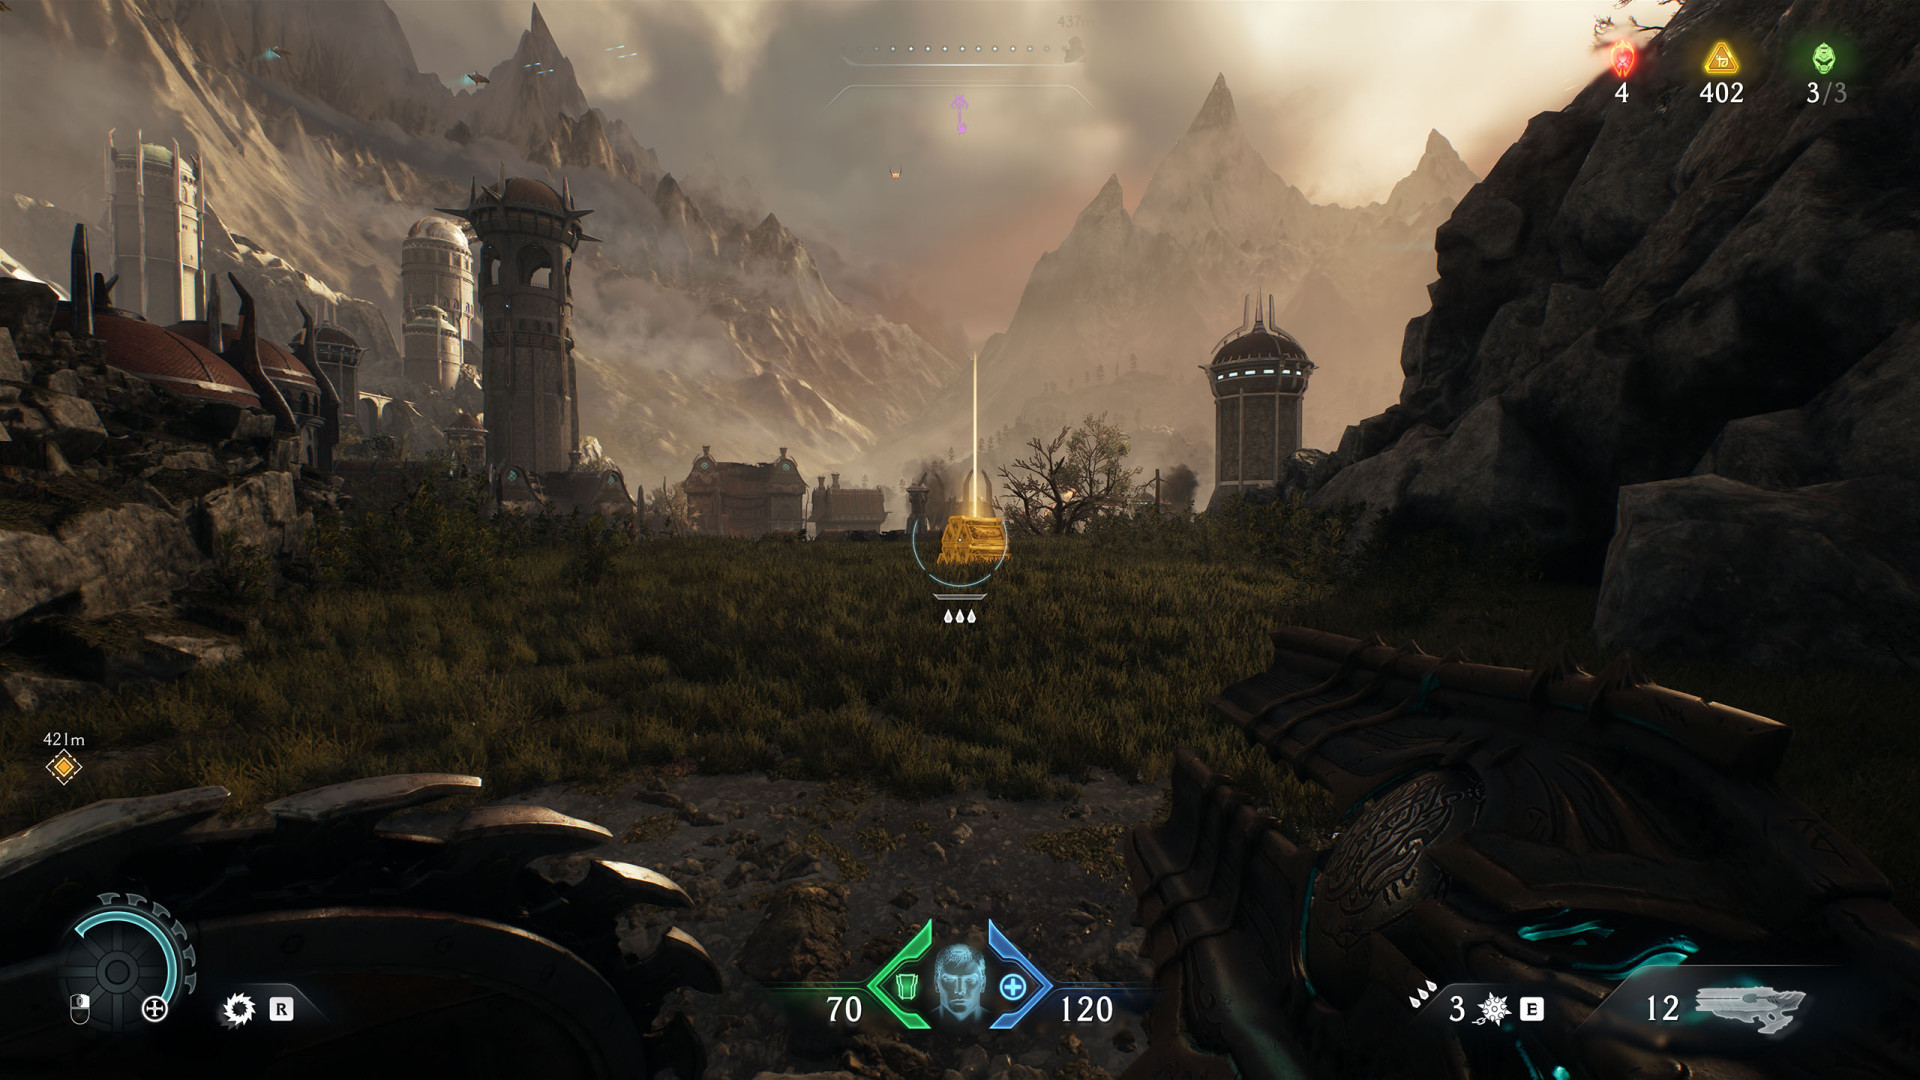
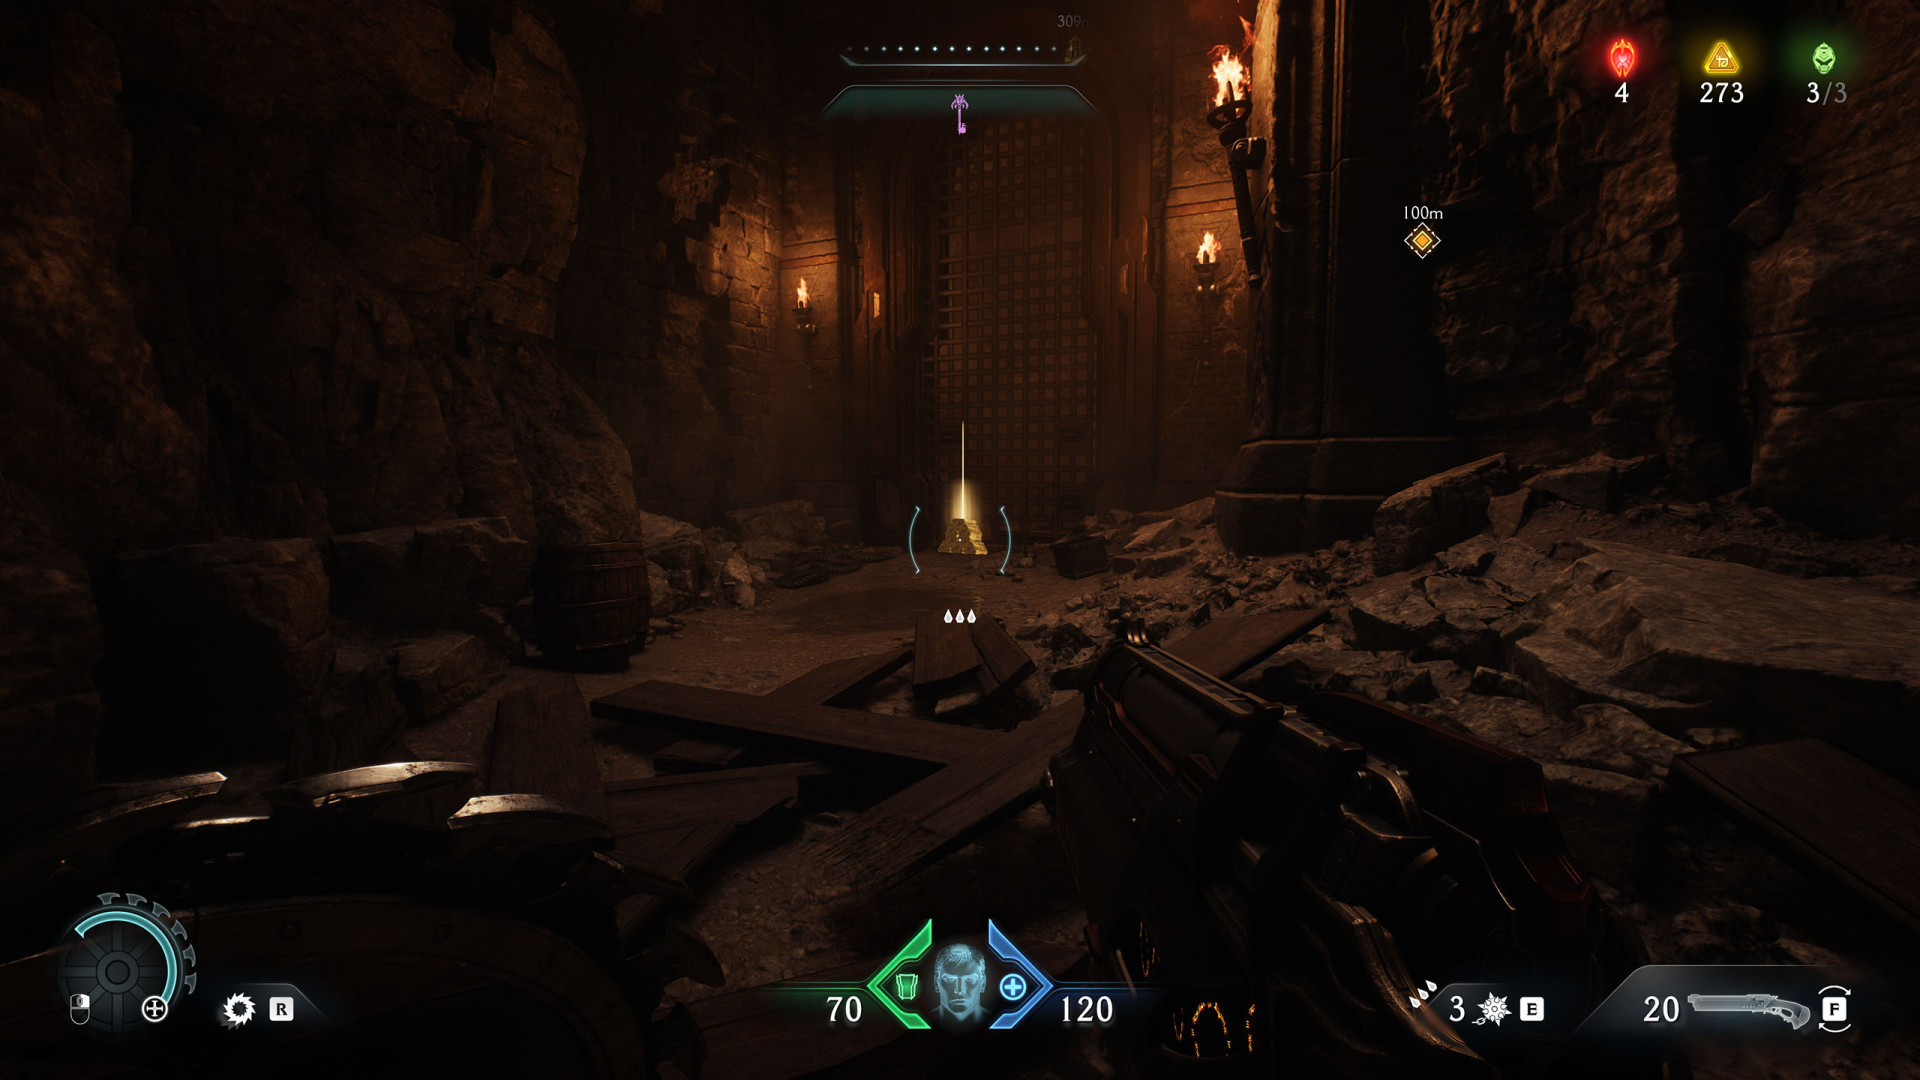
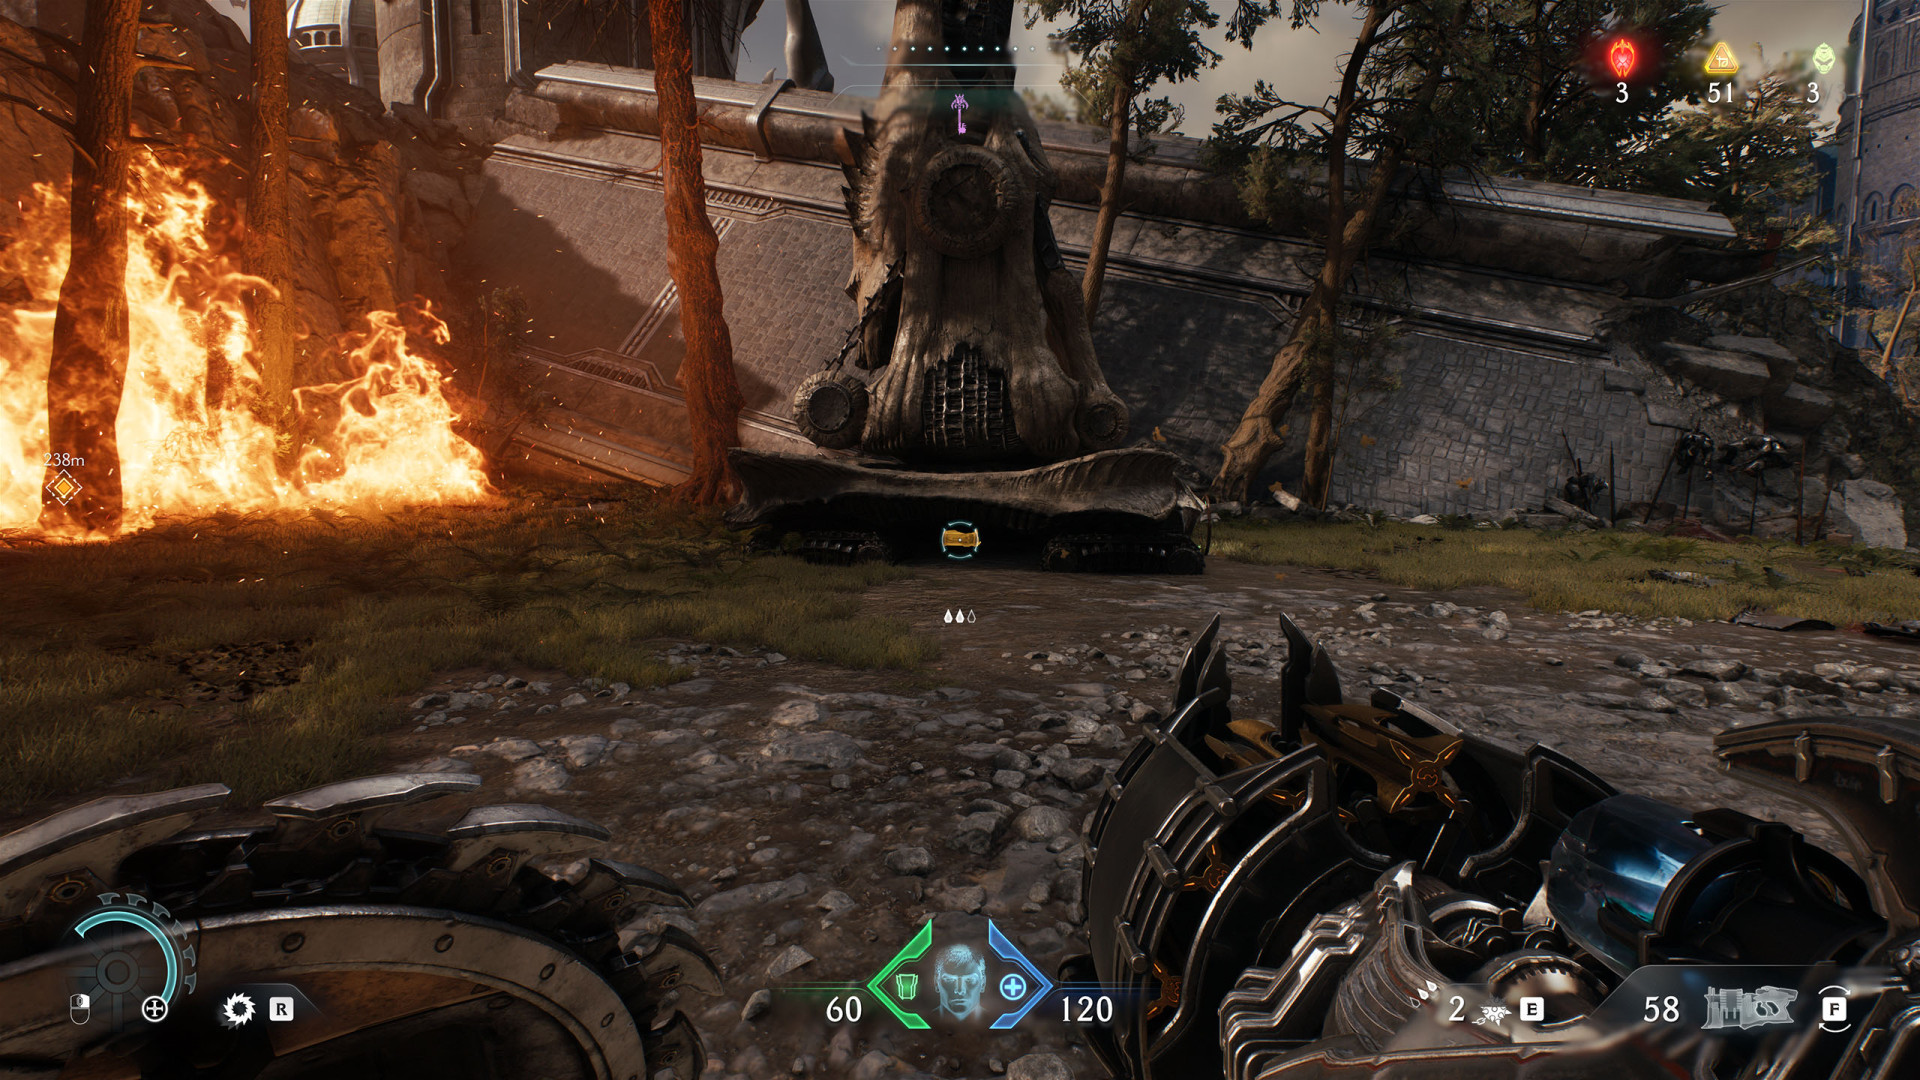
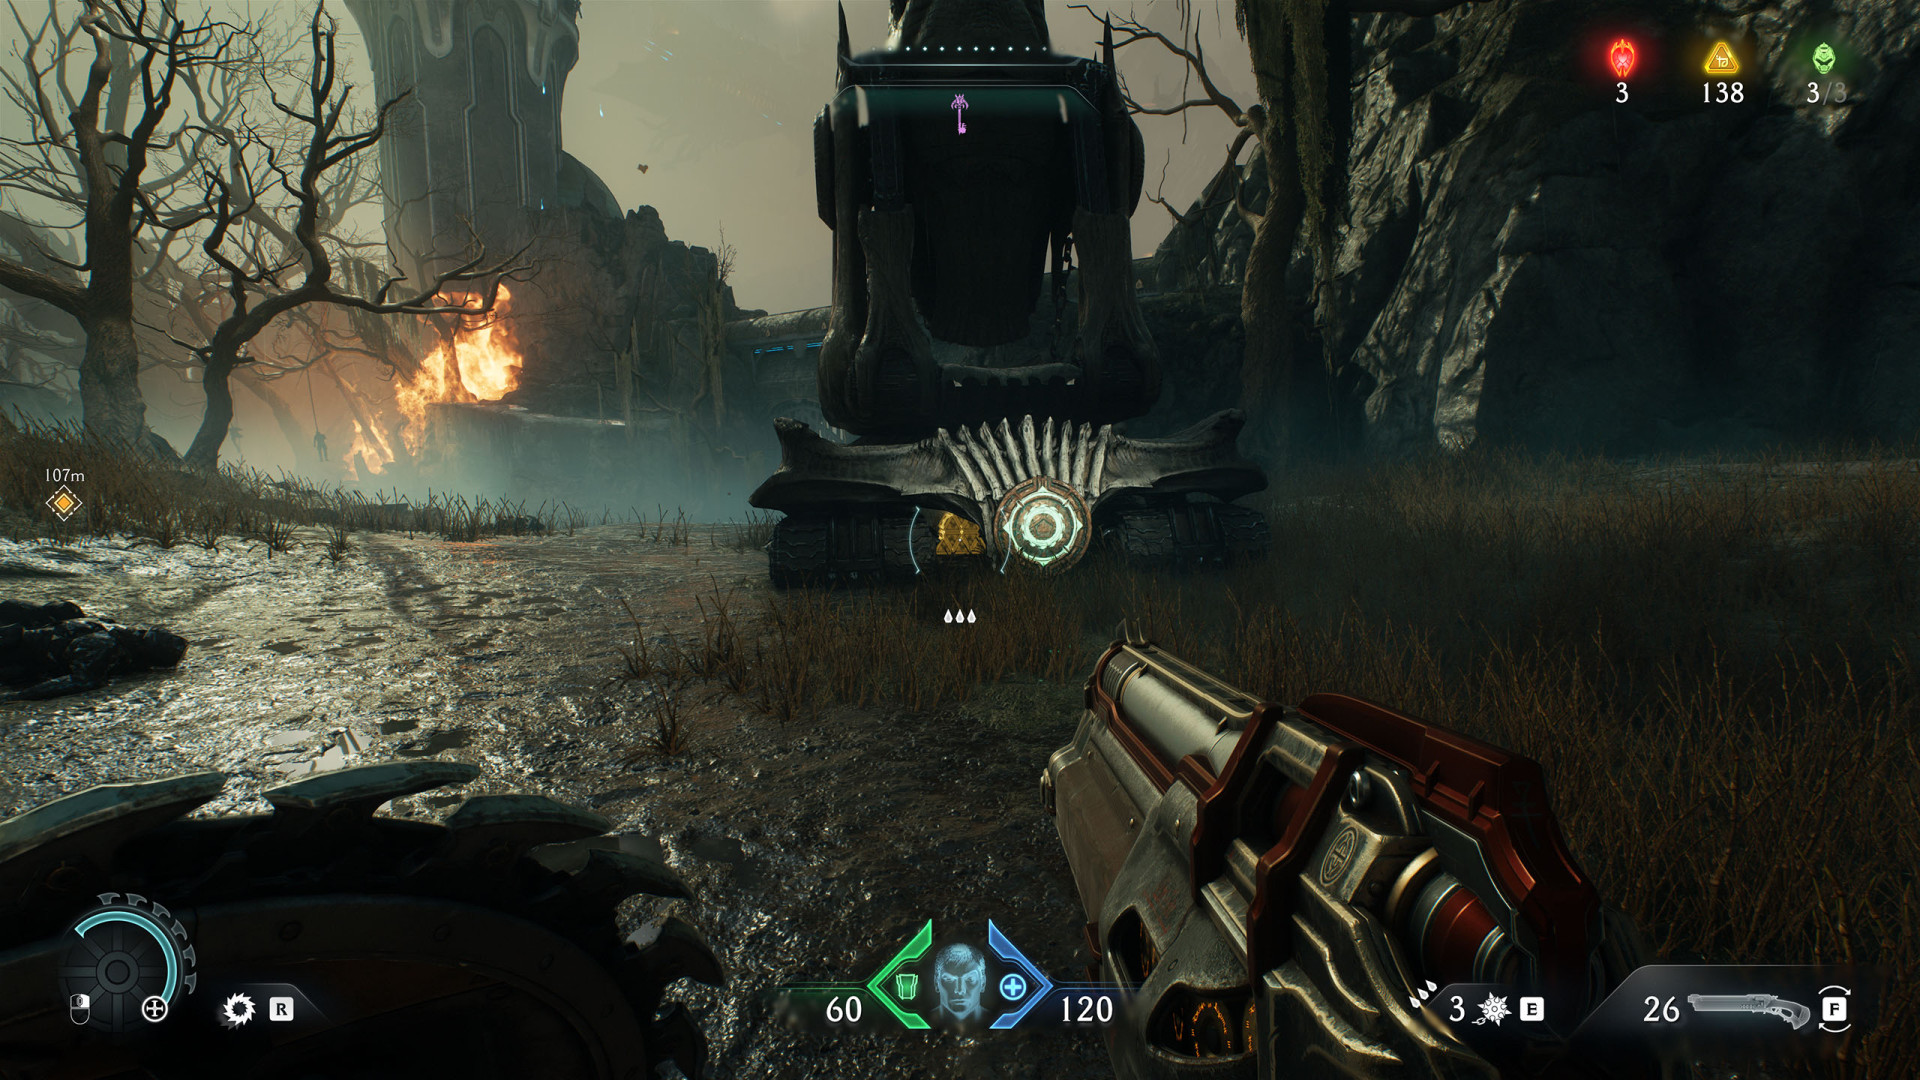
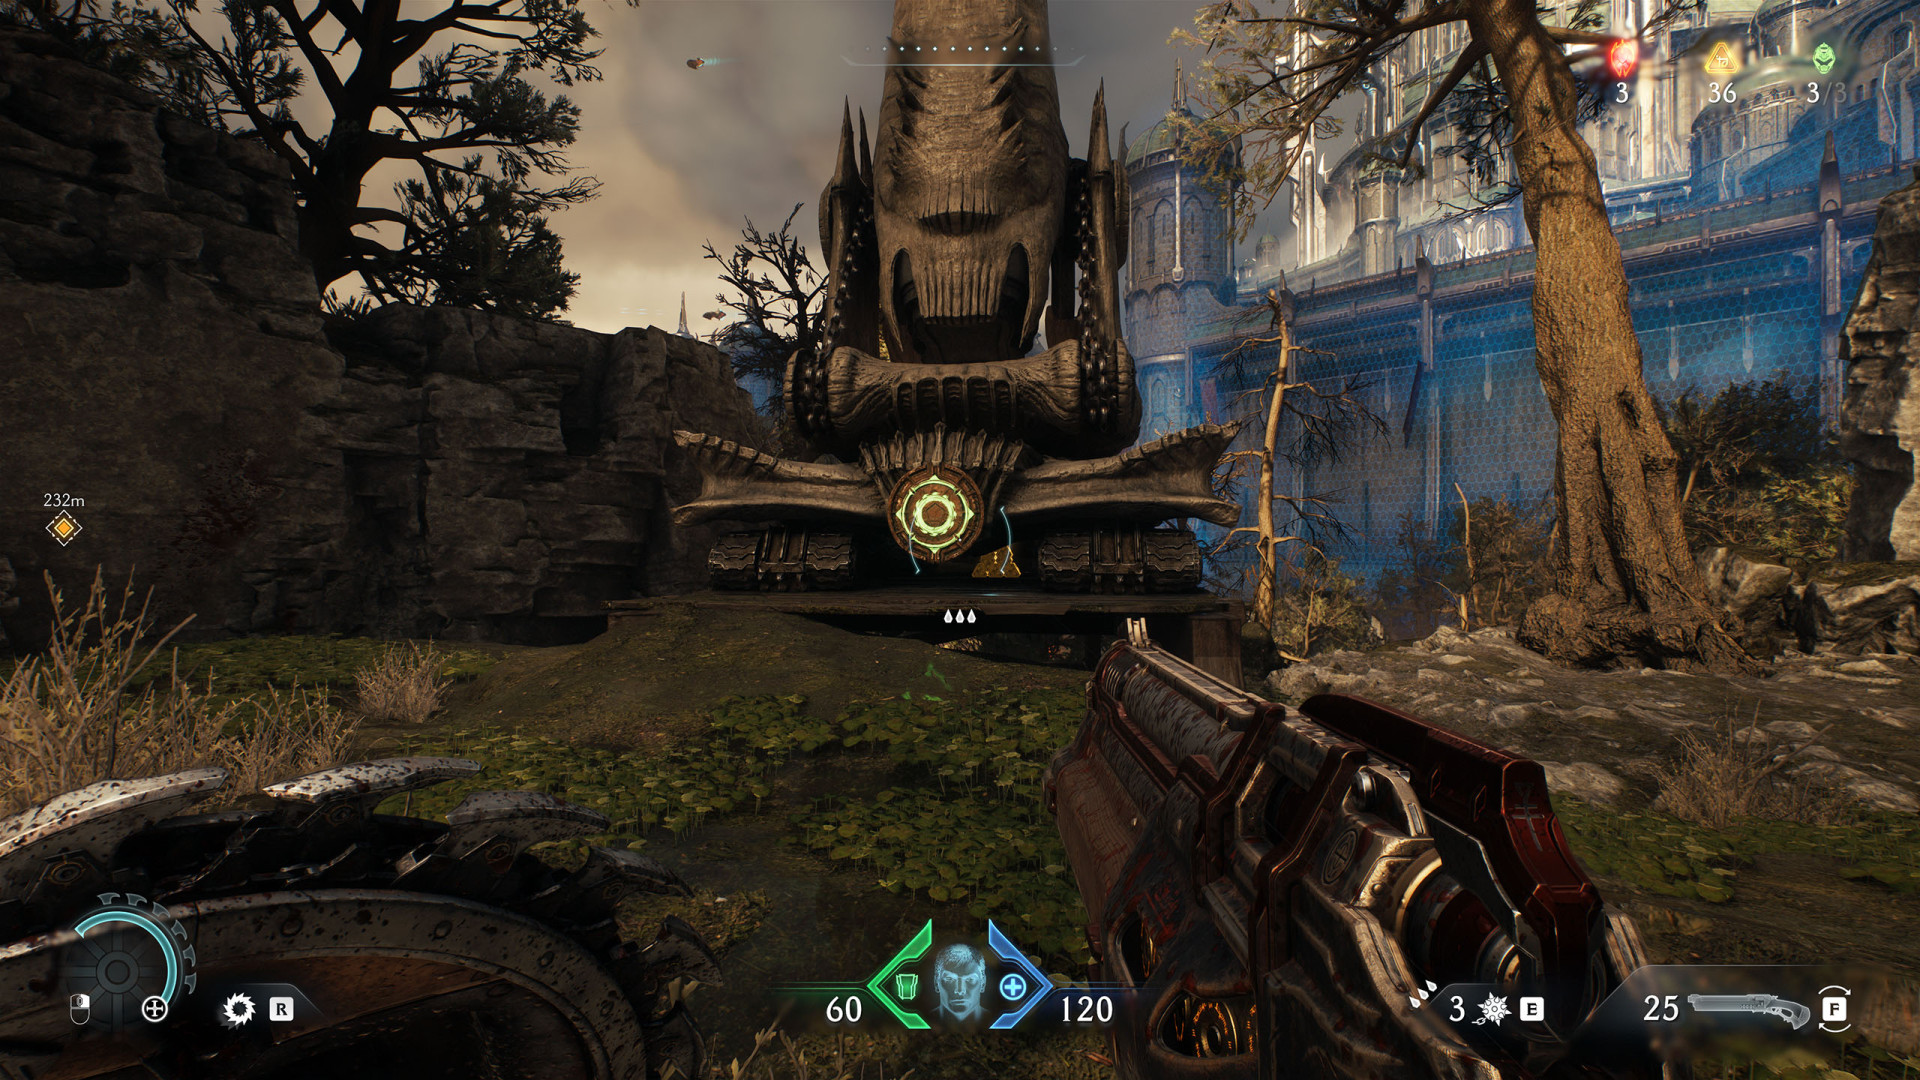
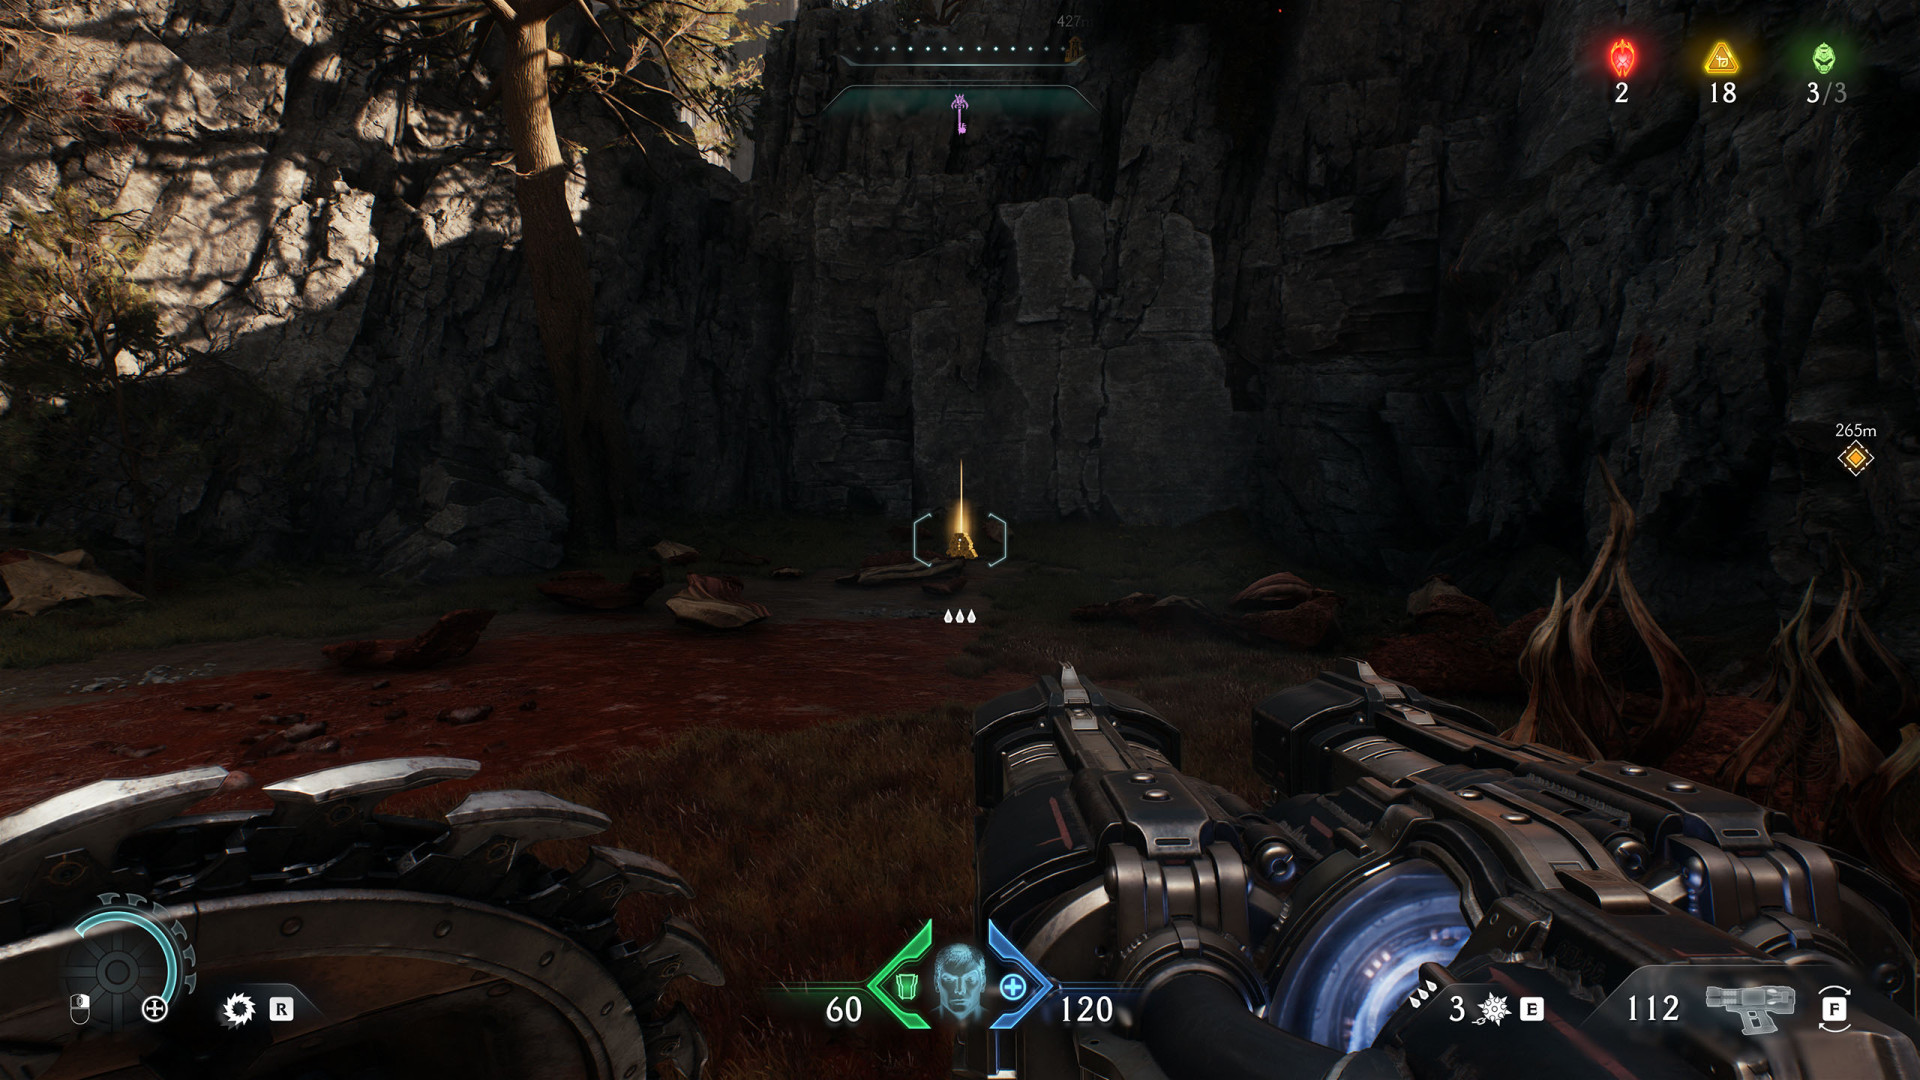
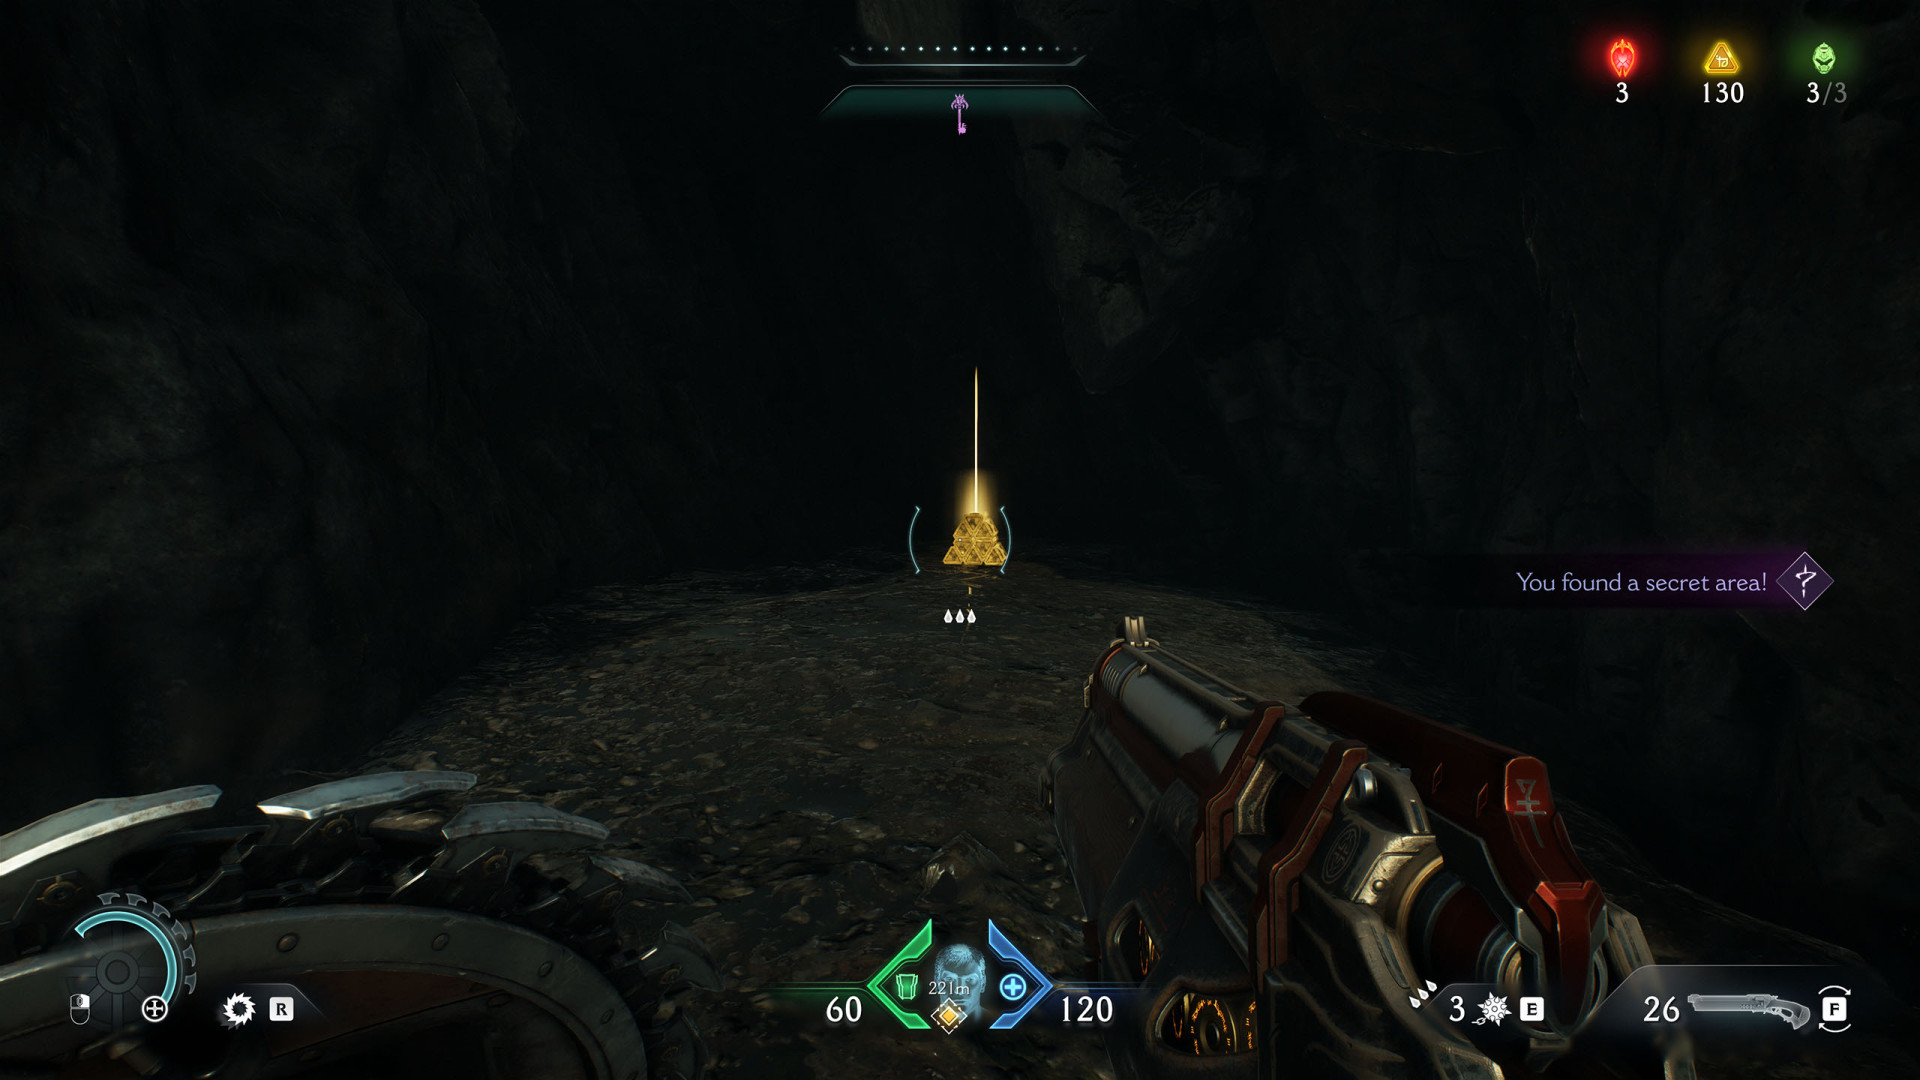
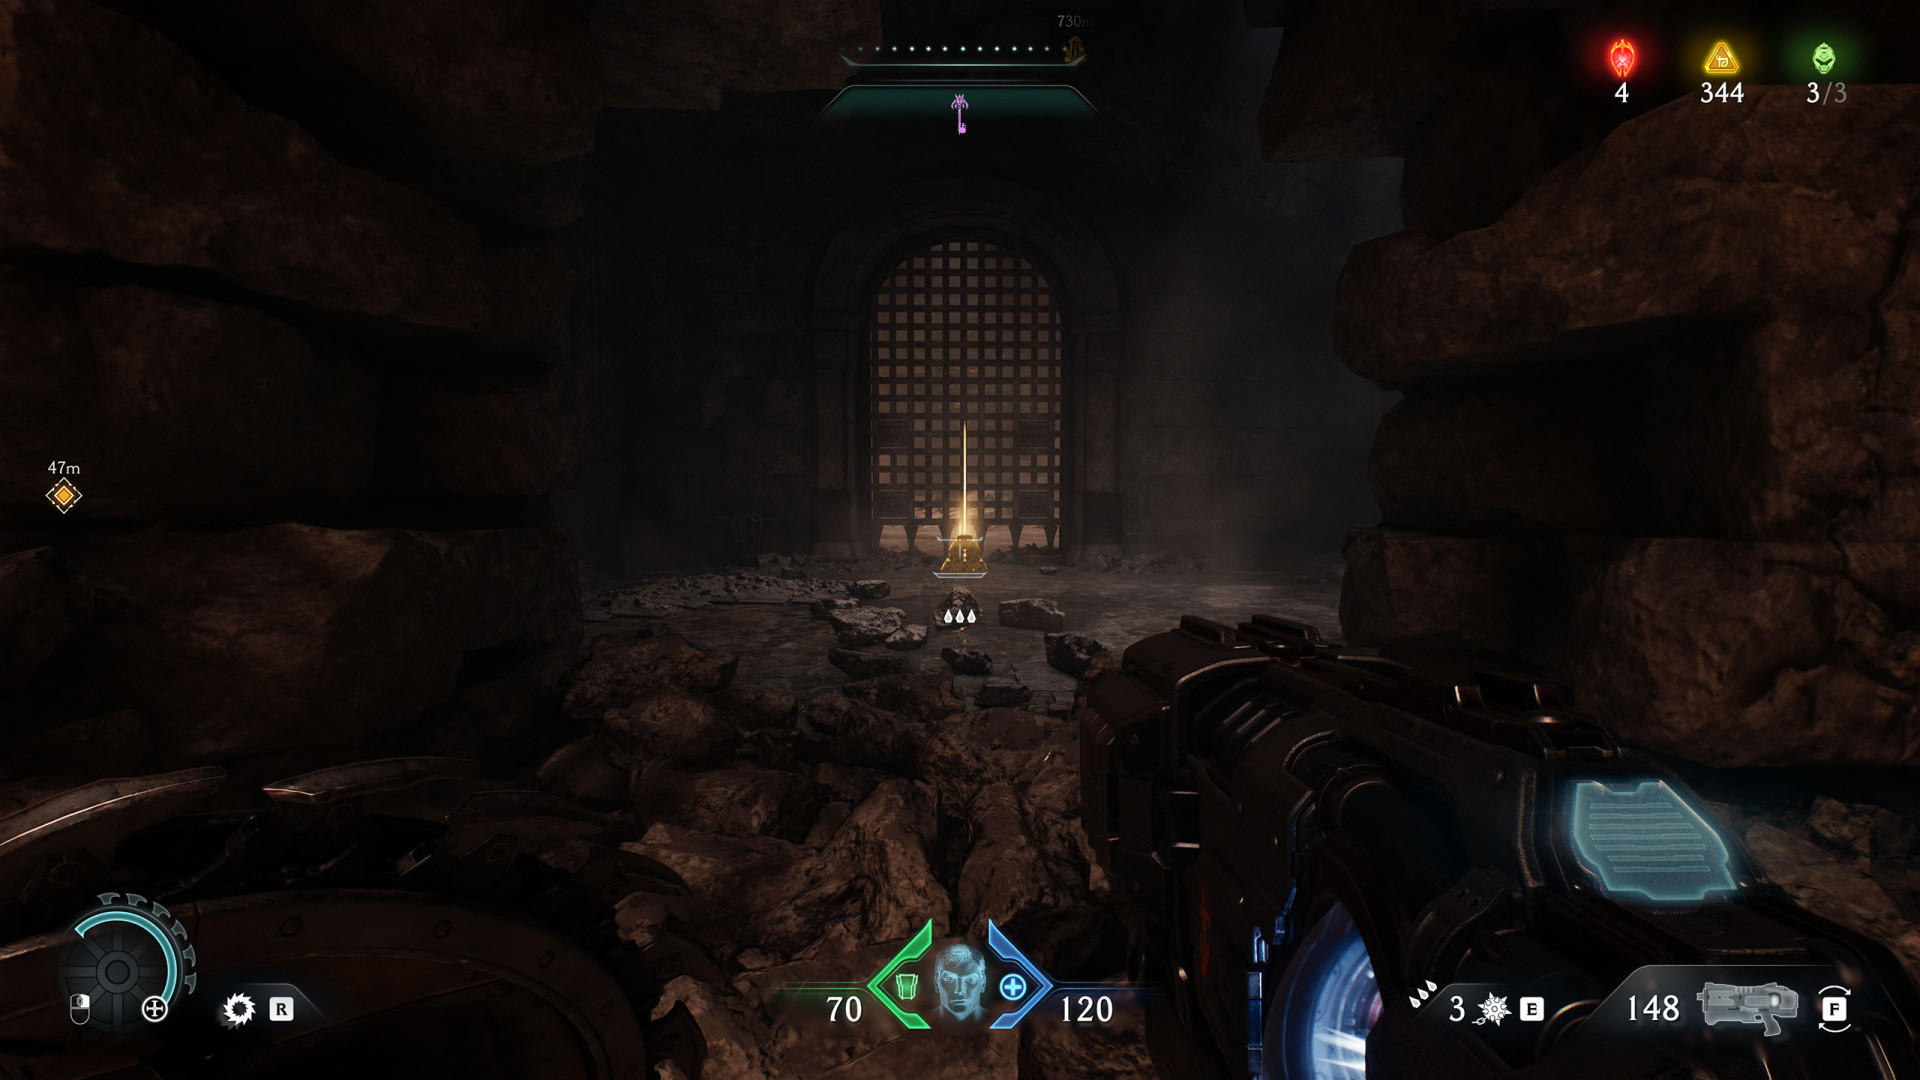
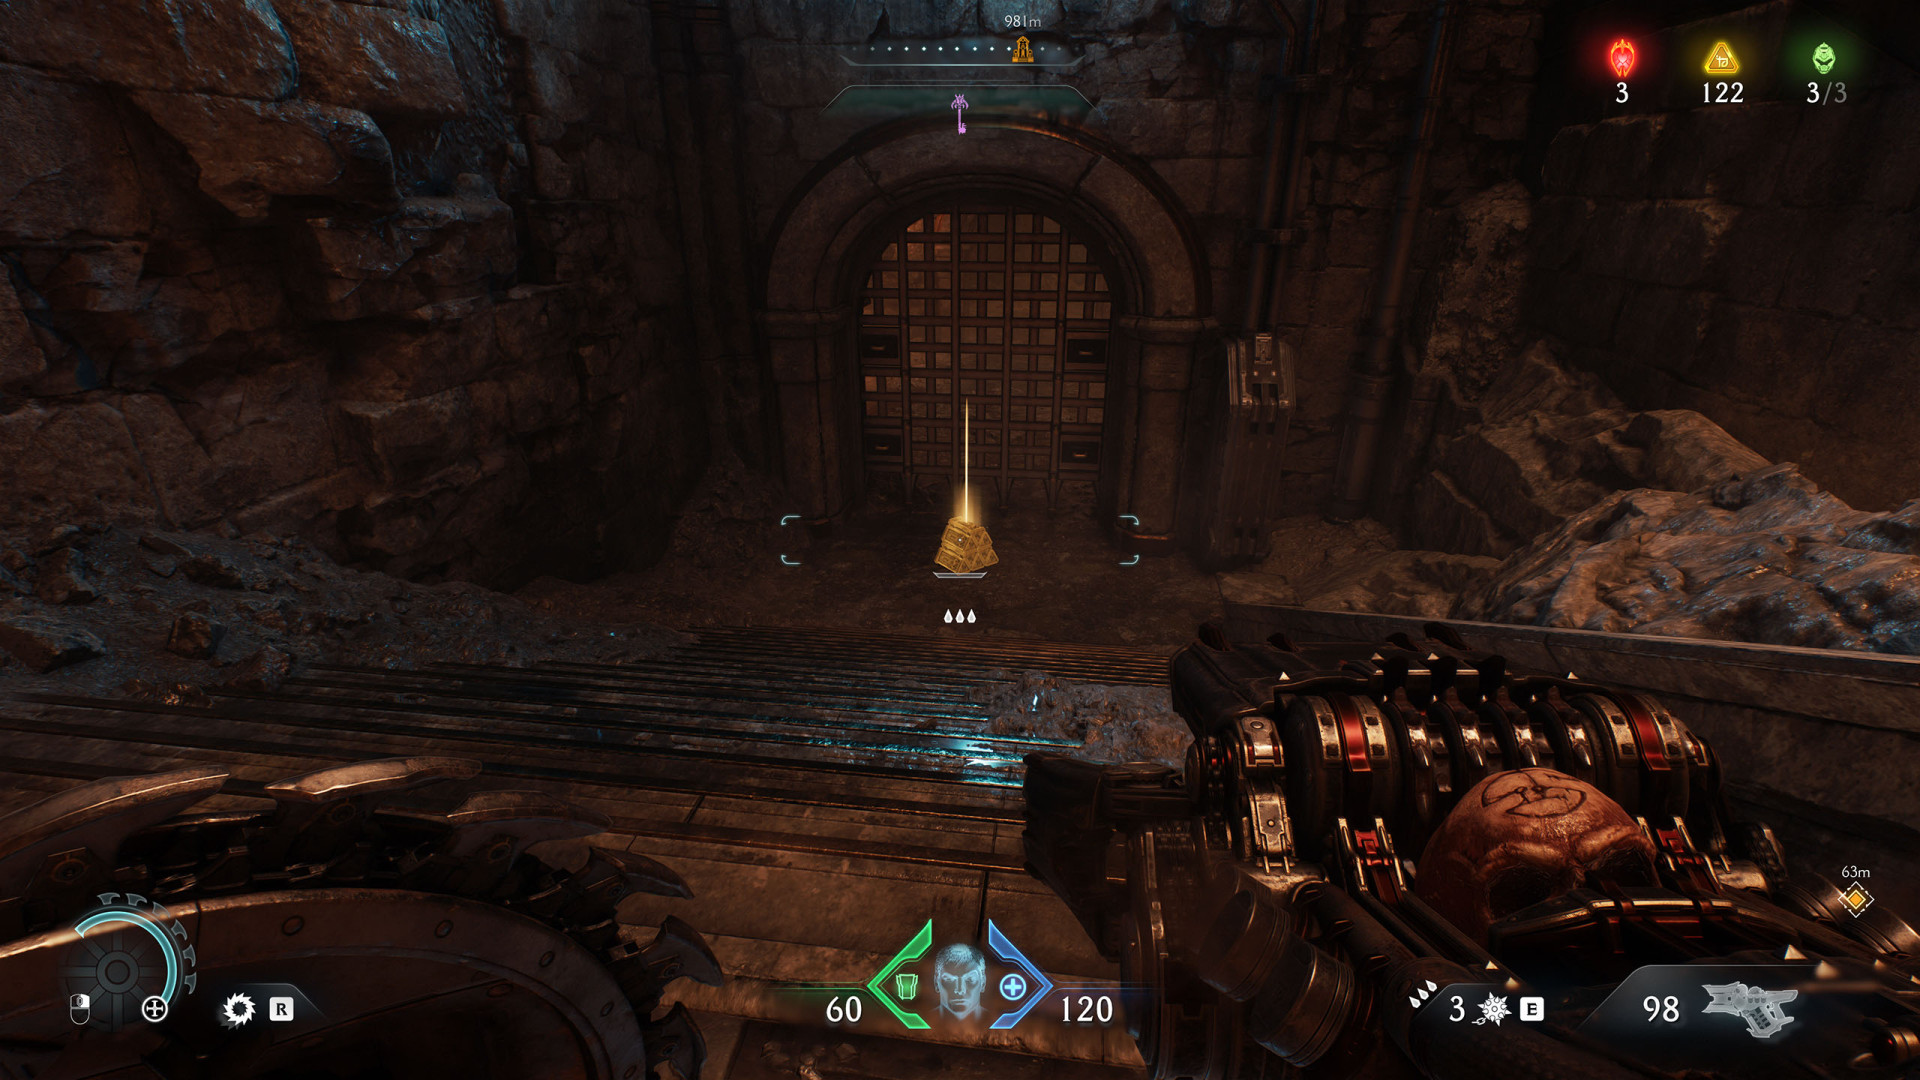
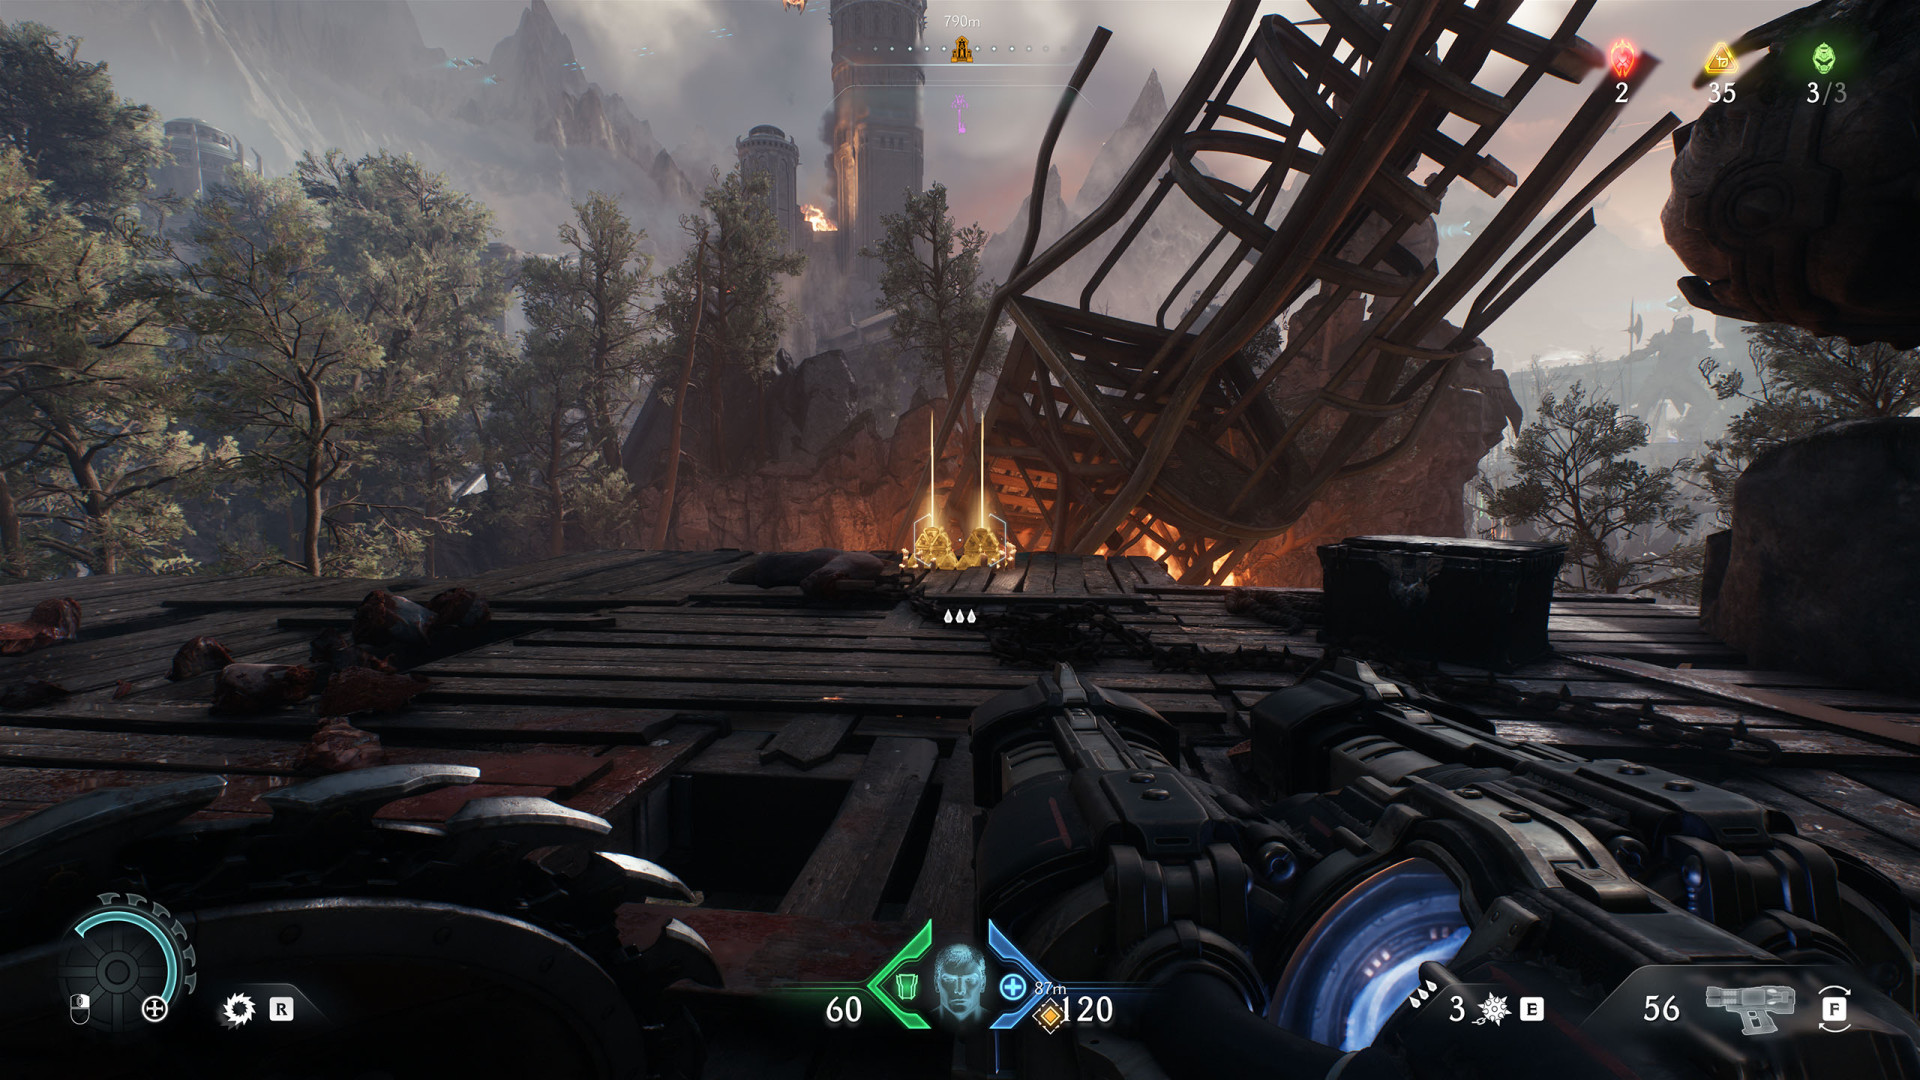
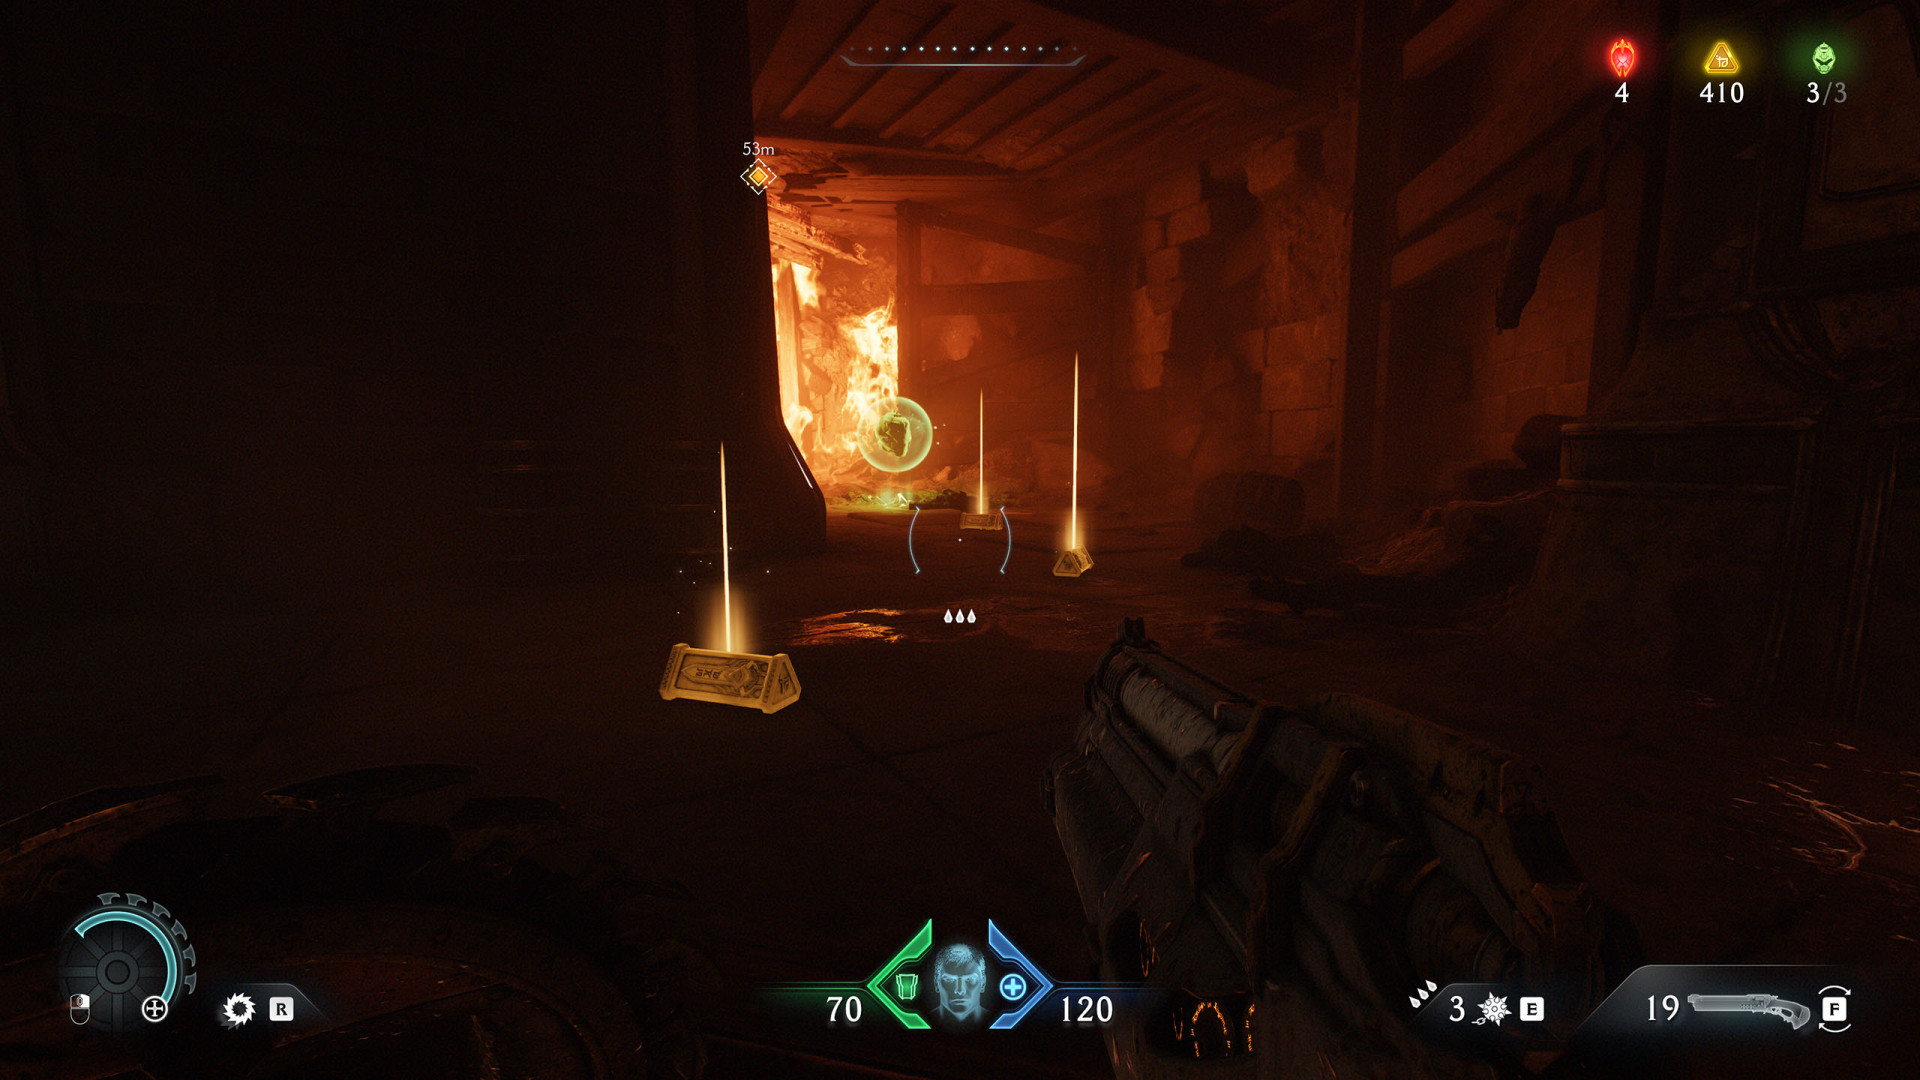
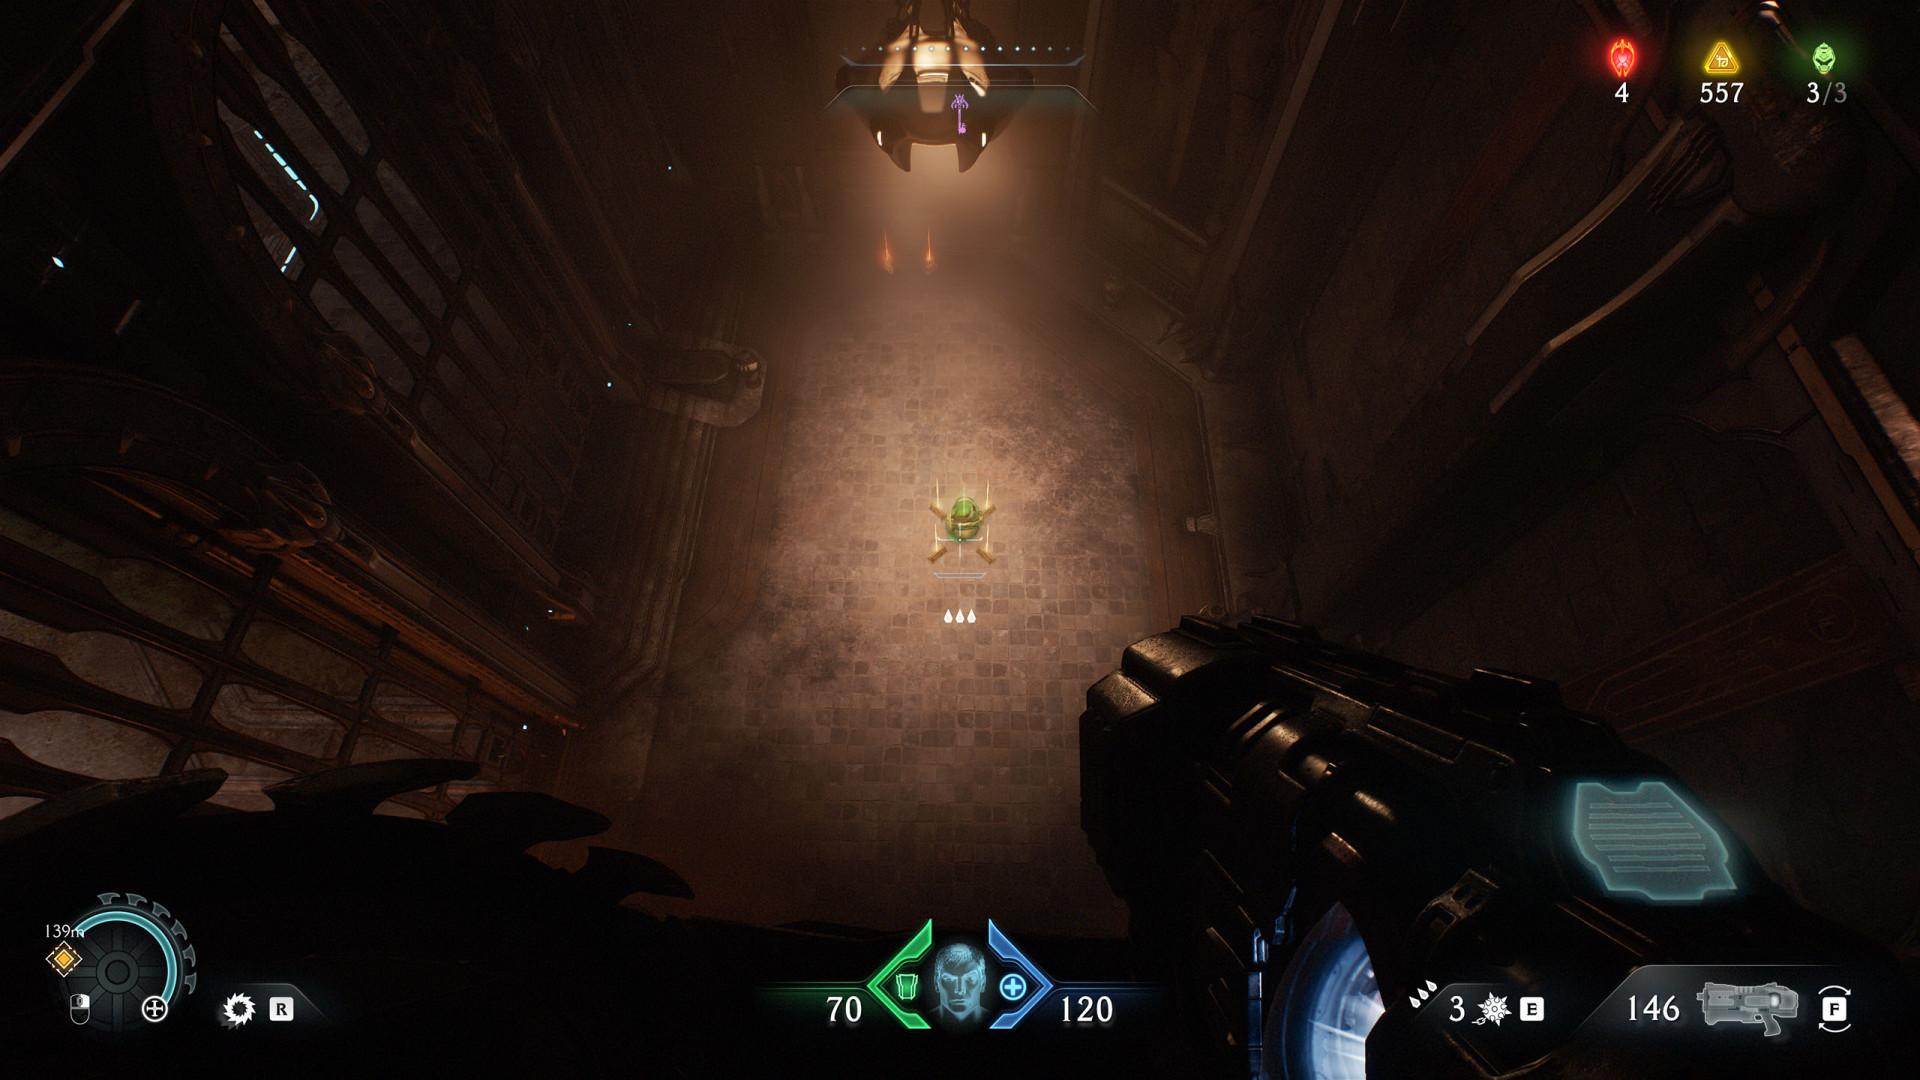
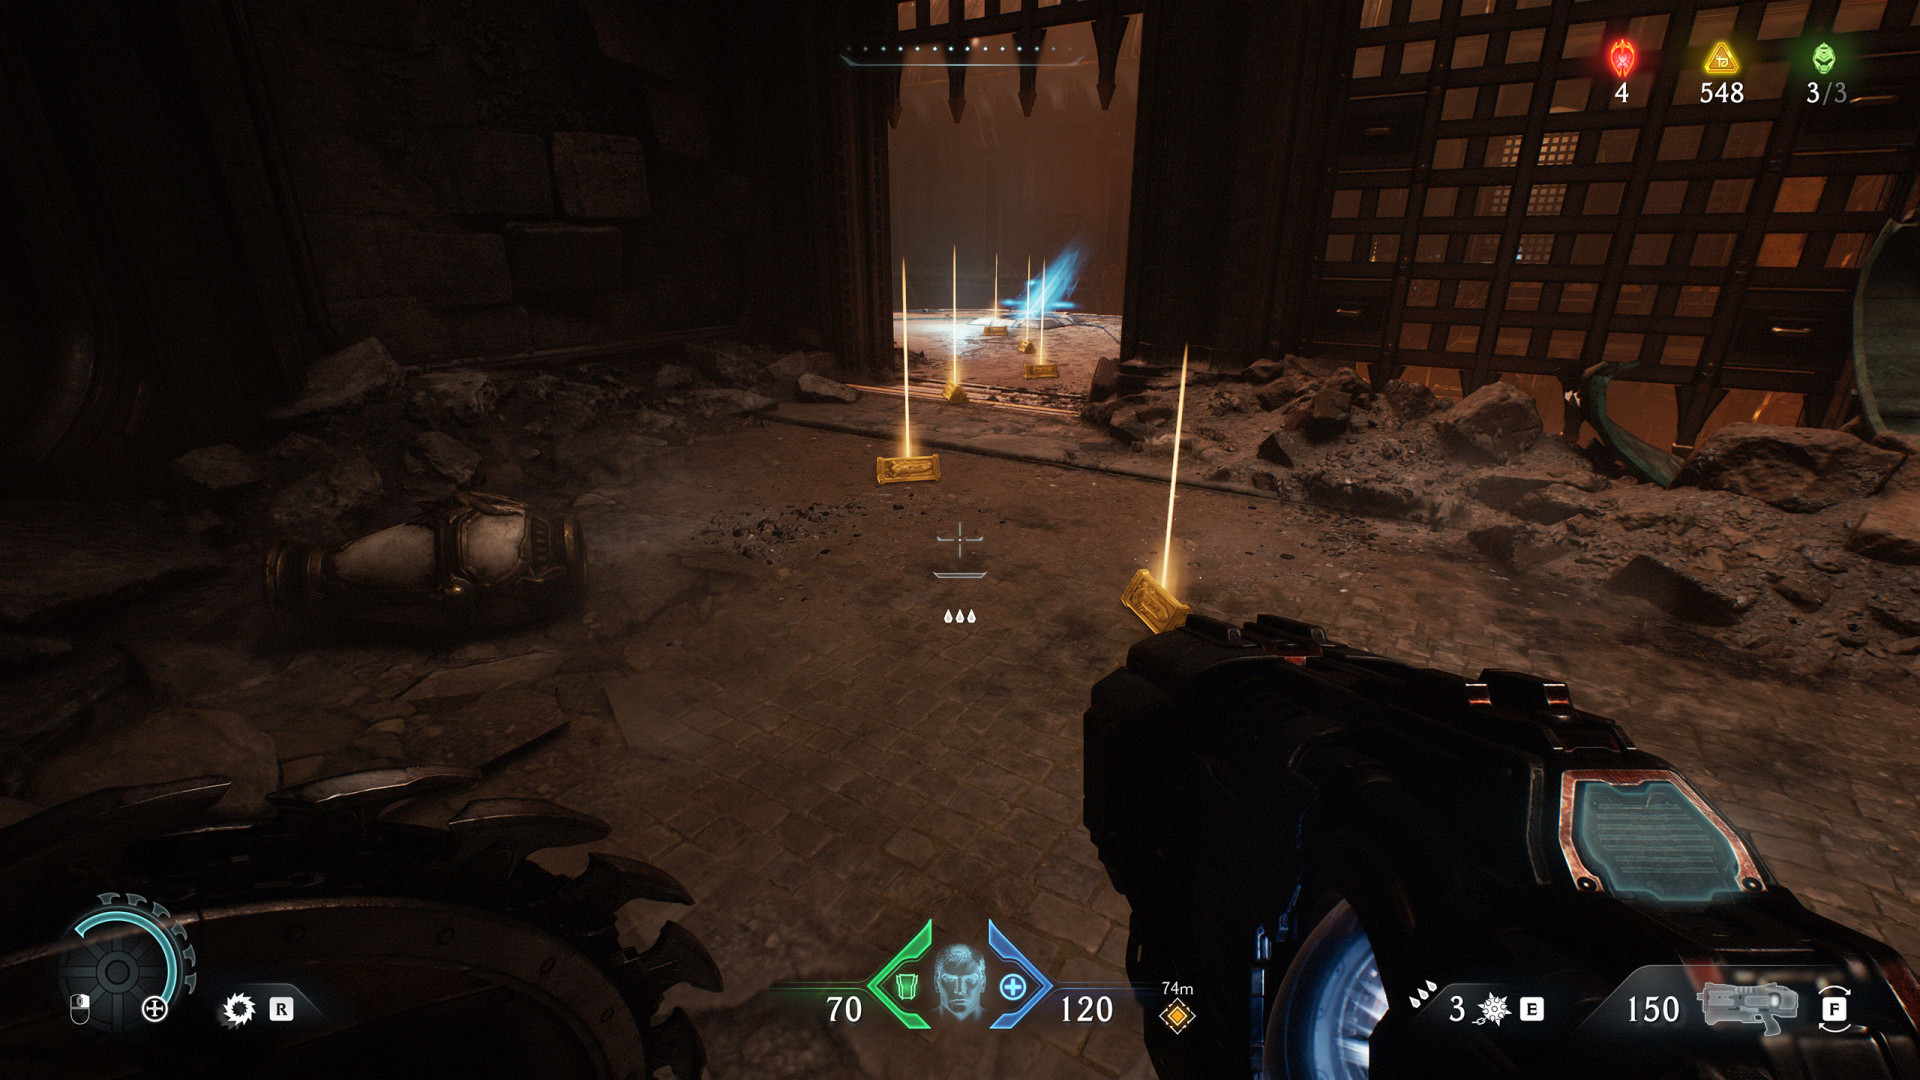
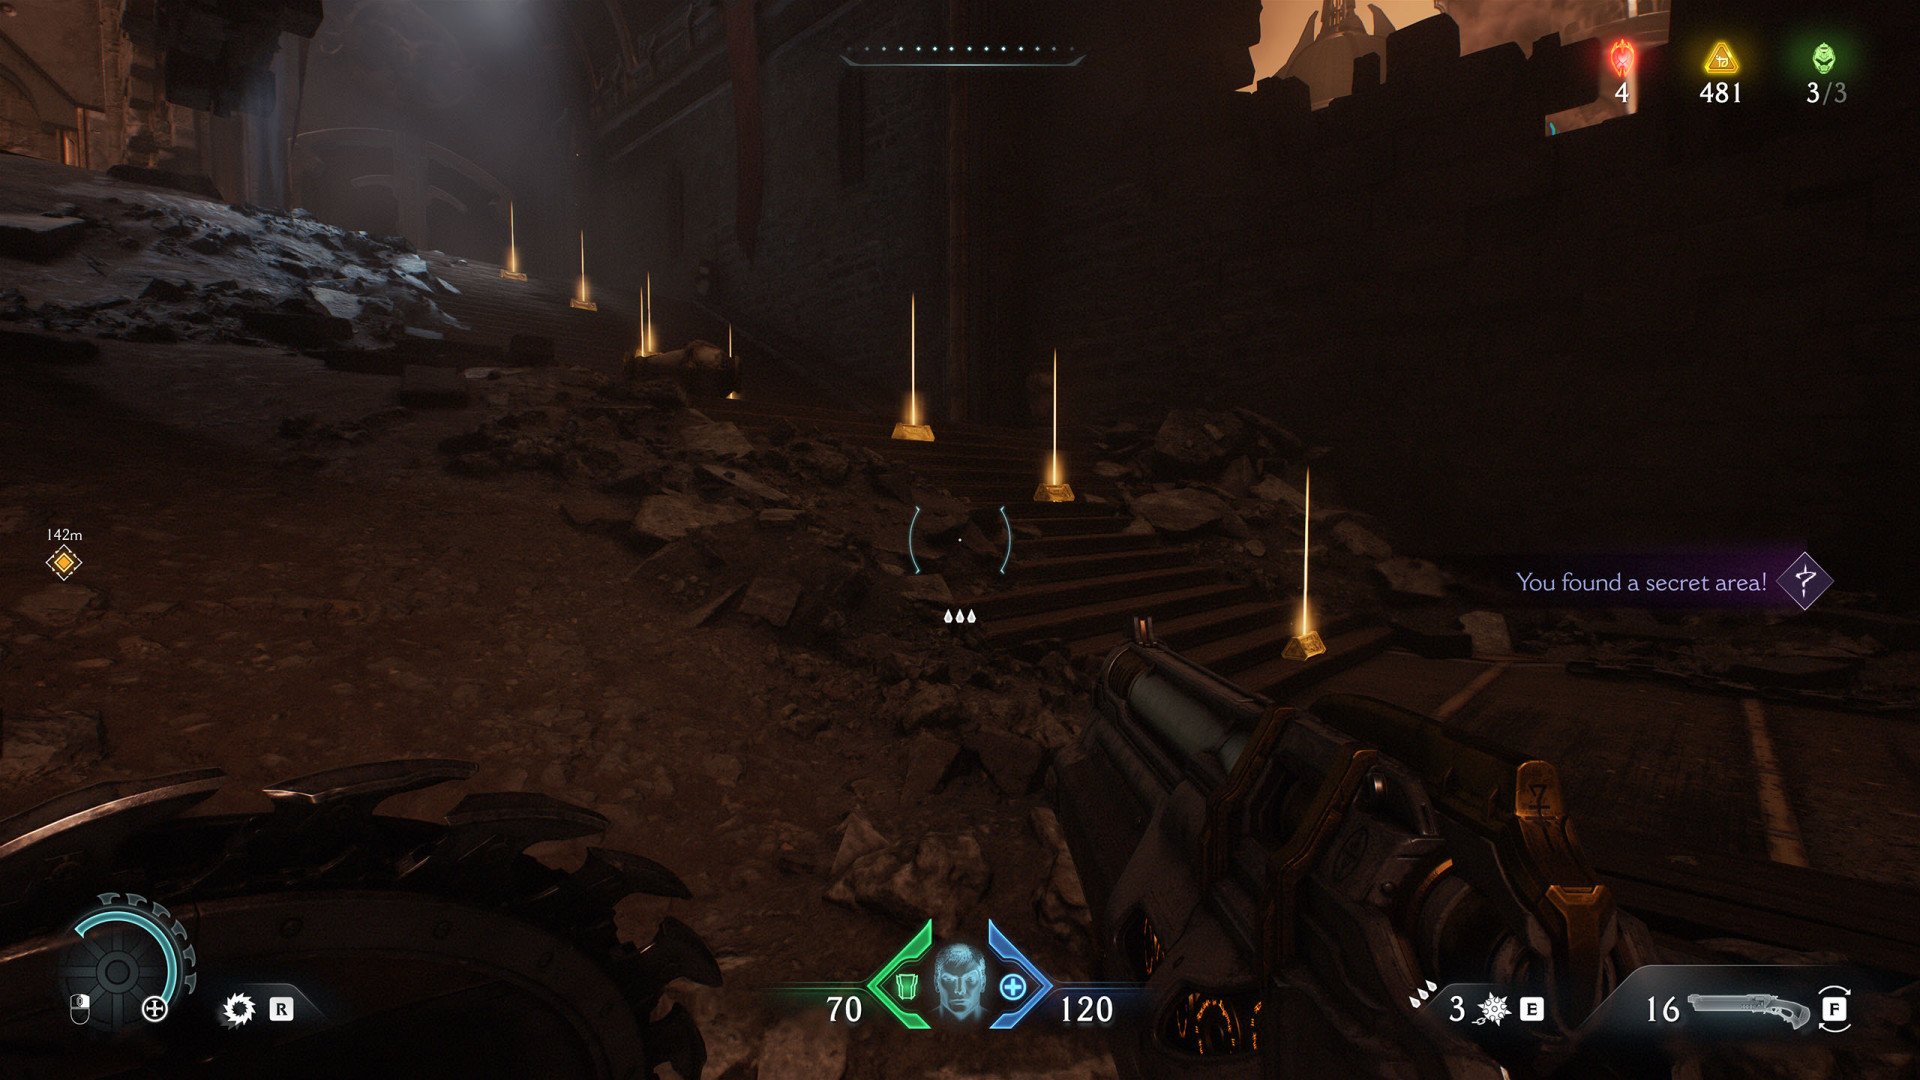
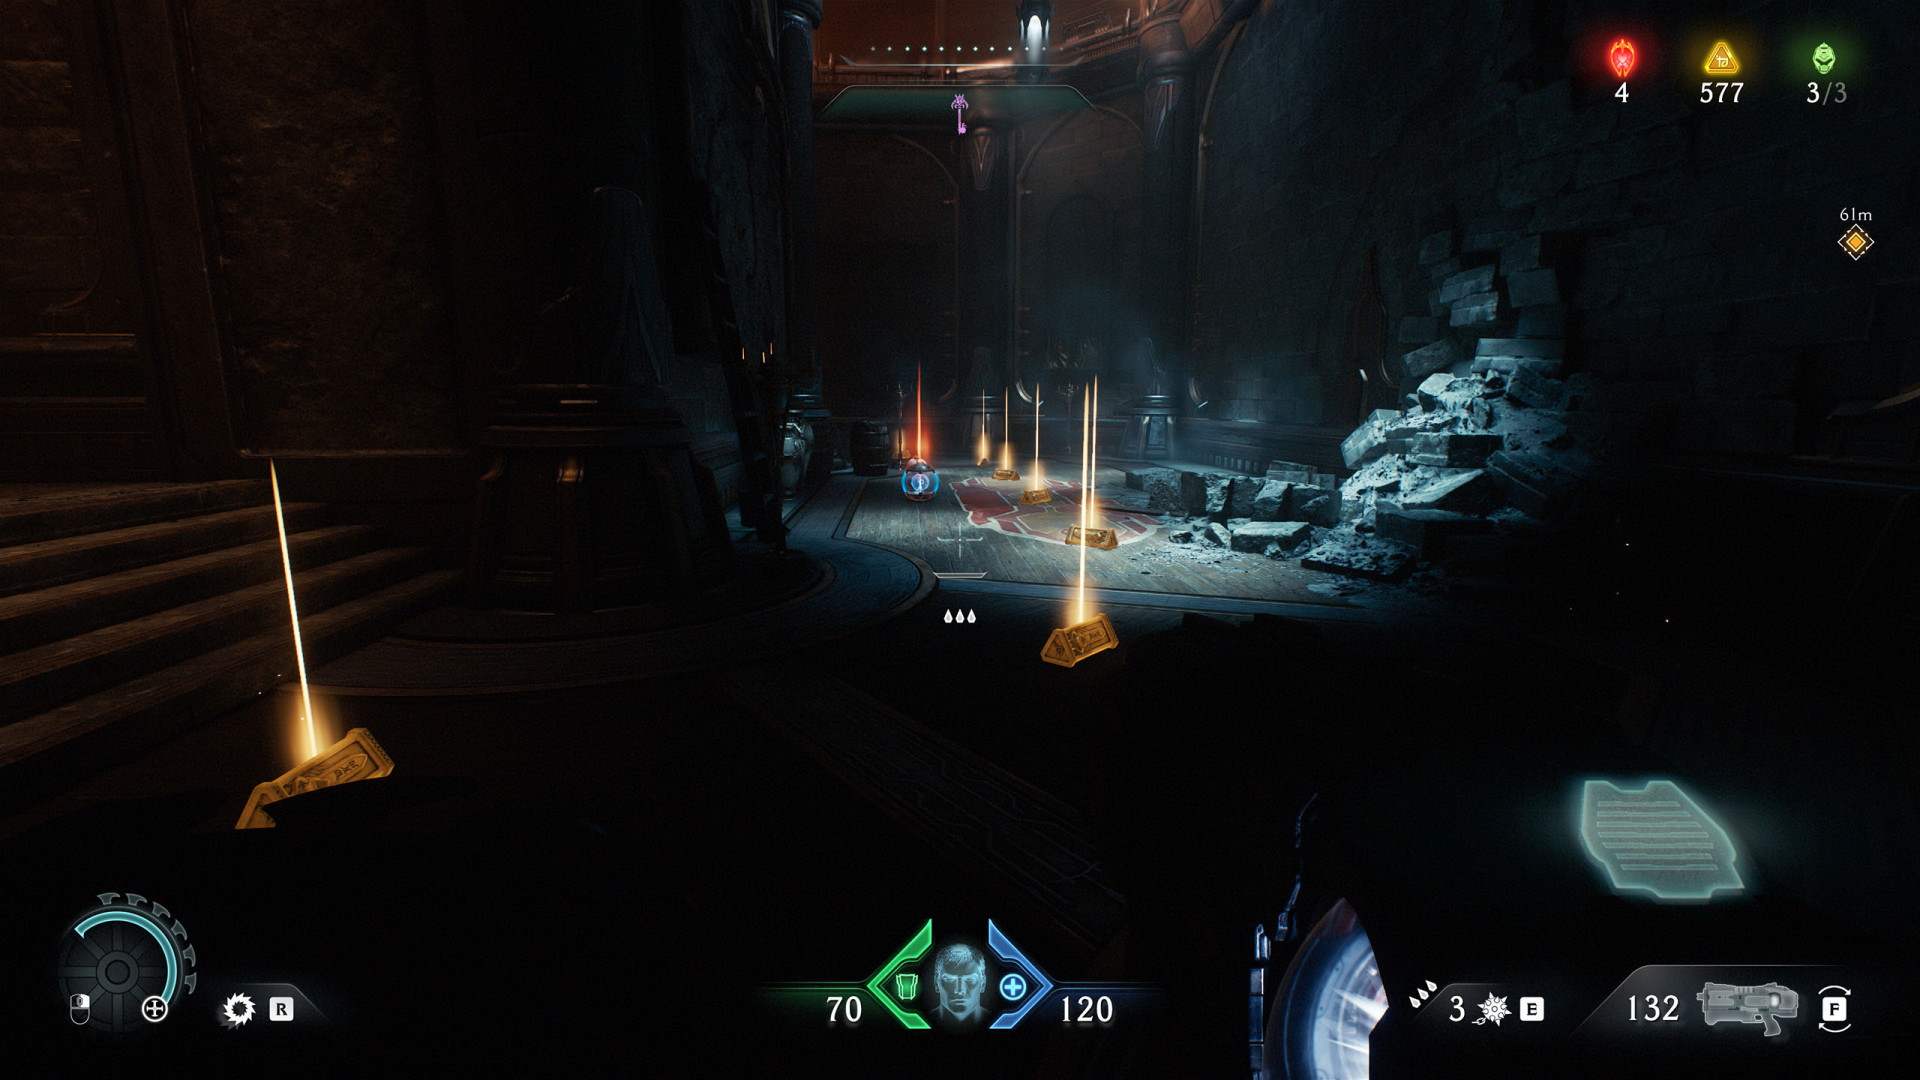
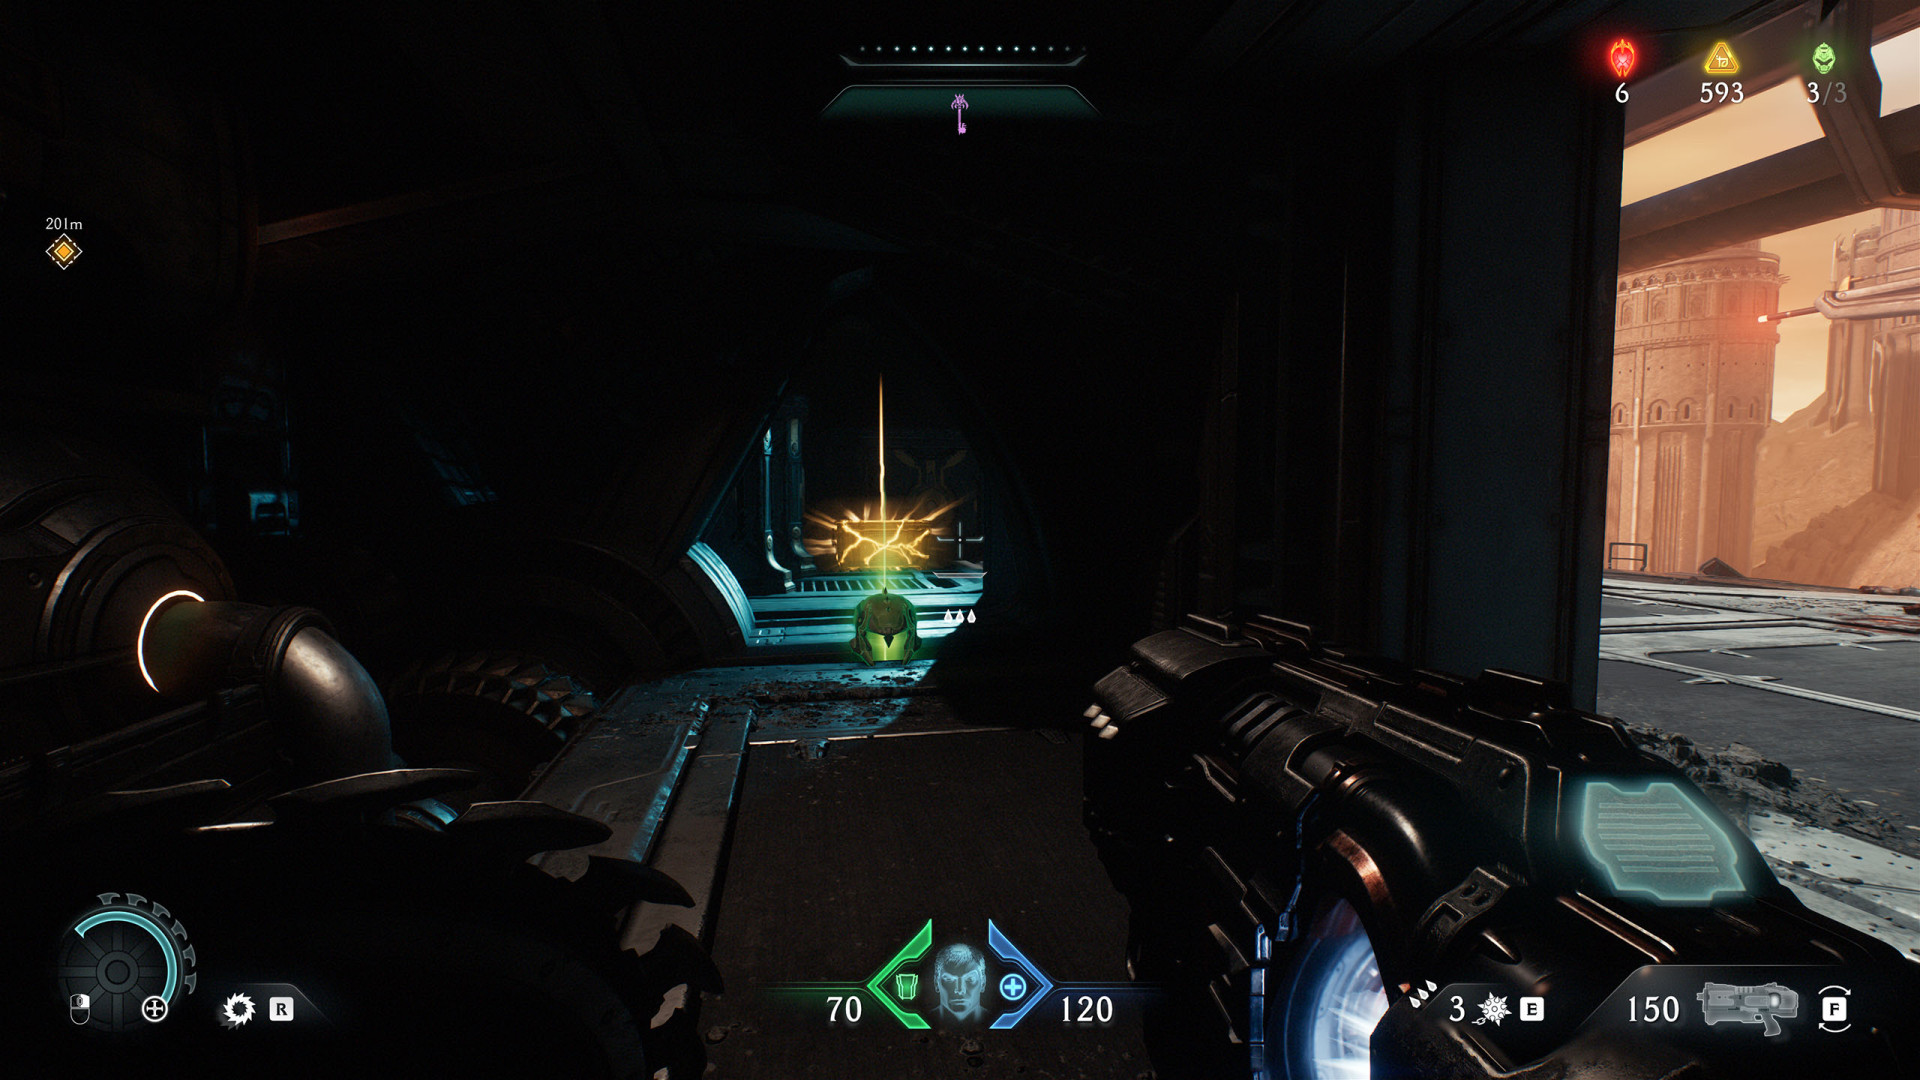
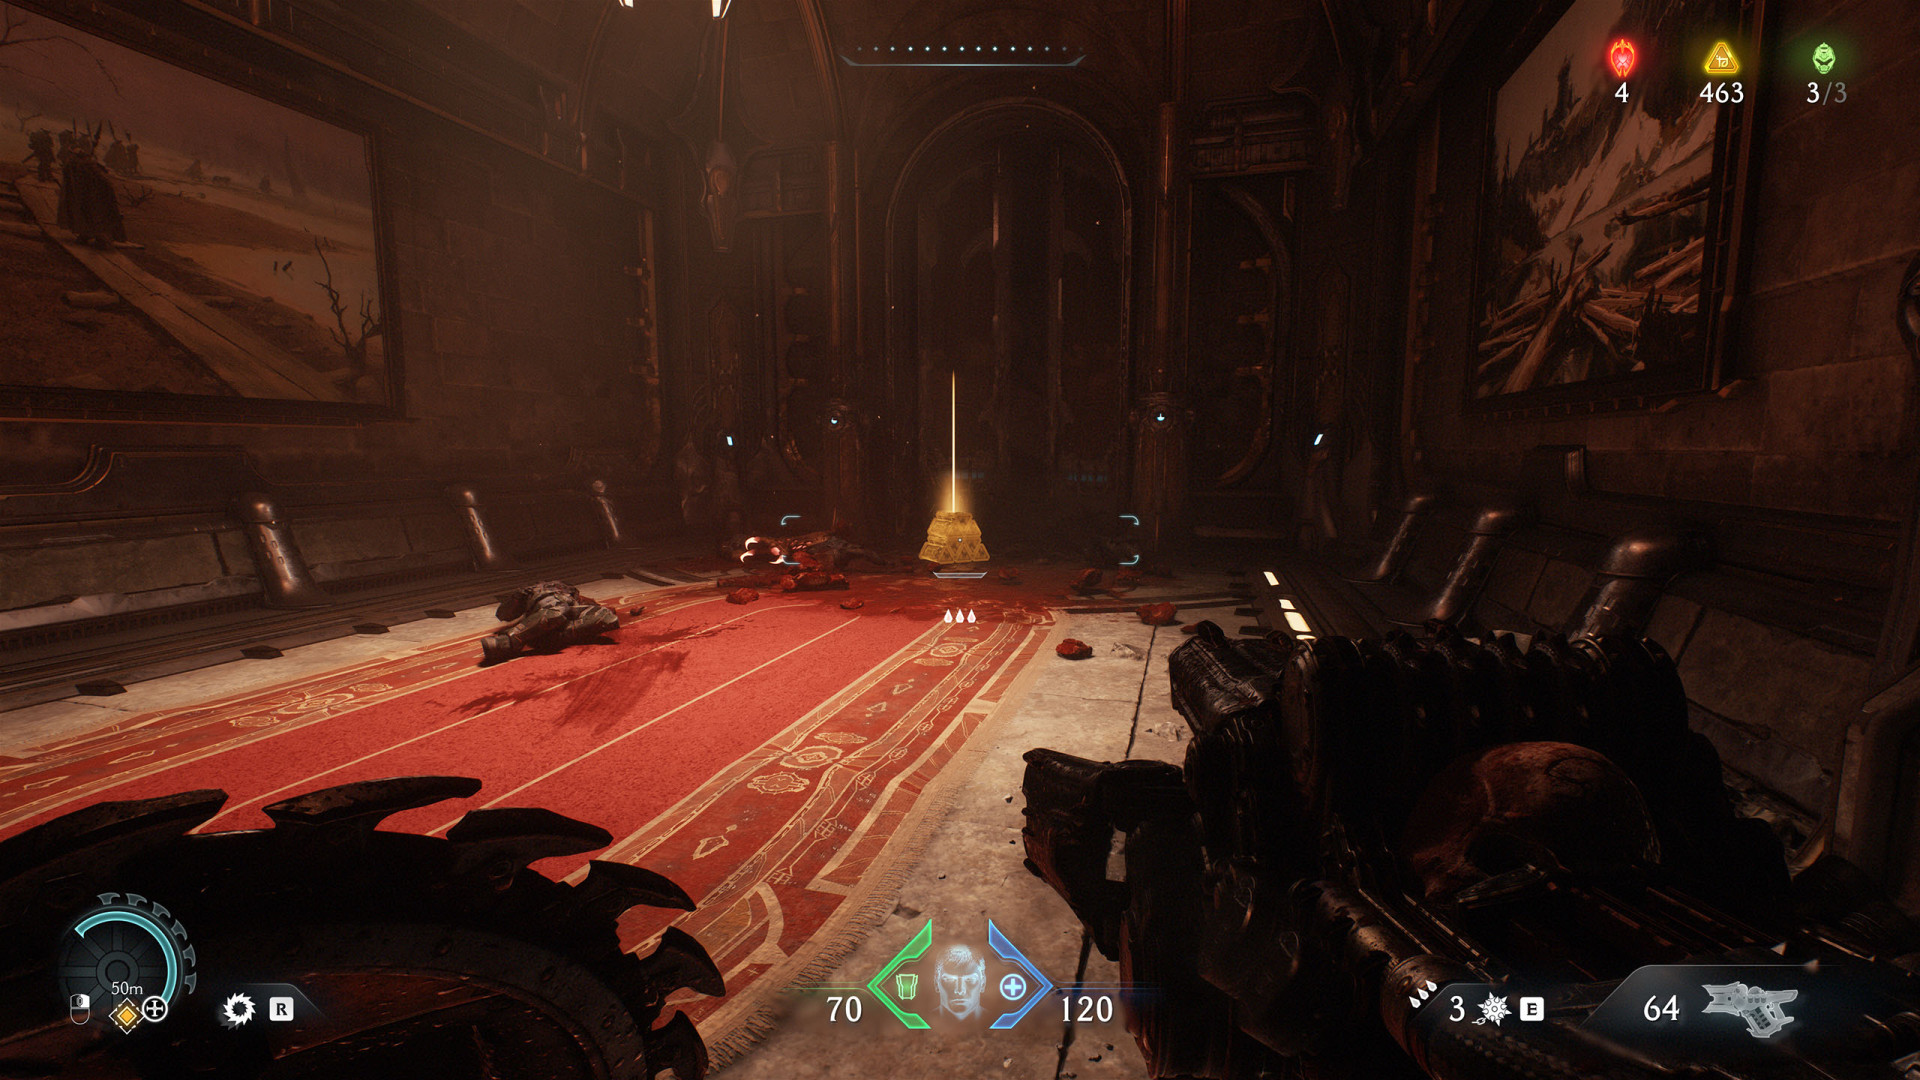
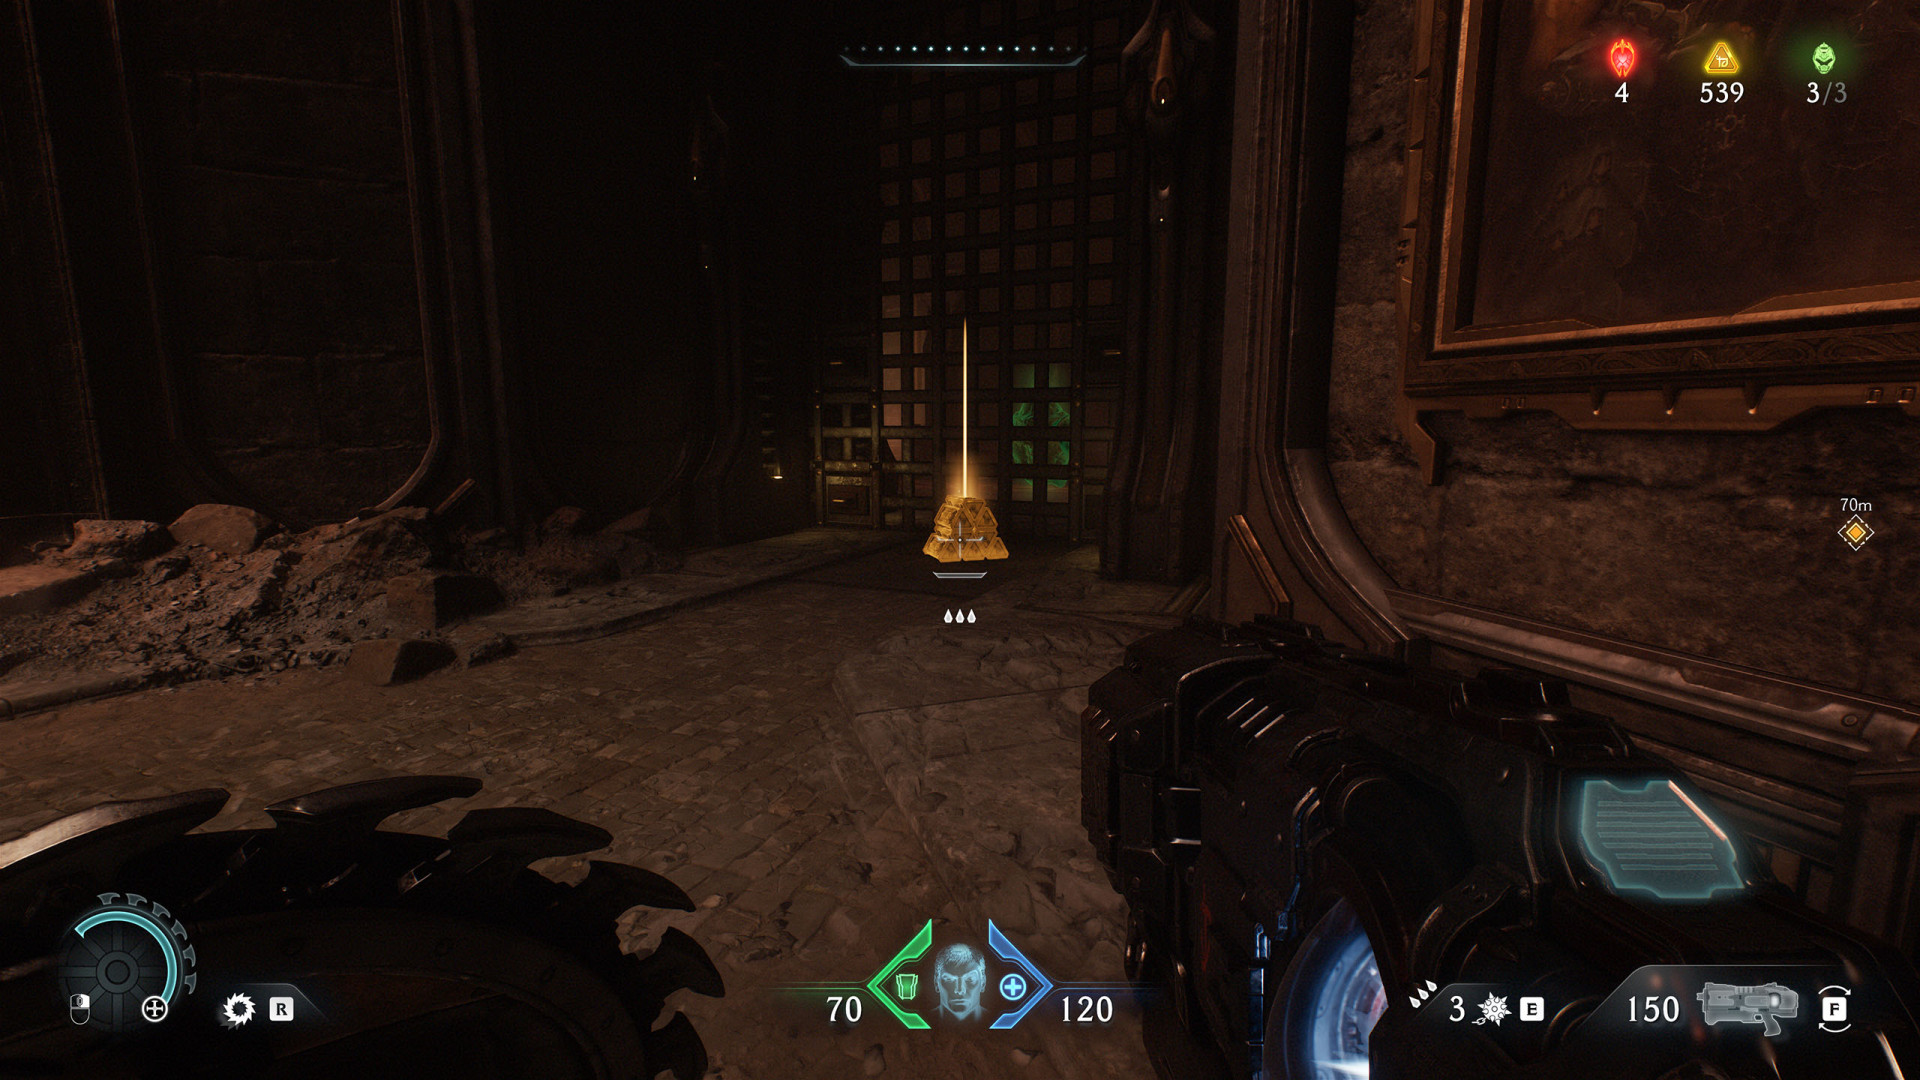
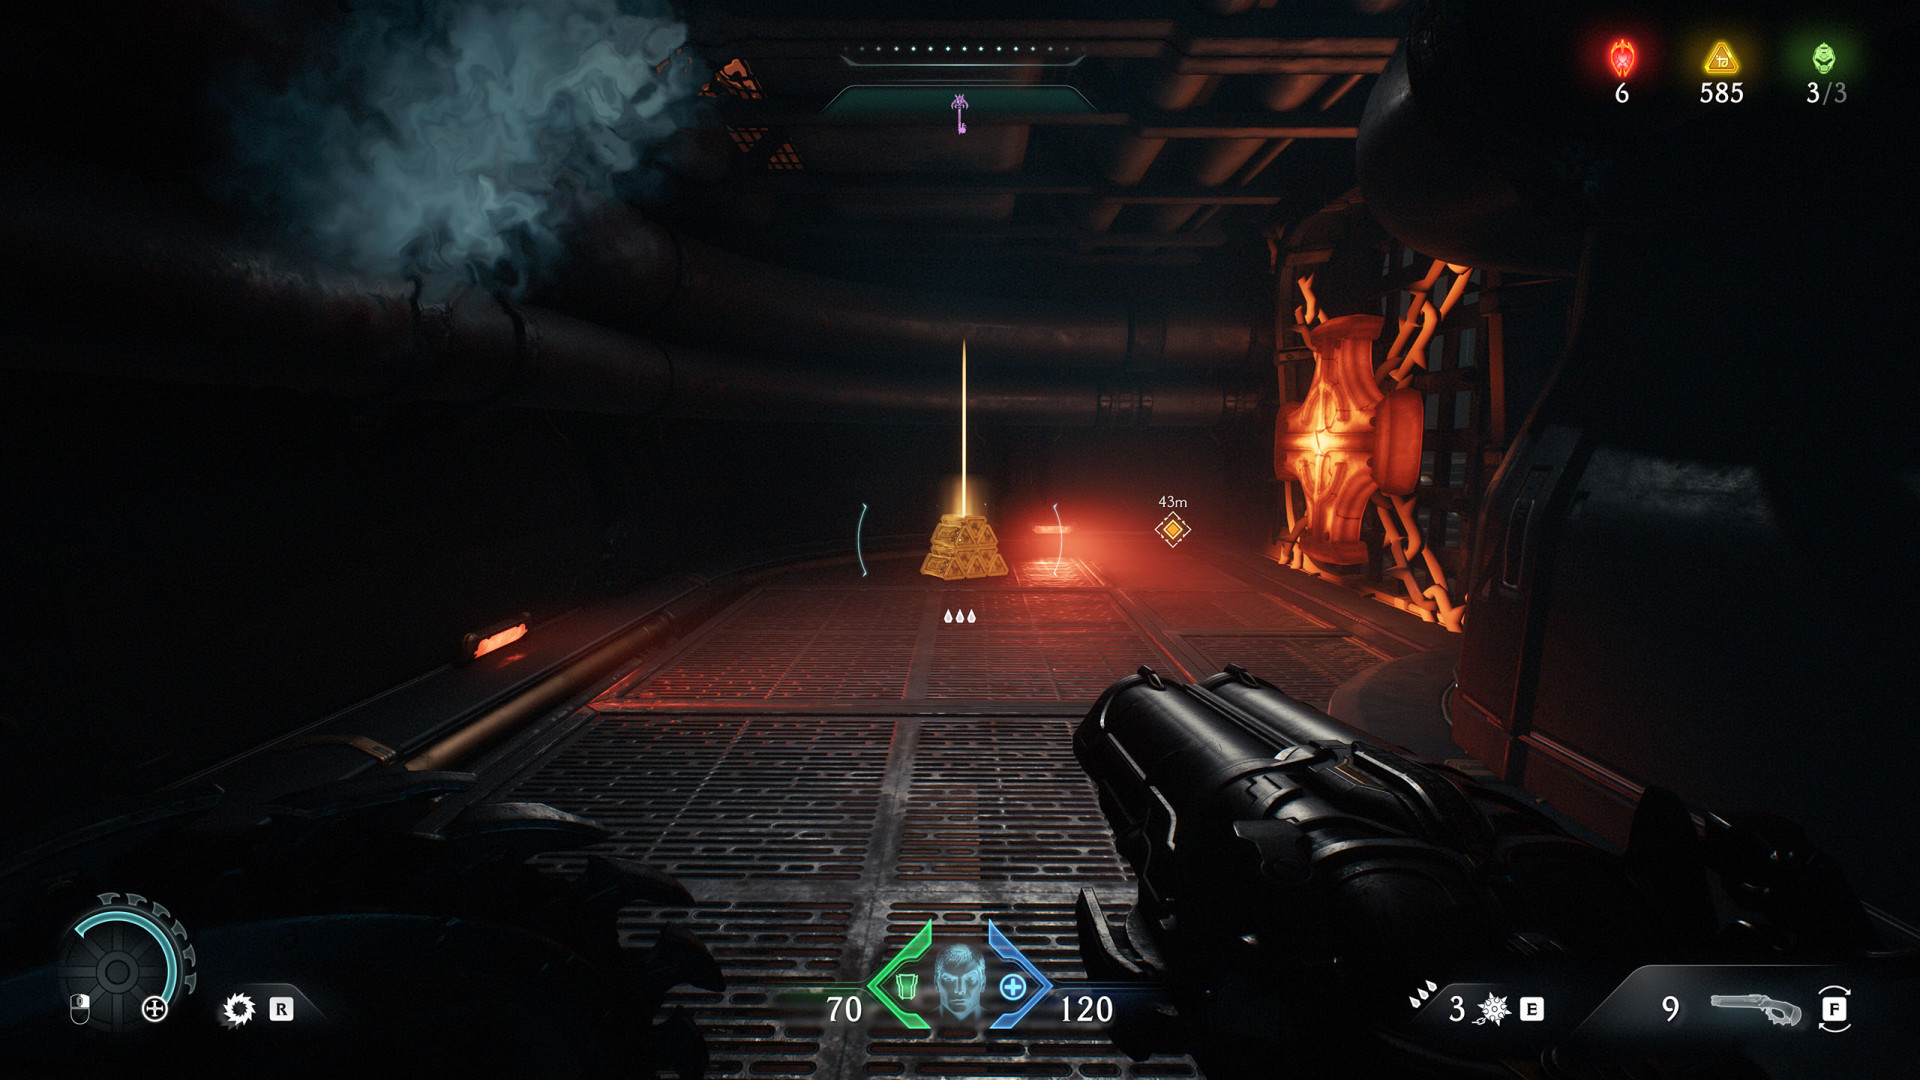
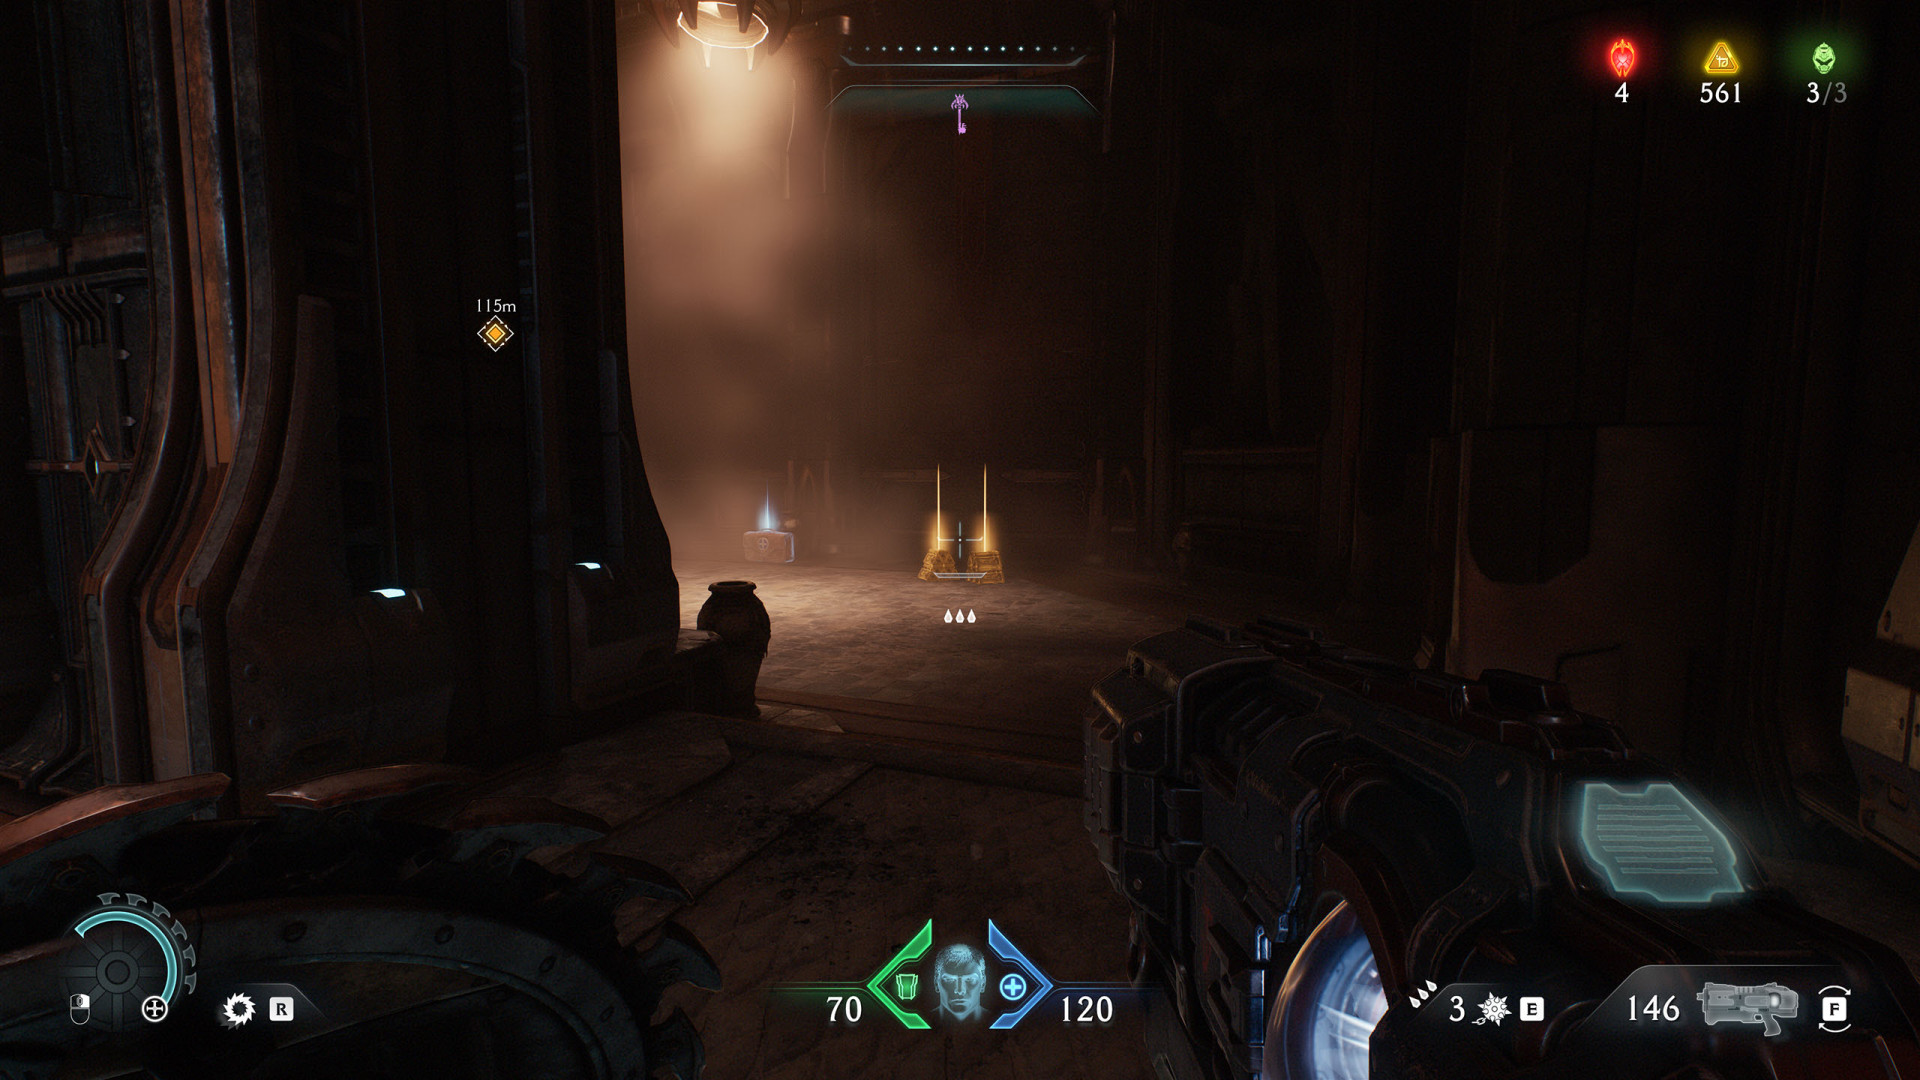
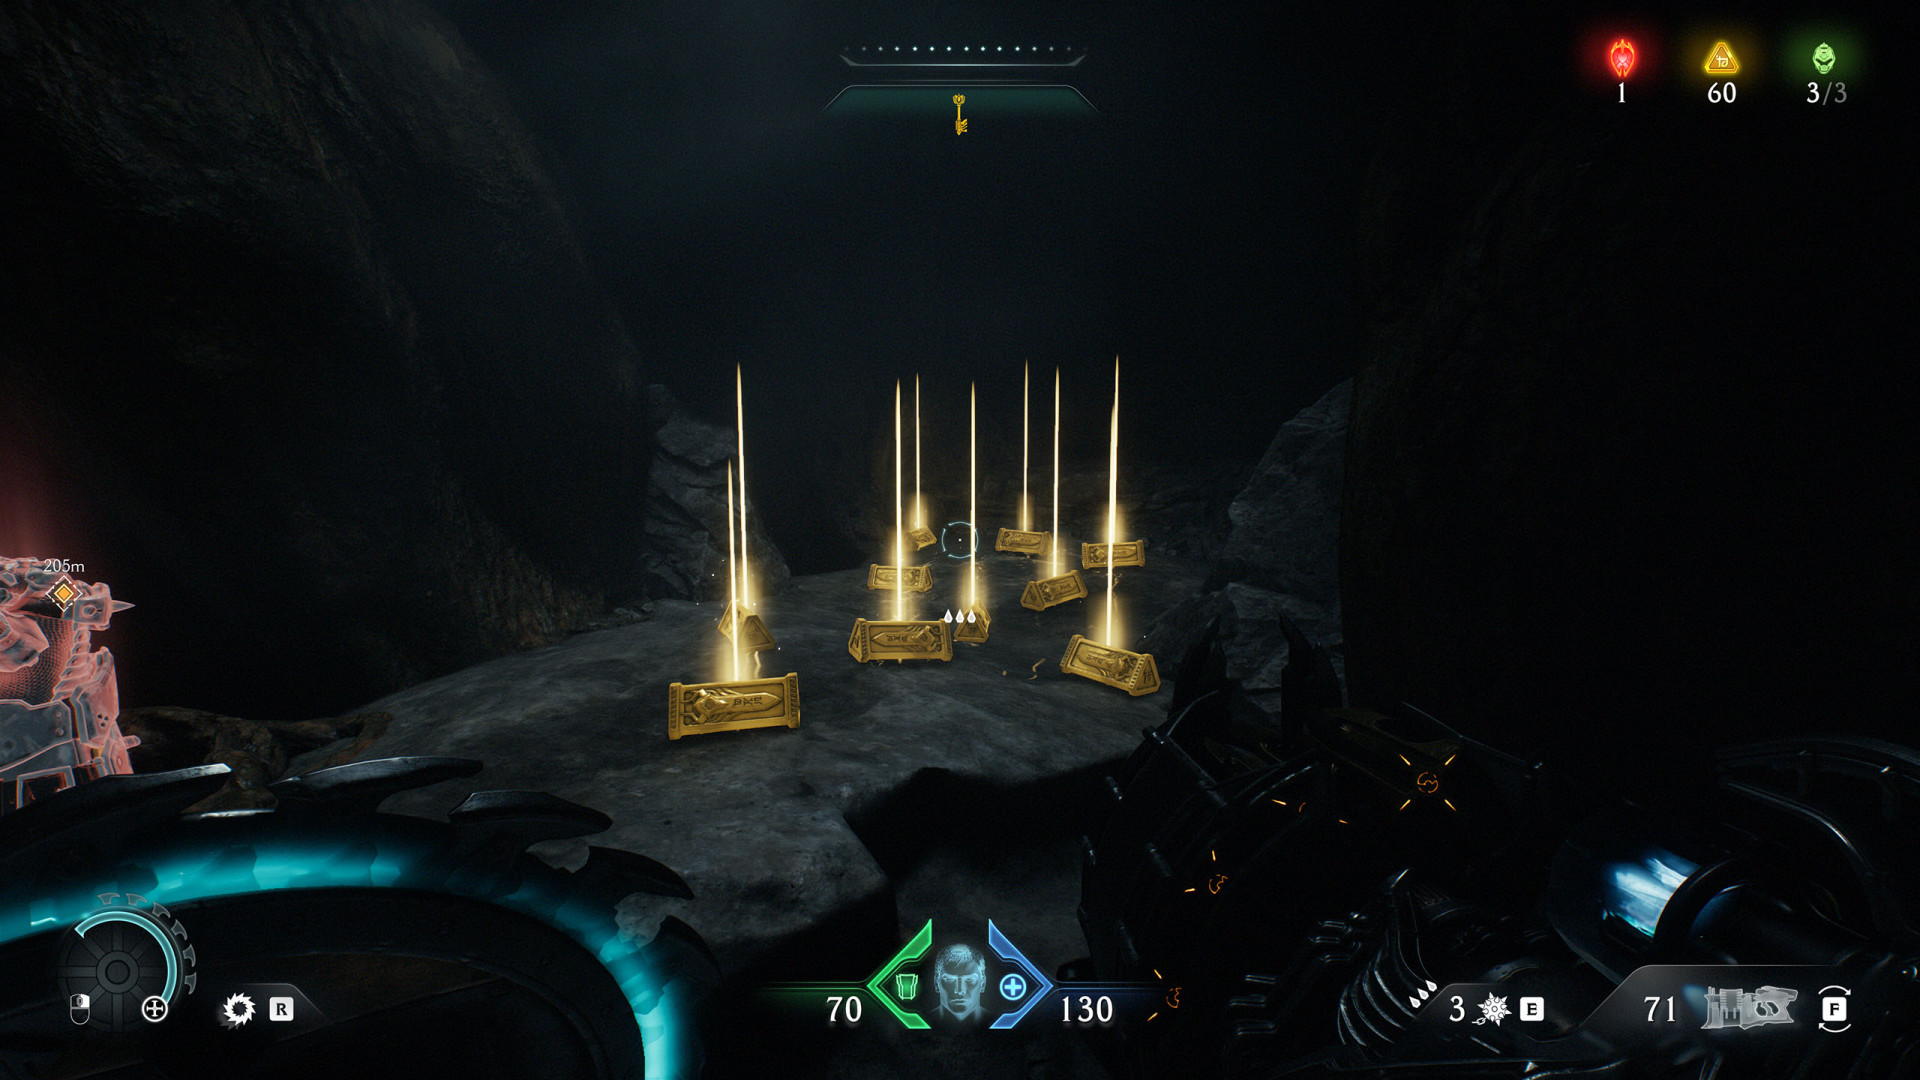
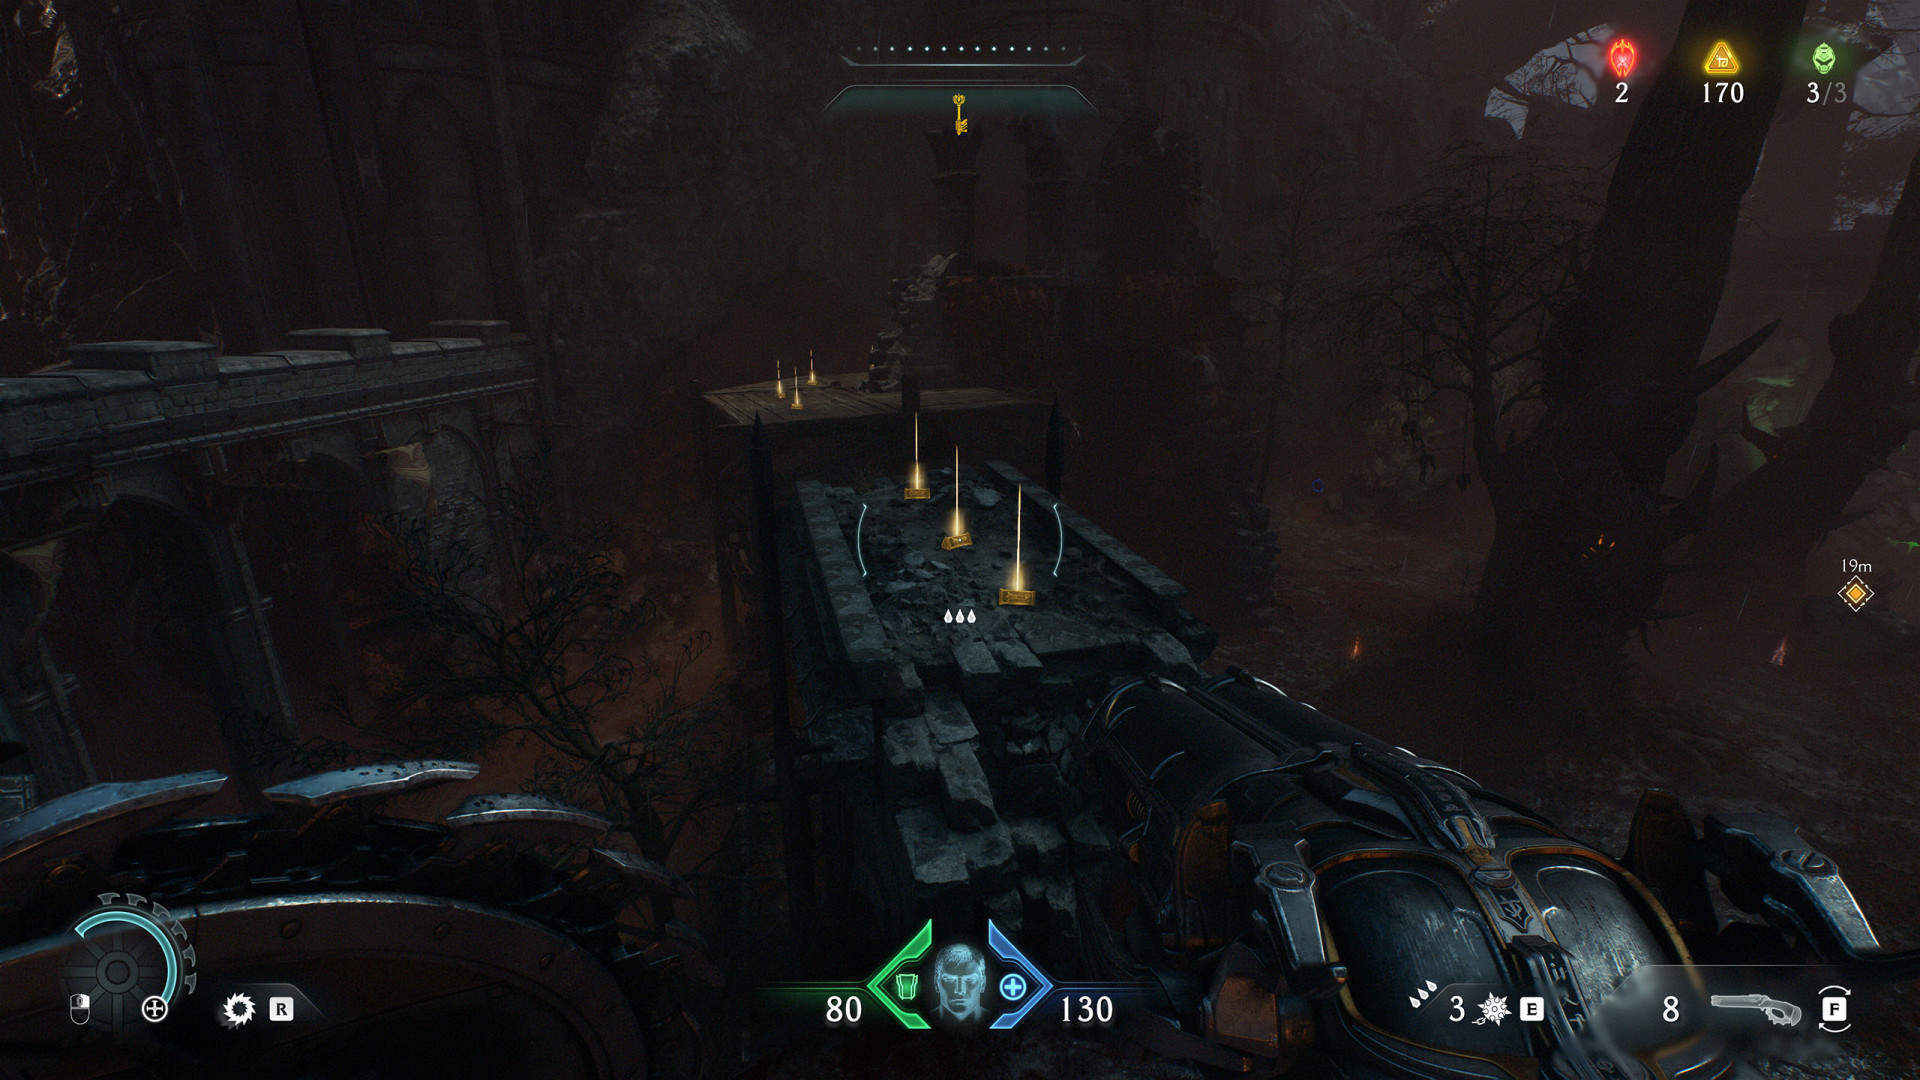
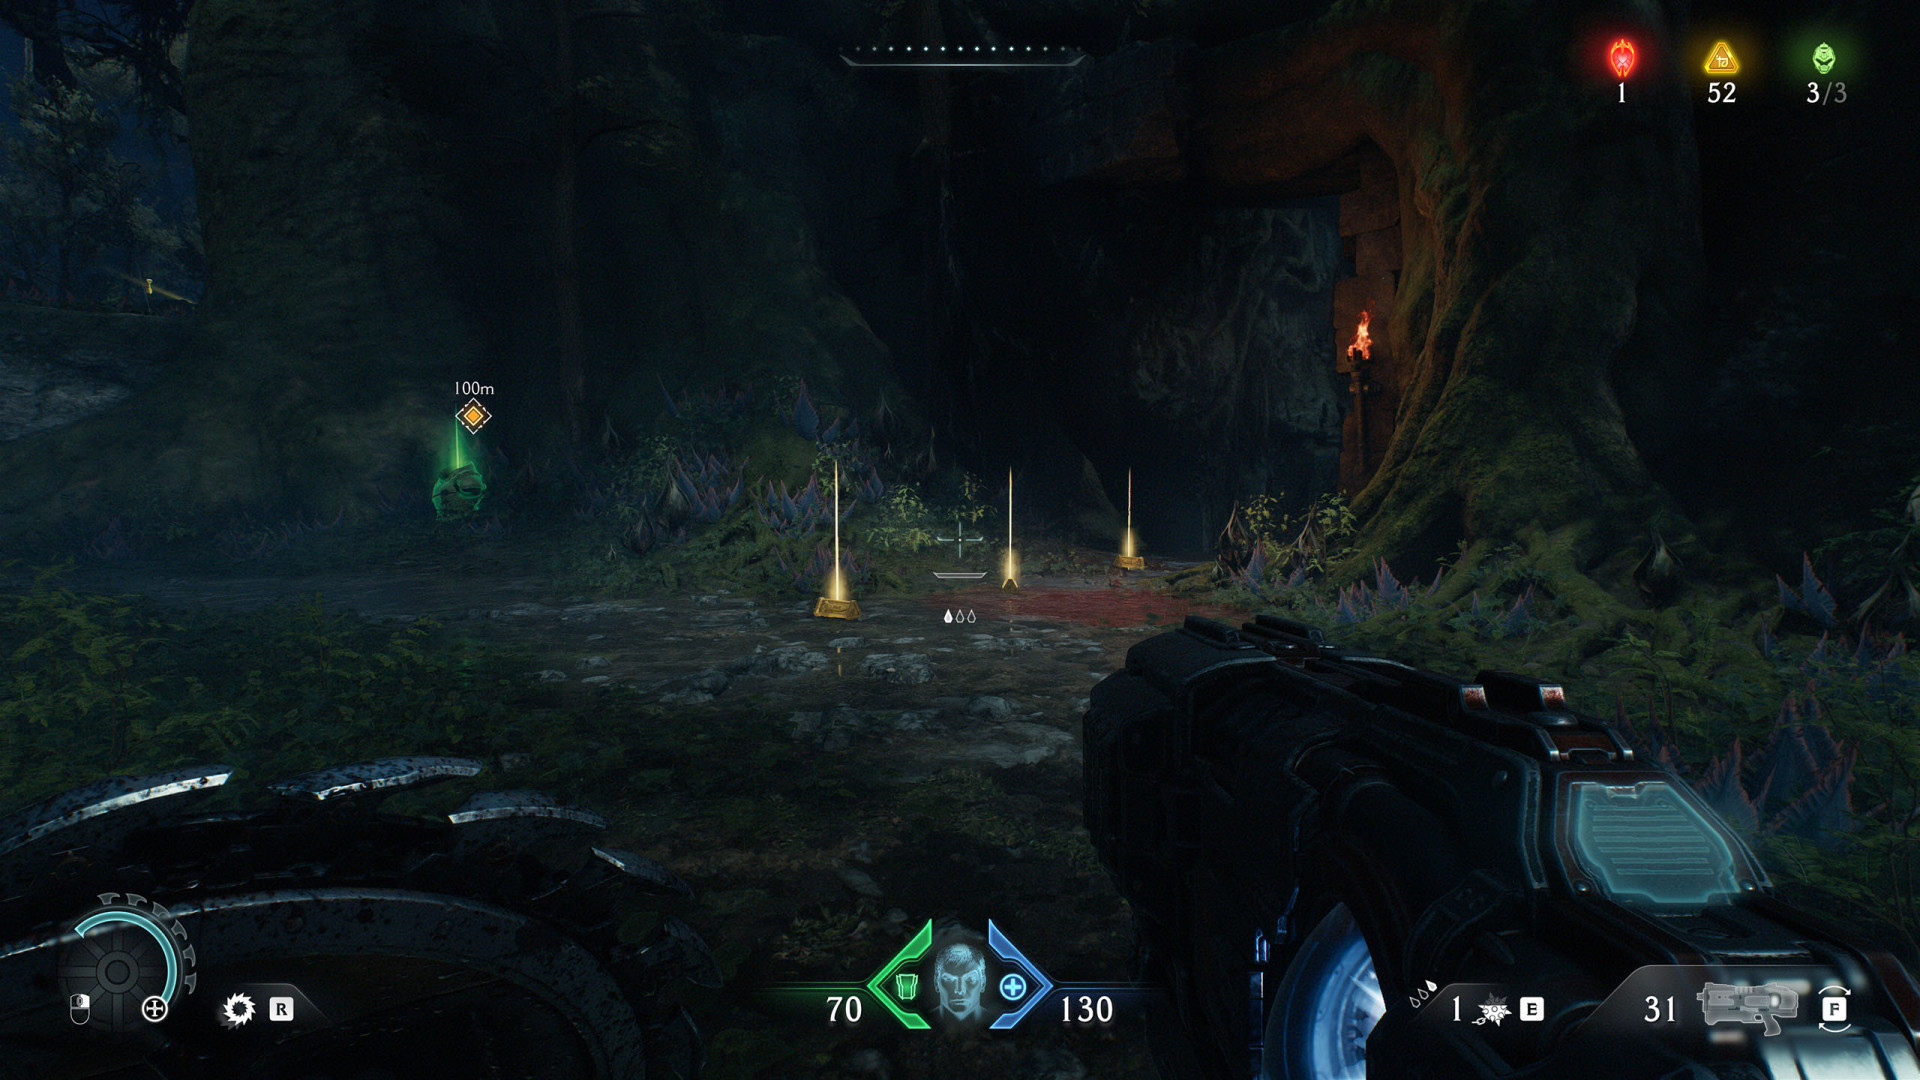
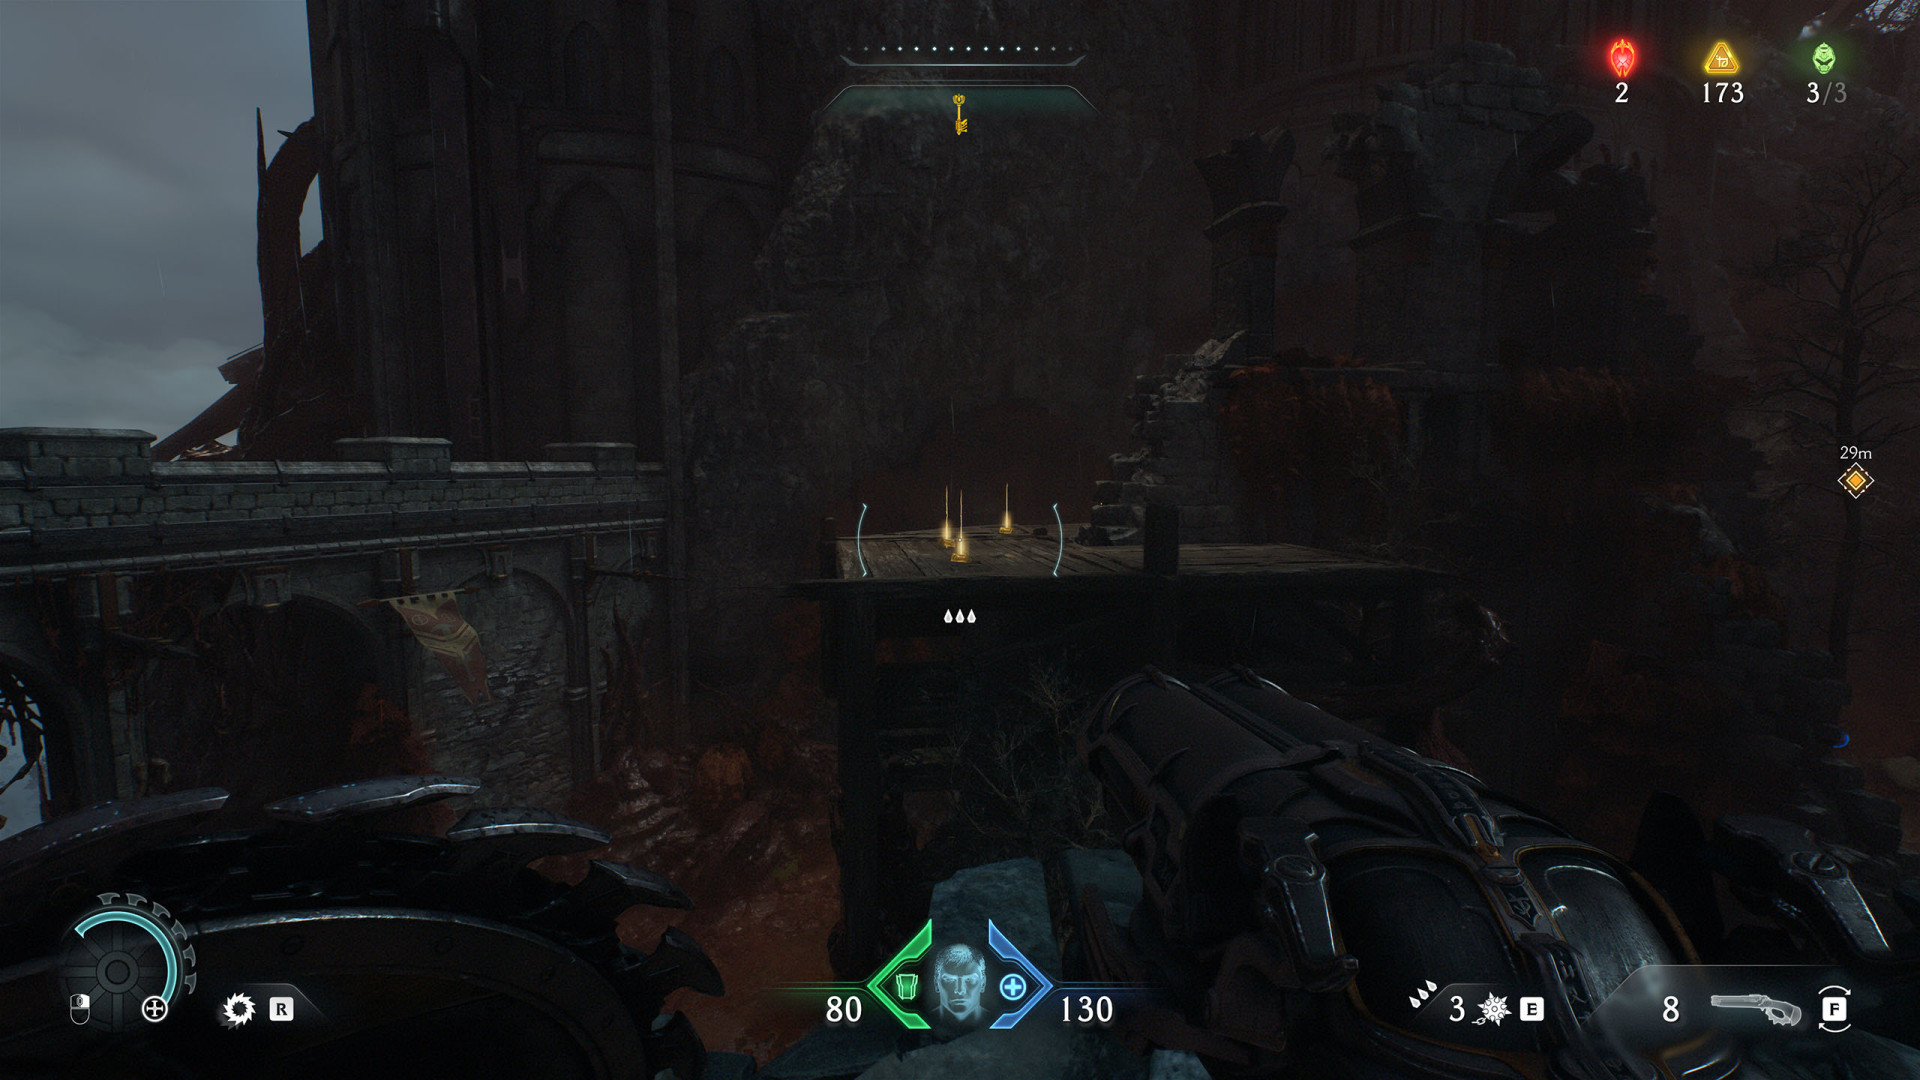
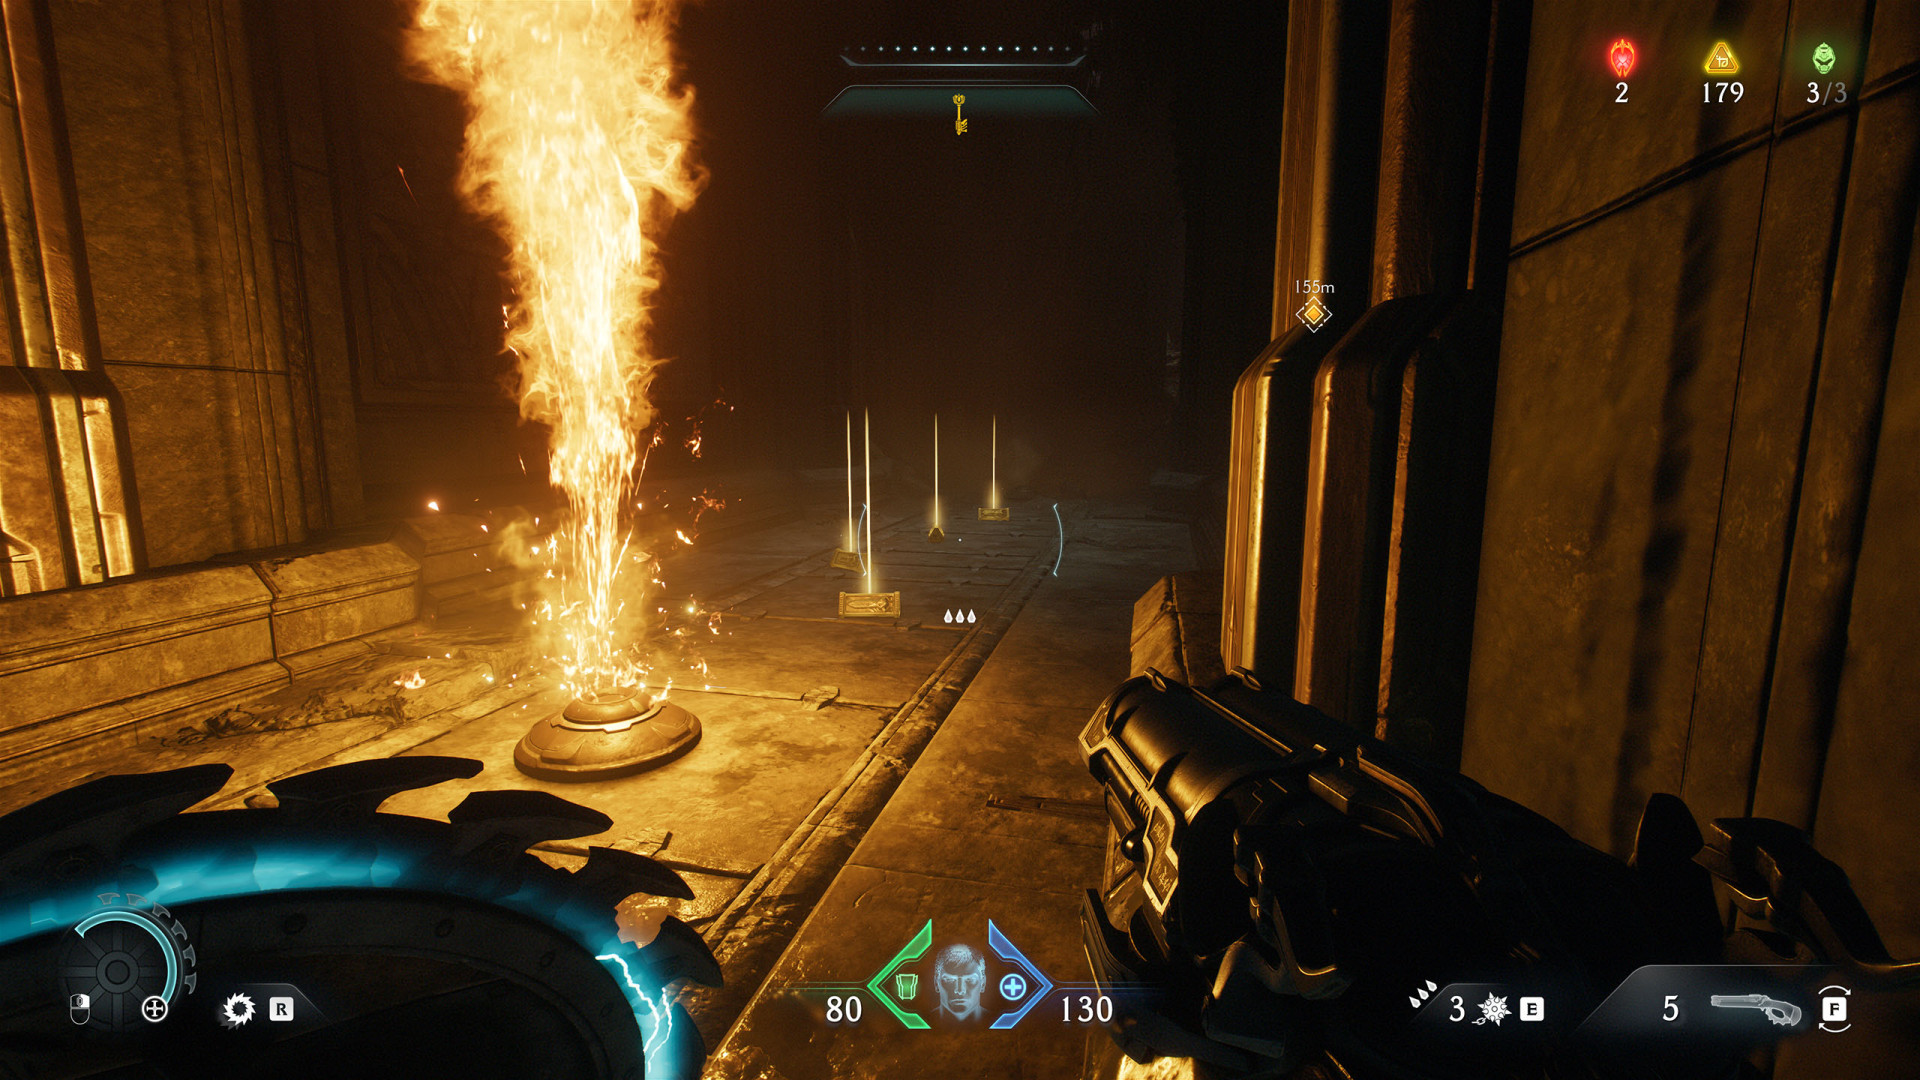
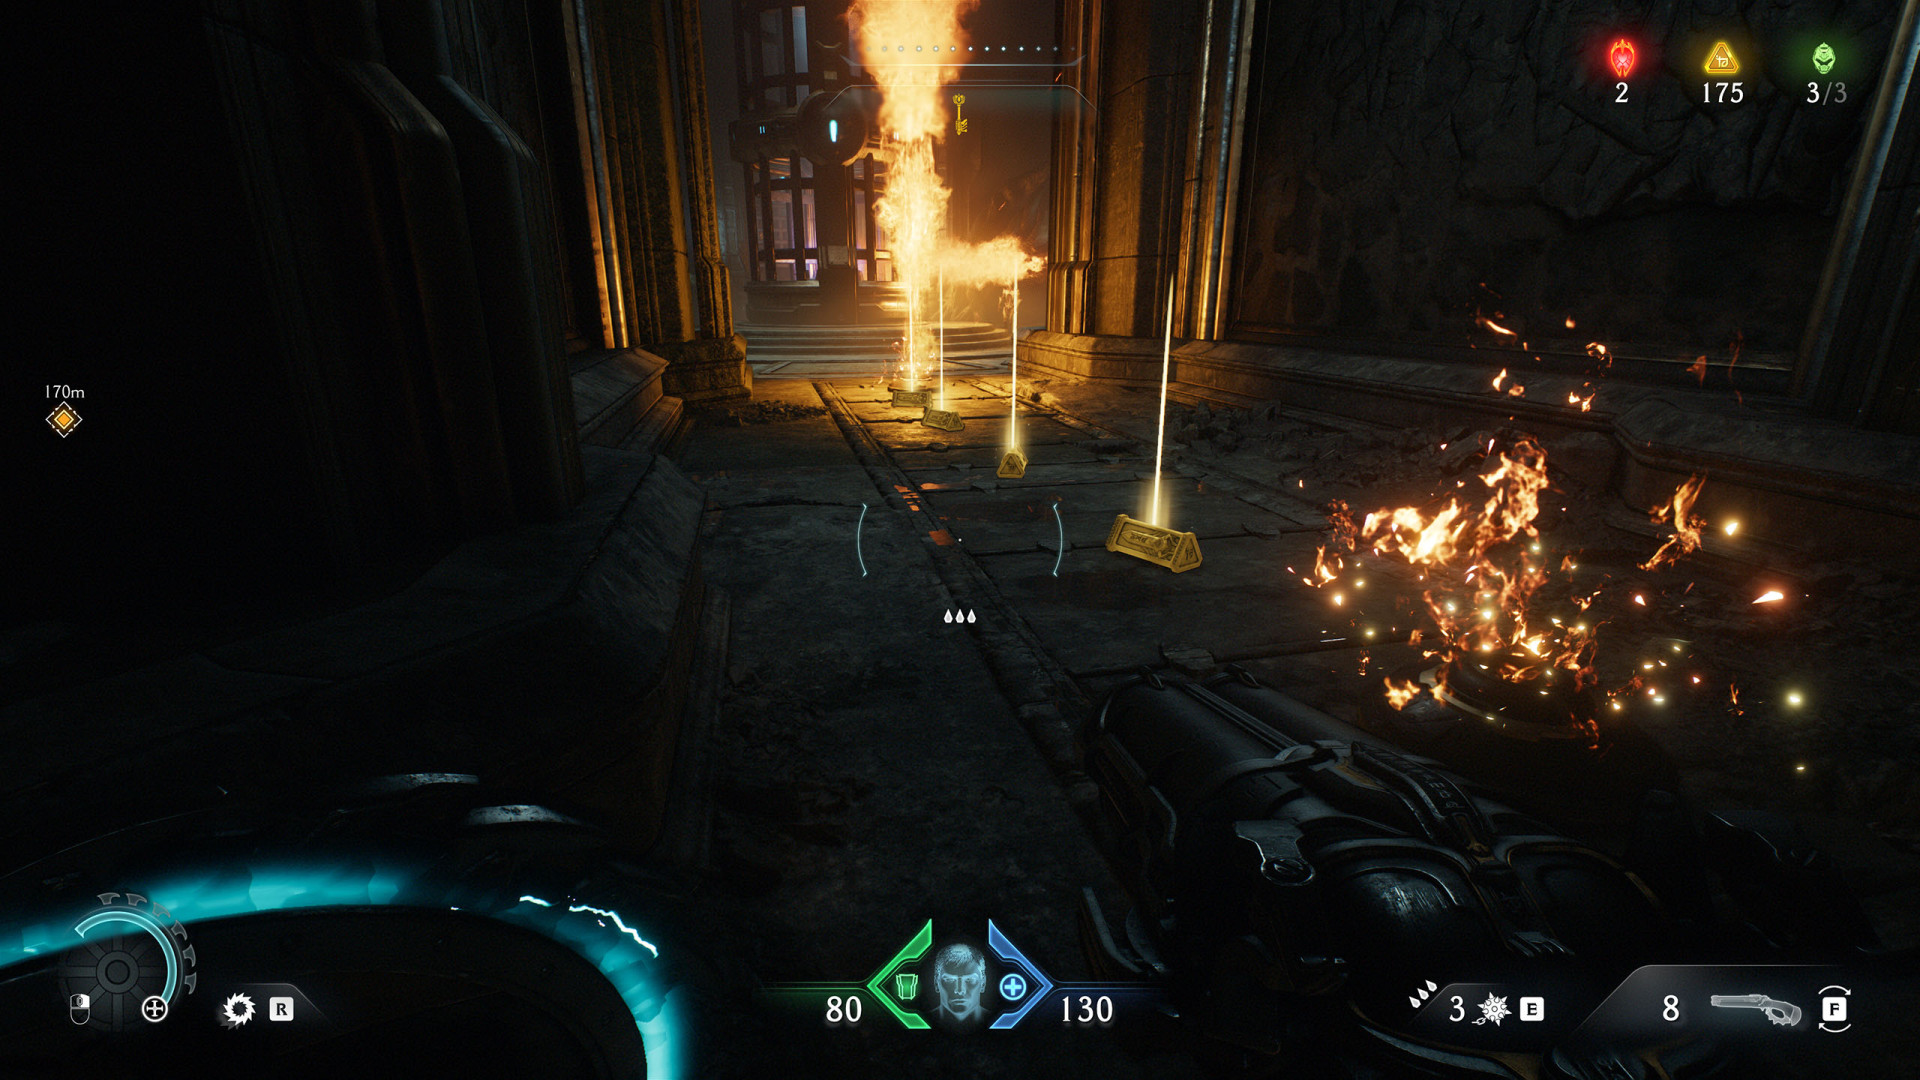
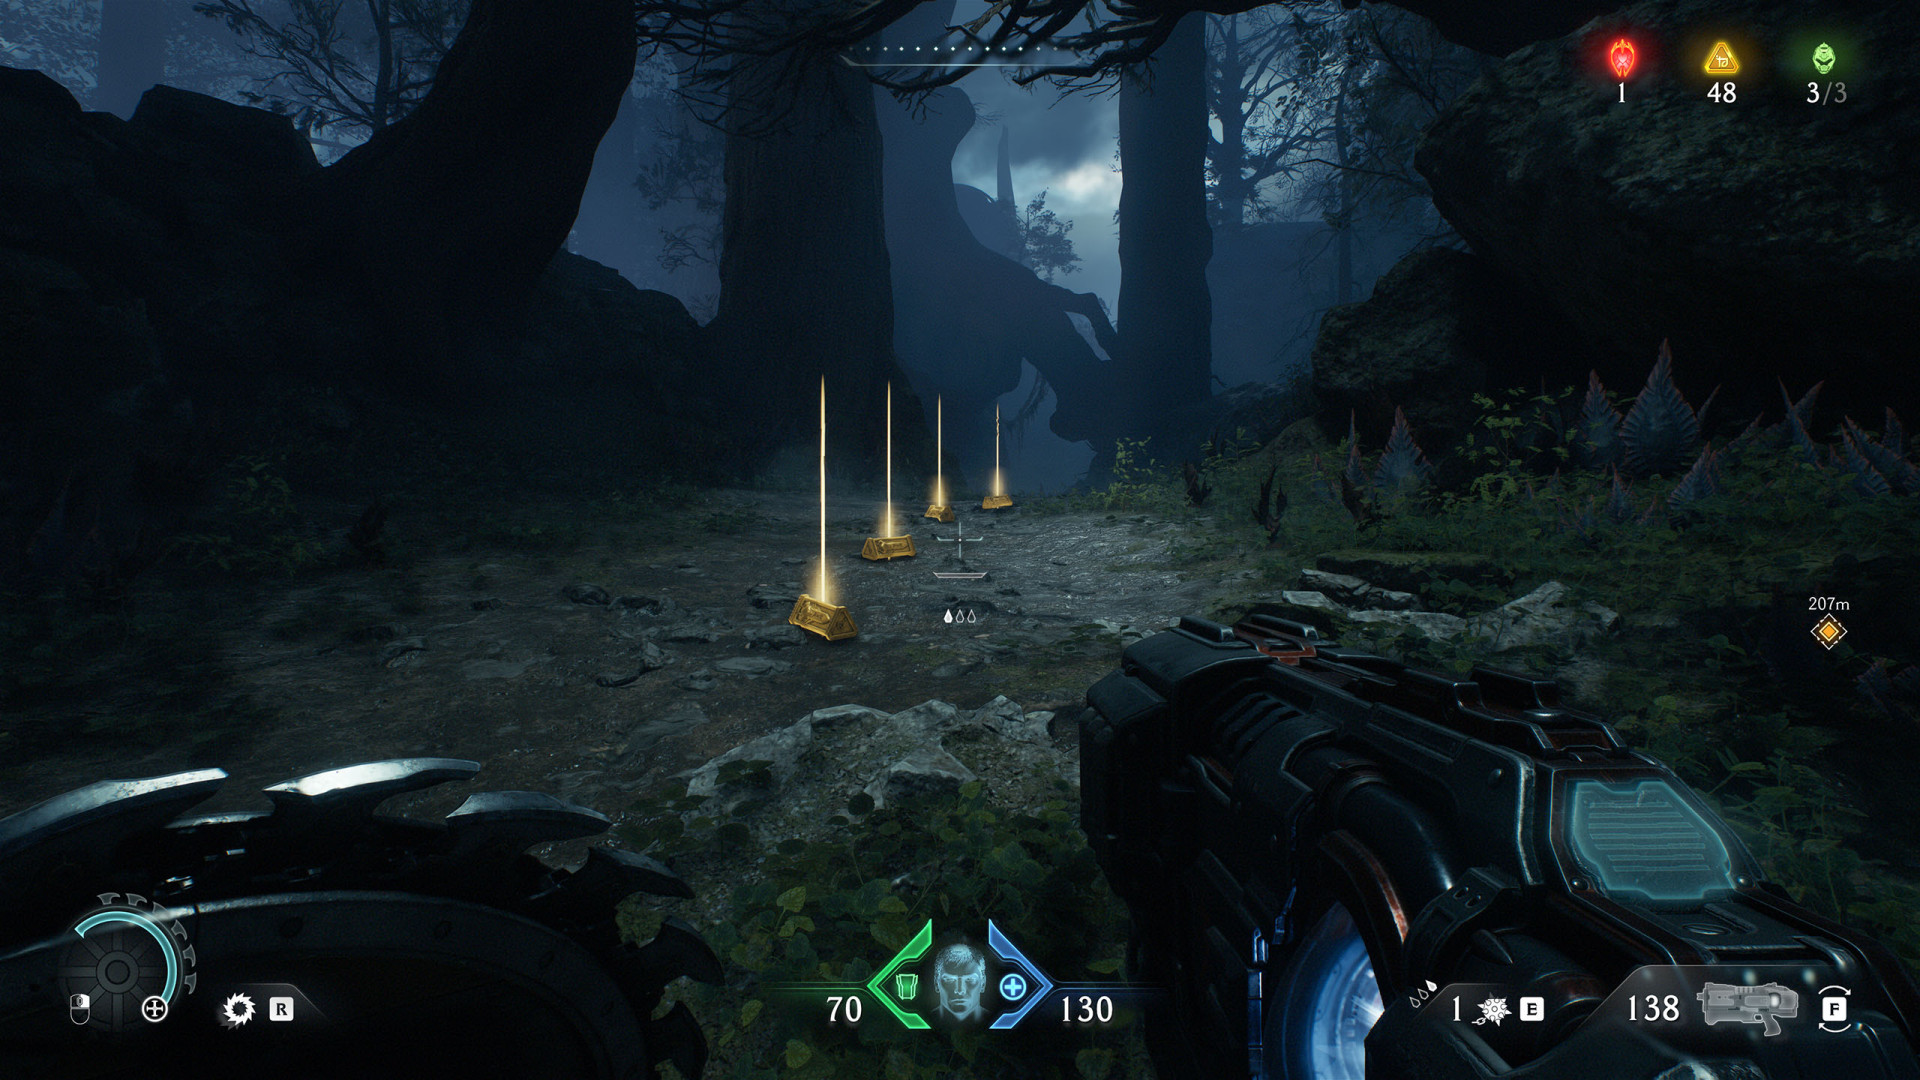
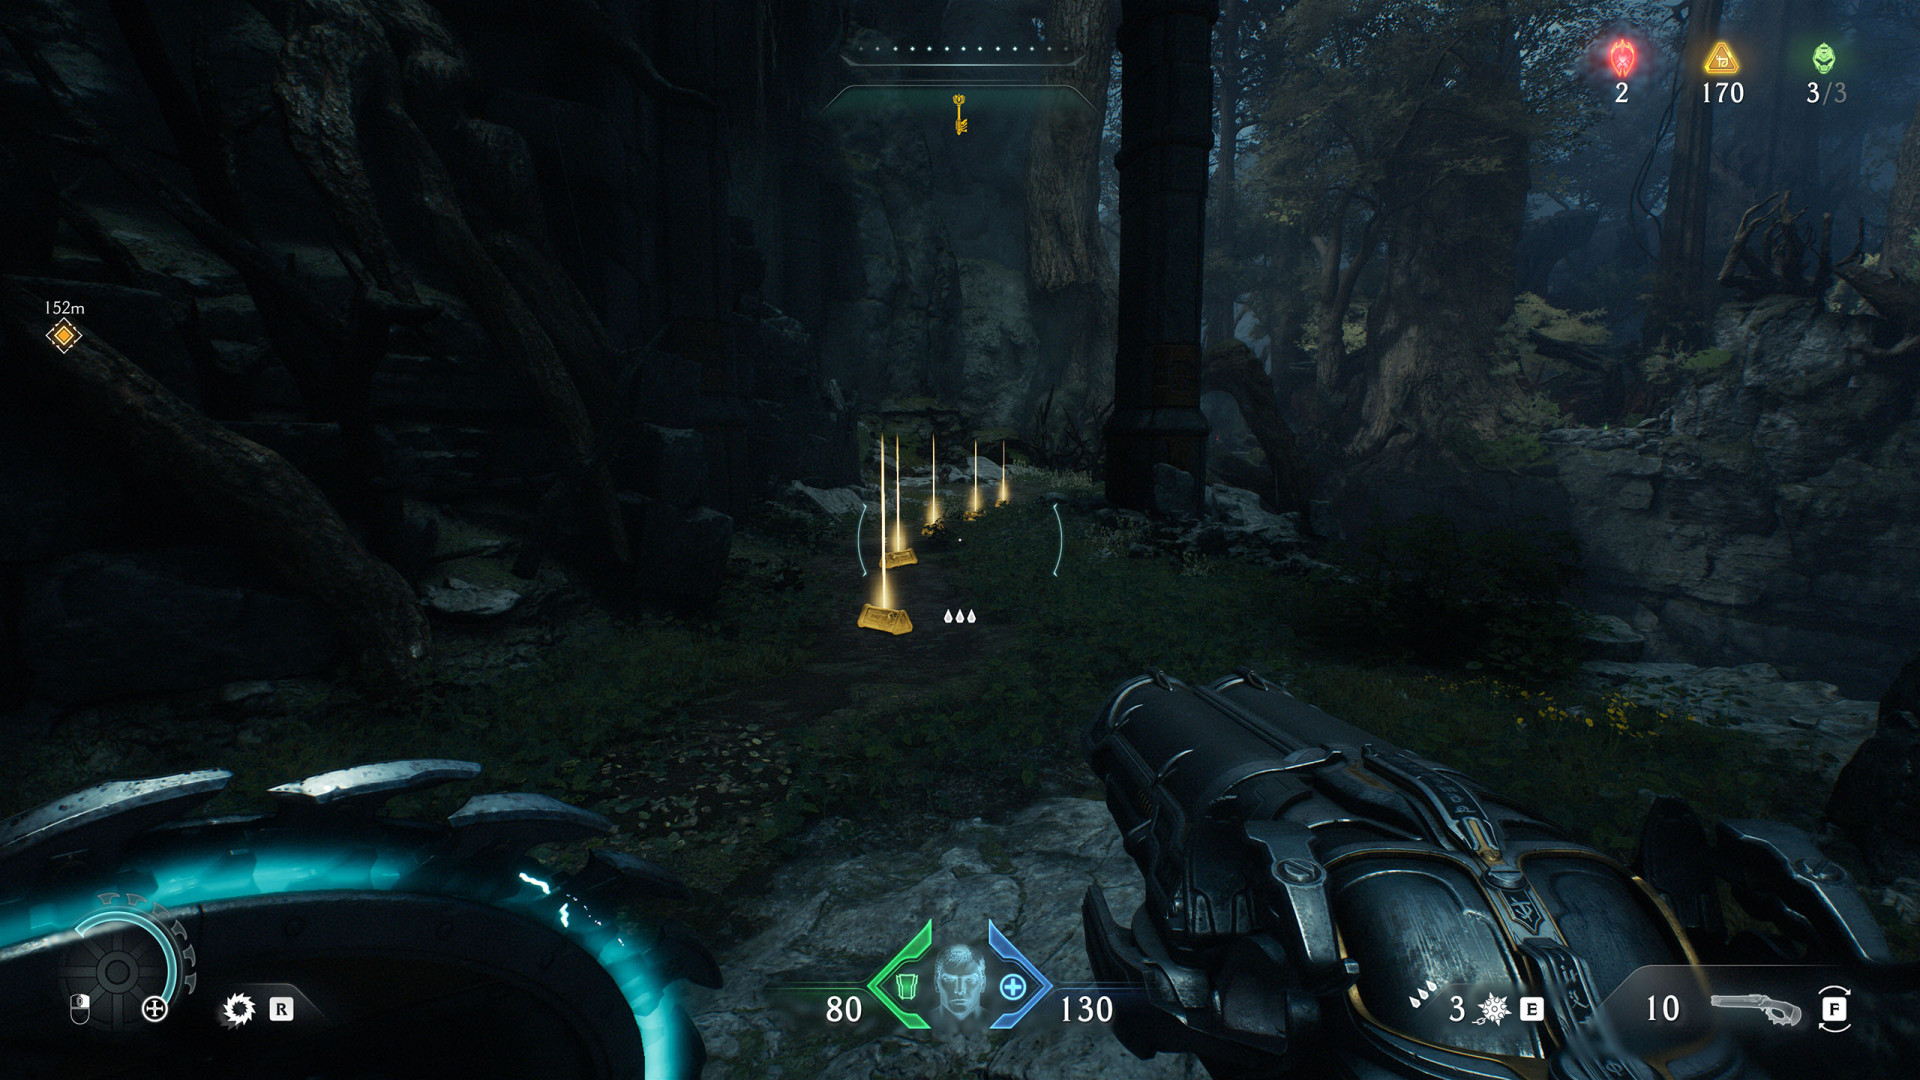
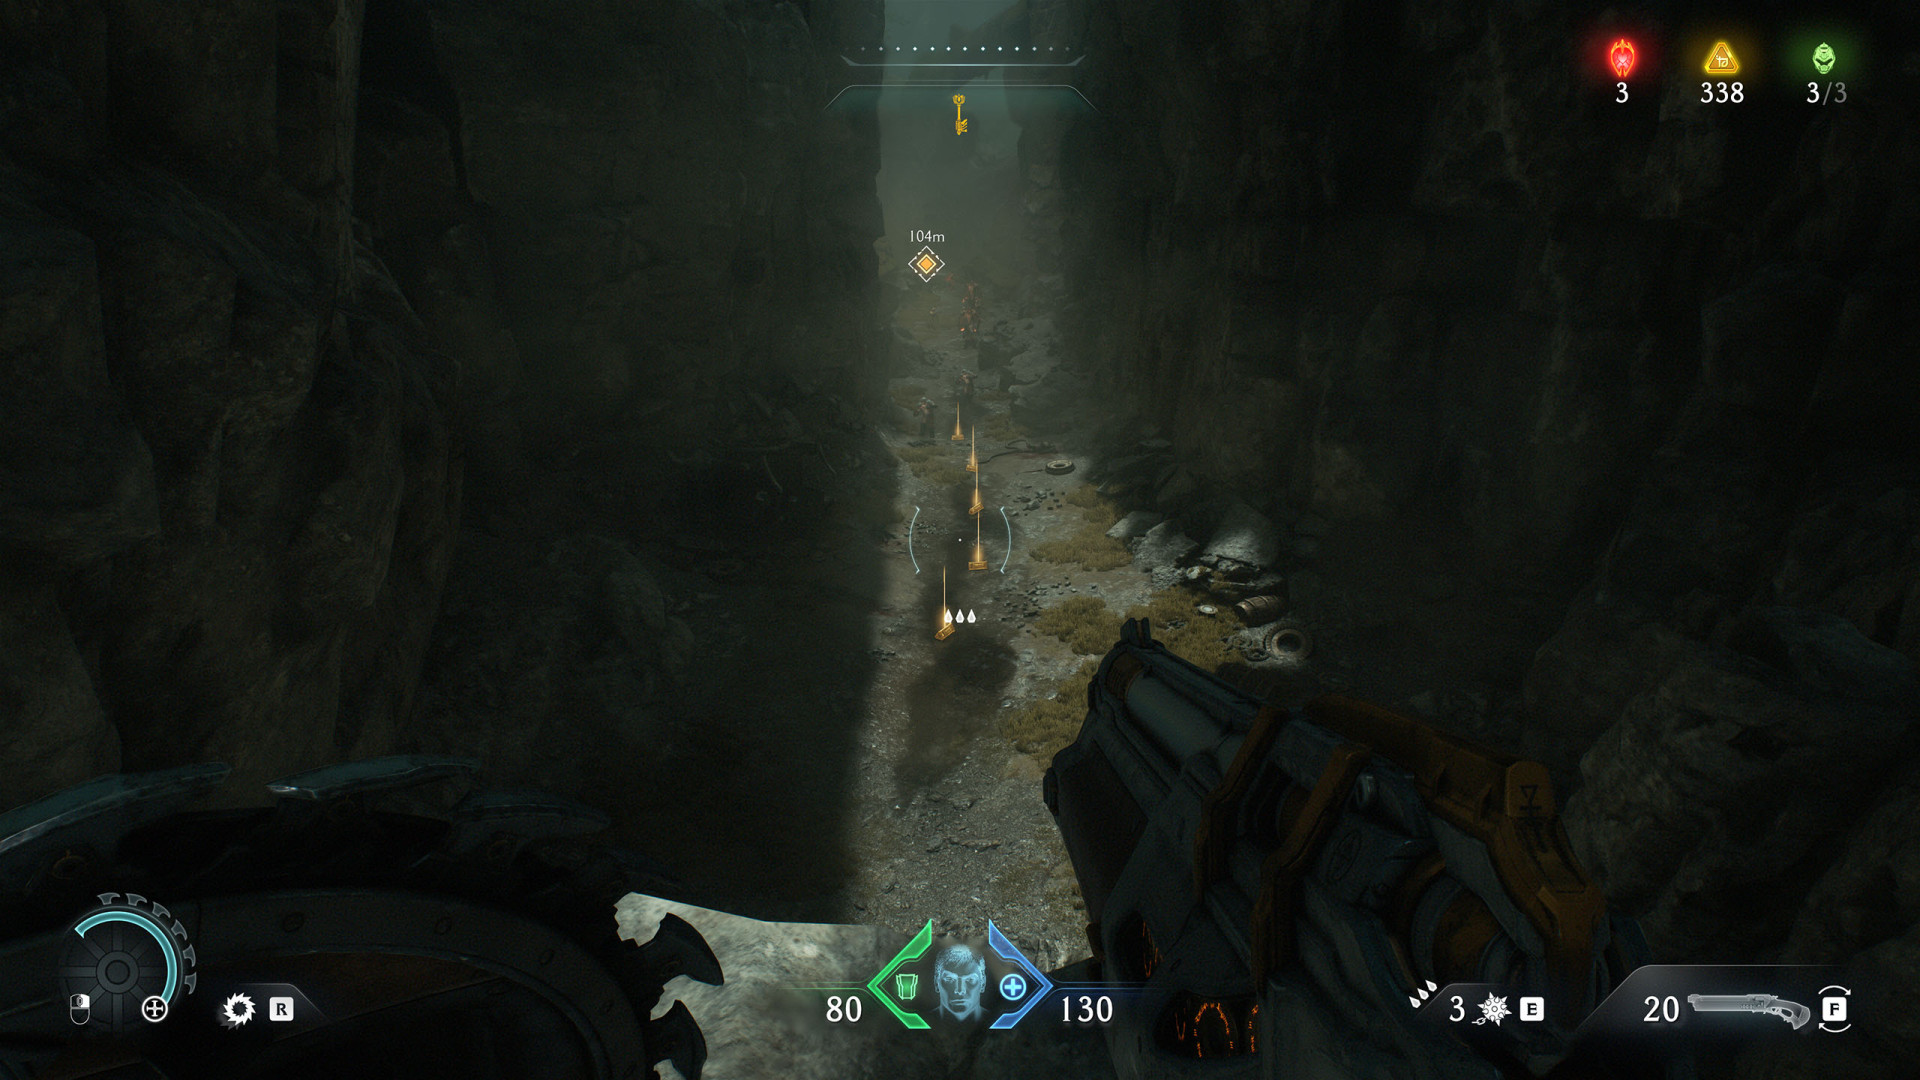
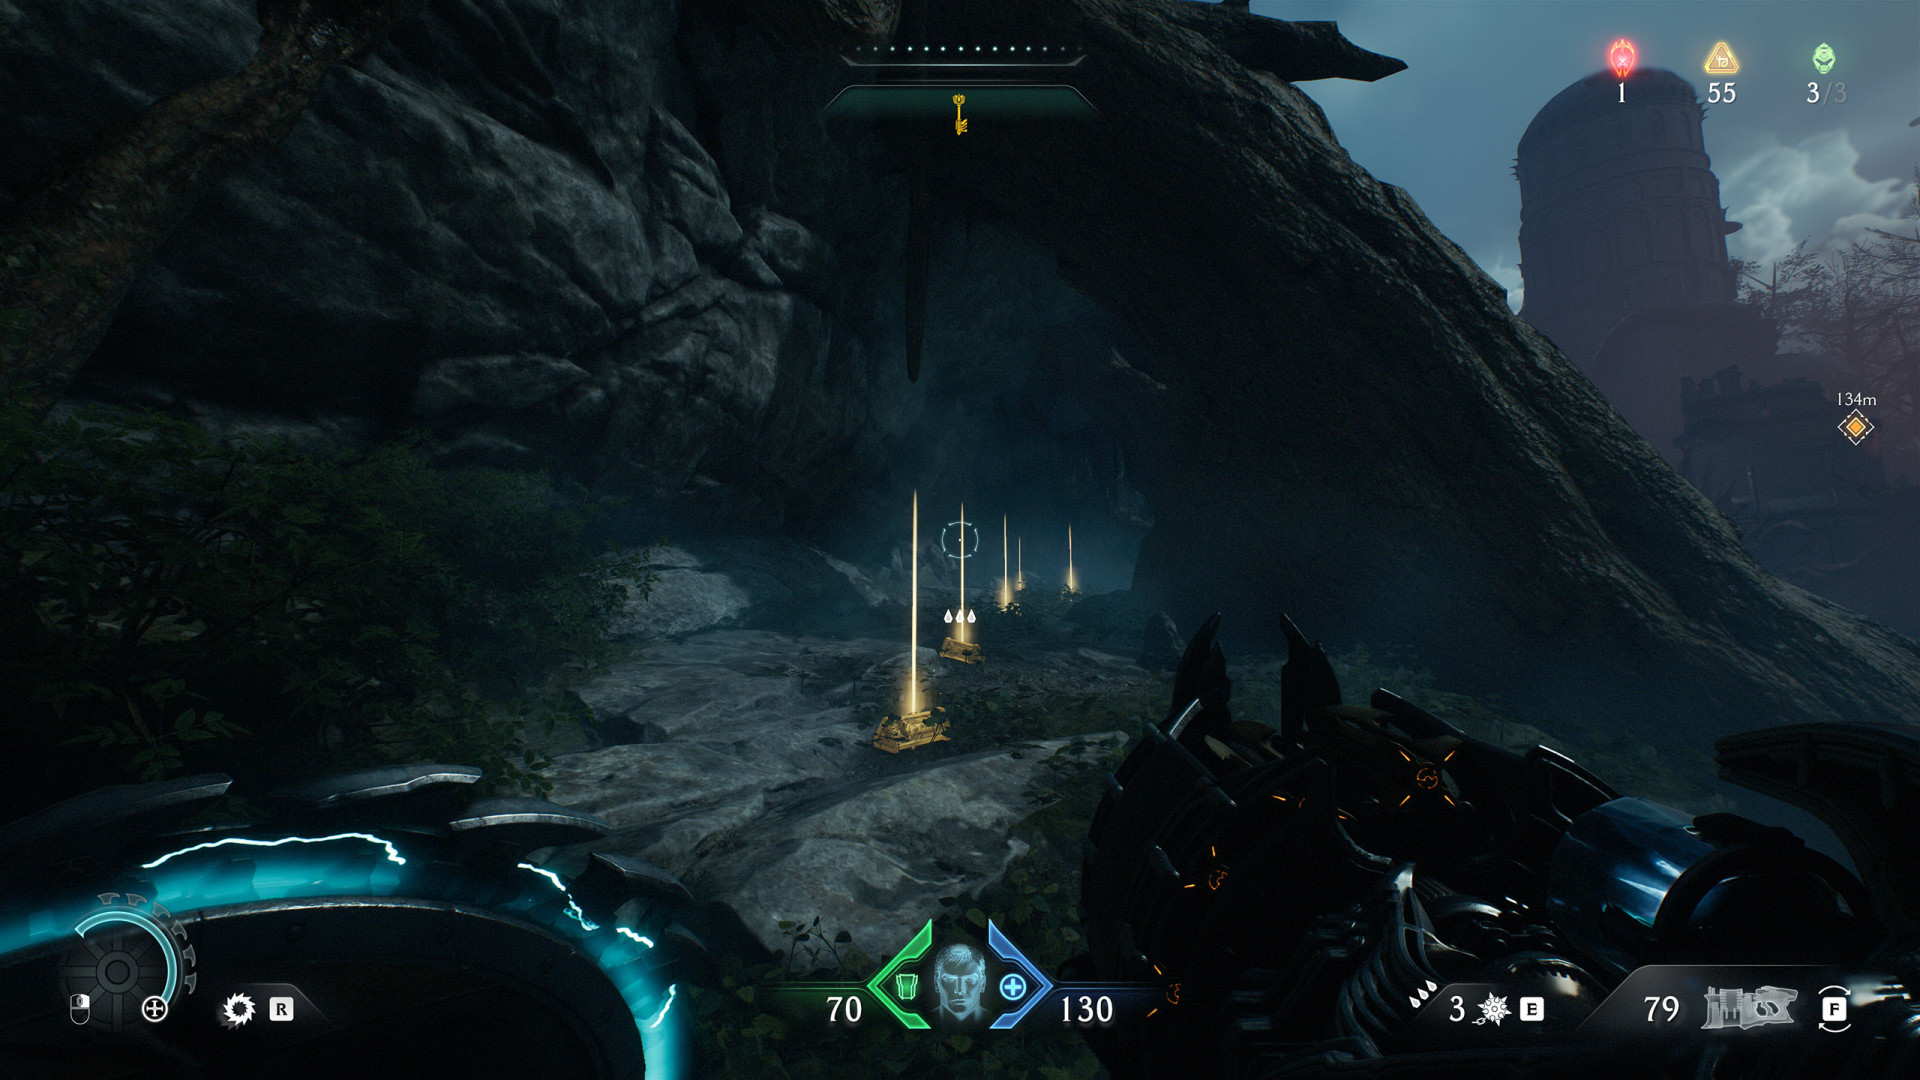
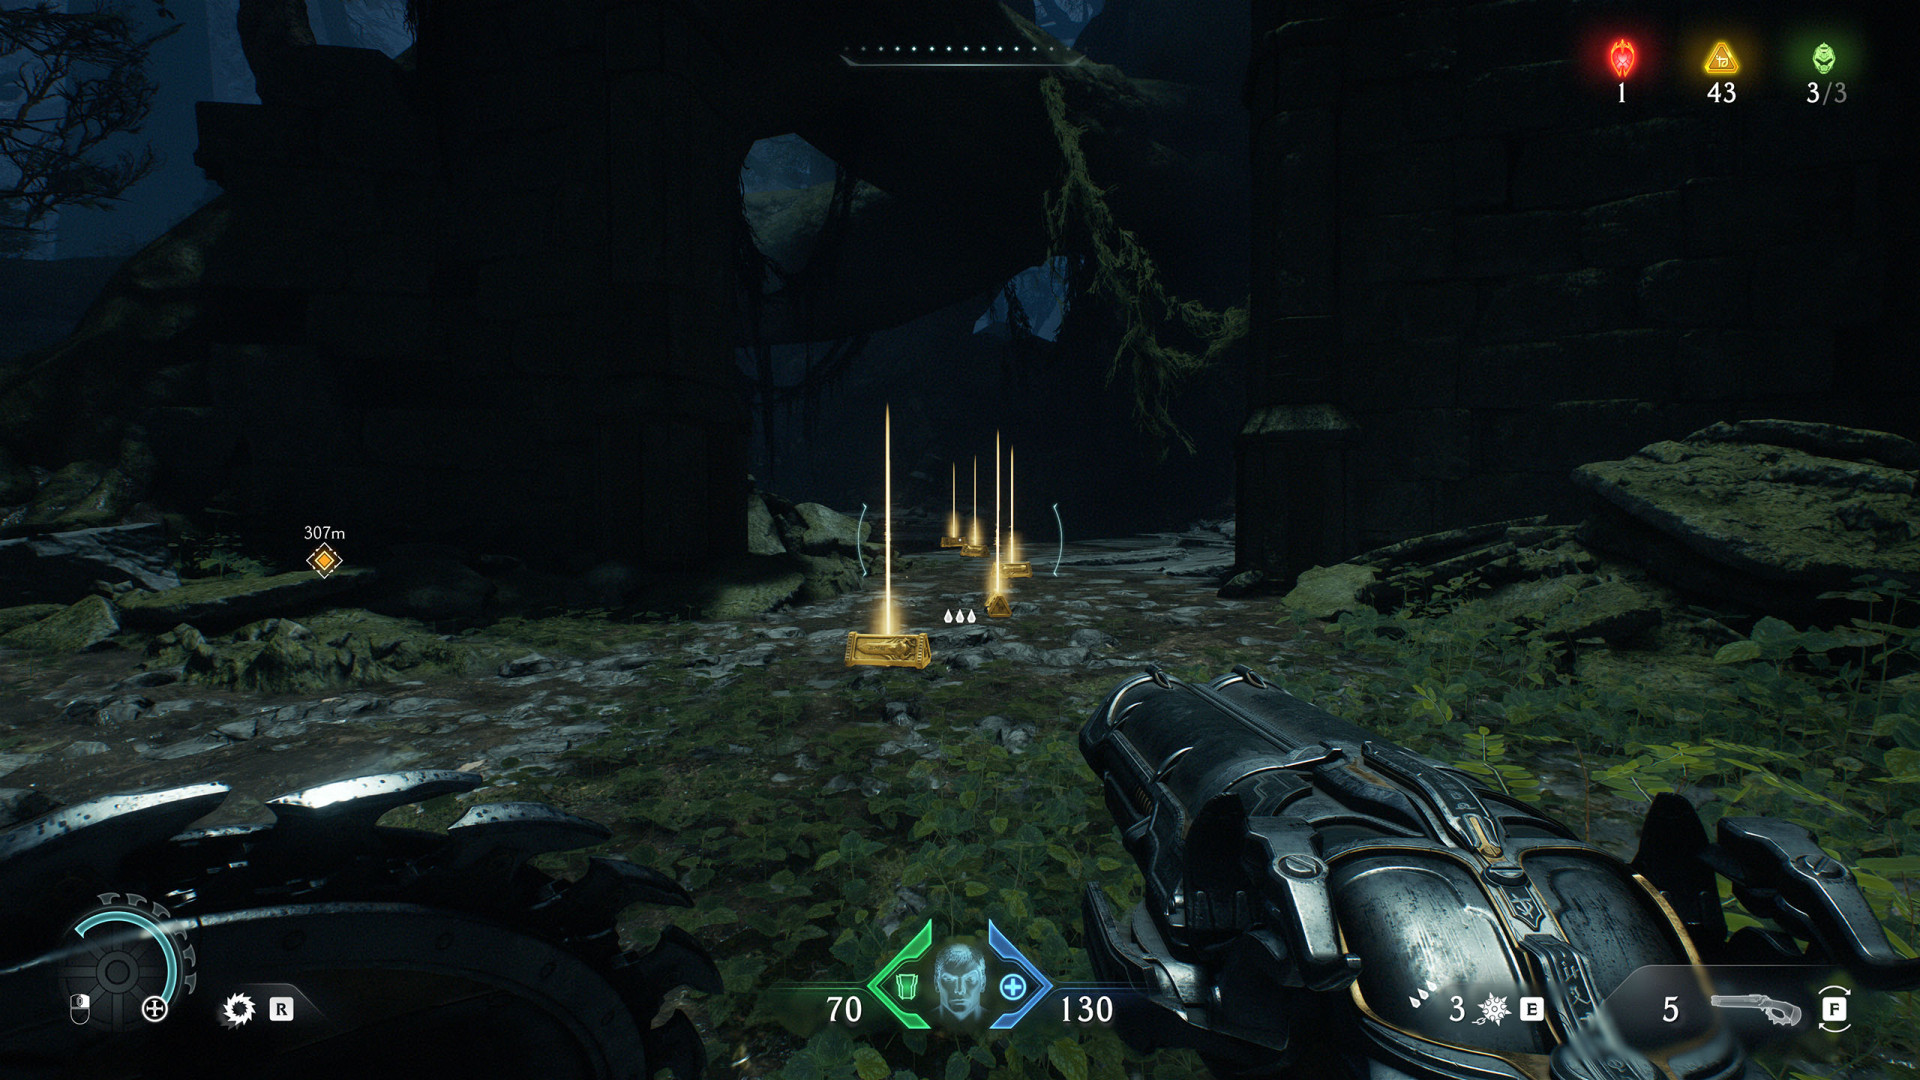
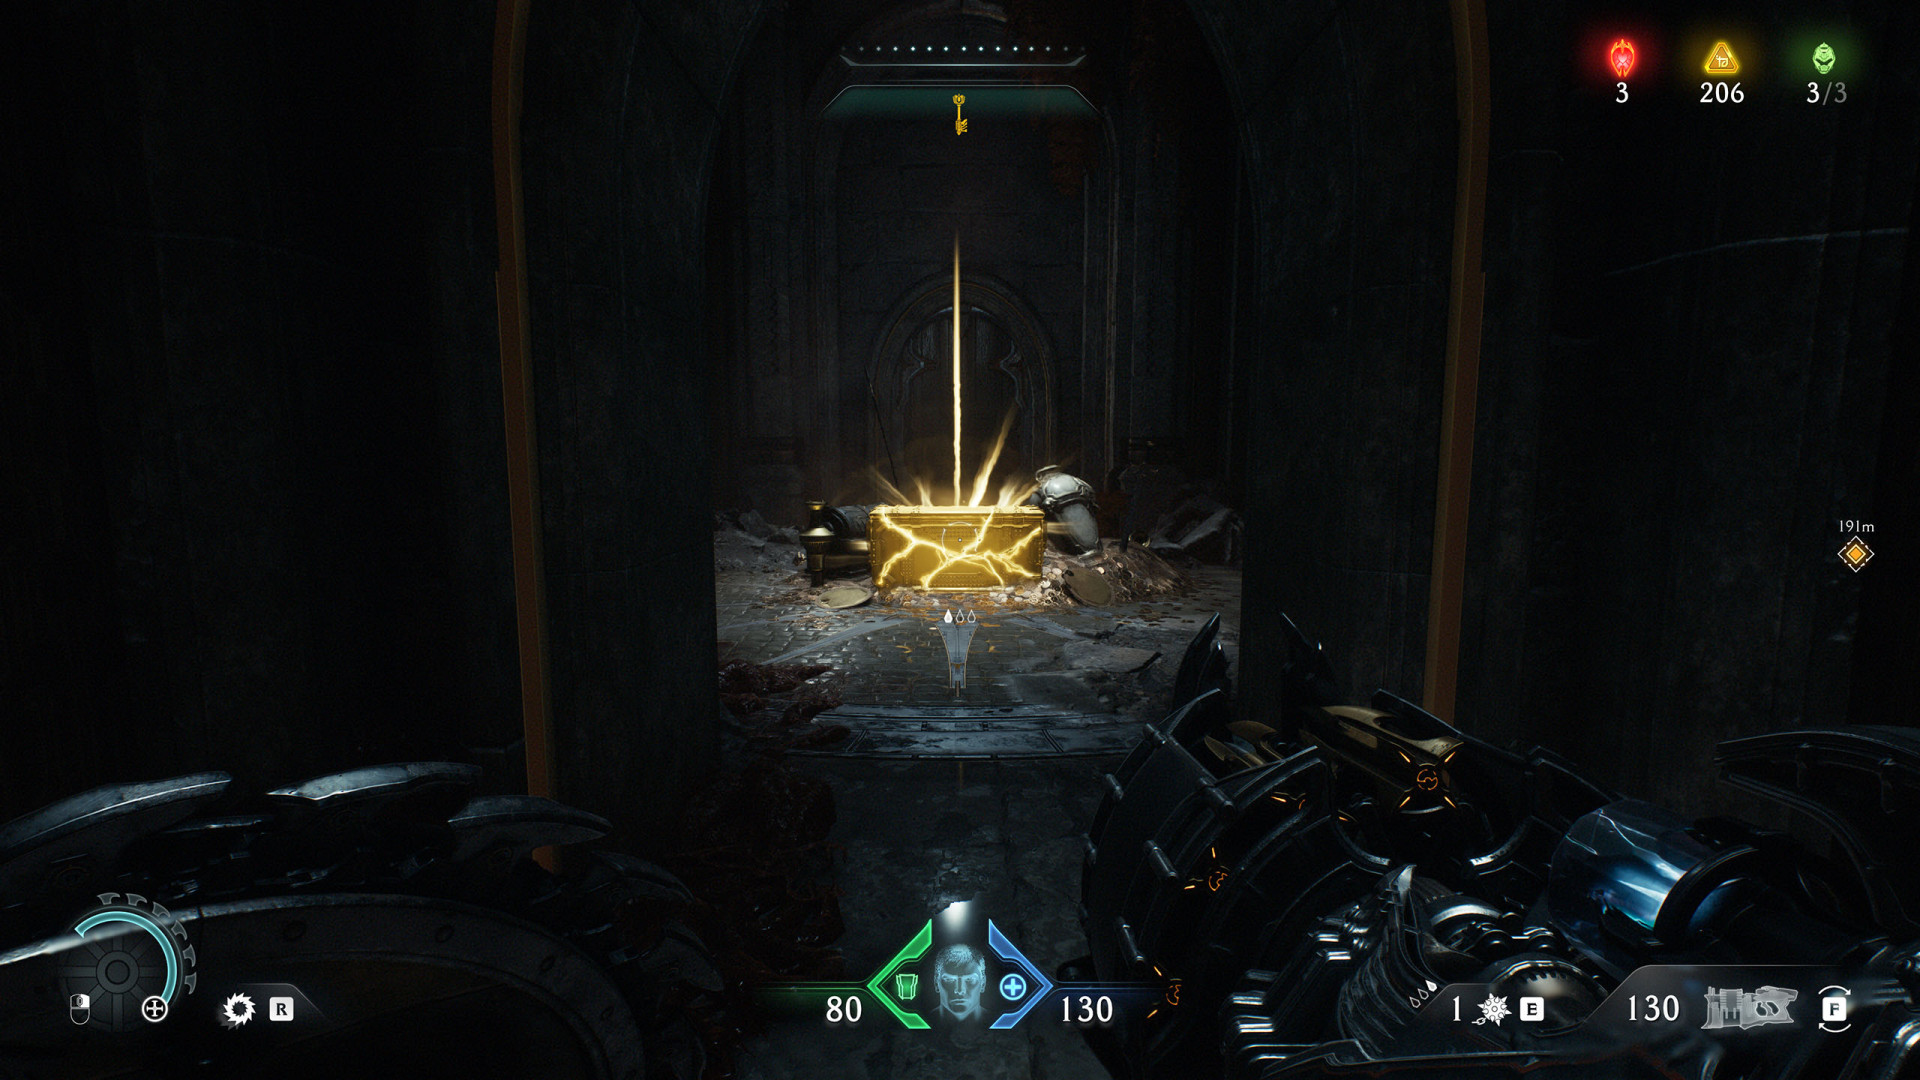
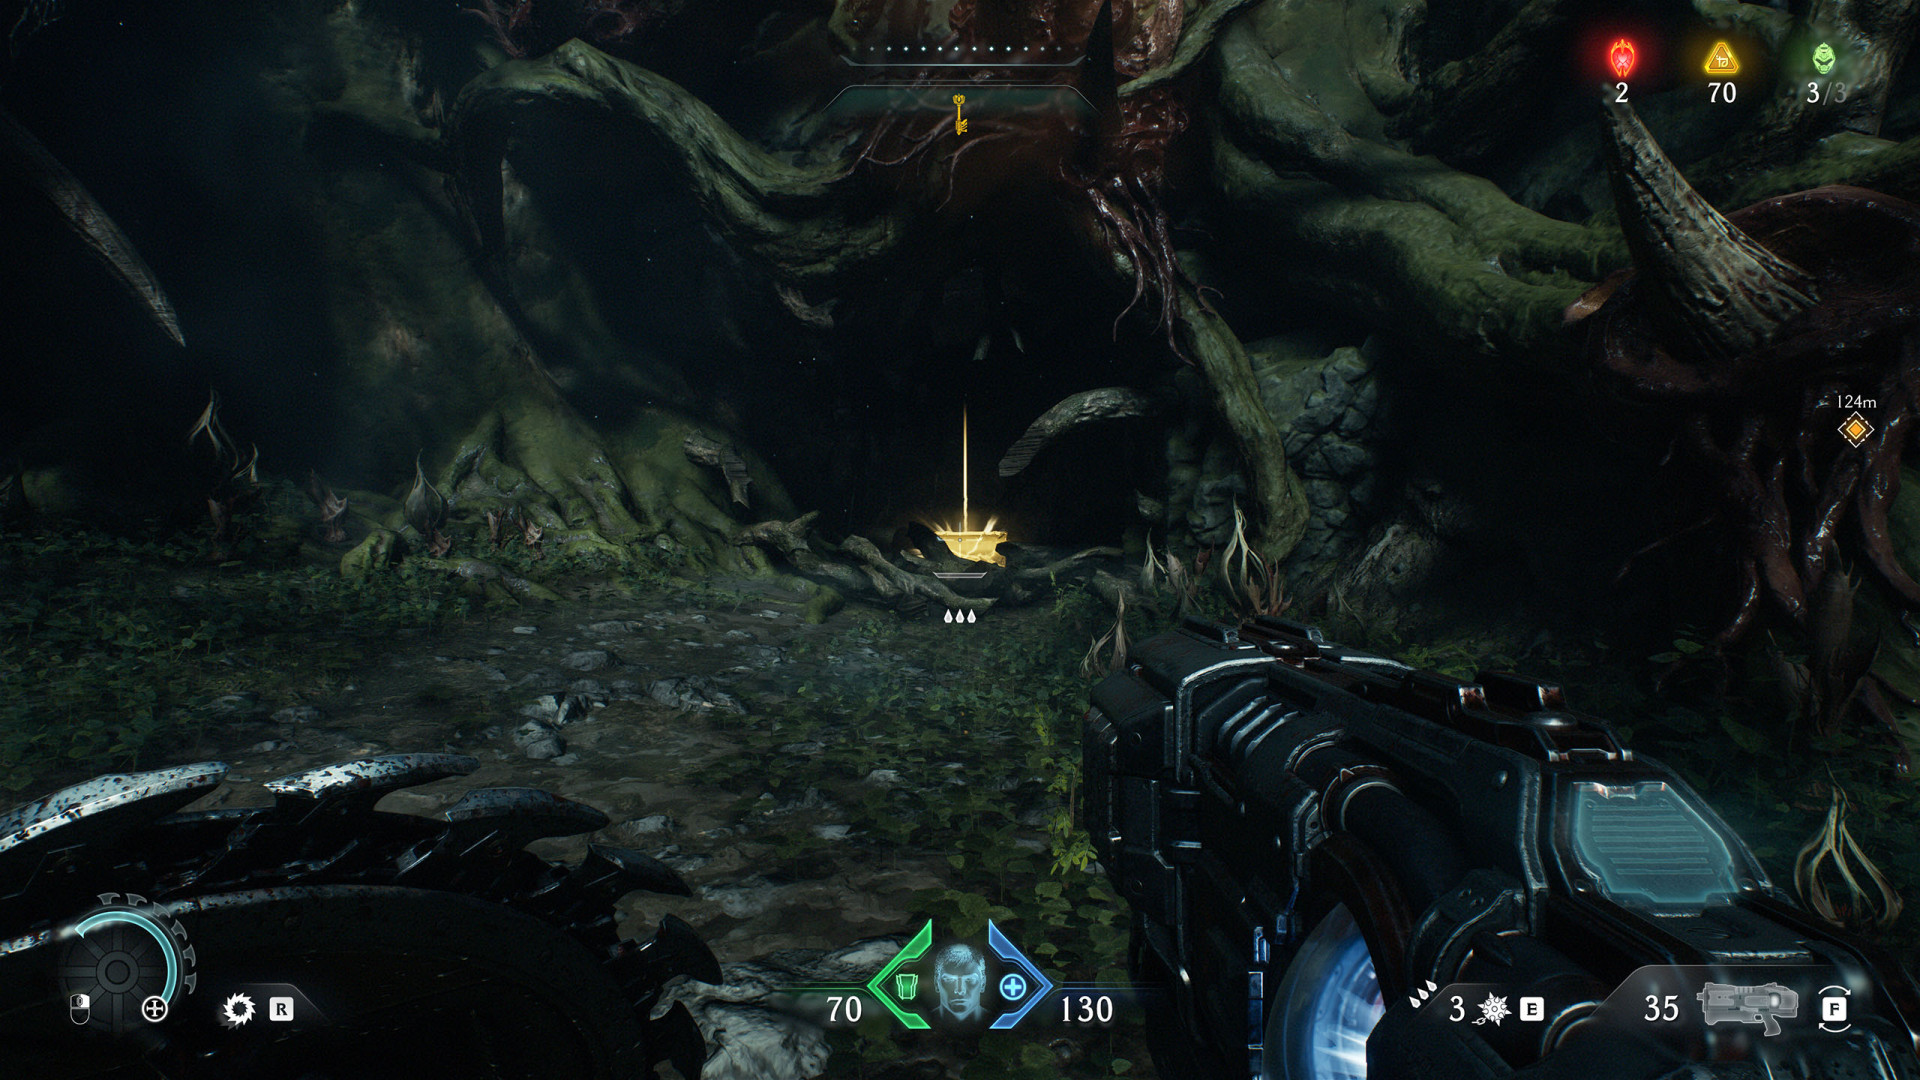
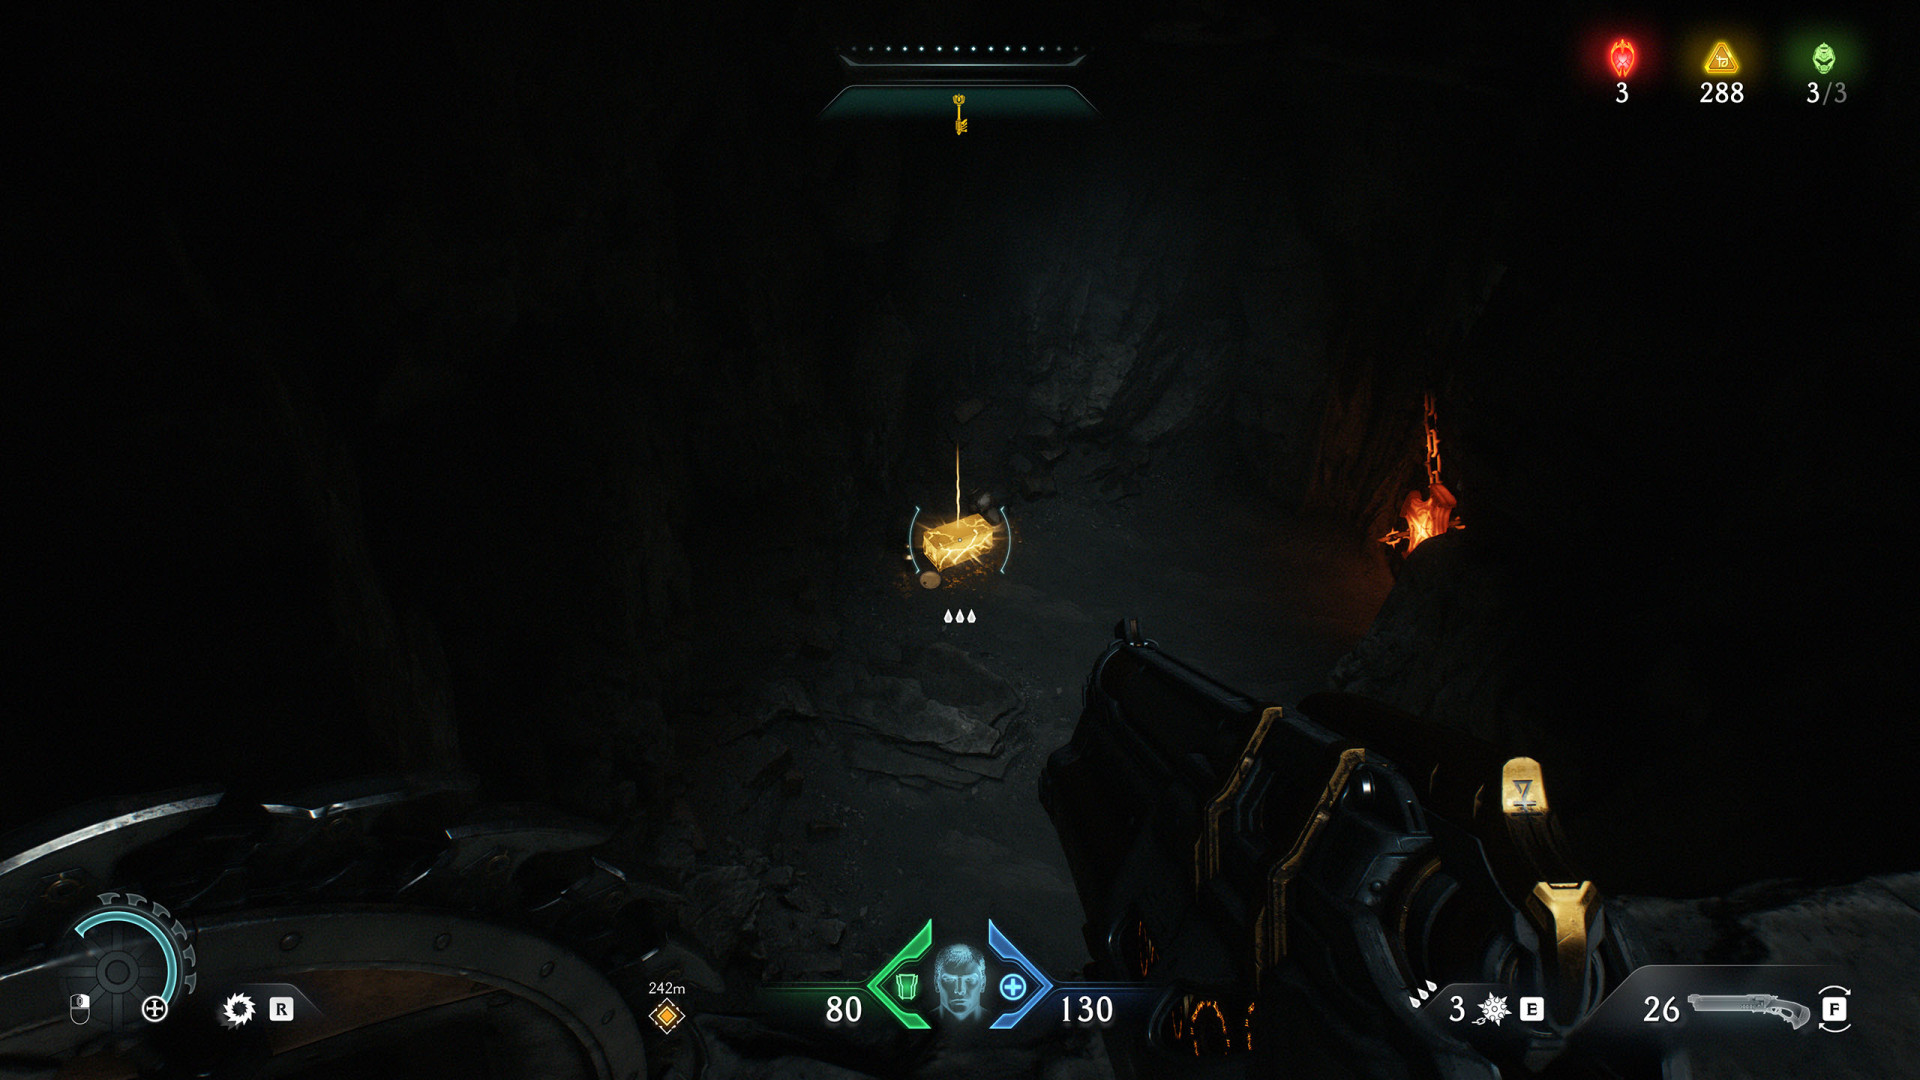
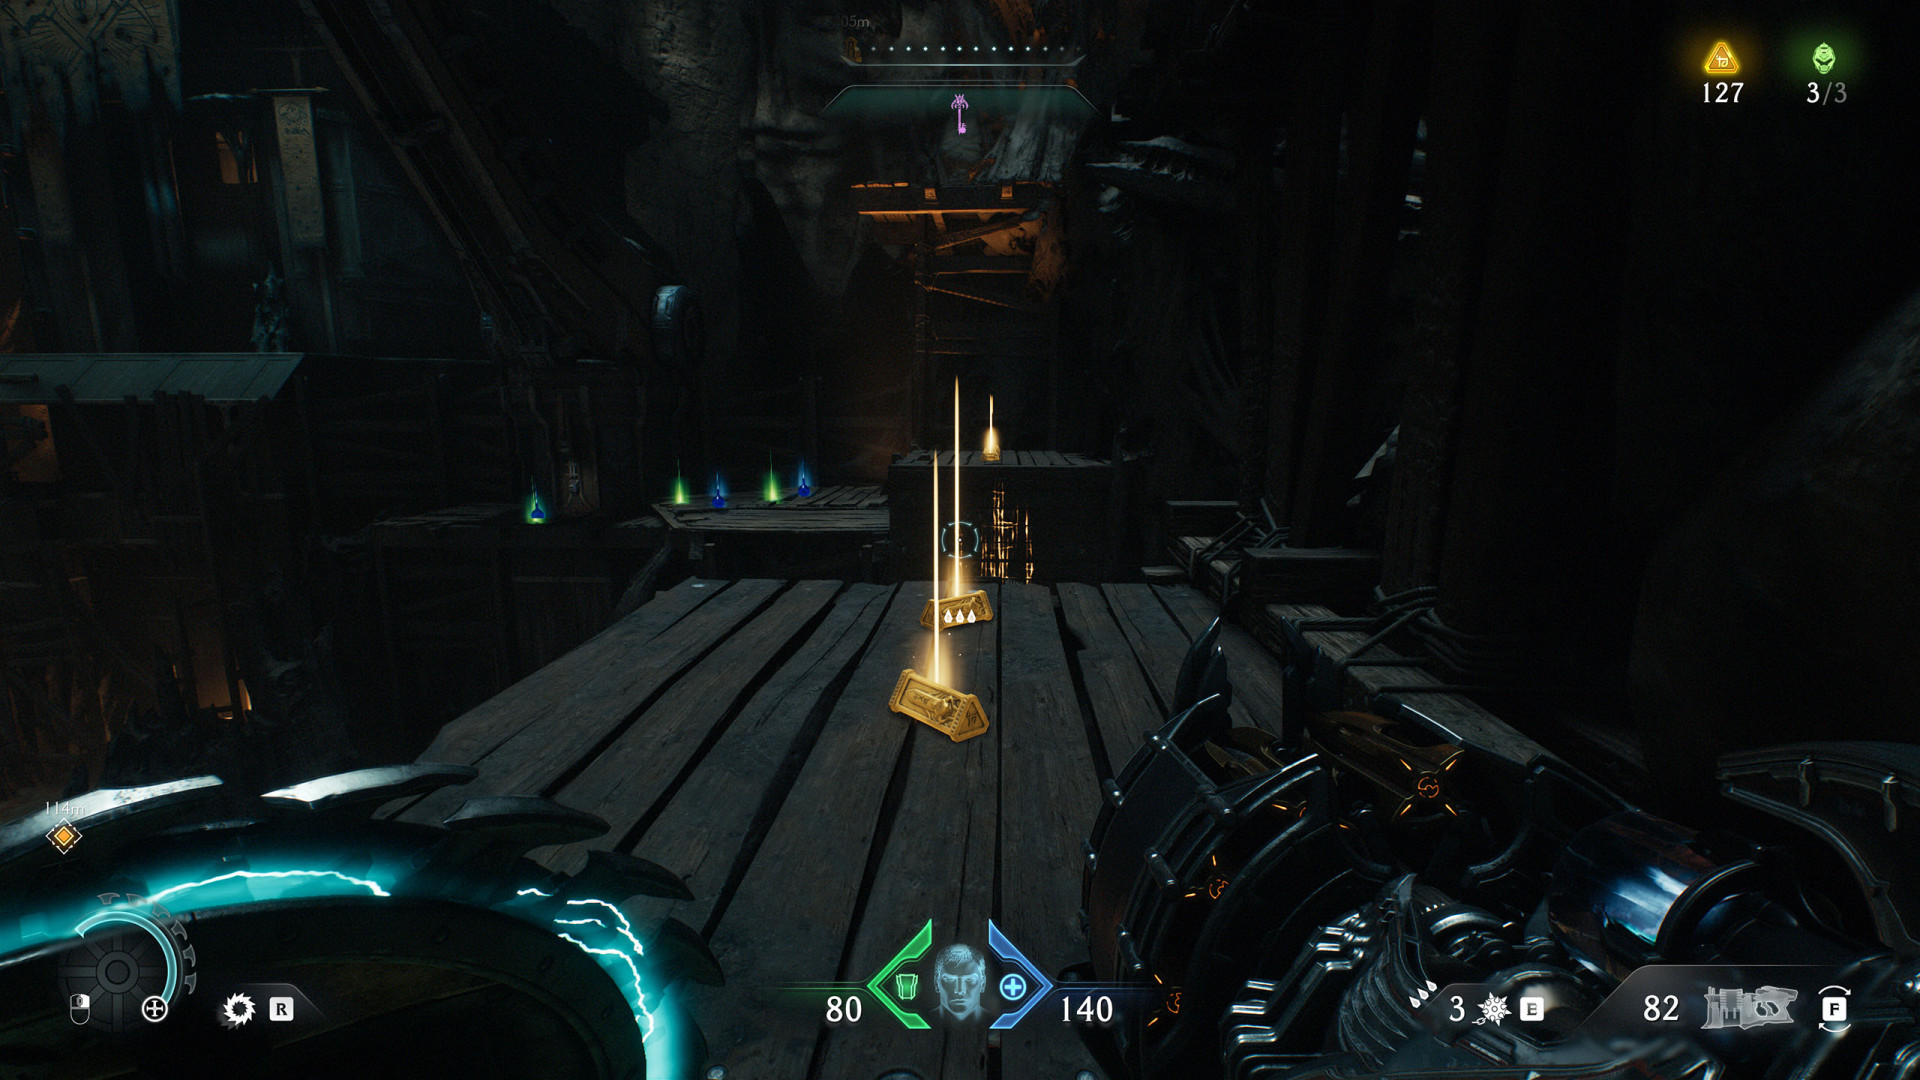
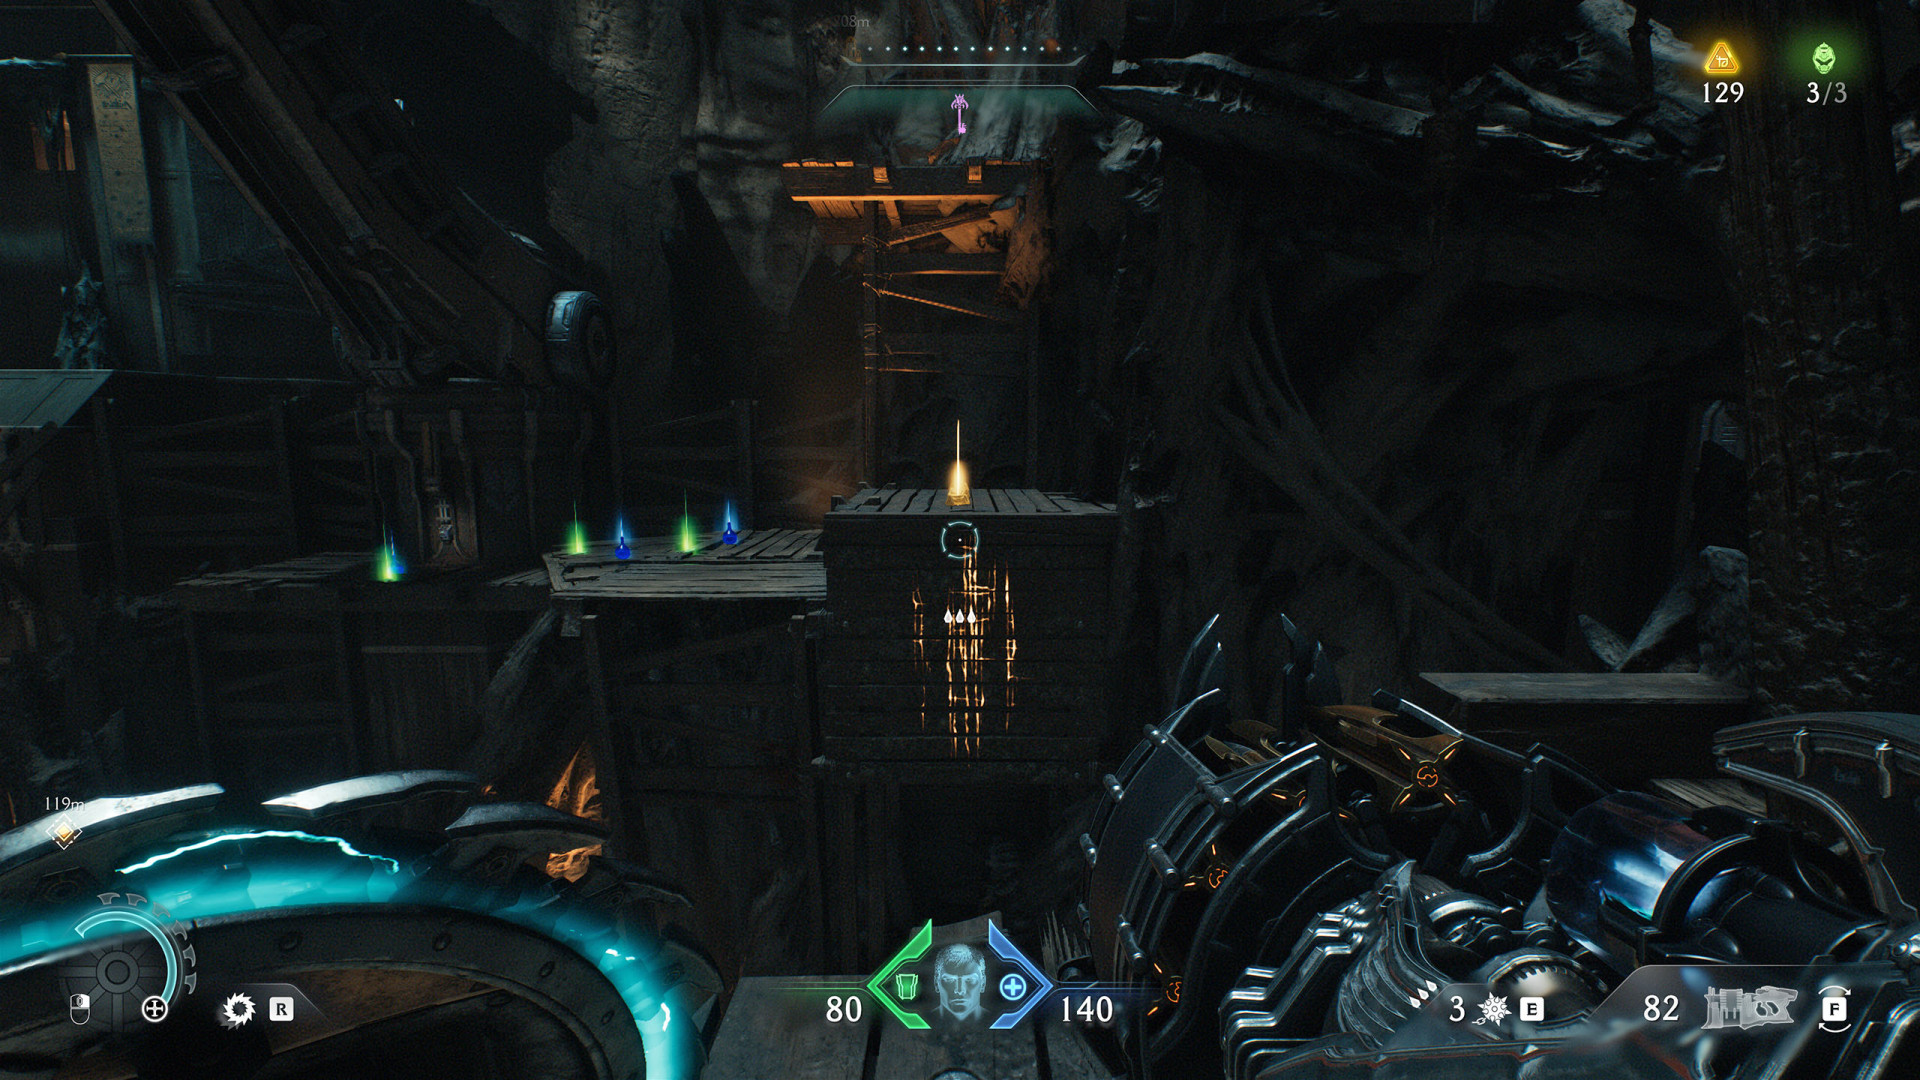
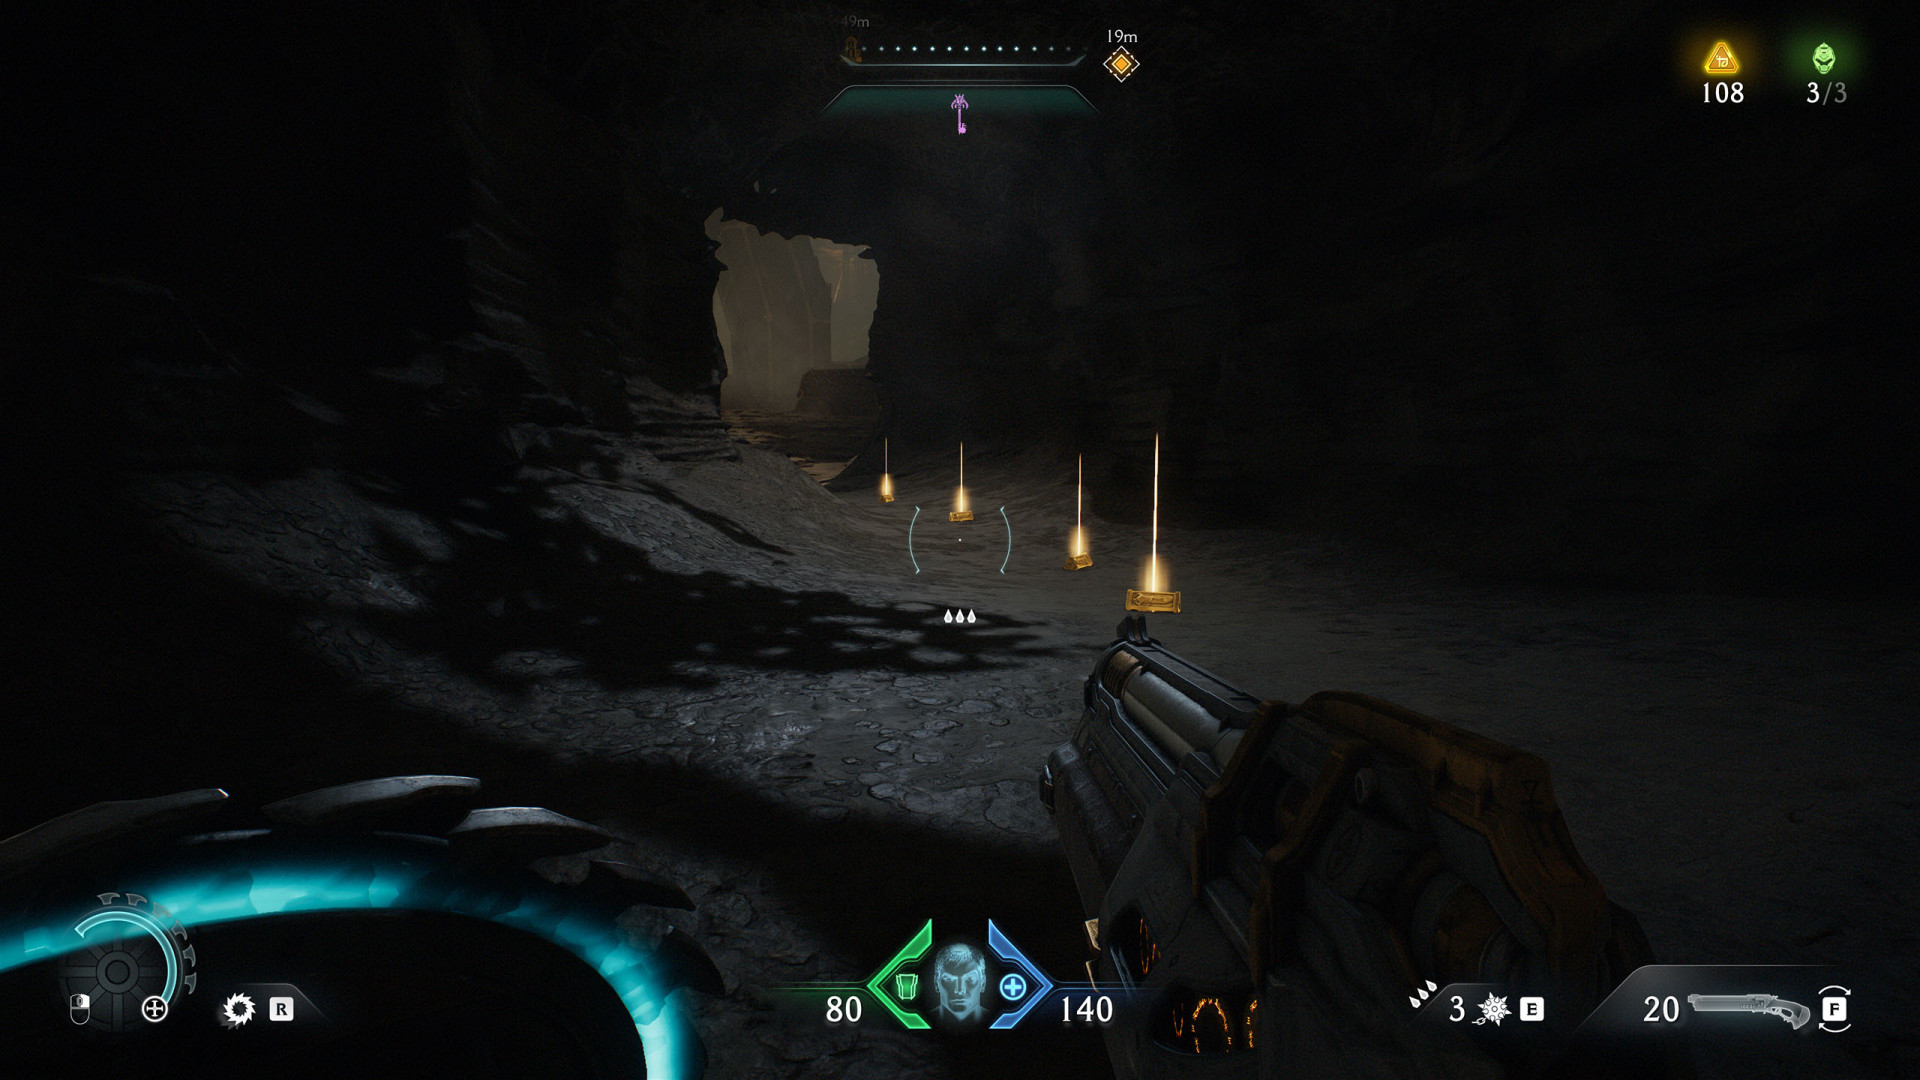
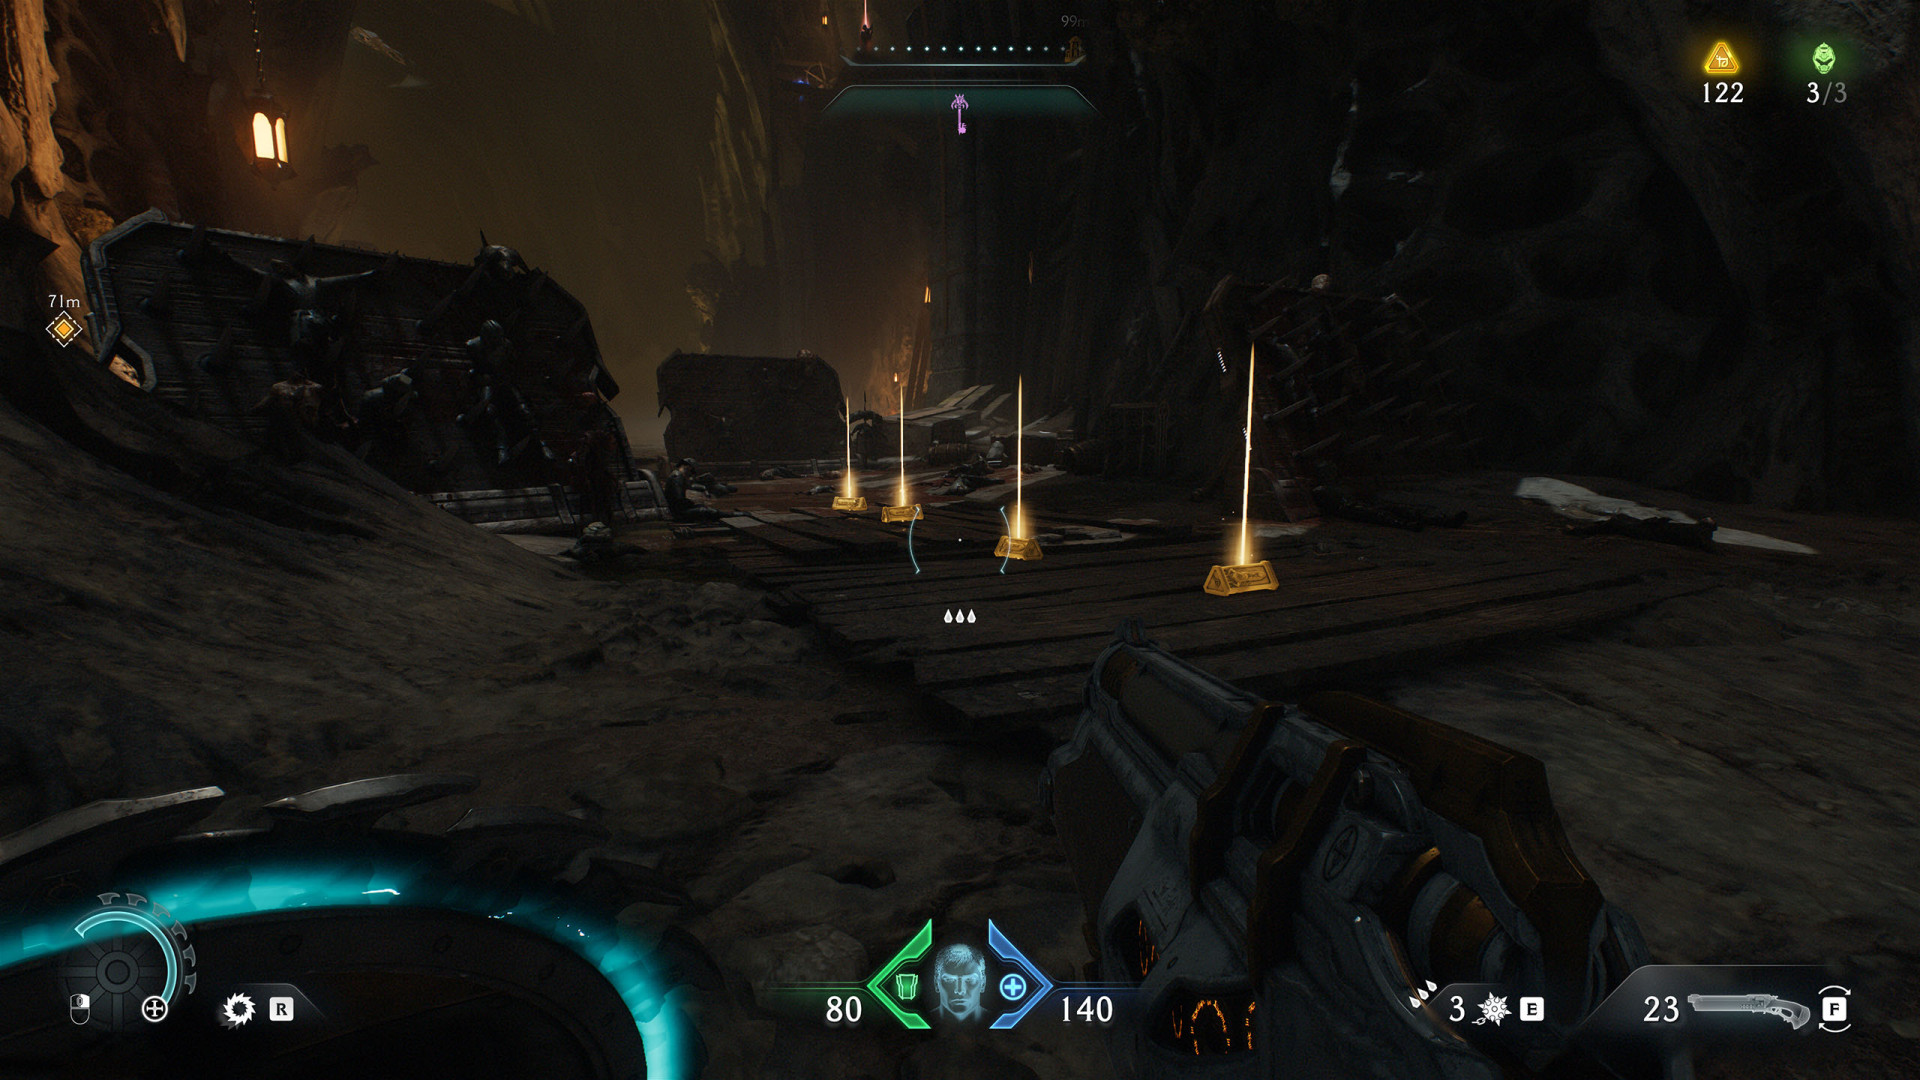
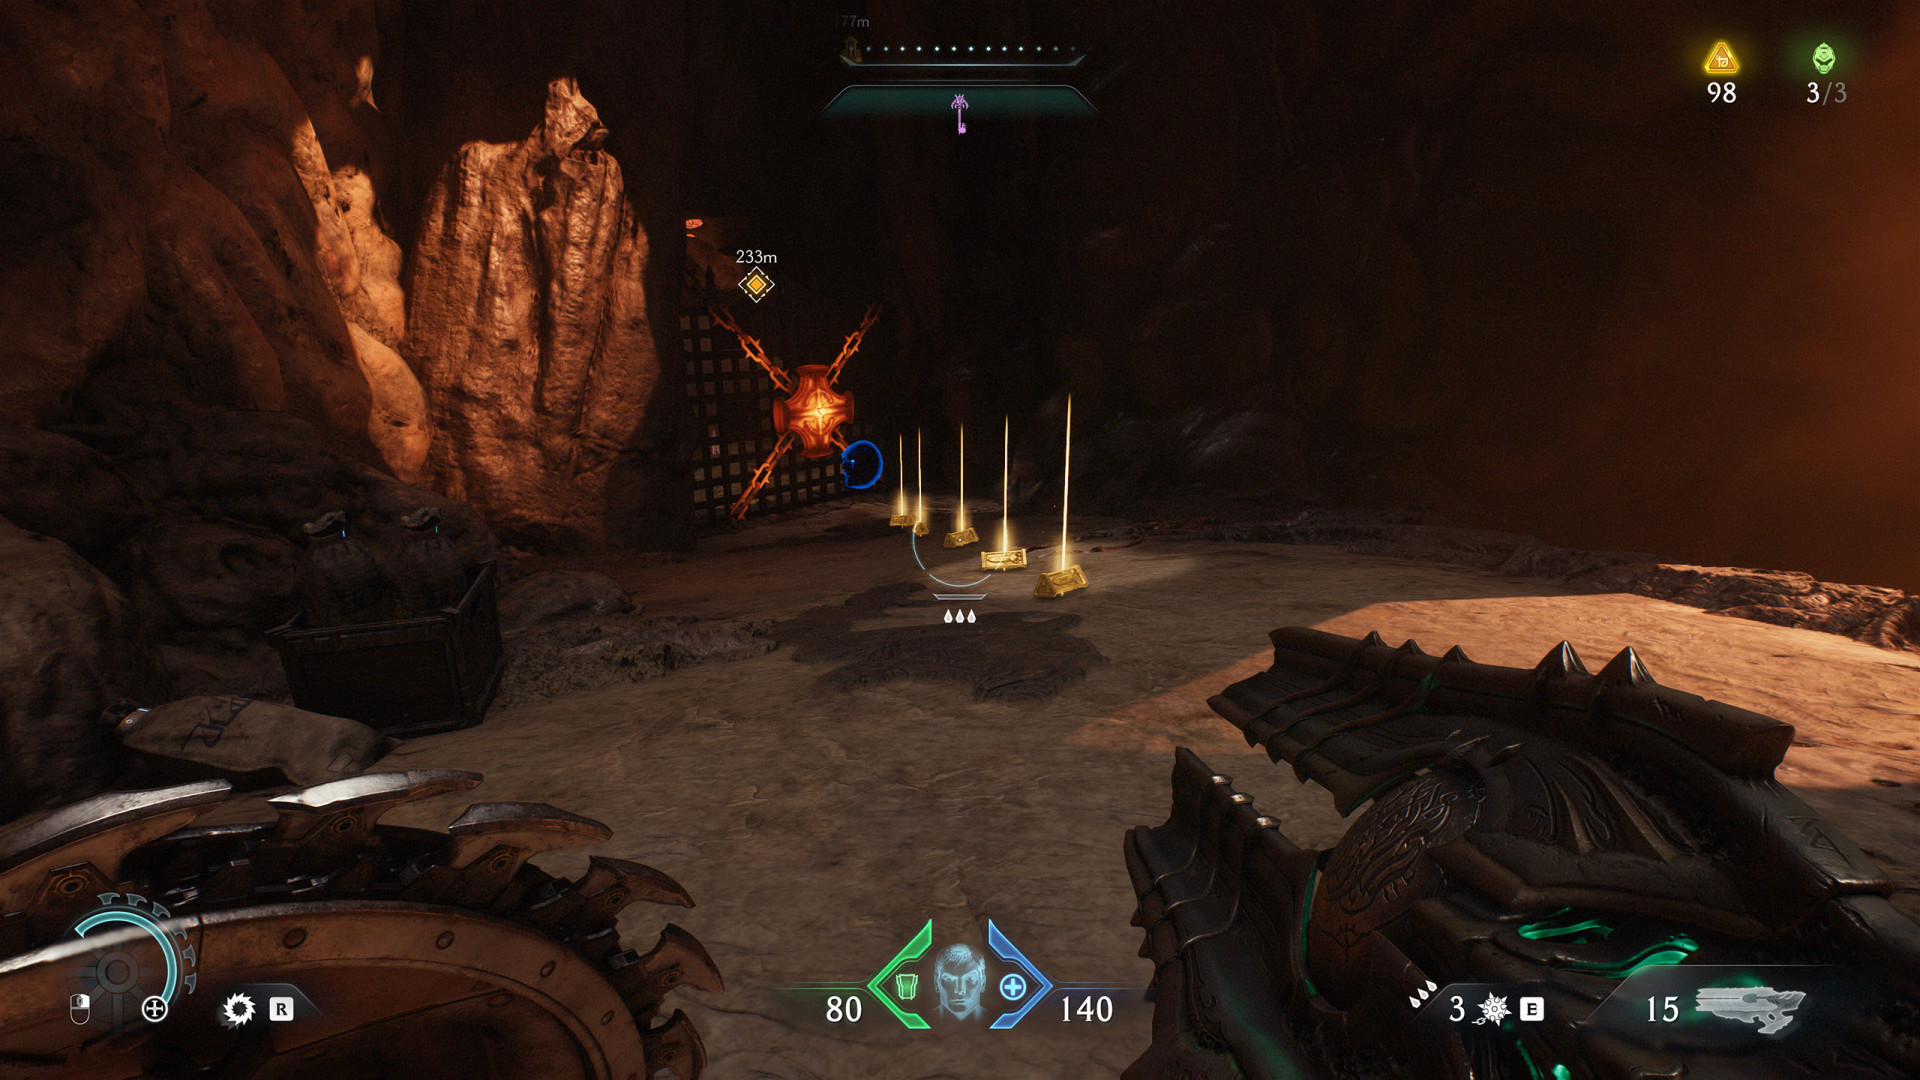
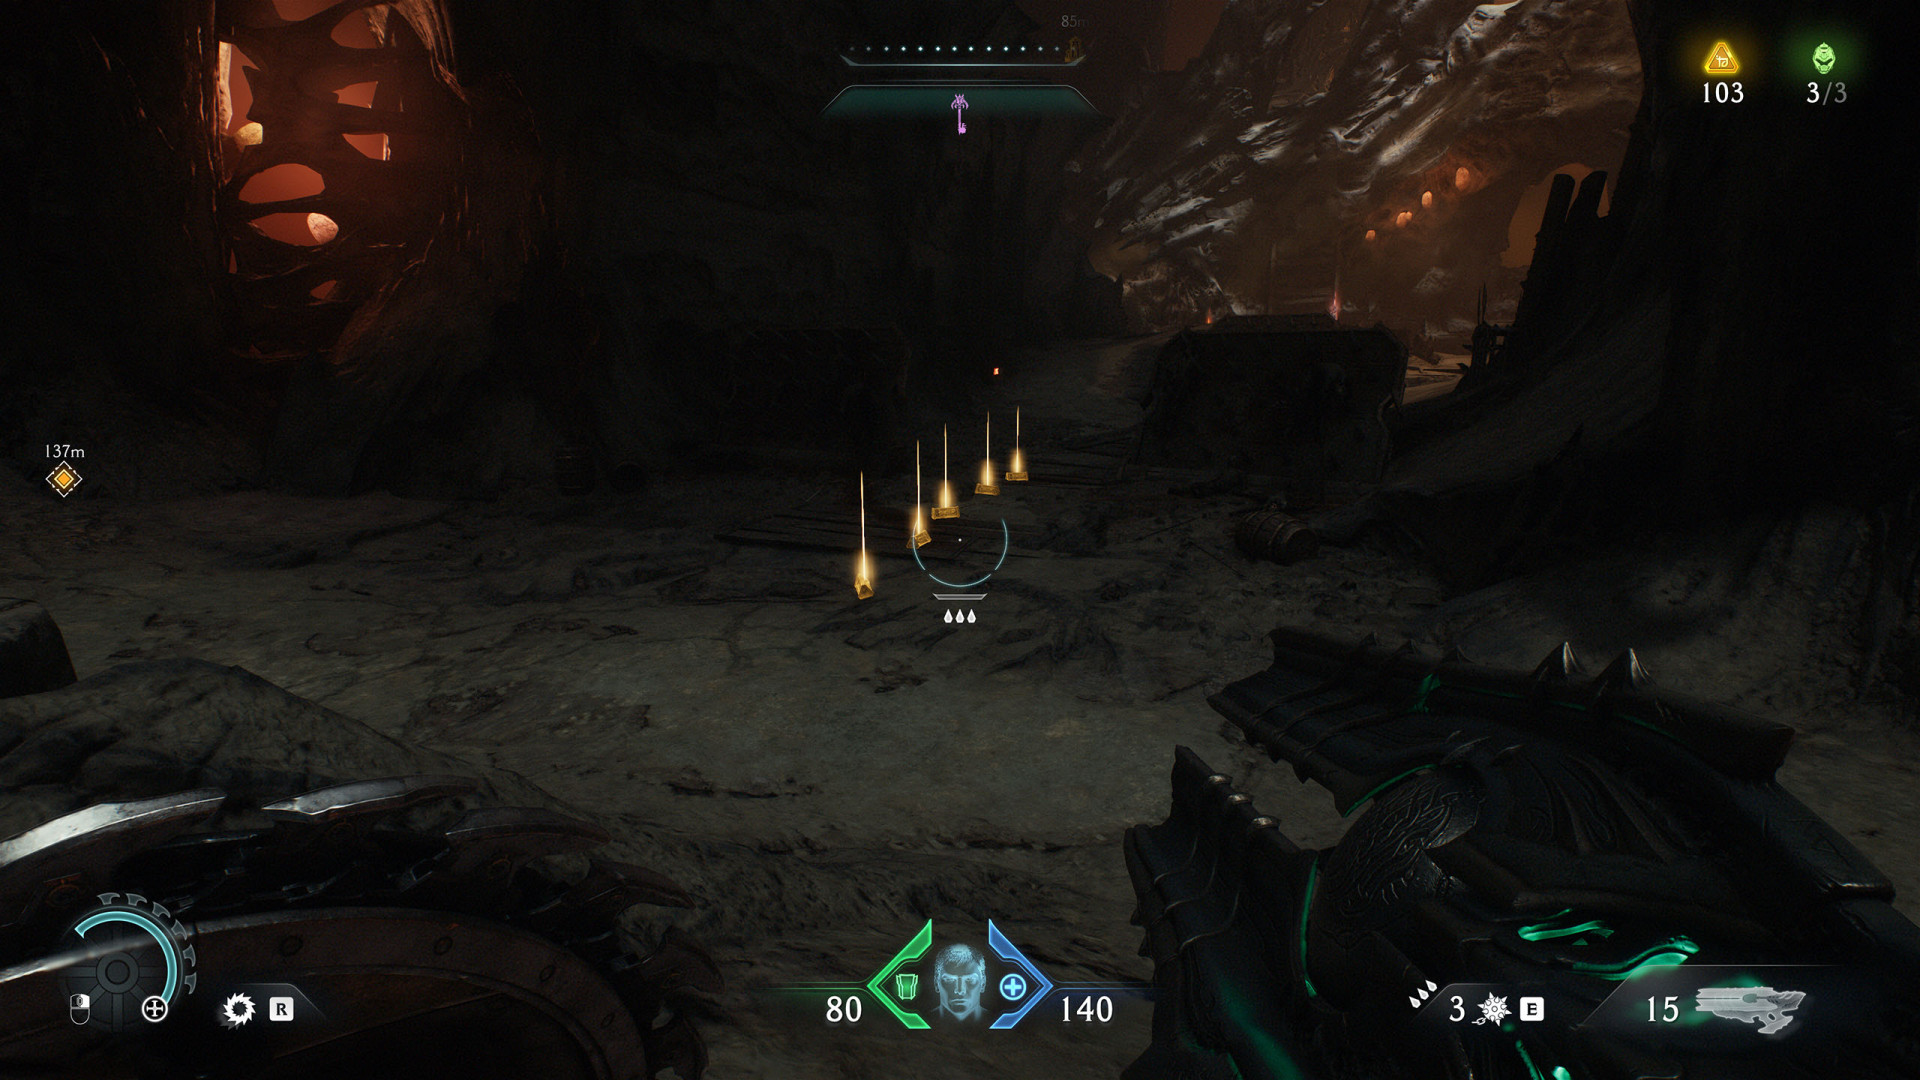
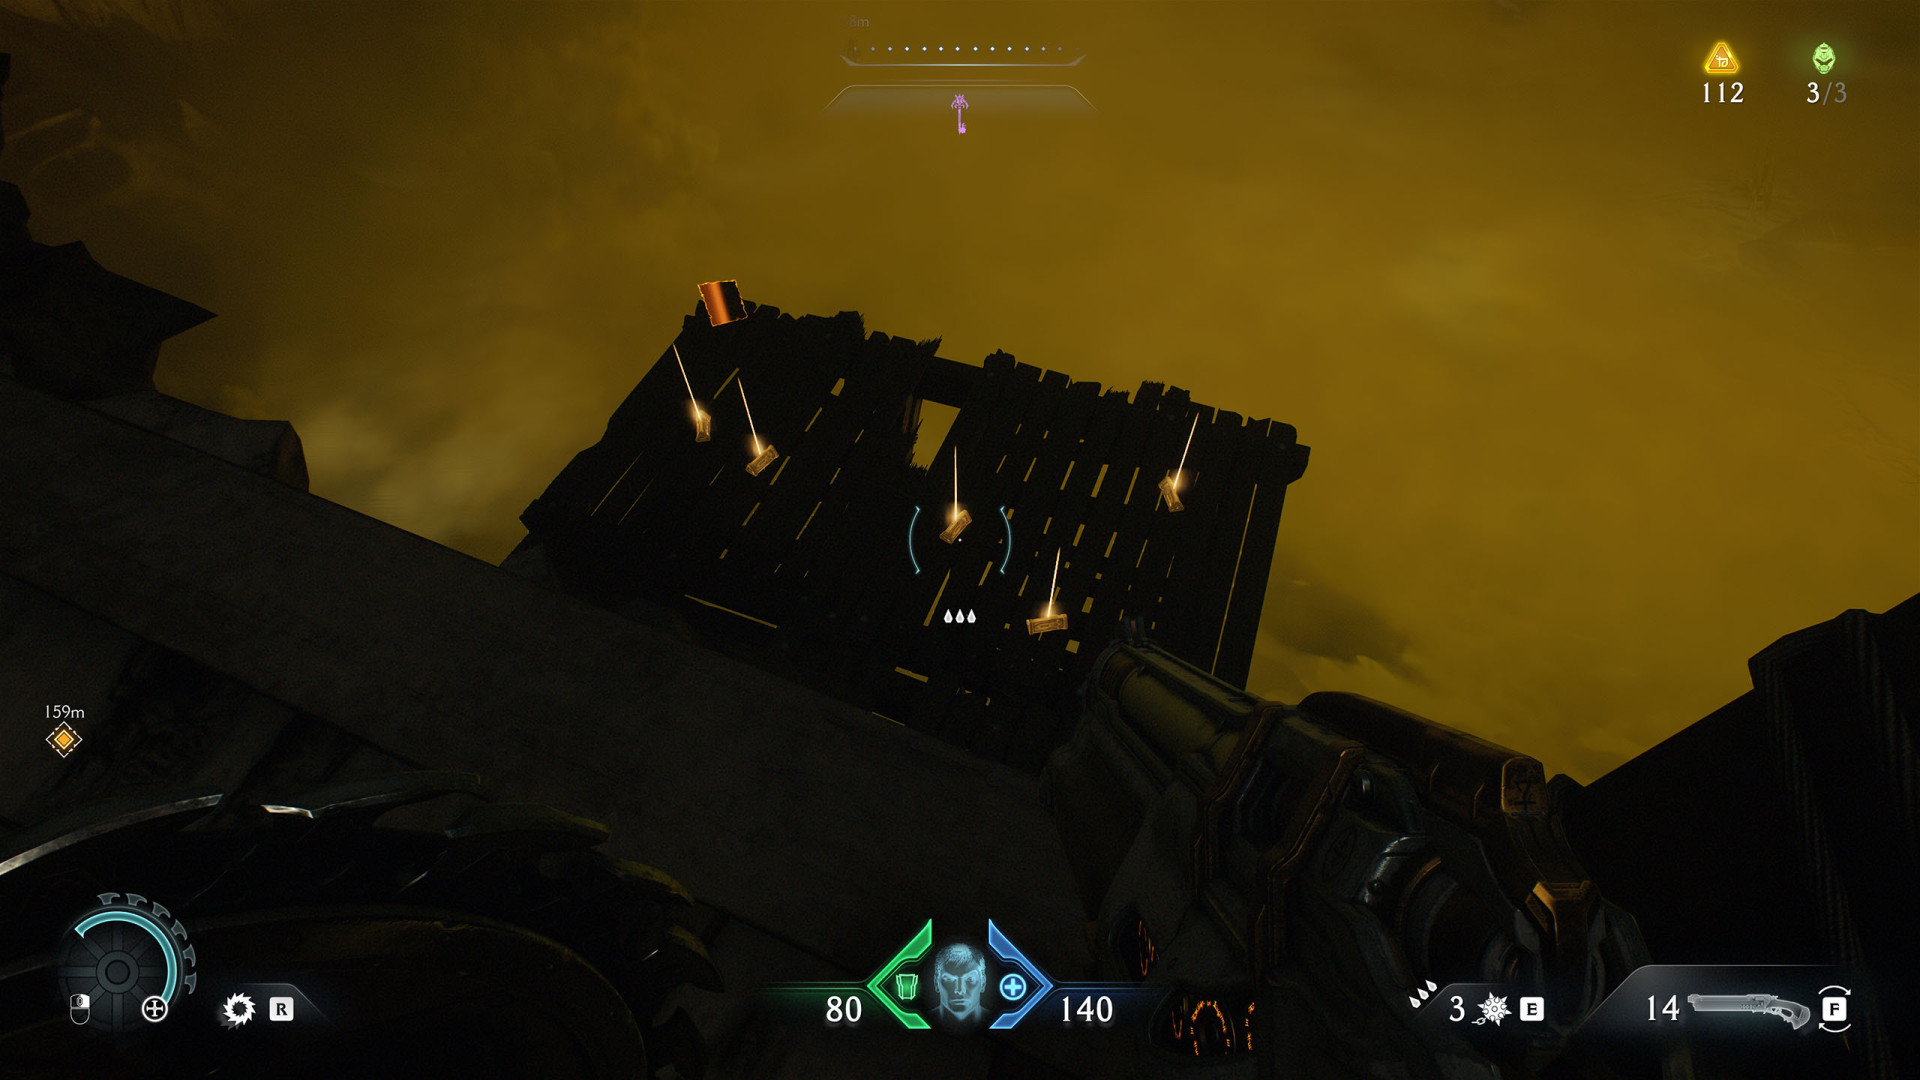
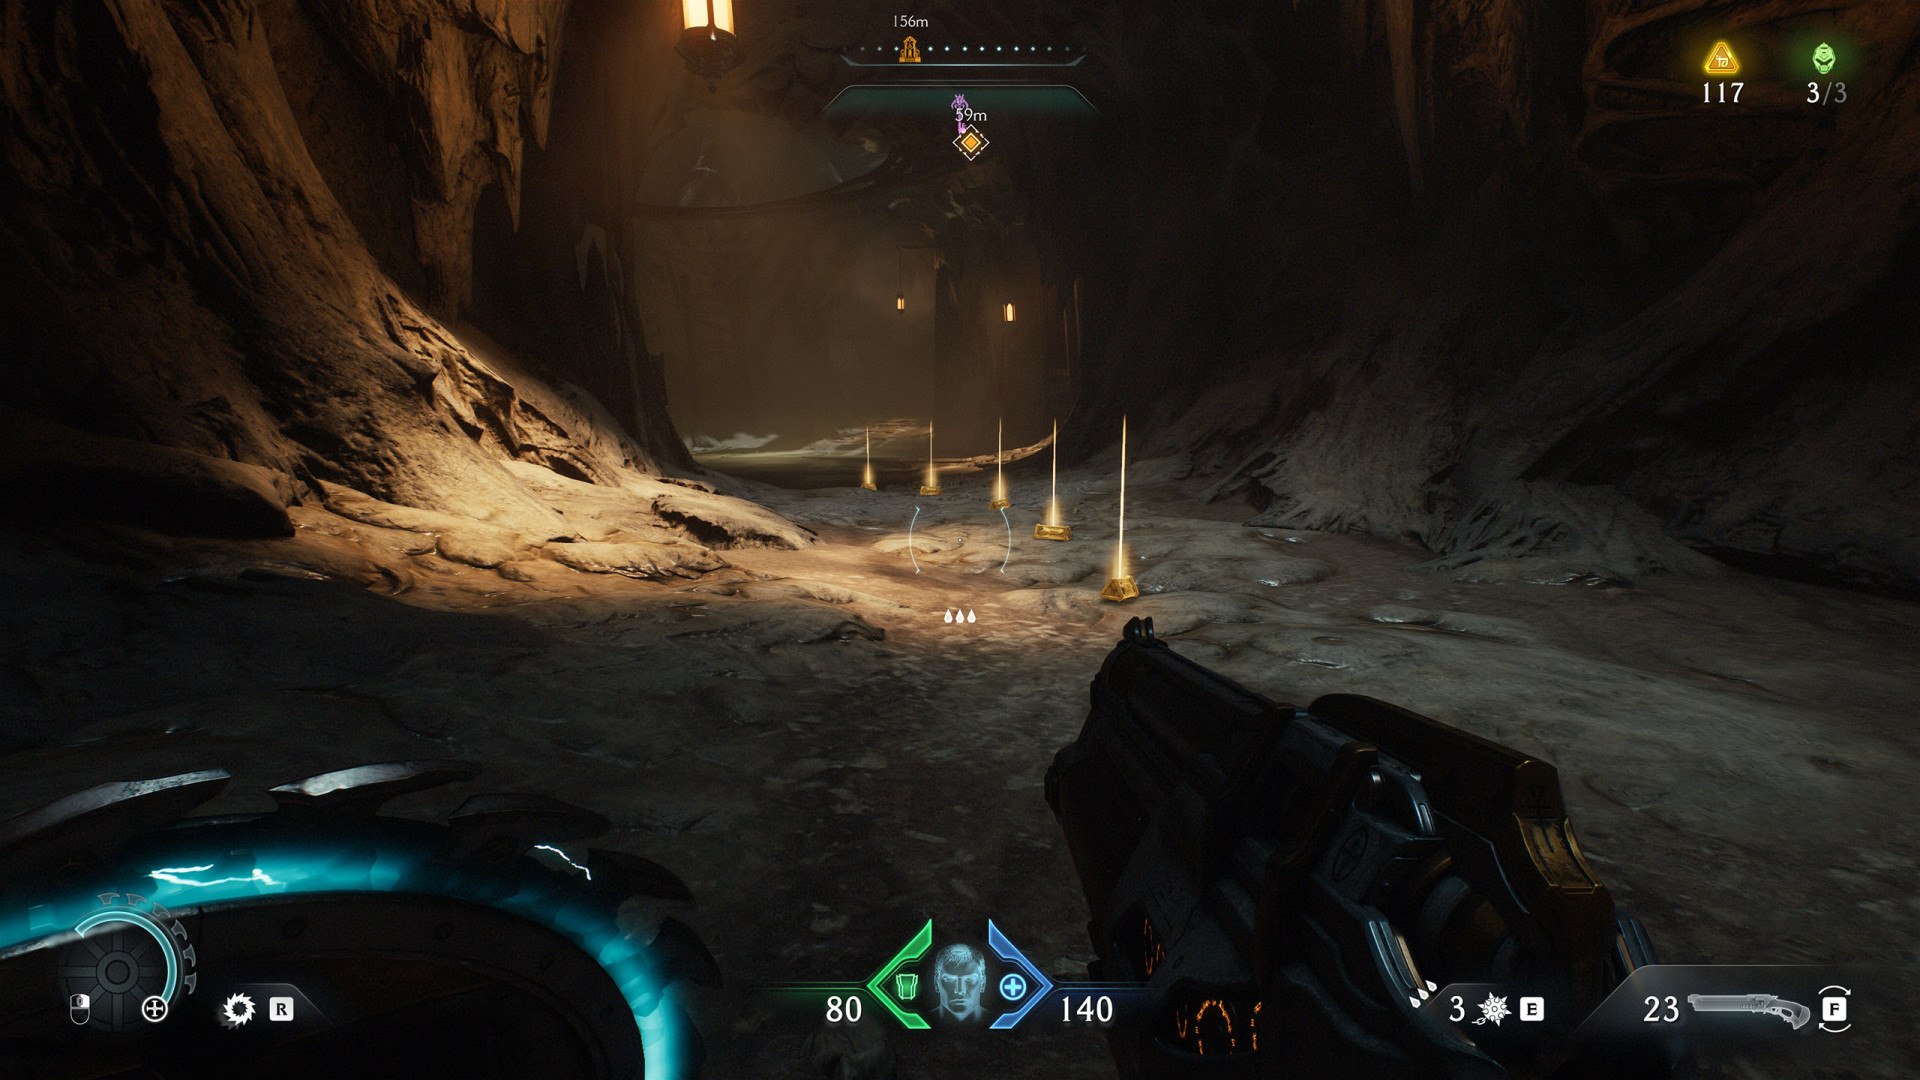
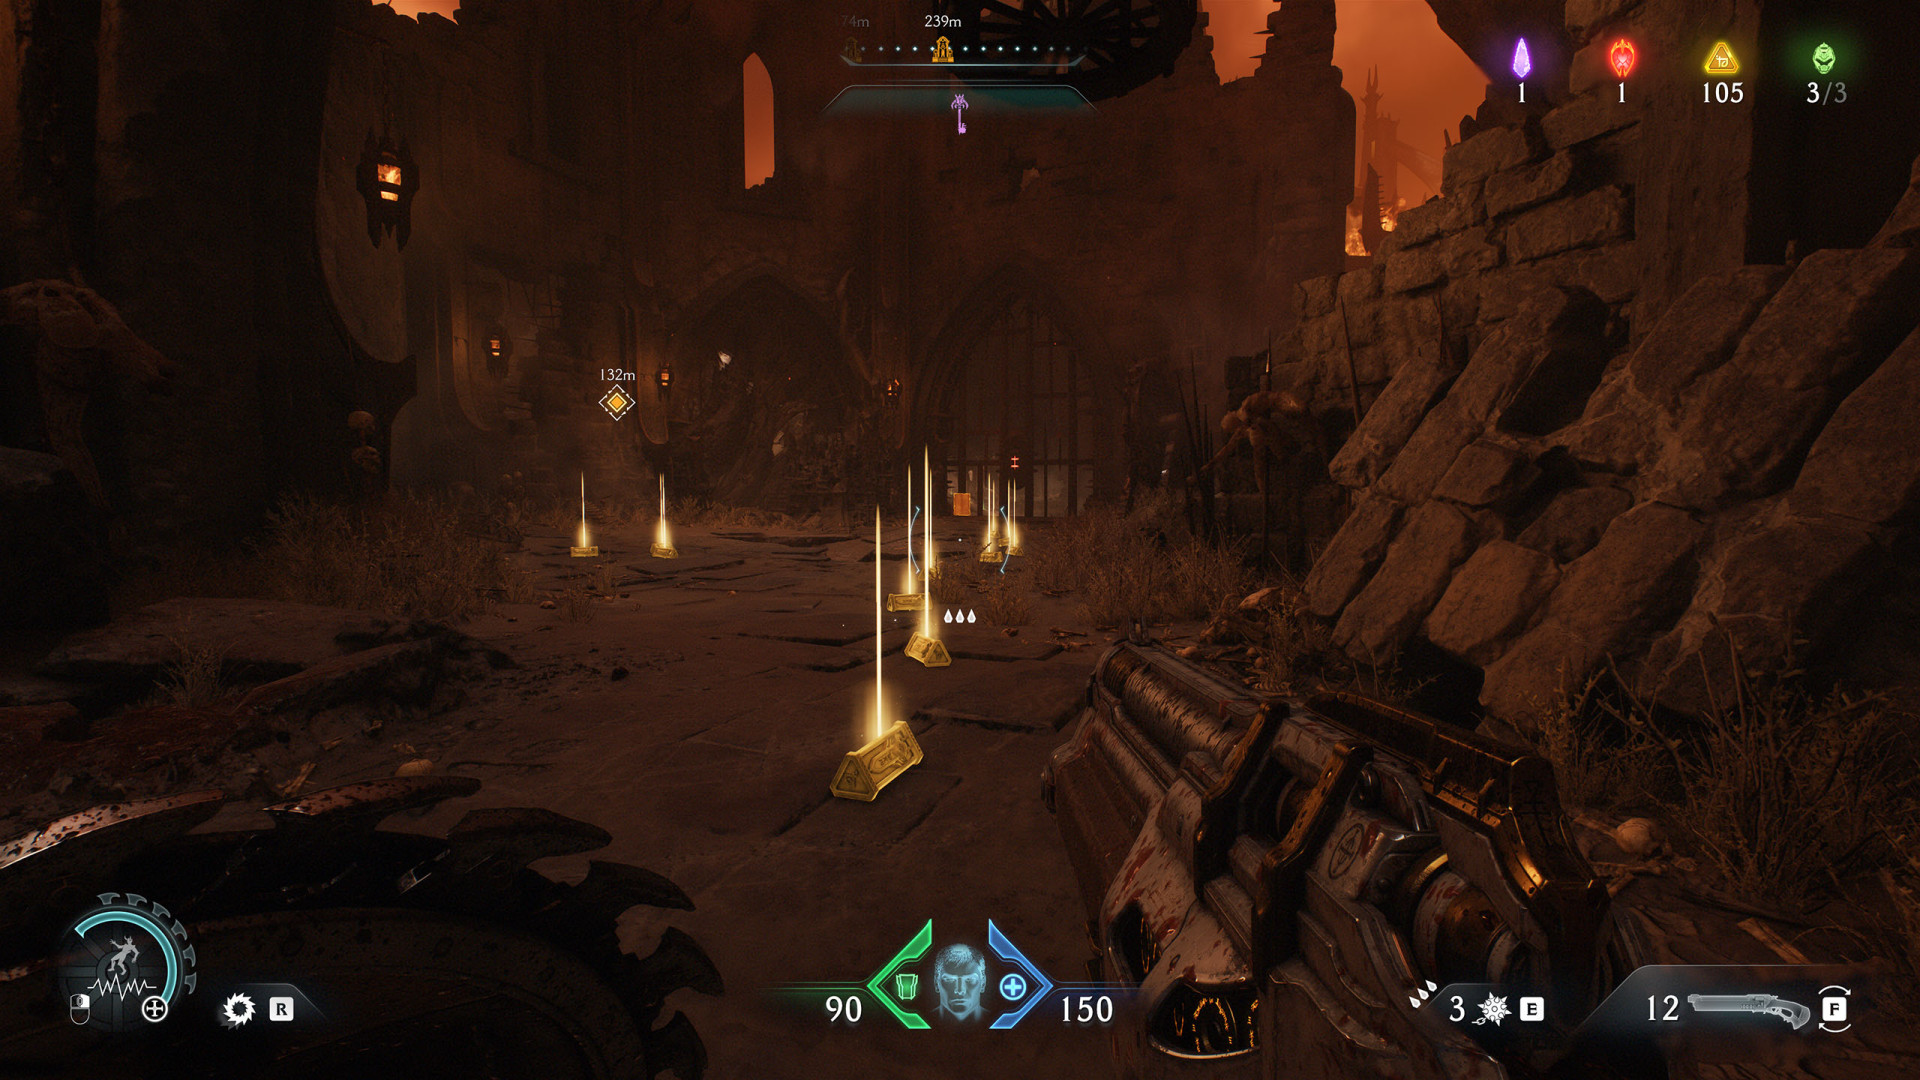
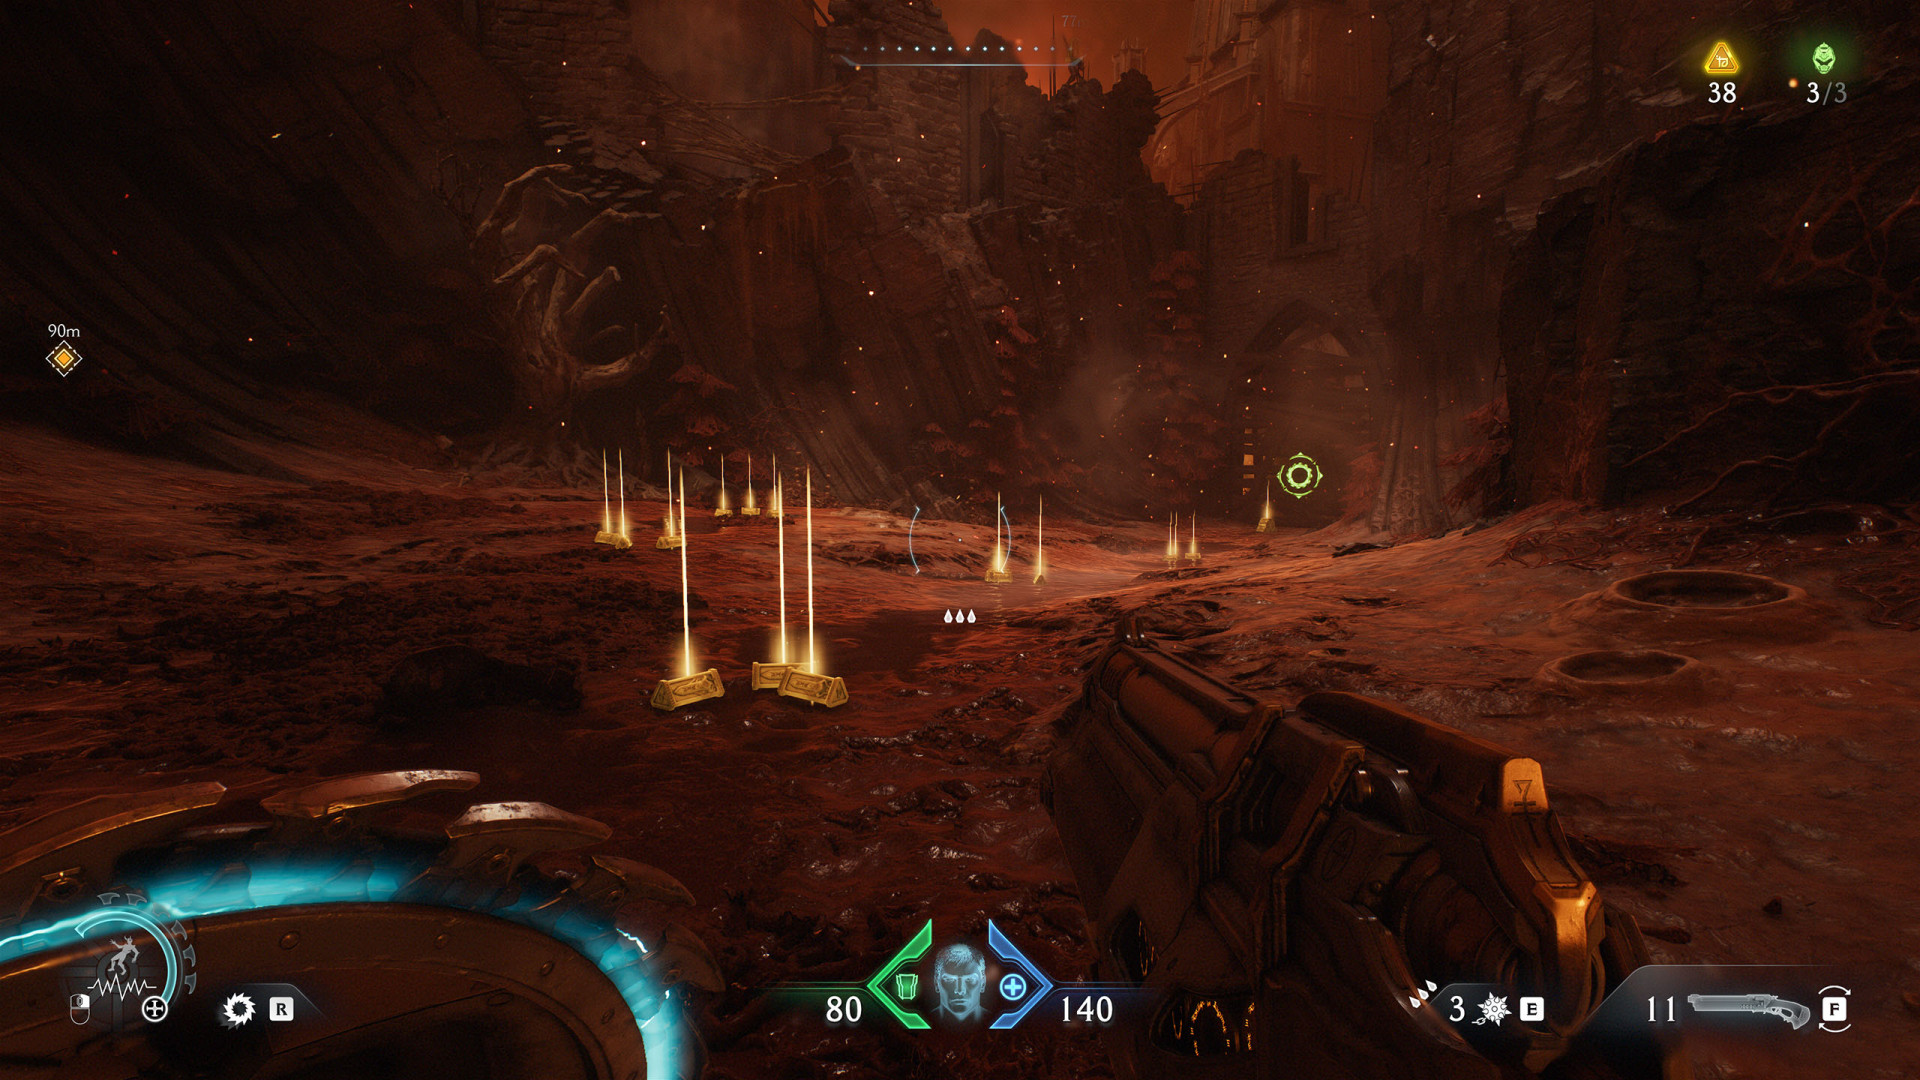
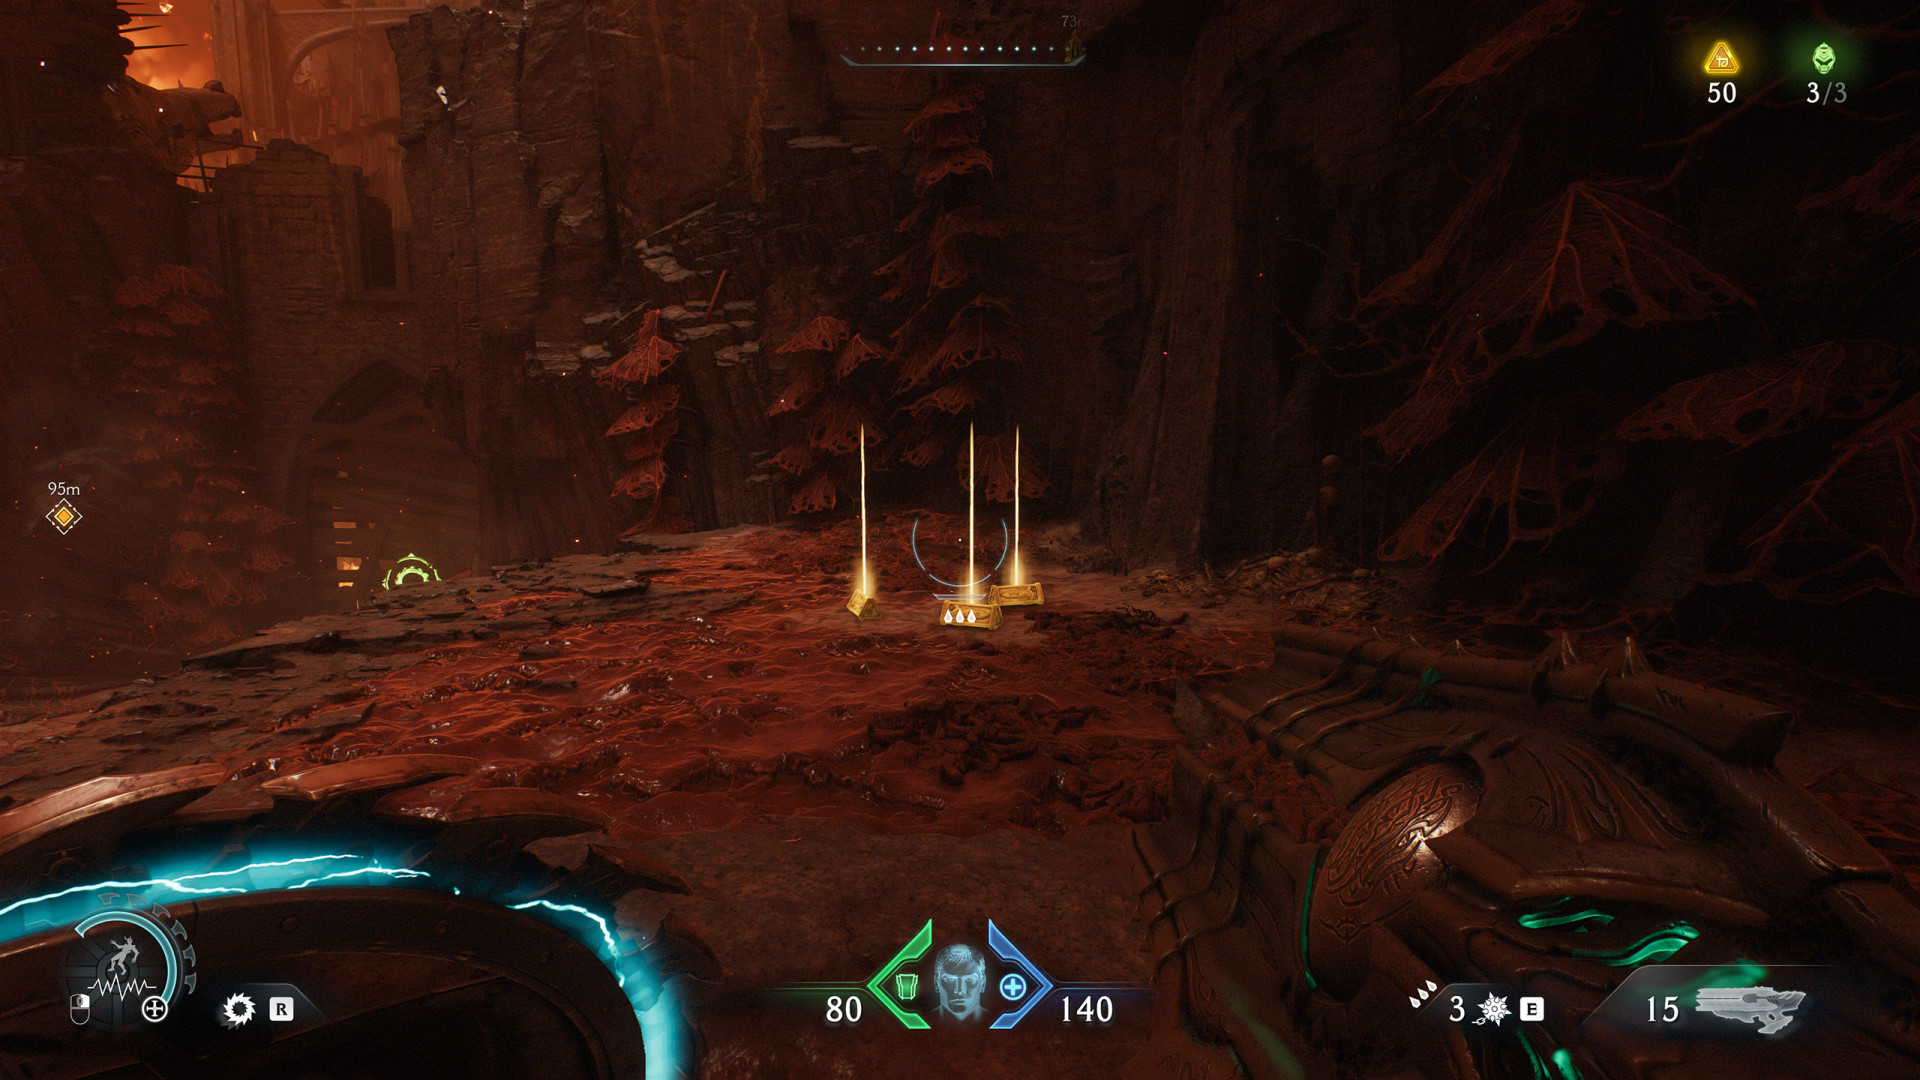
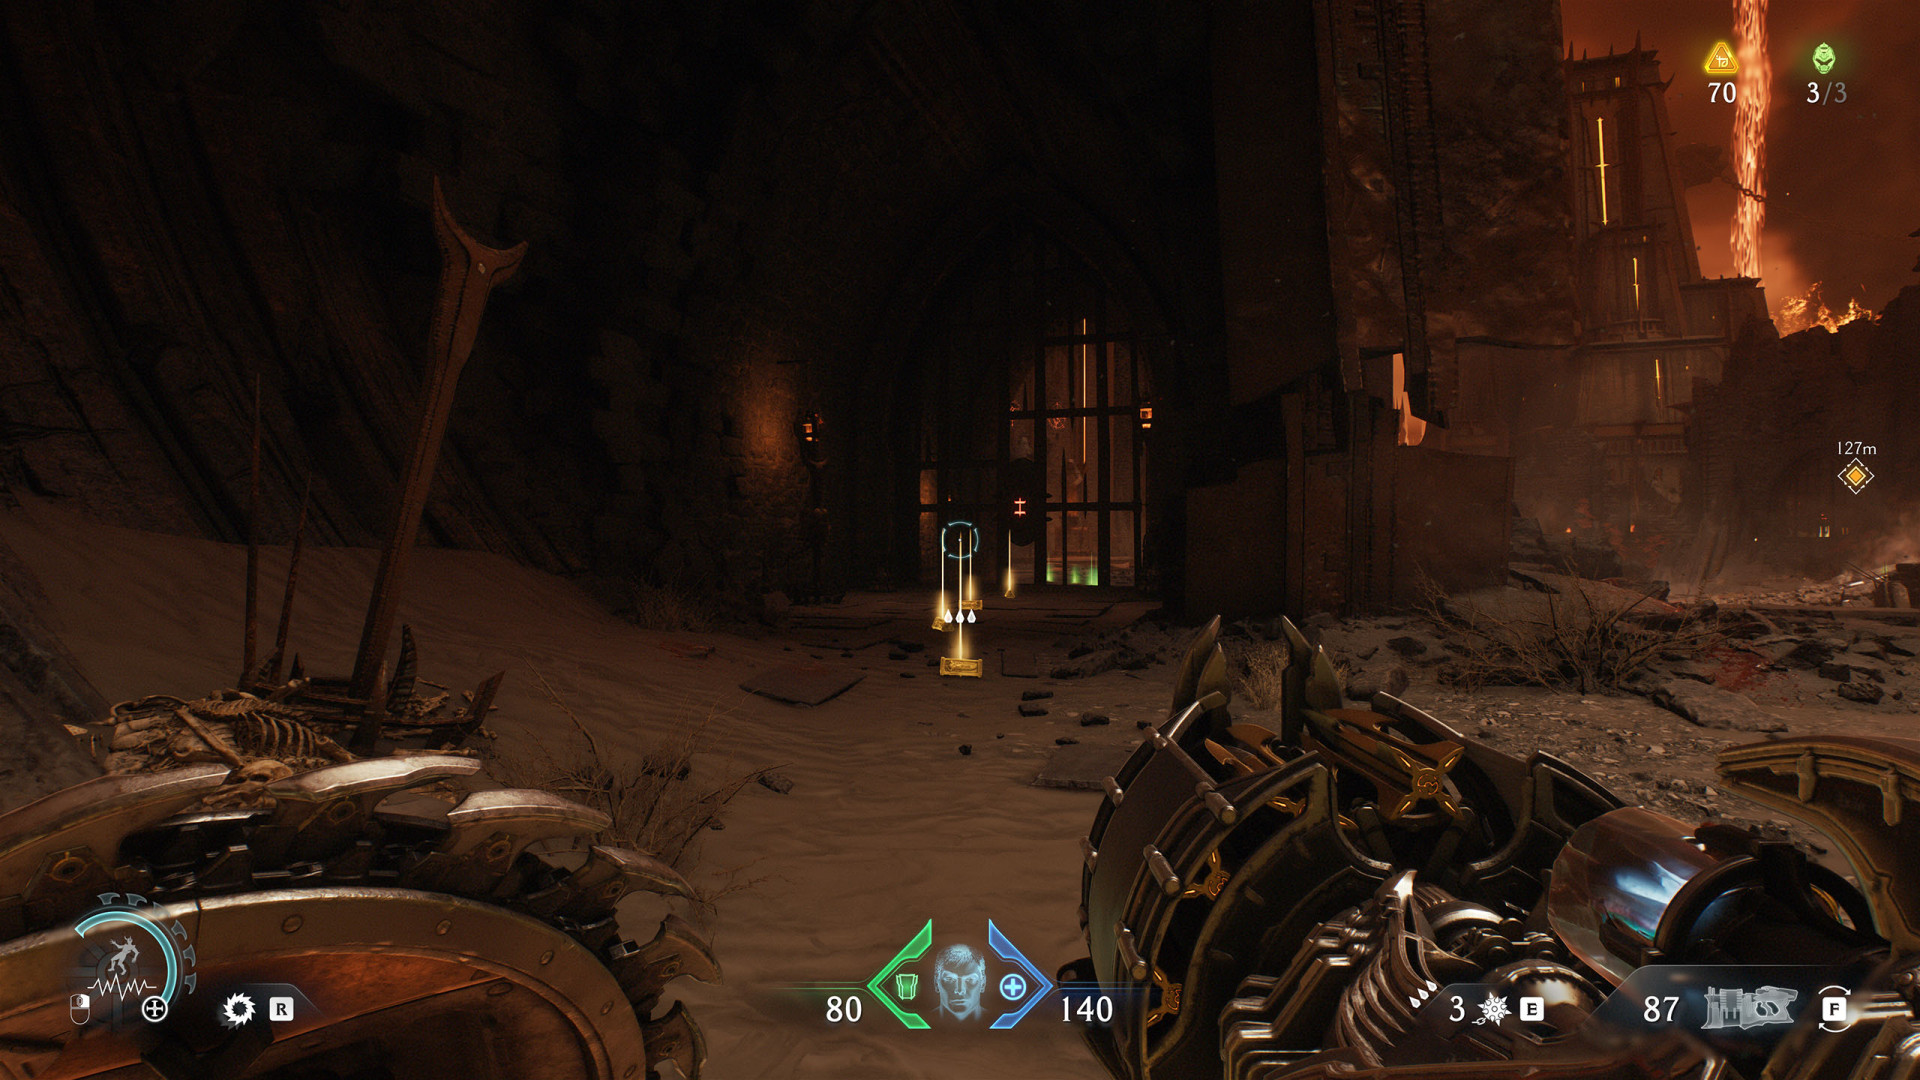
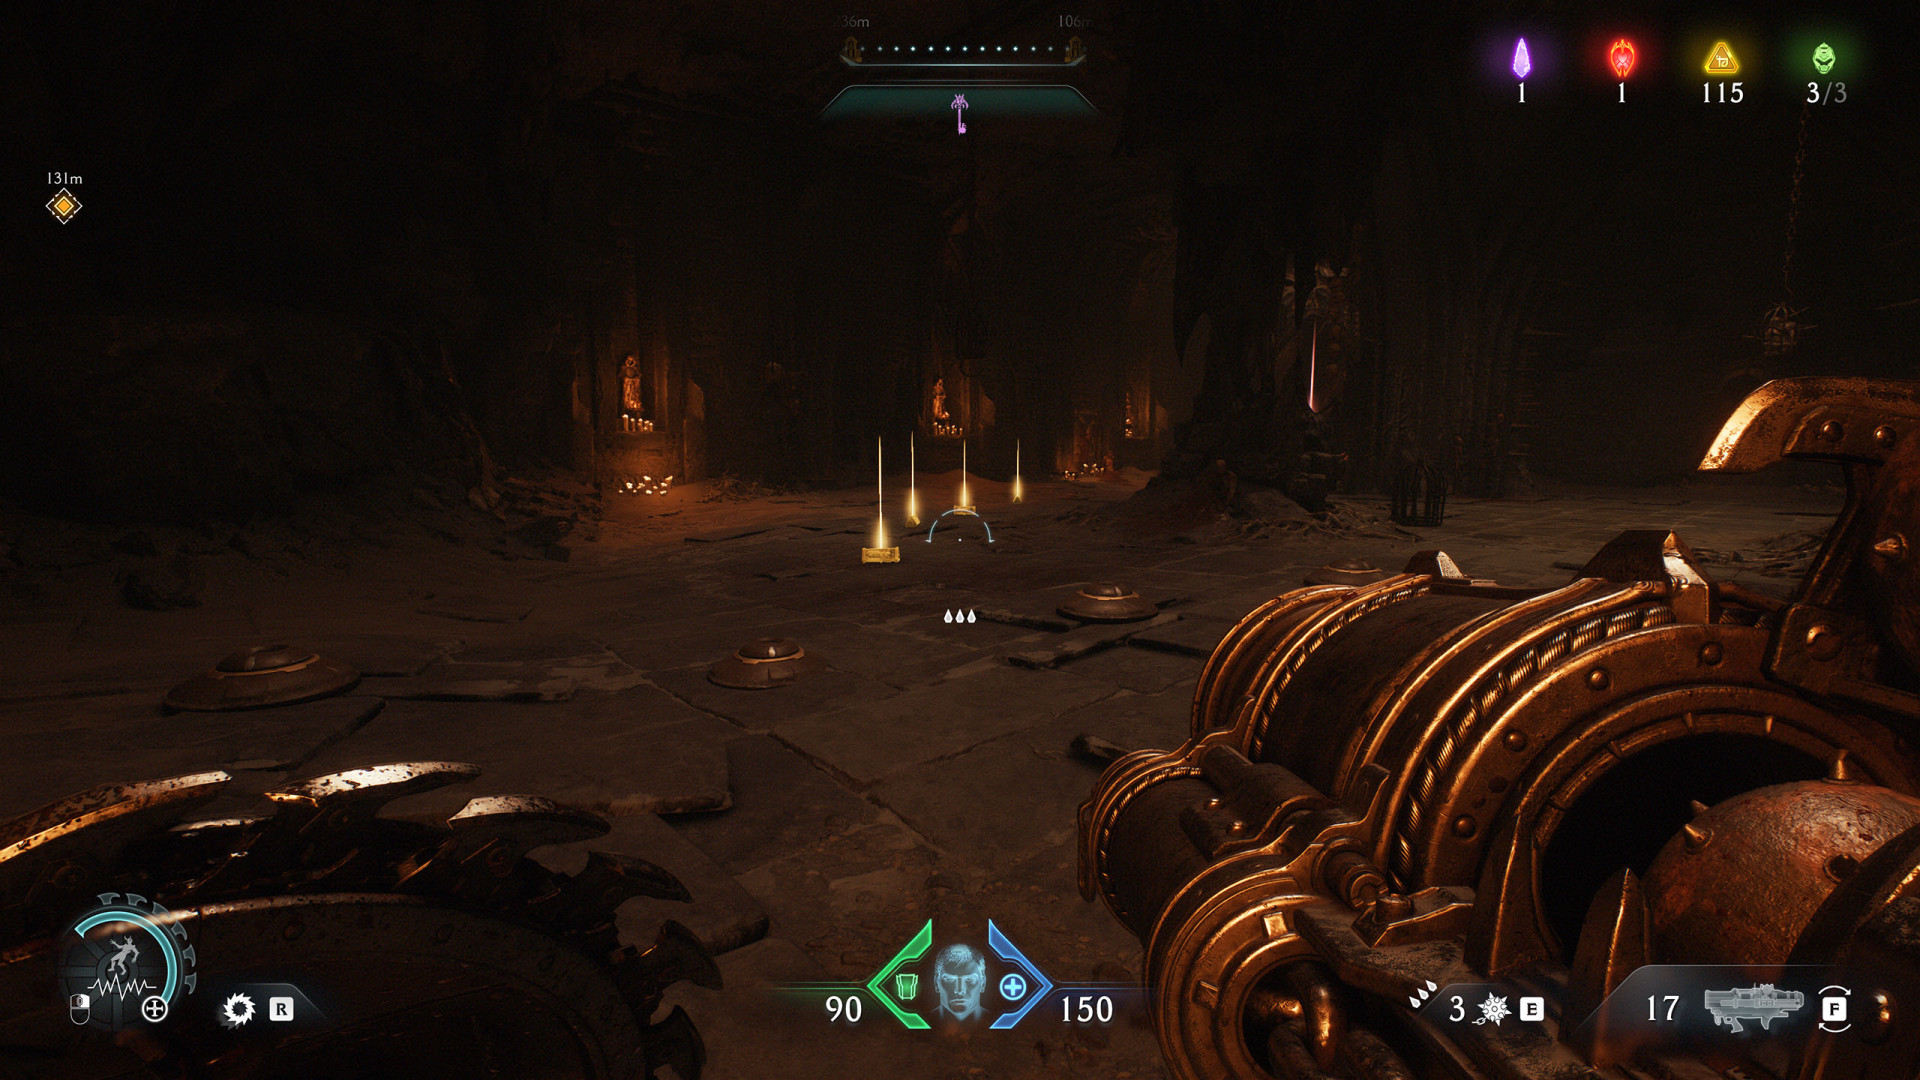
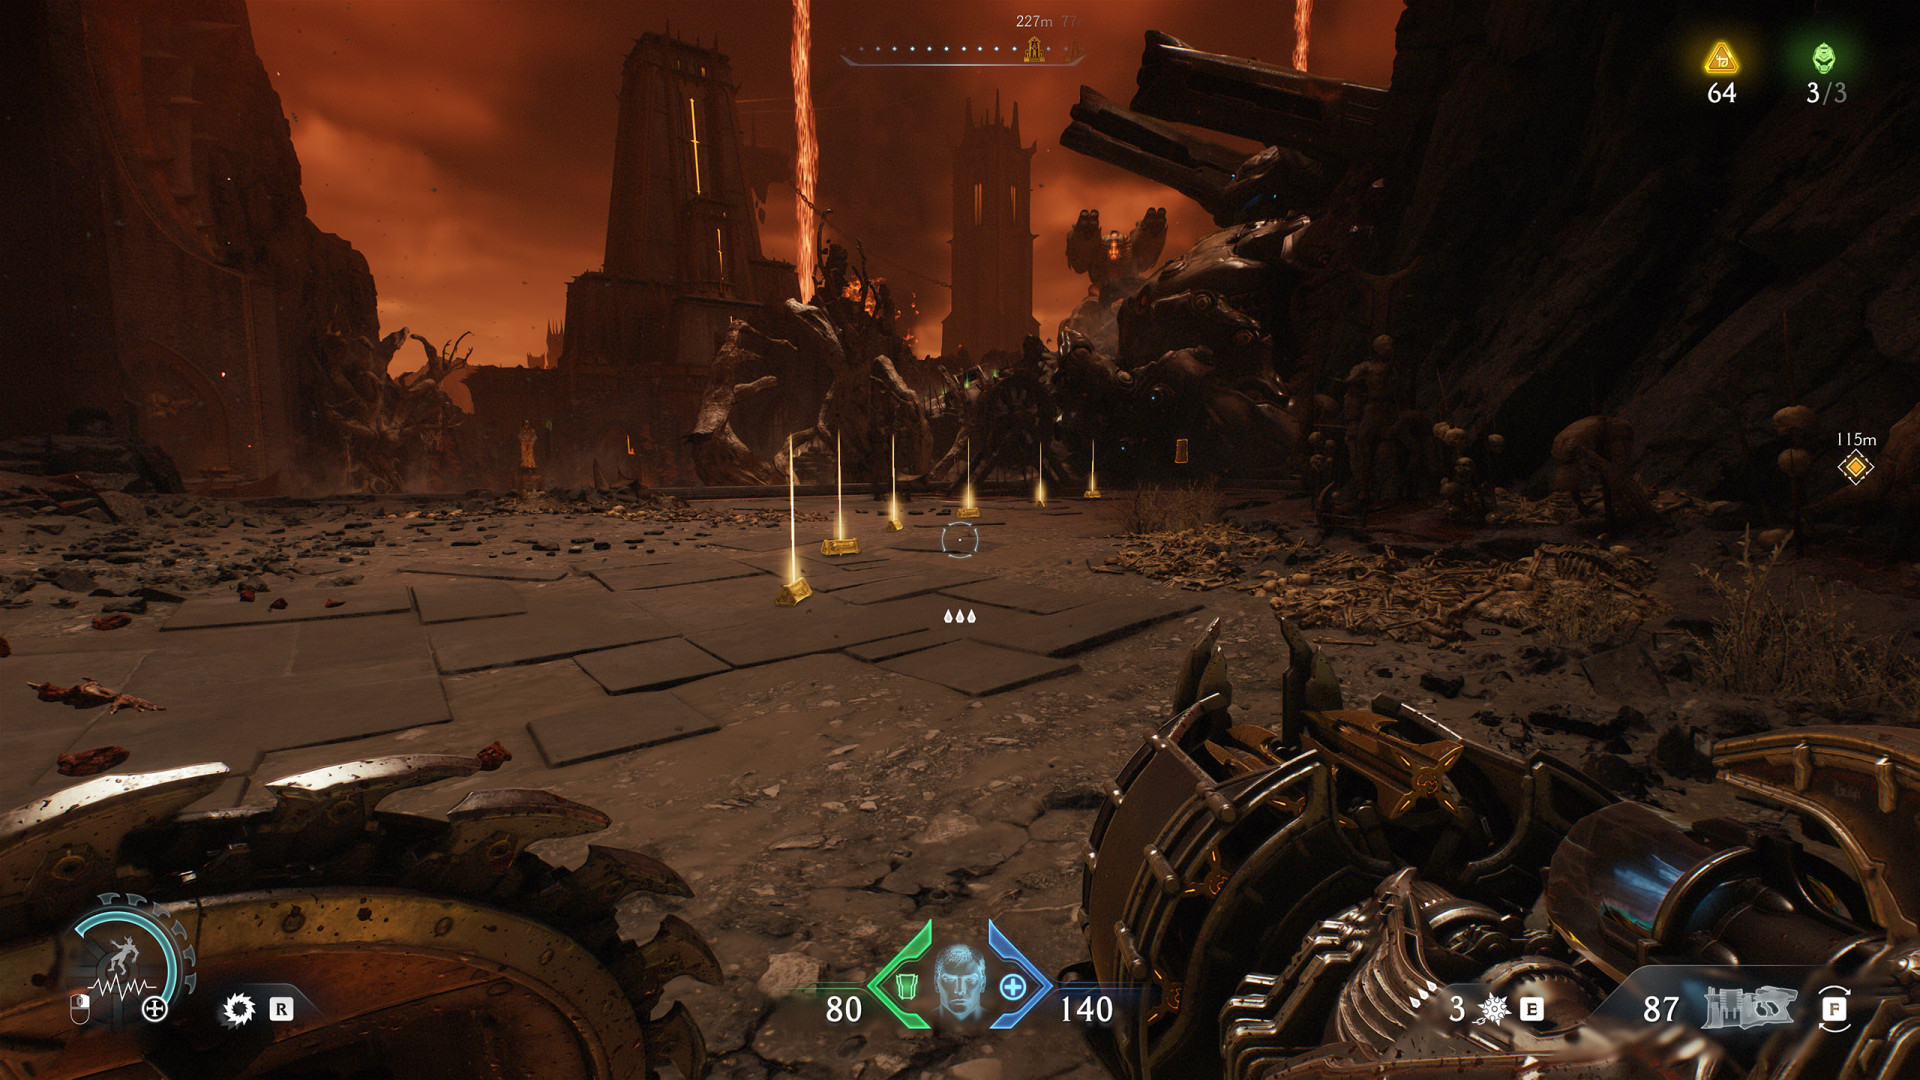
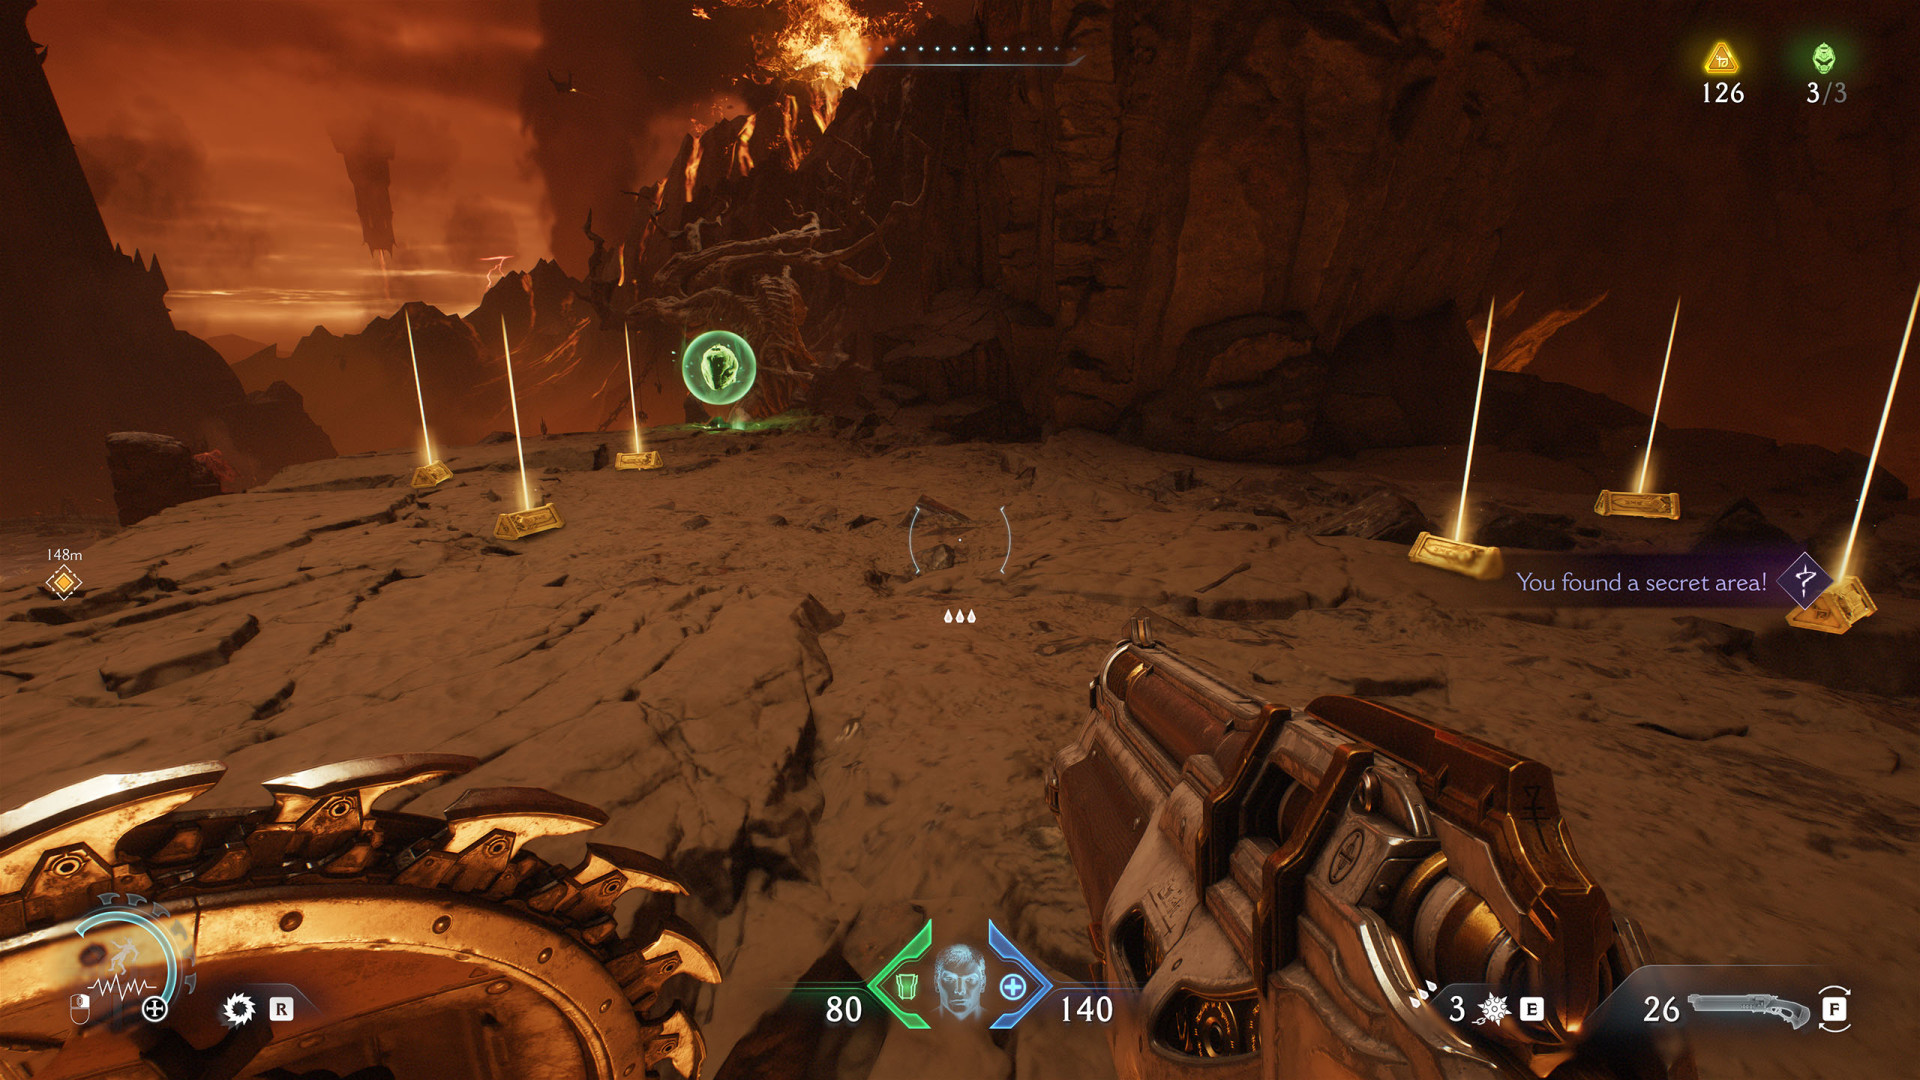
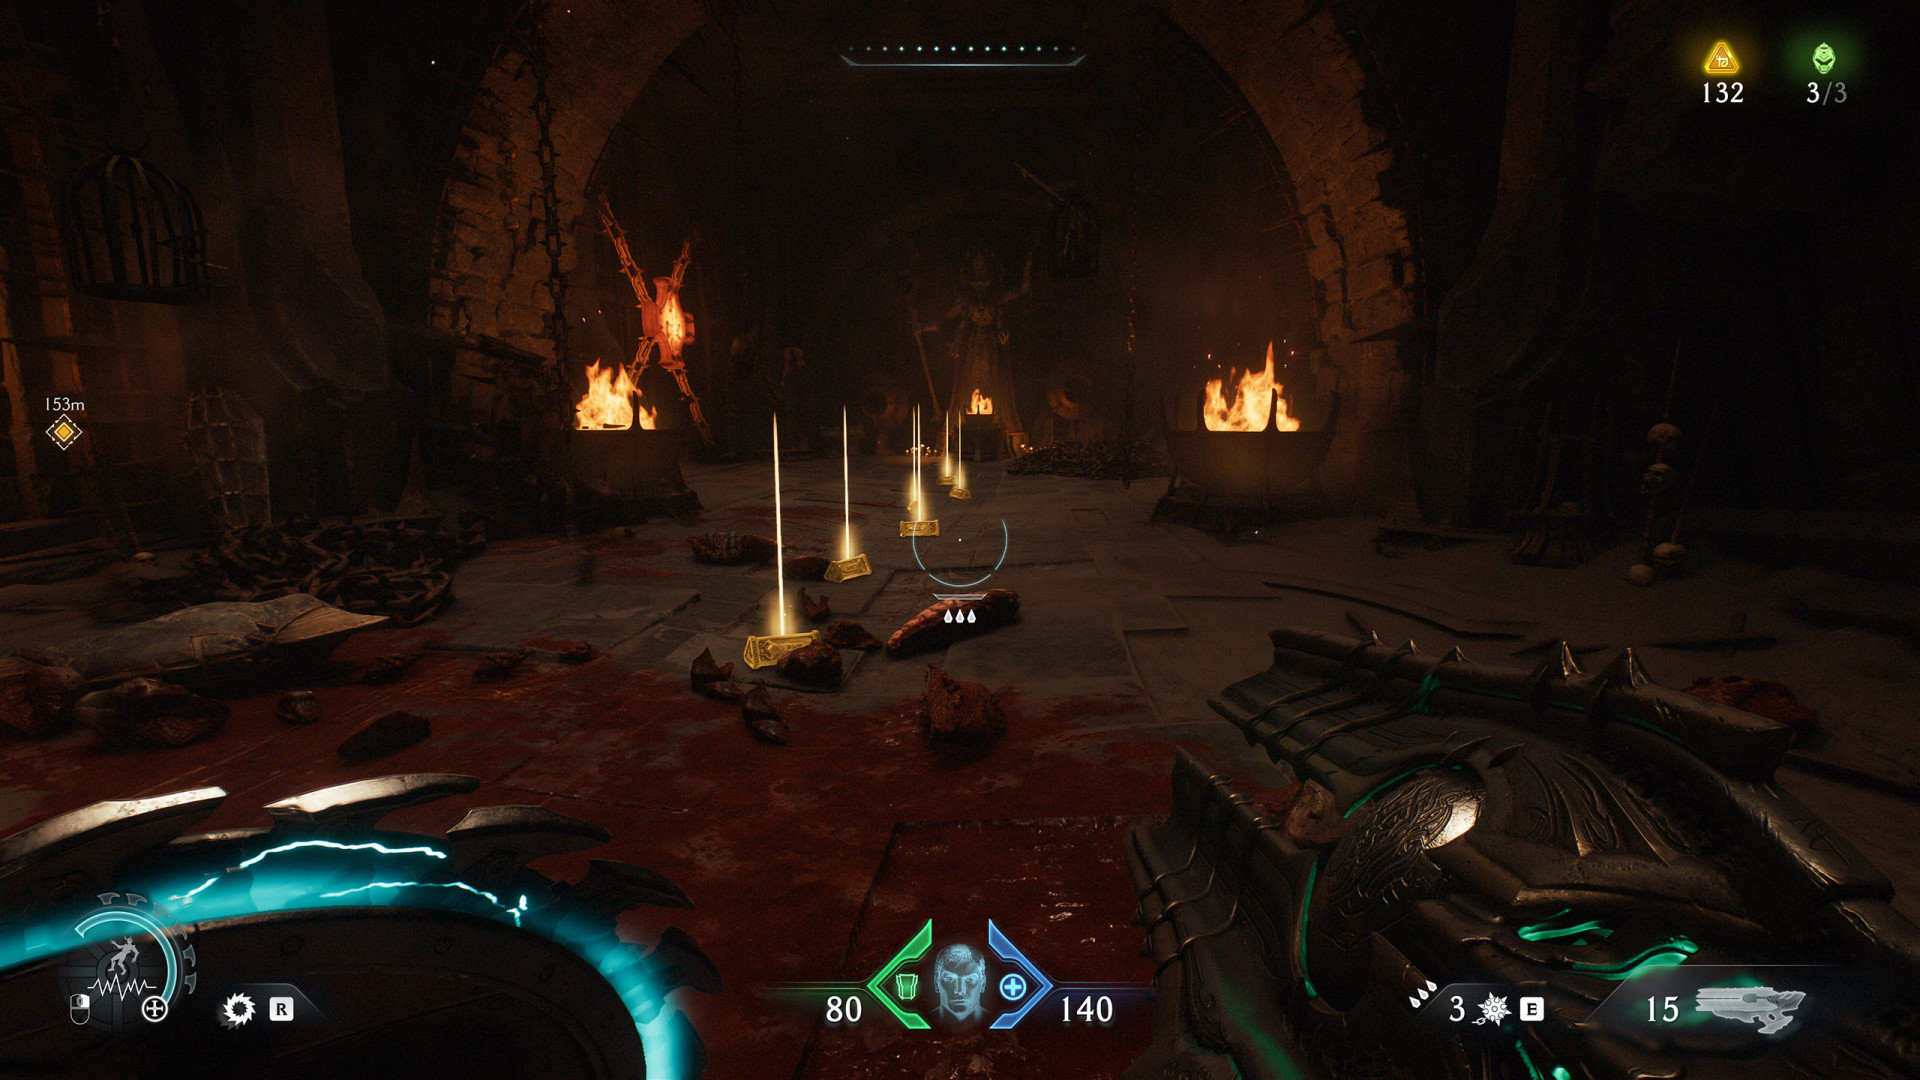
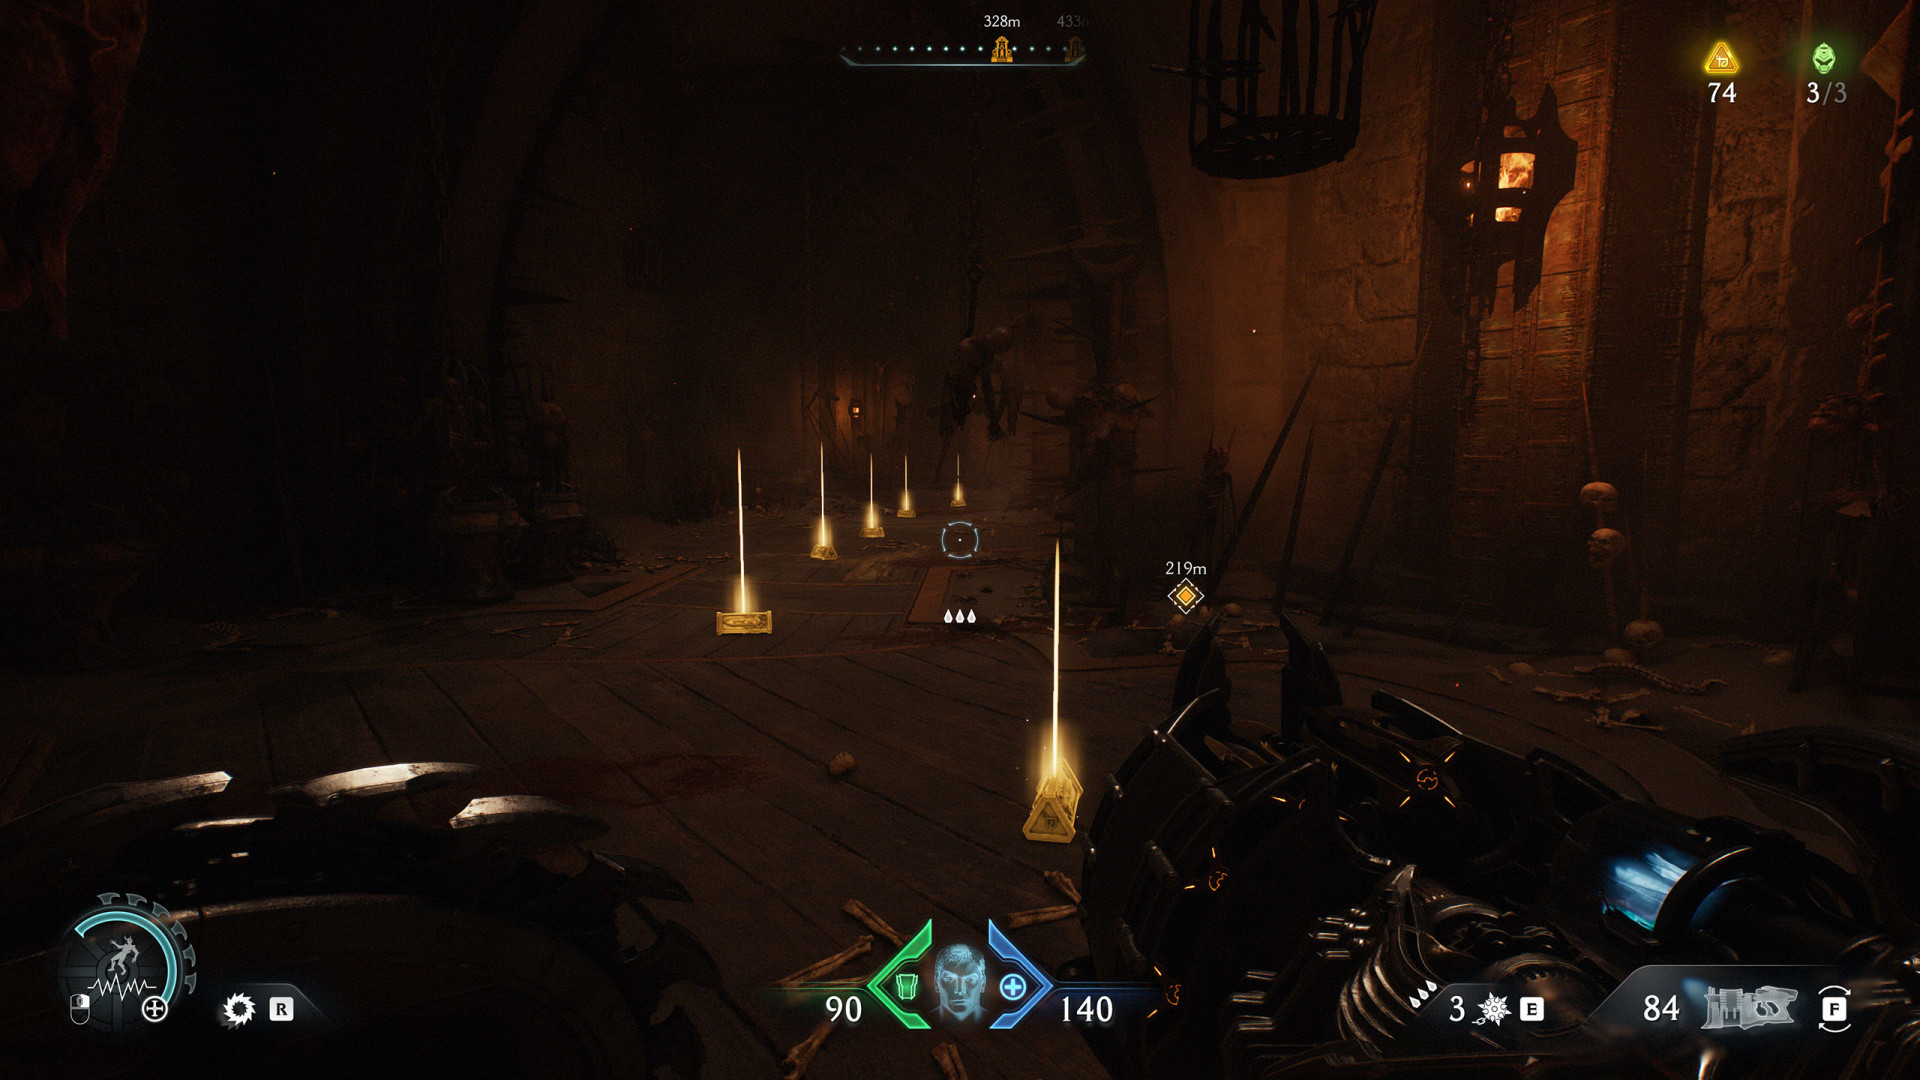
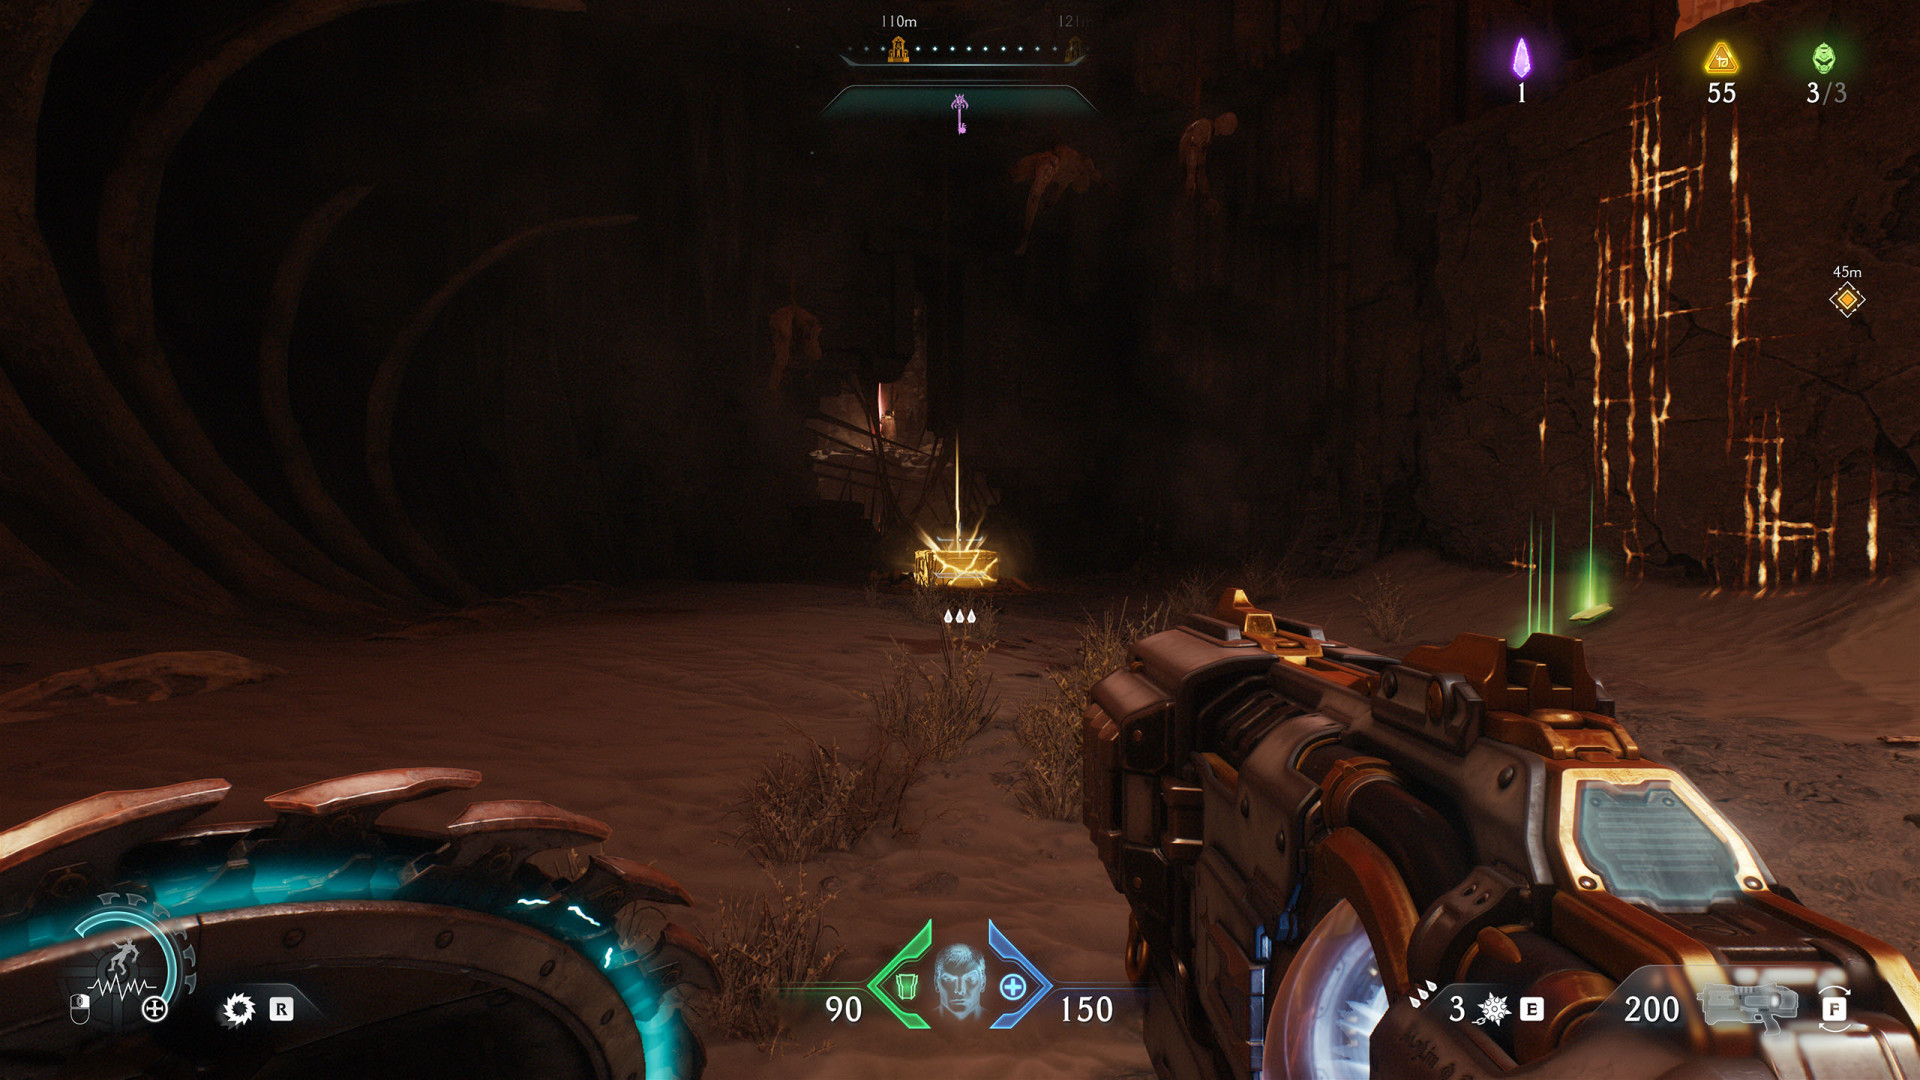
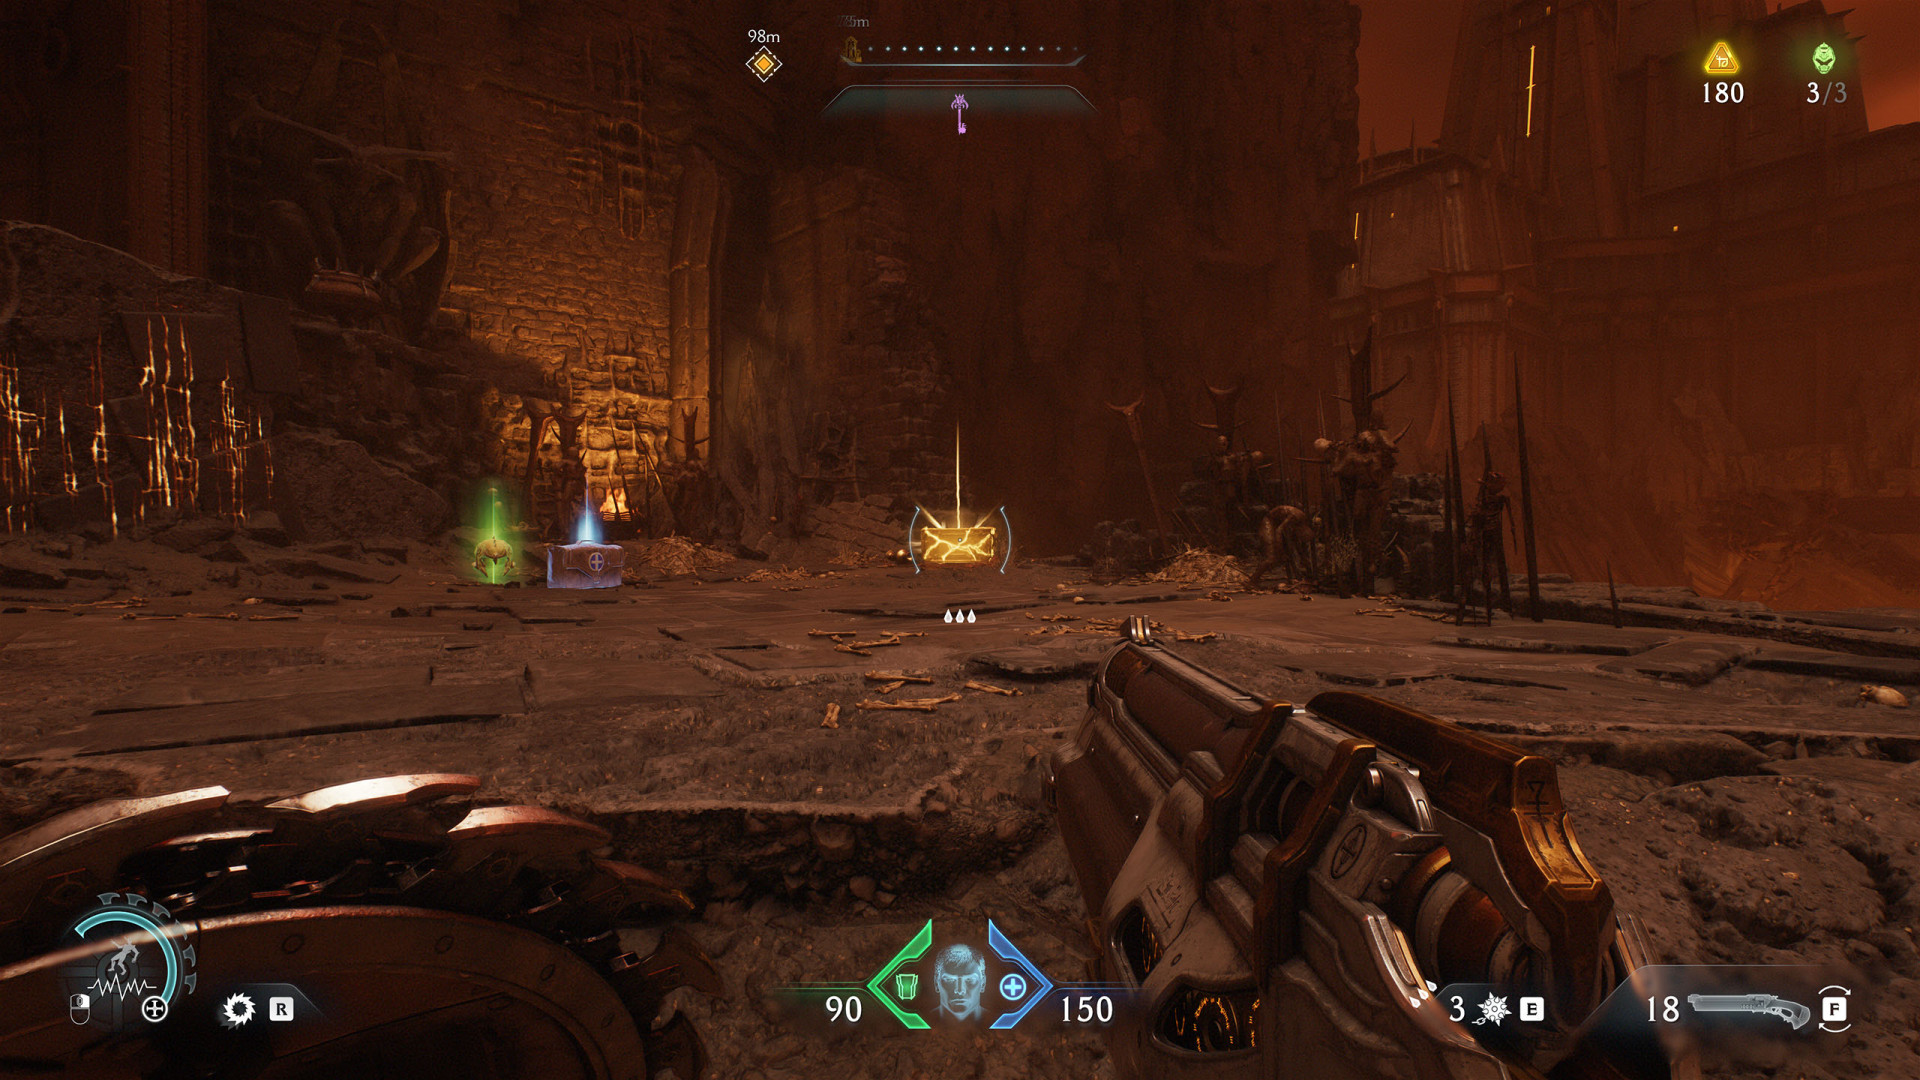
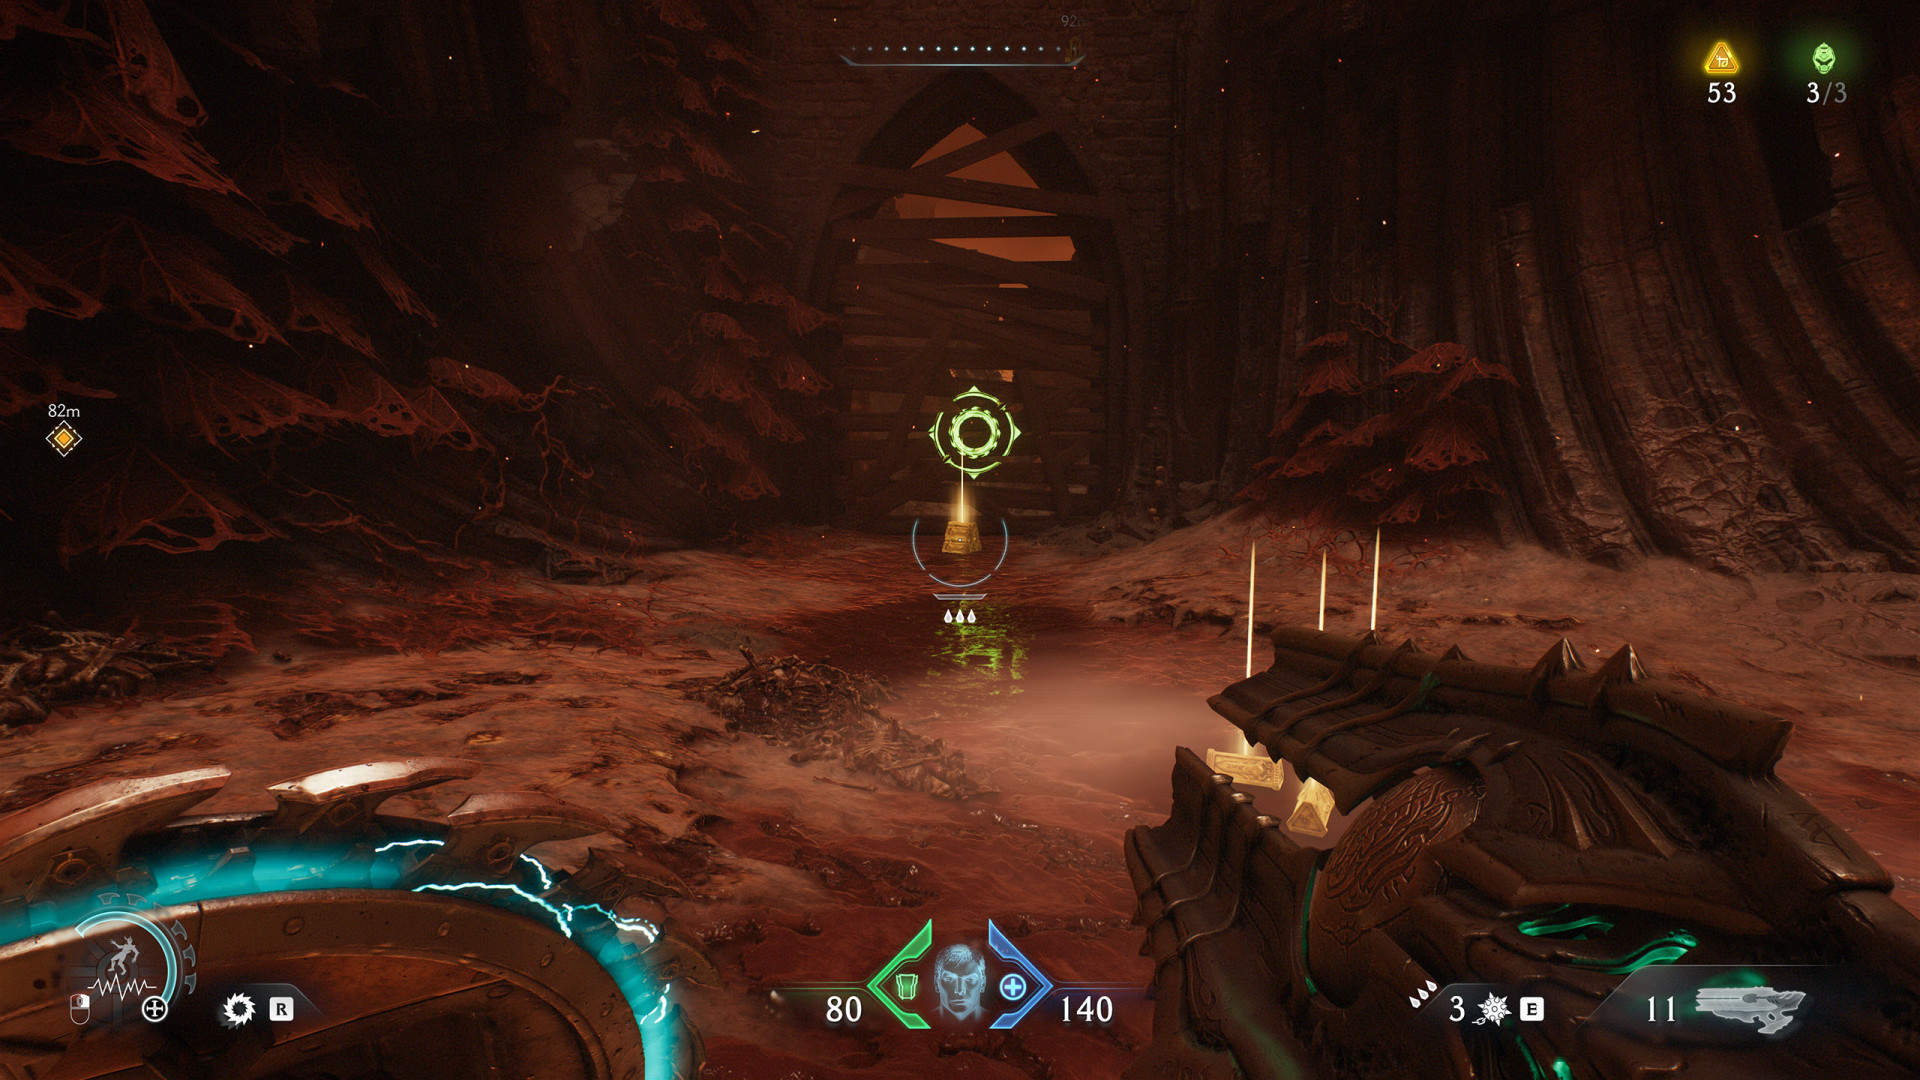
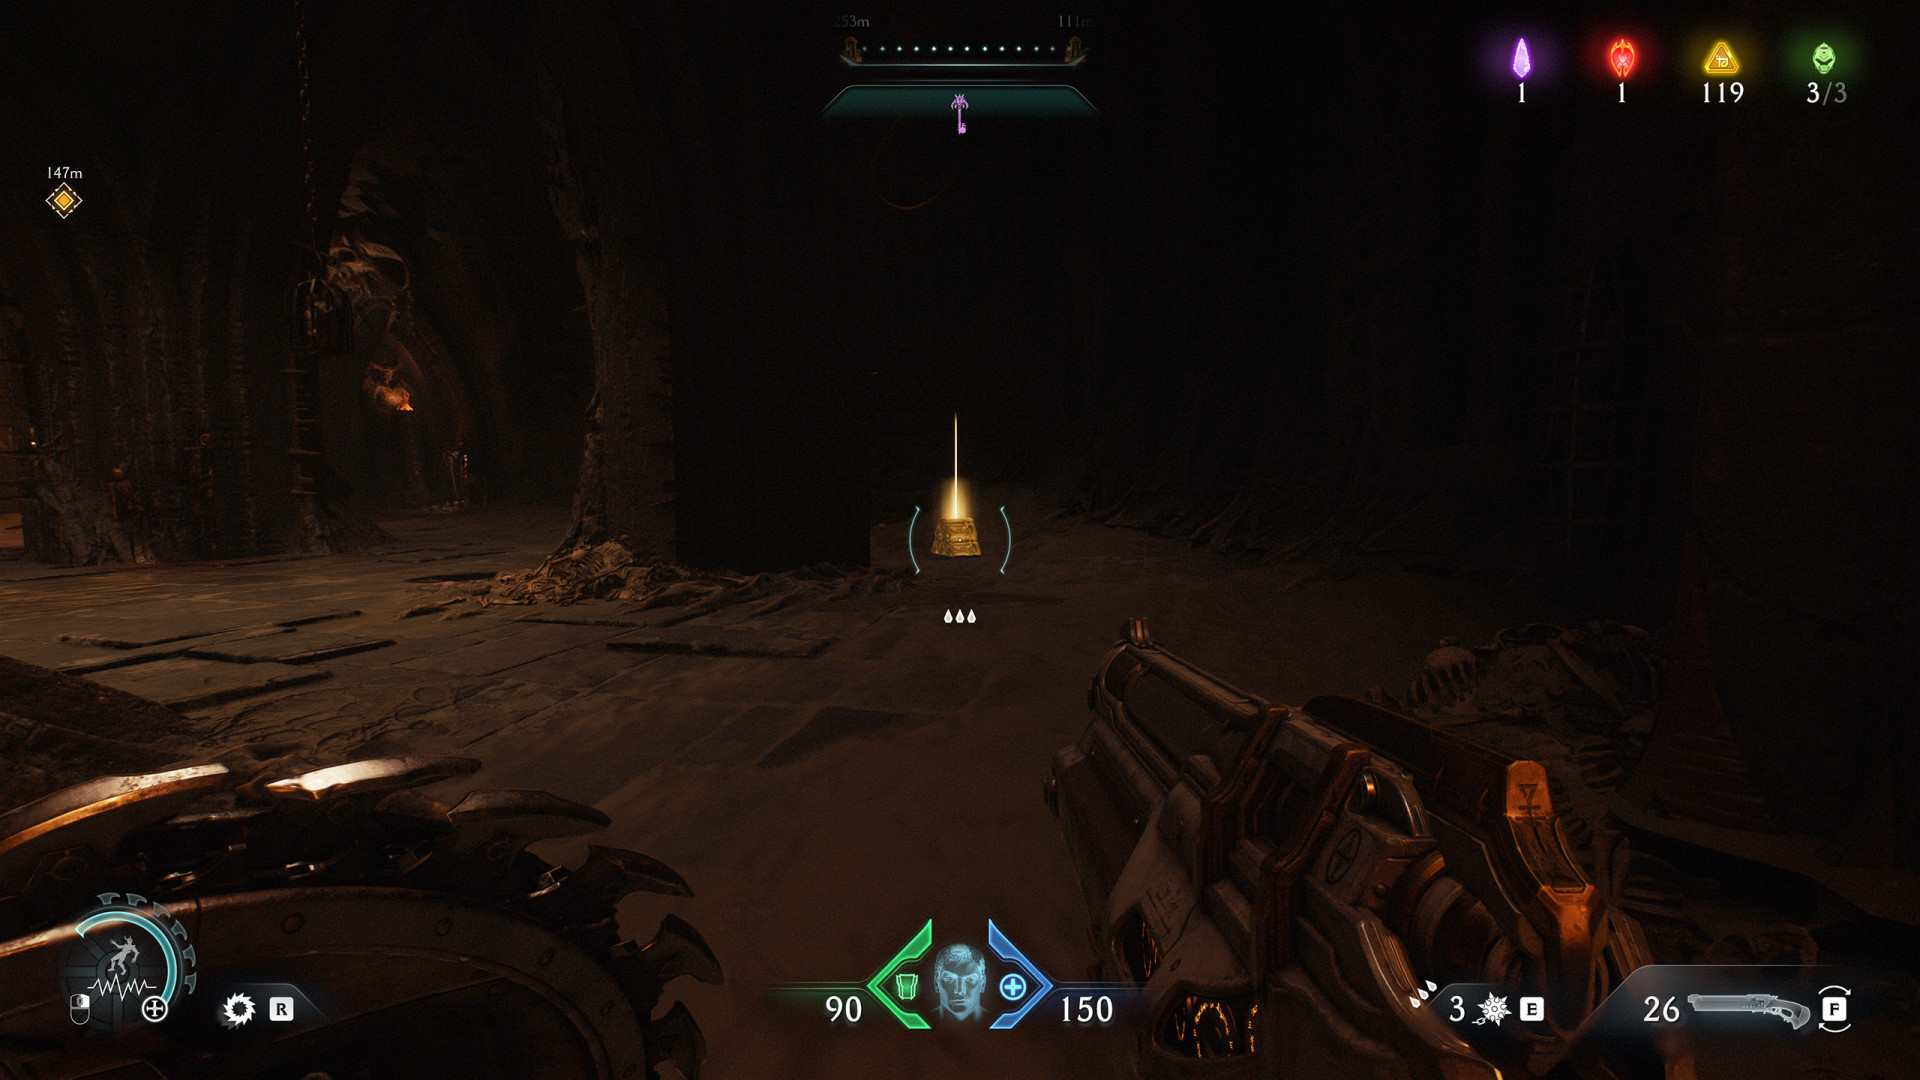
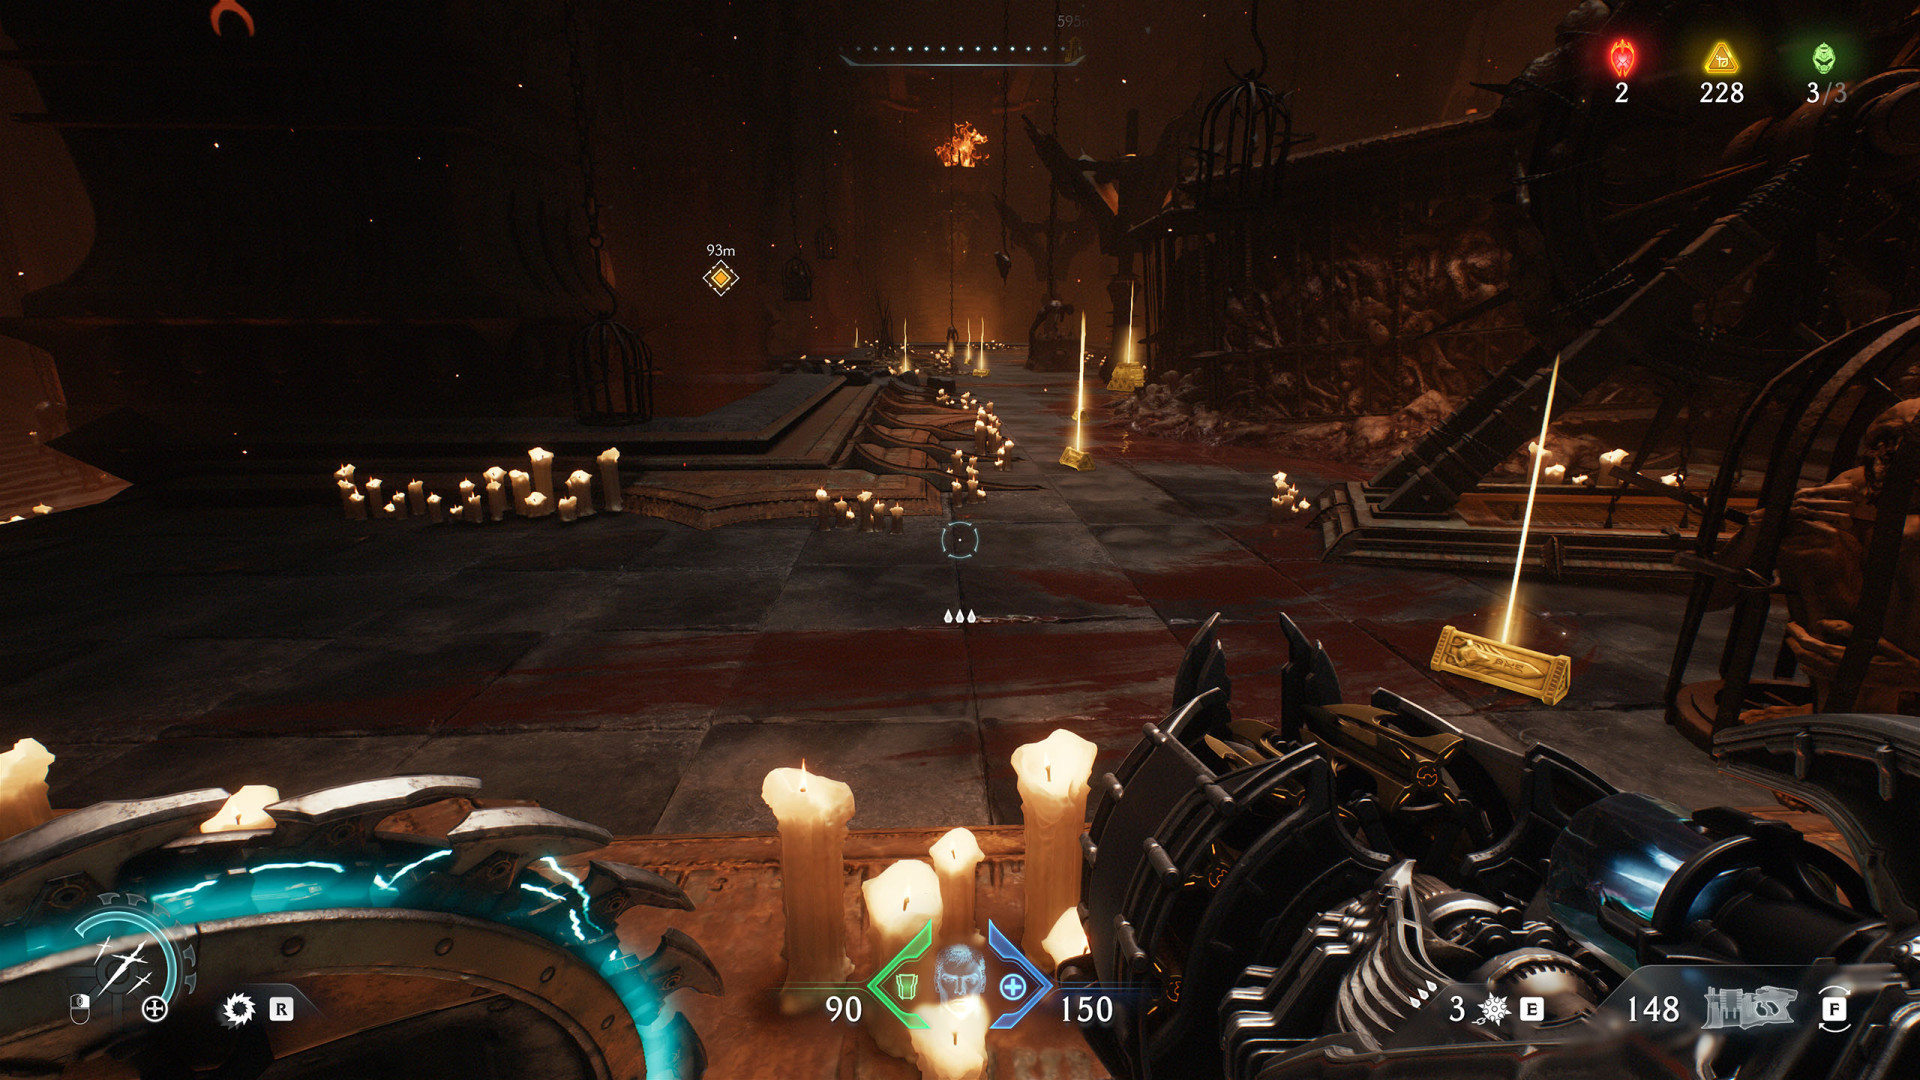
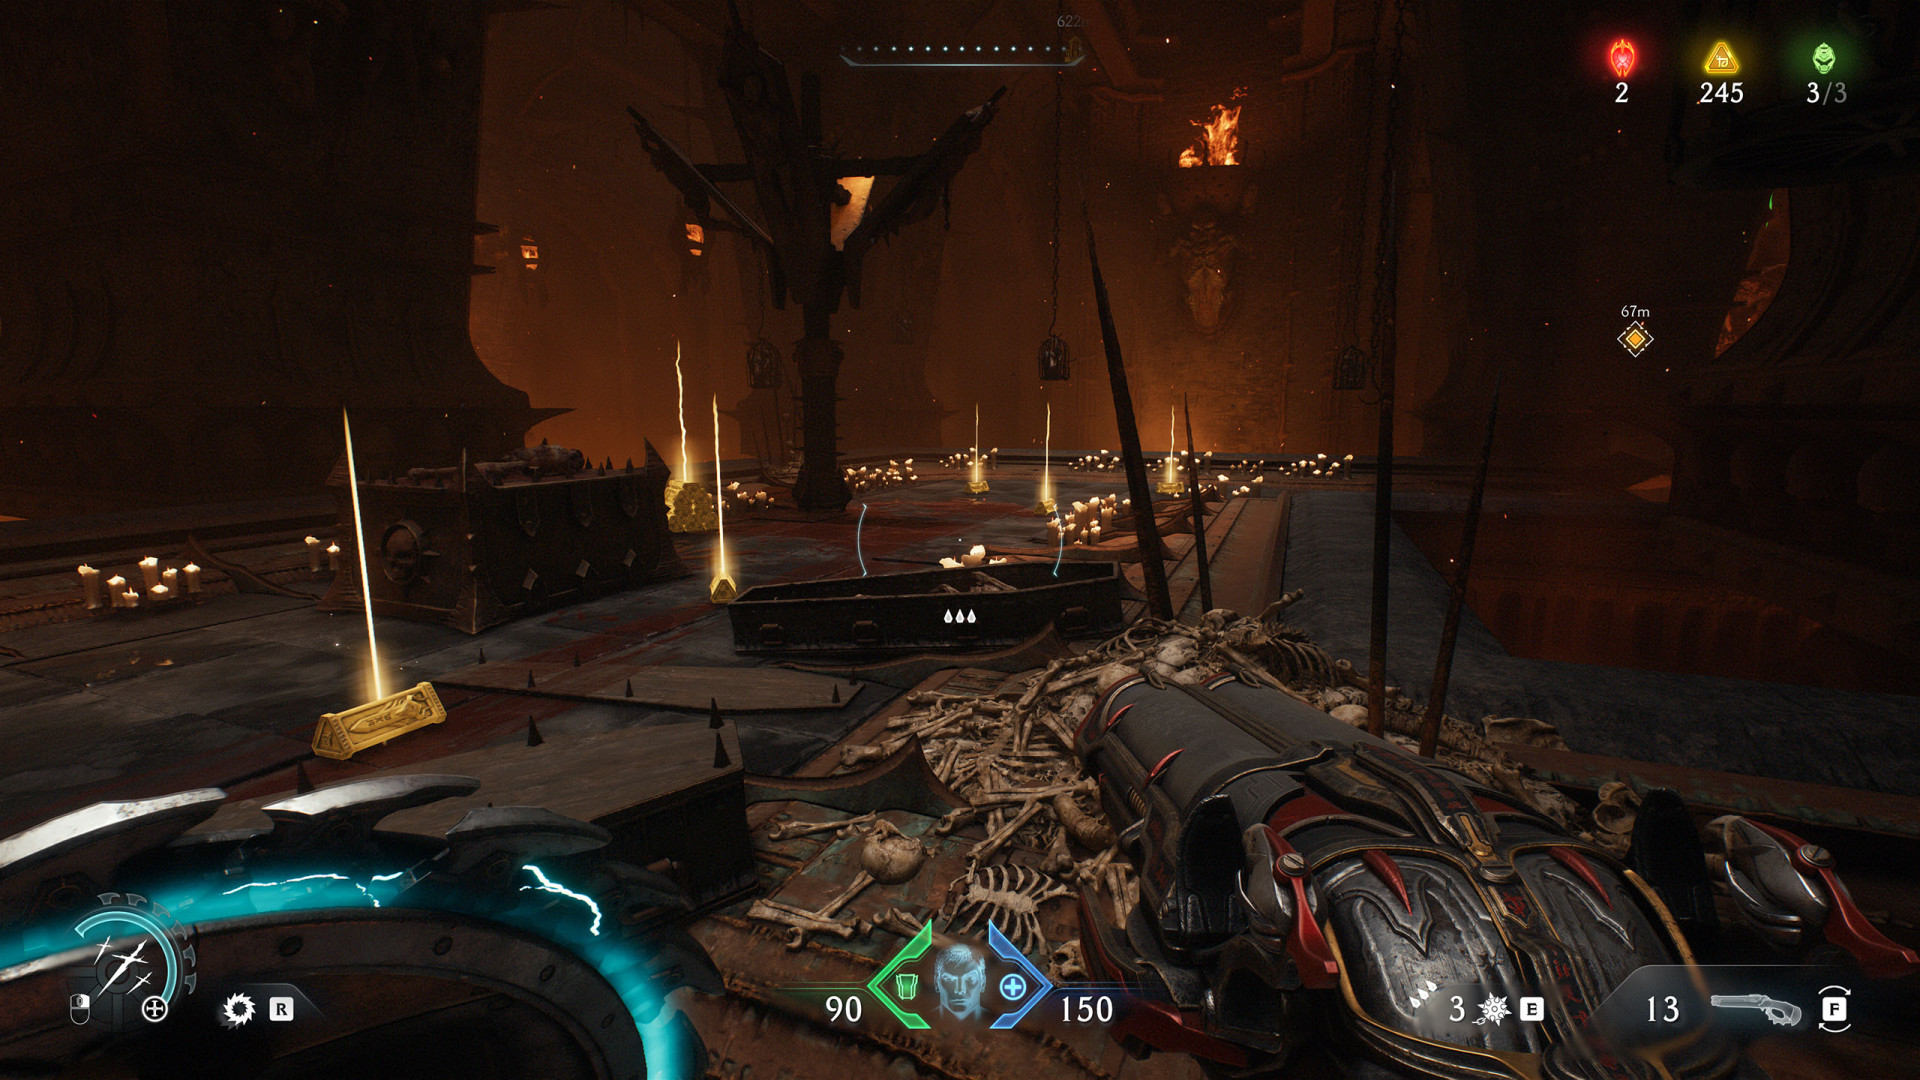
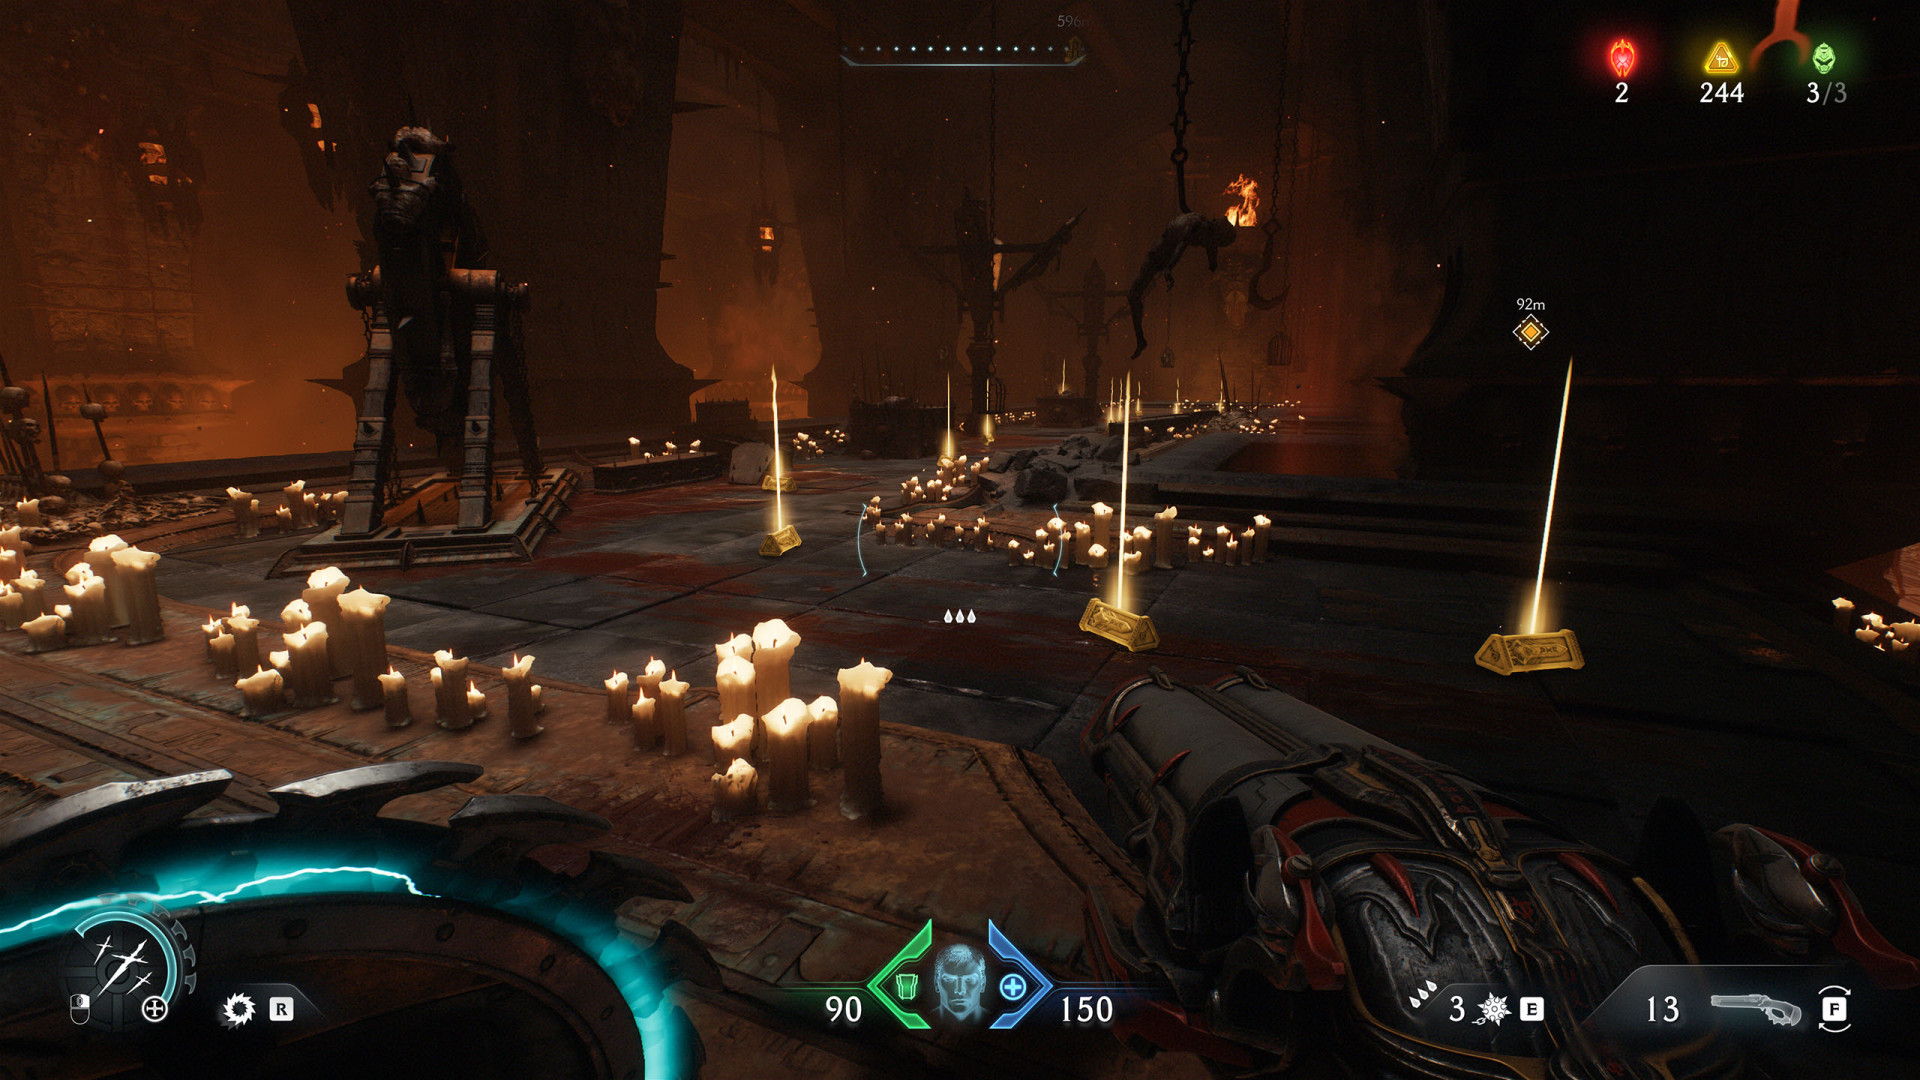
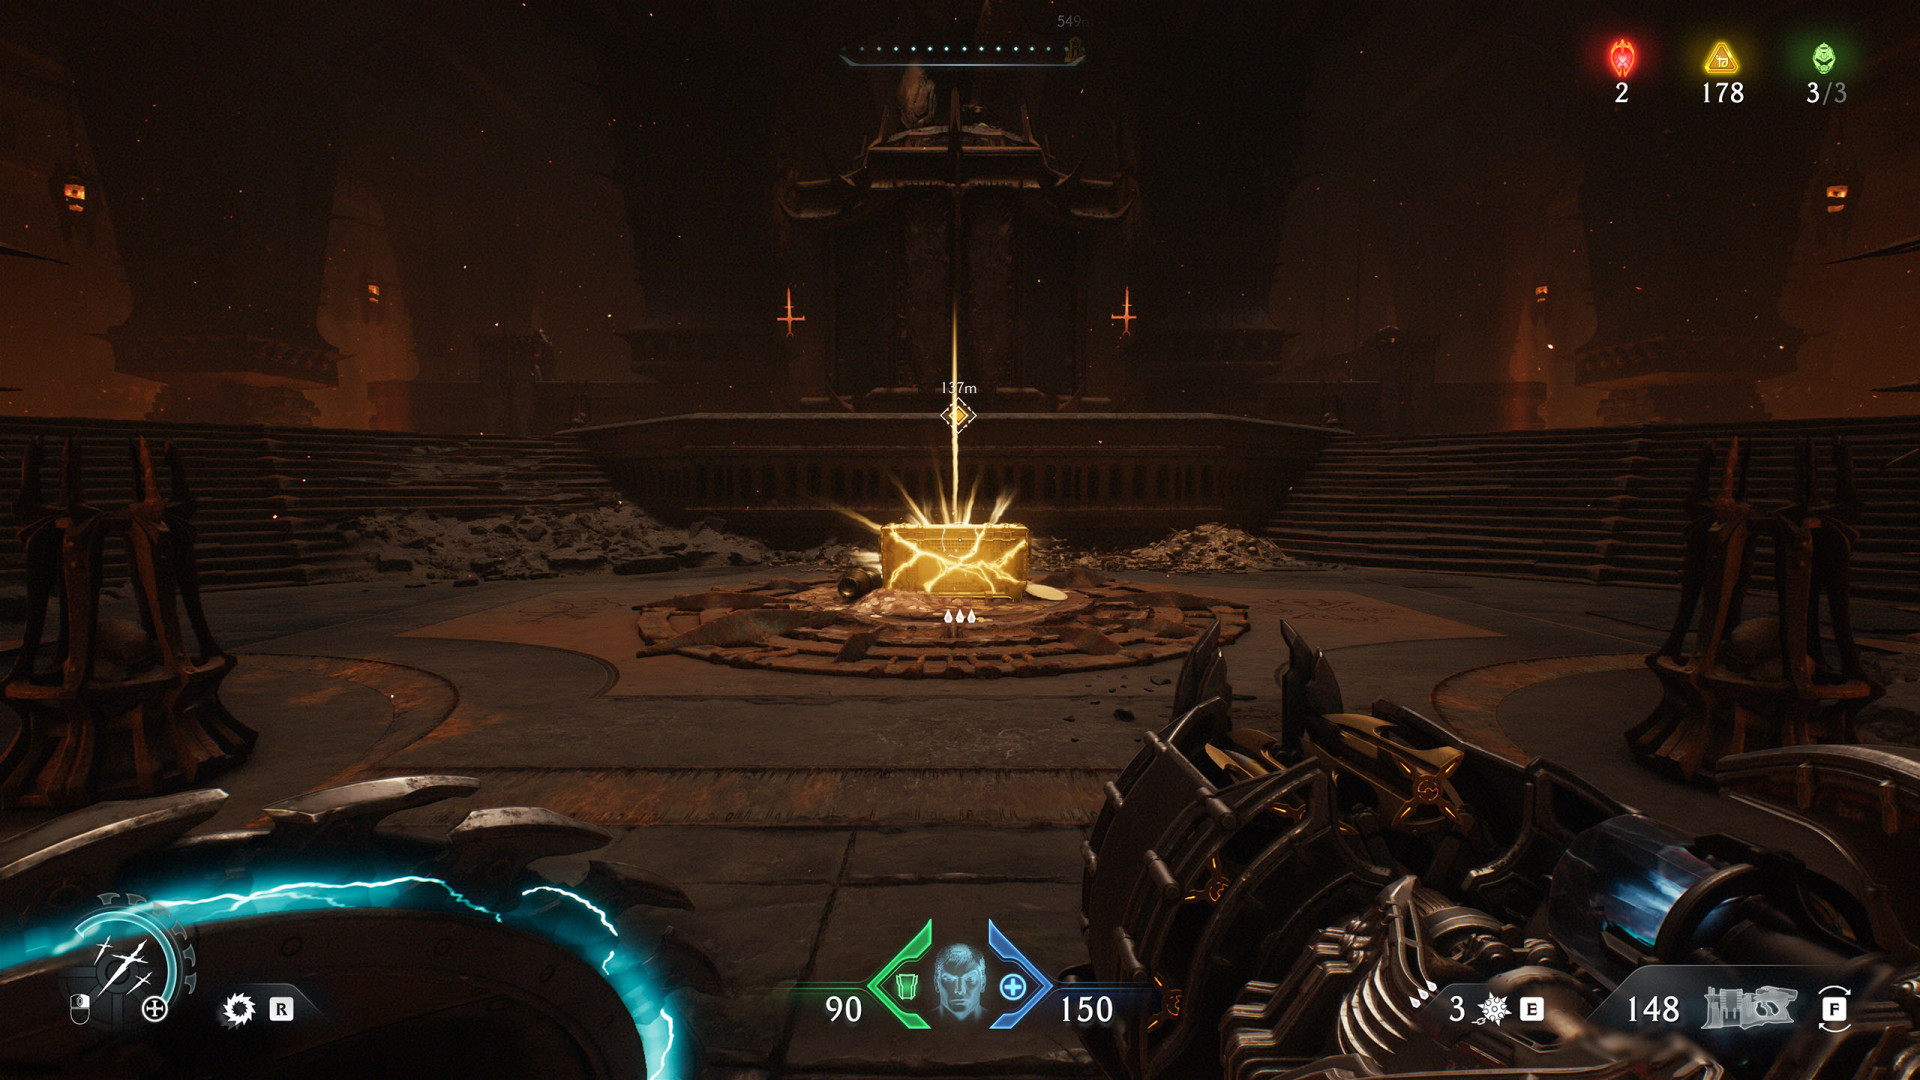
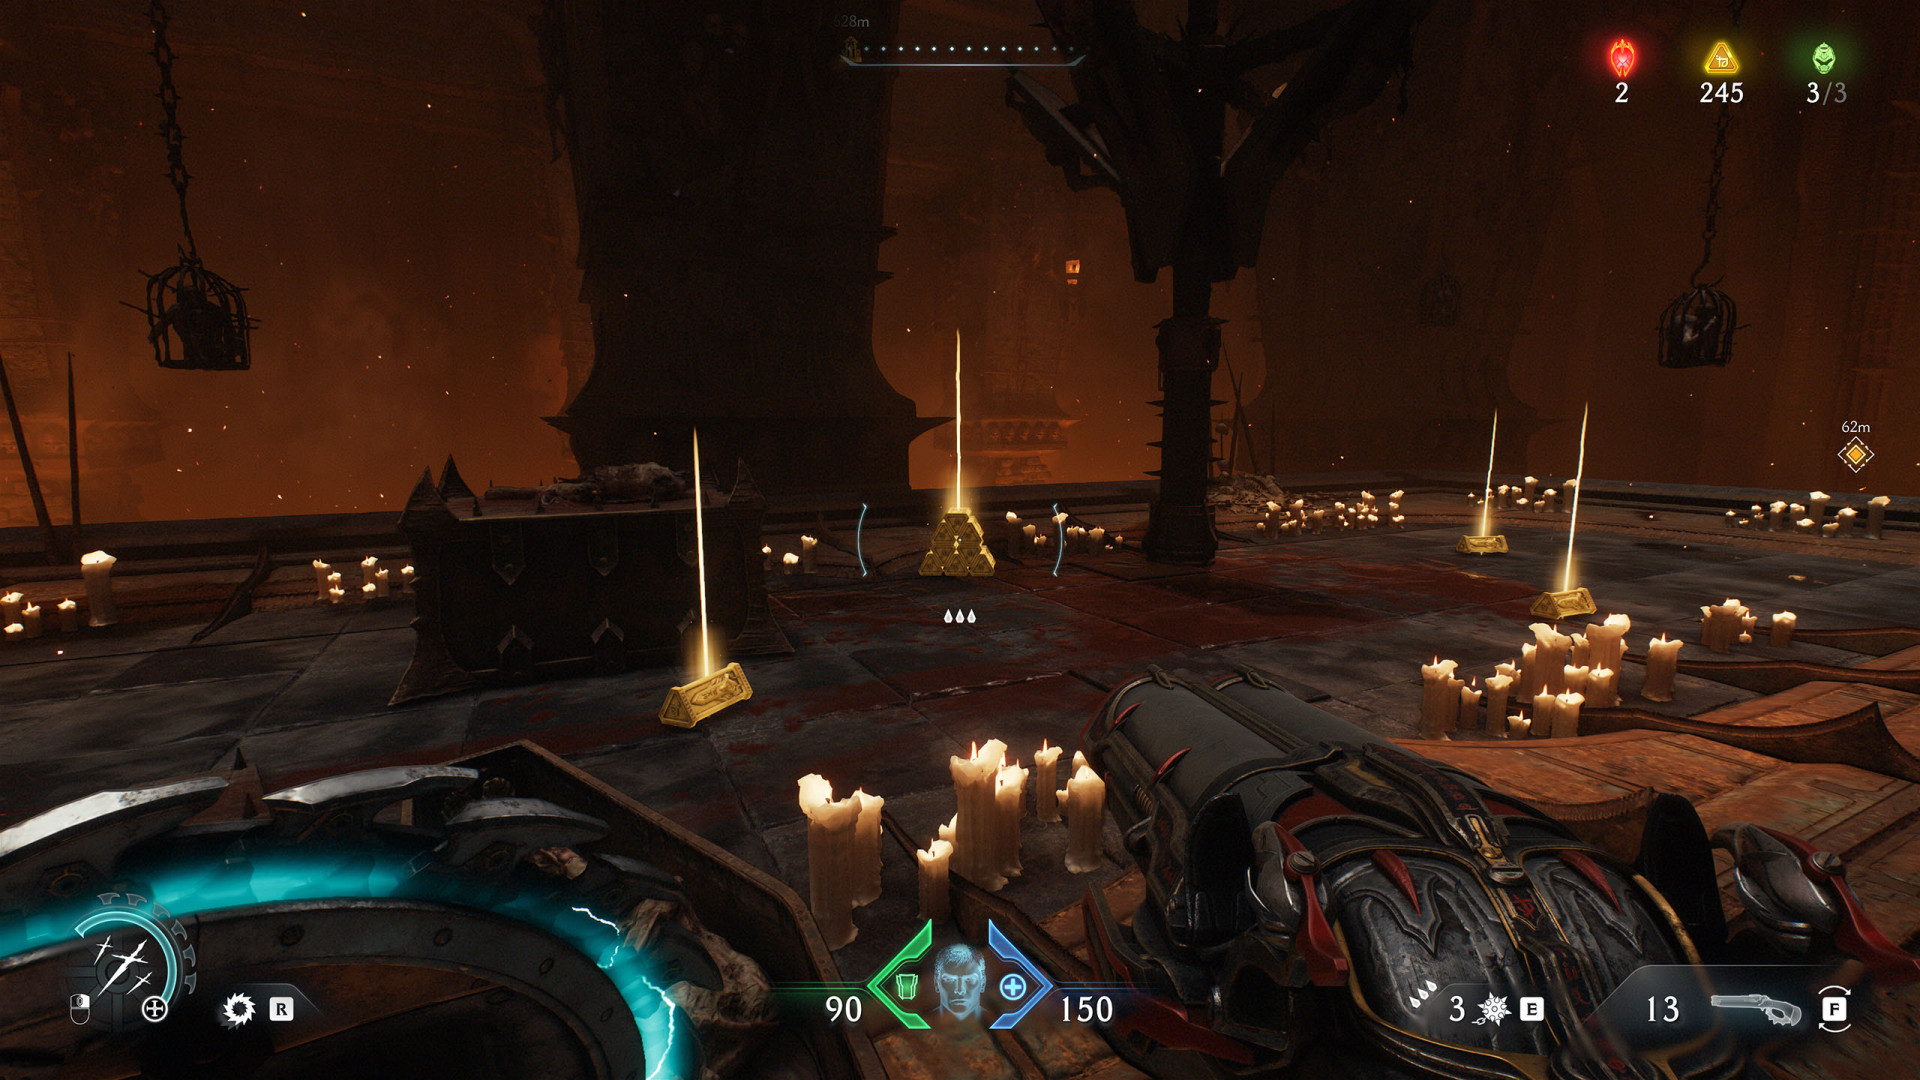
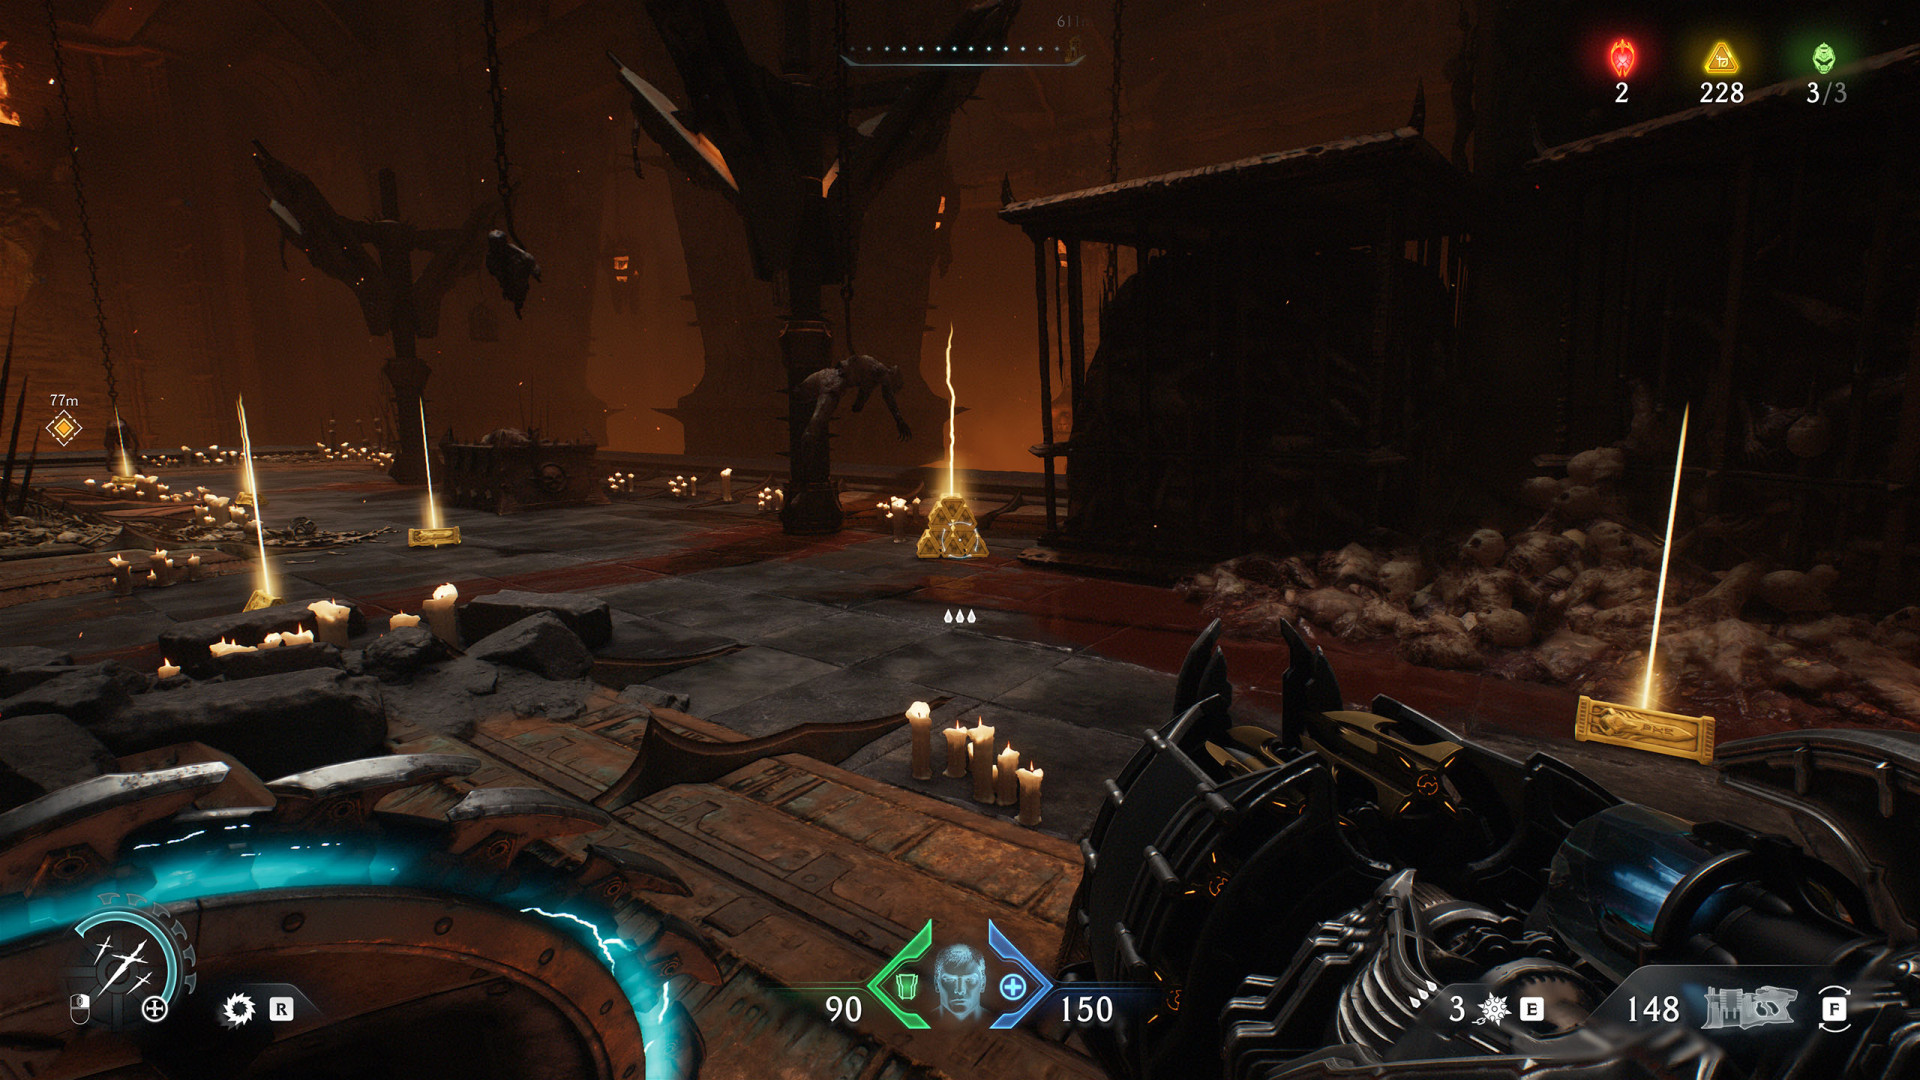
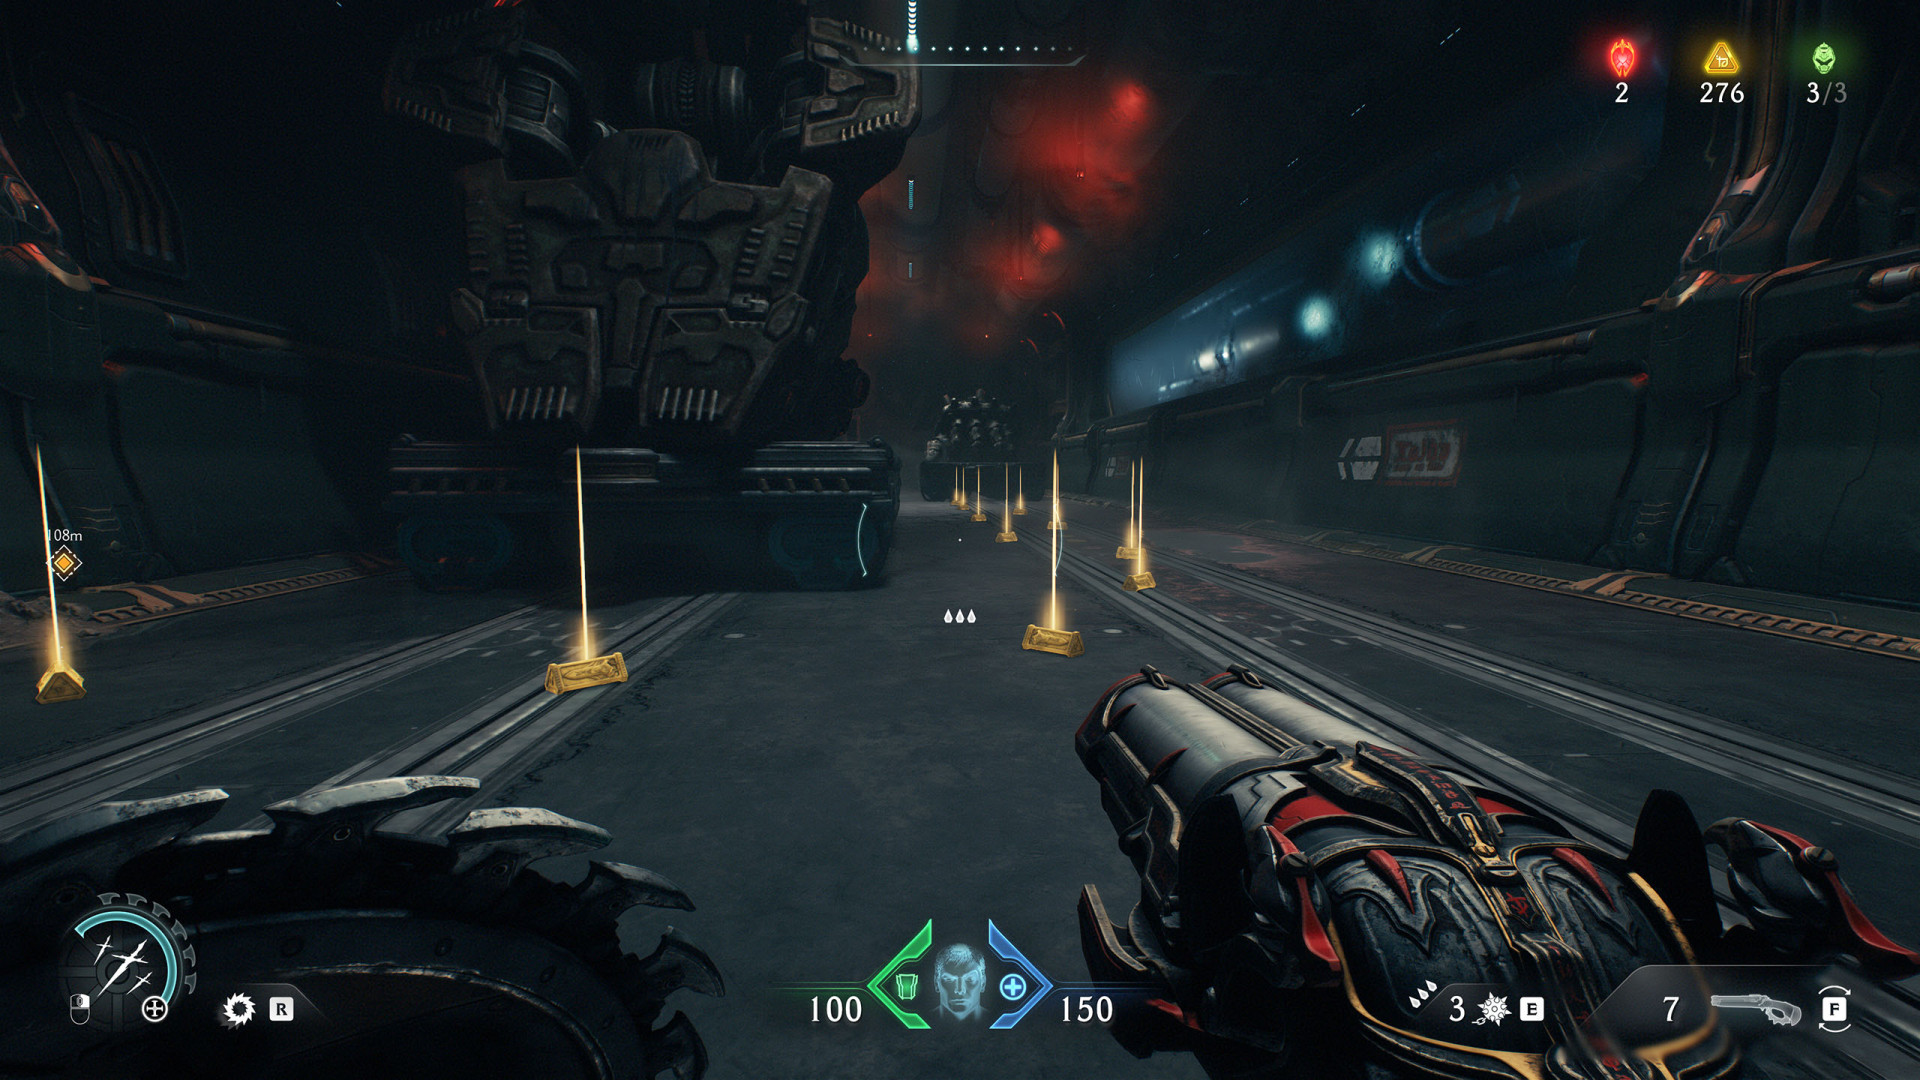
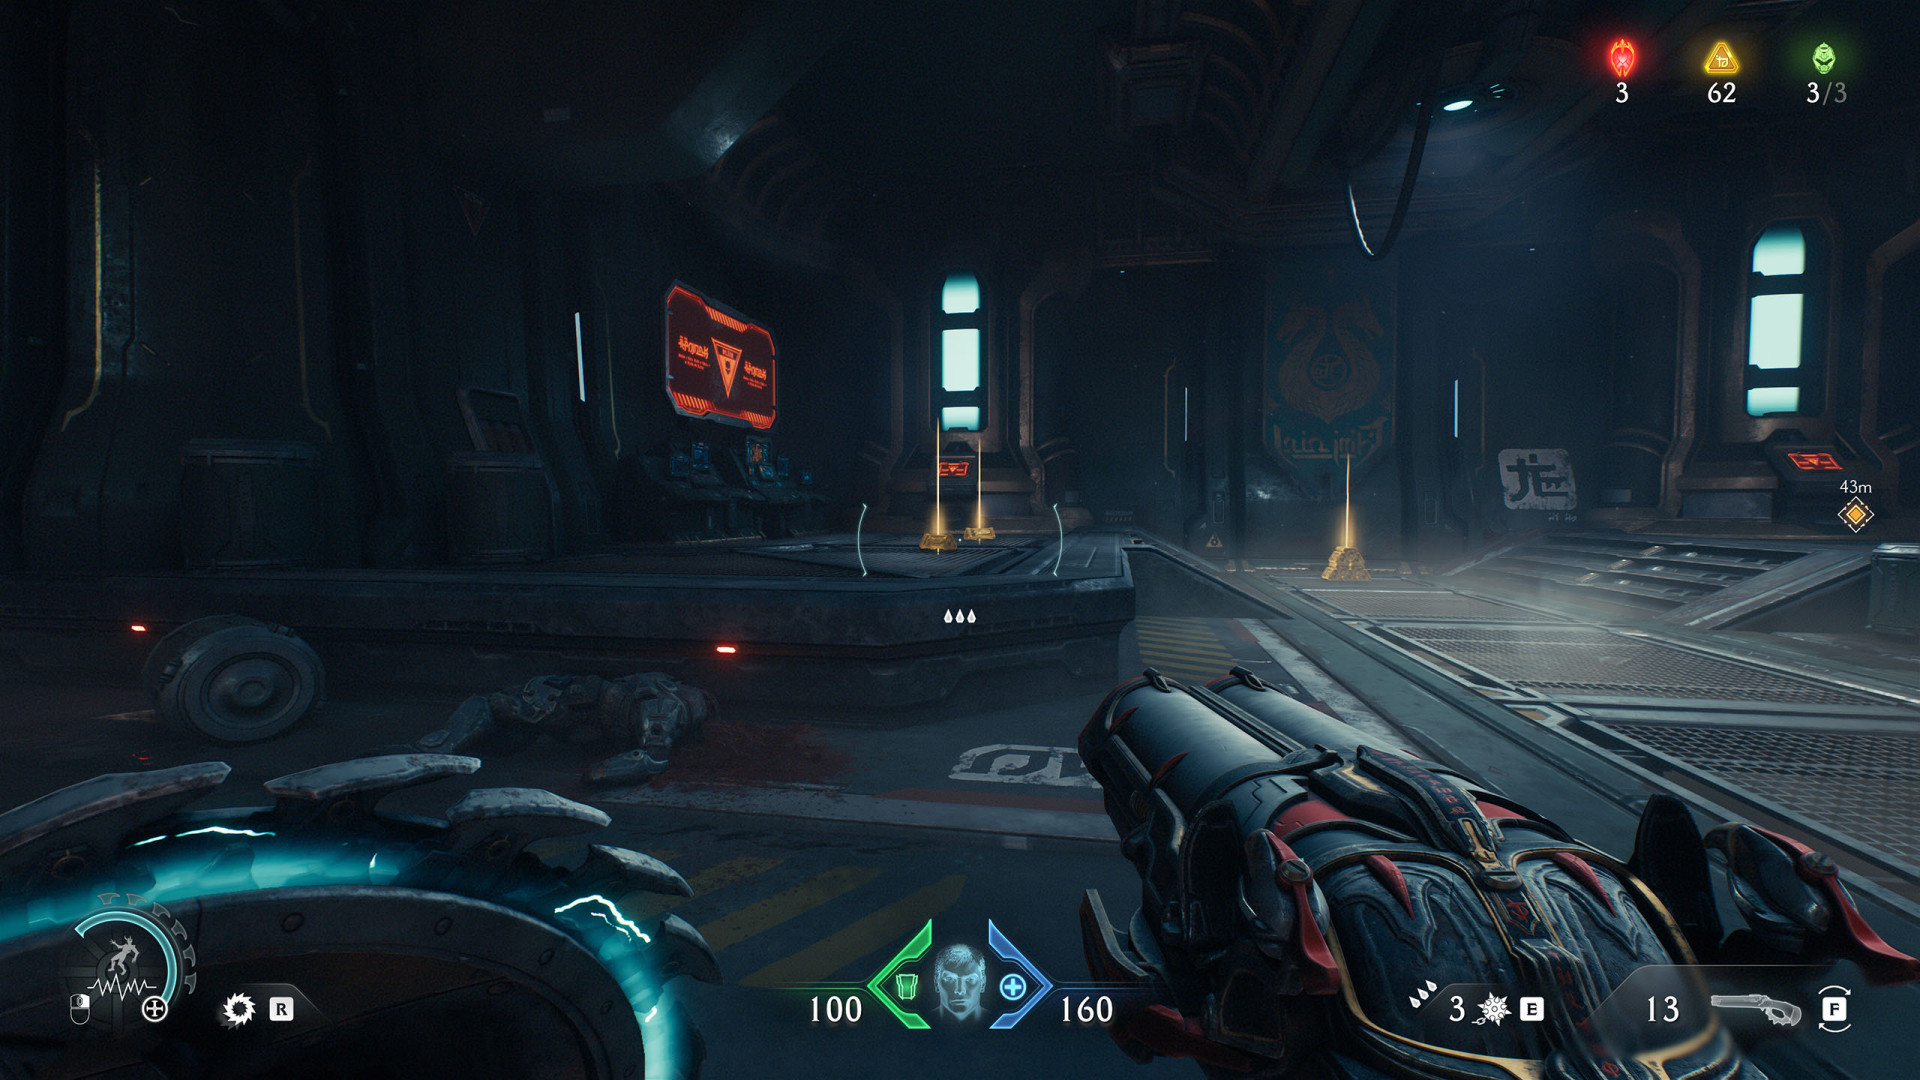
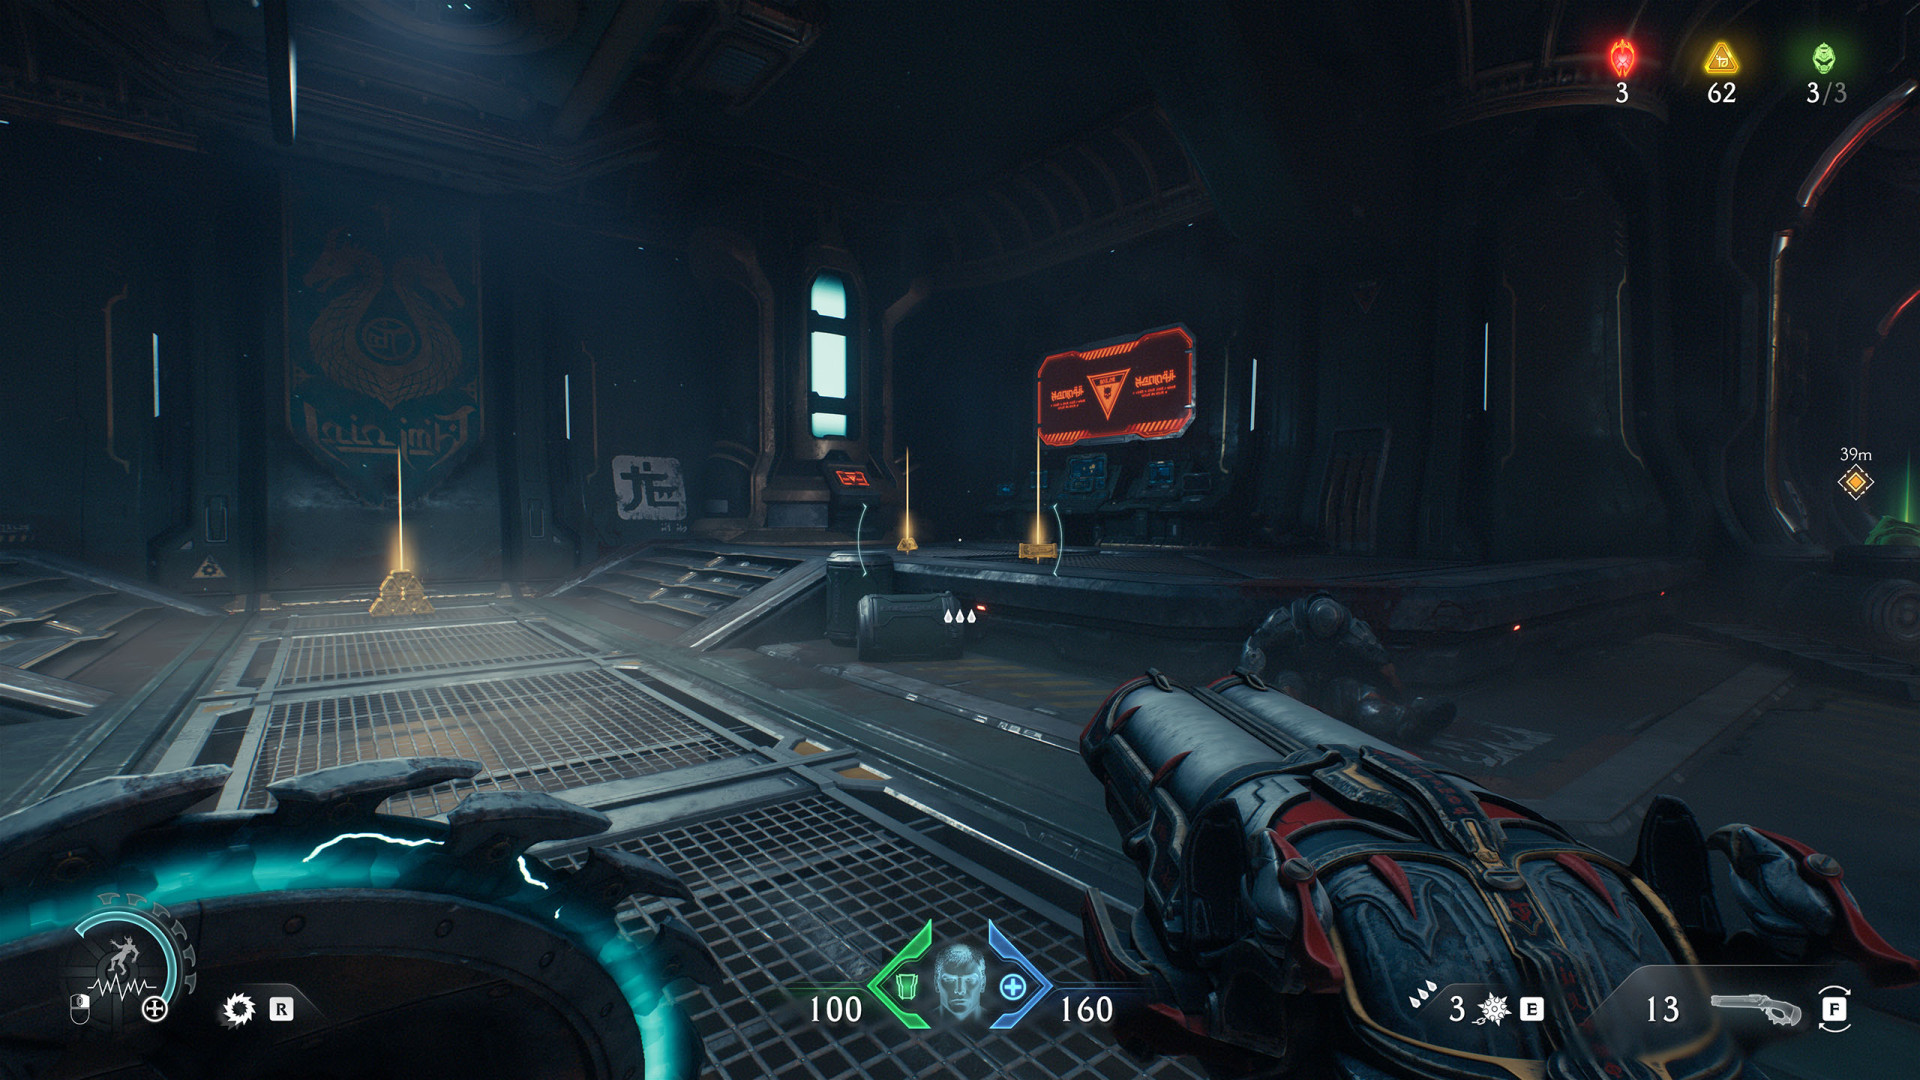
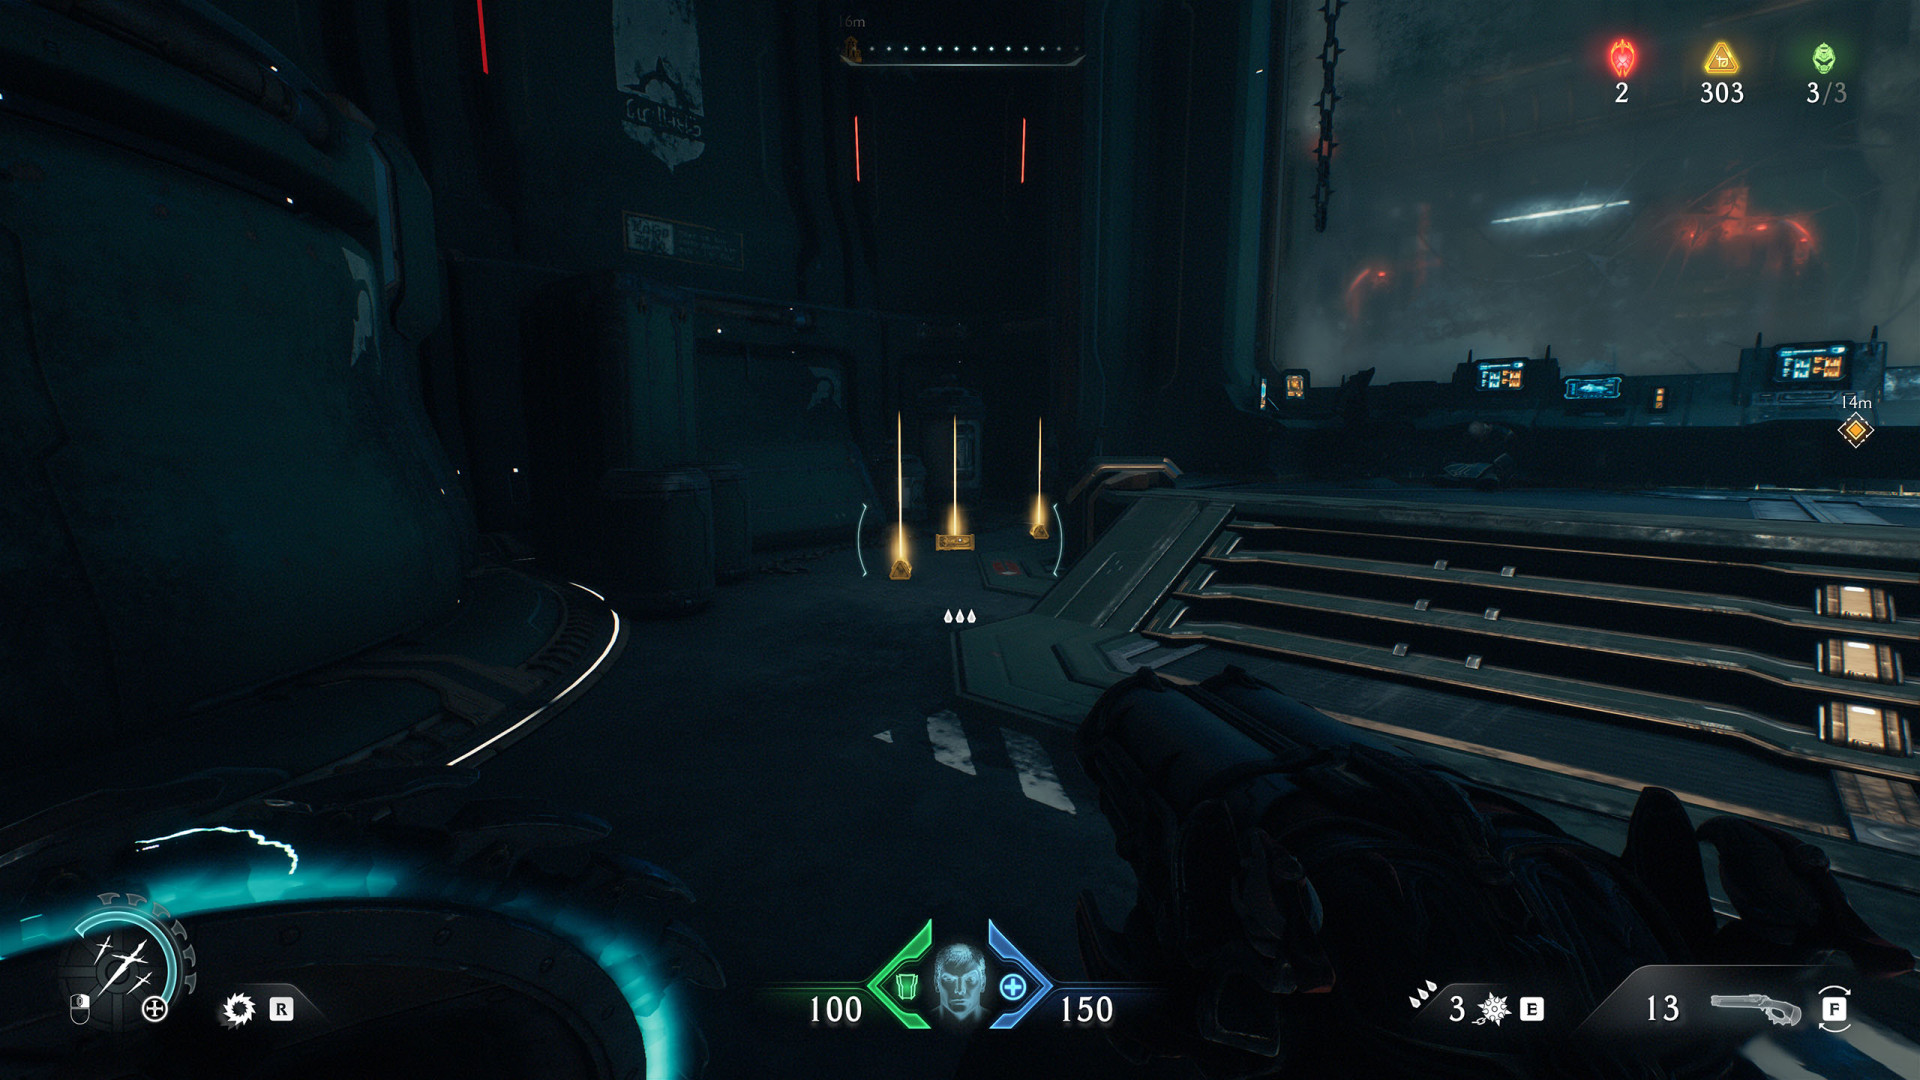
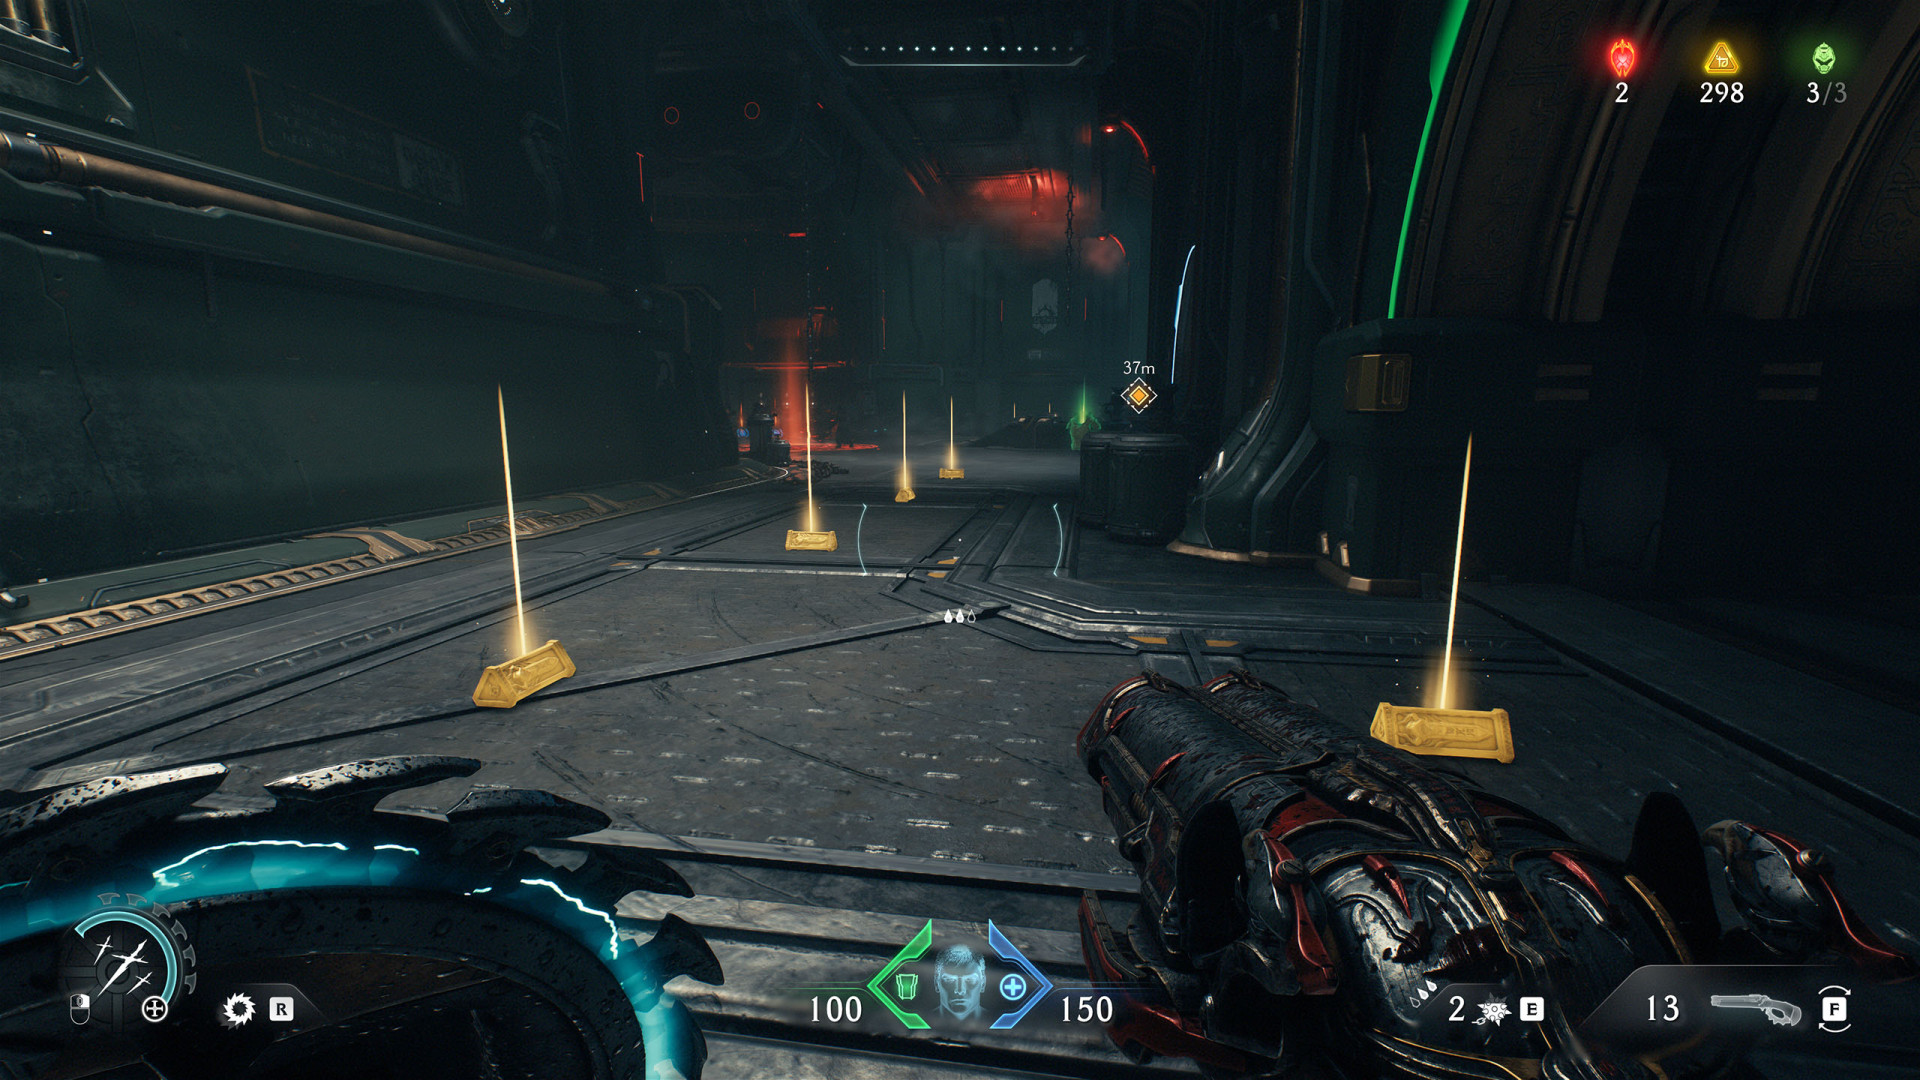
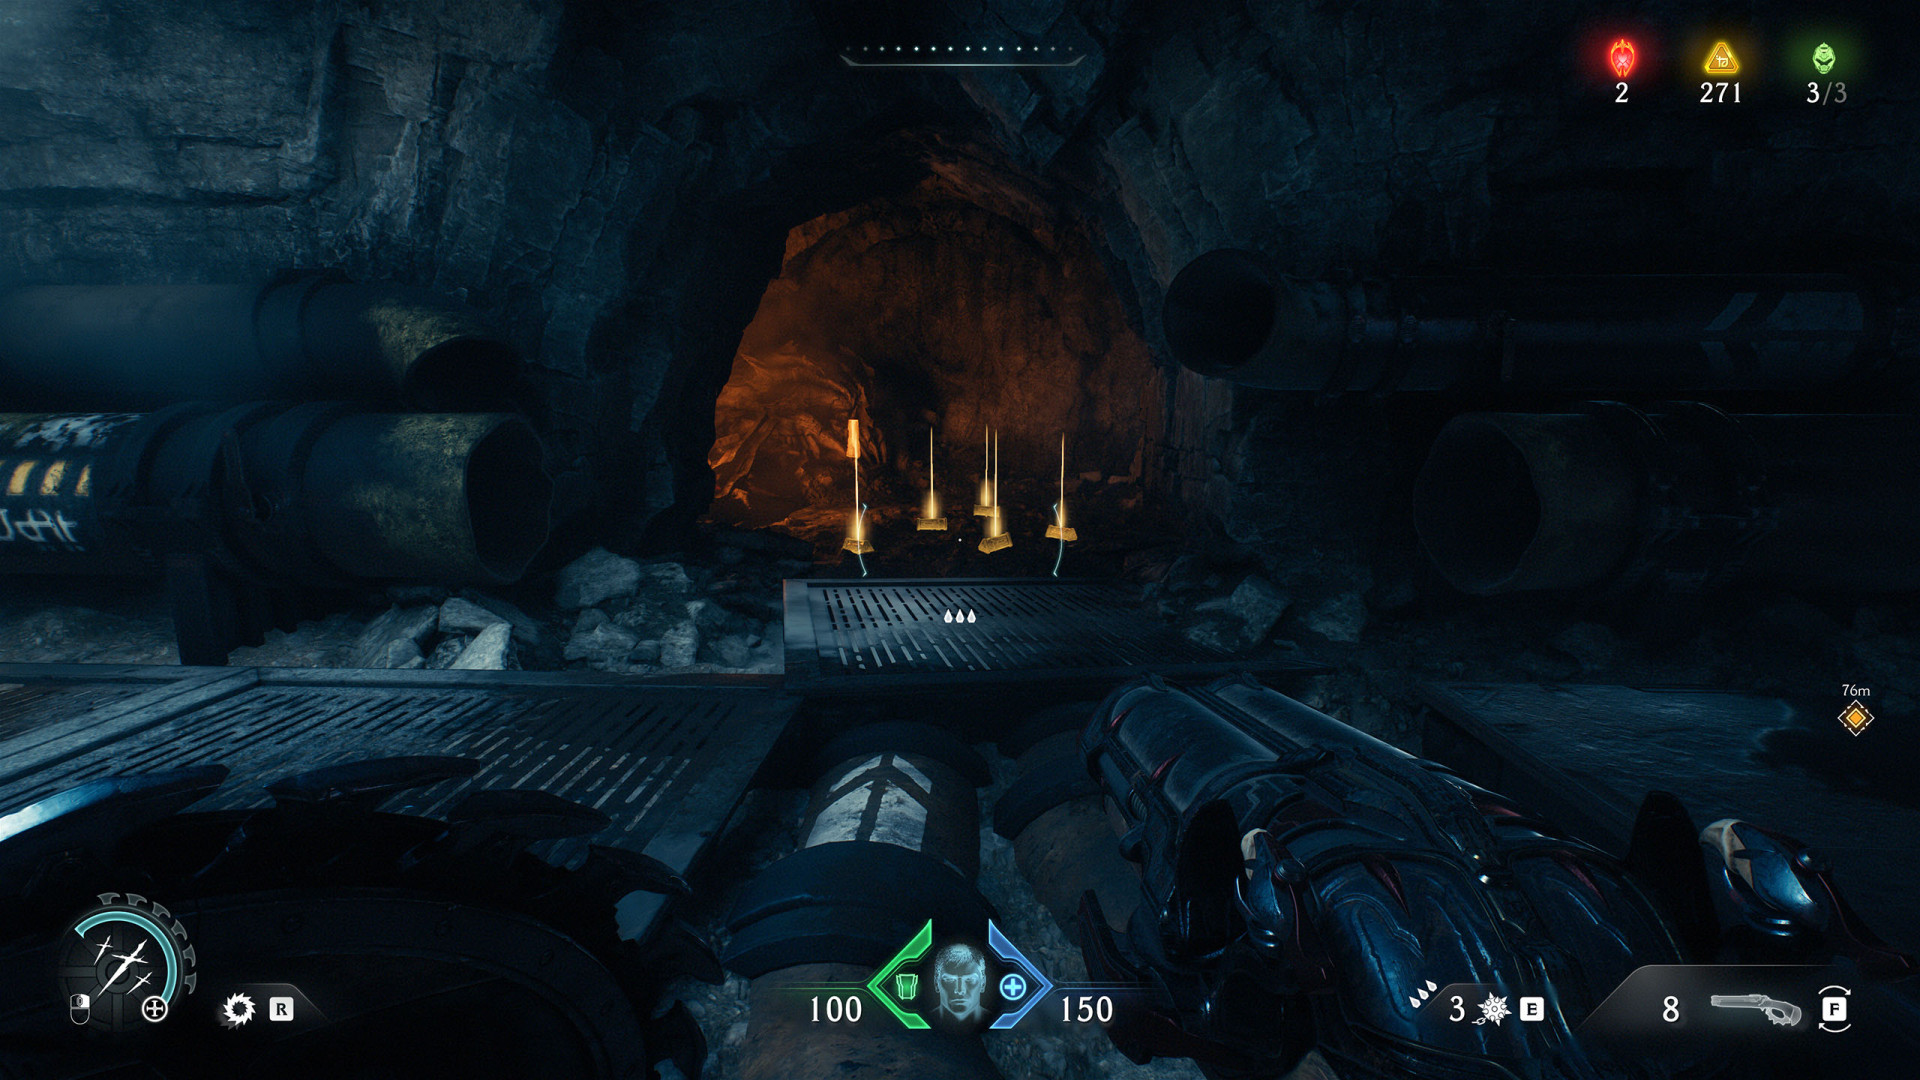
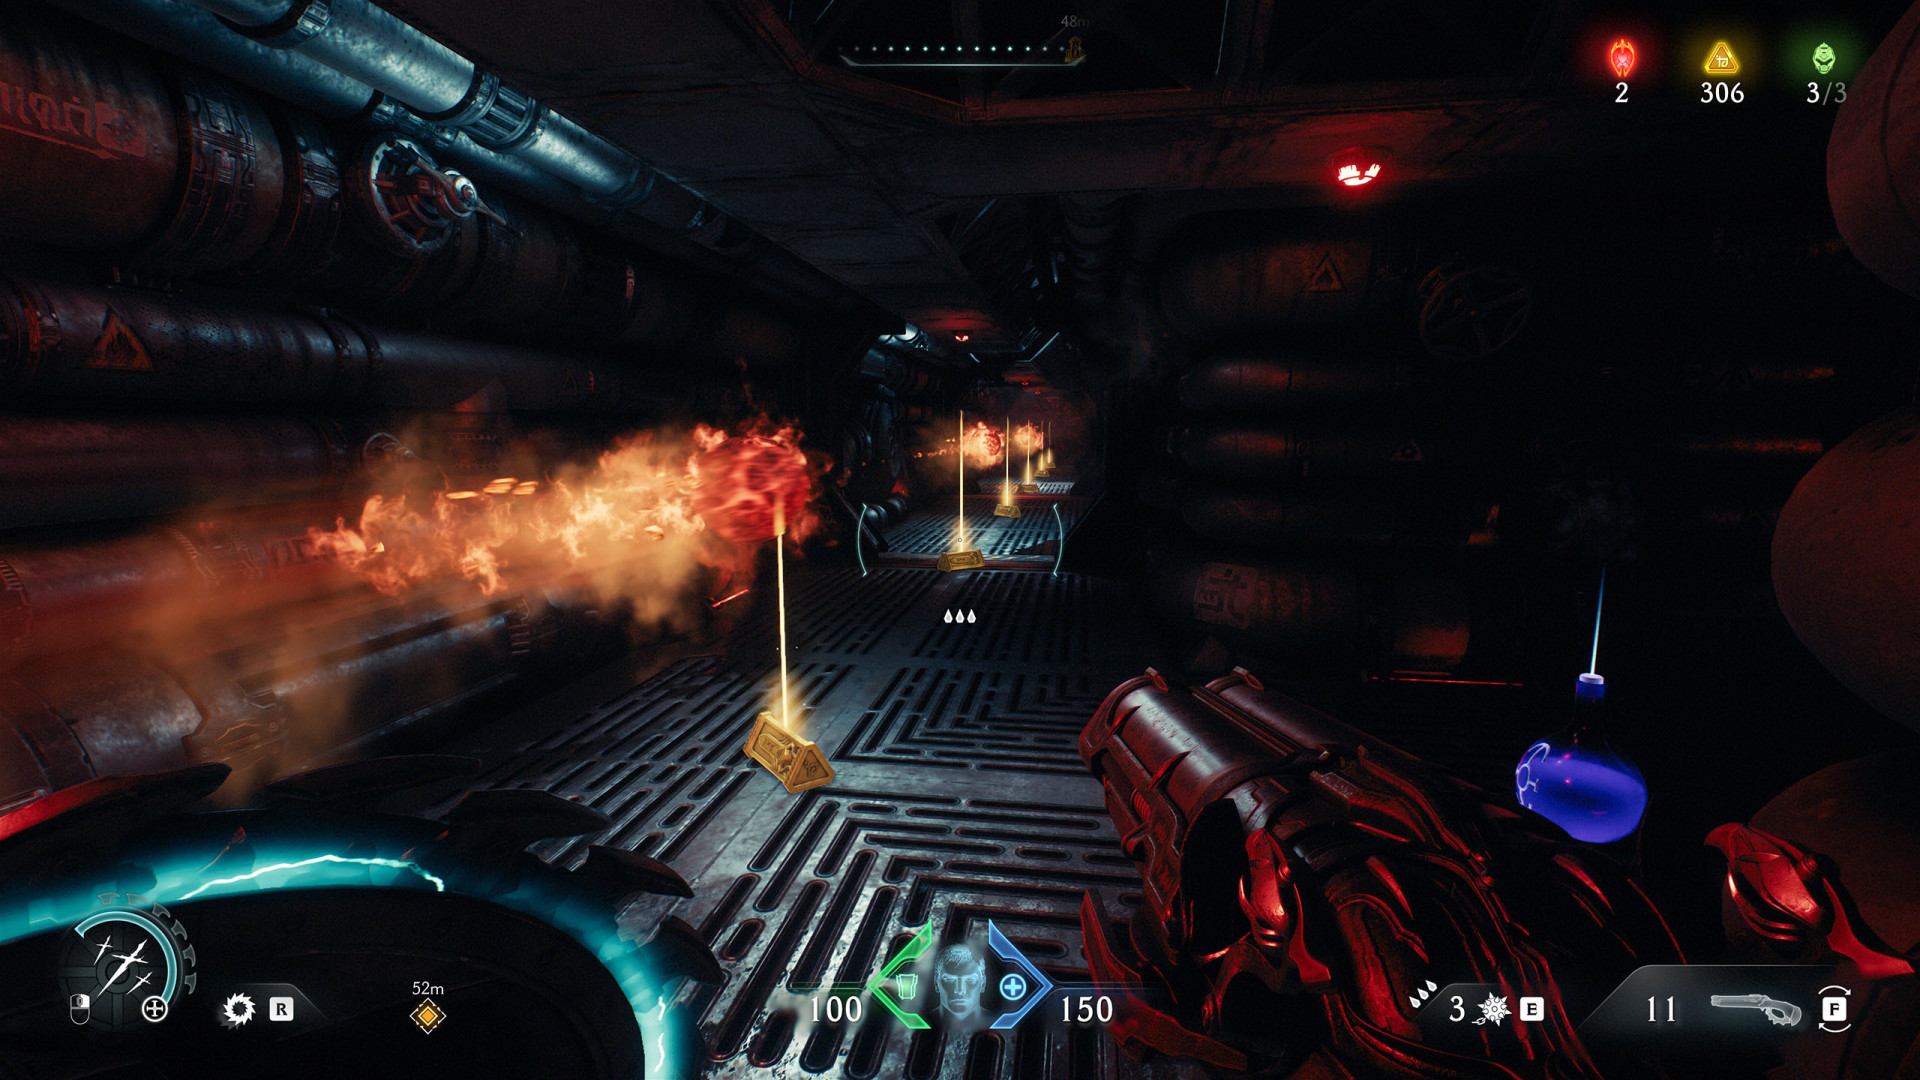
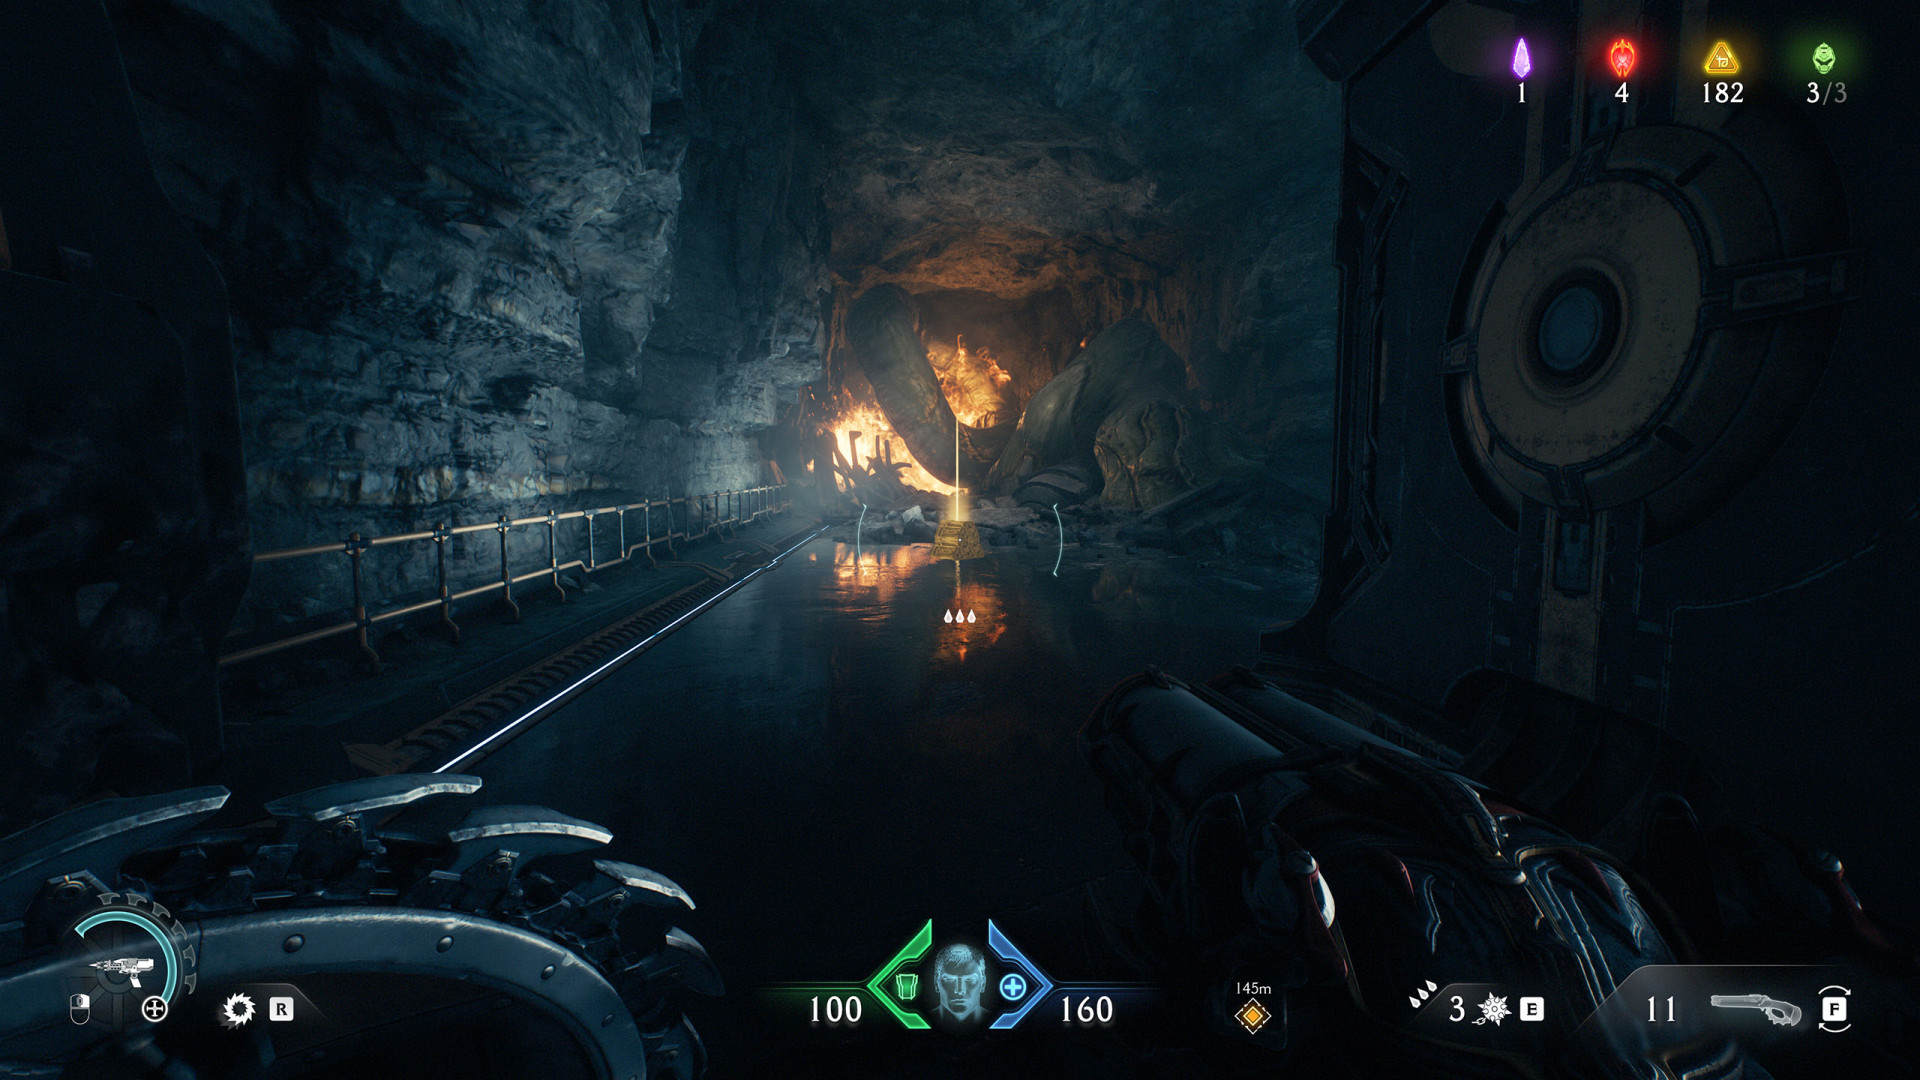
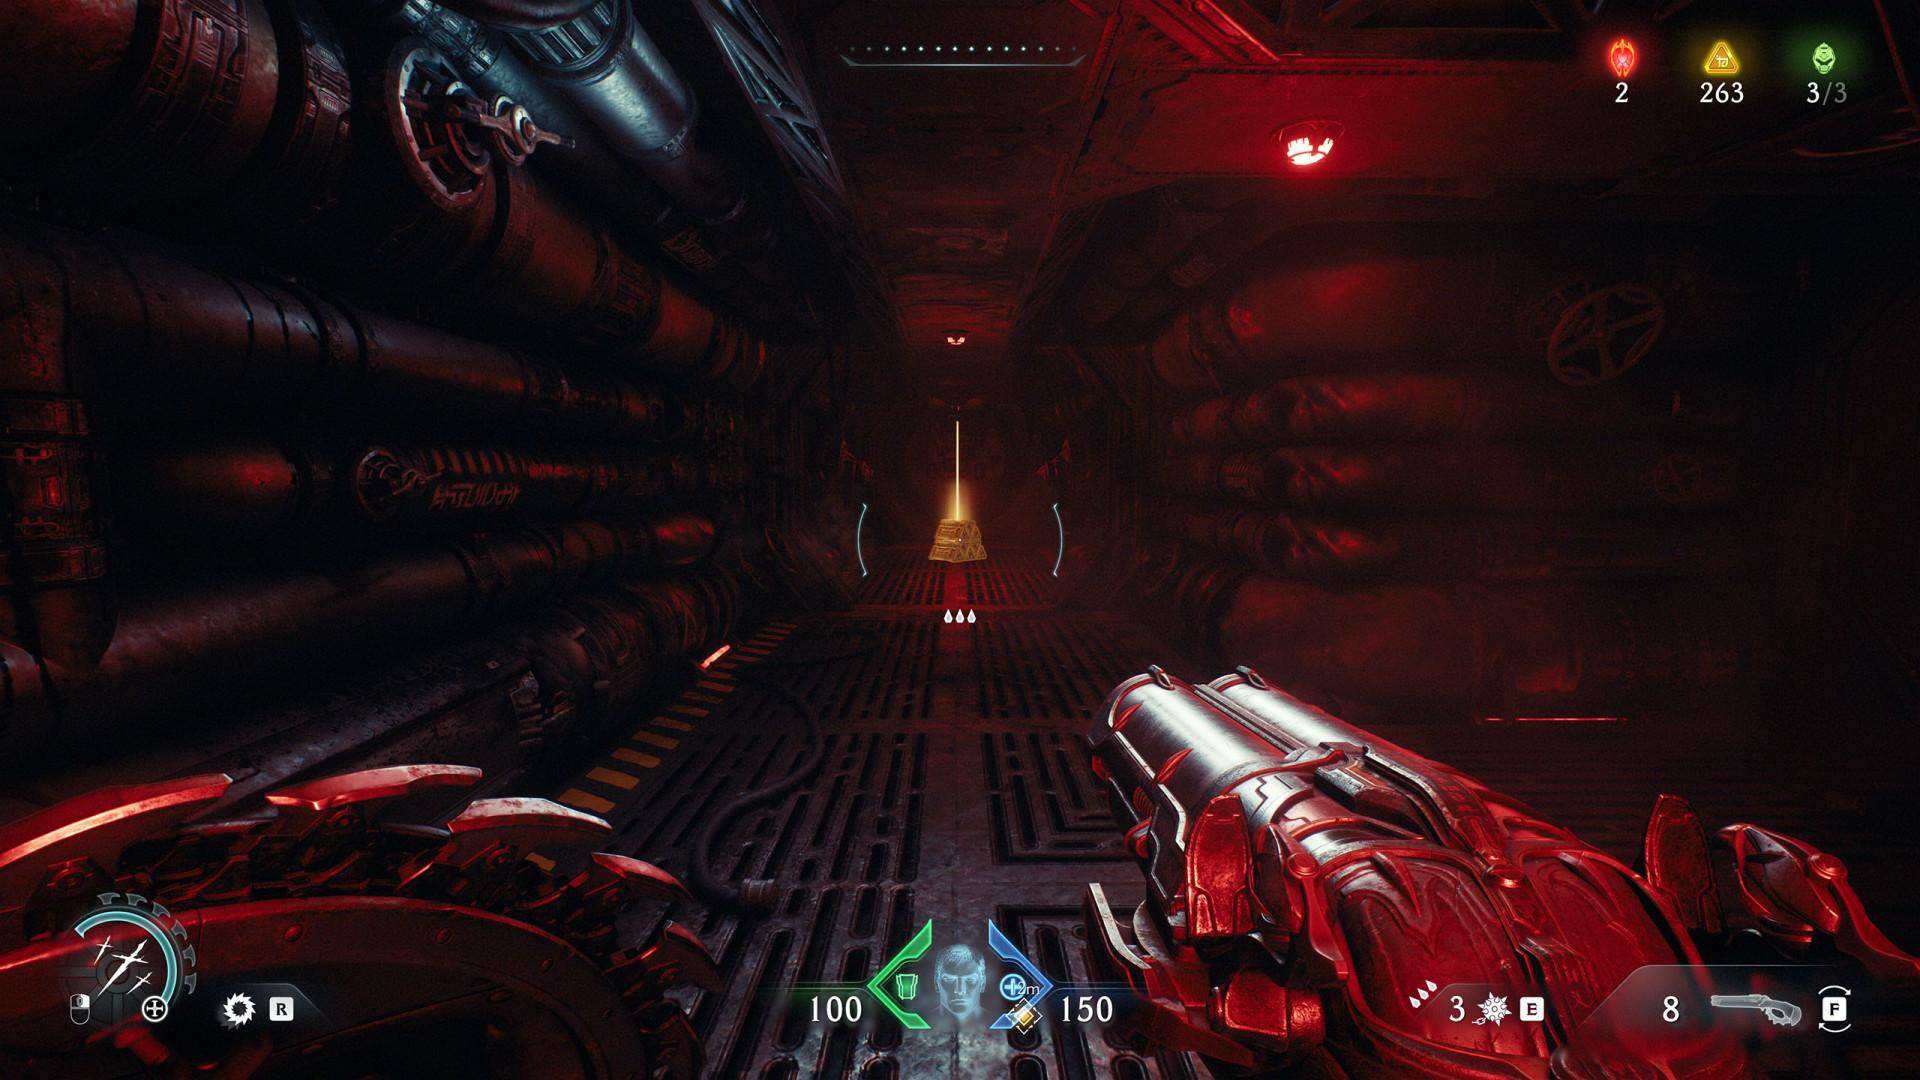
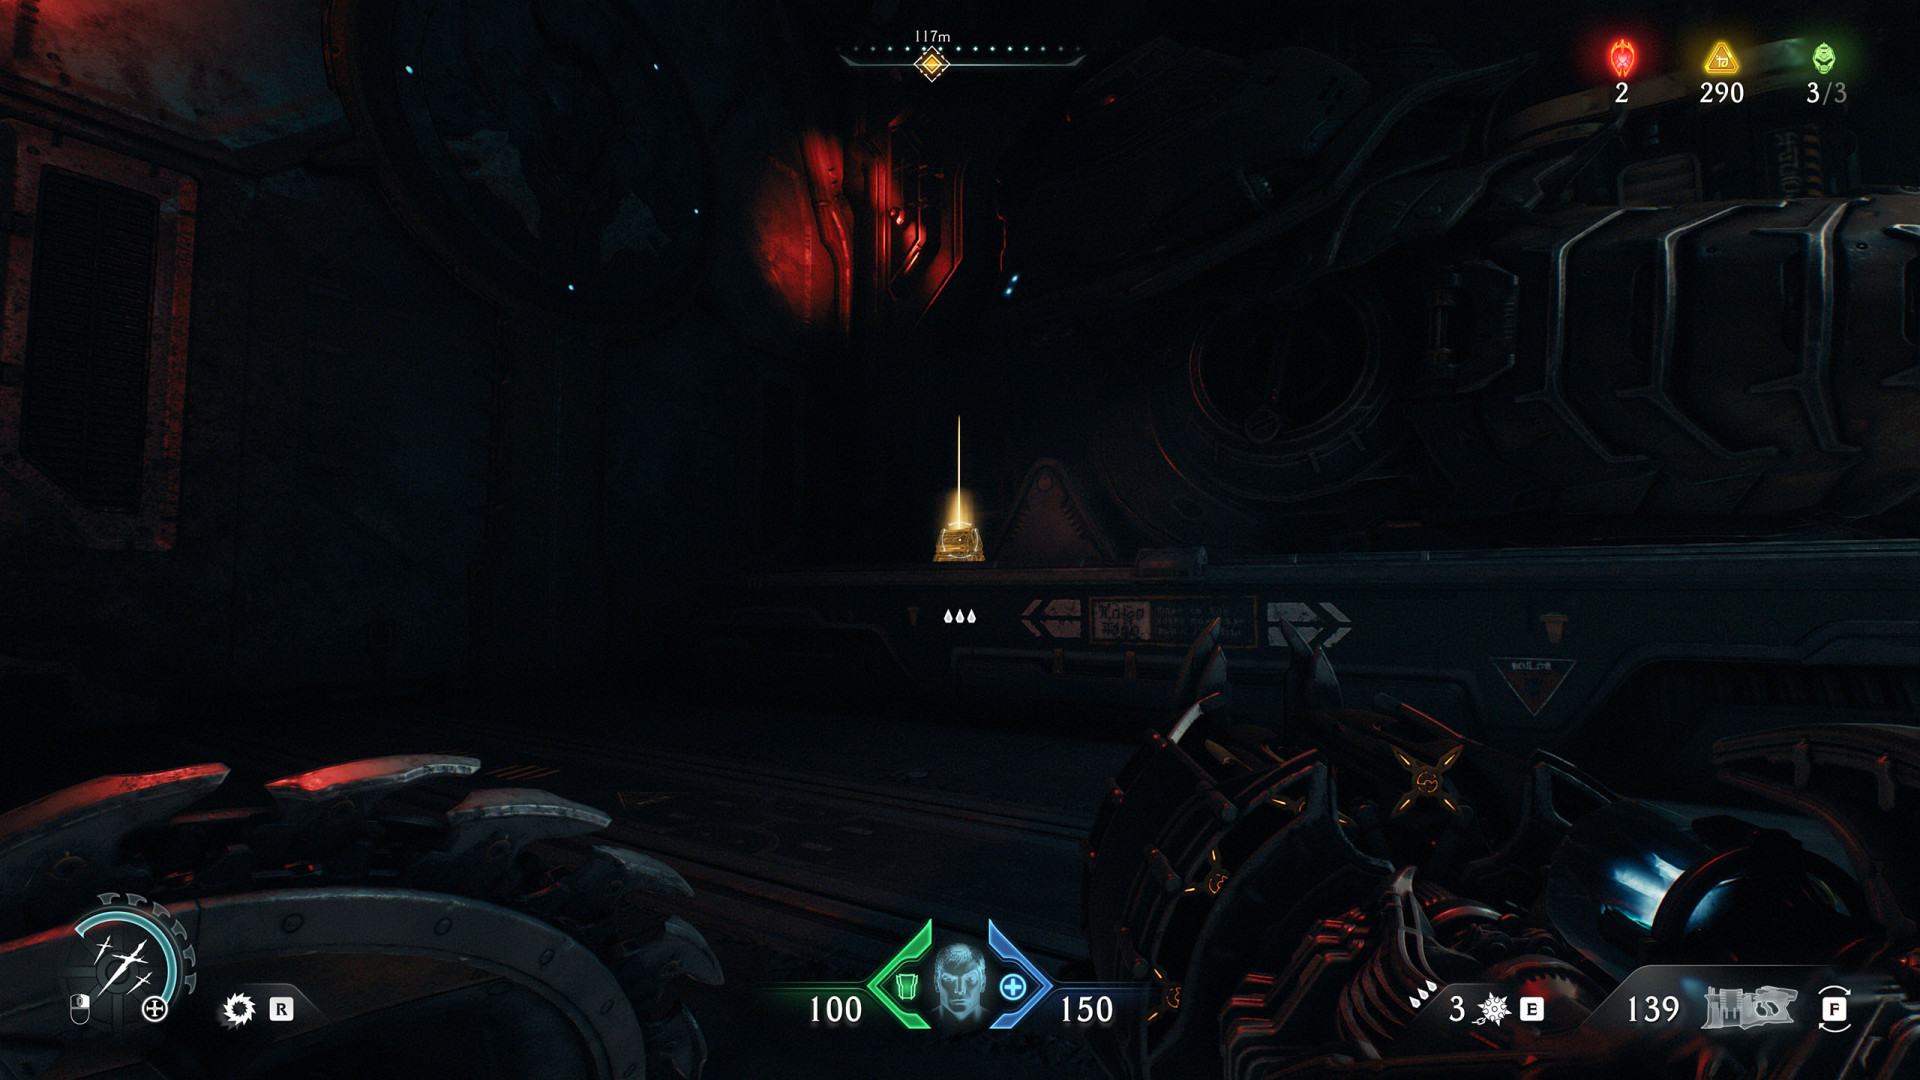
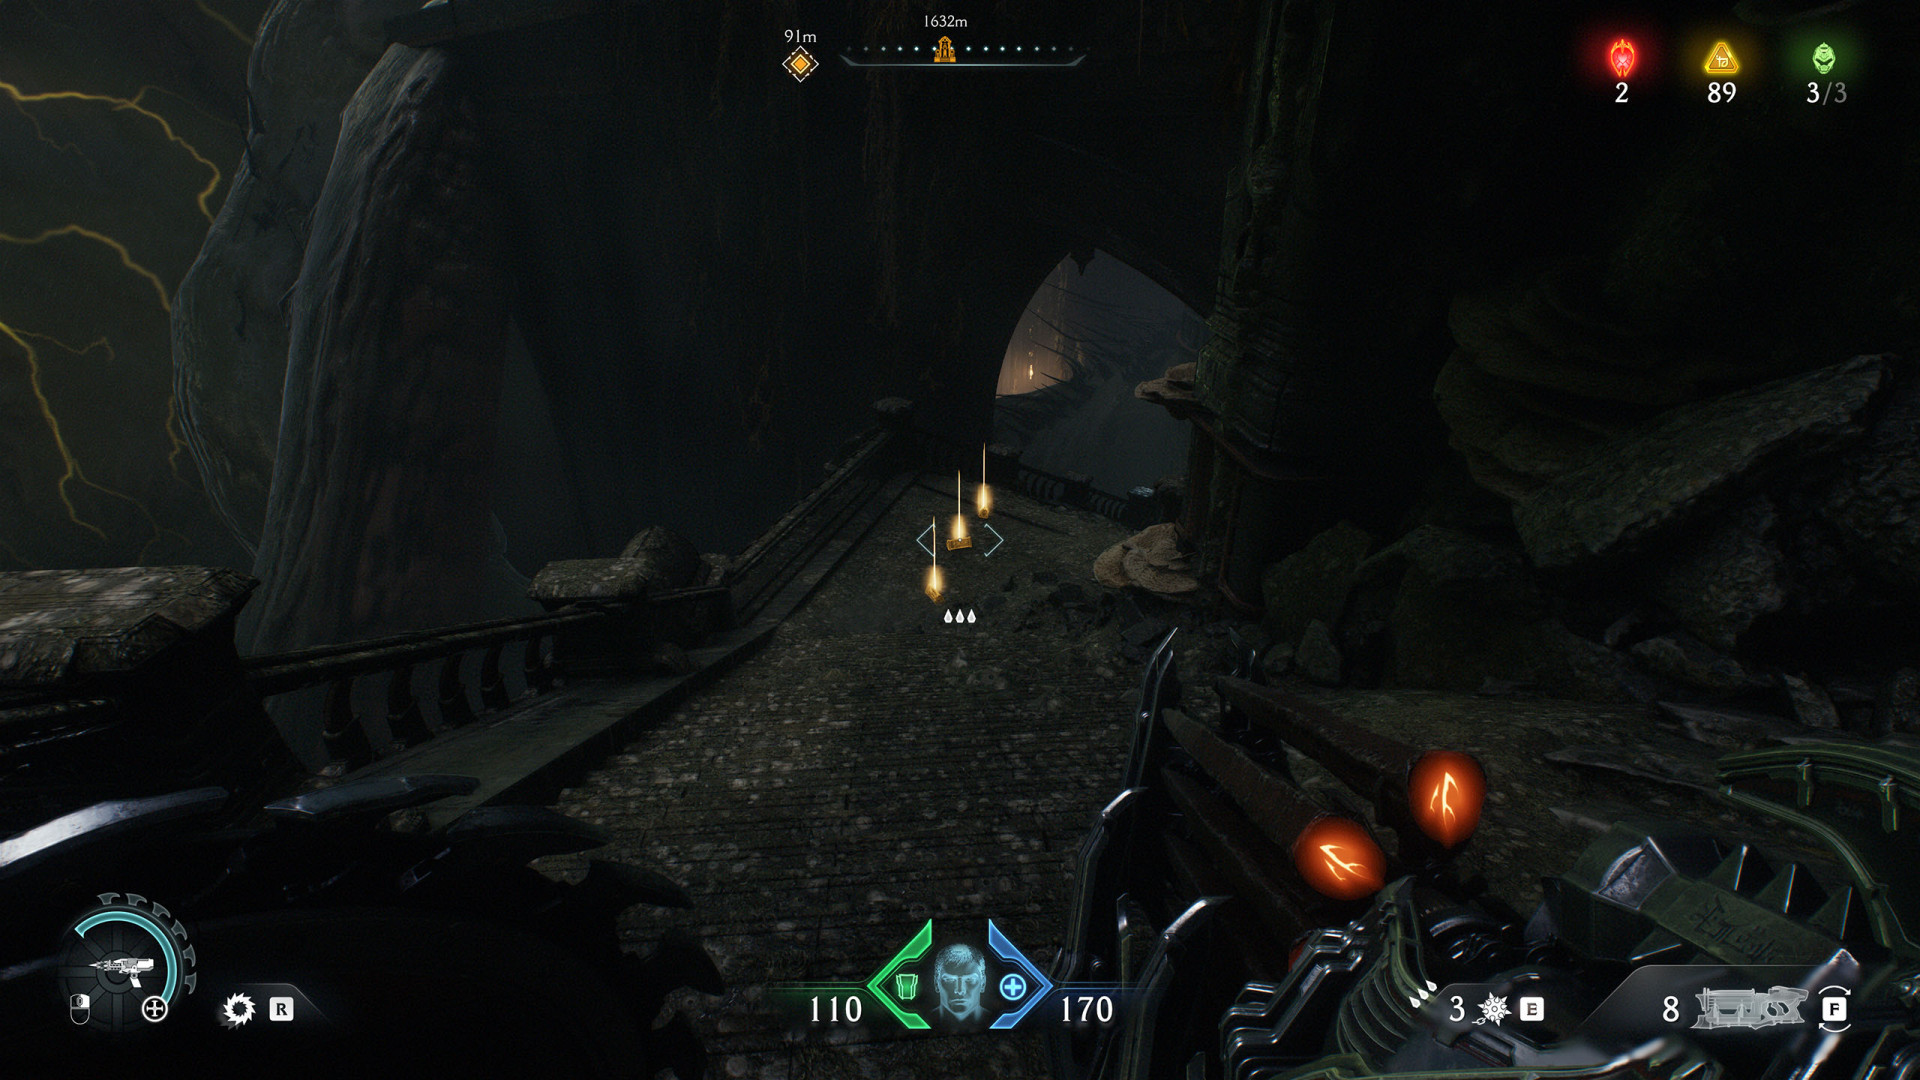
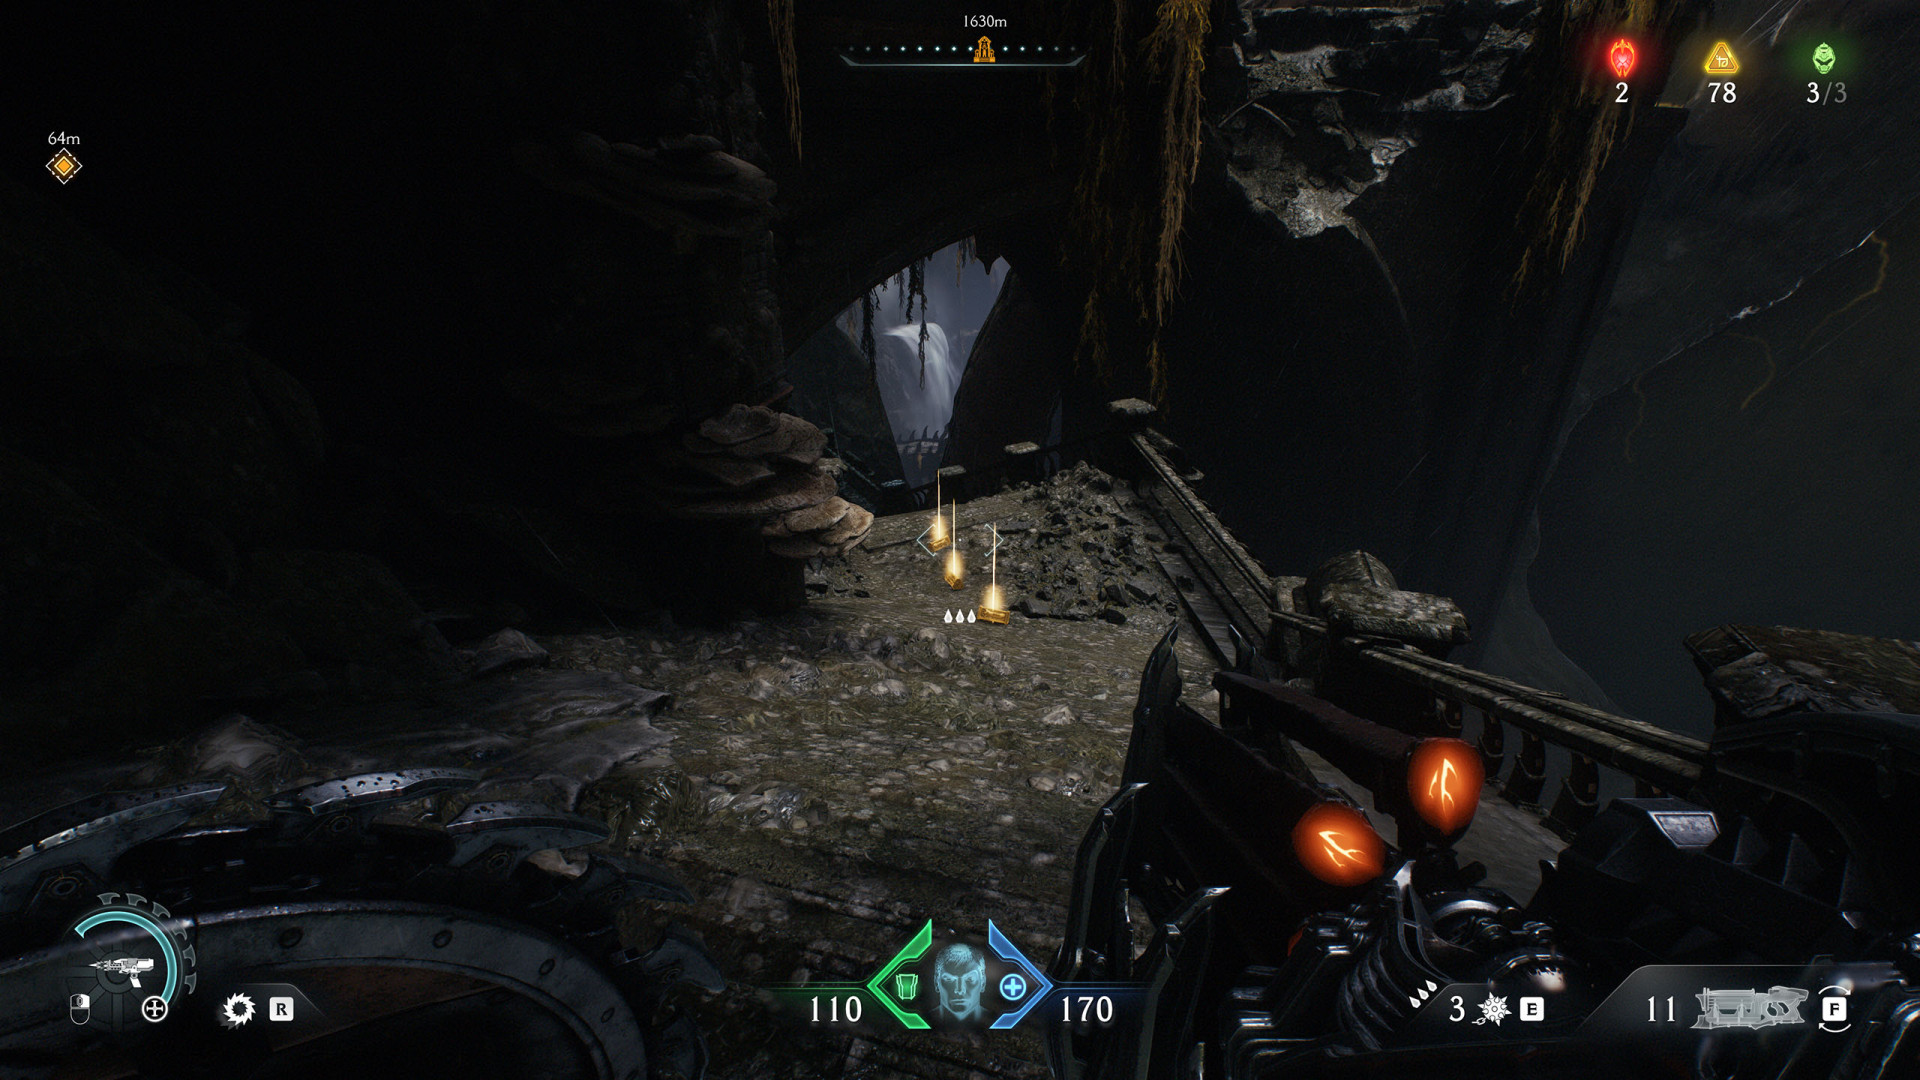
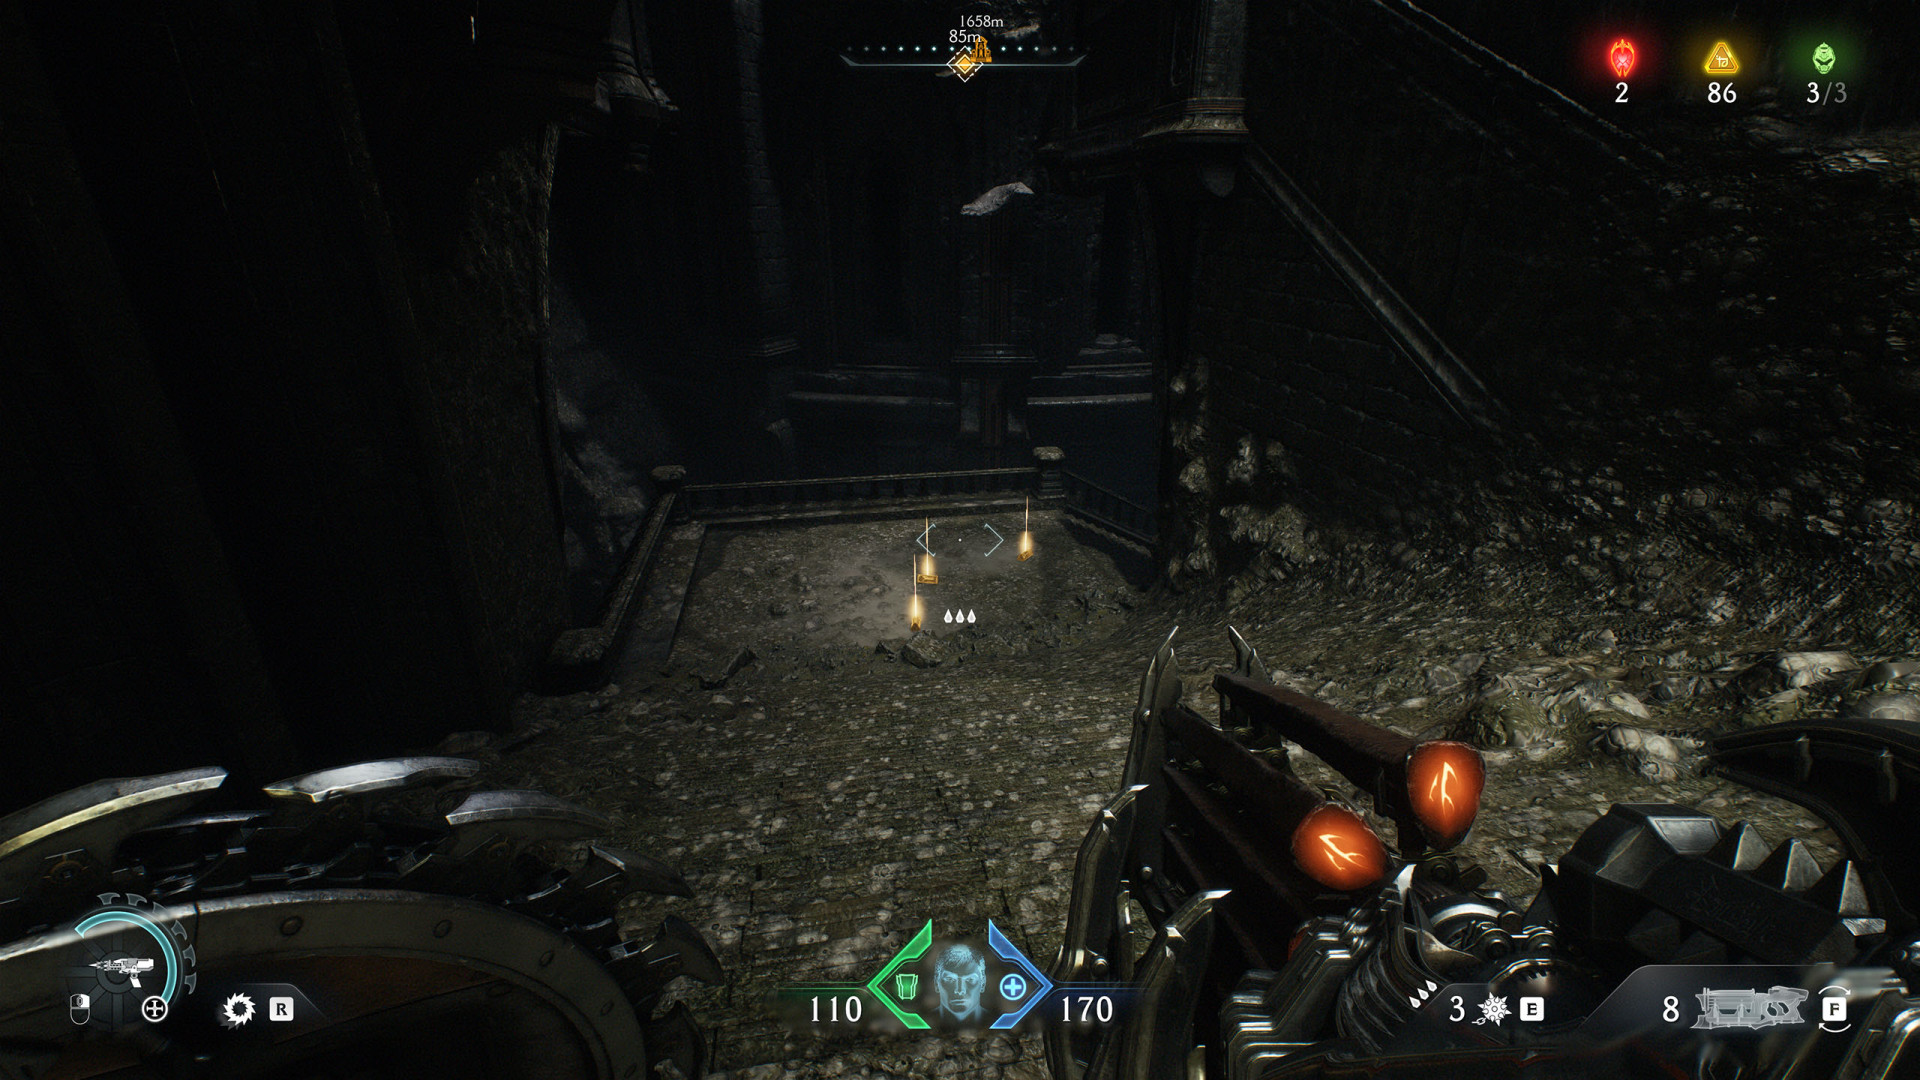
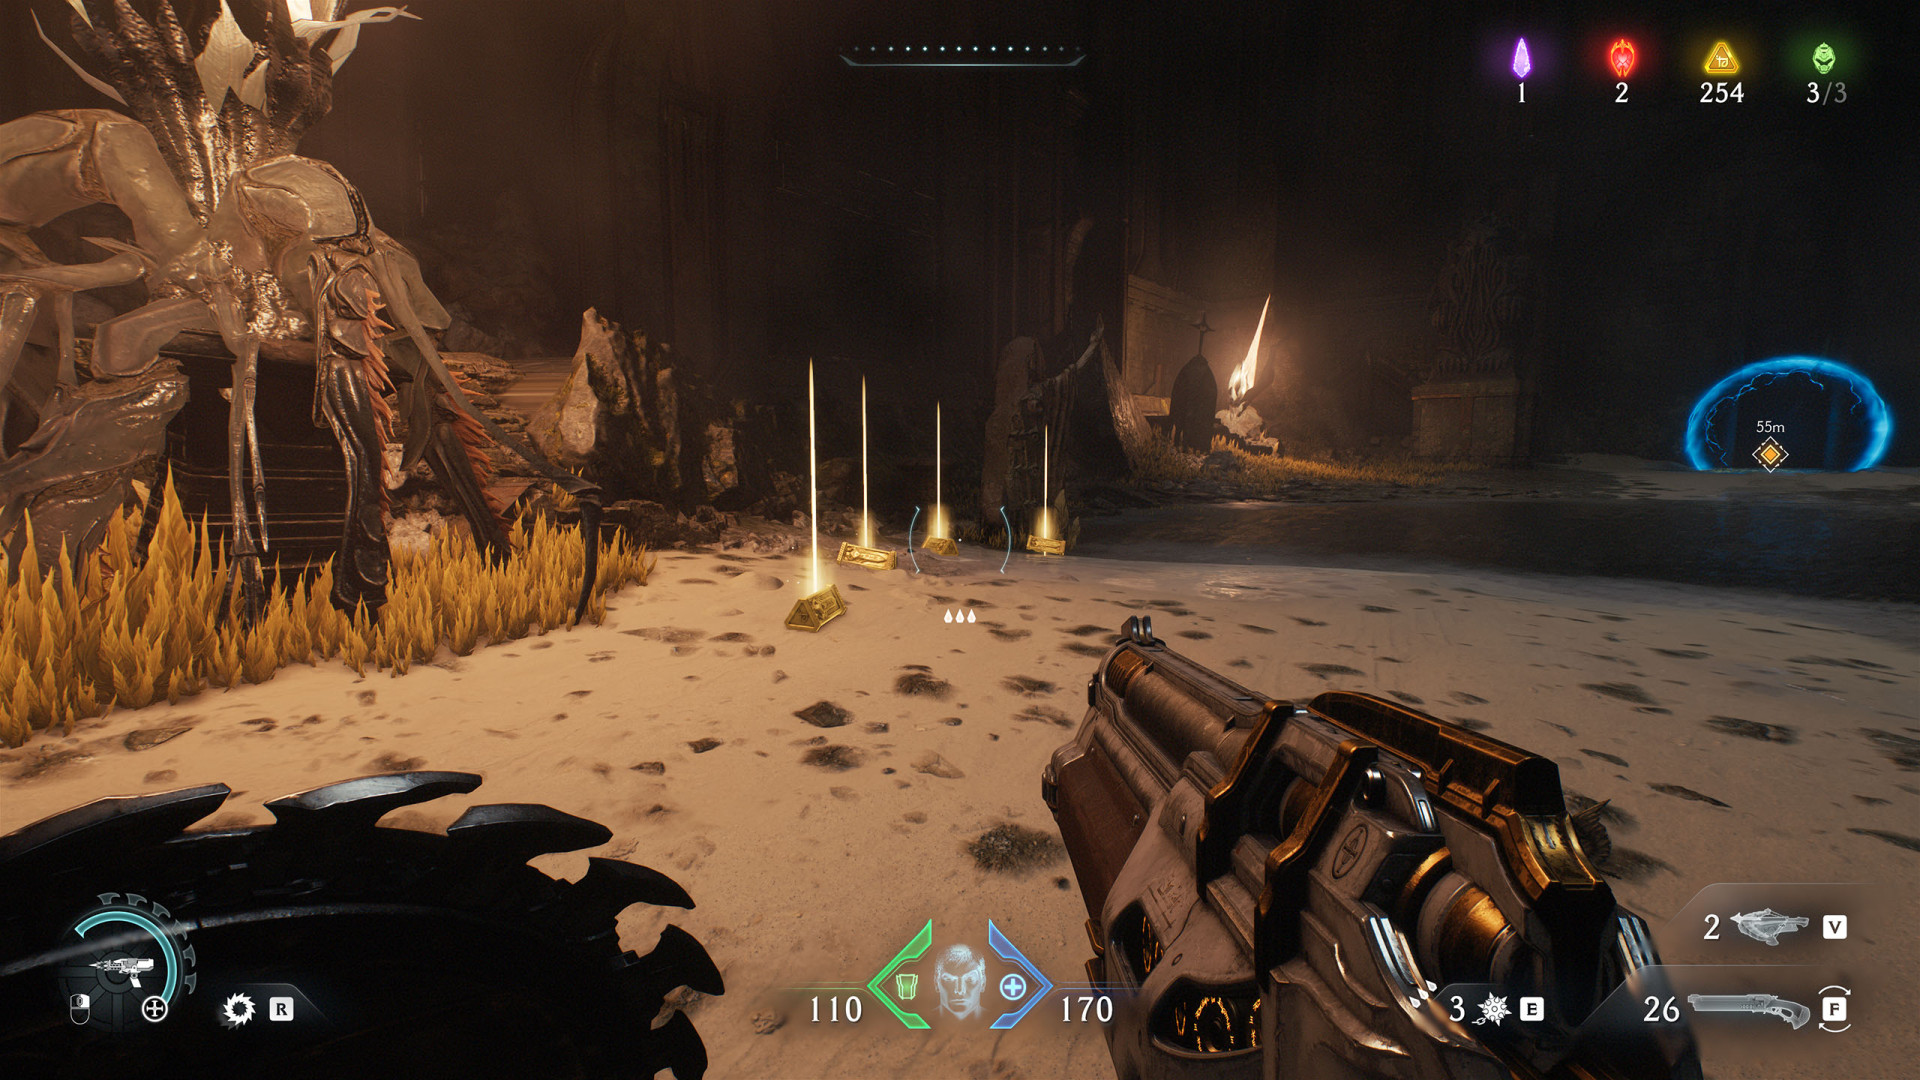
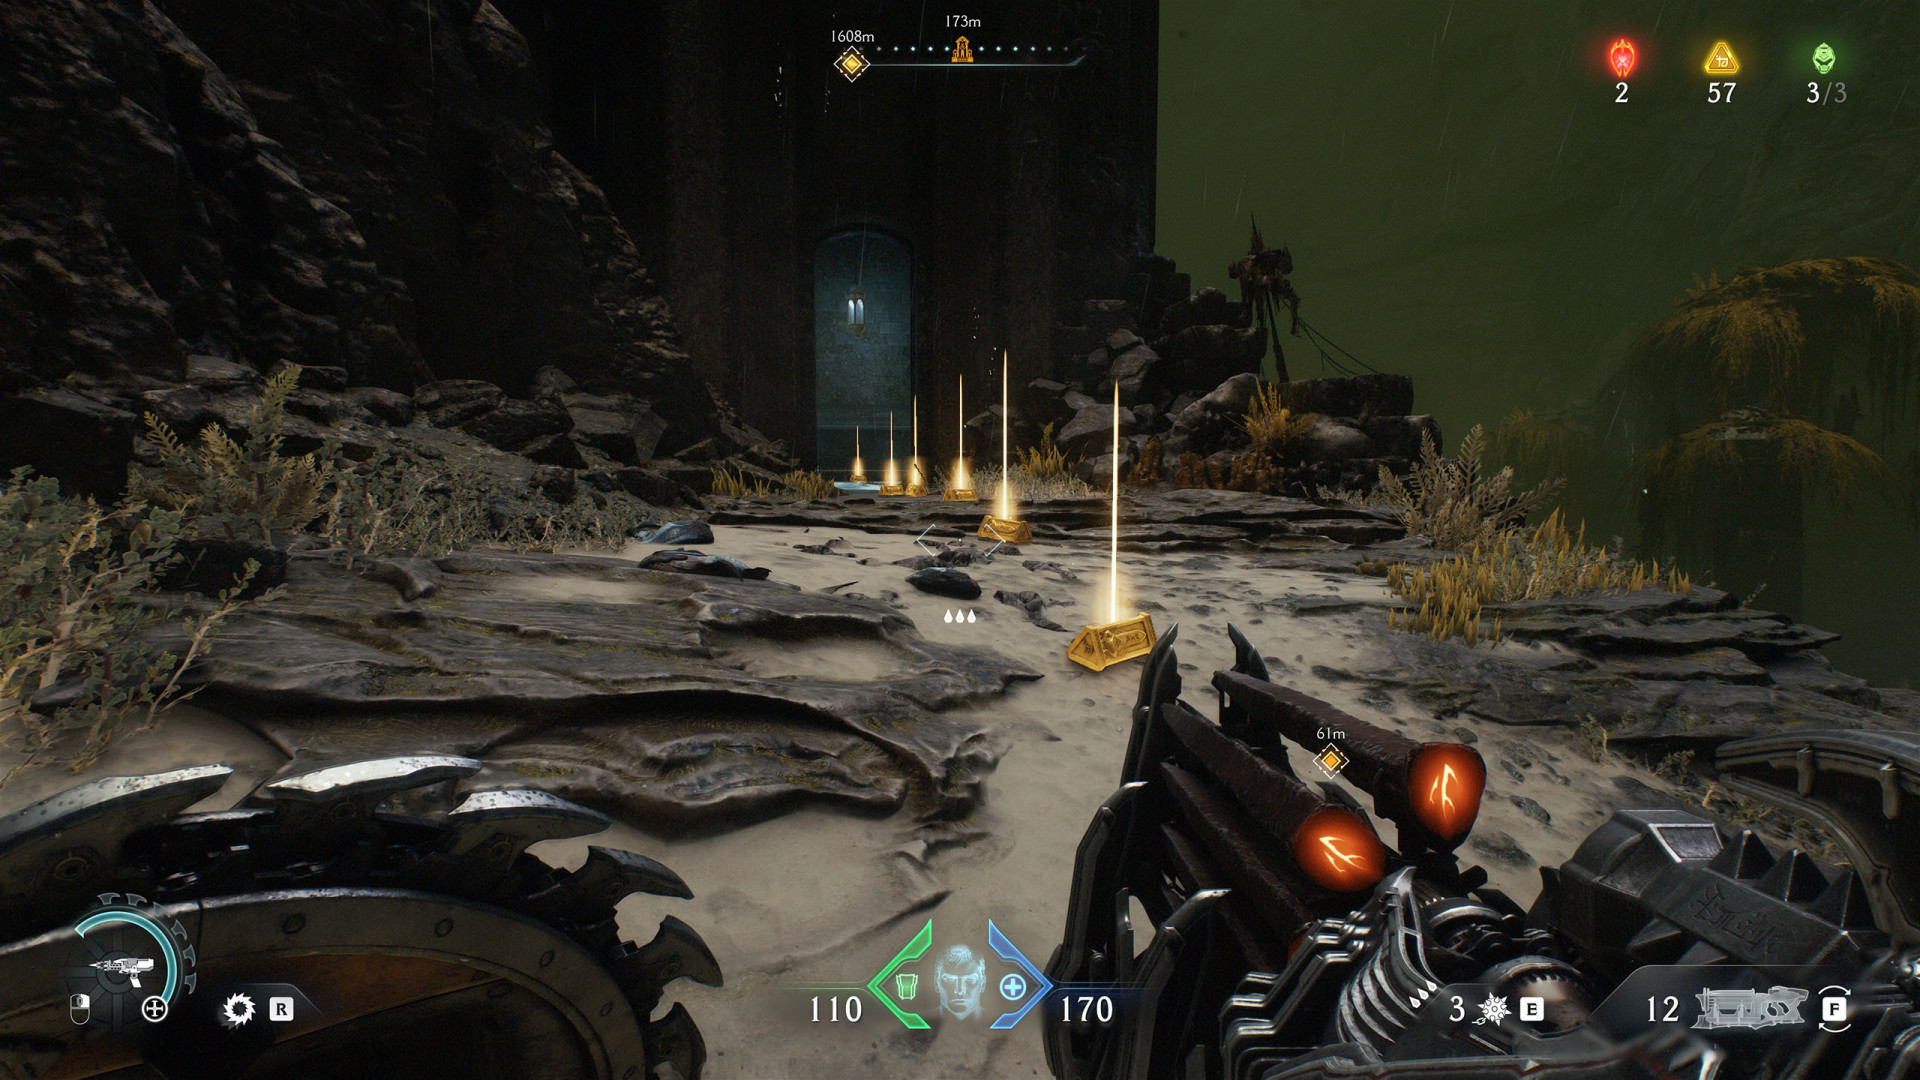
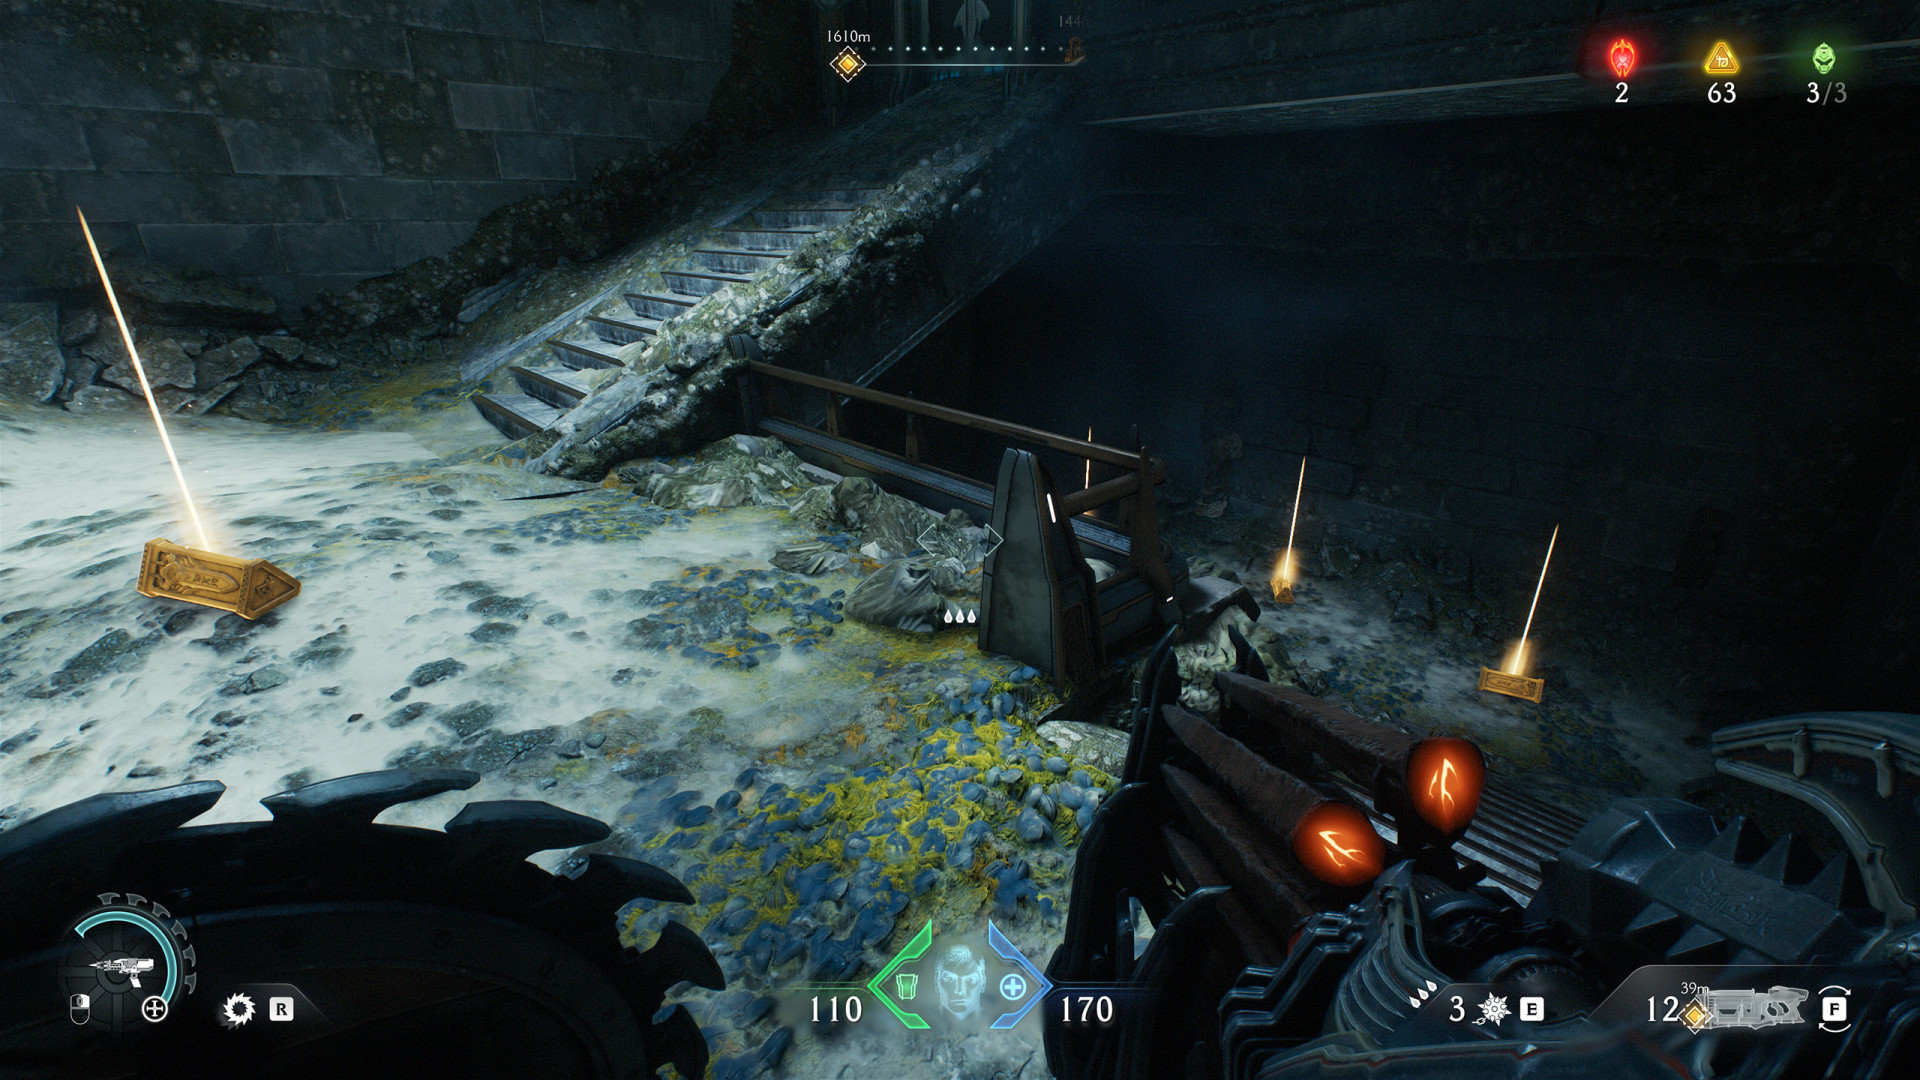
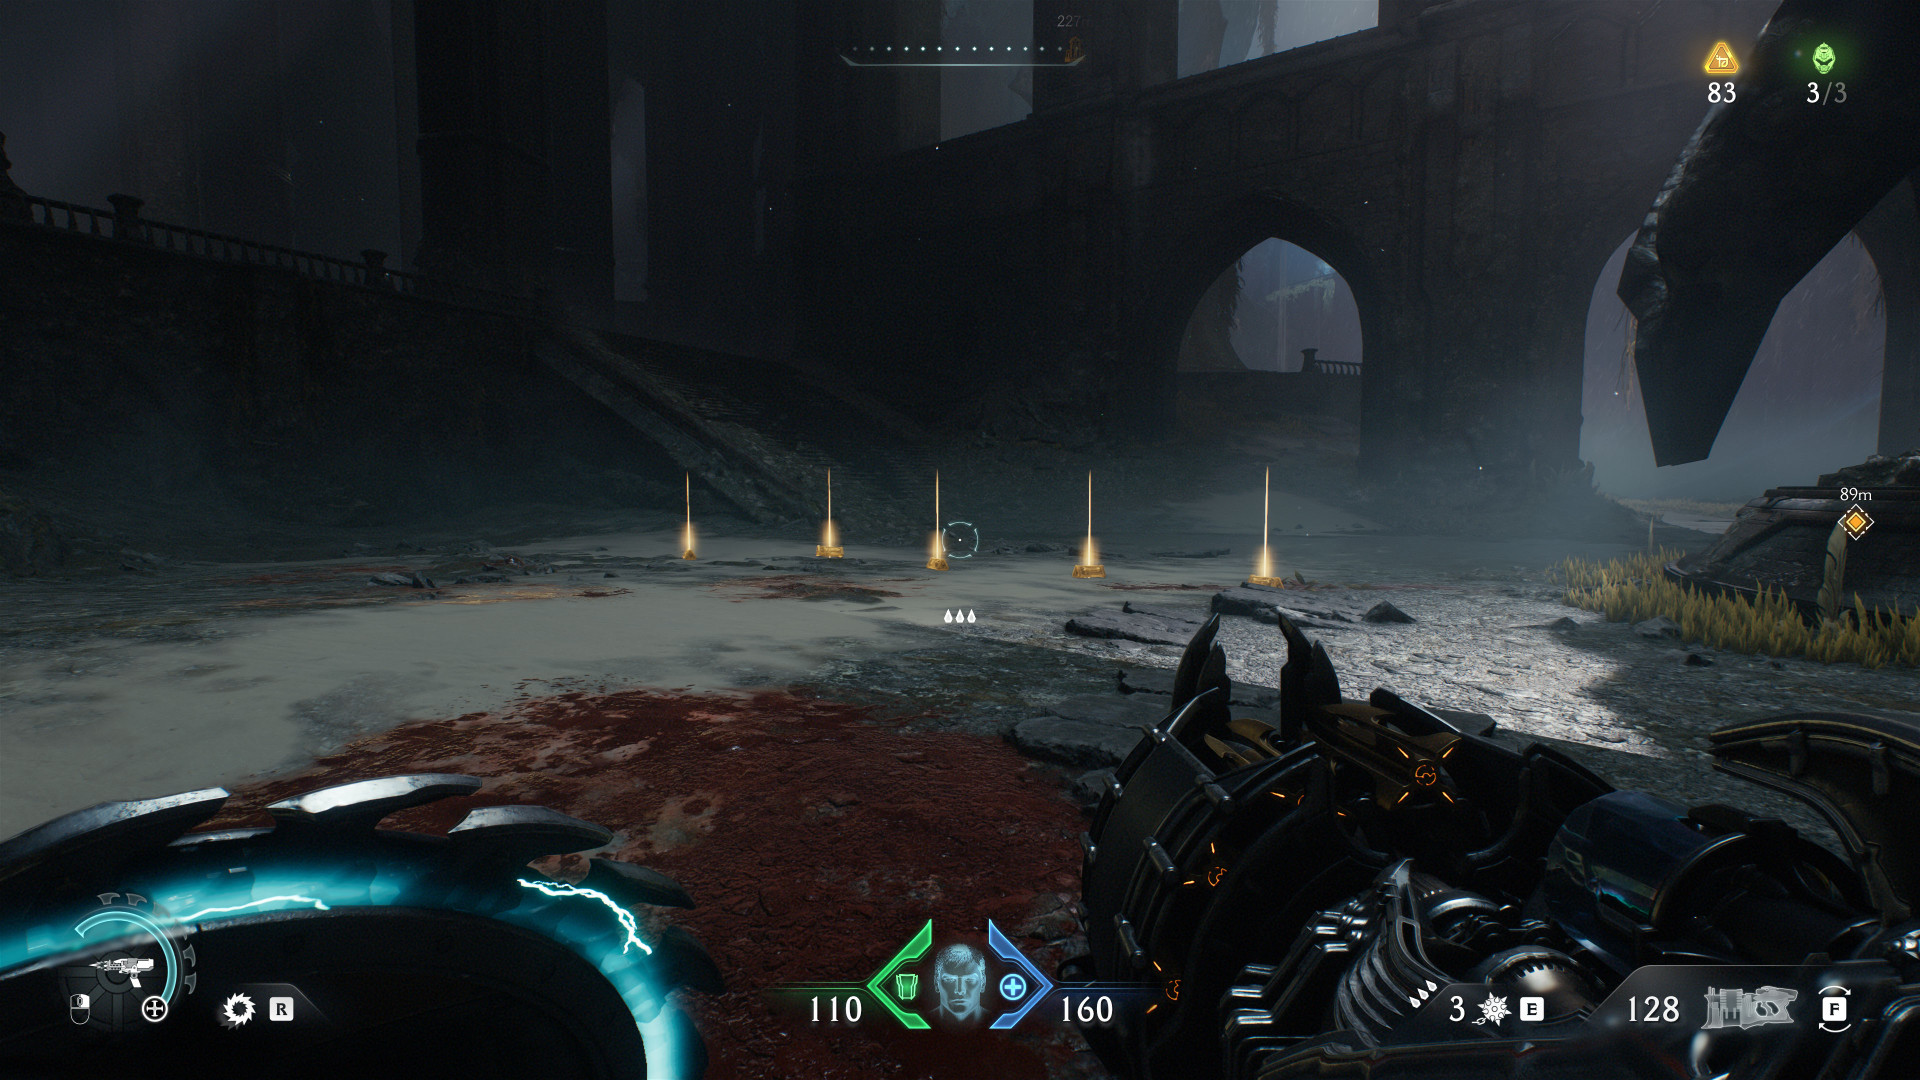
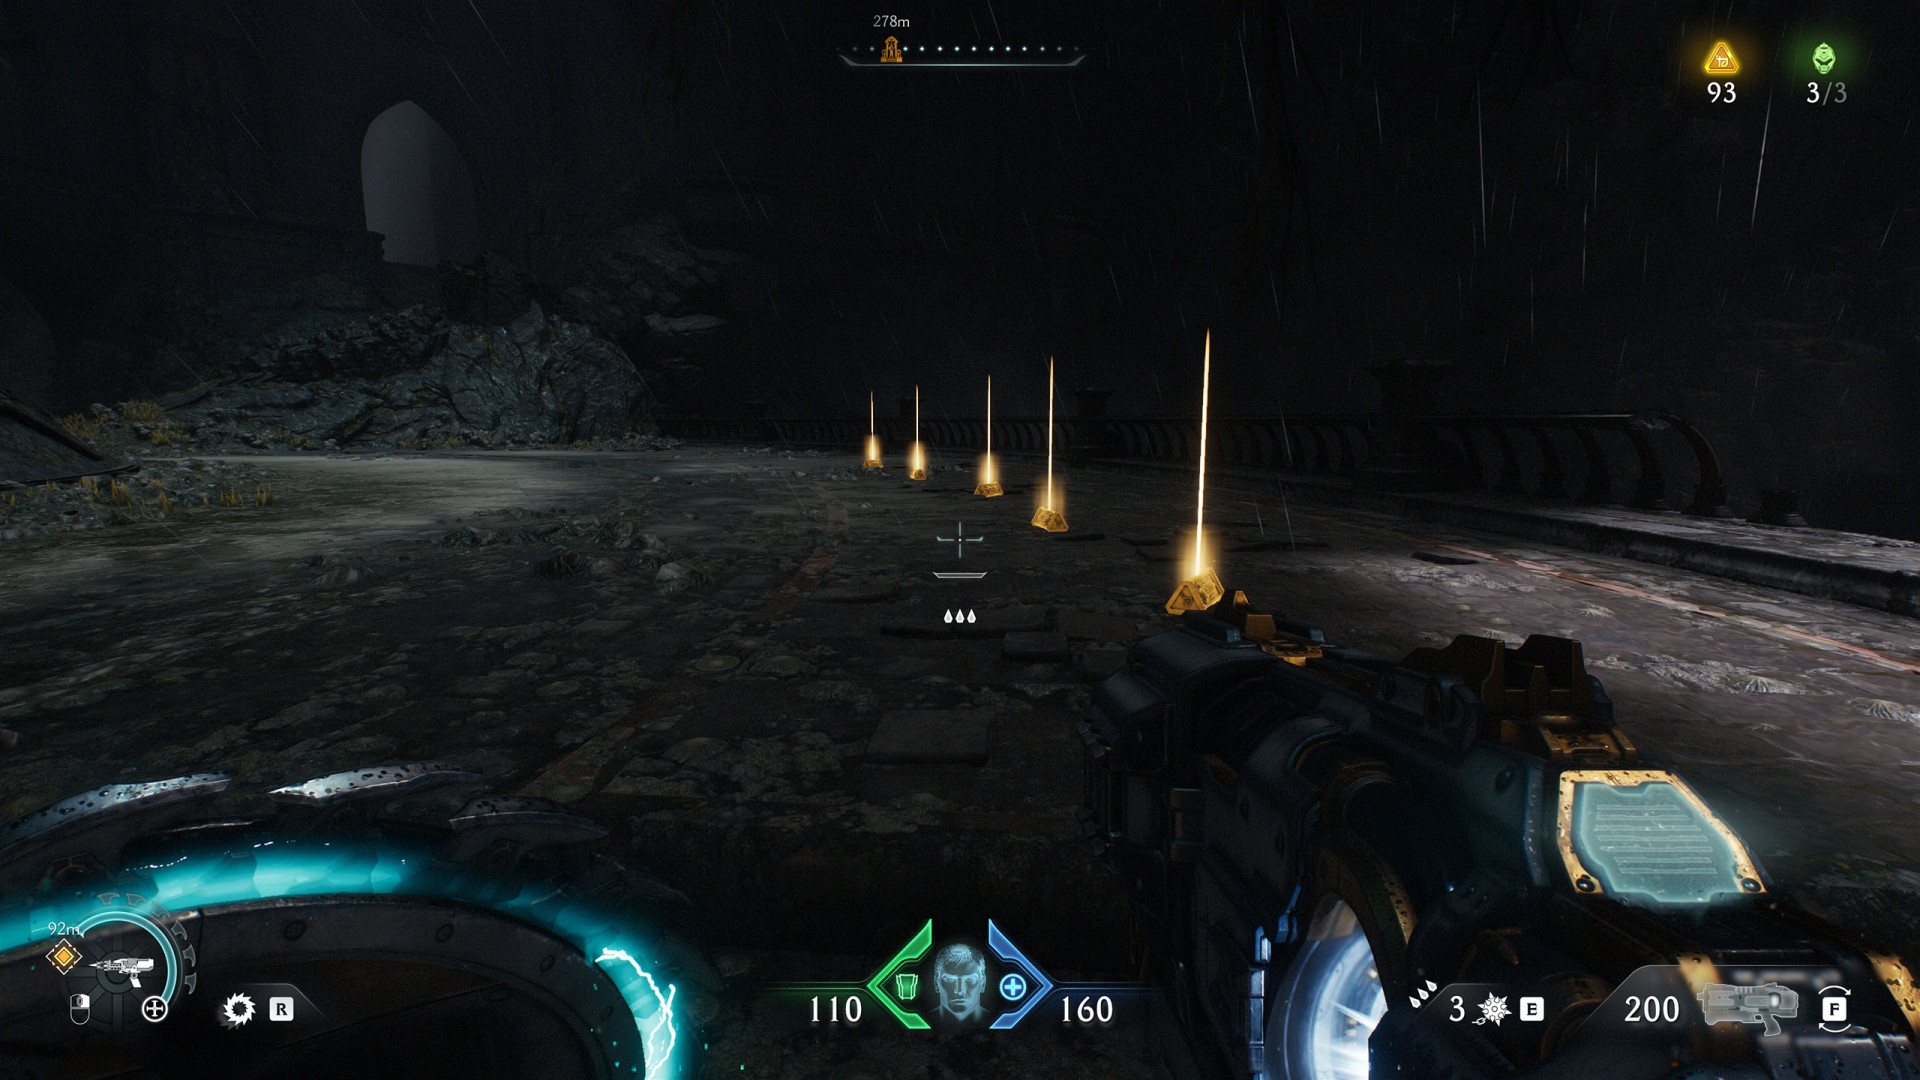
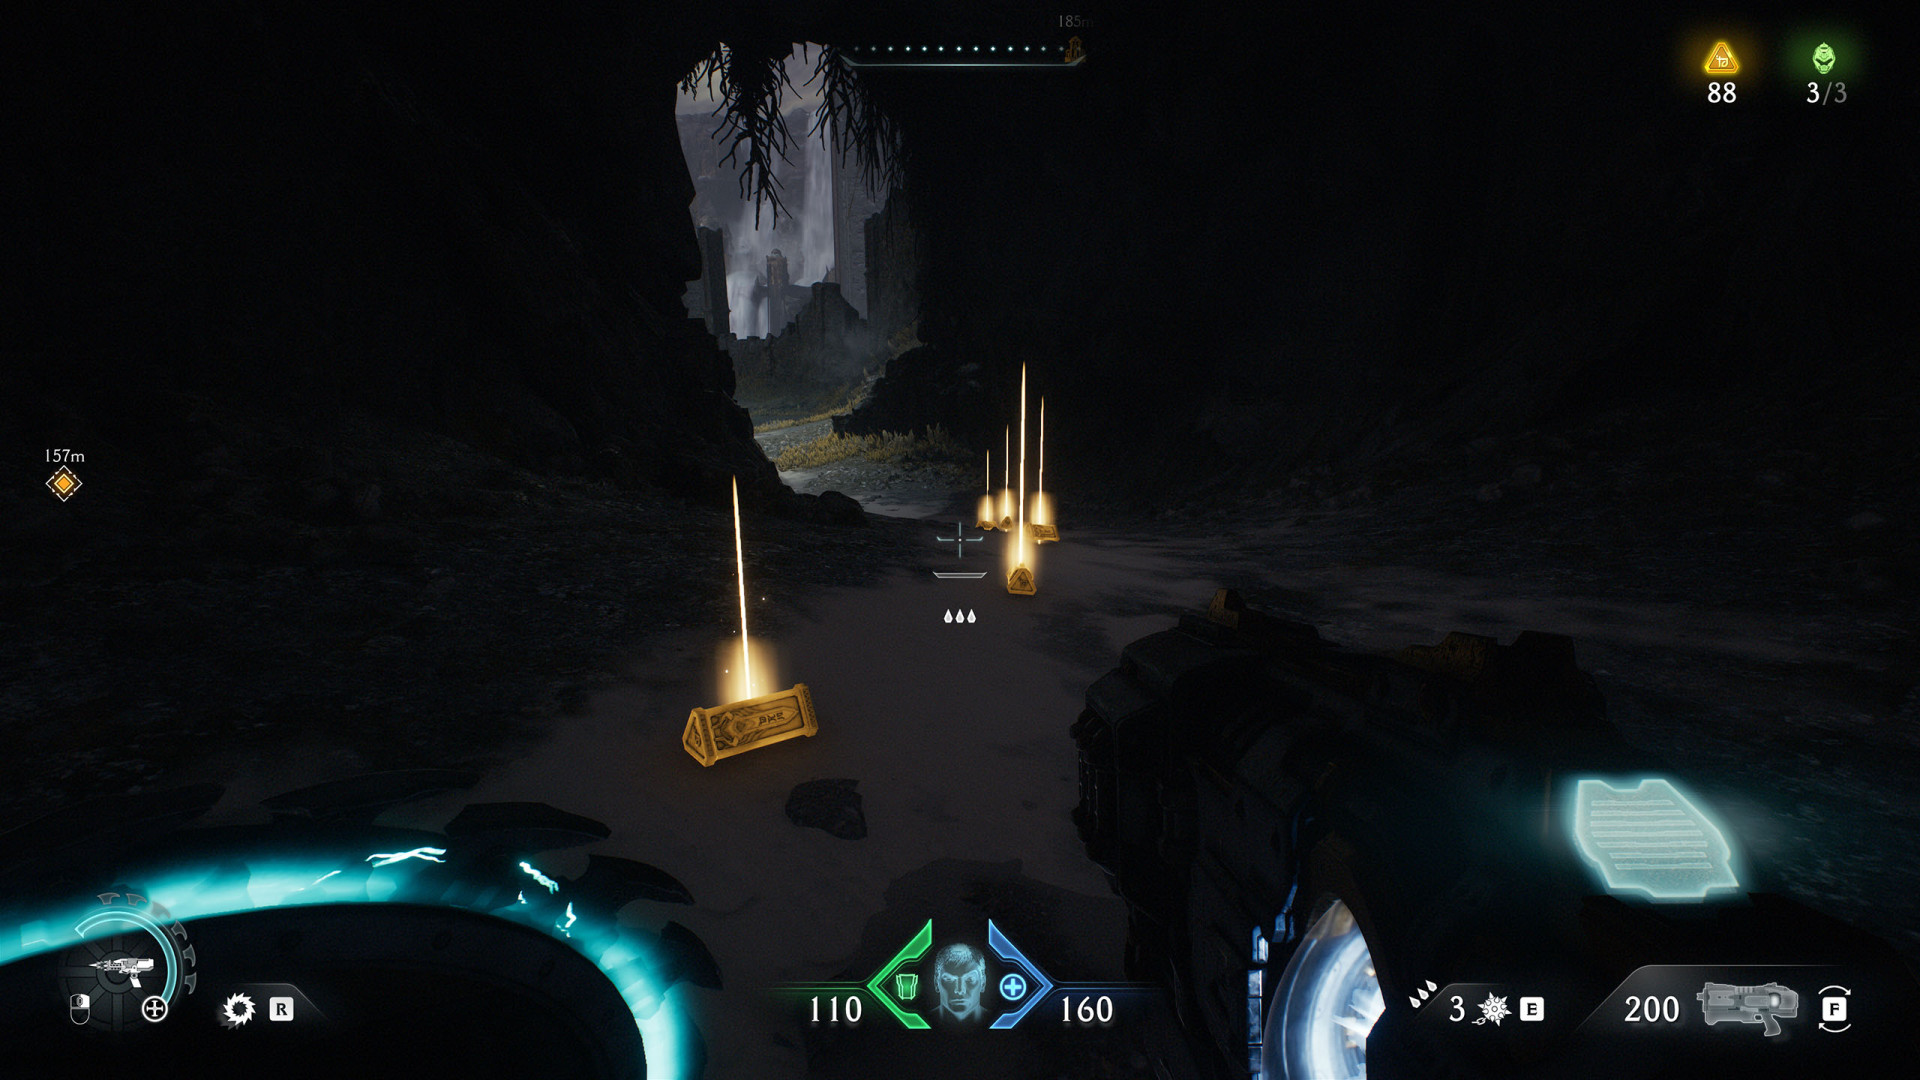
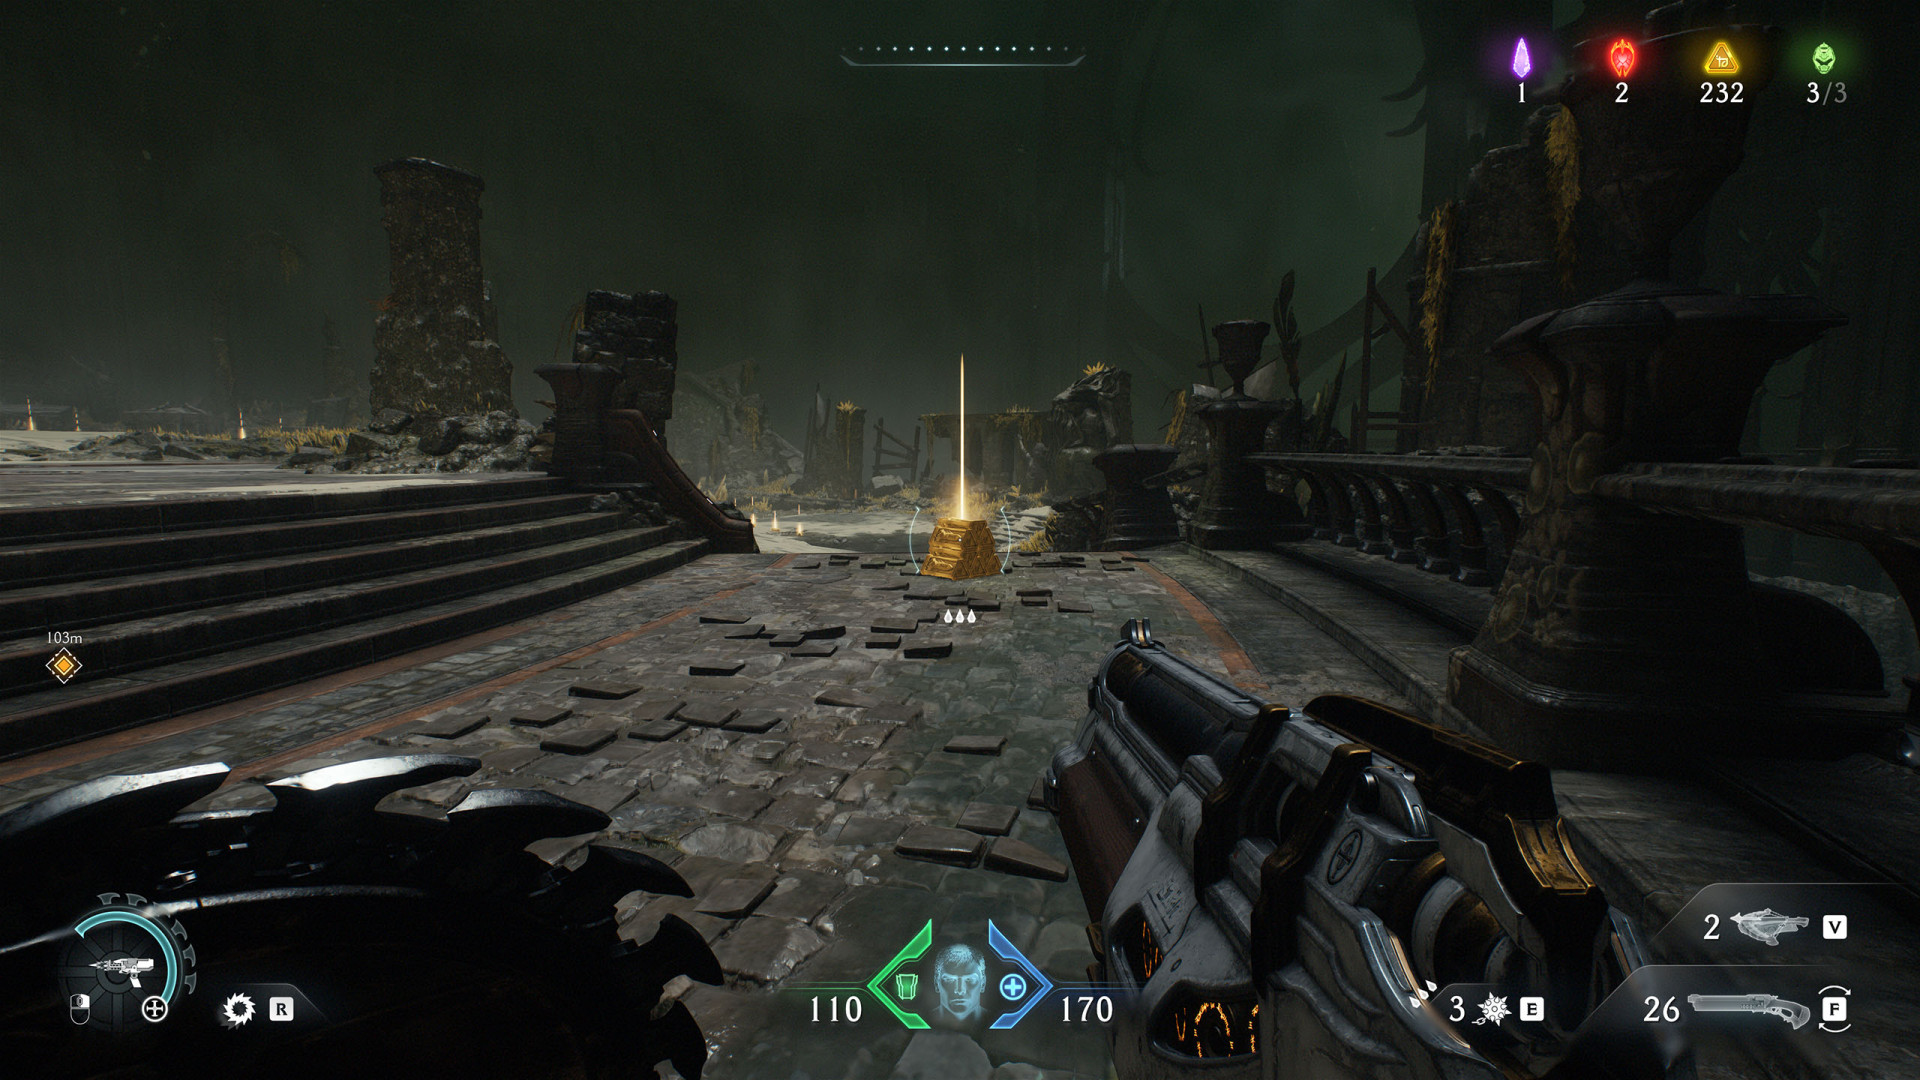
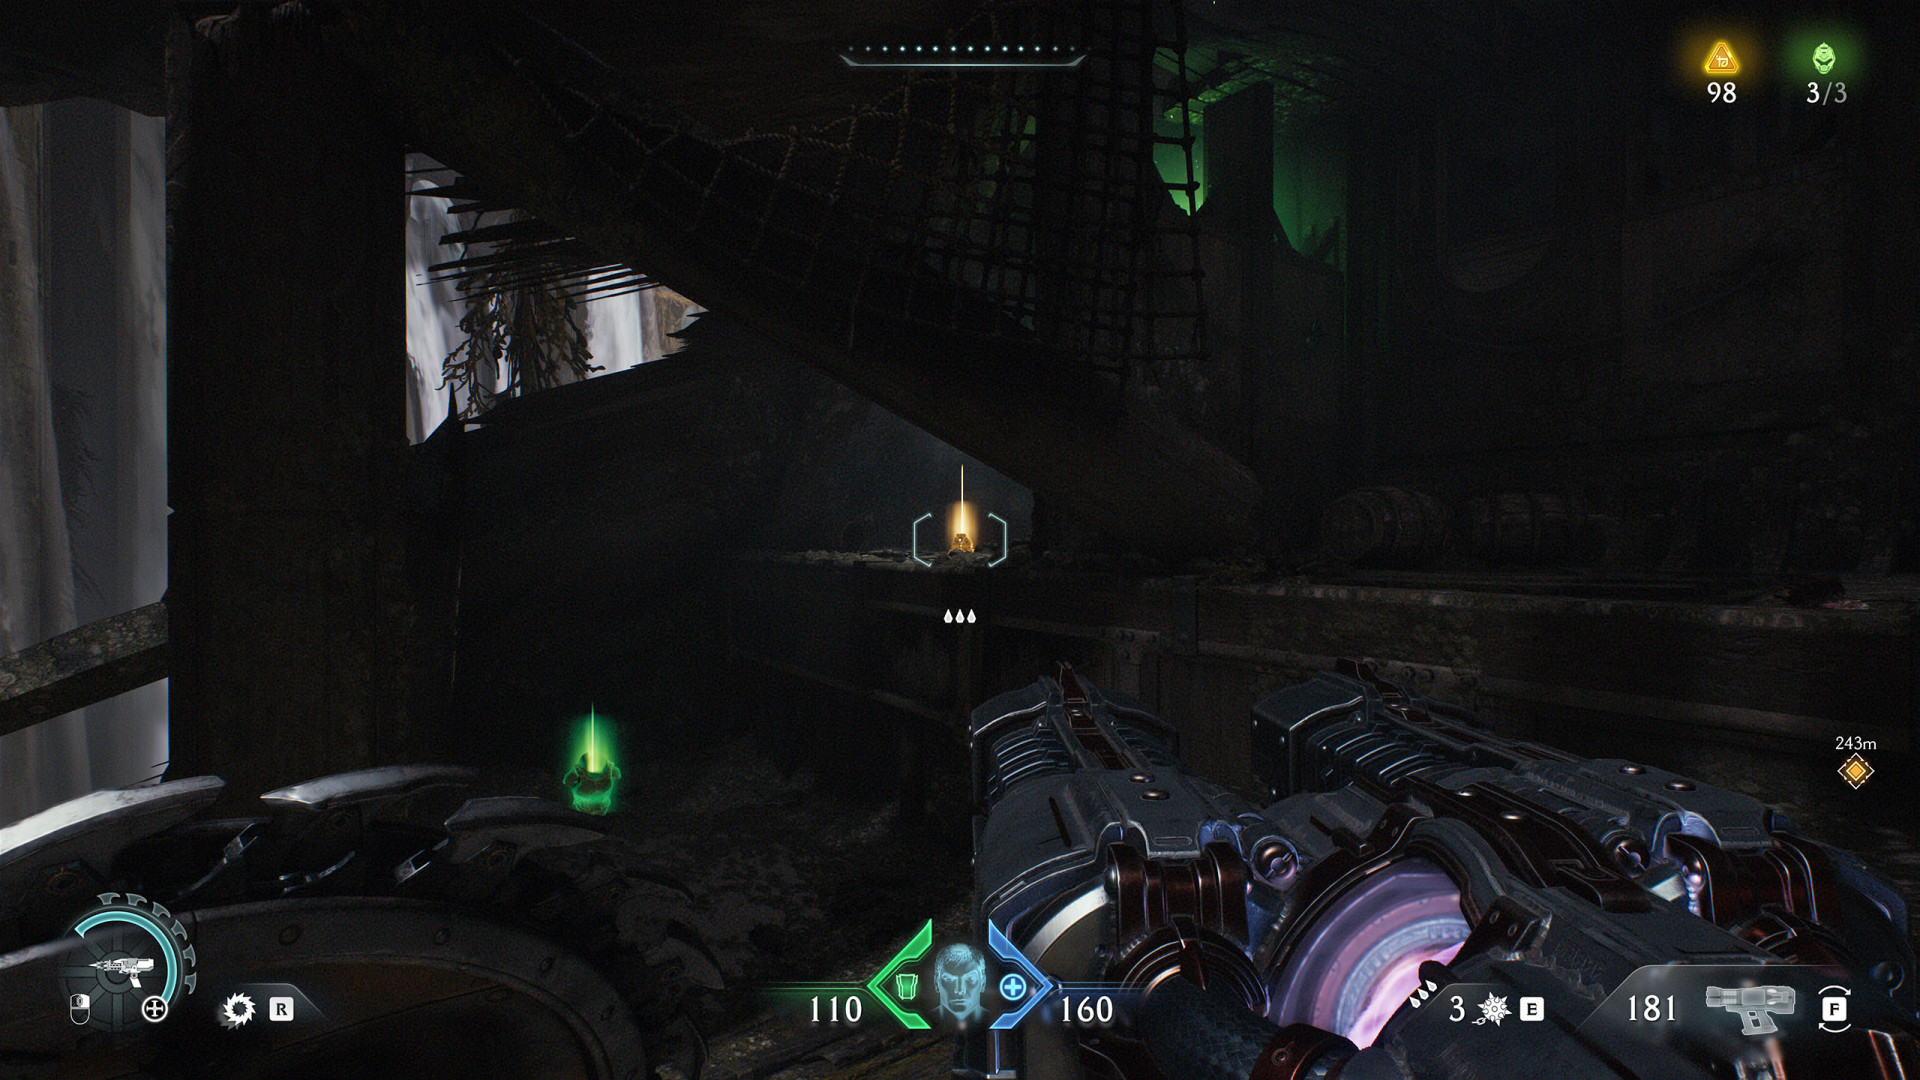
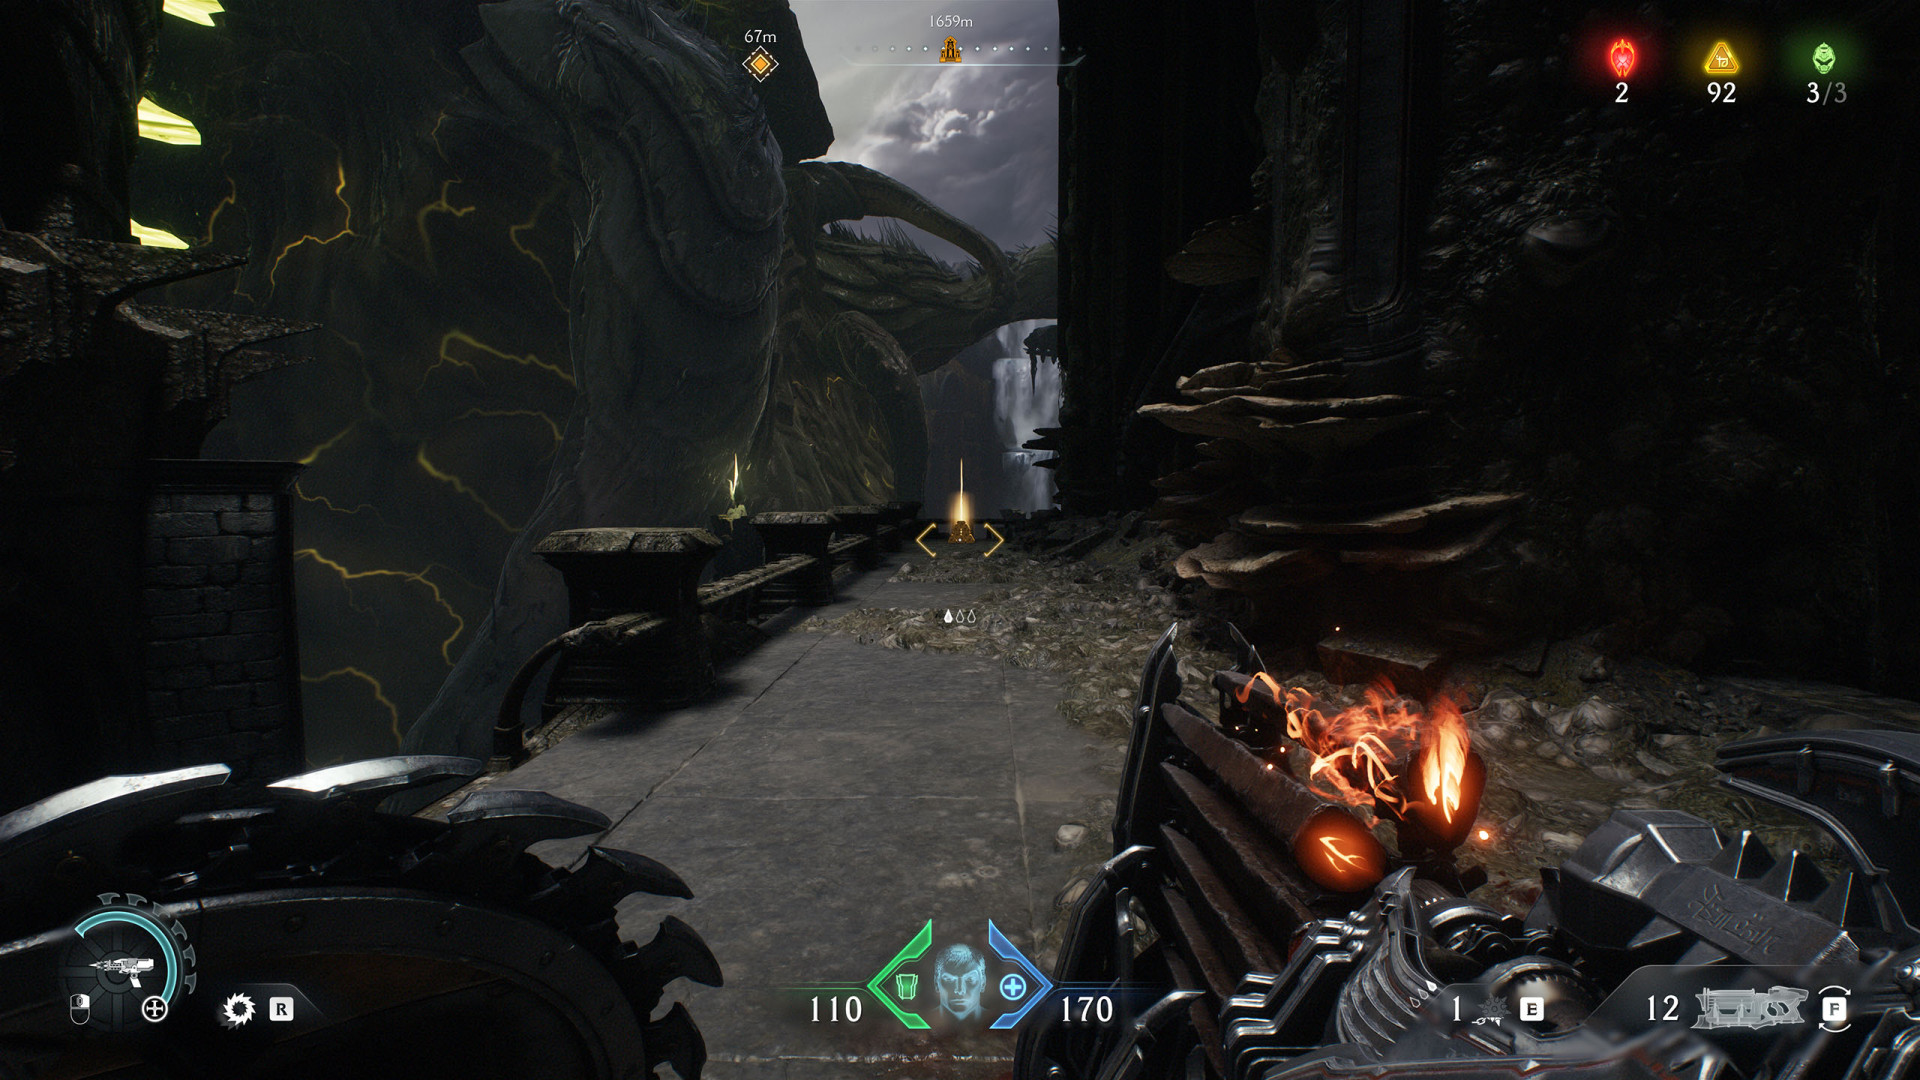
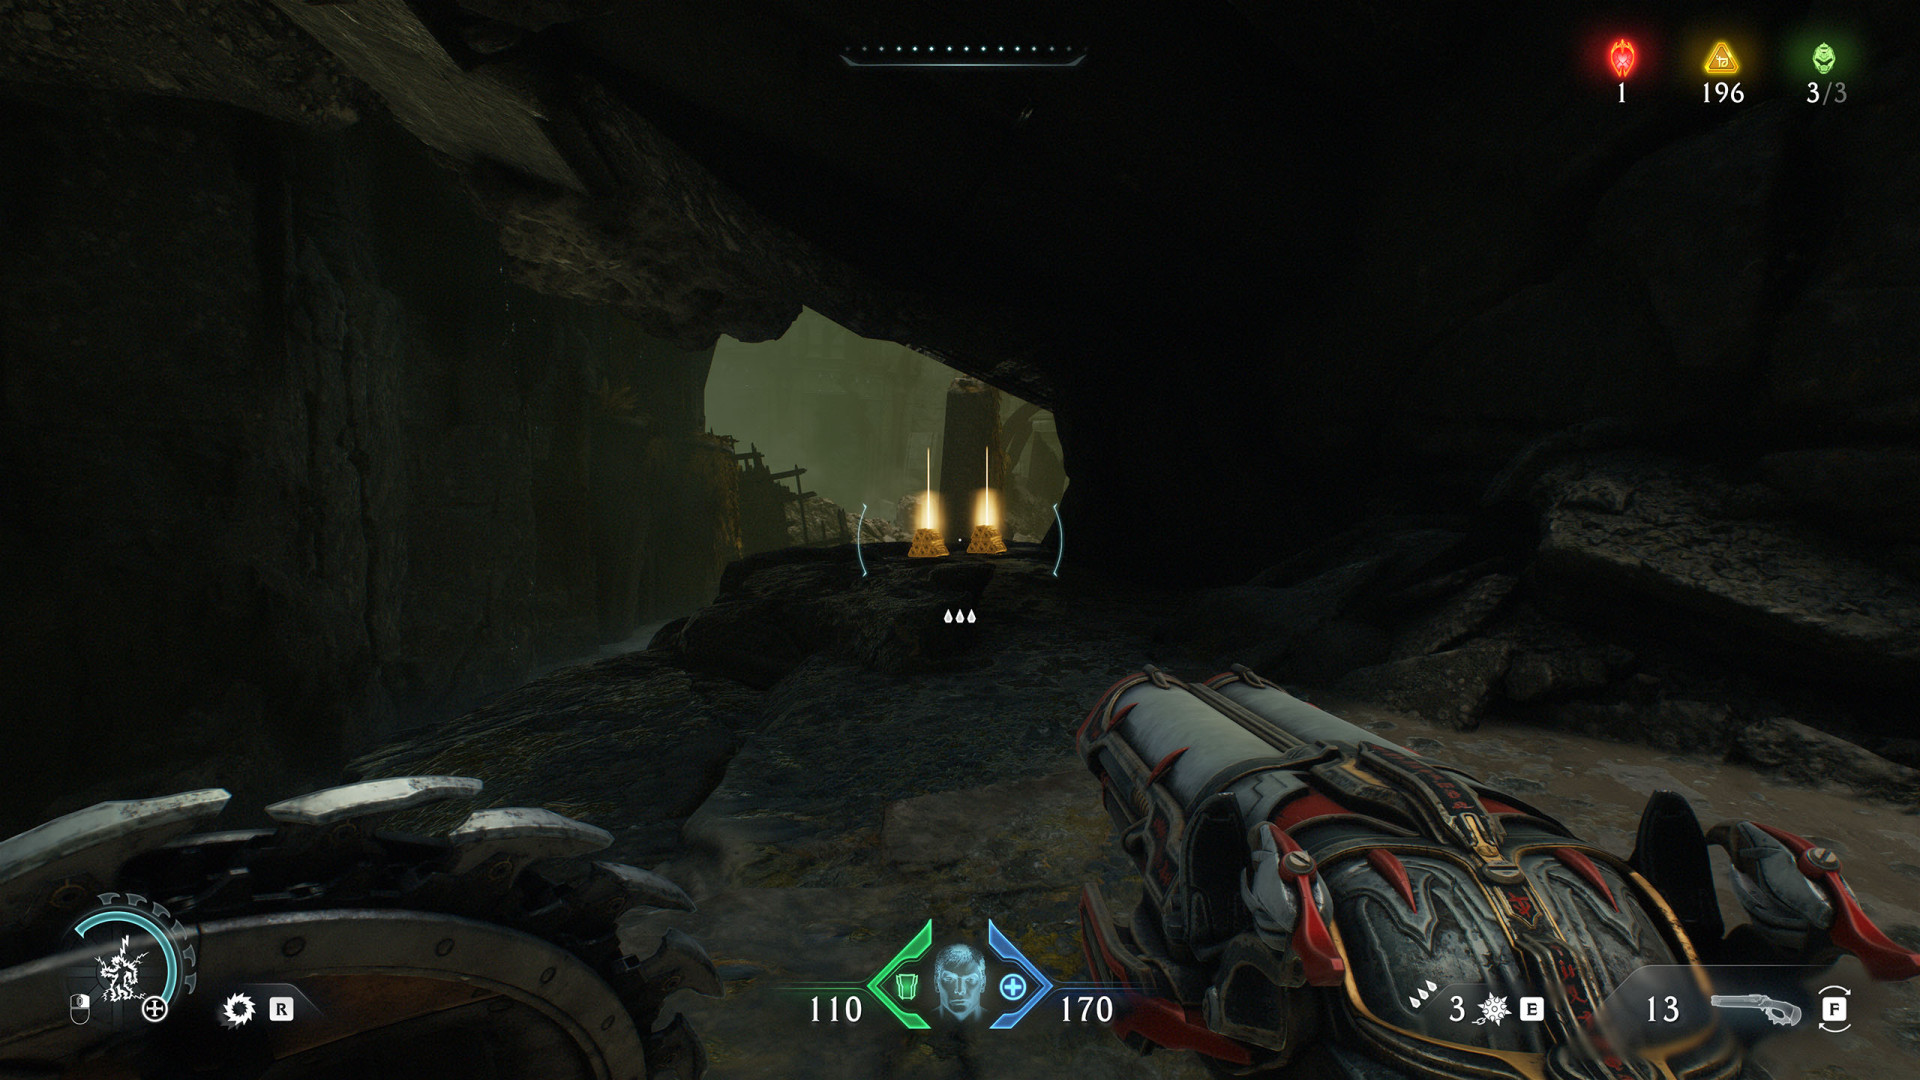
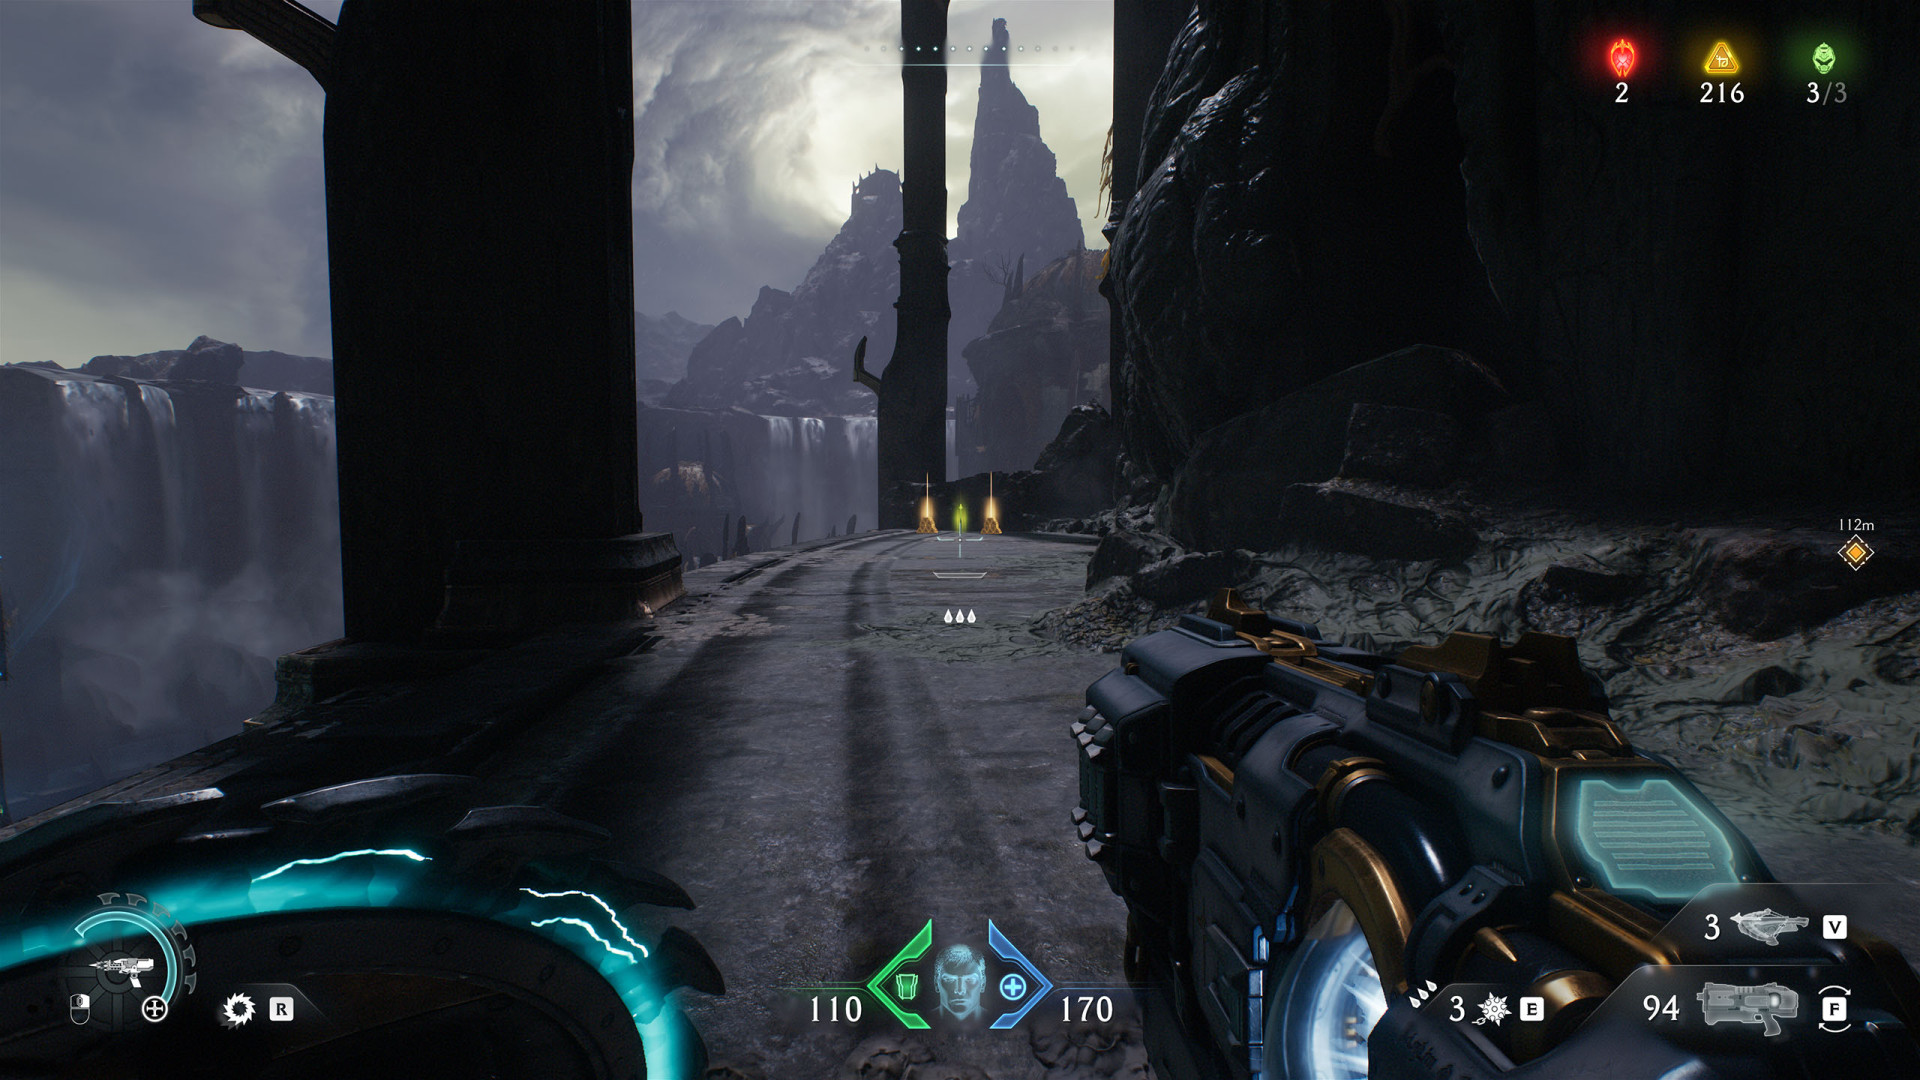
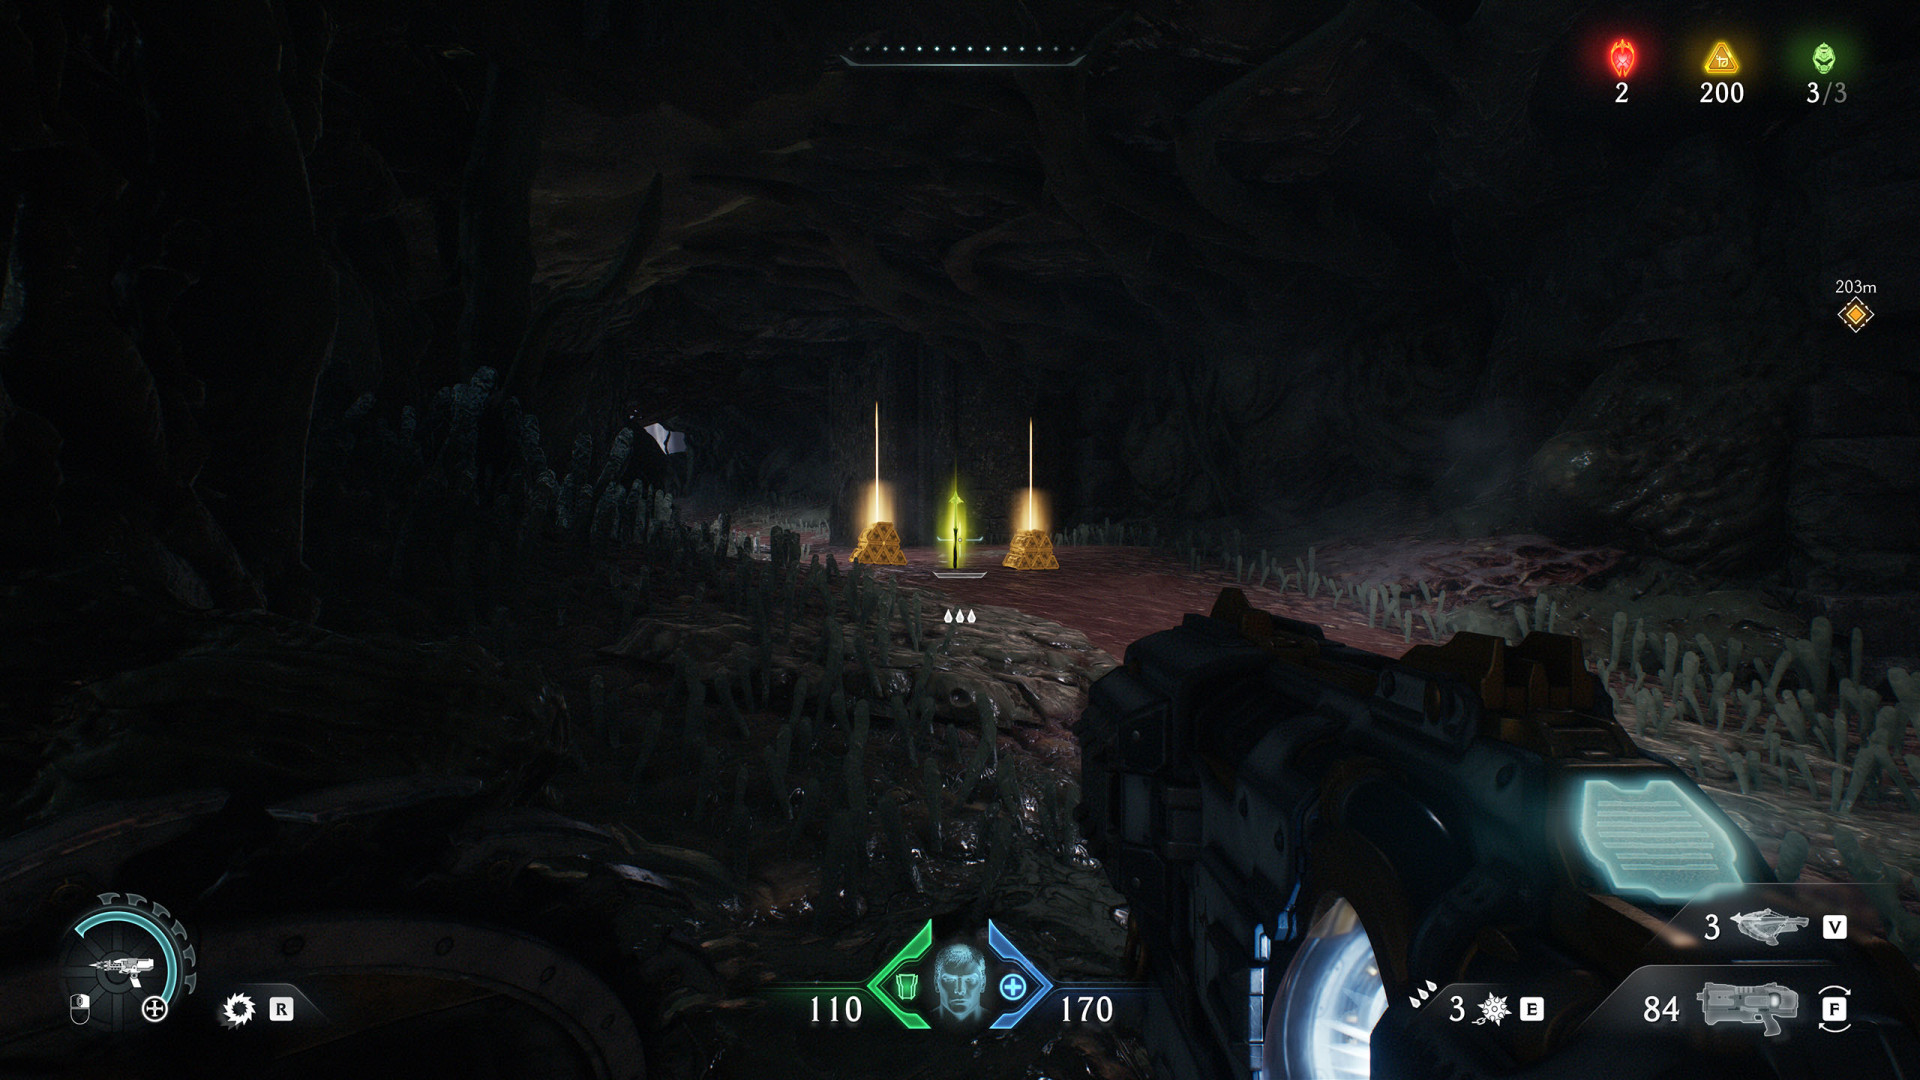
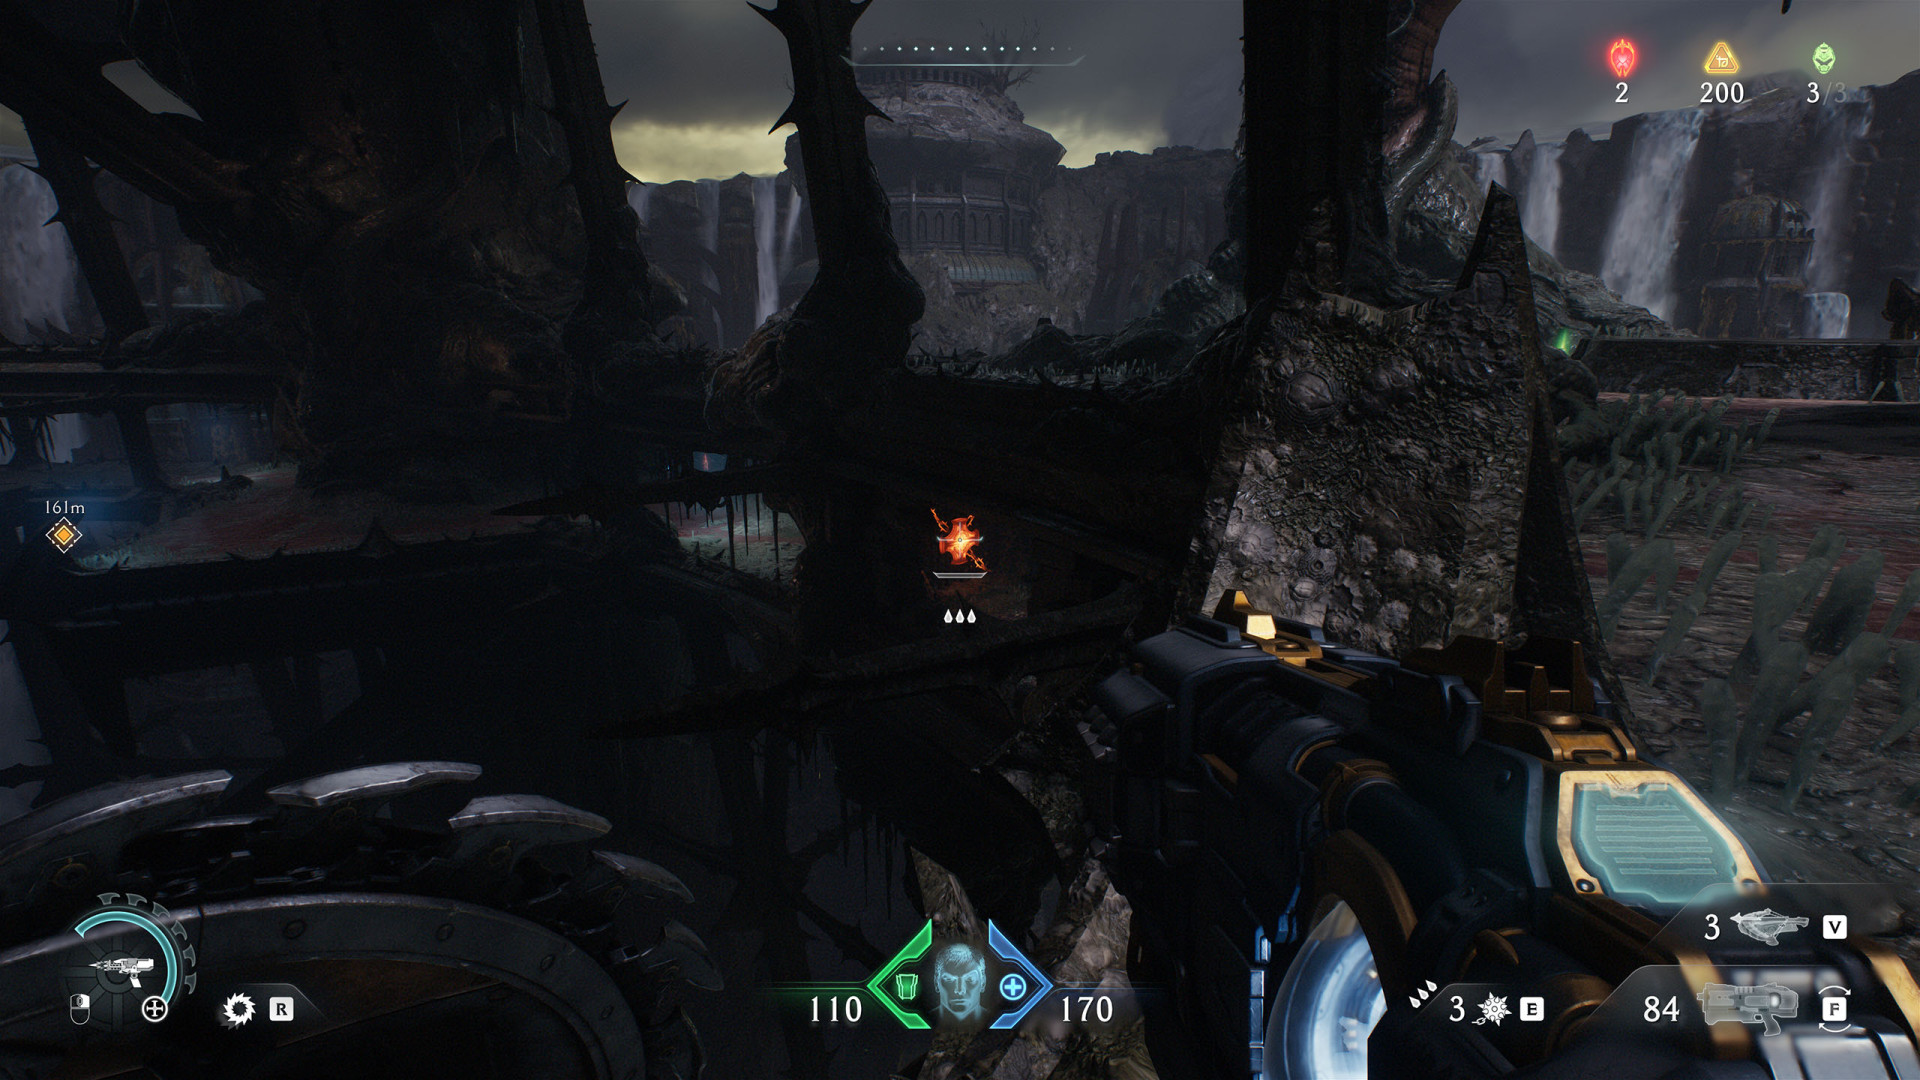
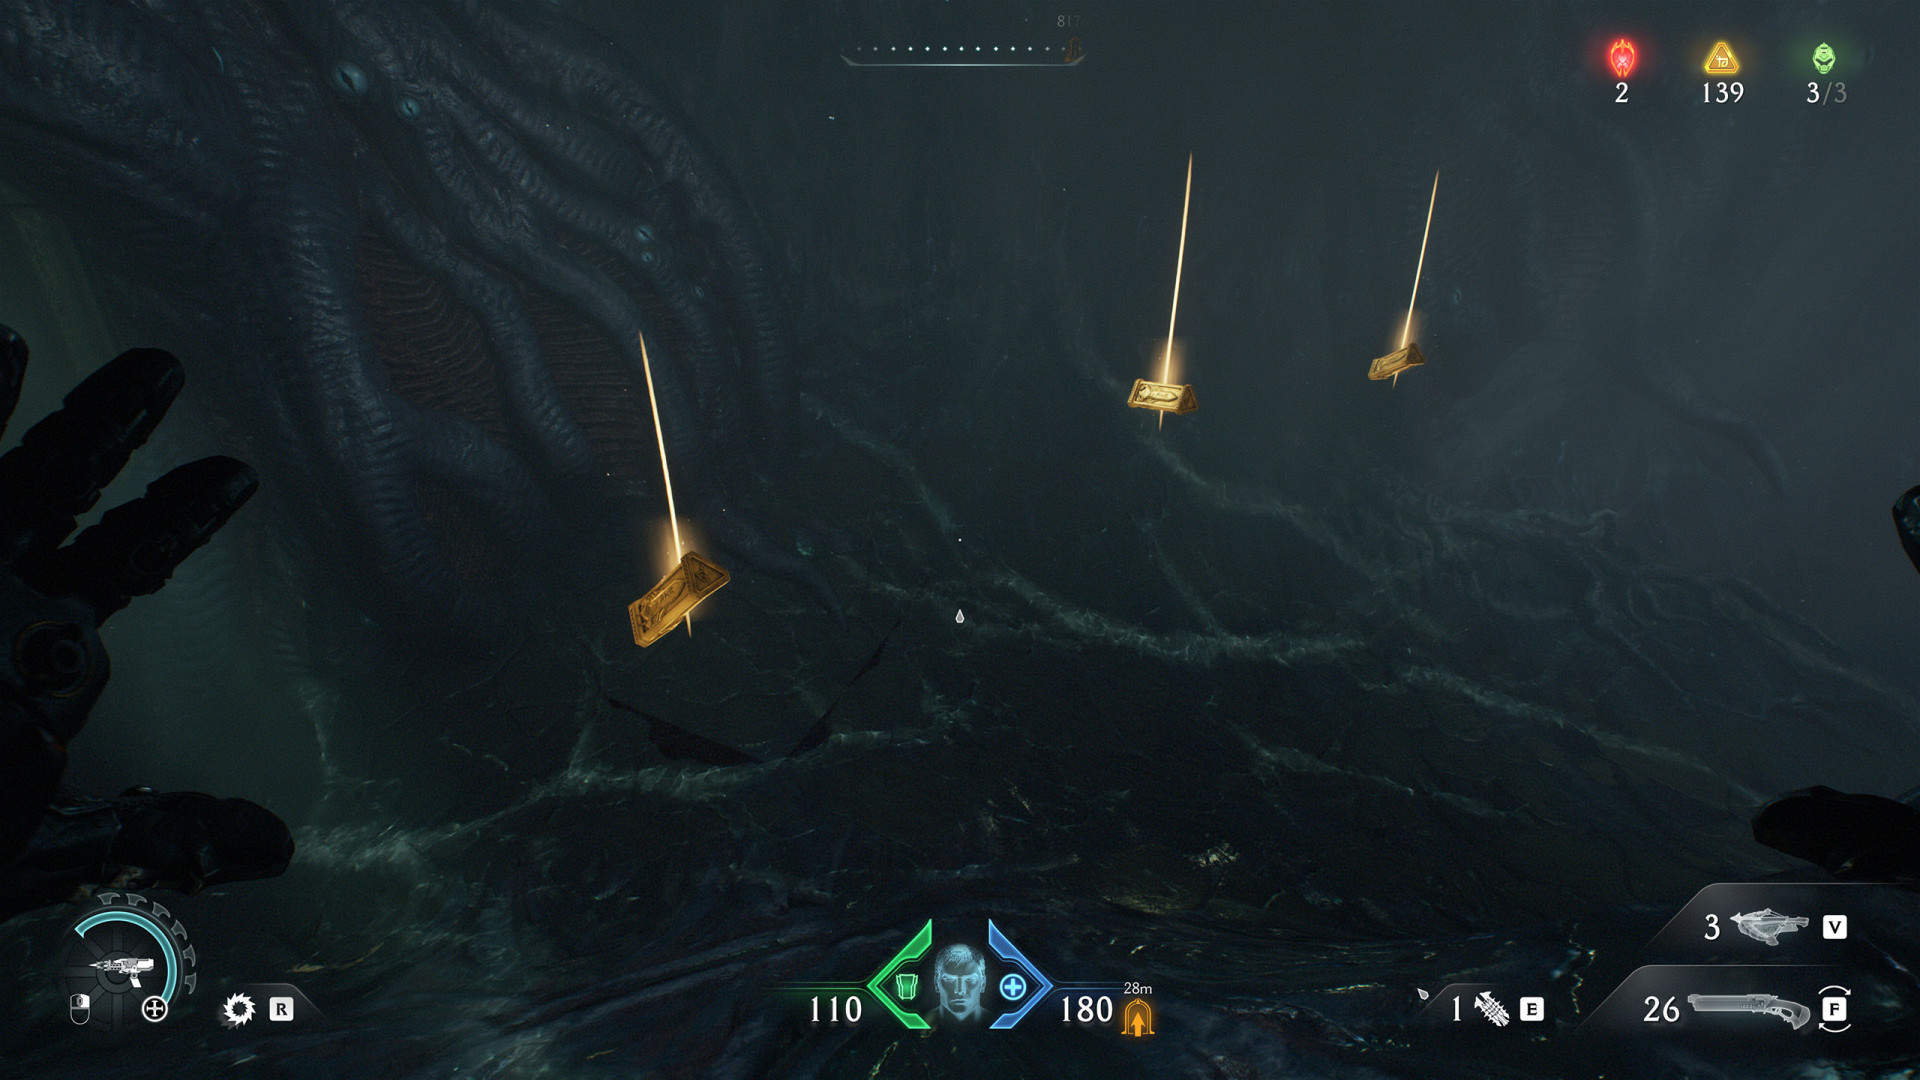
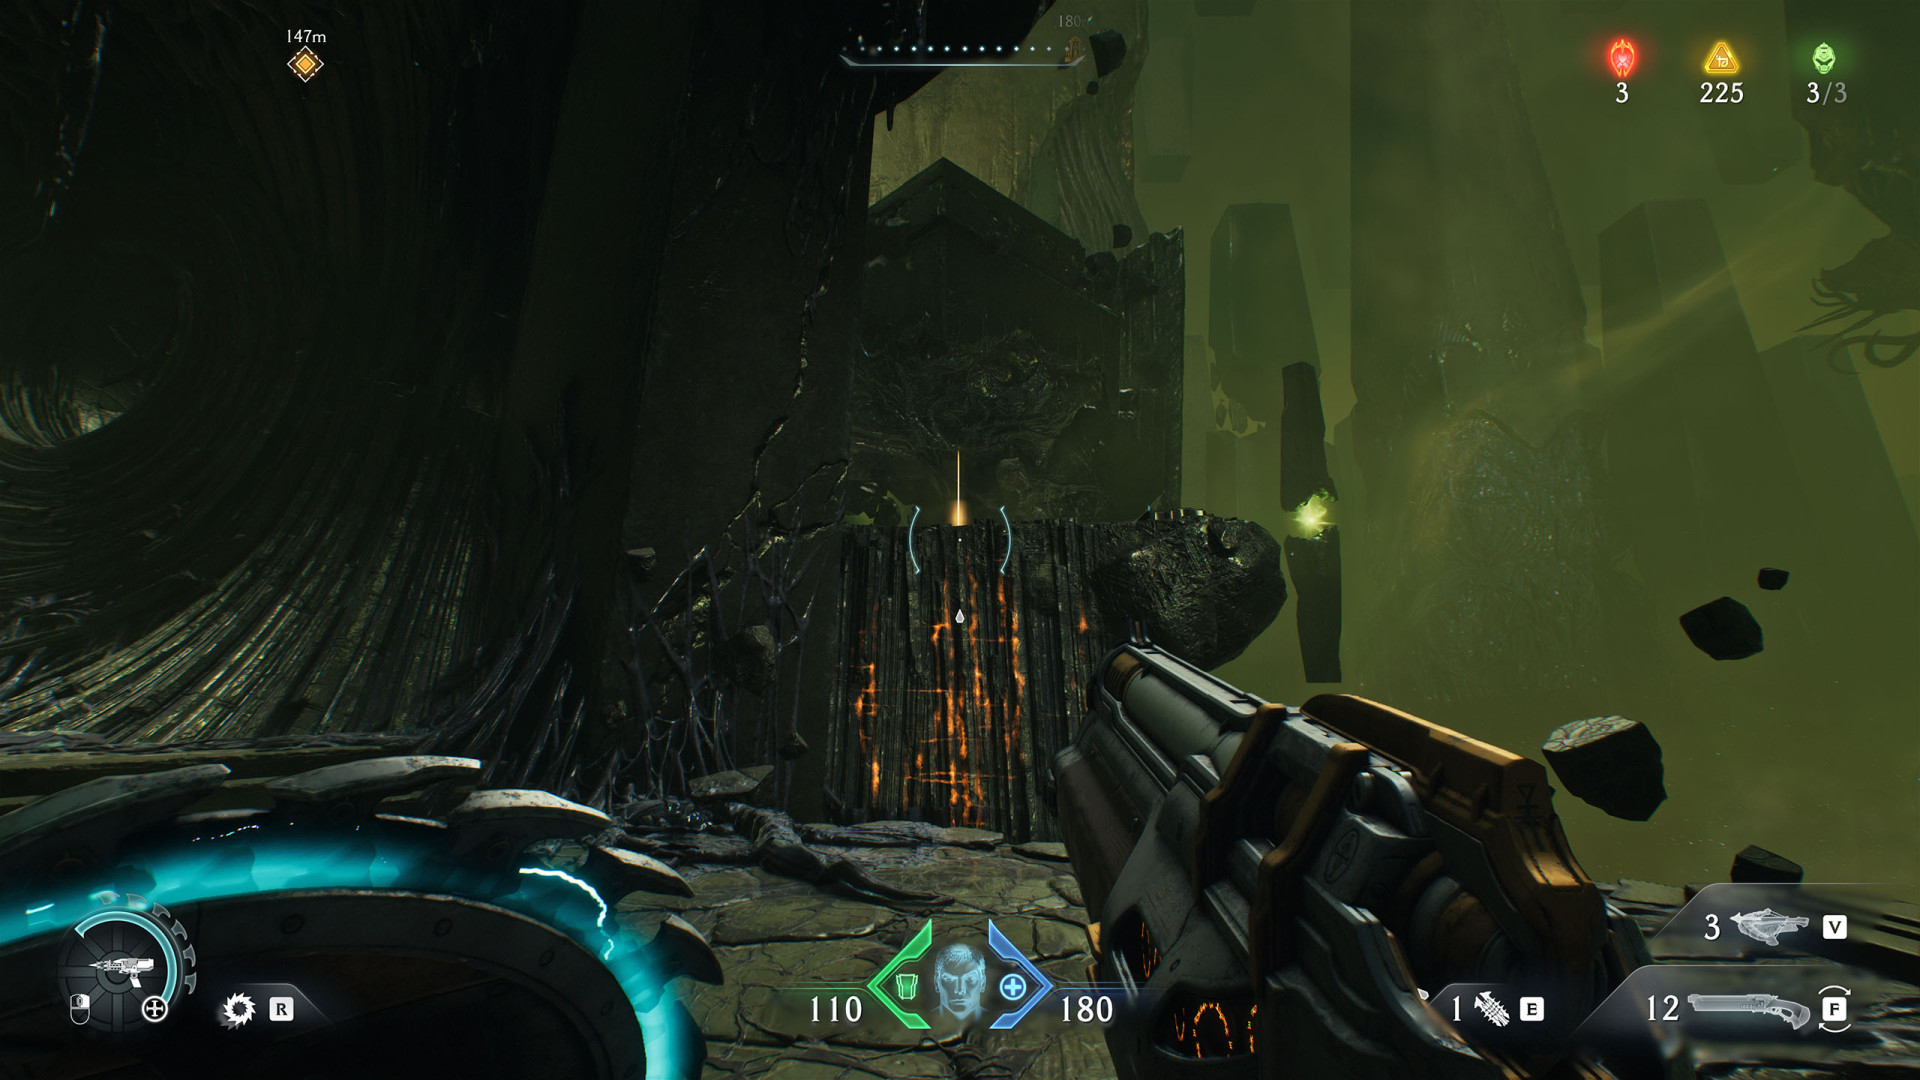
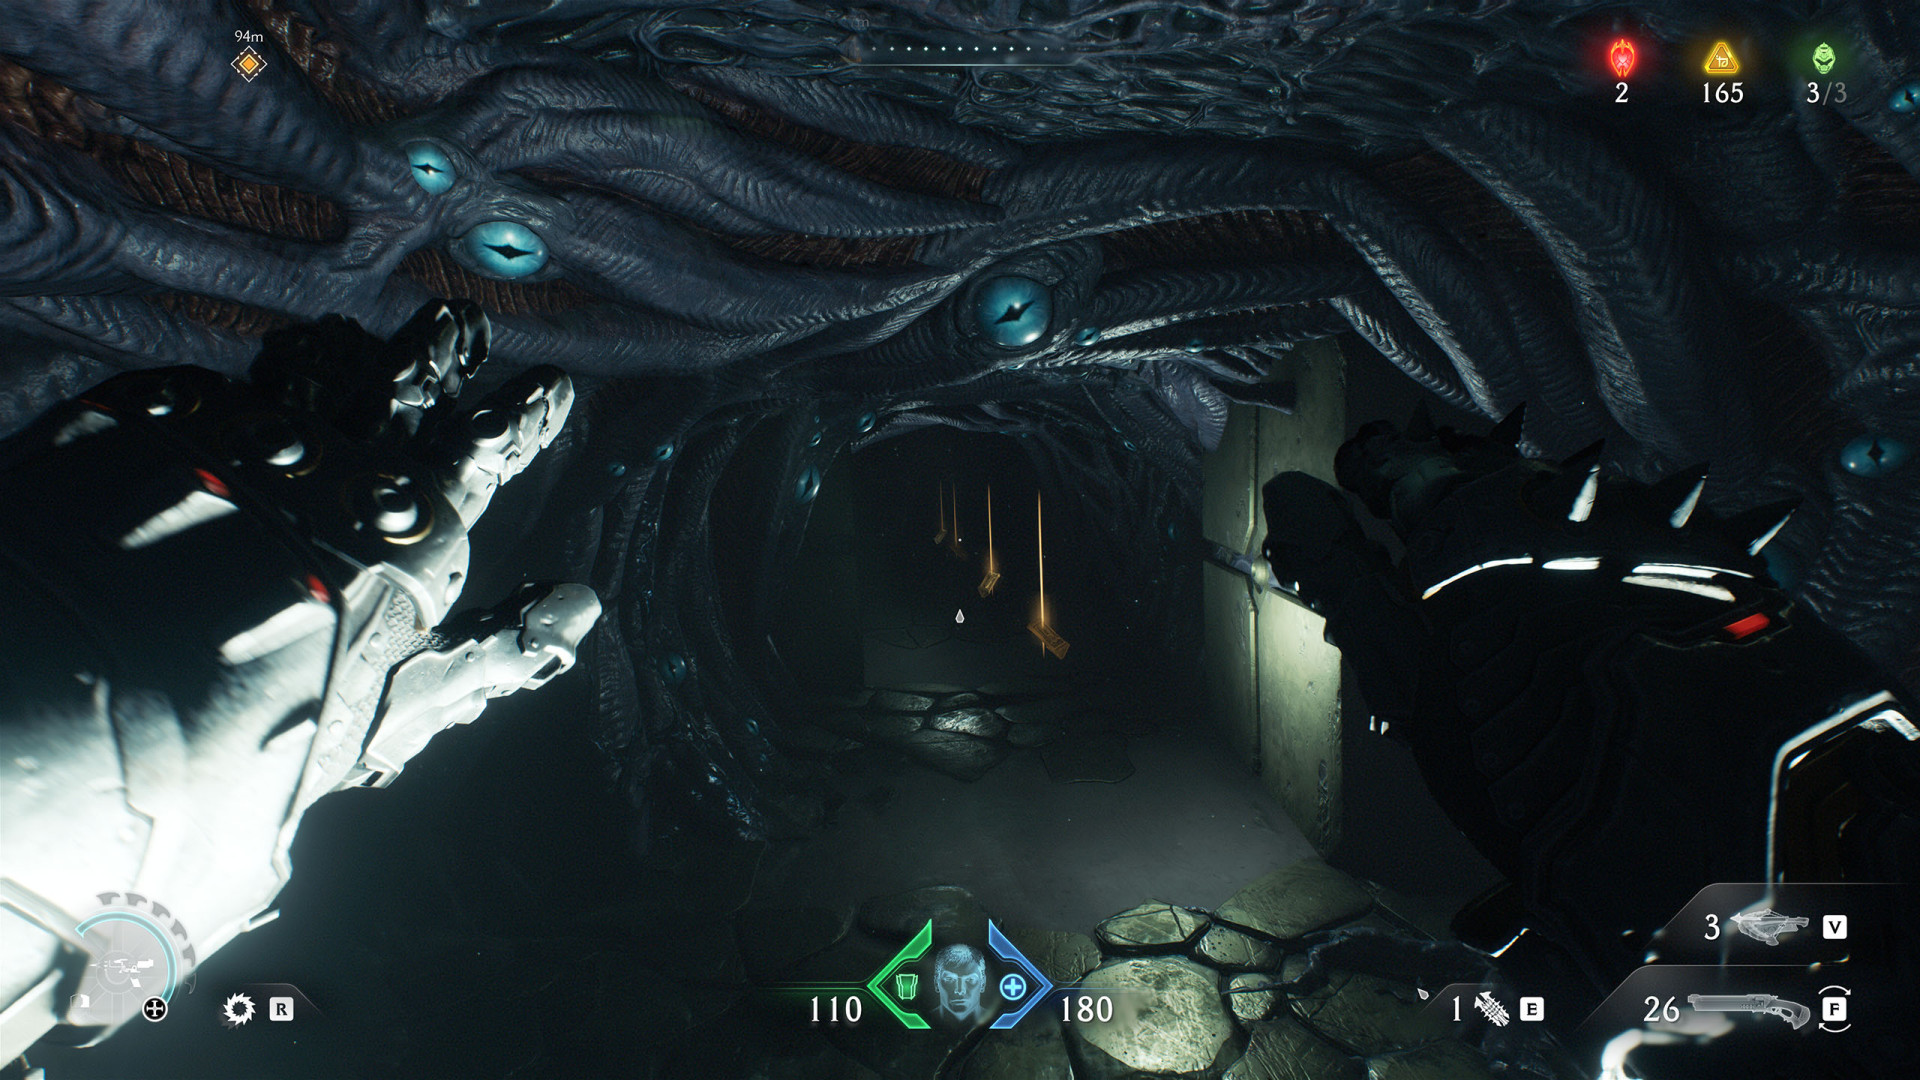
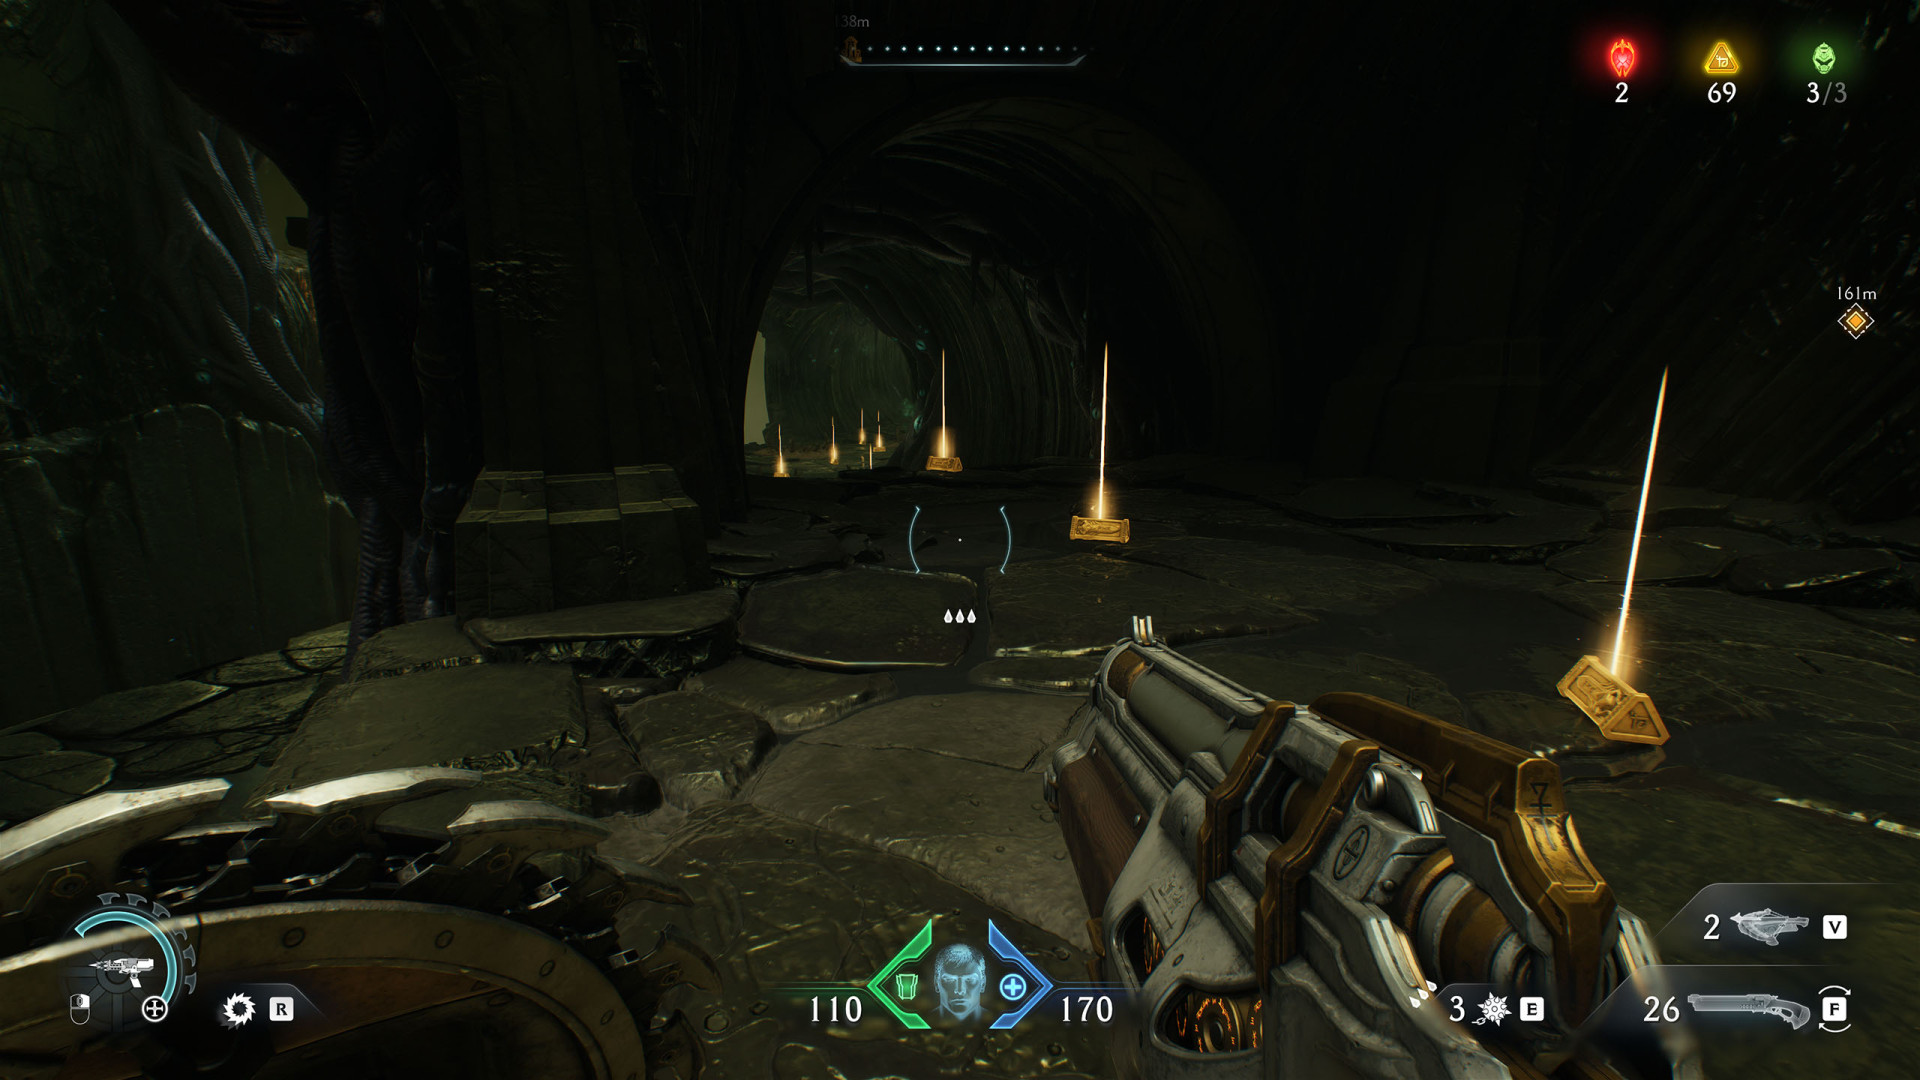
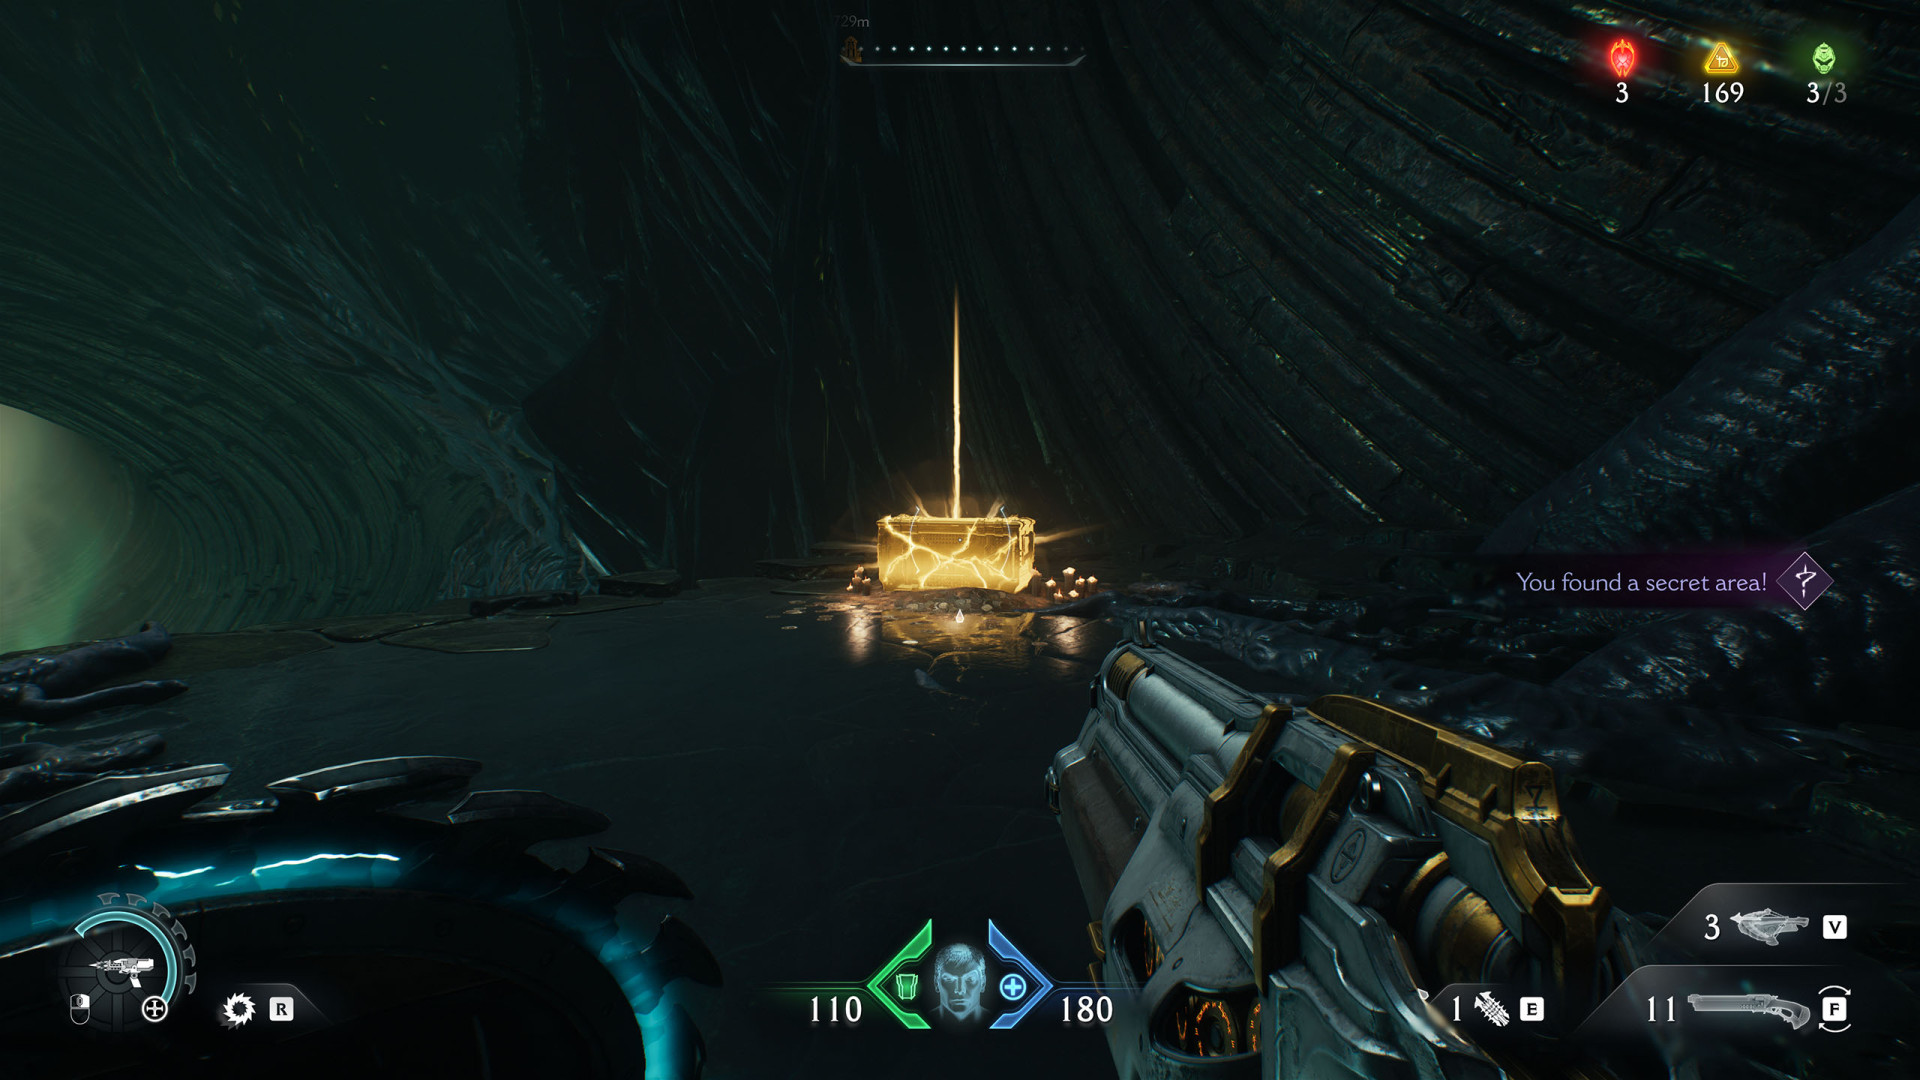
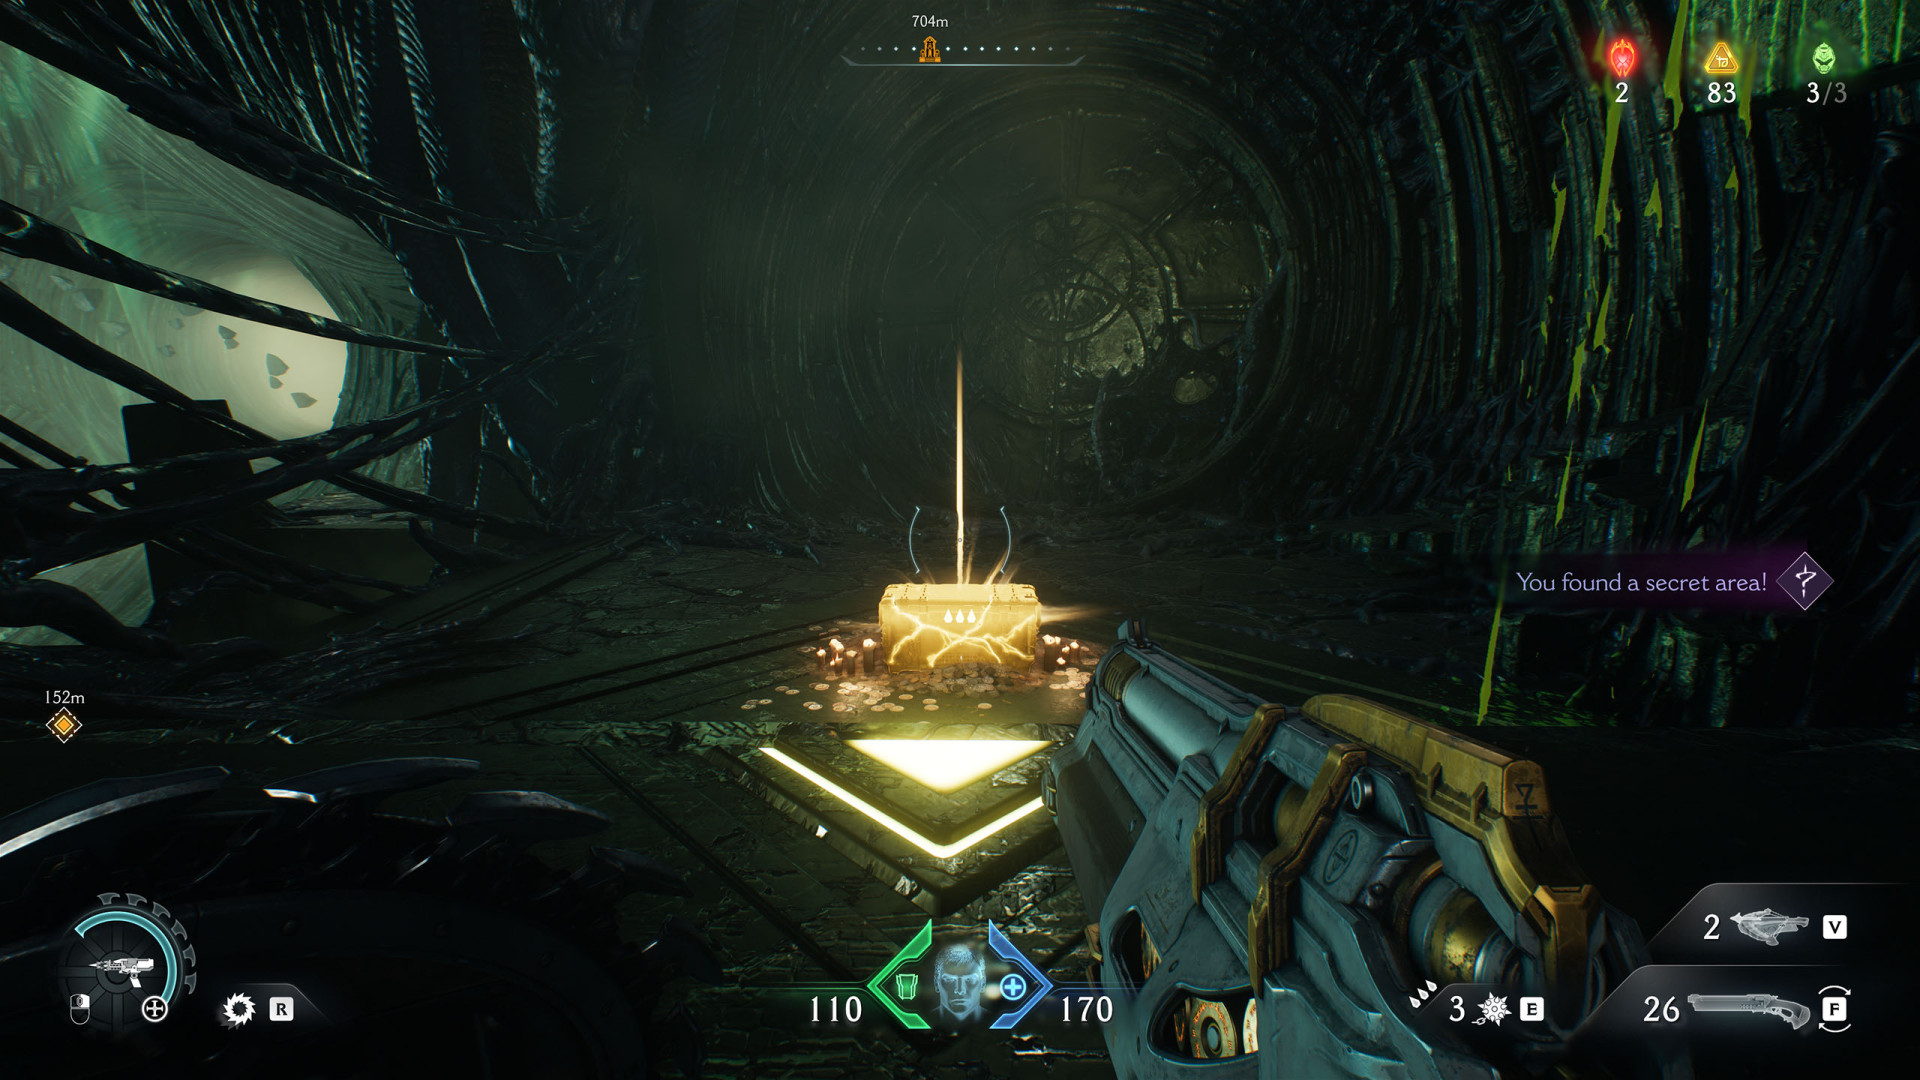
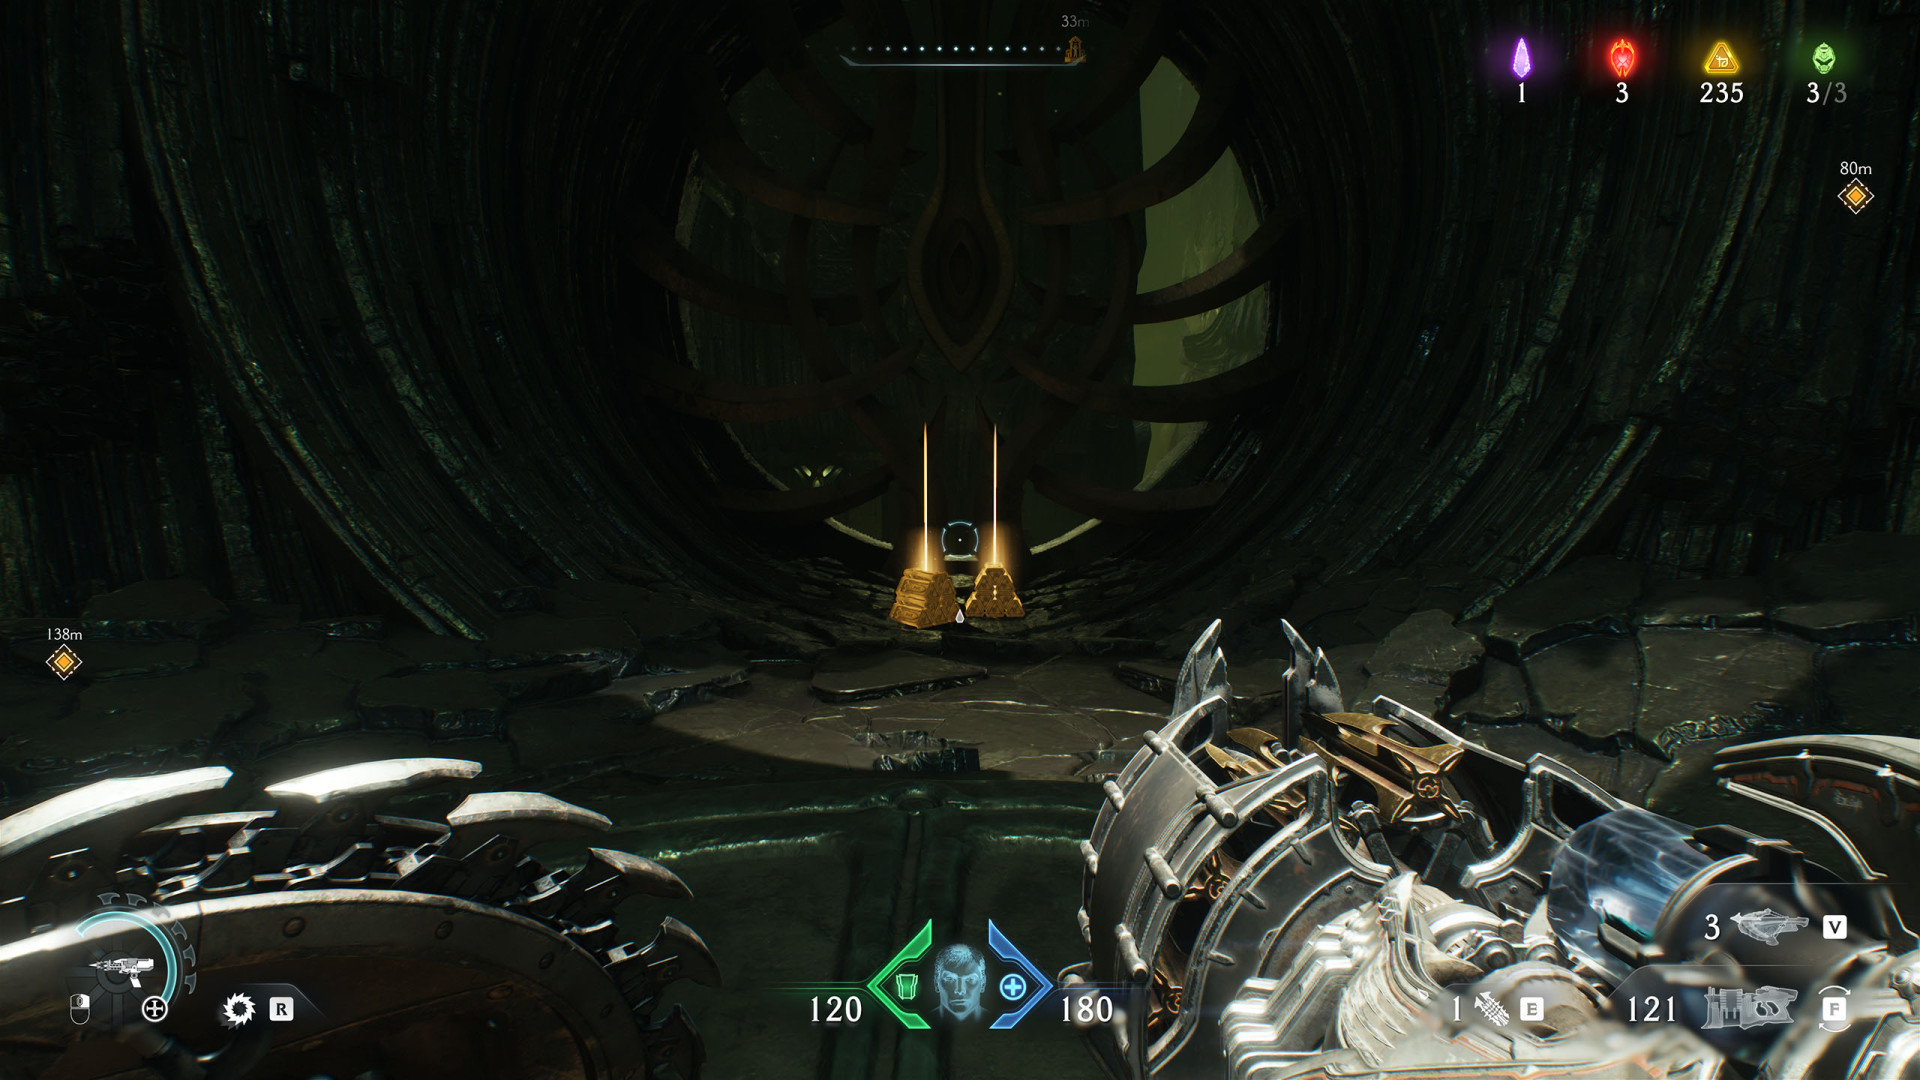
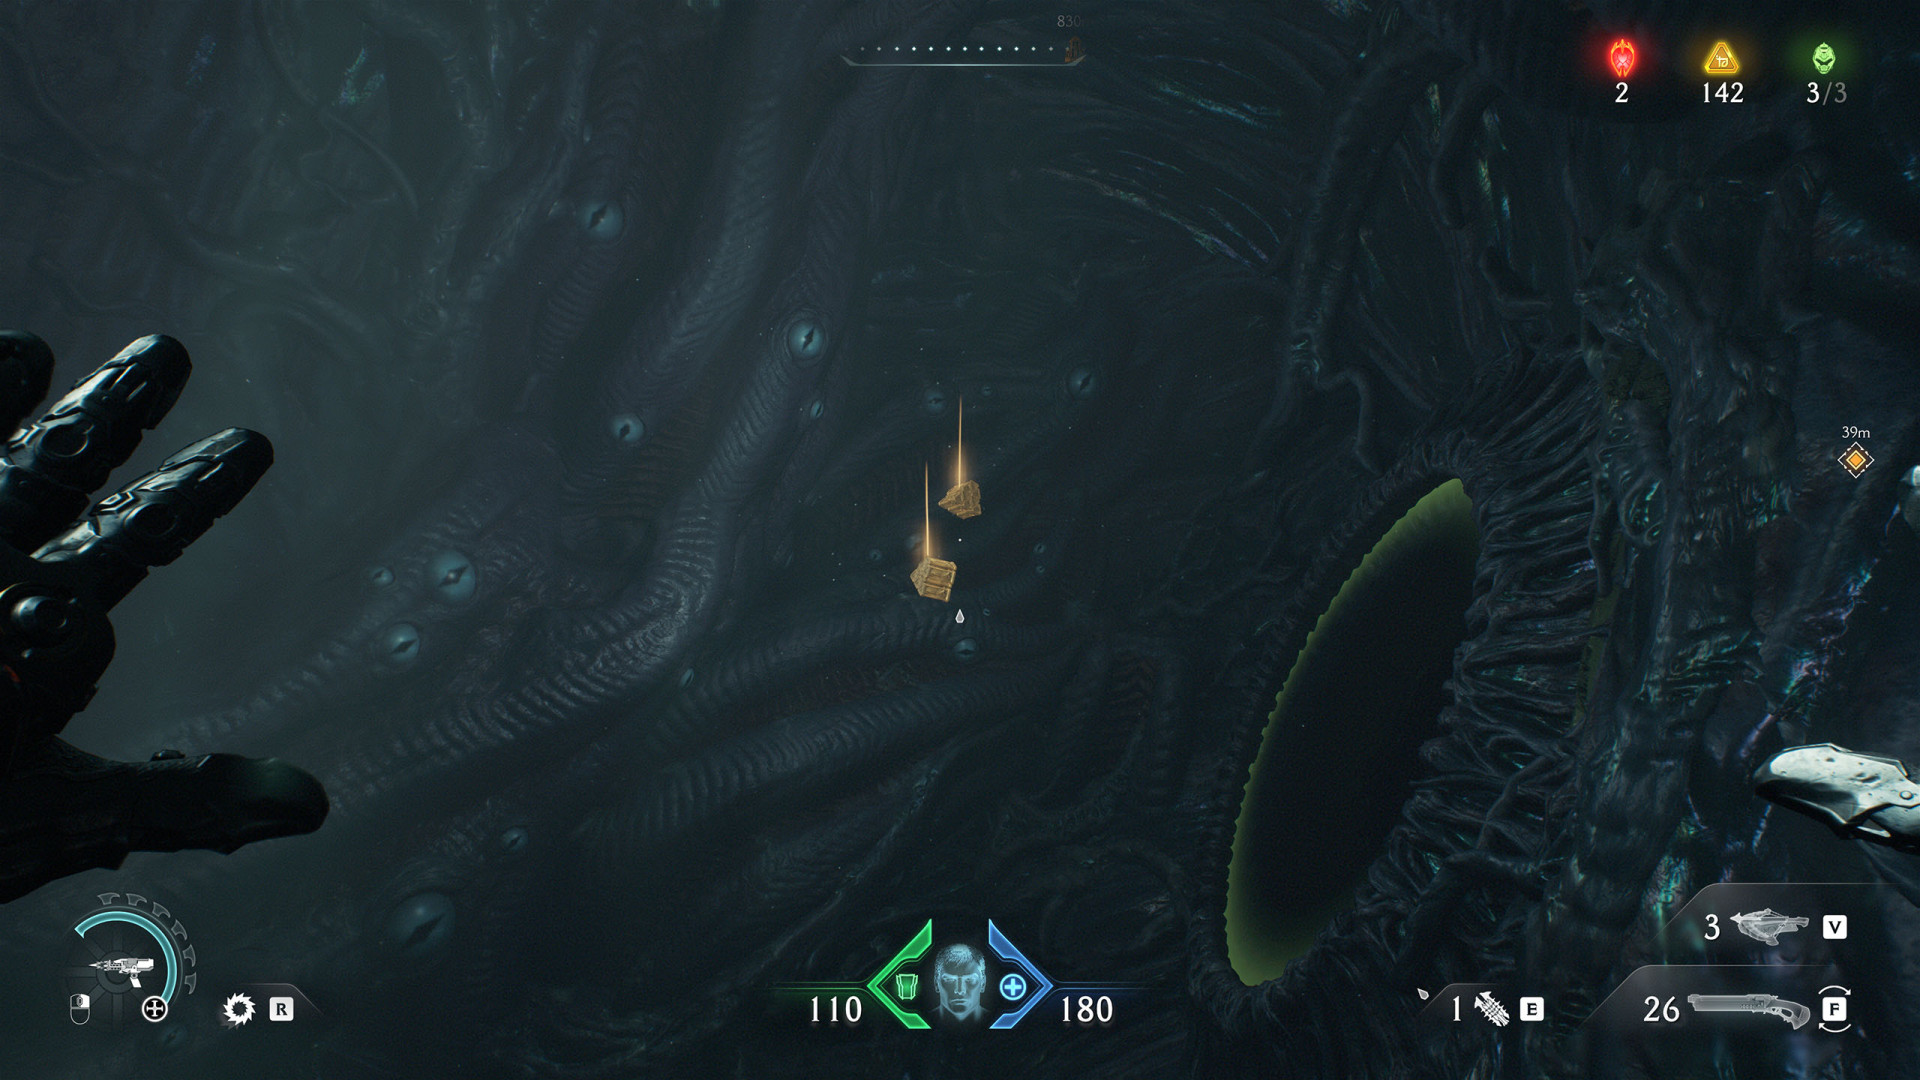
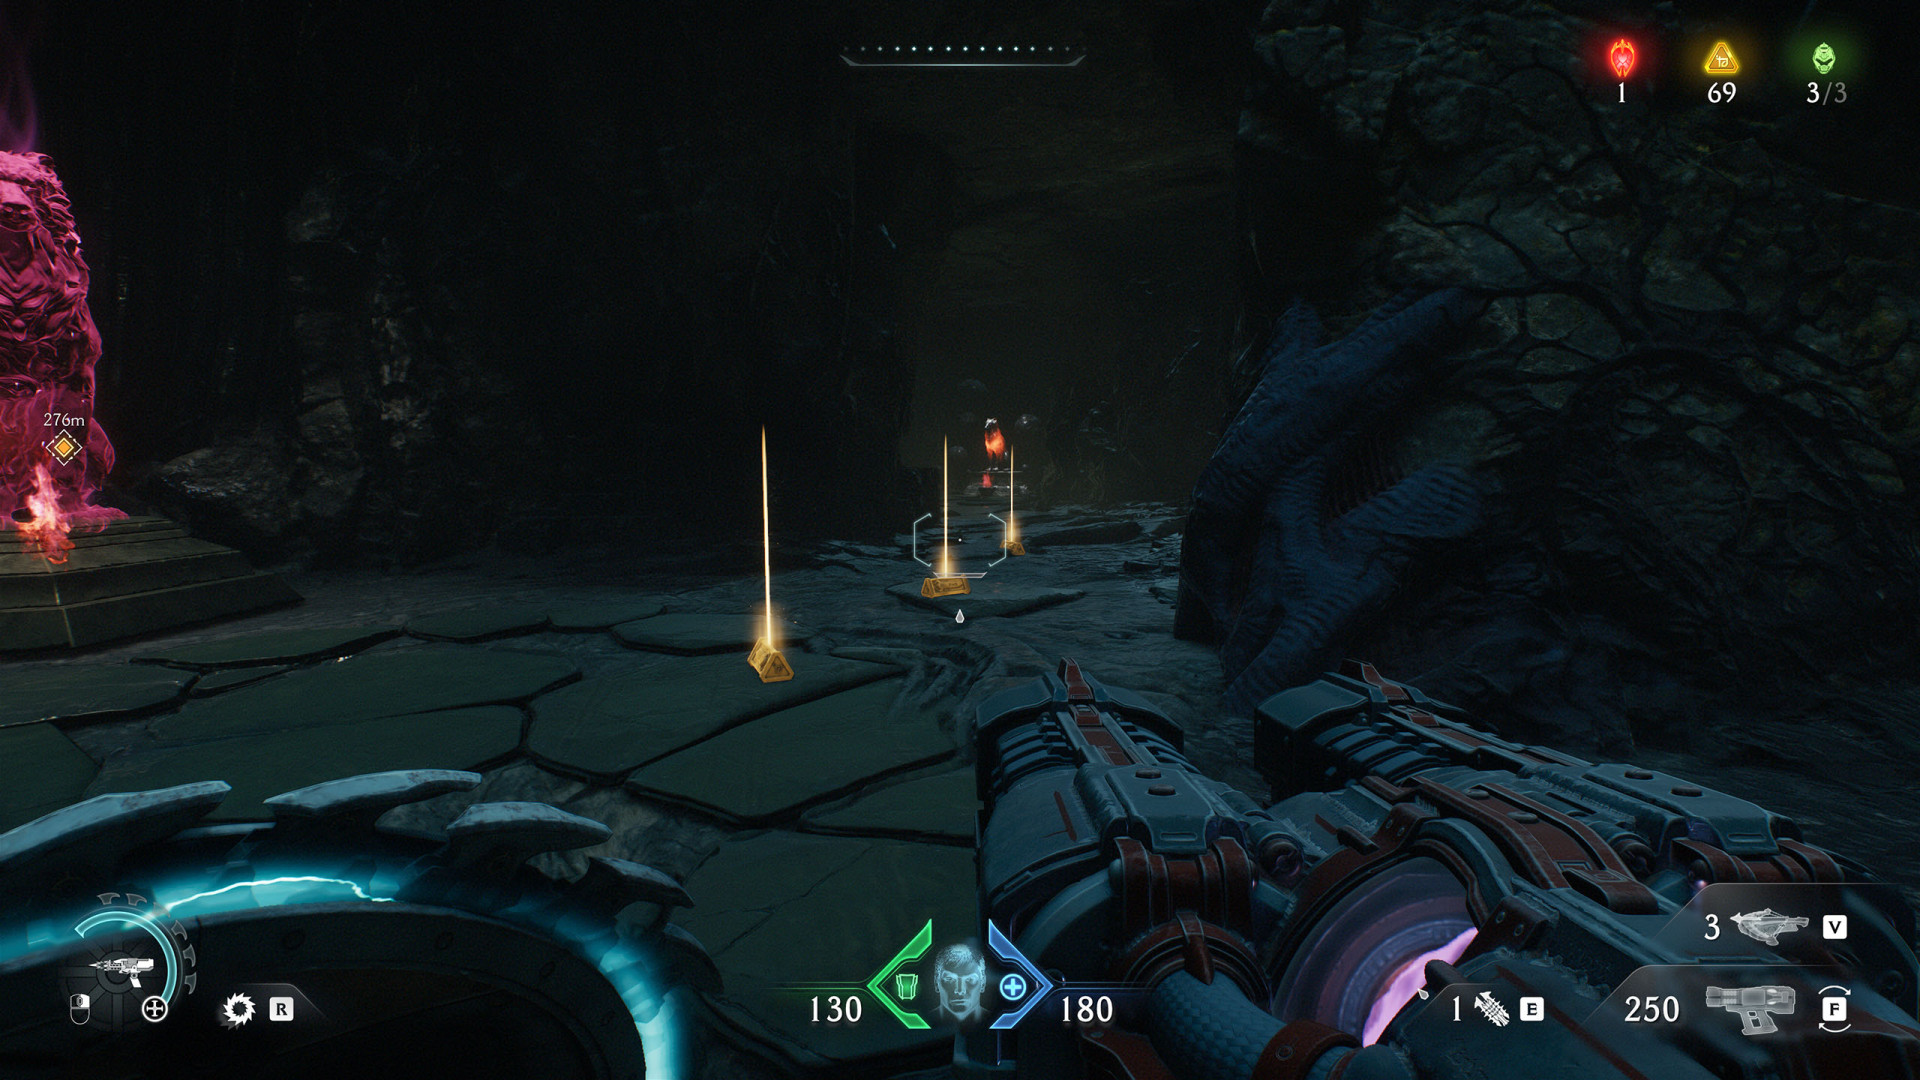
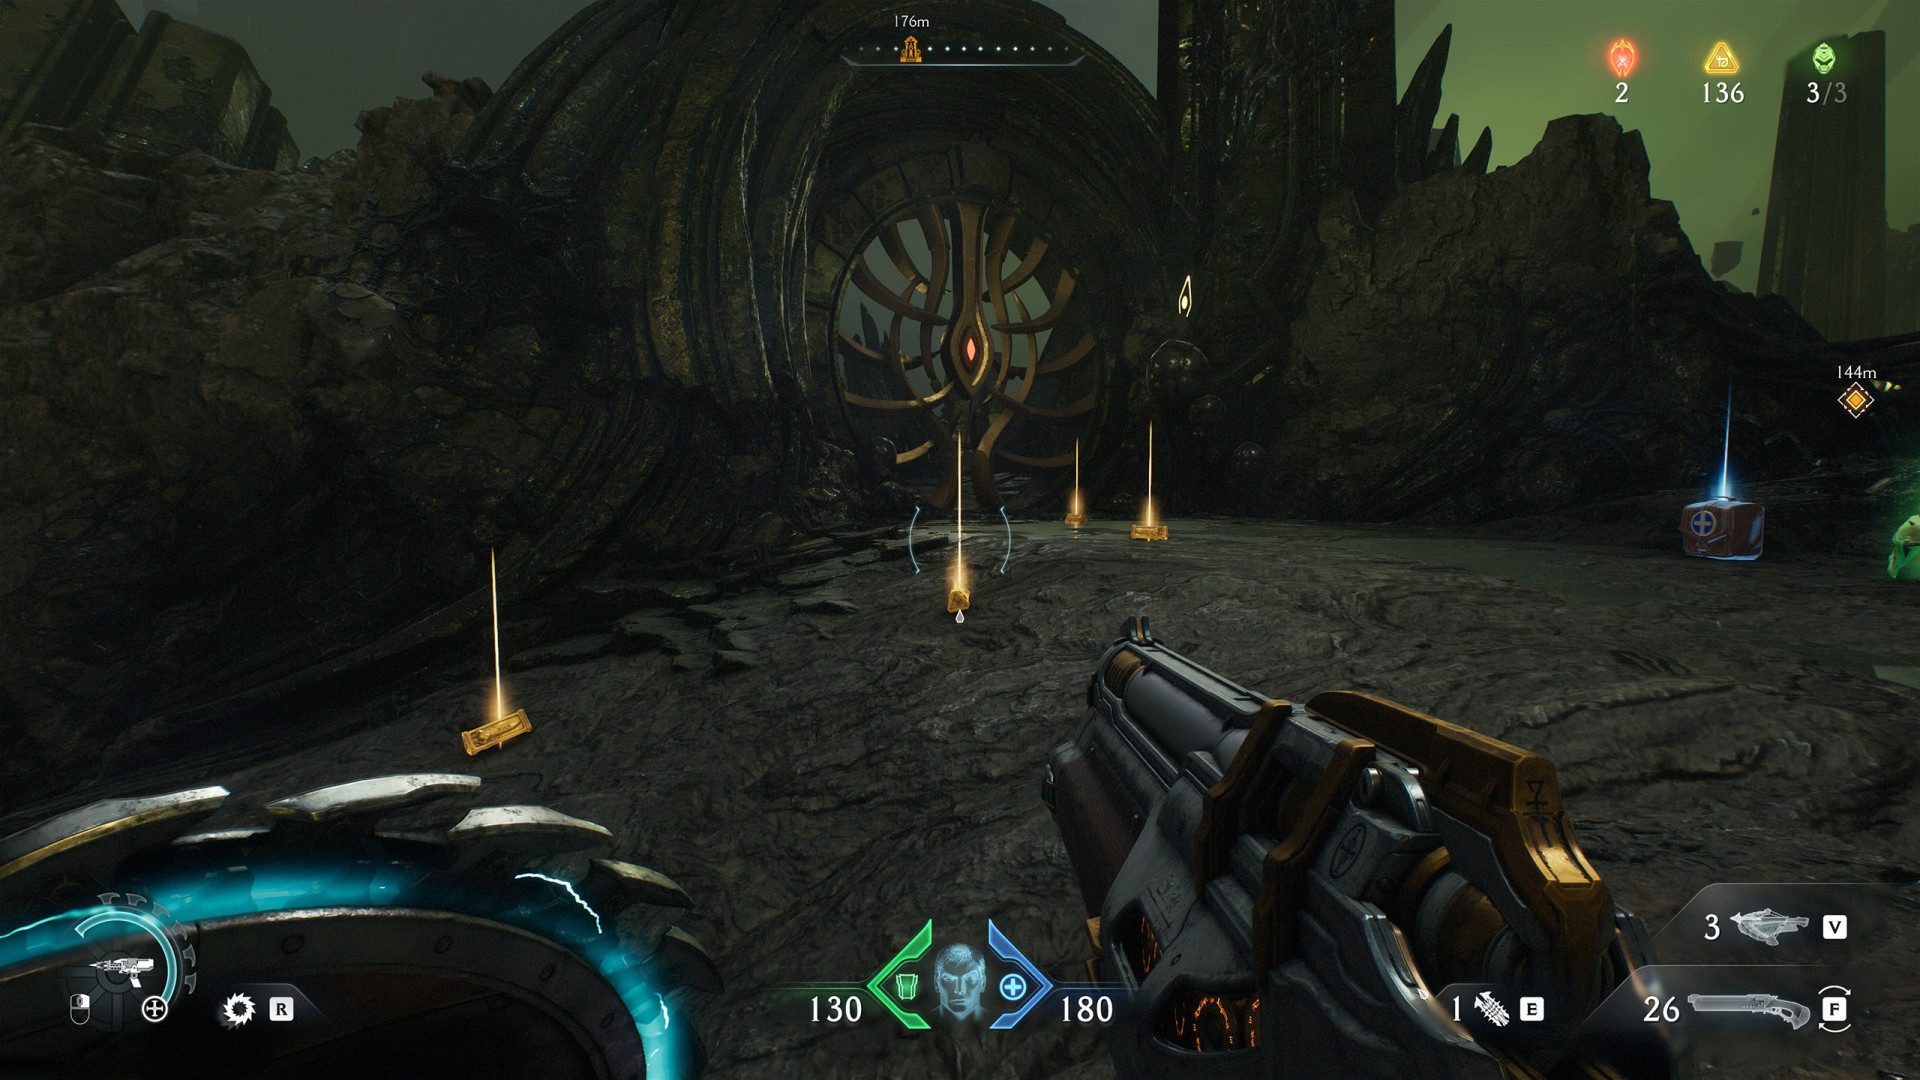
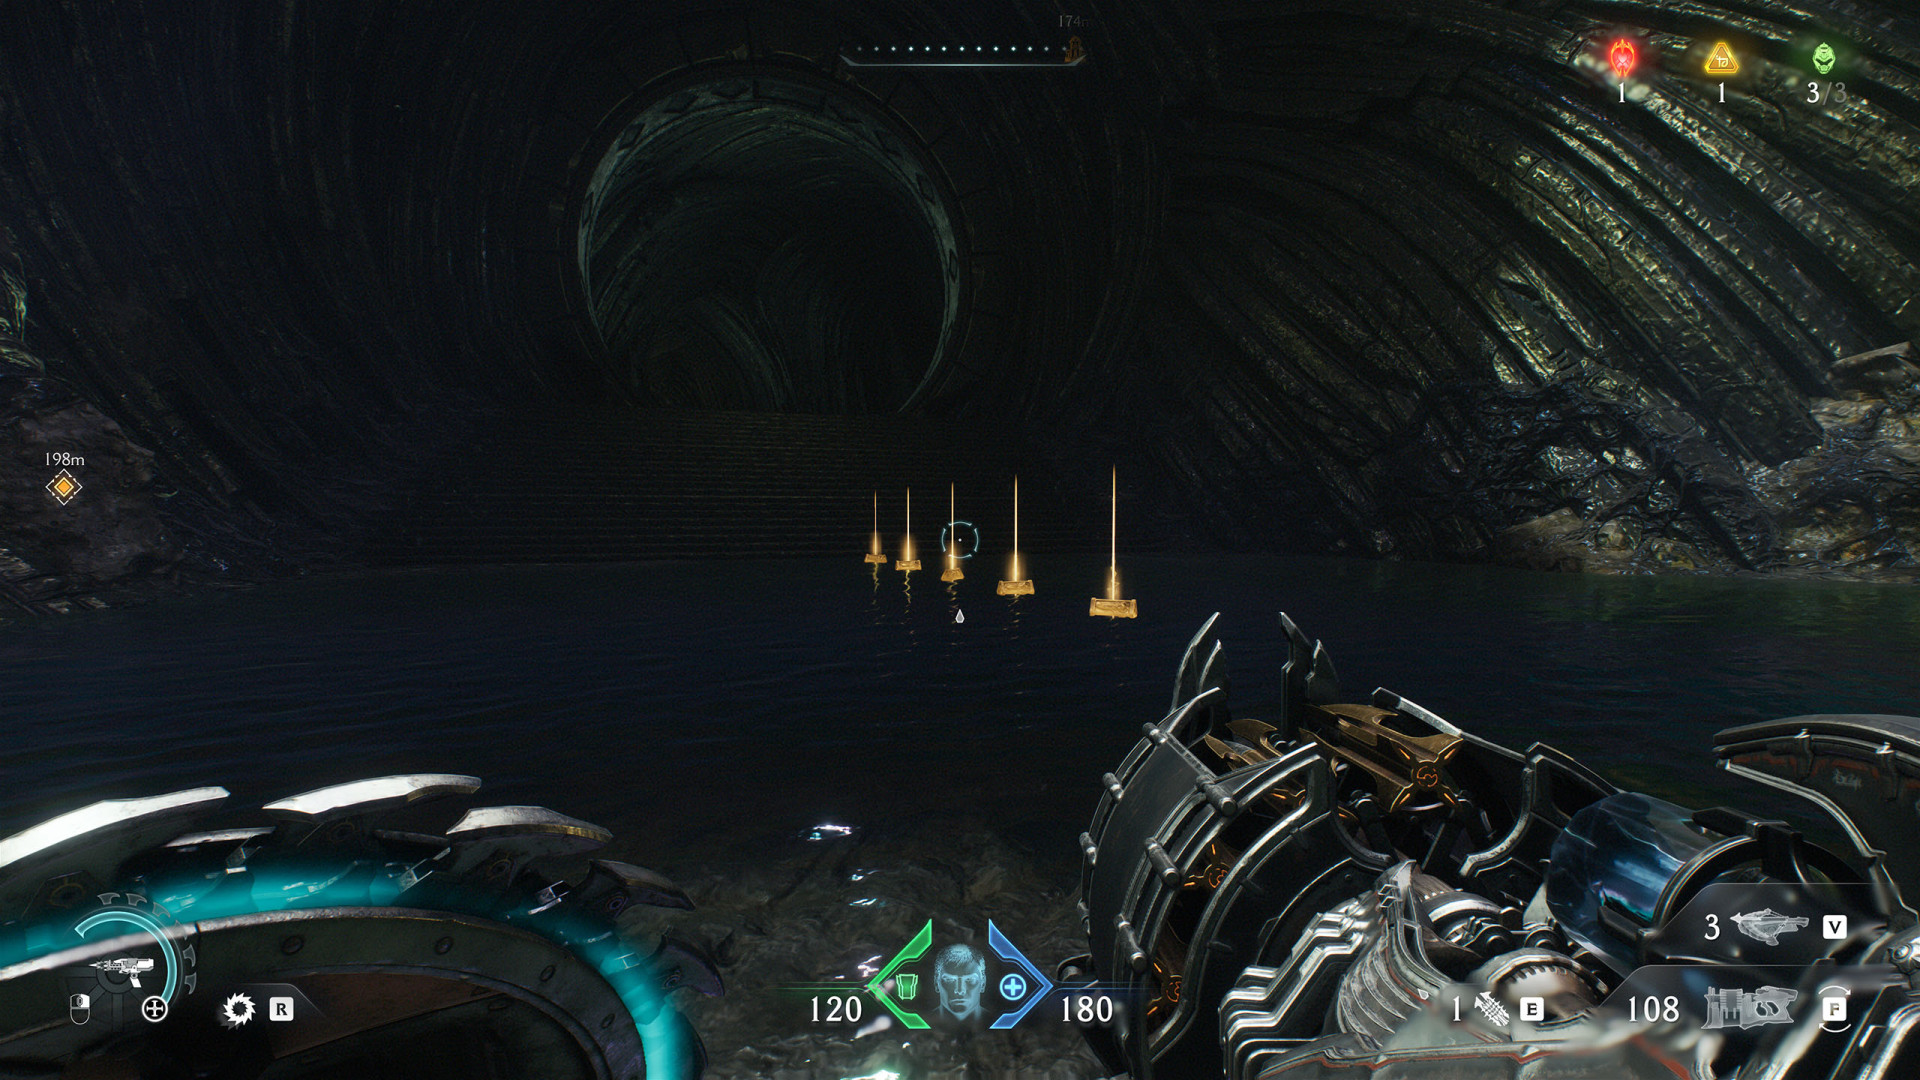
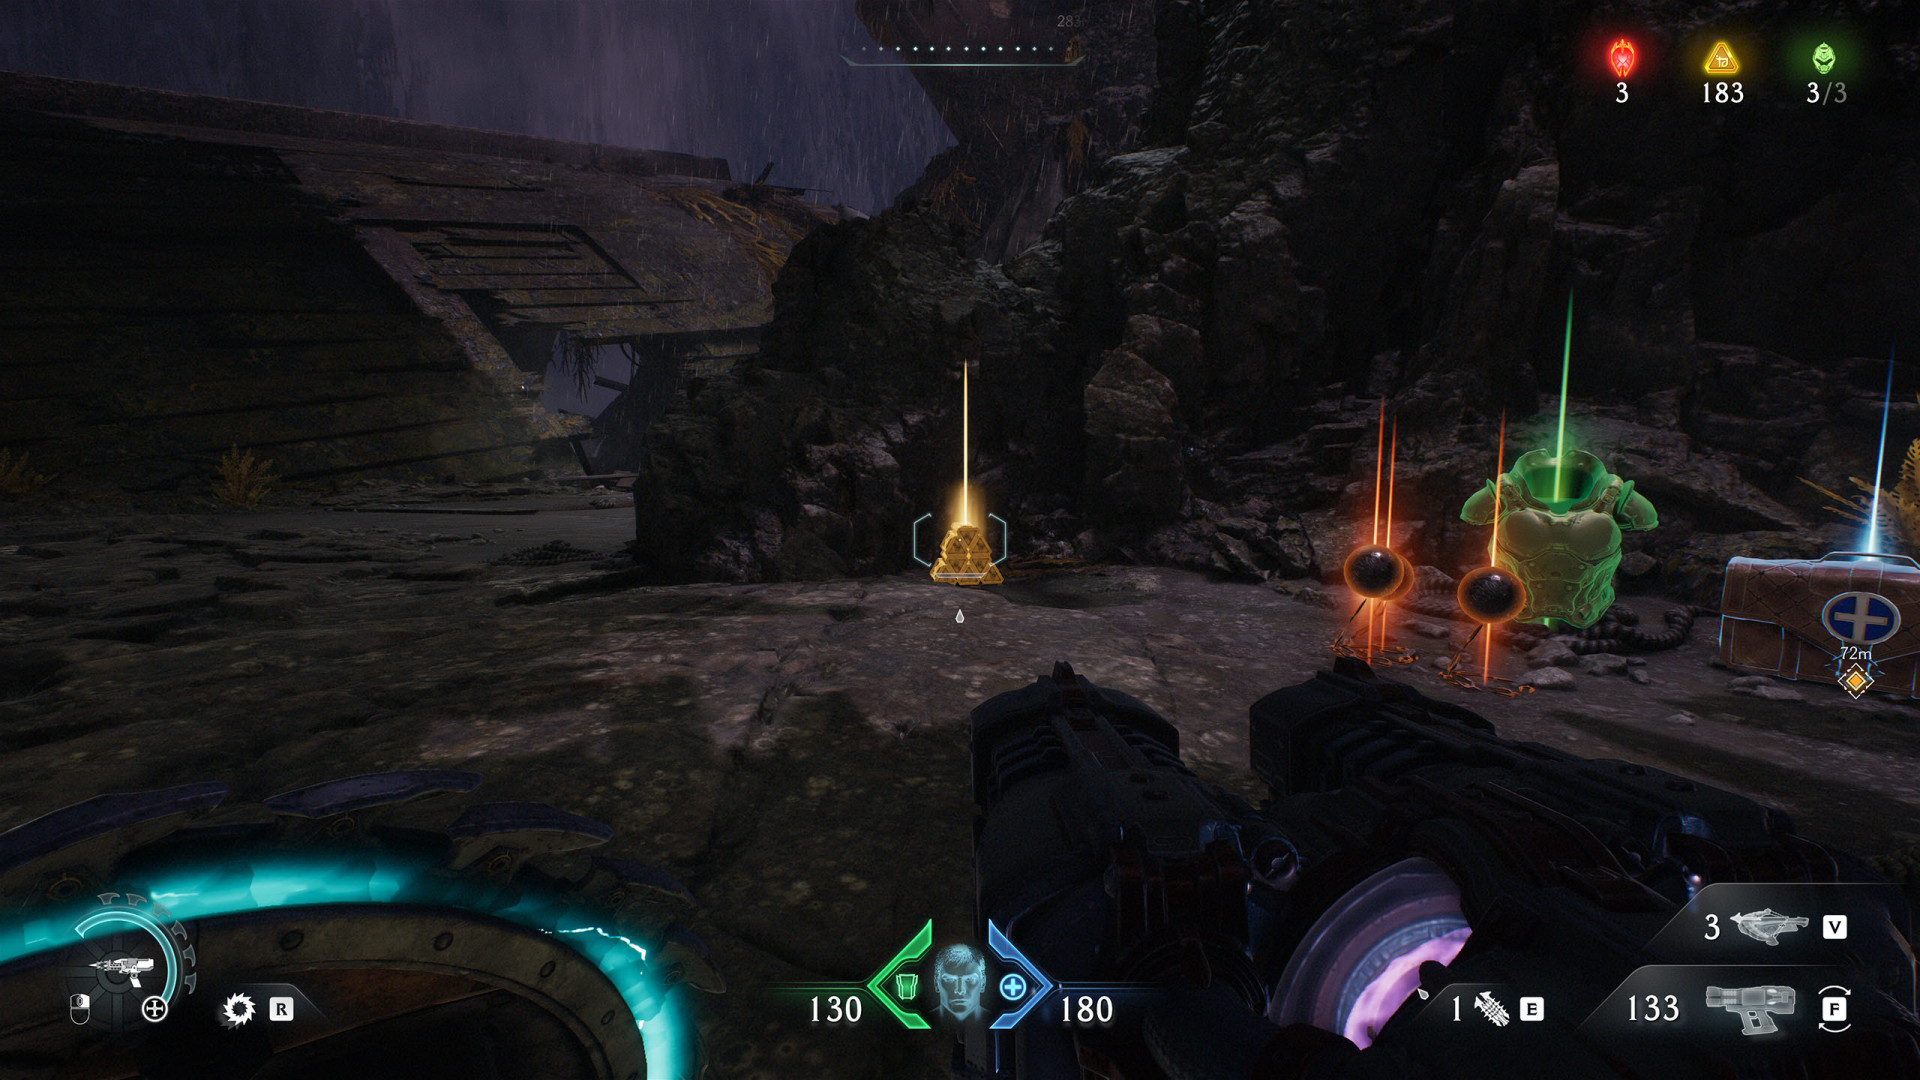
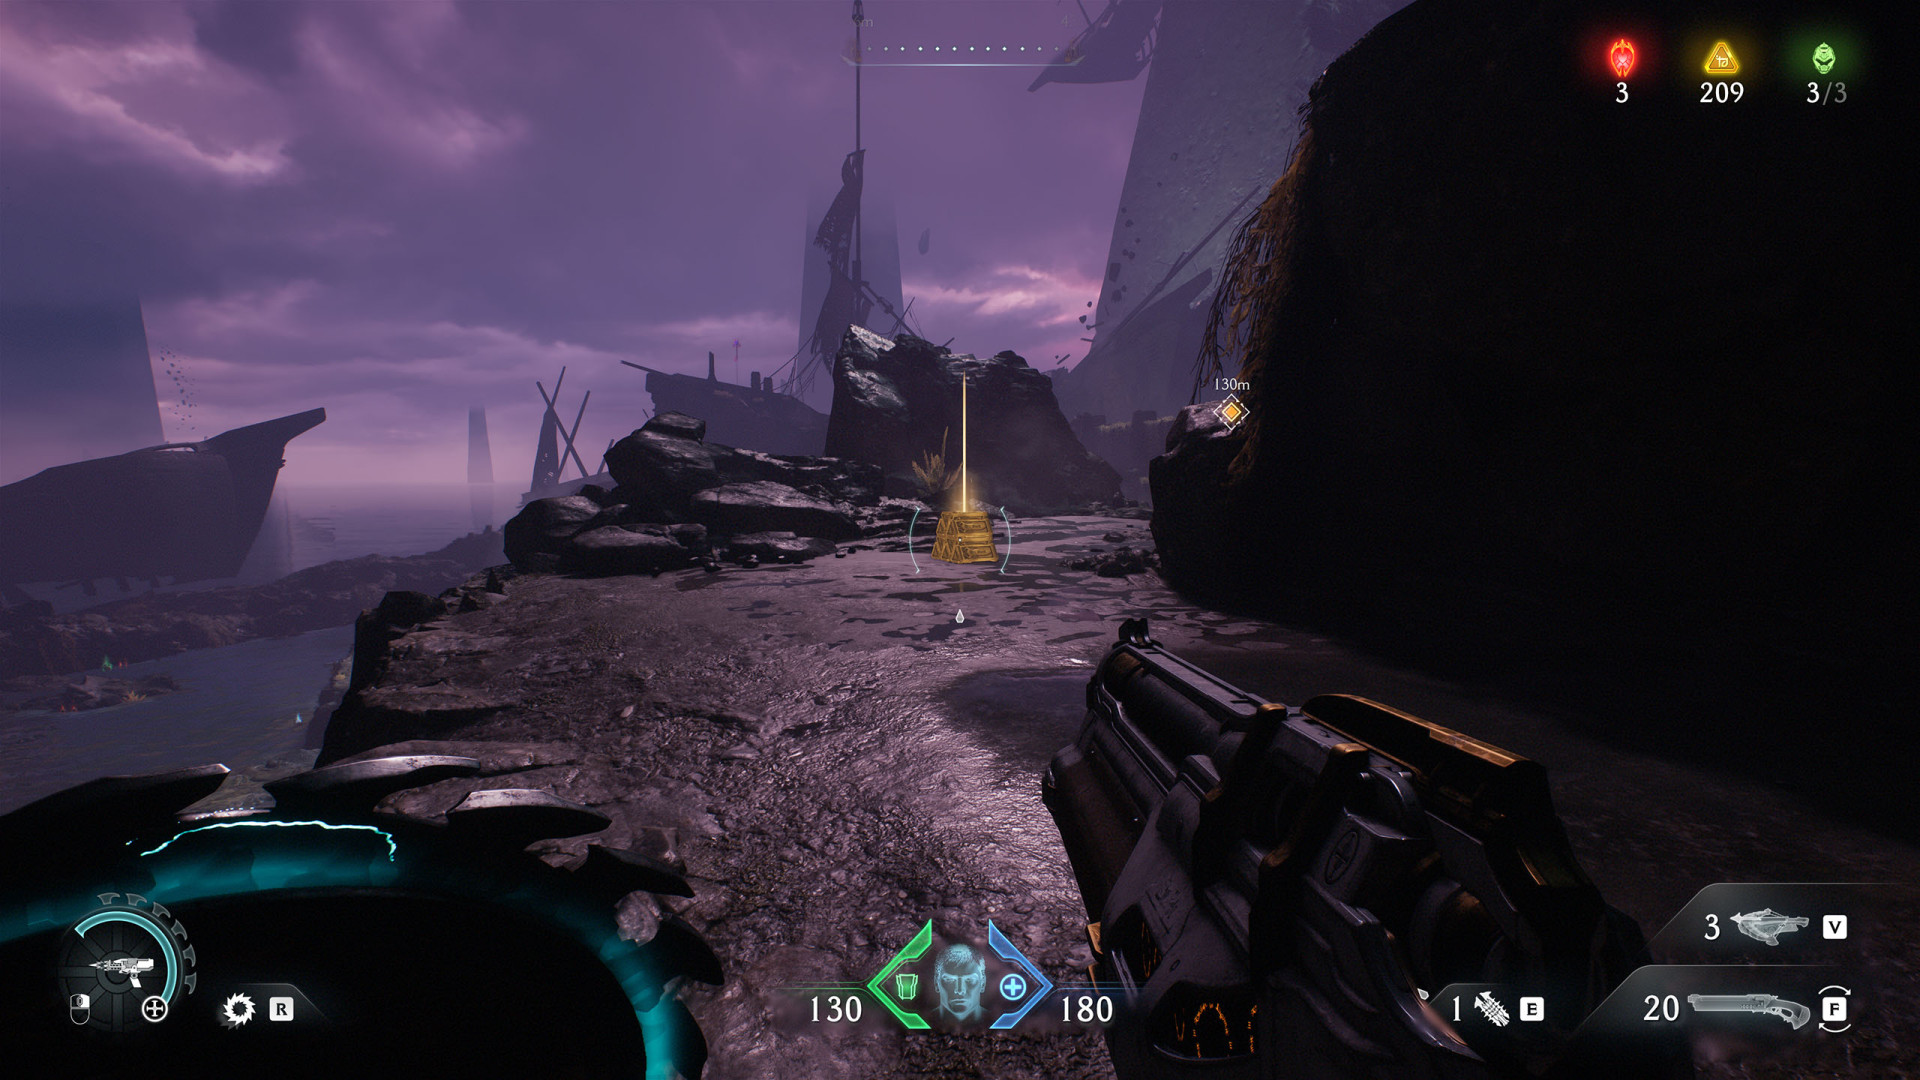
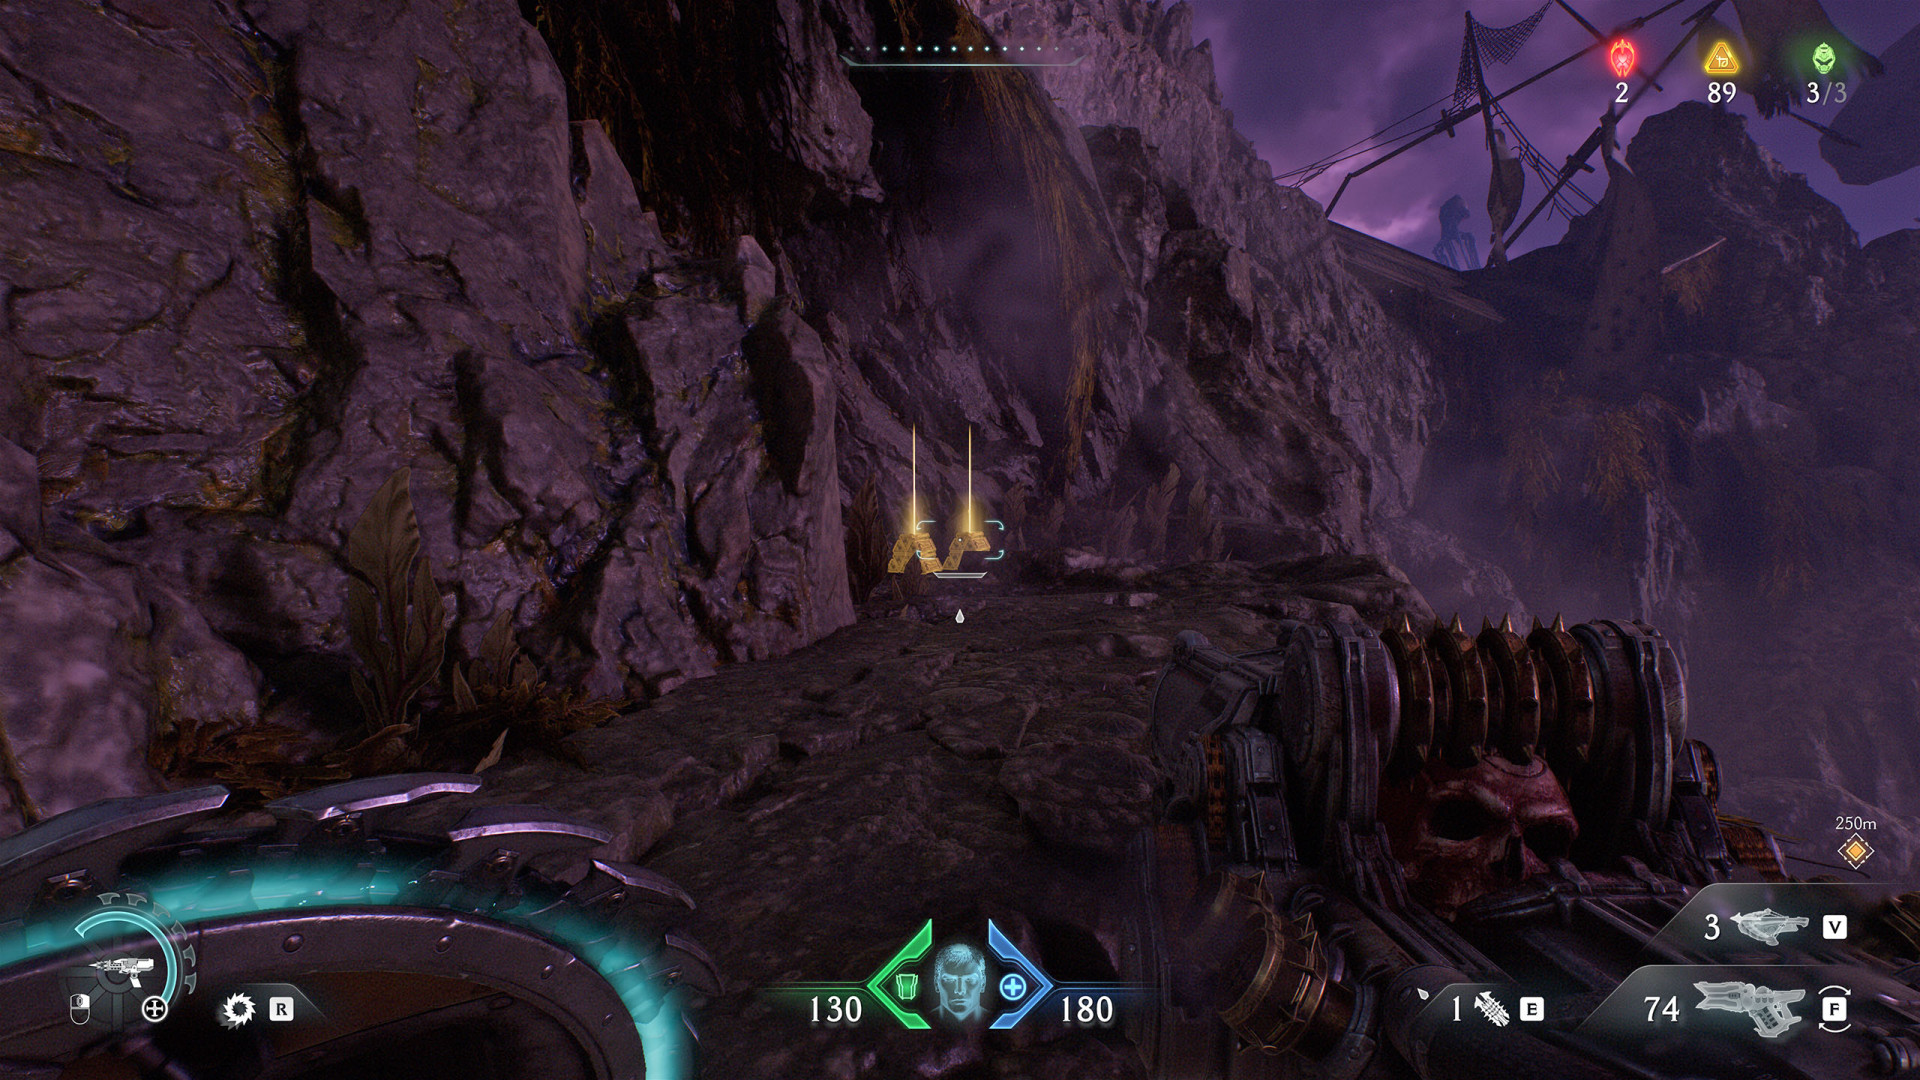
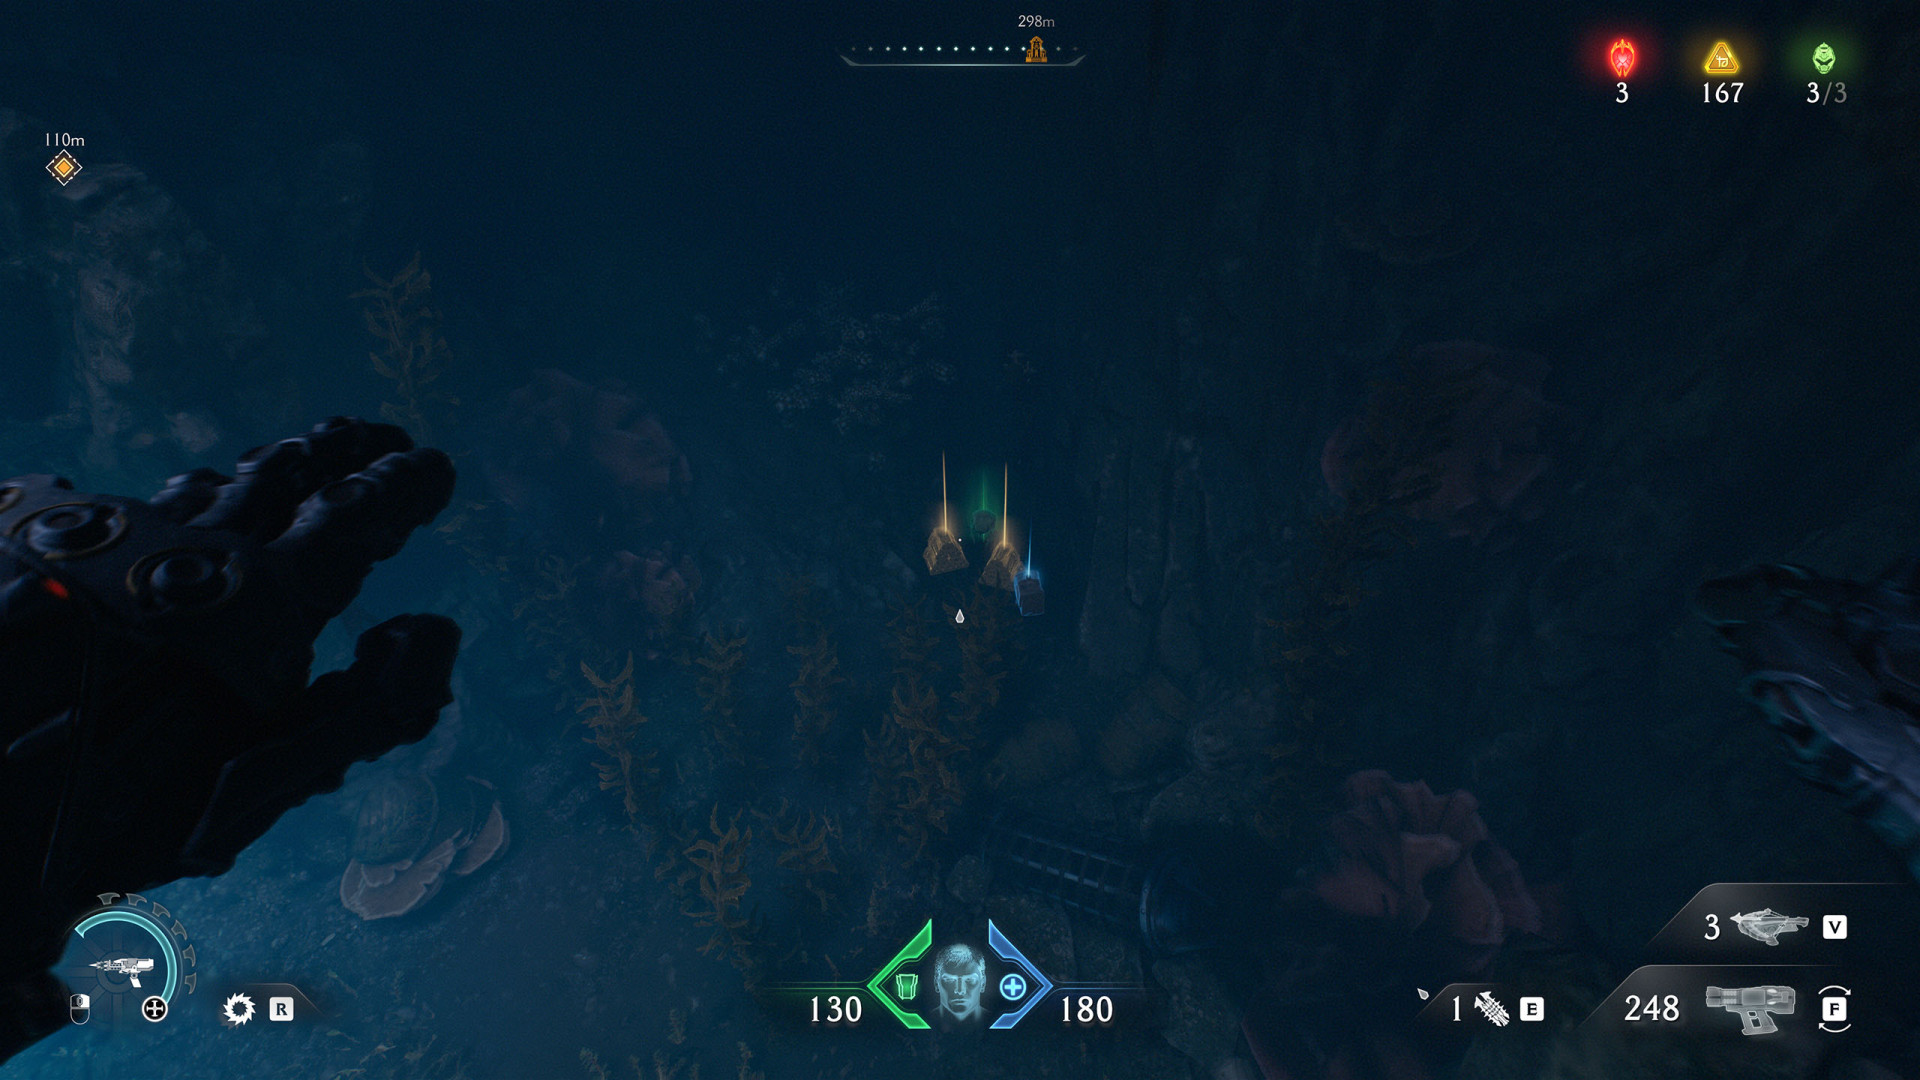
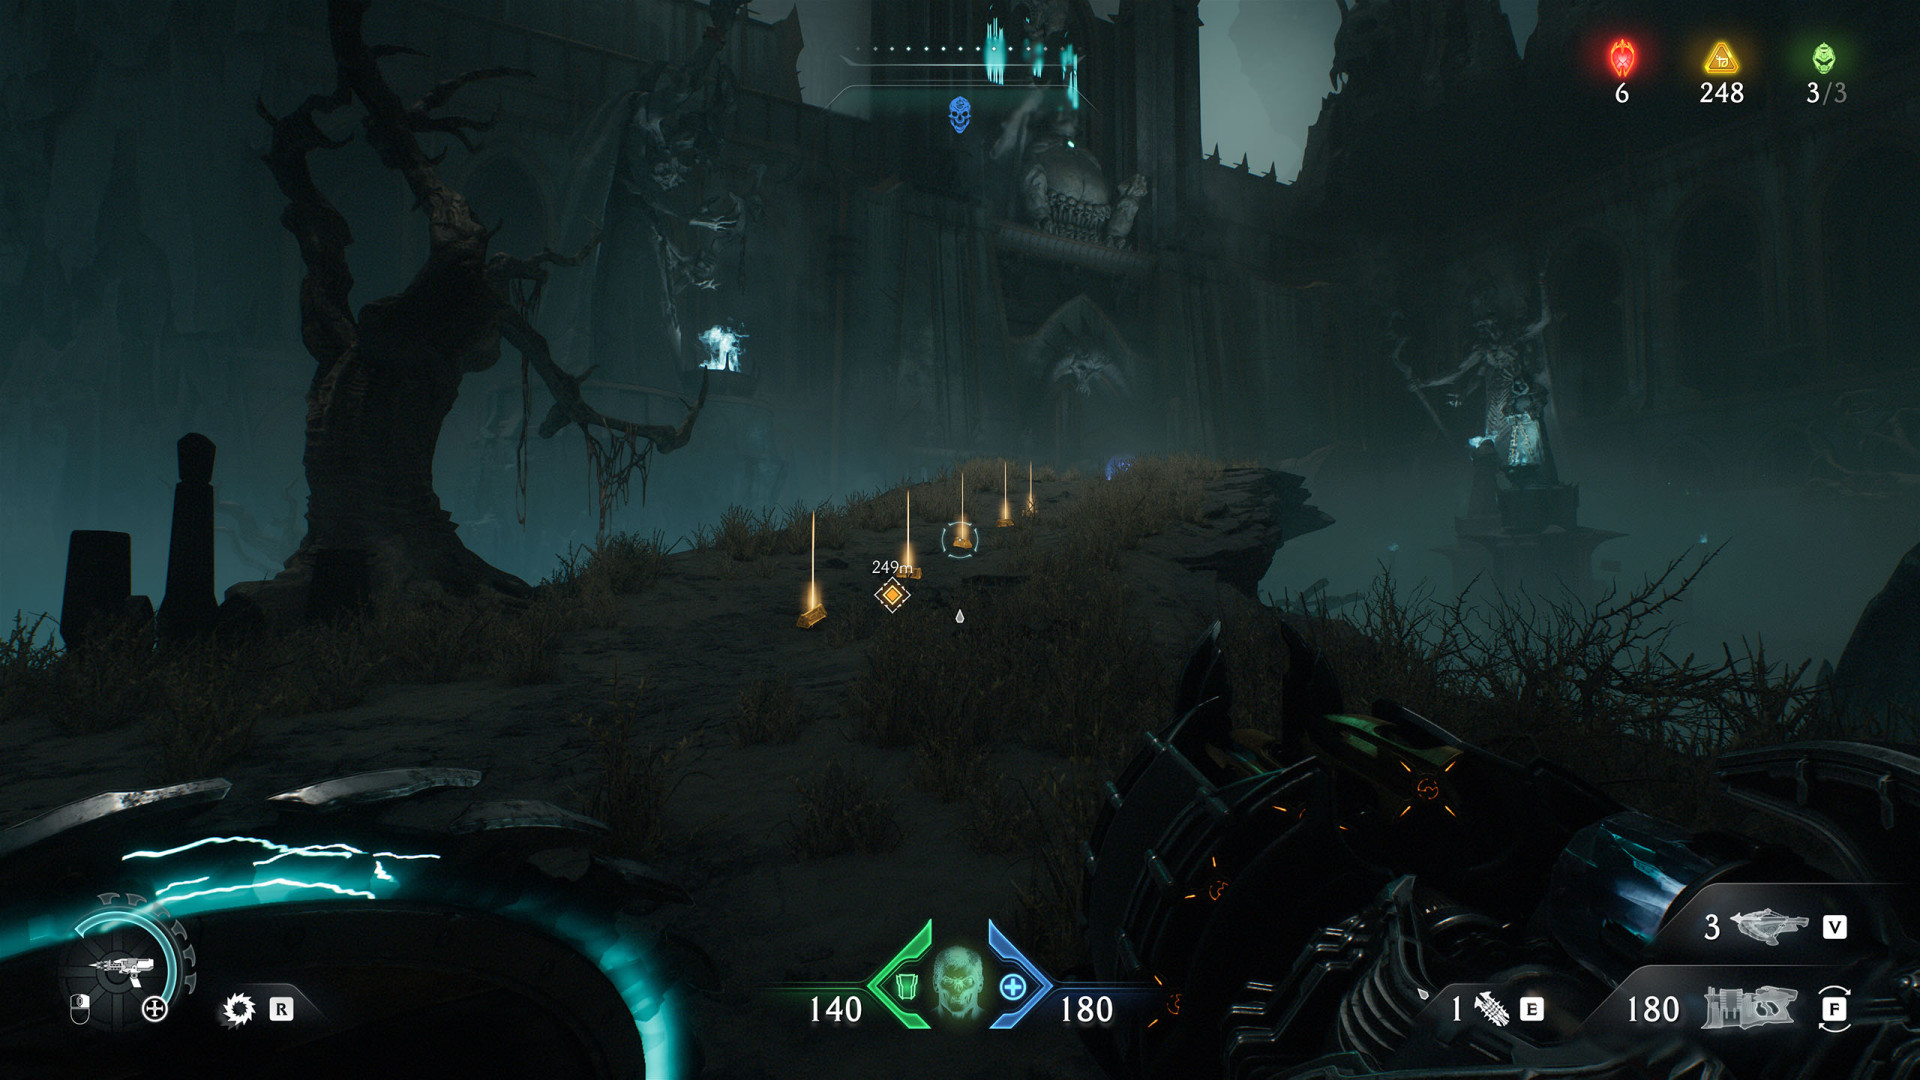
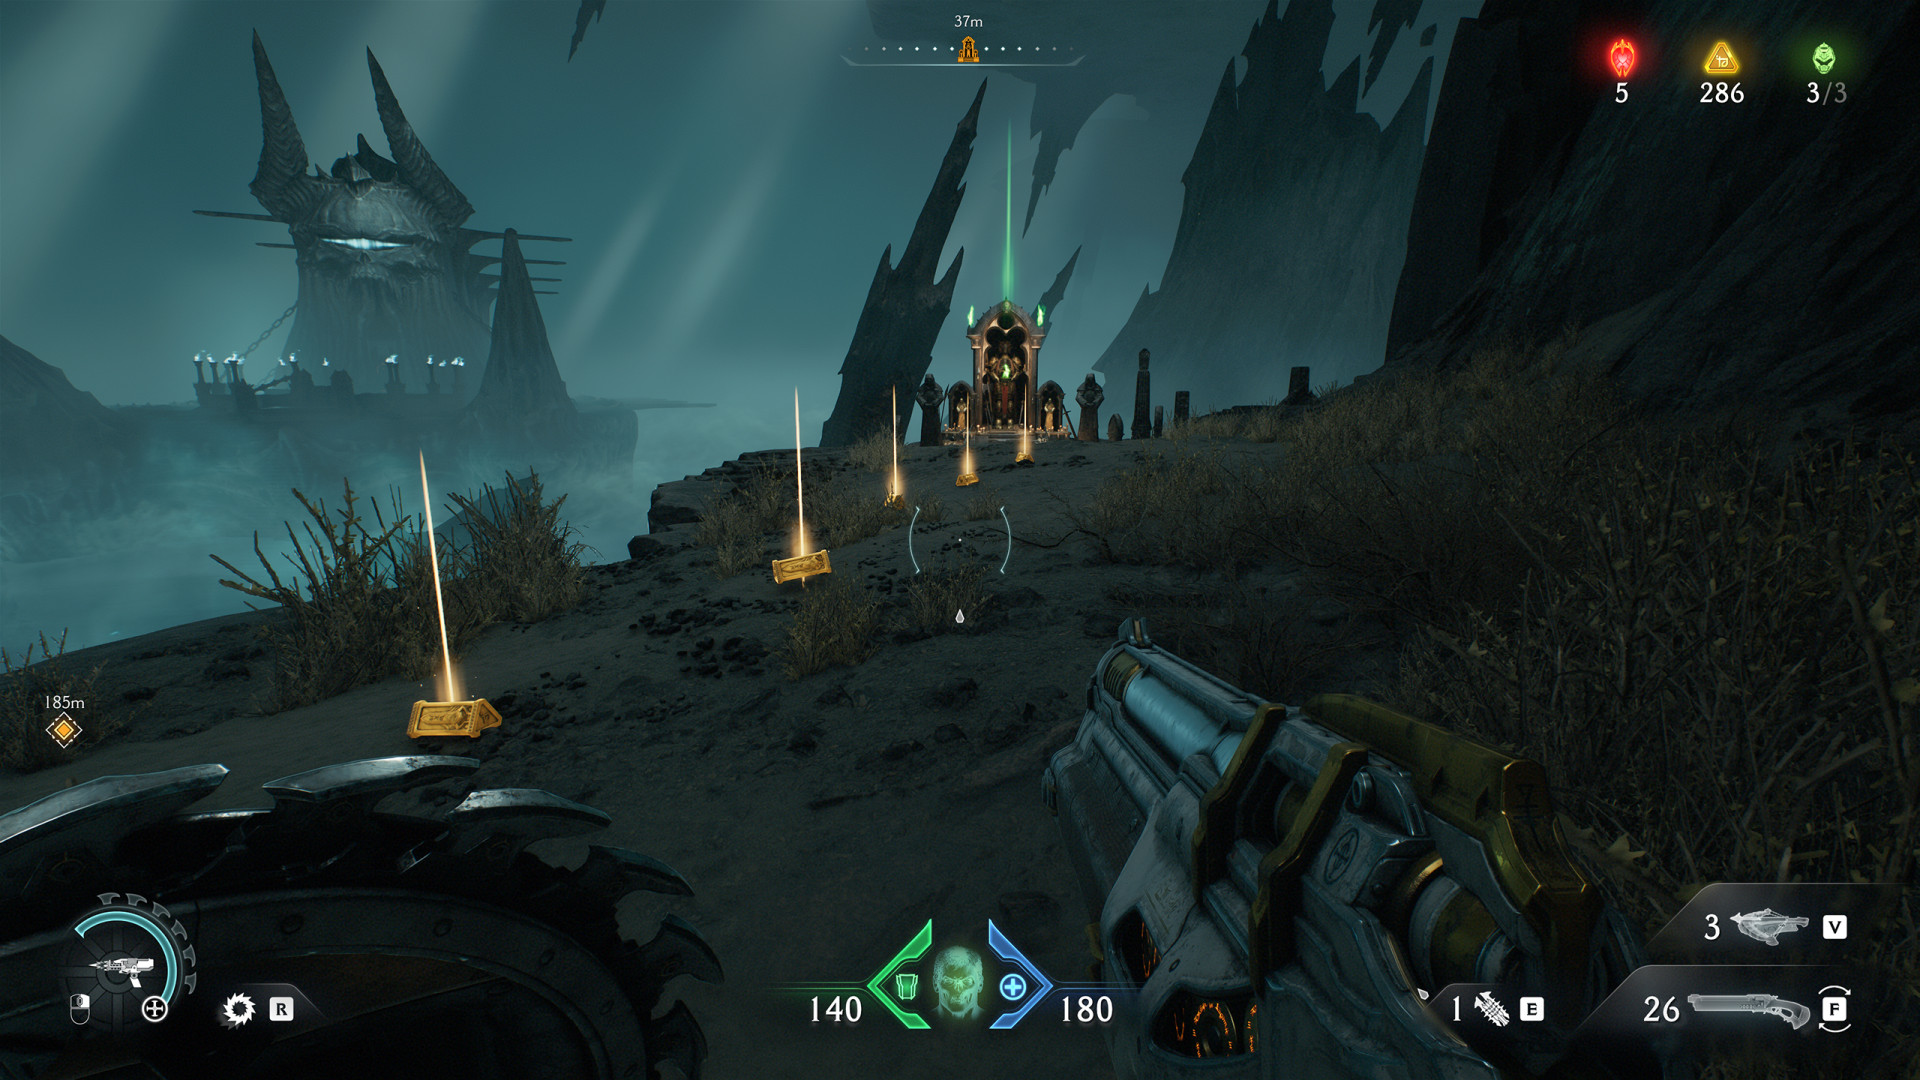
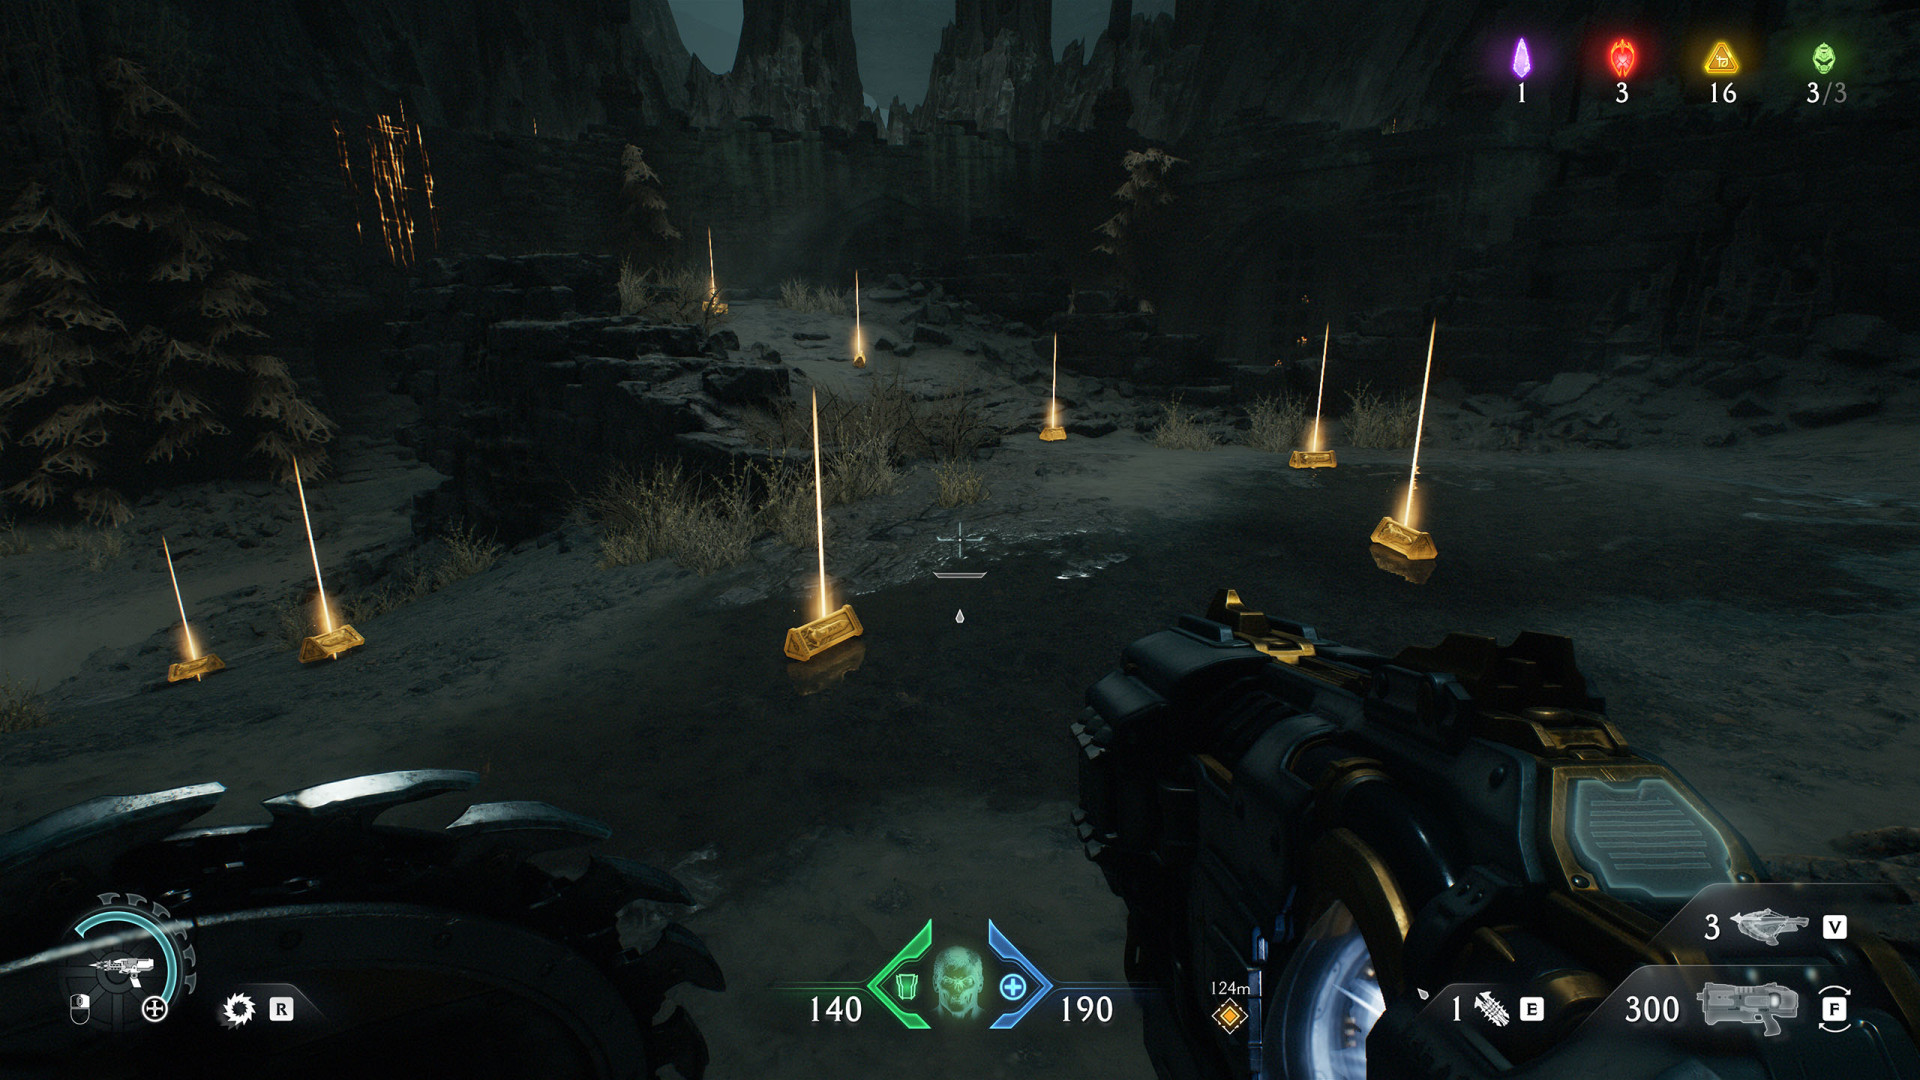
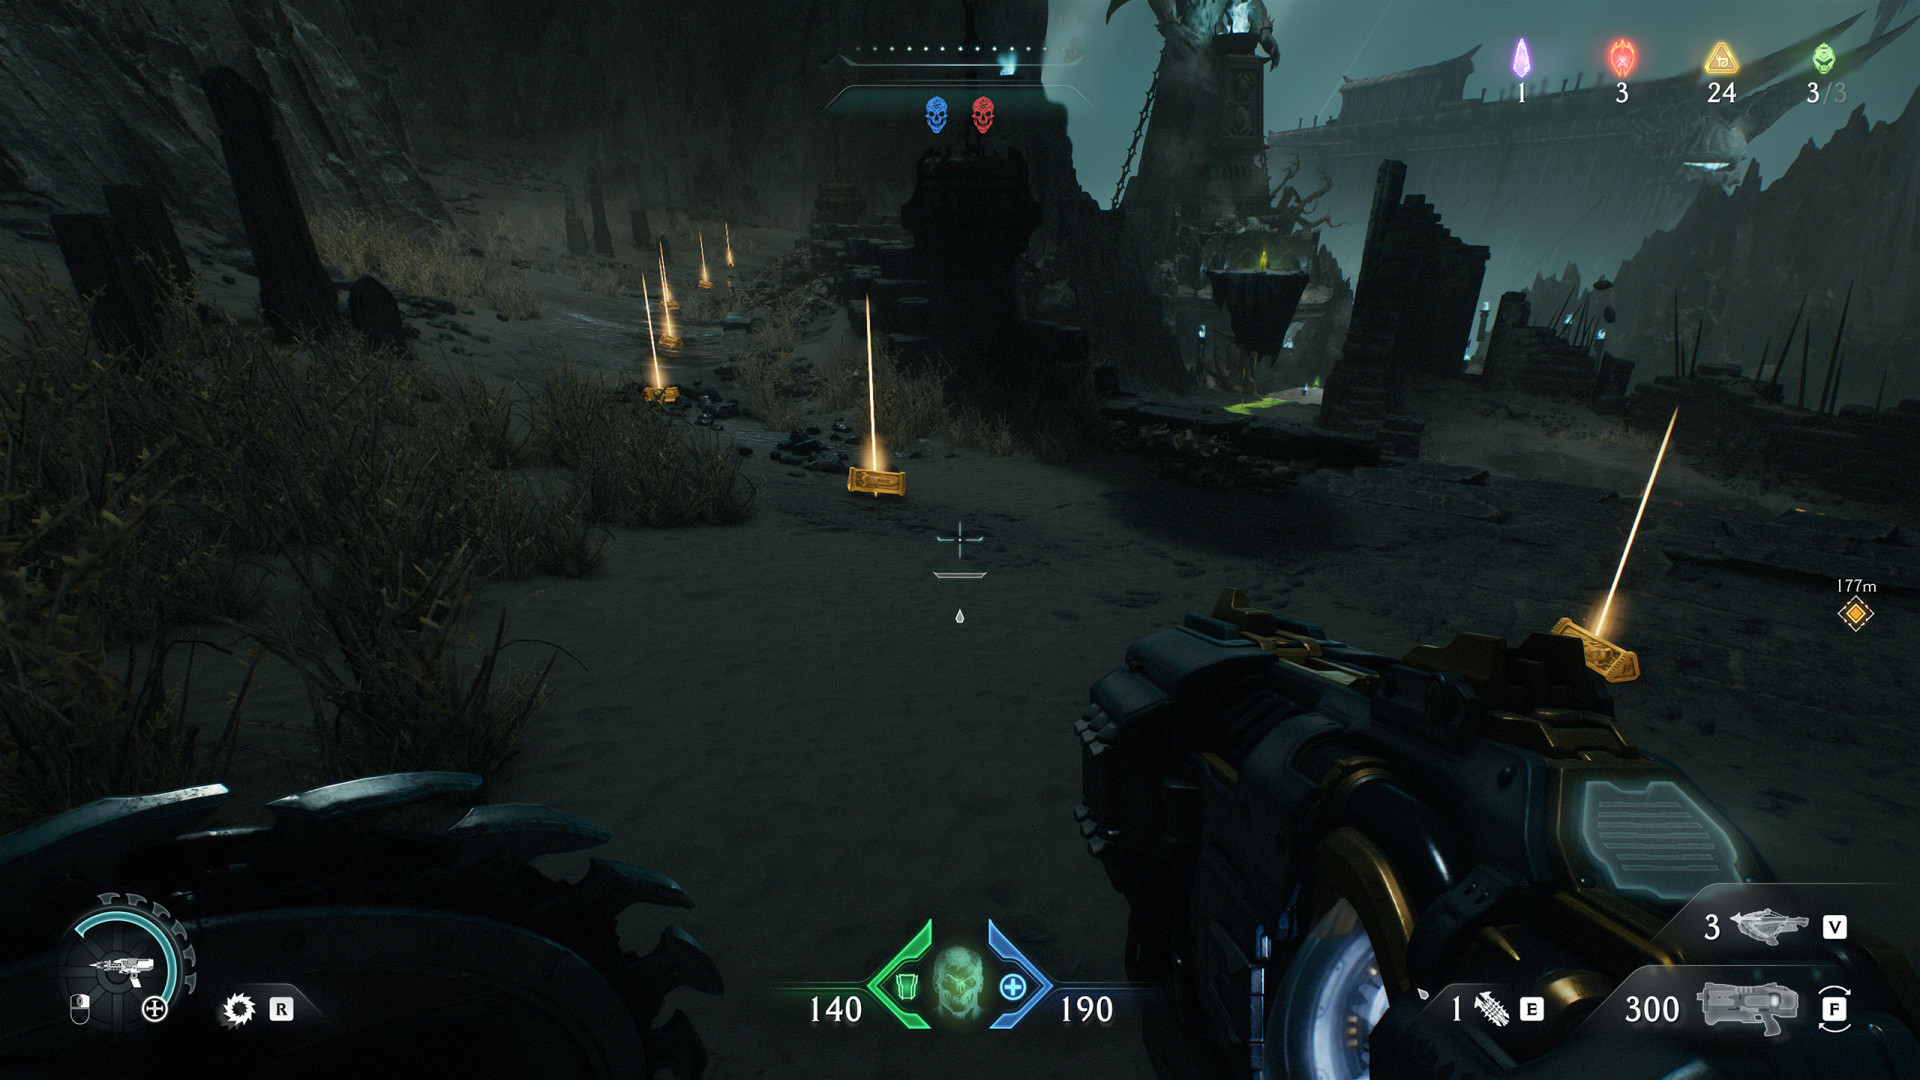
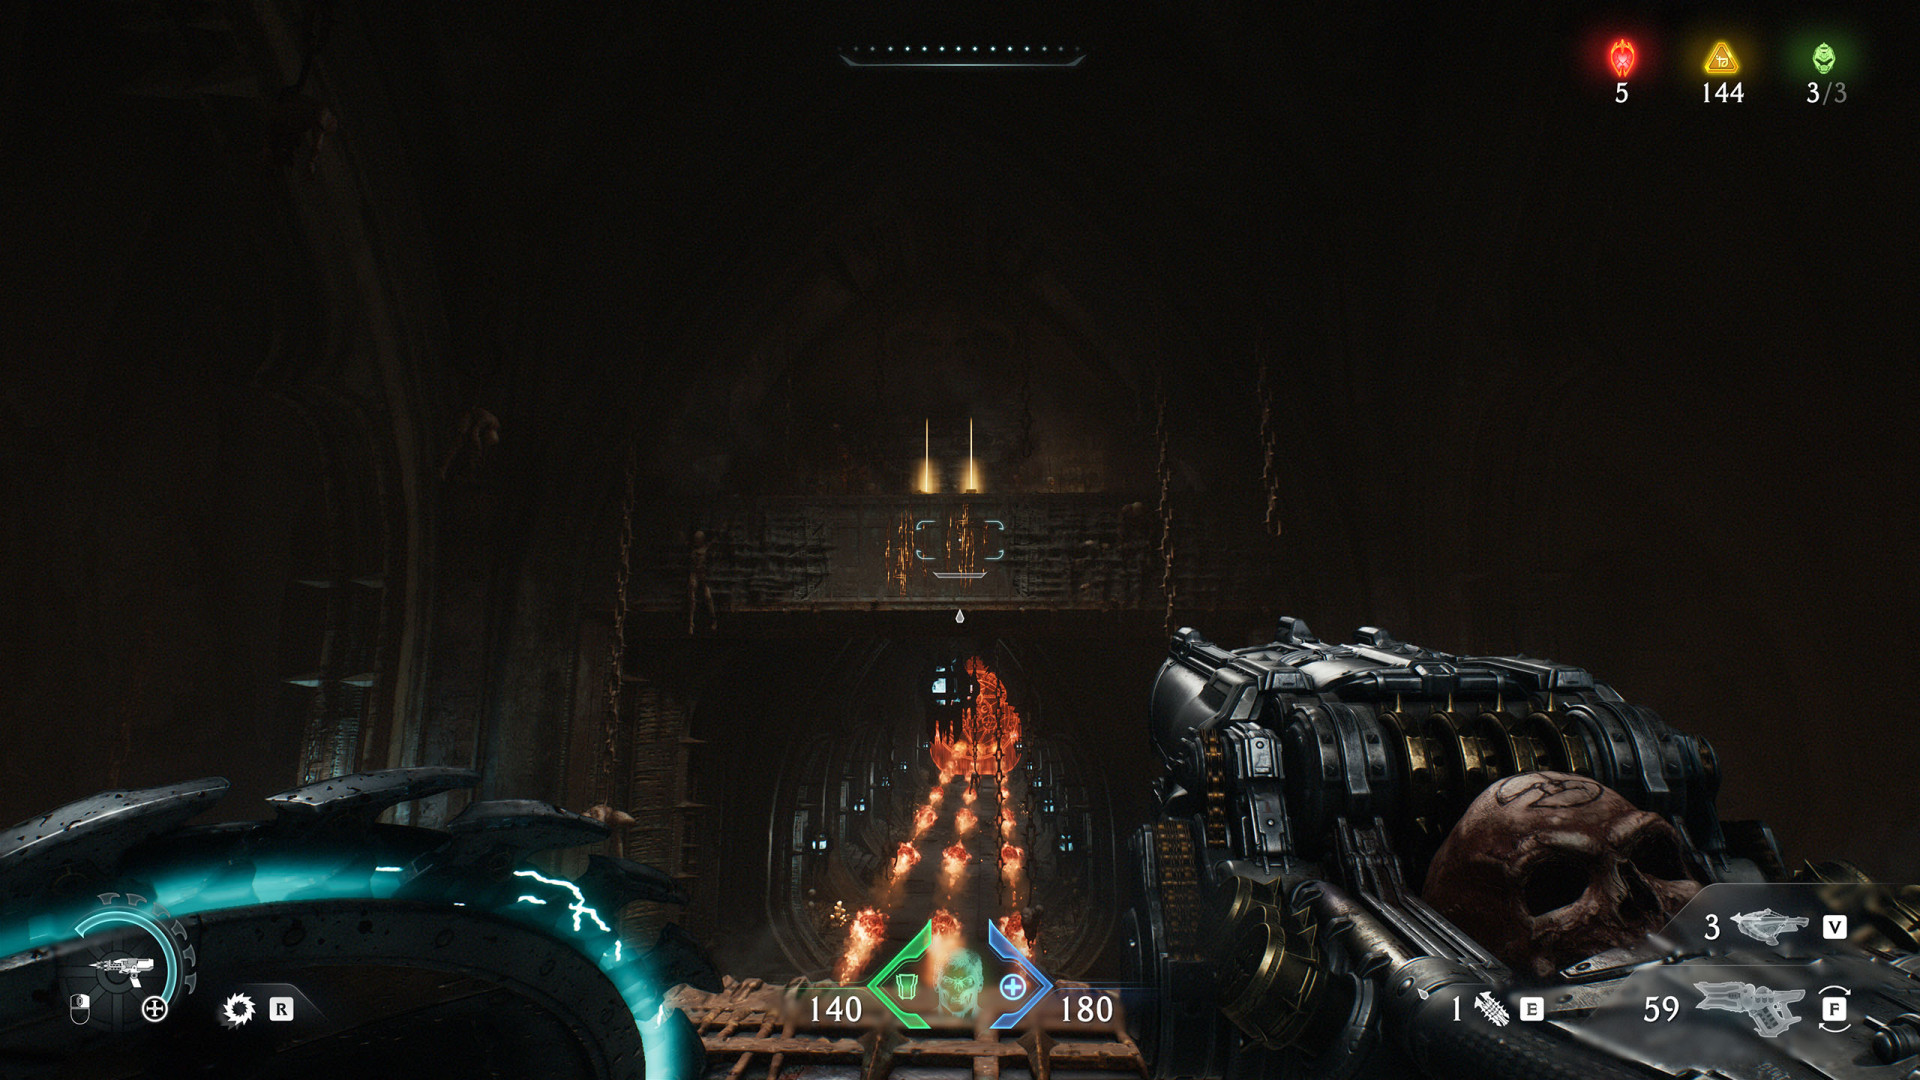
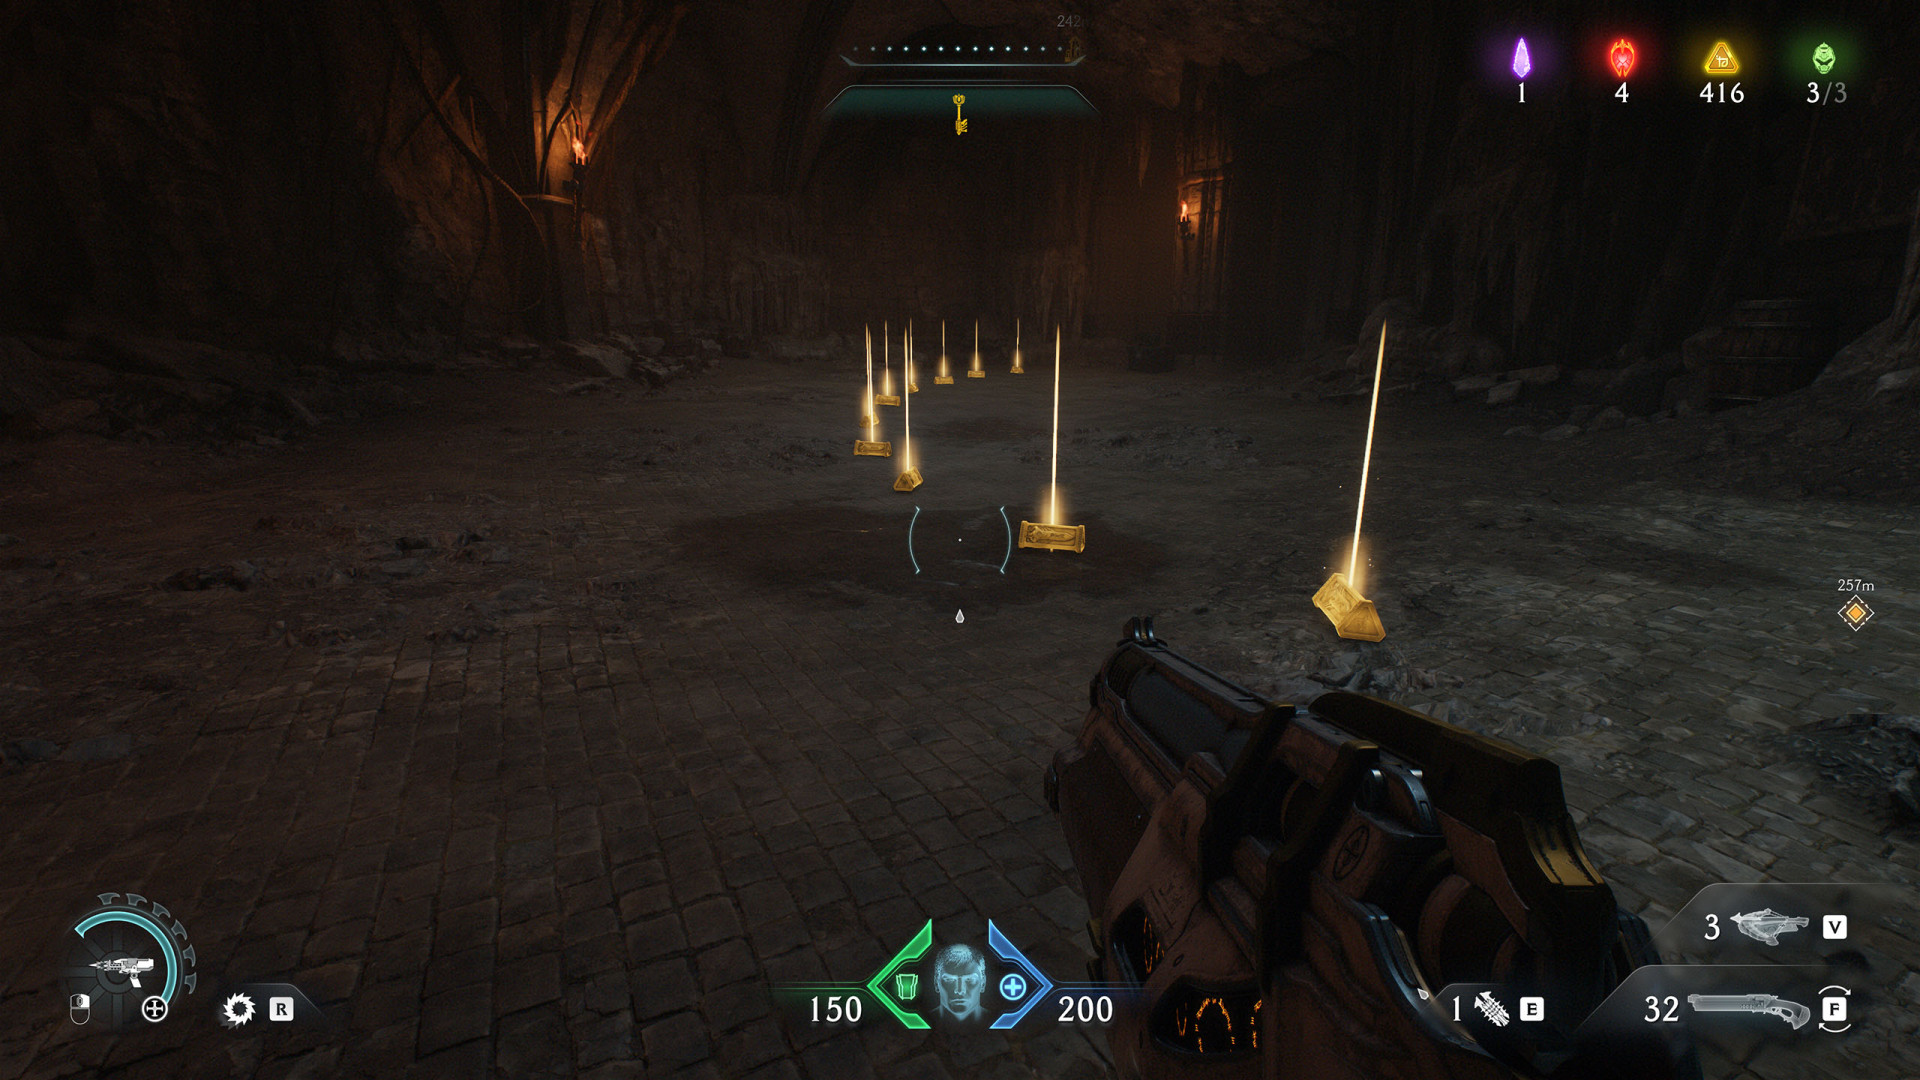
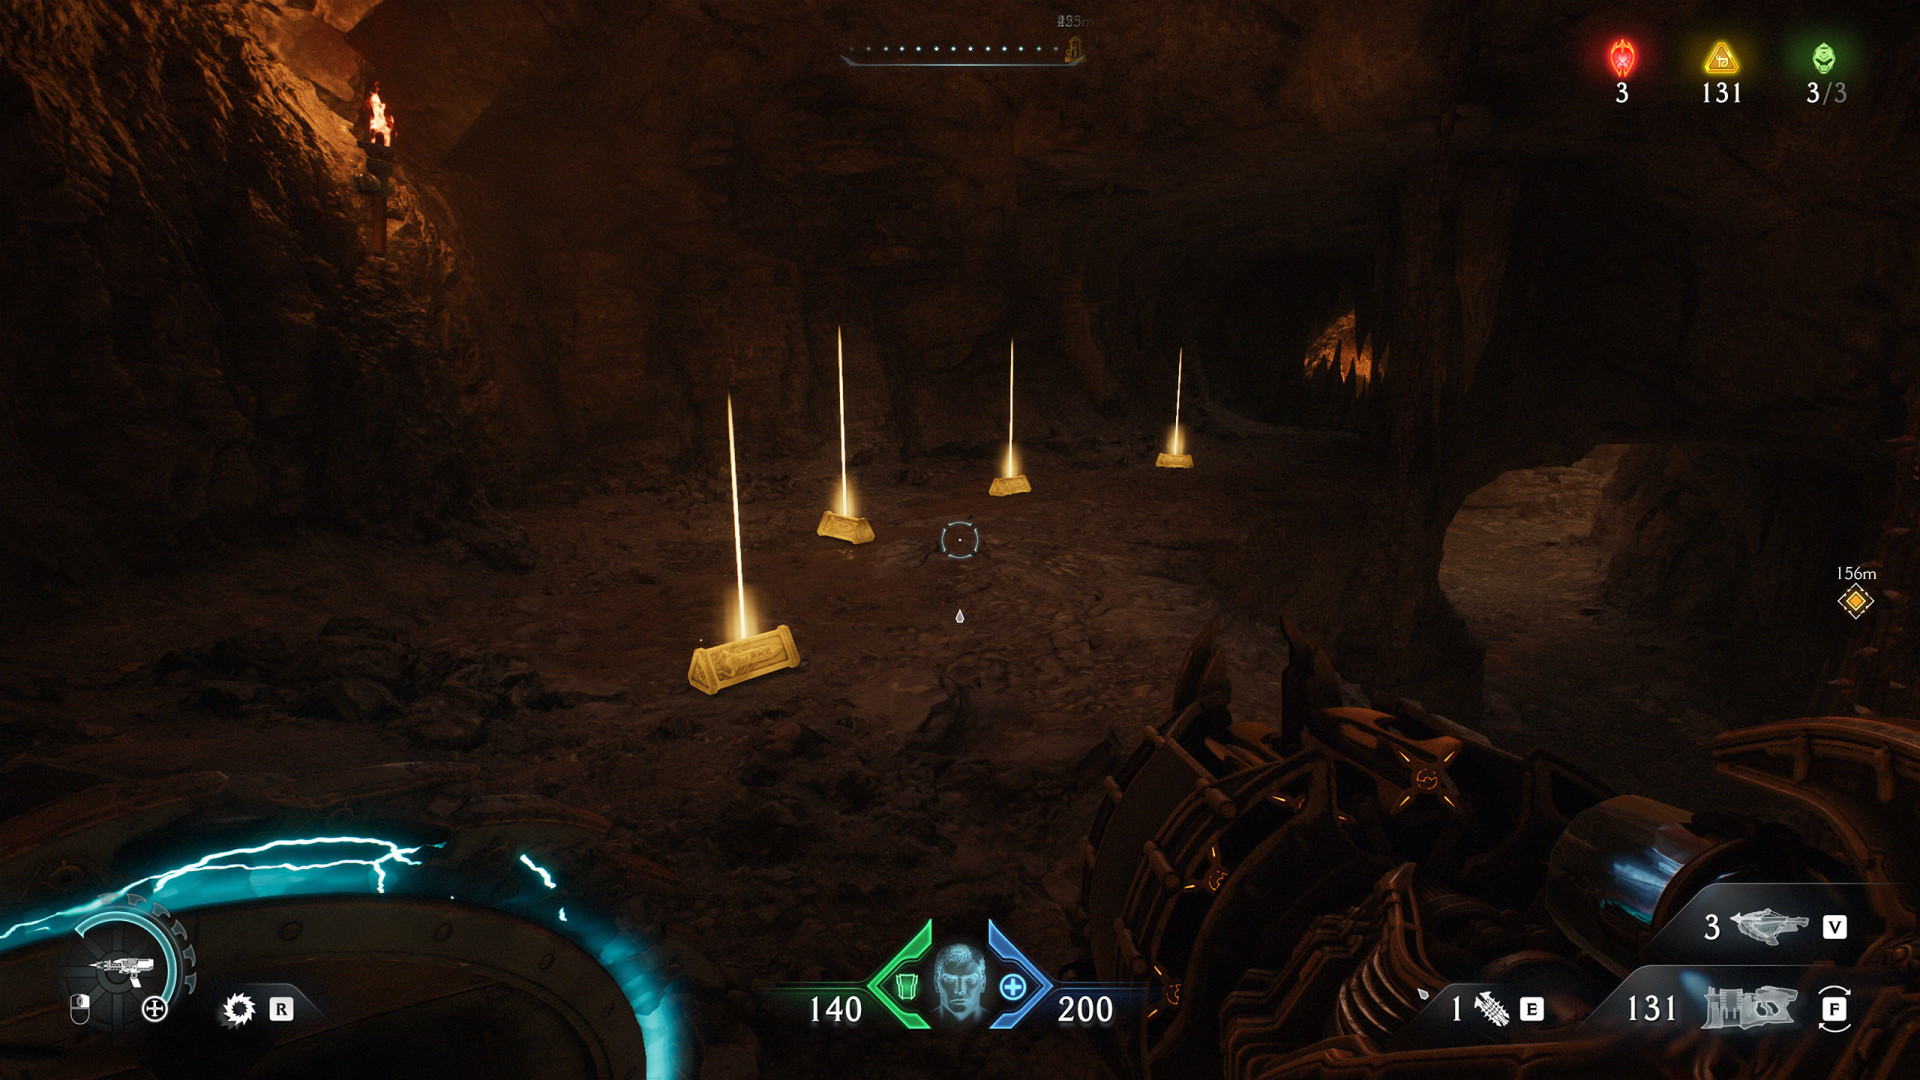
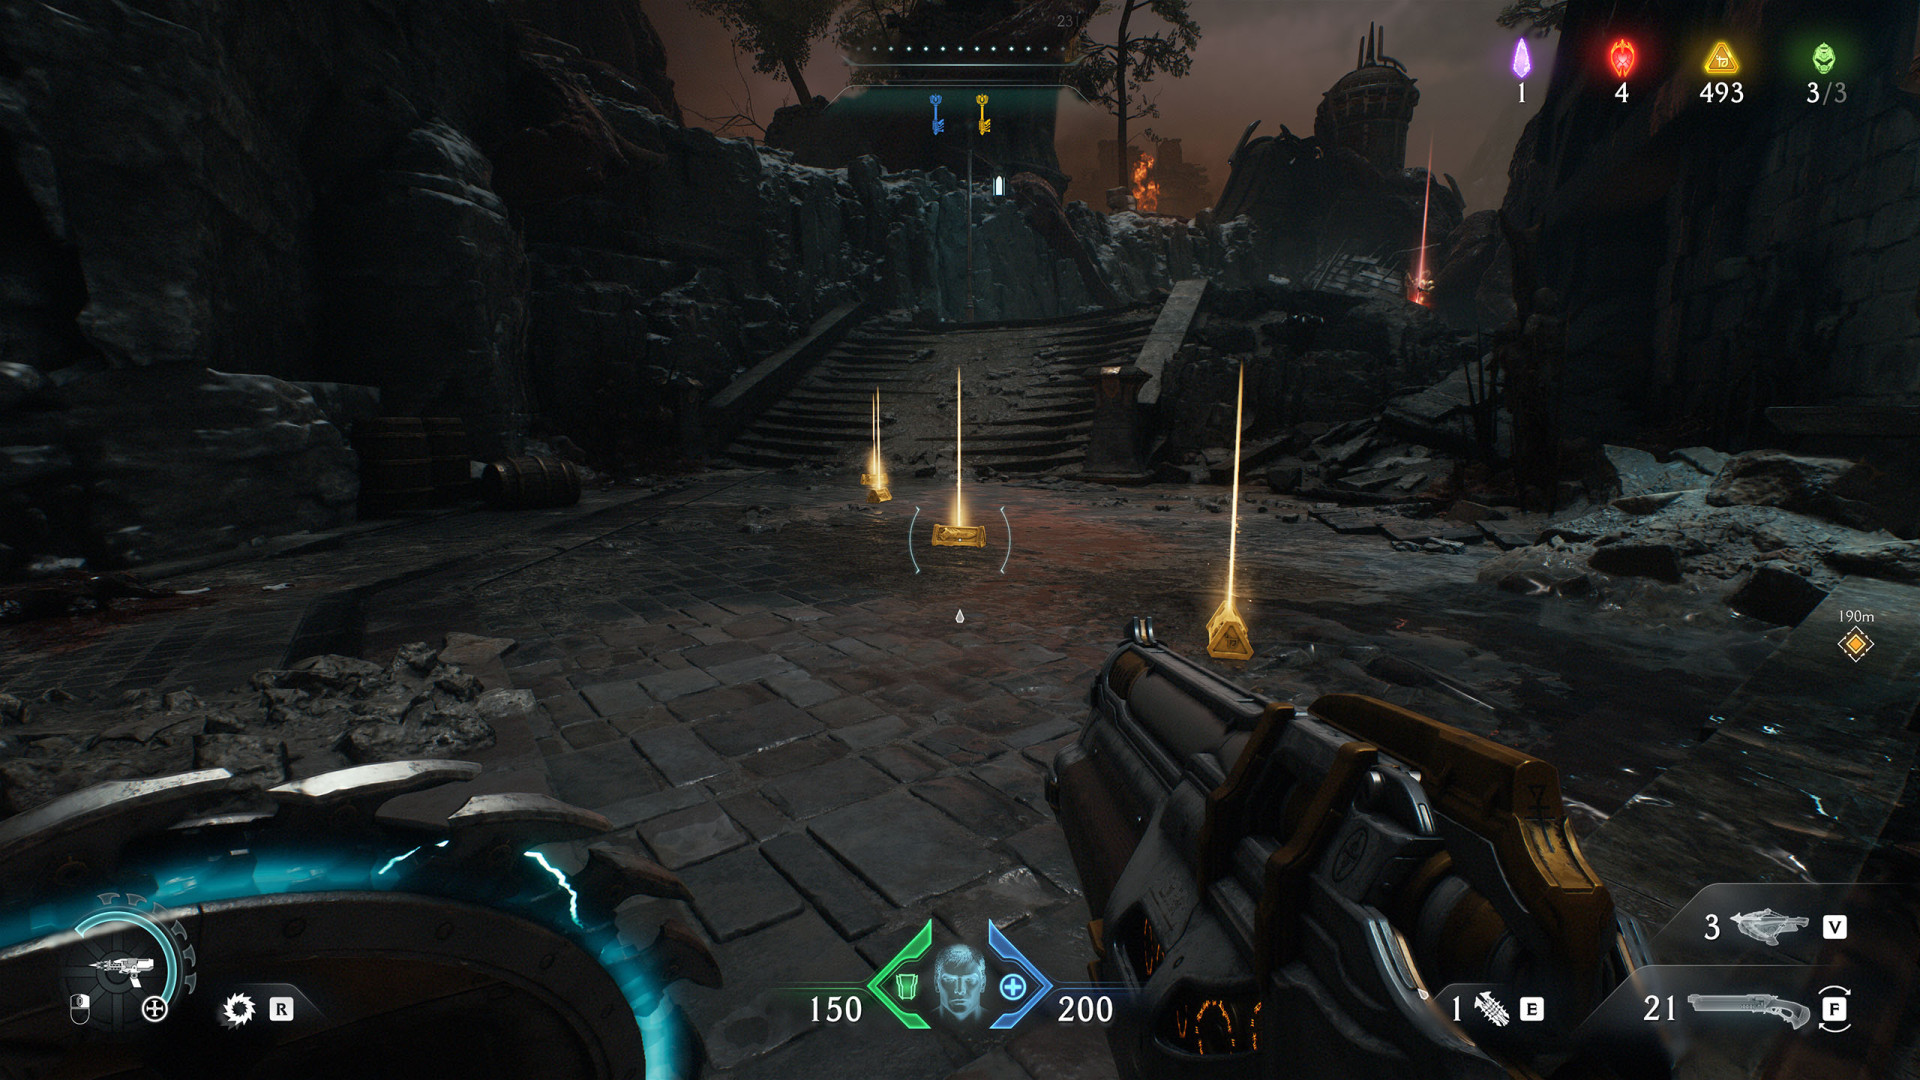
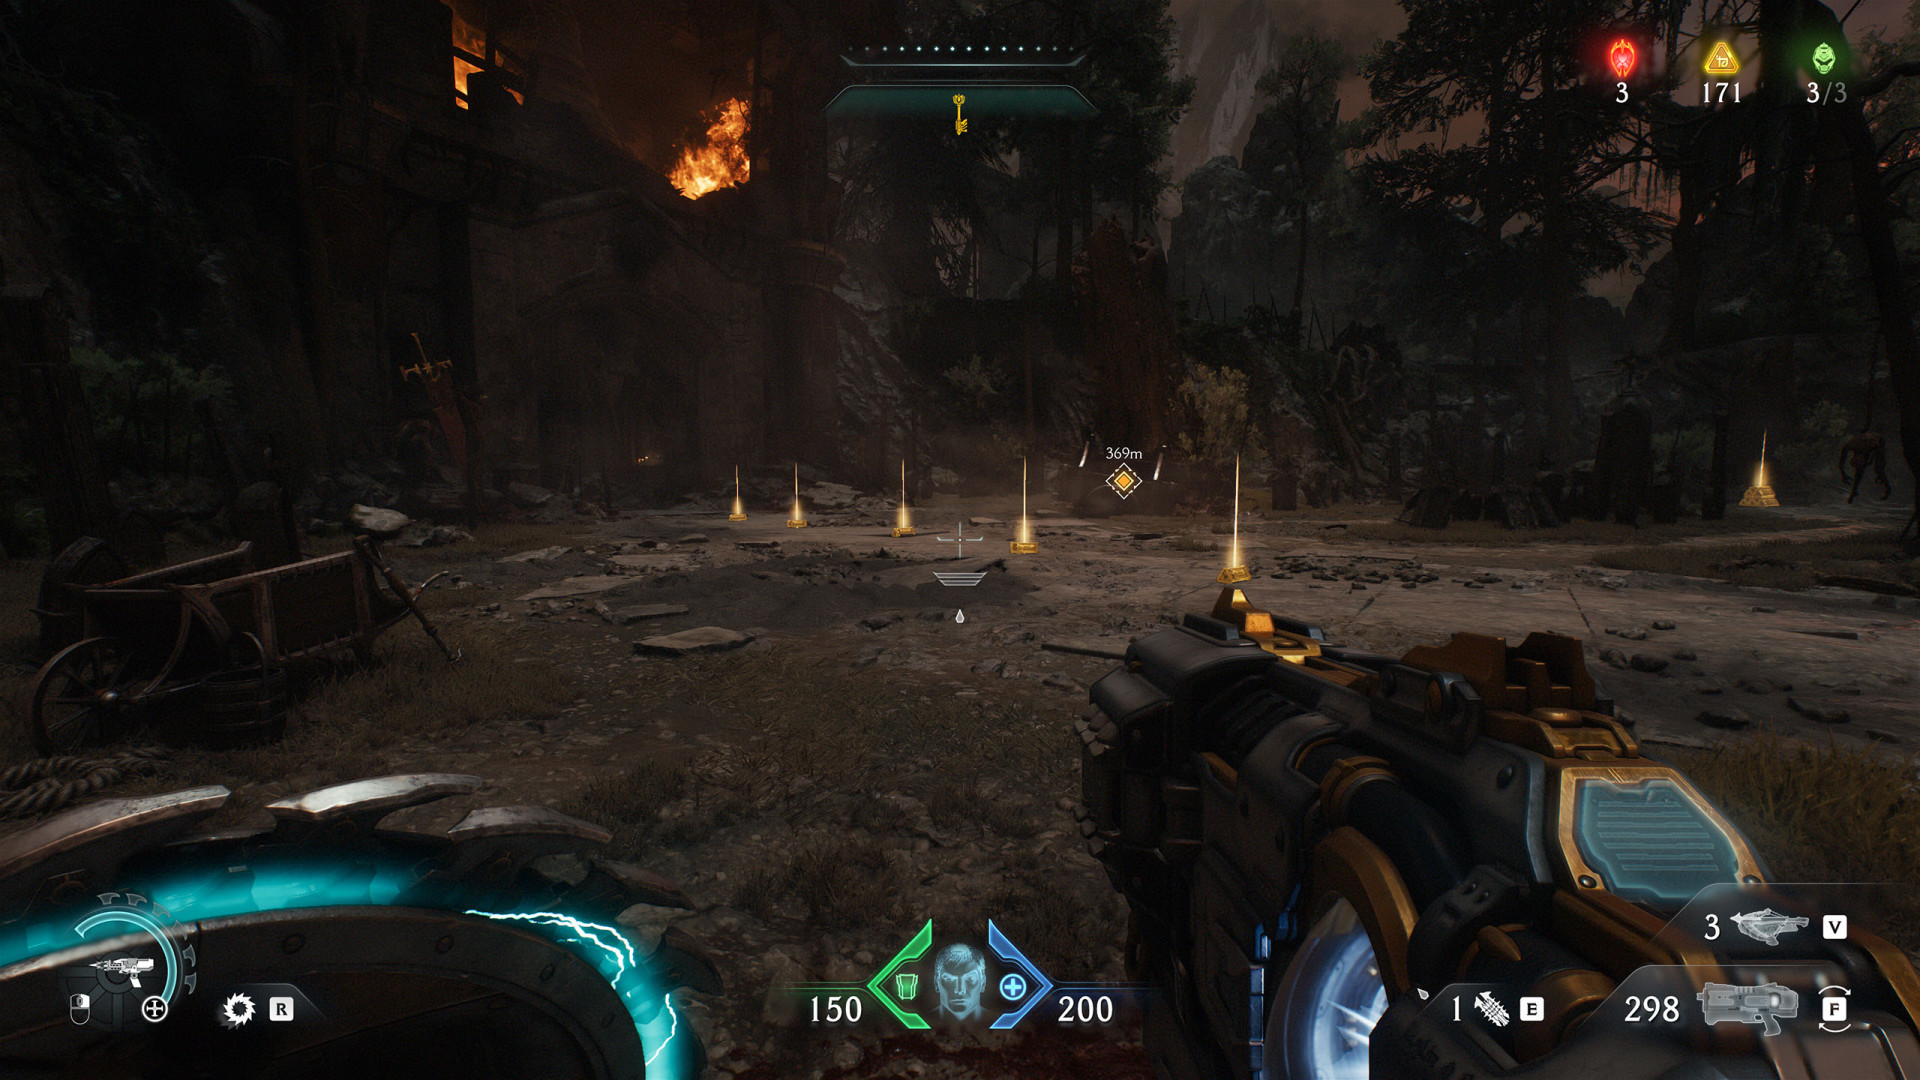
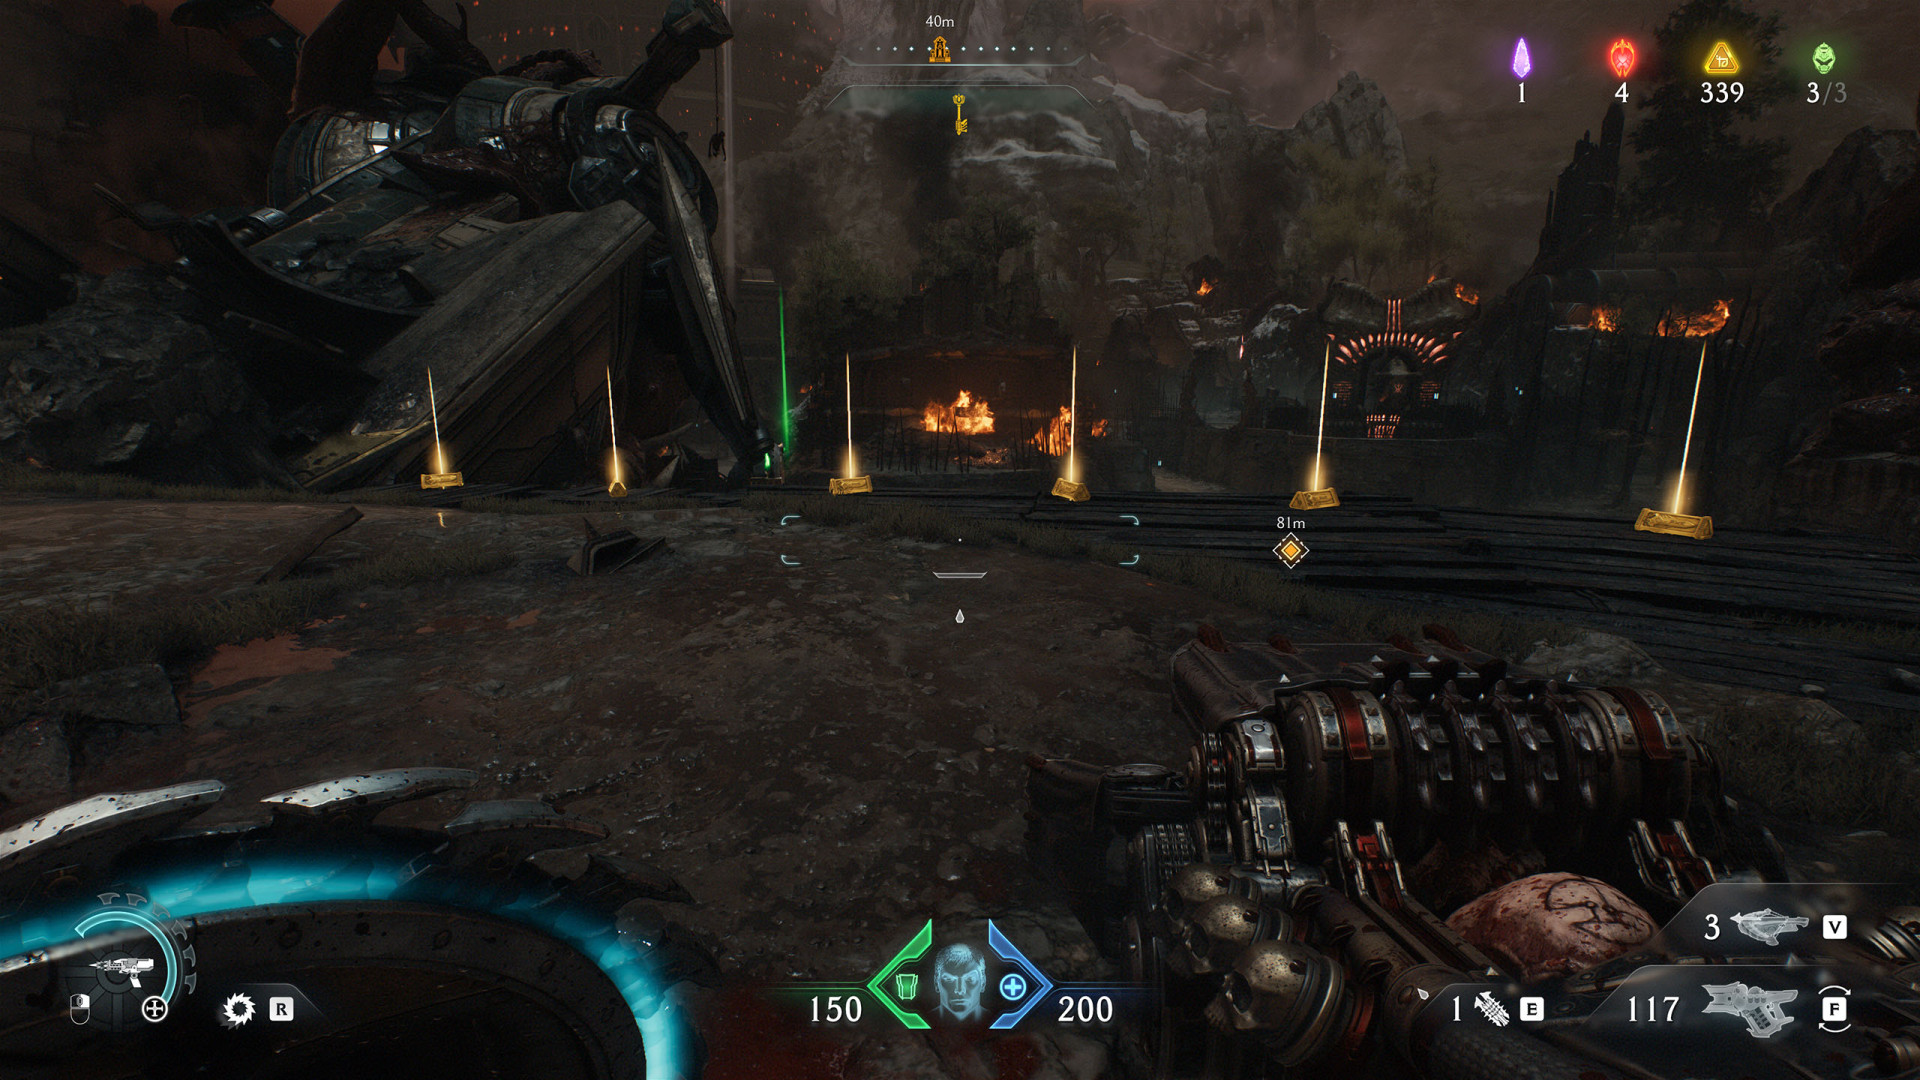
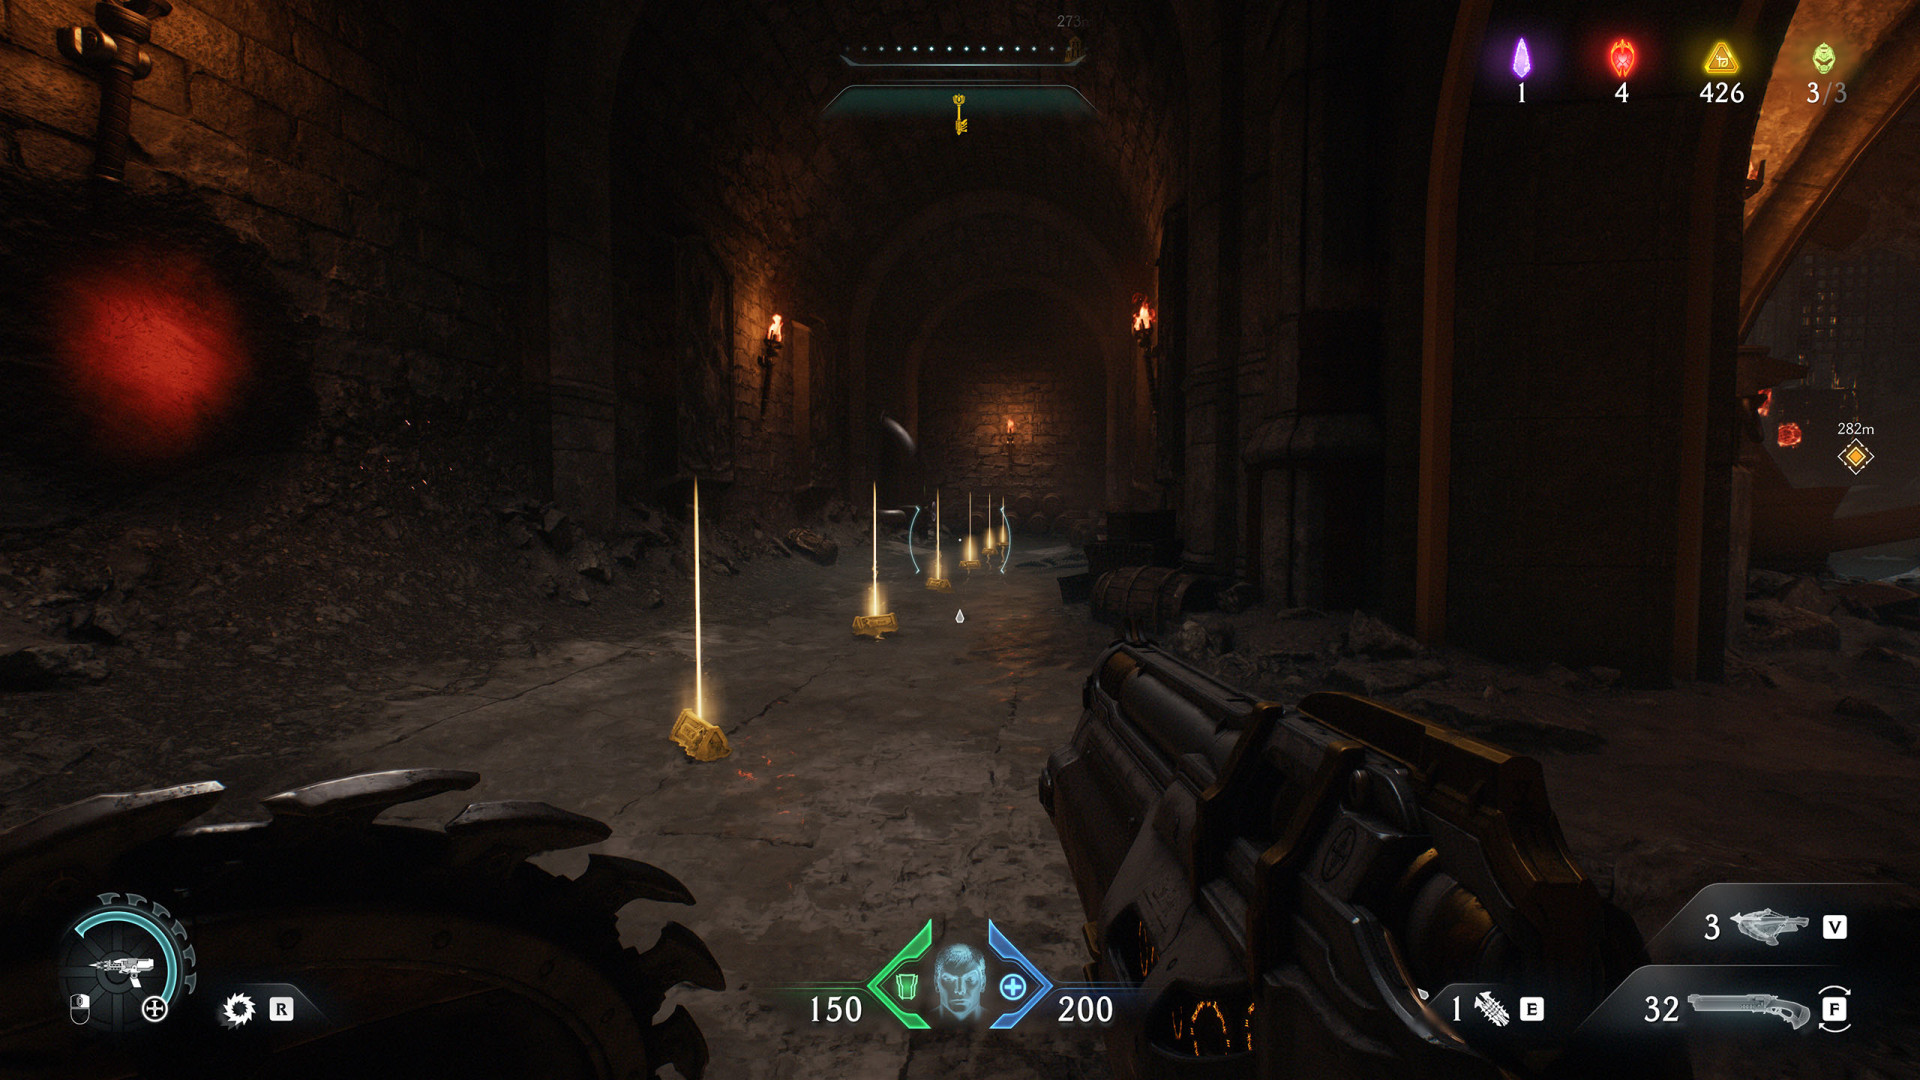
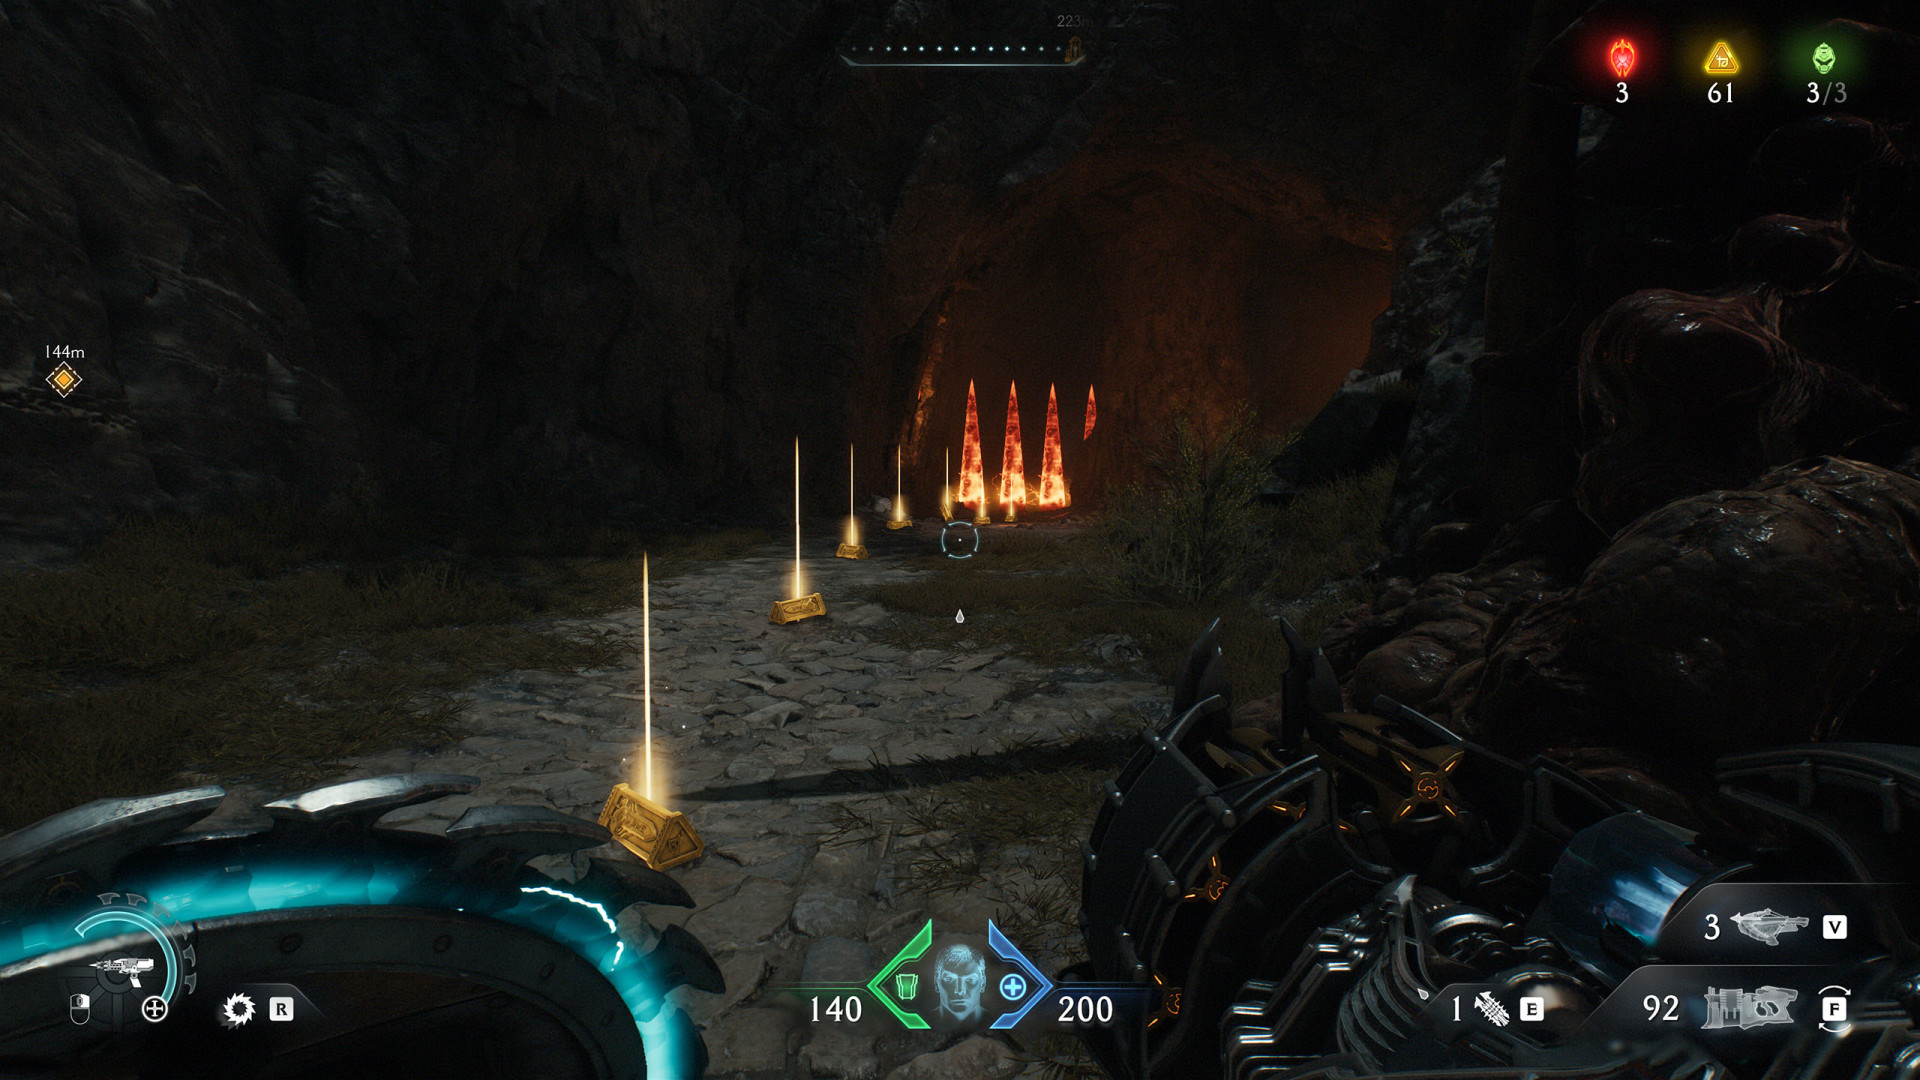
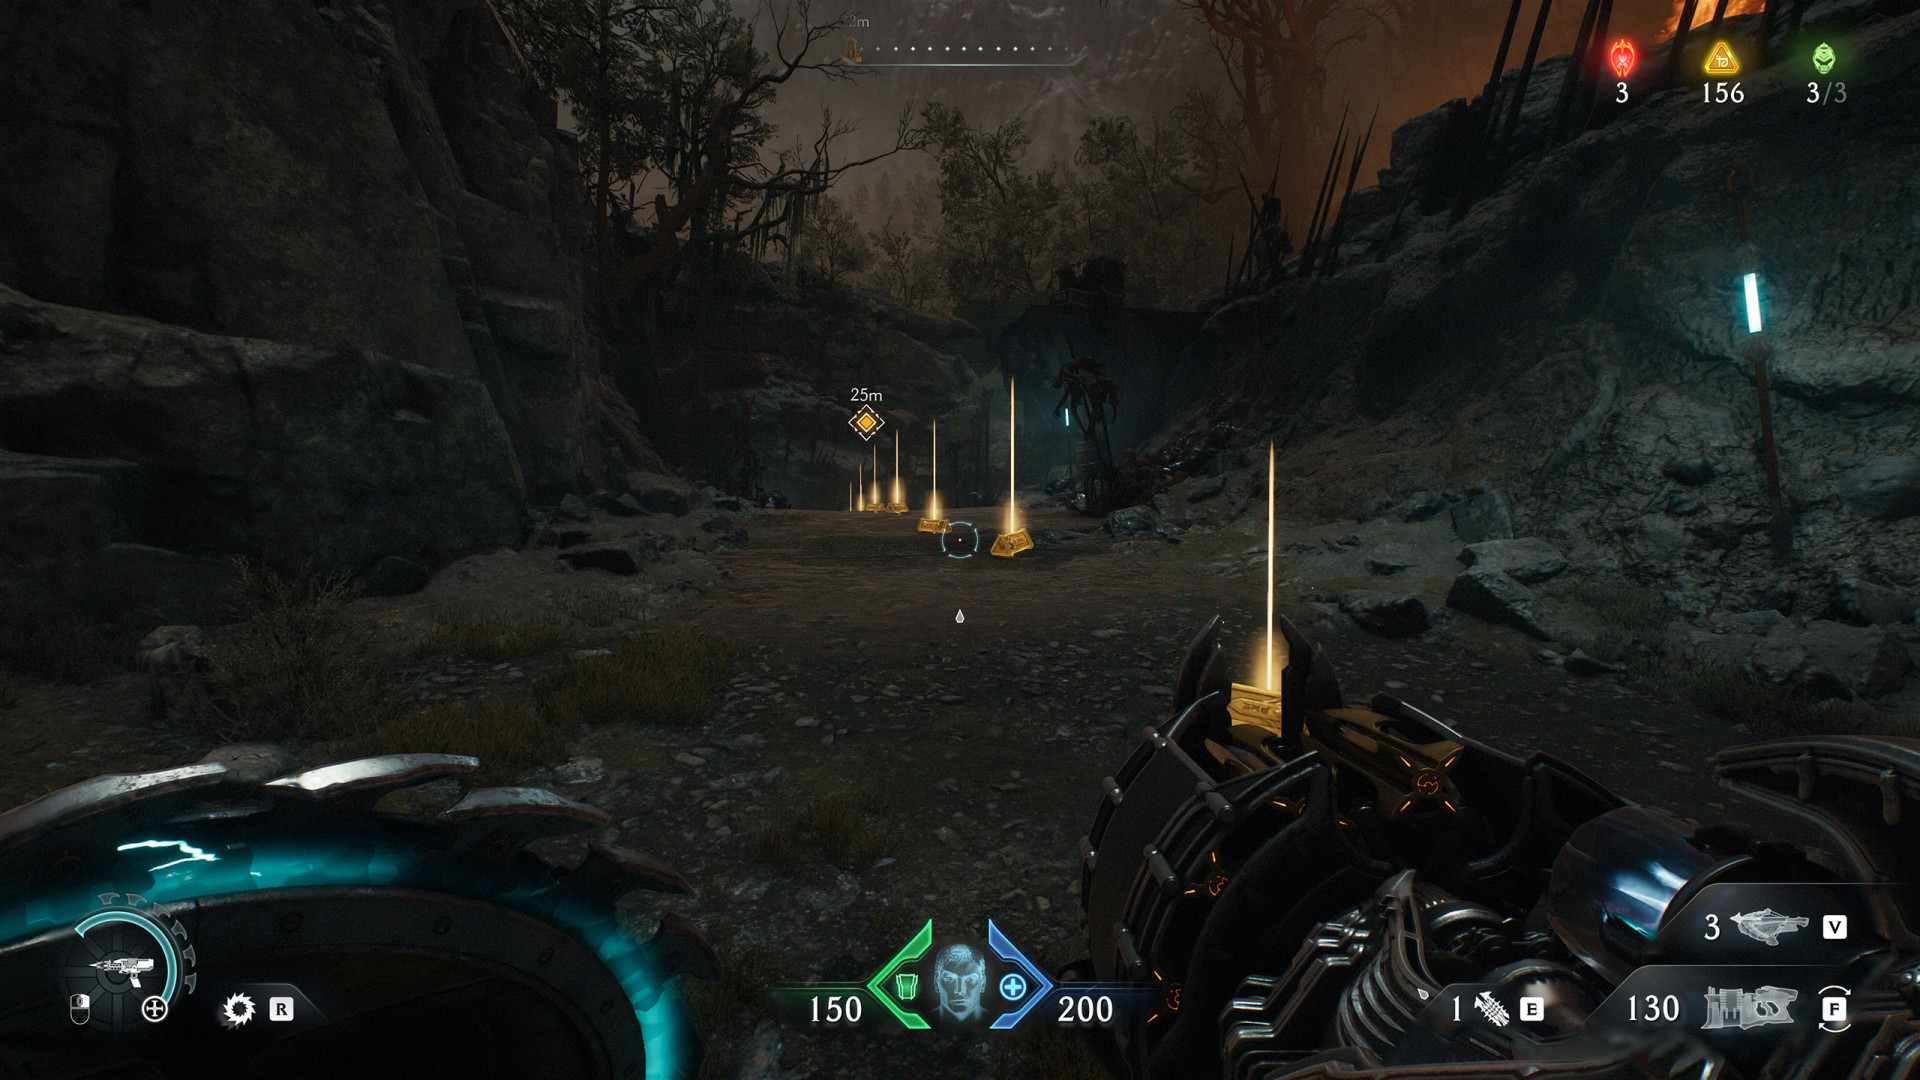
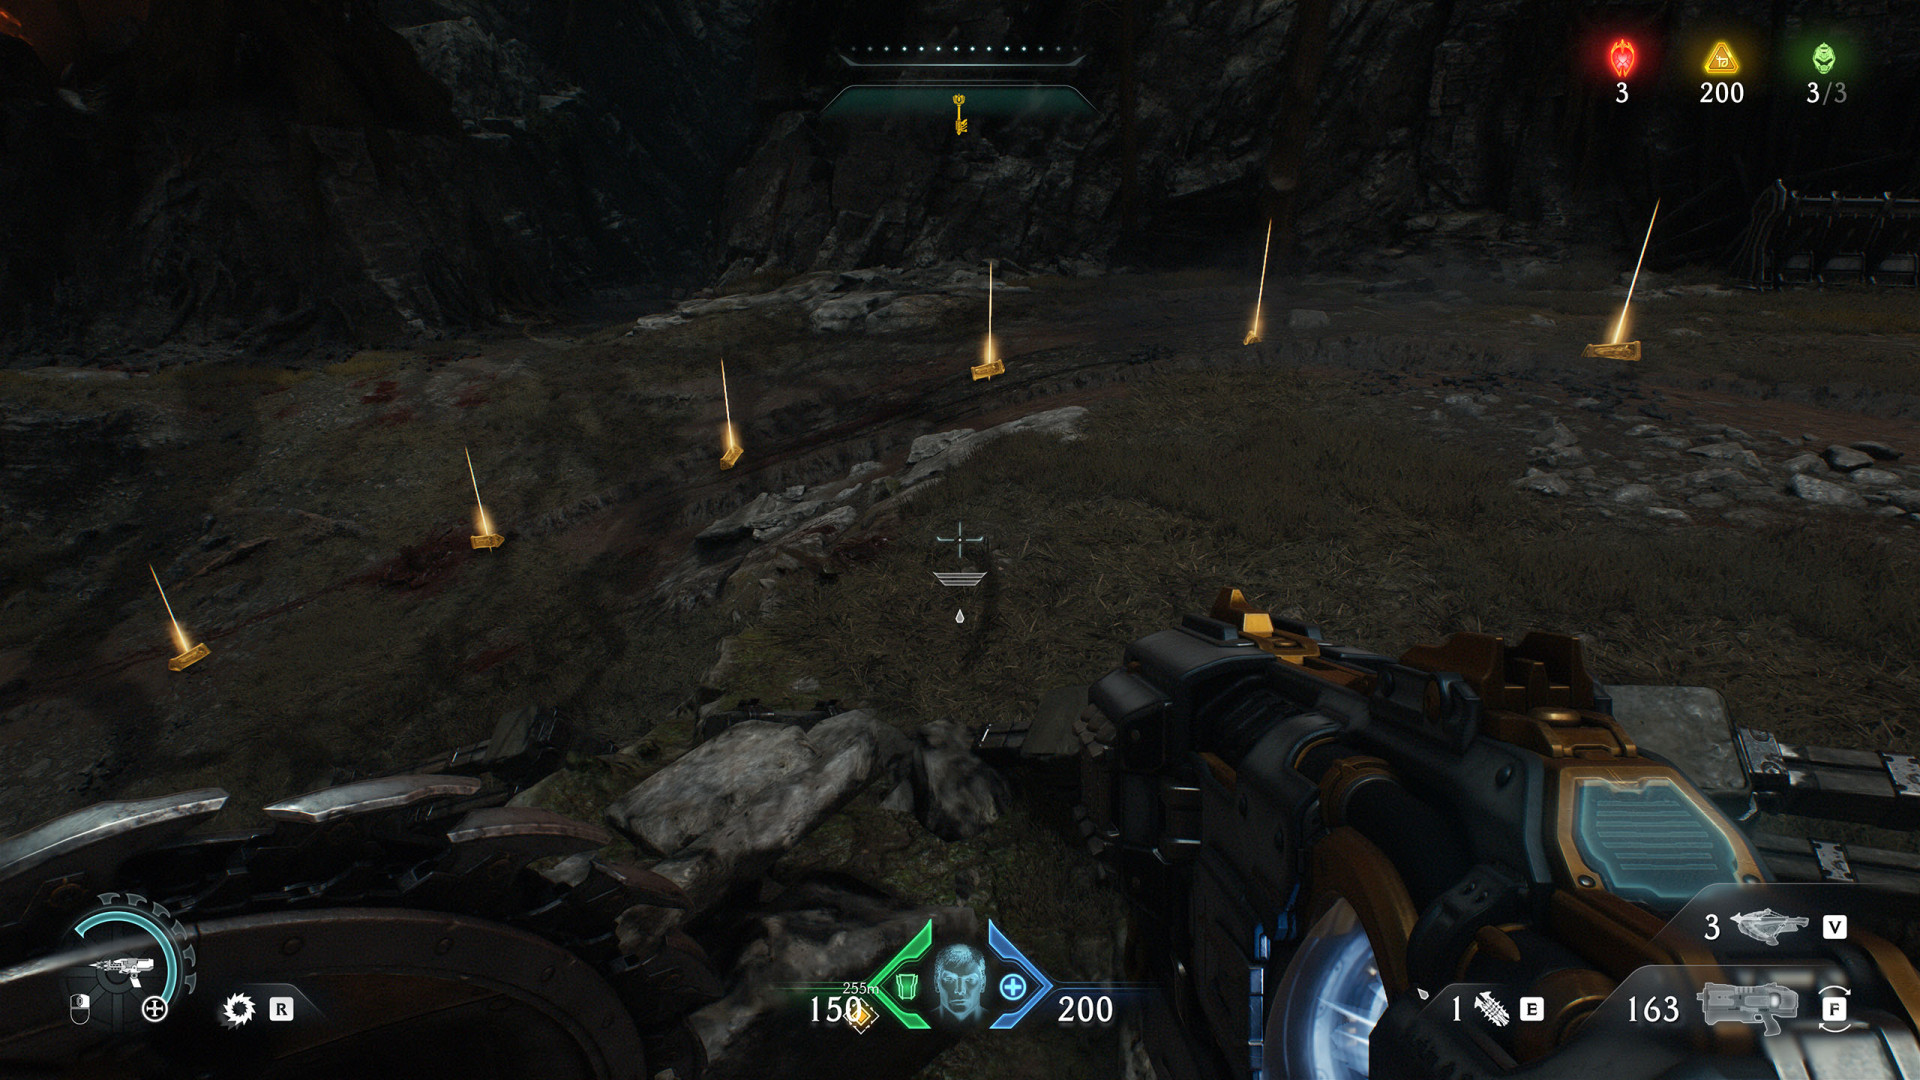
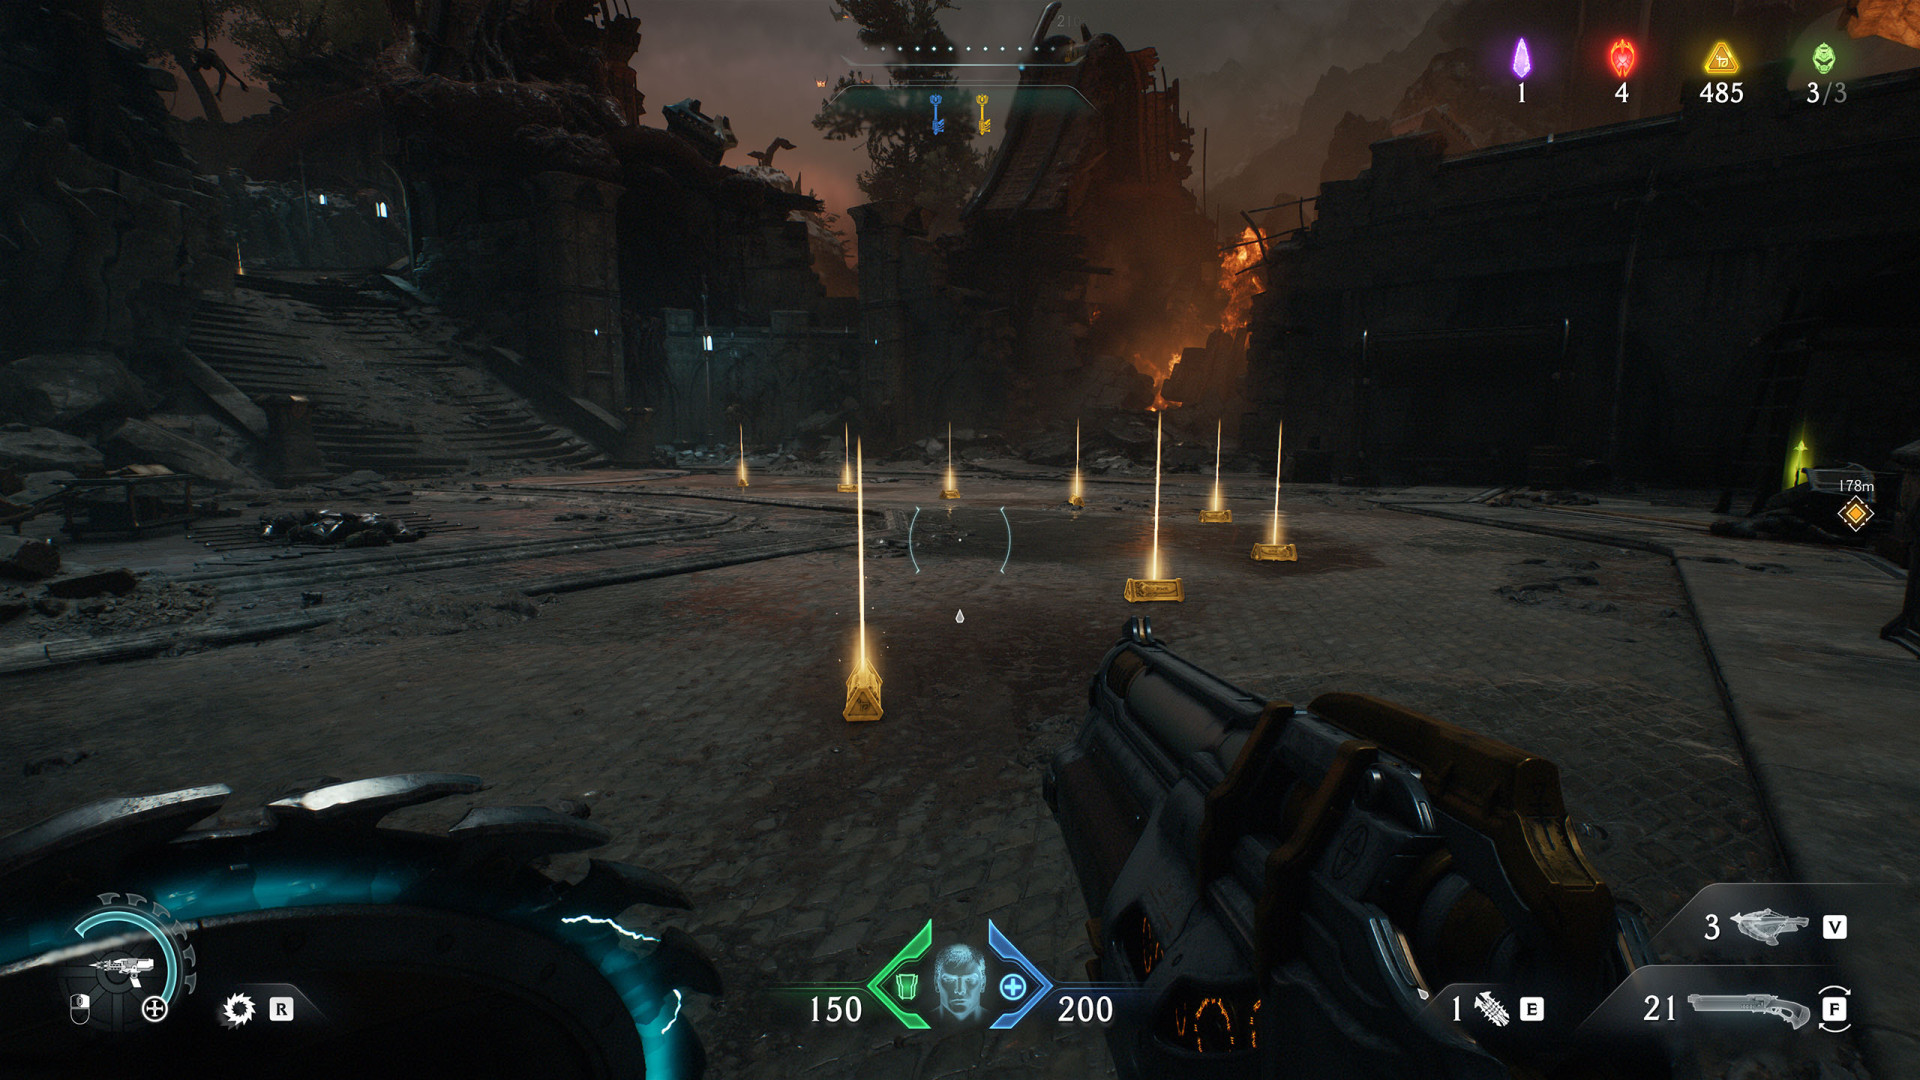
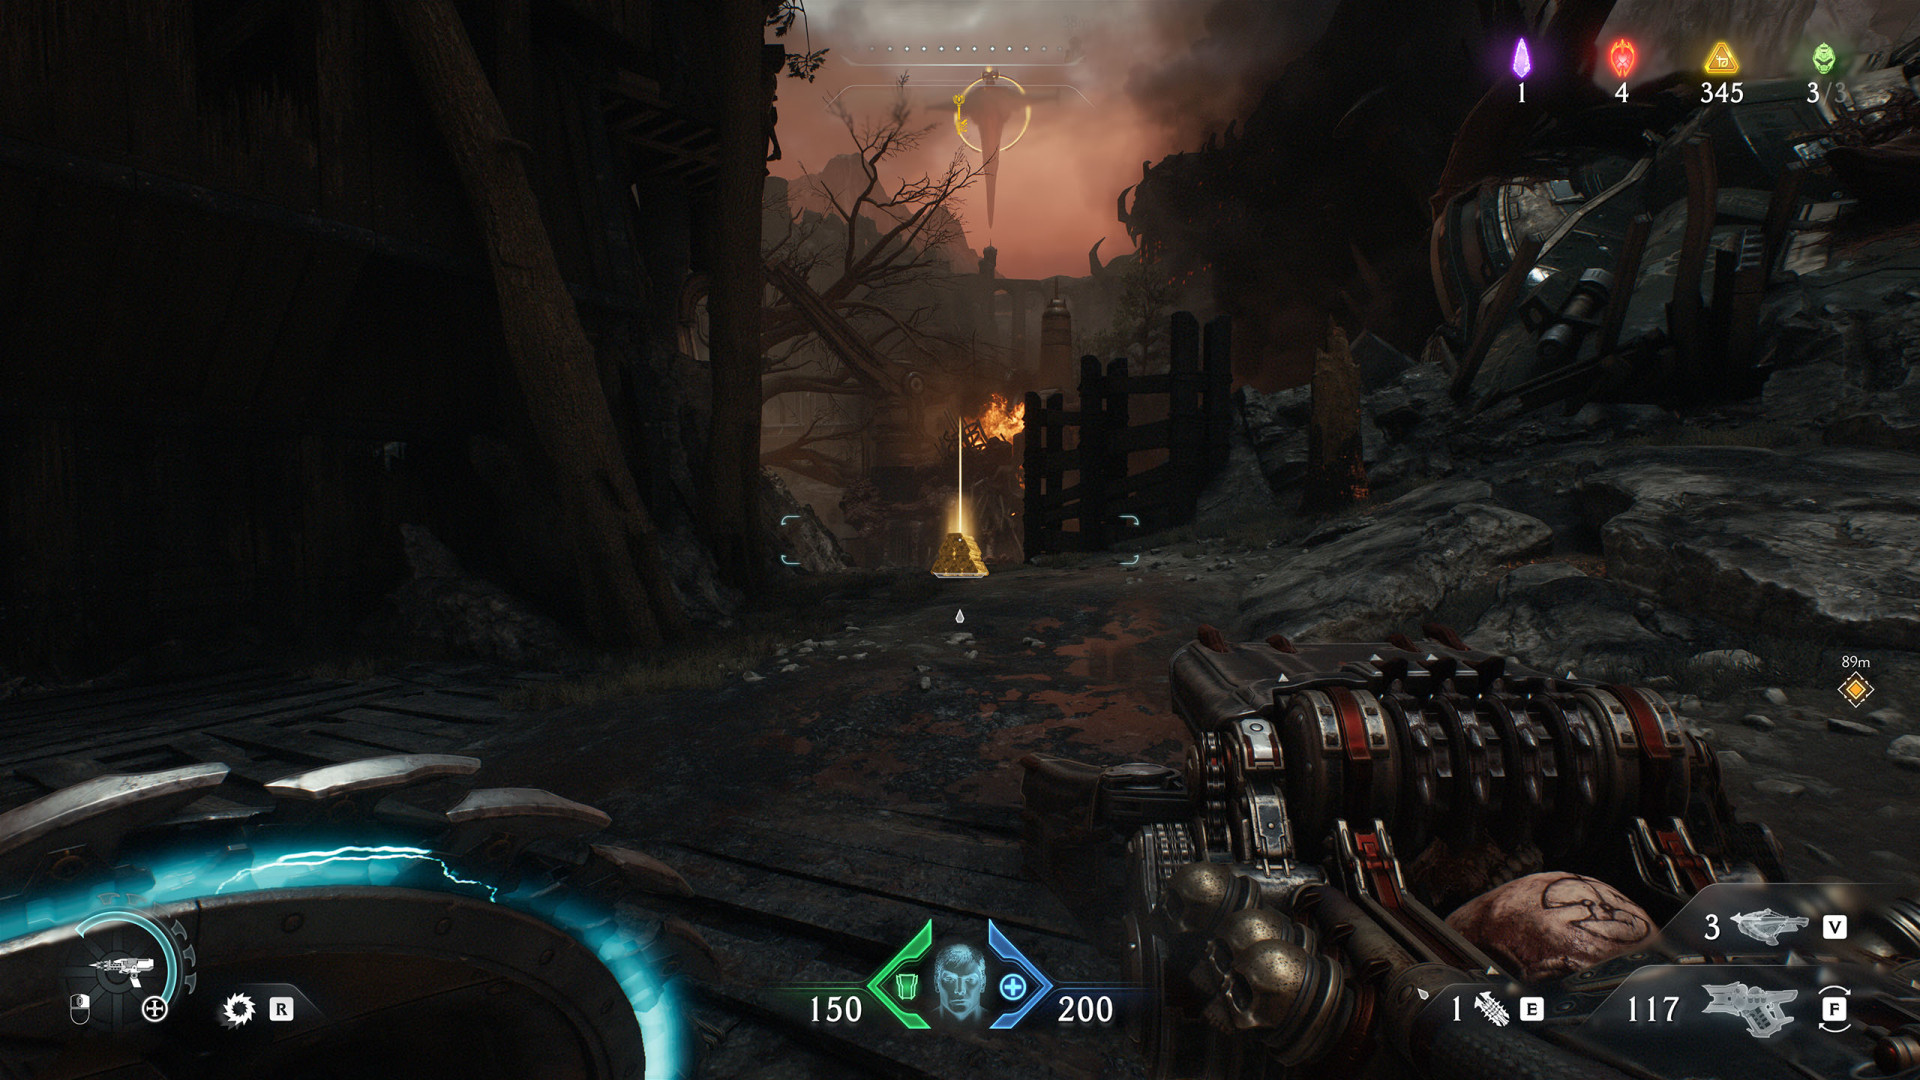
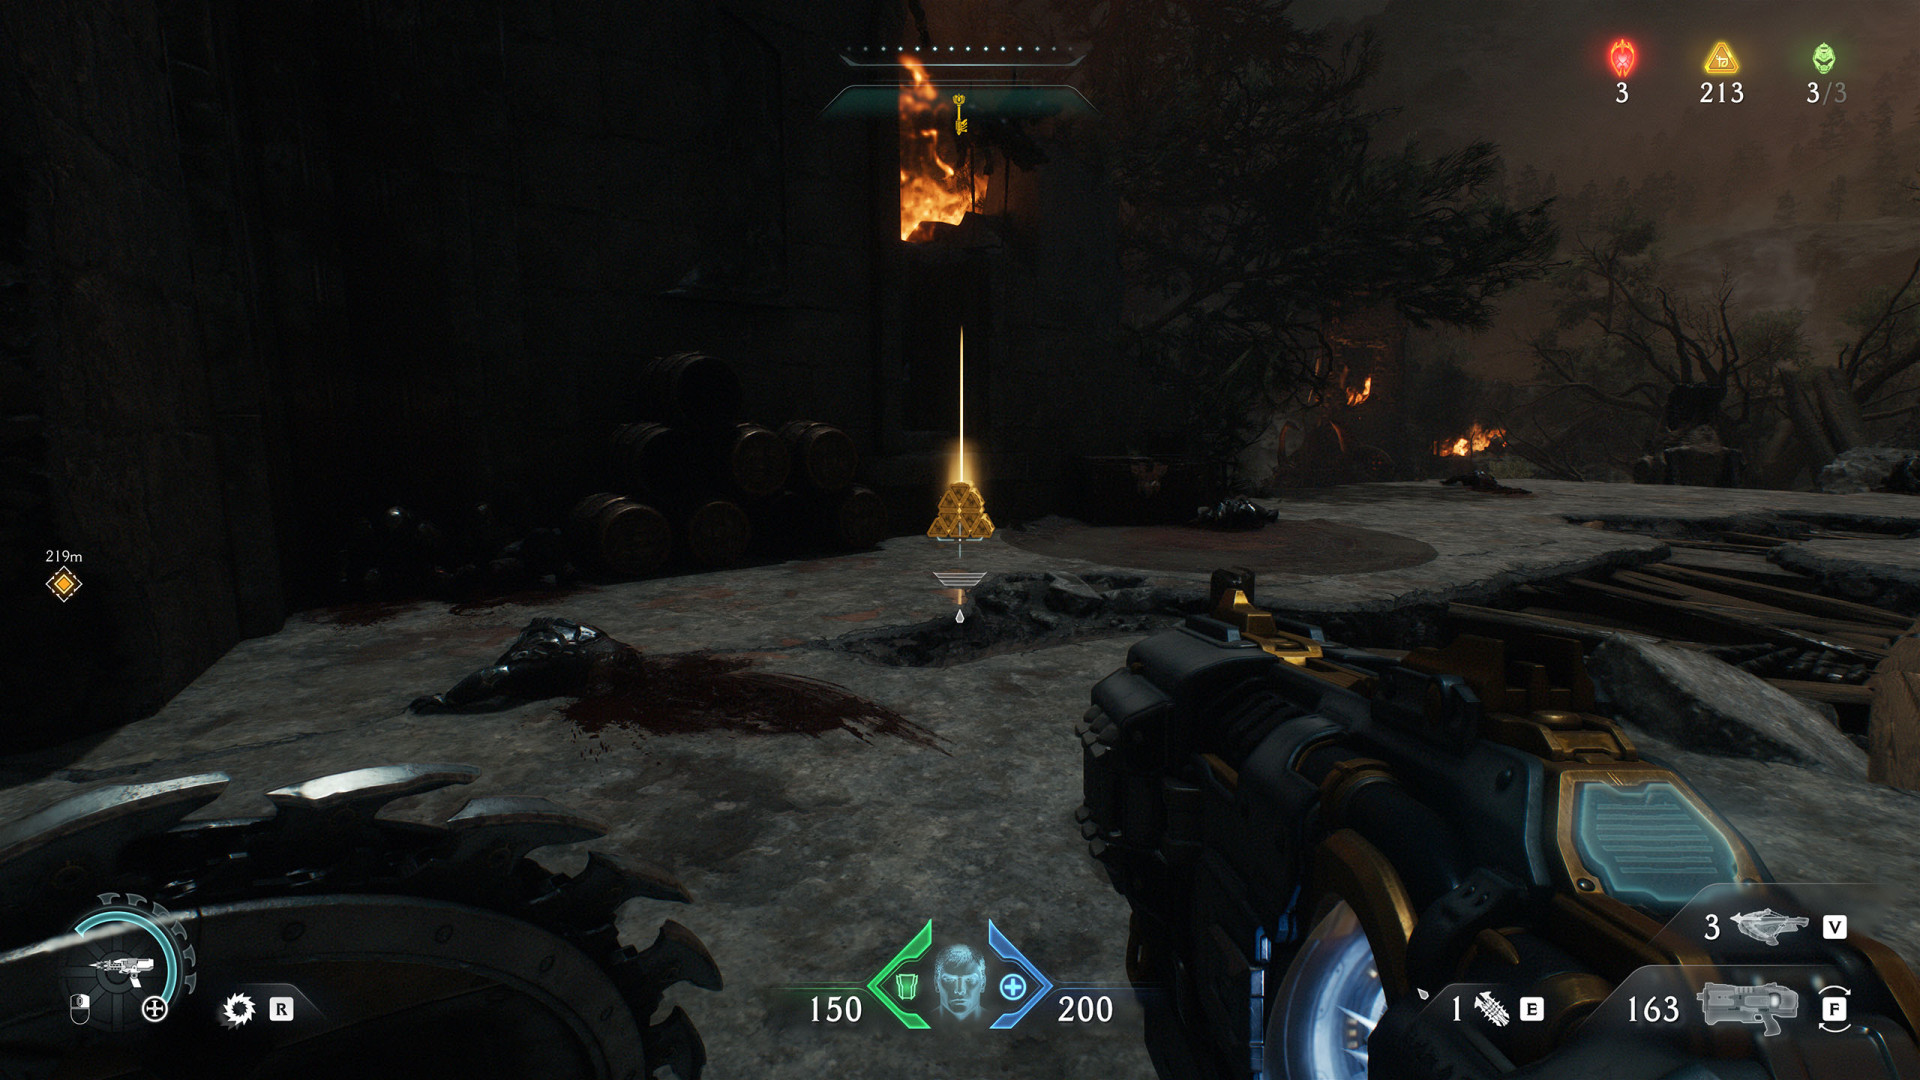
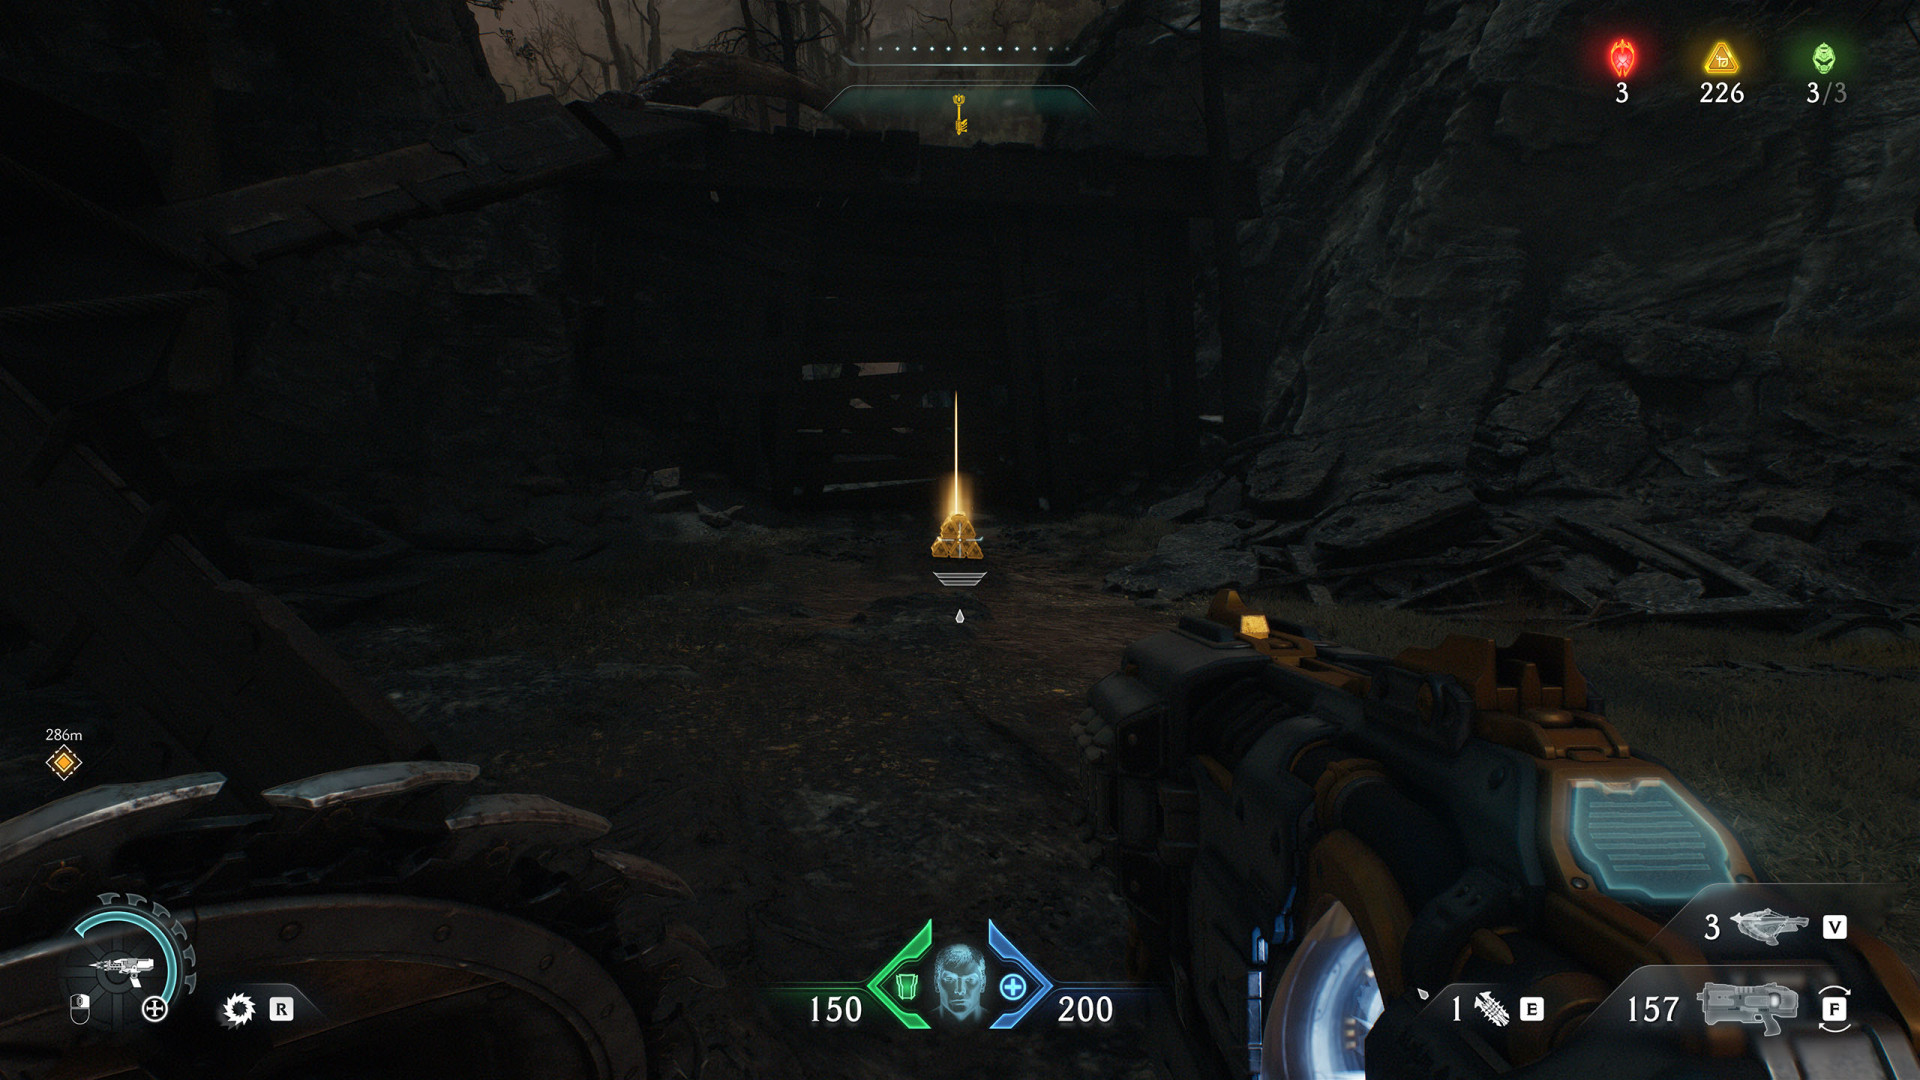
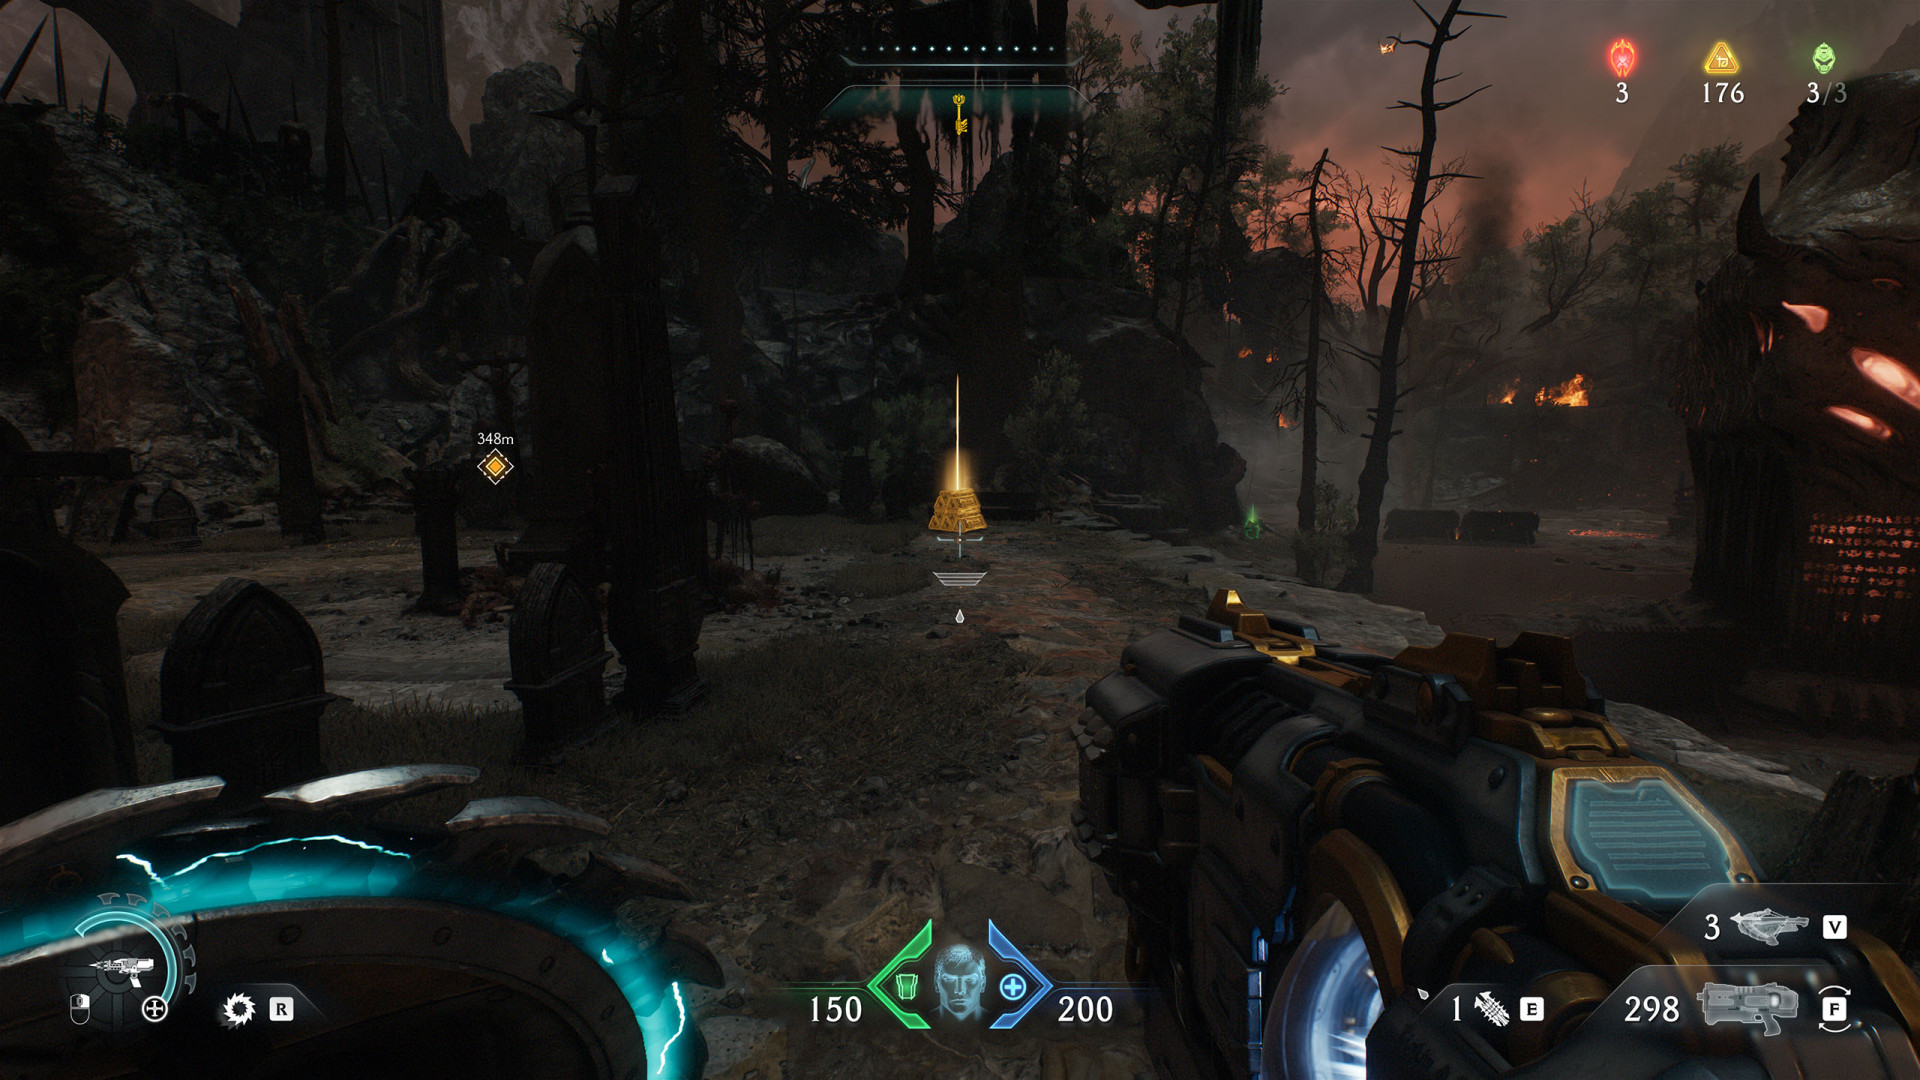
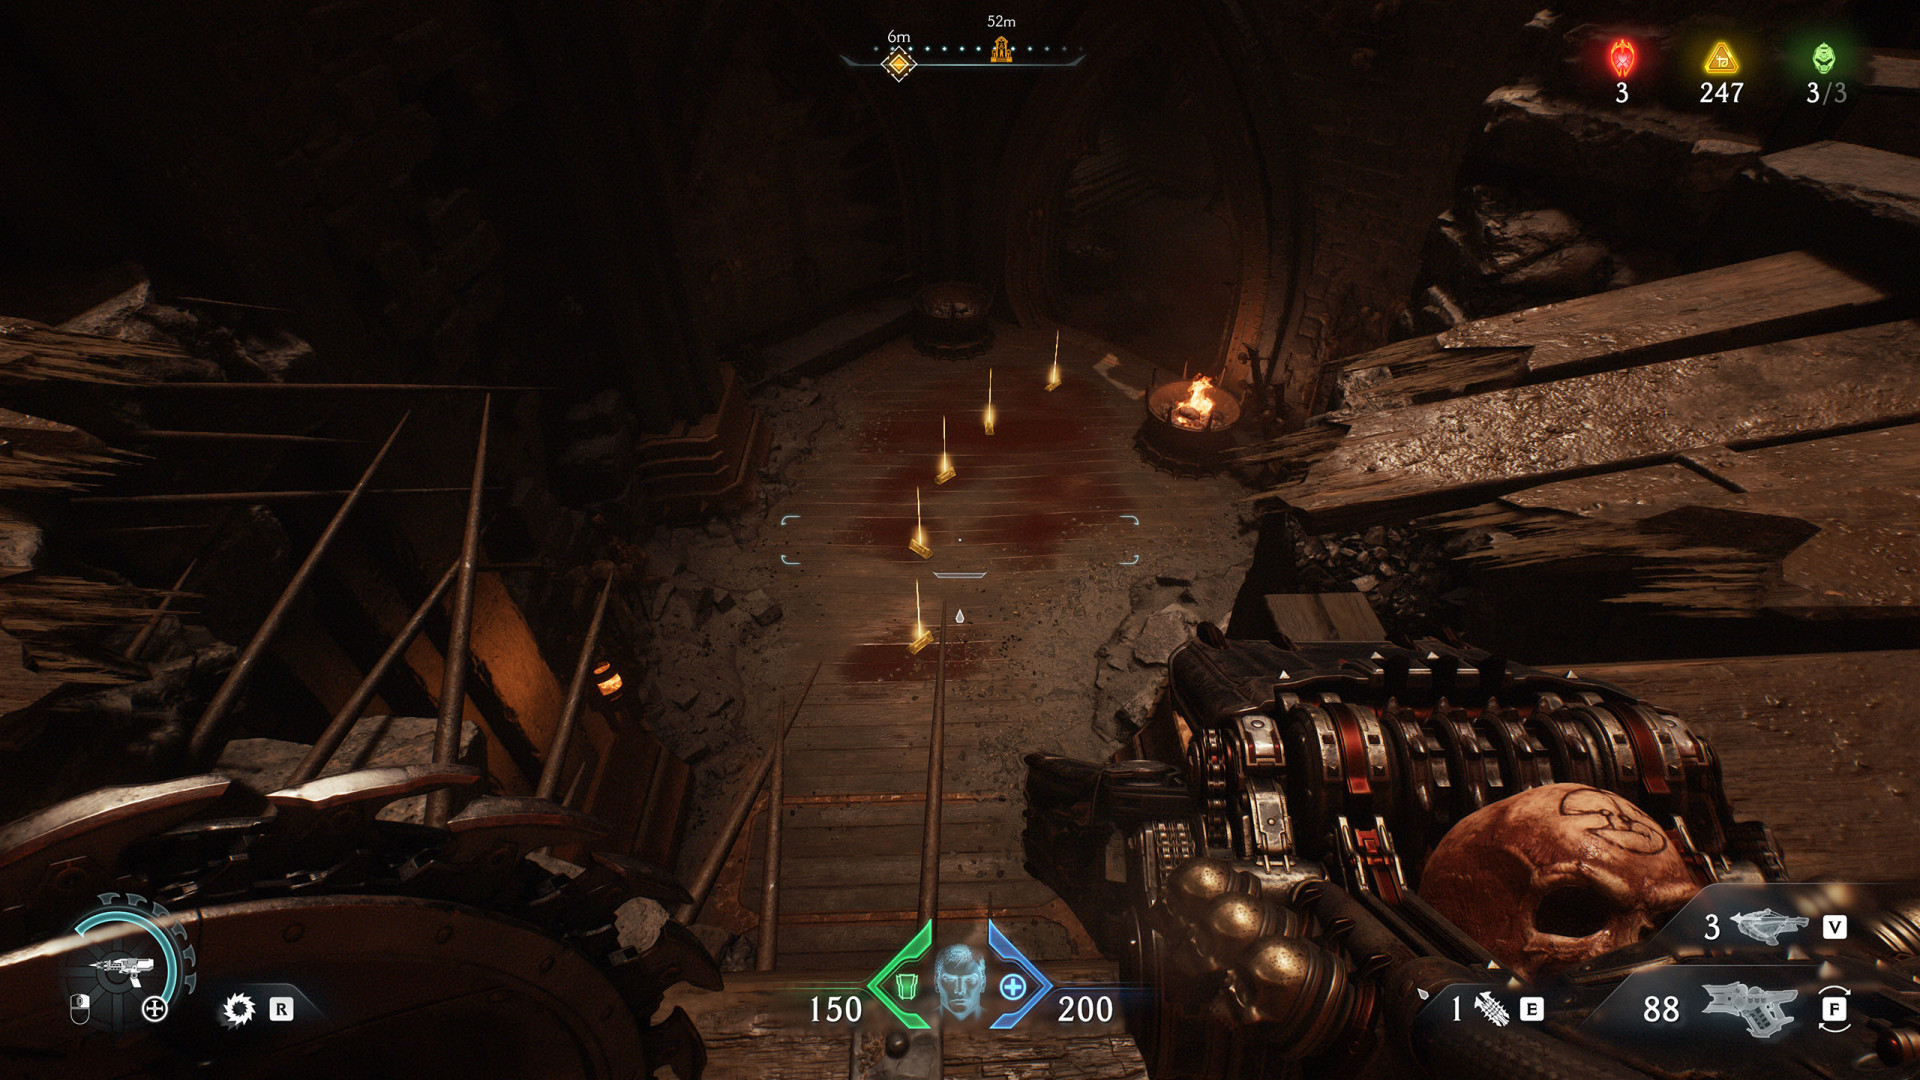
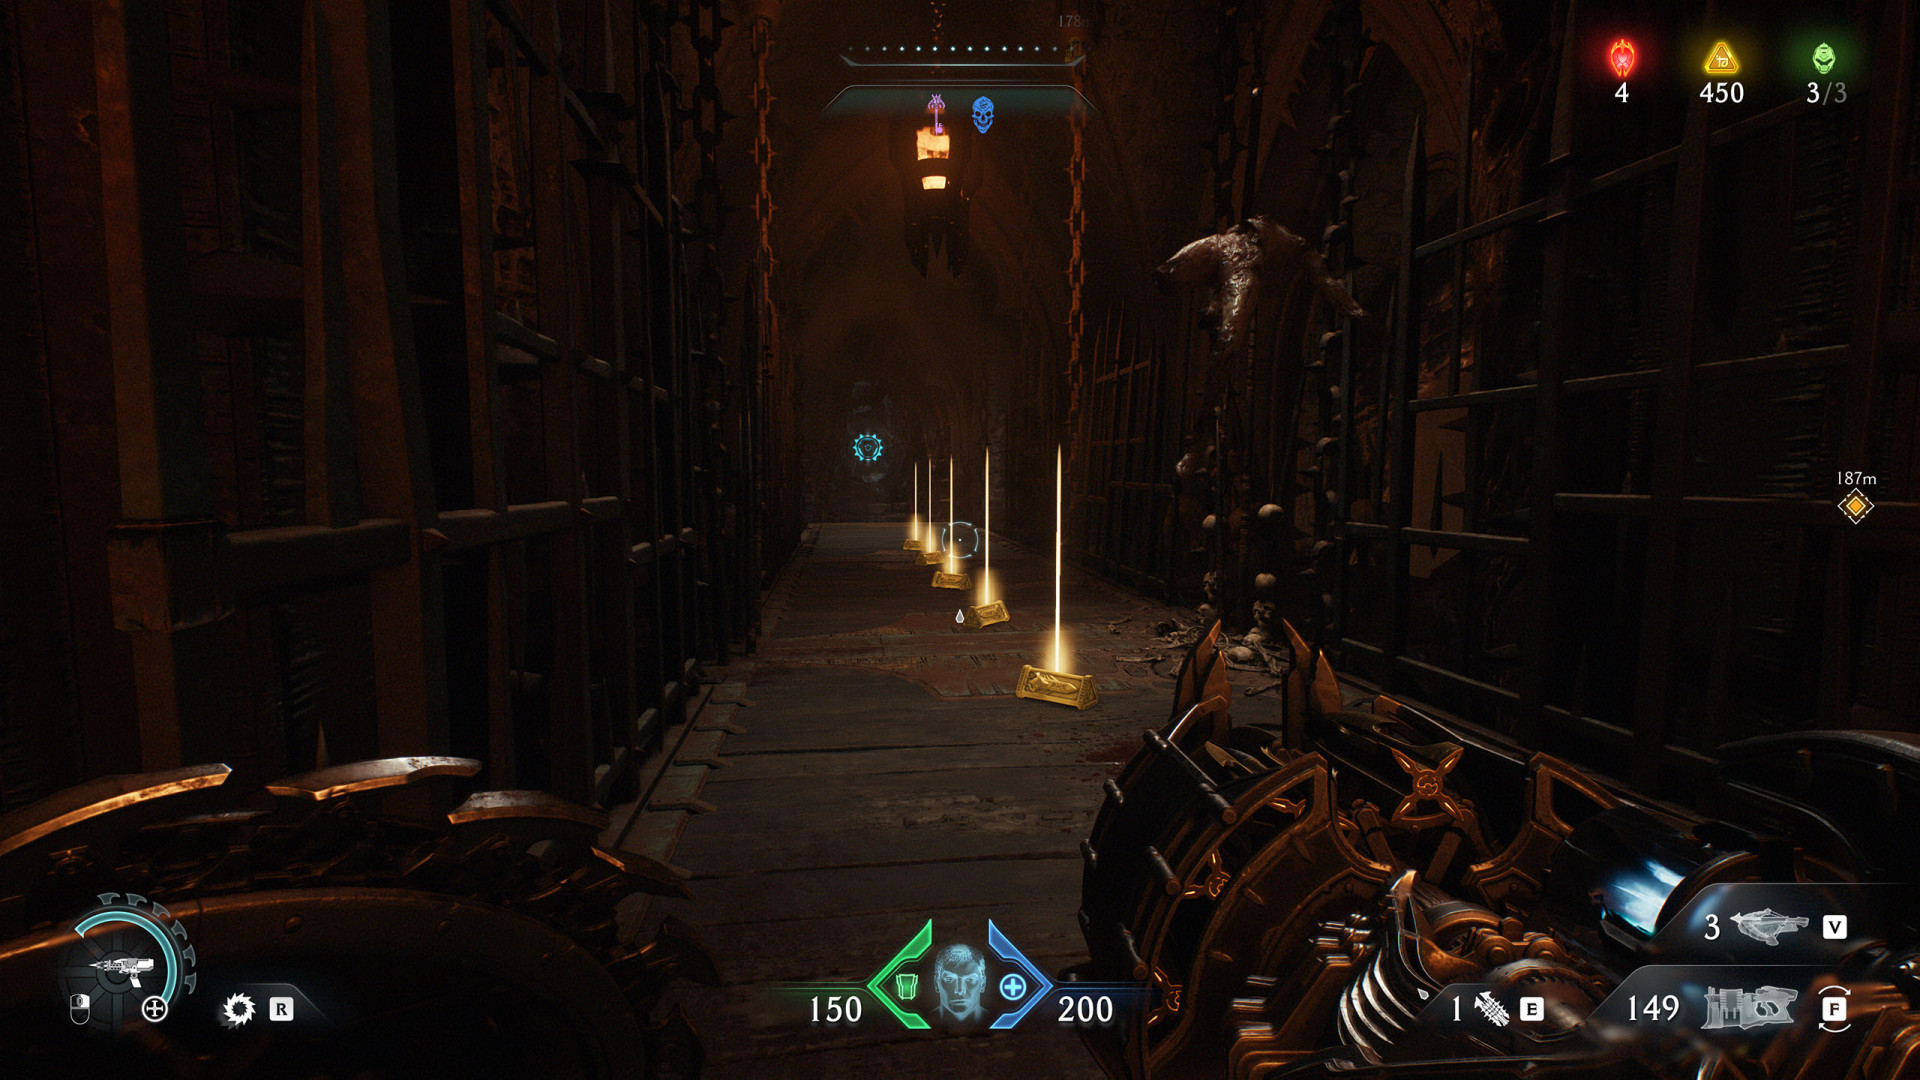
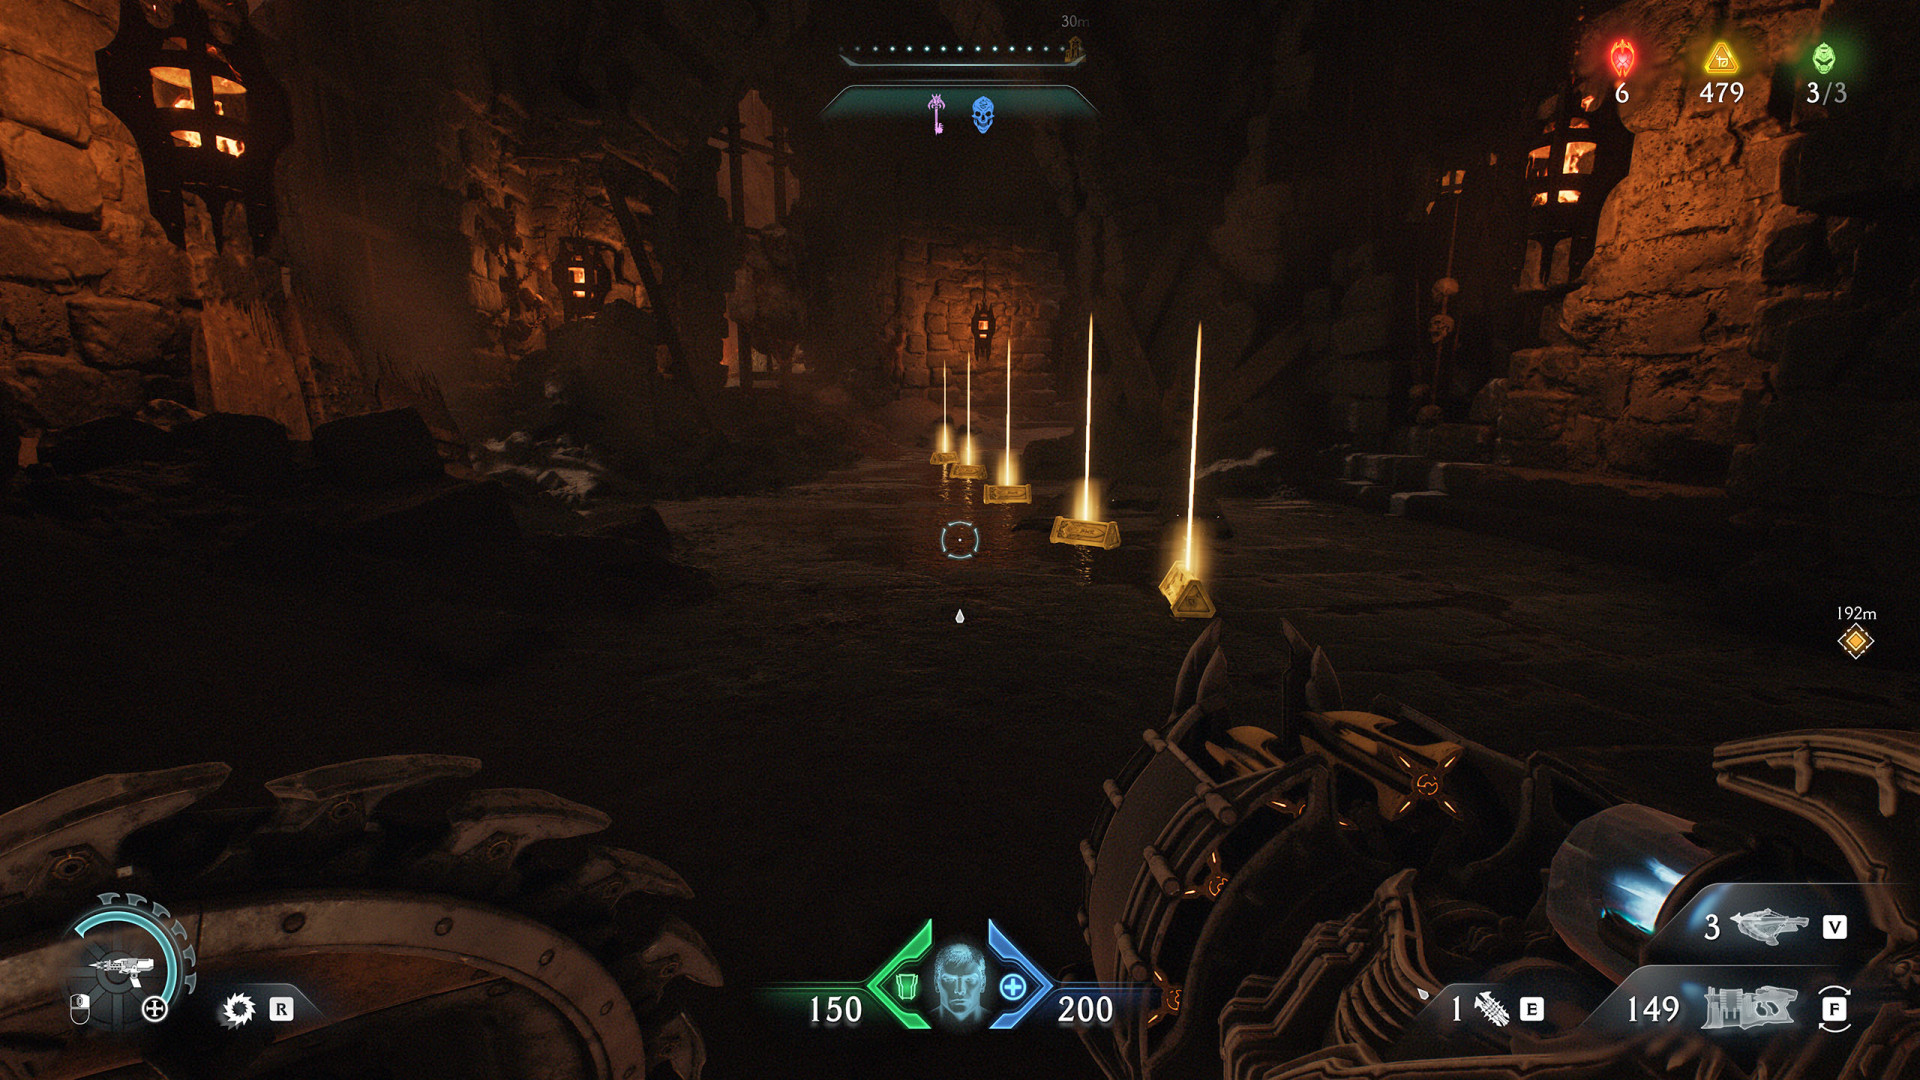
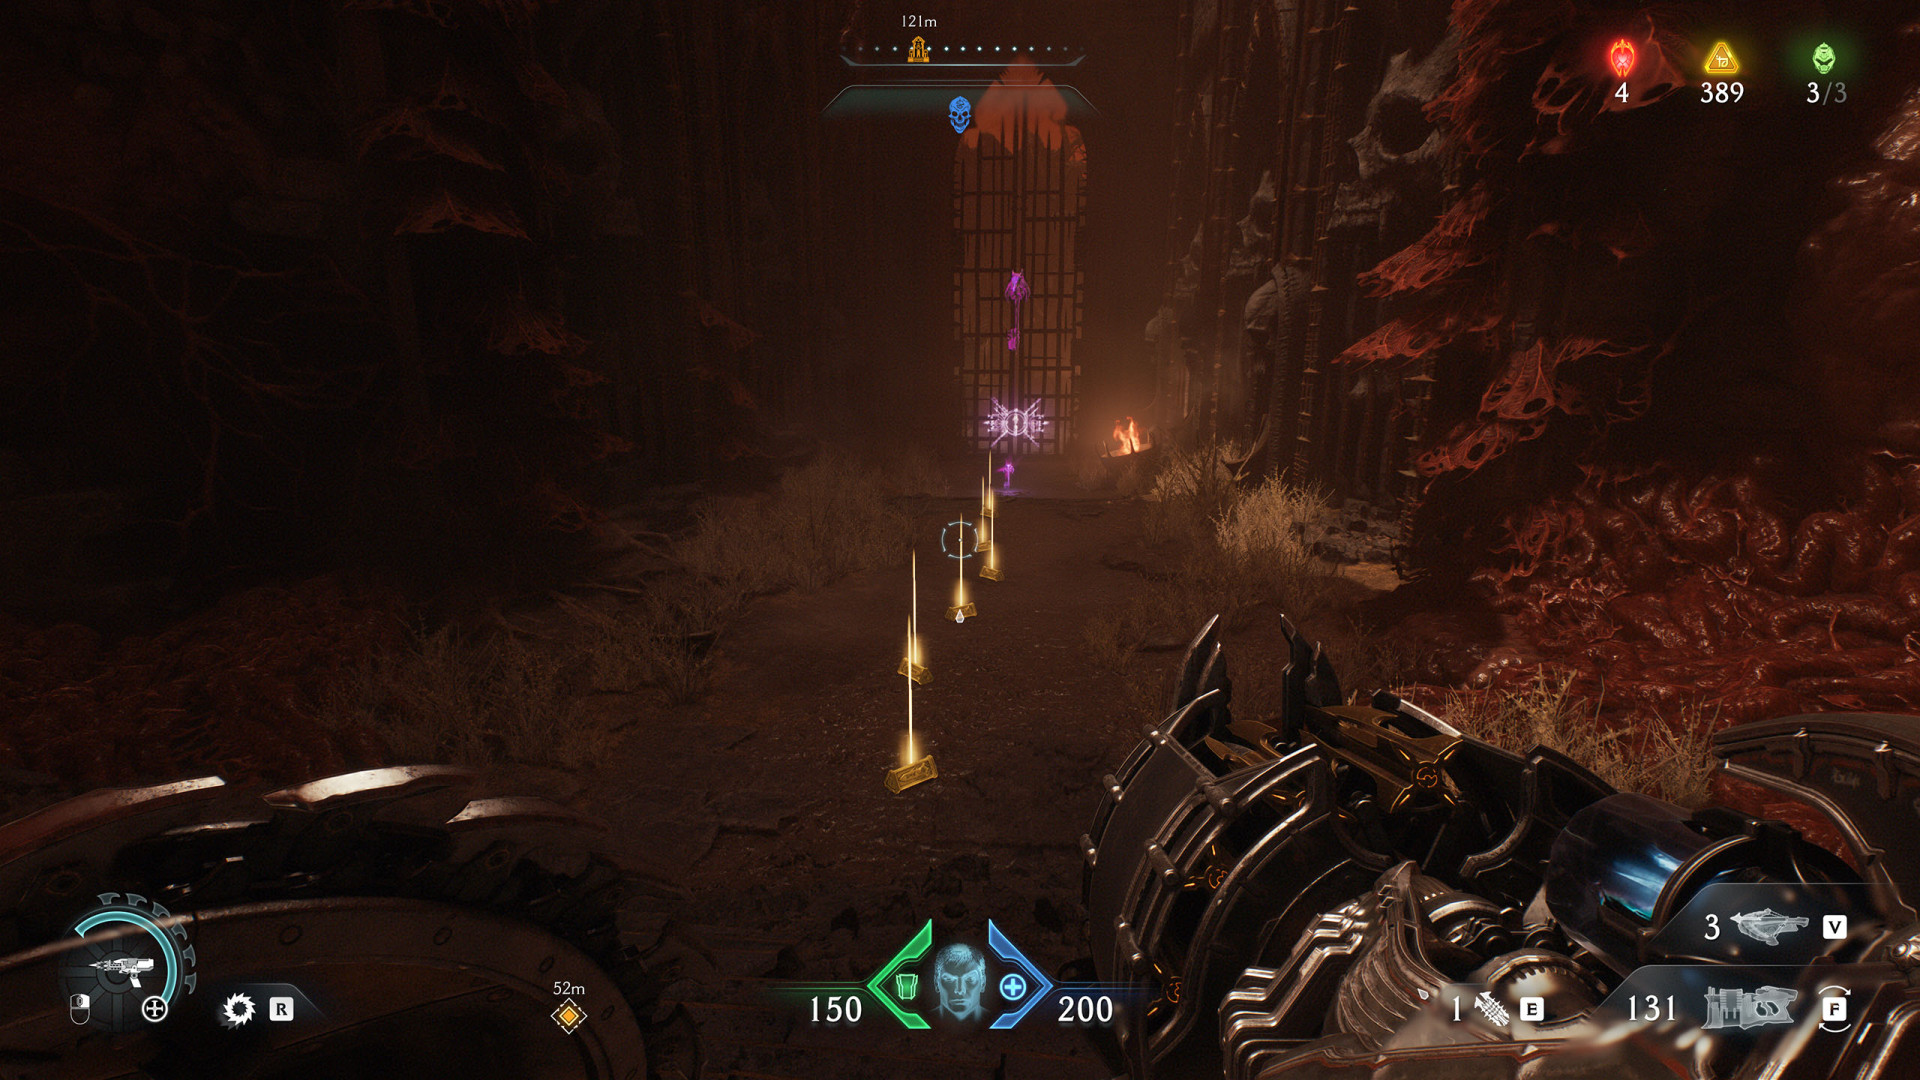
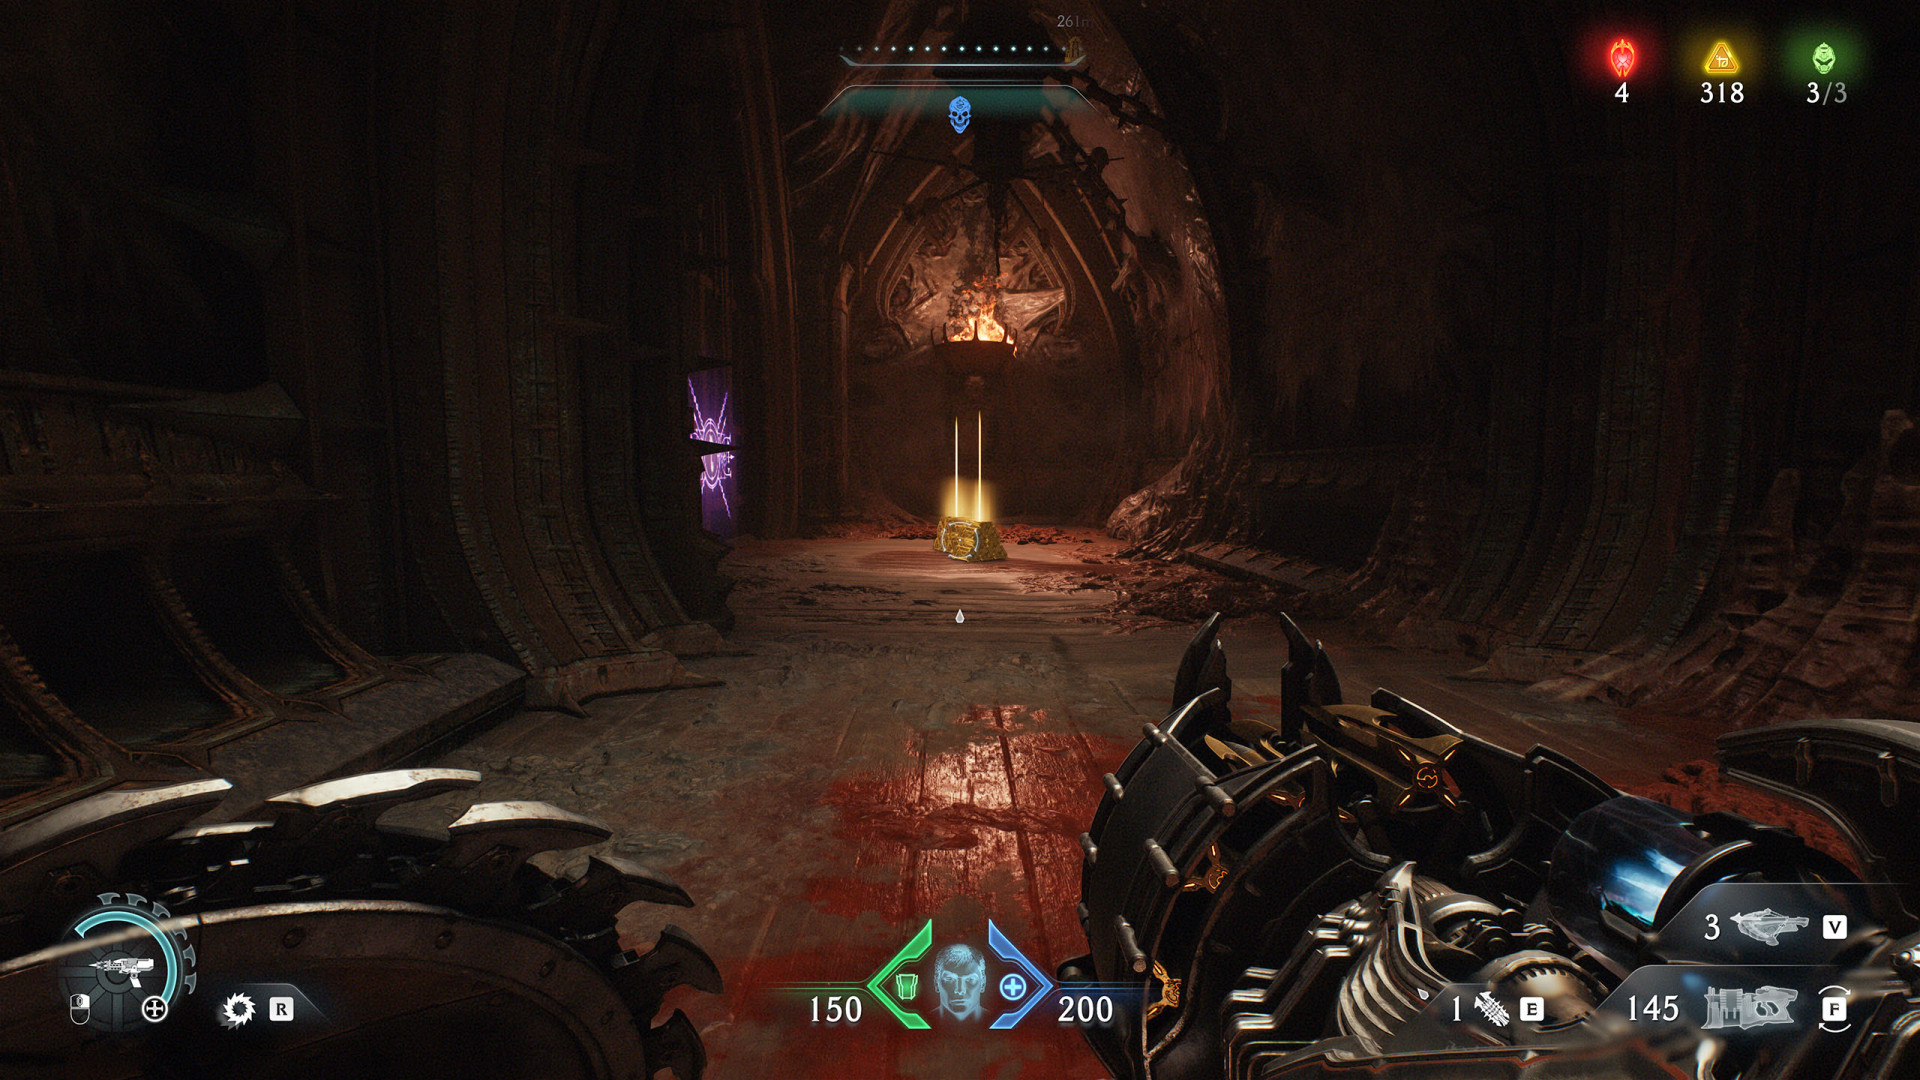
In Doom: The Dark Ages, Gold is an essential currency used to enhance weapons, shields, and abilities at Sentinel Shrines. It can be collected in various forms, such as chests, stacks, or bars. Alongside Gold, the game includes other currencies like Rubies and Wraithstones, each likely tied to unique upgrades or features.
Index
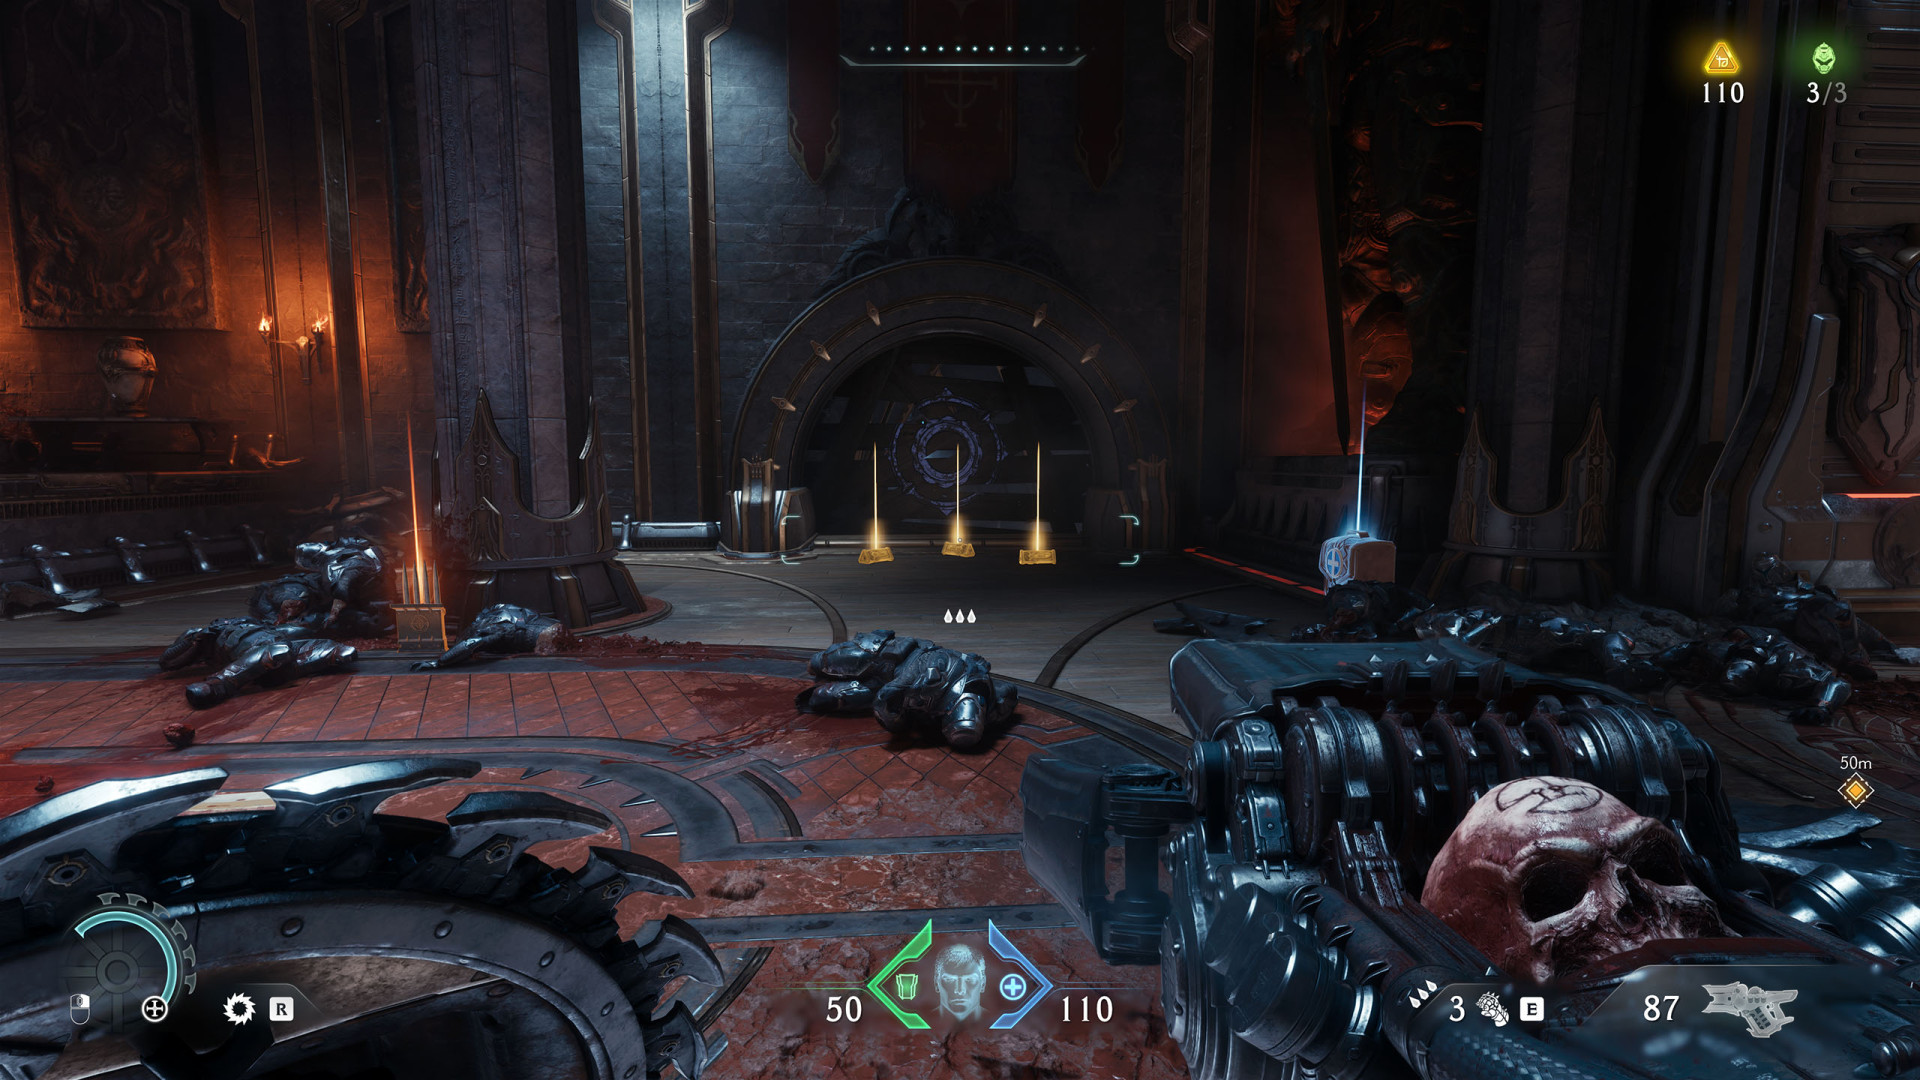
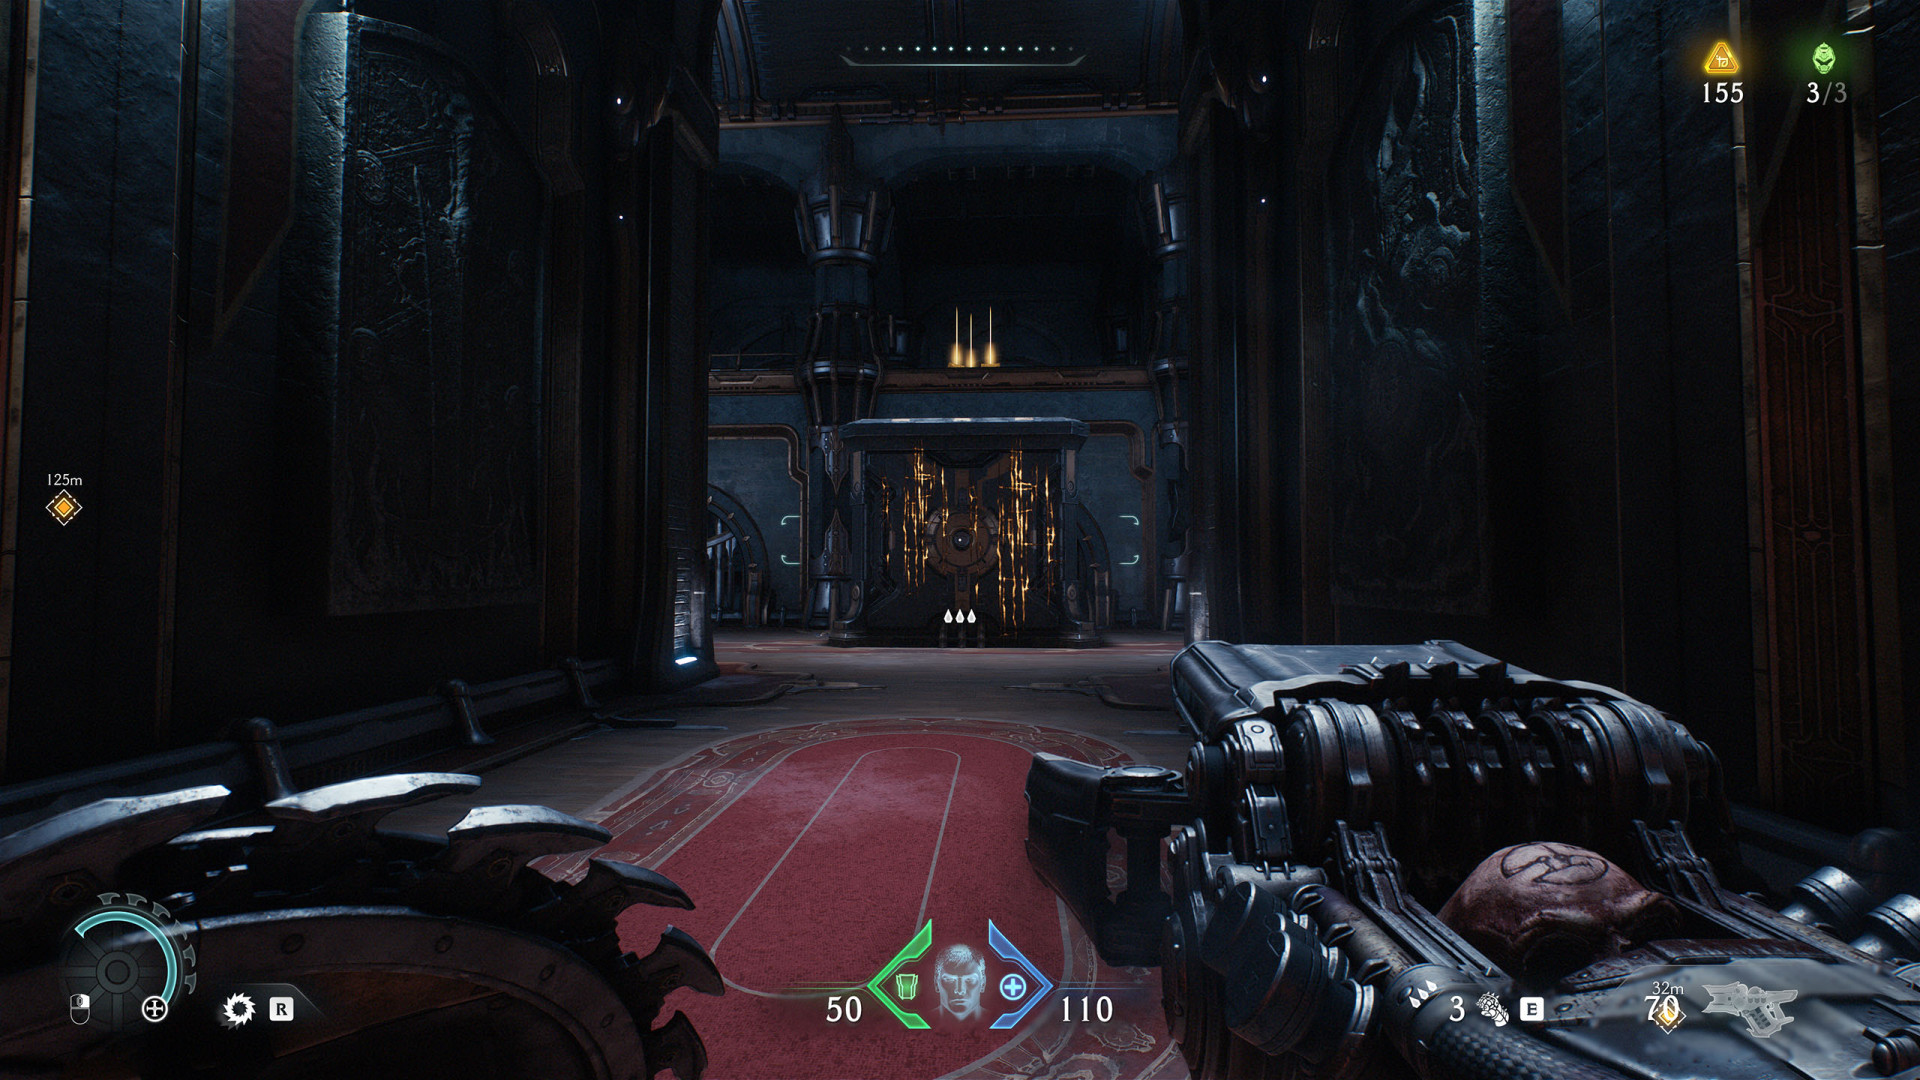
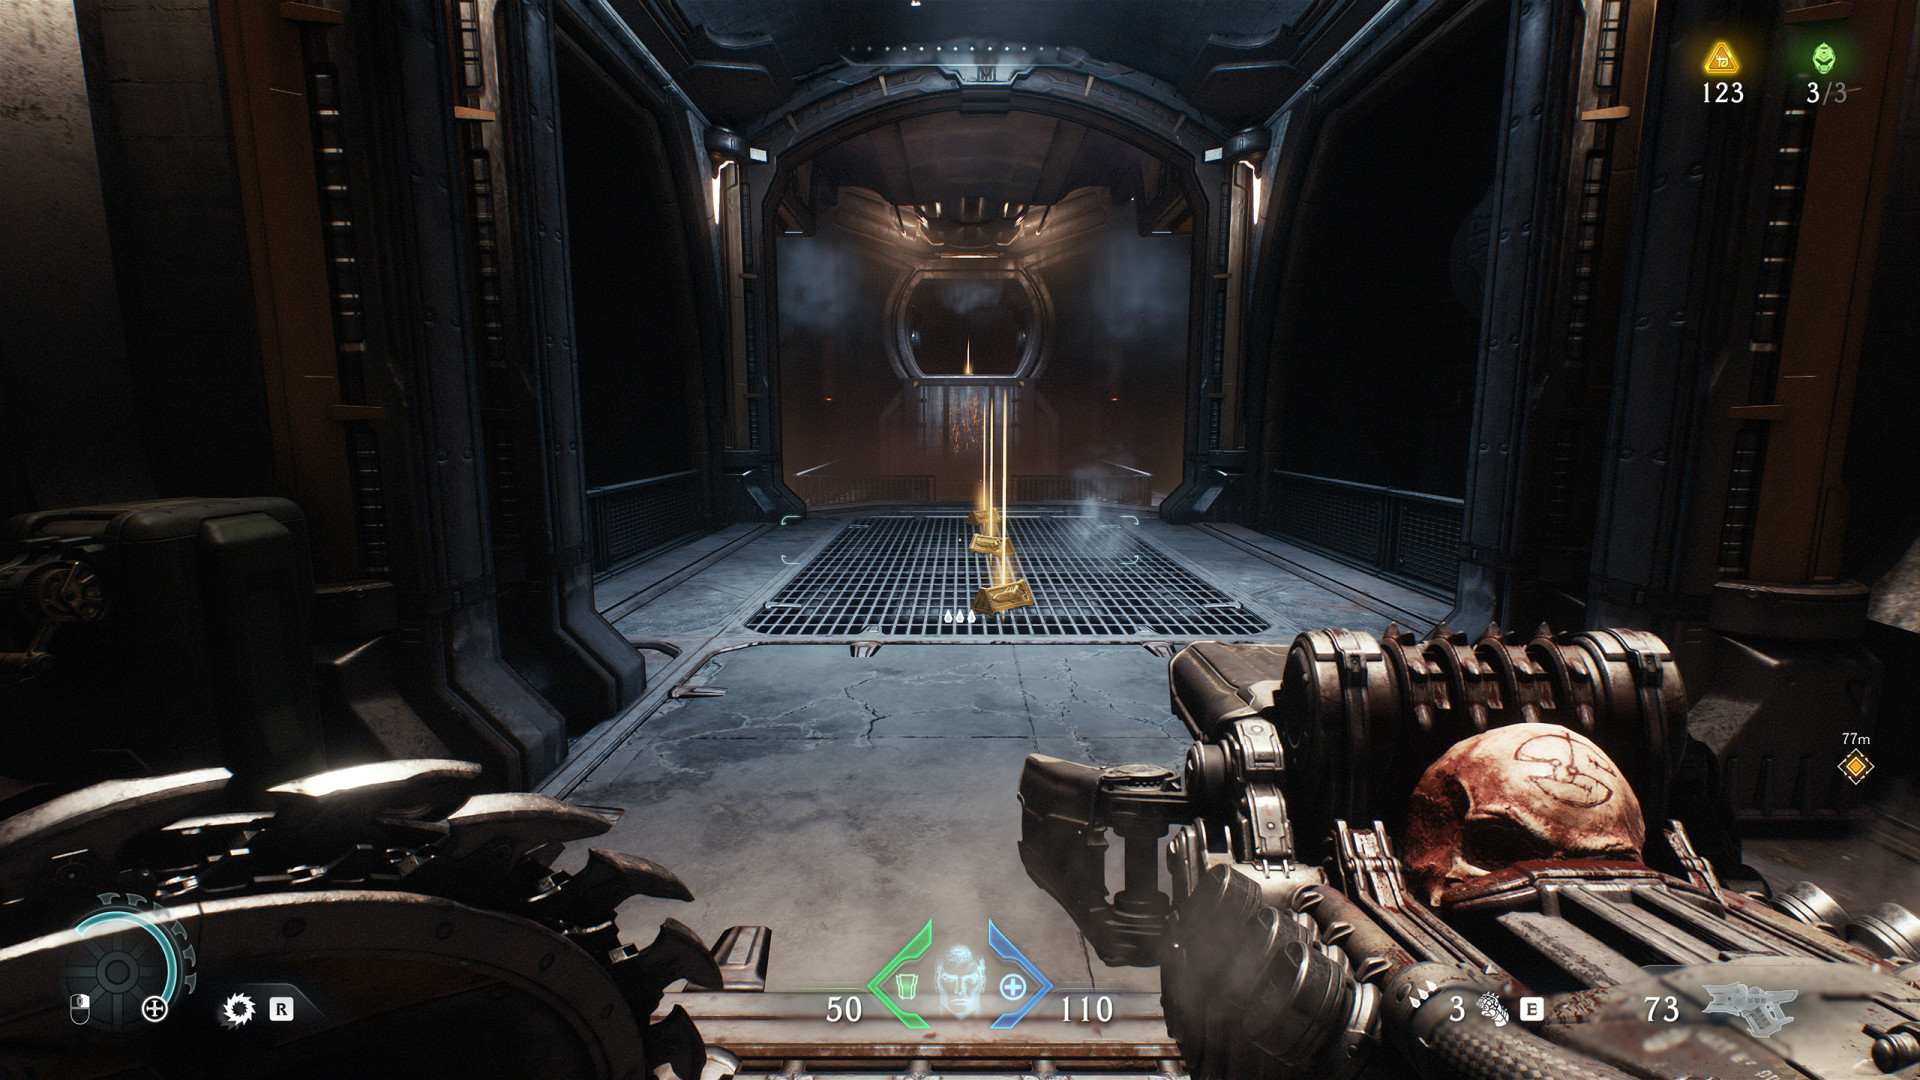
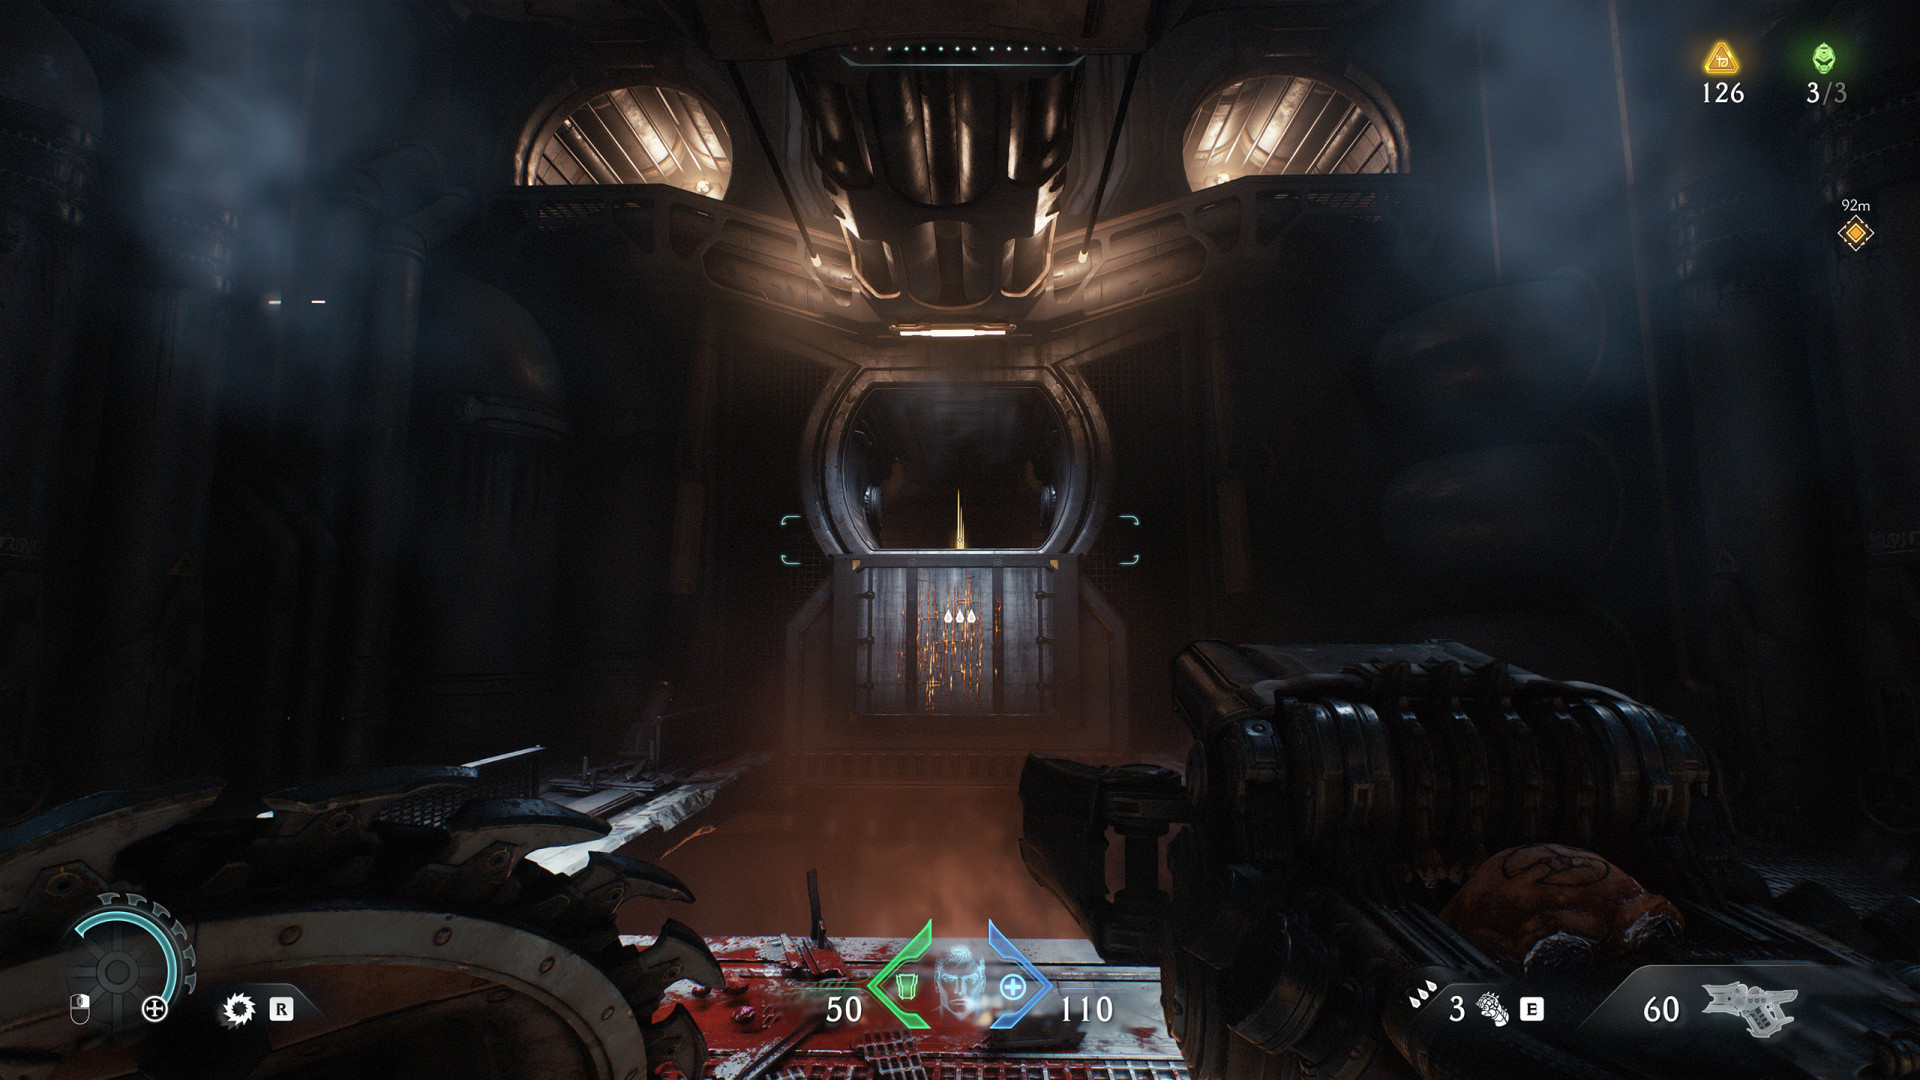
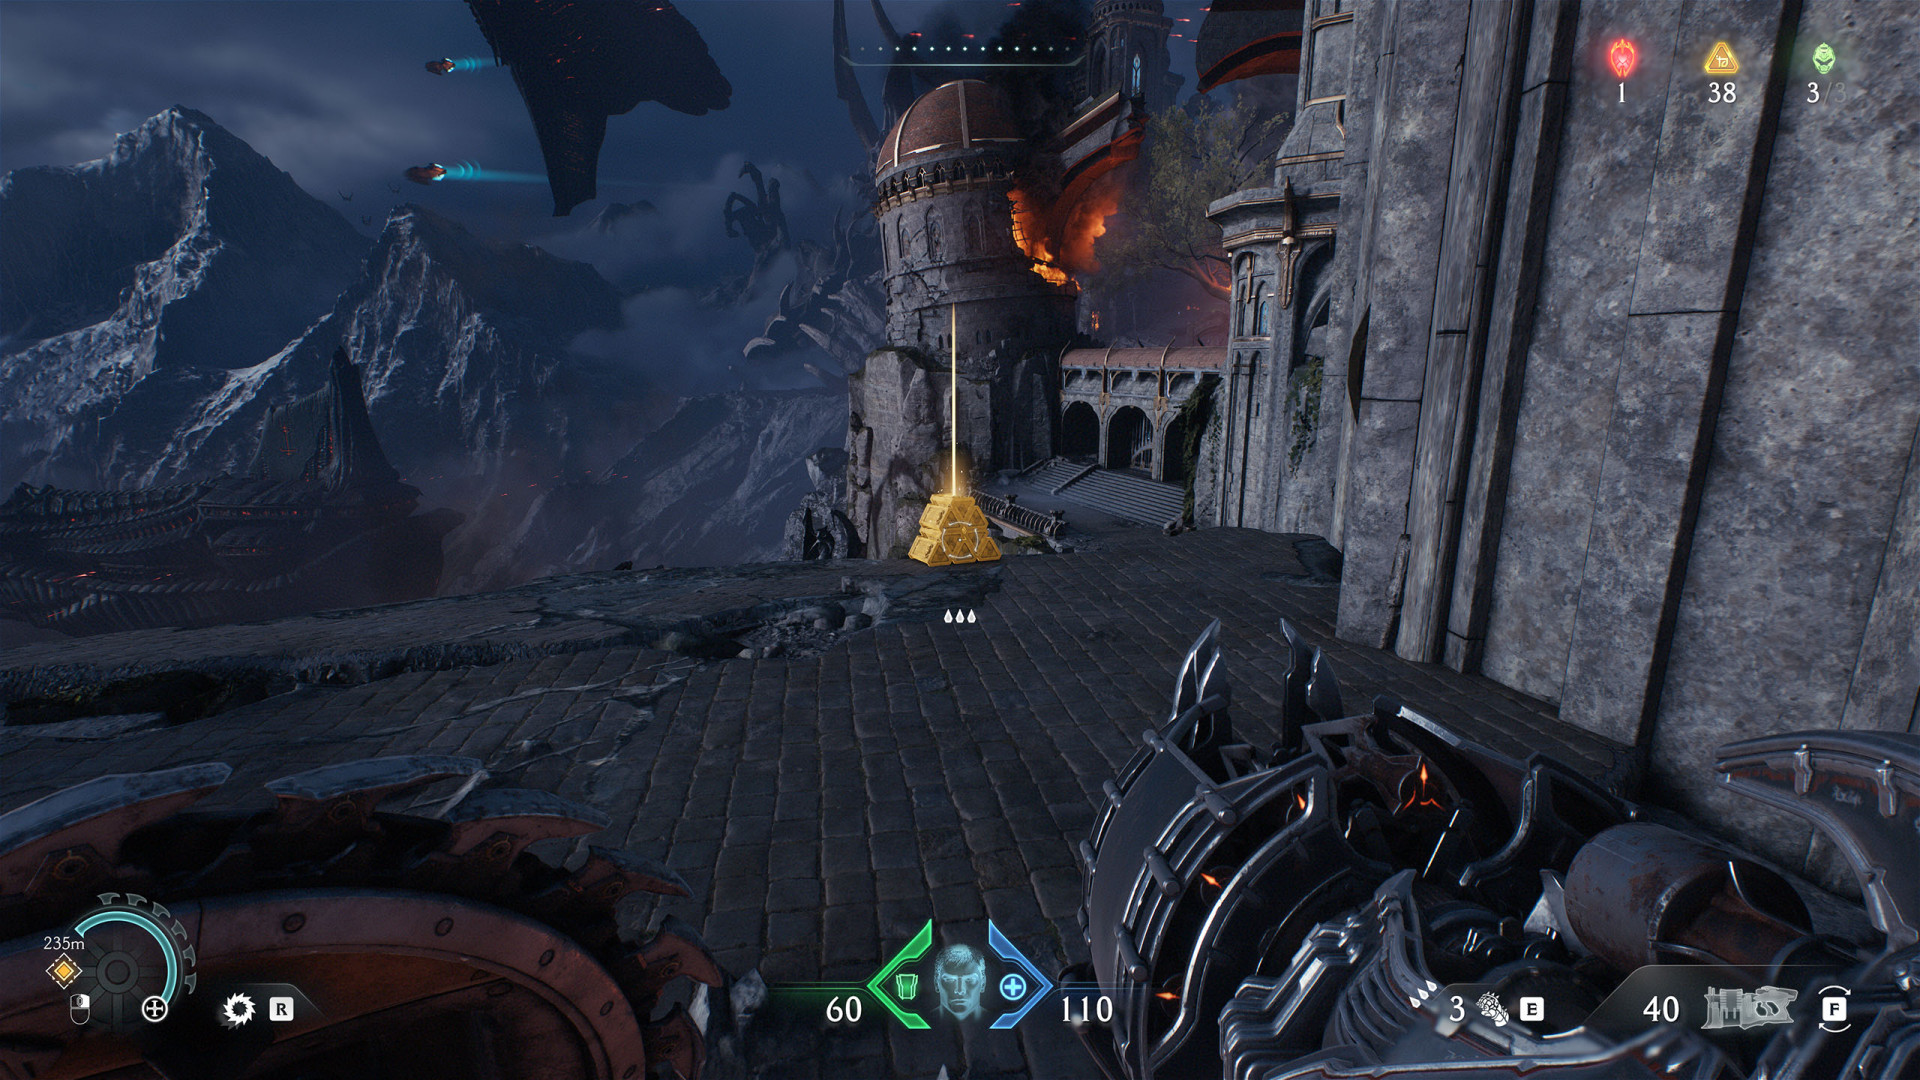
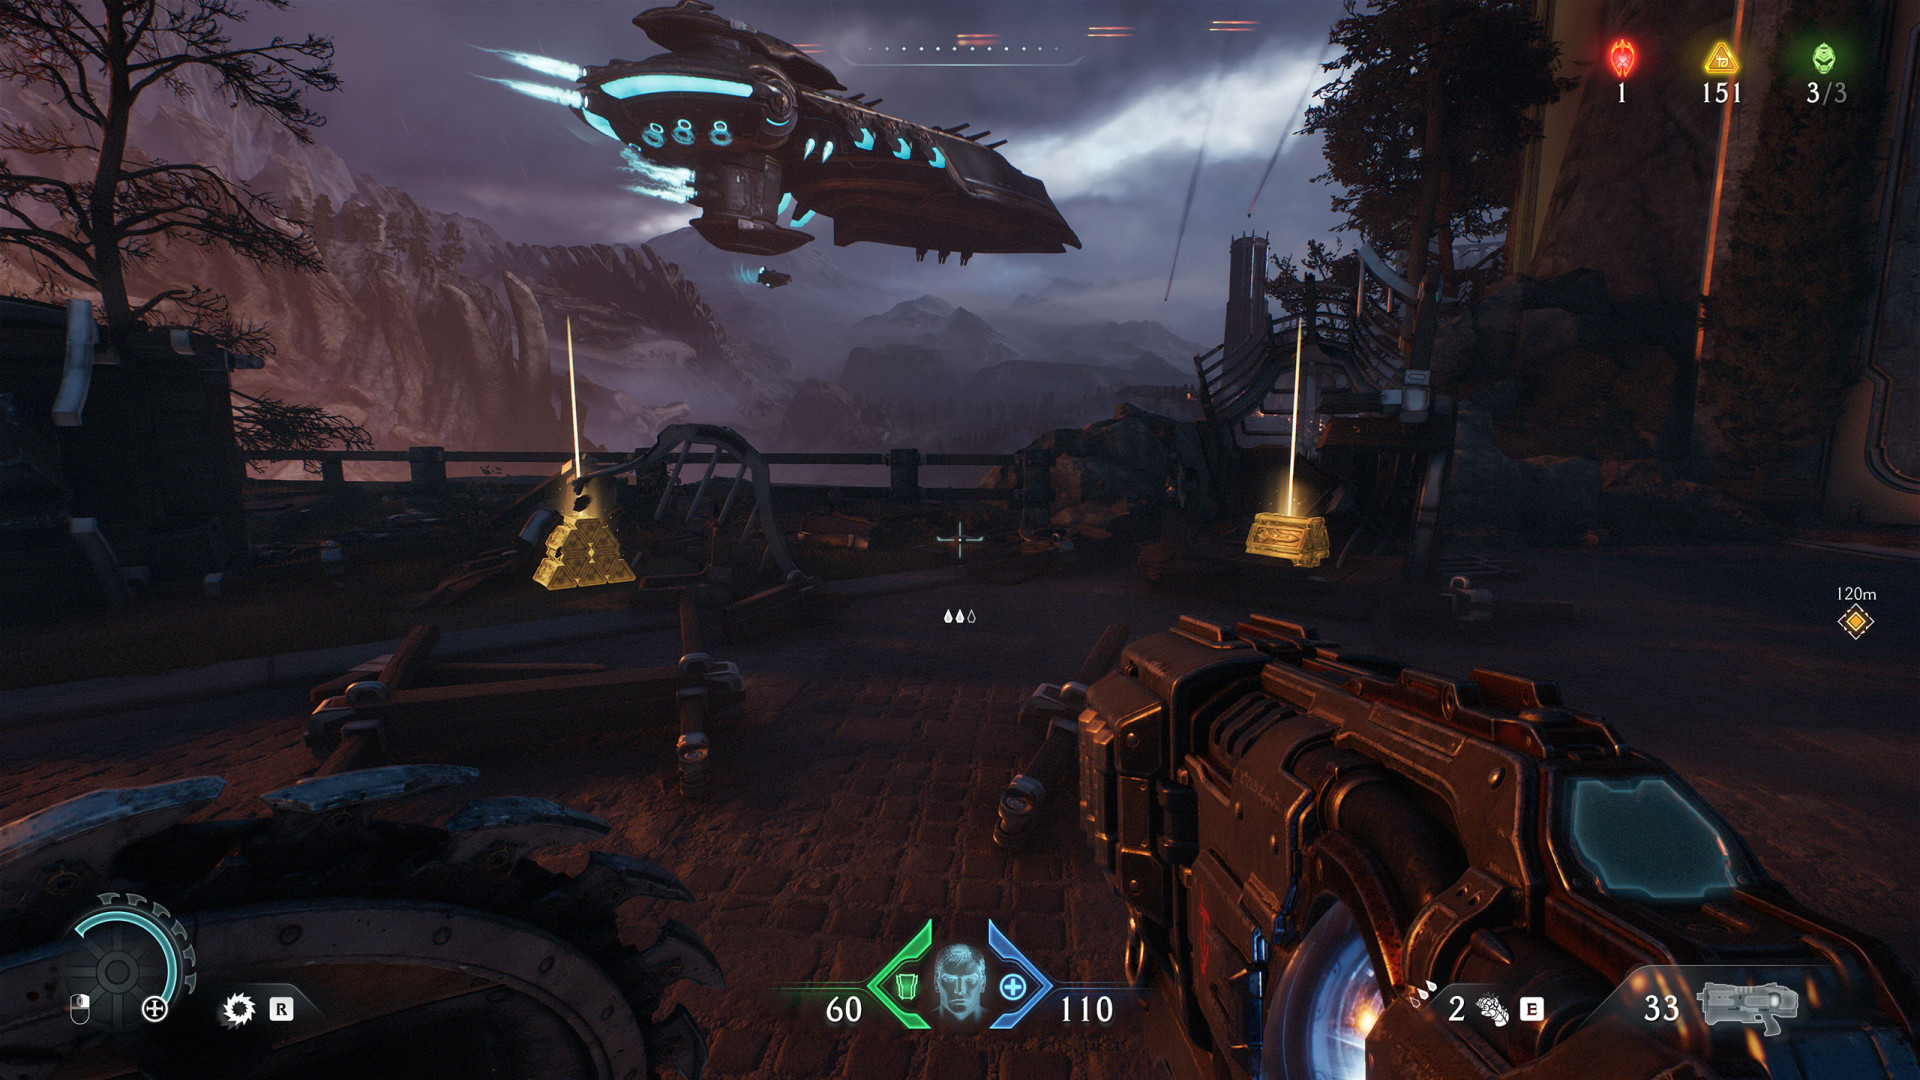
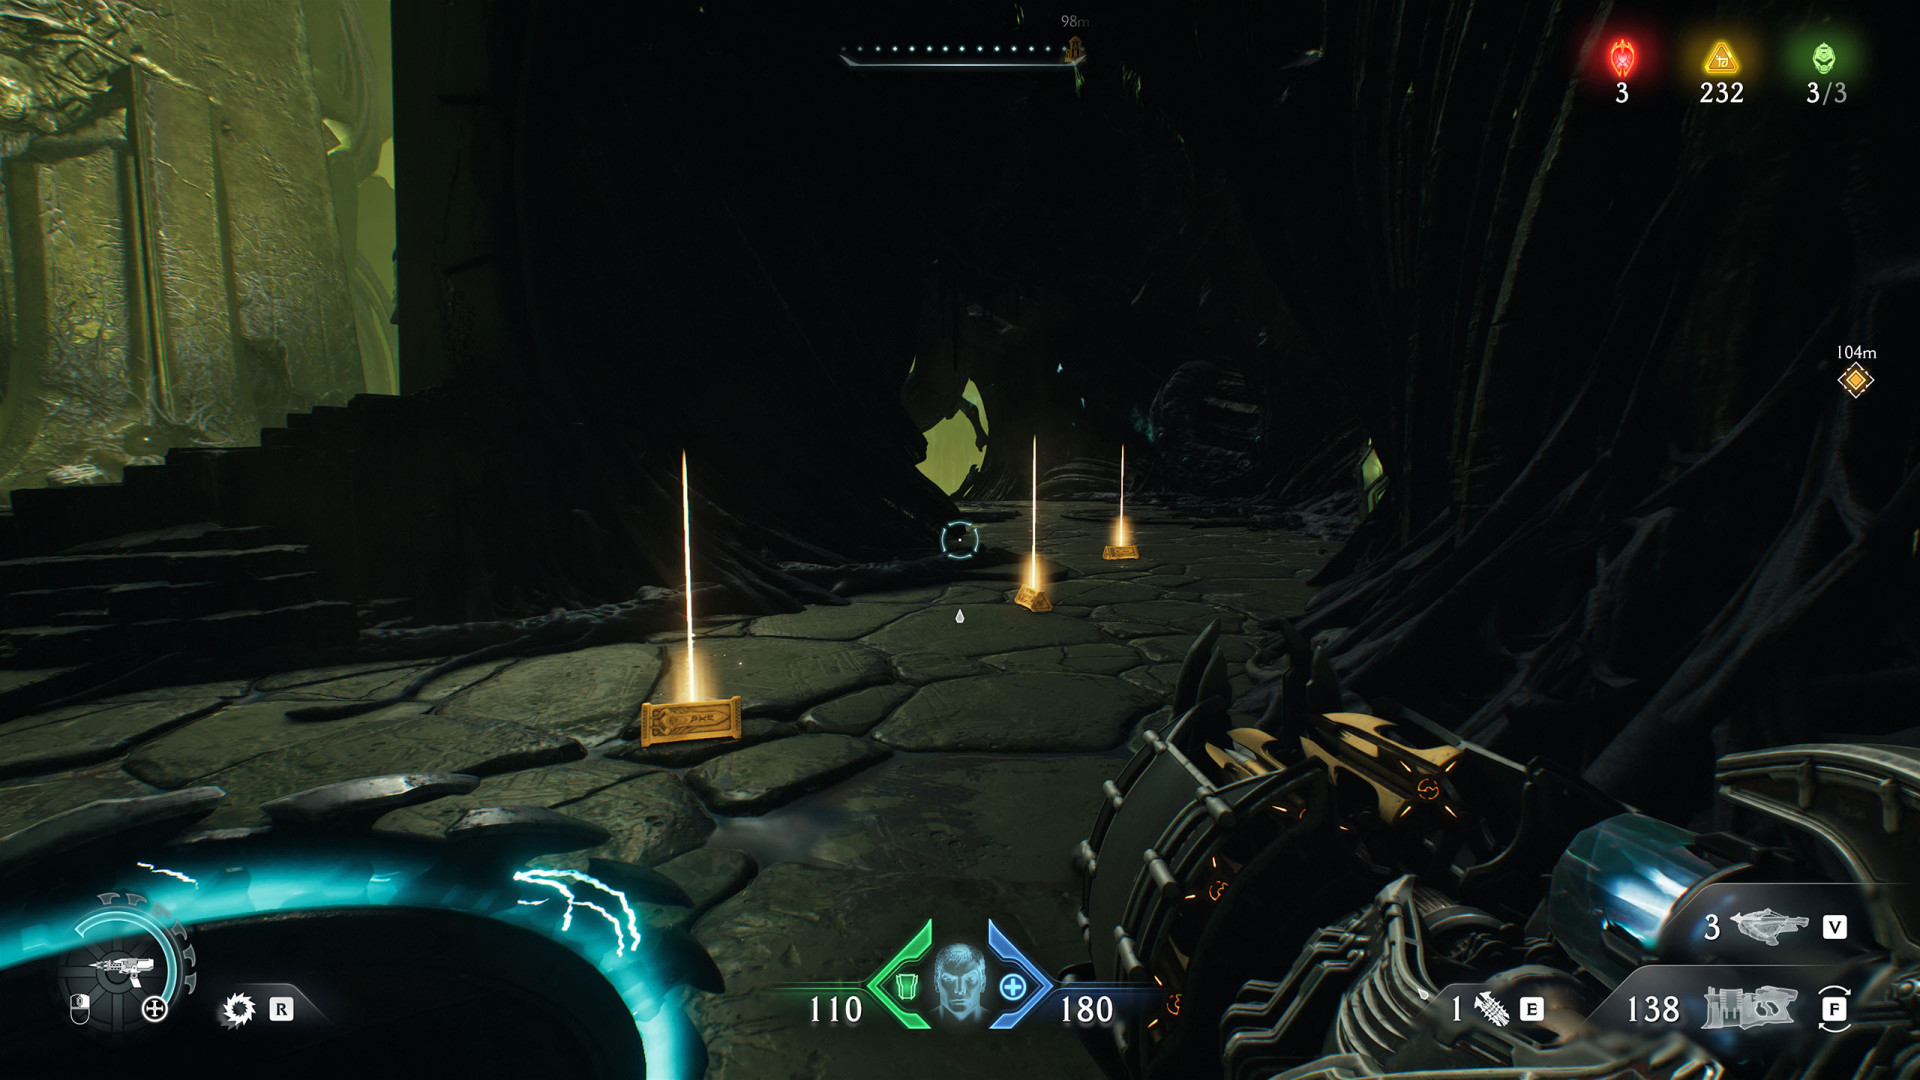
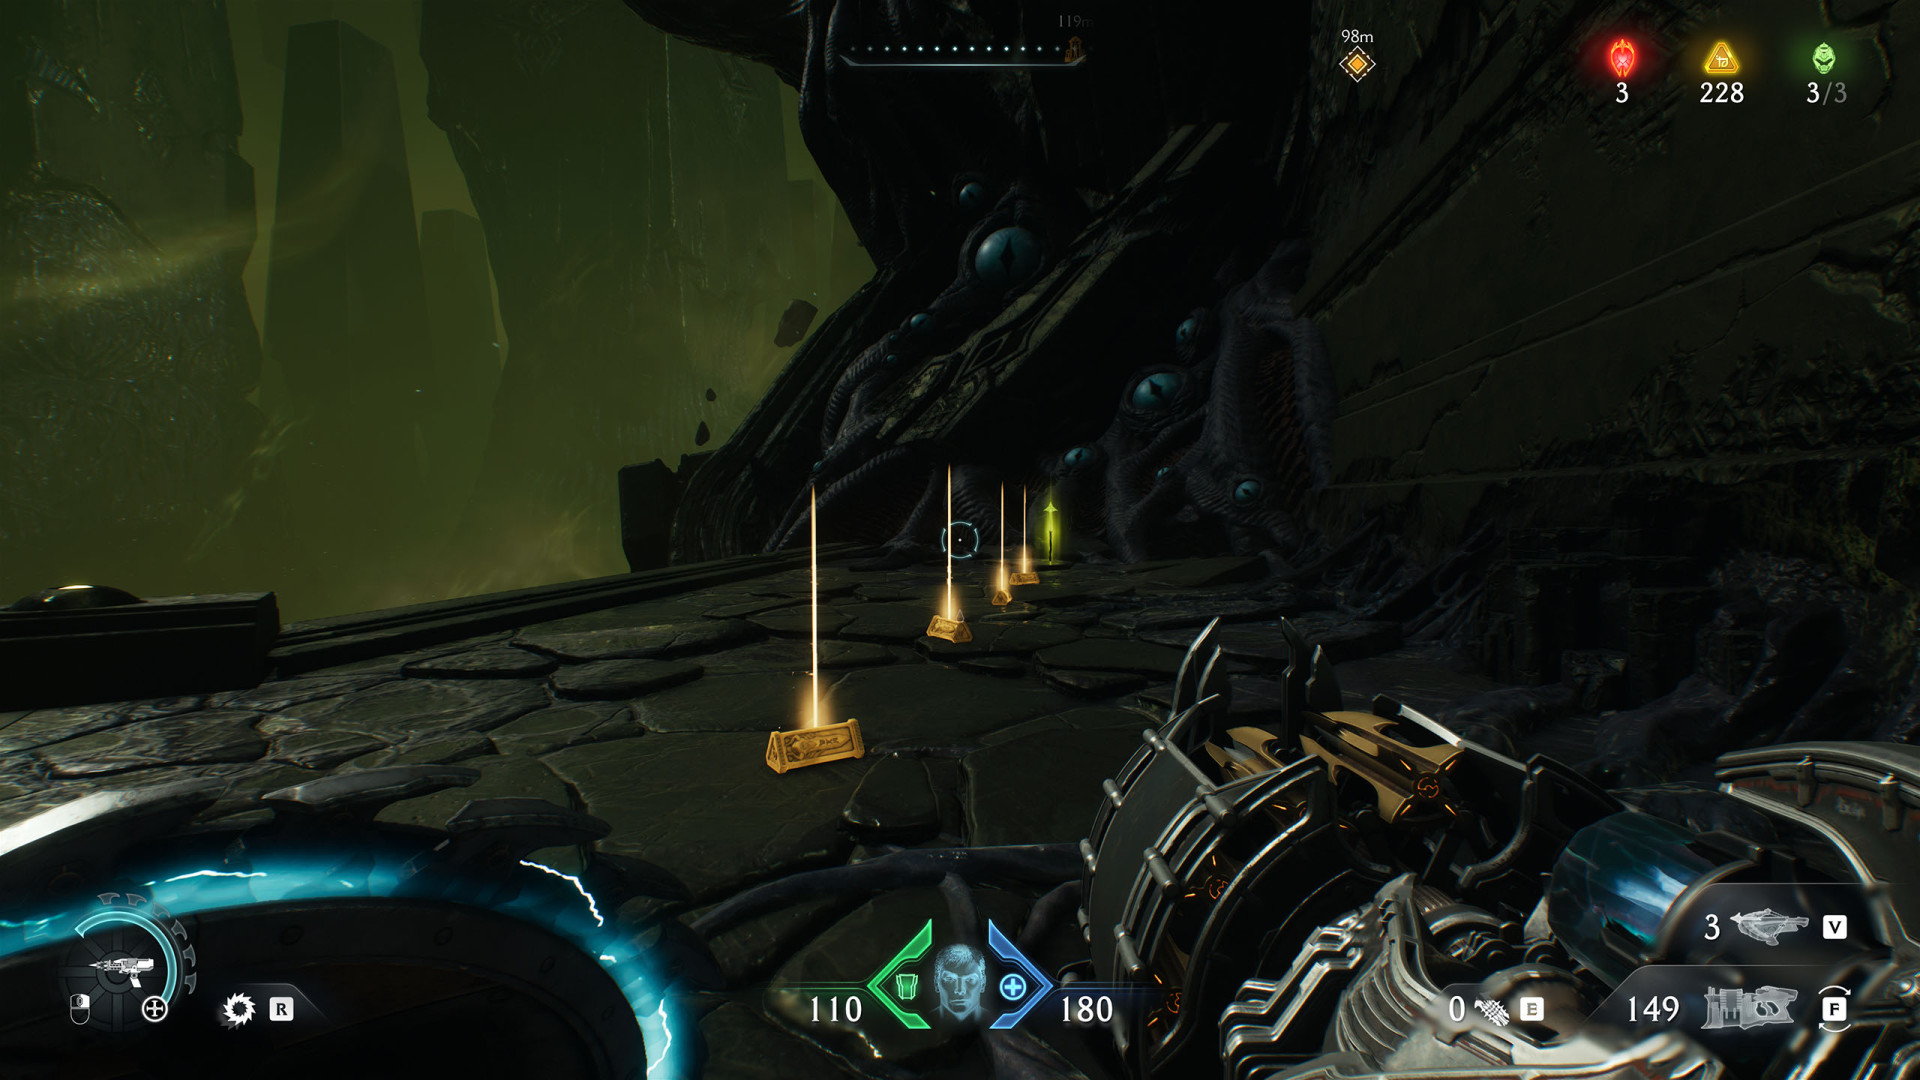
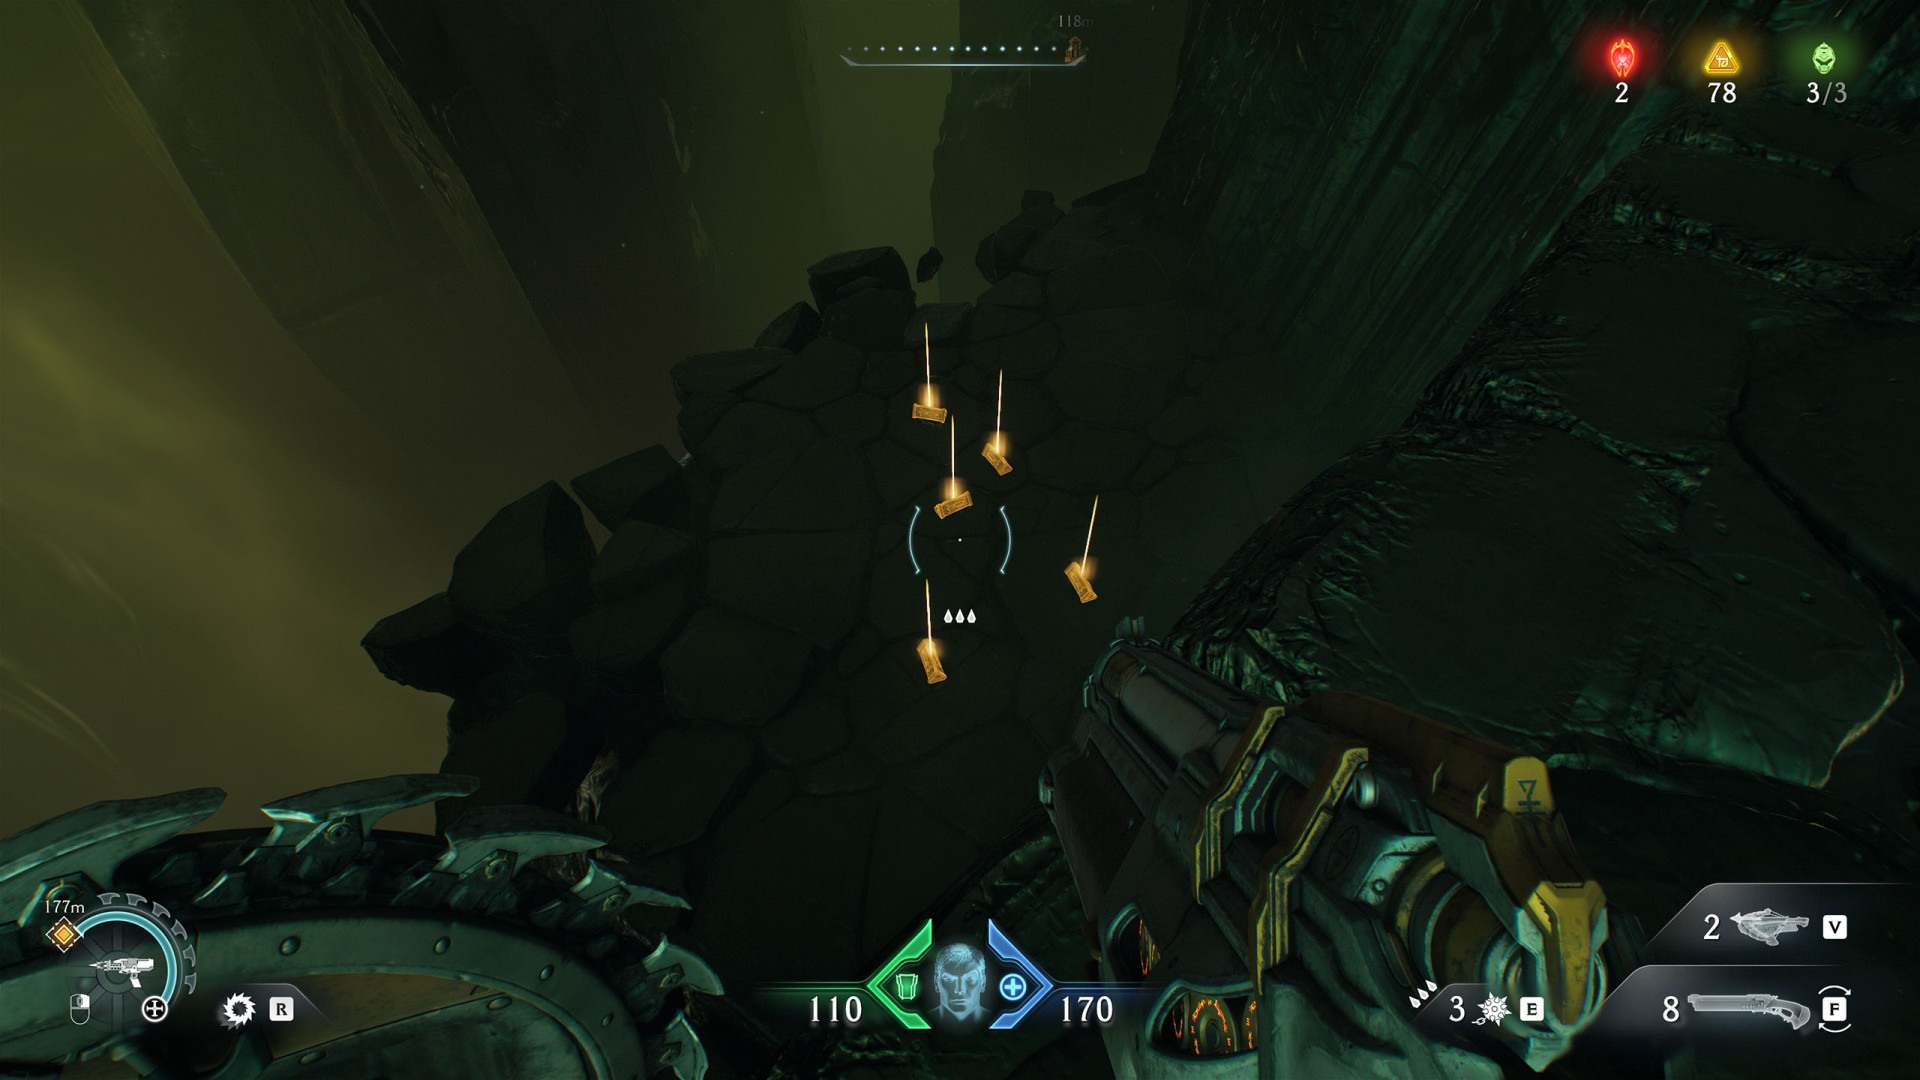
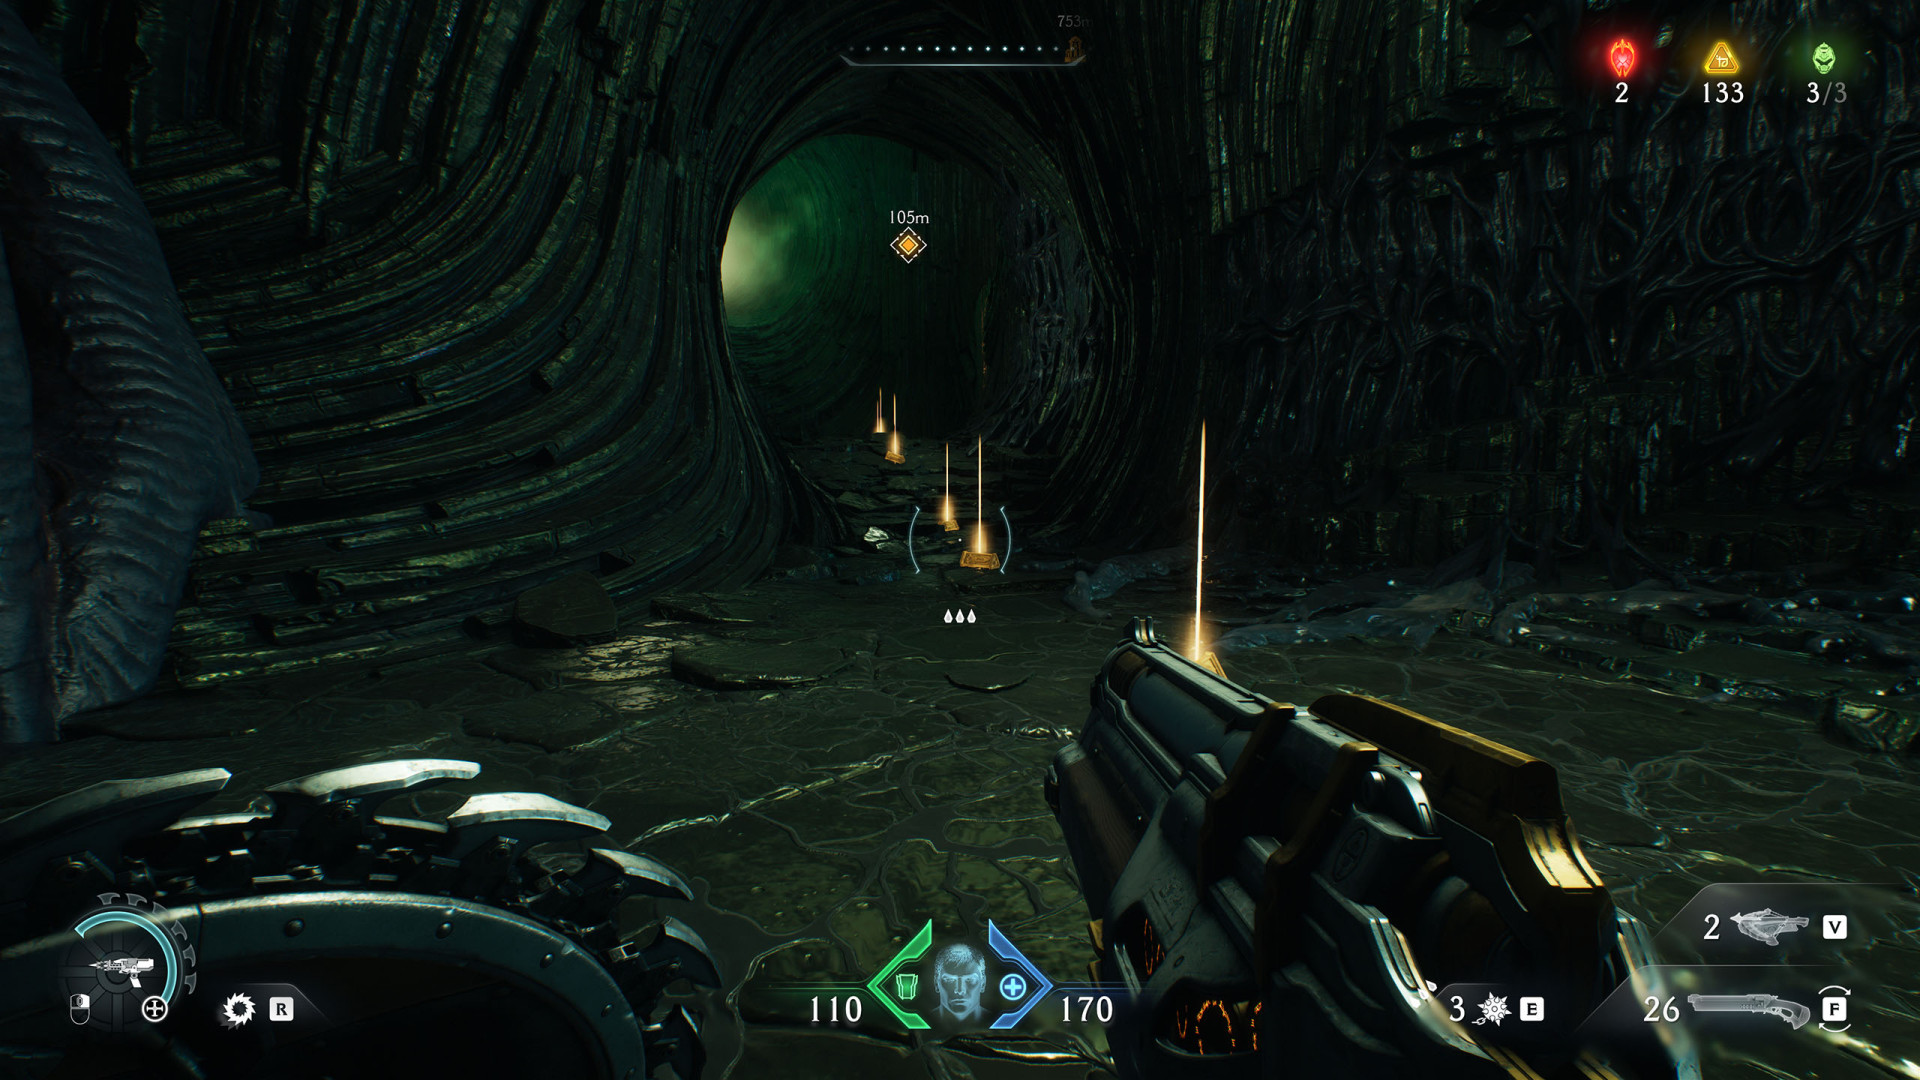
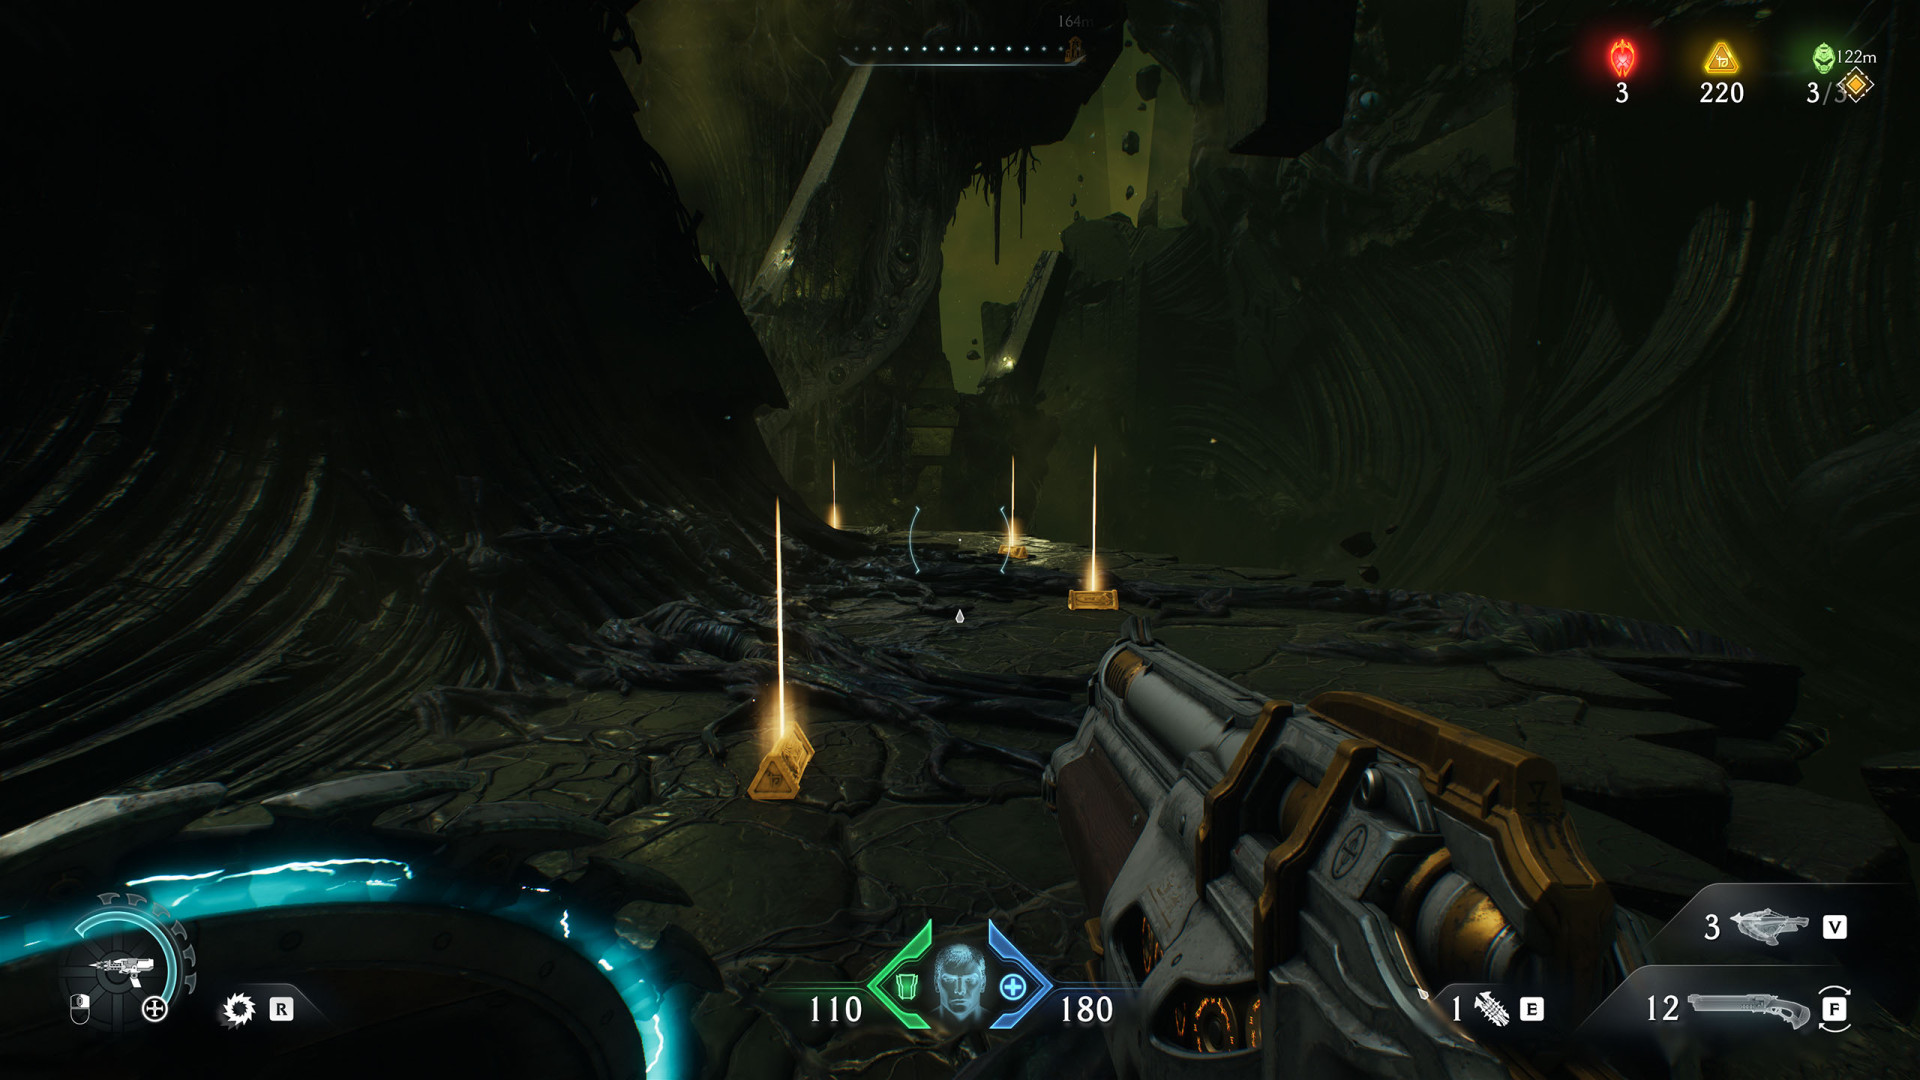
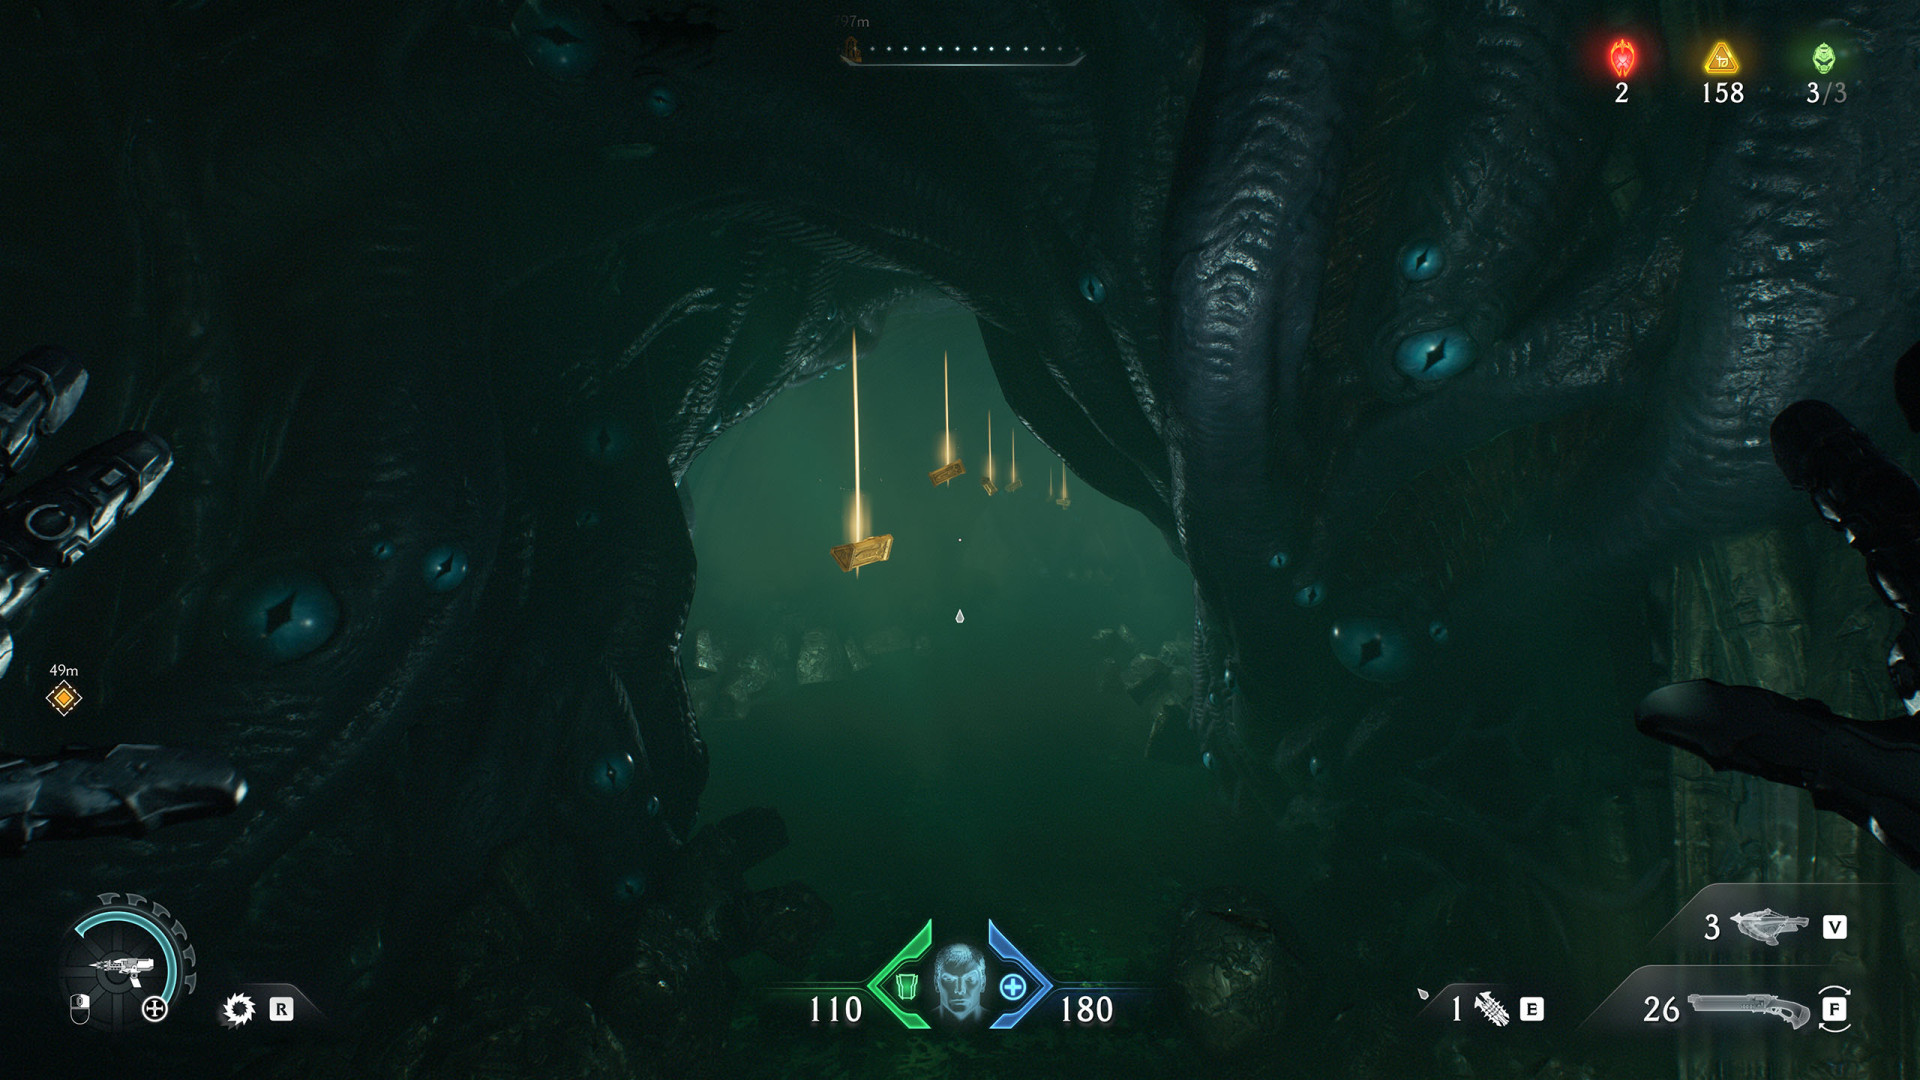
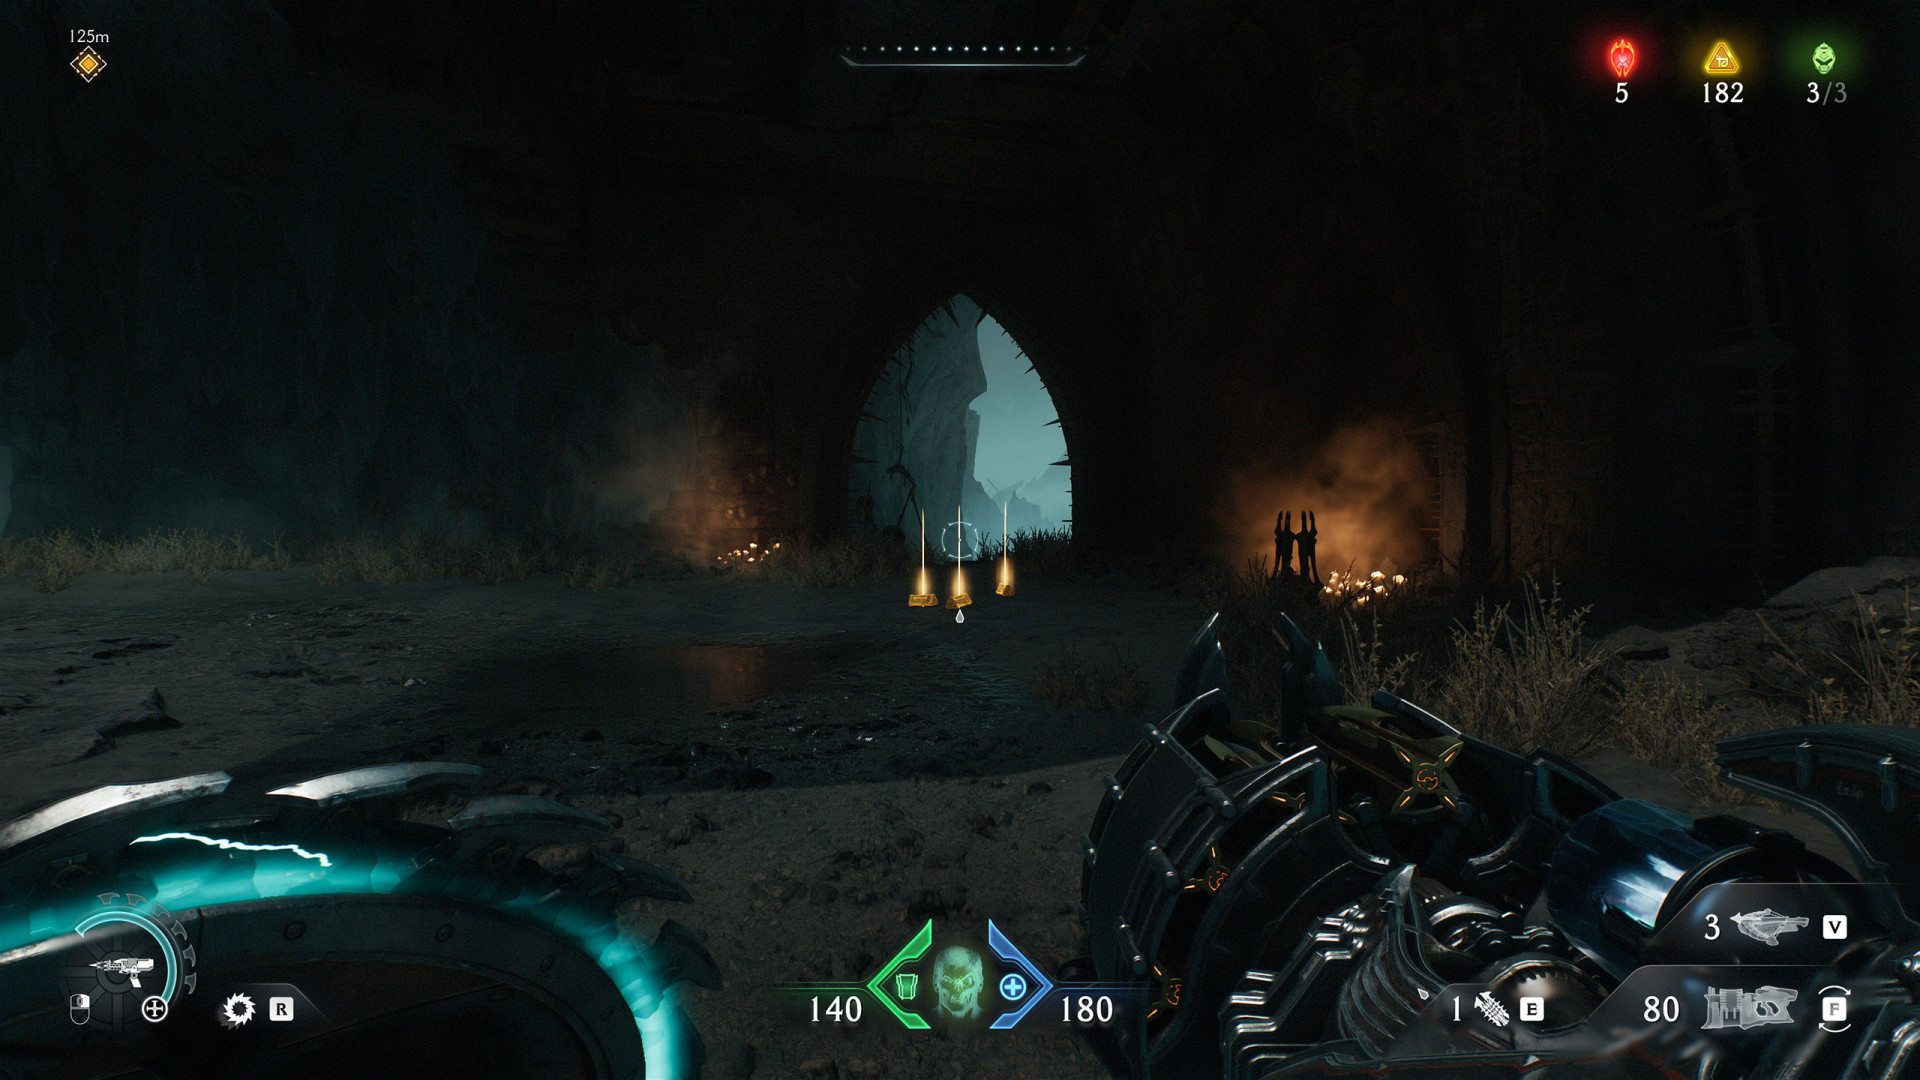
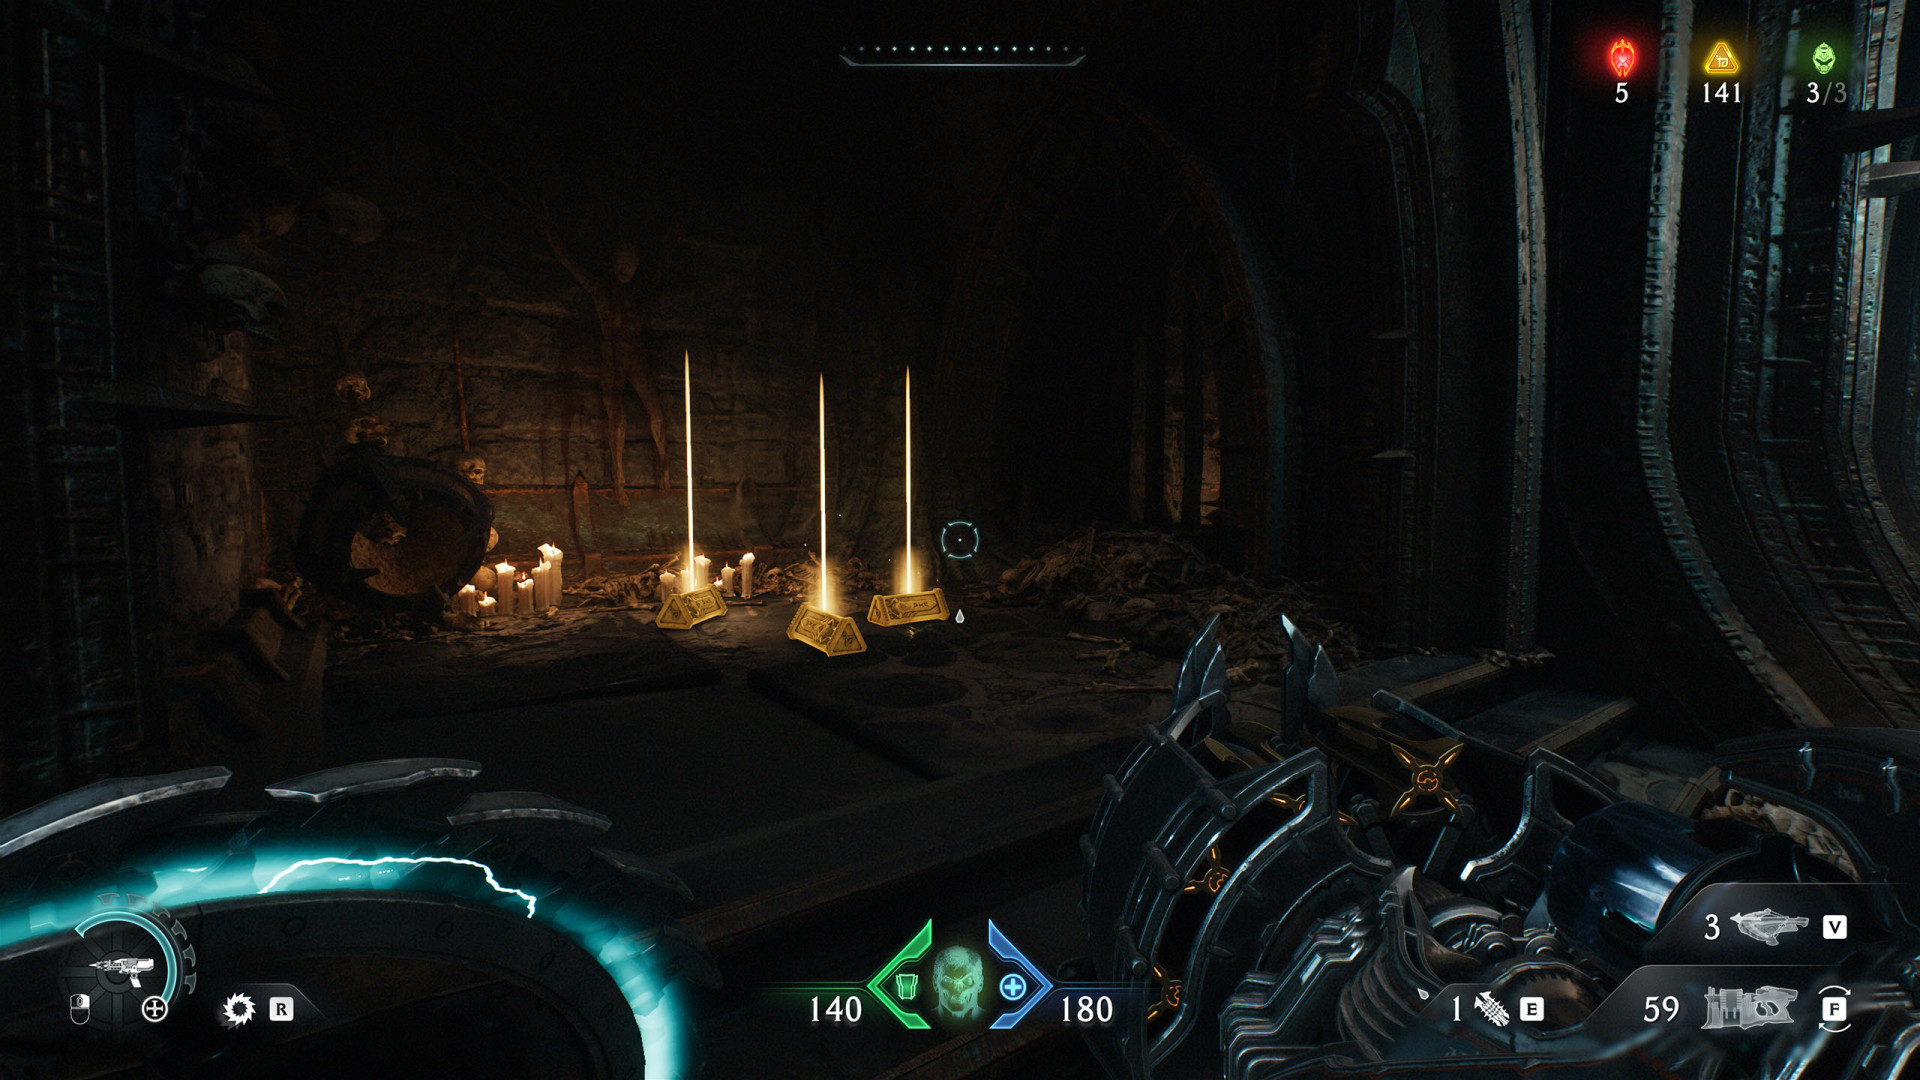
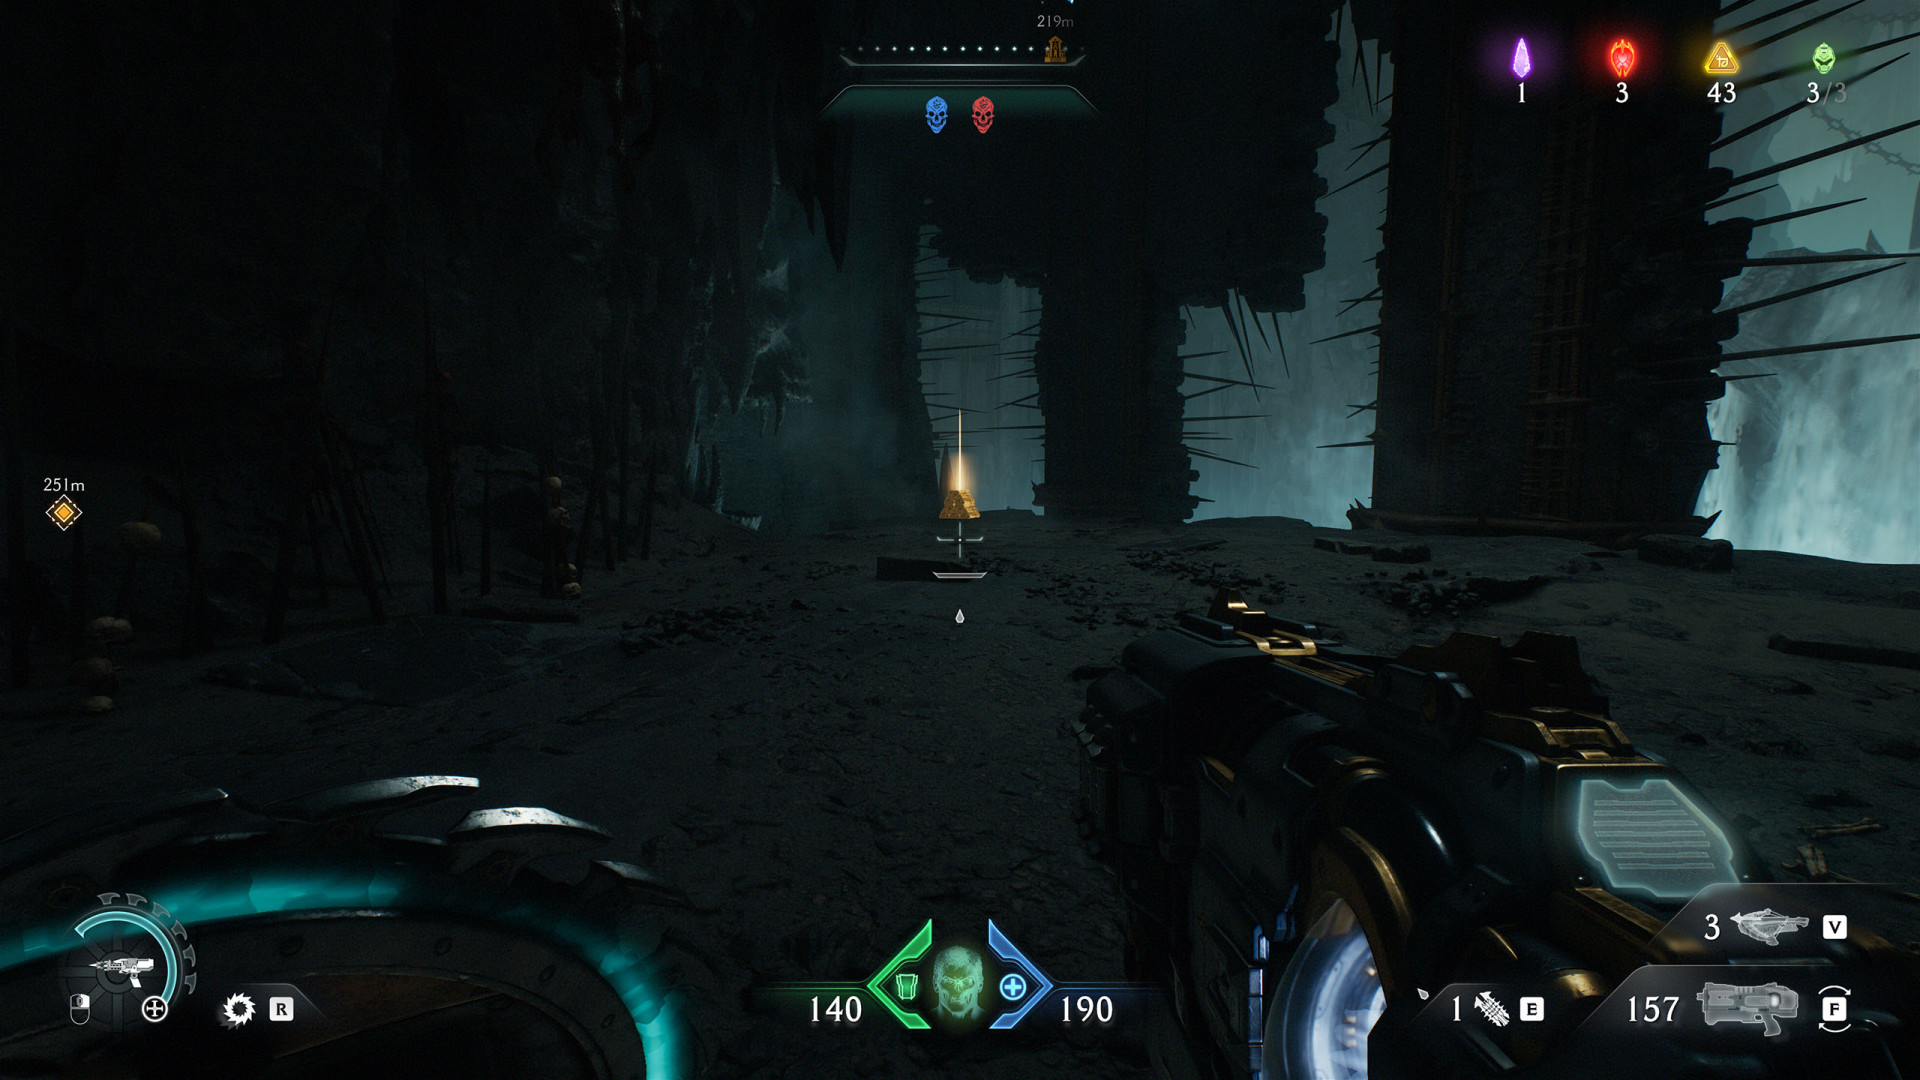
- Gold Bars (10)
- Gold Bars (10)
- Gold Bars (10)
- Gold Bars (10)
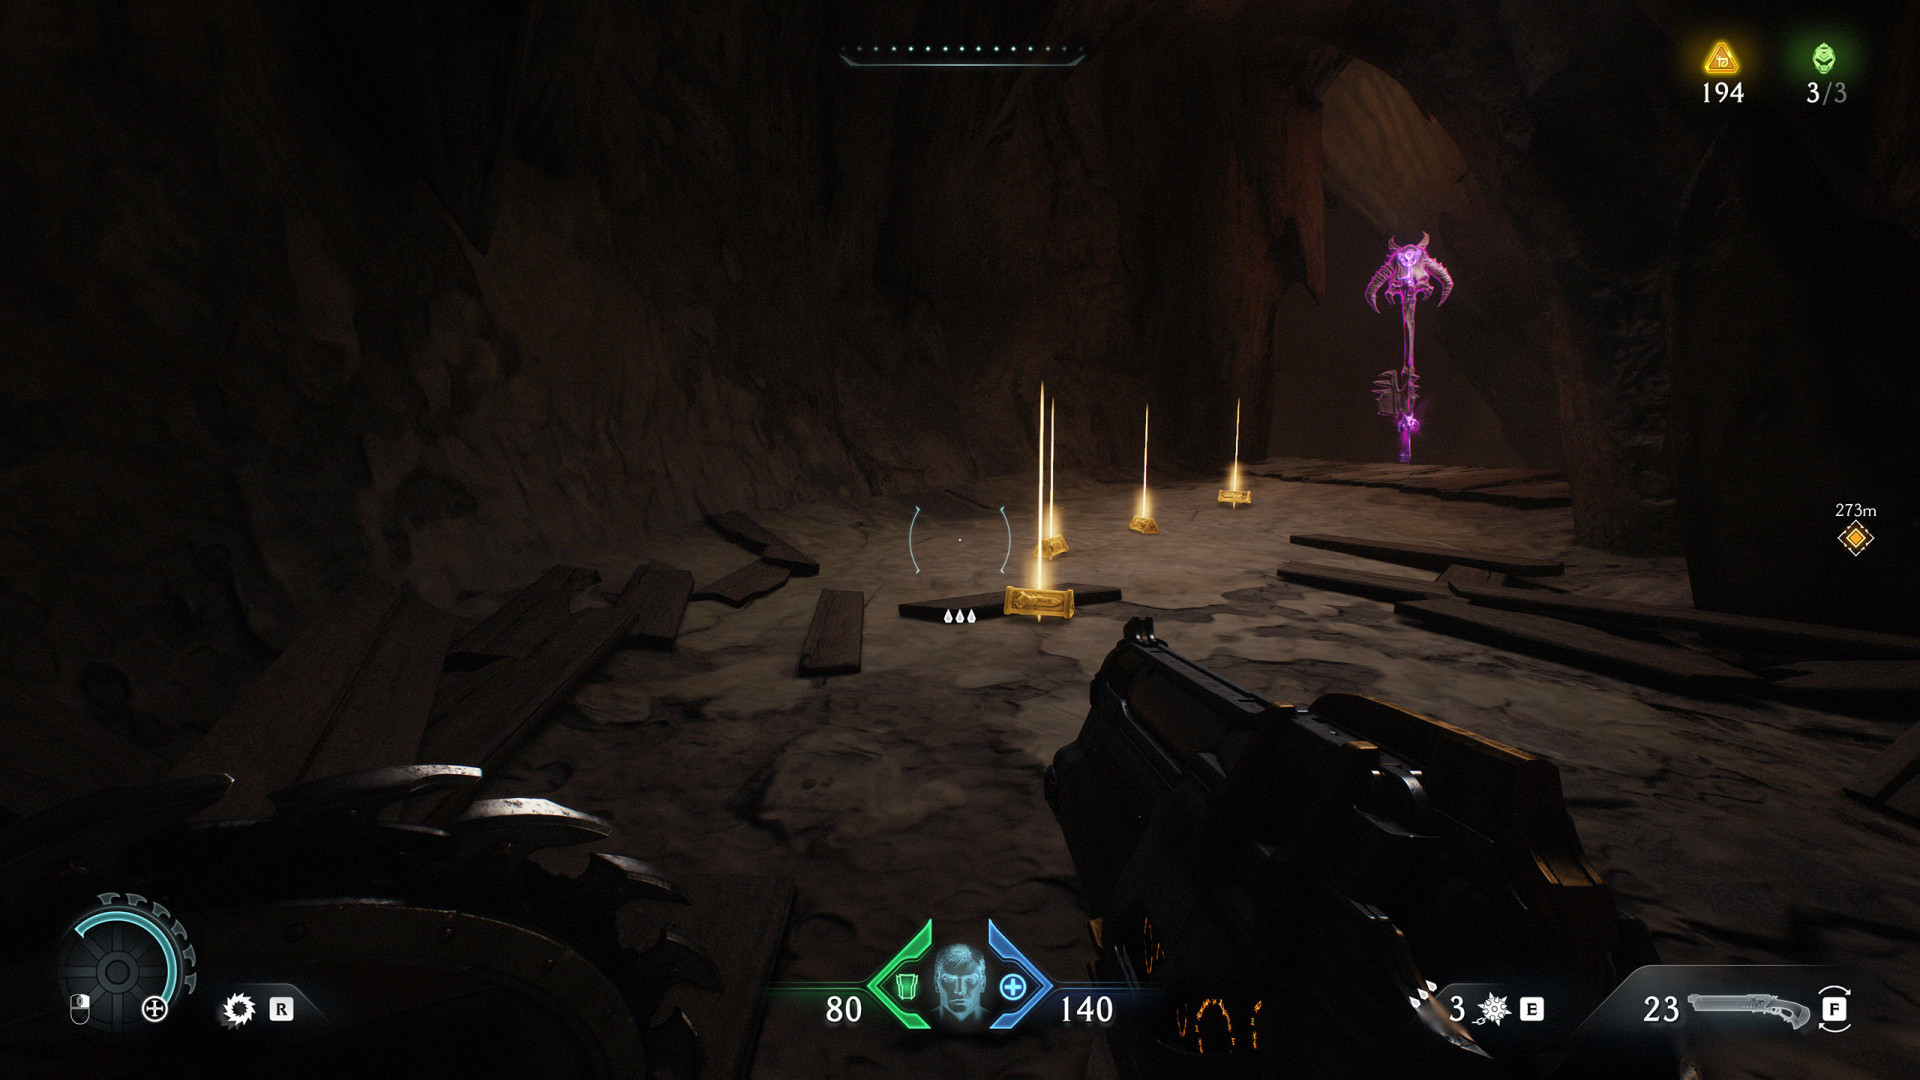
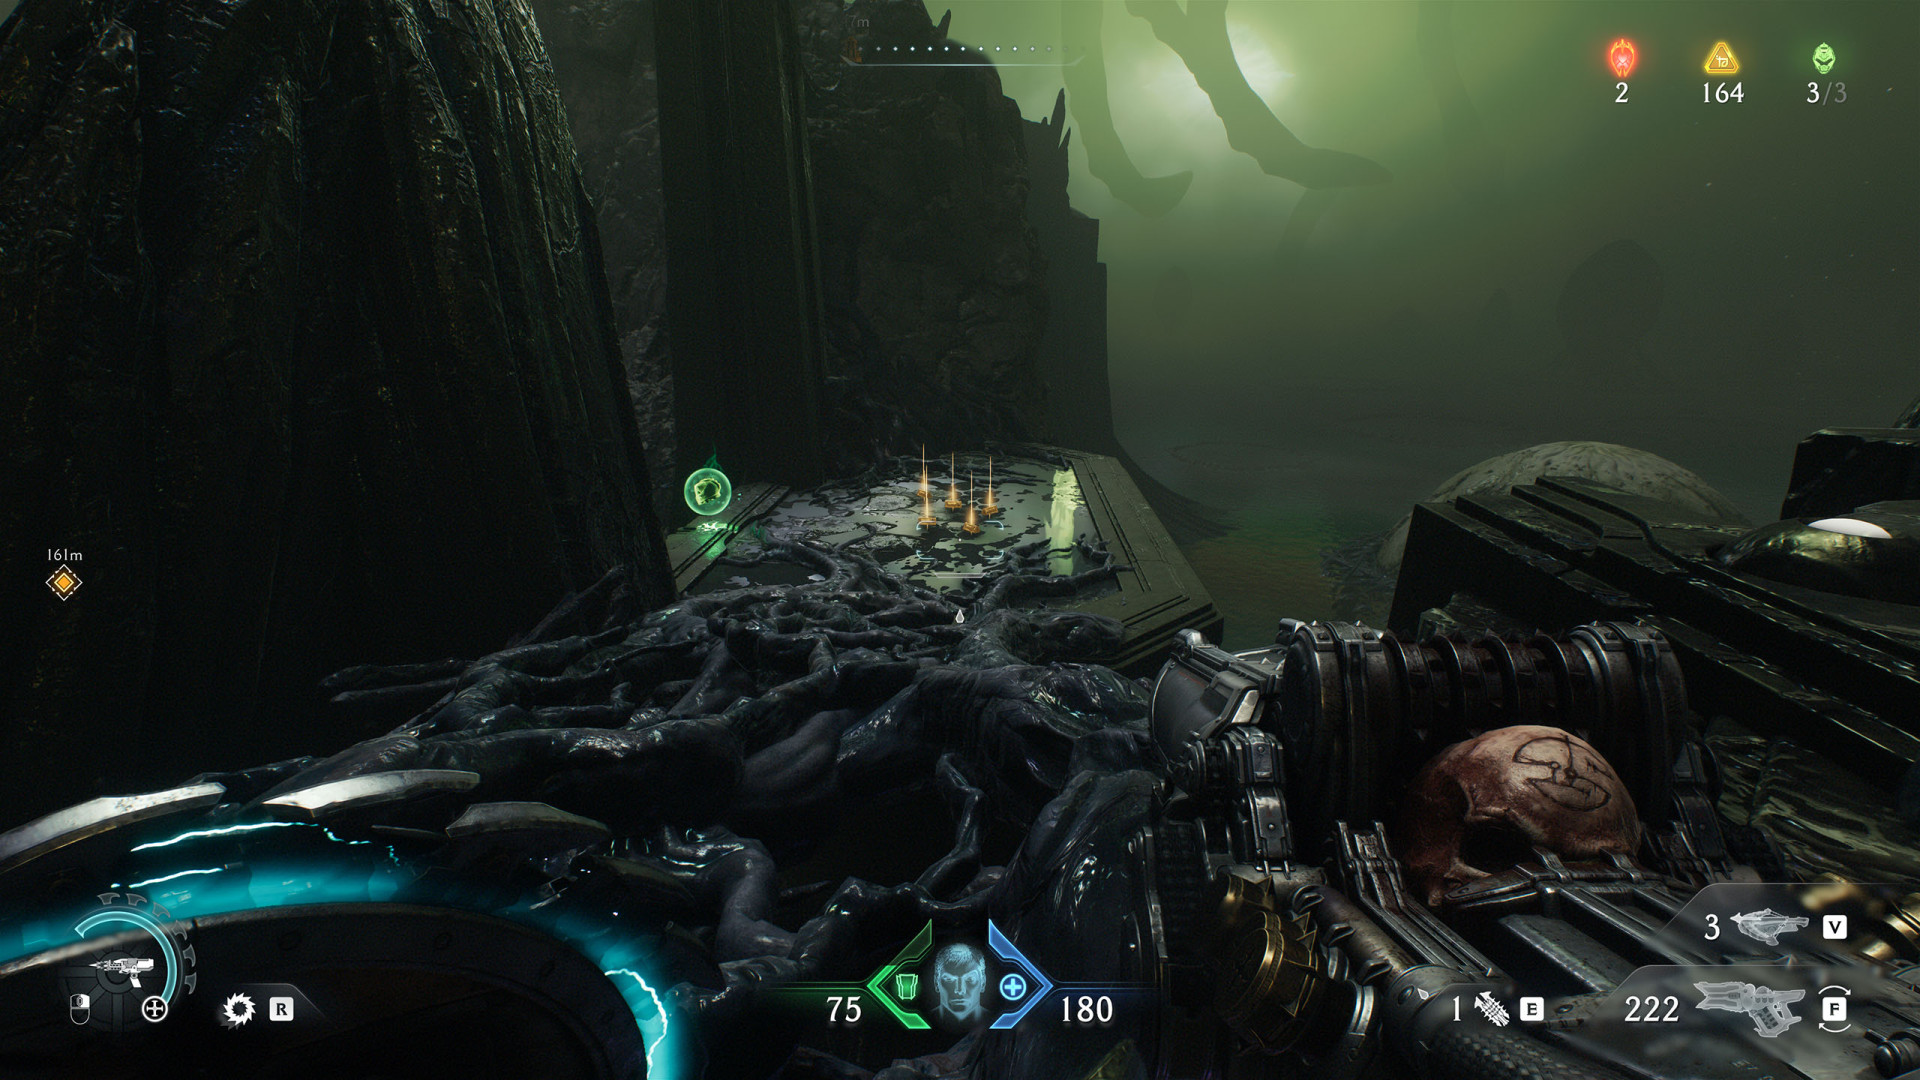
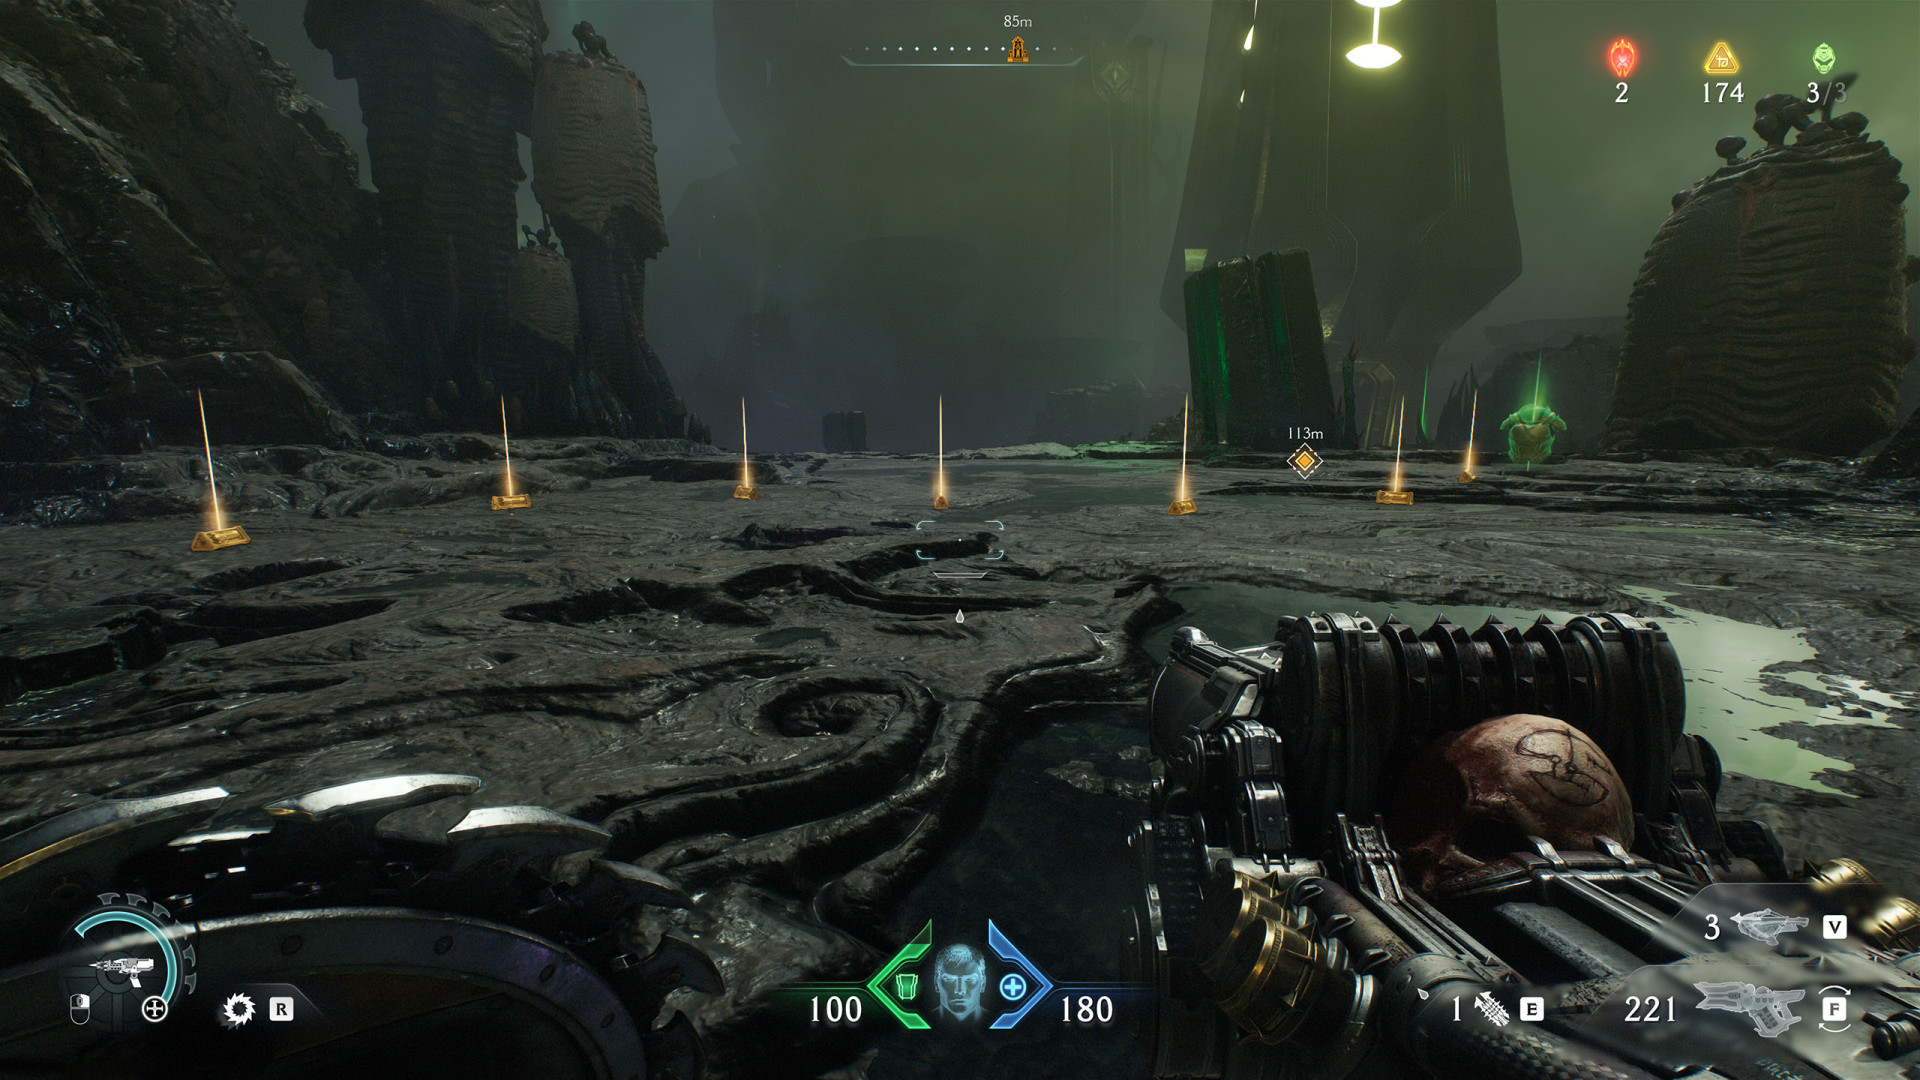
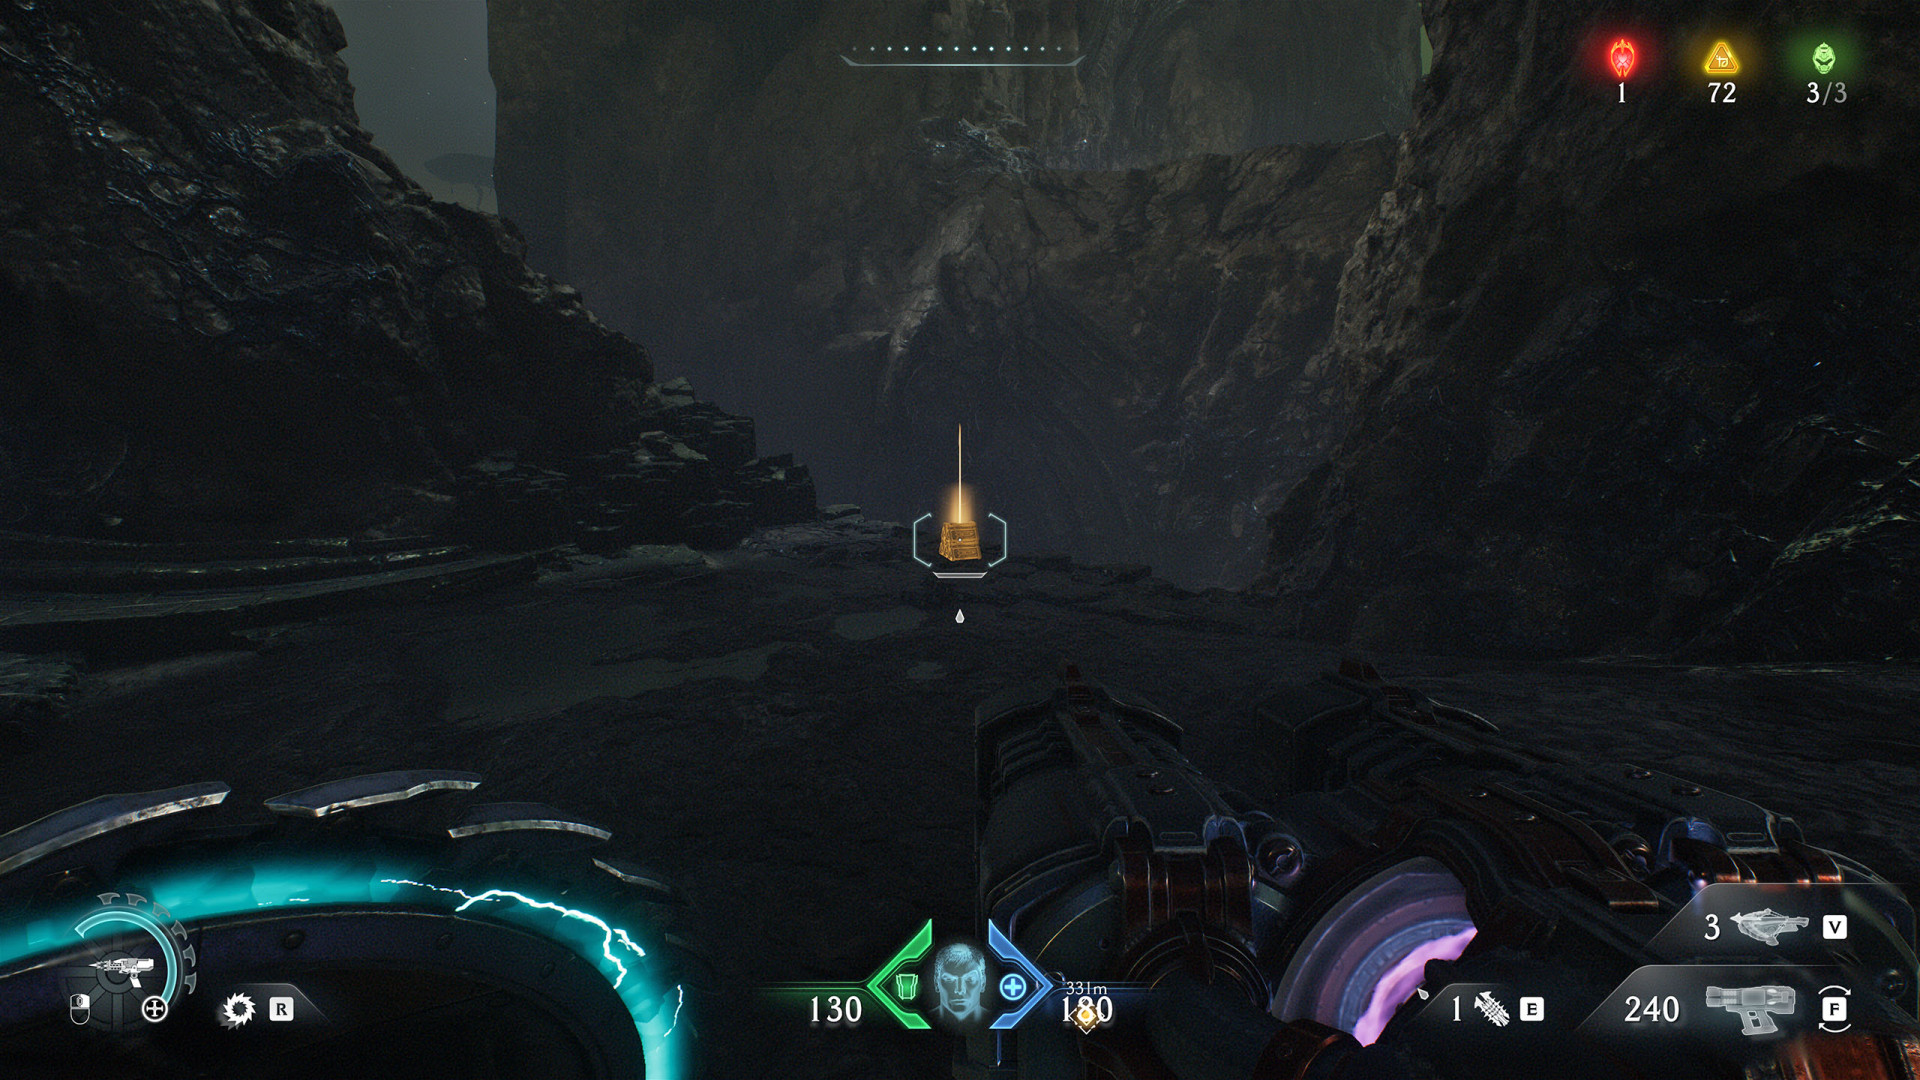
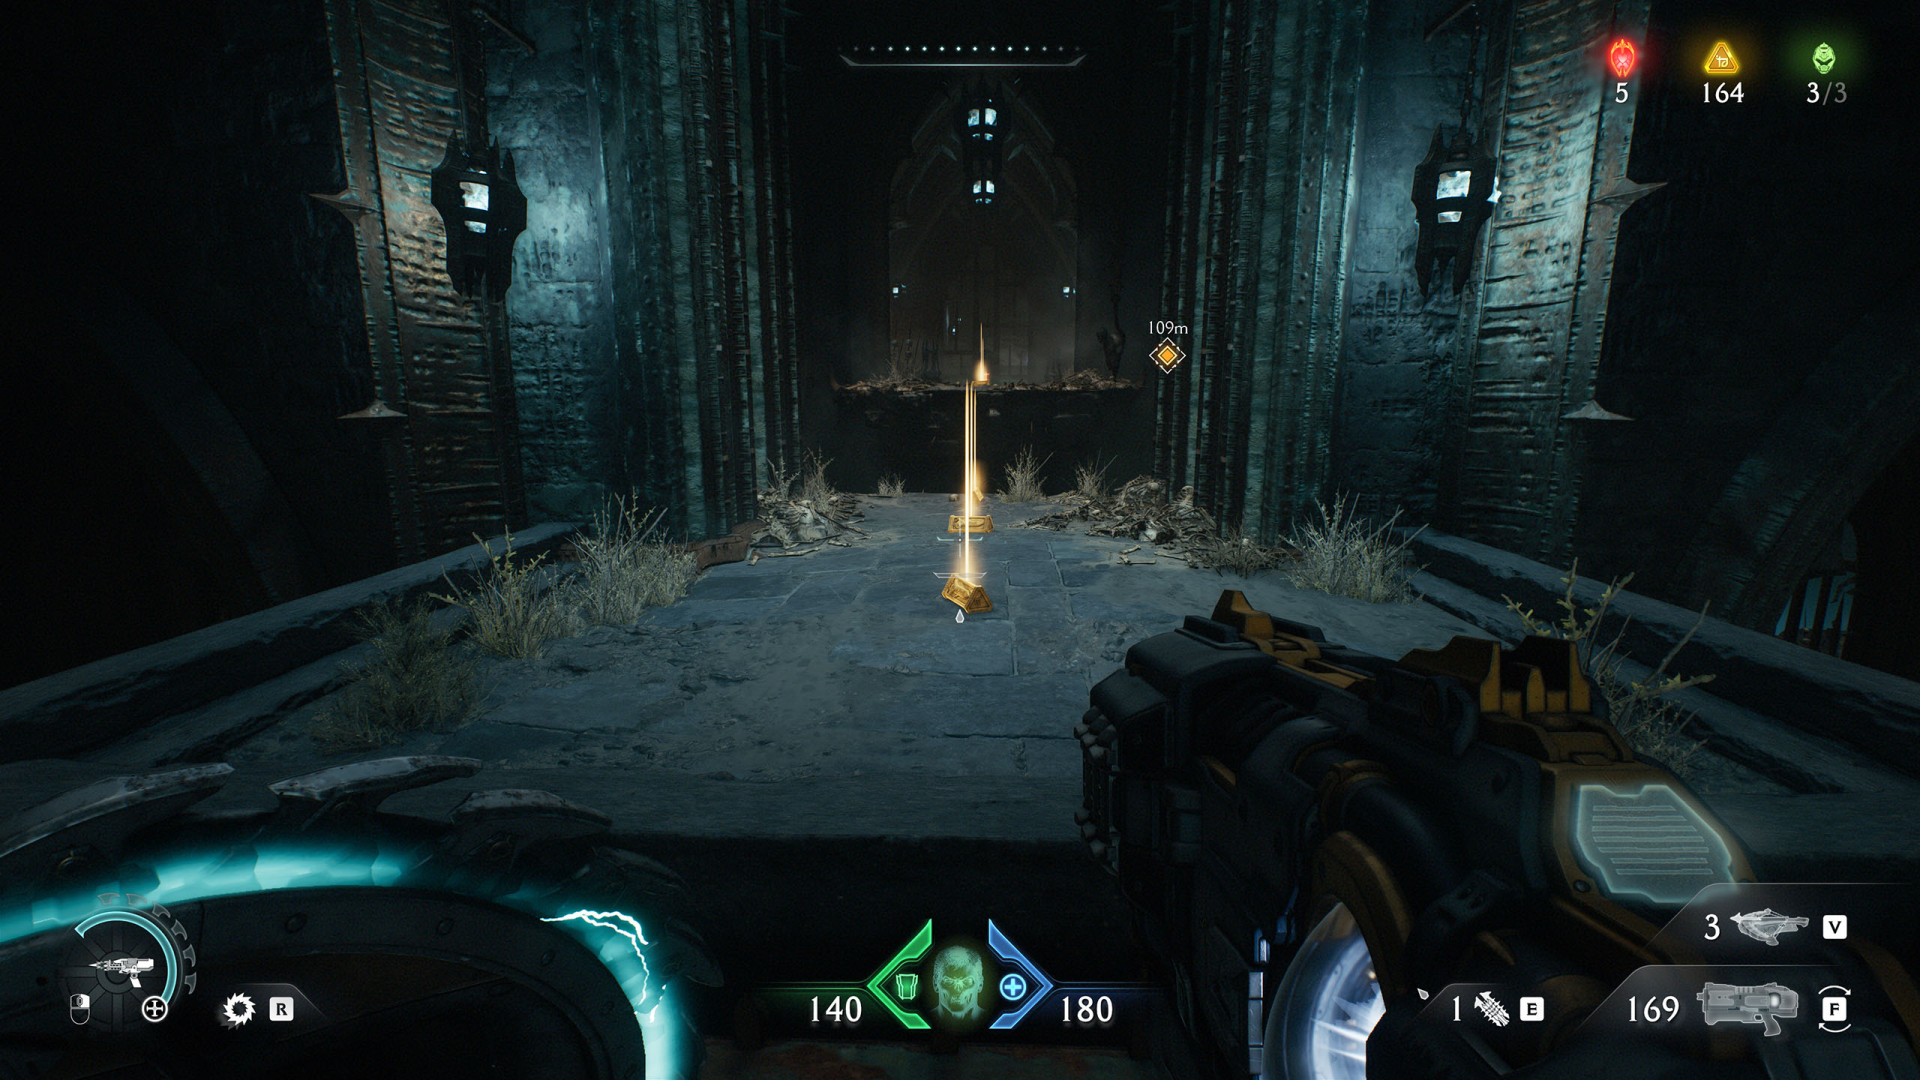
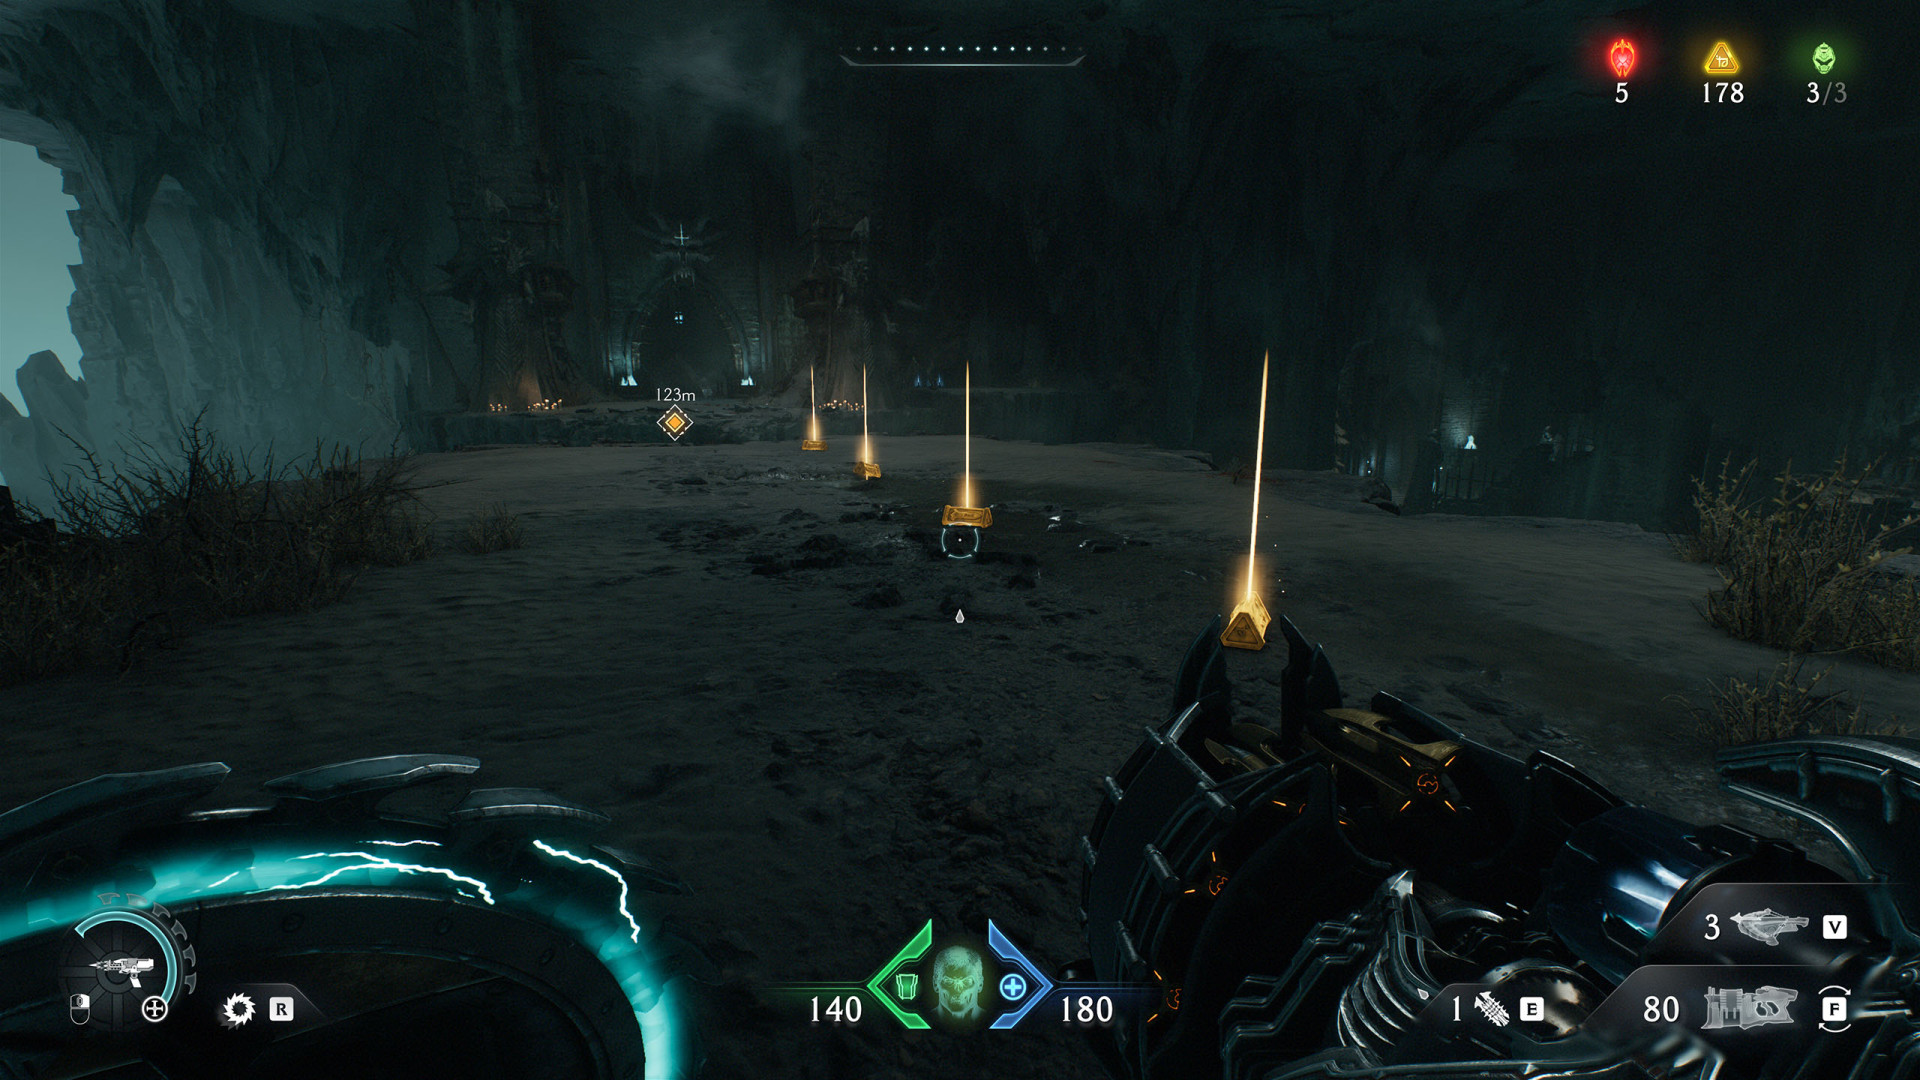
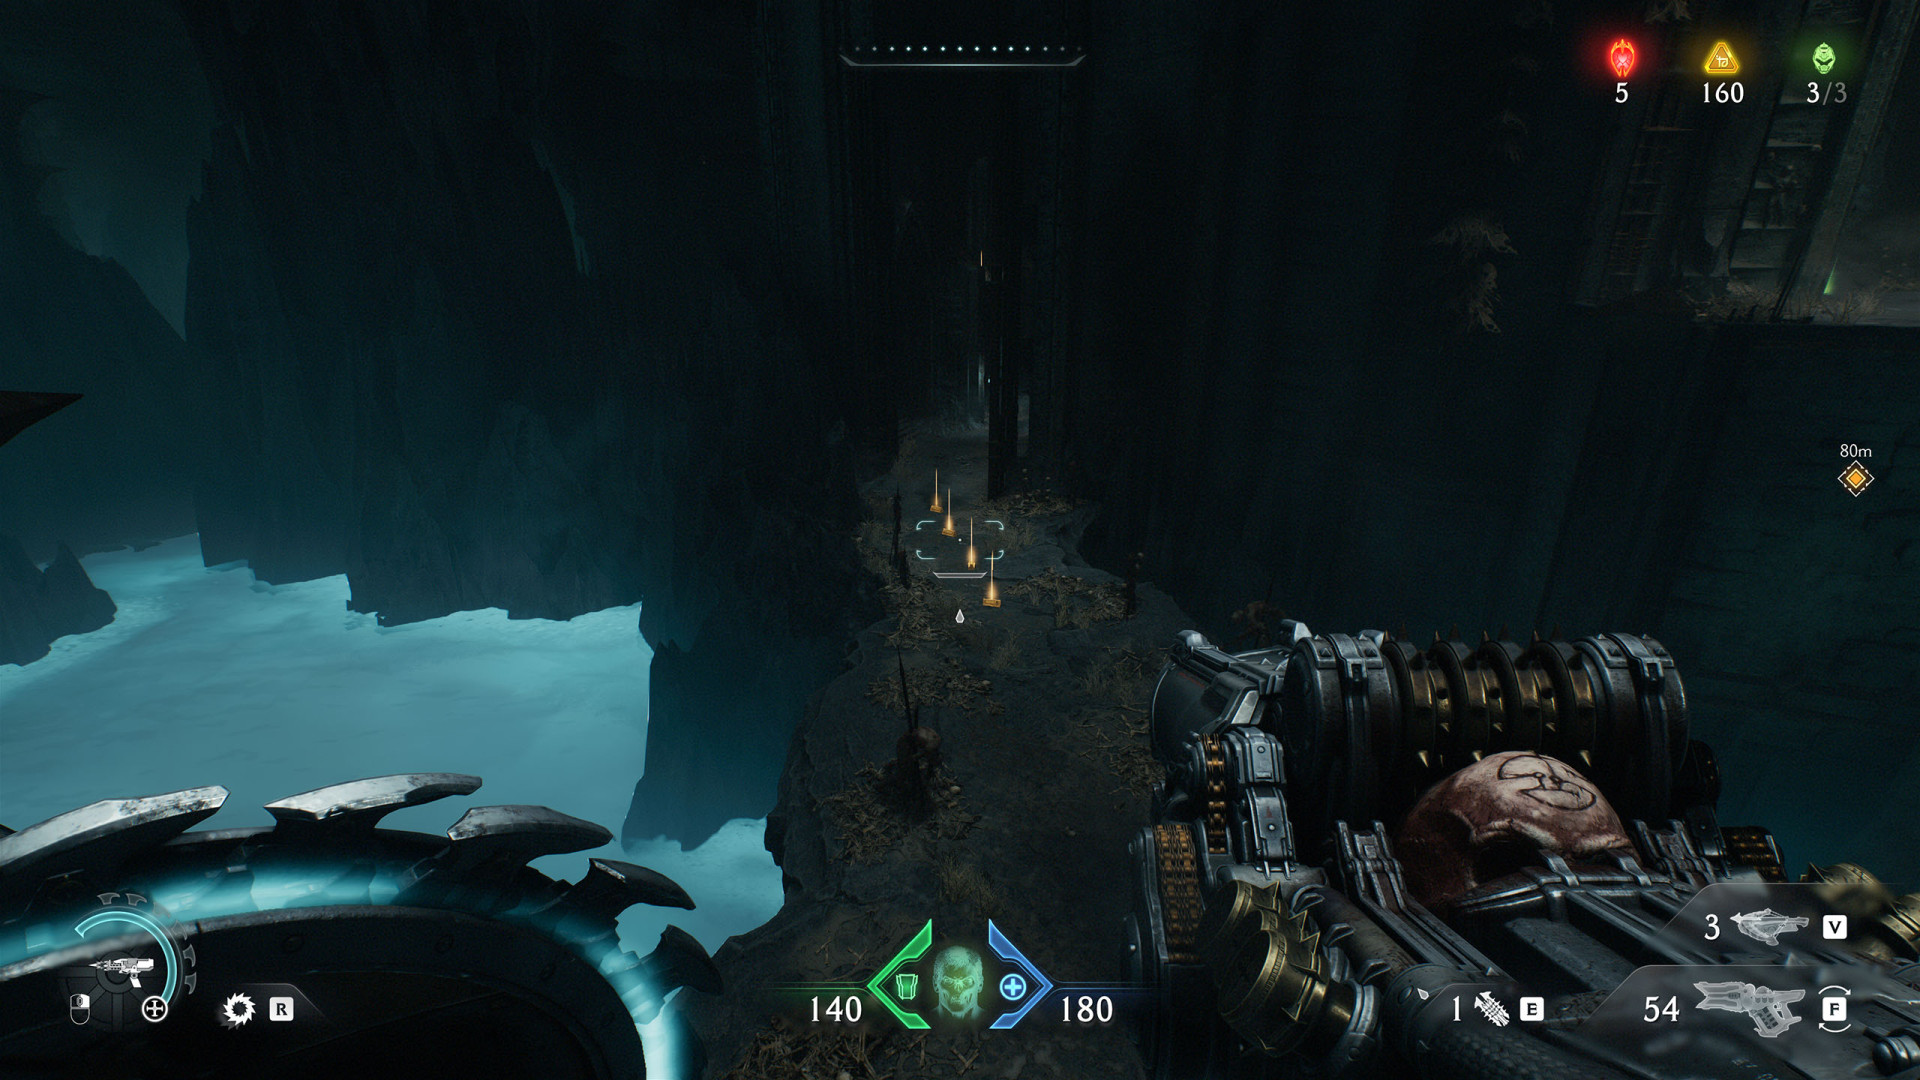
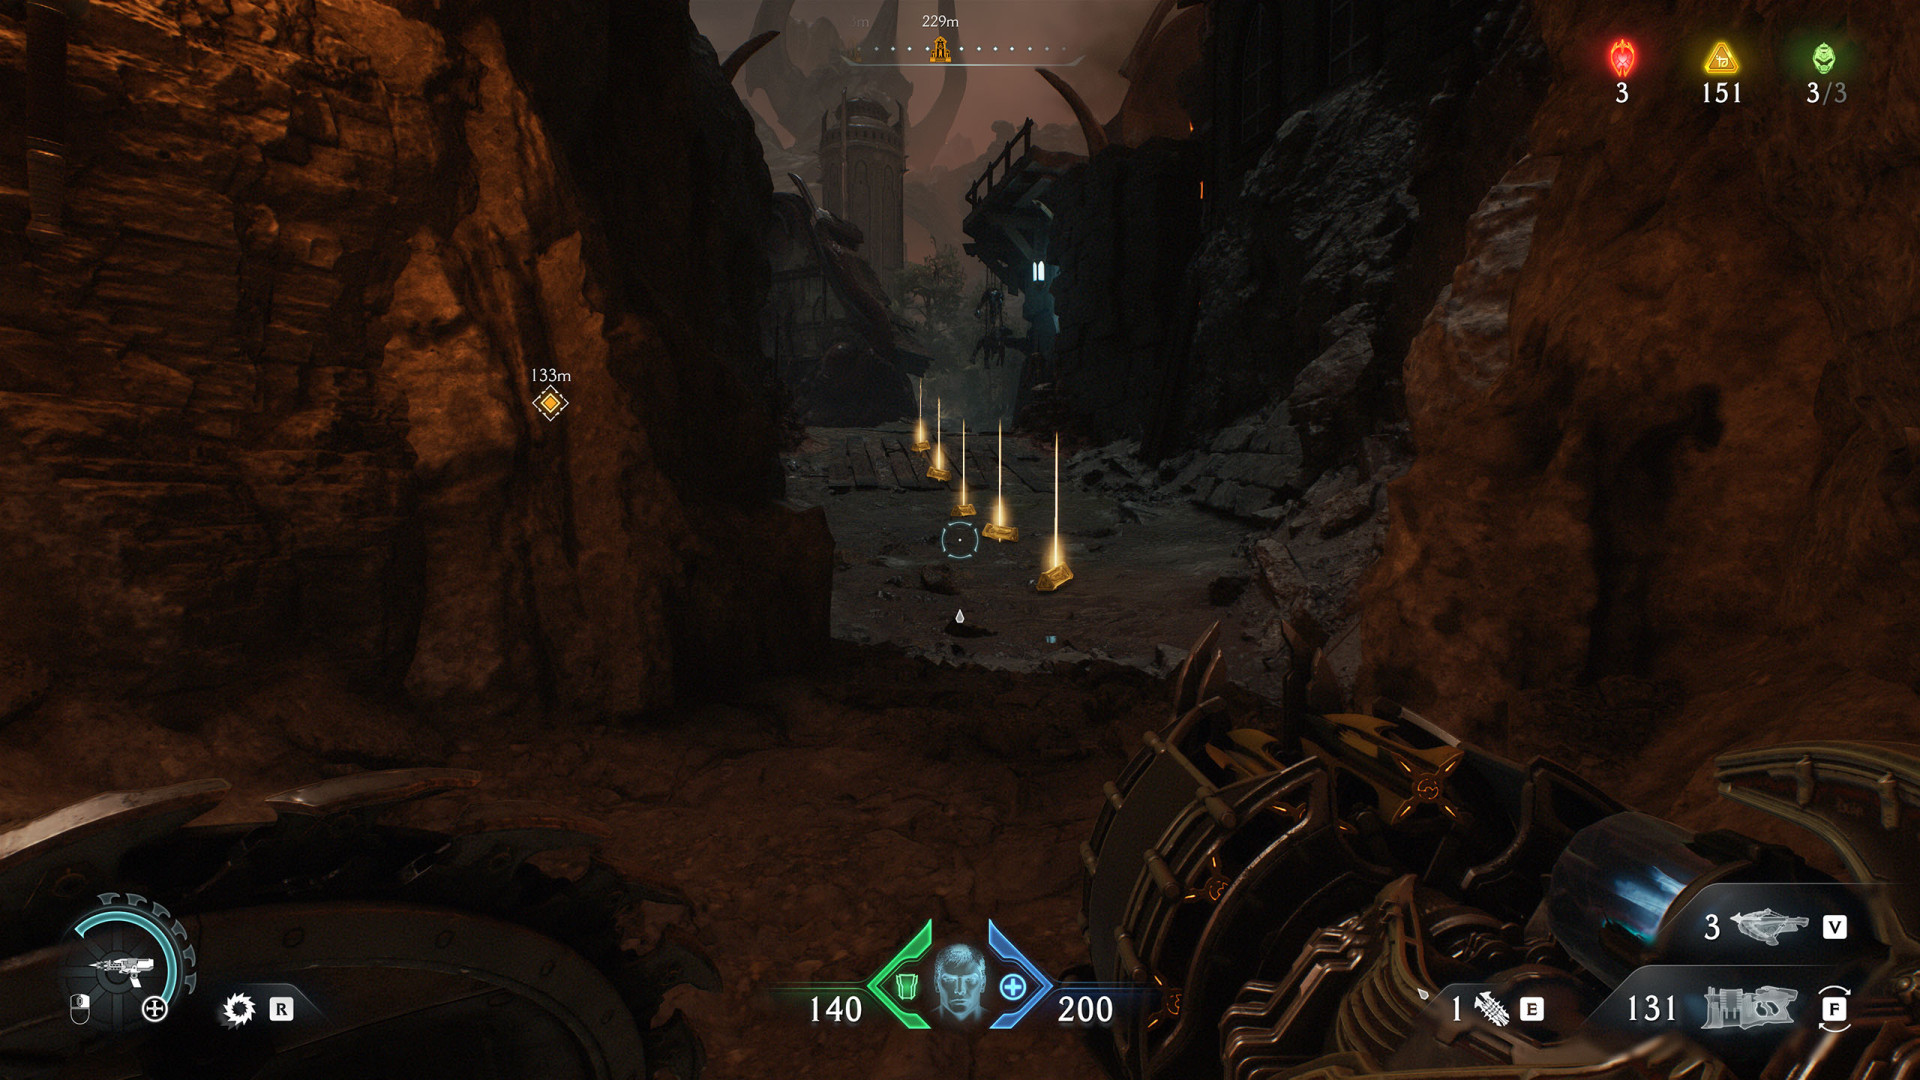
- Gold Bars (11)
- Gold Bars (12)
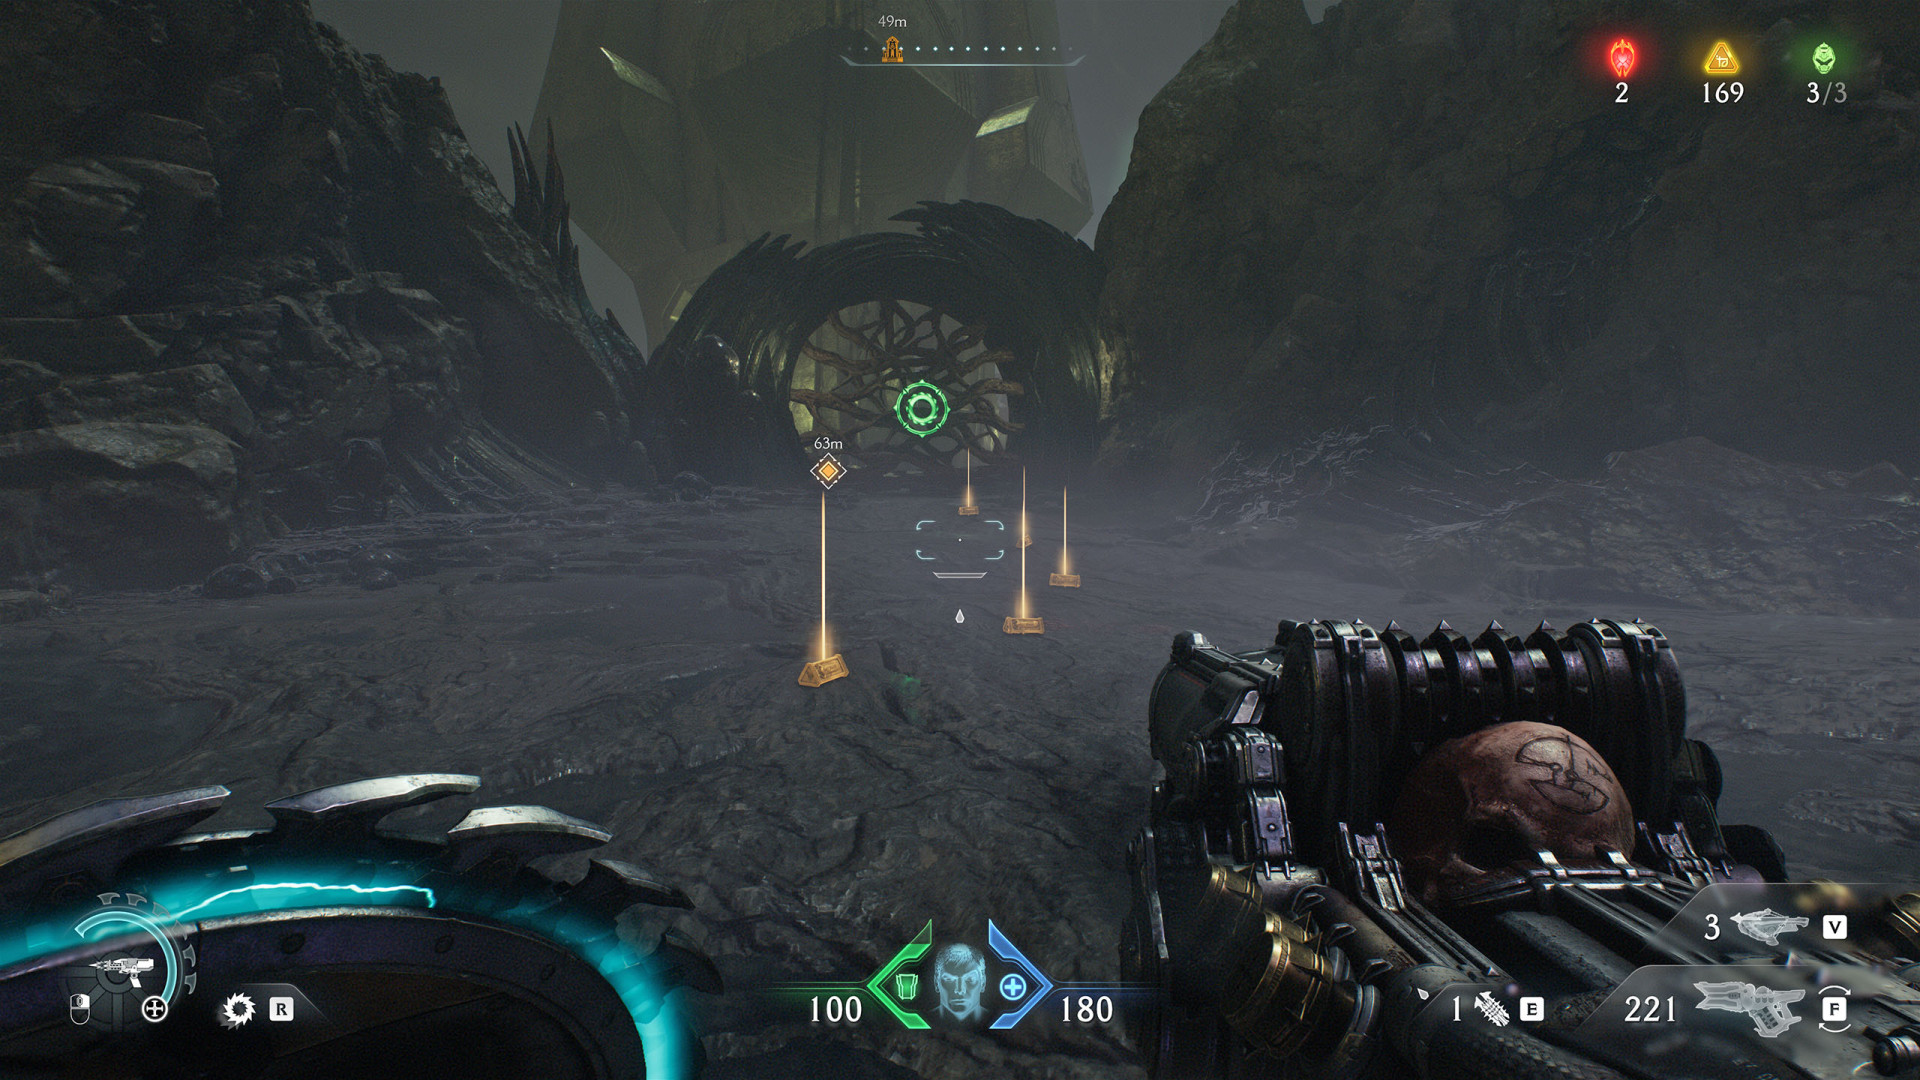
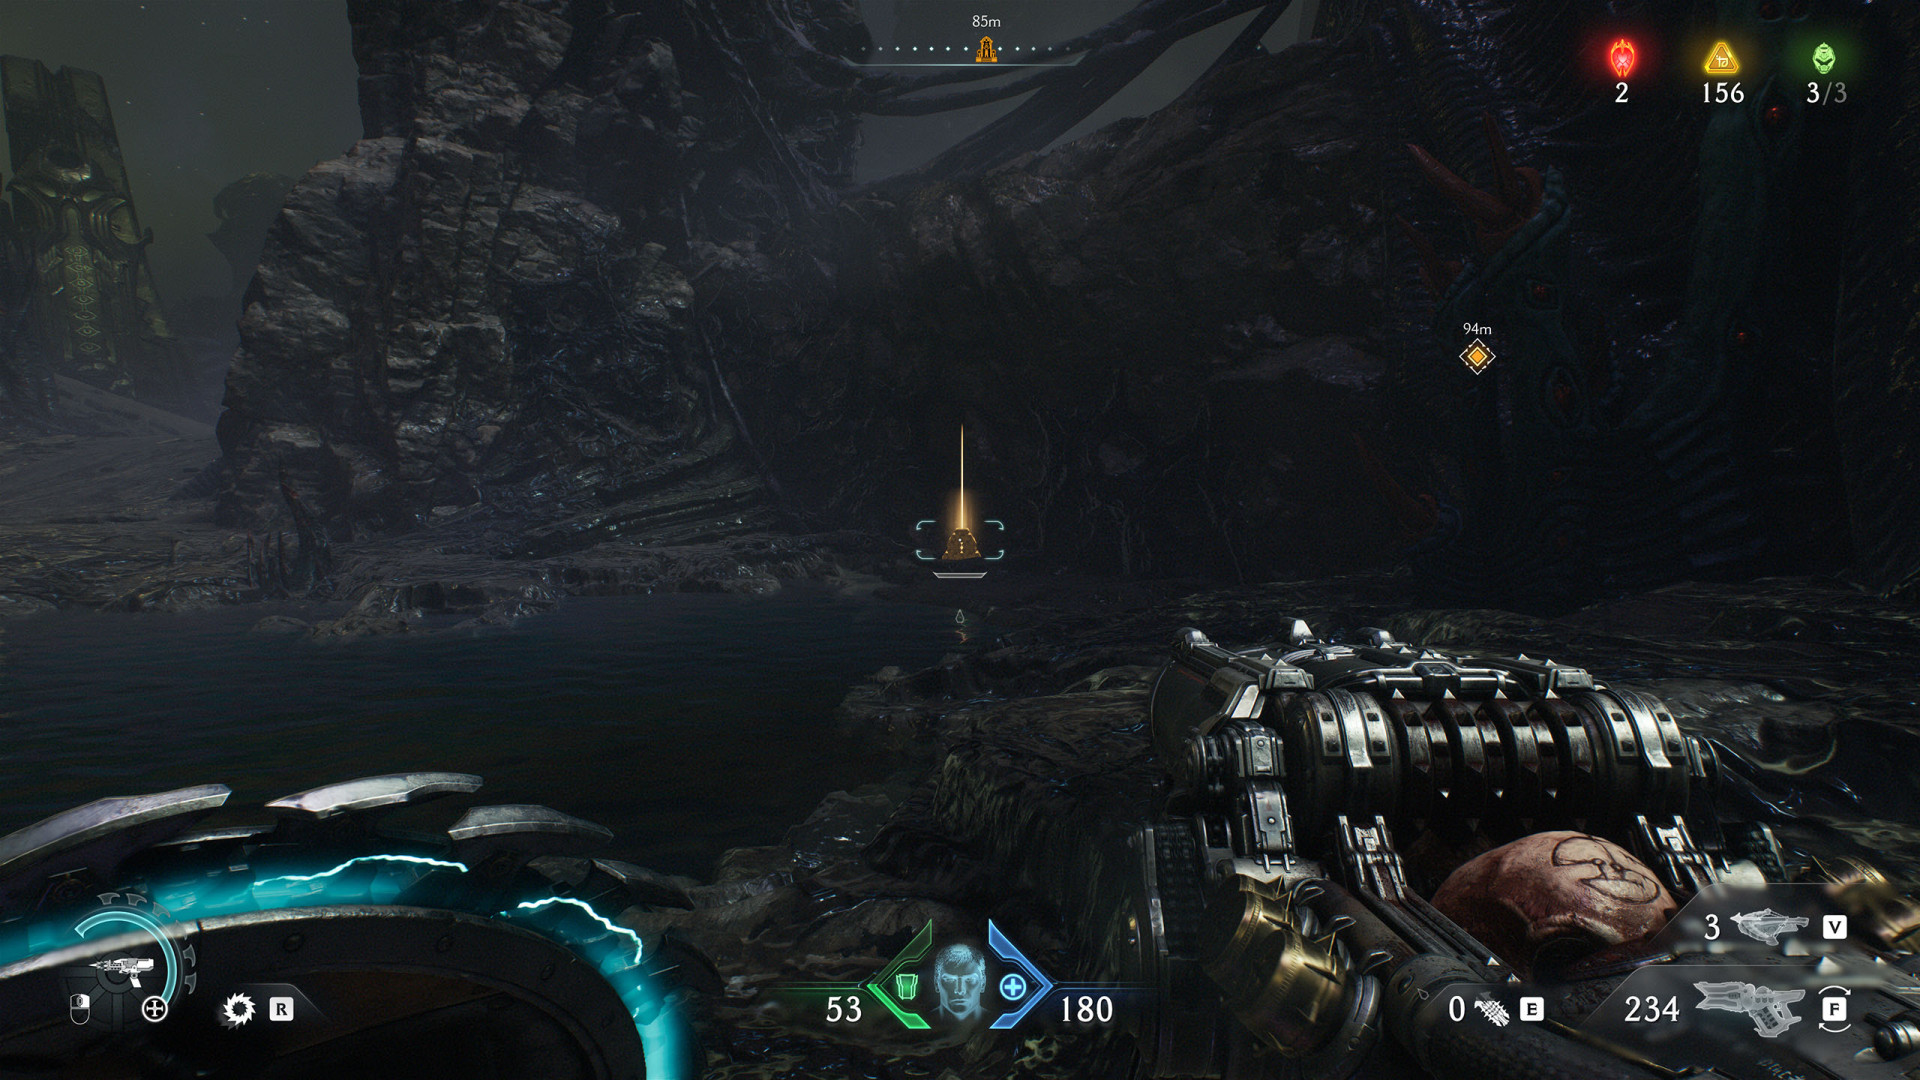
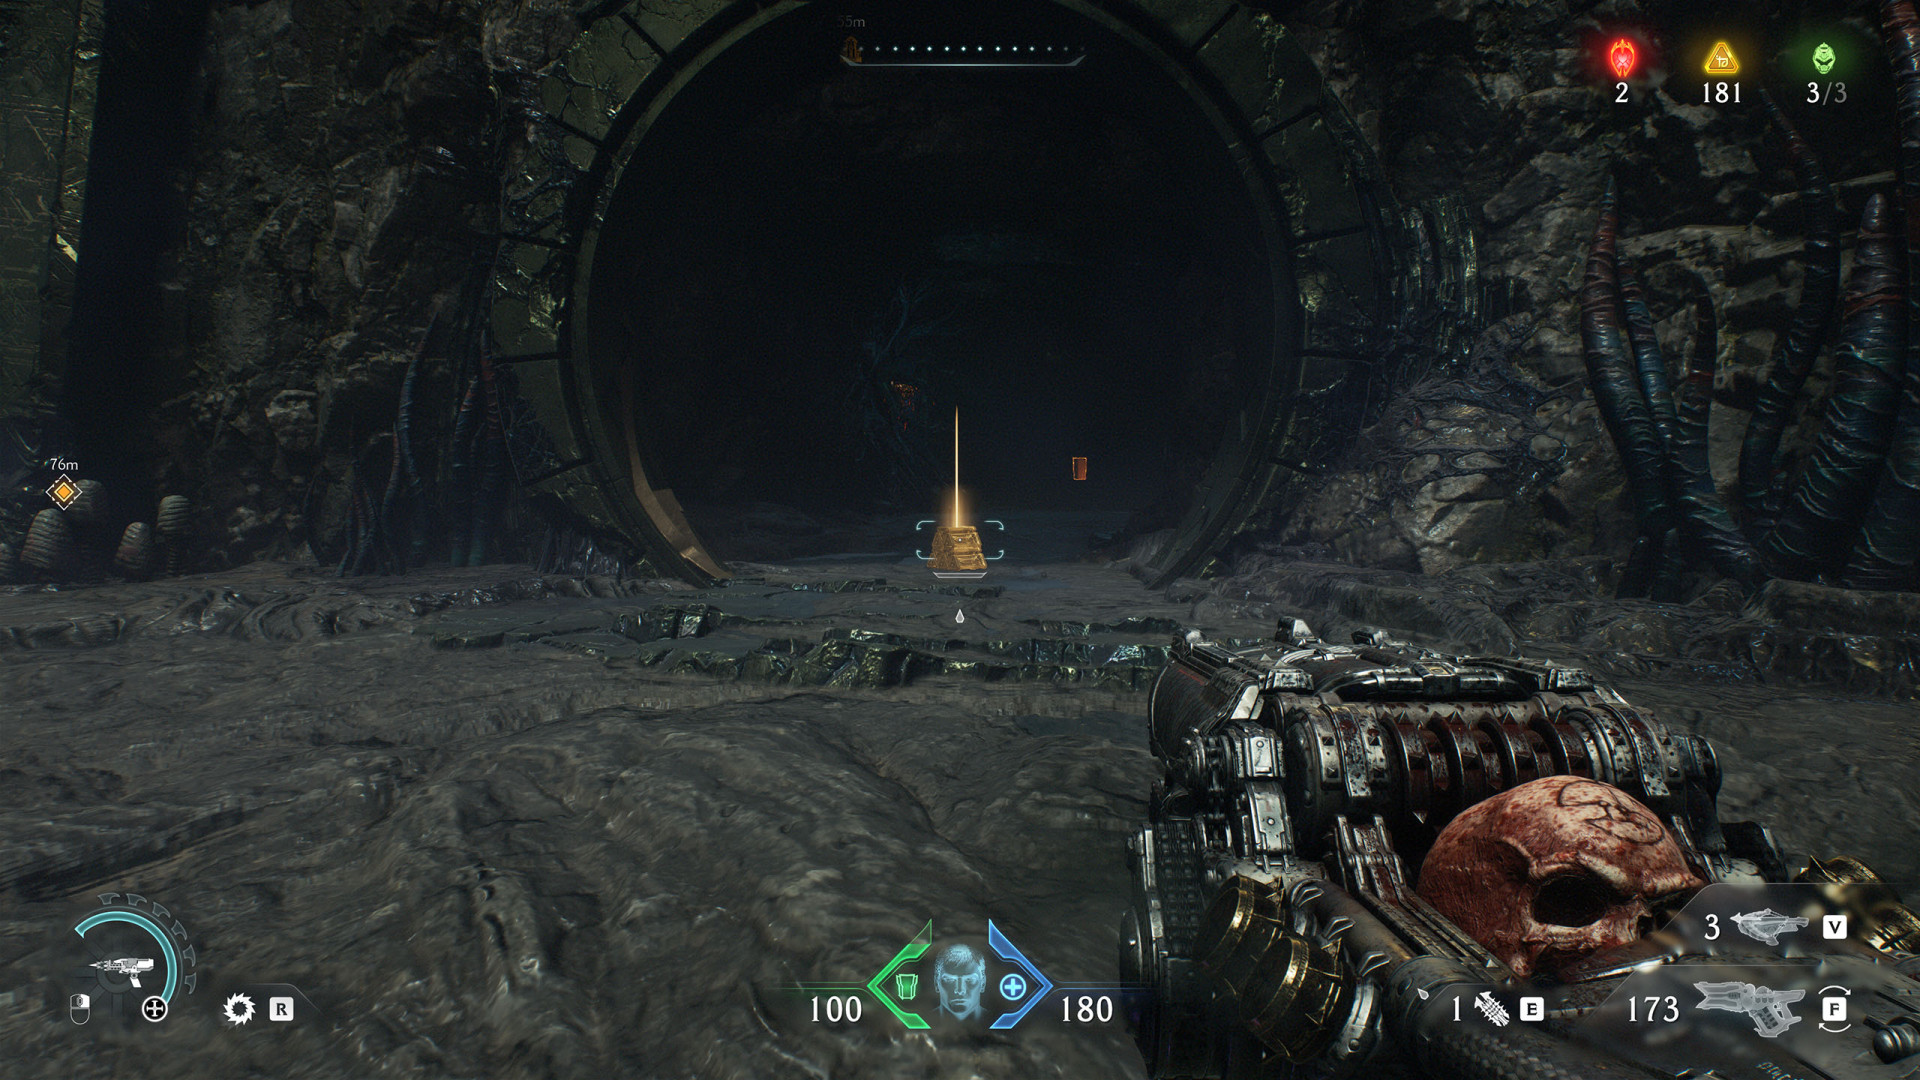
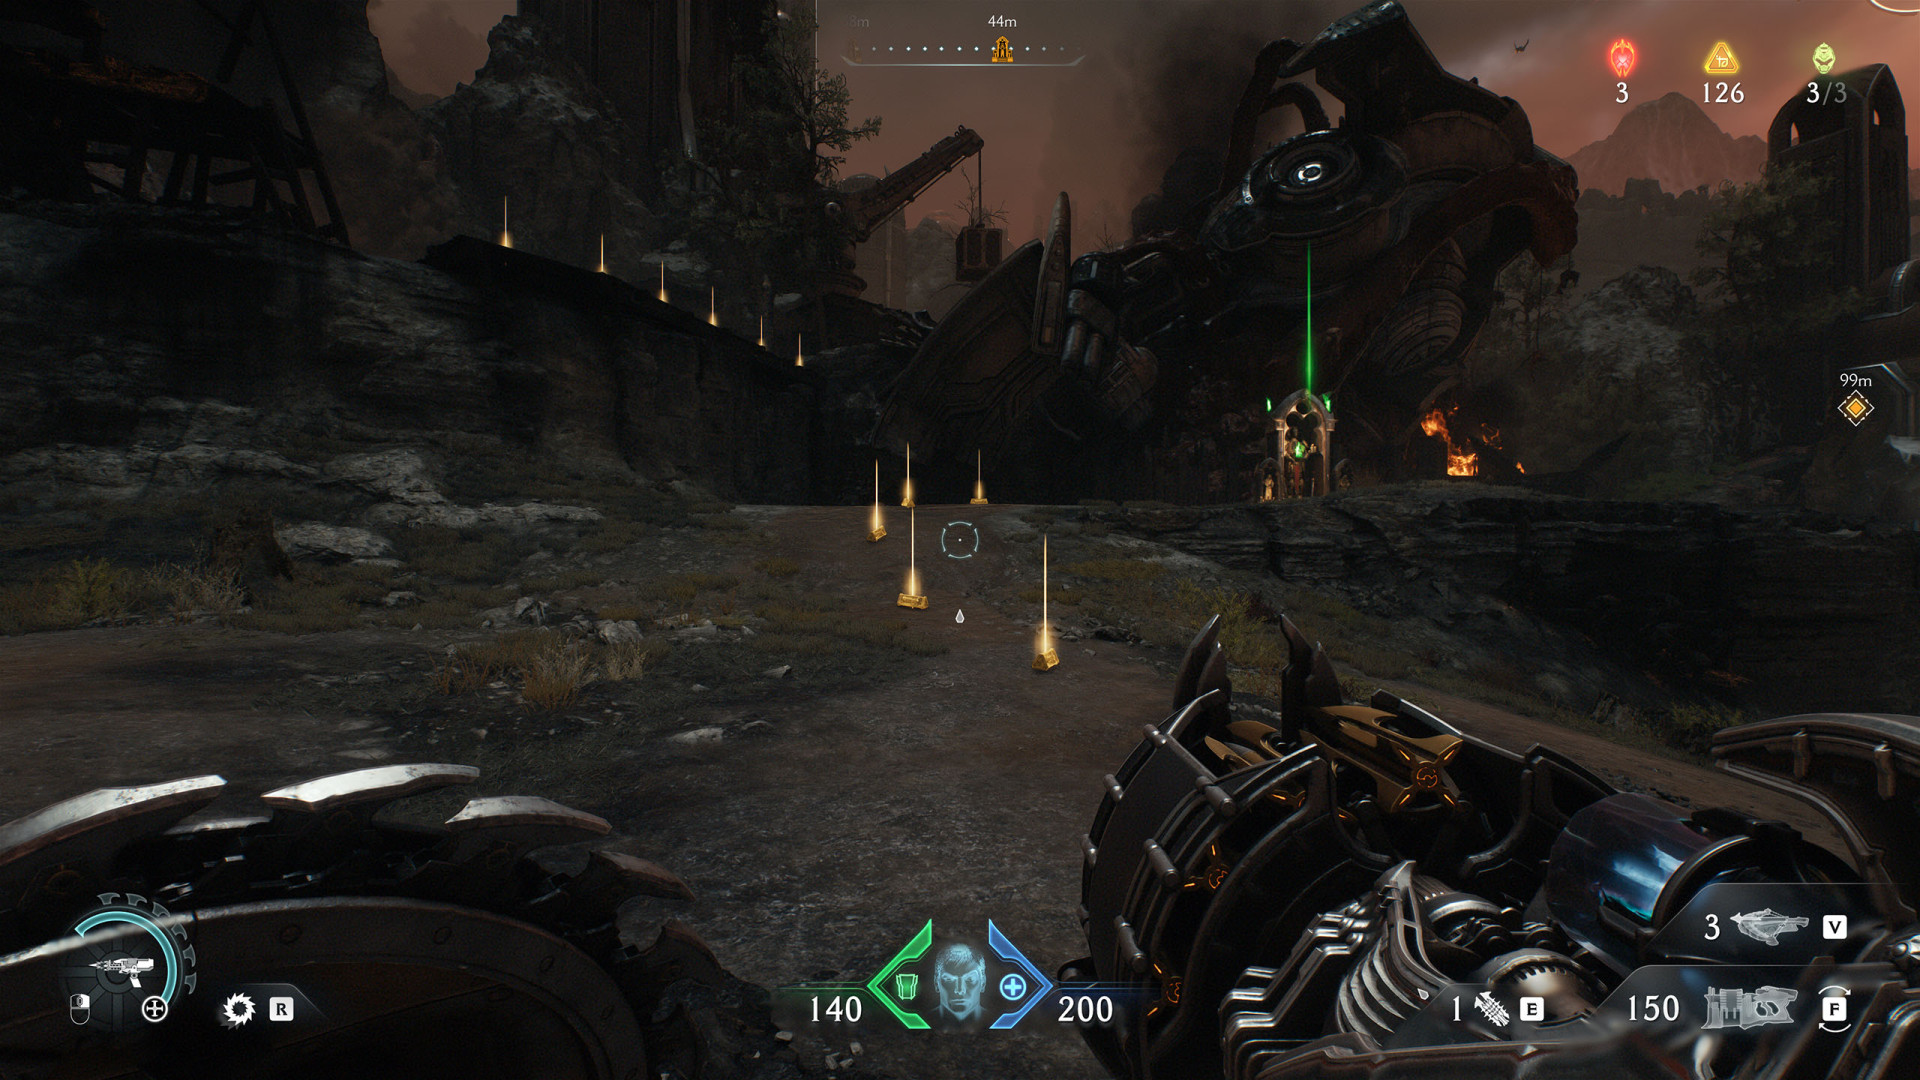
- Gold Bars (13)
- Gold Bars (13)
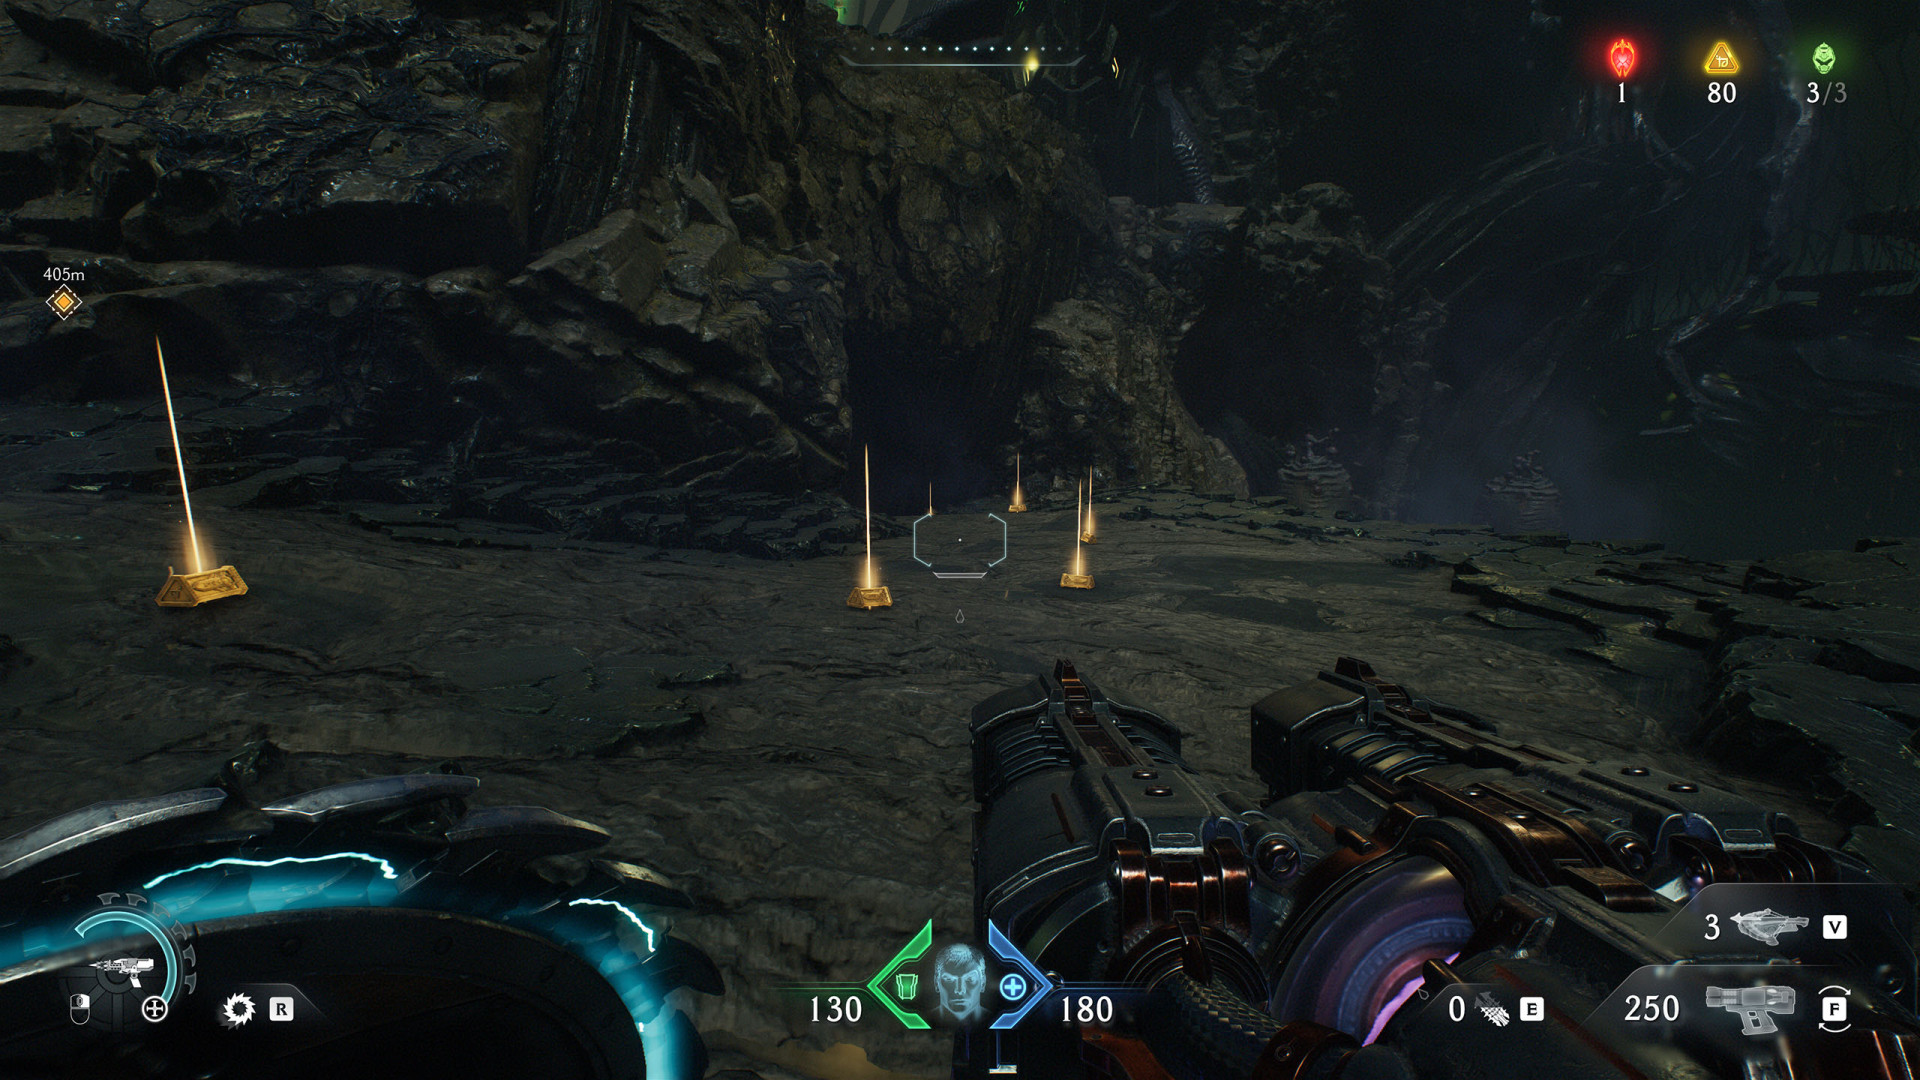
- Gold Bars (14)
- Gold Bars (14)
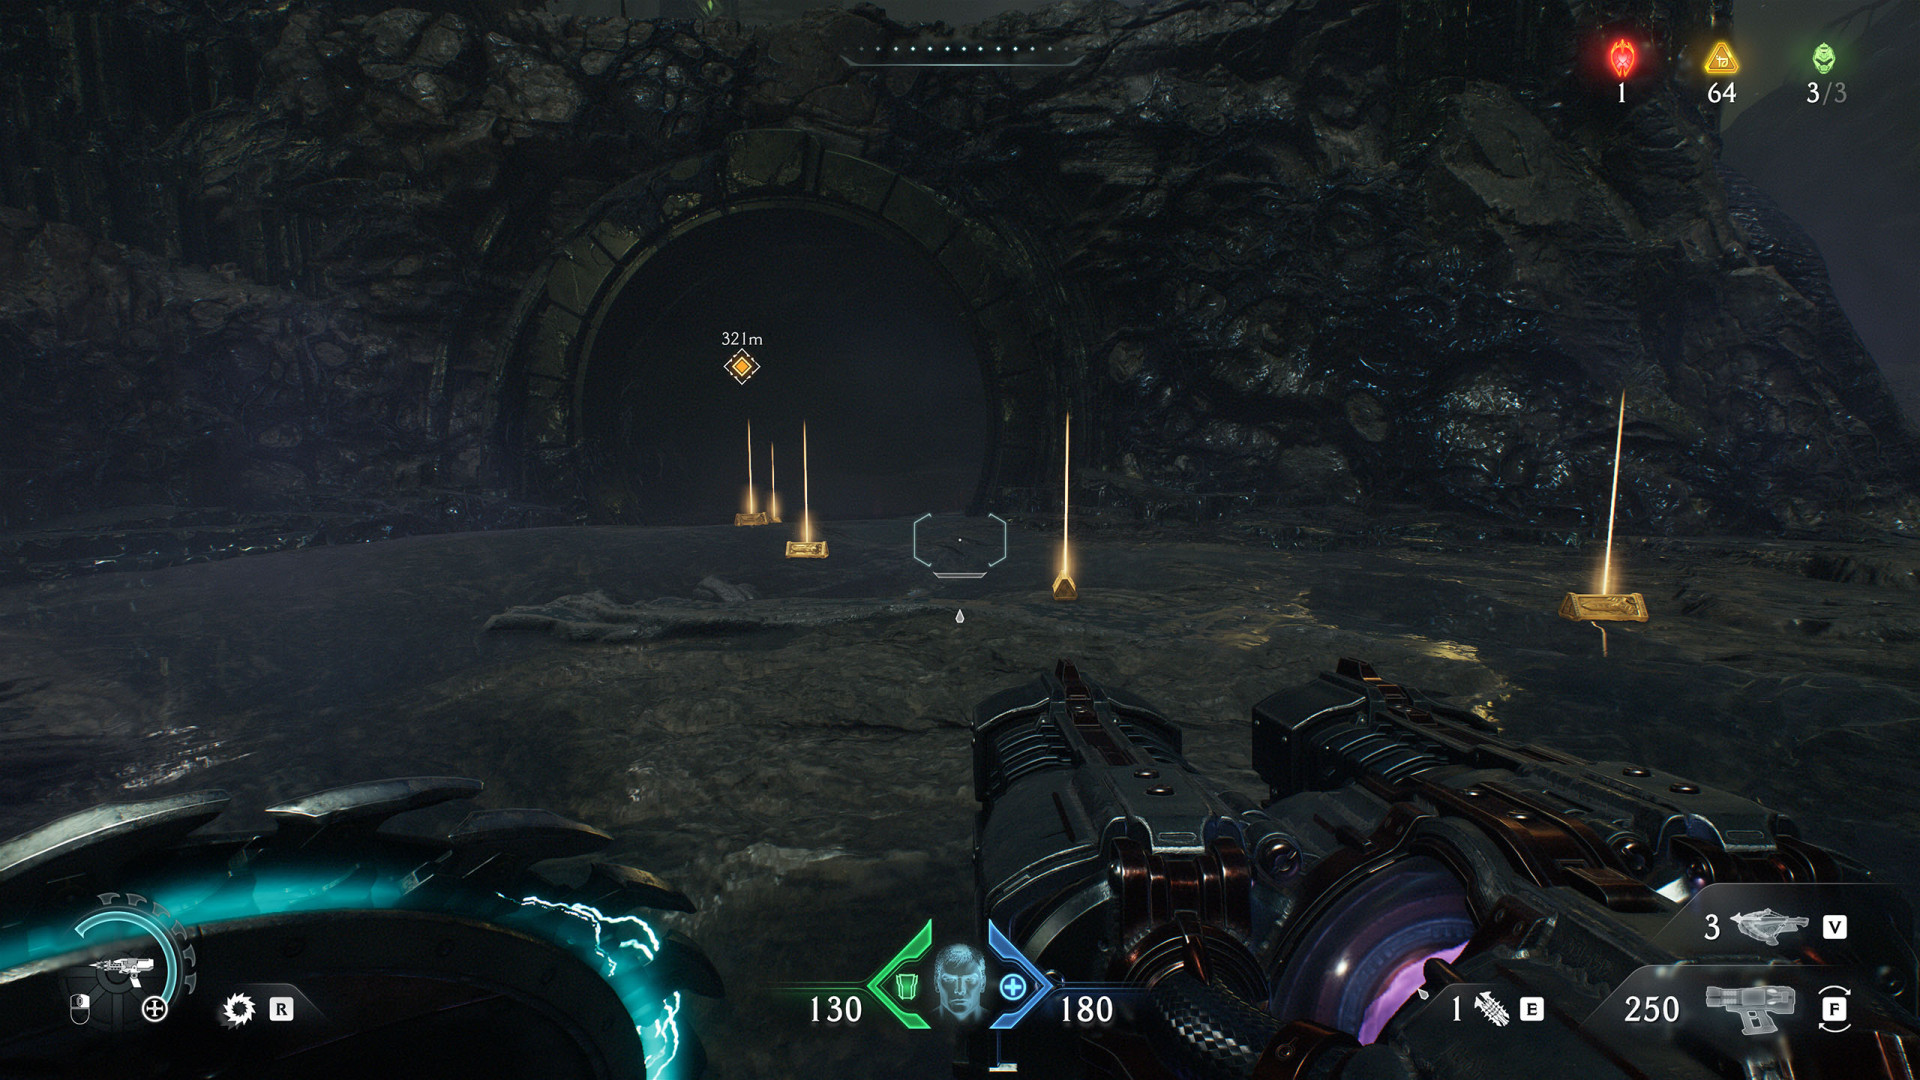
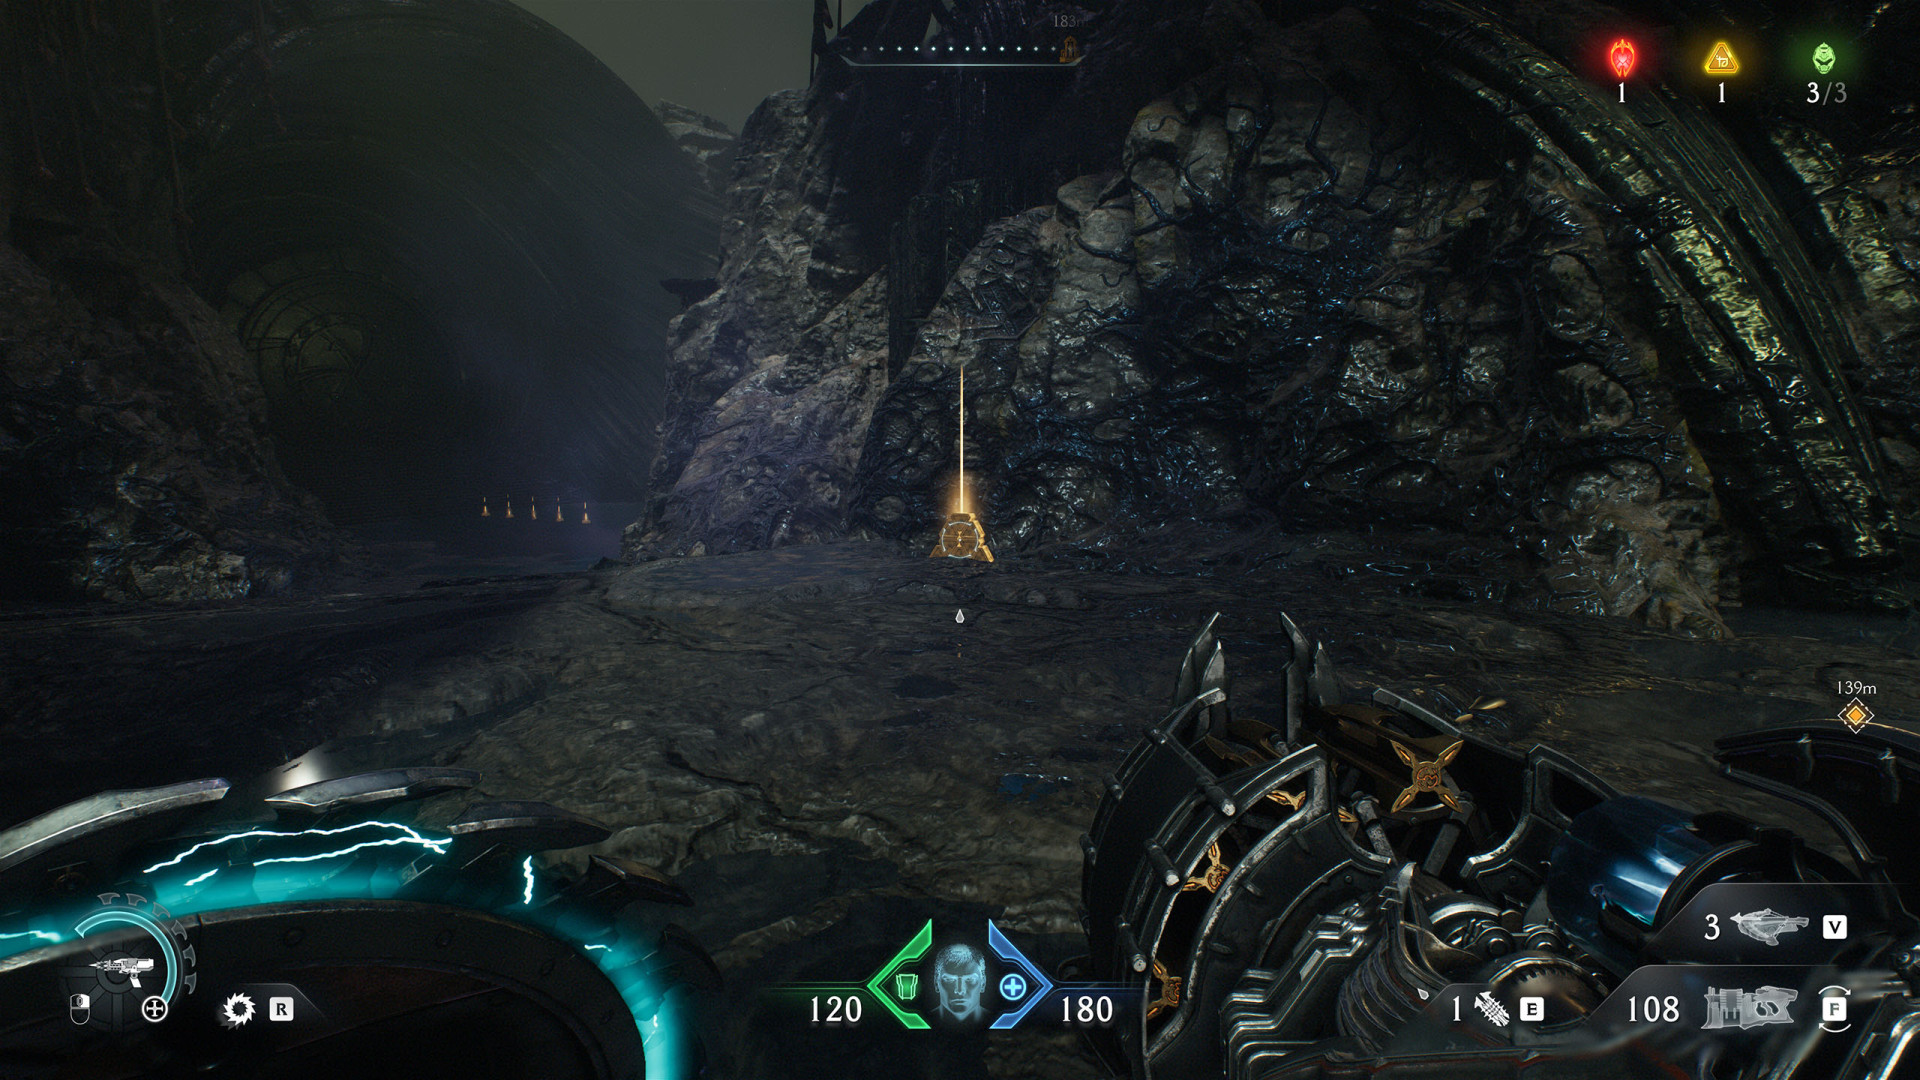
- Gold Bars (15)
- Gold Bars (2)
- Gold Bars (2)
- Gold Bars (3)
- Gold Bars (3)
- Gold Bars (3)
- Gold Bars (3)
- Gold Bars (3)
- Gold Bars (3)
- Gold Bars (3)
- Gold Bars (3)
- Gold Bars (3)
- Gold Bars (3)
- Gold Bars (3)
- Gold Bars (3)
- Gold Bars (3)
- Gold Bars (3)
- Gold Bars (3)
- Gold Bars (3)
- Gold Bars (3)
- Gold Bars (3)
- Gold Bars (3)
- Gold Bars (3)
- Gold Bars (3)
- Gold Bars (3)
- Gold Bars (3)
- Gold Bars (3)
- Gold Bars (3)
- Gold Bars (3)
- Gold Bars (3)
- Gold Bars (3)
- Gold Bars (3)
- Gold Bars (3)
- Gold Bars (3)
- Gold Bars (3)
- Gold Bars (3)
- Gold Bars (3)
- Gold Bars (3)
- Gold Bars (3)
- Gold Bars (3)
- Gold Bars (3)
- Gold Bars (3)
- Gold Bars (3)
- Gold Bars (3)
- Gold Bars (3)
- Gold Bars (3)
- Gold Bars (3)
- Gold Bars (3)
- Gold Bars (3)
- Gold Bars (3)
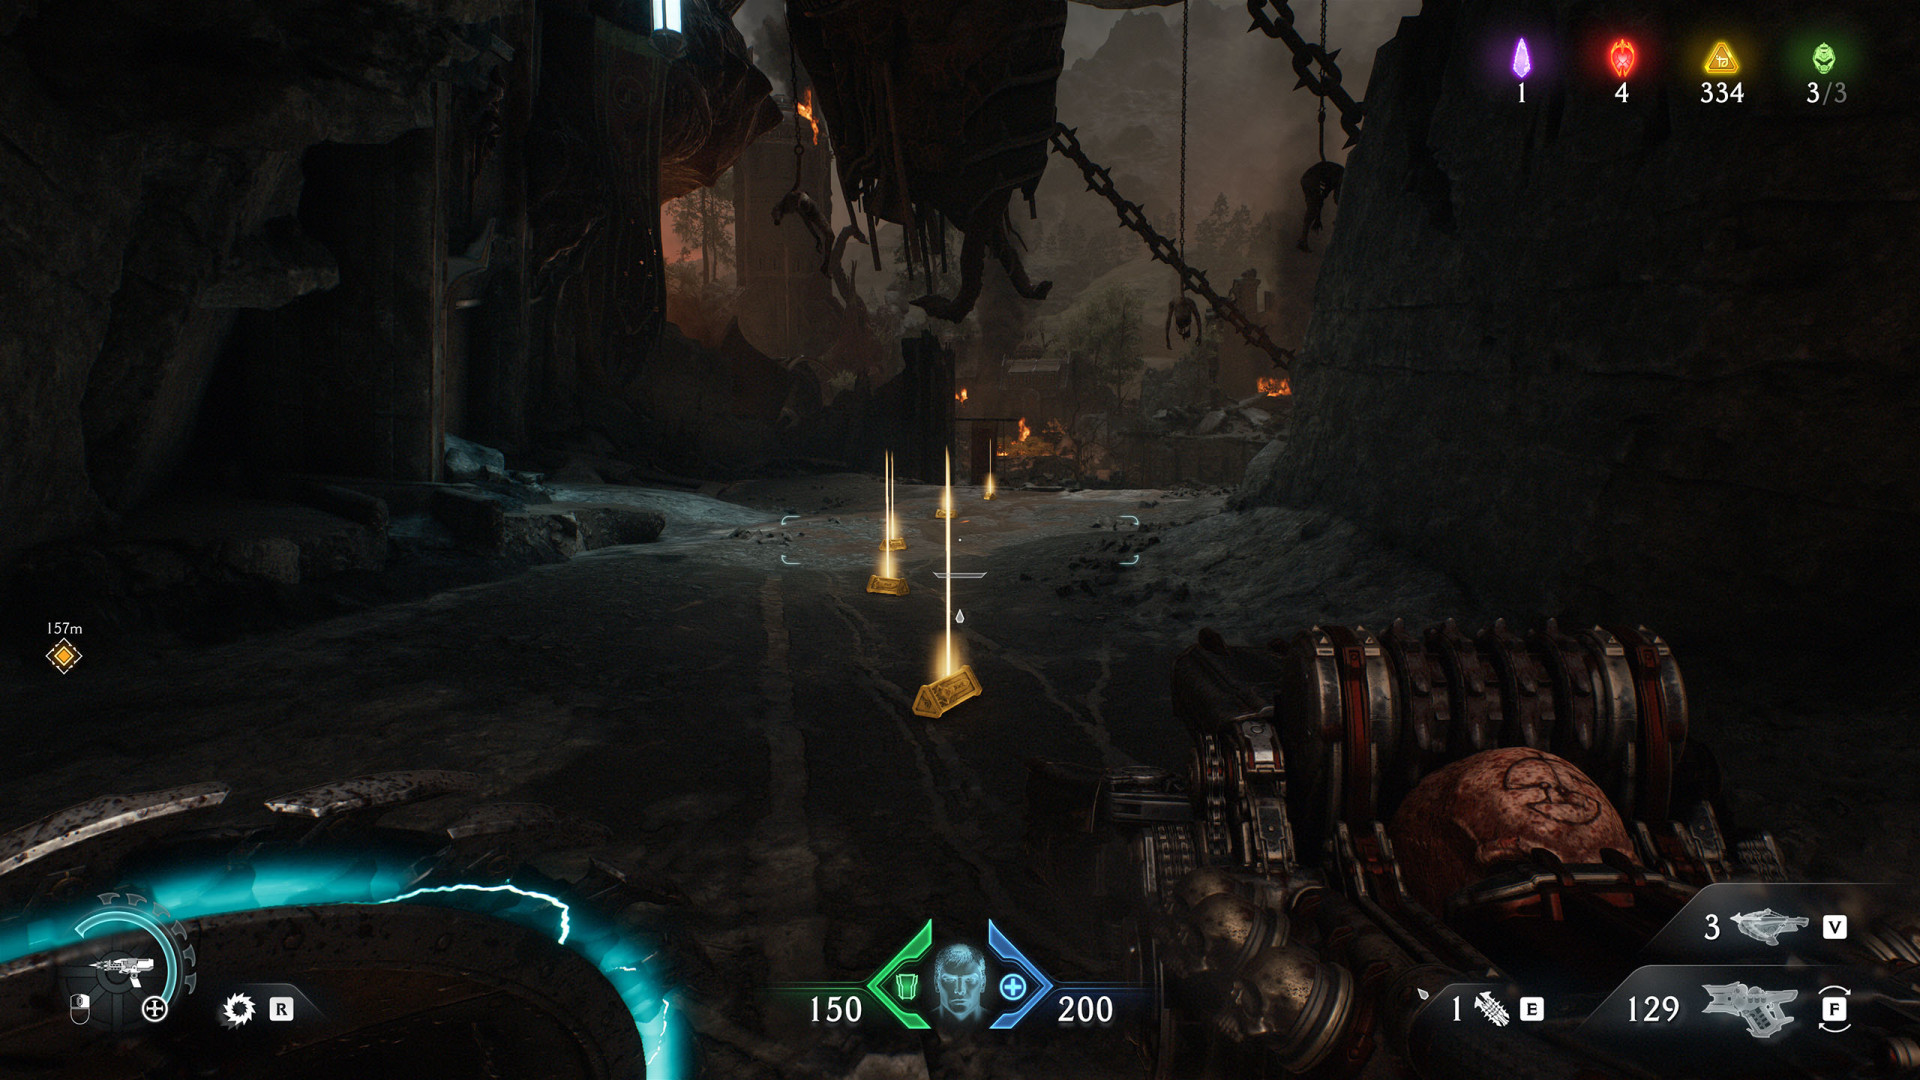
- Gold Bars (4)
- Gold Bars (4)
- Gold Bars (4)
- Gold Bars (4)
- Gold Bars (4)
- Gold Bars (4)
- Gold Bars (4)
- Gold Bars (4)
- Gold Bars (4)
- Gold Bars (4)
- Gold Bars (4)
- Gold Bars (4)
- Gold Bars (4)
- Gold Bars (4)
- Gold Bars (4)
- Gold Bars (4)
- Gold Bars (4)
- Gold Bars (4)
- Gold Bars (4)
- Gold Bars (4)
- Gold Bars (4)
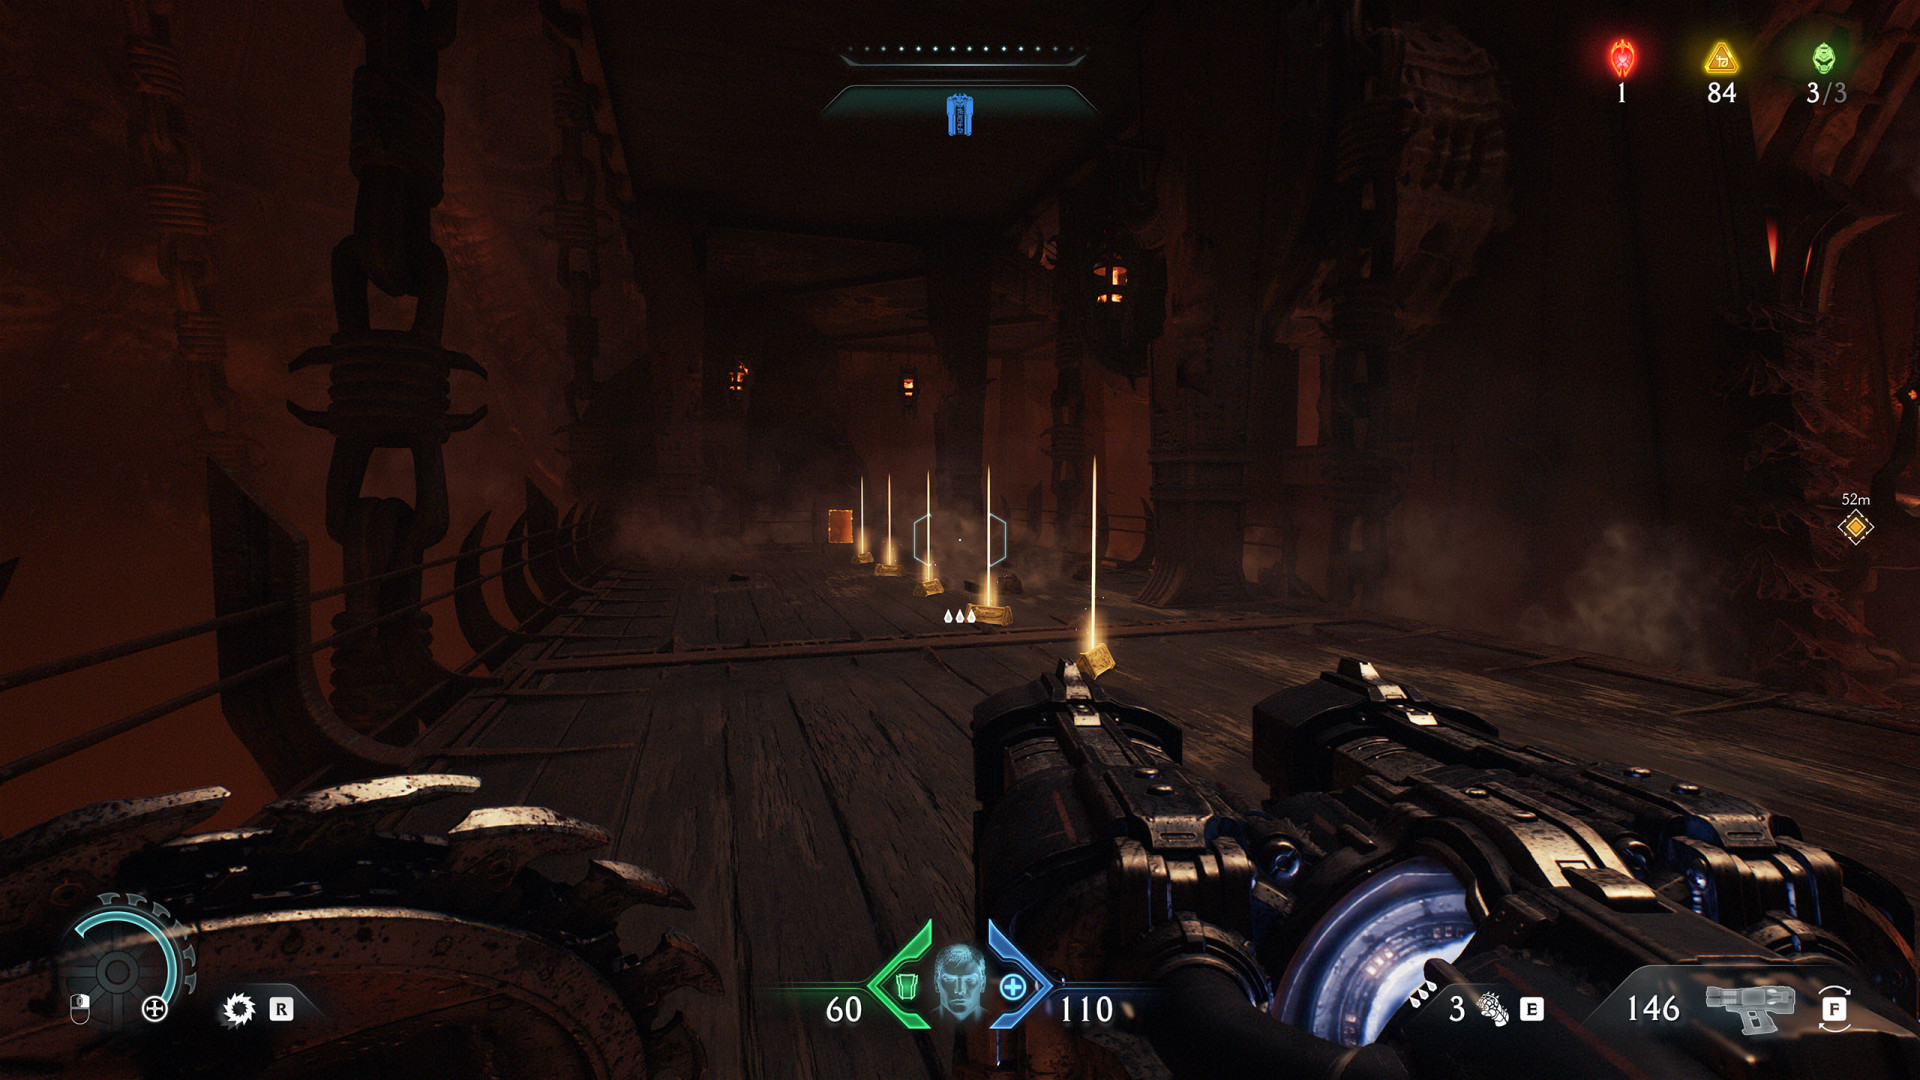
- Gold Bars (4)
- Gold Bars (4)
- Gold Bars (4)
- Gold Bars (4)
- Gold Bars (4)
- Gold Bars (4)
- Gold Bars (4)
- Gold Bars (4)
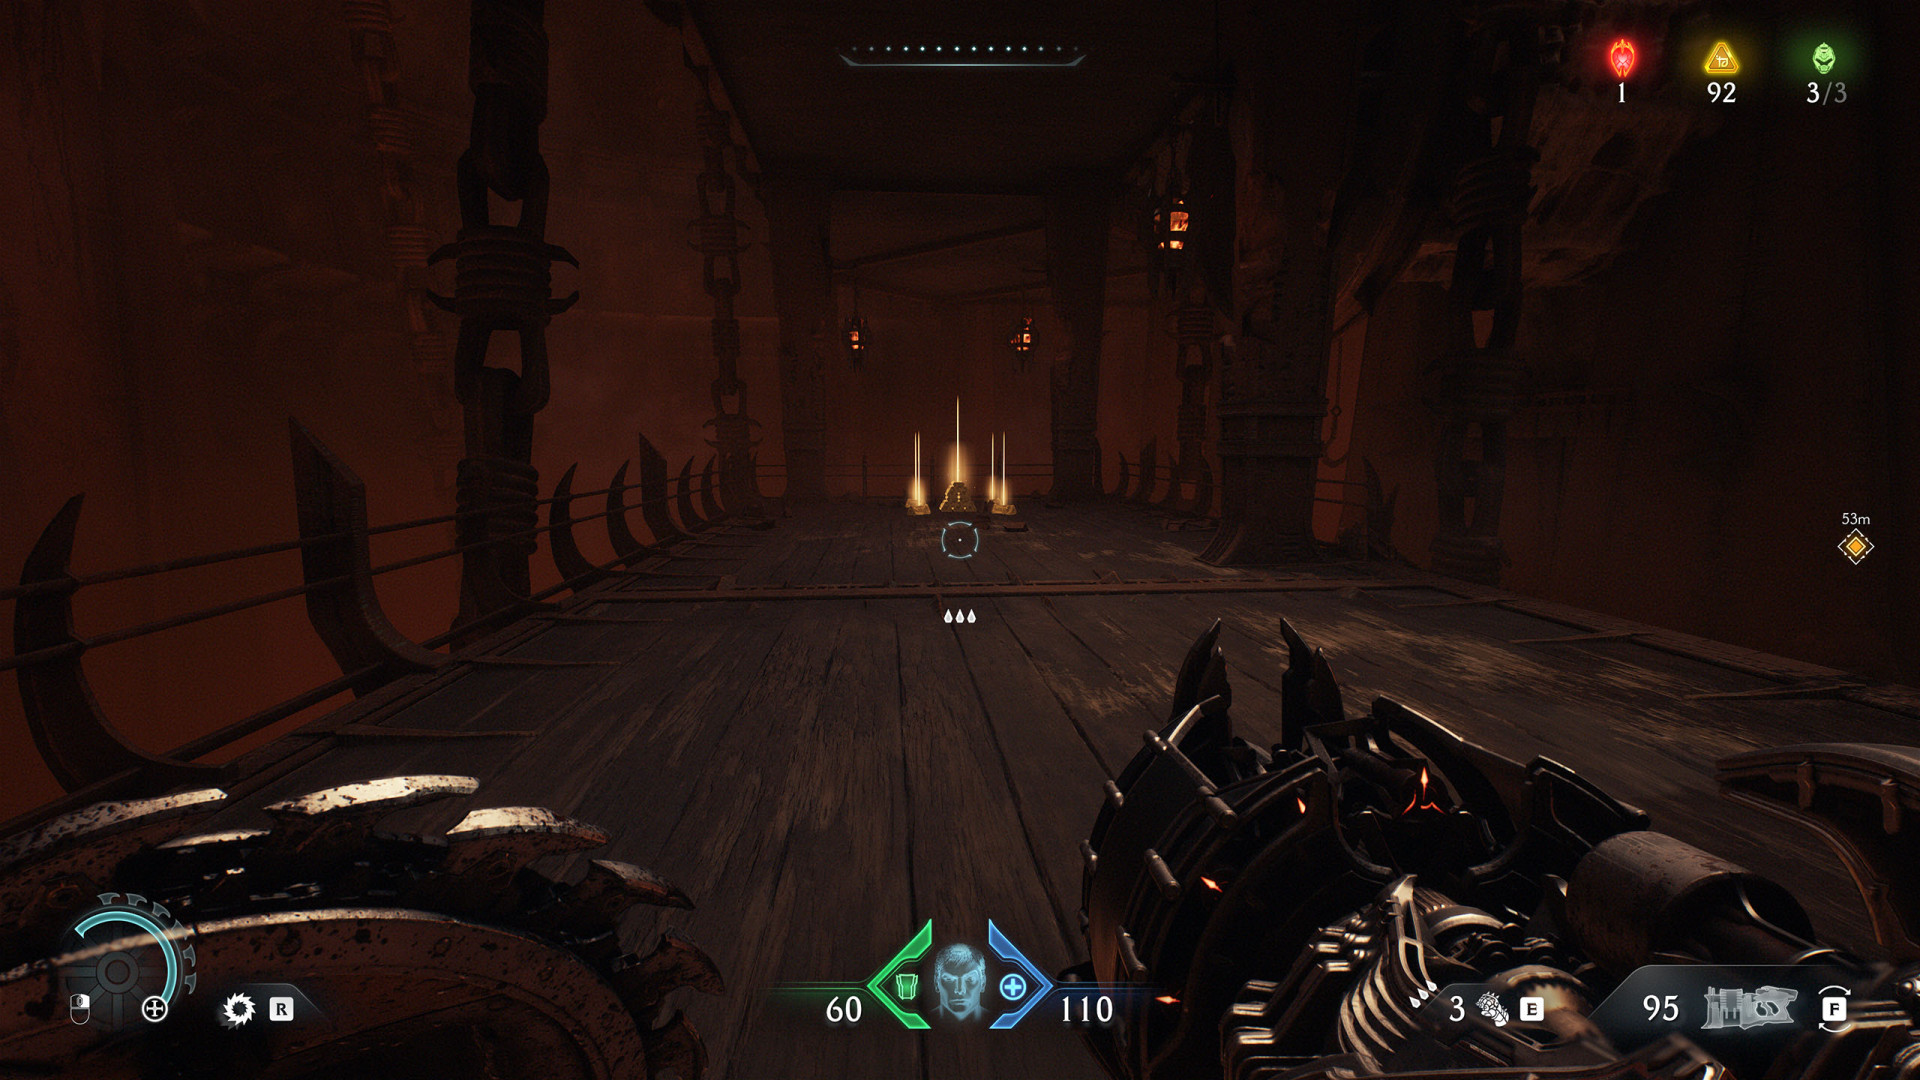
- Gold Bars (4)
- Gold Bars (4)
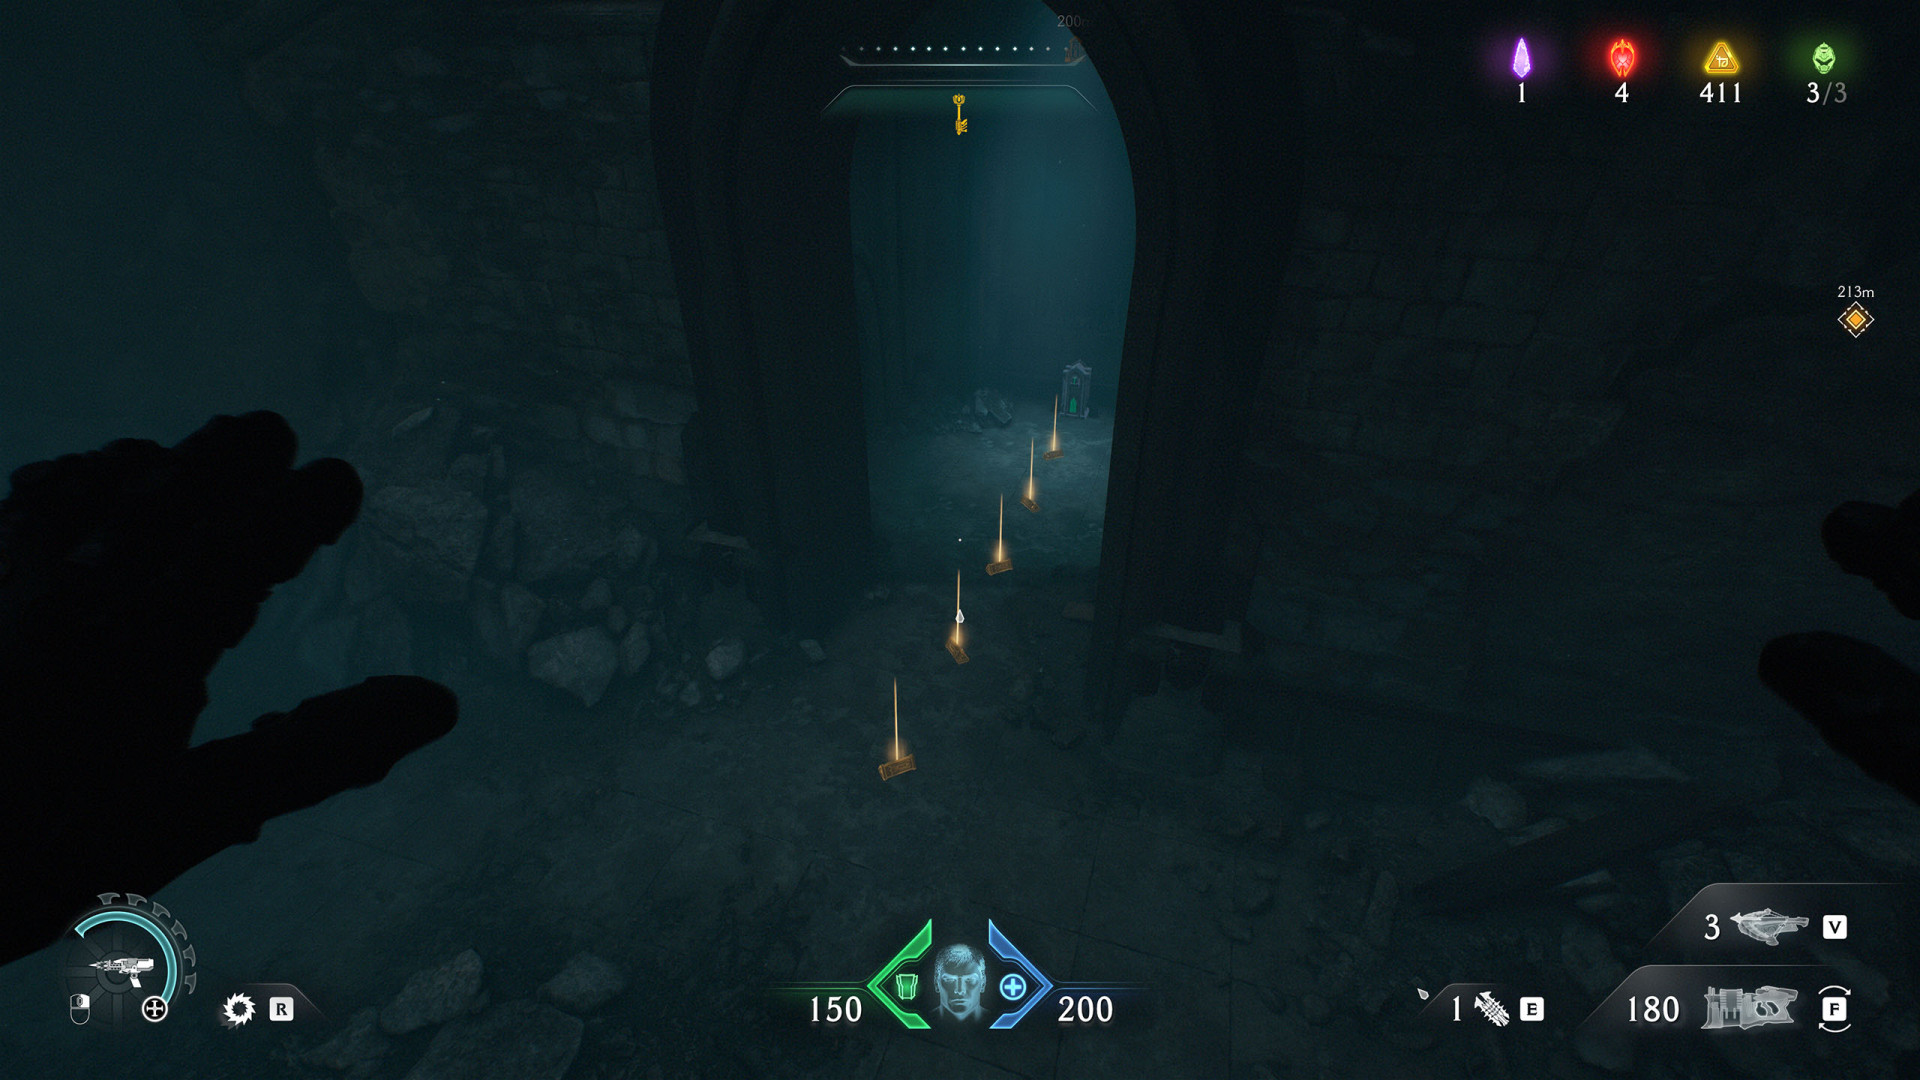
- Gold Bars (5)
- Gold Bars (5)
- Gold Bars (5)
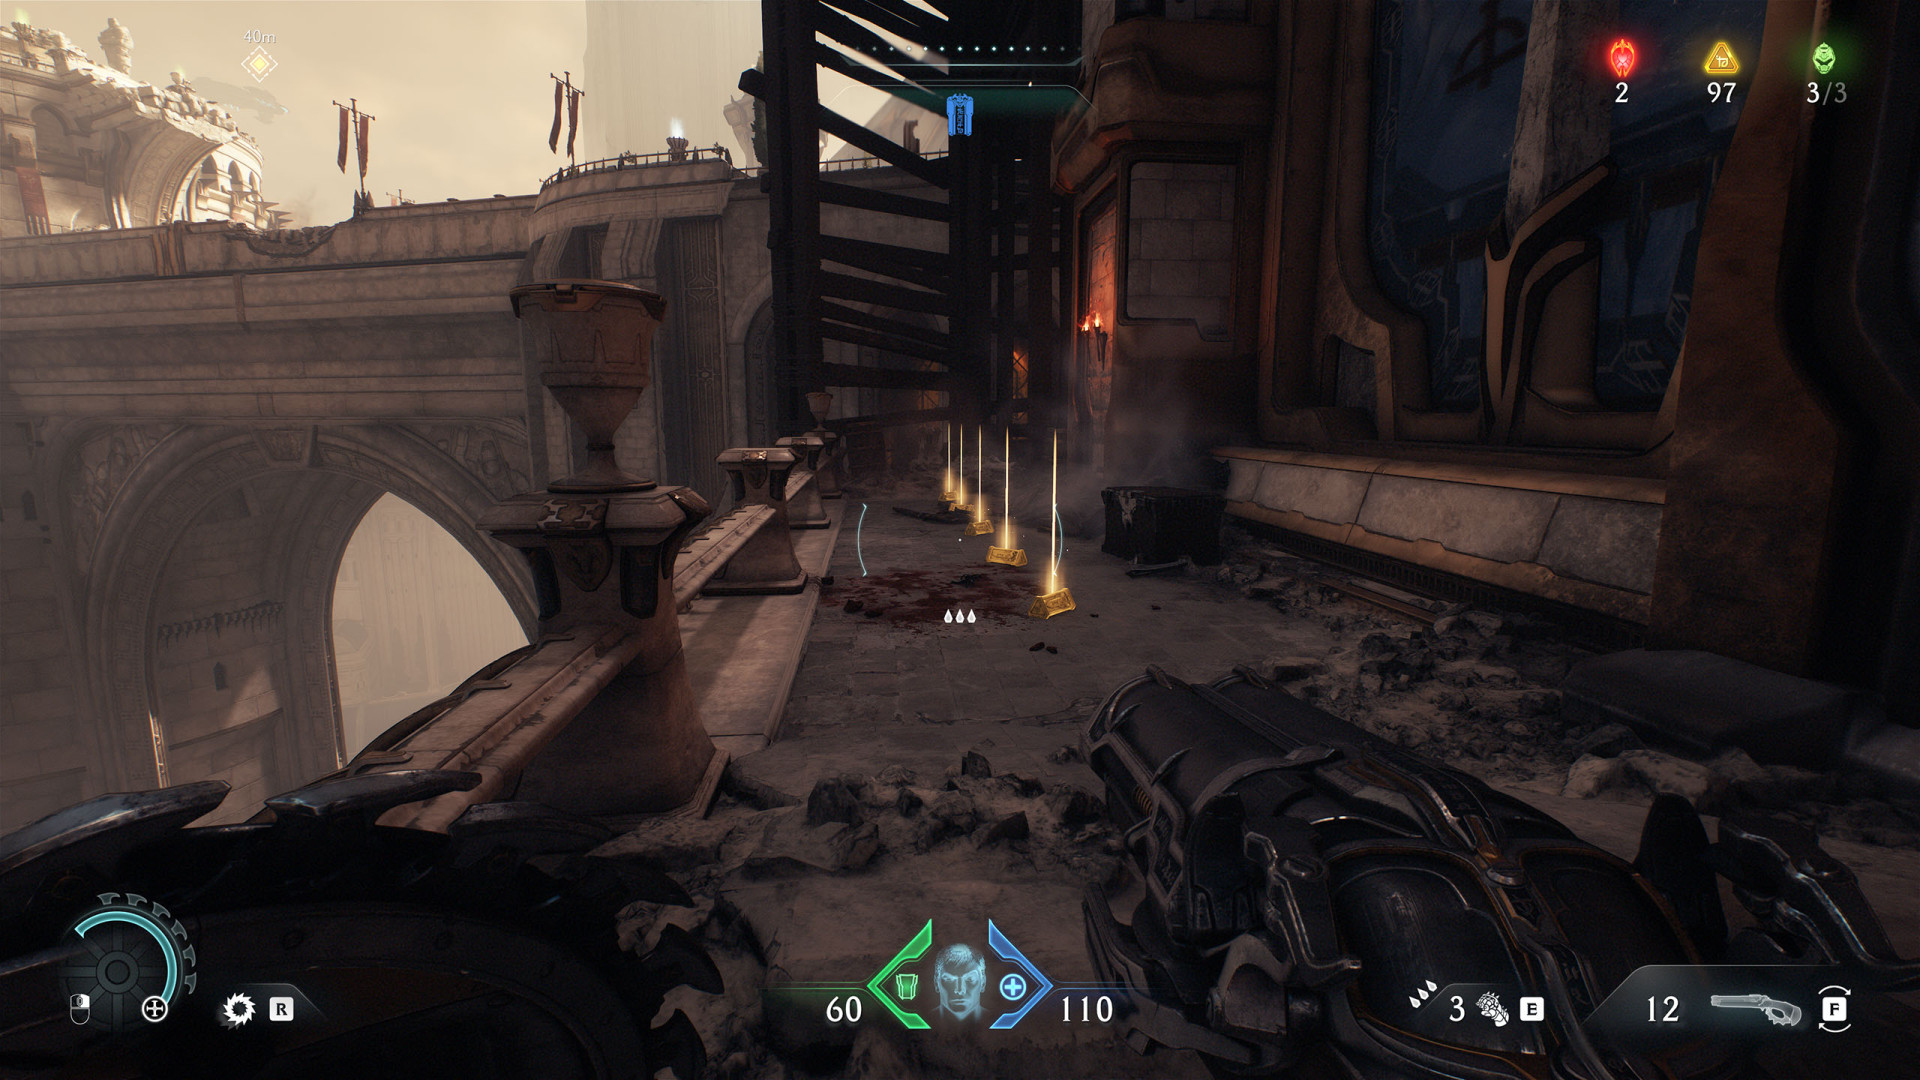
- Gold Bars (5)
- Gold Bars (5)
- Gold Bars (5)
- Gold Bars (5)
- Gold Bars (5)
- Gold Bars (5)
- Gold Bars (5)
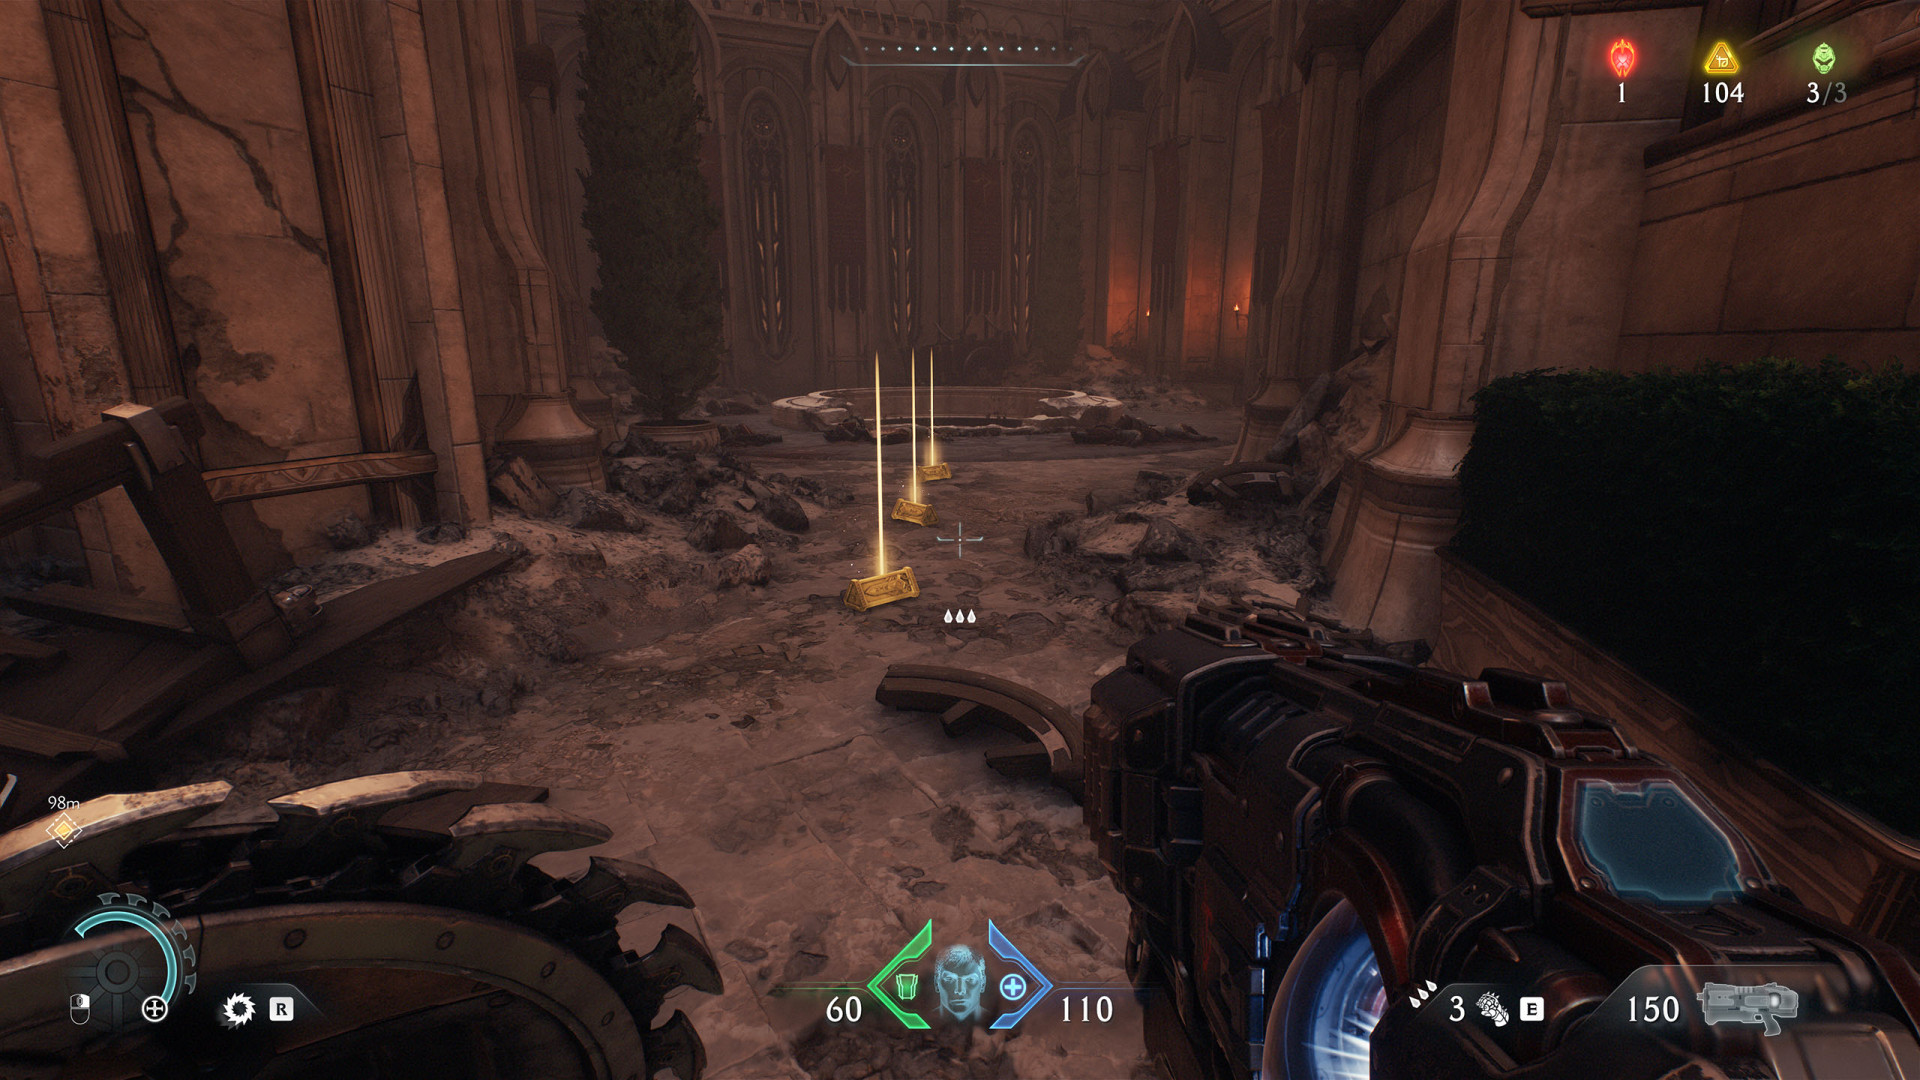
- Gold Bars (5)
- Gold Bars (5)
- Gold Bars (5)
- Gold Bars (5)
- Gold Bars (5)
- Gold Bars (5)
- Gold Bars (5)
- Gold Bars (5)
- Gold Bars (5)
- Gold Bars (5)
- Gold Bars (5)
- Gold Bars (5)
- Gold Bars (5)
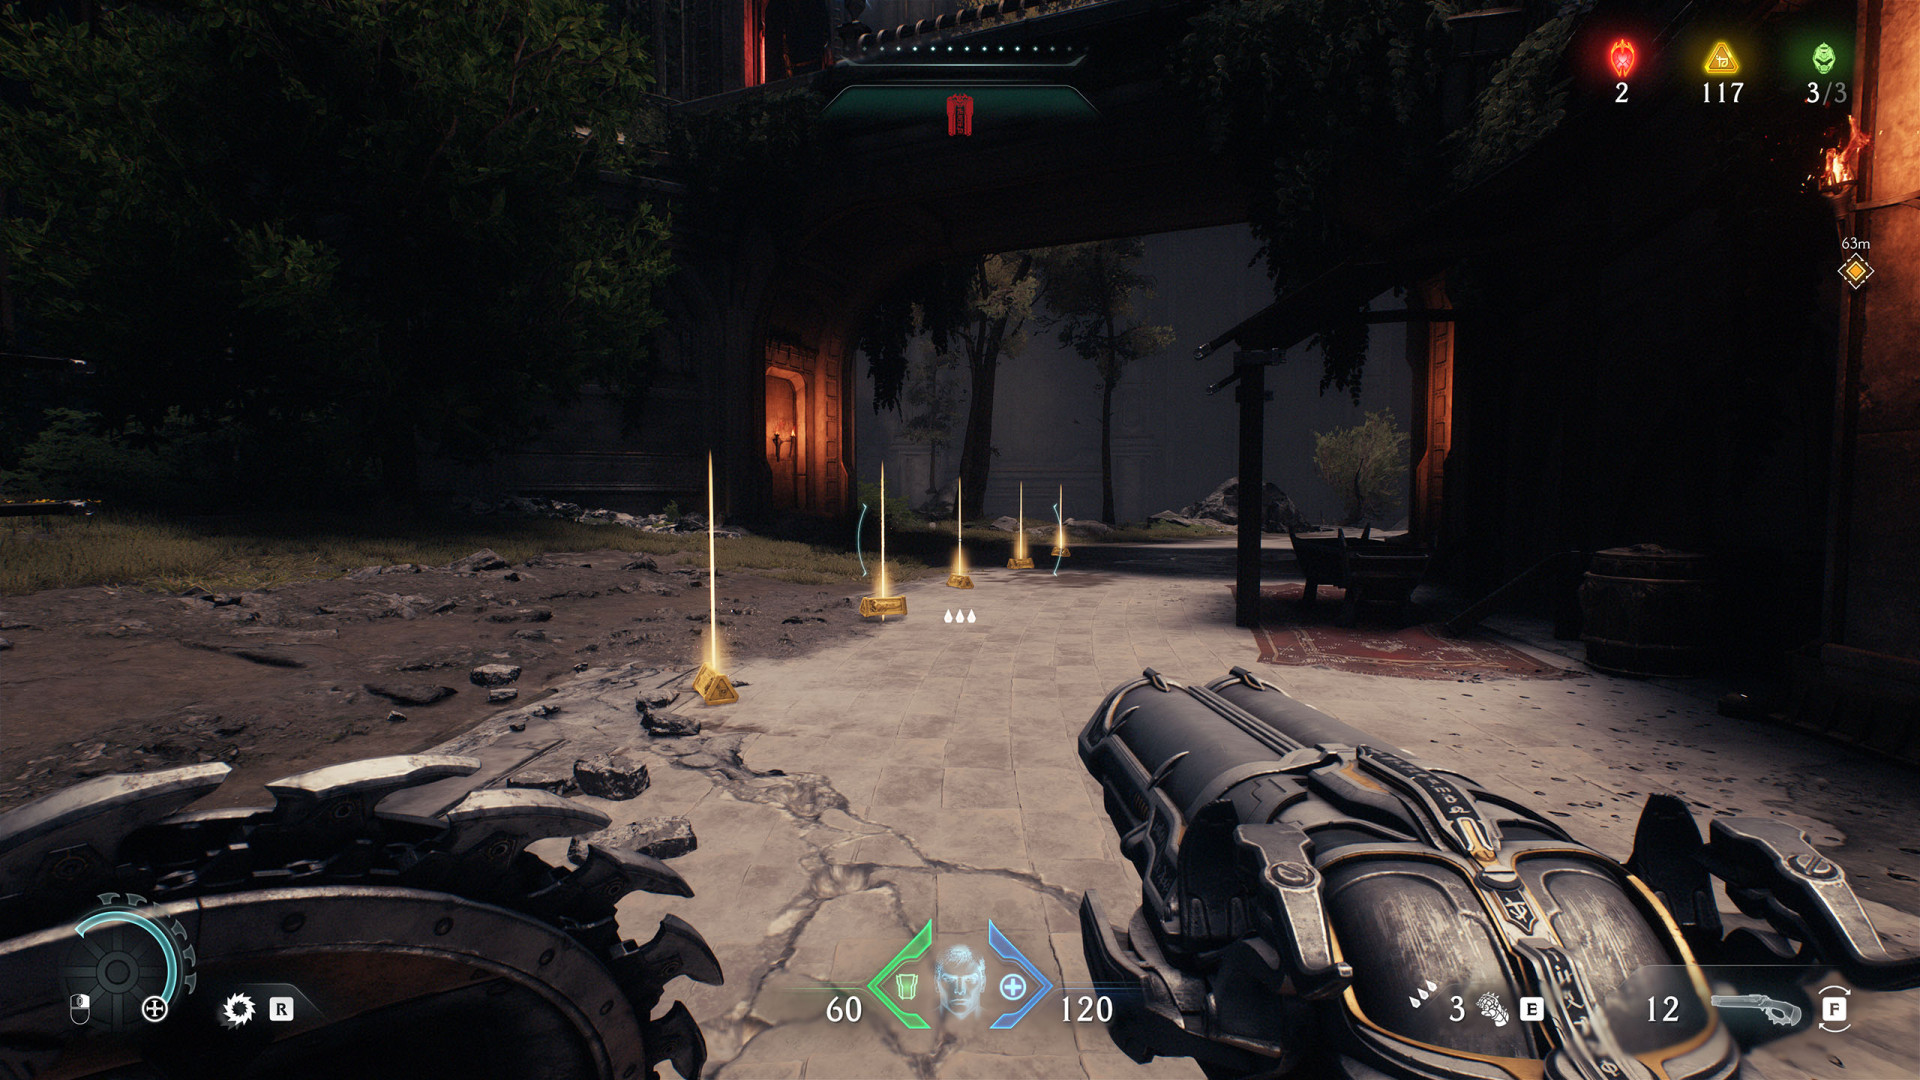
- Gold Bars (5)
- Gold Bars (5)
- Gold Bars (5)
- Gold Bars (5)
- Gold Bars (5)
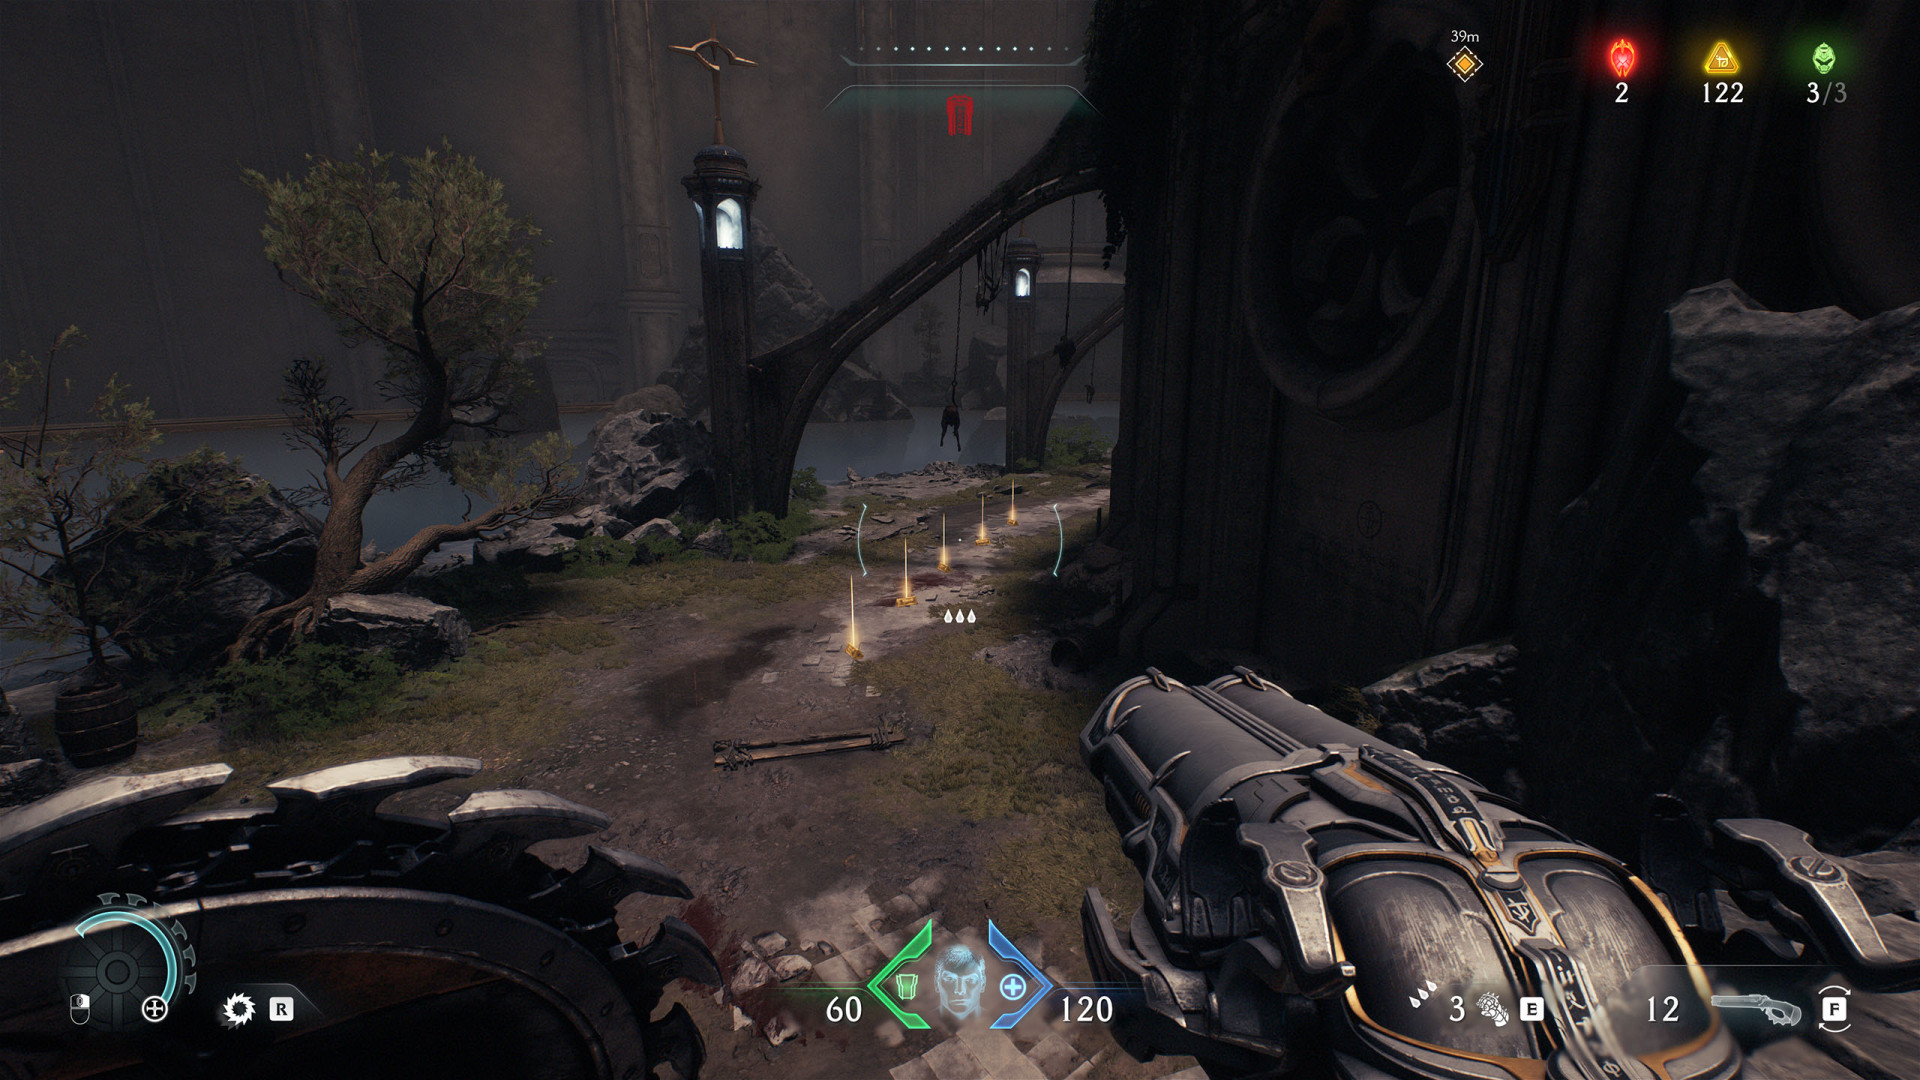
- Gold Bars (5)
- Gold Bars (5)
- Gold Bars (5)
- Gold Bars (5)
- Gold Bars (5)
- Gold Bars (5)
- Gold Bars (5)
- Gold Bars (5)
- Gold Bars (5)
- Gold Bars (5)
- Gold Bars (5)
- Gold Bars (5)
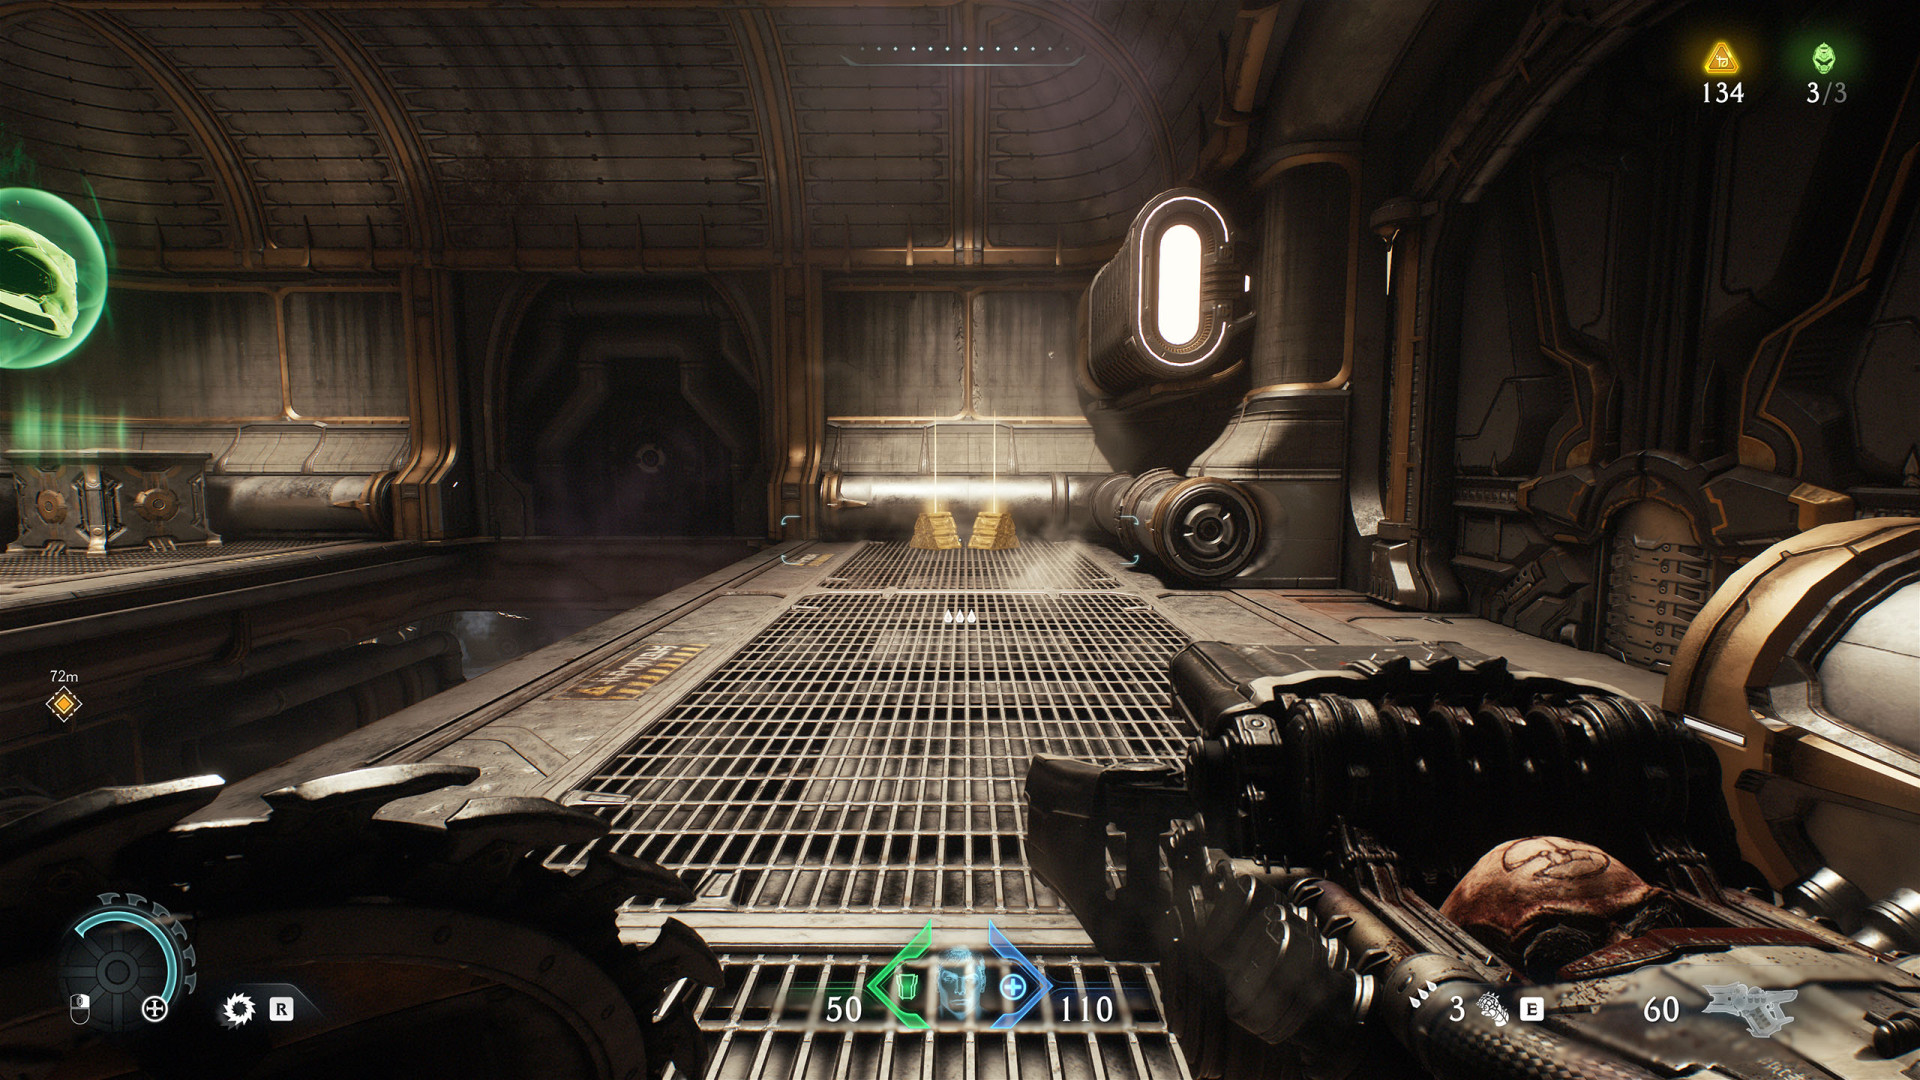
- Gold Bars (5)
- Gold Bars (5)
- Gold Bars (5)
- Gold Bars (5)
- Gold Bars (5)
- Gold Bars (5)
- Gold Bars (5)
- Gold Bars (5)
- Gold Bars (5)
- Gold Bars (5)
- Gold Bars (5)
- Gold Bars (5)
- Gold Bars (5)
- Gold Bars (5)
- Gold Bars (5)
- Gold Bars (5)
- Gold Bars (5)
- Gold Bars (5)
- Gold Bars (5)
- Gold Bars (5)
- Gold Bars (5)
- Gold Bars (5)
- Gold Bars (5)
- Gold Bars (5)
- Gold Bars (5)
- Gold Bars (5)
- Gold Bars (5)
- Gold Bars (5)
- Gold Bars (5)
- Gold Bars (5)
- Gold Bars (5)
- Gold Bars (6)
- Gold Bars (6)
- Gold Bars (6)
- Gold Bars (6)
- Gold Bars (6)
- Gold Bars (6)
- Gold Bars (6)
- Gold Bars (6)
- Gold Bars (6)
- Gold Bars (6)
- Gold Bars (6)
- Gold Bars (6)
- Gold Bars (6)
- Gold Bars (6)
- Gold Bars (6)
- Gold Bars (6)
- Gold Bars (6)
- Gold Bars (6)
- Gold Bars (6)
- Gold Bars (6)
- Gold Bars (6)
- Gold Bars (6)
- Gold Bars (6)
- Gold Bars (7)
- Gold Bars (7)
- Gold Bars (7)
- Gold Bars (7)
- Gold Bars (7)
- Gold Bars (7)
- Gold Bars (7)
- Gold Bars (7)
- Gold Bars (7)
- Gold Bars (8)
- Gold Bars (8)
- Gold Bars (8)
- Gold Bars (8)
- Gold Bars (8)
- Gold Bars (8)
- Gold Bars (8)
- Gold Bars (9)
- Gold Bars (9)
- Gold Bars (9)
- Gold Bars (9)
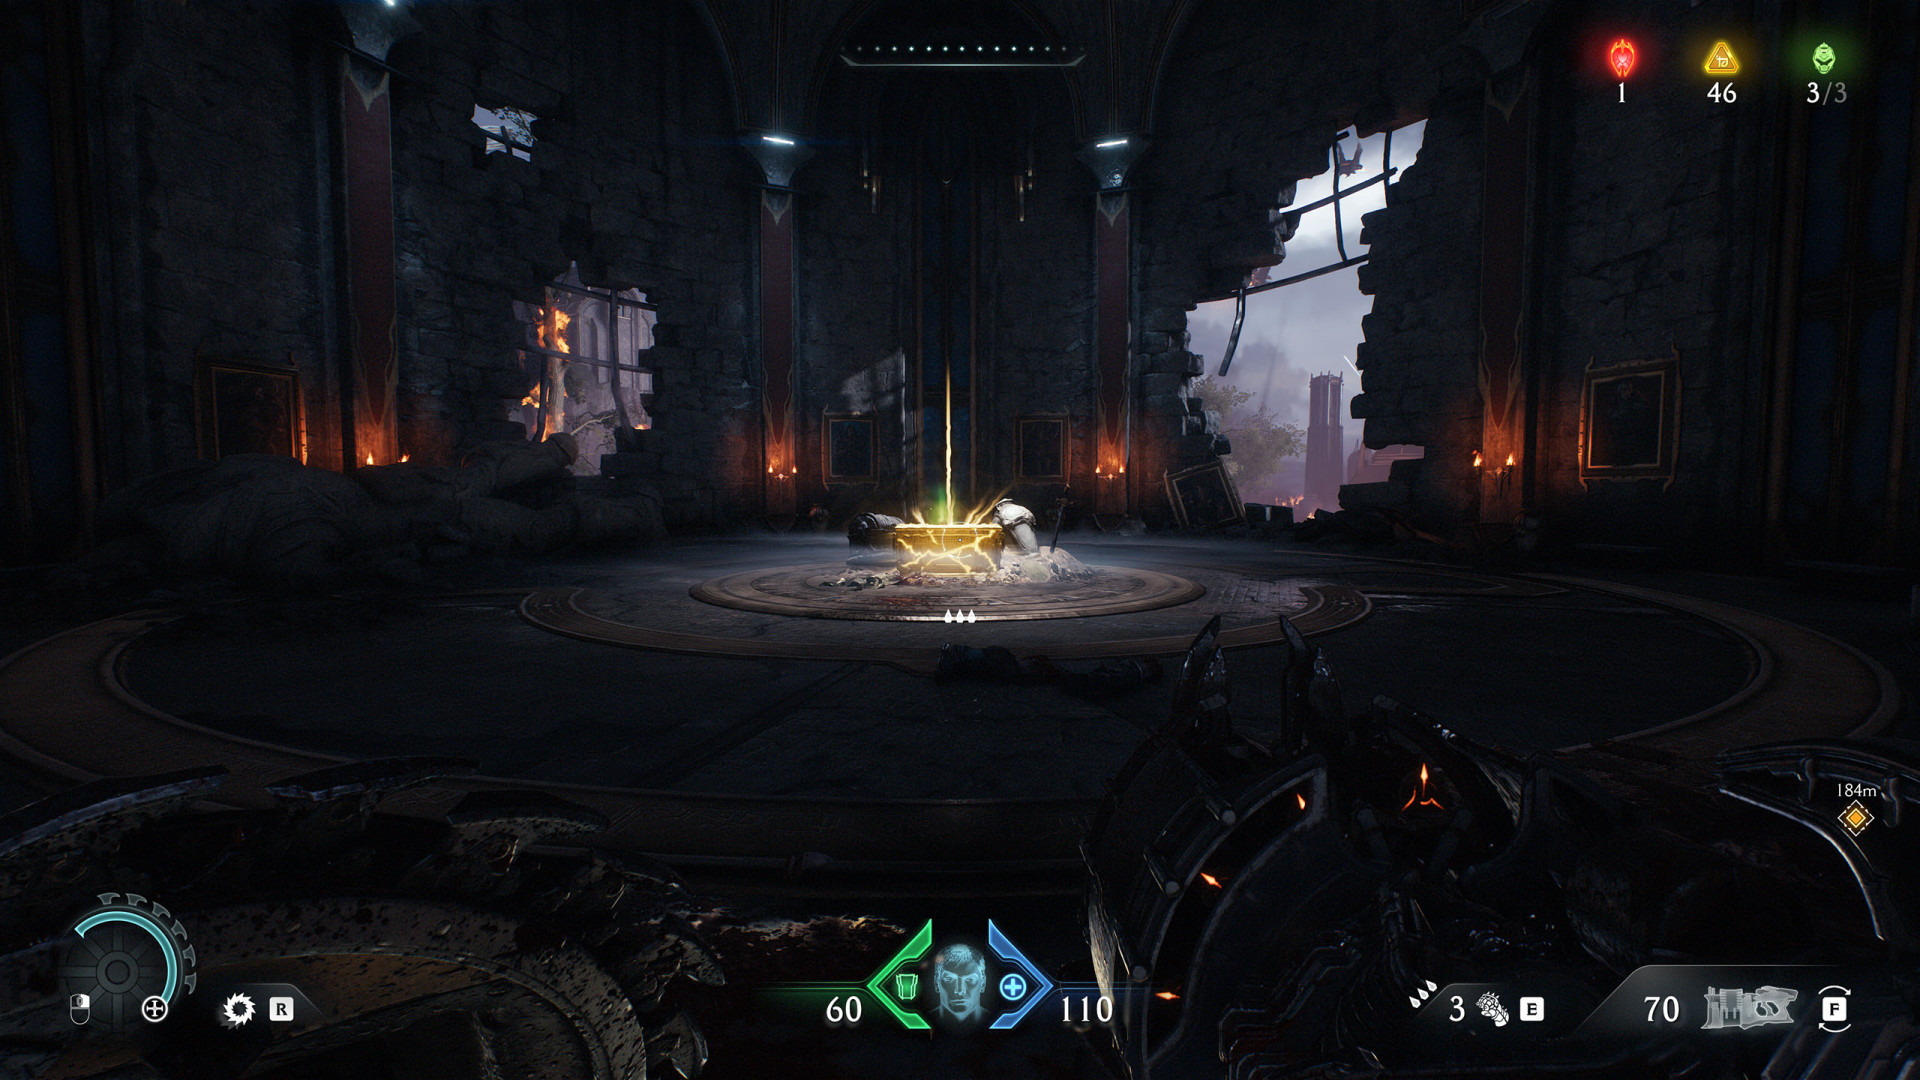
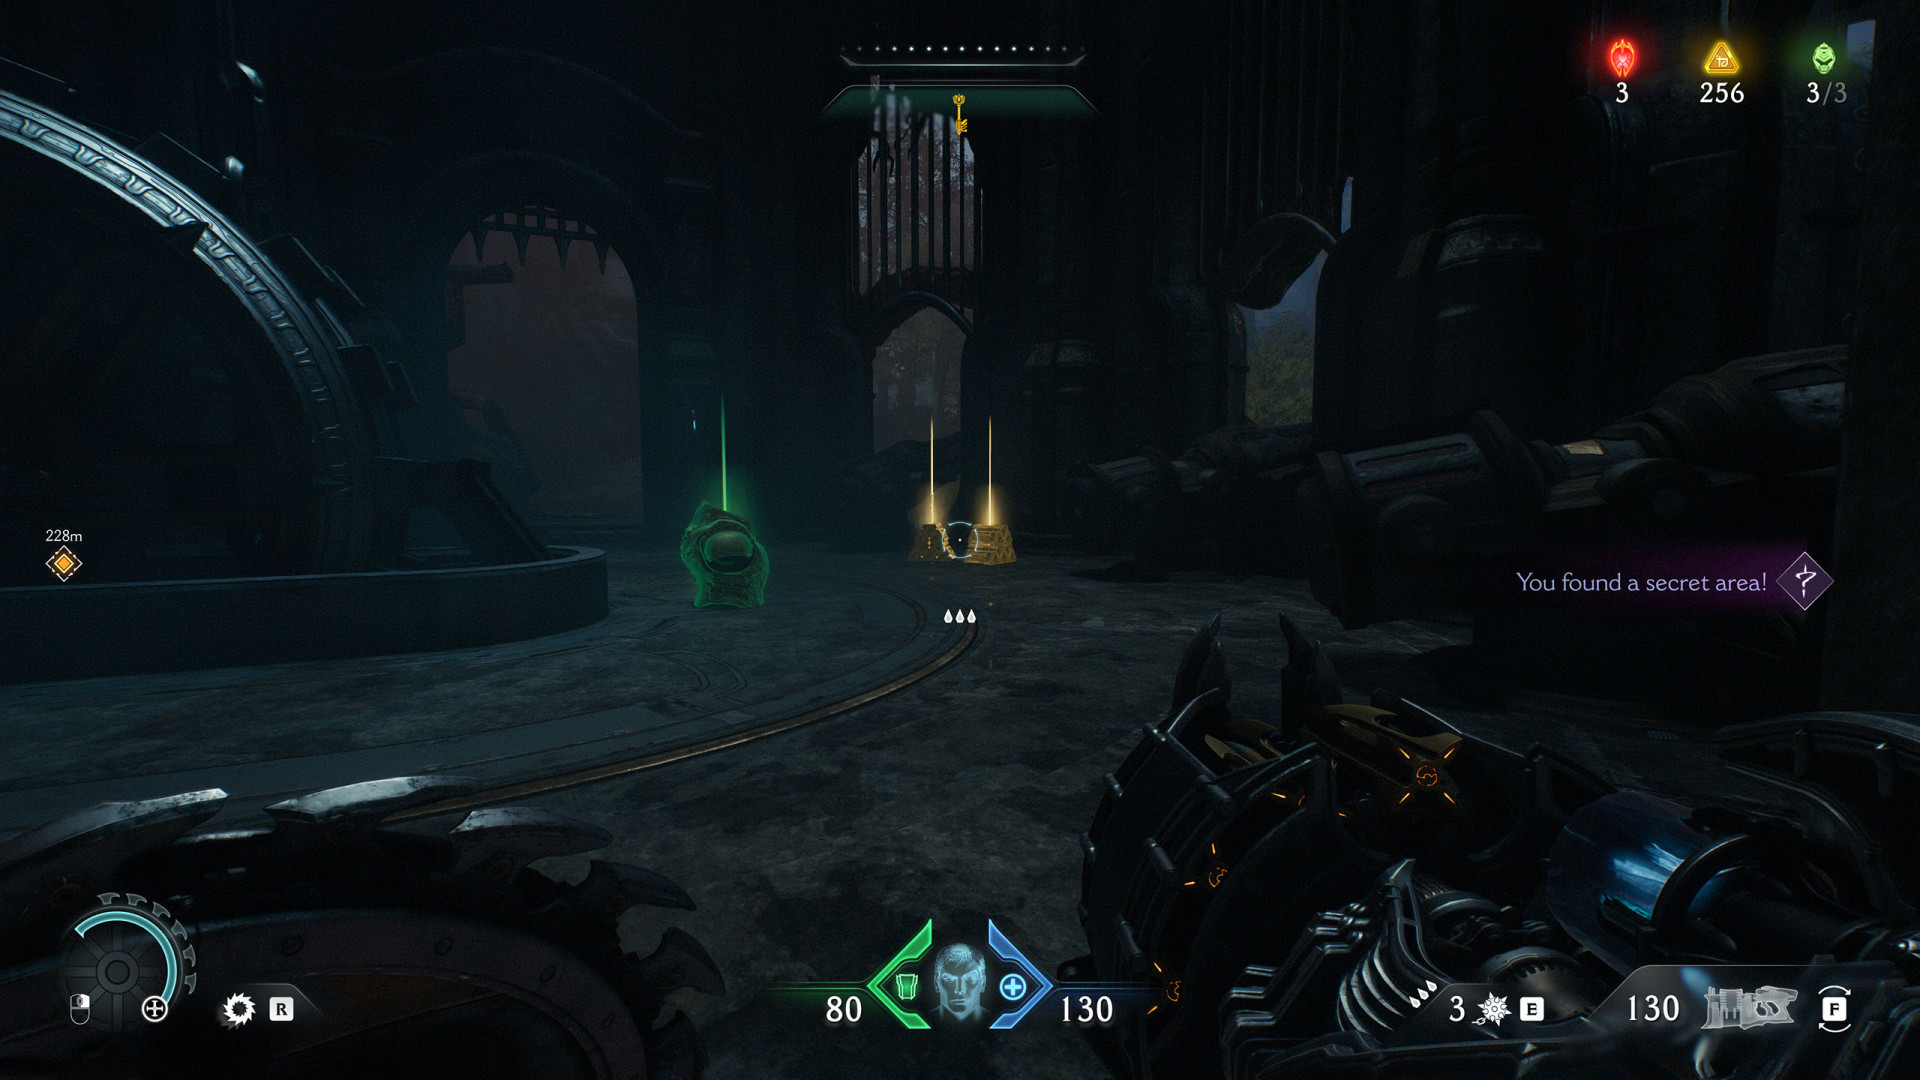
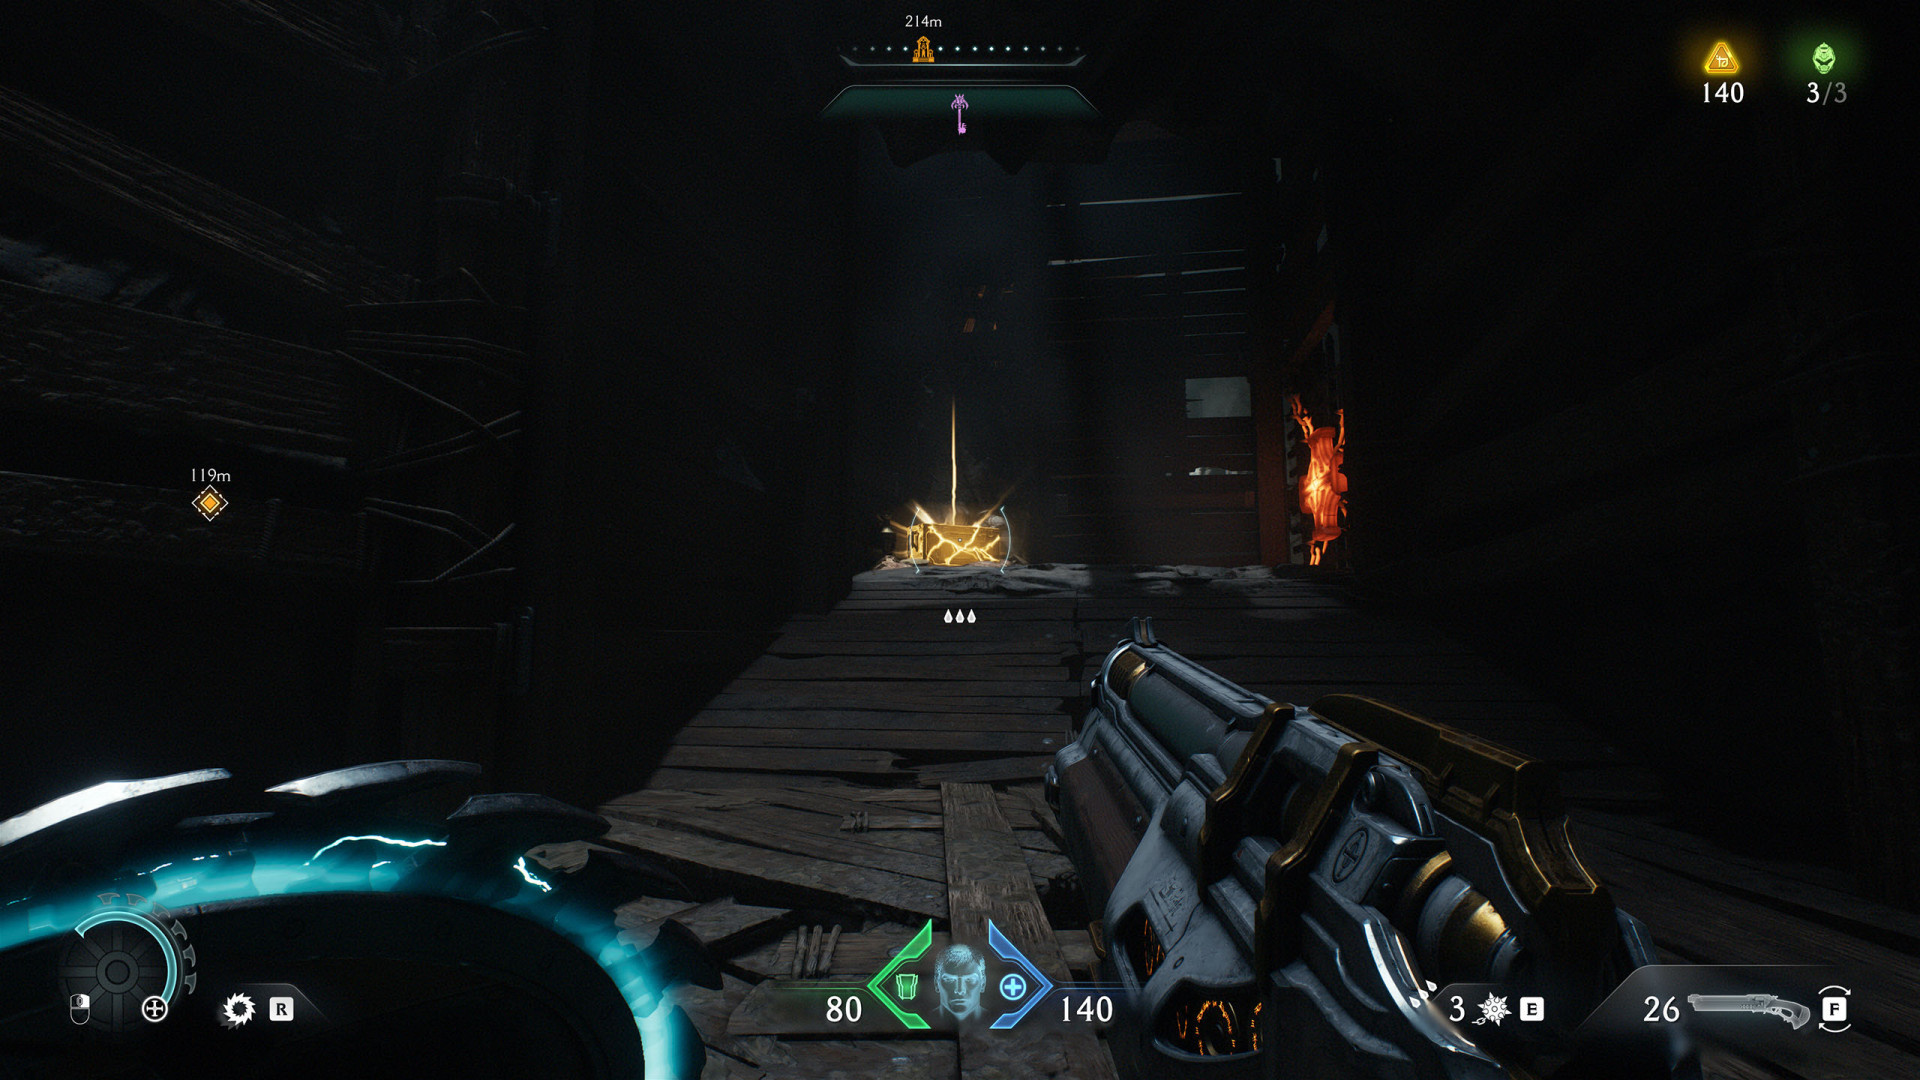
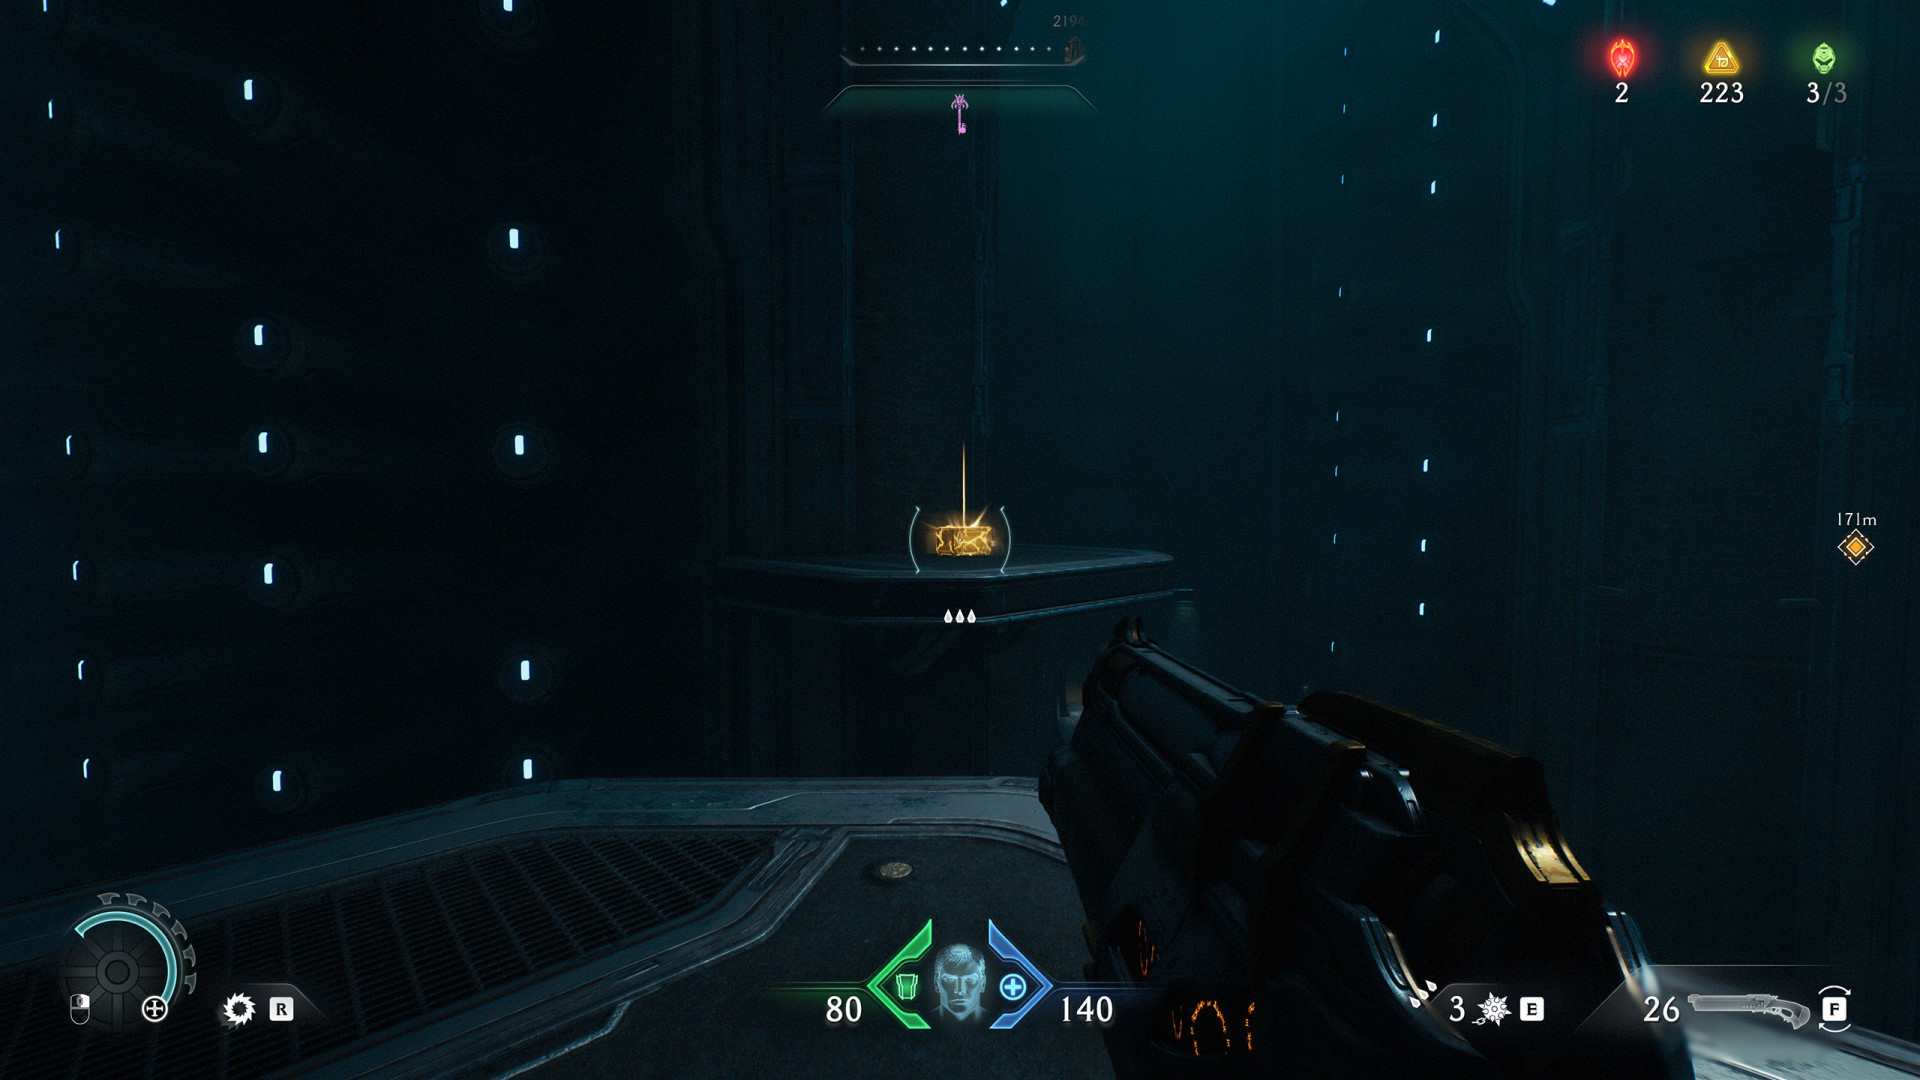
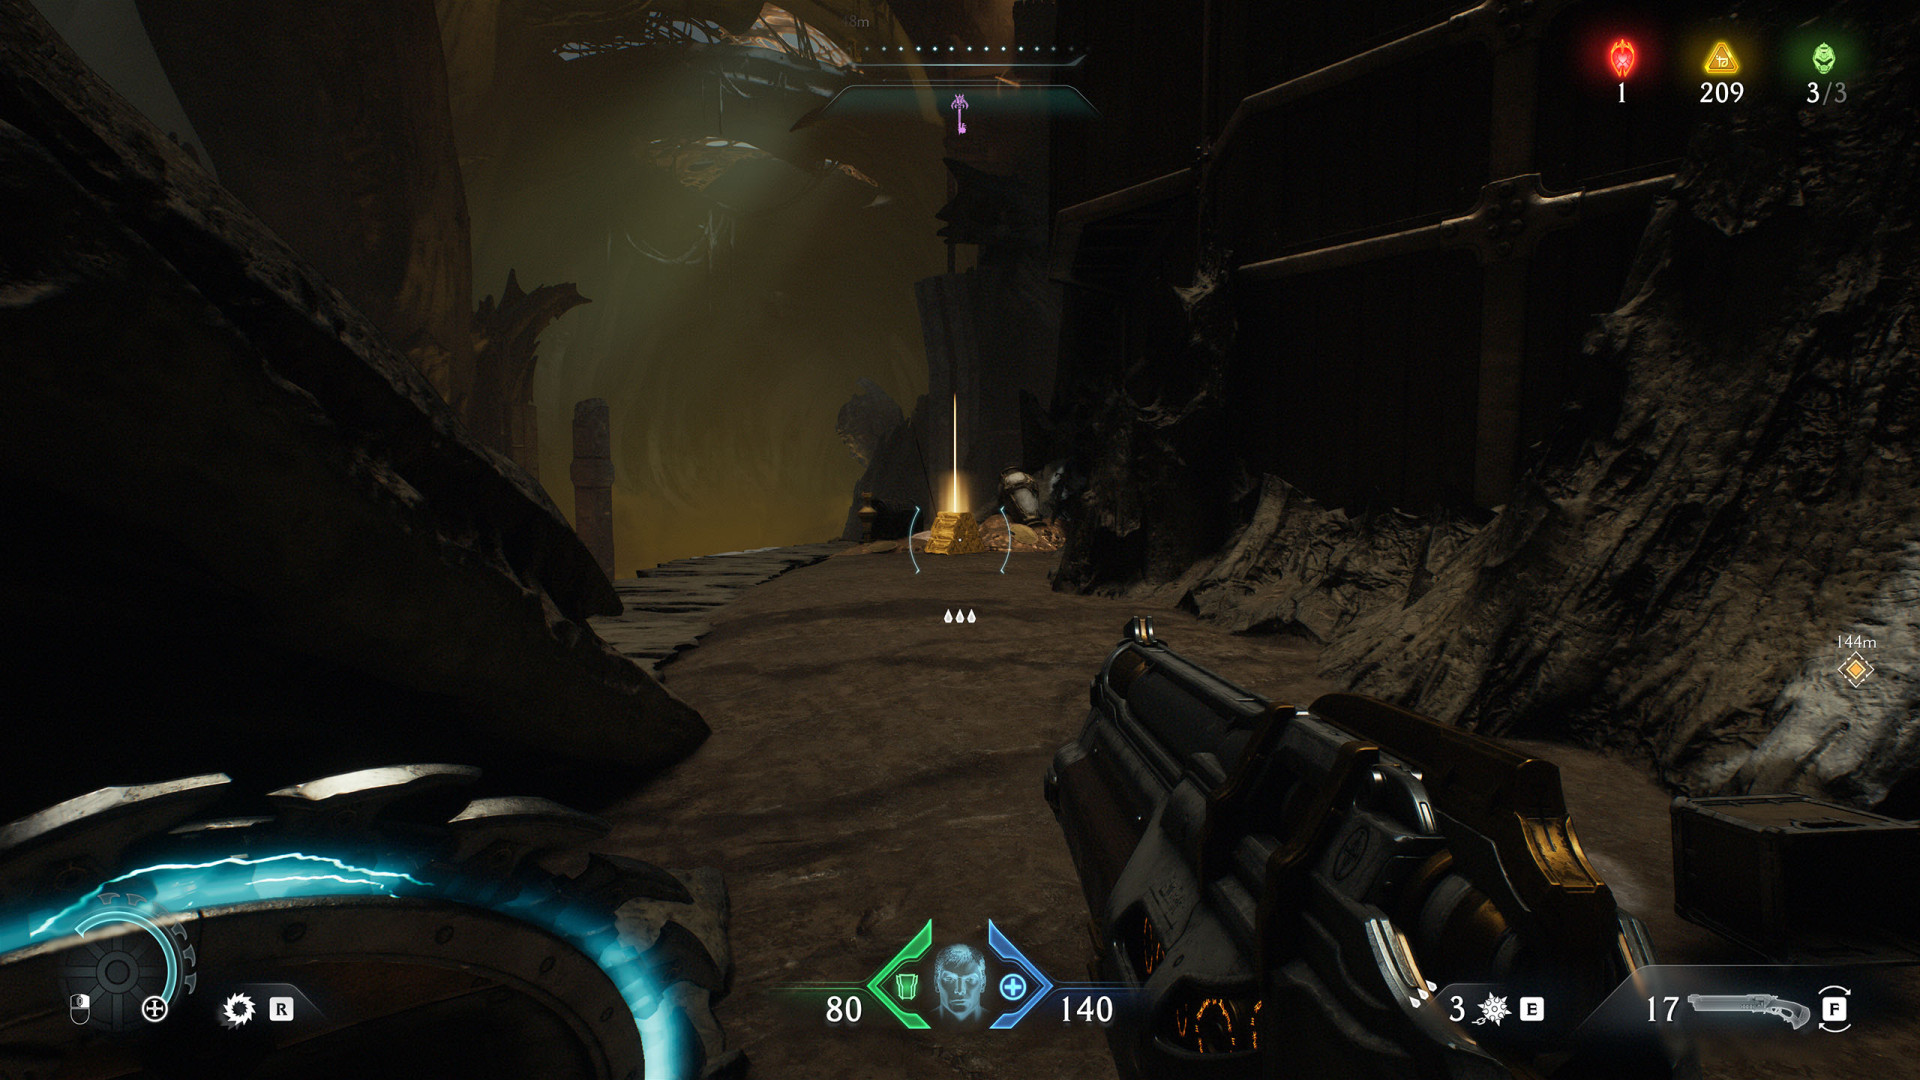
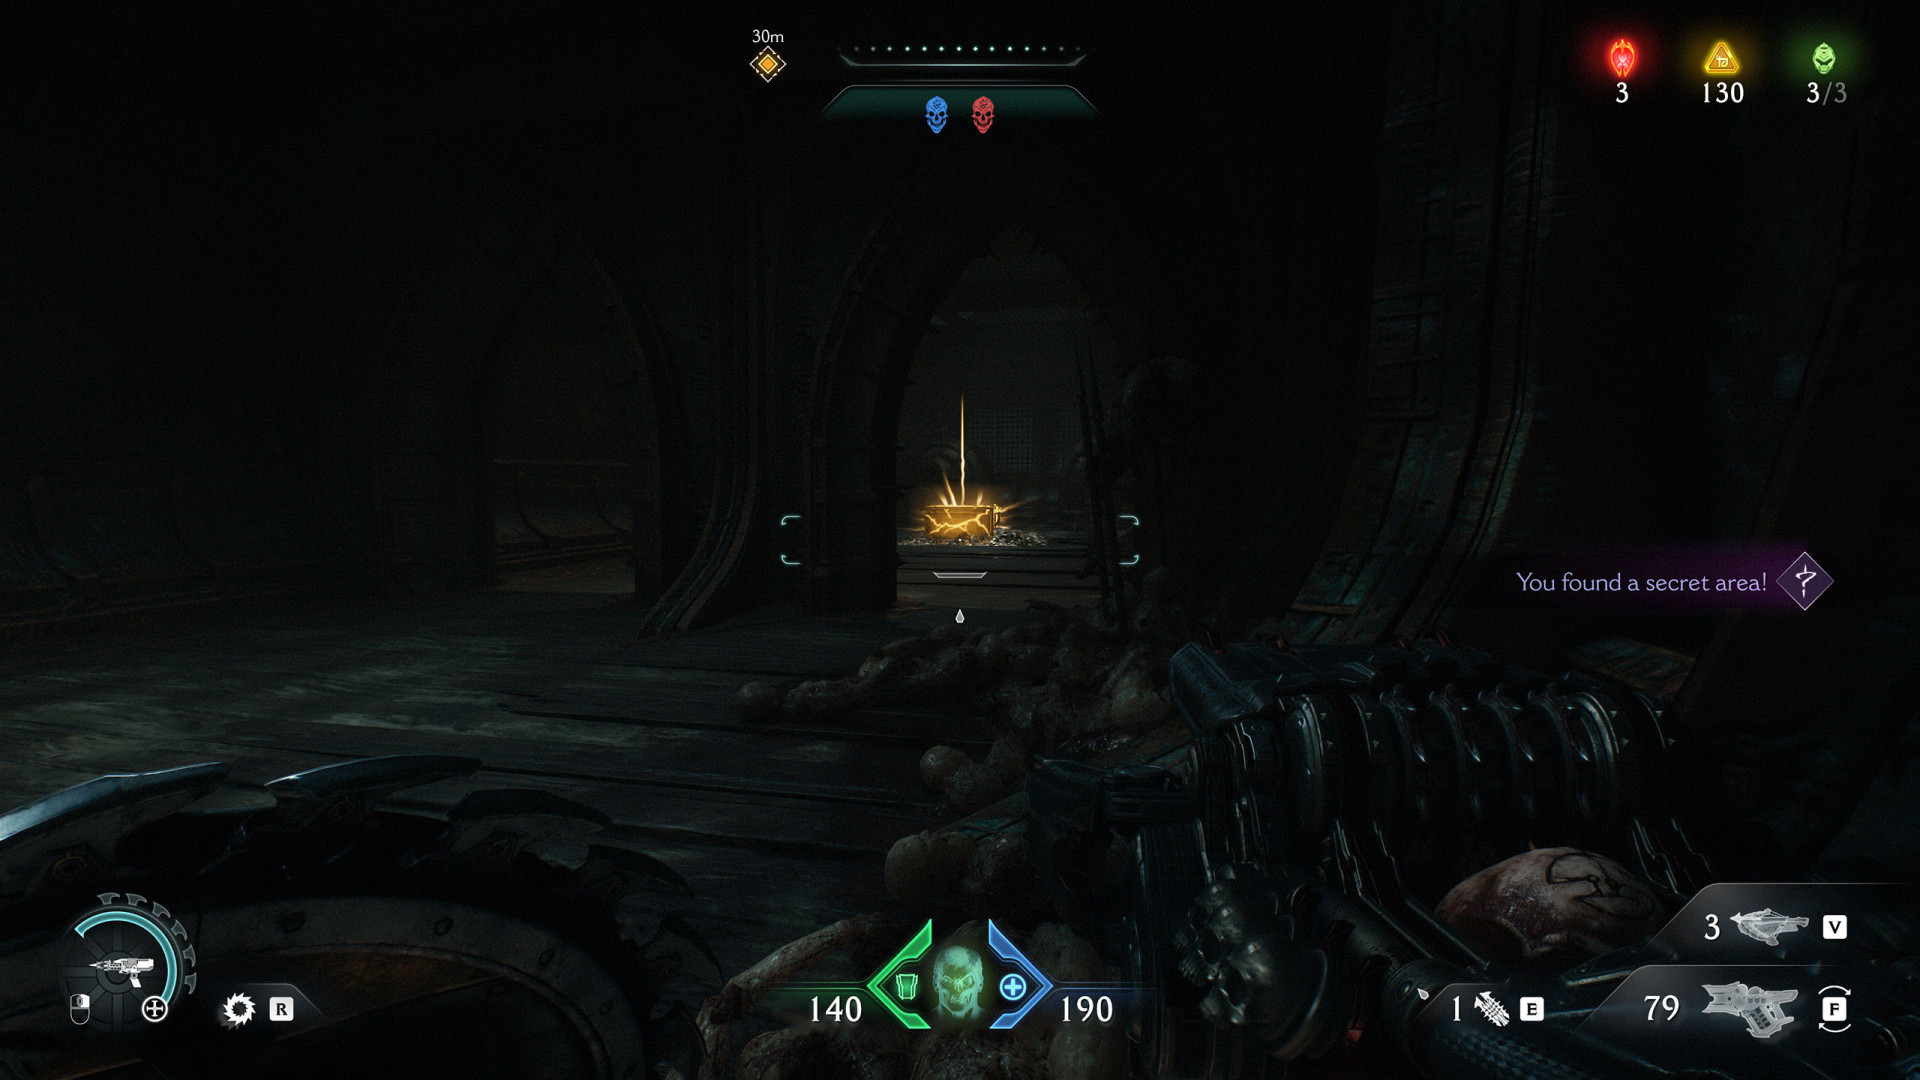
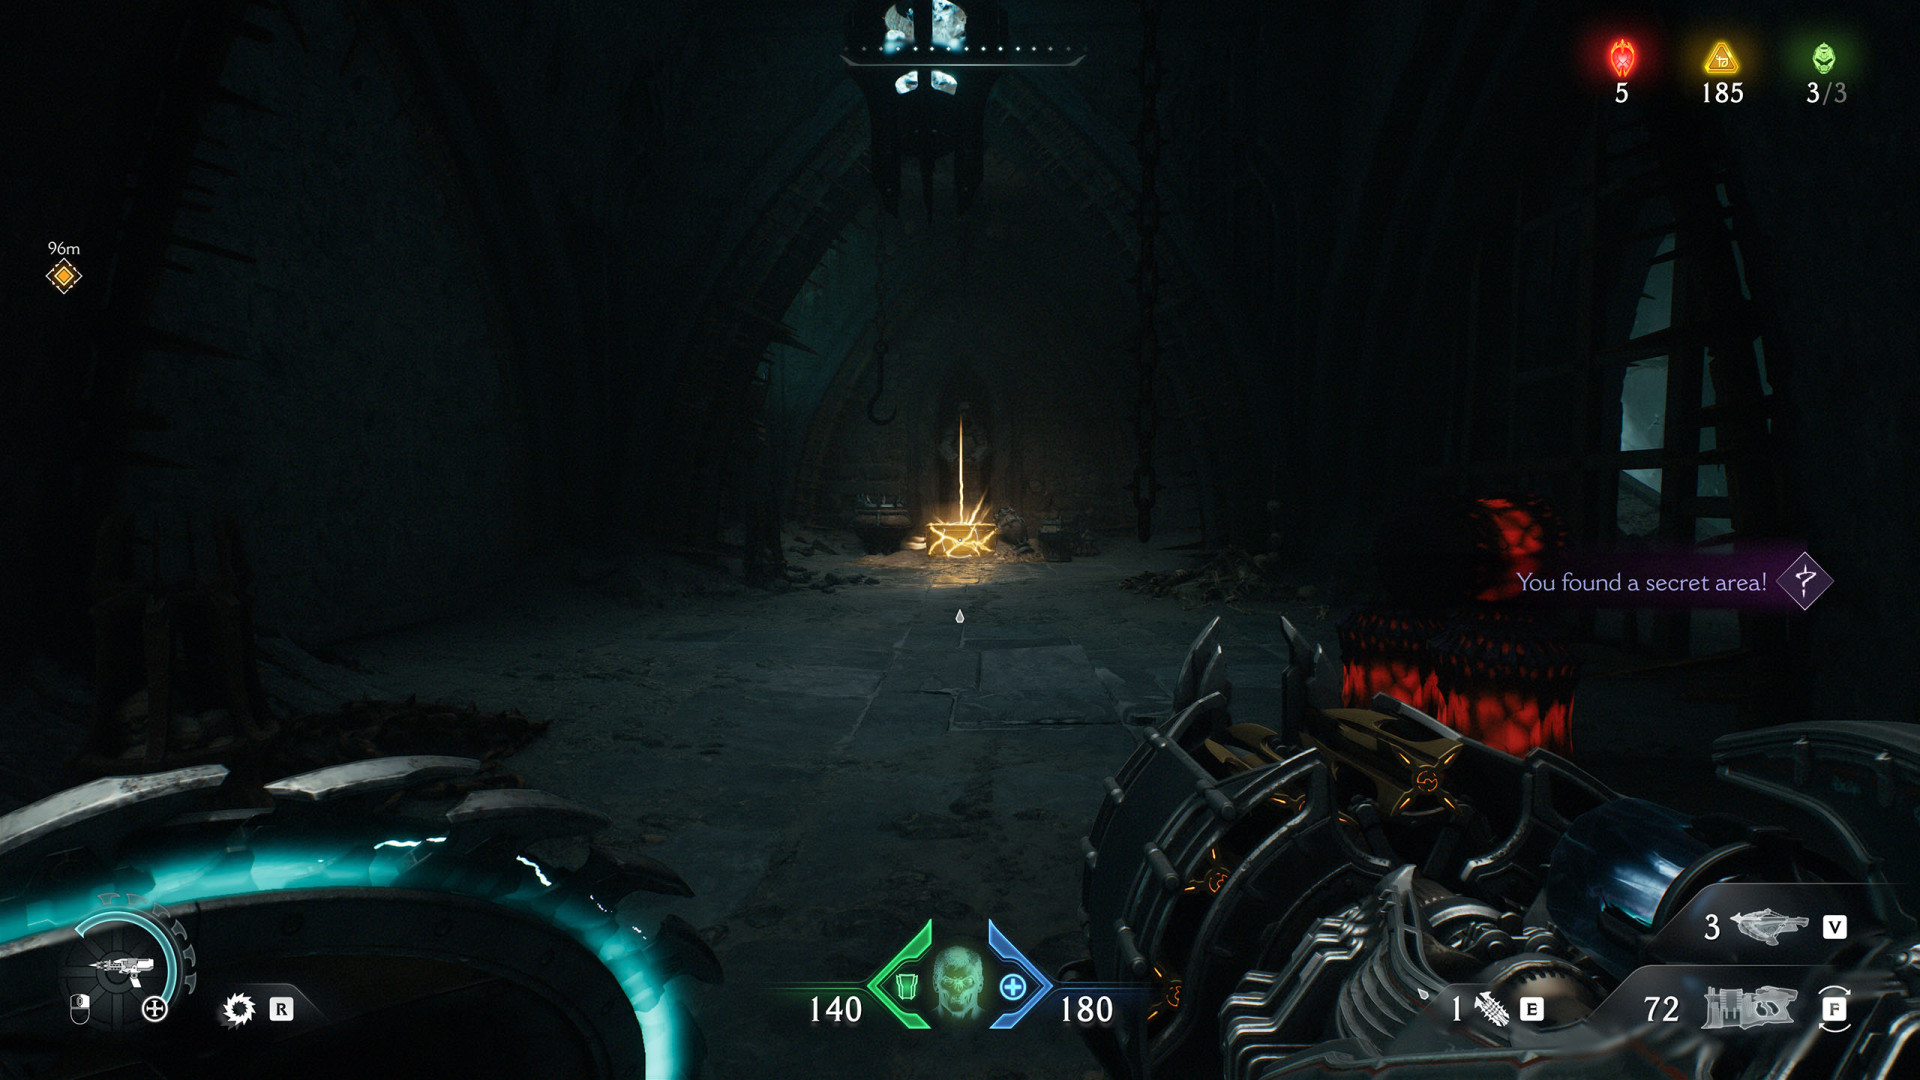
- Gold Chest (50)
- Gold Chest (50)
- Gold Chest (50)
- Gold Chest (50)
- Gold Chest (50)
- Gold Chest (50)
- Gold Chest (50)
- Gold Chest (50)
- Gold Chest (50)
- Gold Chest (50)
- Gold Chest (50)
- Gold Chest (50)
- Gold Chest (50)
- Gold Chest (50)
- Gold Chest (50)
- Gold Chest (50)
- Gold Chest (50)
- Gold Chest (50)
- Gold Chest (50)
- Gold Chest (50)
- Gold Chest (50)
- Gold Chest (50)
- Gold Chest (50)
- Gold Chest (50)
- Gold Chest (50)
- Gold Chest (50)
- Gold Chest (50)
- Gold Chest (50)
- Gold Chest (50)
- Gold Chest (50)
- Gold Chest (50)
- Gold Chest (50)
- Gold Chest (50)
- Gold Chest (50)
- Gold Chest (50)
- Gold Chest (50)
- Gold Chest (50)
- Gold Chest (50)
- Gold Chest (50)
- Gold Chest (50)
- Gold Chest (50)
- Gold Chest (50)
- Gold Chest (50)
- Gold Chest (50)
- Gold Chest (50)
- Gold Chest (50)
- Gold Chest (50)
- Gold Chest (50)
- Gold Chest (50)
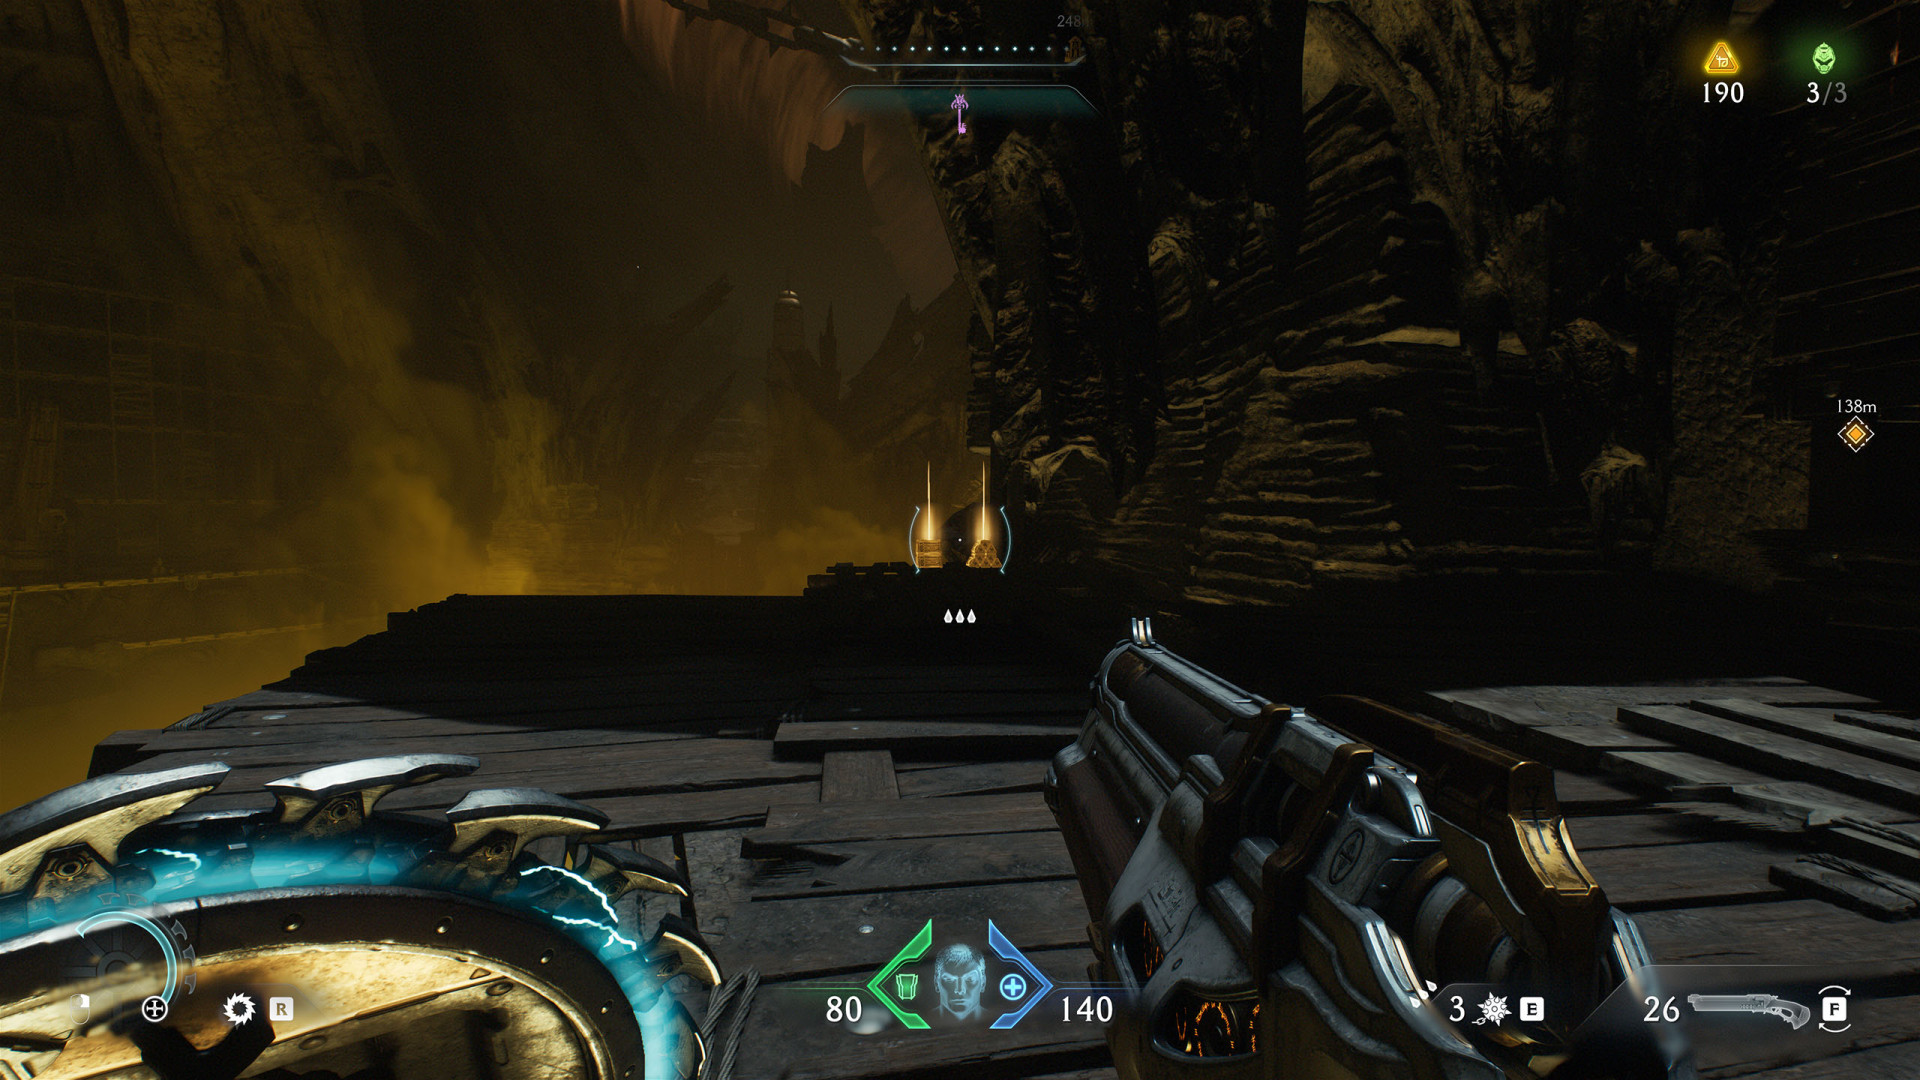
- Gold Stack (8)
- Gold Stack (8)
- Gold Stack (8)
- Gold Stack (8)
- Gold Stack (8)
- Gold Stack (8)
- Gold Stack (8)
- Gold Stack (8)
- Gold Stack (8)
- Gold Stack (8)
- Gold Stack (8)
- Gold Stack (8)
- Gold Stack (8)
- Gold Stack (8)
- Gold Stack (8)
- Gold Stack (8)
- Gold Stack (8)
- Gold Stack (8)
- Gold Stack (8)
- Gold Stack (8)
- Gold Stack (8)
- Gold Stack (8)
- Gold Stack (8)
- Gold Stack (8)
- Gold Stack (8)
- Gold Stack (8)
- Gold Stack (8)
- Gold Stack (8)
- Gold Stack (8)
- Gold Stack (8)
- Gold Stack (8)
- Gold Stack (8)
- Gold Stack (8)
- Gold Stack (8)
- Gold Stack (8)
- Gold Stack (8)
- Gold Stack (8)
- Gold Stack (8)
- Gold Stack (8)
- Gold Stack (8)
- Gold Stack (8)
- Gold Stack (8)
- Gold Stack (8)
- Gold Stack (8)
- Gold Stack (8)
- Gold Stack (8)
- Gold Stack (8)
- Gold Stack (8)
- Gold Stack (8)
- Gold Stack (8)
- Gold Stack (8)
- Gold Stack (8)
- Gold Stack (8)
- Gold Stack (8)
- Gold Stack (8)
- Gold Stack (8)
- Gold Stack (8)
- Gold Stack (8)
- Gold Stack (8)
- Gold Stack (8)
- Gold Stack (8)
- Gold Stack (8)
- Gold Stack (8)
- Gold Stacks (16)
- Gold Stacks (16)
- Gold Stacks (16)
- Gold Stacks (16)
- Gold Stacks (16)
- Gold Stacks (16)
- Gold Stacks (16)
- Gold Stacks (16)
- Gold Stacks (16)
- Gold Stacks (16)
- Gold Stacks (16)
- Gold Stacks (16)
- Gold Stacks (16)
- Gold Stacks (16)
- Gold Stacks (16)
- Gold Stacks (16)
- Gold Stacks (16)
- Gold Stacks (16)
- Gold Stacks (16)
- Gold Stacks (16)
- Gold Stacks (16)
- Gold Stacks (16)
- Gold Stacks (16)
- Gold Stacks (16)
- Gold Stacks (16)
- Gold Stacks (24)
All known locations on the map Hebeth
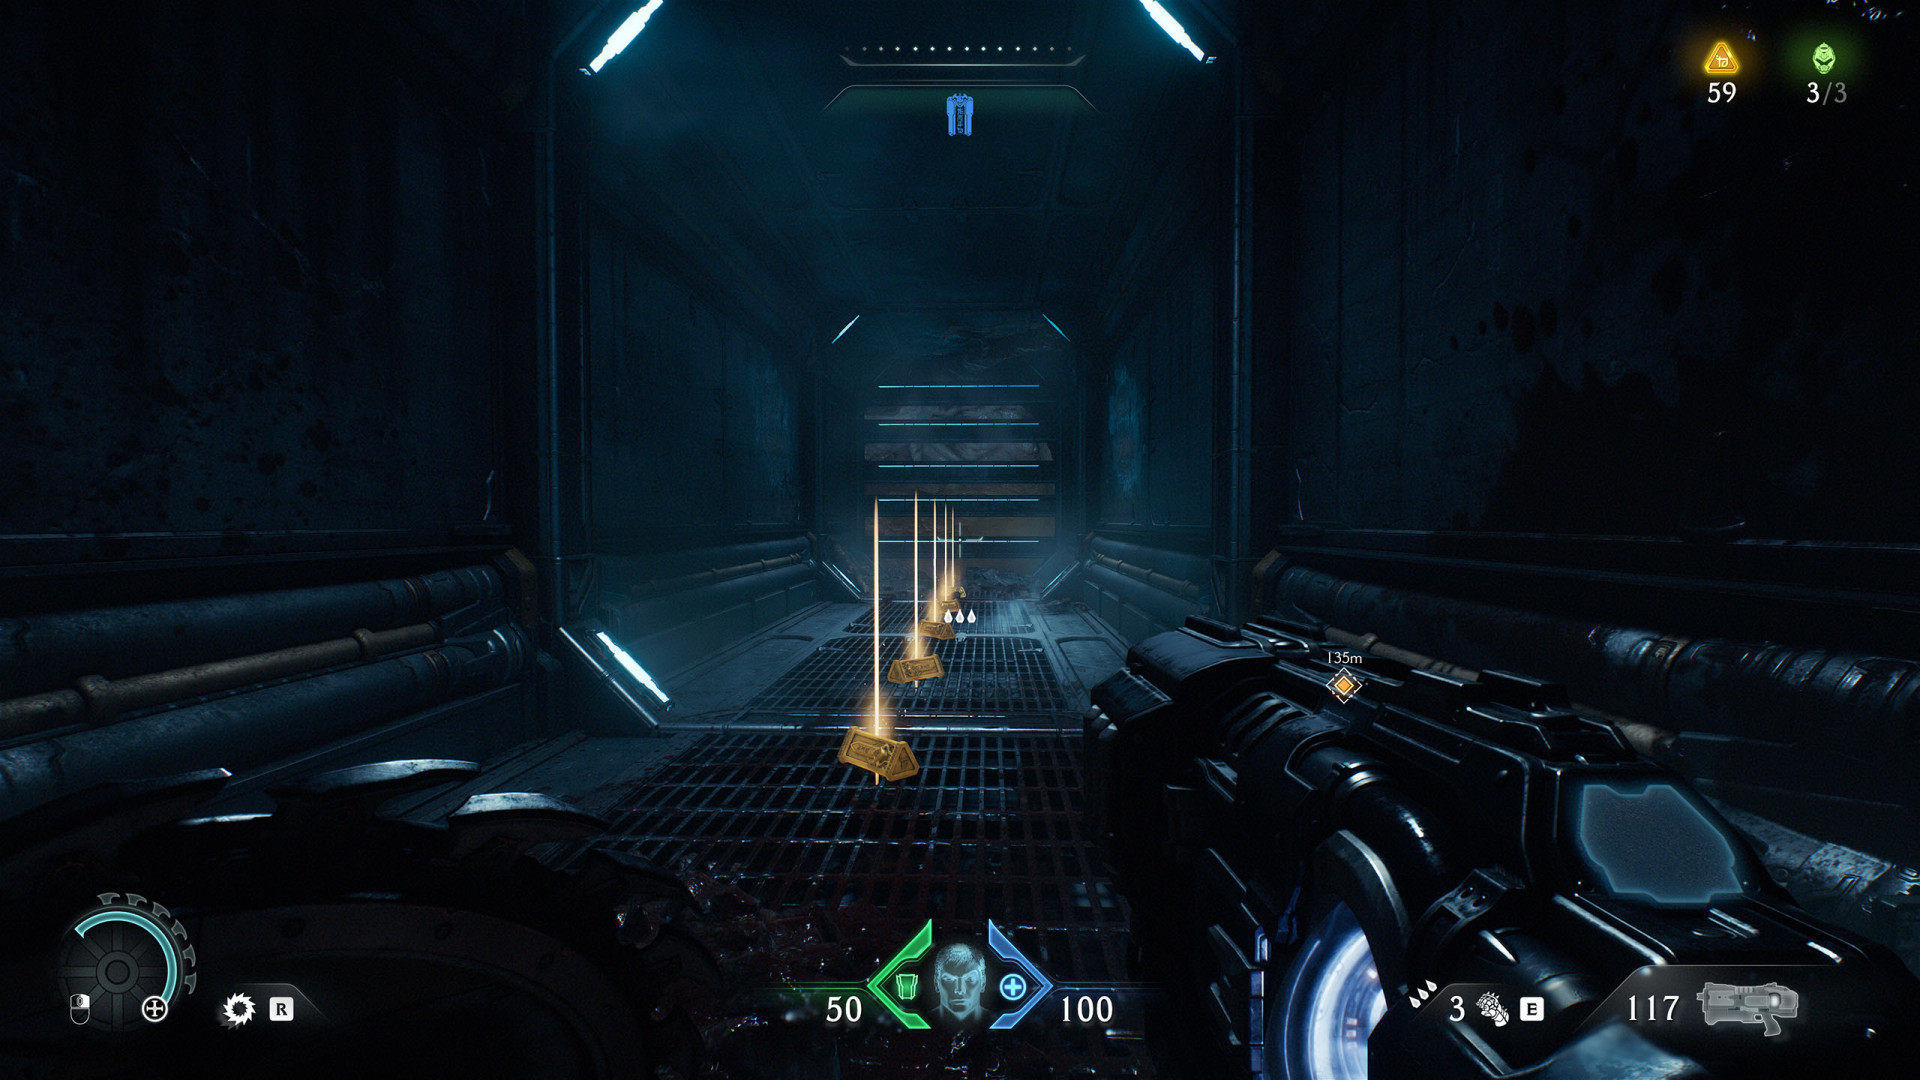
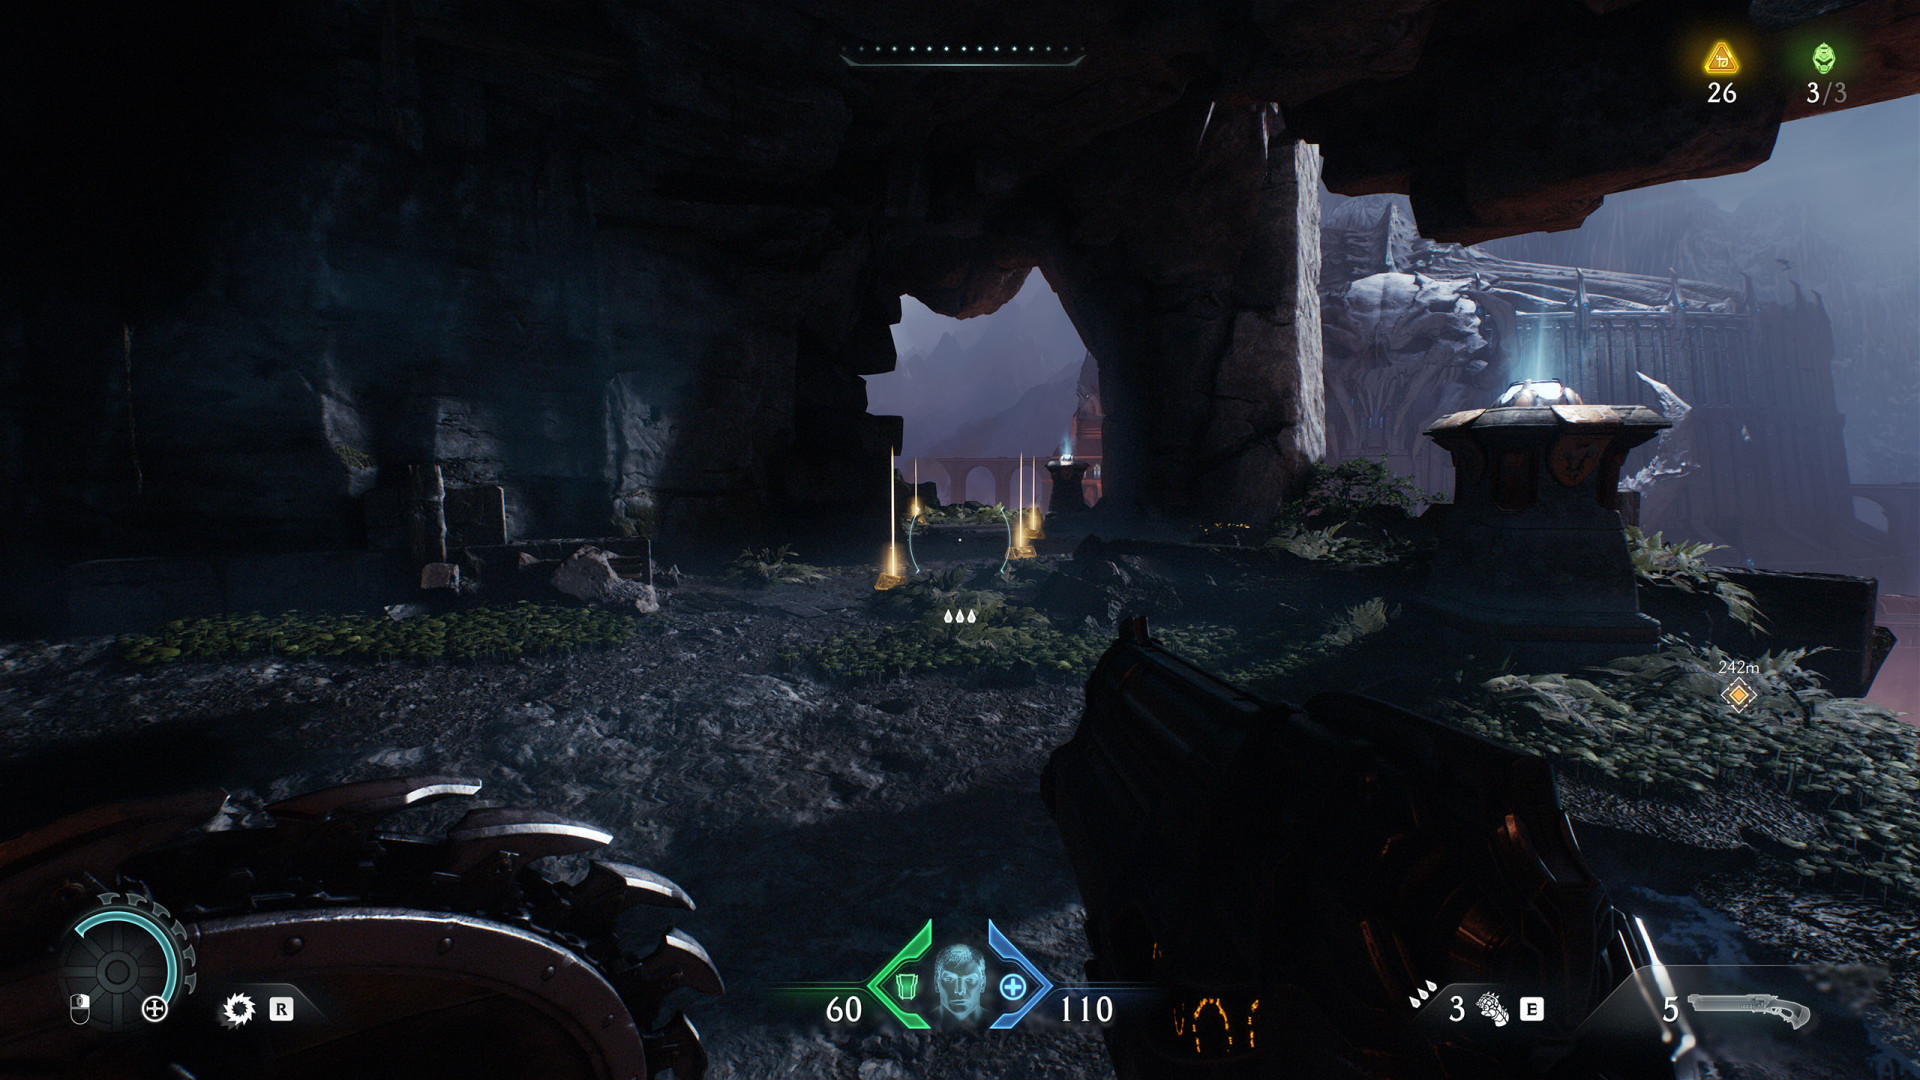
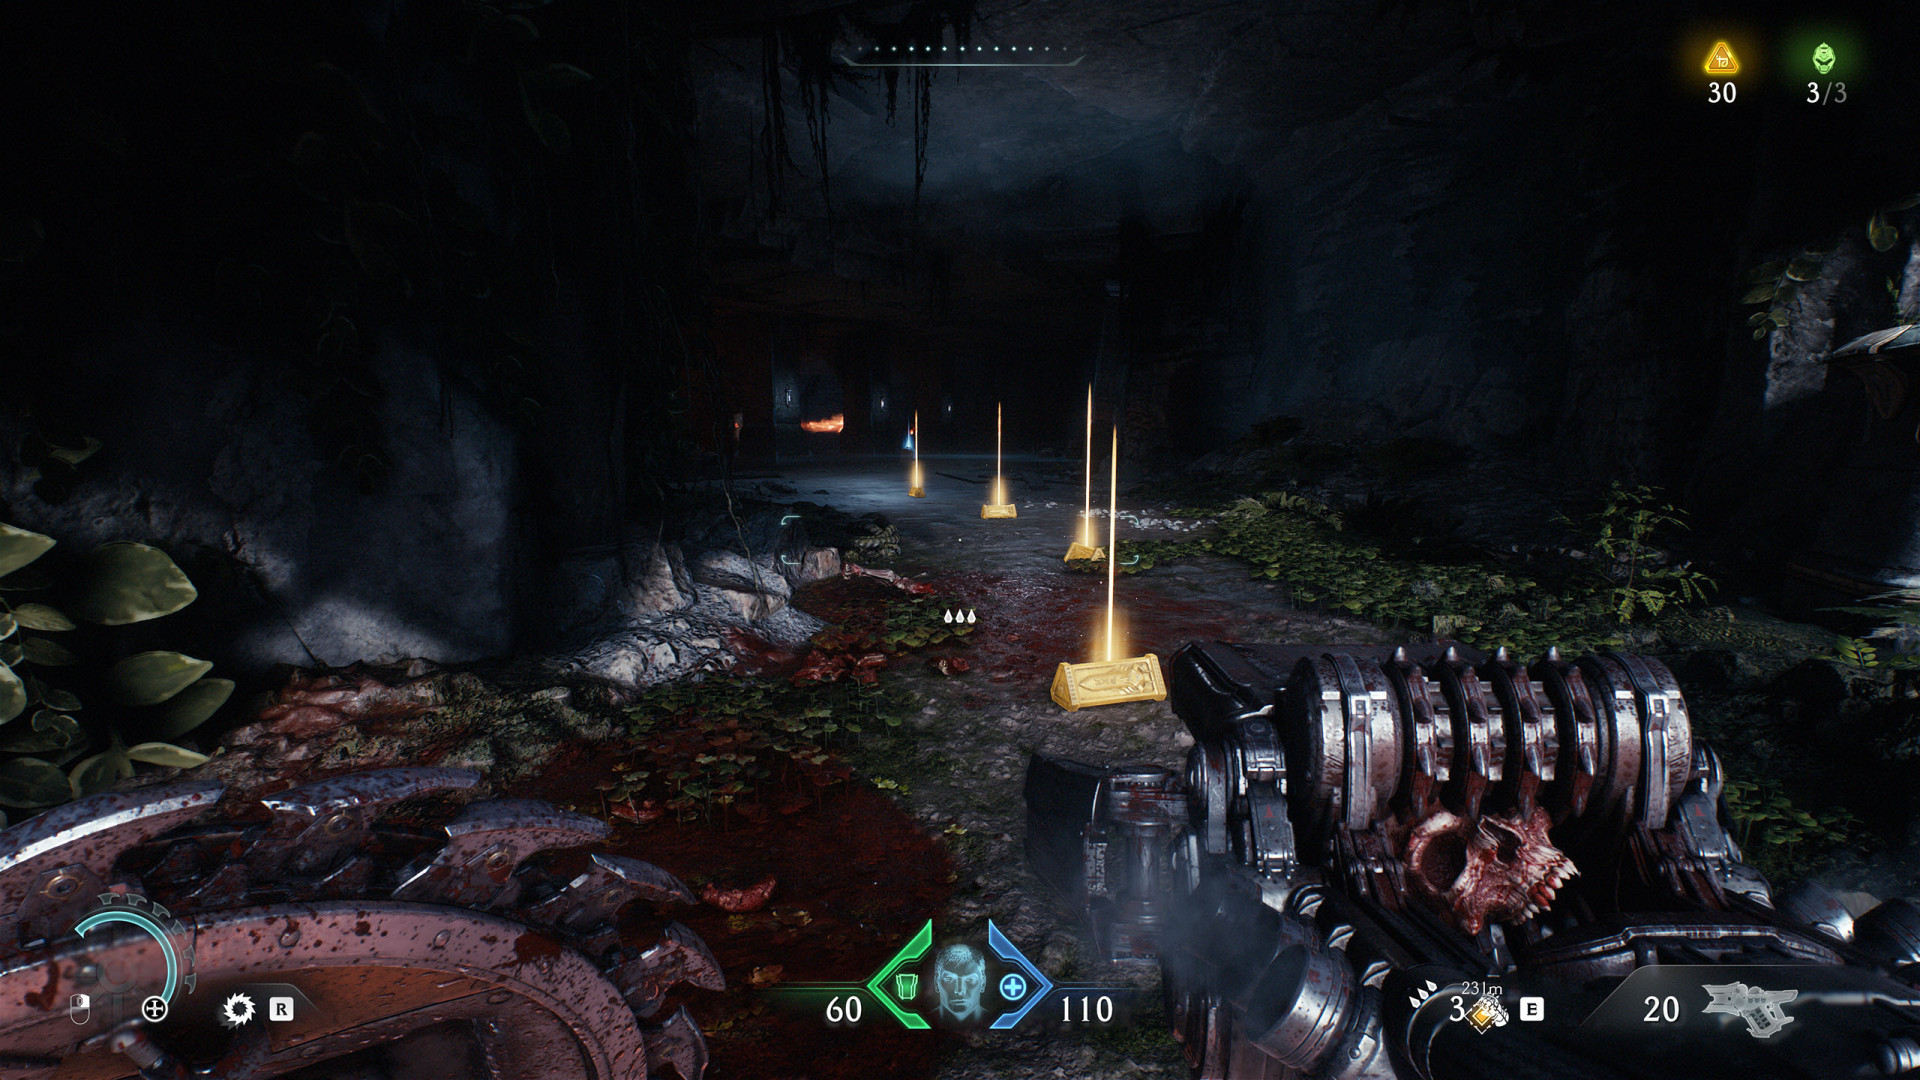
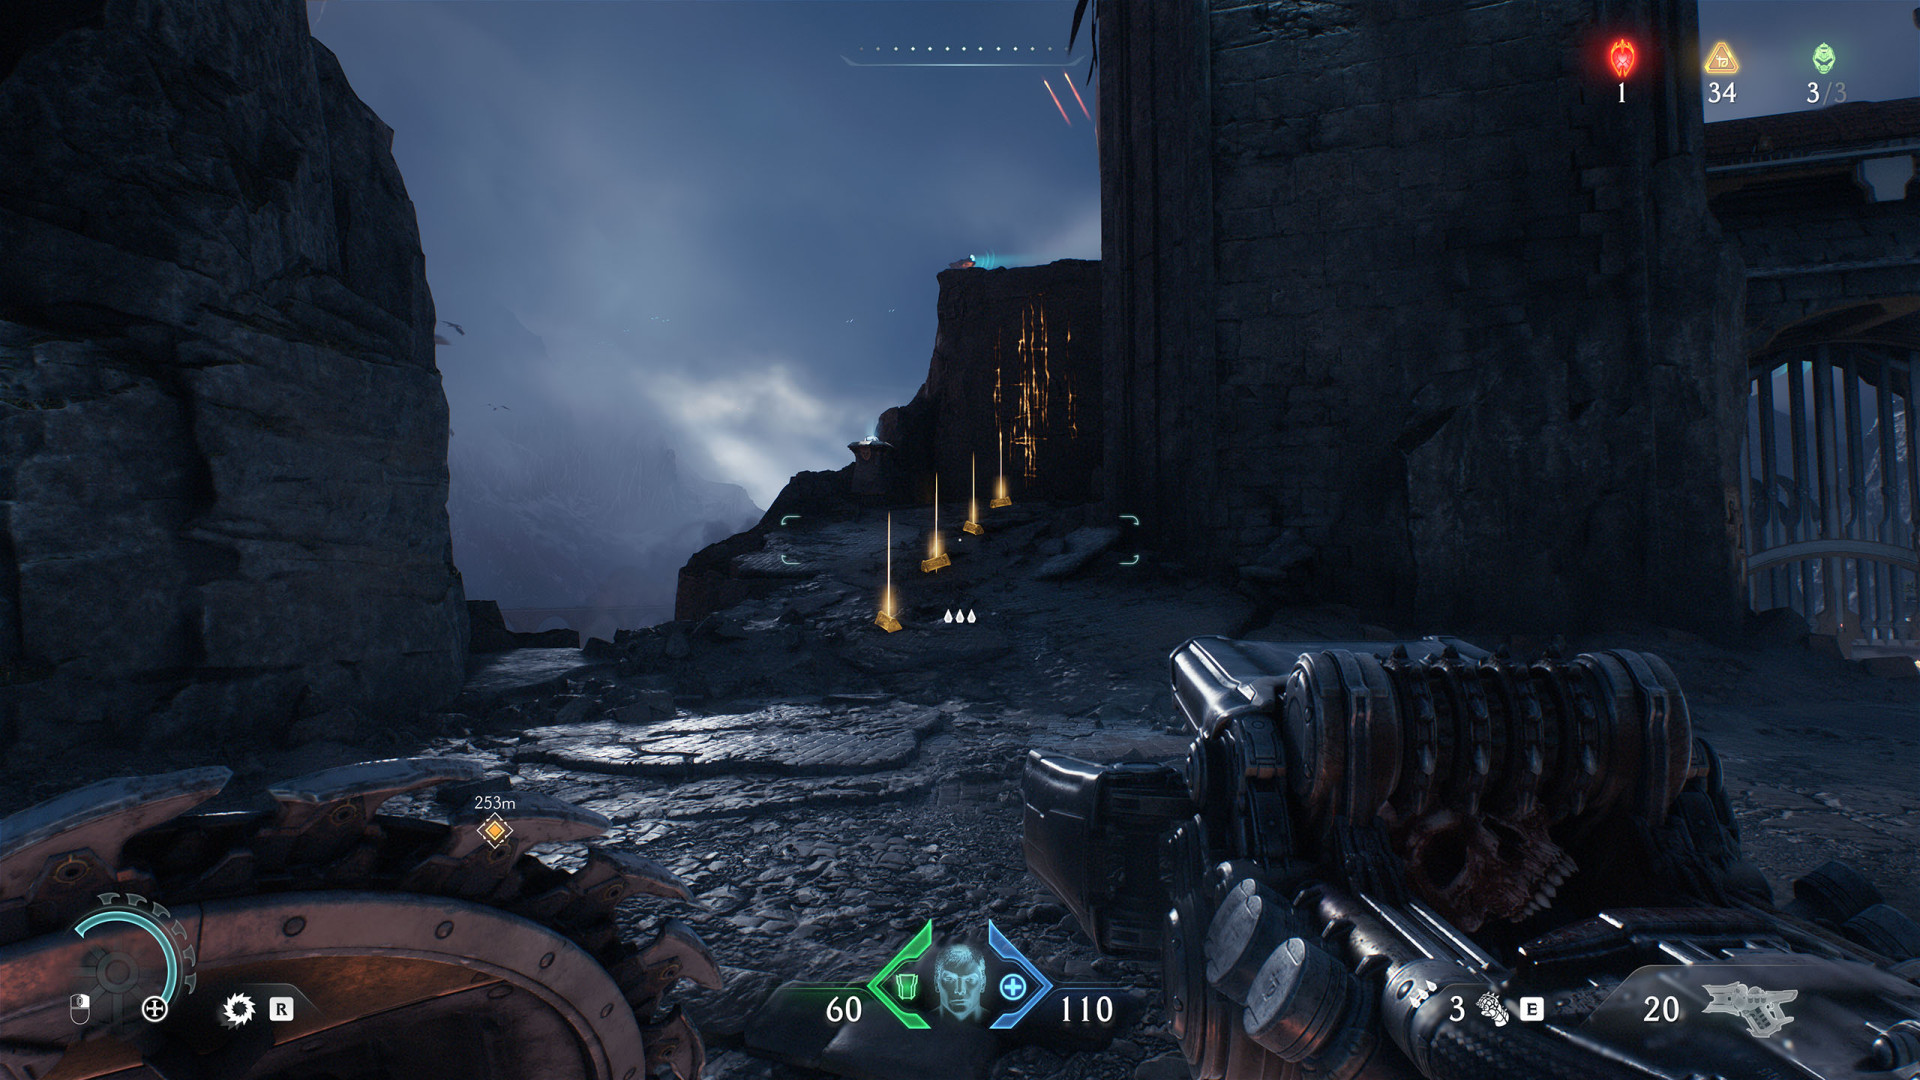
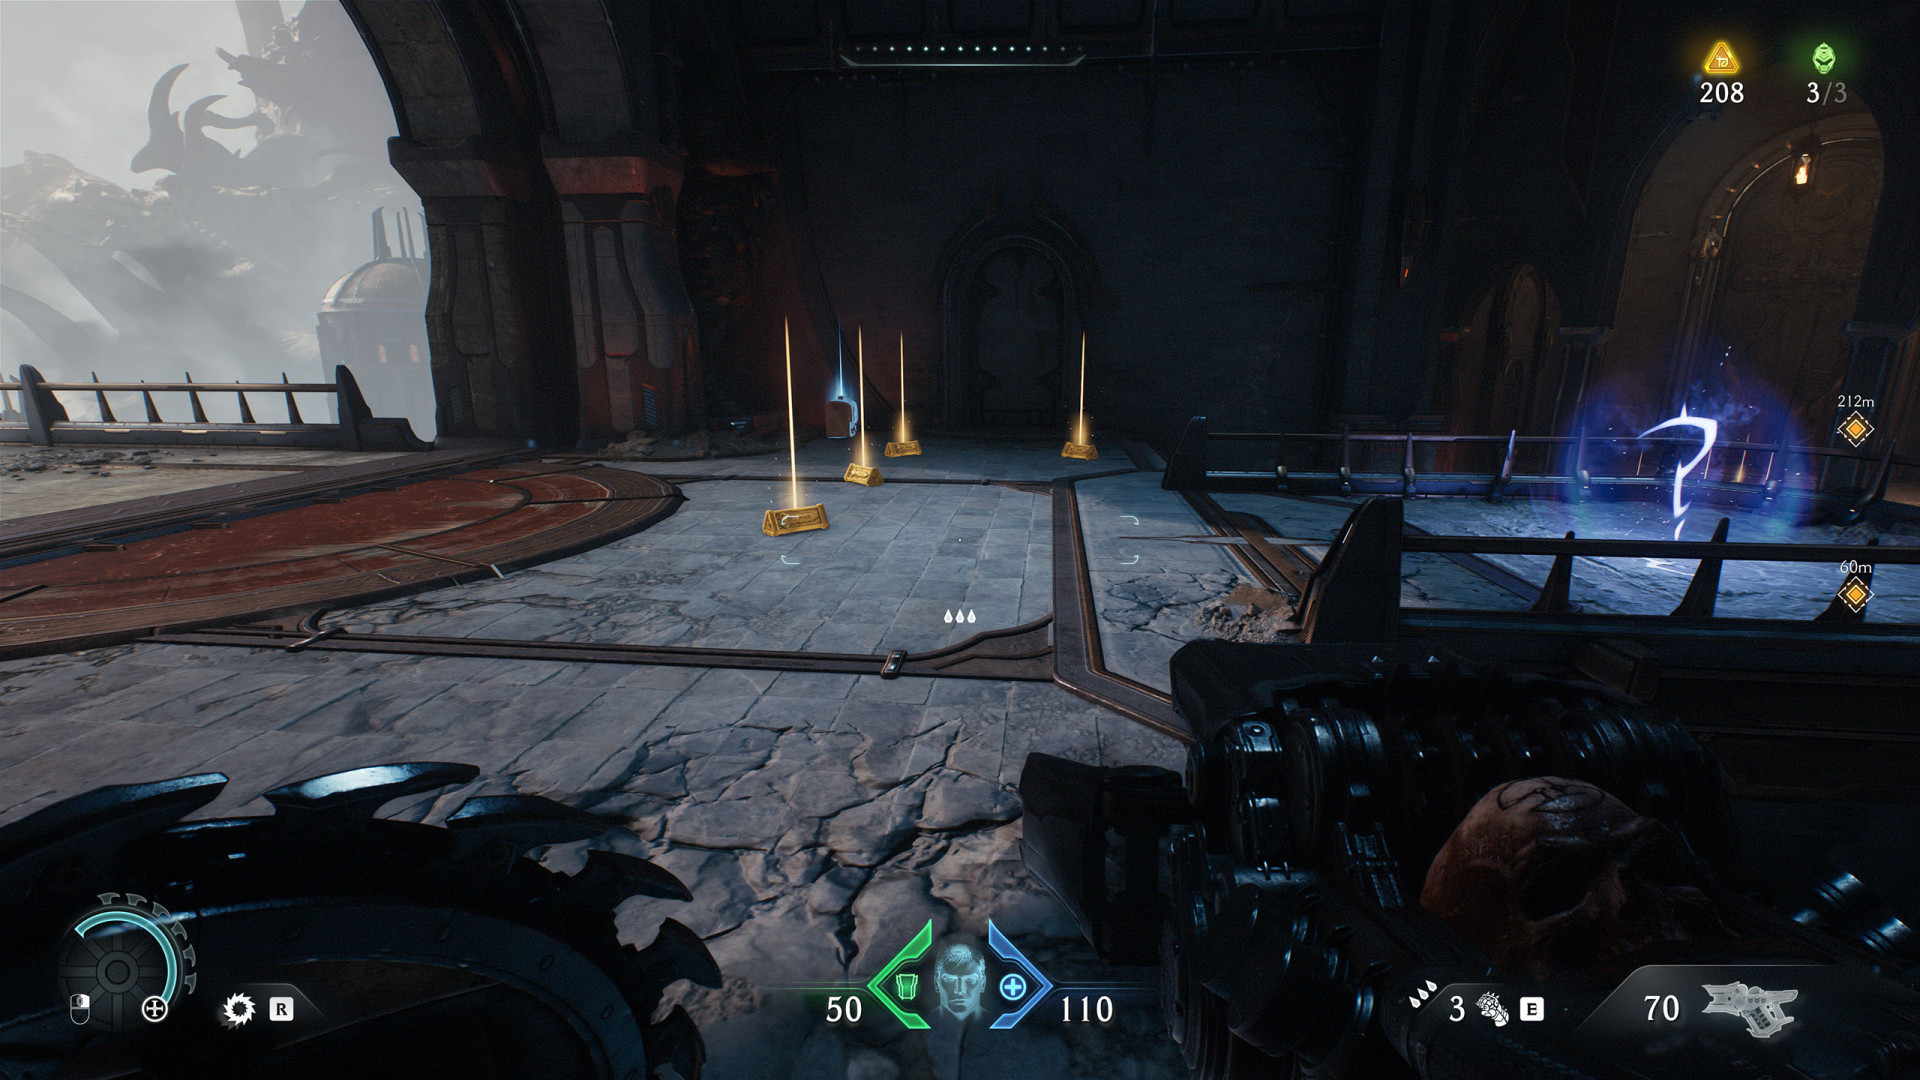
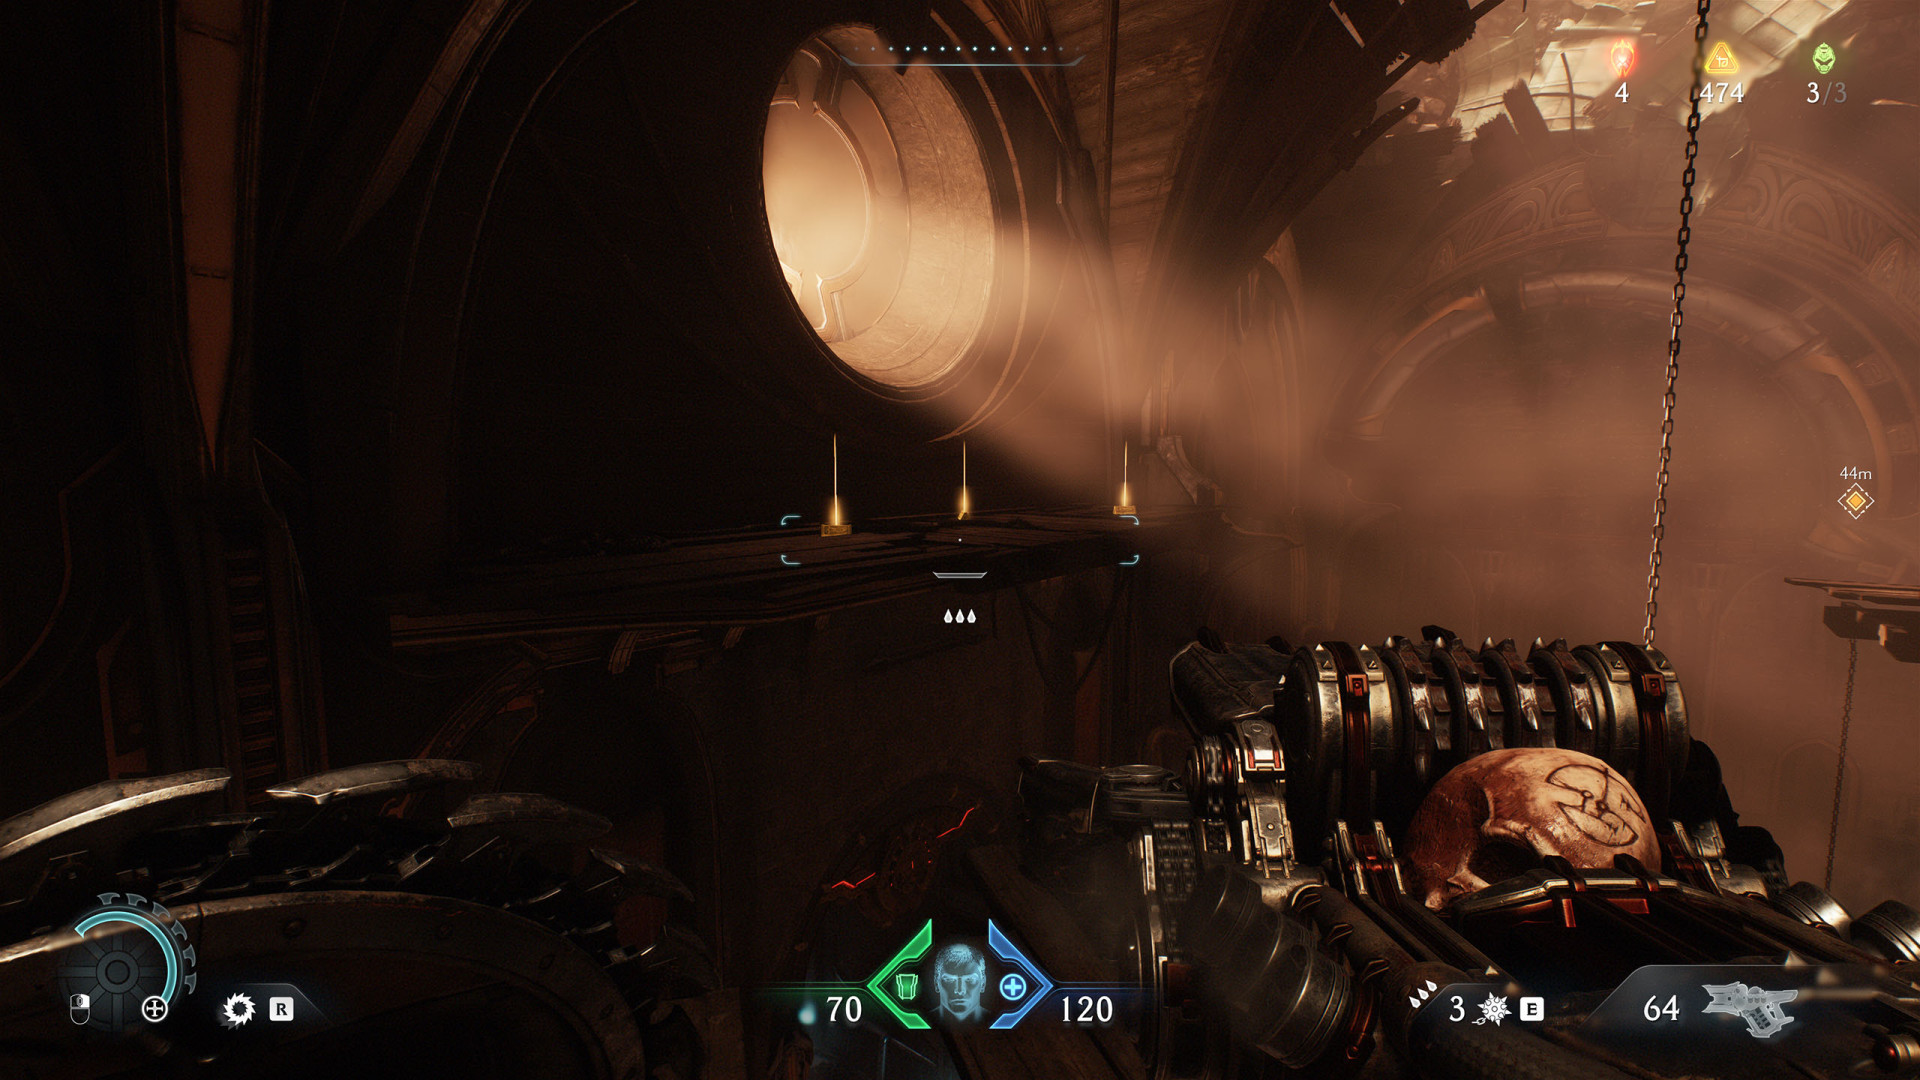
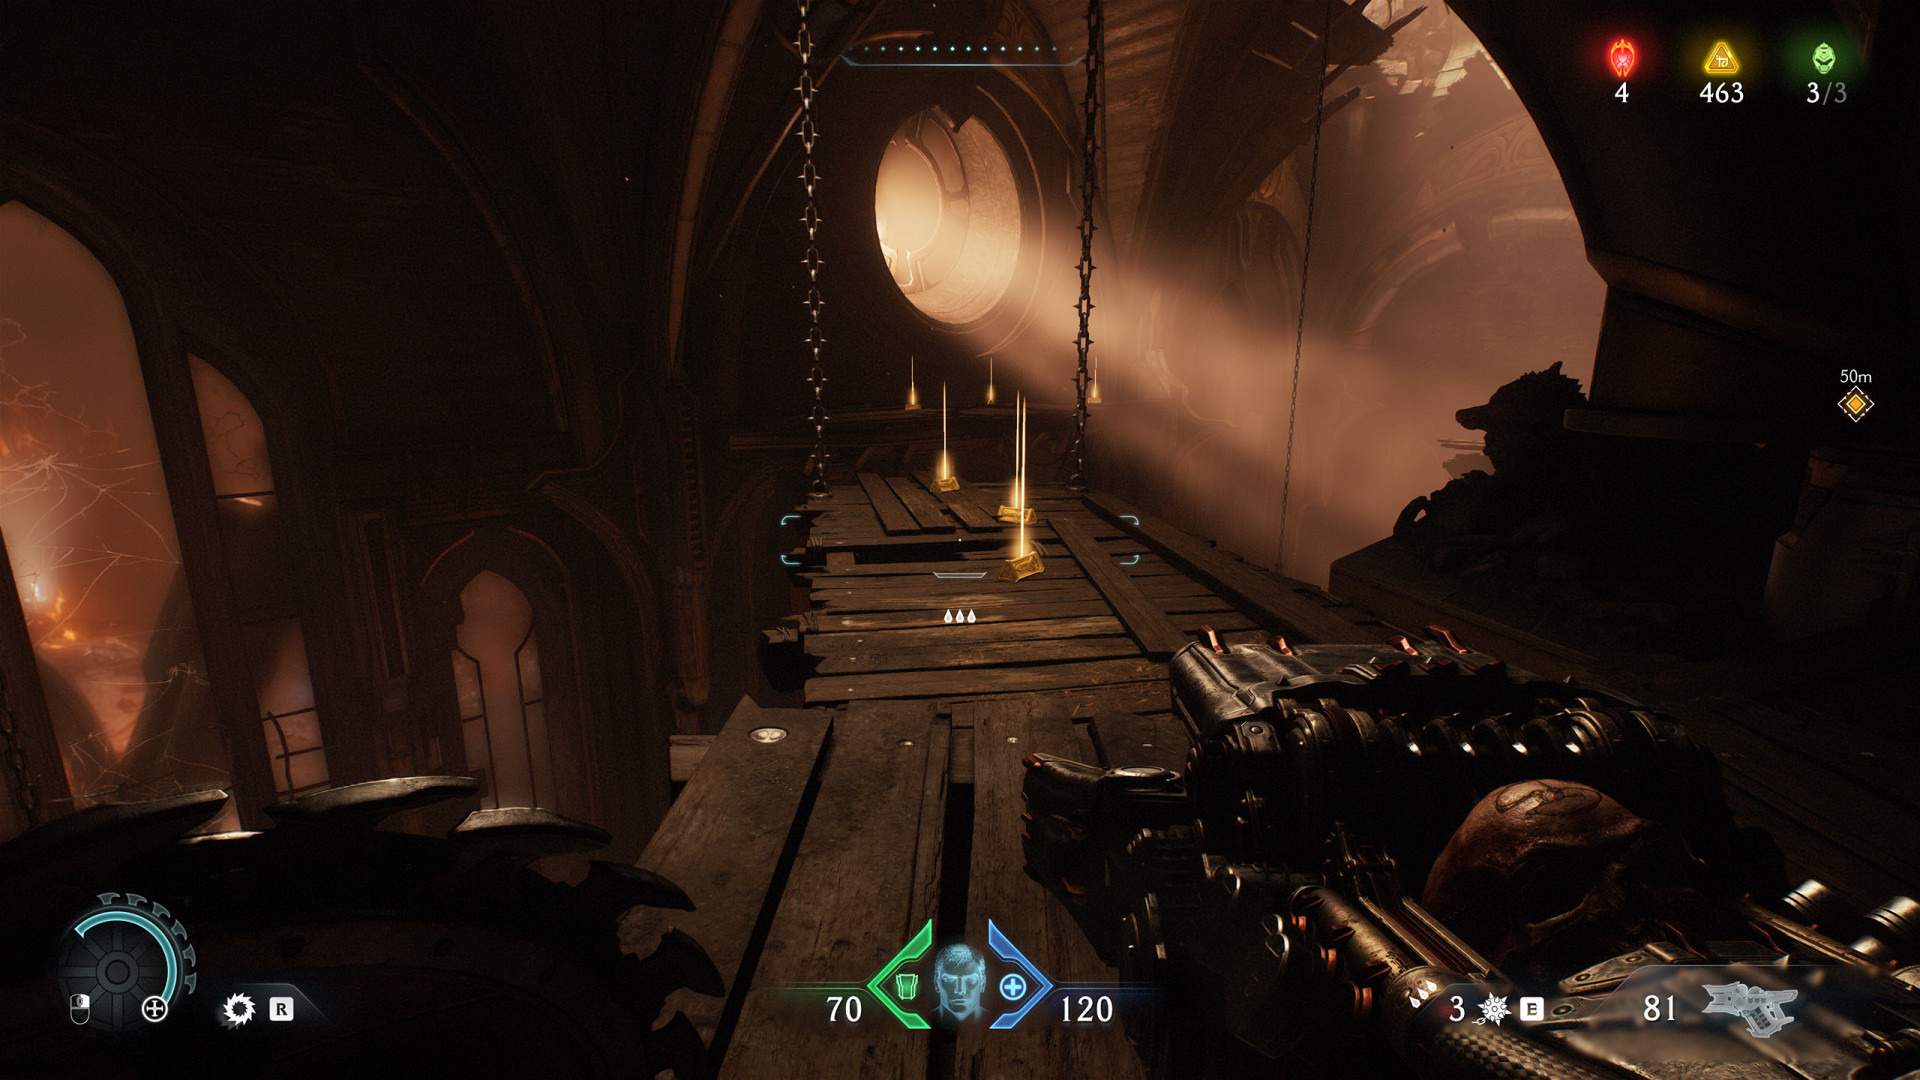
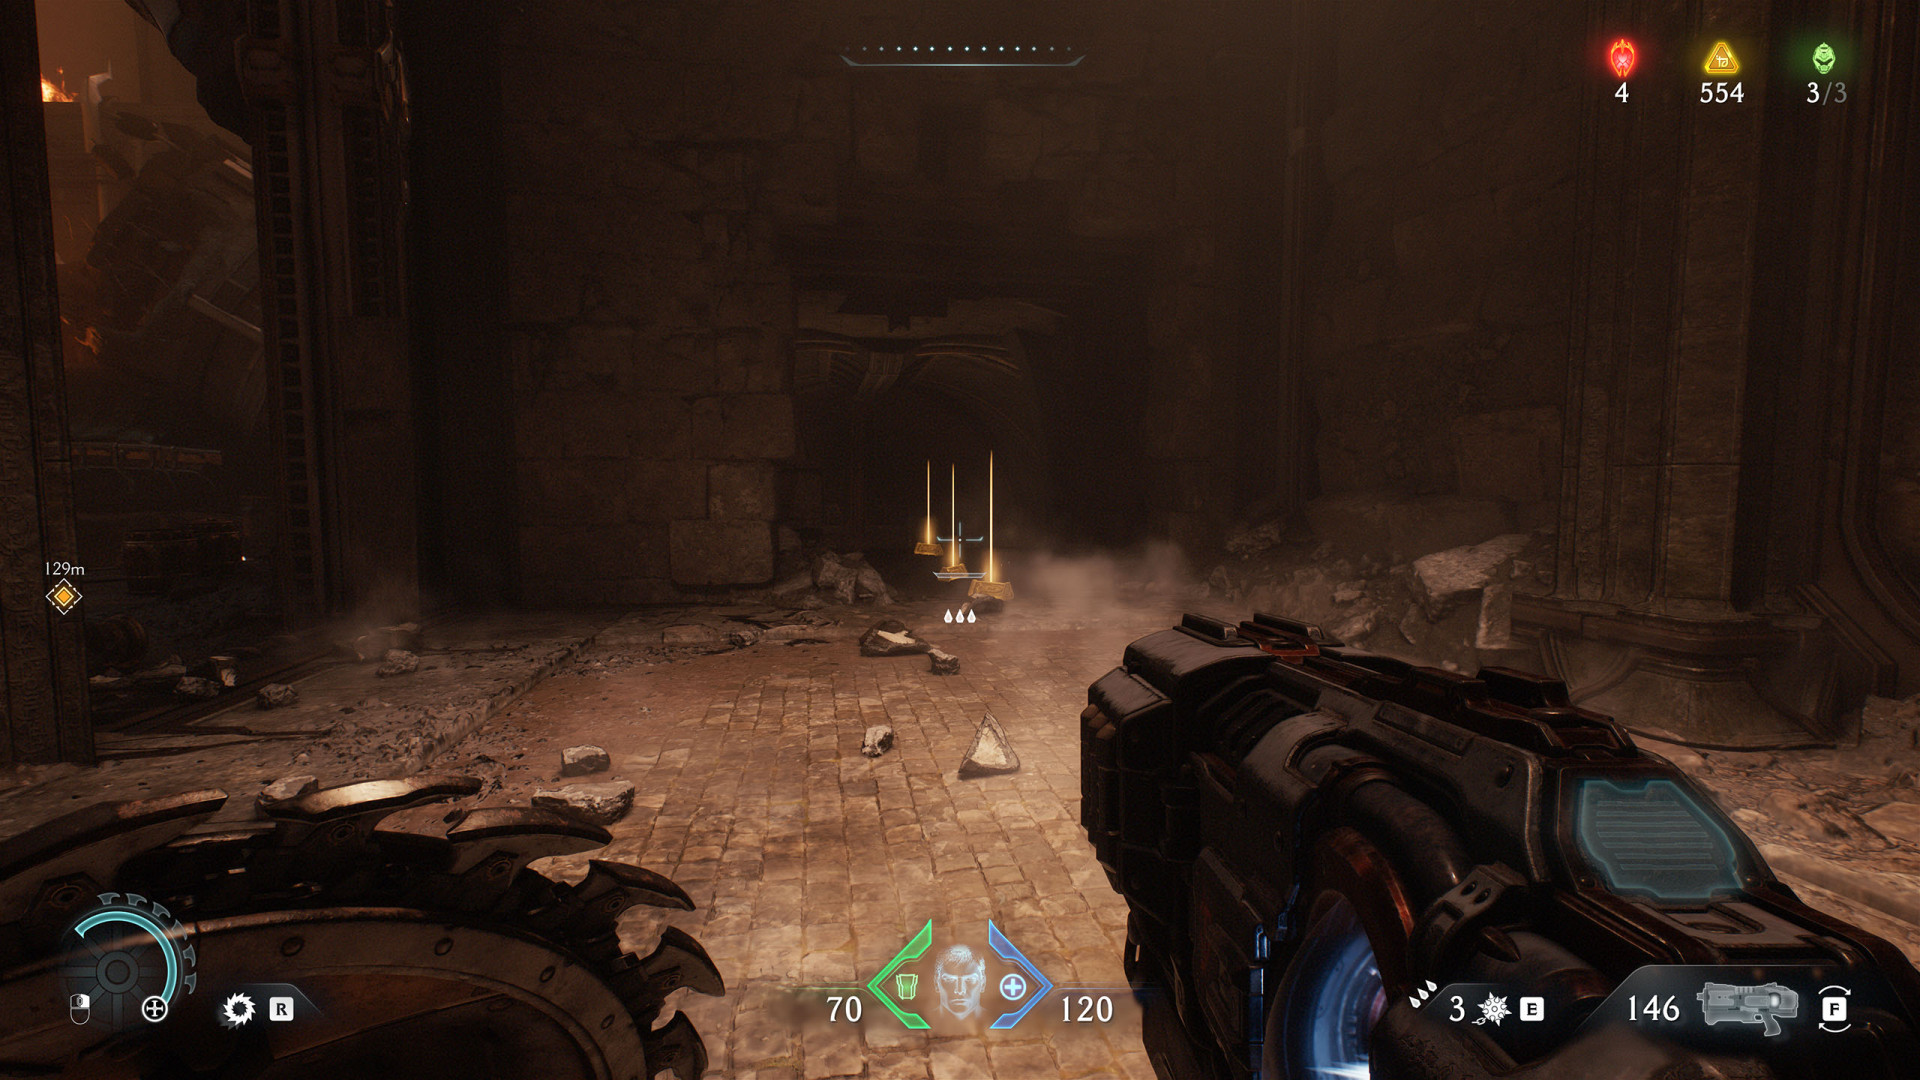
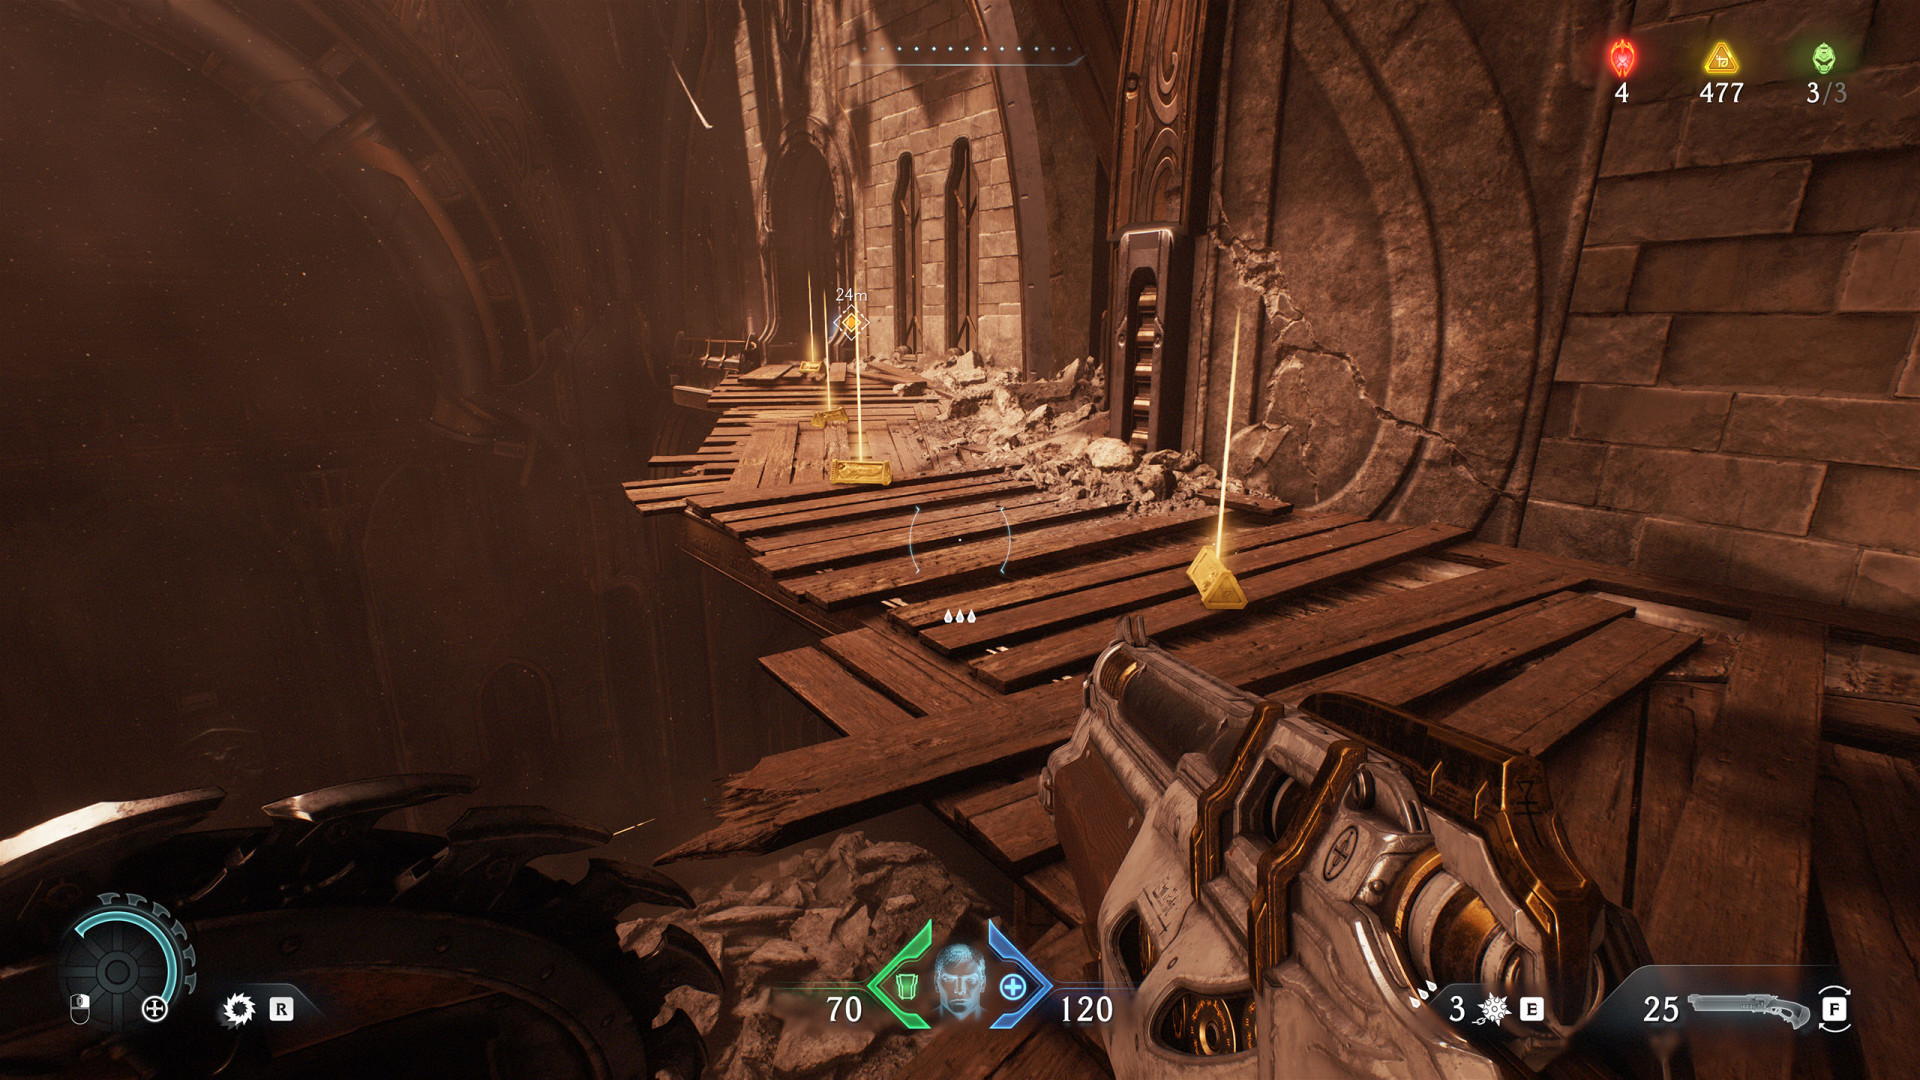
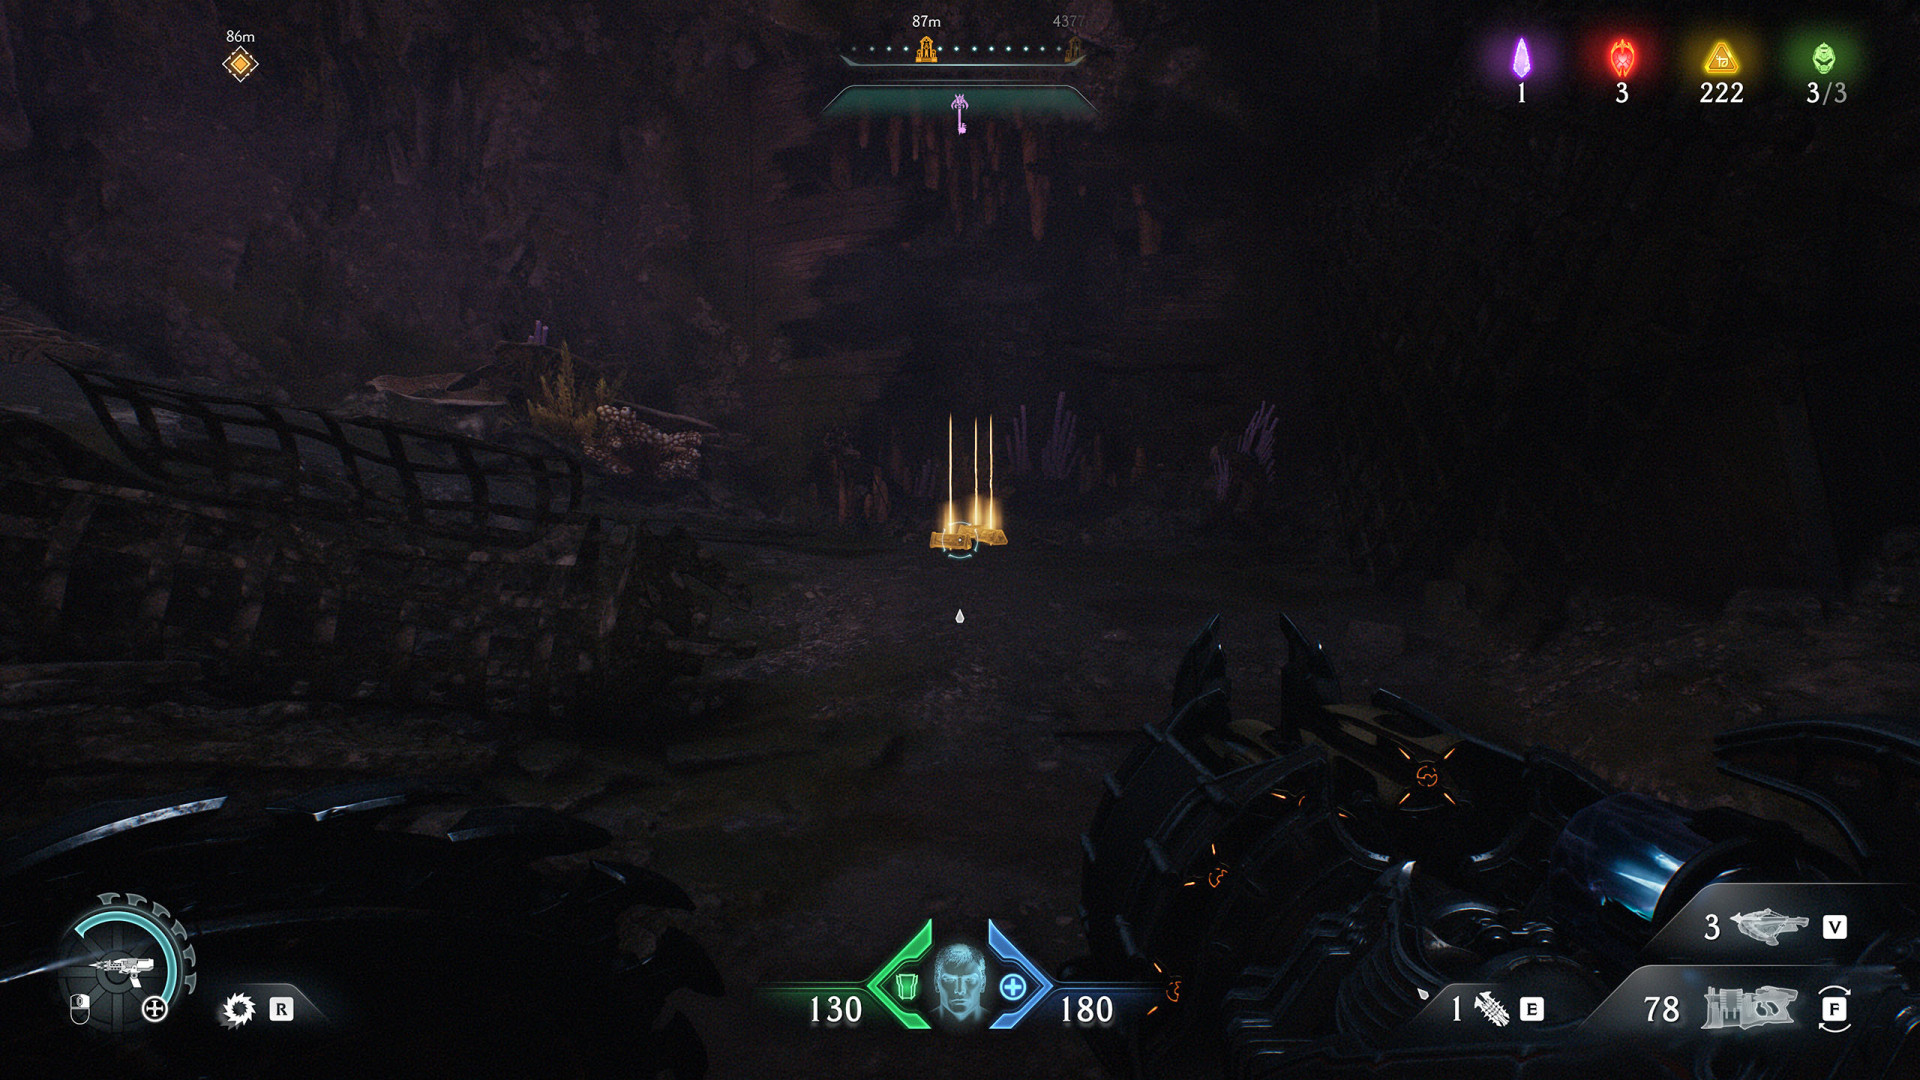
 Gold Bars (3)▶ show the map ◀
Gold Bars (3)▶ show the map ◀
Gold Bars (3)▶ show the map ◀
Gold Bars (3)▶ show the map ◀
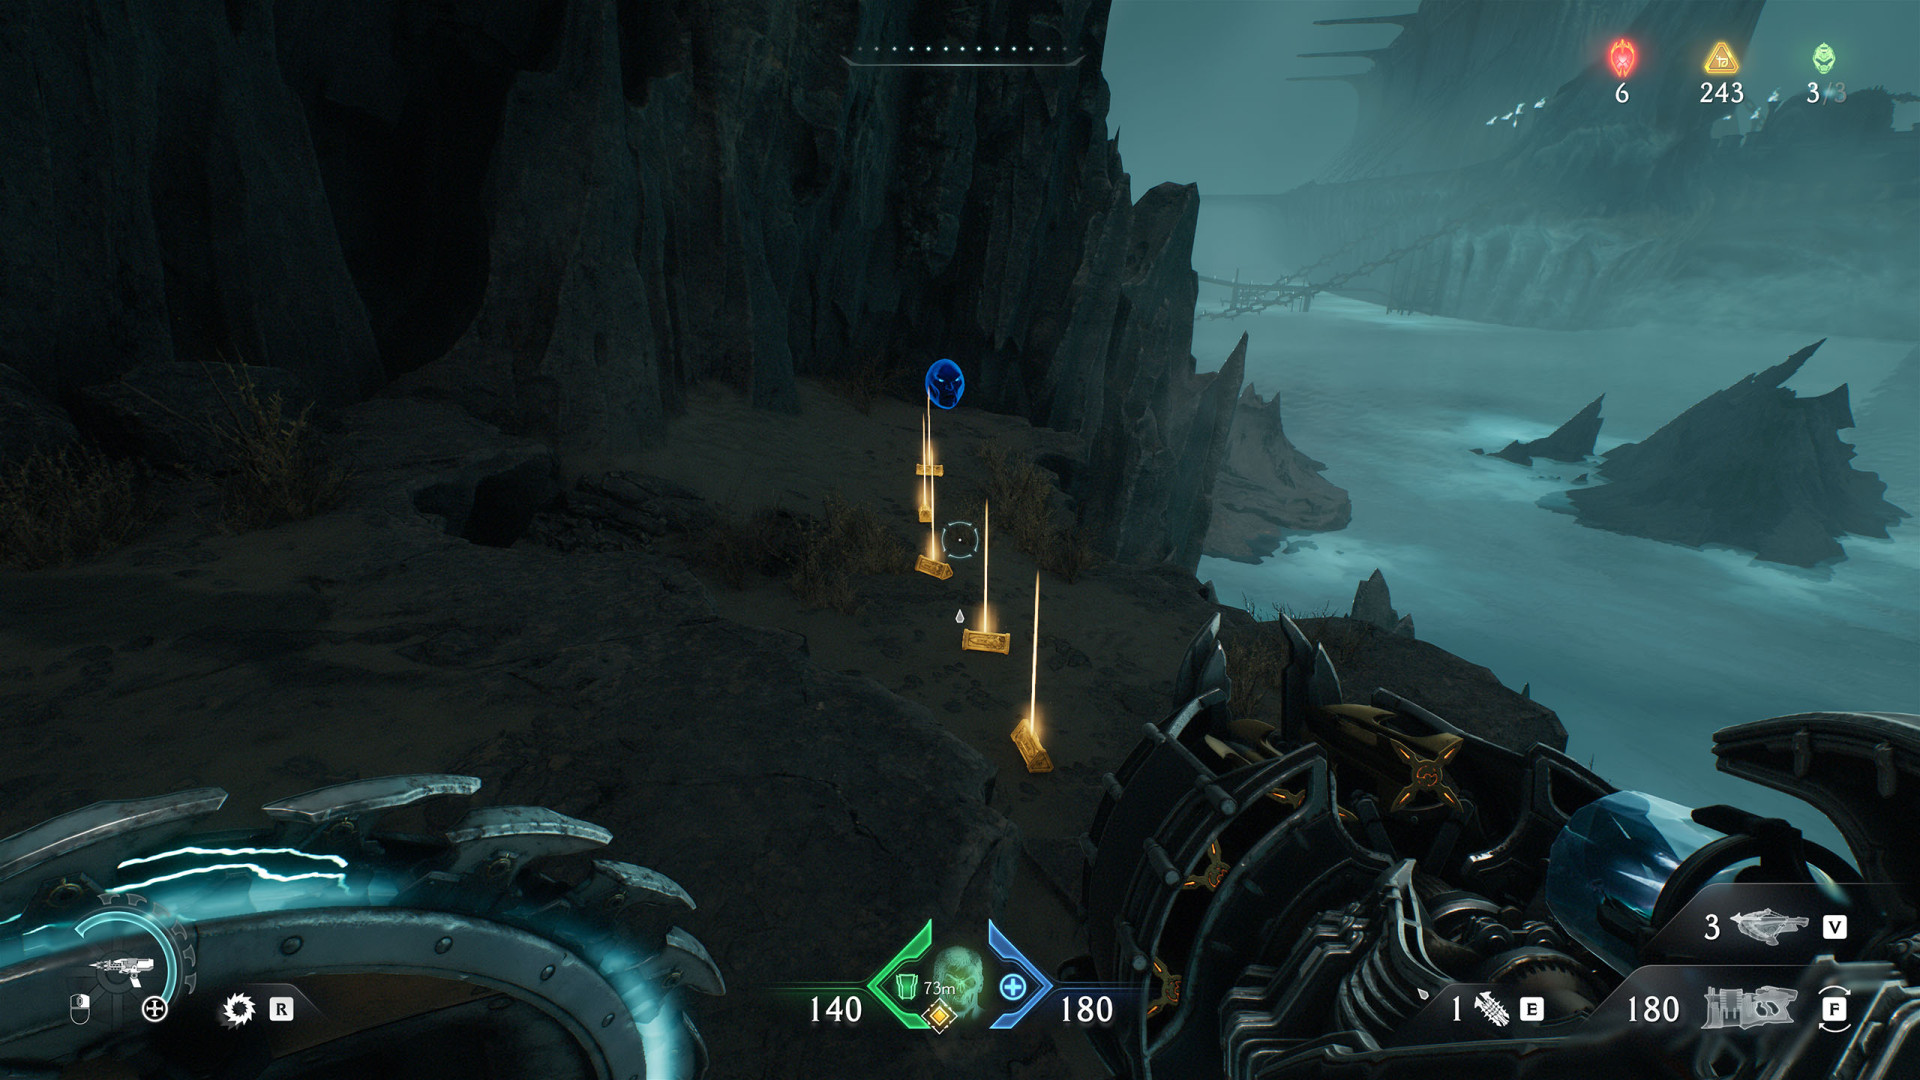
Gold Bars (5)▶ show the map ◀
Gold Bars (5)▶ show the map ◀

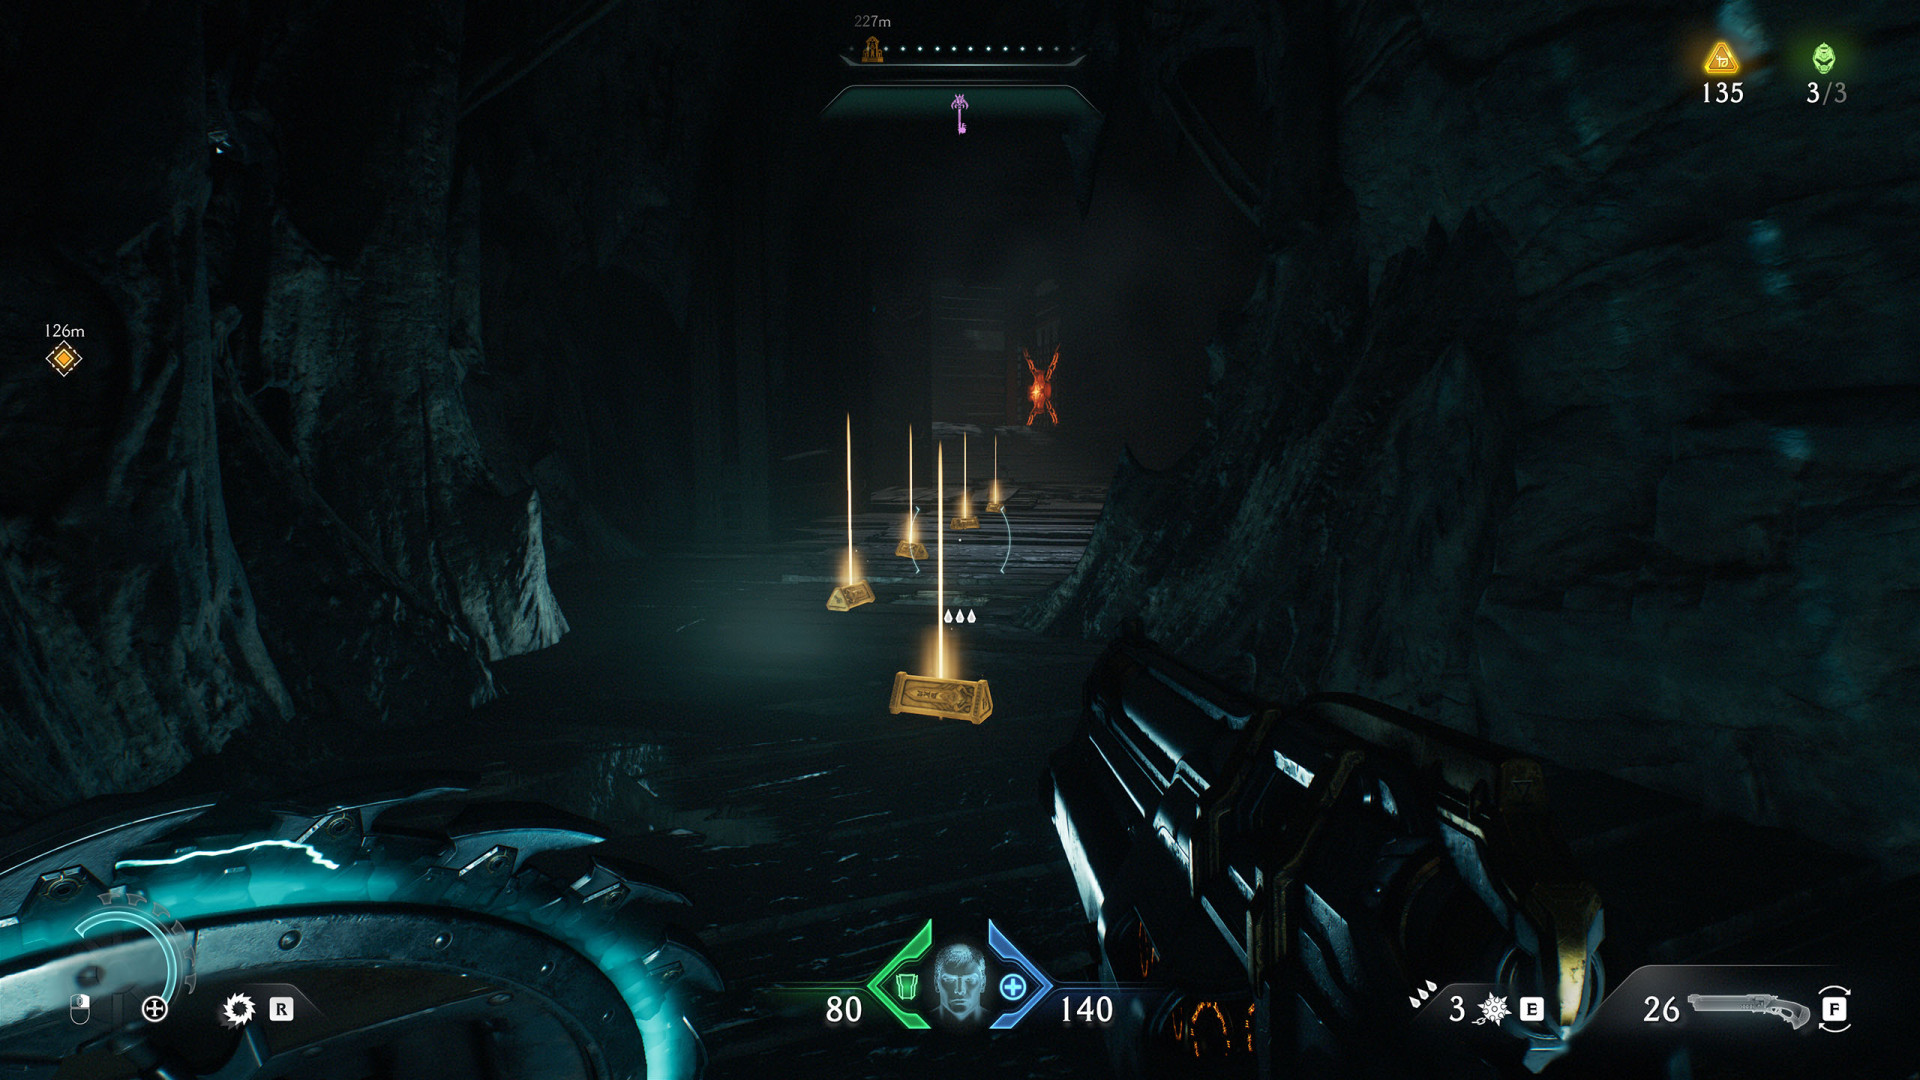
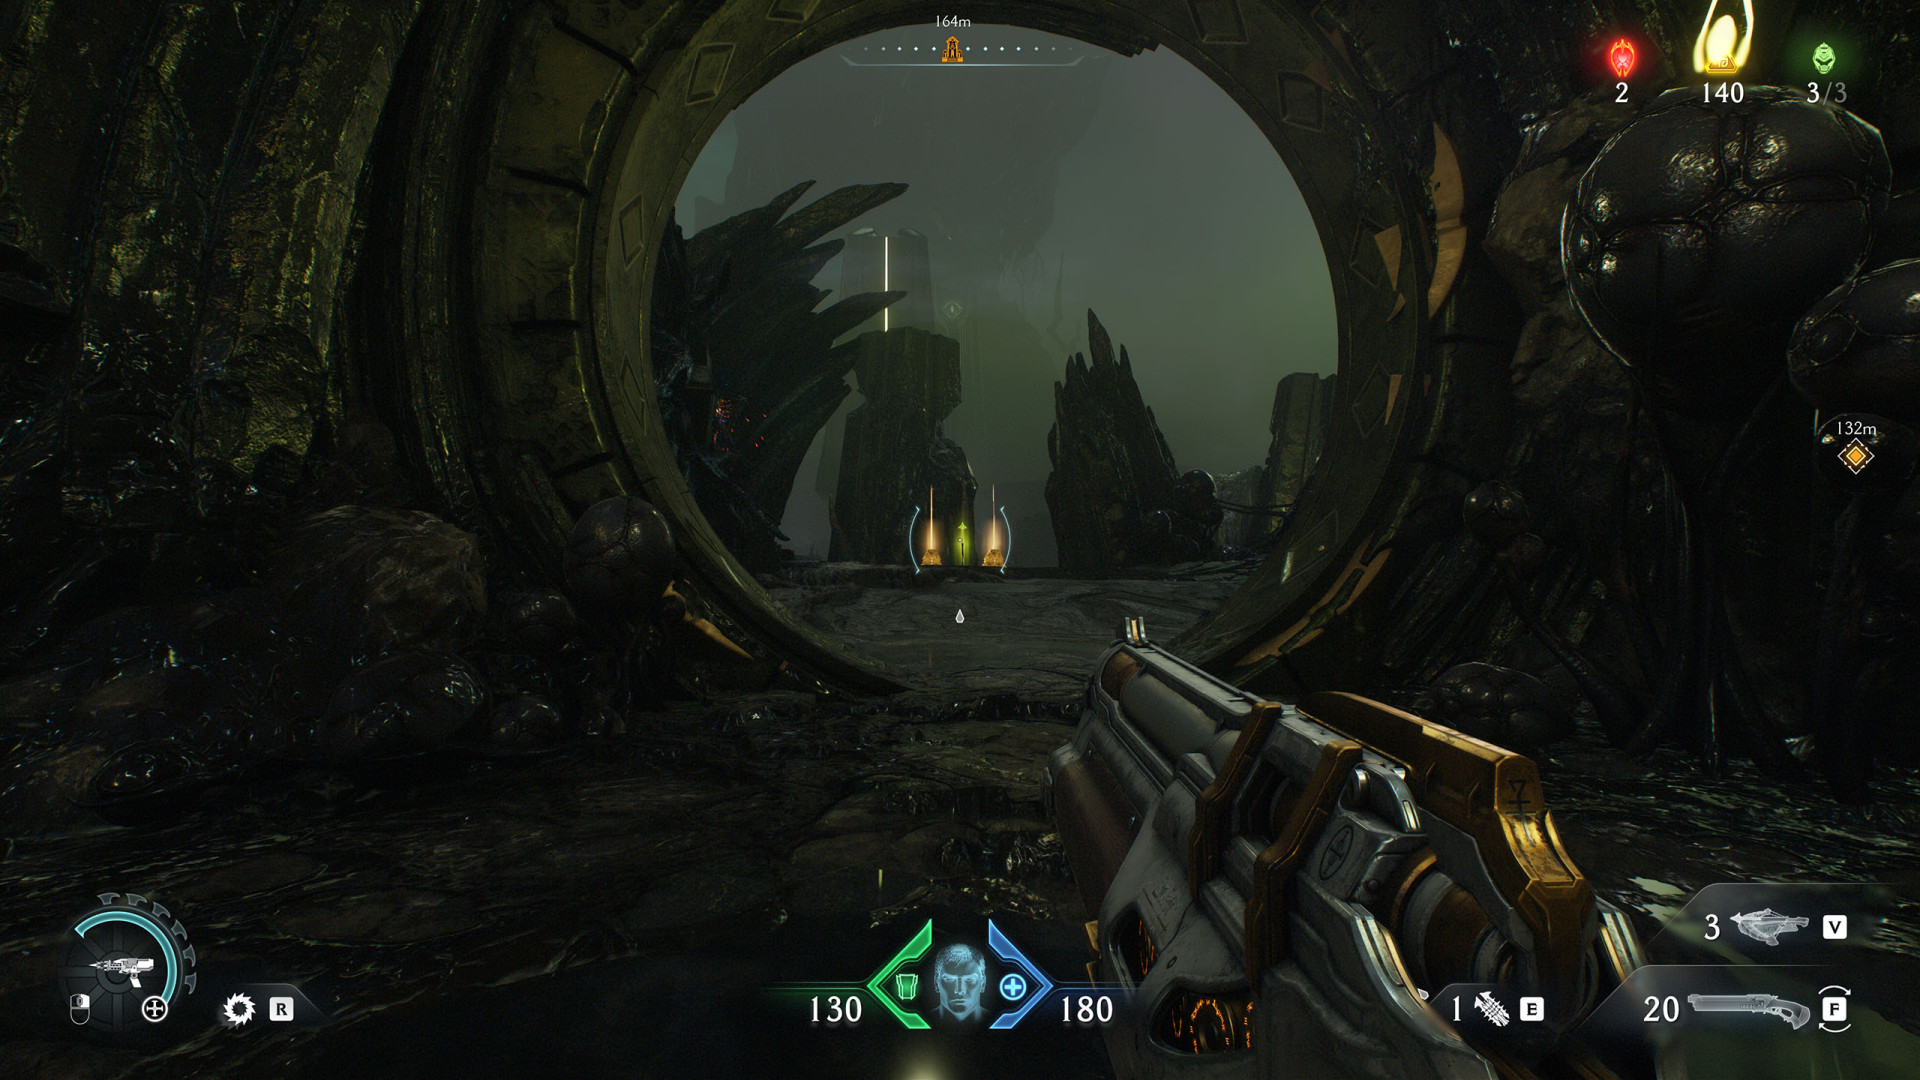
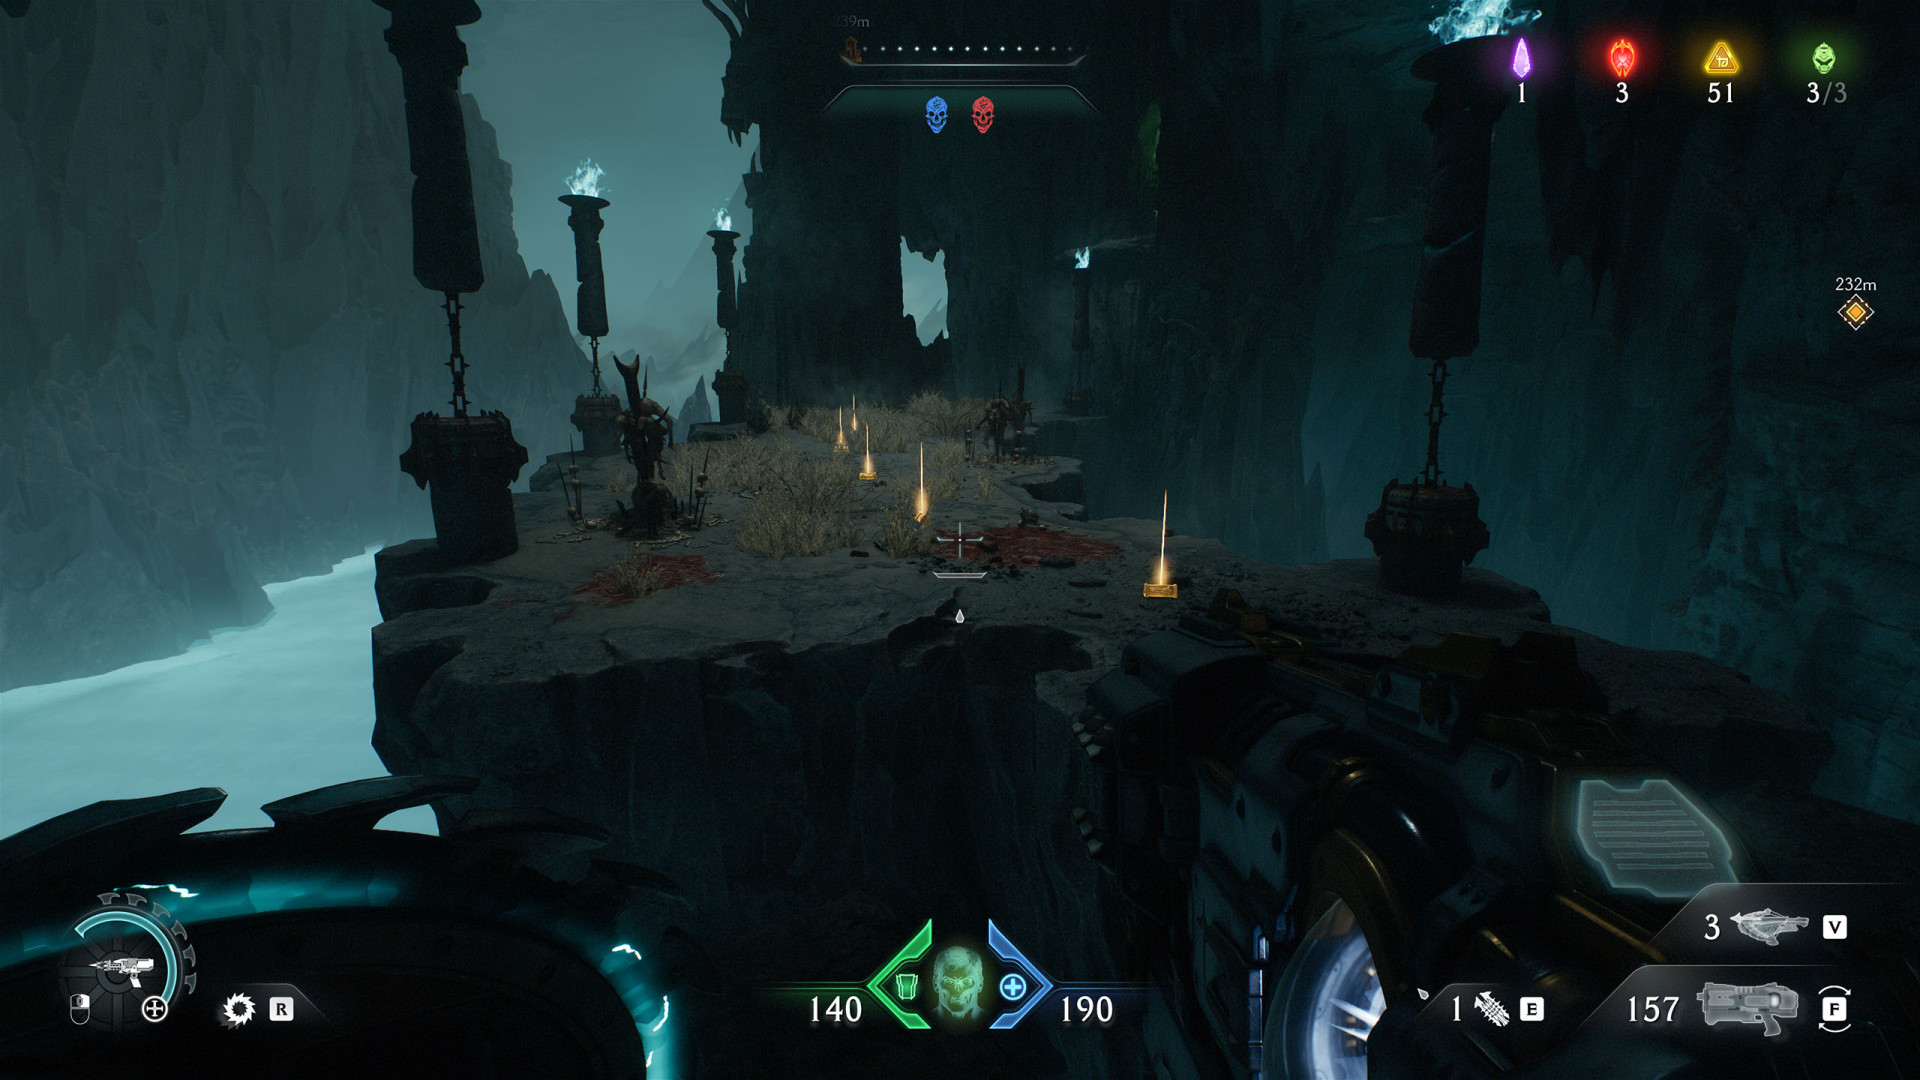
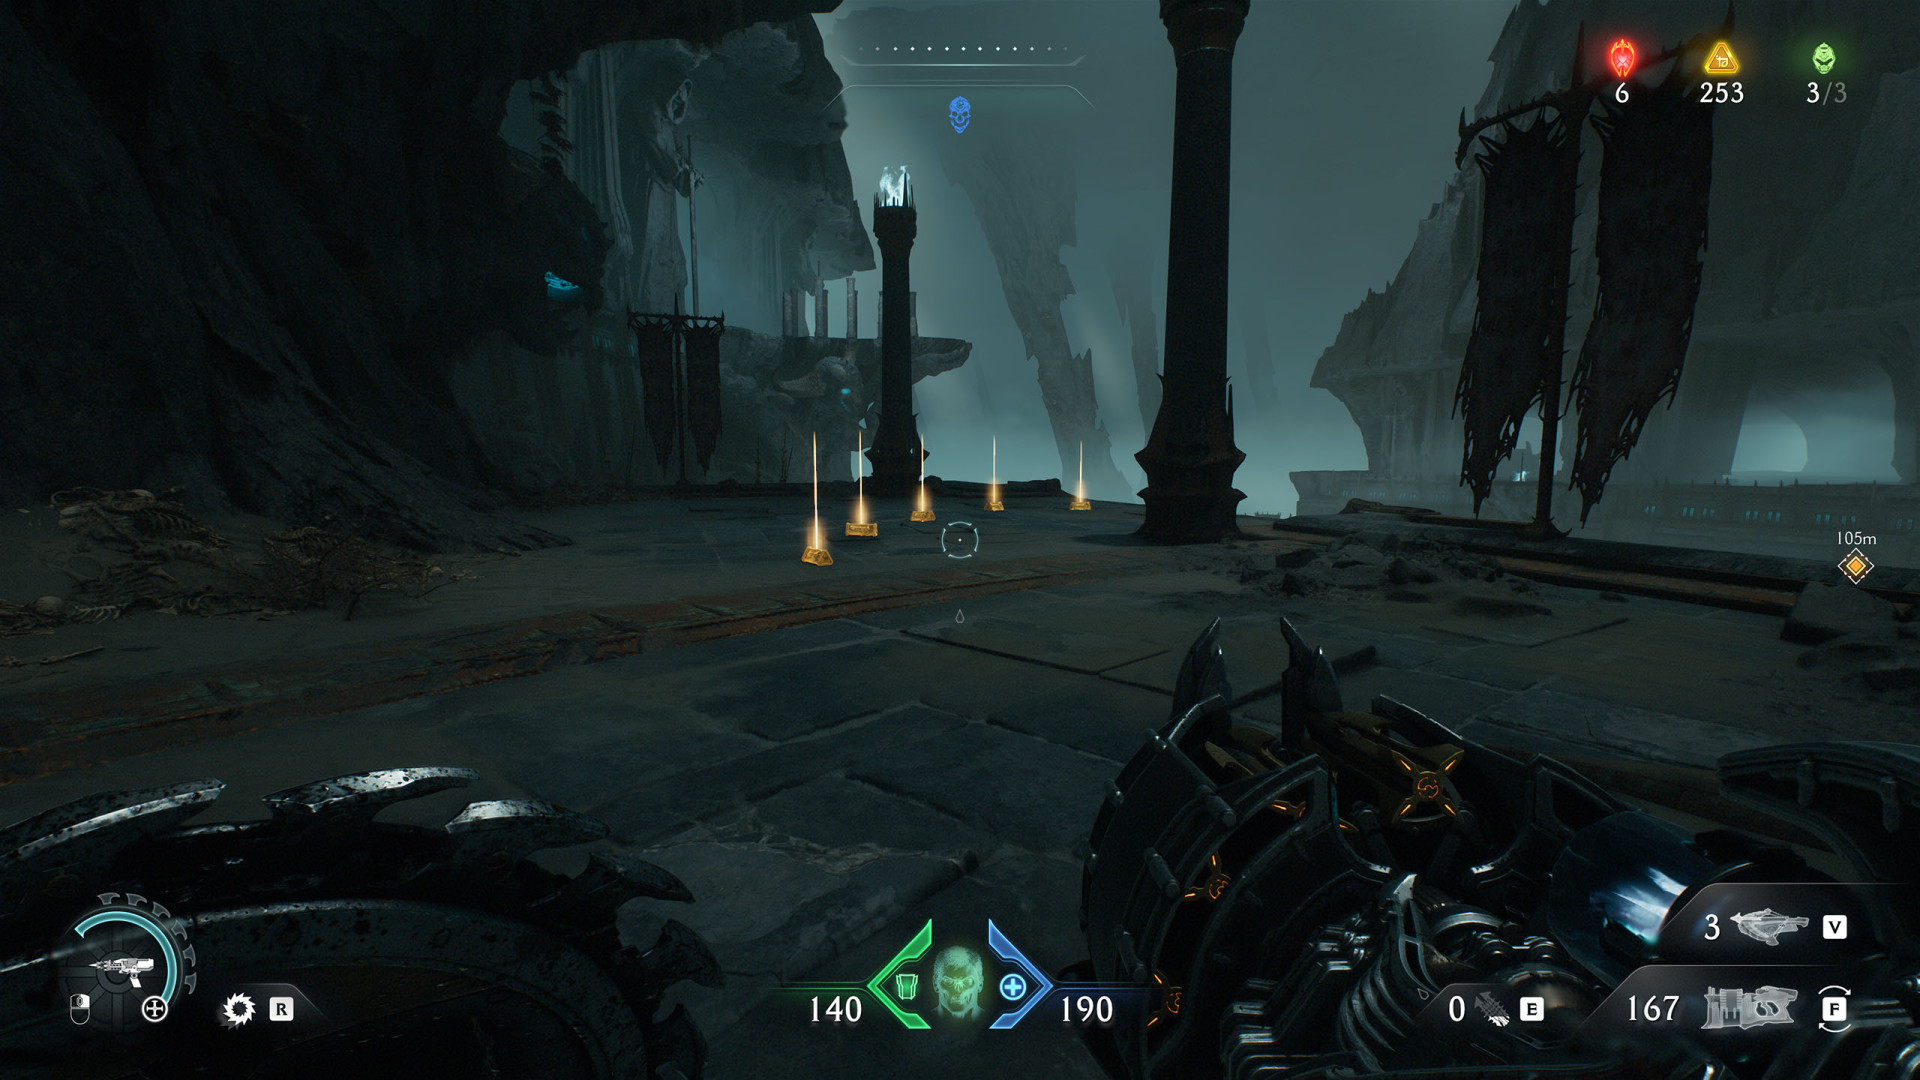
Gold Bars (9)▶ show the map ◀
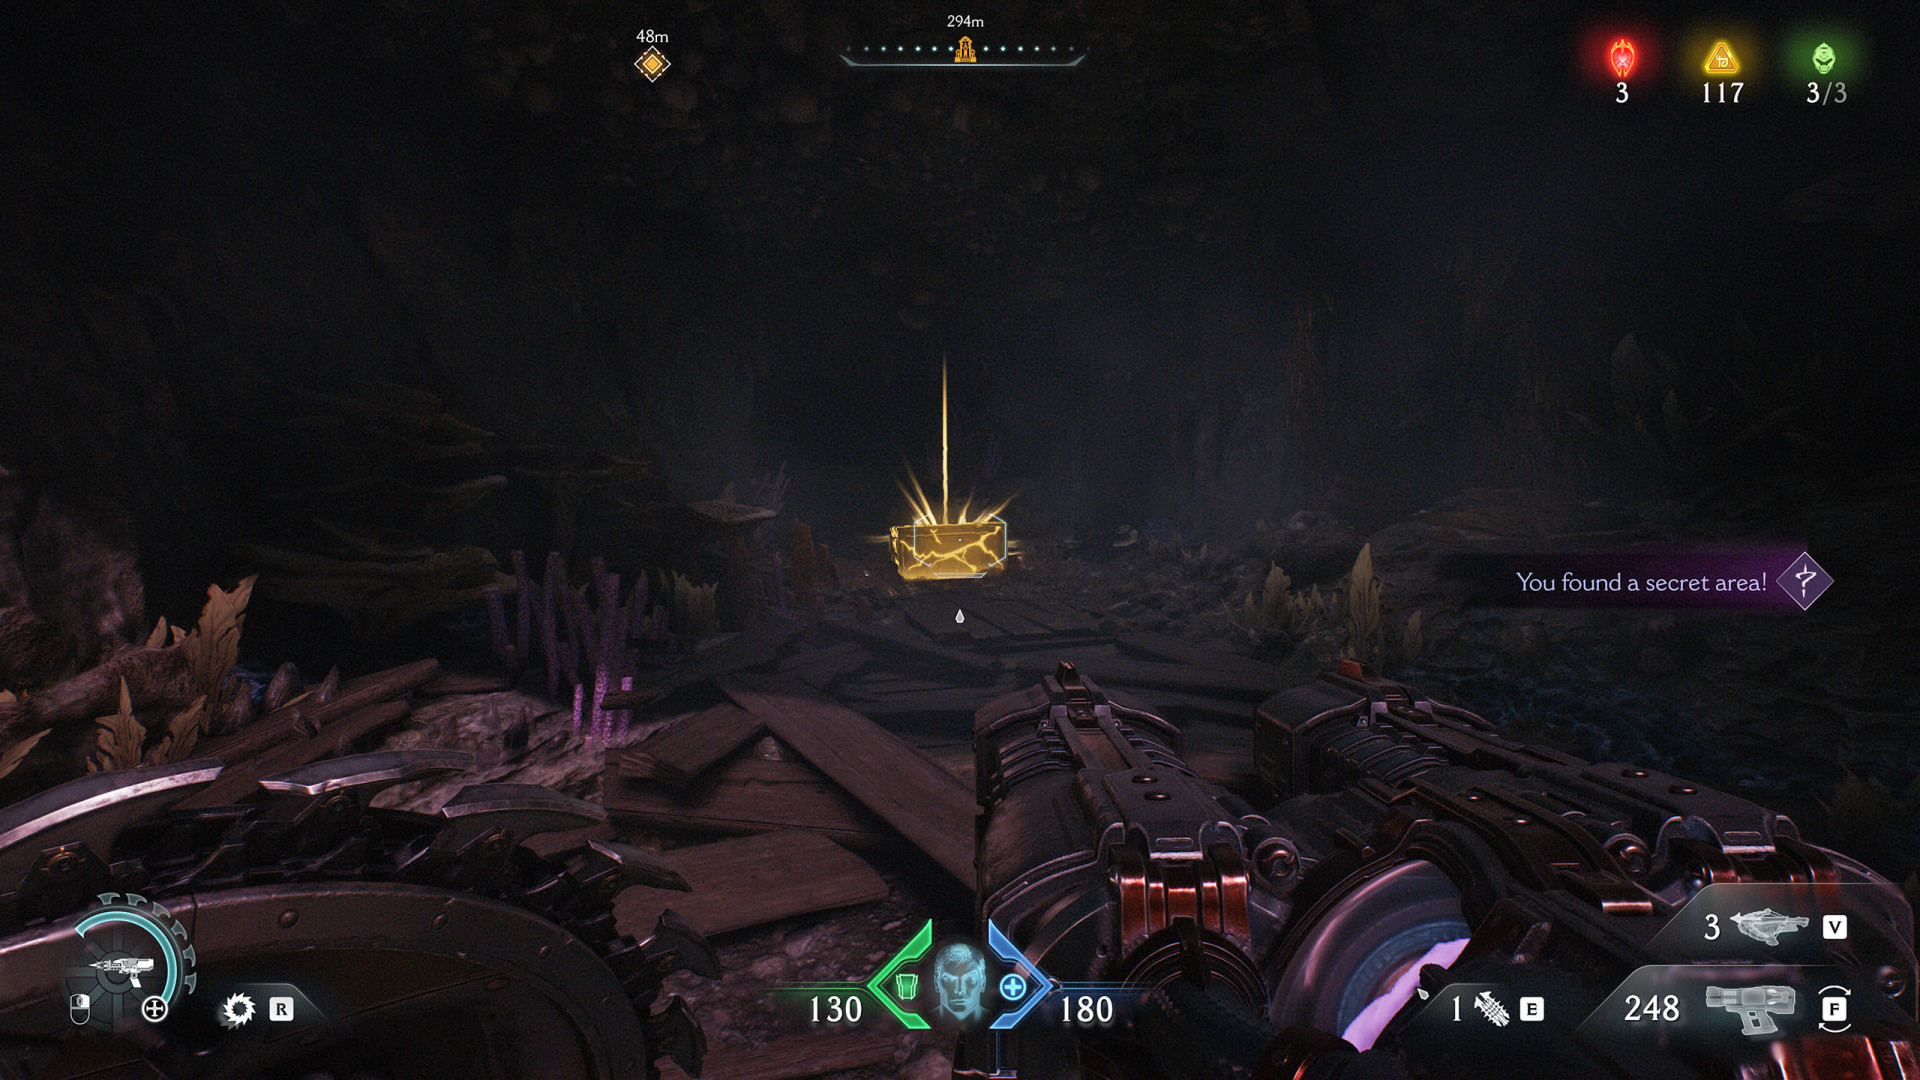
Gold Chest (50)▶ show the map ◀
Gold Chest (50)▶ show the map ◀
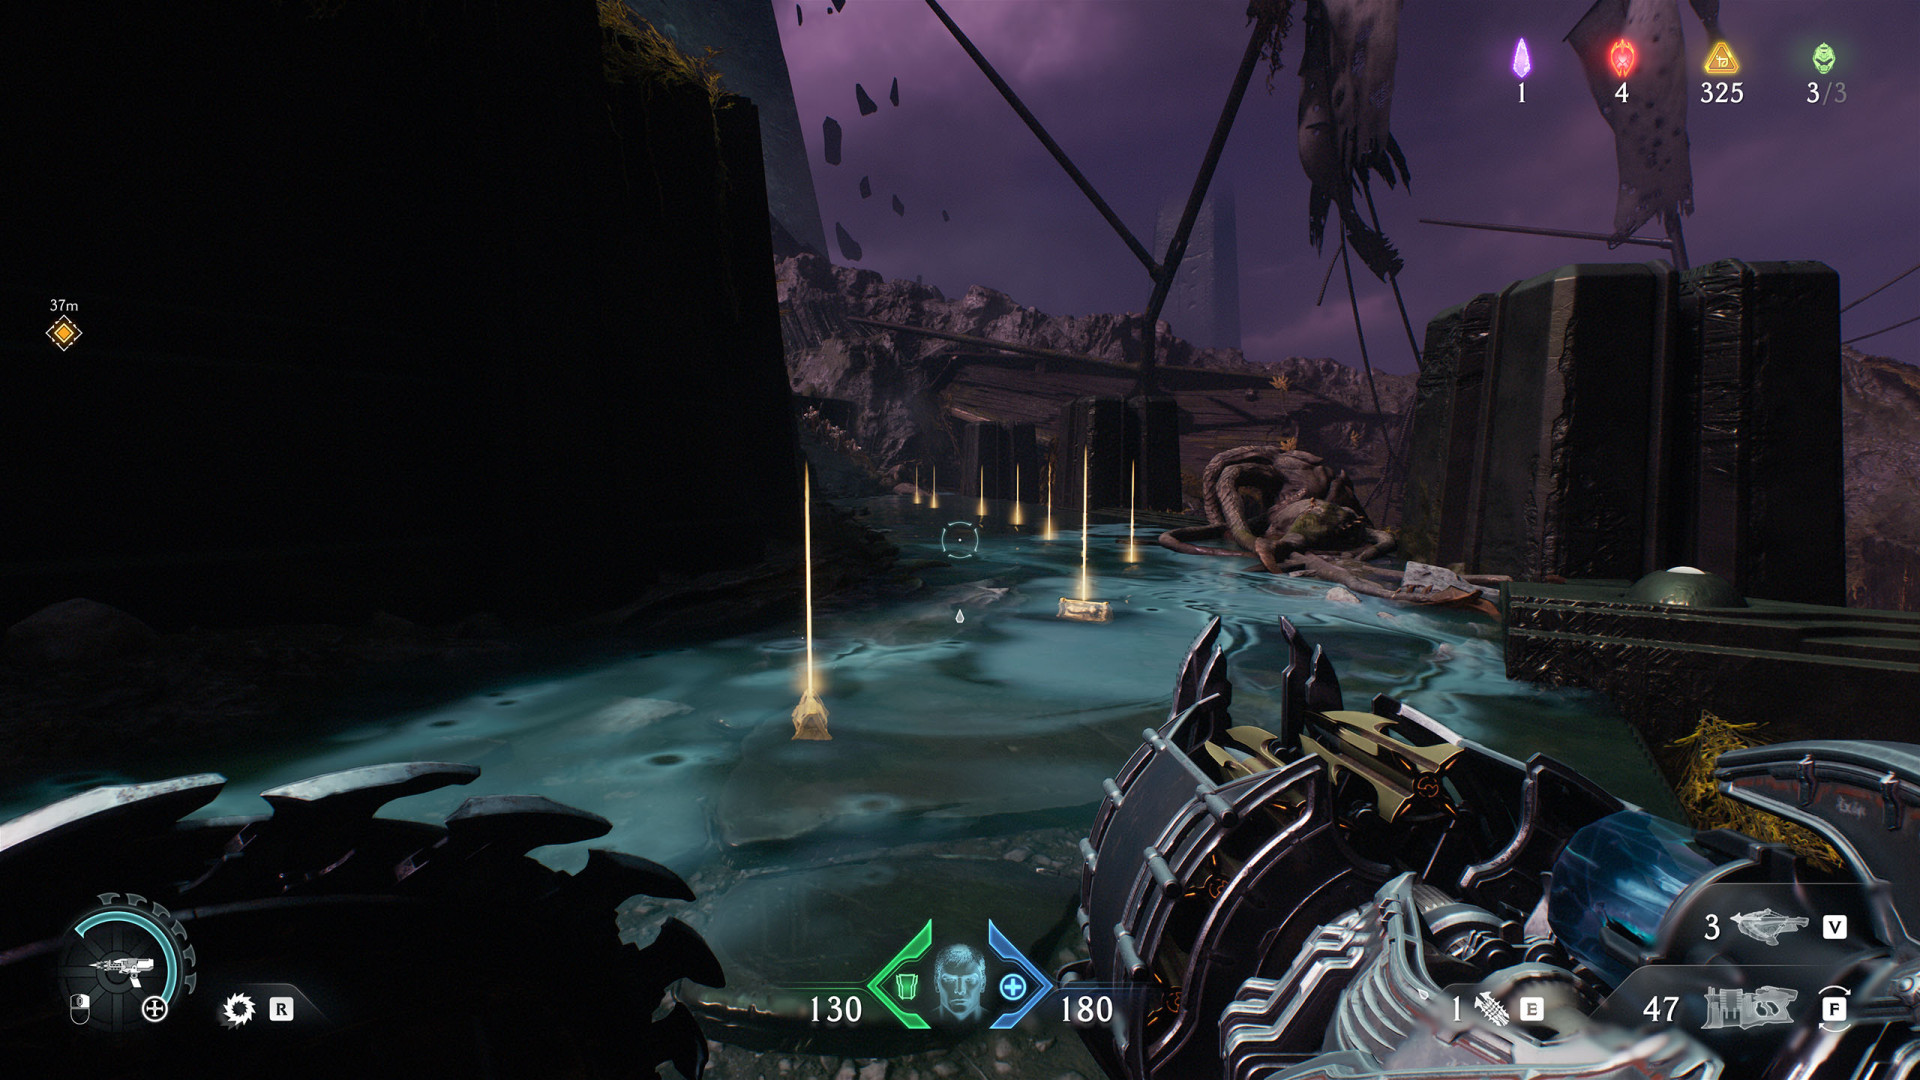
Gold Stack (8)▶ show the map ◀
Gold Stack (8)▶ show the map ◀
Gold Stack (8)▶ show the map ◀
Gold Stack (8)▶ show the map ◀
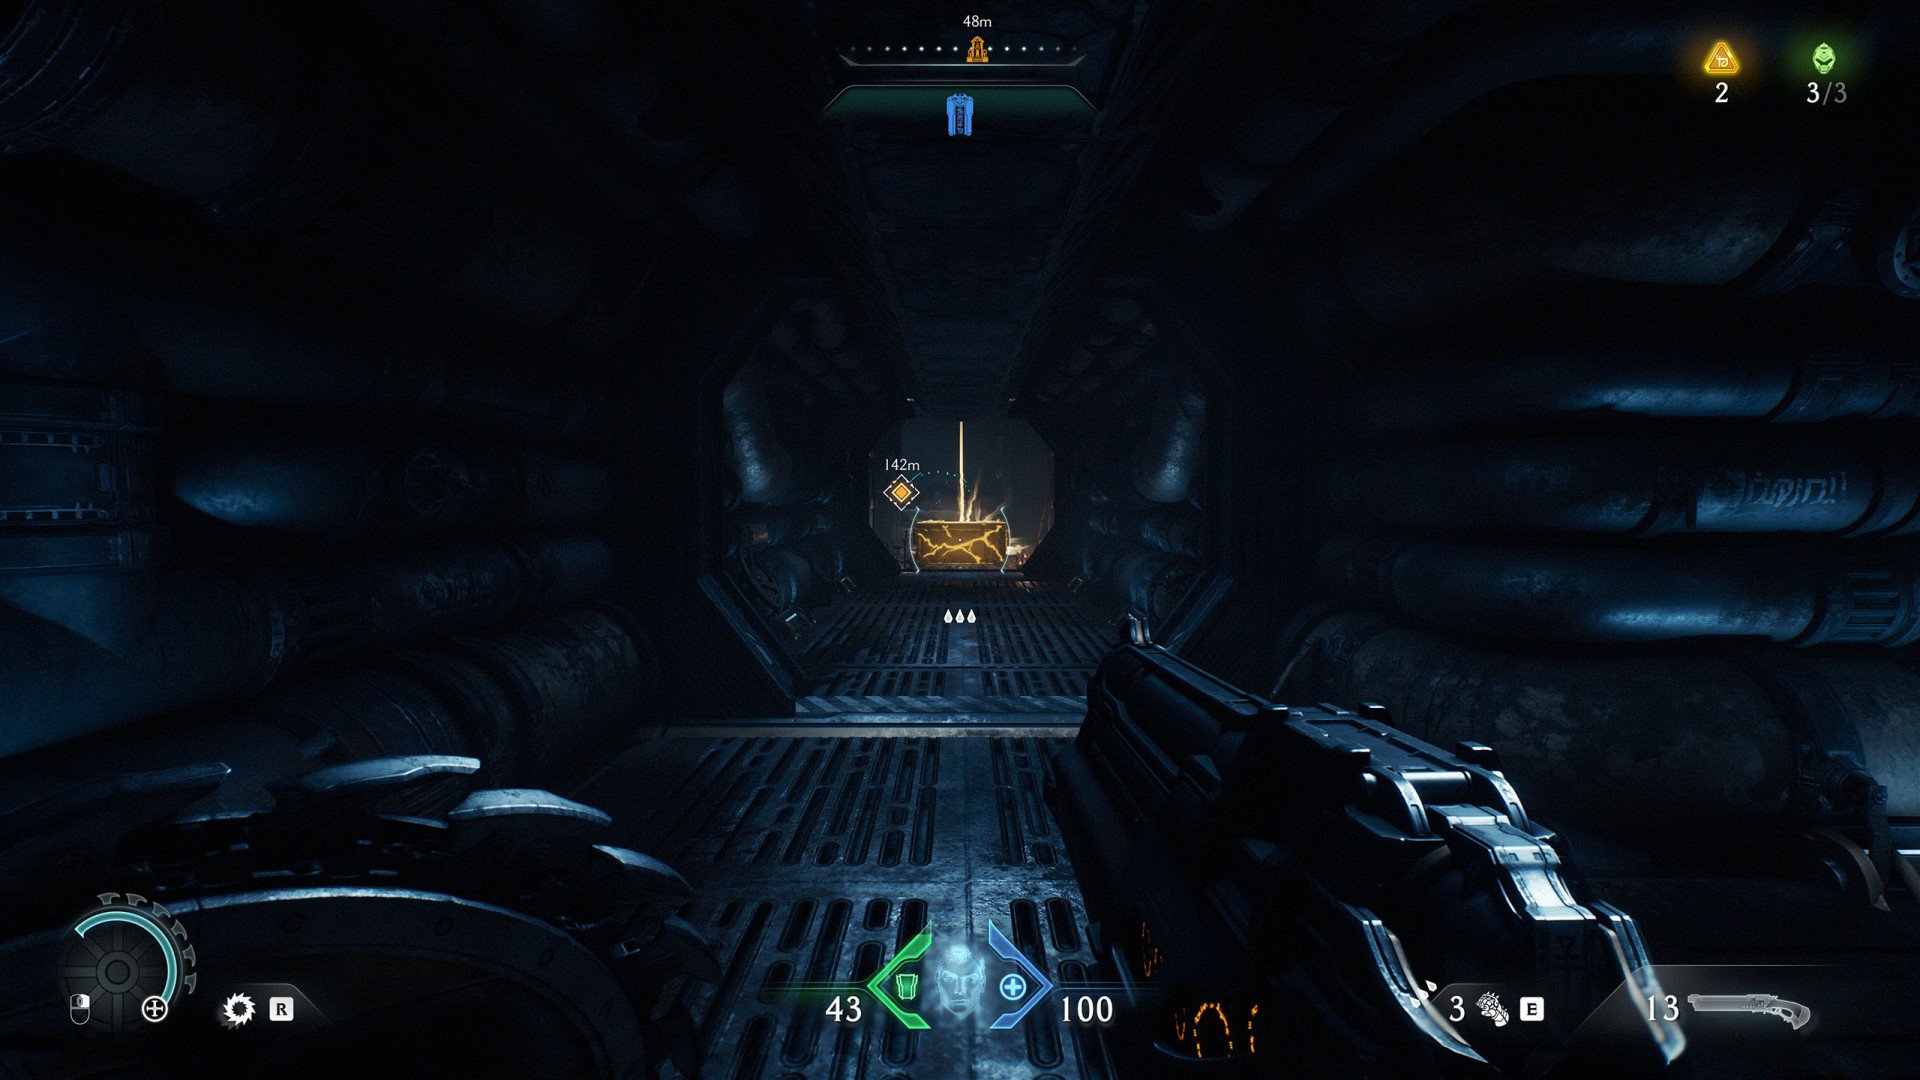
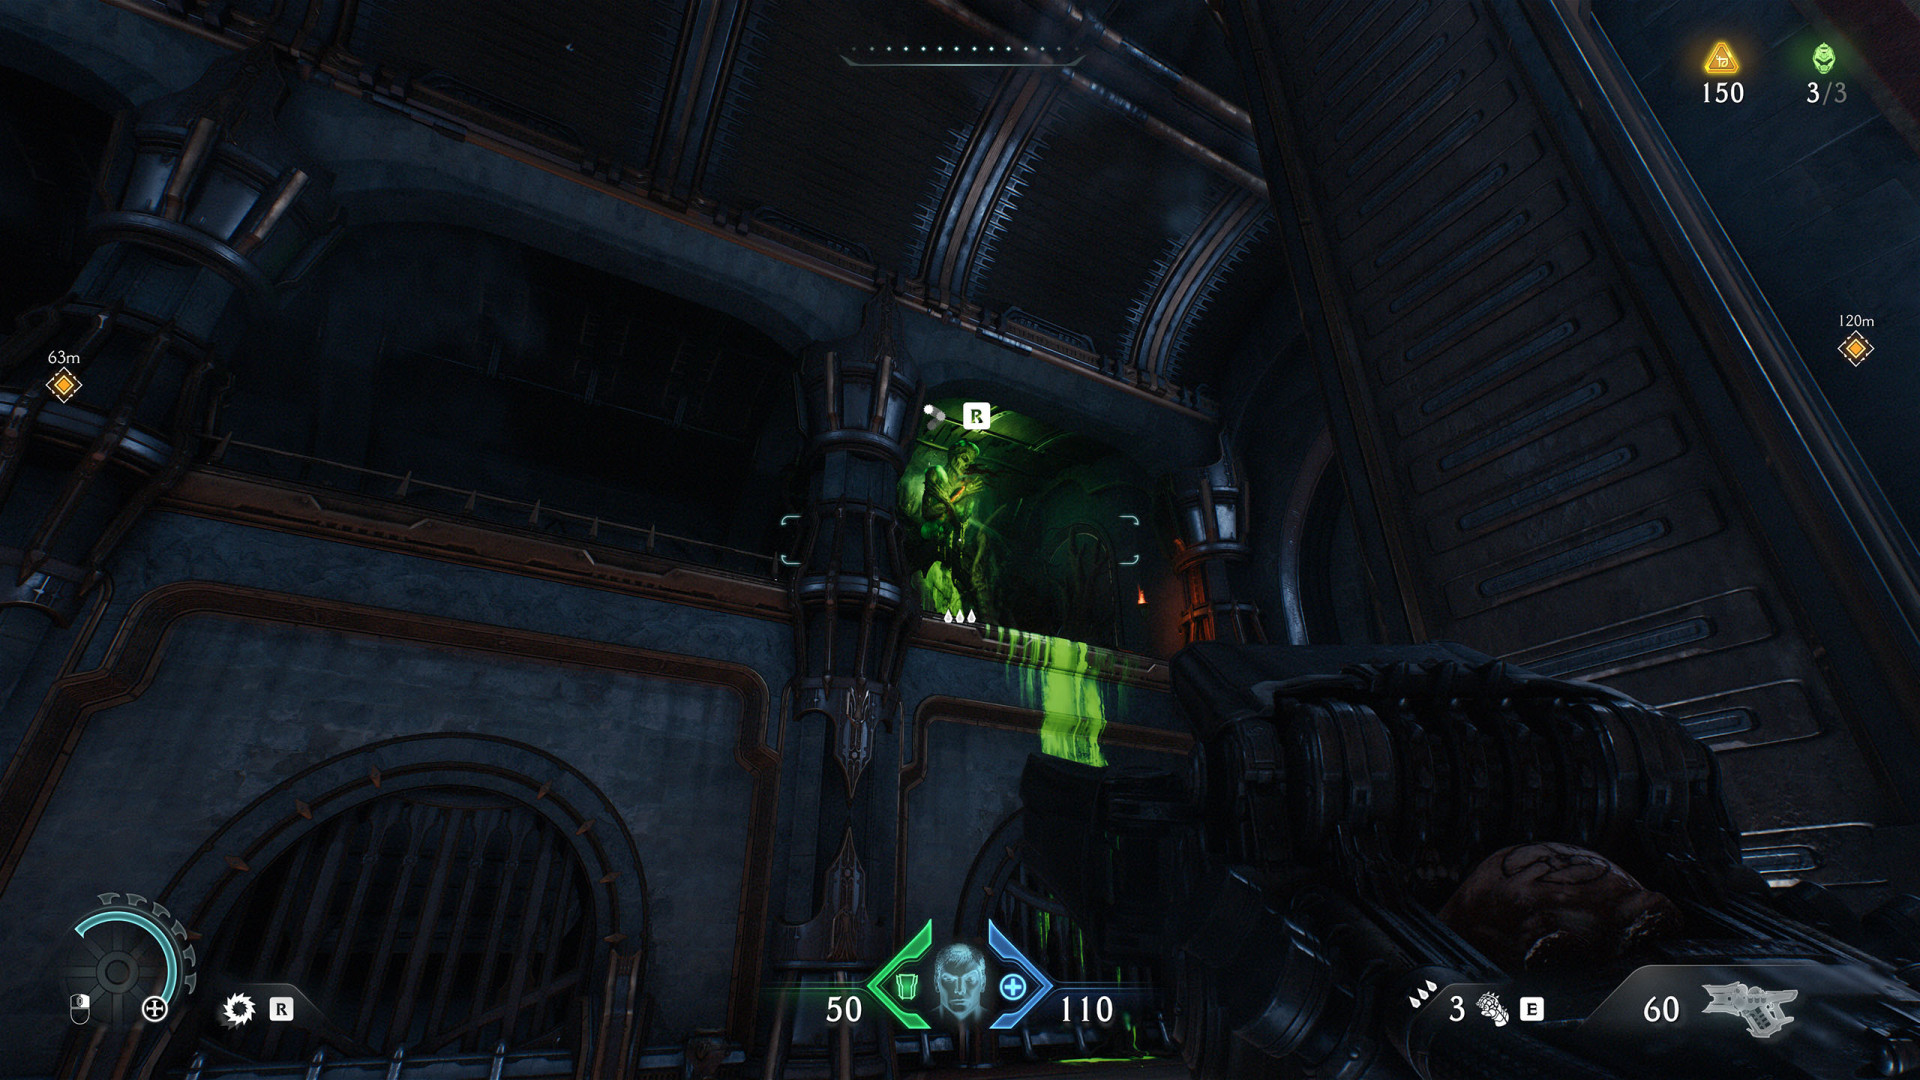
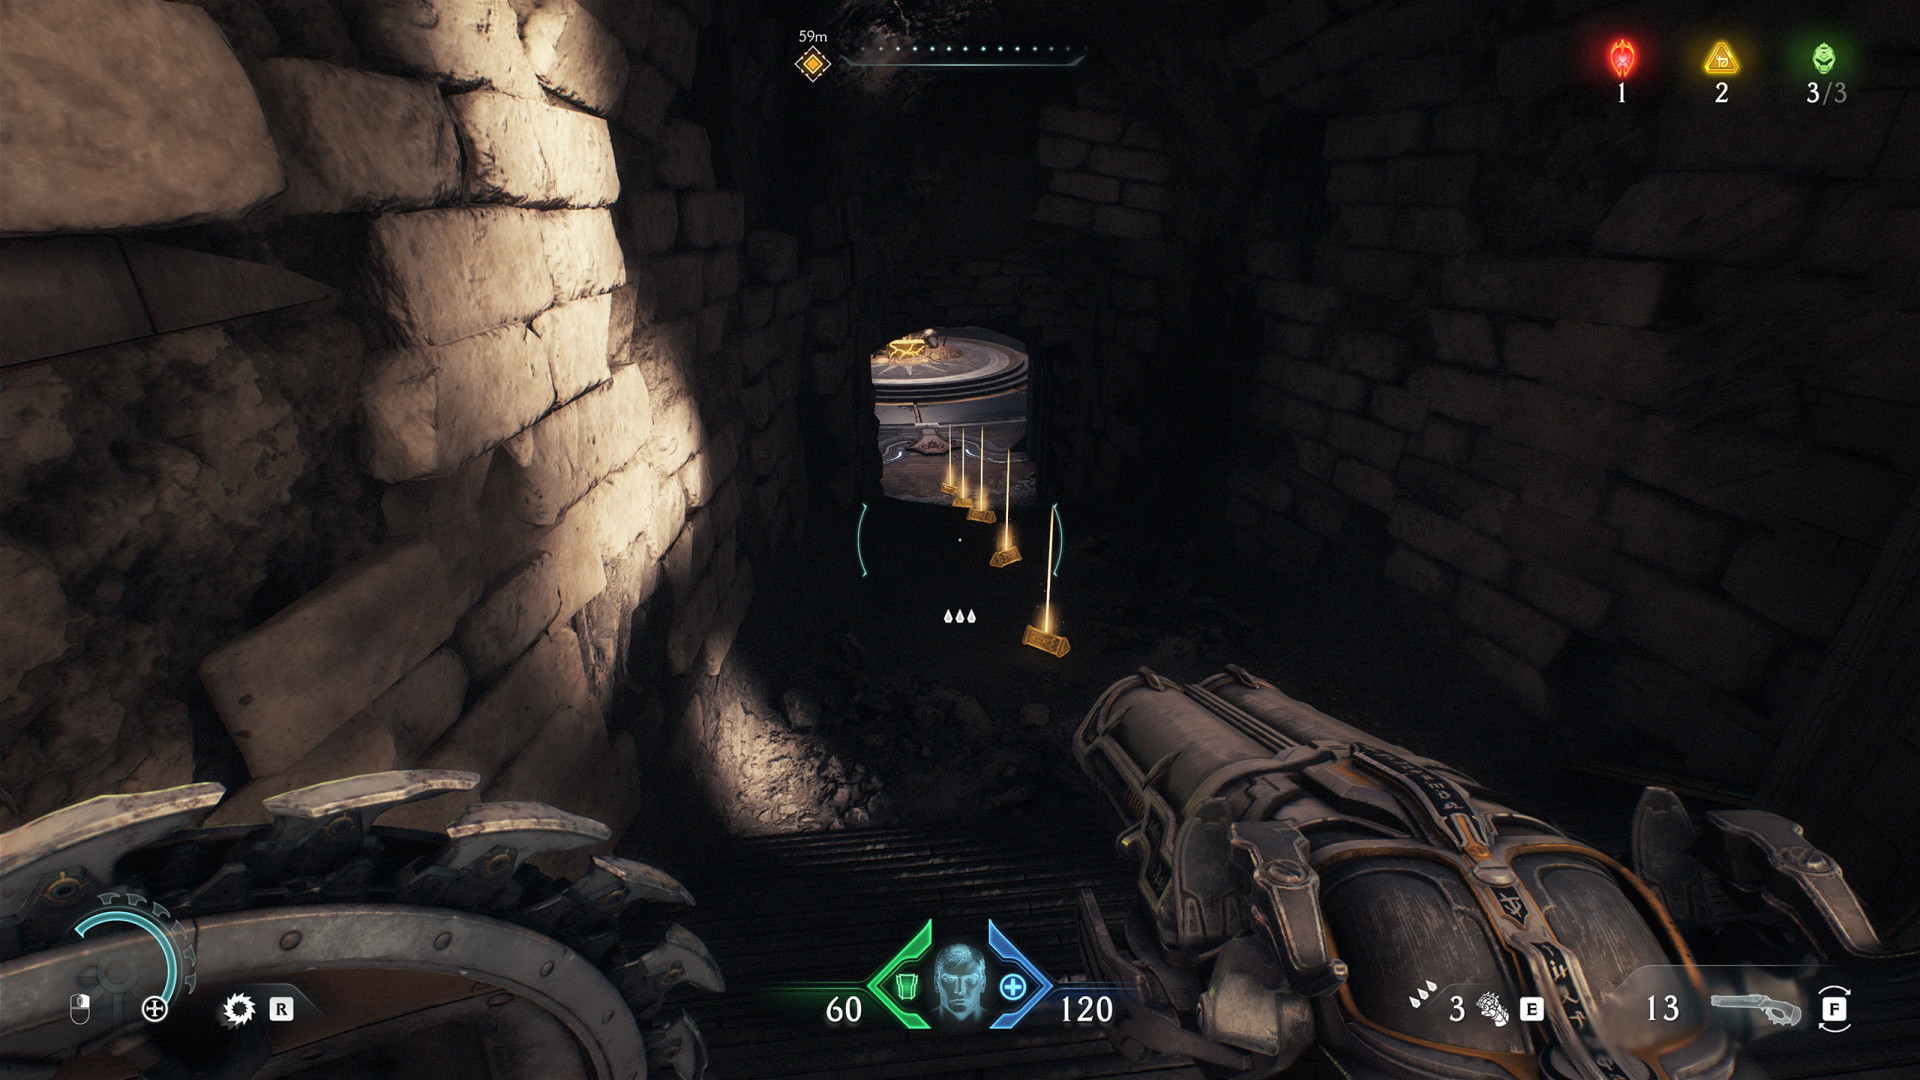
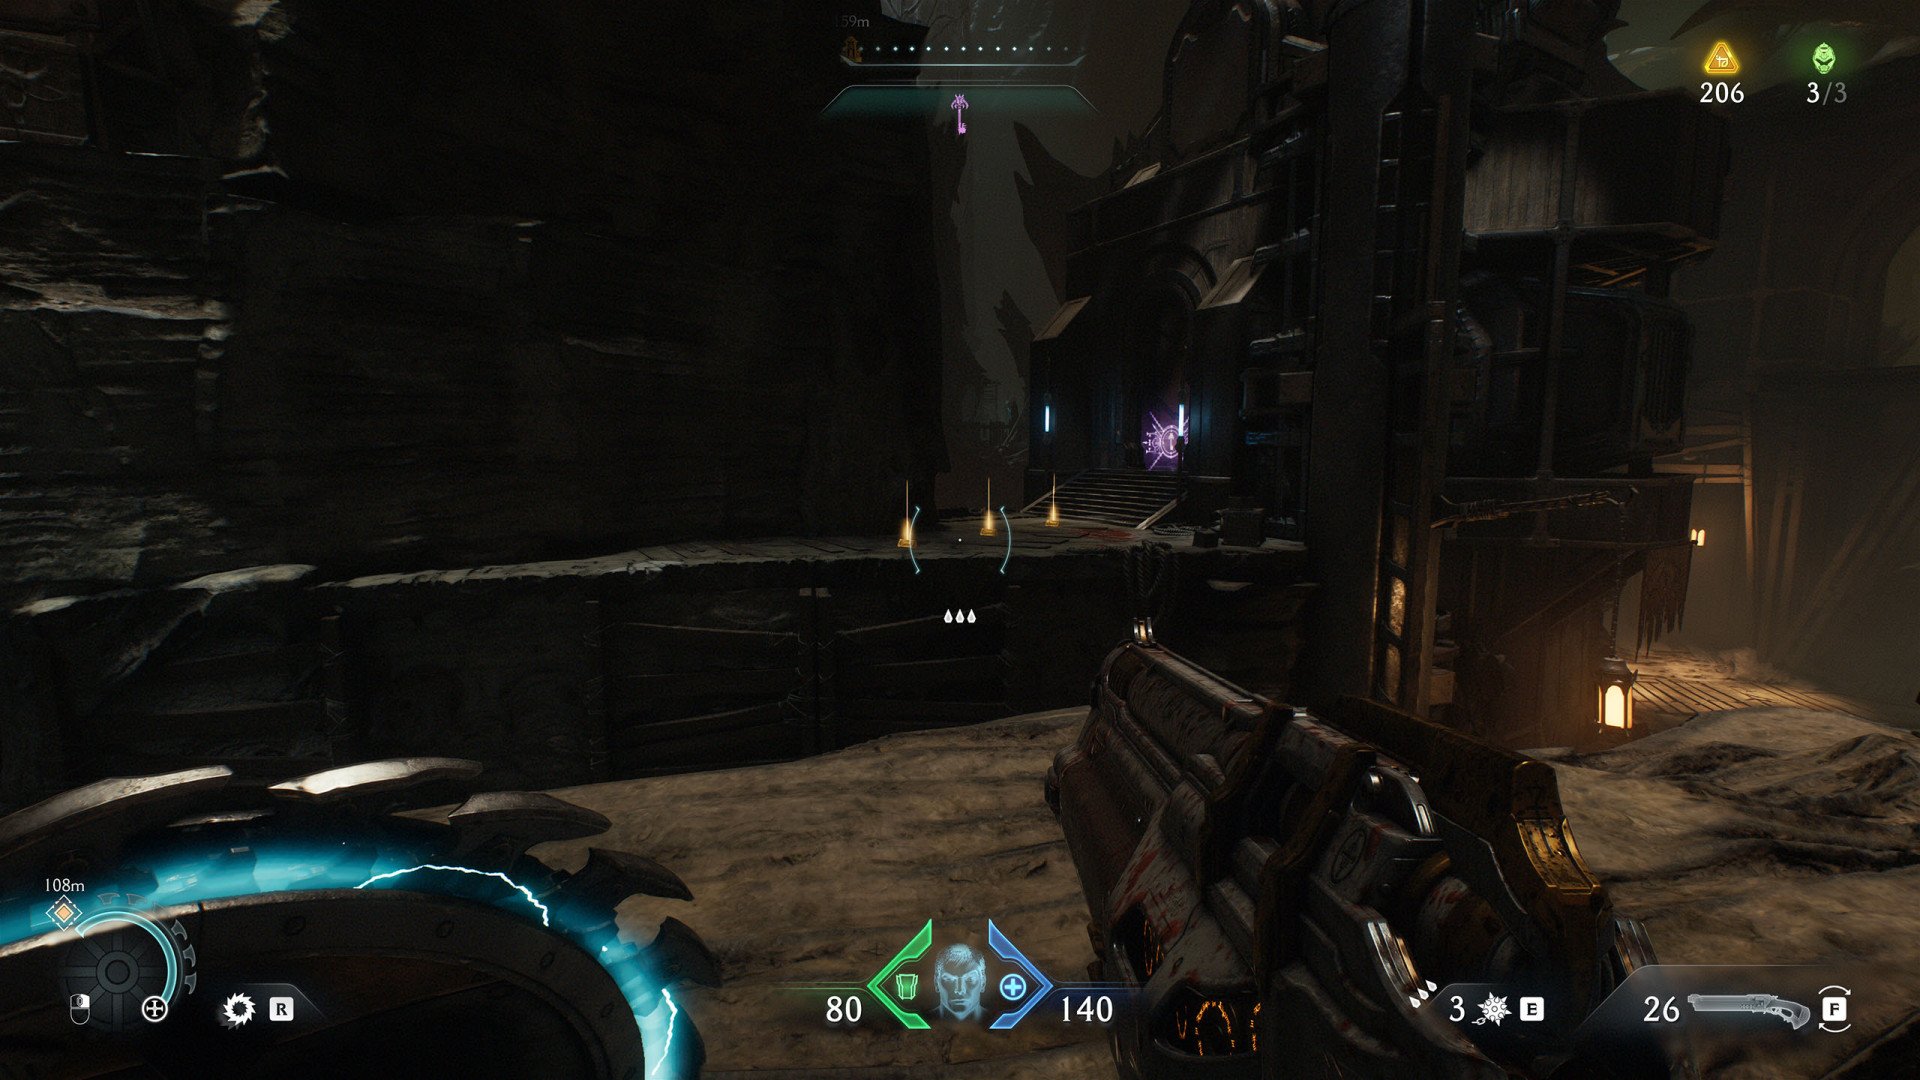
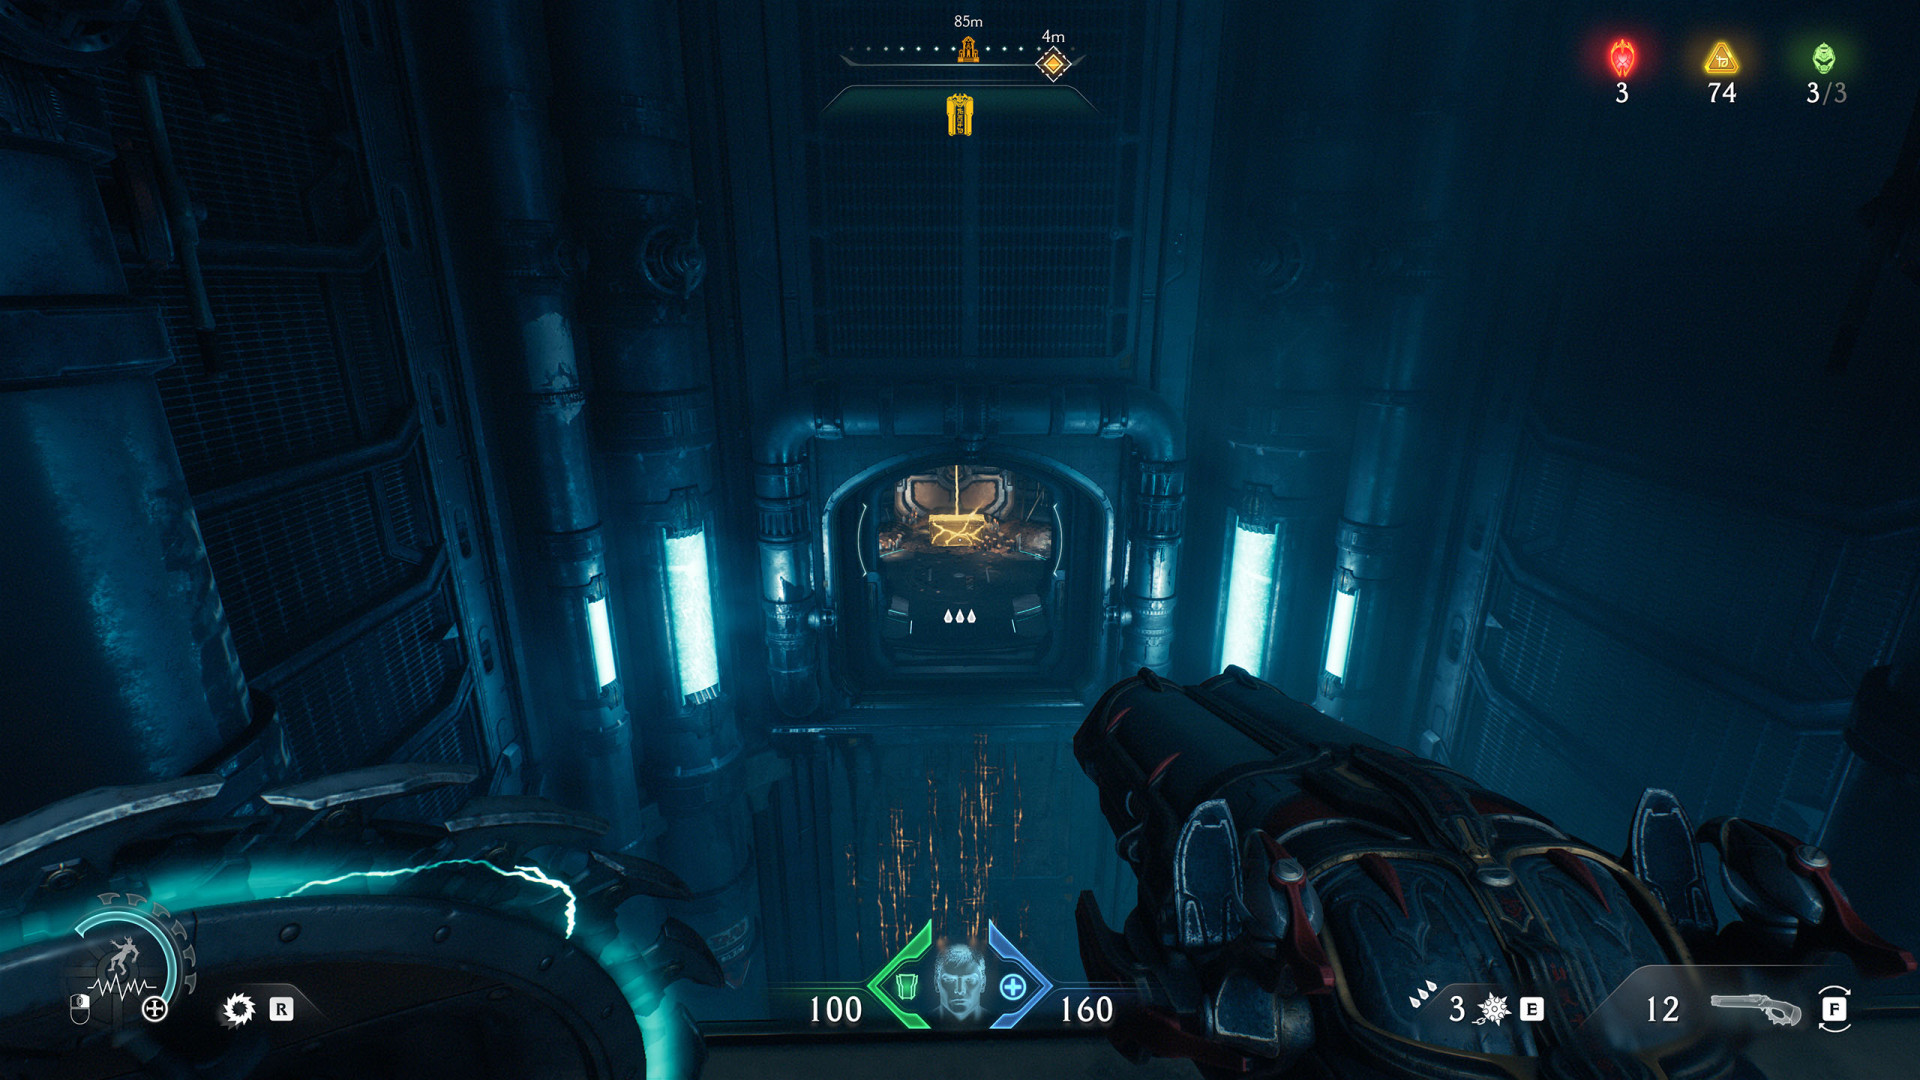
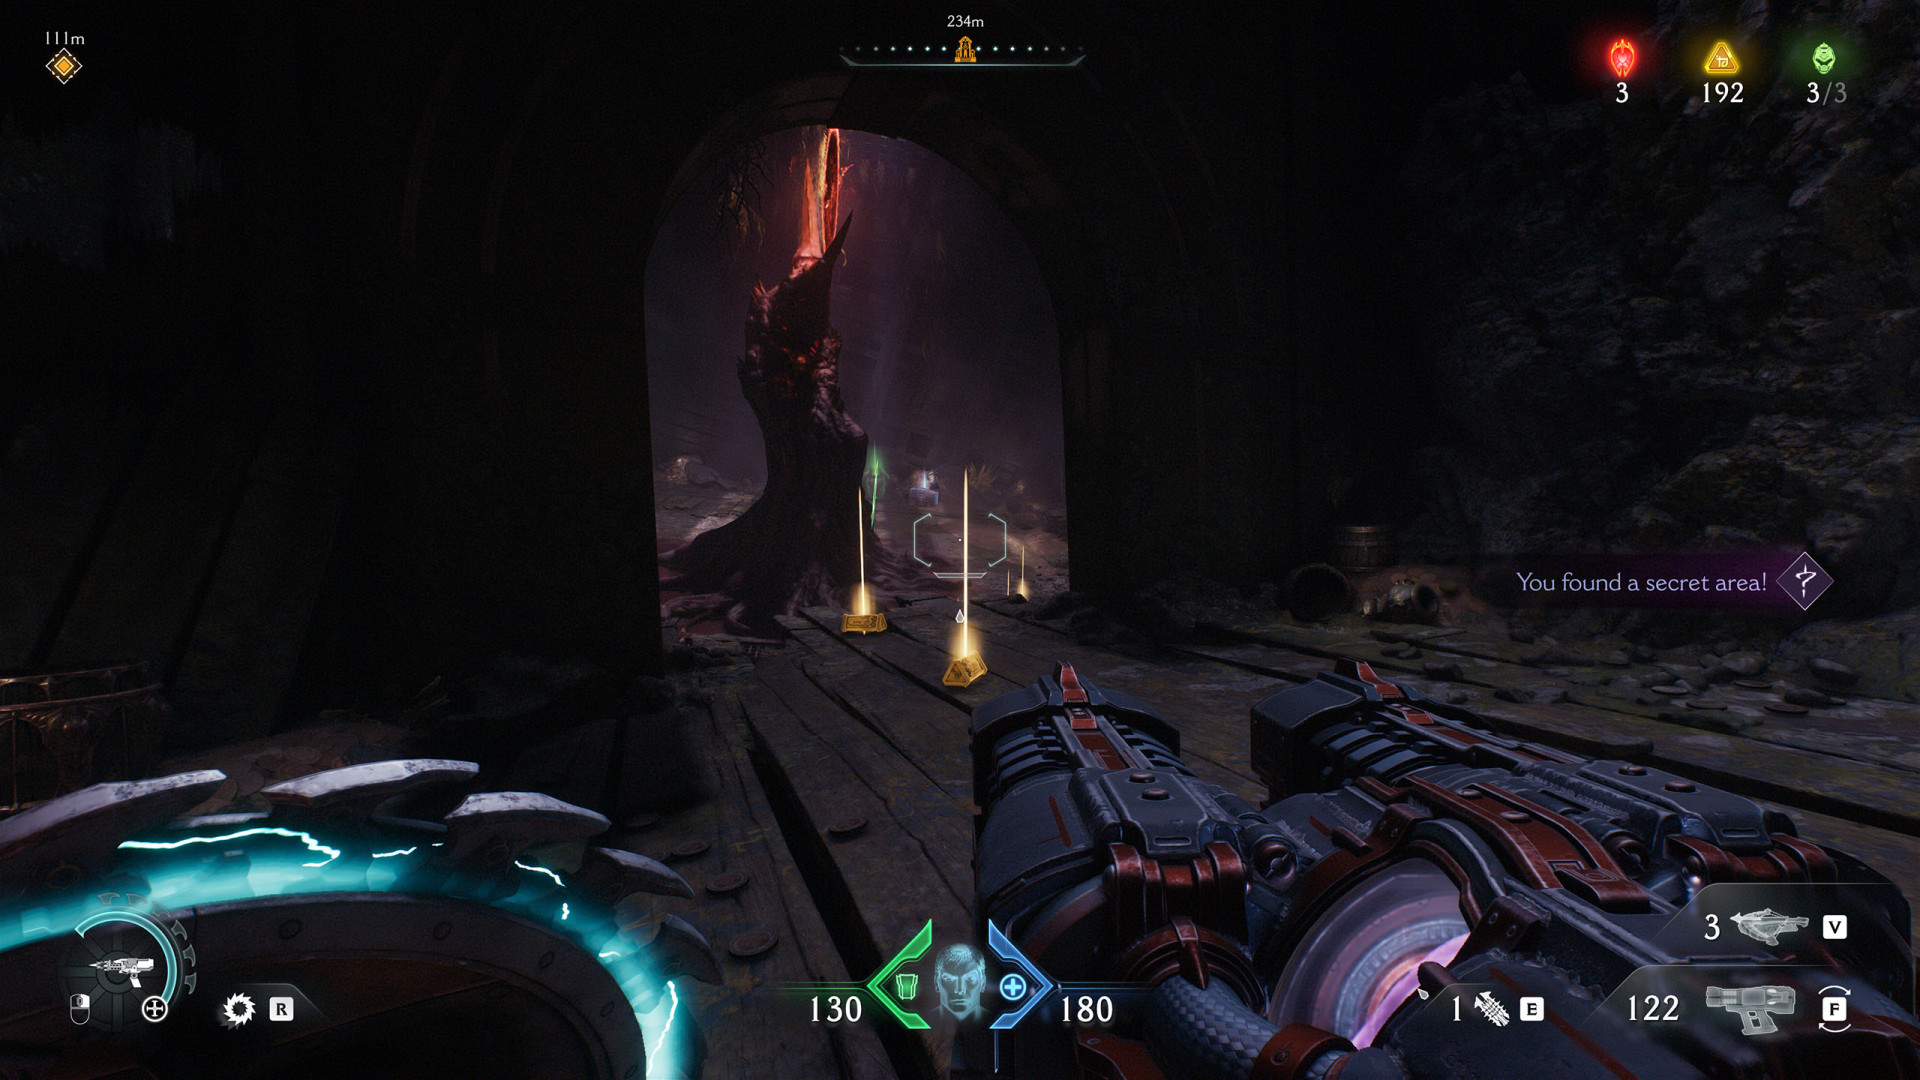
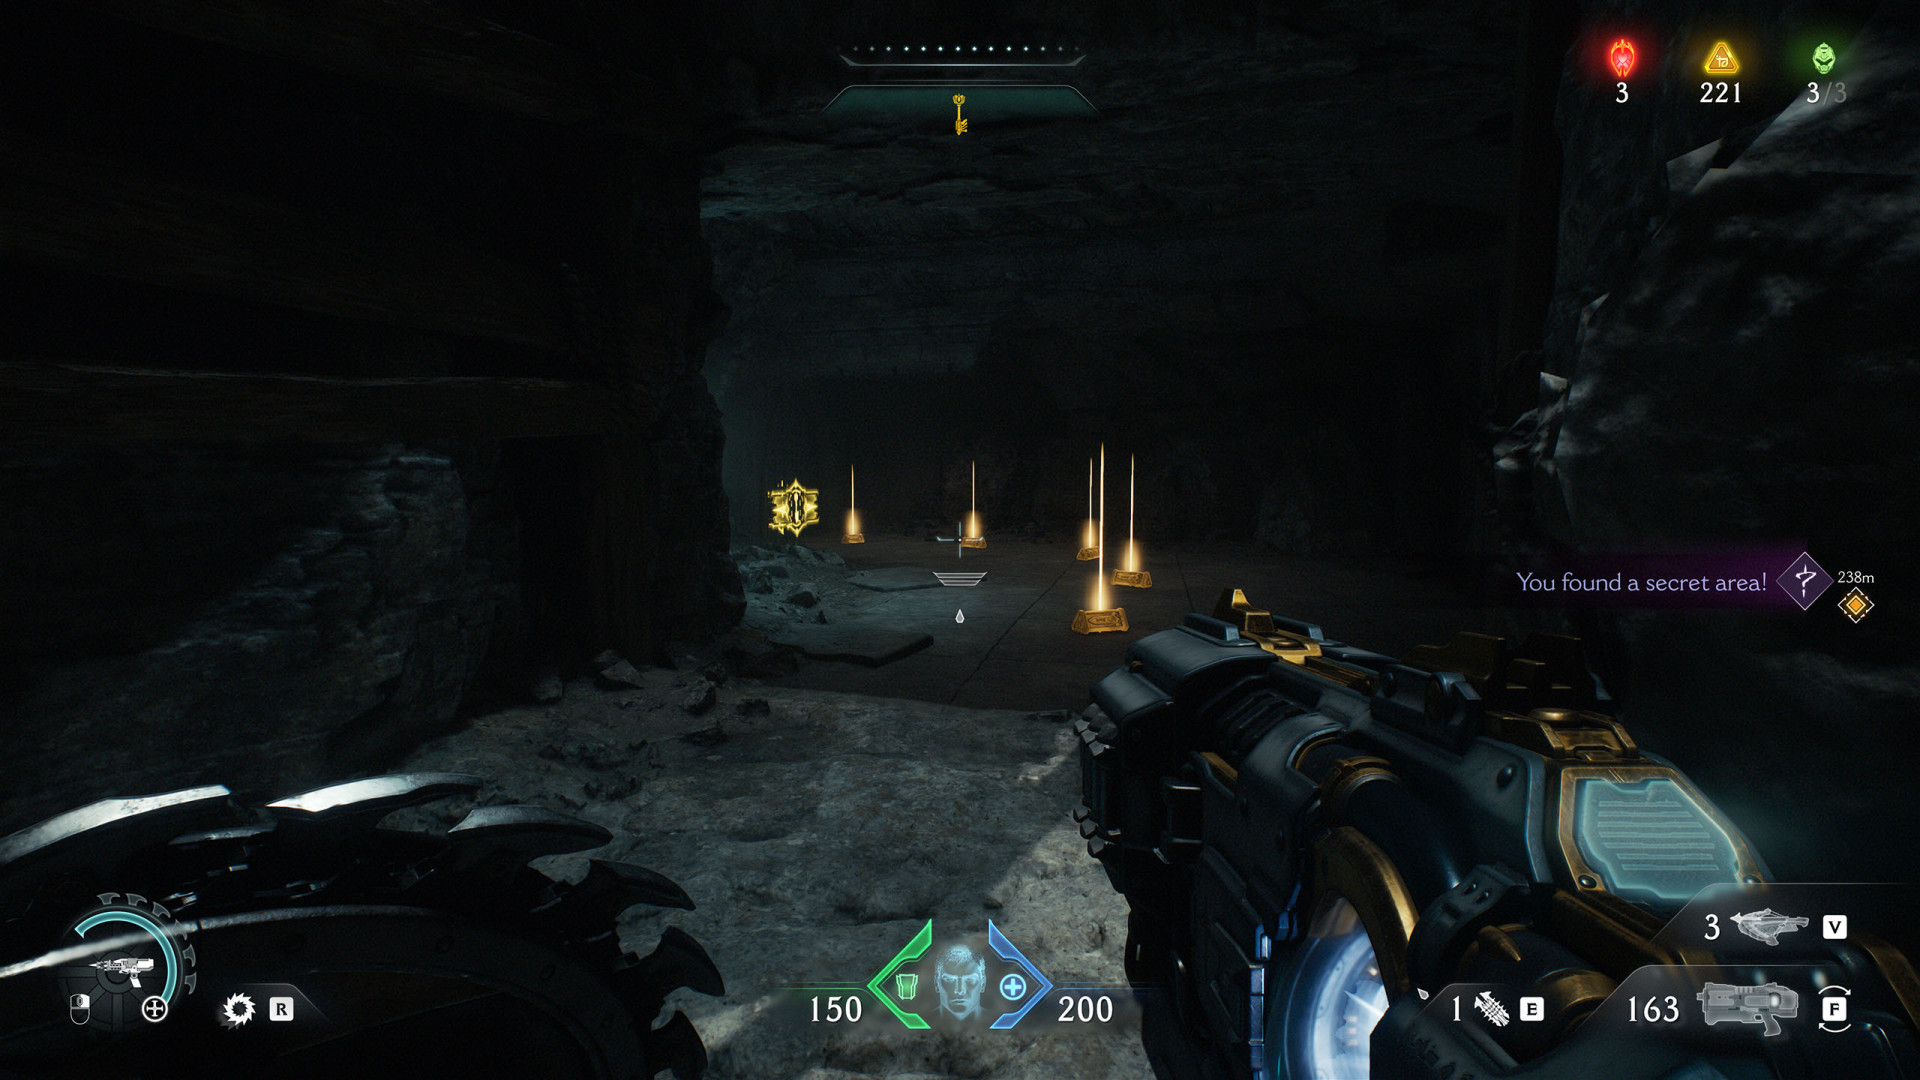
On the upper level inside the ventilation shaft. Deflect the cannon shot to destroy it and reveal the gold stack.
Gold Stacks (16)▶ show the map ◀
Gold Stacks (16)▶ show the map ◀
All known locations on the map Sentinel Barracks
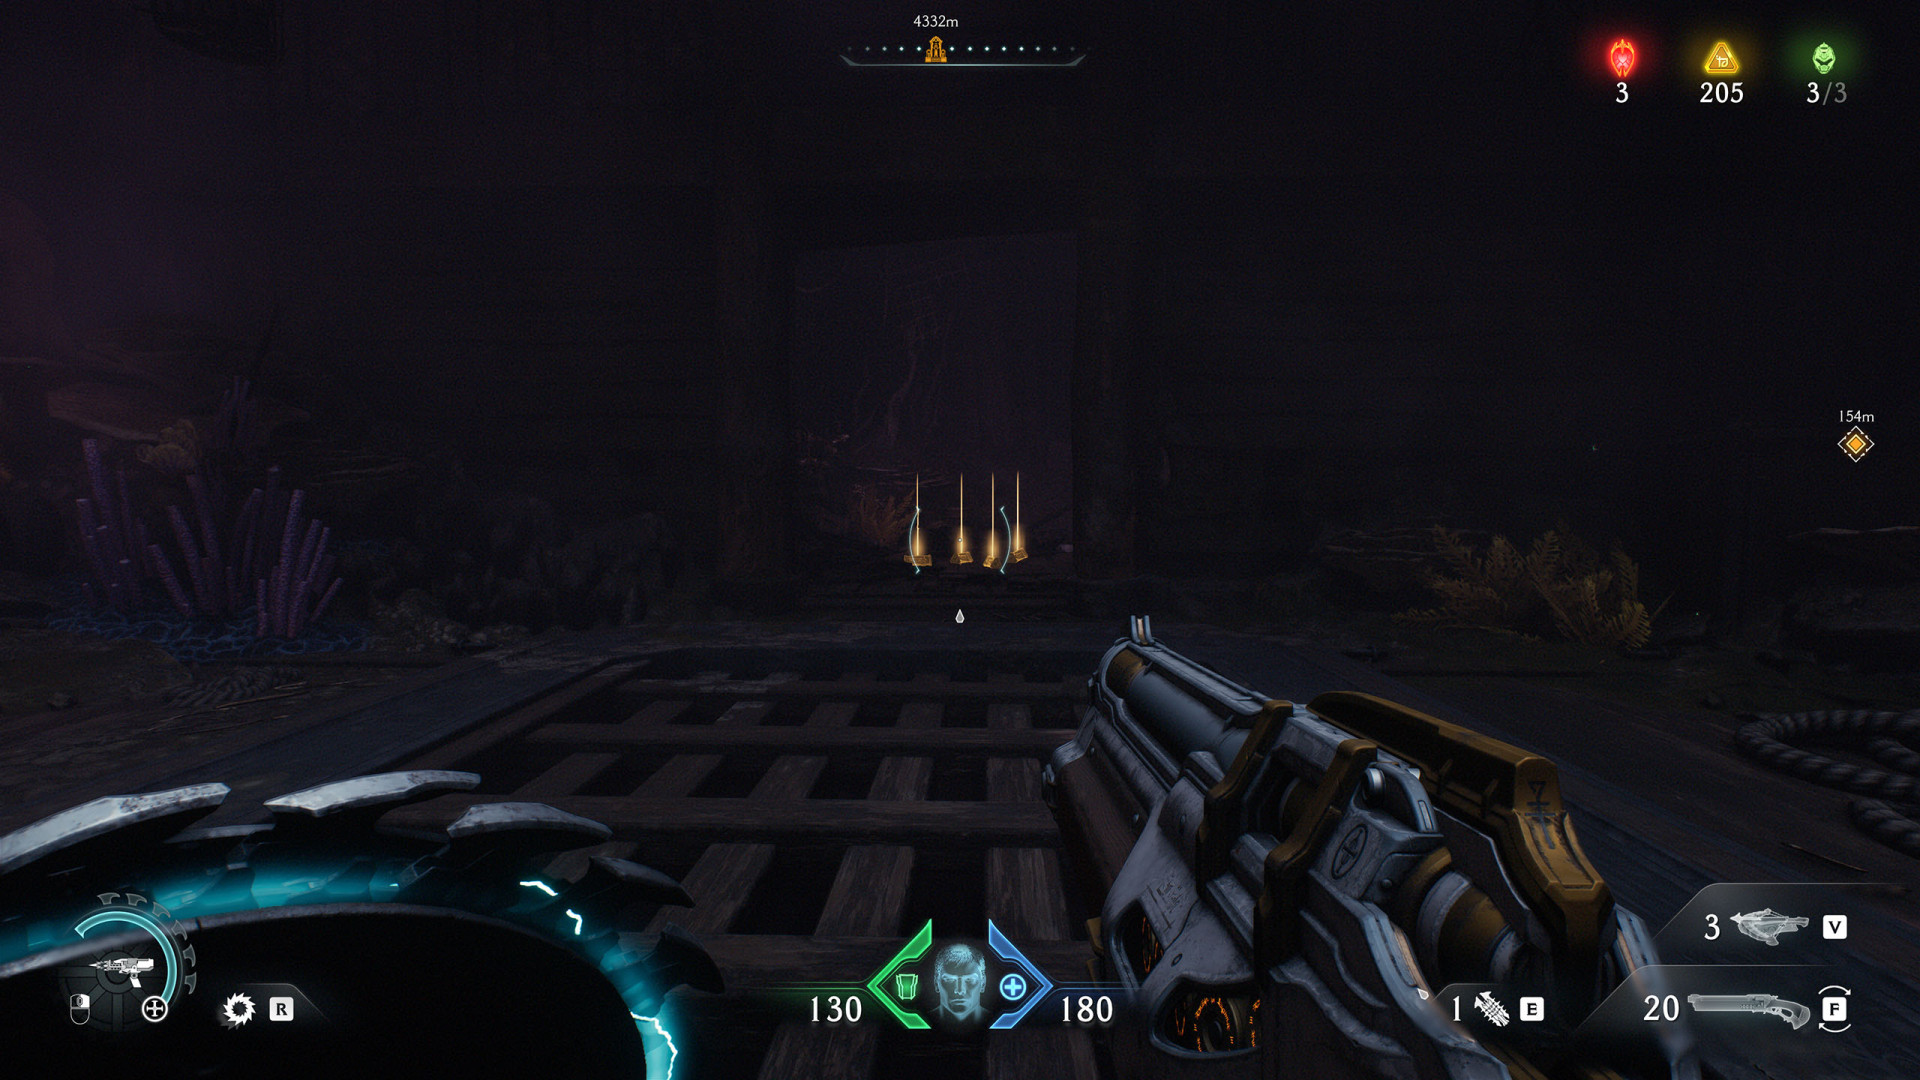
Gold Bars (3)▶ show the map ◀
Gold Bars (3)▶ show the map ◀
Gold Bars (3)▶ show the map ◀
Gold Bars (3)▶ show the map ◀
Gold Bars (3)▶ show the map ◀
Gold Bars (3)▶ show the map ◀
Gold Bars (4)▶ show the map ◀
Gold Bars (4)▶ show the map ◀
Gold Bars (4)▶ show the map ◀
Gold Bars (4)▶ show the map ◀
Gold Bars (5)▶ show the map ◀
Gold Bars (5)▶ show the map ◀
Gold Bars (5)▶ show the map ◀
Gold Bars (5)▶ show the map ◀
Gold Bars (9)▶ show the map ◀
Gold Chest (50)▶ show the map ◀
Gold Stack (8)▶ show the map ◀
Gold Stacks (16)▶ show the map ◀
Gold Stacks (16)▶ show the map ◀
All known locations on the map The Holy City of Aratum
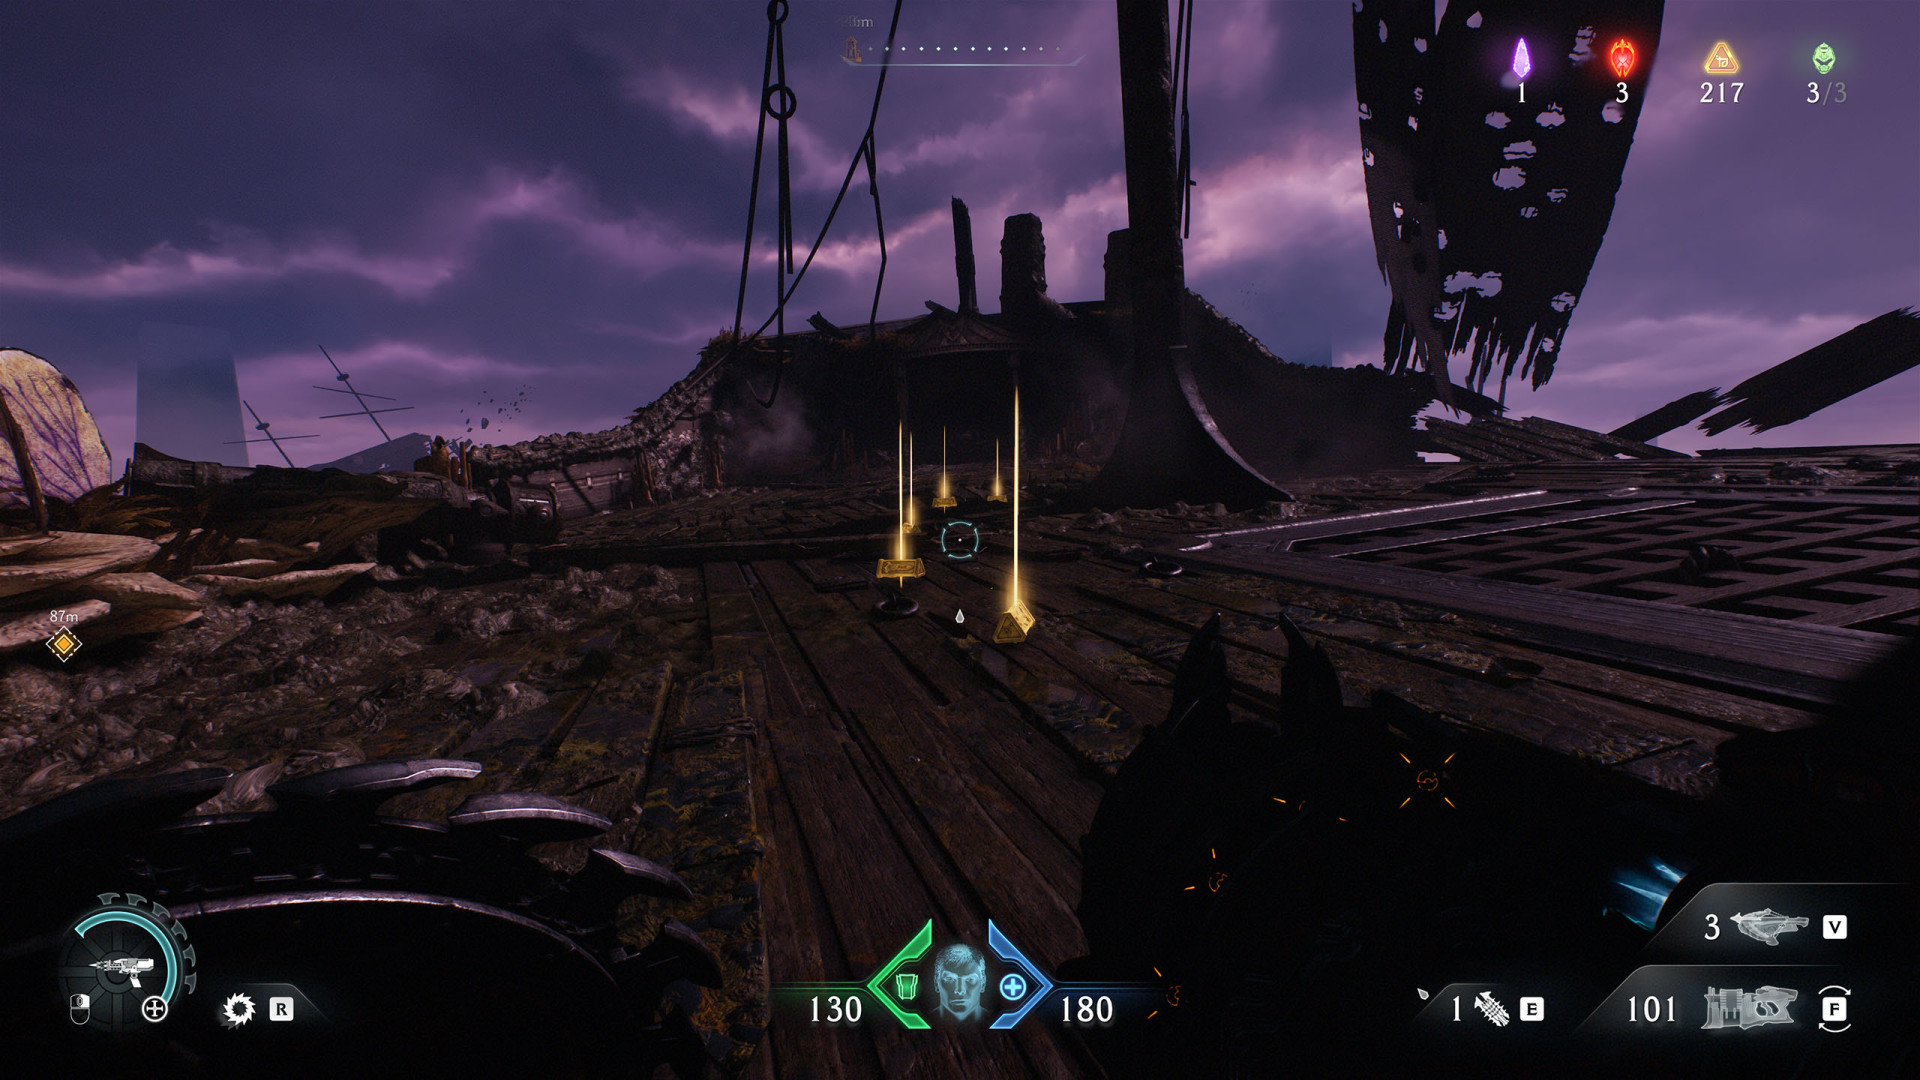
Gold Bars (3)▶ show the map ◀
Gold Bars (4)▶ show the map ◀
Gold Bars (5)▶ show the map ◀
Gold Bars (5)▶ show the map ◀
Gold Bars (5)▶ show the map ◀
Gold Bars (5)▶ show the map ◀
Gold Bars (5)▶ show the map ◀
Gold Bars (5)▶ show the map ◀
Gold Bars (6)▶ show the map ◀
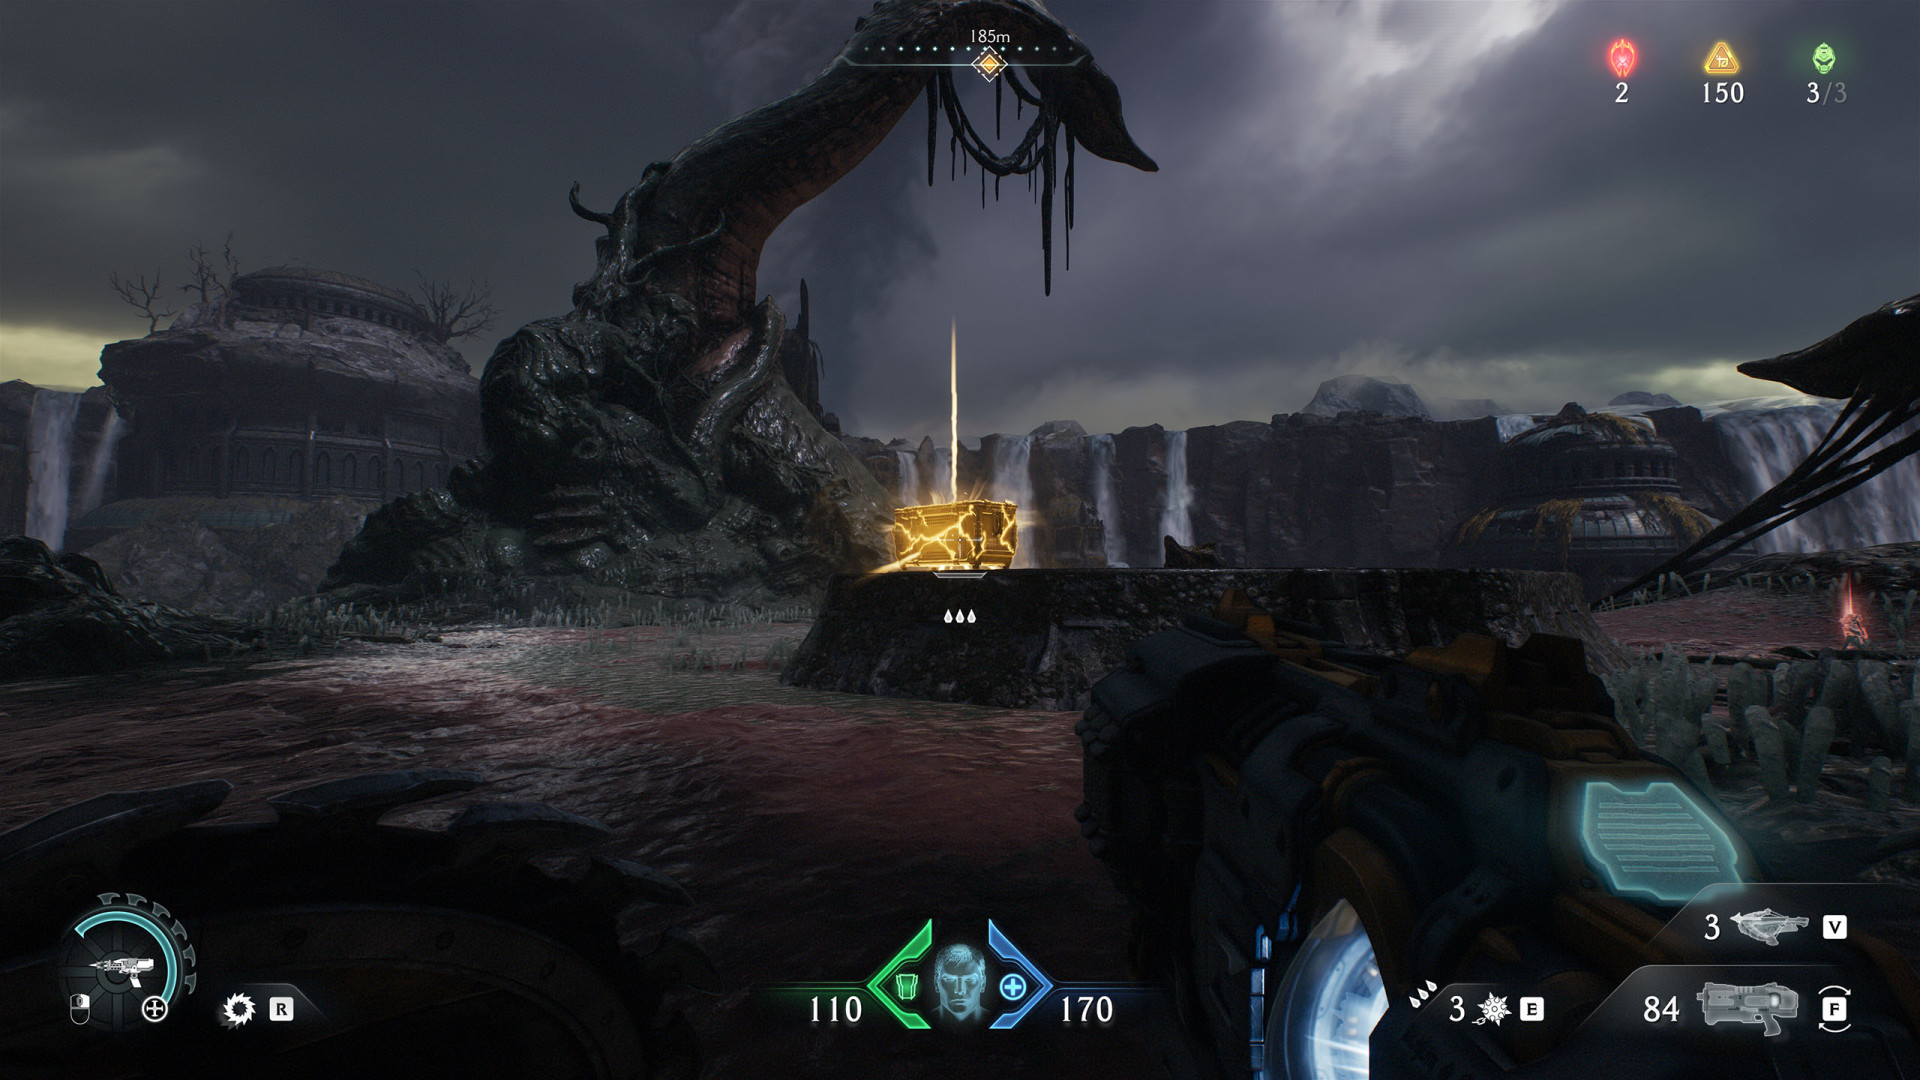
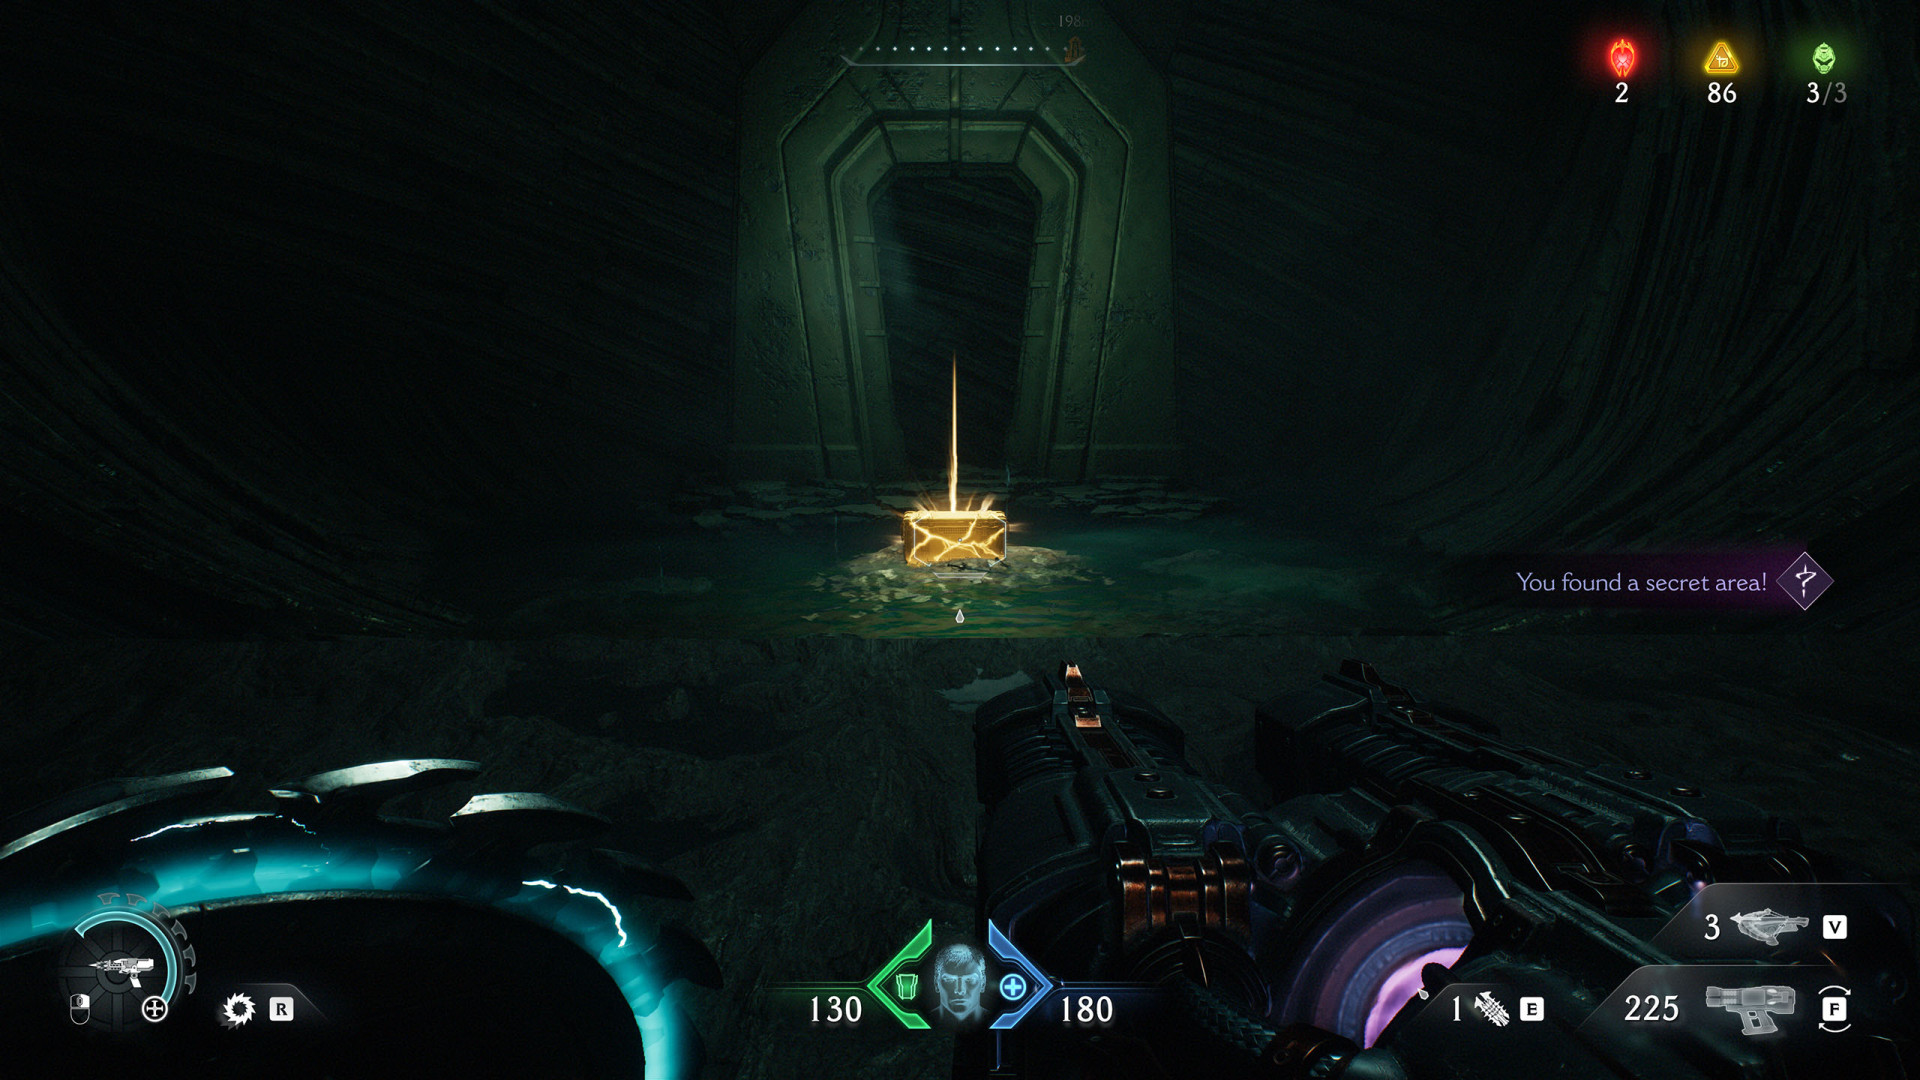
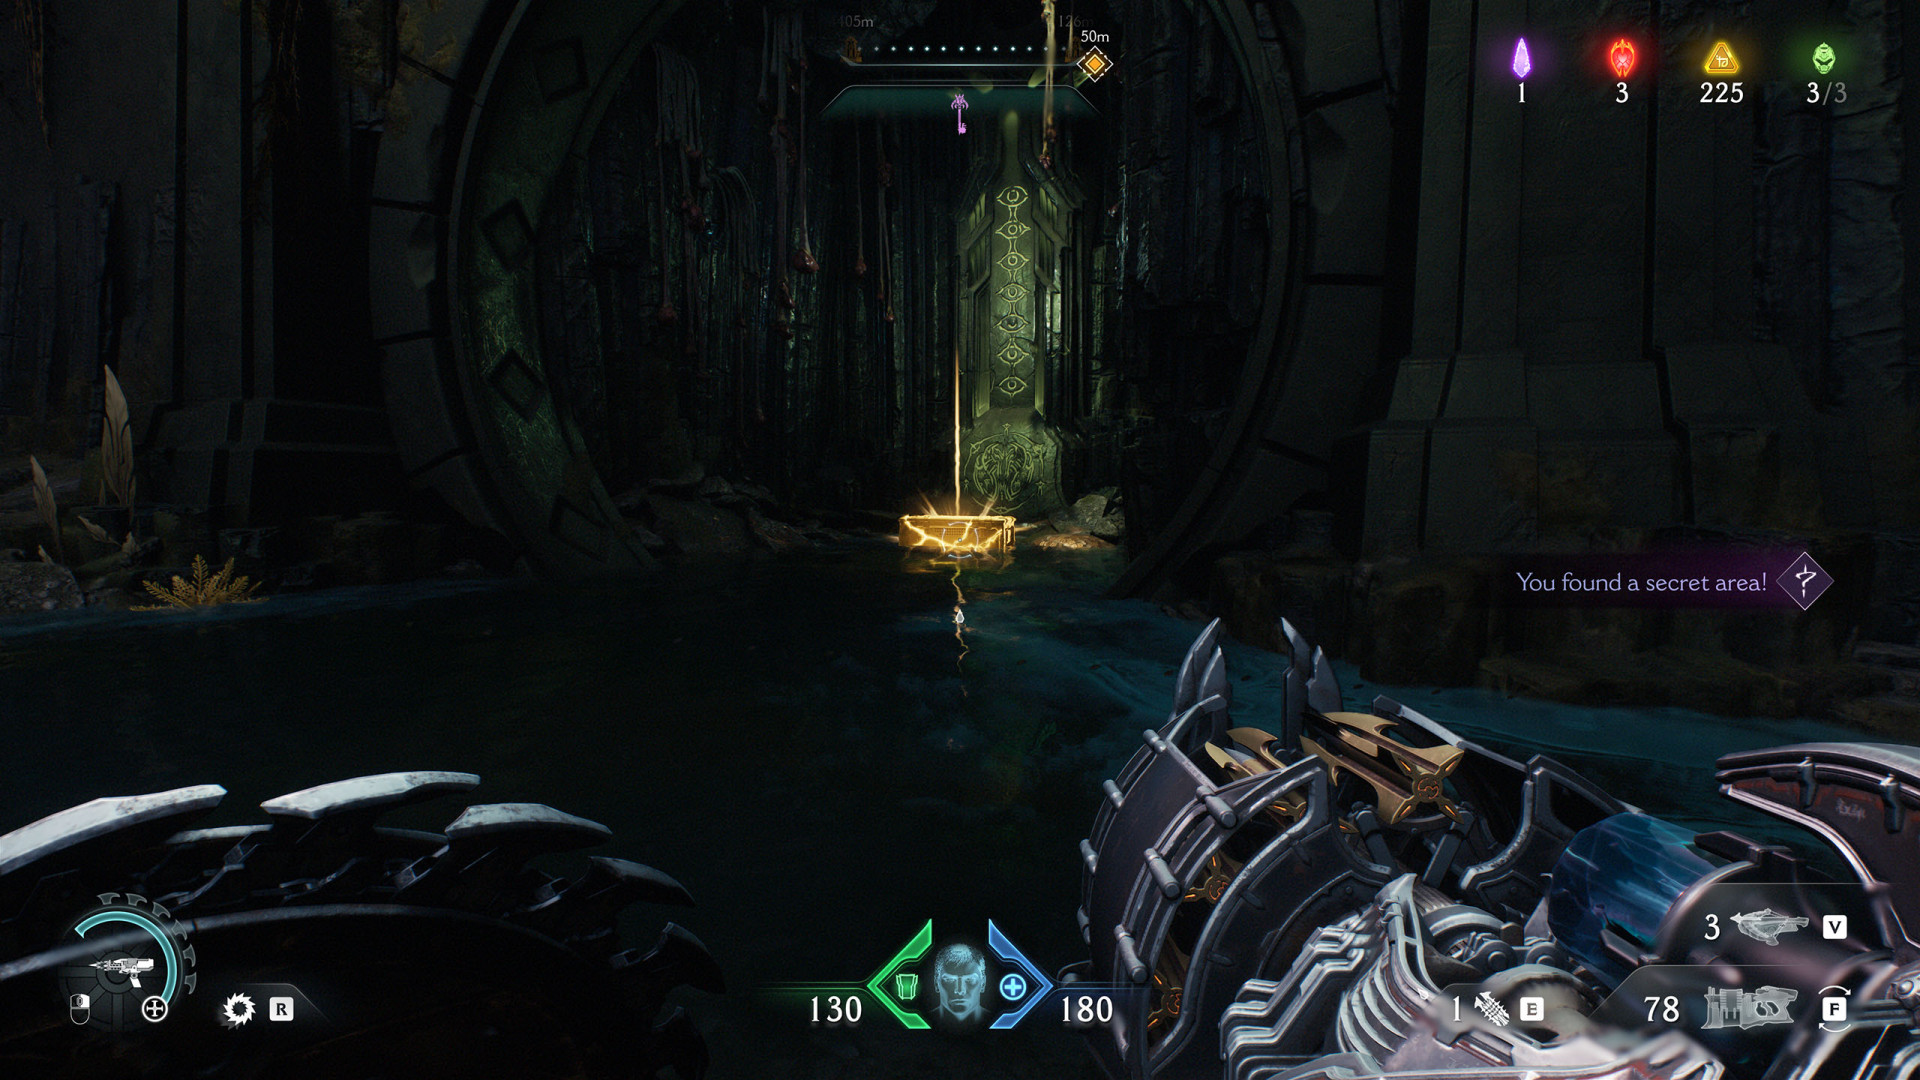
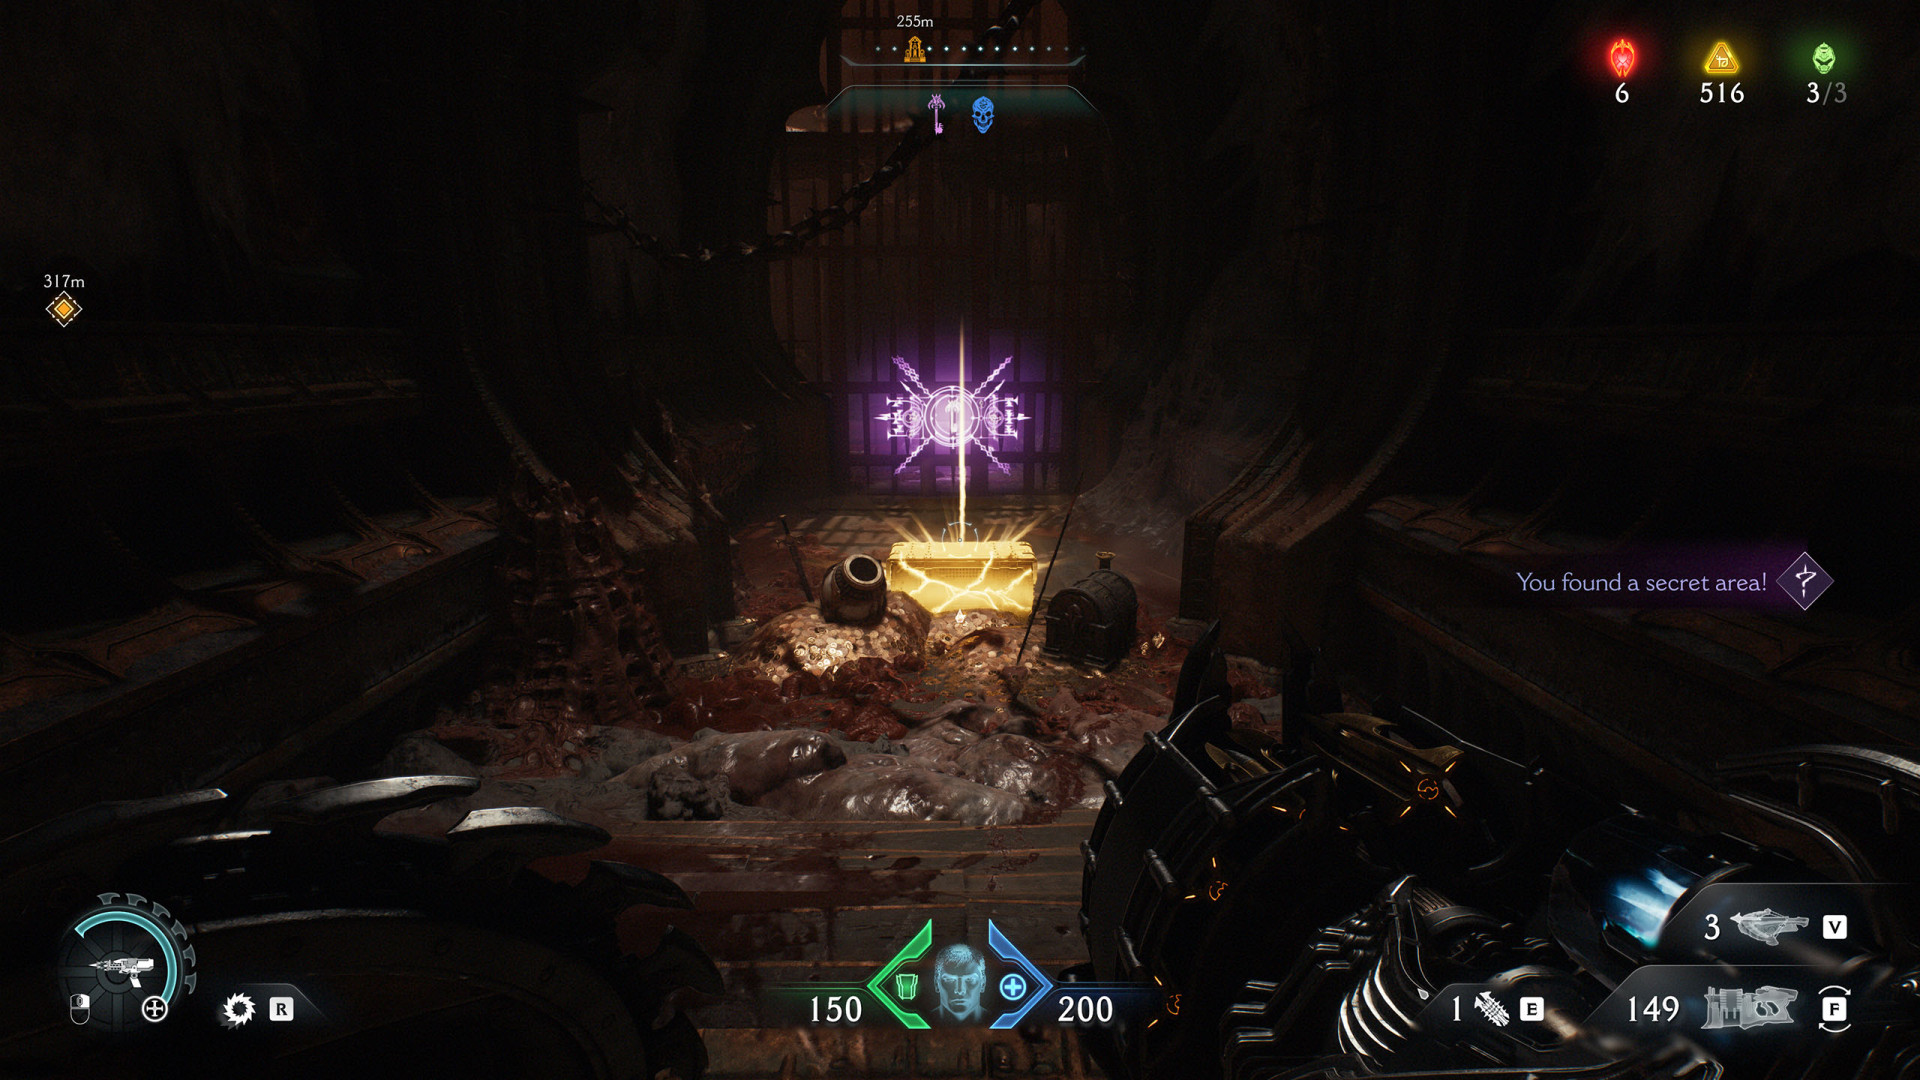
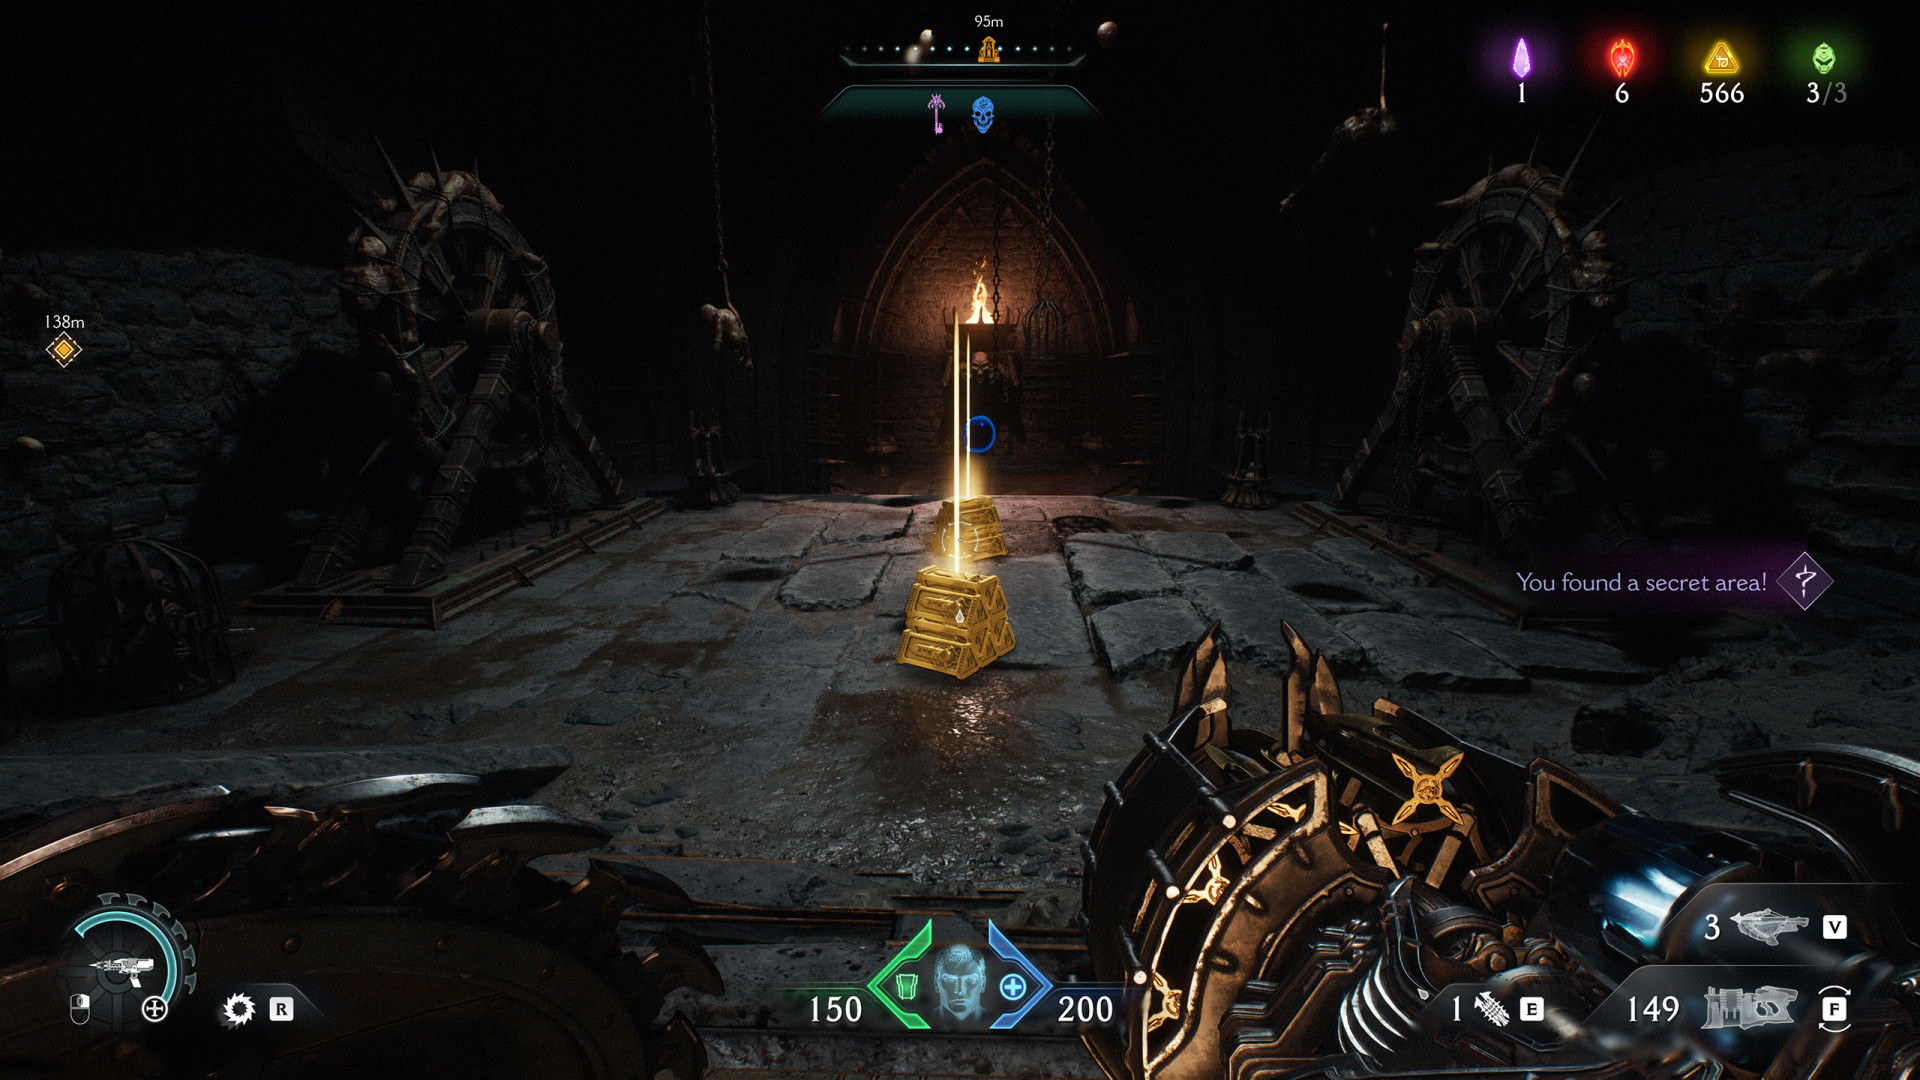
Gold Chest (50)▶ show the map ◀
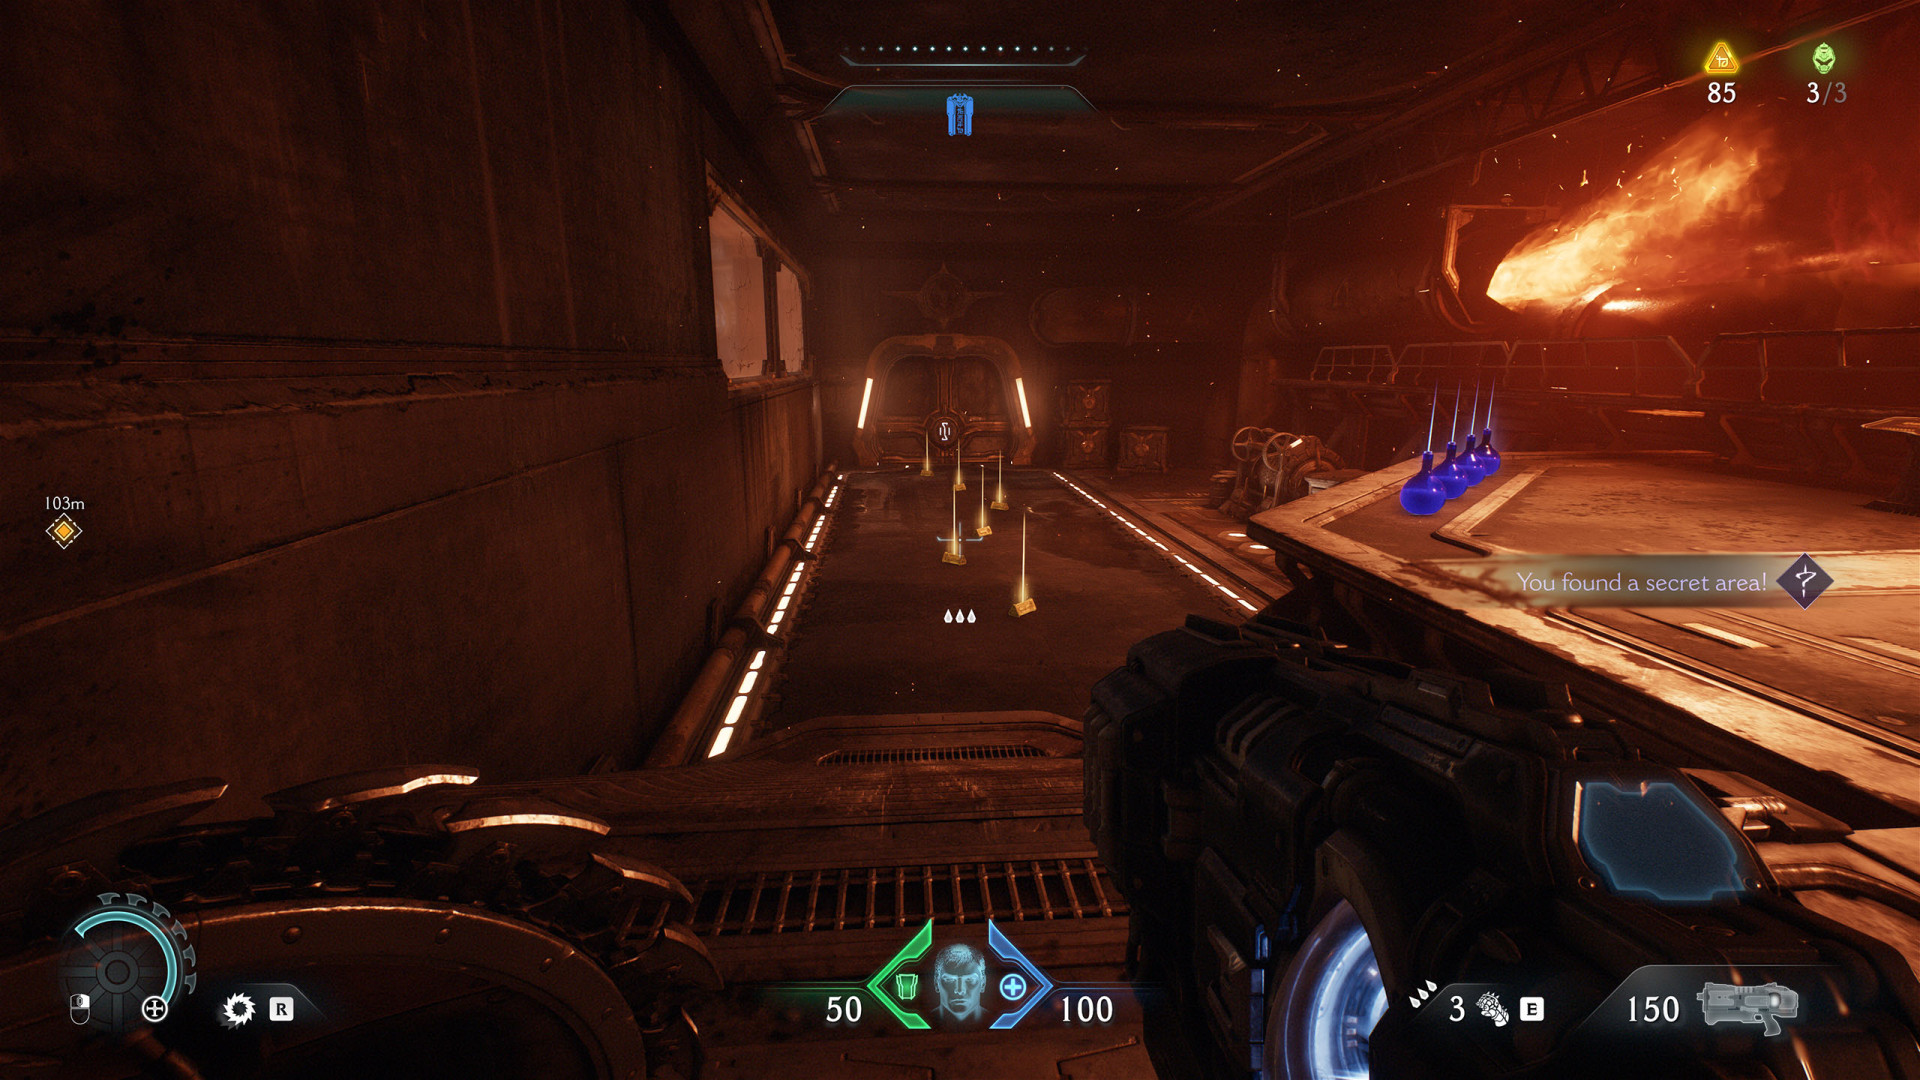
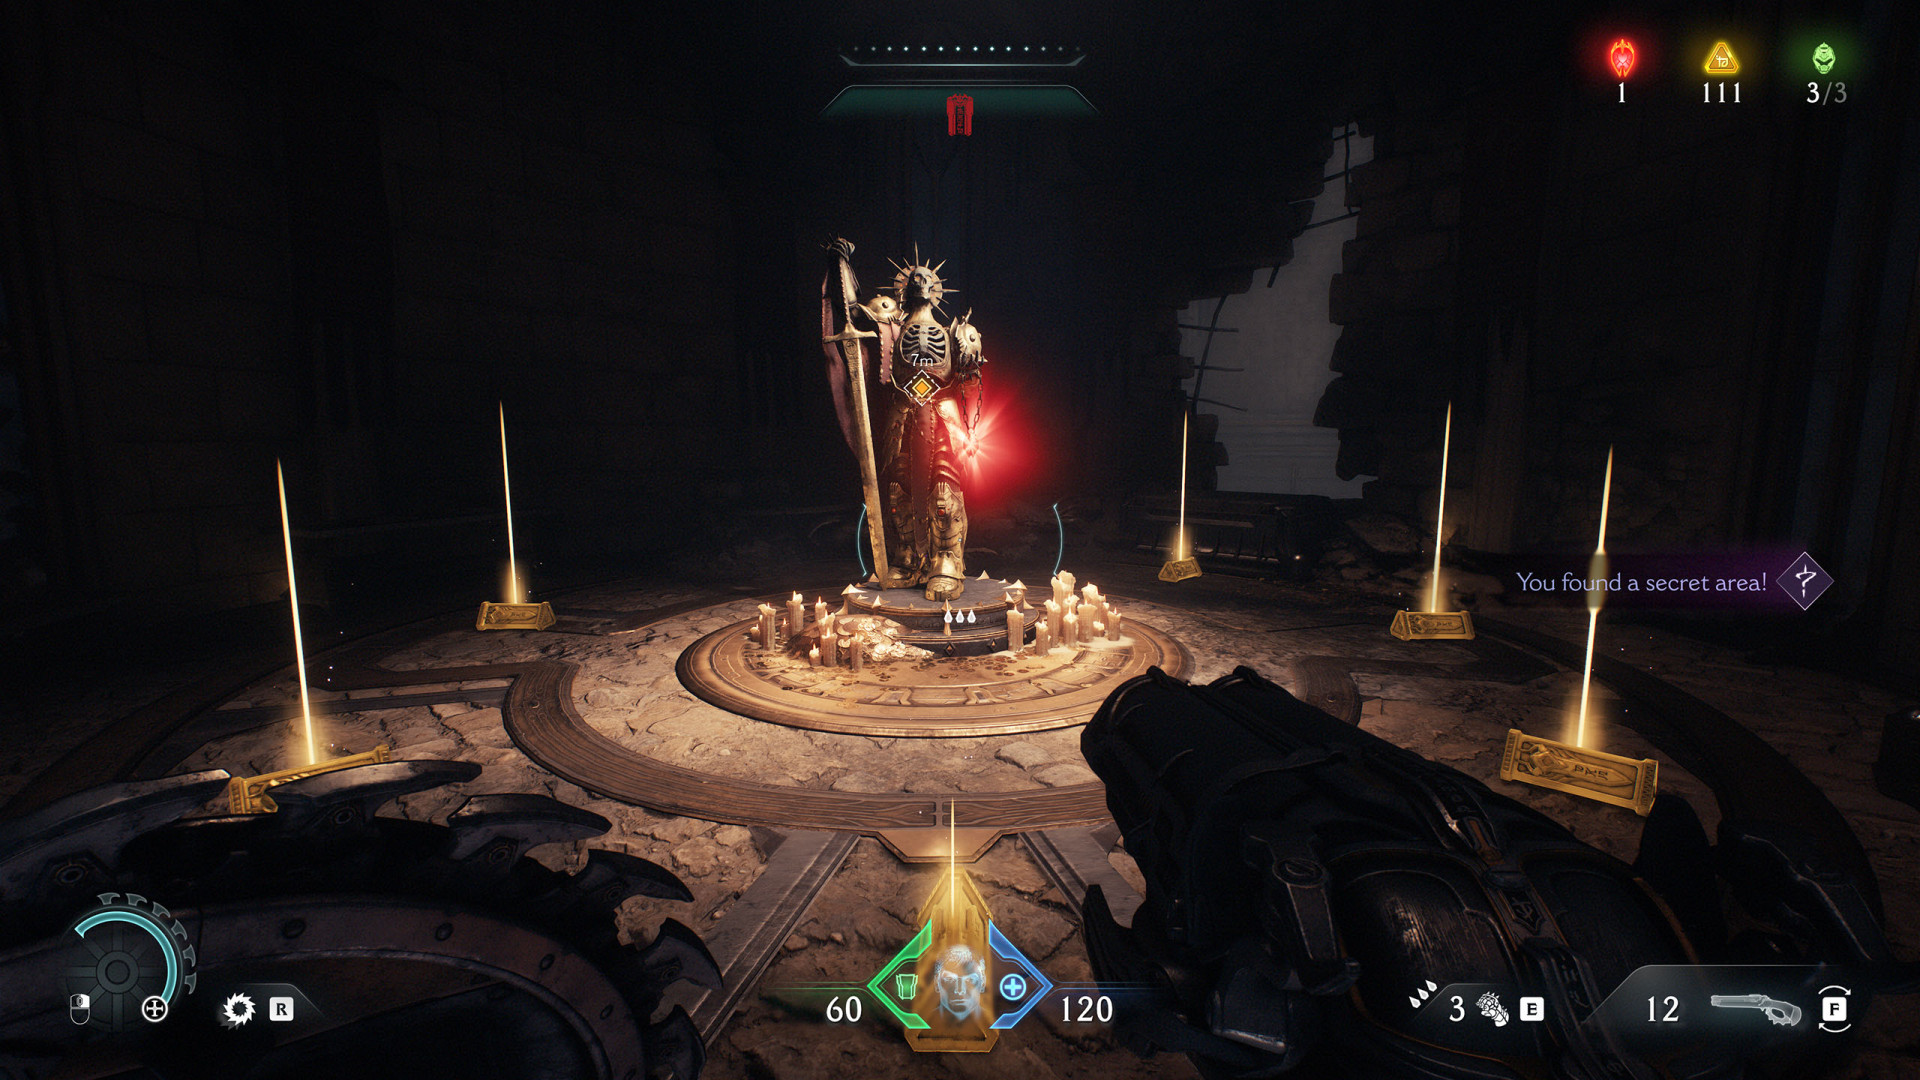
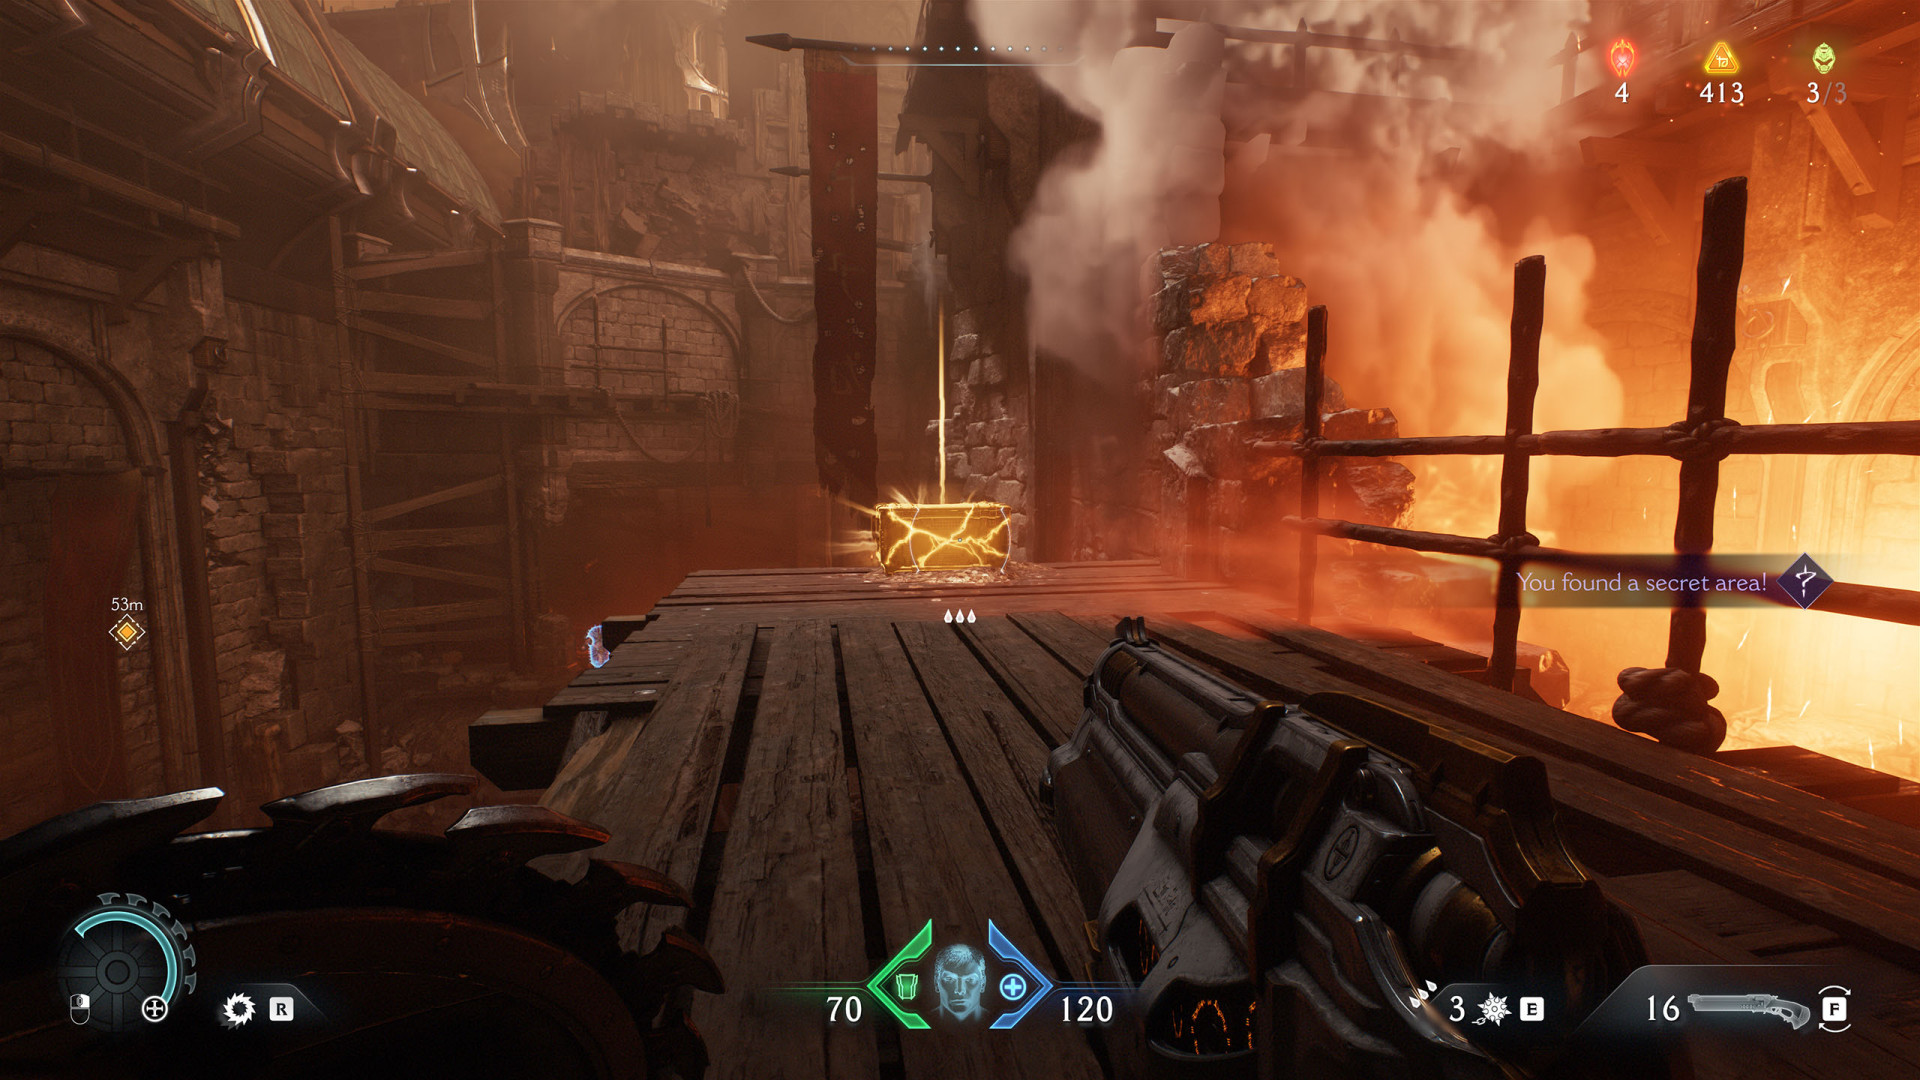
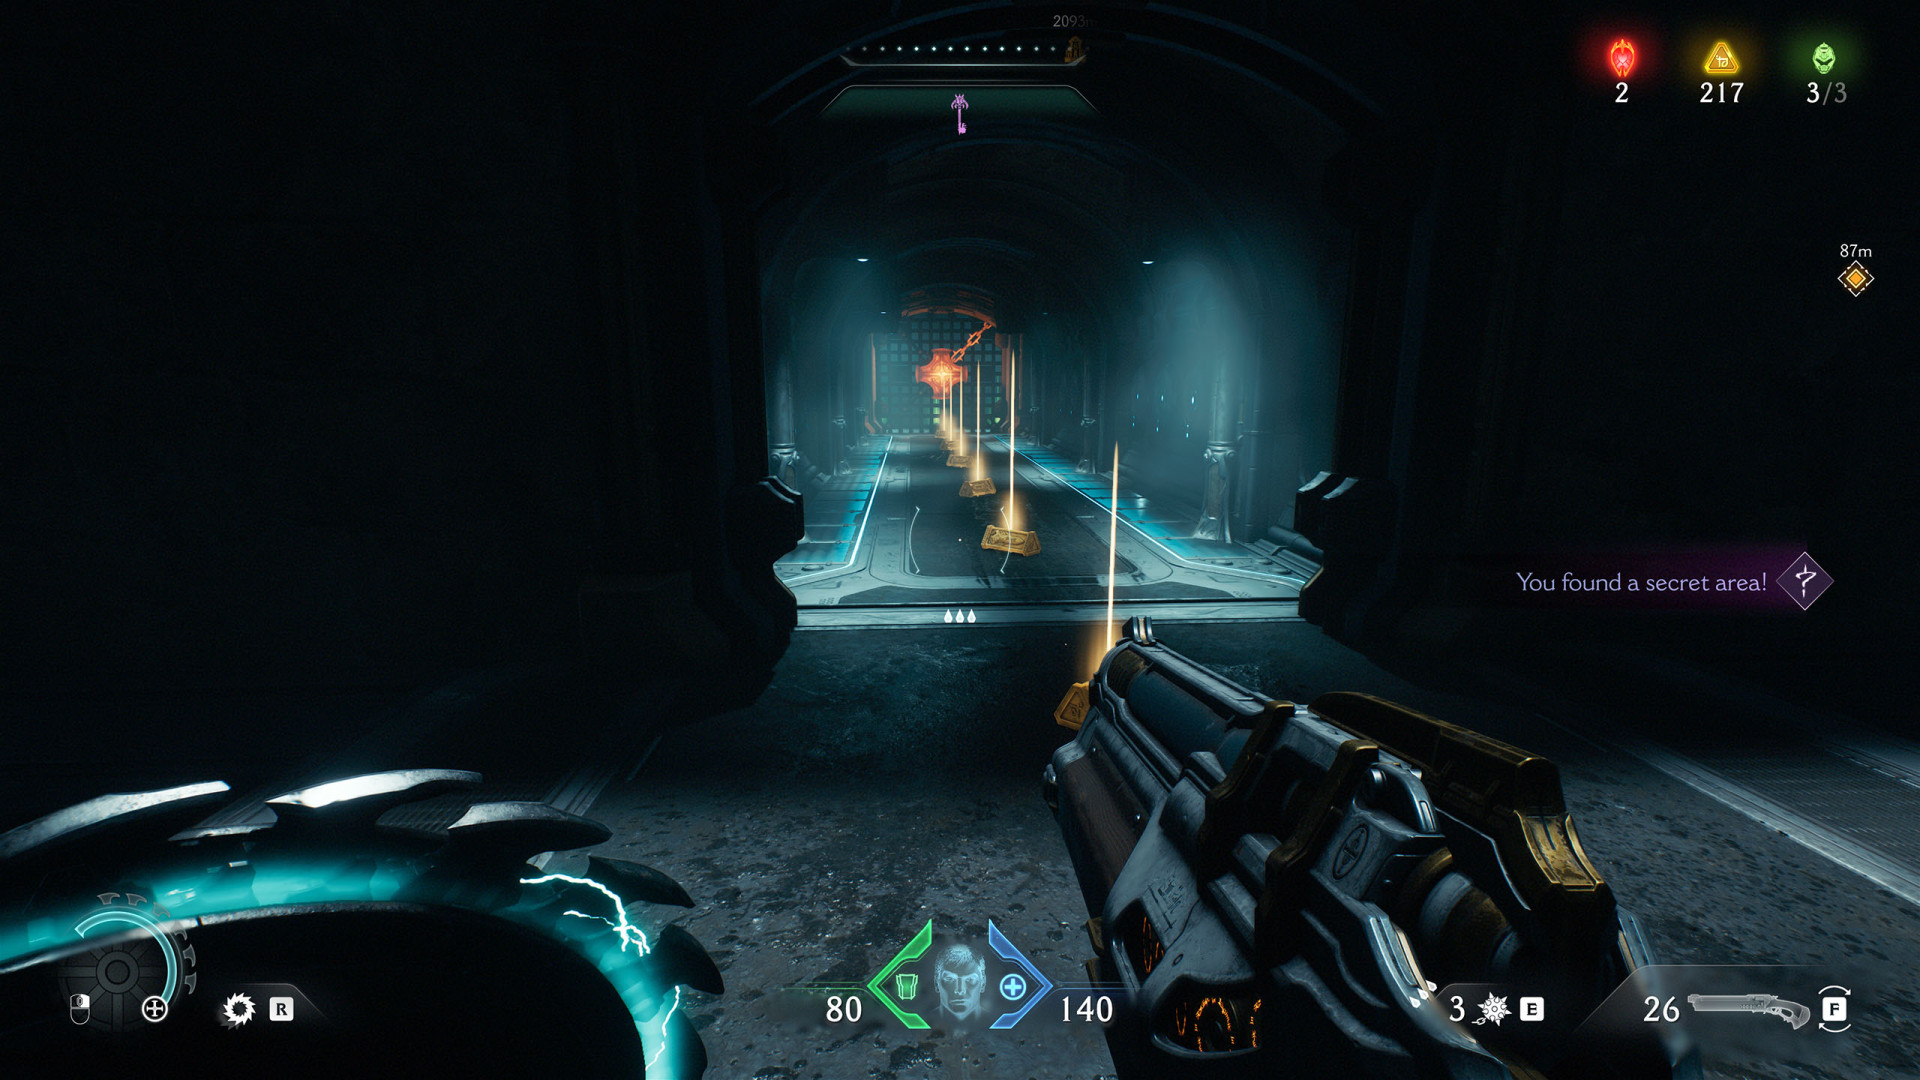
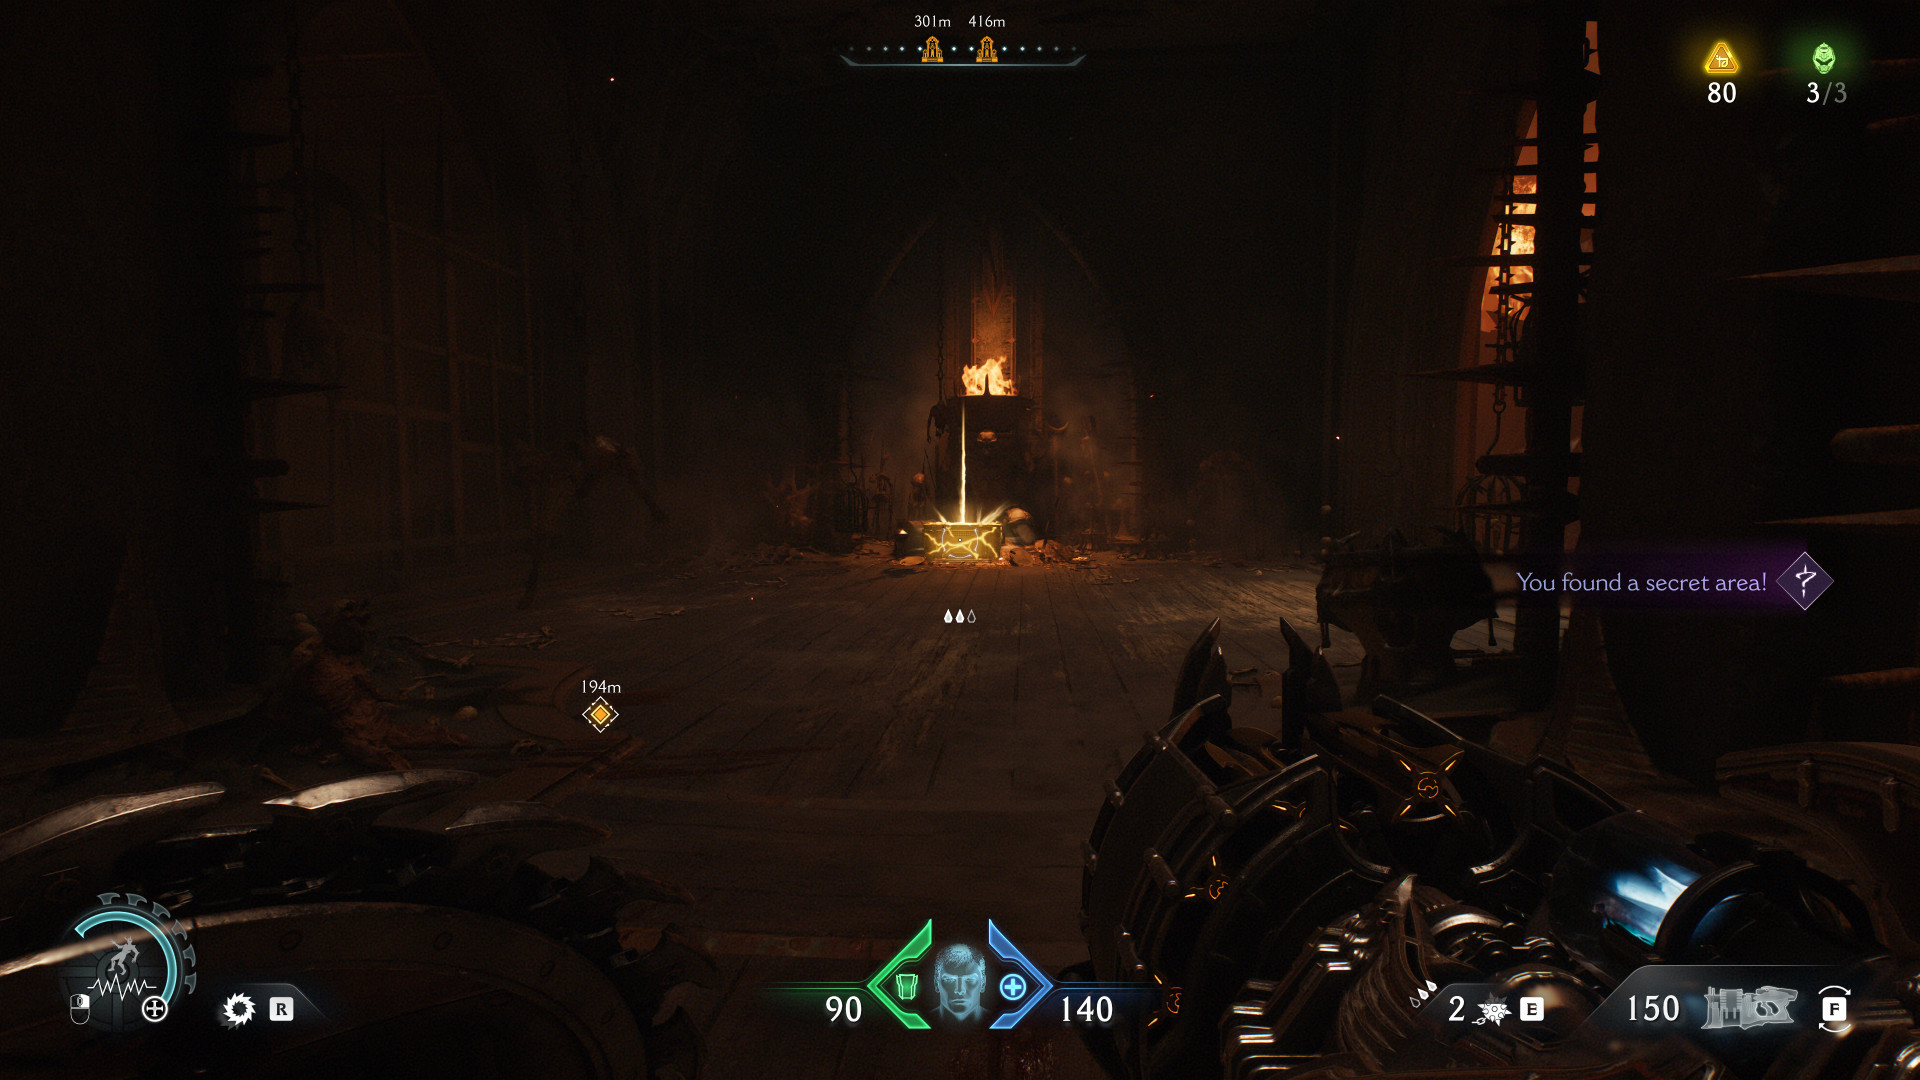
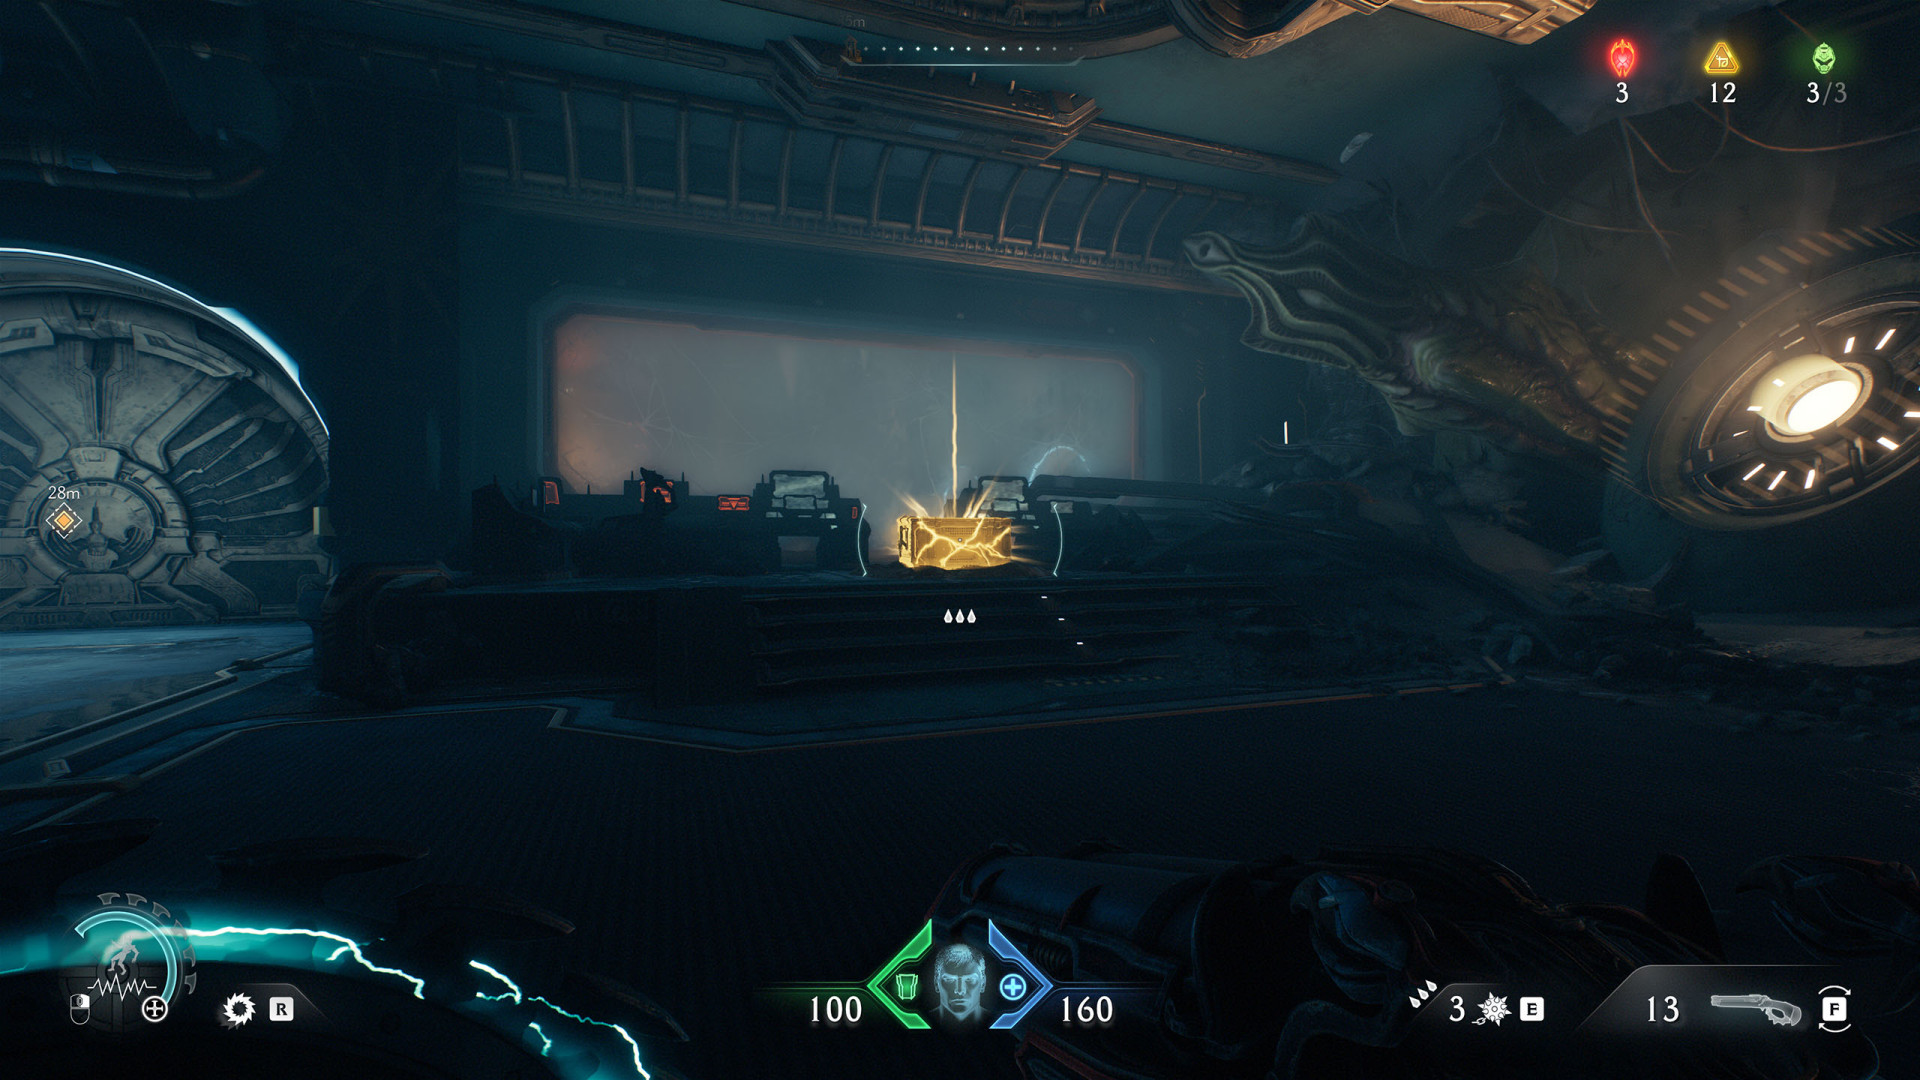
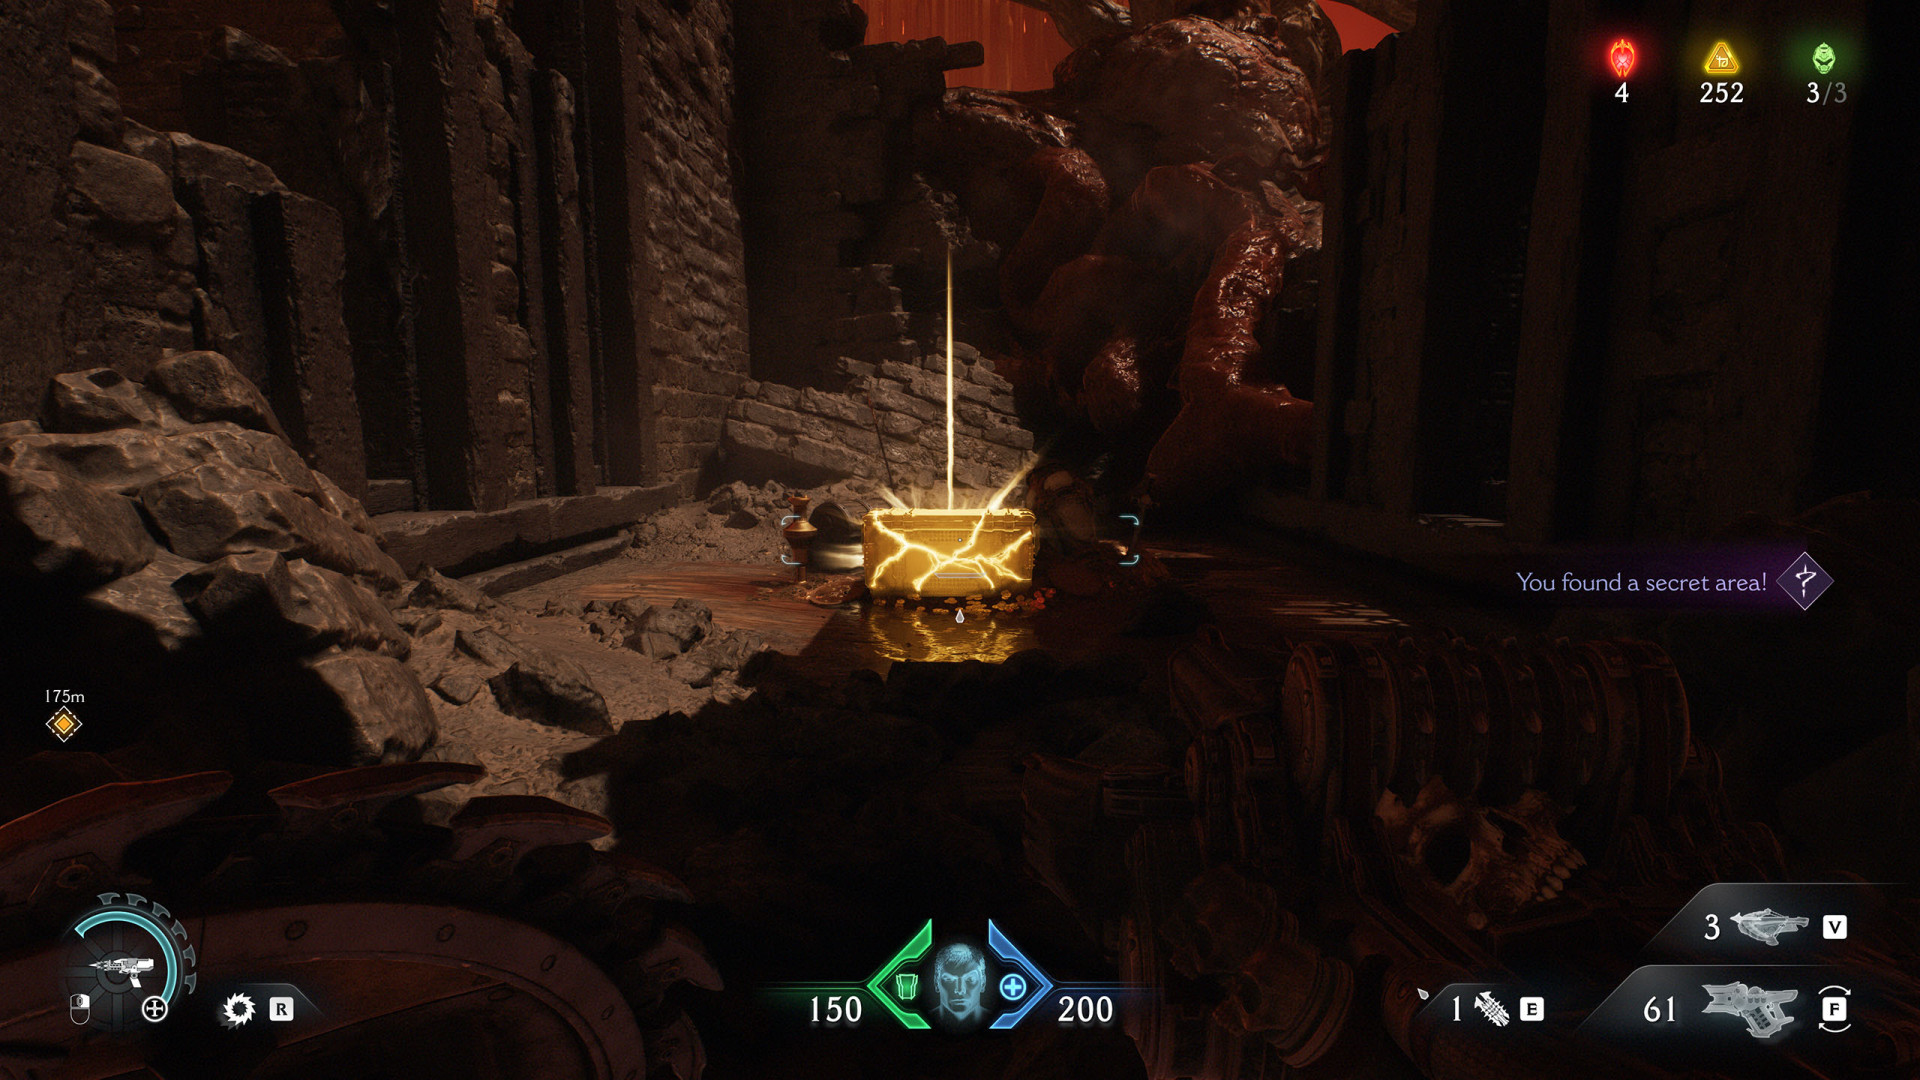
To get here go through the Secret Area (The Holy City of Aratum #5) then swim through an underwater tunnel.
Gold Chest (50)▶ show the map ◀
Gold Chest (50)▶ show the map ◀
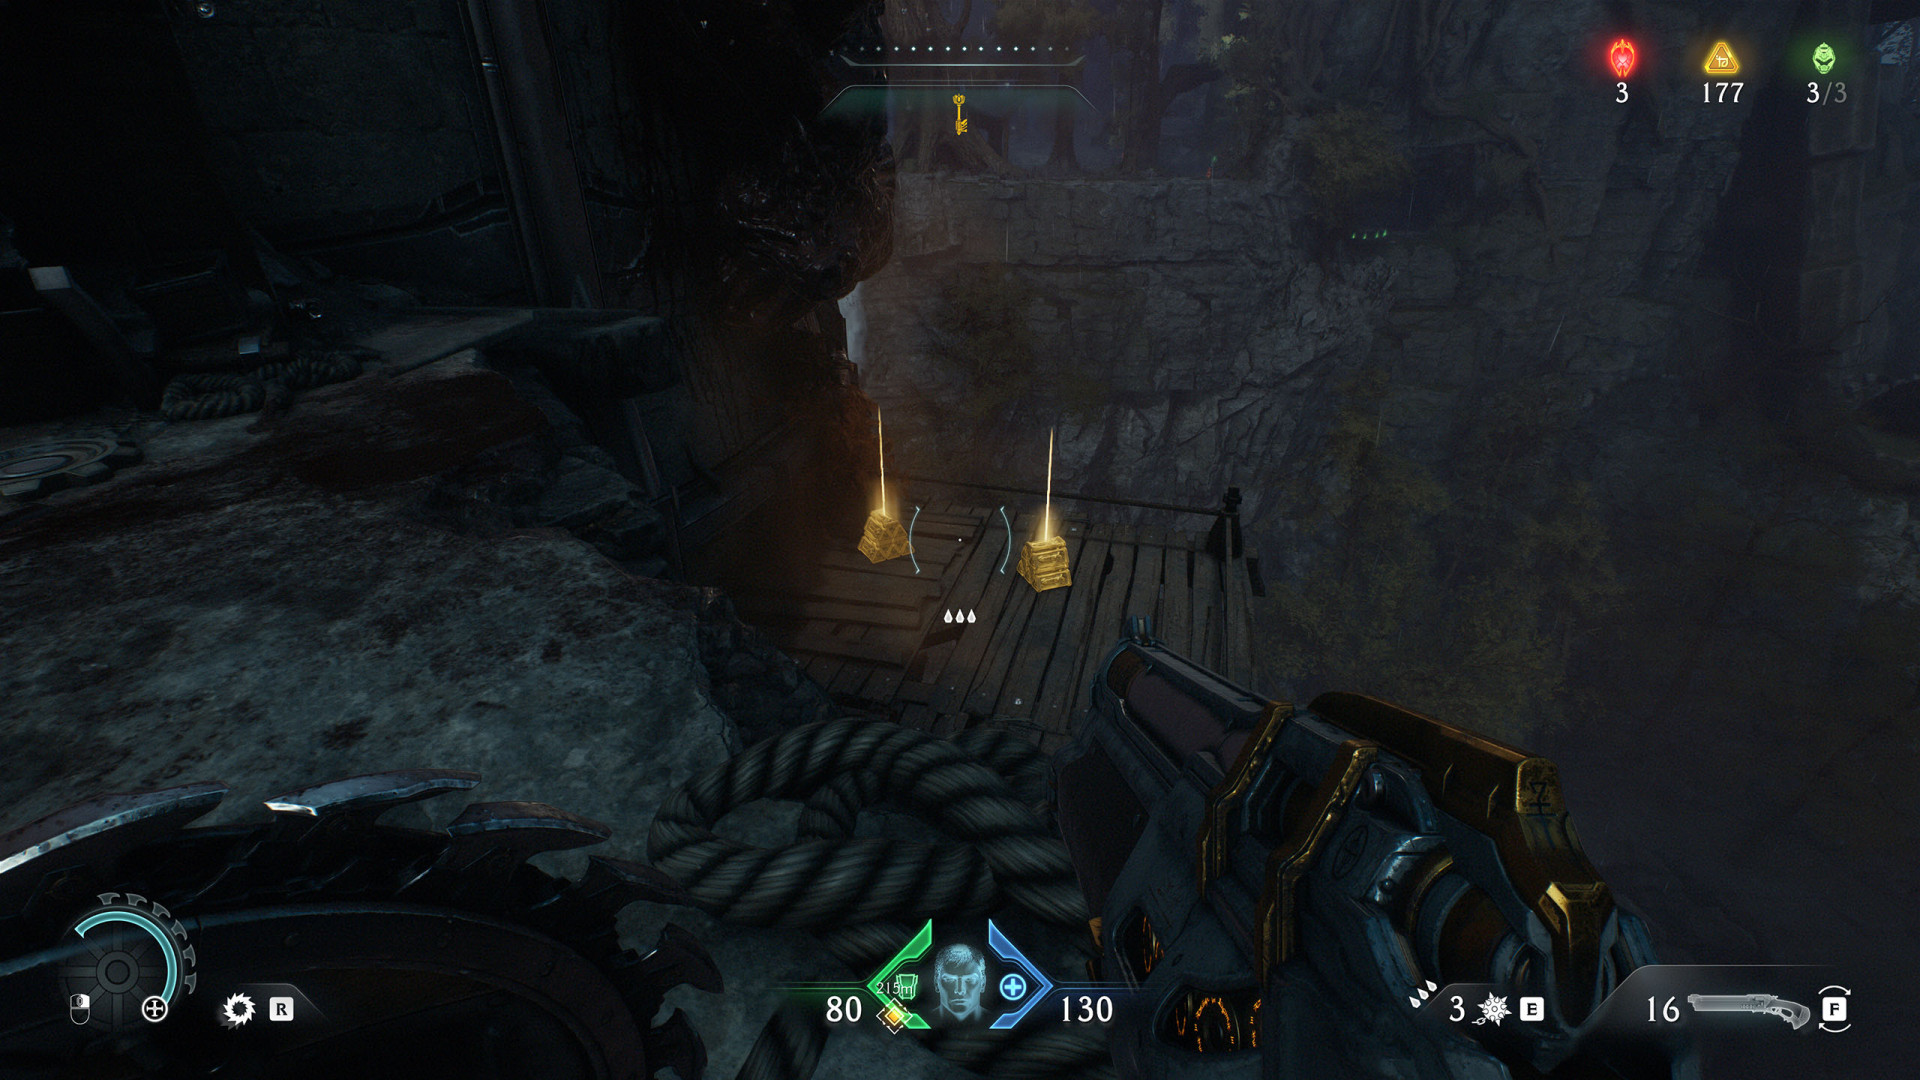
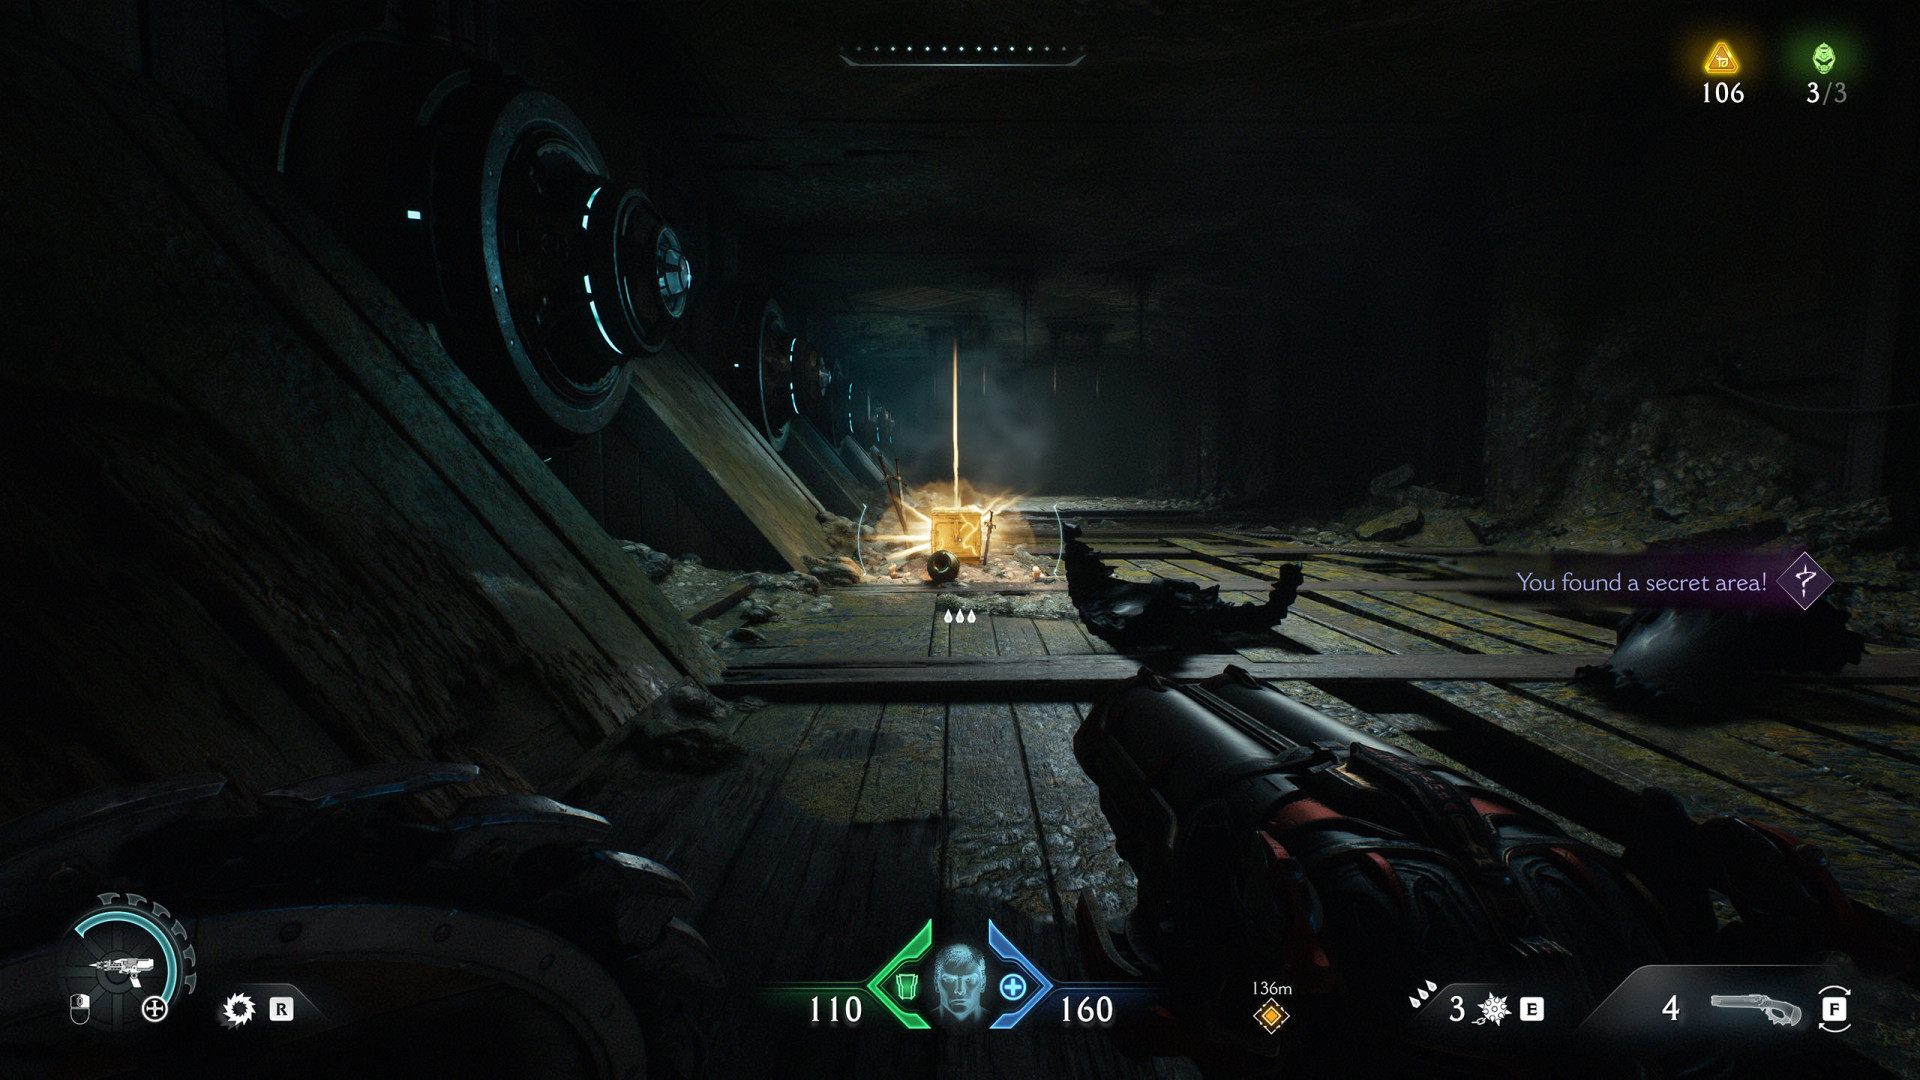
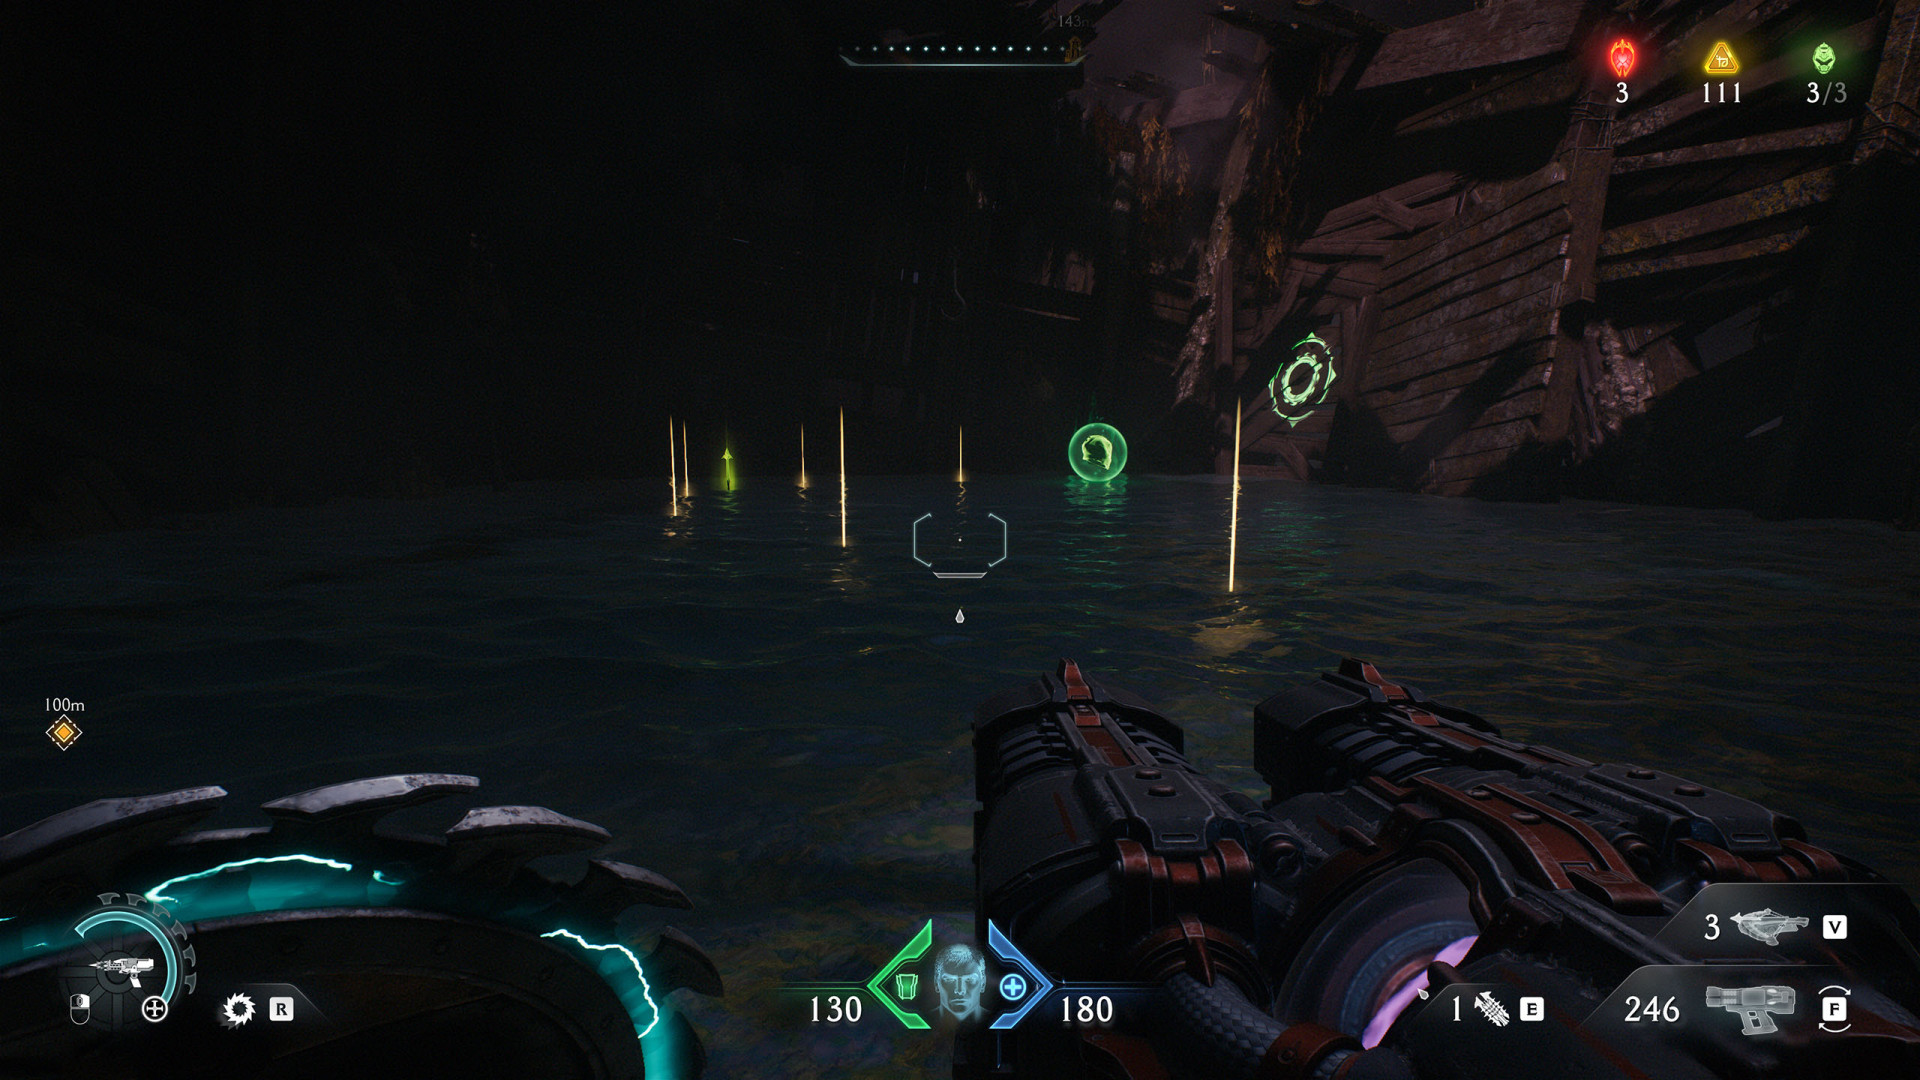
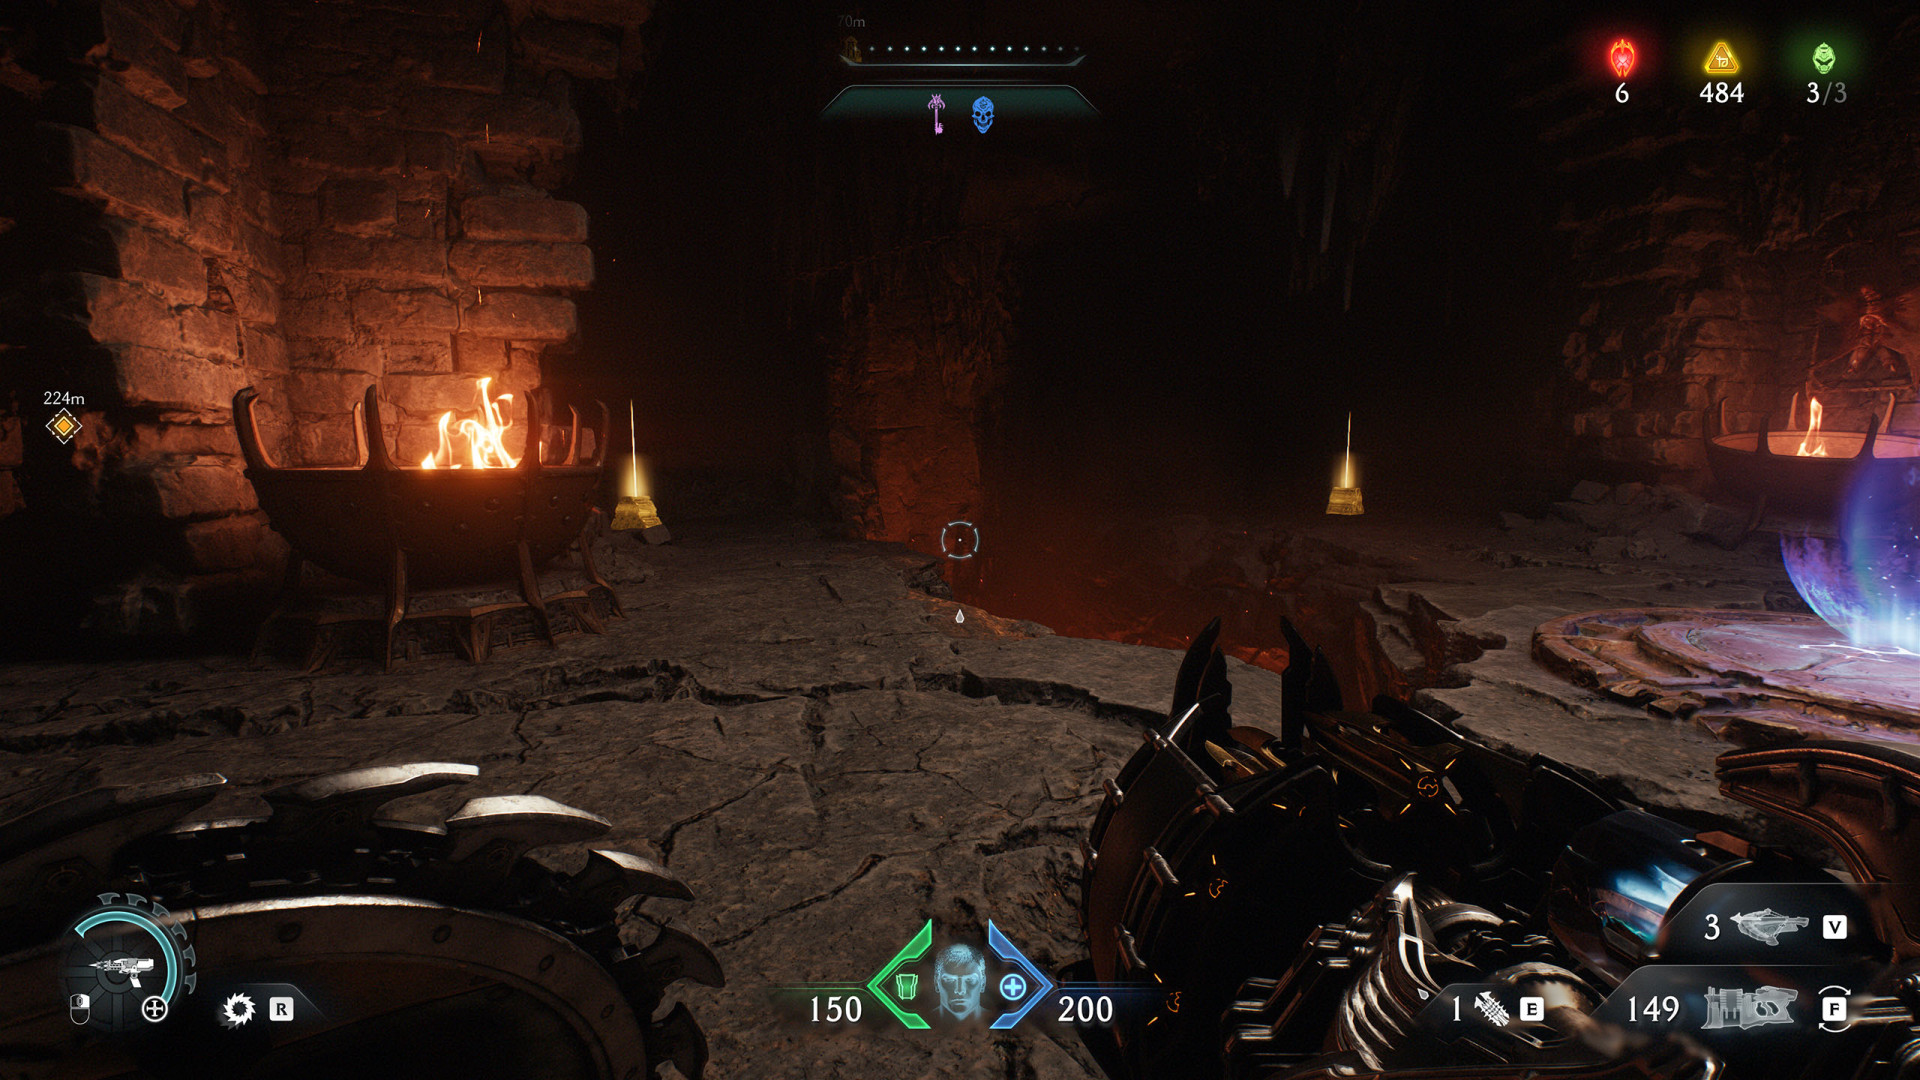
Gold Stack (8)▶ show the map ◀
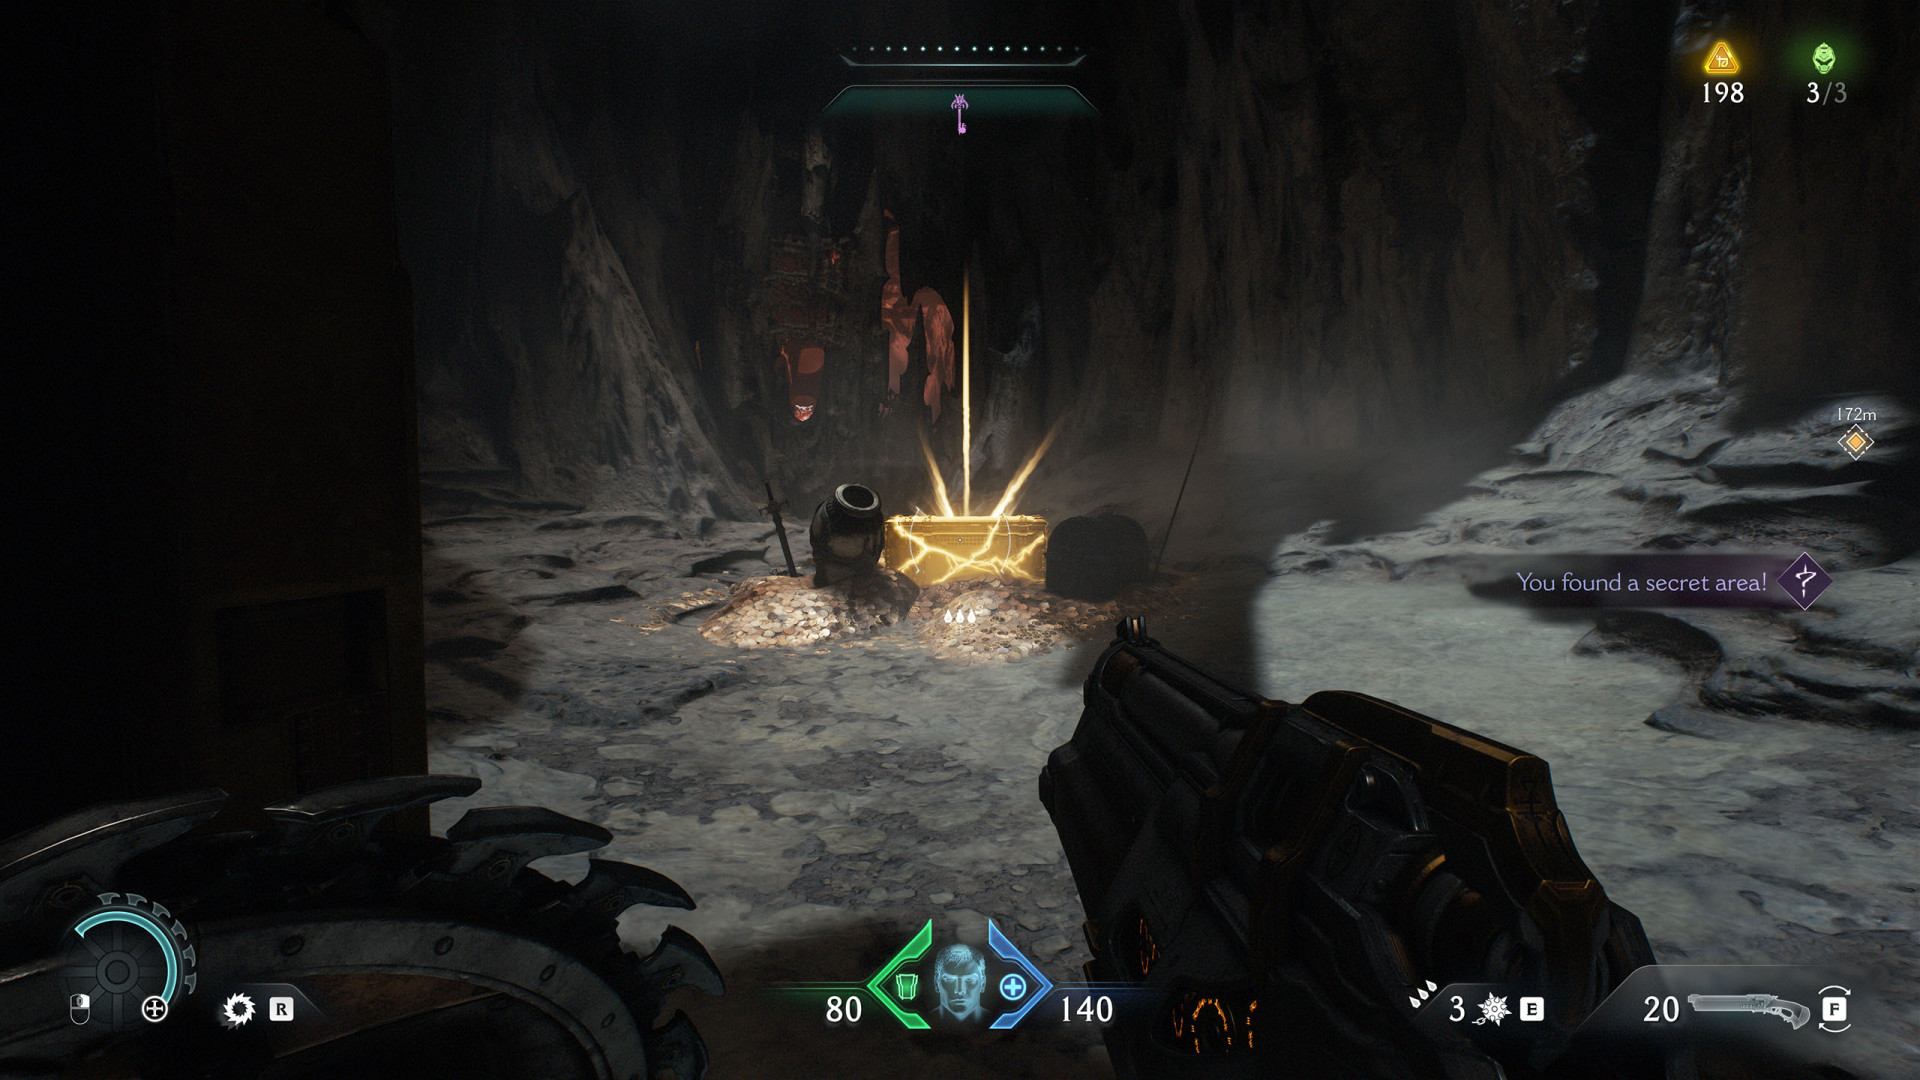
At the bottom level. In the Secret Area (The Holy City of Aratum #5).
Gold Stack (8)▶ show the map ◀
Gold Stack (8)▶ show the map ◀
Gold Stack (8)▶ show the map ◀
All known locations on the map Siege - Part 1
Gold Bars (10)▶ show the map ◀
Gold Bars (13)▶ show the map ◀
Gold Bars (3)▶ show the map ◀
Gold Bars (3)▶ show the map ◀
Gold Bars (3)▶ show the map ◀
Gold Bars (3)▶ show the map ◀
Gold Bars (3)▶ show the map ◀
Gold Bars (3)▶ show the map ◀
Gold Bars (3)▶ show the map ◀
Gold Bars (4)▶ show the map ◀
Gold Bars (4)▶ show the map ◀
Gold Bars (4)▶ show the map ◀

Gold Bars (4)▶ show the map ◀
Gold Bars (5)▶ show the map ◀
Gold Bars (5)▶ show the map ◀
Gold Bars (5)▶ show the map ◀
Gold Bars (5)▶ show the map ◀
Gold Bars (5)▶ show the map ◀

Gold Bars (5)▶ show the map ◀
Gold Bars (5)▶ show the map ◀
Gold Bars (6)▶ show the map ◀
Gold Chest (50)▶ show the map ◀

Gold Chest (50)▶ show the map ◀
Gold Chest (50)▶ show the map ◀
Gold Chest (50)▶ show the map ◀
Gold Chest (50)▶ show the map ◀
Gold Stack (8)▶ show the map ◀
Gold Stack (8)▶ show the map ◀
Gold Stack (8)▶ show the map ◀
Gold Stack (8)▶ show the map ◀
Gold Stack (8)▶ show the map ◀
Gold Stack (8)▶ show the map ◀
Gold Stack (8)▶ show the map ◀
Gold Stack (8)▶ show the map ◀
Gold Stack (8)▶ show the map ◀
Gold Stack (8)▶ show the map ◀
Gold Stack (8)▶ show the map ◀
Gold Stacks (16)▶ show the map ◀
All known locations on the map Siege - Part 2
Gold Bars (3)▶ show the map ◀
Gold Bars (3)▶ show the map ◀
Gold Bars (3)▶ show the map ◀
Gold Bars (3)▶ show the map ◀
Gold Bars (4)▶ show the map ◀
Gold Bars (4)▶ show the map ◀
Gold Bars (7)▶ show the map ◀
Gold Bars (8)▶ show the map ◀
Gold Bars (8)▶ show the map ◀
Gold Chest (50)▶ show the map ◀
Gold Chest (50)▶ show the map ◀
Gold Stack (8)▶ show the map ◀
Gold Stack (8)▶ show the map ◀
Gold Stack (8)▶ show the map ◀
Gold Stacks (16)▶ show the map ◀
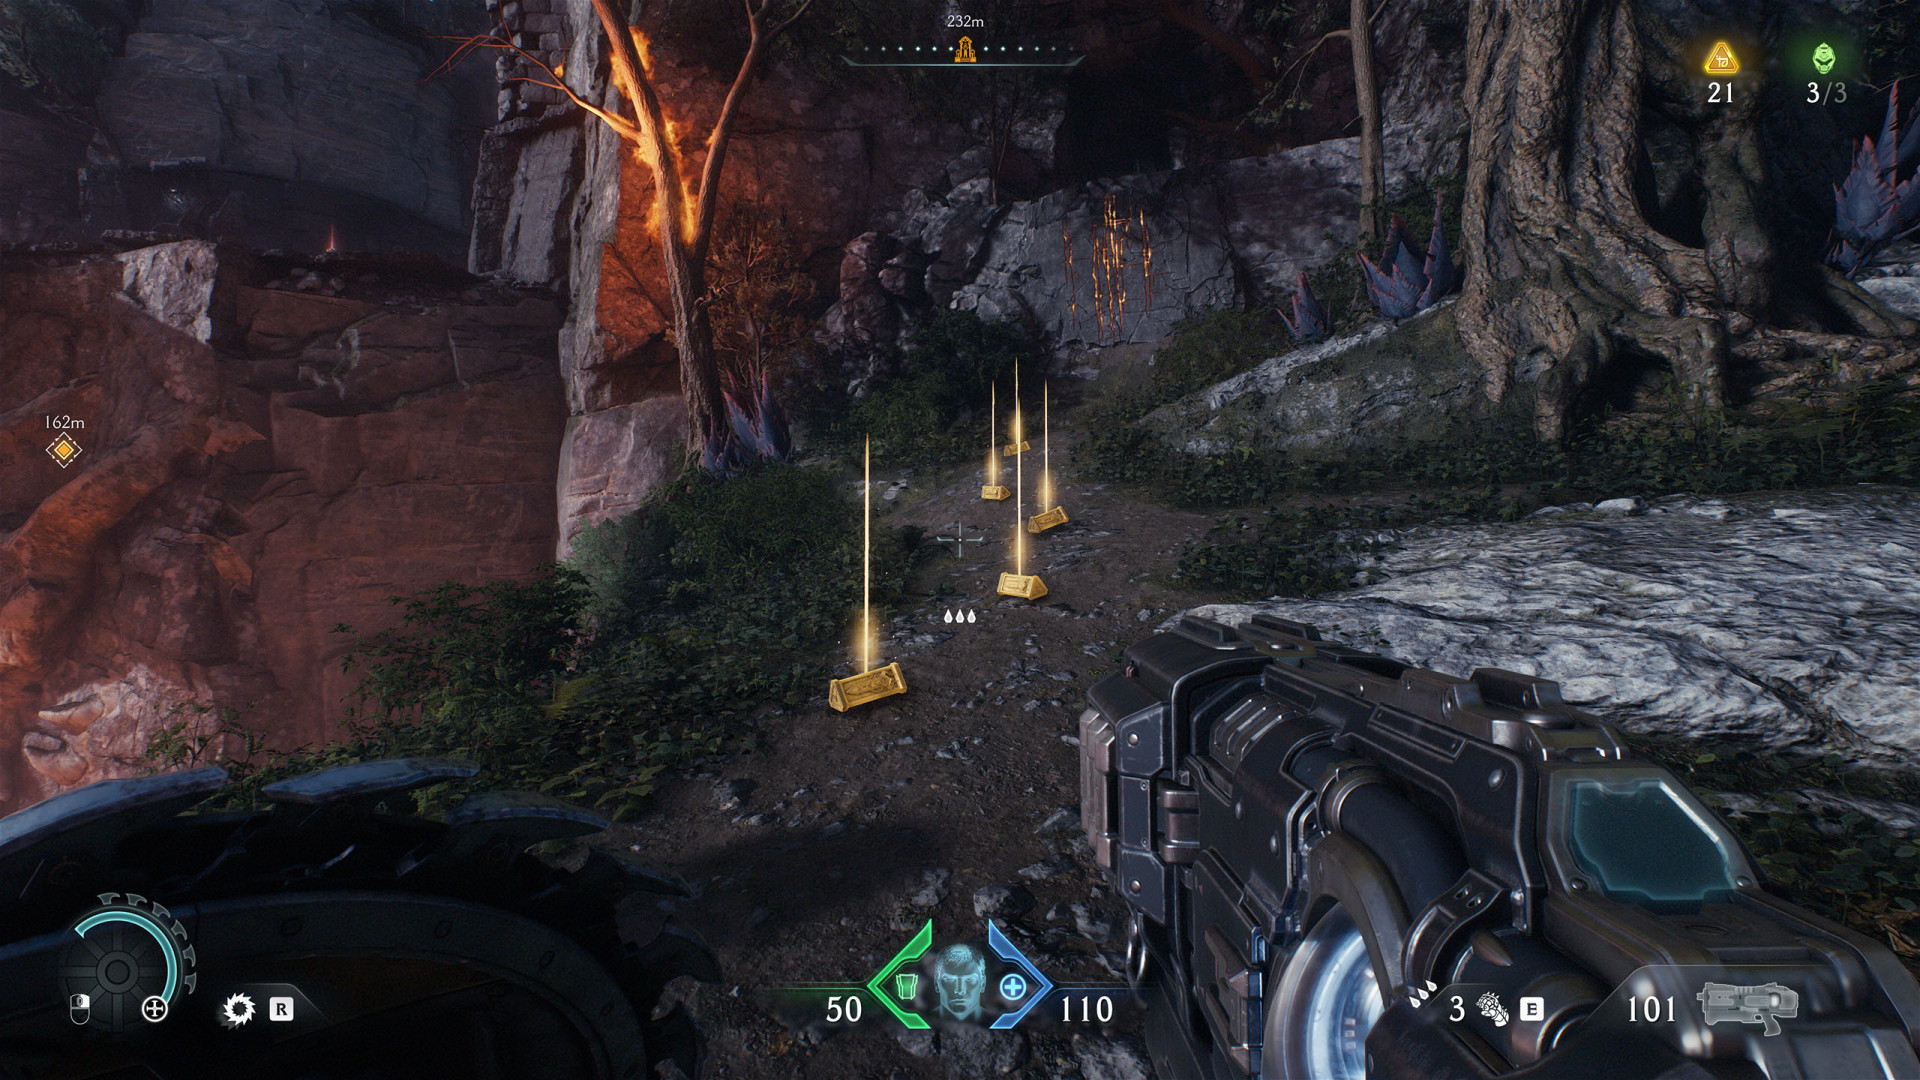
All known locations on the map Abyssal Forest
Gold Bars (10)▶ show the map ◀
Gold Bars (3)▶ show the map ◀
Gold Bars (3)▶ show the map ◀
Gold Bars (4)▶ show the map ◀
Gold Bars (4)▶ show the map ◀
Gold Bars (4)▶ show the map ◀
Gold Bars (4)▶ show the map ◀
Gold Bars (5)▶ show the map ◀
Gold Bars (5)▶ show the map ◀
Gold Bars (5)▶ show the map ◀
Gold Bars (5)▶ show the map ◀
Gold Chest (50)▶ show the map ◀
Gold Stacks (16)▶ show the map ◀
Gold Stacks (16)▶ show the map ◀
Gold Stacks (16)▶ show the map ◀
All known locations on the map Ancestral Forge
Gold Bars (3)▶ show the map ◀
Gold Bars (3)▶ show the map ◀
Gold Bars (3)▶ show the map ◀
Gold Bars (3)▶ show the map ◀
Gold Bars (4)▶ show the map ◀
Gold Bars (4)▶ show the map ◀
Gold Bars (5)▶ show the map ◀
Gold Bars (5)▶ show the map ◀
Gold Bars (5)▶ show the map ◀
Gold Bars (5)▶ show the map ◀
Gold Bars (5)▶ show the map ◀
Gold Bars (5)▶ show the map ◀
Gold Bars (6)▶ show the map ◀
Gold Chest (50)▶ show the map ◀
Gold Chest (50)▶ show the map ◀
Gold Chest (50)▶ show the map ◀
Gold Stack (8)▶ show the map ◀
Gold Stacks (16)▶ show the map ◀
All known locations on the map The Forsaken Plains
Gold Bars (11)▶ show the map ◀
Gold Bars (15)▶ show the map ◀
Gold Bars (3)▶ show the map ◀
Gold Bars (3)▶ show the map ◀
Gold Bars (4)▶ show the map ◀
Gold Bars (4)▶ show the map ◀
Gold Bars (6)▶ show the map ◀
Gold Bars (6)▶ show the map ◀
Gold Bars (6)▶ show the map ◀
Gold Bars (6)▶ show the map ◀
Gold Chest (50)▶ show the map ◀
Gold Chest (50)▶ show the map ◀
Gold Stack (8)▶ show the map ◀
Gold Stack (8)▶ show the map ◀
All known locations on the map Hellbreaker
Gold Bars (3)▶ show the map ◀
Gold Bars (5)▶ show the map ◀
Gold Bars (5)▶ show the map ◀

Gold Bars (6)▶ show the map ◀
Gold Chest (50)▶ show the map ◀
Gold Stack (8)▶ show the map ◀
Gold Stack (8)▶ show the map ◀
All known locations on the map Sentinel Command Station
Gold Bars (14)▶ show the map ◀
Gold Bars (2)▶ show the map ◀
Gold Bars (2)▶ show the map ◀
Gold Bars (3)▶ show the map ◀
Gold Bars (5)▶ show the map ◀
Gold Bars (5)▶ show the map ◀
Gold Bars (6)▶ show the map ◀
Gold Chest (50)▶ show the map ◀
Gold Chest (50)▶ show the map ◀
Gold Stack (8)▶ show the map ◀
Gold Stack (8)▶ show the map ◀
Gold Stack (8)▶ show the map ◀
Gold Stack (8)▶ show the map ◀
Gold Stack (8)▶ show the map ◀
All known locations on the map Spire of Nerathul
Gold Bars (12)▶ show the map ◀

Gold Bars (13)▶ show the map ◀

Gold Bars (3)▶ show the map ◀
Gold Bars (3)▶ show the map ◀
Gold Bars (3)▶ show the map ◀
Gold Bars (3)▶ show the map ◀

Gold Bars (4)▶ show the map ◀
Gold Bars (5)▶ show the map ◀
Gold Bars (5)▶ show the map ◀
Gold Bars (5)▶ show the map ◀
Gold Bars (5)▶ show the map ◀
Gold Bars (5)▶ show the map ◀
Gold Bars (5)▶ show the map ◀
Gold Bars (5)▶ show the map ◀
Gold Bars (5)▶ show the map ◀
Gold Bars (5)▶ show the map ◀
Gold Bars (5)▶ show the map ◀
Gold Bars (7)▶ show the map ◀

Gold Bars (7)▶ show the map ◀
Gold Chest (50)▶ show the map ◀
Gold Chest (50)▶ show the map ◀
Gold Stack (8)▶ show the map ◀
Gold Stack (8)▶ show the map ◀
Gold Stack (8)▶ show the map ◀
Gold Stack (8)▶ show the map ◀
Gold Stack (8)▶ show the map ◀
Gold Stacks (16)▶ show the map ◀
Gold Stacks (16)▶ show the map ◀
Gold Stacks (16)▶ show the map ◀

All known locations on the map City of Ry'uul
Gold Bars (3)▶ show the map ◀
Gold Bars (3)▶ show the map ◀
Gold Bars (3)▶ show the map ◀
Gold Bars (4)▶ show the map ◀
Gold Bars (4)▶ show the map ◀
Gold Bars (5)▶ show the map ◀
Gold Bars (6)▶ show the map ◀
Gold Bars (6)▶ show the map ◀
Gold Bars (7)▶ show the map ◀
Gold Bars (9)▶ show the map ◀
Gold Chest (50)▶ show the map ◀
Gold Chest (50)▶ show the map ◀
Gold Stacks (16)▶ show the map ◀
Gold Stacks (16)▶ show the map ◀
All known locations on the map The Kar'Thul Marshes
Gold Bars (3)▶ show the map ◀
Gold Bars (4)▶ show the map ◀
Gold Bars (5)▶ show the map ◀
Gold Bars (5)▶ show the map ◀
Gold Bars (5)▶ show the map ◀
Gold Bars (5)▶ show the map ◀
Gold Bars (6)▶ show the map ◀
Gold Bars (7)▶ show the map ◀
Gold Chest (50)▶ show the map ◀

Gold Chest (50)▶ show the map ◀
Gold Stack (8)▶ show the map ◀
Gold Stack (8)▶ show the map ◀
Gold Stack (8)▶ show the map ◀
Gold Stack (8)▶ show the map ◀
All known locations on the map Temple of Lomarith
Gold Bars (3)▶ show the map ◀
Gold Bars (4)▶ show the map ◀
Gold Bars (5)▶ show the map ◀
Gold Bars (6)▶ show the map ◀

Gold Bars (6)▶ show the map ◀
Gold Bars (6)▶ show the map ◀
Gold Bars (8)▶ show the map ◀
Gold Chest (50)▶ show the map ◀
Gold Chest (50)▶ show the map ◀
Gold Stack (8)▶ show the map ◀
Gold Stack (8)▶ show the map ◀

Gold Stack (8)▶ show the map ◀
Gold Stacks (16)▶ show the map ◀
Gold Stacks (16)▶ show the map ◀
All known locations on the map Belly of the Beast
Gold Bars (14)▶ show the map ◀
Gold Bars (5)▶ show the map ◀
Gold Bars (5)▶ show the map ◀
Gold Bars (6)▶ show the map ◀
Gold Bars (7)▶ show the map ◀
Gold Chest (50)▶ show the map ◀
Gold Chest (50)▶ show the map ◀
Gold Stacks (16)▶ show the map ◀

All known locations on the map Harbor of Souls
Gold Bars (10)▶ show the map ◀
Gold Bars (3)▶ show the map ◀
Gold Bars (3)▶ show the map ◀
Gold Bars (3)▶ show the map ◀

Gold Bars (3)▶ show the map ◀
Gold Bars (4)▶ show the map ◀
Gold Bars (4)▶ show the map ◀
Gold Bars (5)▶ show the map ◀
Gold Bars (5)▶ show the map ◀
Gold Bars (5)▶ show the map ◀
Gold Bars (5)▶ show the map ◀
Gold Bars (5)▶ show the map ◀
Gold Bars (8)▶ show the map ◀
Gold Bars (9)▶ show the map ◀
Gold Chest (50)▶ show the map ◀

Gold Chest (50)▶ show the map ◀
Gold Chest (50)▶ show the map ◀
Gold Stack (8)▶ show the map ◀
Gold Stack (8)▶ show the map ◀
Gold Stack (8)▶ show the map ◀
Gold Stack (8)▶ show the map ◀
Gold Stack (8)▶ show the map ◀
Gold Stacks (16)▶ show the map ◀
Gold Stacks (16)▶ show the map ◀
All known locations on the map Resurrection
Gold Bars (10)▶ show the map ◀
Gold Bars (3)▶ show the map ◀

Gold Bars (4)▶ show the map ◀
Gold Bars (4)▶ show the map ◀
Gold Bars (5)▶ show the map ◀
Gold Bars (5)▶ show the map ◀
Gold Bars (5)▶ show the map ◀
Gold Bars (5)▶ show the map ◀
Gold Bars (5)▶ show the map ◀
Gold Bars (5)▶ show the map ◀
Gold Bars (6)▶ show the map ◀

Gold Bars (6)▶ show the map ◀
Gold Bars (6)▶ show the map ◀
Gold Bars (6)▶ show the map ◀

Gold Bars (7)▶ show the map ◀
Gold Bars (7)▶ show the map ◀
Gold Bars (7)▶ show the map ◀
Gold Bars (8)▶ show the map ◀
Gold Bars (8)▶ show the map ◀
Gold Bars (8)▶ show the map ◀
Gold Chest (50)▶ show the map ◀
Gold Chest (50)▶ show the map ◀
Gold Chest (50)▶ show the map ◀
Gold Chest (50)▶ show the map ◀
Gold Stack (8)▶ show the map ◀
Gold Stack (8)▶ show the map ◀
Gold Stack (8)▶ show the map ◀
Gold Stack (8)▶ show the map ◀
Gold Stack (8)▶ show the map ◀
Gold Stack (8)▶ show the map ◀
Gold Stack (8)▶ show the map ◀
Gold Stacks (16)▶ show the map ◀
All known locations on the map Reckoning
Gold Bars (4)▶ show the map ◀
Gold Bars (5)▶ show the map ◀

Gold Bars (5)▶ show the map ◀
Gold Bars (5)▶ show the map ◀
Gold Bars (5)▶ show the map ◀
Gold Bars (6)▶ show the map ◀
Gold Bars (6)▶ show the map ◀

Gold Bars (6)▶ show the map ◀
Gold Chest (50)▶ show the map ◀
Gold Stack (8)▶ show the map ◀
Gold Stack (8)▶ show the map ◀
Gold Stack (8)▶ show the map ◀
Gold Stack (8)▶ show the map ◀
Gold Stacks (16)▶ show the map ◀
Gold Stacks (16)▶ show the map ◀
Gold Stacks (24)▶ show the map ◀