Encounters DOOM: The Dark Ages Points of interest
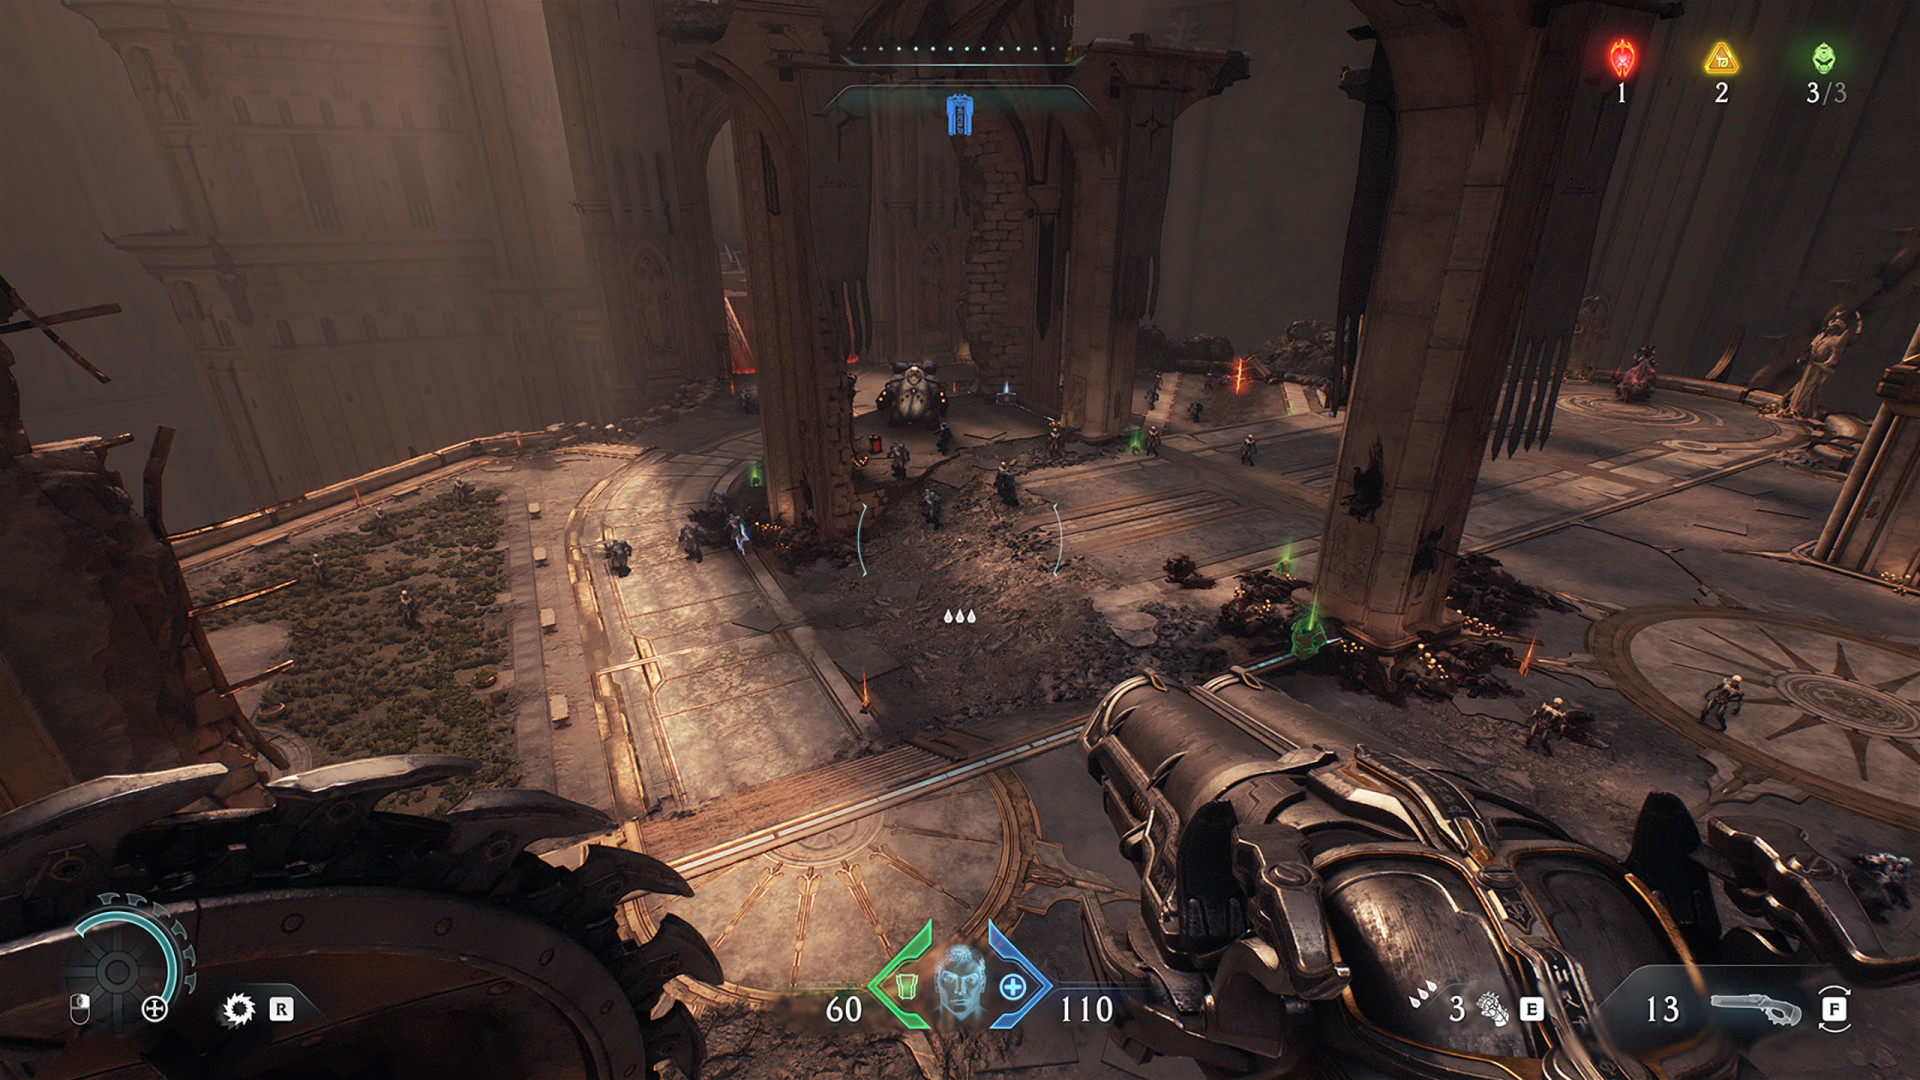
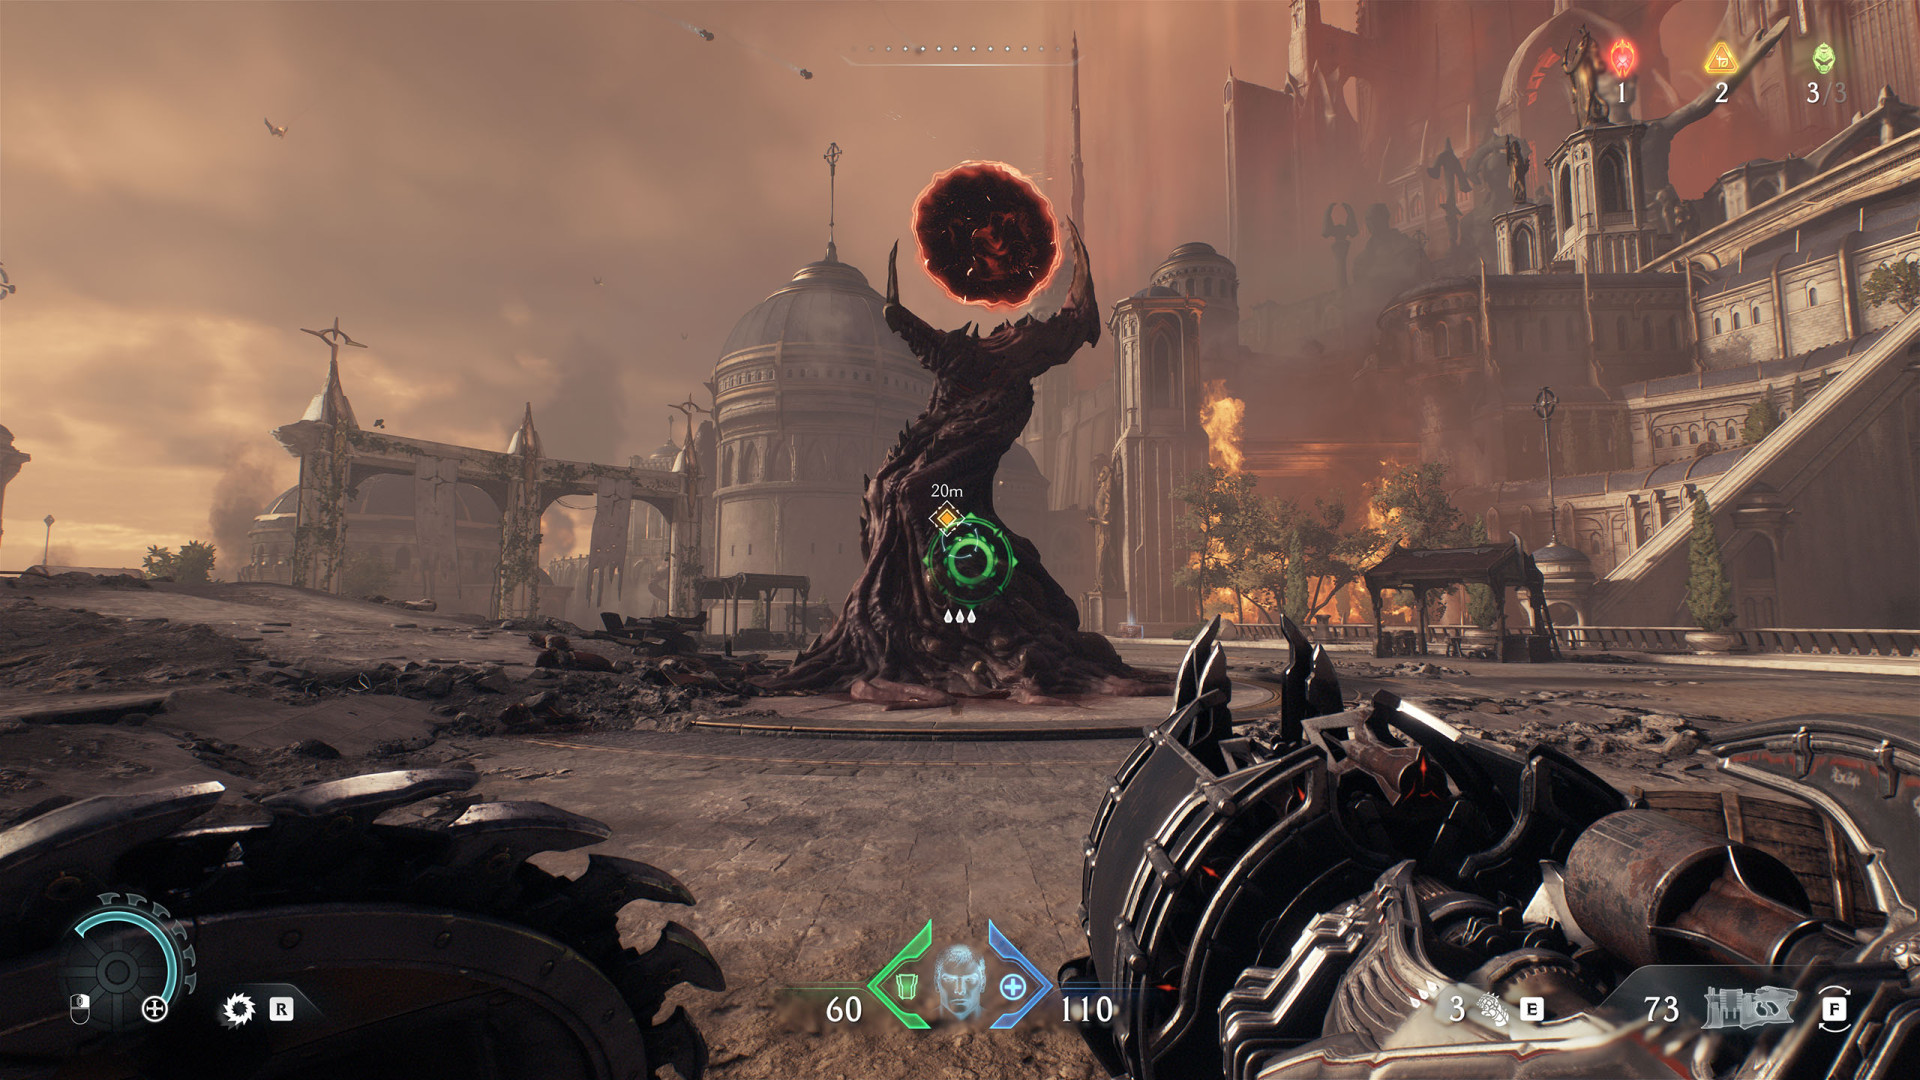
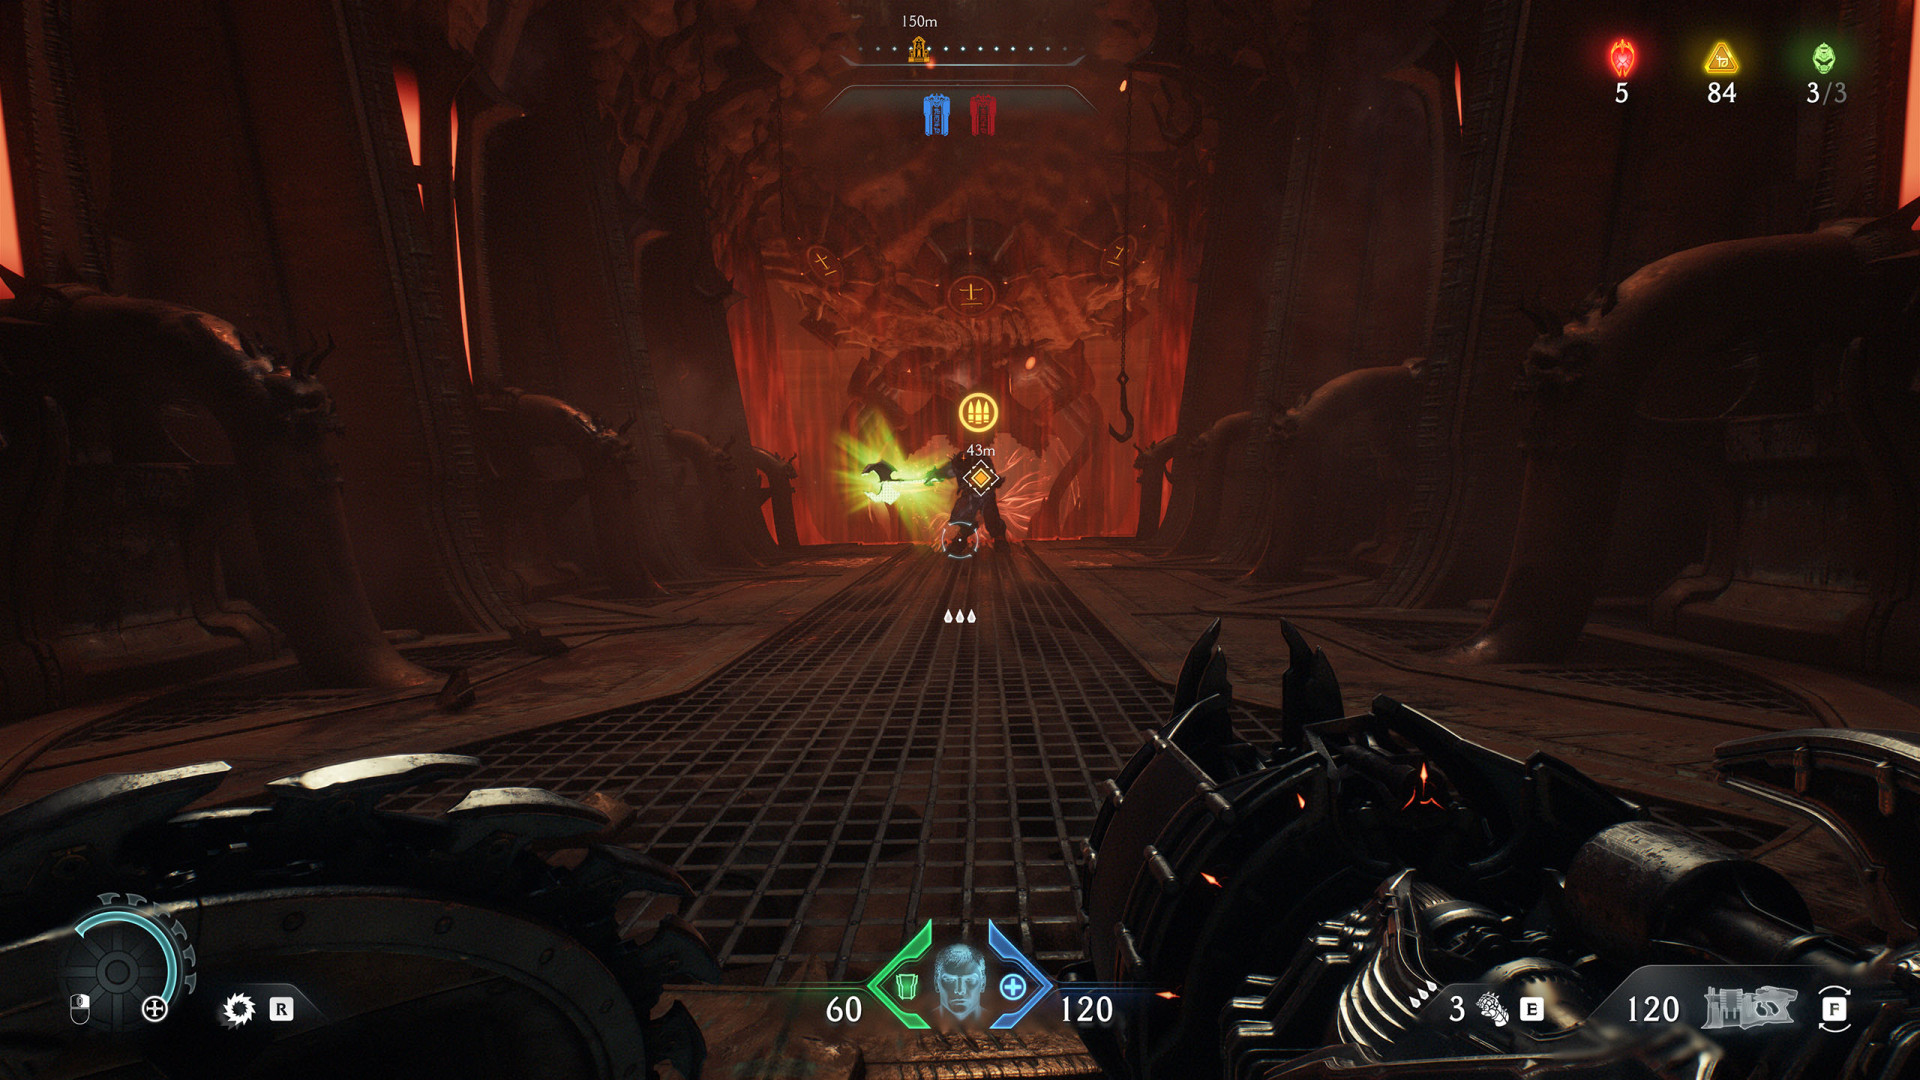
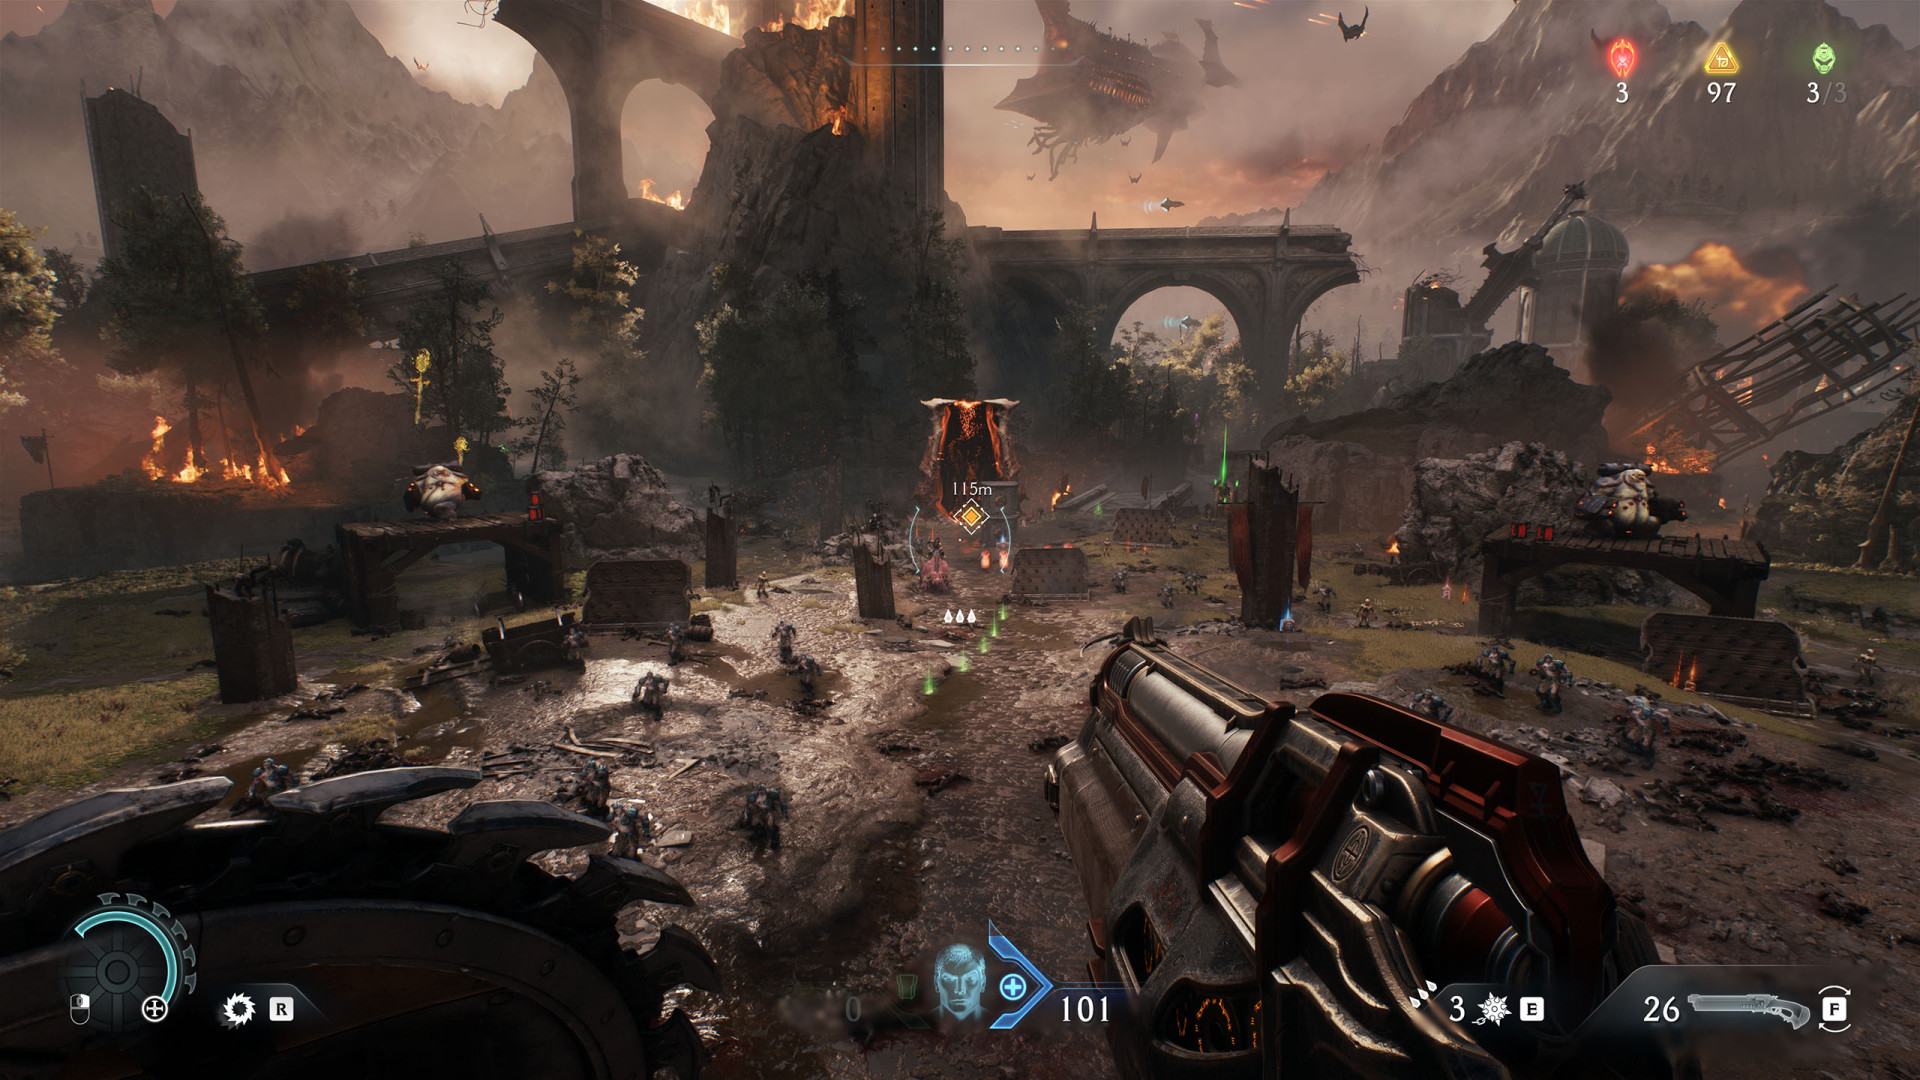
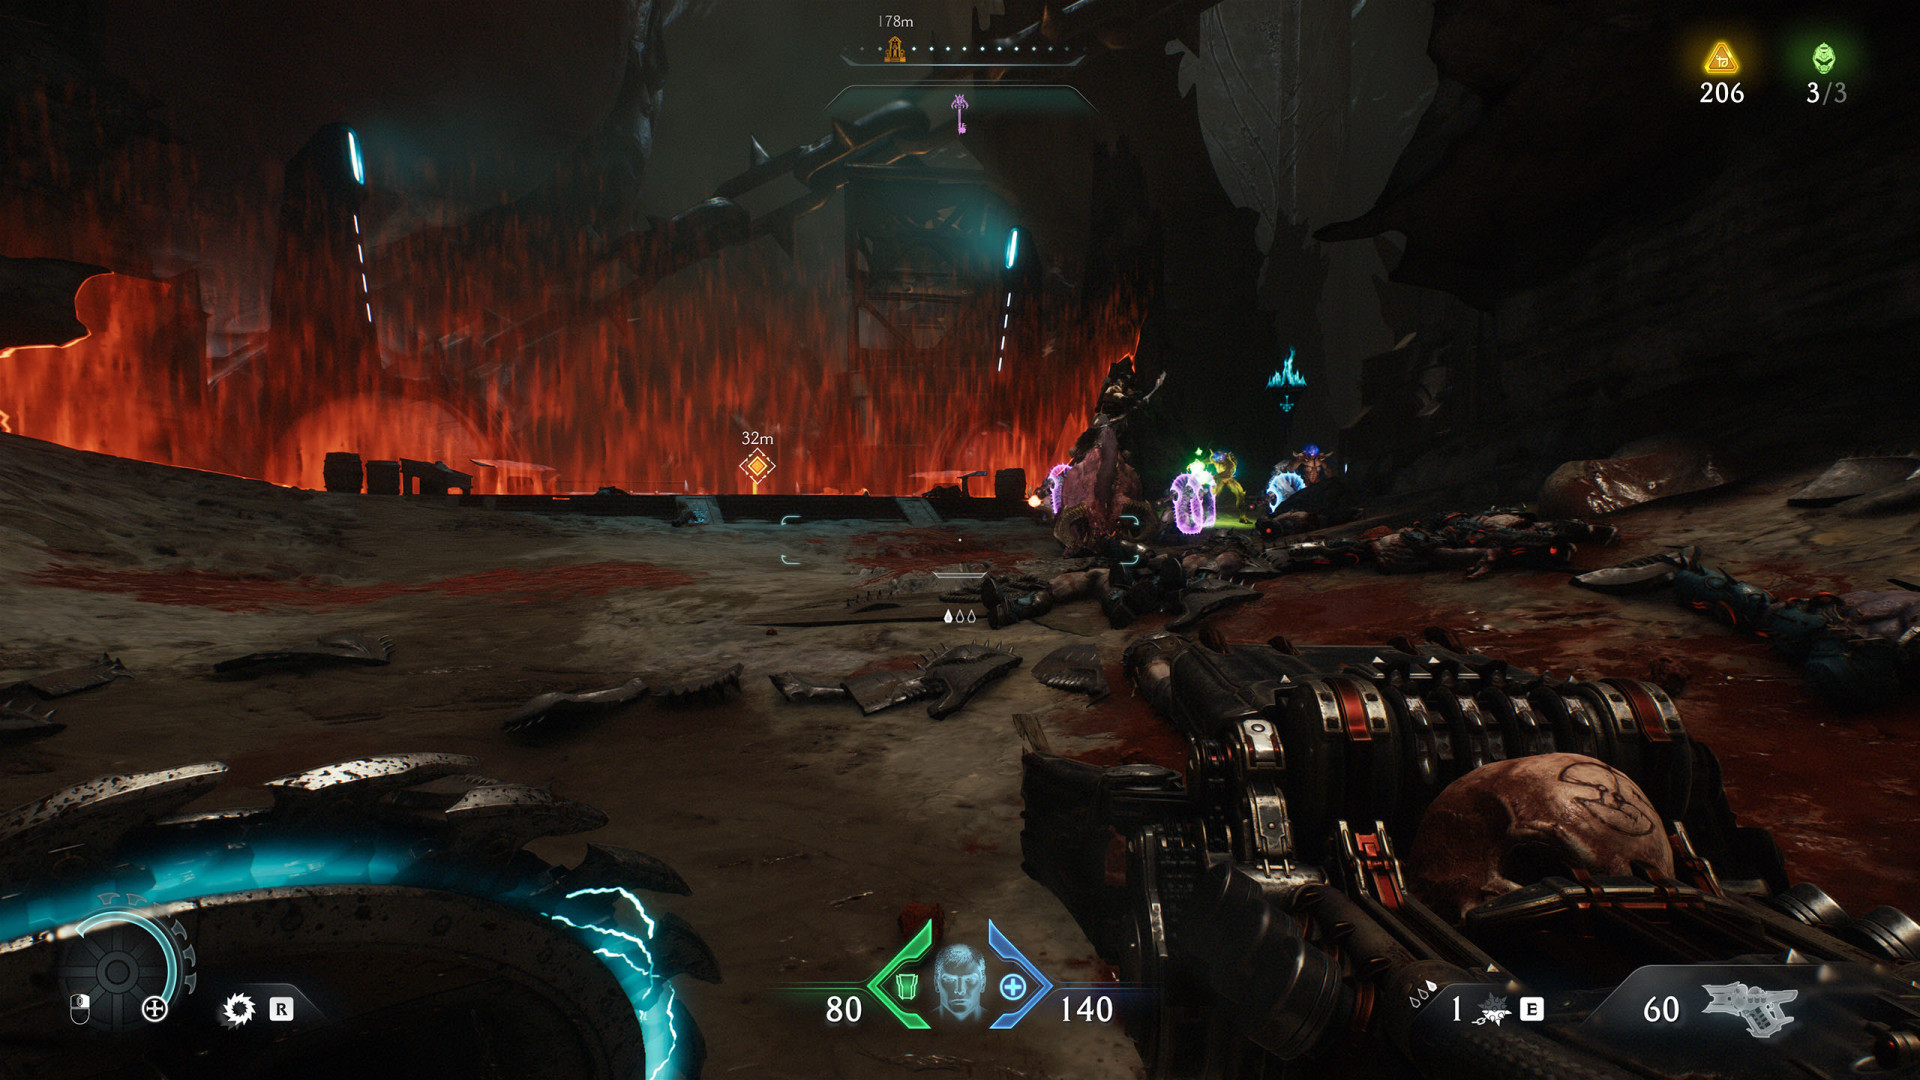
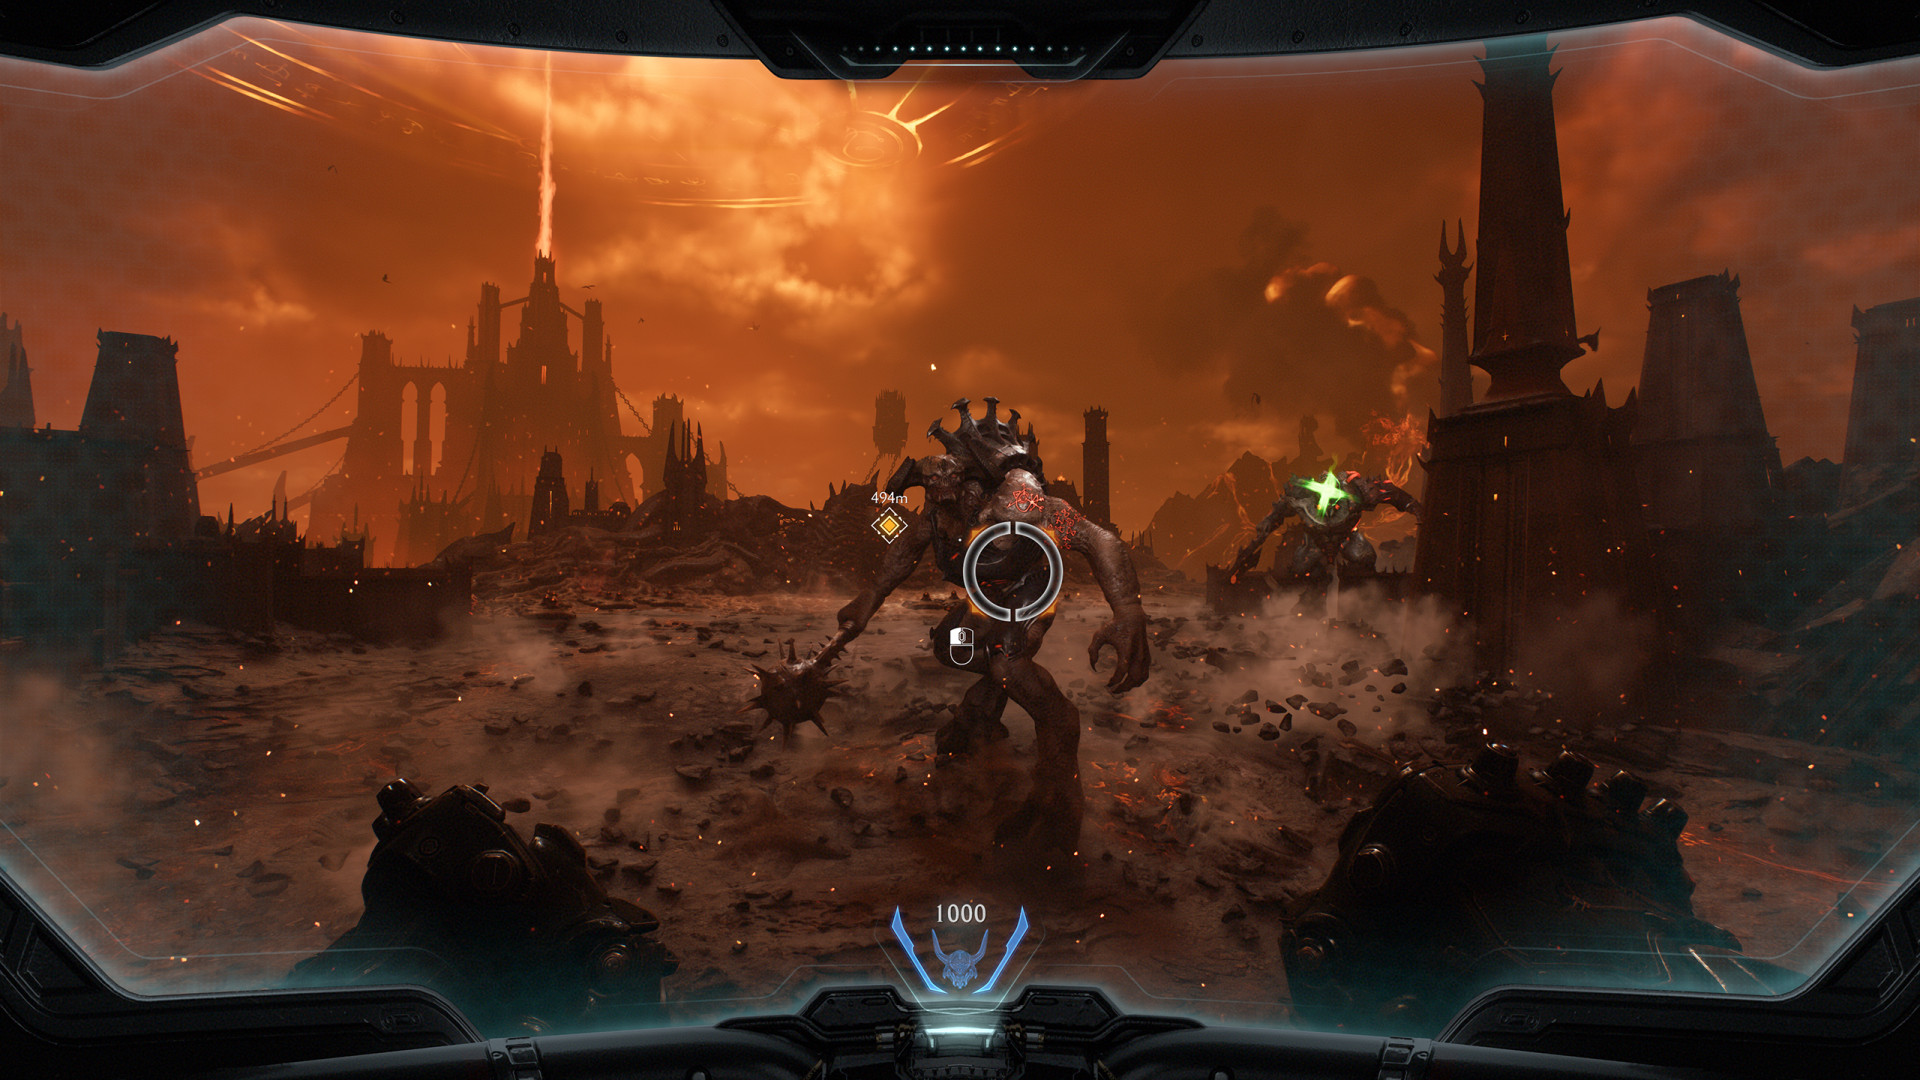
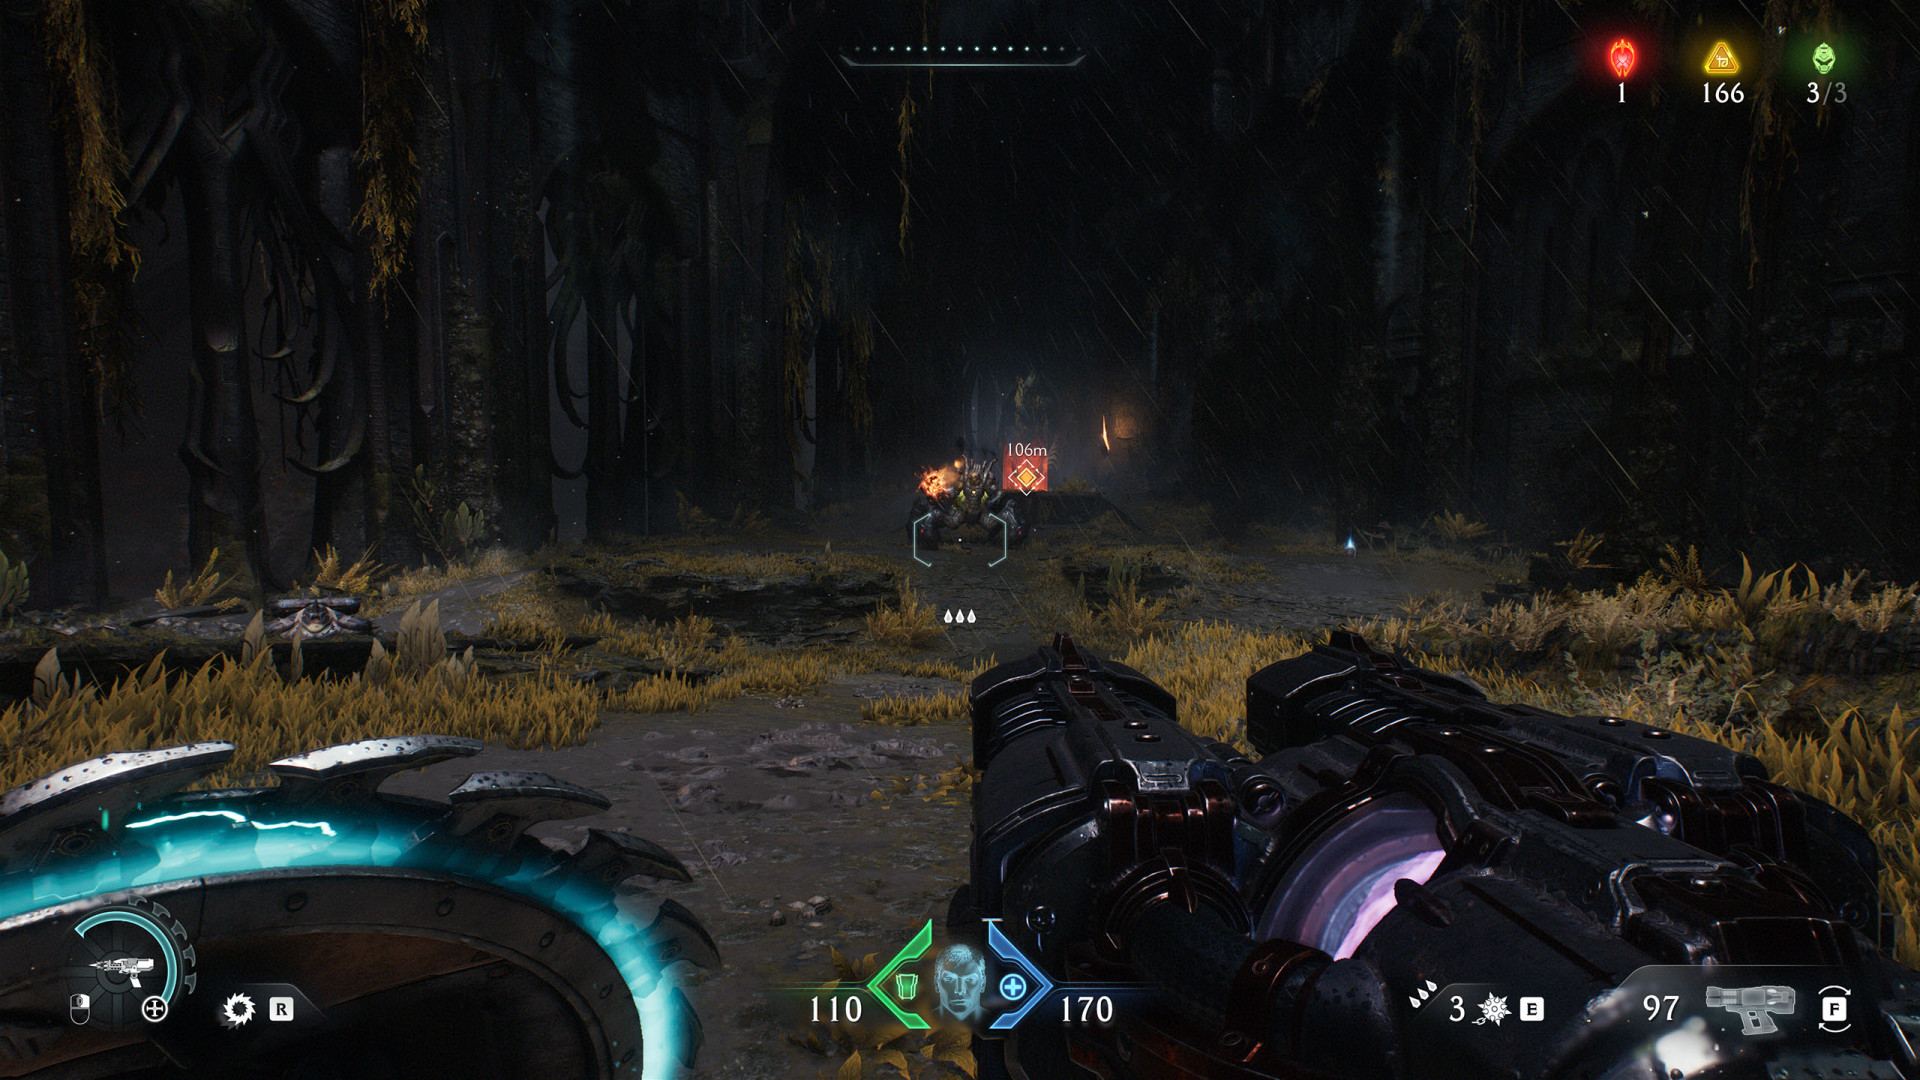
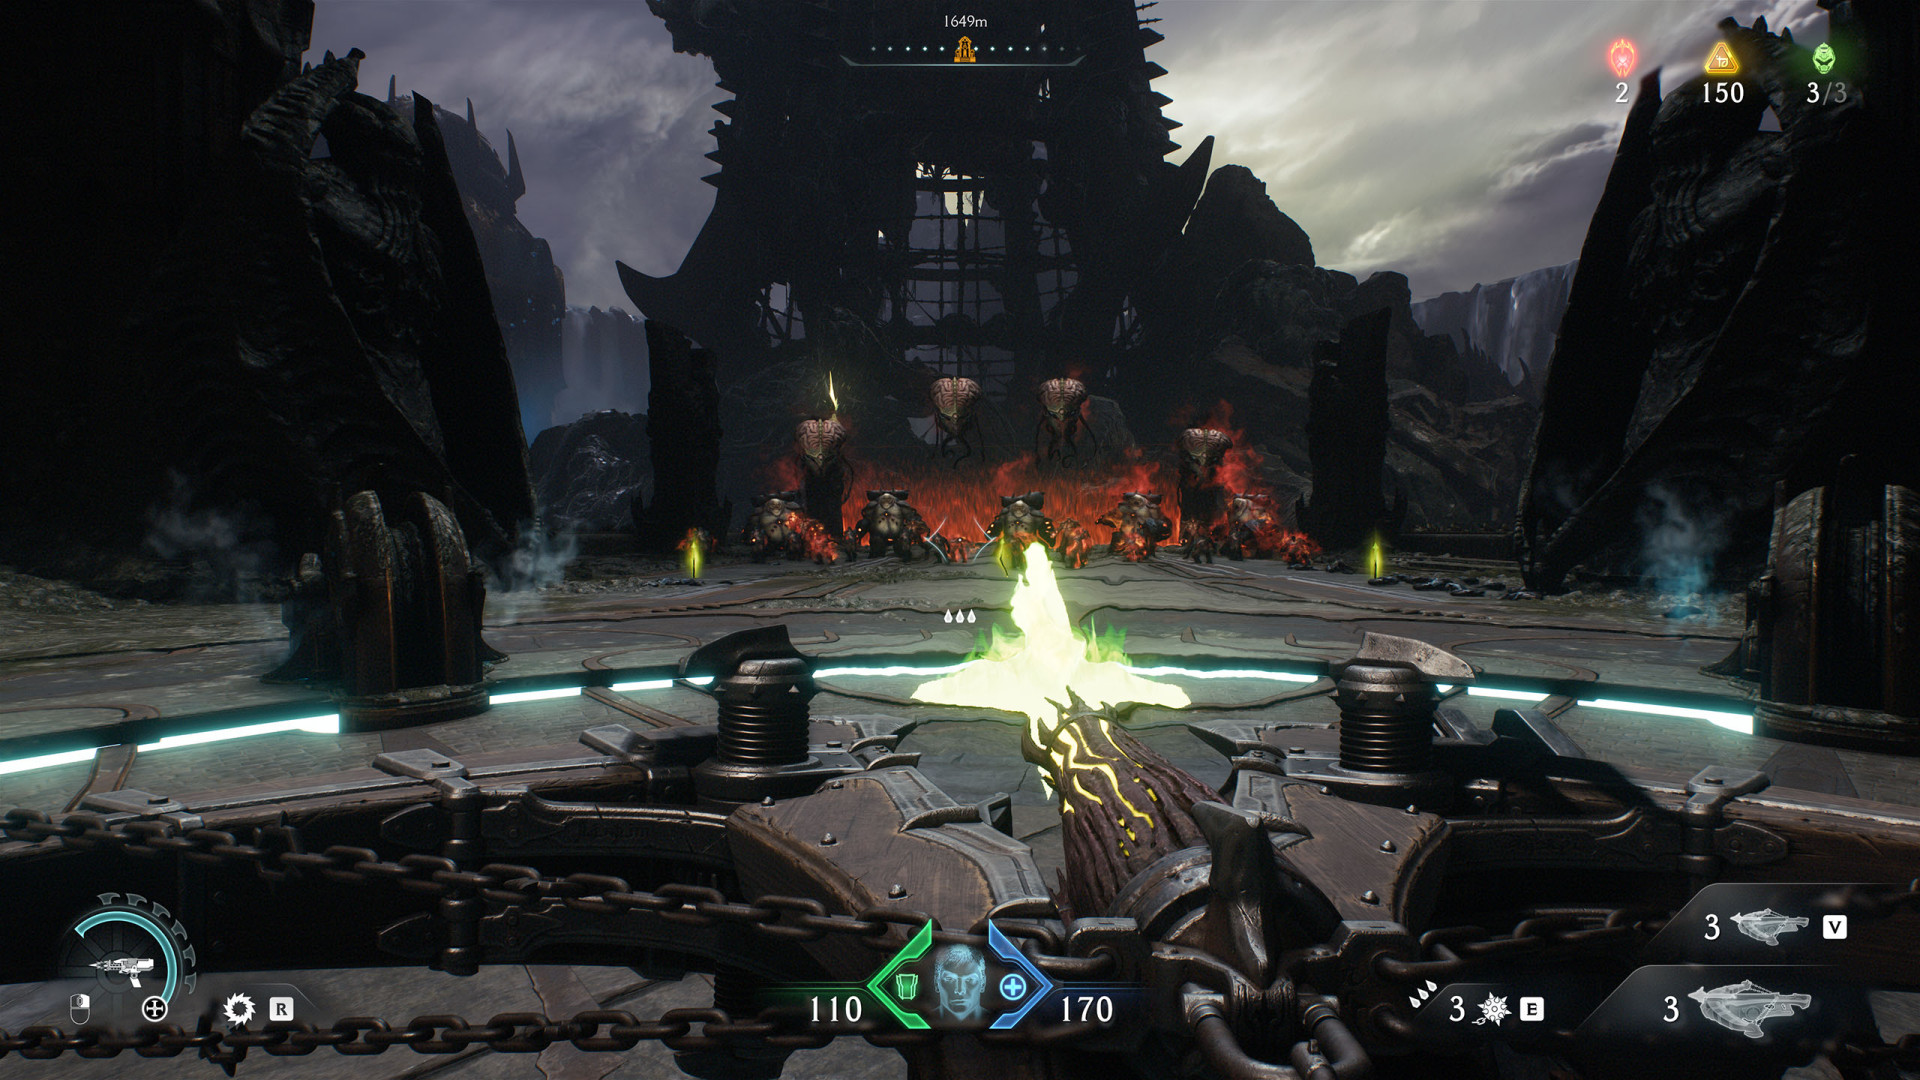
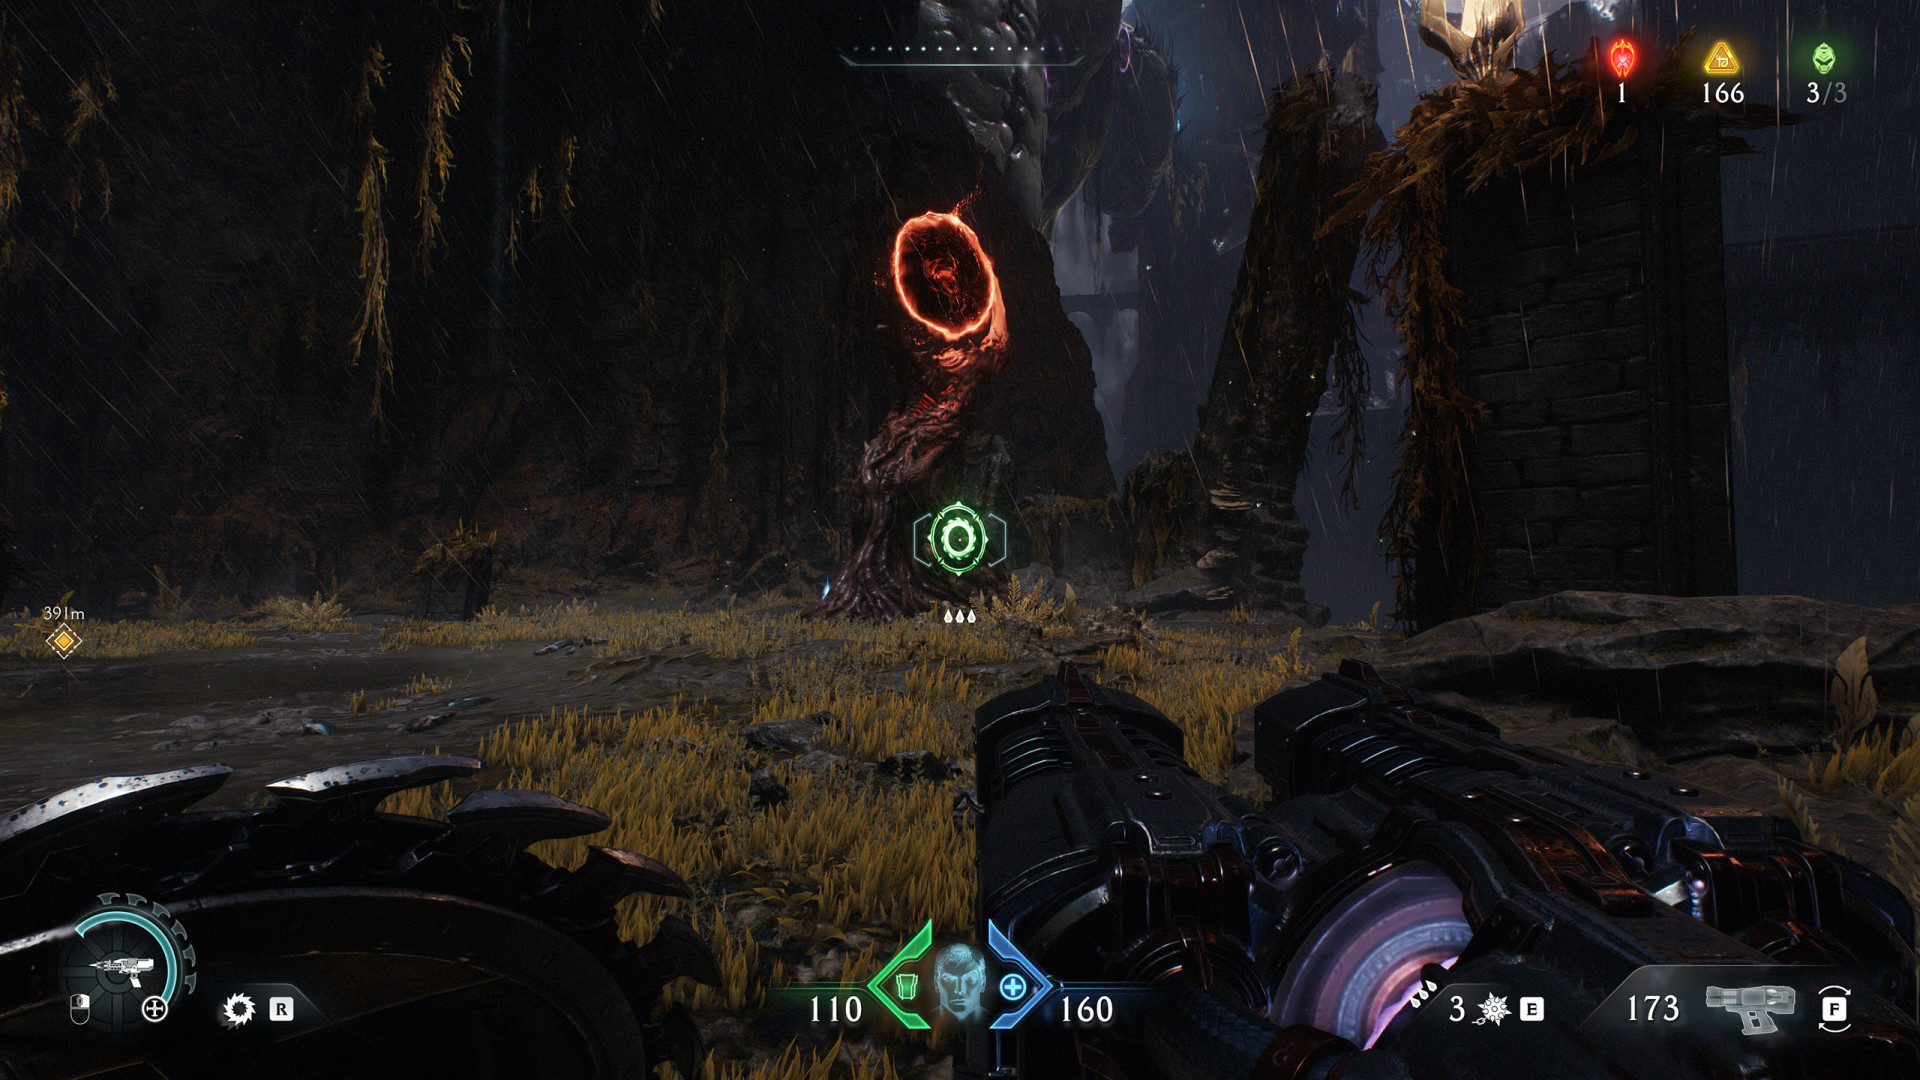
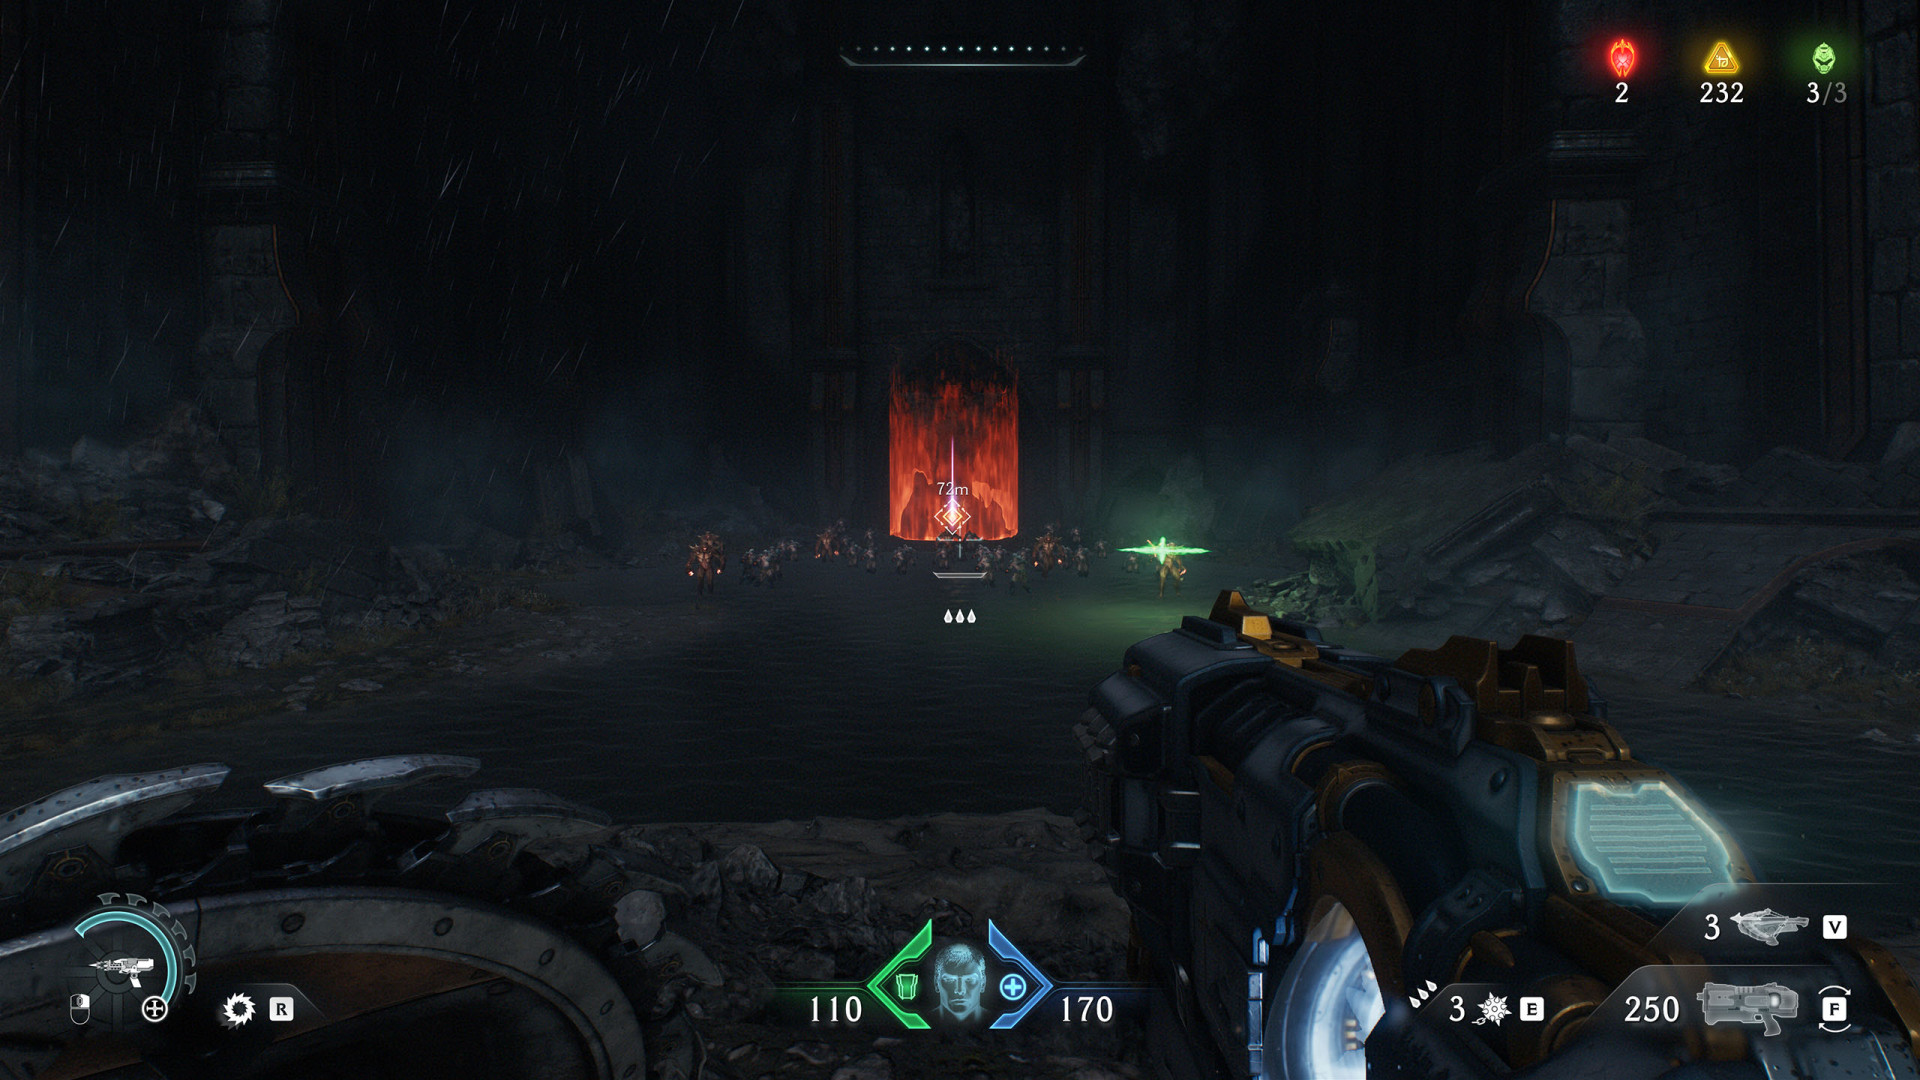
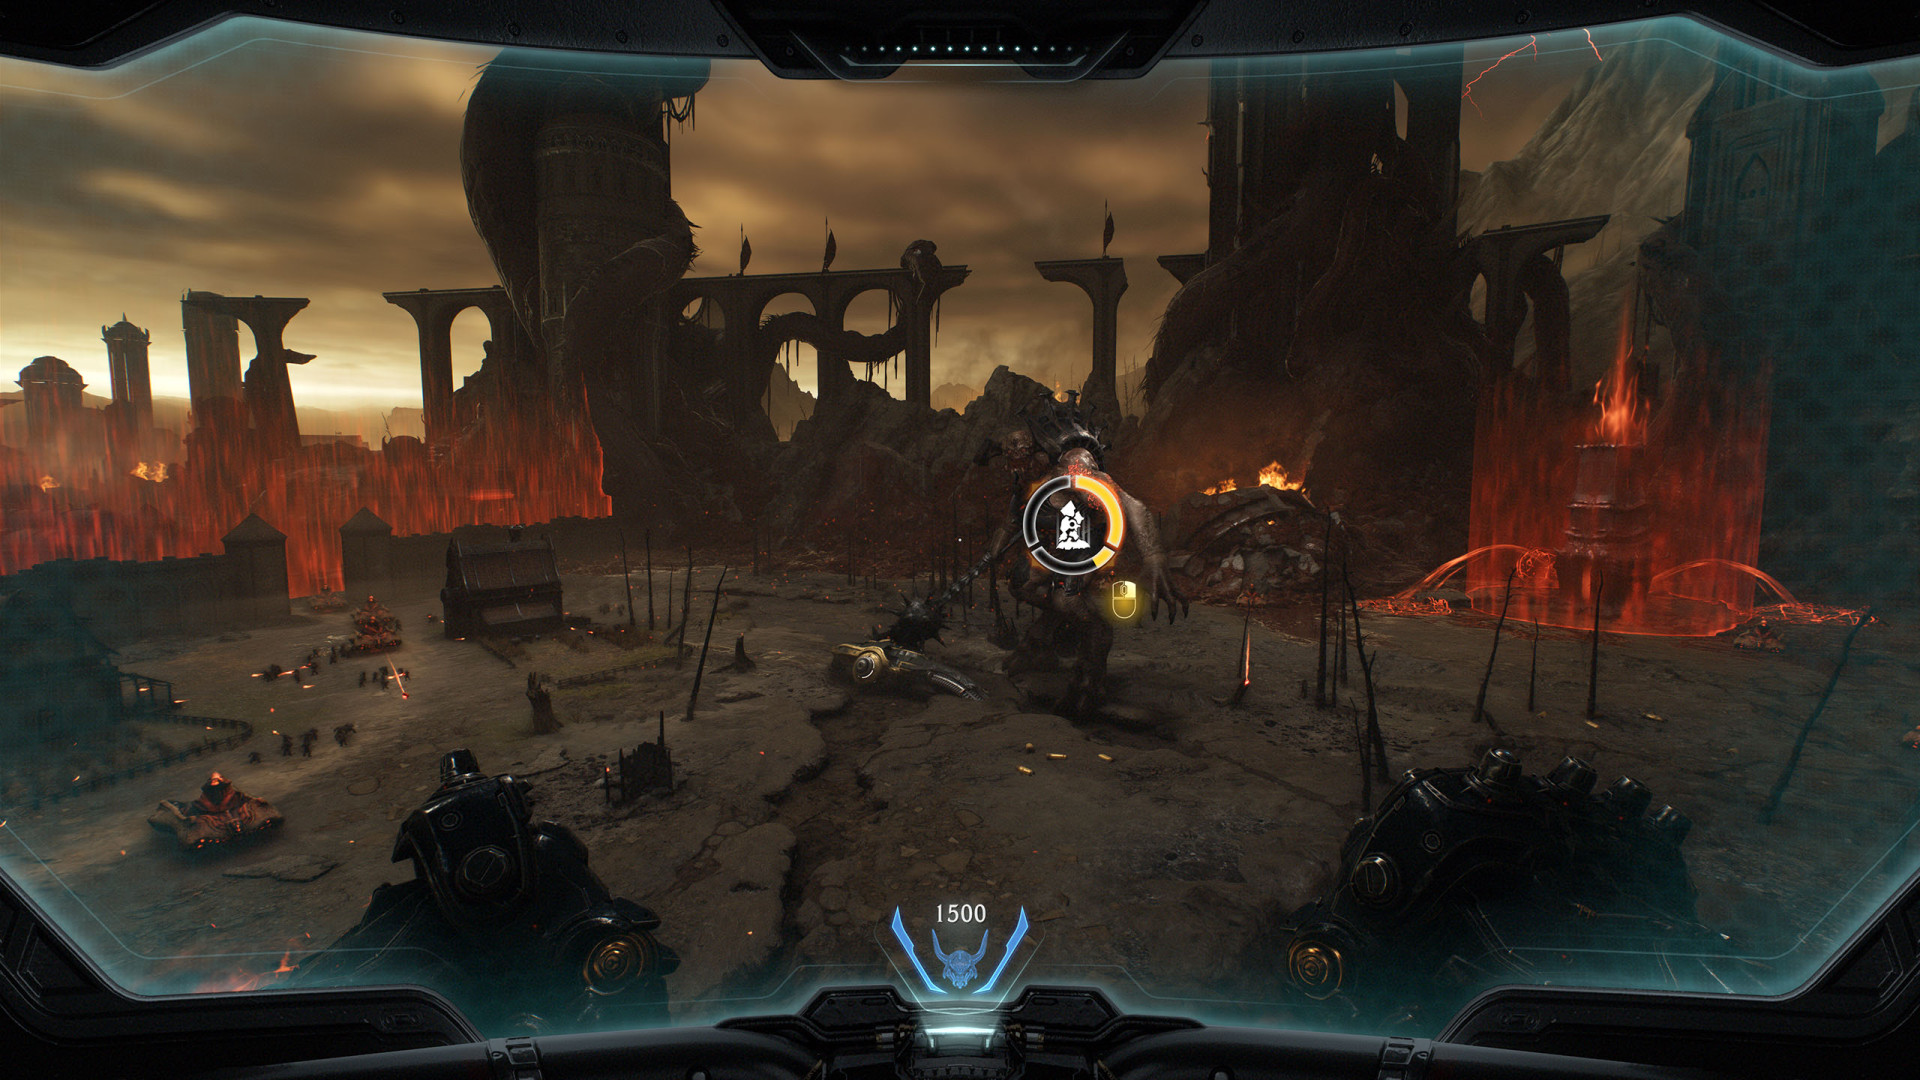
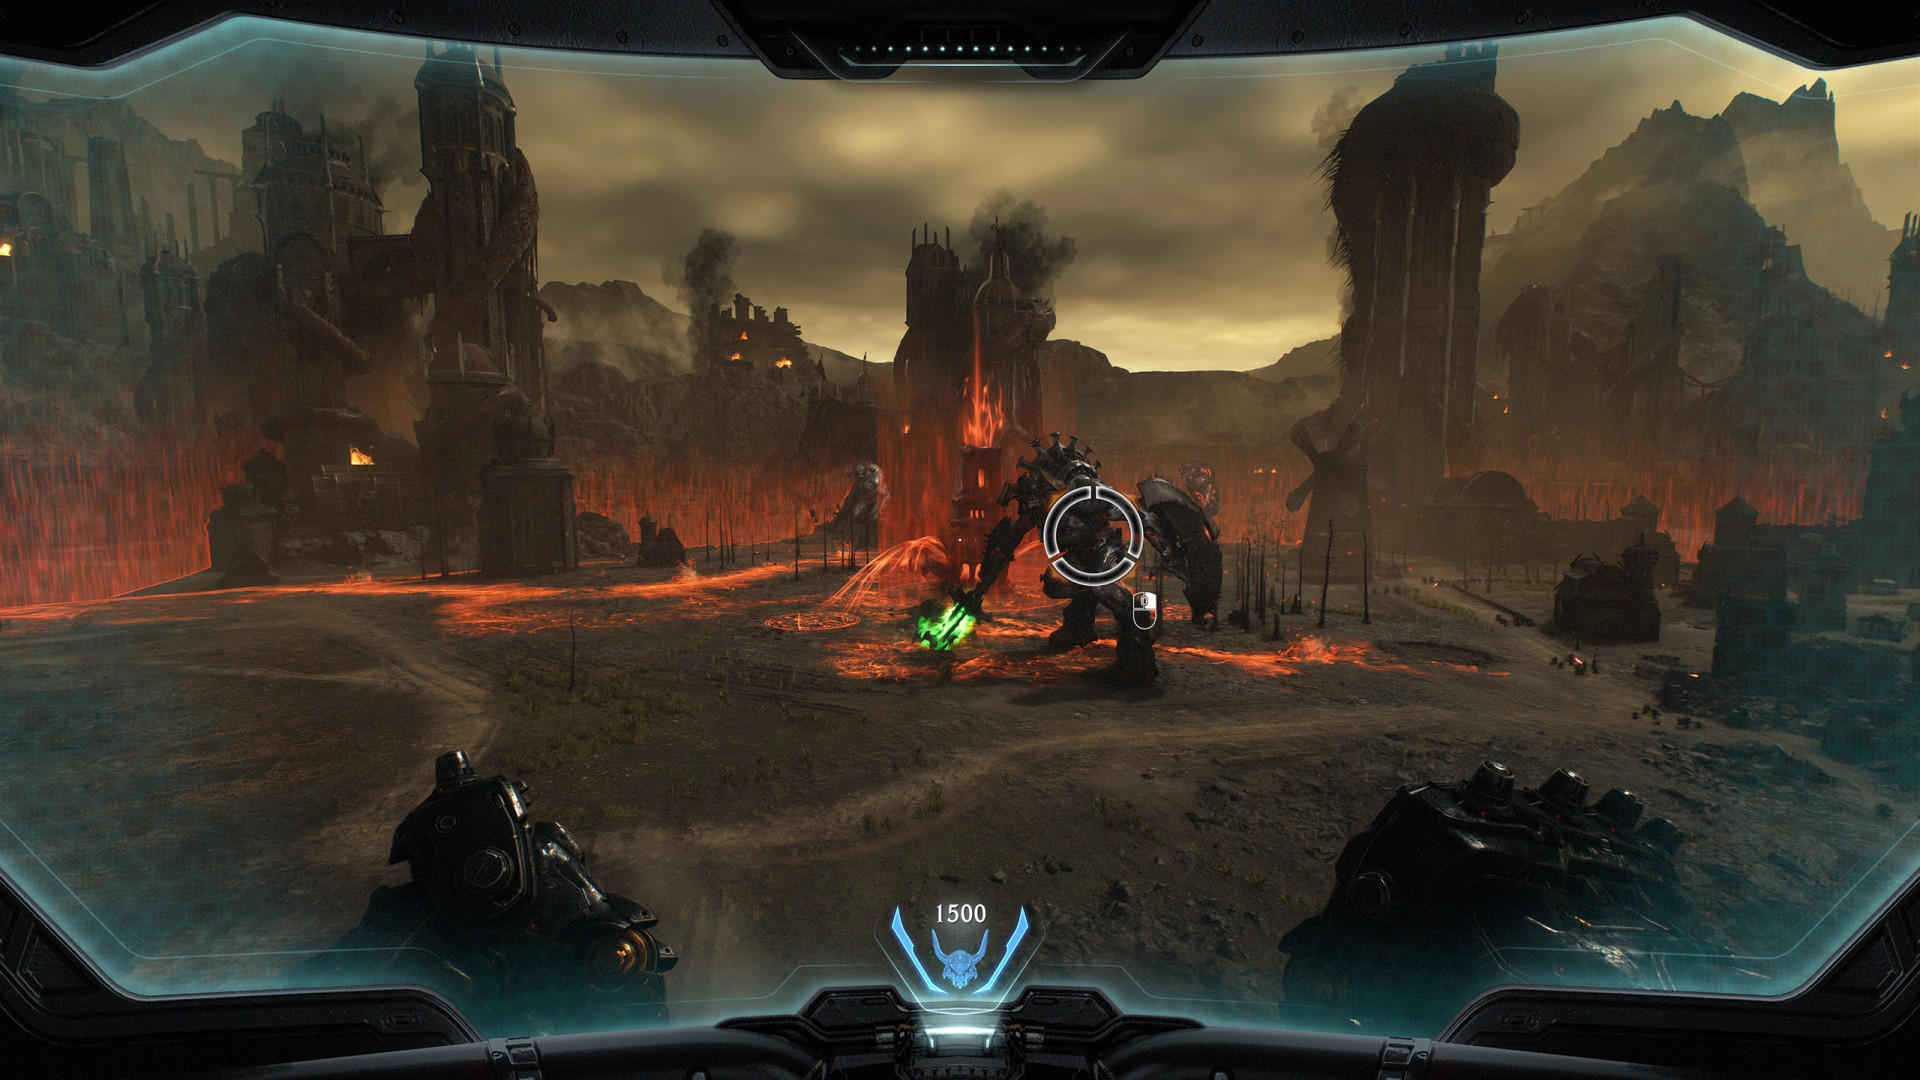
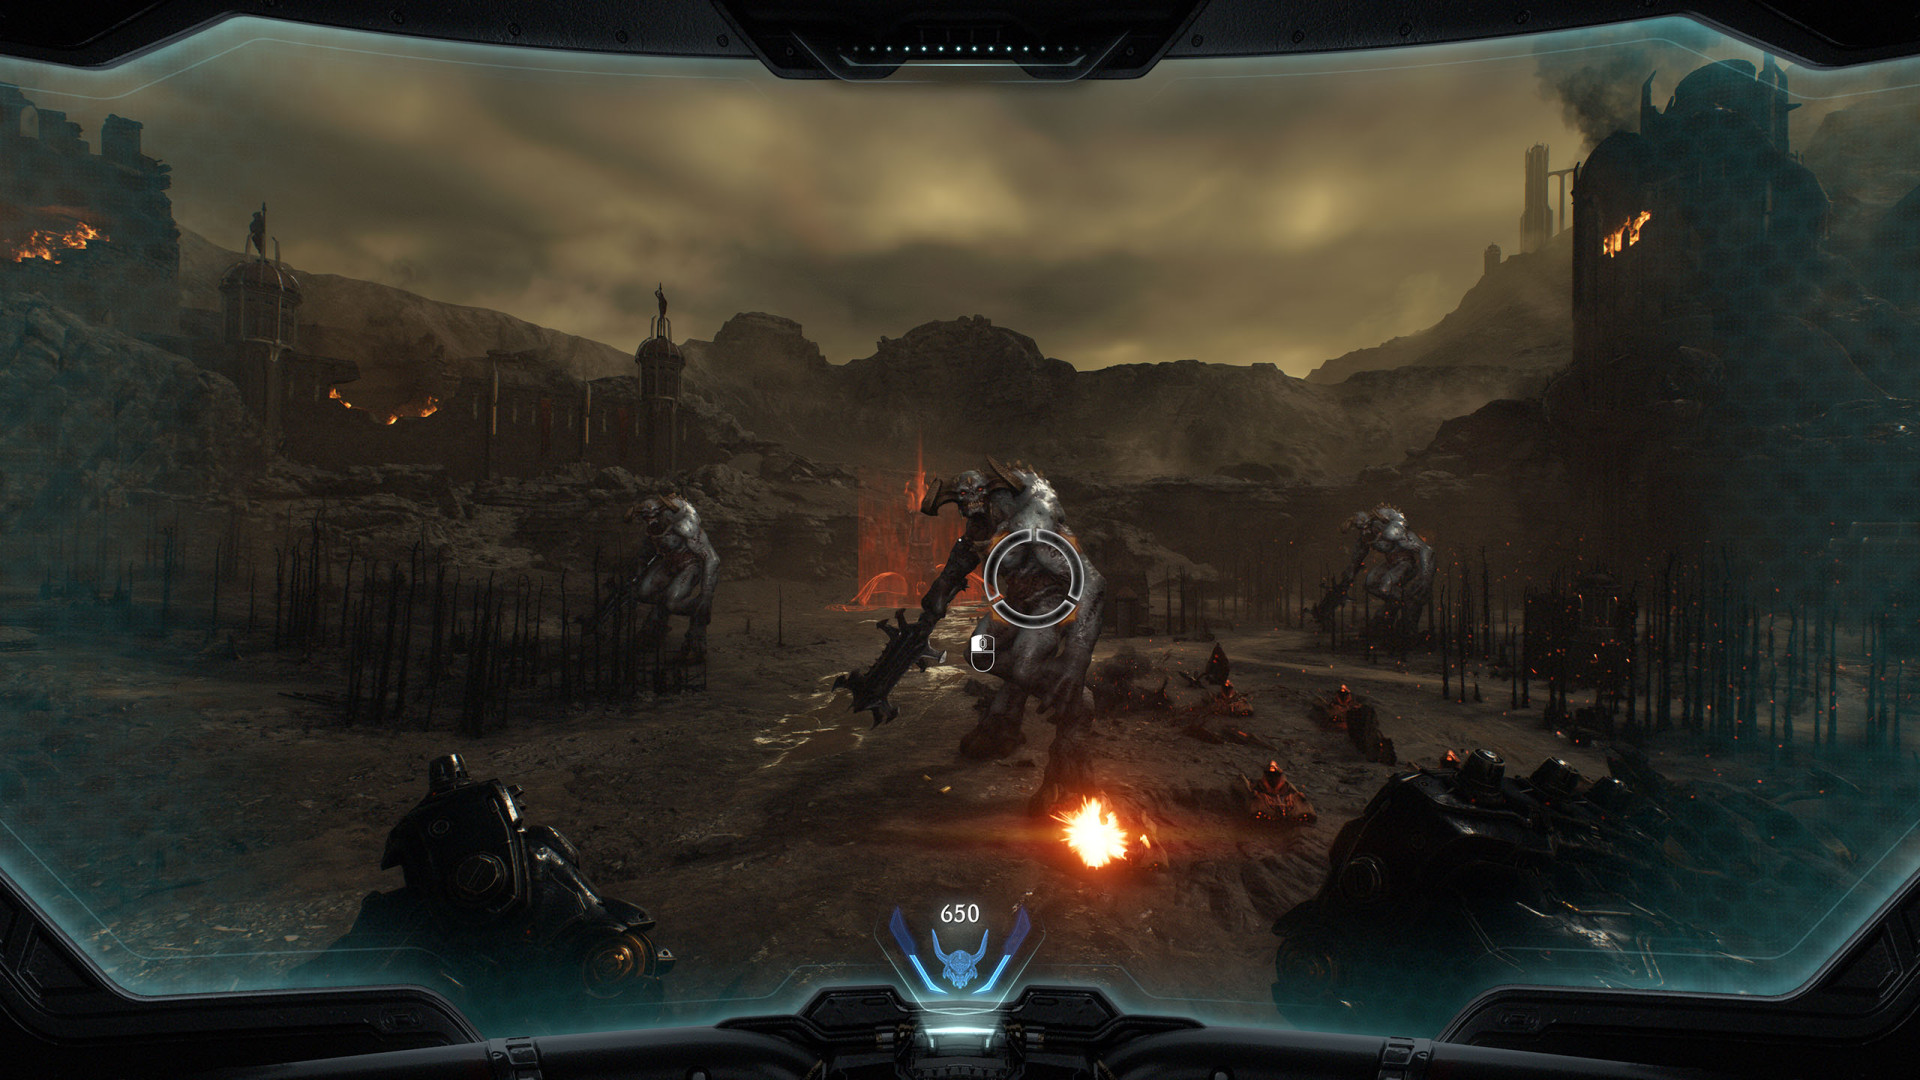
In Doom: The Dark Ages, Encounters refer to combat scenarios where the Doom Slayer faces groups of demons or specific enemies in the game's levels. These are intense, action-packed battles that test players' combat skills, often requiring strategic use of weapons, shields, and movement.
Index
- Agaddon Champion (Abyssal Forest)
- Ahzrak
- Ahzrak and Witch
- Enhanced Ahzrak
- Final Fight (Barrier Core)
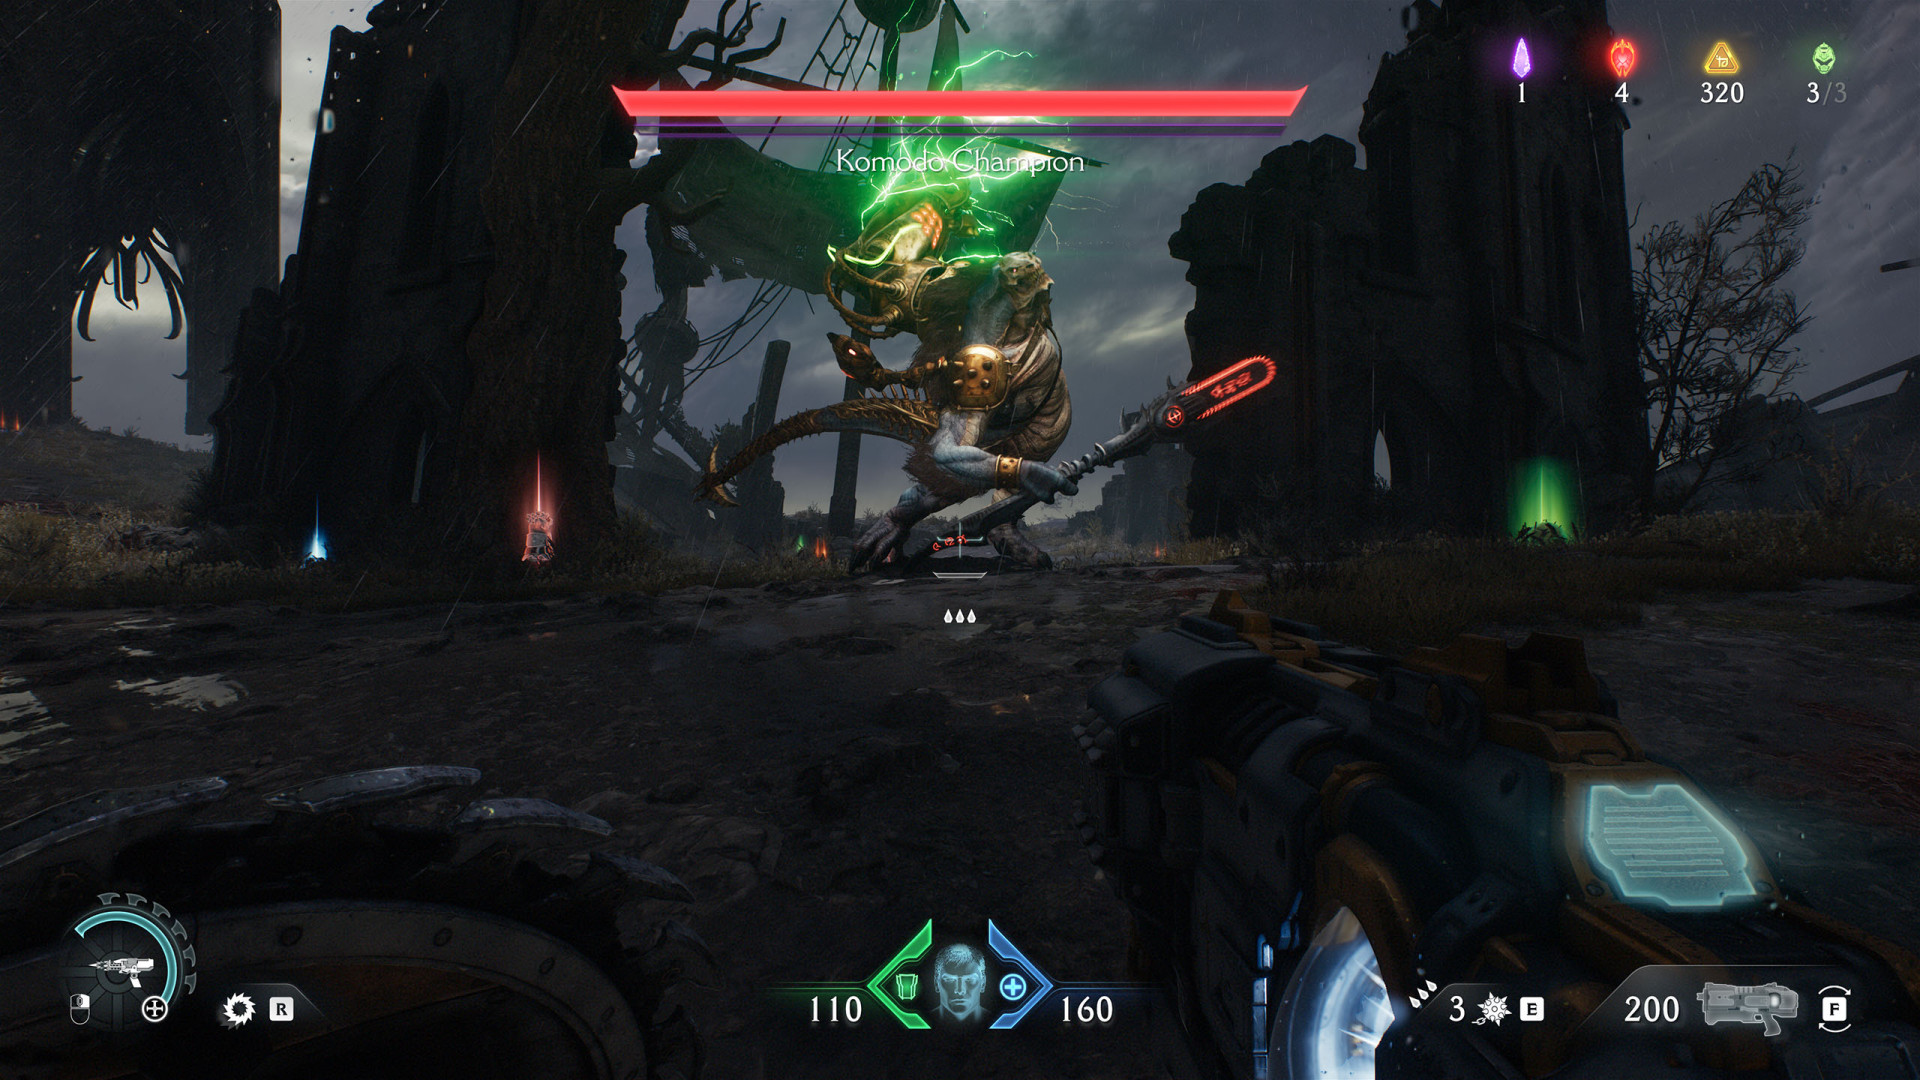
- Komodo Champion (Spire of Nerathul)
- Kreed Maykr (Resurrection)
- Large Encounter (Abyssal Forest)
- Large Encounter (Ancestral Forge #1)
- Large Encounter (Ancestral Forge #2)
- Large Encounter (Barrier Core)
- Large Encounter (Belly of the Beast #1)
- Large Encounter (Belly of the Beast #2)
- Large Encounter (City of Ry'uul #1)
- Large Encounter (City of Ry'uul #2)
- Large Encounter (City of Ry'uul #3)
- Large Encounter (Final Battle #1)
- Large Encounter (Final Battle #2)
- Large Encounter (Final Battle #3)
- Large Encounter (Final Battle #4)
- Large Encounter (Harbor of Souls #1)
- Large Encounter (Harbor of Souls #2)
- Large Encounter (Hebeth #1)
- Large Encounter (Hebeth #2)
- Large Encounter (Hellbreaker #1)
- Large Encounter (Hellbreaker #2)
- Large Encounter (Reckoning #1)
- Large Encounter (Reckoning #2)
- Large Encounter (Reckoning #3)
- Large Encounter (Resurrection)
- Large Encounter (Sentinel Barracks)
- Large Encounter (Sentinel Command Station)
- Large Encounter (Siege - Part 1)
- Large Encounter (Spire of Nerathul #1)
- Large Encounter (Spire of Nerathul #2)
- Large Encounter (Spire of Nerathul #3)
- Large Encounter (The Forsaken Plains #1)
- Large Encounter (The Forsaken Plains #2)
- Large Encounter (The Holy City of Aratum)
- Large Encounter (The Kar'Thul Marshes)
- Large Encounter (Village of Khalim #1)
- Large Encounter (Village of Khalim #2)
- Large Encounter (Village of Khalim #3)
- Leader
- Leader (Abyssal Forest)
- Leader (Ancestral Forge #1)
- Leader (Ancestral Forge #2)
- Leader (Belly of the Beast)
- Leader (City of Ry'uul #1)
- Leader (City of Ry'uul #2)
- Leader (From Beyond #1)
- Leader (From Beyond #2)
- Leader (Harbor of Souls #1)
- Leader (Hebeth)
- Leader (Hellbreaker)
- Leader (Reckoning)
- Leader (Resurrection #1)
- Leader (Resurrection #2)
- Leader (Resurrection #3)
- Leader (Sentinel Barracks)
- Leader (Sentinel Command Station)
- Leader (Siege - Part 1 #1)
- Leader (Siege - Part 1 #2)
- Leader (Siege - Part 2)
- Leader (Spire of Nerathul #1)
- Leader (Spire of Nerathul #2)
- Leader (Temple of Lomarith #1)
- Leader (Temple of Lomarith #2)
- Leader (The Forsaken Plains #1)
- Leader (The Forsaken Plains #2)
- Leader (The Forsaken Plains #3)
- Leader (The Holy City of Aratum #1)
- Leader (The Holy City of Aratum #2)
- Leader (The Kar'Thul Marshes #1)
- Leader (The Kar'Thul Marshes #2)
- Small Encounter (Abyssal Forest)
- Small Encounter (Barrier Core #1)
- Small Encounter (Barrier Core #2)
- Small Encounter (Barrier Core #3)
- Small Encounter (Belly of the Beast)
- Small Encounter (Hebeth #1)
- Small Encounter (Hebeth #2)
- Small Encounter (Hellbreaker)
- Small Encounter (Reckoning #1)
- Small Encounter (Sentinel Barracks #1)
- Small Encounter (Sentinel Barracks #2)
- Small Encounter (Sentinel Barracks #3)
- Small Encounter (Sentinel Barracks #4)
- Small Encounter (Sentinel Command Station)
- Small Encounter (Siege - Part 1 #1)
- Small Encounter (Siege - Part 1 #2)
- Small Encounter (Siege - Part 2 #1)
- Small Encounter (Siege - Part 2 #2)
- Small Encounter (Siege - Part 2 #3)
- Small Encounter (Siege - Part 2 #4)
- Small Encounter (Spire of Nerathul #1)
- Small Encounter (Spire of Nerathul #2)
- Small Encounter (Spire of Nerathul #3)
- Small Encounter (Spire of Nerathul #4)
- Small Encounter (Spire of Nerathul #5)
- Small Encounter (Temple of Lomarith #1)
- Small Encounter (Temple of Lomarith #1)
- Small Encounter (Temple of Lomarith #2)
- Small Encounter (Temple of Lomarith #3)
- Small Encounter (The Forsaken Plains #1)
- Small Encounter (The Forsaken Plains #2)
- Small Encounter (The Kar'Thul Marshes #1)
- Small Encounter (The Kar'Thul Marshes #2)
- Small Encounter (The Kar'Thul Marshes #3)
- Small Encounter (The Kar'Thul Marshes #4)
- Small Encounter (The Kar'Thul Marshes #5)
- Small Encounter (Village of Khalim #1)
- Small Encounter (Village of Khalim #2)
- Small Encounter (Village of Khalim #3)
- Small Encounter (Village of Khalim #4)
- Small Encounter (Village of Khalim #5)
- Small Encounter (Village of Khalim #6)
- Small Encounter (Village of Khalim #7)
- Small Encounter City of Ry'uul #1)
- Small Encounter City of Ry'uul #2)
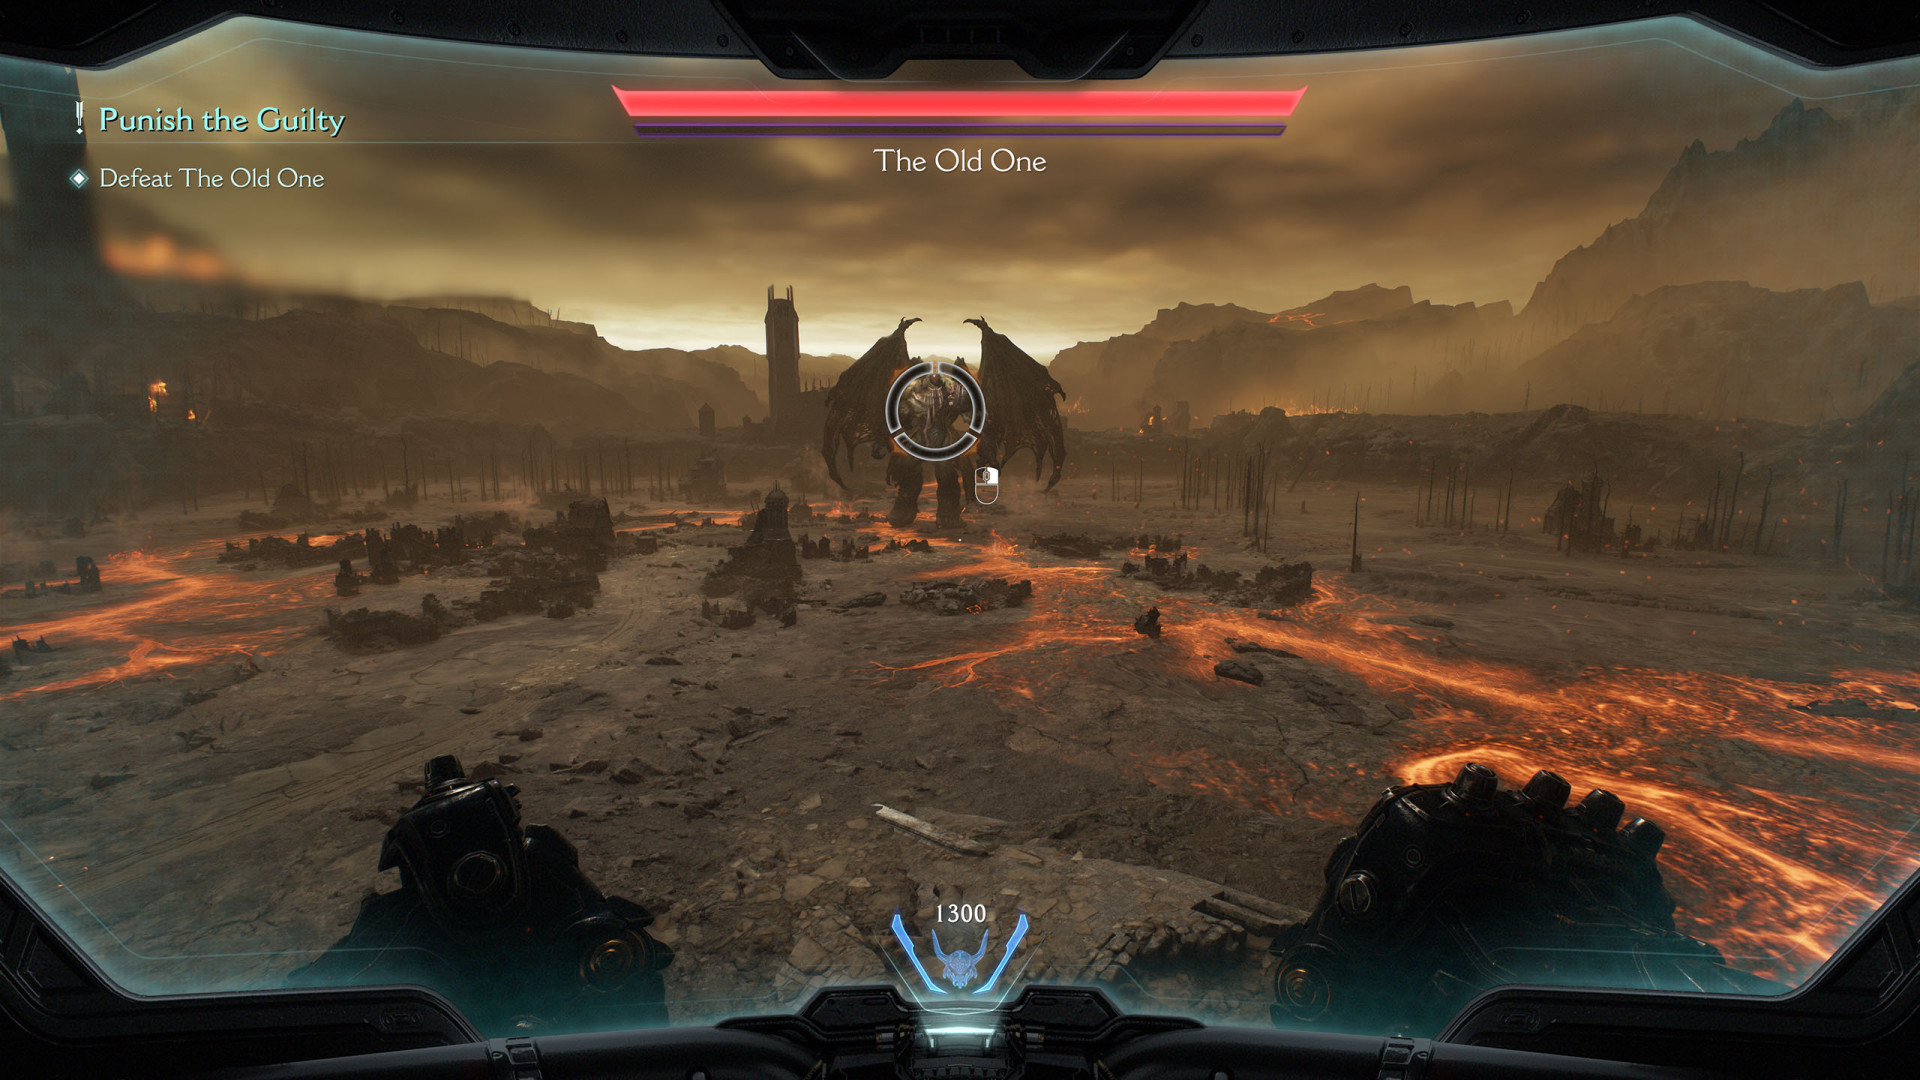
- The Old One
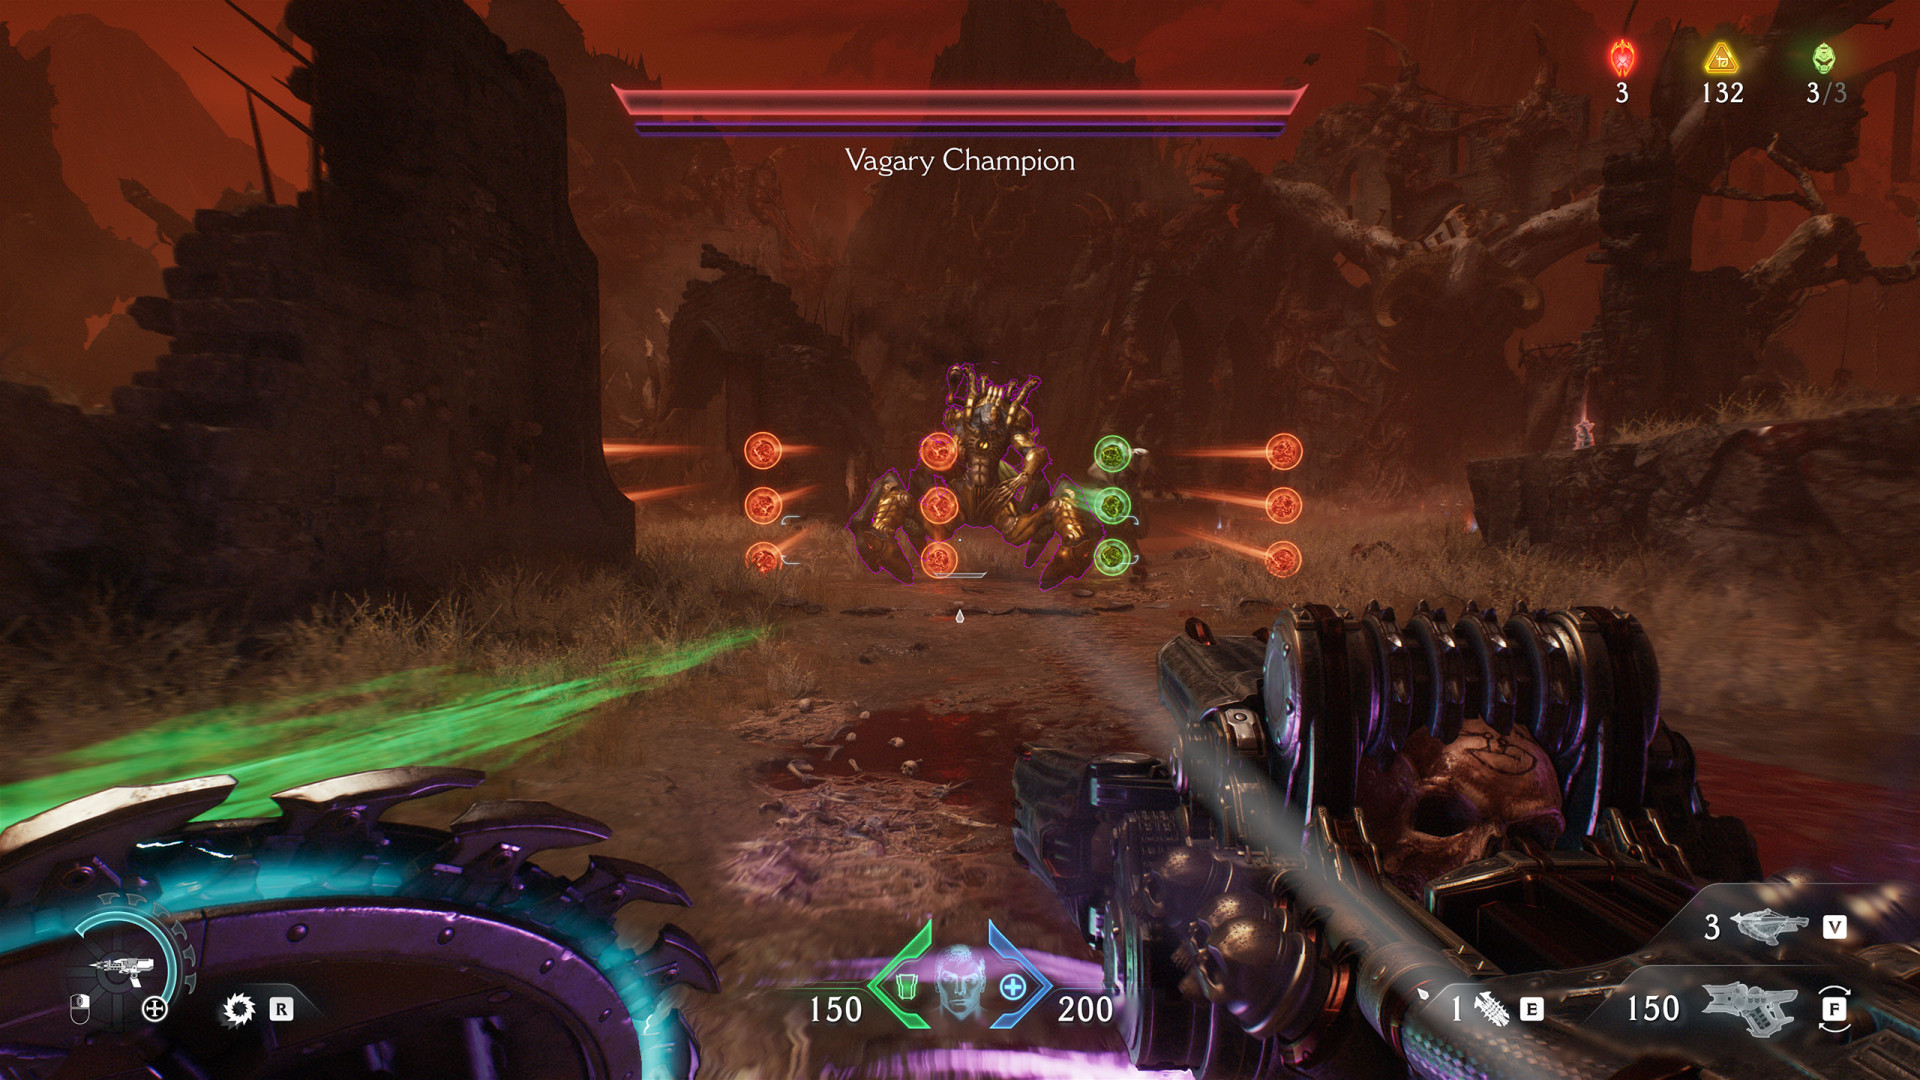
- Vagary Champion
- Vagary Champion (Sentinel Barracks)
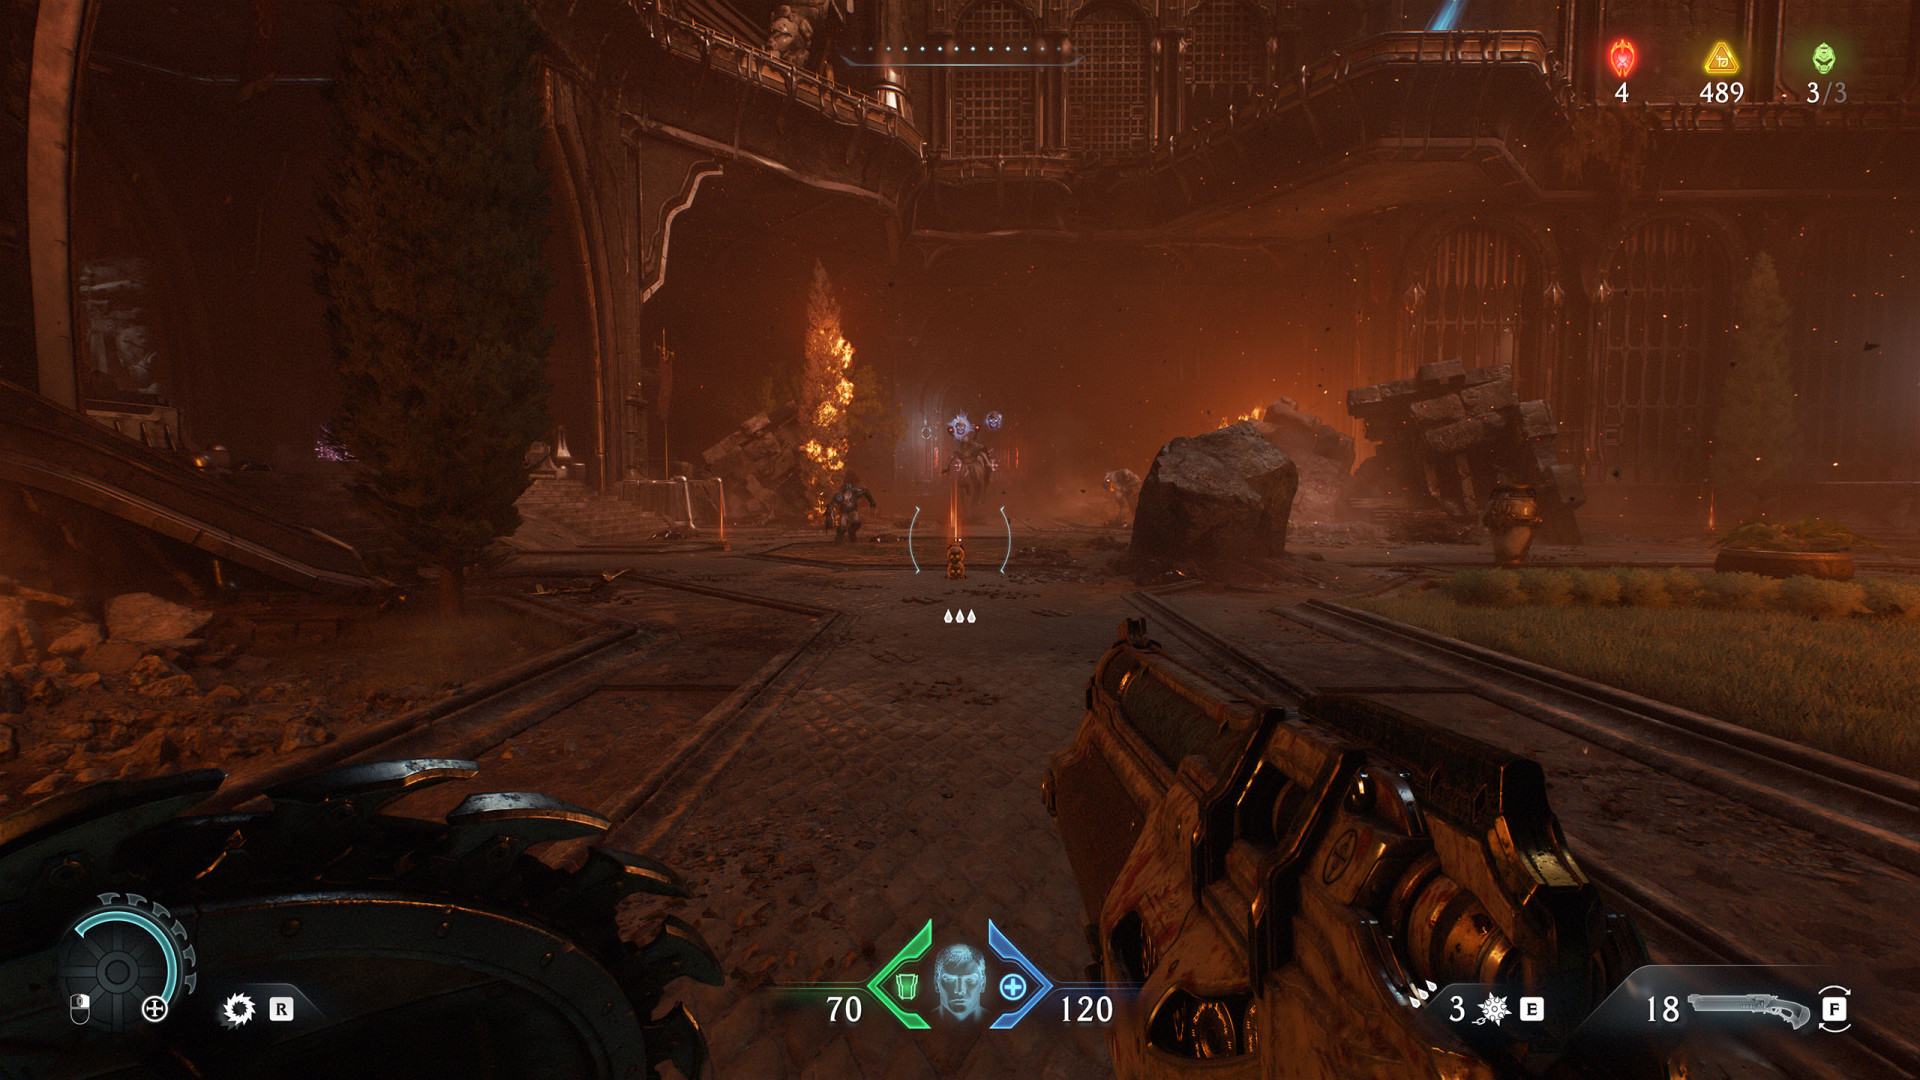
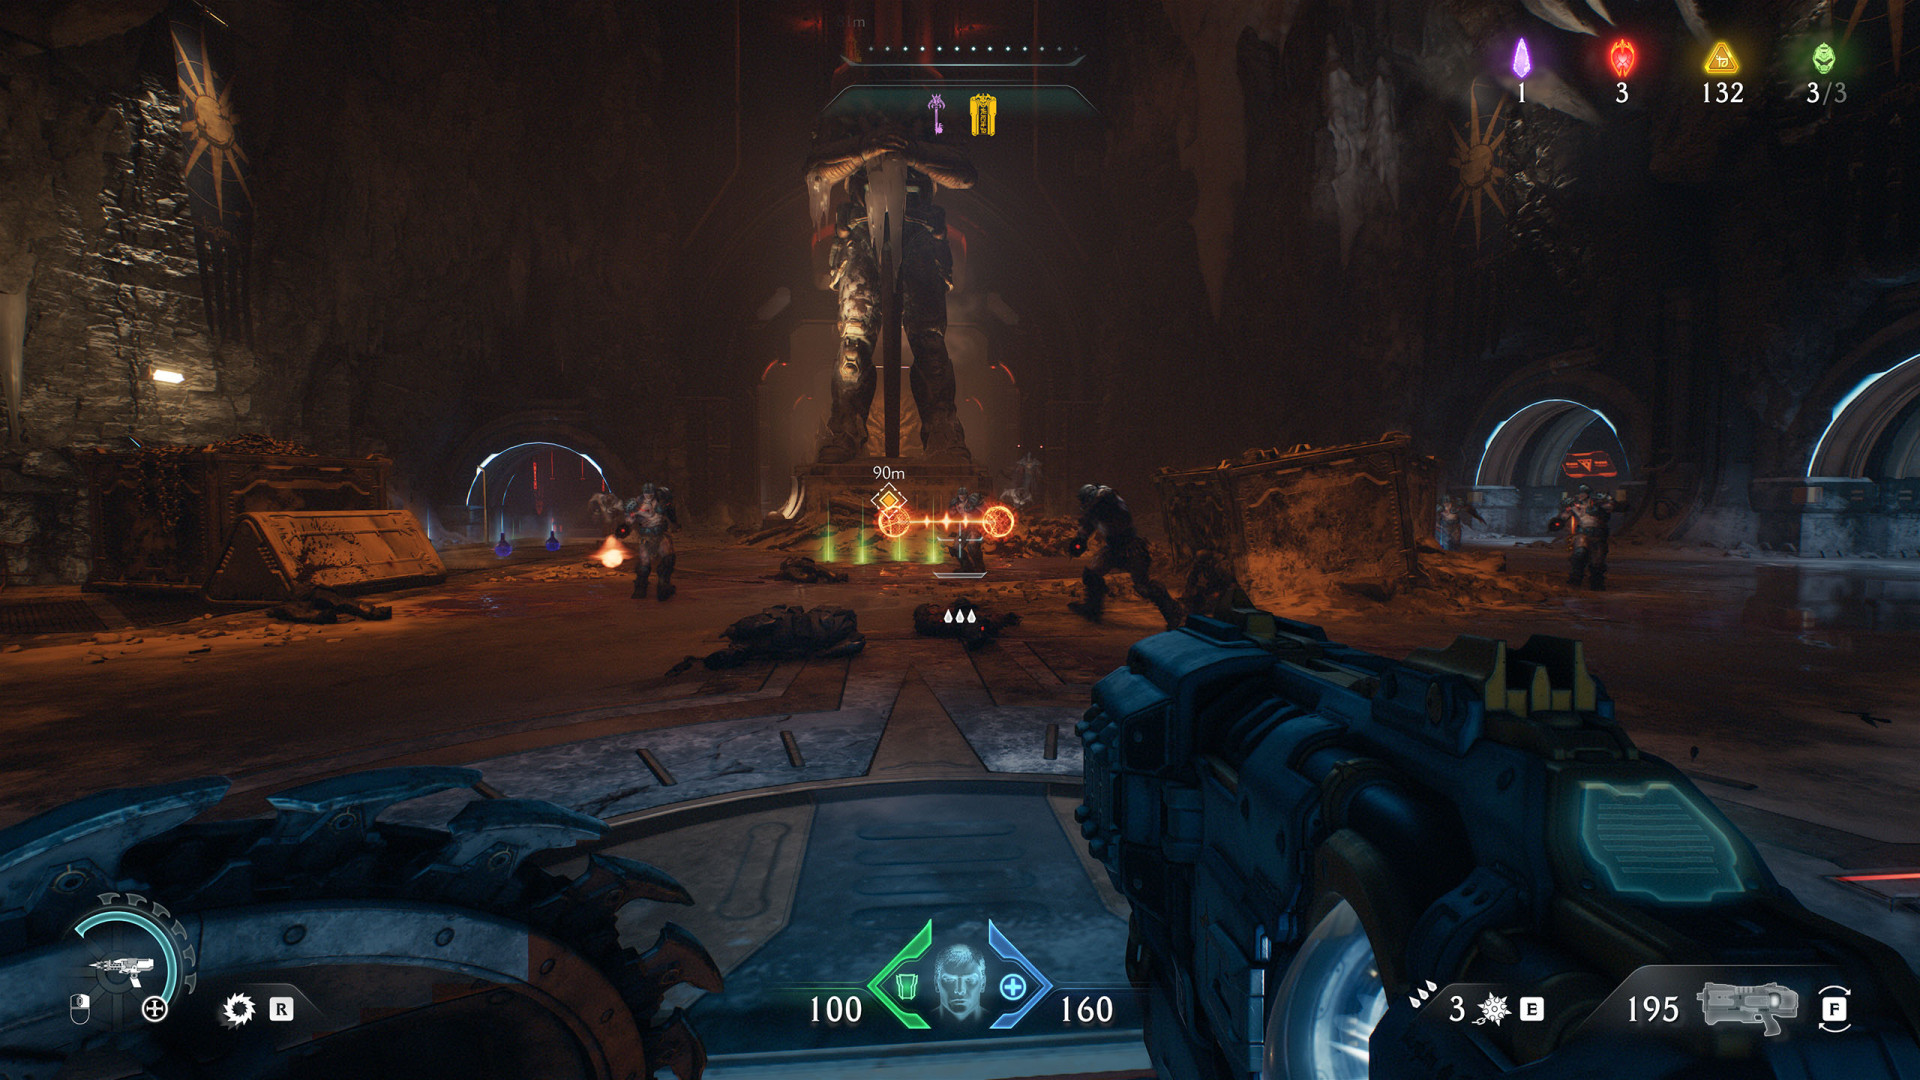
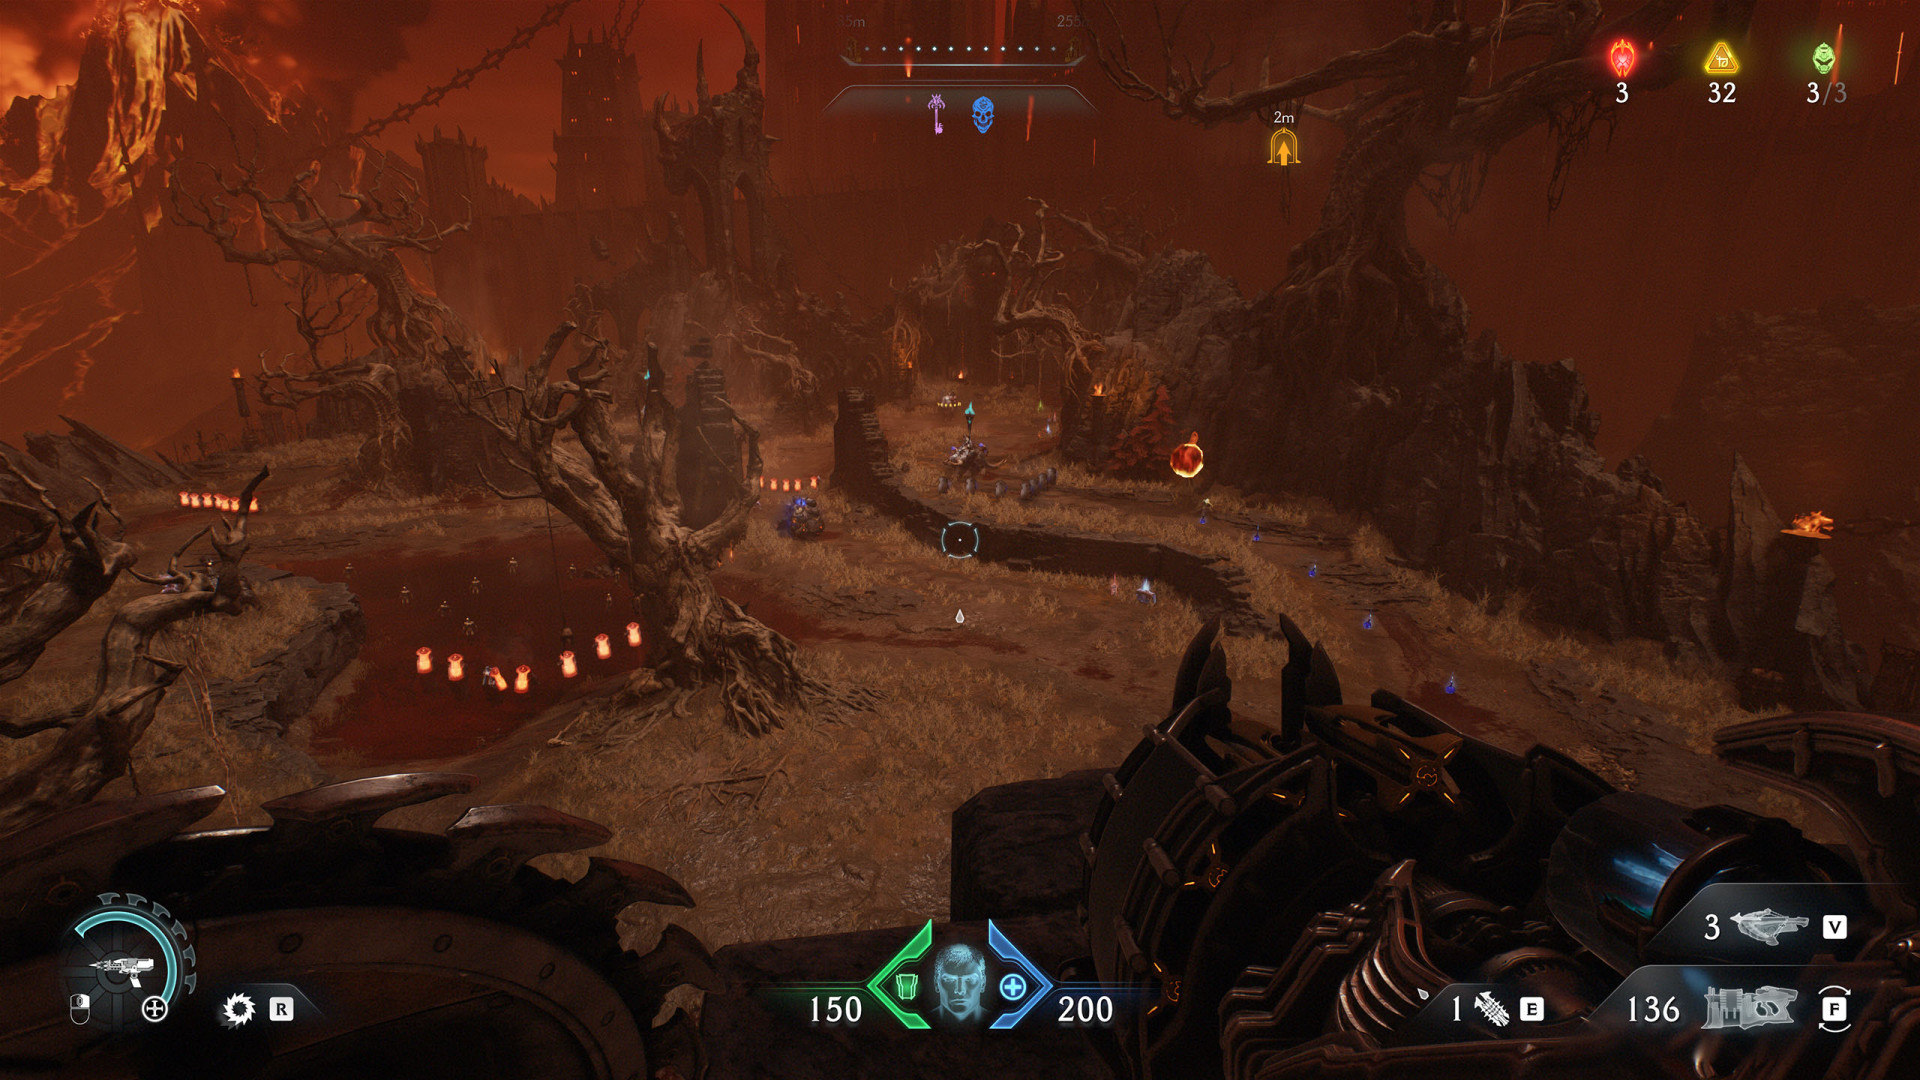
All known locations on the map Village of Khalim
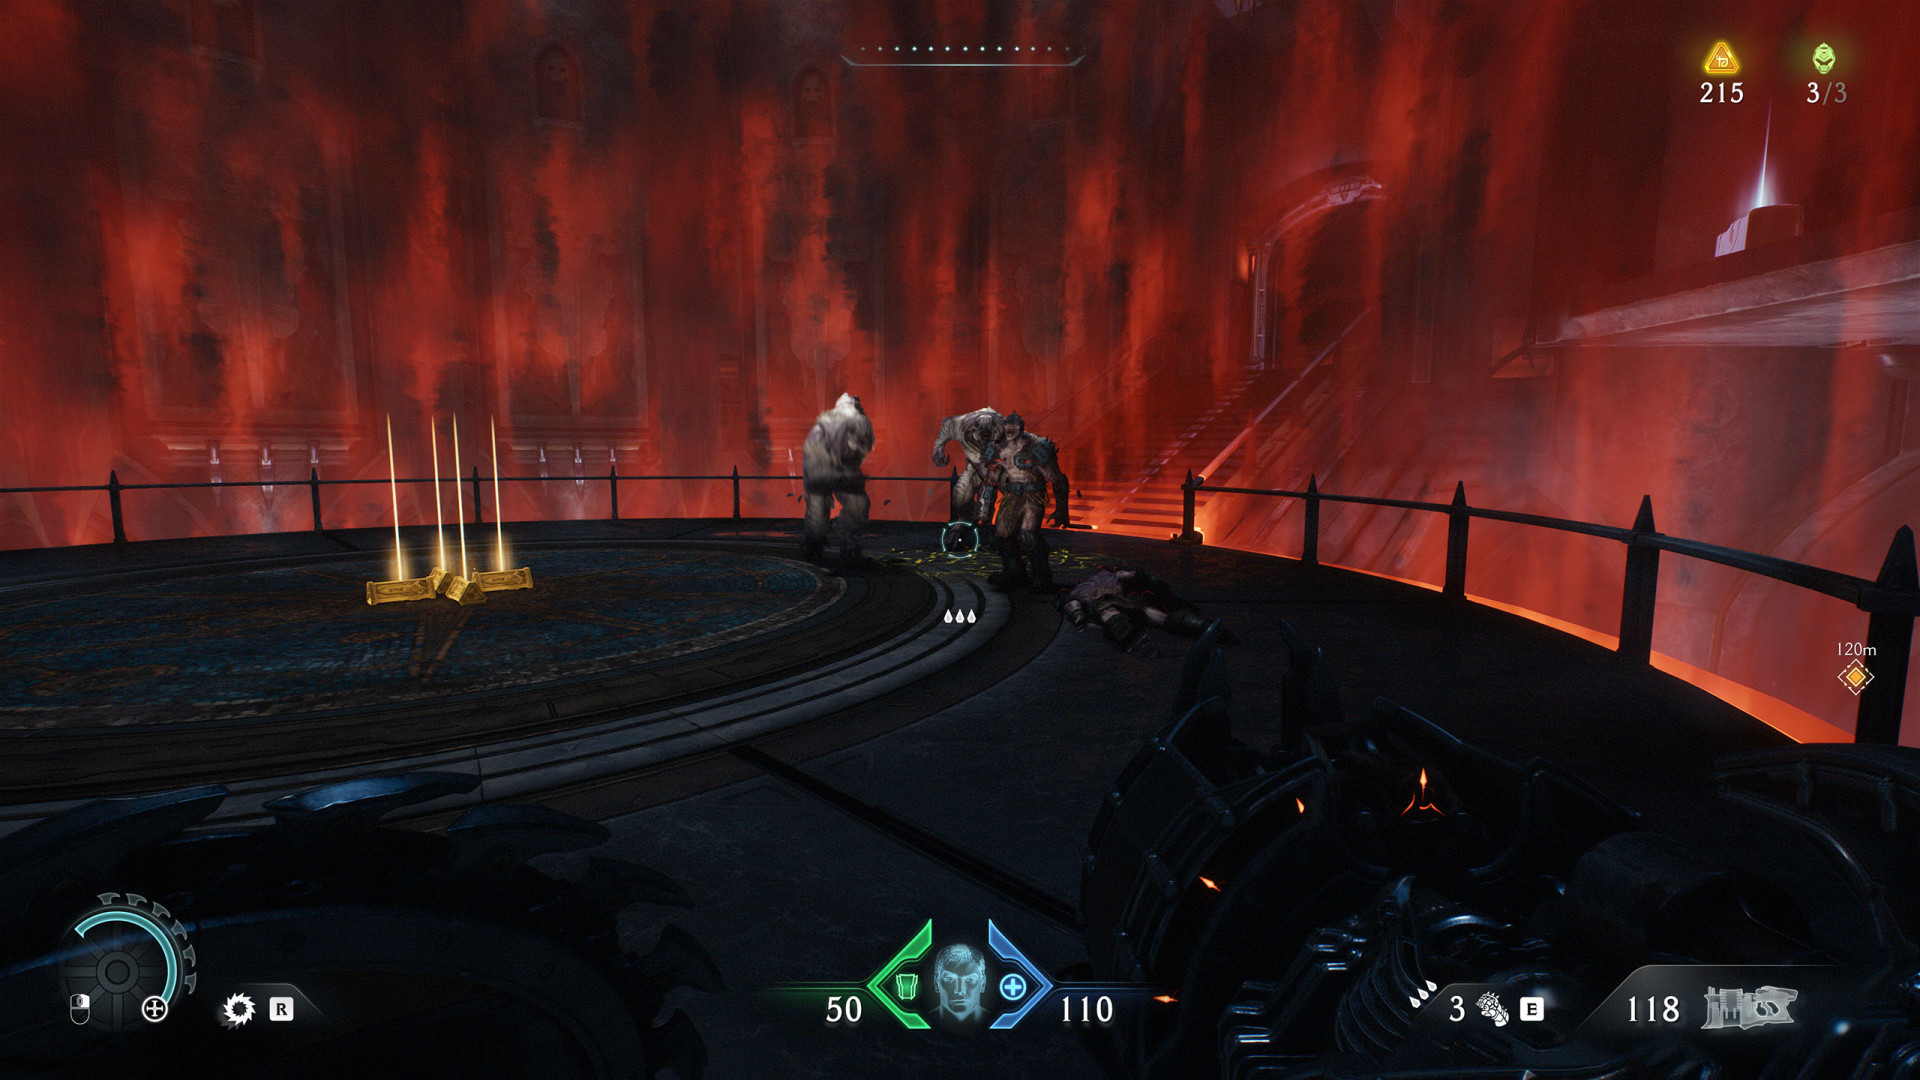
 Large Encounter (Village of Khalim #2)▶ show the map ◀
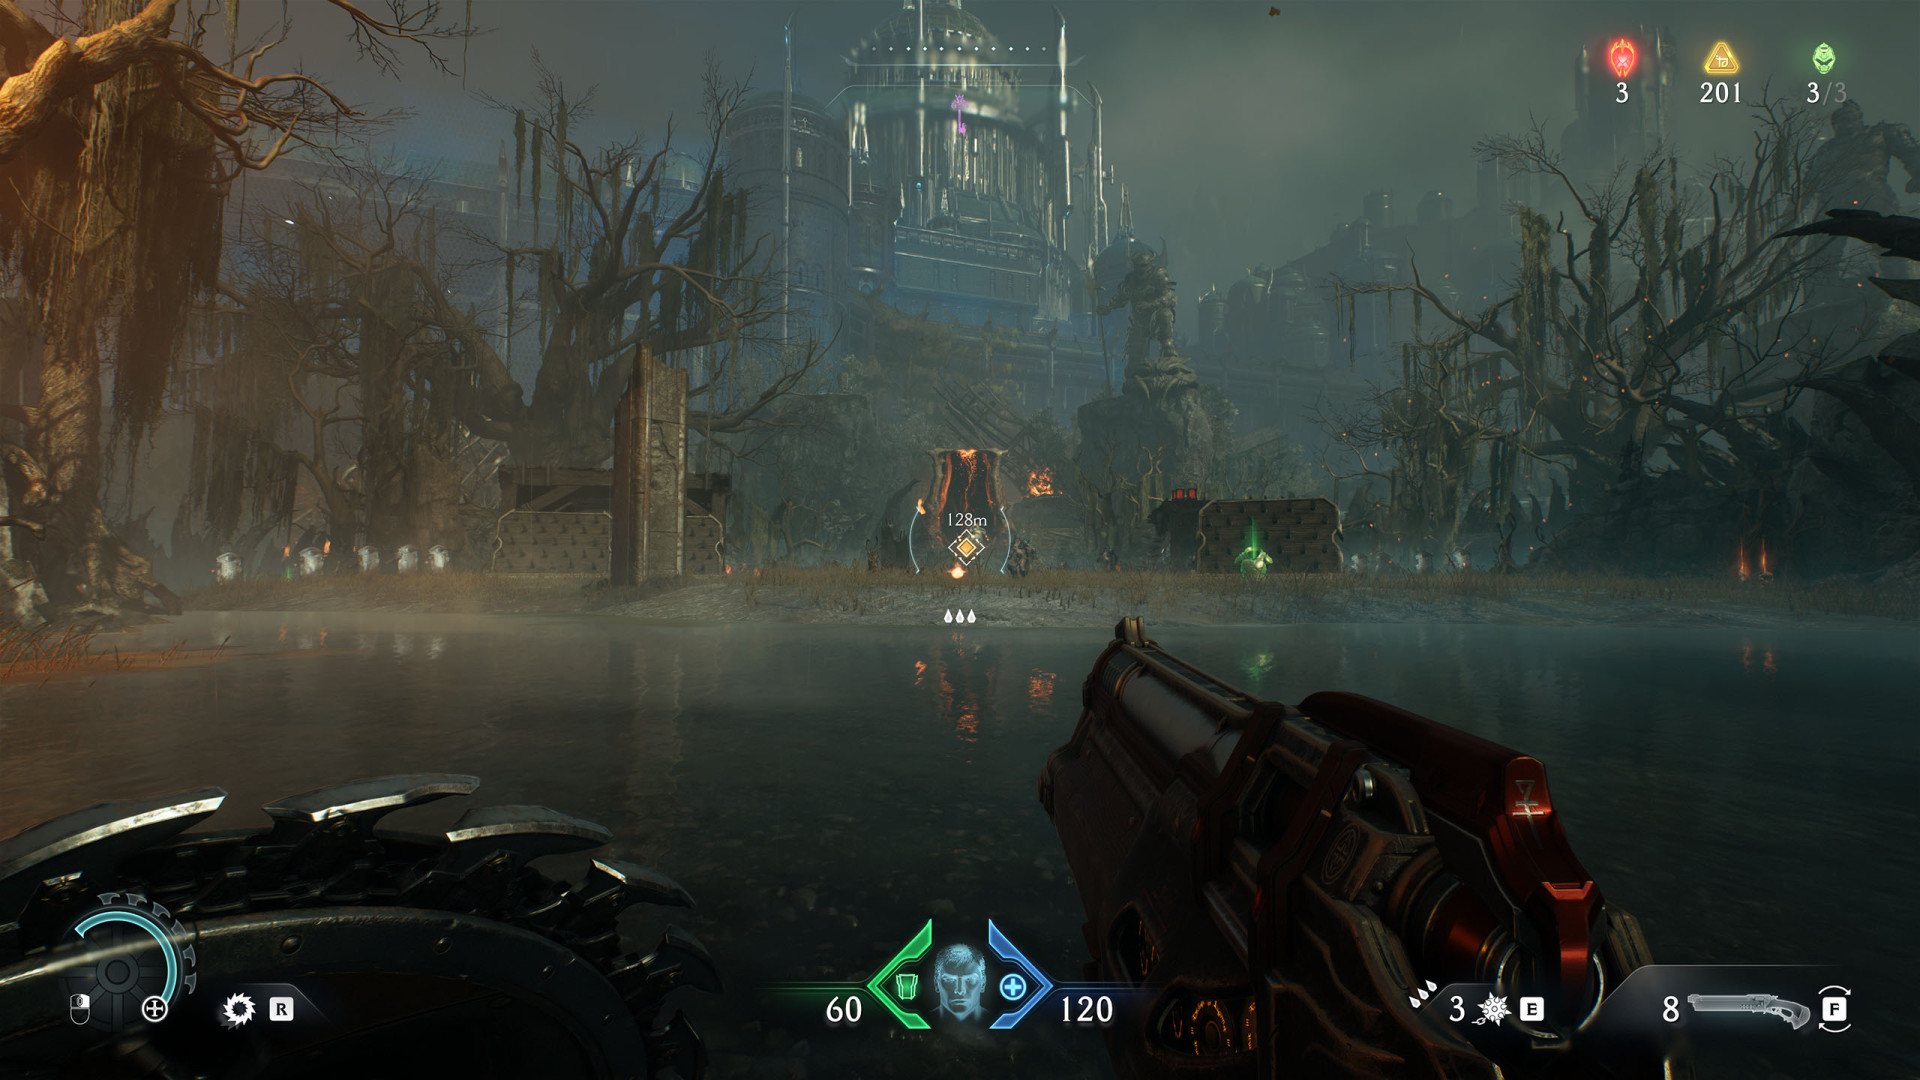
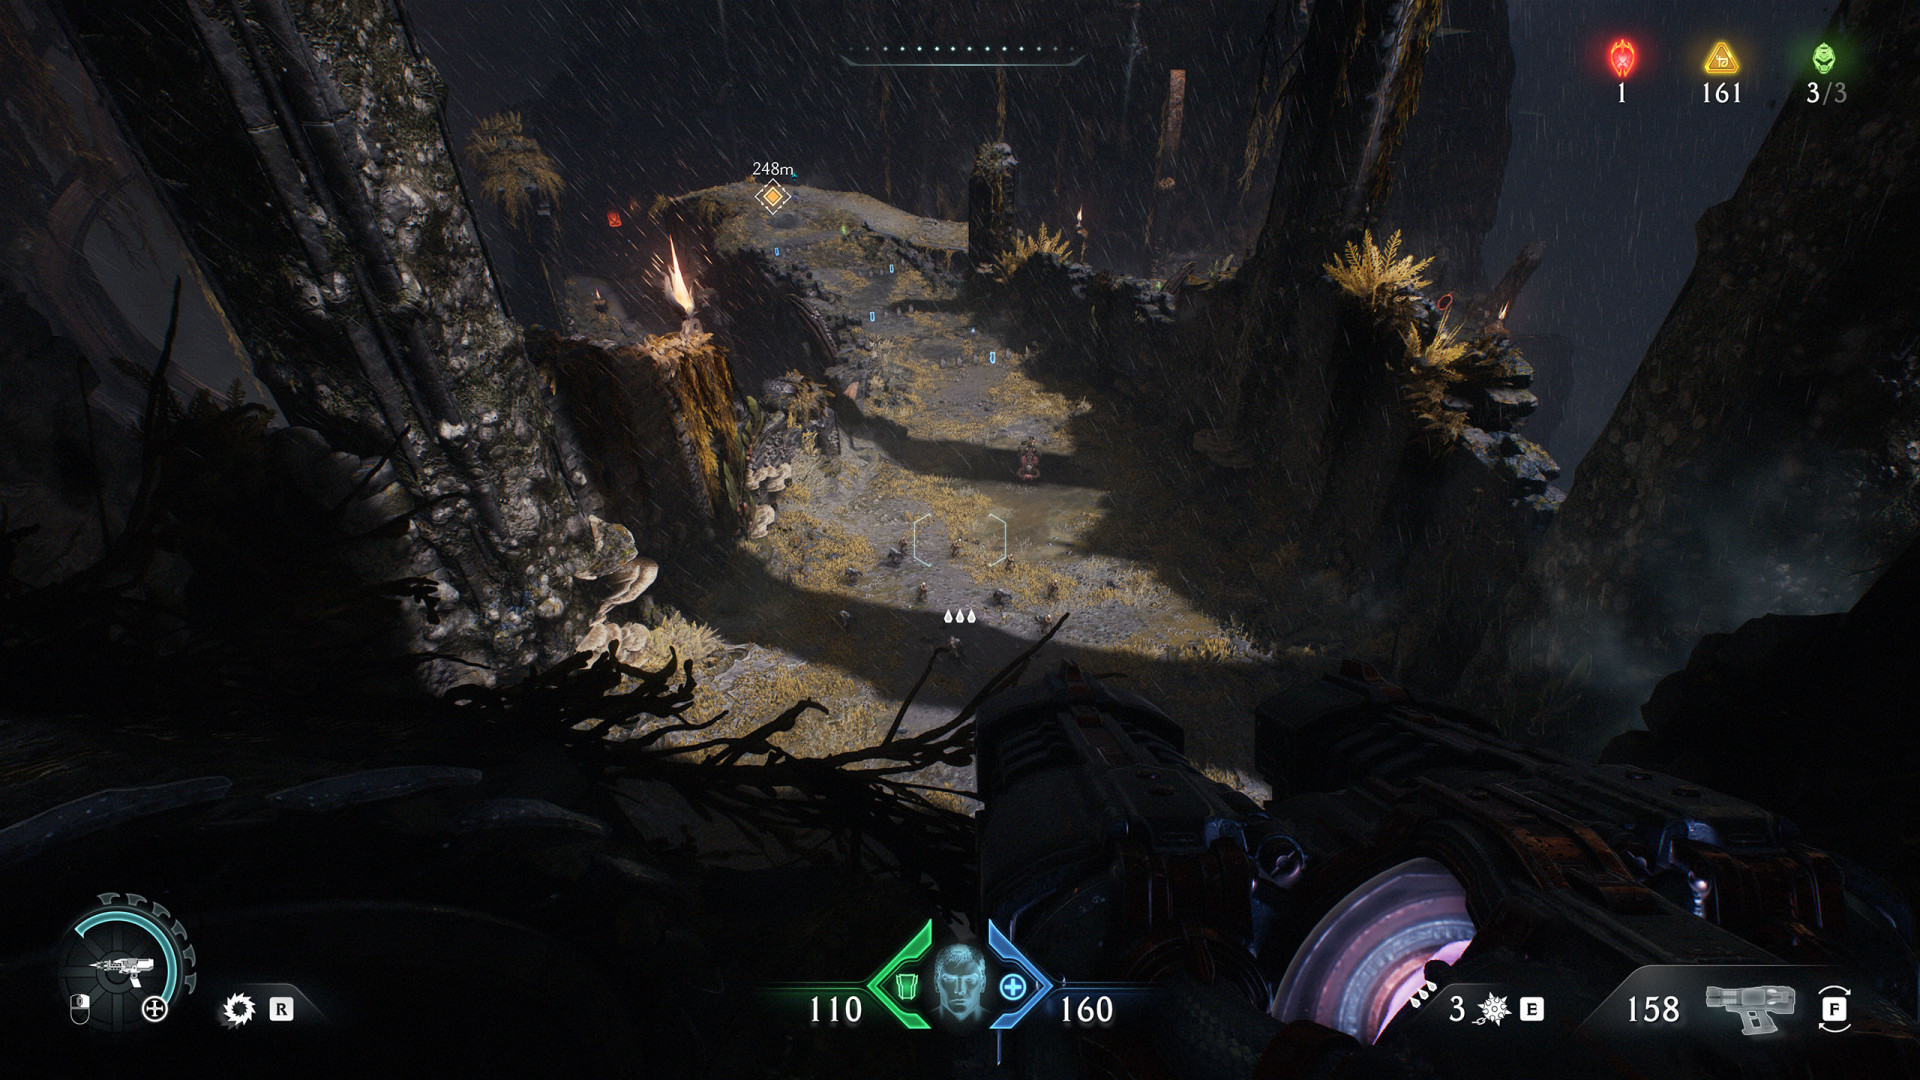
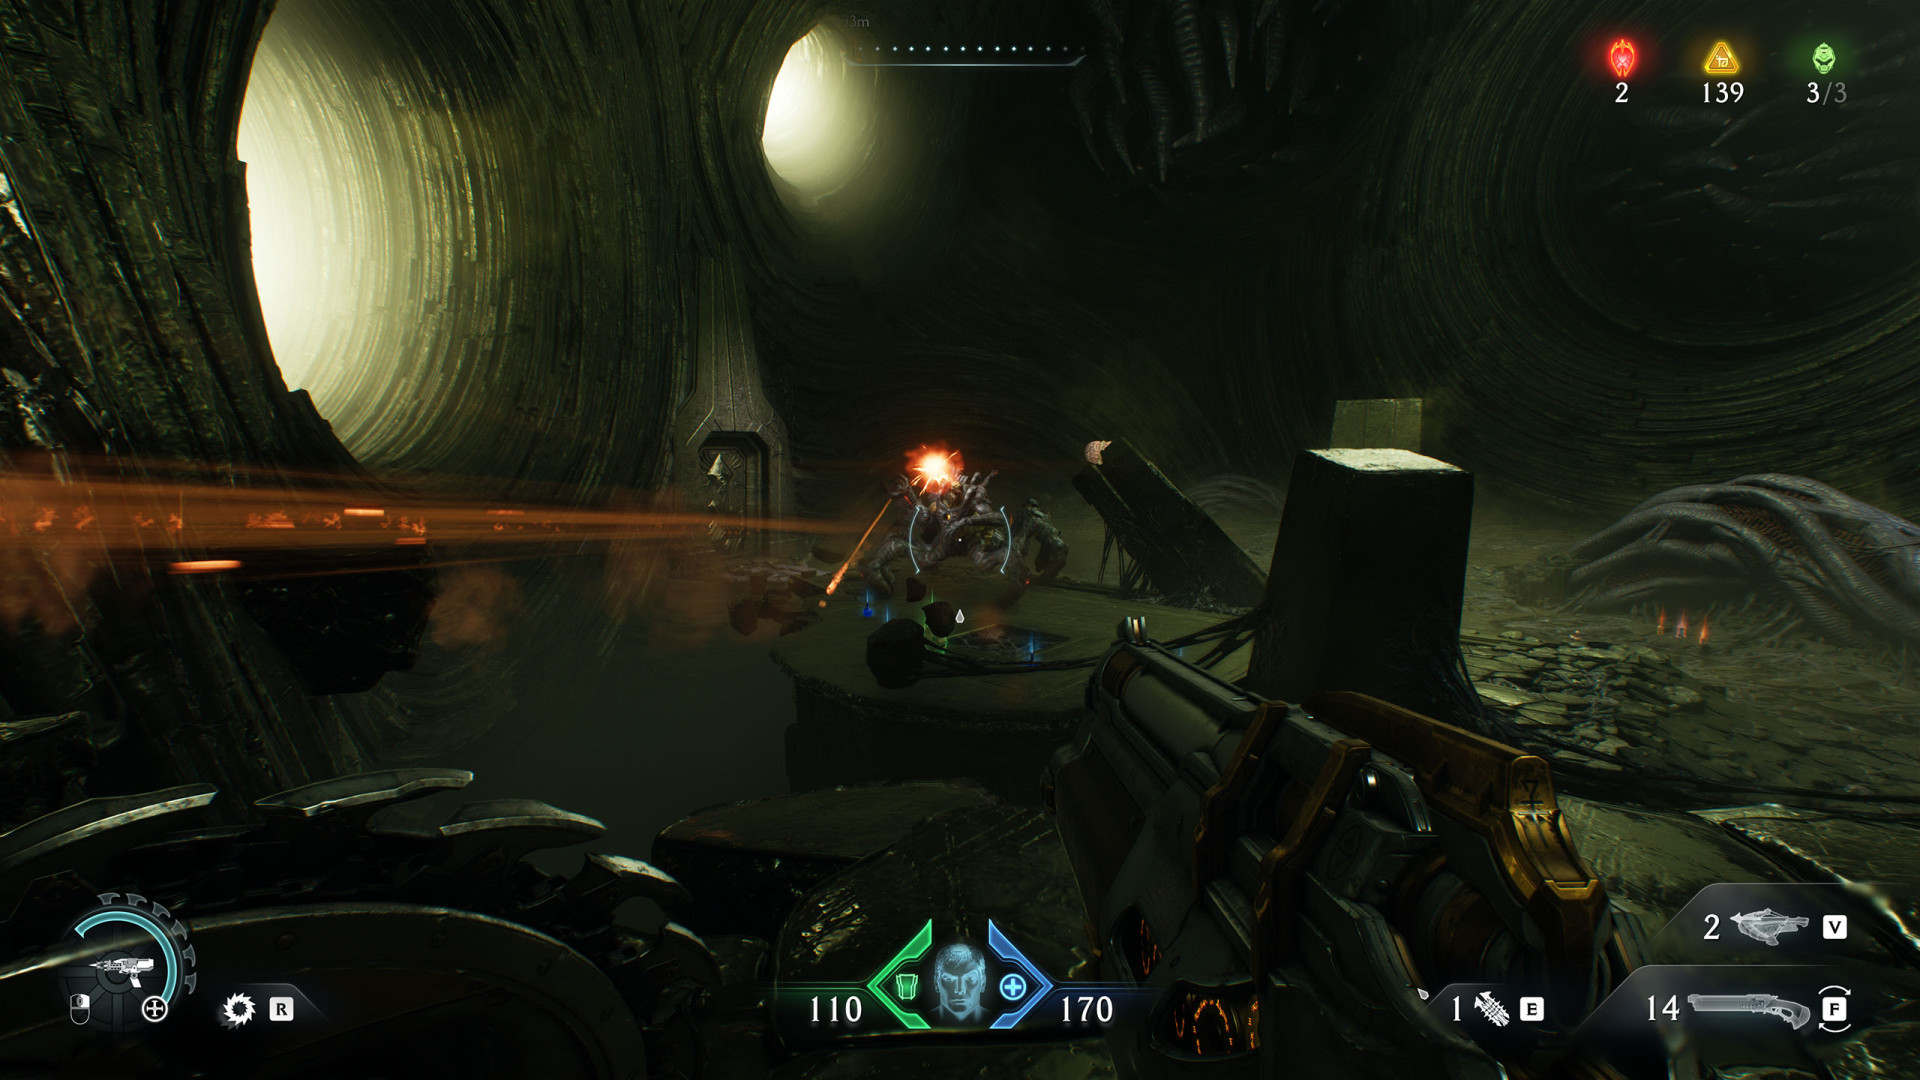
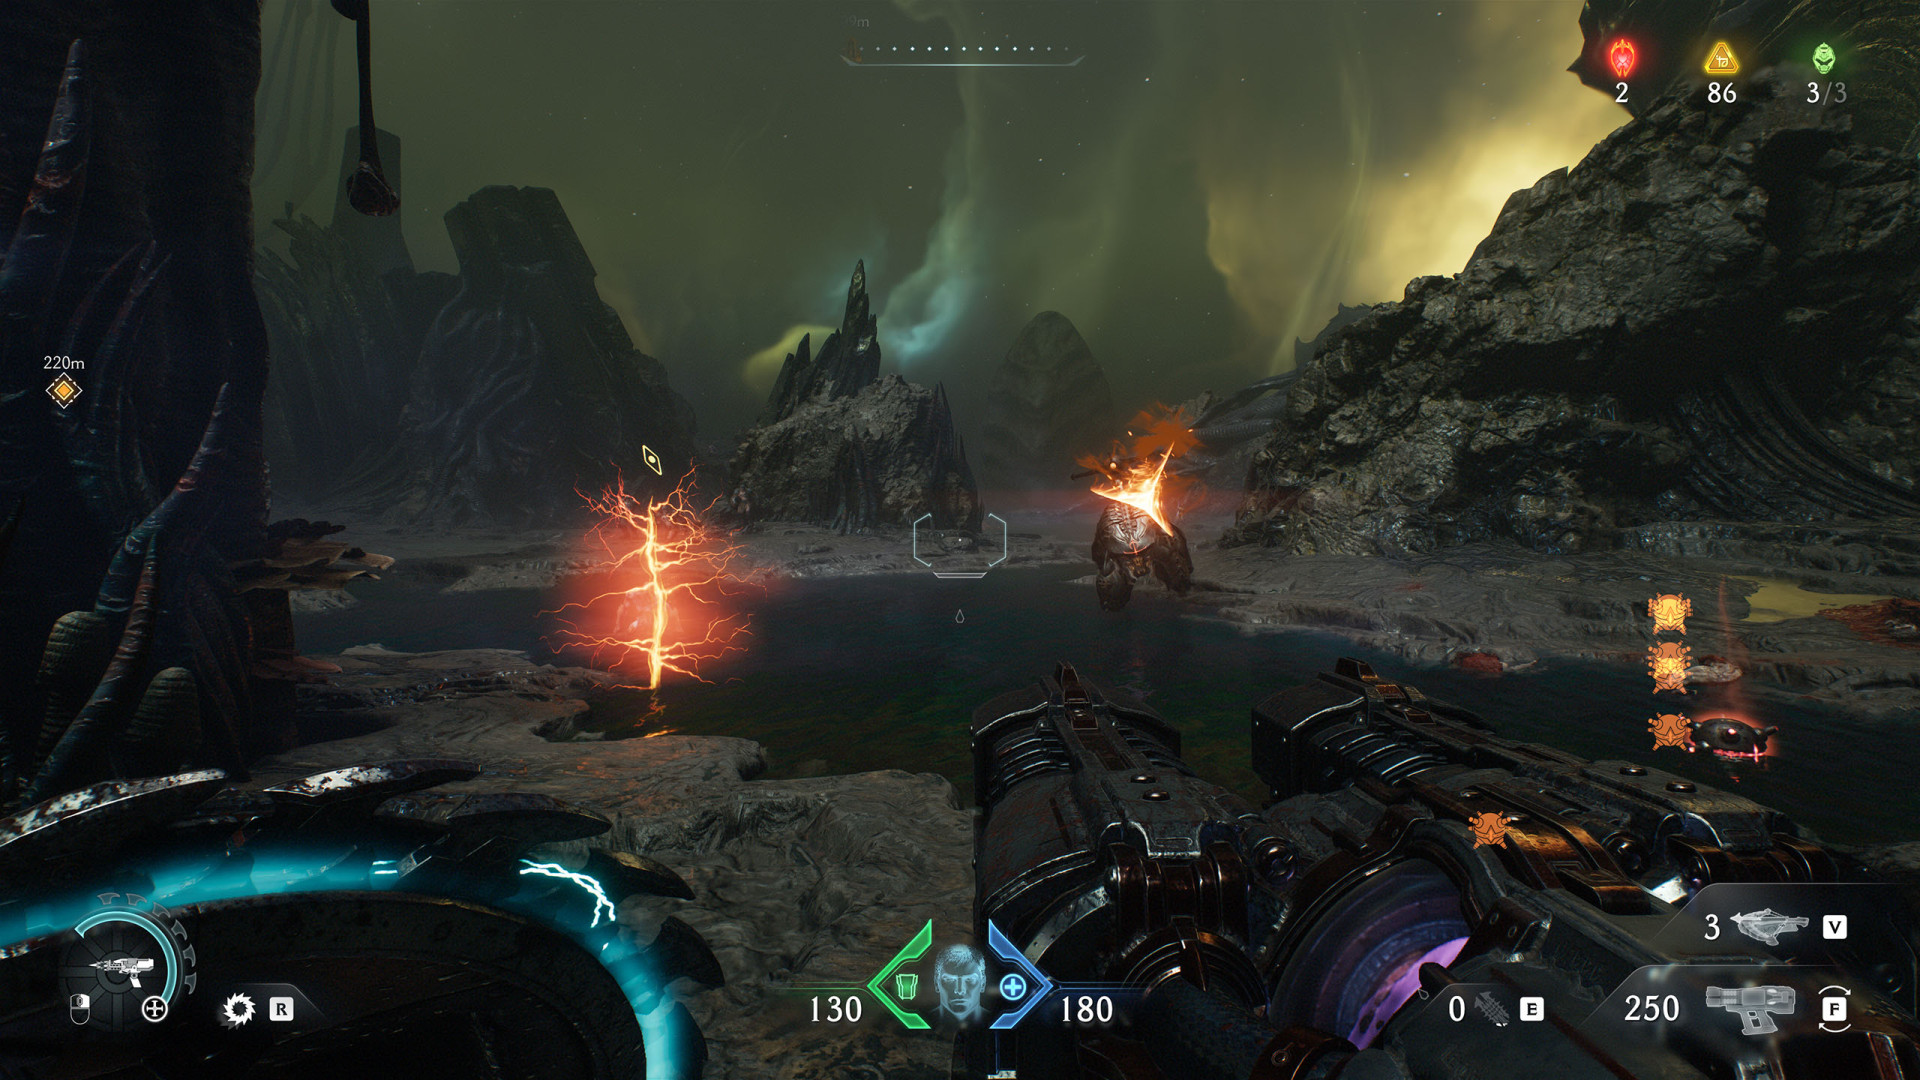
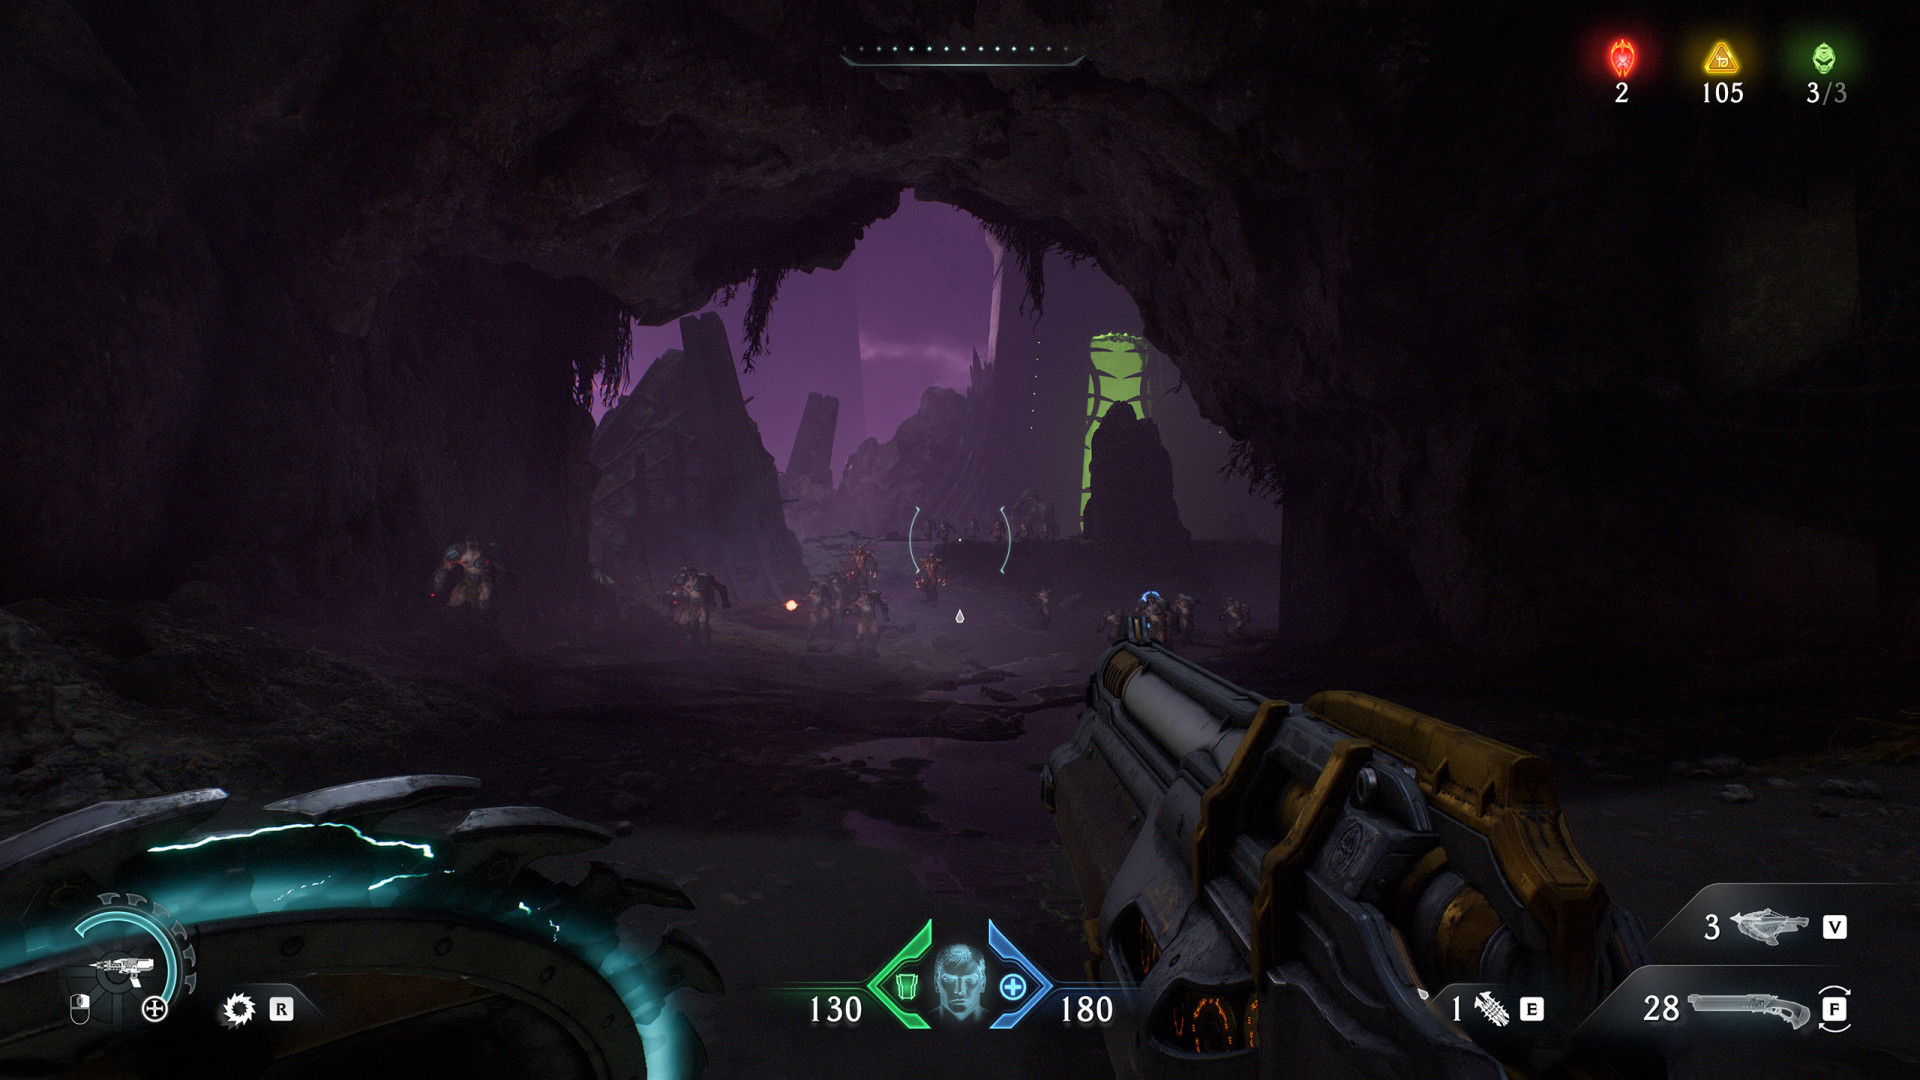
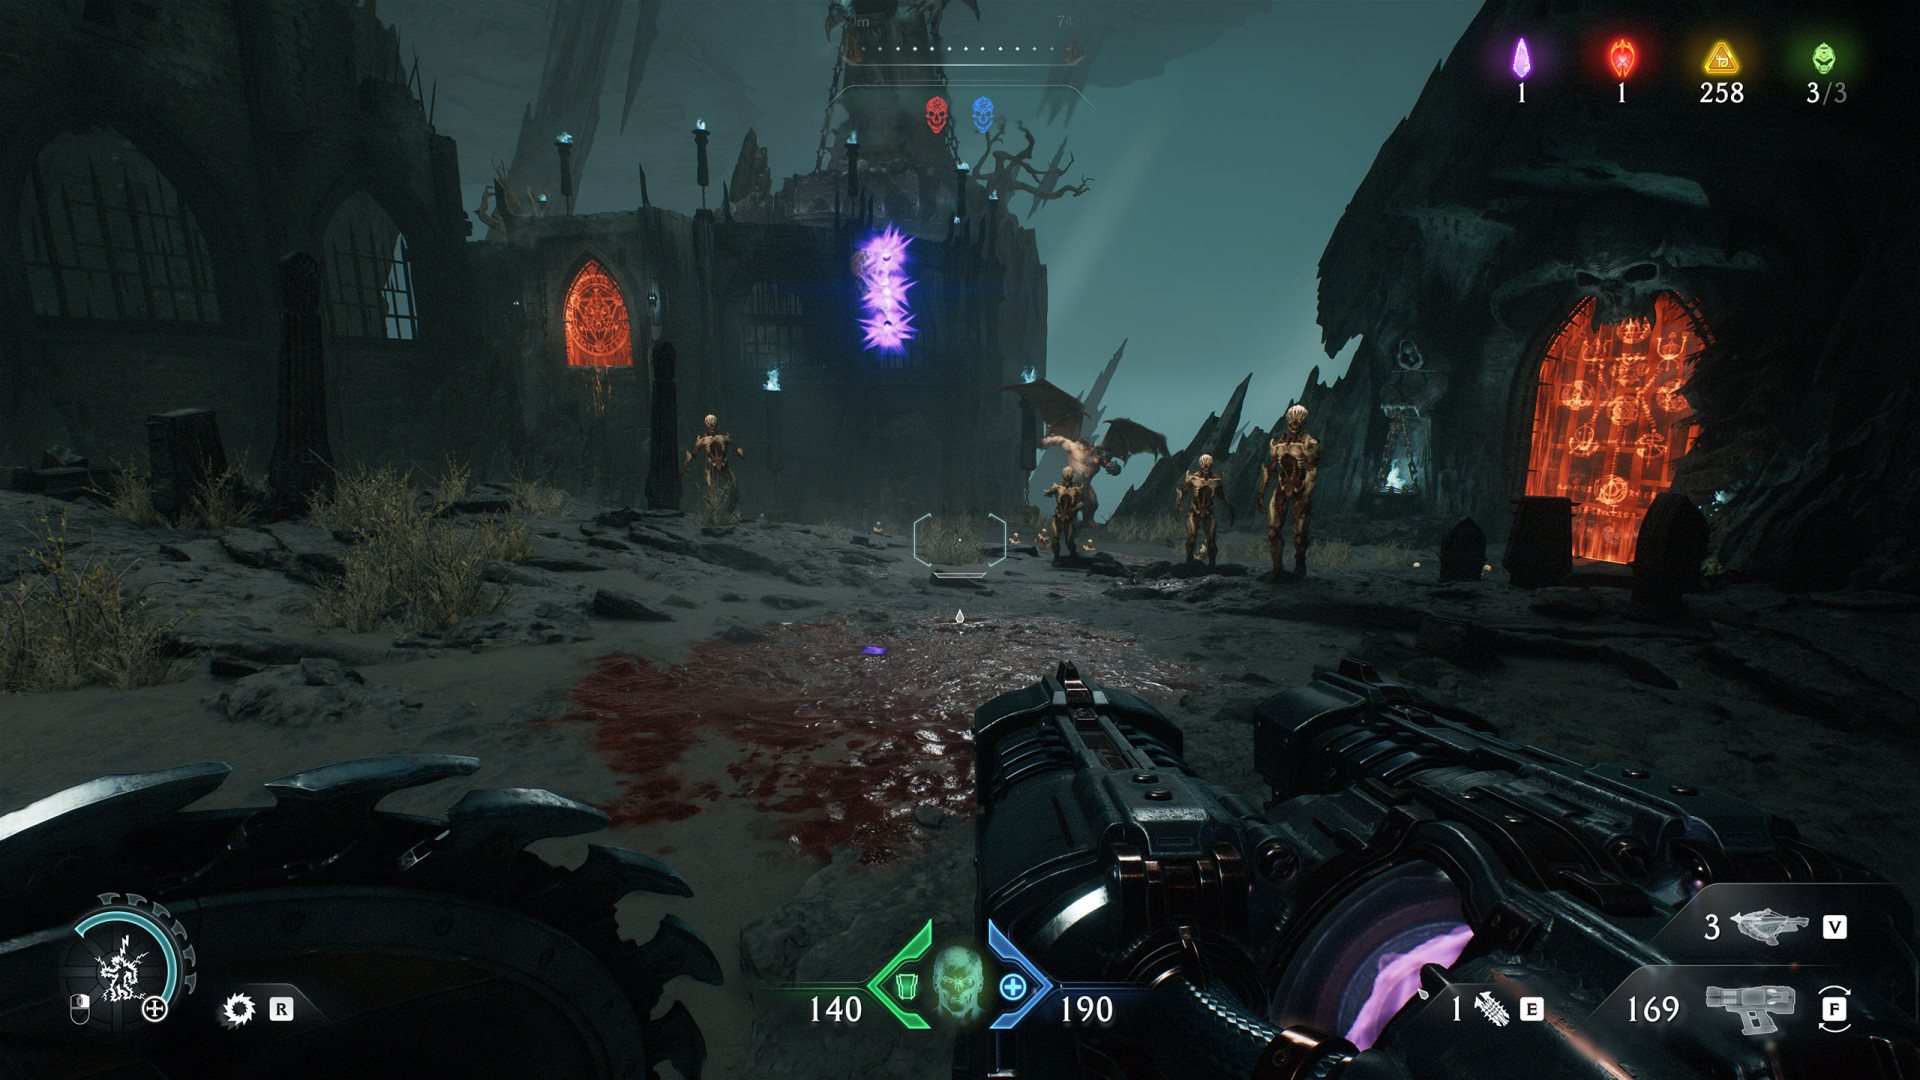
A large group of enemies you will fight on the beach.
Large Encounter (Village of Khalim #3)▶ show the map ◀
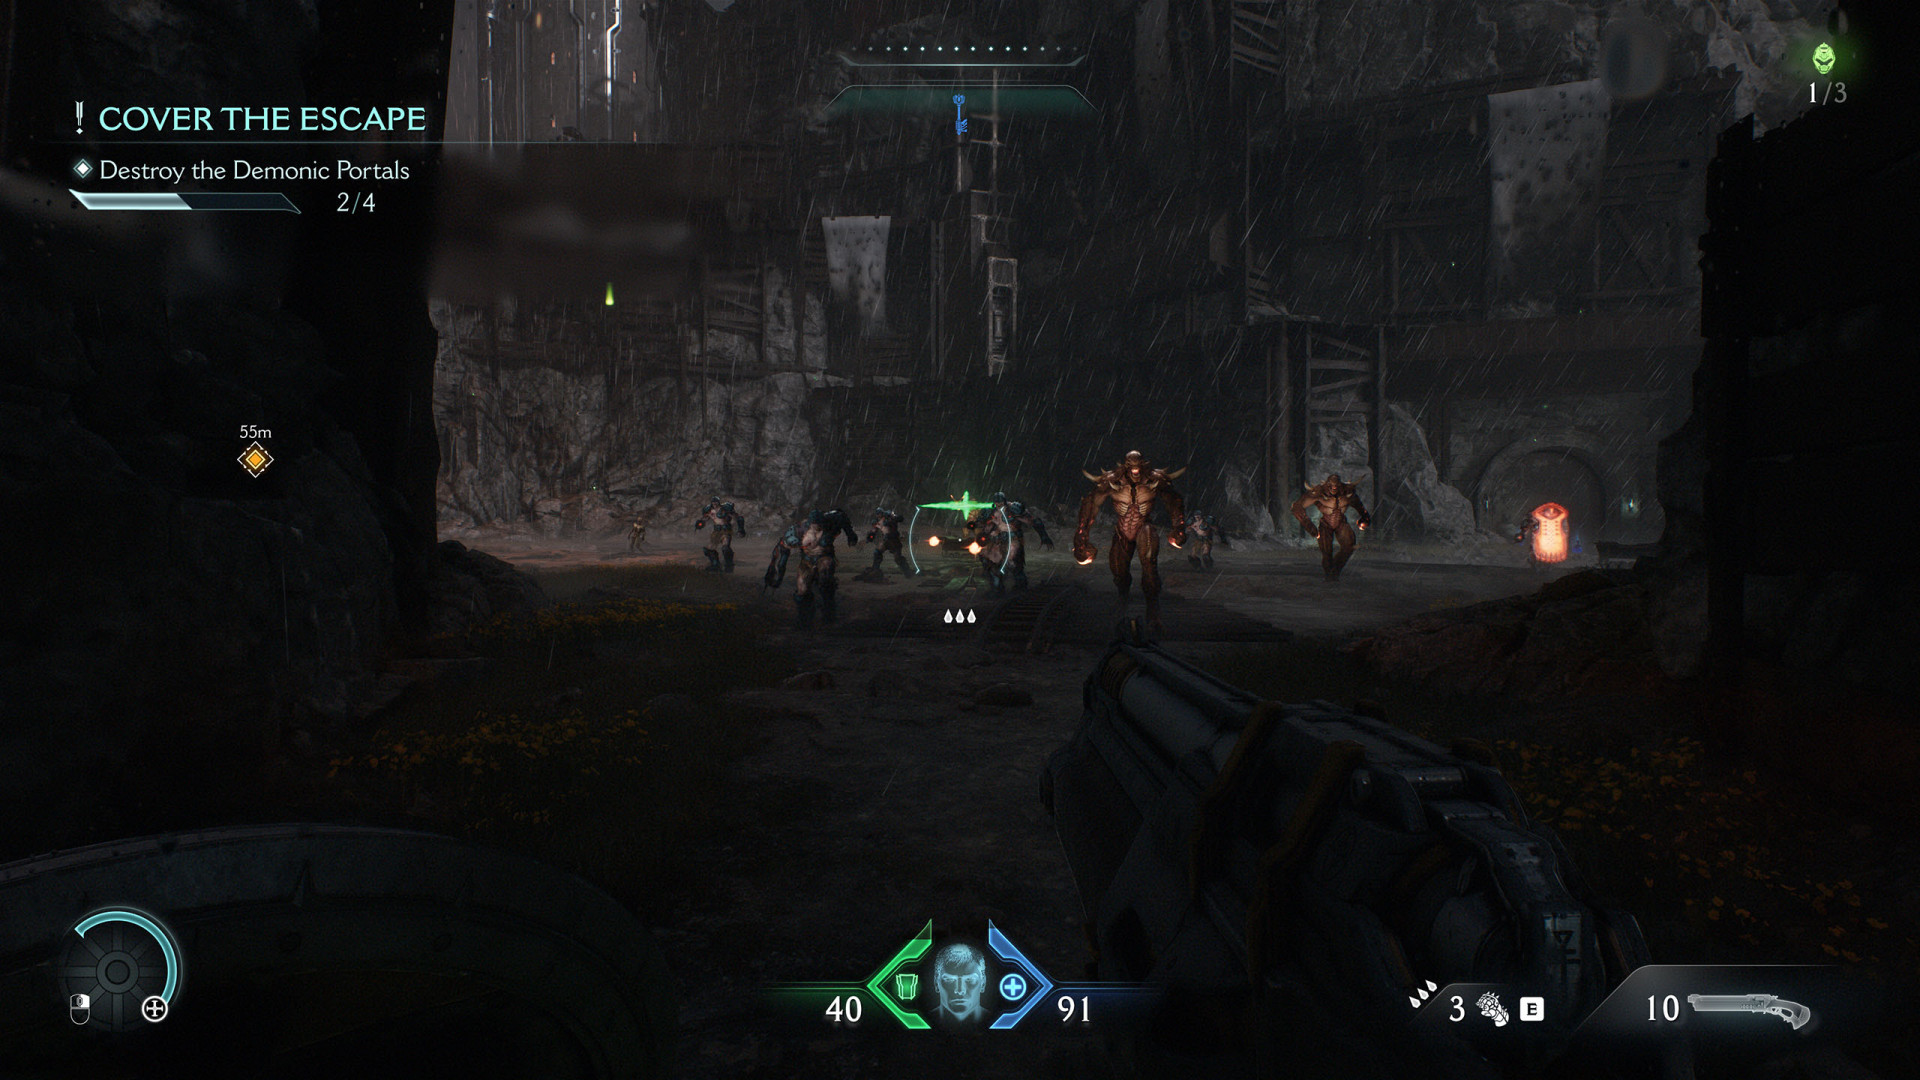
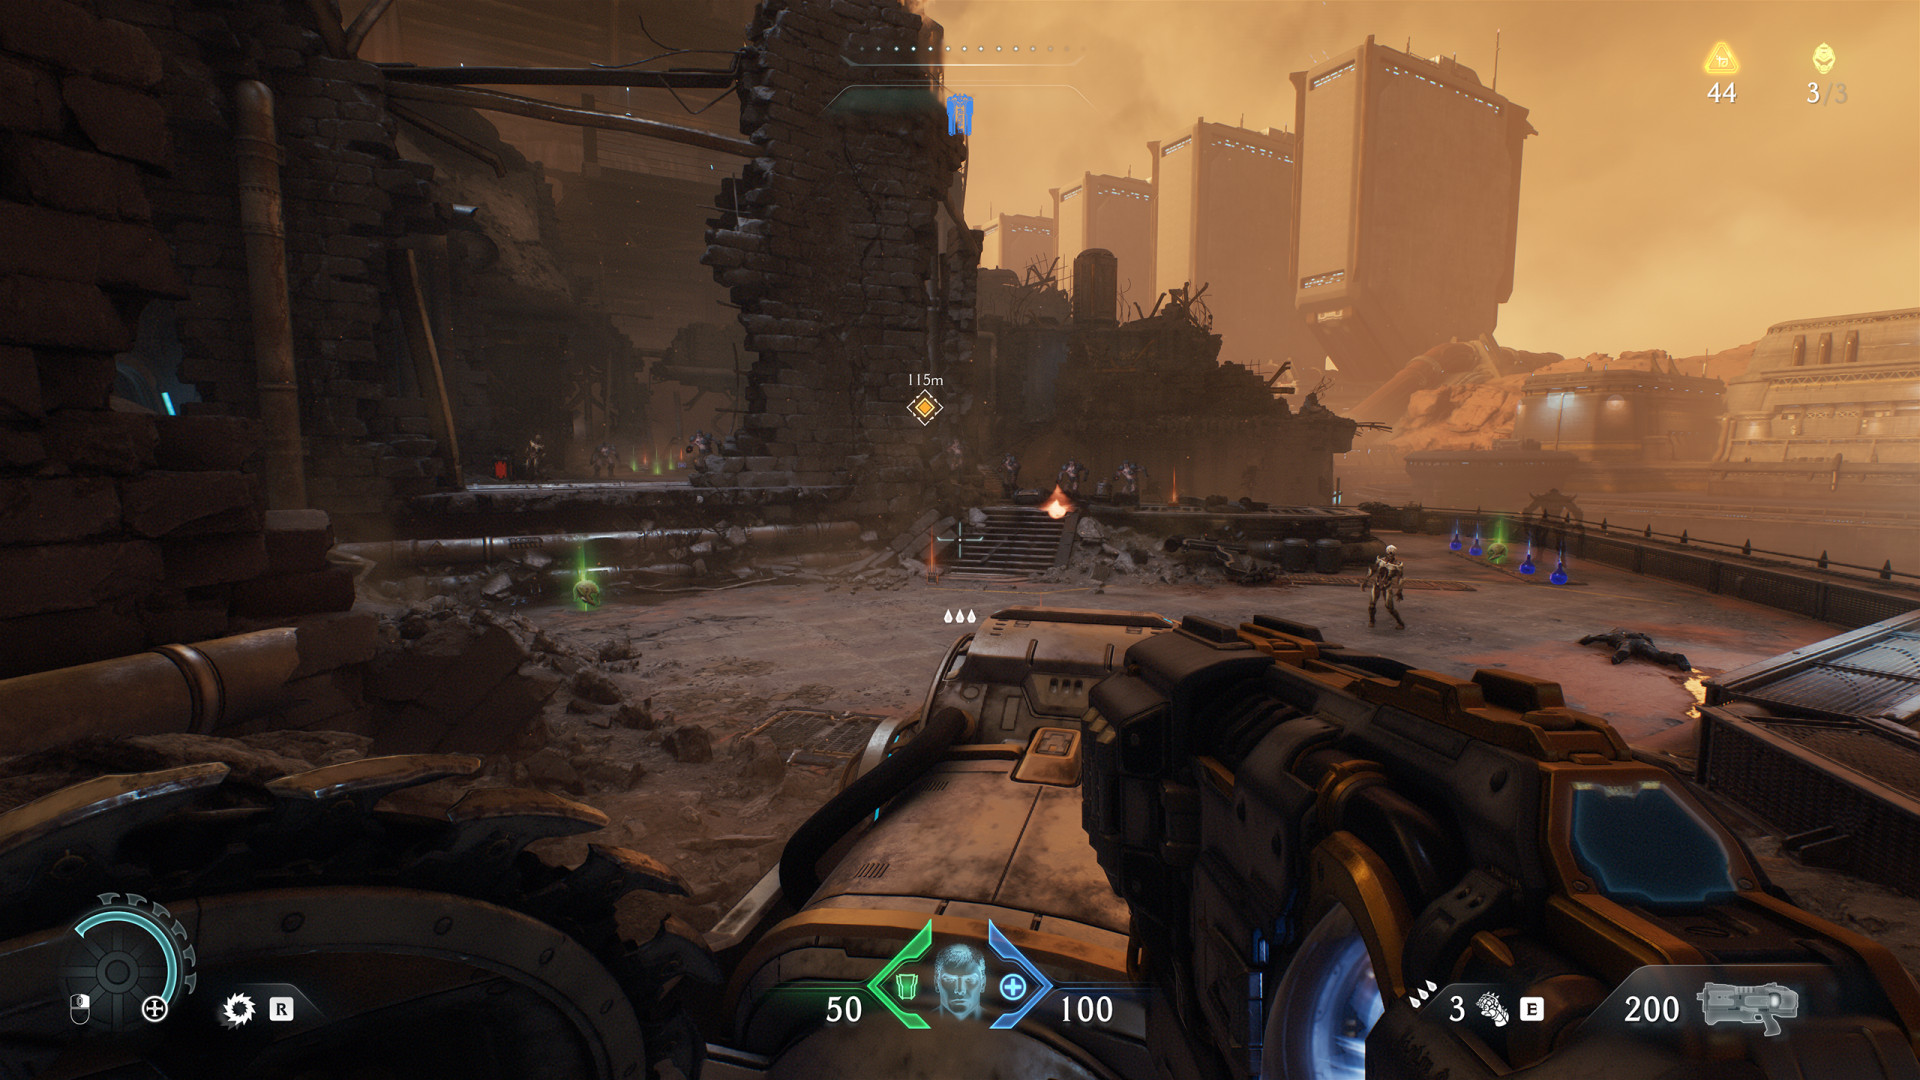
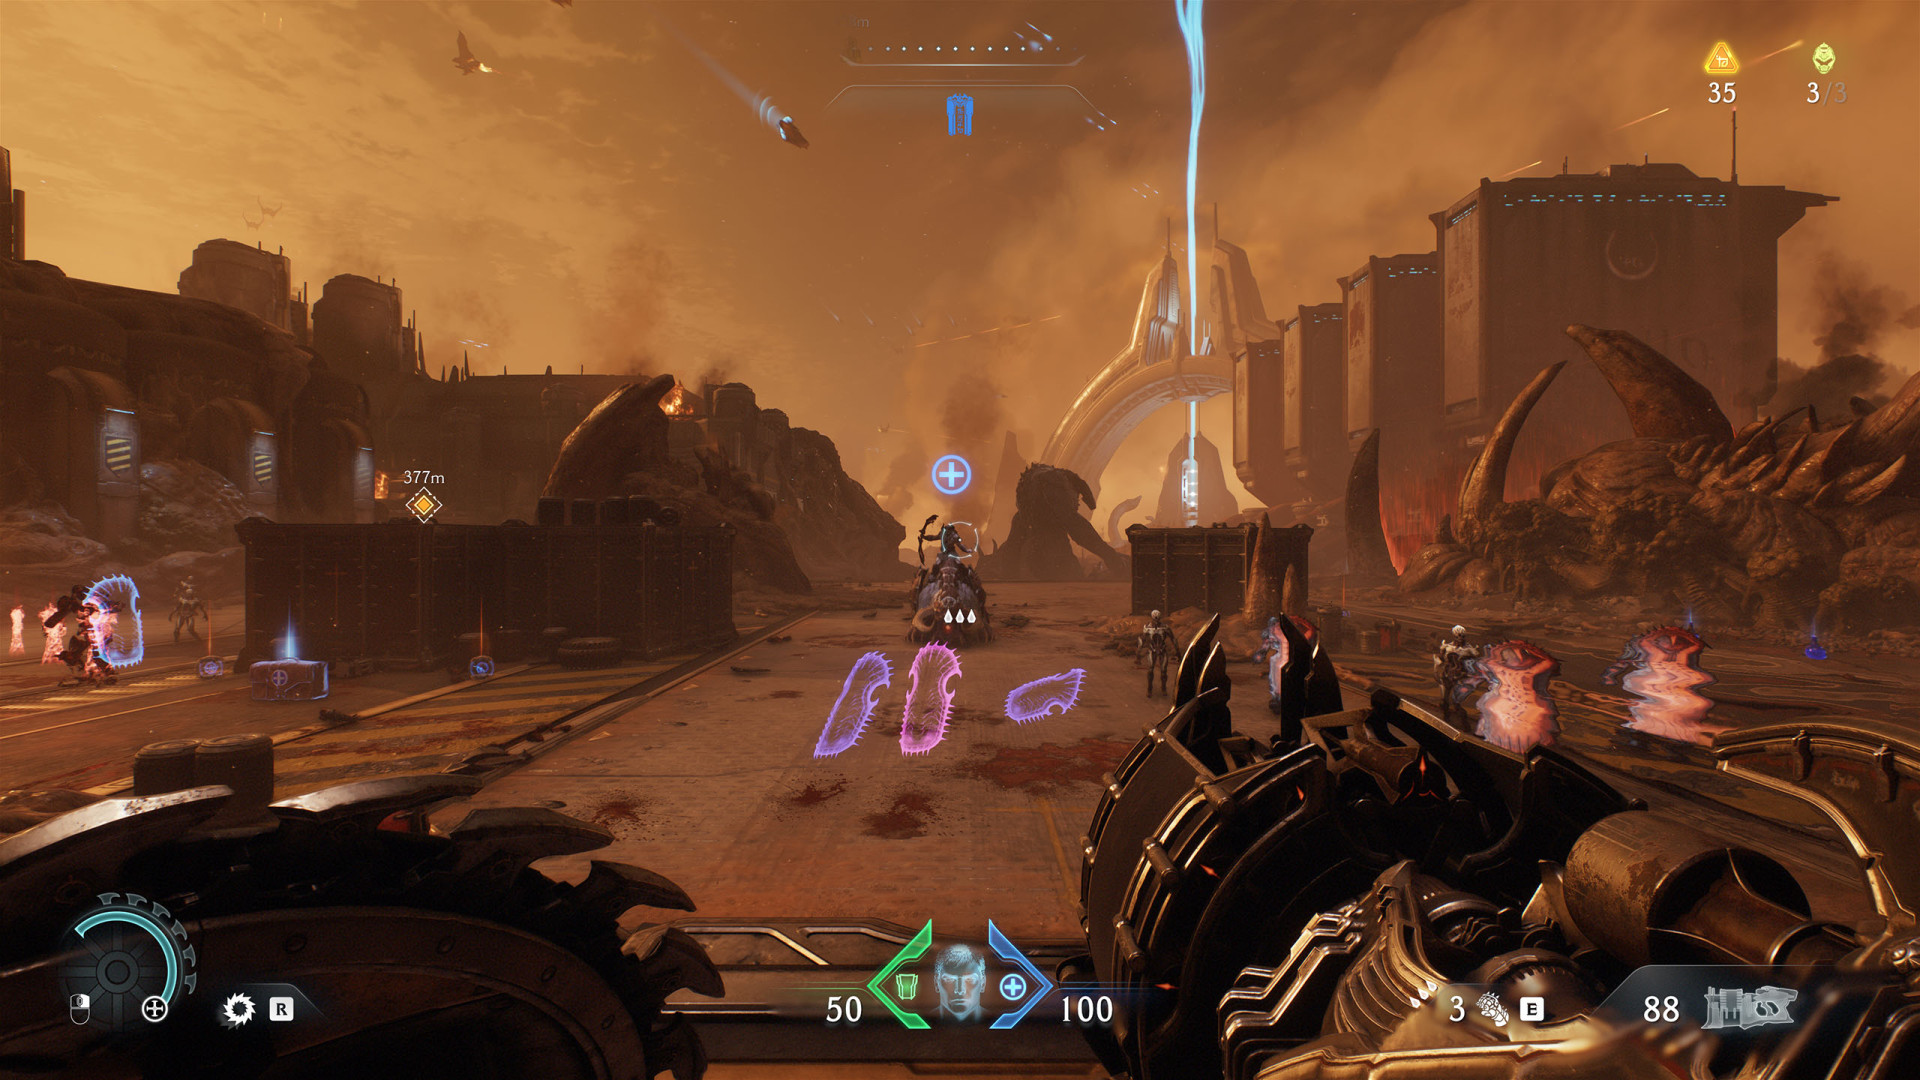
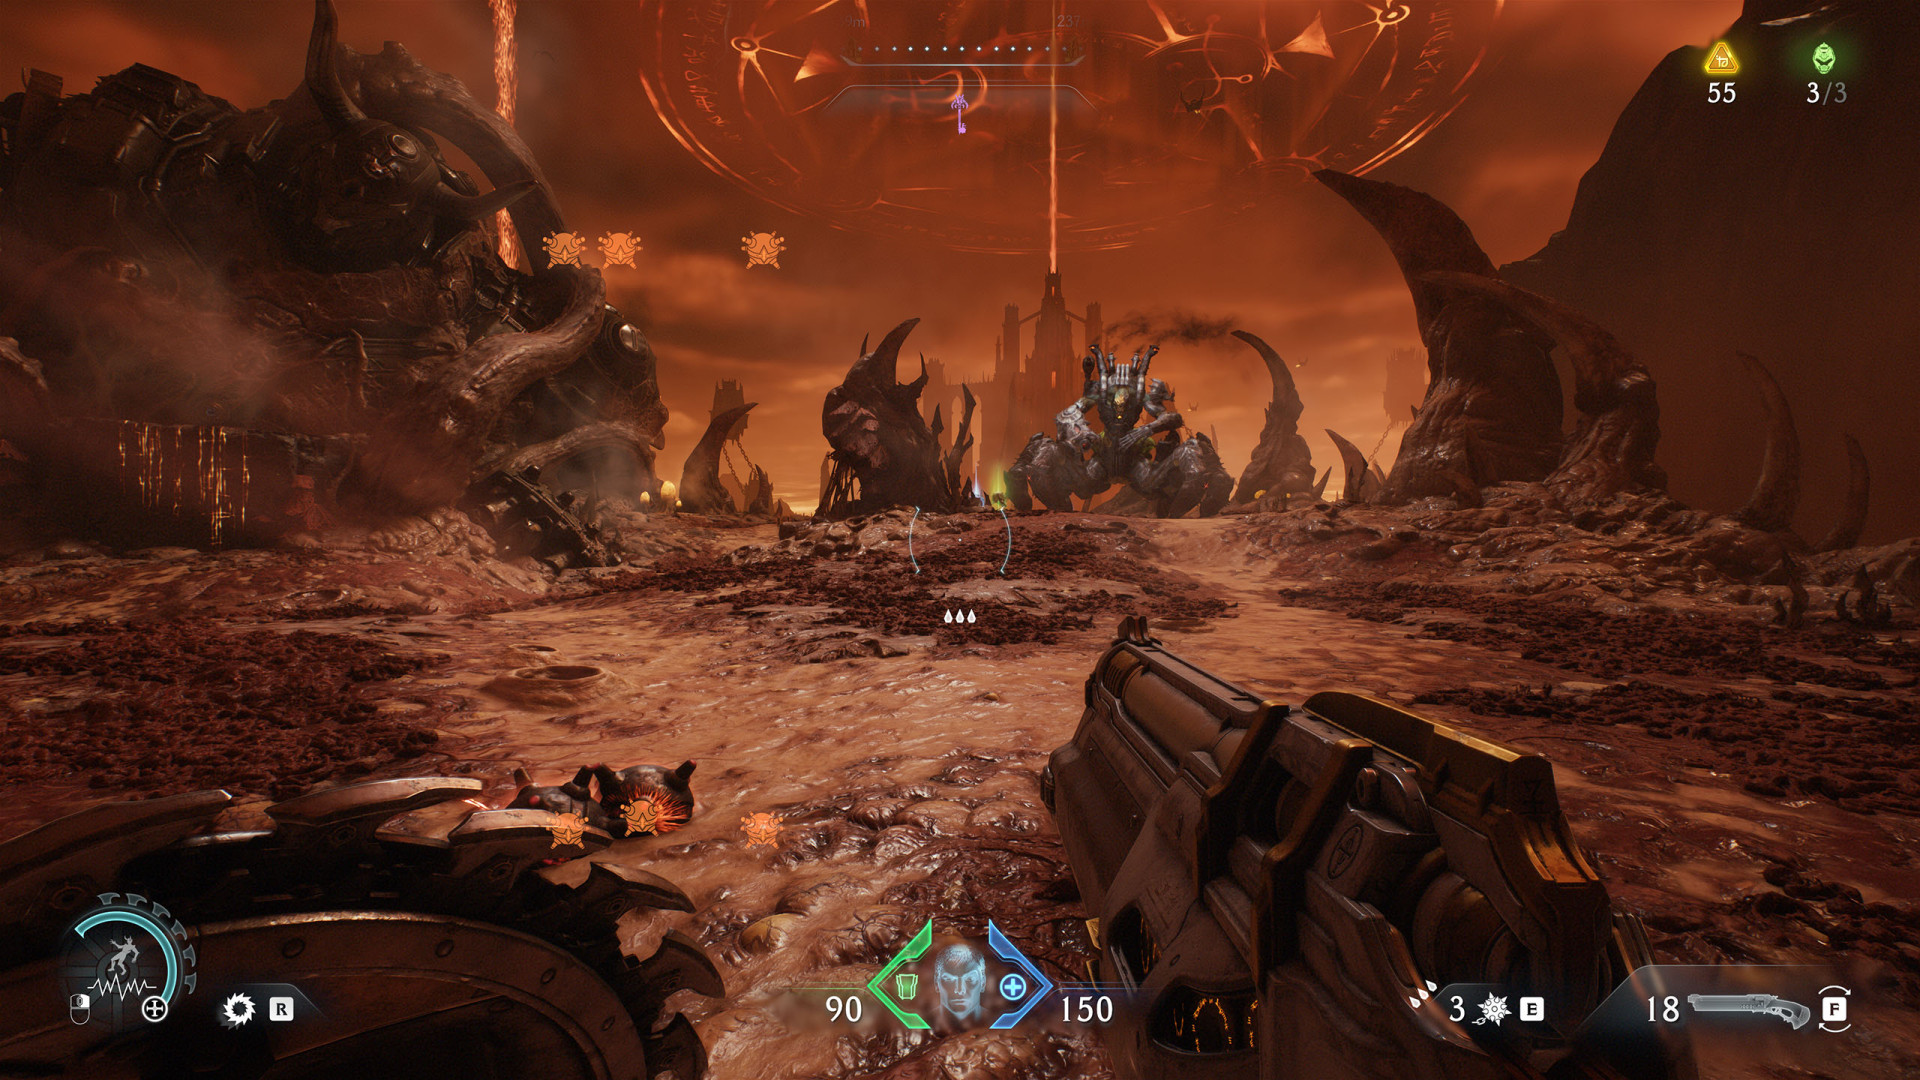
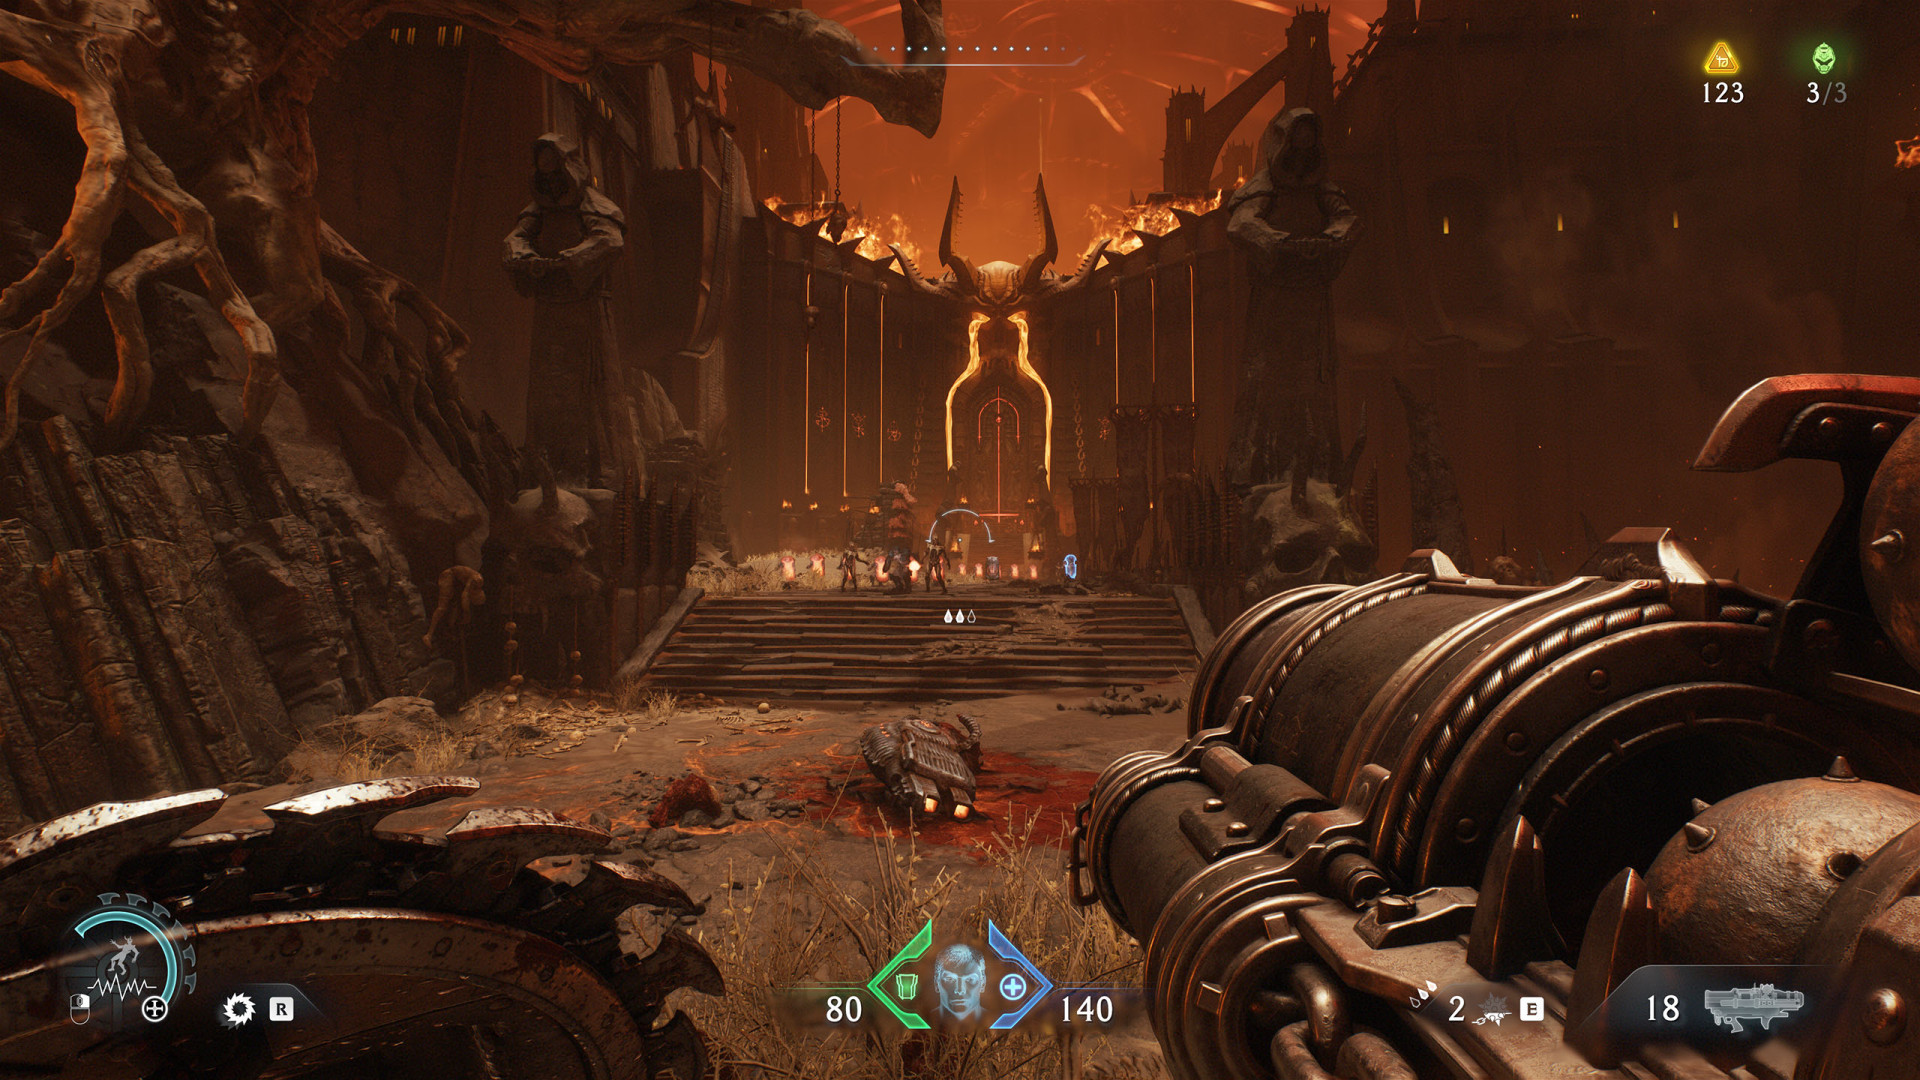
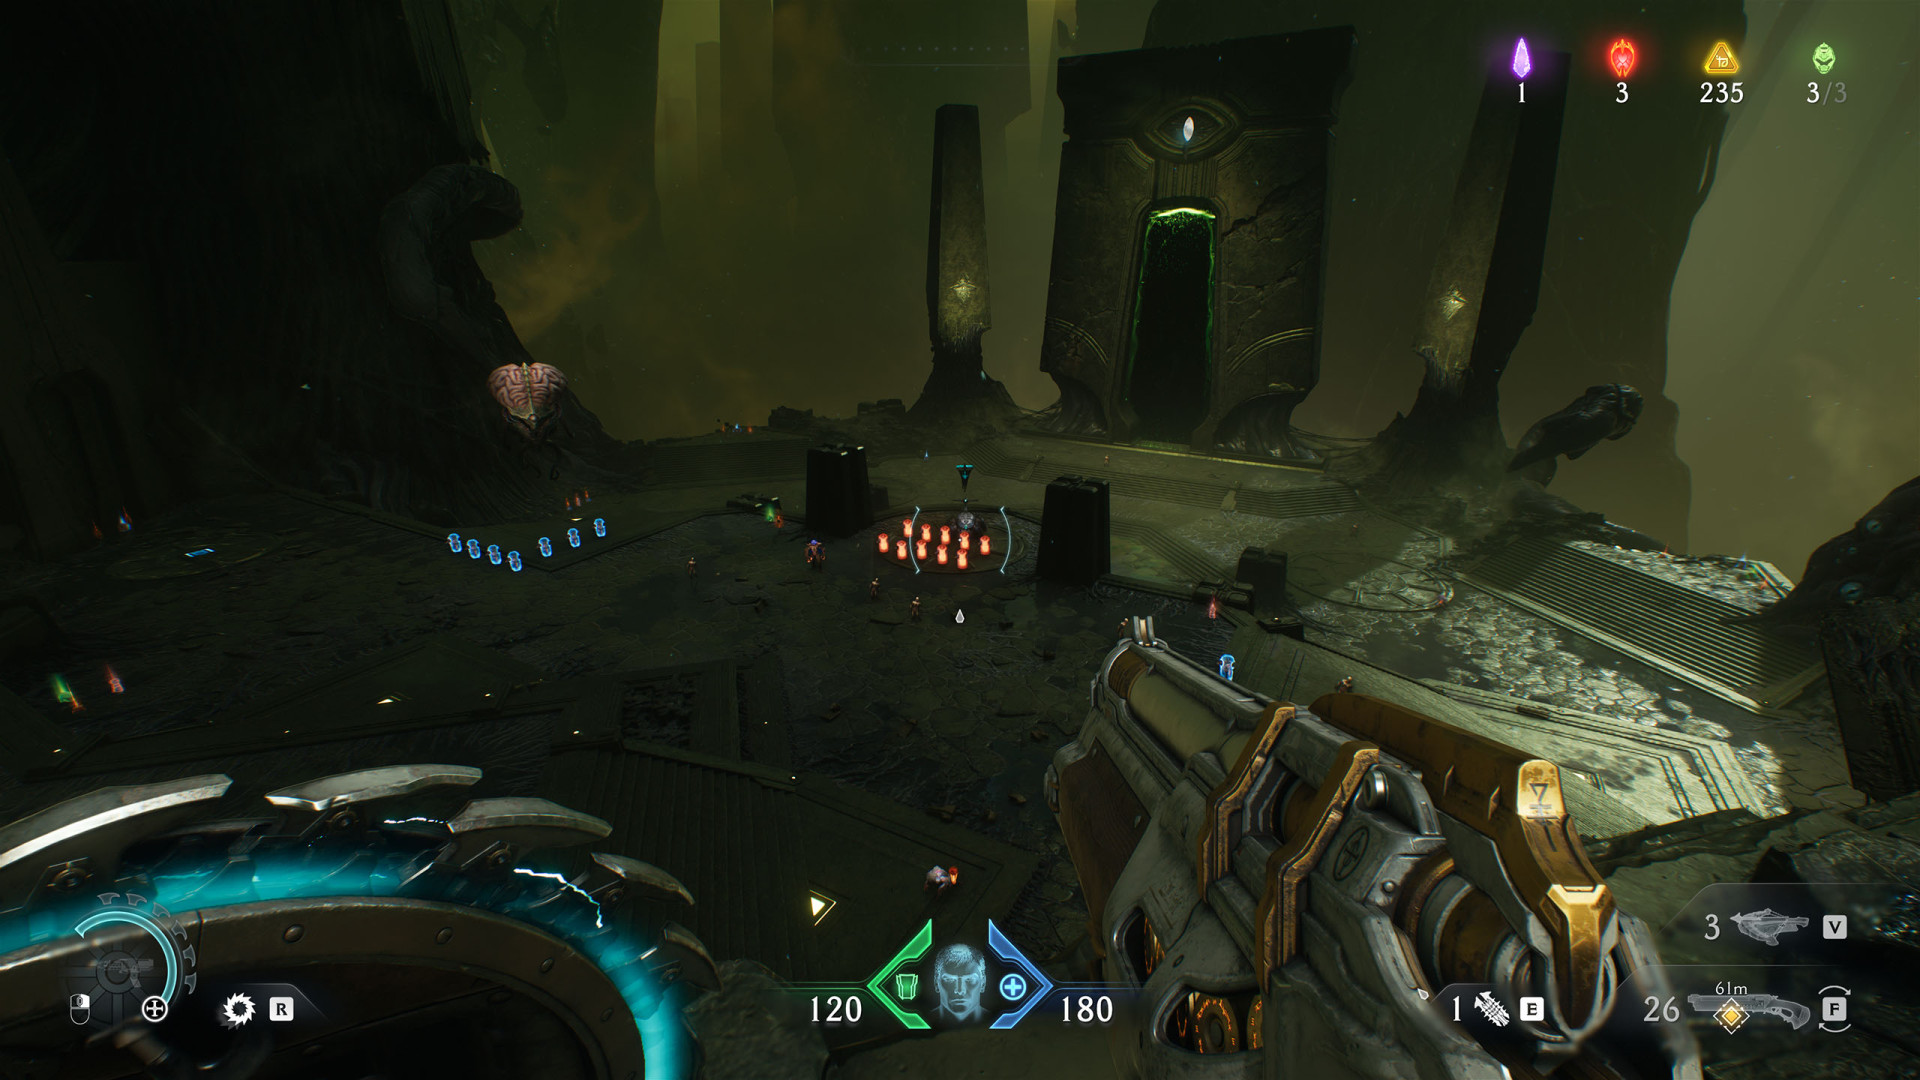
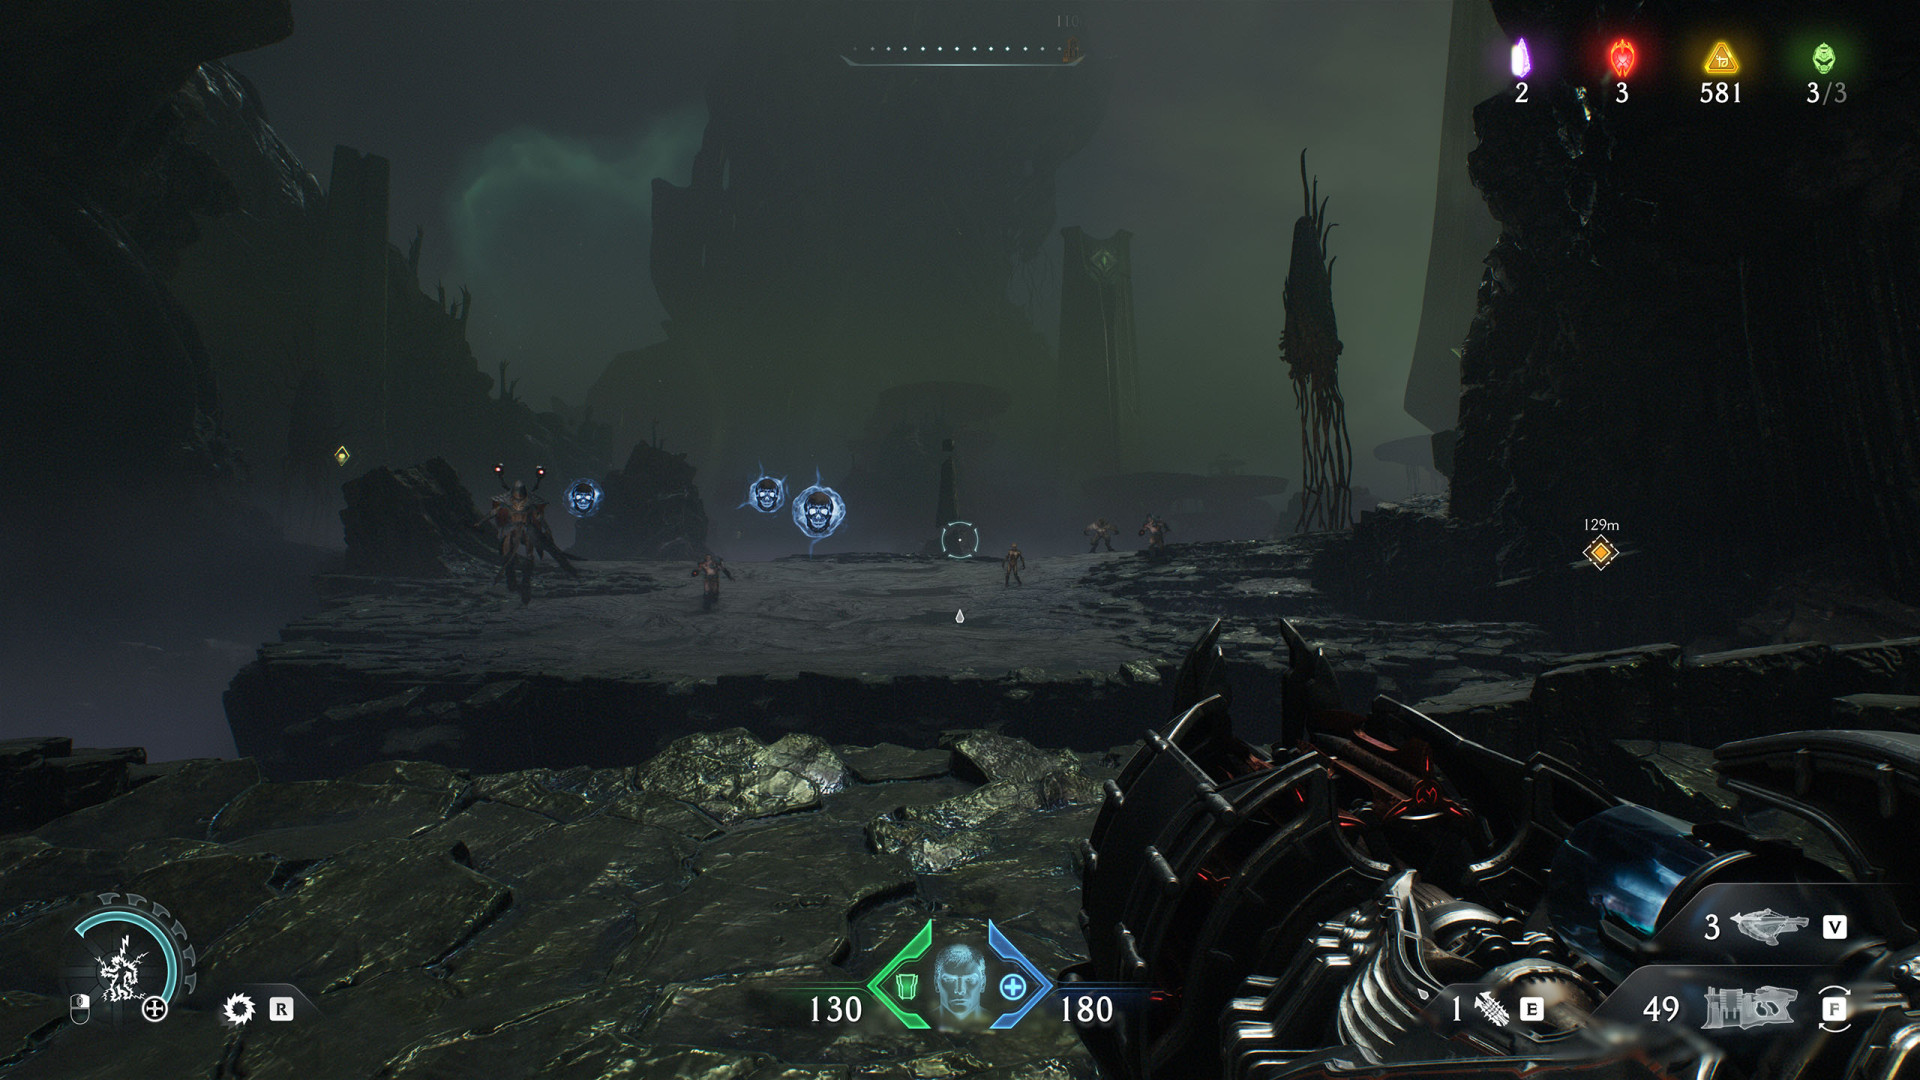
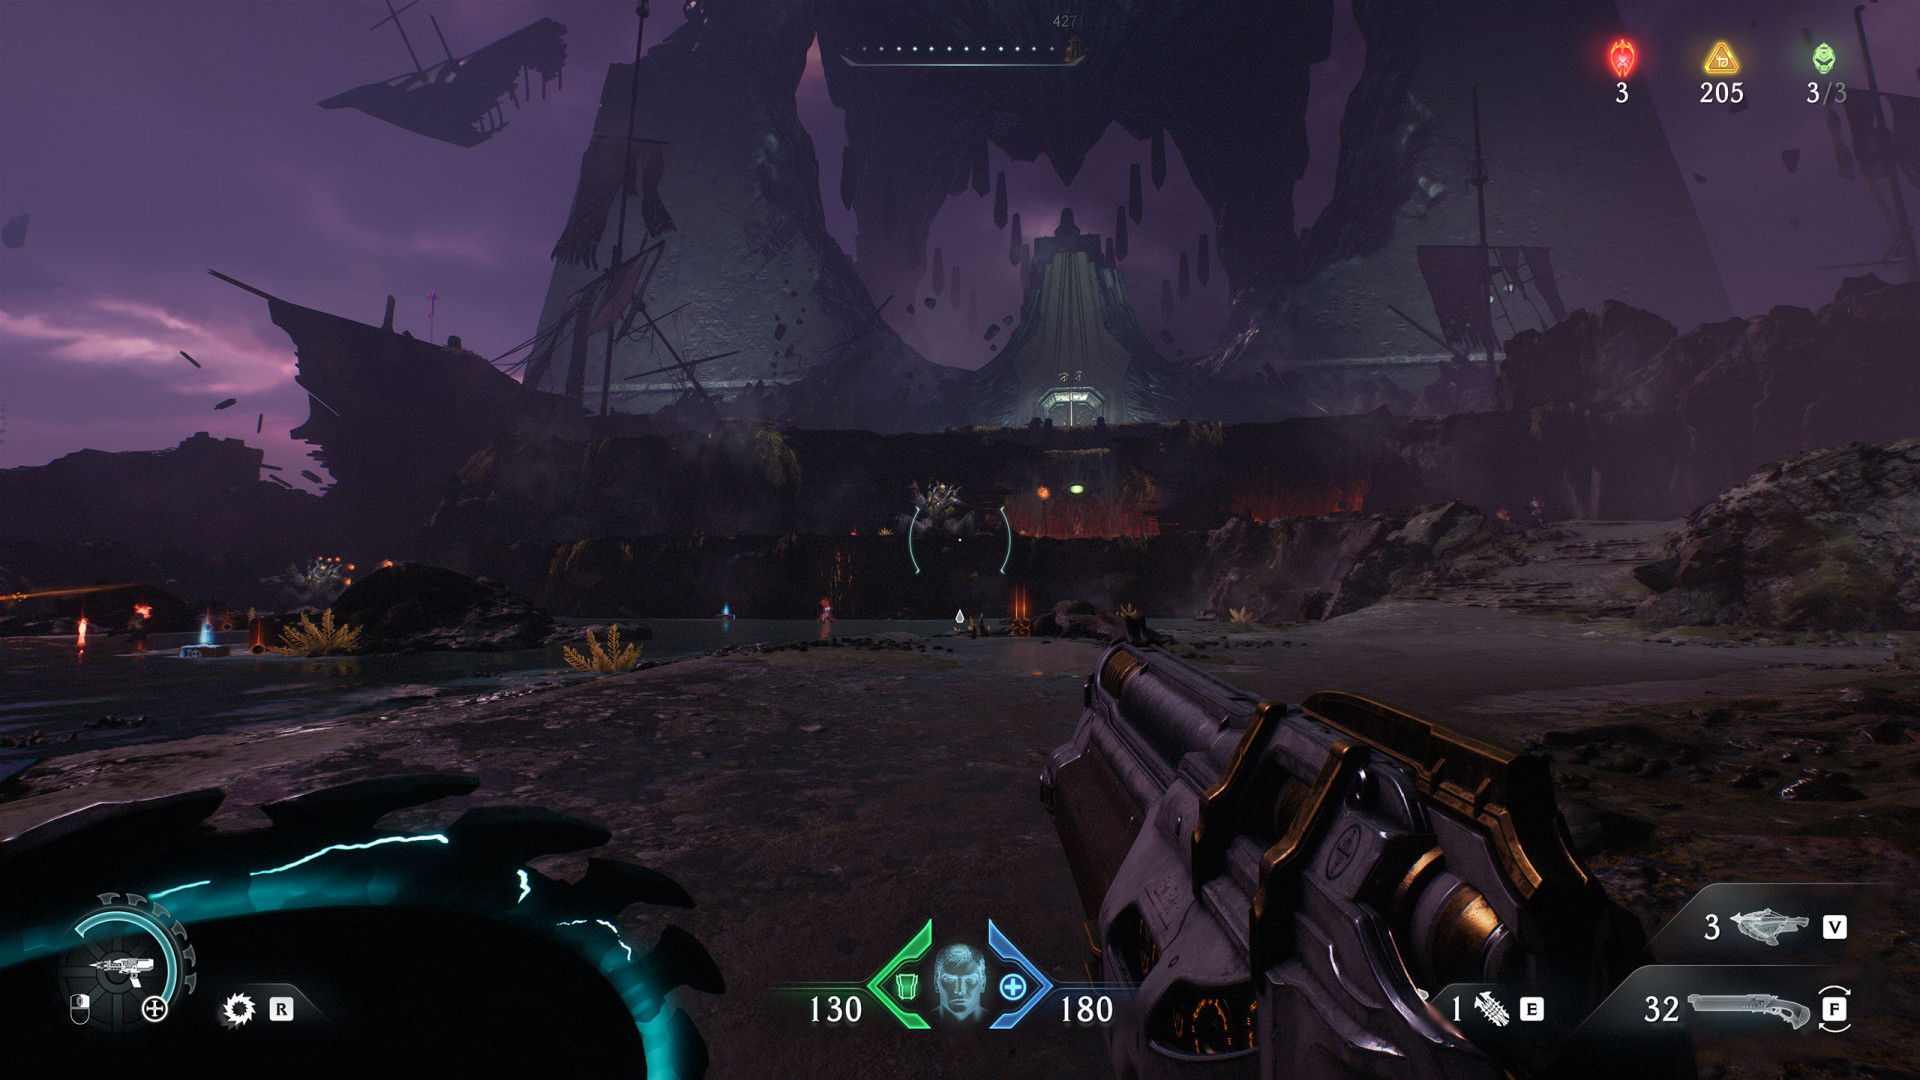
The final encounter of the first Chapter. You should use the cannon. After winning the fight, the Chapter 1 will end.
 Small Encounter (Village of Khalim #1)▶ show the map ◀
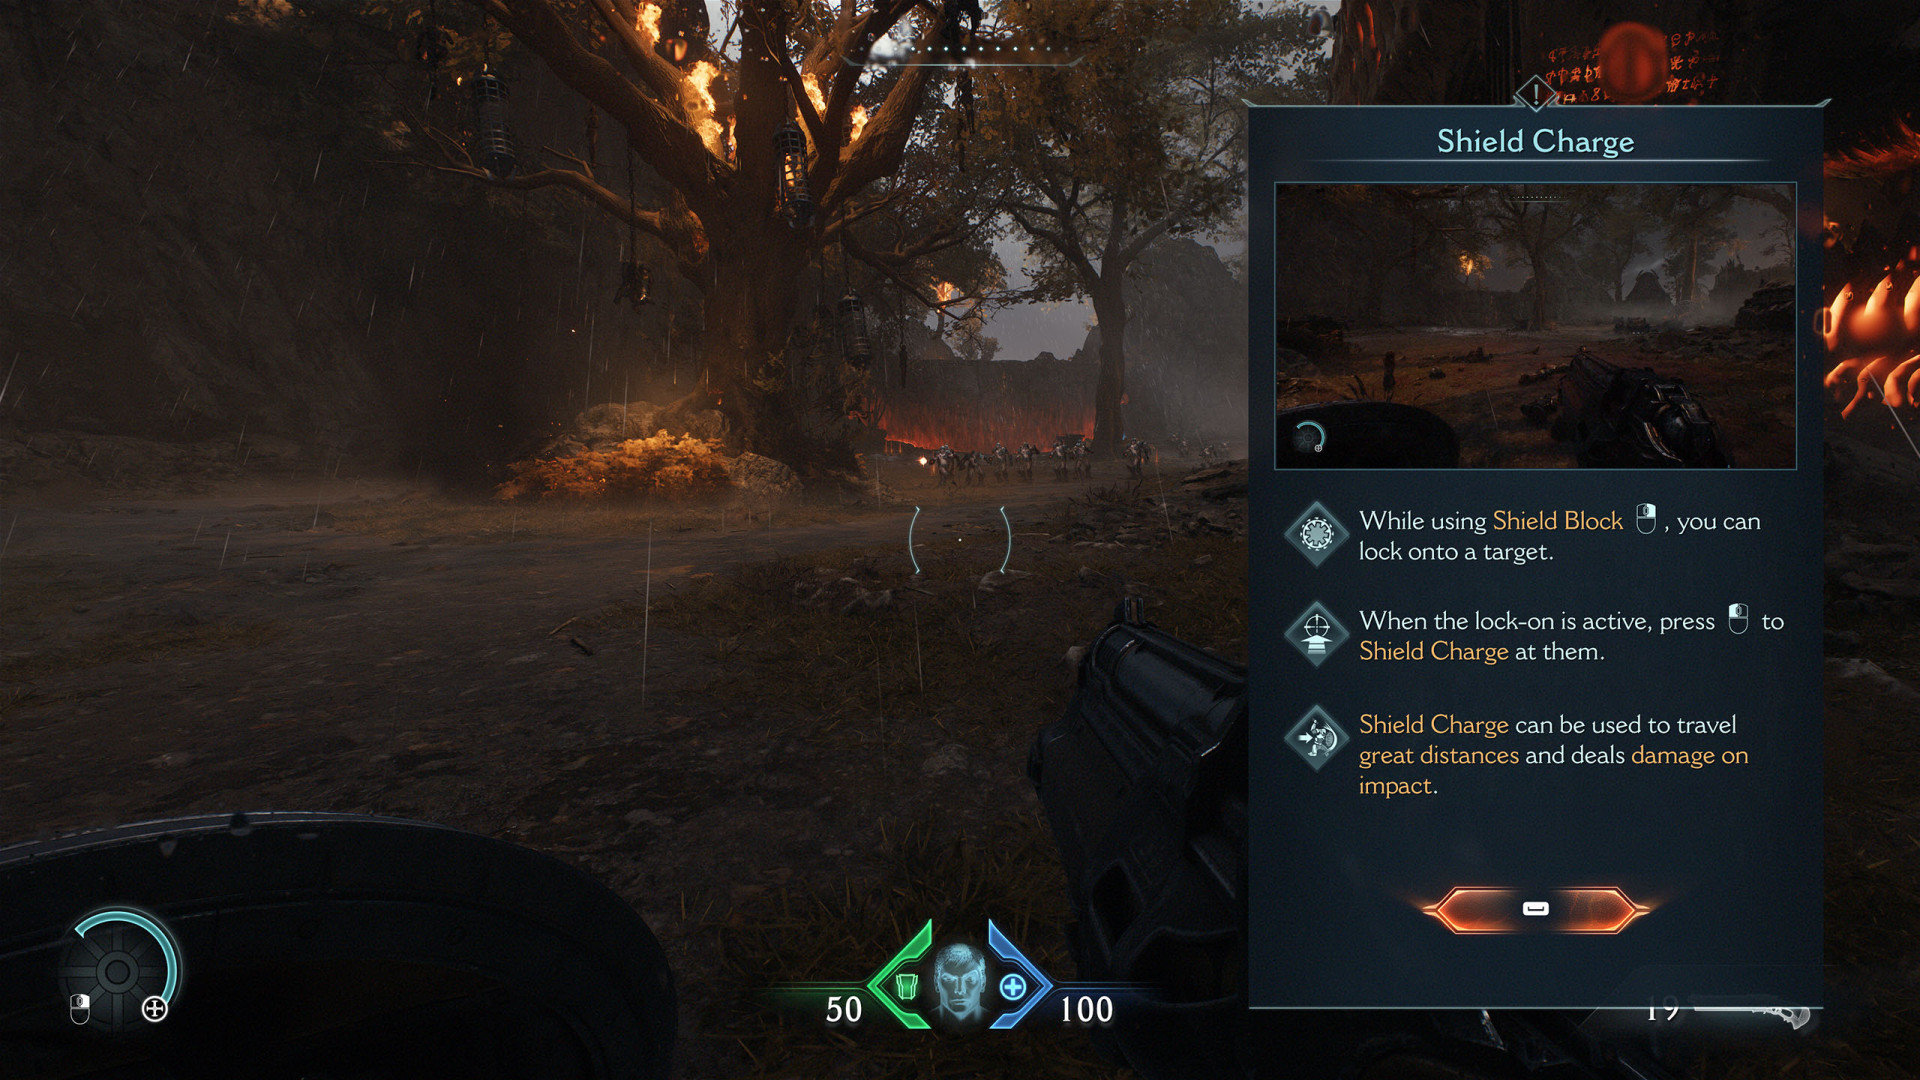
A group of opponents on whom you can test your Shield Charge skill for the first time.
Small Encounter (Village of Khalim #2)▶ show the map ◀
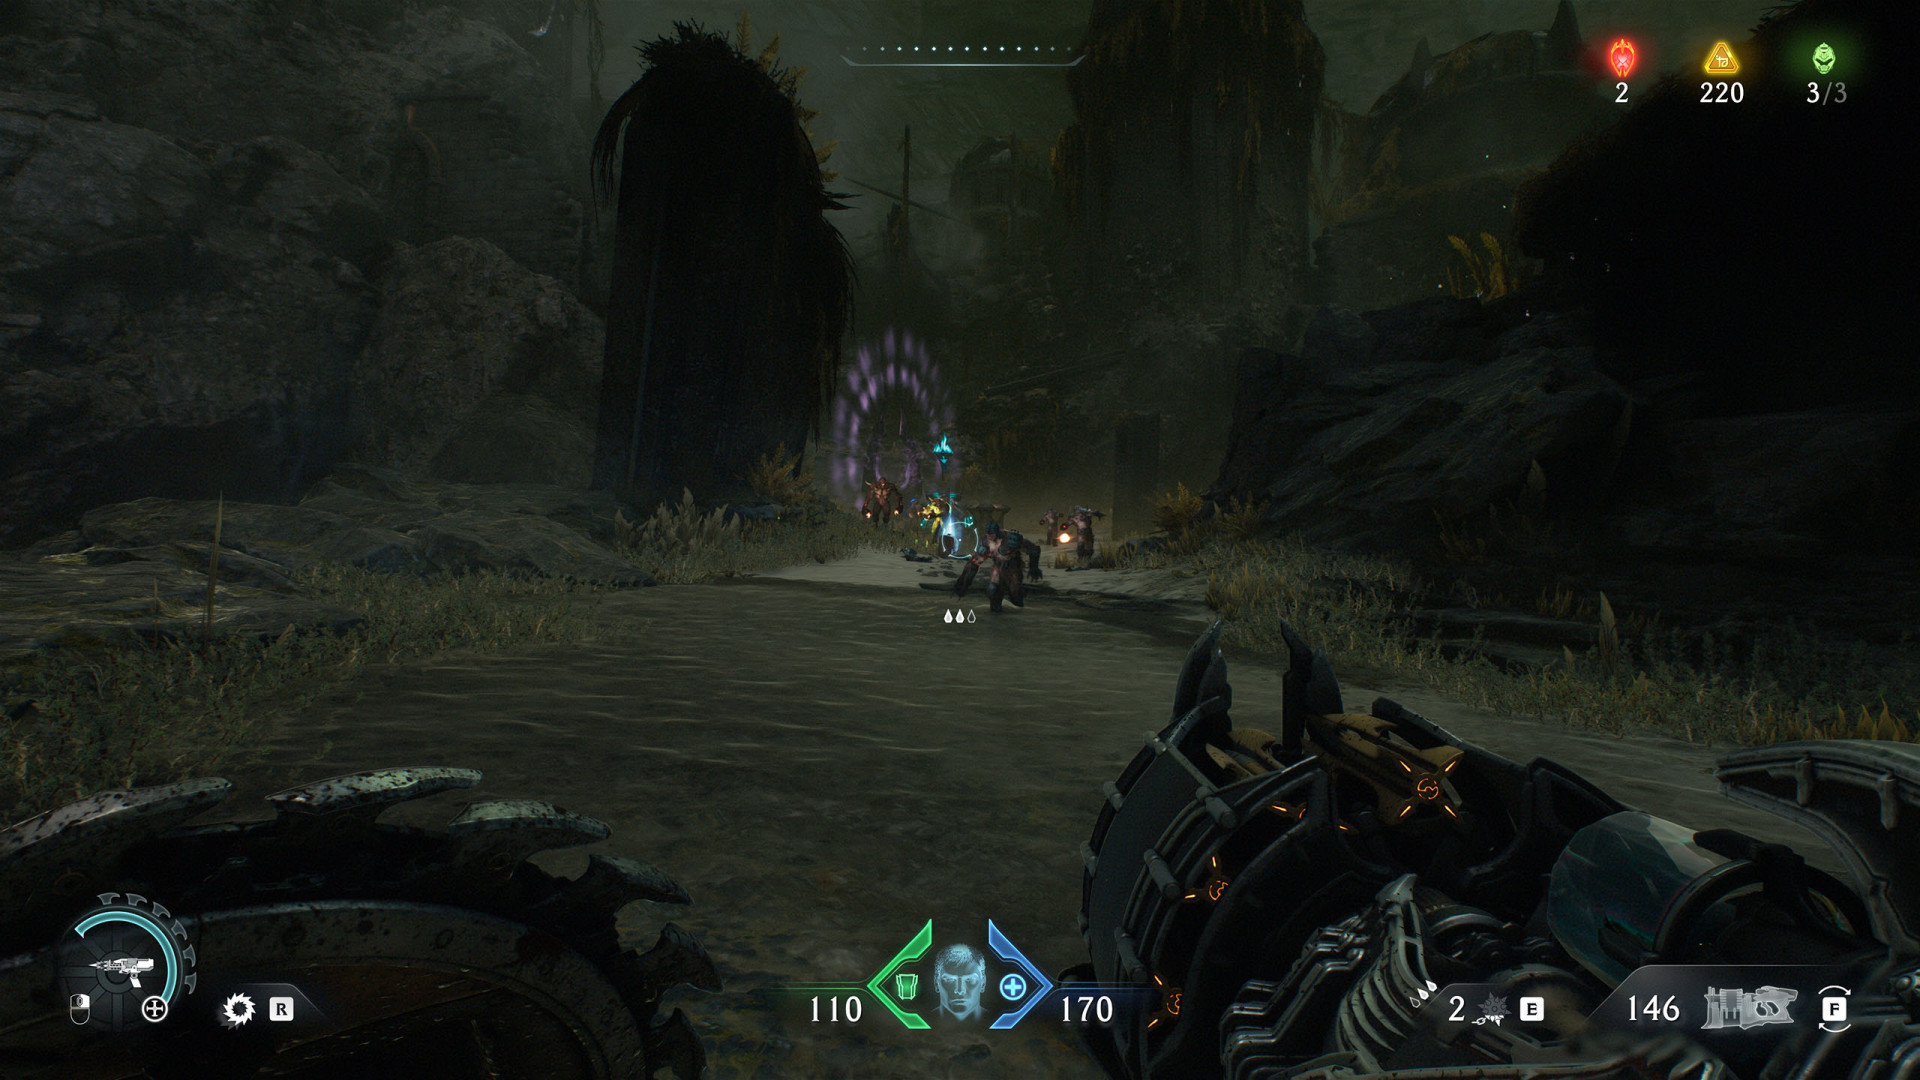
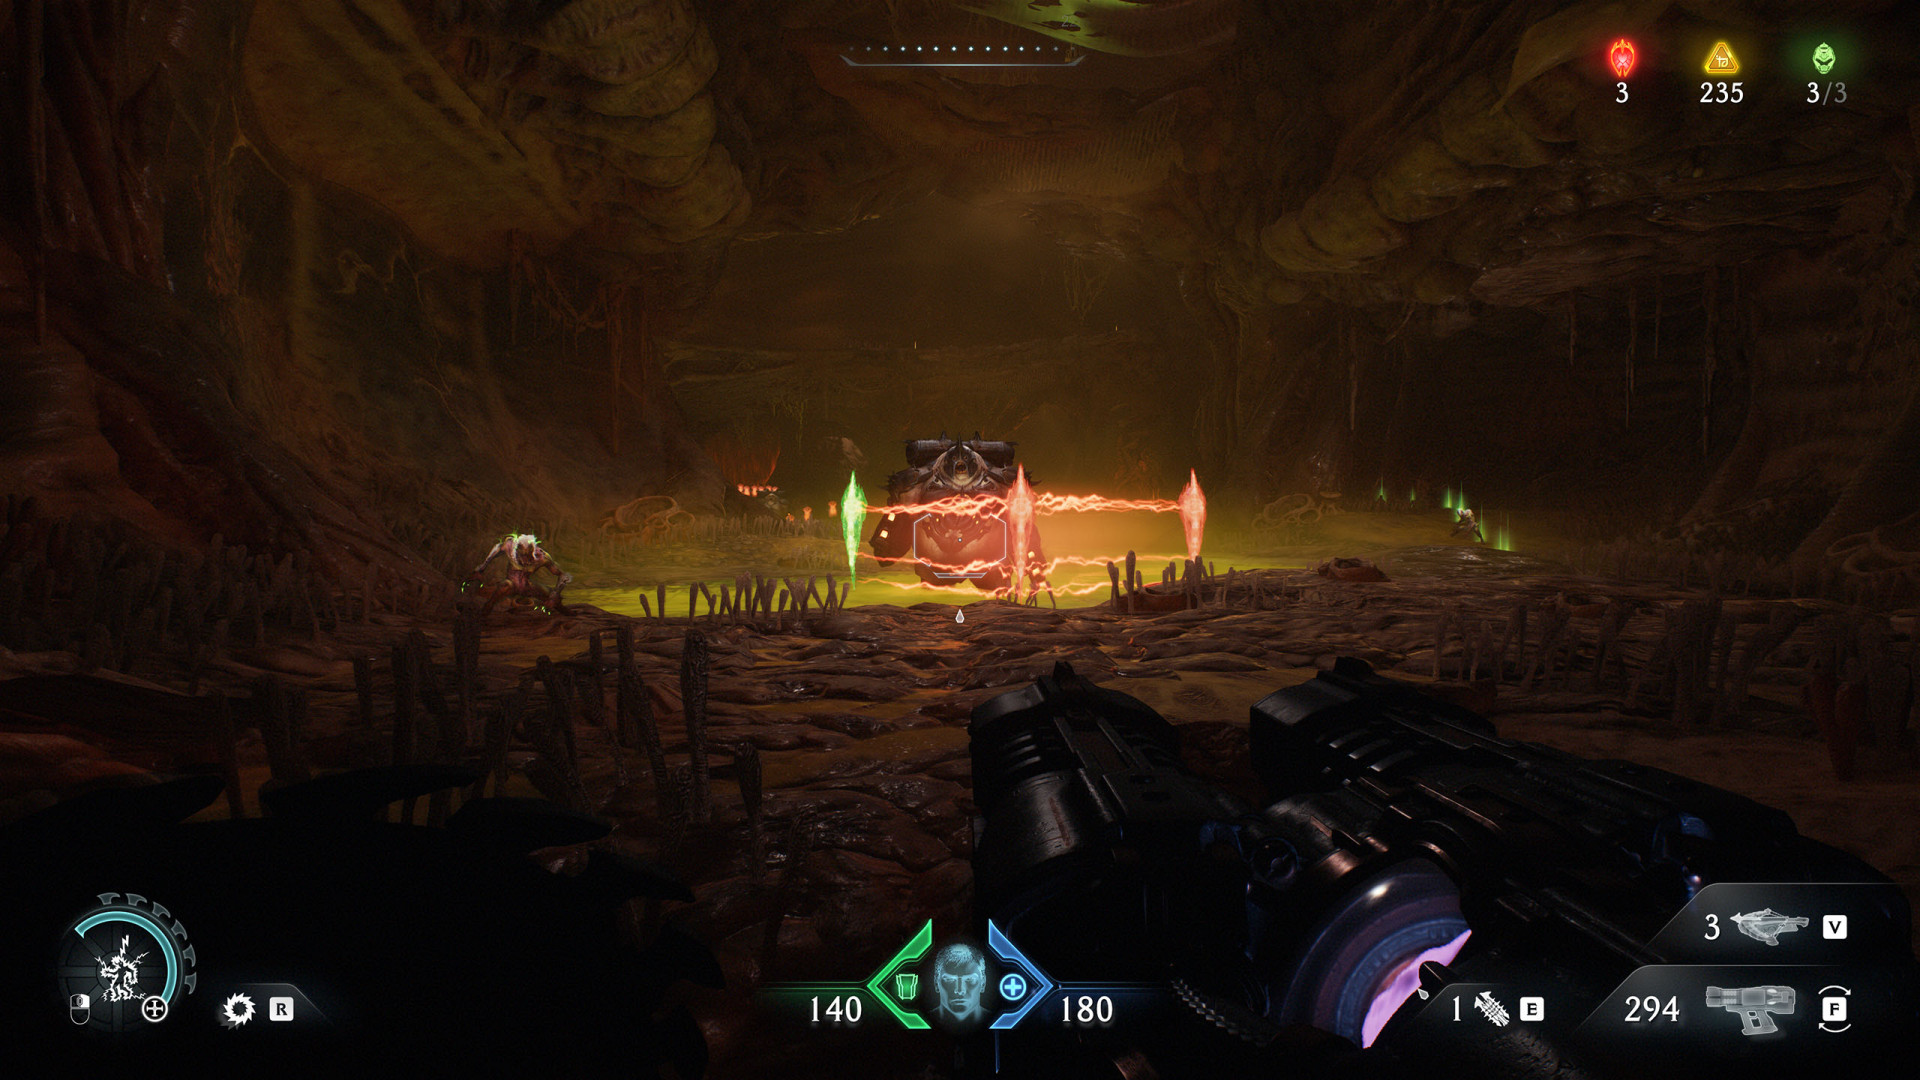
Group of enemies. After defeating them, the barrier blocking your path will disappear.
Small Encounter (Village of Khalim #3)▶ show the map ◀
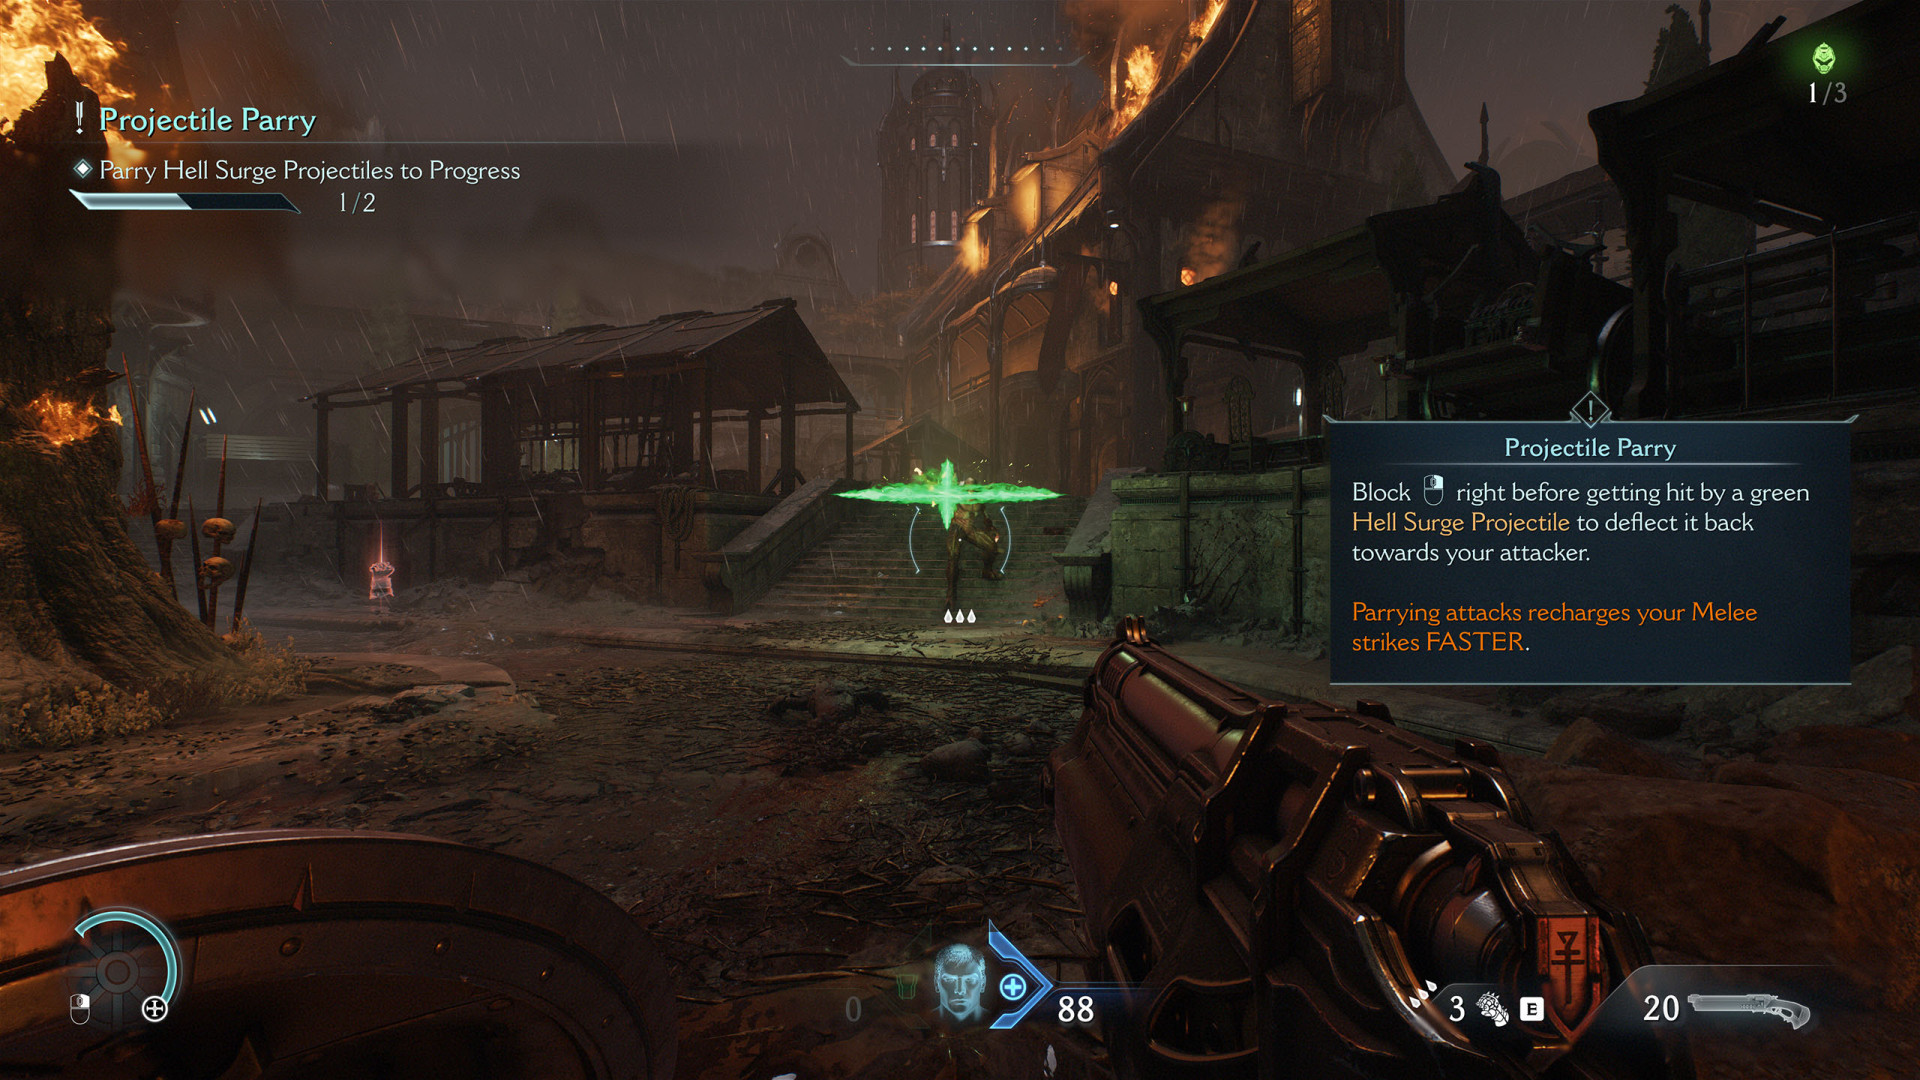
A group of opponents on whom you can test your Projectile Parry skill..
Small Encounter (Village of Khalim #4)▶ show the map ◀
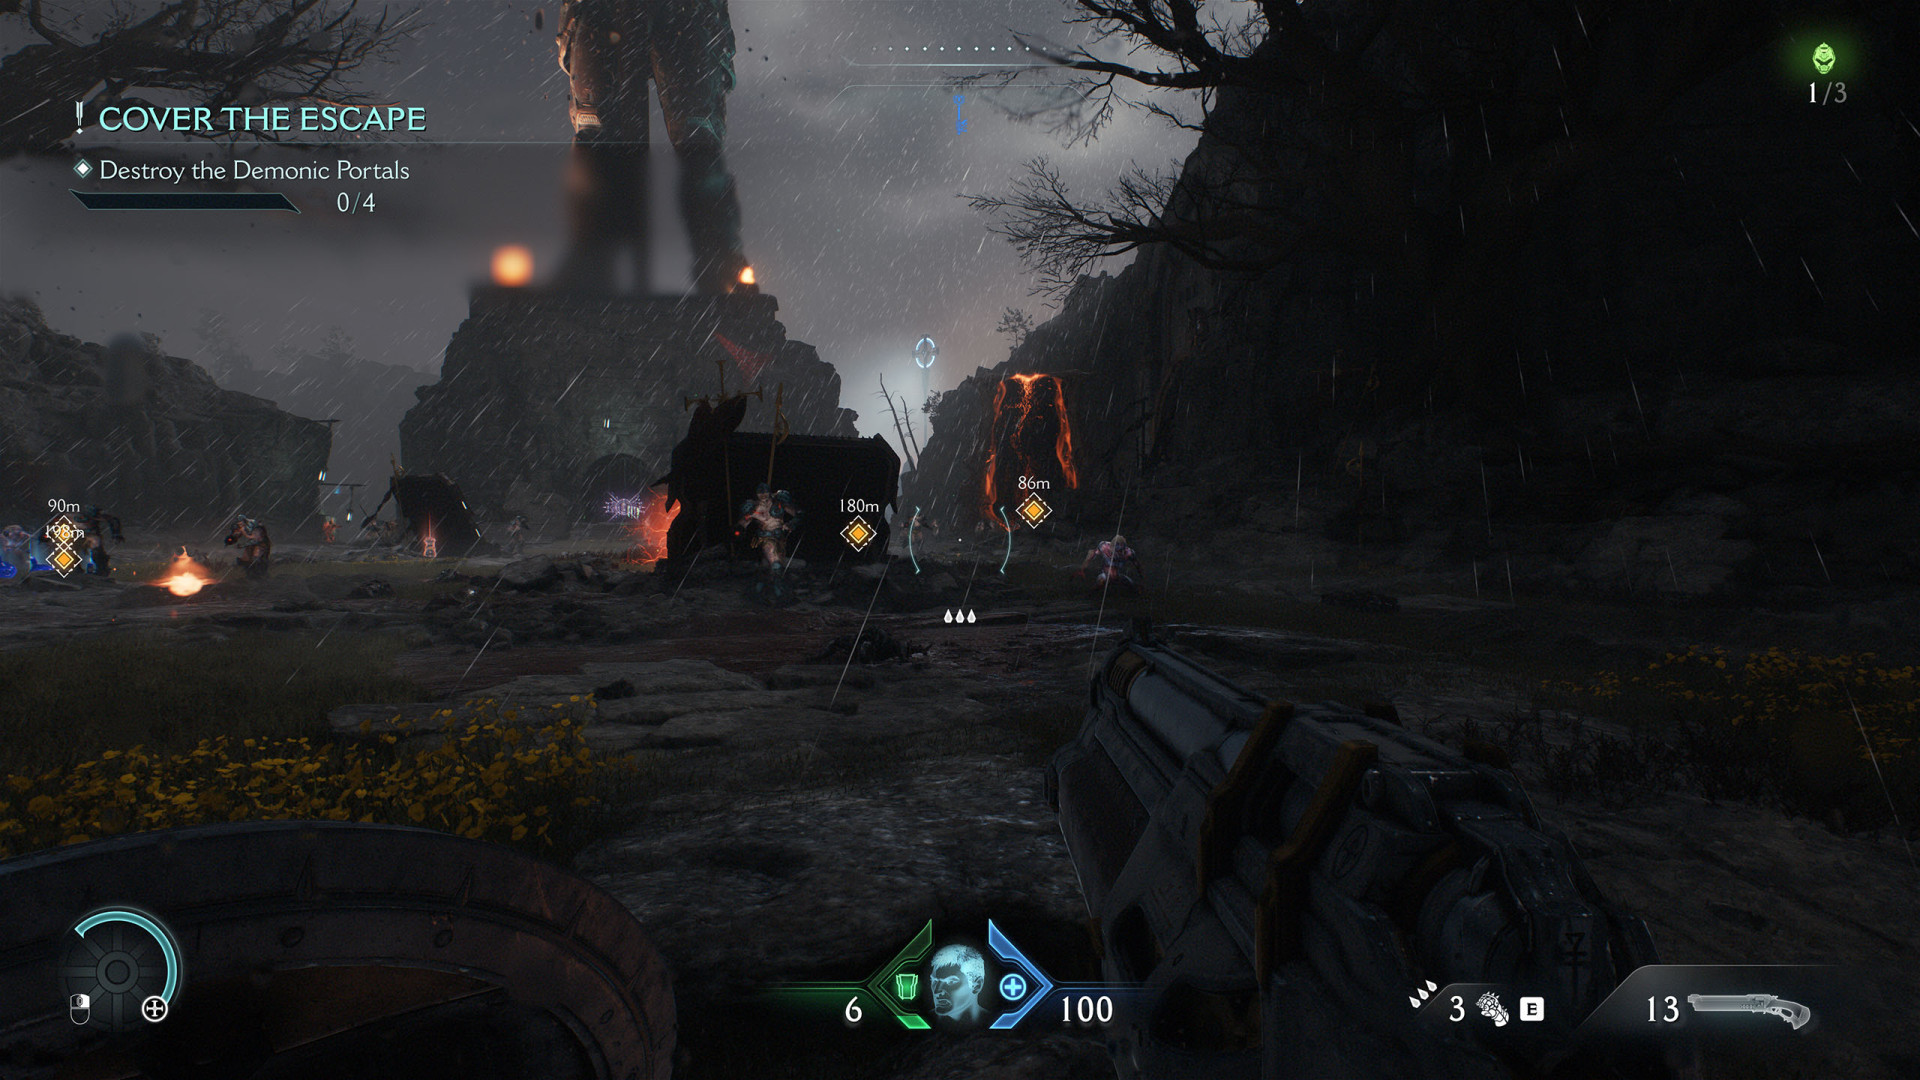
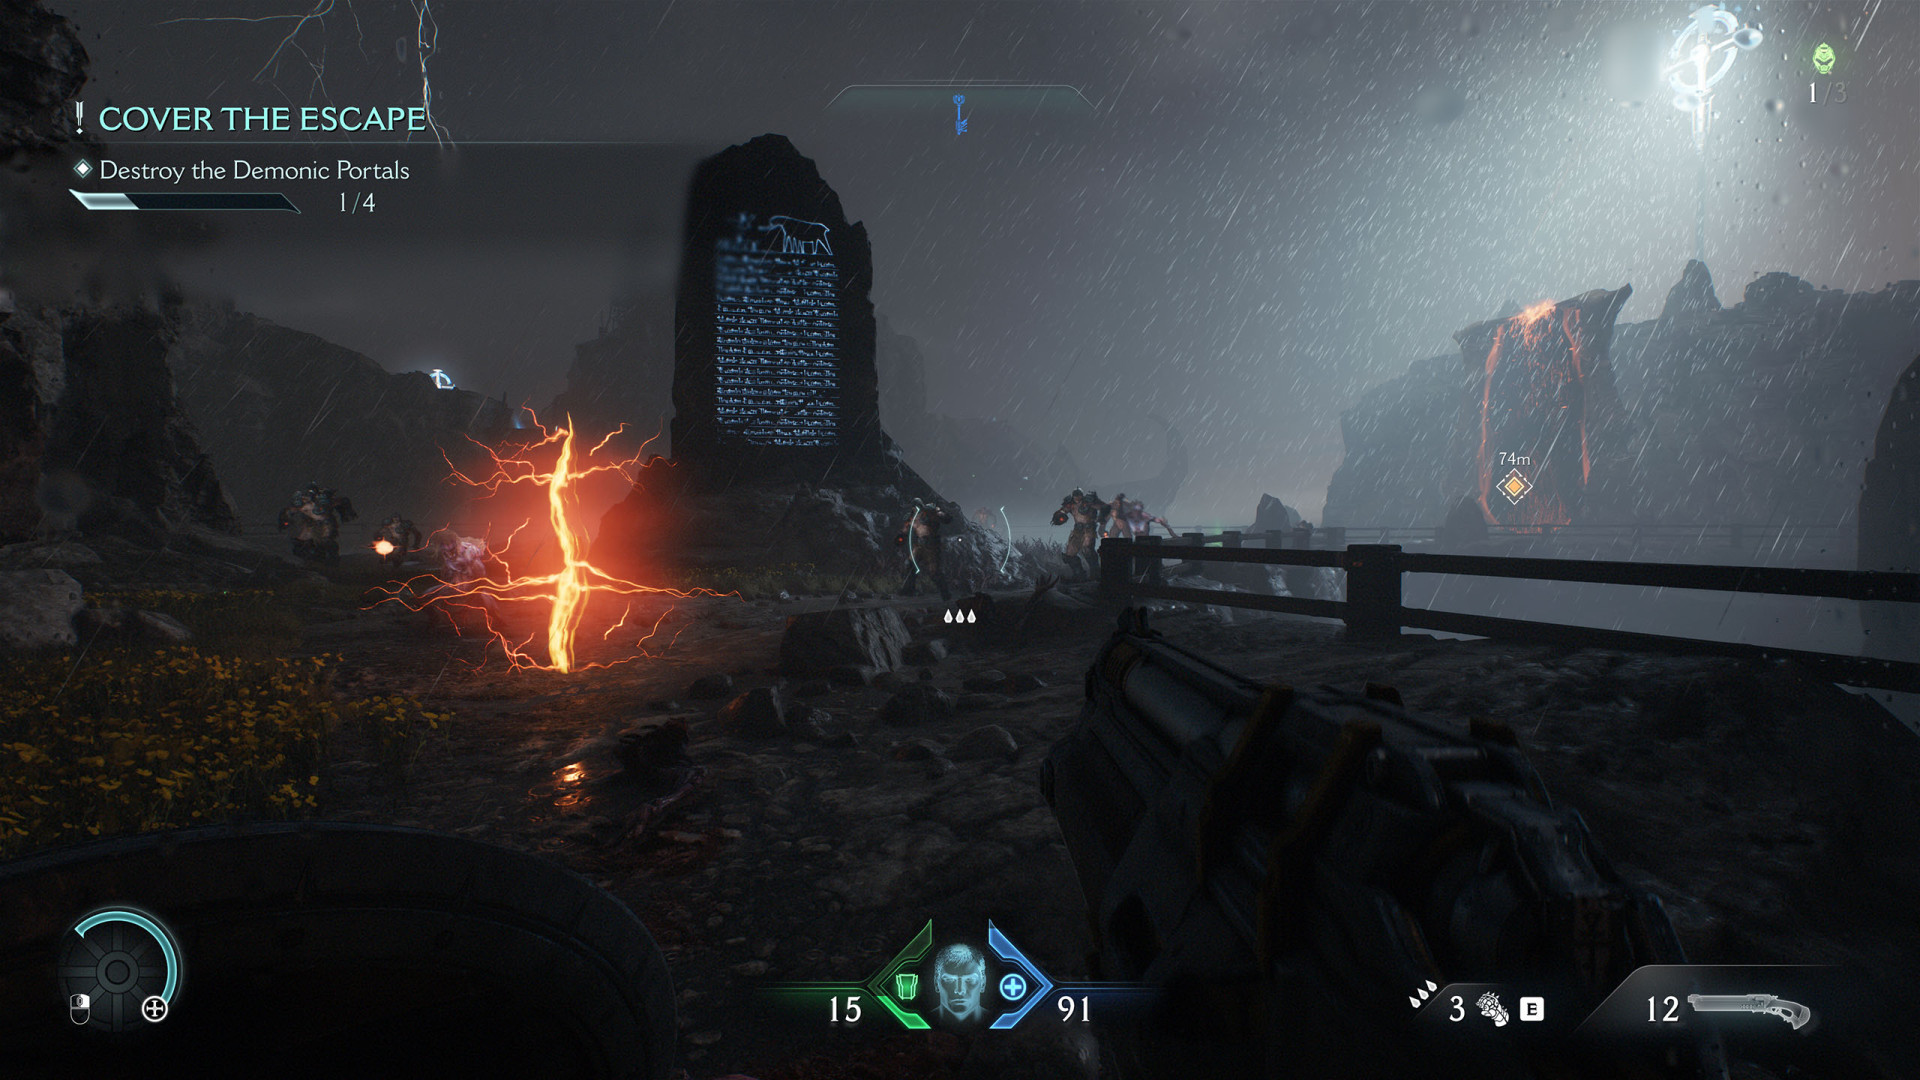
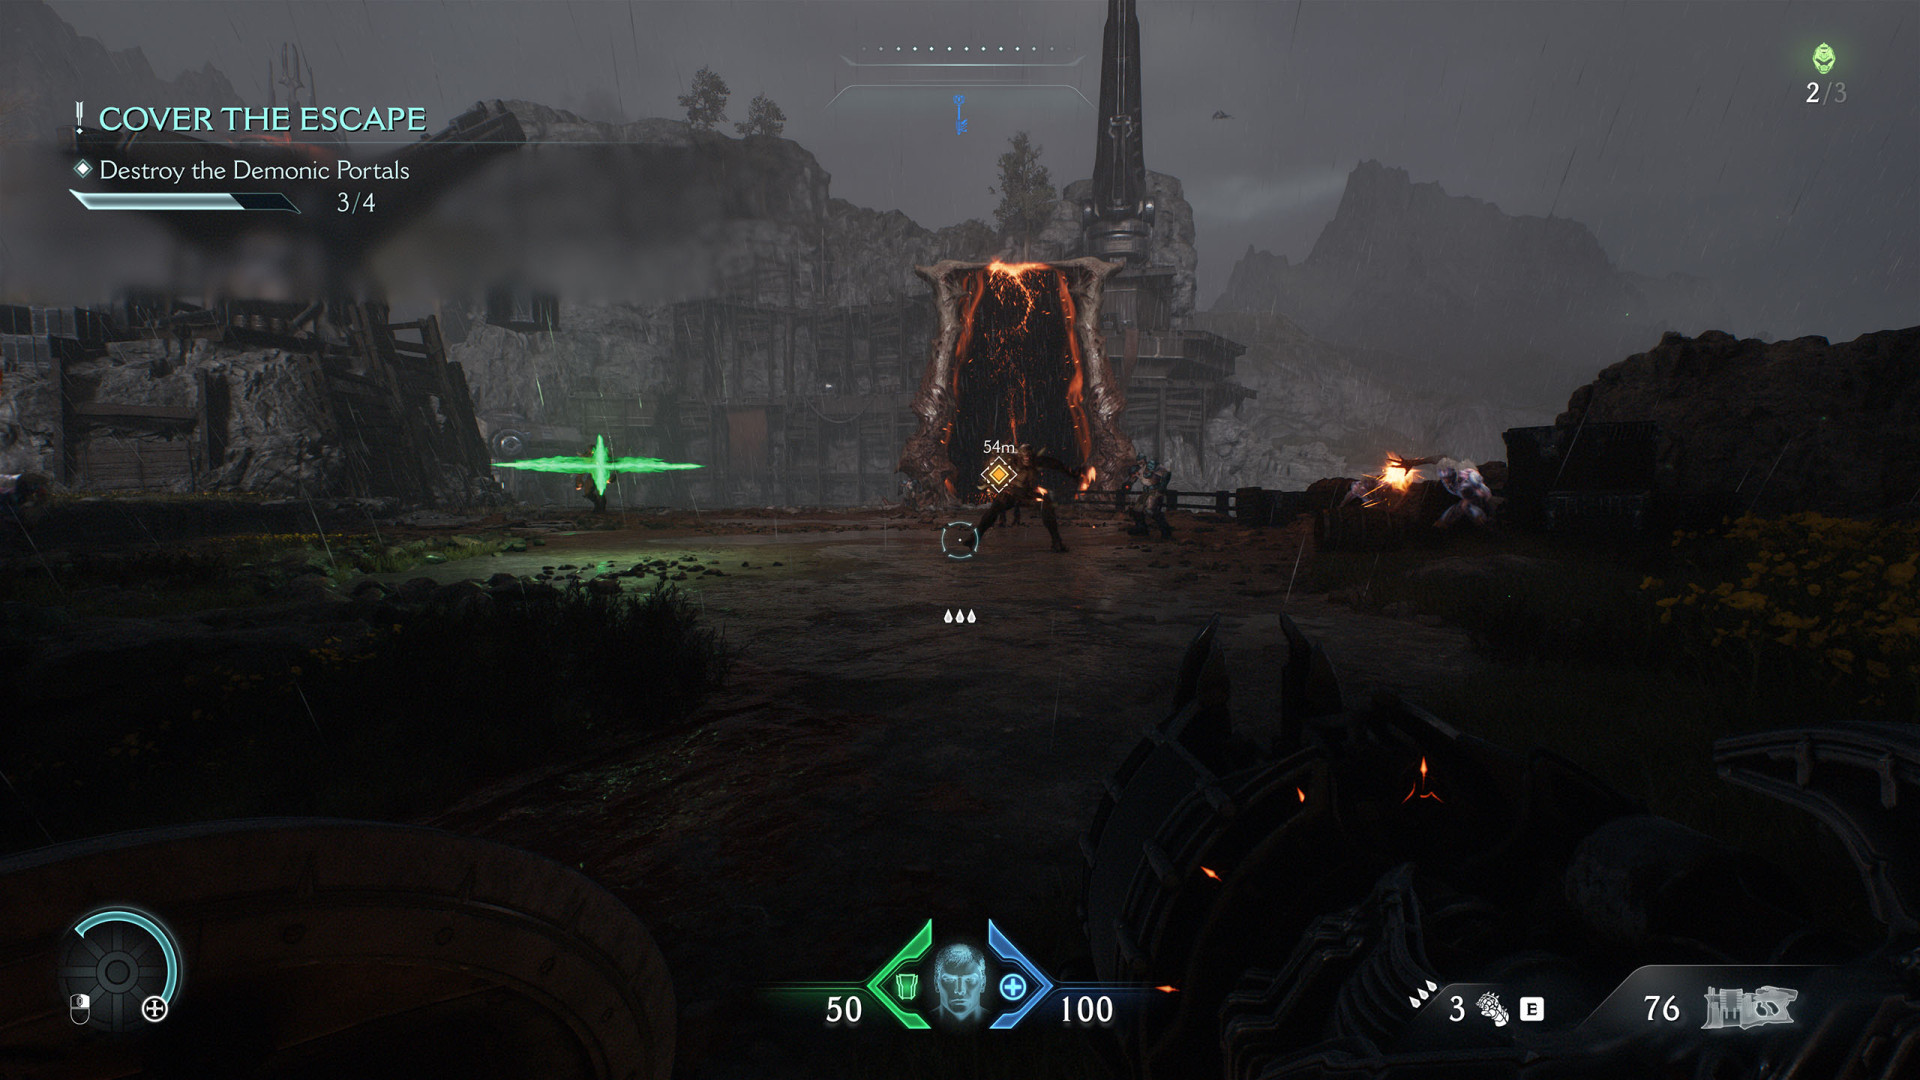
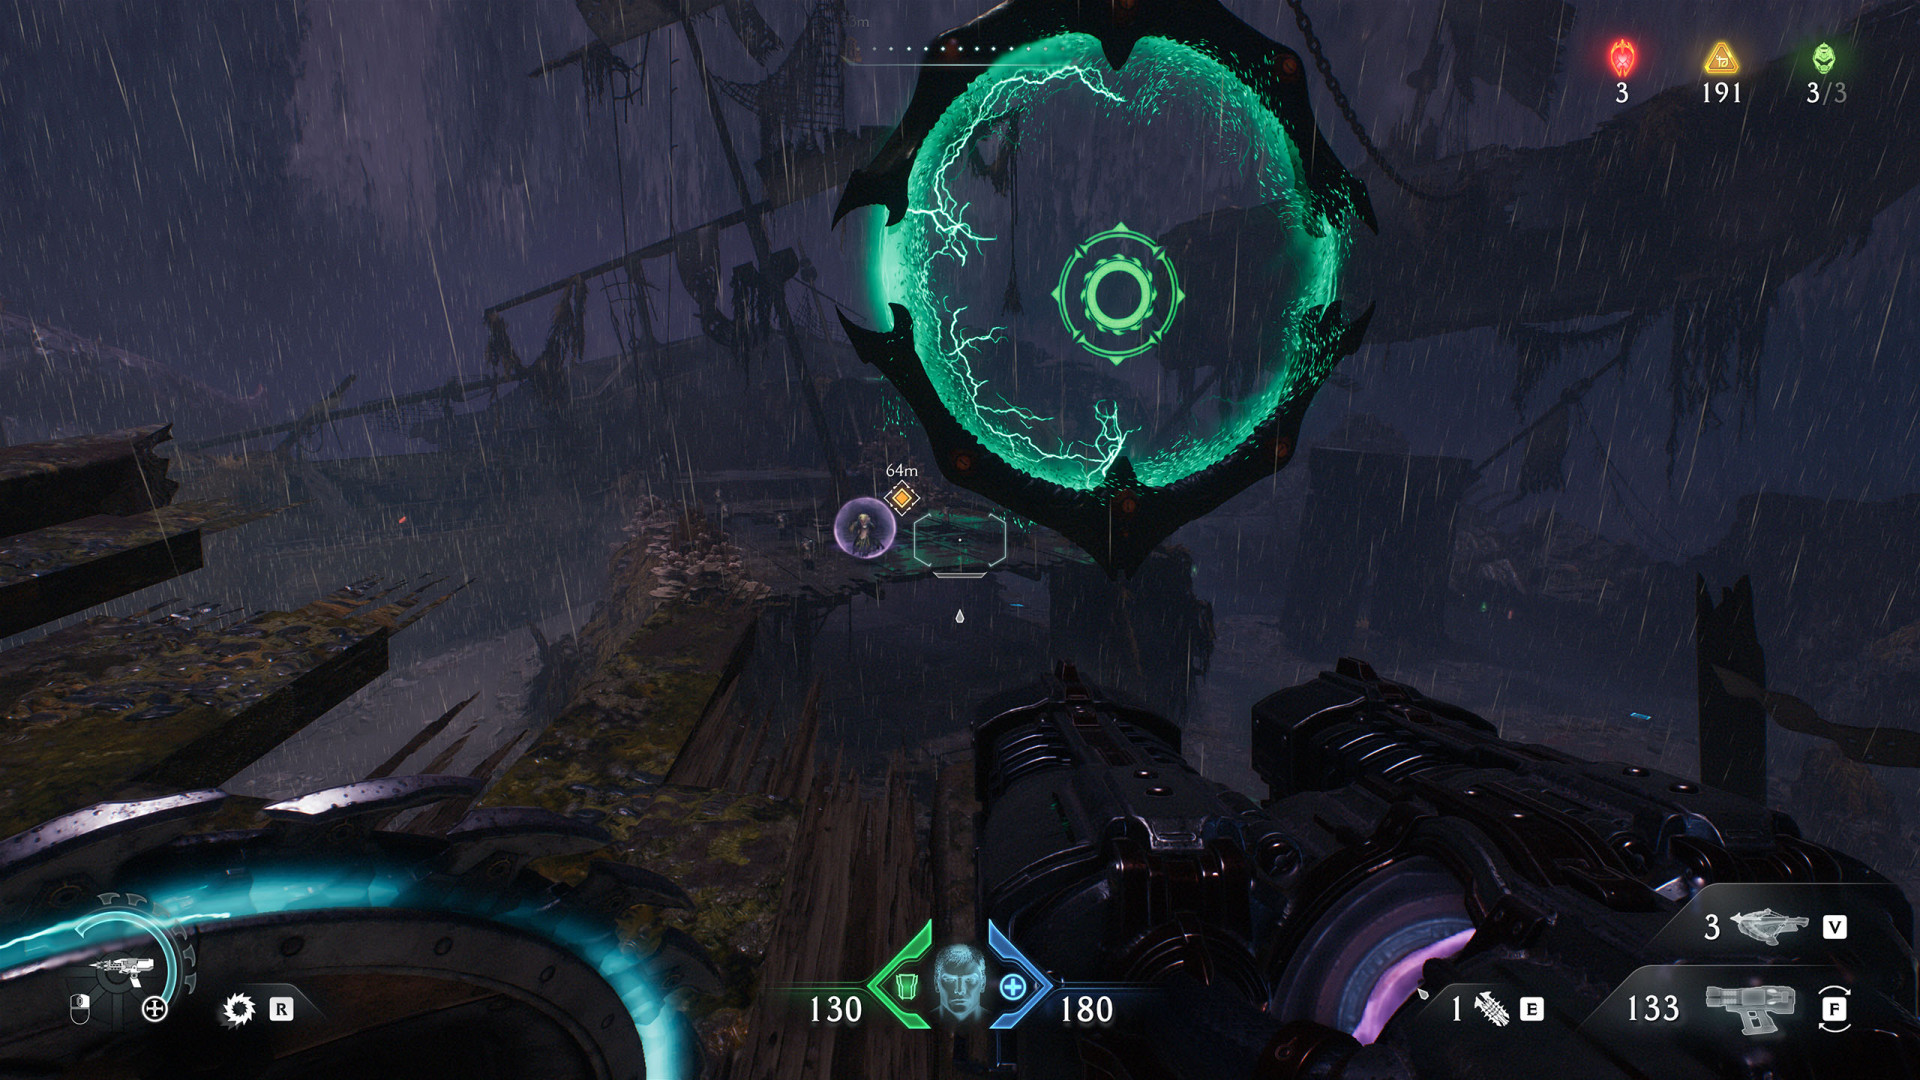
Kill all enemies to destroy the demonic portal.
Small Encounter (Village of Khalim #5)▶ show the map ◀
Kill all enemies to destroy the demonic portal.
Small Encounter (Village of Khalim #6)▶ show the map ◀
Kill all enemies to destroy the demonic portal.
Small Encounter (Village of Khalim #7)▶ show the map ◀
At the top of the cliff. Kill all enemies to destroy the demonic portal.
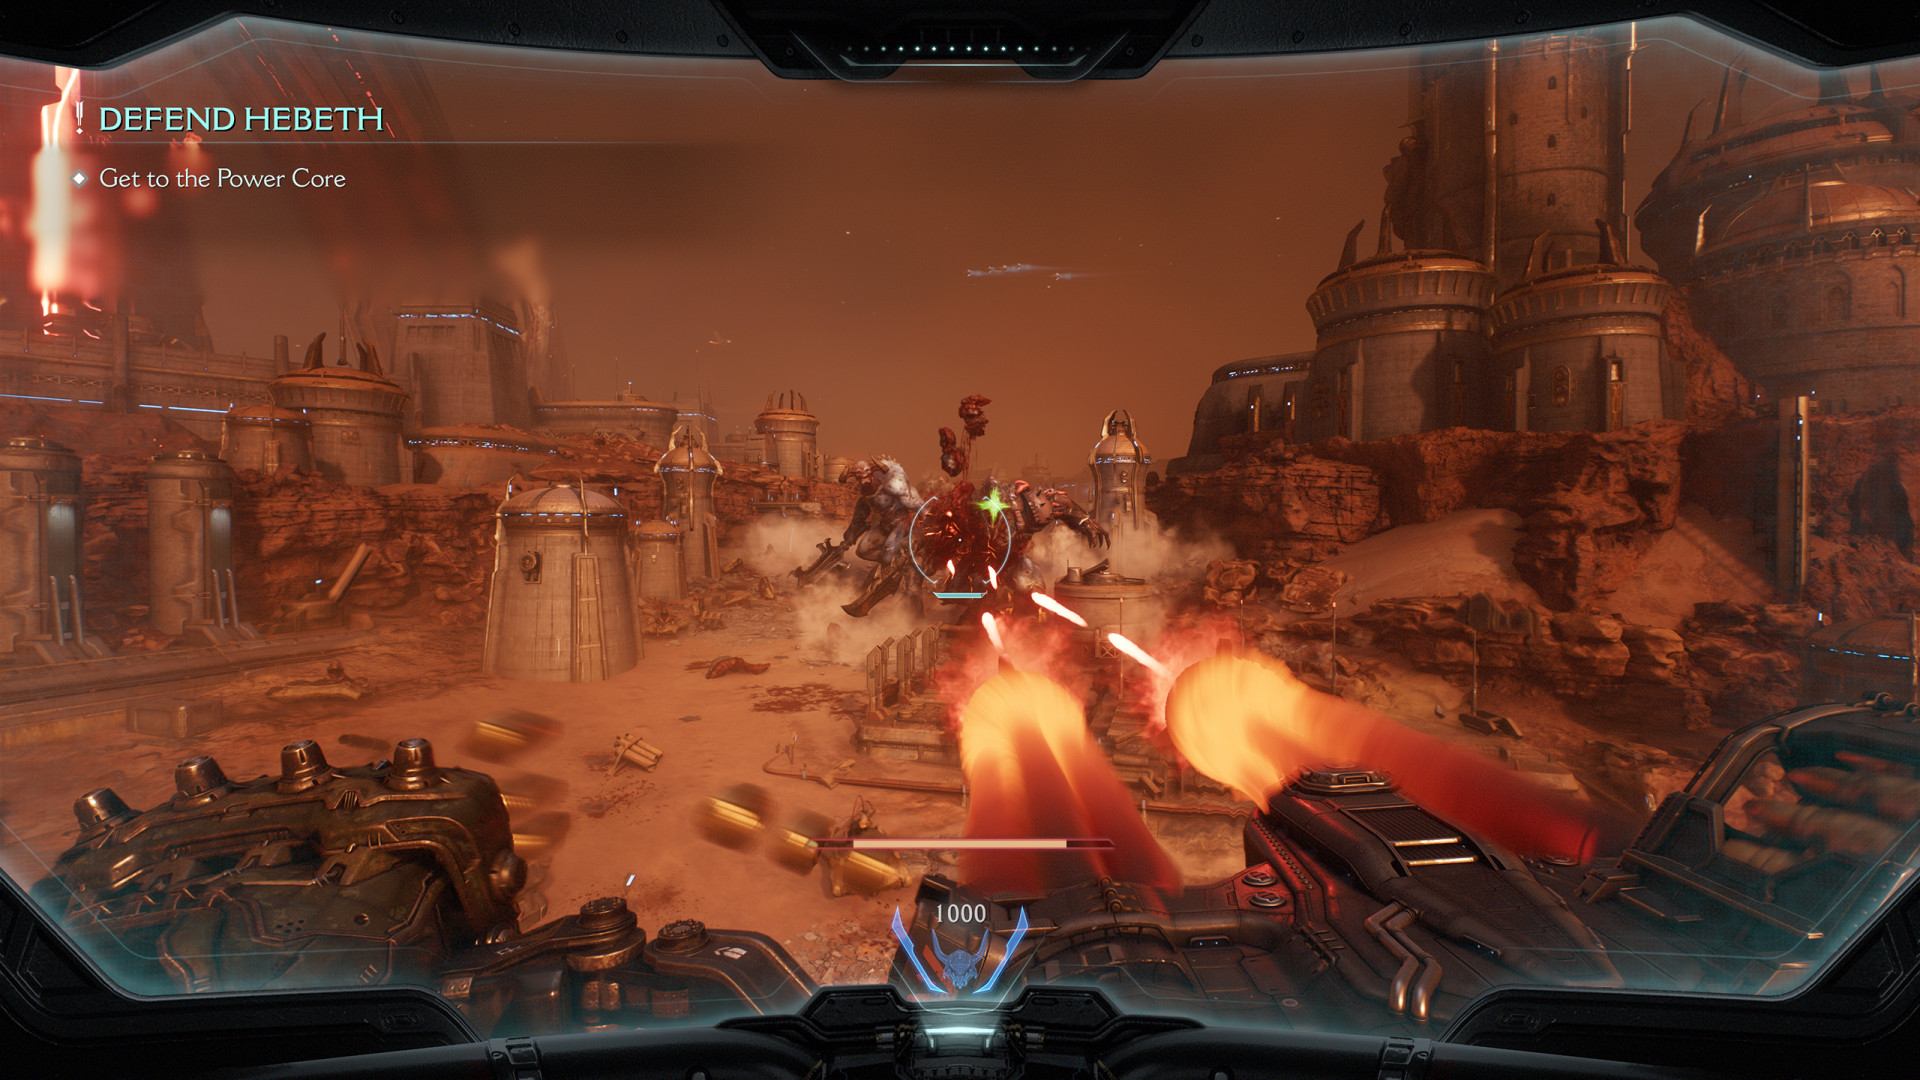
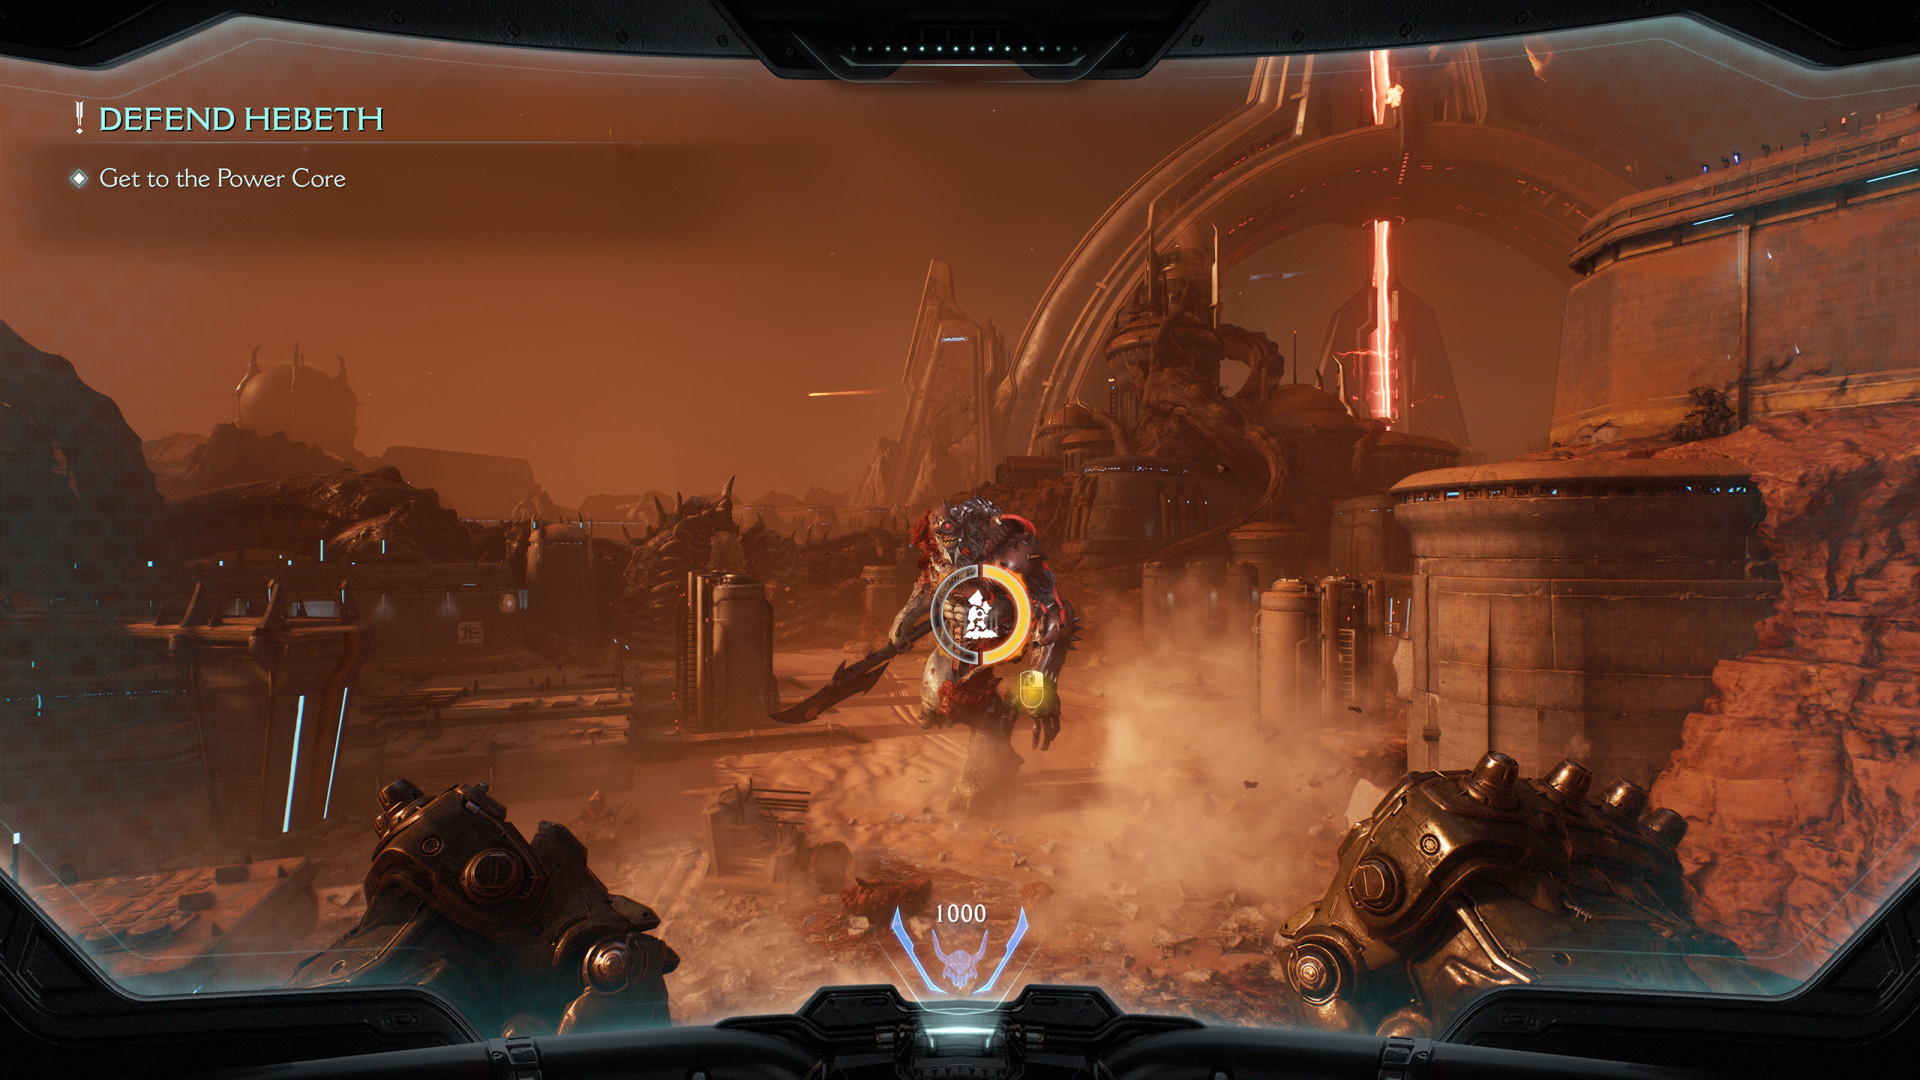
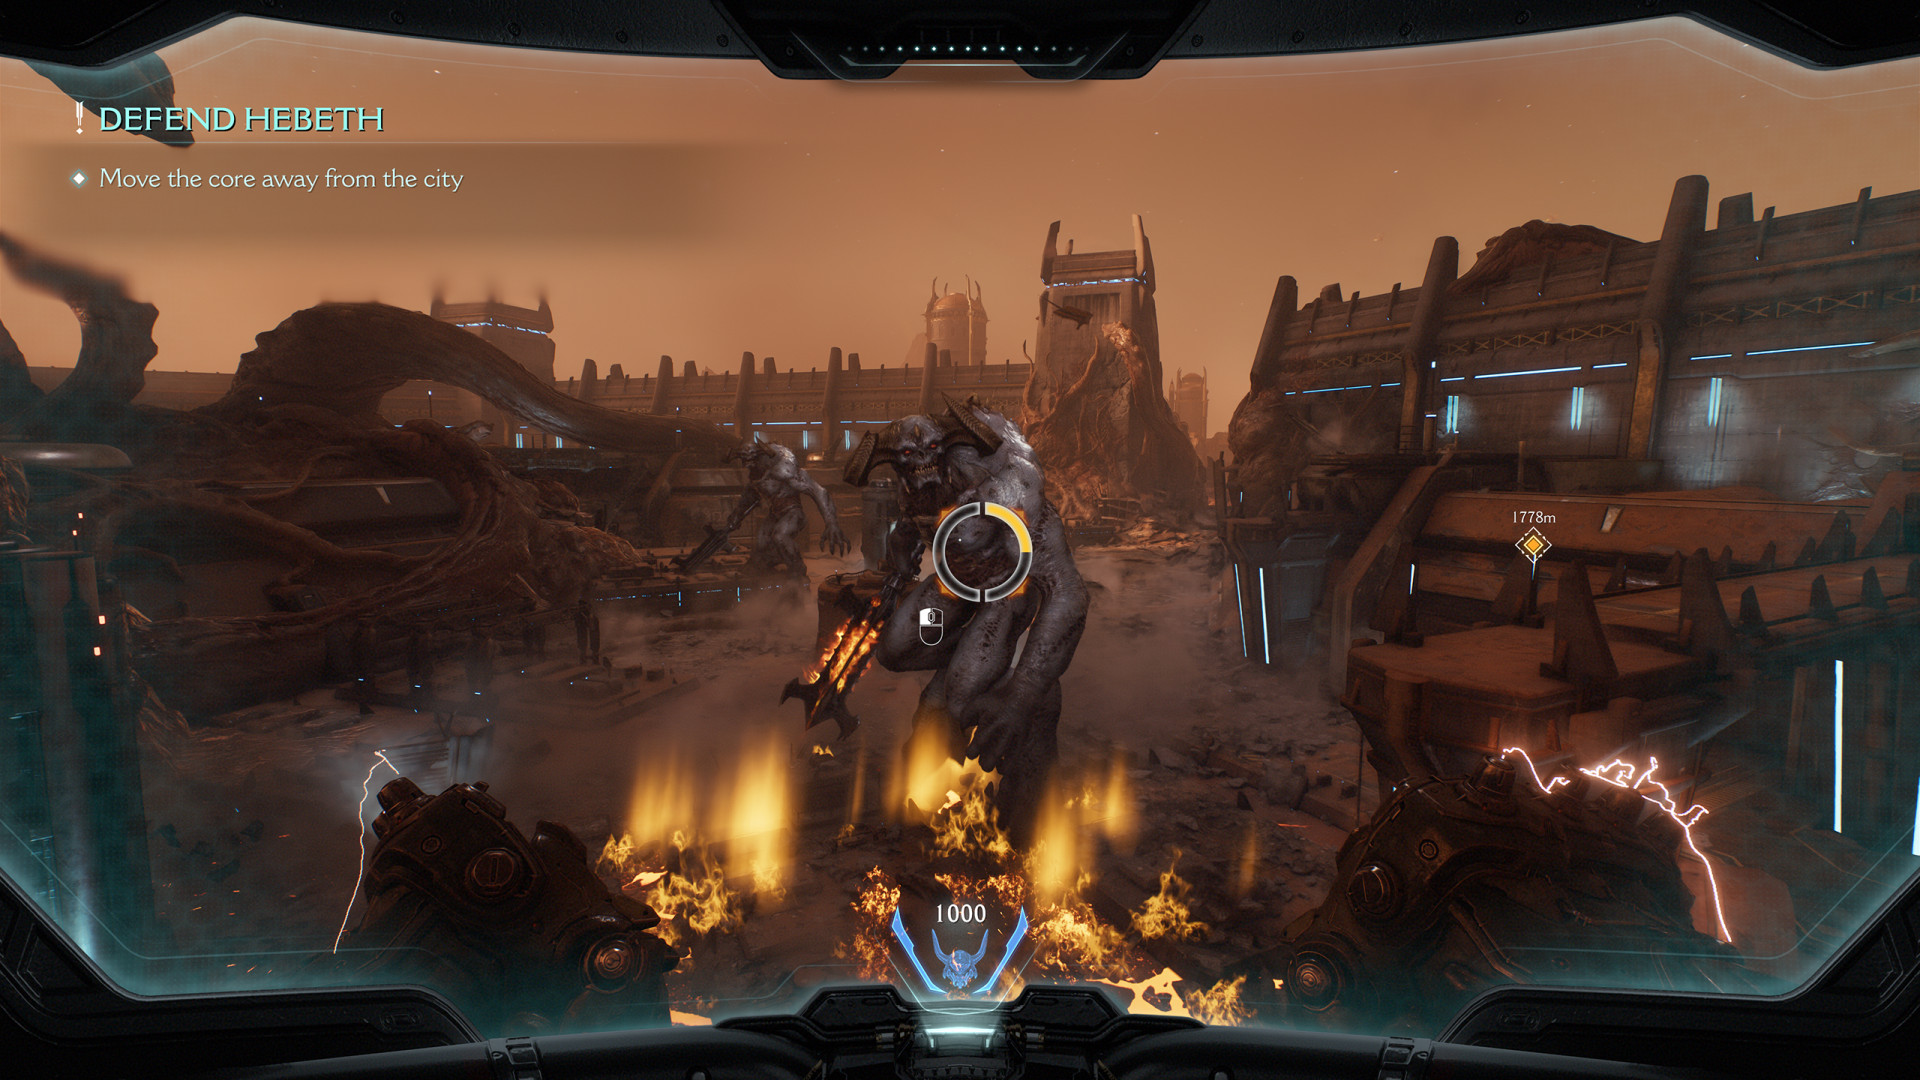
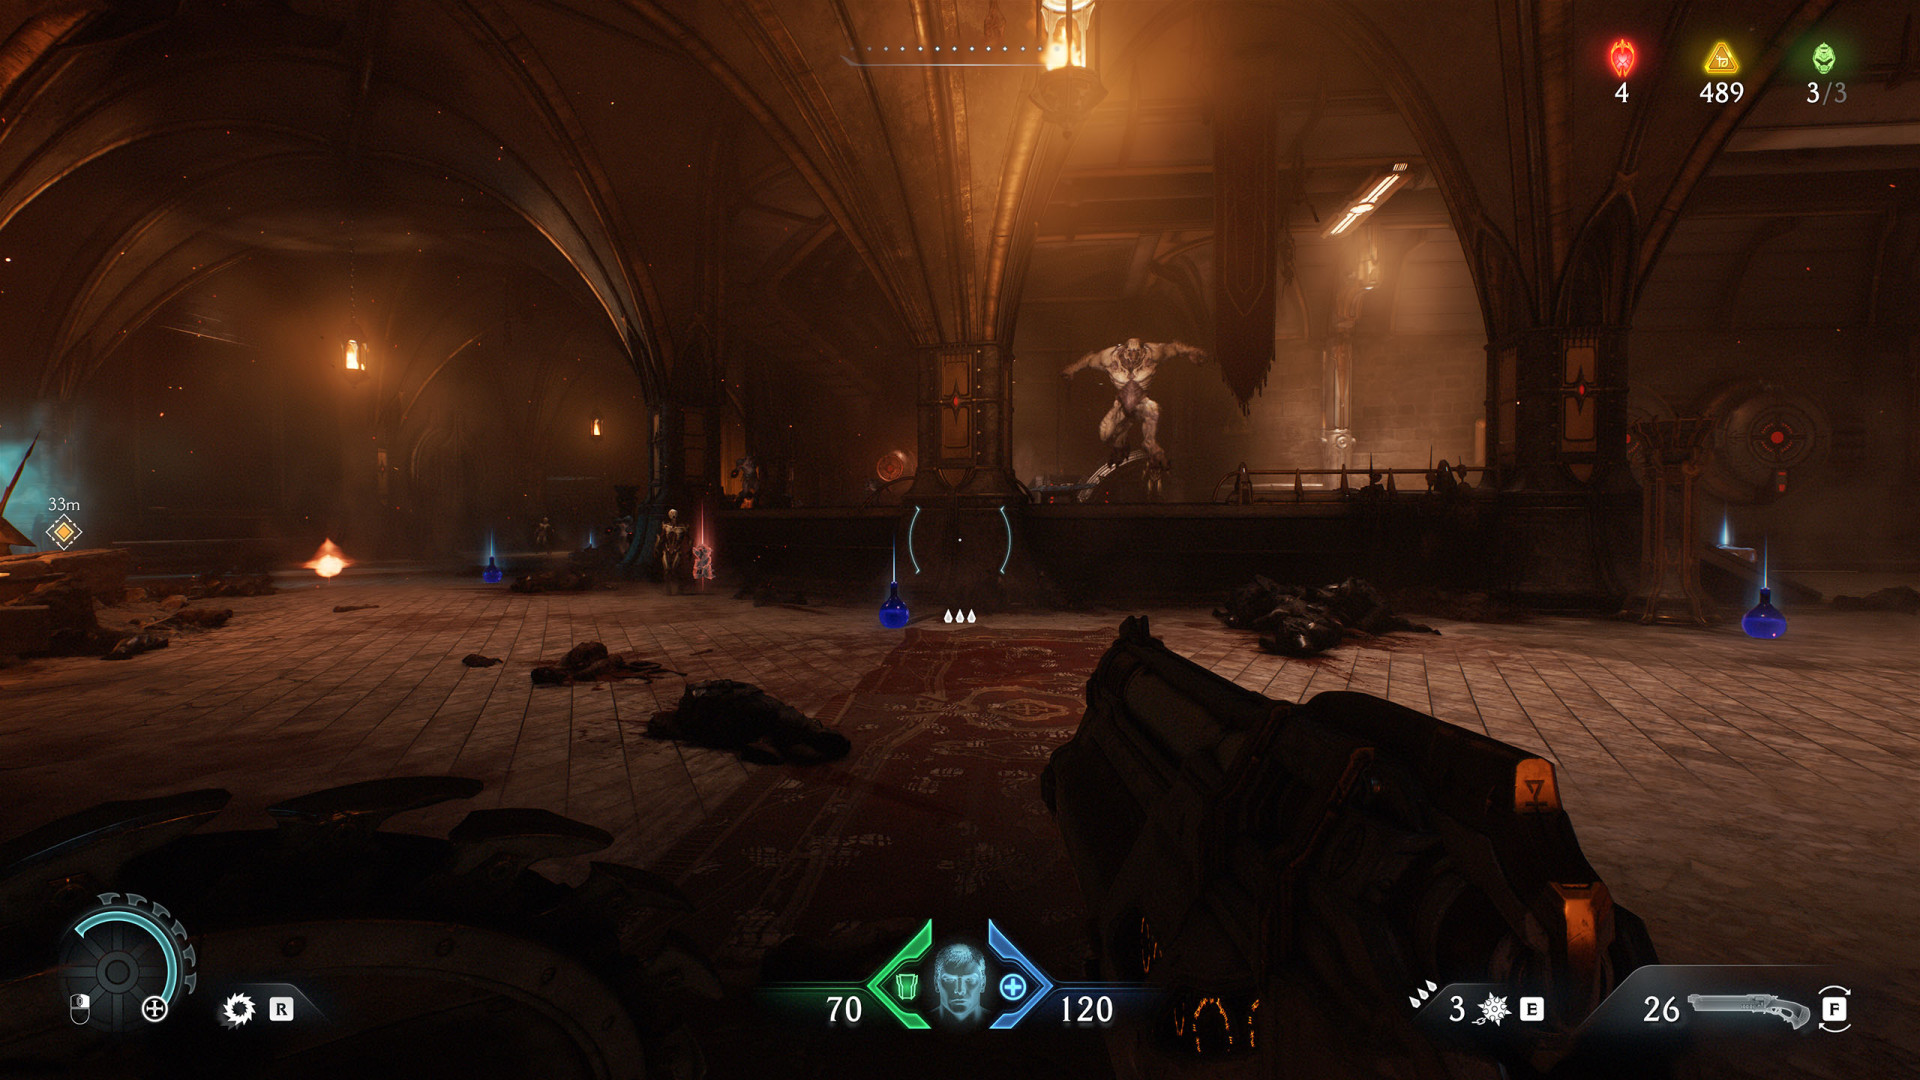
All known locations on the map Hebeth
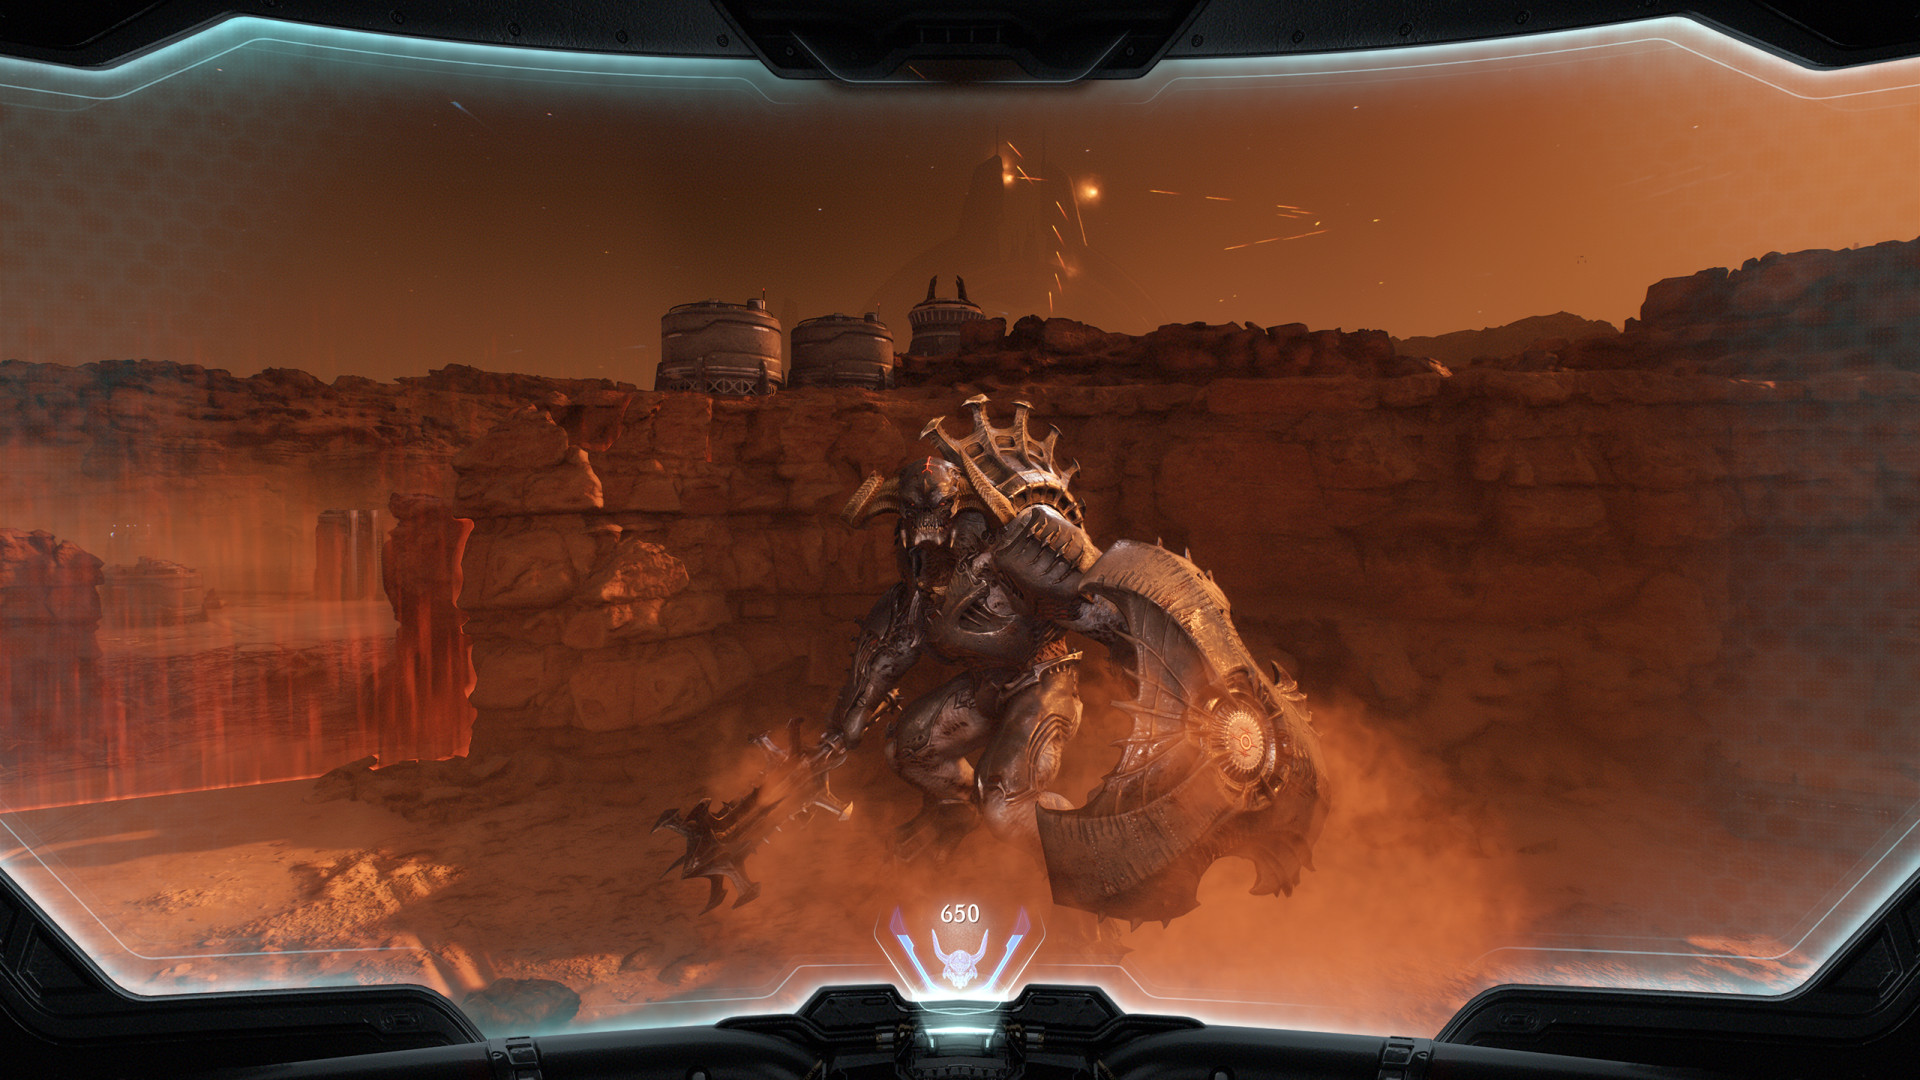
Large Encounter (Hebeth #1)▶ show the map ◀
Large Encounter (Hebeth #2)▶ show the map ◀
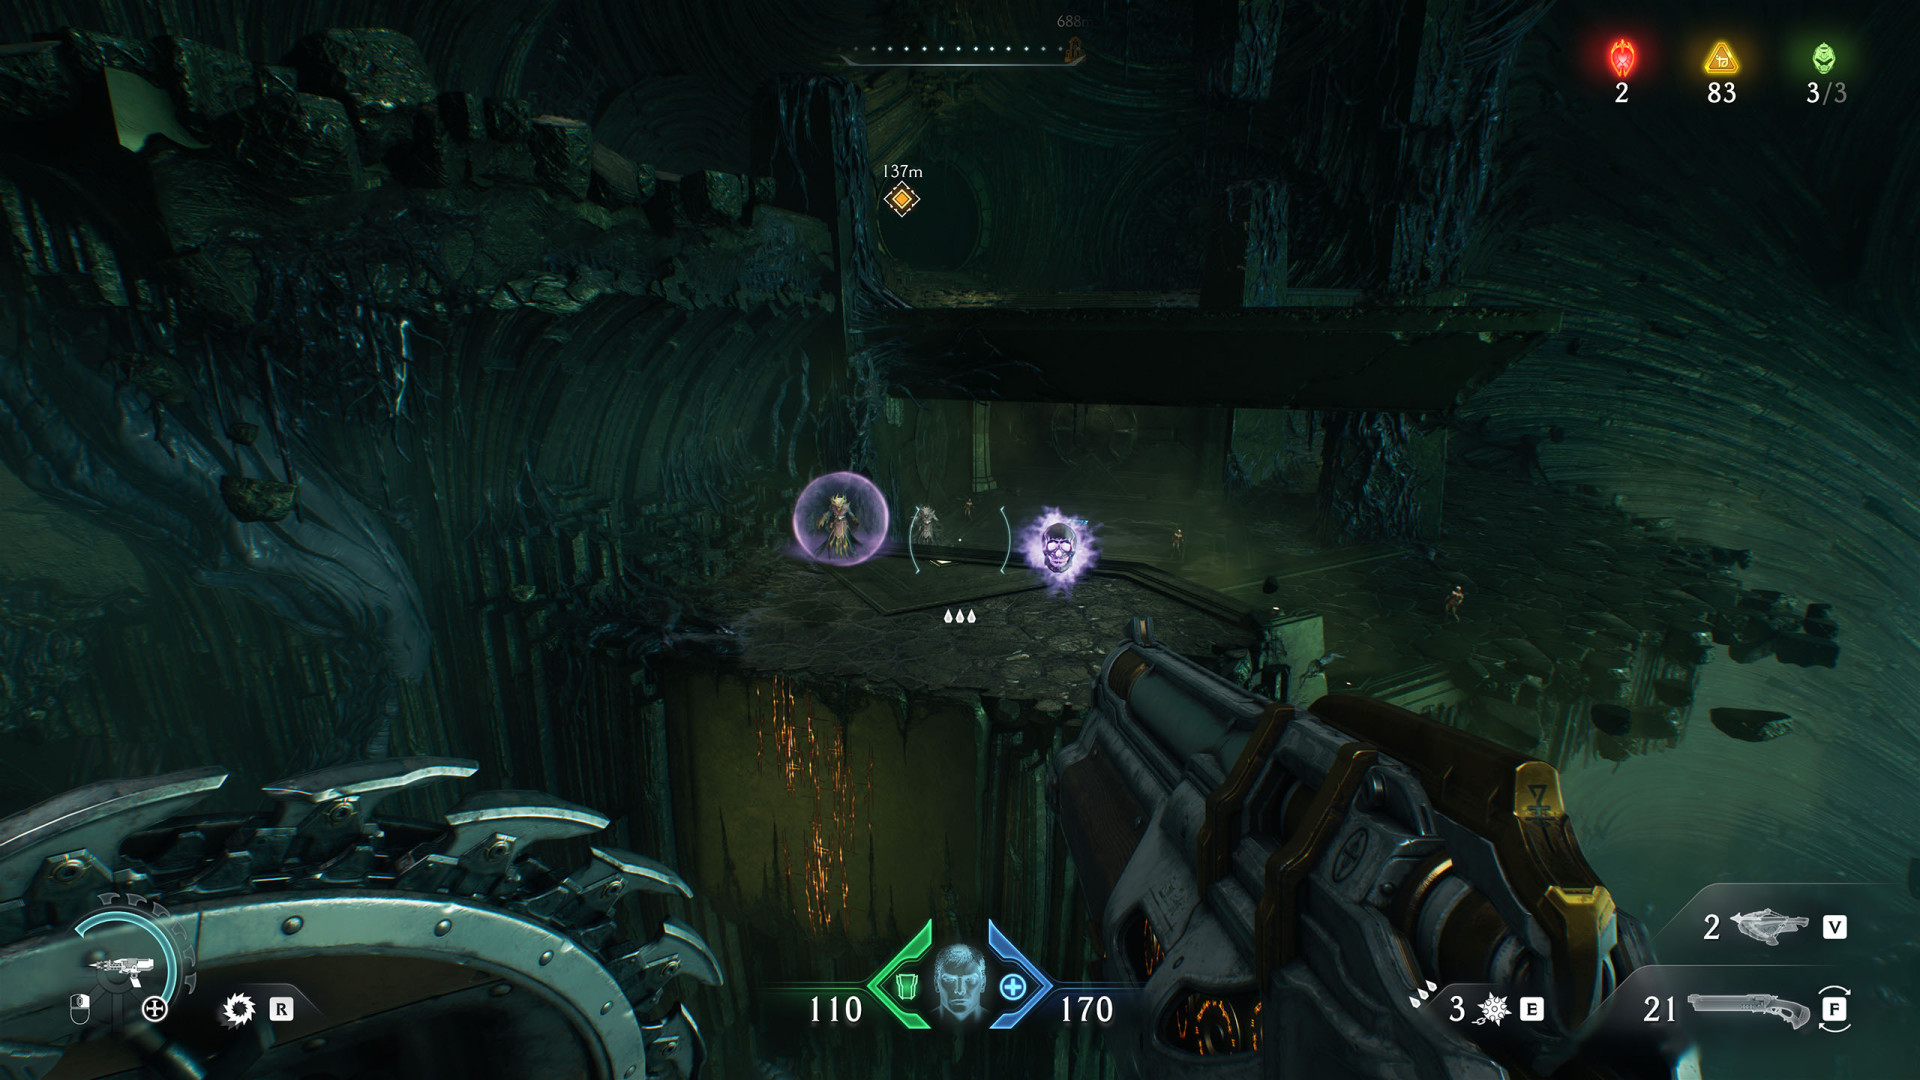
 Leader (Hebeth)▶ show the map ◀
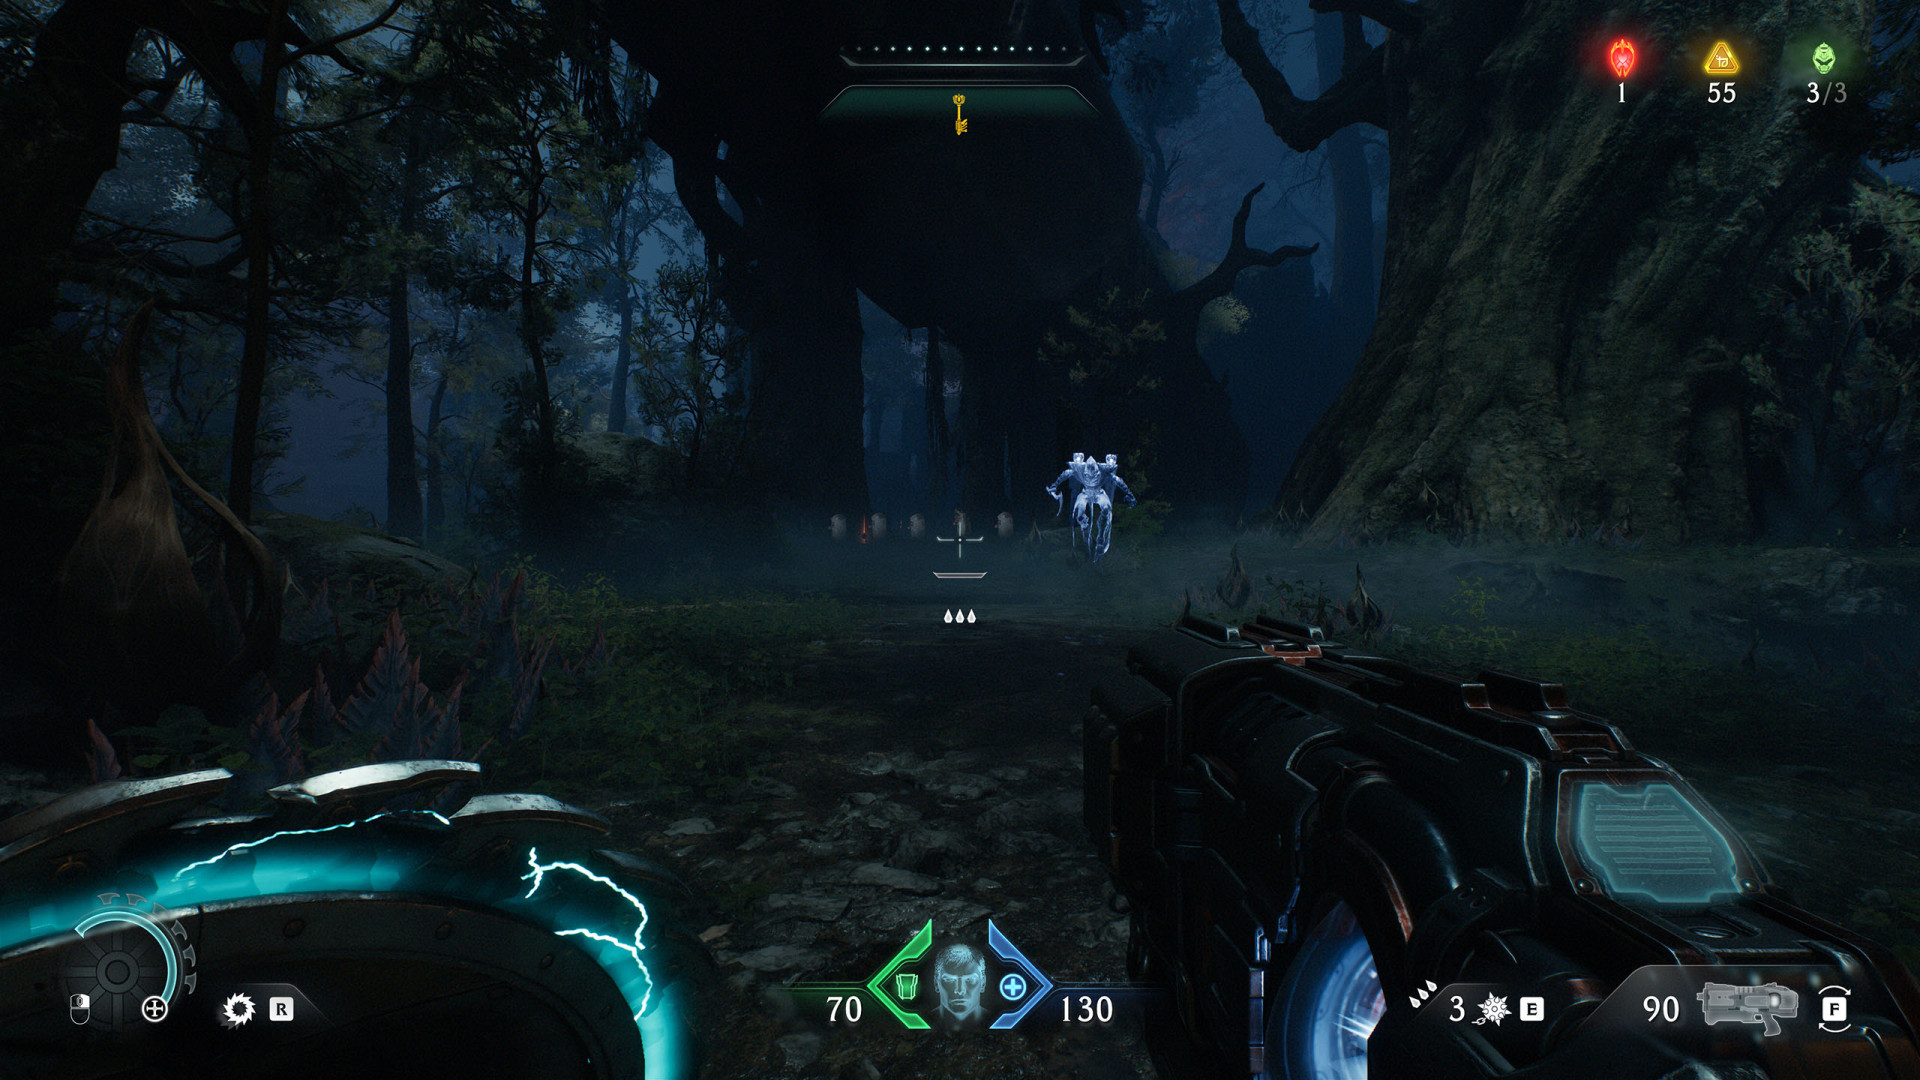
Kill the demons until their leader arrives. This leader drops: Demonic Essence - Health #1.
Small Encounter (Hebeth #2)▶ show the map ◀
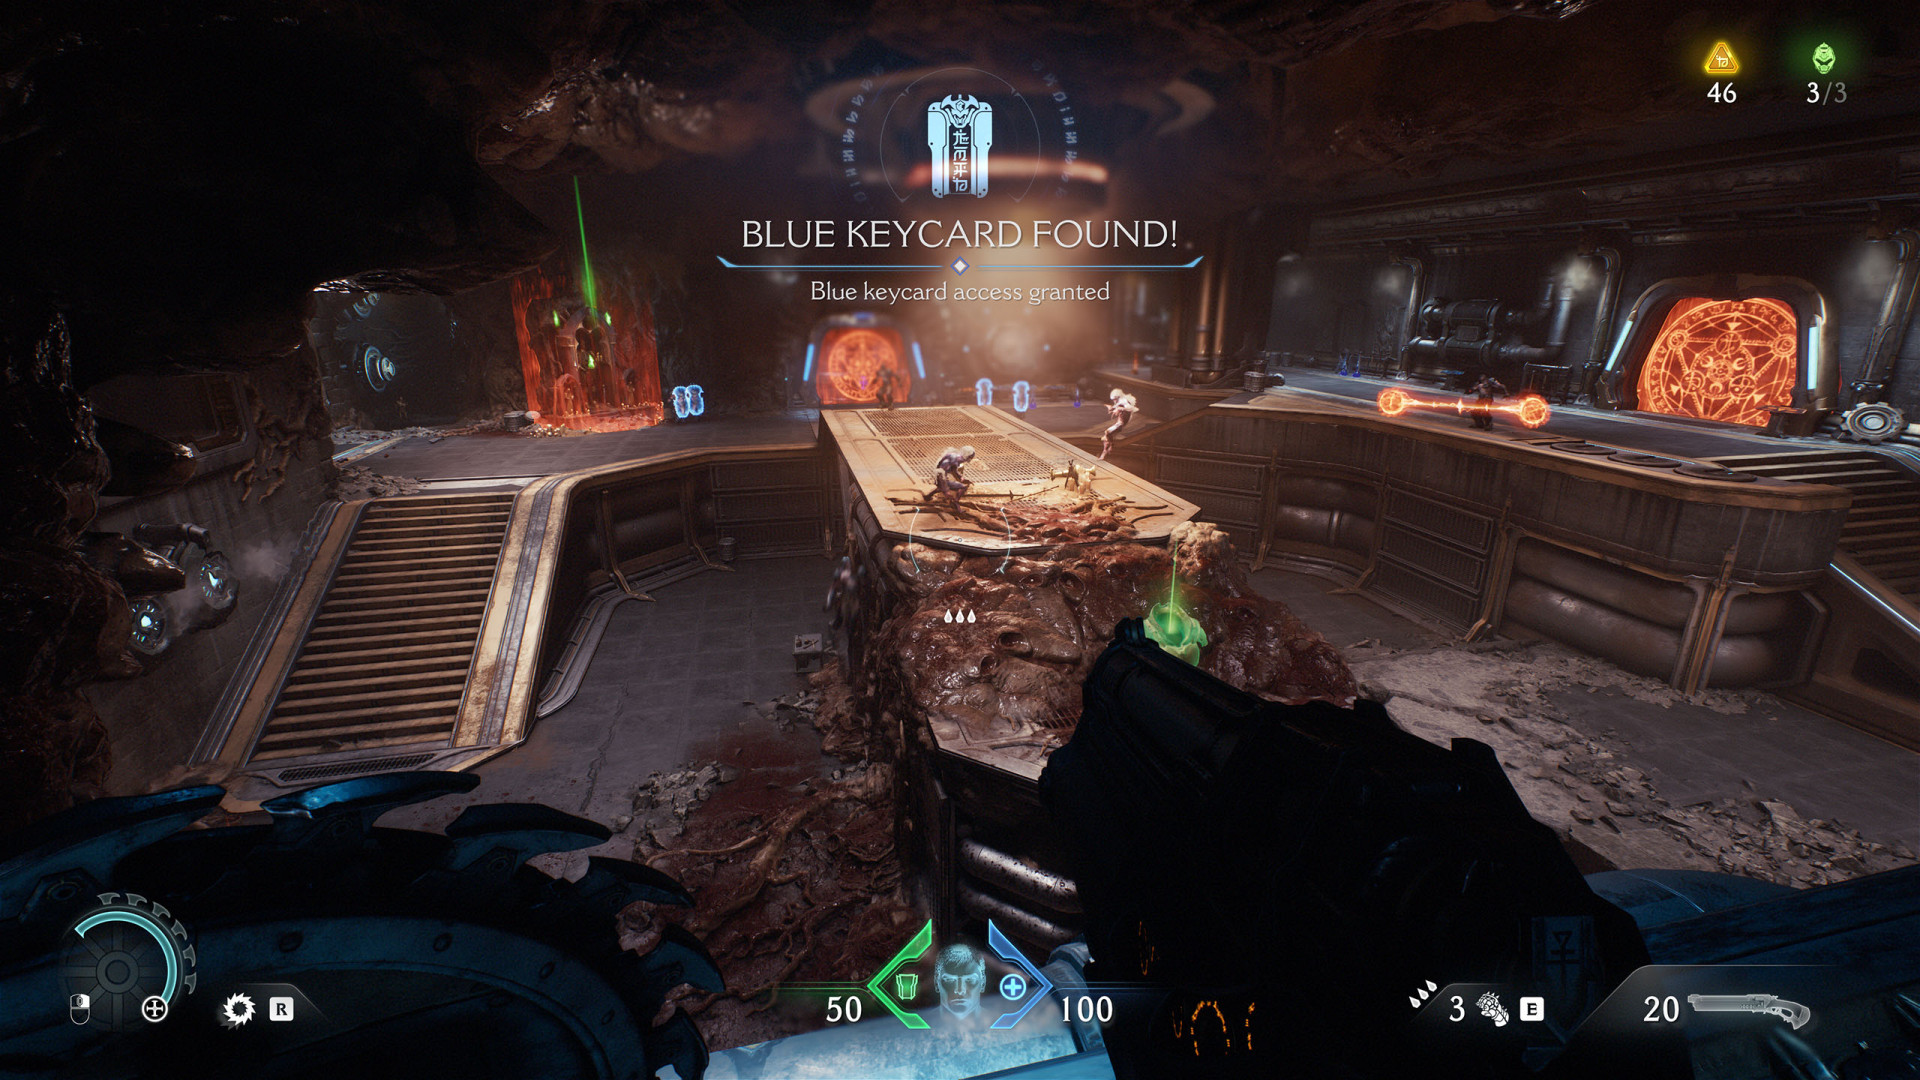
The fight will begin when you obtain the Blue Keycard (Hebeth).
All known locations on the map Barrier Core
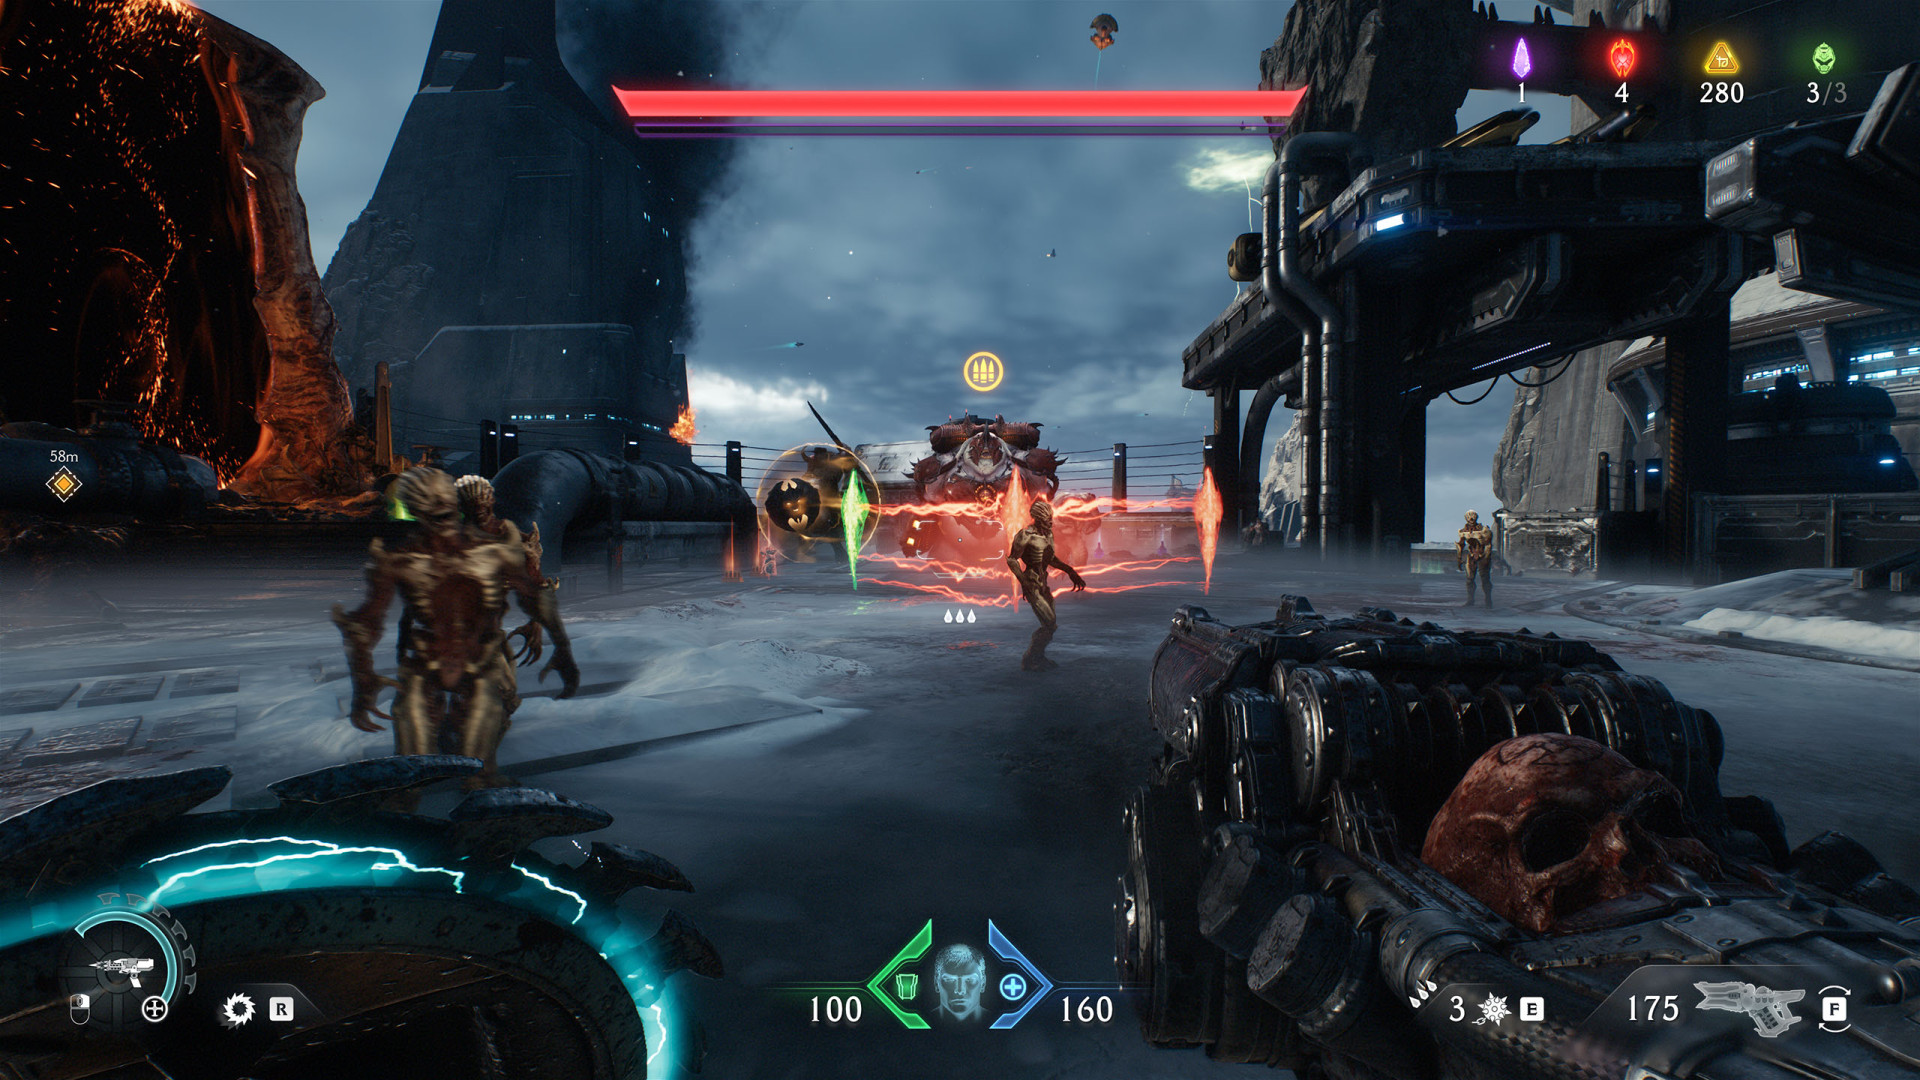
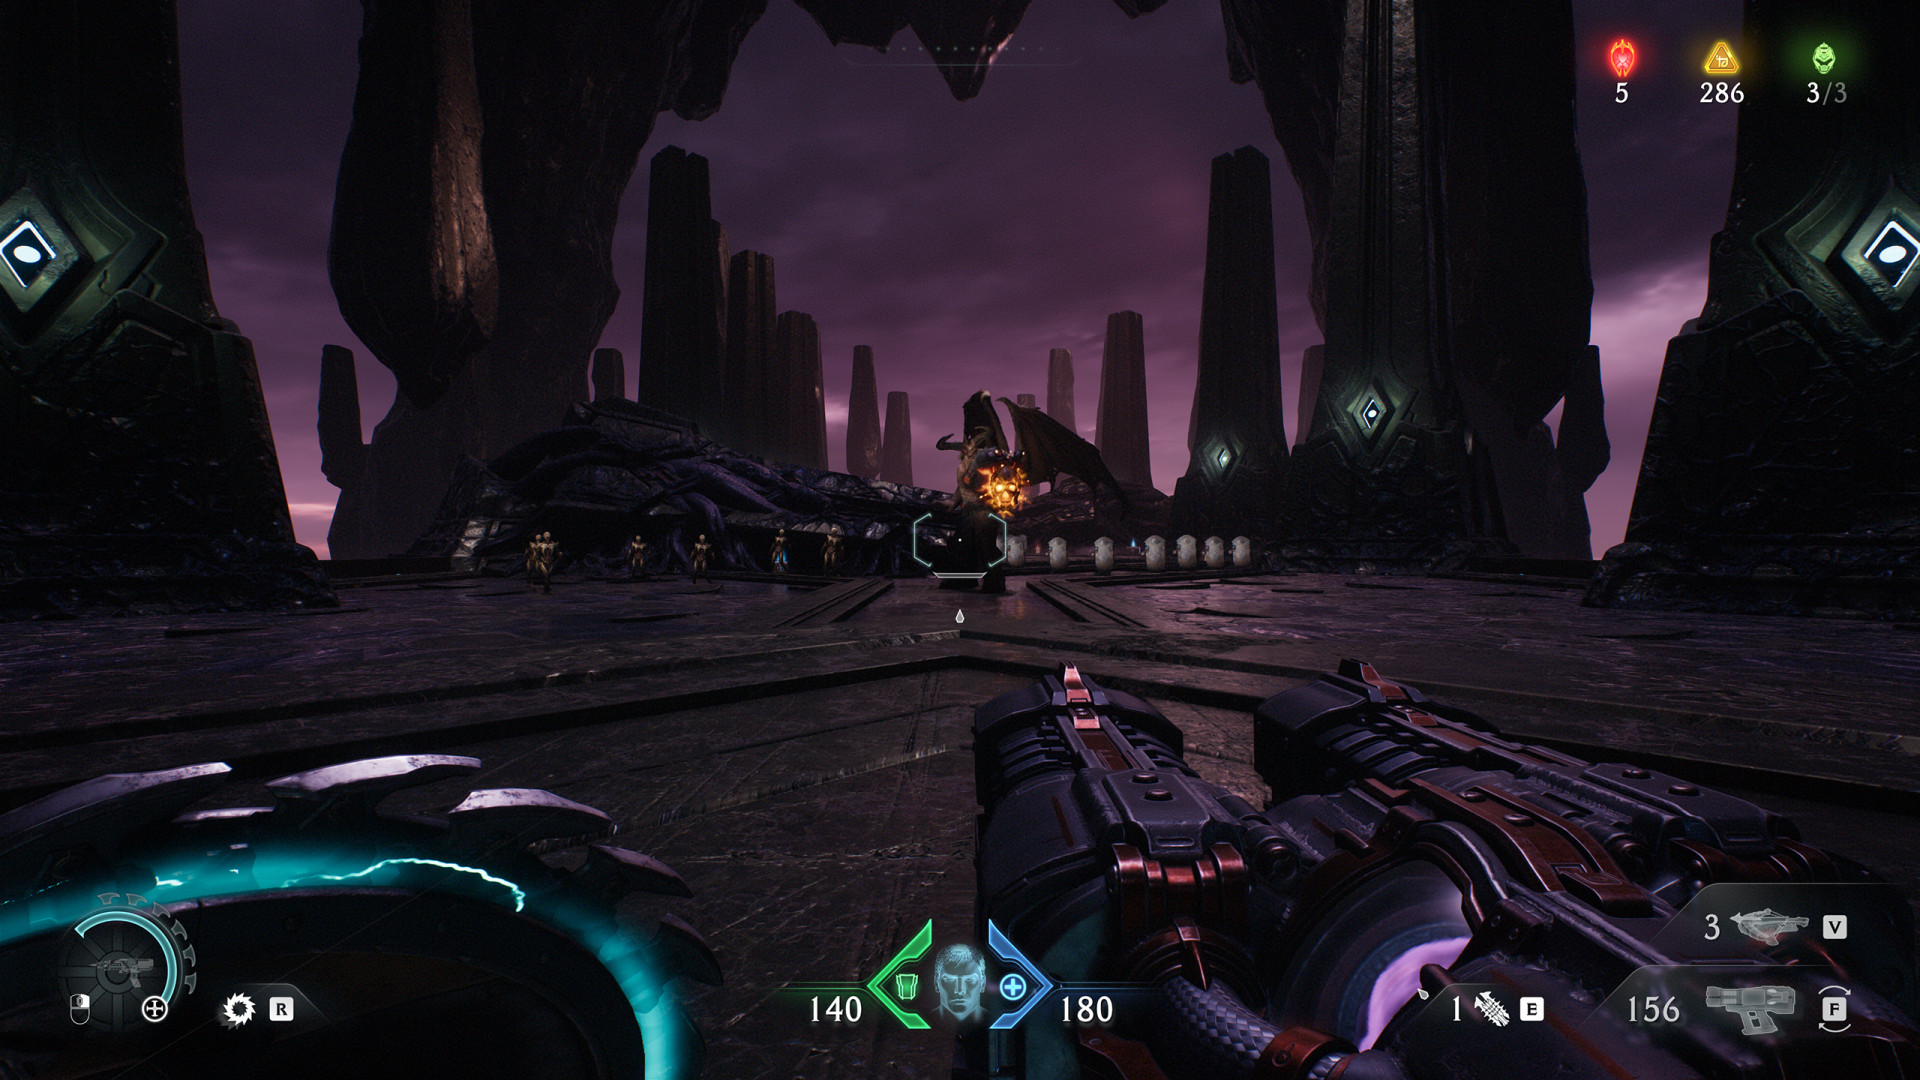
Final Fight (Barrier Core)▶ show the map ◀
The last and strongest demon you will fight at the end of the third chapter.
Large Encounter (Barrier Core)▶ show the map ◀
Small Encounter (Barrier Core #1)▶ show the map ◀
Small Encounter (Barrier Core #2)▶ show the map ◀
Small Encounter (Barrier Core #3)▶ show the map ◀
All known locations on the map Sentinel Barracks
Large Encounter (Sentinel Barracks)▶ show the map ◀
The fight will begin when you pick up the Impaler.
Leader (Sentinel Barracks)▶ show the map ◀
Kill the demons until their leader shows up. This leader drops: Demonic Essence - Armor #1.
Small Encounter (Sentinel Barracks #1)▶ show the map ◀
At the lower level. The event will start when you pick up the Pulverizer.
Small Encounter (Sentinel Barracks #2)▶ show the map ◀
At the top level. The event will start when you enter the platform.
Small Encounter (Sentinel Barracks #3)▶ show the map ◀
Small Encounter (Sentinel Barracks #4)▶ show the map ◀
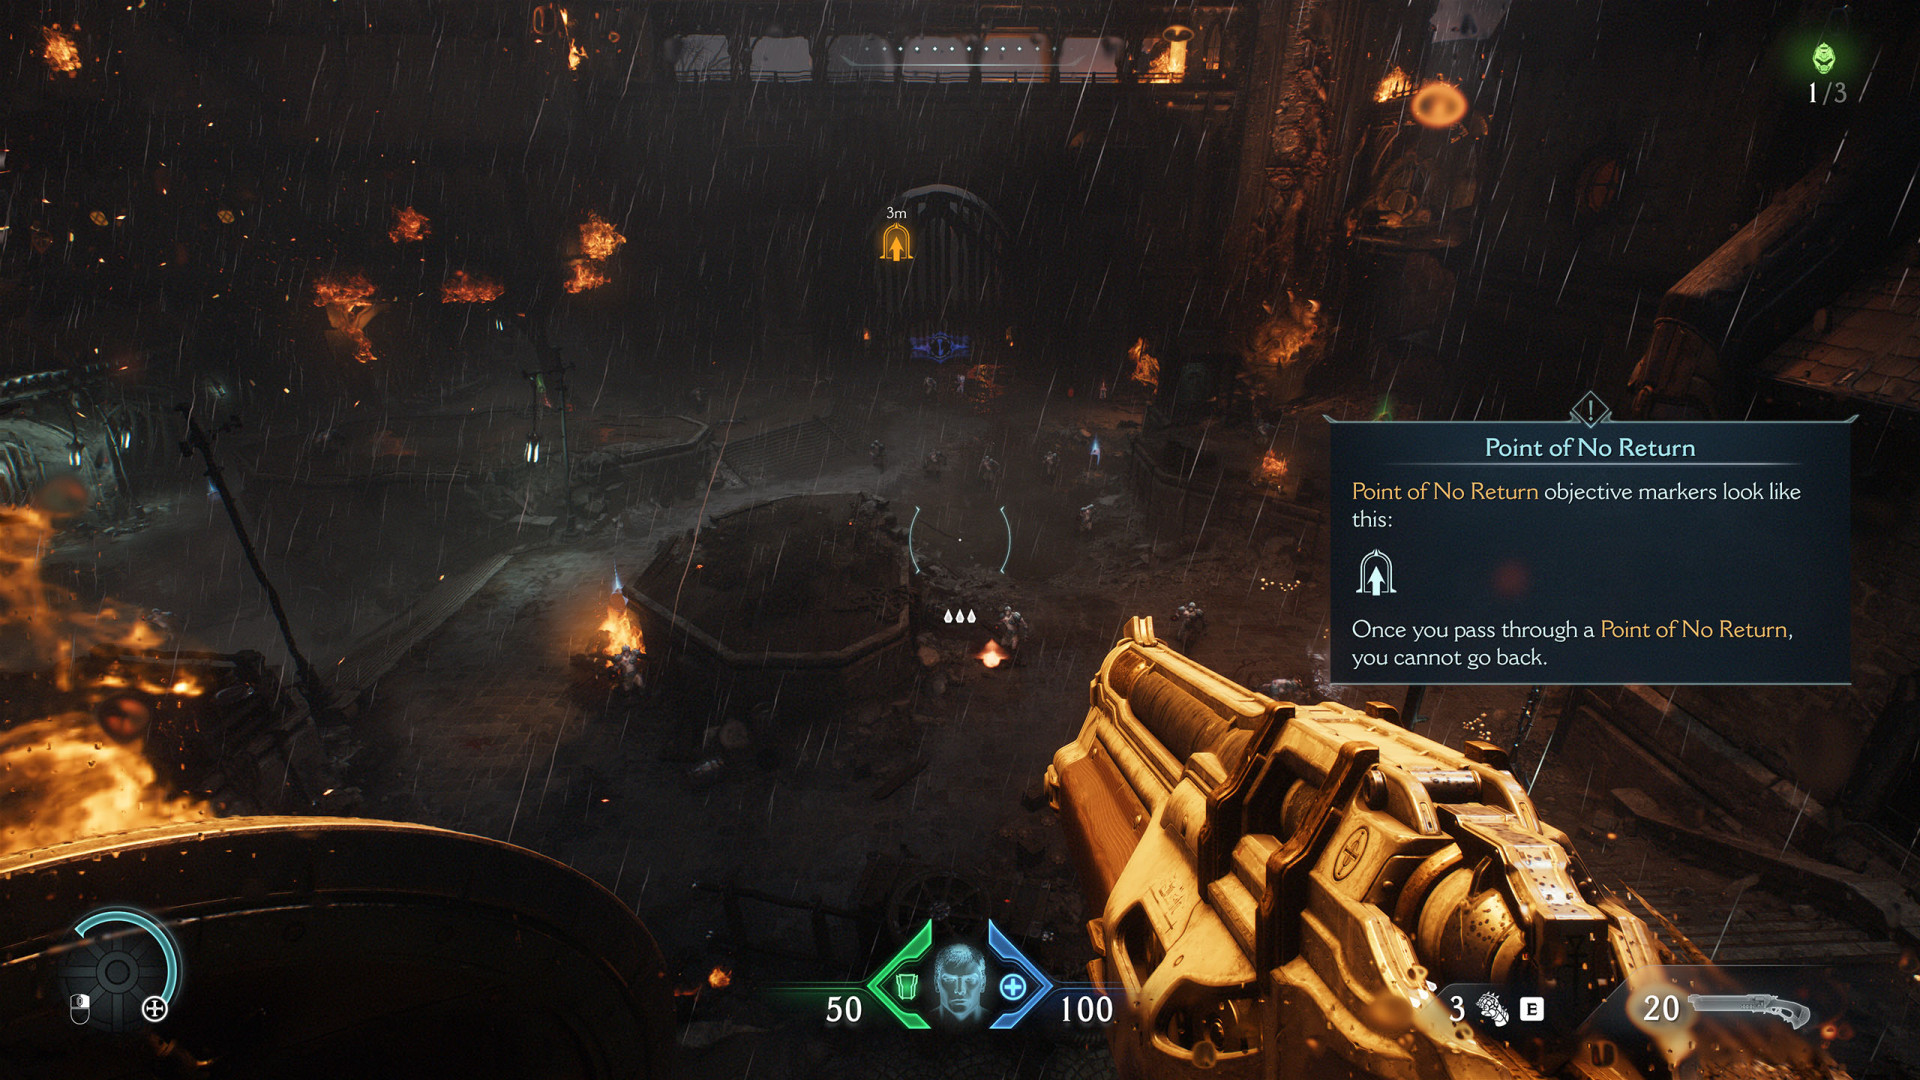
At the lowest level. You'll get here when you pass the Point of No Return (Sentinel Barracks #1).
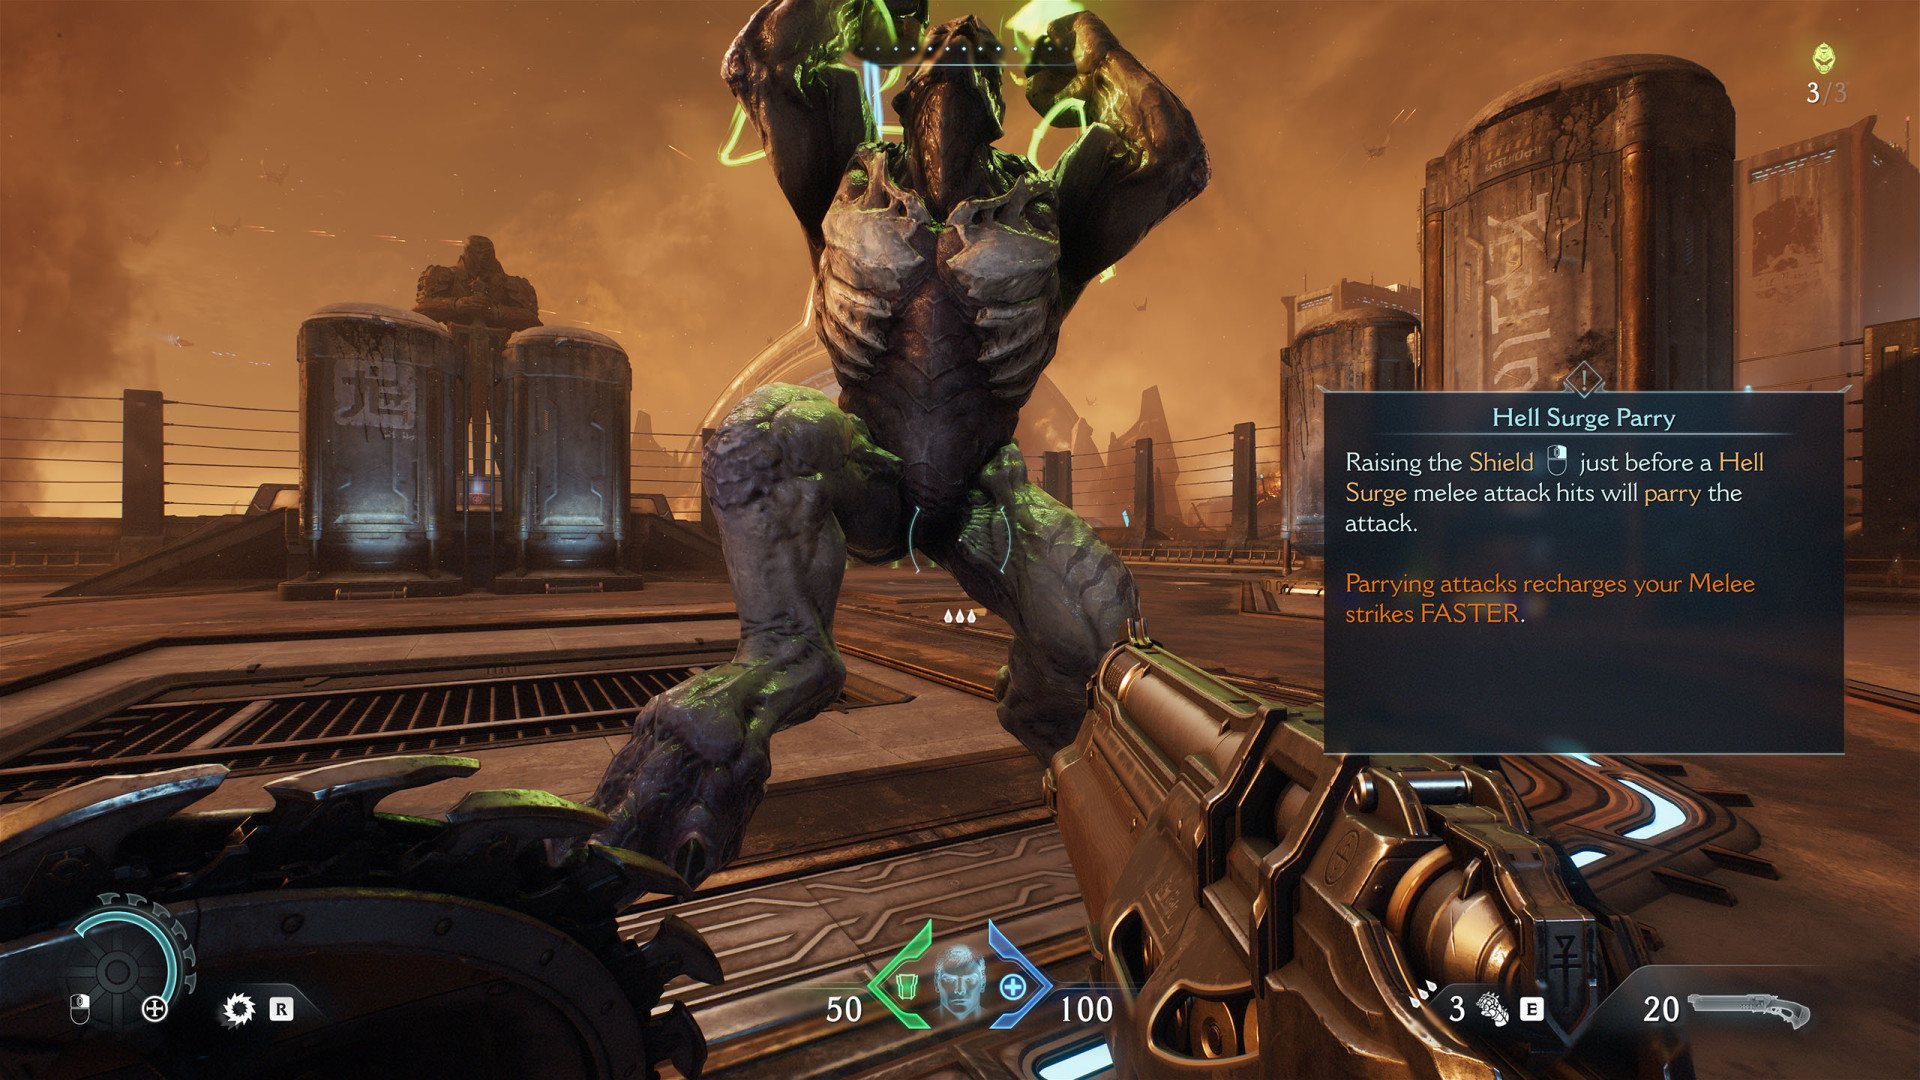
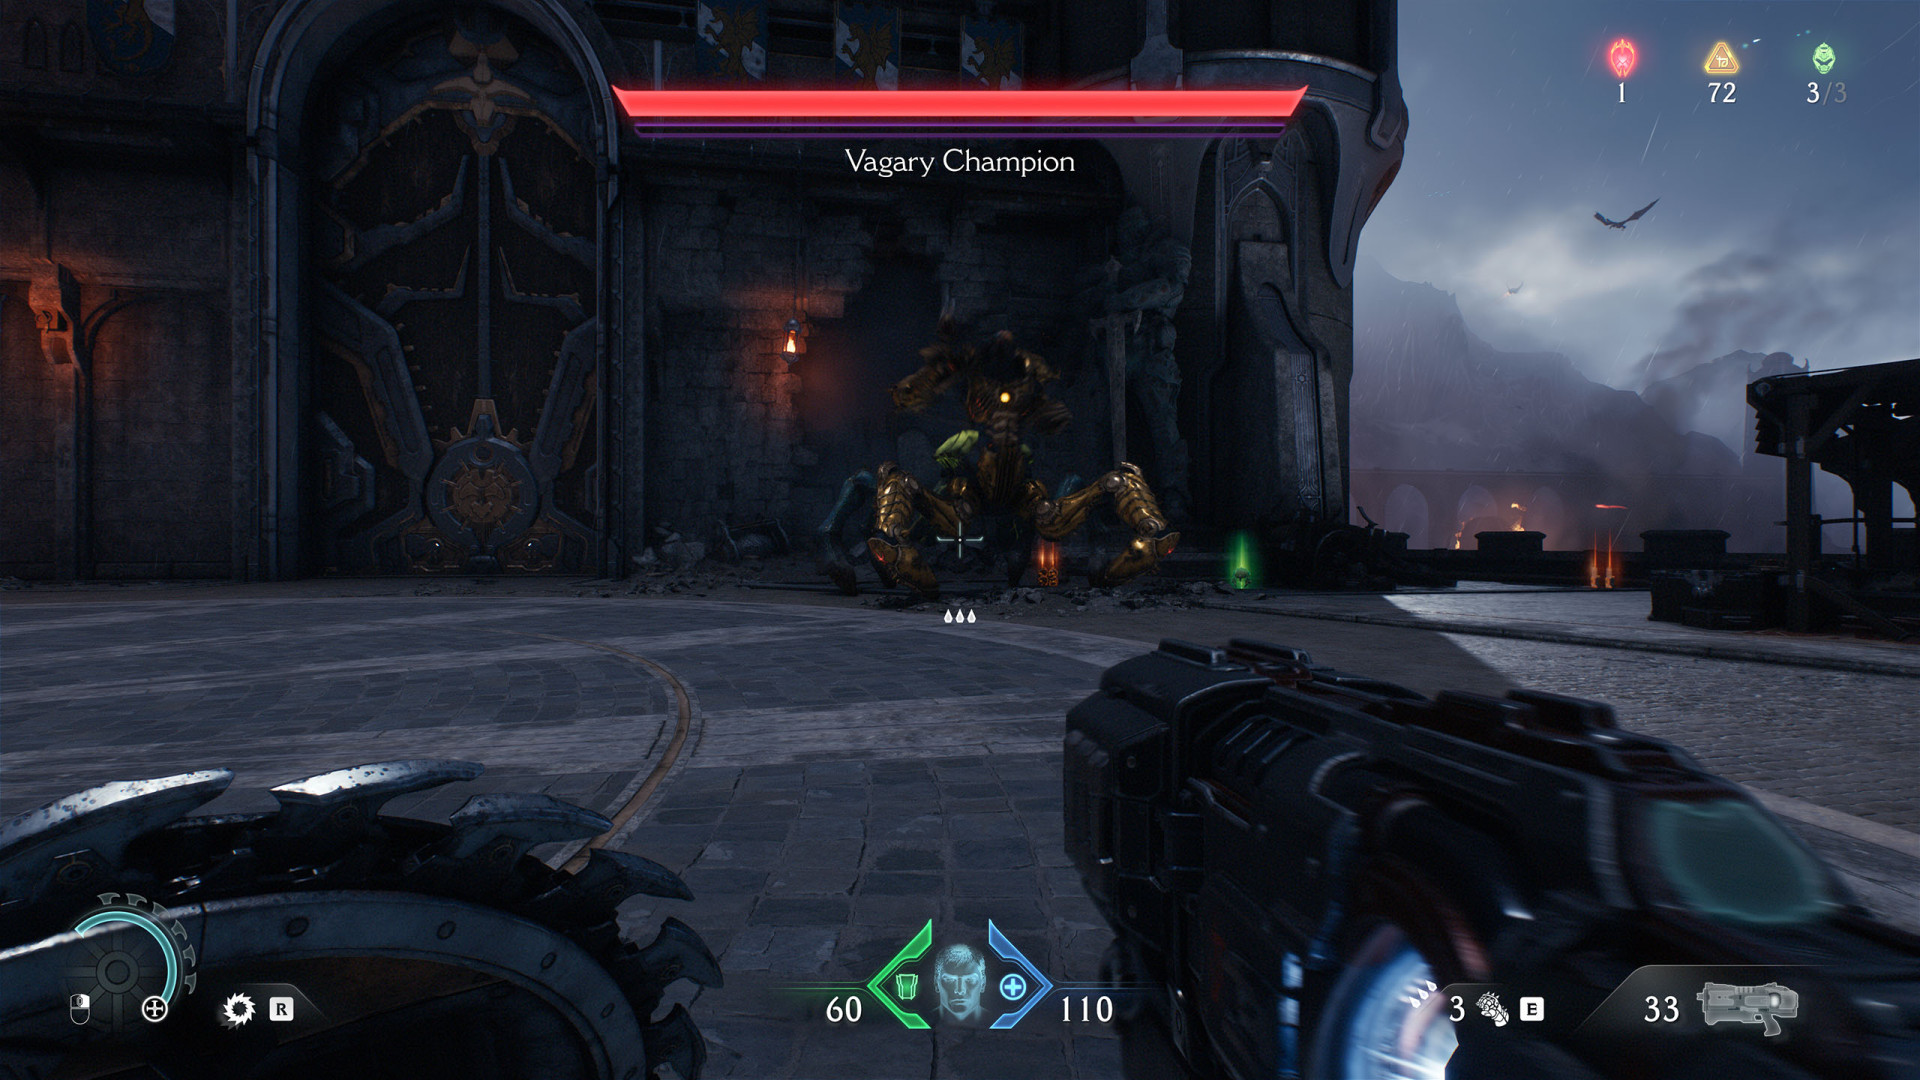
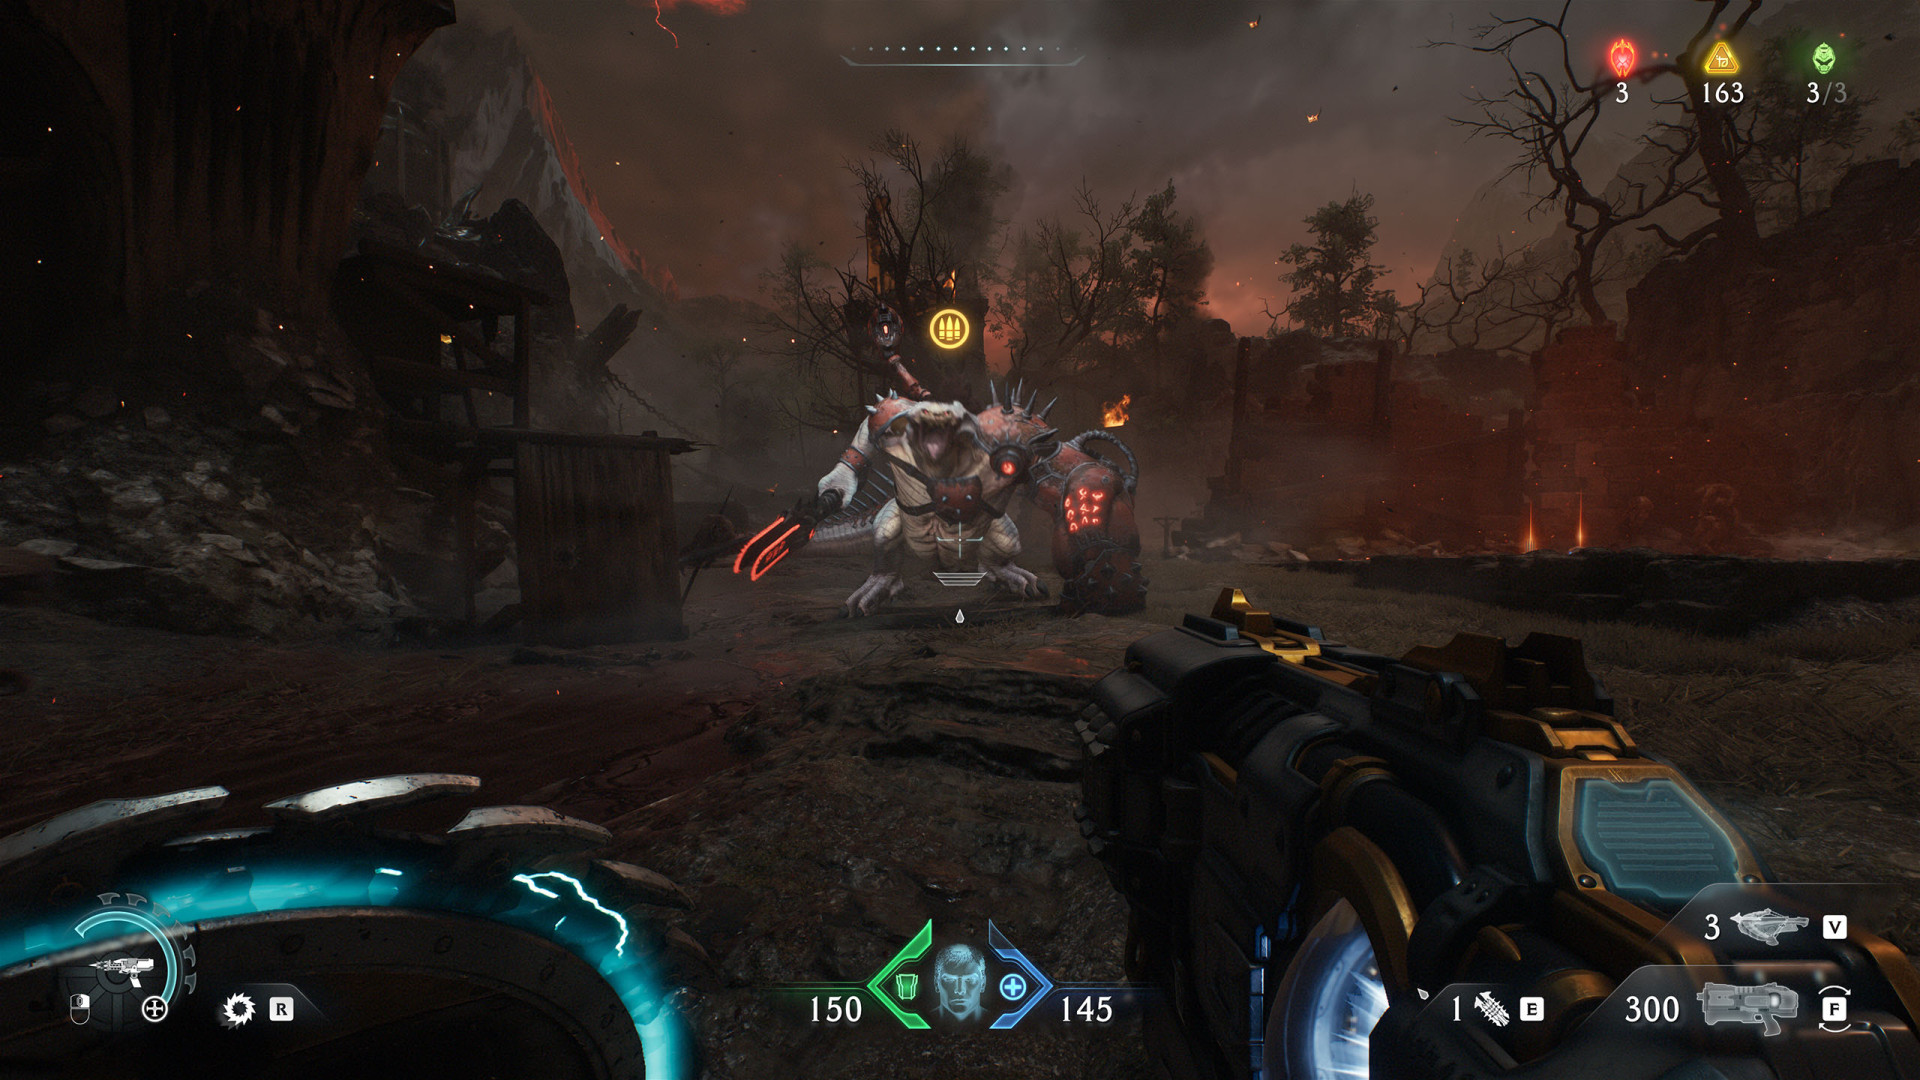
Vagary Champion (Sentinel Barracks)▶ show the map ◀
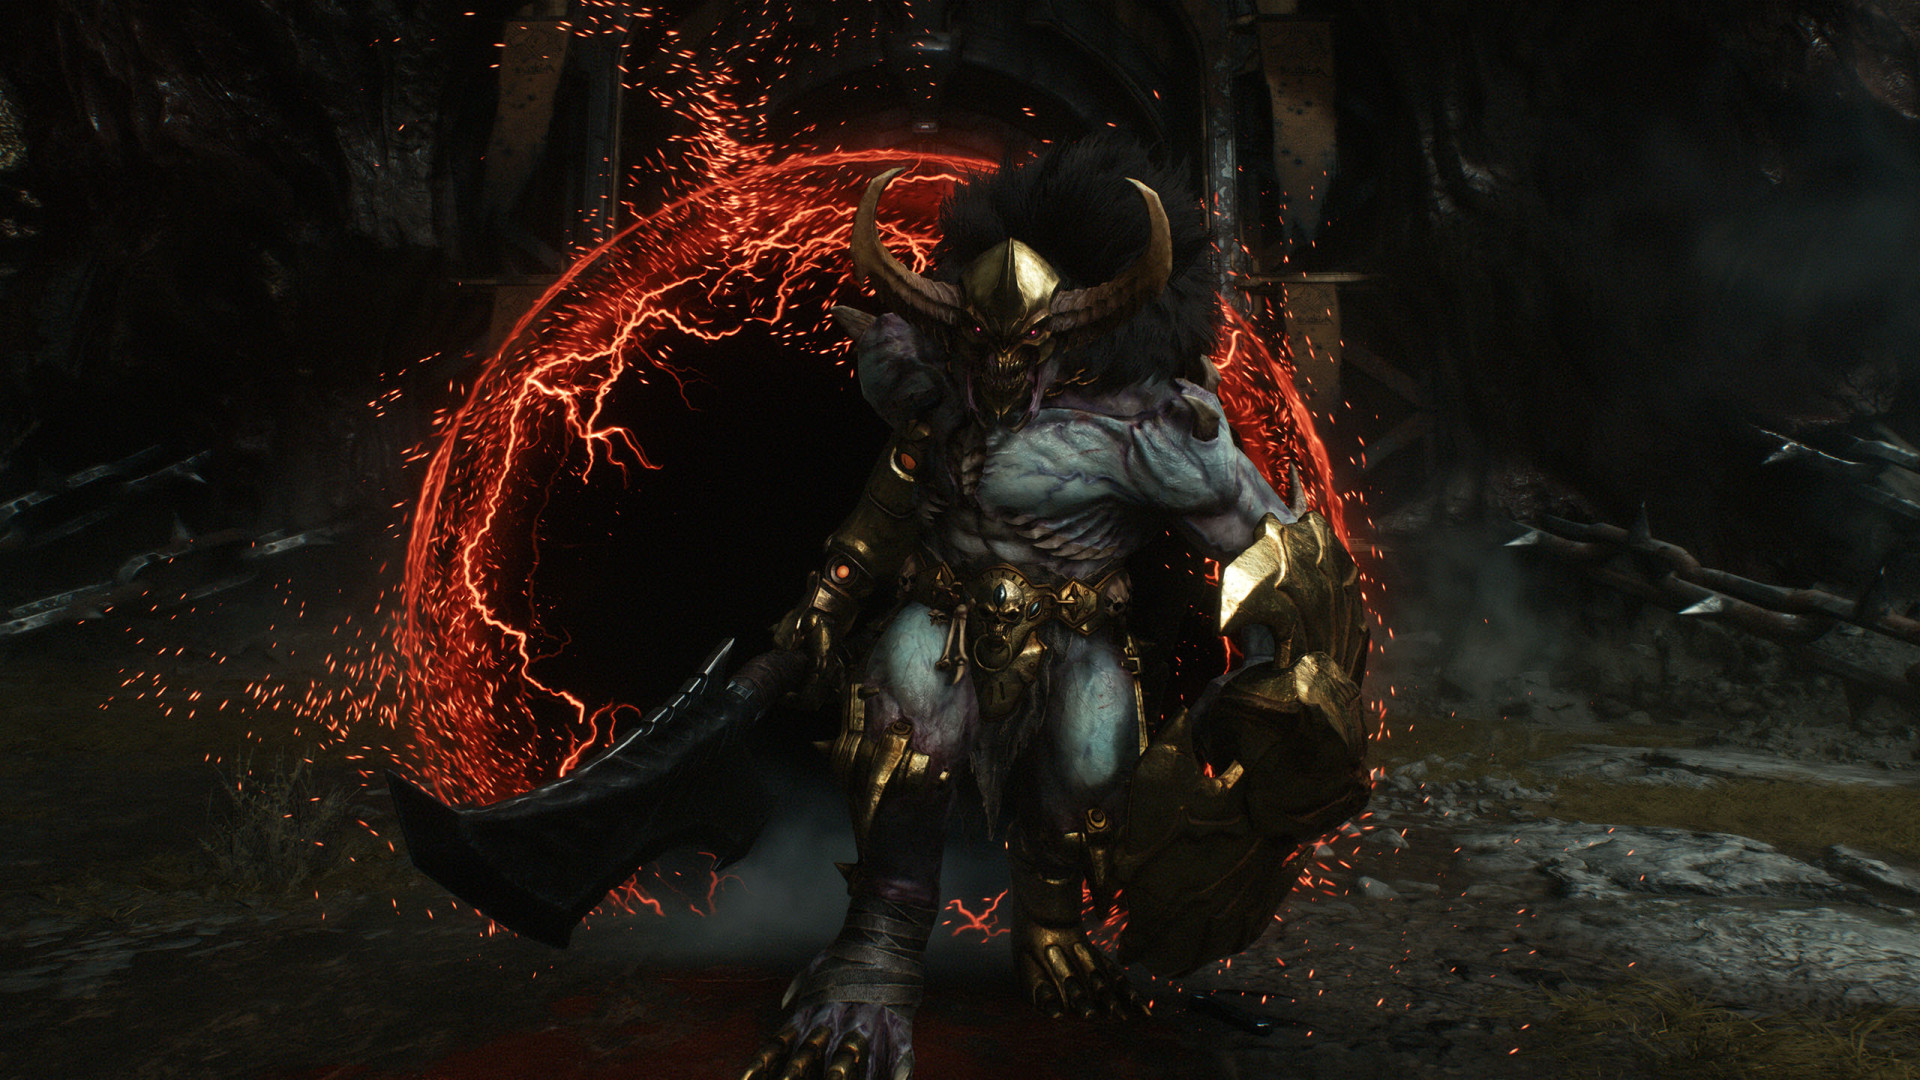
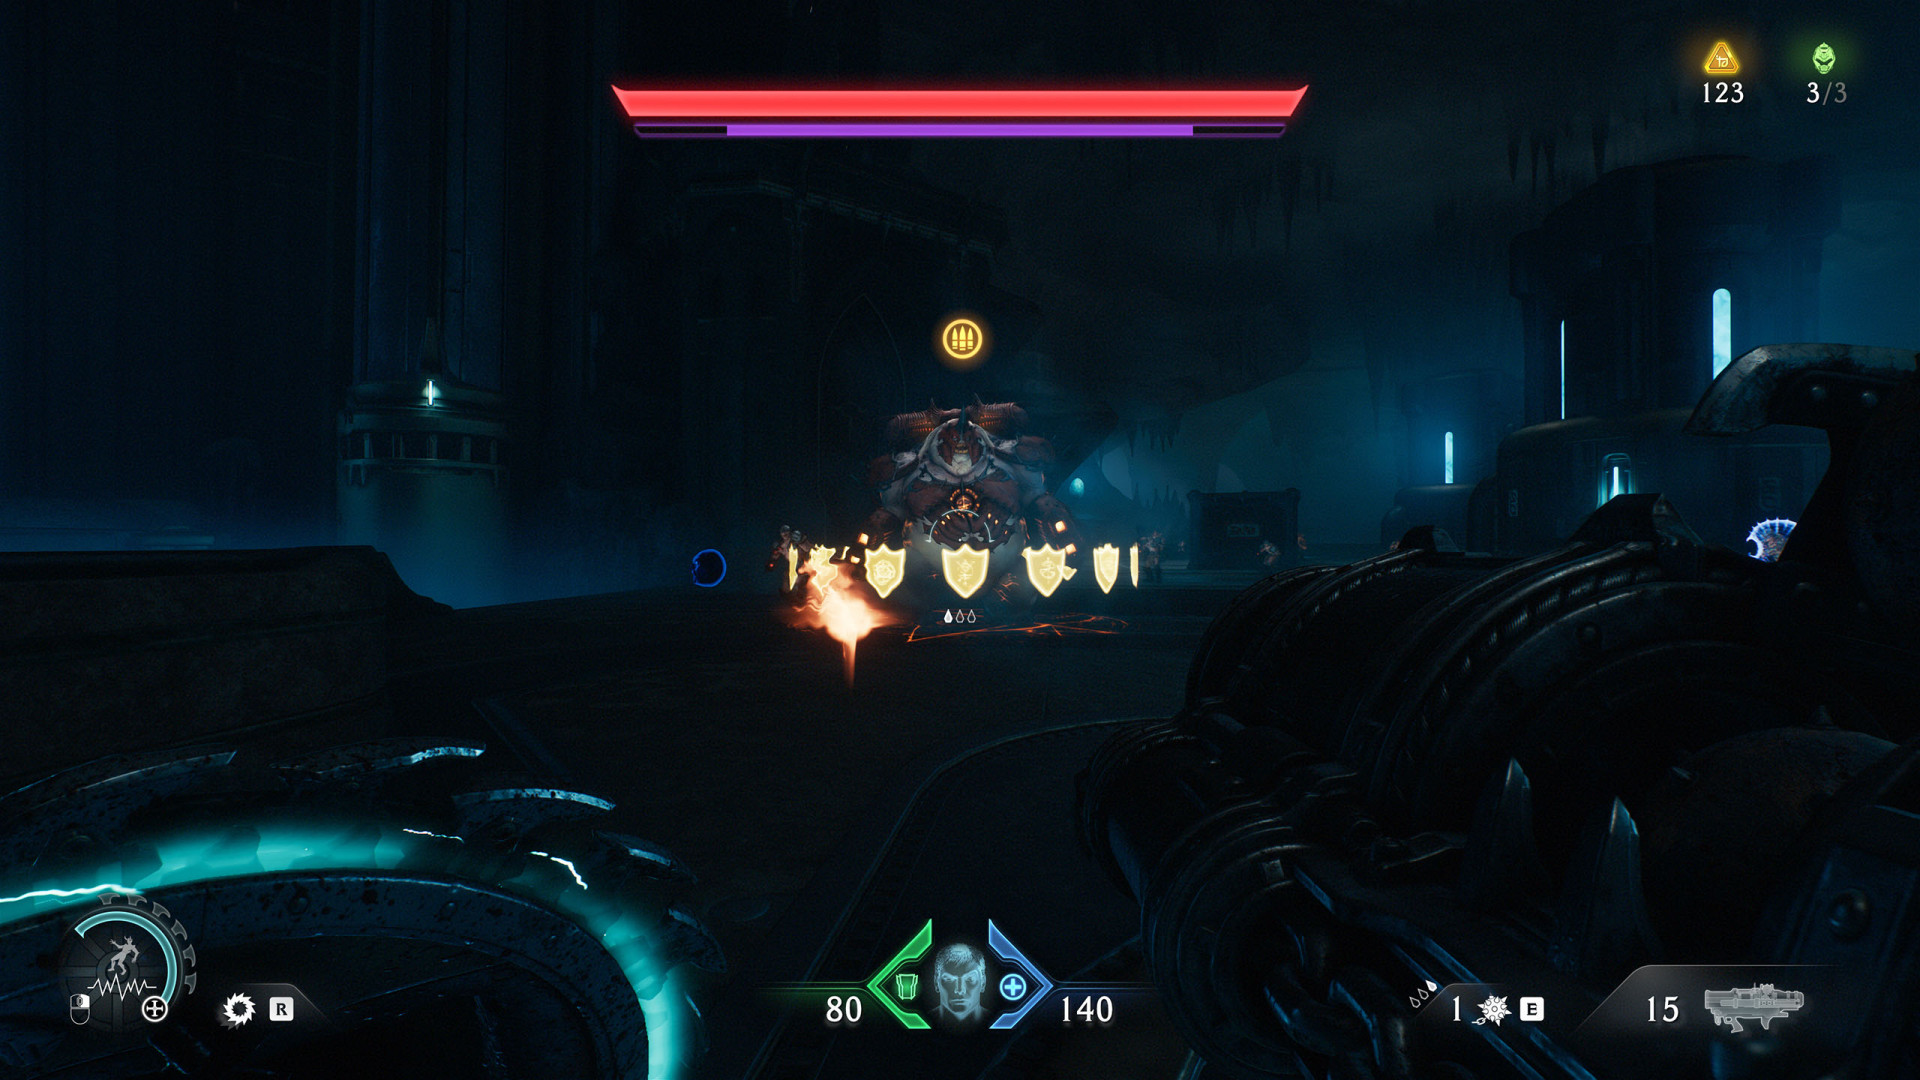
Champions have Gold Armor which takes reduced damage from your weapons.
Parrying Hell Surge attacks will build up Stun. Once the Stun Meter is full, attack the Vagary's exposed flesh to deal heavy damage.
All known locations on the map The Holy City of Aratum
Large Encounter (The Holy City of Aratum)▶ show the map ◀
Leader (The Holy City of Aratum #1)▶ show the map ◀
Destroy the portal to start the event. This leader drops: Demonic Essence - Health #2.
Leader (The Holy City of Aratum #2)▶ show the map ◀
This leader drops: Demonic Essence - Ammo #1 (Shell).
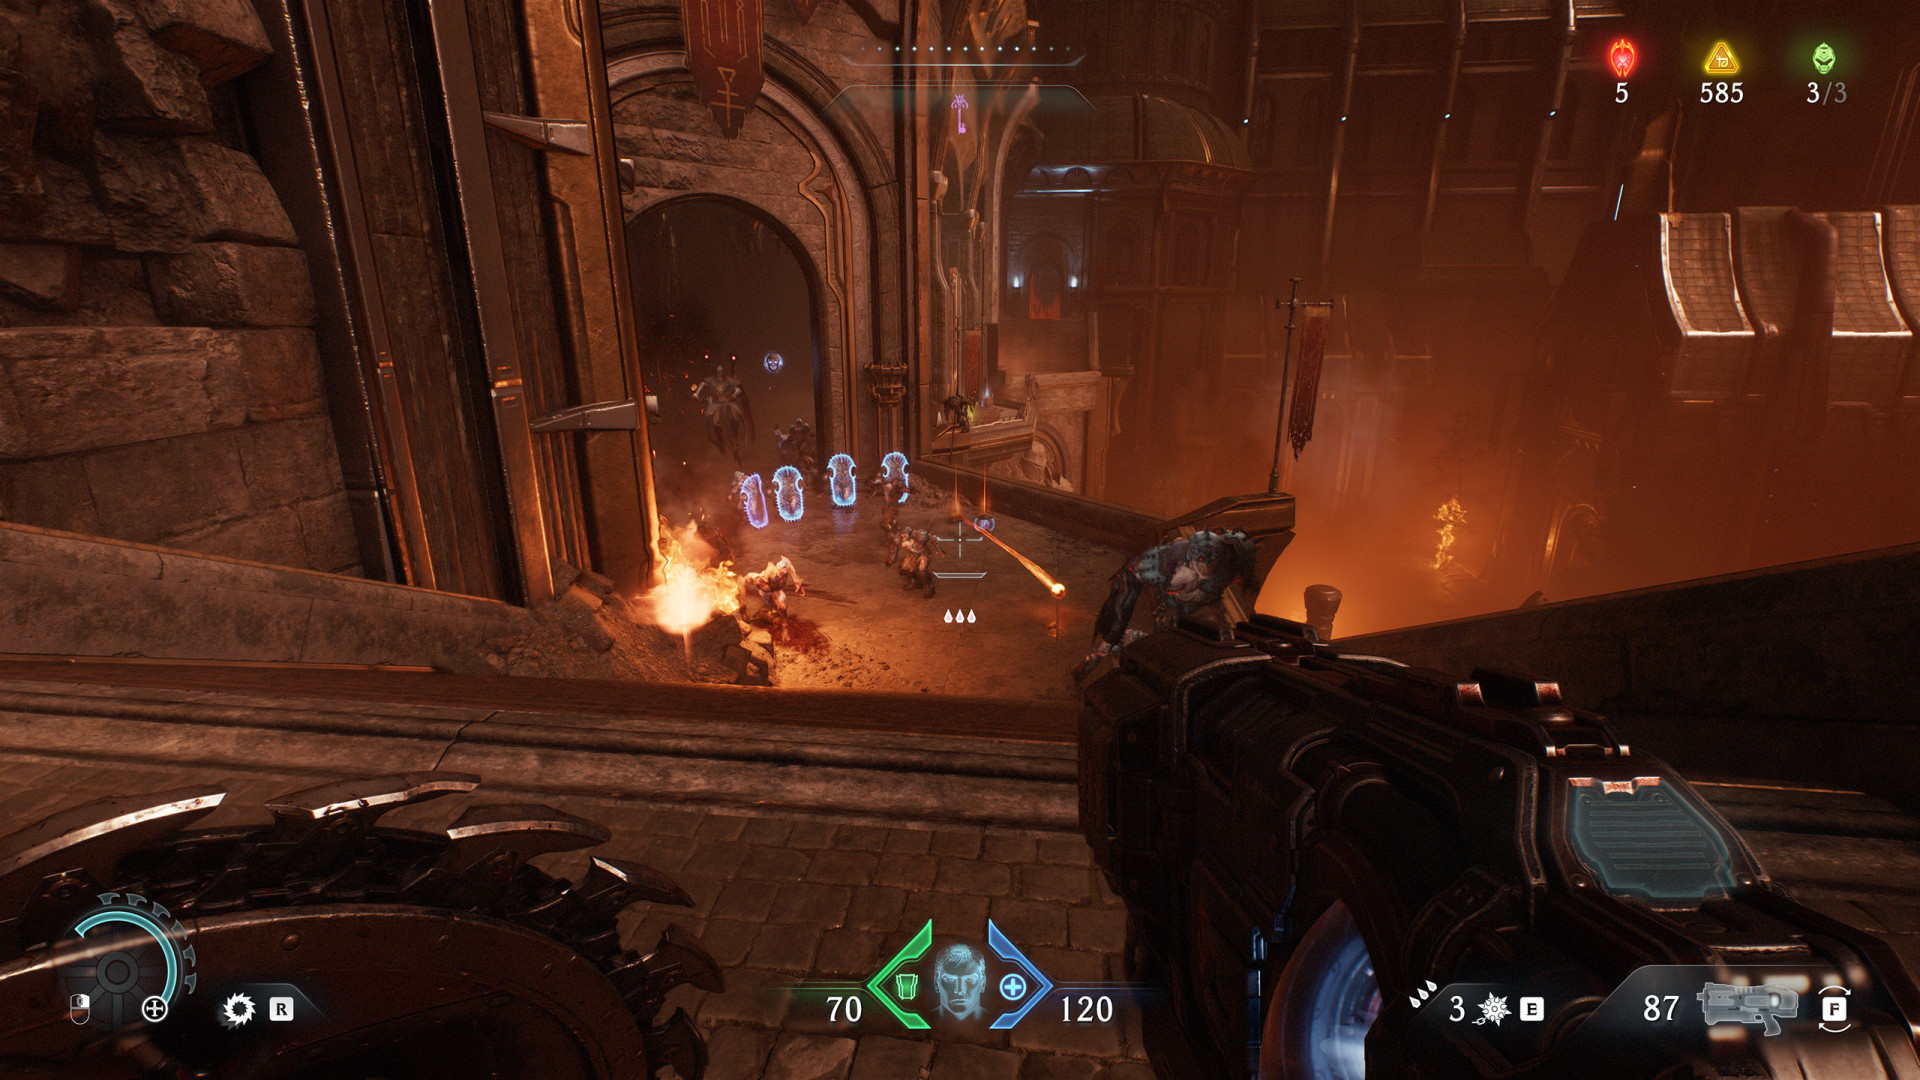
All known locations on the map Siege - Part 1
Large Encounter (Siege - Part 1)▶ show the map ◀
Kill all enemies to destroy one of the five Gore Portals.
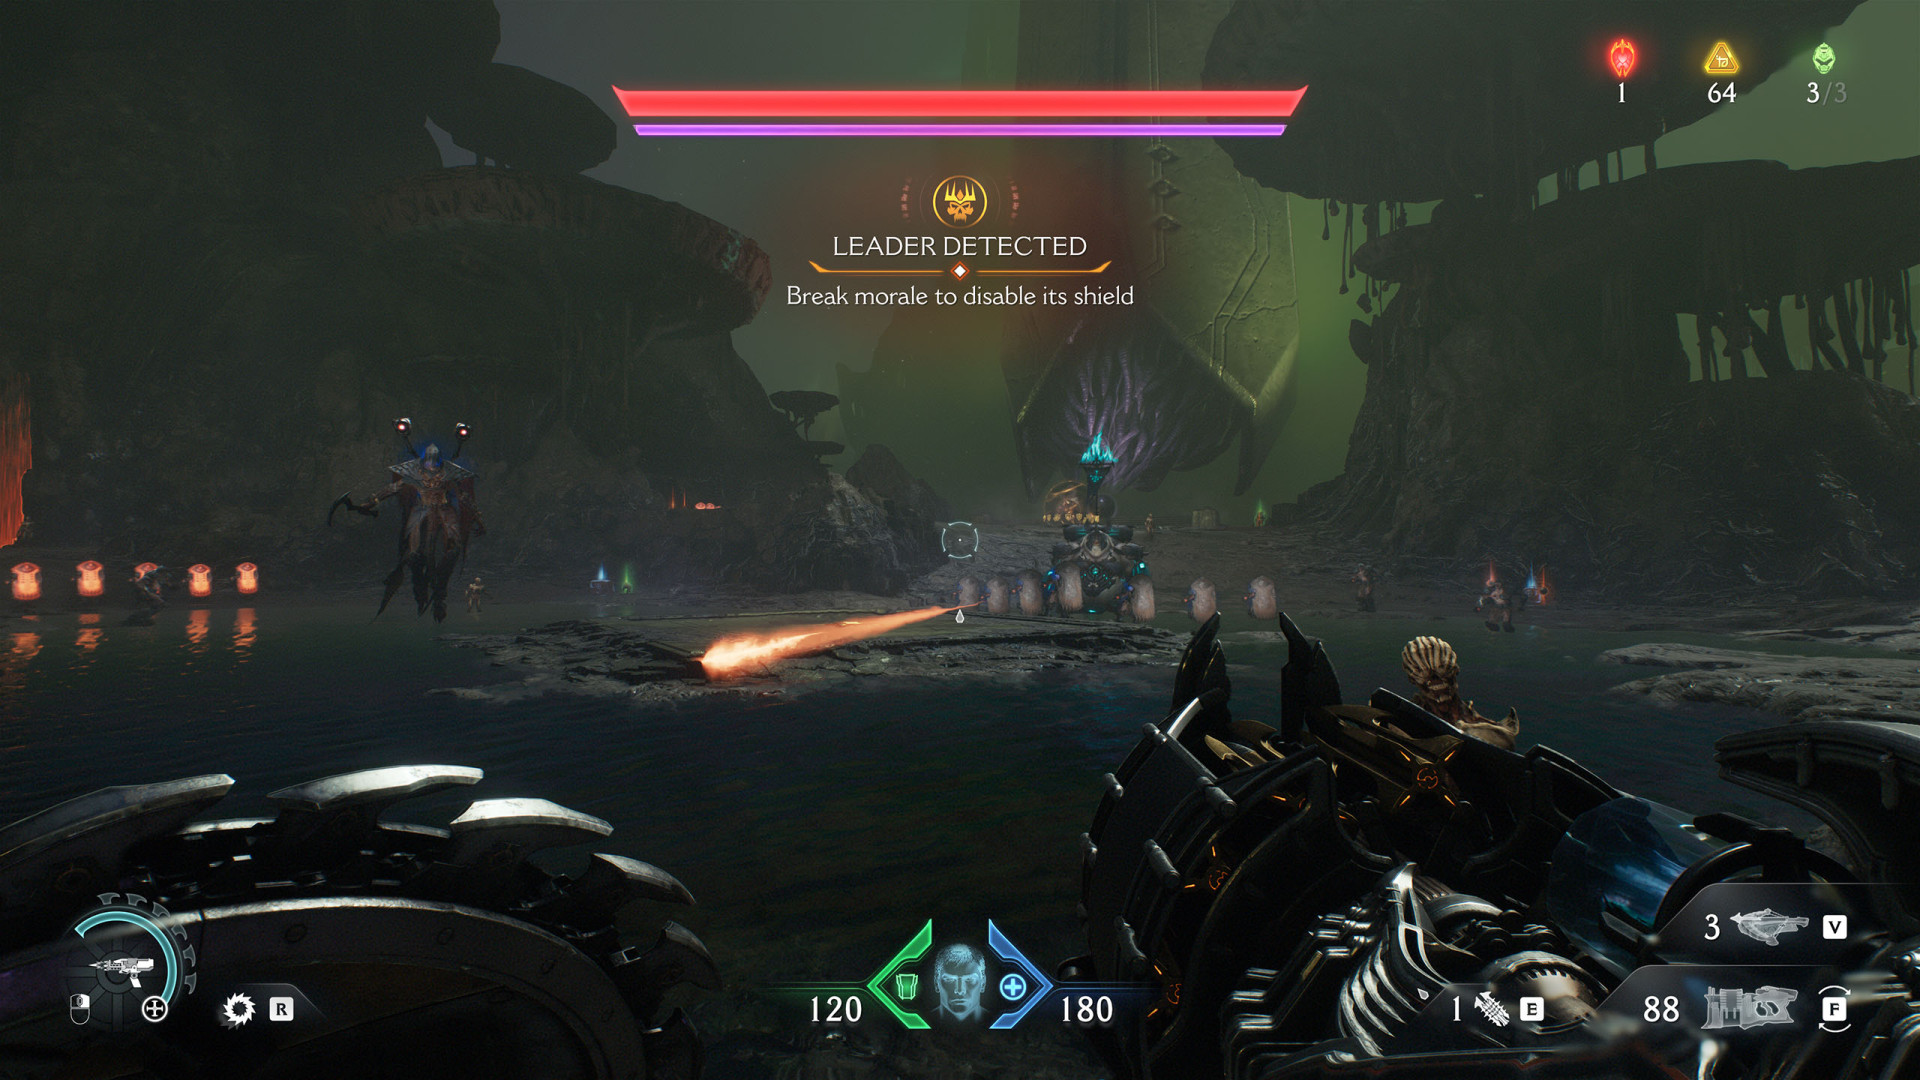
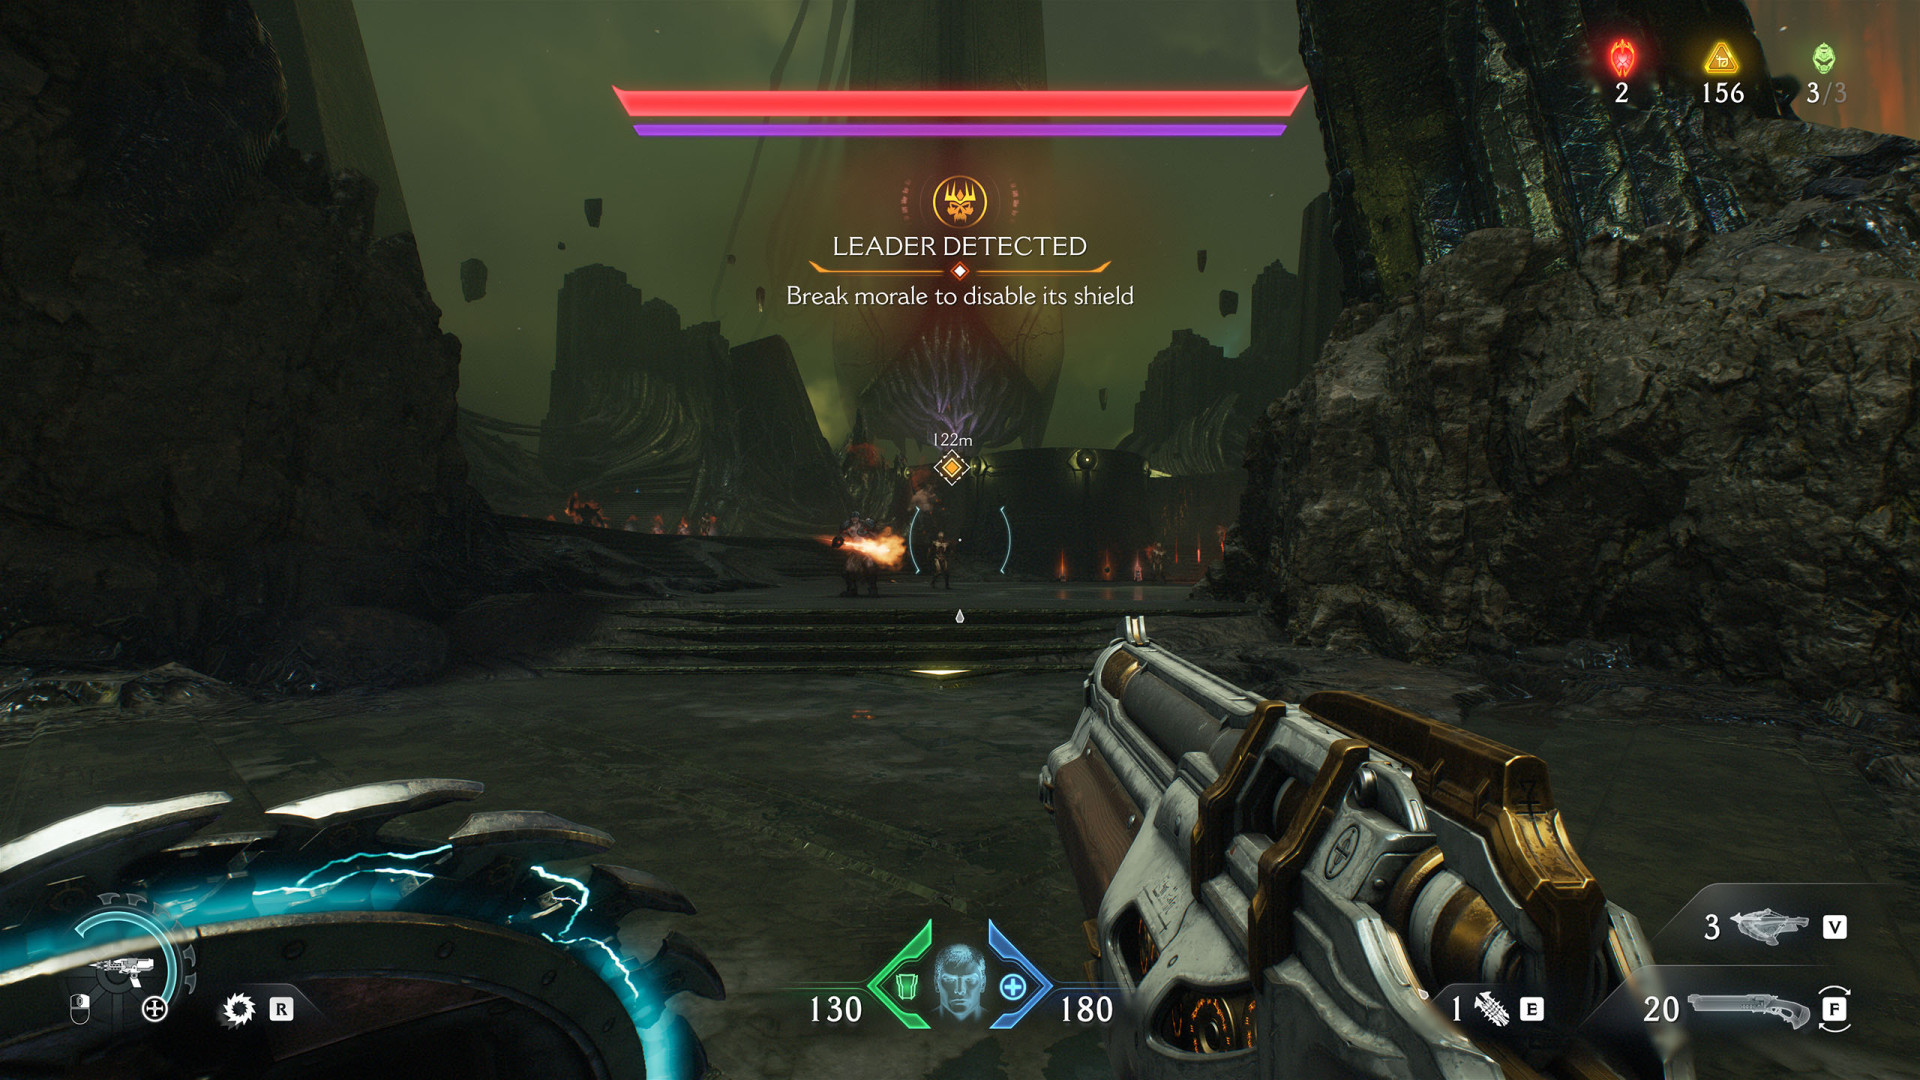
Leader (Siege - Part 1 #1)▶ show the map ◀
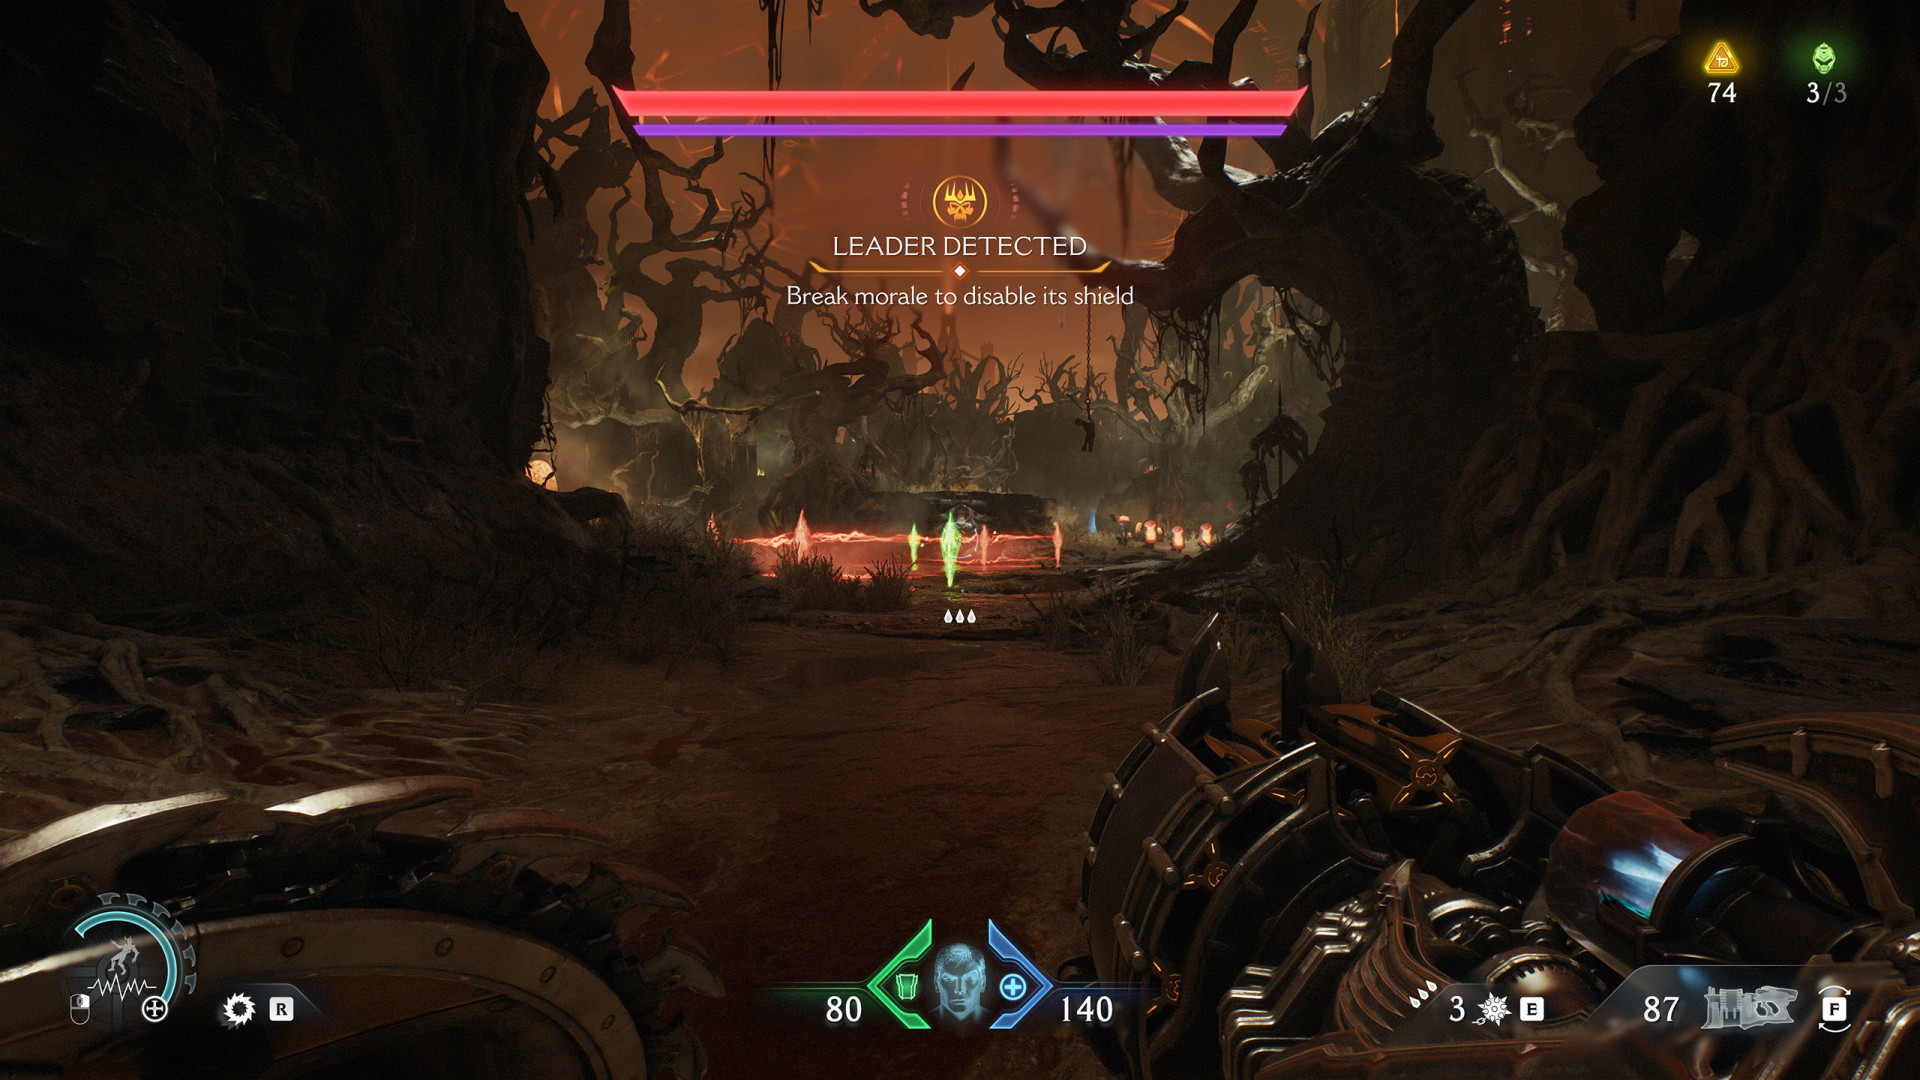
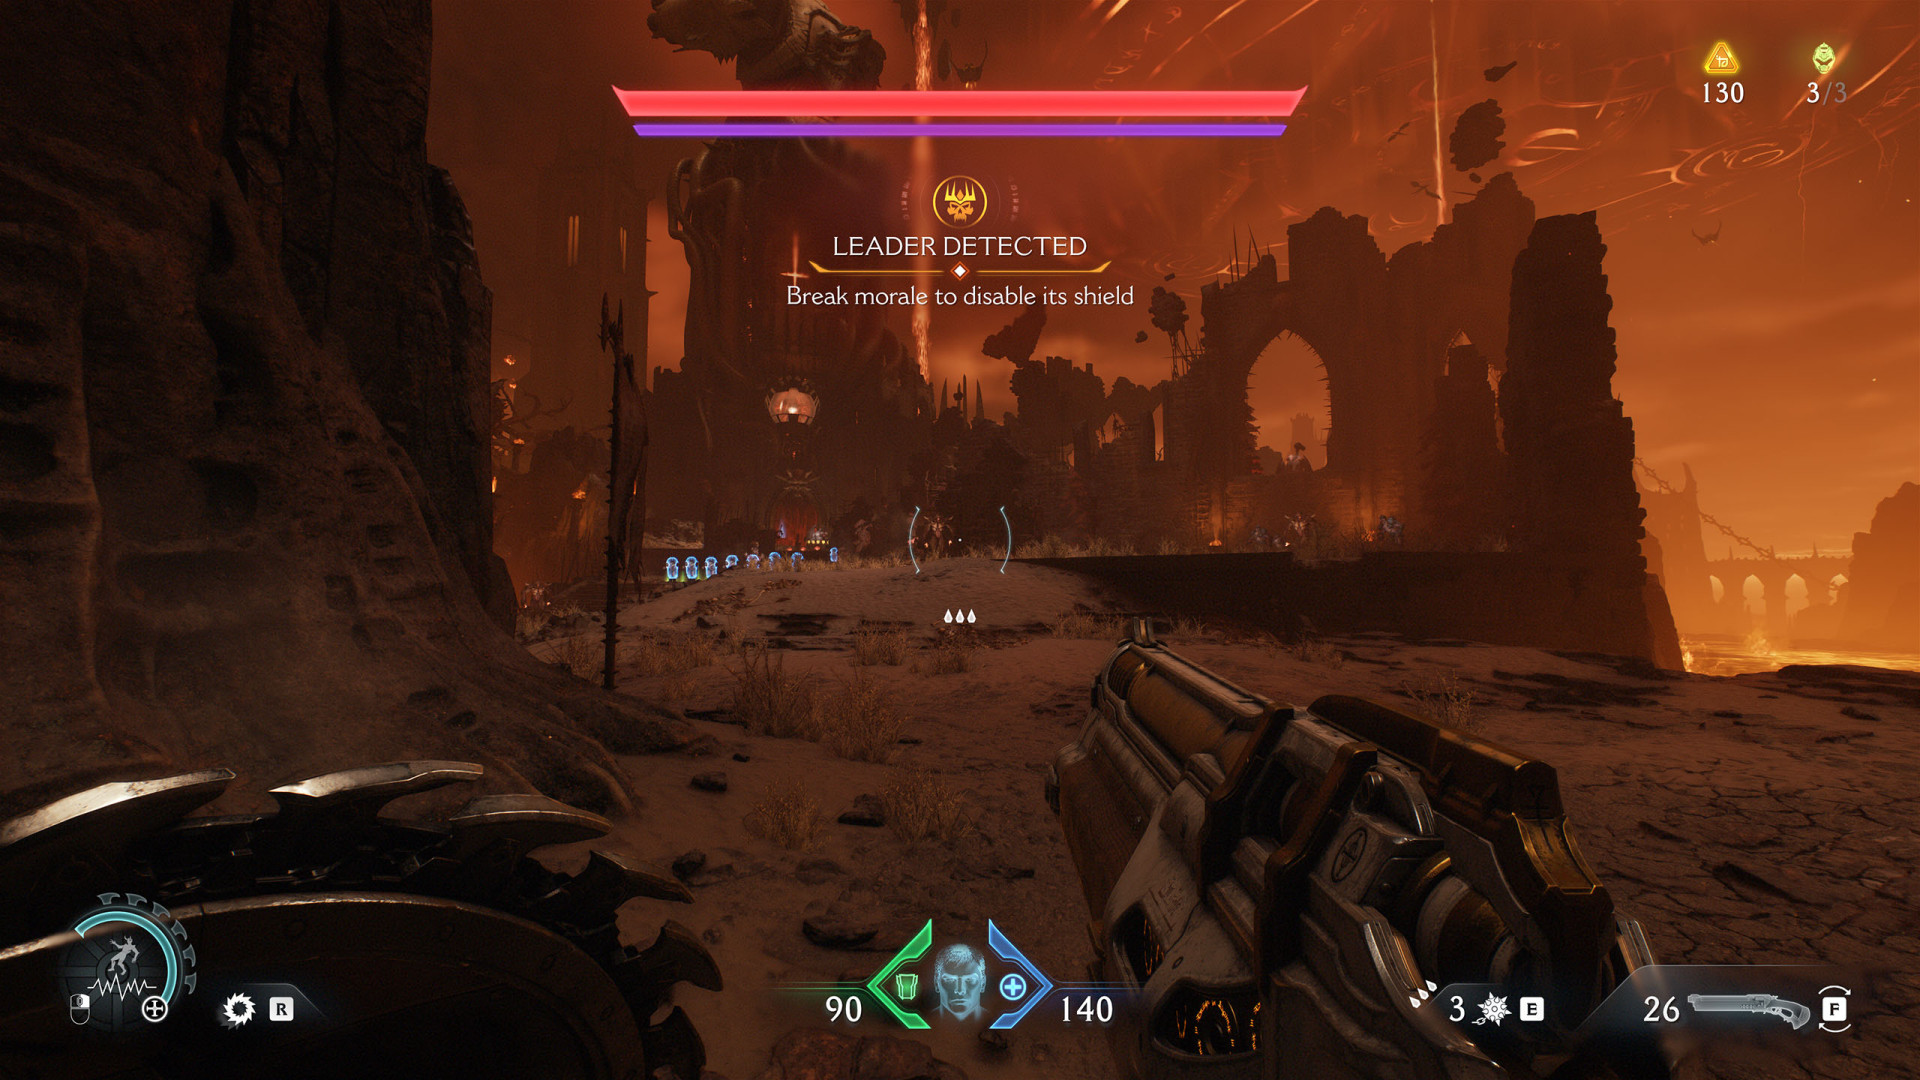
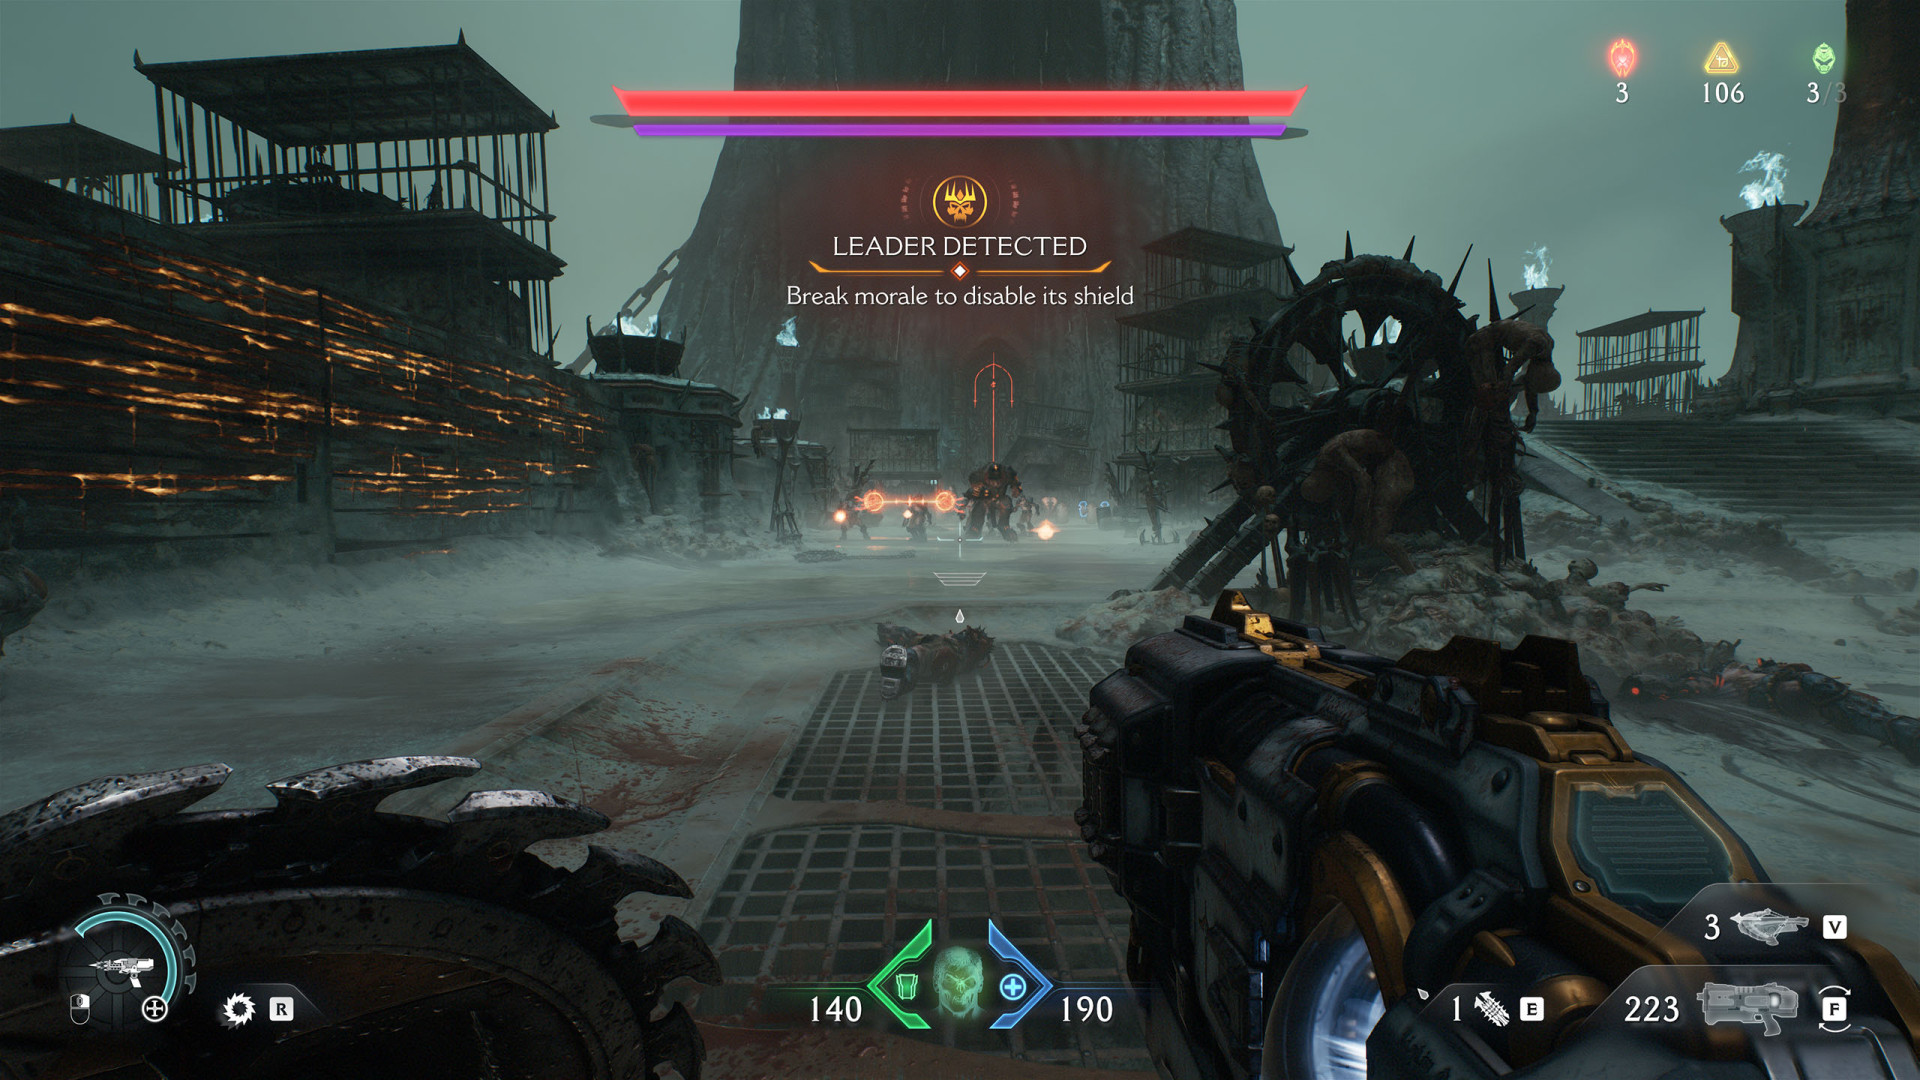
Break morale to disable its shield. Kill all enemies and the leader to destroy one of the five Gore Portals. This leader drops: Demonic Essence - Ammo #2 (Spike).

Leader (Siege - Part 1 #2)▶ show the map ◀
Break morale to disable its shield. Kill all enemies and the leader to destroy one of the five Gore Portals. This leader drops: Demonic Essence - Armor #2.
Small Encounter (Siege - Part 1 #1)▶ show the map ◀
The fight will begin when you jump down. After defeating your opponents, a portal will appear.
Small Encounter (Siege - Part 1 #2)▶ show the map ◀
The fight will begin when you jump down. After defeating your opponents, a portal will appear.
All known locations on the map Siege - Part 2
Leader (Siege - Part 2)▶ show the map ◀
Kill the demons until the leader appears. This leader drops: Demonic Essence - Health #3.
Small Encounter (Siege - Part 2 #1)▶ show the map ◀
Small Encounter (Siege - Part 2 #2)▶ show the map ◀
Small Encounter (Siege - Part 2 #3)▶ show the map ◀
Small Encounter (Siege - Part 2 #4)▶ show the map ◀
All known locations on the map Abyssal Forest
Agaddon Champion (Abyssal Forest)▶ show the map ◀
Large Encounter (Abyssal Forest)▶ show the map ◀
Enemies will appear and attack you when you pick up the Yellow Key (Abyssal Forest).

Small Encounter (Abyssal Forest)▶ show the map ◀
All known locations on the map Ancestral Forge
Large Encounter (Ancestral Forge #1)▶ show the map ◀
Large Encounter (Ancestral Forge #2)▶ show the map ◀
Leader (Ancestral Forge #2)▶ show the map ◀
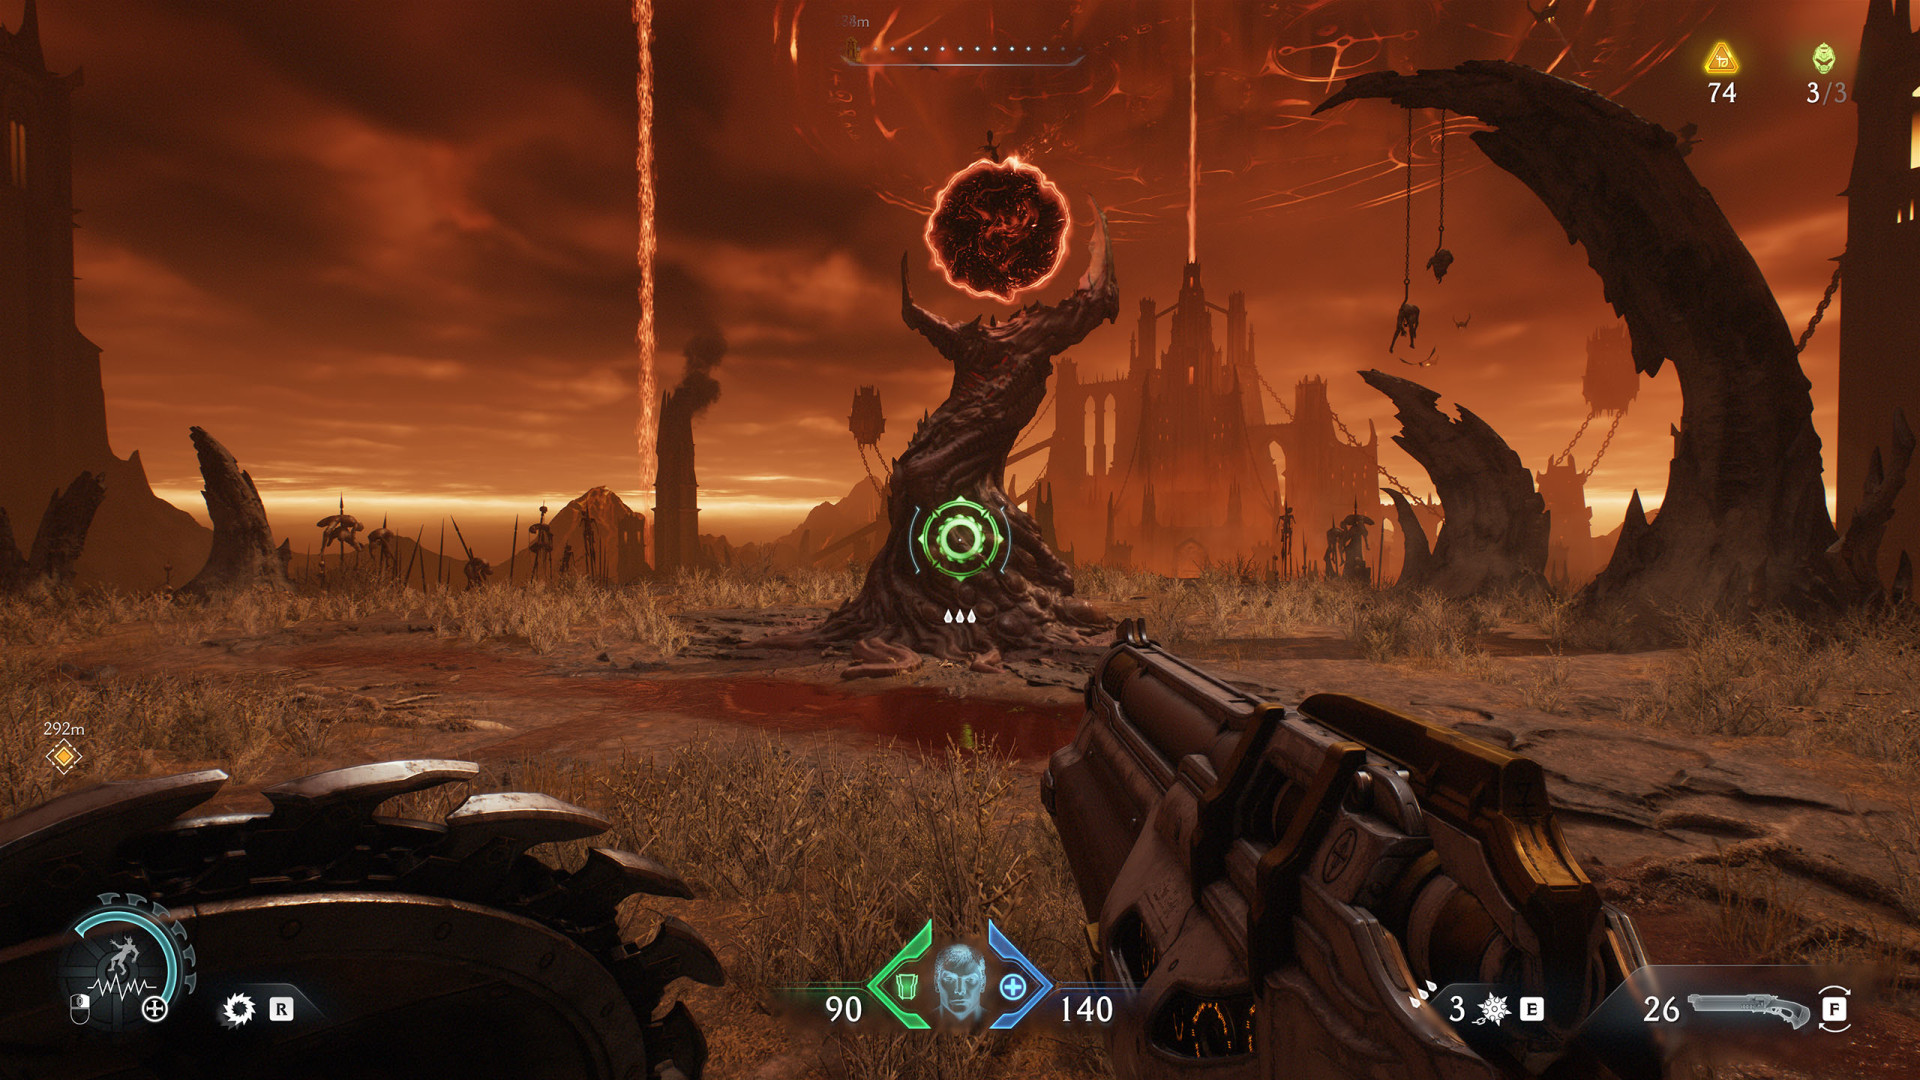
Break morale to disable its shield. This leader drops: Demonic Essence - Ammo #3 (Cell).
All known locations on the map The Forsaken Plains
Large Encounter (The Forsaken Plains #2)▶ show the map ◀
You will be able to reach this place once you destroy both cannons.
Leader (The Forsaken Plains #1)▶ show the map ◀
Break morale to disable its shield. This leader drops: Demonic Essence - Armor #4.
Leader (The Forsaken Plains #2)▶ show the map ◀
Gore Nest. This leader drops: Demonic Essence - Ammo #4 (Skull).
Leader (The Forsaken Plains #3)▶ show the map ◀
Small Encounter (The Forsaken Plains #1)▶ show the map ◀
Small Encounter (The Forsaken Plains #2)▶ show the map ◀
The fight will begin when you pick up the key.

All known locations on the map Hellbreaker
Large Encounter (Hellbreaker #1)▶ show the map ◀
Large Encounter (Hellbreaker #2)▶ show the map ◀
Leader (Hellbreaker)▶ show the map ◀
Kill the demons until their leader shows up. This leader drops: Demonic Essence - Armor #5.
Small Encounter (Hellbreaker)▶ show the map ◀
All known locations on the map Sentinel Command Station
Large Encounter (Sentinel Command Station)▶ show the map ◀
At the lower level, after you pick up the Secret Key (Sentinel Command Station).
Leader (Sentinel Command Station)▶ show the map ◀
Kill the demons until their leader arrives. This leader drops: Demonic Essence - Health #6.
Small Encounter (Sentinel Command Station)▶ show the map ◀
All known locations on the map From Beyond
All known locations on the map Spire of Nerathul
Large Encounter (Spire of Nerathul #1)▶ show the map ◀
Large Encounter (Spire of Nerathul #2)▶ show the map ◀
Large Encounter (Spire of Nerathul #3)▶ show the map ◀
Leader (Spire of Nerathul #1)▶ show the map ◀
To start this encounter, destroy the gore nest. Break morale to disable its shield. You must kill this leader to complete the "Heart Harvester" mission challenge. This leader drops: Demonic Essence - Health #7.
Leader (Spire of Nerathul #2)▶ show the map ◀
You must kill this leader to complete the "Heart Harvester" mission challenge. This leader drops: Demonic Essence - Ammo #6 (Launcher).

Small Encounter (Spire of Nerathul #1)▶ show the map ◀
Small Encounter (Spire of Nerathul #2)▶ show the map ◀
Small Encounter (Spire of Nerathul #3)▶ show the map ◀
Small Encounter (Spire of Nerathul #4)▶ show the map ◀
Small Encounter (Spire of Nerathul #5)▶ show the map ◀

All known locations on the map City of Ry'uul
Large Encounter (City of Ry'uul #1)▶ show the map ◀
Large Encounter (City of Ry'uul #2)▶ show the map ◀
Large Encounter (City of Ry'uul #3)▶ show the map ◀
The fight will take place at the end of the chapter when you use the Cosmic Eye (City of Ry'uul #3).
Leader (City of Ry'uul #1)▶ show the map ◀

Small Encounter City of Ry'uul #1)▶ show the map ◀
Small Encounter City of Ry'uul #2)▶ show the map ◀
The fight will begin when you pick up the Dreadmace.
All known locations on the map The Kar'Thul Marshes
Large Encounter (The Kar'Thul Marshes)▶ show the map ◀
Leader (The Kar'Thul Marshes #1)▶ show the map ◀
Break morale to disable its shield. This leader drops: Demonic Essence - Armor #8.
Leader (The Kar'Thul Marshes #2)▶ show the map ◀
Break morale to disable its shield. This leader drops: Demonic Essence - Ammo #7 (Shell). You can complete the "Roundup" mission challenge here.
Small Encounter (The Kar'Thul Marshes #1)▶ show the map ◀
Small Encounter (The Kar'Thul Marshes #2)▶ show the map ◀
Small Encounter (The Kar'Thul Marshes #3)▶ show the map ◀
Small Encounter (The Kar'Thul Marshes #4)▶ show the map ◀
All known locations on the map Temple of Lomarith
Leader (Temple of Lomarith #2)▶ show the map ◀
In the Secret Area (Temple of Lomarith #5). To start this event destroy the gore nest.
Small Encounter (Temple of Lomarith #1)▶ show the map ◀

Small Encounter (Temple of Lomarith #1)▶ show the map ◀
Small Encounter (Temple of Lomarith #2)▶ show the map ◀
Small Encounter (Temple of Lomarith #3)▶ show the map ◀
All known locations on the map Belly of the Beast
Large Encounter (Belly of the Beast #1)▶ show the map ◀
Large Encounter (Belly of the Beast #2)▶ show the map ◀
Leader (Belly of the Beast)▶ show the map ◀
Small Encounter (Belly of the Beast)▶ show the map ◀
All known locations on the map Harbor of Souls
Large Encounter (Harbor of Souls #1)▶ show the map ◀
Large Encounter (Harbor of Souls #2)▶ show the map ◀
All known locations on the map Resurrection
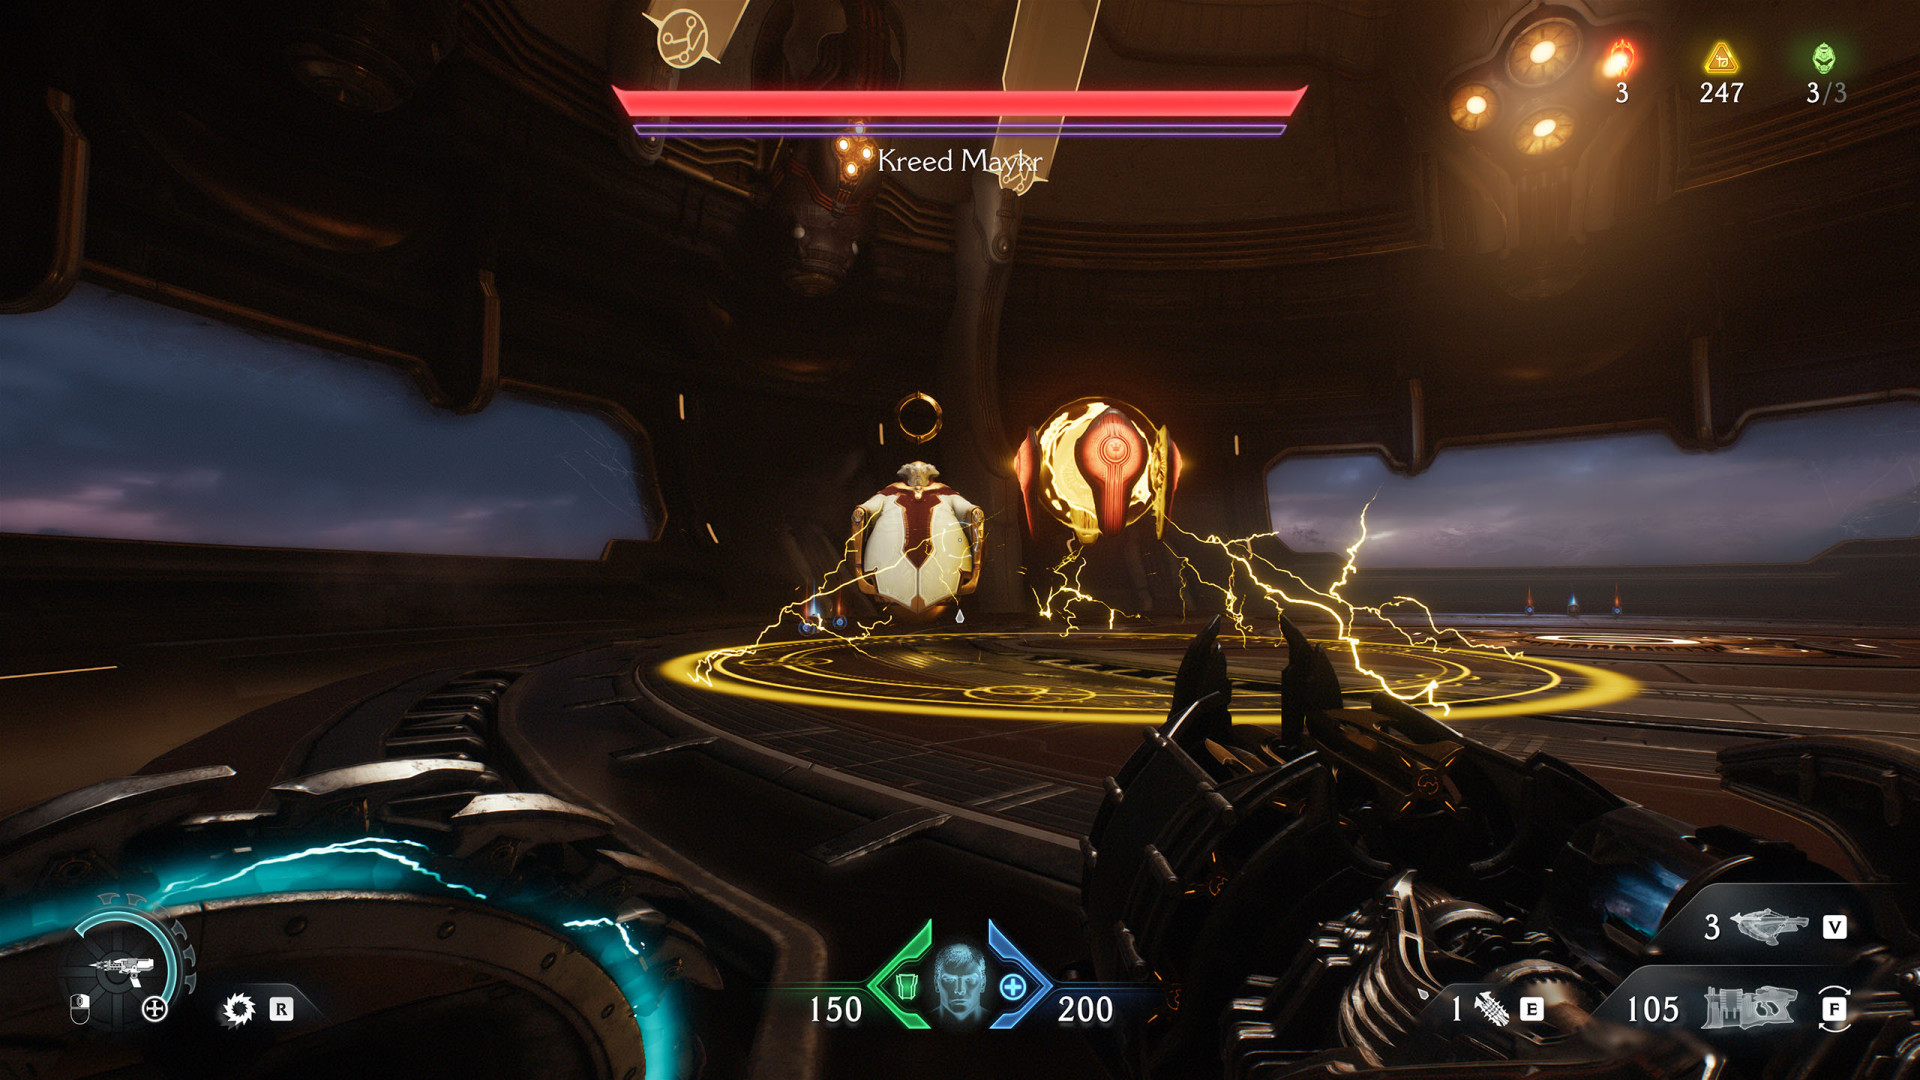
Kreed Maykr (Resurrection)▶ show the map ◀
Large Encounter (Resurrection)▶ show the map ◀

Leader (Resurrection #1)▶ show the map ◀
Break morale to disable its shield. Kill it to destroy one of the Siege Towers. This leader drops: Demonic Essence - Health #10.

Leader (Resurrection #2)▶ show the map ◀
Kill it to destroy one of the Siege Towers. This leader drops: Demonic Essence - Armor #10.
Leader (Resurrection #3)▶ show the map ◀
All known locations on the map Final Battle
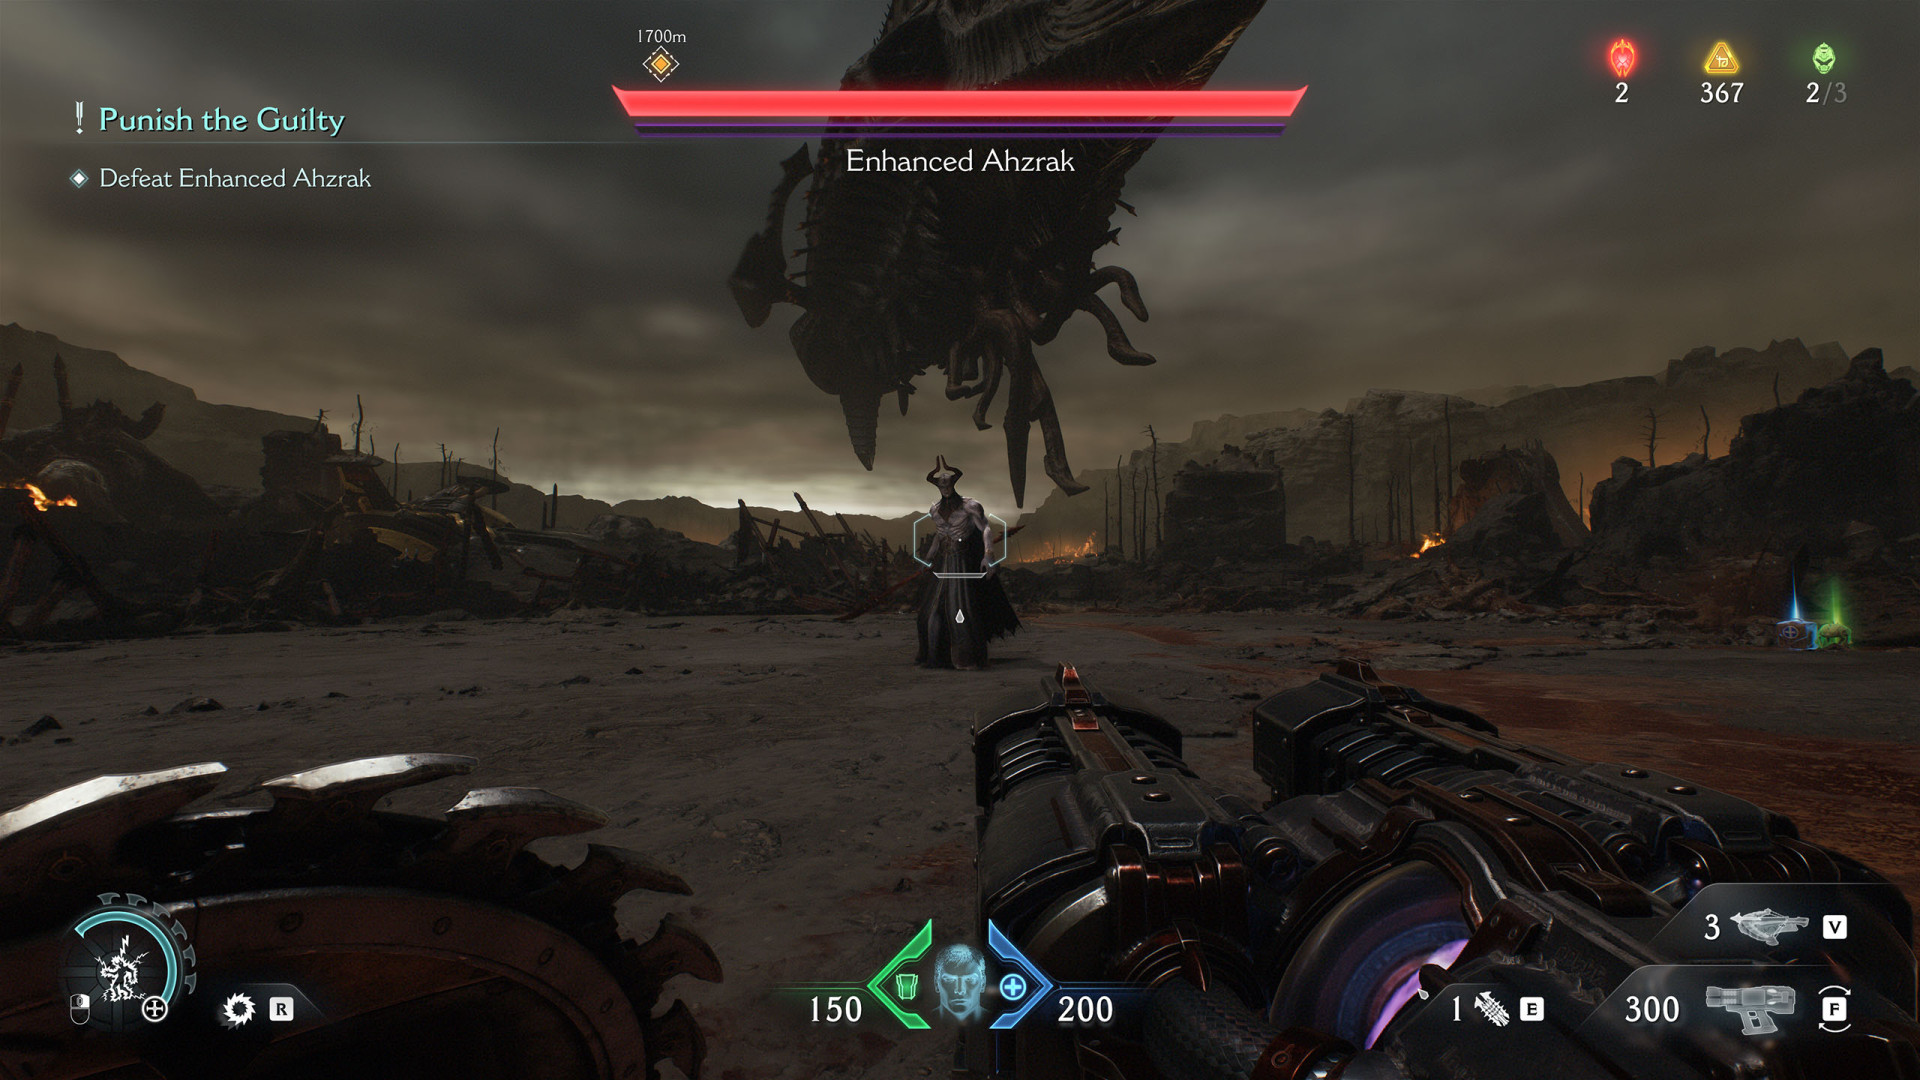
Enhanced Ahzrak▶ show the map ◀
Large Encounter (Final Battle #1)▶ show the map ◀
Large Encounter (Final Battle #2)▶ show the map ◀
Large Encounter (Final Battle #3)▶ show the map ◀
Large Encounter (Final Battle #4)▶ show the map ◀
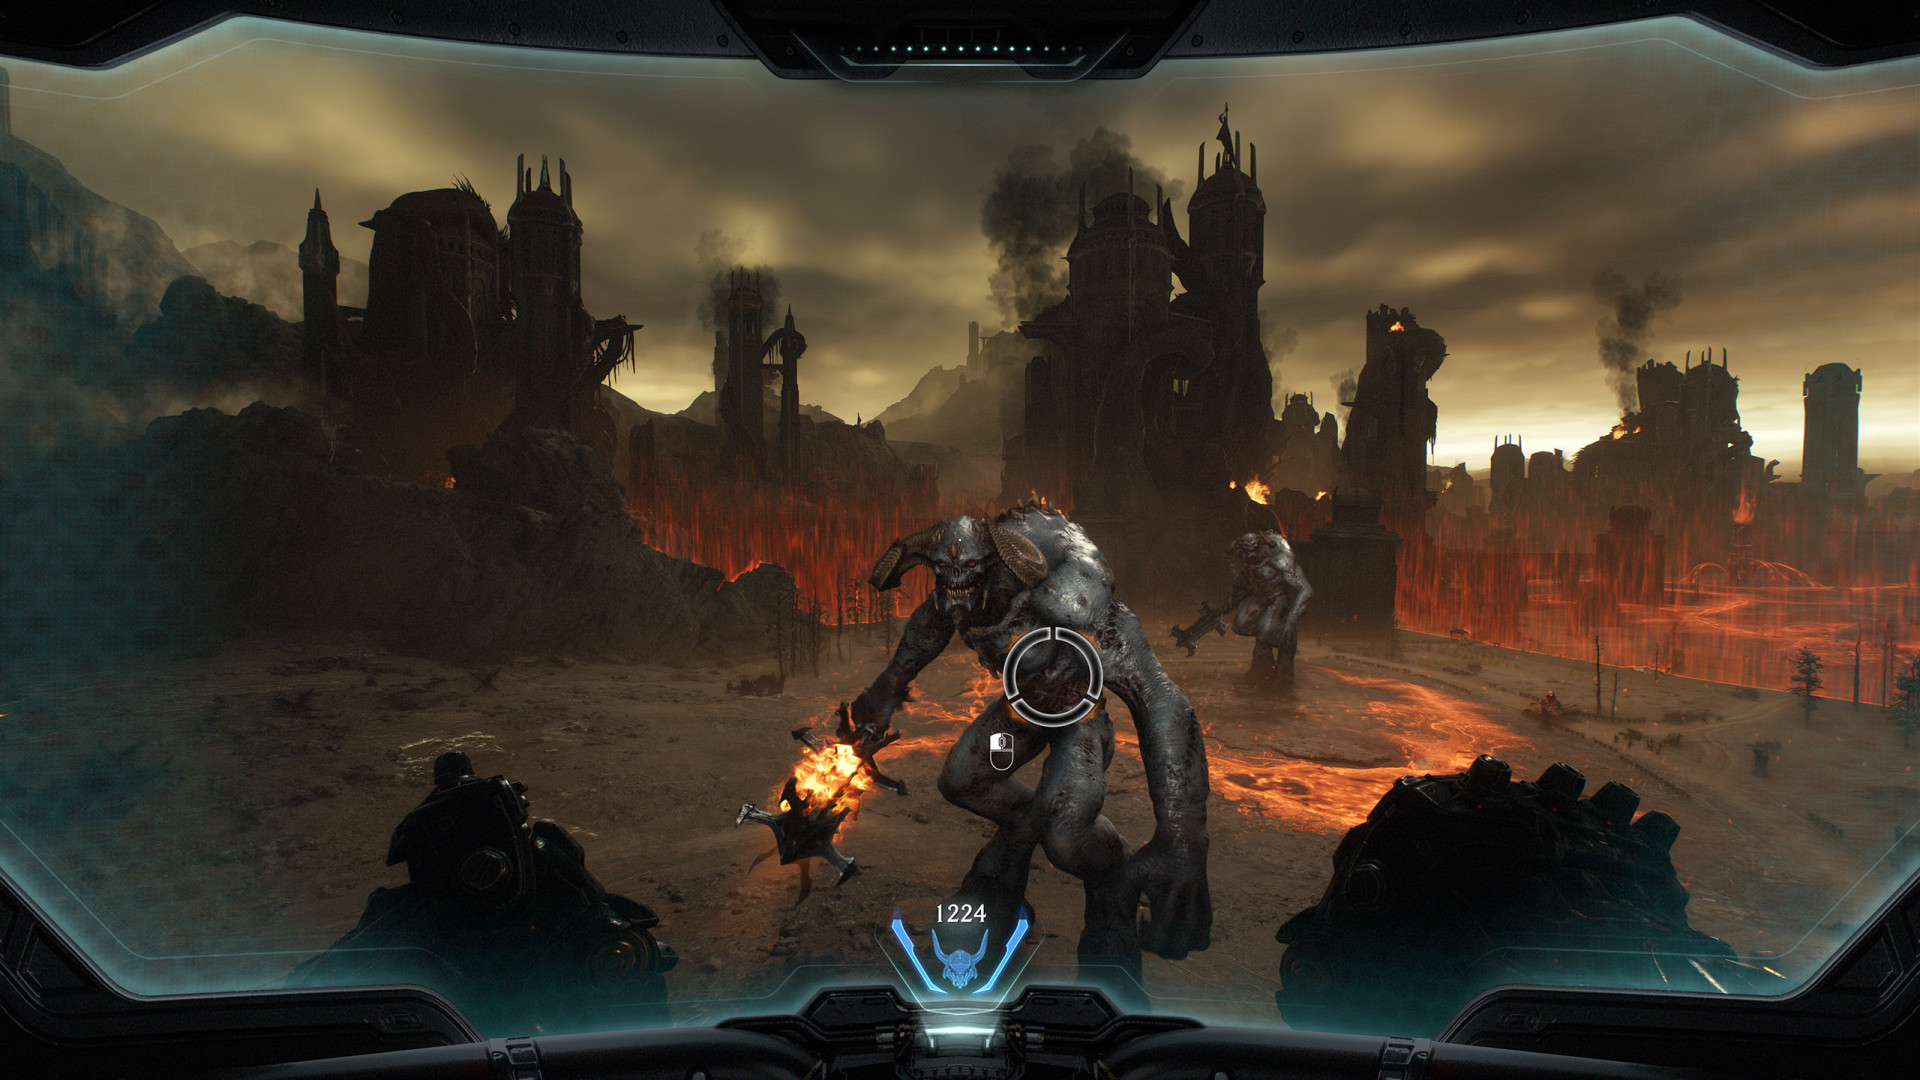
The Old One▶ show the map ◀
All known locations on the map Reckoning
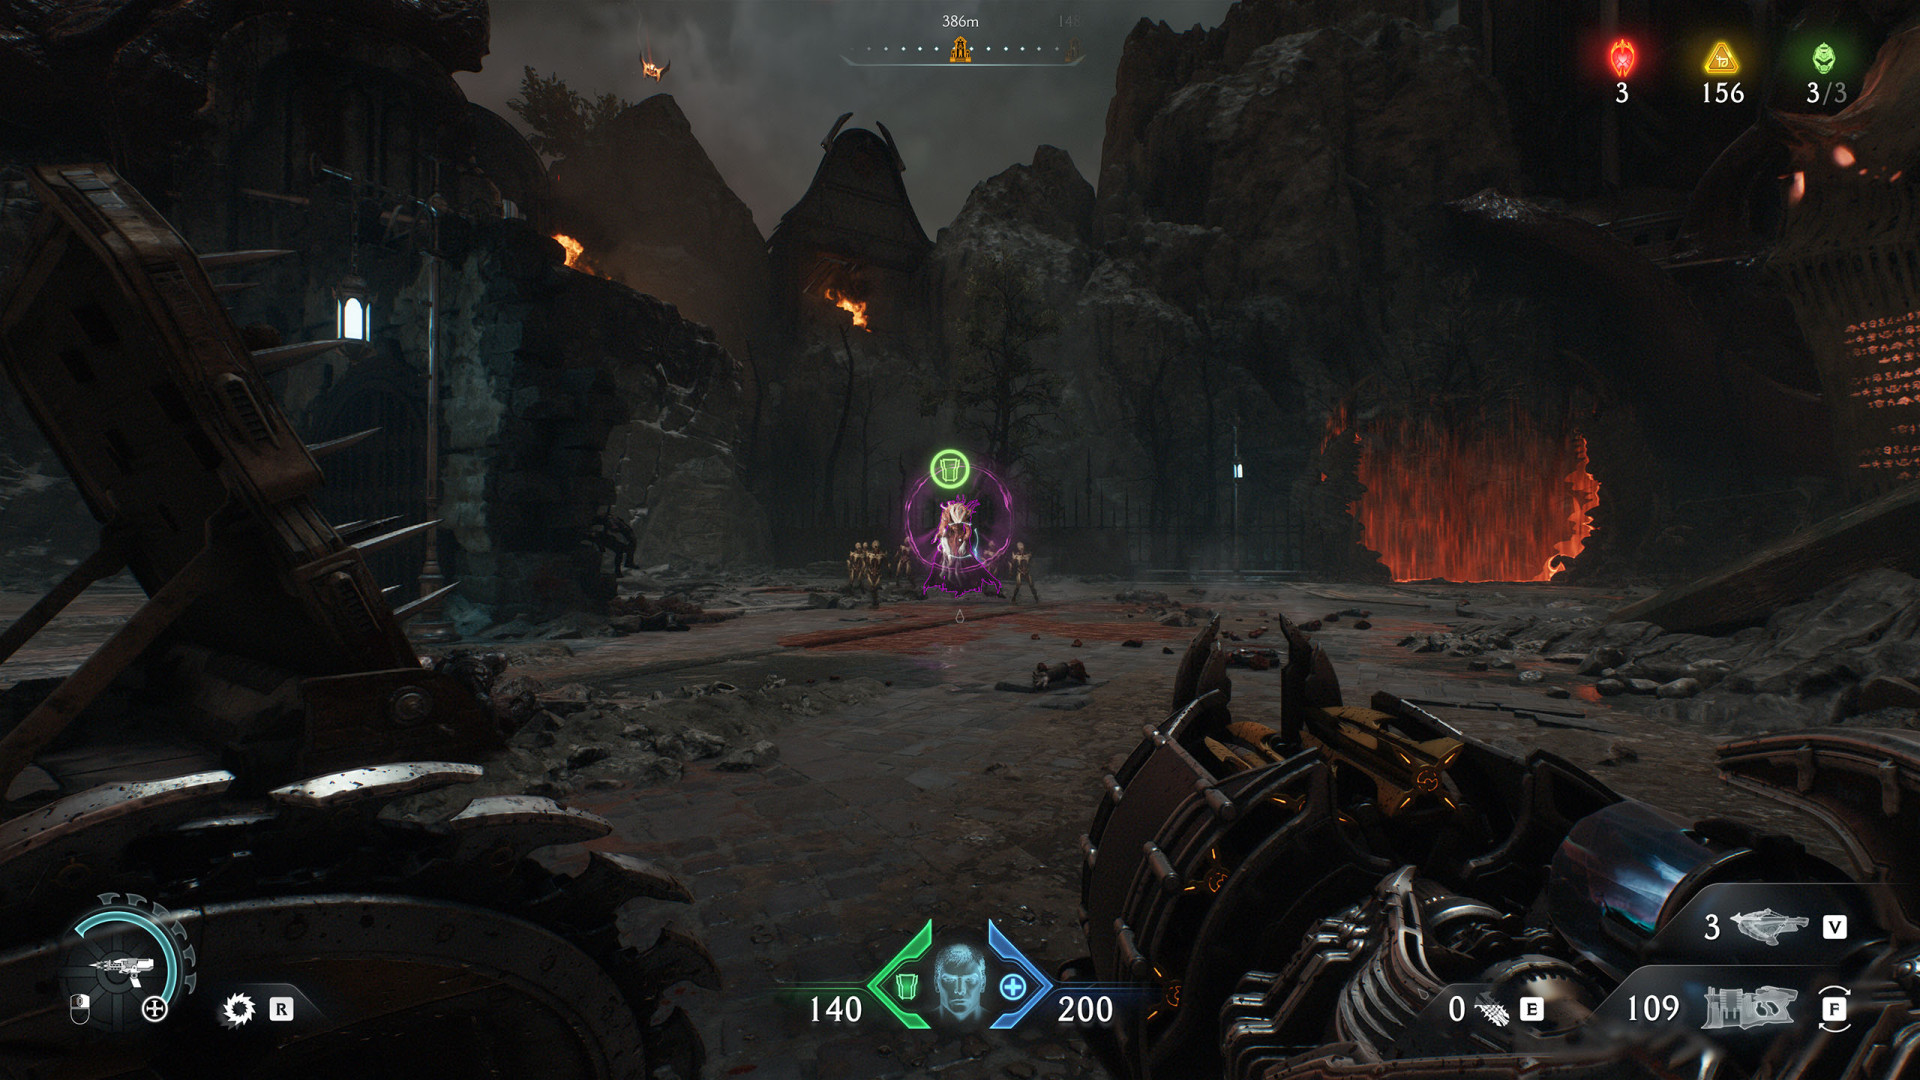
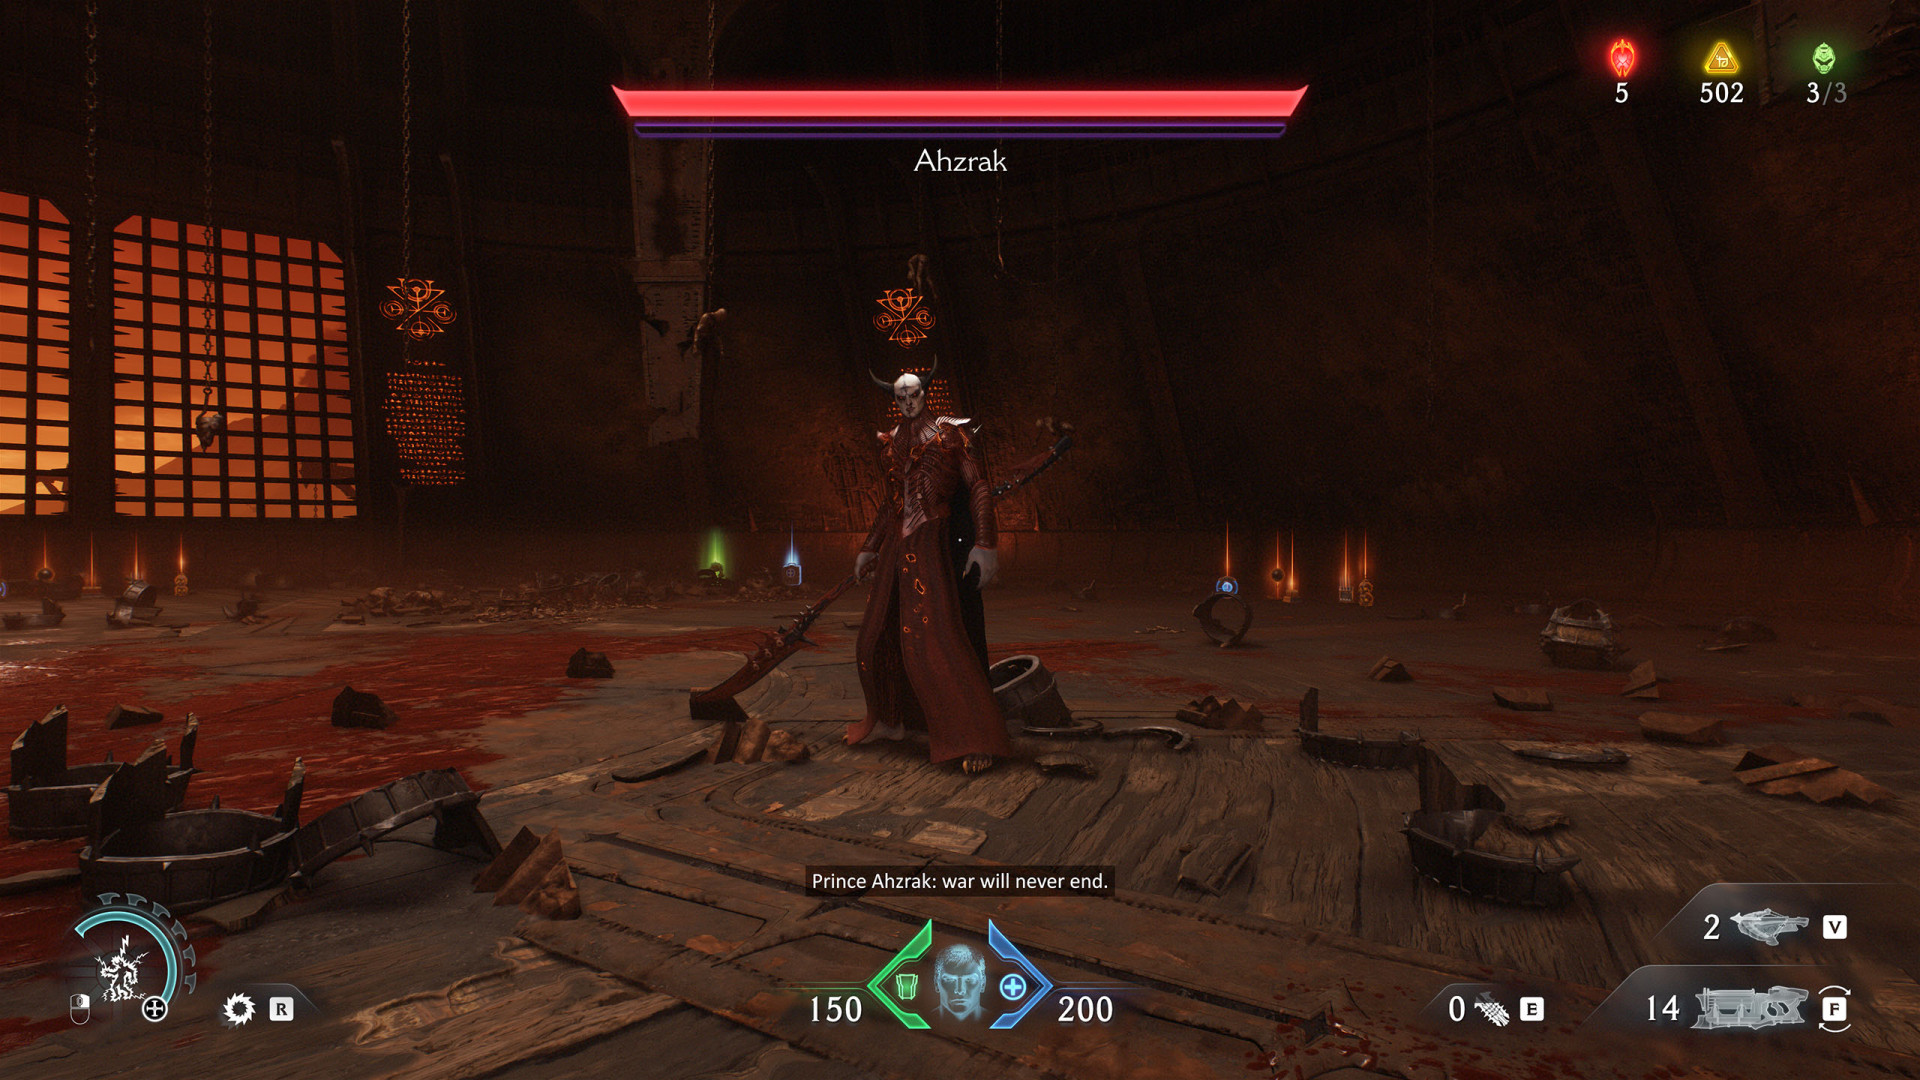
Ahzrak▶ show the map ◀
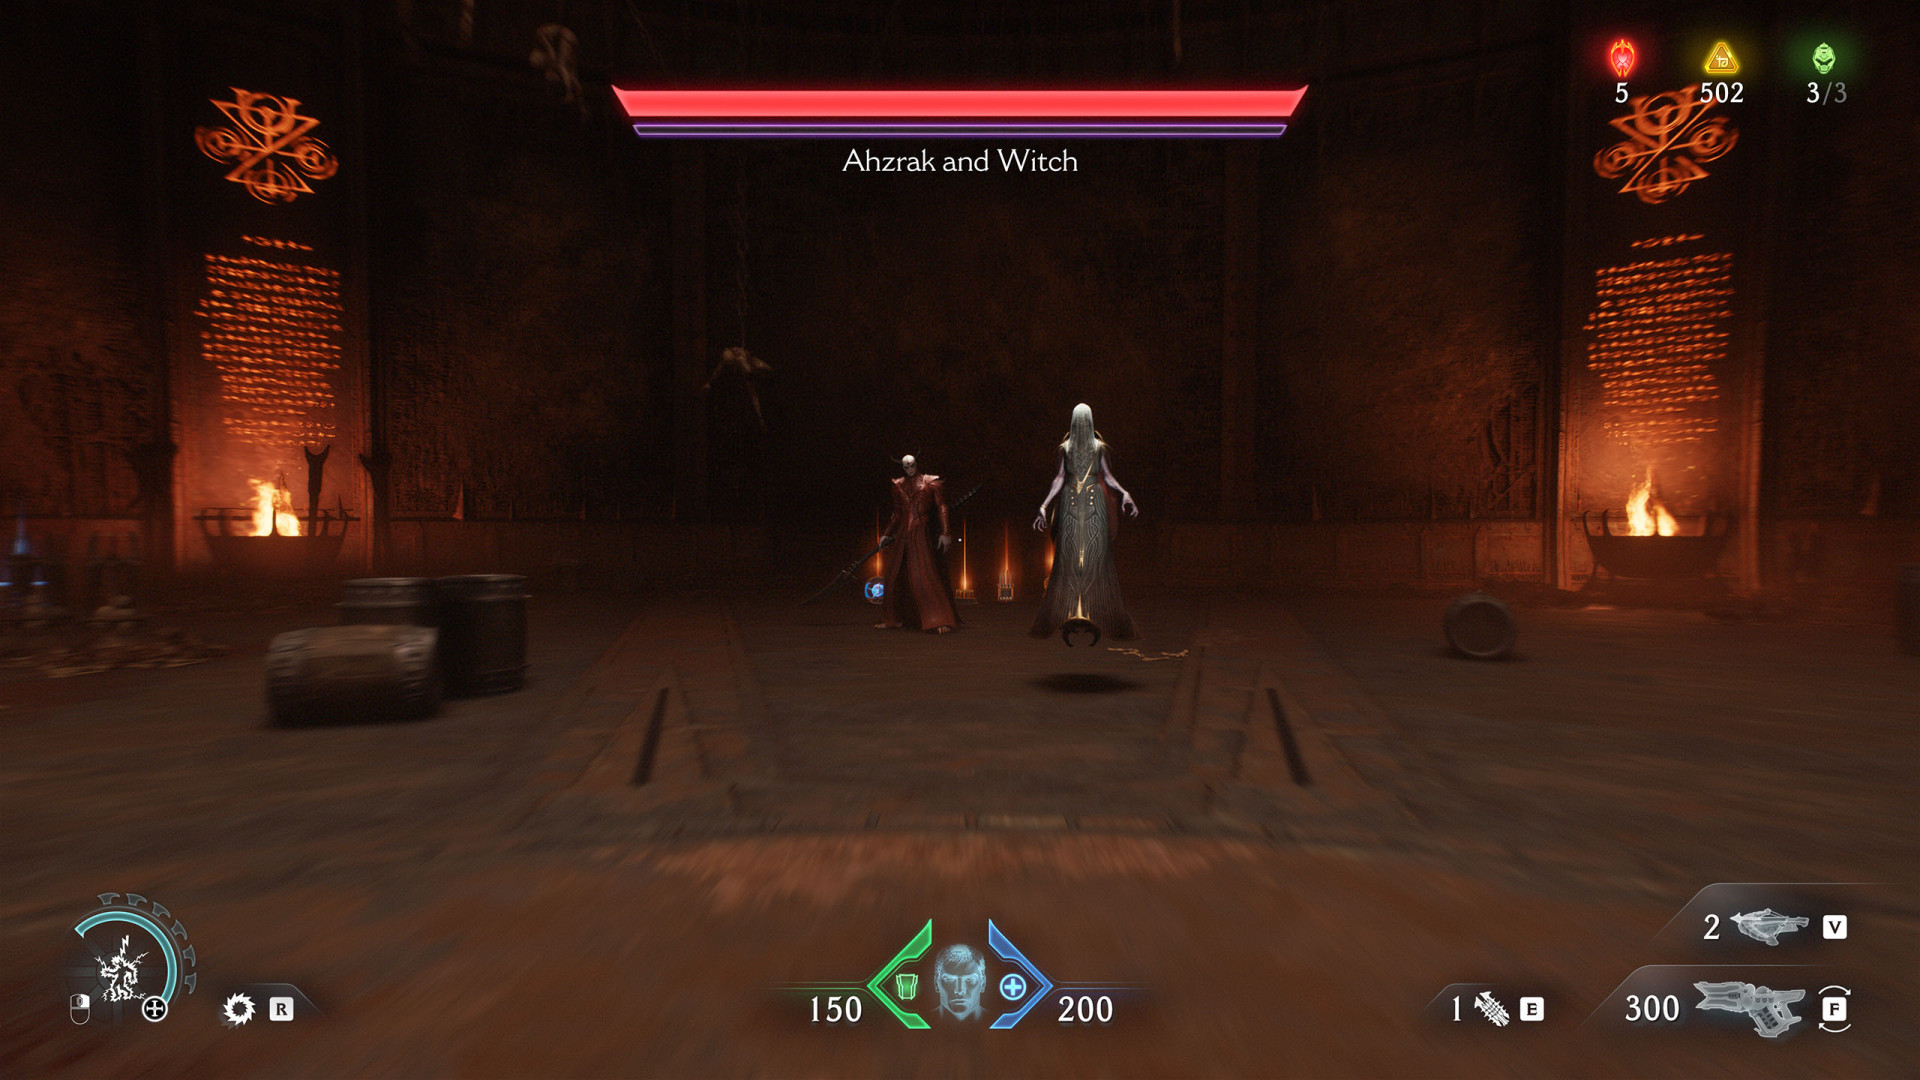
Ahzrak and Witch▶ show the map ◀
Large Encounter (Reckoning #1)▶ show the map ◀

Large Encounter (Reckoning #3)▶ show the map ◀
Small Encounter (Reckoning #1)▶ show the map ◀
Vagary Champion▶ show the map ◀