Side Quests Avowed Points of interest
Side quests are optional missions that players can complete alongside the main storyline. They provide extra rewards, such as experience points and unique items. Side quests can involve a variety of activities, including exploring hidden locations, helping NPCs, or fighting enemies.
Index
- A Cure for Rage
- A Home for Outcasts
- A Lady Never Tells
- A Relic from the Ashes
- Armor Fit for the Wilds
- Battle Scars
- Boundaries of Antiquity
- Bounty: Beetle Matriarch
- Bounty: Belderreno's Lair
- Bounty: Captain Tago
- Bounty: Congasar and Crusta
- Bounty: Delemgan
- Bounty: Destul
- Bounty: Farm Xaurips
- Bounty: Koda and Dario
- Bounty: Kukae Maka
- Bounty: Moi Piki
- Bounty: Nacib
- Bounty: Octav the Firebrand
- Bounty: Old Nuna
- Bounty: Ralga
- Bounty: Tempestuous Luandi
- Bounty: The Sporeking
- Bounty: The Trantons
- Bounty: The Yellowbands
- Bounty: Urvolnau
- Bounty: Xaurip Chieftain Grithin
- Cabin Fever
- Chorus of the Lost
- Dawntreader
- Debt of Blood
- Don't Look Down
- Elder Offerings
- Escape Plan
- Fires in the Mine
- First Contact with the Enemy
- Food Theft
- Forged of Star-Stuff
- Heart of Valor
- Home Sweet Home
- Homecoming
- Keep History Alive
- Lost Suoles
- Mapping the Living Lands: Dawnshore
- Mapping the Living Lands: Emerald Stair
- Mapping the Living Lands: Galawain's Tusks
- Mapping the Living Lands: Shatterscarp
- Memory of the Deep
- Missing Rangers
- Nature vs. Nurture
- One Last Drink
- Precious Light
- Scofflaw's Vase
- Steel Resolve
- That Which Remains
- The Call of the Past
- The Sinkhole Stroll
- The Wasteland Courier
- Totem of Defiance
- Totem of Perseverance
- Totem of Revelations
- Totem of Rightful Rulership
- Wardens Warding
All known locations on the map Dawnshore
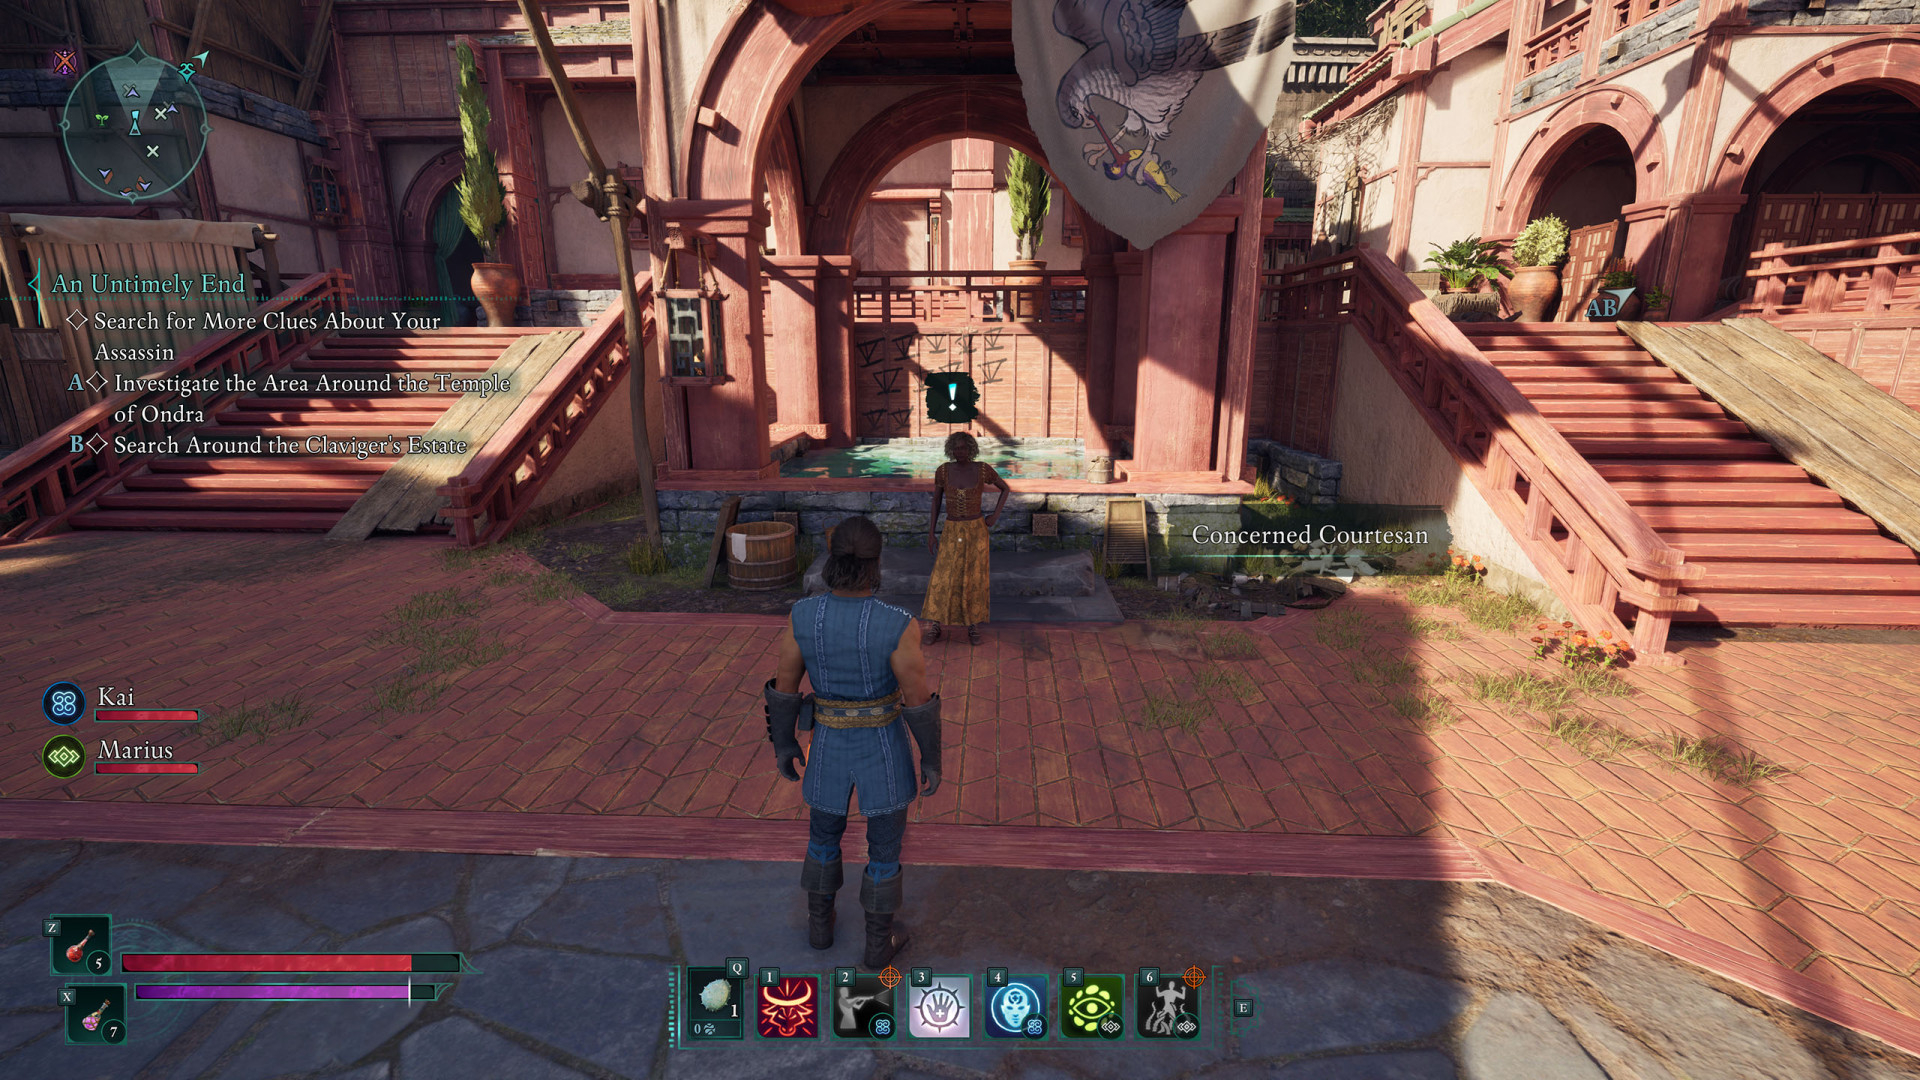
 A Lady Never Tells▶ show the map ◀
How to start: Talk to the Concerned Courtesan.
Description: Giuliana, the proprietress of The Mermaid's Den, believes a local gang - the Sparrowhawks - have stolen her shipment. Since she lacks the authority to contend with them herself, she asked you to find it. She offered to compensate you handsomely for your trouble.
Reward: Night-Mistress' Favor + 300 copper or 700 copper.
Objectives:
1. Speak to Giuliana - A courtesan outside The Mermaid's Den asked you to speak with Giuliana, the bathhouse's owner. A woman as busy as her will likely be inside at her desk.
2. Find Guliana's Shipment - Giuliana says the Sparrowhawks are likely hiding her shipment in one of the warehouses on the docks. She seems evasive about what it contains.
Update: You obtained the key to the warehouse where Giuliana's shipment is being stored. Now to go get it.
3. Deliver Giuliana's Shipment - Now that you have Giuliana's shipment, return to The Mermaid's Den and give it to her. Whether you choose to mention the contraband inside is another matter.
Summary: With Giuliana's shipment returned, the bathhouse can resume business as usual.
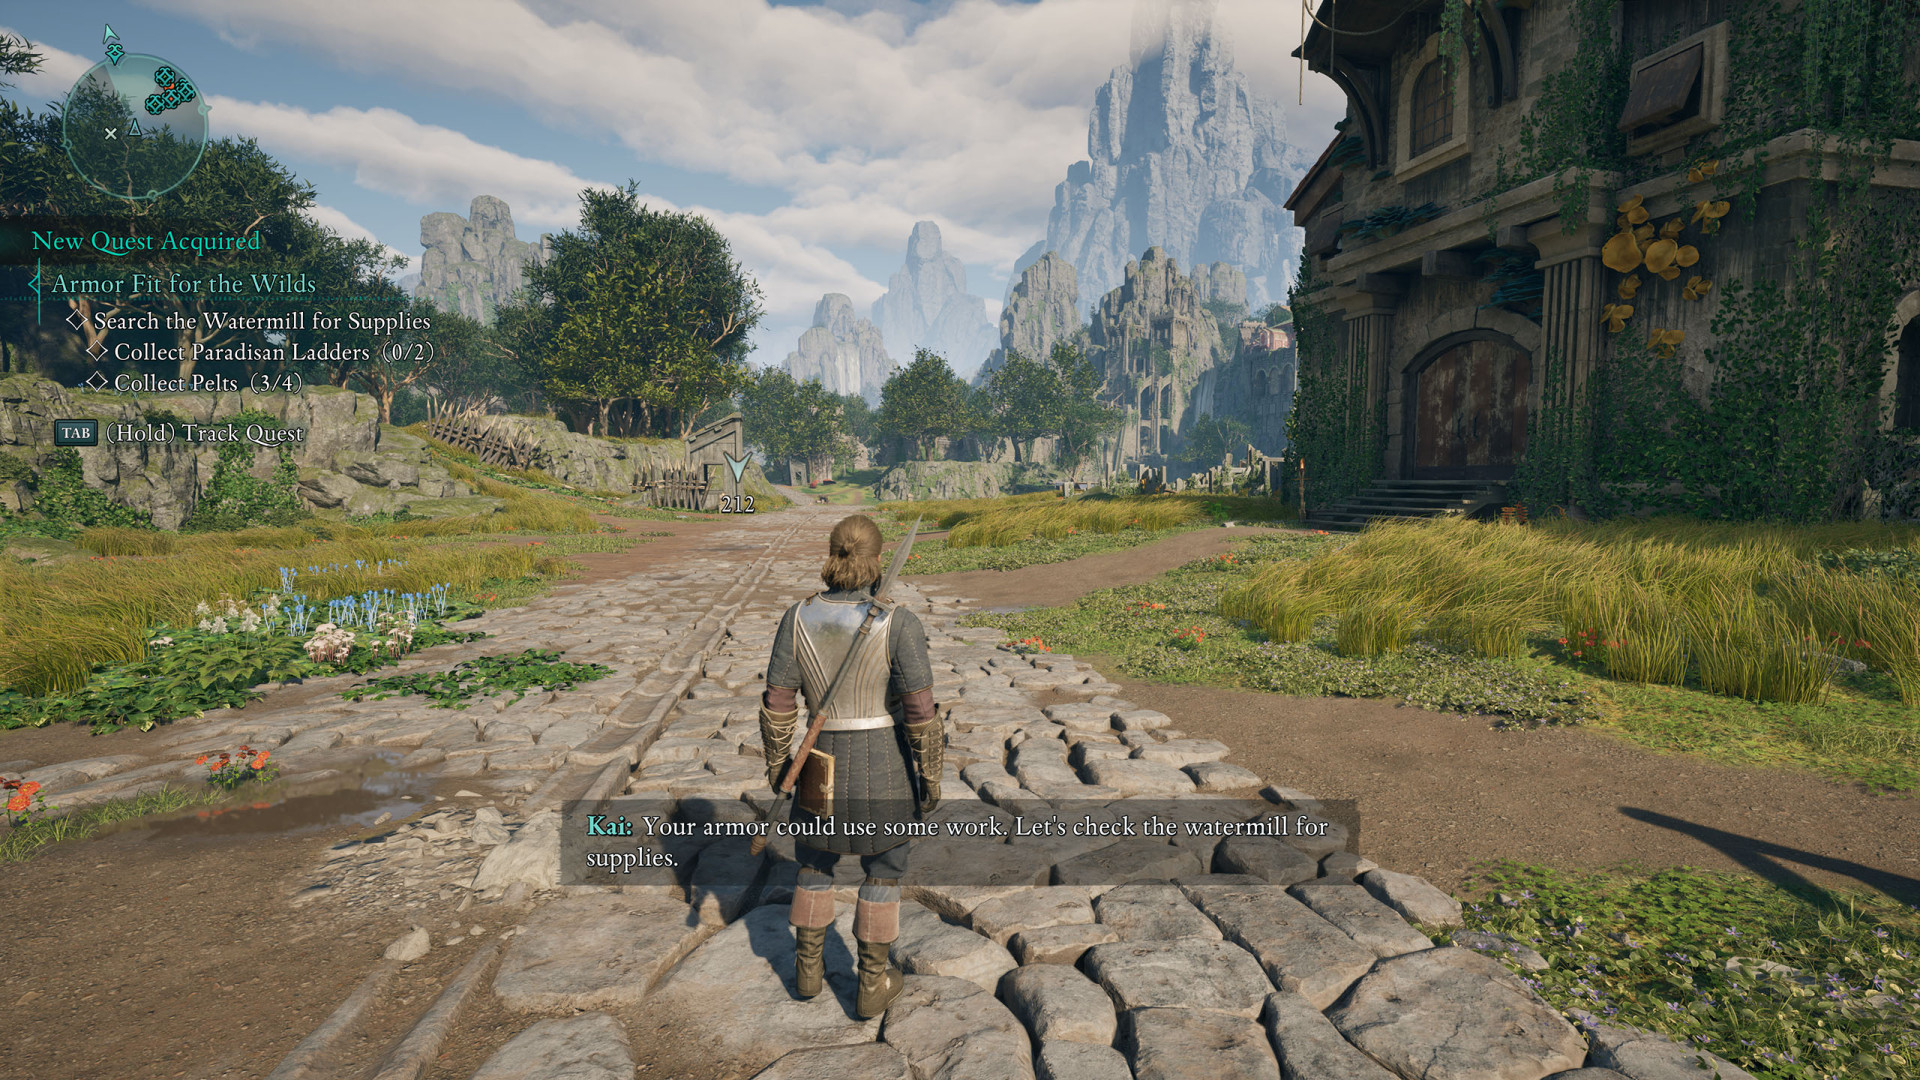
Armor Fit for the Wilds▶ show the map ◀
How to start: You will receive this quest automatically when you come close to the watermill in Dawnshore.
Description: To survive in the Living Lands, you'll need to scavenge for supplies to upgrade your gear.
Objectives:
1. Search the Watermill for Supplies - Kai believes you can find all the types of upgrade materials around the Watermill in Dawnshore.
1.1. Collect Paradisan Ladders x2 - Paradisian Ladders grow throughout Dawnshore.
1.2. Collect Pelts x4 - Pelts and other armor materials can be found on enemies, in chests, and in other lootable containers.
2. Upgrade Your Armor at the Workbench - Head back to the party camp and use the workbench in order to upgrade your armor.
Summary: You've successfully upgraded your armor and are ready to take on tougher opponents.
Bounty: Nacib▶ show the map ◀
How to start: Read the wanted poster pinned to the board.
Description: You've acquired a bounty notice for Nacib, located in her nest beneath Paradis. You must return proof of your kill to Aldrich in Paradis in order to claim your reward.
Related: Nacib.
Reward: 500 copper.
Objectives:
1. Kill Nacib - Find and kill Nacib in her nest beneath Paradis.
2. Collect Proof of Your Kill - You've killed Nacib - take the trophy from her corpse to use as proof of your kill.
Collect the Nacib's Leg.
3. Claim Your Reward - Return to the bounty master in Paradis and claim your reward.
Summary: You killed Nacib and completed the bounty.
Bounty: Octav the Firebrand▶ show the map ◀
How to start: Read the wanted poster pinned to the board.
Description: You’ve acquired a bounty notice for Octav the Firebrand, located at the Godless ruins northwest of Paradis. You must return proof of your kill to Aldrich in Paradis in order to claim your reward.
Related: Octav the Firebrand.
Reward: 500 copper.
Objectives:
1. Kill Octav the Firebrand - Find and kill Octav the Firebrand at the Godless ruins northwest of Paradis.
2. Collect Proof of Your Kill - You've killed Octav the Firebrand - take the trophy from his corpse to use as proof of your kill.
Collect the Octav's Adra Tooth.
3. Claim Your Reward - Return to the bounty master in Paradis and claim your reward.
Return to the Bounty Master Aldrich.
Summary: You killed Octav the Firebrand and completed the bounty.
Bounty: Ralga▶ show the map ◀
How to start: Read the wanted poster pinned to the board.
Description: You've acquired a bounty notice for Ralga, located Mercenary Falls. You must return proof of your kill to Aldrich in Paradis in order to claim your reward.
Related: Ralga.
Reward: 500 copper.
Objectives:
1. Kill Ralga - Find and kill Ralga at Mercenary Falls.
2. Collect Proof of Your Kill - You've killed Ralga - take the trophy from his corpse to use as proof of your kill.
Collect the Ralga's Head.
3. Claim Your Reward - Return to the bounty master in Paradis and claim your reward.
Summary: You killed Ralga and completed the bounty.
Bounty: Tempestuous Luandi▶ show the map ◀
How to start: Read the wanted poster pinned to the board.
Description: You've acquired a bounty notice for Tempestuous Luandi, located at the Ship Graveyard east of the Shantytown. You must return proof of your kill to Aldrich in Paradis in order to claim your reward.
Related: Tempestuous Luandi.
Reward: 500 copper.
Objectives:
1. Kill Tempestuous Luandi - Find and kill Tempestuous Luandi at the ship graveyard east of the Shantytown.
2. Collect Proof of Your Kill - You've killed Tempestuous Luandi - take the trophy from her corpse to use are proof of your kill.
Collect the Luandi's Glass Eye.
3. Claim Your Reward - Return to the bounty master in Paradis and claim your reward.
Summary: You killed Tempestuous Luandi and completed the bounty.
Bounty: The Yellowbands▶ show the map ◀
How to start: Read the wanted poster pinned to the board.
Description: You’ve acquired a bounty notice for the Yellowbands located east of Paradis in their camp. You must return proof of your kills to Aldrich in Paradis in order to claim your reward.
Related: The Yellowbands.
Reward: 500 copper.
Objectives:
1. Kill The Yellowbands - Find and kill the Yellowbands at their camp east of Paradis.
2. Collect Proof of Your Kill - You've killed the Yellowbands - take all of the yellow armbands from their corpses to use as proof of your kills.
Collect the Yellow Armband x5.
3. Claim Your Reward - Return to the bounty master in Paradis and claim your reward.
Summary: You killed the Yellowbands and completed the bounty.
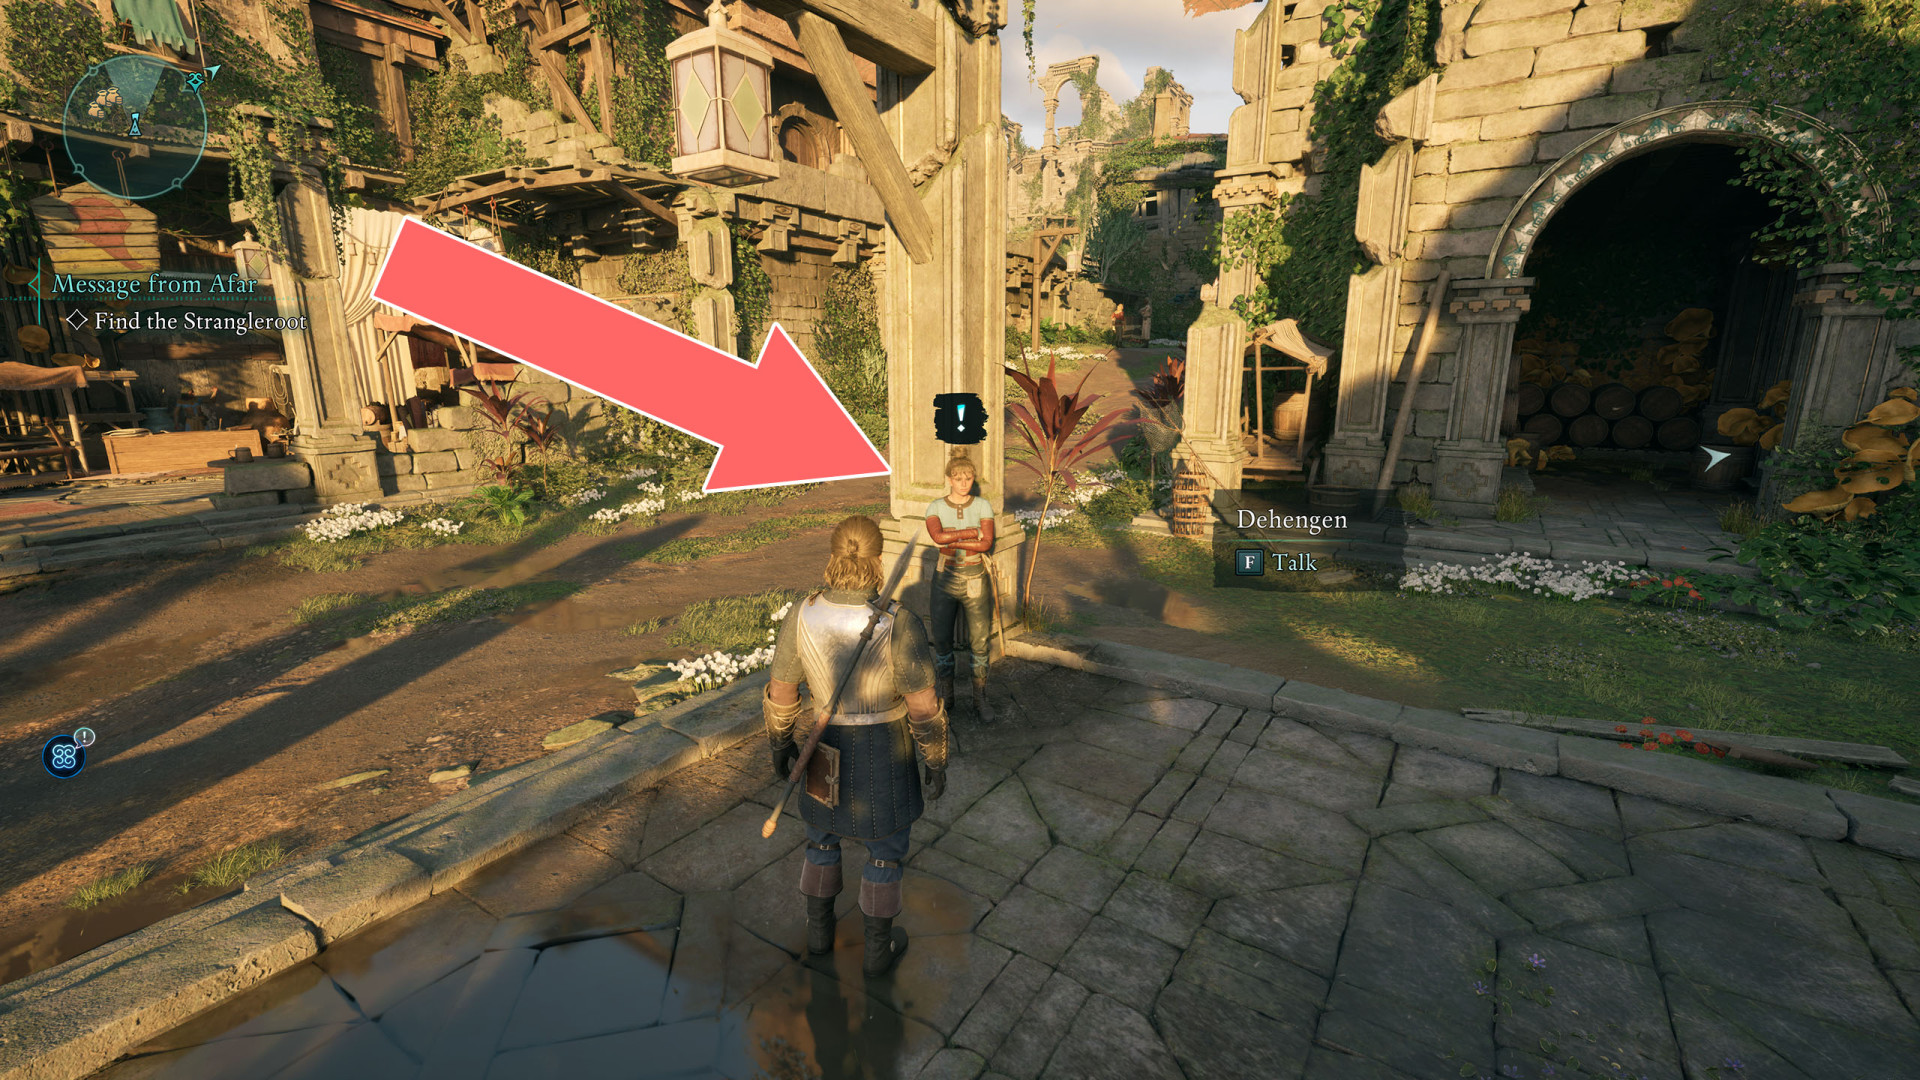
Cabin Fever▶ show the map ◀
How to start: Talk to Dehengen.
Description: A band of xaurips chased Dehengen, a local settler, out of her home. She asked you to drive them away so that she can return. Curiously, she expressed a desire to consult a Watcher about the problem, which suggests that she believes there may be a supernatural element to the problem.
Related: Dehengen's Cottage, Crude Wall Painting, Dehengen's Journal.
Reward: Vindictive Band (If you convince Dehengen to give her soul twin a chance.)
Objectives:
1. Find Dehengen's Cabin - Dehengen gave you the key to her house. She described it as a cabin nestled in a mountain to the west. Go there and investigate.
2. Defeat the Xaurips in Dehengen's Cabin - The xaurips that Dehengen warned you about have taken over the cabin. No matter why they were drawn to the place, Dehengen can't return home until the place is free of them.
3. Investigate the Cabin - Look around the cabin for signs of the missing xaurip leader.
4. Ask Dehengen About Your Findings - The evidence in Dehengen's cabin indicates the xaurip leader may have wanted to make contact with her. Tell her what you found. She may know more than she lets on.
5. Convince Dehengen to Give Her Soul Twin a Chance - If what Dehengen said about the xaurip leader is true, the two can only resolve their dilemma by living together in peace. It would be an unconventional friendship, but perhaps worth the attempt.
Summary (1): Dehengen and the xaurip warchief are learning to live together in peace.
or
Summary (2): Dehengen decided some things are better off left alone. She moved to Paradis' Shantytown, where she pursues a new fate.
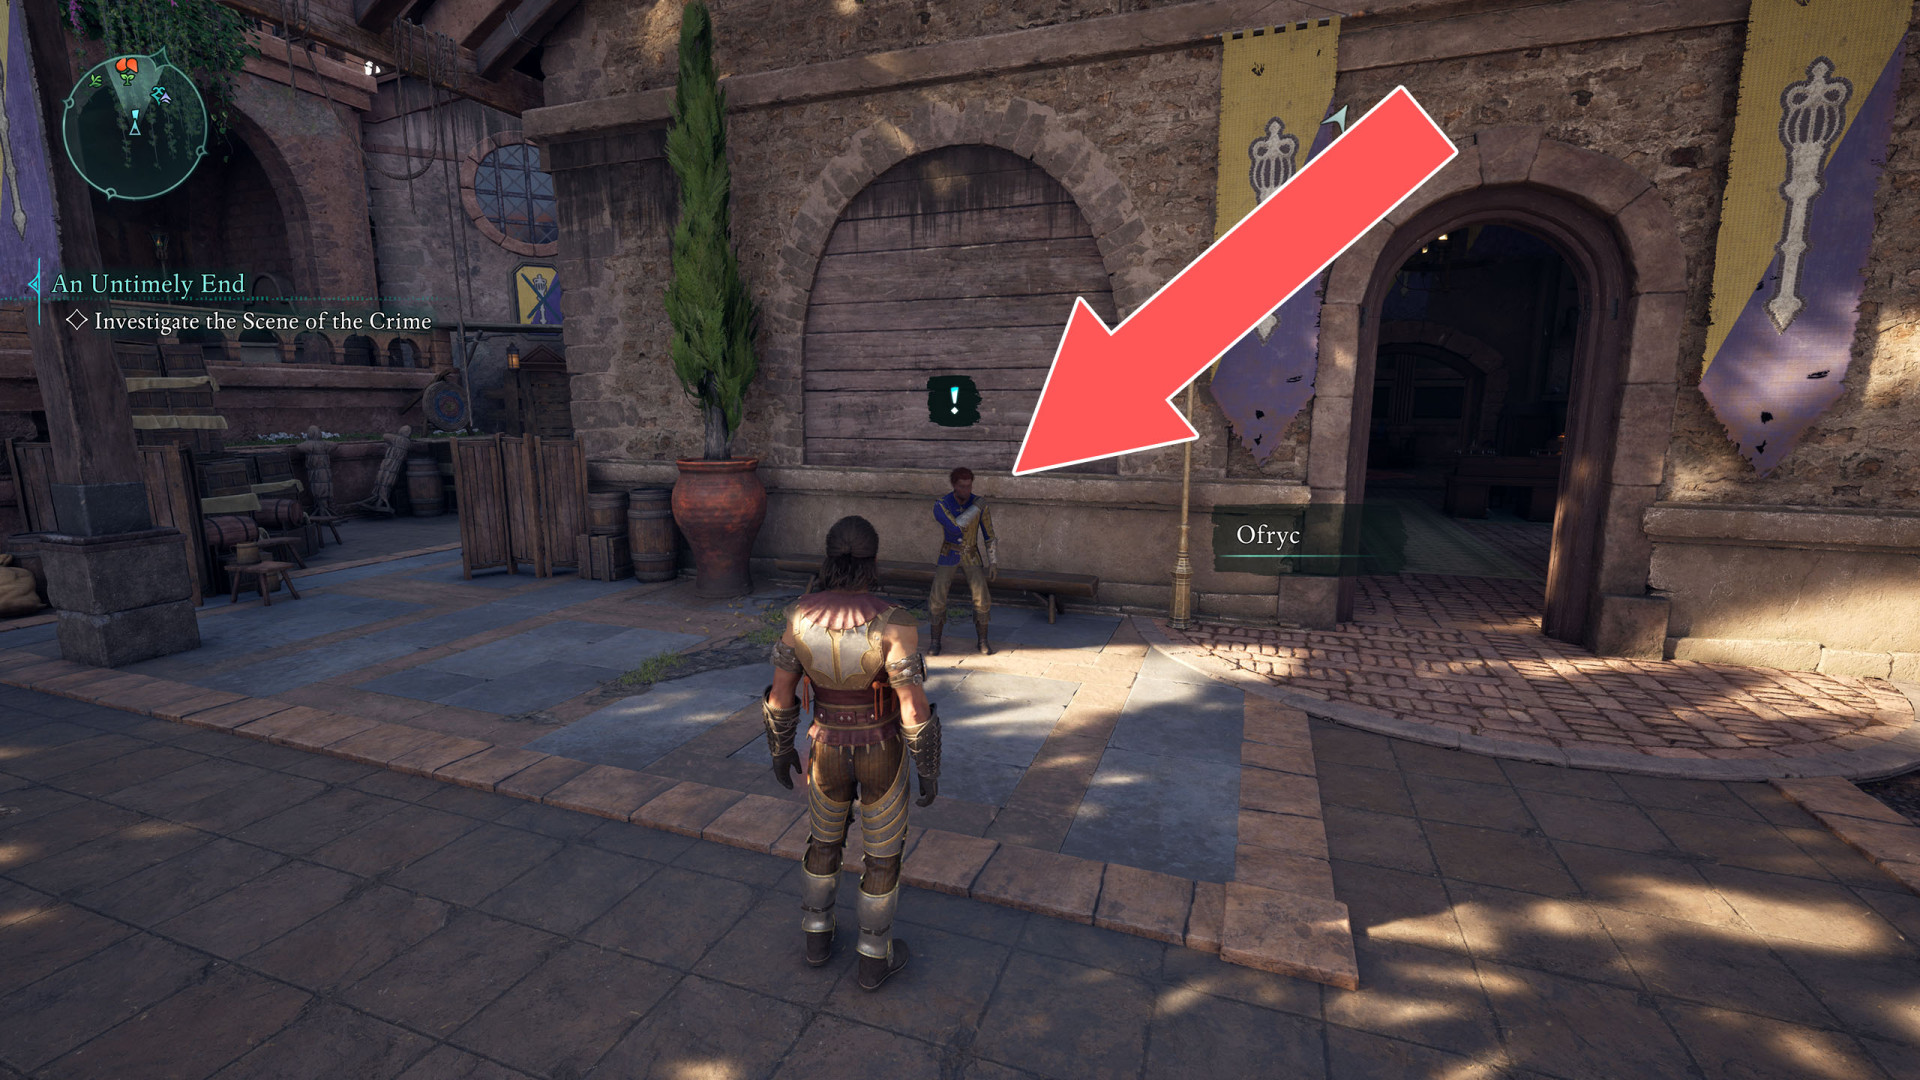
Dawntreader▶ show the map ◀
How to start: Talk to Ofryc.
Description: An Aedyran expedition went missing while exploring a Temple of Eothas in northern Dawnshore. Ofryc, one of the expedition's scouts, asked you to discover what became of his team - particularly his brother, Caedmon.
Objectives:
1. Find the Aedyran Expedition Team - The expedition descended into the Temple of Eothas in search of a holy relic. They entered the temple from the Pilgrim's Path, a trail located somewhere in northern Dawnshore.
Talk to Secgwin & Kauia.
Update: Secgwin, an Aedyran guard keeping watch outside the temple cave, said the expedition team brought a number of supplies and weapons into the cave system, so you should expect a trial.
Update: You've found signs of recent passage through the cave system. Muddy footprints and triggered traps - it could be the Aedyrans.
Talk to Caedmon. Give him a healing potion to make sure he survives.
Update: You found Caedmon, an injured expedition scout, in the Godless ruins. He said the expedition went deeper into the cave system. You healed him and sent him back to the embassy.
or
Update: You found Caedmon, an injured expedition scout, in the Godless ruins. He said the expedition went deeper into the cave system. Caedmon succumbed to his injuries and died.
Read the Inquisitor's Request.
Update: You found a note belonging to the leader of the Aedyran Expedition. It suggests the team came here at the request of Inquisitor Lödwyn.
2. (Optional) Speak to the Oracle of Eothas - Caedmon, one of the expedition's scouts, believes Sargamis, the Oracle of Eothas, knows what's become of the expedition. Find the Oracle in the heart of the temple.
Talk to Sargamis.
Update: You've seen no sign of the expedition, but you know they came to this temple in search of a relic, which the Oracle has told you is housed deep in the temple. Perhaps you'll find the expedition team in the temple depths.
3. (Optional) Retrieve the Relic - The Oracle told you he's constructing a statue of Eothas, and he needs a relic called the Splinter of Eothas to complete his design. He's asked you to retrieve it from the temple depths.
Find the Splinter of Eothas.
4. (Optional) Continue searching for the Aedyran Expedition - You found no sign of the missing expedition in the temple depths, and removing the Splinter of Eothas from its plinth caused the ruins to flood. If the expedition is still alive down here, you'd better find them quickly.
Find the Gjeda's Journal.
Update: You discovered the bodies of the Aedyran expedition team in the Oracle's workshop. Based on a journal you found on the expedition leader's body, she believed she was suffering from the effects of the Dreamscourge.
Read the On the Binding of Souls and probably other notes you found in the Eothasian Temple dungeon.
Update: Books, papers, and tools in the Oracle's workshop lead you to believe he may have siphoned the souls from the expedition team into some sort of construct with the help of animancy.
5. (Optional) Return to the Oracle - You found the Splinter of Eothas deep in the temple complex. Deliver the relic to the Oracle to help him complete his statue of Eothas.
6. (Optional) Place the Splinter of Eothas in the Statue - The Oracle asked you to place the relic in the statue's chest. Once you do so, his statue will finally be complete.
7. (Optional) Pull the Lever at the Workstation - With the relic safely ensconced in the statue, the Oracle asked you to pull the lever at his workstation to fill the statue with essence. Do so and return Eothas to the world to face judgment.
8. (Optional) Speak to the Oracle - Though the statue is complete, filling it with essence did not return Eothas to the world. Perhaps the oracle has another idea.
9.1. (Optional) Stand Beneath the Animancy Device - You agreed to sacrifice your soul to return Eothas to the world to face judgment. Stand beneath the Oracle's animancy device when you're ready to meet your end.
9.2. (Optional) Contemplate Your Imminent Death - You stood beneath the Oracle's device as directed. Make peace with the choices that led you to this moment as you await your sacrifice. - YOU WILL DIE!
or
10.1. (Optional) Observe the Oracle's Death - The Oracle is certain that the sacrifice of a godlike's soul is necessary to return Eothas to the world, and you convinced him that the sacrifice must be his. Bear witness to his final moments.
10.2. (Optional) Press the Button at the Workstation - The Oracle must give his life to complete his work. Press the button at his workstation to send his soul into his statue.
10.3. (Optional) Pull the Lever at the Workstation - You sacrificed the Oracle's soul and put it in his statue. Pull the lever at his workstation one final time, and summon Eothas to judgment.
11.1. (Optional) Speak to the Voice - The Oracle transferred his soul into the statue of Eothas, but it seemed to have no effect. Now he's dead and the Voice would like to have a word.
11.2 (Optional) Pull the Lever at the Workstation - The Voice would like you to preserve the statue for their use once they're free, but it is occluded with essence. Flush the essence from the statue at the Oracle's workstation.
12. Speak to Ofryc - Ofryc will want to know what happened here. Find him outside the Aedyran embassy in Paradis.
Summary (1): You gave the statue to the Voice and returned to Ofryc to let him know what became of his expedition.
or
Summary (2): You left the cave without deciding the fate of the statue and returned to Ofryc to let him know what became of his expedition.
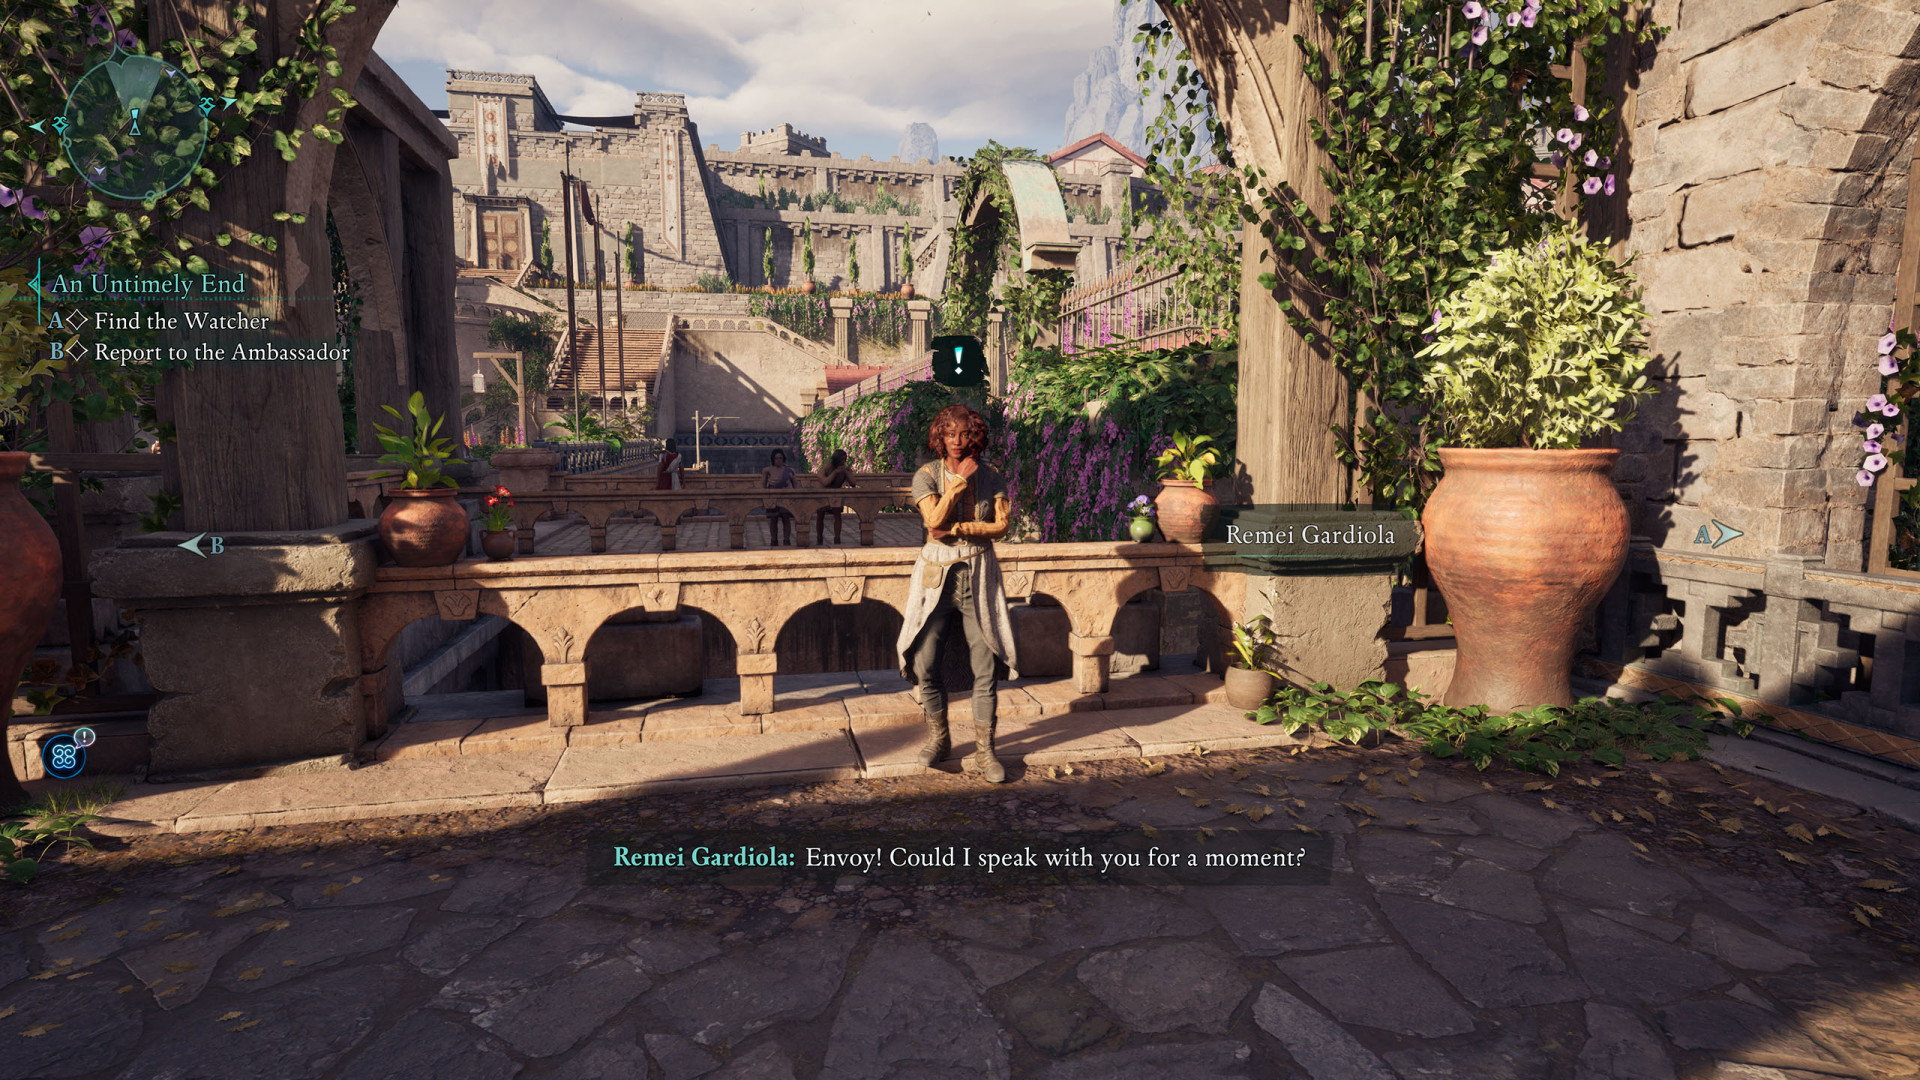
Escape Plan▶ show the map ◀
How to start: Talk to Remei Gardiola.
Description: A young couple with a checkered past wants to flee the Aedyran authorities in Paradis to live in Thirdborn. Remei, a friend of the couple, has asked you to procure the supplies they need to survive.
Objectives:
1.1. Acquire Ondra's Kiss - Ondra's Kiss is a medicinal herb with myriad uses, including restoring lost eyesight under certain circumstances. It grows near the chasm east of Paradis.
Collect the Ondra's Kiss.
1.2. Acquire the Land Deeds - The refugees have purchased deeds for land in Thirdborn. The person they bought the deeds from is located in the Artisan's District in Paradis.
Collect the Thirdborn Land Deeds.
2. Bring the Supplies to the Refugees - Now that you have the supplies, bring them to the refugees. The couple is hiding in the shantytown. Once they see you with the goods, they'll open the door.
Talk to Glaedwine & Leoflaed.
3. (Optional) Report the Refugees to Captain Aelfyr - The refugees admitted to killing two people in Aedyr. Despite the mitigating circumstances, murder is a punishable offense under Aedyran law. Report them to Captain Aelfyr in Hightown. Reward: 225 copper.
Summary: You turned in the Aedyran refugees to Captain Aelfyr for their past crimes.
or
4. Confront the Smugglers - Leoflaed claims that the smugglers who brought her and Glaedwine to the shantytown doubled the agreed upon price after learning the two were Aedyran. Negotiate the price or pay the smugglers' fee.
5. Return to Leoflaed - You worked out a deal with the smugglers, and they have agreed to bring the refugees to Thirdborn. You should return to Leoflaed with the good news.
Summary: You negotiated a deal with the smugglers, who will ferry the refugees to Thirdborn.
Summary: You killed the smugglers. Now the refugees can commandeer their boat and sail to Thirdborn.
Reward: Softwood Branch x10, Pelt x10, Paradisan Ladder x2, Iron Chunk x10.
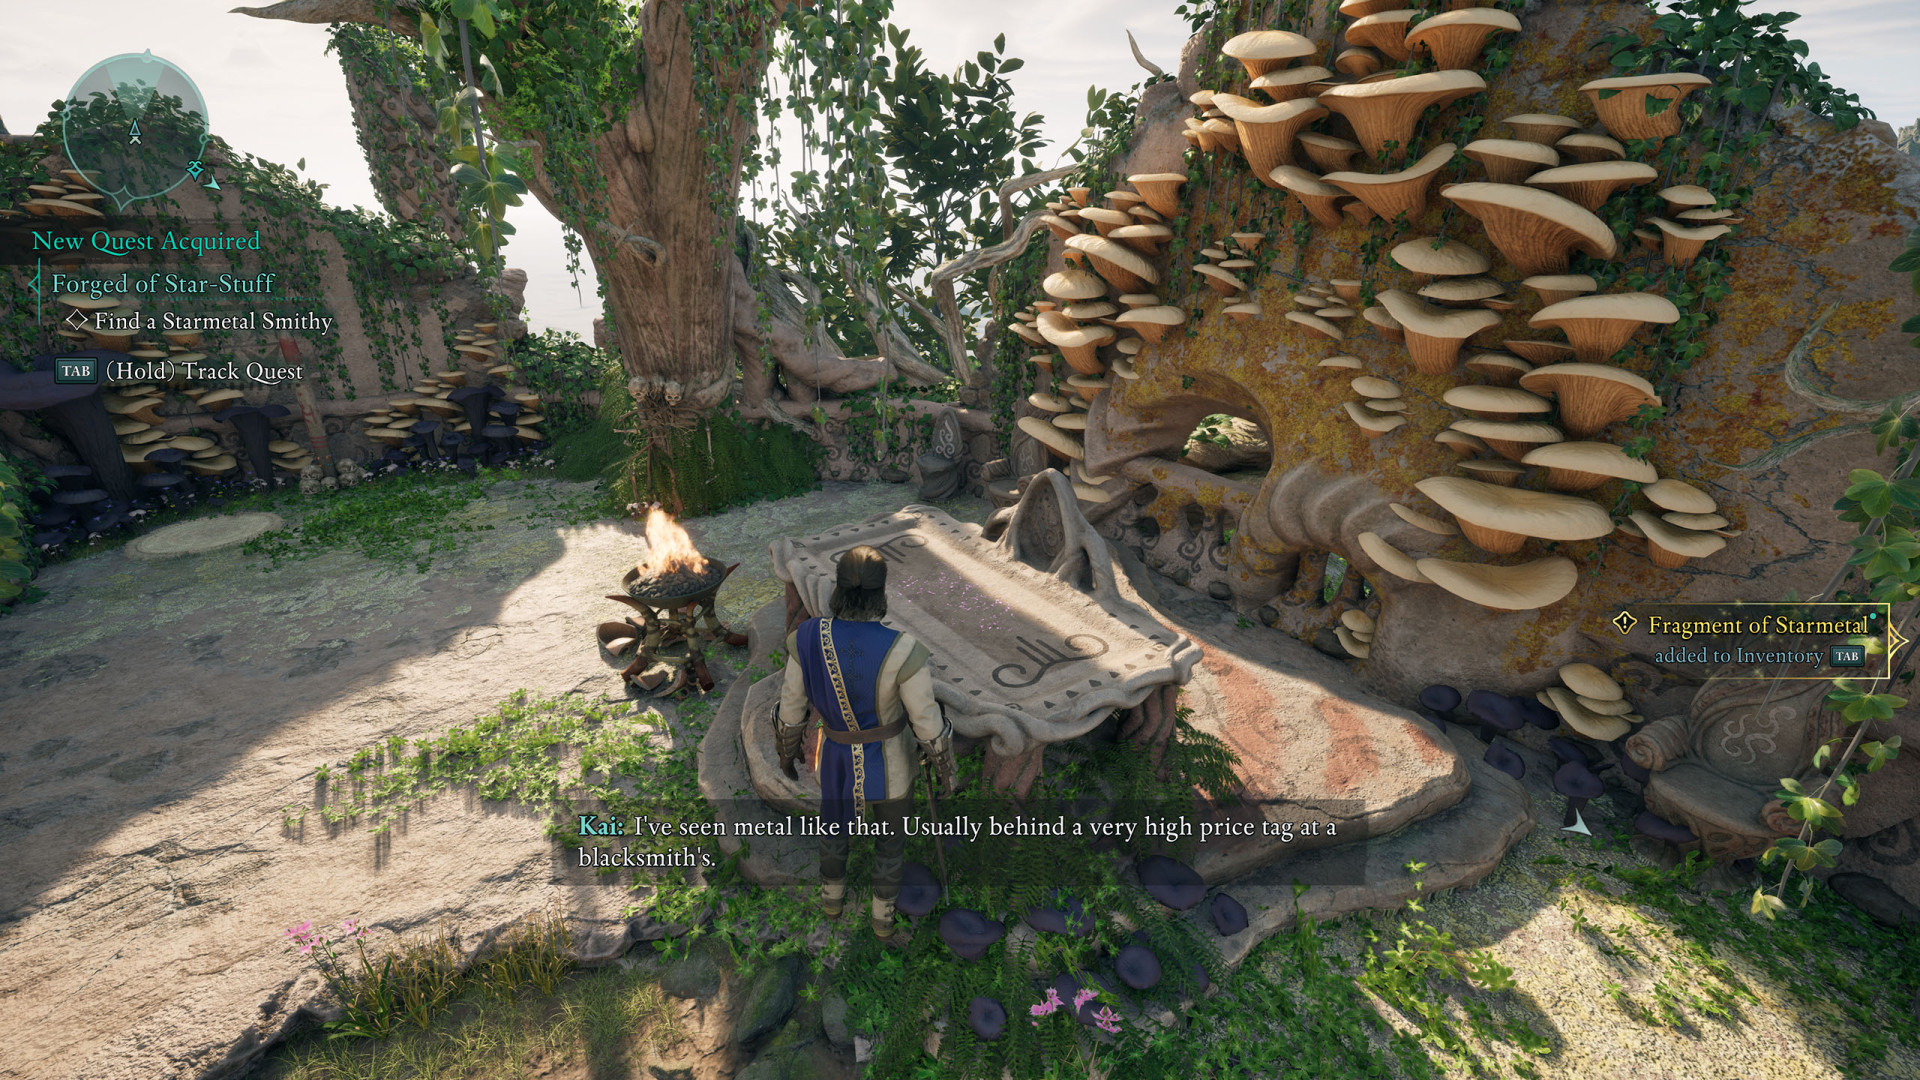
Forged of Star-Stuff▶ show the map ◀
How to start: find the first Fragment of Starmetal.
Description: You found a rare piece of starmetal. With the help of a talented smith, maybe it can be worked into something useful.
Objectives:
1. Find a Starmetal Smithy - Someone in the Living Lands must know how to craft with starmetal. If not, they might know of someone who can.
To get some info in Dawnshore you can talk to Merchant Valtur and Gweneth.
Update: Valtur said that Gweneth, the armorer in Paradis, might know about starmetal.
Update: Gweneth cannot work starmetal, but believes someone in Solace Keep might be able to help.
Update: Kampeki recommended speaking to the Forgemaster of Solace Keep.
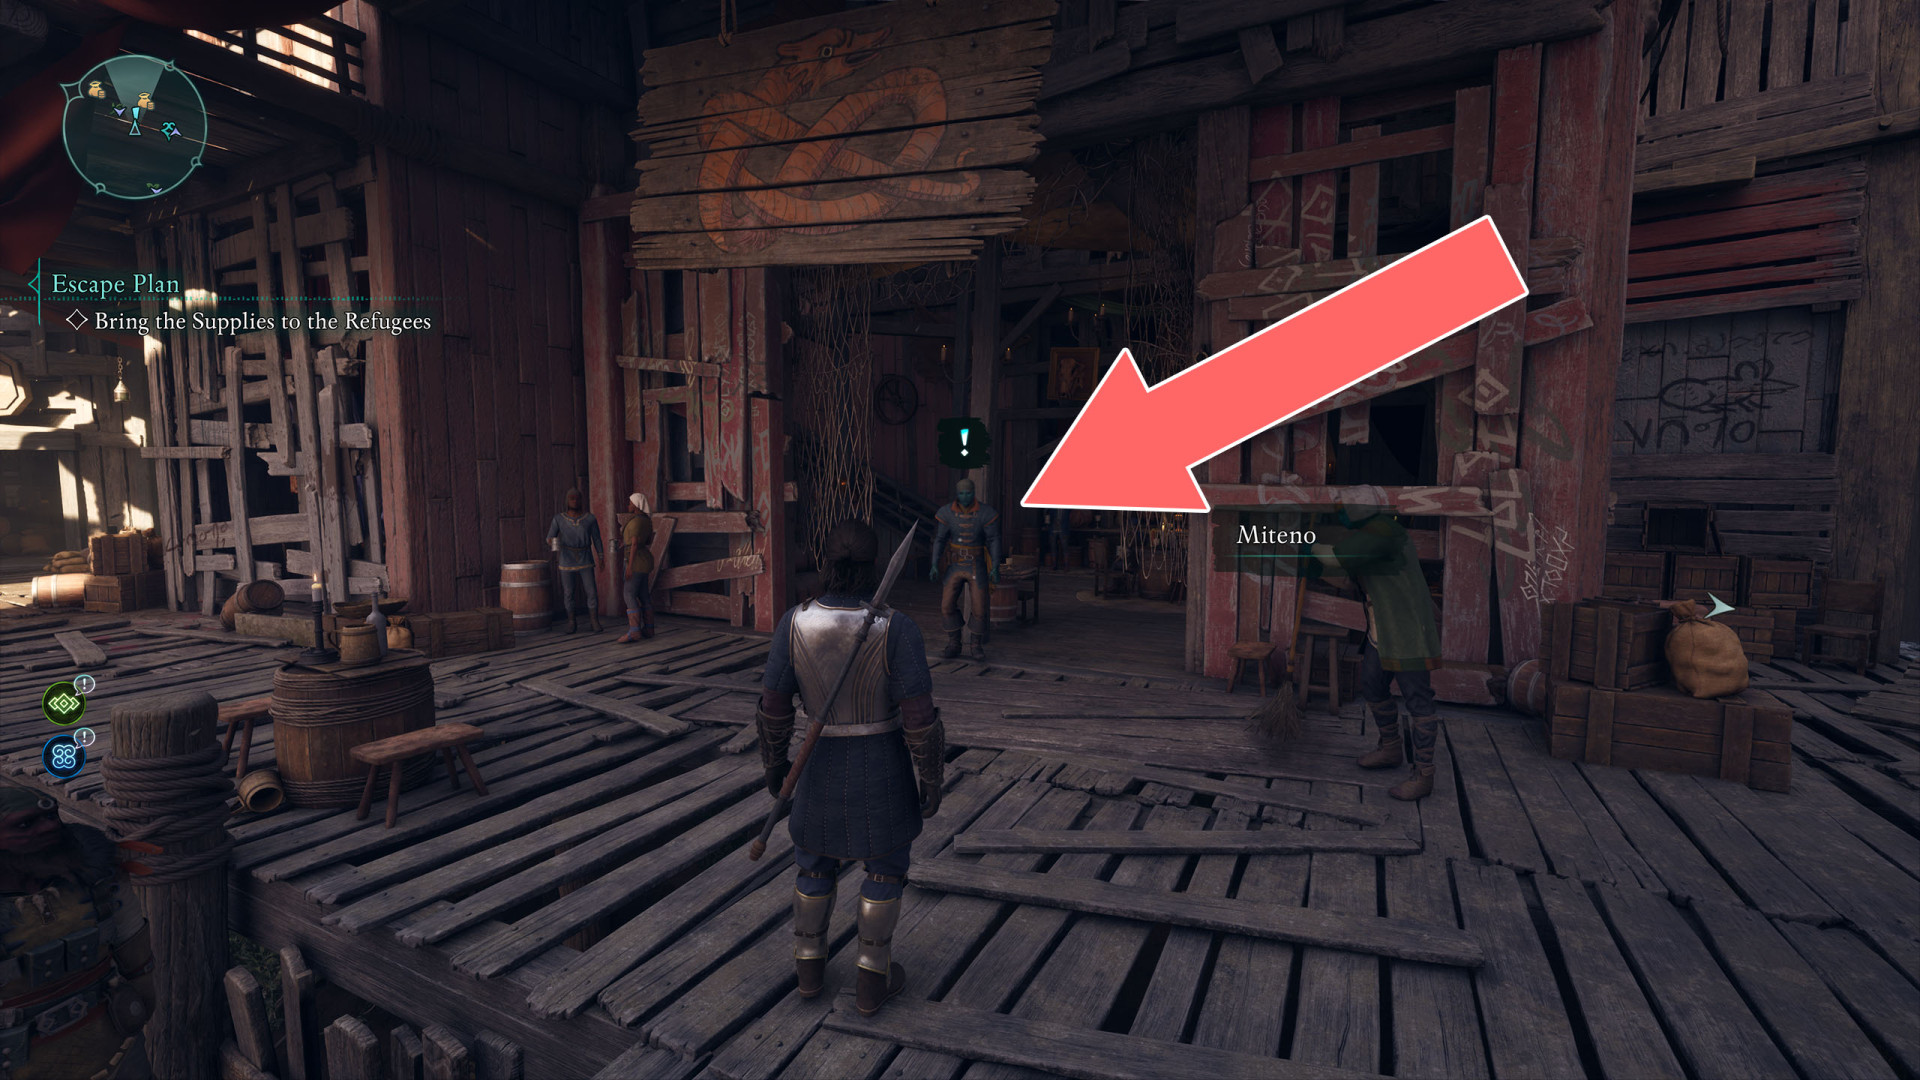
Lost Suoles▶ show the map ◀
How to start: Talk to Miteno.
Description: Miteno, a former sailor, incurred Hylea's wrath in a terrible accident. Now birds have stolen his deceased crew's suolenets. He would very much like the sentimental treasures returned to him.
Objectives:
1.1. Find the Worn Suolenet - Search the Shantytown rooftops for the worn suolenet.
1.2. Find the Chipped Suolenet - Search the Shantytown rooftops for the chipped suolenet.
1.3.Find the Tarnished Suolenet - Search the Shantytown rooftops for the tarnished suolenet.
1.4. Find the Battered Suolenet - Search the Shantytown rooftops for the battered suolenet.
2. Return to Miteno - Now that you have the suolenets, return them to their rightful owner.
Summary: Miteno is grateful to have the suolenets in his possession again.
Rewards: Enchanted Suolenet or Celestial Loop, 100 copper.
Mapping the Living Lands: Dawnshore▶ show the map ◀
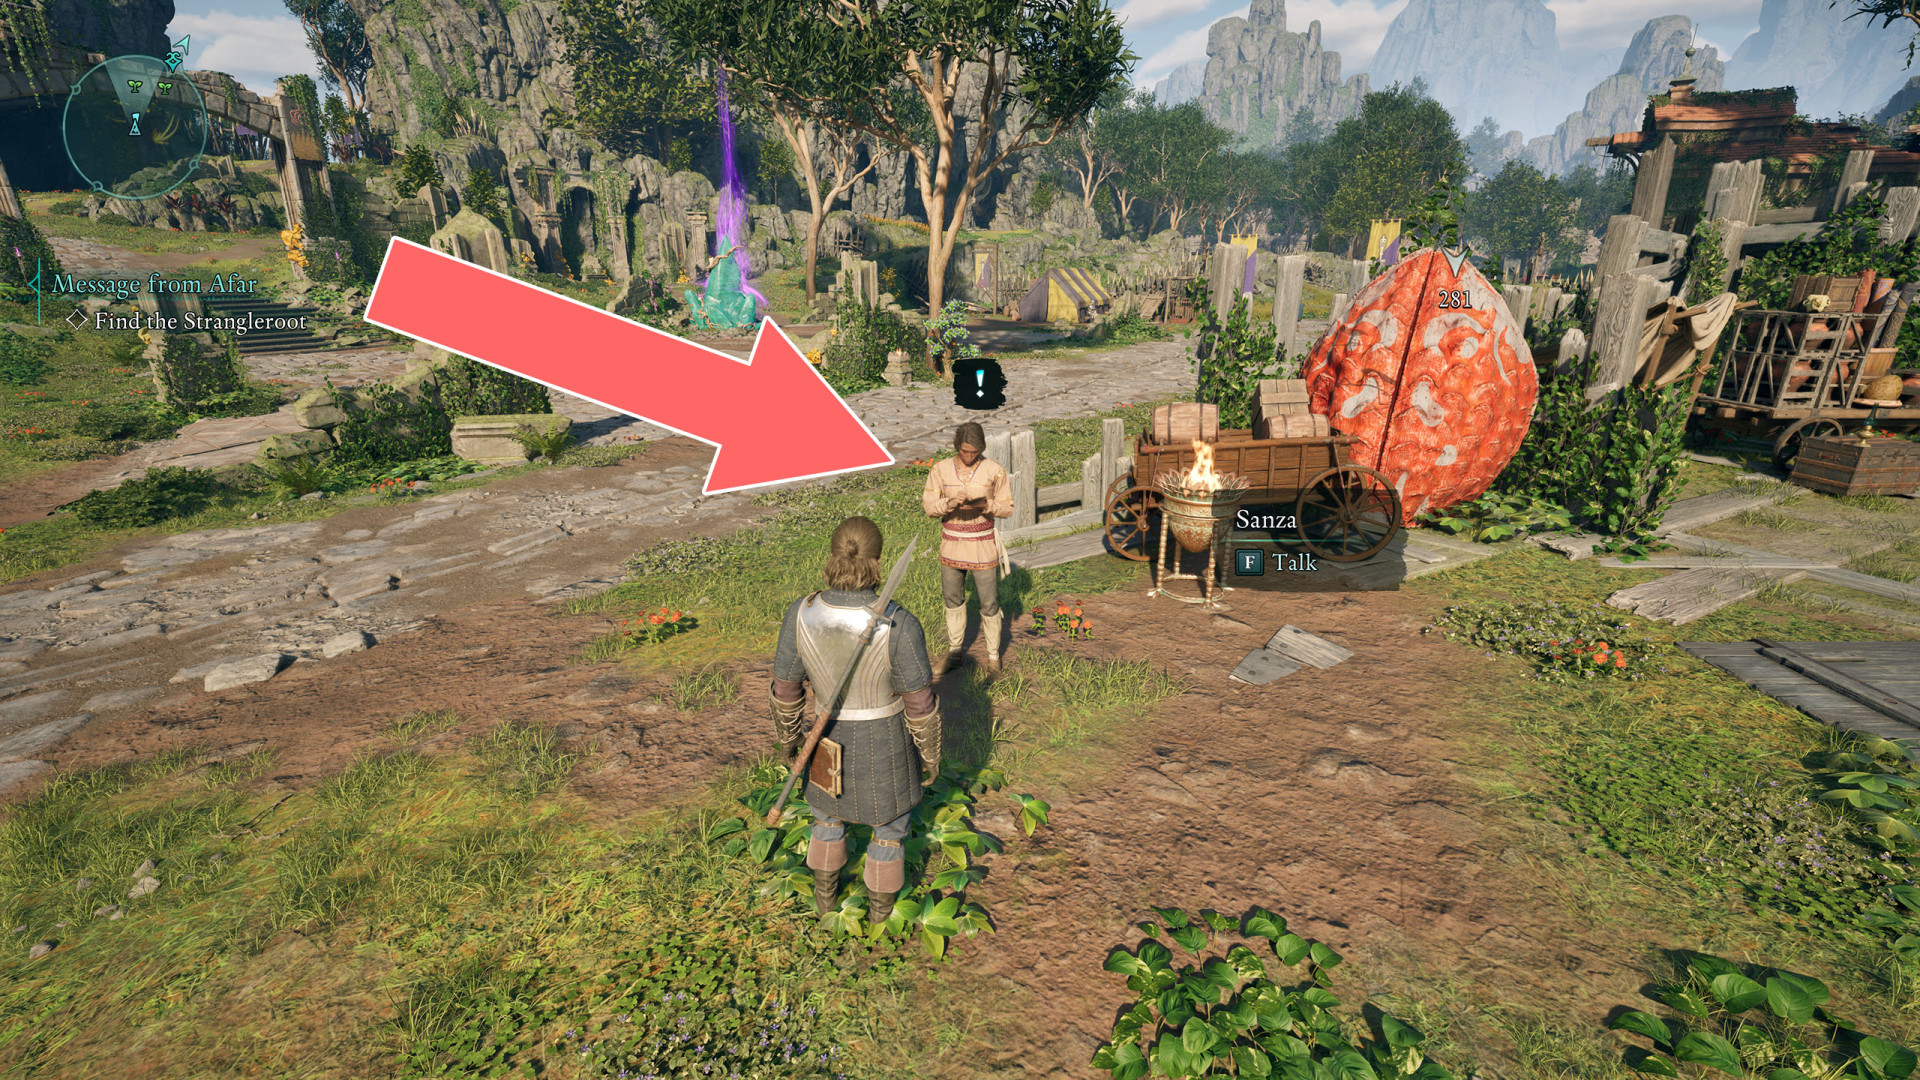
How to start: Talk to Sanza. You will receive the "Geirmund's Dispatch" document from him.
Description: Sanza, an excitable cartographer, wants to make a proper map of the Living Lands. He sent his assistant cartographers to each of its known regions, but none of them have returned. He asked you to search for them and bring their findings back.
Related: Geirmund's Map, Sanza.
Reward: 625 copper.
Objectives:
1. Find the Cartographer in Dawnshore - Sanza's information suggests that Geirmund, one of the cartographers, stayed in Dawnshore. The cartographer's letter states they were on the region's eastern side, somewhere near a cavern. Collect the Geirmund's Map.
Find the Geirmund's Map.
2. Return the Dawnshore Cartographer's Notes to Sanza - The threats that lurk outside Paradis claimed Geirmund's life. Sanza will be grateful to retrieve Geirmund's notes. He told you he'll be at his shop in Hightown.
Bring the map to Sanza.
Summary: Sanza now has Geirmund's notes.
Precious Light▶ show the map ◀
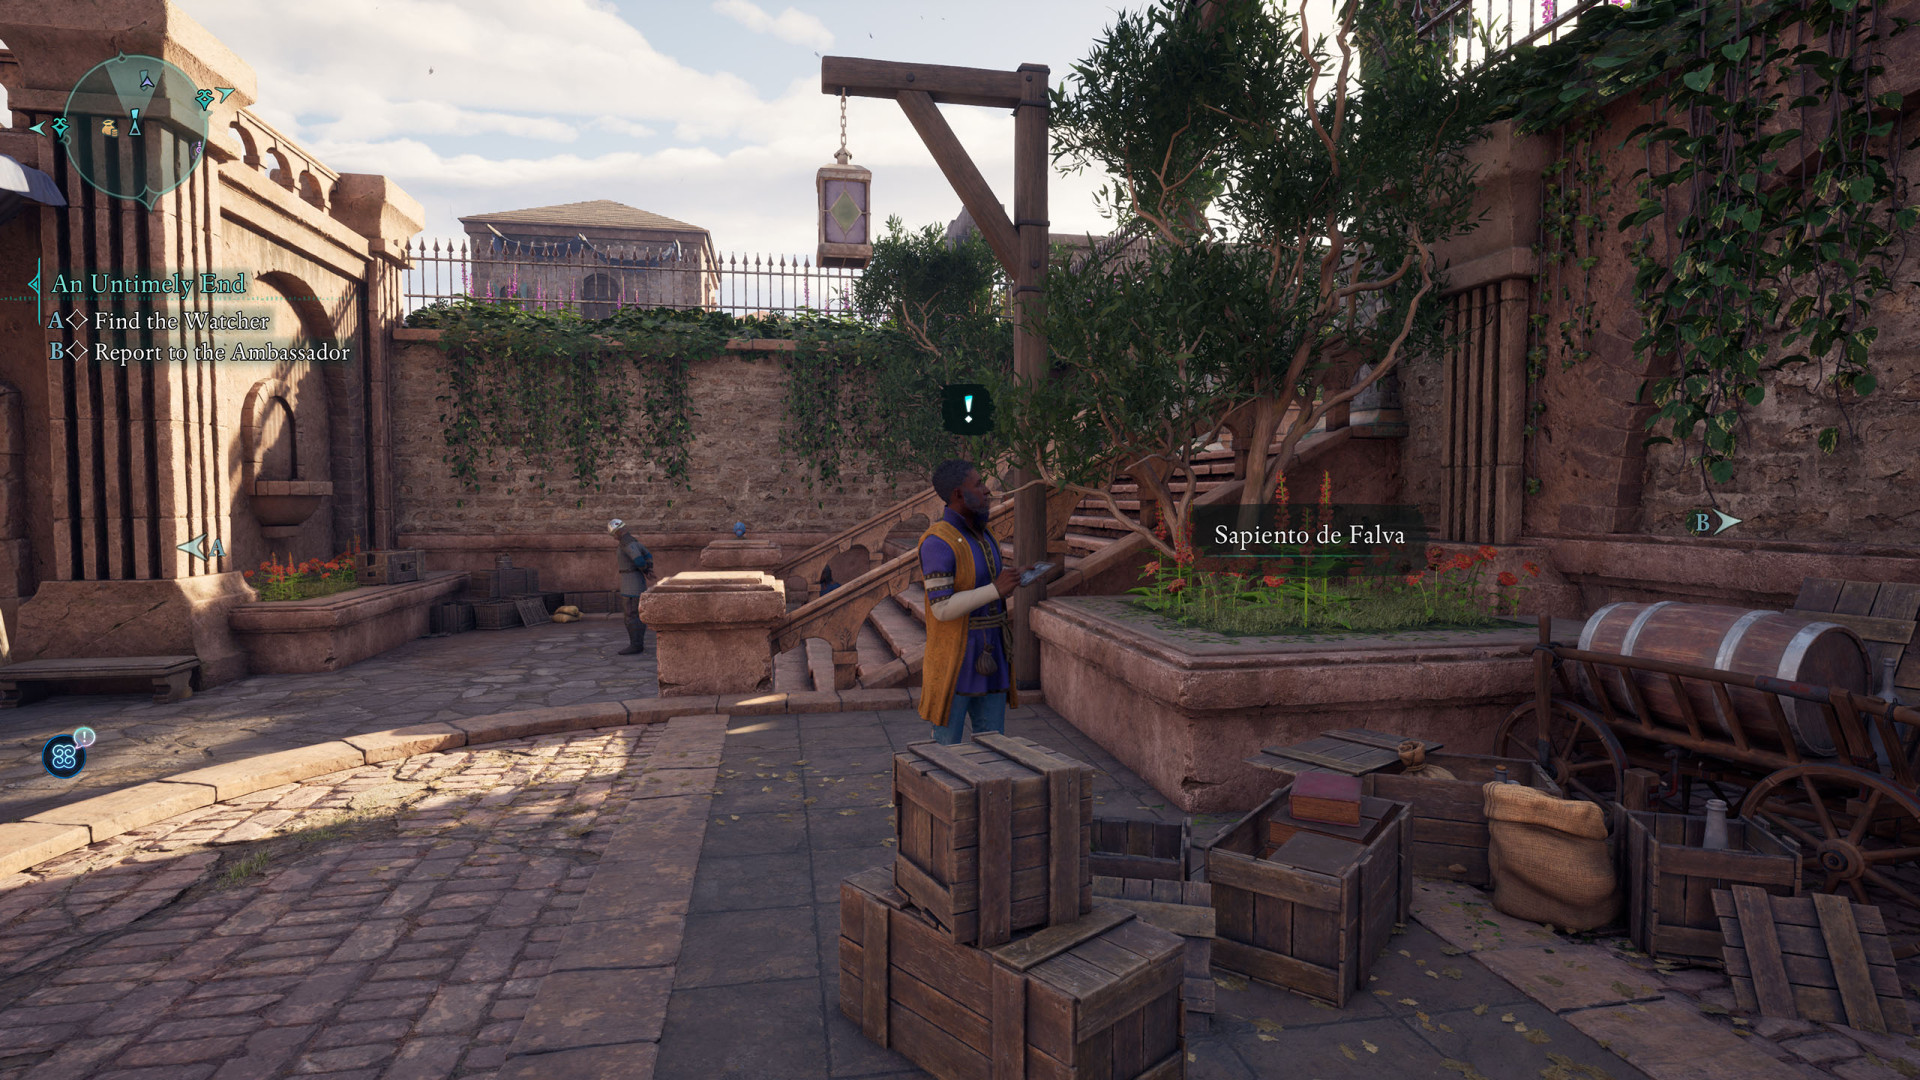
How to start: Talk to Sapiento de Falva.
Description: Sapiento de Falva, an animancer in Paradis, is researching a potion to fortify travelers against the plague afflicting the Living Lands and believes luminous adra may be the key ingredient. After a shipment he paid for failed to make it to shore, he asked you for help sourcing the luminous adra.
Related: Captain Trevik.
Reward: 500 copper (Bardatto) or The Fantastic Alembic + 300 copper (Sapiento.)
Objectives:
1. Speak to the Locals About Where to Find Luminous Adra - While Sapiento doesn't know where you might find luminous adra, the smugglers he hired to deliver the shipment were recently spotted in Paradis. They were seen talking with locals around the southern edge of Paradis.
You can talk to Scholar Guneth, Scholar Remio, and Scholar Adelgund.
2. Find Some Luminous Adra - Sapiento de Falva has requested that you bring a shipment of luminous adra to him. Adelgund told you that the smugglers are likely headed to Castol's Folly, a small island due southeast of Paradis.
3. (Optional) Deal With Captain Bardatto or Return the Luminous Adra to Her - You learned that the luminous adra rightfully belongs to the Vailian Trading Company. The smugglers mentioned Captain Bardatto was charged with tracking down this shipment and was last seen at the Usher's Hand.
Talk to Captain Evina Bardatto. You can request to be paid and then you will receive 500 copper, but if you push for more, there will be a fight between you. Your meeting will also end peacefully if you ask her to let Captain Trevik go. Otherwise, a fight will occur.
4. Return to Sapiento - You should return to Sapeinto to inform him what transpired at Castol's Folly.
Summary: You found a shipment of luminous adra and returned it to Captain Bardatto, leaving Sapiento without his crucial ingredient. However, you spared the smugglers the captain was after, leaving you and her on rocky terms.
or
4. Bring the Luminous Adra to Sapiento - You found the shipment of luminous adra Sapiento was looking for. Return to the markets in Paradis to deliver it to him.
Summary: You found a shipment of luminous adra and gave it to Sapiento. You also spared the smugglers at Castol's Folly, most likely angering Captain Bardatto.
The Call of the Past▶ show the map ◀
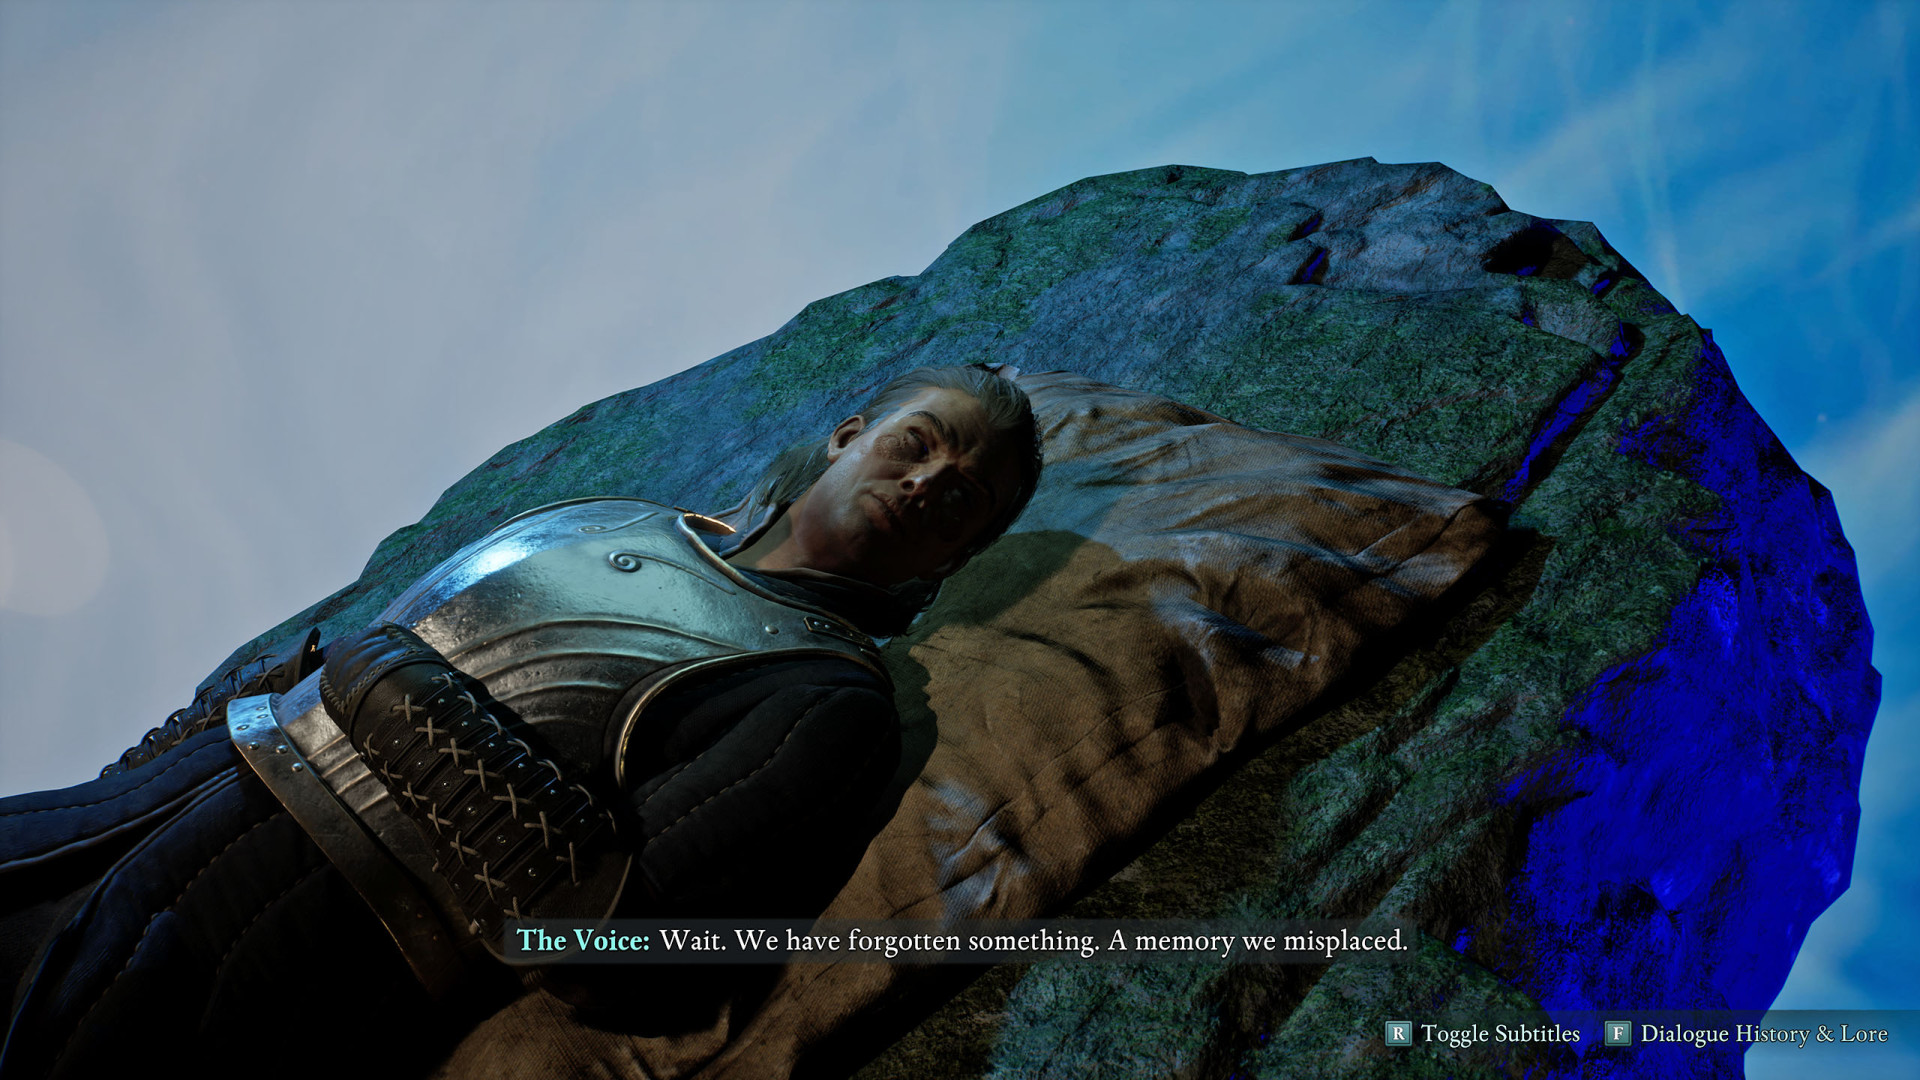
How to start: You will receive this quest at a certain stage of the game after one of the rests in the party camp.
Description: The voice in your head believes they have lost a fragment of their memory somewhere in Dawnshore. As strange as it seems, you may gain insight into their enigmatic nature if you find it.
Related: Ancient Memory (Dawnshore).
Objectives:
1. Find the Voice's Memory / Ancient Memory (Dawnshore) - Search the east of Dawnshore for a vision. What will it look like? Maybe you will know it when you encounter it.
Find the Ancient Memory (Dawnshore).
Summary: You recovered the memory that the voice misplaced in Dawnshore. But is it the only one? What secrets could other parts of the Living Lands hold?
Totem of Rightful Rulership▶ show the map ◀
How to start: Buy the Fragments of the Scales document from Sanza or collect a piece of the Scales of the Oathbinder totem.
Description: You obtained a document containing clues to the whereabouts of pieces of the Scales of the Oathbinder, a powerful artifact and a totem of Woedica. The pieces can be found across Dawnshore - the more pieces you gather and assemble, the more powerful the totem will become.
Description (alt.): You found a piece of the Scales of the Oathbinder, a powerful artifact and a totem of Woedica. The remaining pieces can be found across Dawnshore - the more pieces you gather and assemble, the more powerful the totem will become.
Objectives:
1. (Optional) Find Clues About the Locations of the Remaining Fragments - It would be much easier to track down the remaining fragments if you had information regarding their whereabouts. Buy and read the "Fragments of the Scales" document.
2.1. Find the Totem Core (Scales of the Oathbinder) - The Burned Queen's totem patiently waits amidst ruins of the heathens she hates.
2.2. Find the Broken Crown Jewel - This golden crown's stolen gem, can be found in the emporium.
2.3. Find the Golden Scale of Order - In Dwarven halls 'neath mountain shroud, the Strangler's justice can still be found.
2.4. Find the Golden Scale of Justice - Overlooking booths where goods are sold, this balcony leads to order's hold.
2.5. Find the Golden Plaque of Oaths - Below death's grip so icy and cold, await ancient oaths cast in gold.
2.6. Find the Golden Plaque of Promises - Beneath an amethyst light on high, this shining plaque draws sailors' eyes.
2.7. Find the Golden Flames - Atop the isle of wicked outlaws, flicker golden flames of a glorious cause.
3. Restore the Scale of the Oathbinder - With Woedica's totem and all of its fragments in your possession, all that remains is to assemble them together at your camp.
Summary: You restored the Scales of the Oathbinder to its former glory, gaining power in return.
All known locations on the map Emerald Stair
A Relic from the Ashes▶ show the map ◀
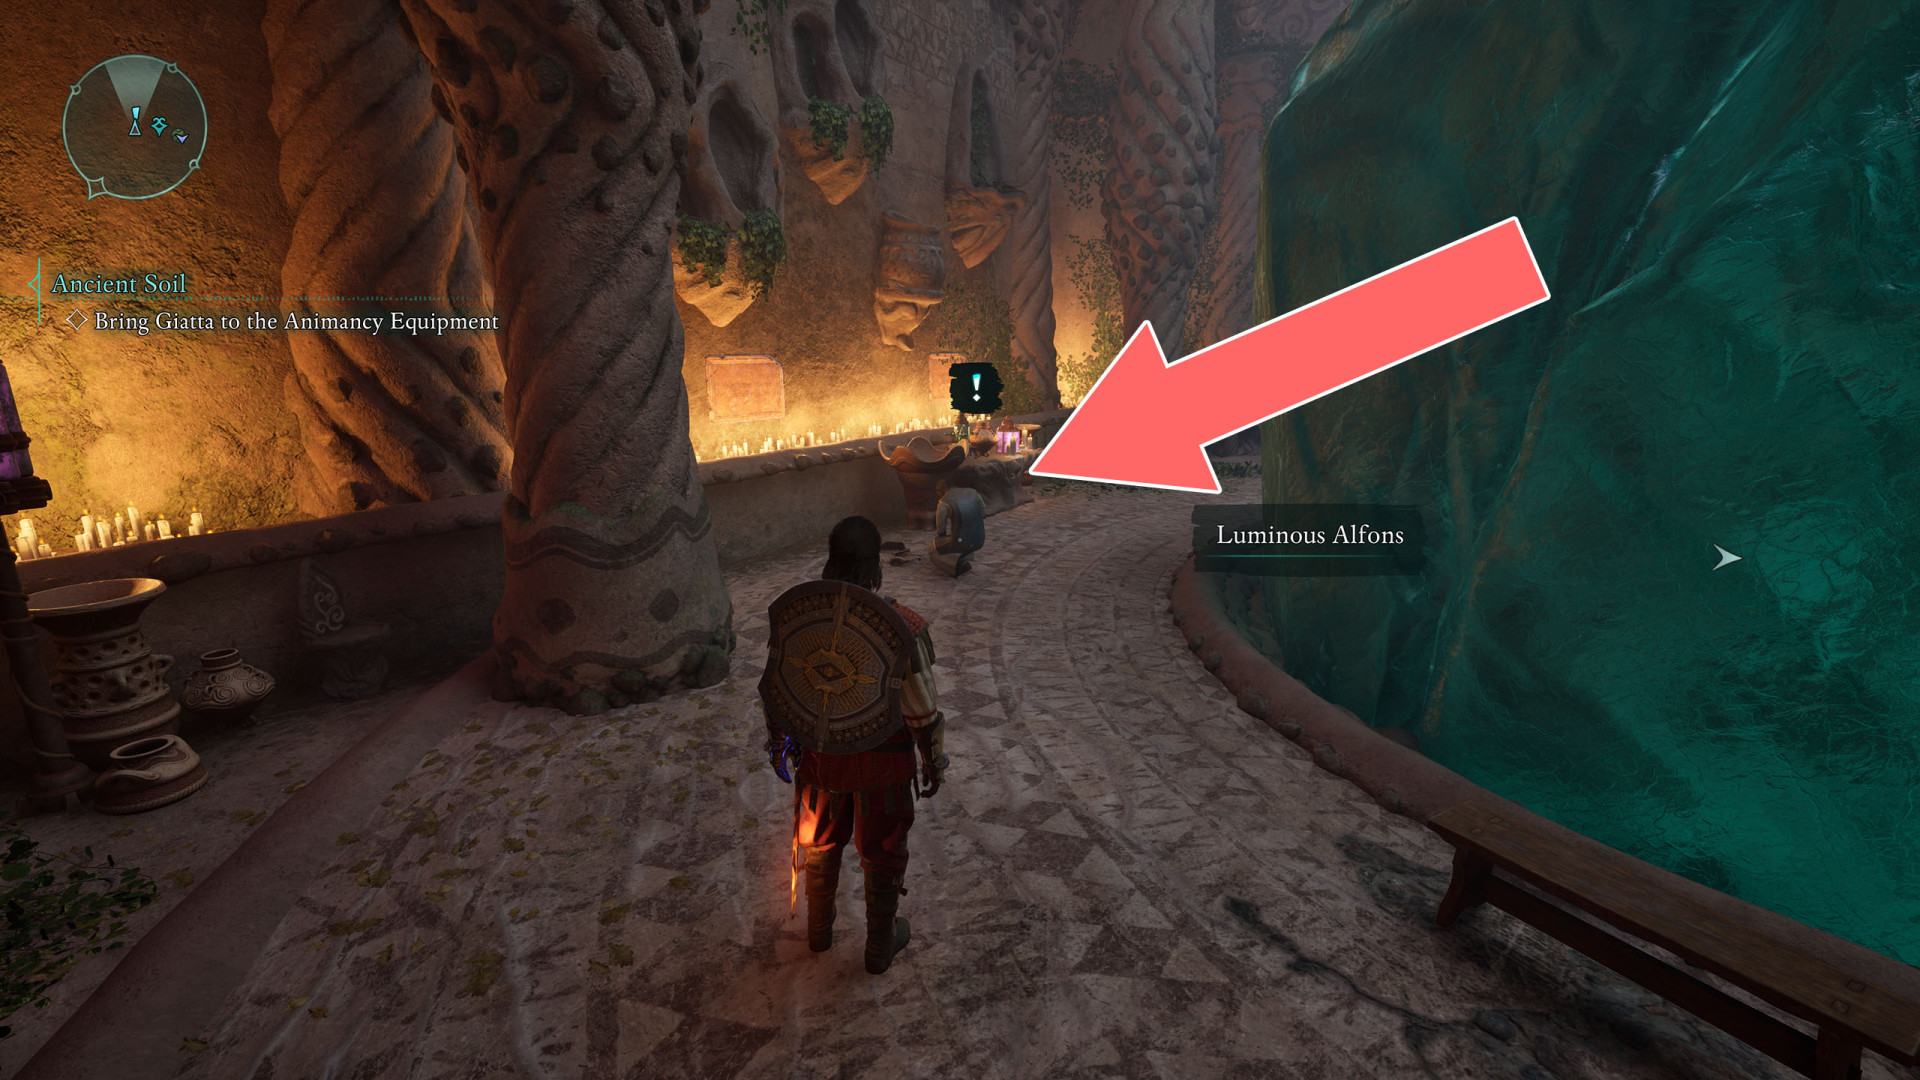
How to start: Talk to Luminous Alfons, read the Thief's Journal or pick up the Reliquary of Saint Waidwen.
Description: Someone stole the reliquary of Saint Waidwen from its shrine in Naku Tedek. Luminous Alfons wants it returned, but he seeks no retribution.
Objectives:
1. Retrieve the Reliquary - Alfons saw the bandit take off to the west, toward the Delemgan Glade. They likely would be looking for a place to hide out in a secluded area.
Find the Reliquary of Saint Waidwen.
2. Give the Reliquary to Alfons - The bandit appears to have succumbed to injuries while in hiding. Having recovered the stolen reliquary, you should return it to Alfons at Naku Tedek.
Summary: You returned the reliquary of Saint Waidwen to Luminous Alfons.
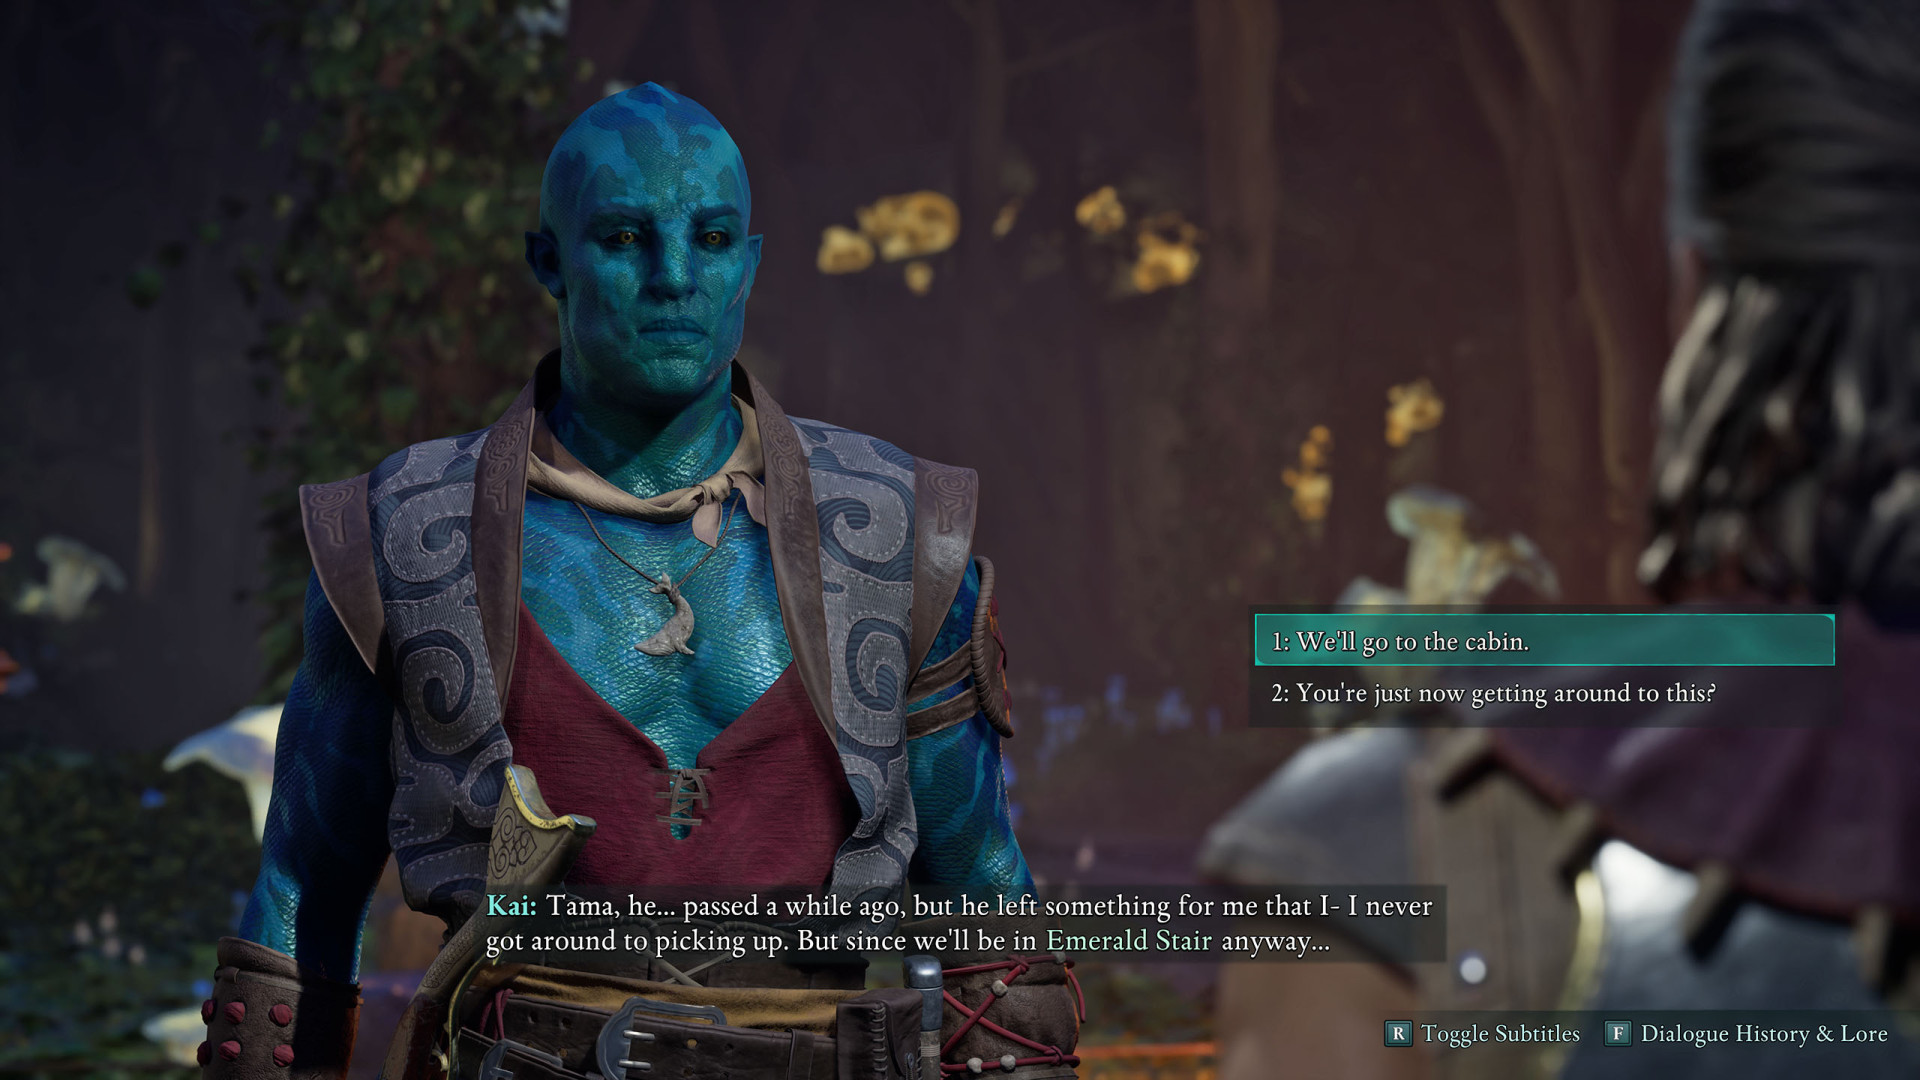
Battle Scars▶ show the map ◀
Companion Quest - Kai. How to start: You will receive this quest at the first party camp, when you arrive to Emerald Stair.
Description: Kai's searching for closure after the passing of Tama, his old friend and mentor.
Related: Whale Carving, Tama's Badge.
Objectives:
1. Search Tama's Cabin in Emerald Stair - Tama, a friend from Kai's time in Thirdborn, left something behind for Kai before he died. It seems to have sentimental value.
2. Speak to Kai - You found a carving in Tama's cabin. Kai will want to see it.
3. Continue the Adventure - Finding the carving stirred up bittersweet memories for Kai. He's still working through them, but maybe he'll open up later.
4. Find Tama's Badge in Shatterscarp - Tama lost his badge in battle in the Shark's Teeth. Kai wants to retrieve it.
5. Speak to Kai - You found Tama's badge. Kai will want to see it.
6. Visit Tama's Memorial with Kai - Now that you have Tama's badge, Kai is ready to visit his memorial.
Summary (1): Kai came to terms with losing Tama... and the community he abandoned in Thirdborn. He wants to return and help Thirdborn recover once your adventure is finished.
Summary (2): Kai allowed himself to remember Tama's love as well as his loss. He's ready to see the world and seek new adventures once yours are concluded.
Summary (3): Kai faced his regret so that he could learn from it without being defined by it. He's ready to stop running from his past.
Bounty: Belderreno's Lair▶ show the map ◀
How to start: Read the wanted poster pinned to the board.
Description: Earth Blights within Belderreno's Lair have been causing problems in Fior mes Ivèrno. You found a bounty offering a reward for their deaths.
Related: Belderreno.
Reward: 750 copper.

Objectives:
1. Kill the Earth Blights - Kill the denizens of Belderreno's Lair in order to claim the bounty.
2. Collect a Trophy from Belderreno - You slew Belderreno and the other Earth Blights. Collect proof of the kill.
3. Claim the Bounty - Return to the bounty master and claim your reward.
Summary: You killed Belderreno and the other Earth Blights and claimed the bounty.
Bounty: Delemgan▶ show the map ◀
How to start: Read the wanted poster pinned to the board.
Description: The delemgan in the Western Forest have been killing the citizens of Fior. You found a bounty offering a reward for their deaths.
Related: Delemgan.
Reward: 750 copper.
Objectives:
1. Kill the Delemgan - Kill the delemgan in the Western Forest to claim this bounty.
2. Collect Trophies from the Delemgan - You slew the delemgan. Collect proof of the kill.
3. Claim the Bounty - Return to the bounty master and claim your reward.
Summary: You killed the delemgan in the Western Forest and claimed the bounty.
Bounty: Farm Xaurips▶ show the map ◀
How to start: Read the wanted poster pinned to the board.
Description: Xaurips have taken up residence in the abandoned farms northwest of Fior mes Ivèrno. You found a bounty offering a reward for their deaths.
Related: Farm Xaurips.
Reward: 750 copper.
Objectives:
1. Kill the Xaurips - Kill the xaurips at the abandoned farms to claim this bounty.
2. Collect Trophies from the Xaurips - The xaurips are dead. Collect evidence of the kill.
3. Claim the Bounty - Return to the bounty master and claim your reward.
Summary: You killed the xaurips and collected the bounty.
Bounty: Old Nuna▶ show the map ◀
How to start: Read the wanted poster pinned to the board.
Description: Old Nuna is a powerful bear that has taken up residence within the Grotto. You found a bounty offering a reward for their death.
Related: Old Nuna.
Reward: 750 copper.
Objectives:
1. Kill Old Nuna - Kill Old Nuna, the bear menace of the Grotto, to claim this bounty.
2. Collect a Trophy from Old Nuna - Old Nuna is dead. Collect proof of the kill.
3. Claim the Bounty - Return to the bounty master and claim your reward.
Summary: You killed Old Nuna and claimed the bounty.
Bounty: The Trantons▶ show the map ◀
How to start: Read the wanted poster pinned to the board.
Description: The Trantons are a notorious gang of bandits living somewhere in the Western Forest. You found a bounty offering a reward for their deaths.
Related: The Trantons.
Reward: 750 copper.
Objectives:
1. Kill the Trantons - Kill the Tranton bandit gang of the Western Forest to claim this bounty.
2. Collect Trophies from the Trantons - You slew the Trantons. Collect proof of the kill.
3. Claim the Bounty - Return to the bounty master and claim your reward.
Summary: You killed the Tranton gang in the Western Forest and claimed the bounty.
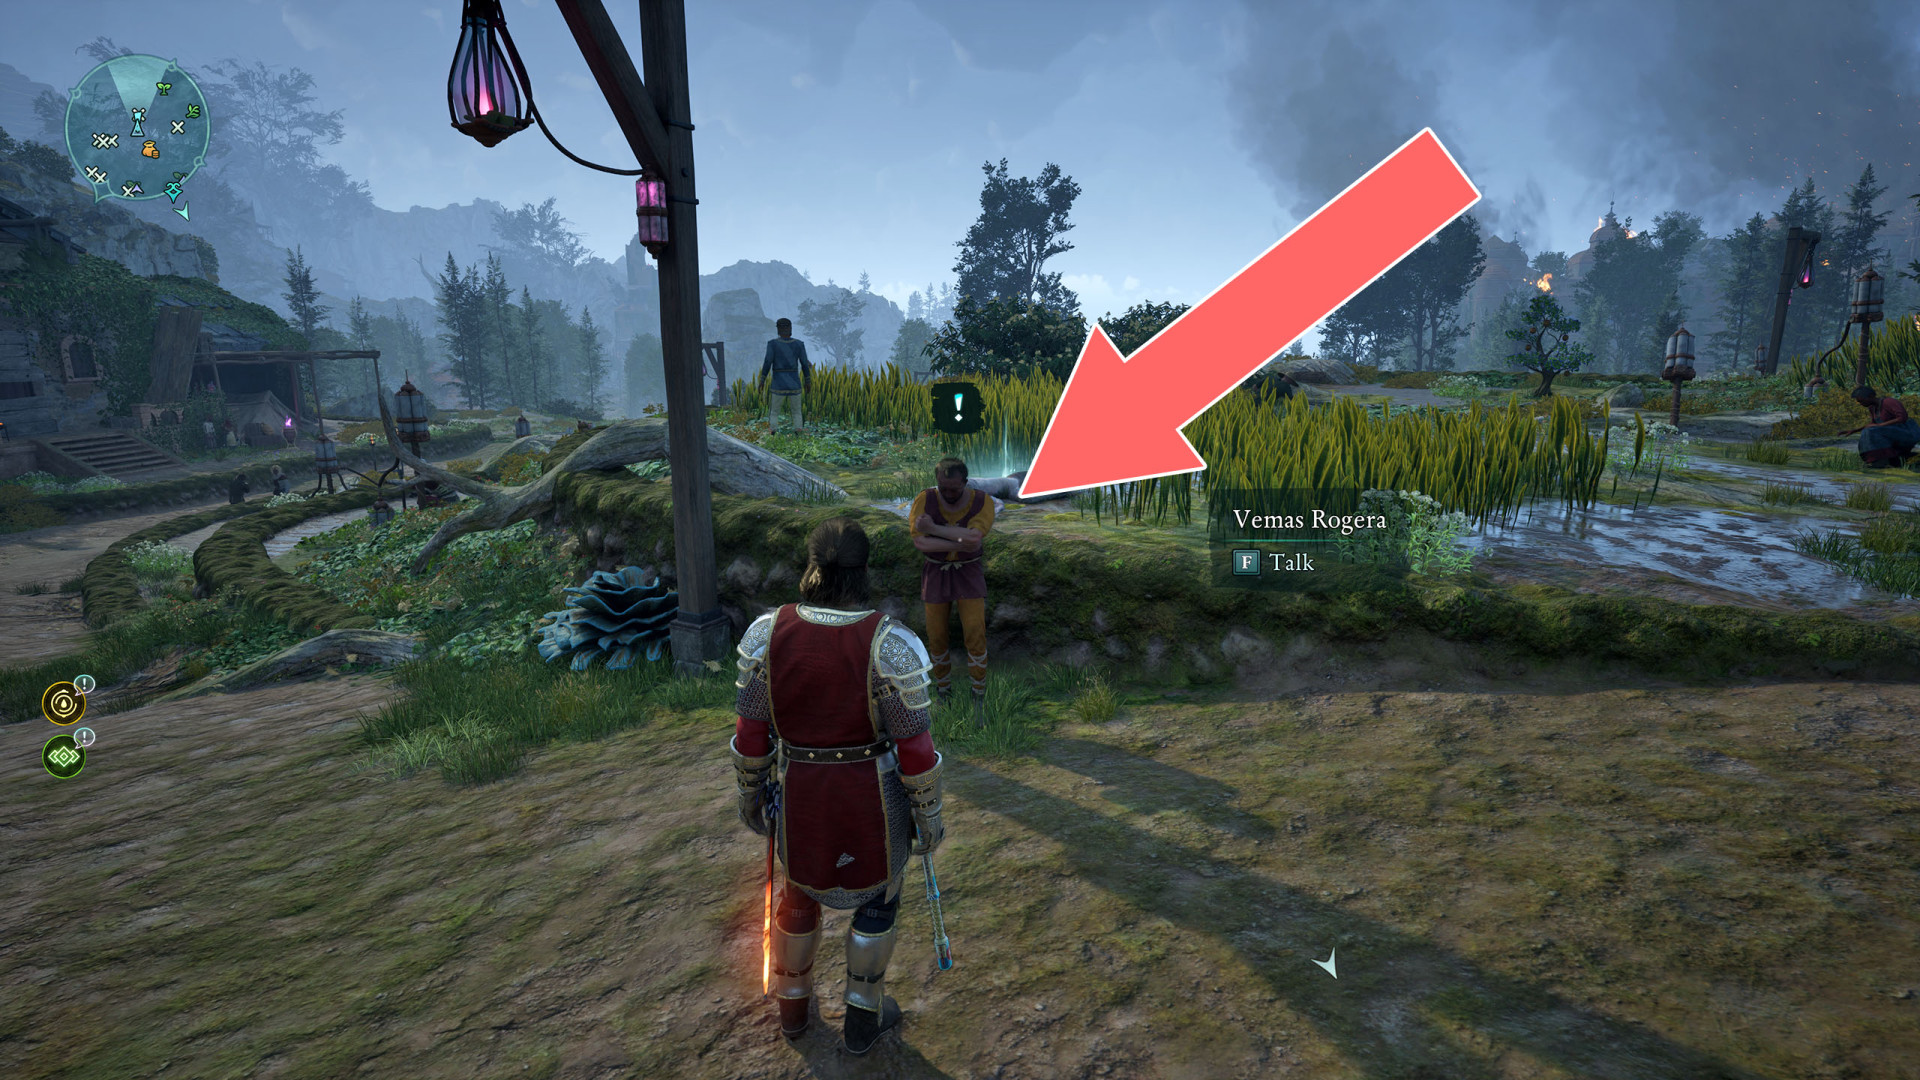
Debt of Blood▶ show the map ◀
This quest will be available if the city has been burned down.
How to start: Vemas Rogera.
Description: During the razing of Fior, the Steel Garrote killed a young sentry and looted a ring from his body. His uncle, Vemas, has sworn revenge. He wants you to kill the Steel Garrote captain who did the deed and retrieve the ring for him.
Objectives:
1. Find the Steel Garrote Captain - The Steel Garrote officer, Captain Carnet, was last seen near Emerald Stair's eastern watchtower.
2. Kill Captain Carnet - You found the Steel Garrote squad, and Captain Carnet is with them. Kill her to avenge the death of Vemas' nephew.
You don't have to kill her, you can convince her to give you the ring.
2.1. Collect the Ring - You killed Captain Carnet. Retrieve Vemas' nephew's ring from the corpse.
3.1. Return to Vemas - Now that you have the ring, return it to Vemas. He waits with the other Fiorian survivors at Emerald Stair's northernmost farms.
Summary: You returned the ring to Vemas. Perhaps his family can find some peace. Reward: 750 copper (if you killed the captain.)
or
3.2. Return to Vemas - You've decided to let Carnet keep the ring. Vemas isn't going to be happy, but you should let him know all the same. He waits with the other Fiorian survivors at Emerald Stair's northernmost farms.
Summary: You refused to kill Captain Carnet, but convinced Vemas not to let his desire for revenge consume him.
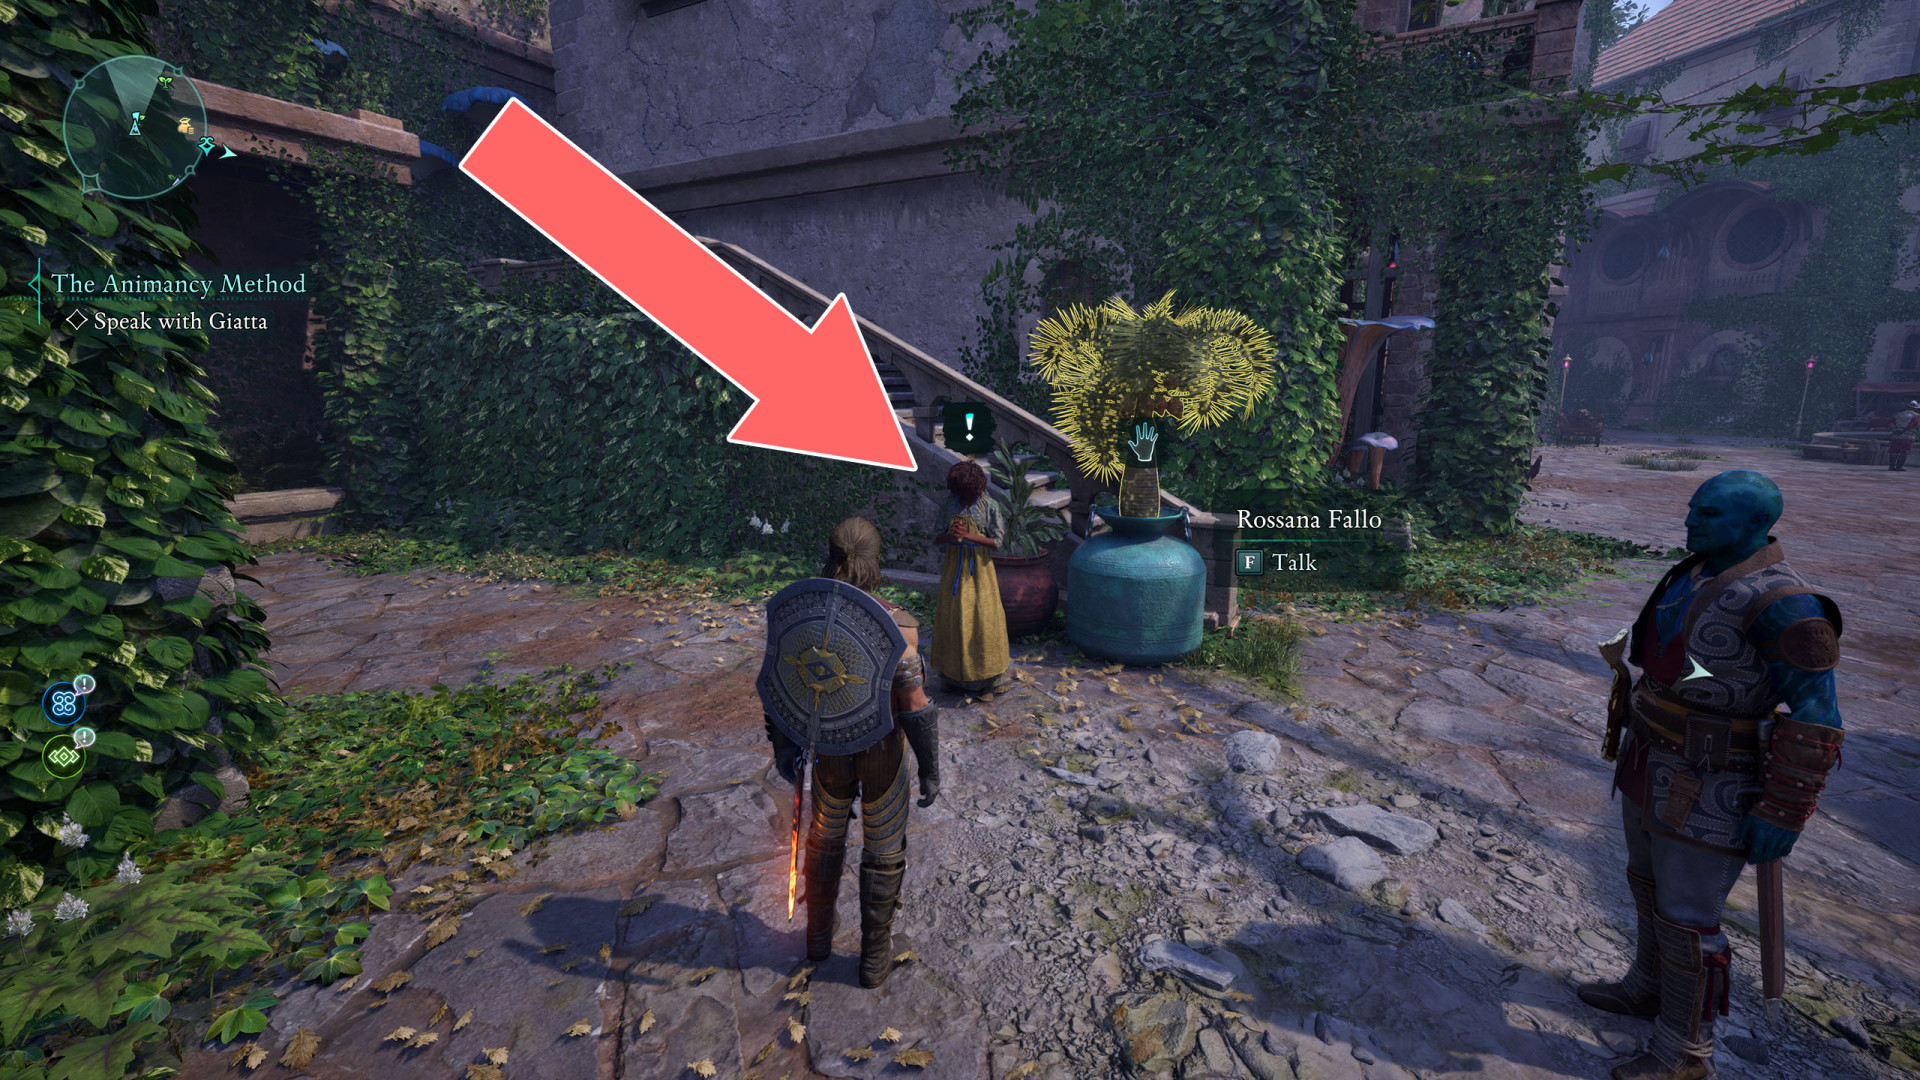
Elder Offerings▶ show the map ◀
How to start: Talk to Rosanna Fallo.
Description: Rossana in Fior mes Ivèrno asked you to locate three gravesites in Emerald Stair and leave offerings for the deceased. She warned of resistance from the angered spirits.
Related: South Coast Gravesite, Swamp Grave, Truffle Farm Gravesite.
Reward: Berath's Blessed Ward.
Objectives:
1.1.1. Locate the Gravesite on the Truffle Farm - Locate the gravesite in the east of Emerald Stair. Rossana said it can be found in the crop field of an abandoned truffle farm.
1.1.2. Defeat the Angered Spirits at the Truffle Farm Gravesite - In order to leave the offering, you will need to defeat the spirits.
1.1.3. Leave an Offering at the Truffle Farm Gravesite - Place the offering near the tombstone.
1.2.1. Locate the Gravesite on the South Coast - Locate the gravesite along the south coast of Emerald Stair. Rossana said it would be in an alcove embedded in the cliffside.
1.2.2. Defeat the Angered Spirits at the South Coast Gravesite - In order to leave the offering, you will need to defeat the spirits.
1.2.3. Leave an Offering at the South Coast Gravesite - Place the offering near the tombstone.
1.3.1. Locate the Gravesite in the Swamp - Locate the gravesite in the swamps of Emerald Stair, northwest of Fior mes Ivèrno. Rossana said it was up high.
1.3.2. Defeat the Angered Spirits at the Swamp Gravesite - In order to leave the offering, you will need to defeat the spirits.
1.3.3. Leave an Offering at the South Coast Gravesite - Place the offering near the tombstone.
2. Return to Rossana - You left offerings at all three gravesites. Return to Fior mes Ivèrno and speak with Rossana.
Summary: You left food offerings at the grave sites as Rossana requested.
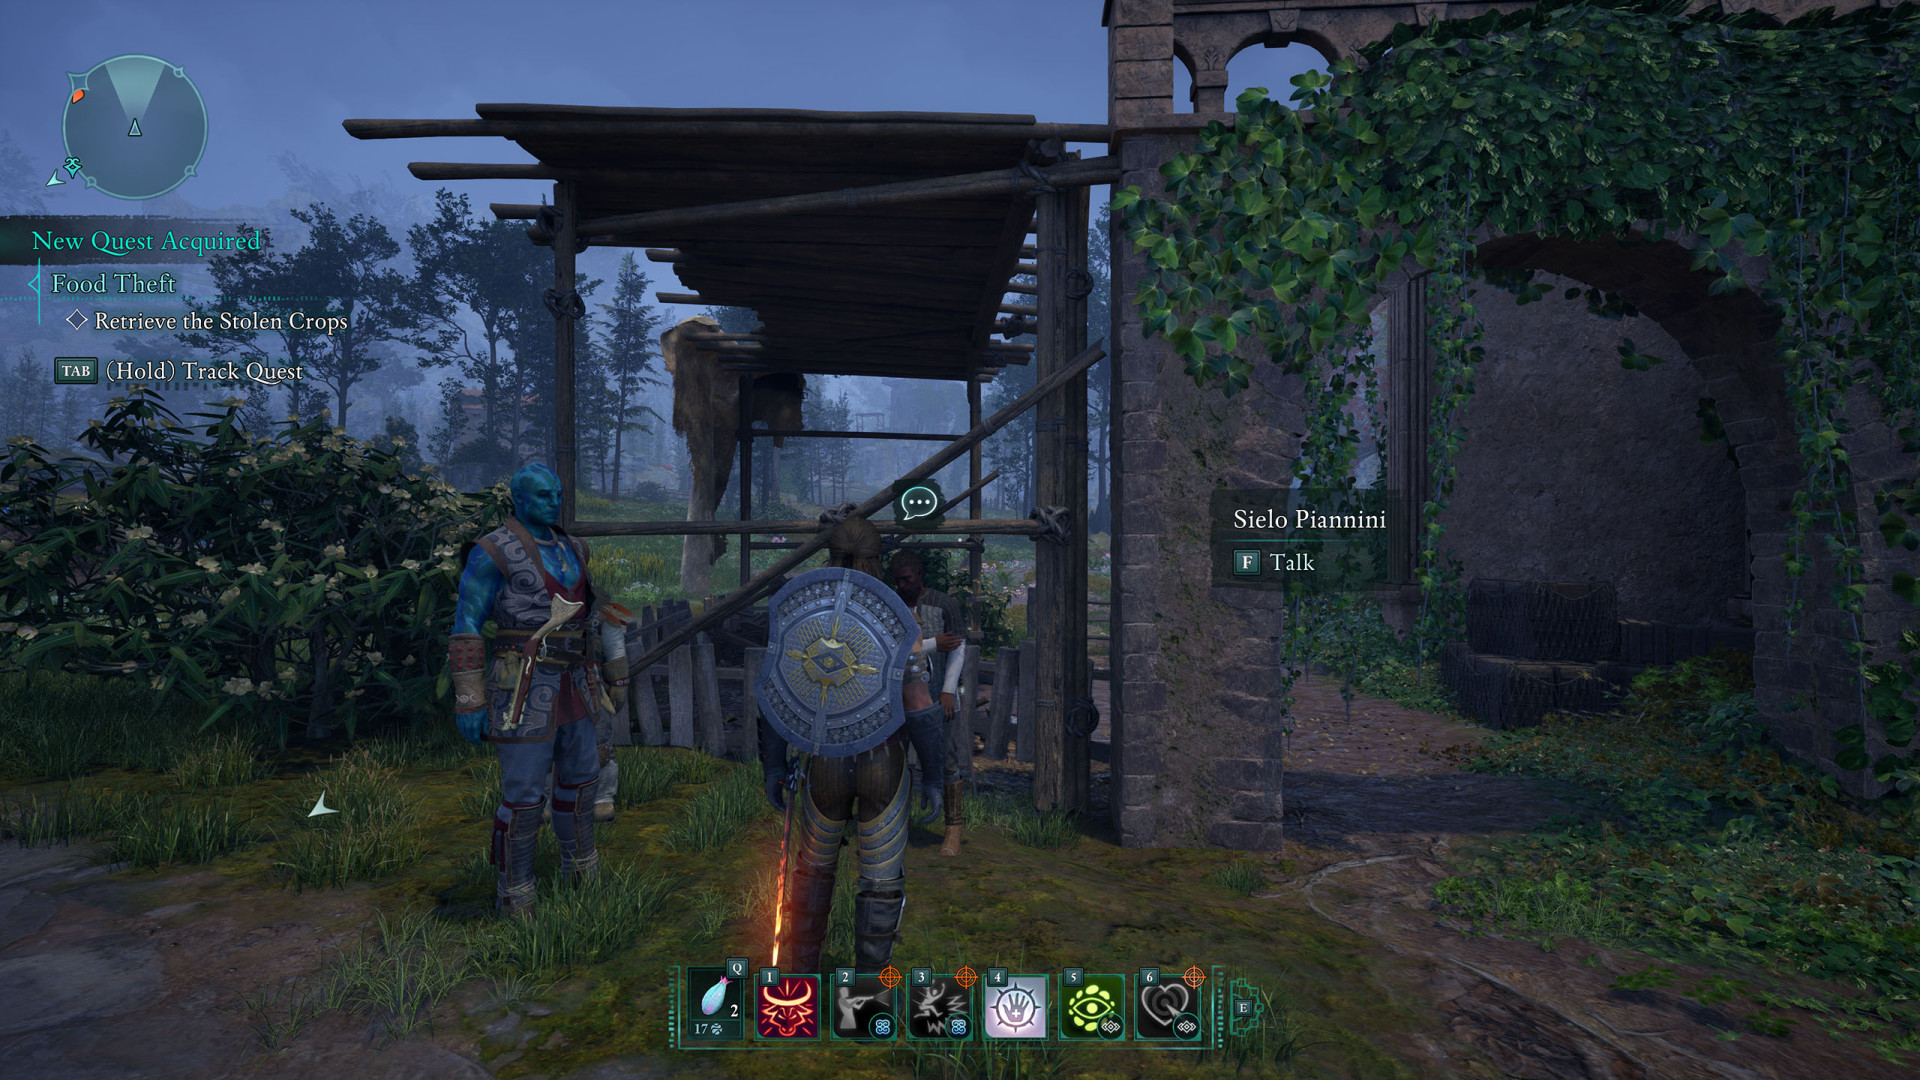
Food Theft▶ show the map ◀
How to start: Talk to Sielo Piannini.
Description: Sielo, one of Fior's many struggling farmers, had his last harvest stolen. He blames \"bandits\" for the theft. Track the culprits down and retrieve the ill-gotten crops.
Objectives:
1. Retrieve the Stolen Crops - Sielo claims he saw the bandits following the river north. Investigate the area to find those responsible for the missing crops.
2.1. Return to Sielo - You have Sielo's crops in hand. Return to him and tell him what happened.
Summary: You returned the crops to their rightful owner. Reward: 350 copper.
or
2.2. Return to Sielo - rving, and you allowed them to keep Sielo's crops. Inform Sielo of your decision and reasoning for it.
Summary: You let the starving rebels keep Sielo's crops. Reward: 350 copper (Given by Erlinn Matishell)
Mapping the Living Lands: Emerald Stair▶ show the map ◀
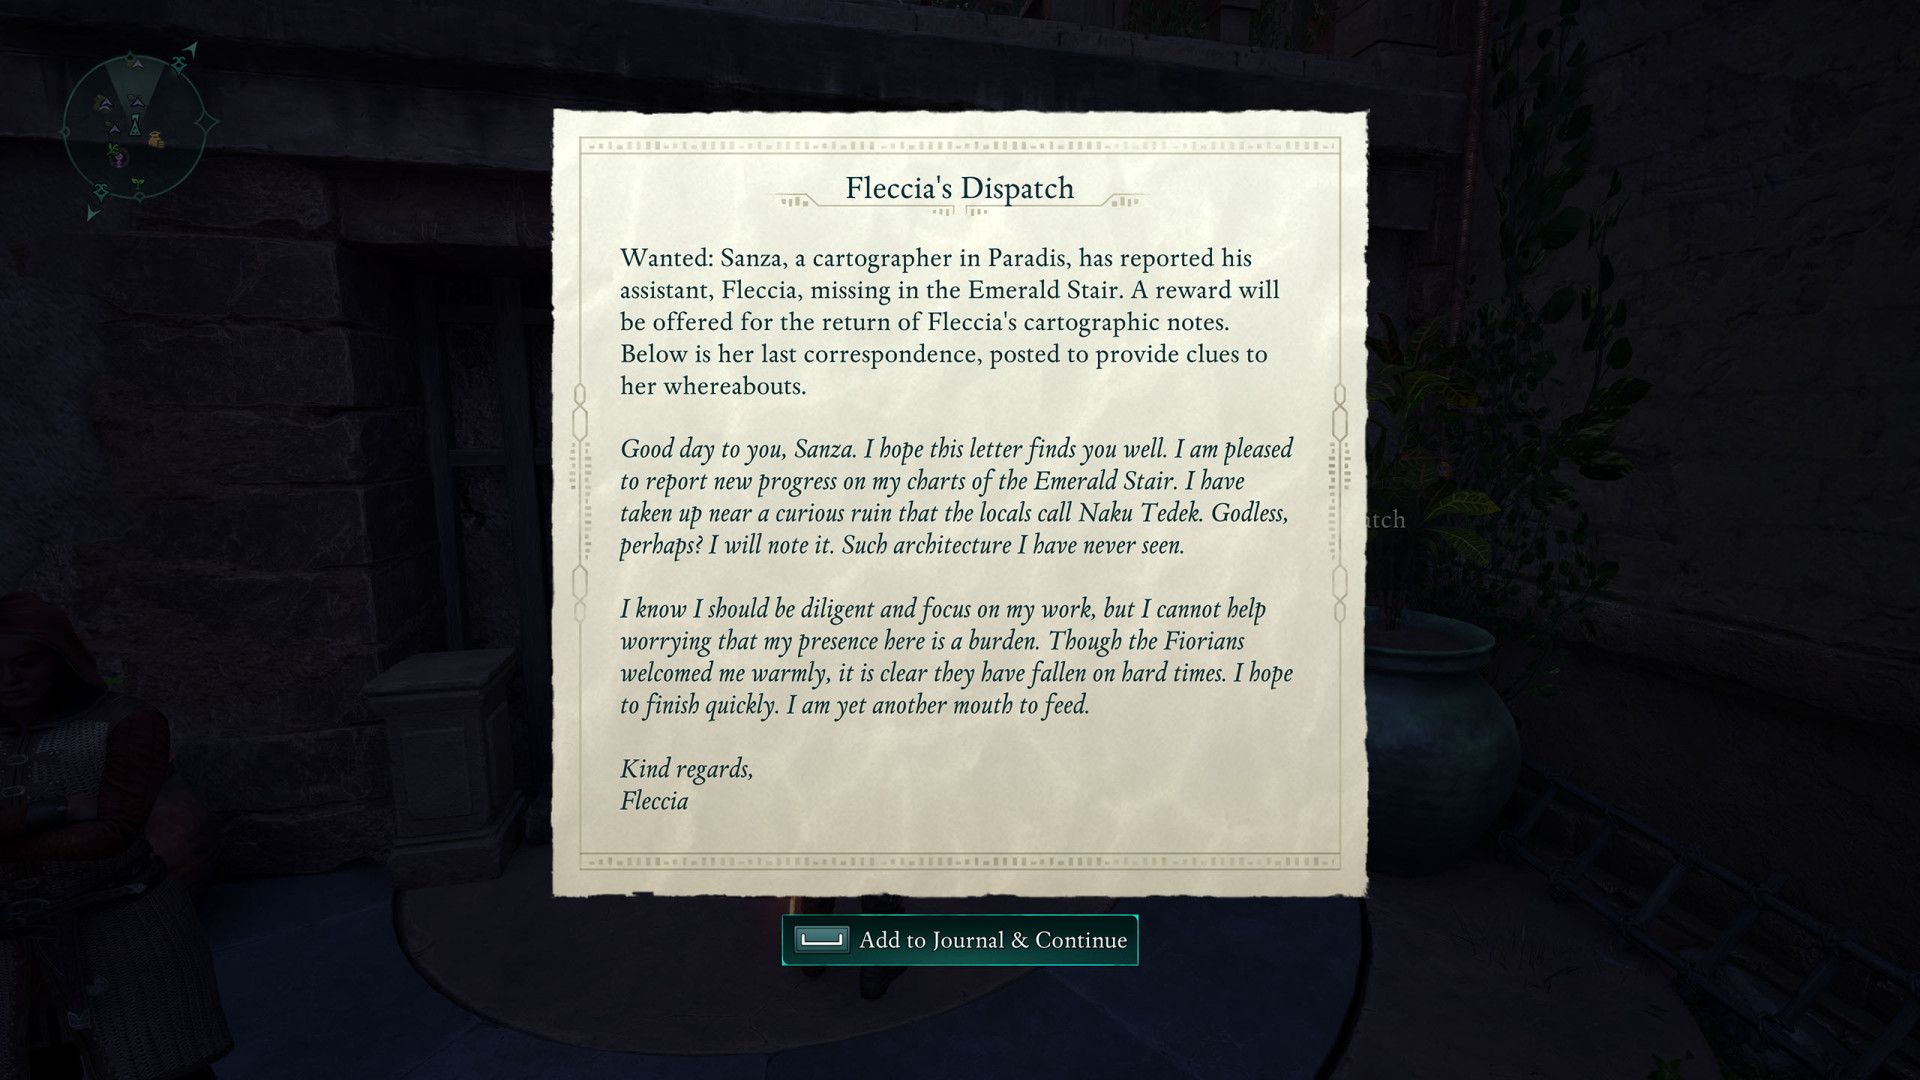
How to start: Read the Fleccia's Dispatch pinned to the message board in Fior mes Ivèrno.
Description: Sanza, an excitable cartographer, wants to make a proper map of the Living Lands. He sent Fleccia - one of his assistants - to Emerald Stair, but she never returned. Sanza now asks you to search for Fleccia and bring her findings back.
Reward: Awakened Adra x2.
Objectives:
1. Find the Cartographer in Emerald Stair - Sanza's missing assistant Fleccia is said to be near a place called Naku Tedek.
Update: You found the general region where Fleccia was last seen. Search for her.
2. Return the Emerald Stair Cartographer's Notes to Sanza - Fleccia may be gone, but her cartographic data on the Emerald Stair remains. Sanza will be grateful to receive it.
Summary: Sanza now has Fleccia's notes.
Memory of the Deep▶ show the map ◀
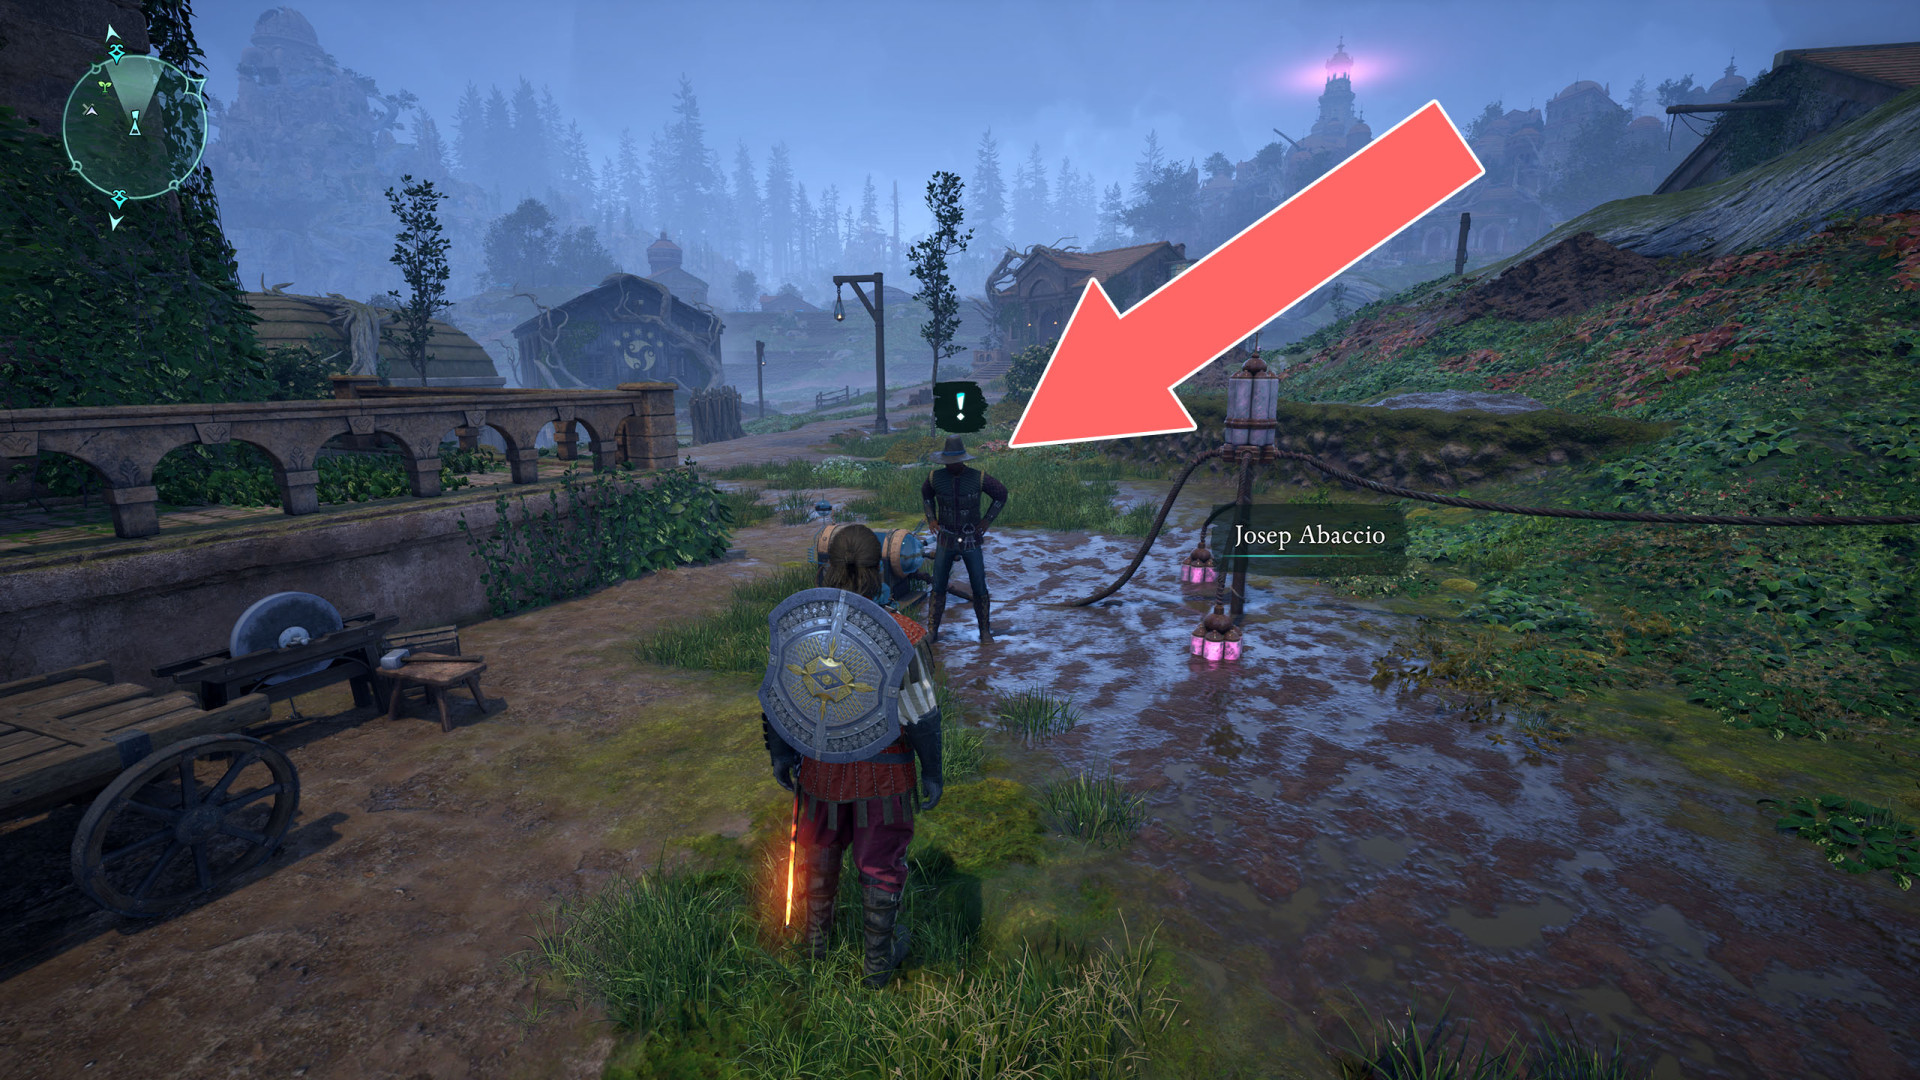
How to start: Talk to Josep Abaccio.
Description: Josep, Elia's rival in the revenant farming business, said that his revenants are wandering away from the farms and are drawn to a nearby lake. He's convinced something strange is afoot and asked you to investigate.
Objectives:
1. Look for the Revenants near Lake Lacuna - Josep specified that his fleeing revenants often head toward Lake Lacuna. It would be best to start your search there.
Update: You found several revenant corpses. You must be headed in the right direction.
2.1. Investigate the Lake - Josep's theory was right: something is drawing the revenants to Lake Lacuna. The question is, what?
2.2. (Optional) Speak to the Stranger by the Lake - The figure standing near the lake may know something about why so many revenants are drawn to this place.
Retrieve the Meteorite From the Lake - The meteorite in Lake Lacuna is a piece of Ionni Brathr. Dive to the bottom of the lake and retrieve it, but take caution before you go. Others might want it as well.
Return to the Giftbearer - One of Ondra's servants, a Giftbearer, expressed a desire for the meteorite you found in Lake Lacuna. Speak to him at the docks by the Coastal Farms to learn more.
Return to Josep - Josep will want to know what was drawing his revenants to the lake. He should still be waiting near Elia's farm.
Summary (1): You gave the meteorite to the Giftbearer. He promised that he had greater plans for it. 550 copper.
or
Summary (2): You gave the meteorite to Josep. You hope it solves his revenant problem. 550 copper + Chanter's Panpipes.
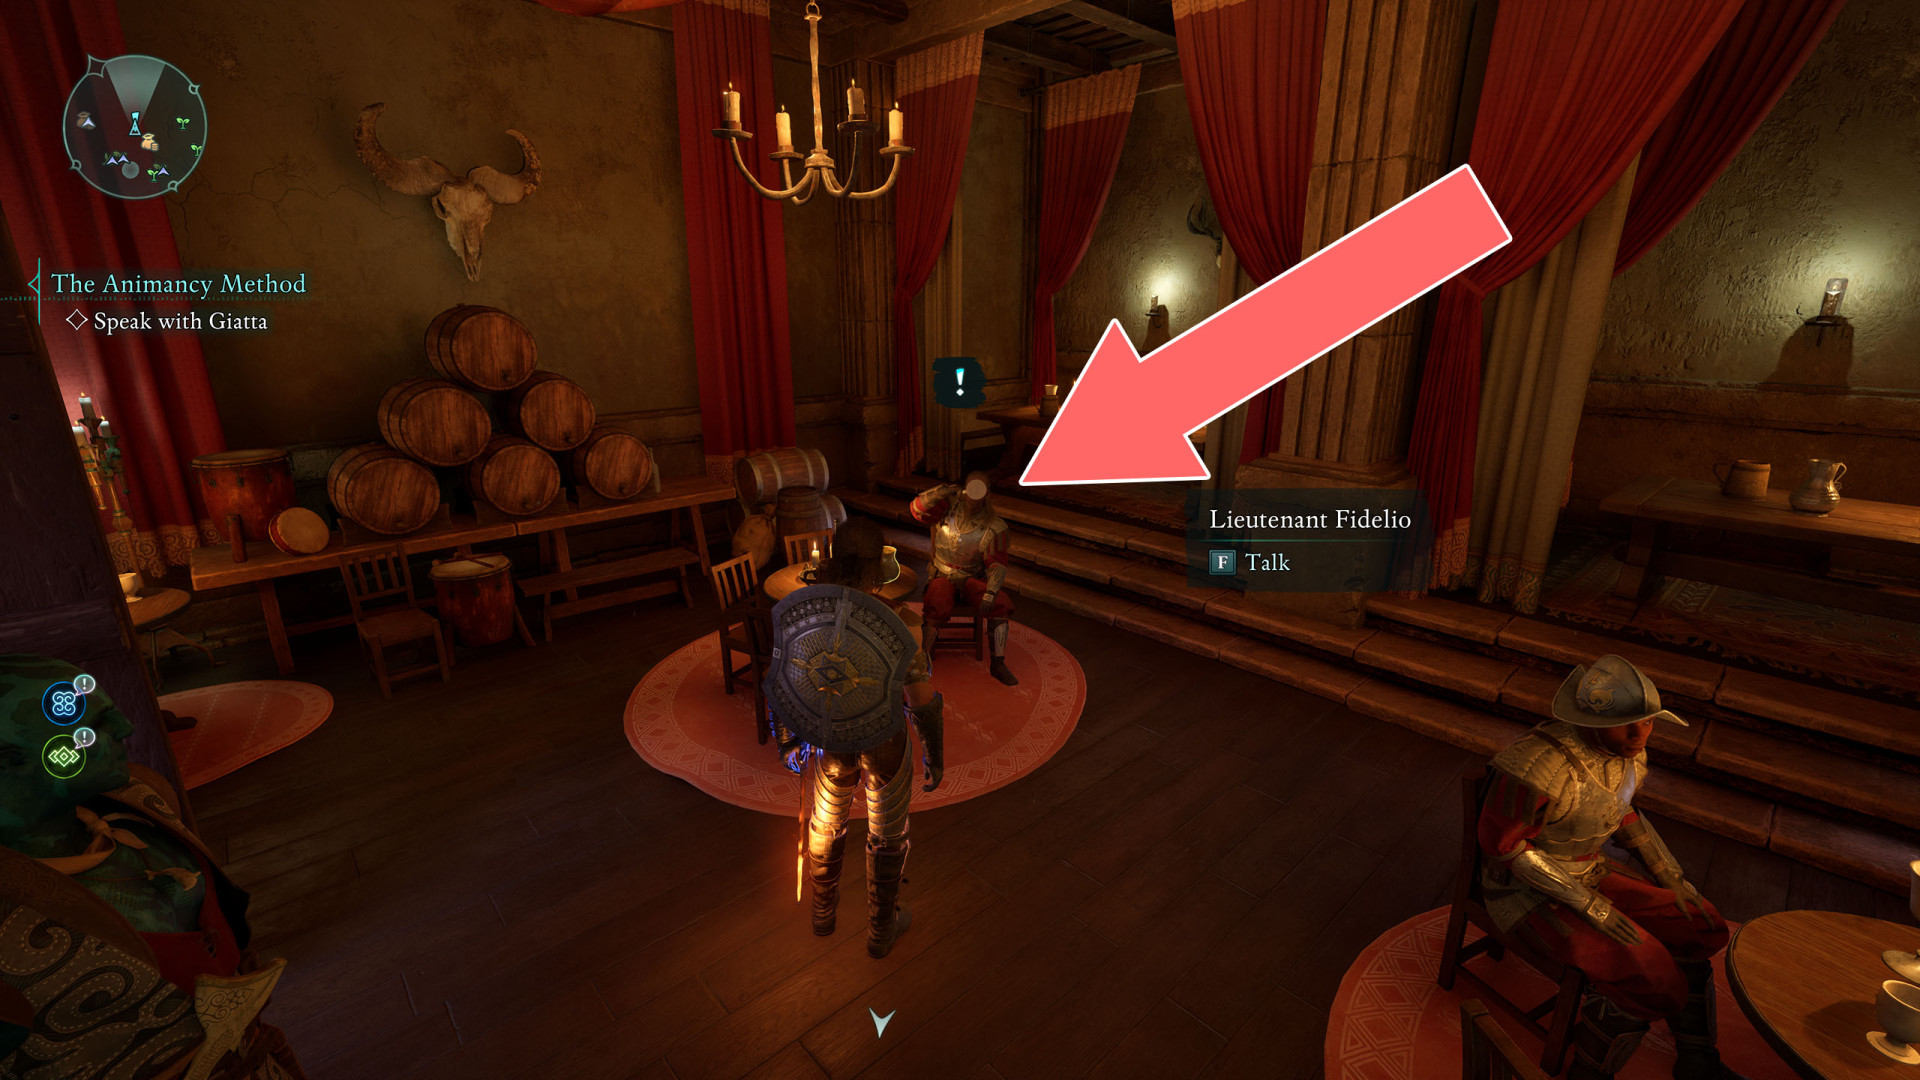
Missing Rangers▶ show the map ◀
How to start: Talk to Lieutenant Fidelio.
Description: Two of Fior's rangers, Belenna and Adelarro, failed to report back three days ago. Lieutenant Fidelio is understandably worried. He asked you to find them.
Objectives:
1. Find Belenna - Ranger Belenna went missing with Adelarro, her squadmate and paramour. Their lieutenant last sent them to patrol the lake northwest of Fior.
2. Find Adelarro - Ranger Adelarro went missing with Belenna, his squadmate and paramour. Their lieutenant last sent them to patrol the lake northwest of Fior.
3. Retrieve Adelarro's Badge - Adelarro's lover, Belenna, implied he succumbed to the Dreamscourge and fled to the nearby Godless ruins. End his suffering and collect his badge.
4. Speak to Lieutenant Fidelio - Lieutenant Fidelio will want to hear what became of Belenna and Adelarro. He can be found in the Bone and Boar in Fior.
Summary: You told Lieutenant Fidelio what became of his star-crossed rangers: Belenna and Adelarro.
Nature vs. Nurture▶ show the map ◀
How to start: Talk to Dolina.
Description: Xaurips are destroying animancy equipment that is critical to the survival of Emerald Stair's farms.
Related: Fortified Xaurip Camp, Amadio.
Rewards: Ring of Pain Amplification (if you killed Amadio or lied about killing him),

Objectives:
1. Investigate the Xaurip Camp - Farmers in Emerald Stair spoke of xaurips destroying their animancy equipment. Investigate the xaurip camp in the swamp to the northwest.
Enter the Fortified Xaurip Camp.
2. Talk to the Hermit - You found a hermit at the center of the xaurip camp. Talk to him about the raids on the farms.
3.1. Tell the Farmers to Call off the Rangers - A hermit has been using xaurips to destroy animancy equipment, which he believes are harmful to the land. Speak to the farmers and tell them to call off the rangers so the hermit can continue his plans unopposed.
4. Report to the Hermit - You told the farmers to call off the rangers. The hermit in the xaurip camp should be grateful.
Summary: You took the side of the hermit. His xaurips will raid the farms unopposed.
or (if you killed the hermit)
3.2. Report to Farmers - You defeated the hermit and stopped any further xaurip attacks on the farms. The farmers should be pleased.
Summary: You took the side of the farmers. The attacks on their equipment will stop.
Scofflaw's Vase▶ show the map ◀
How to start: Help Yatzli get rid of the sporelings attacking her and talk to her.
Description: An eccentric wizard named Yatzli needs an ancient Godless vase from the ruins nearby. Trouble is, the ruins are up there and she's down here.
Reward: 350 copper.

Objectives:
1. Retrieve the Godless Vase - The vase should be located somewhere just out of reach in the nearby Godless ruins.
2. Return the Vase to Yatzli - Yatzli will be delighted to receive the vase.
Summary: You retrieved the ancient Godless vase for Yatzli.
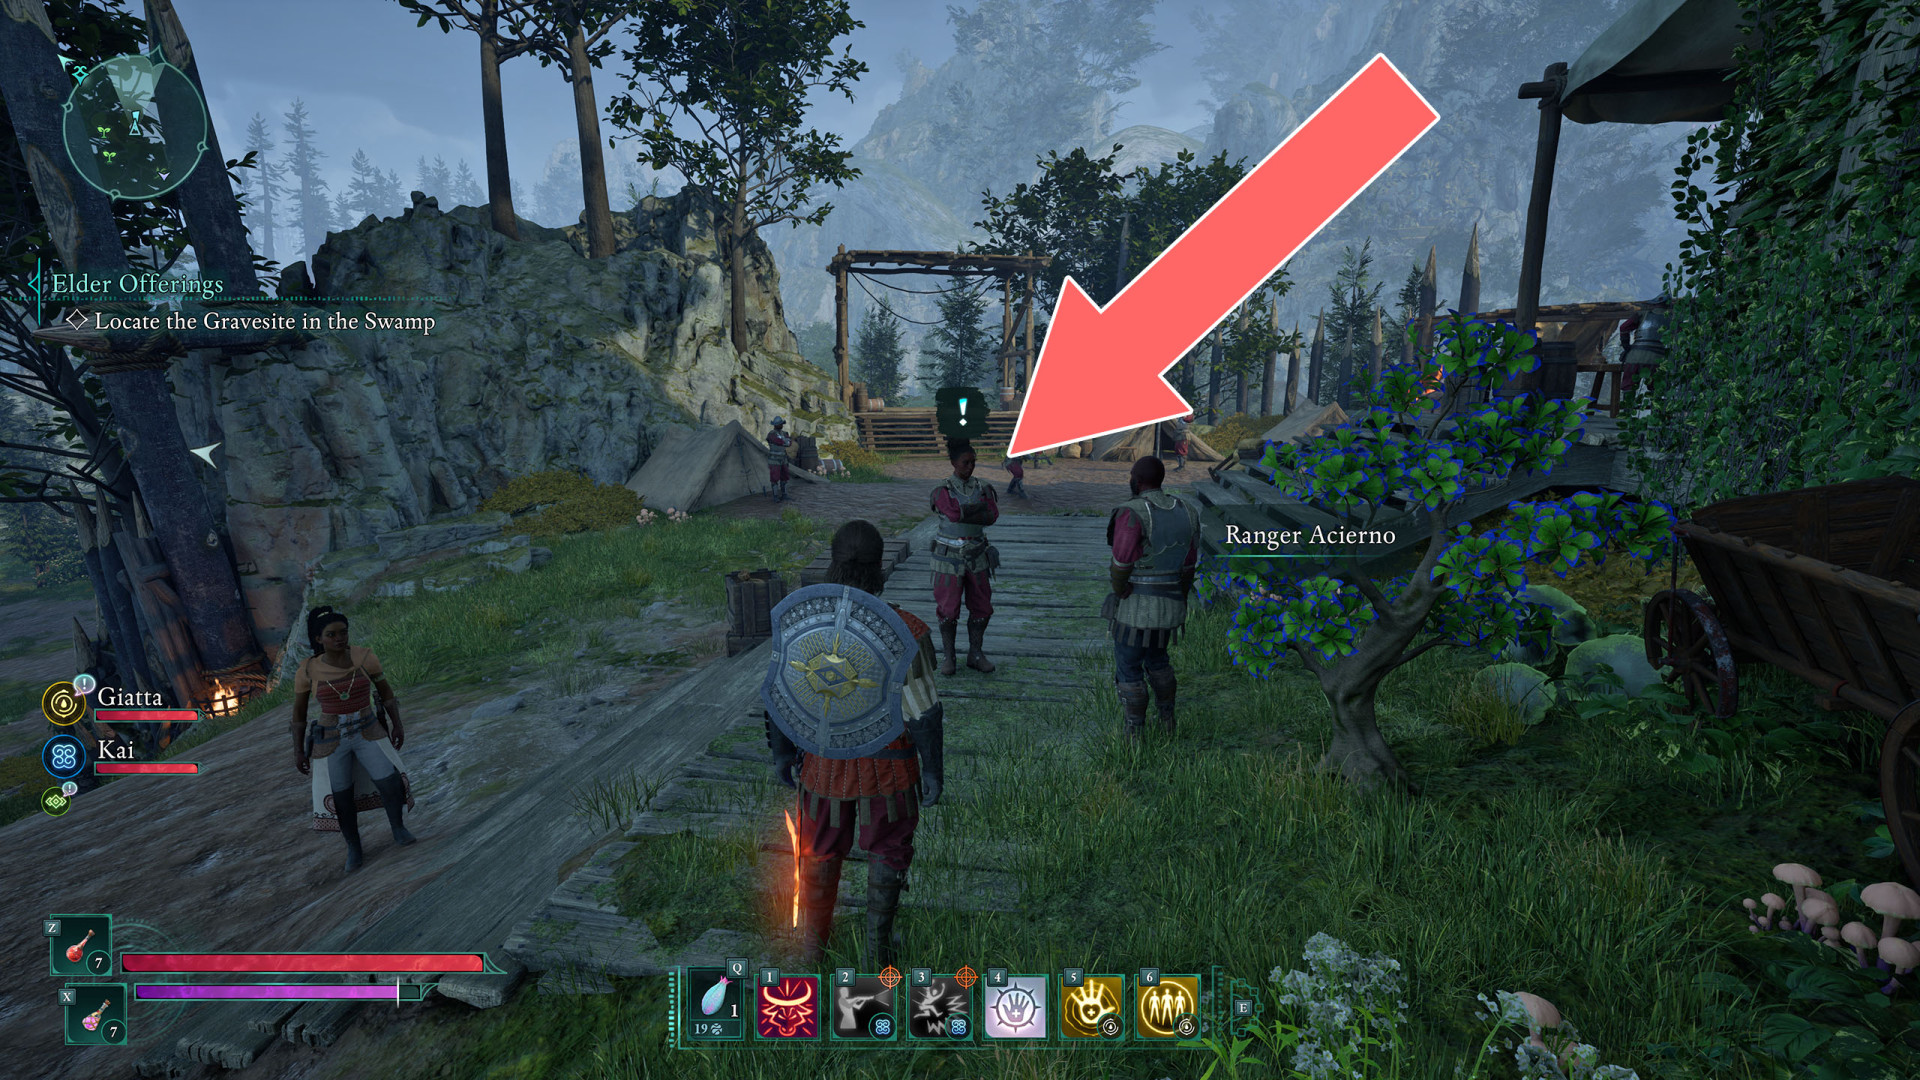
Steel Resolve▶ show the map ◀
How to start: Talk to Ranger Acierno.
Description: Two senior rangers have gone missing while on duty, and Captain Acierno fears they may have been murdered by one of their own. Rangers Dorso and Casagrada were the last to see them alive.
Objectives:
1. Speak with Ranger Dorso - Ranger Dorso was once partners with Ranger Monato, one of the men who's gone missing. Find her stationed at Fior's front gate.
1.1. Investigate the Ogre's Cave - Monato went to a investigate a cave where an ogre and disgraced animancer have made their home. The cave is located in a hillside above the swamp north of Fior.
2. Speak with Ranger Casagrada - Ranger Casagrada is Verano's partner and was with him when he went missing. Look for Casagrada at his new post near the docks east of Fior.
2.1. Investigate the Abandoned Homestead - Rangers Casagrada and Verano were separated while fighting bandits. Investigate the homestead where the fight occurred, southwest of Fior near Naku Tedek.
3. Search for a Root-Strangled Tree - The bandits were supposed to meet their ranger contact at a root-strangled tree to the west of Fior.
4. Search the Tree for Evidence - The traitorous ranger and their bandit allies may have left some evidence of their meeting. Search the area for clues.
5. Meet the Ranger at the Designated Location - The traitorous ranger instructed the bandits to meet at a secluded camp near the mouth of the river. Maybe you can get the drop on them.
6.1. Return to Ranger Captain Acierno - Ranger Dorso is dead. You should return to Ranger Acierno at the ranger headquarters and let her know Dorso was the killer.
or
6.2. Return to Ranger Captain Acierno - You let Ranger Dorso live. Return to Ranger Acierno at the ranger headquarters and persuade her that the killer won't be a problem anymore.
Summary (1): You killed Dorso.
or
Summary (2): You let Dorso go.
The Sinkhole Stroll▶ show the map ◀
Description: An animancer's workshop has fallen into a gigantic sinkhole that contains a Godless ruin. Explore the sinkhole.
Reward: 550 copper.
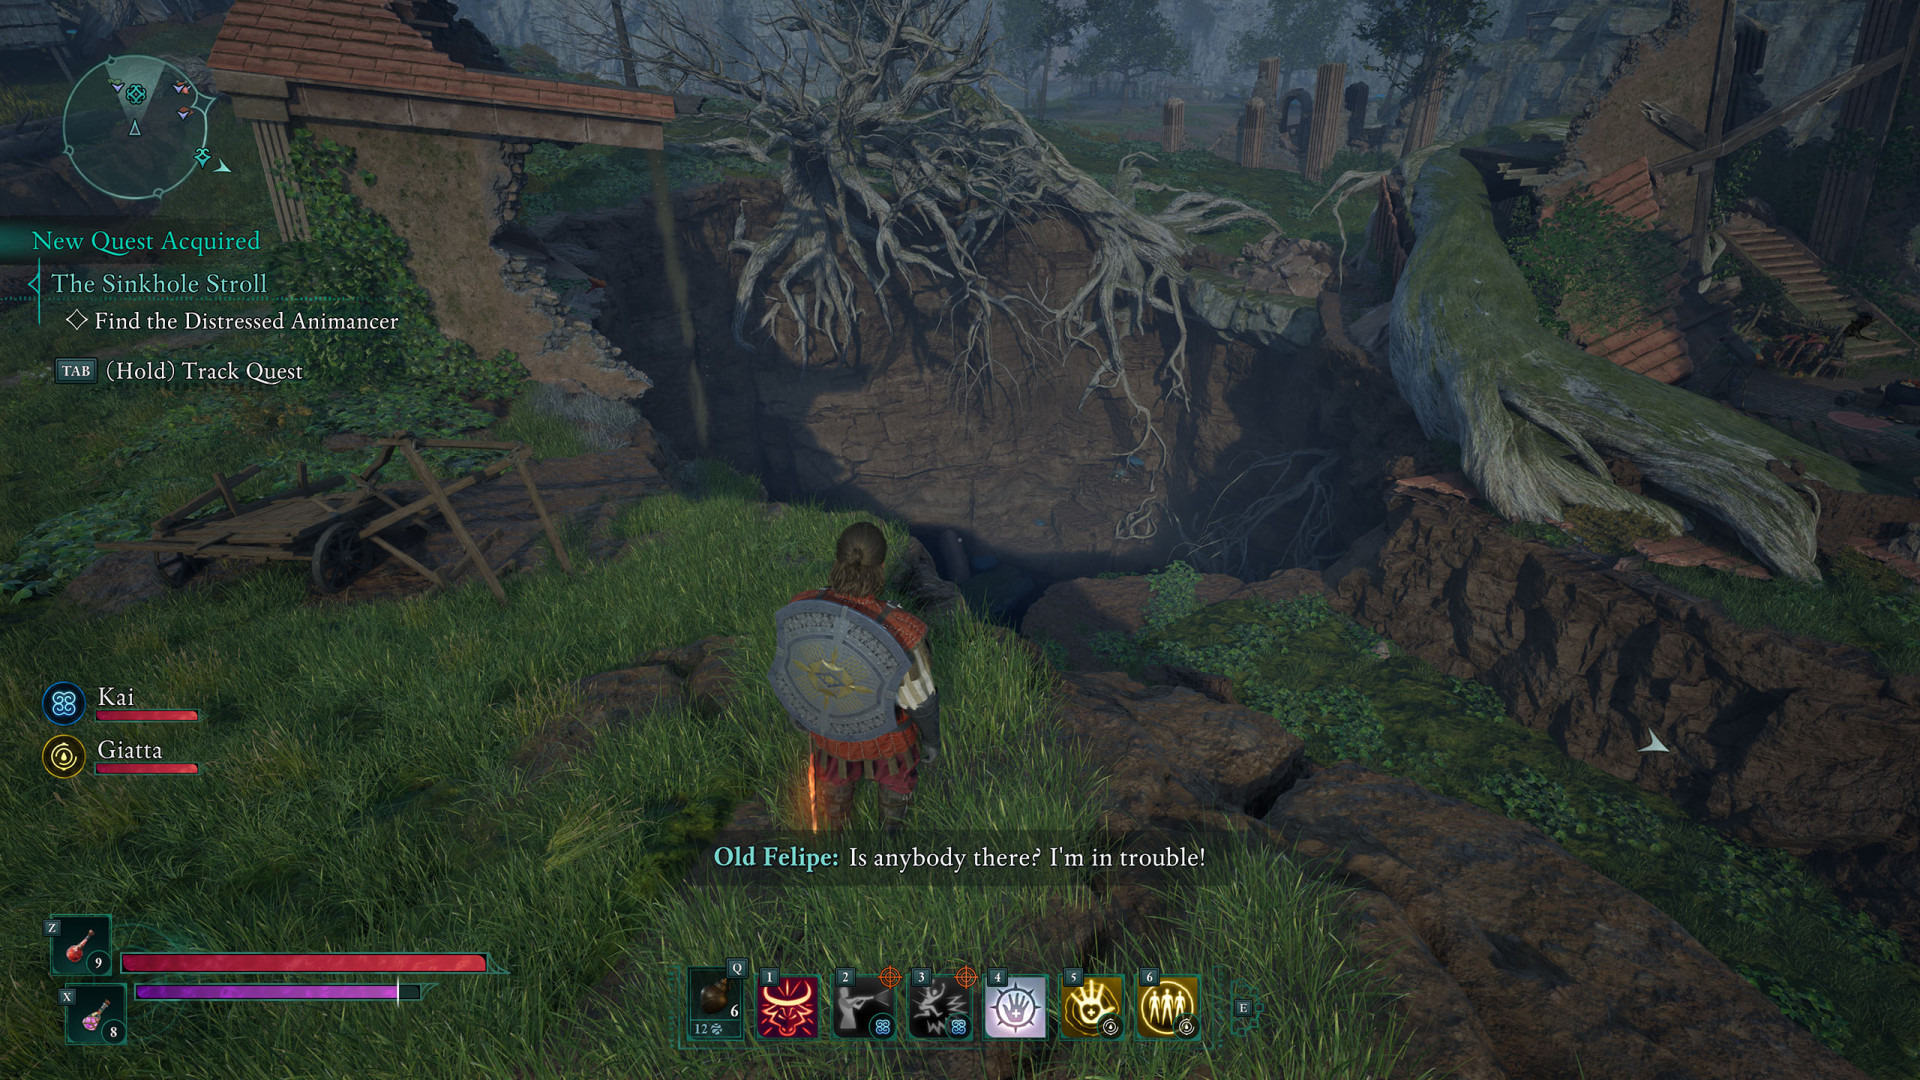
Objectives:
Find the Distressed Animancer - An animancer survived the fall into the sinkhole. He sounds desperate for help.
Save Old Felipe - Earth blights and sporelings have infested the sinkhole. Kill them to rescue Old Felipe.
Retrieve Old Felipe's Research - Old Felipe won't leave until he finds his research. Track it down for him.
Return to Old Felipe - You found Old Felipe's research. He'll be happy to have it back.
Summary: You saved Old Felipe from a gruesome fate in the sinkhole.
Totem of Defiance▶ show the map ◀
How to start: Buy the Fragments of the Offering document from Lluisa Melcer or collect a piece of the Schemer's Offering totem.
Description: You obtained a document containing clues to the whereabouts of pieces of the Schemer's Offering, a powerful artifact and a totem of Skaen. The pieces can be found across Emerald Stair - the more pieces of the totem you gather and assemble, the more powerful the totem will become.
Description (alt.): You found a piece of the Schemer's Offering, a powerful artifact and a totem of Skaen. The remaining pieces can be found across Emerald Stair - the more pieces you gather and assemble, the more powerful the totem will become.
Objectives:
1. (Optional) Find Clues About the Locations of the Remaining Fragments - It would be much easier to track down the remaining fragments if you had information regarding their whereabouts.
2.1. Find the Totem Core (The Schemer's Offering) - To find the totem of the Quiet Slave, an ancient tower you must brave.
2.2. Find the Sacrificial Dagger - Left alone in fallow fields, the ritual blade thirsts for skin freshly peeled.
2.3. Find the Idol of Covert Plots - In a place of worship amidst moldering rot, this idol continues to scheme and plot.
2.4. Find the Idol of Secret Hatred - In a damp hollow its sibling waits full of rage, while its previous owner decays with age.
2.5. Find the Idol of Violent Rebellion - From on high the third surveys the land, sewing the seeds of revolt near at hand.
2.6. Find the Obsidian Prayer Beads - In a verdant glade where old ruins crumble, you will find beads dark and umbral.
2.7. Find the Effigy Necklace - Hidden in ruins of heathens long gone, the octet of skulls sings its silent song.
3. Restore the Schemer's Offering - With Skaen's totem and all of its fragments in your possession, all that remains is to assemble them together at your camp.
Summary: You restored the Schemer's Offering to its former glory, gaining power in return.
All known locations on the map Shatterscarp
Bounty: Captain Tago▶ show the map ◀
How to start: Read the wanted poster pinned to the board.
Reward: 1,200 copper.
Bounty: Koda and Dario▶ show the map ◀
How to start: Read the wanted poster pinned to the board.
Reward: 1,200 copper.
Bounty: Kukae Maka▶ show the map ◀
How to start: Read the wanted poster pinned to the board.
Reward: 1,200 copper.
Description: A Dreamthrall dwarf the Thirdborners have taken to calling Kukae Maka has been spotted in the Ancient Lakebed and is confirmed to have eliminated a patrol of Aedyran soldiers. You aquired a bounty notice offering a reward for proof of his death.
Objectives:
- Kill Kukae Maka - The group of Dreamthrall were last seen in the Ancient Lakebed, south of Thirdborn. There should be a dwarf among them.
- Collect Proof of Your Kill - Kukae Maka is dead. Collect proof of the kill.
- Claim the Bounty Reward in Thirdborn - Now that you've collected proof of the kill, return to Thirdborn and claim the bounty.
Bounty: Moi Piki▶ show the map ◀
How to start: Read the wanted poster pinned to the board.
Reward: 1,200 copper.
Bounty: Xaurip Chieftain Grithin▶ show the map ◀
How to start: Read the wanted poster pinned to the board.
Reward: 1,200 copper.
Don't Look Down▶ show the map ◀
How to start: Talk to Moapo.
Description: A local named Moapo told you about a pair of Dreamscourged hunters who reclaimed an old tower in the Shark'sTeeth. Meet them and deliver their supplies.
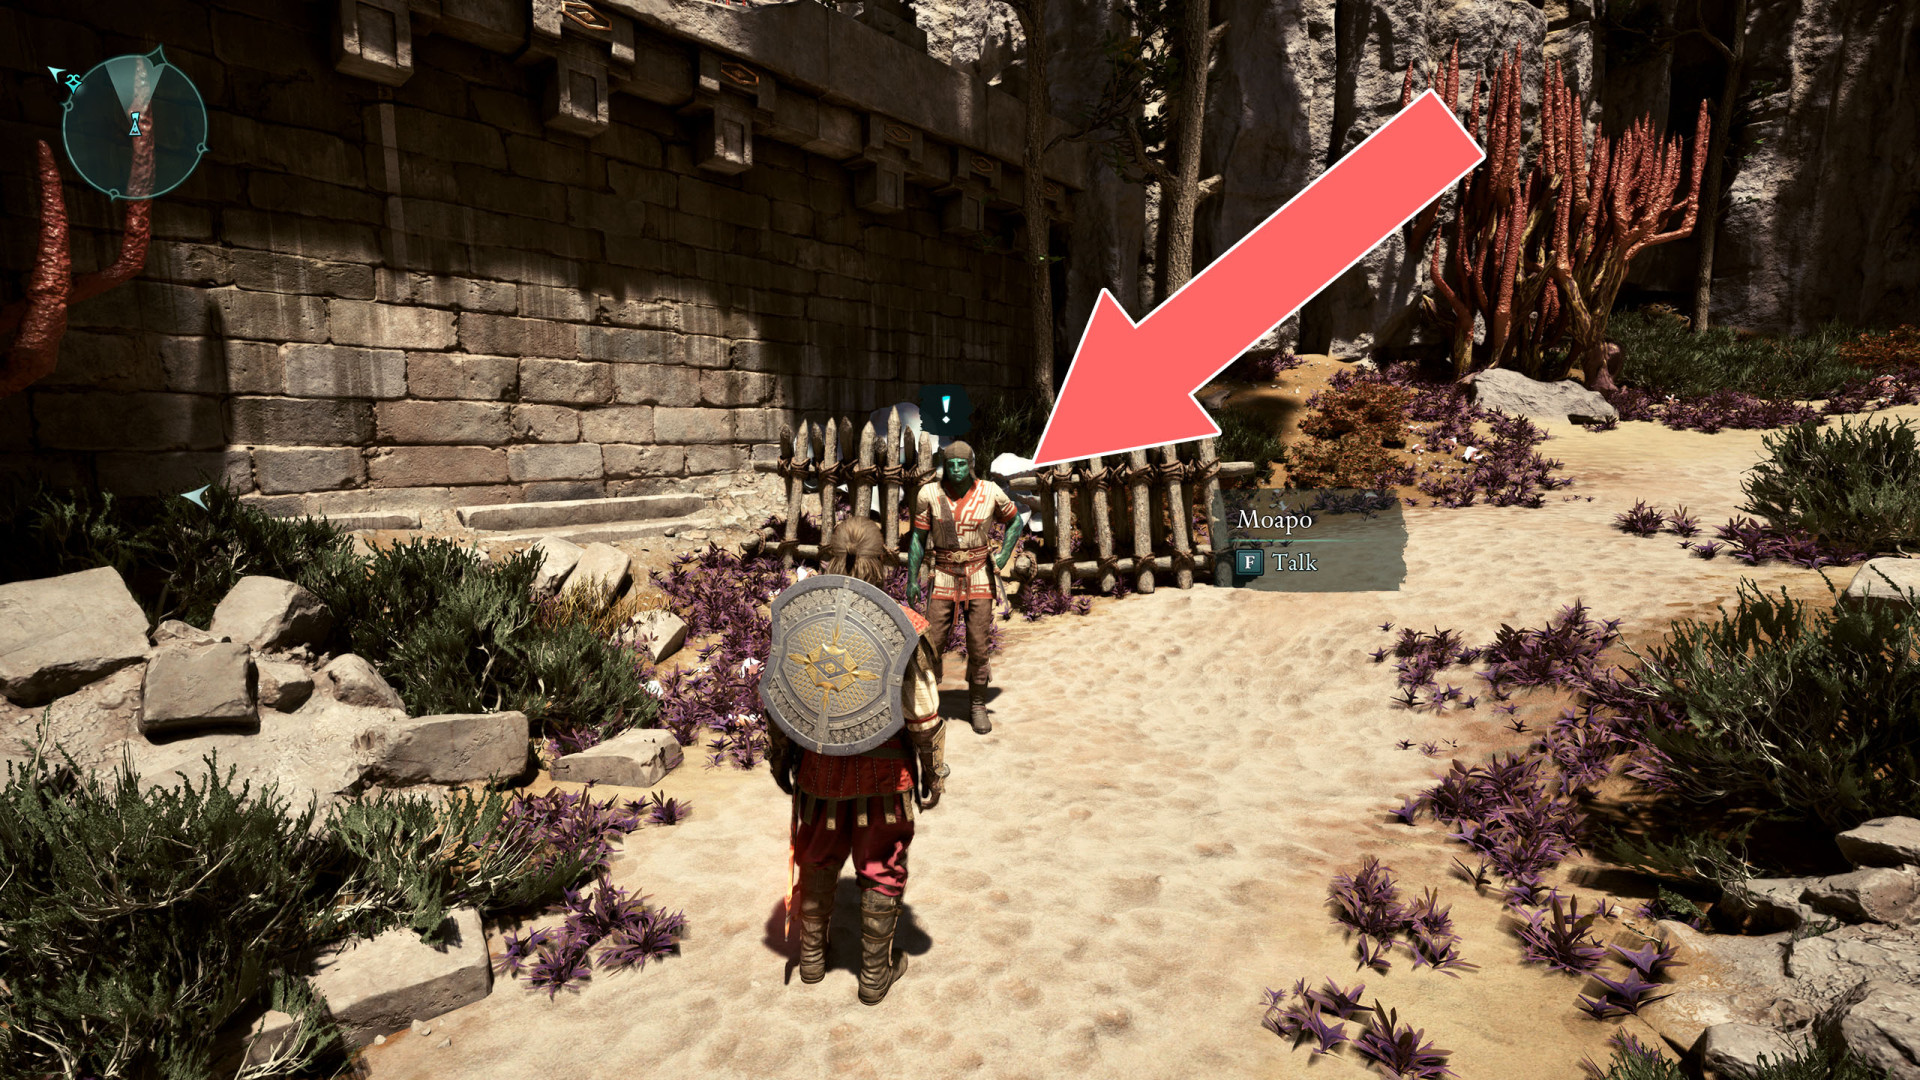
Objectives:
1. Locate the Old Pargrun Tower - Moapo gave you a set of supplies to deliver to the tower in the Shark's Teeth Pass. He said it's located just over the ridge.
2. Find a Way Inside the Tower - The area surrounding the tower is littered with traps. If you want to breach it in one piece, you'll have to watch your step.
3. Climb the Tower - You found a way inside the tower, which is also littered with traps. Climb with caution.
4. Discover the Trapper's Identity - You managed to reach the top of the tower. Time to confront whoever's behind this.
5. Speak to Katoa and Haiako - Katoa and Haiako are resolute in their hatred of Aedyr. Still, there may be a way to reason with them.
6. (Optional) Kill Katoa and Haiako - Katoa and Haiako won't listen to you. They also won't let you leave alive. This can only end one way.
Summary (1): You convinced Katoa and Haiako to stop their campaign and walk away.
Summary (2): You killed Katoa and Haiako. Their tangled plans died with them.
Summary (3): You allowed Katoa and Haiako to continue their campaign.
Fires in the Mine▶ show the map ◀
How to start: Talk to the Aedyran Soldier.
Description: Thirdborn and Aedyr are collaborating to reopen an abandoned sulfur mine in the Deadfall Highlands. Their efforts, however, have been stymied by a brood of spiders.
Related:
Reward: 900 copper.

Objectives:
1. Travel to the Mine Encampment - You heard of troubles at the abandoned mines. Visit the nearby encampment to see if there's anything you can do to assist.
2. Speak with the Mining Officials - Find the leaders of the mining operation; something is complicating production.
3. Speak to the Gate Guard to Gain Entry - Darle, an Aedyran soldier, has been stationed at the mouth of the mine. Speak to him to gain entry.
4. Destroy the Nests x2 - Spiders laid two nests in the mines. Destroy them to make the mines safe again.
5. Return to the Mining Camp - The spiders have been cleared from the mine. Return to the camp and inform the officials.
6. (Optional) Kill Darle - Darle is attempting to blow up the entrance to the mine. Kill him to save the mine and its resources.
7.1. Debrief with the Mining Officials - Darle's plan to destroy the mines has been stopped. Report back to the project overseers by the mine's entrance.
Summary: You cleared the spiders and killed Darle, thwarting his attempt to the destroy the mines. Thirdborn and Aedyr can now resume production.
or
7.2. Debrief with the Mining Officials - You allowed Darle to carry out his plan to destroy the mines. Report to the project overseers by the mine's entrance.
Summary: You allowed Darle to destroy the mine. Hopefully this will prevent a conflict between Thirdborn and Aedyr.
First Contact with the Enemy▶ show the map ◀
How to start: You can start this quest by talking to Temerti, Private Nauki, or Sergeant Hasui.
Reward: 900 copper (Talk to Nauki about what Hasui said and give him the badges)
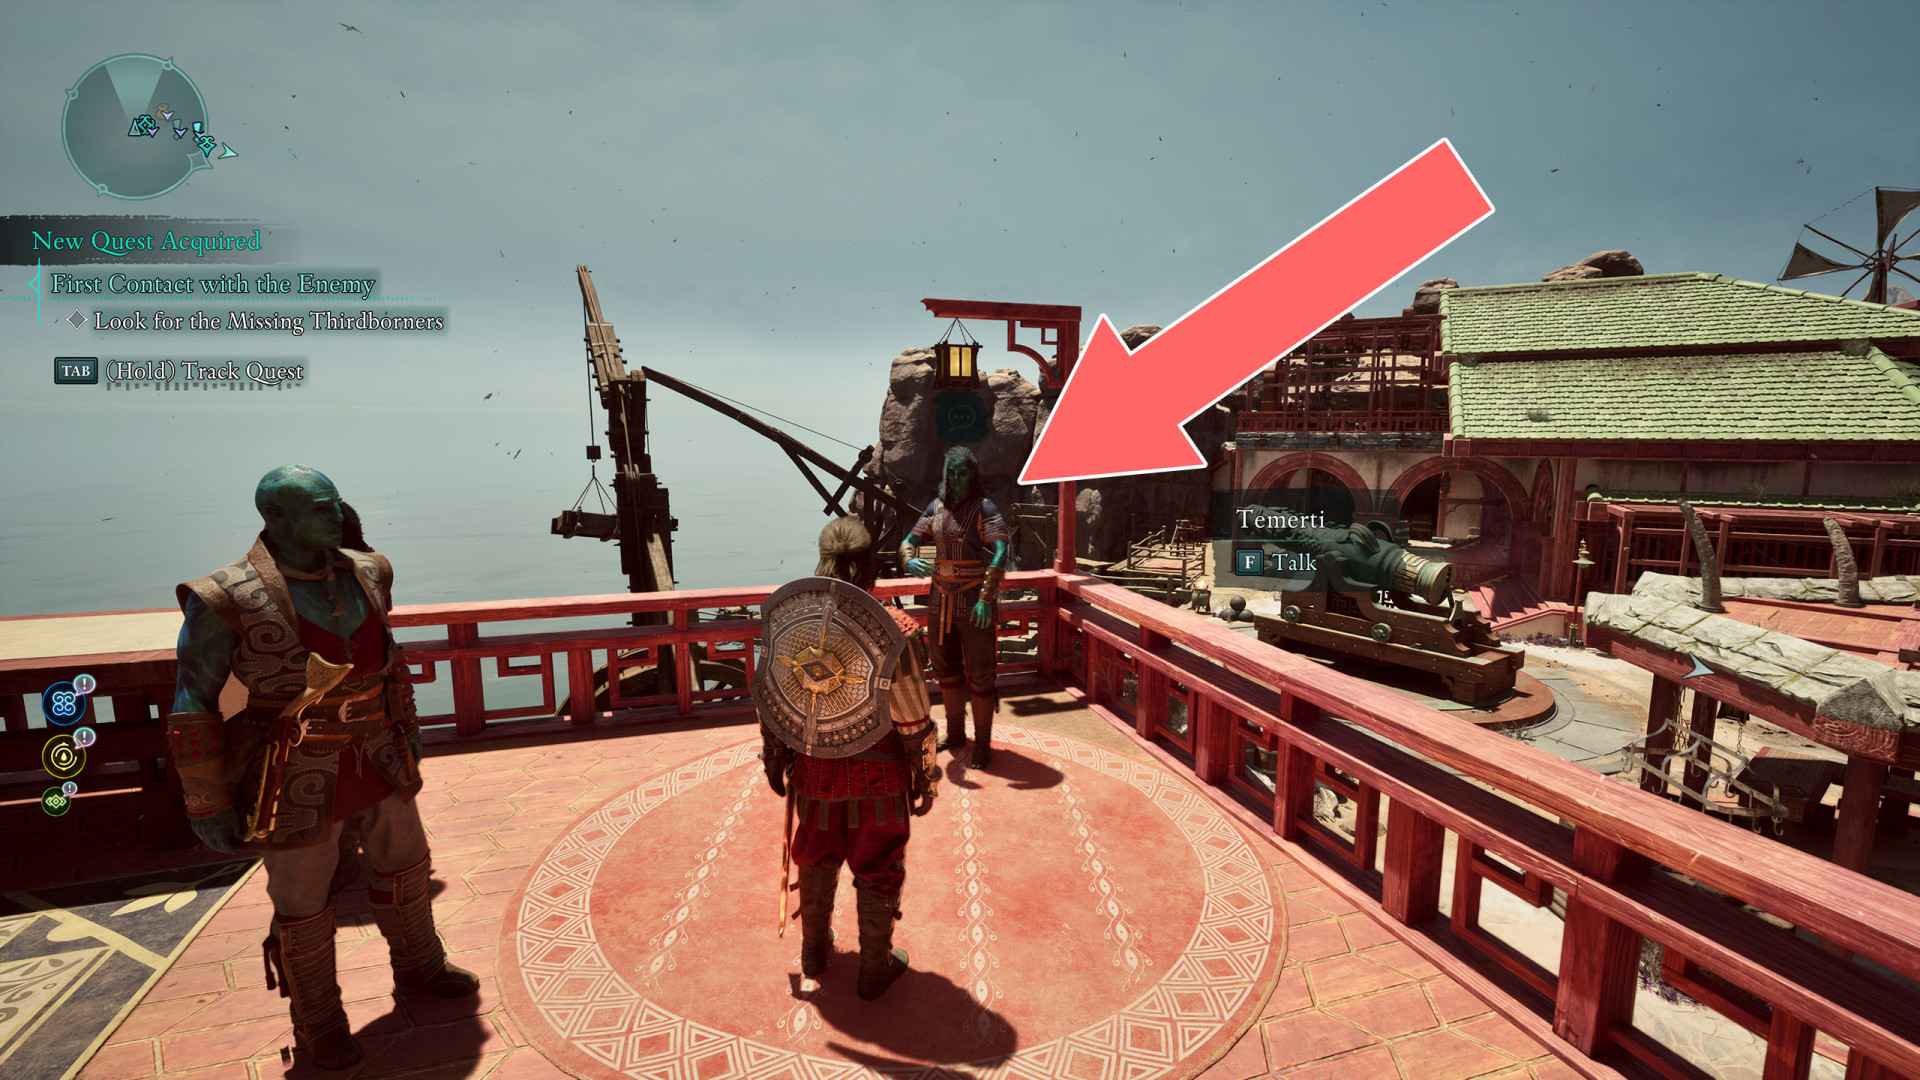
Description: Temerti asked you to look for a group of Thirdborners who formed an amateur militia out in the Deadfall Highlands.
or
Description: You found one of the militia, Nauki, who asked you to recover the badges of his four fallen comrades. He last saw his friends in the nearby xaurip lair inside Leviathan's Hollow.
or
Description: You came across a dying Thirdborner soldier inside Leviathan's Hollow. He asked you to recover the badges of his fallen comrades and confront the sole survivor who fled the battle.
Objectives:
- Look for the Missing Thirdborners - Search the Deadfall Highlands, to the northwest of Thirdborn, for the missing militia members.
- Recover Captain Ruiki's Badge - Search Leviathan's Hollow for Captain Ruiki's badge.
- Recover Kiri's Badge - Search Leviathan's Hollow for Kiri's badge.
- Recover Manu's Badge - Search Leviathan's Hollow for Manu's badge.
- Recover Sergeant Hasui's Badge - Search Leviathan's Hollow for Hasui's badge.
- Confront Private Nauki - You heard Sergeant Hasui's story. Take the badges and confront Private Nauki.
- (Optional) Return the Badges to Temerti - Nauki is dead. You should return the badges to Temerti in Thirdborn so she can get the badges to their respective families.
Summary: You gave the badges to Nauki, consoling him that he did what he could for his fallen friends. He's returned home to inform his squad's loved ones.
or
Summary: You gave Nauki the badges but chastised him for his cowardice. Who knows how much of it he heard, though?
or
After dealing with the coward Nauki, you delivered the badges to Temerti in Thirdborn.
Heart of Valor▶ show the map ◀
How to start: Talk to Chiko.
Description: Chiko asked you to meet their elderly uncle, Keipo, a Shatterscarp legend who slew a fearsome leviathan. Chiko believes Keipo has been feeling his age. Talking to a fellow adventurer could be just the thing he needs.
Rewards (Dependent on your choices): Umpara's Spear or Heart of the Leviathan + (optional) Stormdancer's Scale, Stormdancer Gloves, Stormdancer Boots, Stormdancer Ring, ....
Objectives:
Speak to Keipo - Keipo can be found in his home on the northeast side of Thirdborn.
Go to the Sand Sea Ruins - Keipo asked you to find his prized possession, the heart of the leviathan. He has hidden it in the Sand Sea Ruins to the east of Shatterscarp.
Find the Heart of the Leviathan - The Sand Sea Ruins are a treacherous dungeon. Explore the ruins to find the heart.
Find the Heart of the Leviathan and Weathered Journal.
Update: You found something else in the dungeon: Keipo's old journal, which reveals that he lied about slaying the leviathan alone. Another hunter, Umpara, went with him and died on the journey. Why would he hide the truth?
Update: Chiko warned you that Keipo intends to use the leviathan heart to end his own life. They implored you not to give it to him.
Return to Keipo with the Heart of the Leviathan - You found the leviathan's heart. Keipo should be grateful. / Chiko warned you that Keipo intends to use the leviathan heart to end his own life. They implored you not to give it to him.
Keep or Expose Keipo's Secret - Keipo's dungeon was full of old secrets, but one stands out: his hunting partner, Umpara, died fighting the leviathan. Should Thirdborn know the truth about one of their greatest heroes?
Talk to Chiko - You spoke to Keipo and made your choice. All that remains is to tell Chiko.
Summary: You gave Keipo the heart and left the decision in his hands.
or
Summary: You refused to give Keipo the heart.
Home Sweet Home▶ show the map ◀
How to start: Talk to Nameho.
Description: Nameho and Tamamu returned home to discover their parents had caught the Dreamscourge.
Objectives:
1. Clear Out the Homestead - Find the homestead and deal with the Dreamthralls.
2. Return with News - The Dreamthralls have been killed. Find Nameho and Tamamu in Eagle's Reach and deliver the bad news.
Summary: Nameho and Tamamu lost their family to the Dreamscourge. At least they have each other.
Mapping the Living Lands: Shatterscarp▶ show the map ◀
Description: Sanza, an excitable cartographer, wants to make a proper map of the Living Lands. He sent one of his assistants, Wilfrith, to Shatterscarp - but he never returned. Sanza asked you to search for Wilfrith and bring his findings back.
Objectives:
- Find the Cartographer in Shatterscarp - Based on what Sanza told you, Wilfrith - one of Sanza's cartographers - must be in Shatterscarp. His last letter suggests he was near an isolated spire by the sea.
One Last Drink▶ show the map ◀
How to start: Talk to Captain Ngunu.
Related achievement: Reverse Card - Kill Captain Ngunu with his own poison.
Reward: Ring of Prosperity's Fortune.
Related:
Description: Captain Ngunu of Thirdborn desires to see his old crew again. Find them scattered across Shattersharp and invite them to drinks.
Objectives:
- Recruit Tauwe for the Reunion Toast - Tauwe can be found at an oasis in the Sand Sea, northeast of Thirdborn.
- Recruit Kowha for the Reunion Toast - Kowha can be found in a hidden settlement in the Shark's Teeth, towards the northeastern end of Shatterscarp.
- Kill the Dreamthralls in the Settlement - Kowha's settlement caught the Dreamscourge. He asked you to put the Dreamthralls out of their misery before he's ready to talk about the reunion toast.
- Recruit Ruanga for the Reunion Toast - Ruanga can be found in the Ancient Lake Bed. Look for the fossil embedded in a rock wall north of Thirdborn to find the hidden entrance.
- Return to Captain Ngunu - Return to Captain Ngunu at The Dead Swordfish Tavern in Thirdborn.
Summary: You switched the poison to Ngunu and Tauwe's cups. They're both dead.
or
Summary: Kowha and Ruanga were both poisoned and killed.
That Which Remains▶ show the map ◀
Description: Scaedclef, a small Aedyran settlement in the Ancient Lakebed, burned down. Investigate the remains. Find out what happened there.
Objectives:
Find the Key to the Laboratory - The door to the laboratory house is locked. Search the settlement to find the key.
Explore the Laboratory - There may be a clue to what happened in the laboratory.
Enter the Well - Strange sounds are echoing from the well. Use the key to unlock it and explore the depths.
Investigate the Grotto - Learn what happened here.
Deal with the Dreamthralls - Put the Dreamthralls out of their misery.
Speak to the Naturalists in the Cave - The Dreamthralls are dead. Return to the cave to discuss the next steps.
Summary: Summary: The Aedyran naturalists have moved to Eagle's Reach.
or
Speak with Wymgar - The Aedyran naturalists have returned to their settlement on the surface. Talk to Wymgar about gathering provisions.
Summary: The Dreamthralls are dead, and the Aedyran naturalists have returned to their settlement on the surface.
or
Kill Fewen - You've agreed to put the researcher out of her misery.
Summary: You put one of the naturalists out of their misery. The others ran off.
The Wasteland Courier▶ show the map ◀
How to start: Talk to Daiko.
Reward: Poisoner's Kit or Thirdborn Tira Nui Badge.
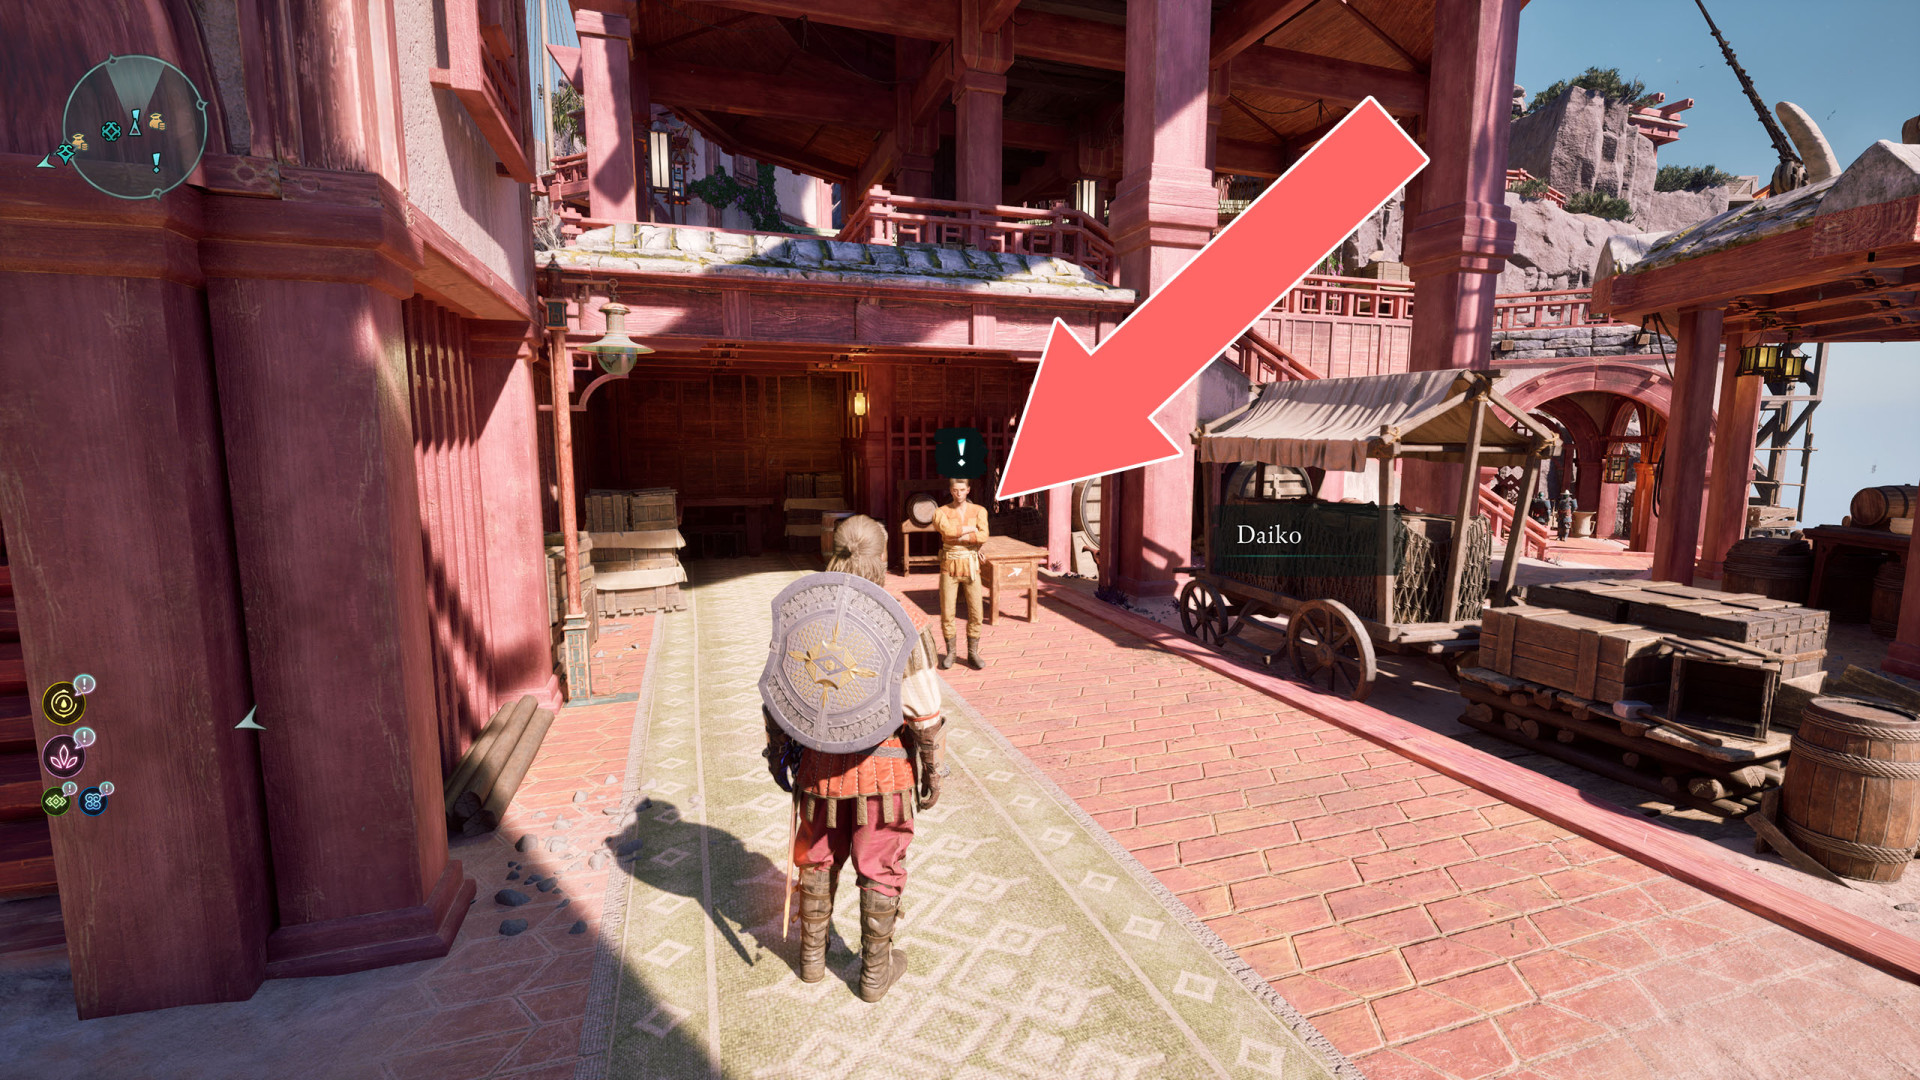
Description: A Thirdborn merchant lost contact with his supplier and needs help locating him.
Objective:
- Find the Graffiti - Daiko said that his supplier communicates through graffiti and arrows. Search around town and see if you can follow them to the meeting place.
- Find the Meeting Spot - You found a graffiti map in Thirdborn that points due northwest out of town. It even claims that an X will mark the spot. Hopefully there are more arrows out in the wilds. / By studying the grafitti closely, you now know exactly where to find the meeting spot.
- Talk with the Shady Supplier - Seems that you've stumbled upon a business opportunity. / The drug dealer looks awfully similar to the merchant who hired you. Apparently they're brothers.
- Return with the Illicit Goods OR give them to the Tira Nui - The merchant in Thirdborn will be happy to receive their package. On the other hand, it might be worth bringing to the tira nui's attention.
Summary: You handed over the package to Daiko, the merchant.
or
Summary: You handed over the drugs to the tira nui.
Totem of Revelations▶ show the map ◀
How to start: Buy the Fragments of the Eyes document from Cinzia or collect a piece of the Eyes of the Obscured totem.
Description: You obtained a document containing clues to the whereabouts of pieces of the Eyes of the Obscured, a powerful artifac and totem of Wael. The pieces can be found across Shatterscarp - the more pieces you gather and assemble, the more powerful the totem will become.
Description (alt.): You found a piece of the Eyes of the Obscured, a powerful artifact and a totem of Wael. The remaining pieces can be found across Shatterscarp - the more pieces you gather and assemble, the more powerful the totem will become.
Objectives:
1. (Optional) Find Clues About the Locations of the Remaining Fragments - It would be much easier to track down the remaining fragments if you had information regarding their whereabouts.
2.1. Find the Totem Core (Eyes of the Obscured) - The Hundred Visions' totem lies in a seaside cavern overrun with eyes.
2.2. Find the Sapphire Eye - At the bottom of an oasis deep, the sapphire eye is yours to keep.
2.3. Find the Emerald Eye - The emerald eye rests on an unfinished likeness, not far from unnatural iciness.
2.4. Find the Agate Eye - Amidst sprawling ruins of the faithless of old, the agate eye has waited for years untold.
2.5. Find the Topaz Eye - Beneath a watery behemoth’s ancient bones, the topaz eye awaits all alone.
2.6. Find the Ruby Eye - On the ancient lakebed's edge, to the ruby eye your words you will pledge.
2.7. Find the Amethyst Eye - Near a flame-scarred town lost to history, the amethyst eye dwells in a cave of mystery.
3. Restore the Eyes of the Obscured - With Wael's totem and all of its fragments in your possession, all that remains is to assemble them together at your camp.
Summary: You restored the Eyes of the Obscured to its former glory, gaining power in return.
All known locations on the map Galawain's Tusks
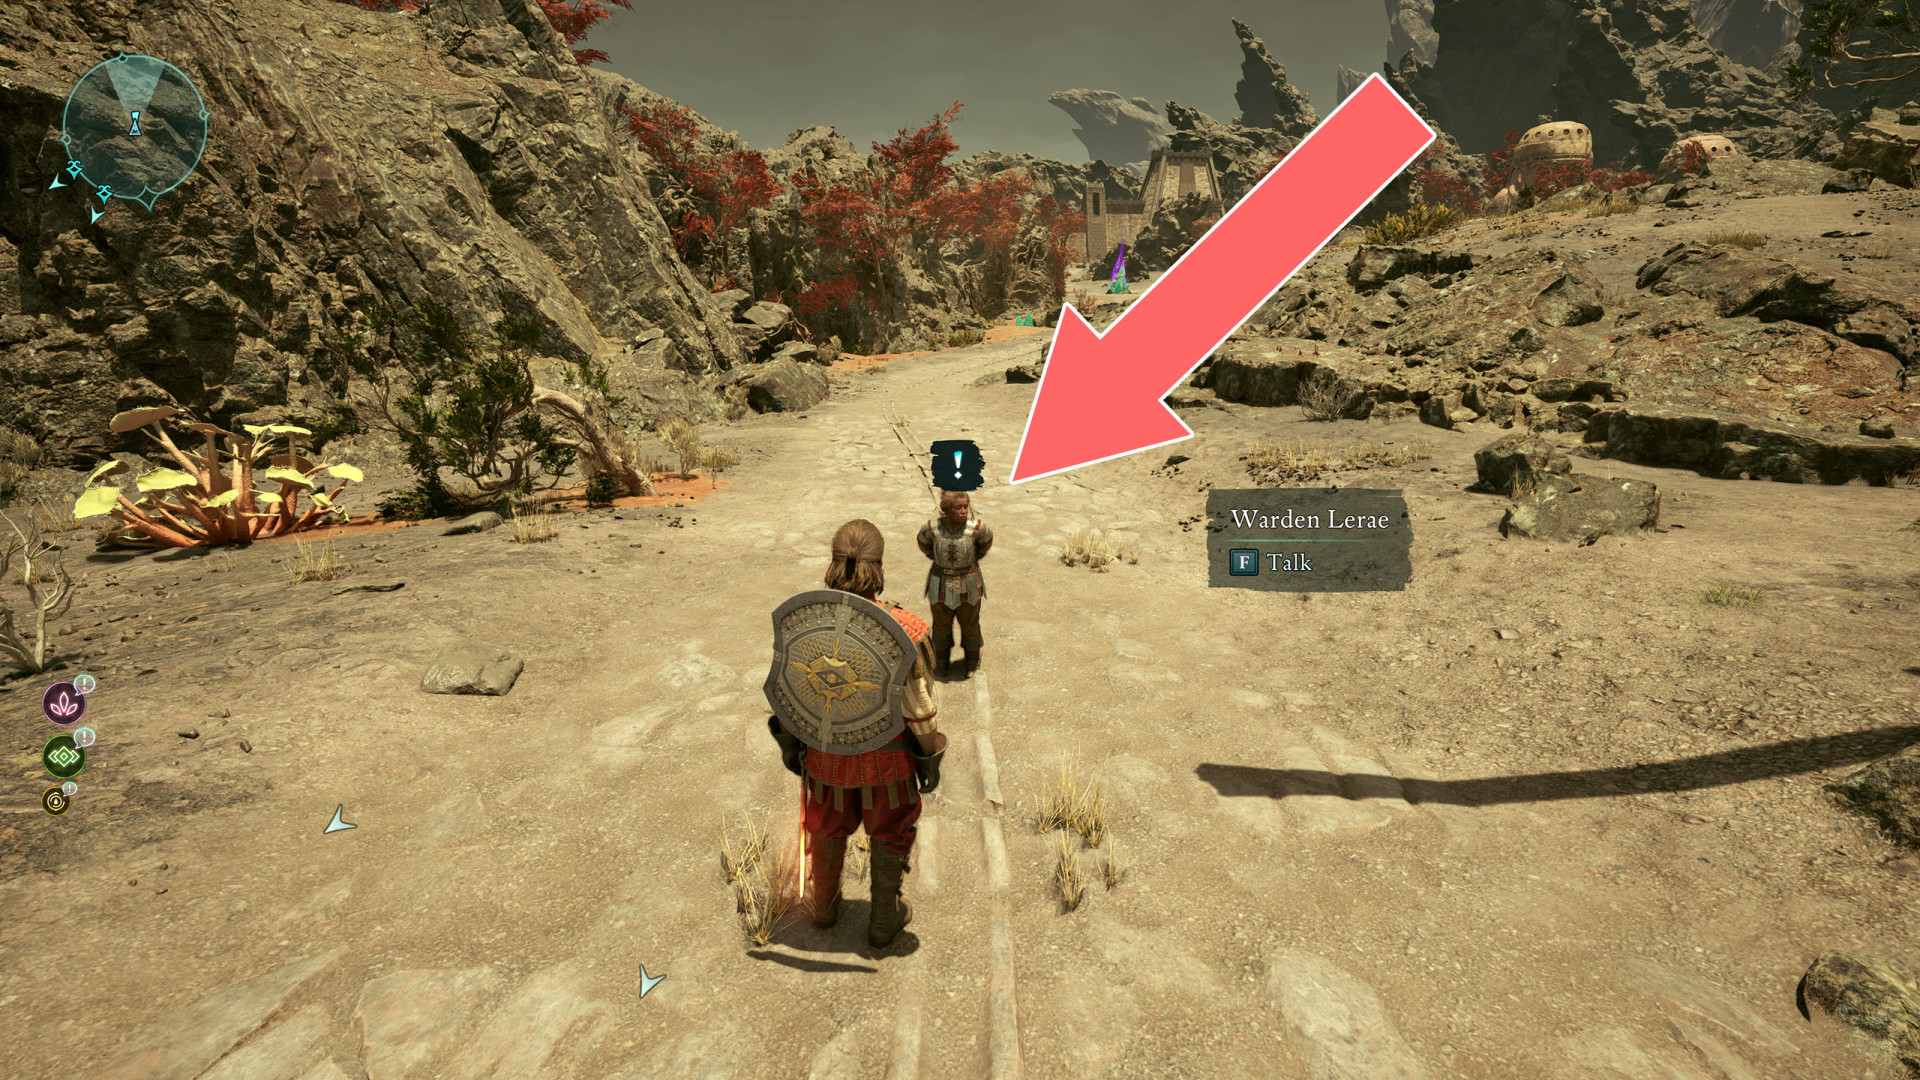
A Cure for Rage▶ show the map ◀
How to start: Talk to Warden Lerae.
Description: An Aedyran caravan entered Galawain's Tusks bound for Solace Keep, but never reached its destination.
Objectives:
1. Locate the Missing Aedyran Caravan - Lerae mentioned an Aedyran caravan traveled north to Solace a while ago and has yet to return. She fears the worst and asks that you find evidence of its whereabouts.
2. Find Gilyn - No female dwarves were counted among the Caravan's dead. Whatever destroyed the Caravan seems to have headed southeast. Try to ascertain where they might have gone.
3. Find the Recipe for the Ogre's Cure - The ogre is dying from Molder Lung. The destroyed Aedyran convoy has the recipe for the cure. Find it.
4.1. Acquire Anti-Mycotic Moss - This moss is toxic to spores and other fungi. It grows among the roots of trees with red leaves, which grow on the tops of large rocks.
This green moss is said to grow in the southern Sallow Steppe area. It prefers higher altitudes and grows near the large red trees that inhabit that area.
4.2. Acquire a Calcified Beetle Nest Nodule - Older parts of fire beetle nests can harden by absorbing some of the minerals in the rocks around them. You will need a nodule of such material to make the cure.
A large fire beetle nest can be found southwest of the Warden Tower. Look for reddish brown nodules at the base of the sickly green nest walls.
4.3. Acquire a Jar of Gunpowder Snuff - Inhaled through the nose, this potent narcotic produces an intense surge of focus and euphoria.
5. Return to the Ogre - You have all of the ingredients necessary for the cure. Bring them to the ogre.
Summary: You gave the cure to Molder Lung to the ogre and Gilyn was set free.
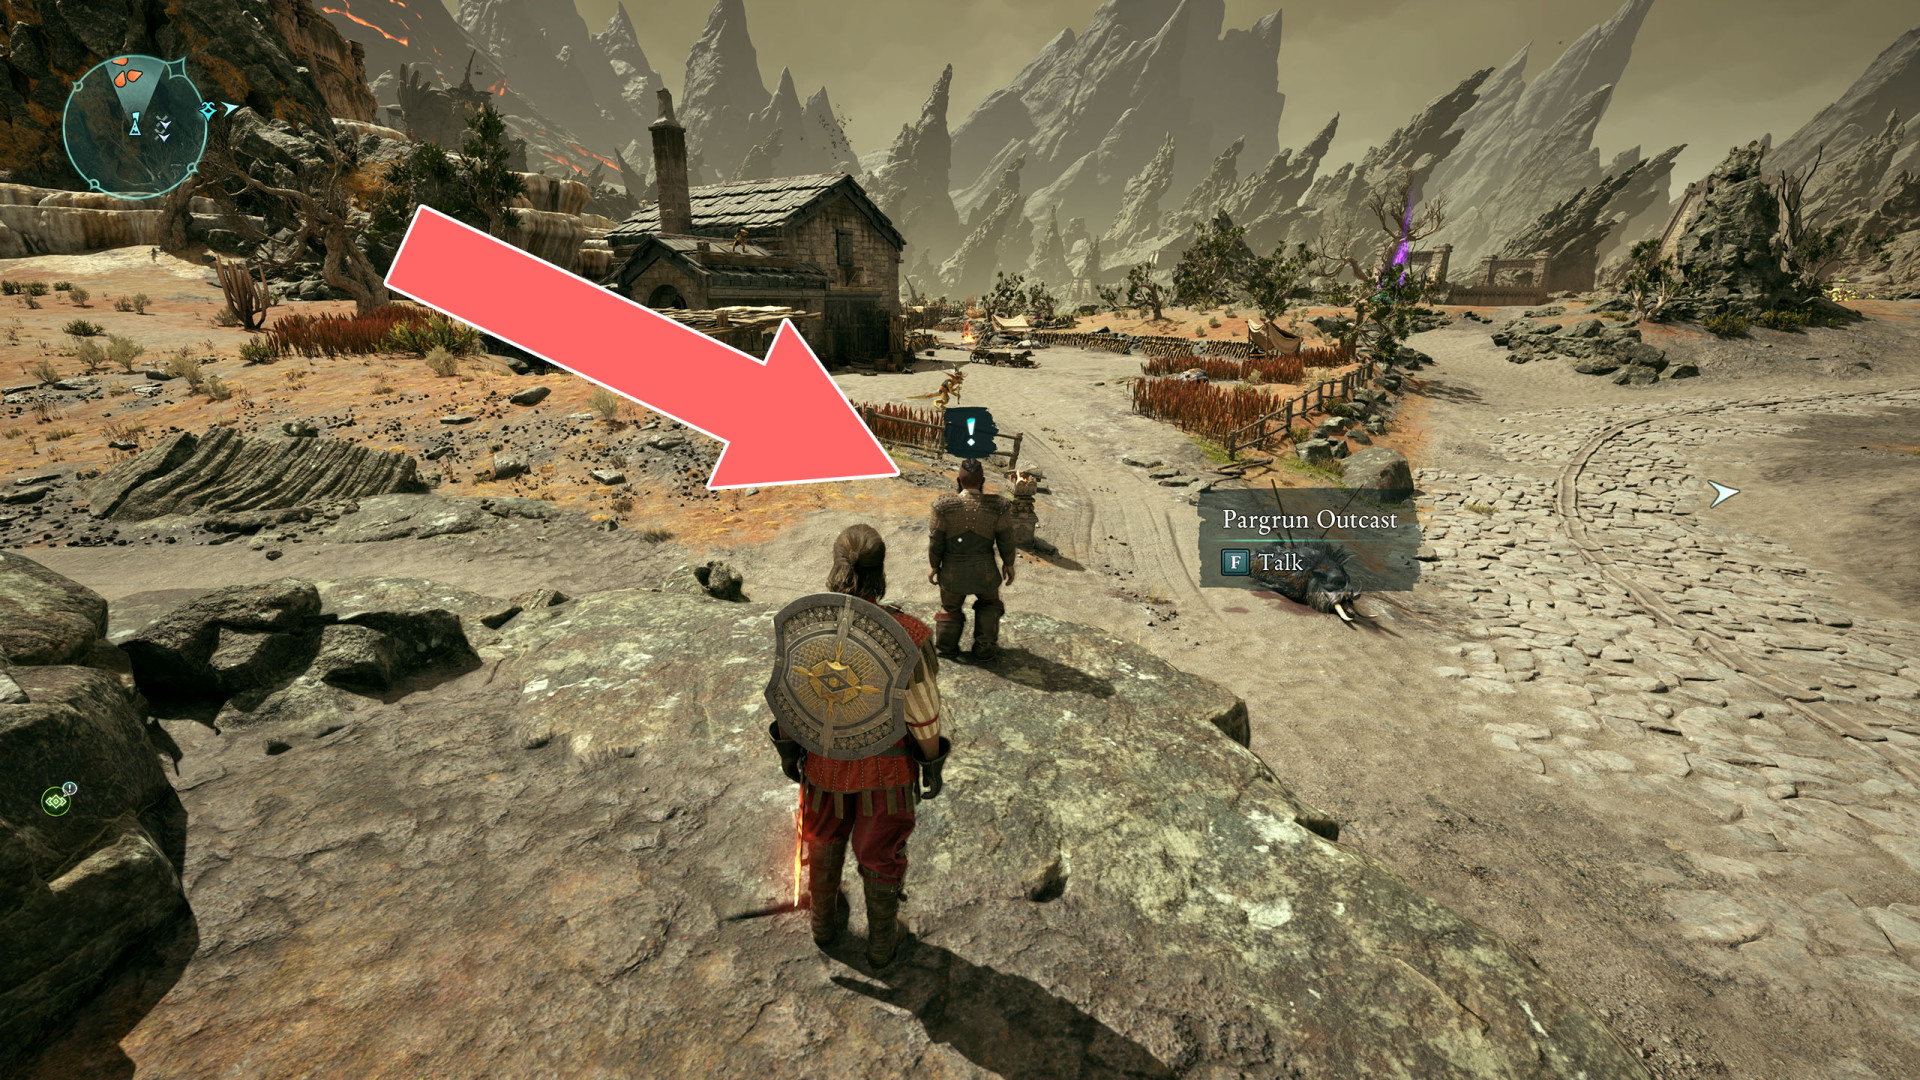
A Home for Outcasts▶ show the map ◀
How to start: Talk to the Pargrun Outcast.
Description: A farm in Galawain's Tusks has been overrun with xaurips who fled from the North. A scout representing a group of Pargrunen outcasts asked you to clear out the farm so they can use it as a home.
Reward: 1,800 copper.
Objectives:
1. Defeat the Xaurip - Defeat the Xaurips that have taken over the farm.
2. Return to the Scout - The xaurips that took over the farm are dead. Inform the Pargrun scout that it's safe for the outcasts to make use of it now.
Summary: The farm is now safe for the outcasts to use as their home.
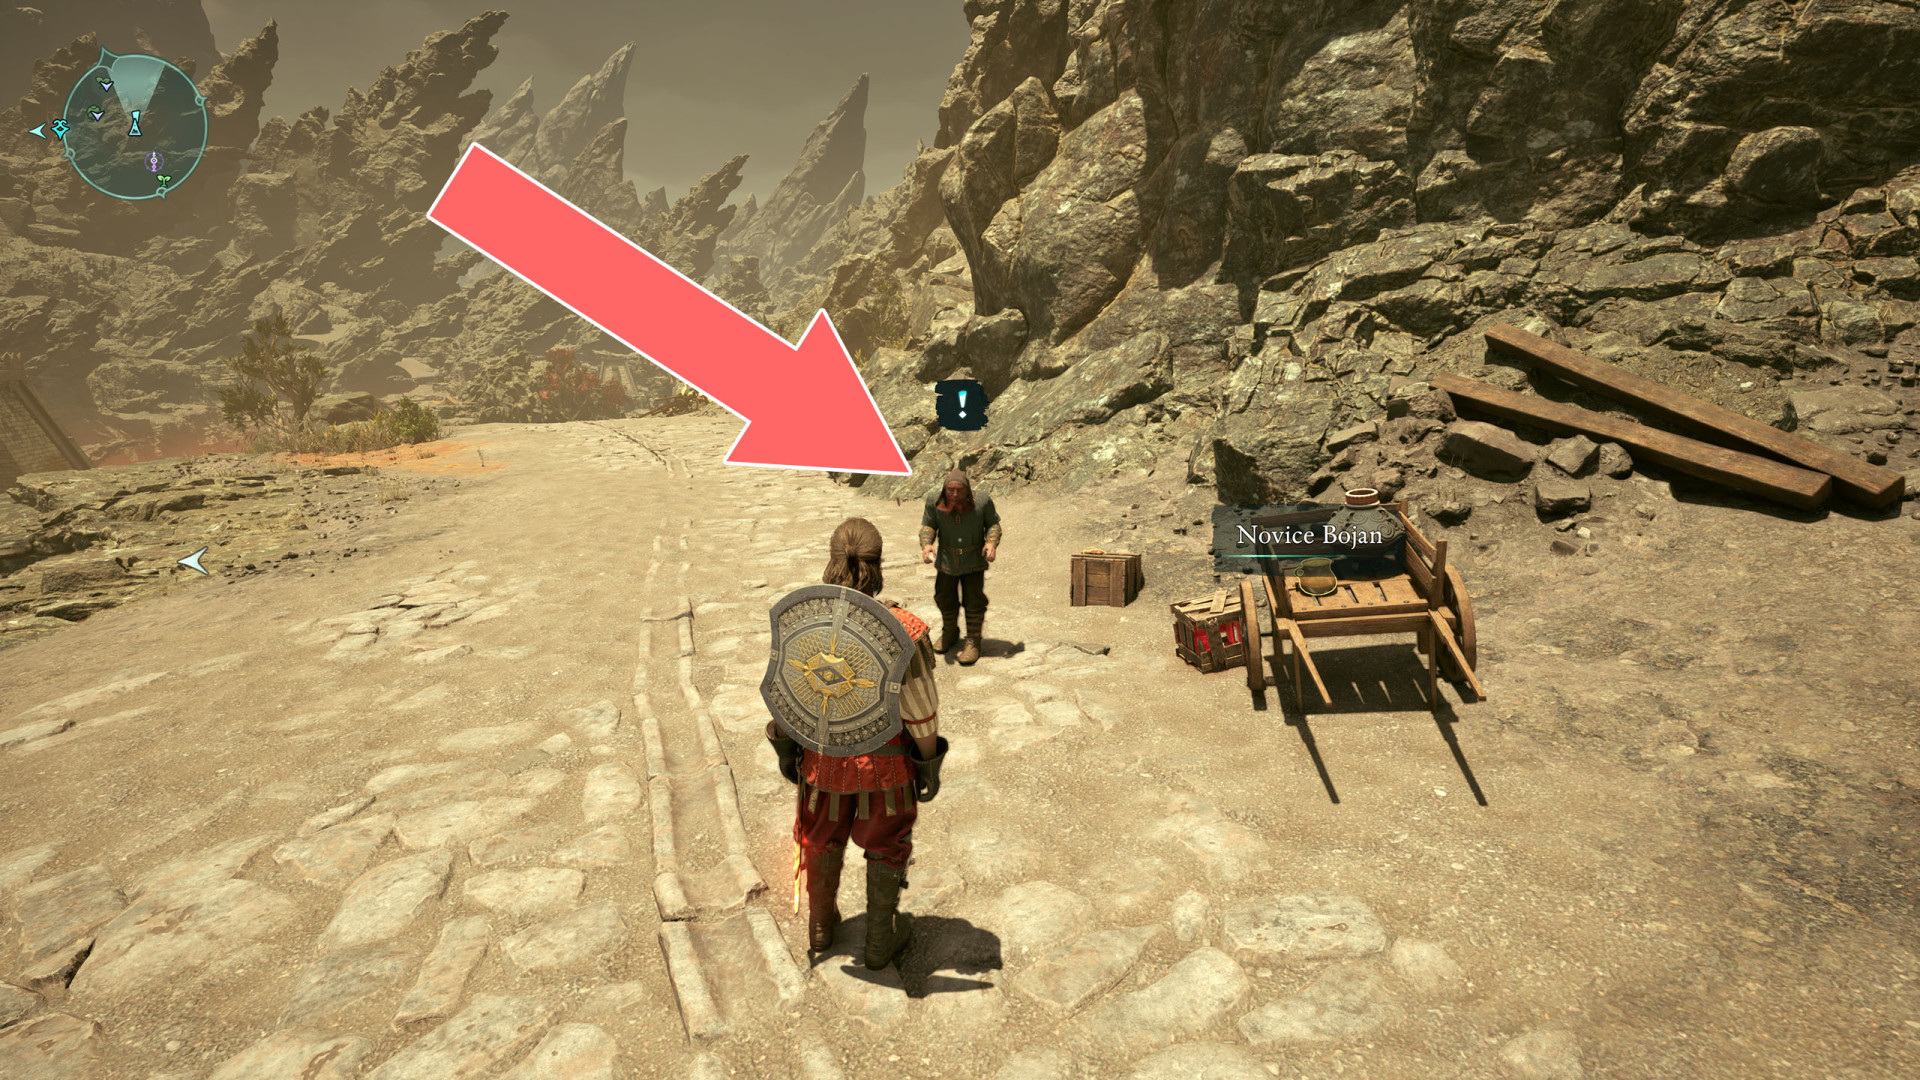
Boundaries of Antiquity▶ show the map ◀
How to start: Talk to Chief Engineer Gabral.
Description: Gabral, Solace's Chief Engineer, sent an expedition to restore old Godless aqueducts to send water to the people of Solace. The expedition has gone missing. Find them.

Objectives:
1. Search for the Expedition Near the Aqueducts - Gabral sent their expedition to the aqueducts in the southwest, just beyond the southmost guard tower. Look for signs of the missing dwarves there.
Read the Raluka's Expedition Journal.
Update: According to Raluka's journal, the expedition planned to cross into the Slumbering Fields from a spot northwest of their camp.
Update: You found wagon tracks leading from the camp near the aqueduct toward the Slumbering Fields.
2. Find the Missing Expedition Team - The team set out for the Slumbering Fields in the southwest to survey the aqueduct and assess its viability as a water source for Solace.
Update: Speak with the Delemgan - She has imprisoned the expedition team.
Speak with Weeping Willow.
3. Investigate the Presence Inside the Ruins - Something seems to be poisoning the water somewhere in the old Godless ruins upstream. The delemgan will not release the dwarves until whatever is fouling the waters is dealt with.
Update: An ancient maegfolc of some kind lies dormant in the ruins. It appears to be the source of the contamination.
Speak with Damaged Maegfolc.
4. Return to the Delemgan - Now that the water has been cleansed, return to the delemgan to check on the expedition team.
5. Speak with Raluka - She isn't pleased with the delemgan's demand.
Update: You refused to kill the delemgan on behalf of the Pargrunen.
or
Update: You chose to fight the delemgan.
6. Unblock the Aqueduct - You siphoned the last of Woedica's essence from the maegfolc, cleansing the fouled waters. All that remains is to unblock the flow of water in the aqueduct. The blockage should be to the southwest.
Update: The blockage is not accessible from your current location. Find a way to the other side of the aqueduct.
7. Report Back to Raluka - The expedition leader will want to know about your success.
Summary: You restored the flow of water to the aqueducts but declined to kill the delemgan. The Pargrunen will have to make do with partial access to the water.
Bounty: Beetle Matriarch▶ show the map ◀
How to start: Read the wanted poster pinned to the board.
Reward: 1,800 copper.
Bounty: Congasar and Crusta▶ show the map ◀
How to start: Read the wanted poster pinned to the board.
Reward: 1,800 copper.
Bounty: Destul▶ show the map ◀
How to start: Read the wanted poster pinned to the board.
Reward: 1,800 copper.
Bounty: The Sporeking▶ show the map ◀
How to start: Read the wanted poster pinned to the board.
Reward: 1,800 copper.
Bounty: Urvolnau▶ show the map ◀
How to start: Read the wanted poster pinned to the board.
Reward: 1,800 copper.
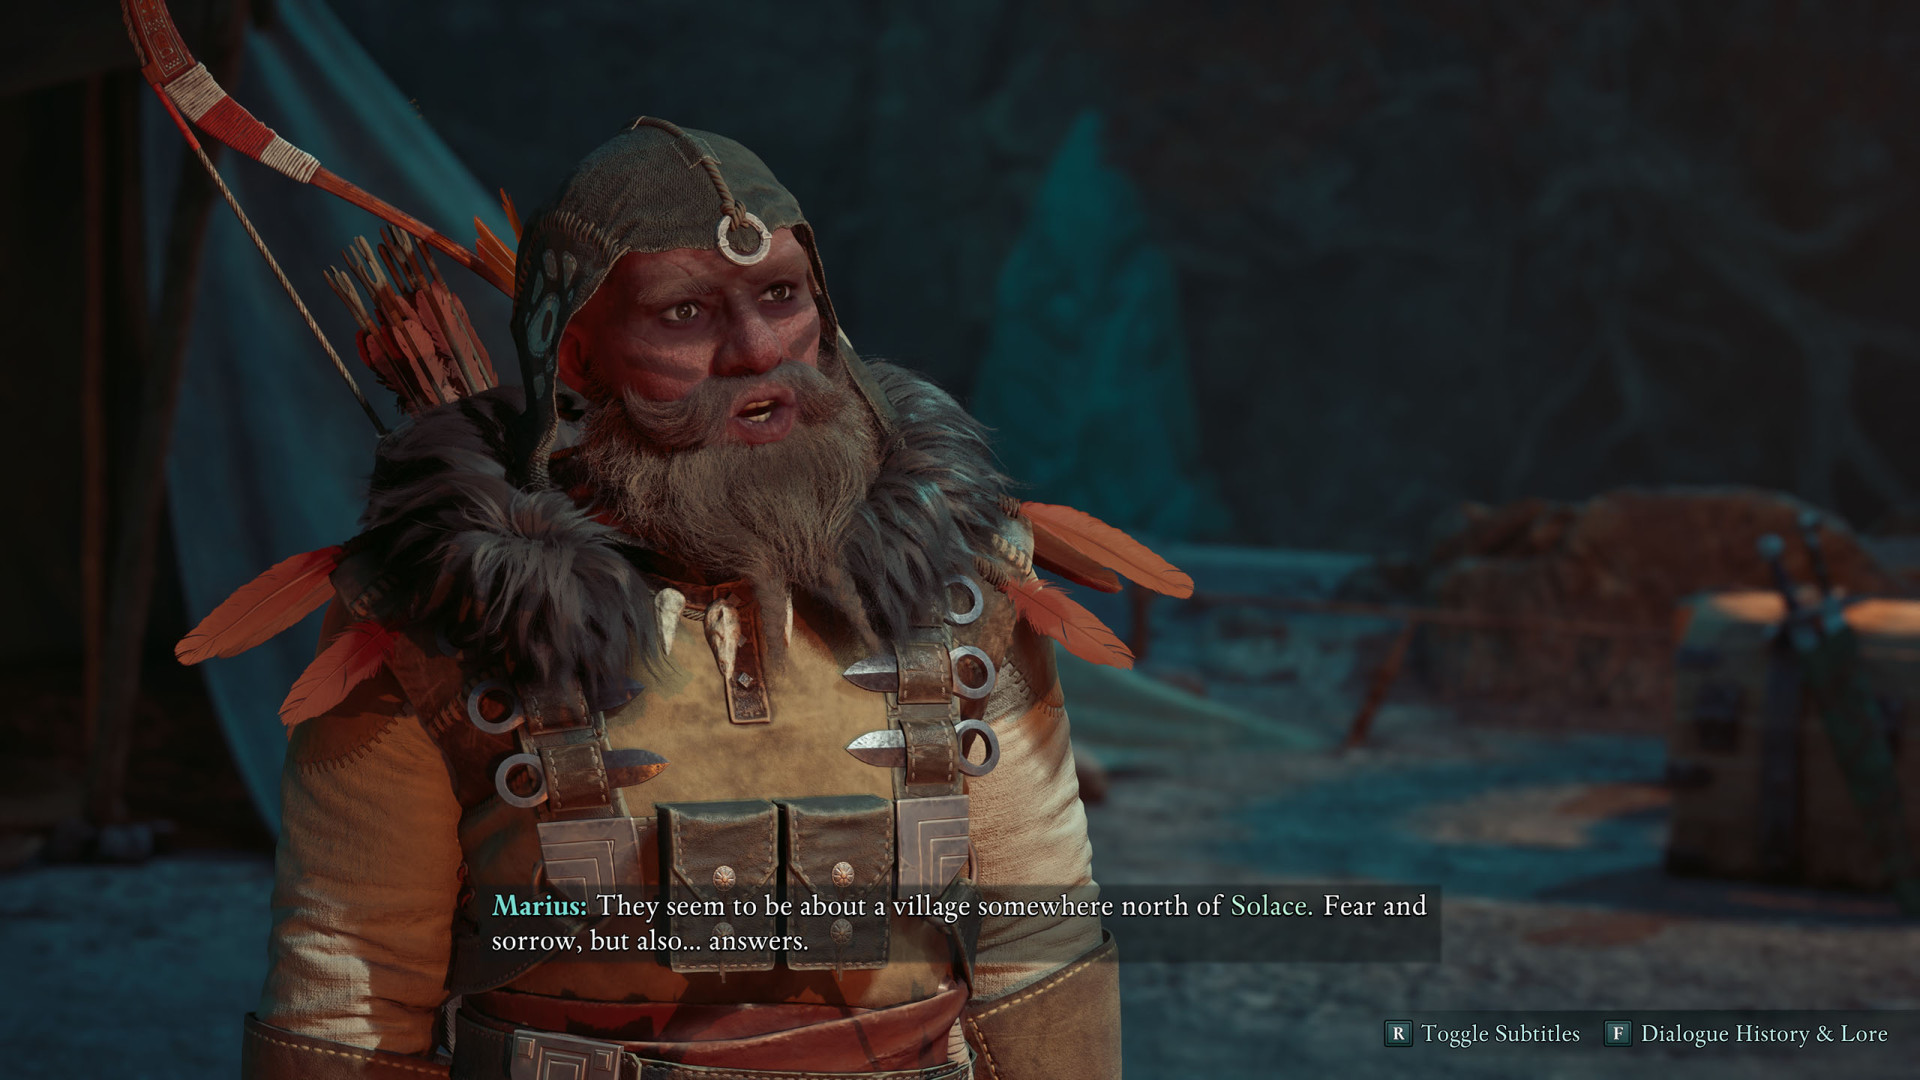
Chorus of the Lost▶ show the map ◀
Companion Quest - Marius.
How to get: You can start this quest by talking to Marius in the camp shortly after arriving in Galawain's Tusks, once you have visited the Bridge to the Garden.
Description: Marius has unresolved history from his childhood growing up in Galawain's Tusks. Visiting what remains of his old village might help resolve those issues.
Objectives:
1. Find Marius' Village - Find the village in Galawain's Tusks where Marius lived as a child, somewhere north of Solace Keep.
Head to the Lost Village Beacon.
2. Explore the Village - Explore the village and uncover clues about what happened to it.
Find the Long-lost Amulet.
3. Speak to Iancu - You found a lone dwarf in the ruins of the village. He may know what happened here.
4. Investigate Razvan's Hut - You should search Razvan's hut in the Lost Village for his journal, as it could lead you closer to his whereabouts.
Read the Razvan's Journal.
5. Find and Confront Razvan - The journal you discovered in Razvan's hut pointed you towards a place called the Cavern of Voices not far from the Lost Village. Track Razvan down and get some answers about what happened to the village.
Note: You'll need Marius with you in order to enter the Cavern of Voices.
Enter the Cavern of Voices and confront Razvan.
5.1. (Optional) Kill Razvan - You decided that Razvan should die for his crimes. End his life.
6. Return to Iancu - Return to Iancu and let him know what became of Razvan.
Summary: You chose to spare Razvan's life in spite of his actions and the deaths he caused.
or
Summary: You executed Razvan for the deaths he caused.
Homecoming▶ show the map ◀
How to start: Talk to Captain Geofri.
Description: Petru, the Warden Captain, has disappeared under suspicious circumstances.
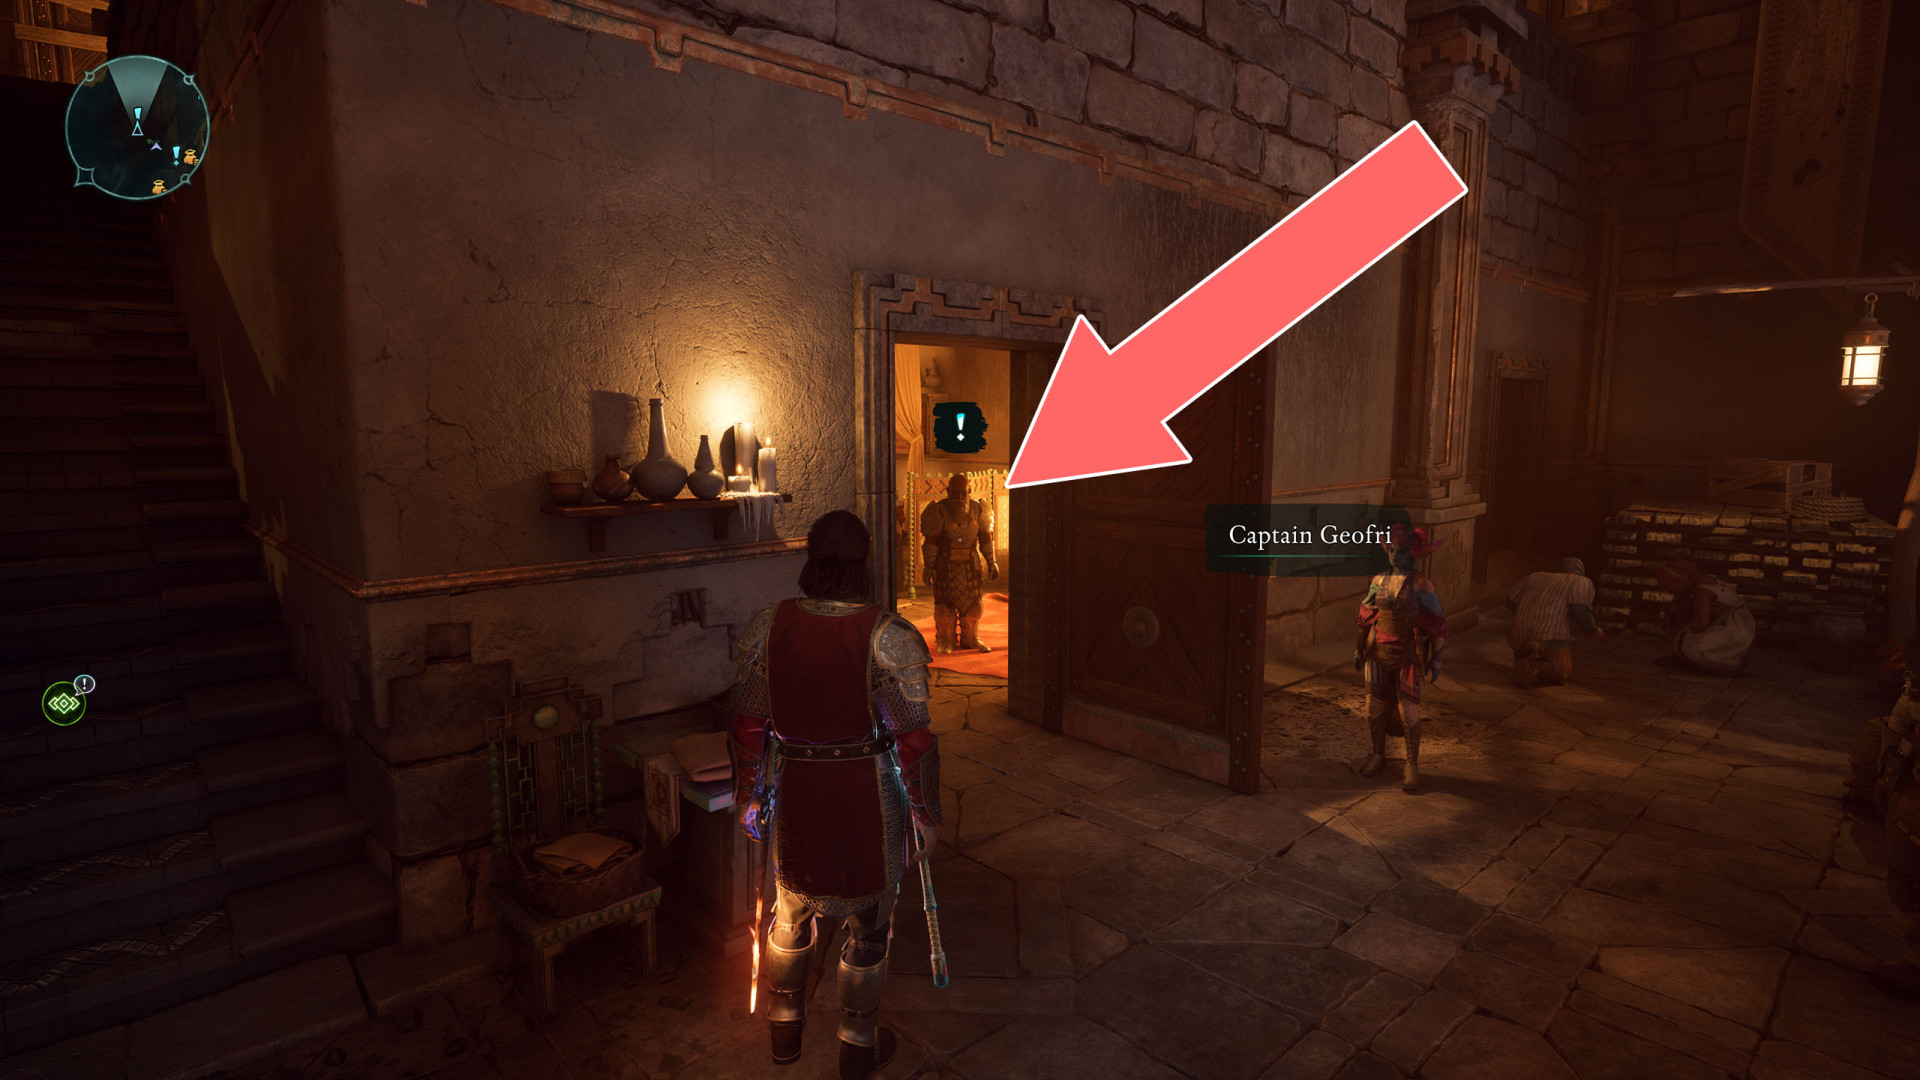
Objectives:
- Investigate the Situation with Petru - Captain Geofri informed you that the previous captain of the guard, Petru, disappeared under mysterious circumstances.
- Speak to Mina - rmed you that the drunk dwarf in the Solace Keep mess hall might know something about Petru's disappearance. Ask her for more information
Keep History Alive▶ show the map ◀
Description: Elder Grigore of the Living Archives begs for the retrieval of two tomes from Living Archives. Save them before they're destroyed by Dreamscourge-afflicted monks.
Objectives:
- Speak to Elder Grigore - Speak to Elder Grigore at the Living Archives in Galawain's Tusks to learn more about an unfolding disaster.
- Recover the Book of the Before - Recover the Book of the Before from the Living Archives' main library.
- Retrieve the Book of Oaths - Retrieve the Book of Oaths from the Living Archives' rooftop.
- Eliminate the Dreamthralls in the Courtyard - You hear a cry for help that sounds like it came from the library building. Before investigating further, you should eliminate the Dreamthrall in the courtyard.
- (Optional) Eliminate Every Dreamthrall at the Monastery - Clear all of the Dreamthralls out of the Living Archives so that the monks may safely return.
- (Optional) Return the Book of the Before to Novice Dolna - Novice Dolna wants you to return the Book of the Before to her instead of Elder Grigore. / Speak to Novice Dolna outside of the Living Archives for a greater reward.
- Return to Elder Grigore - You found the two texts that Elder Grigore wanted to save. Return to him in front of the Living Archives in Galawain's Tusks.
Summary: The books have been rescued from the Dreamthralls.
Mapping the Living Lands: Galawain's Tusks▶ show the map ◀
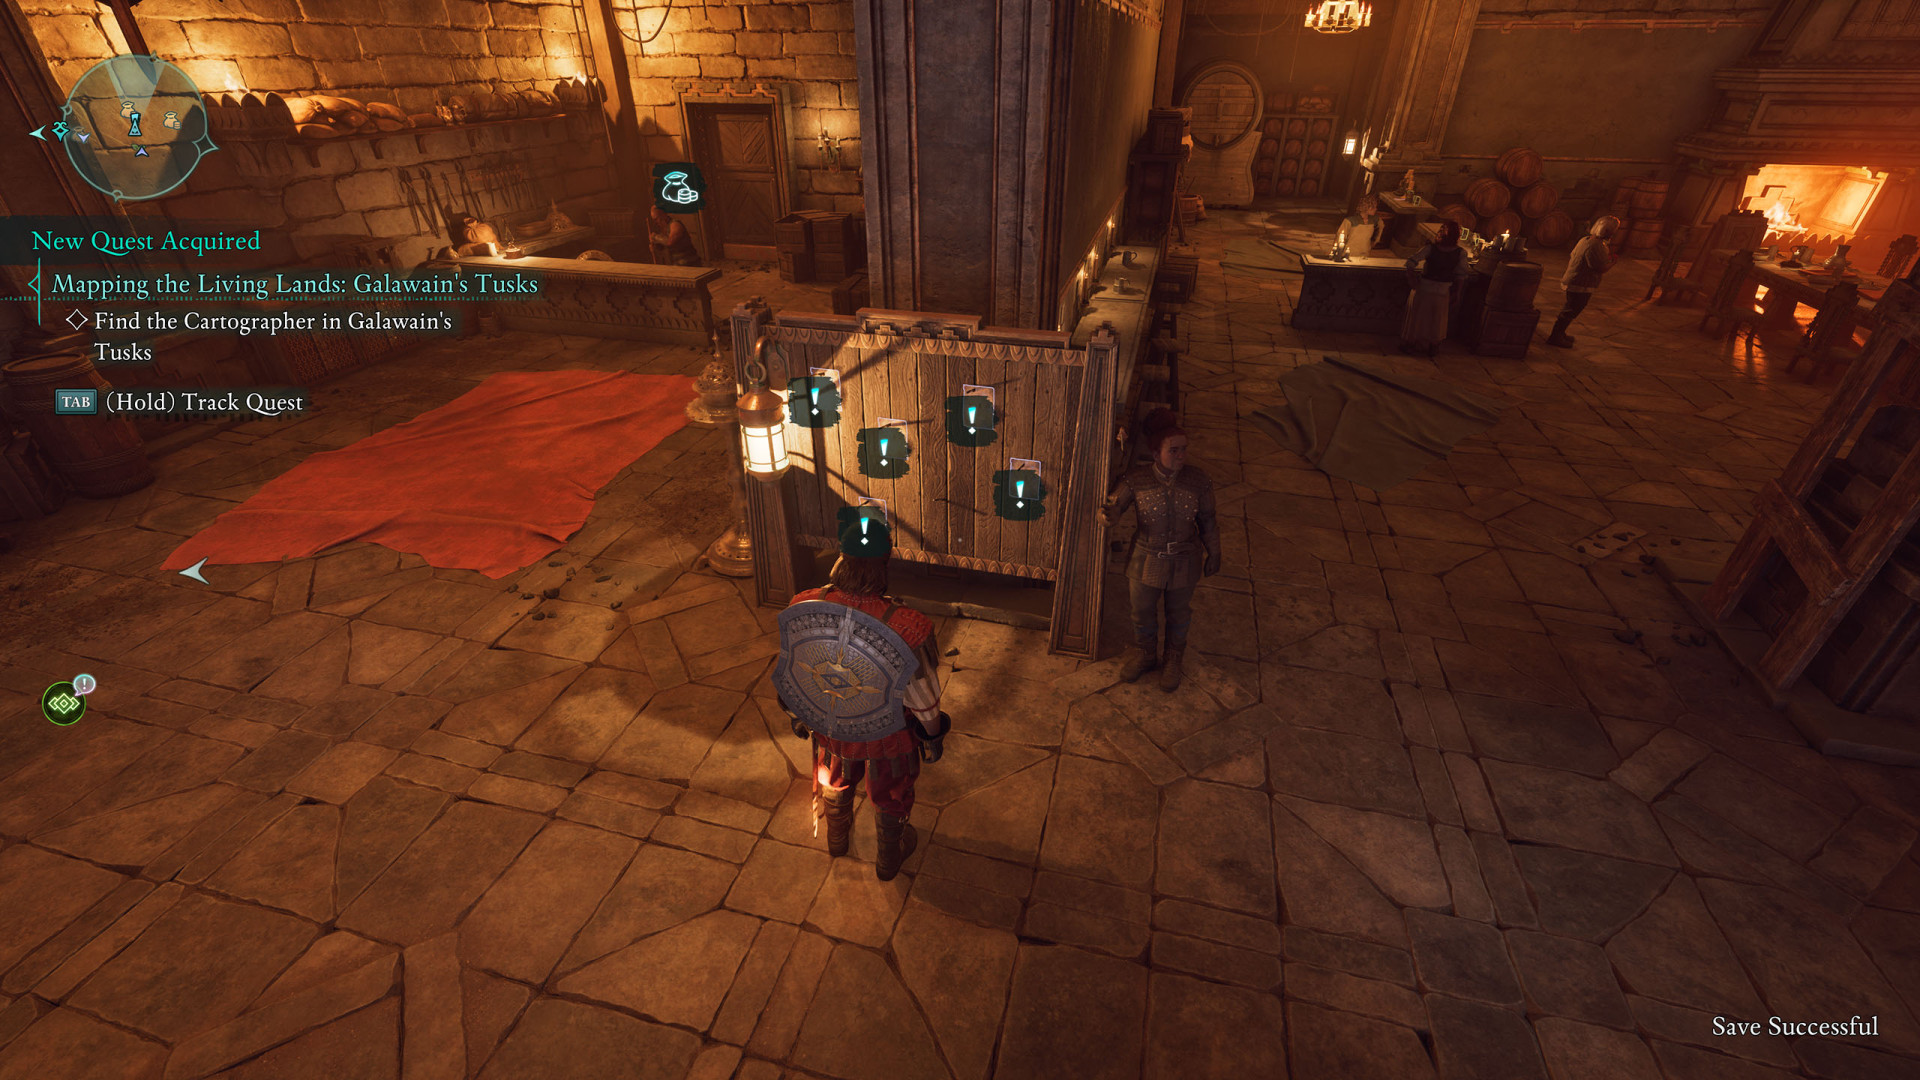
Description: Sanza, an excitable cartographer, wants to make a proper map of the Living Lands. He sent Renato - one of his assistants - to Galawain's Tusks, but the assistant never returned. Sanza asked you to search for Renato and bring his findings back.
Objectives:
Find the Cartographer in Galawain's Tusks - The missing assistant Renato must be somewhere in Galawain's Tusks. Their last letter describes a place where a meteorite fell.
You found a note indicating that Renato has been arrested. He is likely imprisoned near Solace.
You negotiated for Renato's freedom.
Return the Galawain's Tusks Cartographer's Notes to Sanza - The hardships of Galawain's Tusks made Renato succumb to his worst instincts. Sanza will find his notes invaluable.
Totem of Perseverance▶ show the map ◀
How to start: Buy the Fragments of the Spoils document from Quartermaster Yorgu or collect a piece of the Huntmaster's Spoils totem.
Description: You obtained a document containing clues to the whereabouts of pieces of the Huntmaster's Spoils, a powerful artifact and a totem of Galawain. The pieces can be found across Galawain's Tusks - the more pieces you gather and assemble, the more powerful the totem will become.
Description (alt.): You found a piece of the Huntmaster's Spoils, a powerful artifact and a totem of Galawain. The remaining pieces can be found across Galawain's Tusks - the more pieces you gather and assemble, the more powerful the totem will become.
Objectives:
1. (Optional) Find Clues About the Locations of the Remaining Fragments - It would be much easier to track down the remaining fragments if you had information regarding their whereabouts.
2.1. Find the Totem Core (The Huntmaster's Spoils) - Where the fungal forest halts, among ruins the Changeling's totem exalts.
2.2. Find the Antler of the Persevering Stag - Below a bridge above the acid sea, the first of the elk's remains shall be.
2.3. Find the Antler of the Pursued Stag - Past disused tower guarding lava fields, by stone and bramble this antler is sealed.
2.4. Find the Wolf's Pelt Trophy - The lupine pelt will heed your call, on ashen tower where the sky did fall.
2.5. Find the Hunter's Arrows of Seeking - Near the founder's head these arrows find, out of view where he is blind.
2.6. Find the Hunter's Arrows of Slaying - In fallen spire amidst fields of slumber, a wooden trio waits to be discovered.
2.7. Find the Hunter's Arrows of Surviving - The final shafts you shall seek, in a silent village where spirits still shriek.
3. Restore the Huntmaster's Spoils - With Galawain's totem and all of its fragments in your possession, all that remains is to assemble them together at your camp.
Summary: You restored the Huntmaster's Spoils to its former glory, gaining power in return.
Wardens Warding▶ show the map ◀
How to start: Talk to Warden Radut.
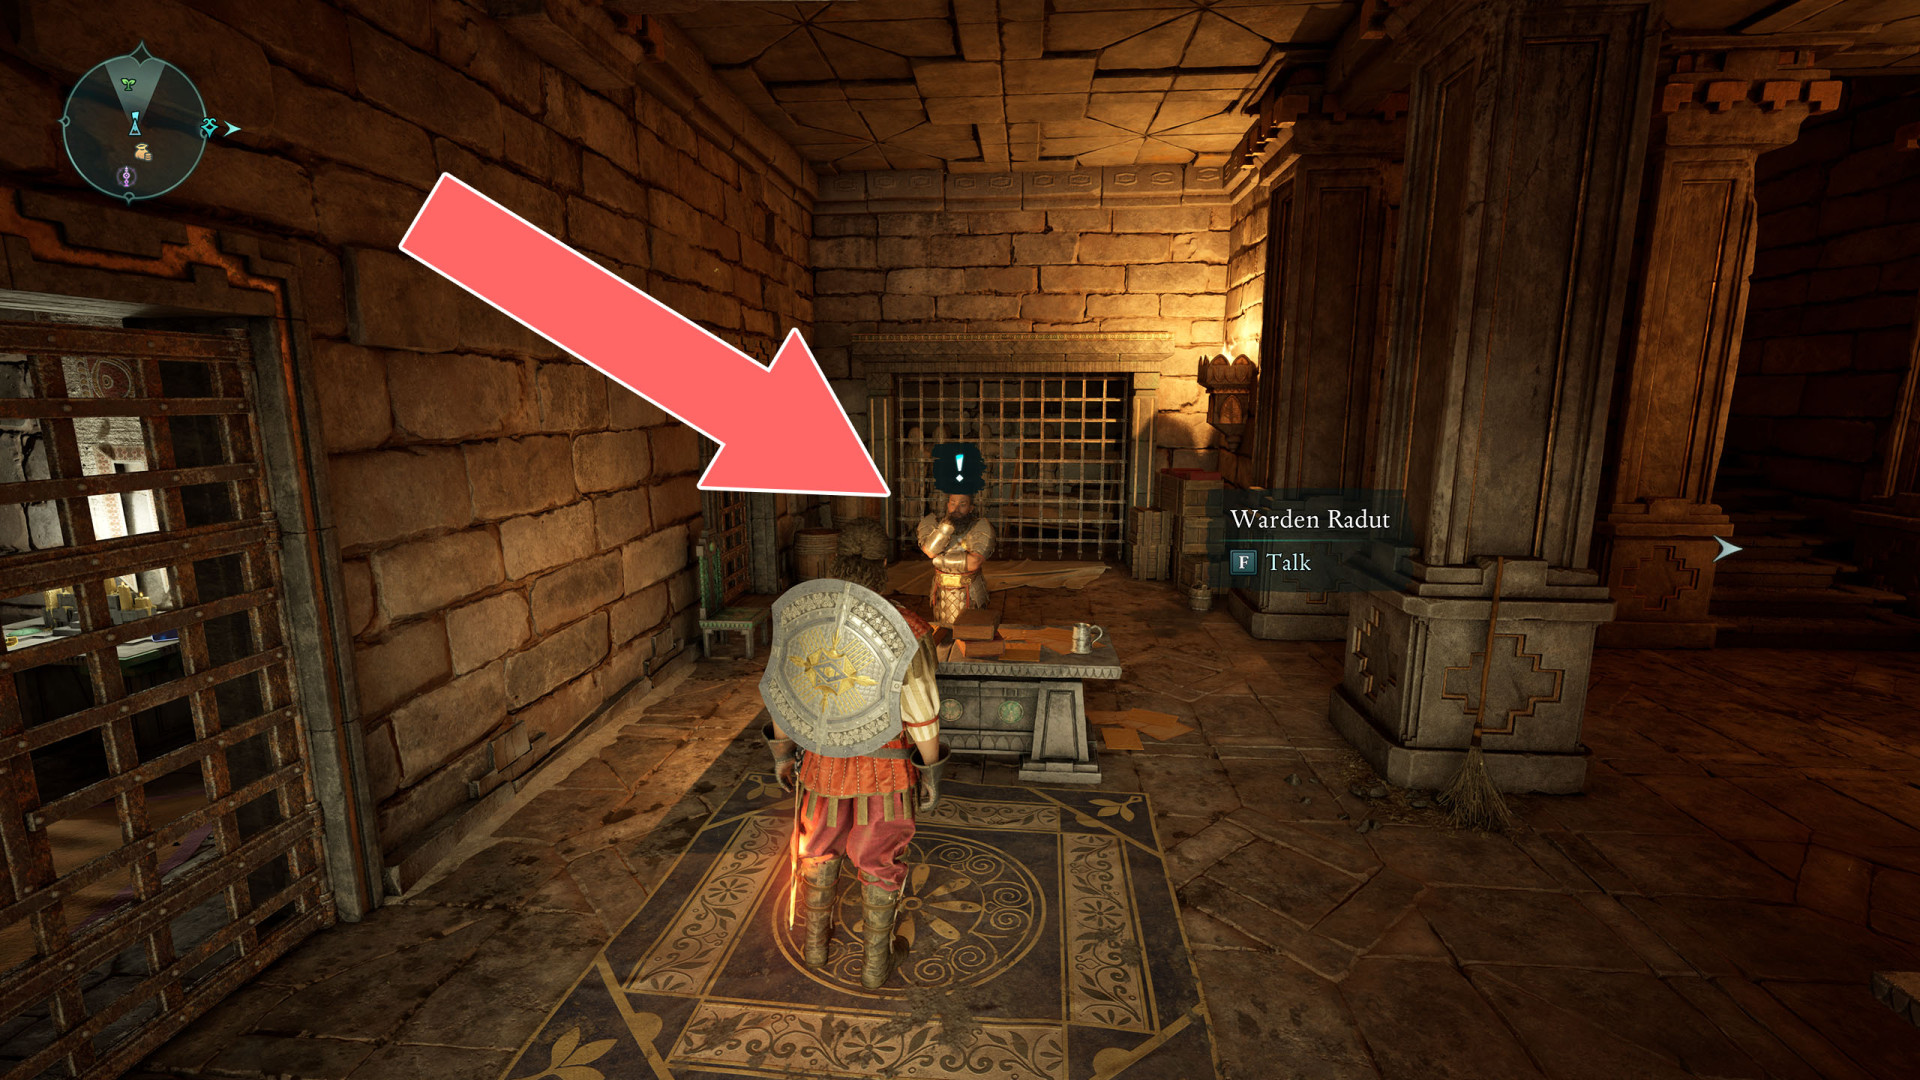
Description: A group of Wardens from Solace Keep, led by Amalia, made a bloody charge against the region's gates in an attempt to leave Galawain's Tusks. Now they have turned to banditry. Warden Radut at the watchtower in Sallow Steppe asked you to parley with Amalia to peacefully resolve the situation.
Objectives:
- Speak with Radut - Find Radut at the warden watchtower near Twinedwood to learn more about the ongoing conflict with Amalia's people.
- Talk to Amalia - Radut asked you to talk to Amalia at her camp in the Twinedwood, hoping you can parley with her.
- Parley with Amalia - Speak with Amalia inside her camp and try to resolve the situation between her outcasts and Solace Keep peacefully.
- Report to Radut - Radut will want to hear how your attempts to parley with Amalia went. Speak to him at the Manned Warden Tower.