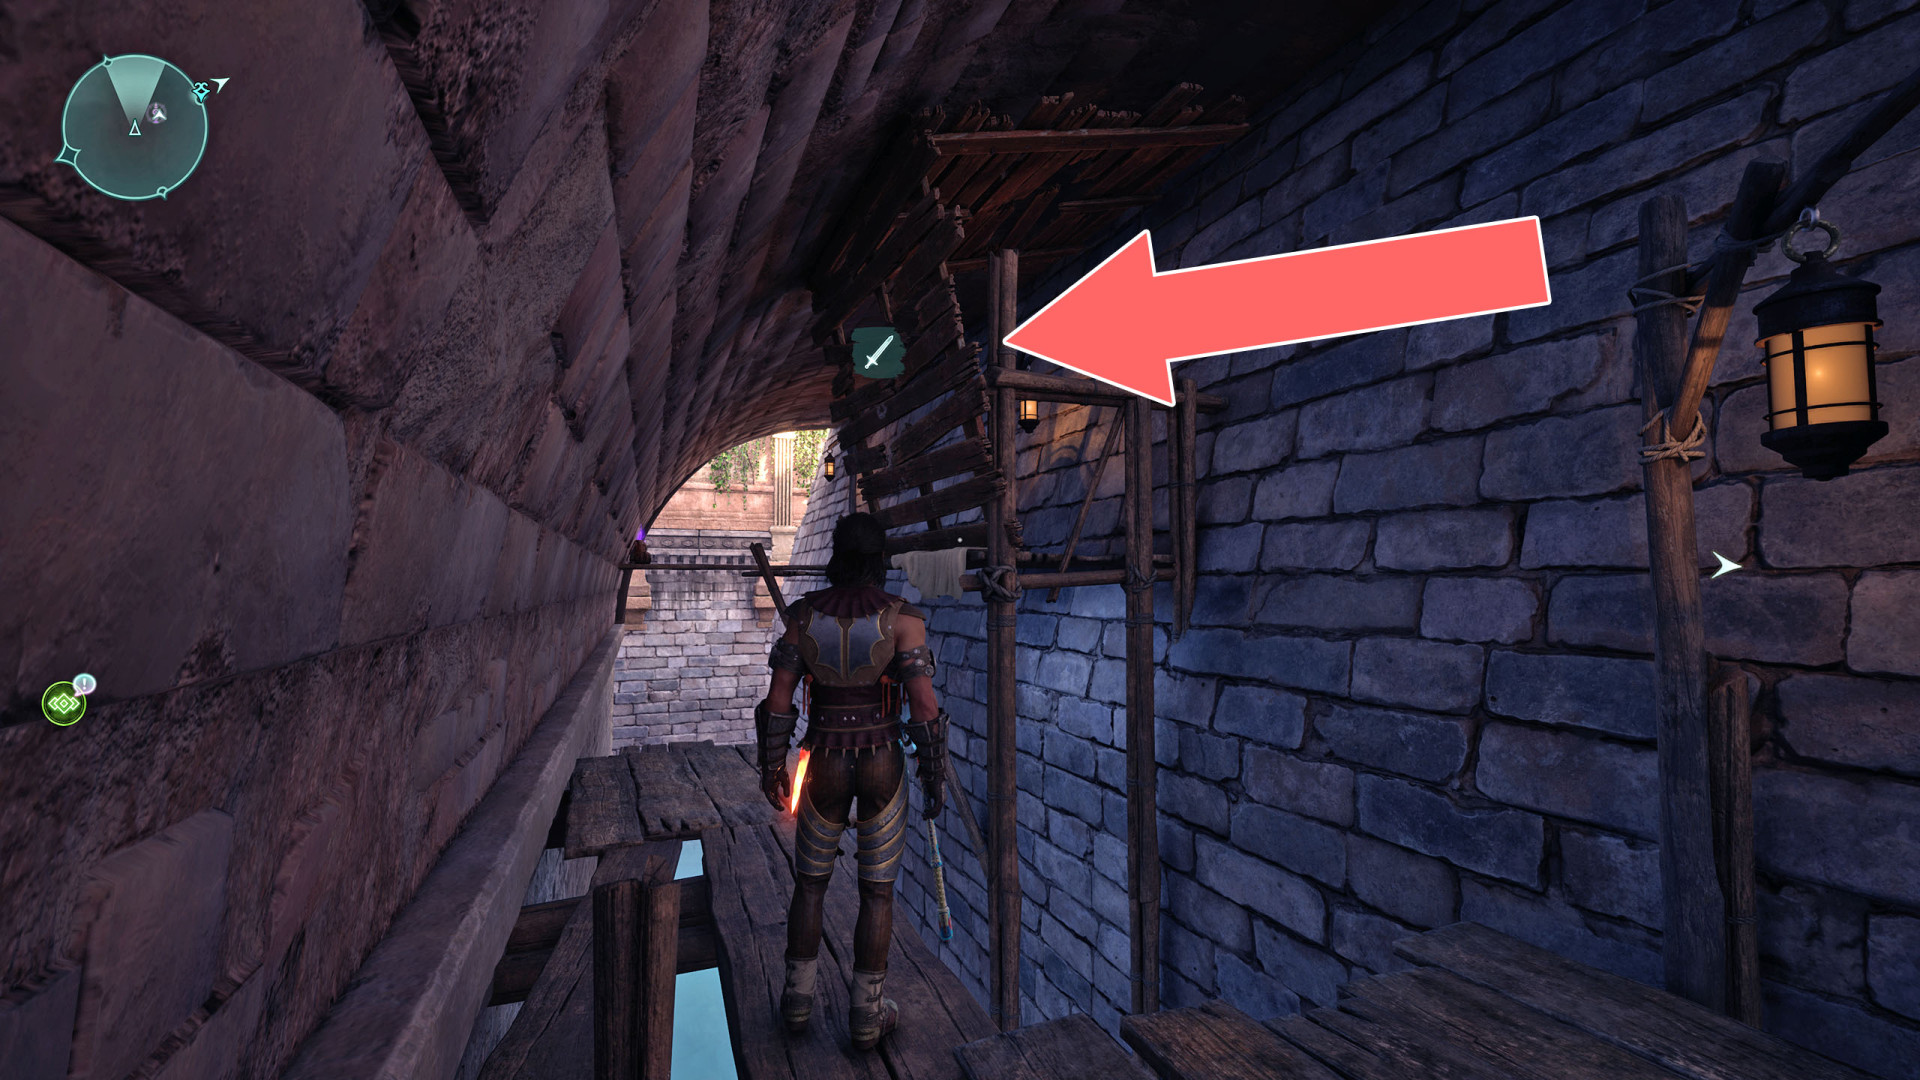
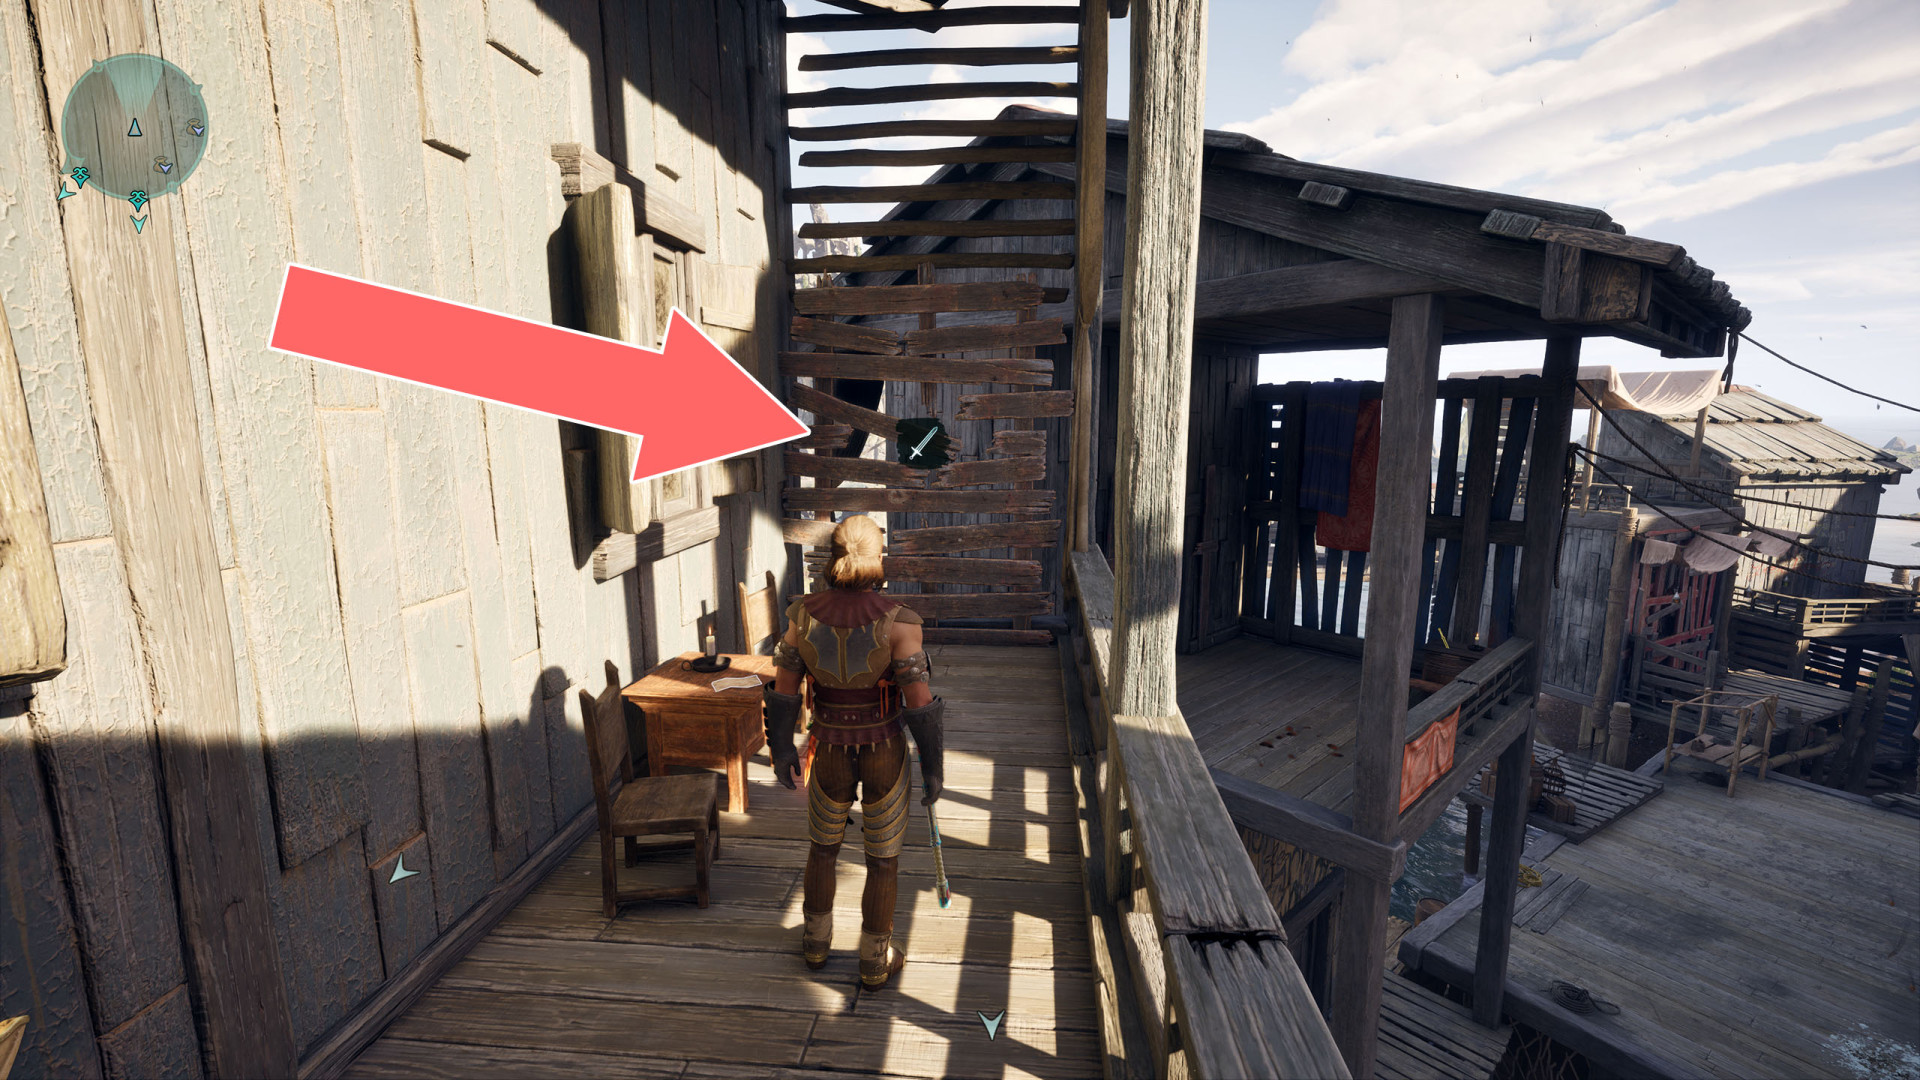
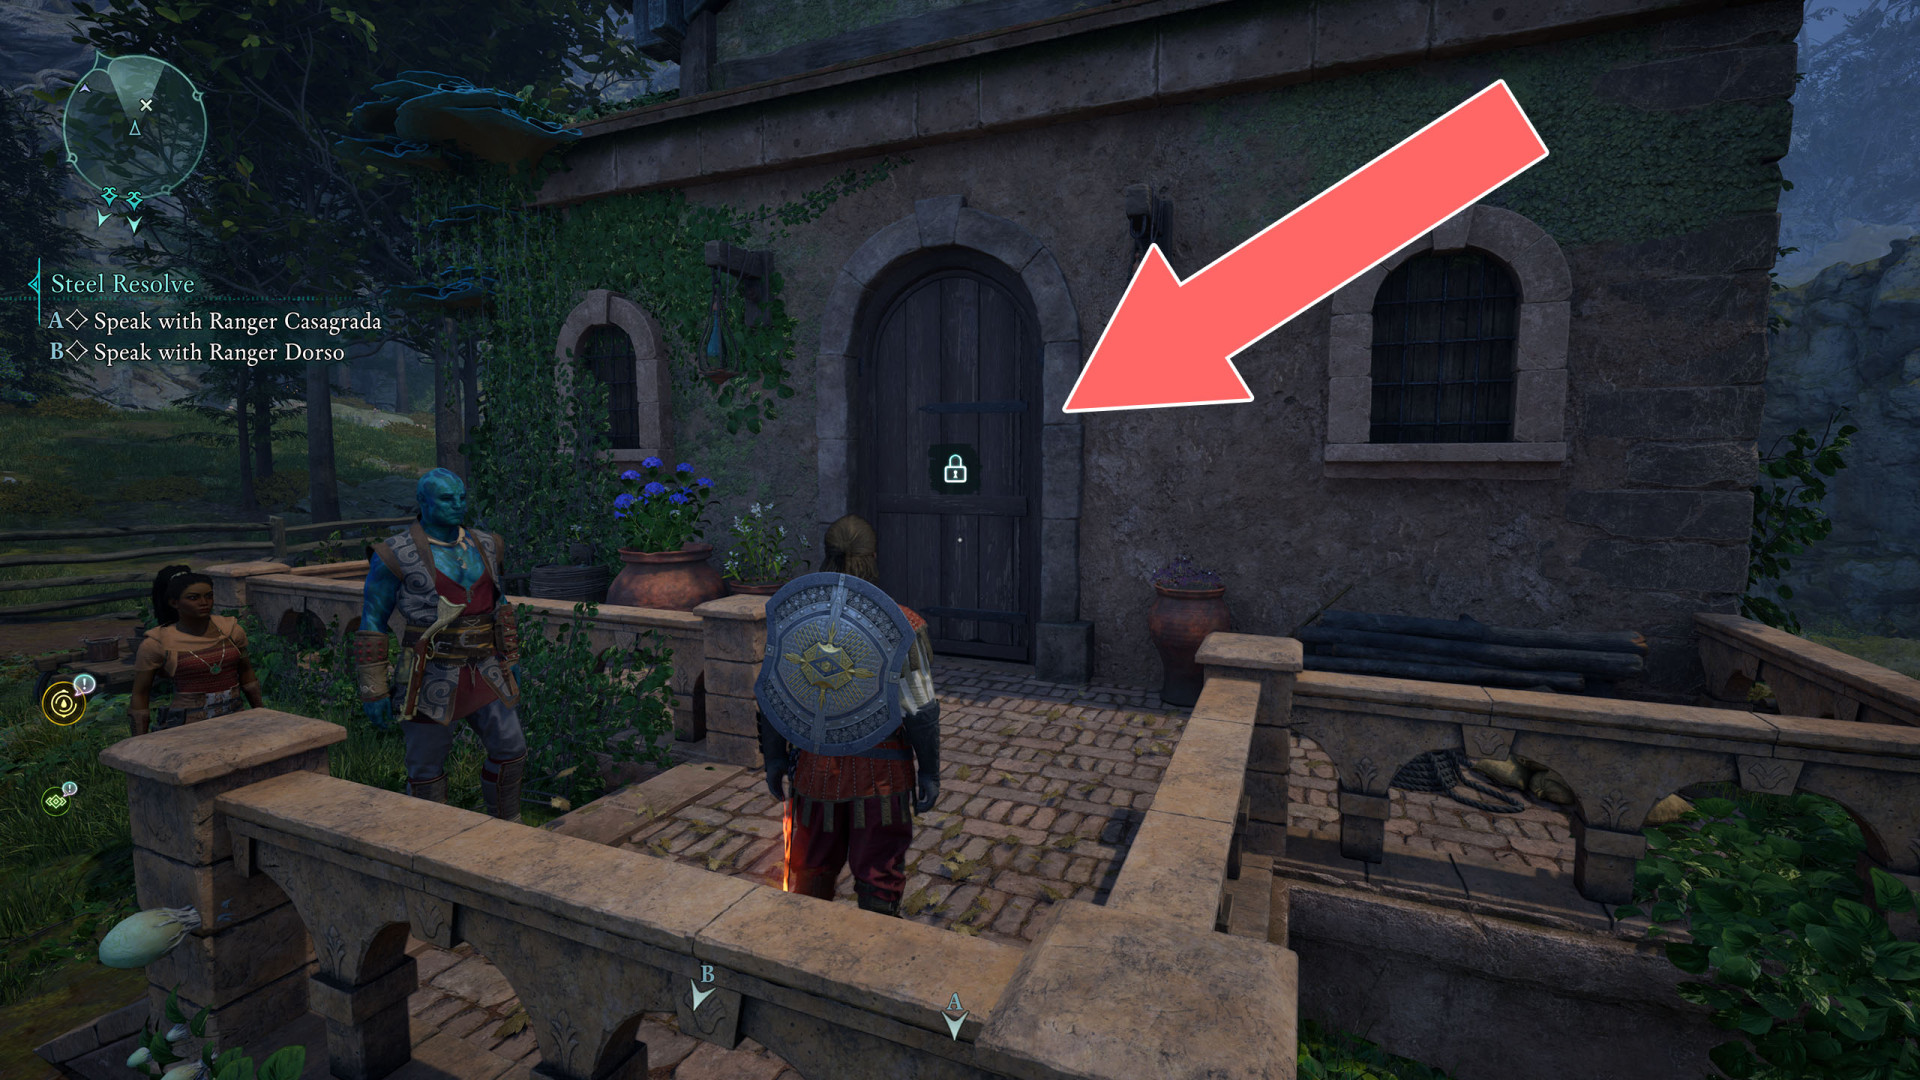
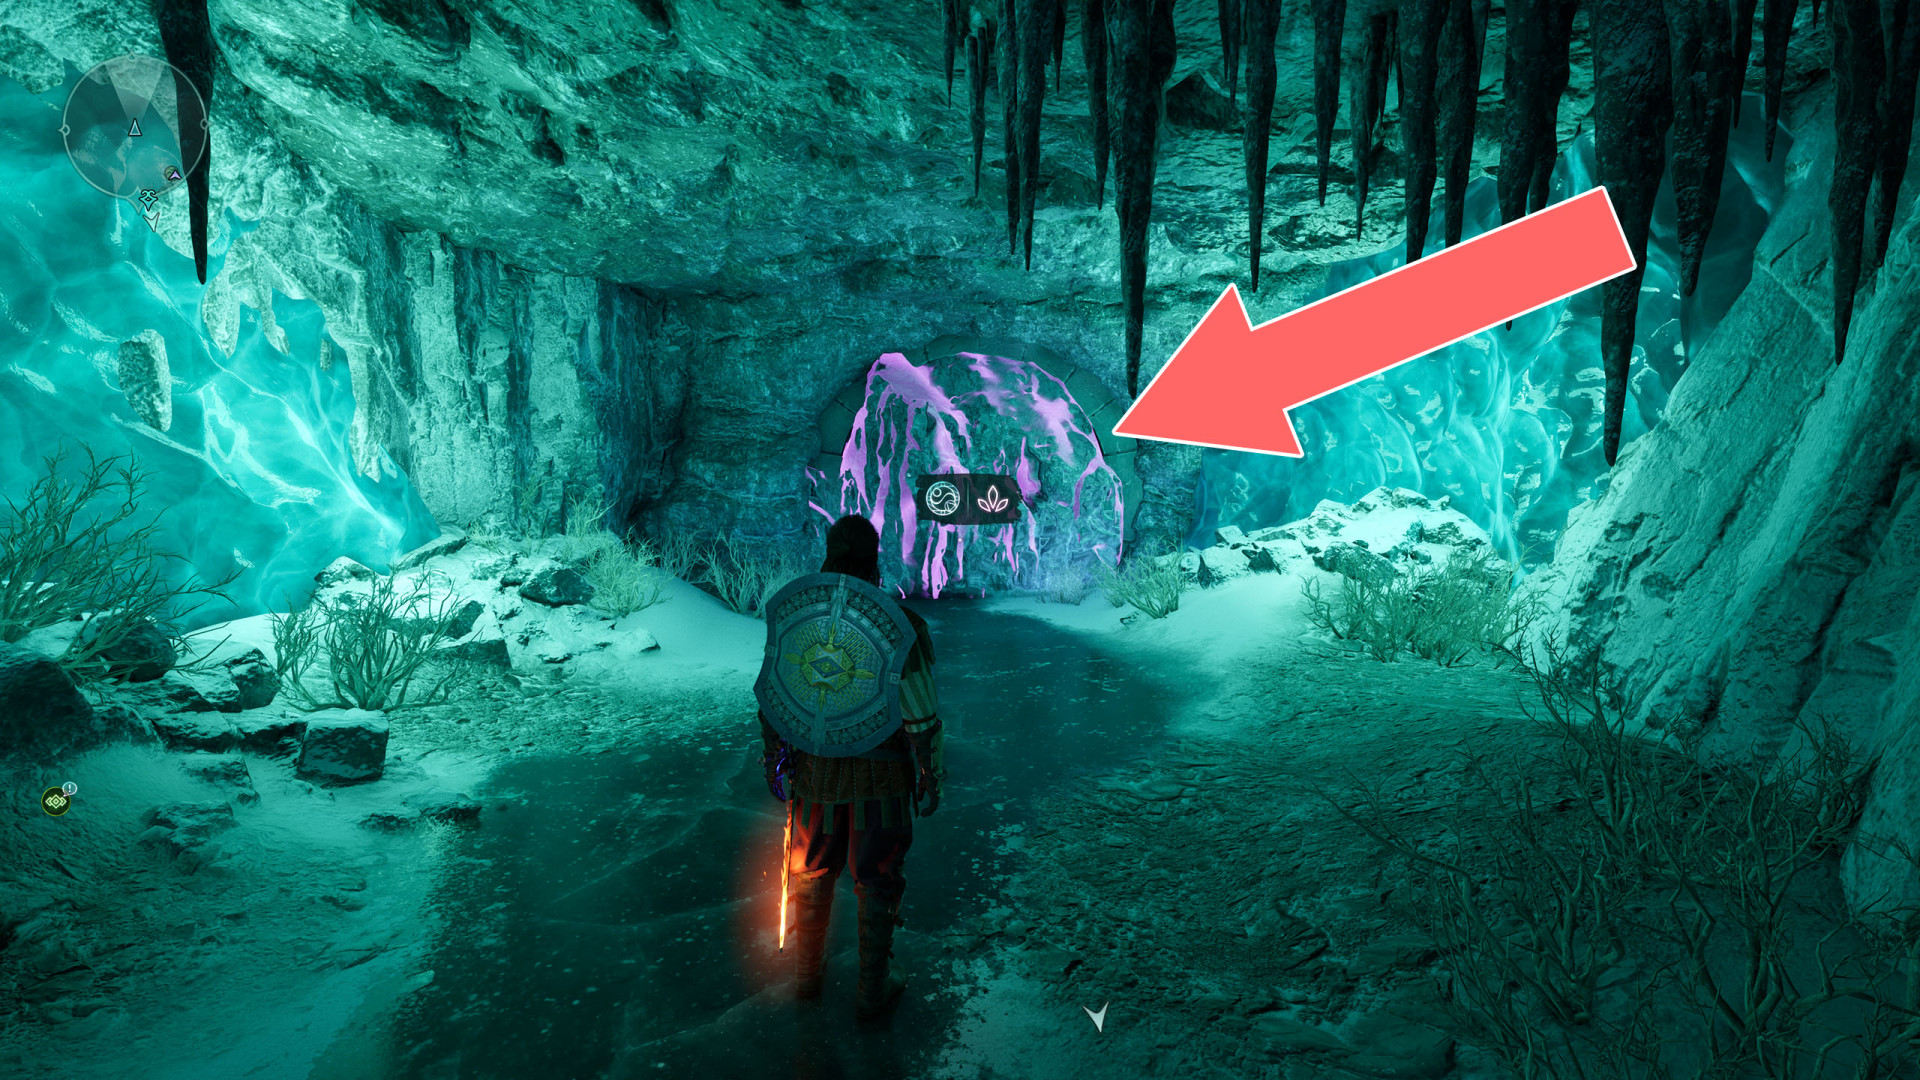
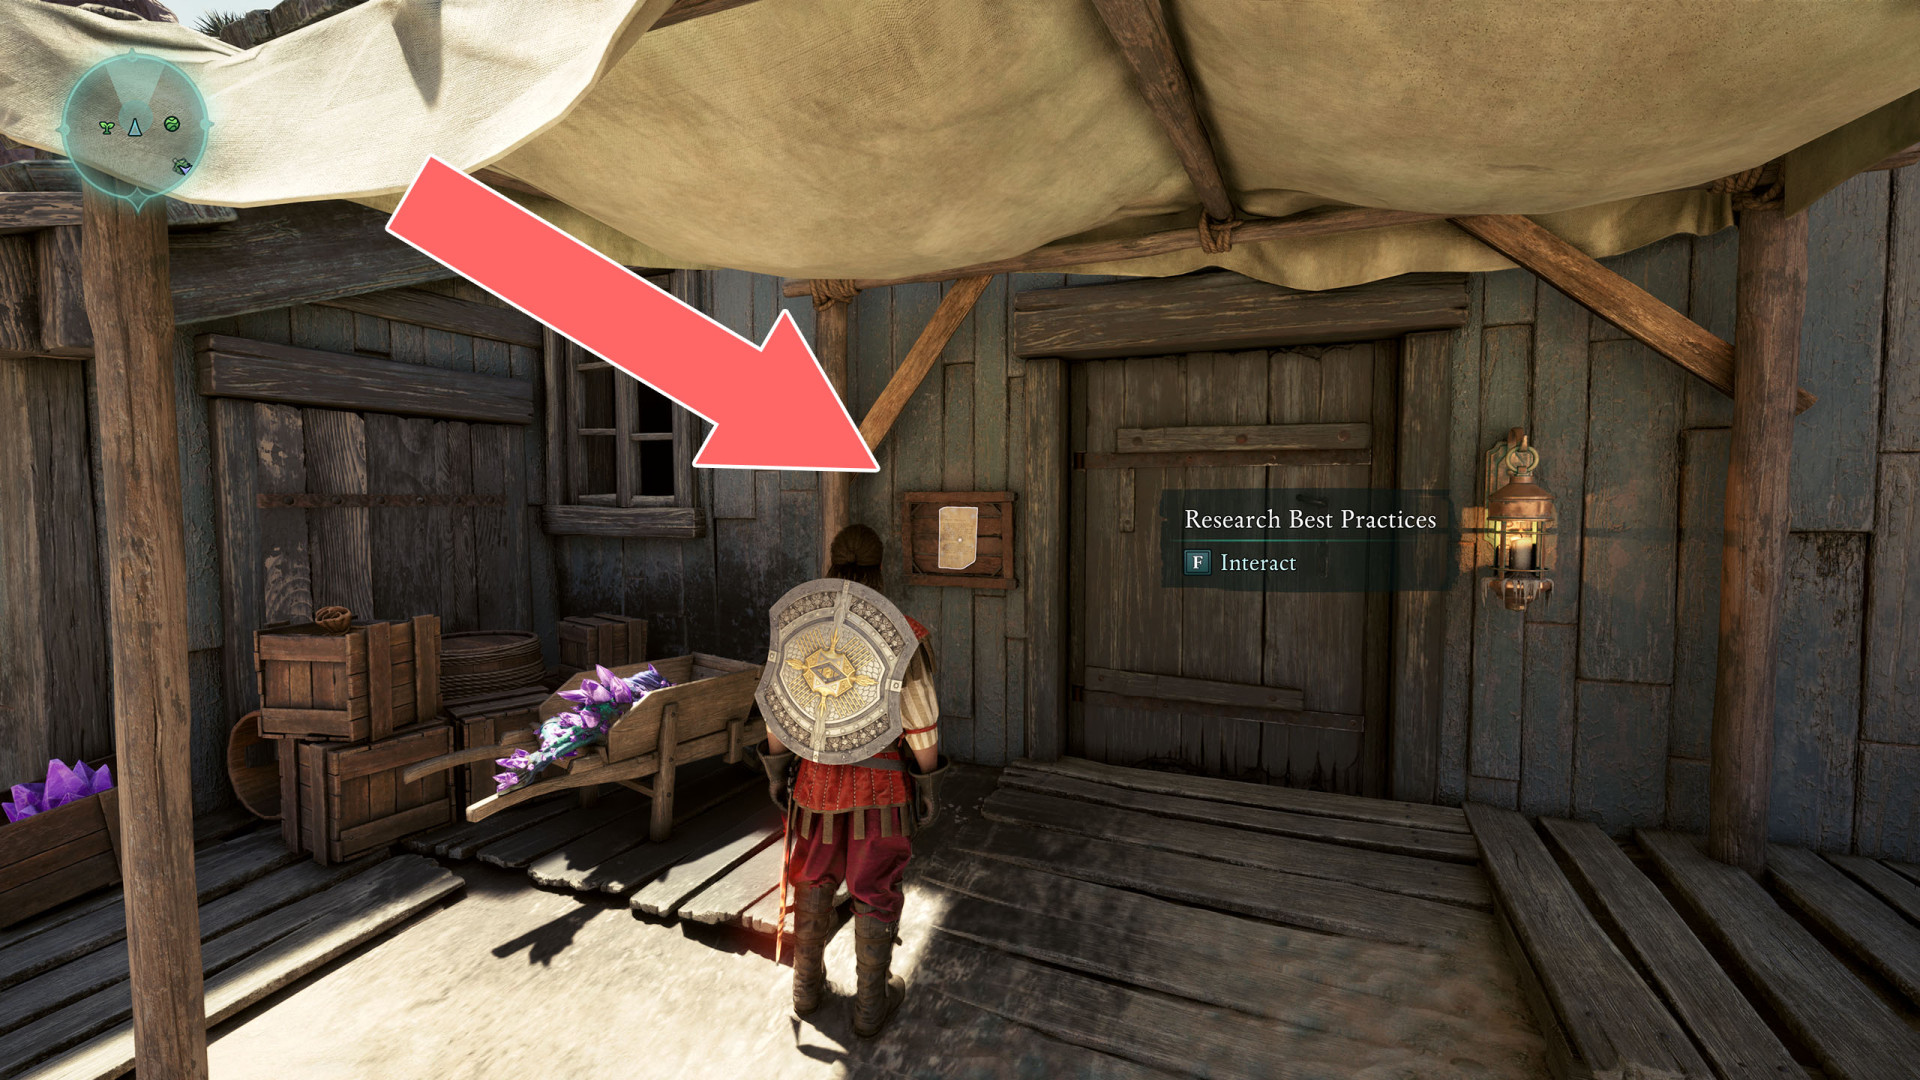
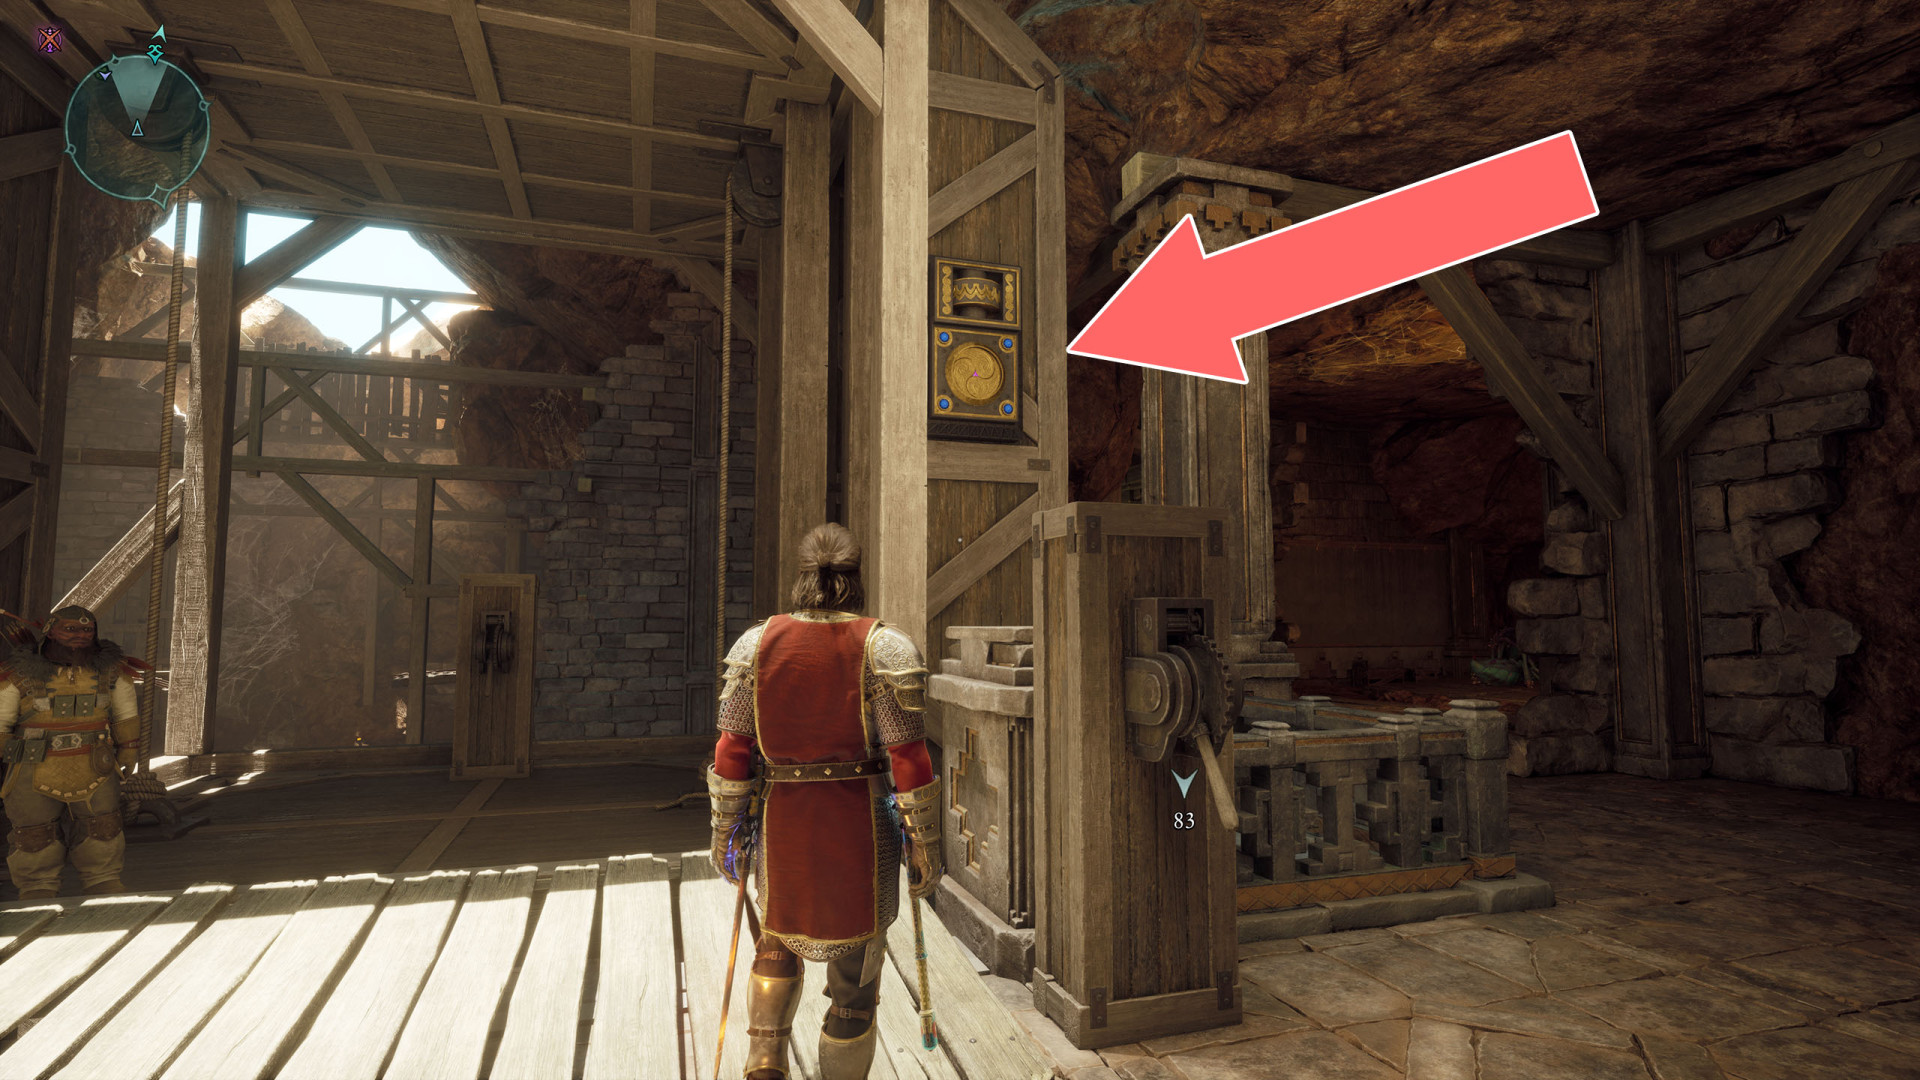
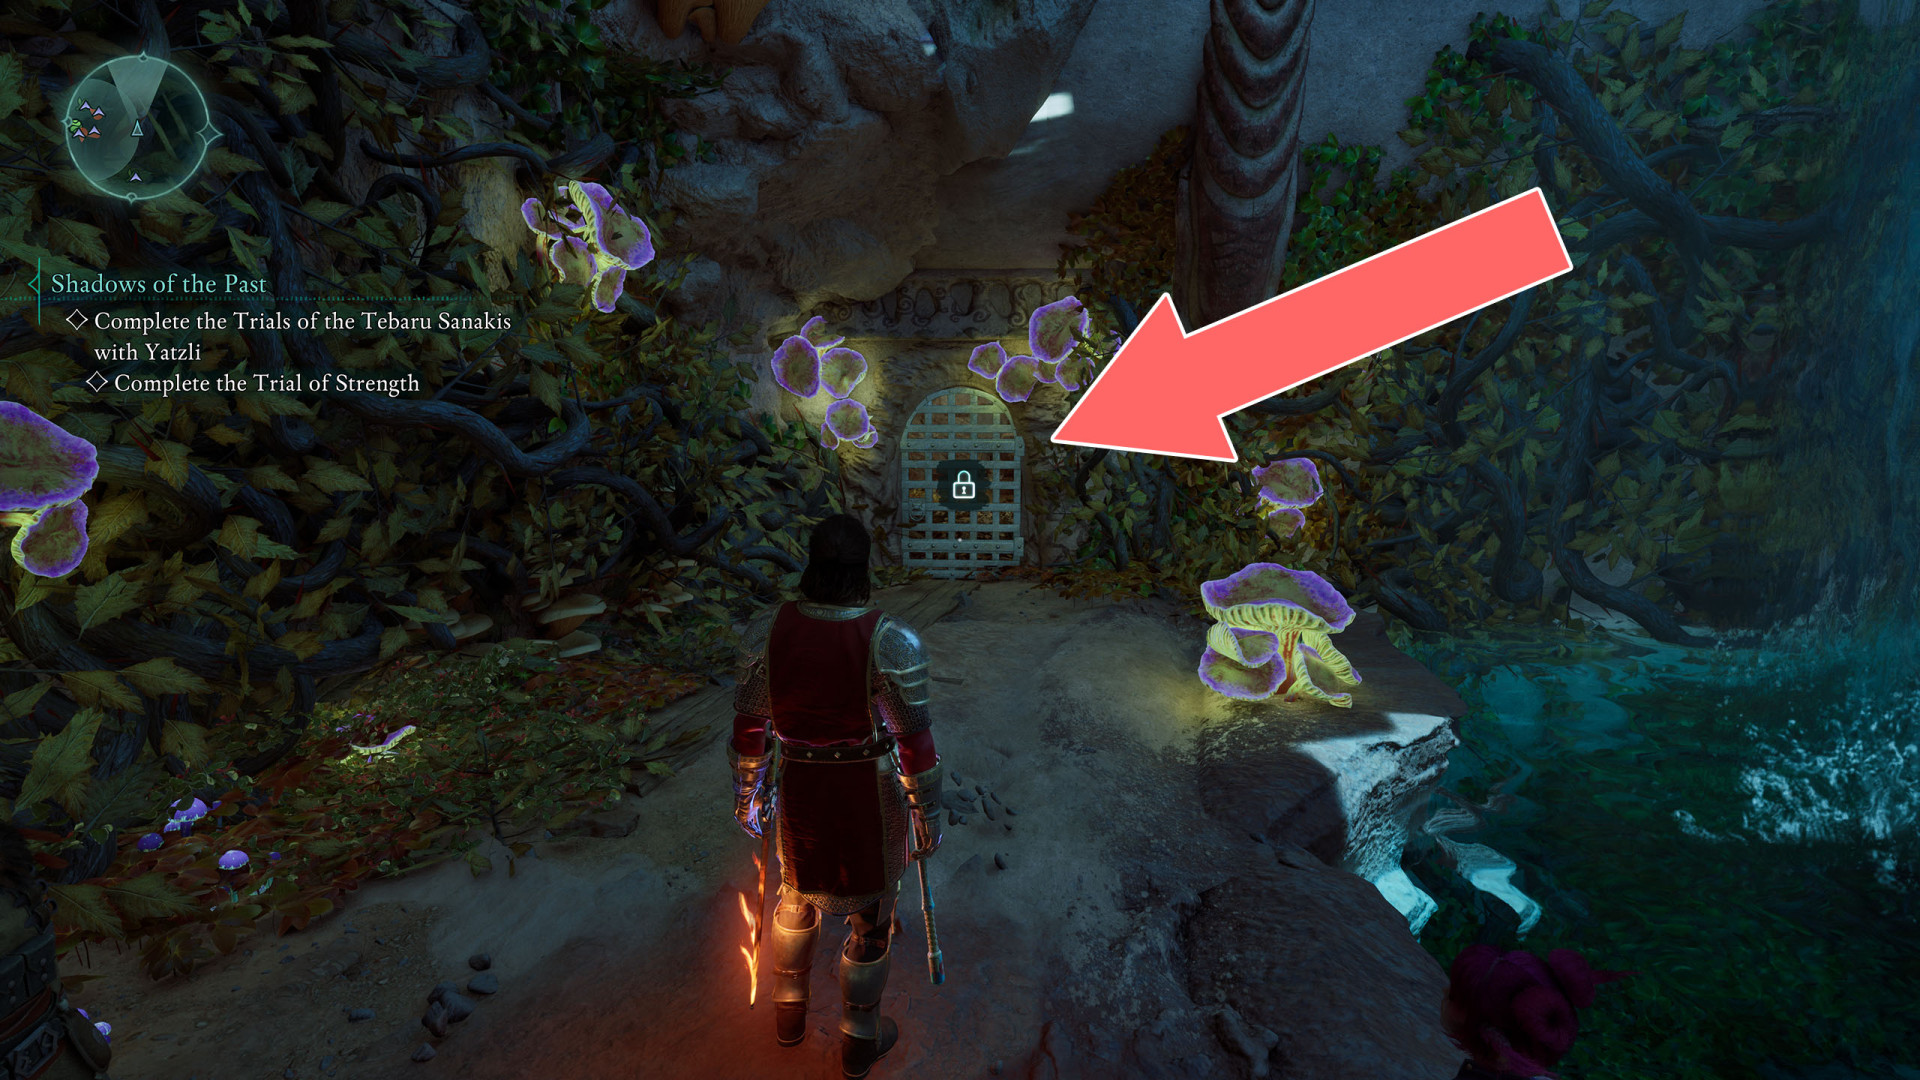
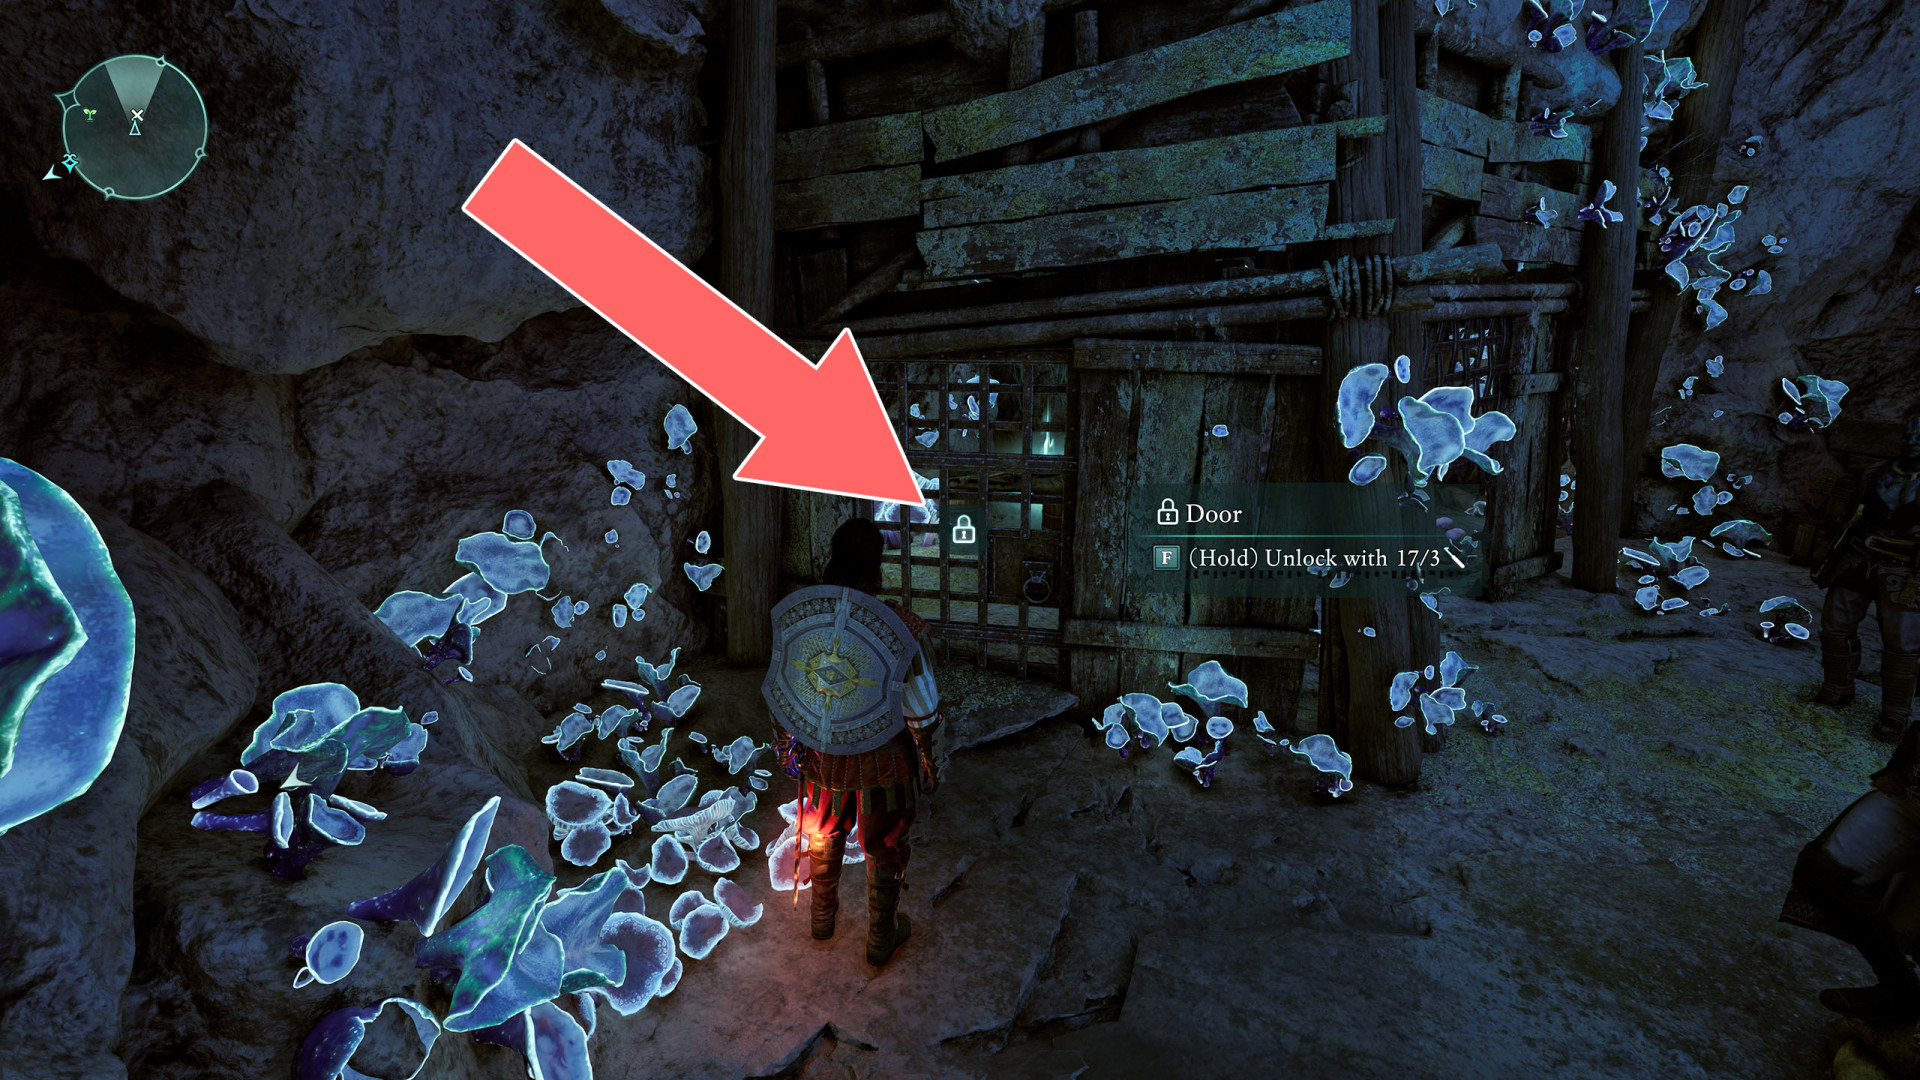
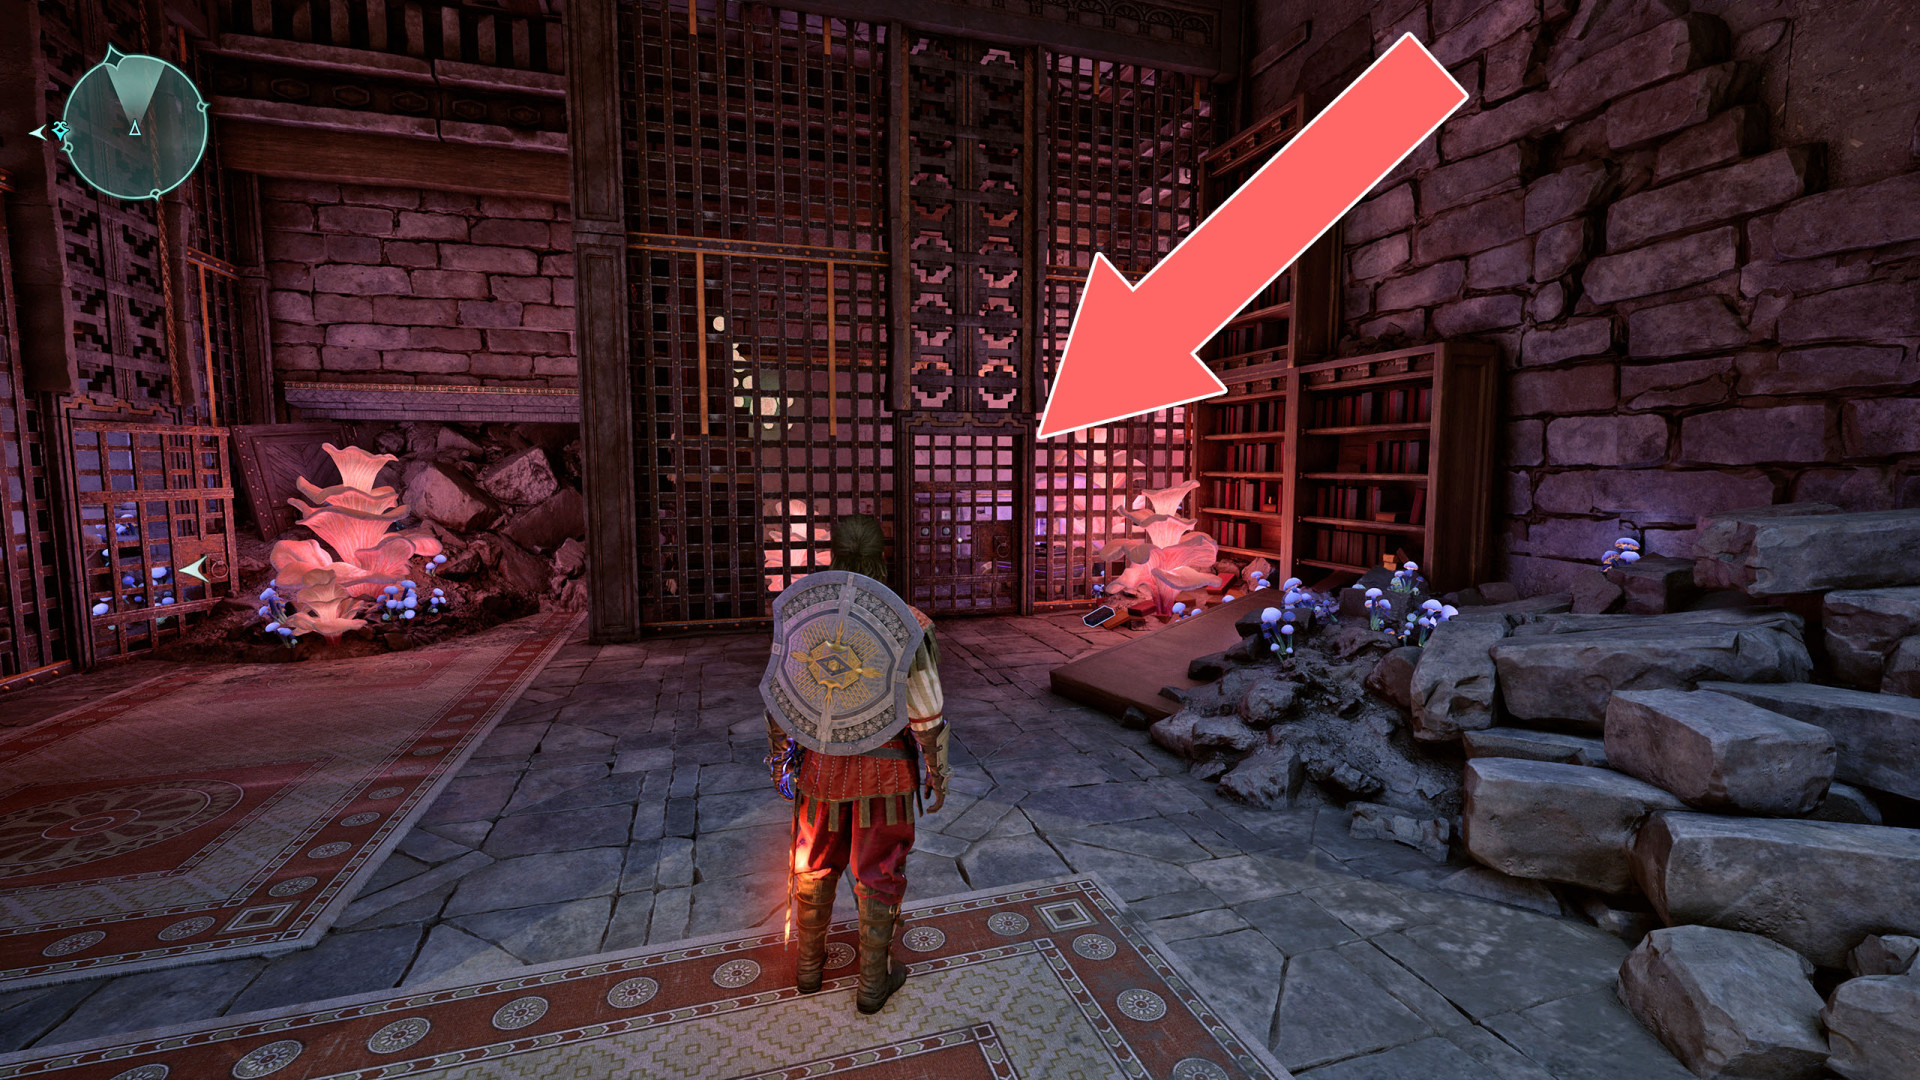
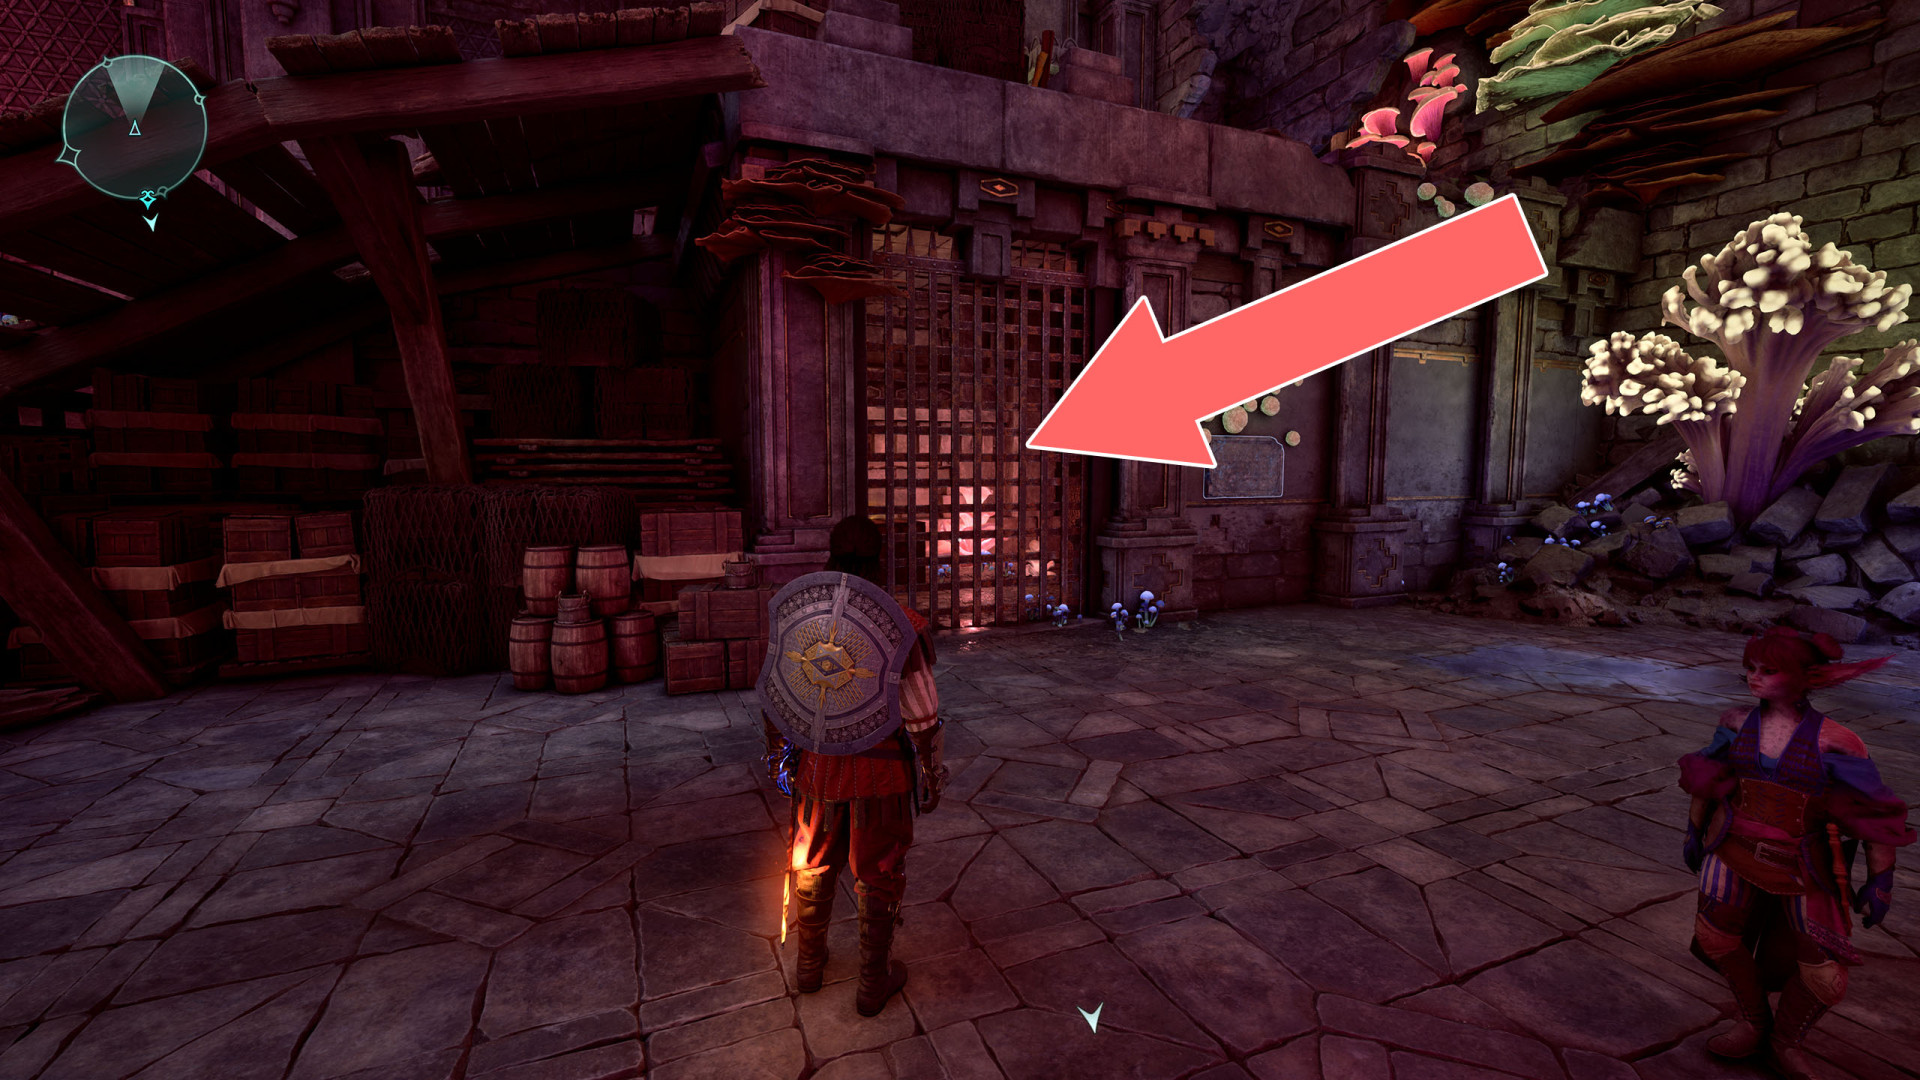
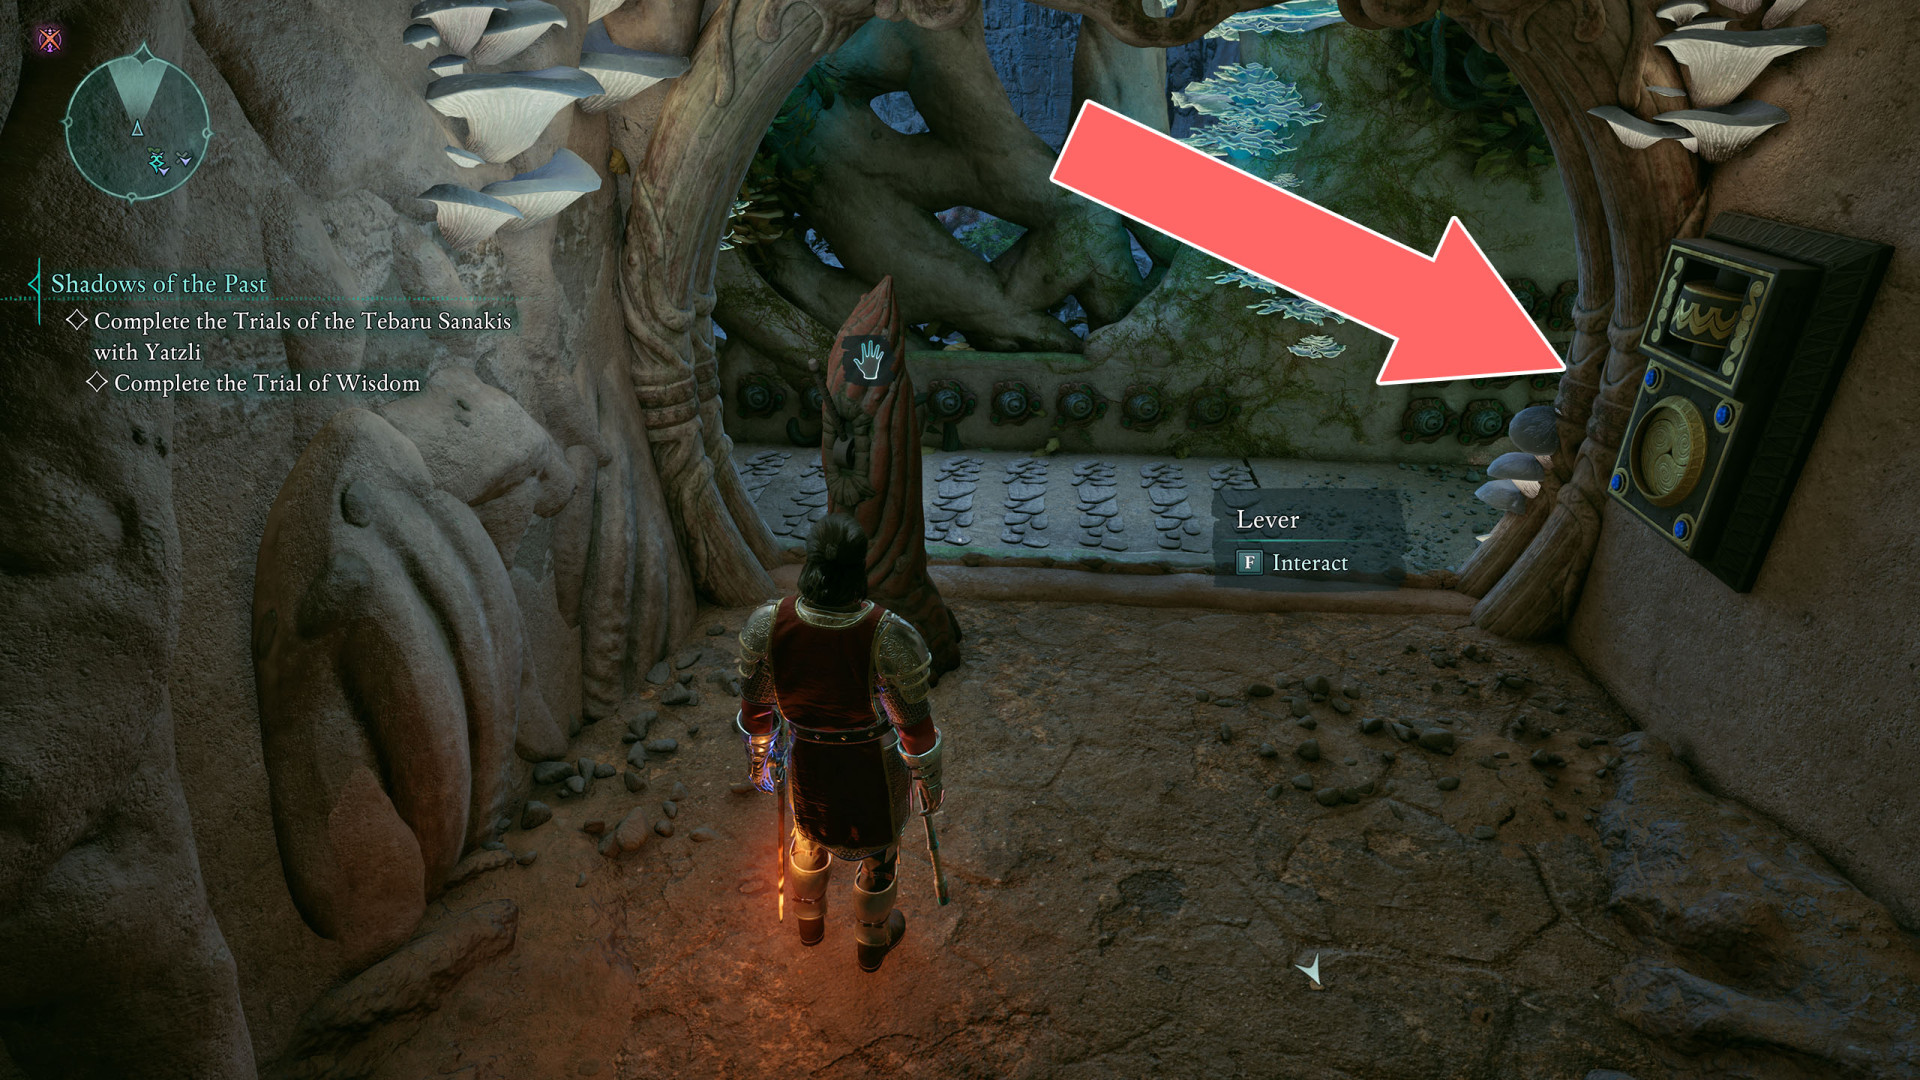
Blocked Passages Avowed Points of interest
A locked or barred doors that can be opened with keys, lockpicks or from a certain side or walls and other obstacles that must be destroyed to get through.
Index
- Abandoned Home Door
- Barred Door
- Barred Door
- Barred Door
- Barred Door
- Barred Door
- Barred Door
- Barred Door
- Barred Door
- Barred Door
- Barred Door
- Barred Door
- Barred Door
- Barred Door
- Barred Door
- Barred Door
- Barred Door
- Barred Door
- Barred Door
- Barred Door
- Barred Door
- Barred Door
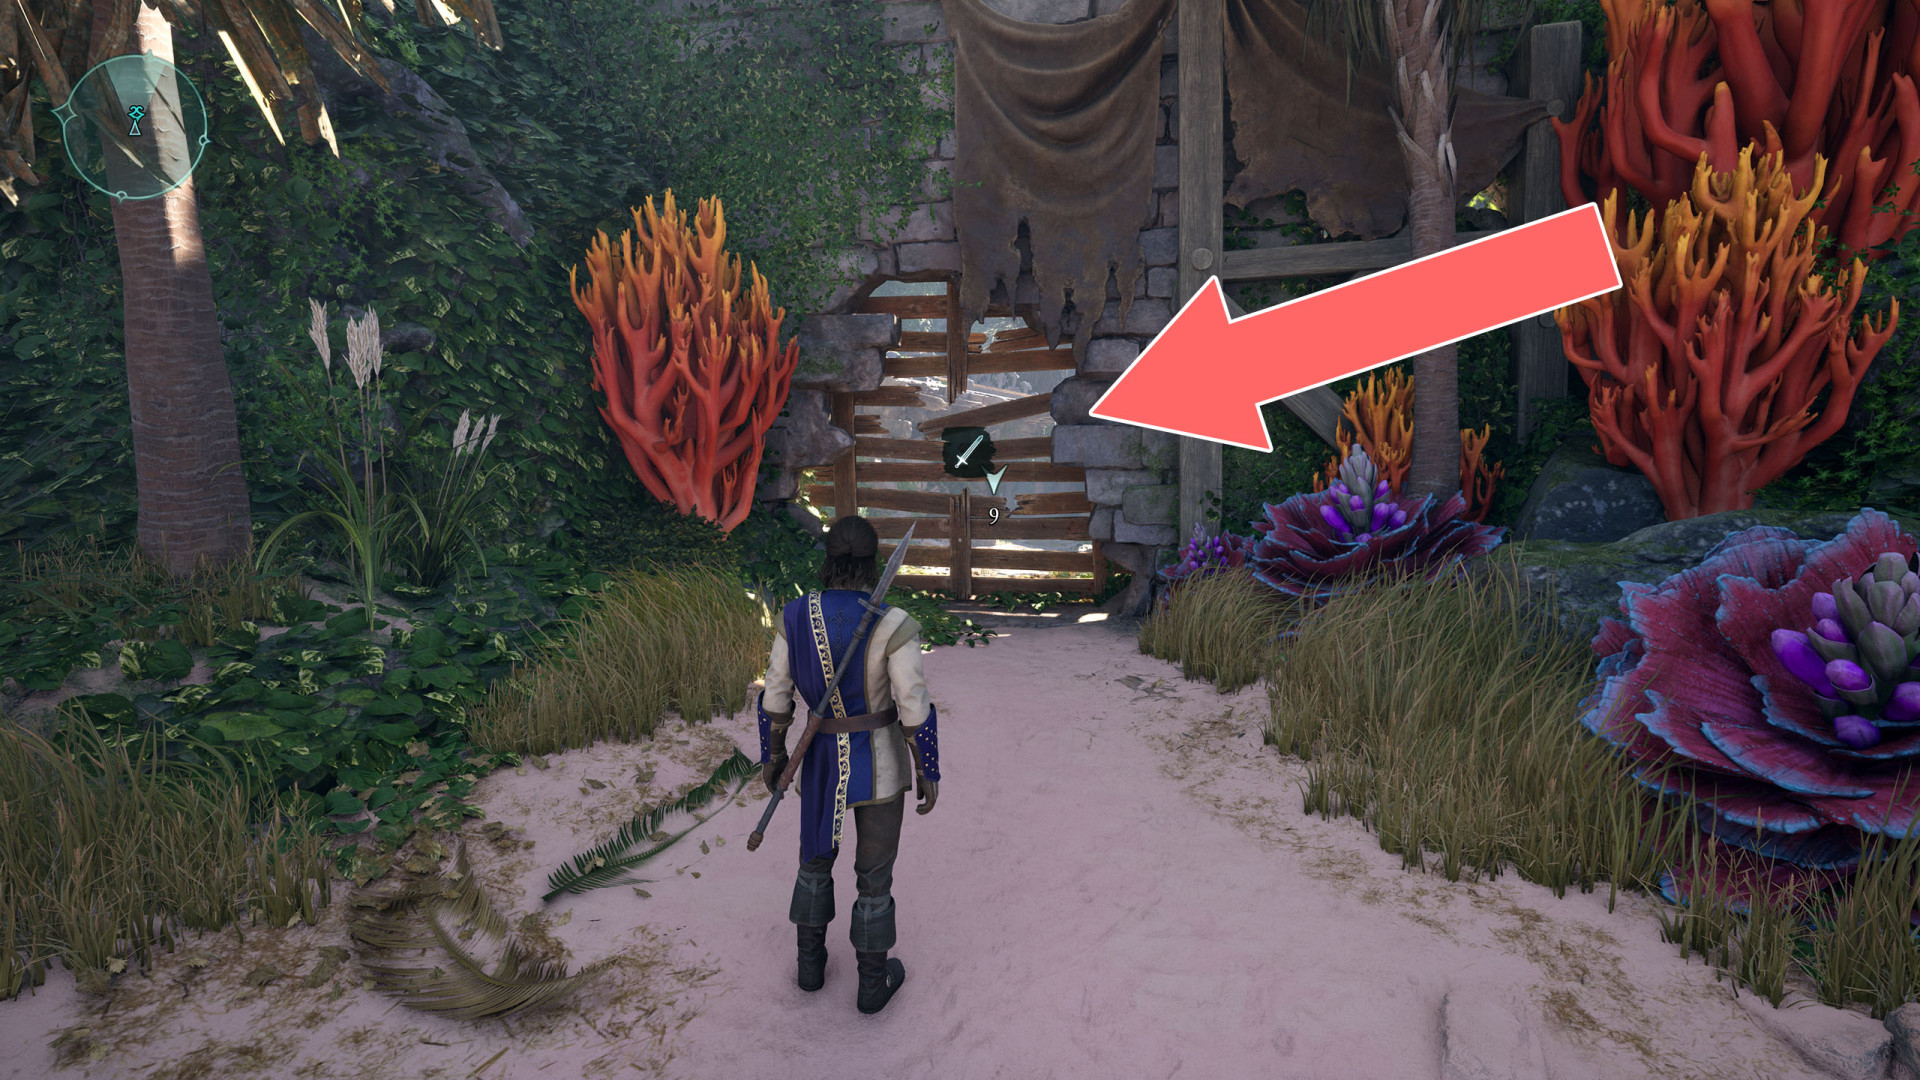
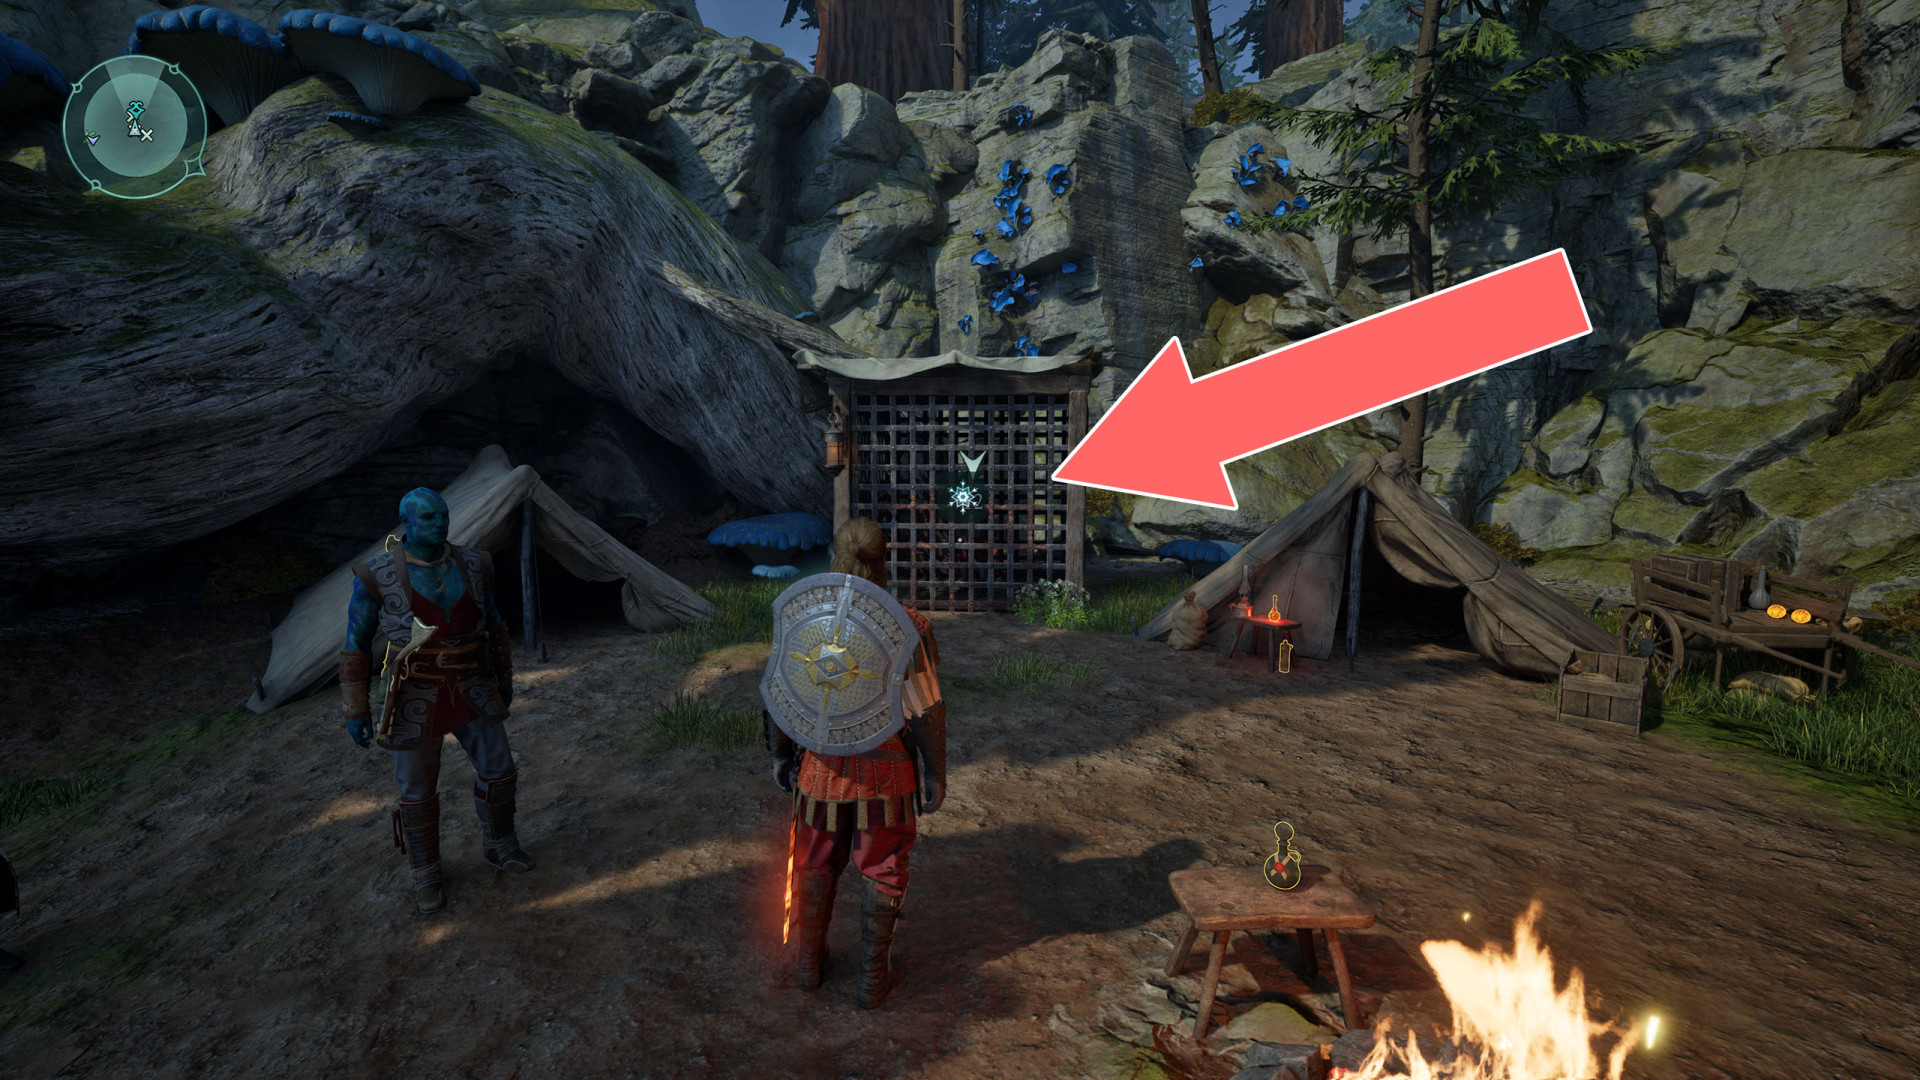
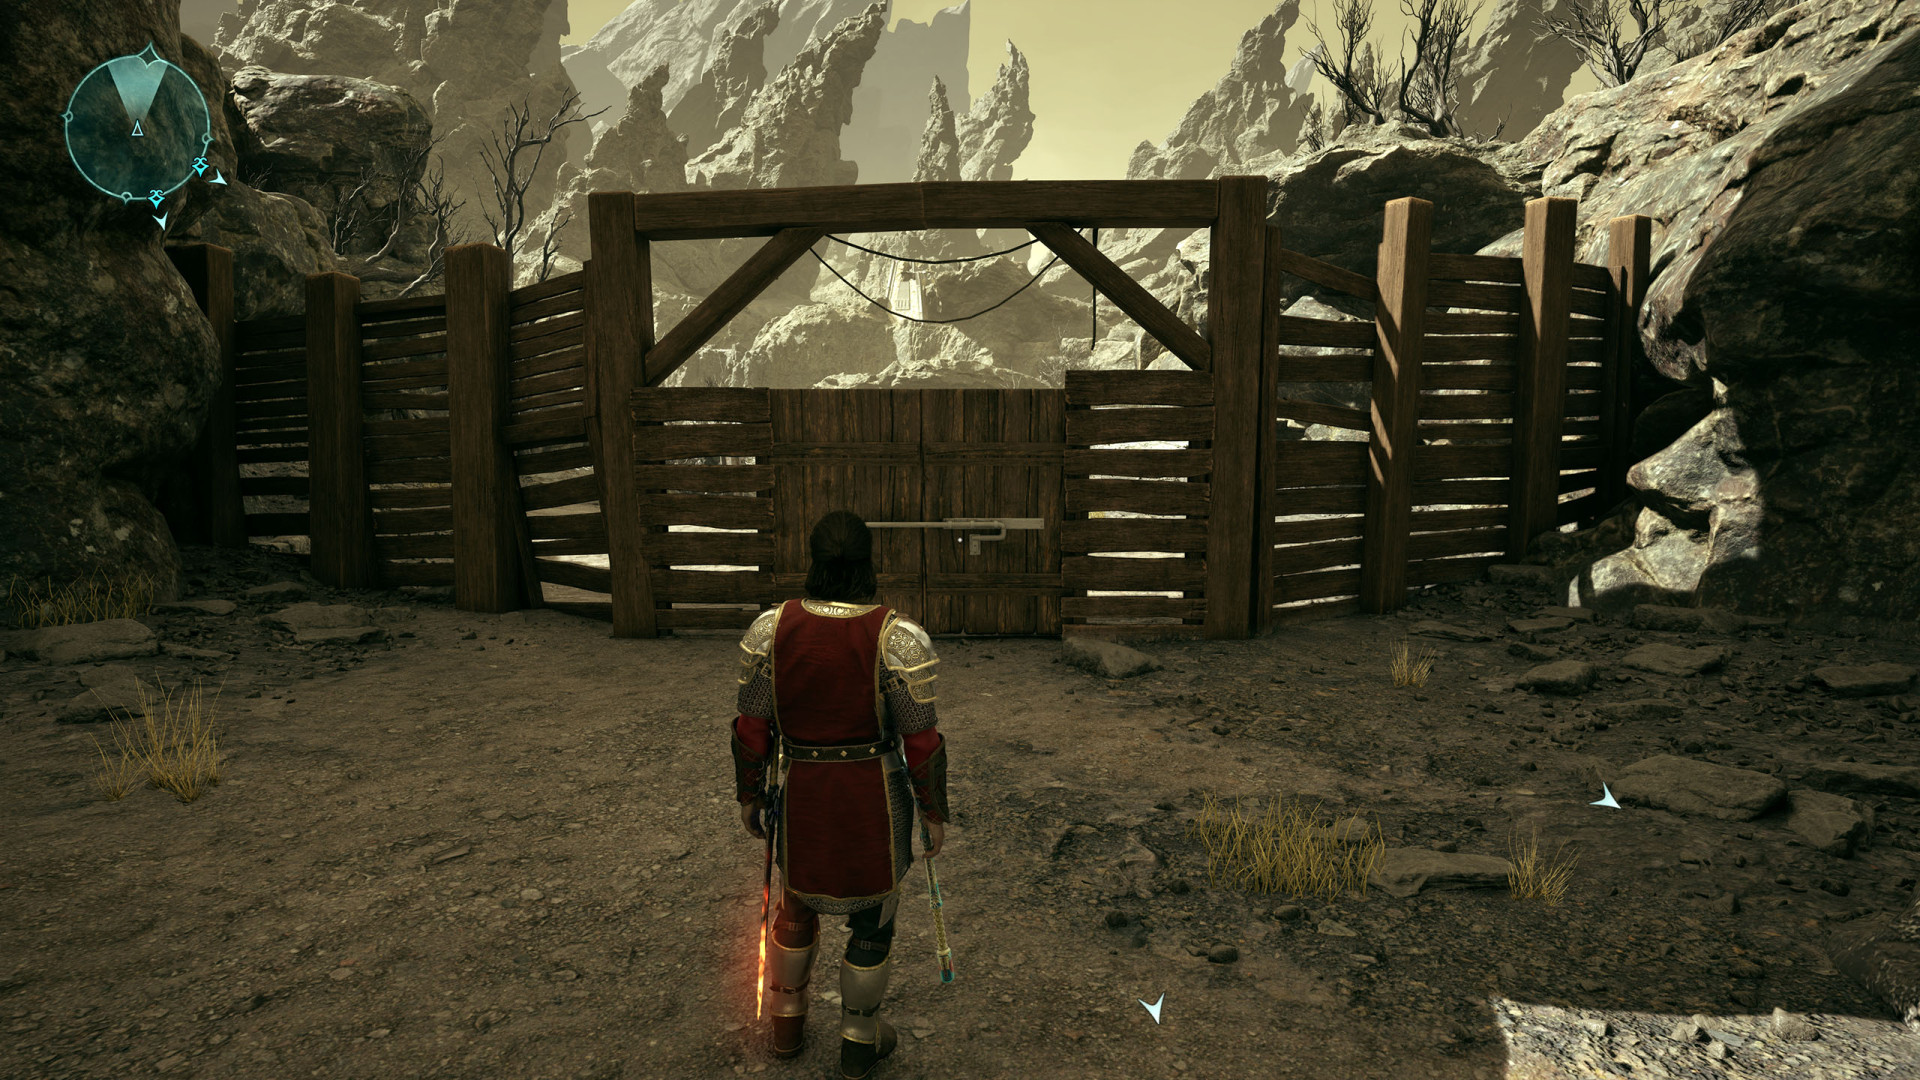
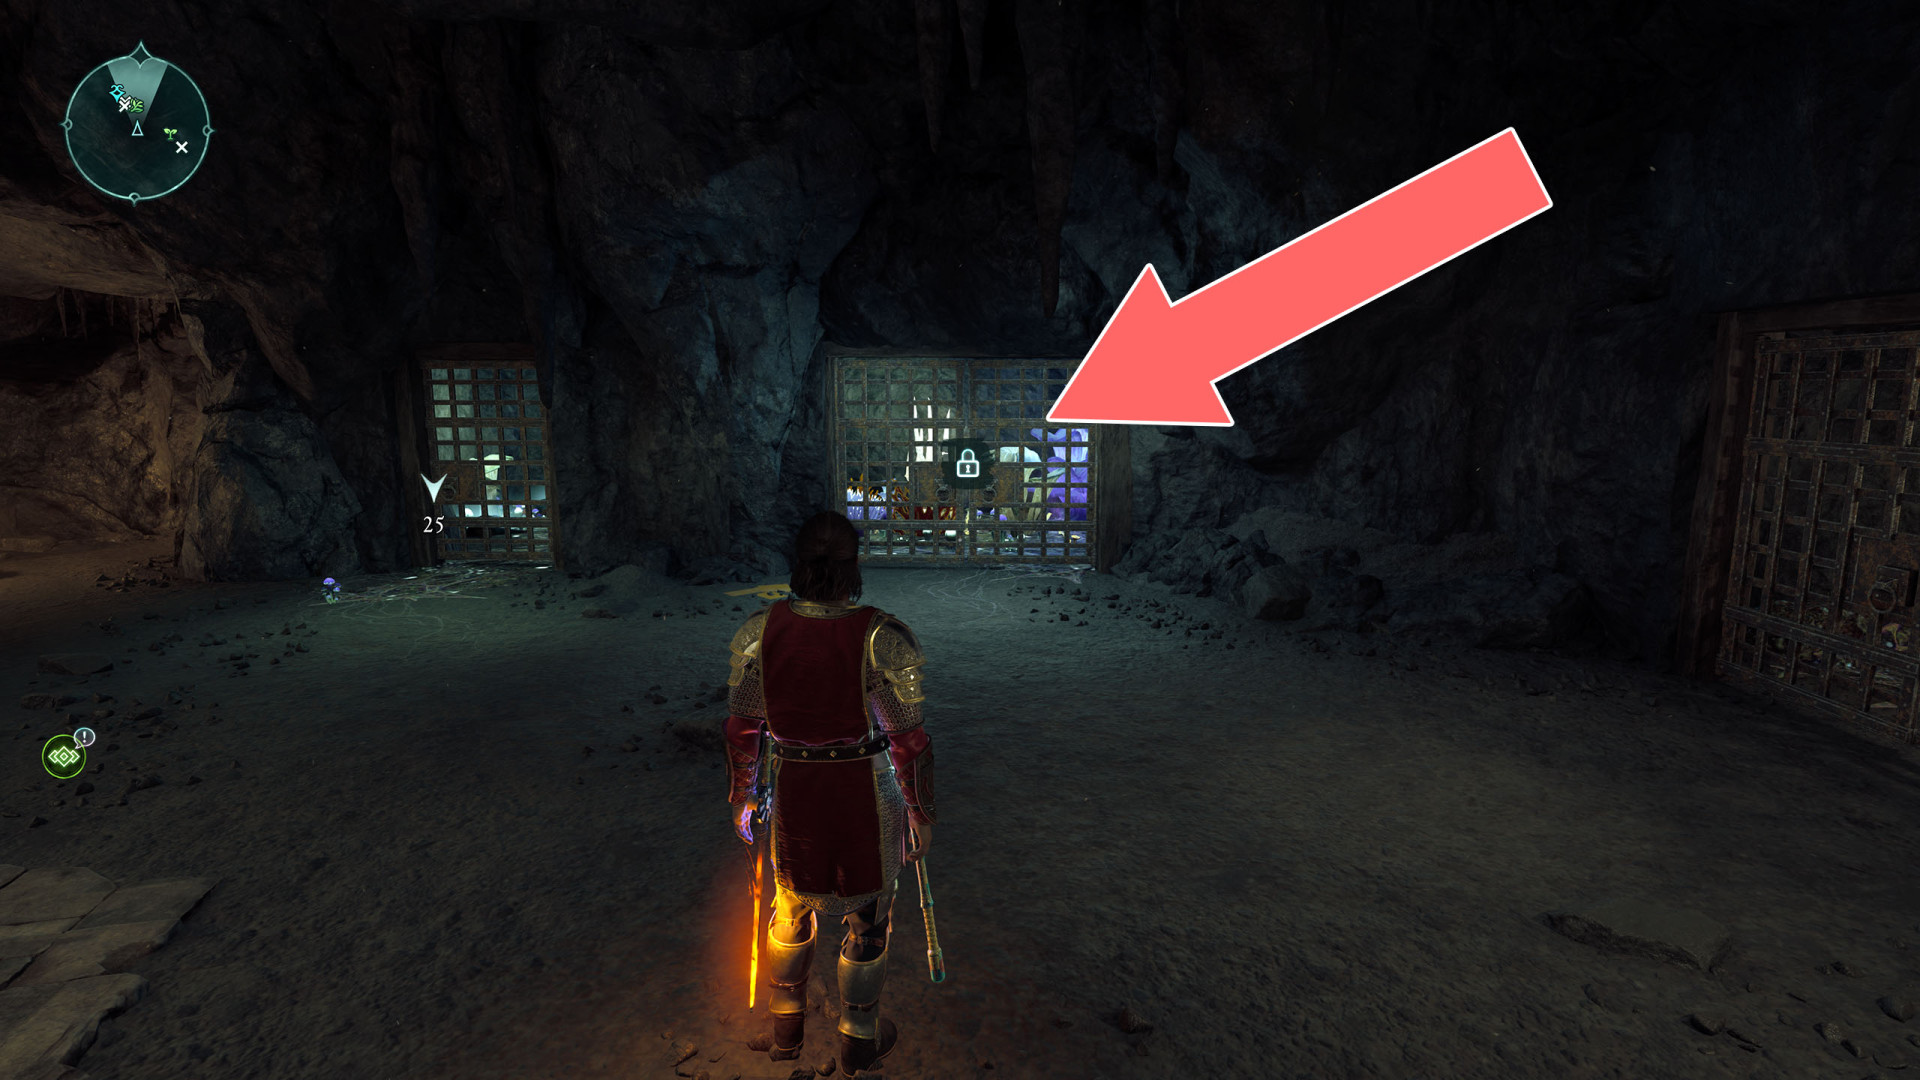
- Barred Gate
- Barred Gate
- Barred Gate
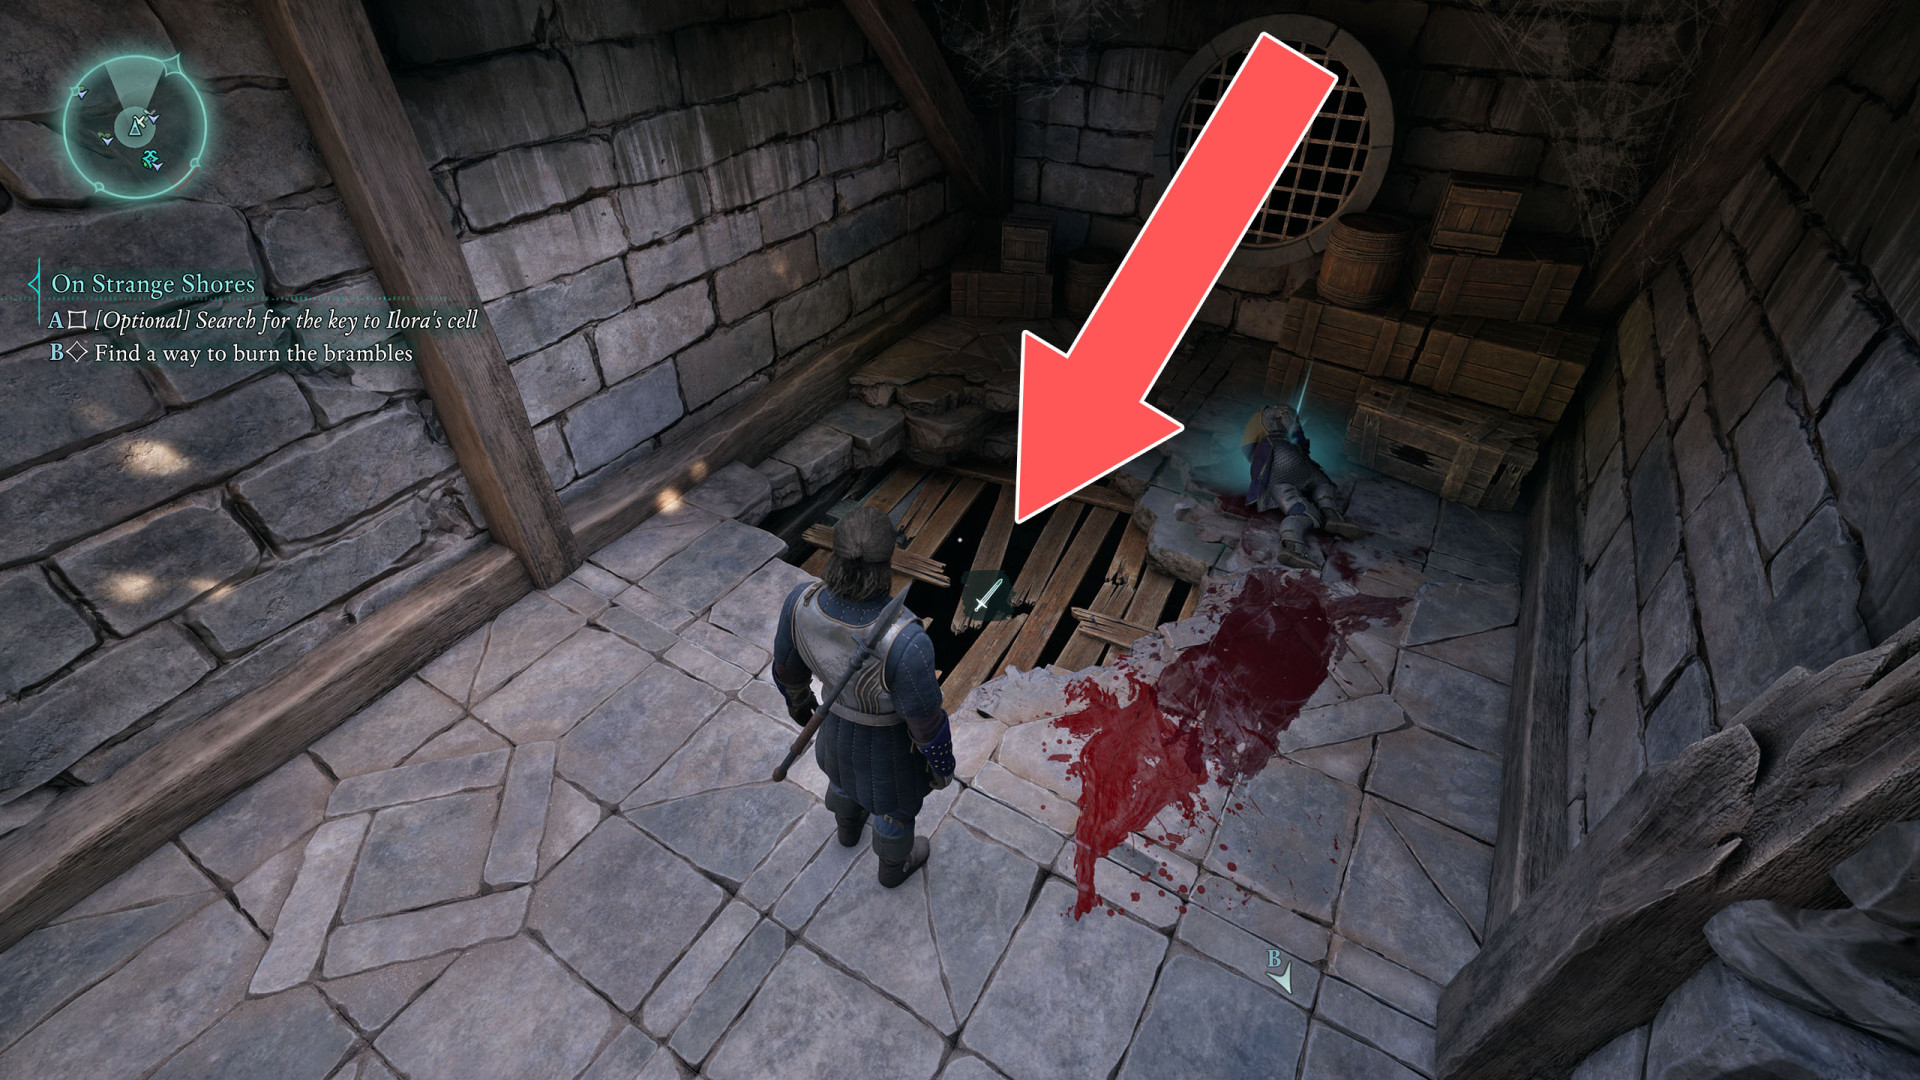
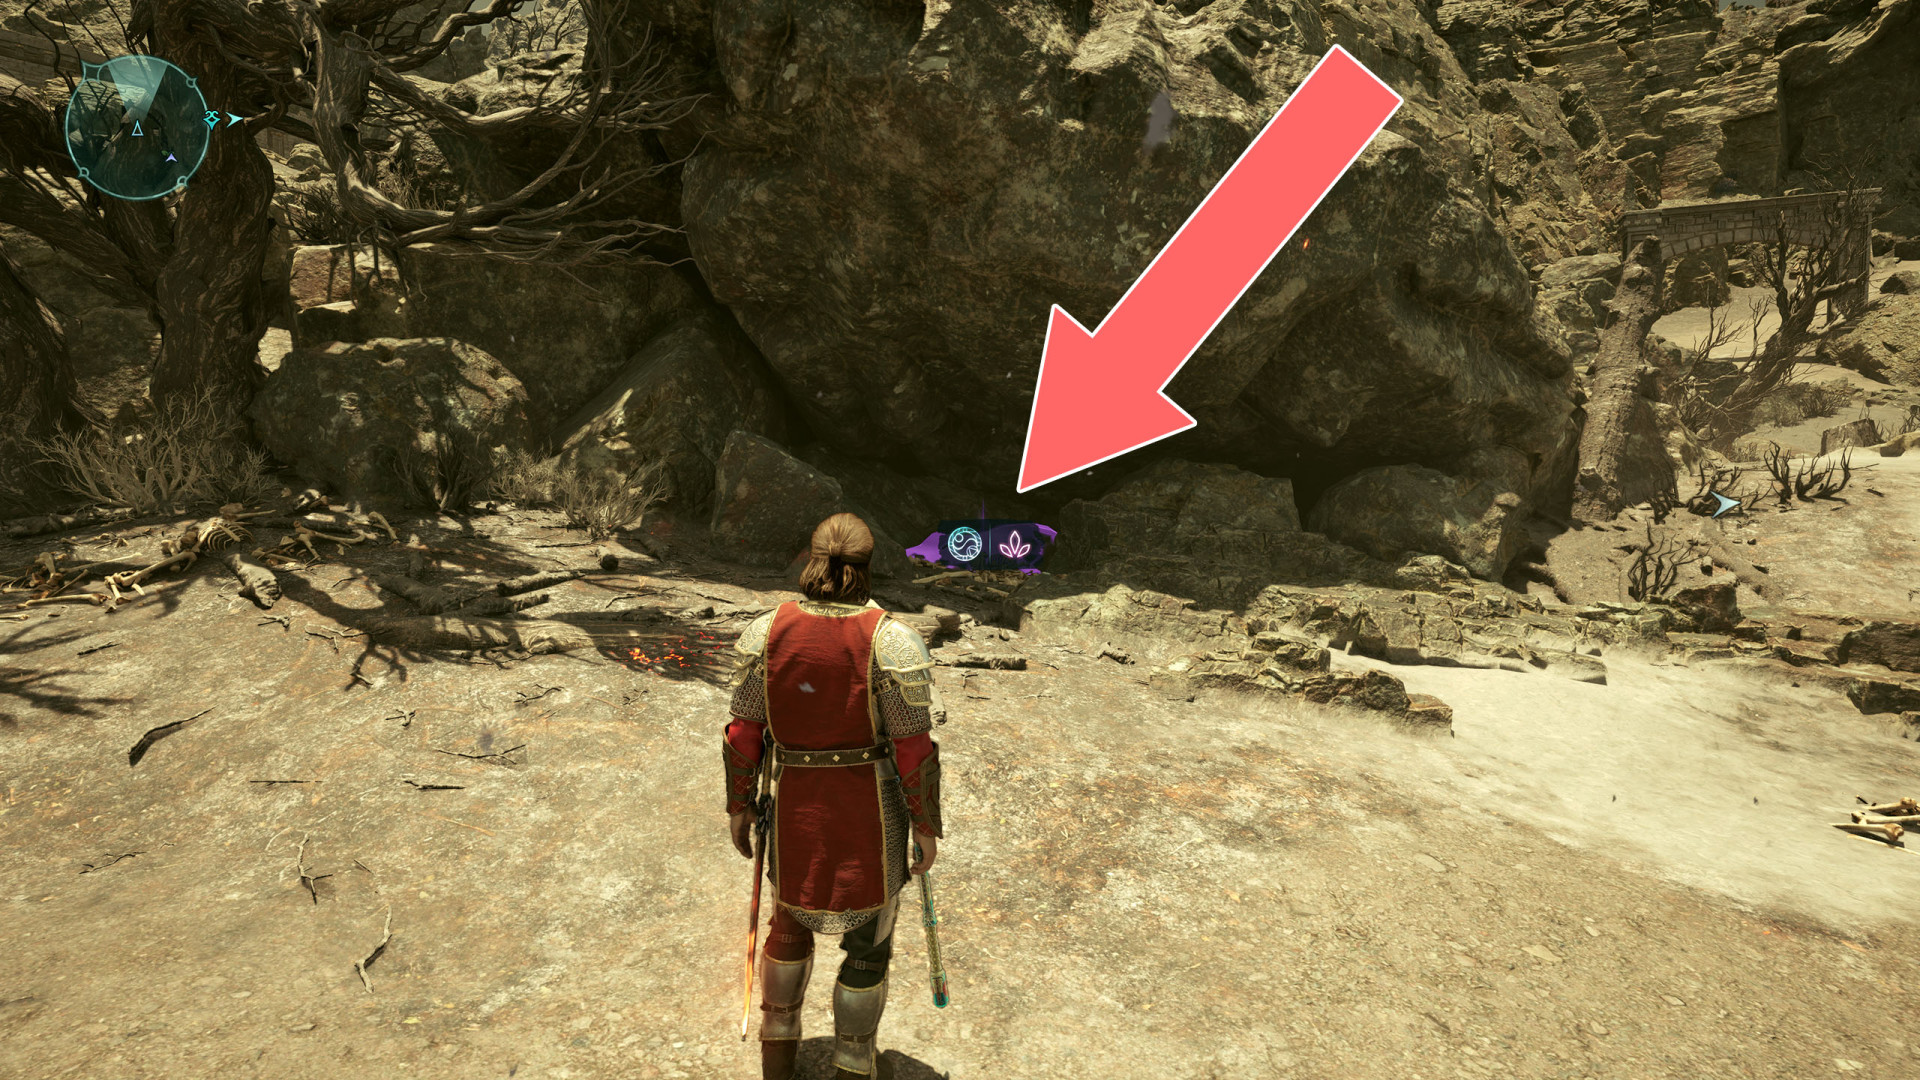
- Brambles
- Brambles
- Brambles
- Brambles
- Brambles
- Brambles
- Brambles
- Brambles
- Brambles
- Brambles
- Brambles
- Brambles
- Brambles
- Brambles
- Brambles
- Brambles
- Brambles
- Brambles
- Brambles
- Brambles
- Brambles
- Brambles
- Brambles
- Brambles
- Brambles
- Brambles
- Brambles
- Brambles
- Brambles
- Brambles
- Brambles
- Brambles
- Brambles
- Brambles
- Brambles
- Brambles
- Brambles
- Brambles
- Brambles
- Brambles
- Brambles
- Brambles
- Brambles
- Brambles
- Brambles
- Brambles x3
- Brambles x4
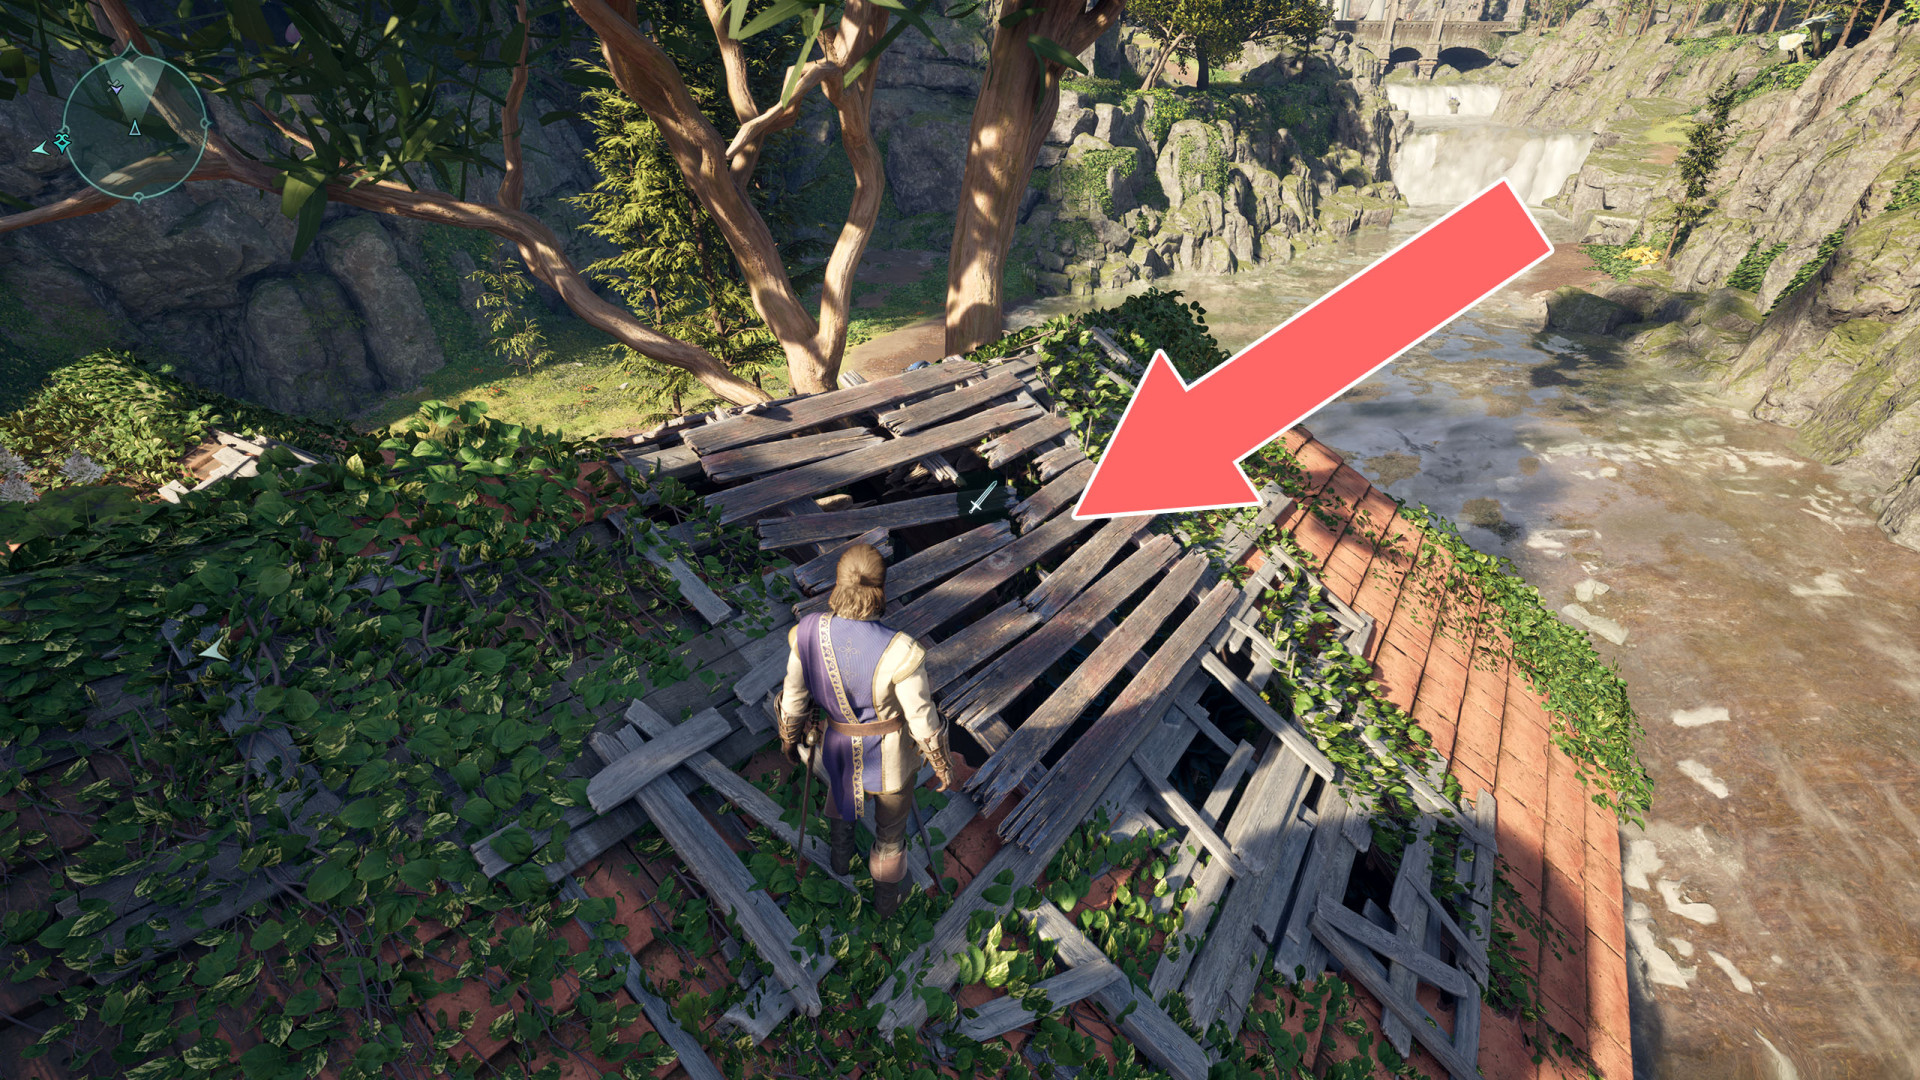
- Broken Bridge
- Cell Door
- Cell Gate
- Cistern Door
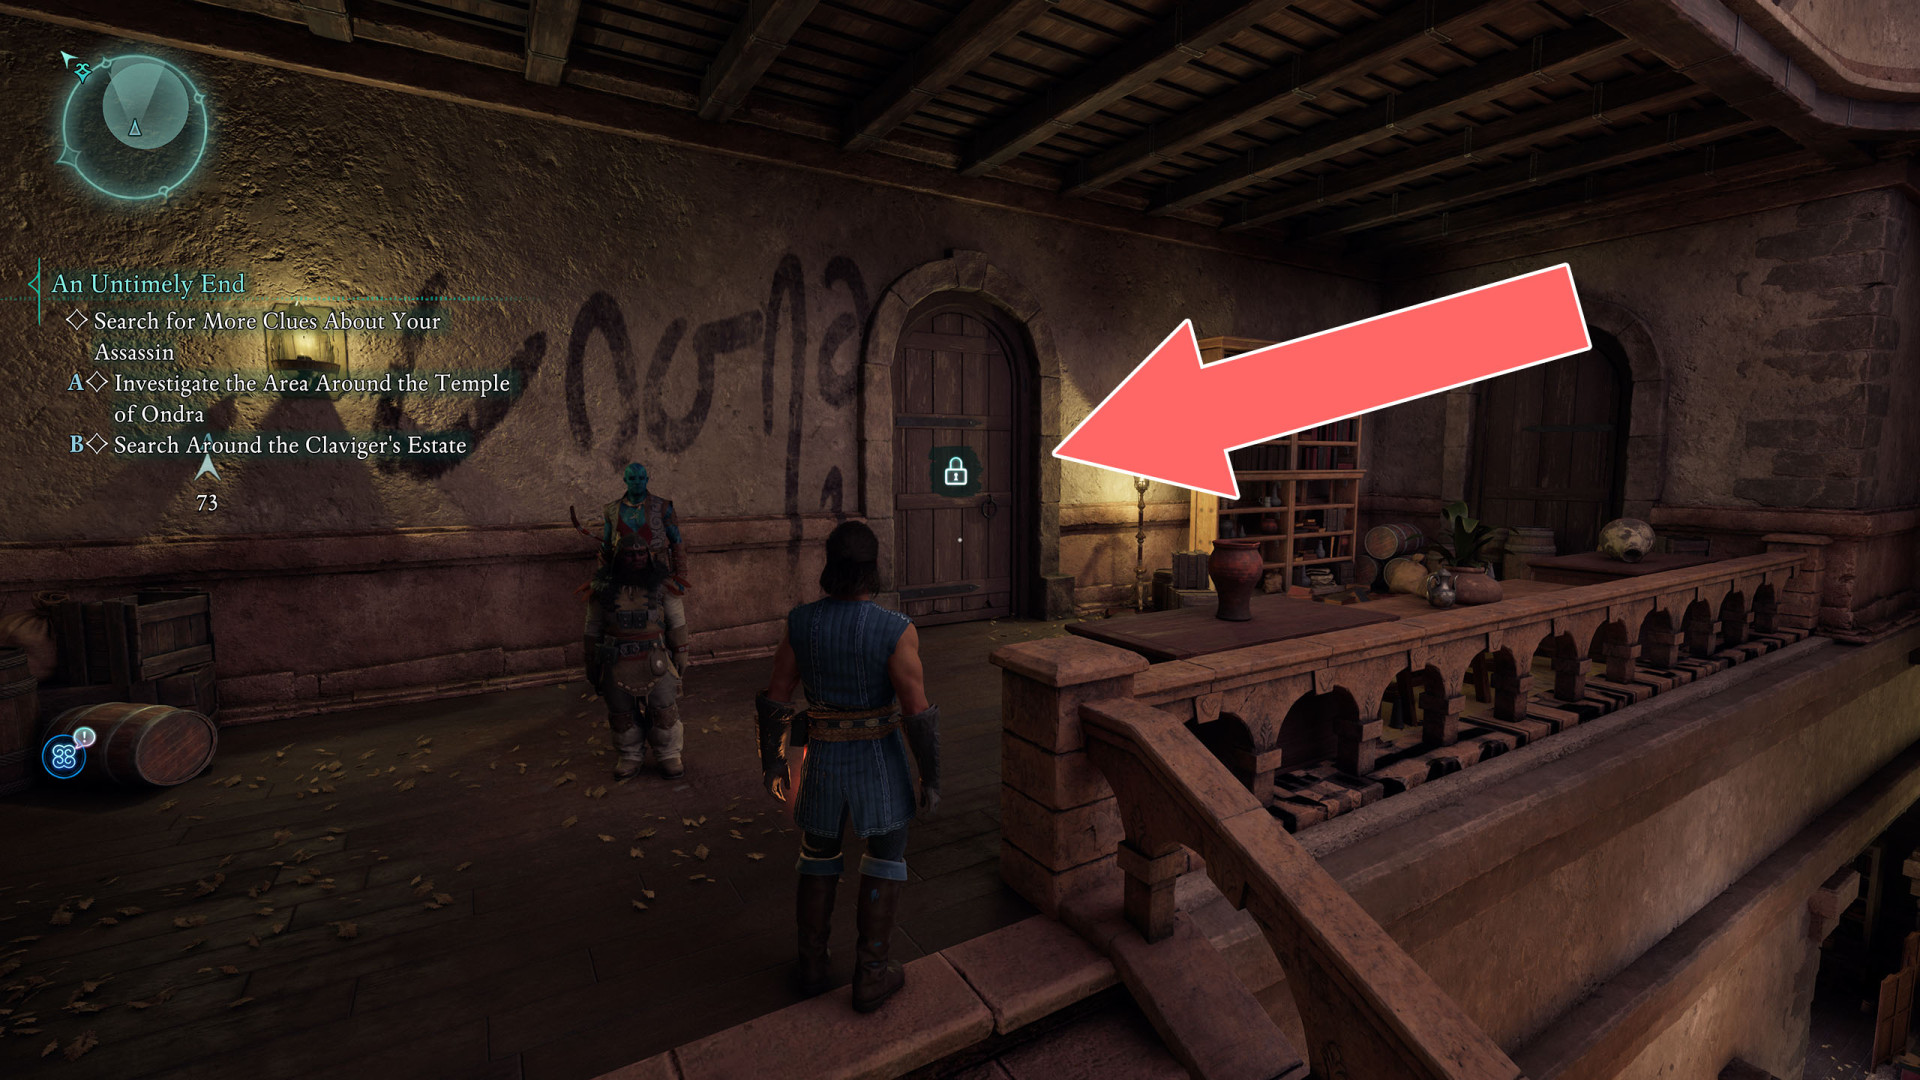
- Claviger's Estate Door
- Closed Gate
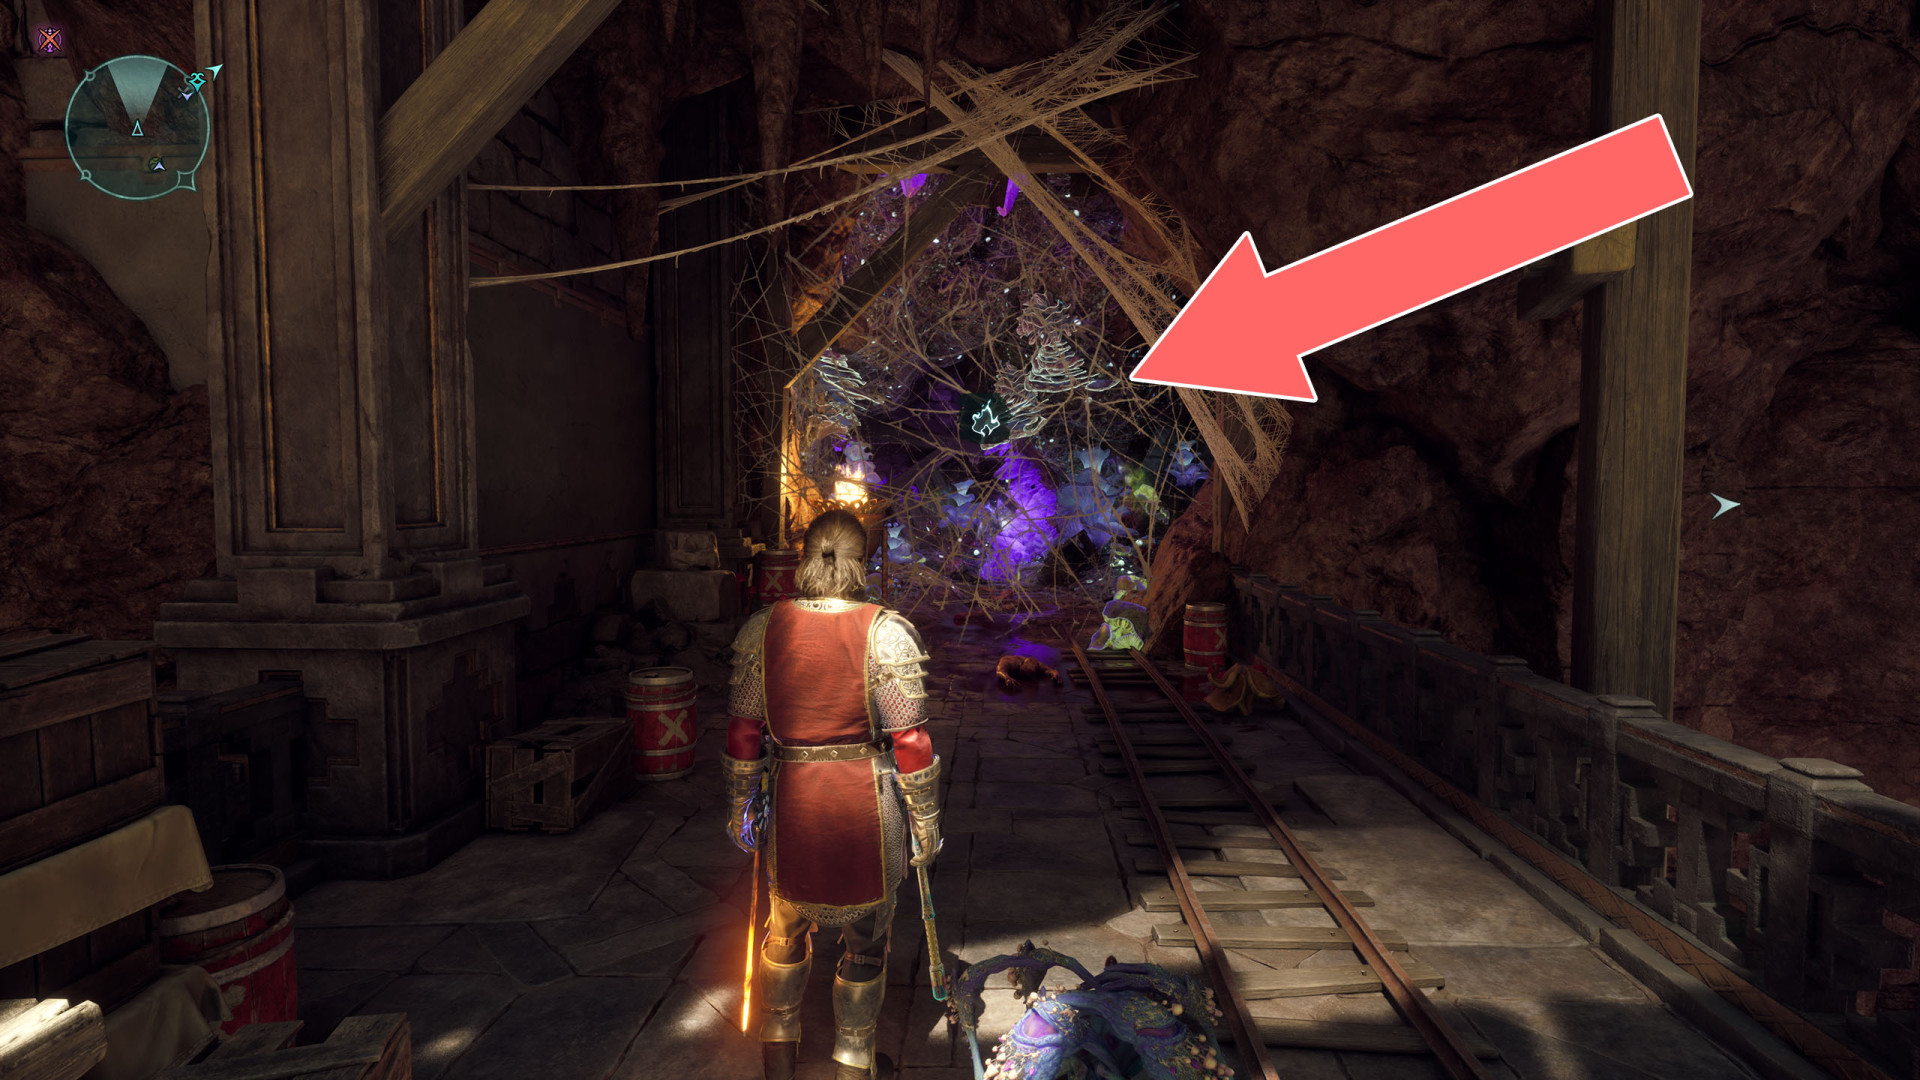
- Cobweb
- Cobweb
- Cobweb
- Cobweb
- Cobweb
- Cobweb
- Cobweb
- Cobweb
- Cobweb
- Cobweb
- Cobweb
- Cobweb
- Cobweb
- Cobweb
- Cobweb
- Cobweb
- Cobweb
- Cobweb
- Cobweb
- Cobweb
- Cobweb
- Cobweb
- Courtyard Door
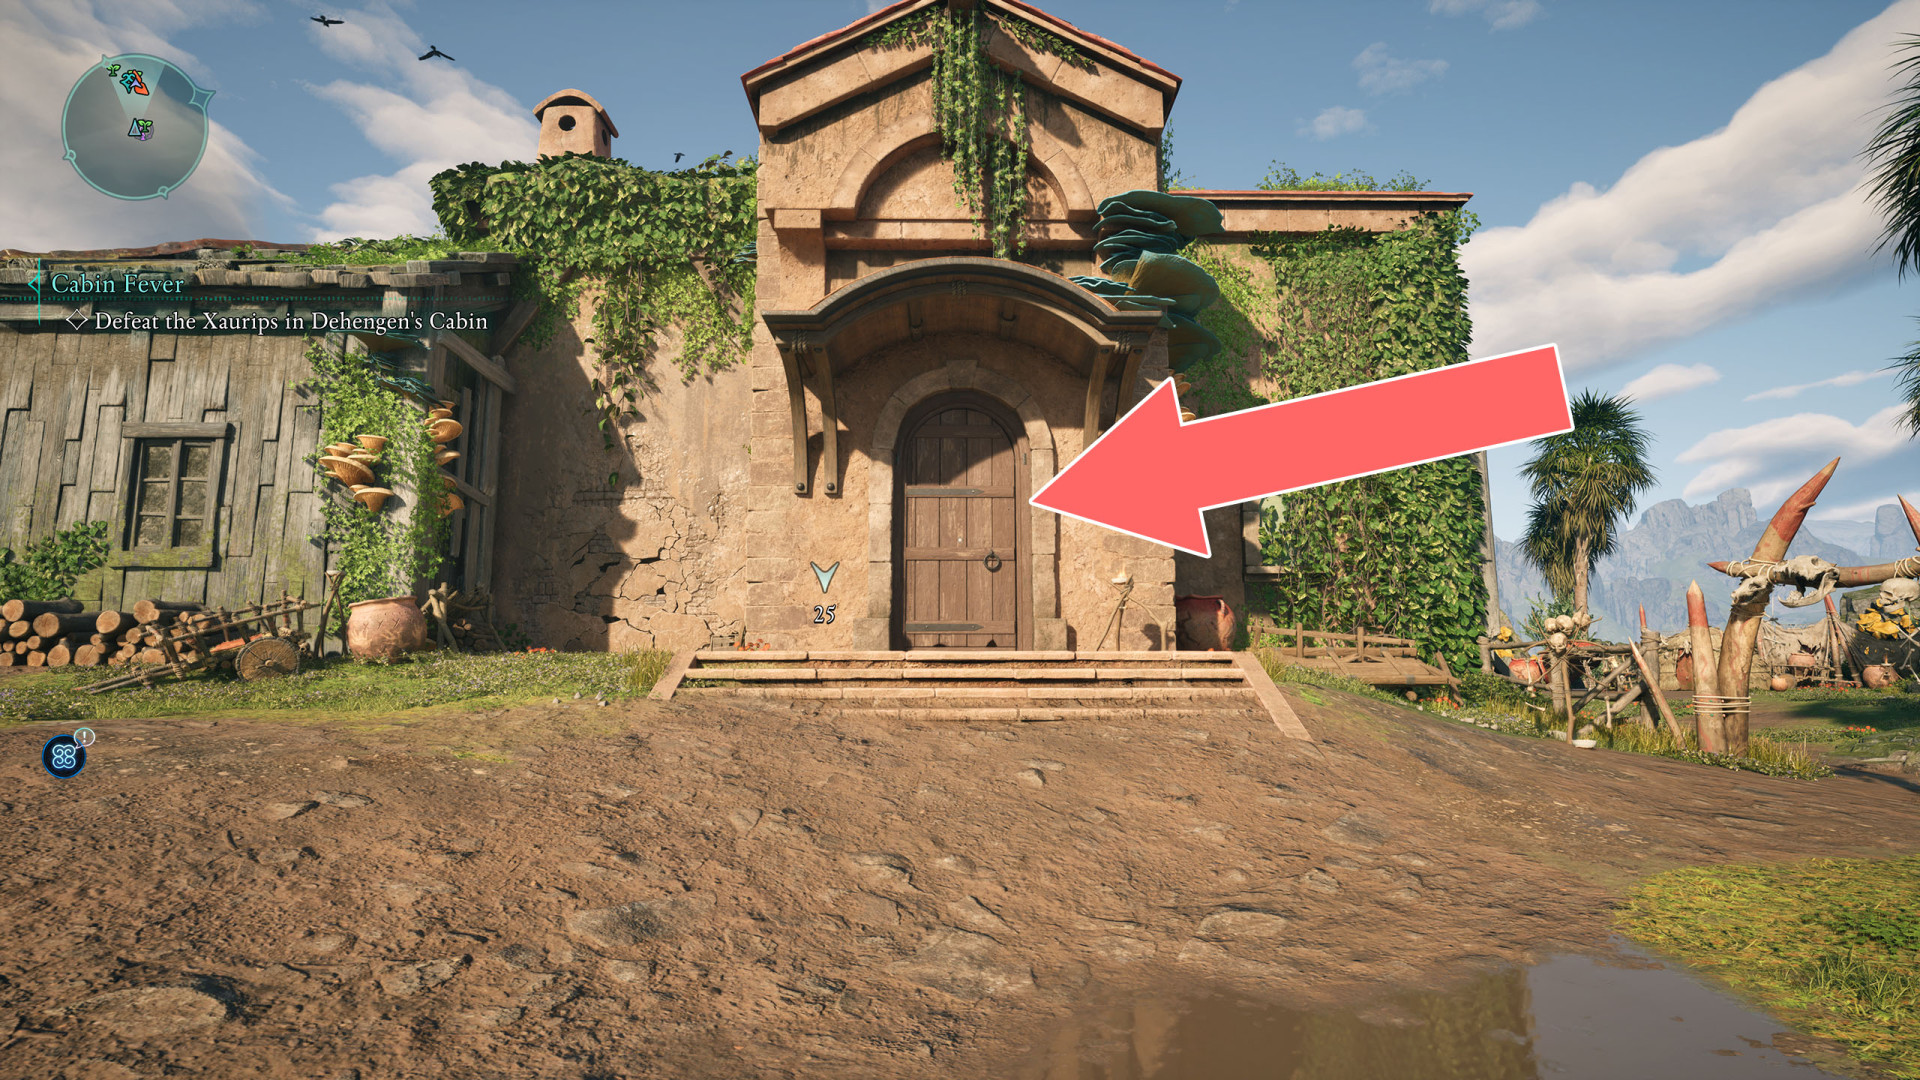
- Dehengen's Cottage Door
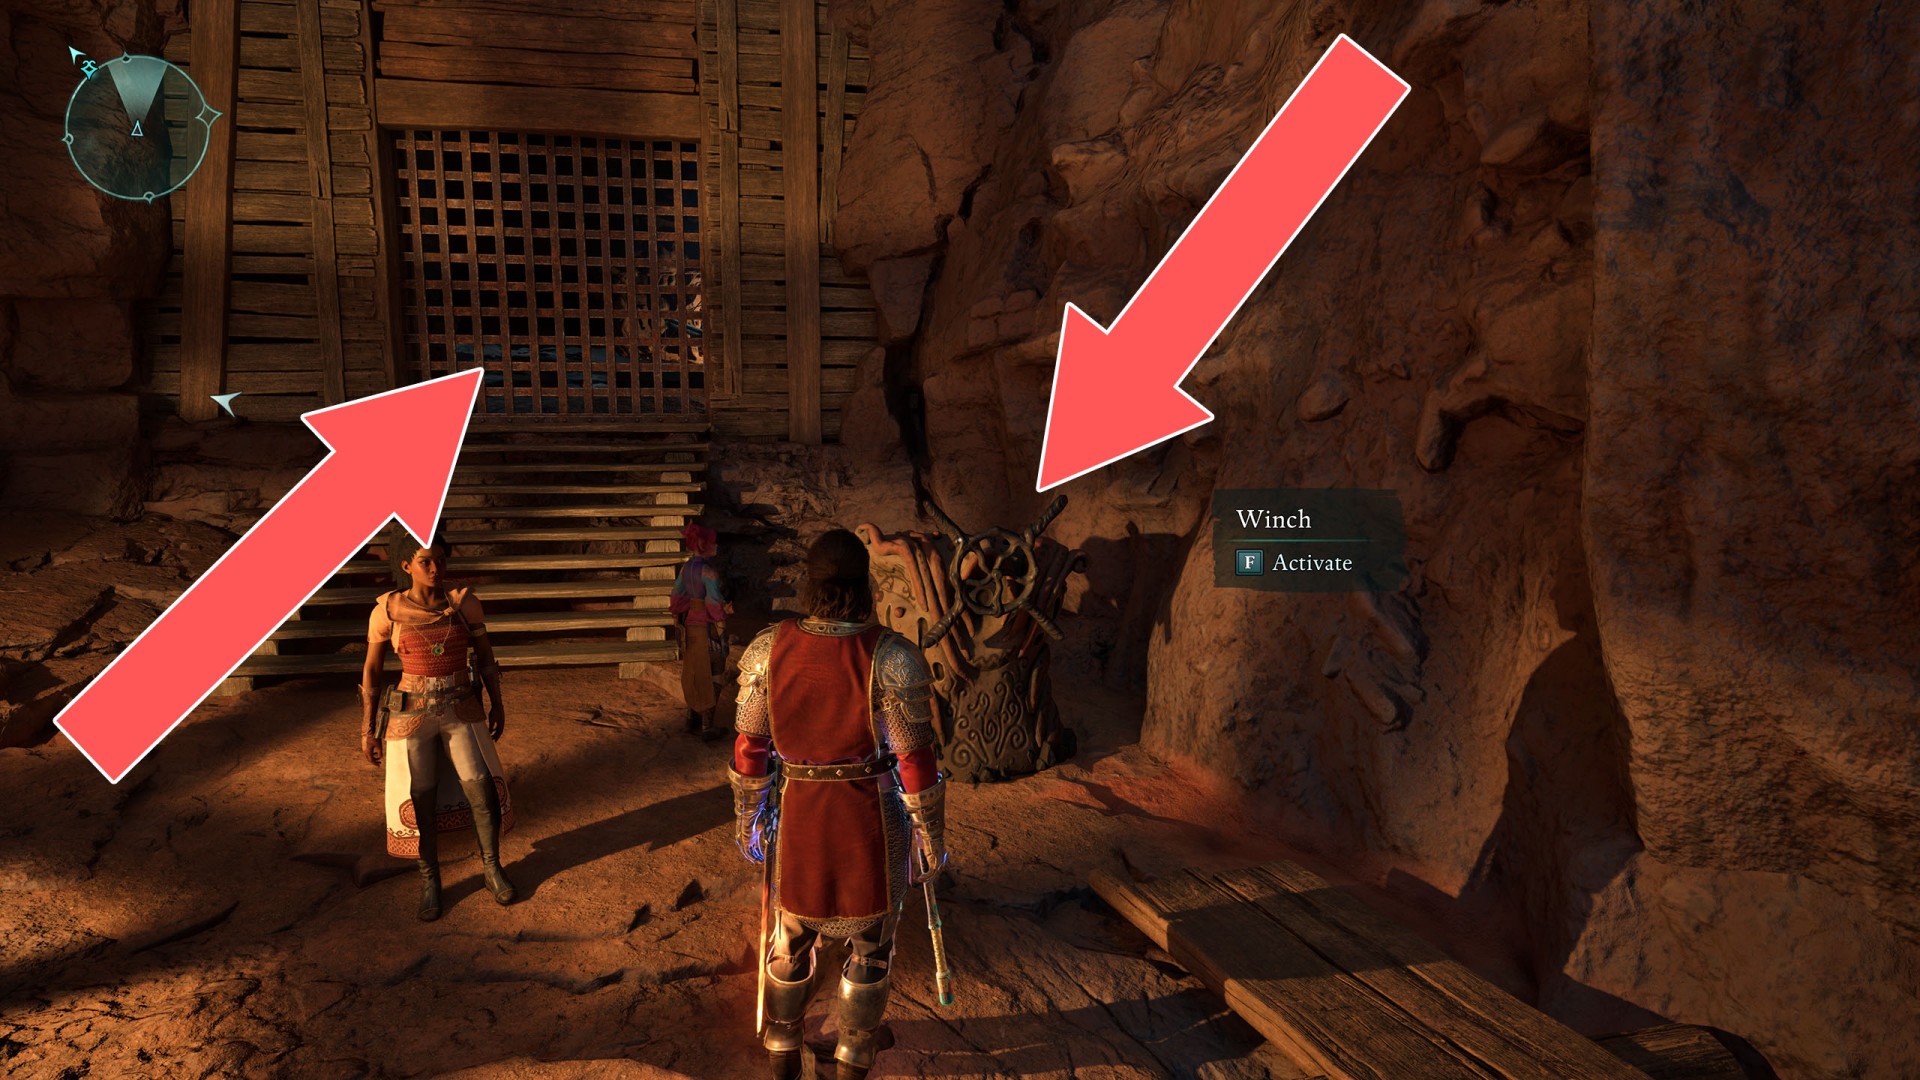
- Elevator
- Farmhouse Door
- Fort Northreach Storage Door
- Freezable Grate
- Freezable Grate
- Freezable Grate
- Freezable Grate
- Freezable Grate
- Freezable Grate
- Freezable Grate
- Freezable Grate
- Freezable Grate
- Freezable Grate
- Freezable Grate
- Giatta's Basement Door
- Homestead Door
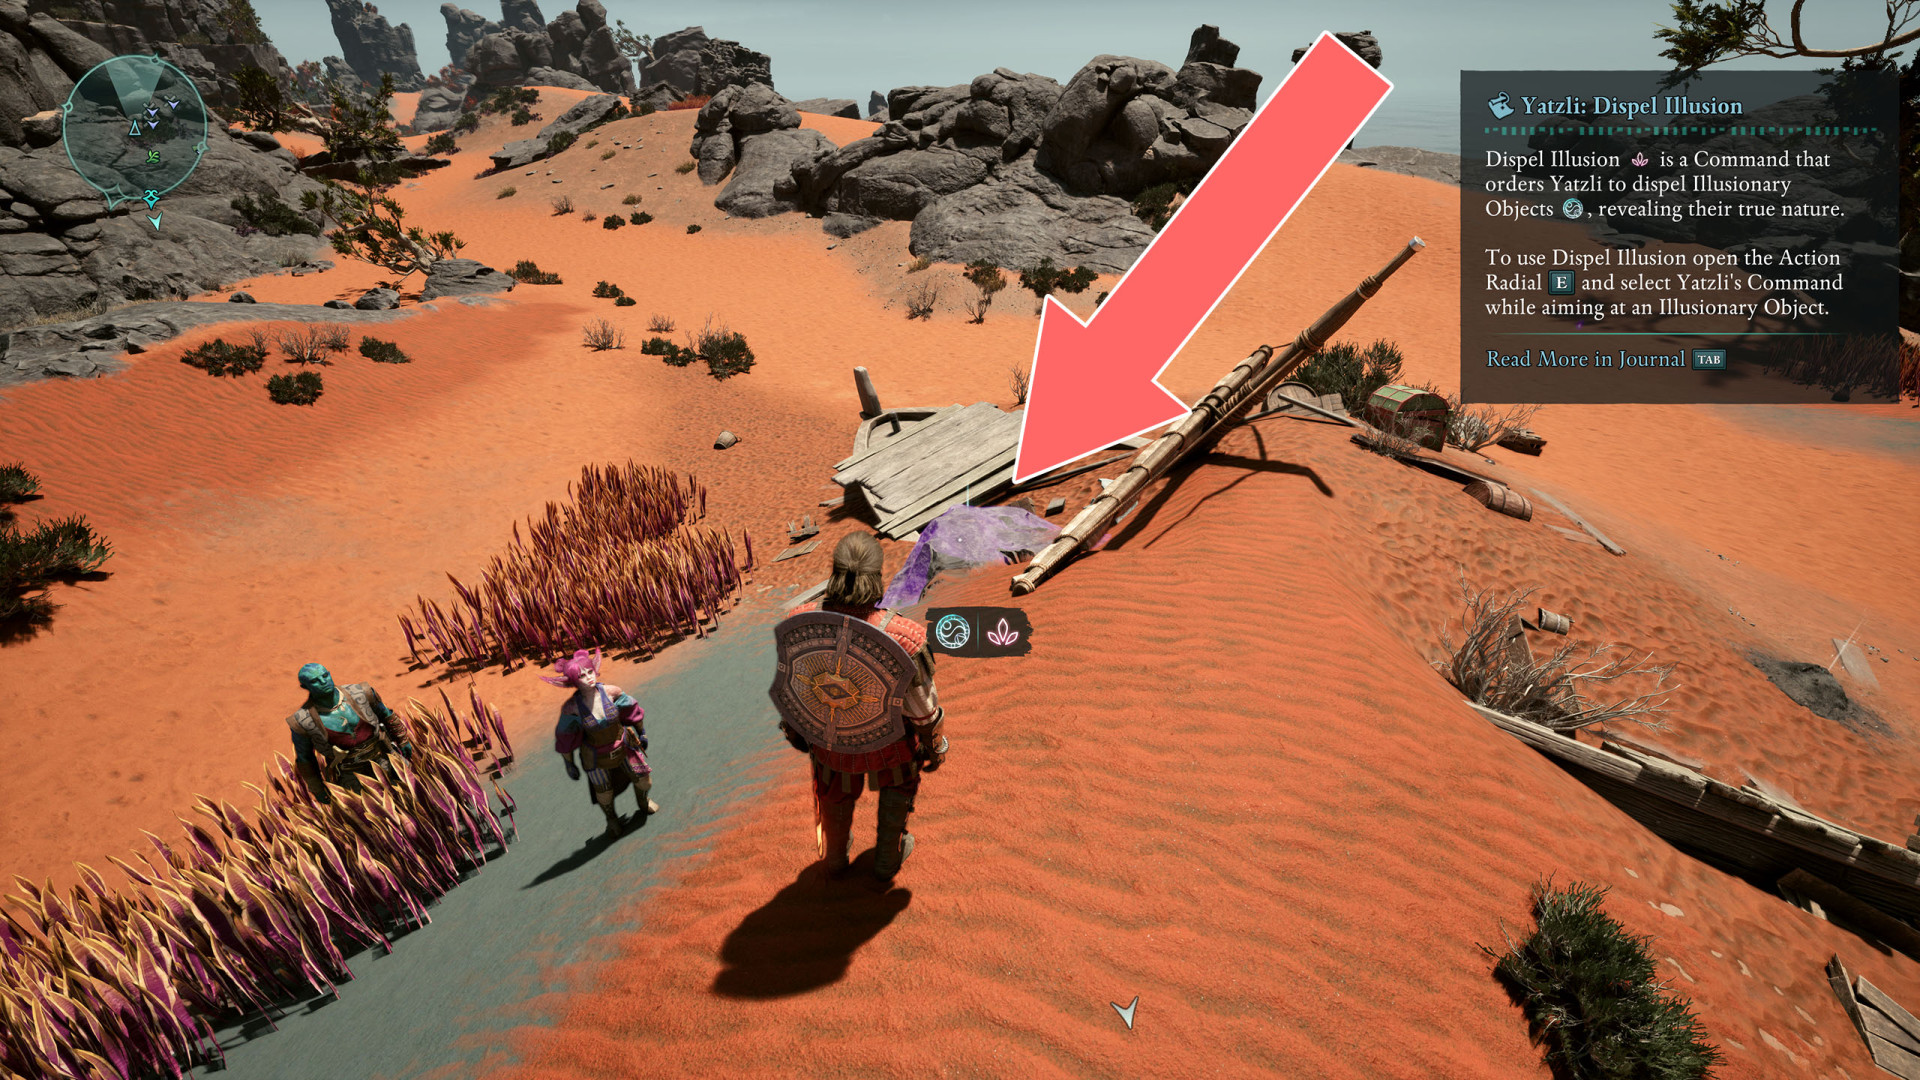
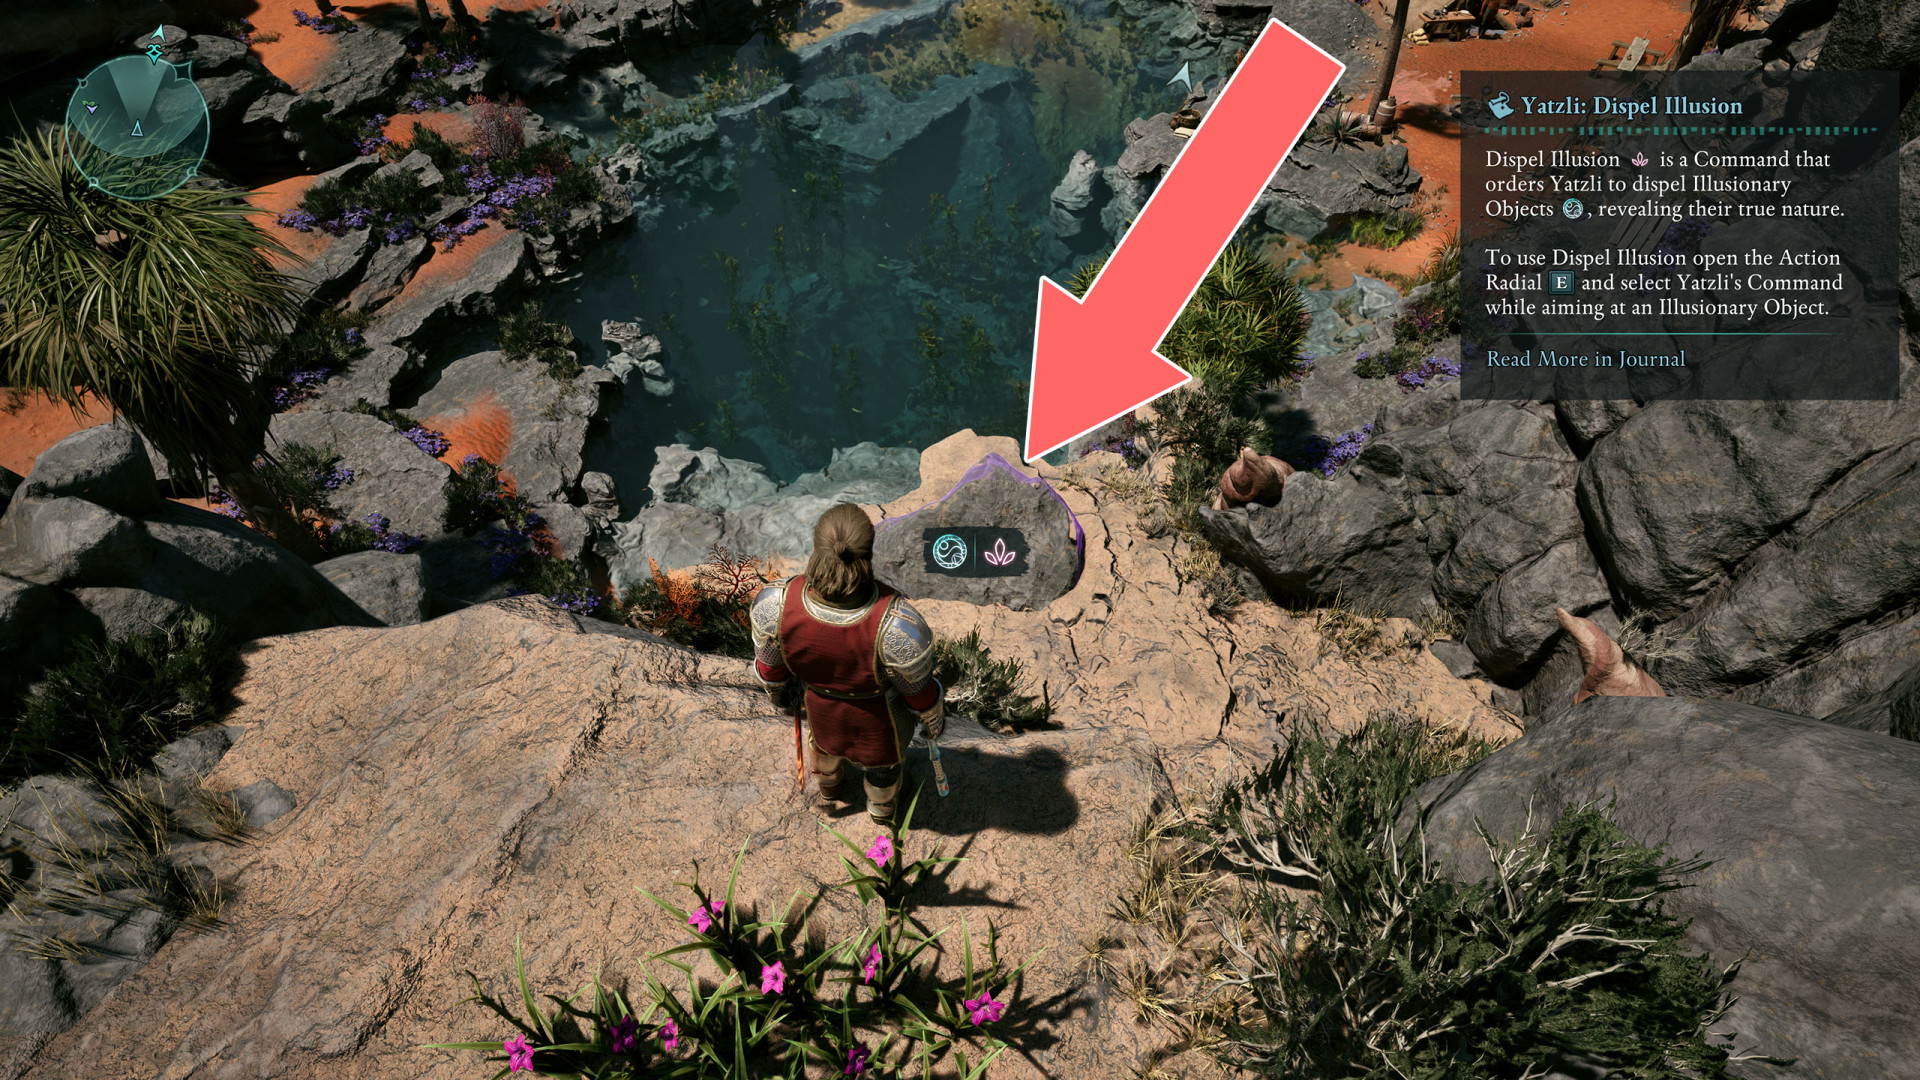
- Illusion
- Illusion
- Illusion
- Illusion
- Illusion
- Illusion
- Illusion
- Illusion
- Illusion
- Illusion
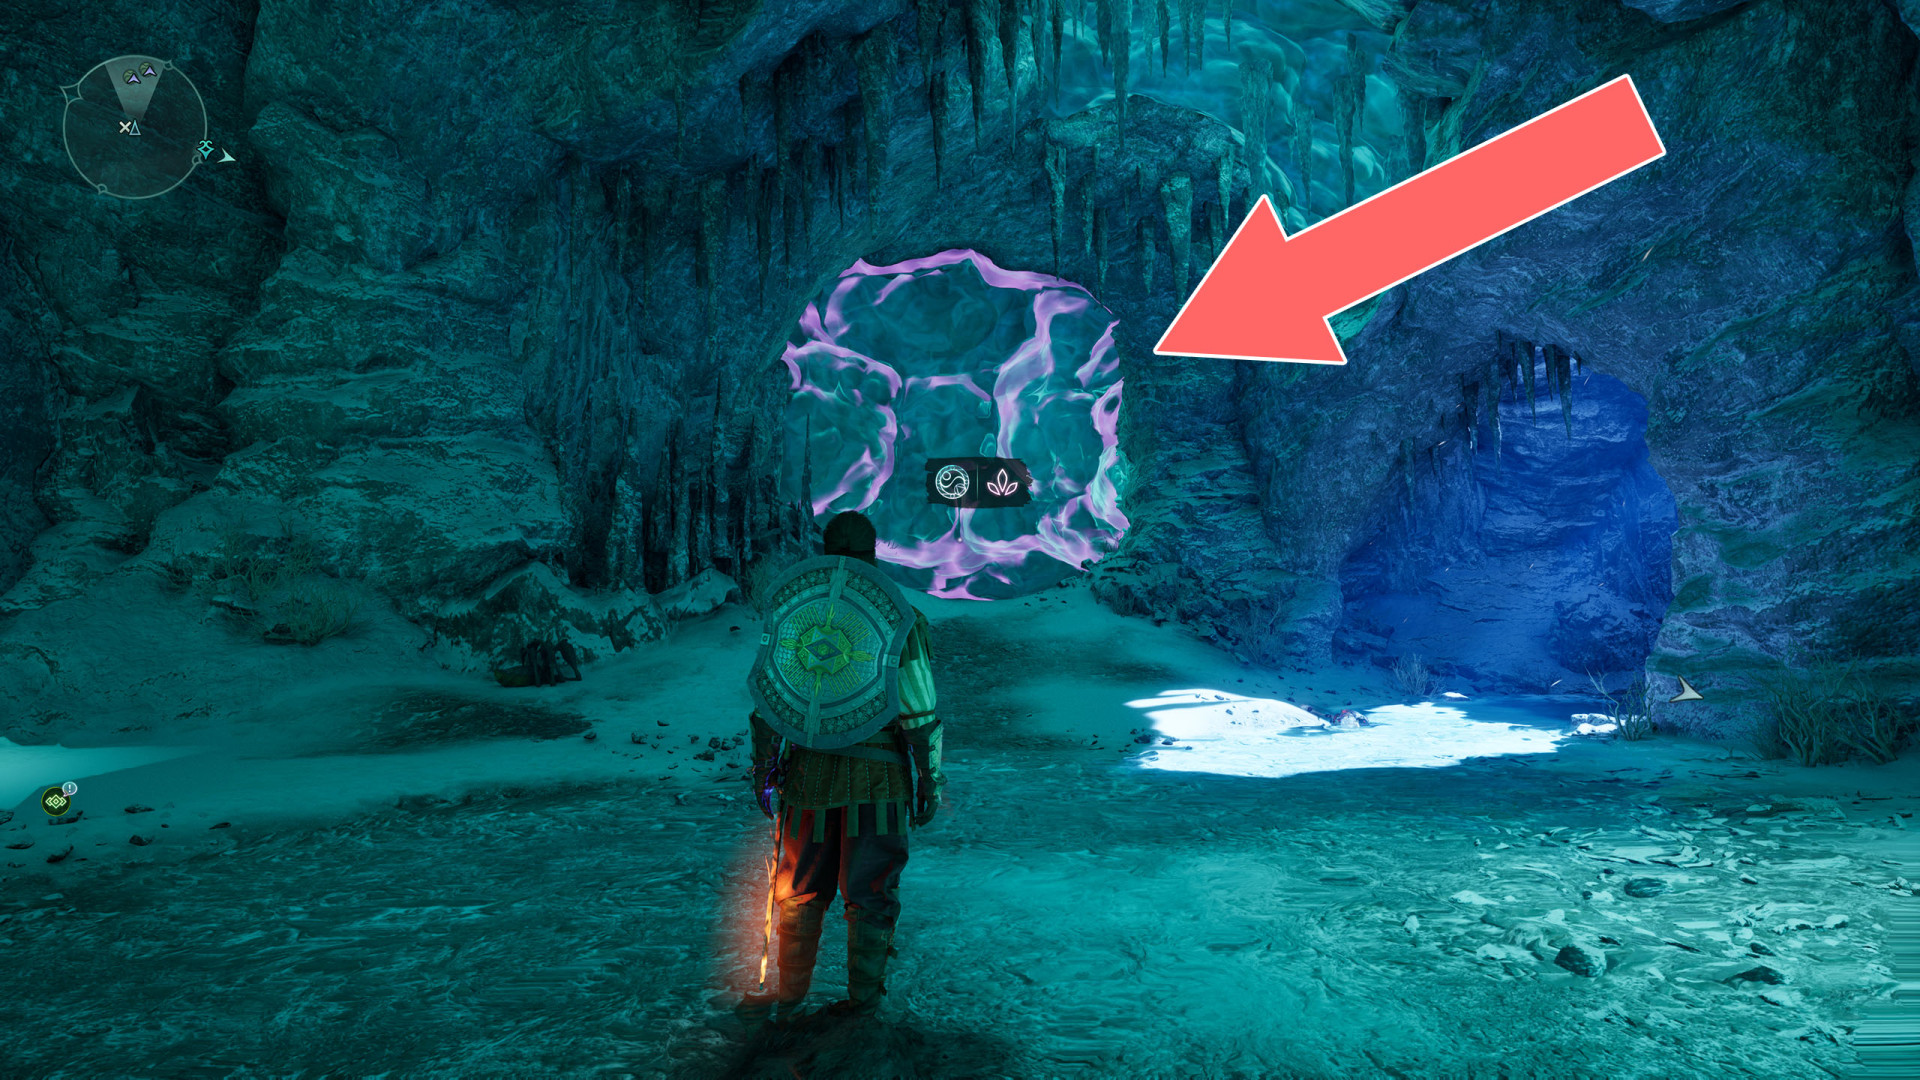
- Illusion Door
- Illusion Wall
- Illusion Wall
- Illusion Wall
- Illusion Wall
- Illusion Wall
- Illusion Wall
- Illusion Wall
- Illusion Wall
- Illusion Wall
- Illusion Wall
- Illusion Wall
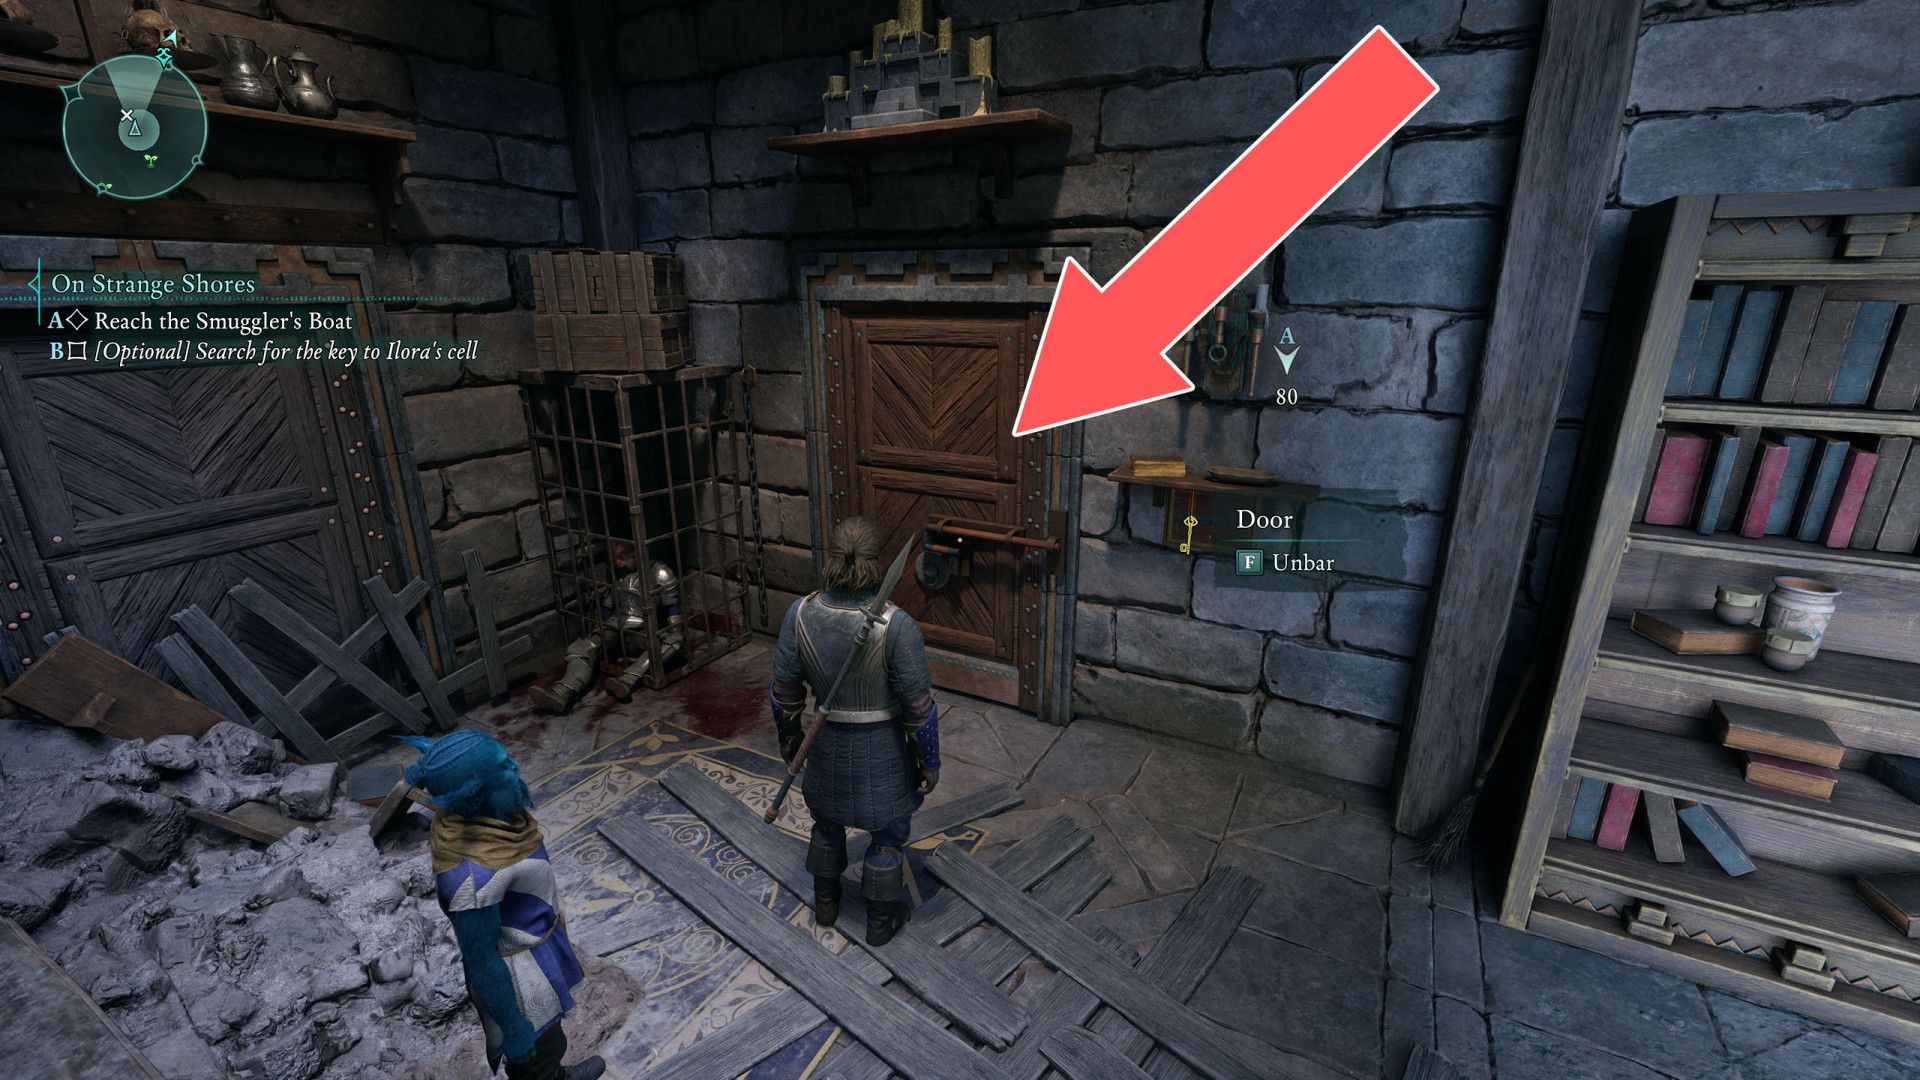
- Ilora's Cell Door
- Laboratory Door
- Lift
- Locked Chest
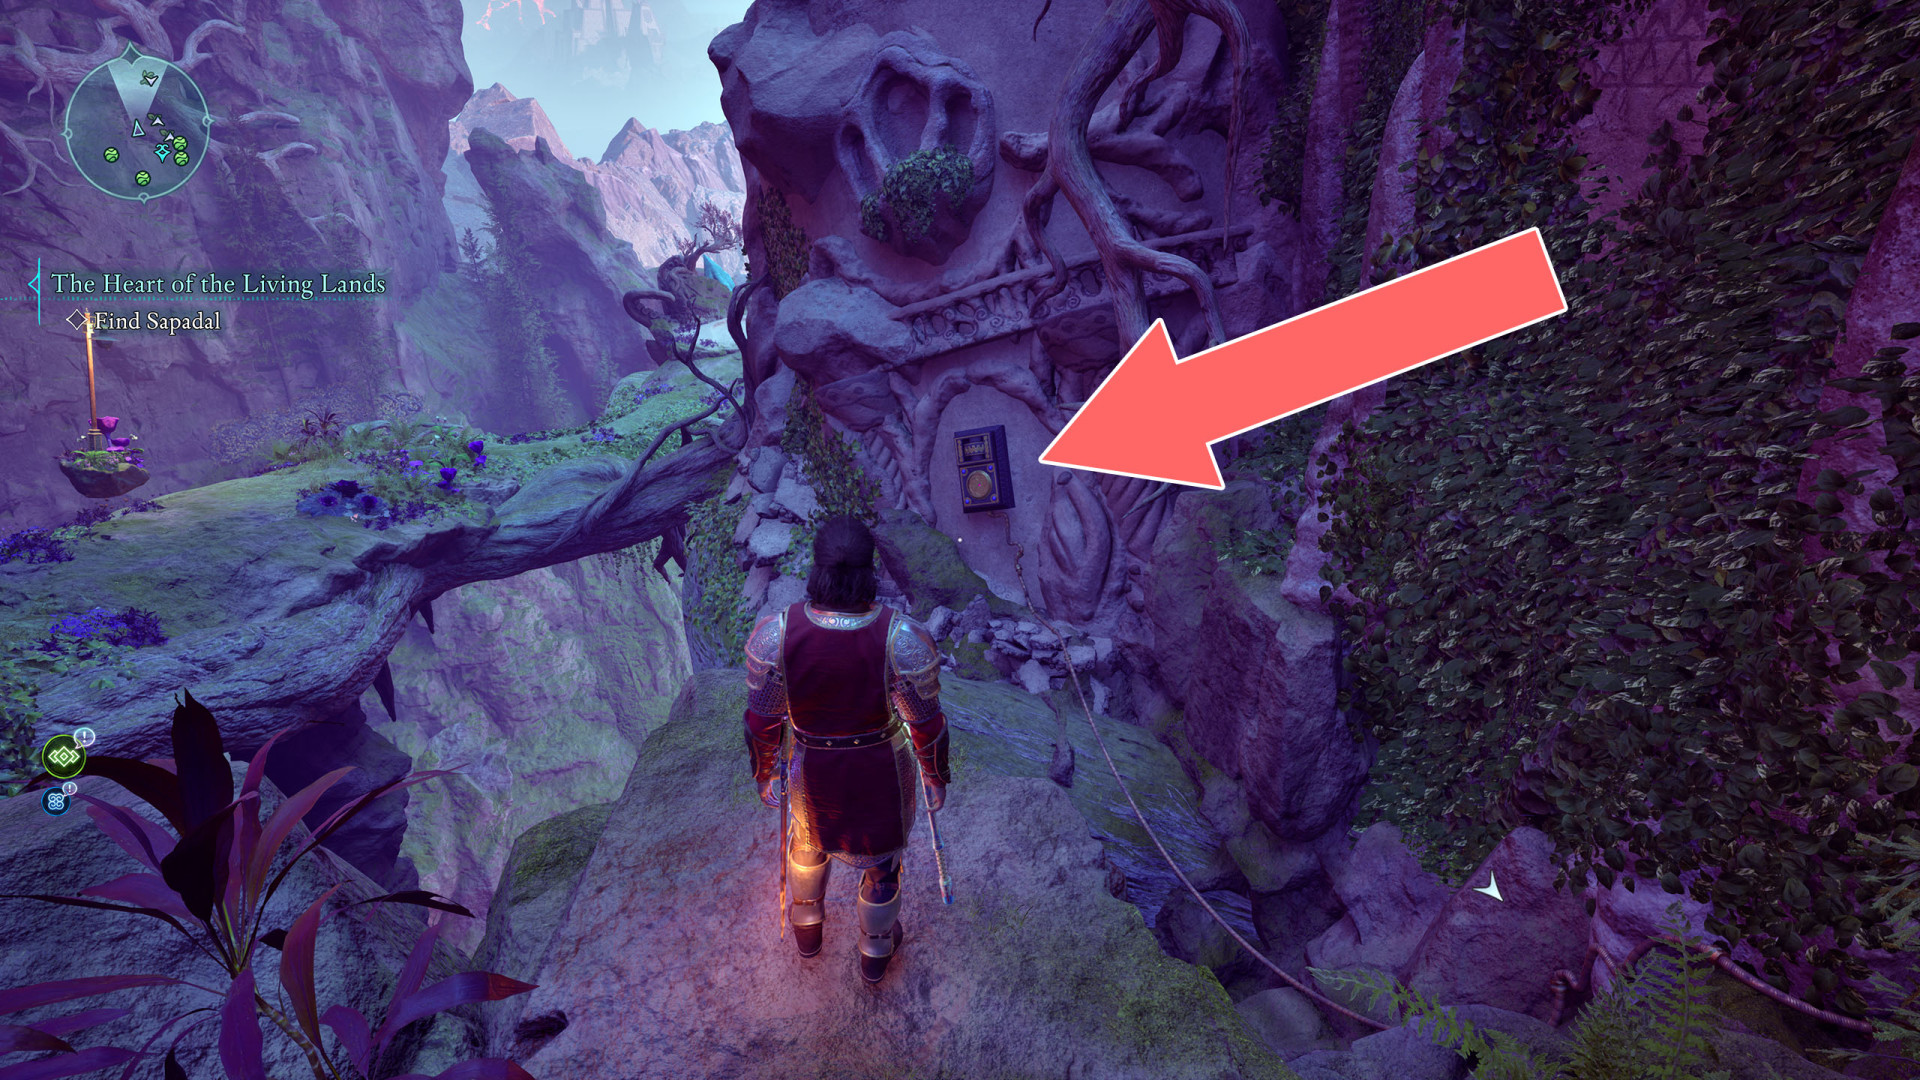
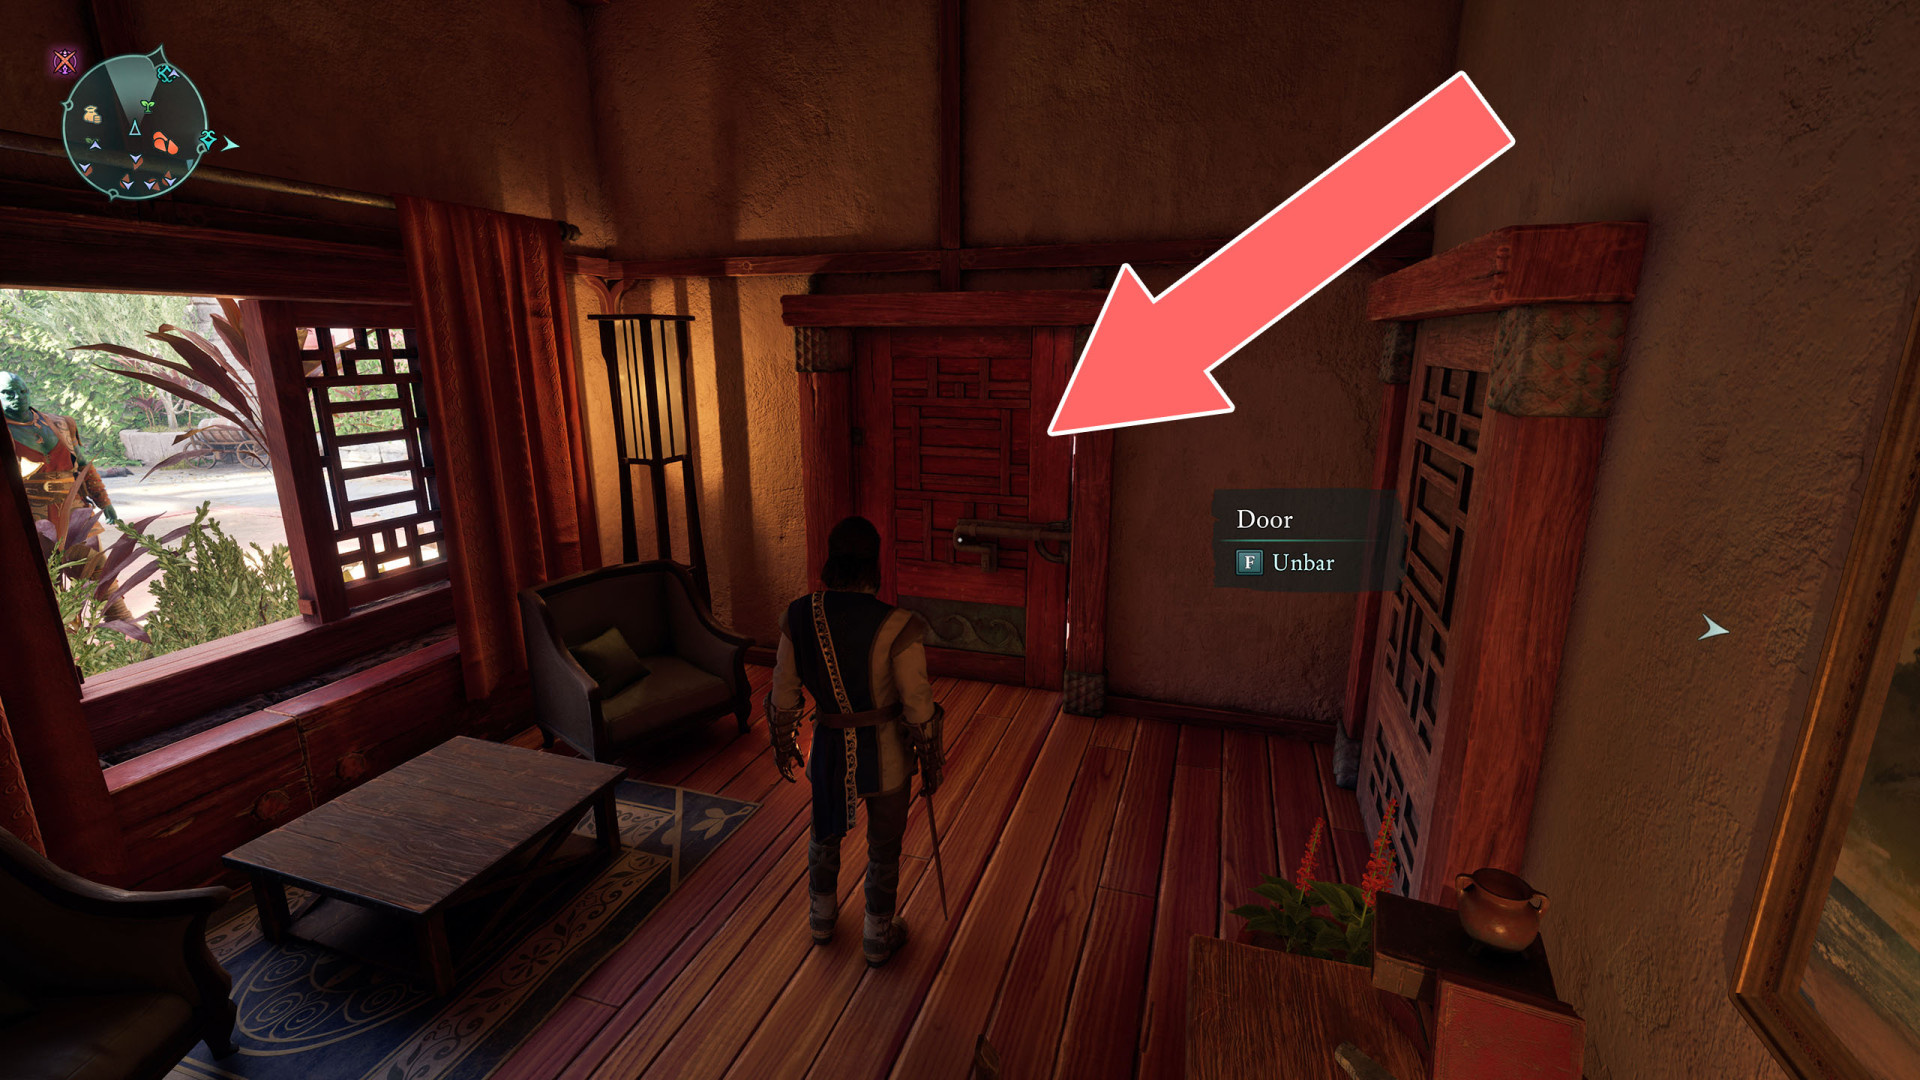
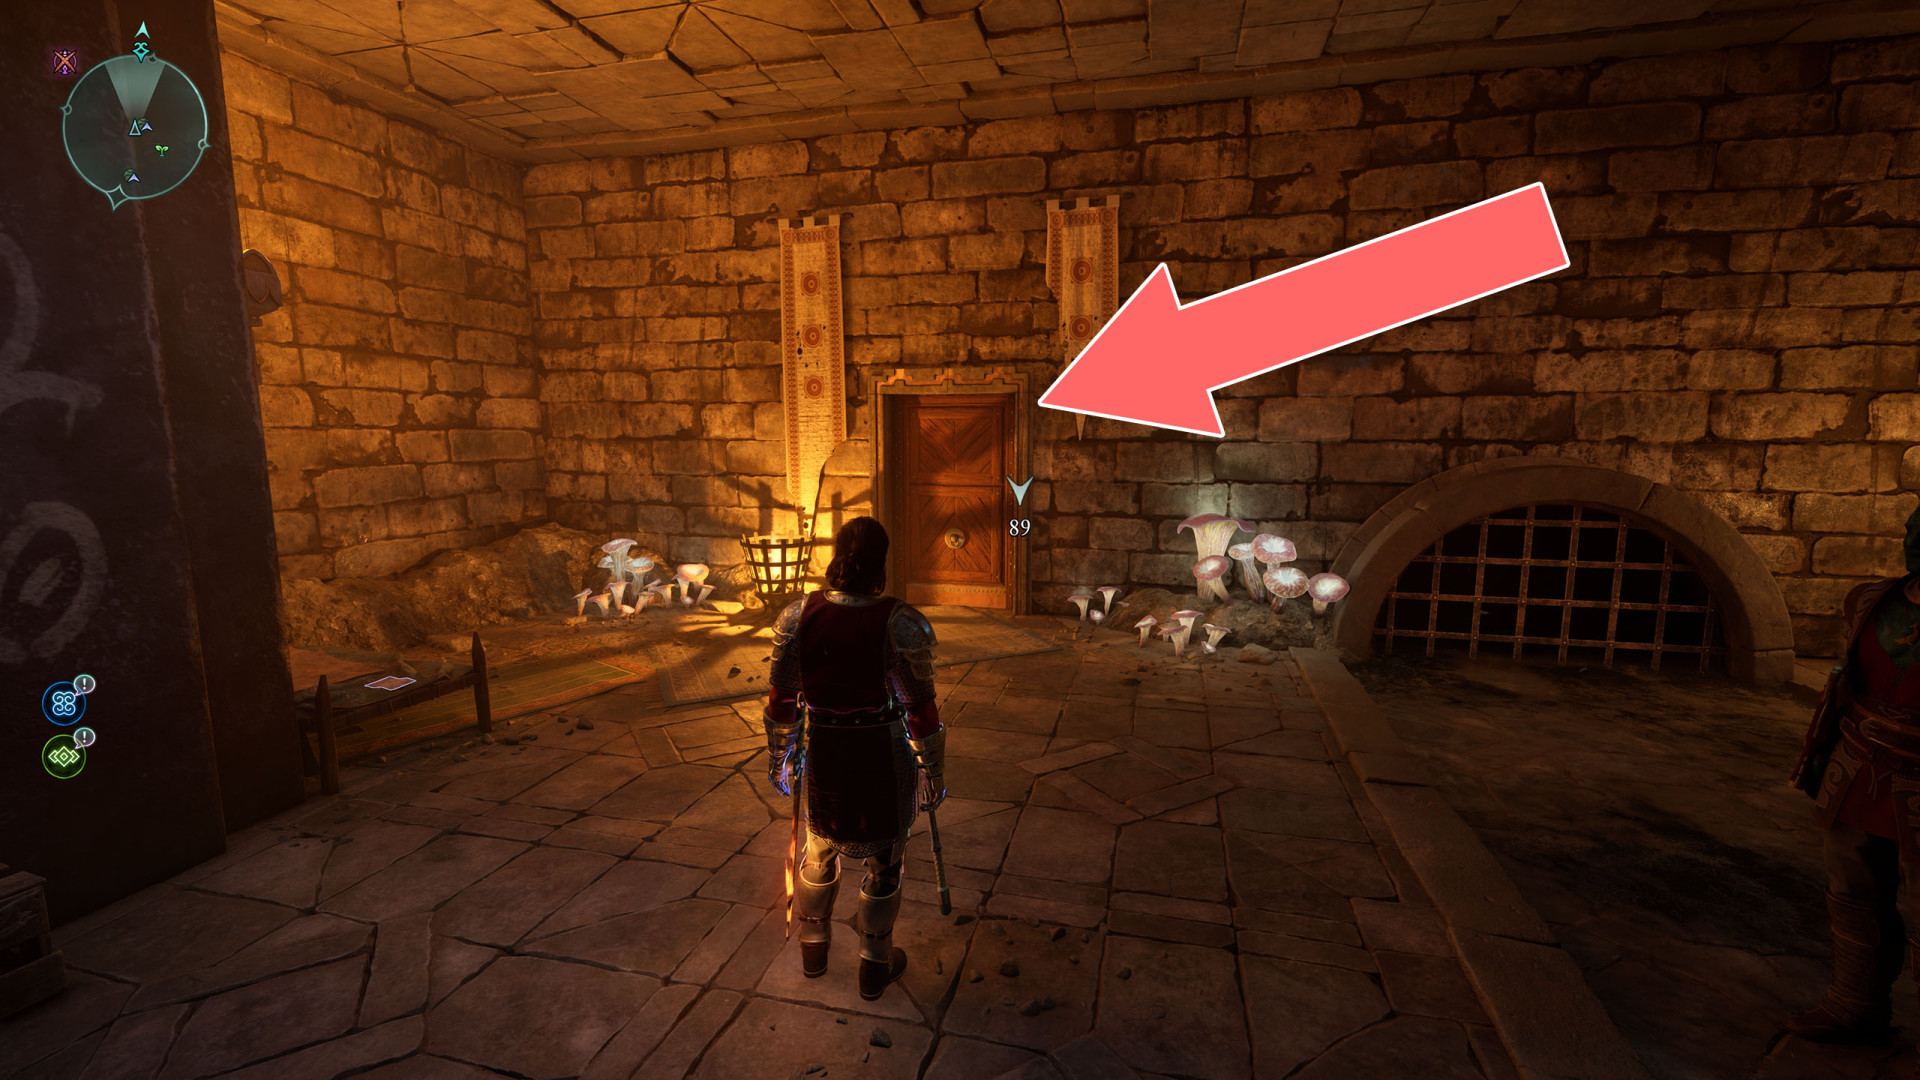
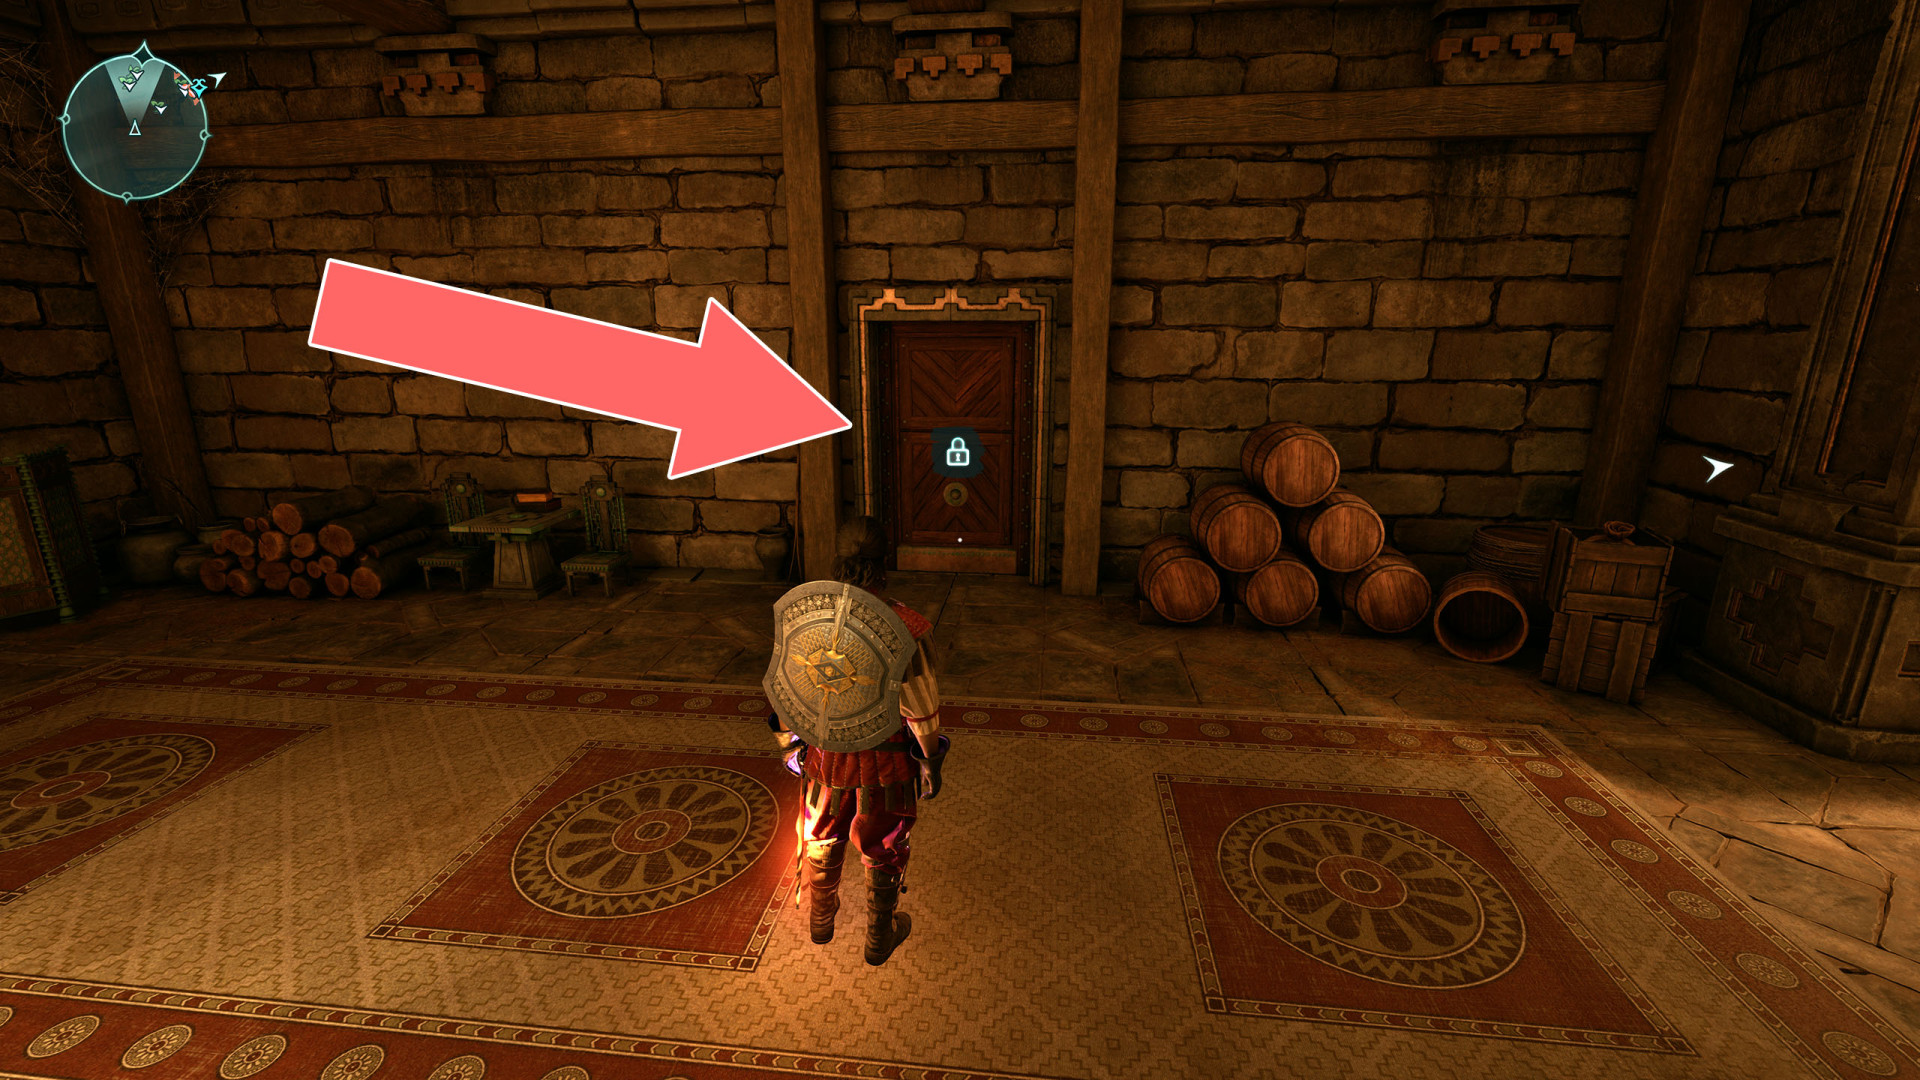
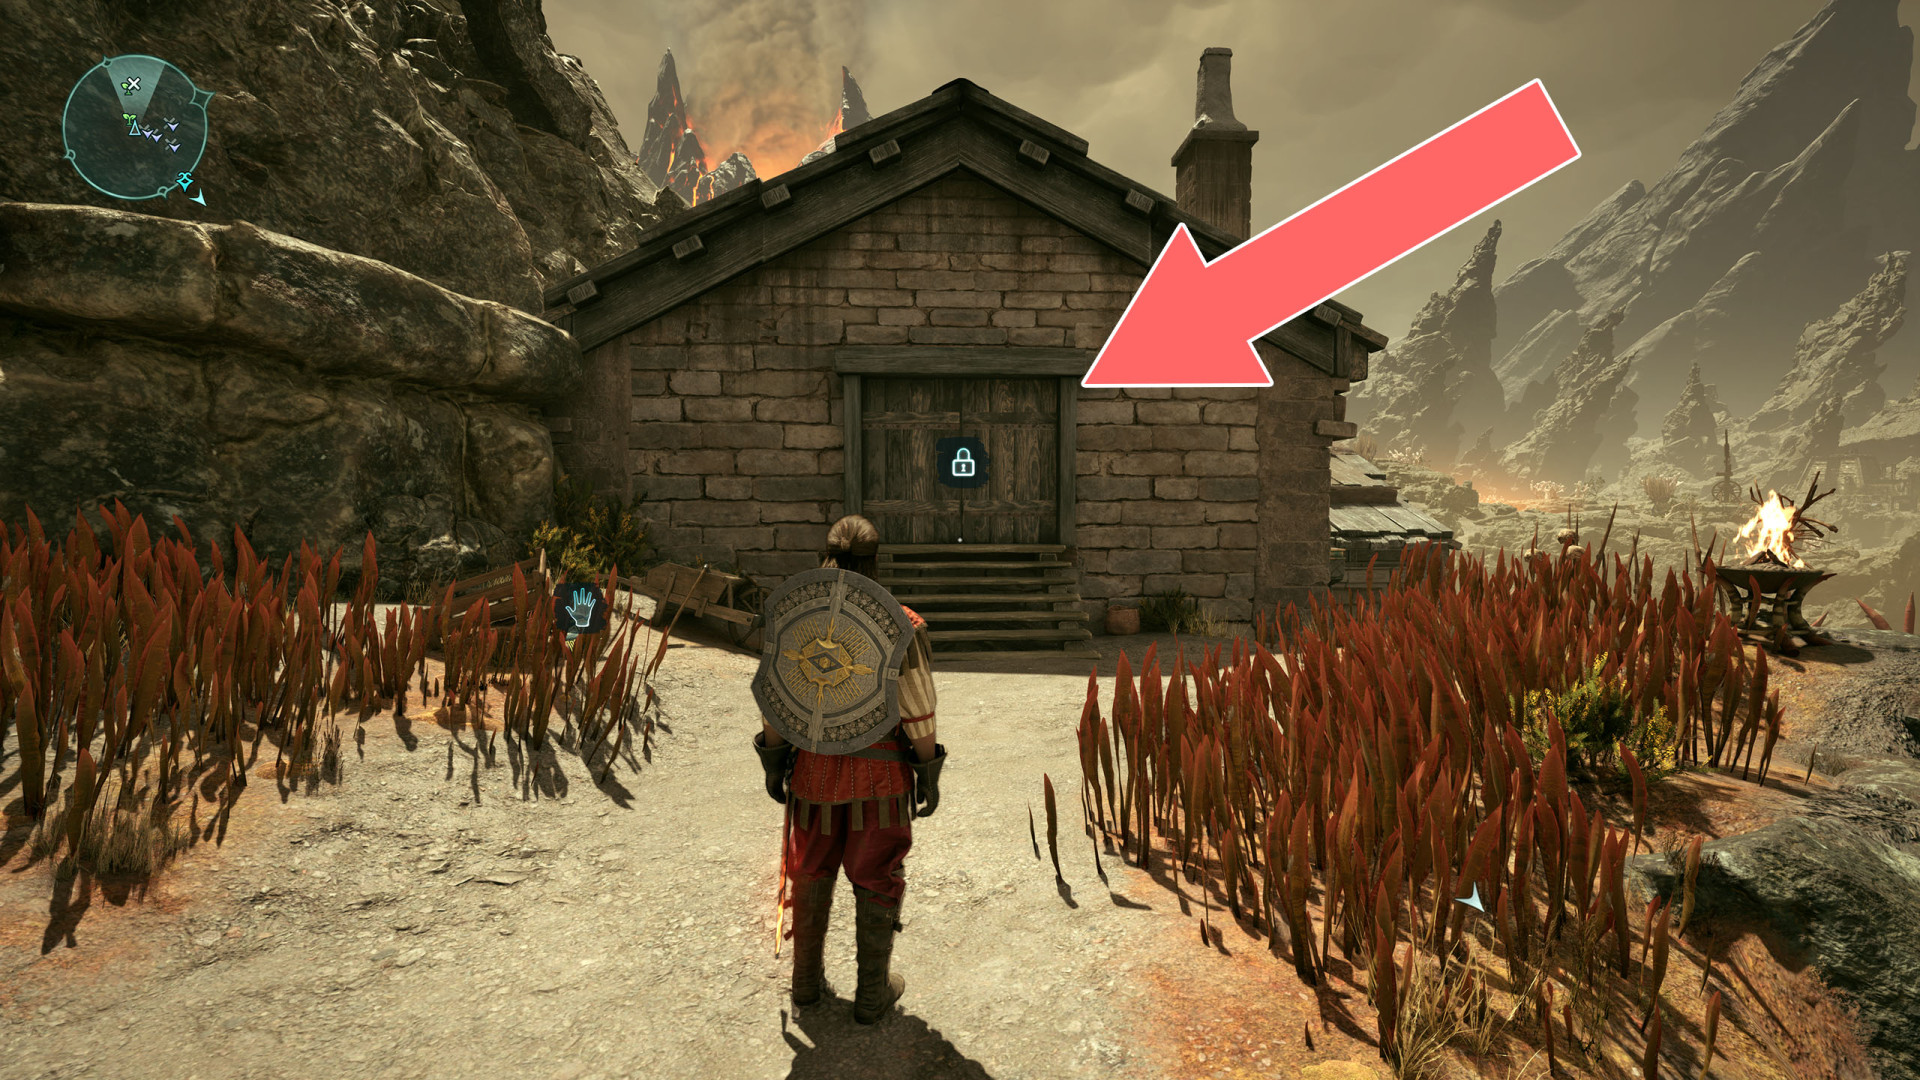
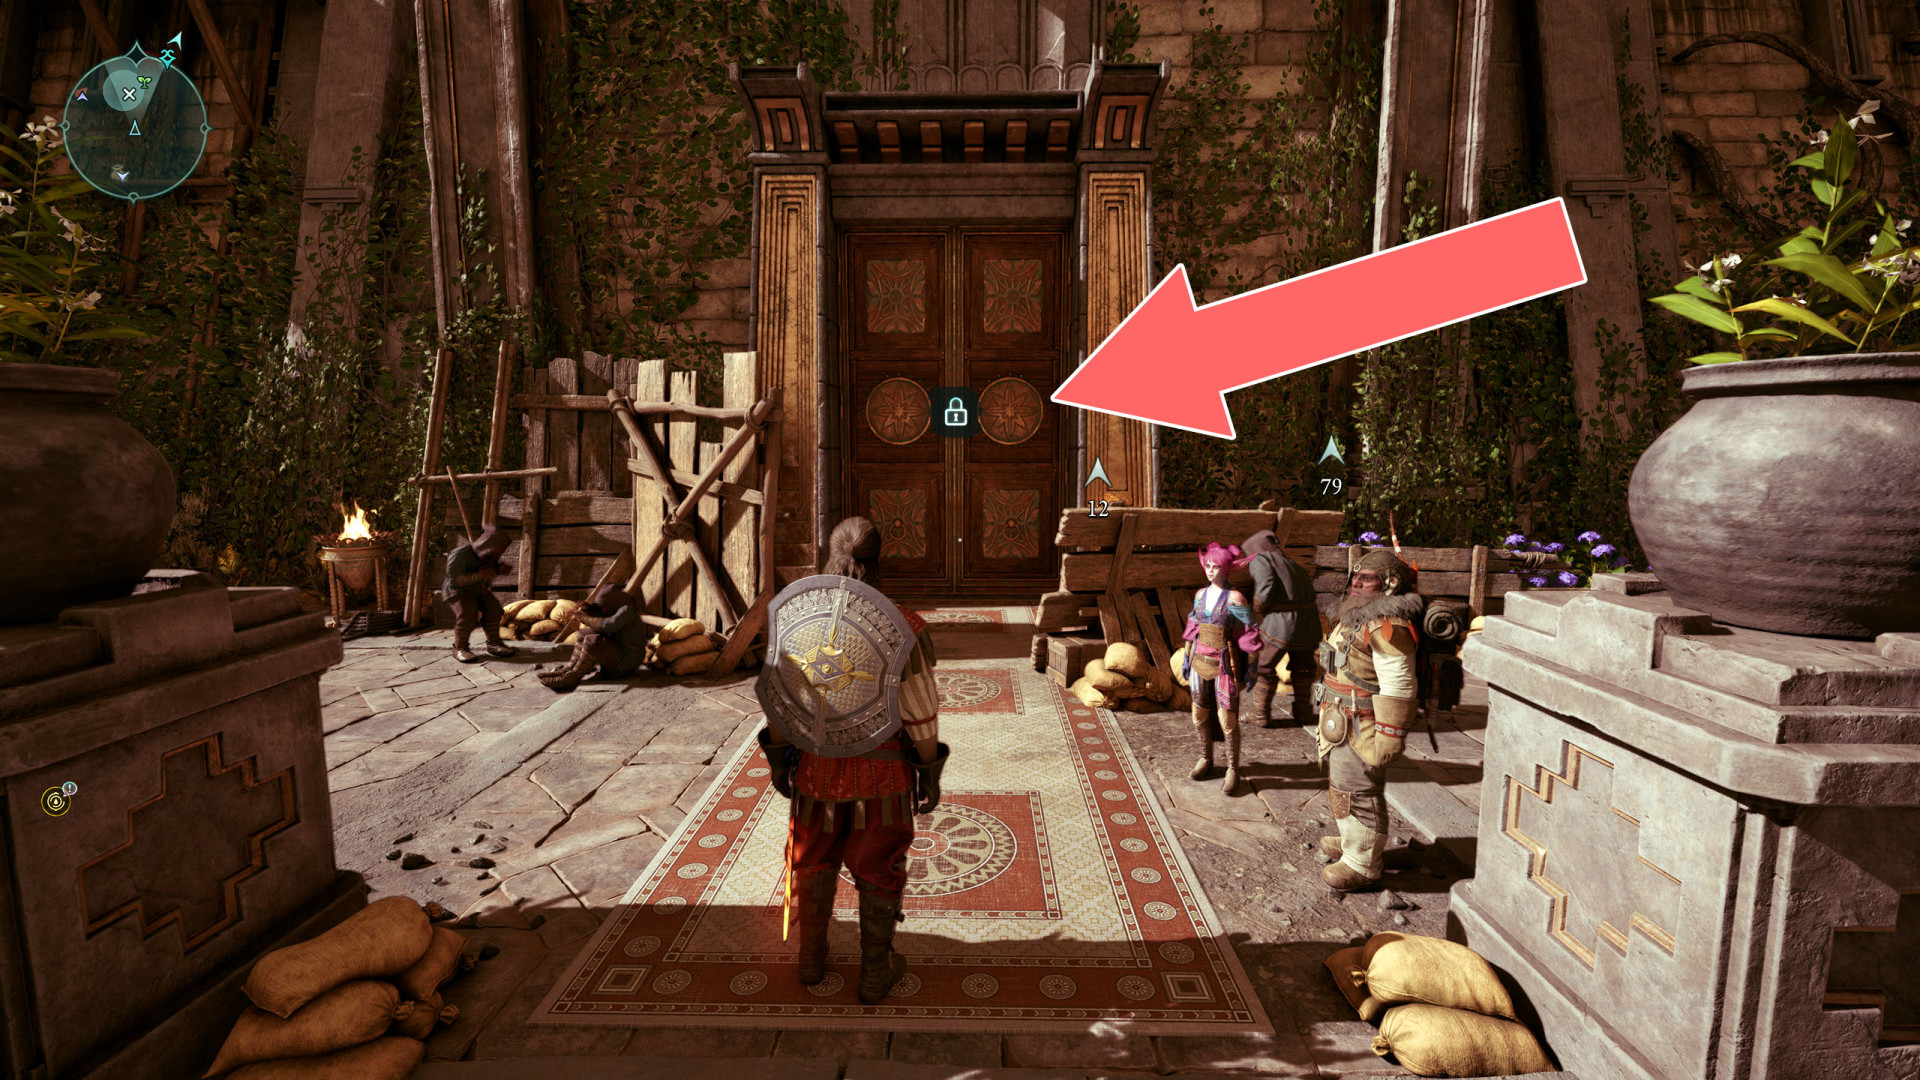
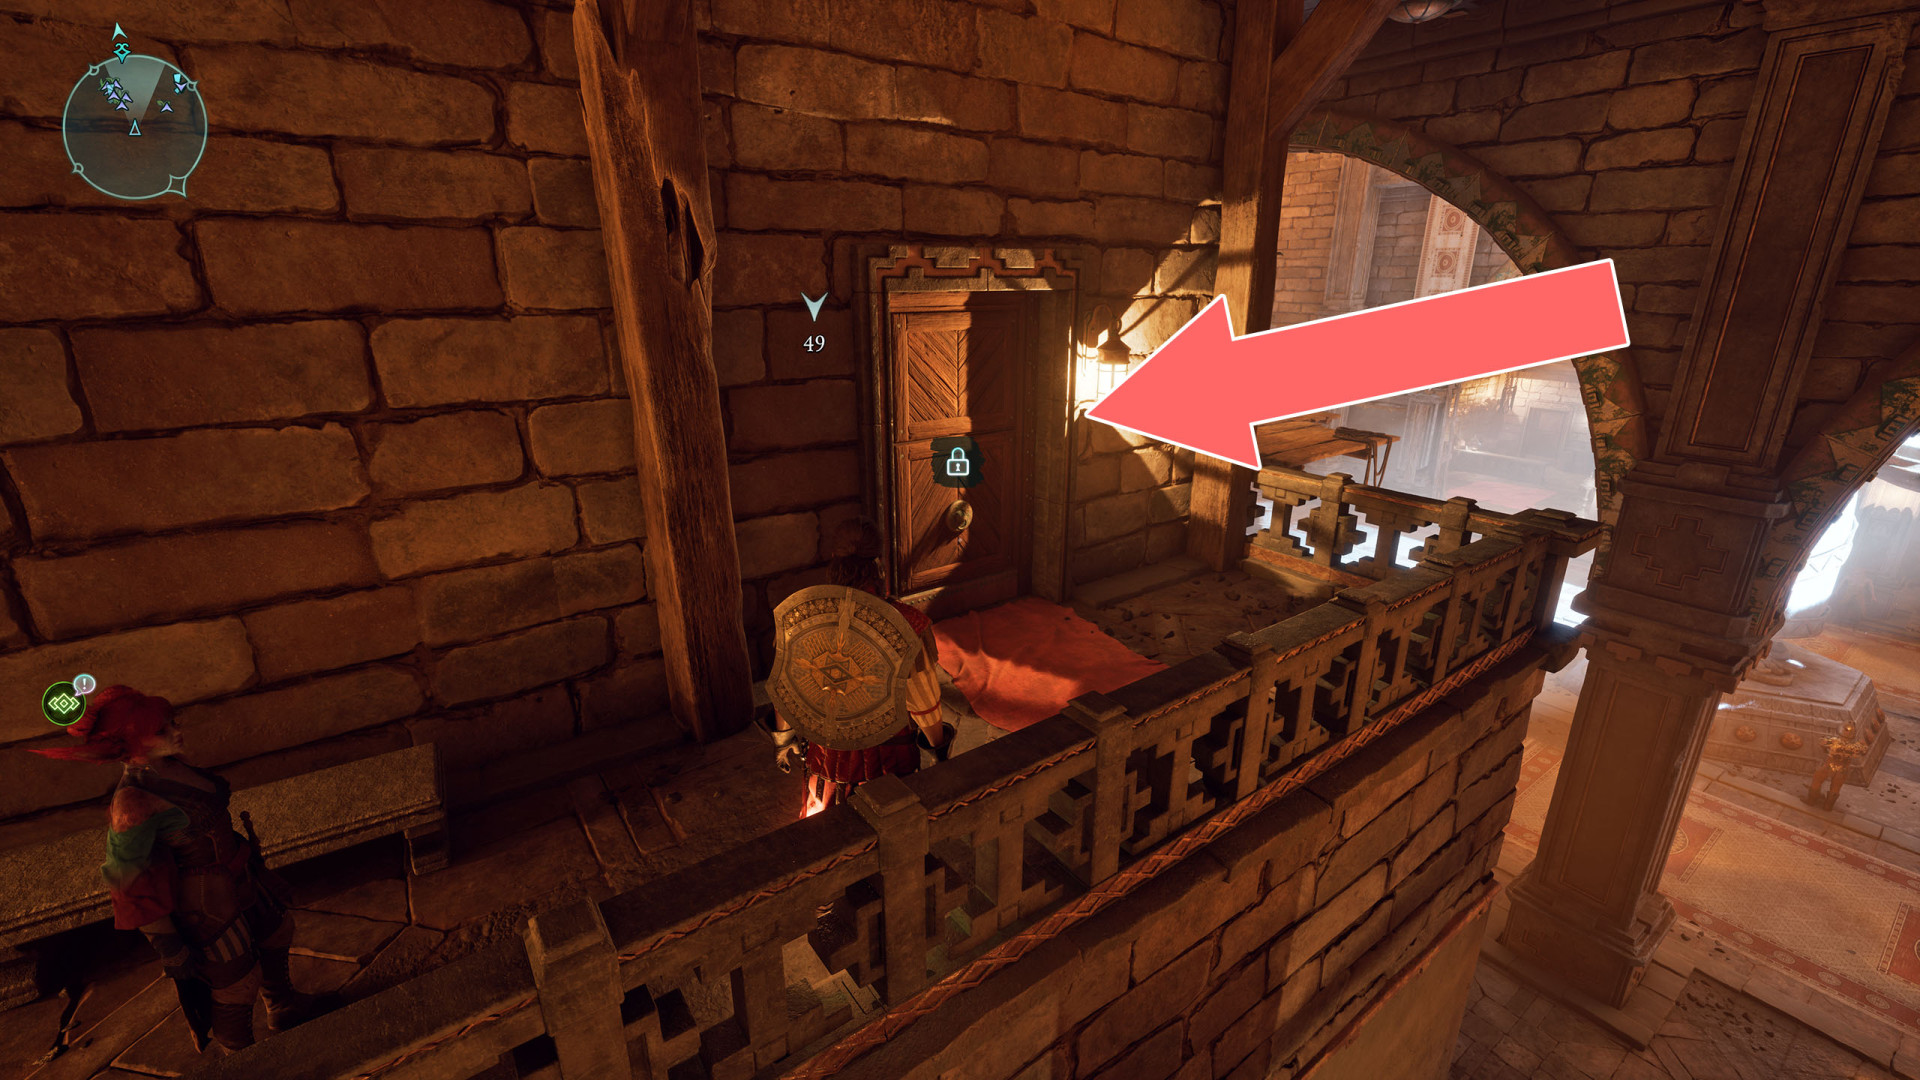
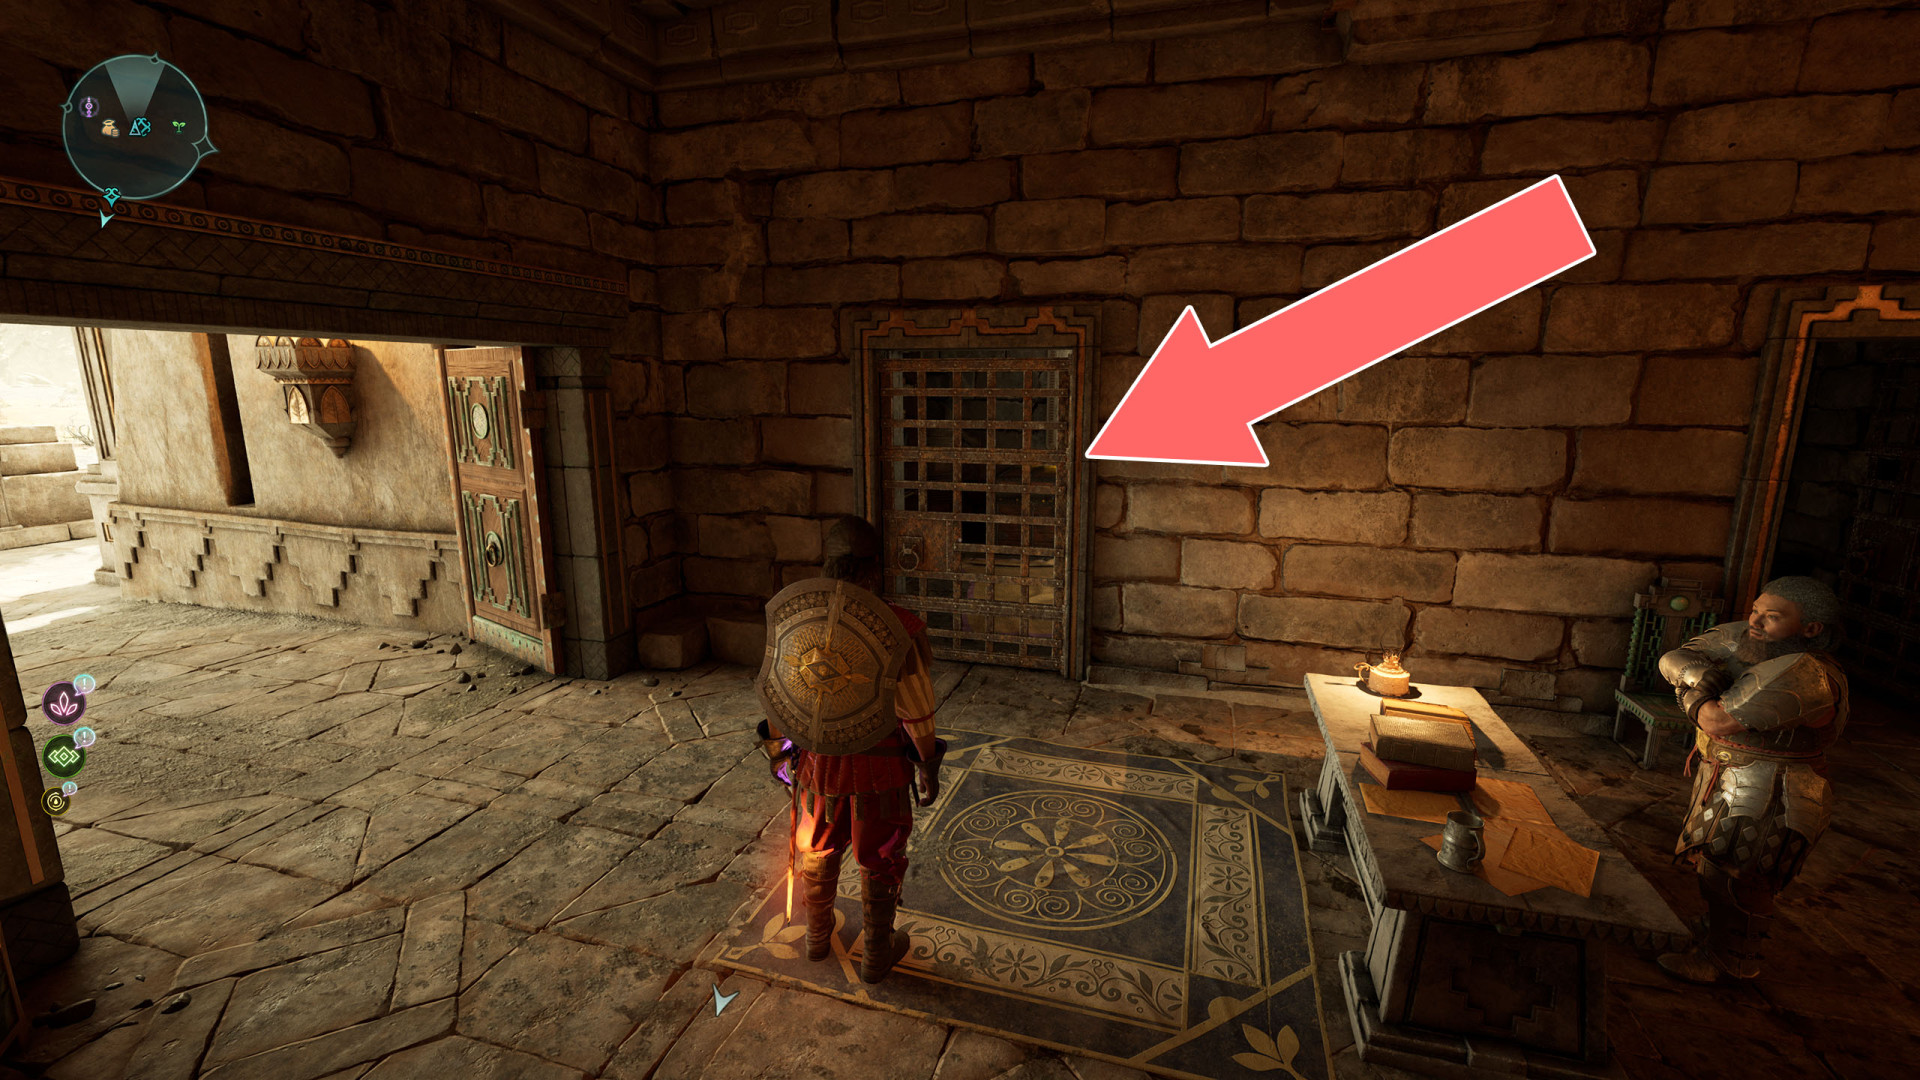
- Locked Door
- Locked Door
- Locked Door
- Locked Door
- Locked Door
- Locked Door
- Locked Door
- Locked Door
- Locked Door
- Locked Door
- Locked Door
- Locked Door
- Locked Door
- Locked Door
- Locked Door
- Locked Door
- Locked Door
- Locked Door
- Locked Door
- Locked Door
- Locked Door
- Locked Door
- Locked Door
- Locked Door
- Locked Door
- Locked Door
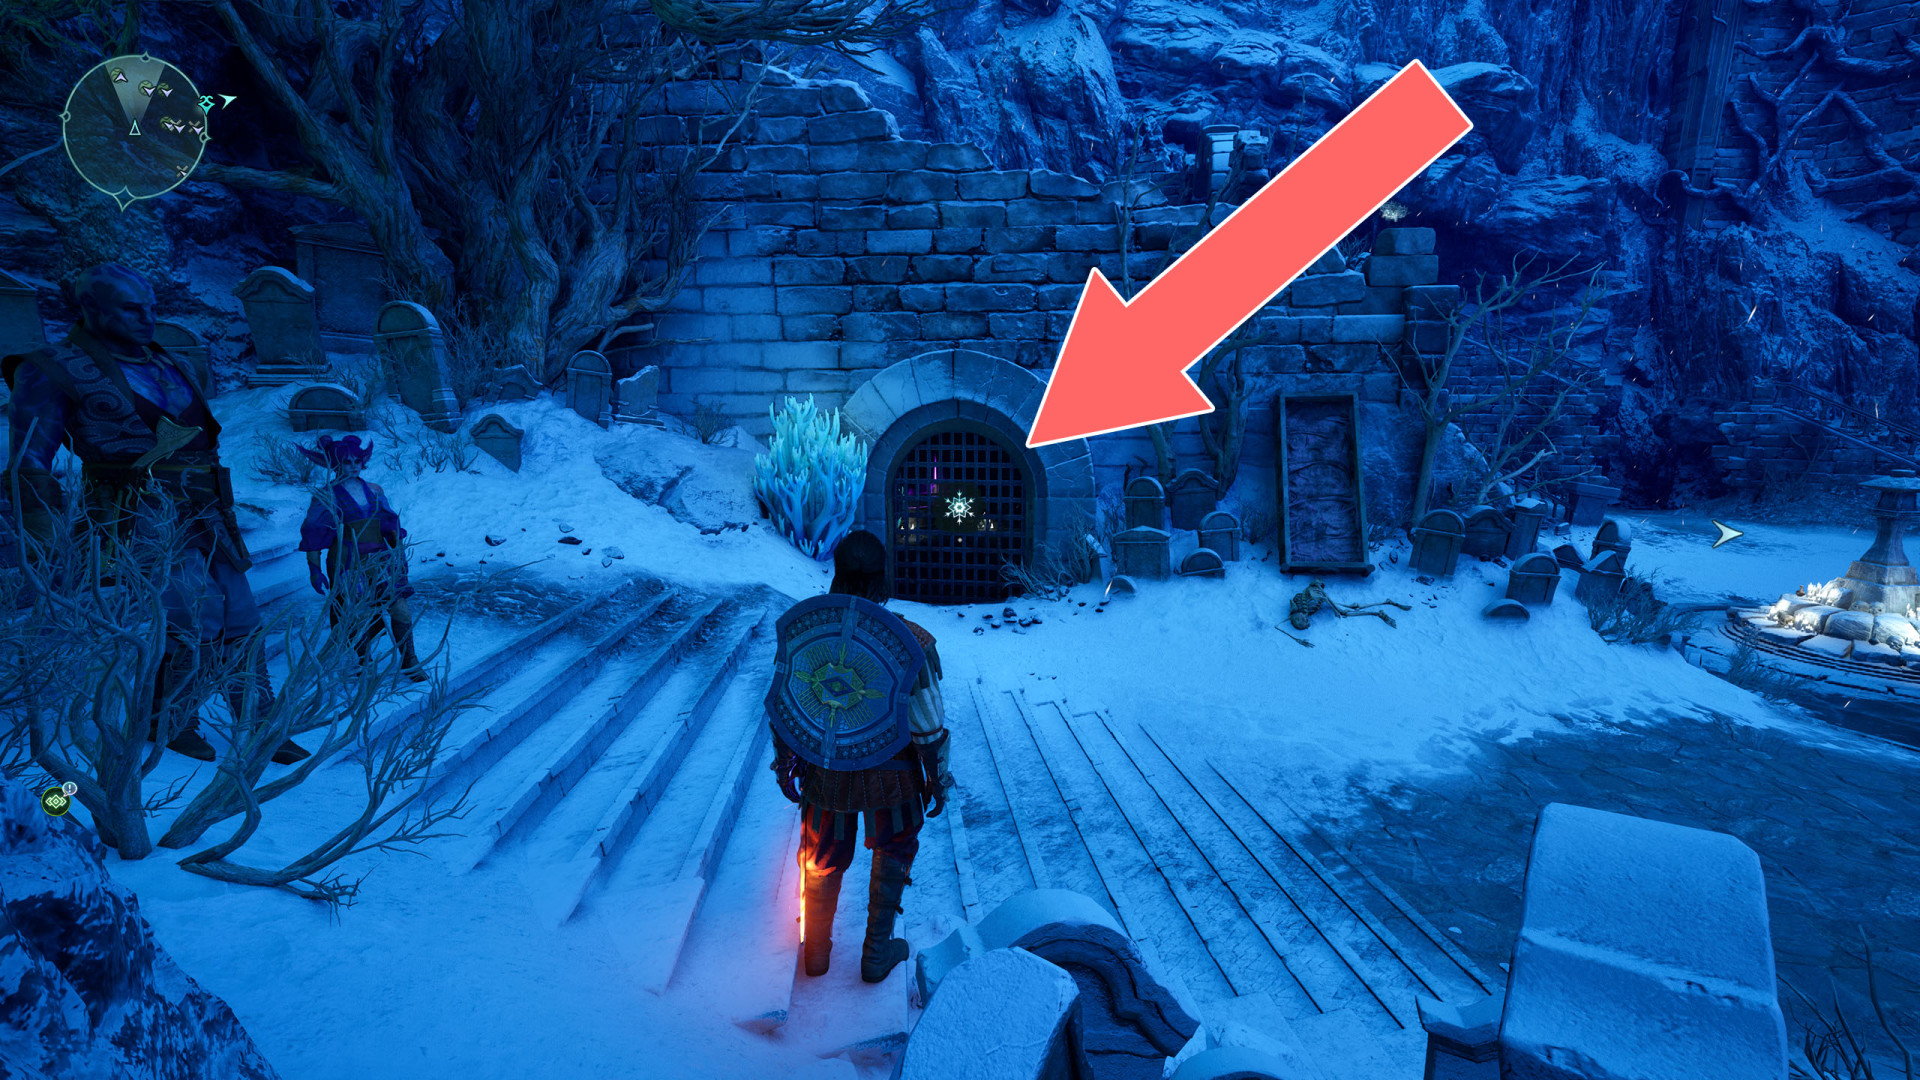
- Locked Gate
- Locked Gate
- Locked Gate
- Locked Gate
- Locked Lockbox
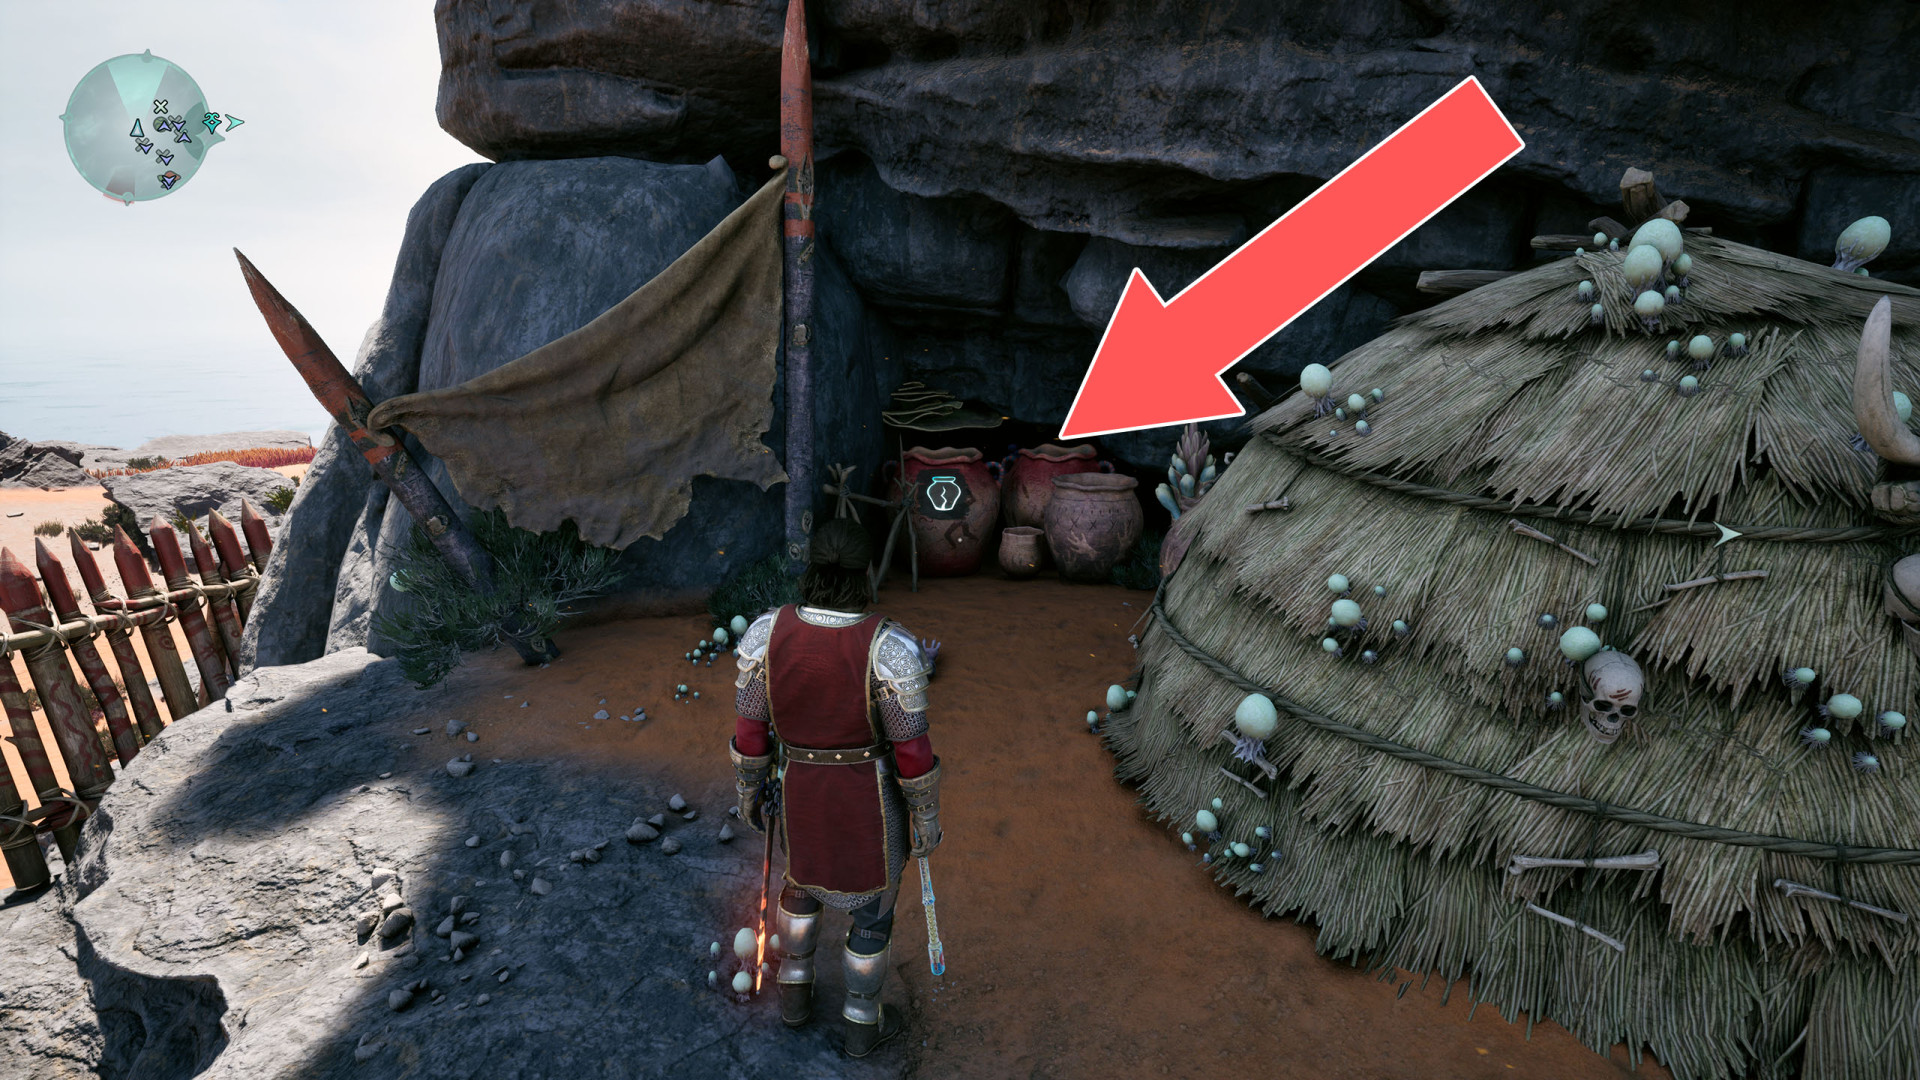
- Pots
- Prison Gate
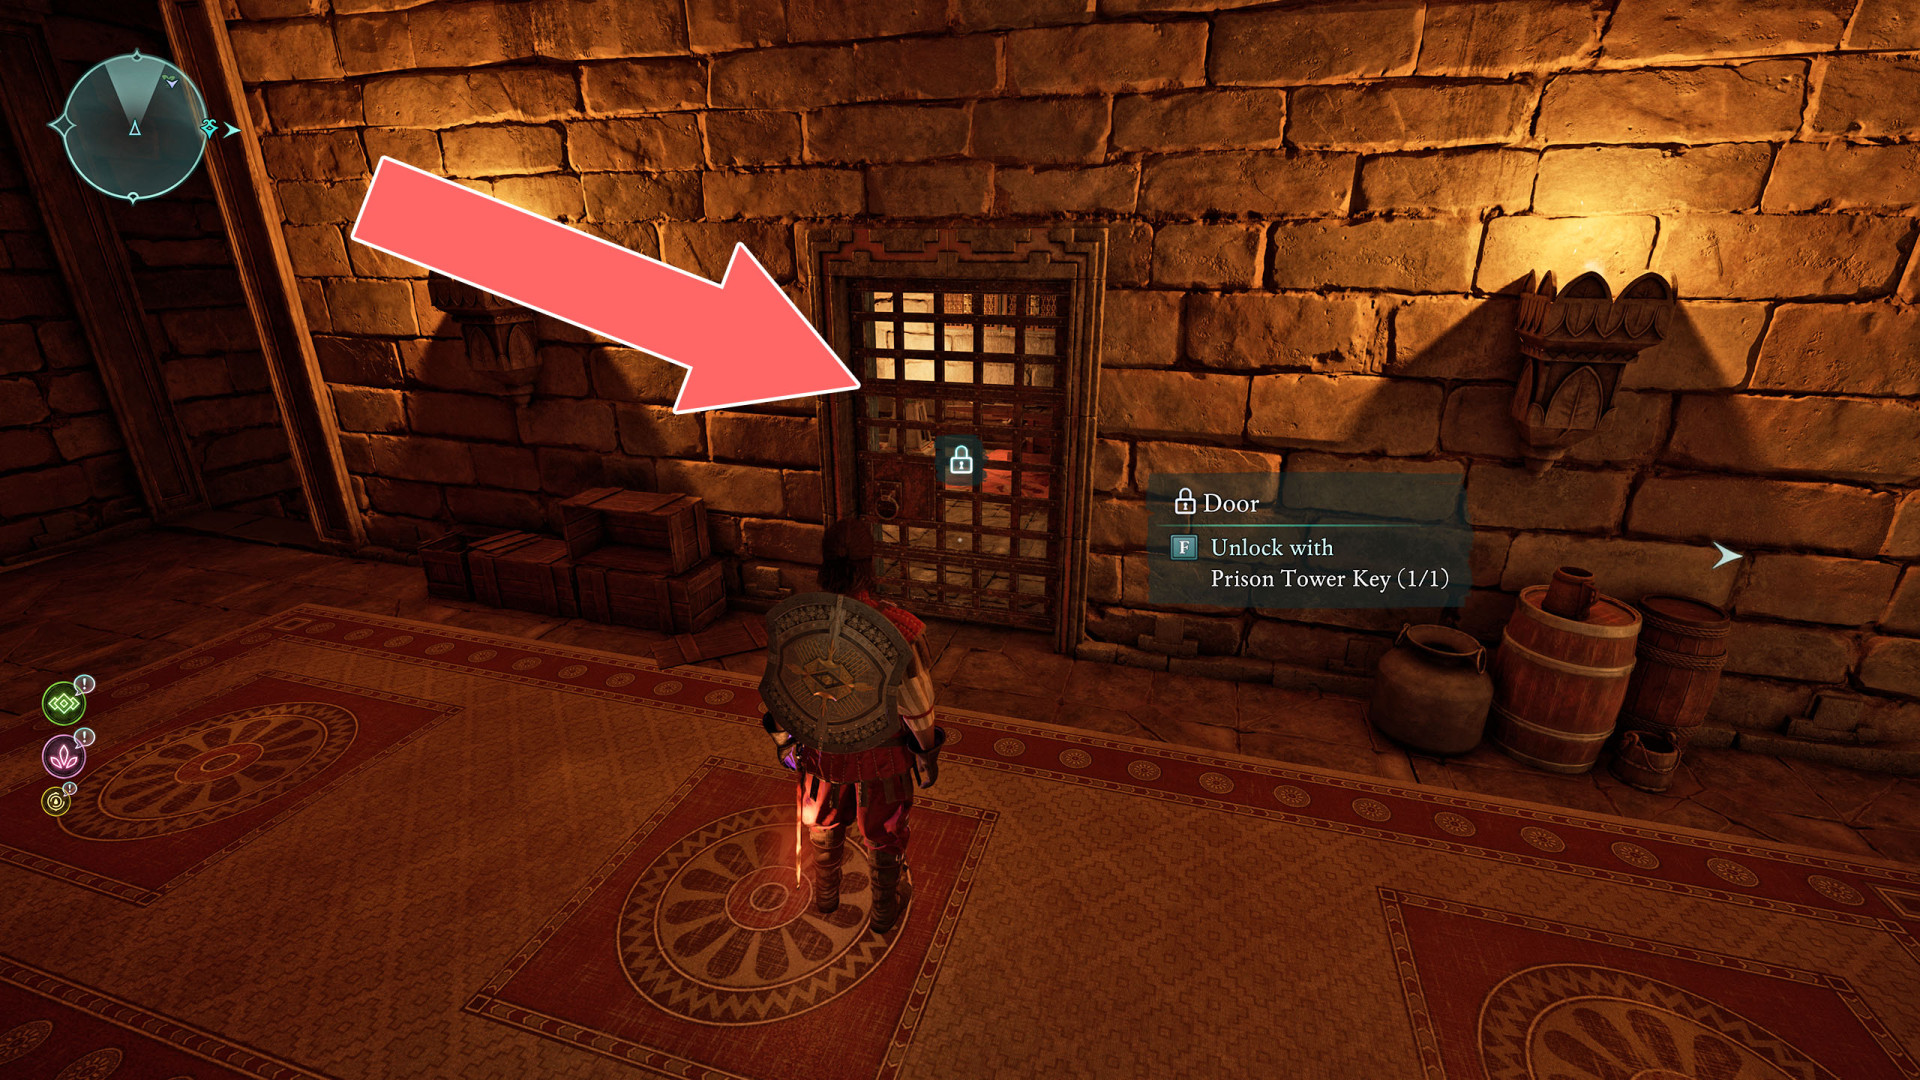
- Prison Tower Cell
- Razvan's House Door
- Ryngrim's Barrier
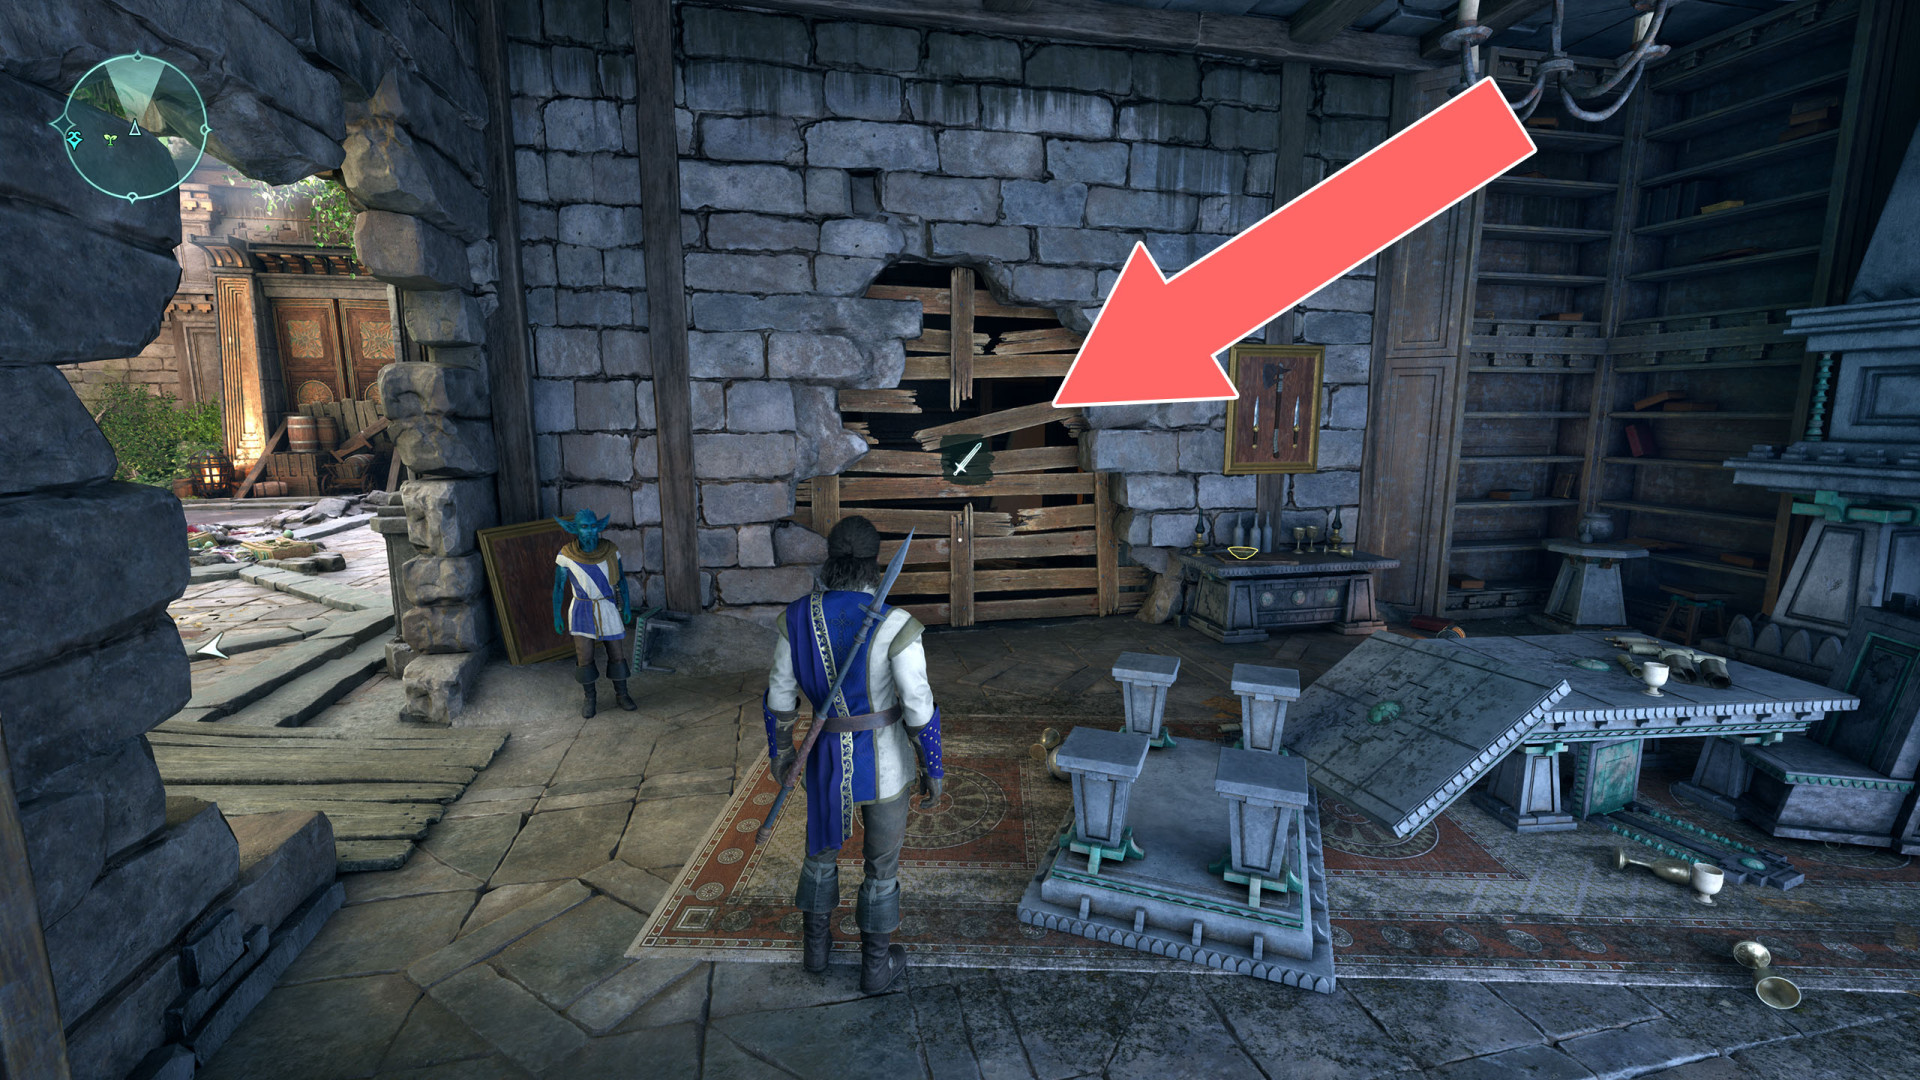
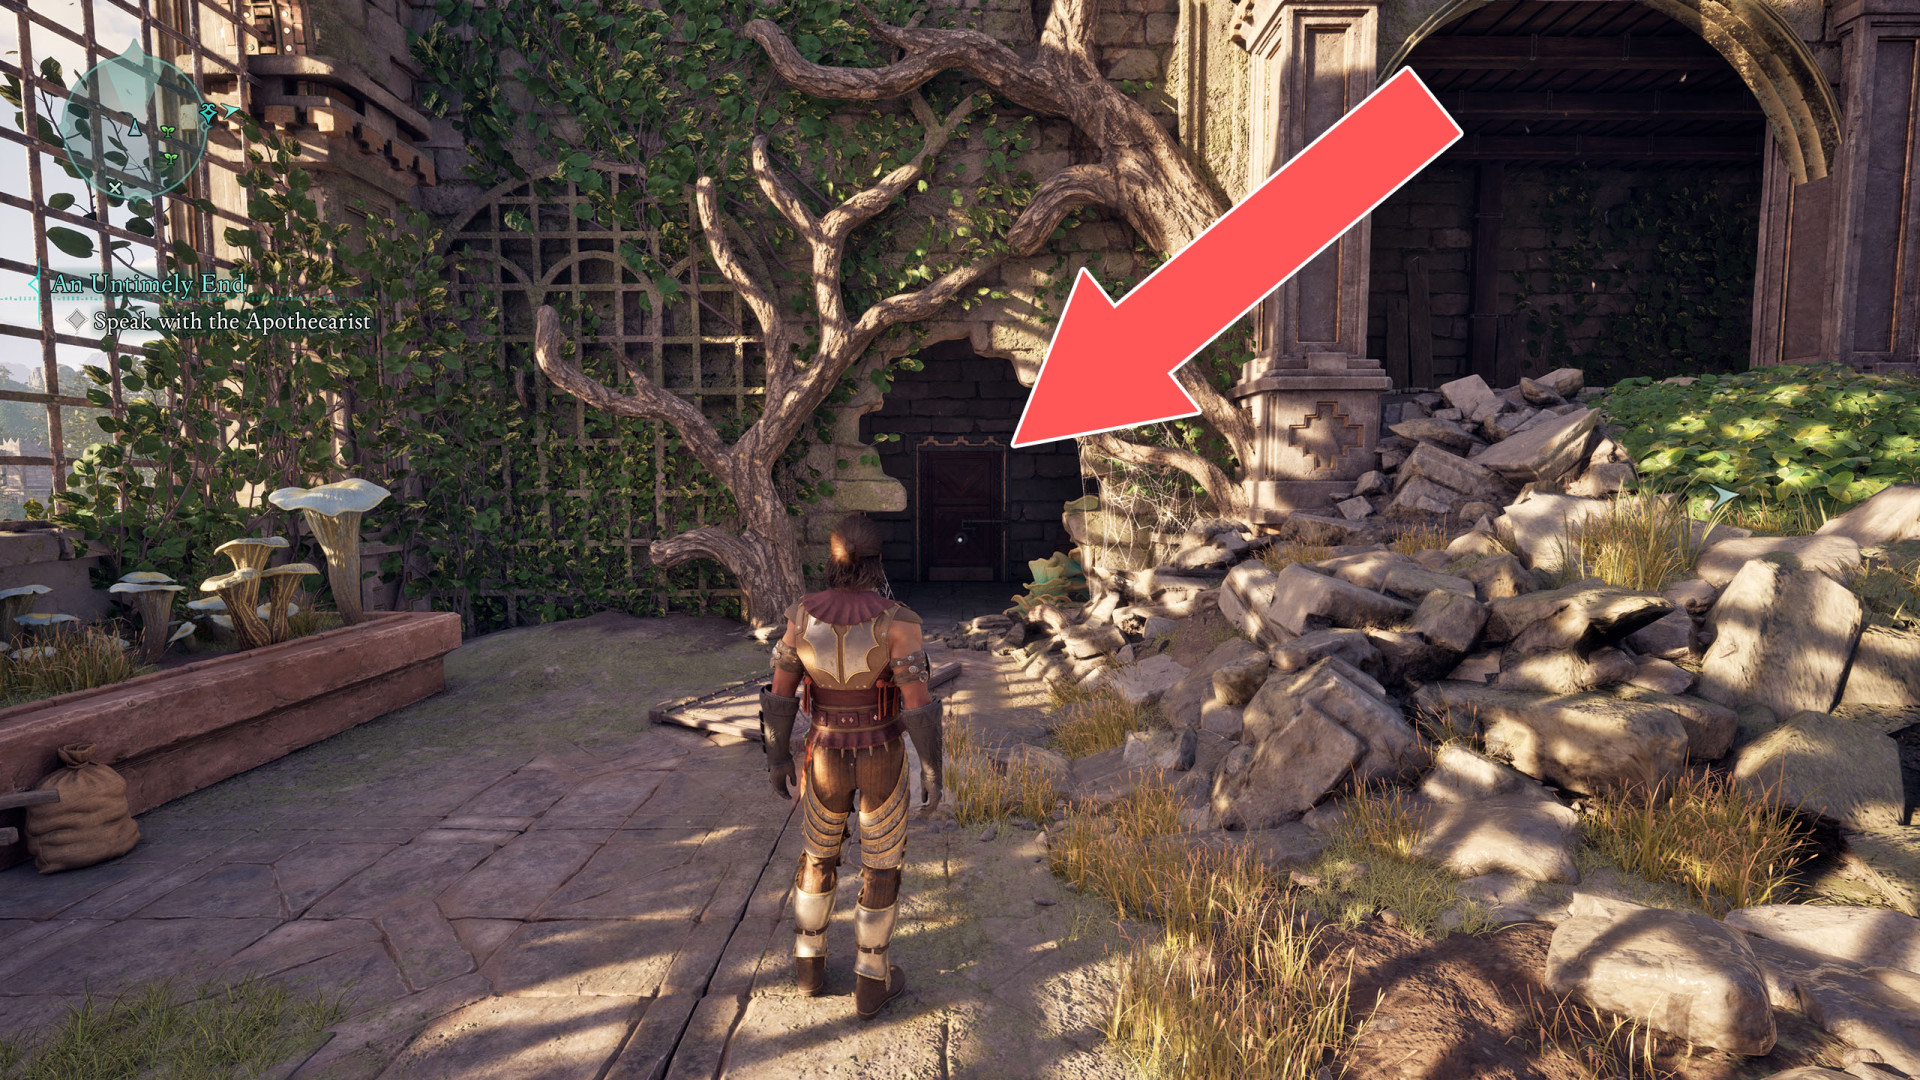
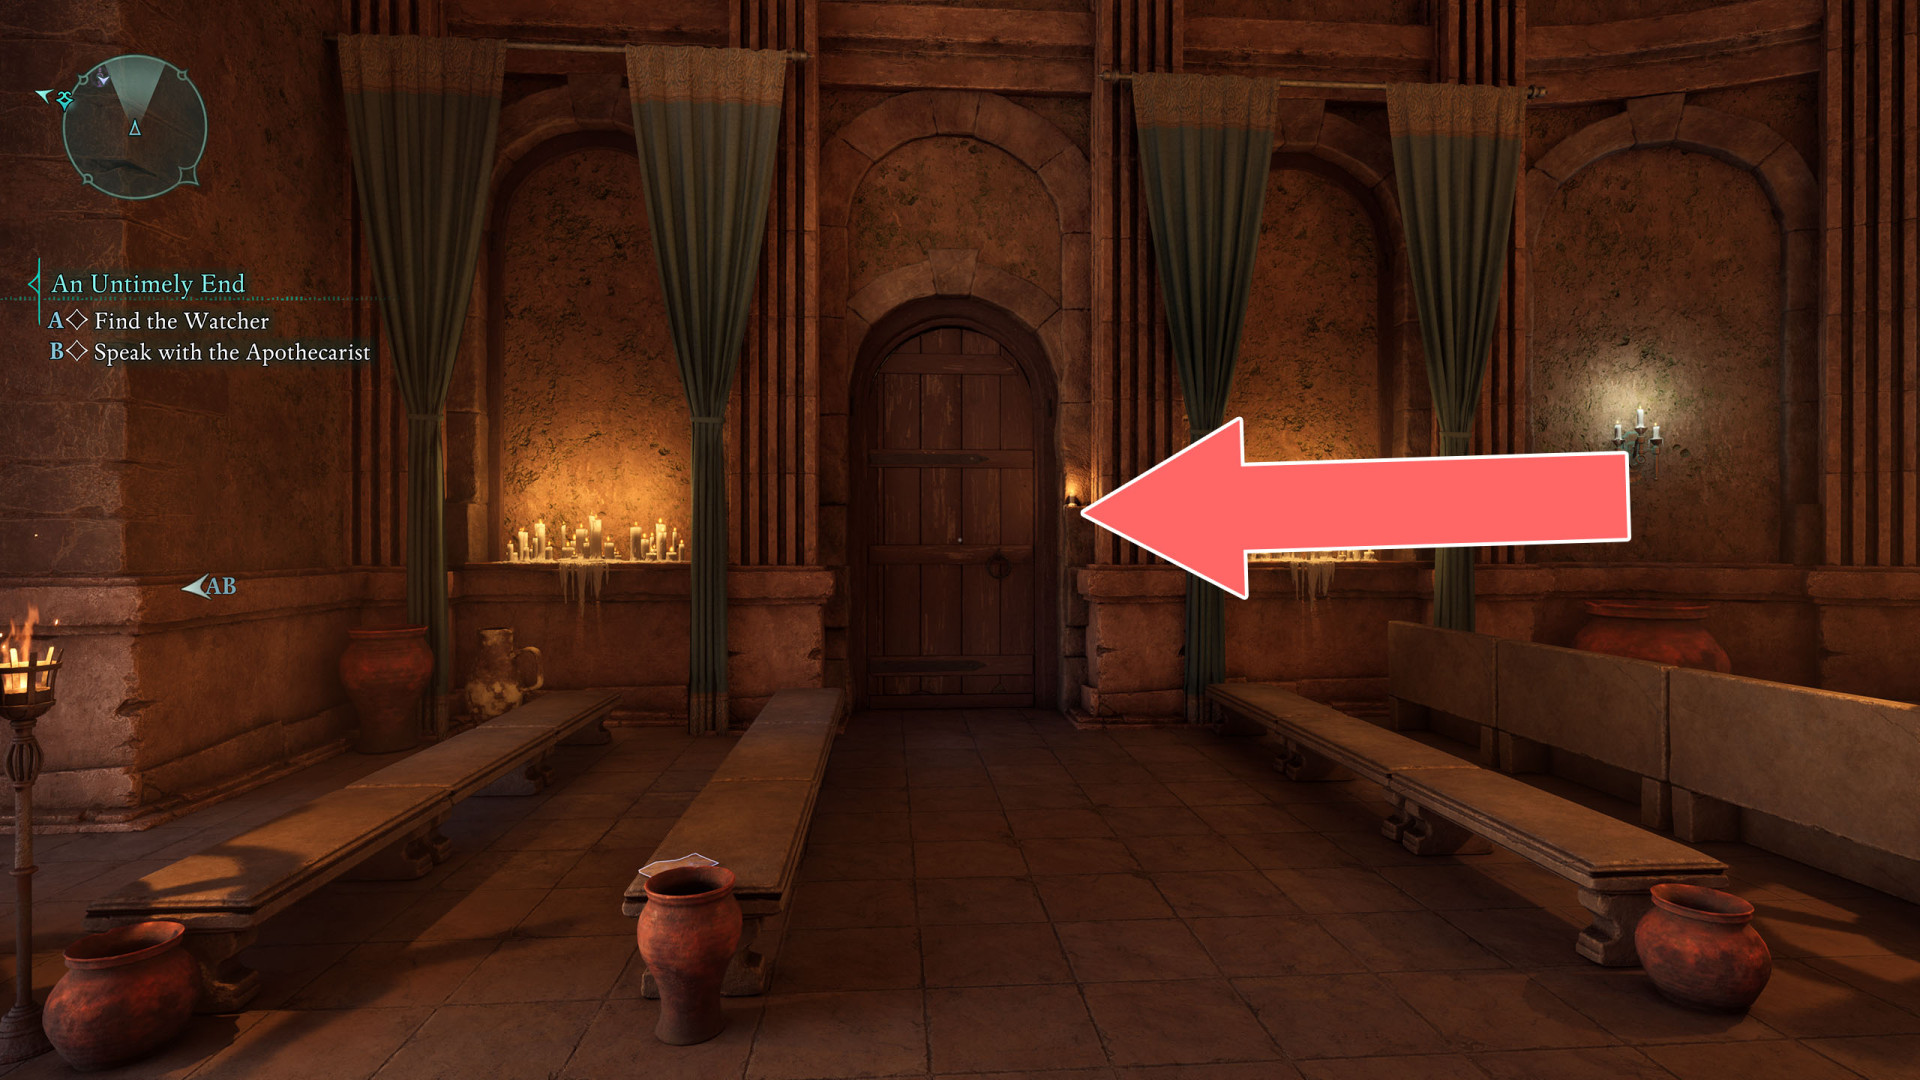
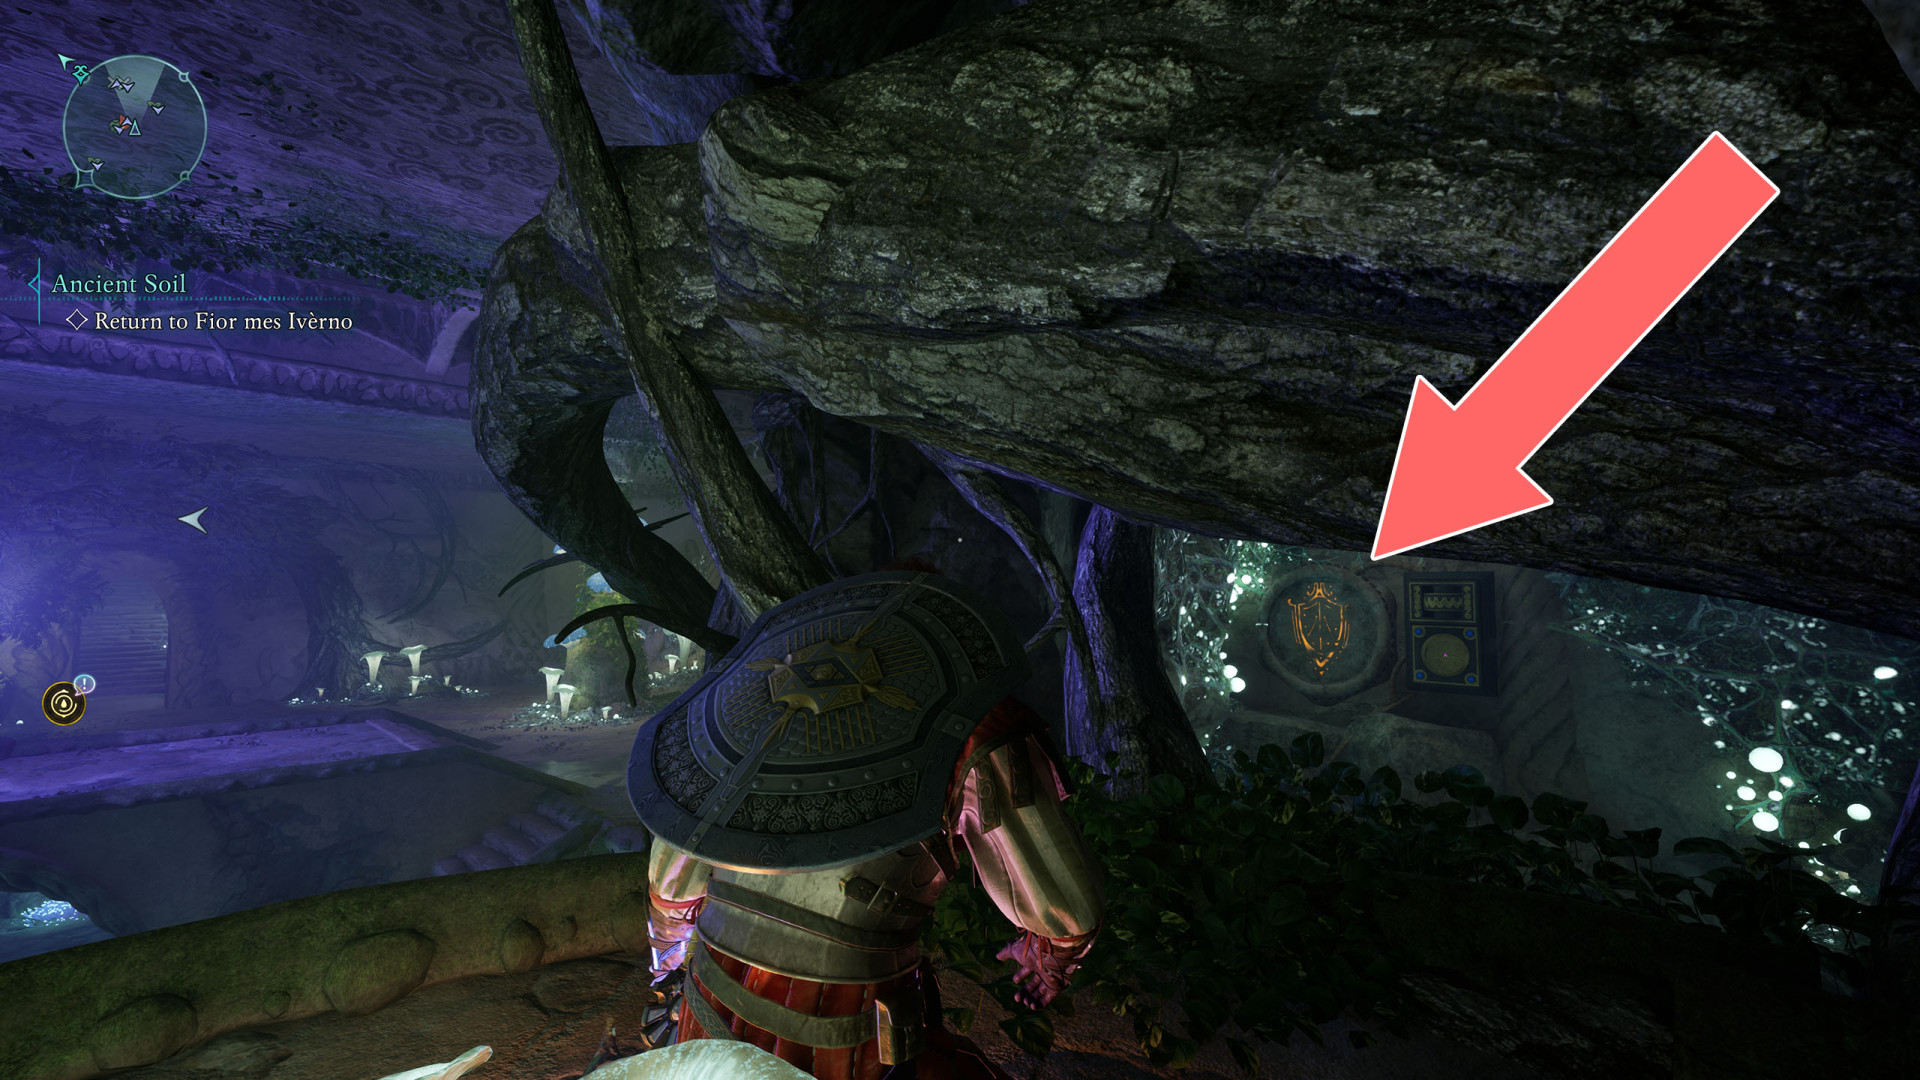
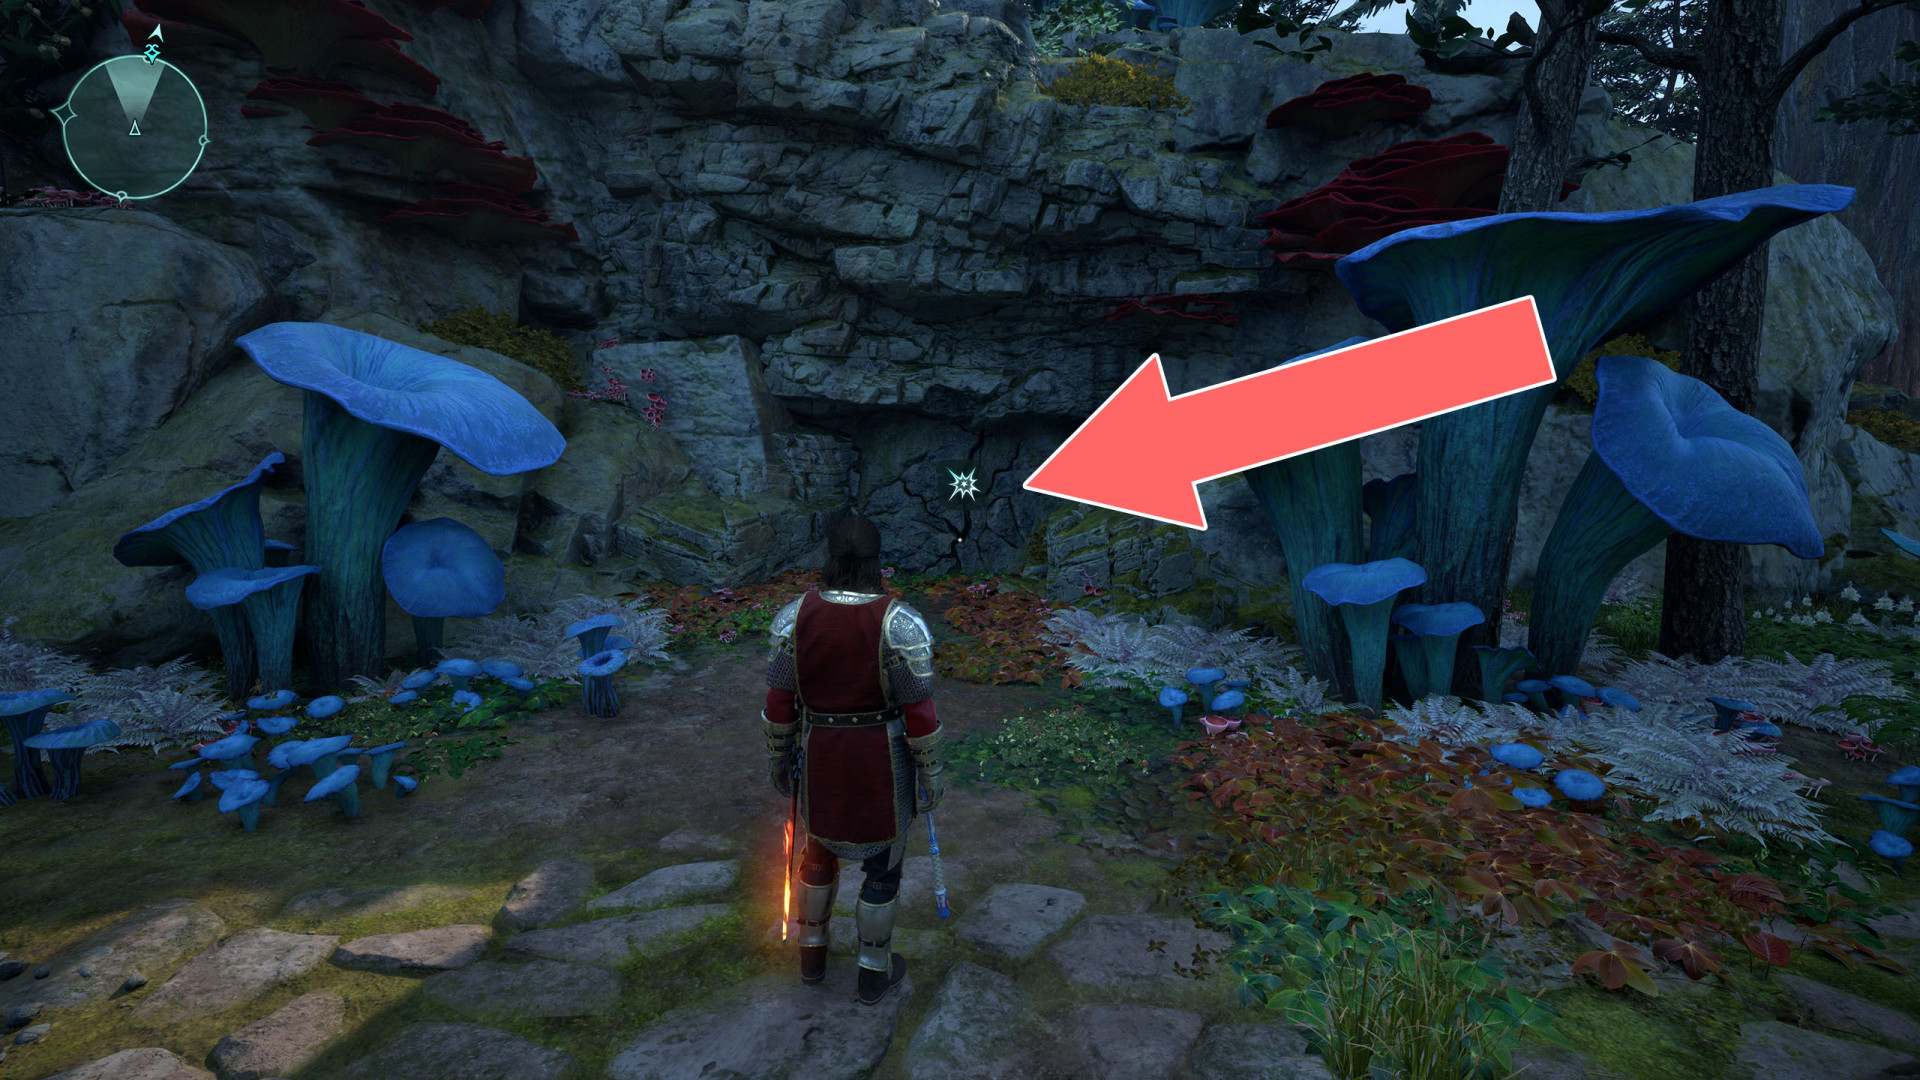
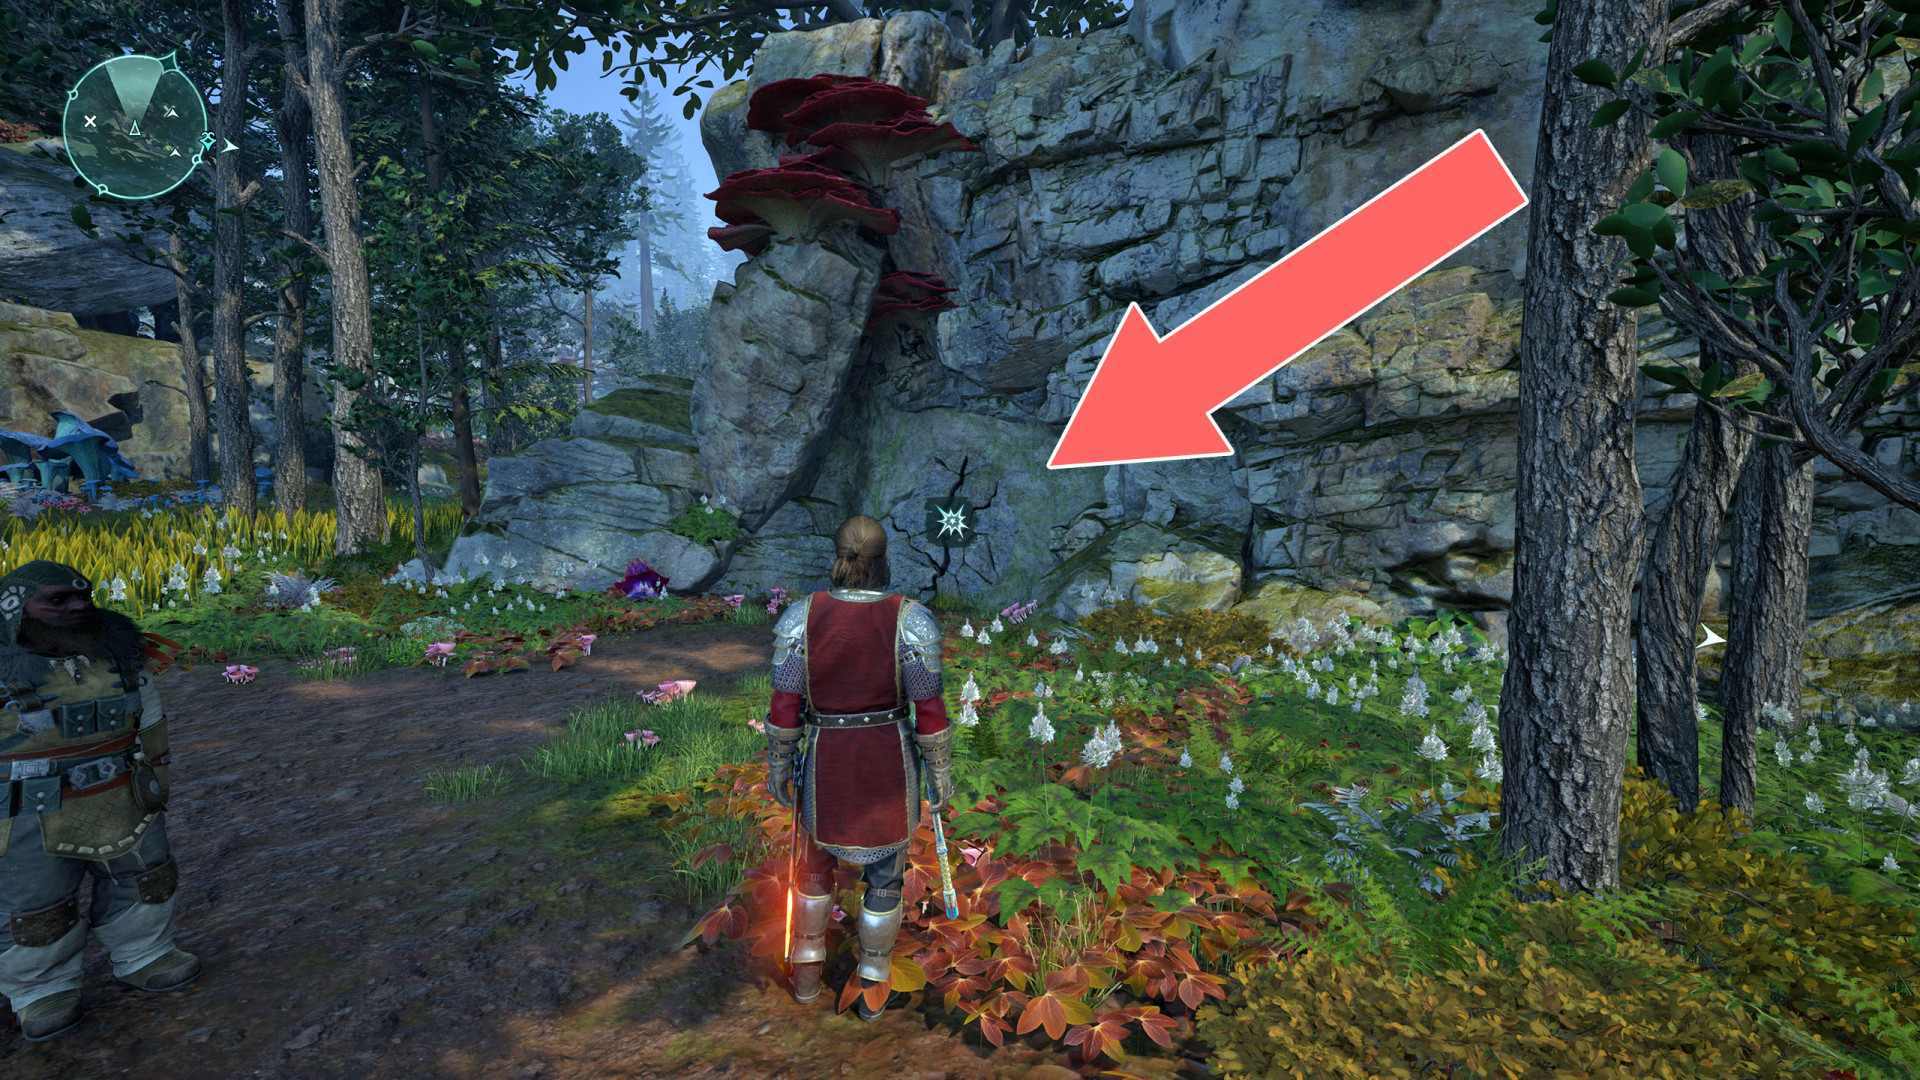
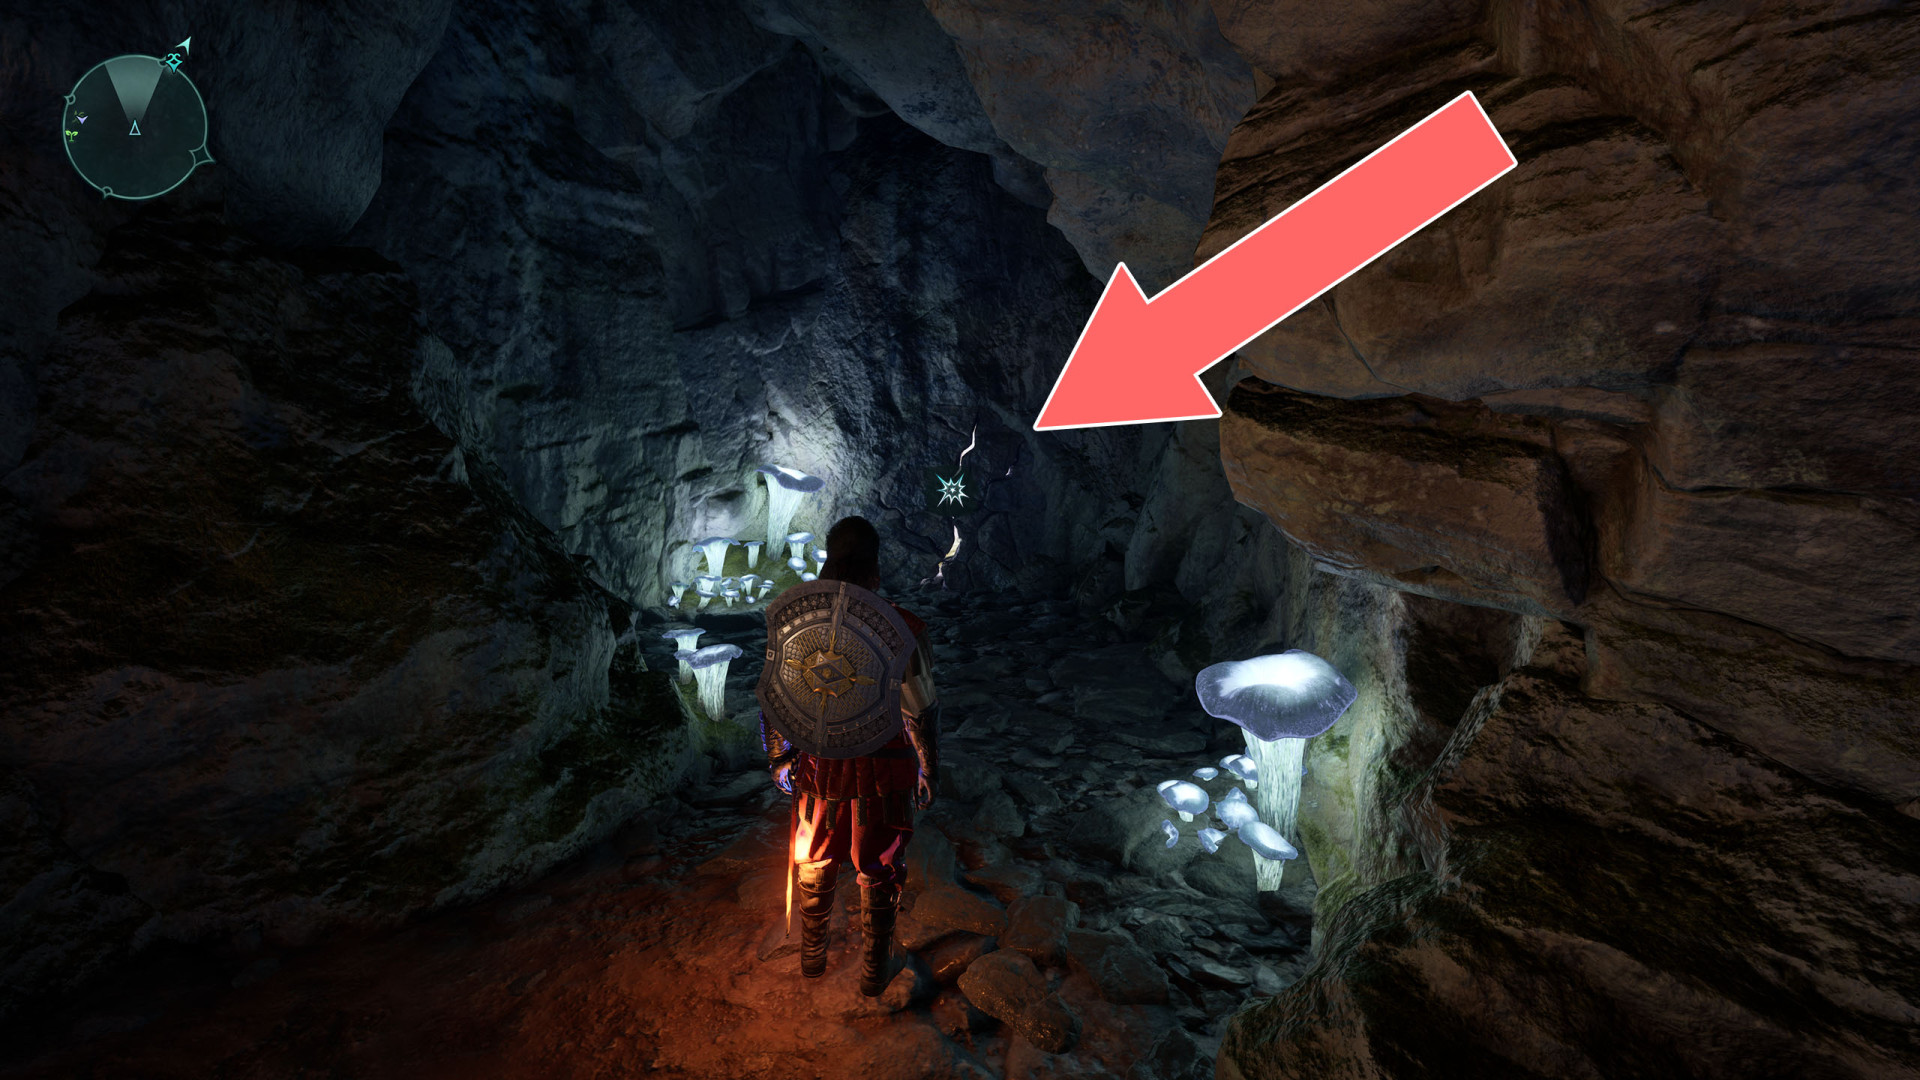
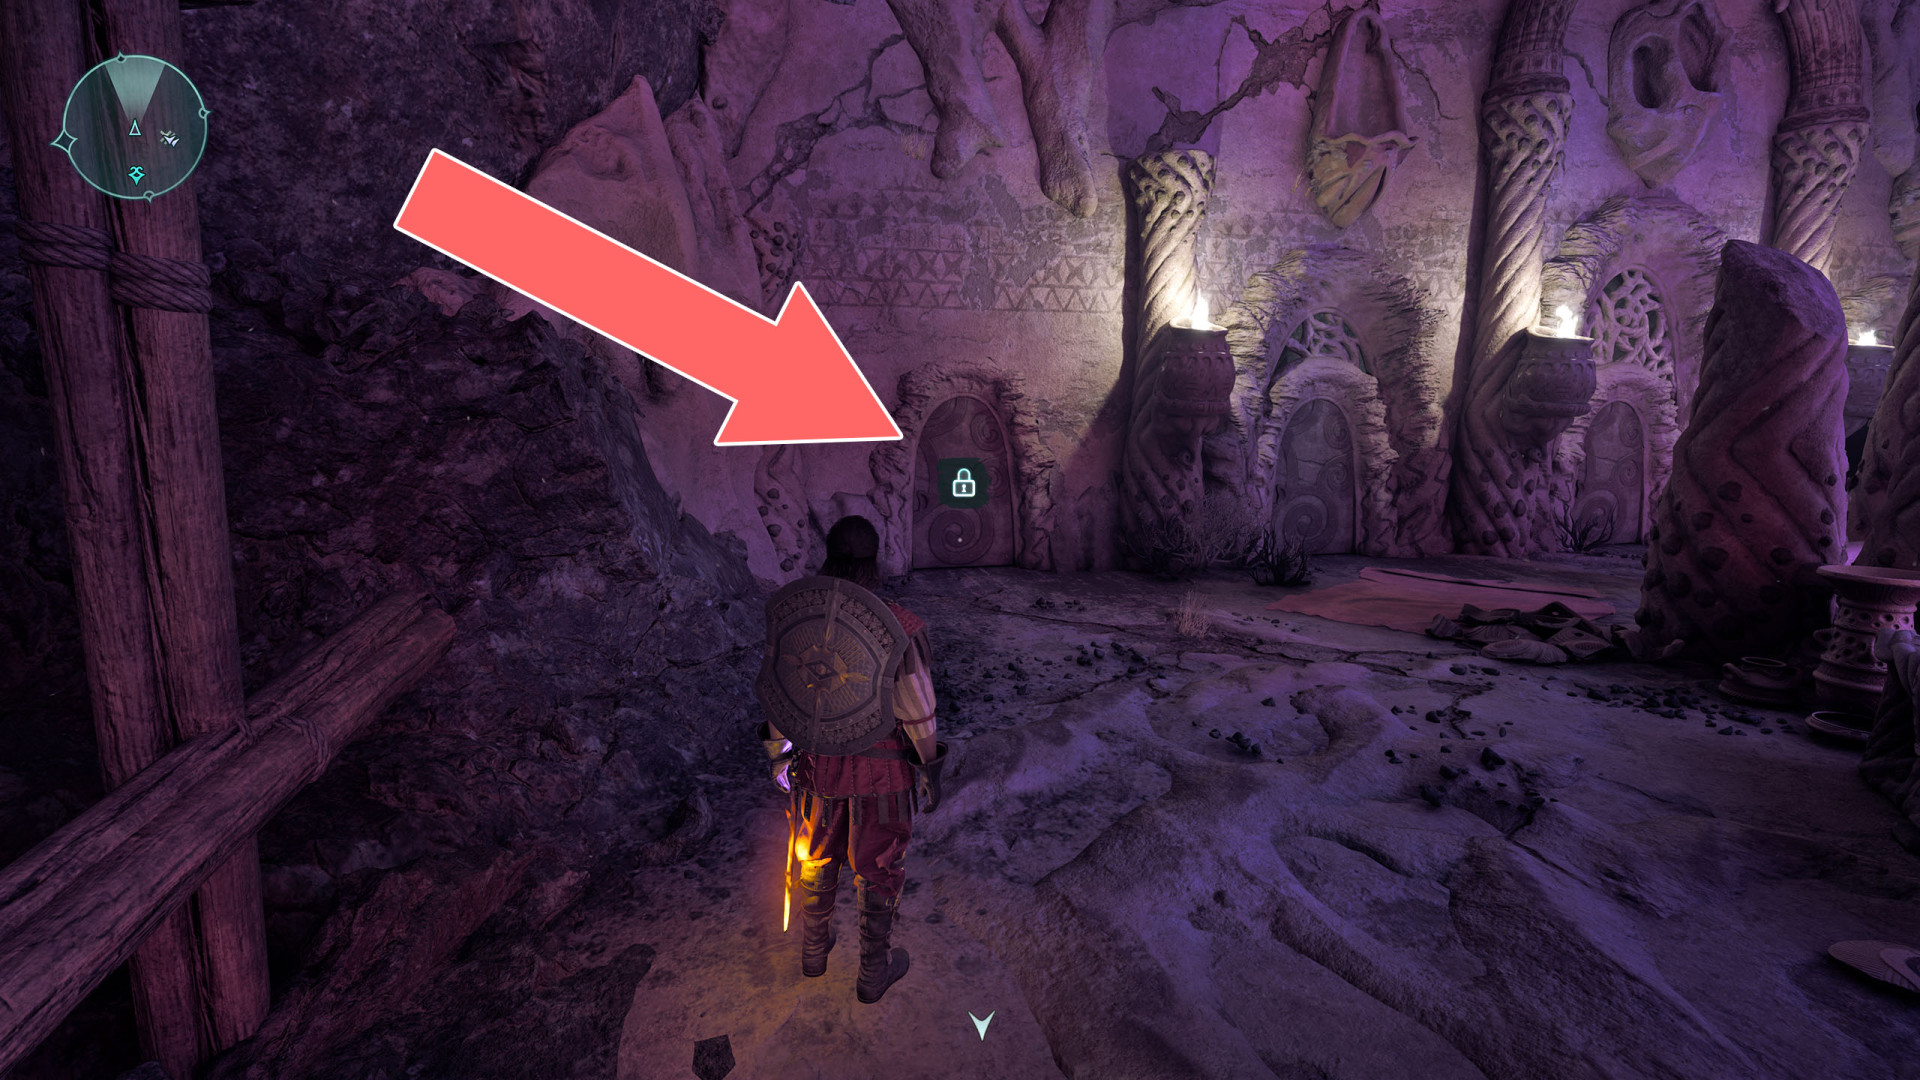
- Secret Door
- Secret Door
- Secret Door
- Secret Door
- Secret Door
- Secret Door
- Secret Door
- Secret Door
- Secret Door
- Secret Door
- Secret Door
- Secret Door
- Secret Door
- Secret Door
- Secret Door
- Secret Door
- Secret Door
- Secret Door
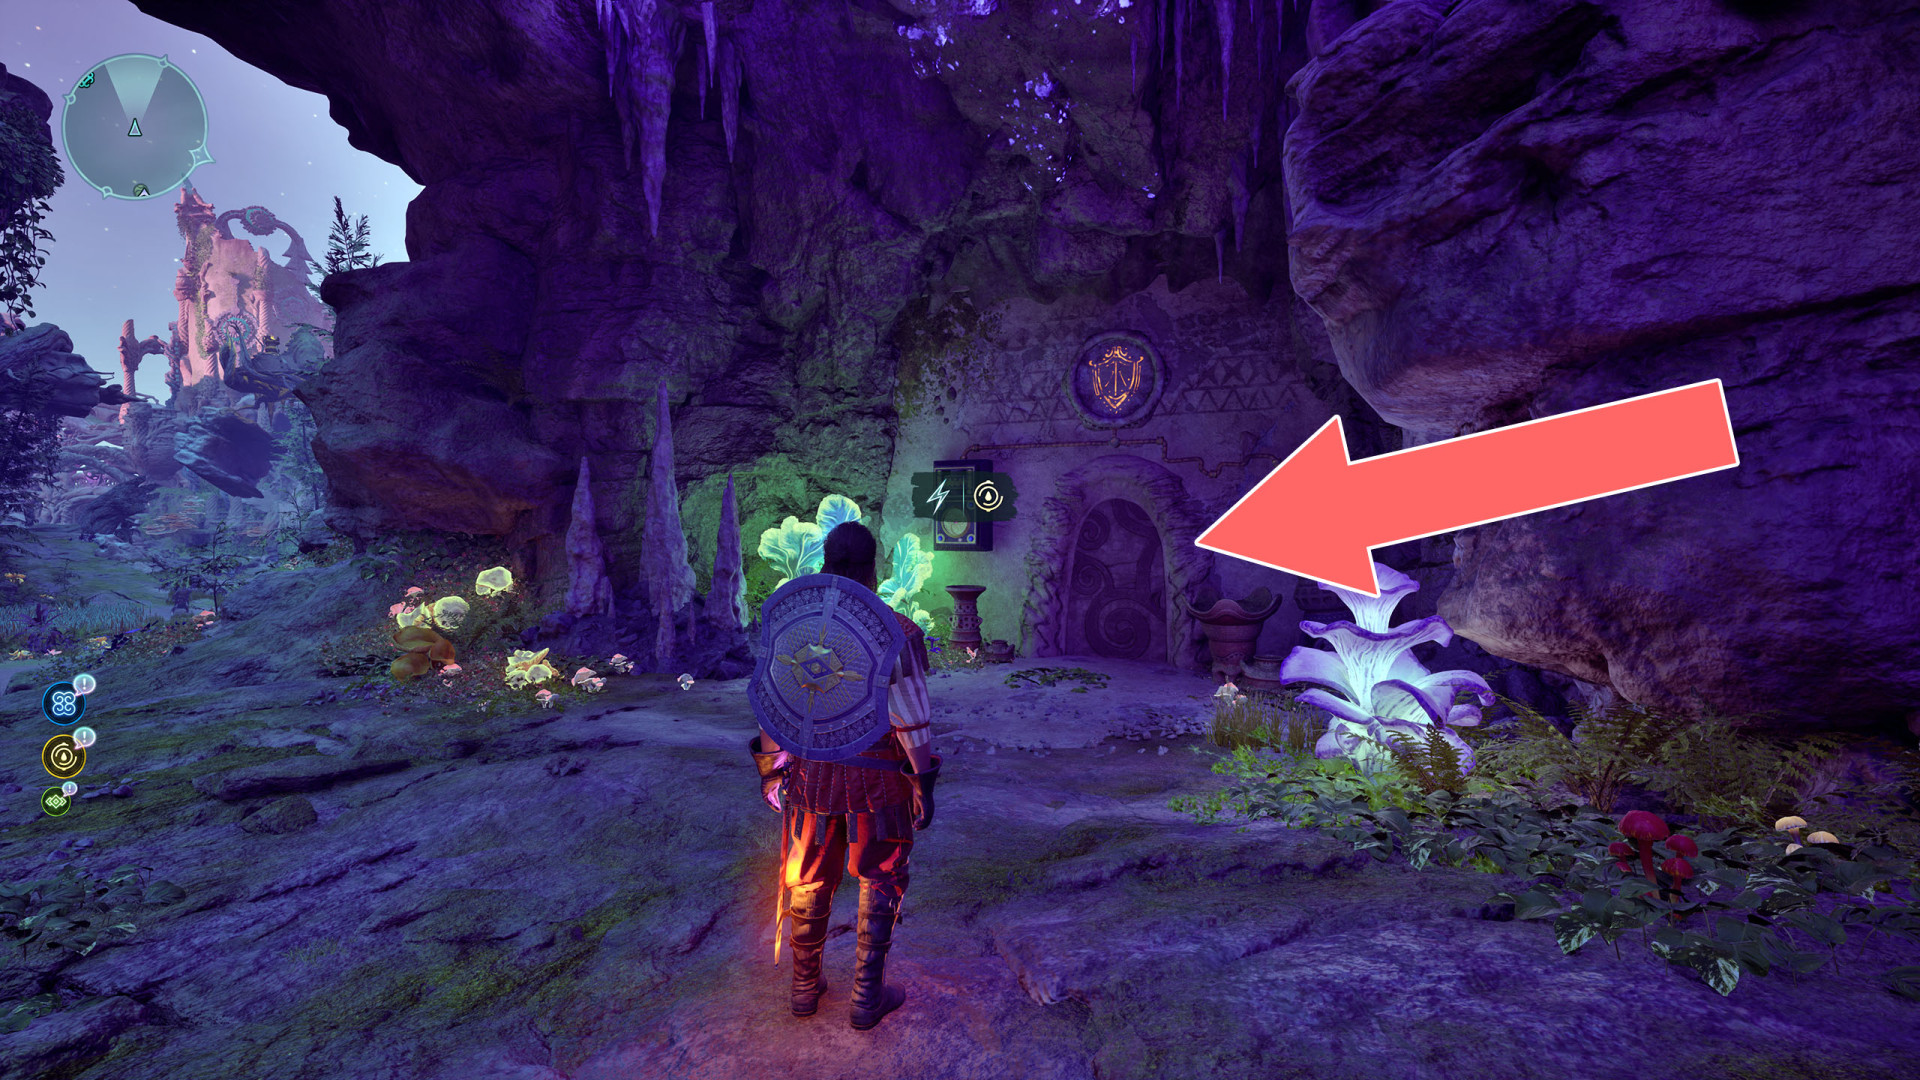
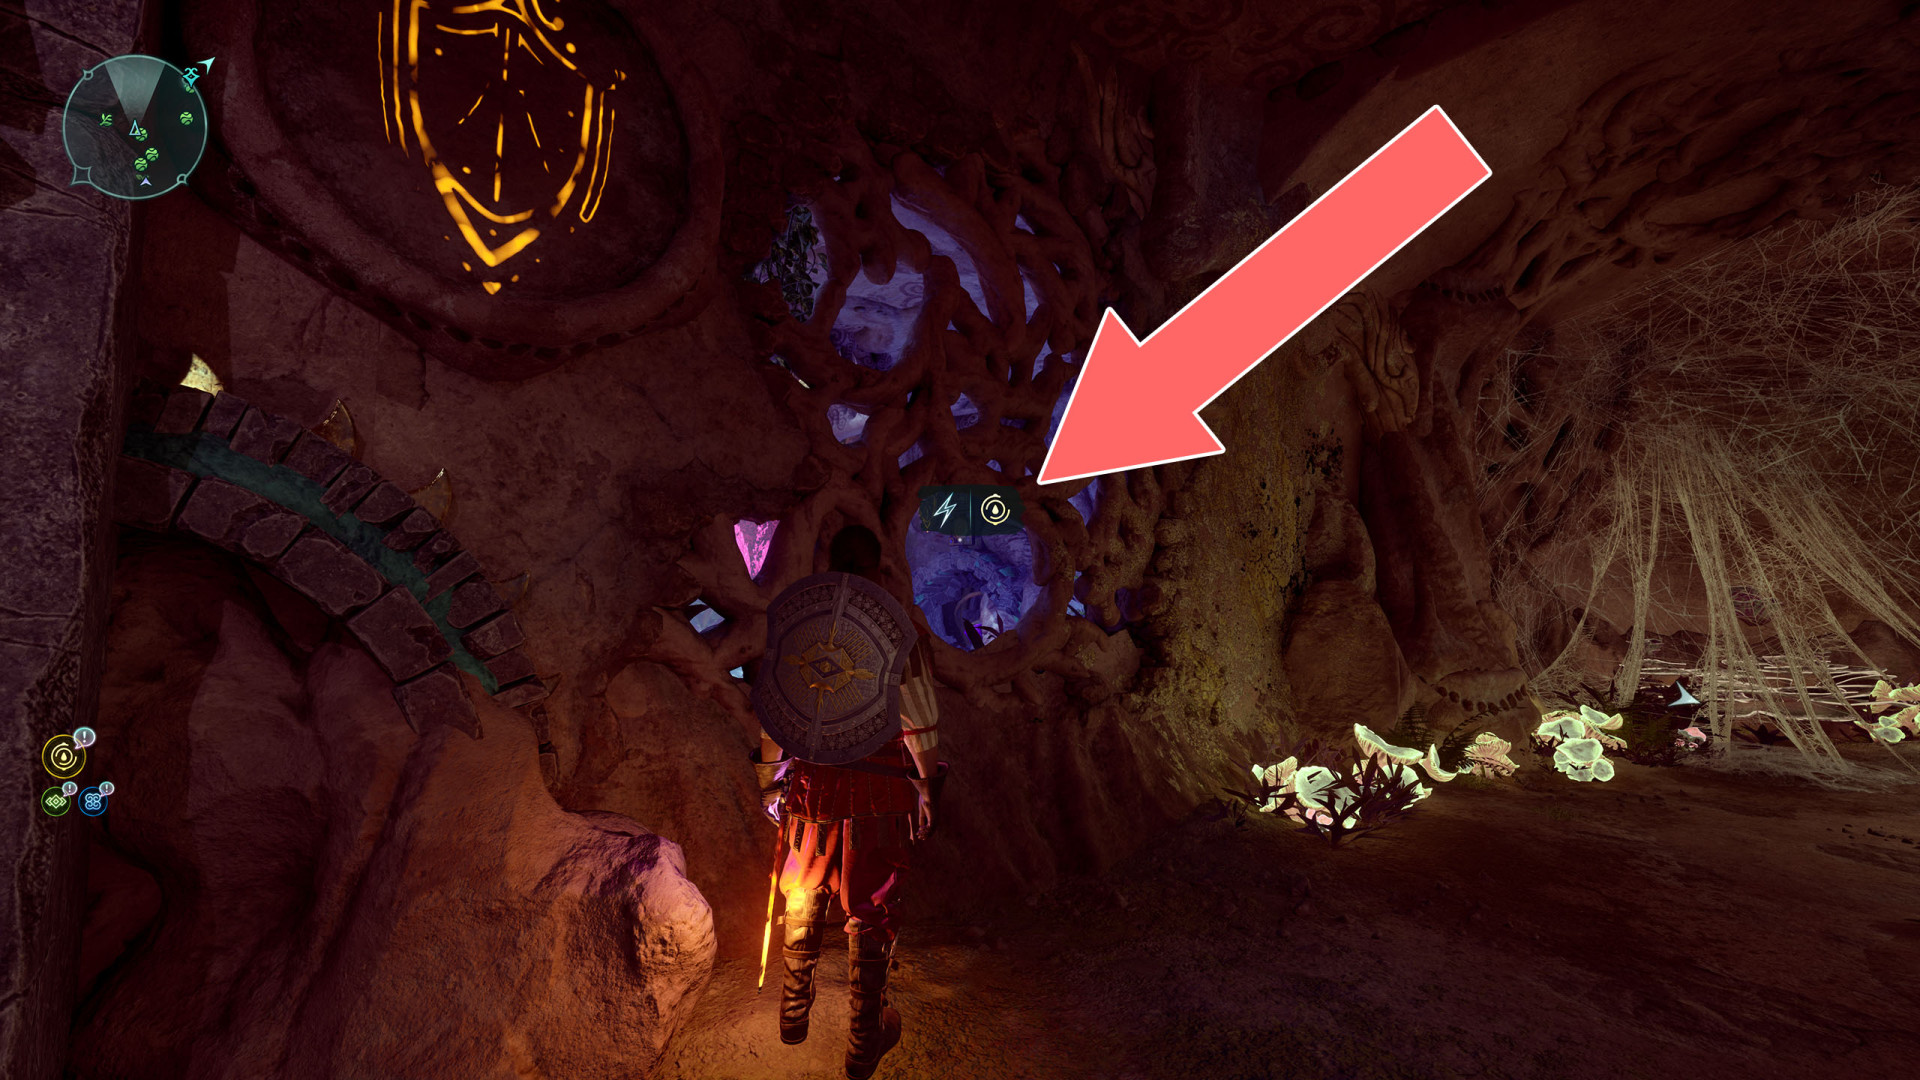
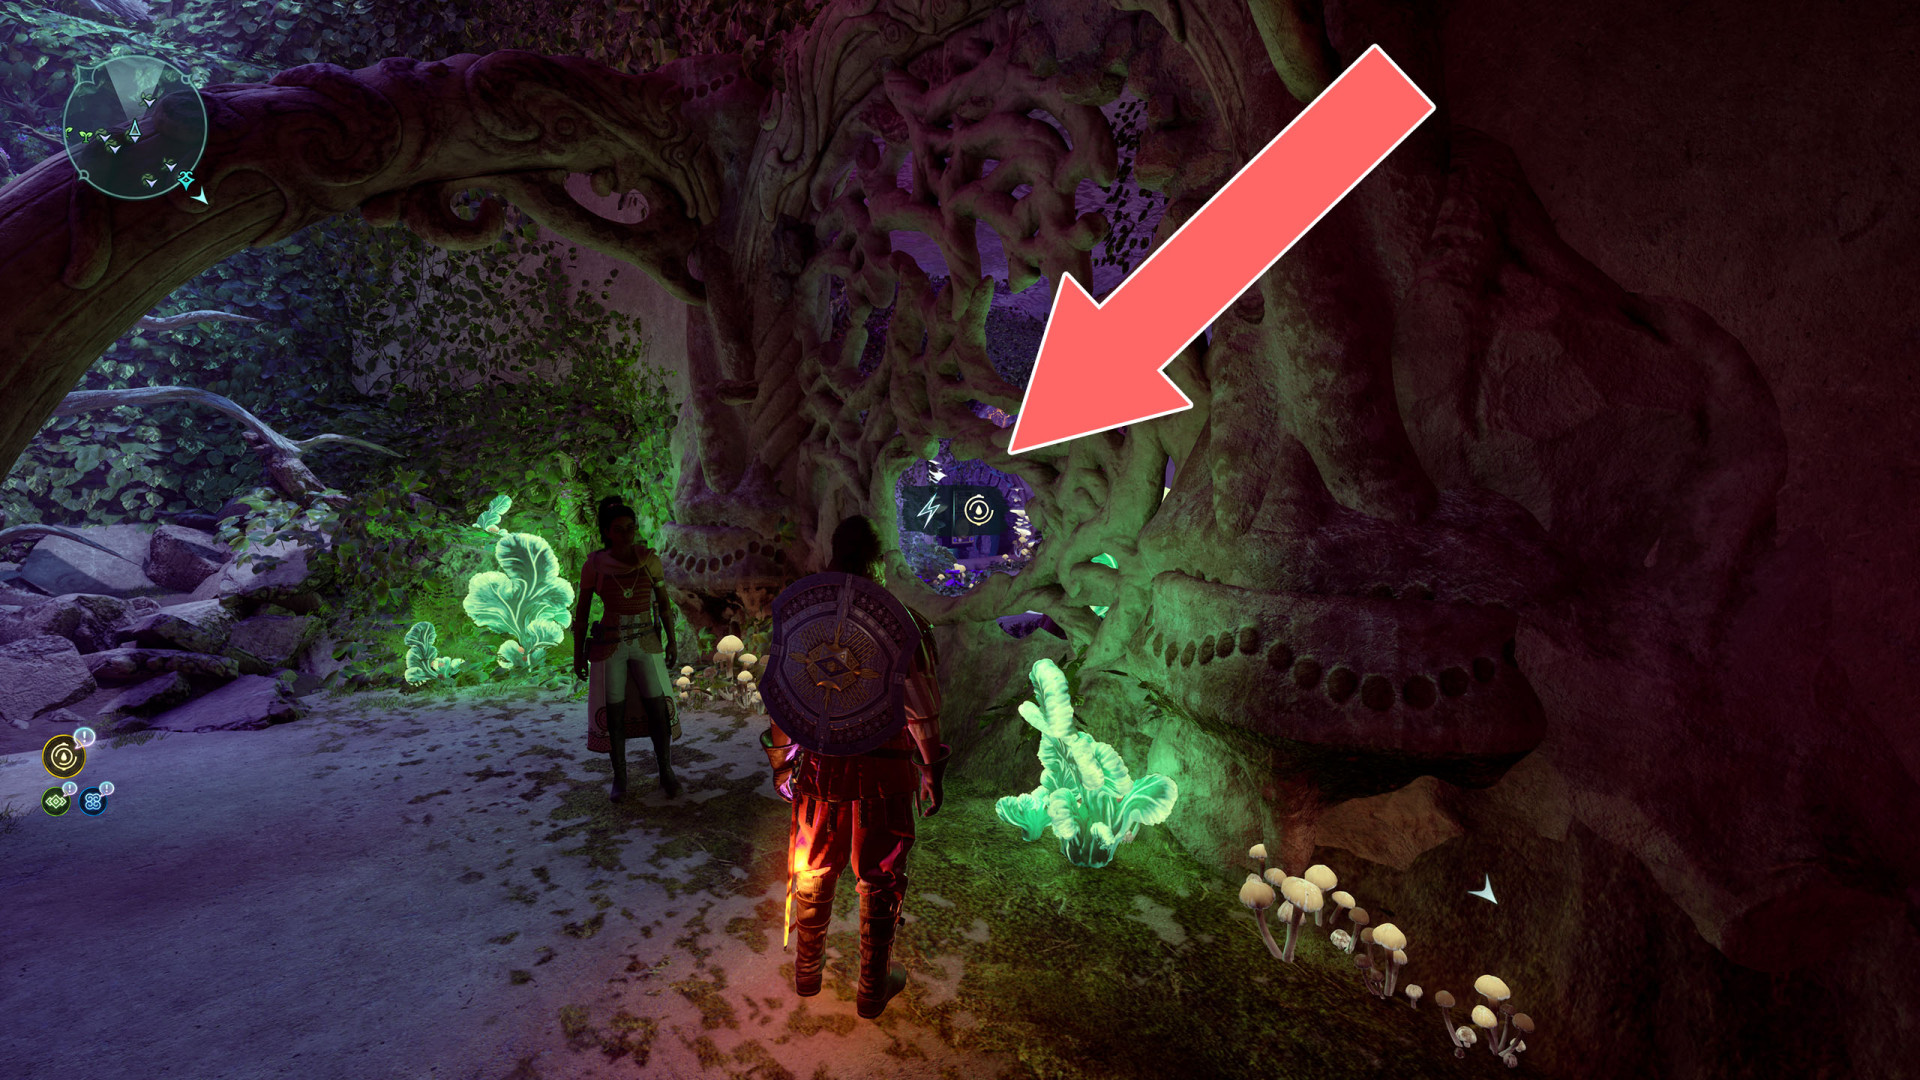
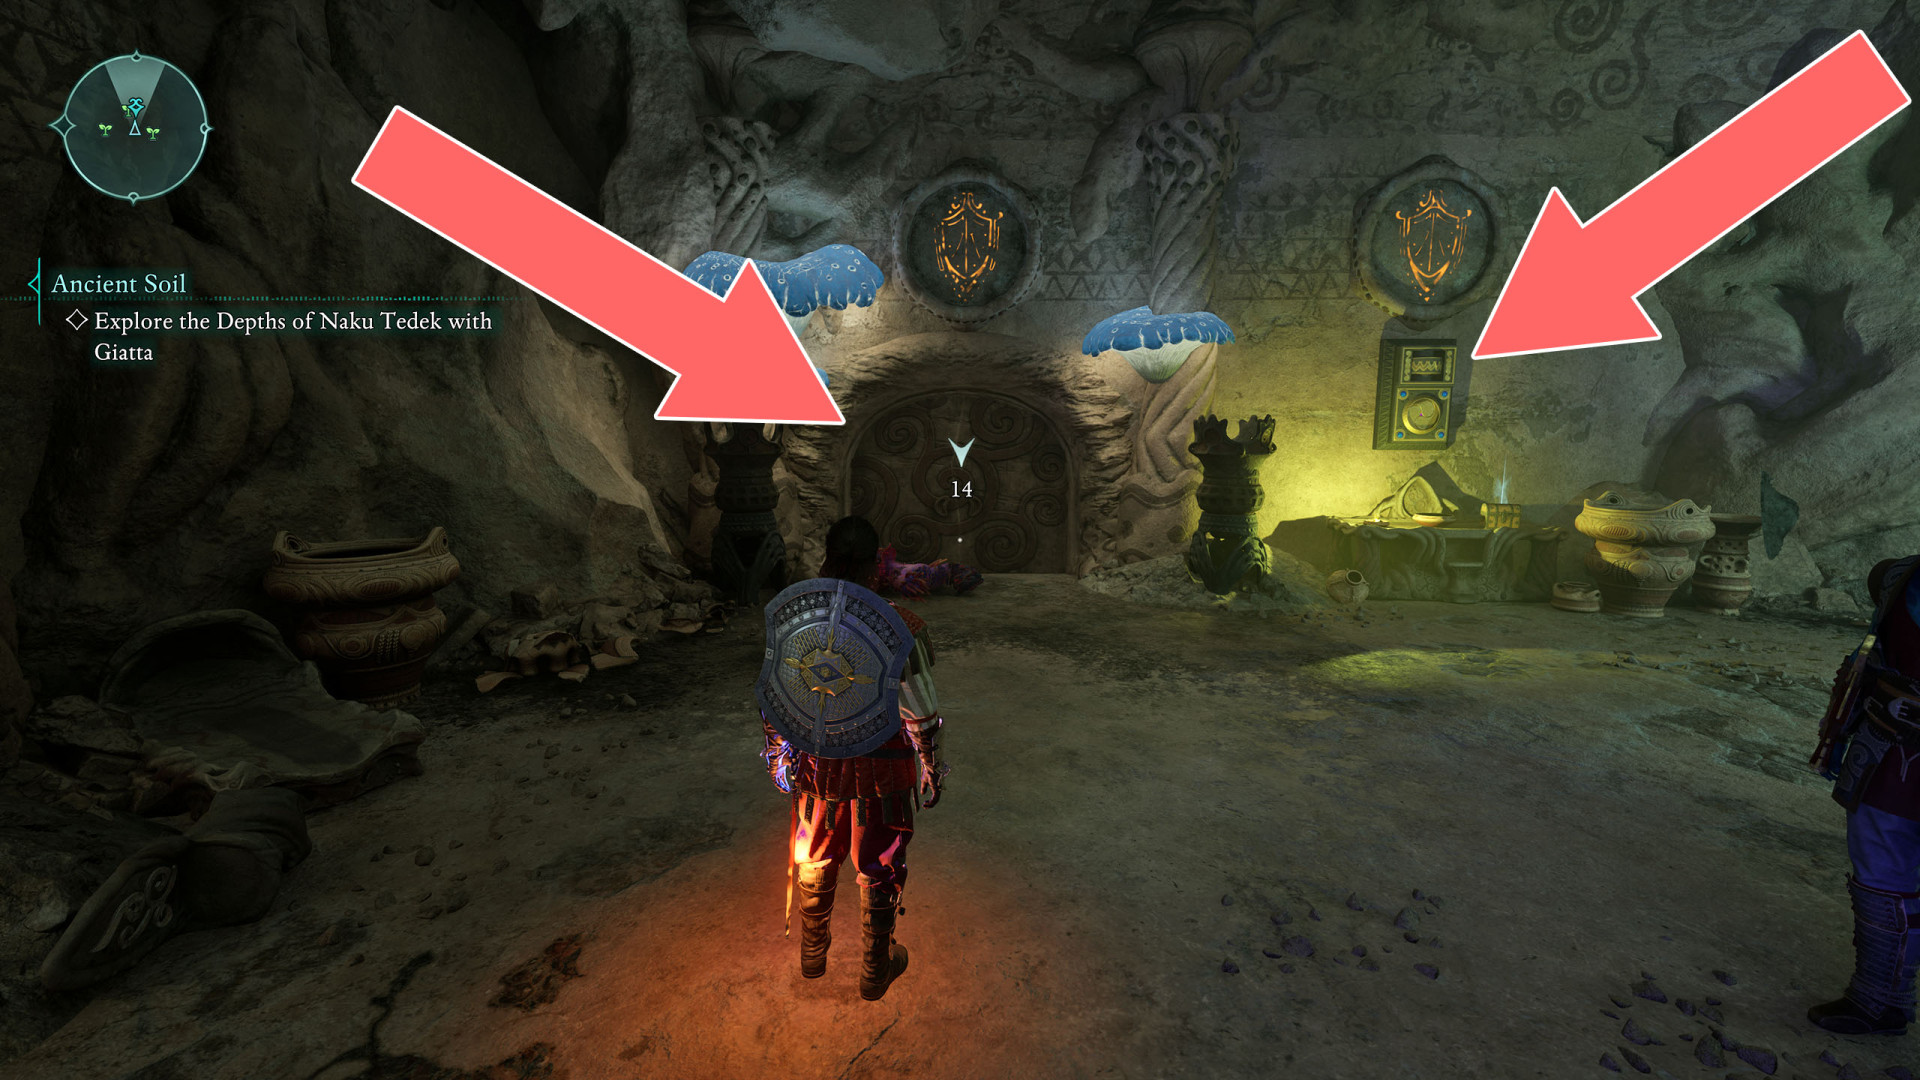
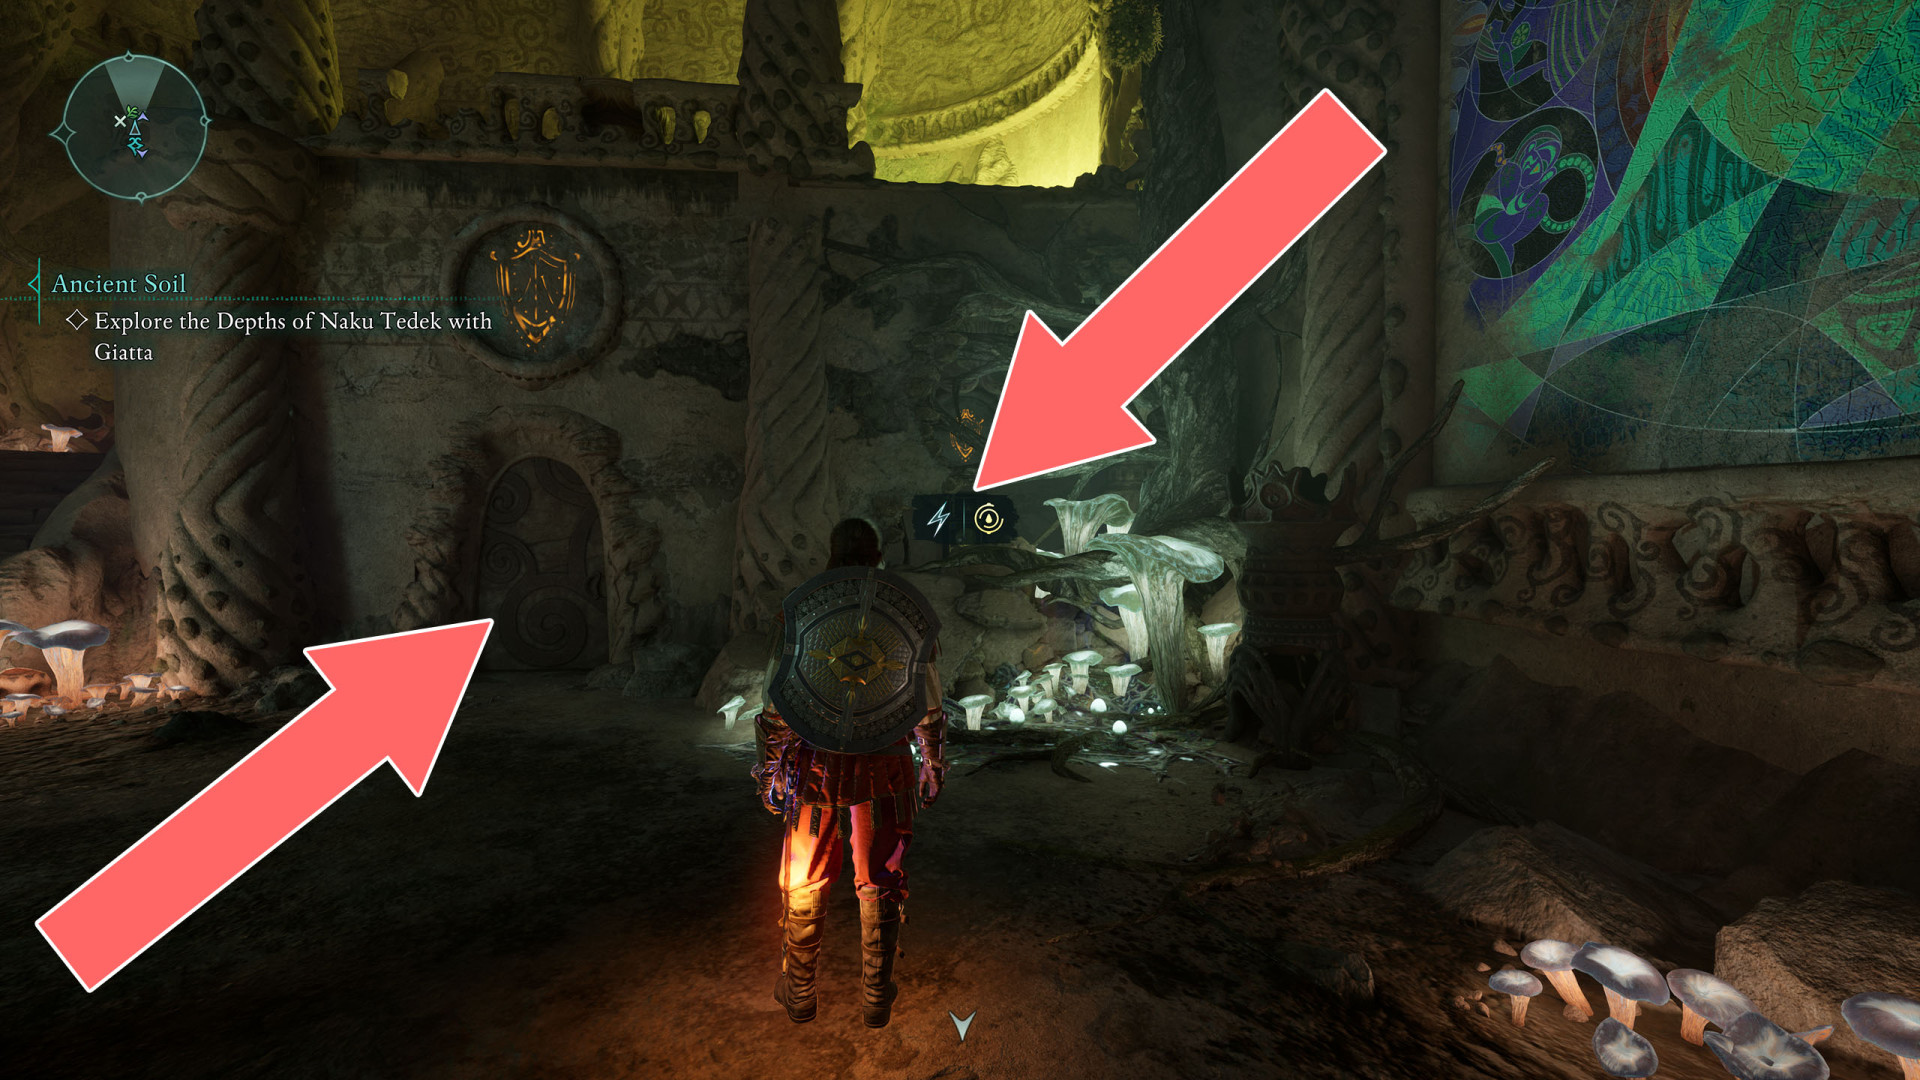
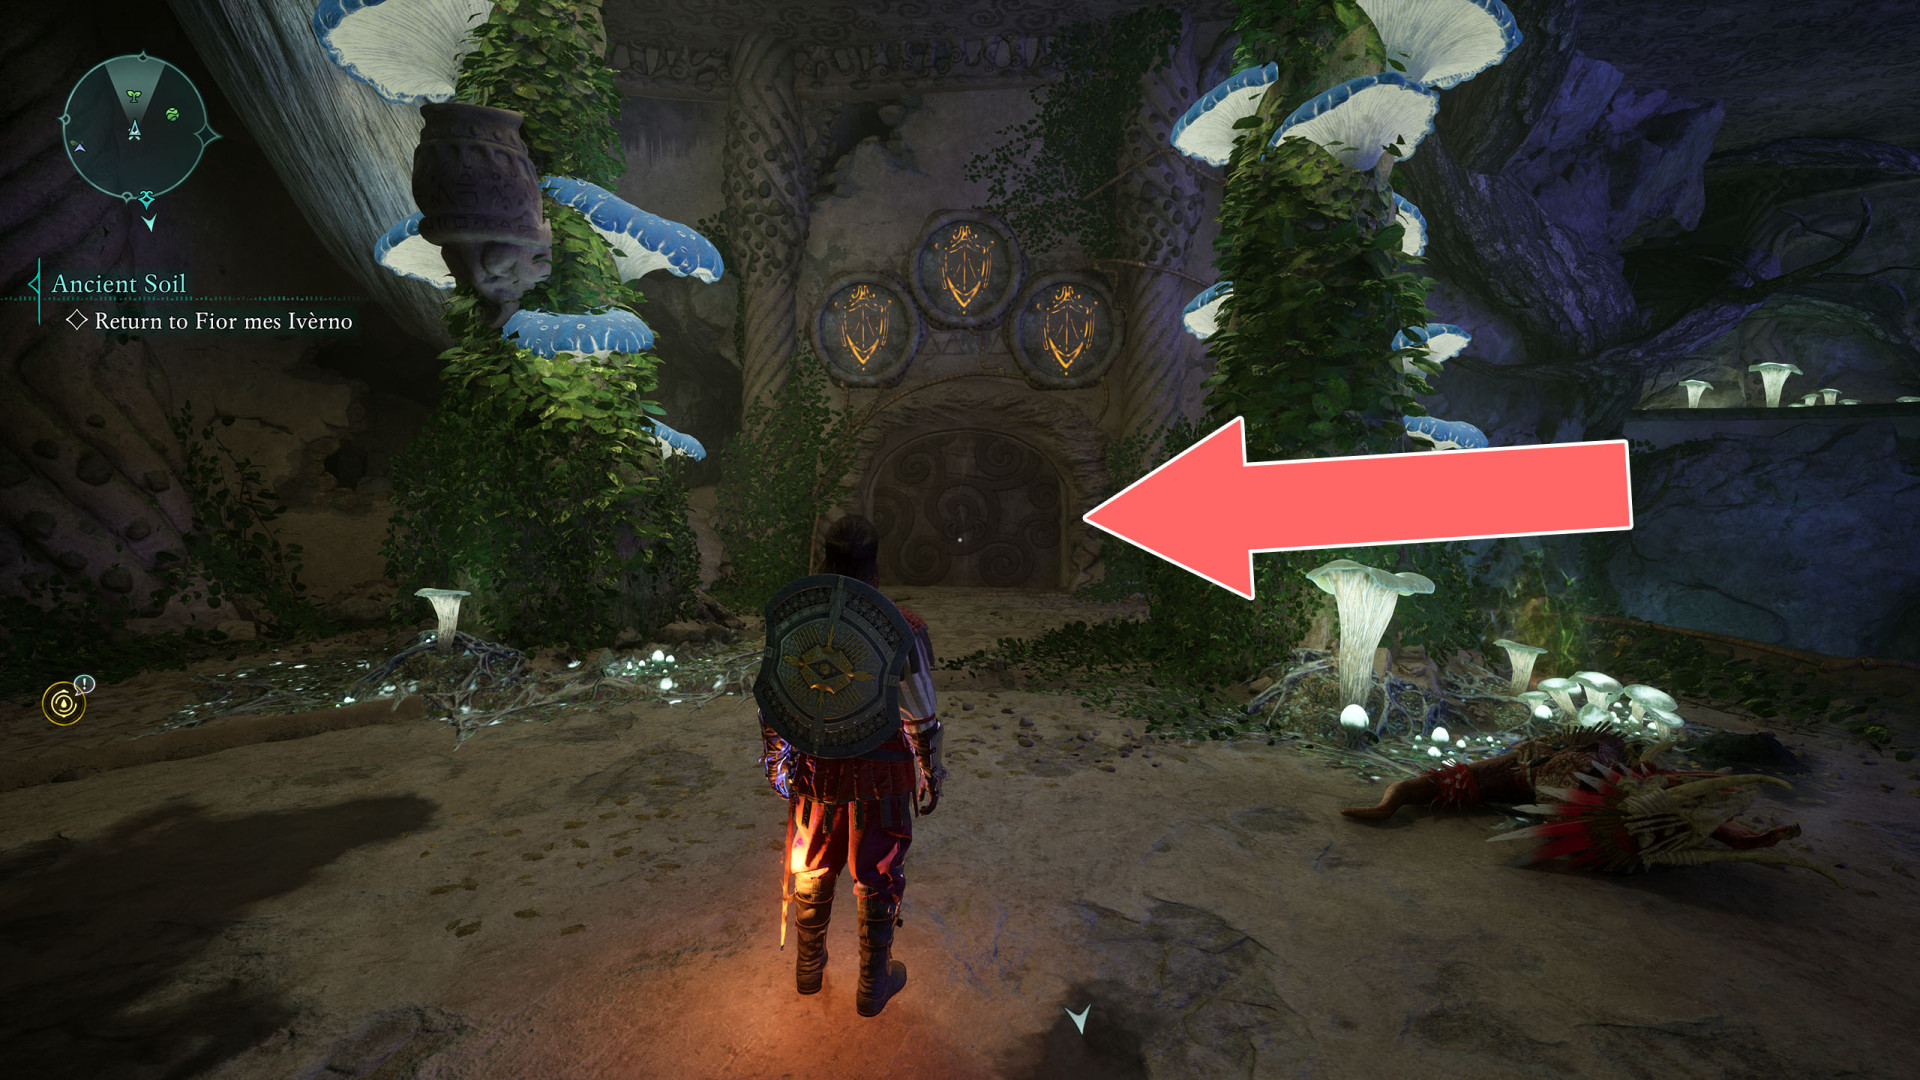
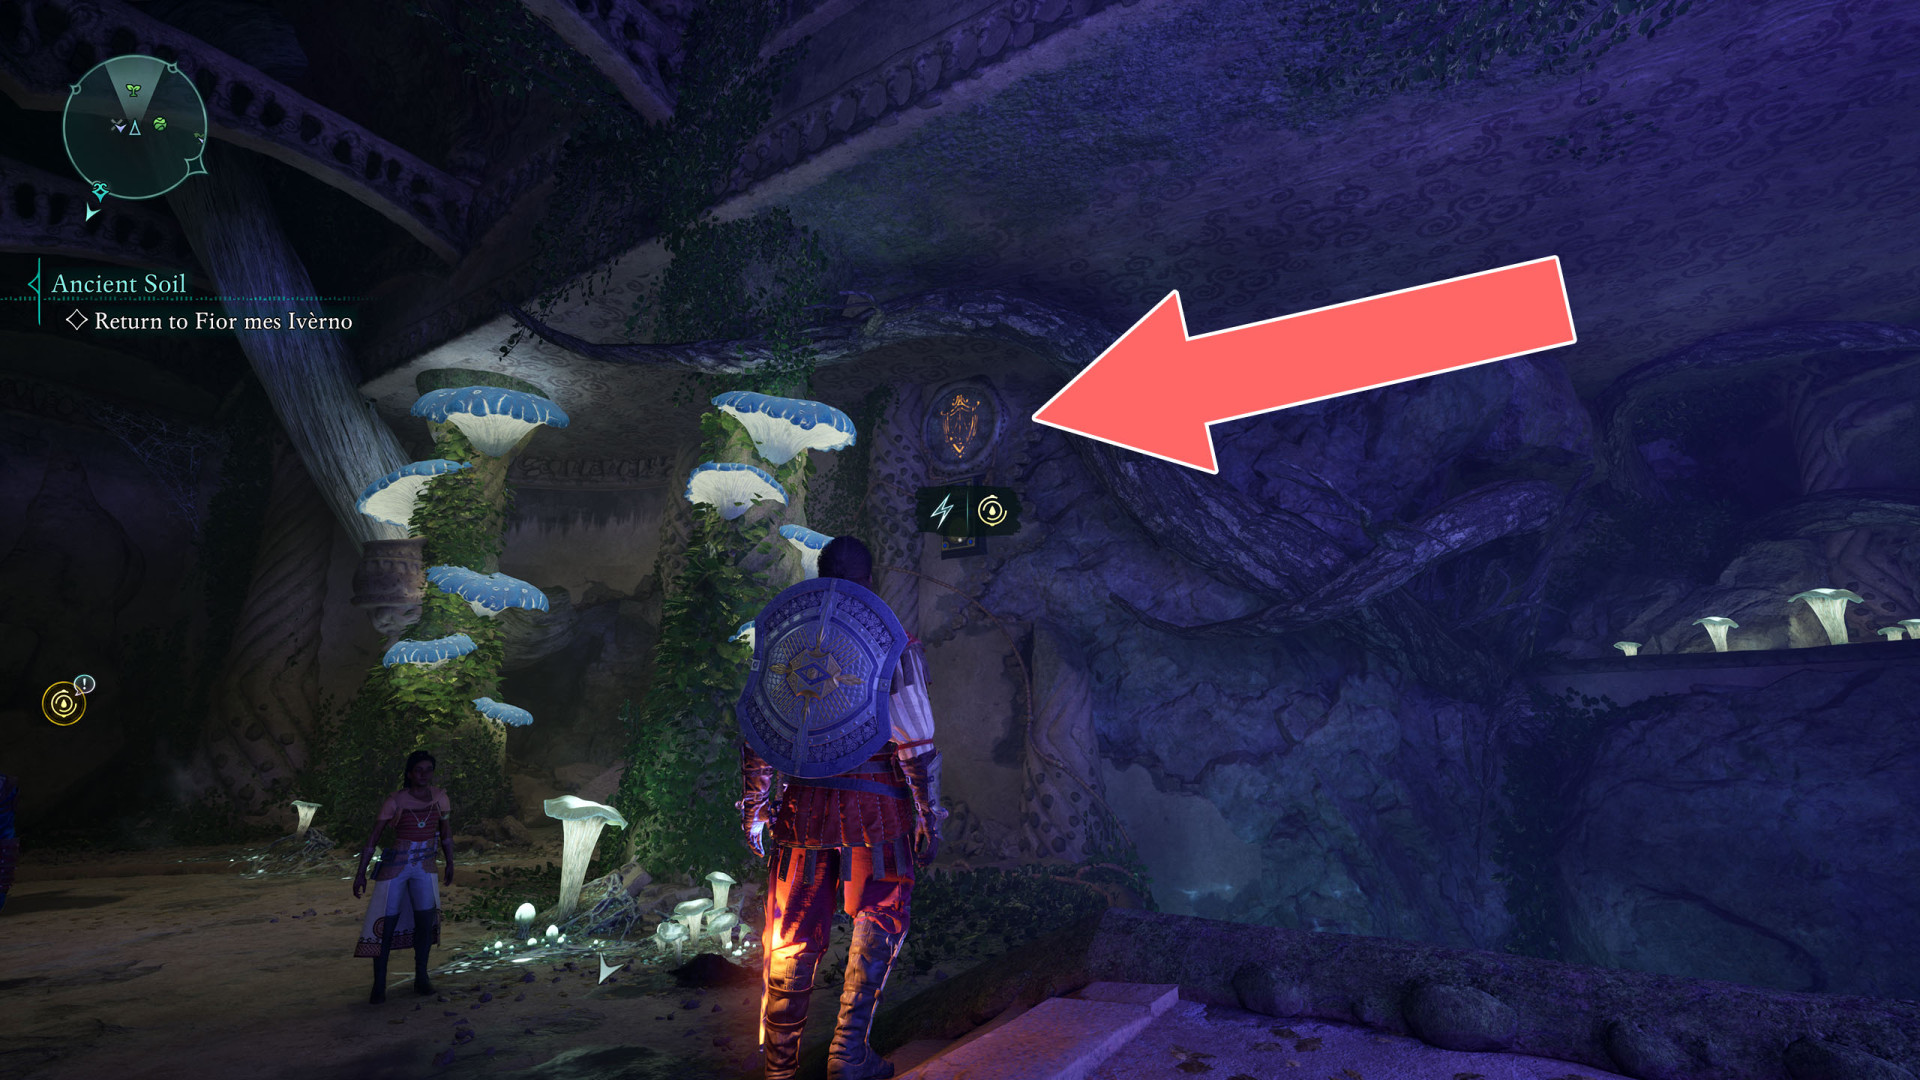
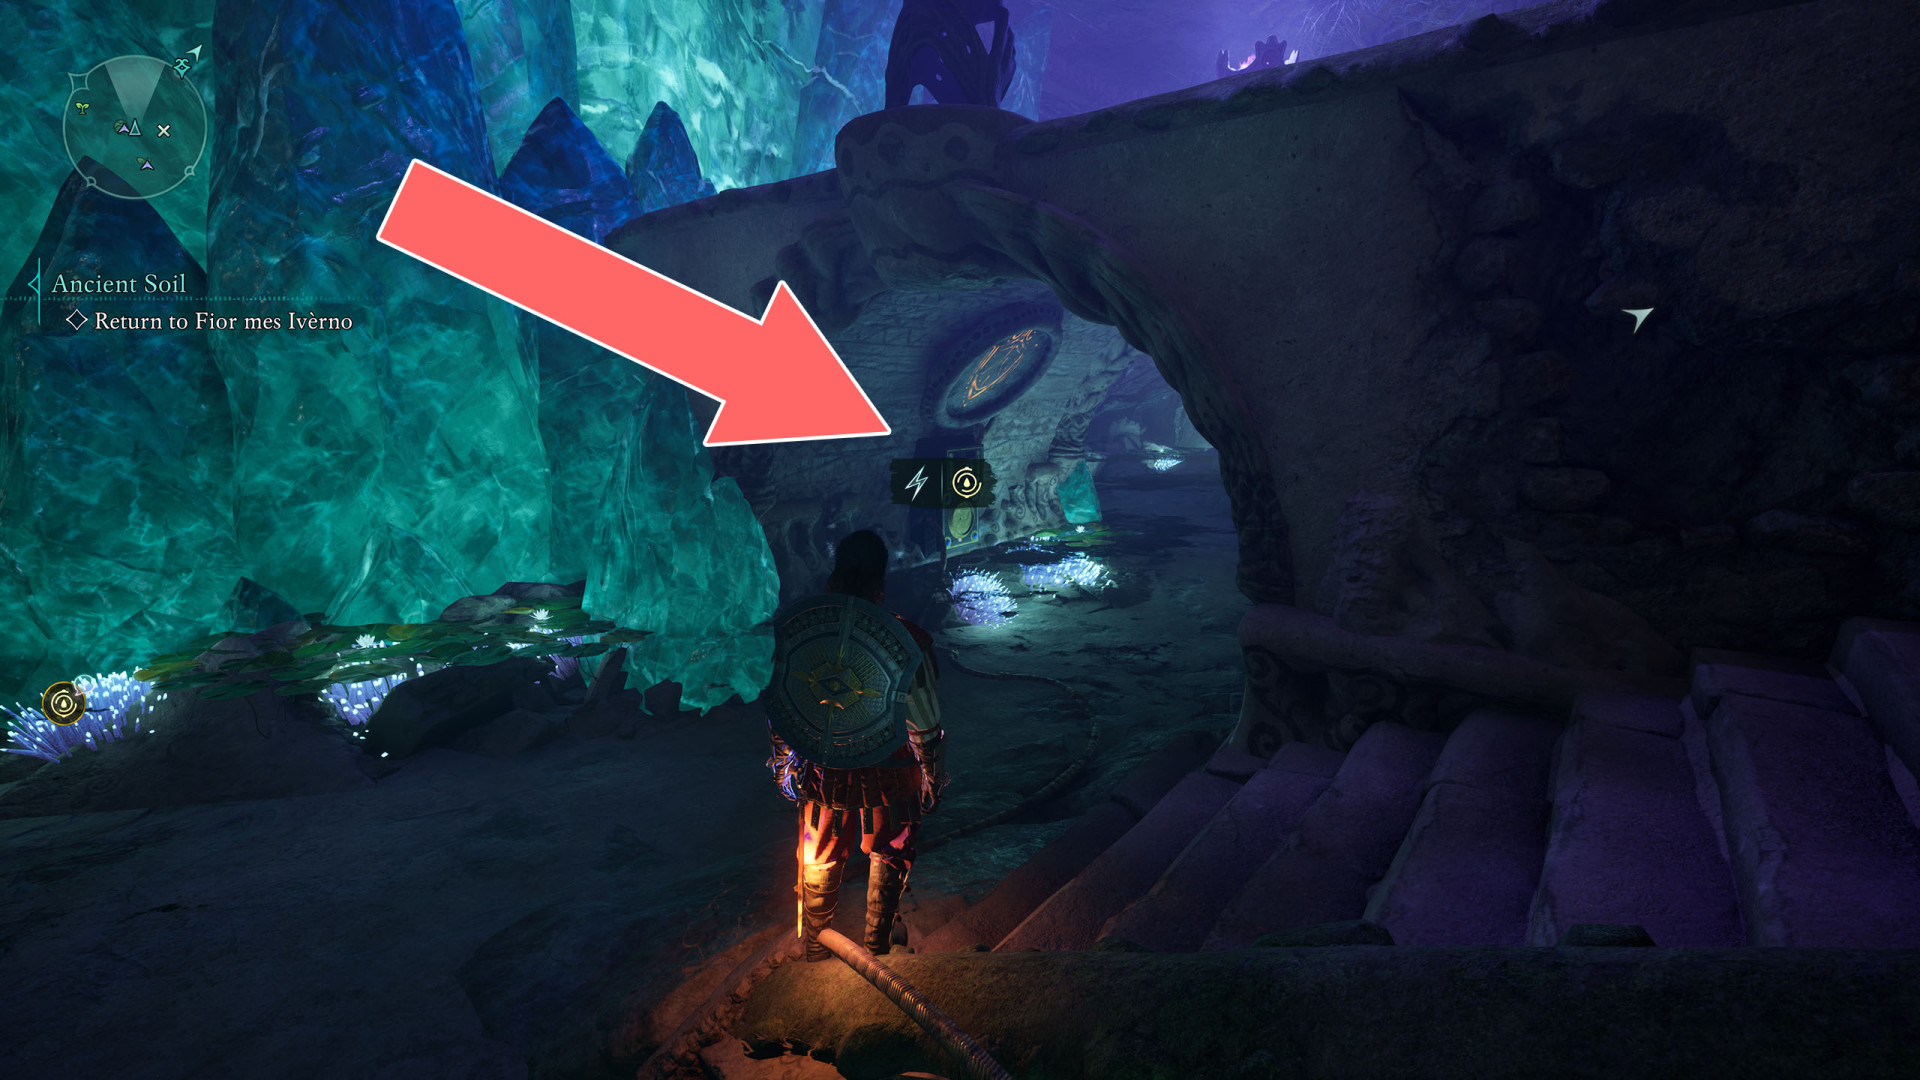
- Shock Door (1)
- Shock Door (1)
- Shock Door (1)
- Shock Door (1)
- Shock Door (1)
- Shock Door (1)
- Shock Door (1)
- Shock Door (1)
- Shock Door (1)
- Shock Door (2)
- Shock Door (2)
- Shock Door (2)
- Shock Door (3)
- Shock Door (3)
- Shock Door (3)
- Shock Door (3)
- Shock Door (3)
- Shock Door (3)
- Shock Door (x3)
- Shock Gate (1)
- Shock Gate (1)
- Shock Gate (2)
- Storage Room
- Storeroom Door
- Traps
- Traps
- Underwater Tunnel
- Warden's Office Door
- Warehouse Door
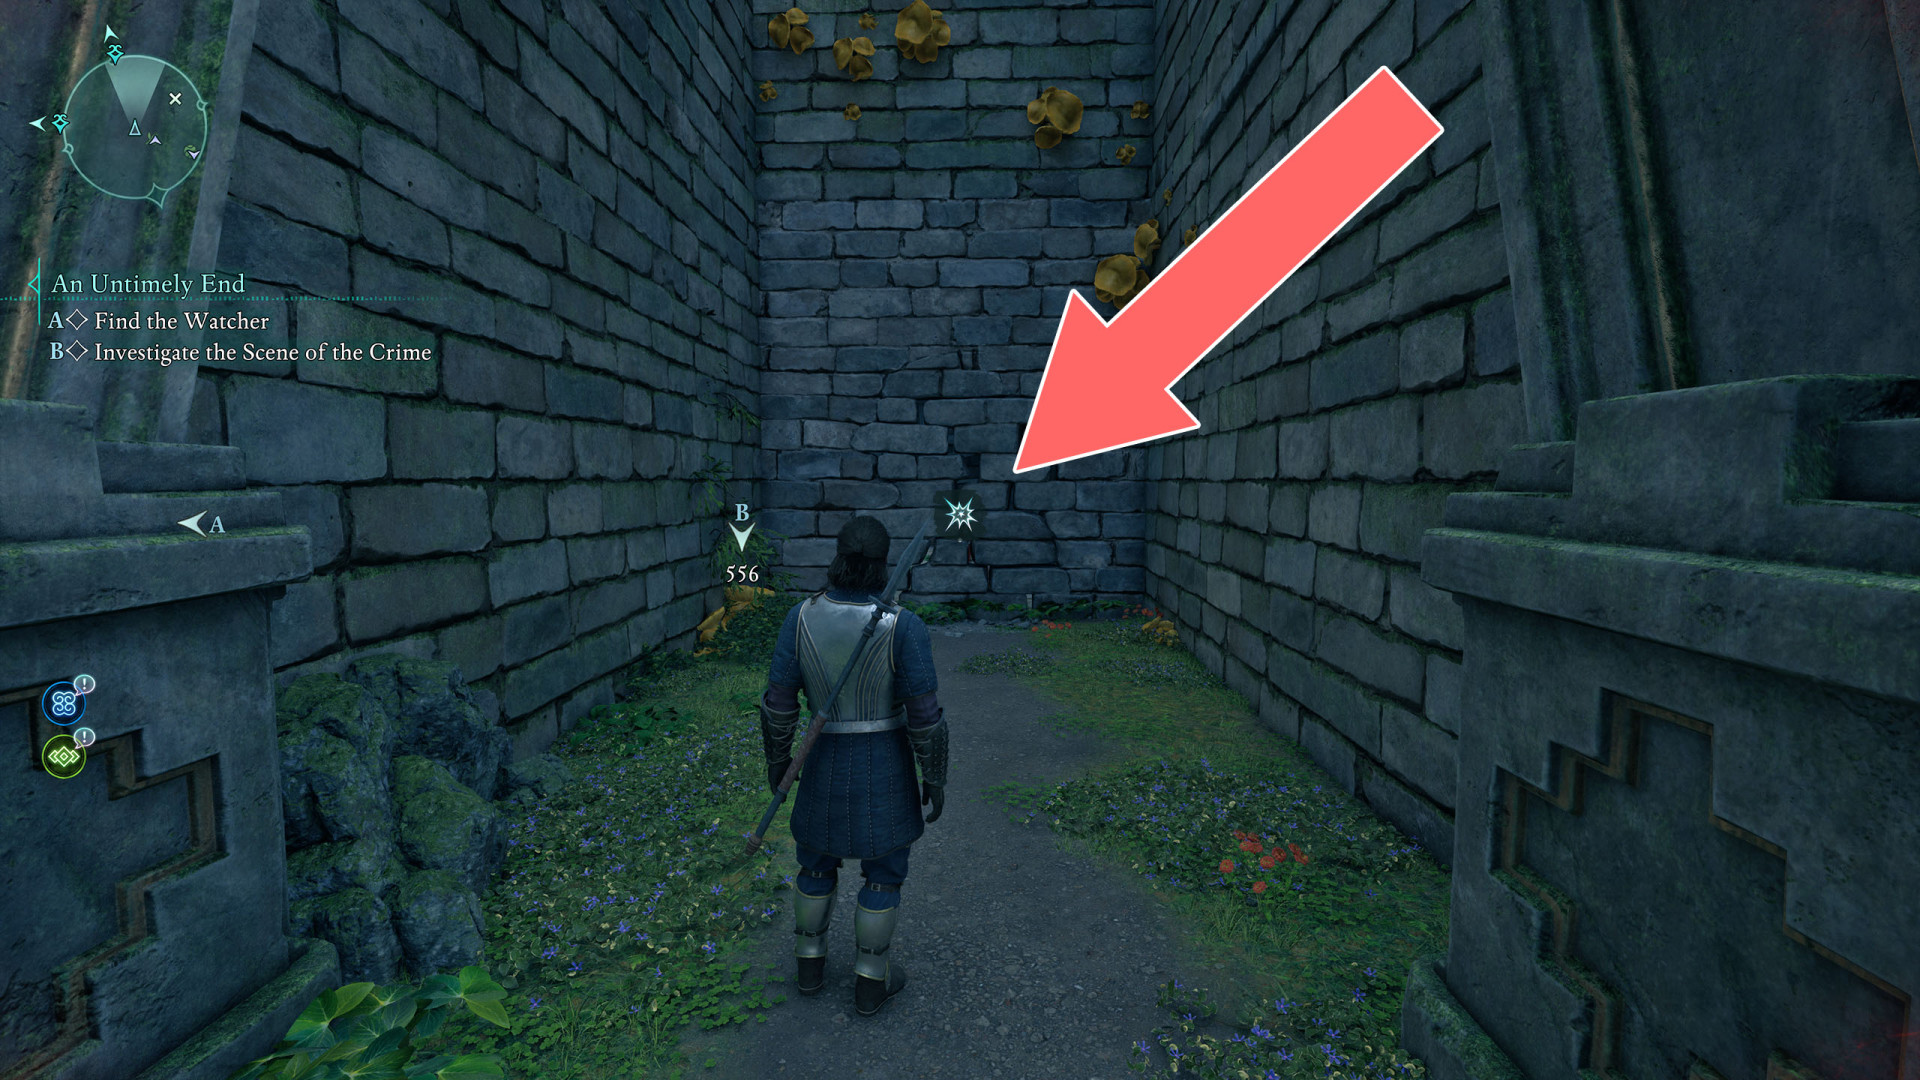
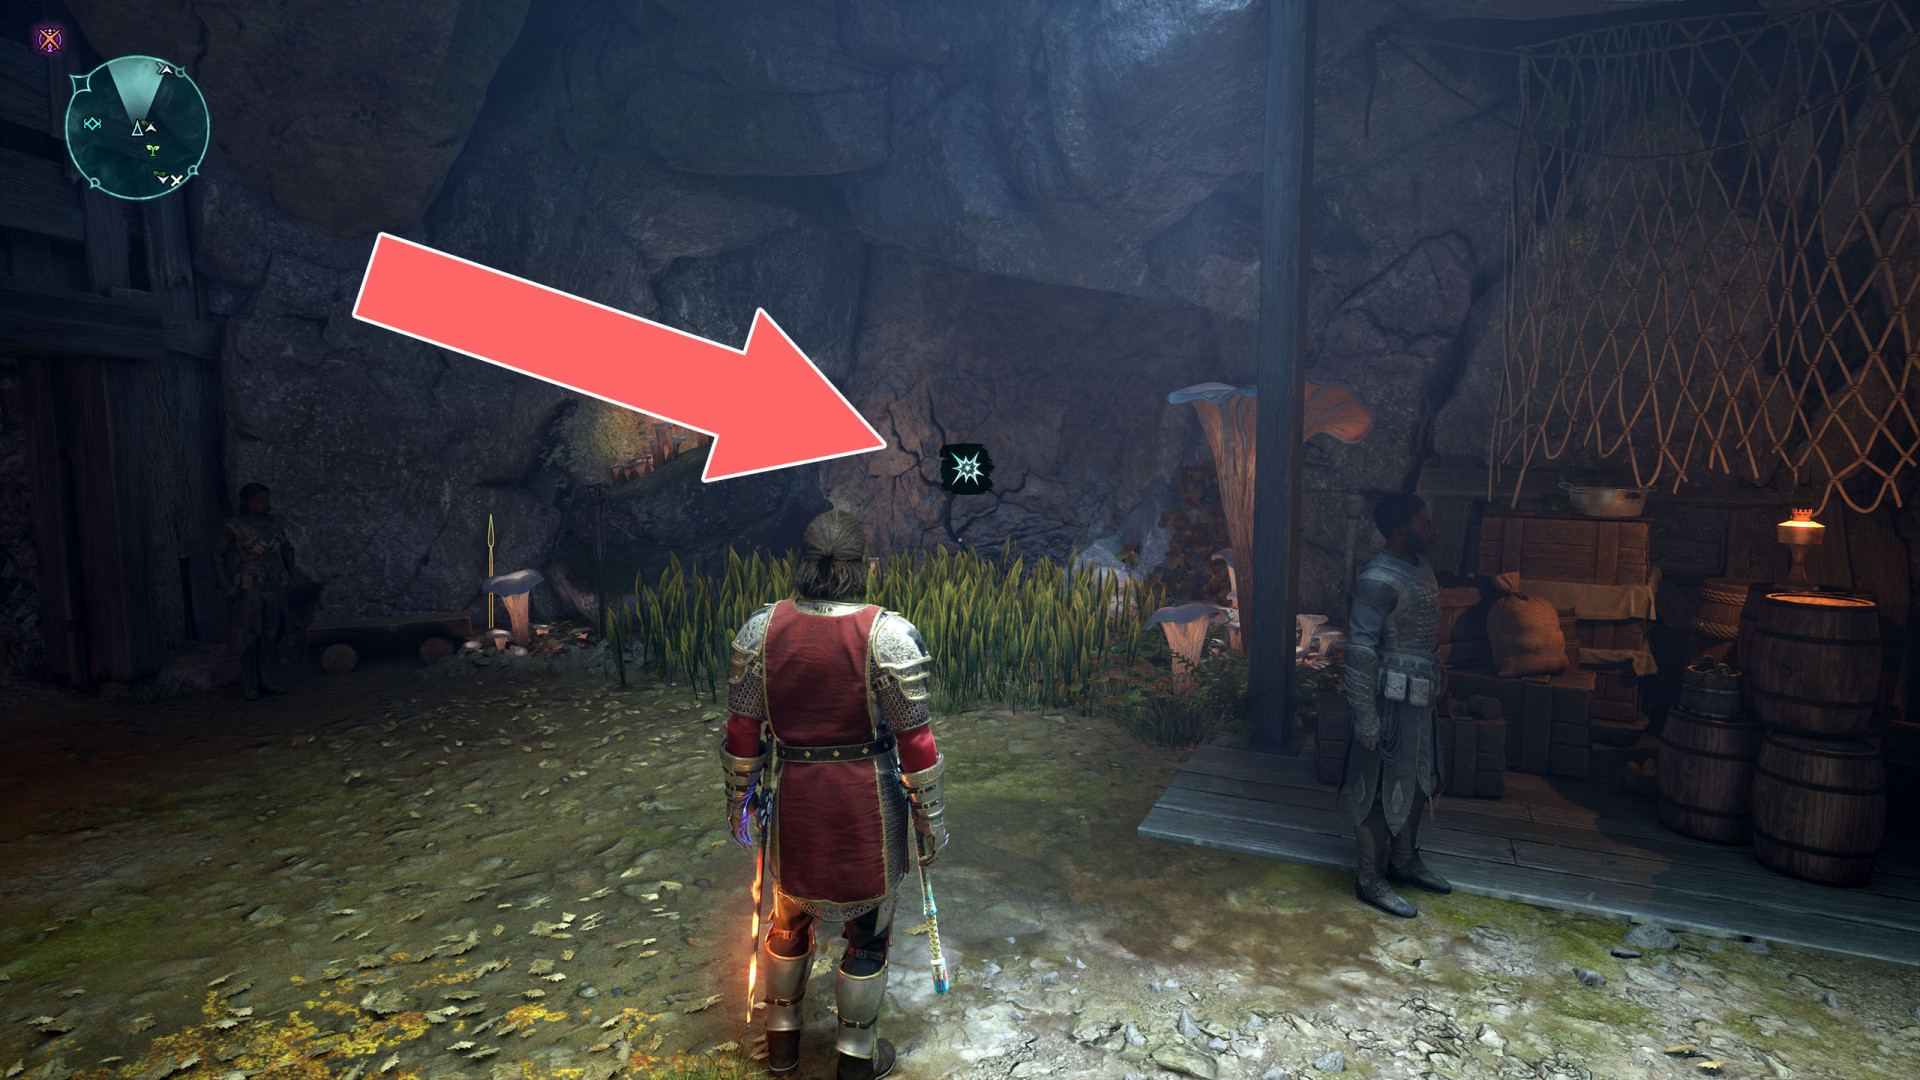
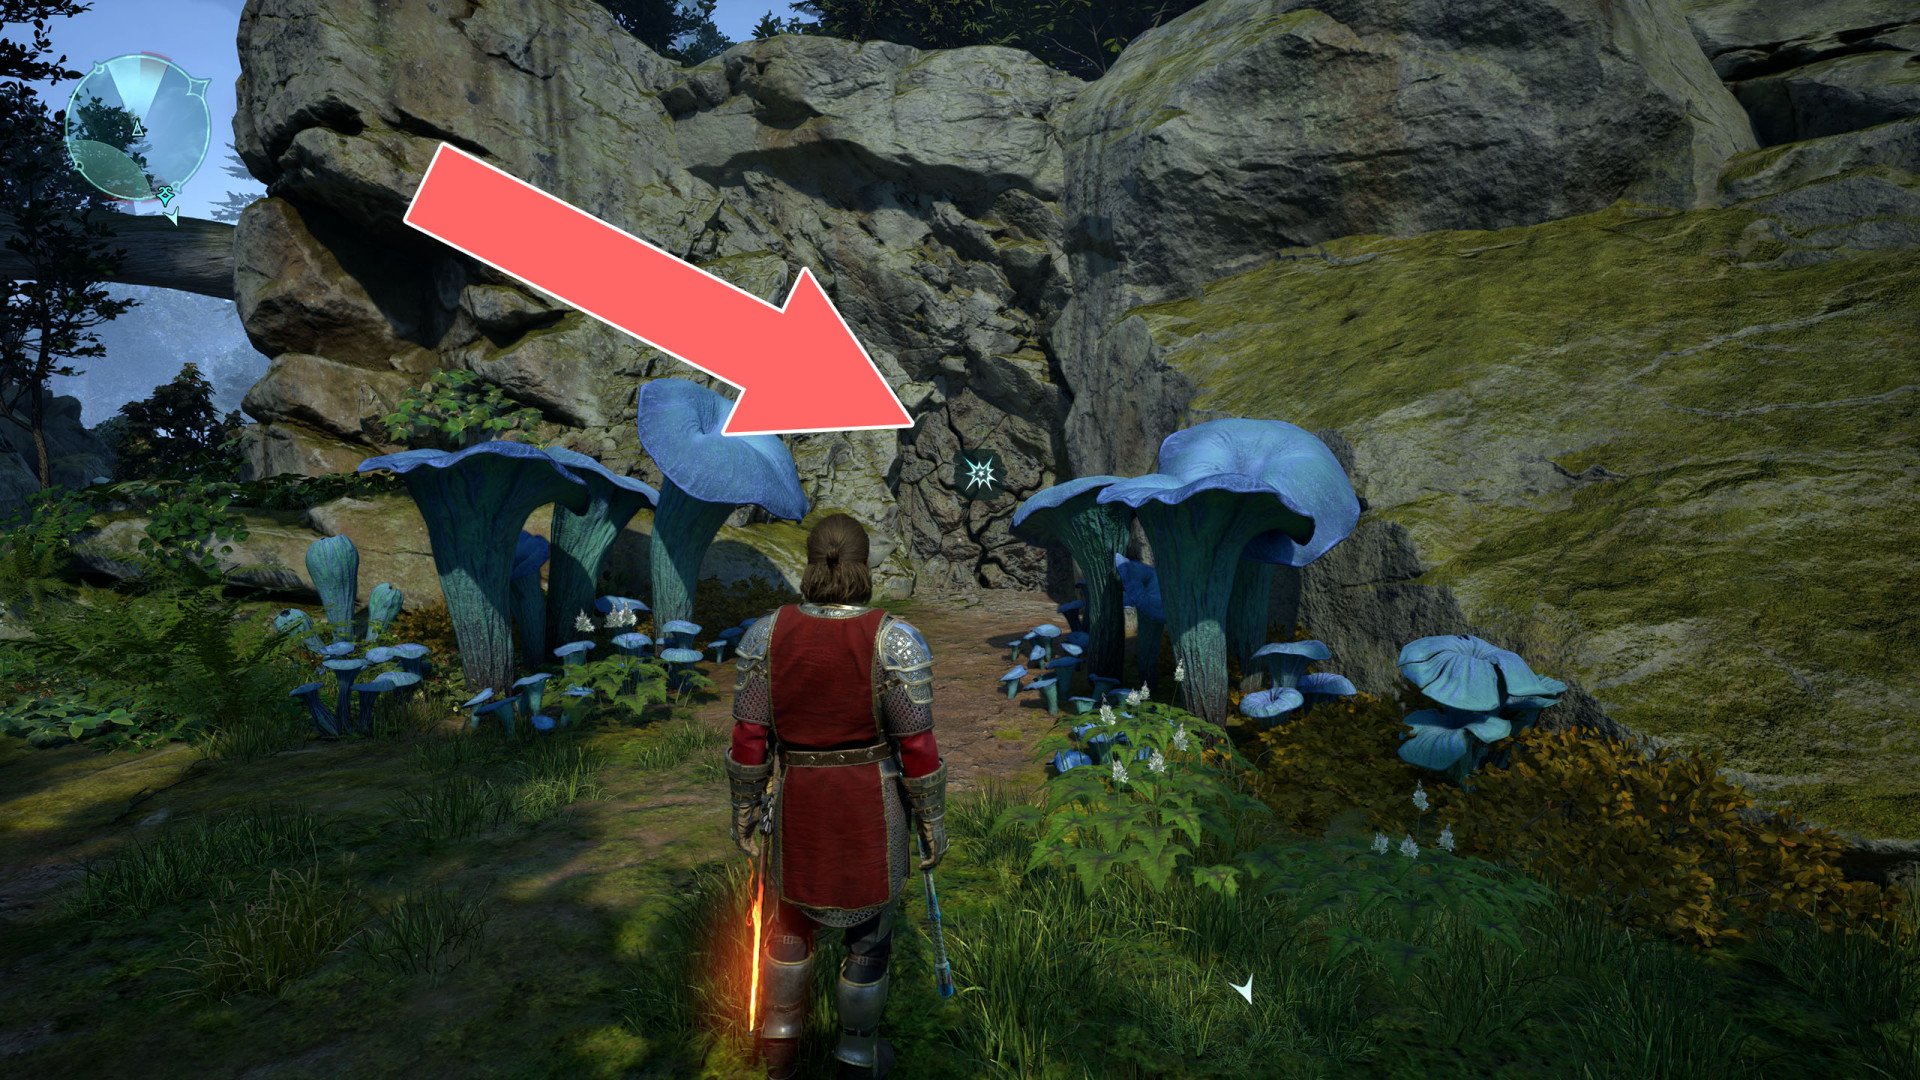
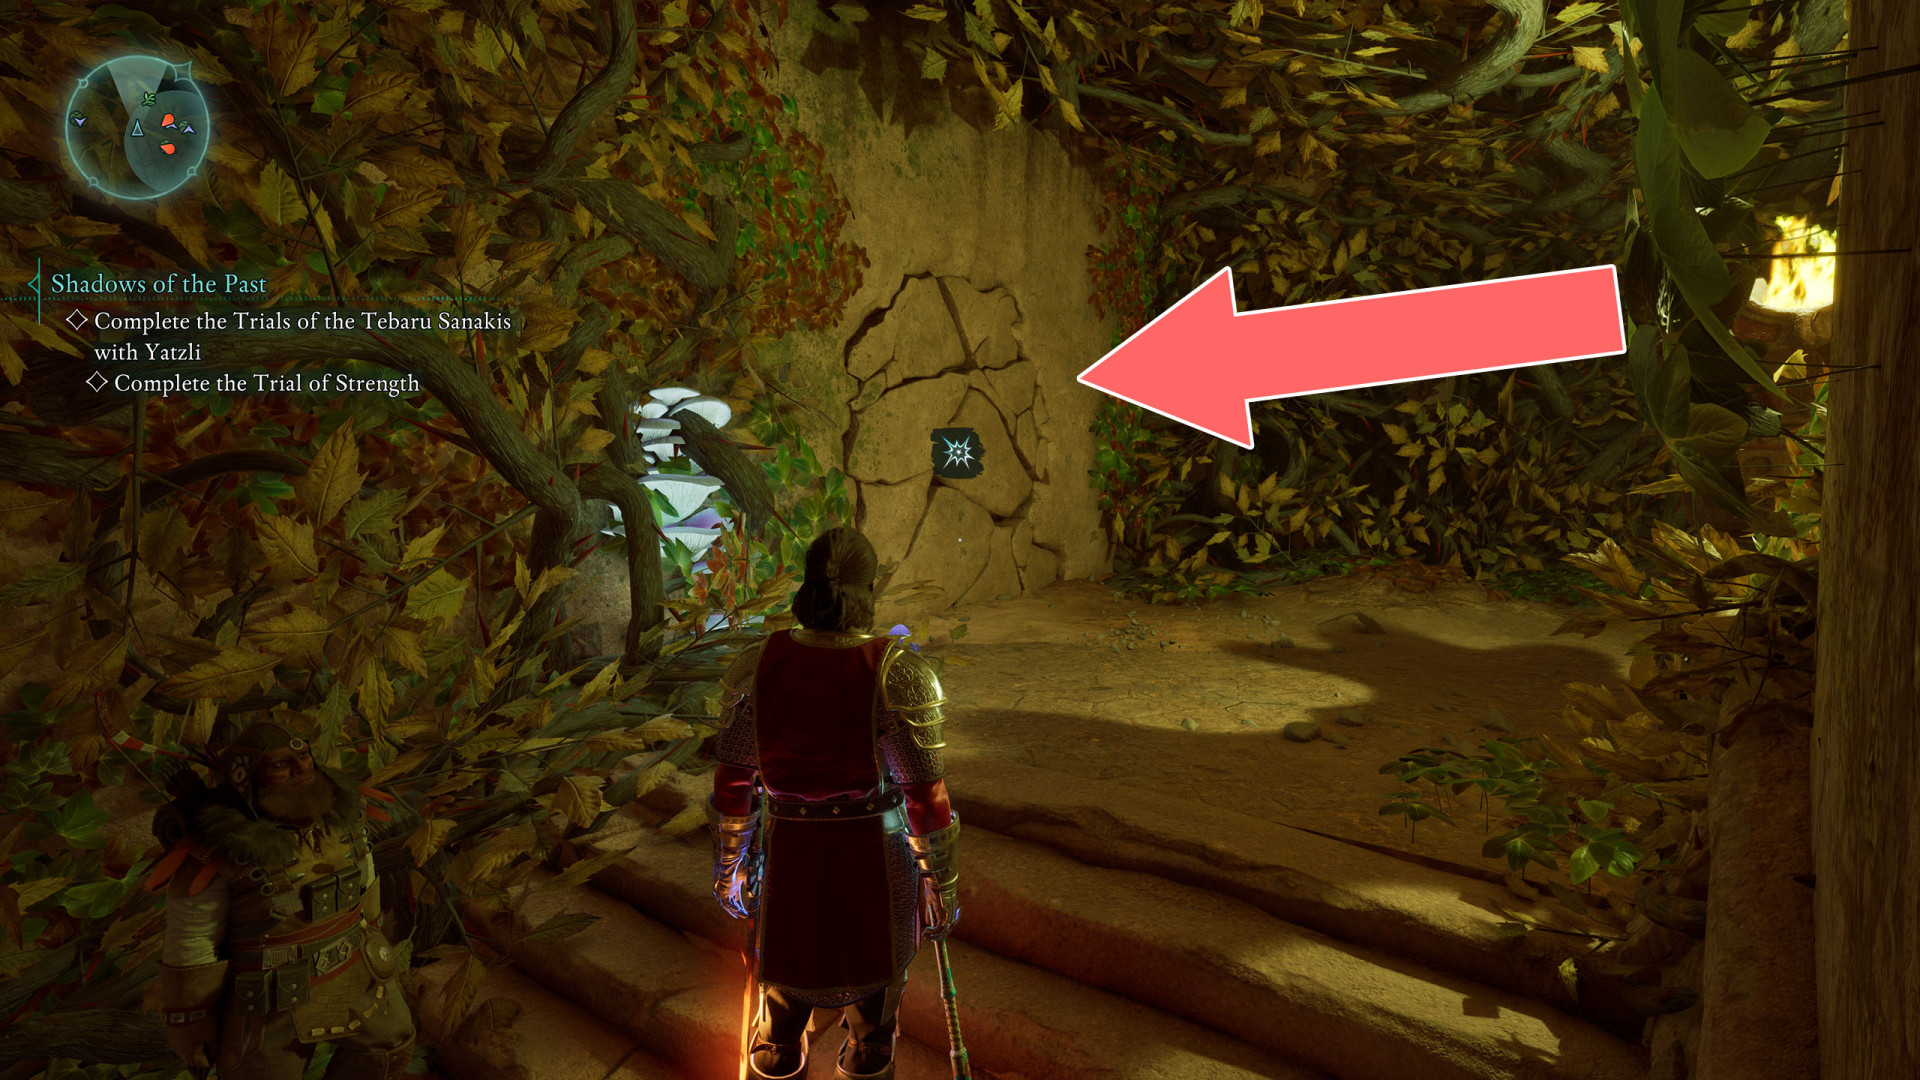
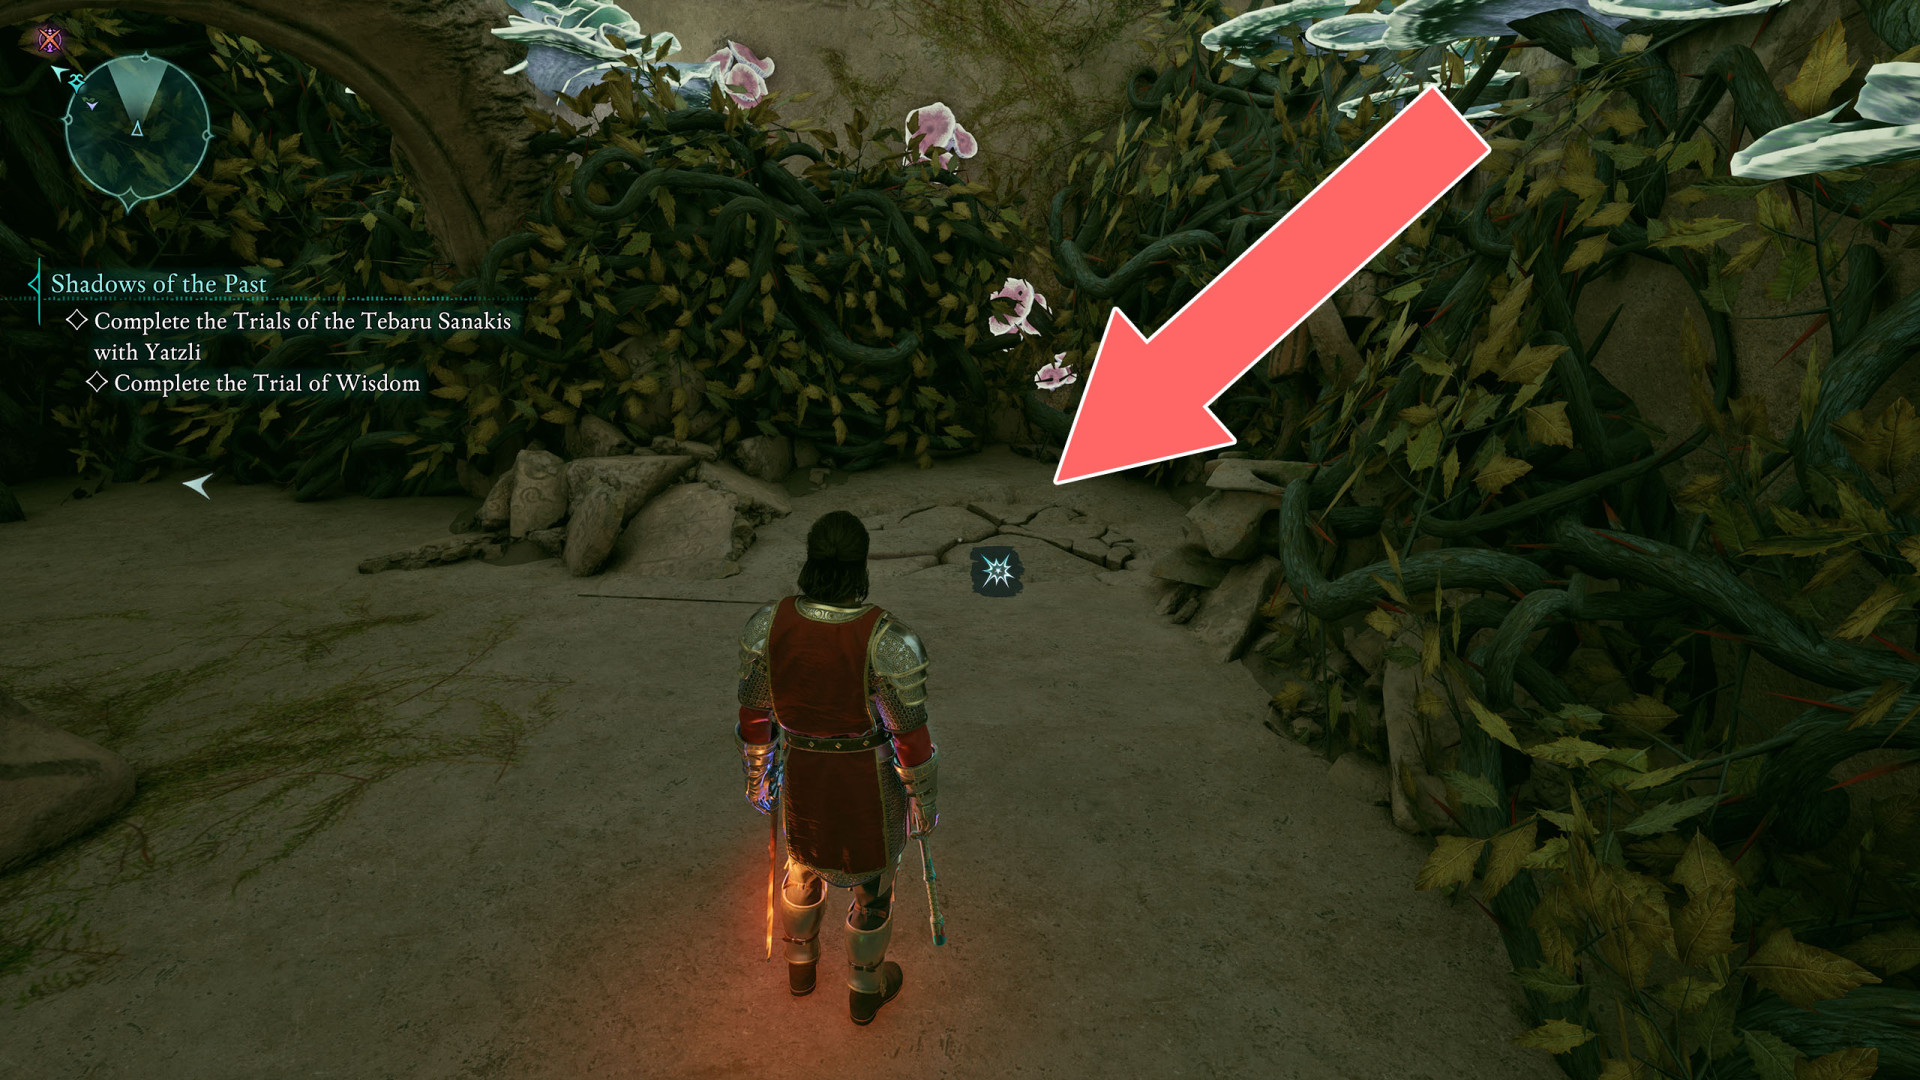
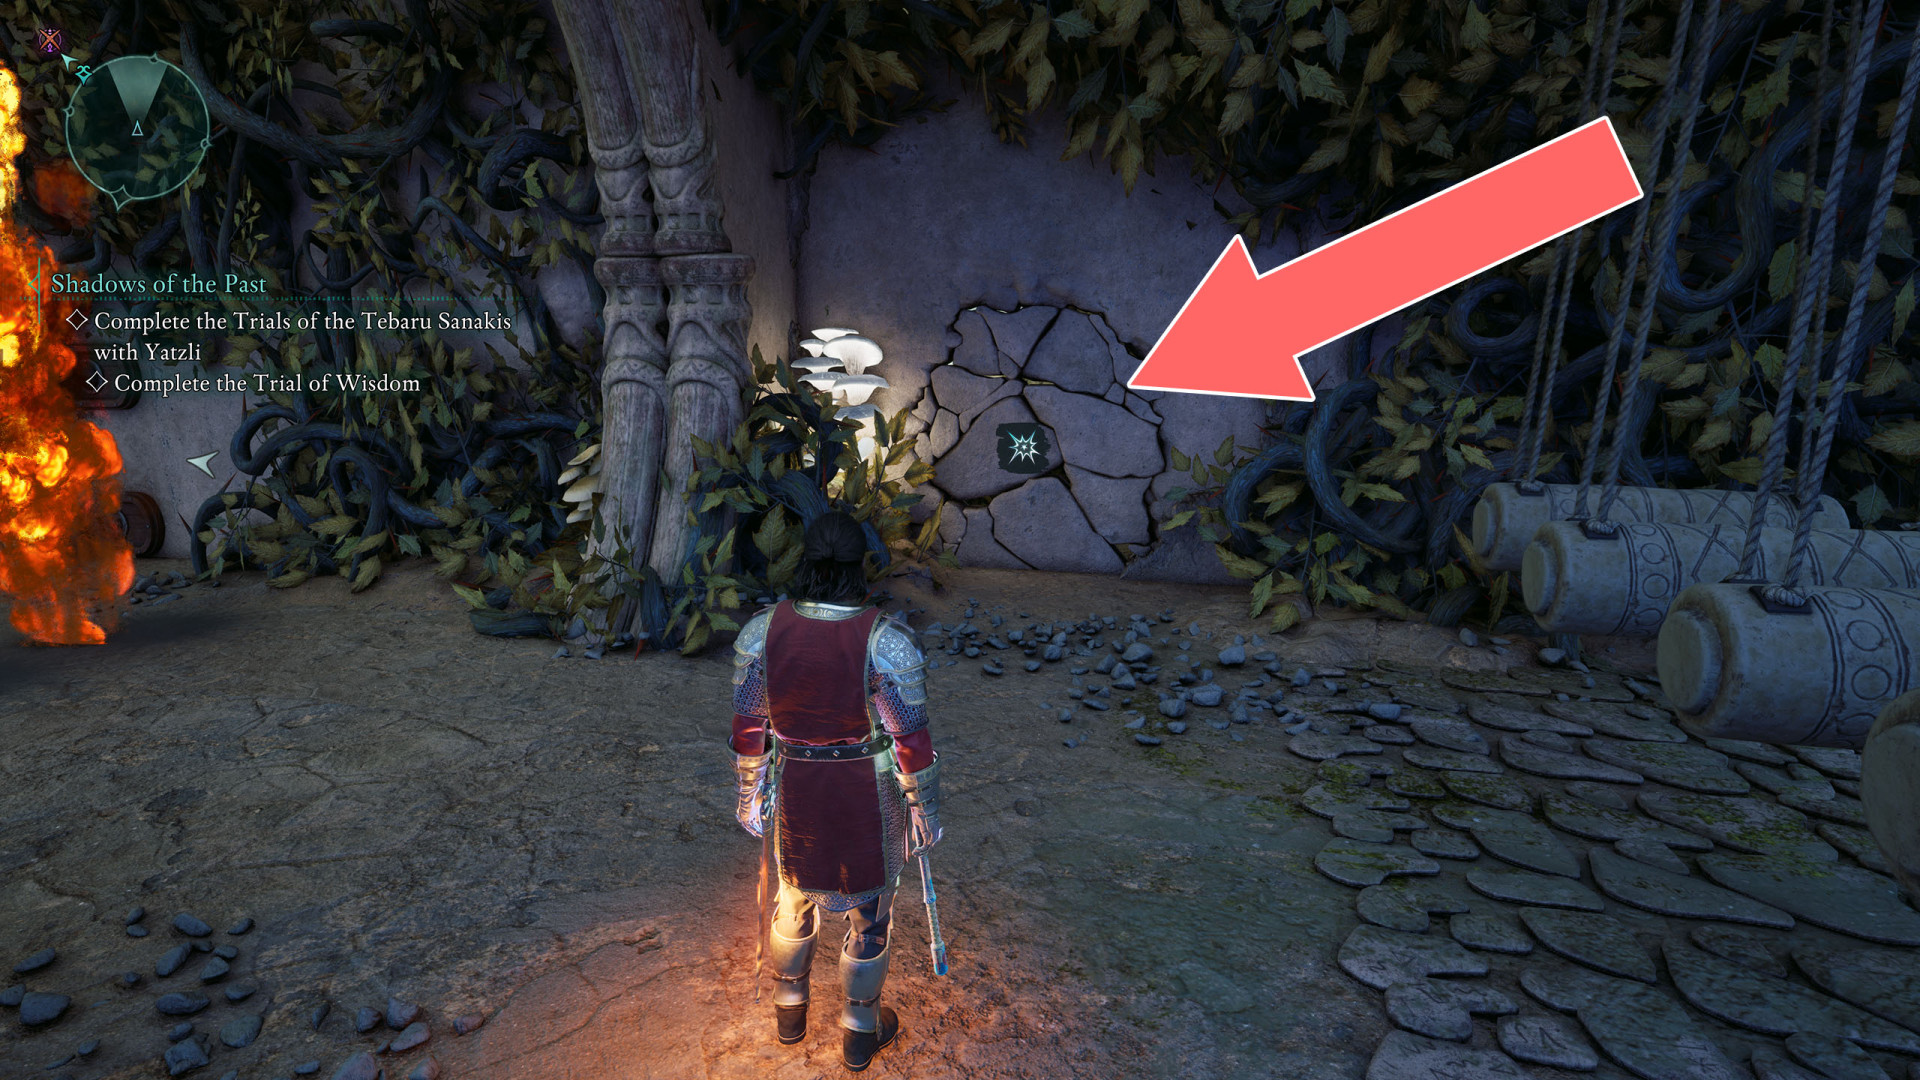
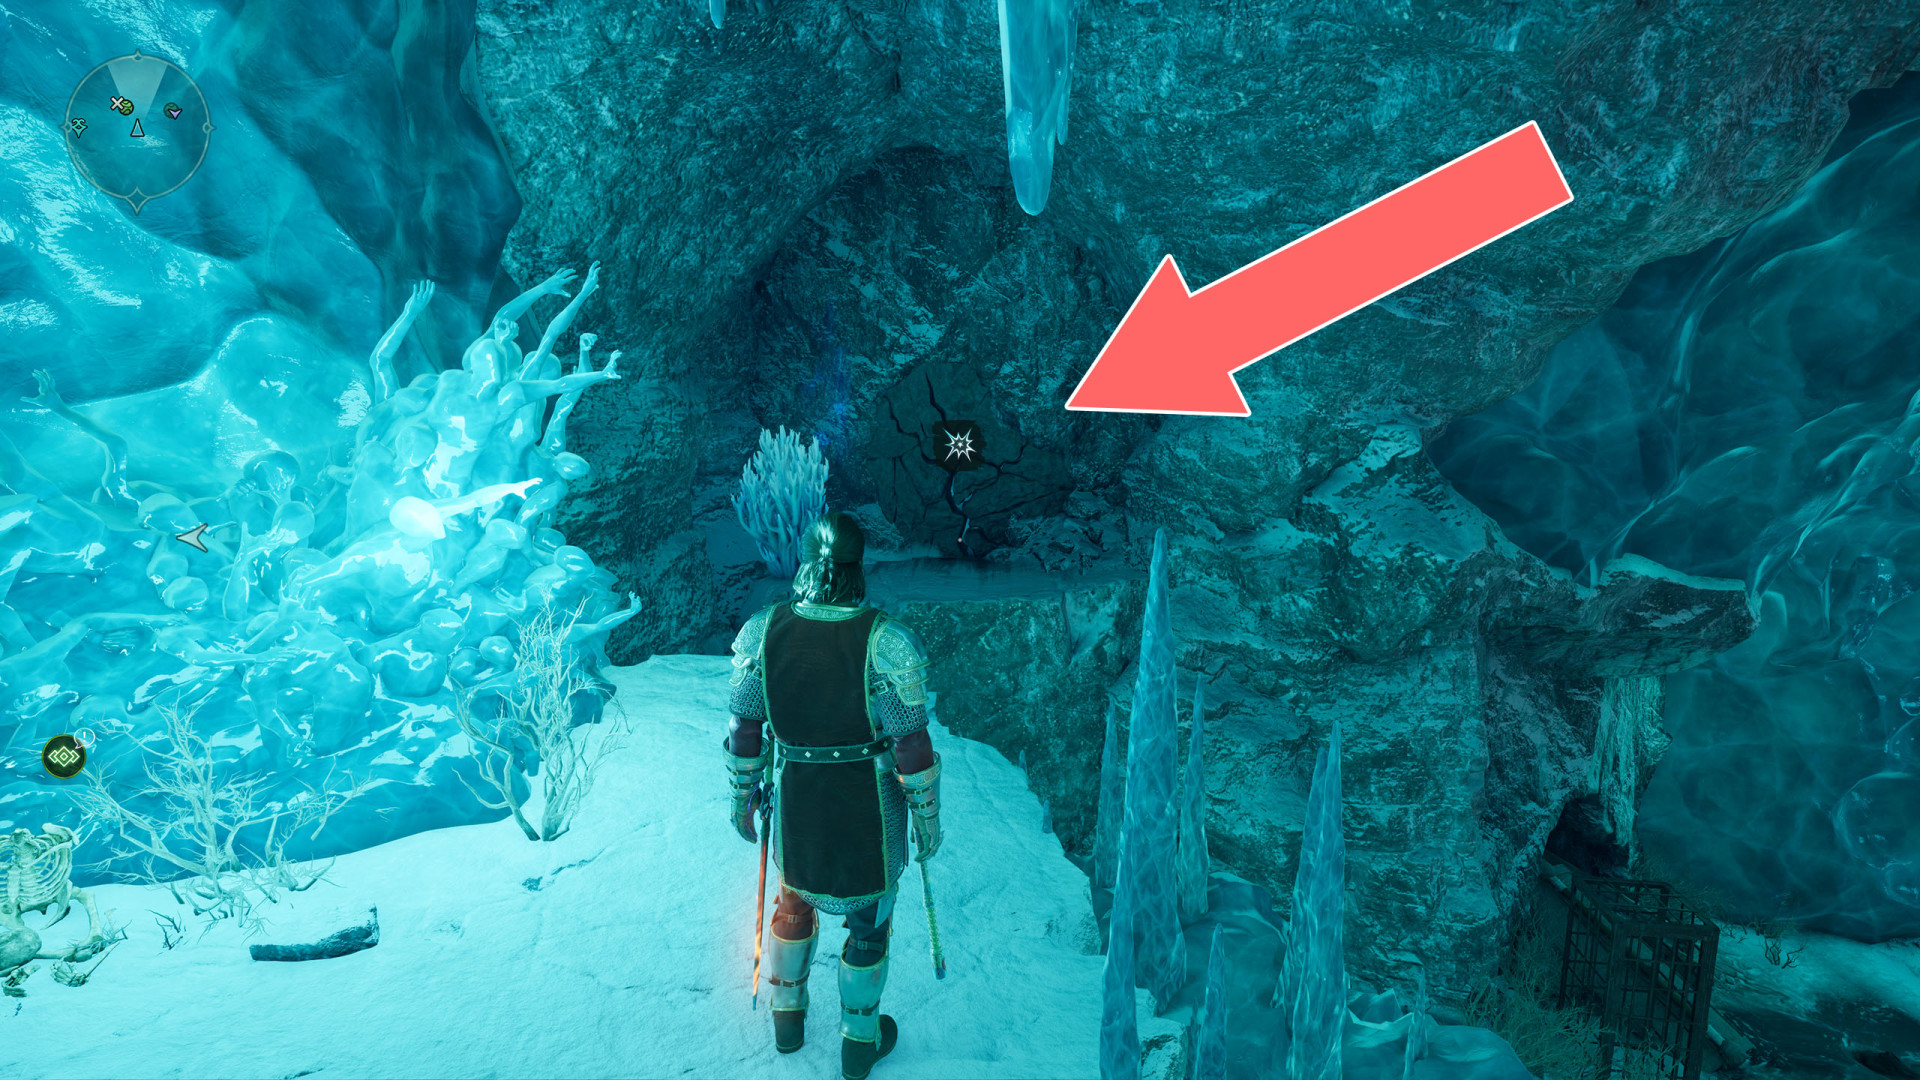
- Weak Wall
- Weak Wall
- Weak Wall
- Weak Wall
- Weak Wall
- Weak Wall
- Weak Wall
- Weak Wall
- Weak Wall
- Weak Wall
- Weak Wall
- Weak Wall
- Weak Wall
- Weak Wall
- Weak Wall
- Weak Wall
- Weak Wall
- Weak Wall
- Weak Wall
- Weak Wall
- Weak Wall
- Weak Wall
- Weak Wall
- Weak Wall
- Weak Wall
- Weak Wall
- Weak Wall
- Weak Wall
- Weak Wall
- Weak Wall
- Weak Wall
- Weak Wall
- Wooden Barrier
- Wooden Barrier
- Wooden Barrier
- Wooden Barrier
- Wooden Barrier
- Wooden Barrier
- Wooden Barrier
- Wooden Barrier
- Wooden Barrier
- Wooden Barrier
- Wooden Barrier
- Wooden Barrier
- Wooden Barrier
- Wooden Barrier
- Wooden Barrier
- Wooden Barrier
- Wooden Barrier
- Wooden Barrier
- Wooden Barrier
- Wooden Barrier
- Wooden Barrier
- Wooden Barrier
- Wooden Barrier
- Wooden Barrier
- Wooden Barrier
- Wooden Barrier
- Wooden Barrier
- Wooden Barrier
- Wooden Barrier
- Wooden Barrier
- Wooden Barrier
- Wooden Barrier
- Wooden Barrier
- Wooden Barrier
- Wooden Barrier
- Wooden Barrier
- Wooden Barrier
- Wooden Barrier
- Wooden Barrier
- Wooden Barrier
- Wooden Barrier
- Wooden Barrier
- Wooden Barrier x2
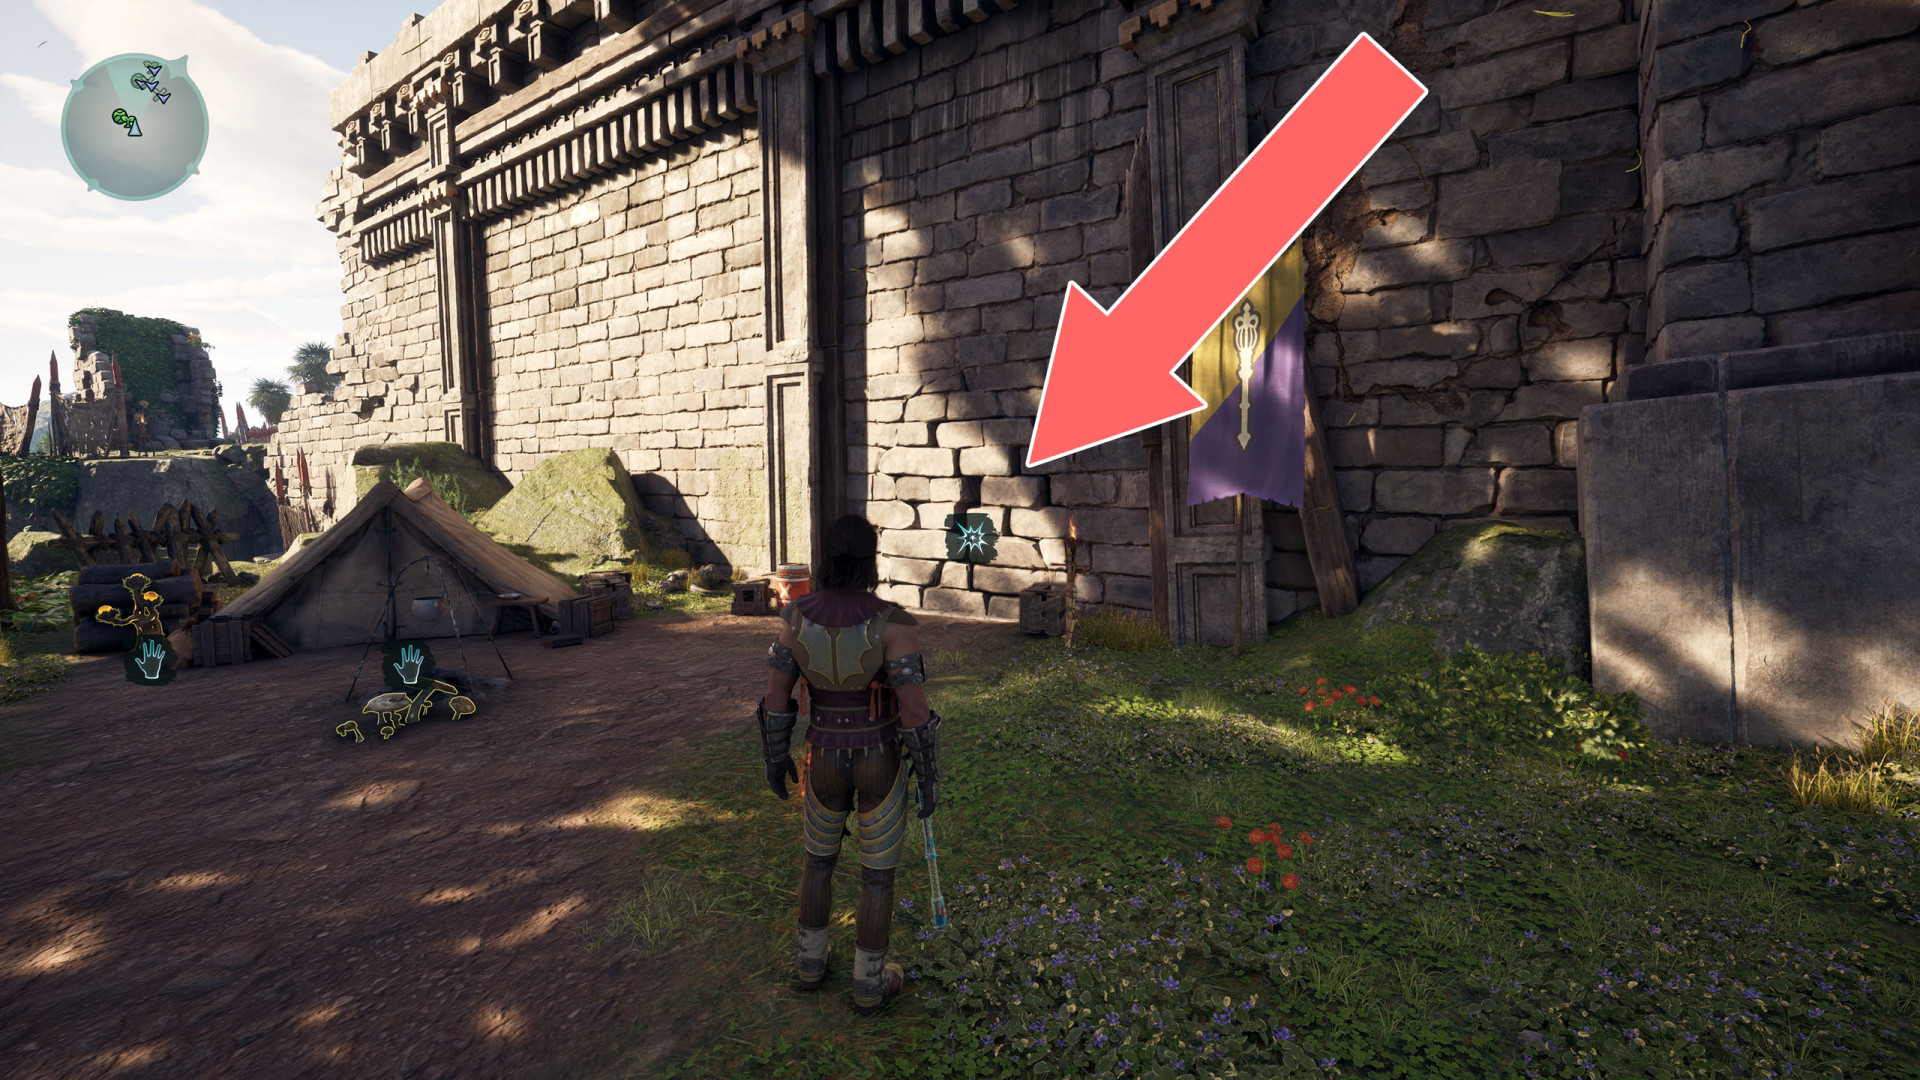
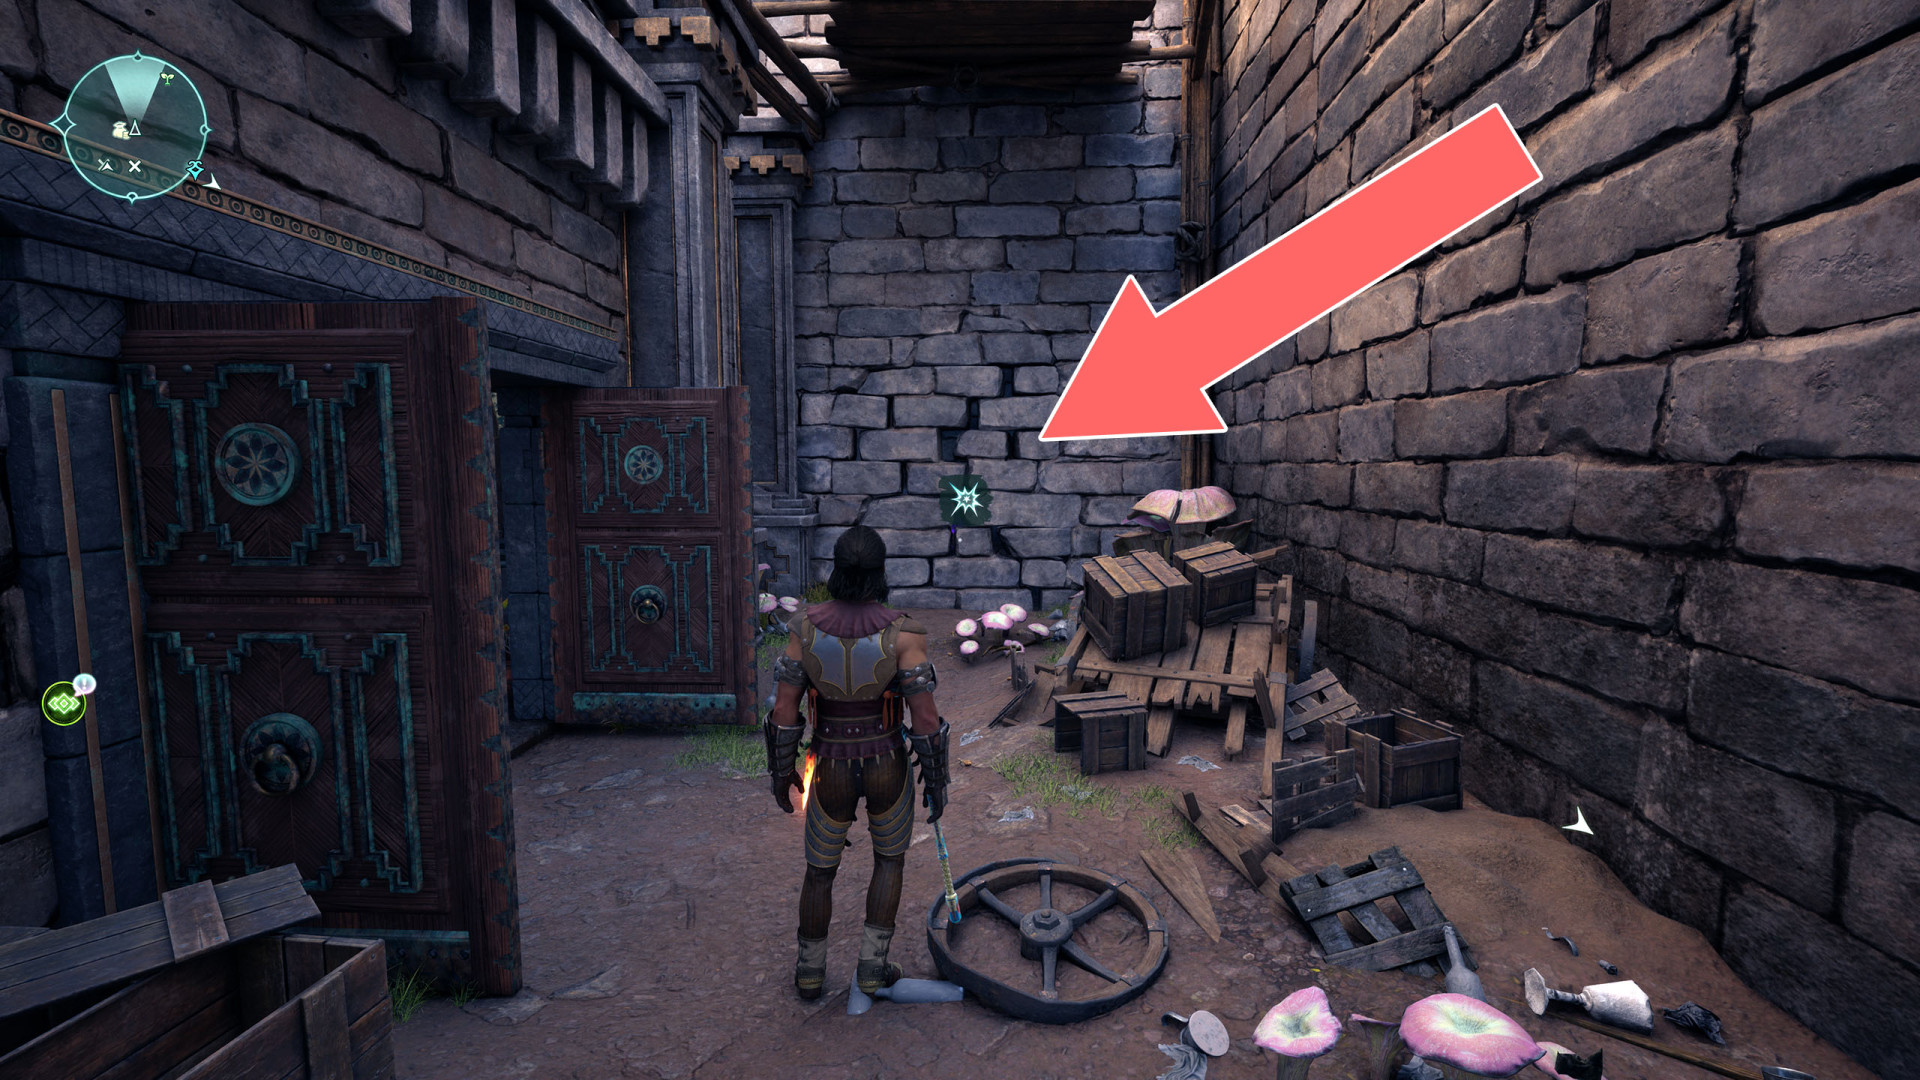
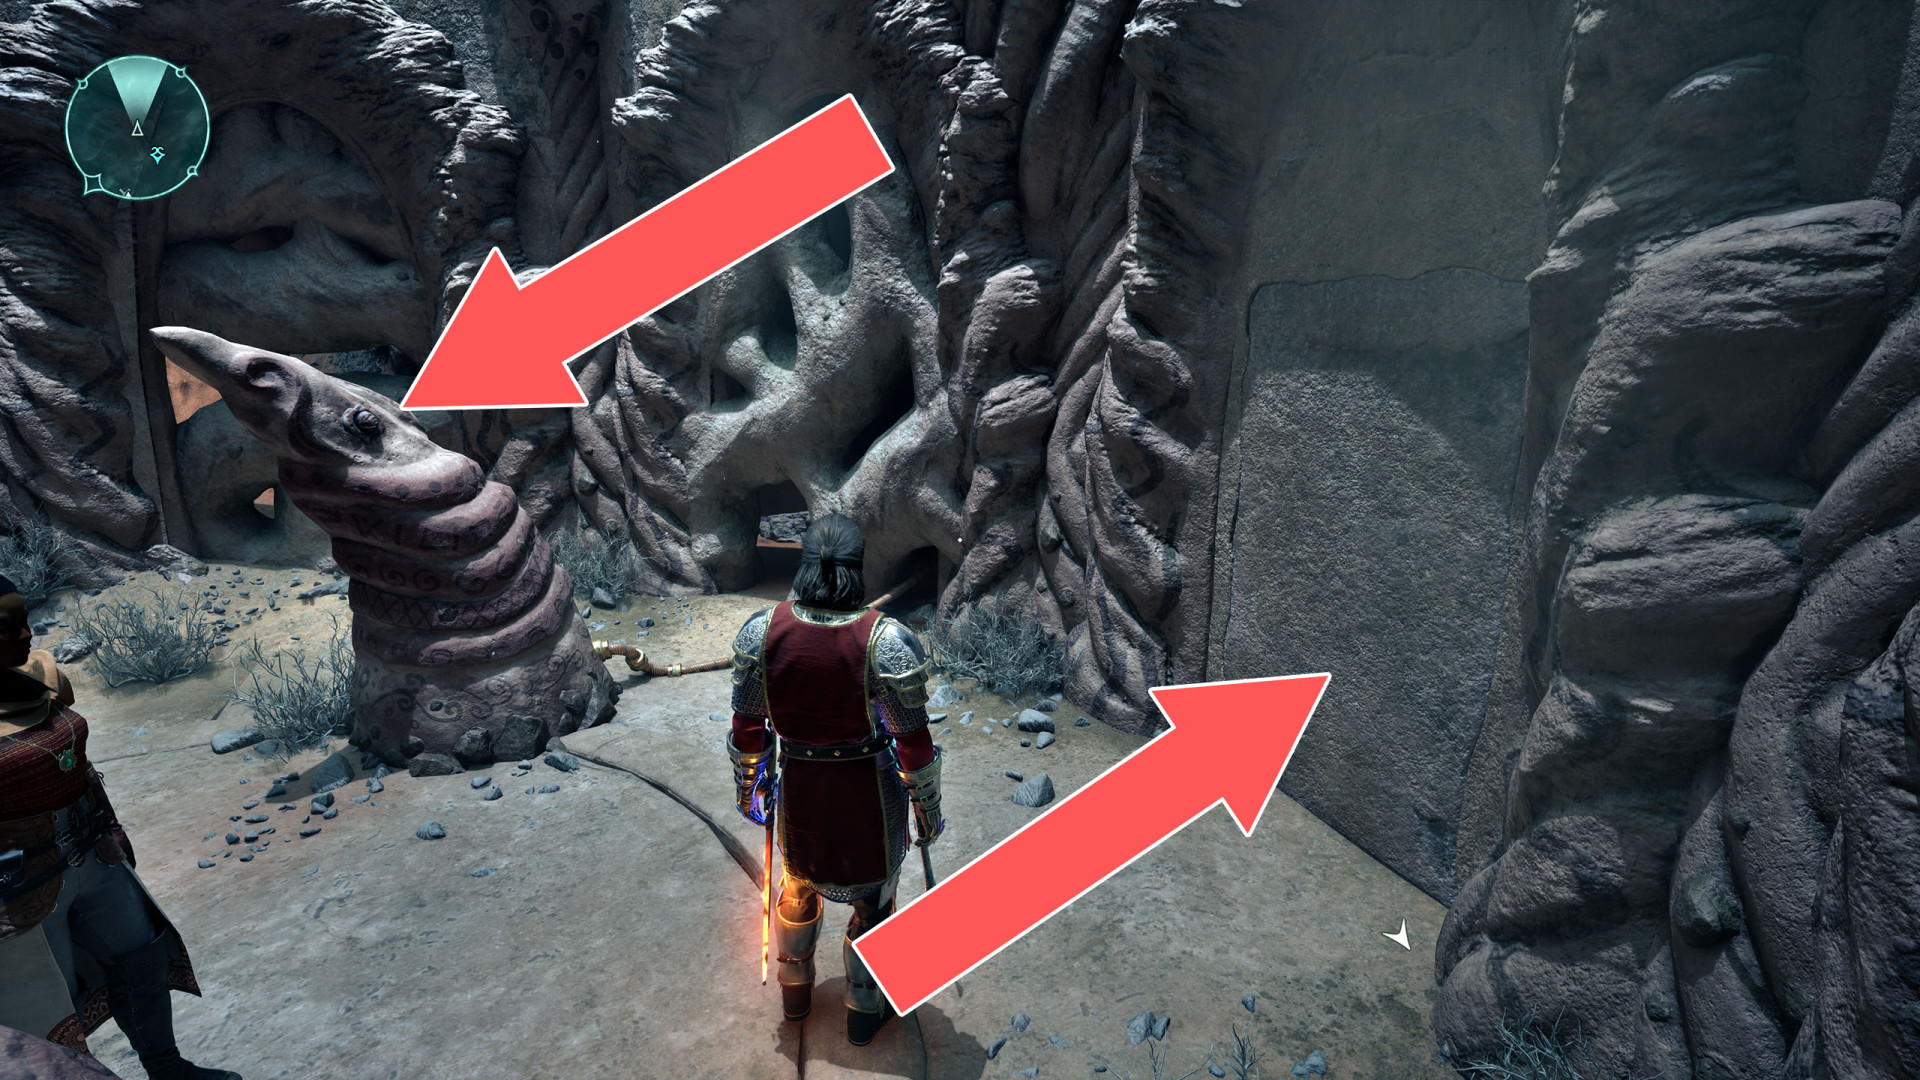
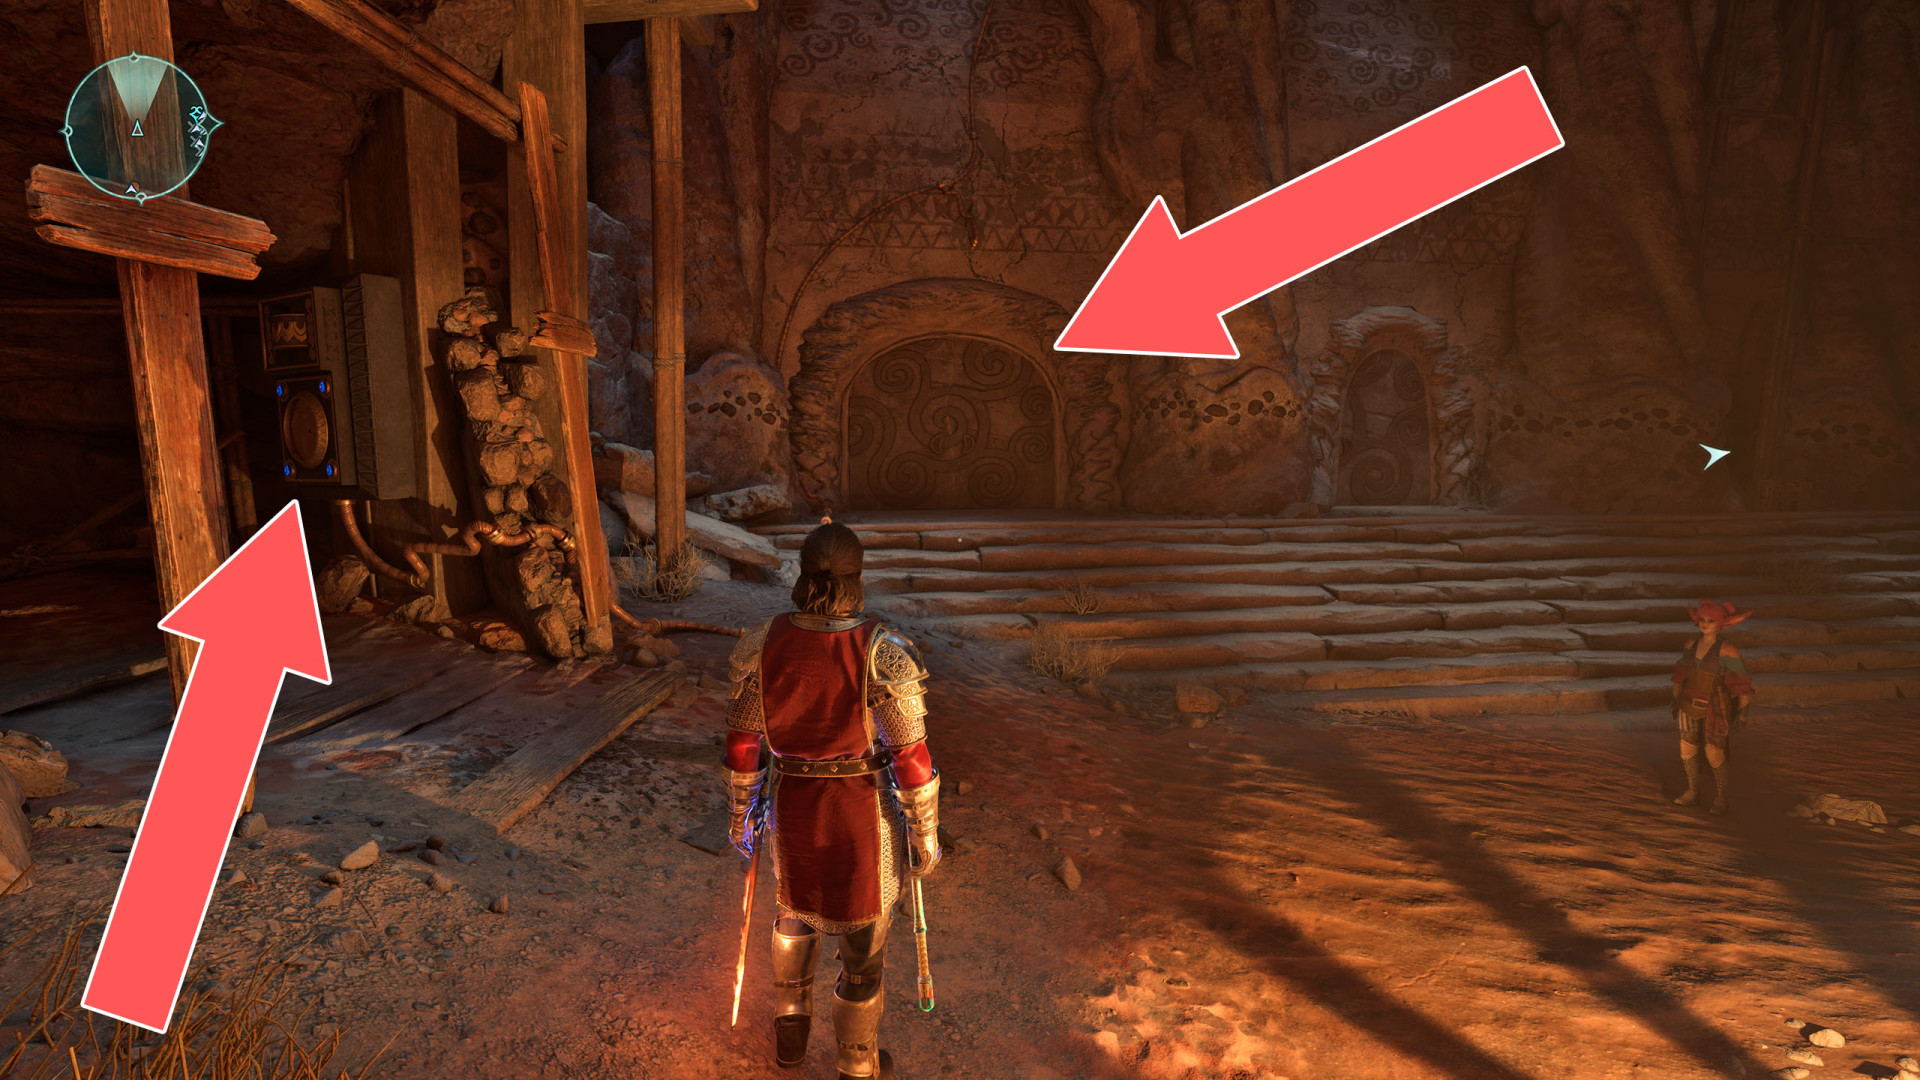
All known locations on the map Fort Northreach
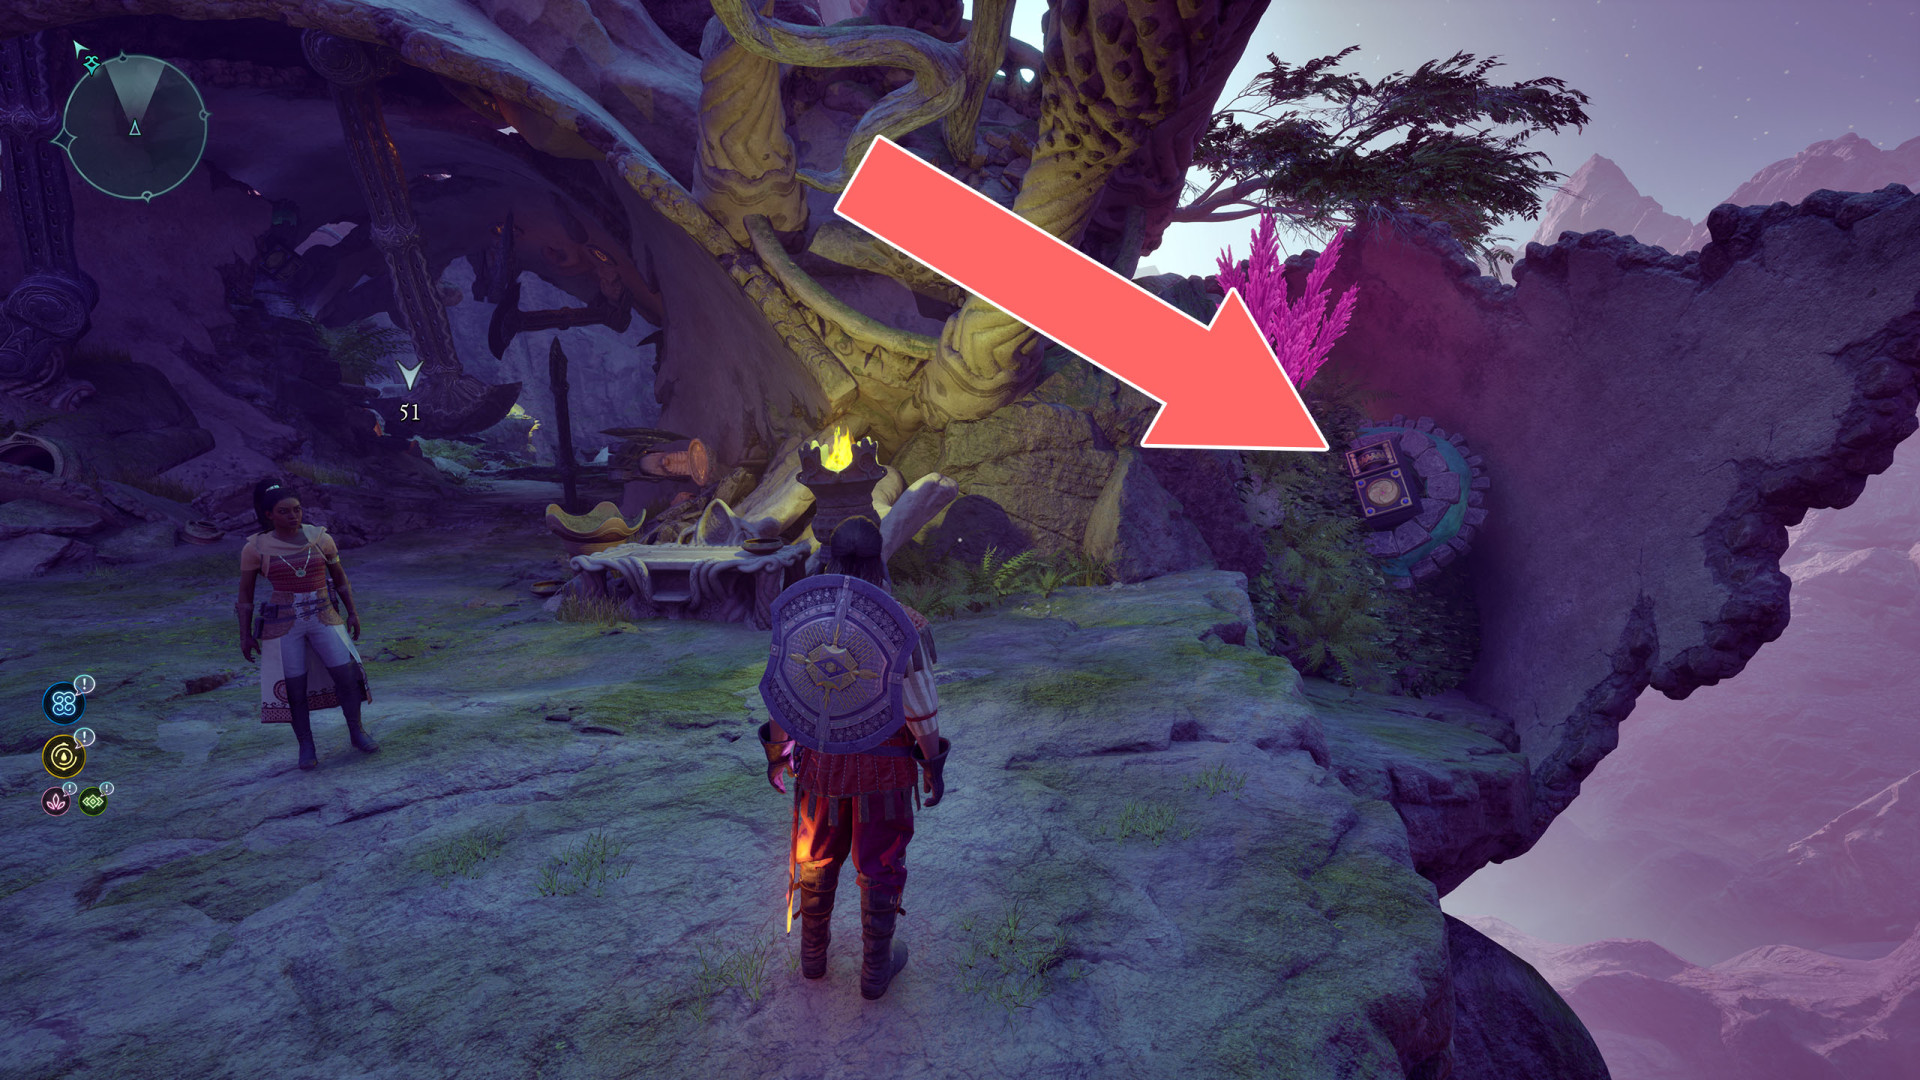
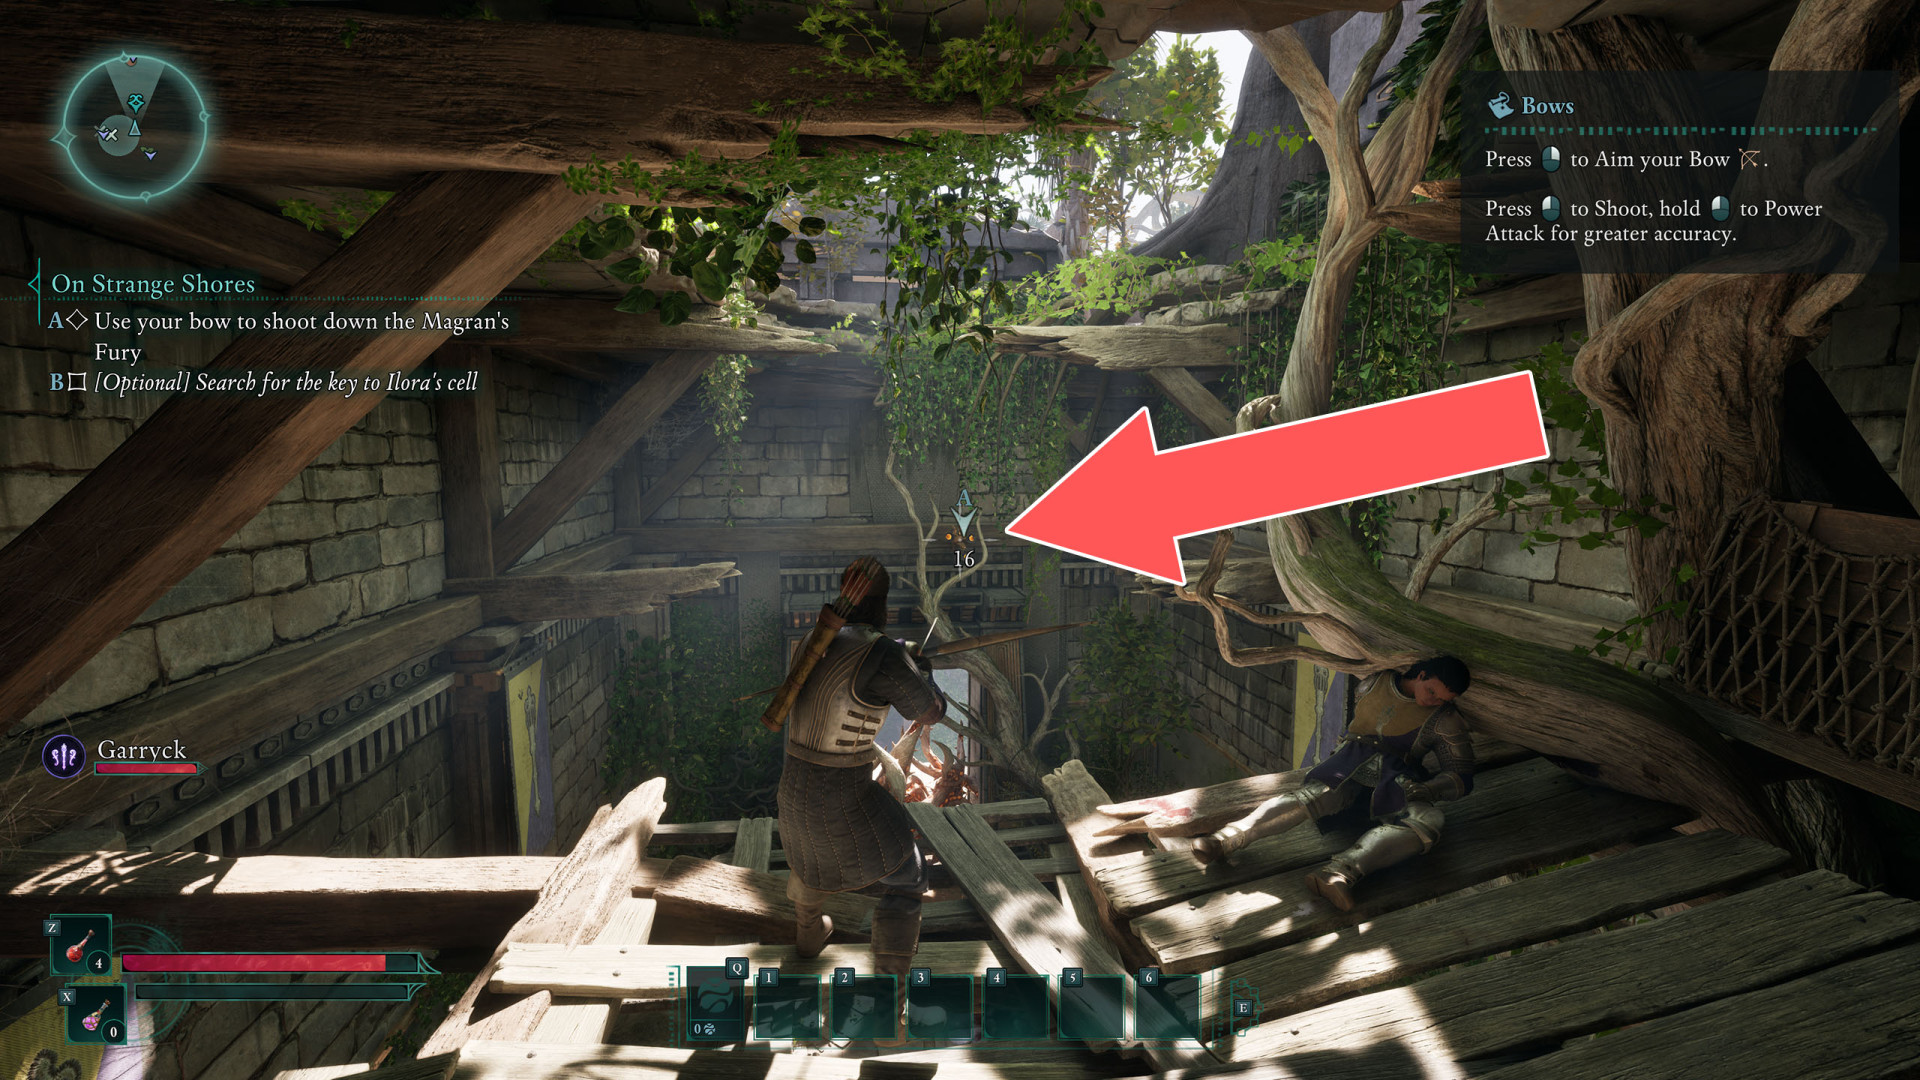
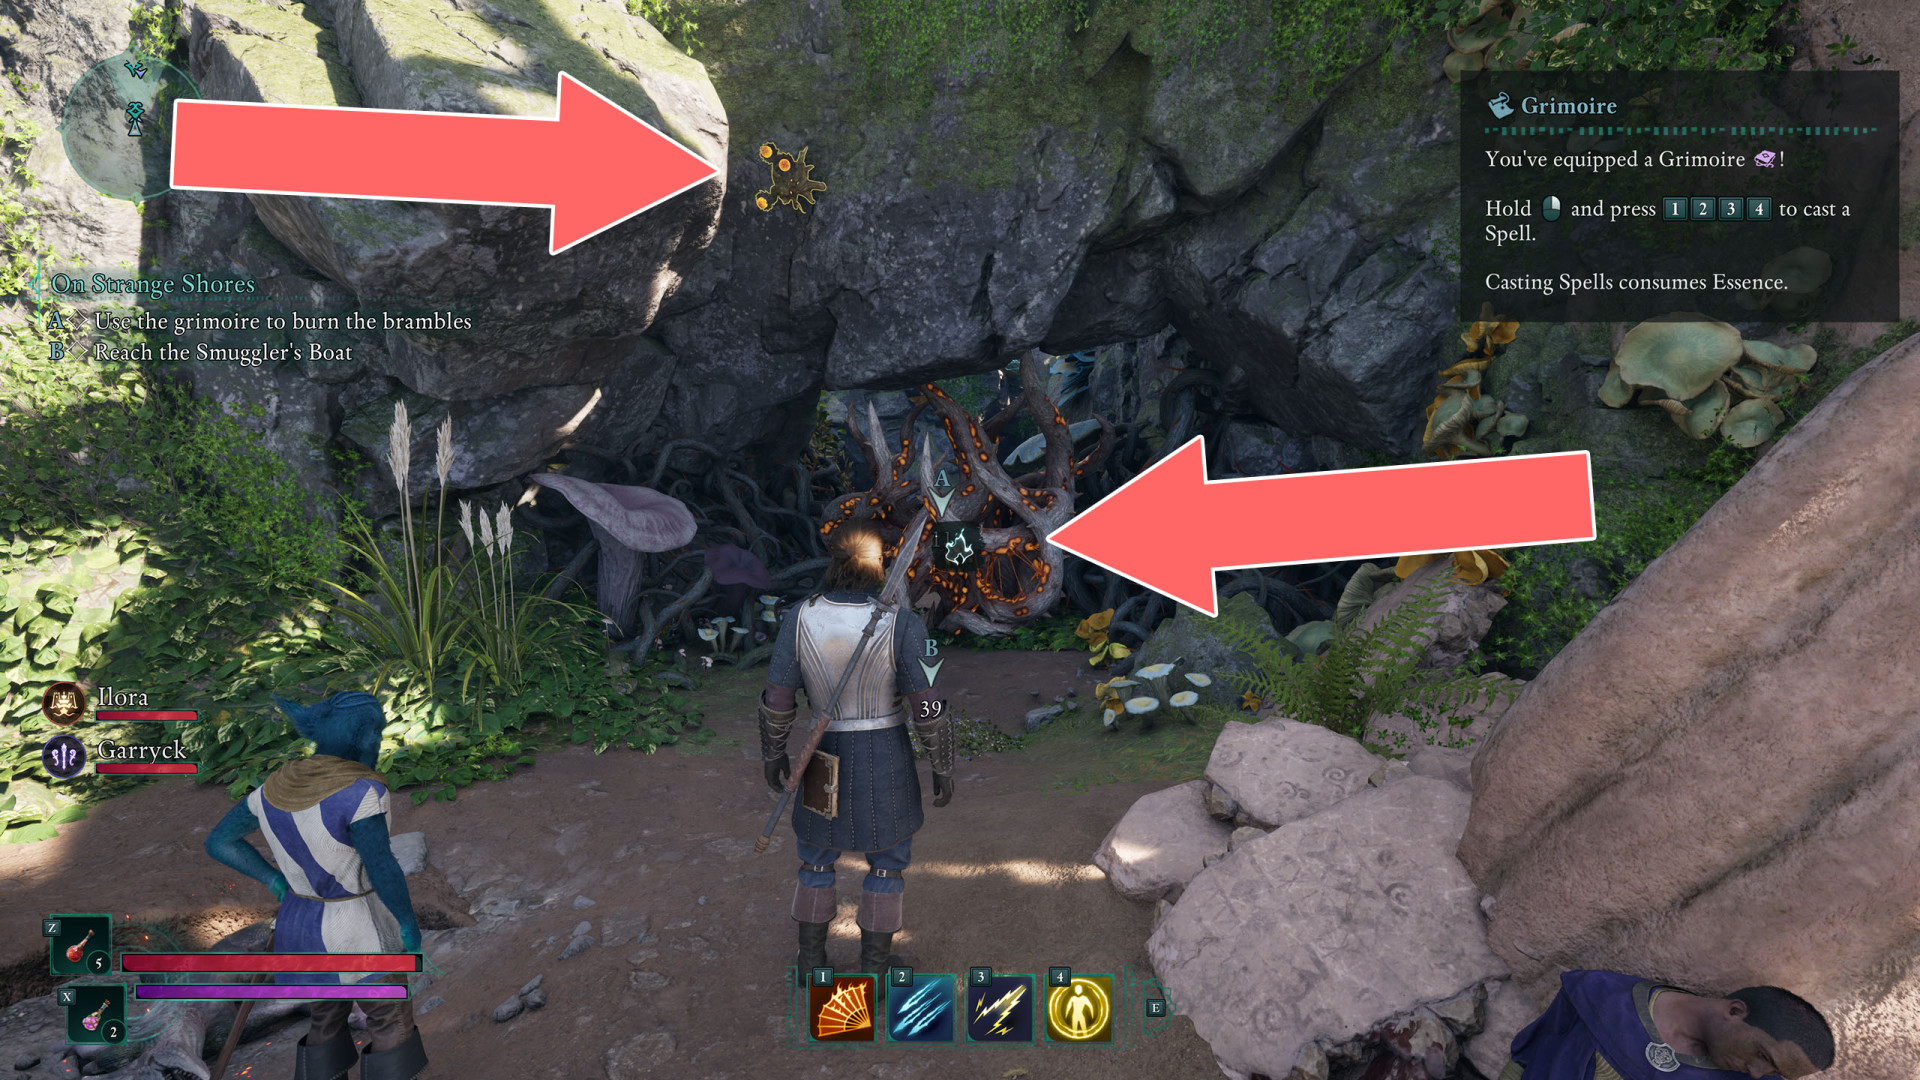
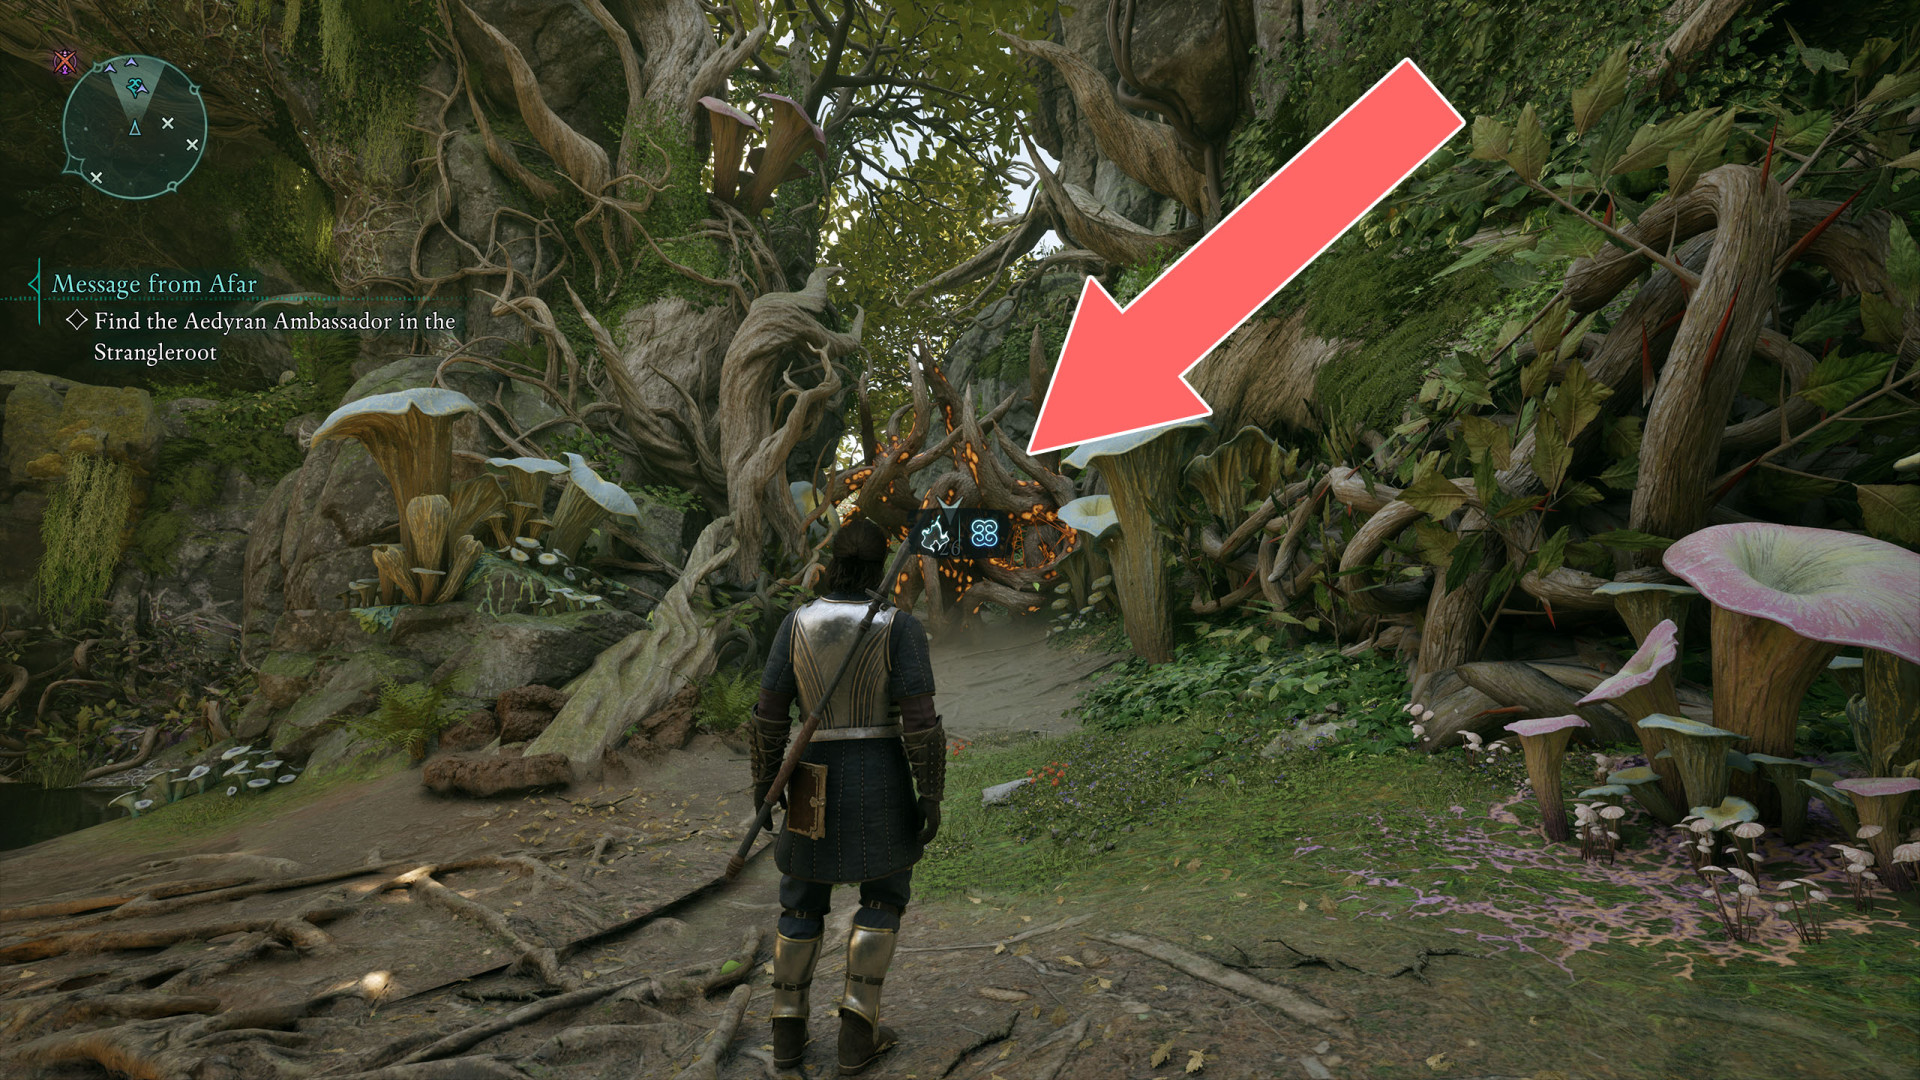
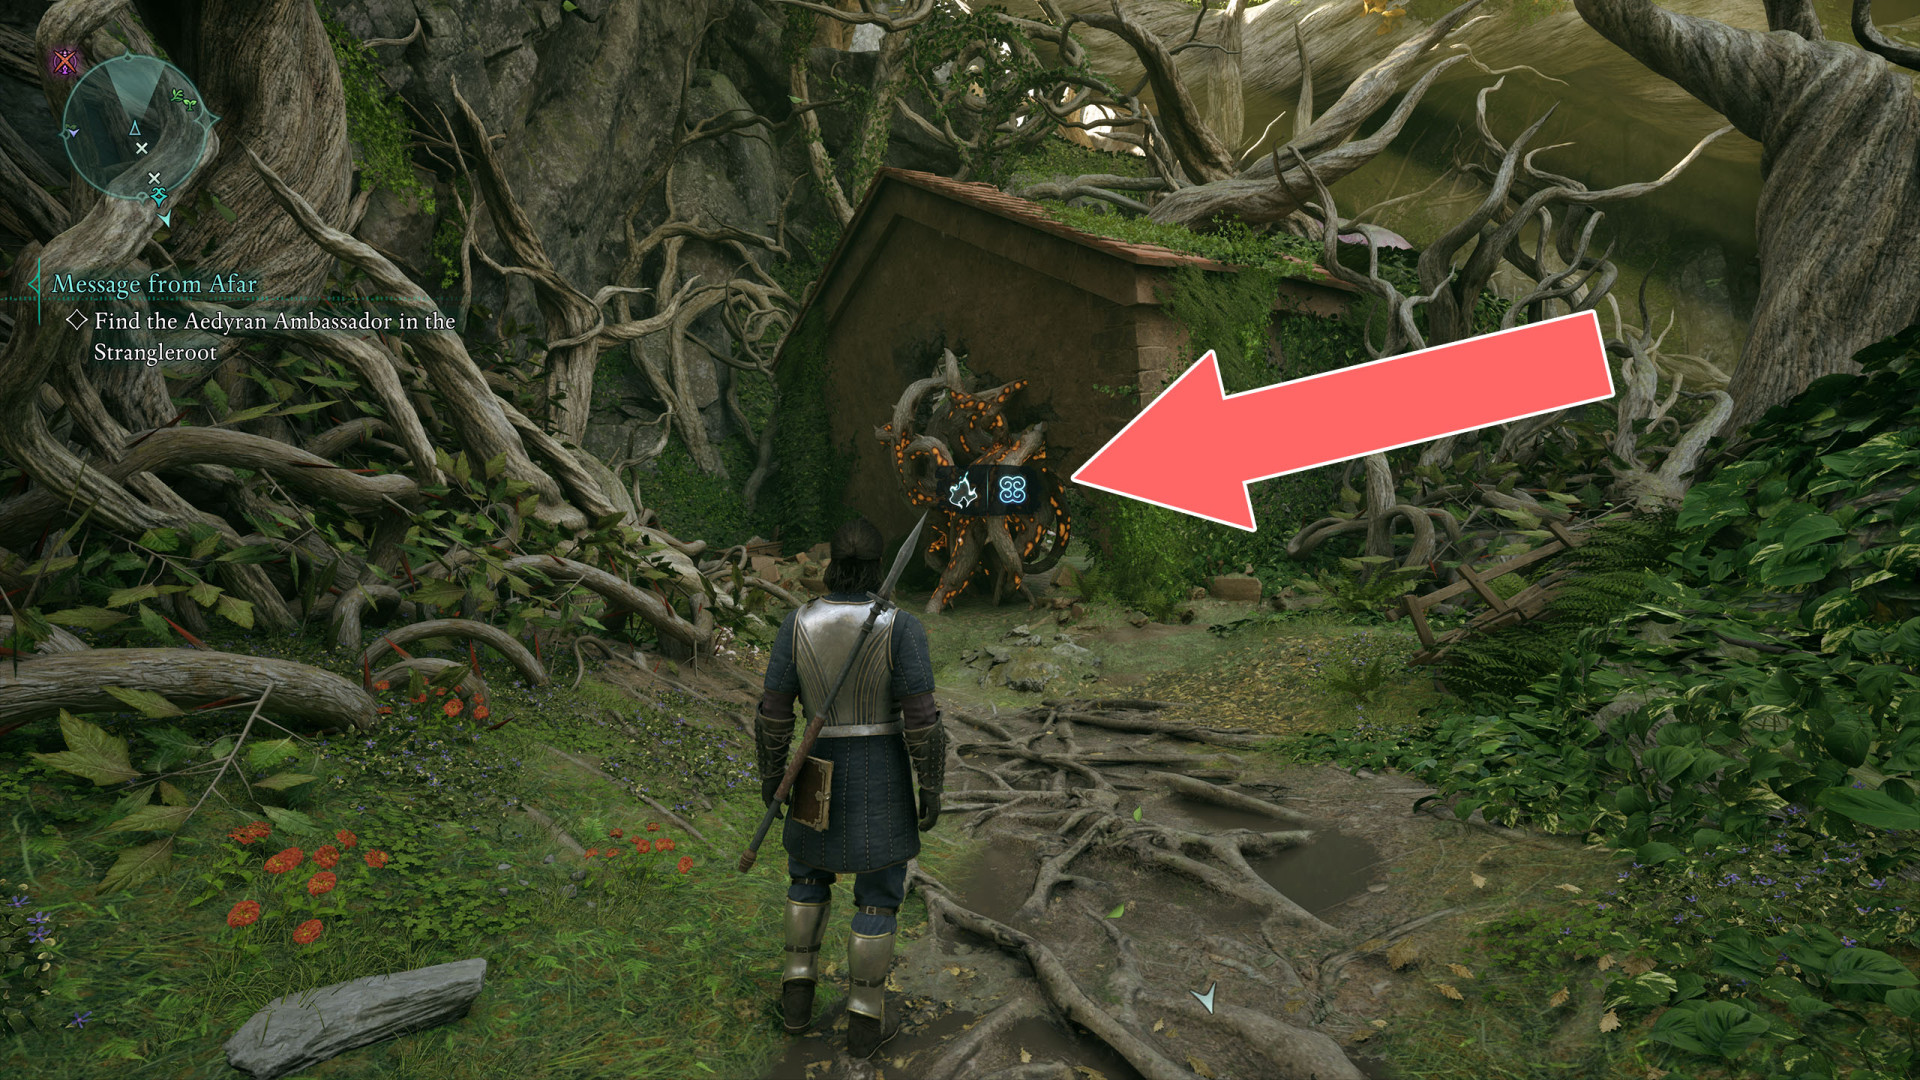
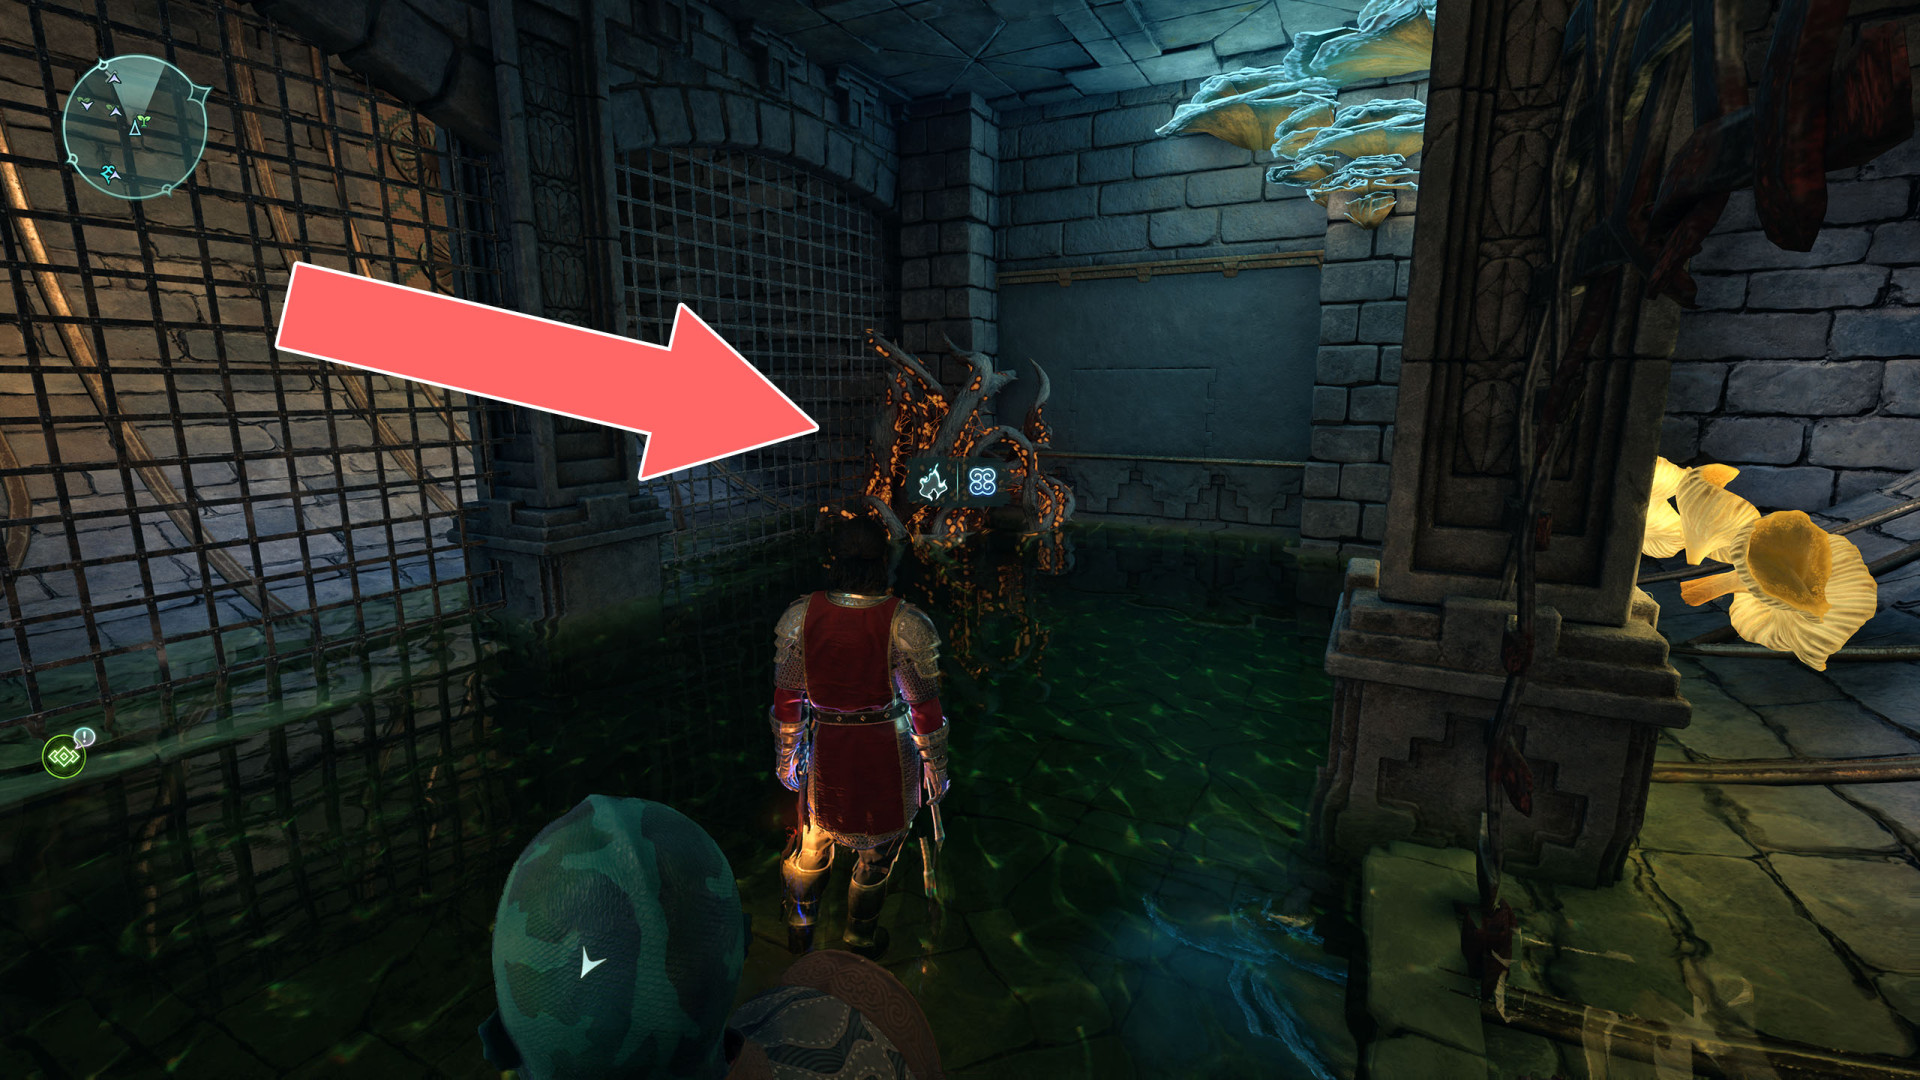
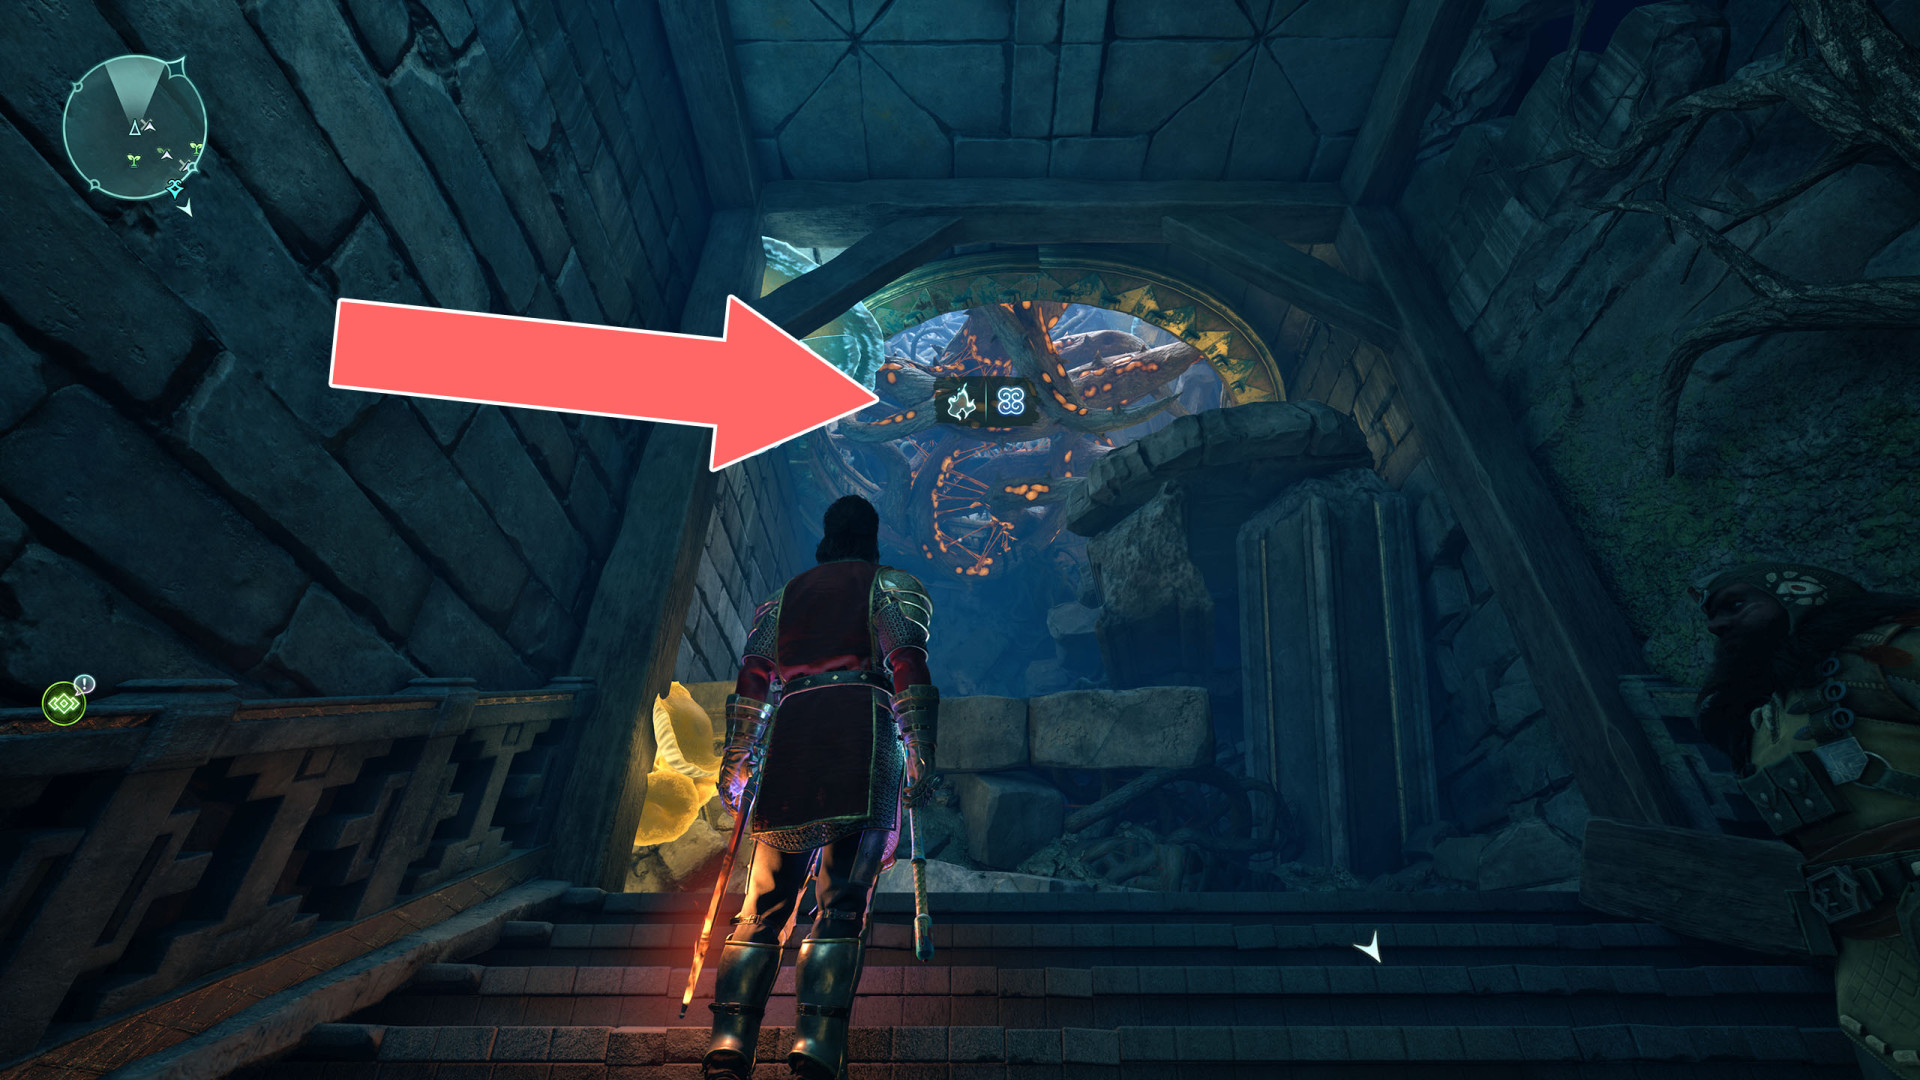
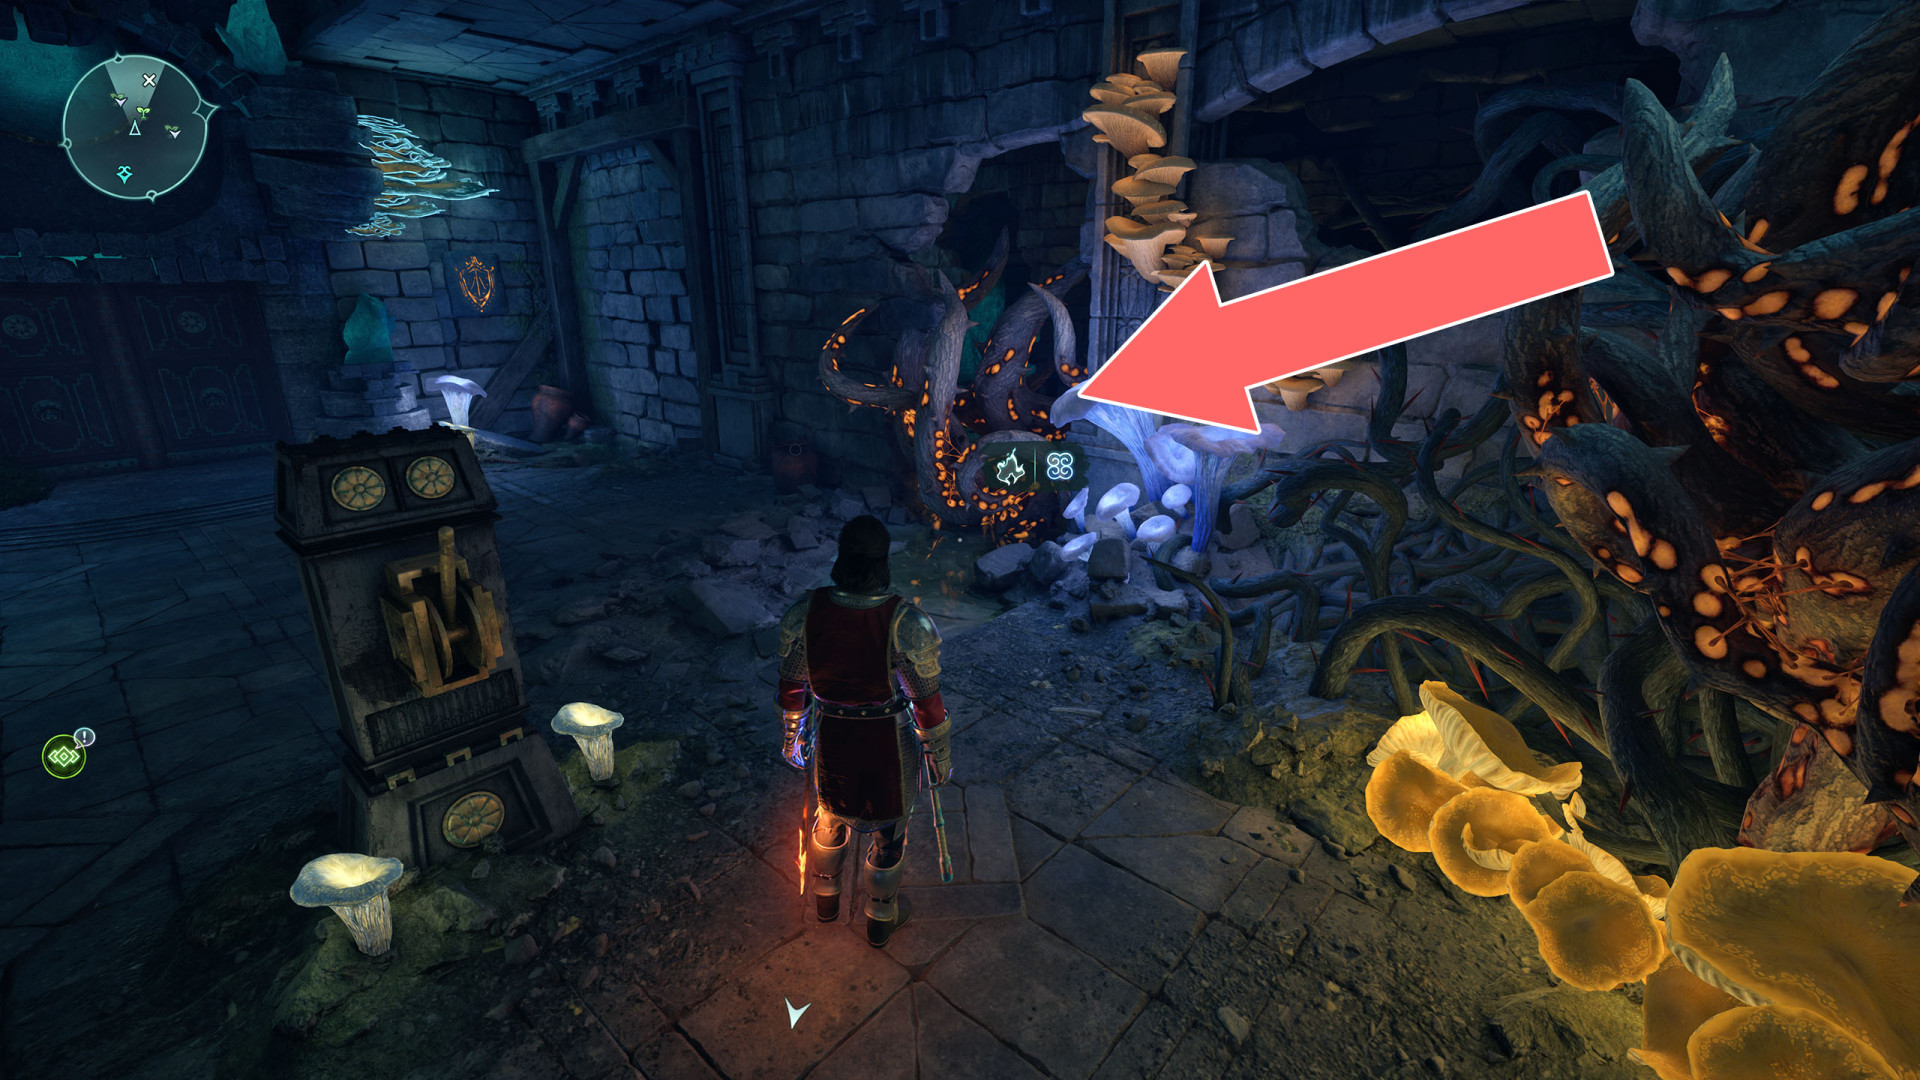
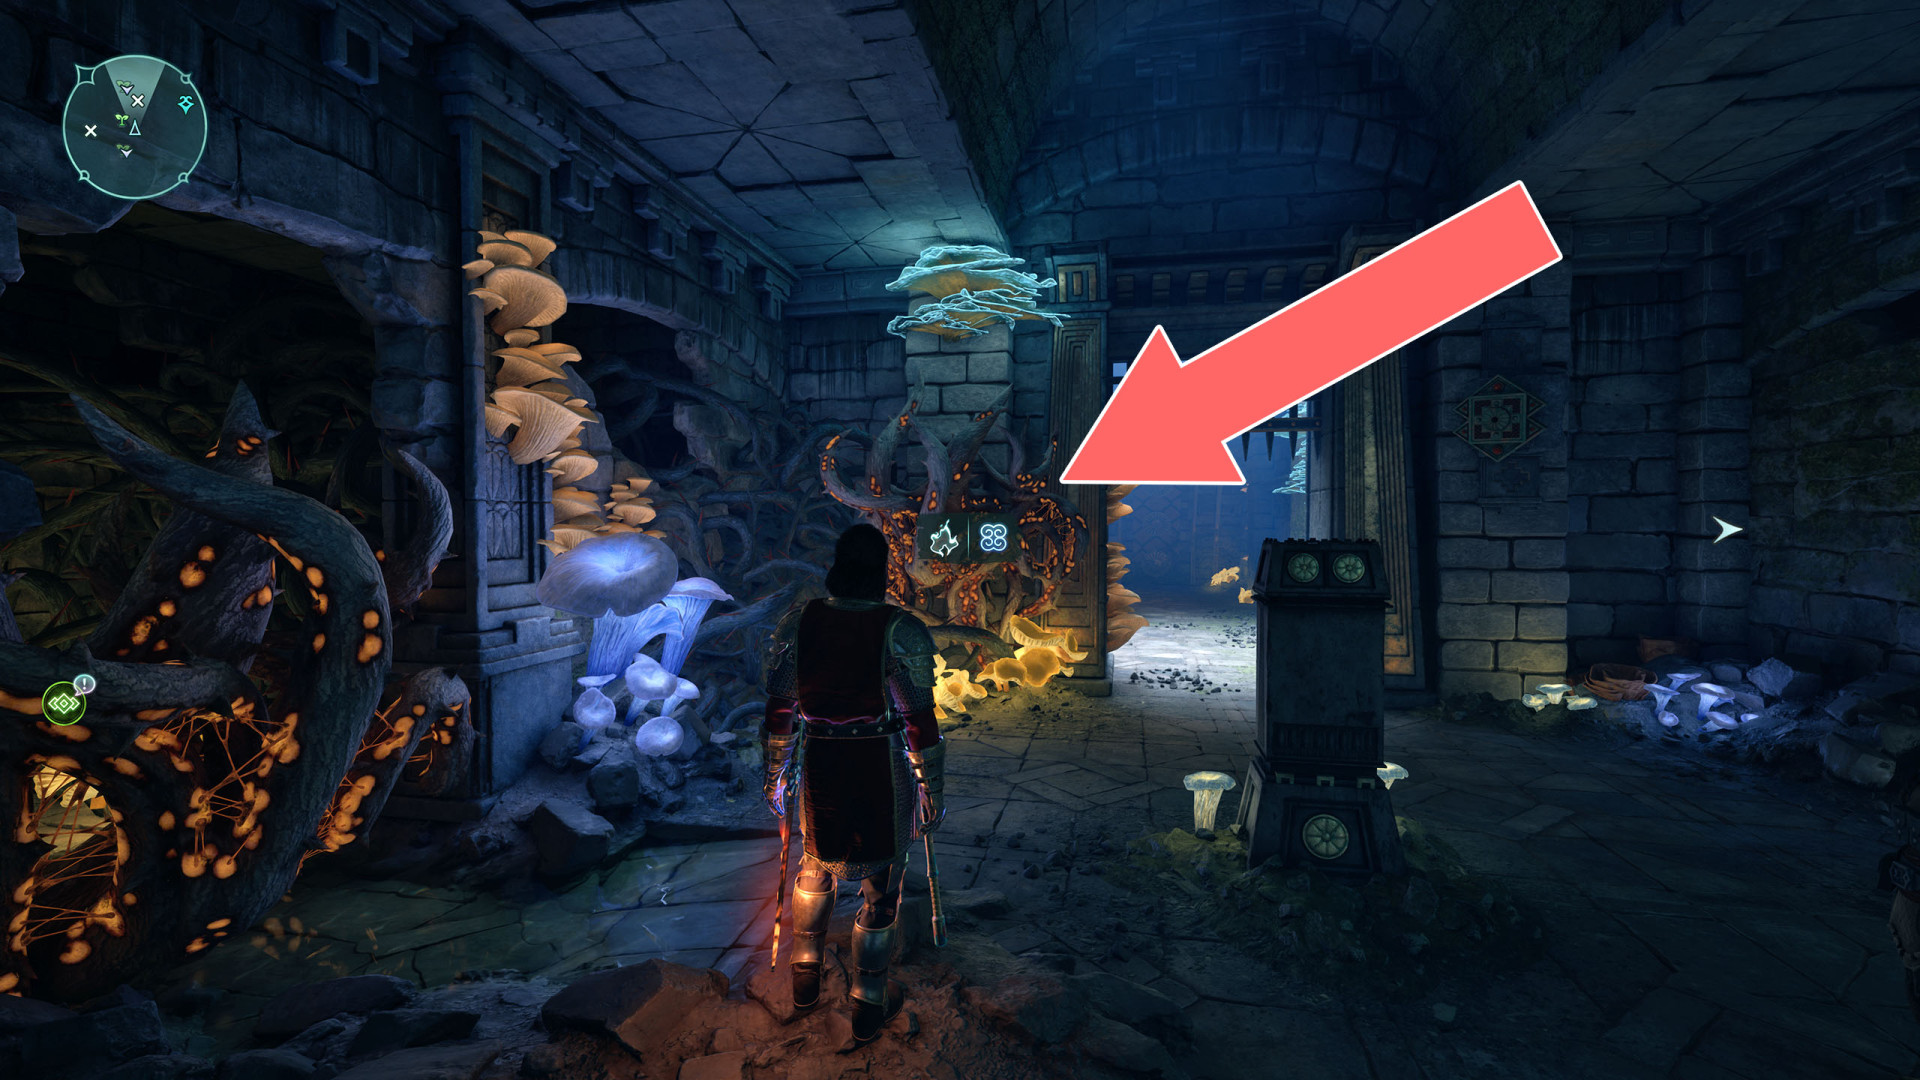
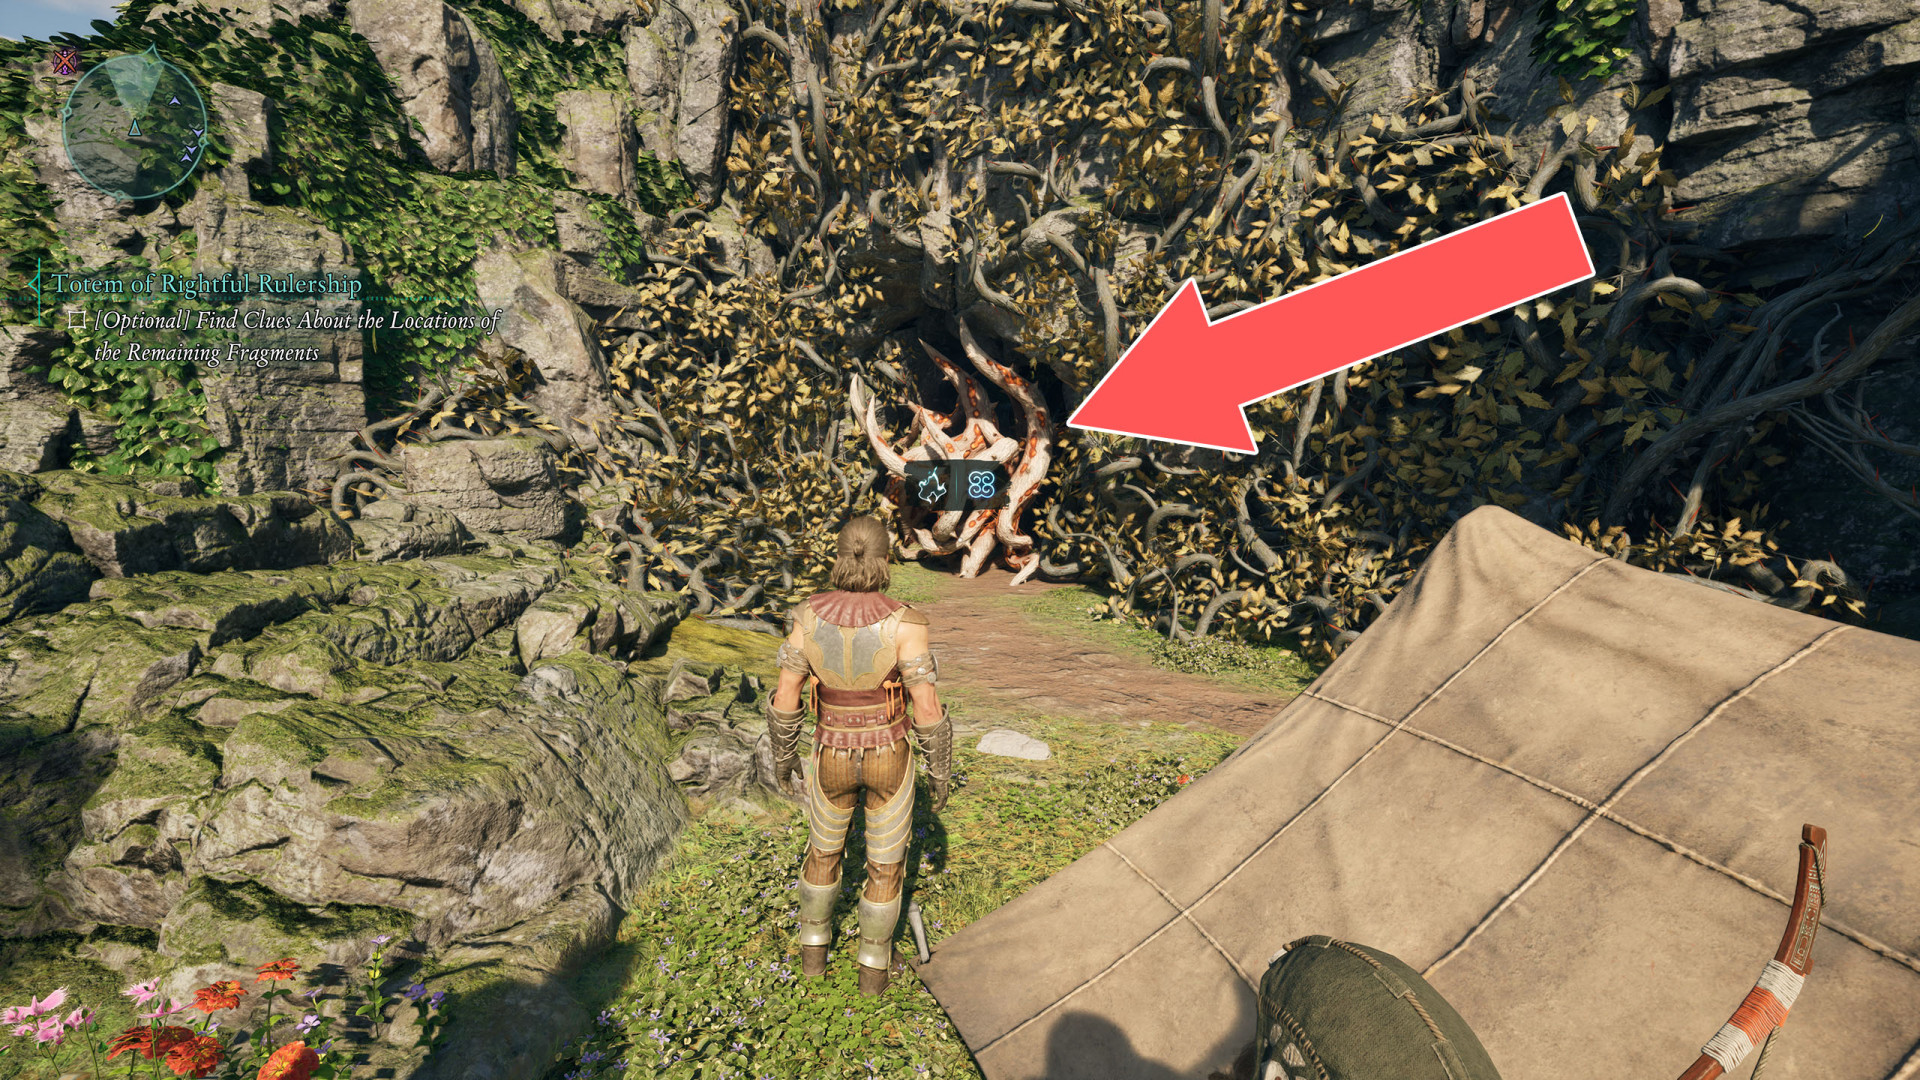
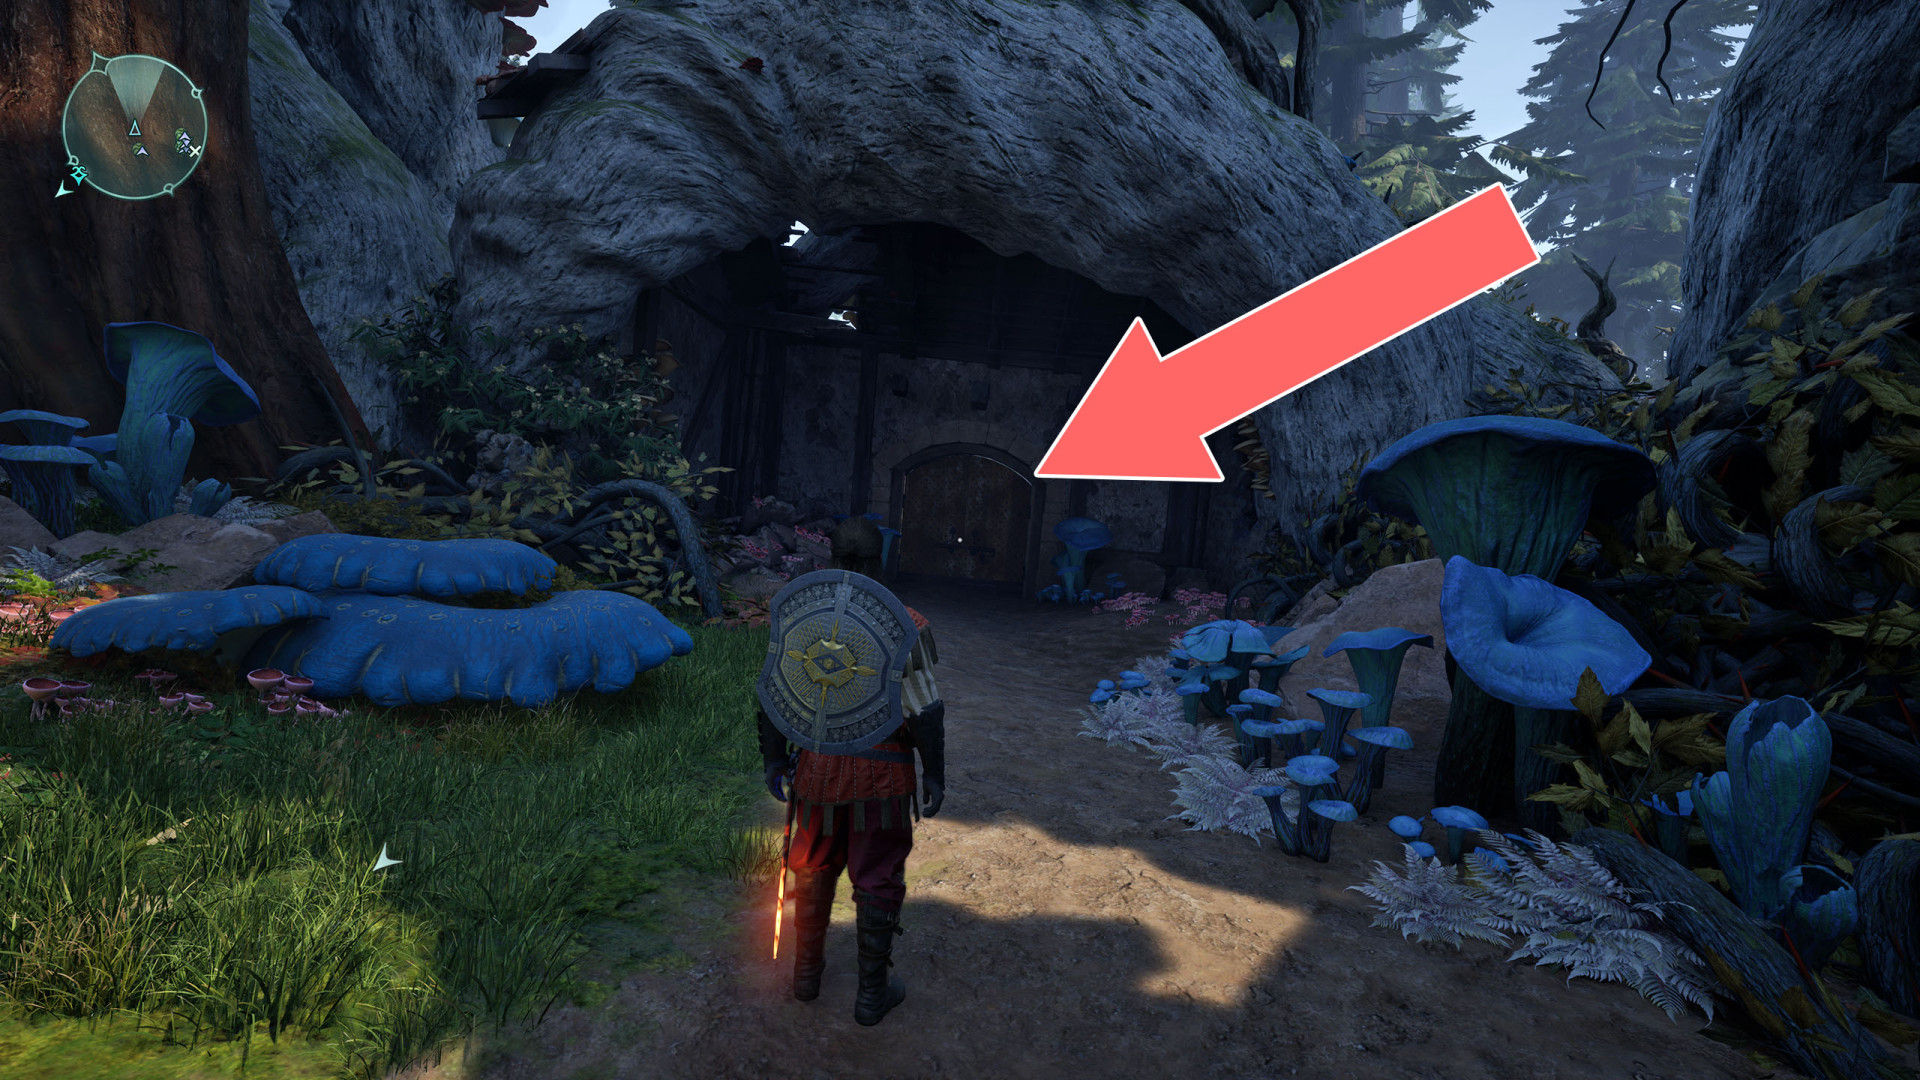
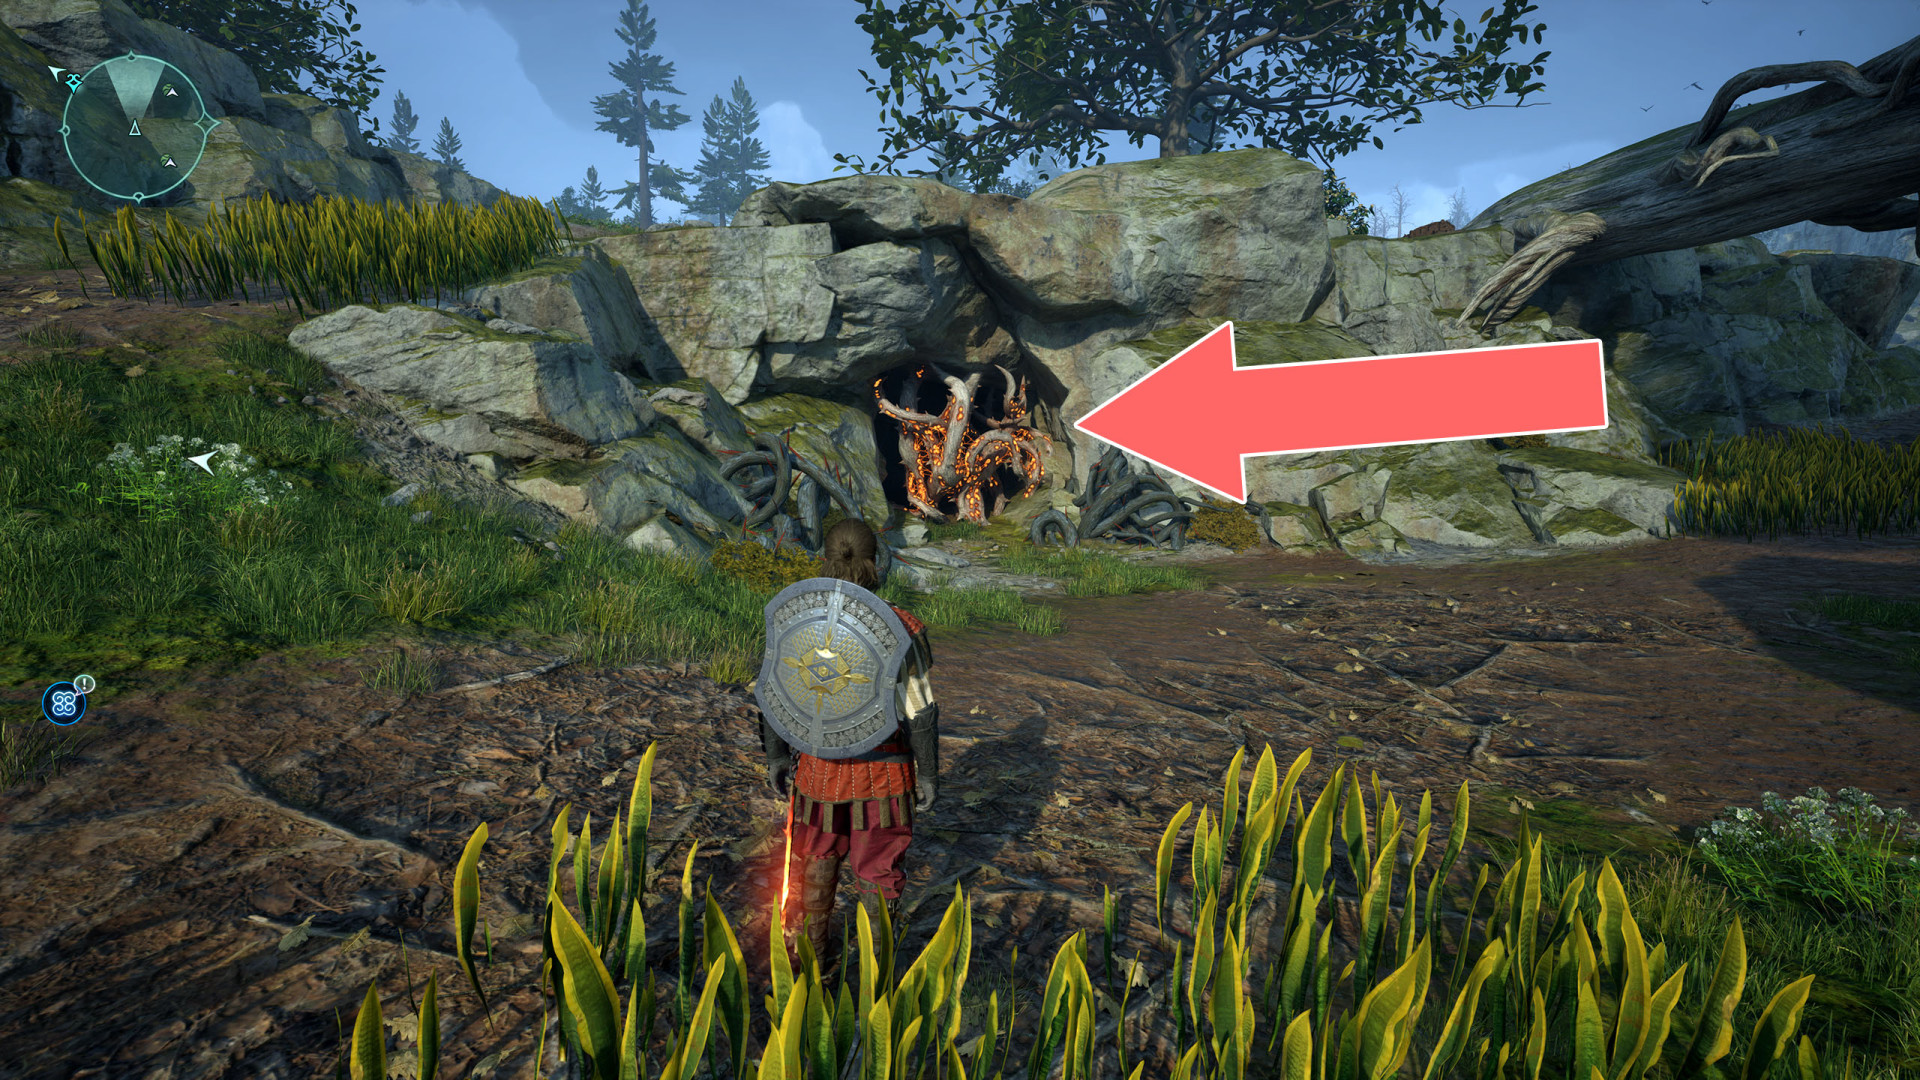
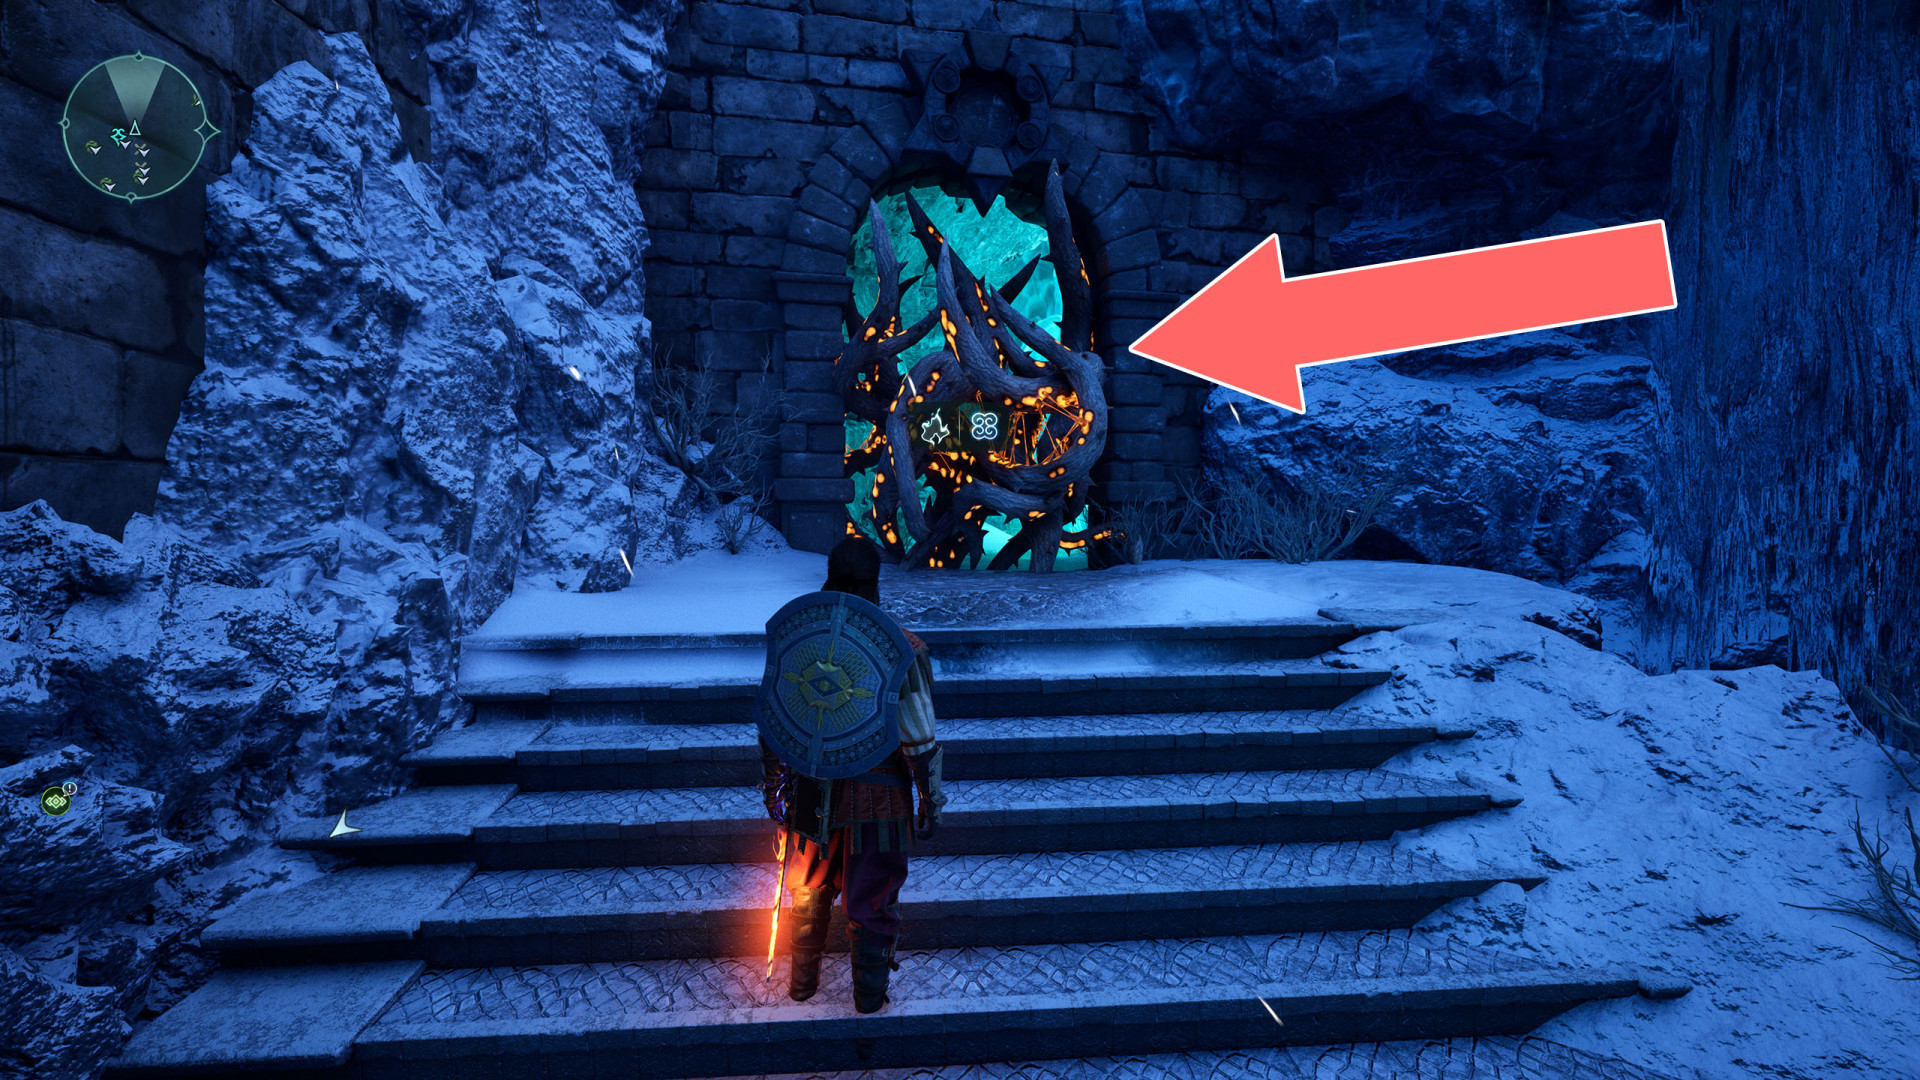
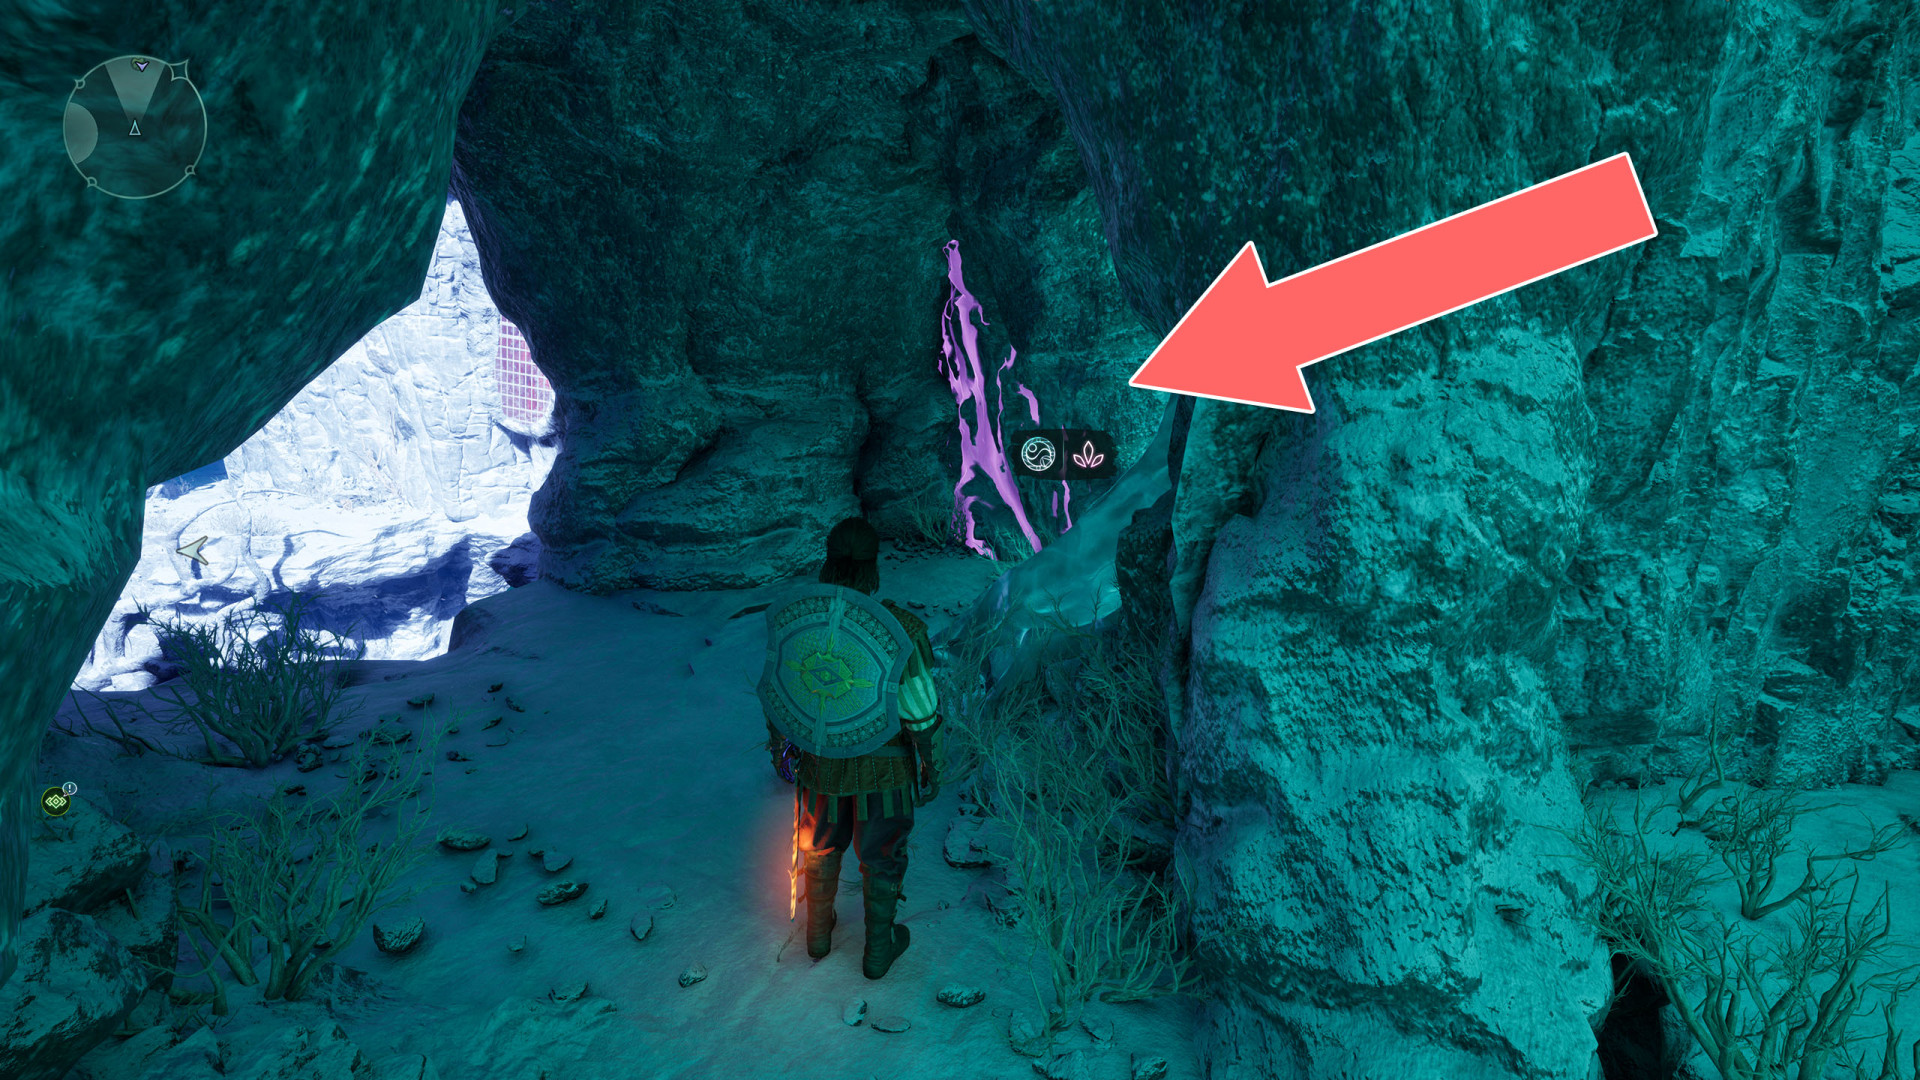
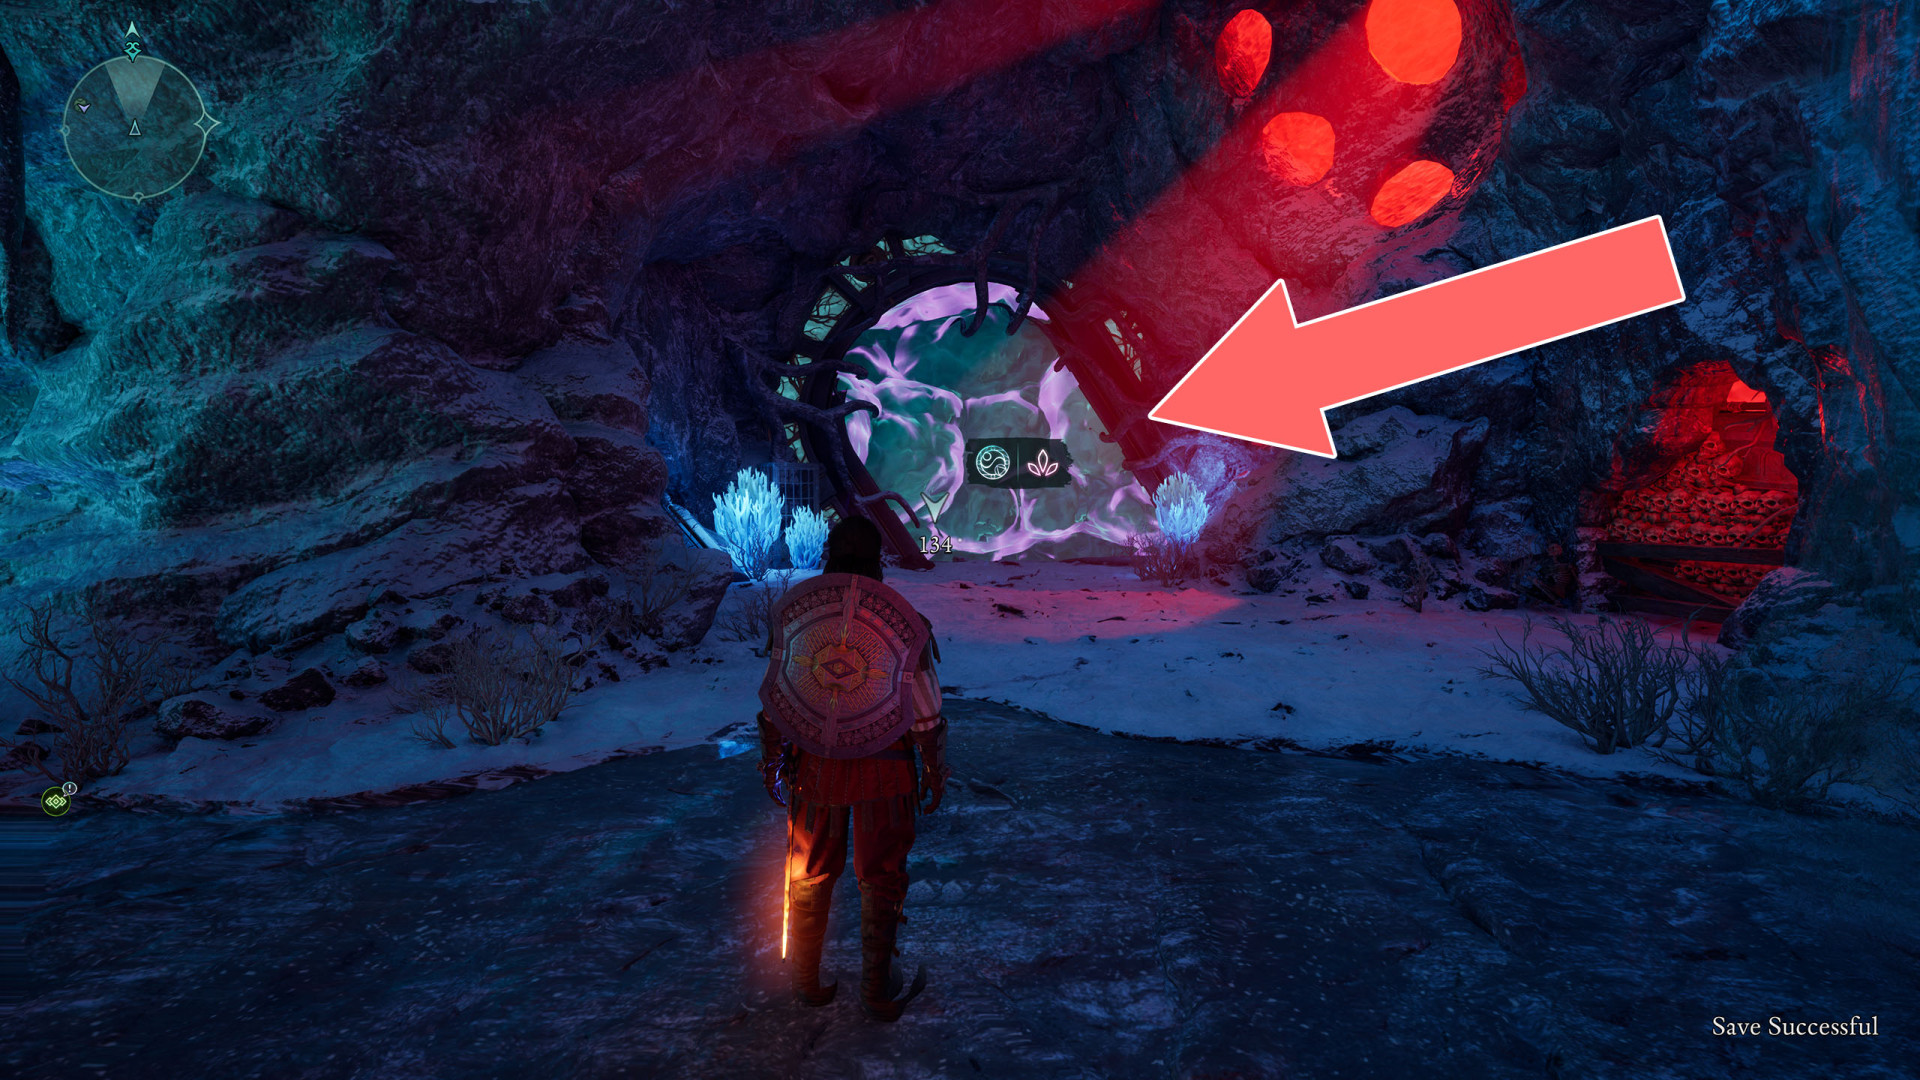
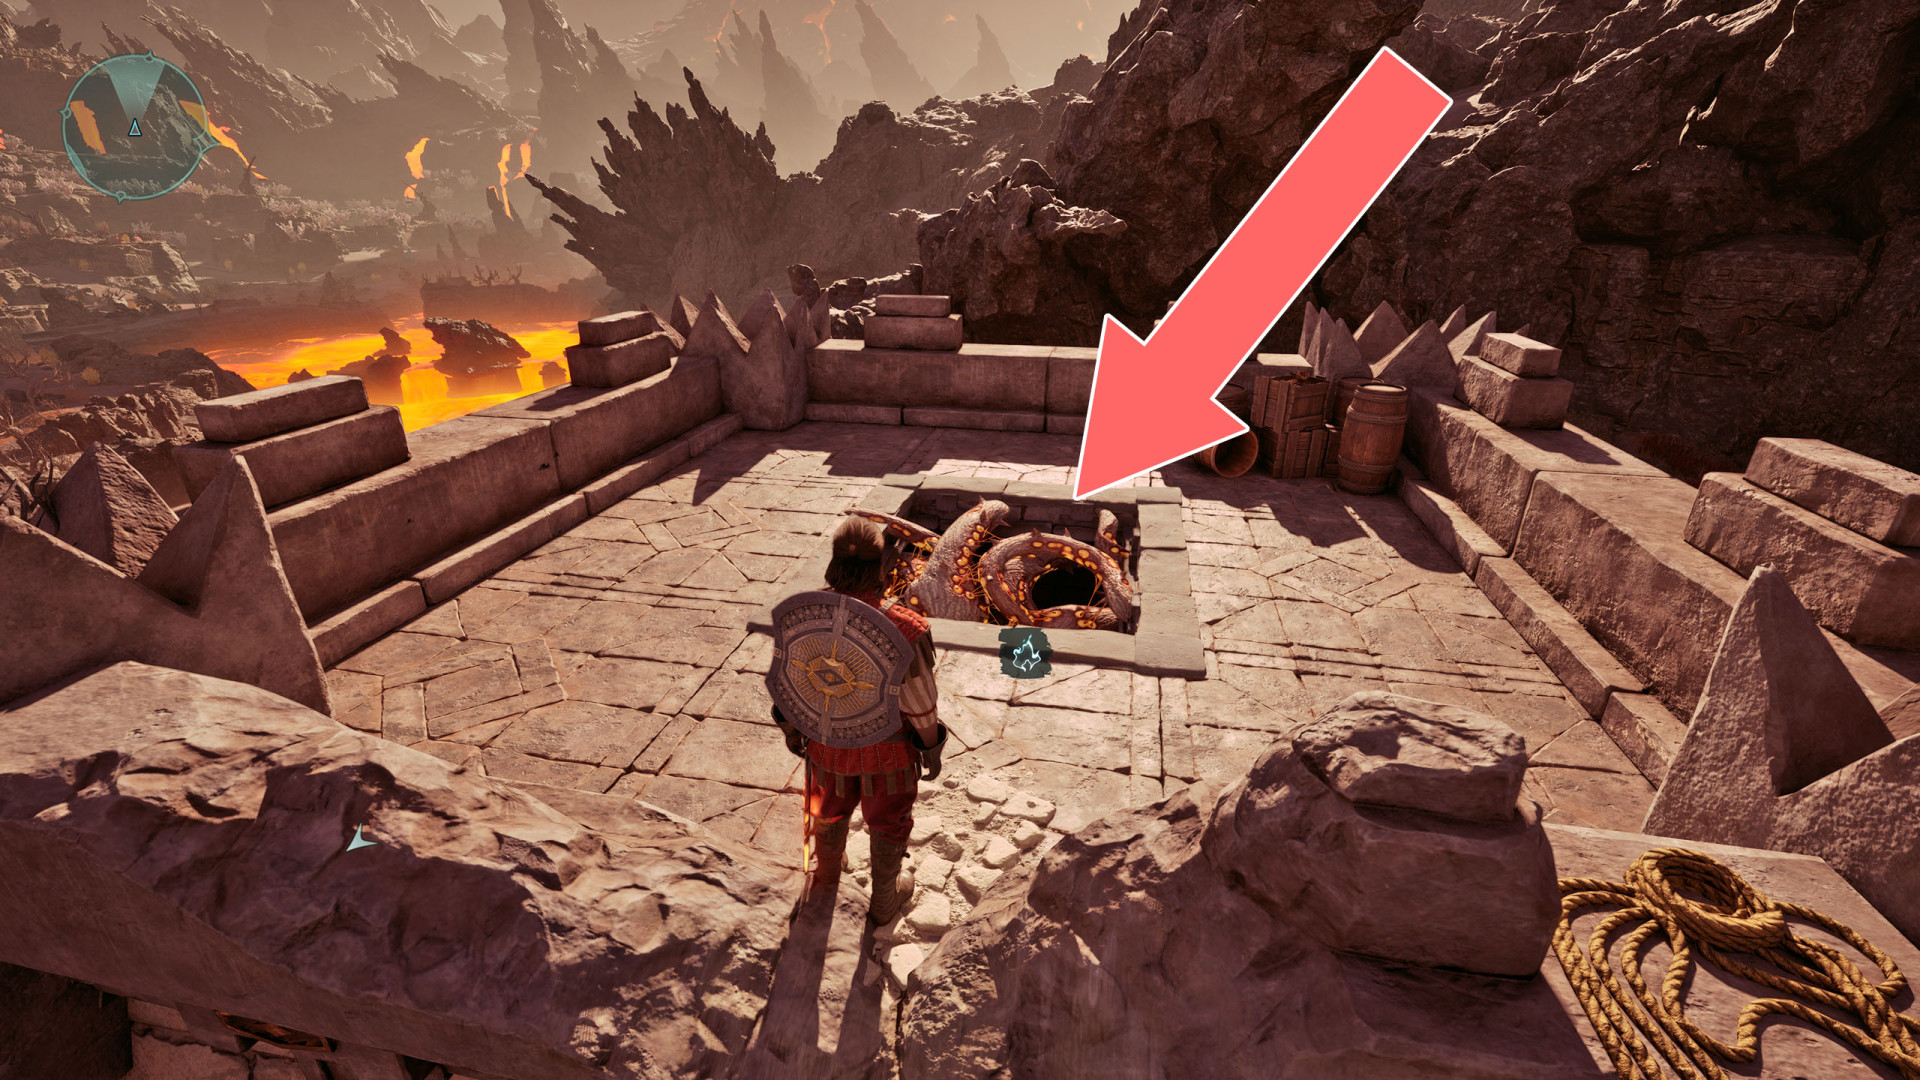
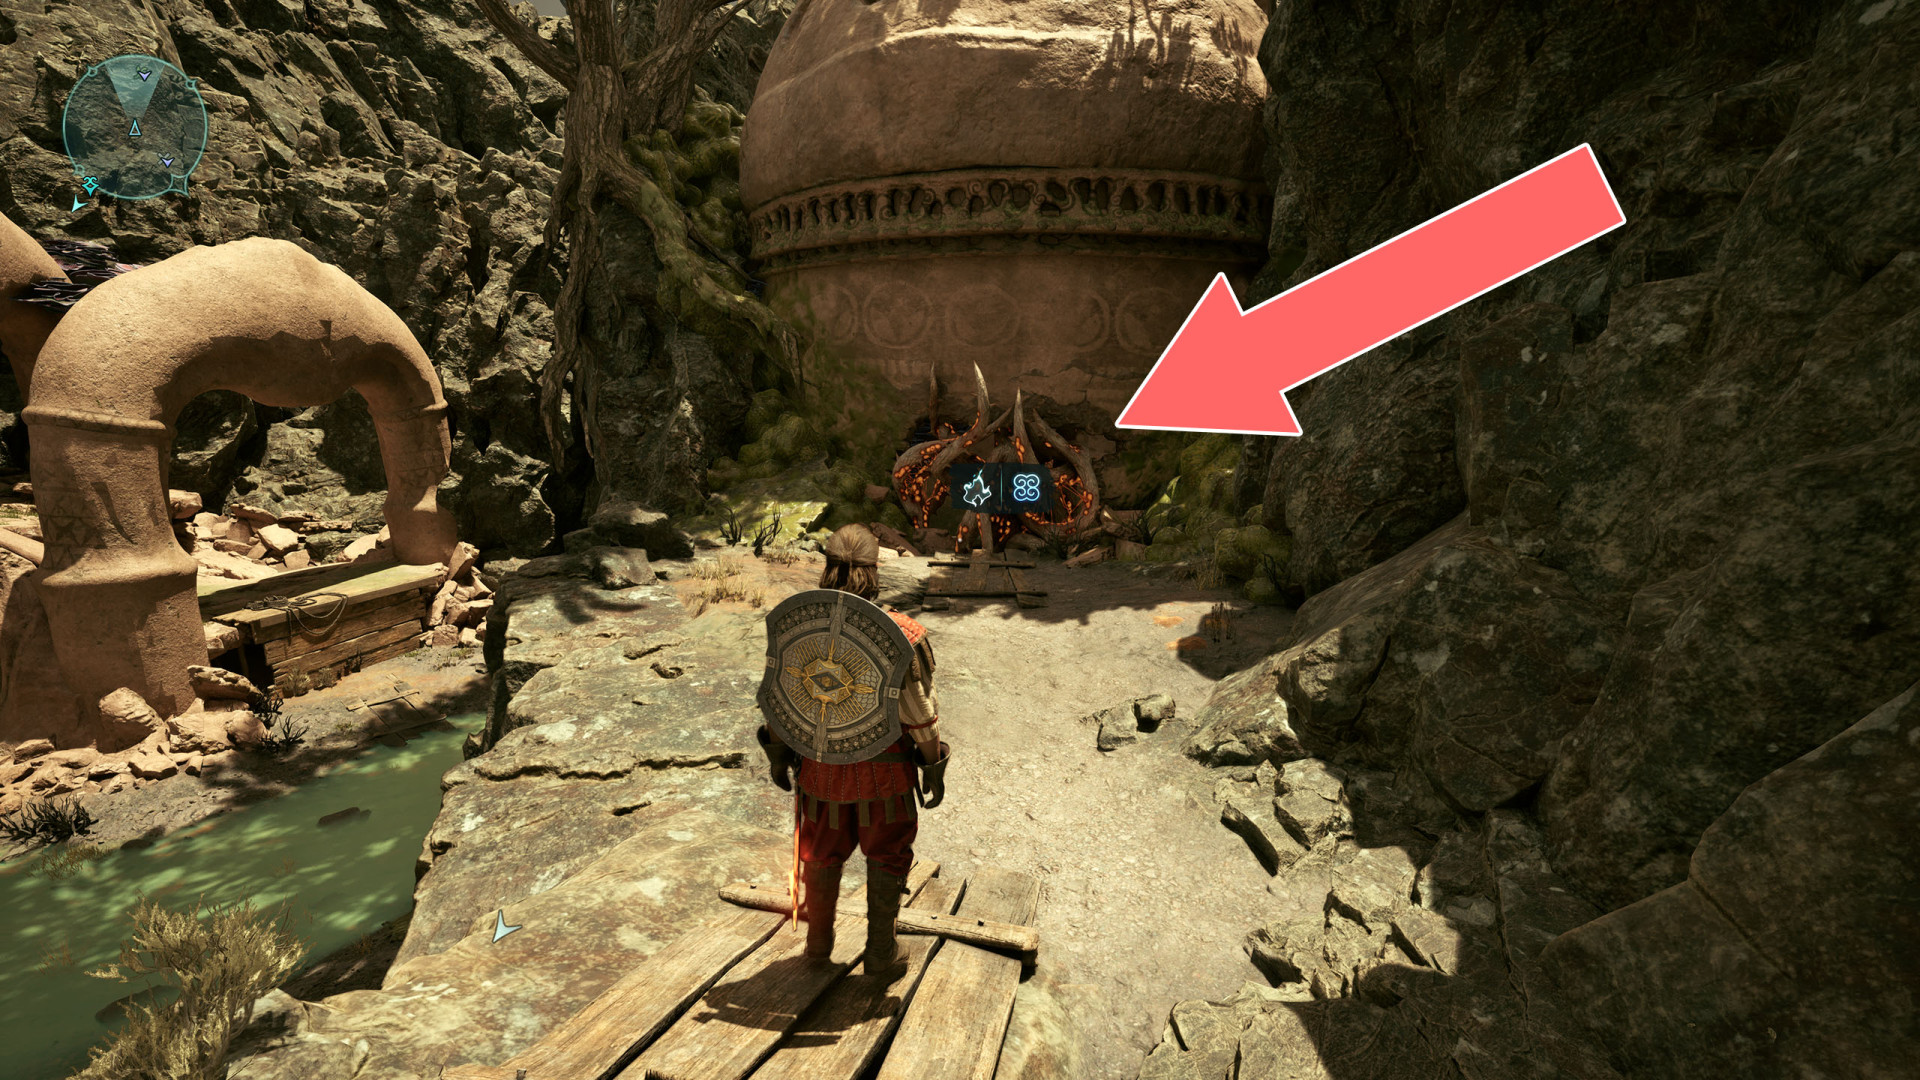
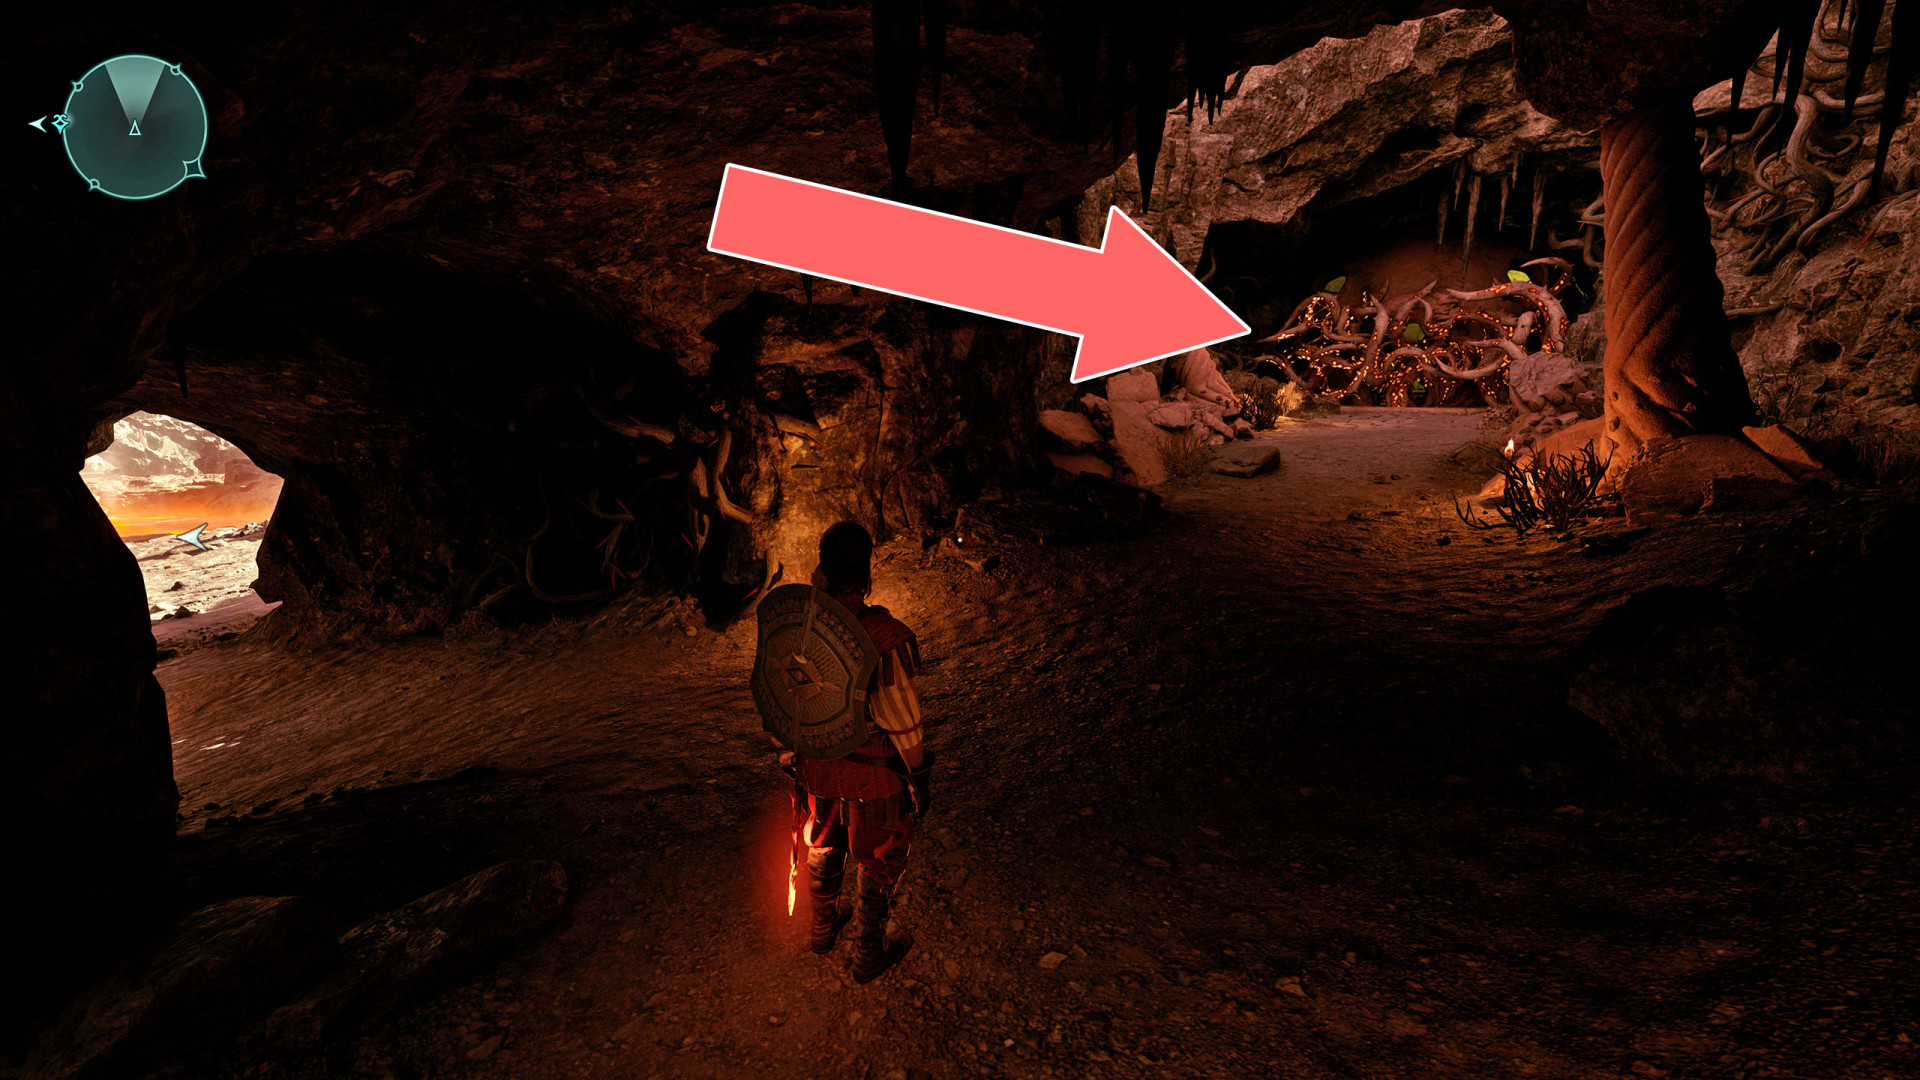
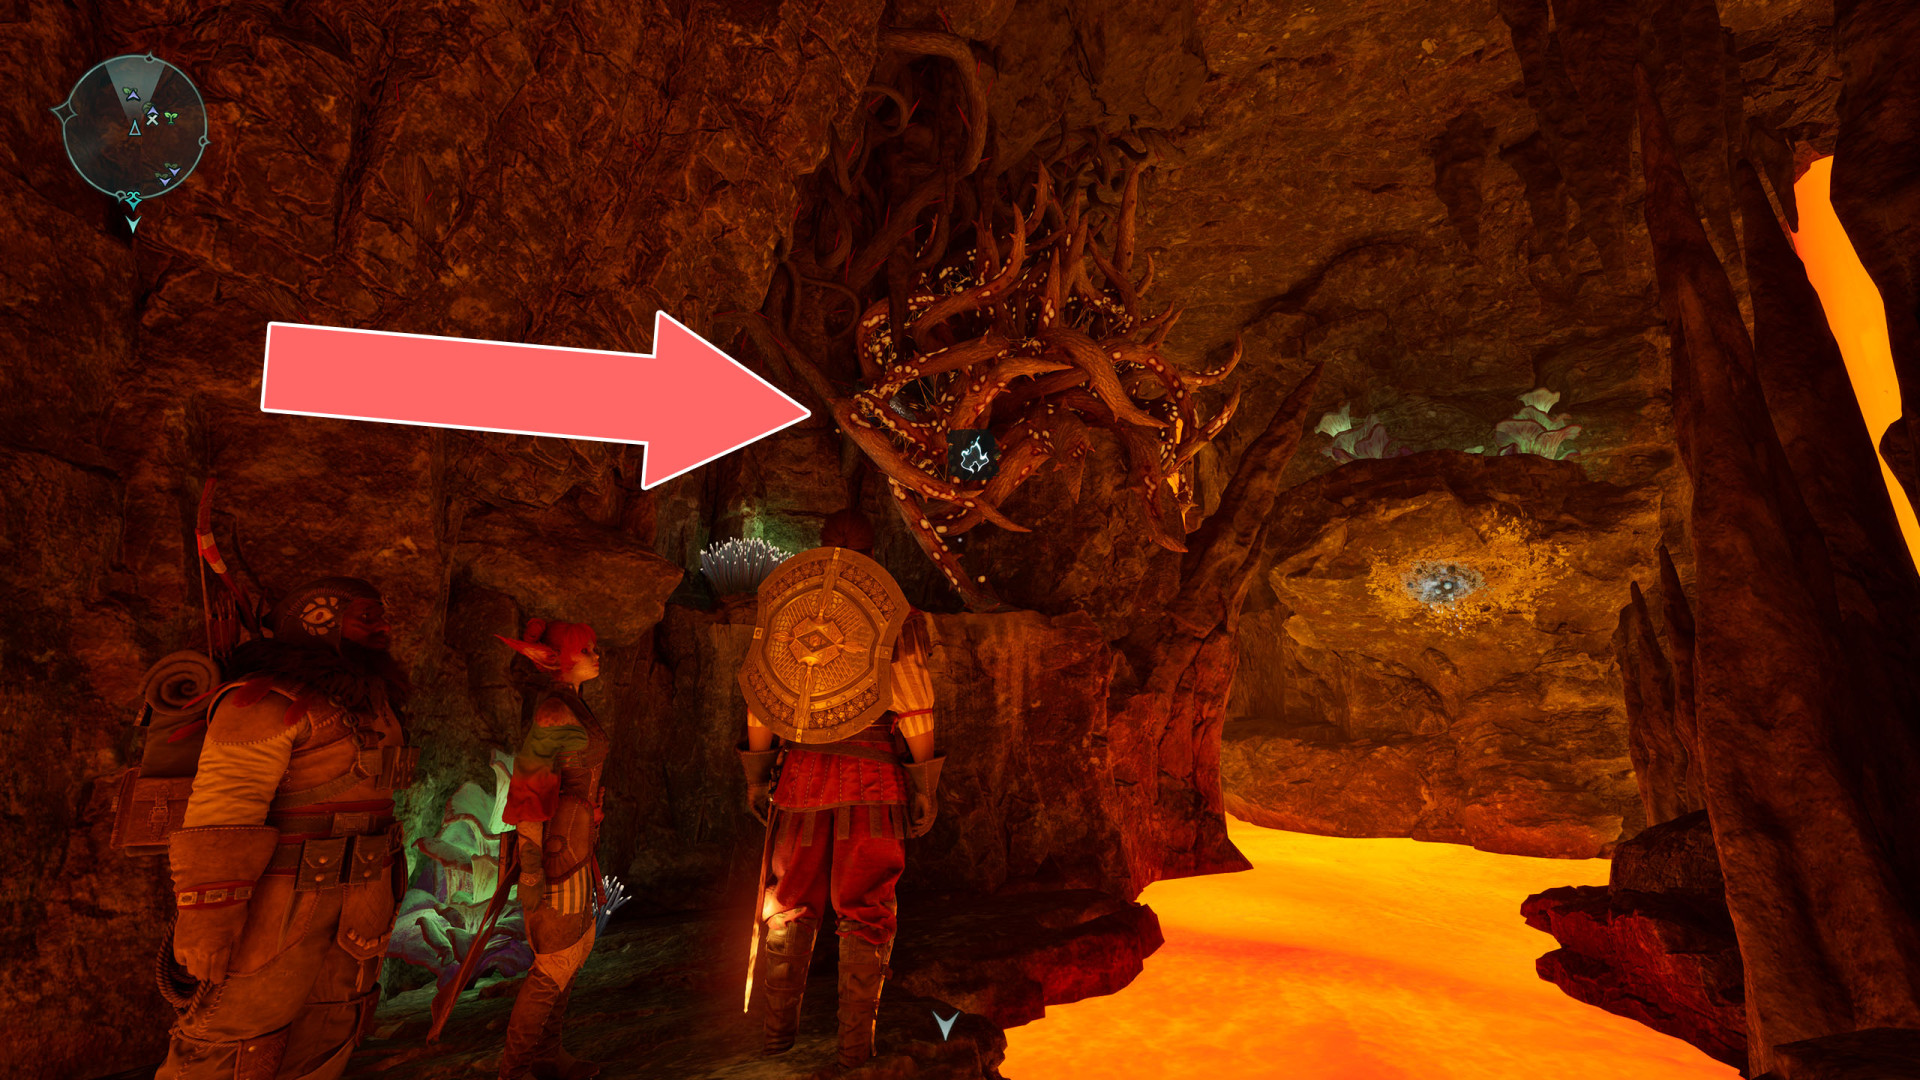
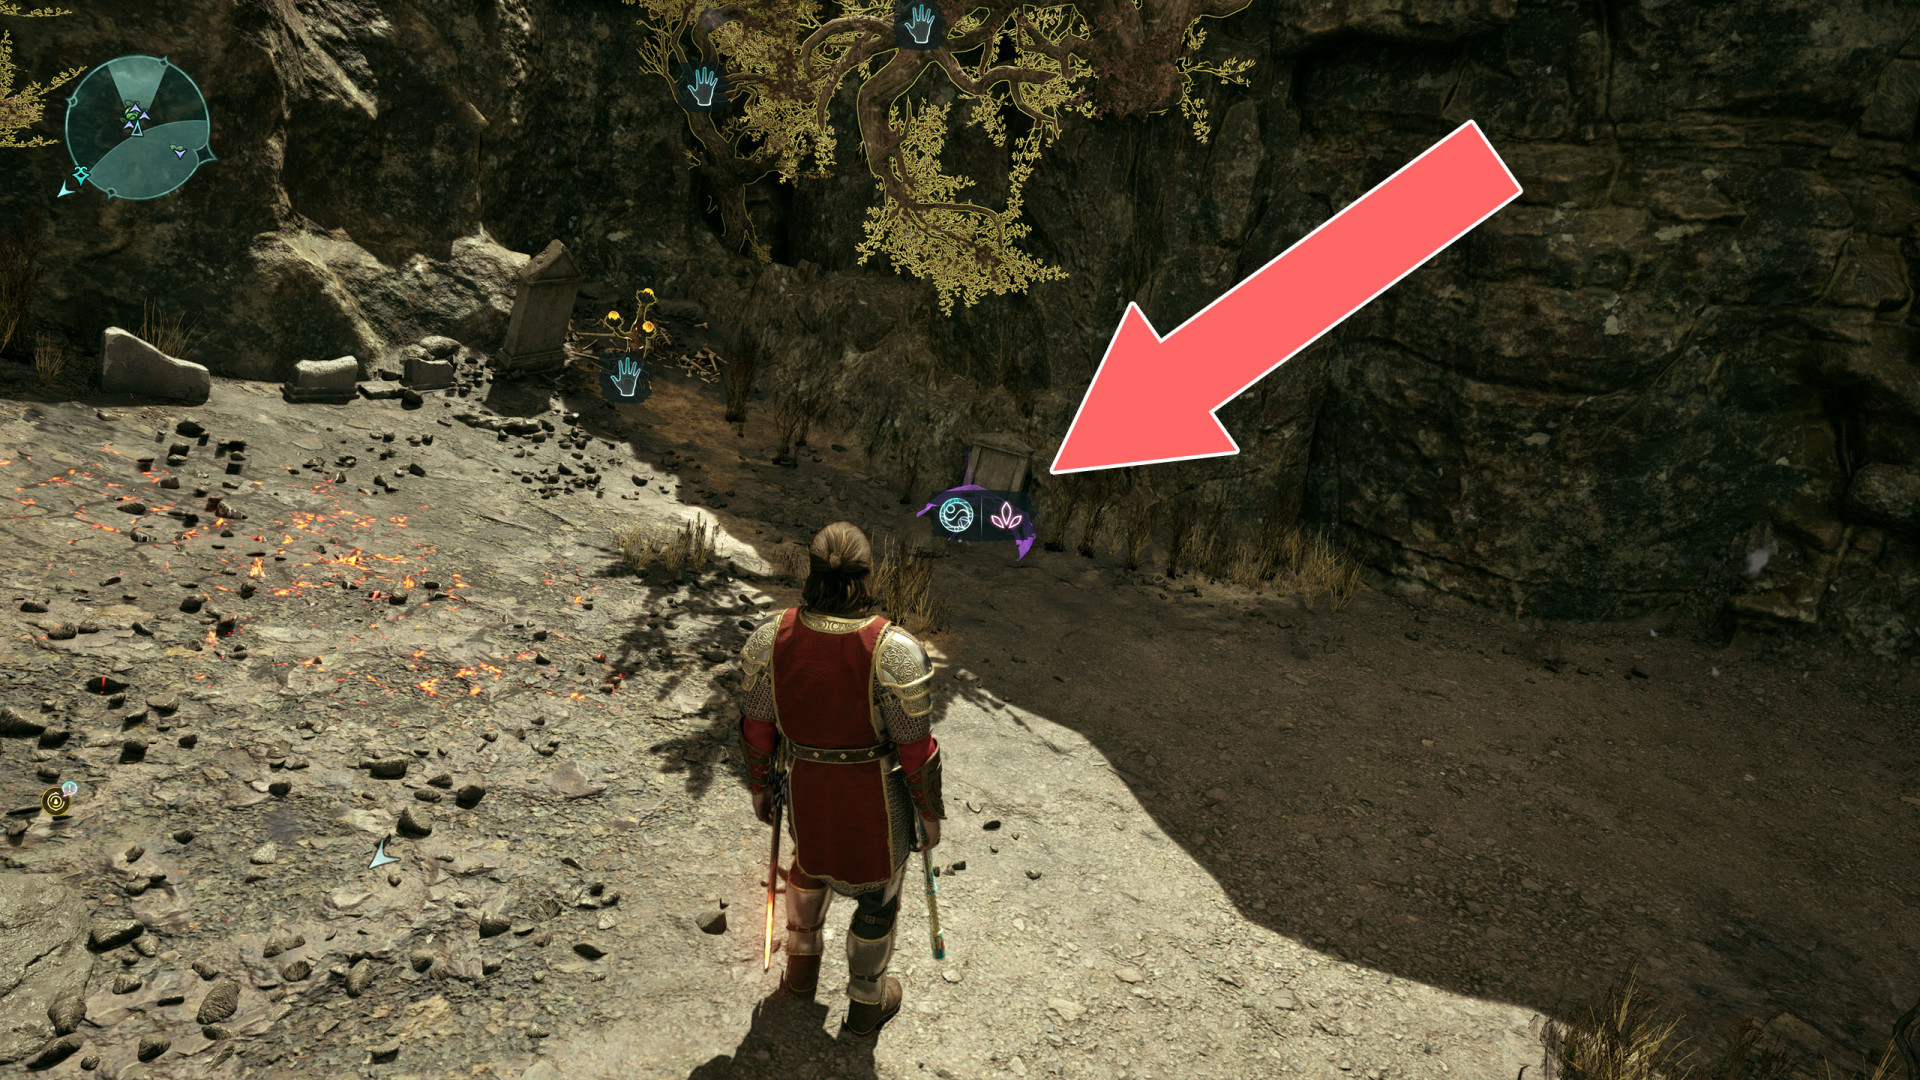
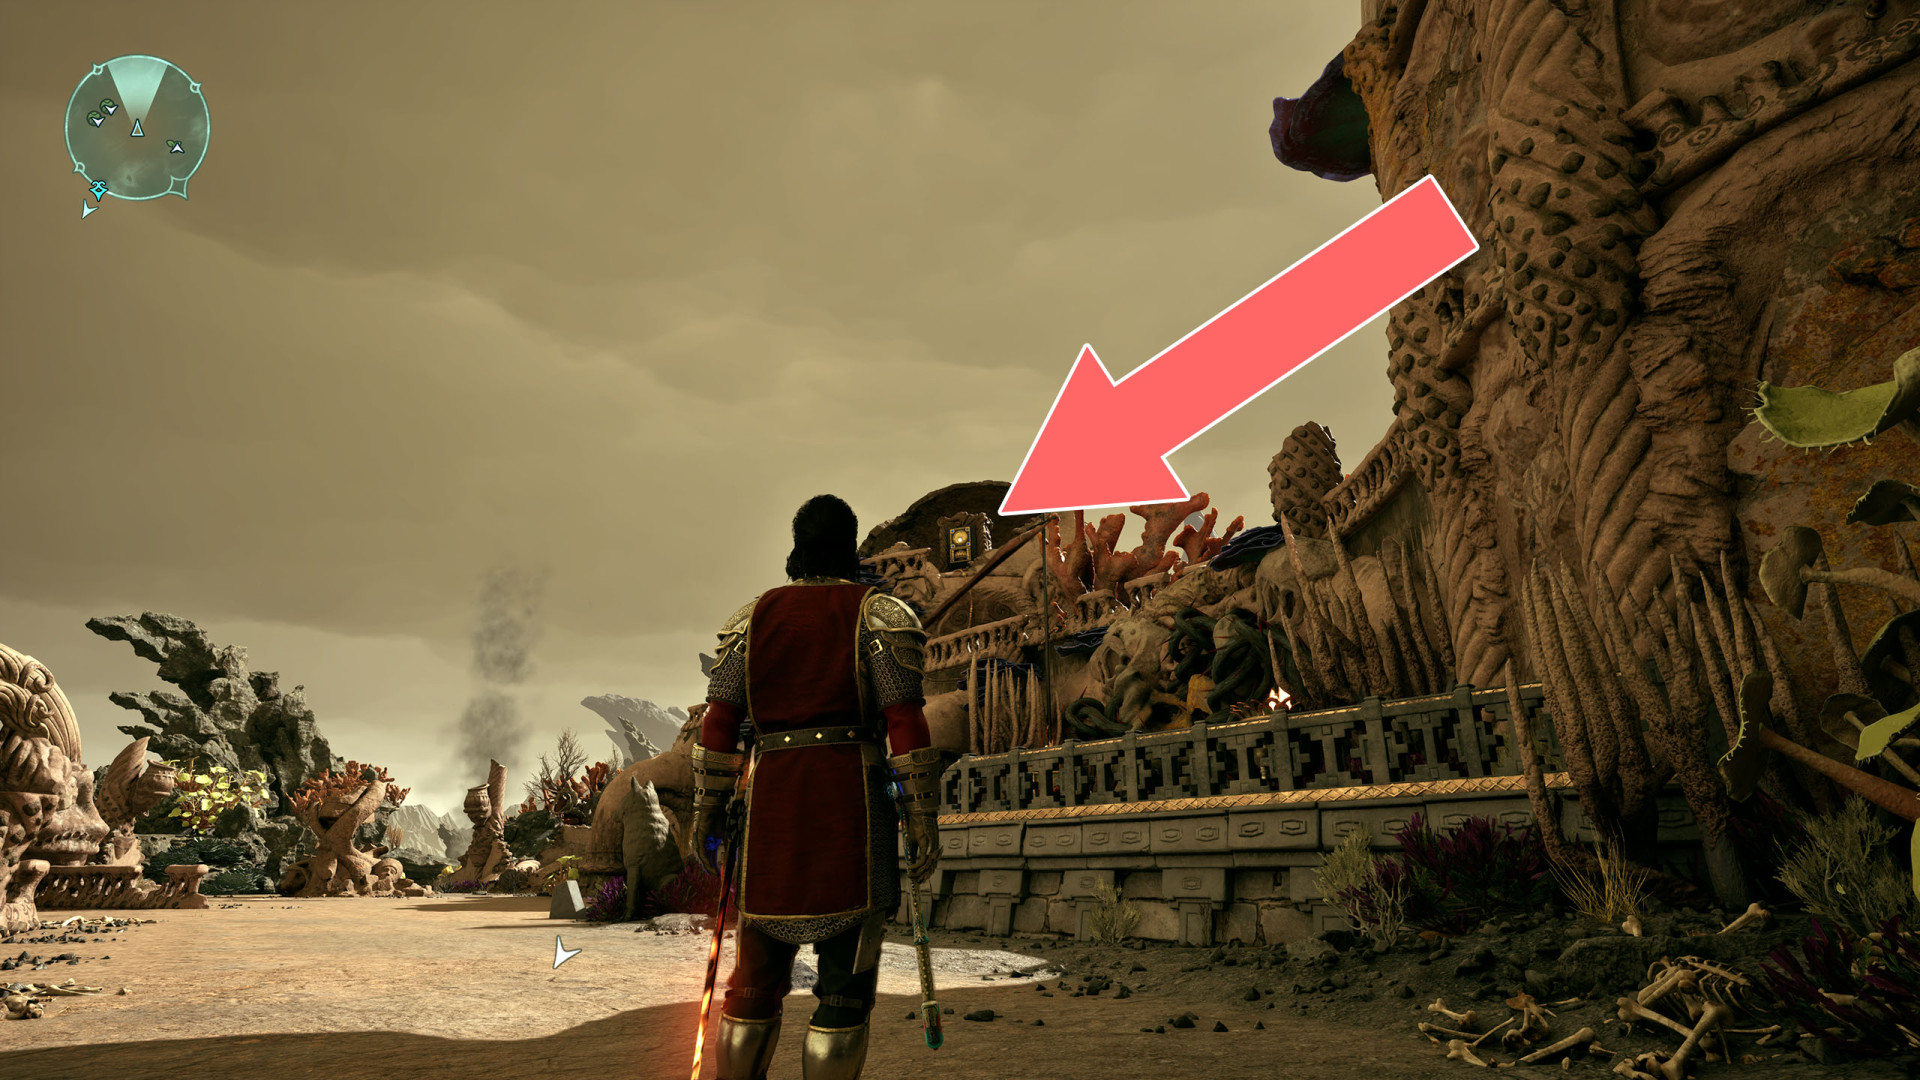
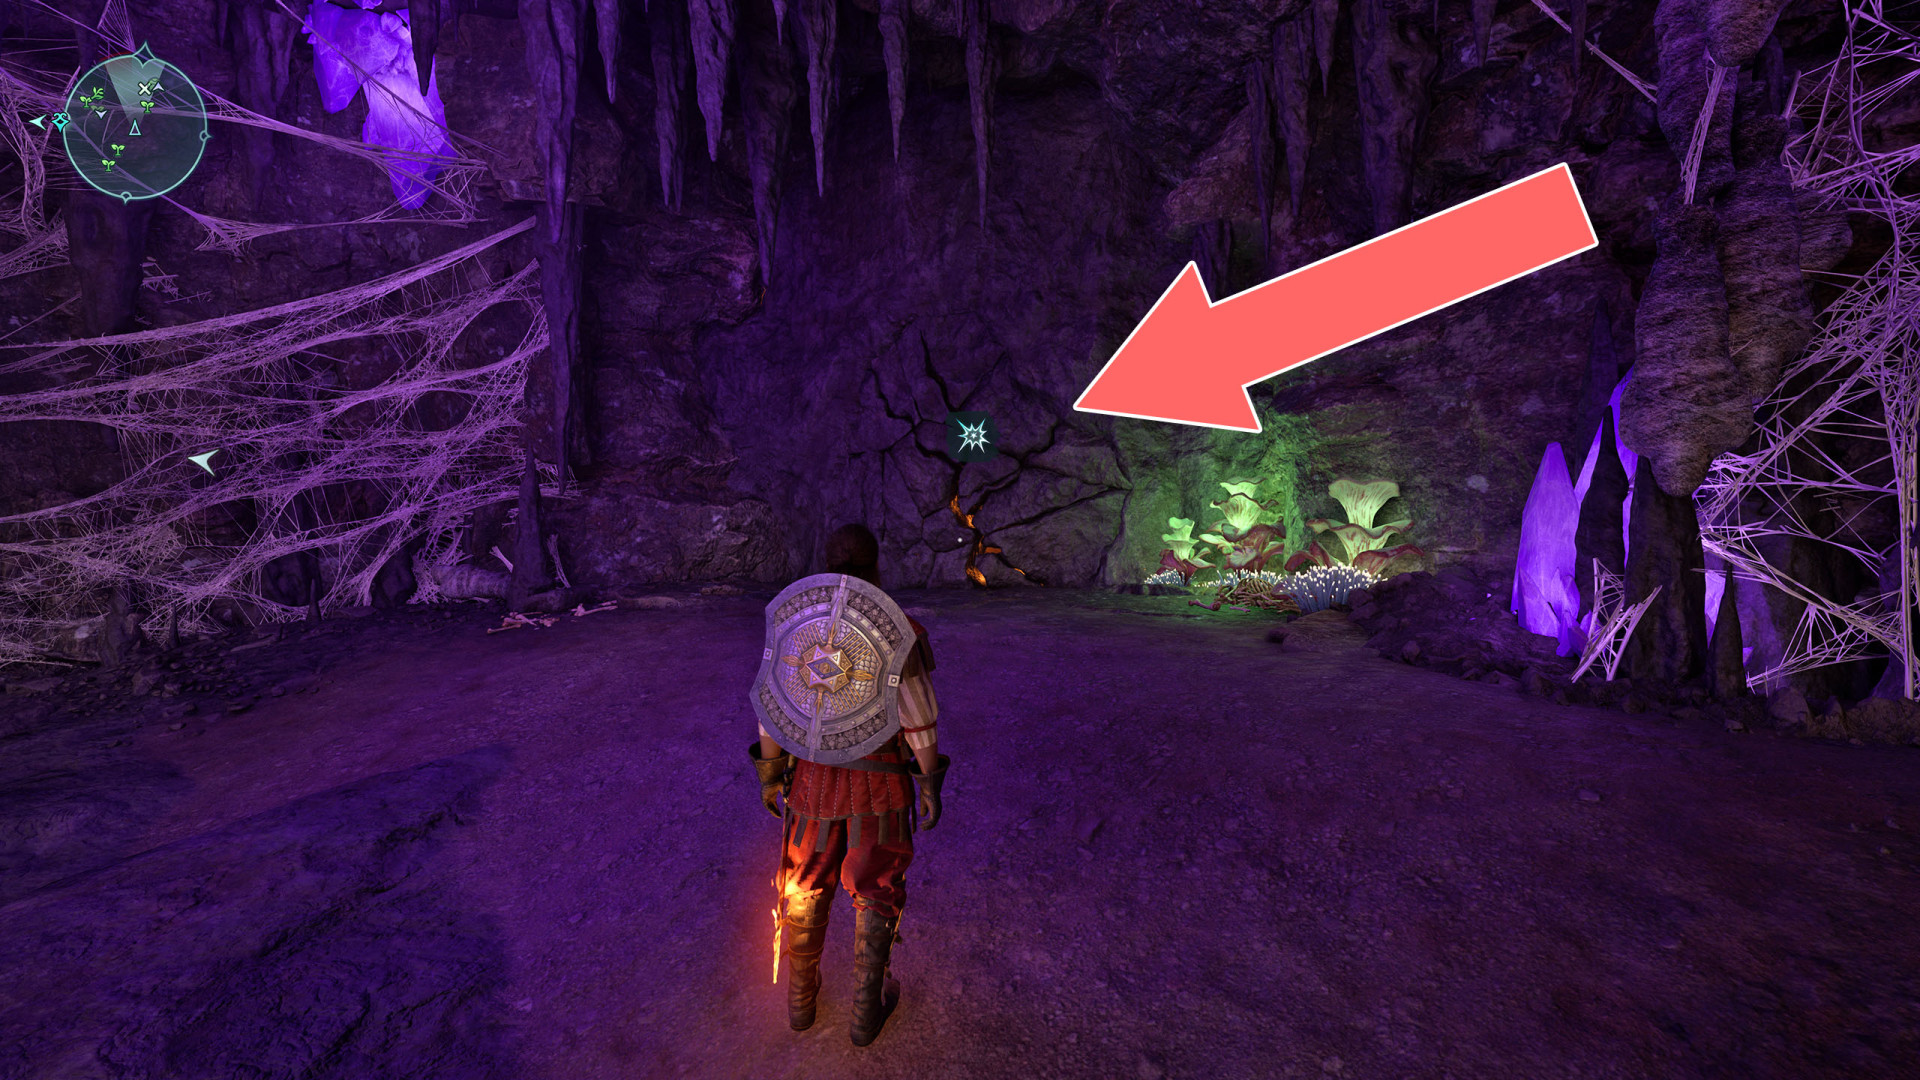
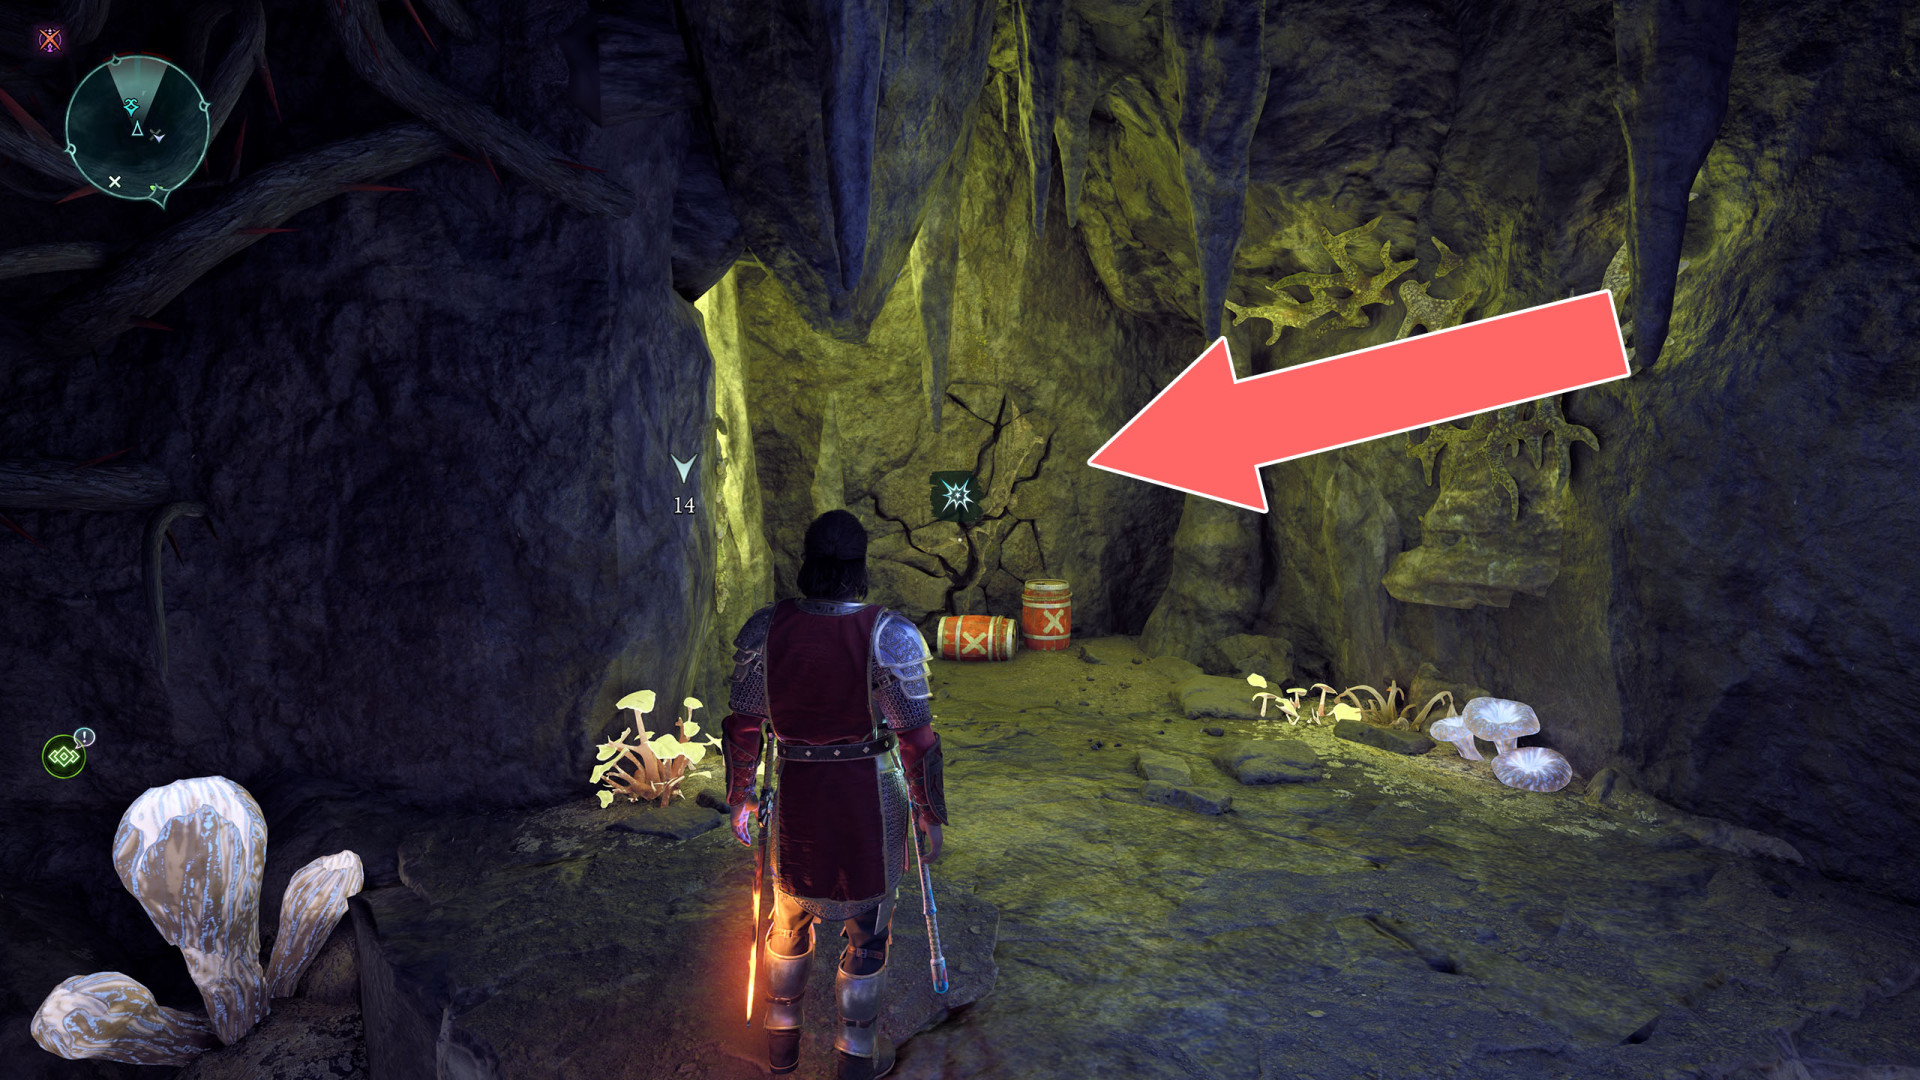
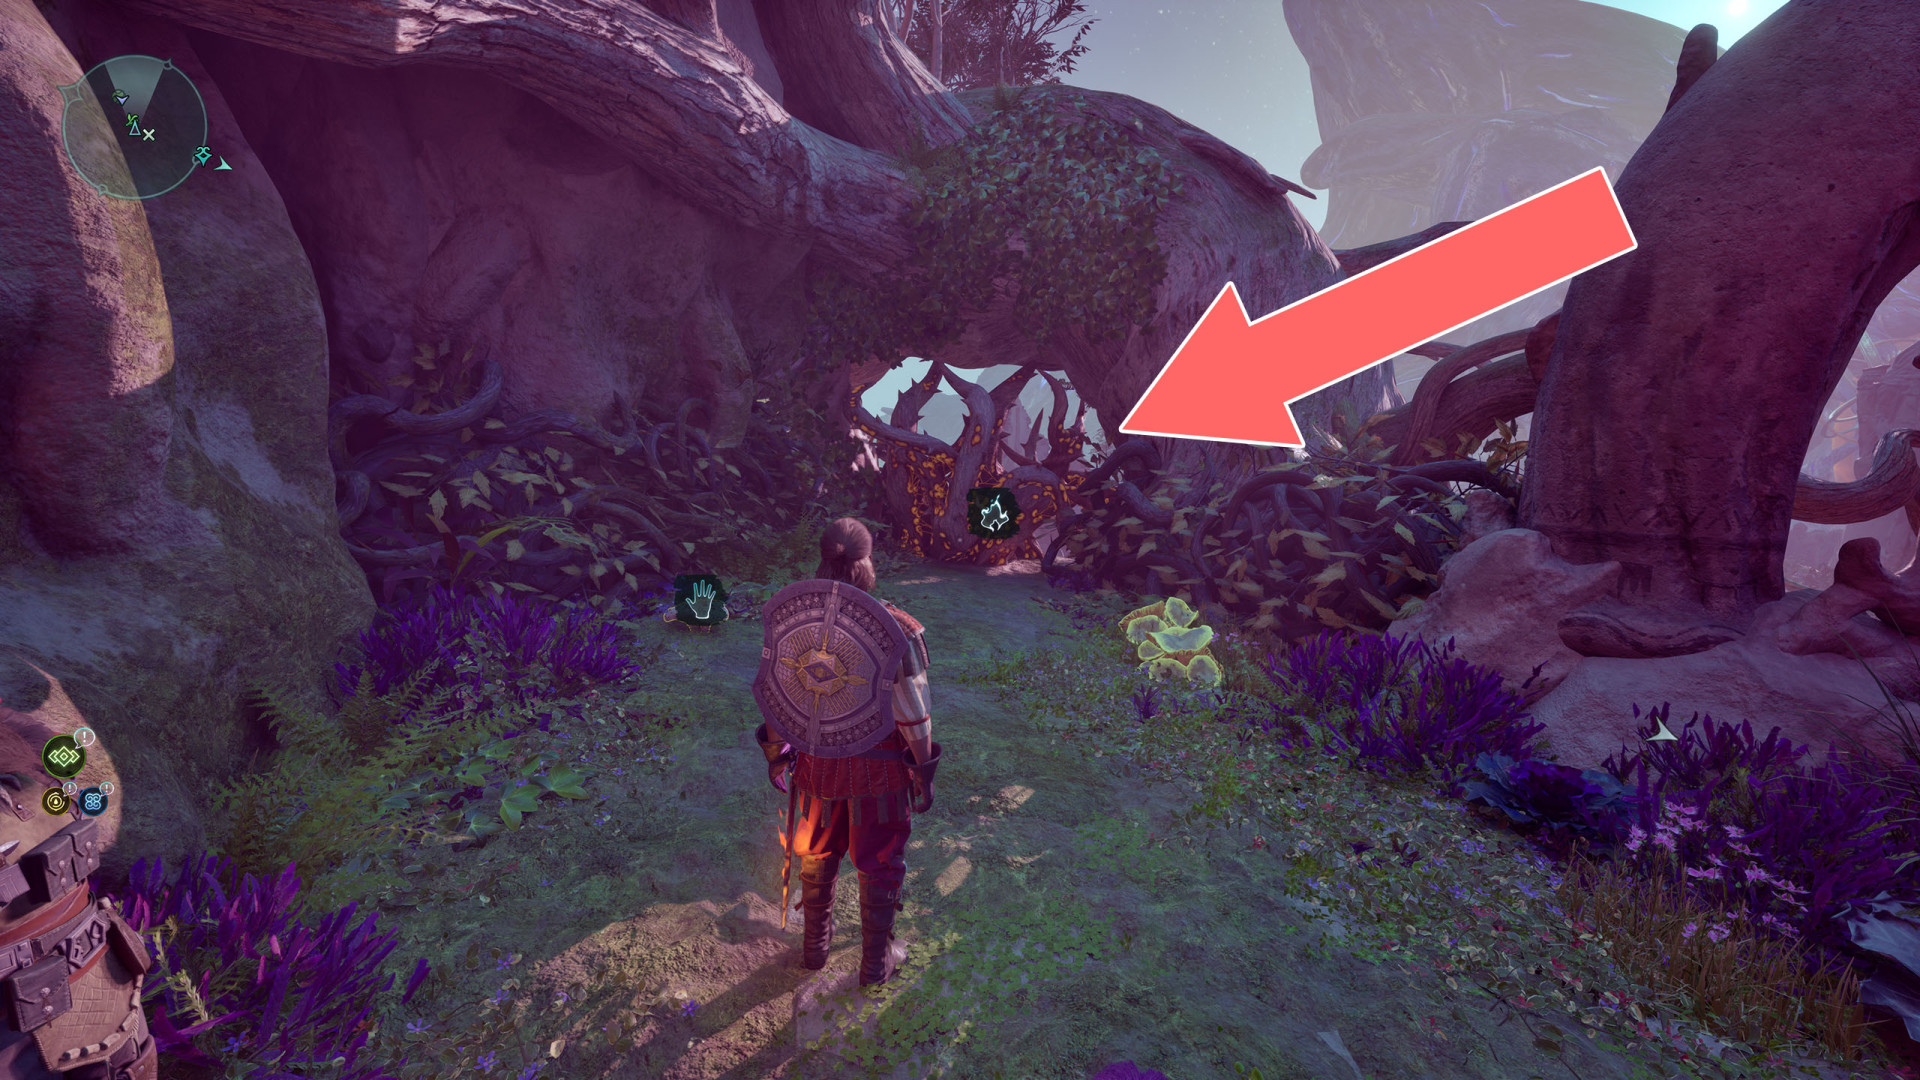
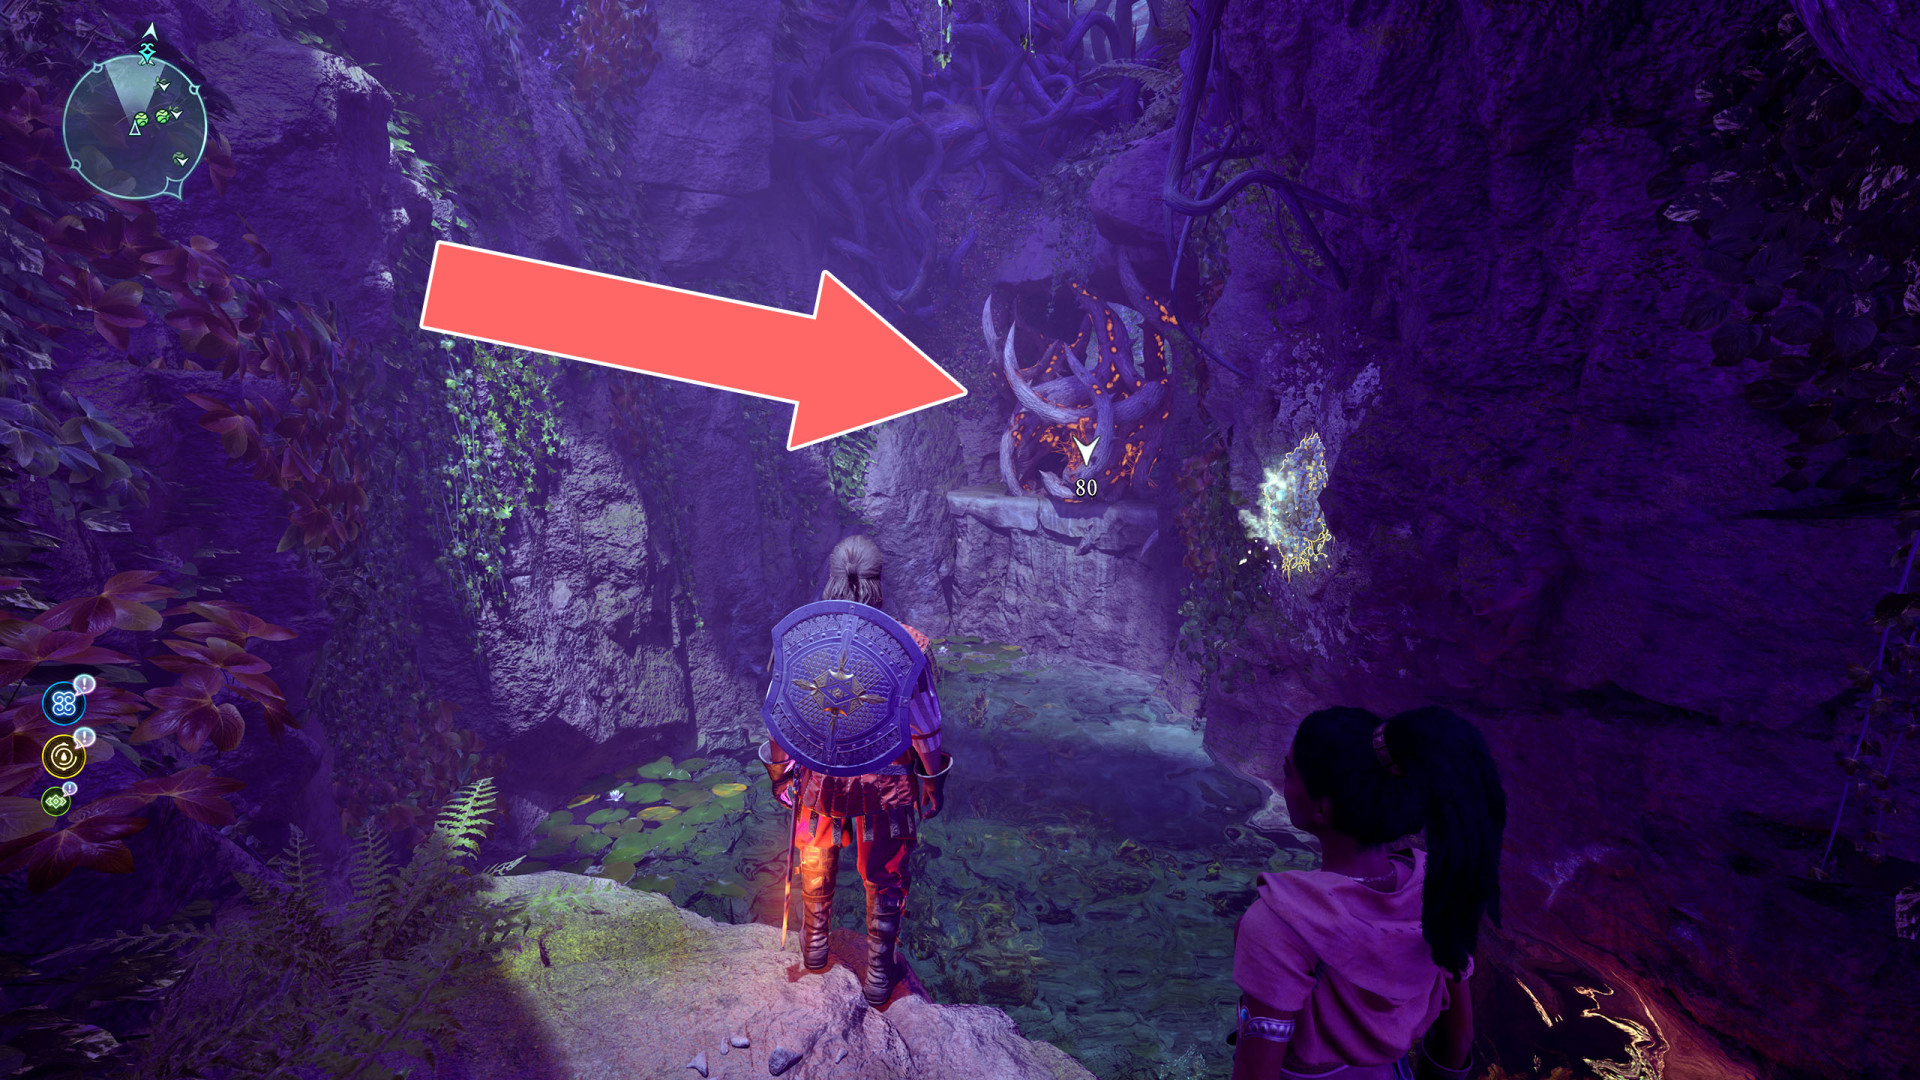
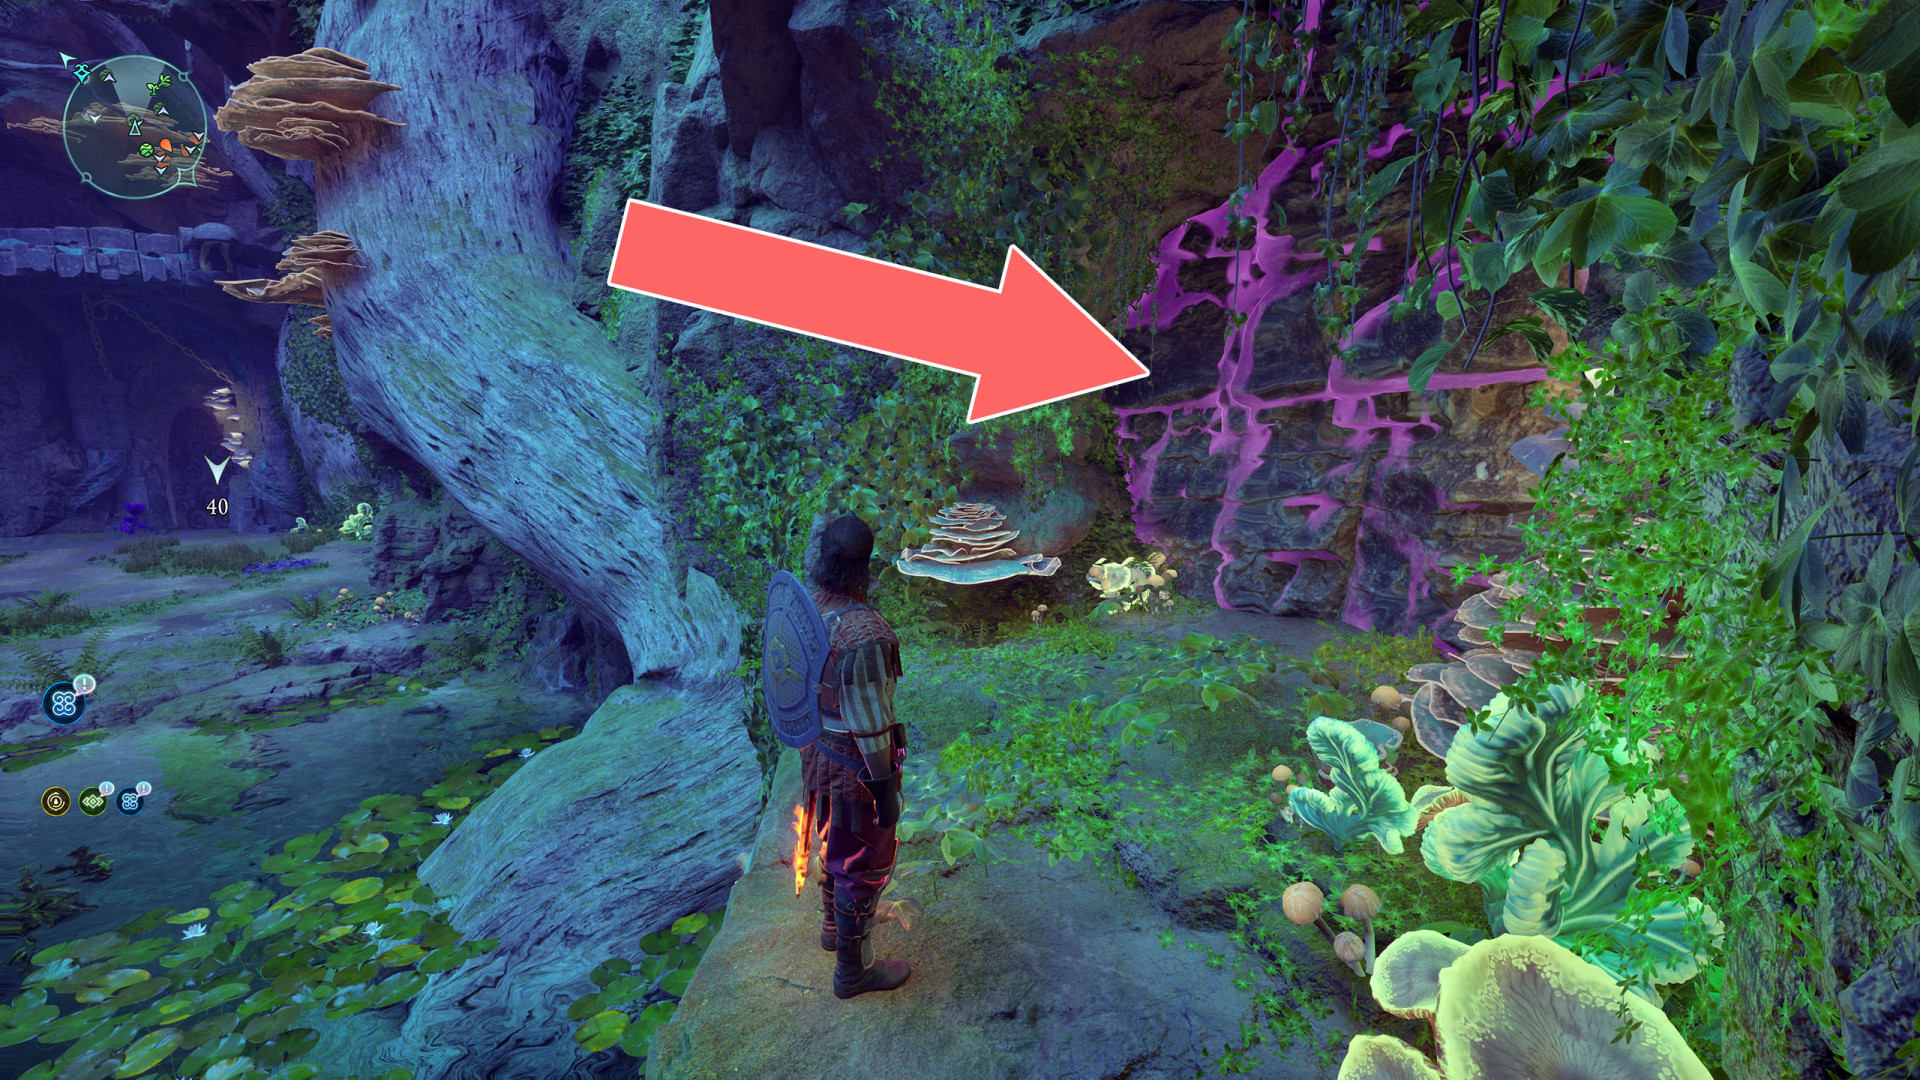
 Brambles▶ show the map ◀
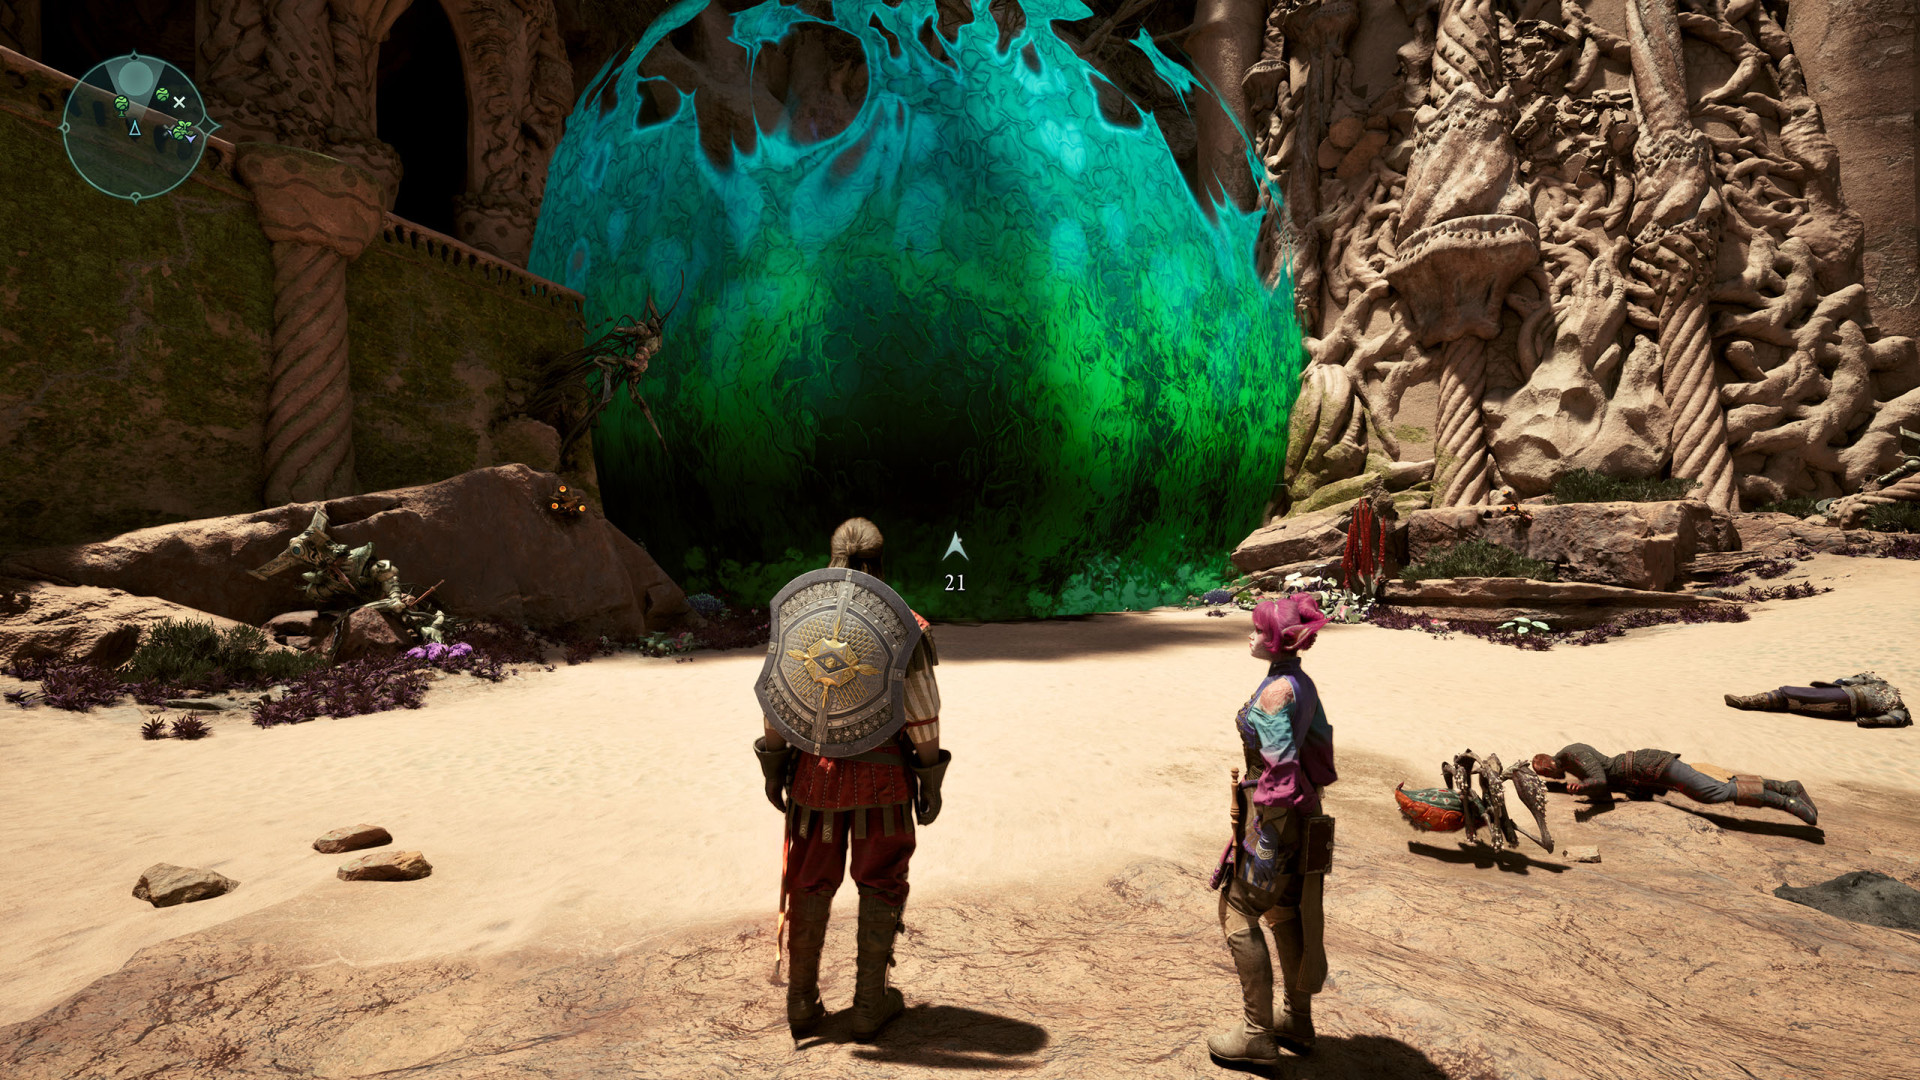
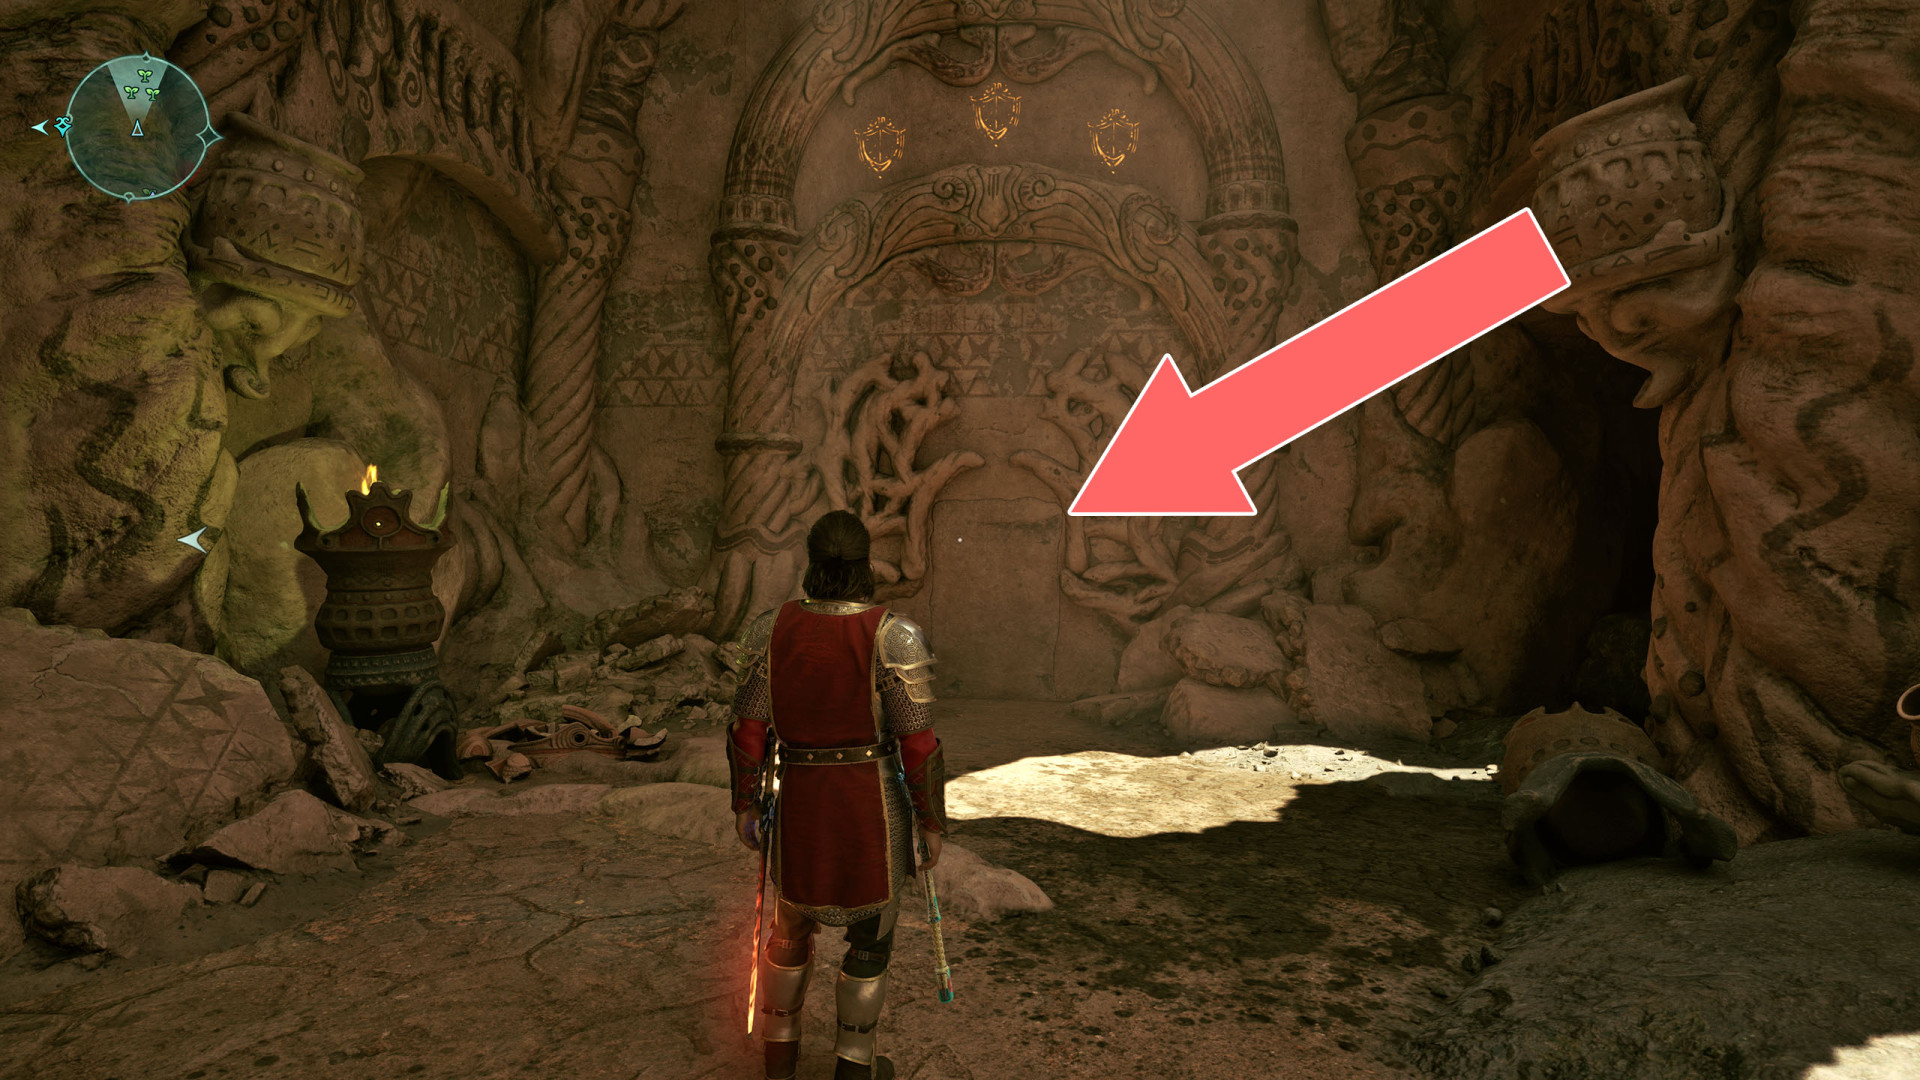
To burn the brambles, get the Common Bow and shoot down the Magran's Fury located above.
Brambles▶ show the map ◀
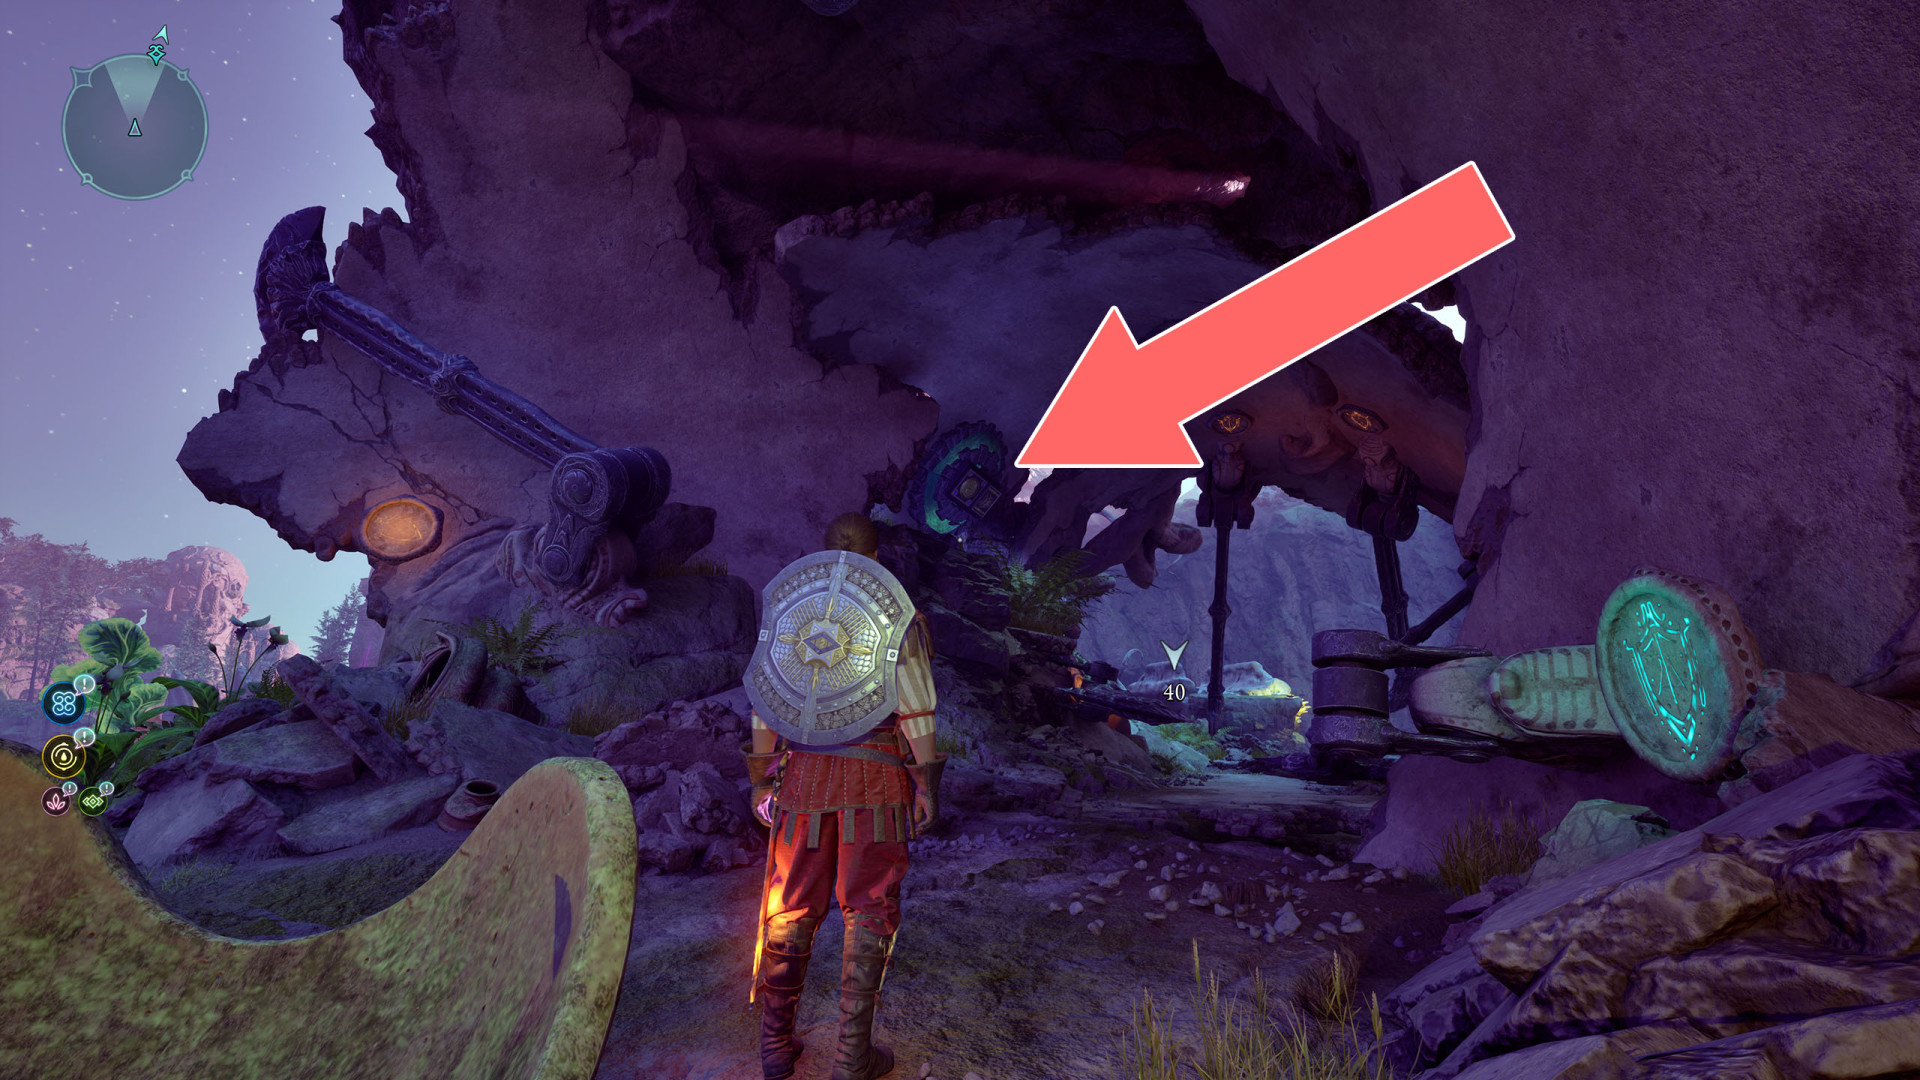
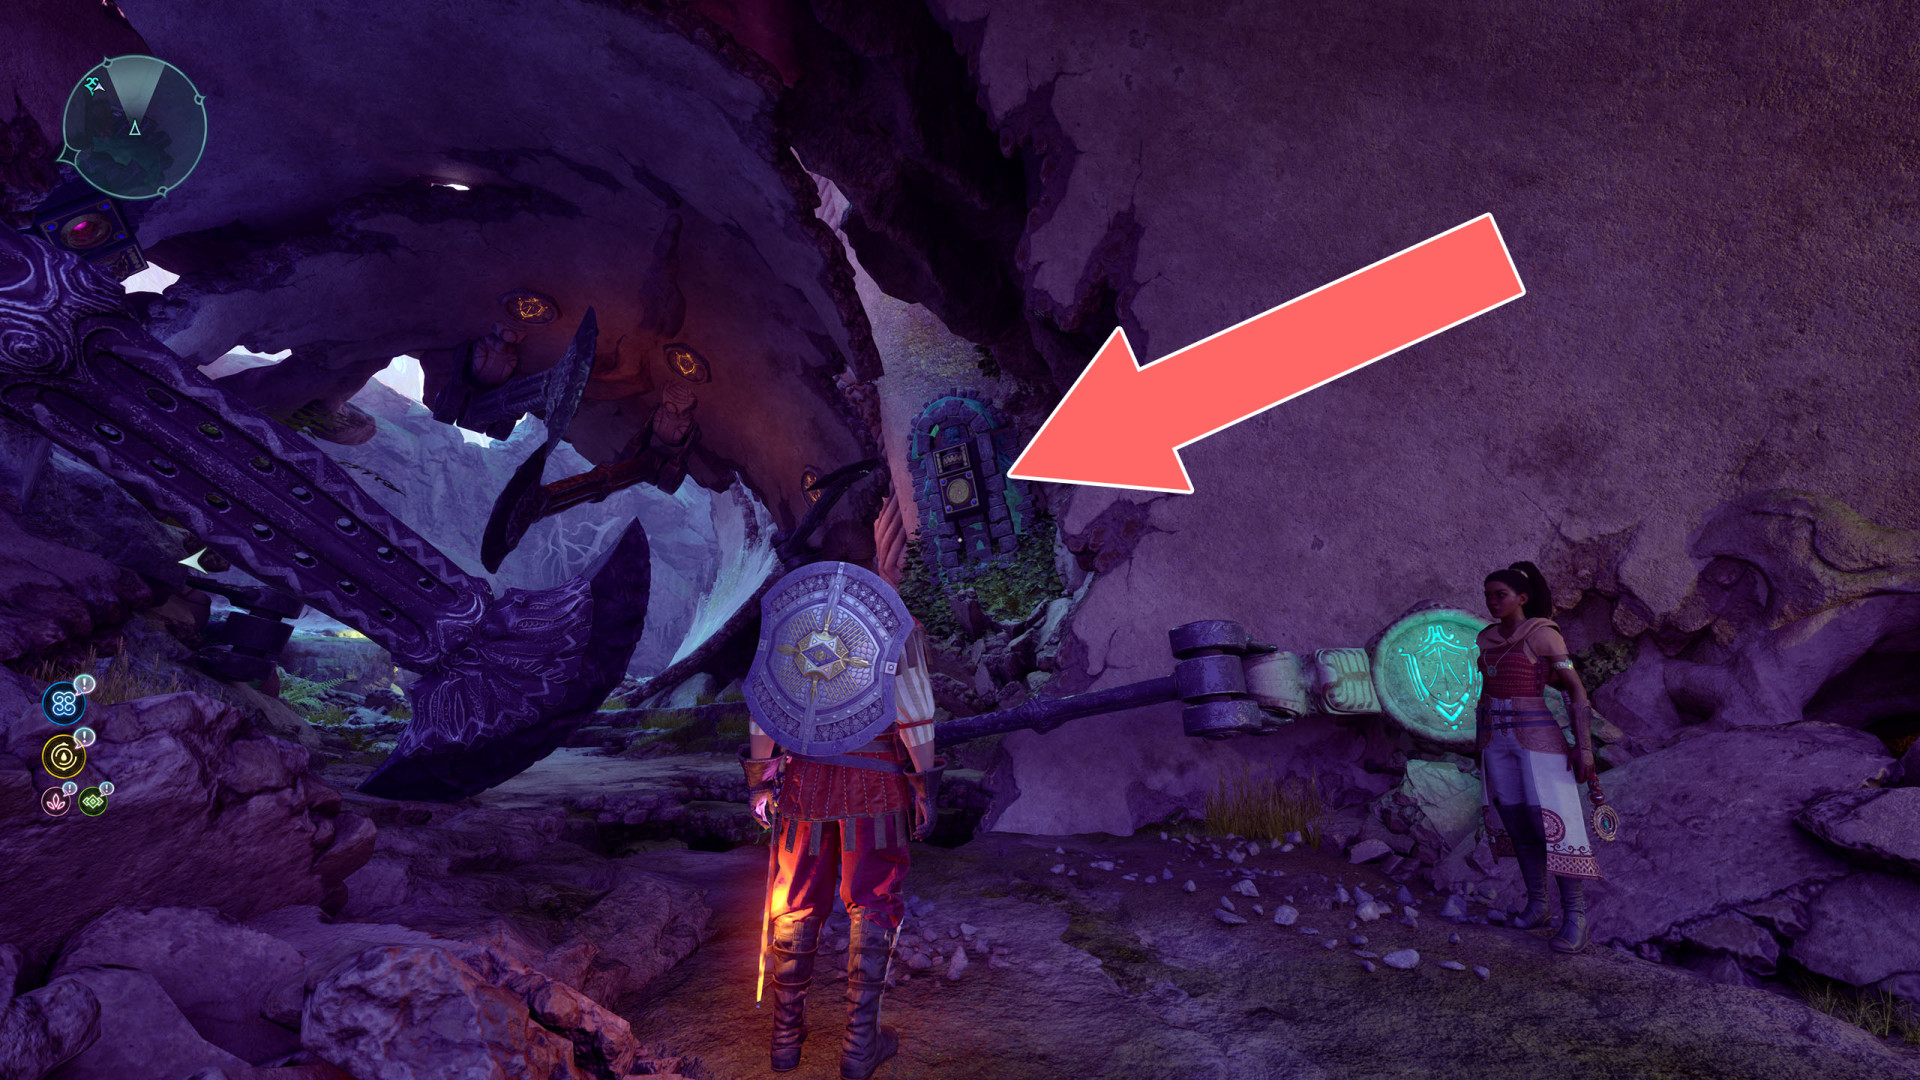
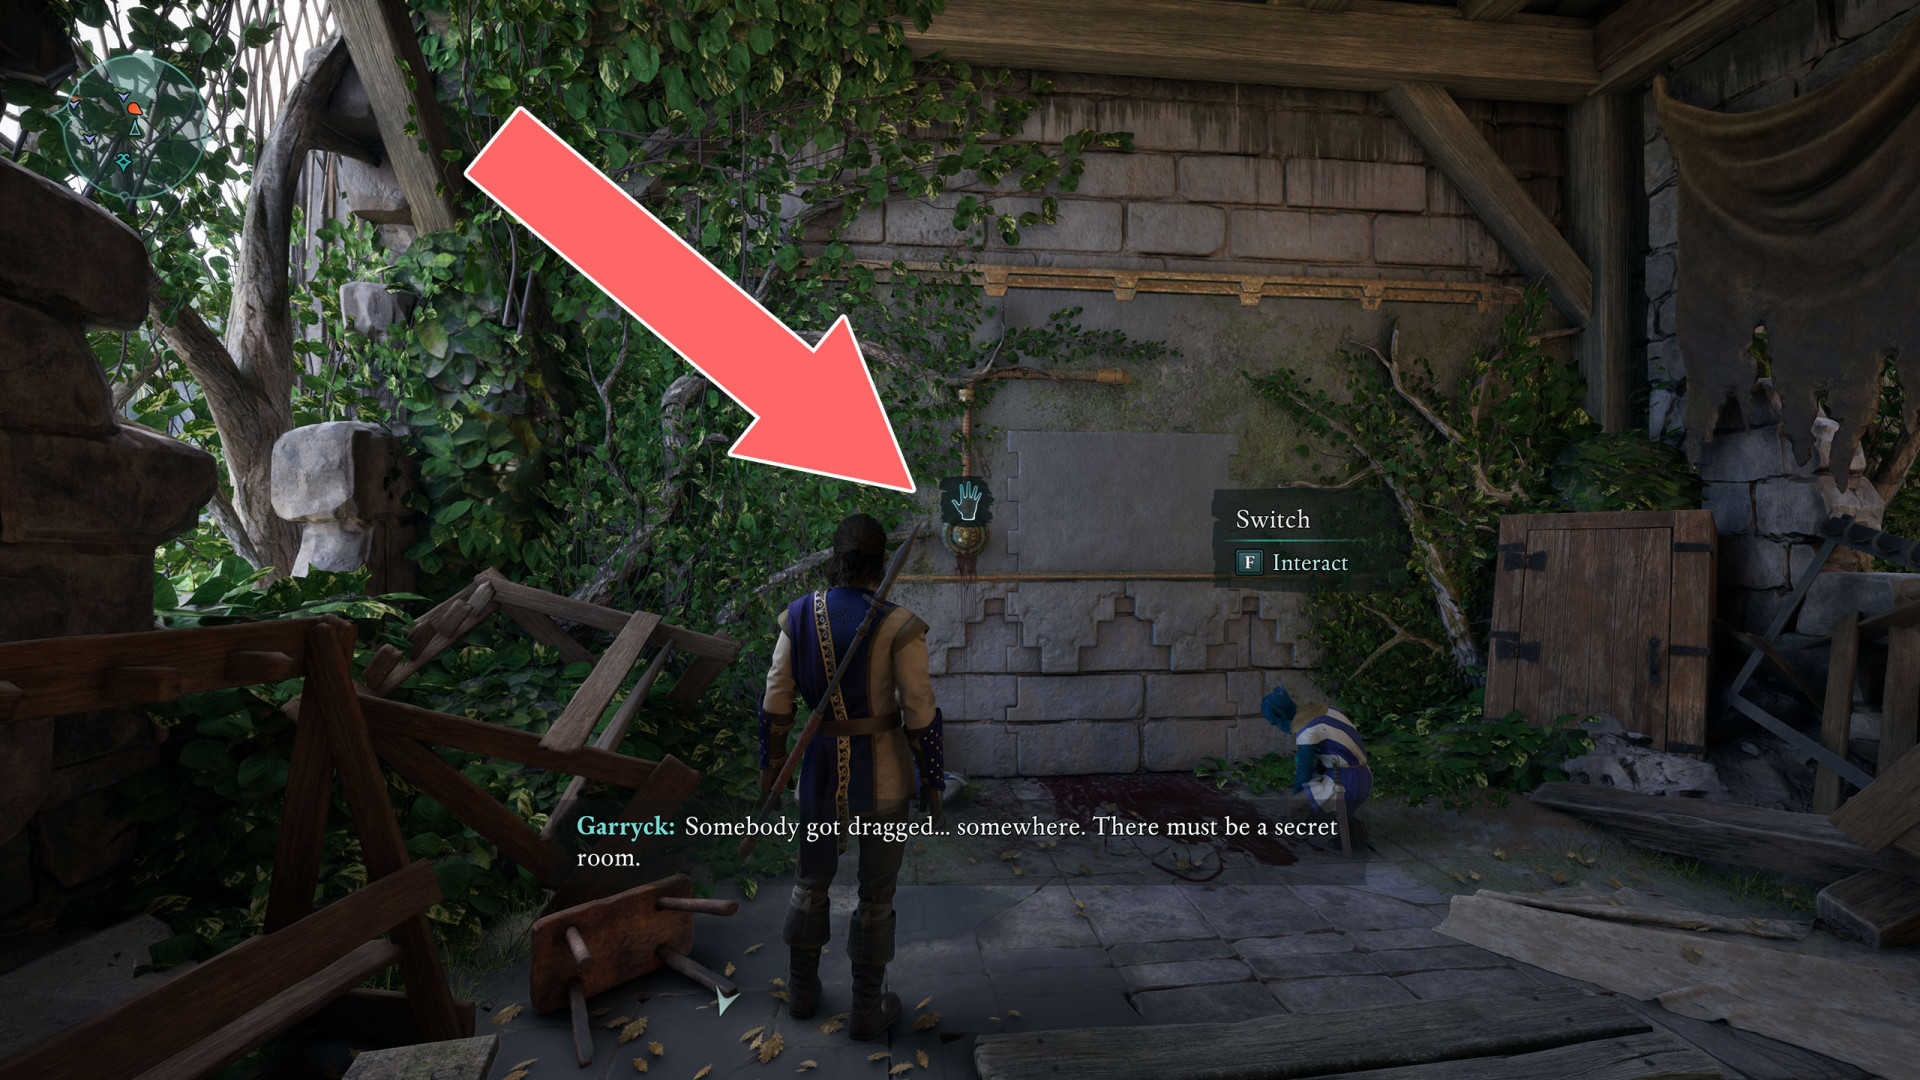
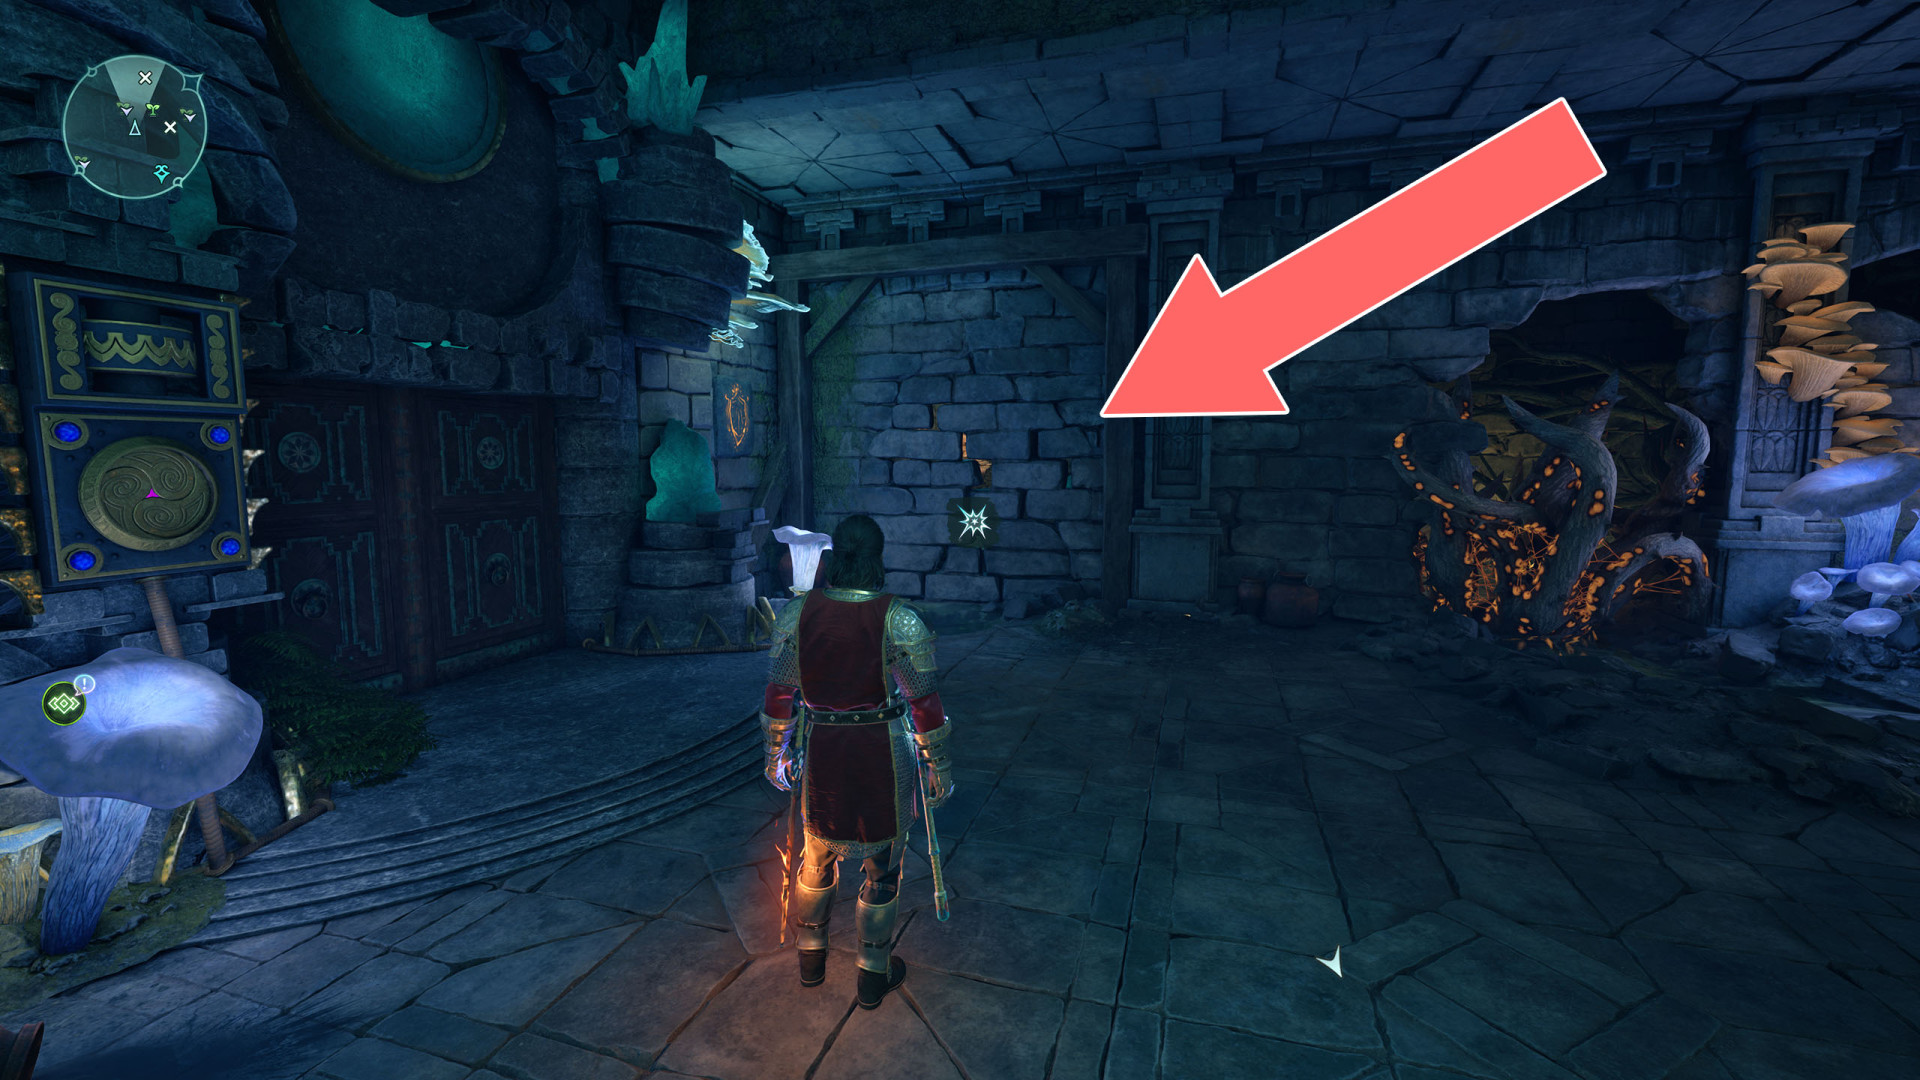
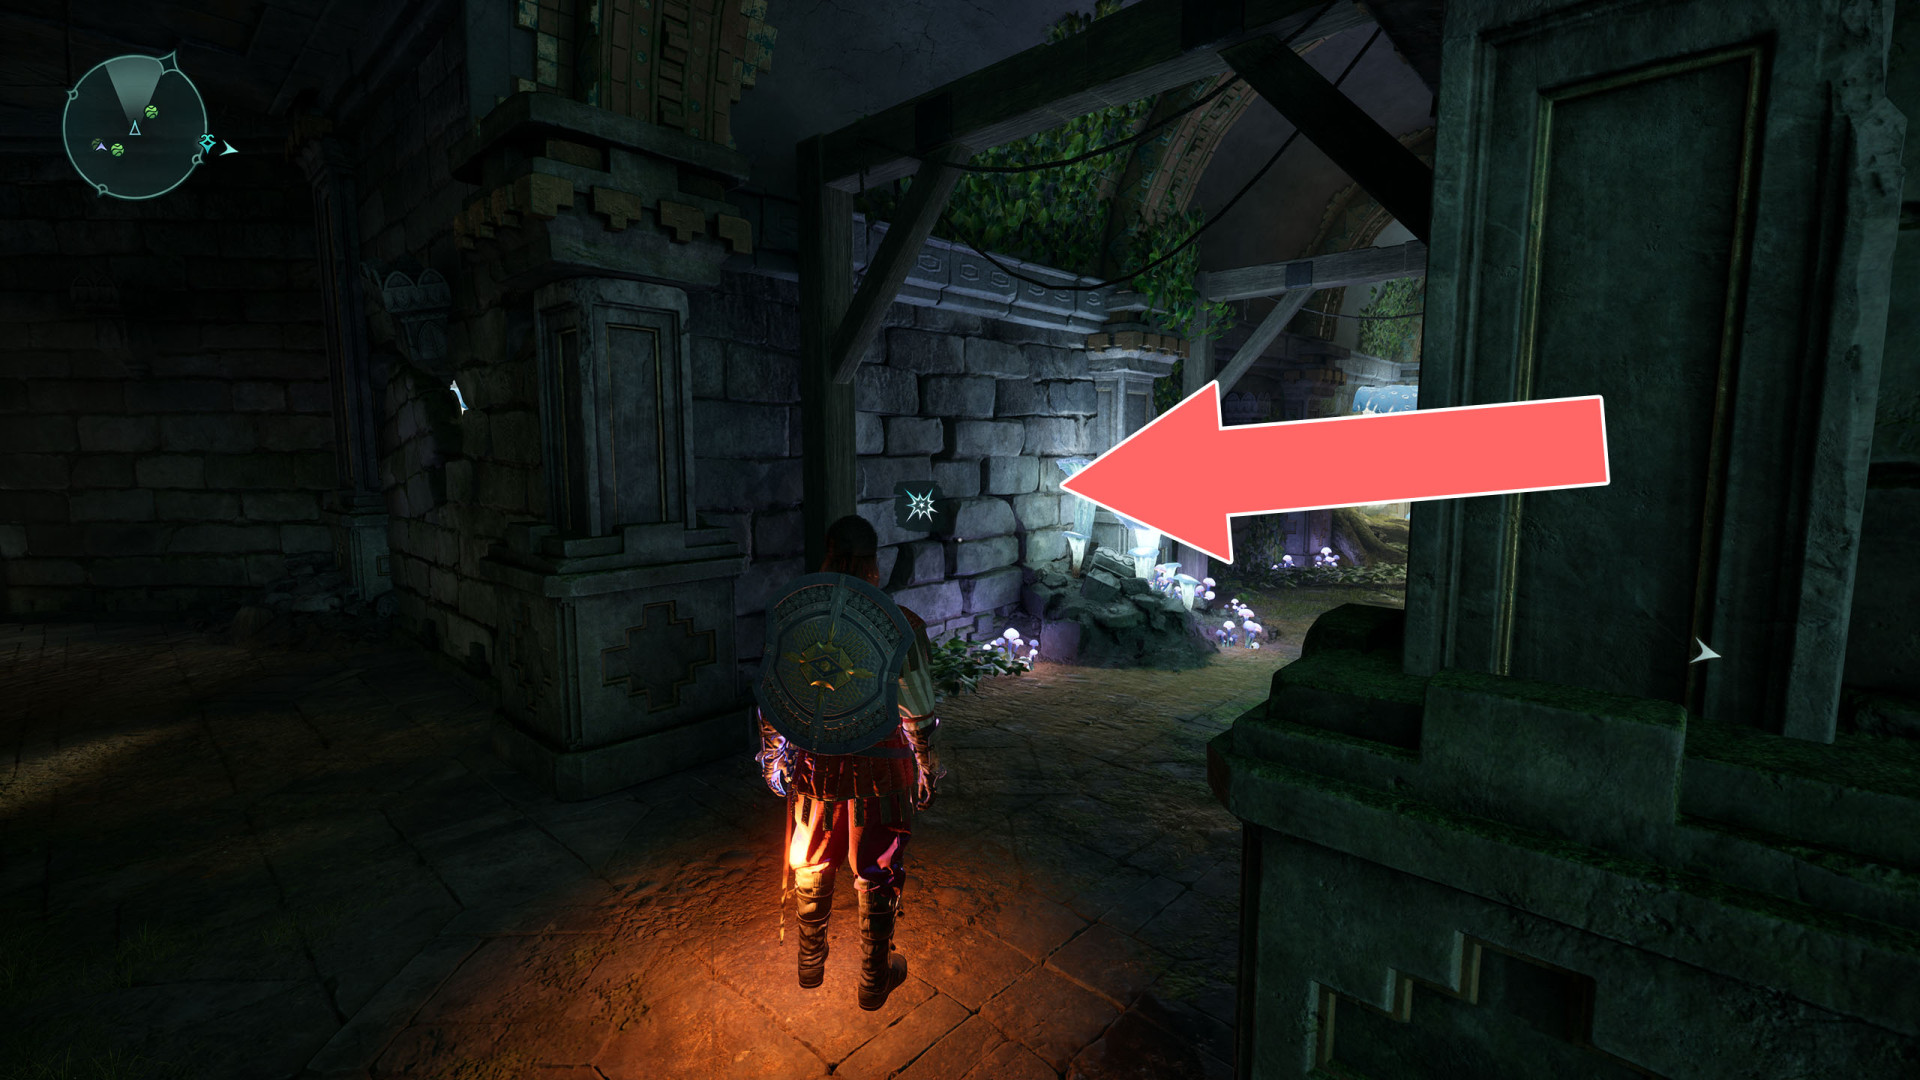
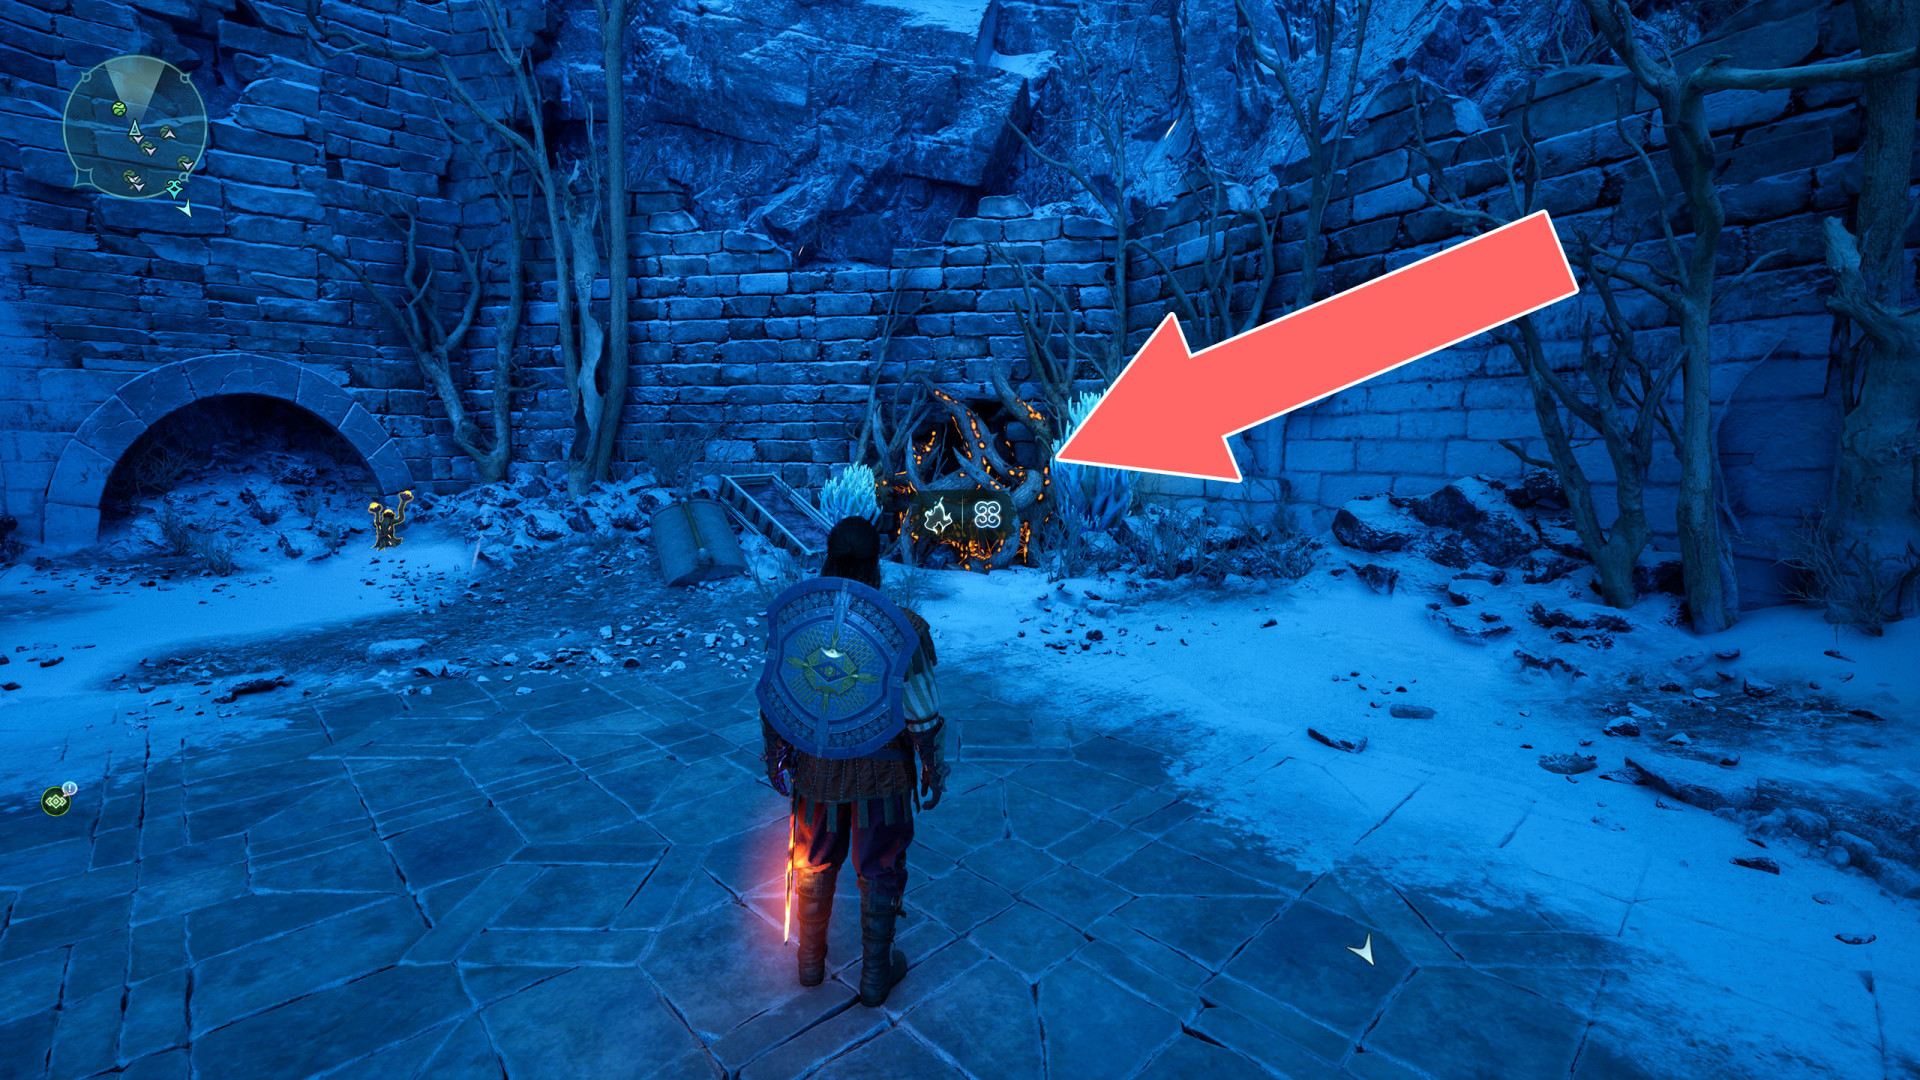
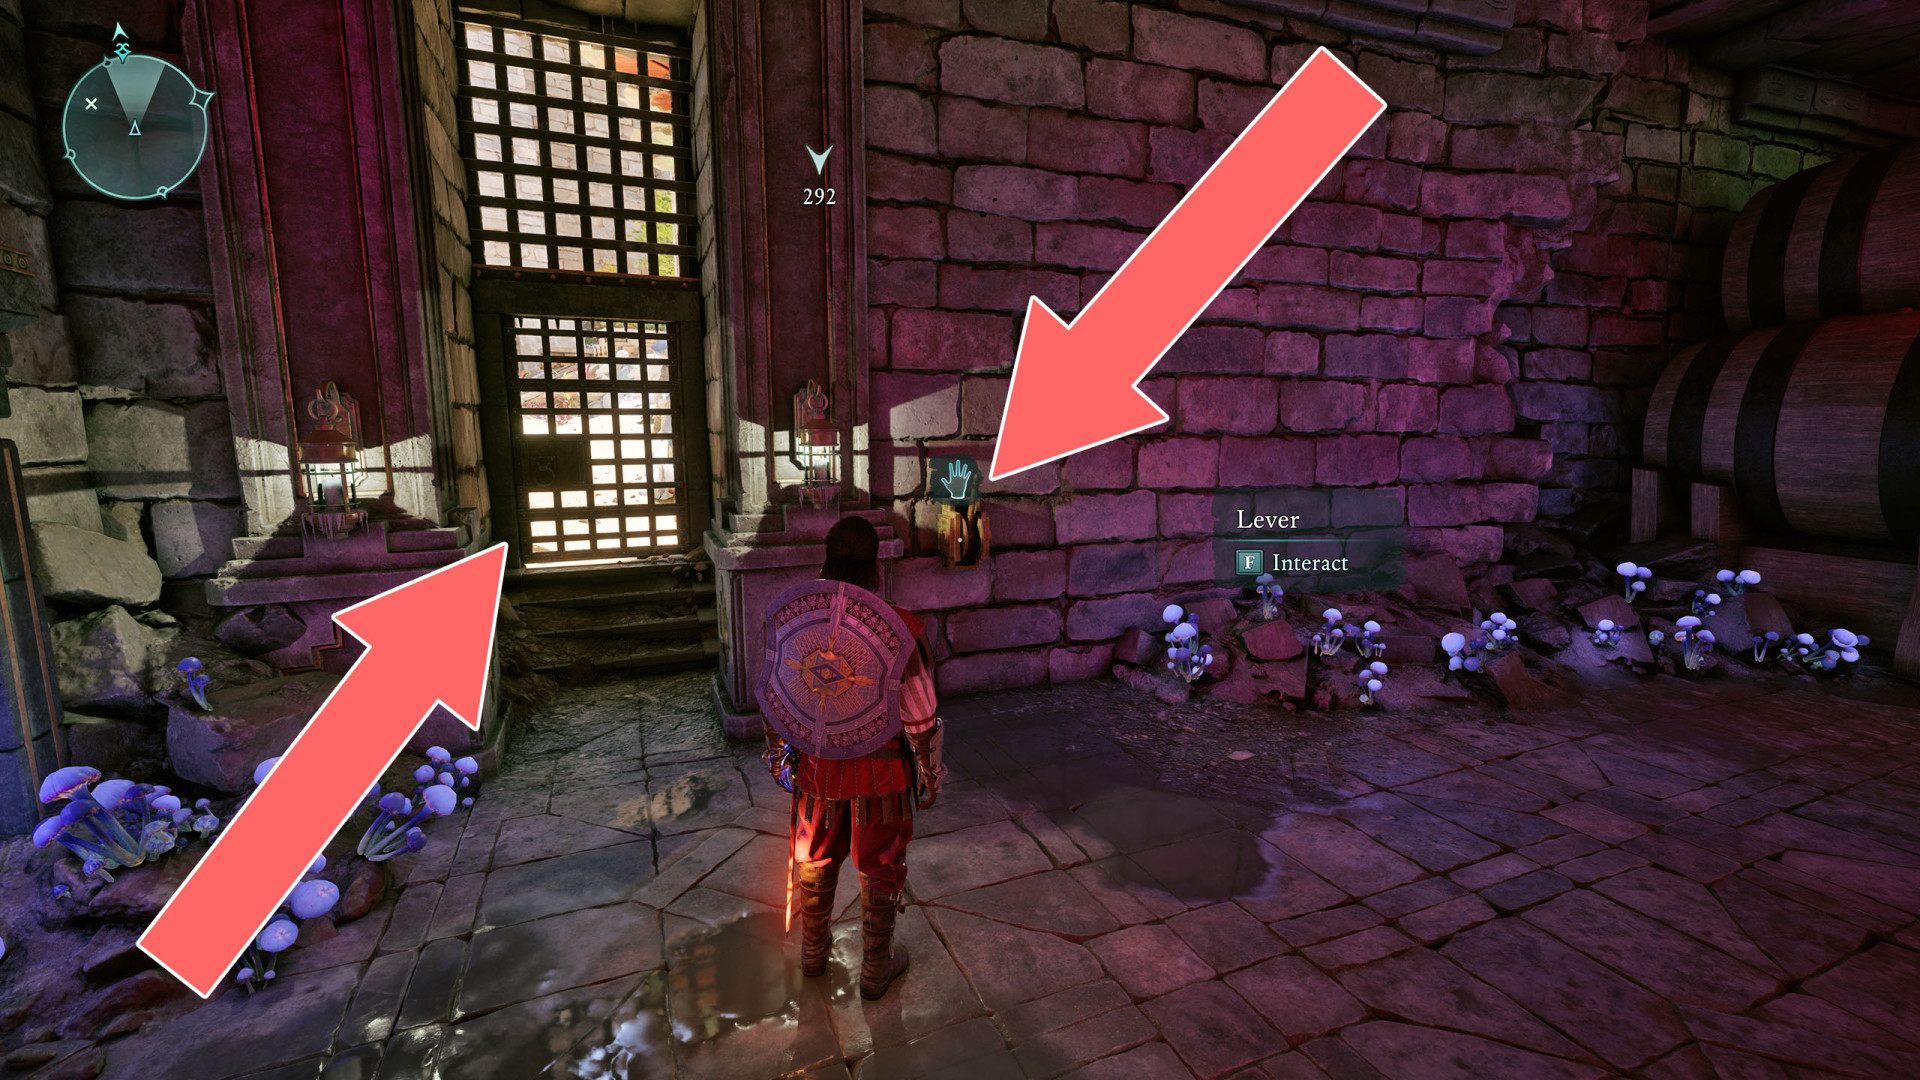
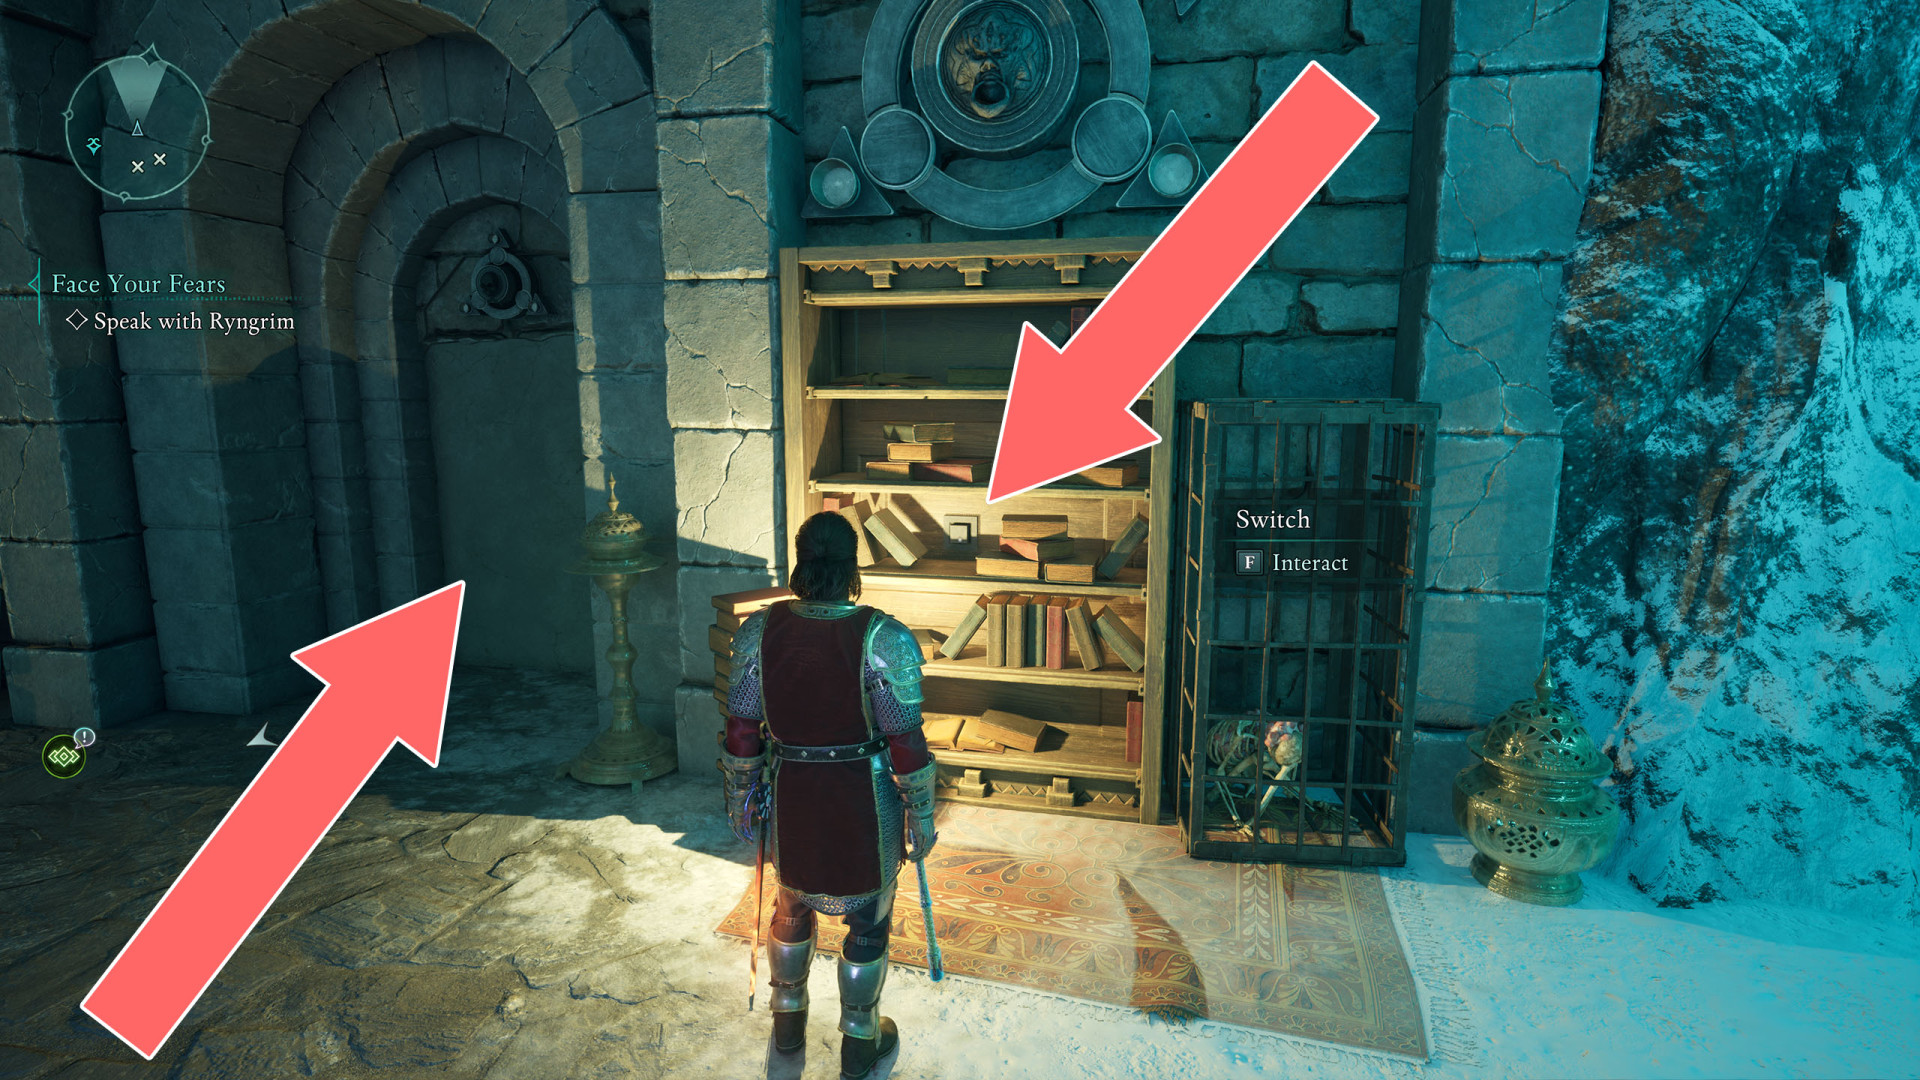
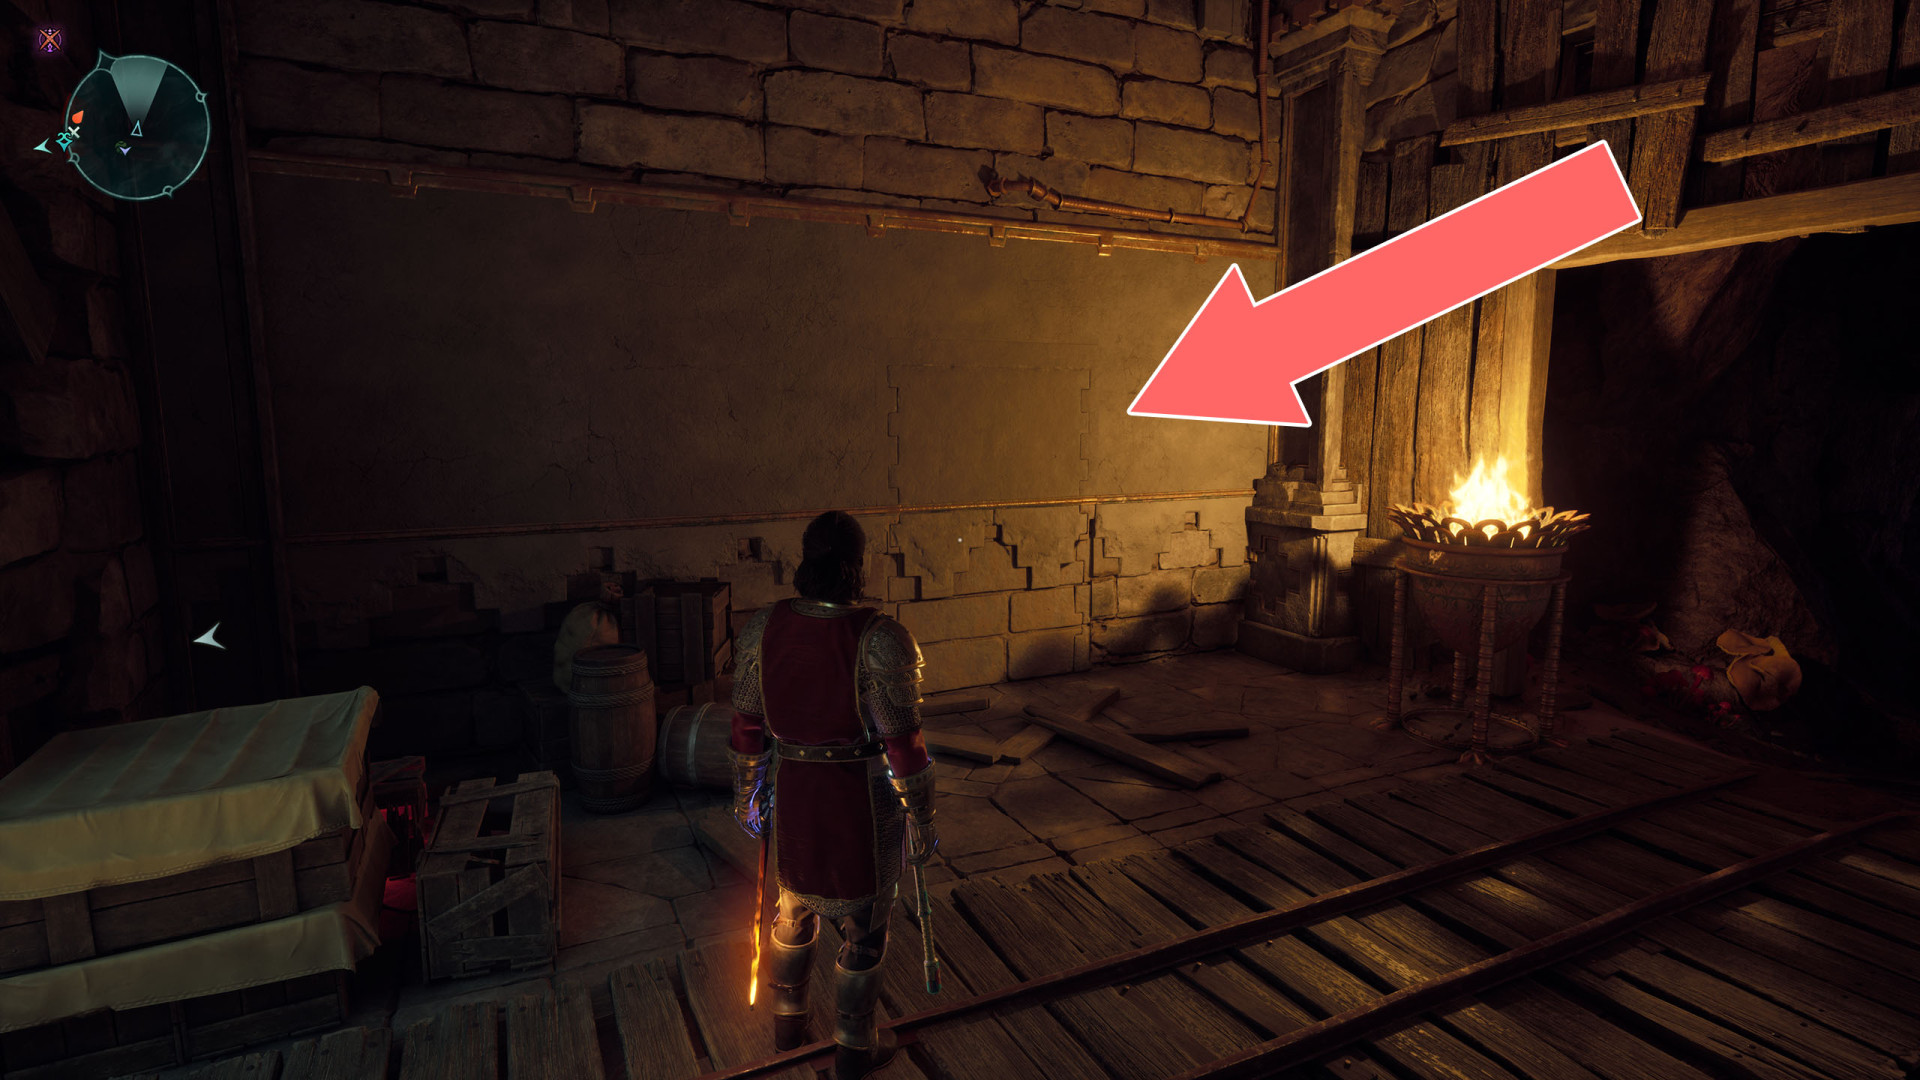
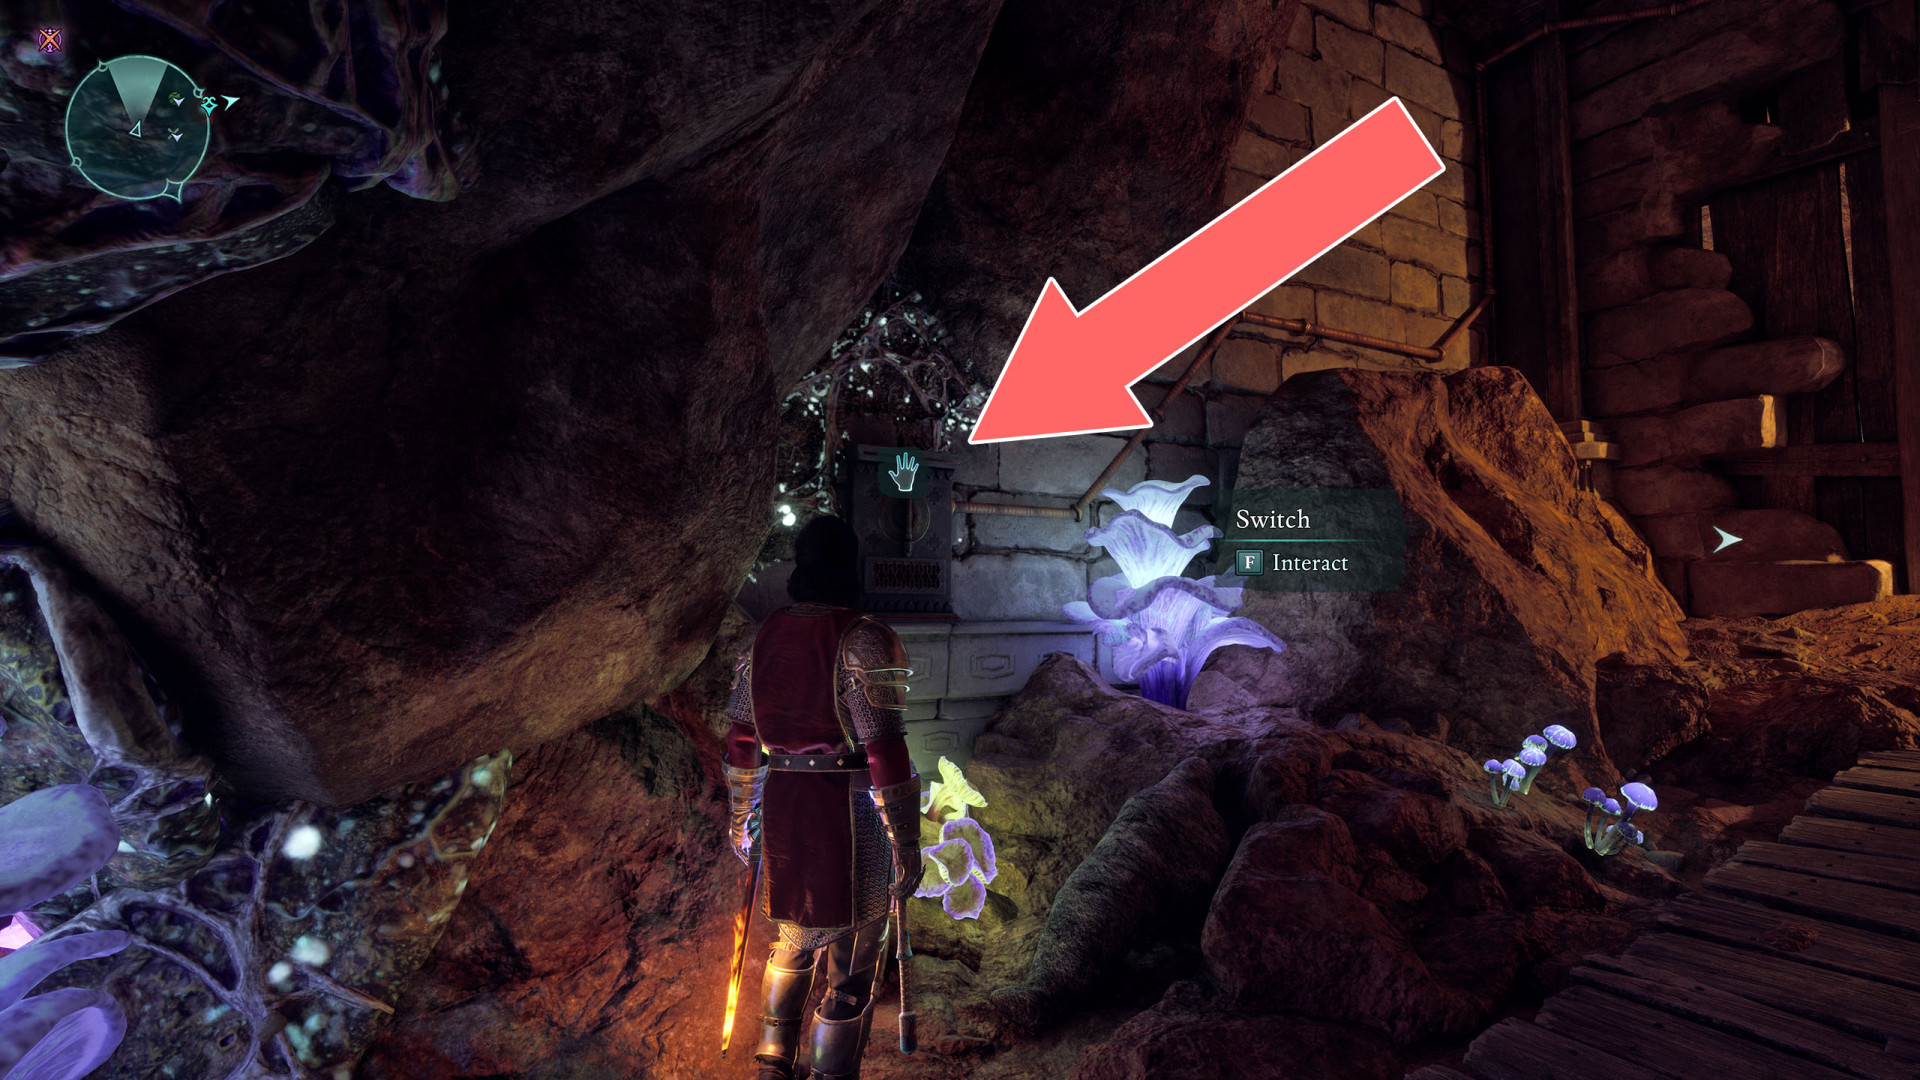
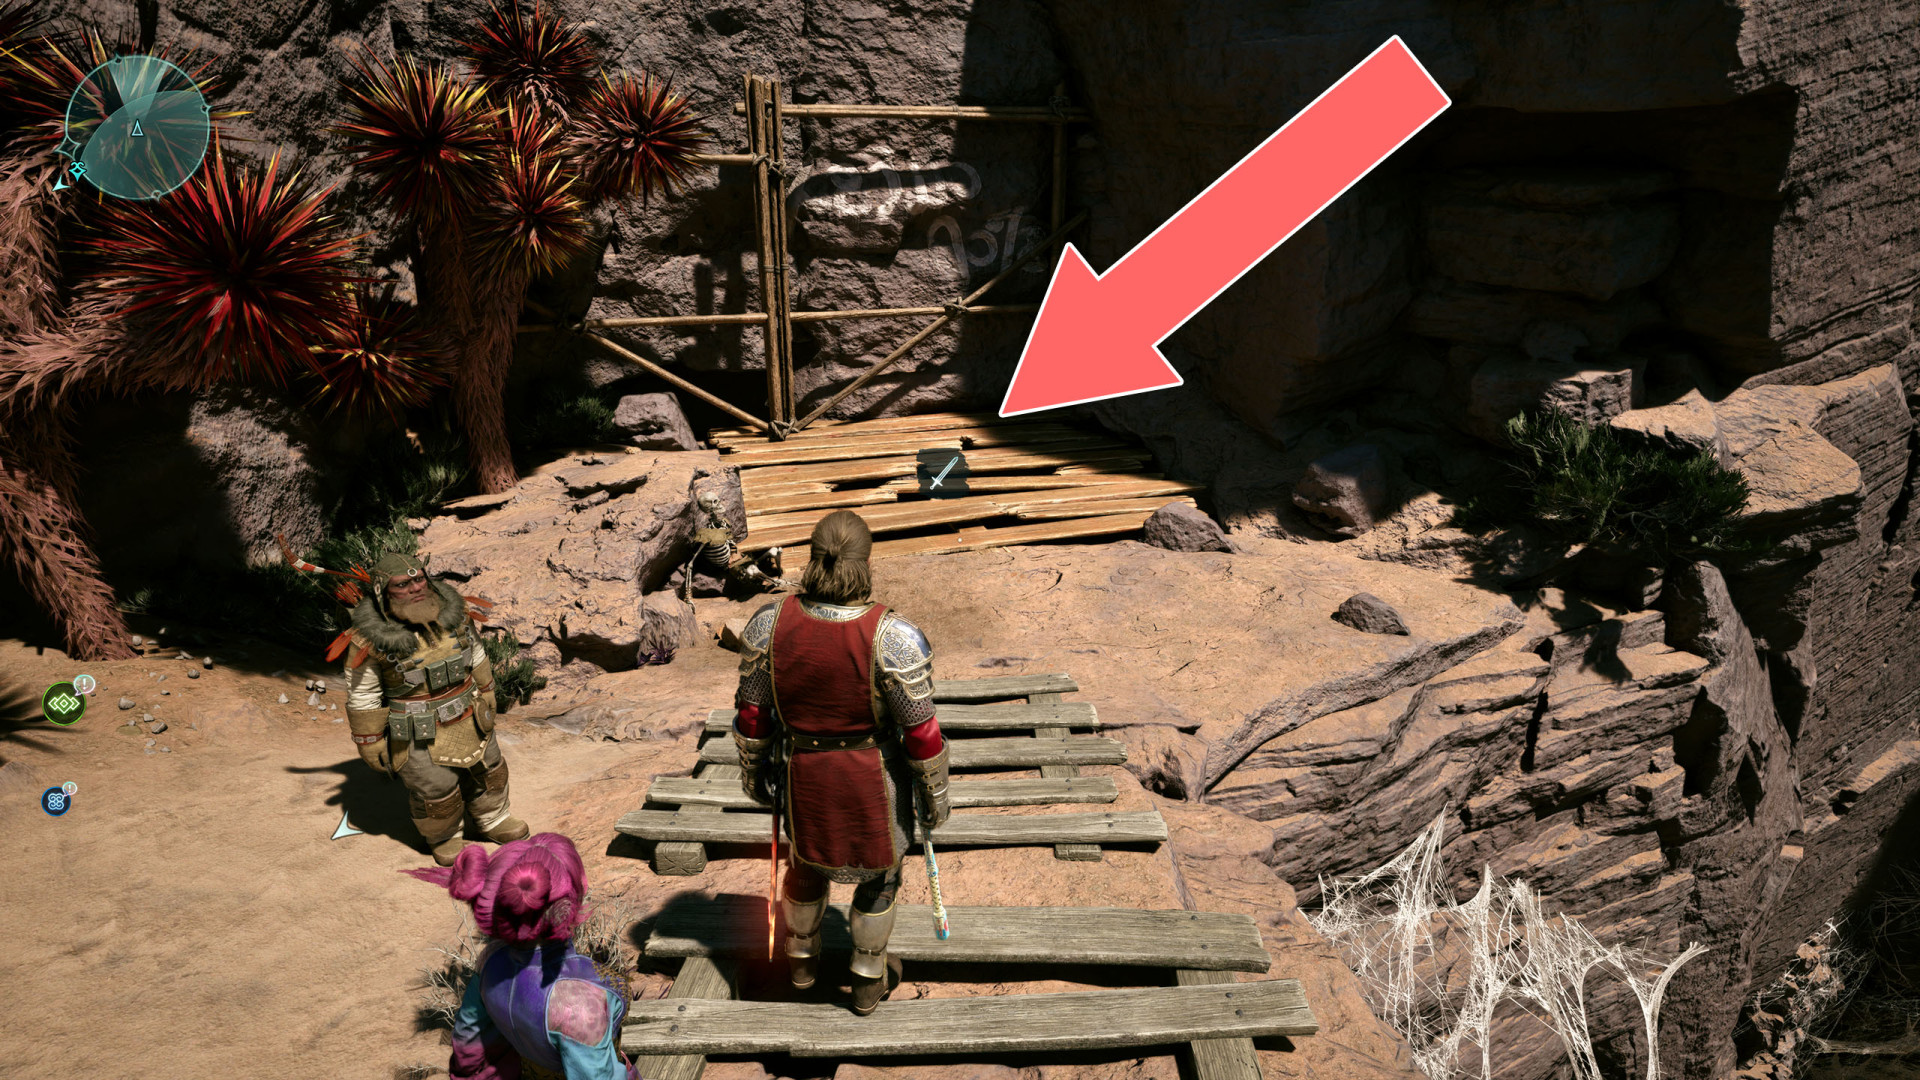
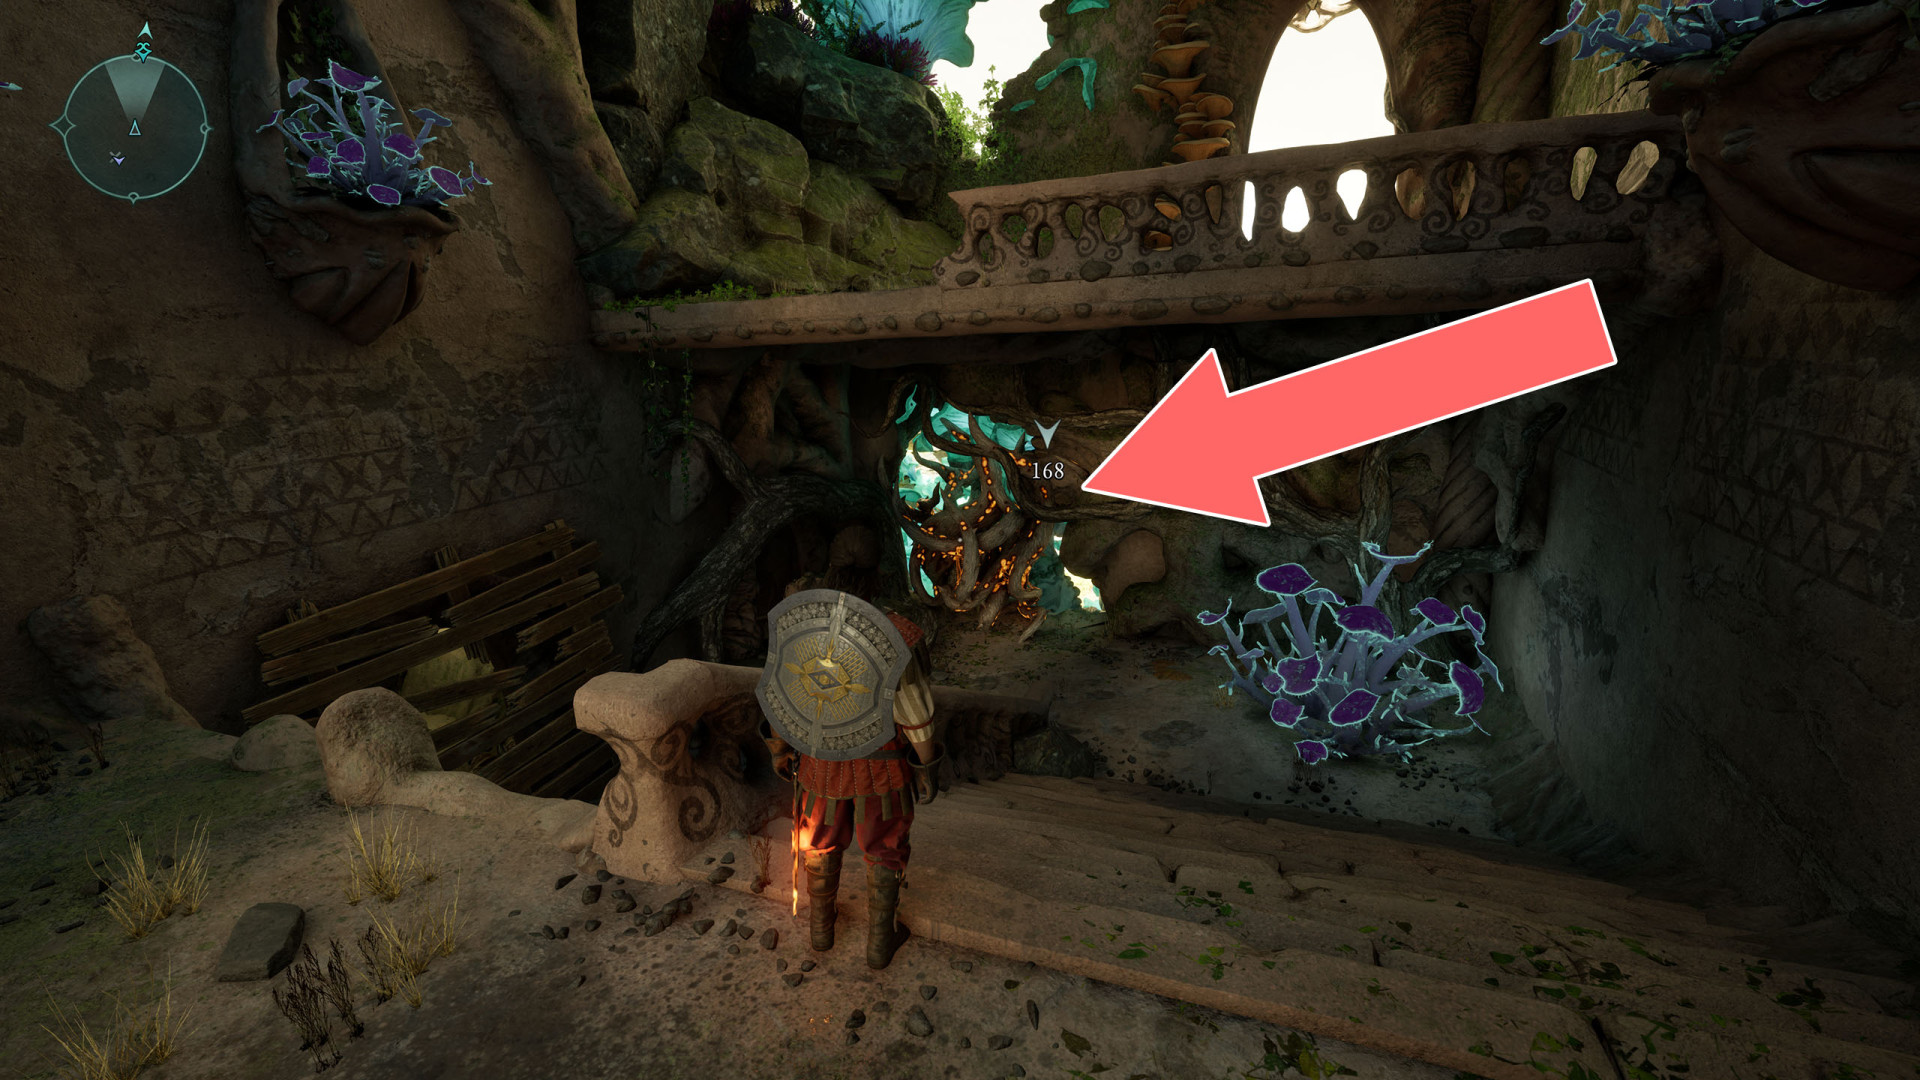
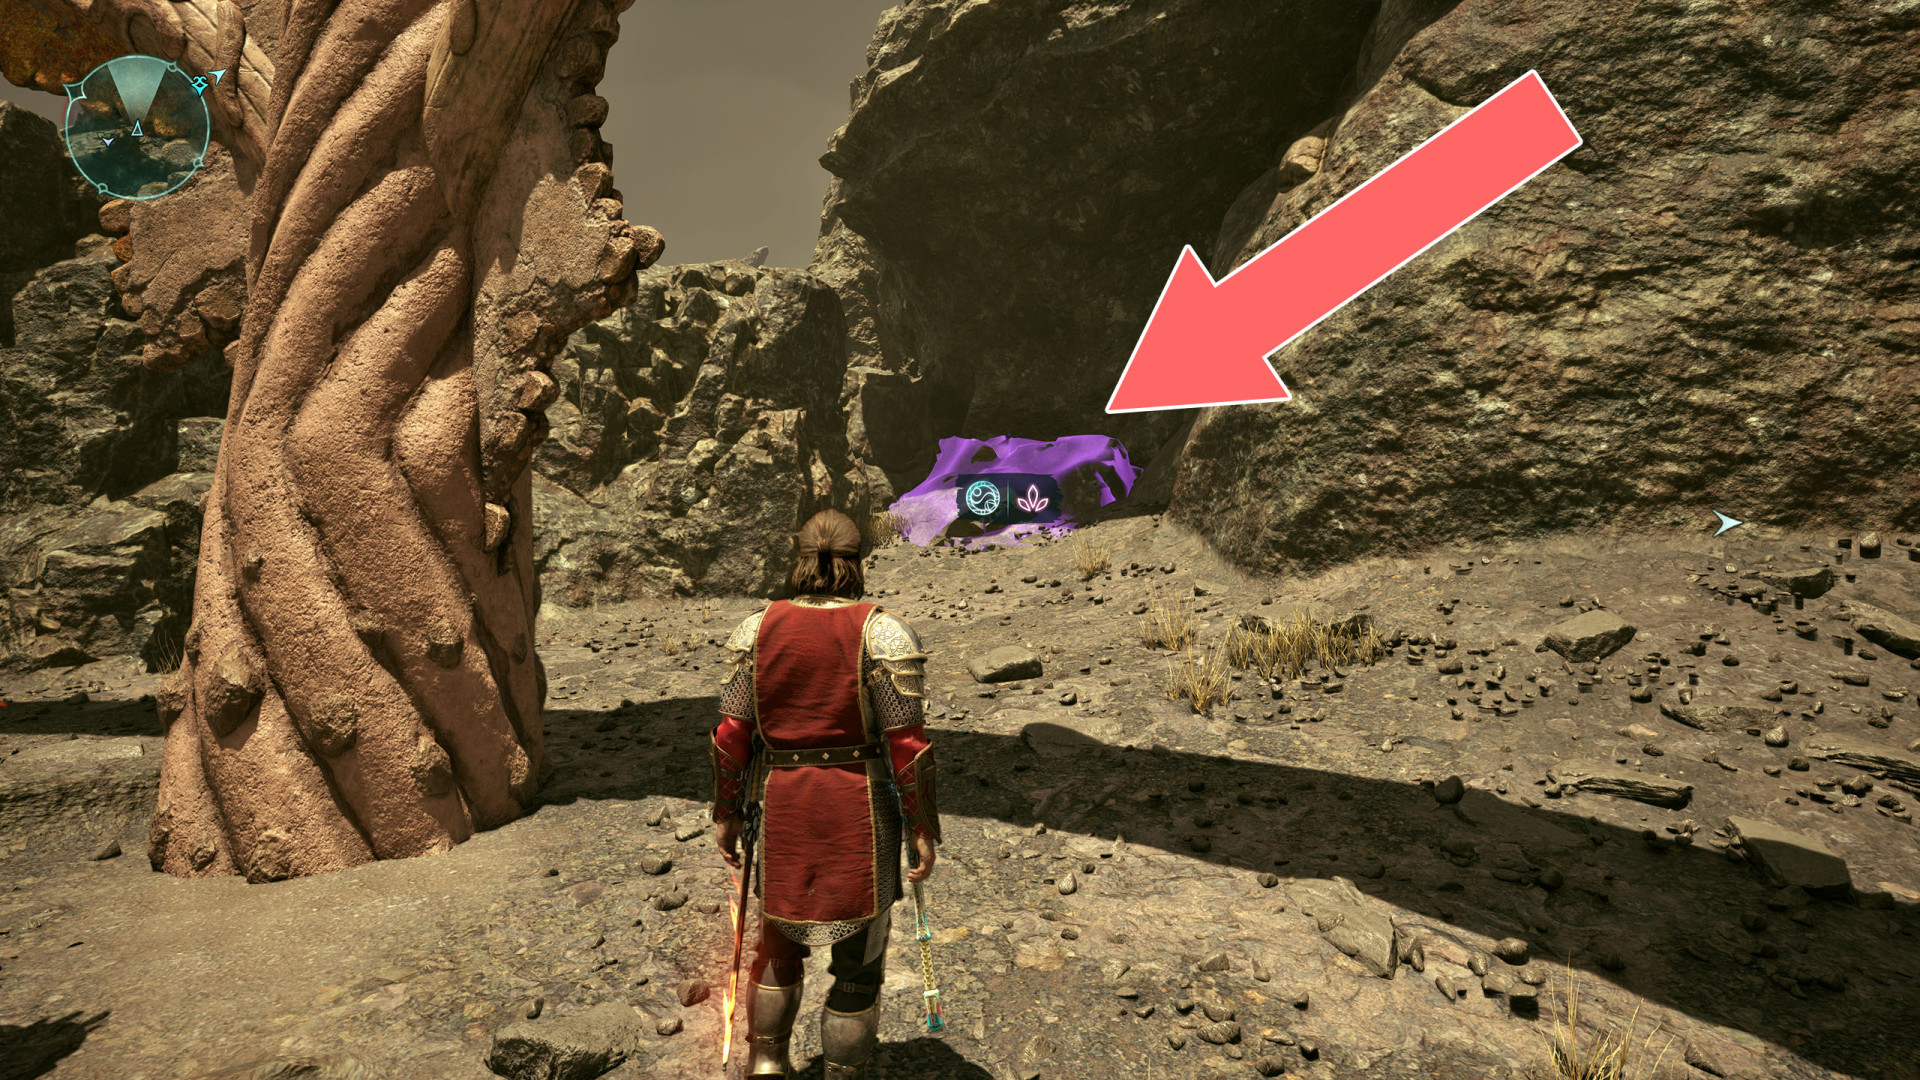
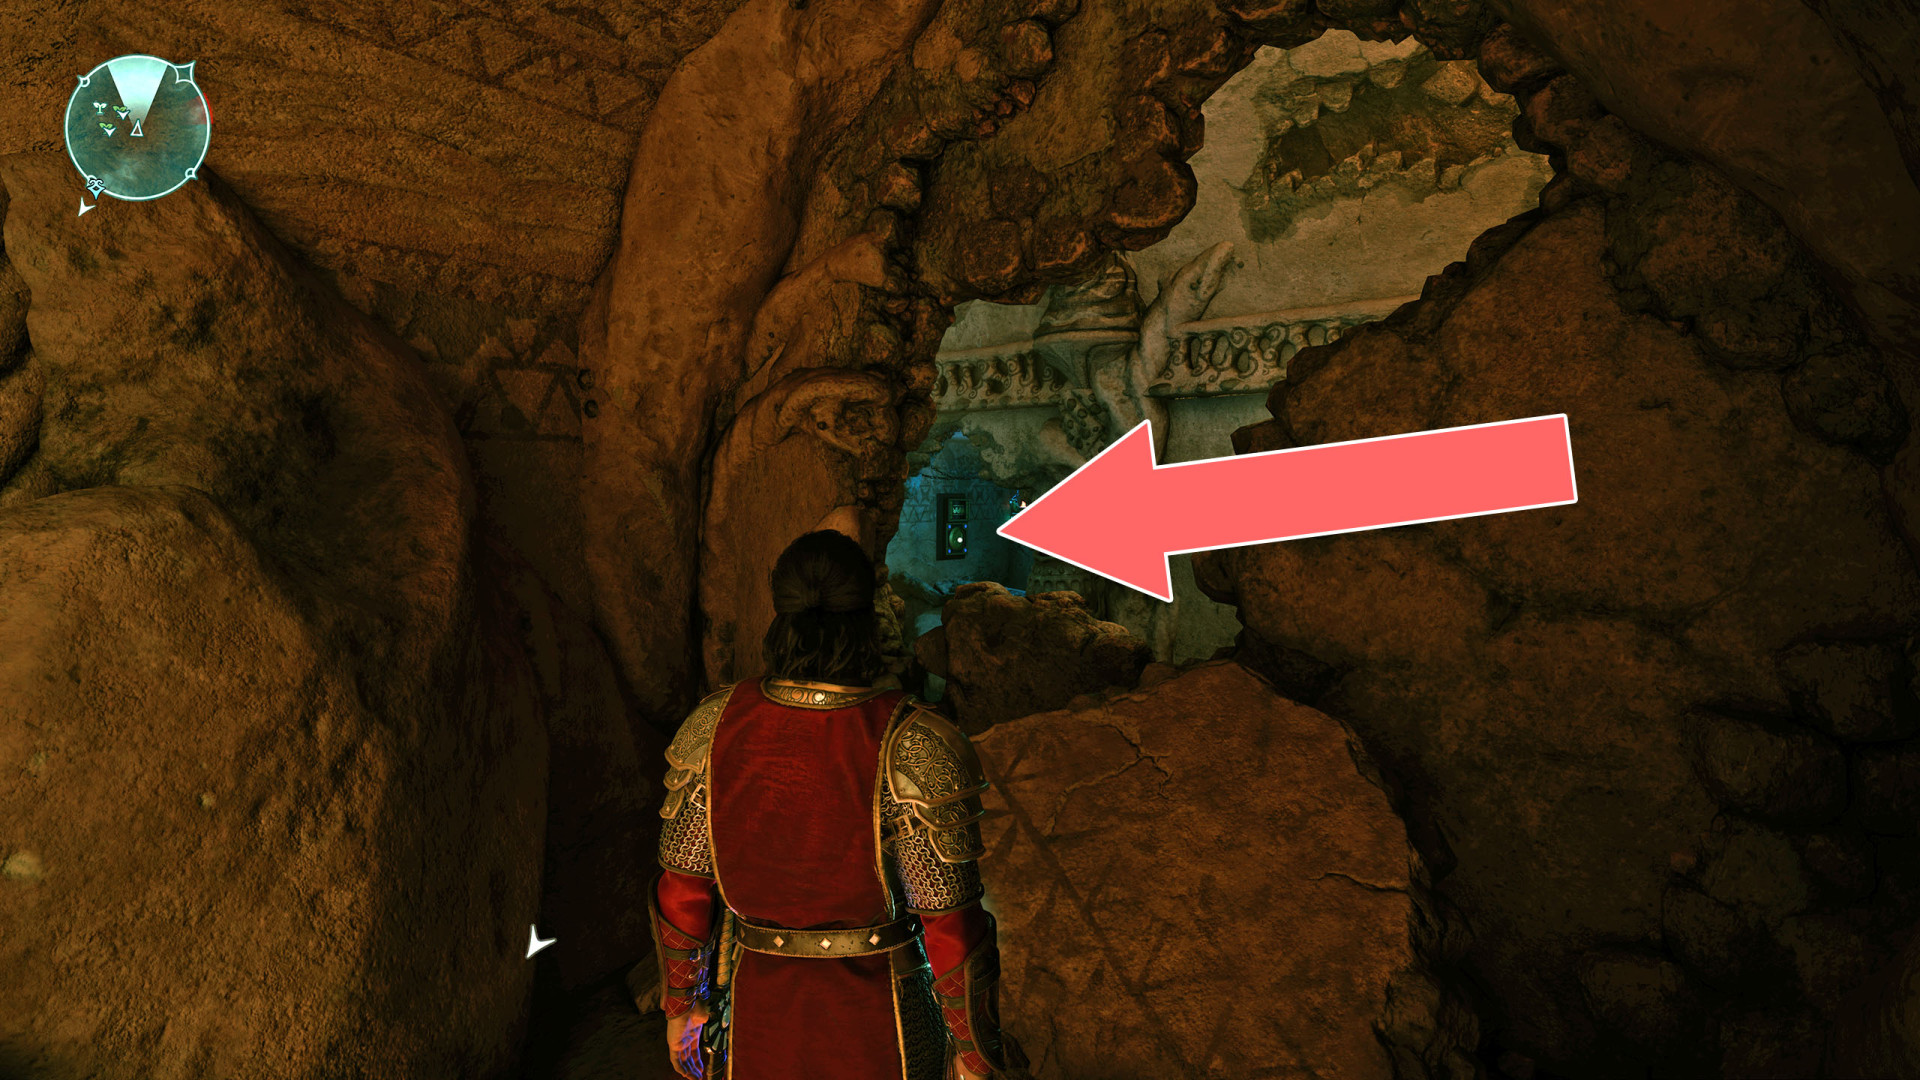
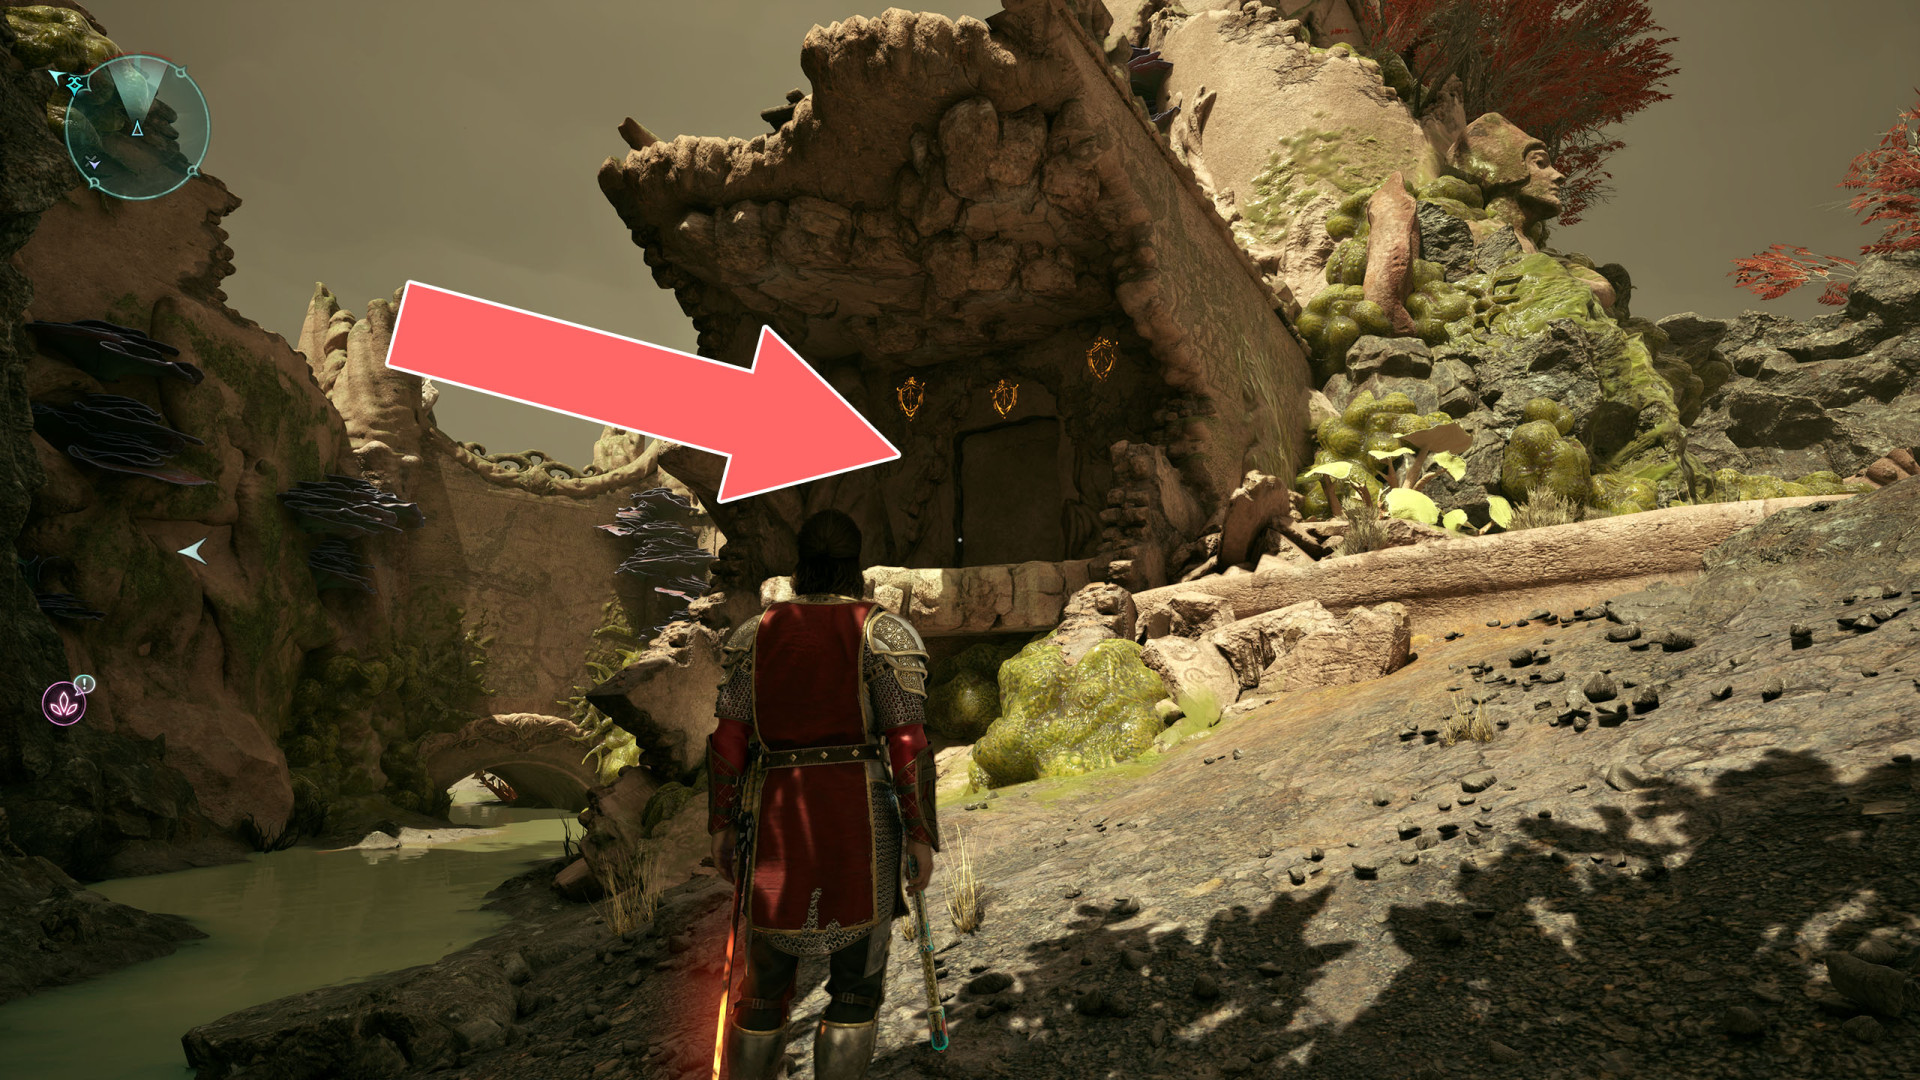
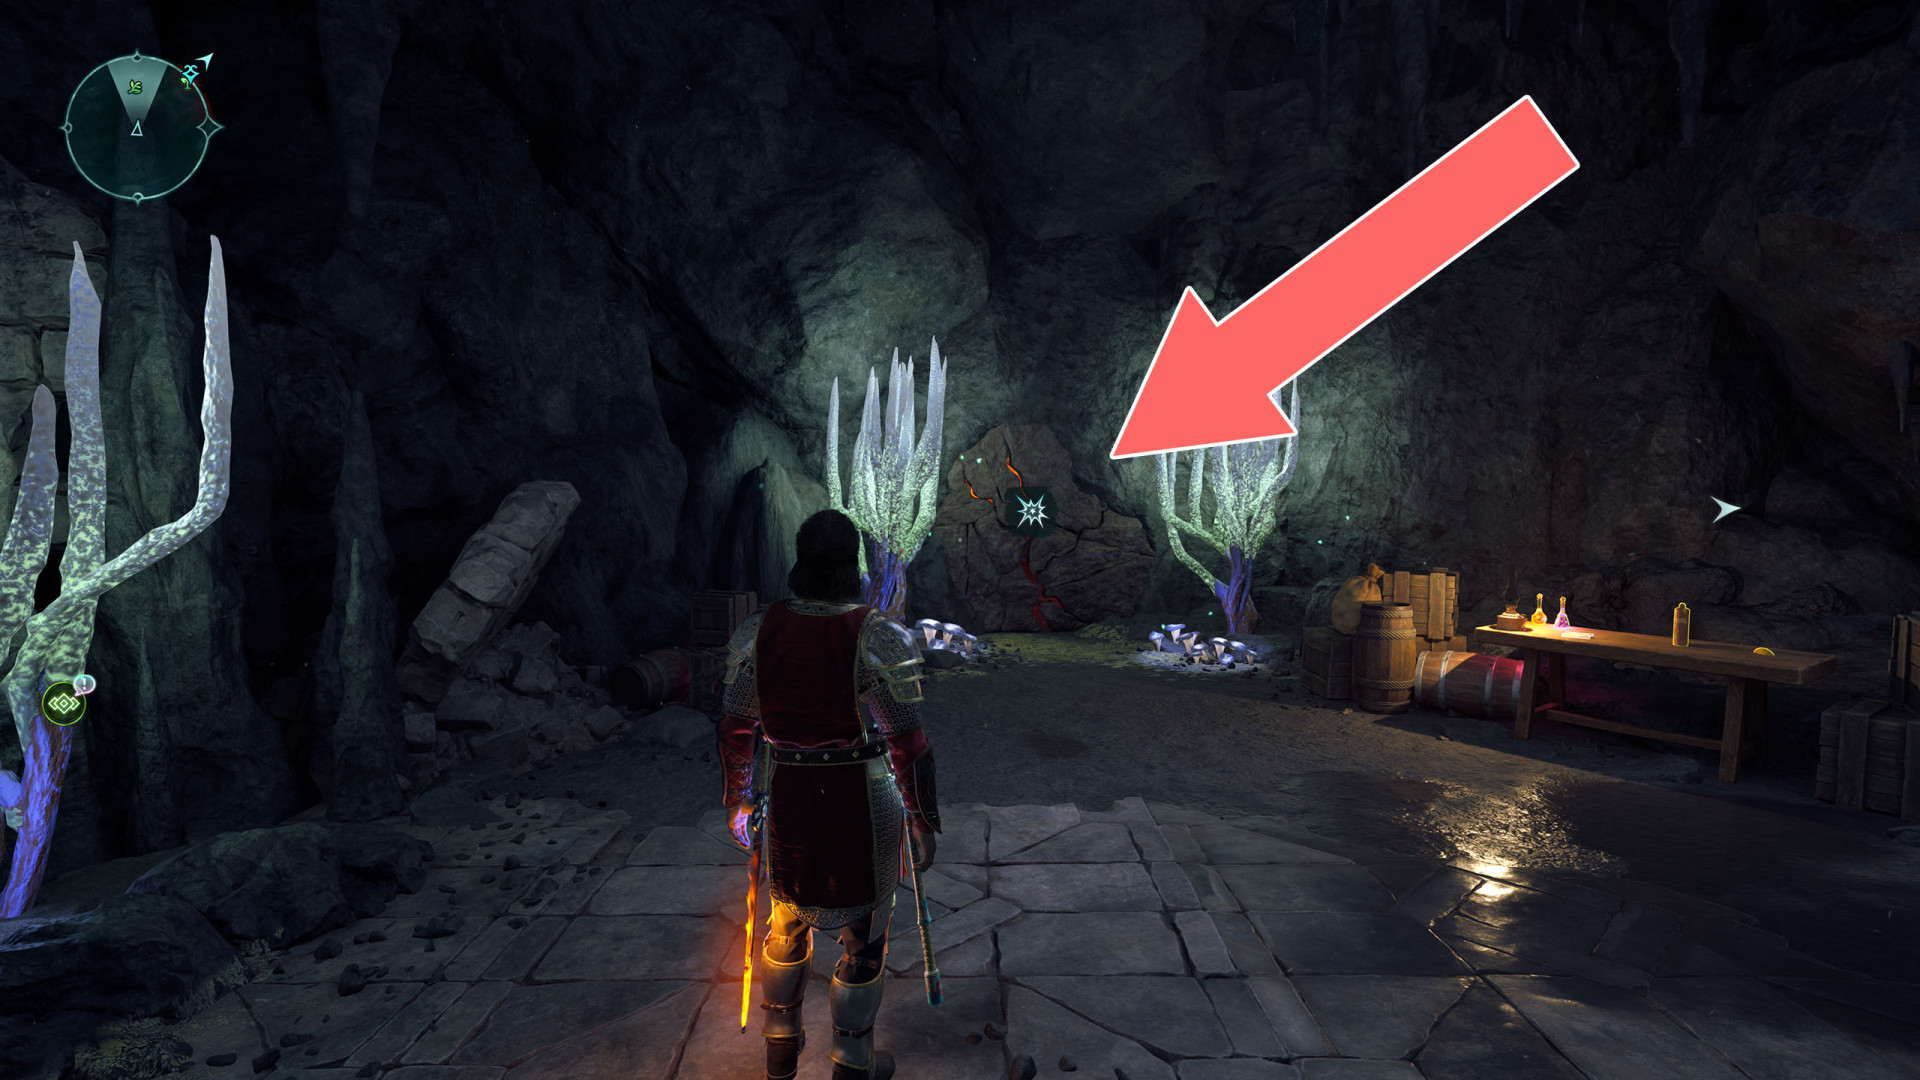
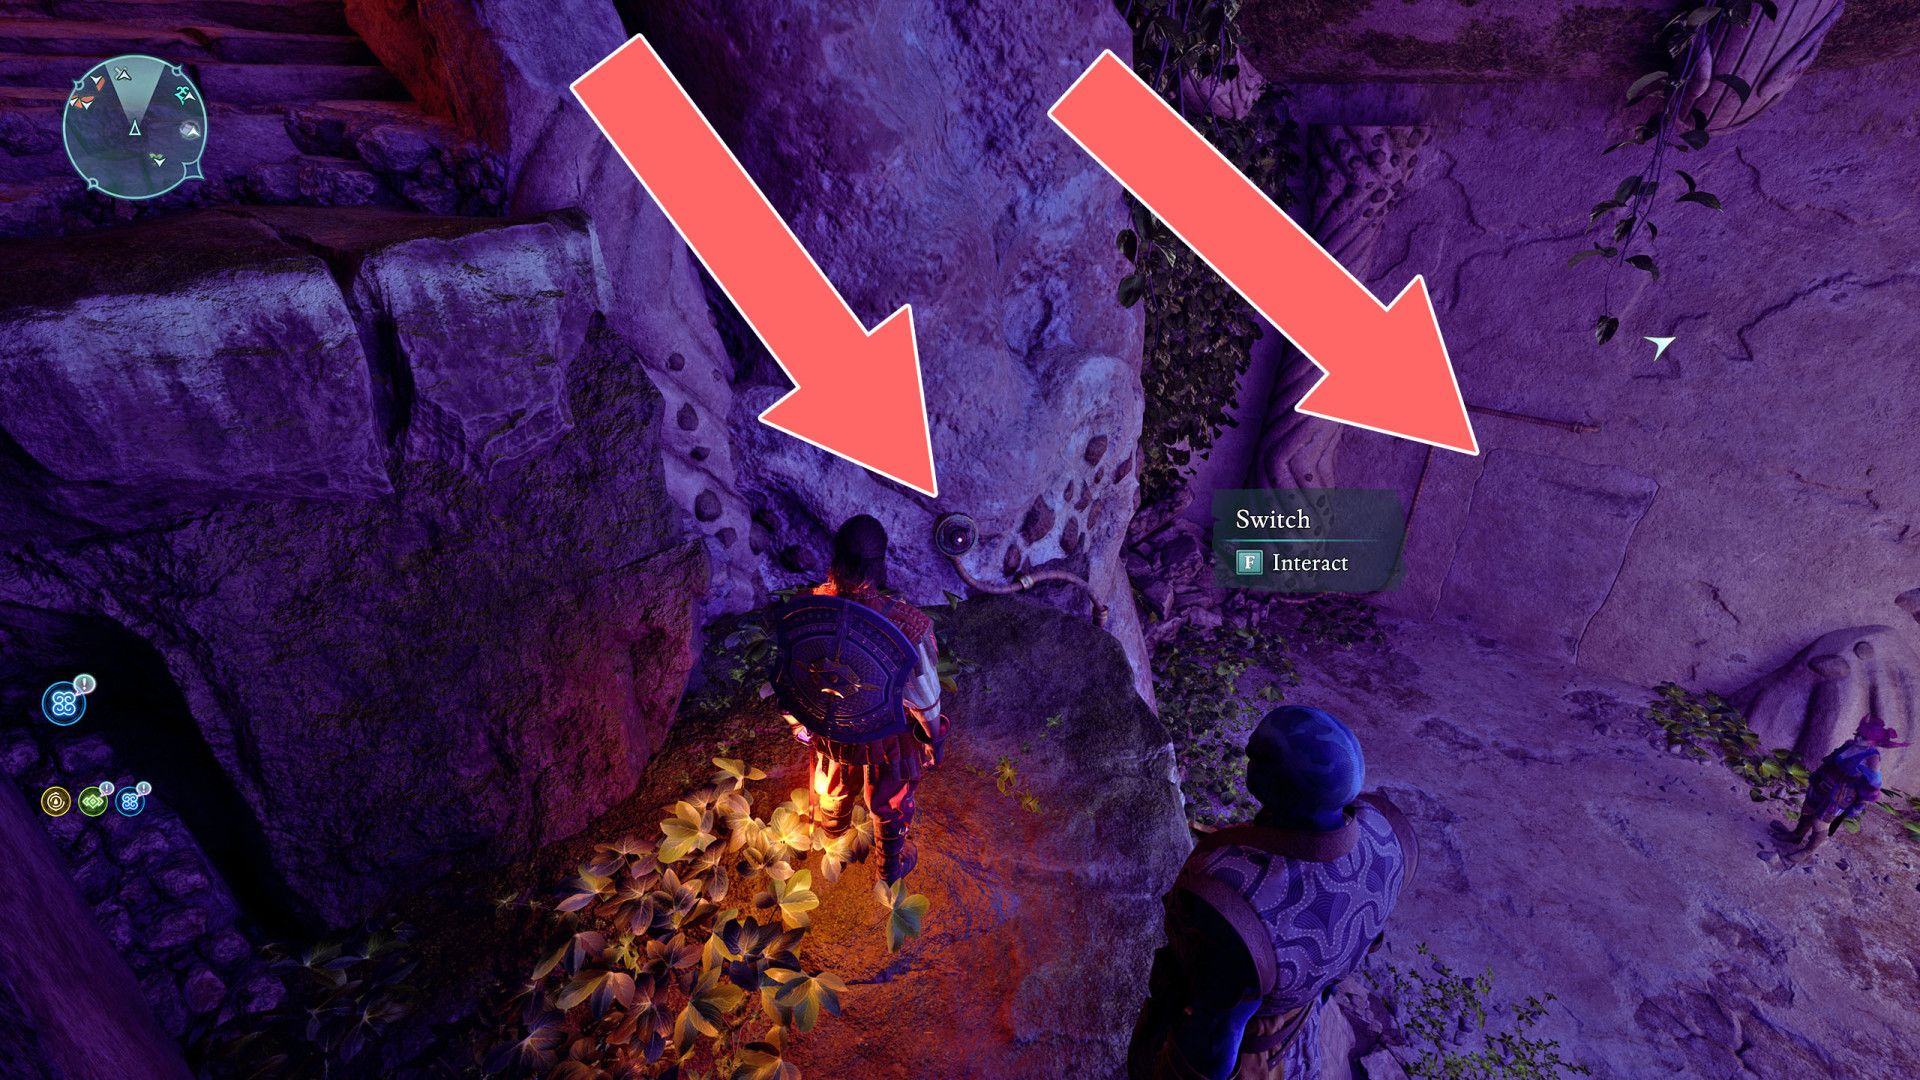
 Secret Door▶ show the map ◀
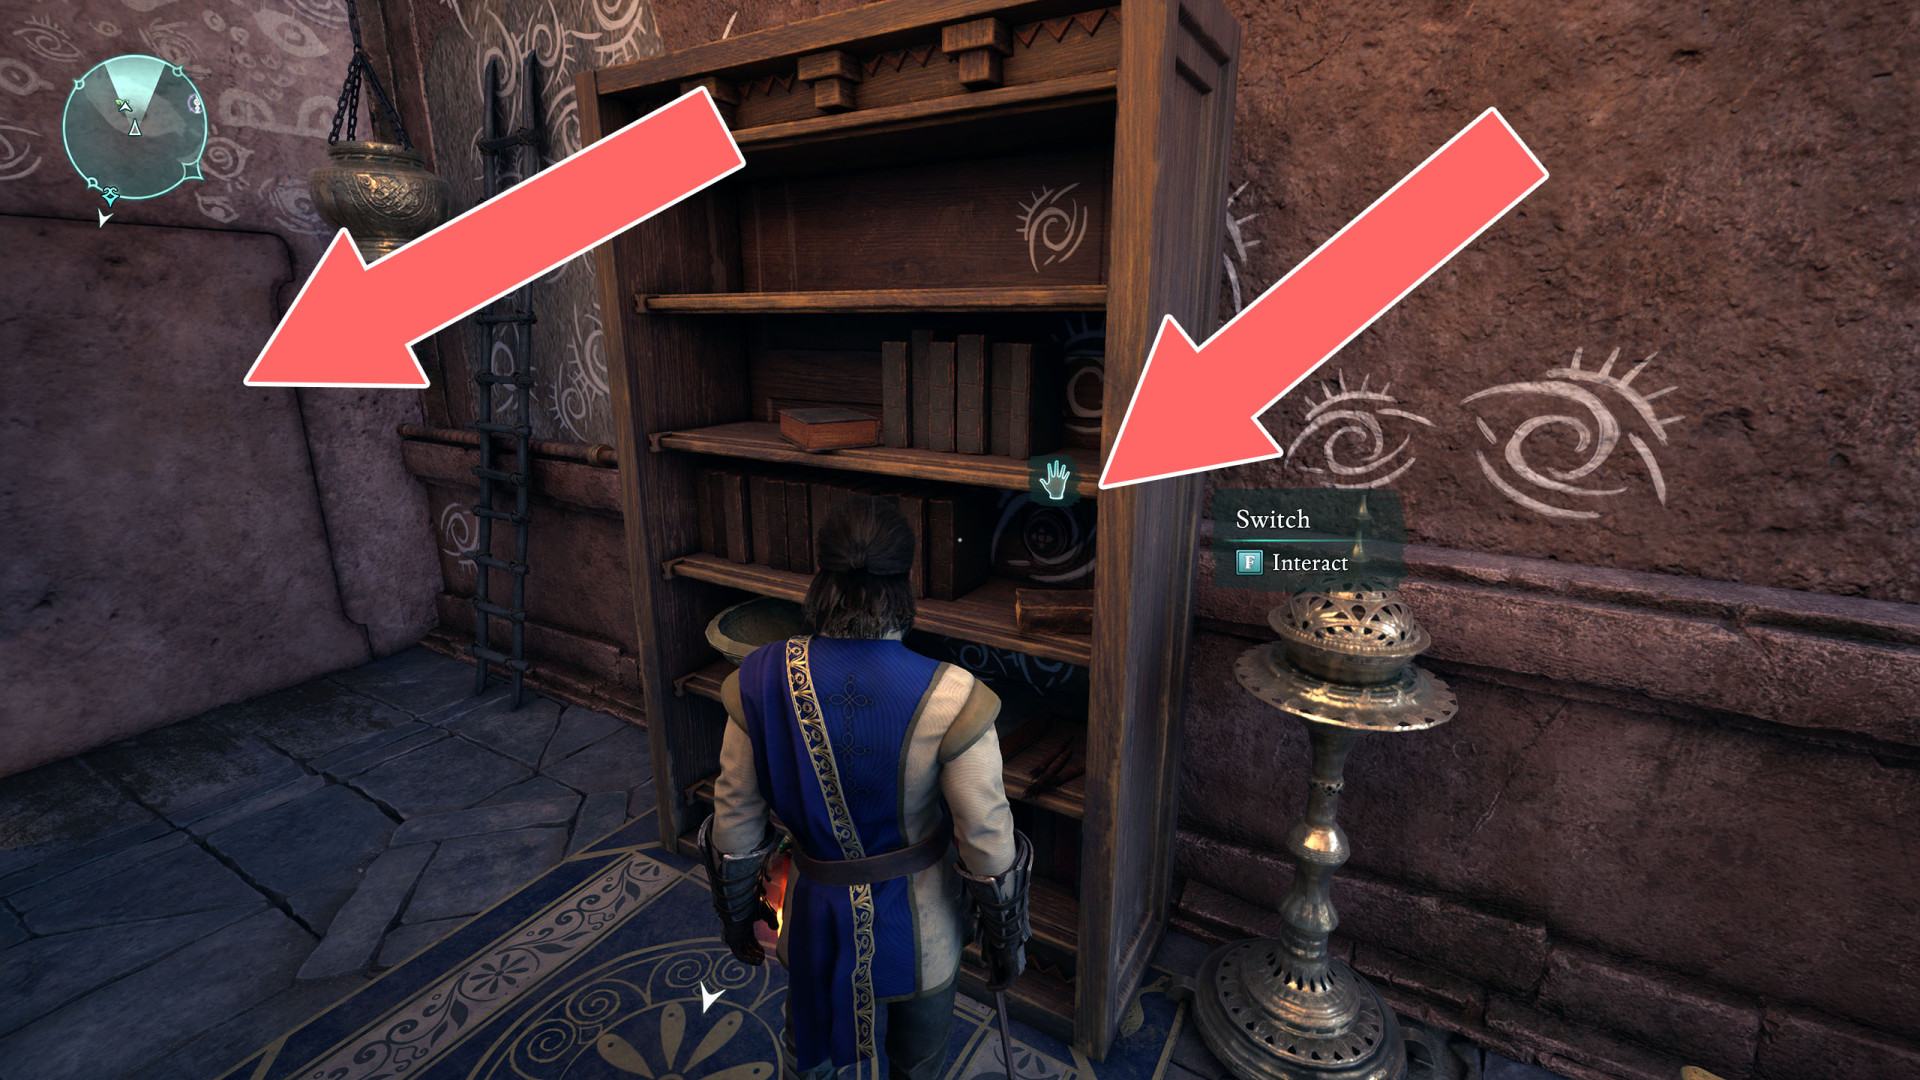
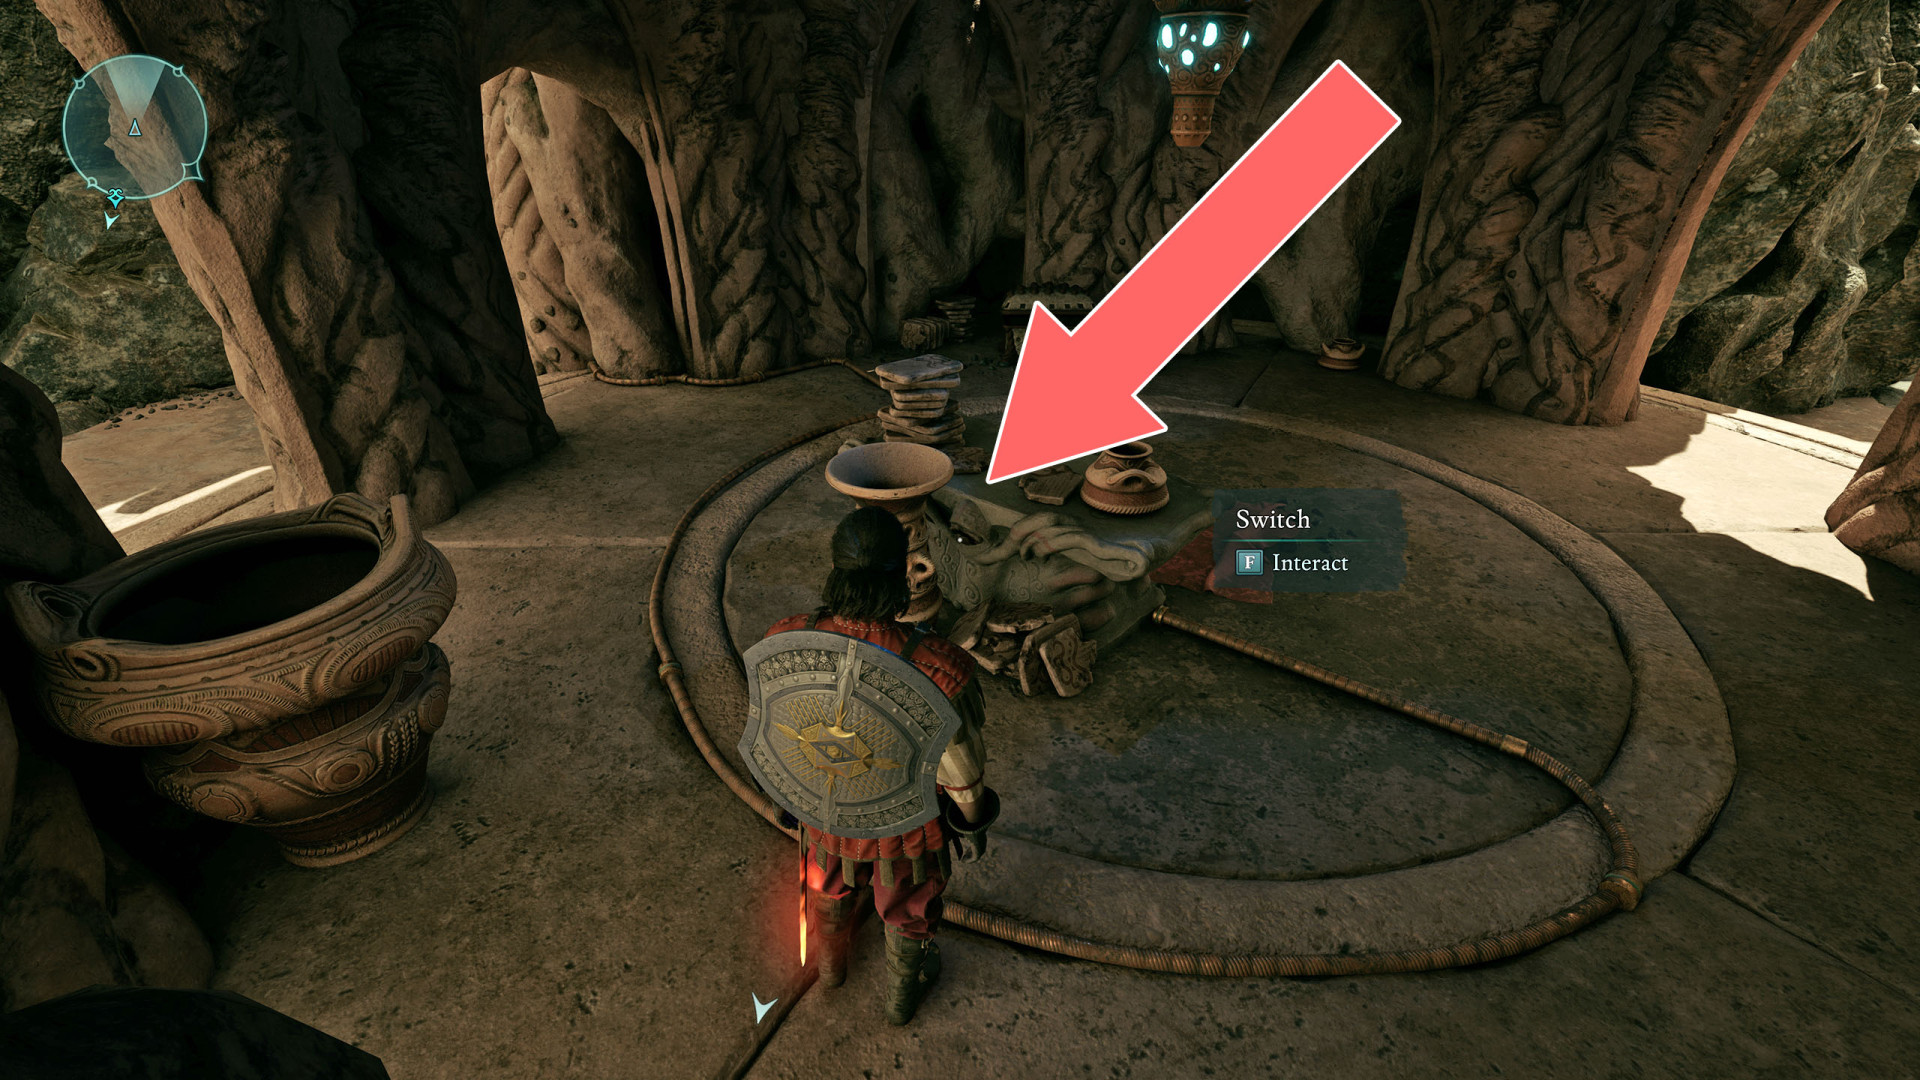
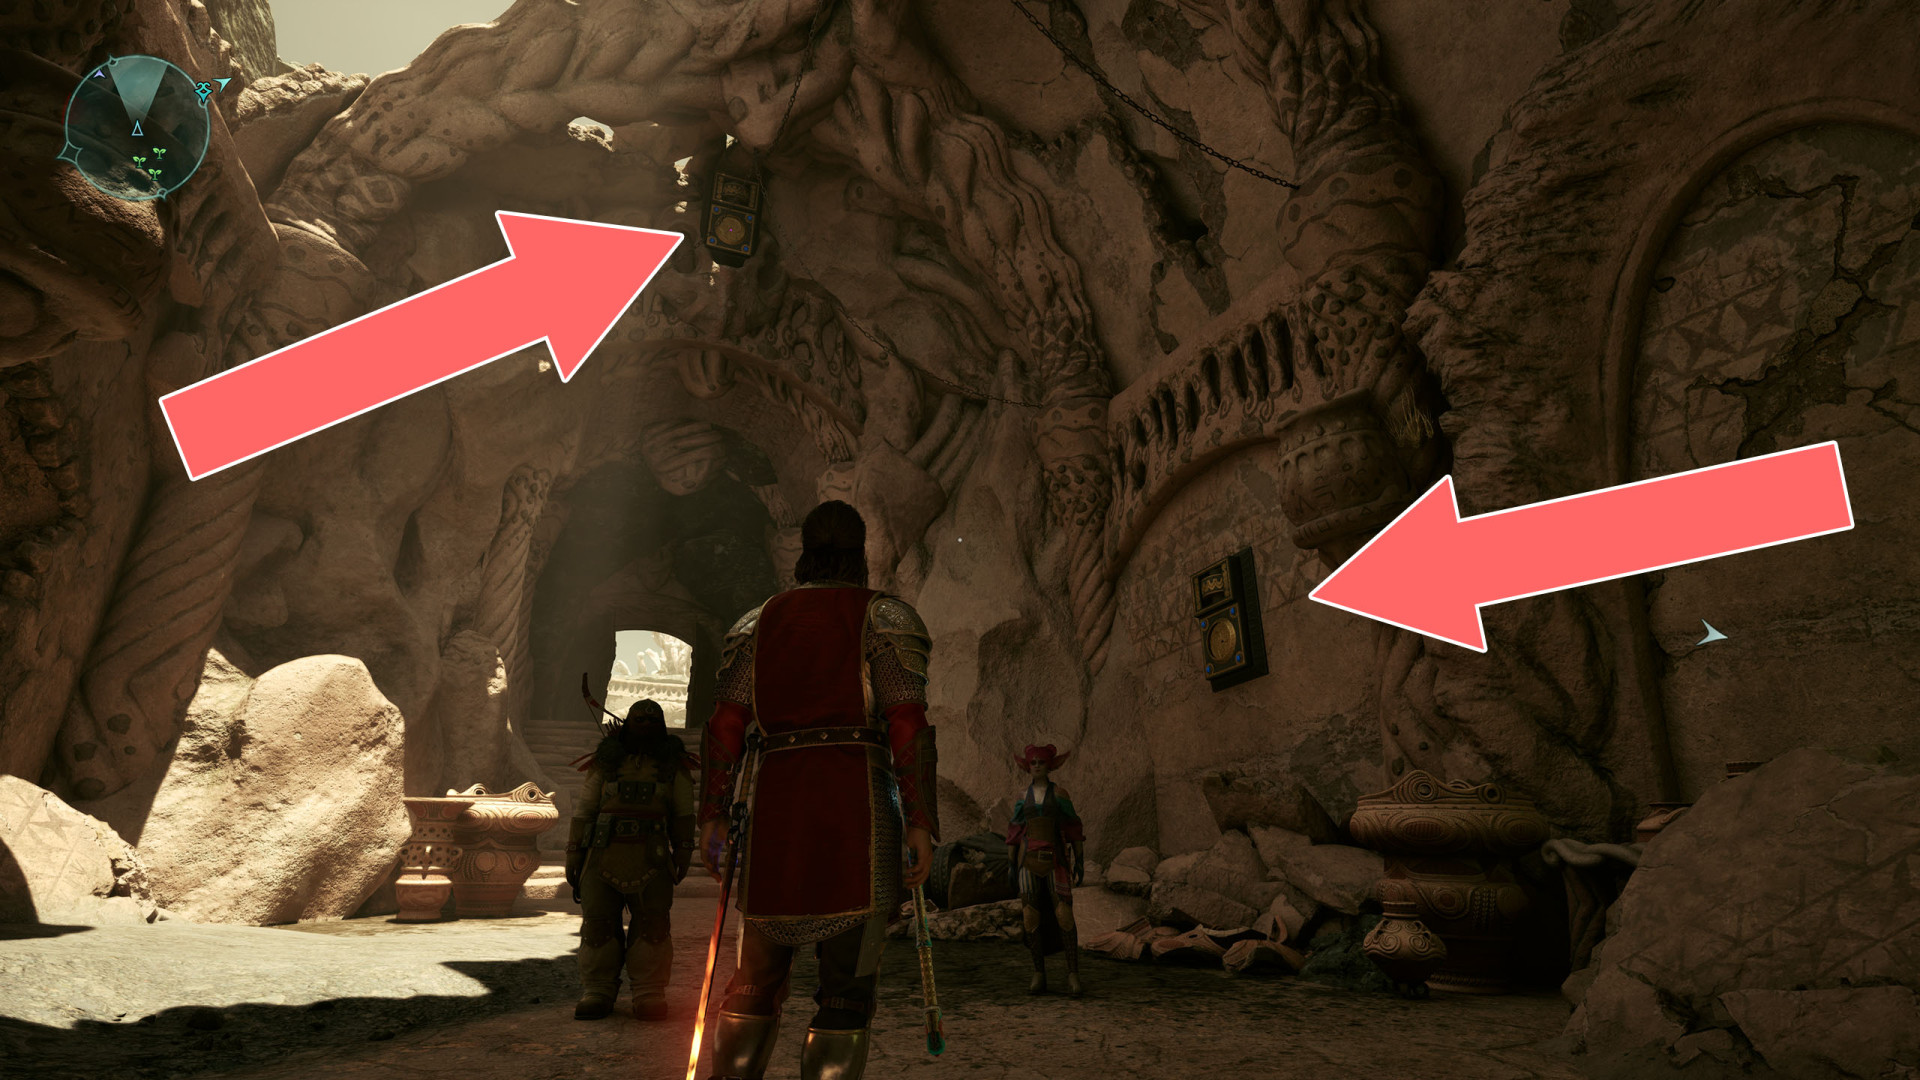
To open the passageway press the switch on the wall.
Related achievement: Hawkeye - Find the hidden room in Fort Northreach.
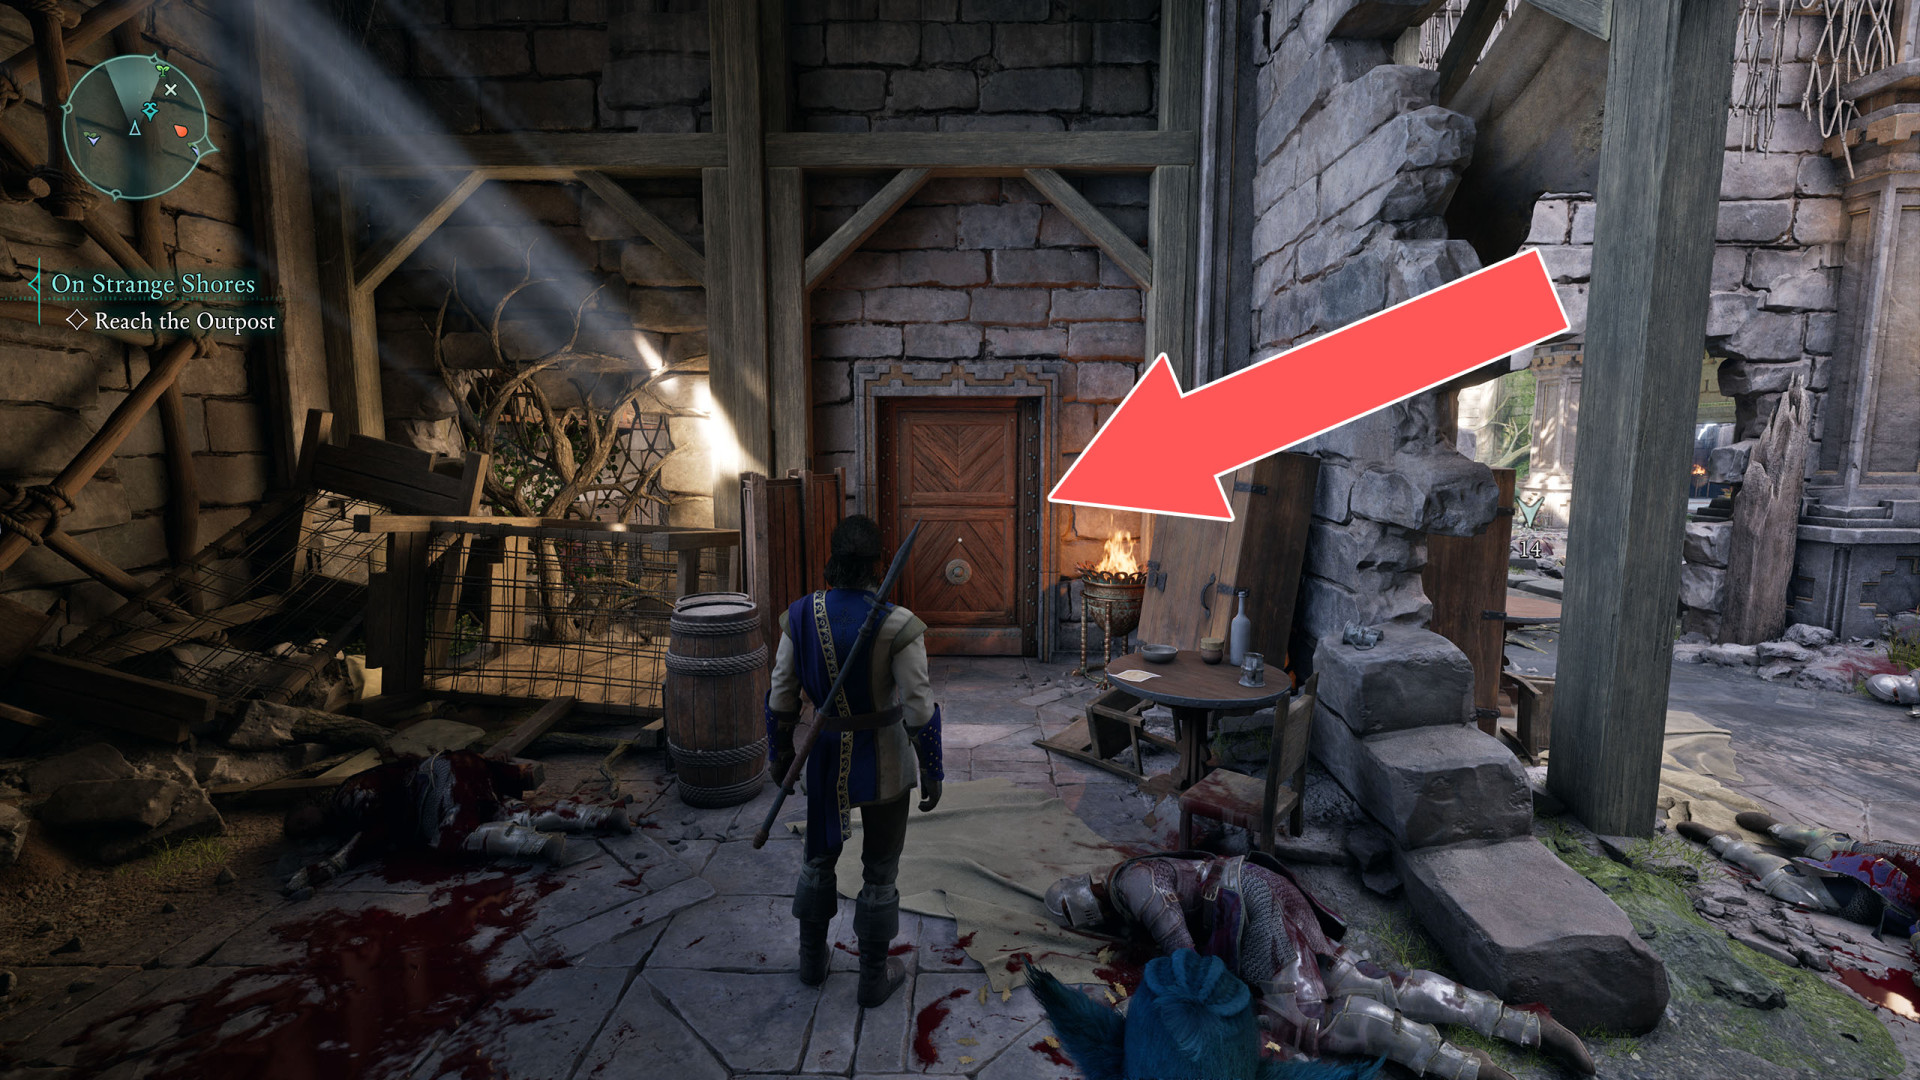
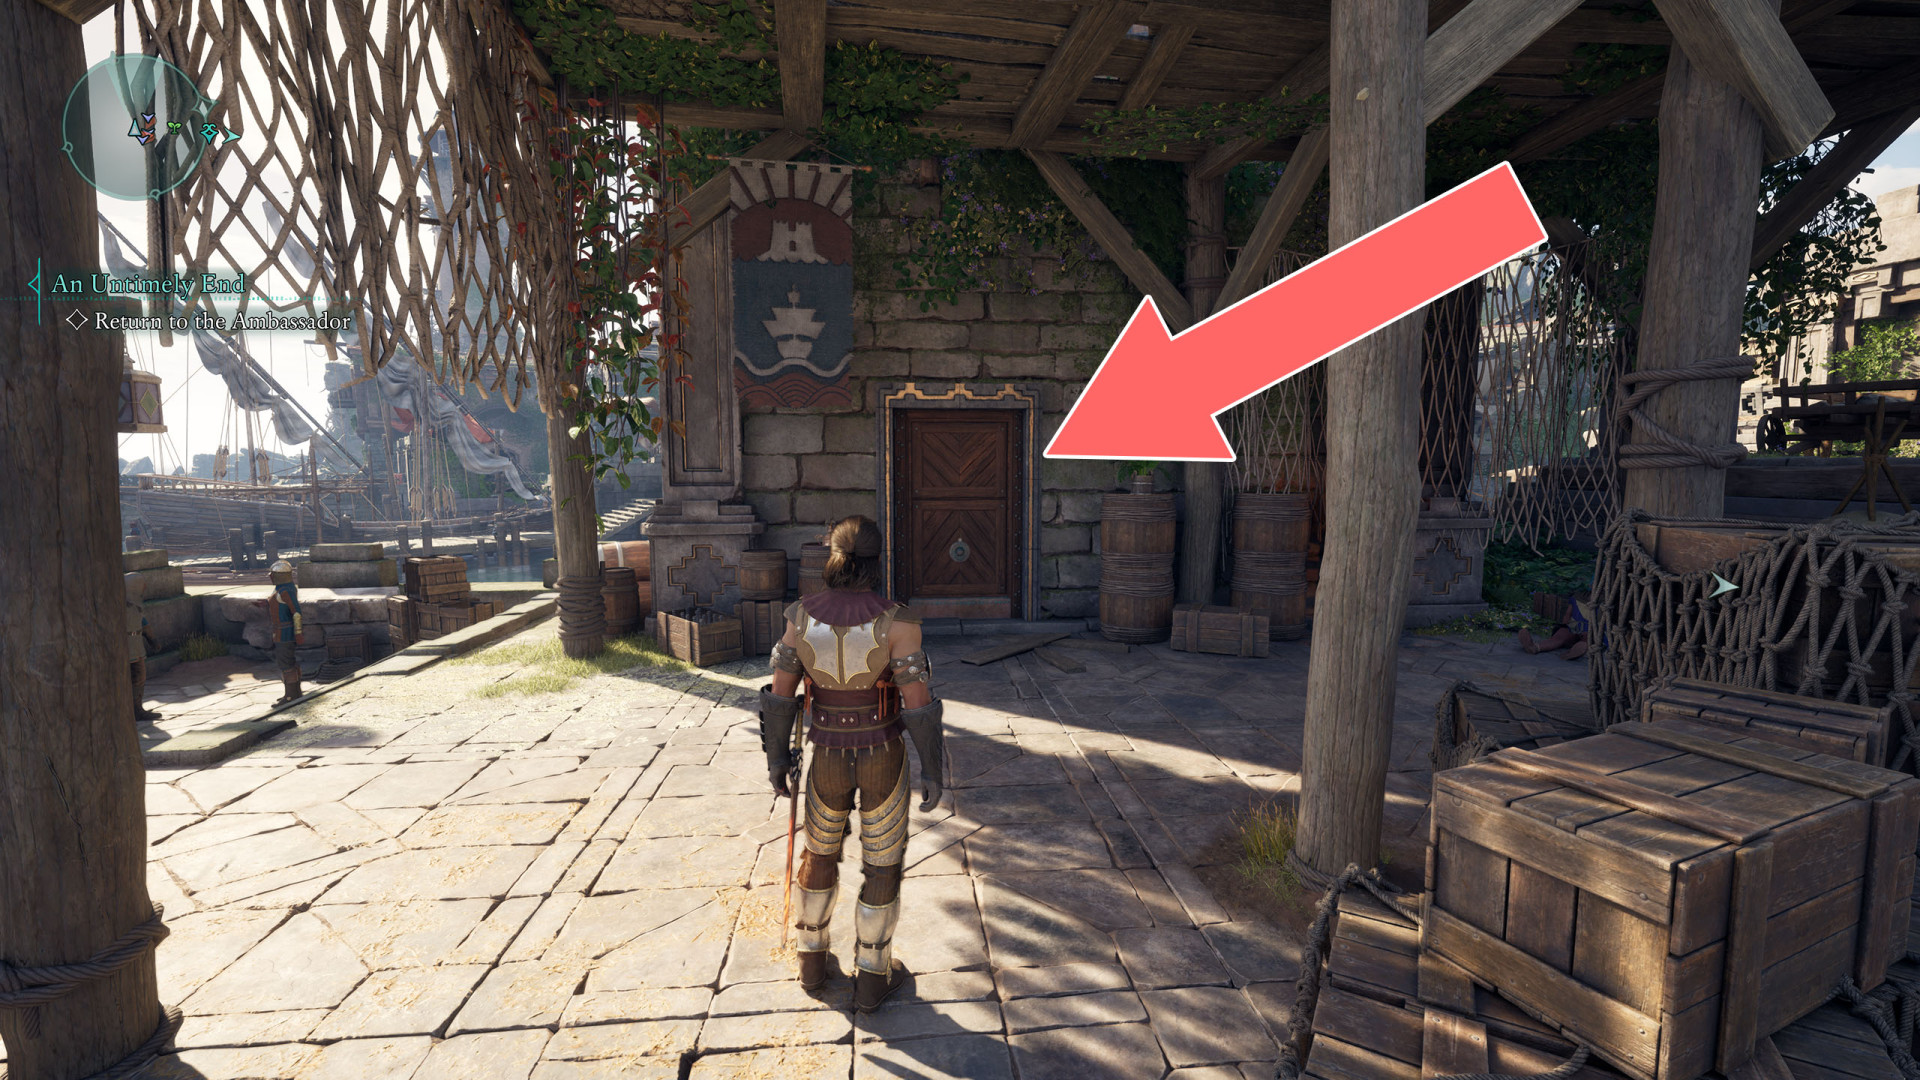
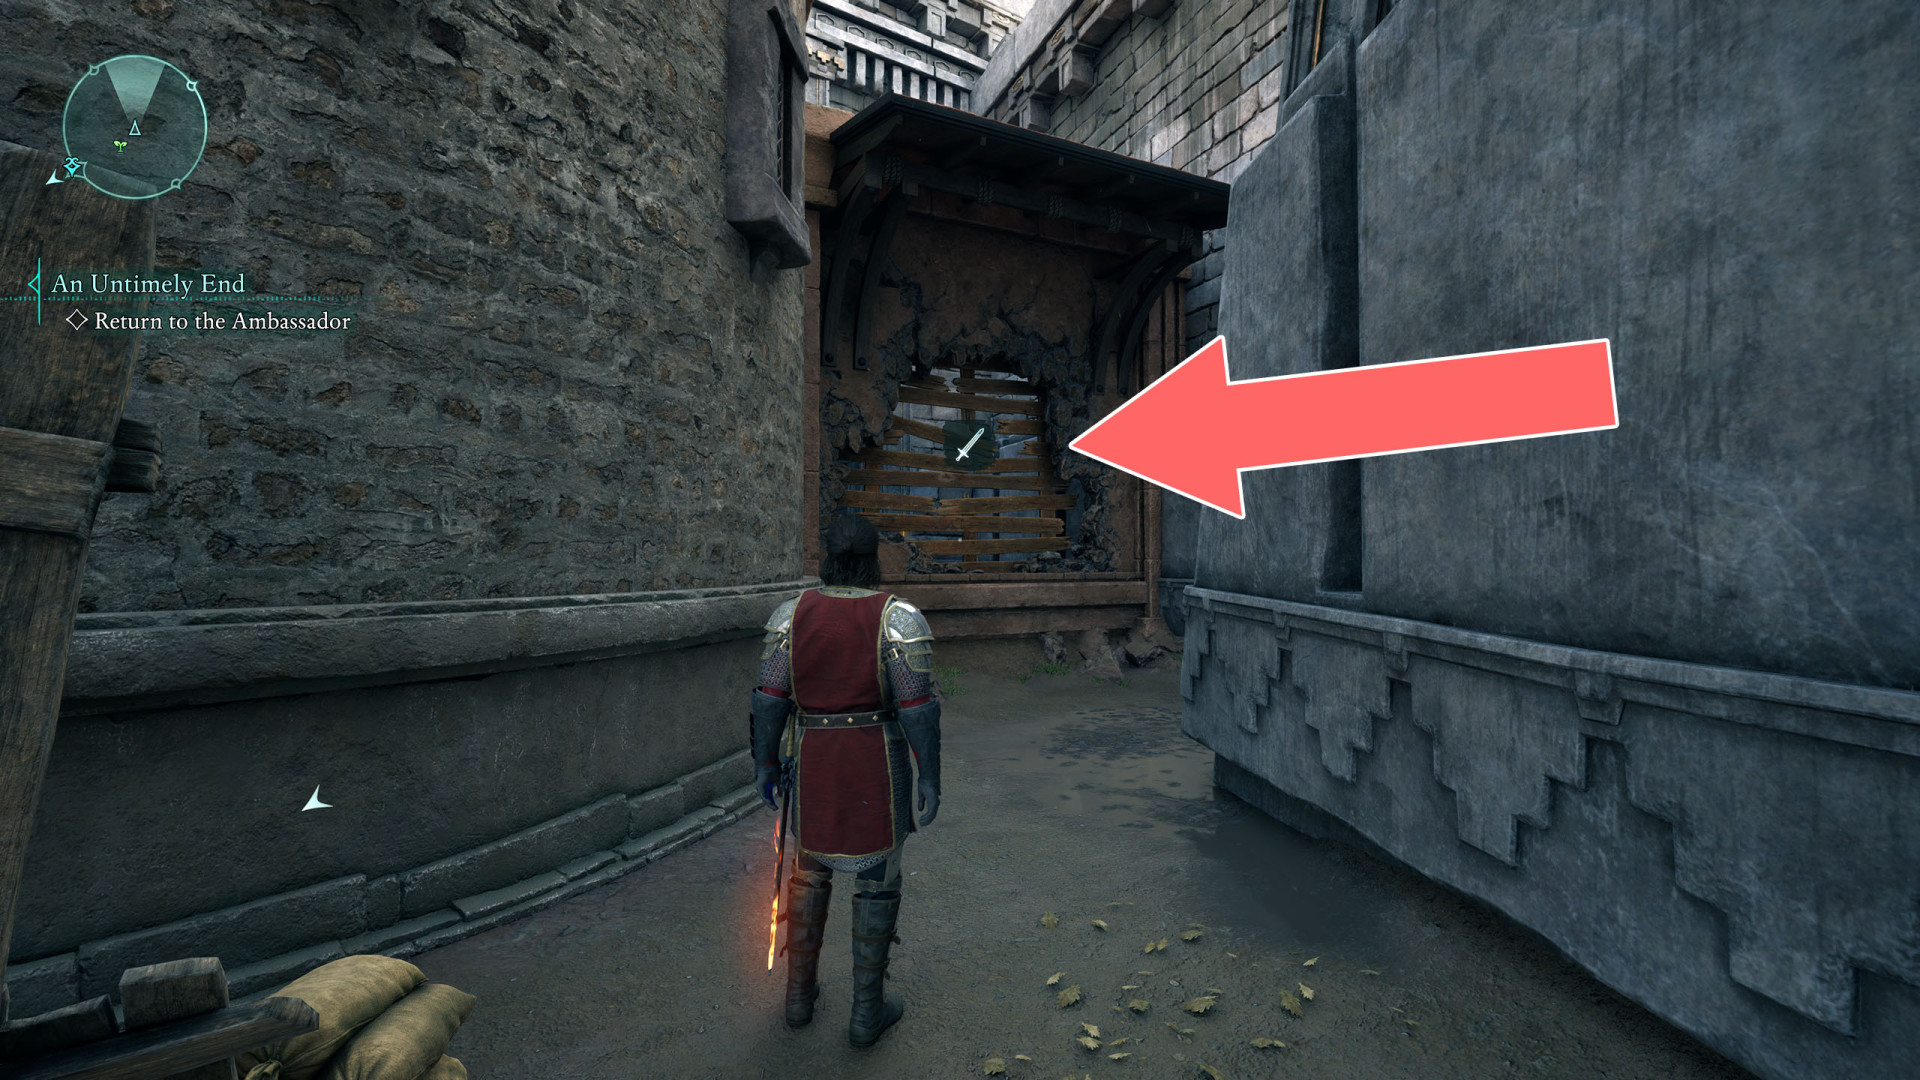
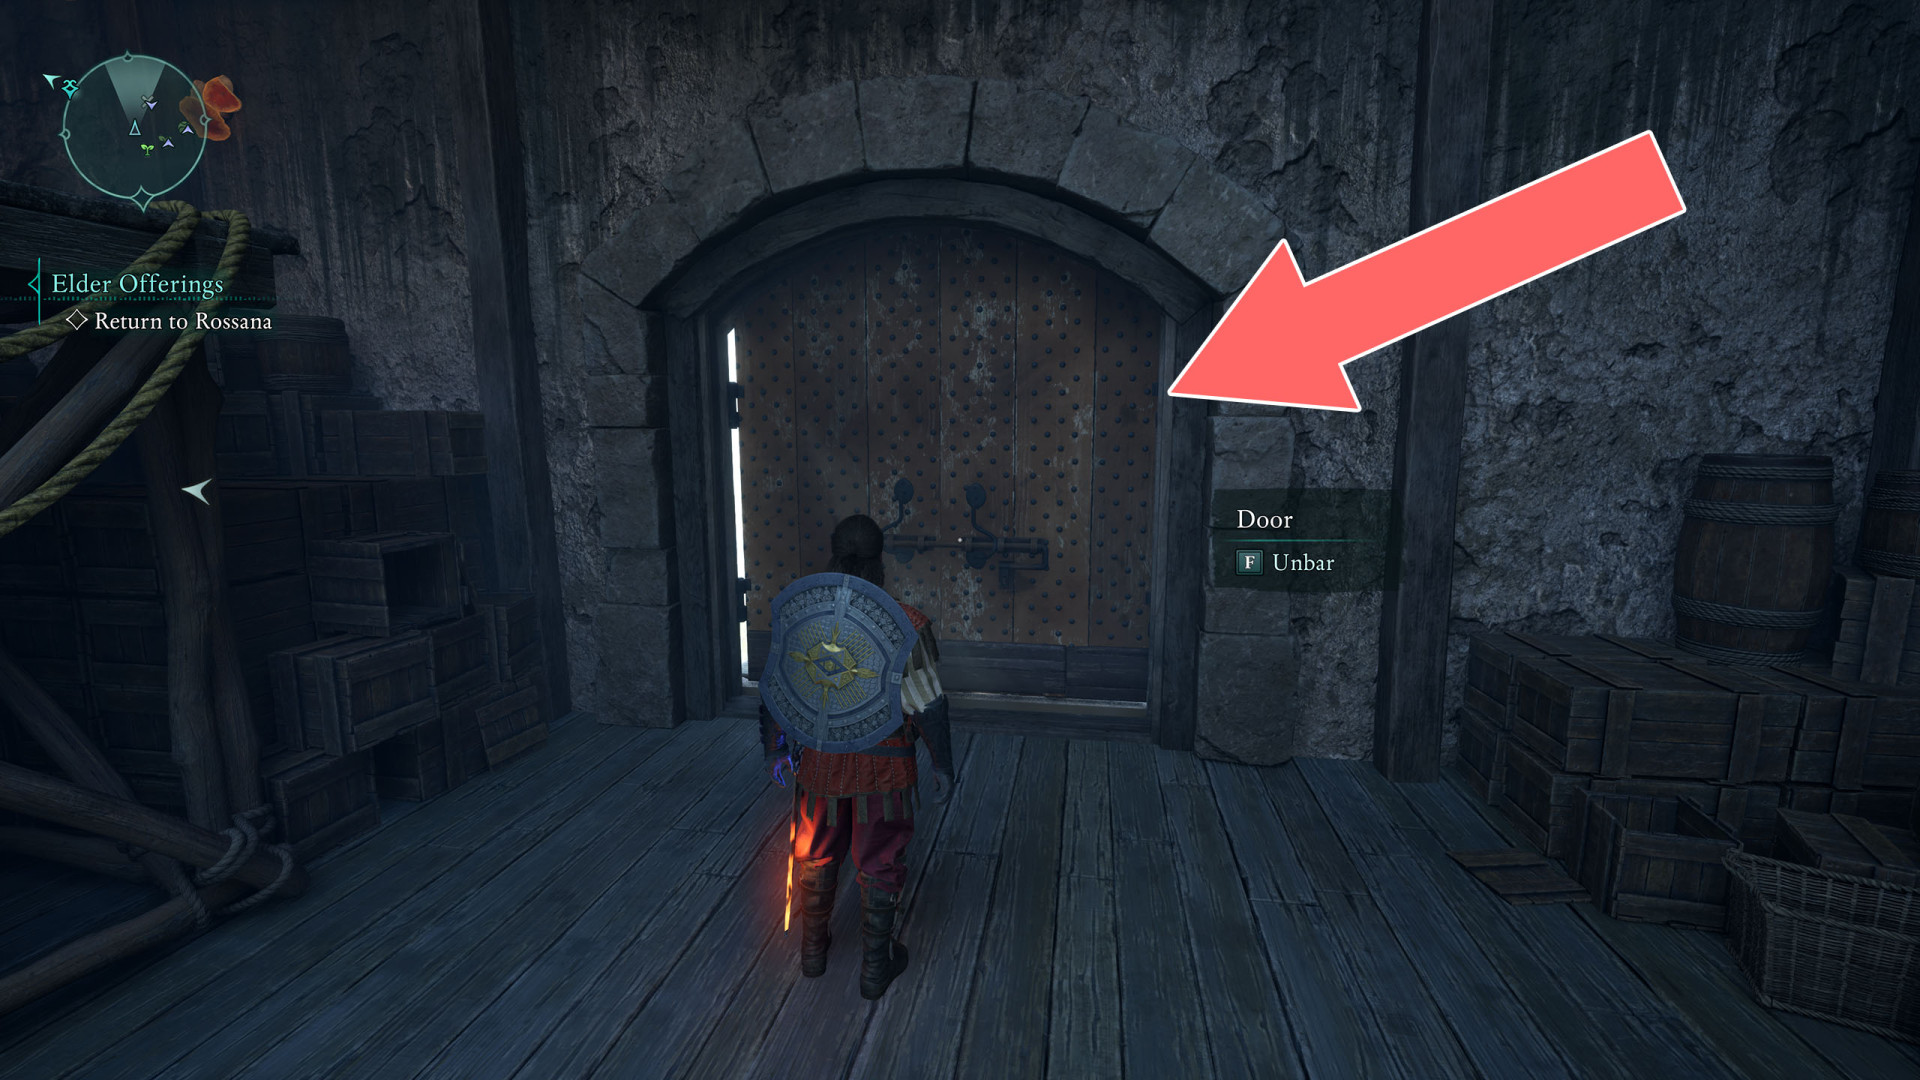
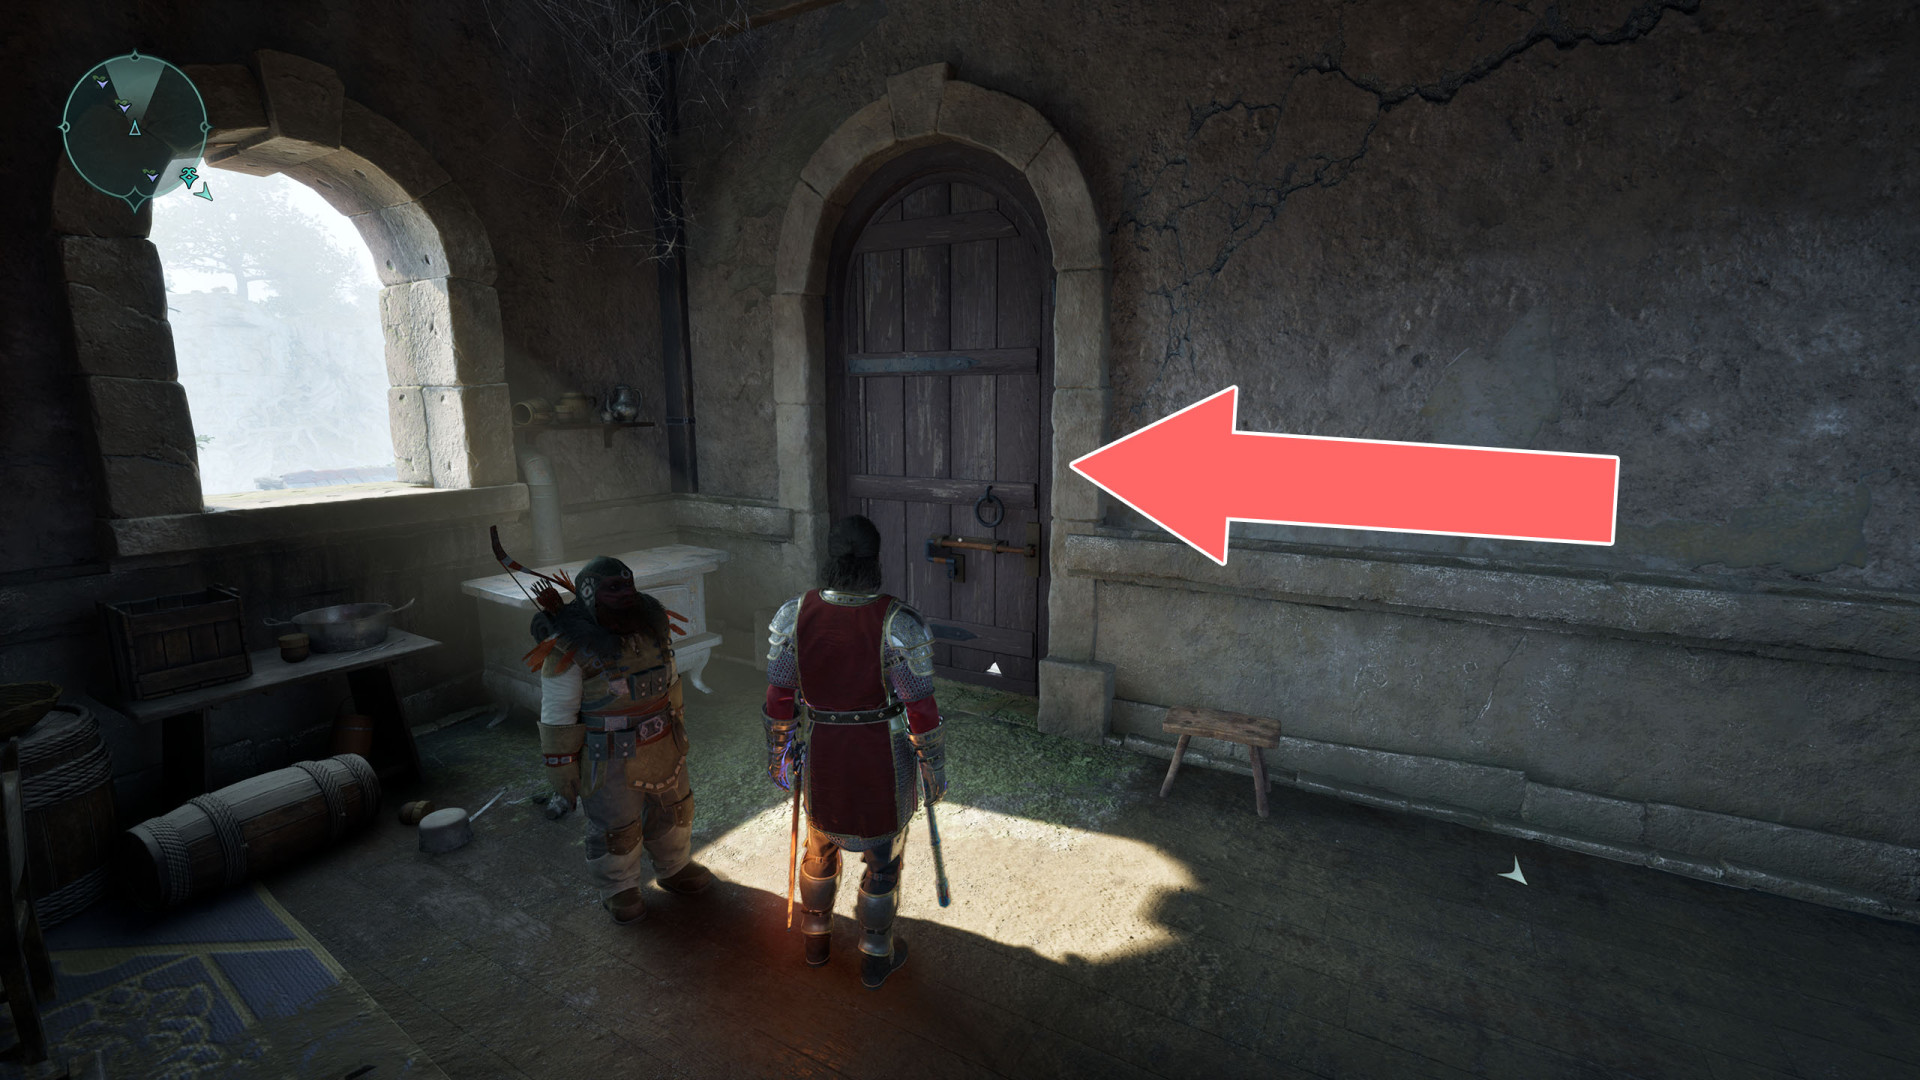
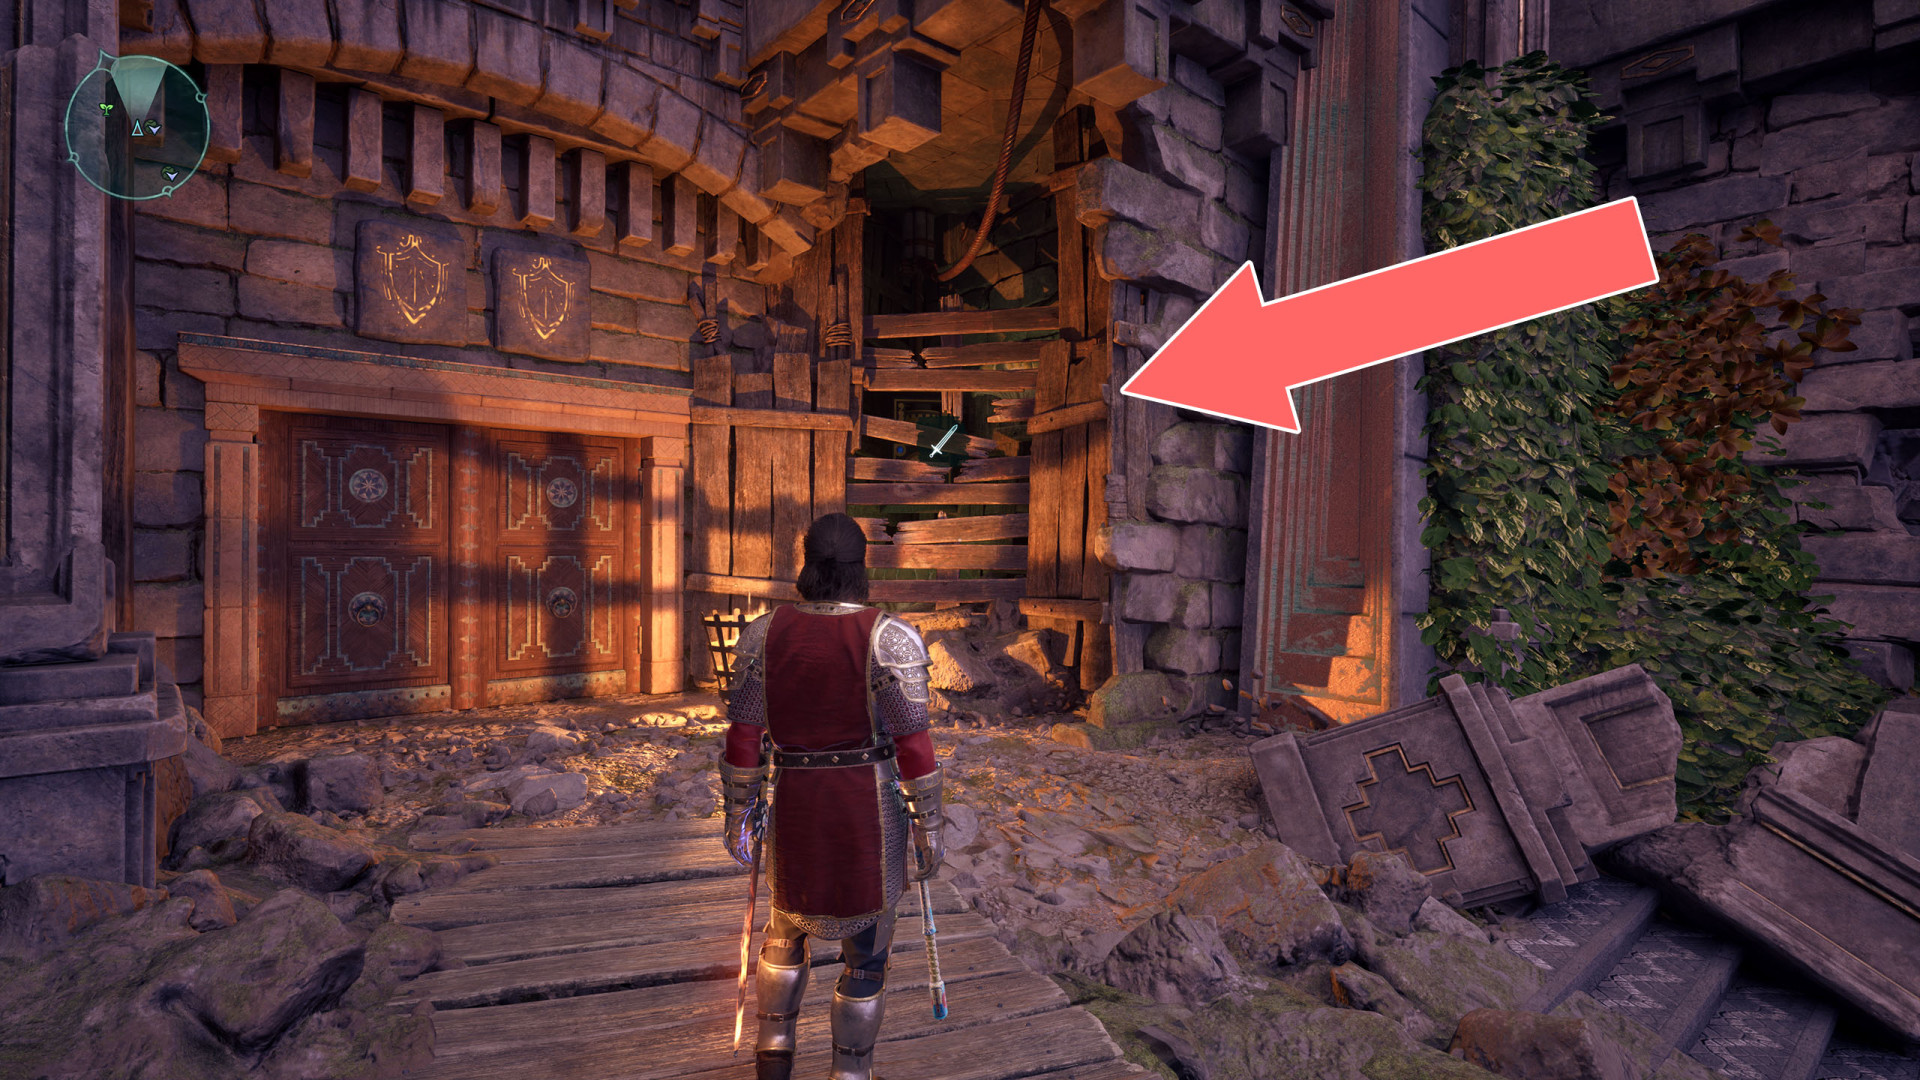
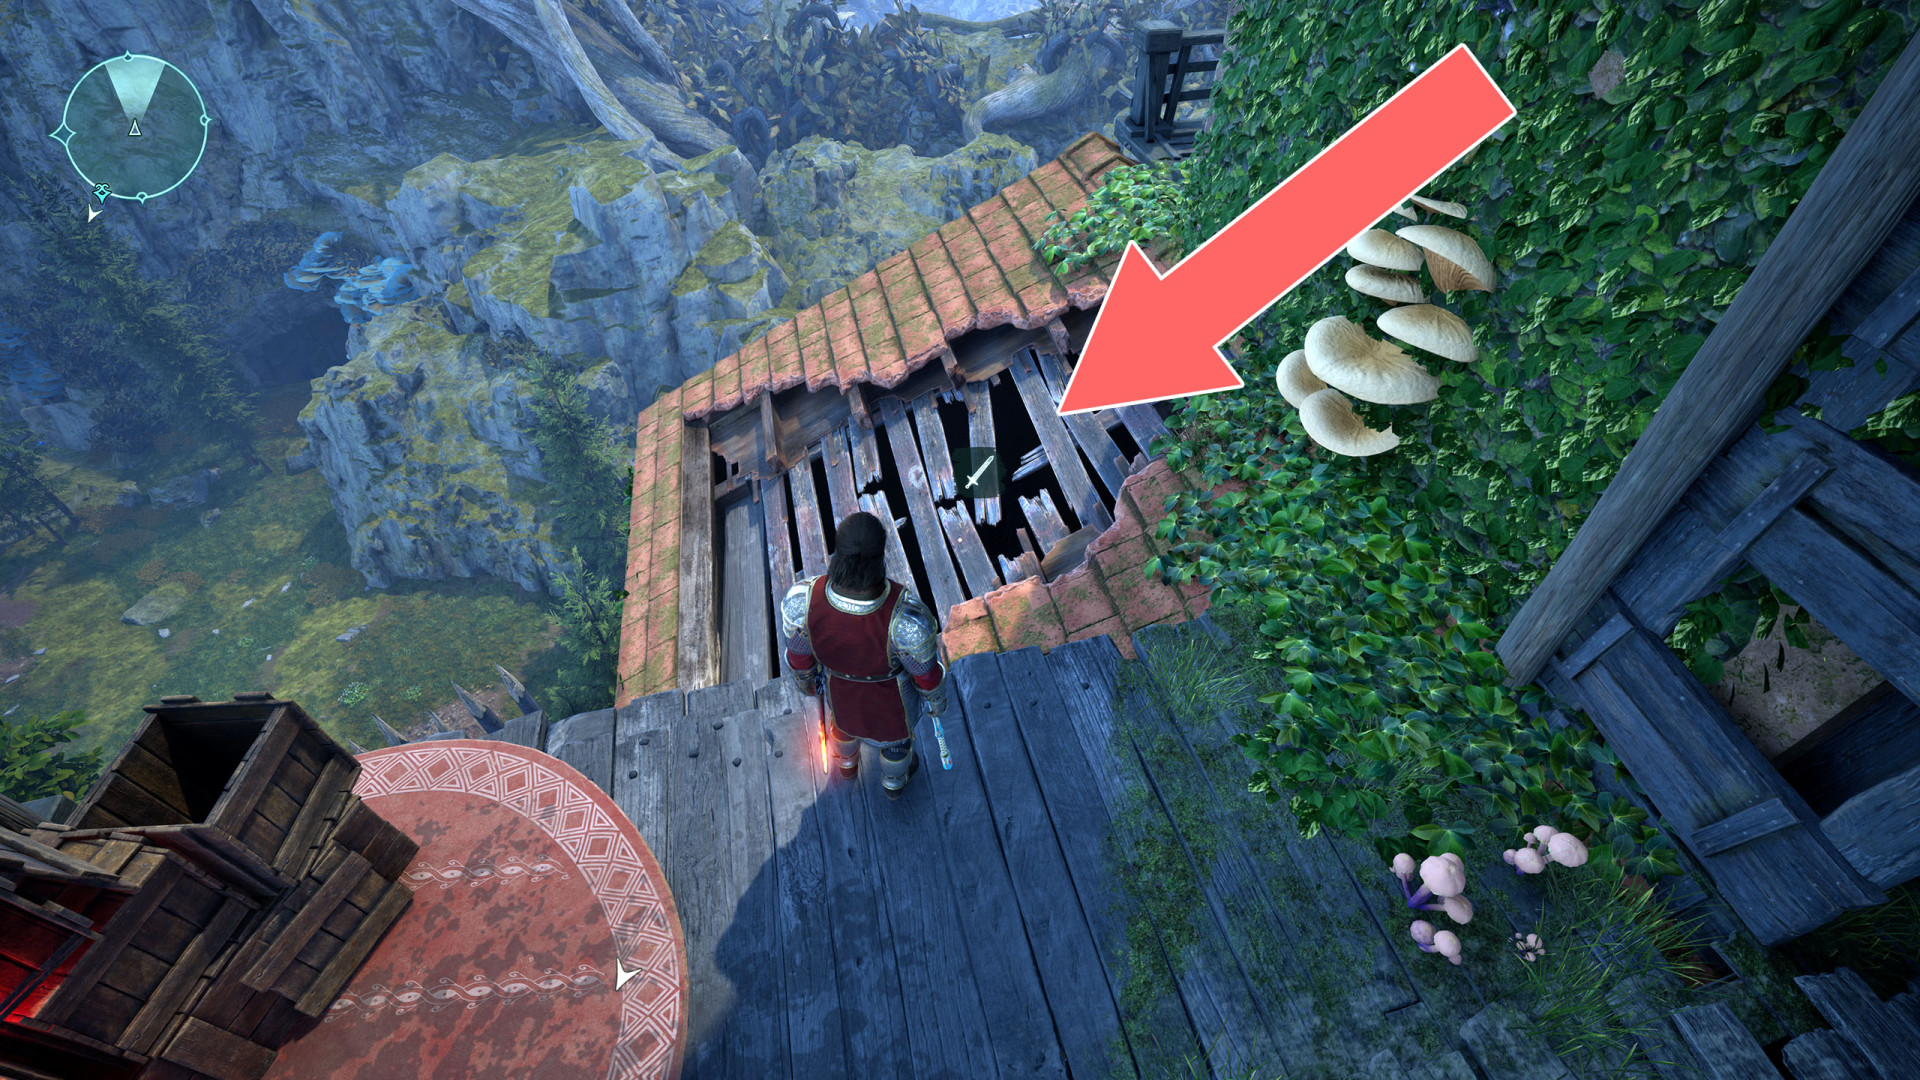
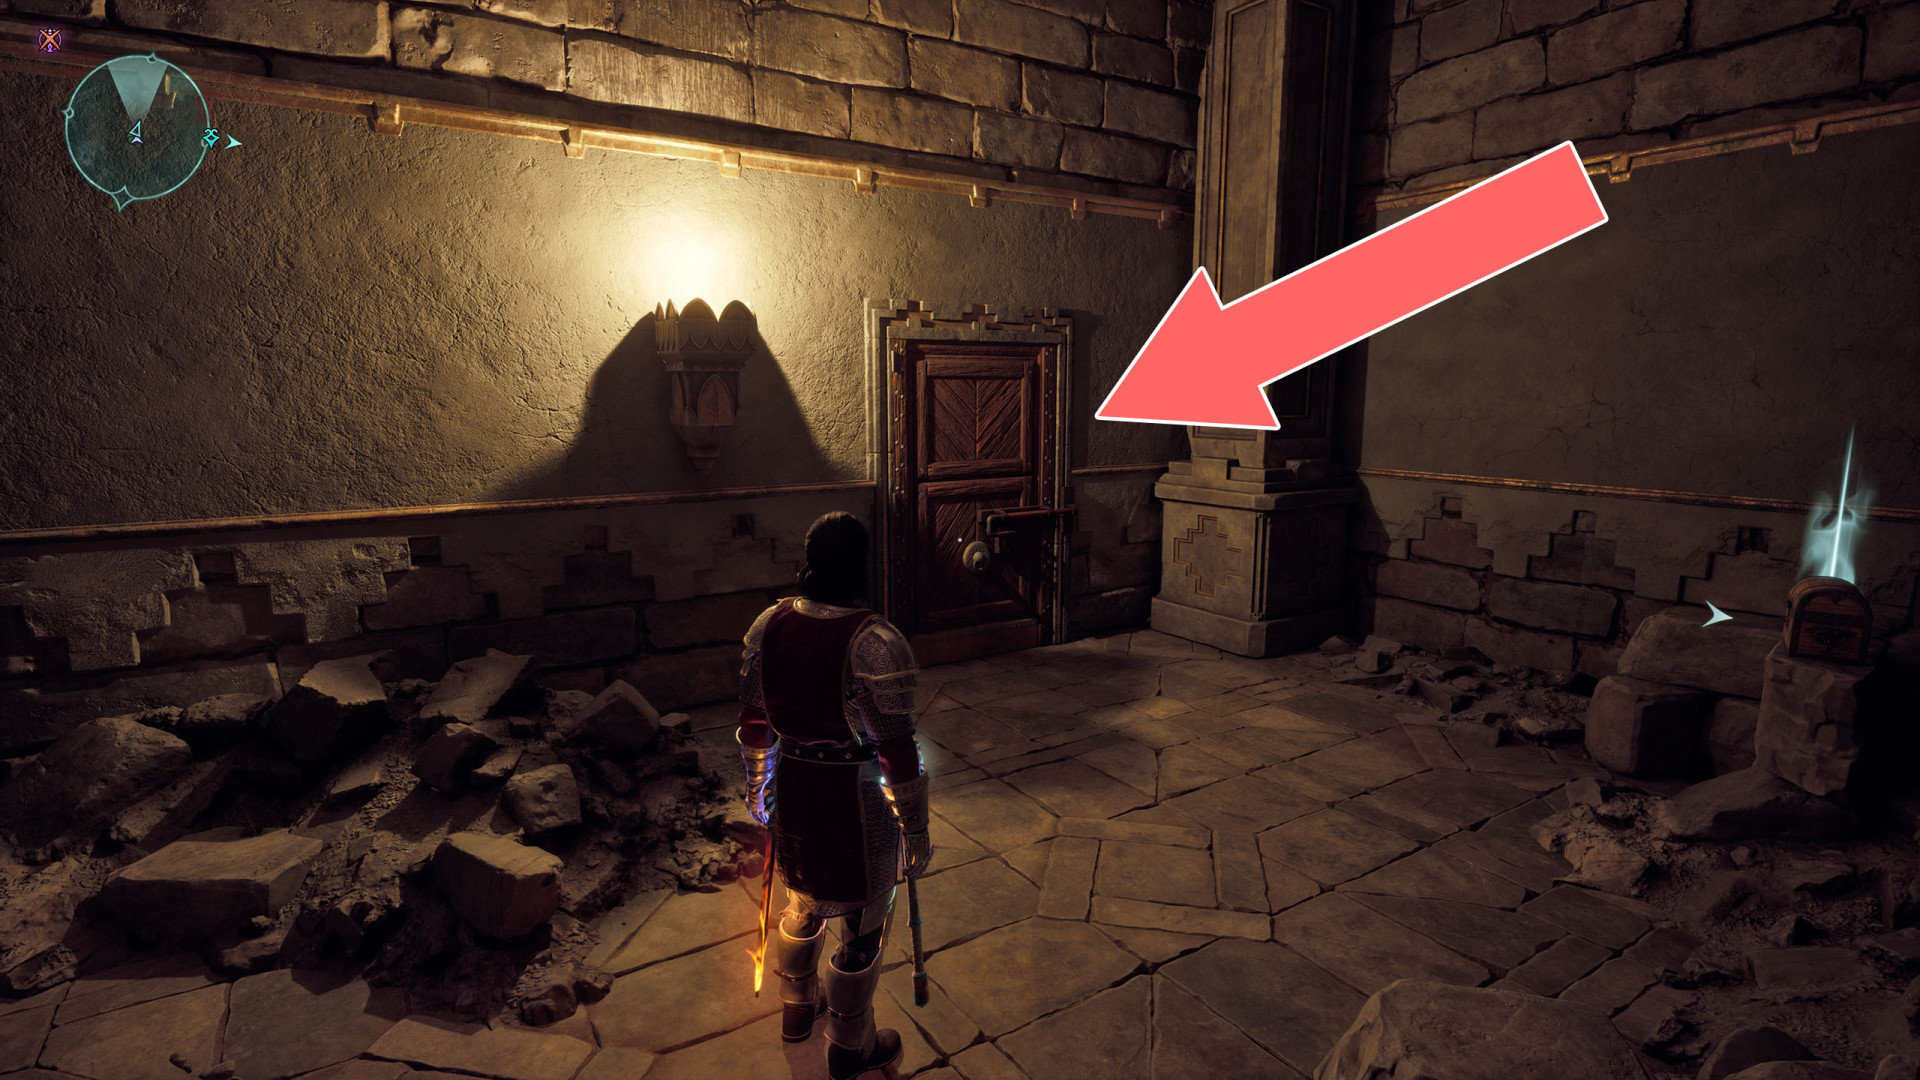
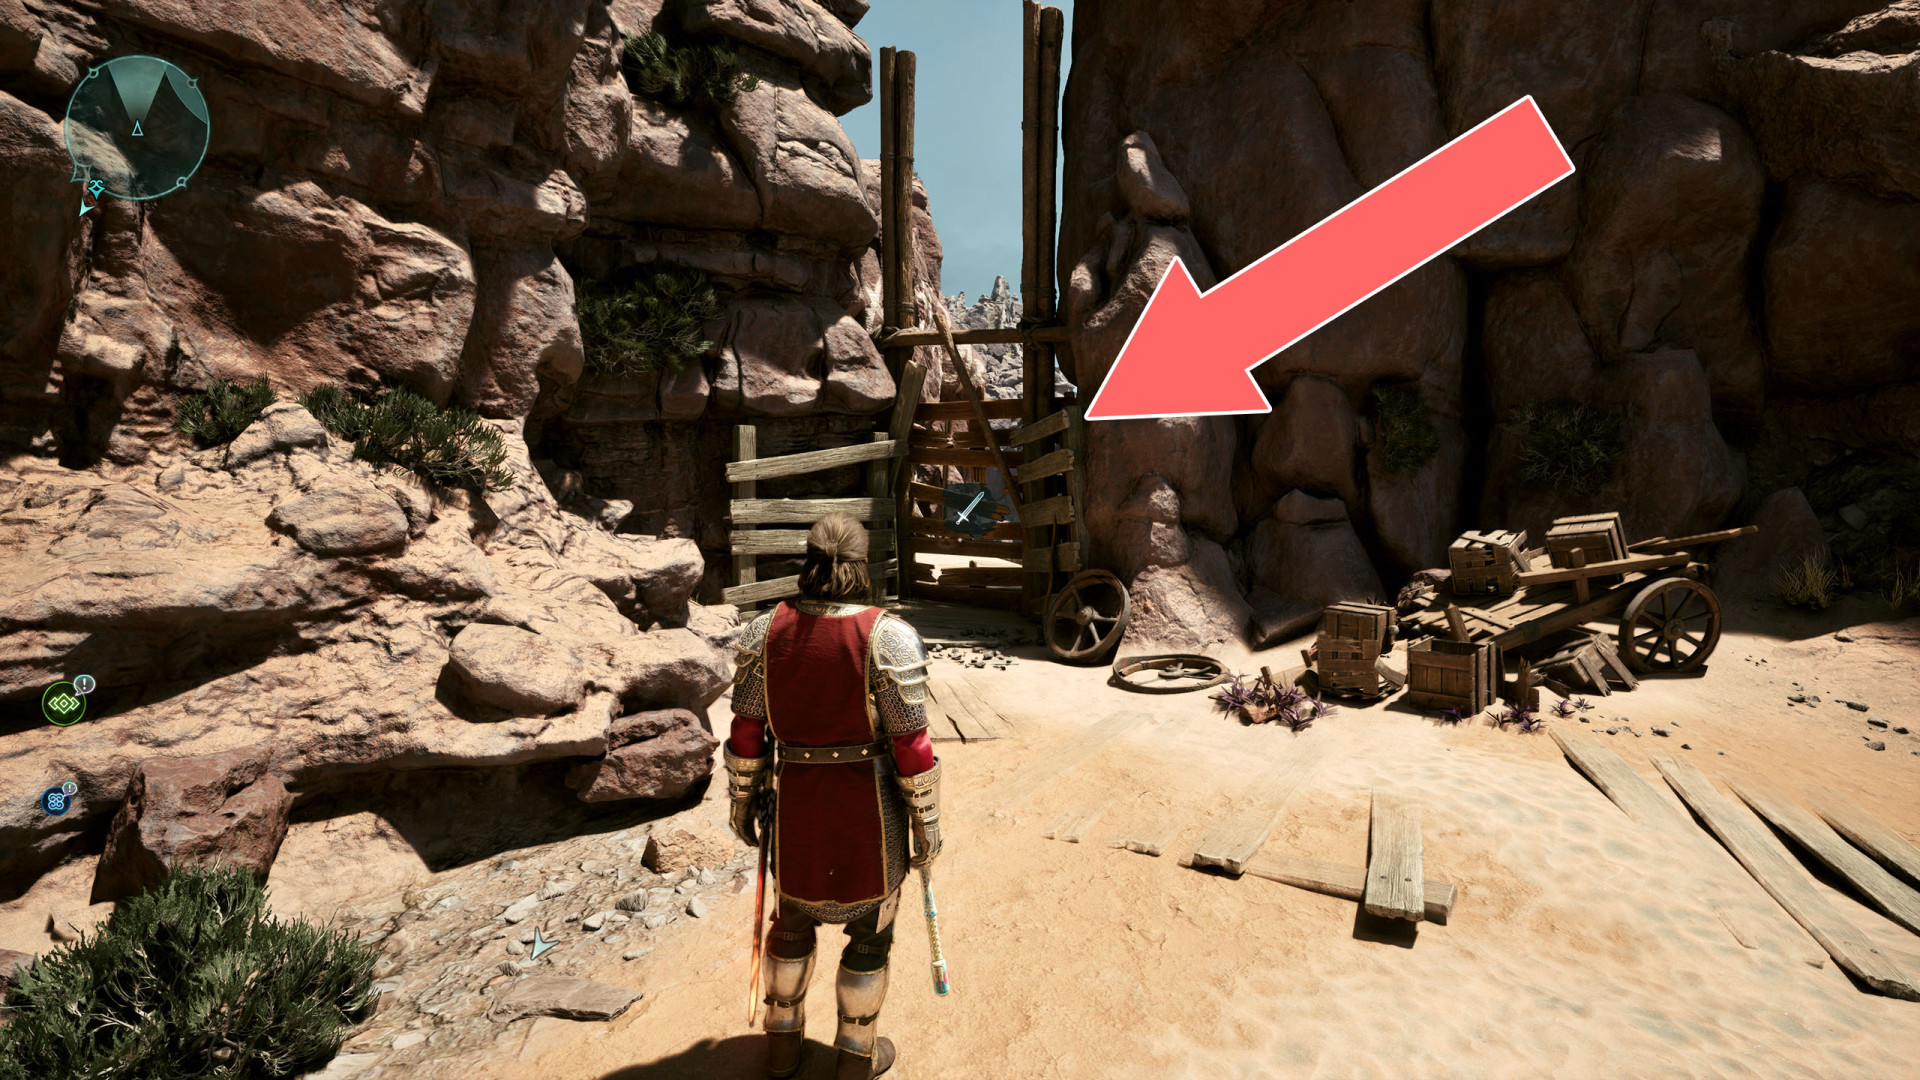
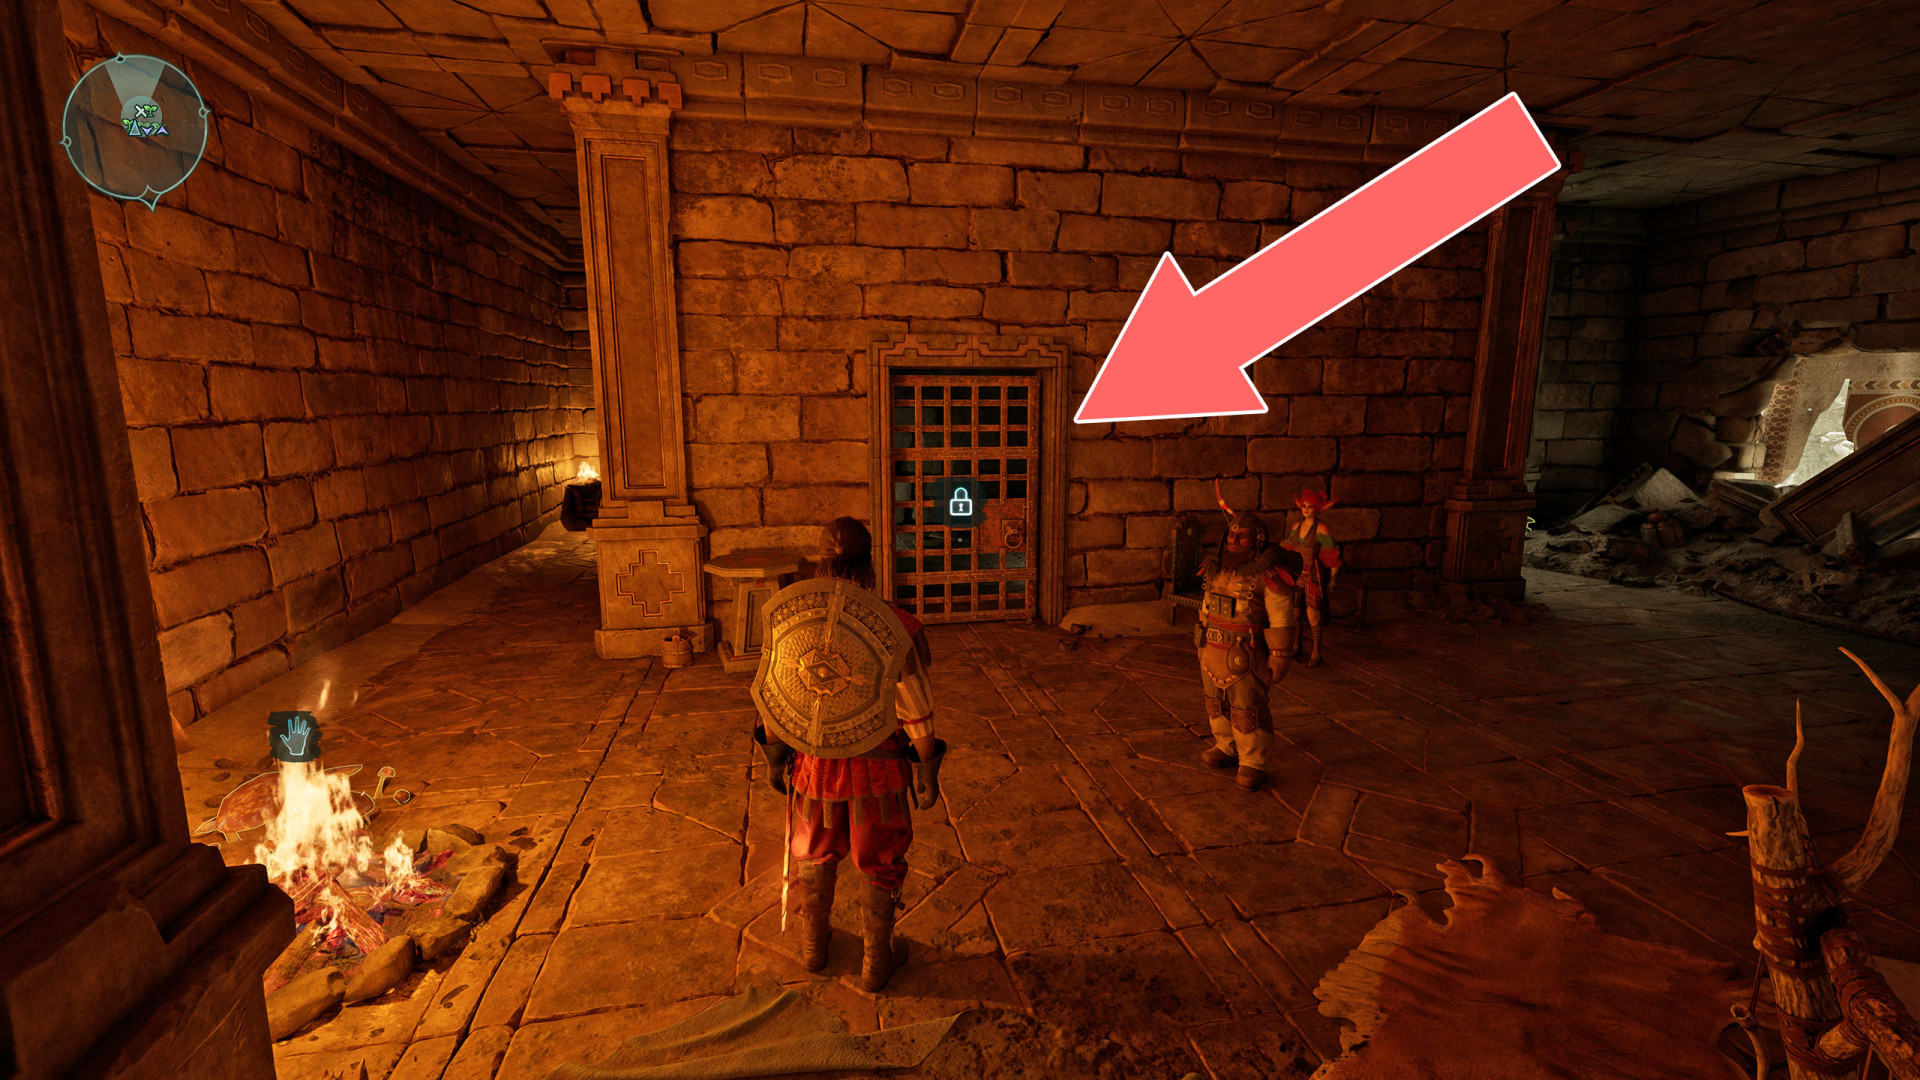
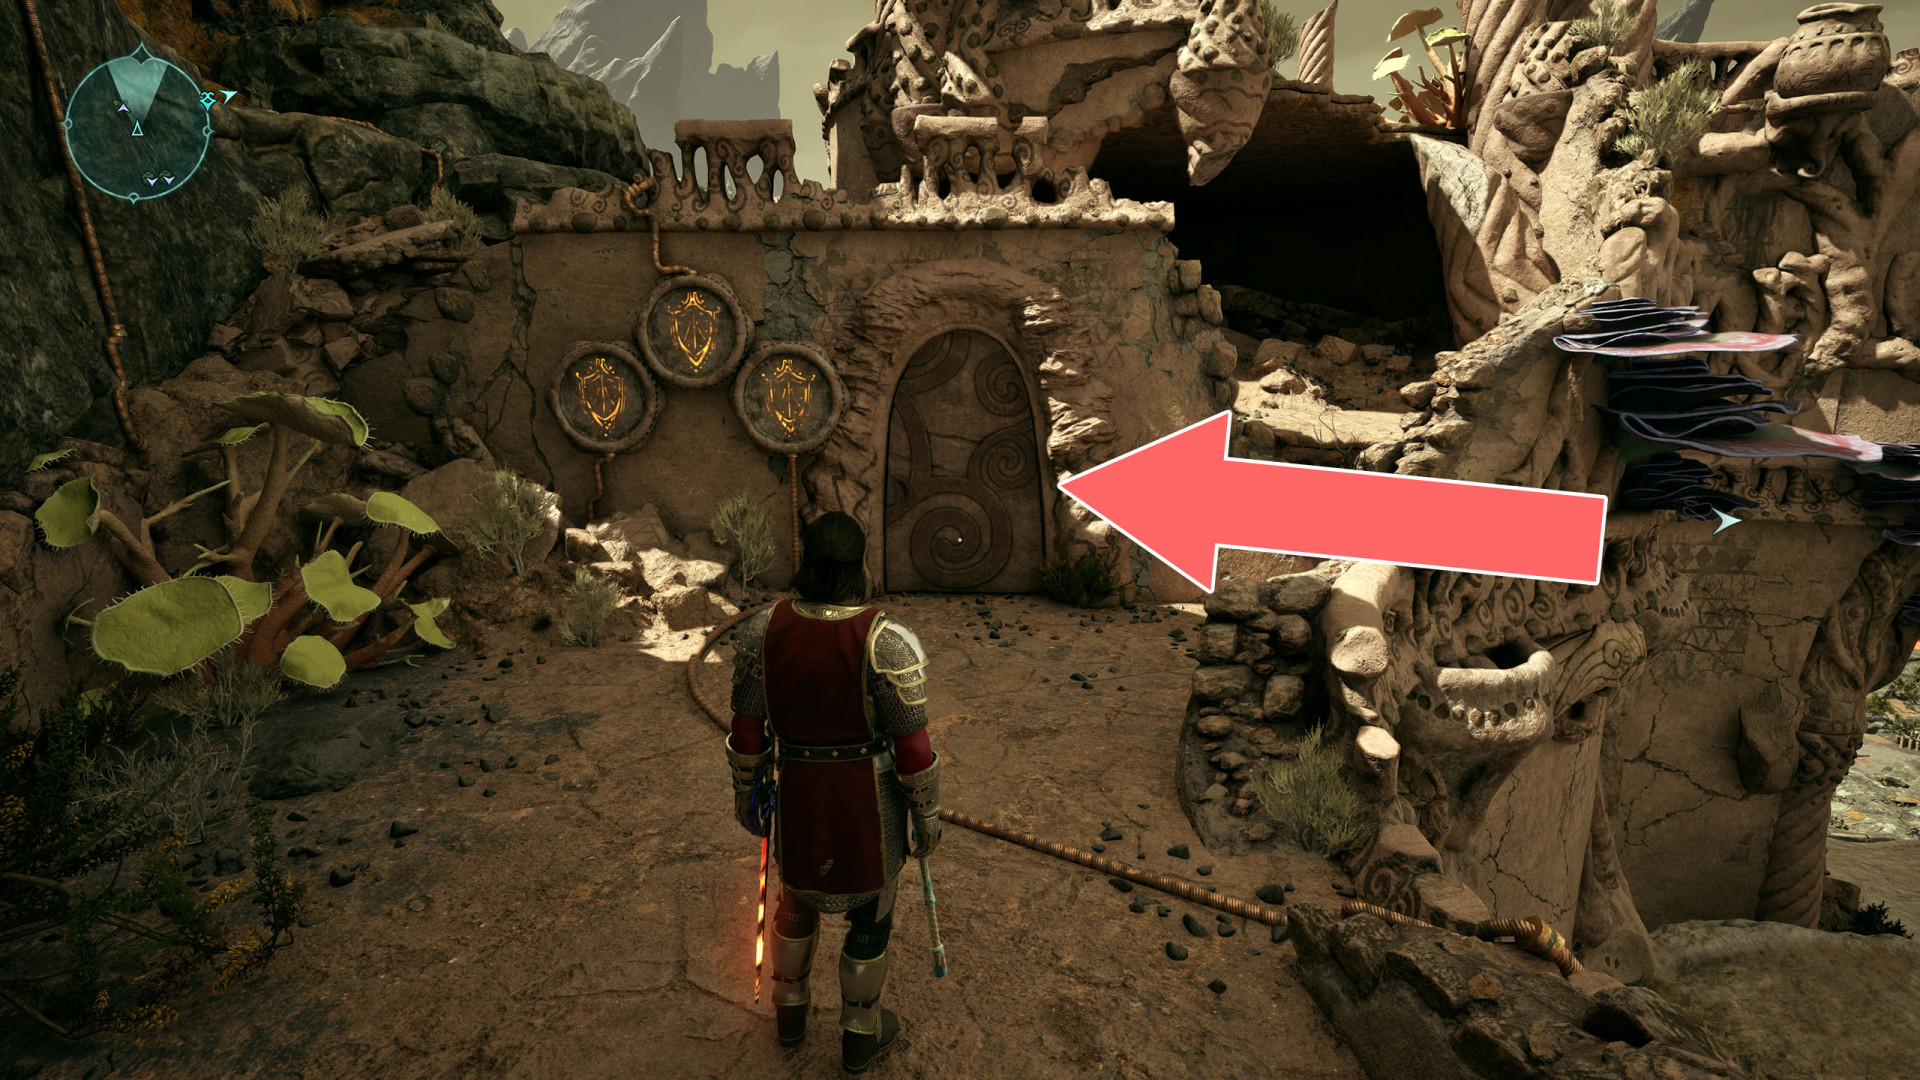
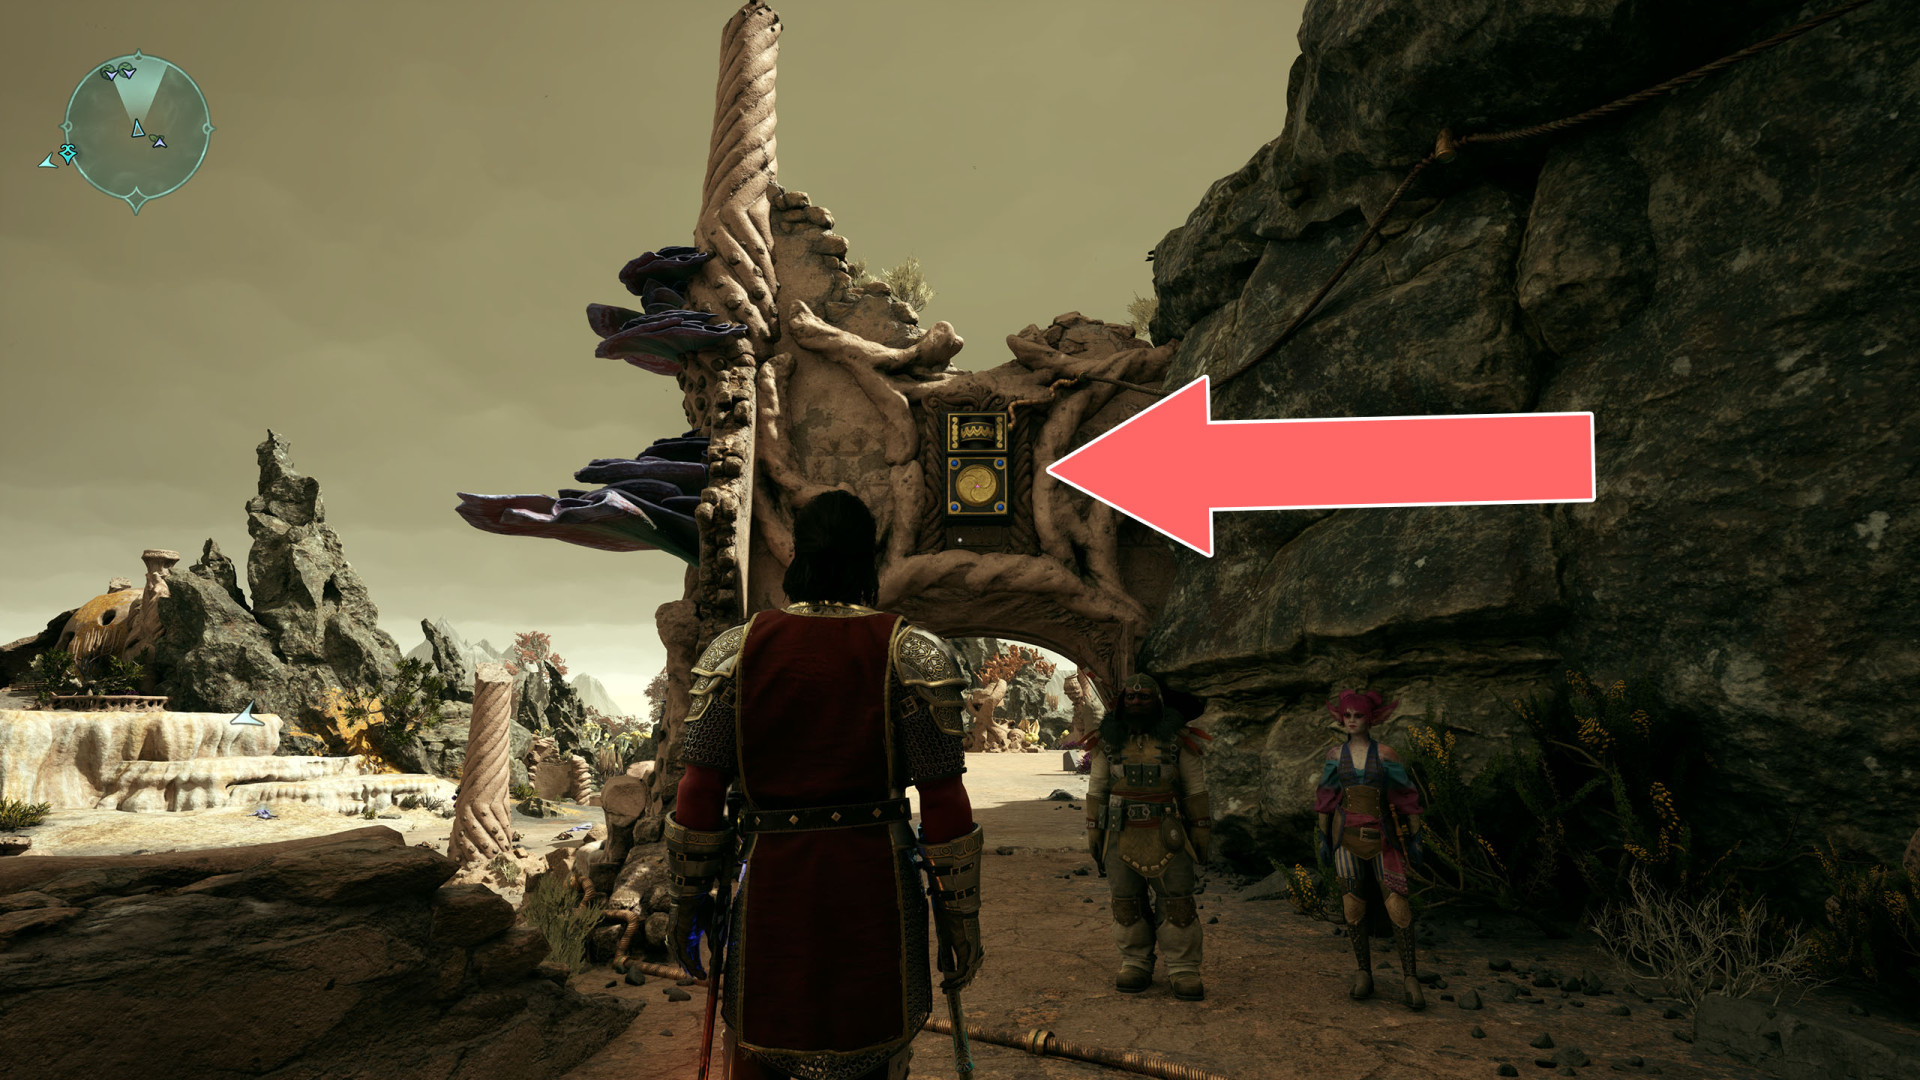
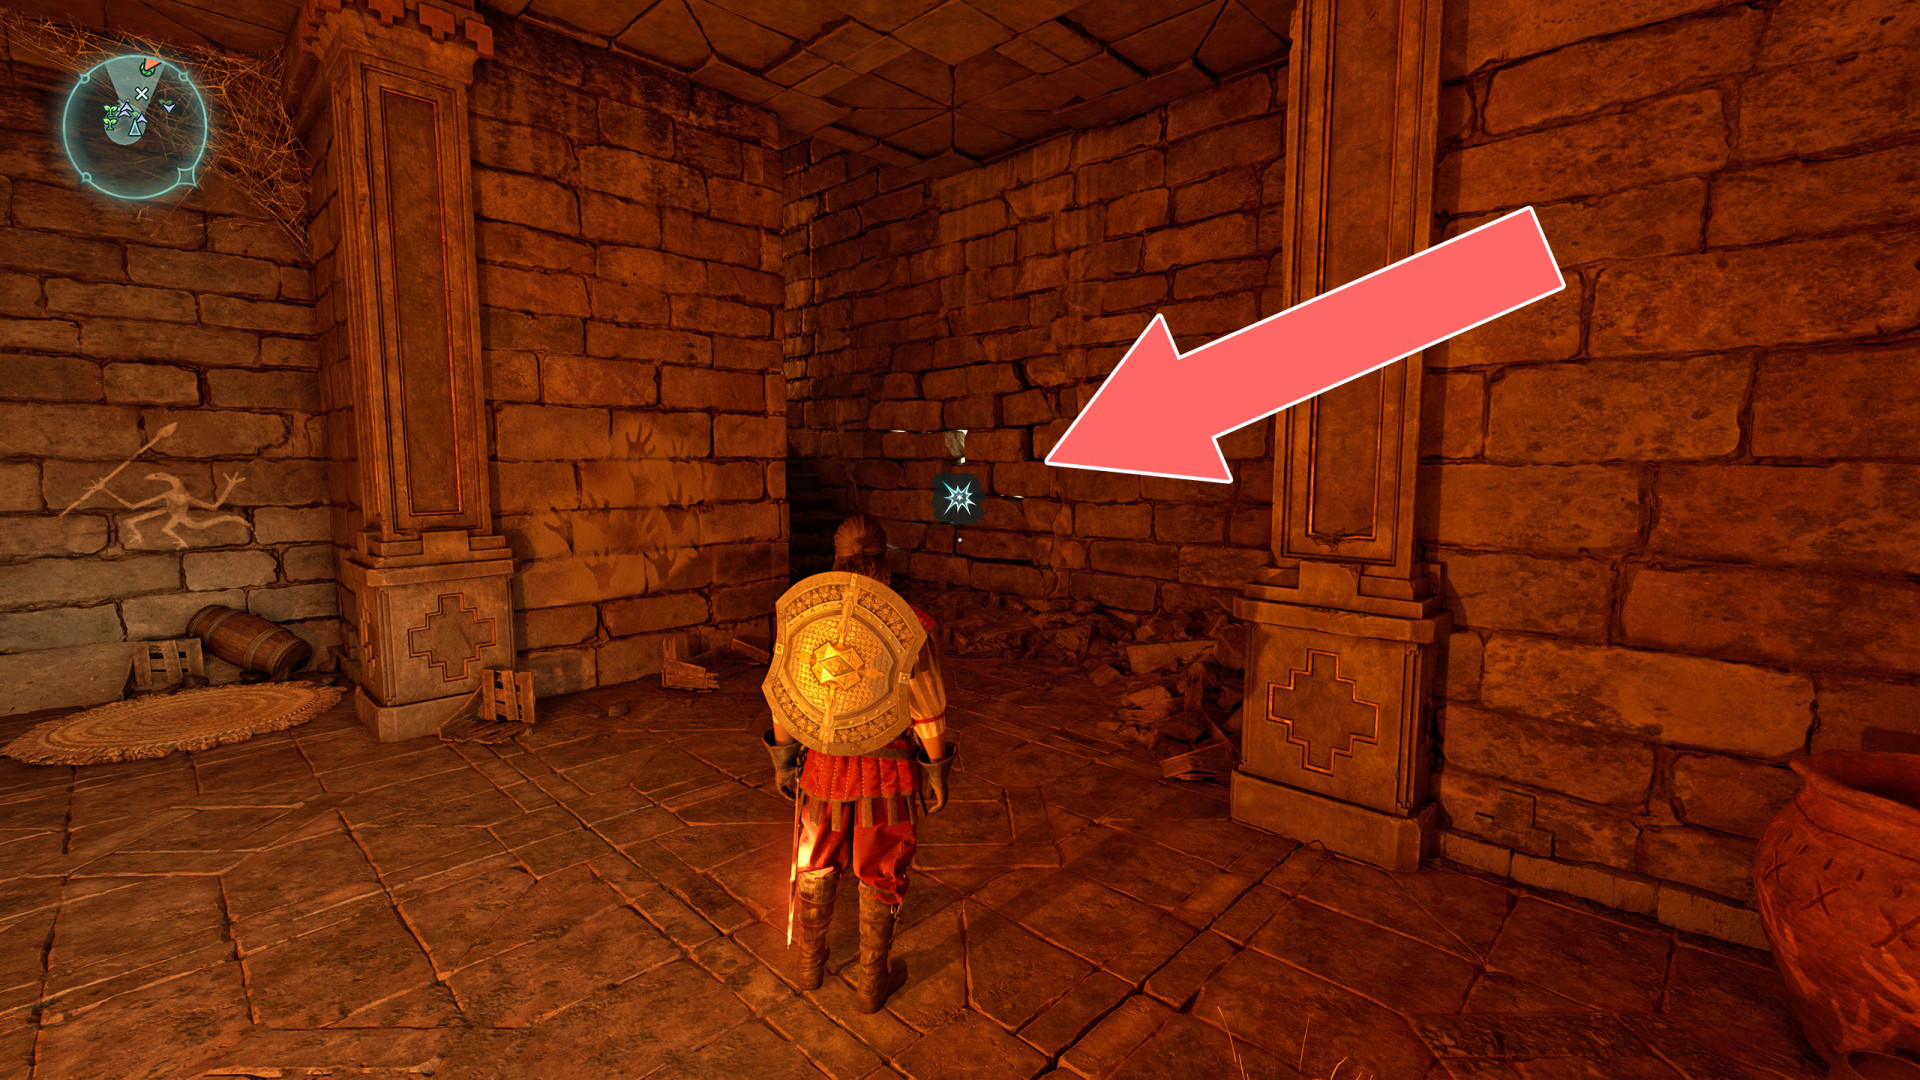
Warden's Office Door▶ show the map ◀
You can unbar it from the room on the west side, which you can reach through the opening in its ceiling.
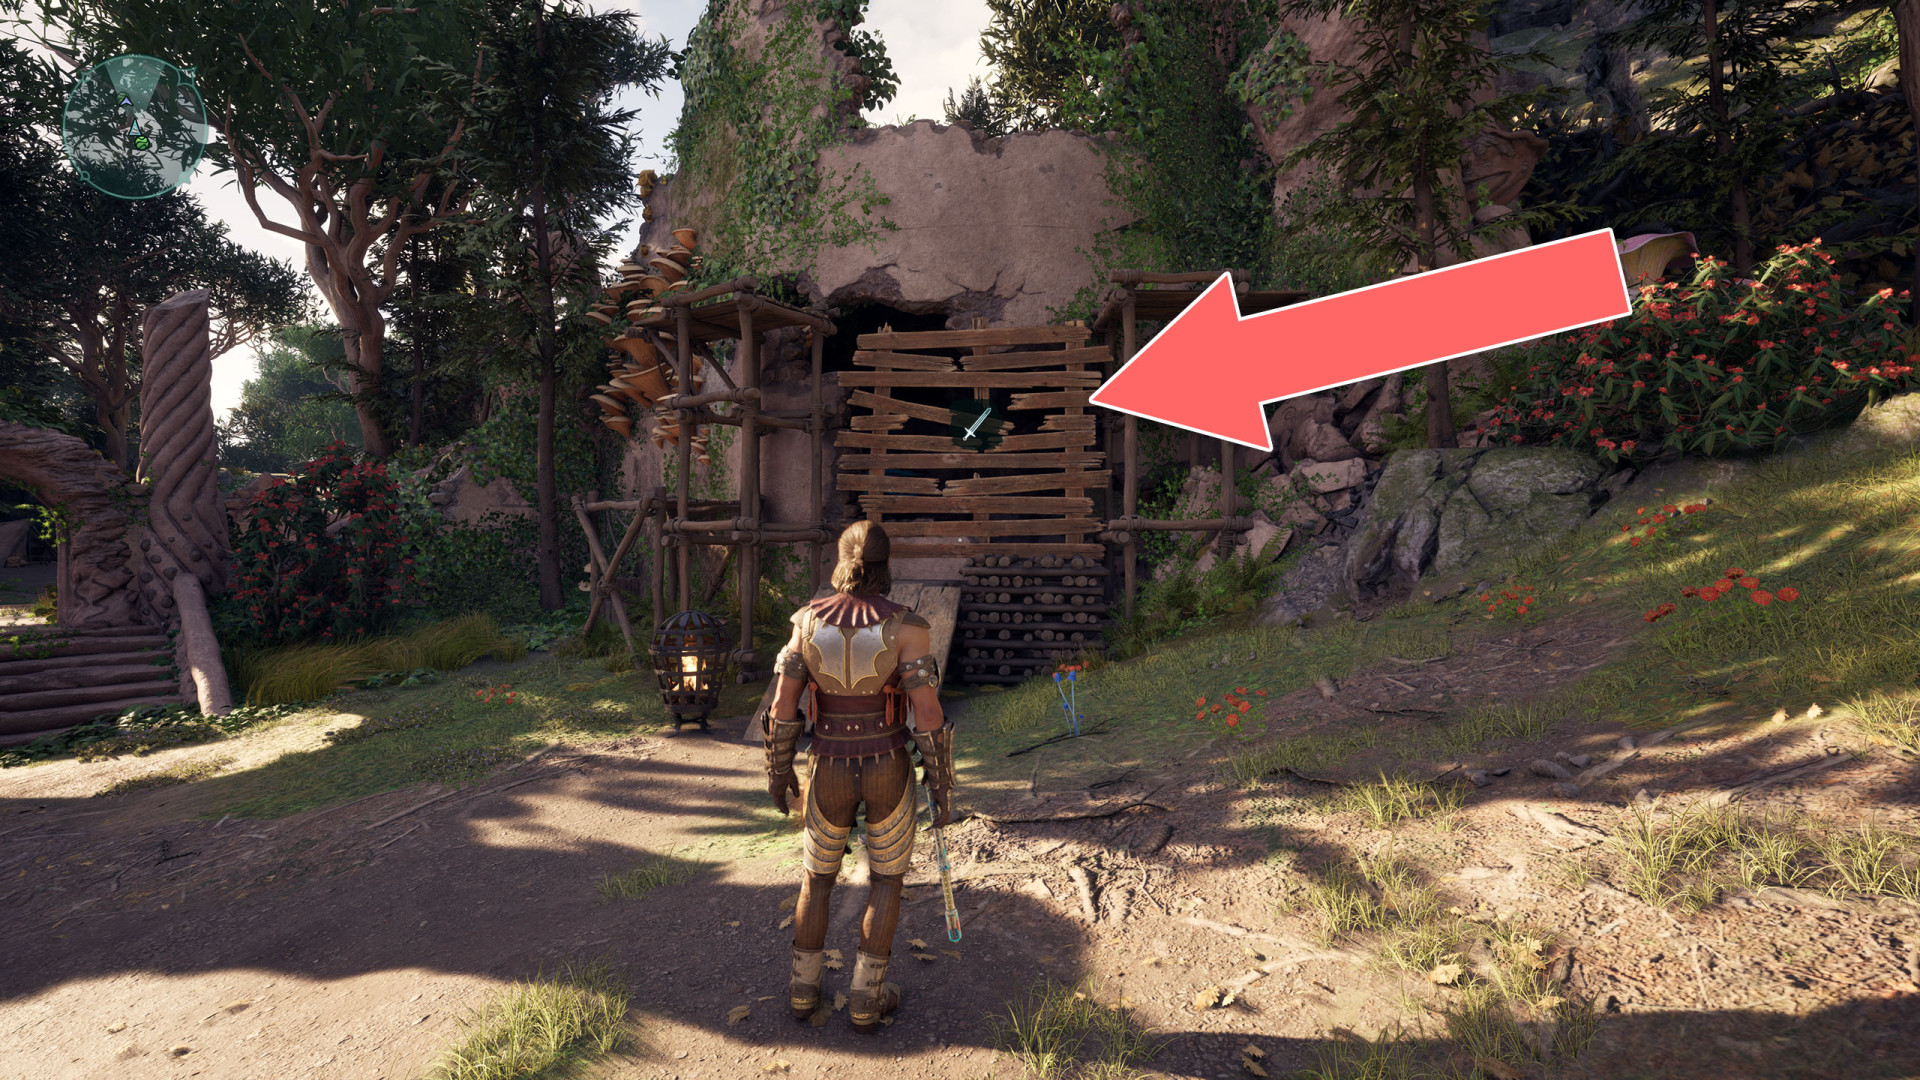
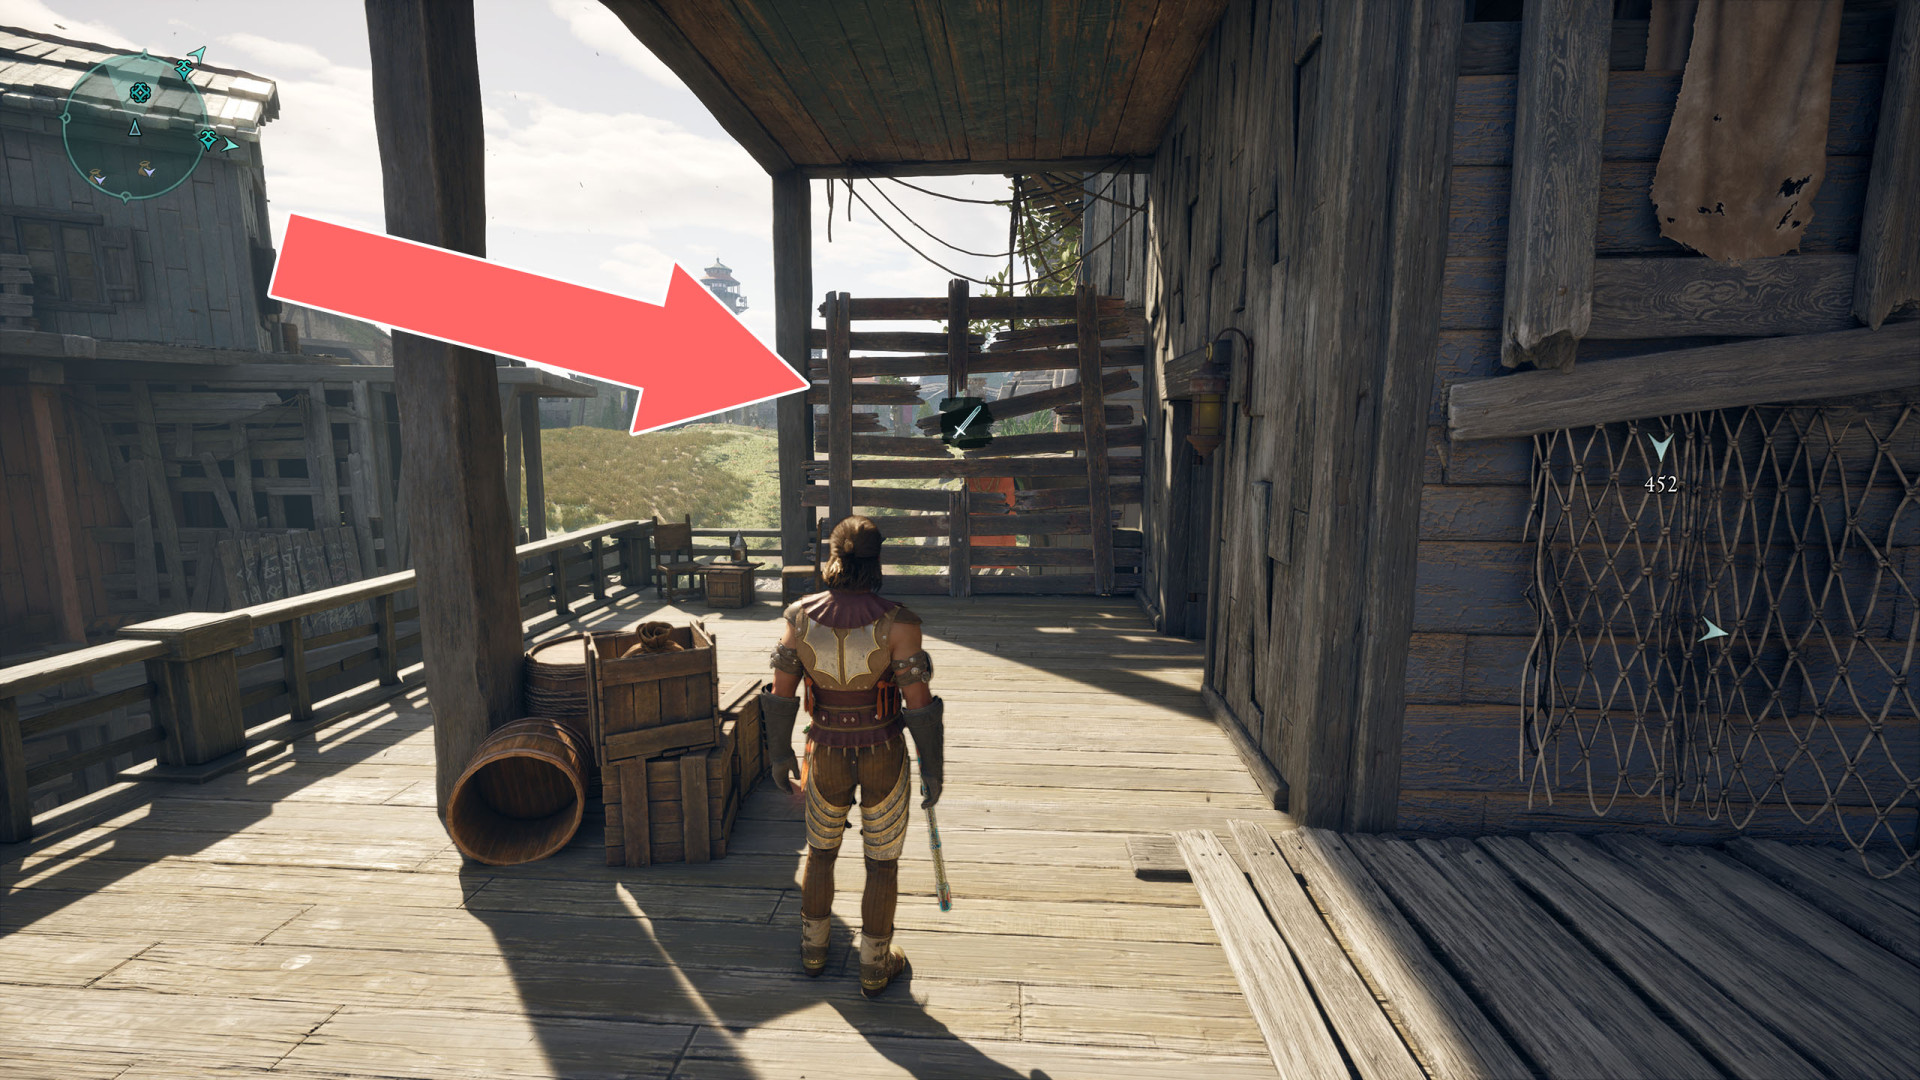
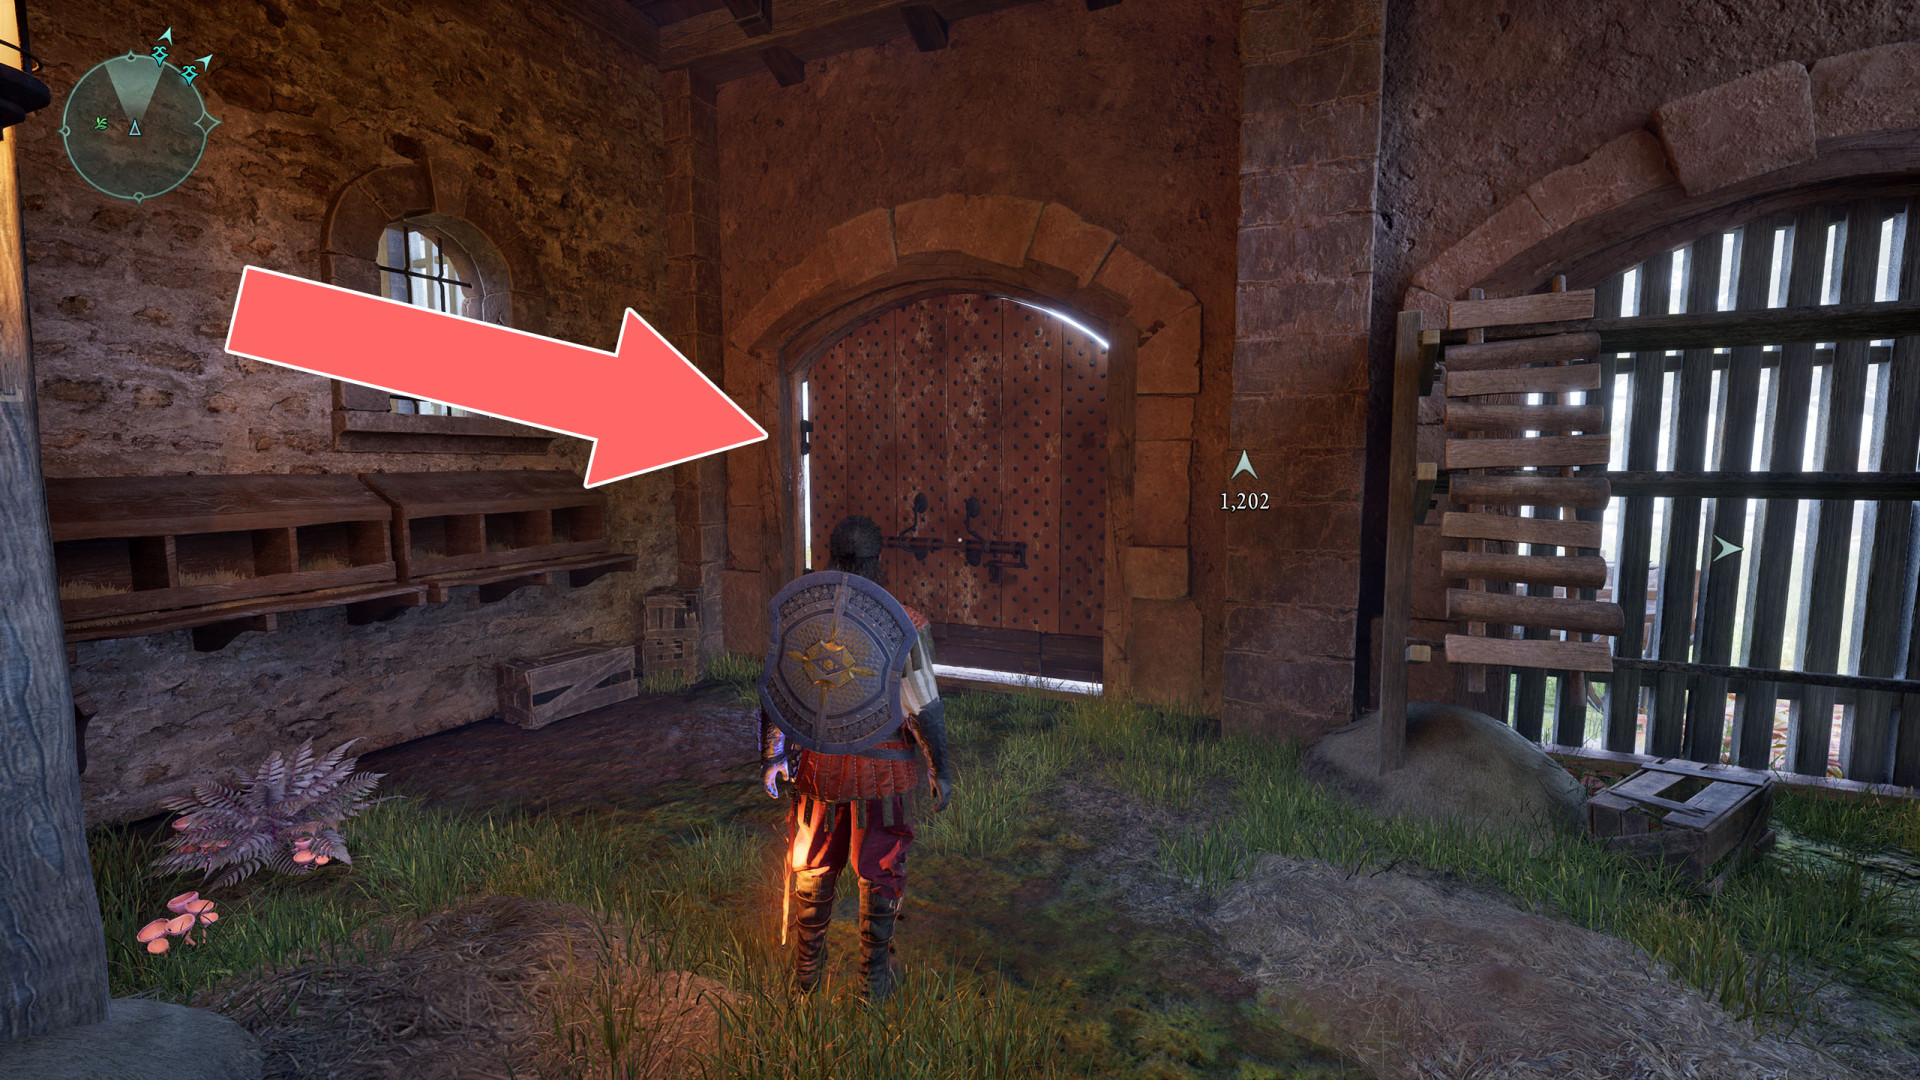
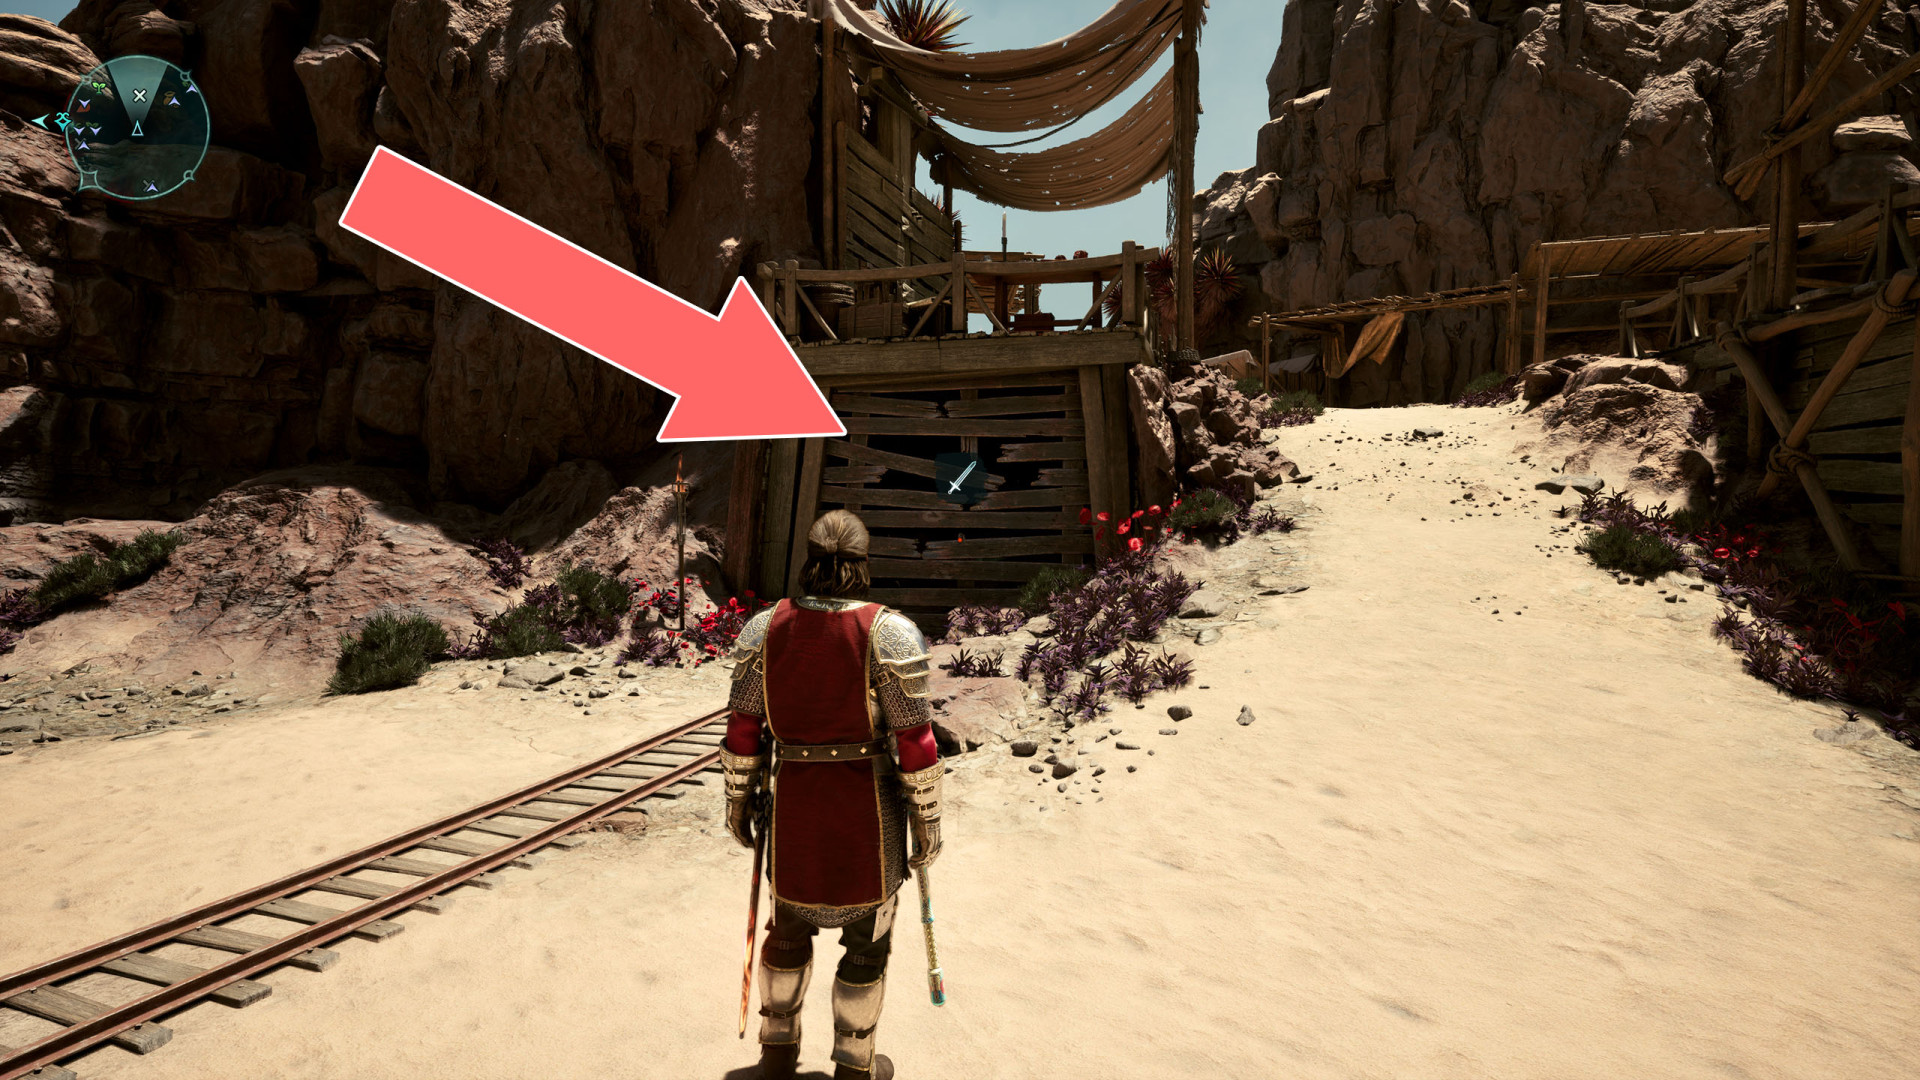
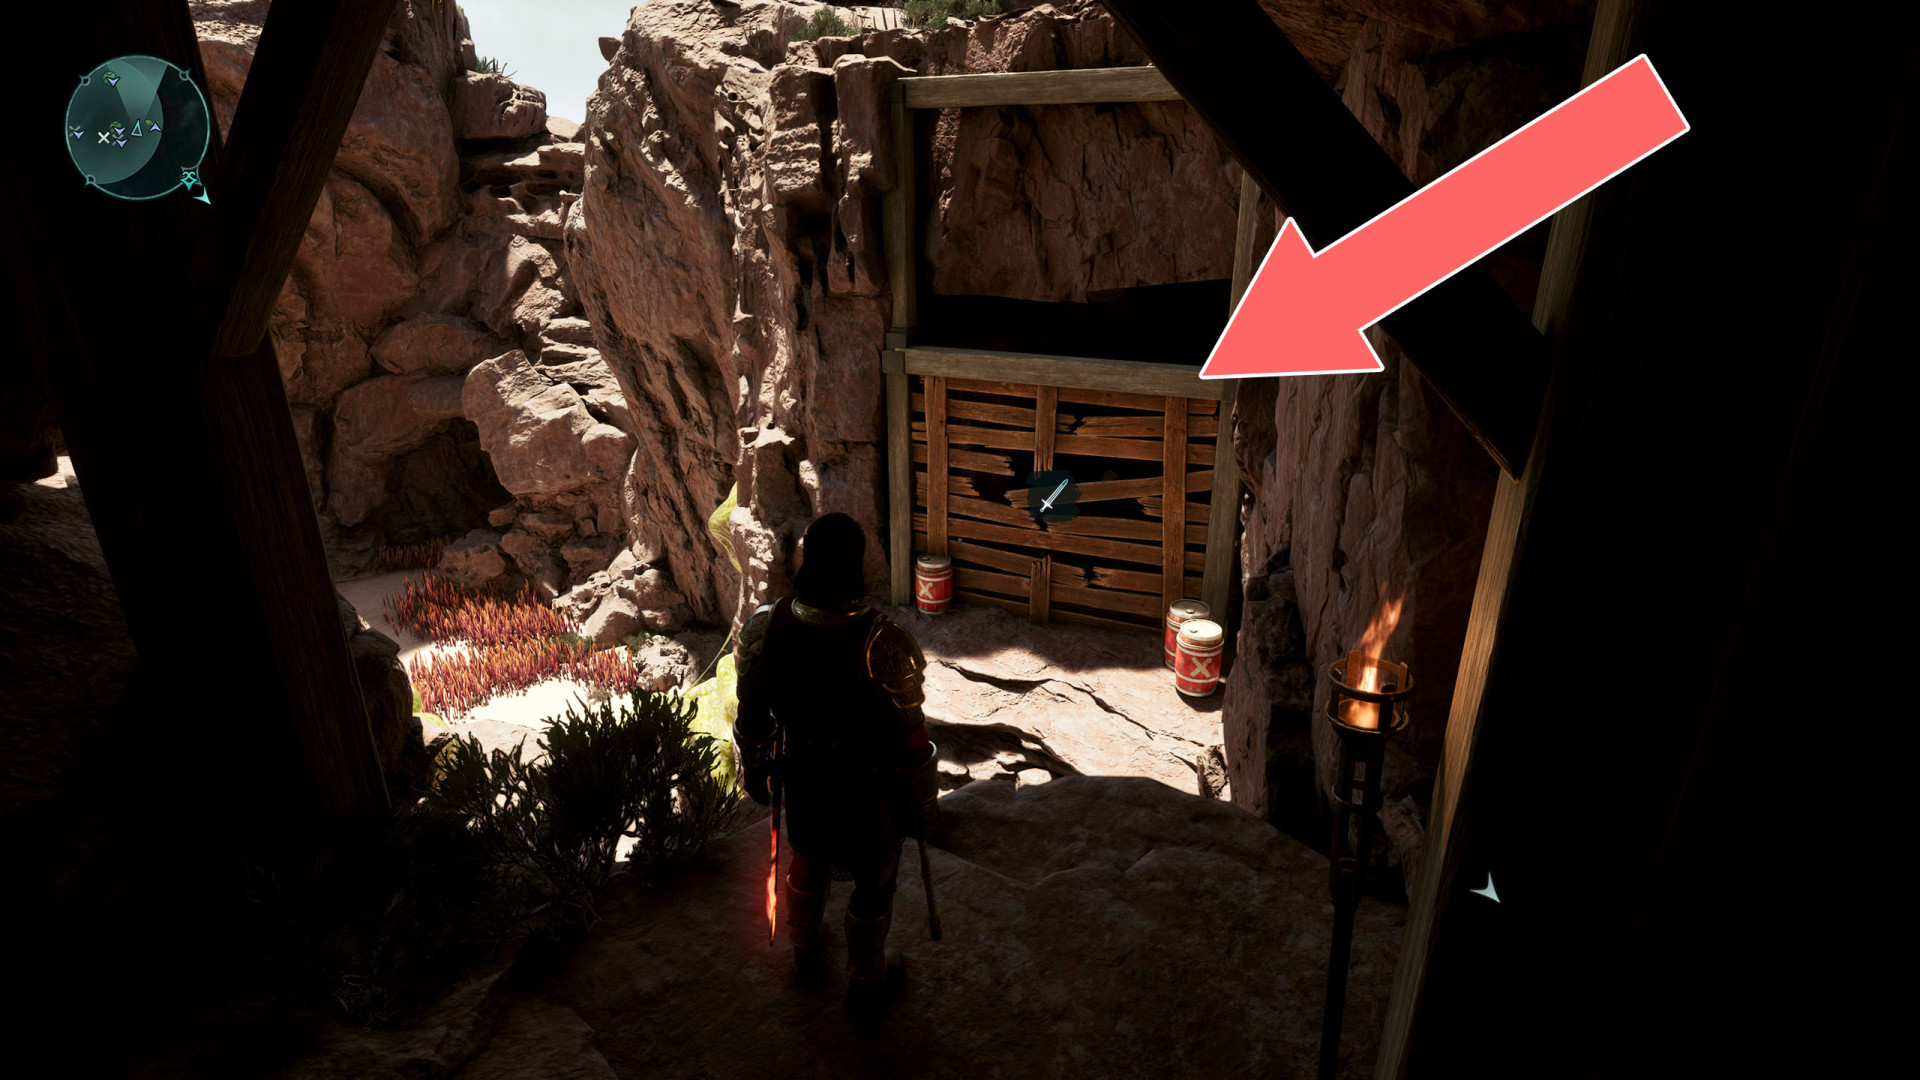
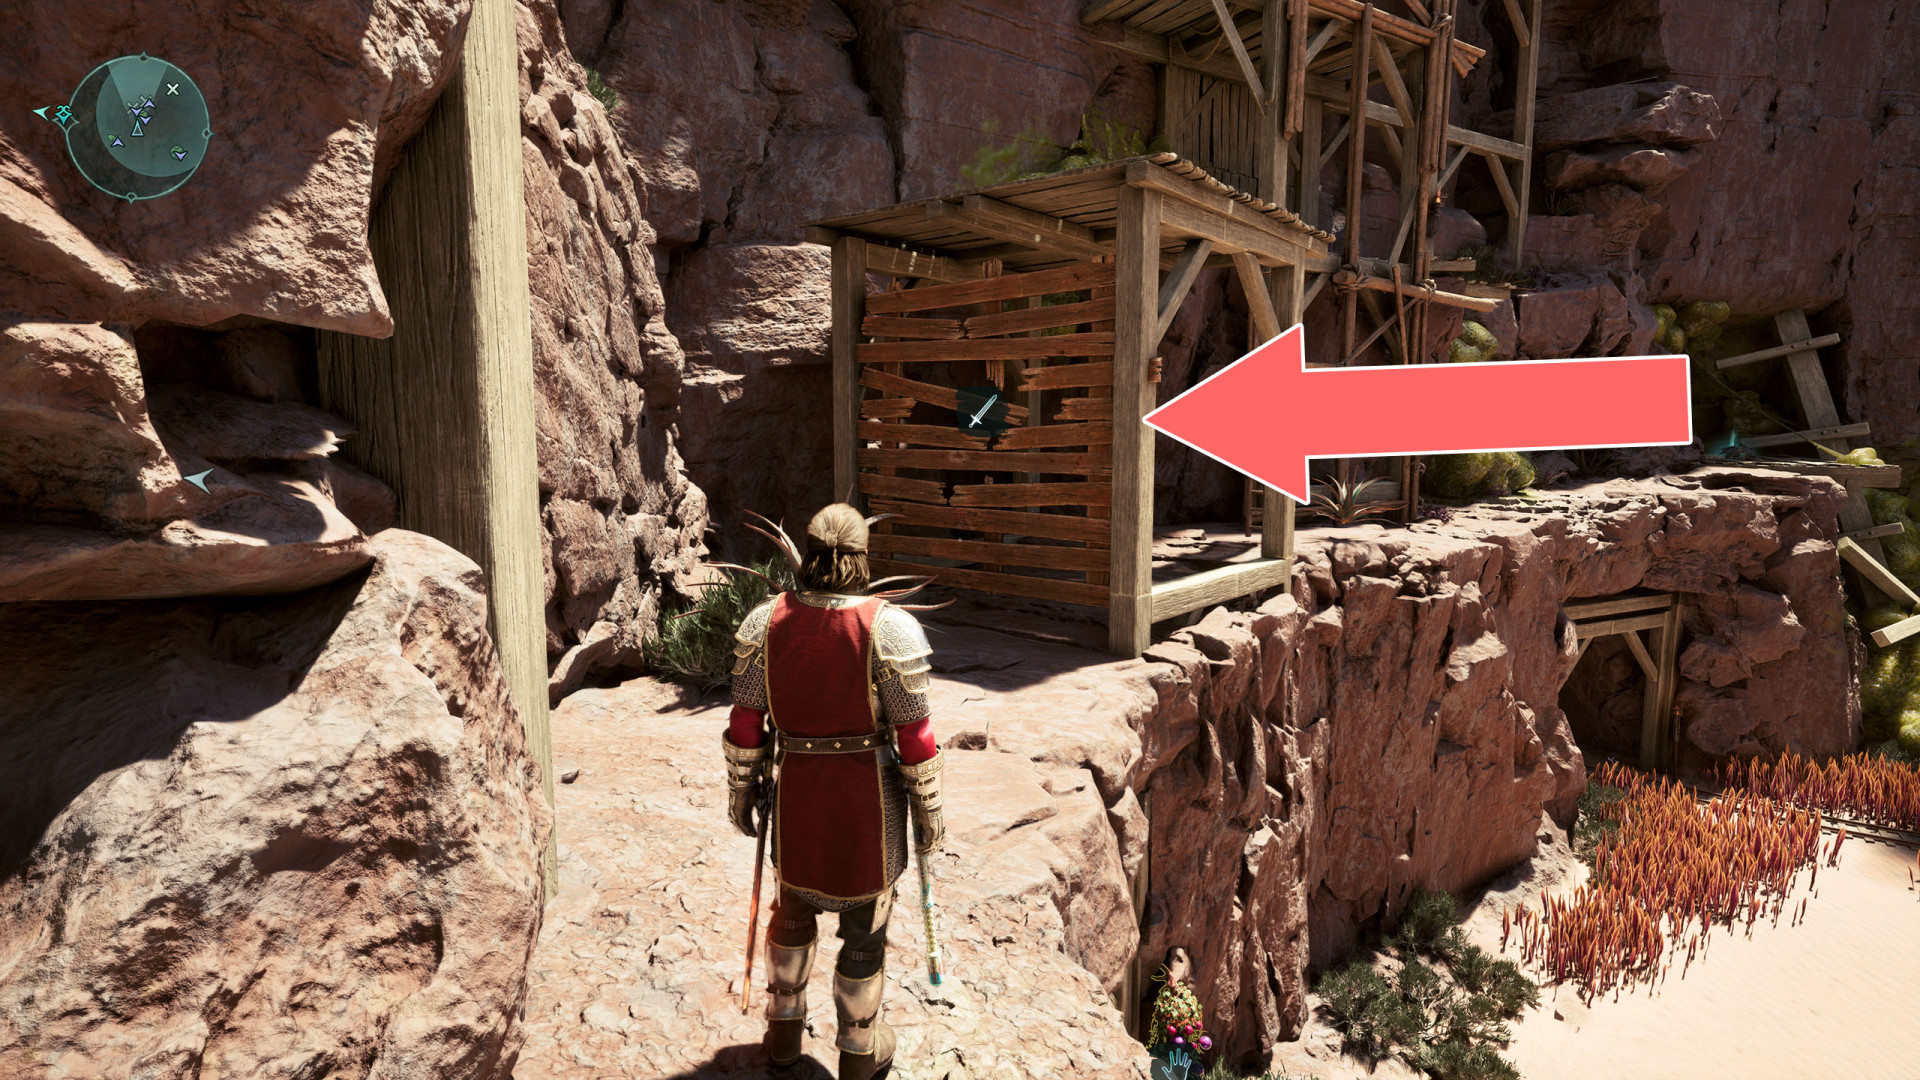
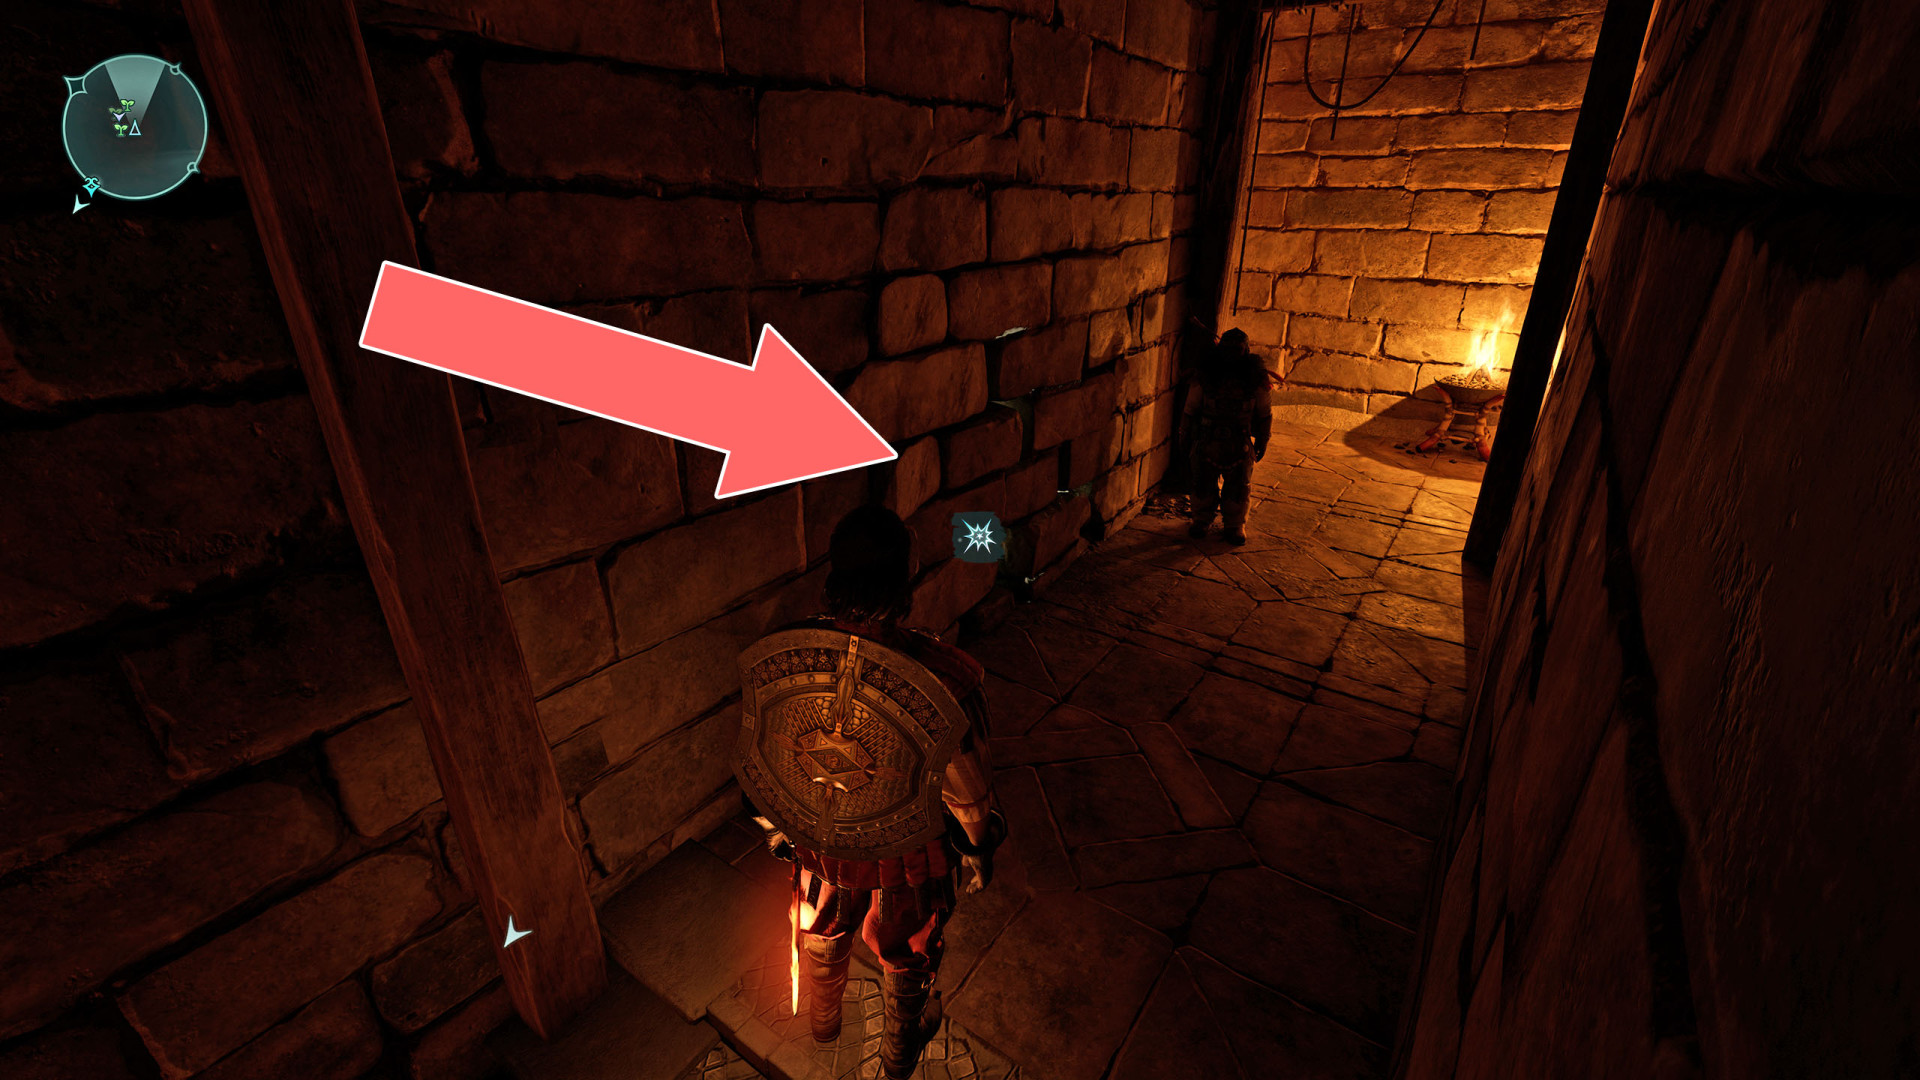
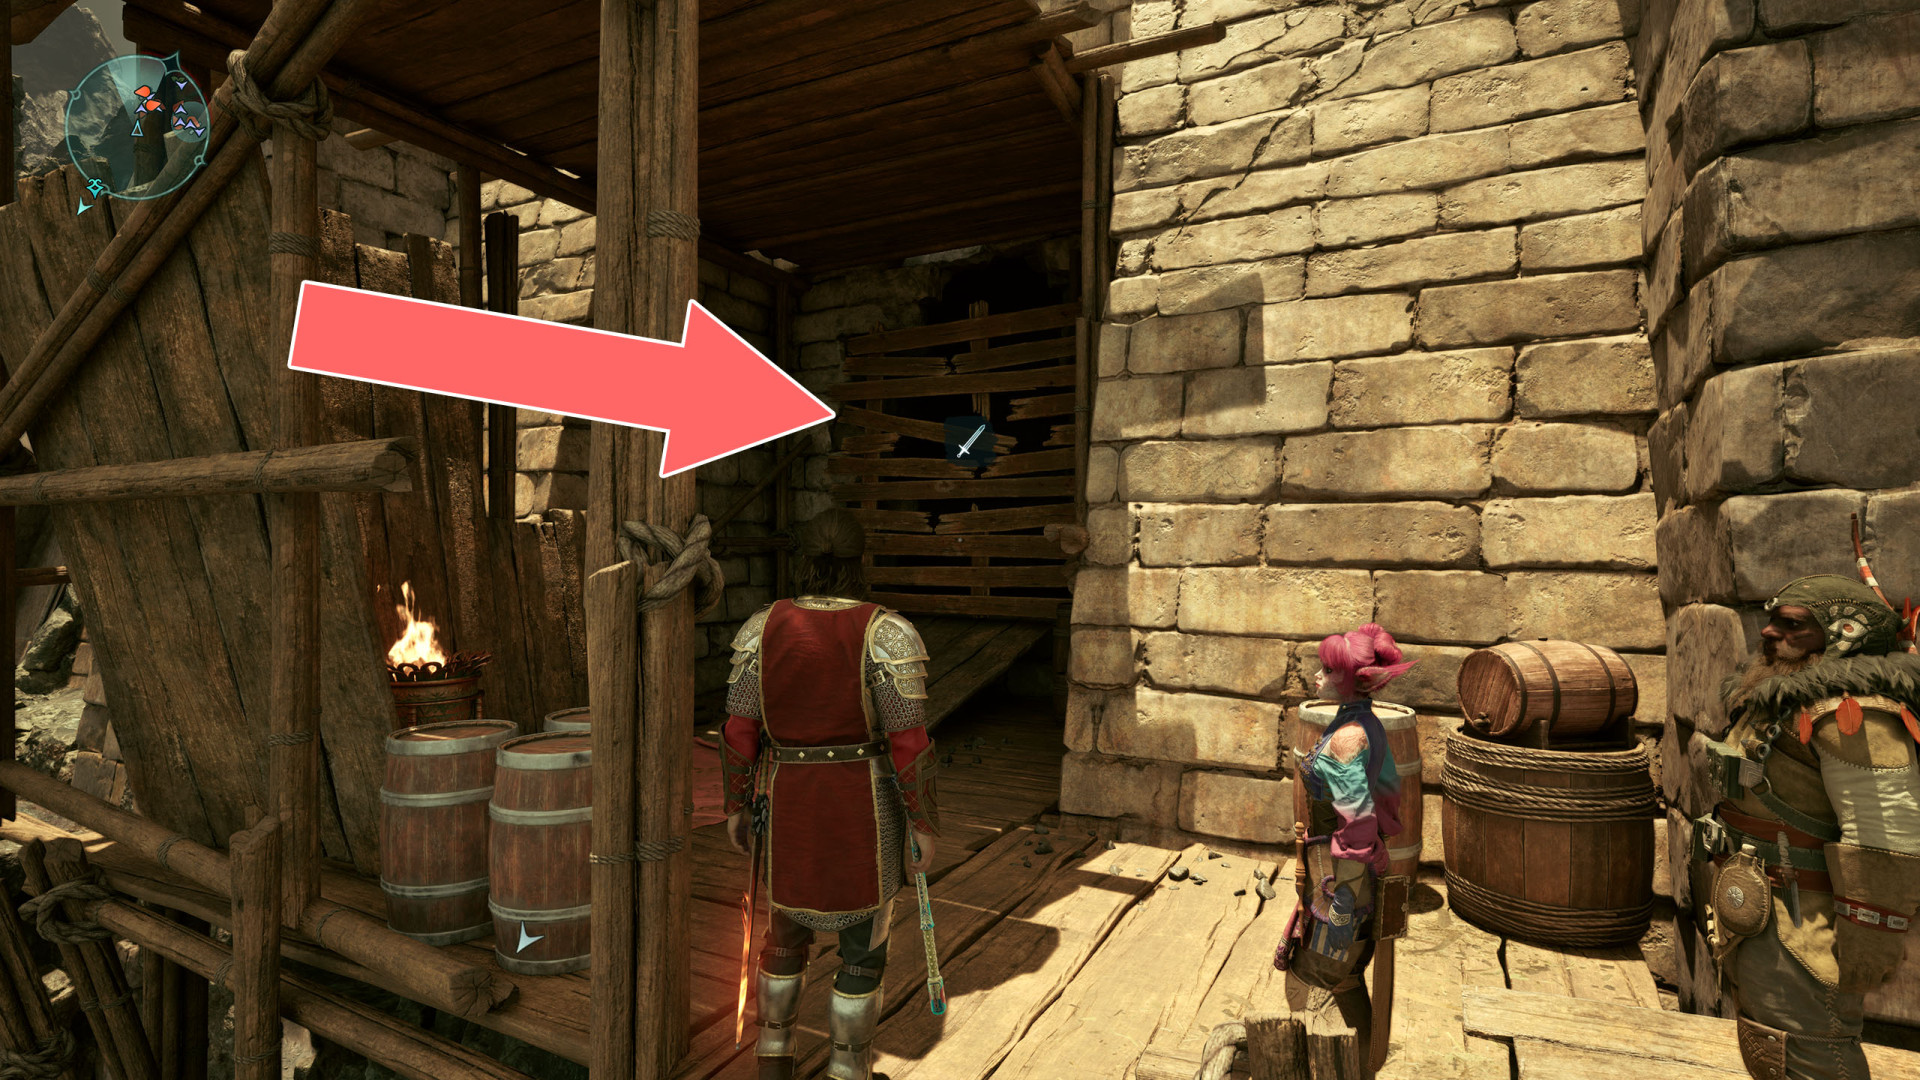
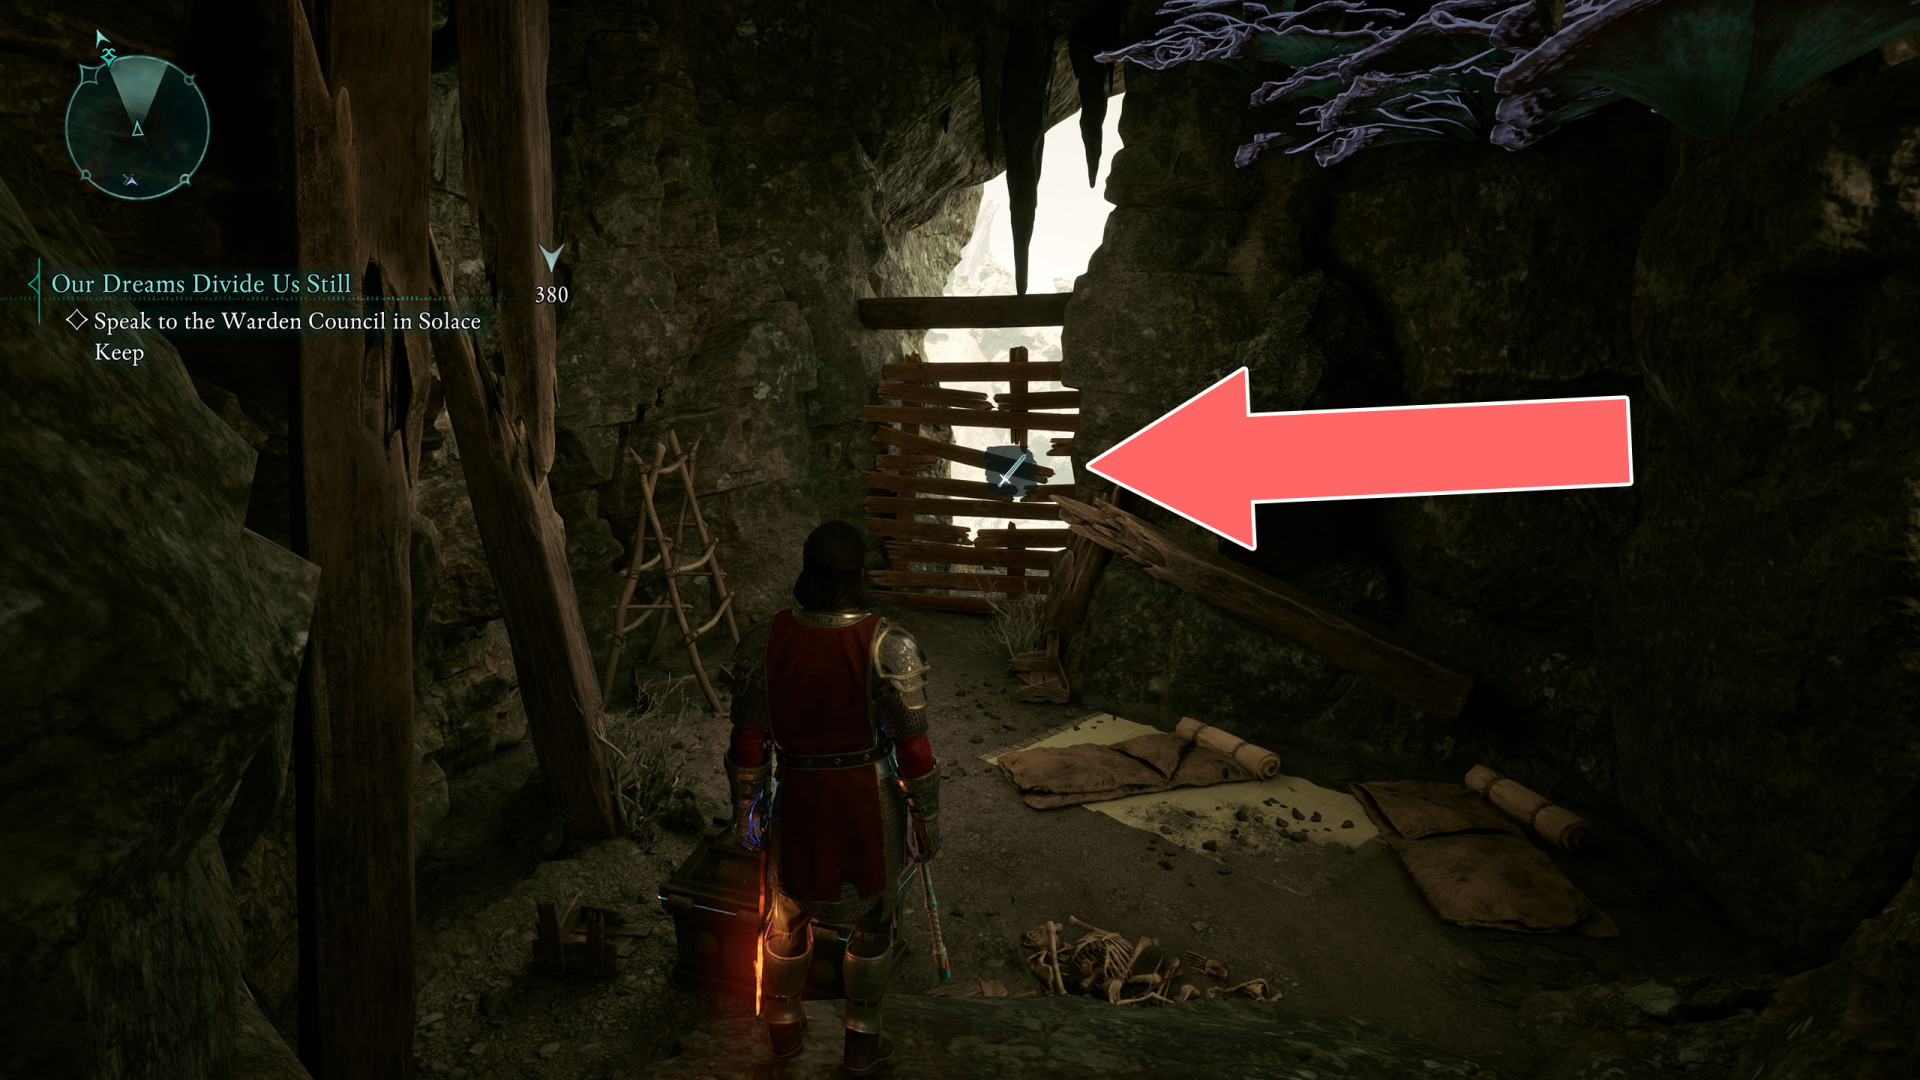
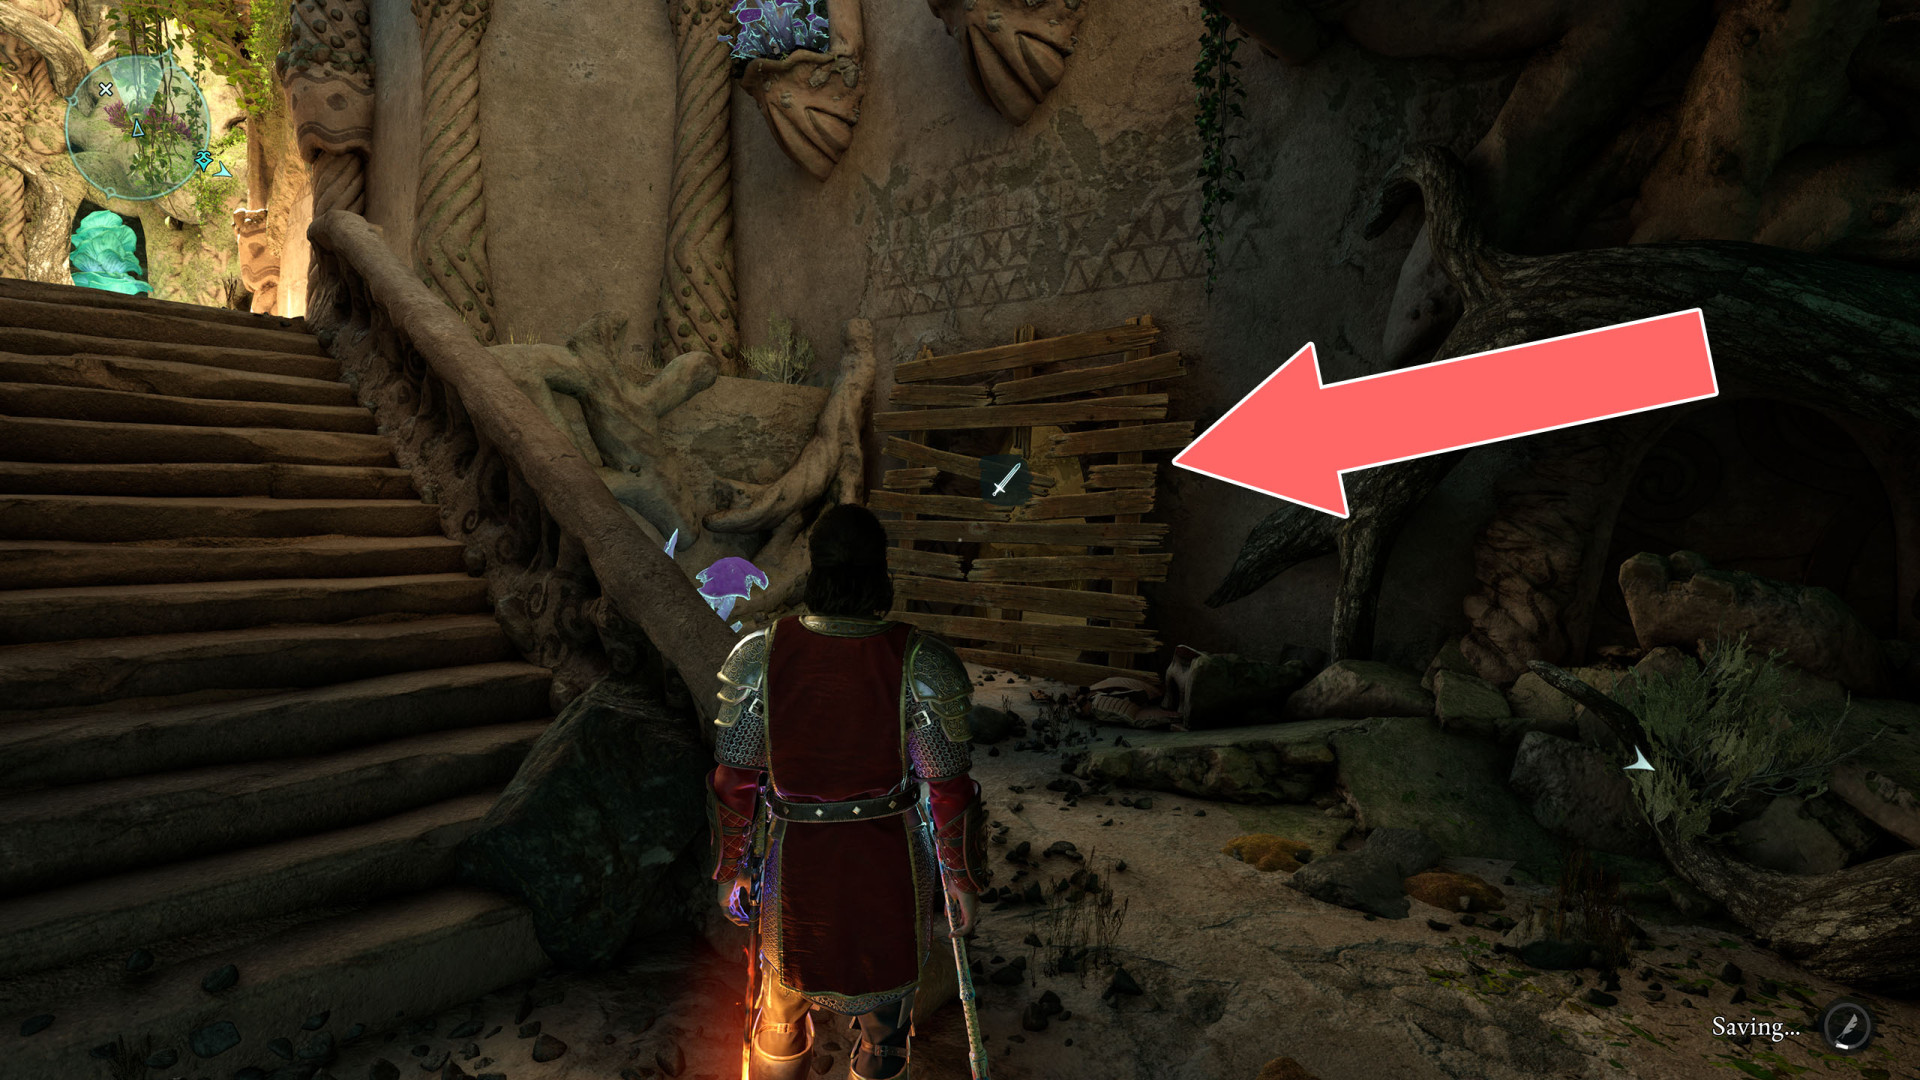
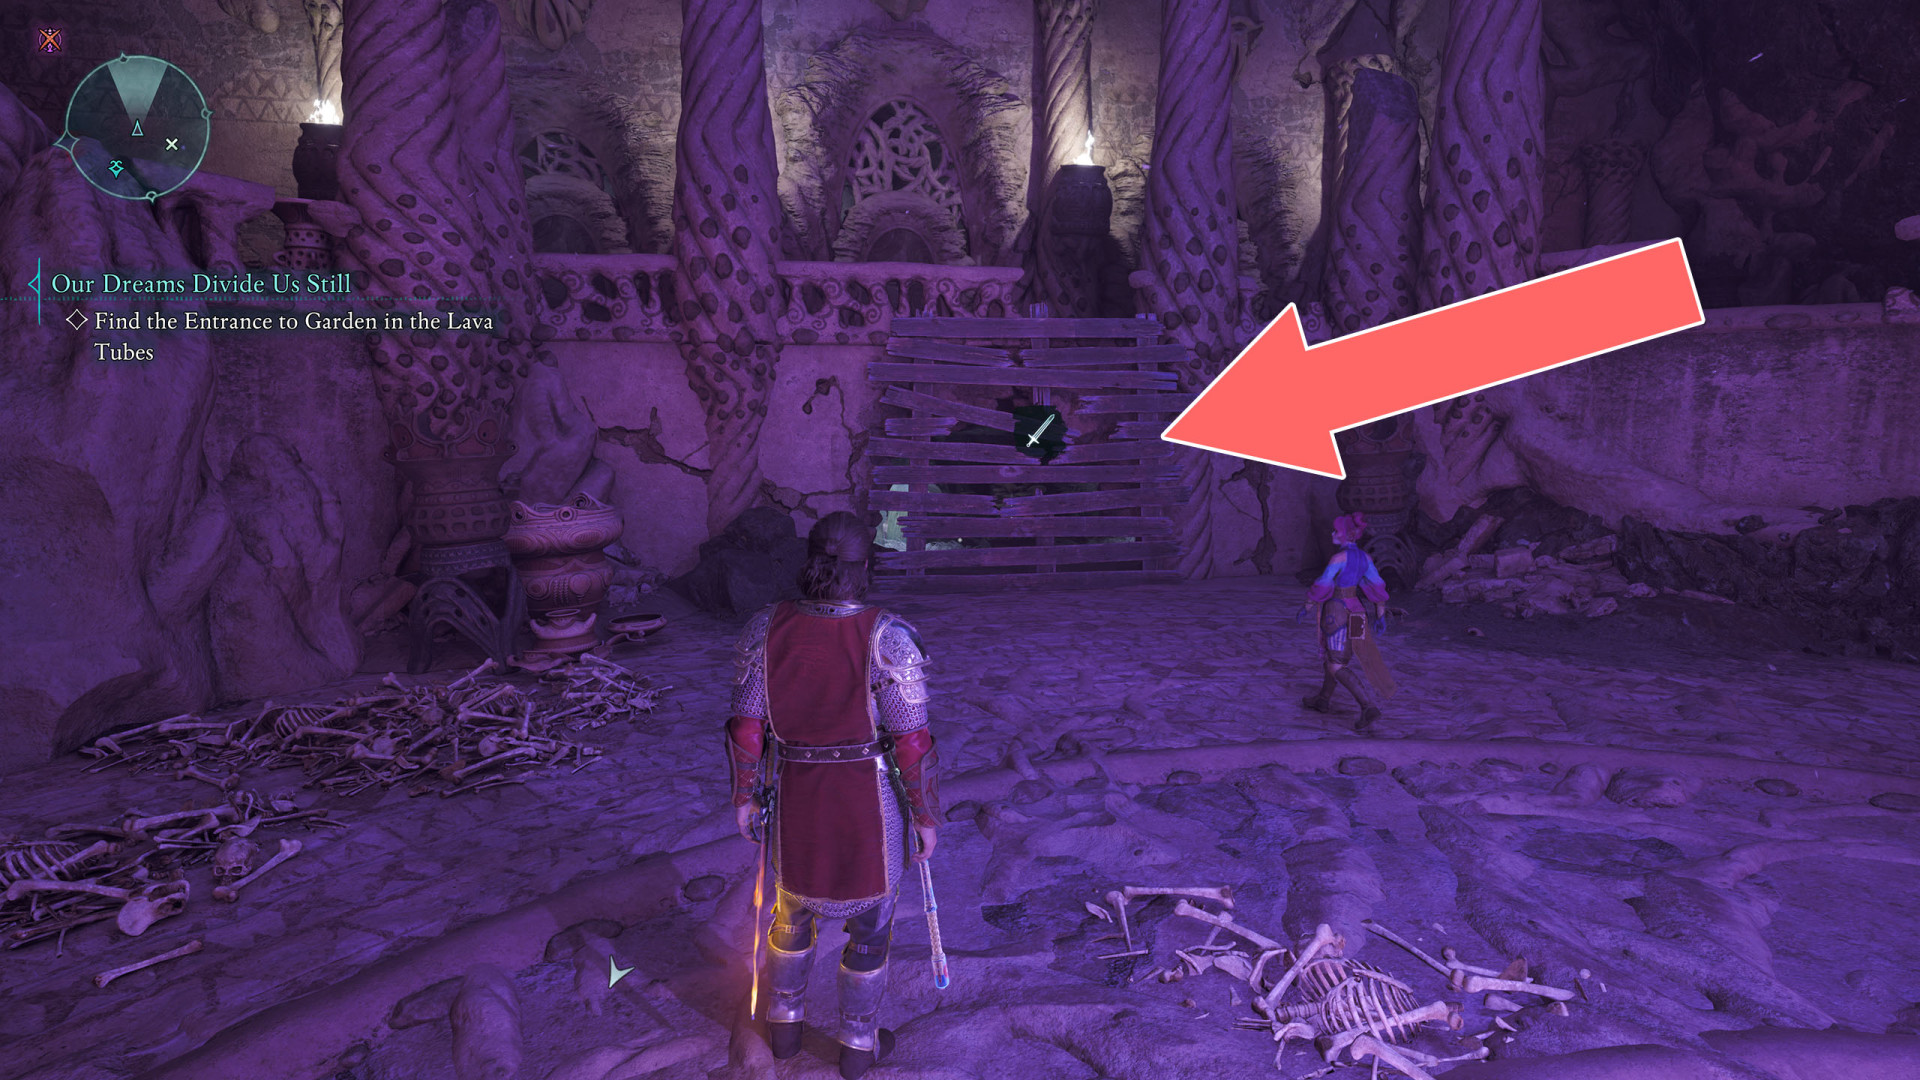
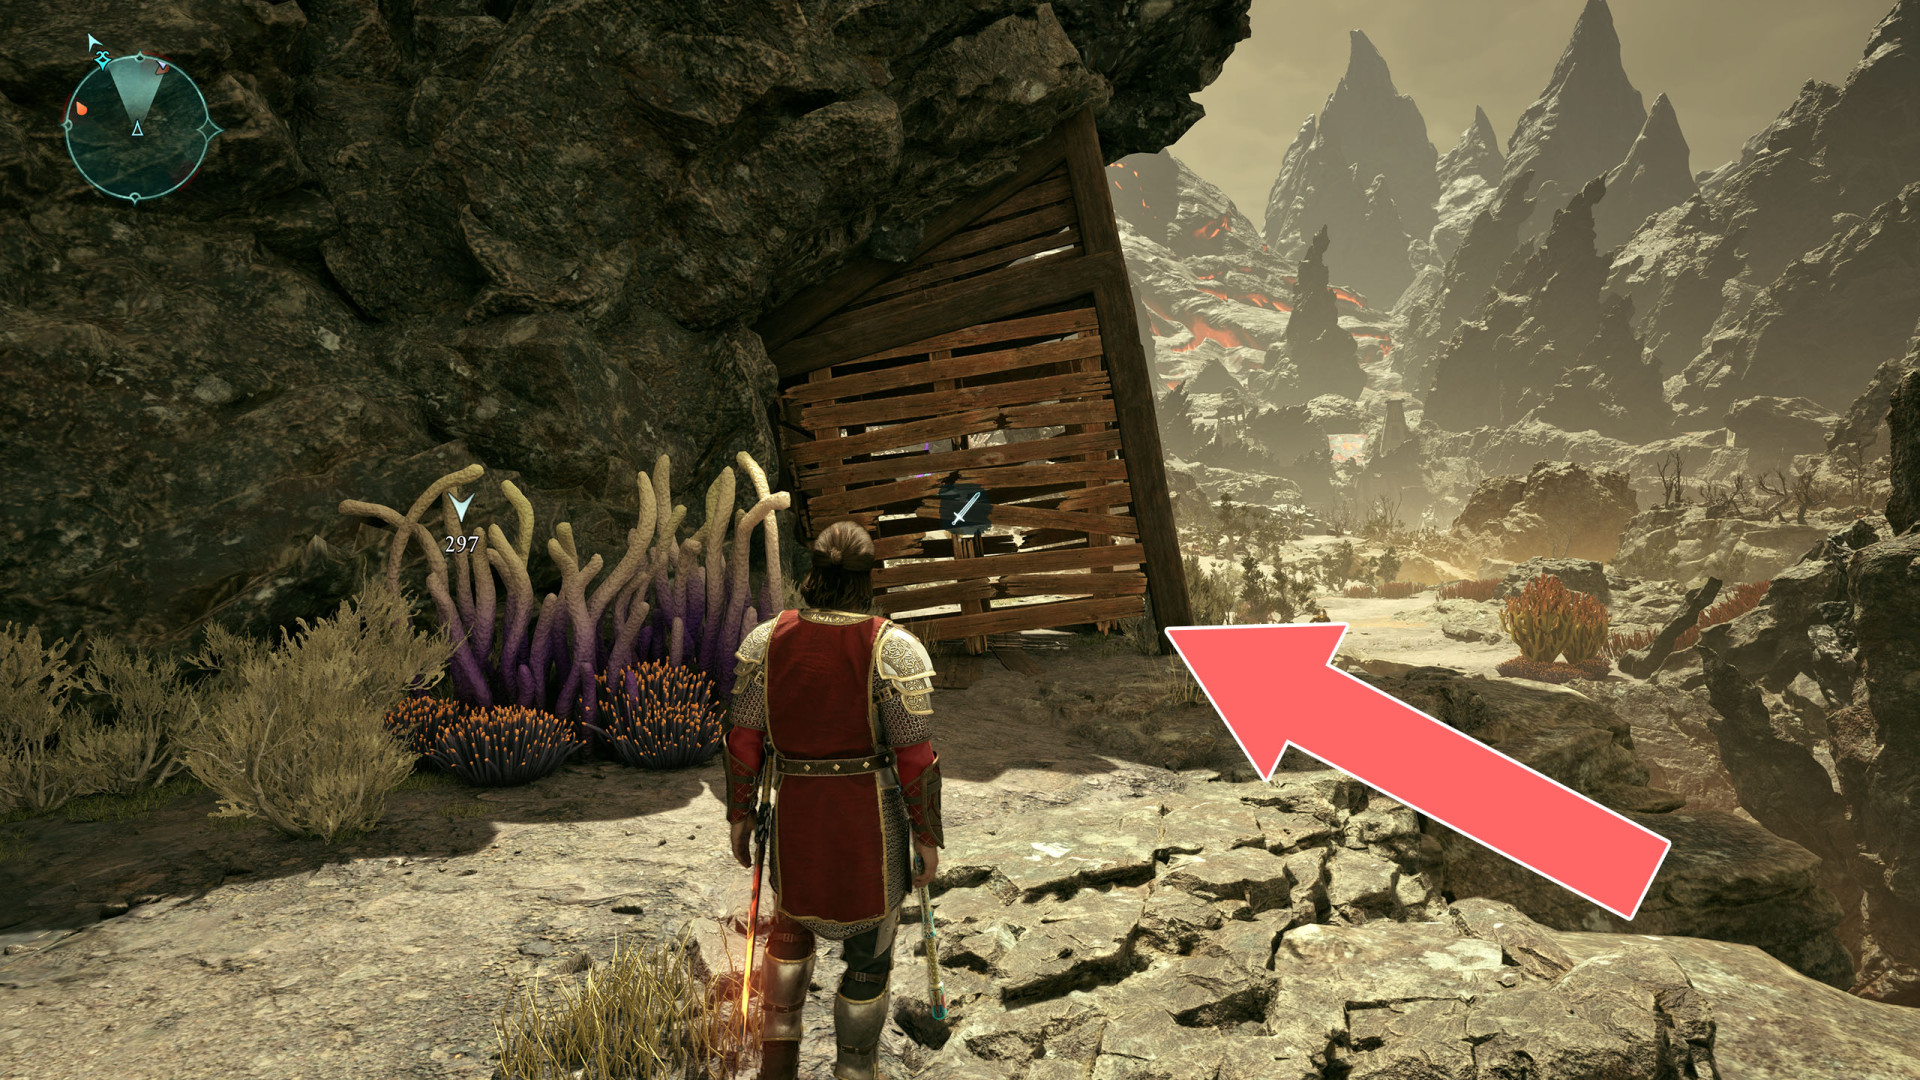
 Wooden Barrier▶ show the map ◀
Wooden Barrier▶ show the map ◀
Wooden Barrier▶ show the map ◀
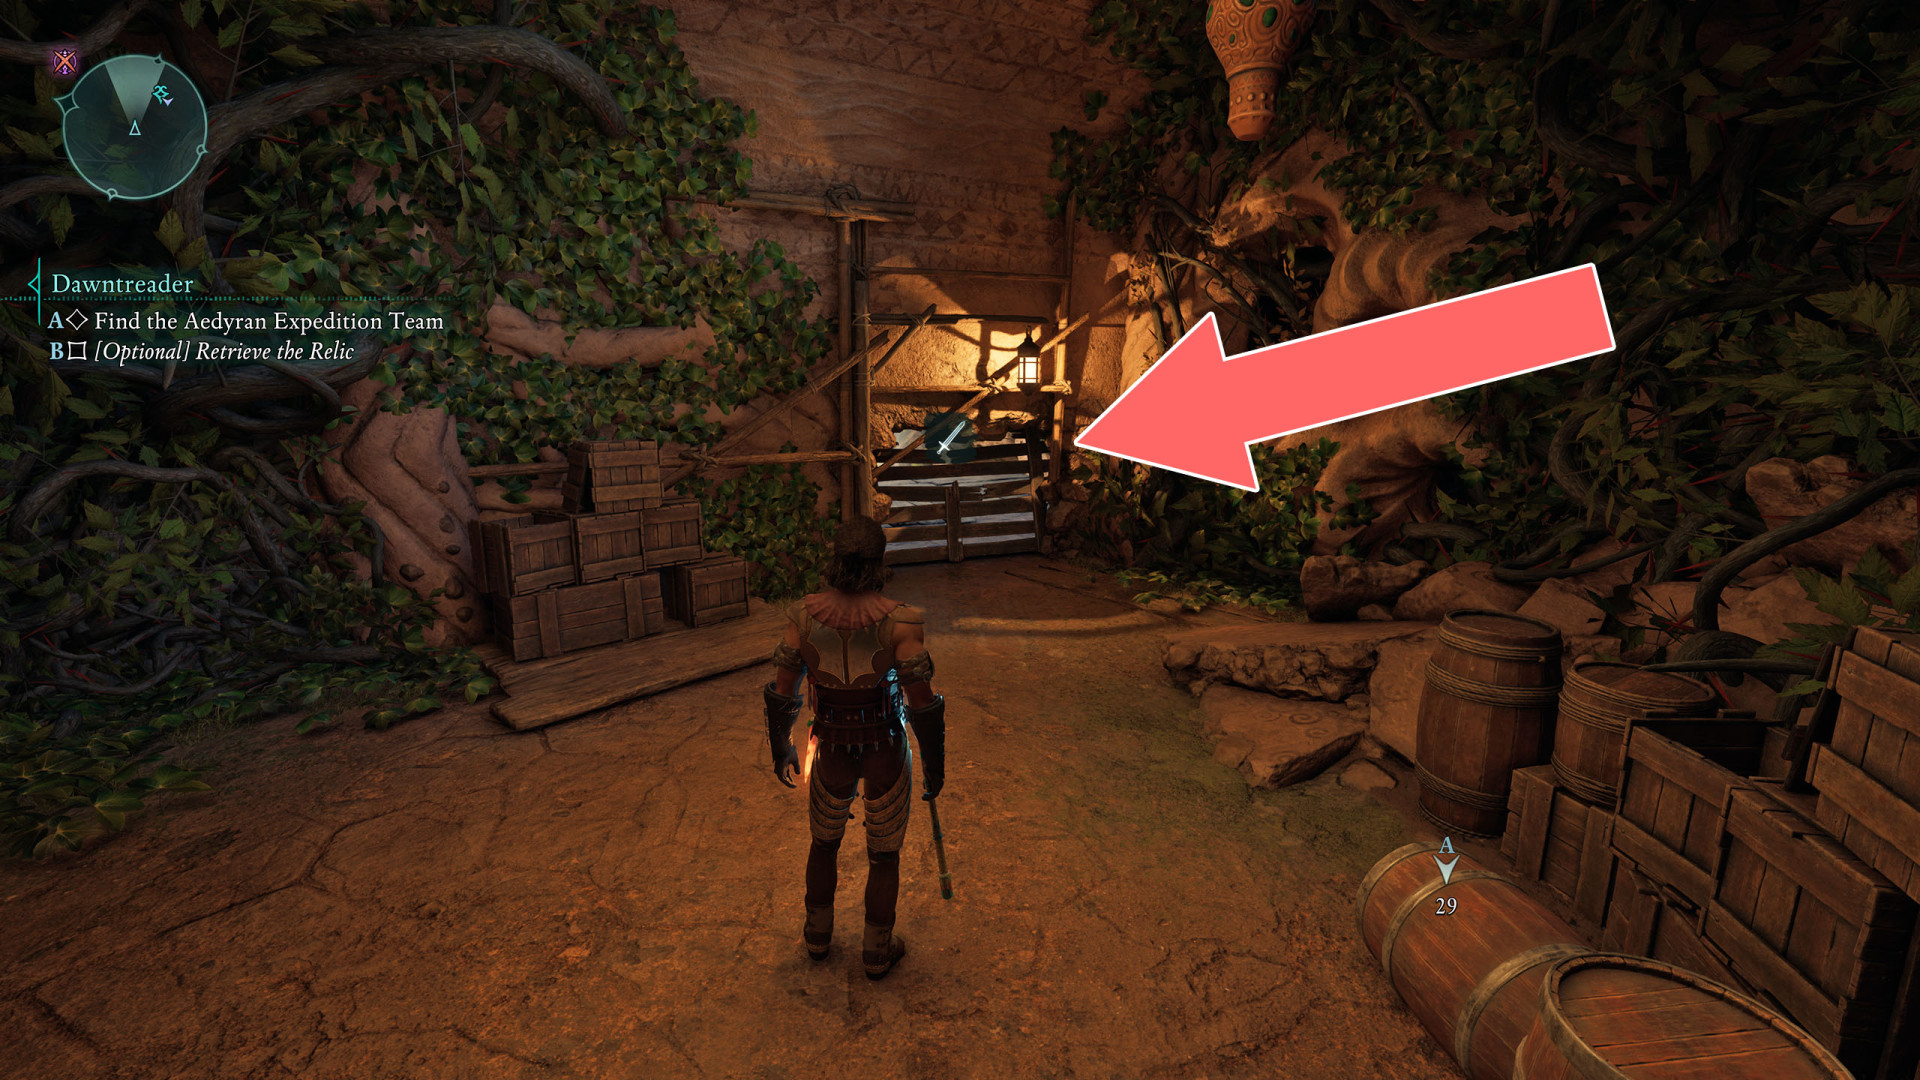
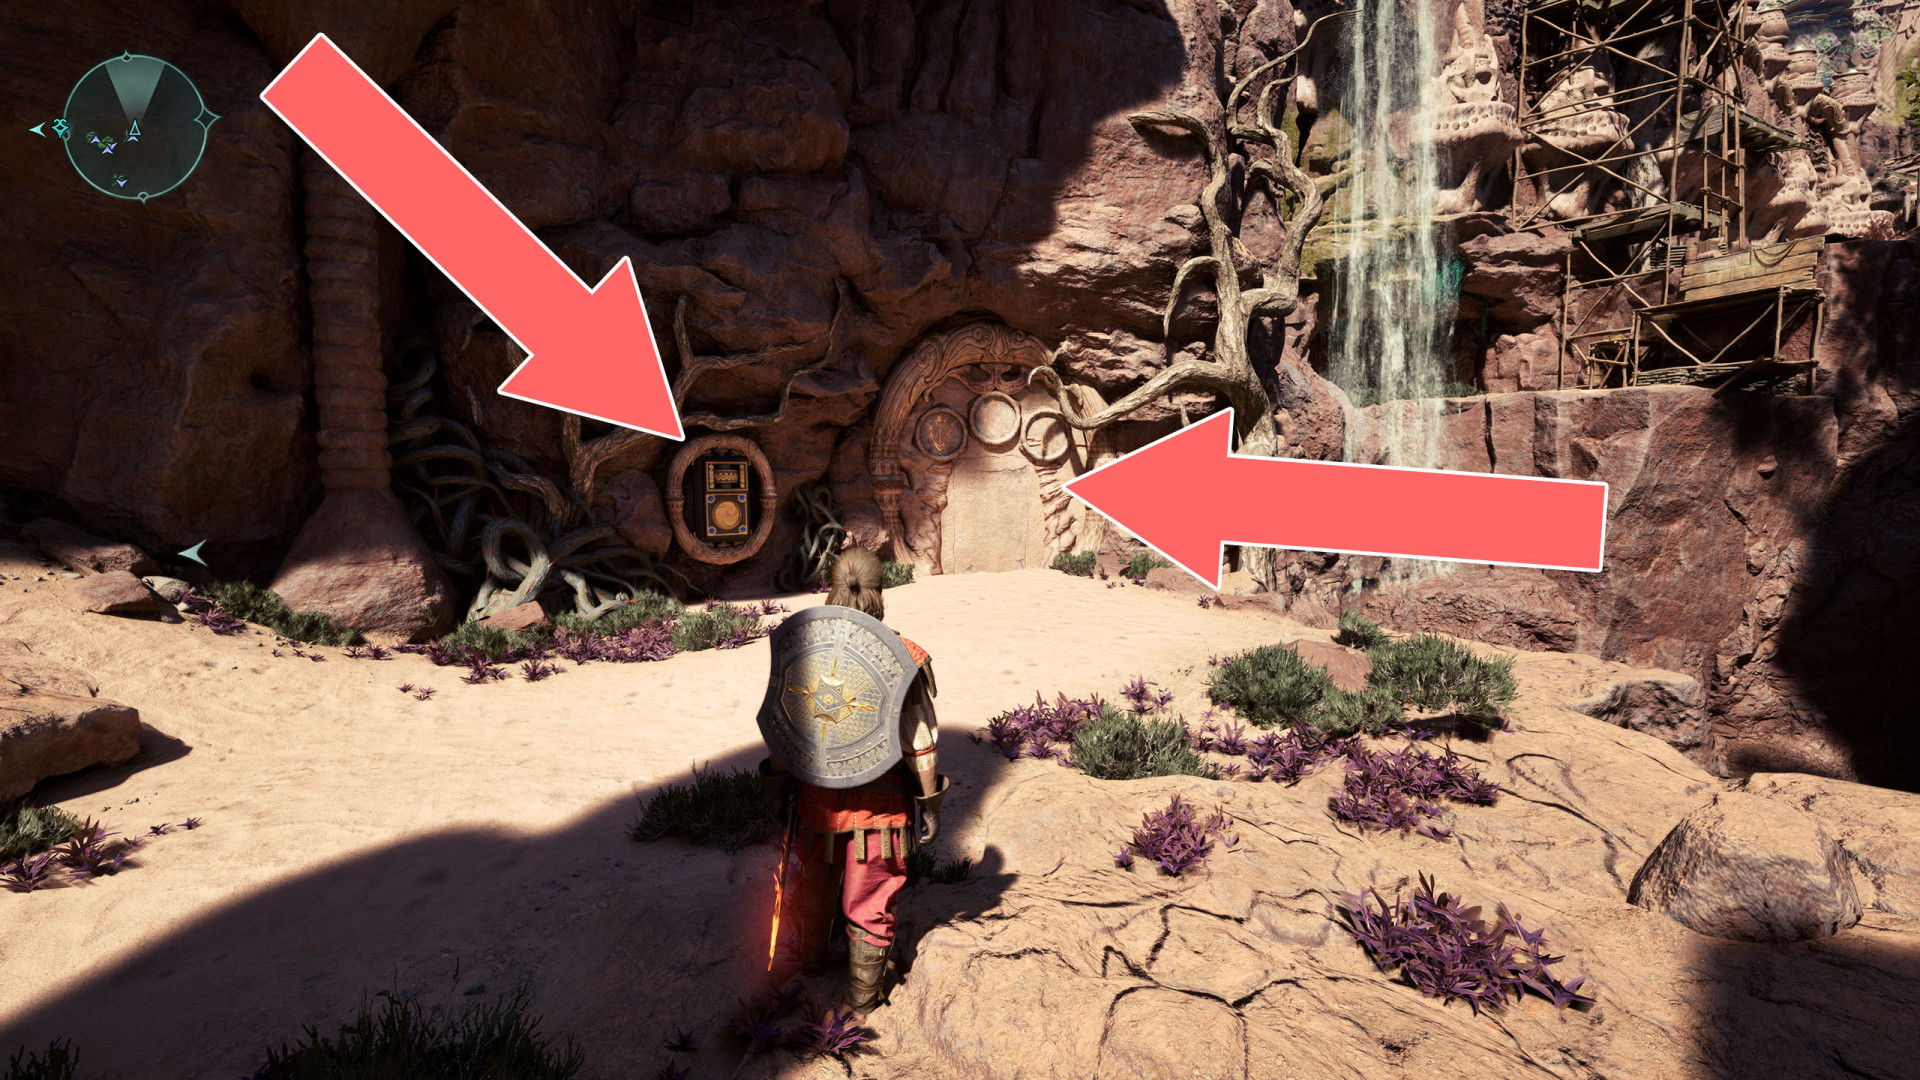
All known locations on the map Dawnshore
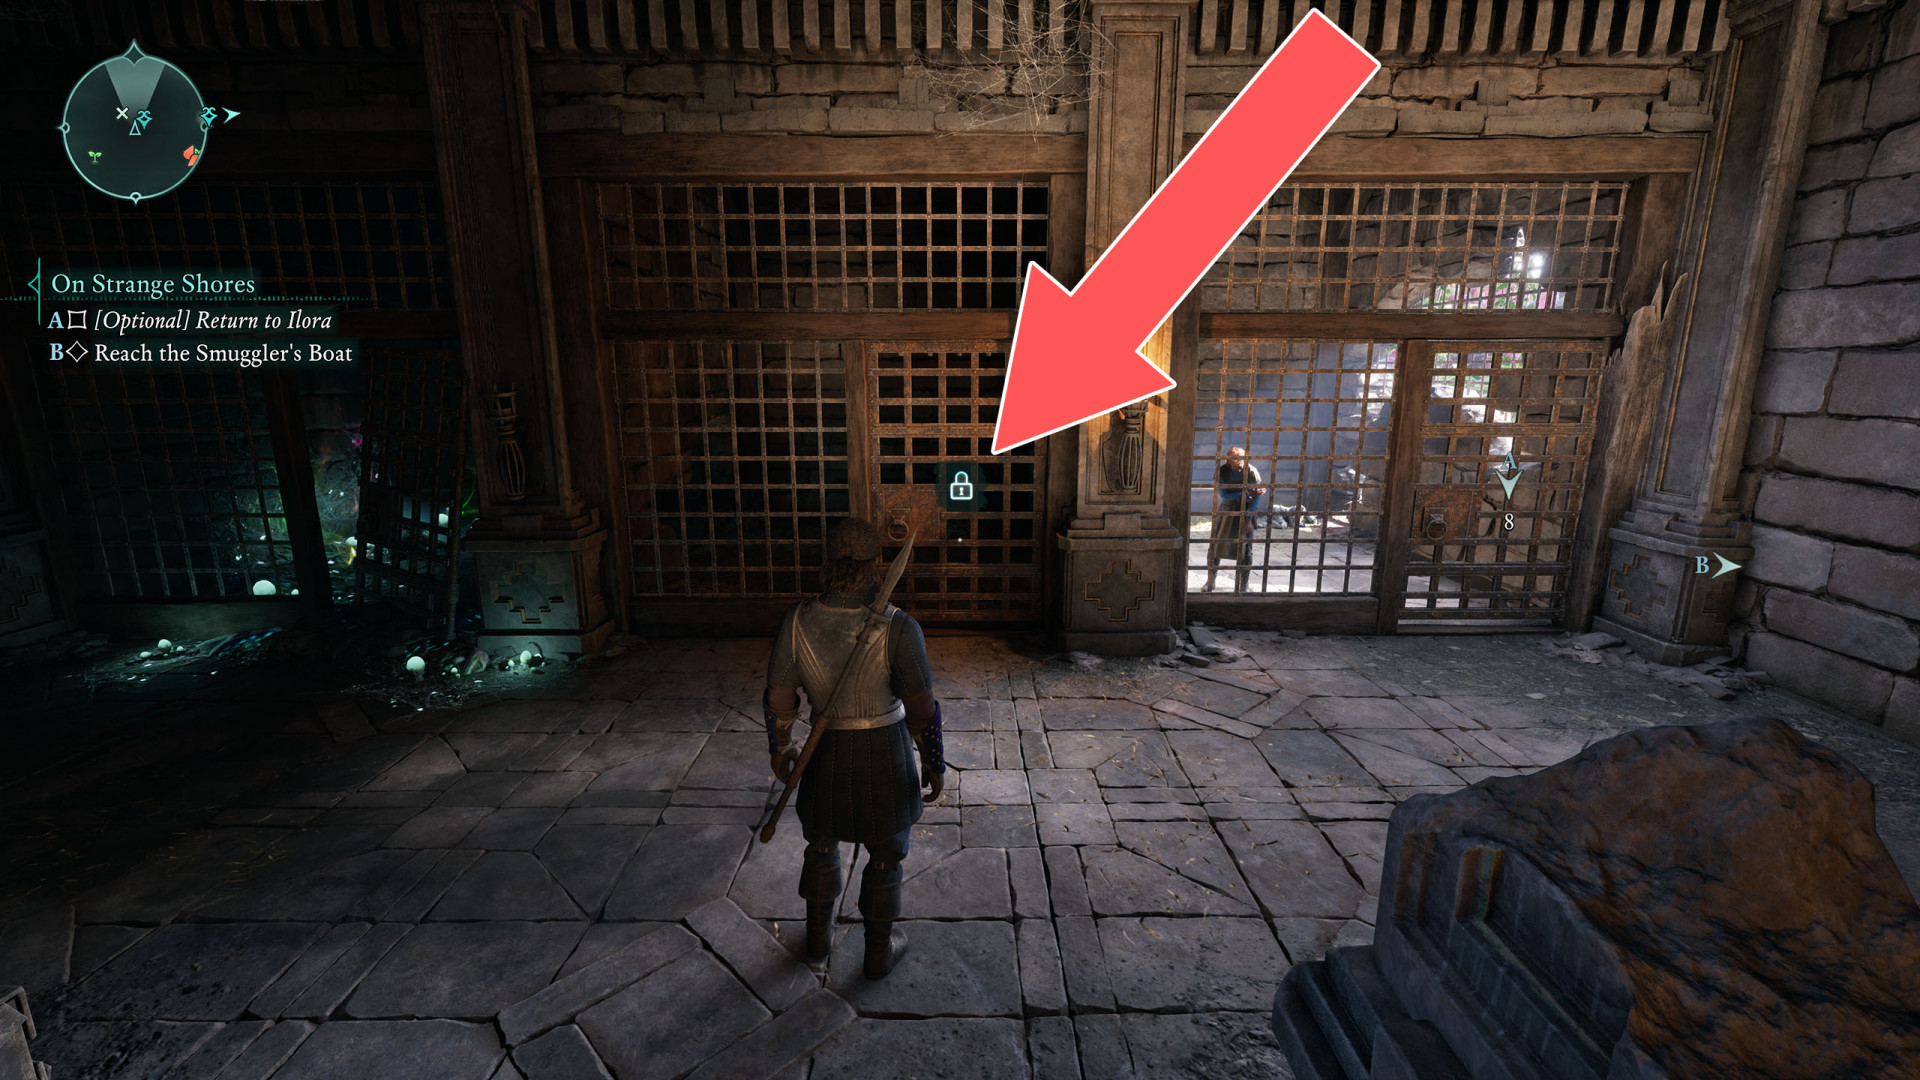
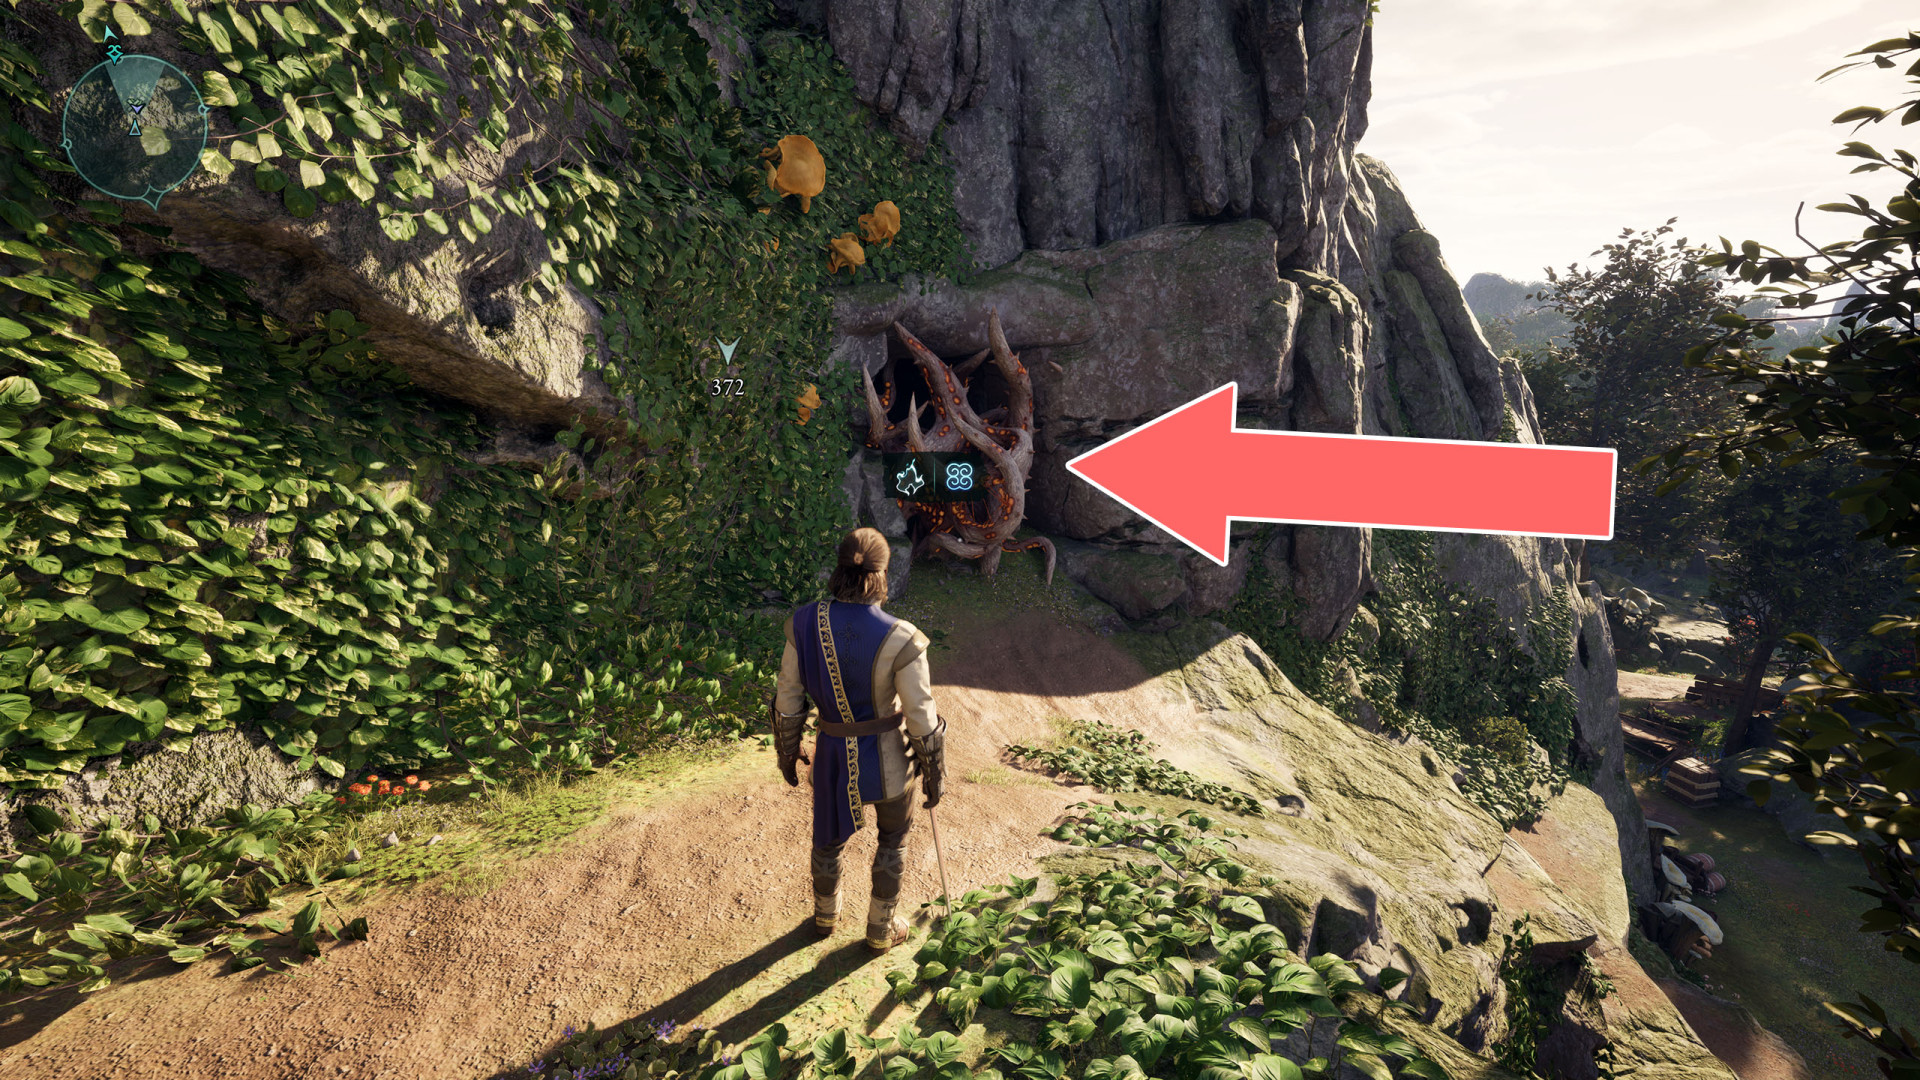
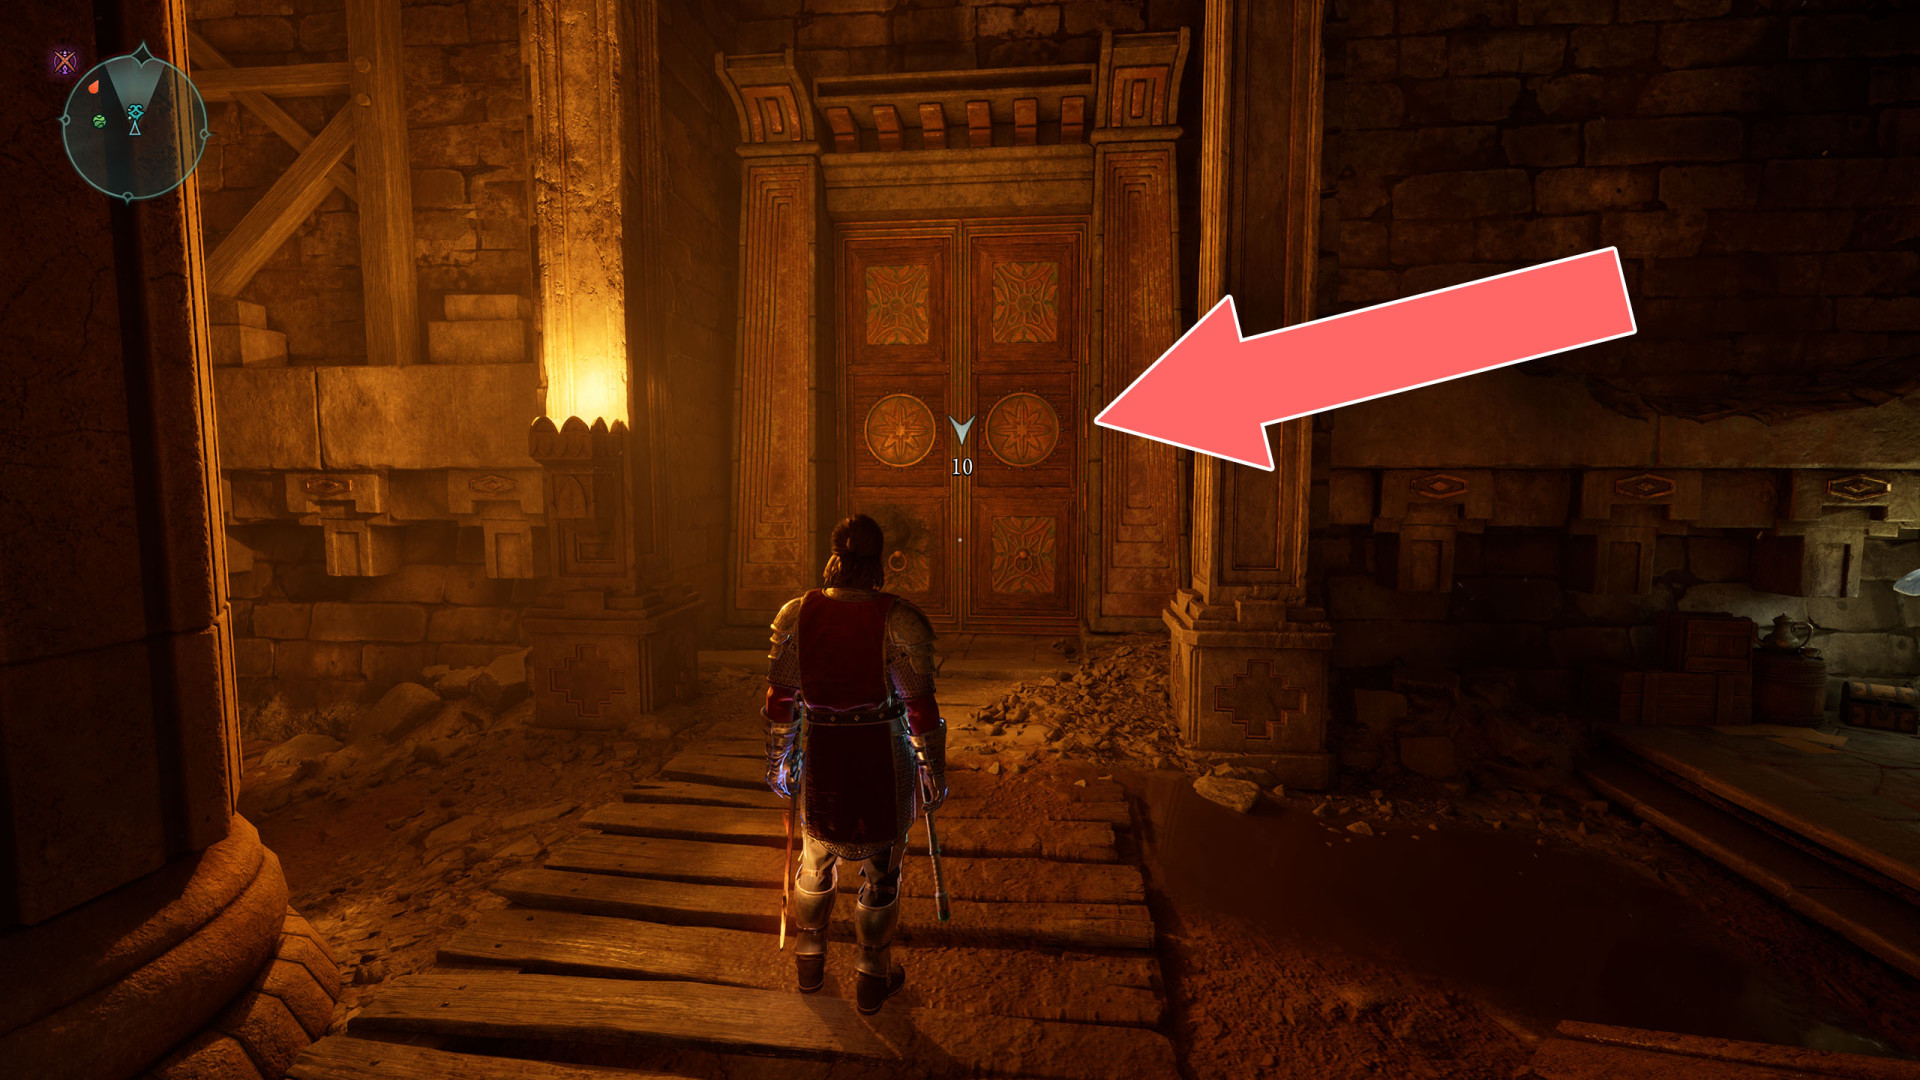
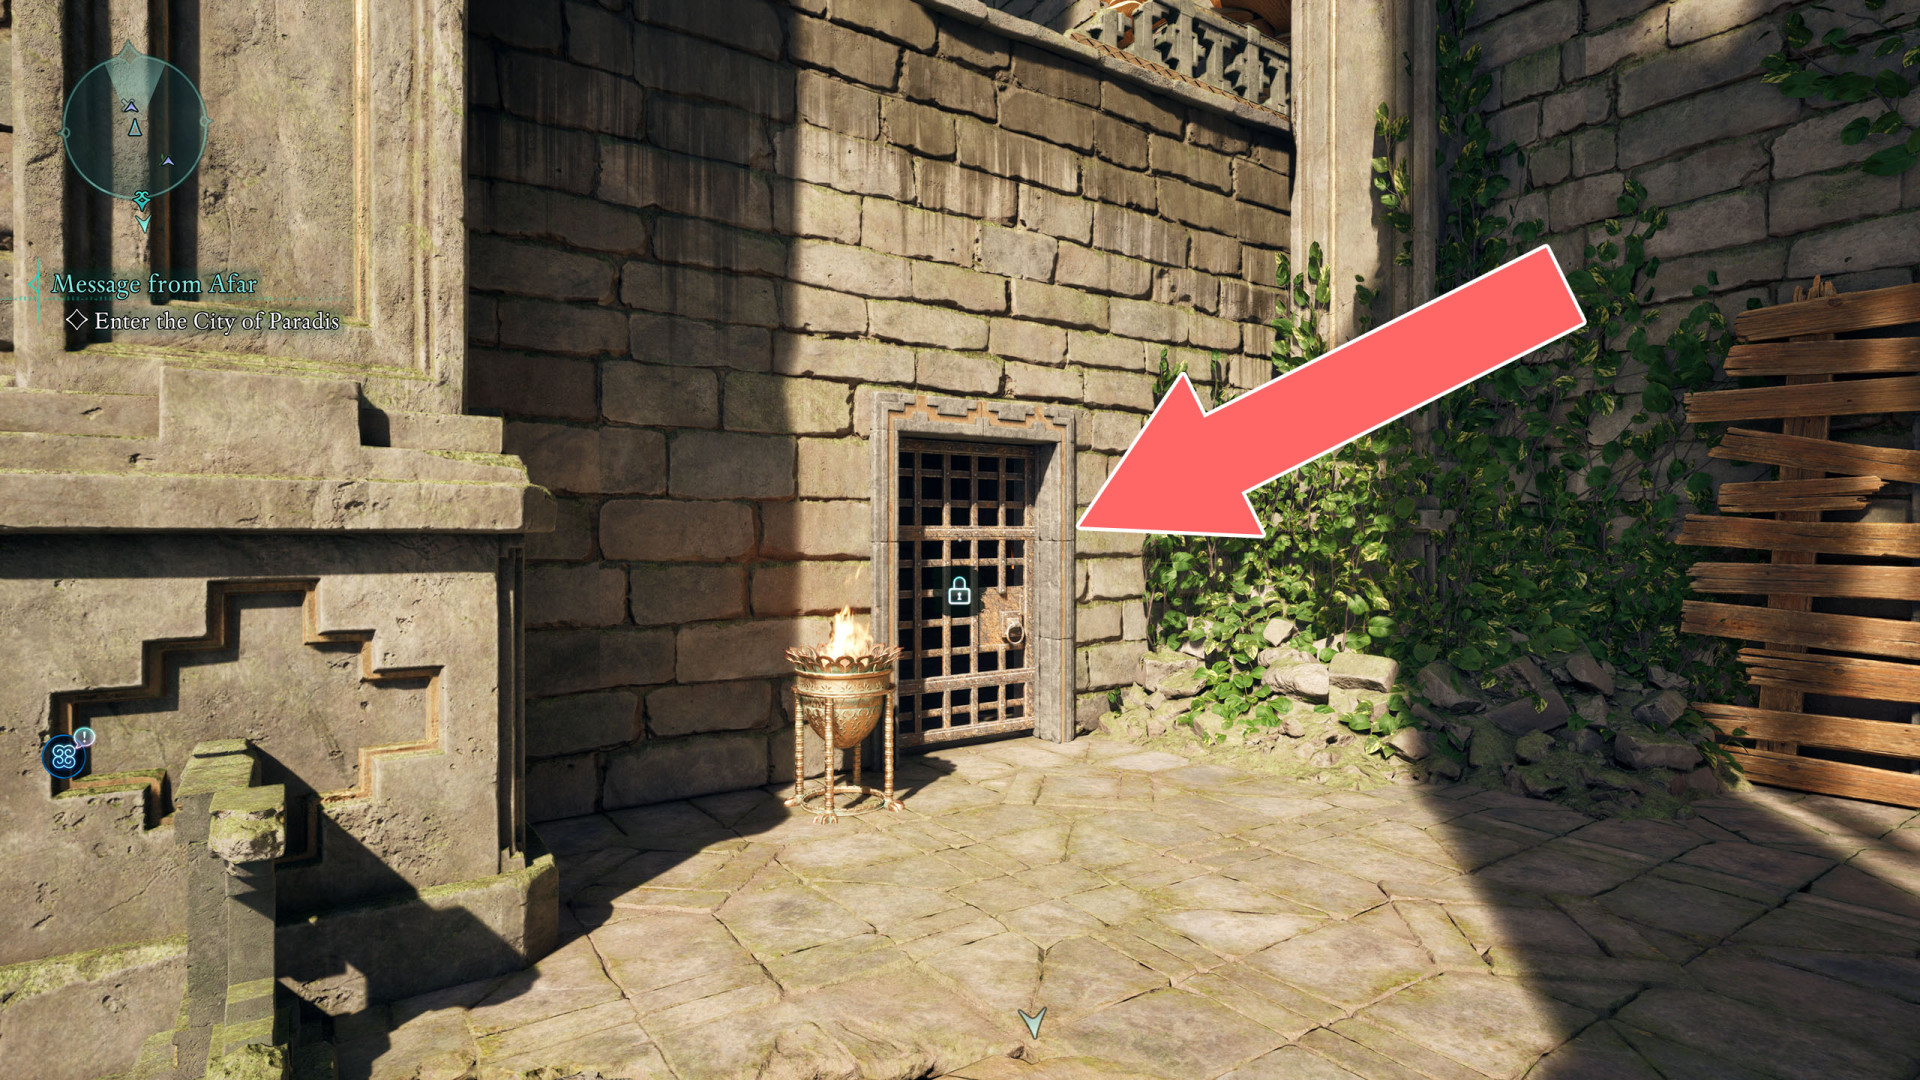
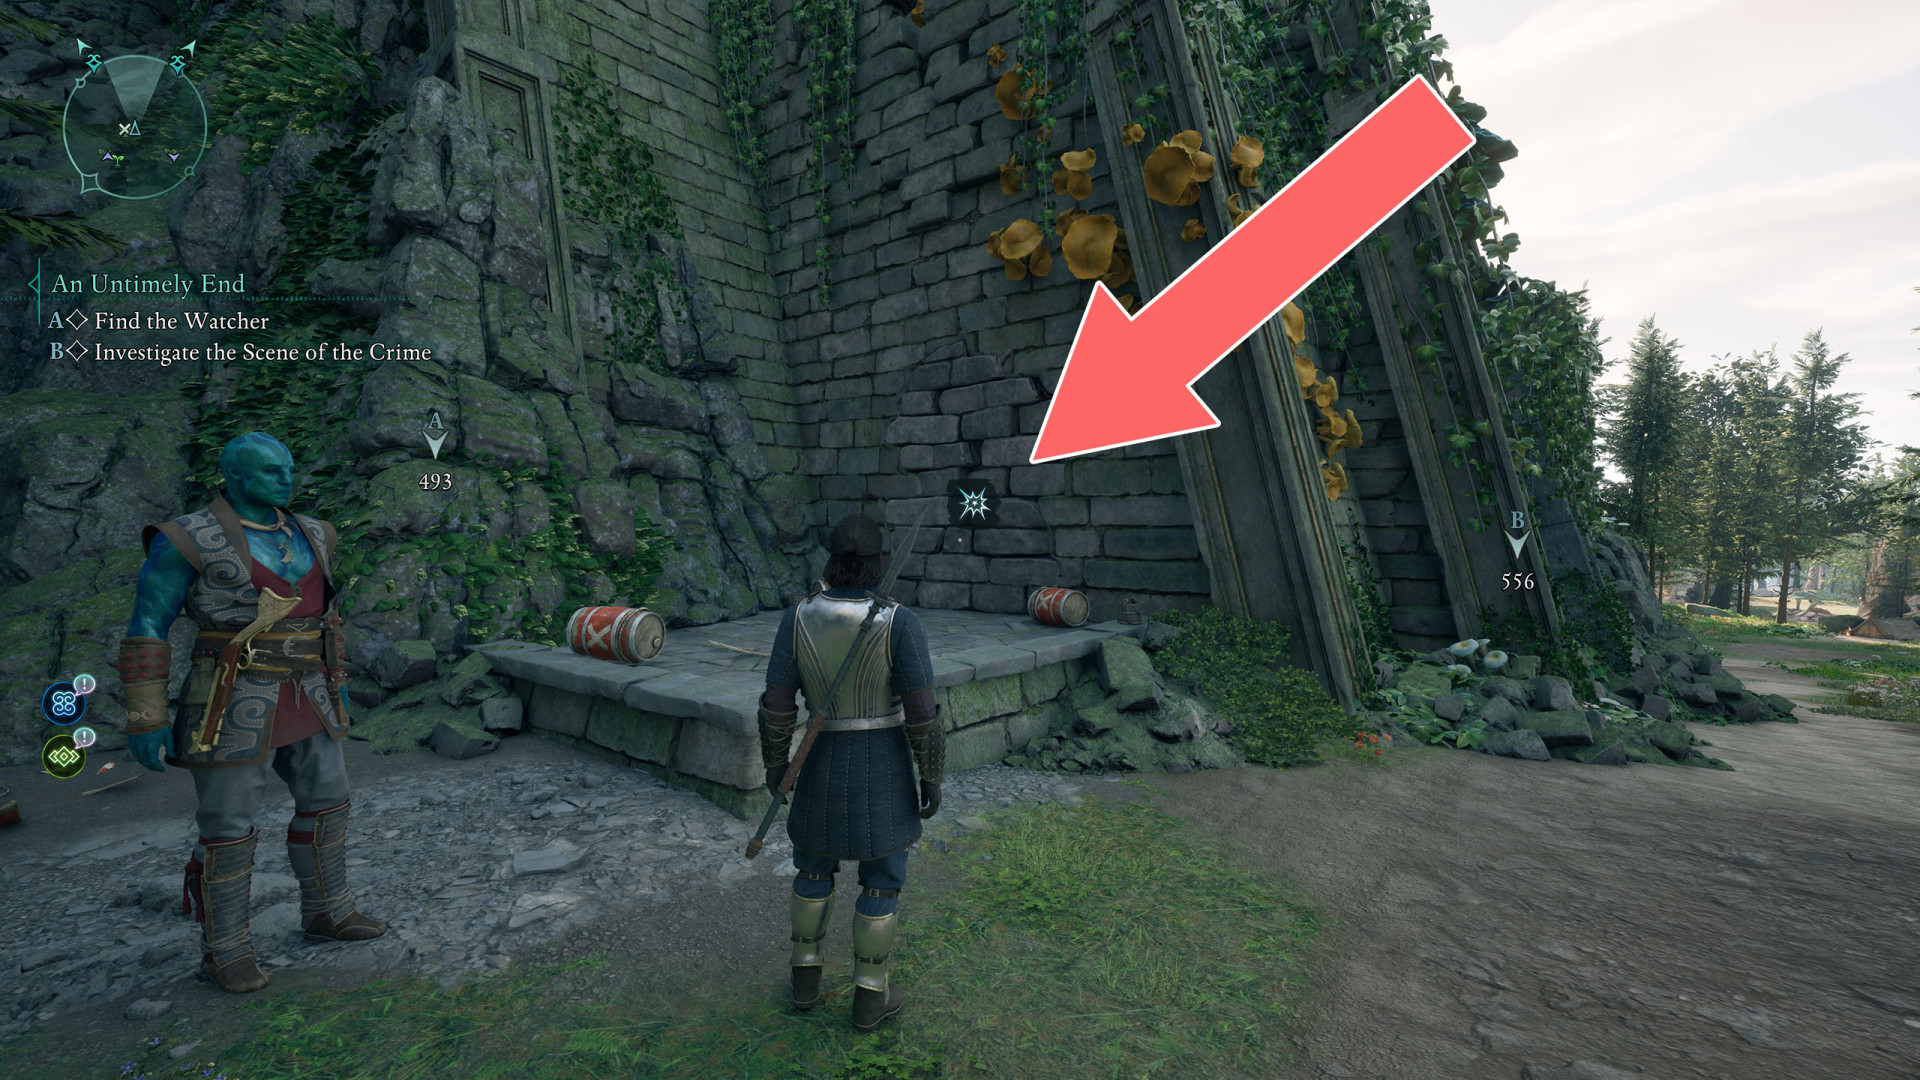
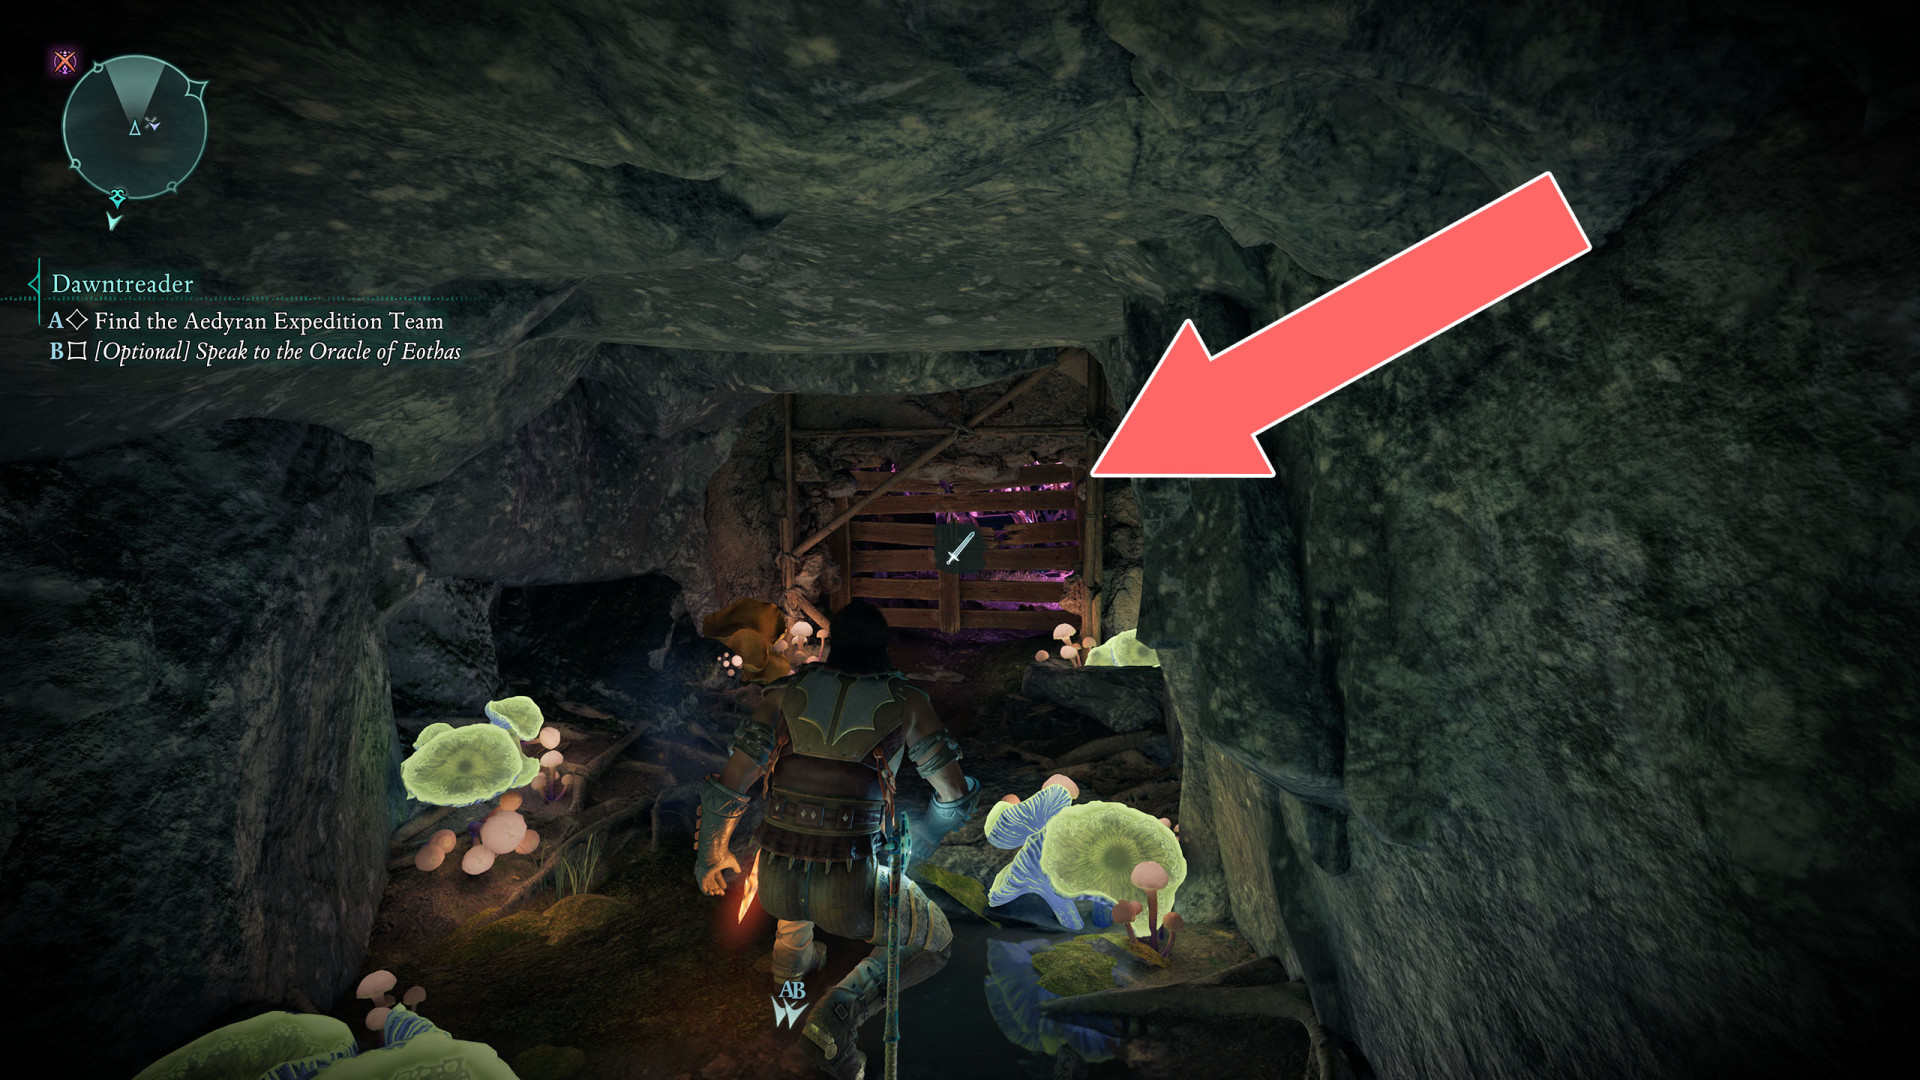
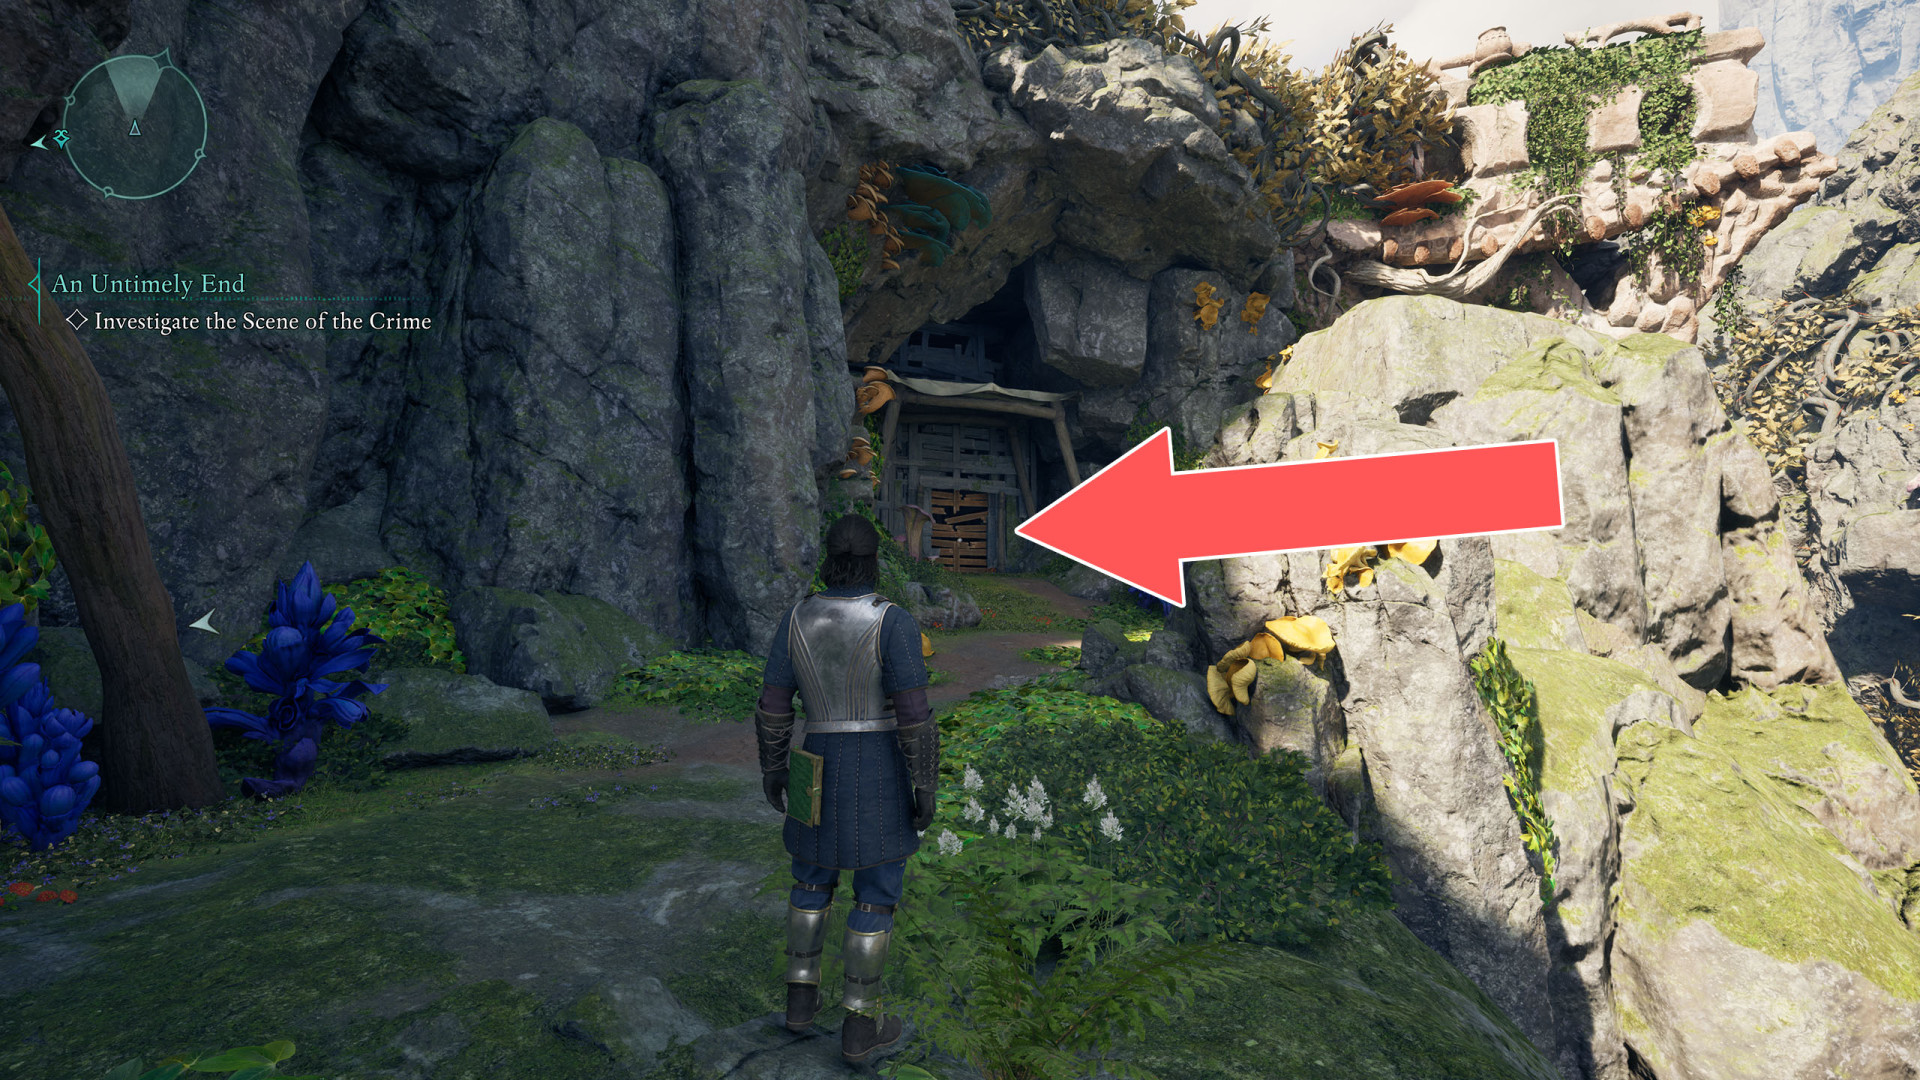
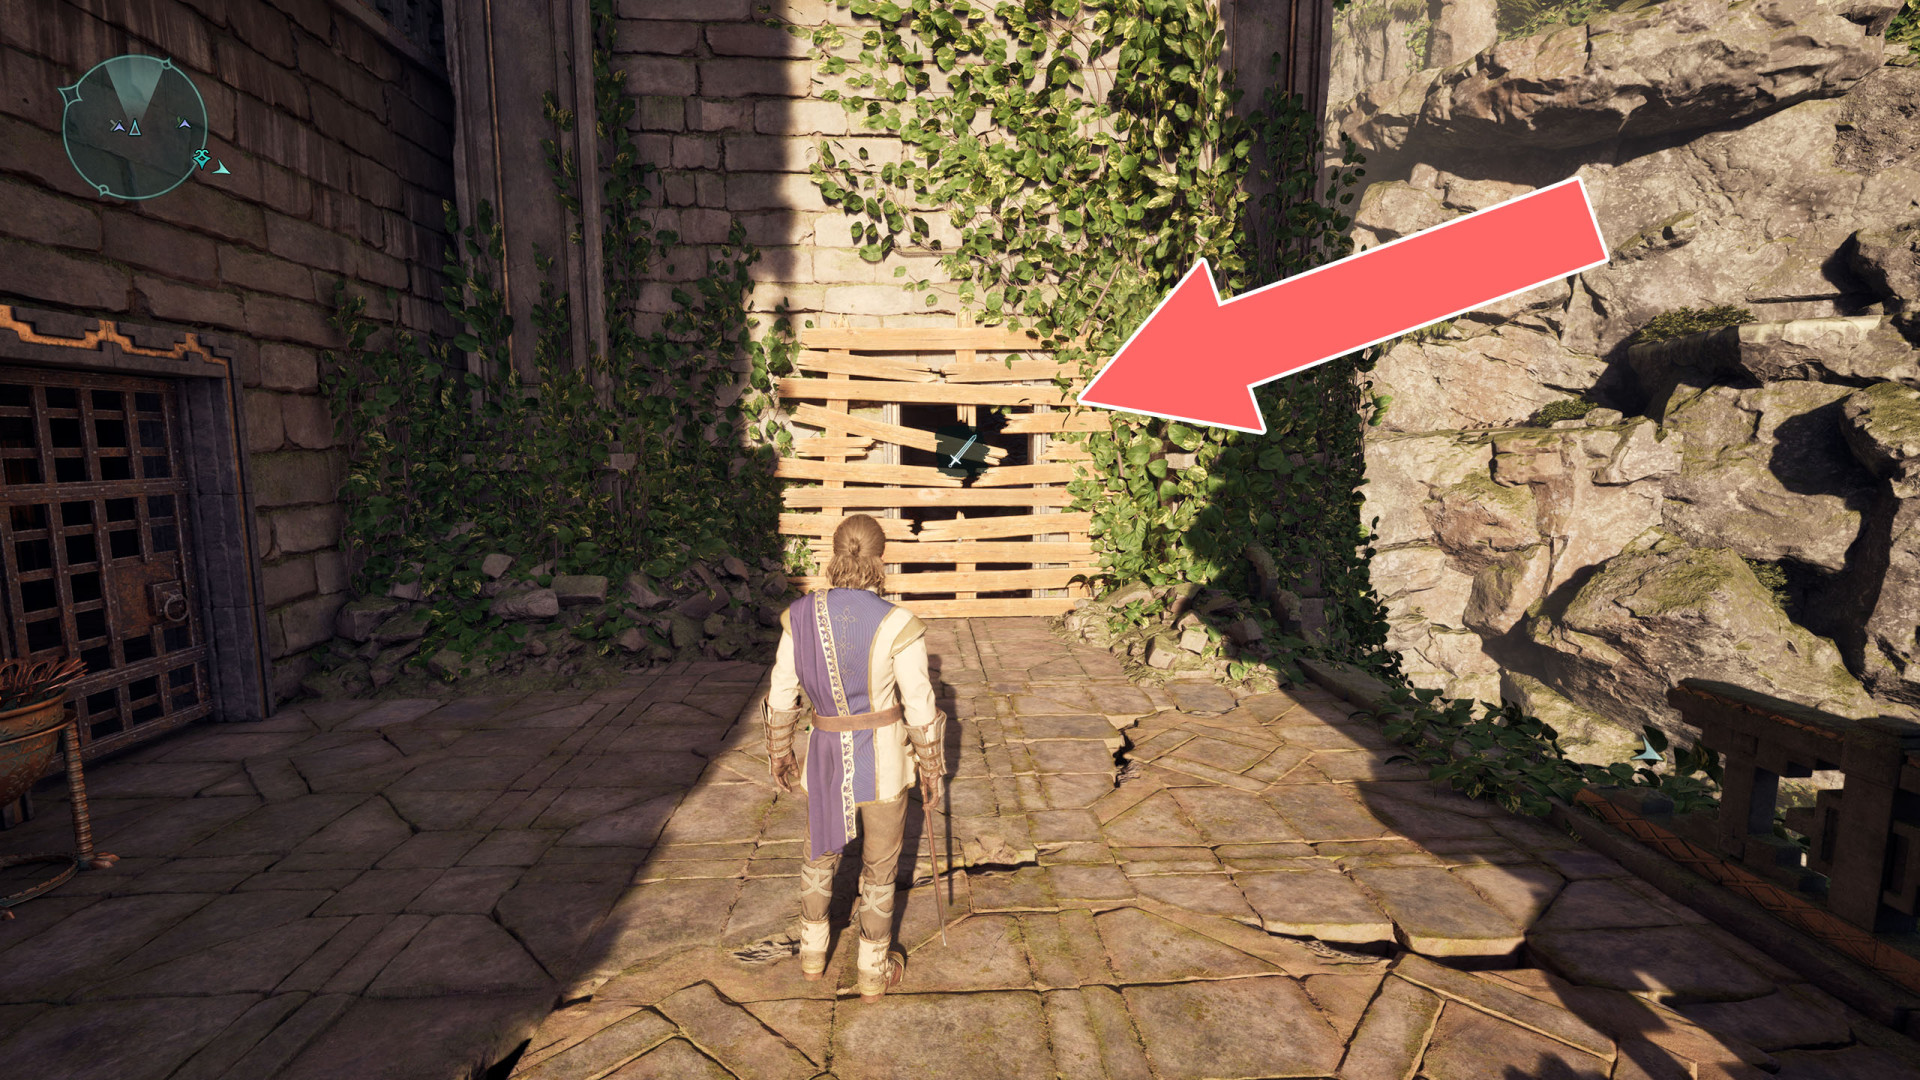
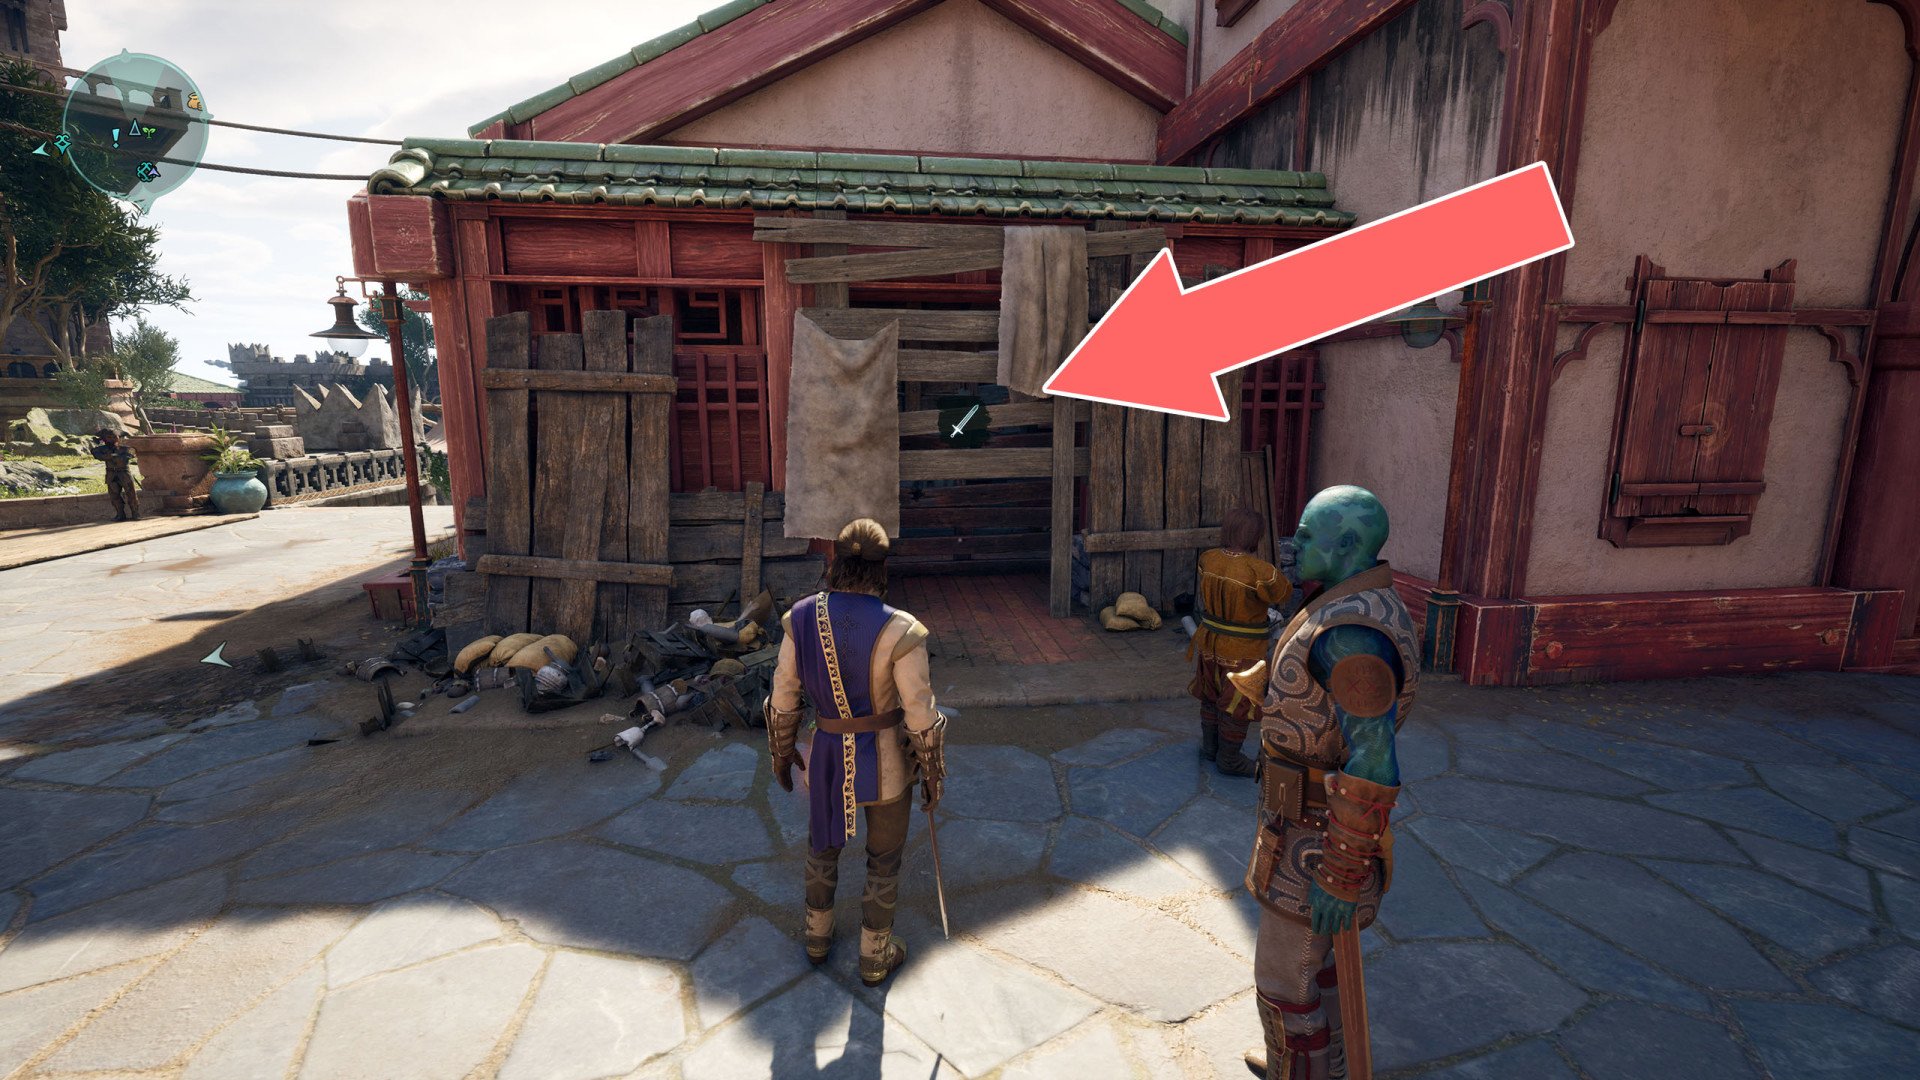
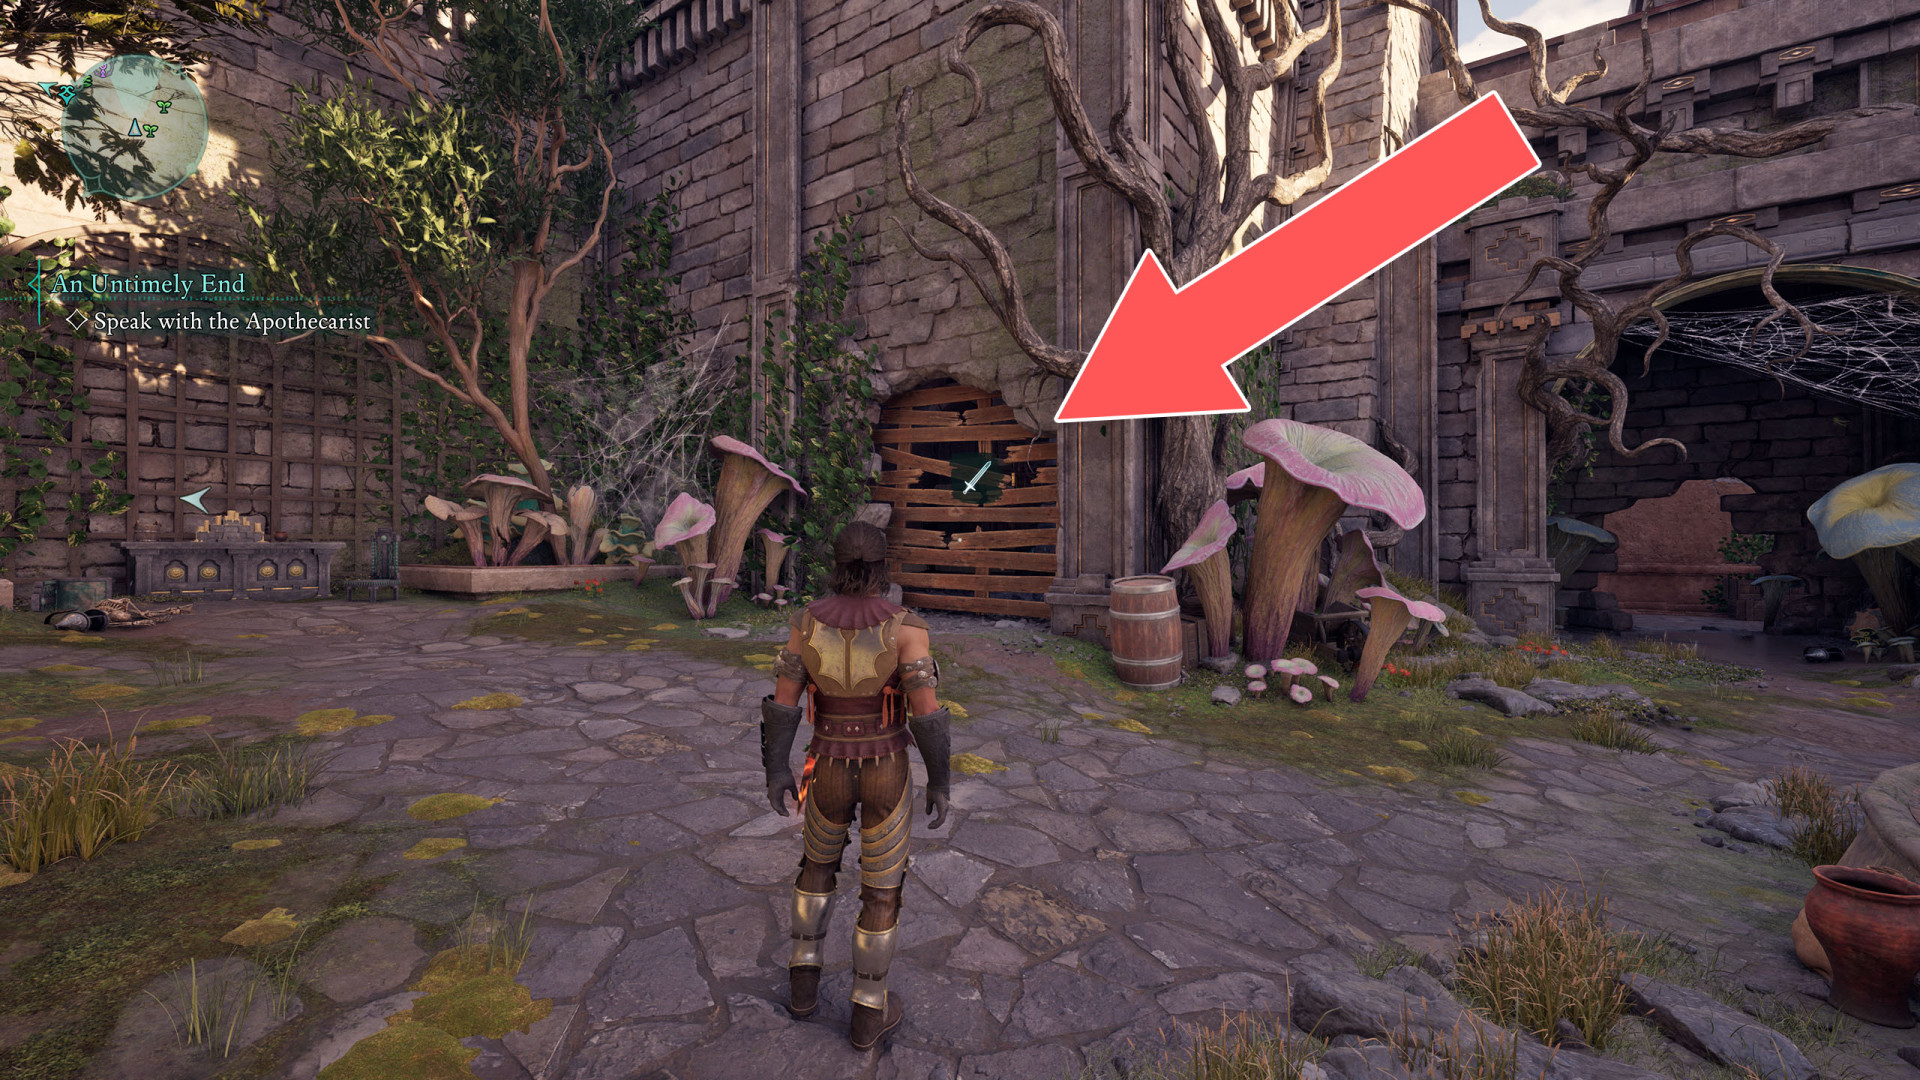
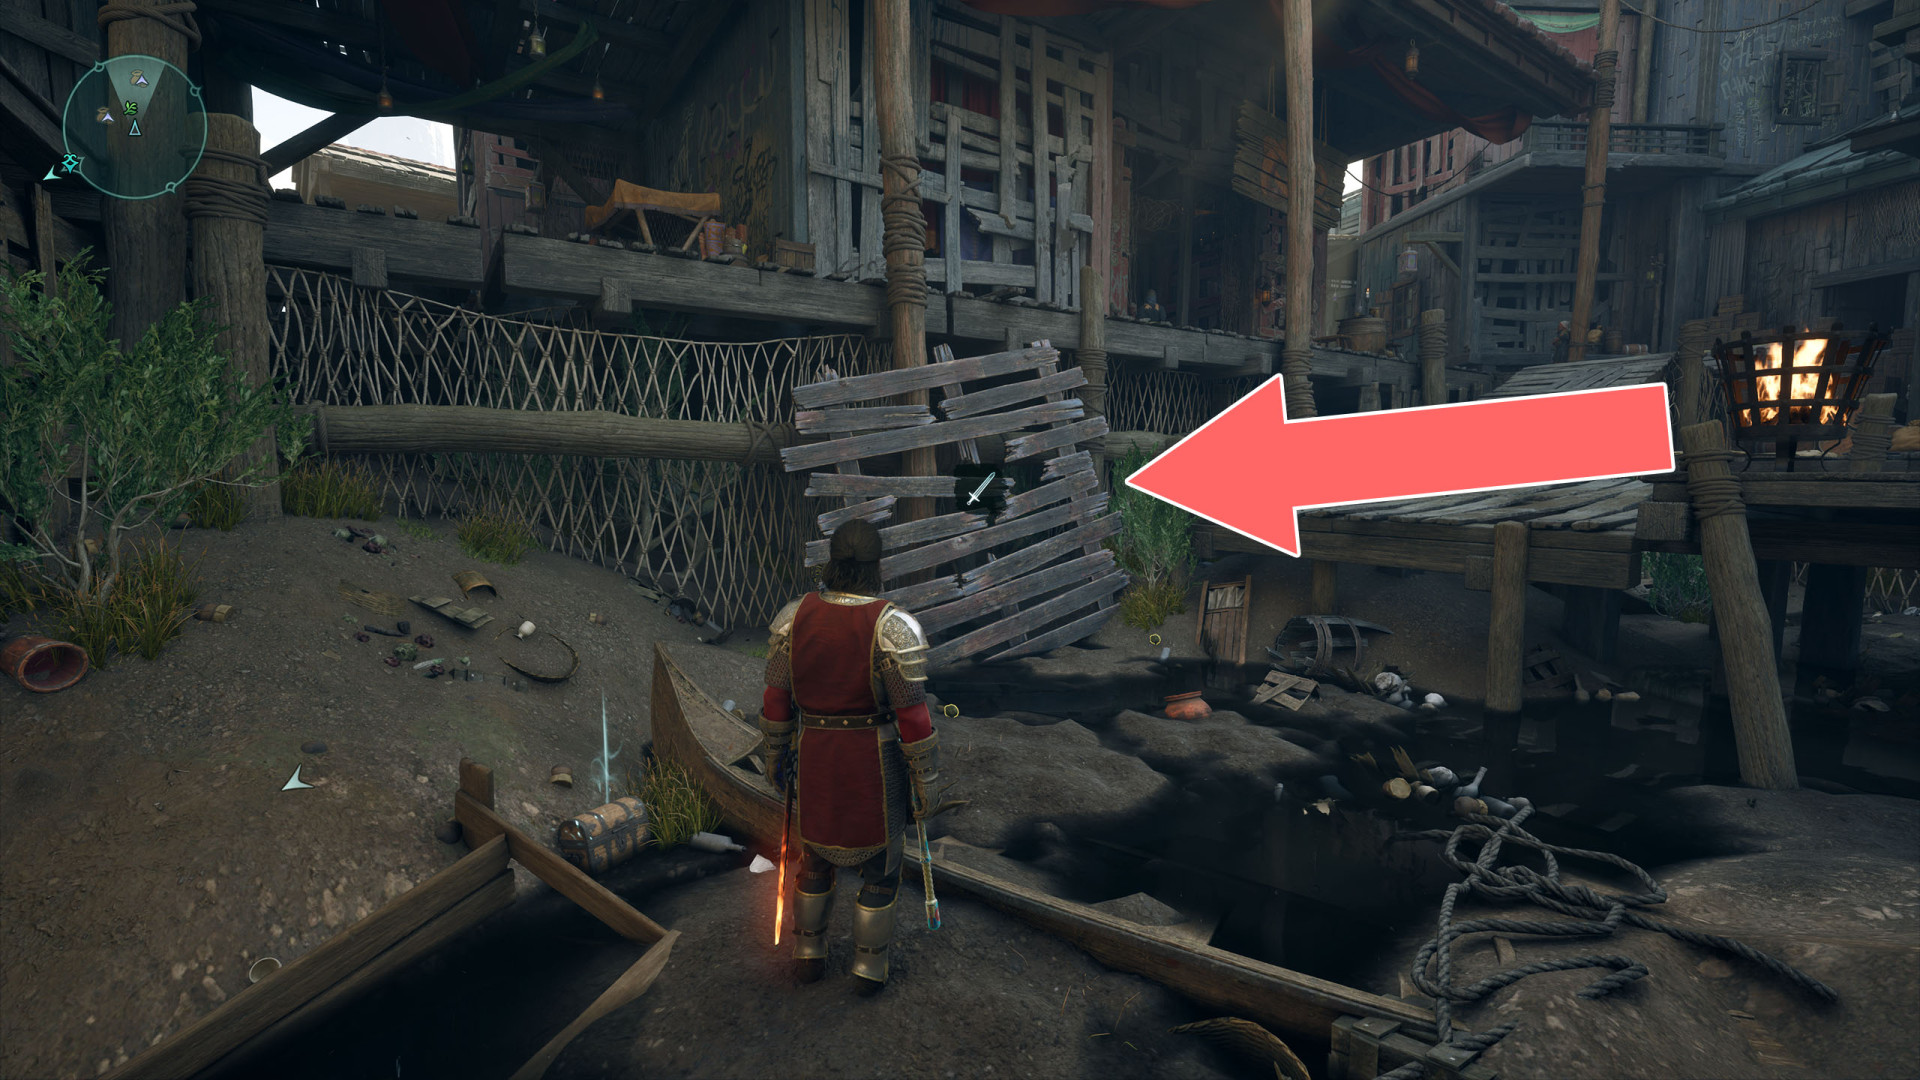
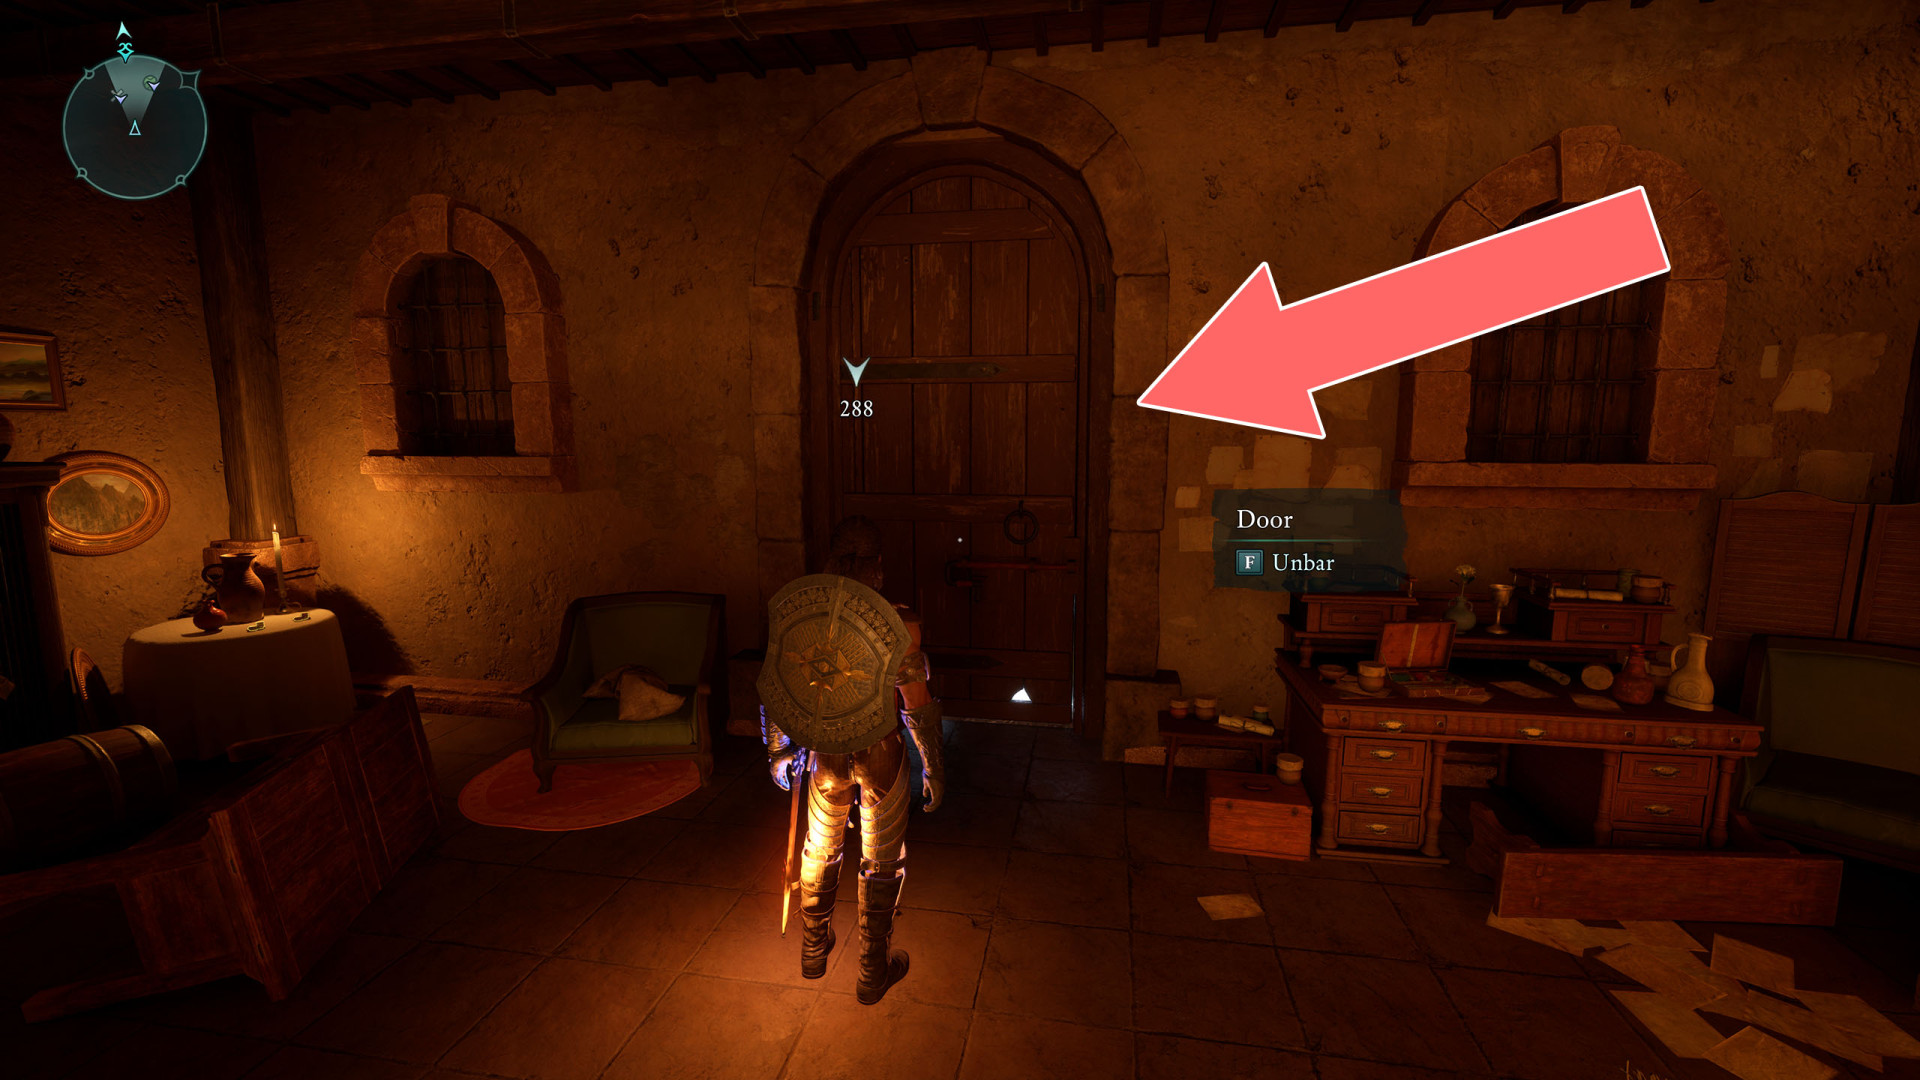
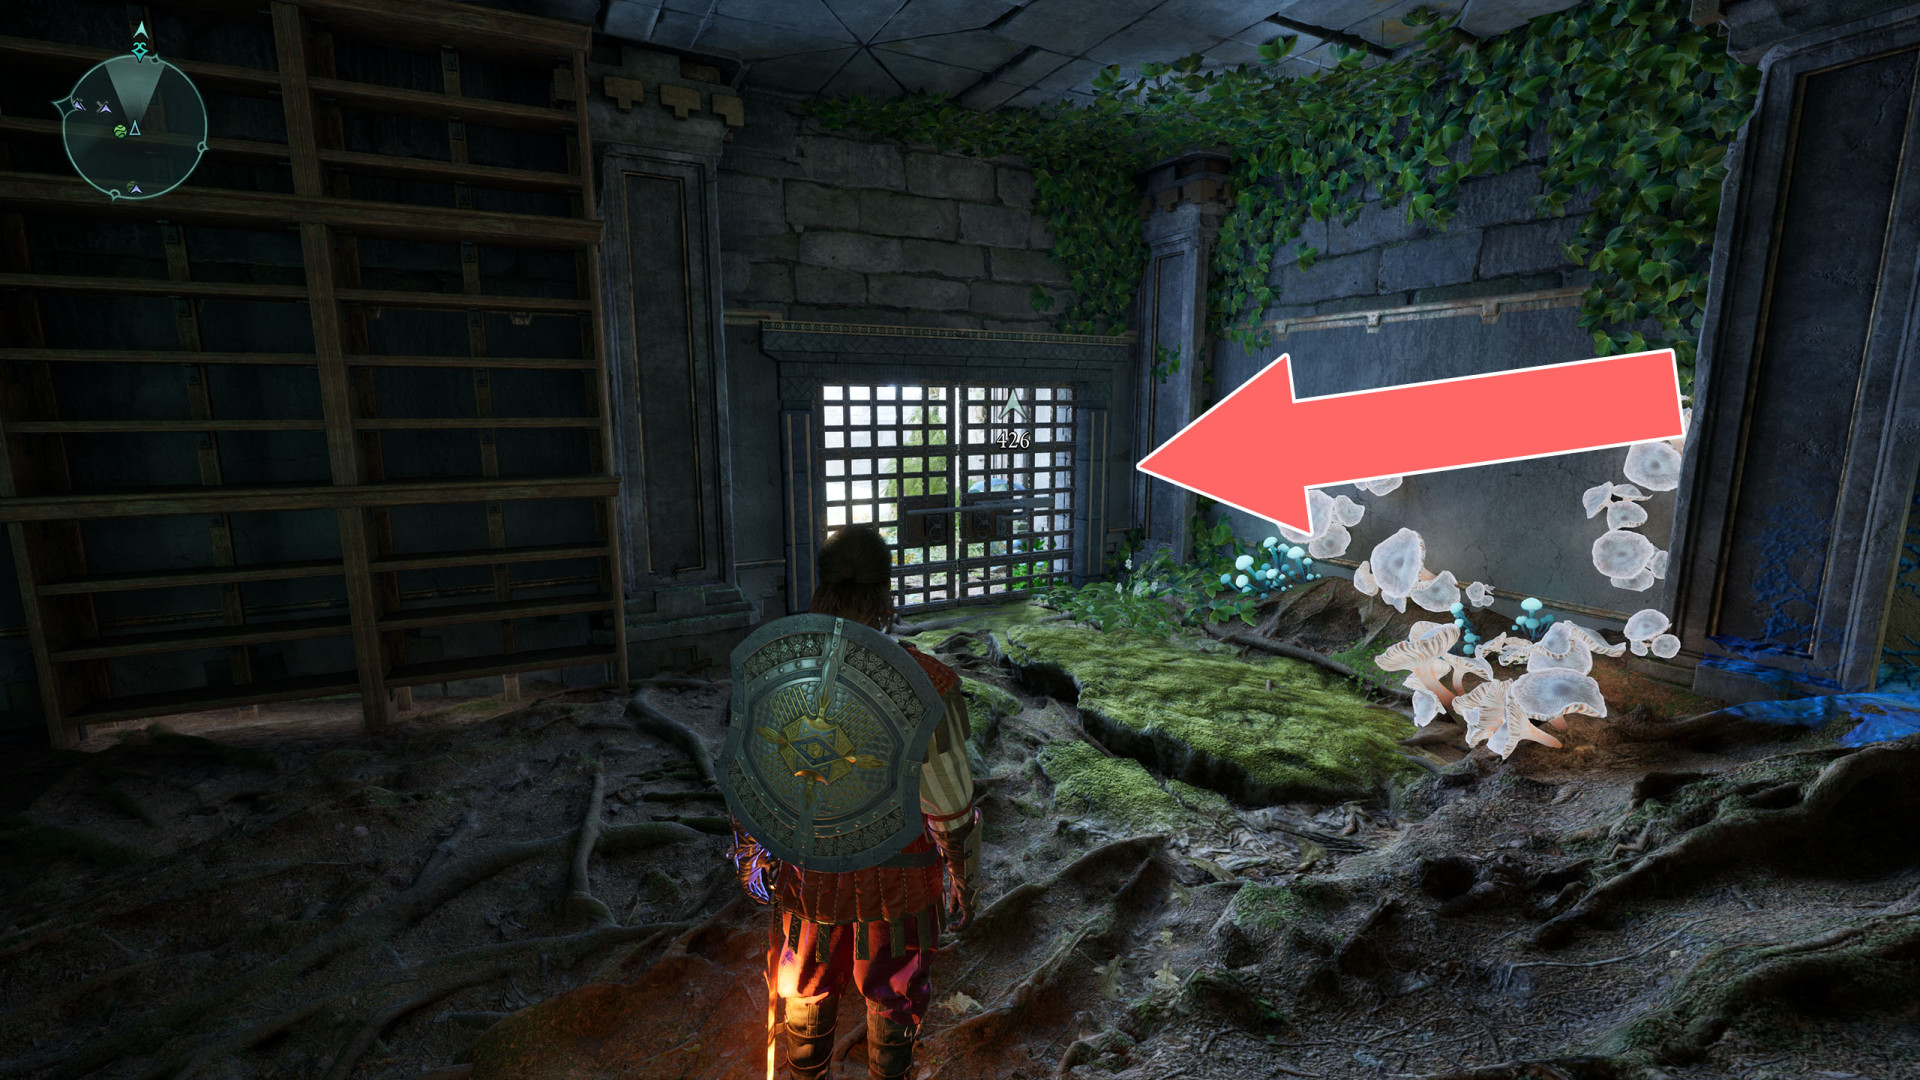
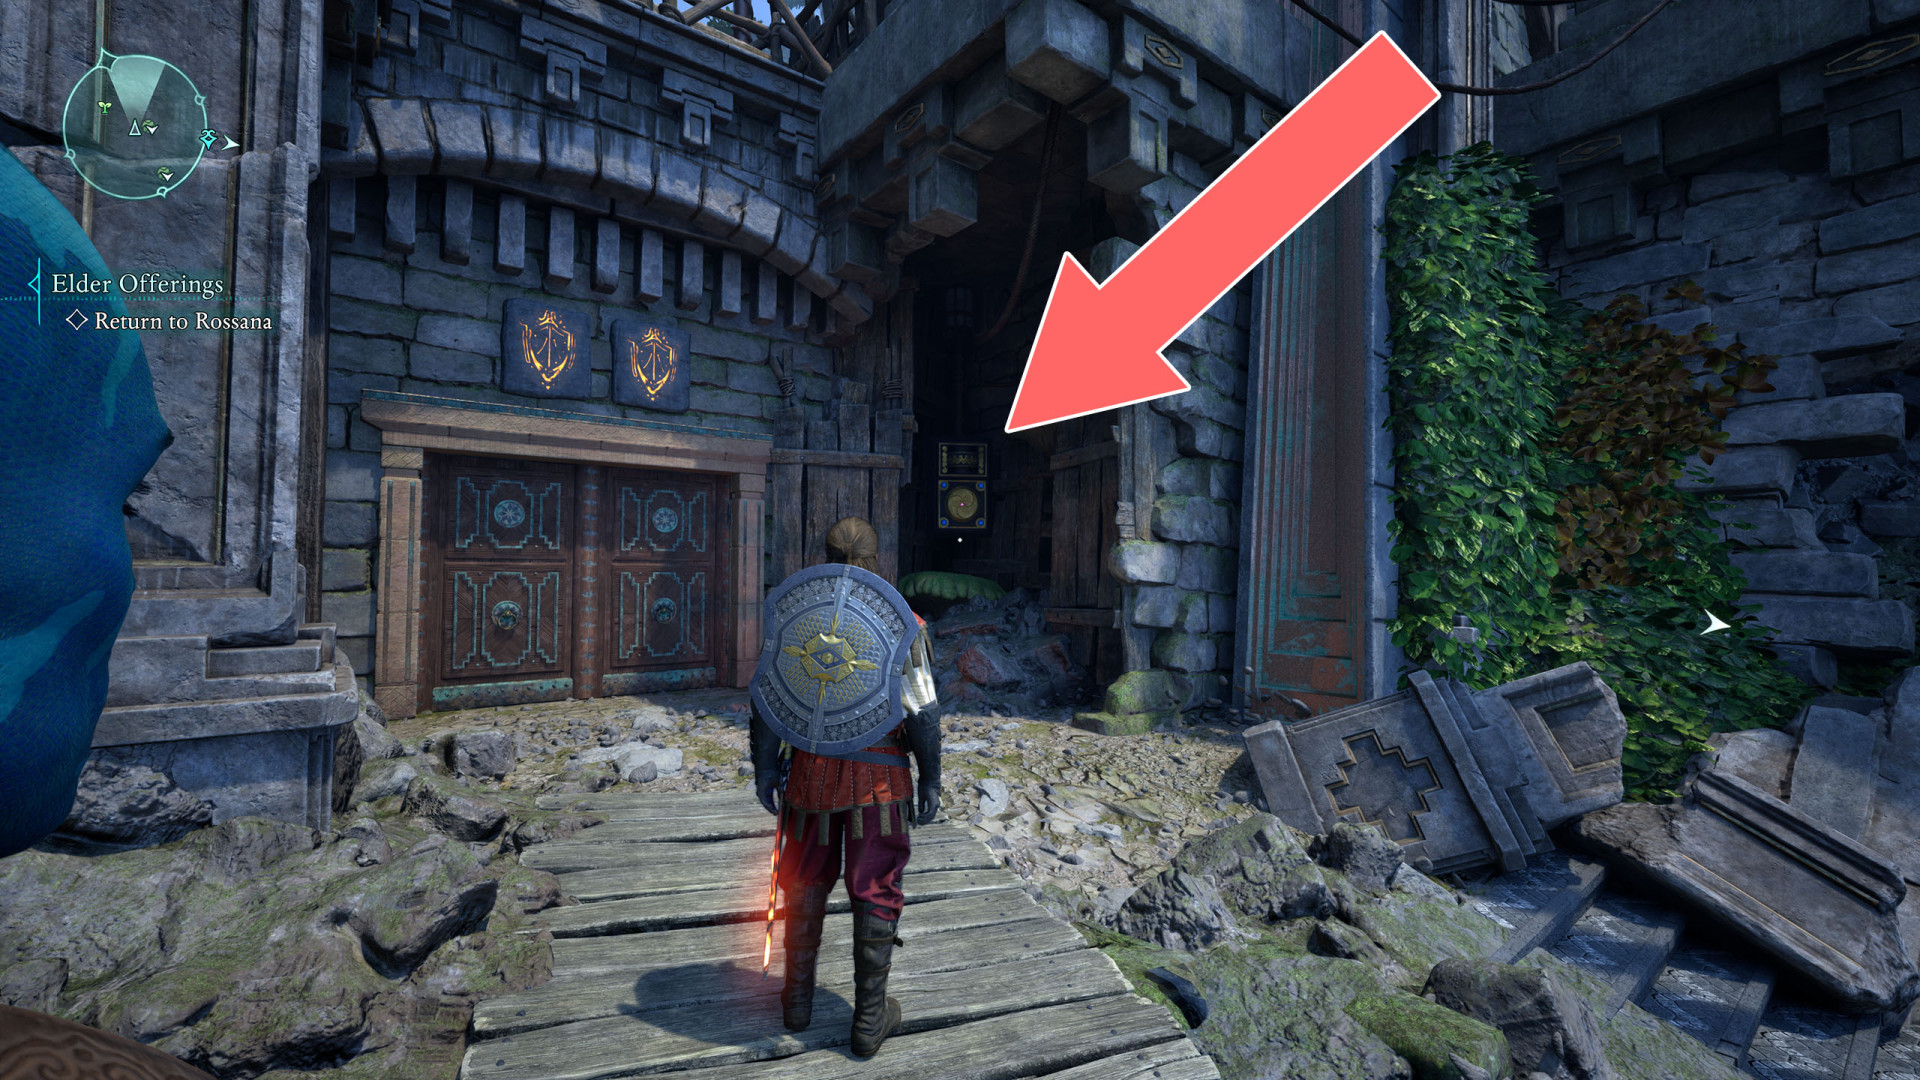
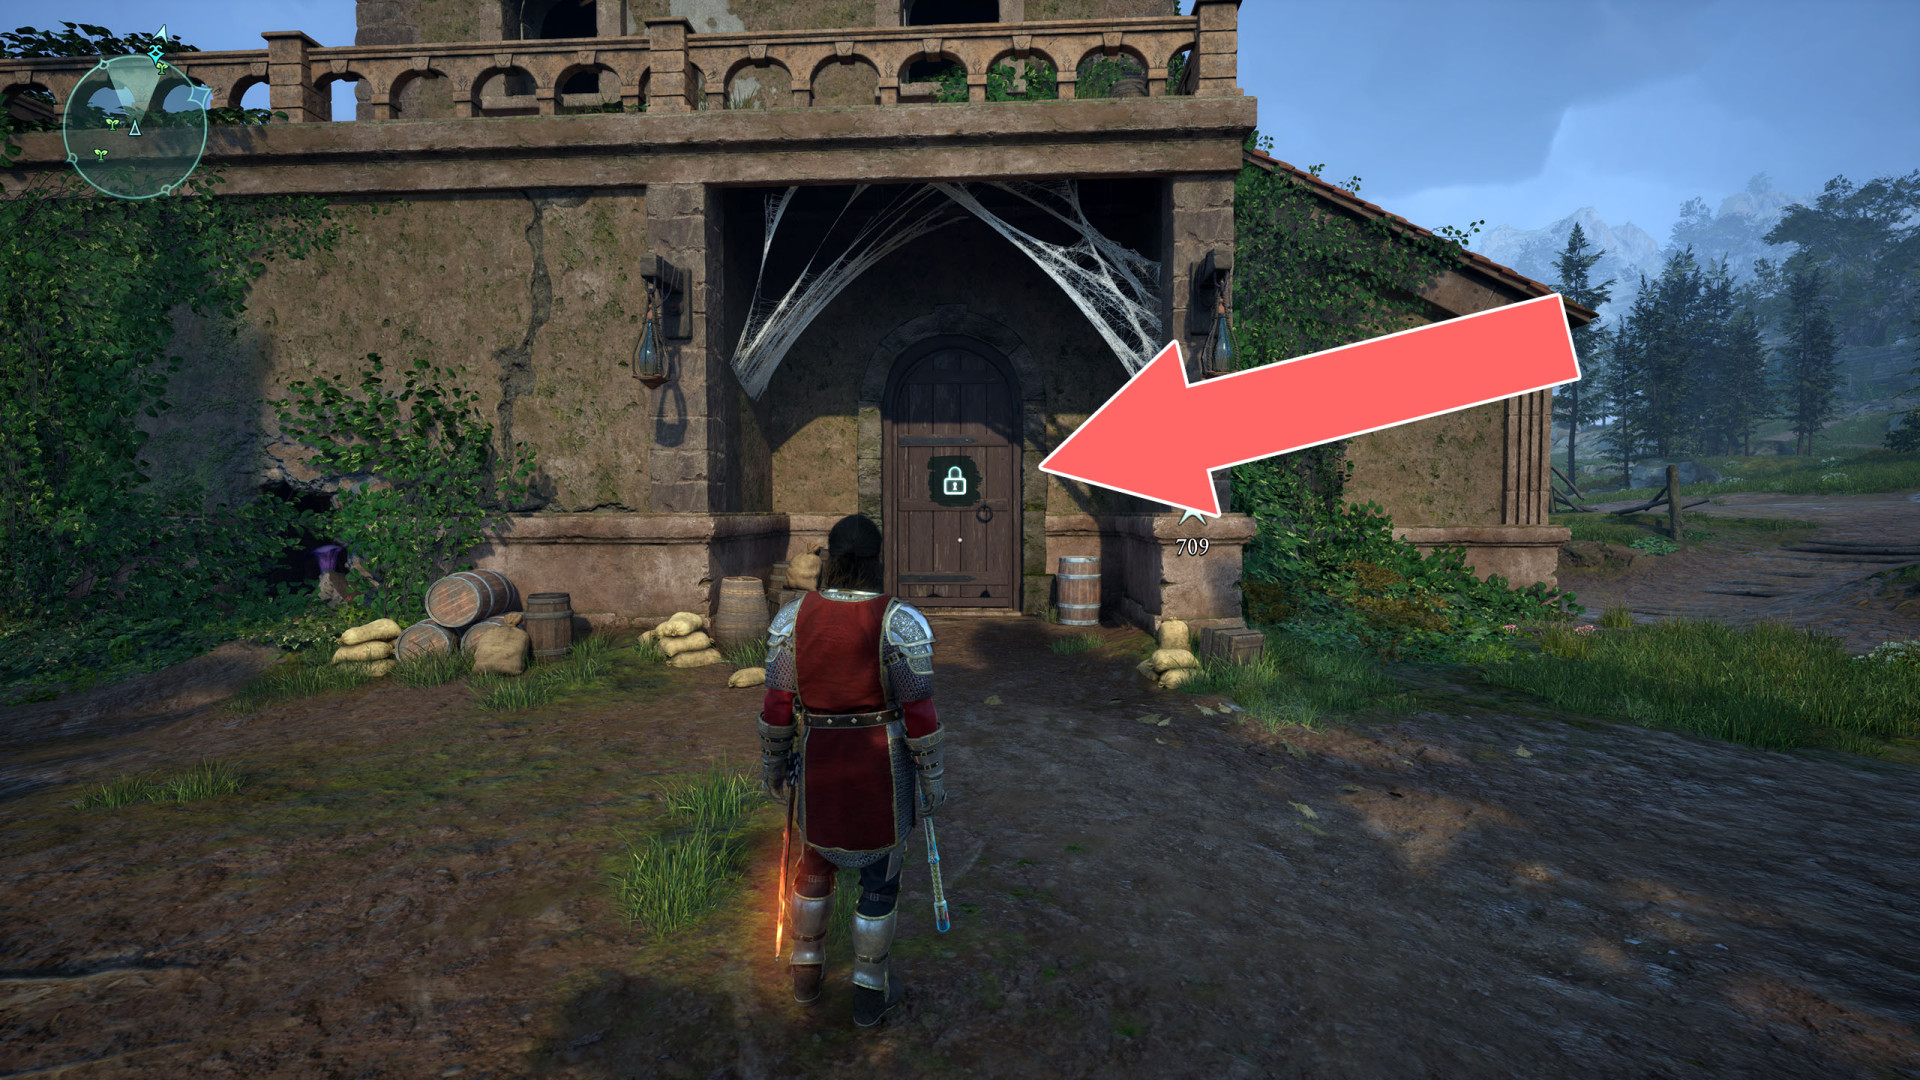
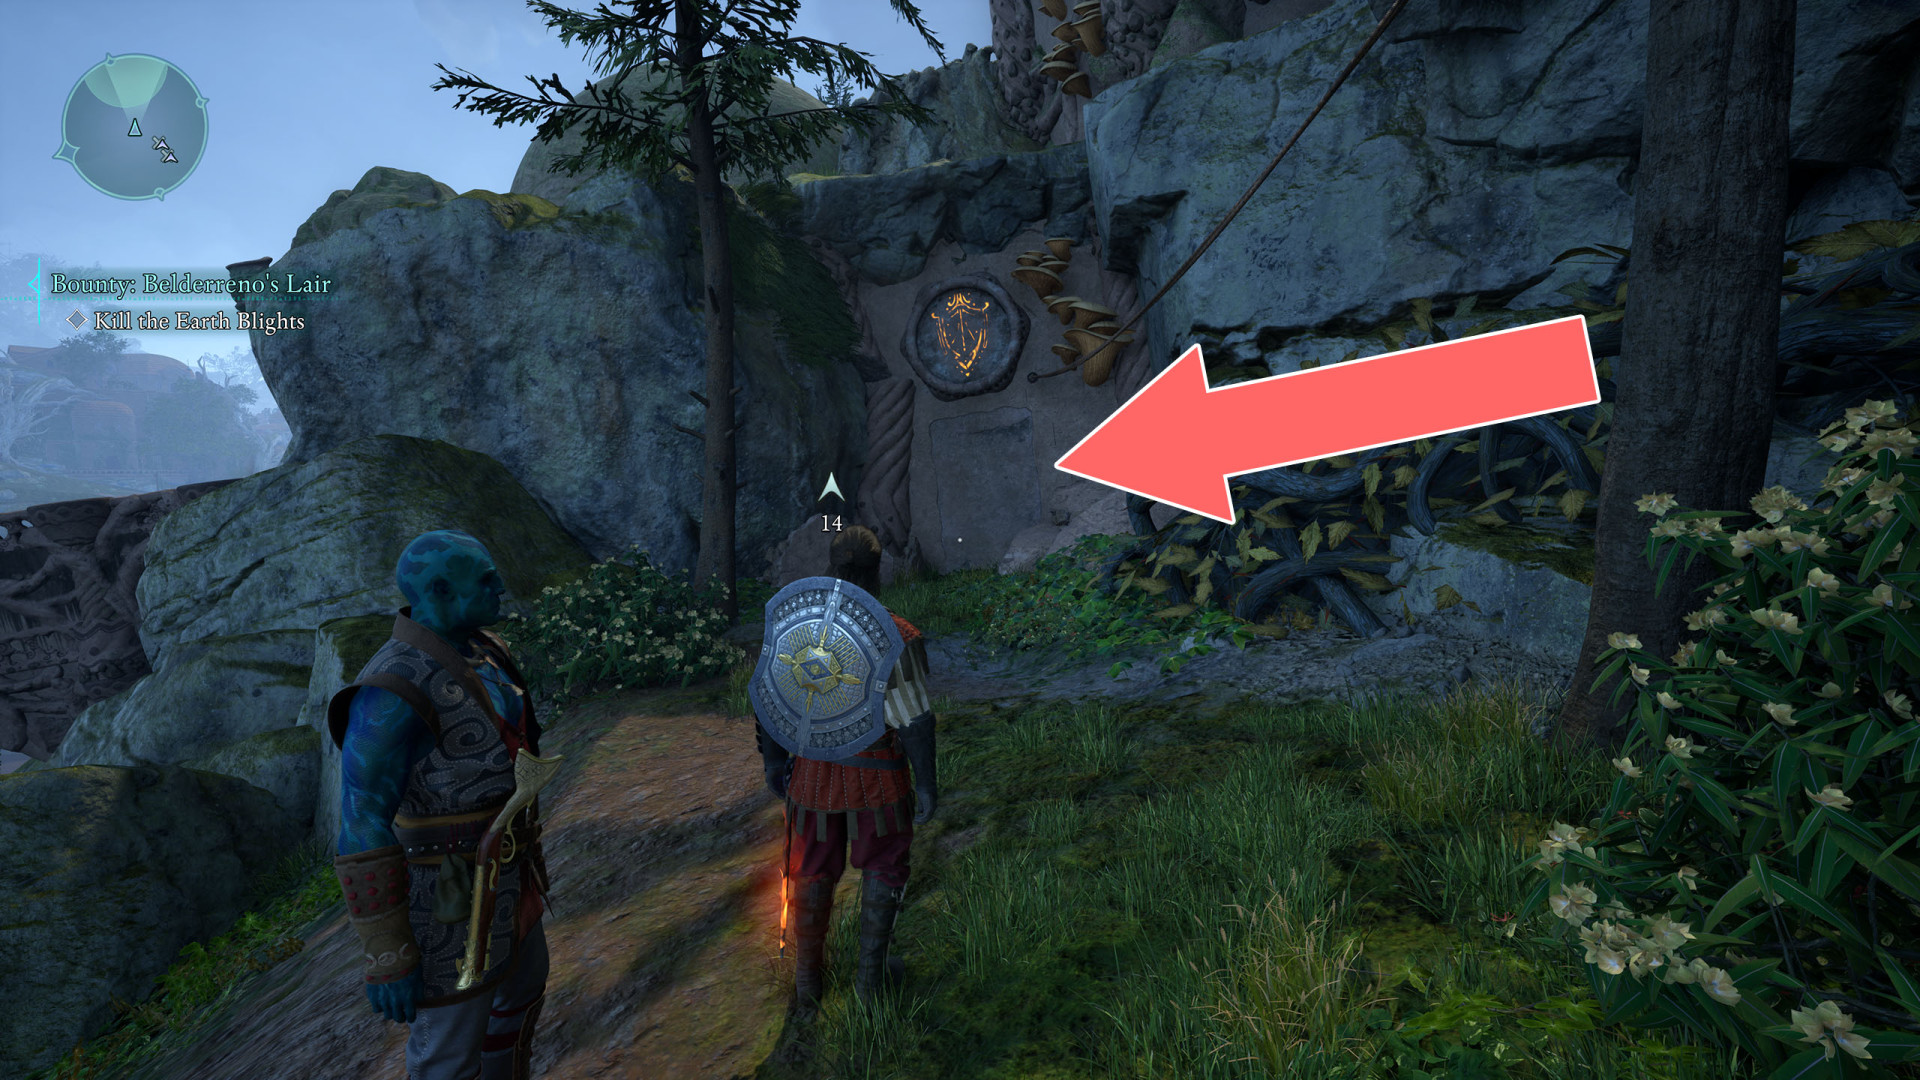
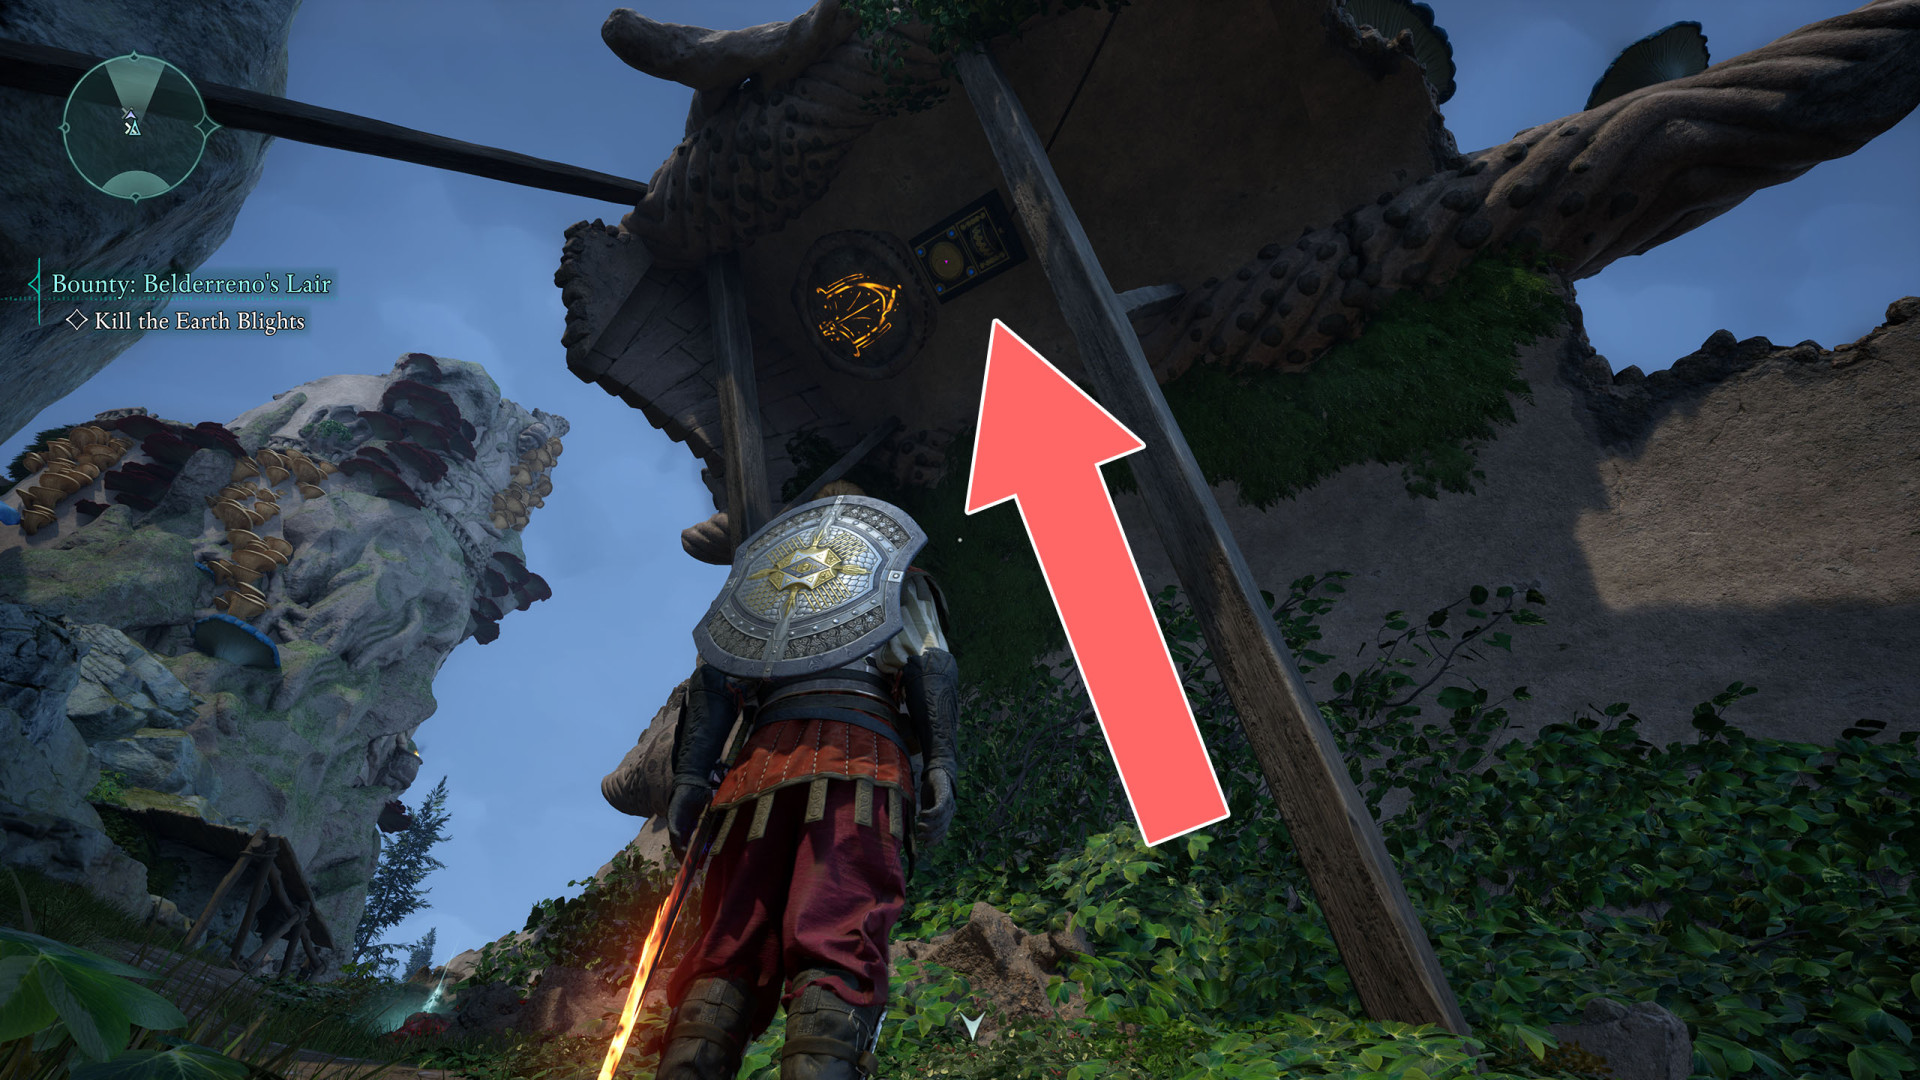
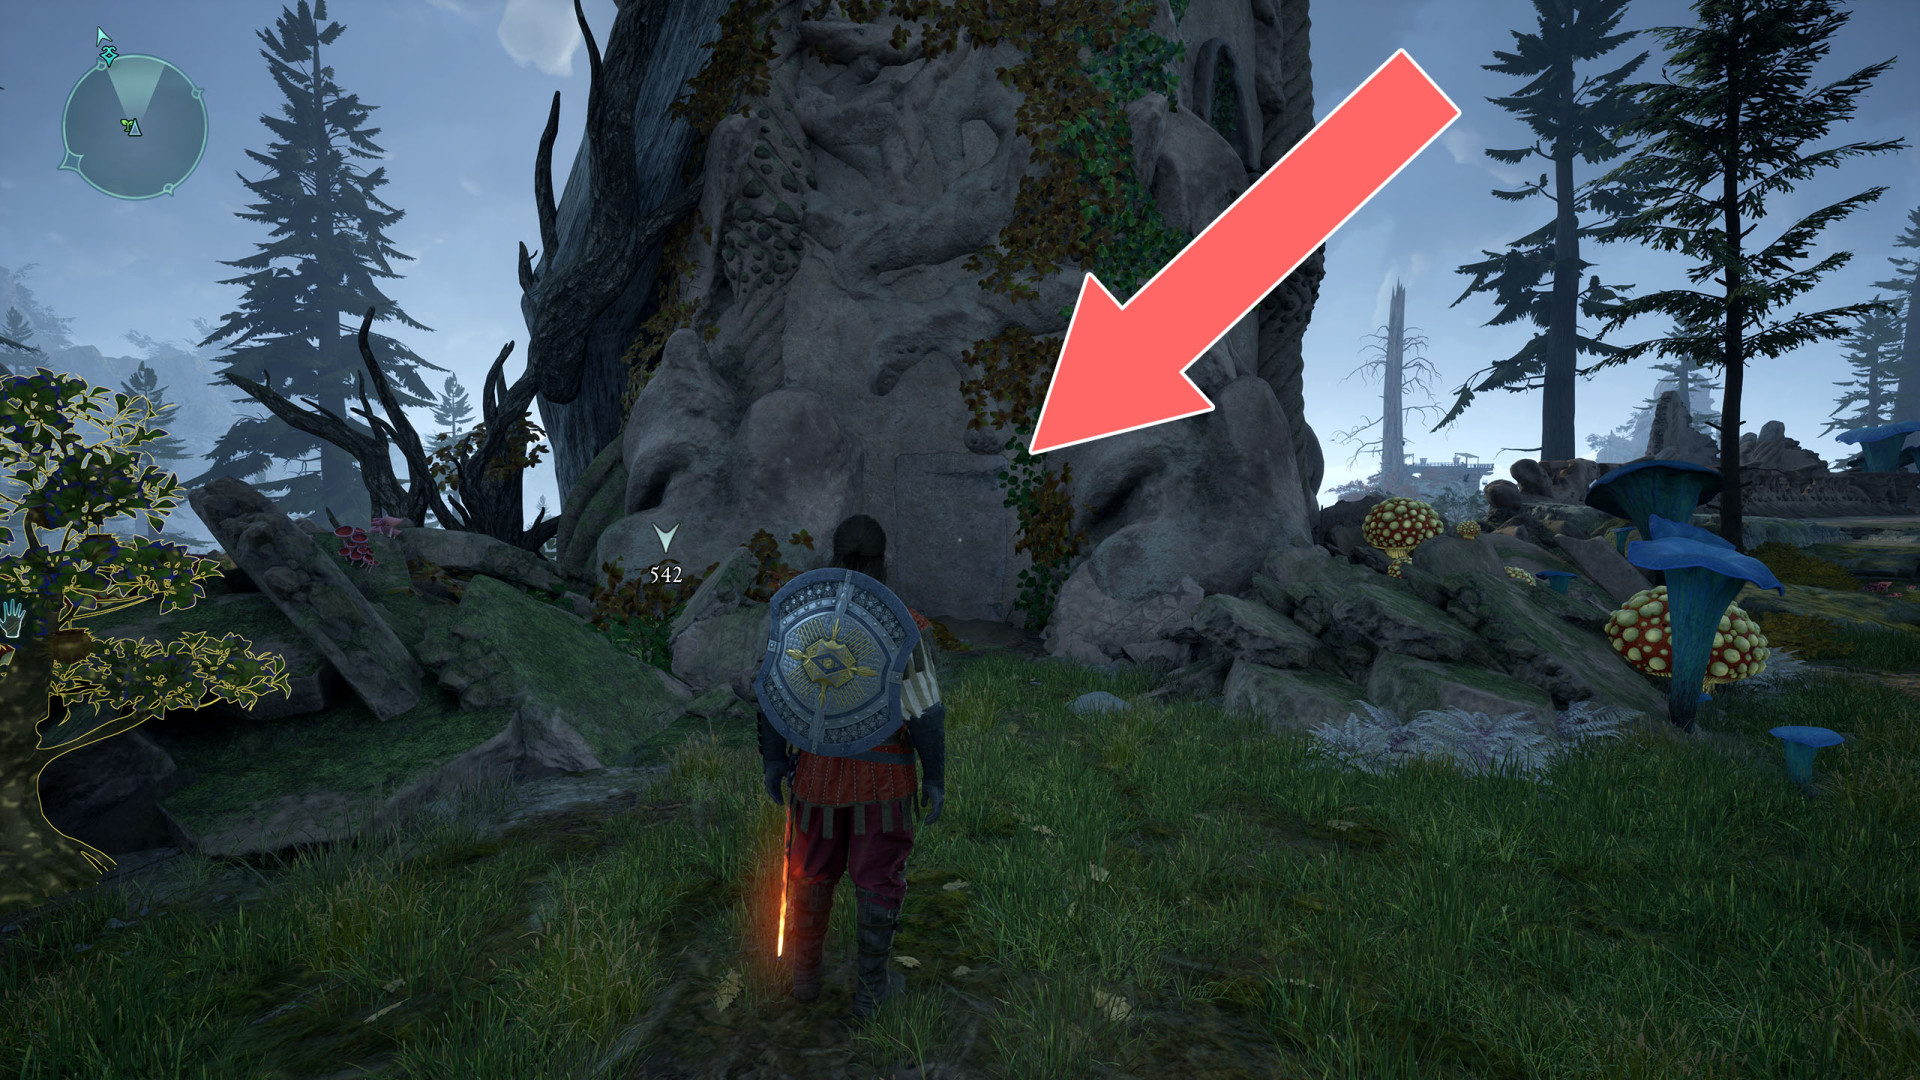
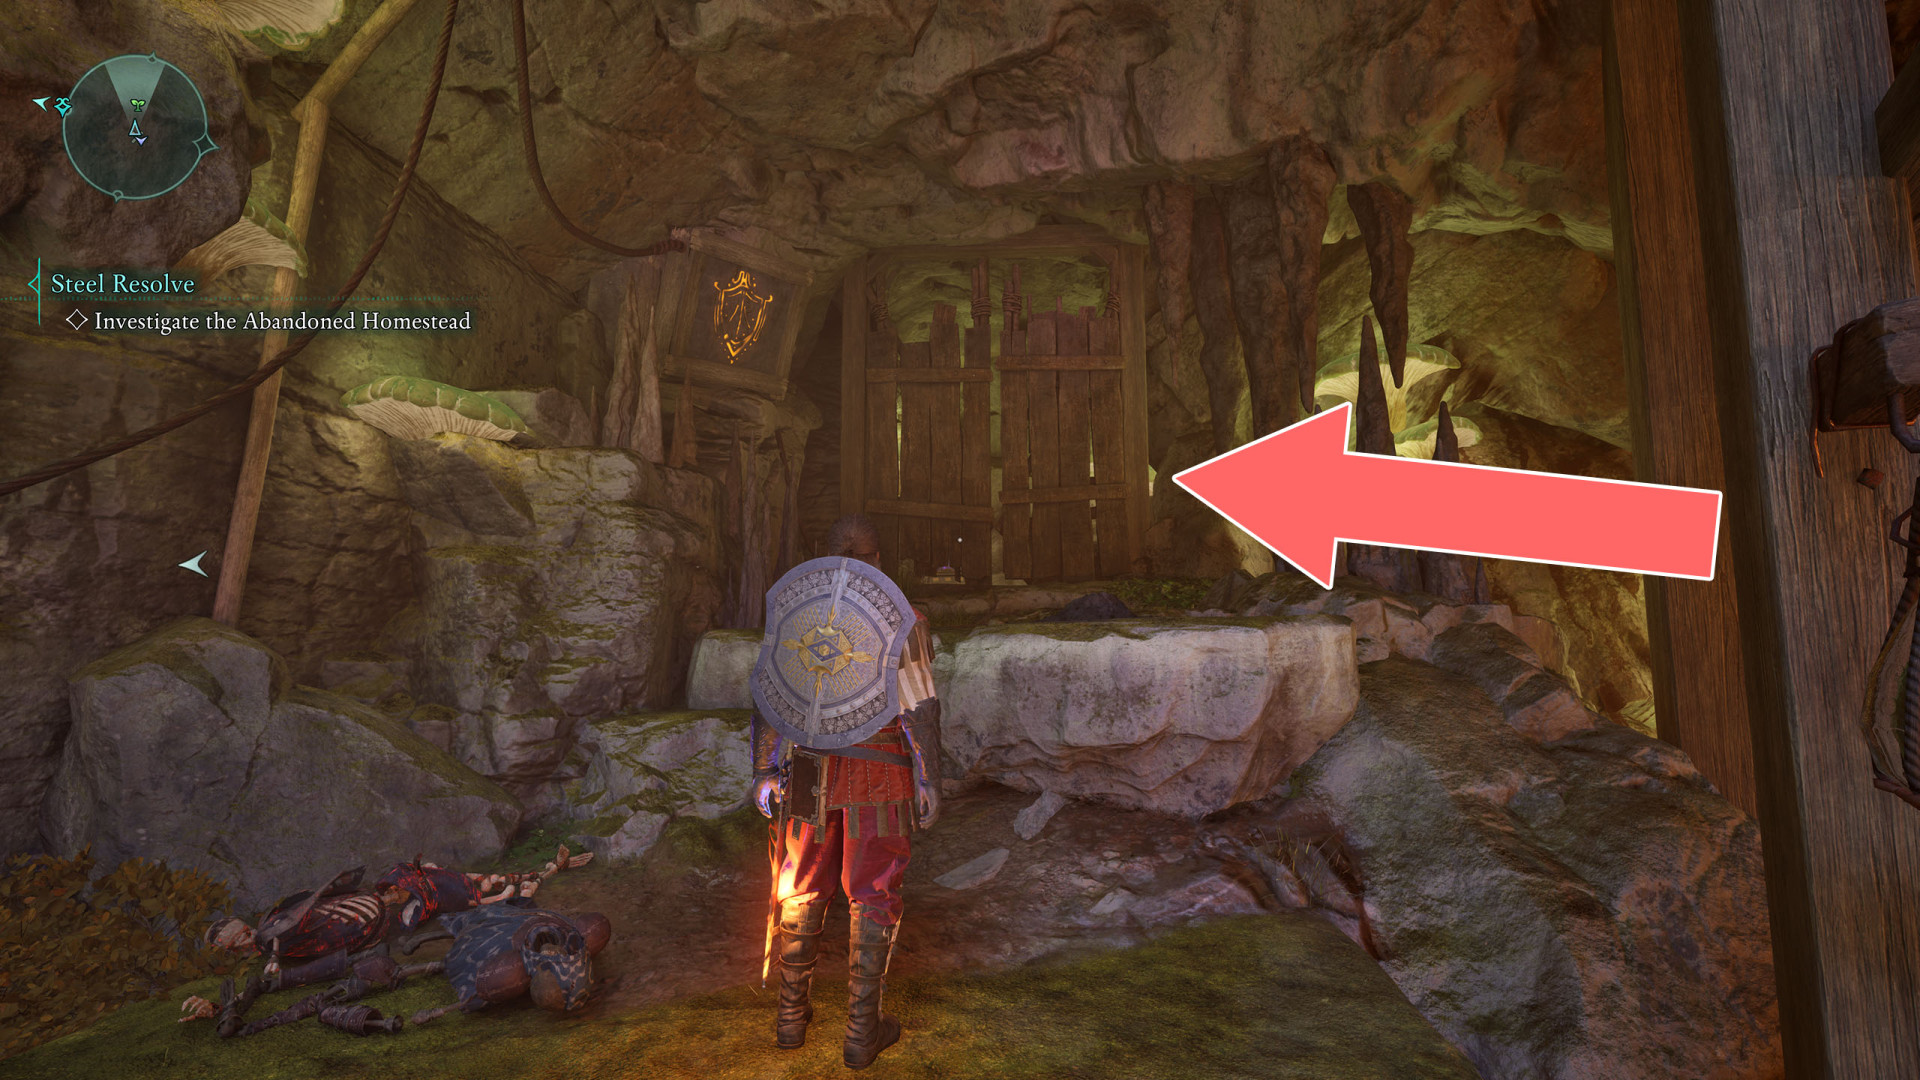
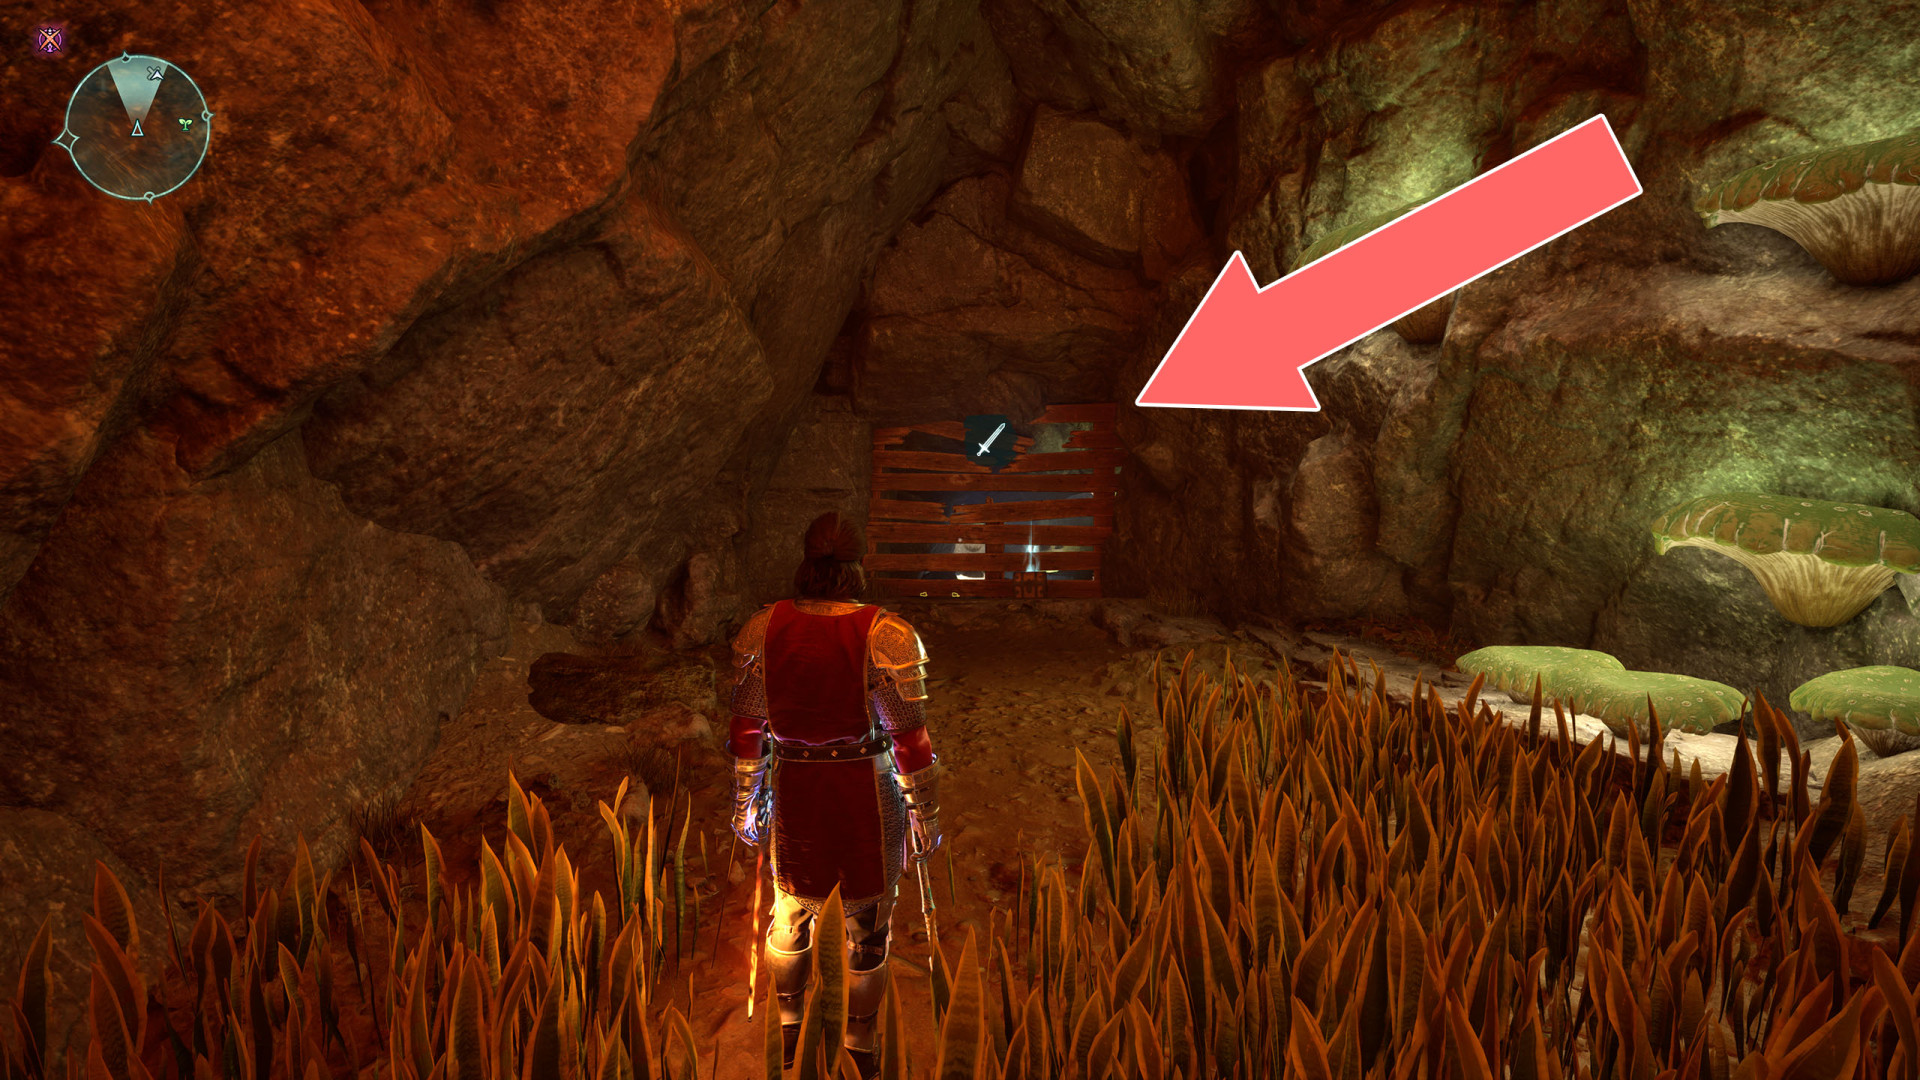
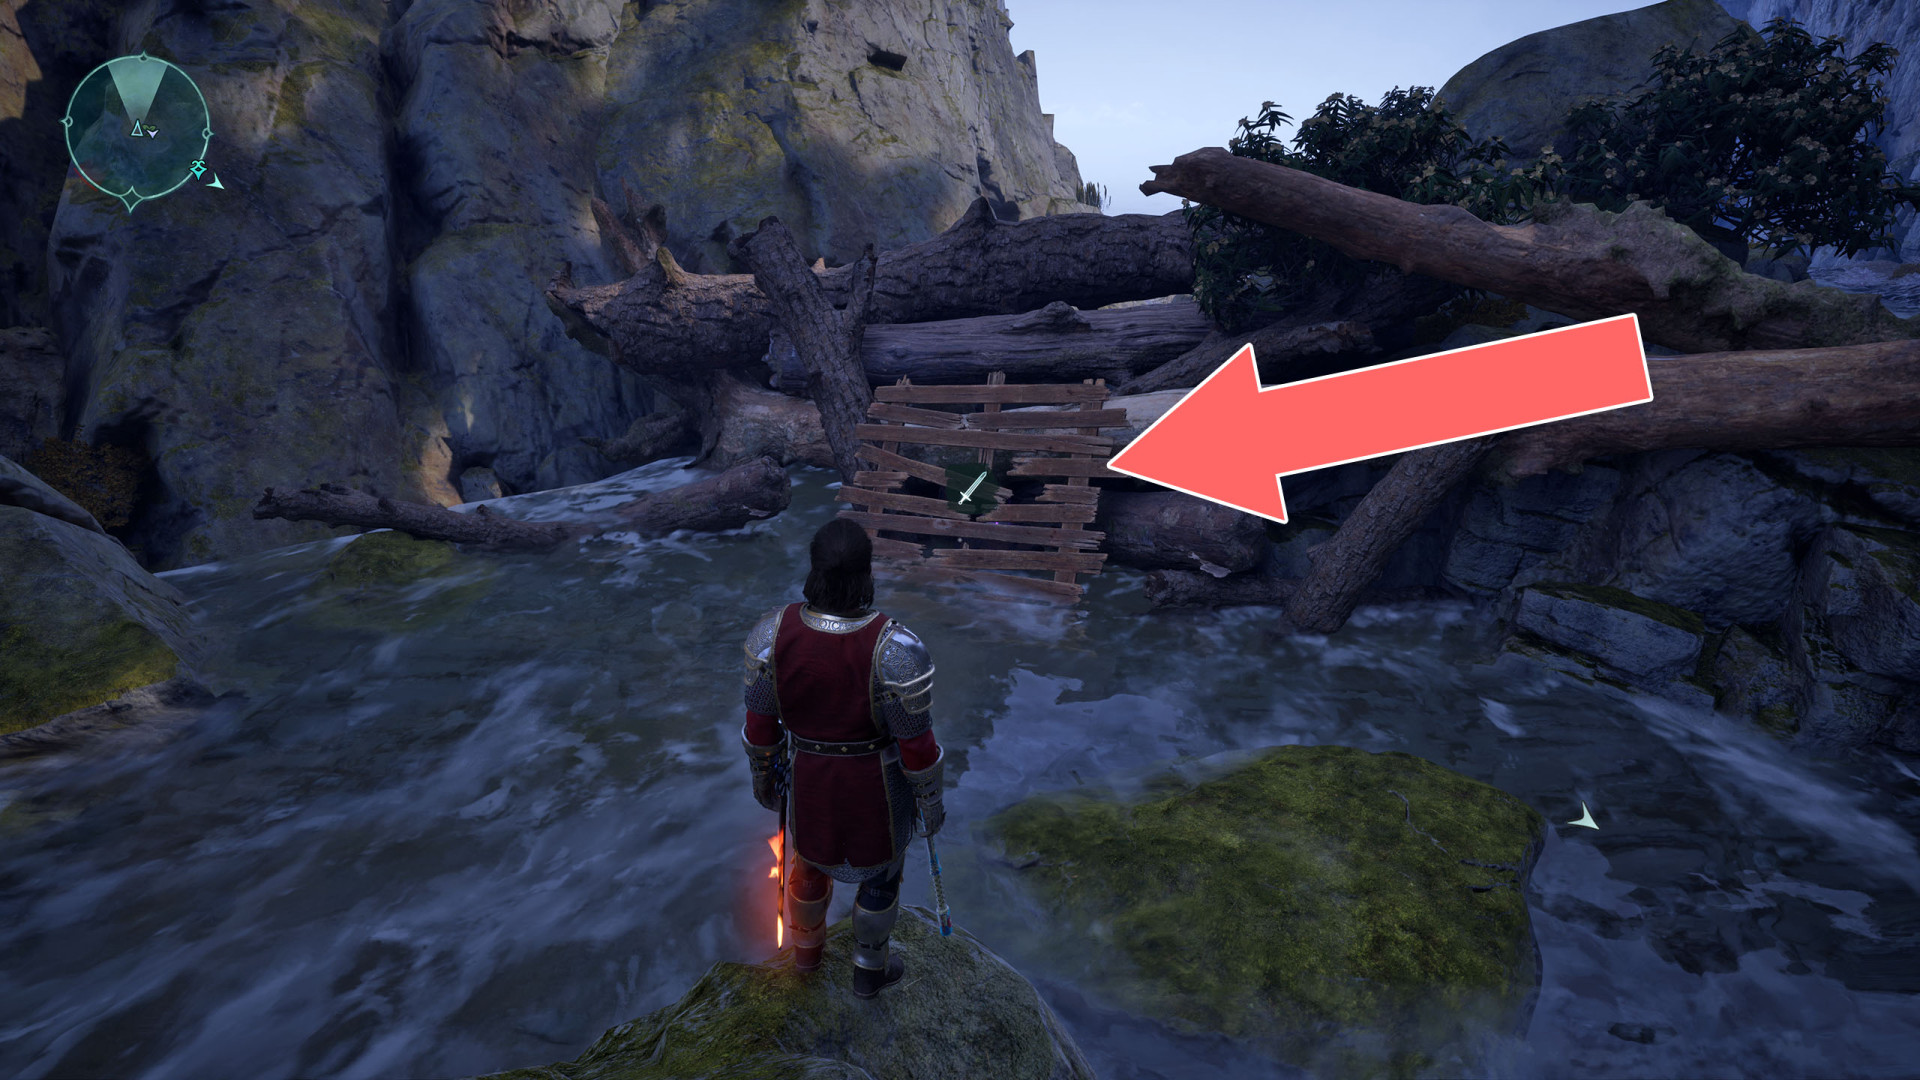
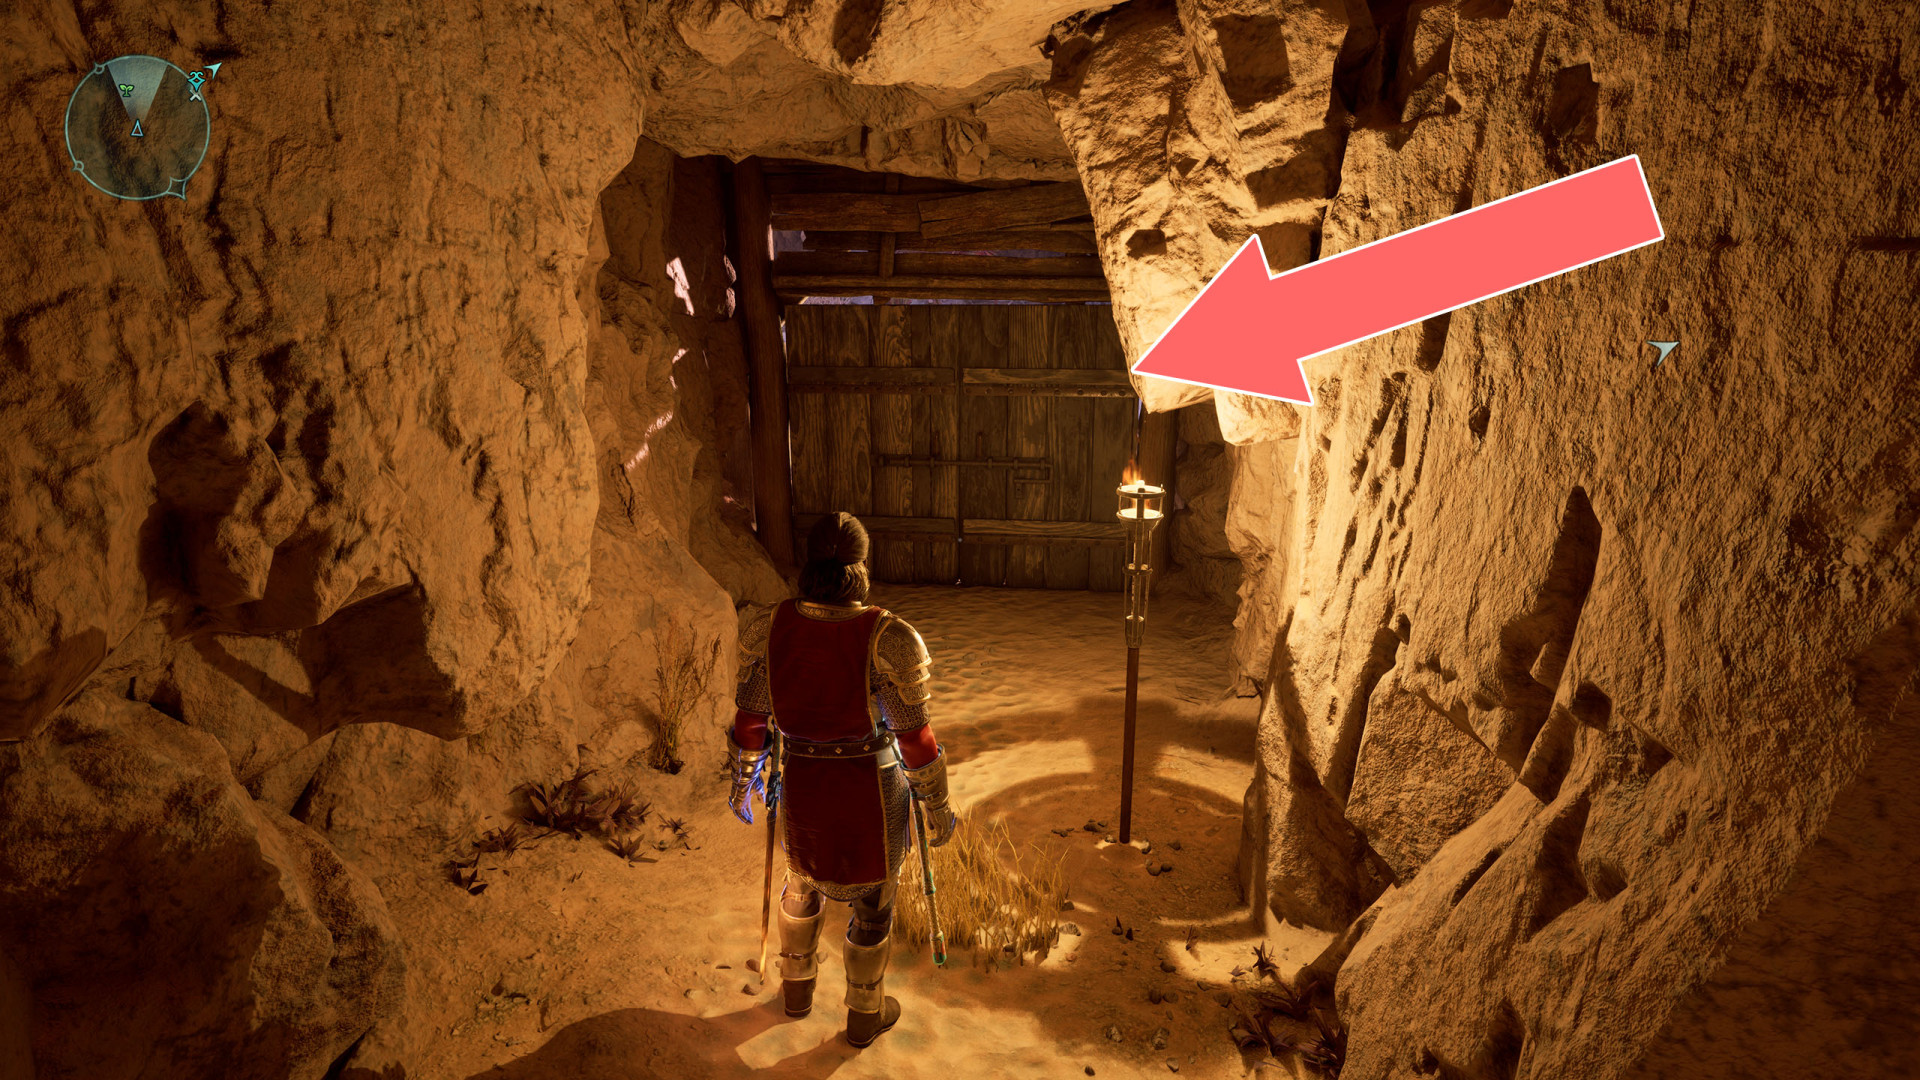
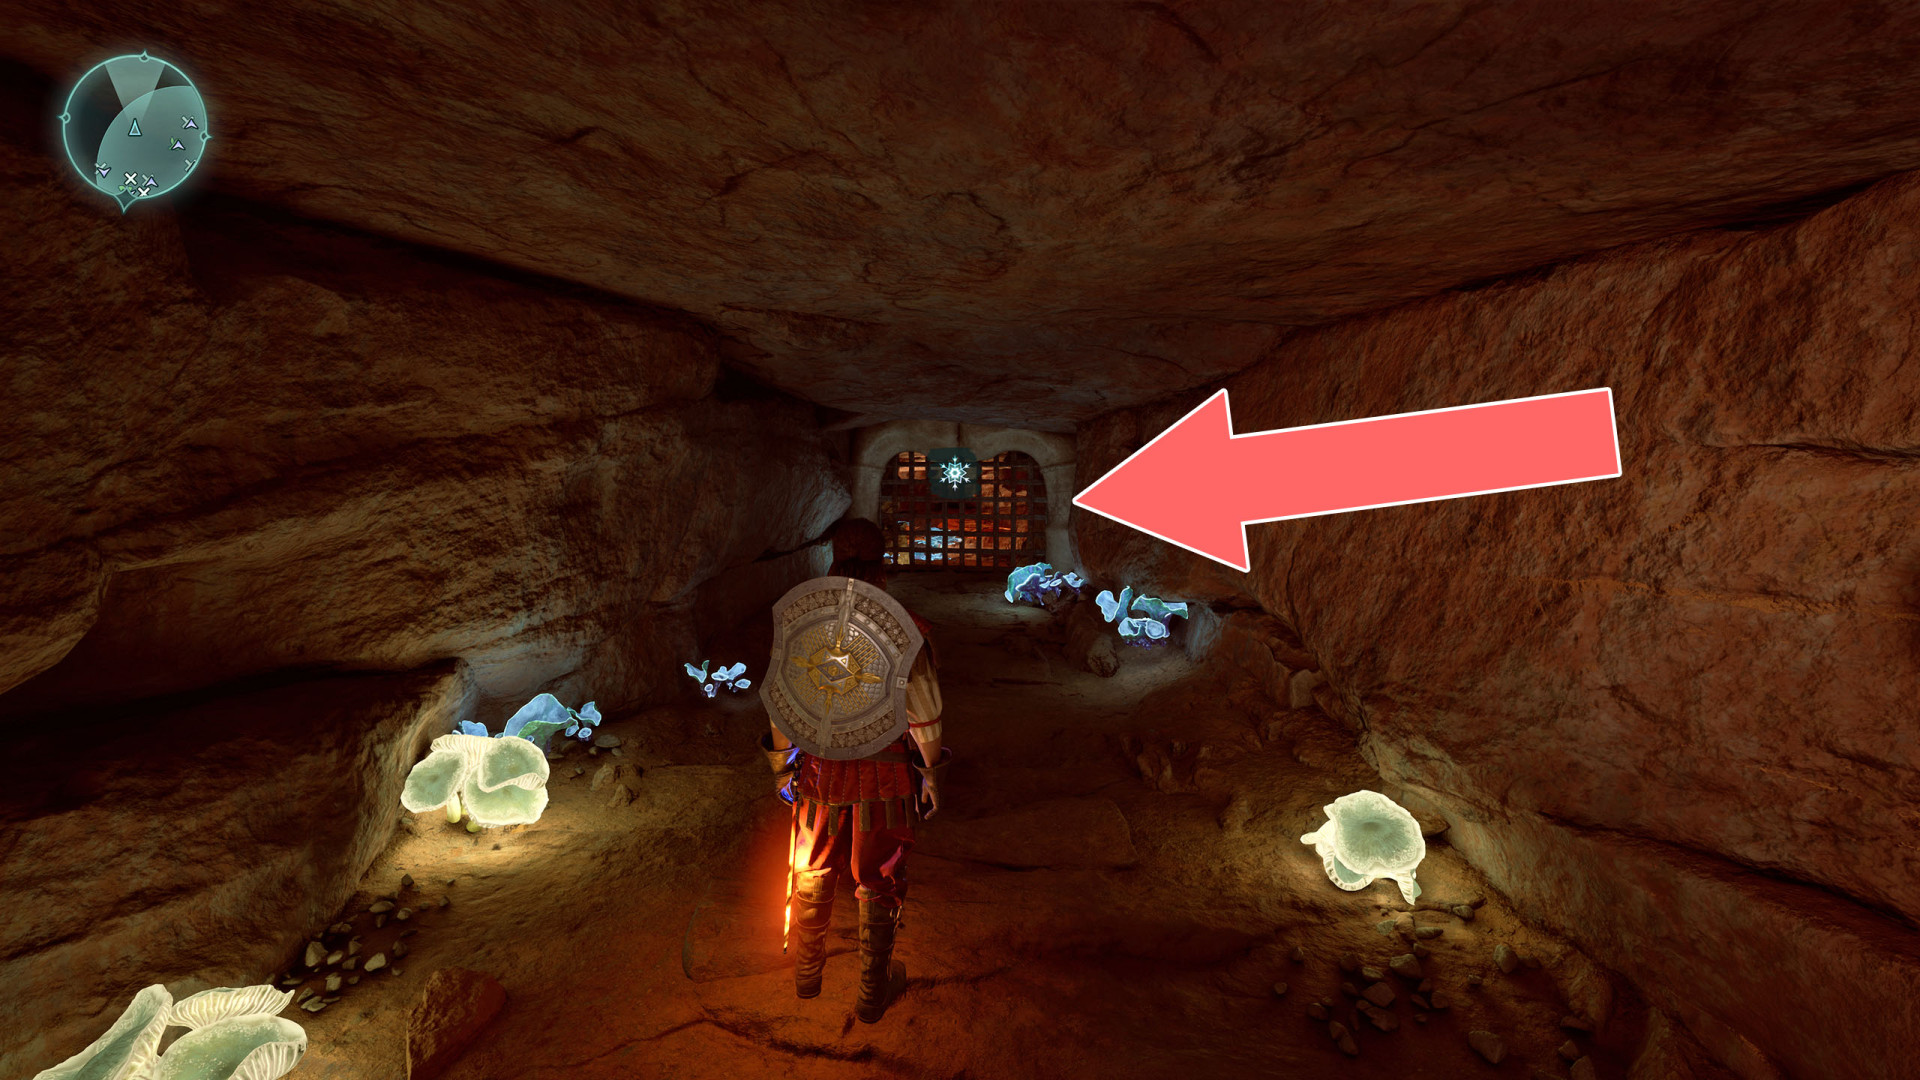
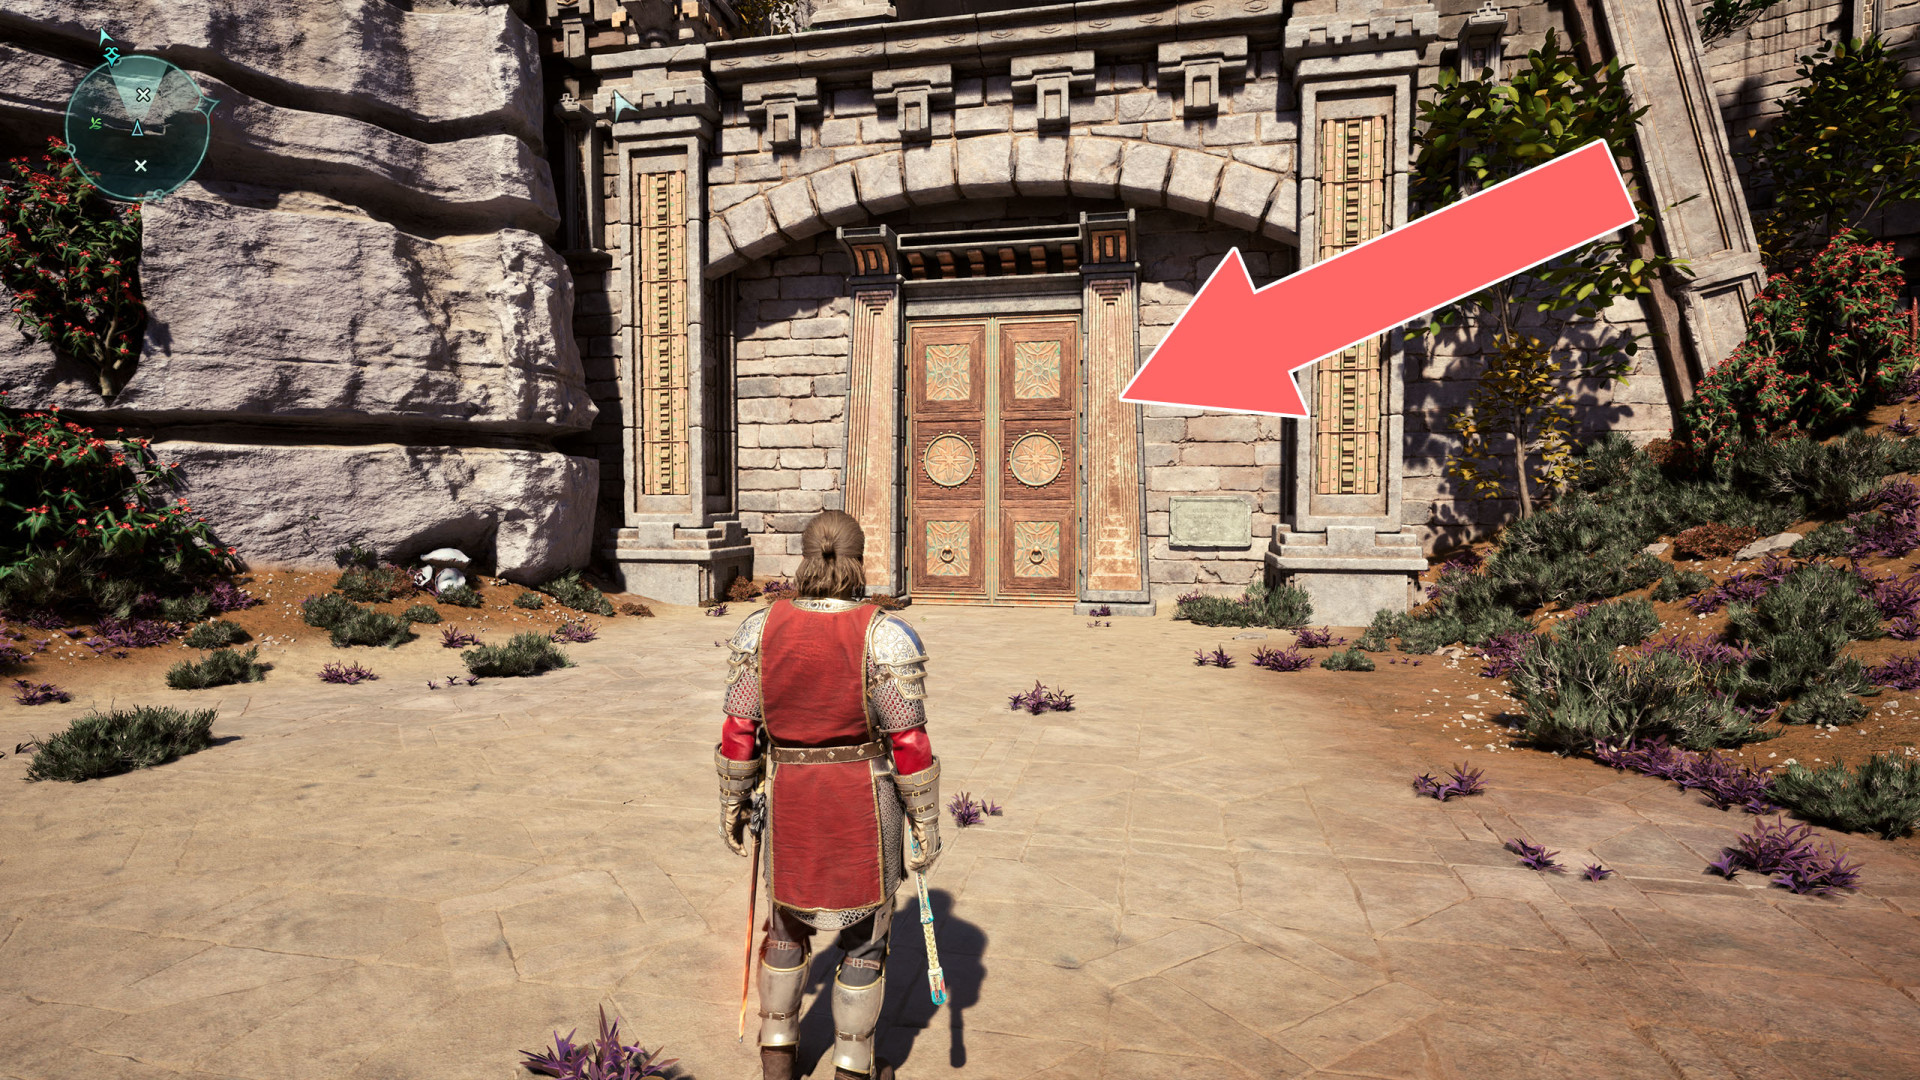
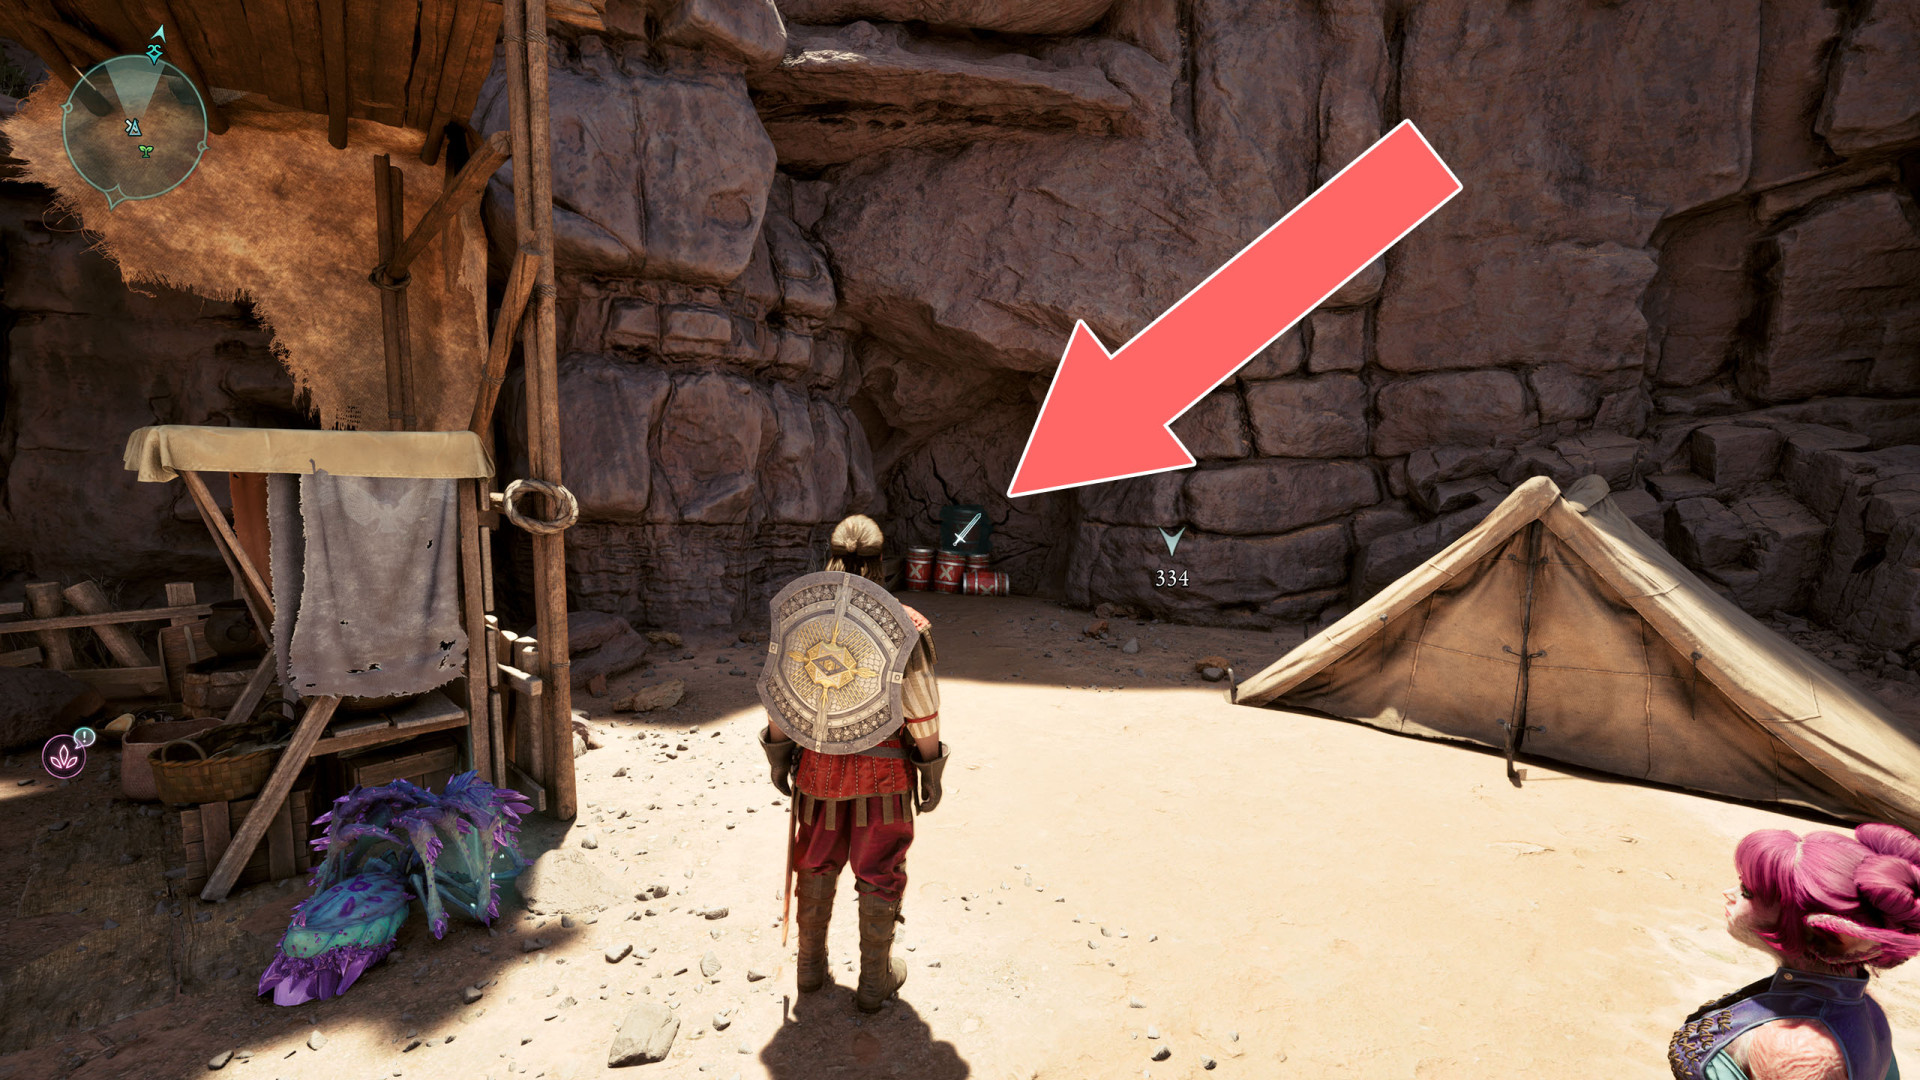
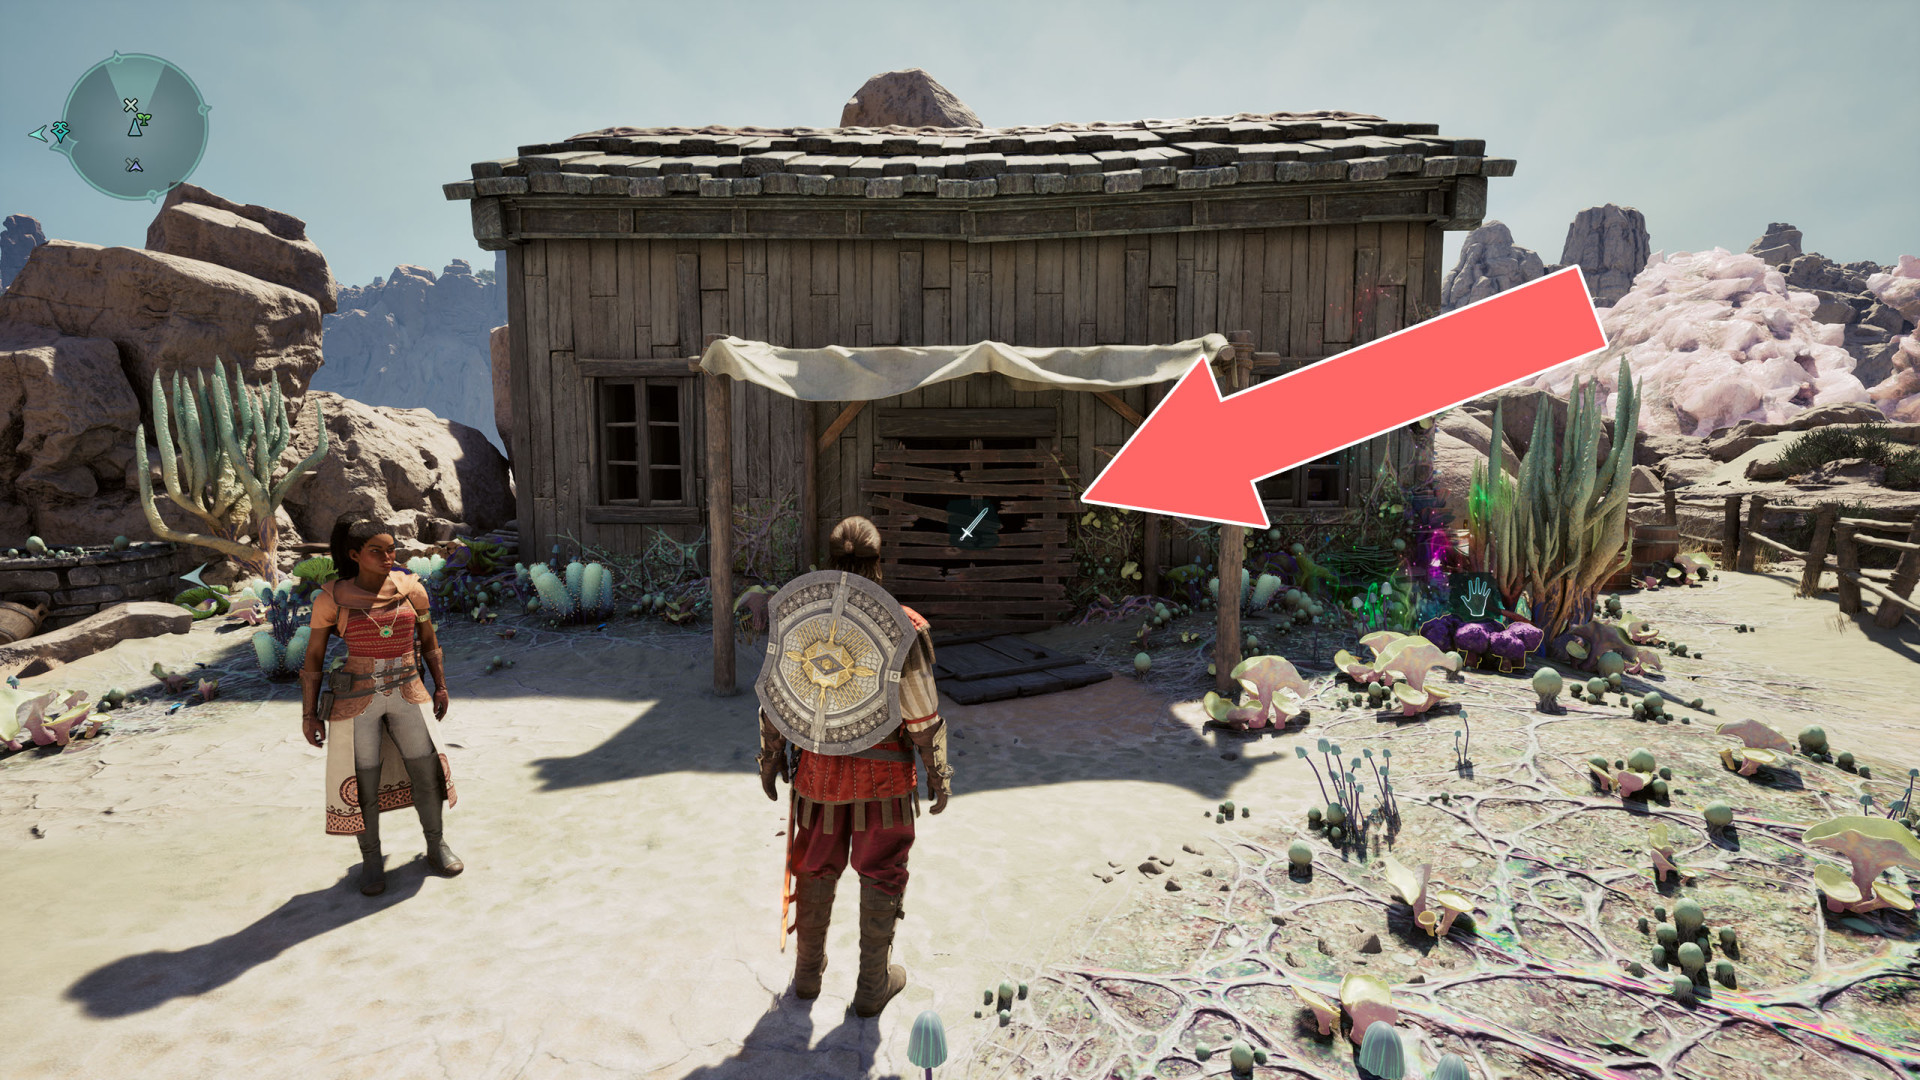
Barred Door▶ show the map ◀
You will get here through a tunnel, the entrance to which is located in a room with the Splinter of Eothas. You need to break a few vases.
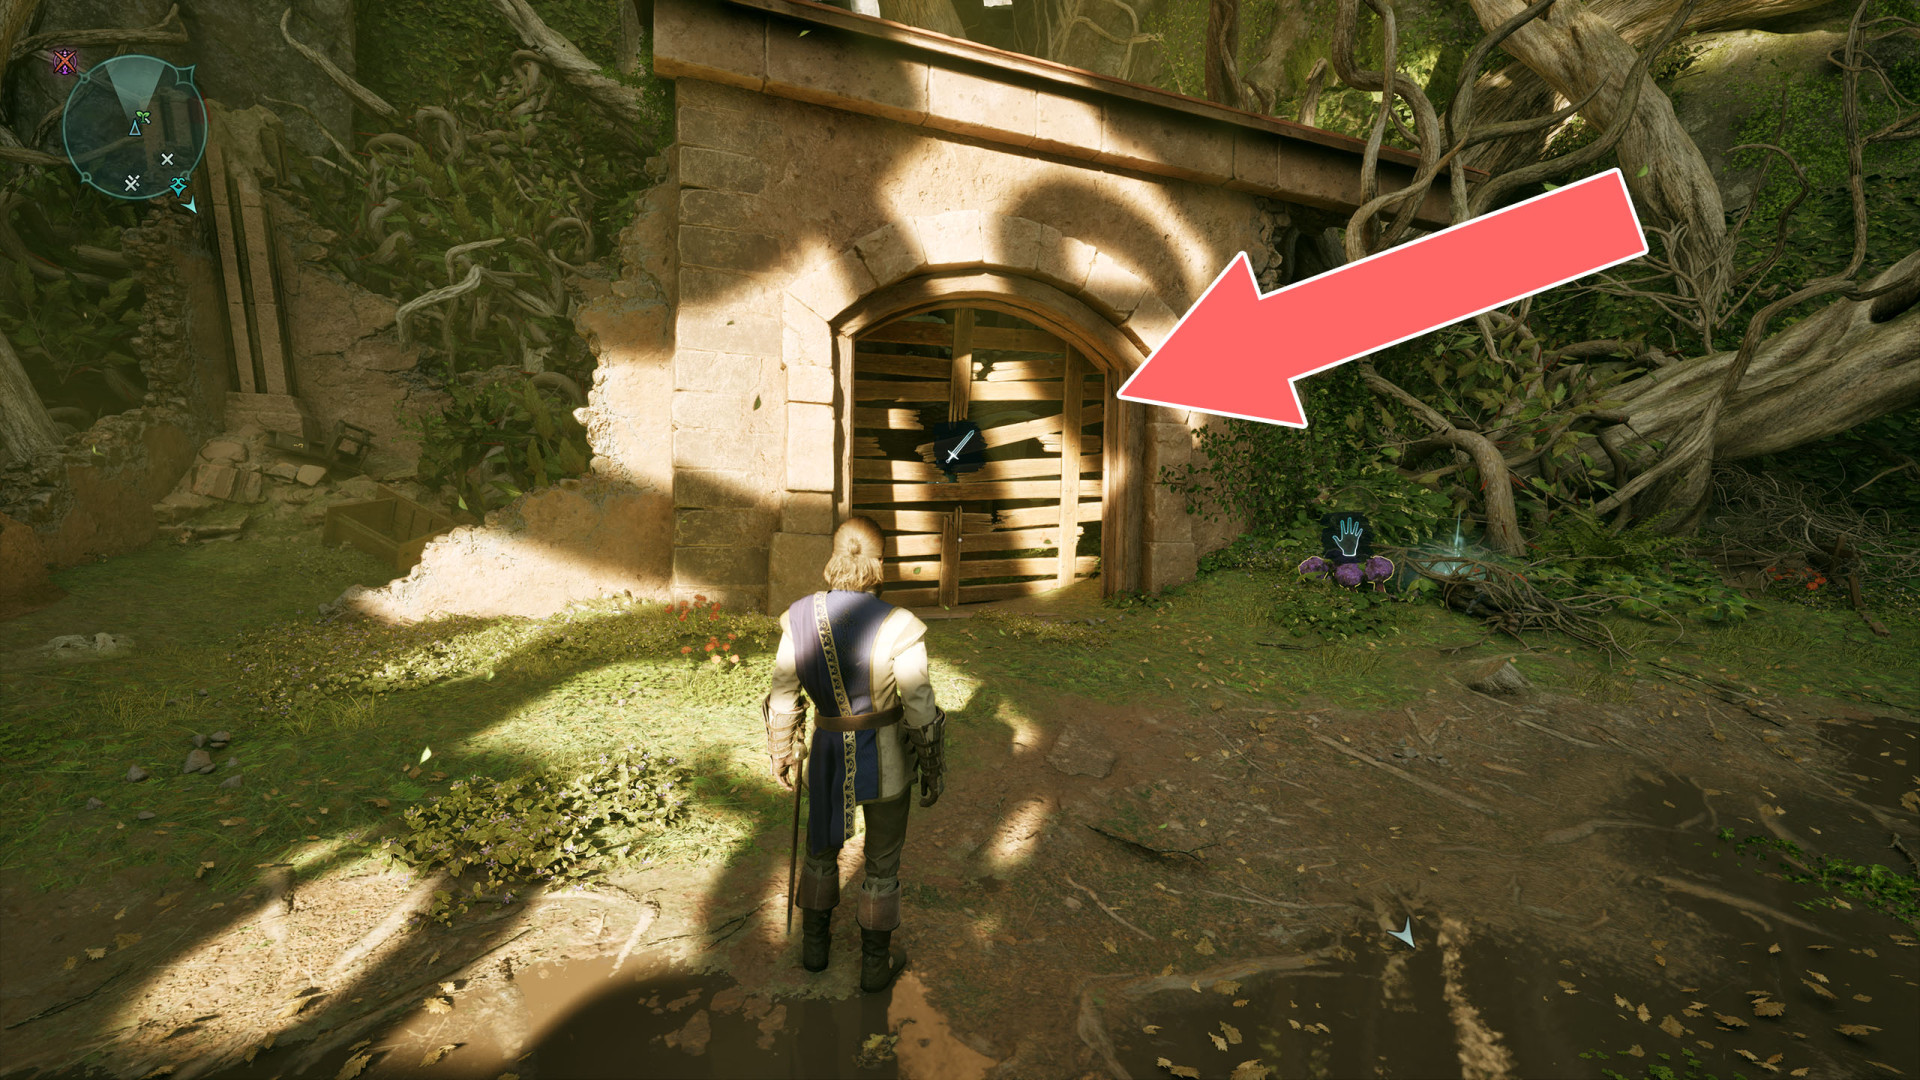
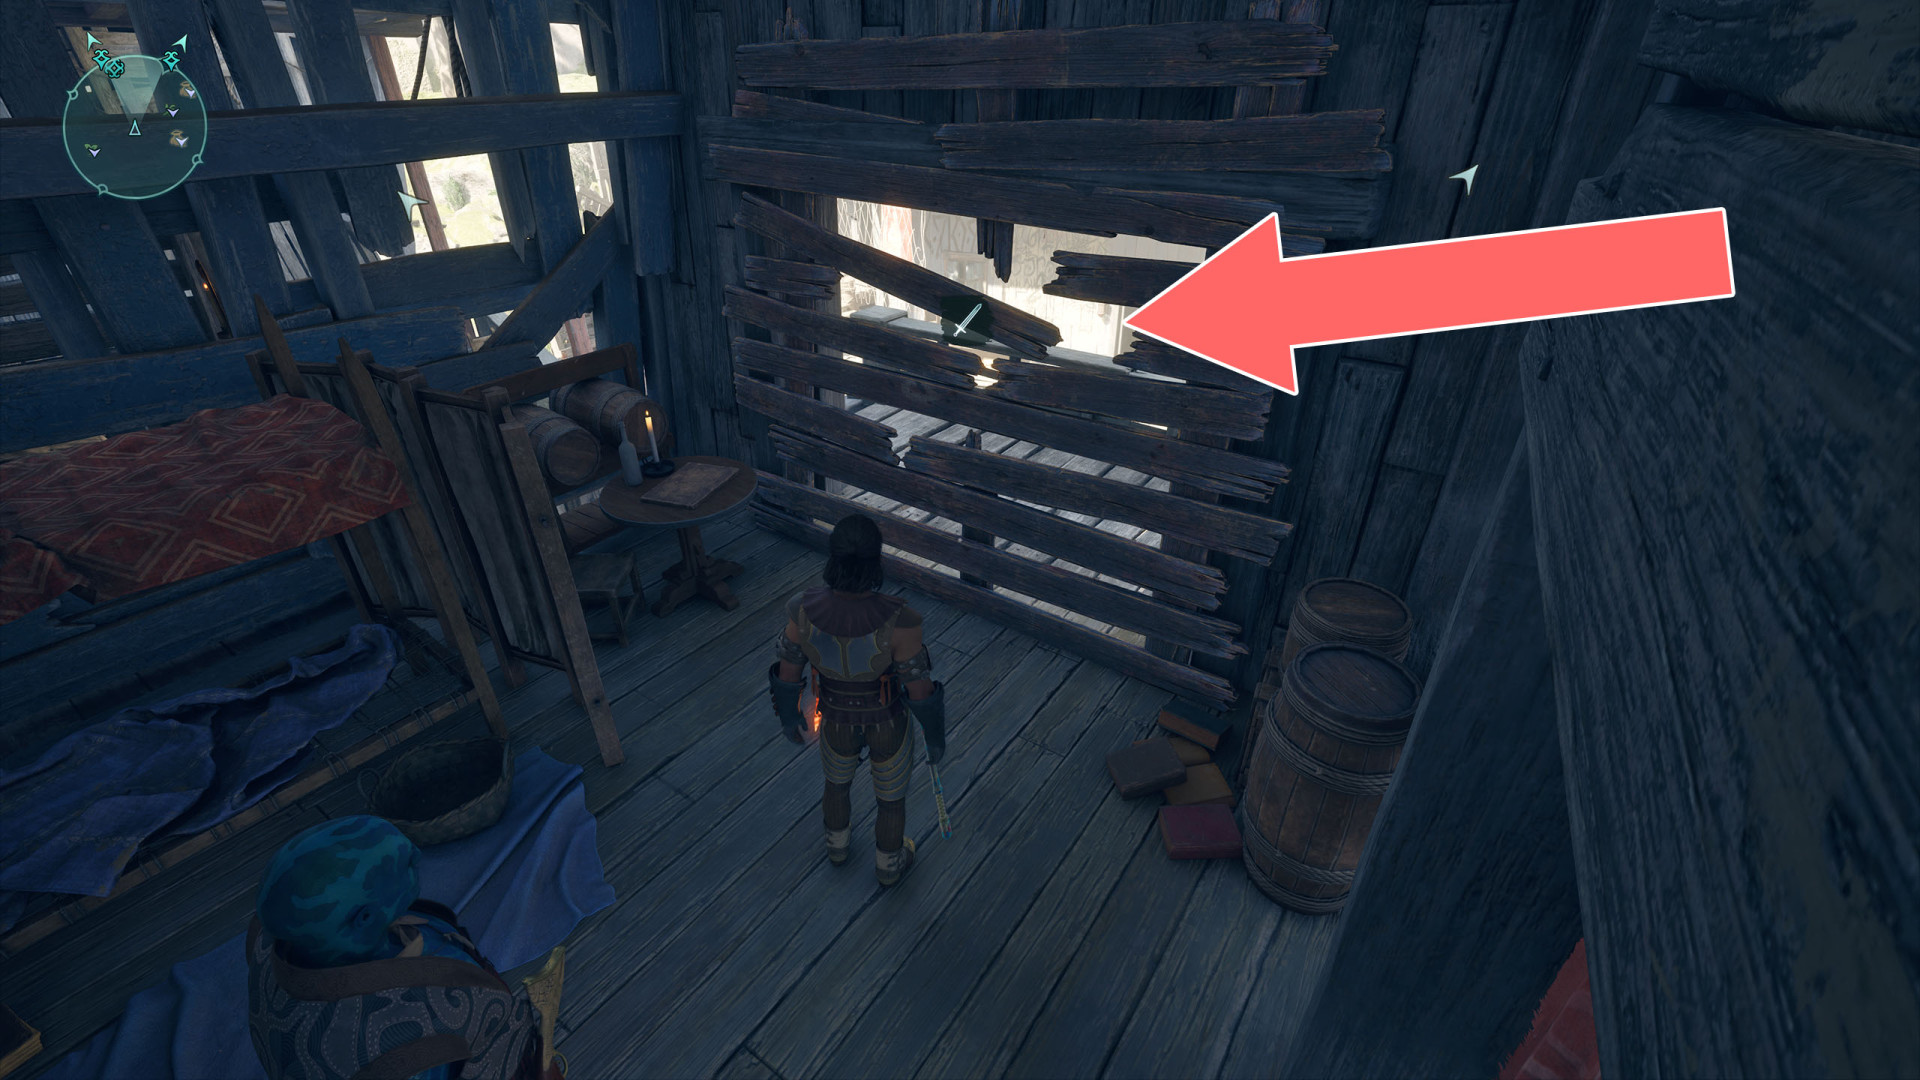
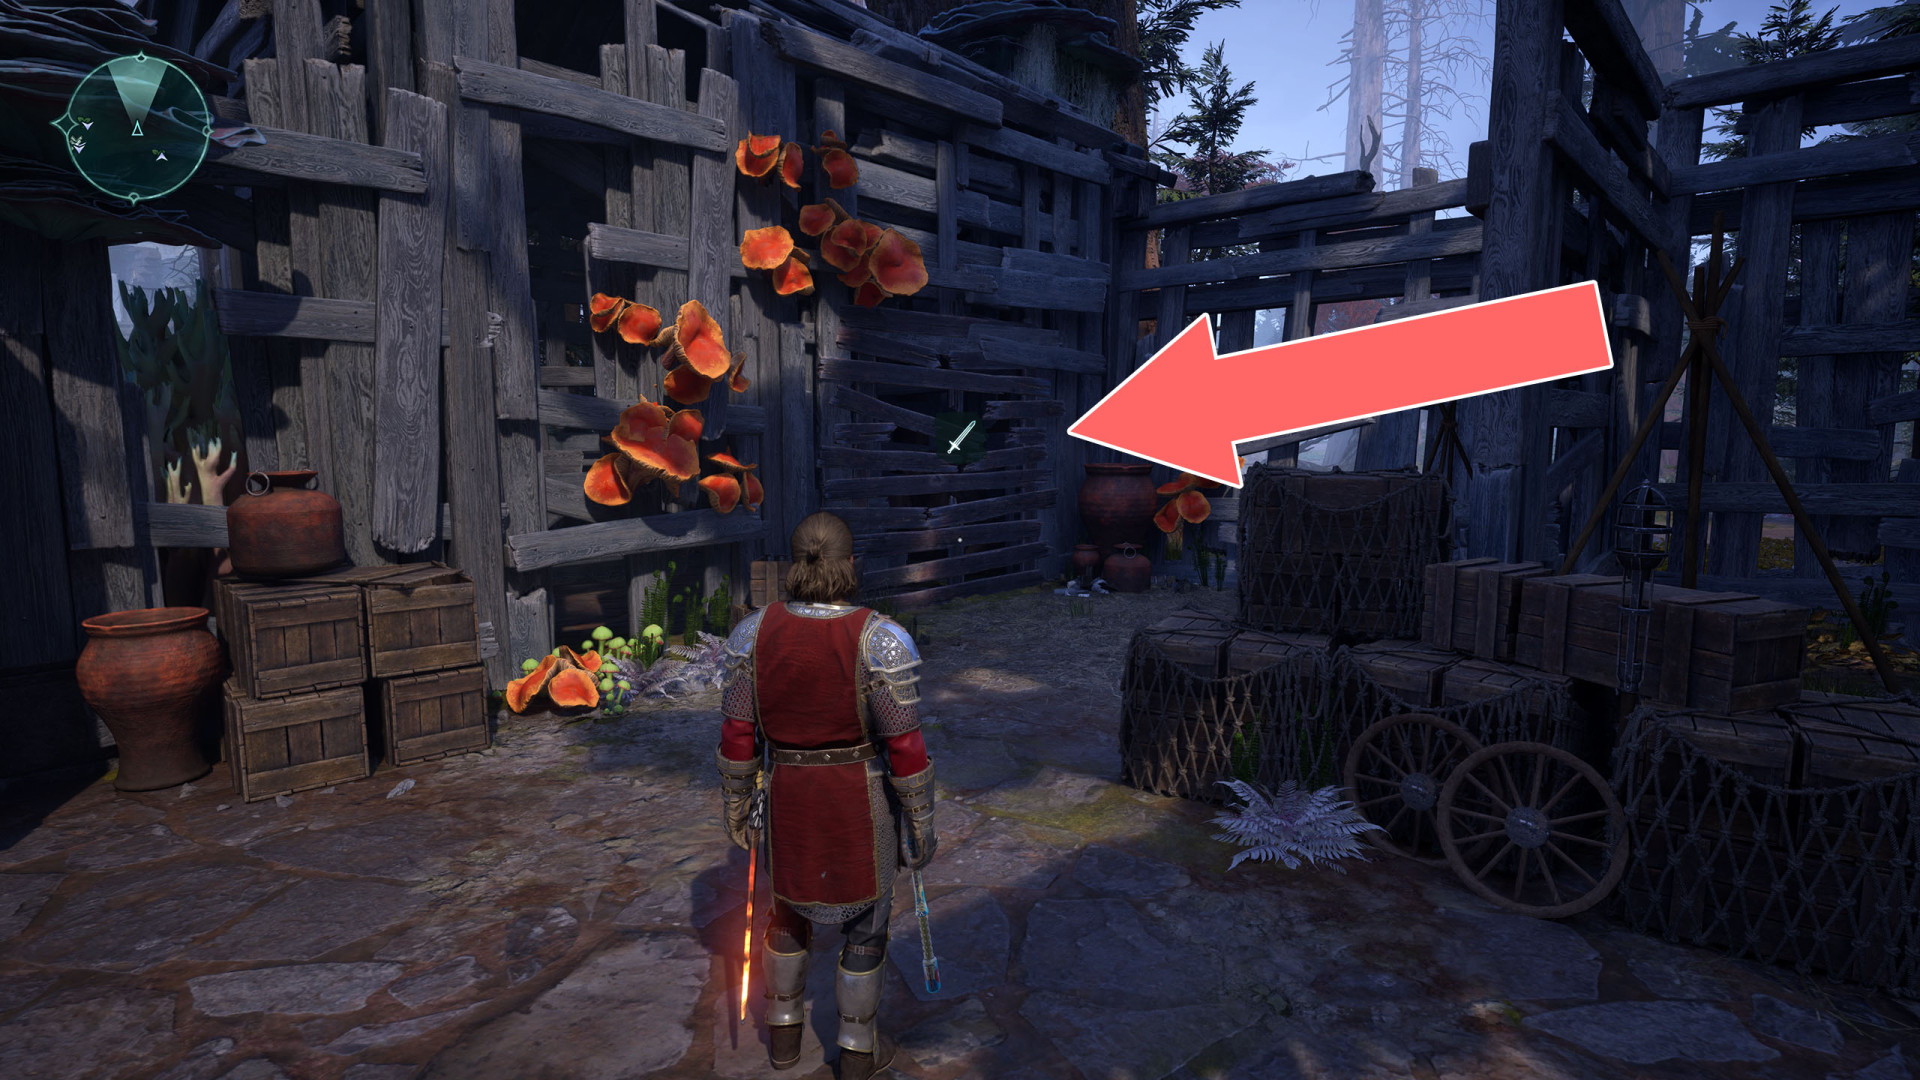
Barred Door▶ show the map ◀
You can unblock the door from inside the building. You can enter the building through the window.
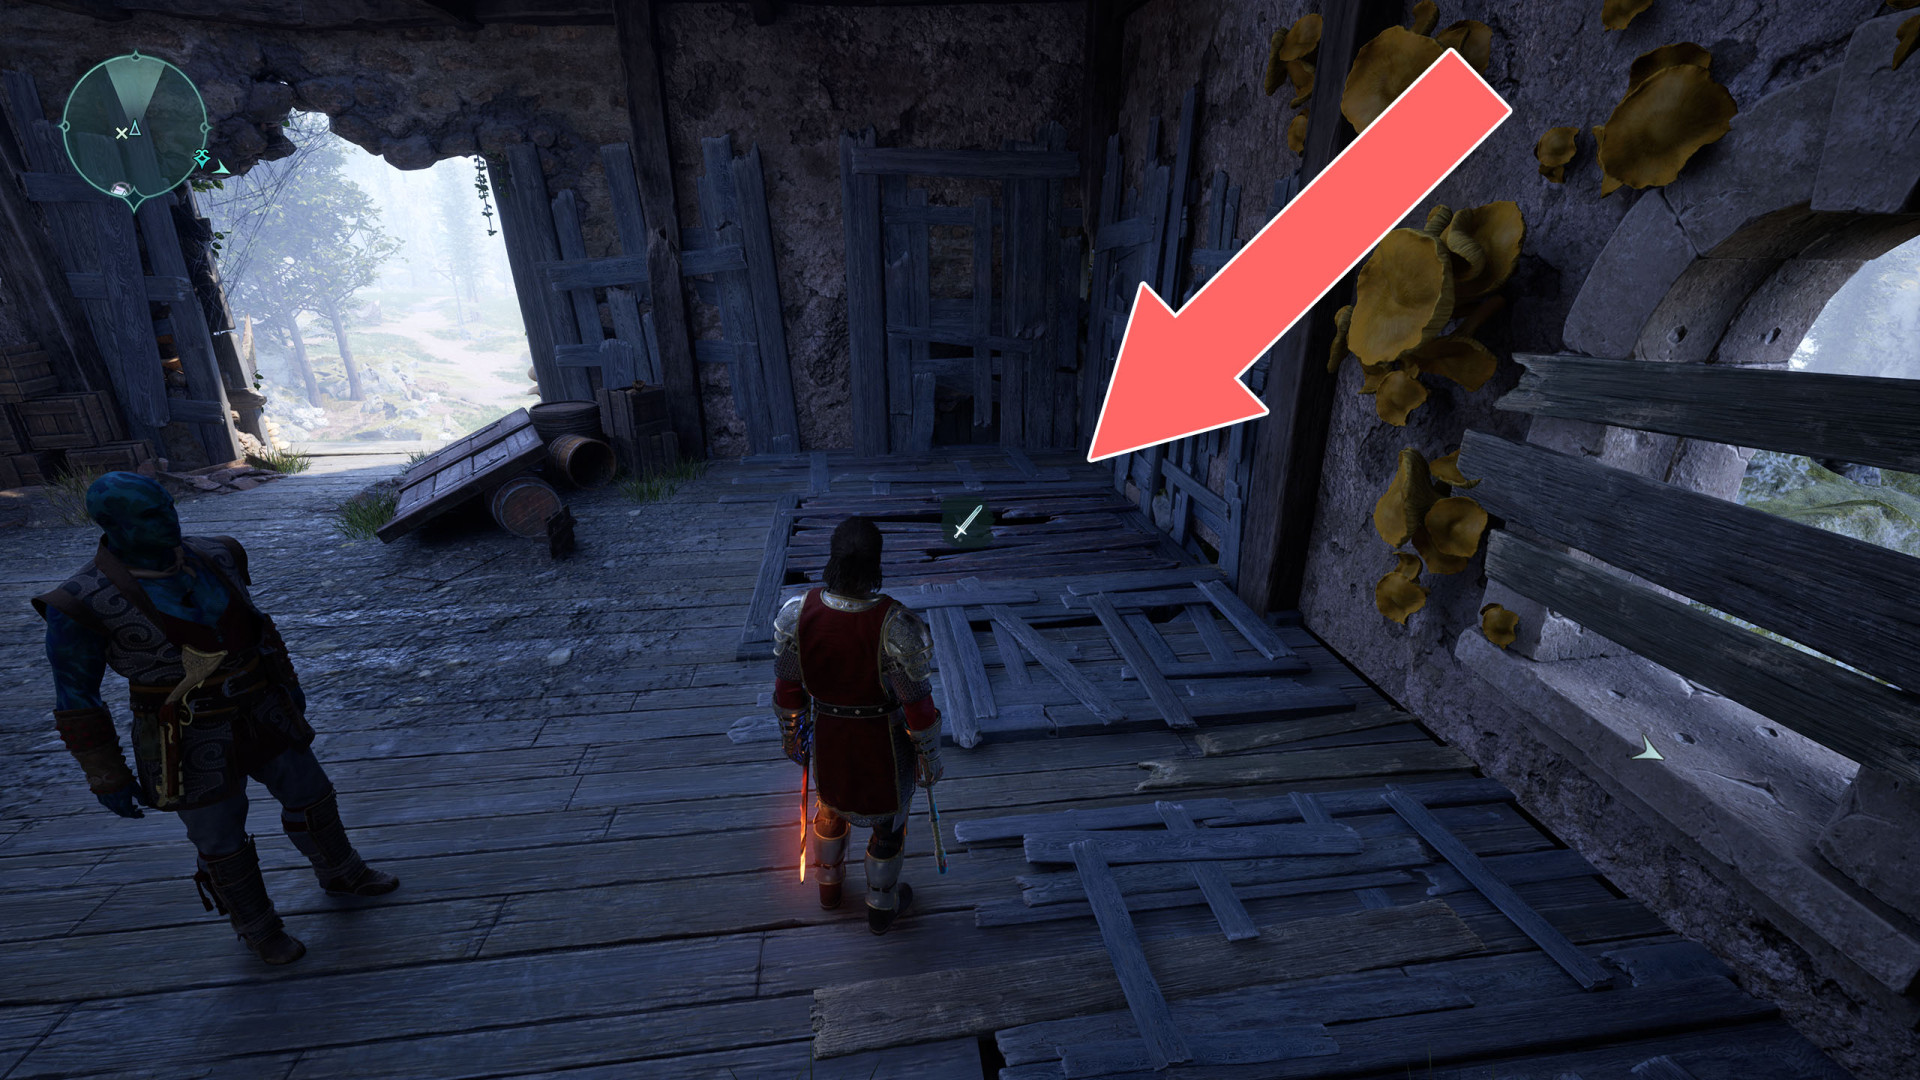
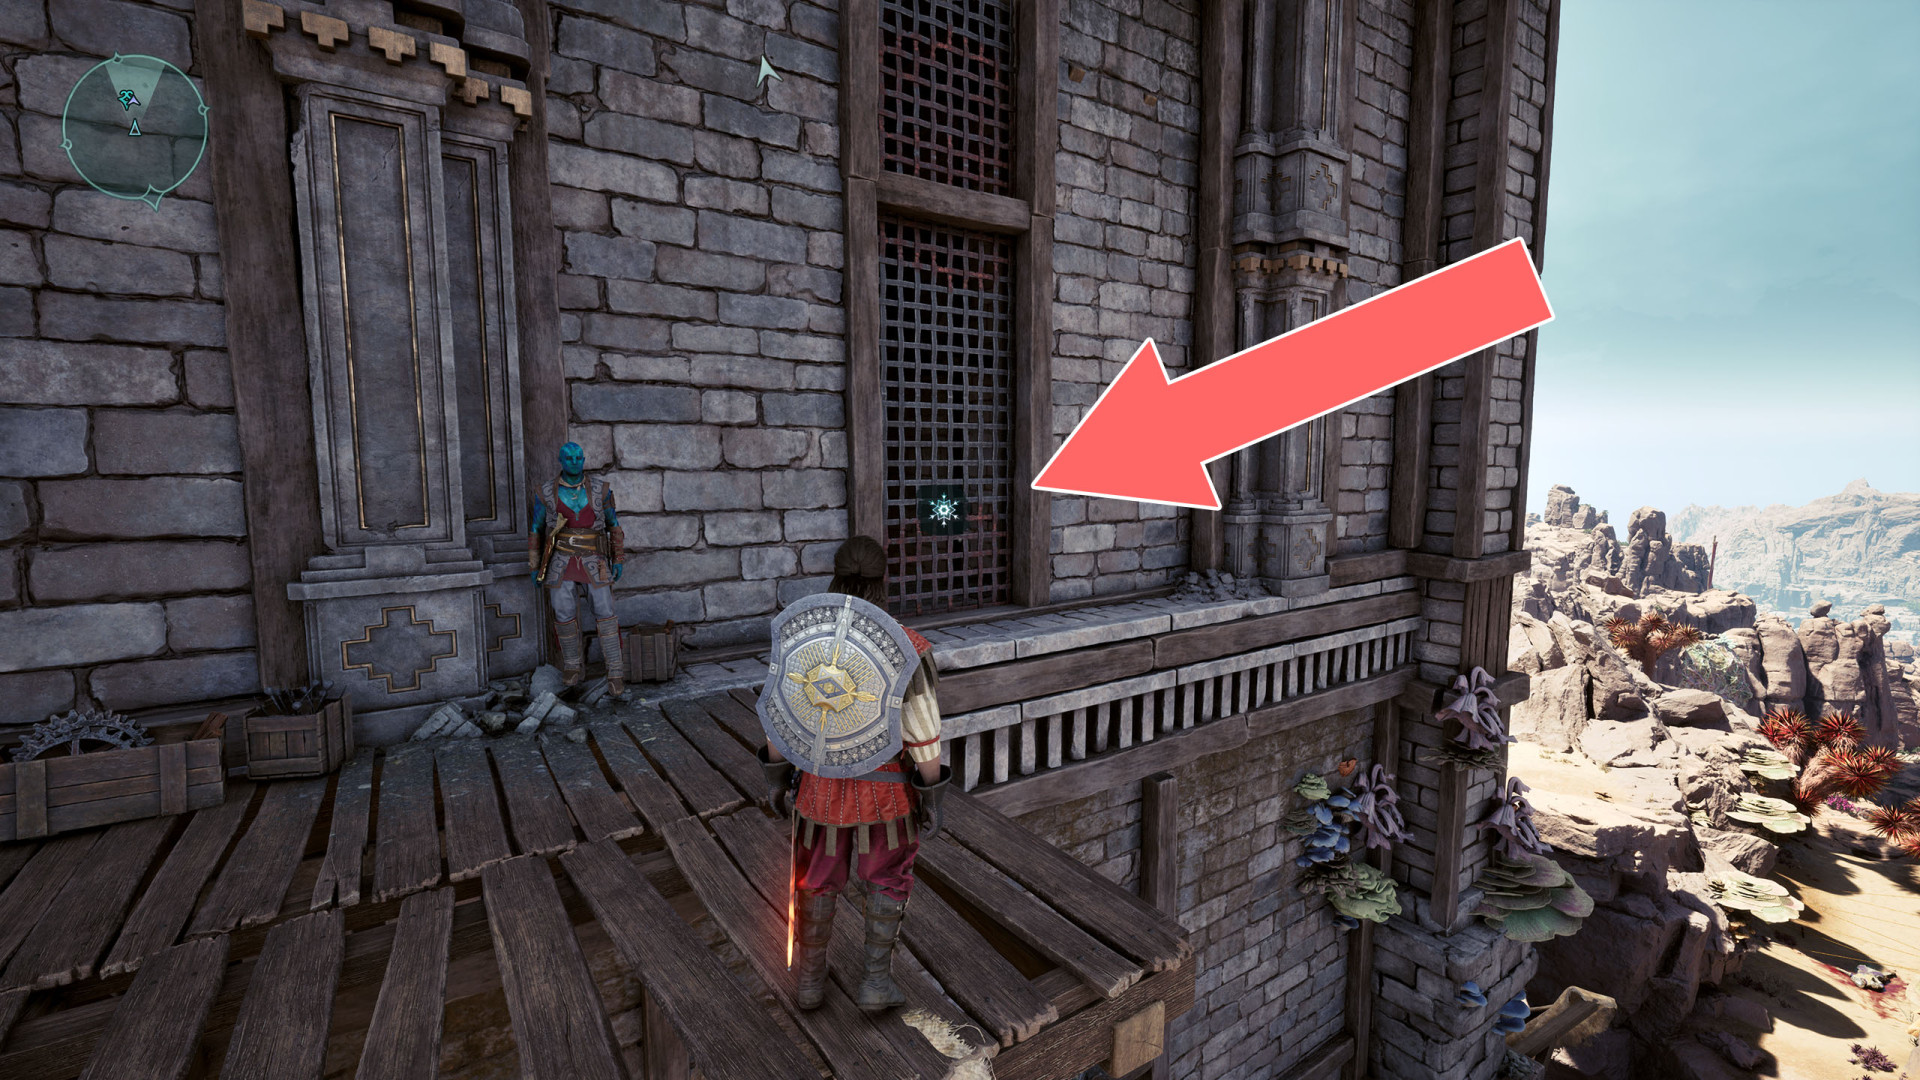
Barred Door▶ show the map ◀
The door can be unlocked from inside the building and you can get inside through a window on an upper floor.

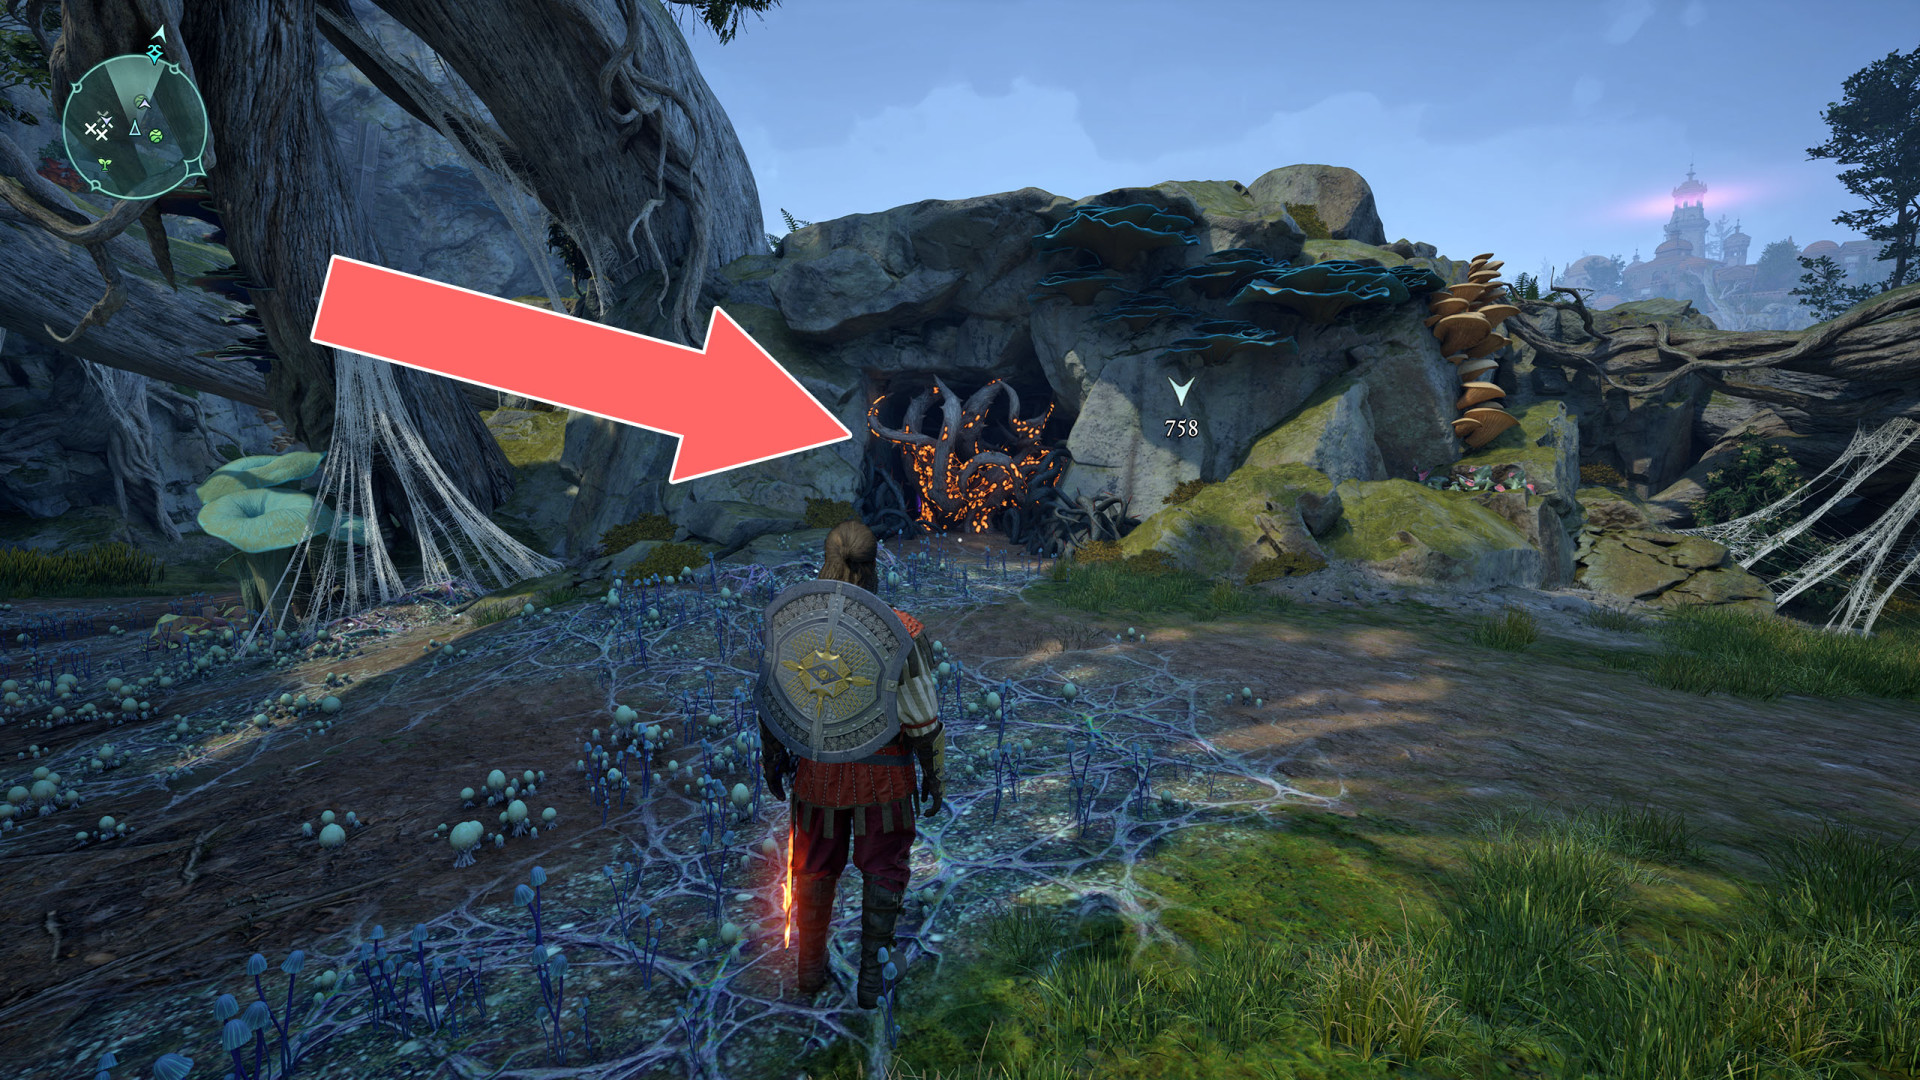
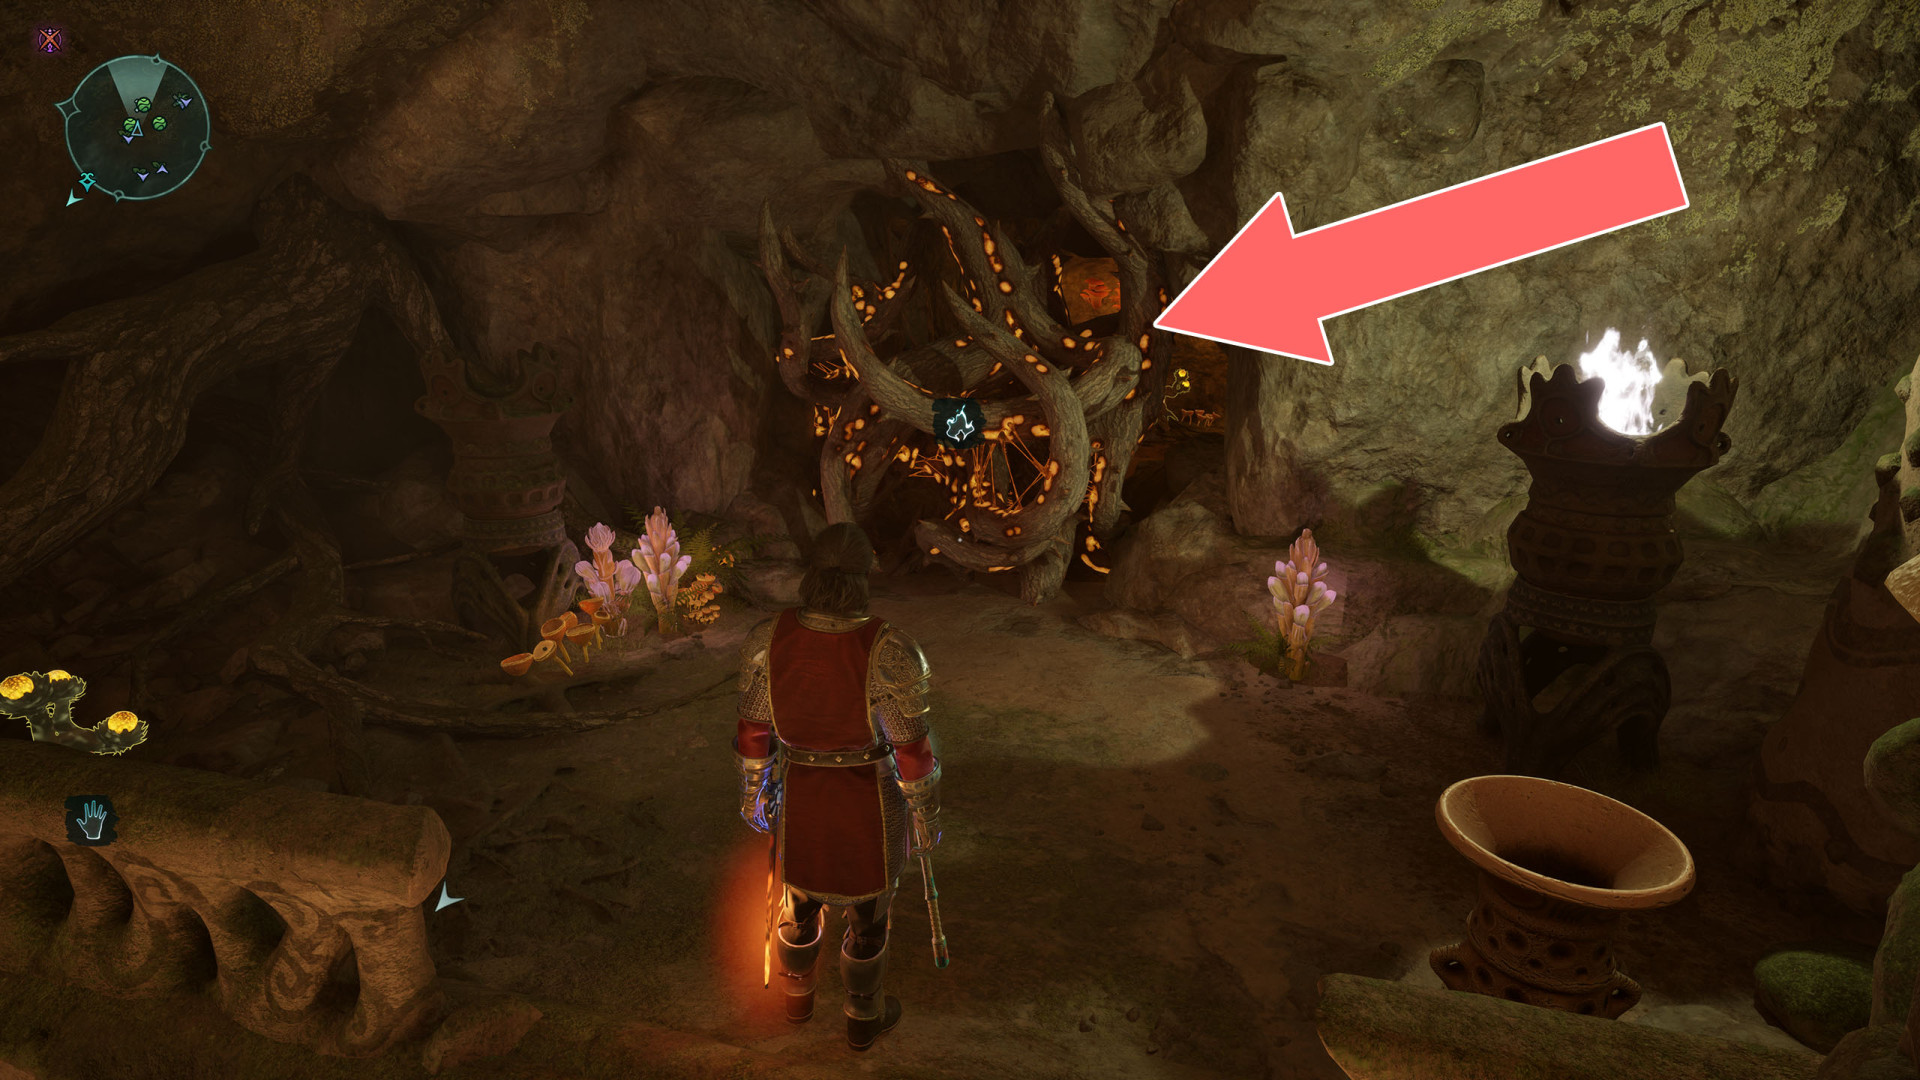
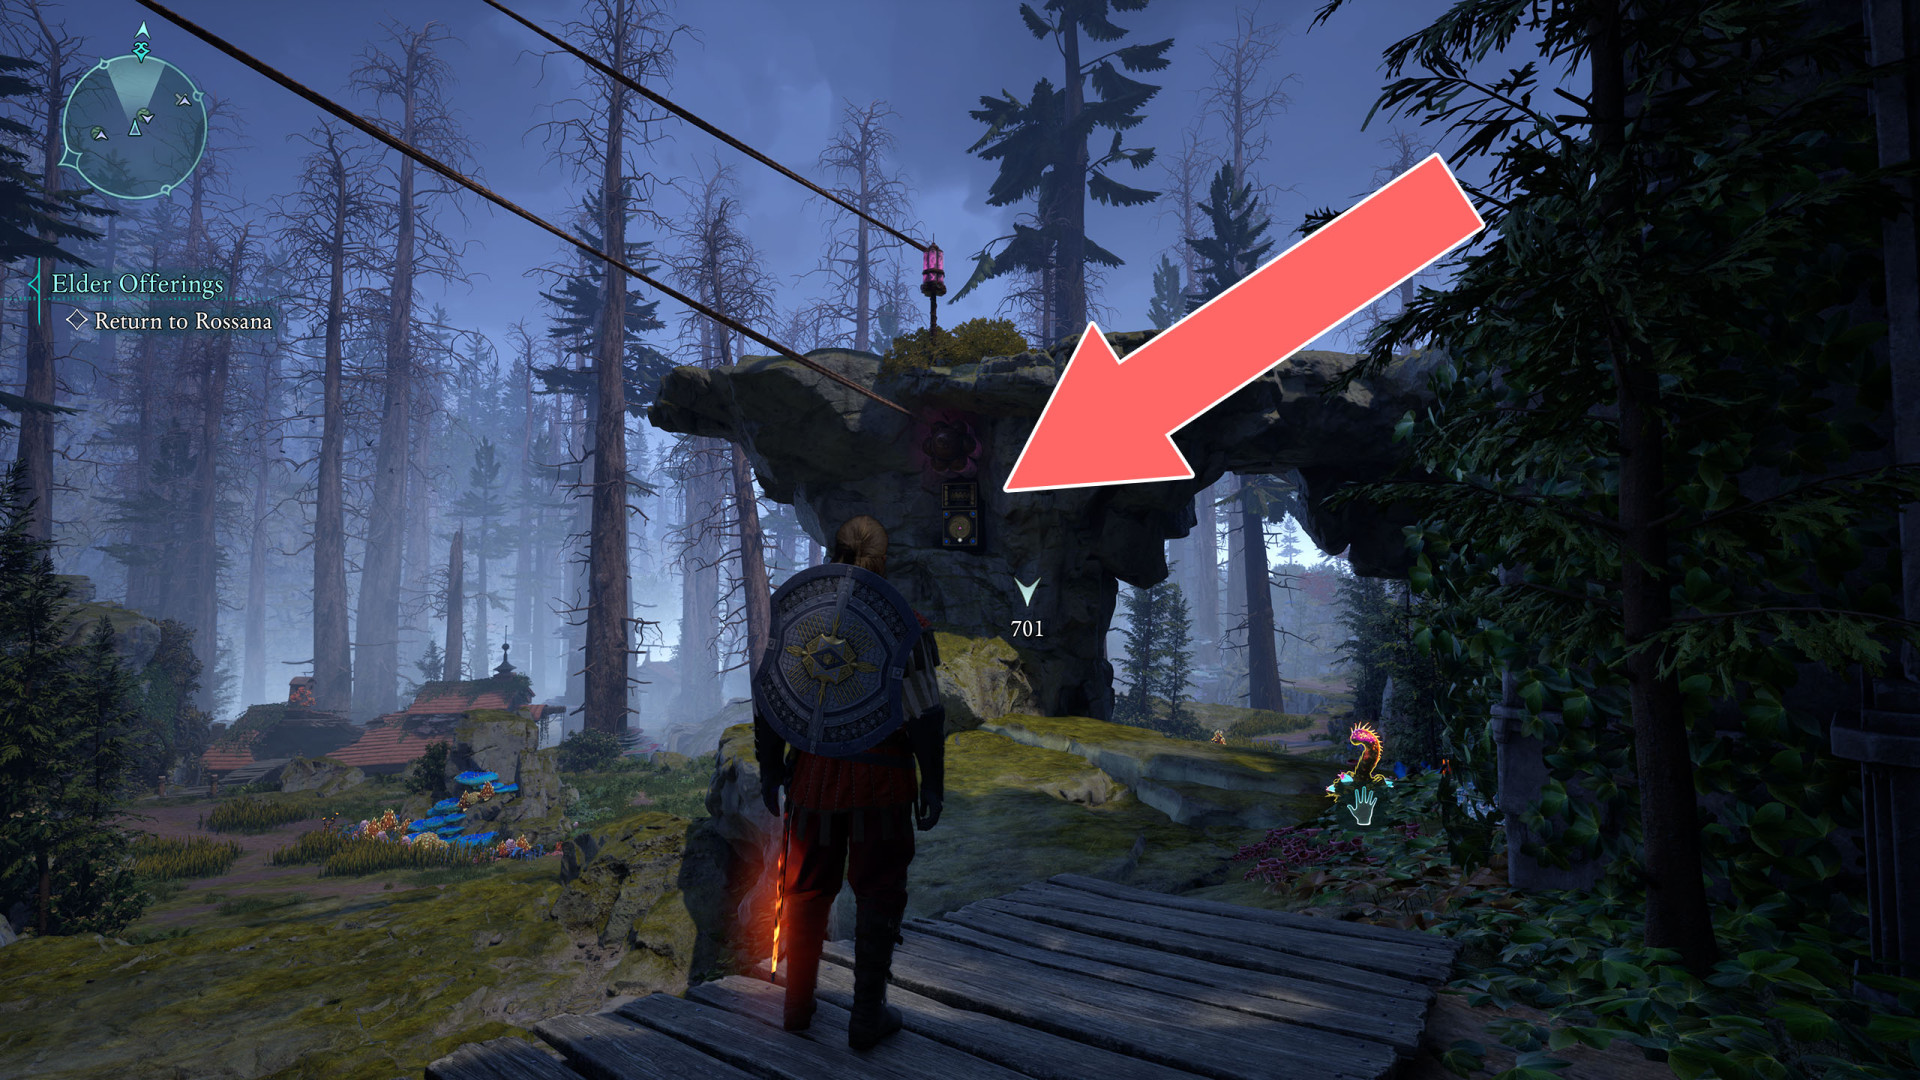
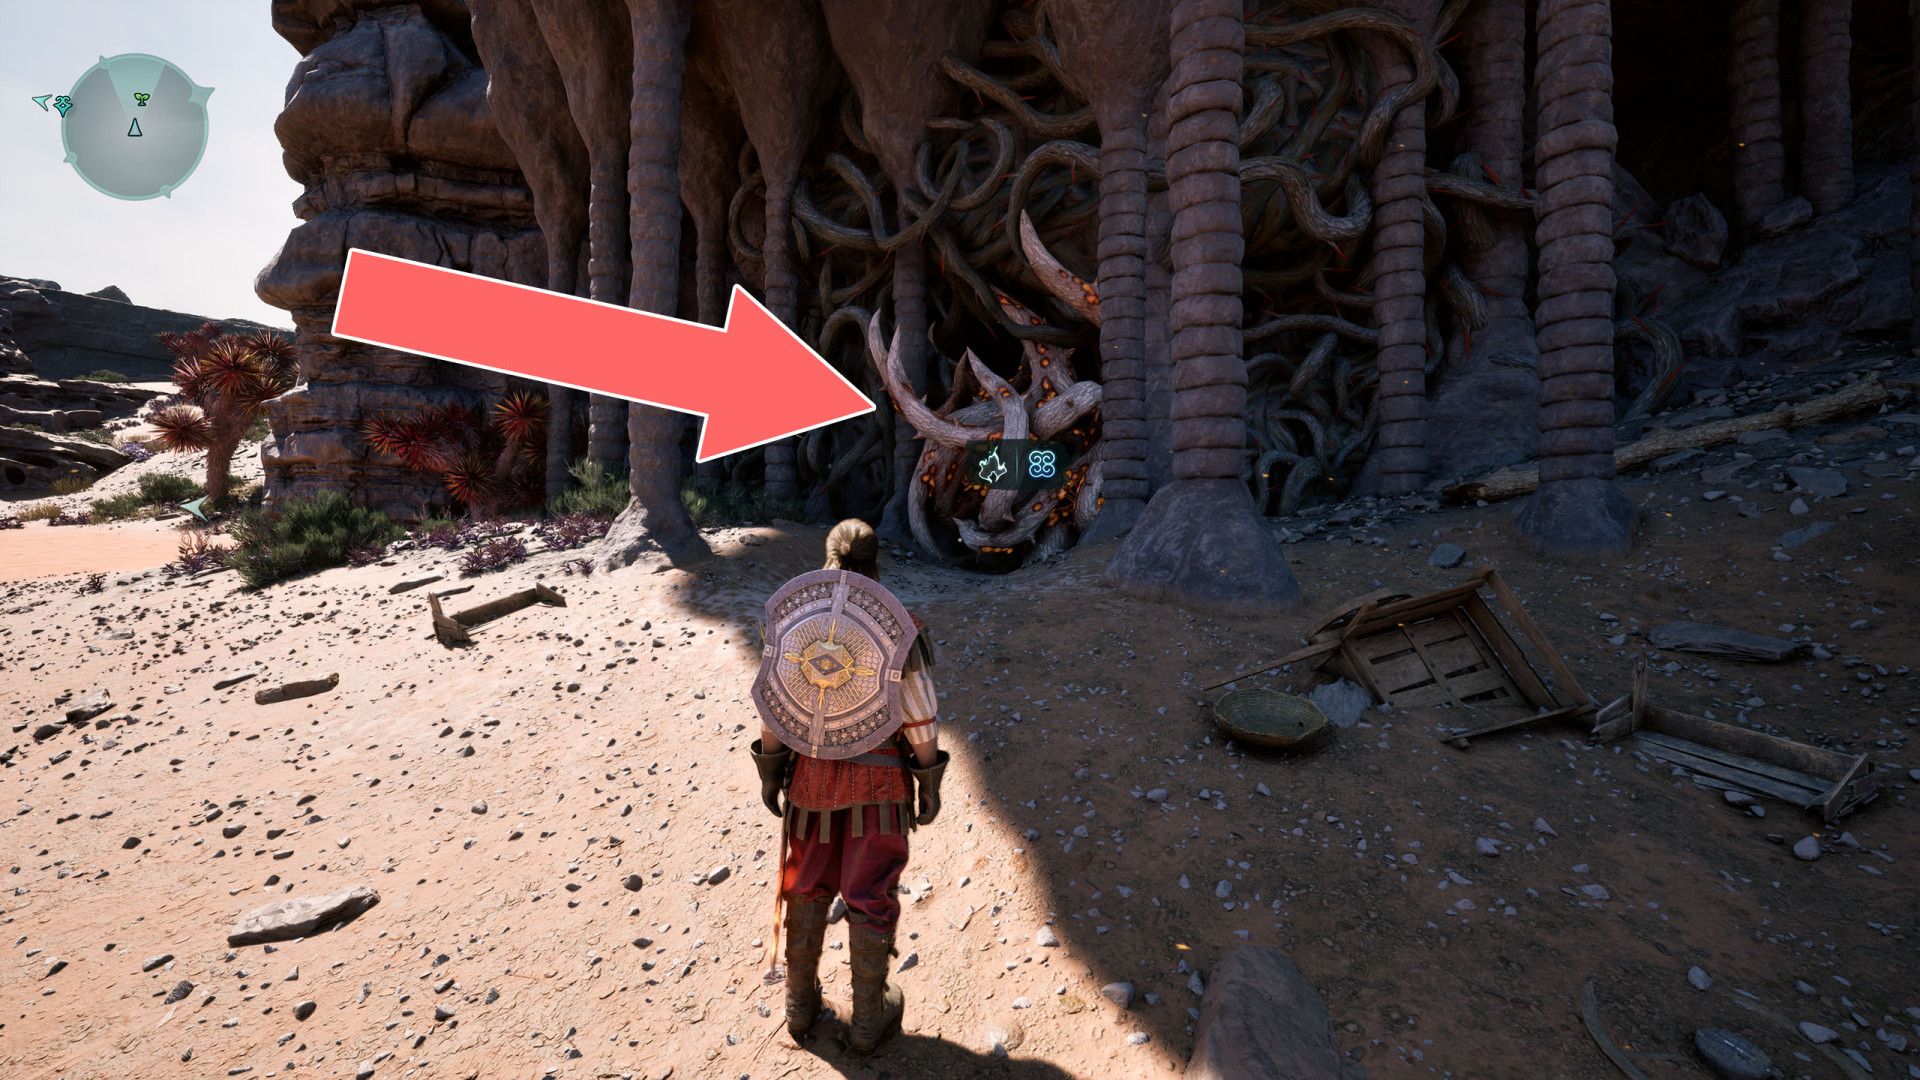
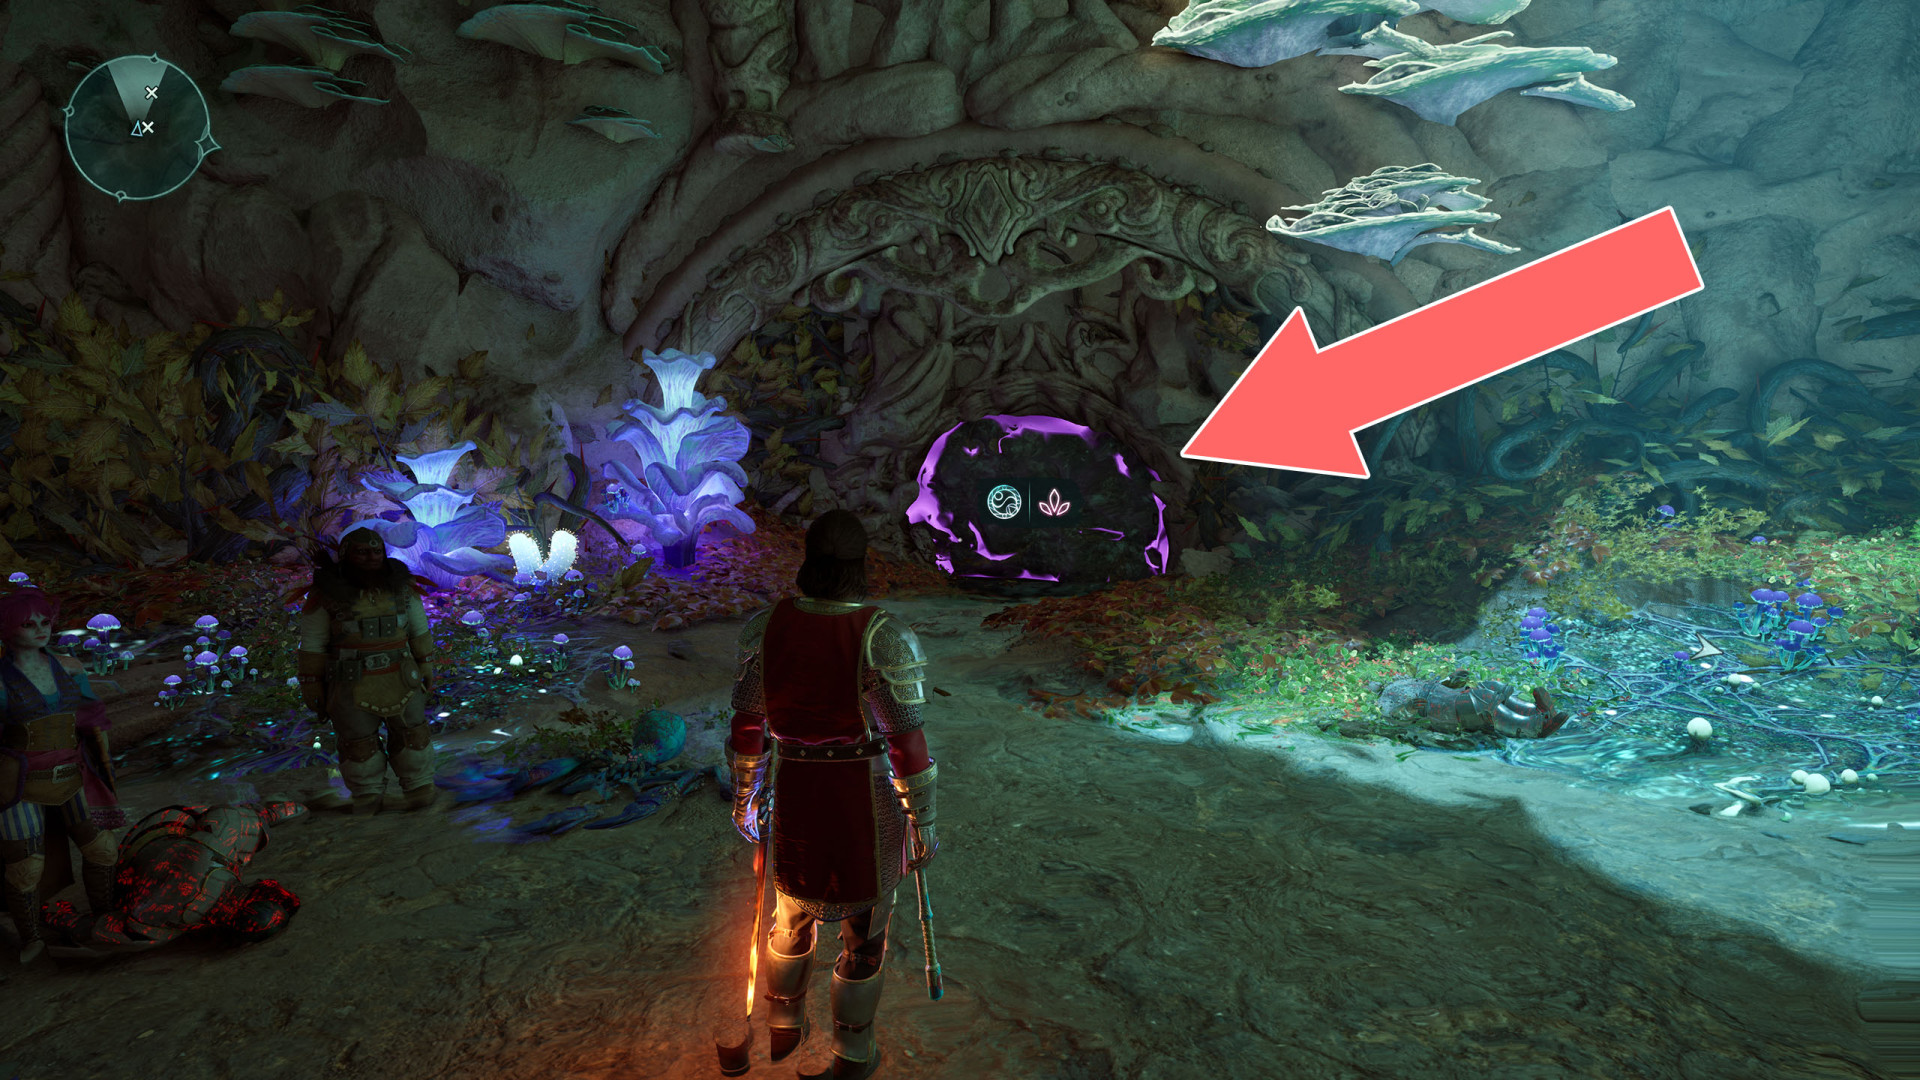
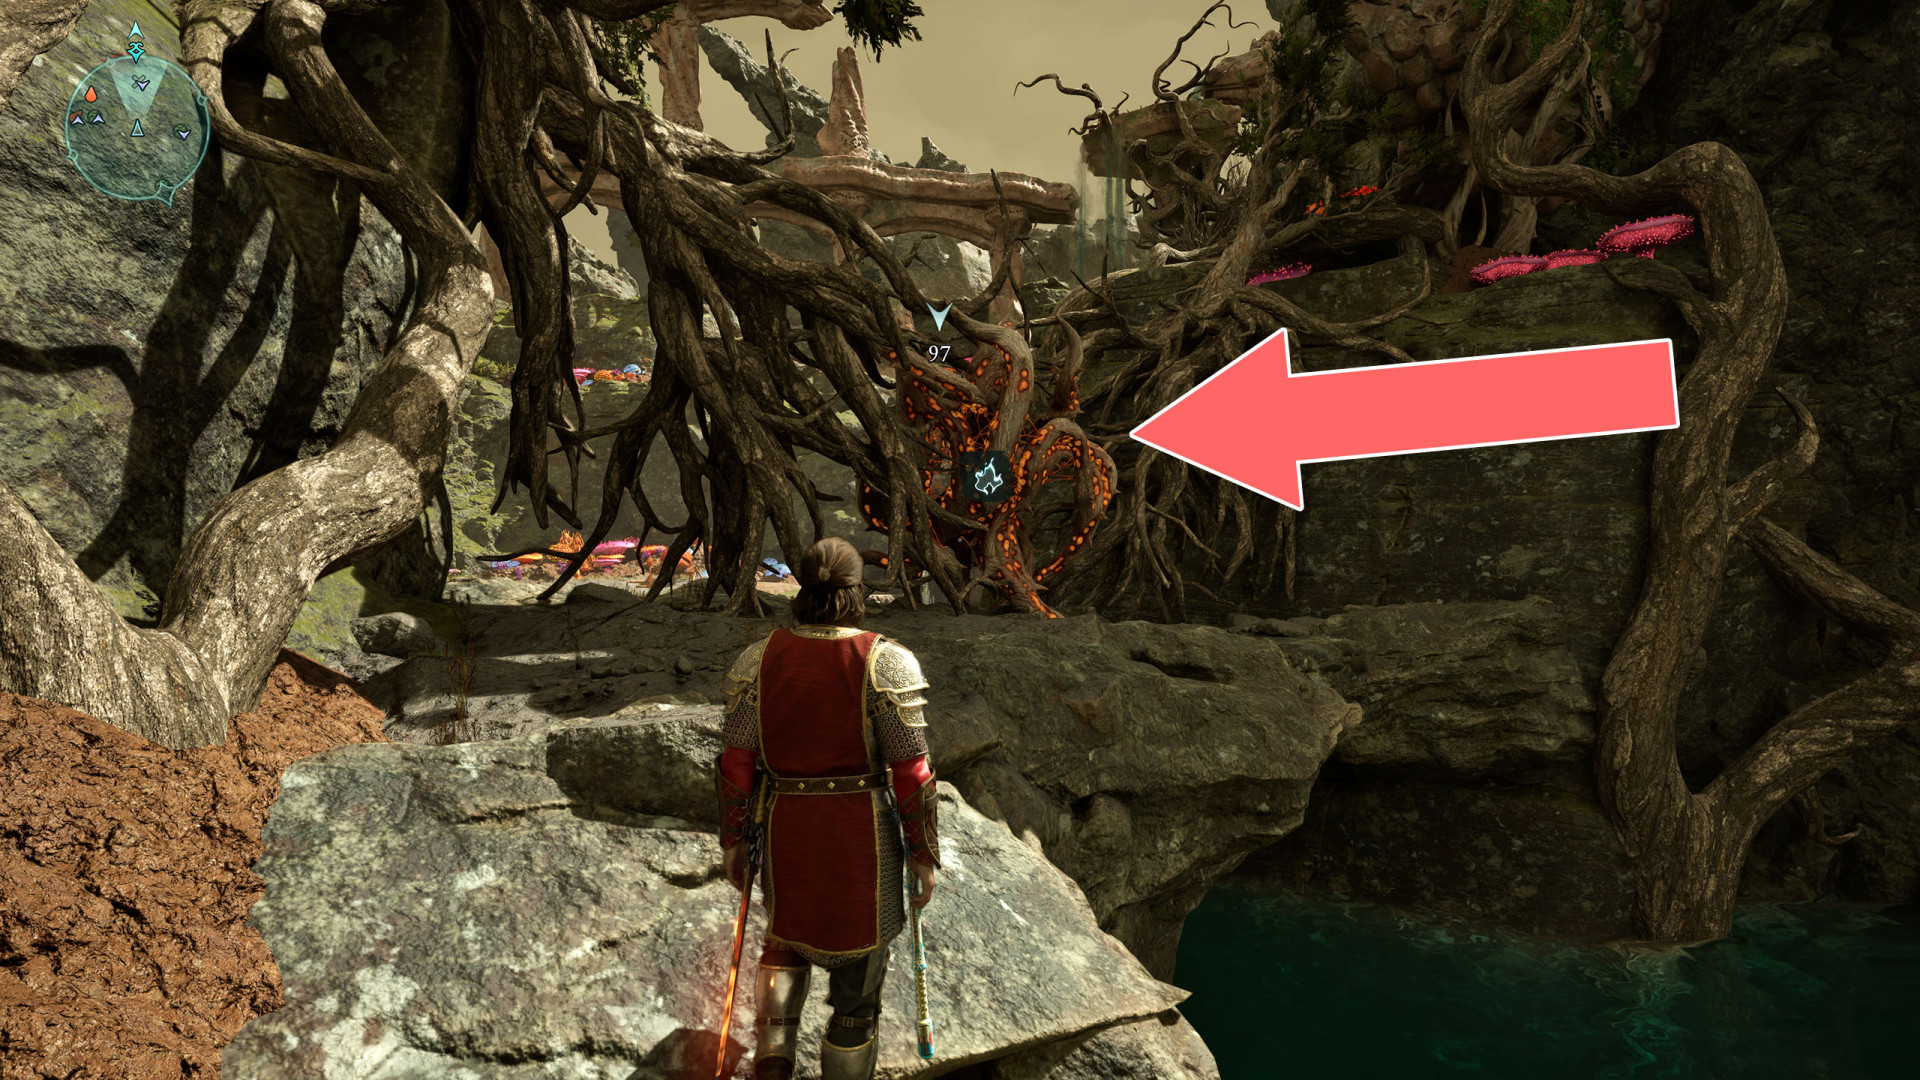
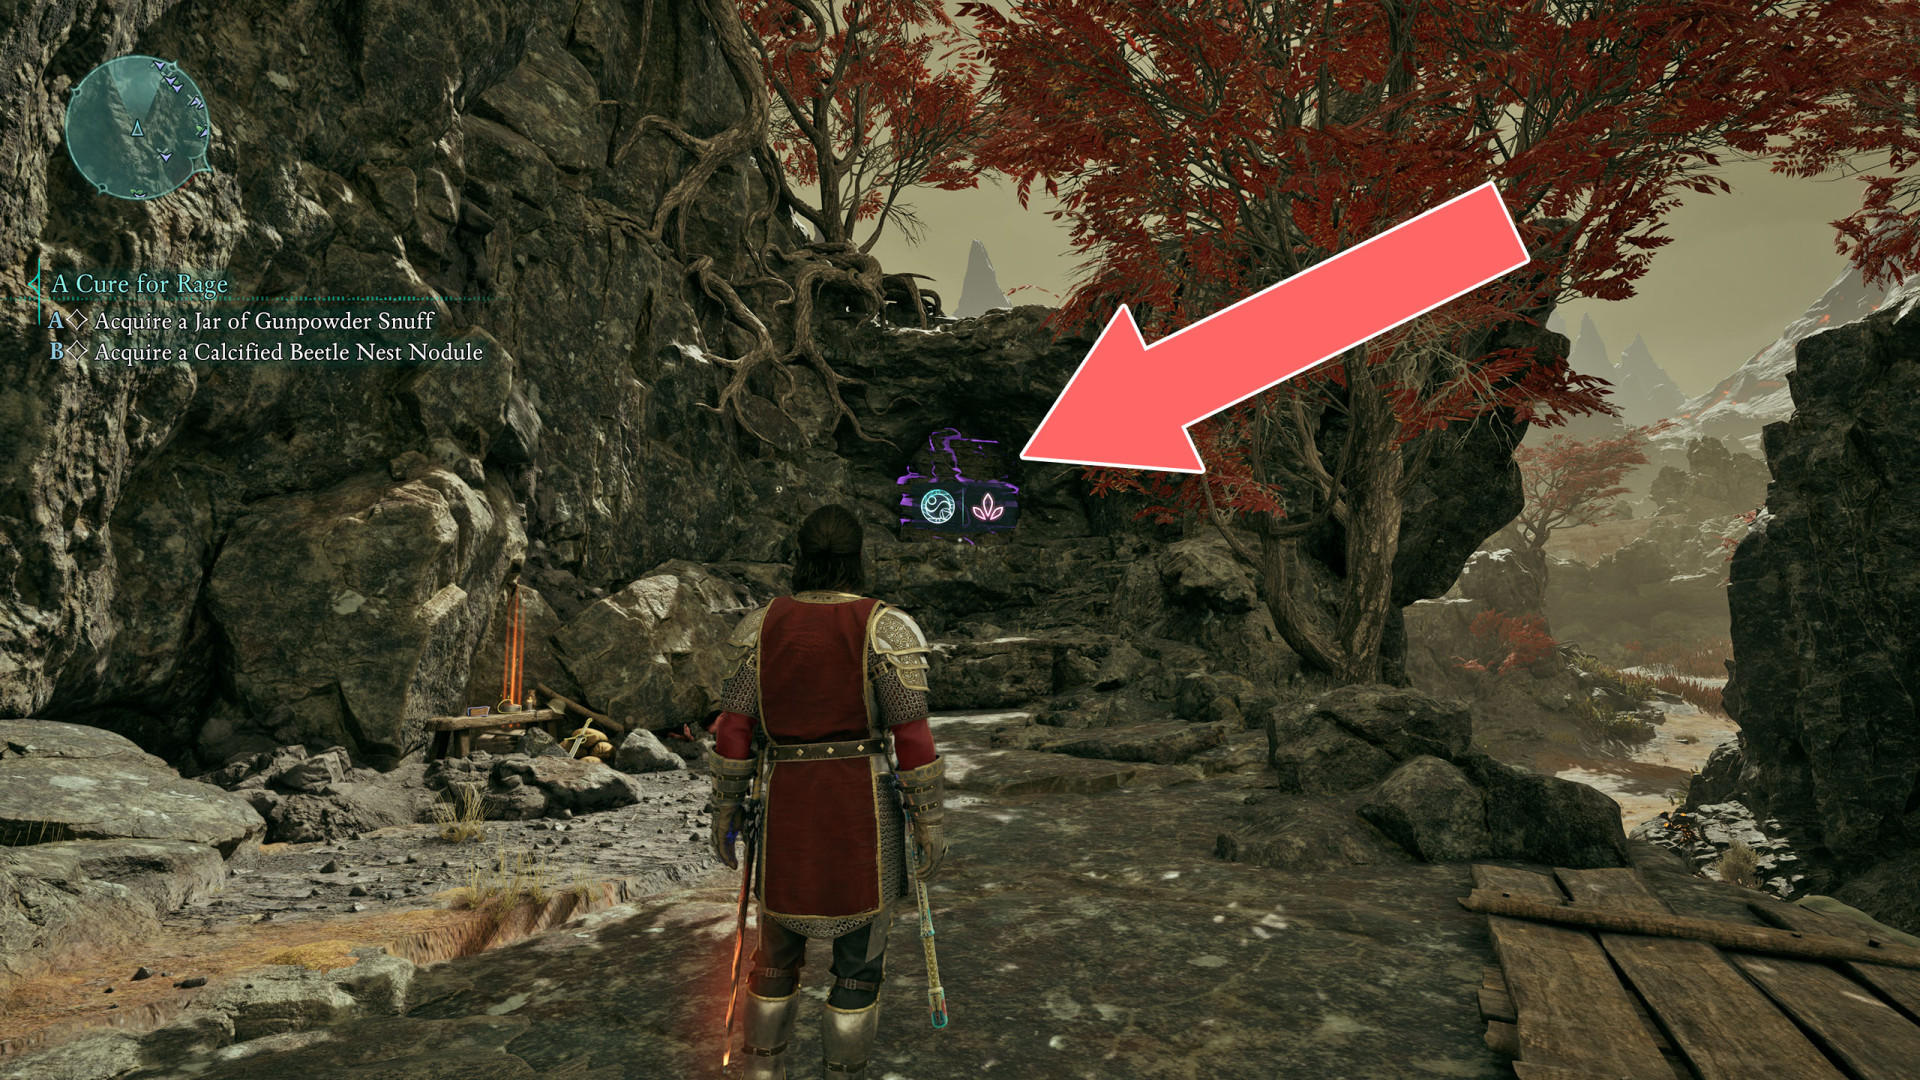
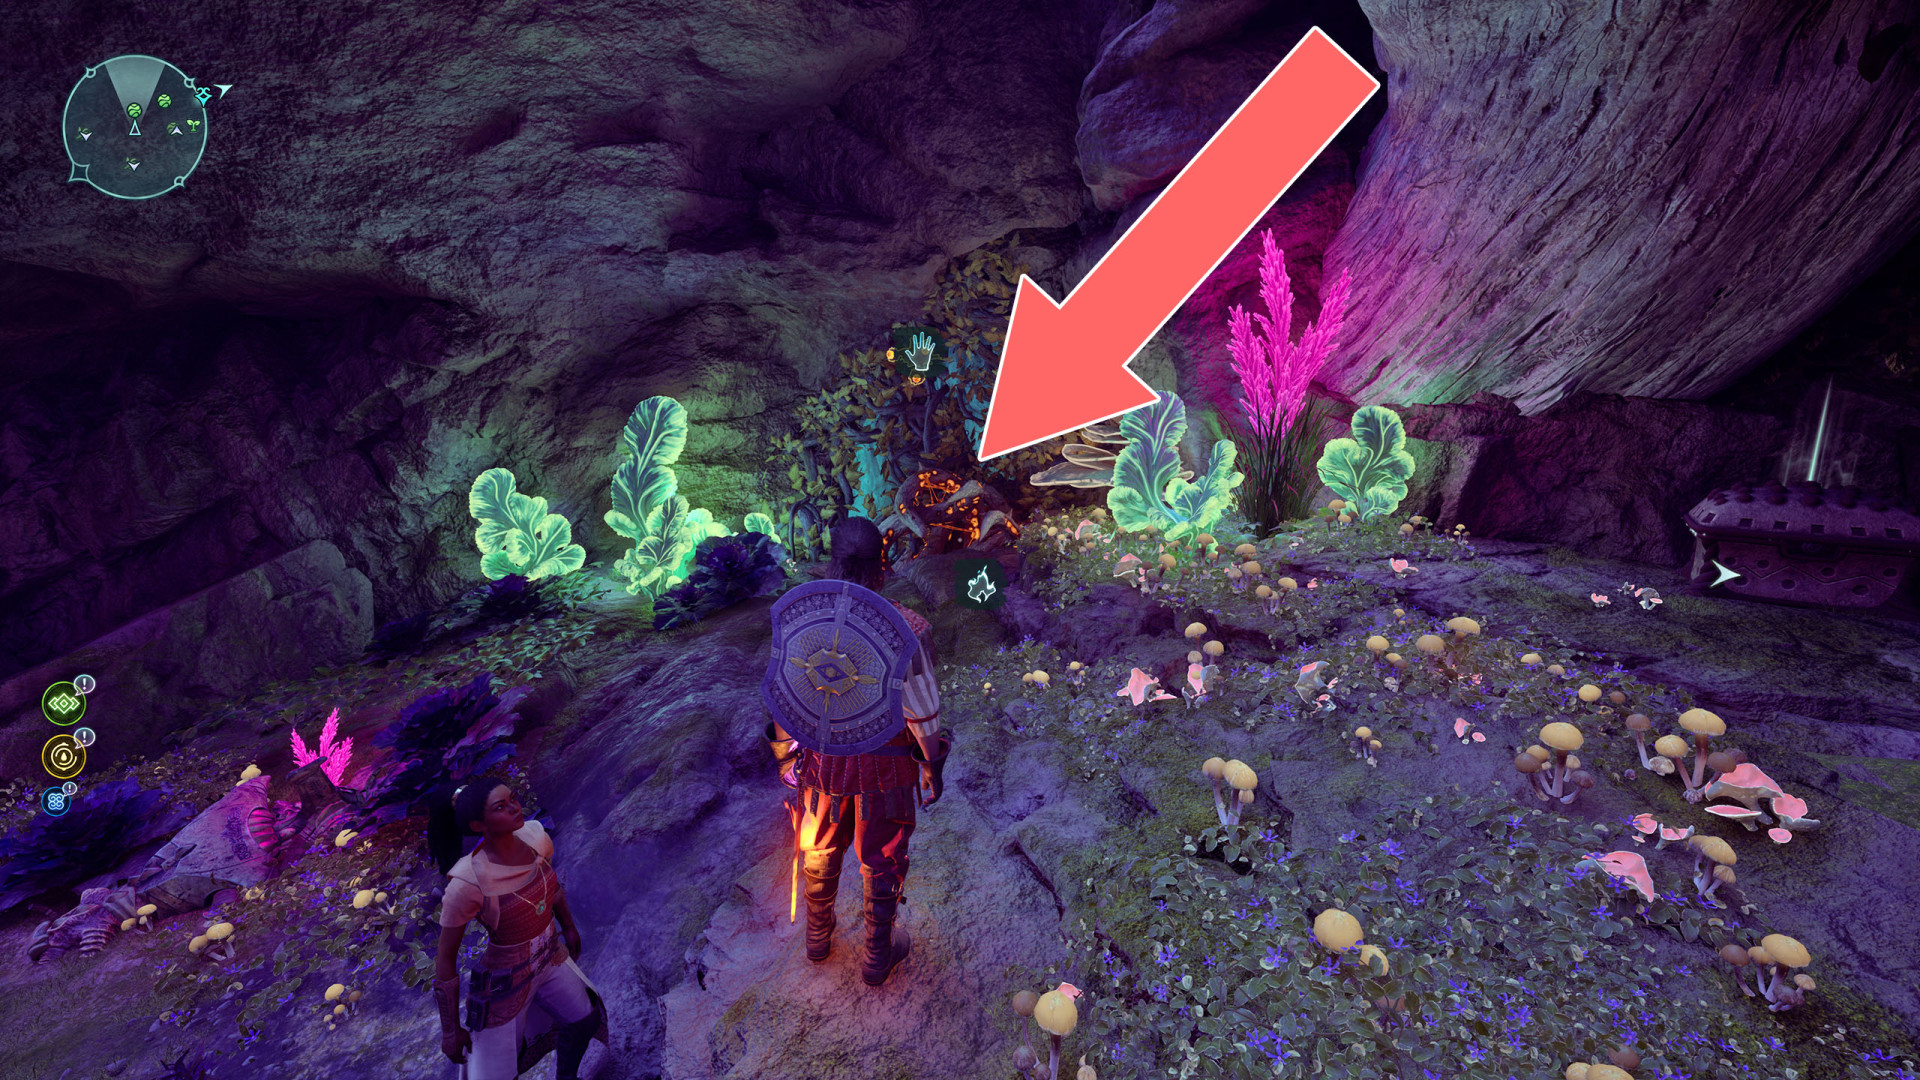
Brambles▶ show the map ◀
Brambles▶ show the map ◀
Brambles▶ show the map ◀

Brambles▶ show the map ◀
Brambles▶ show the map ◀
Brambles▶ show the map ◀
Brambles▶ show the map ◀
Brambles▶ show the map ◀
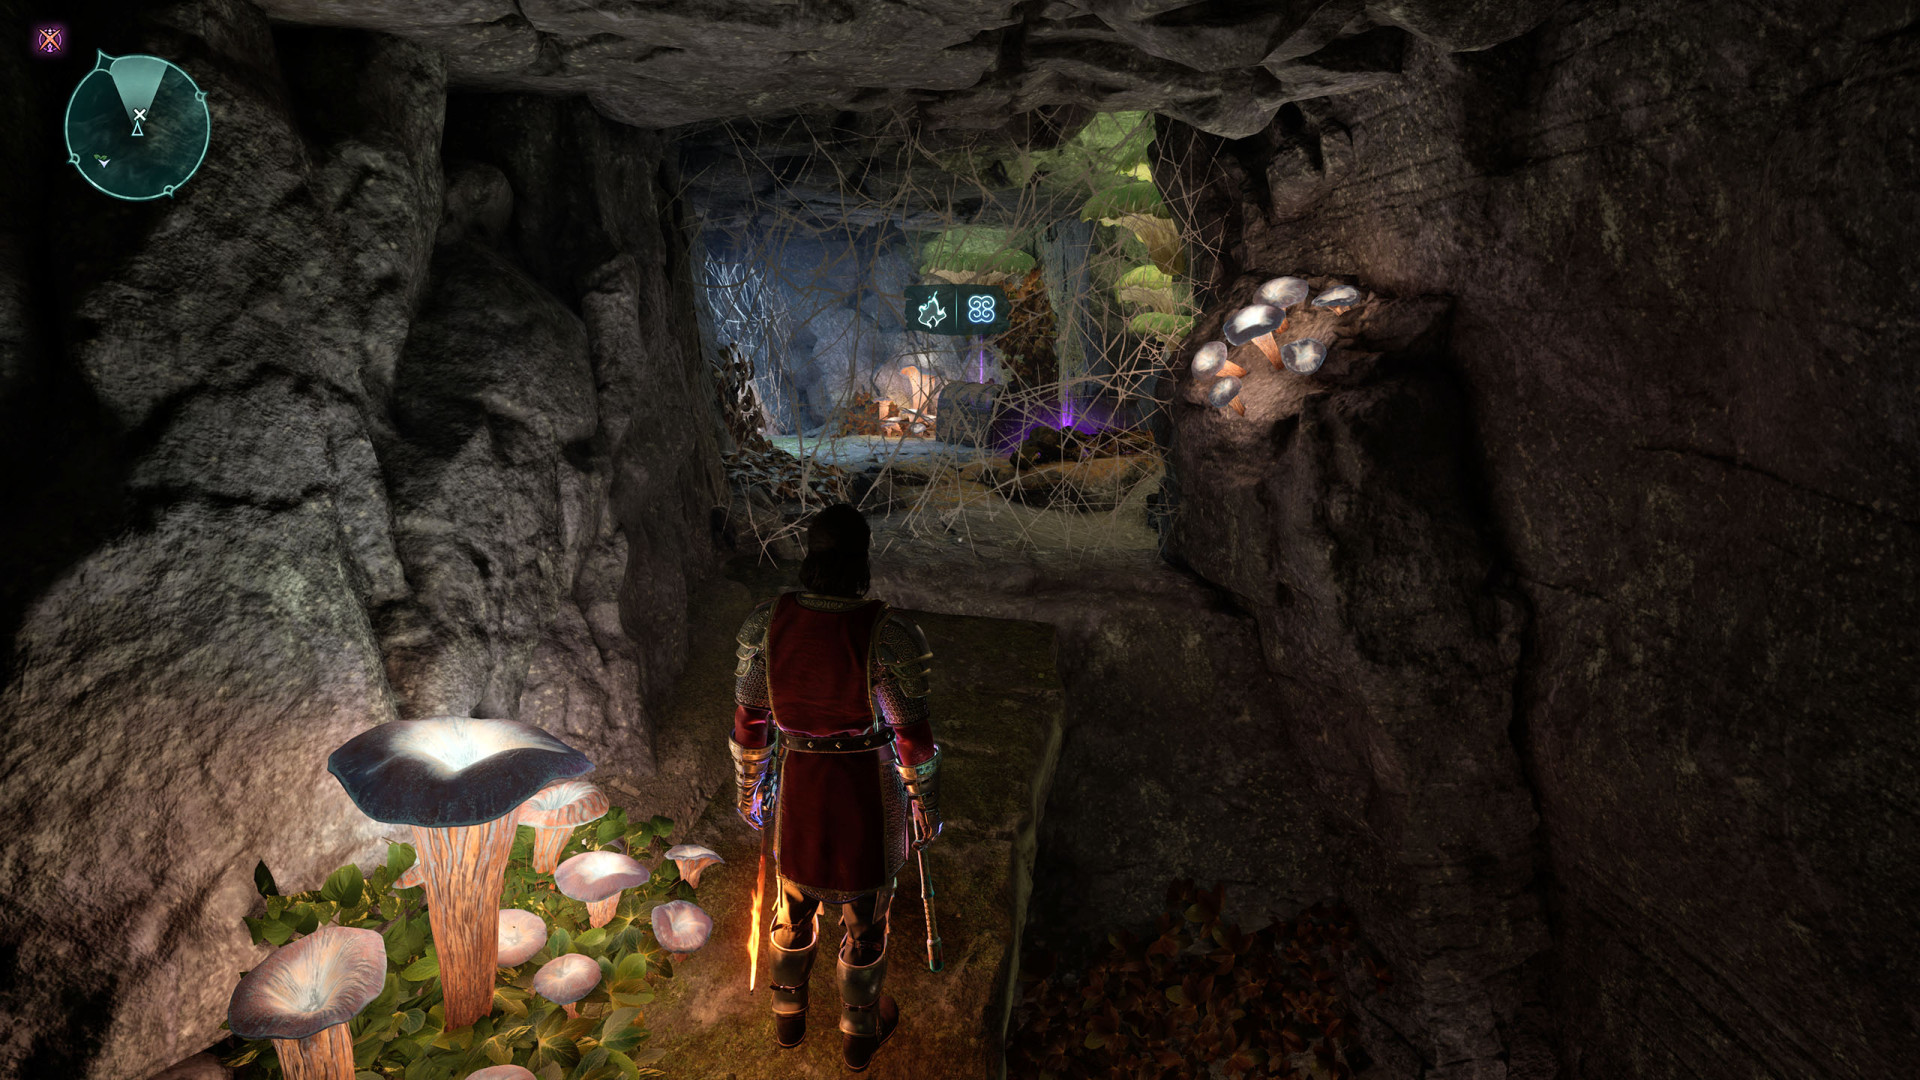
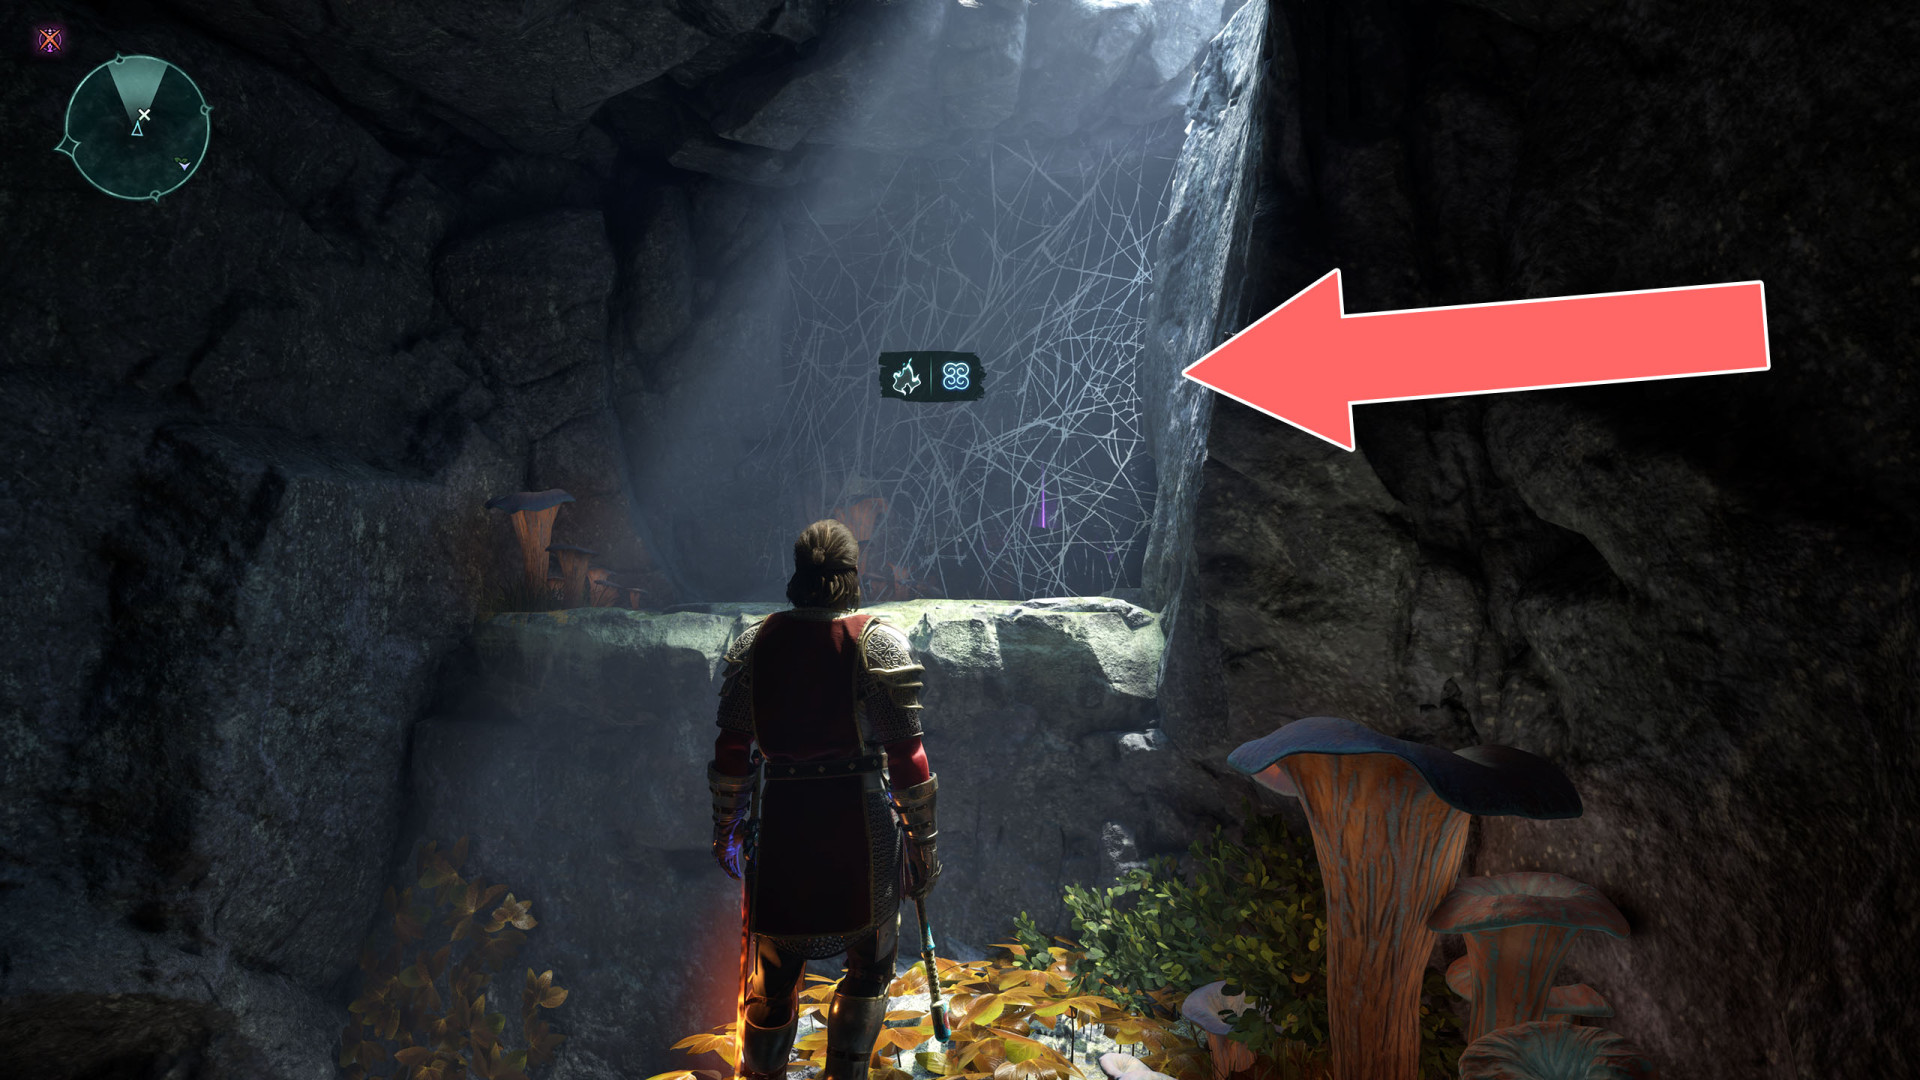
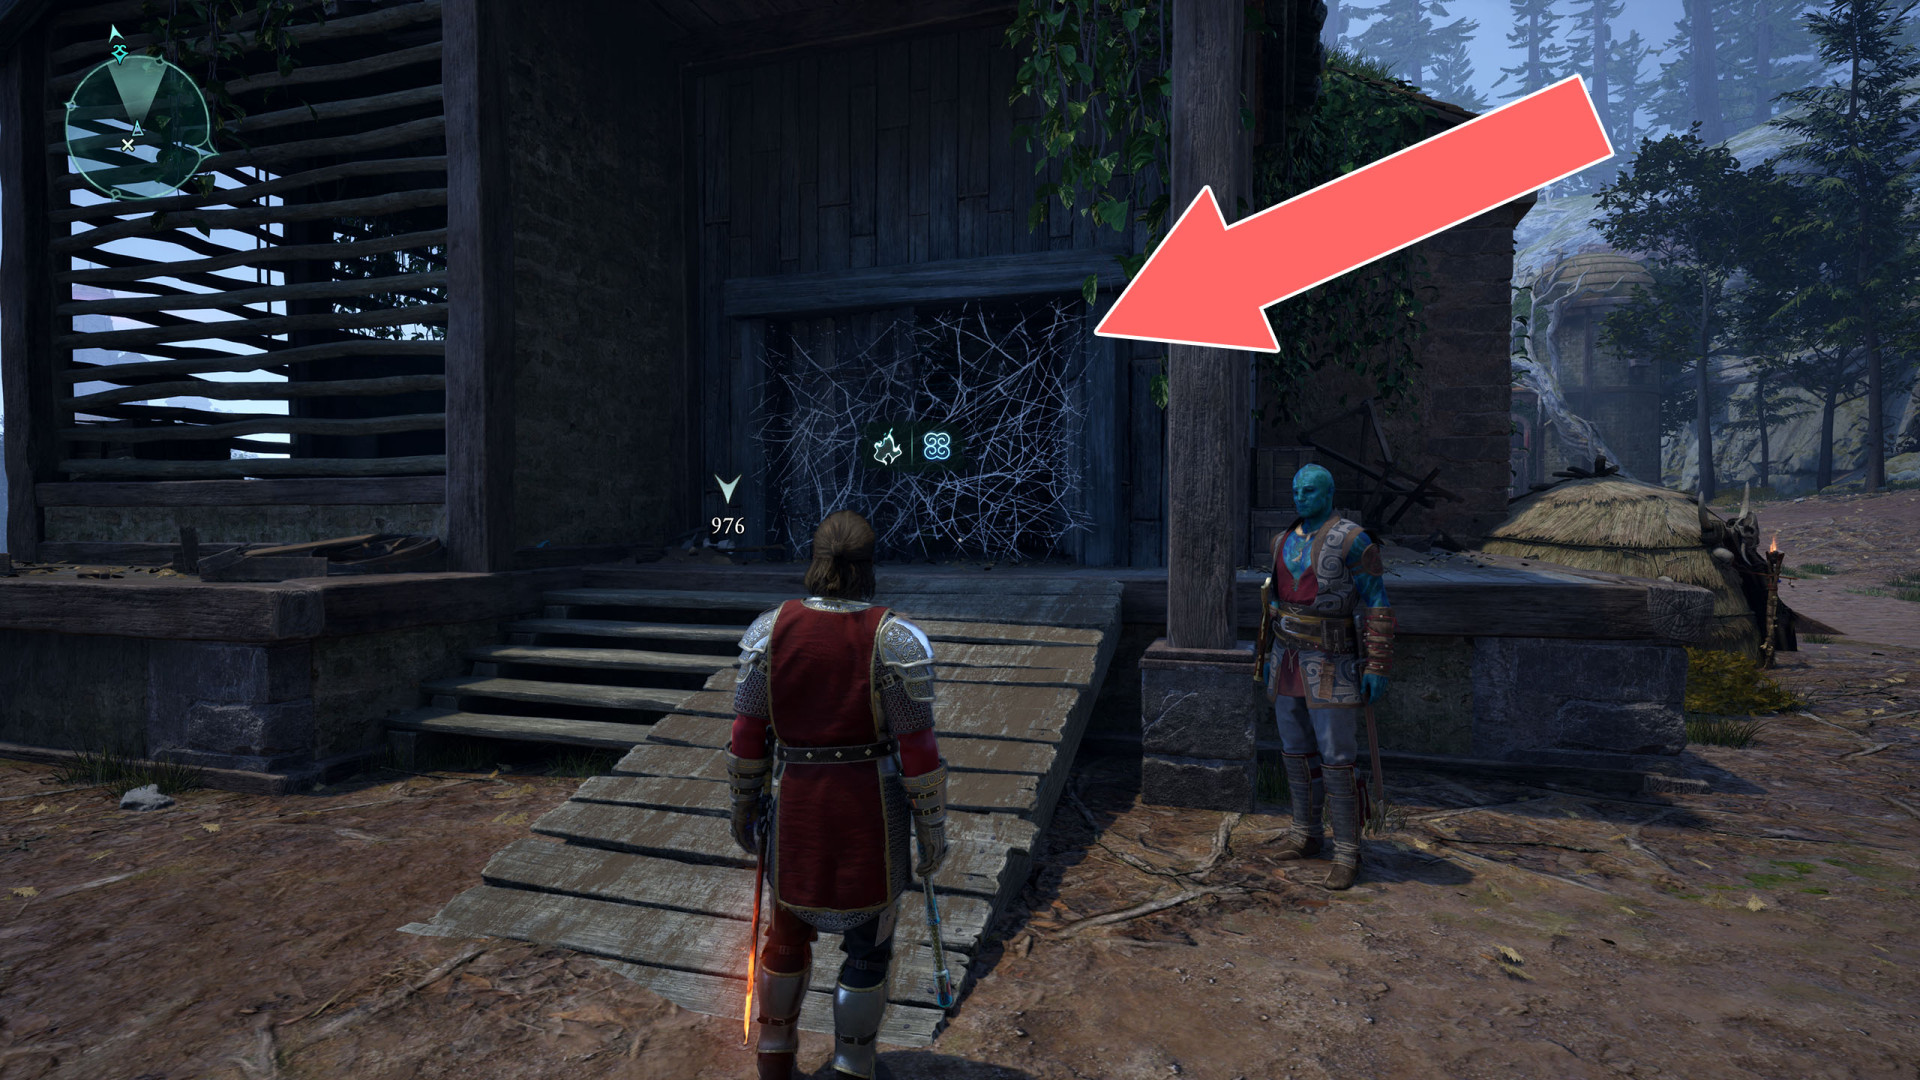
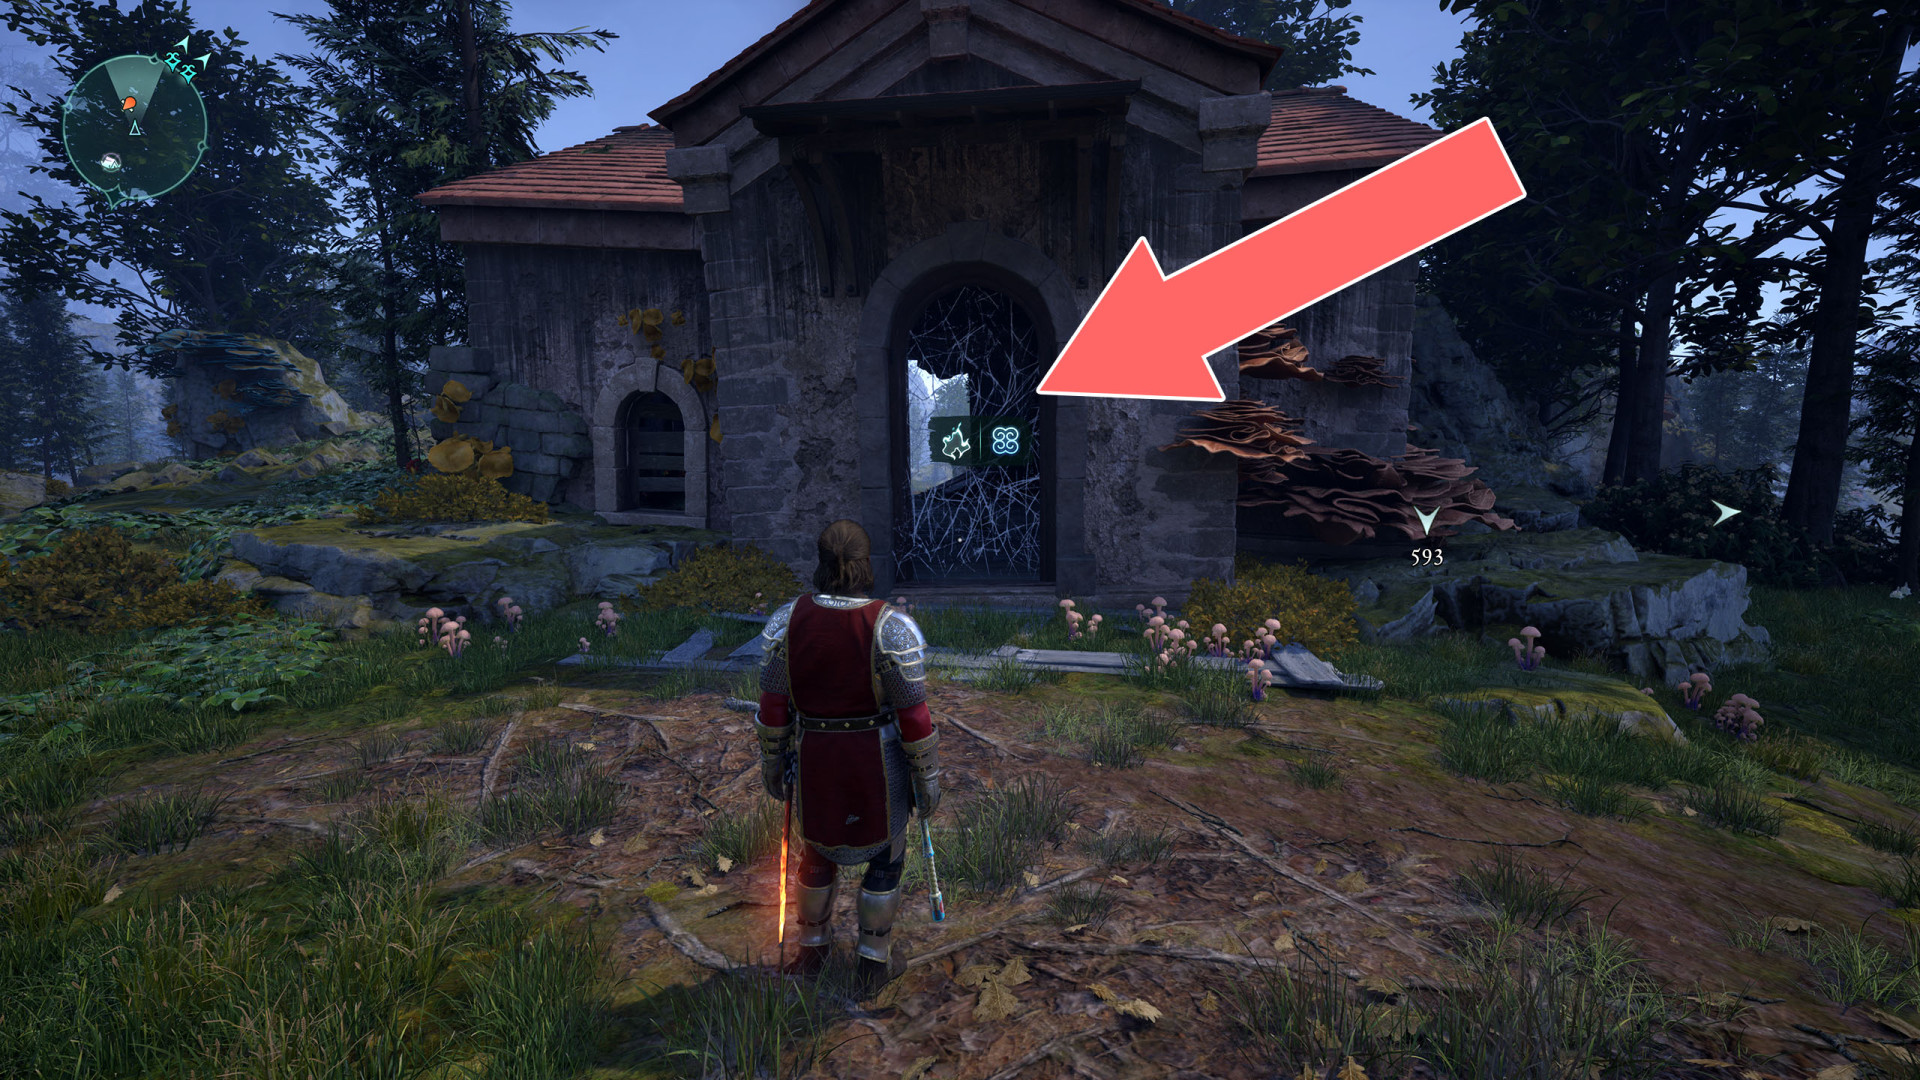
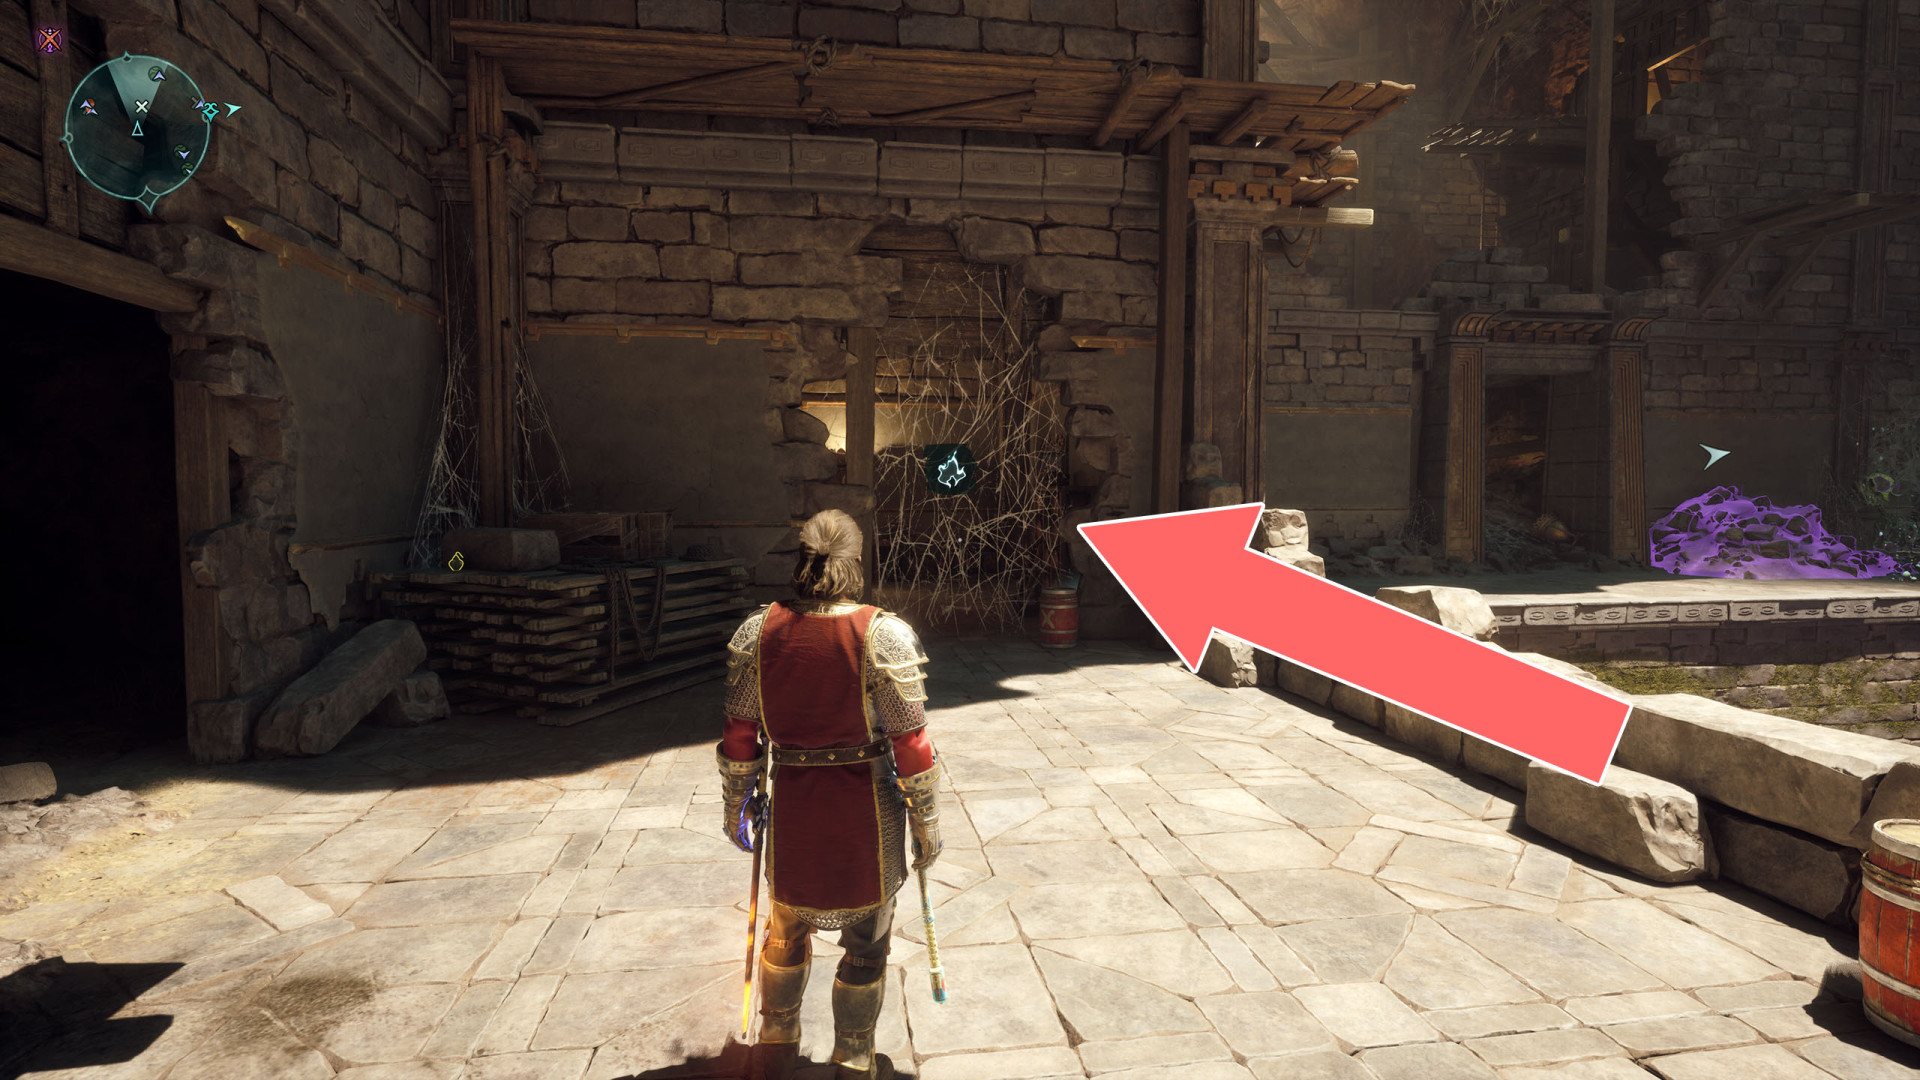
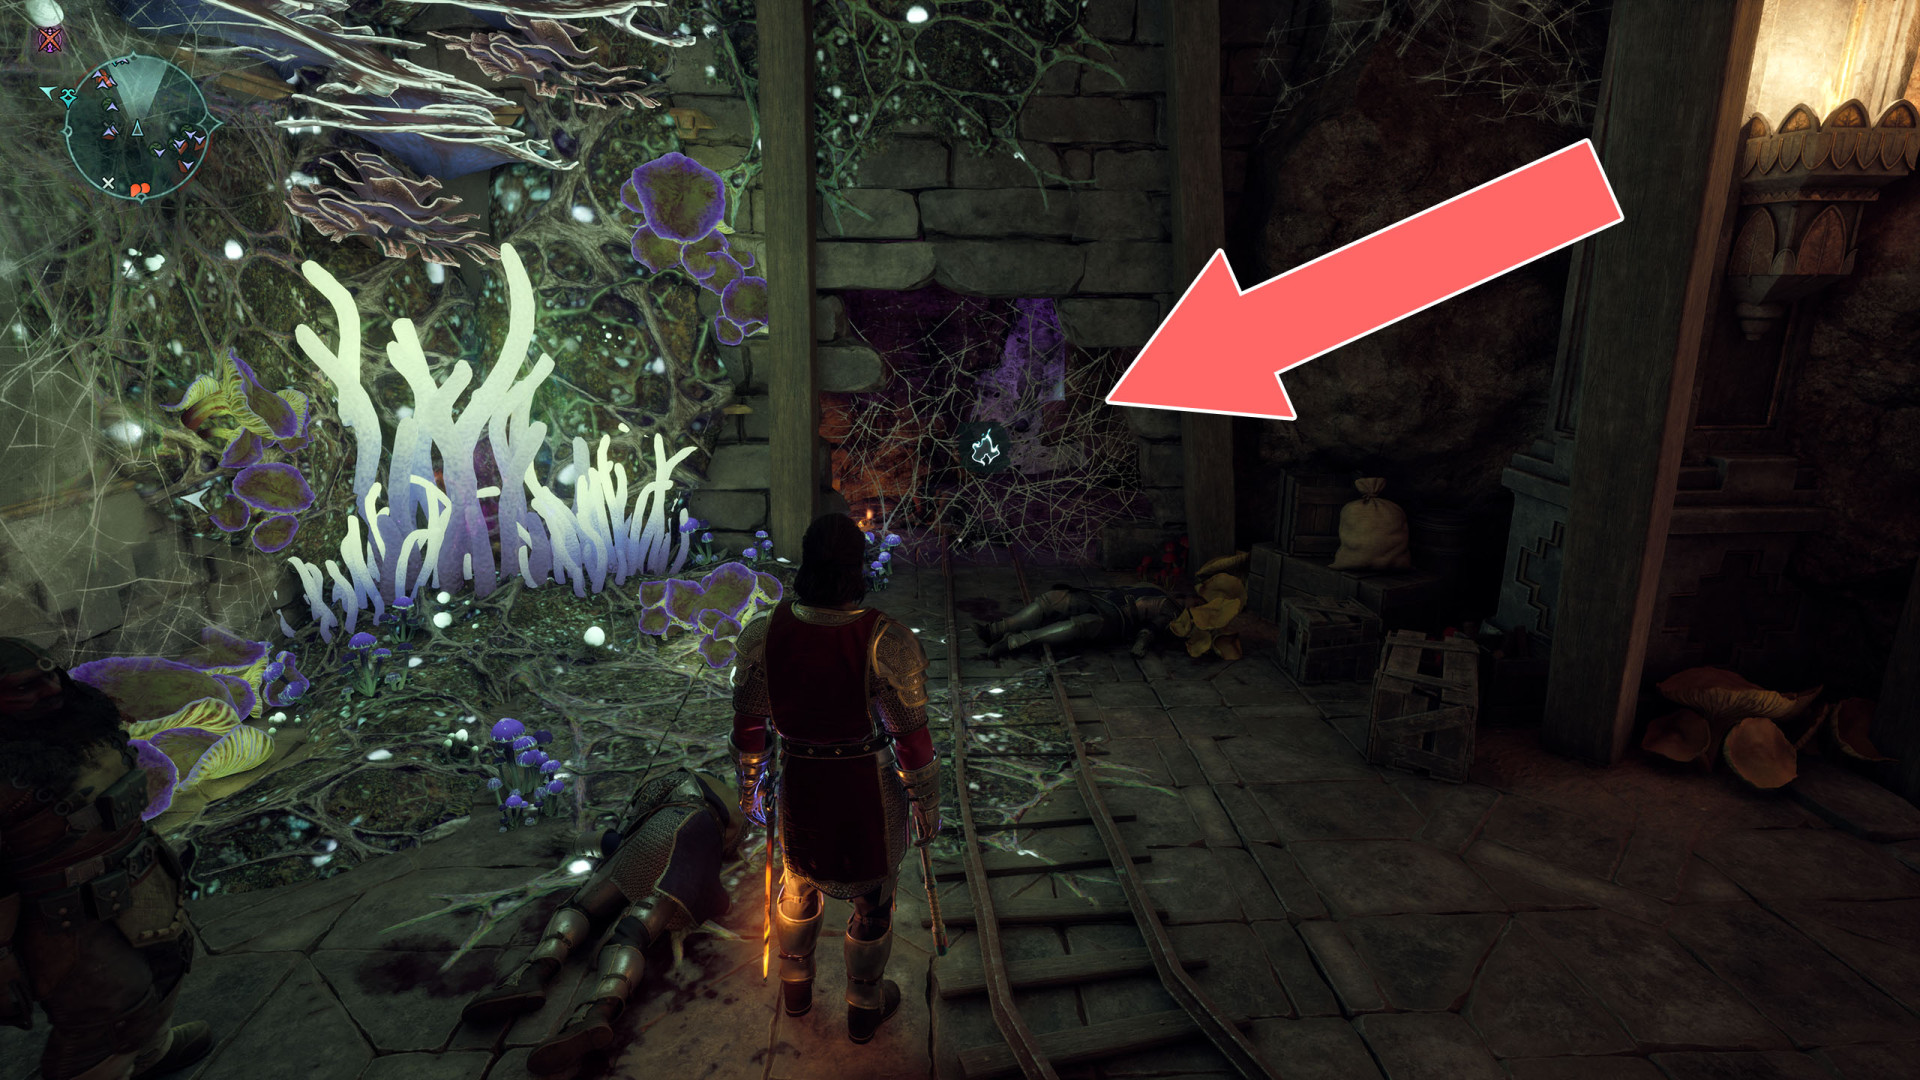
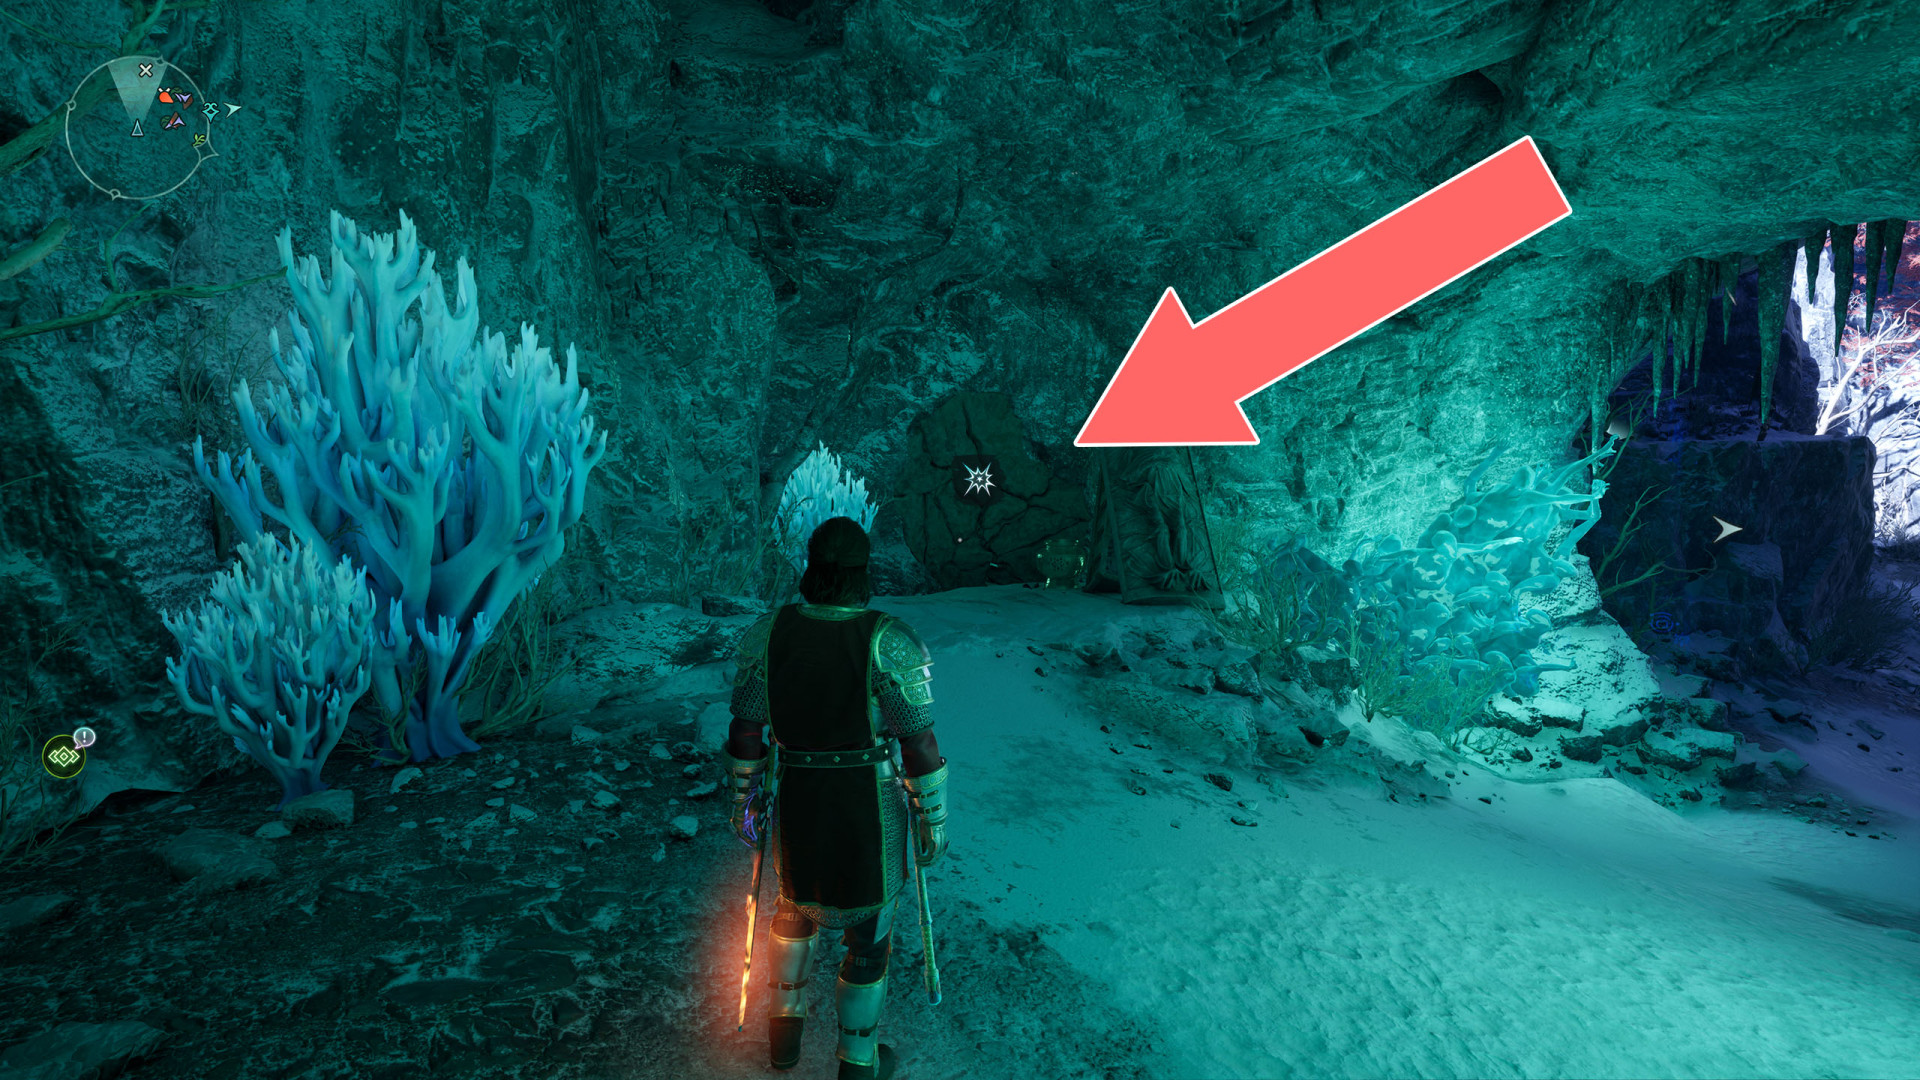
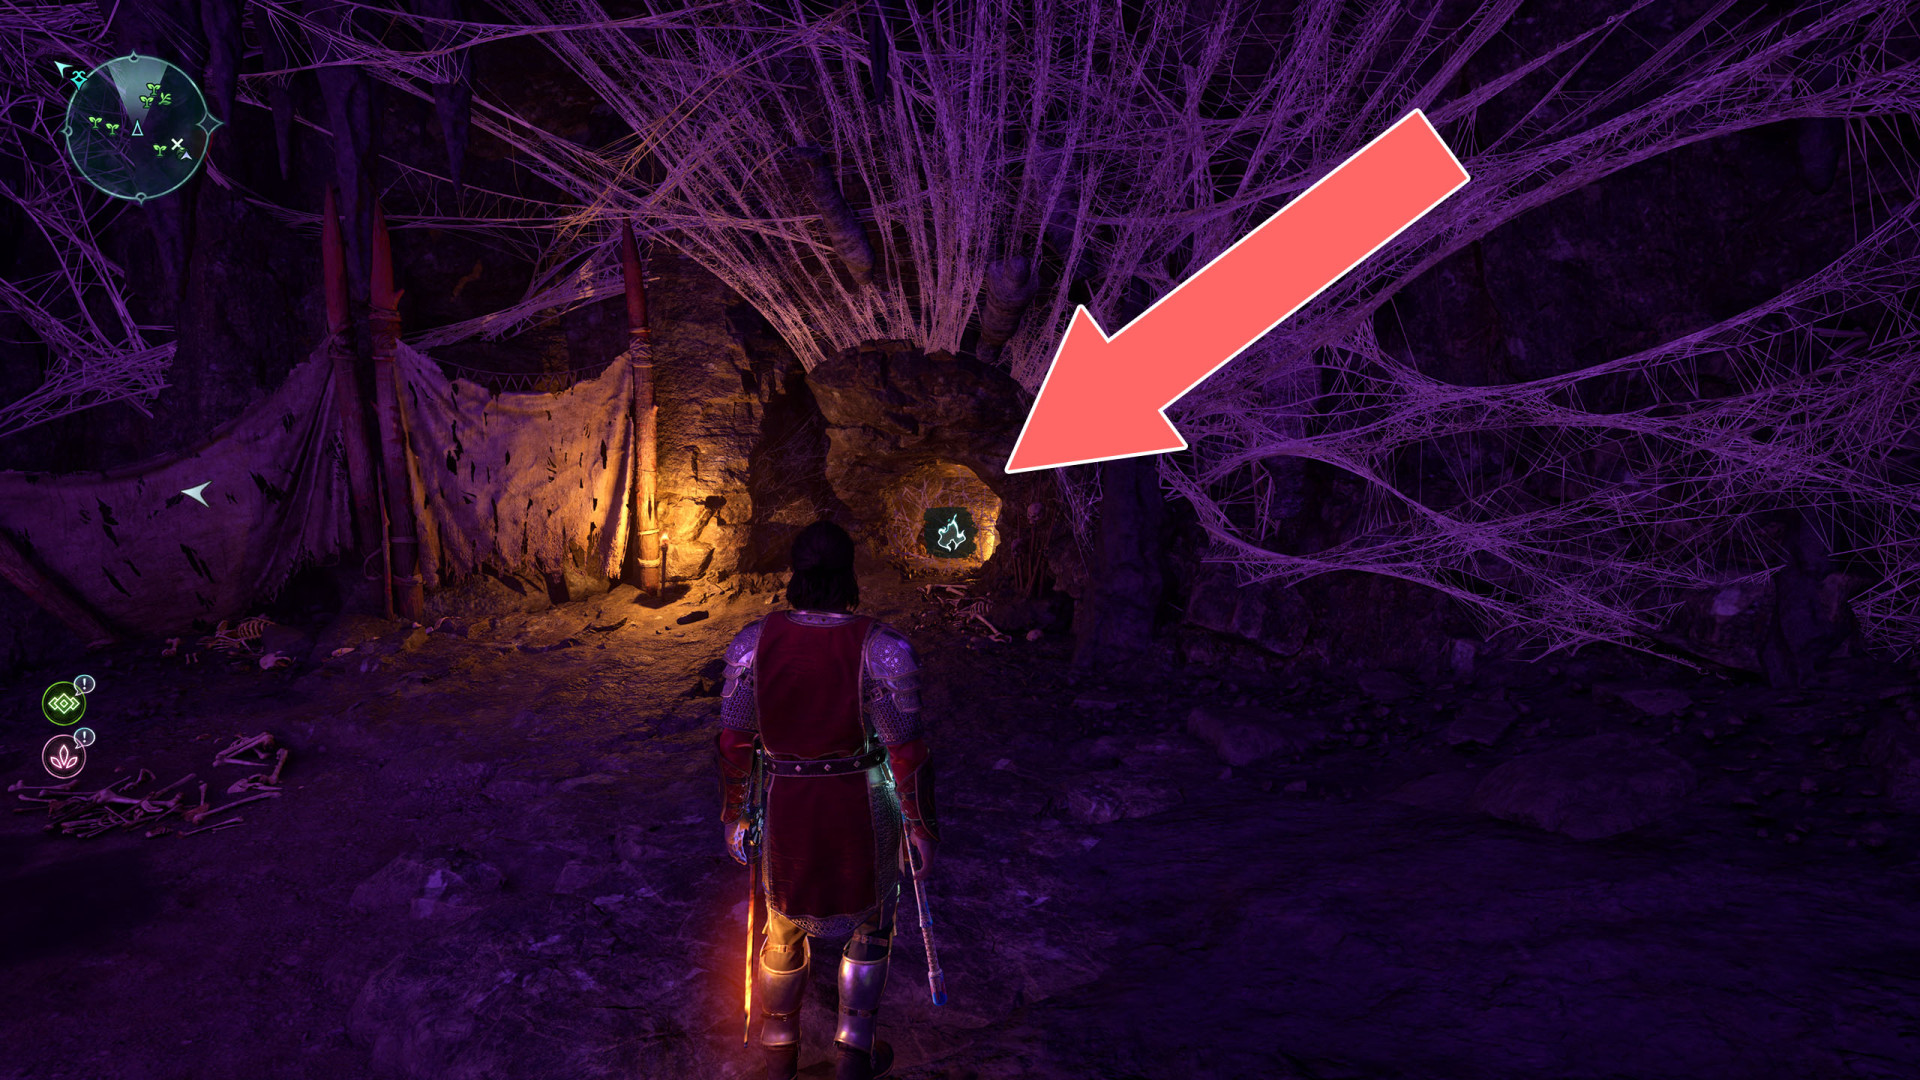
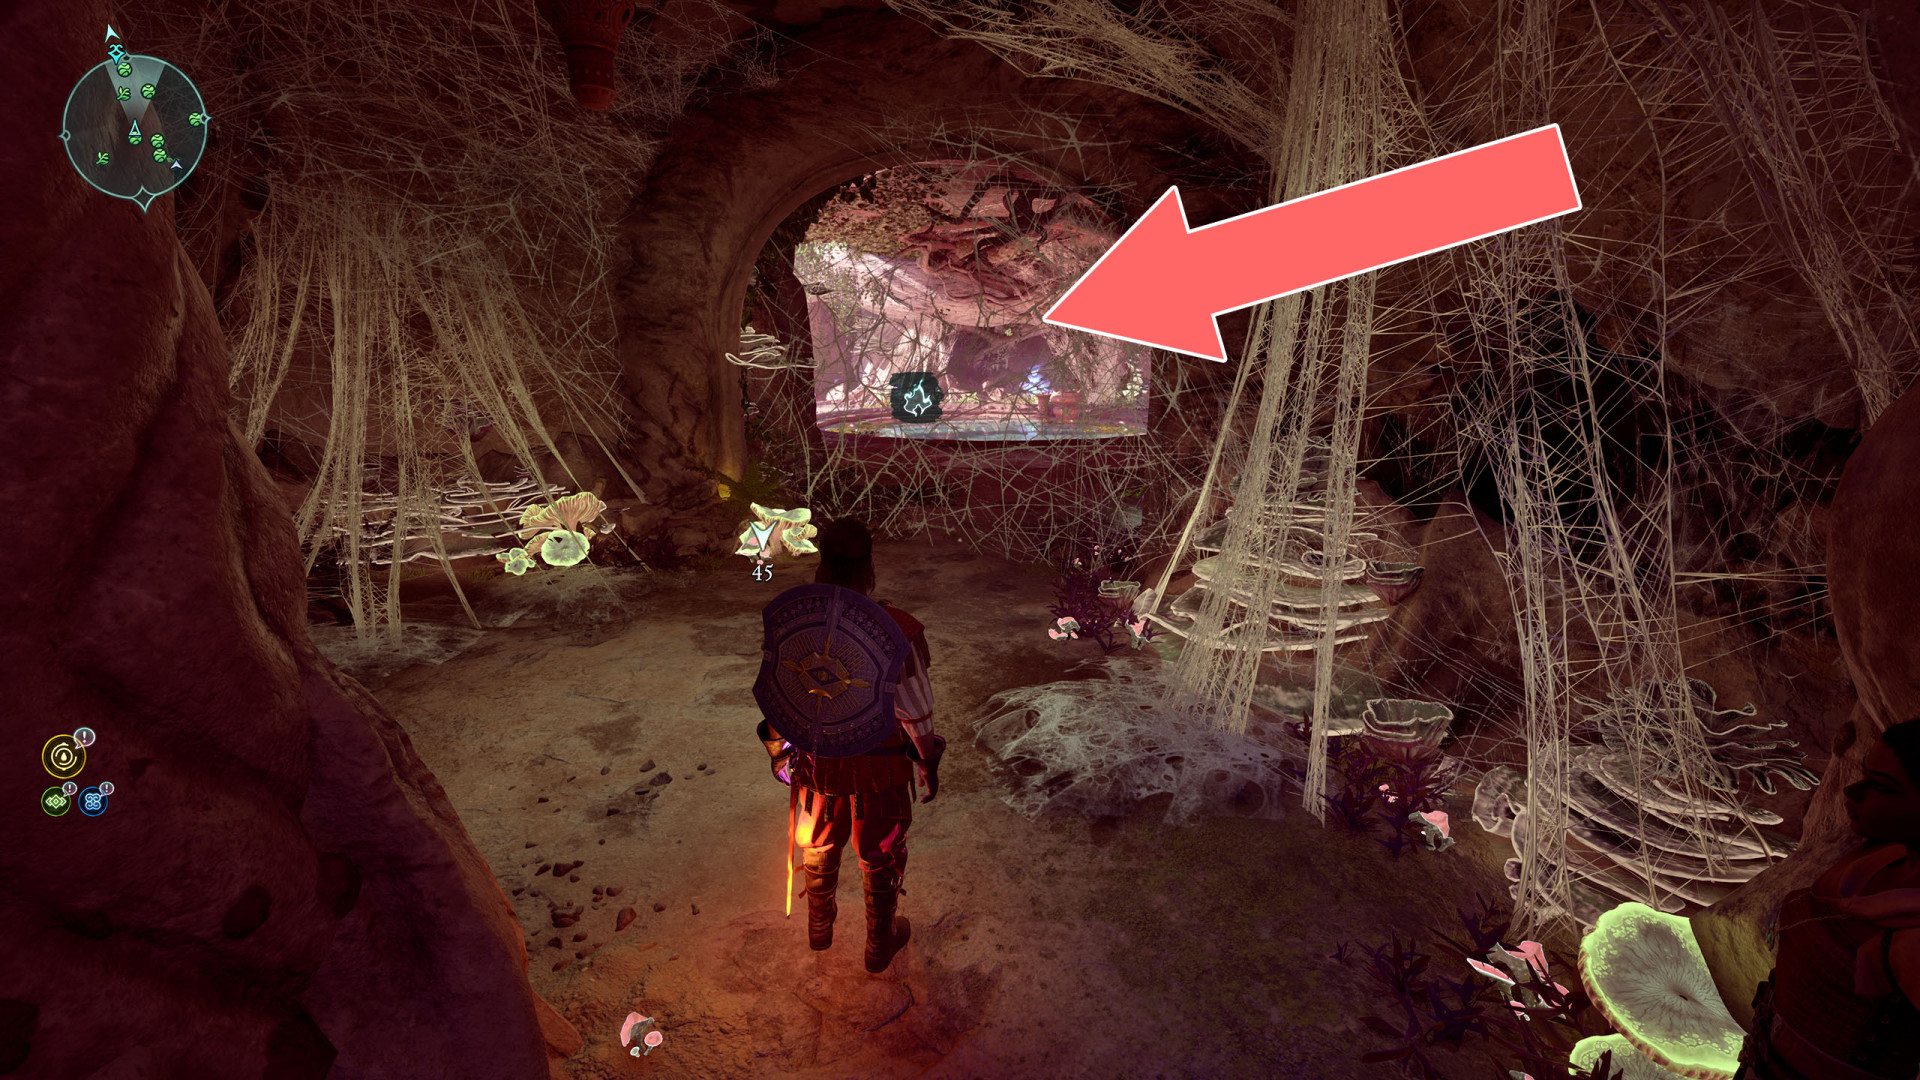
Cobweb▶ show the map ◀
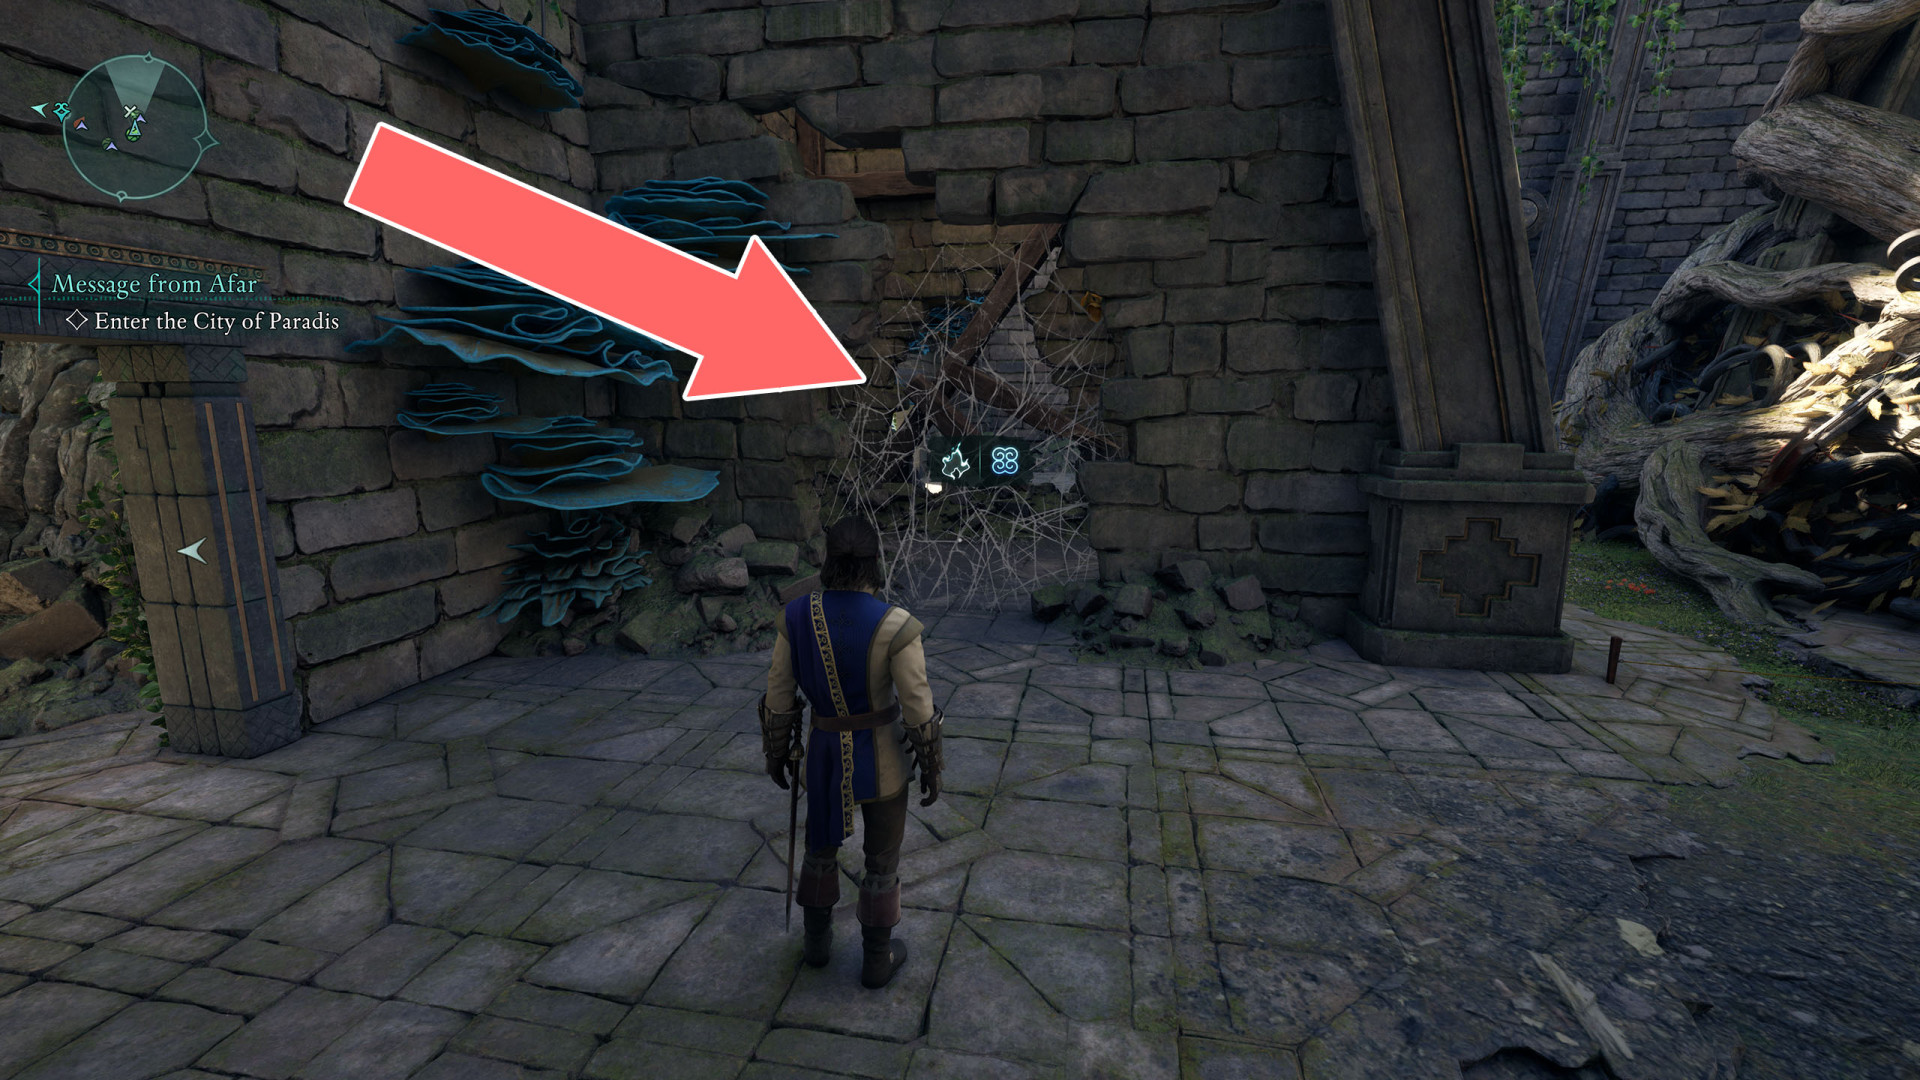
Cobweb▶ show the map ◀
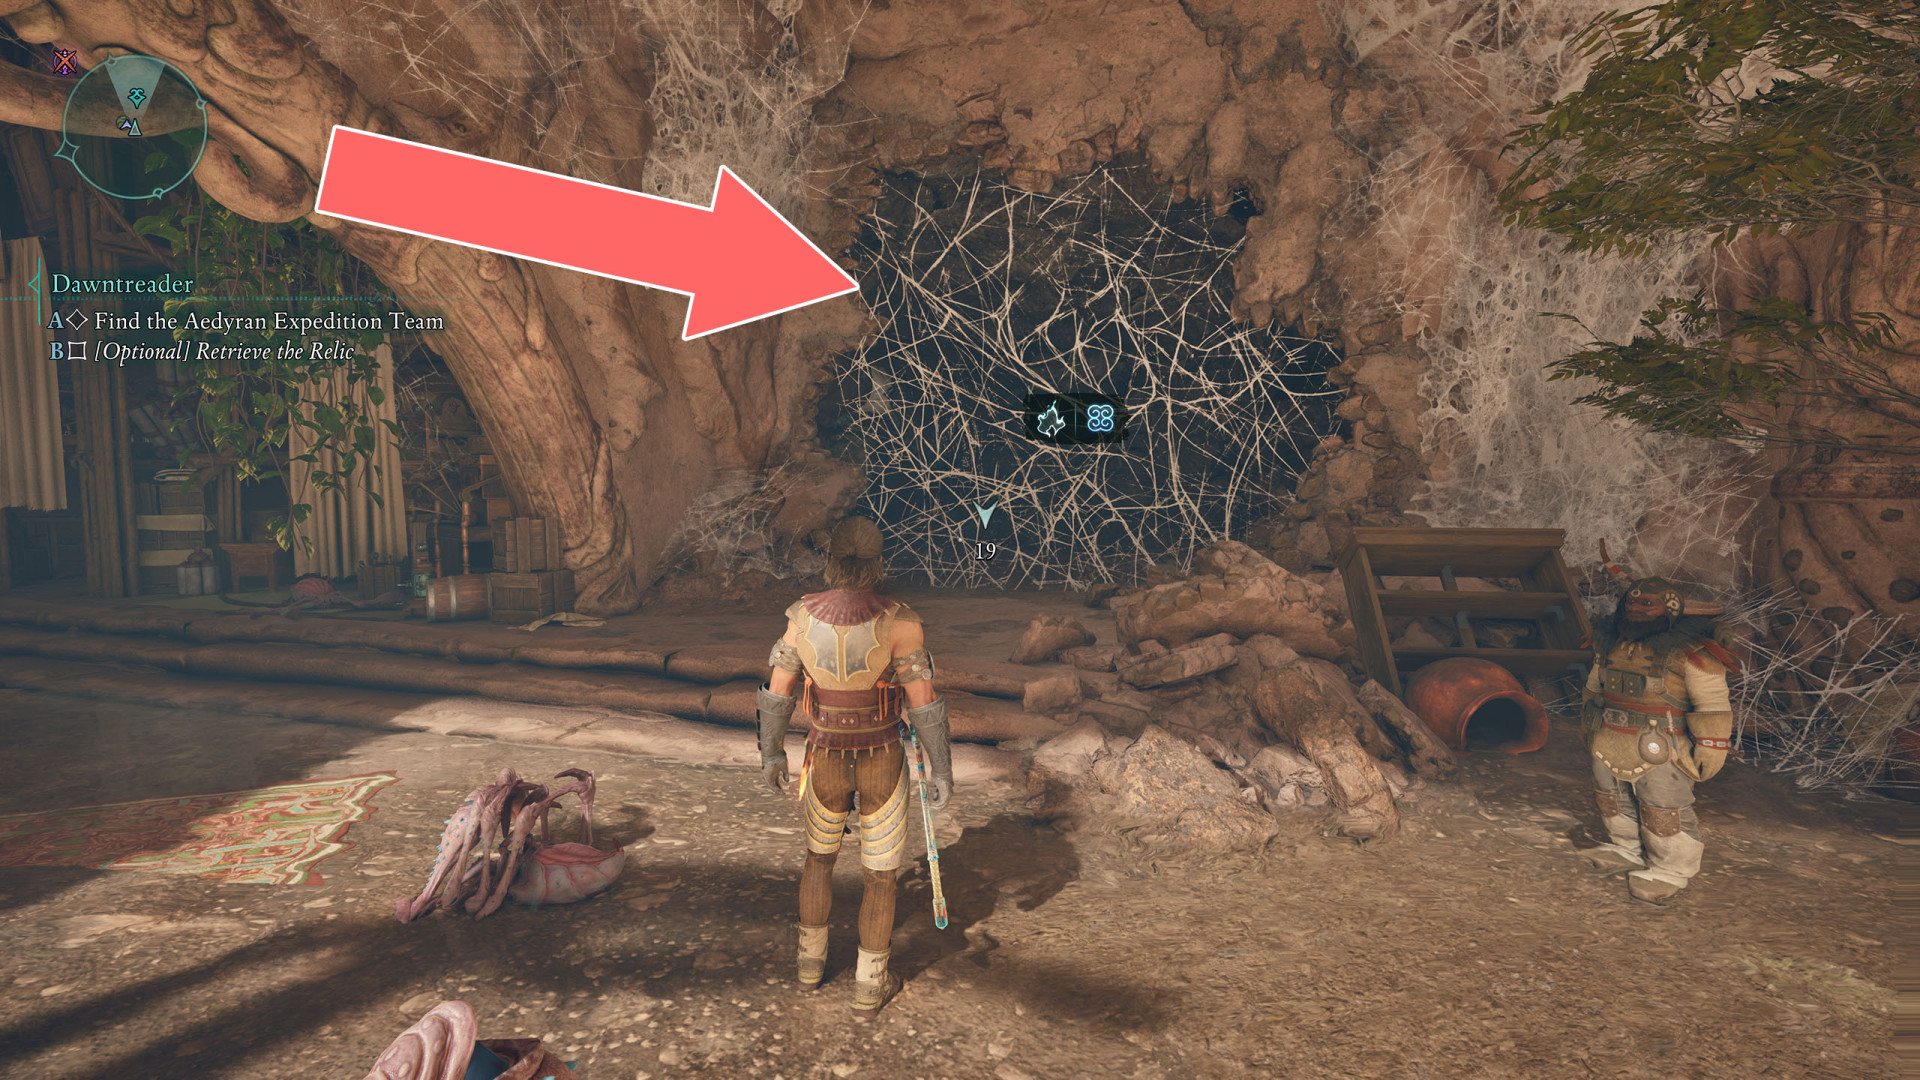
Cobweb▶ show the map ◀
Cobweb▶ show the map ◀
Cobweb▶ show the map ◀
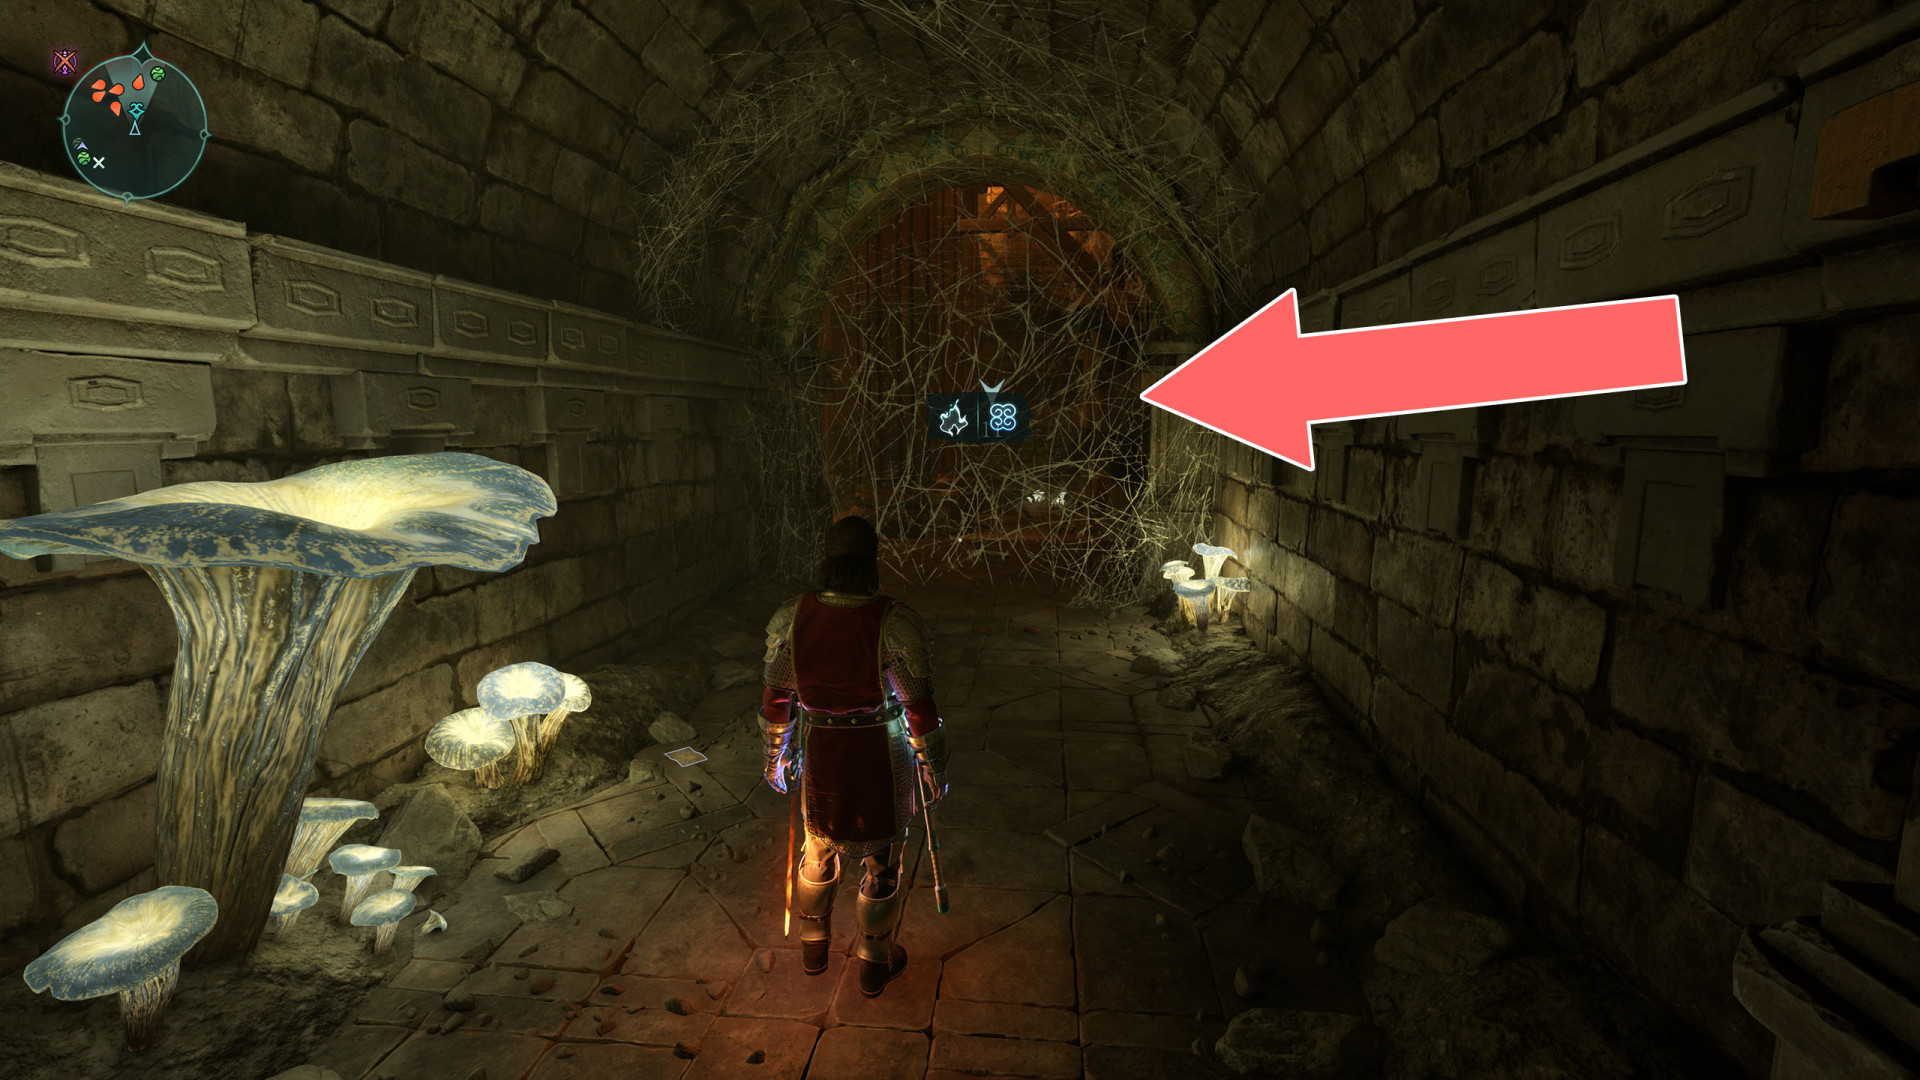
Cobweb▶ show the map ◀

Cobweb▶ show the map ◀
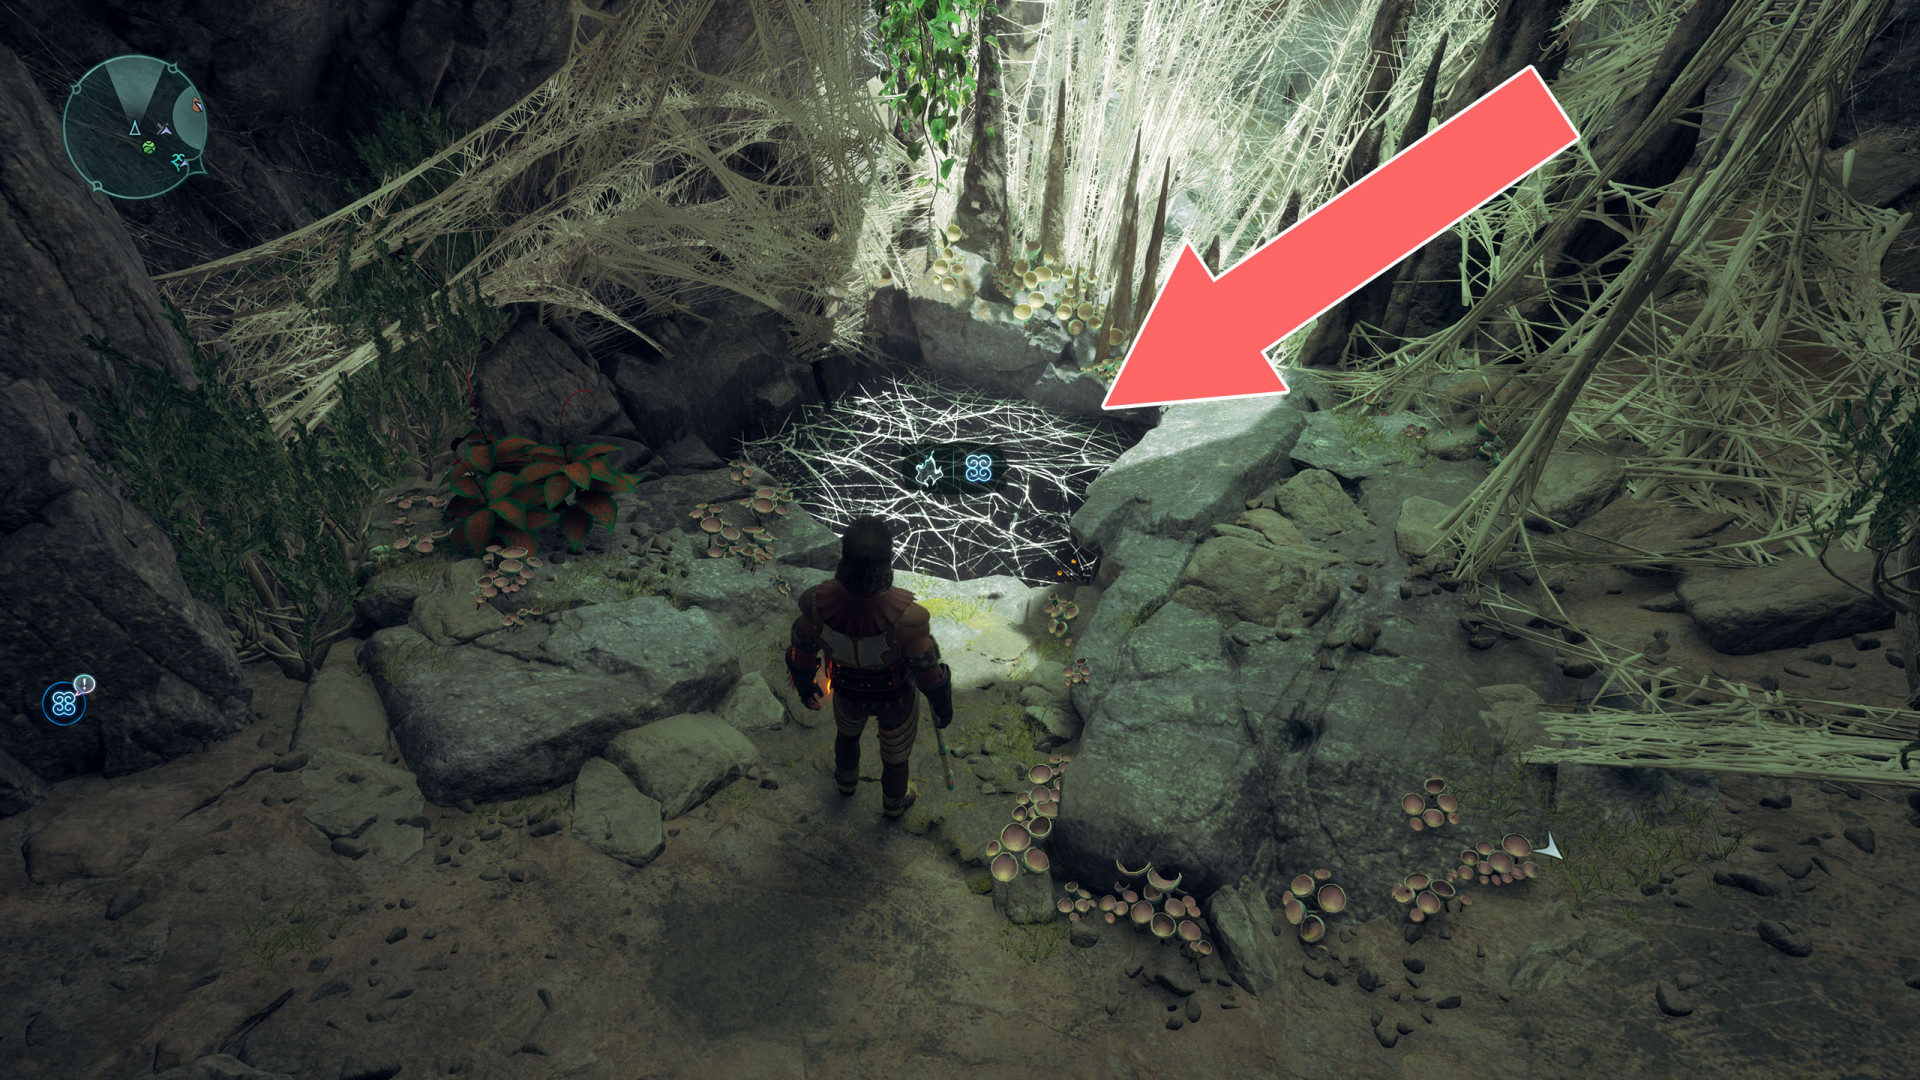
Cobweb▶ show the map ◀
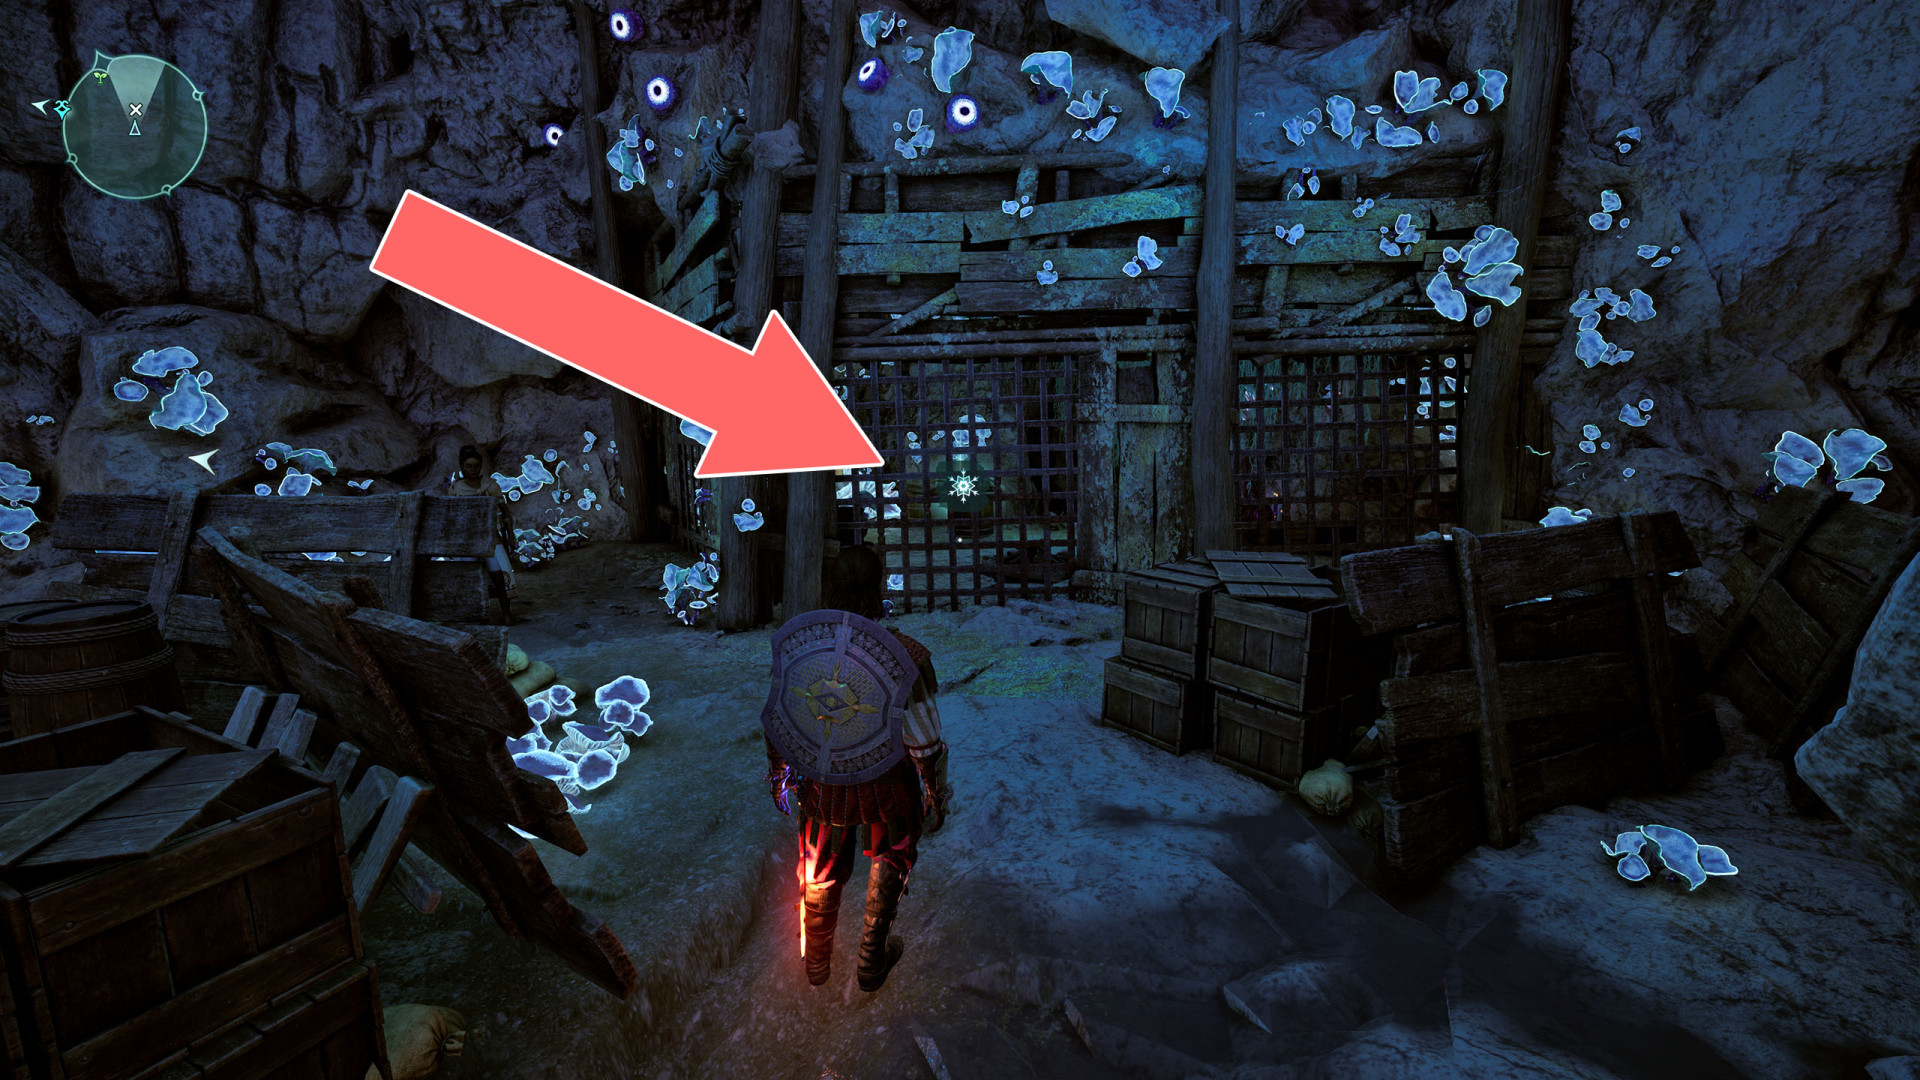
 Freezable Grate▶ show the map ◀
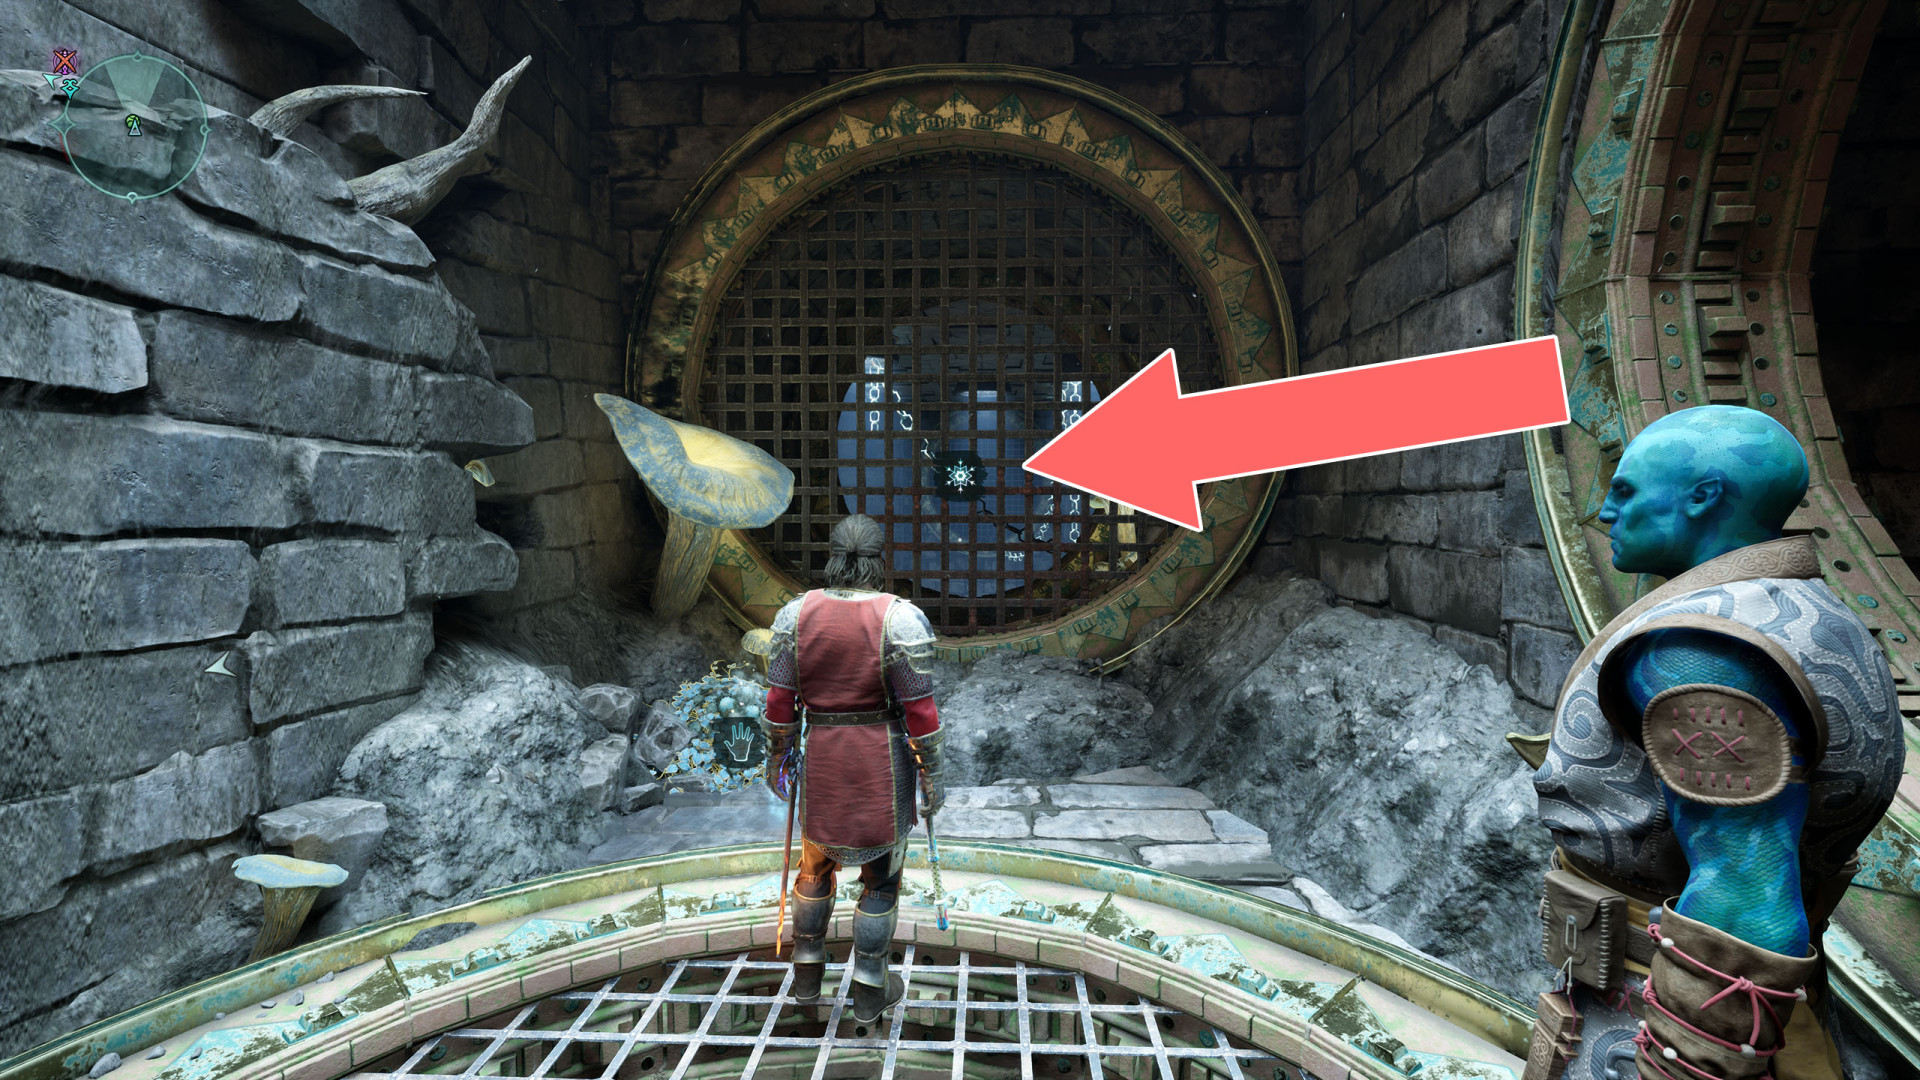
Freezable Grate▶ show the map ◀
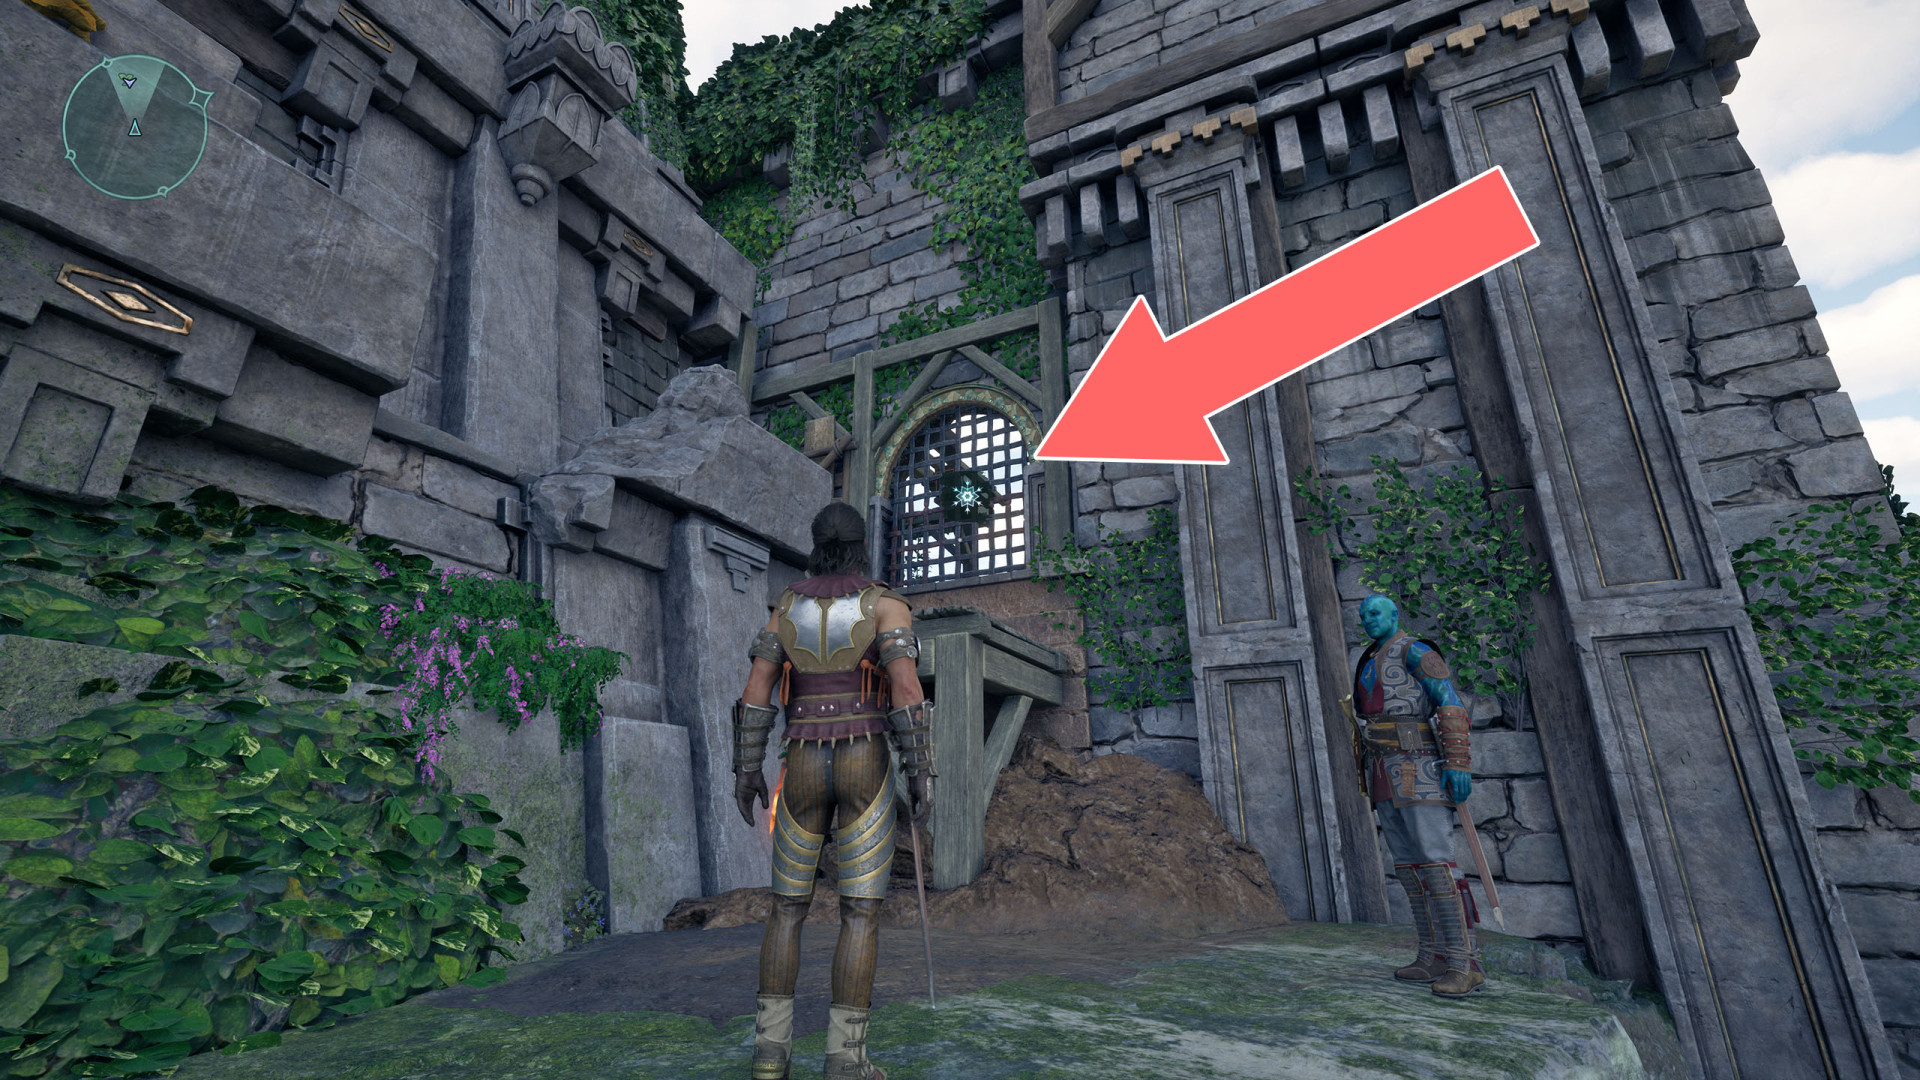
Freezable Grate▶ show the map ◀

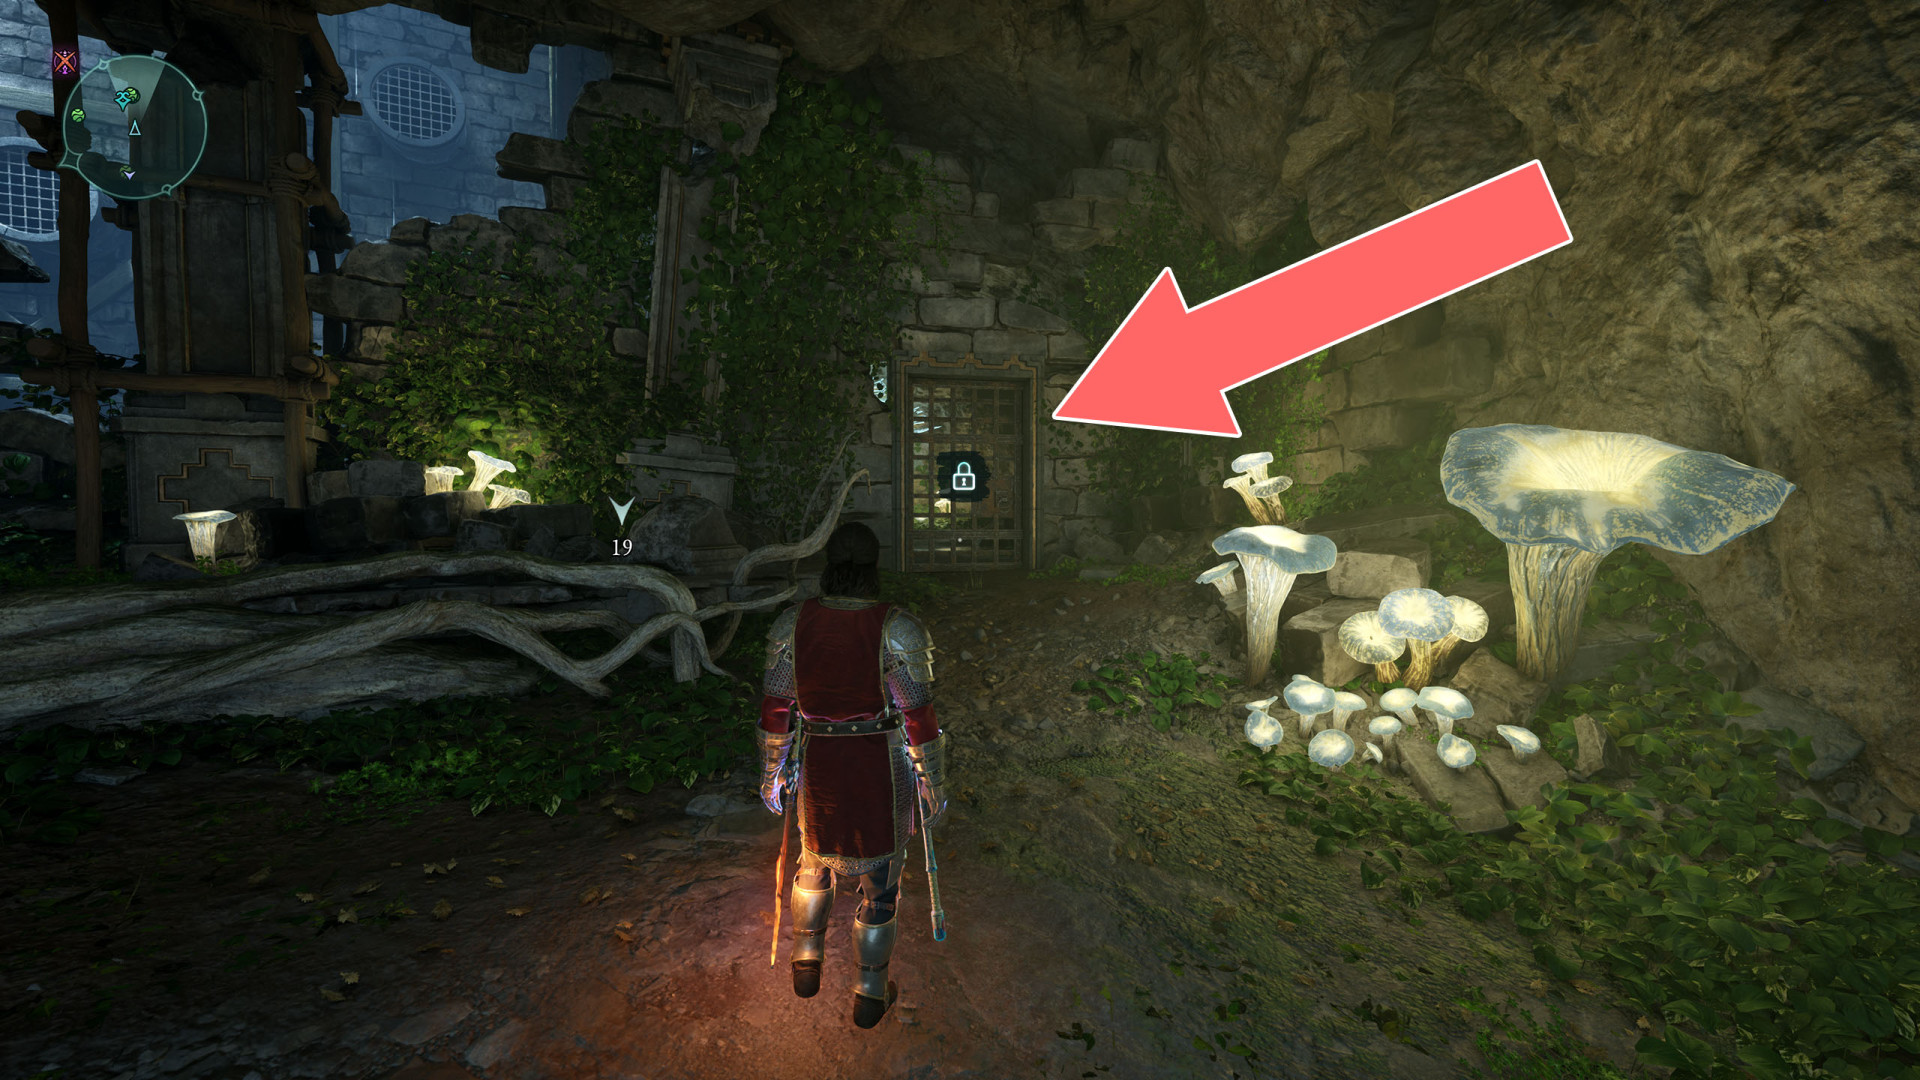
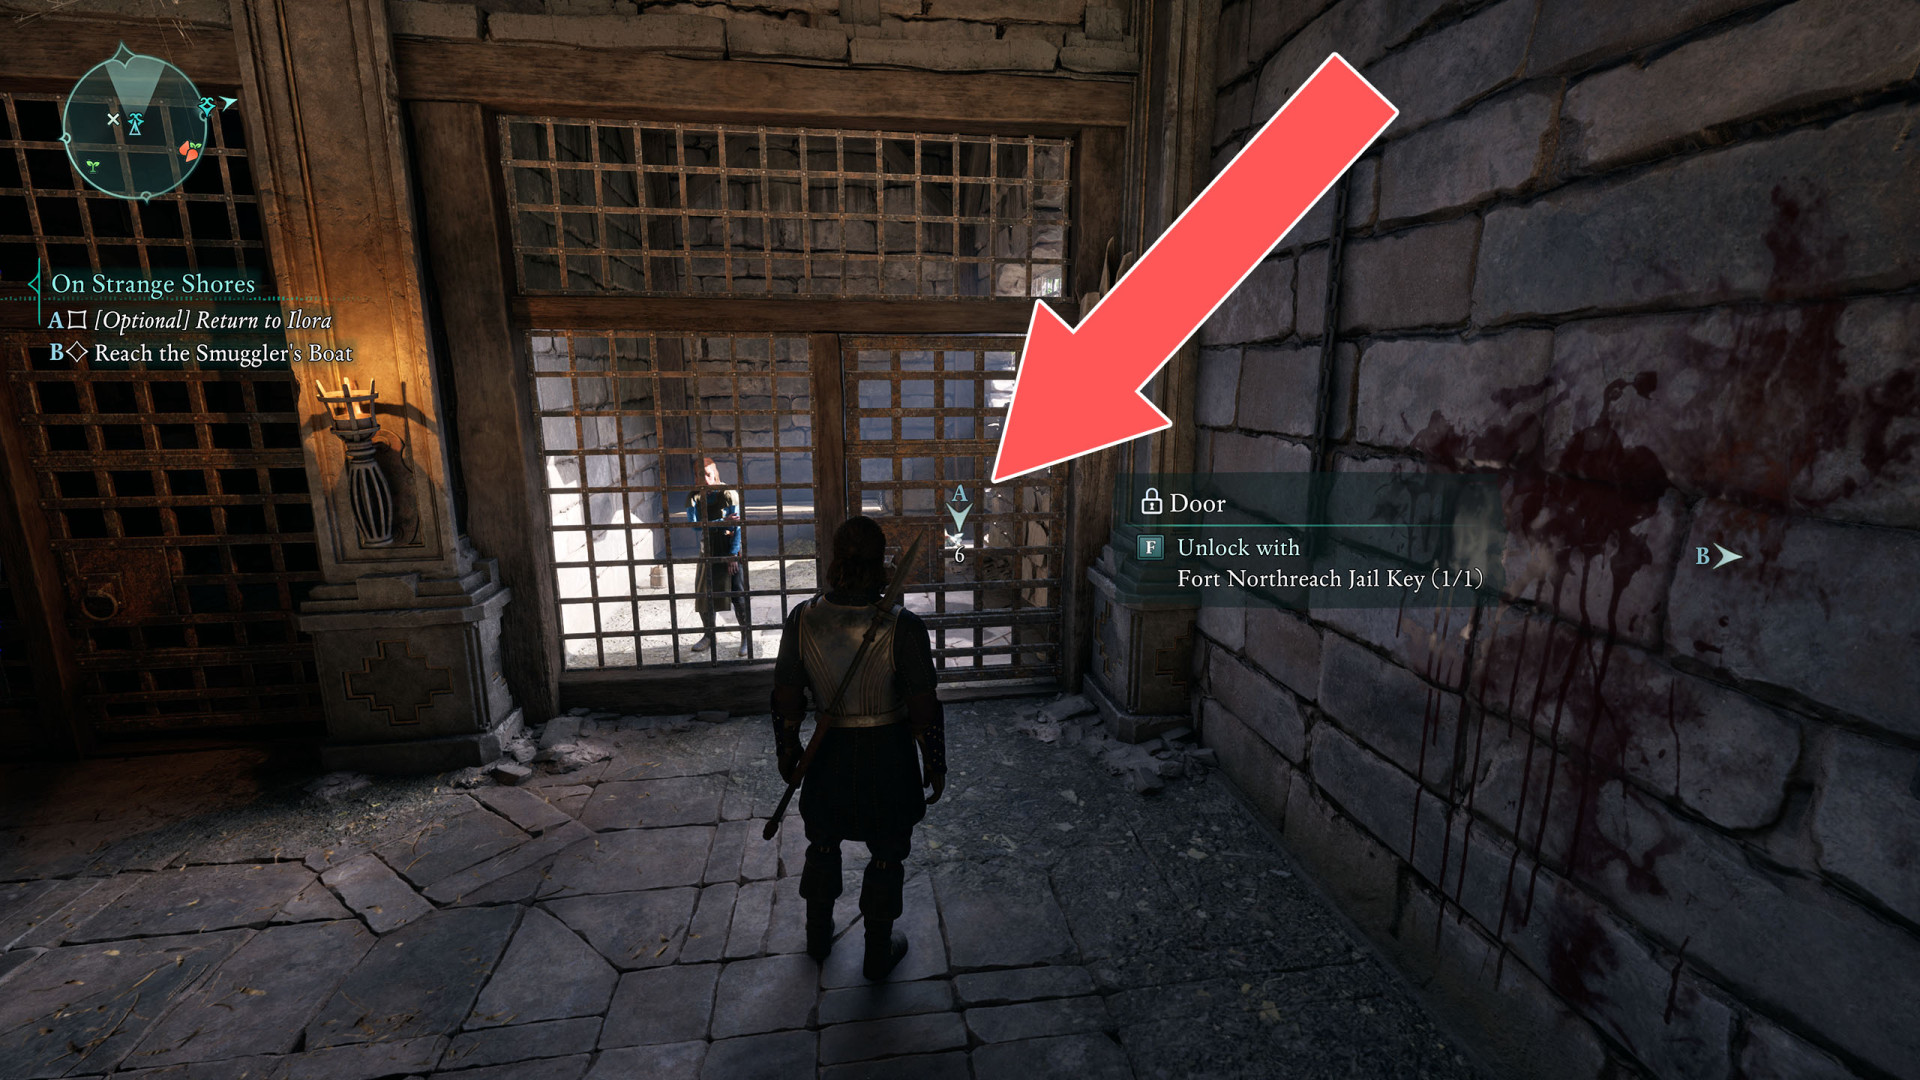
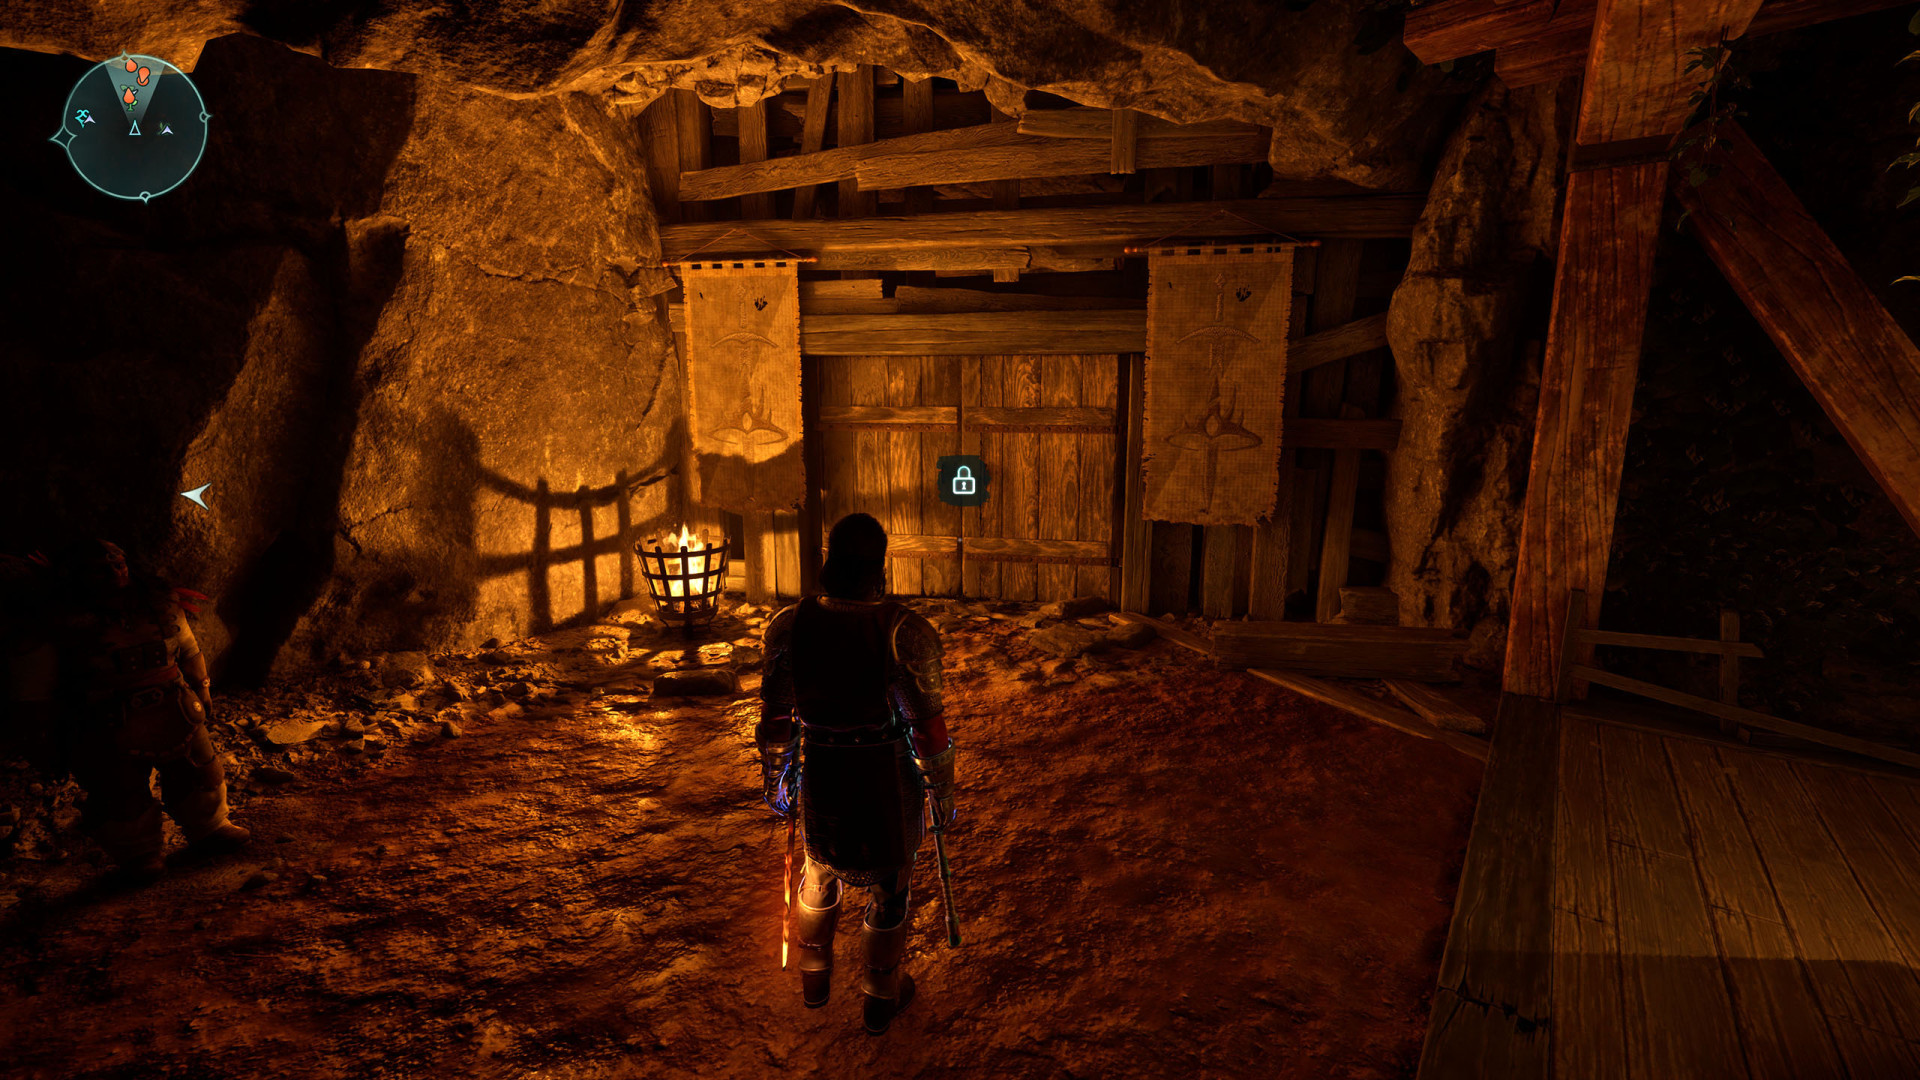
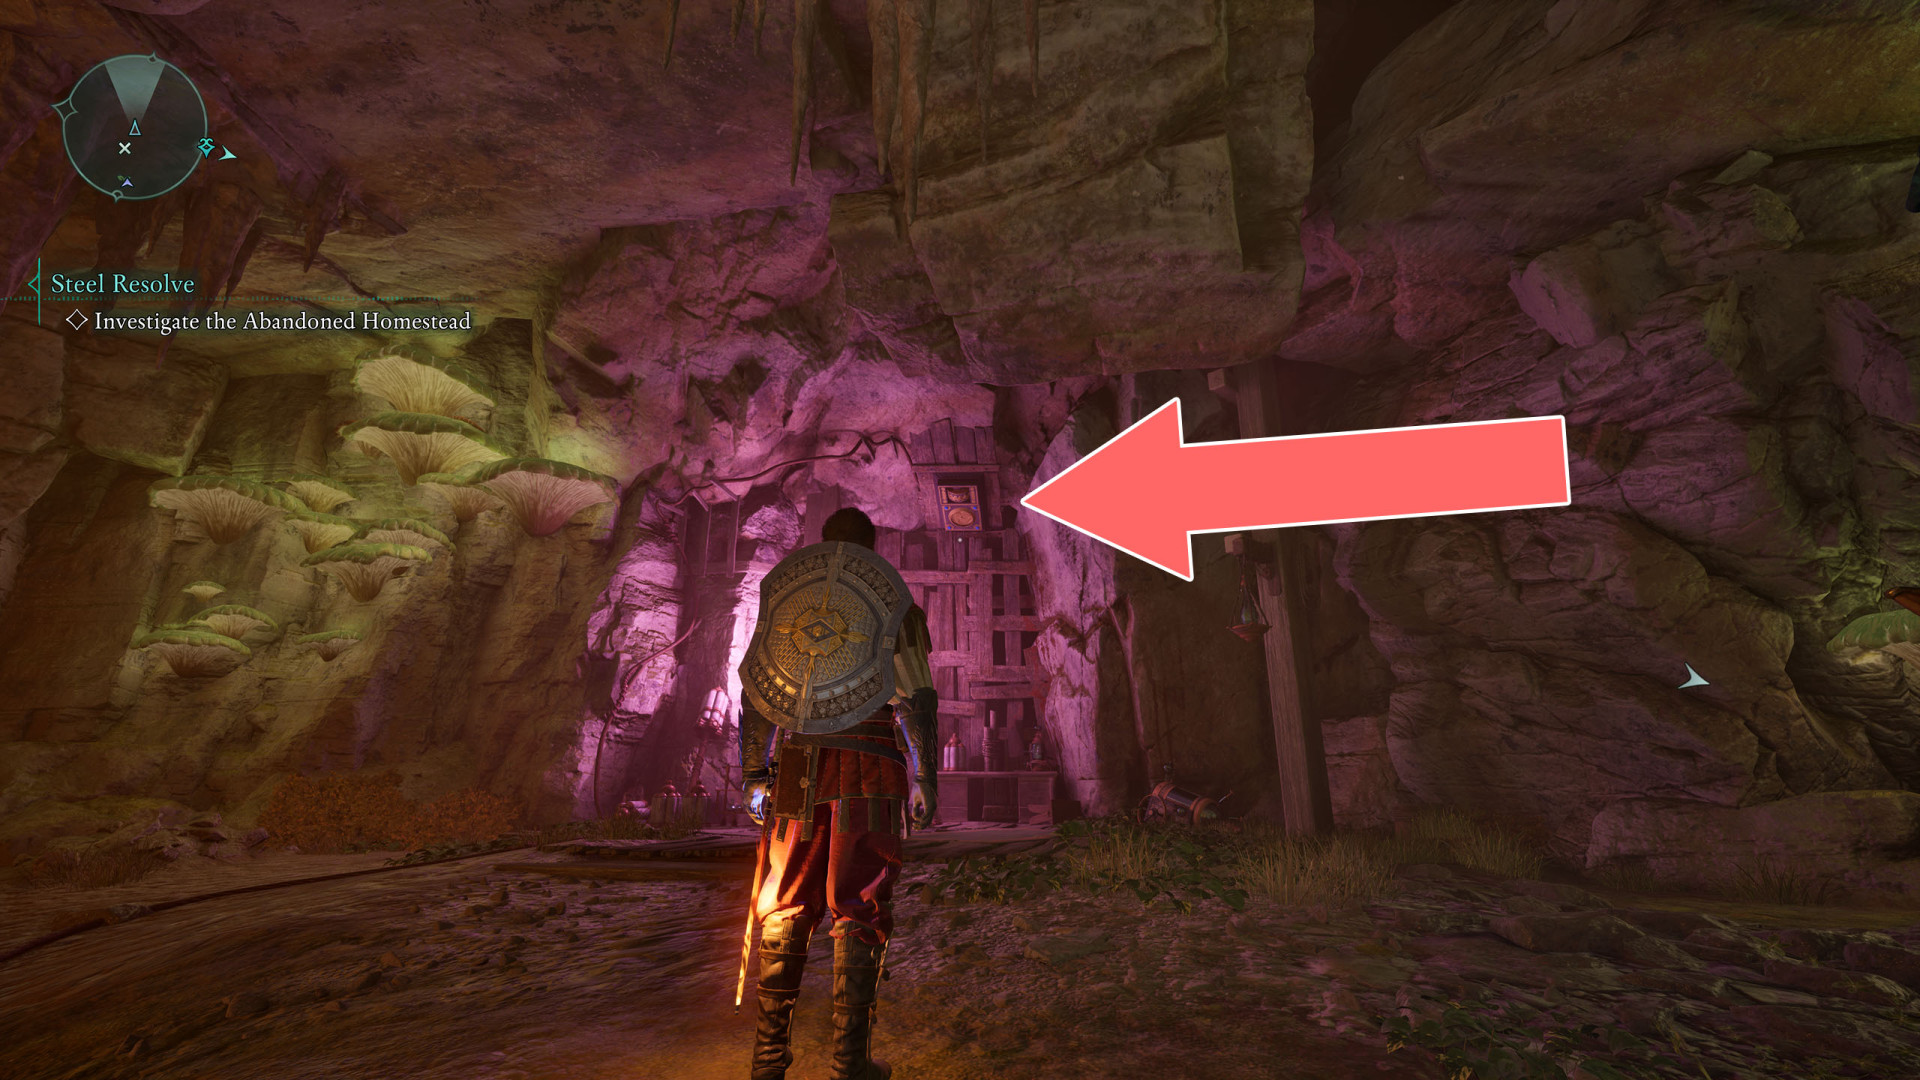
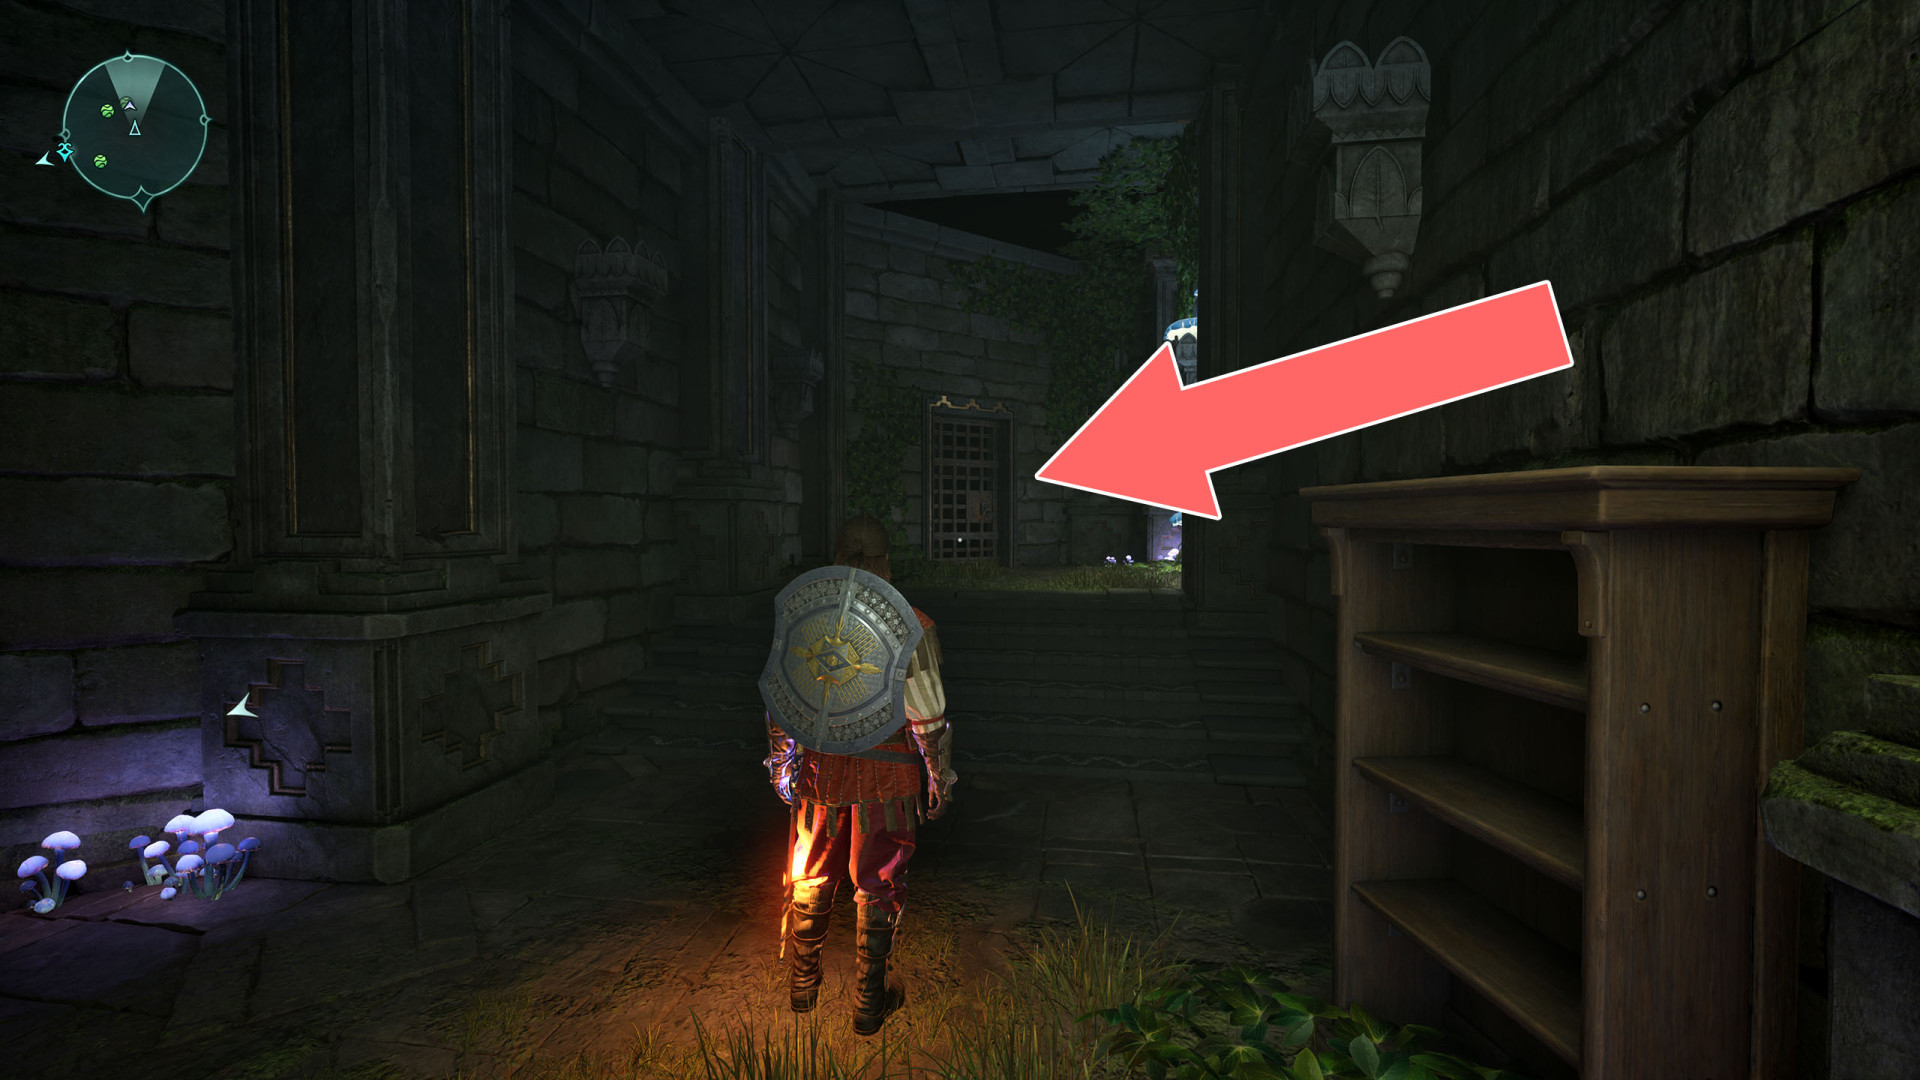
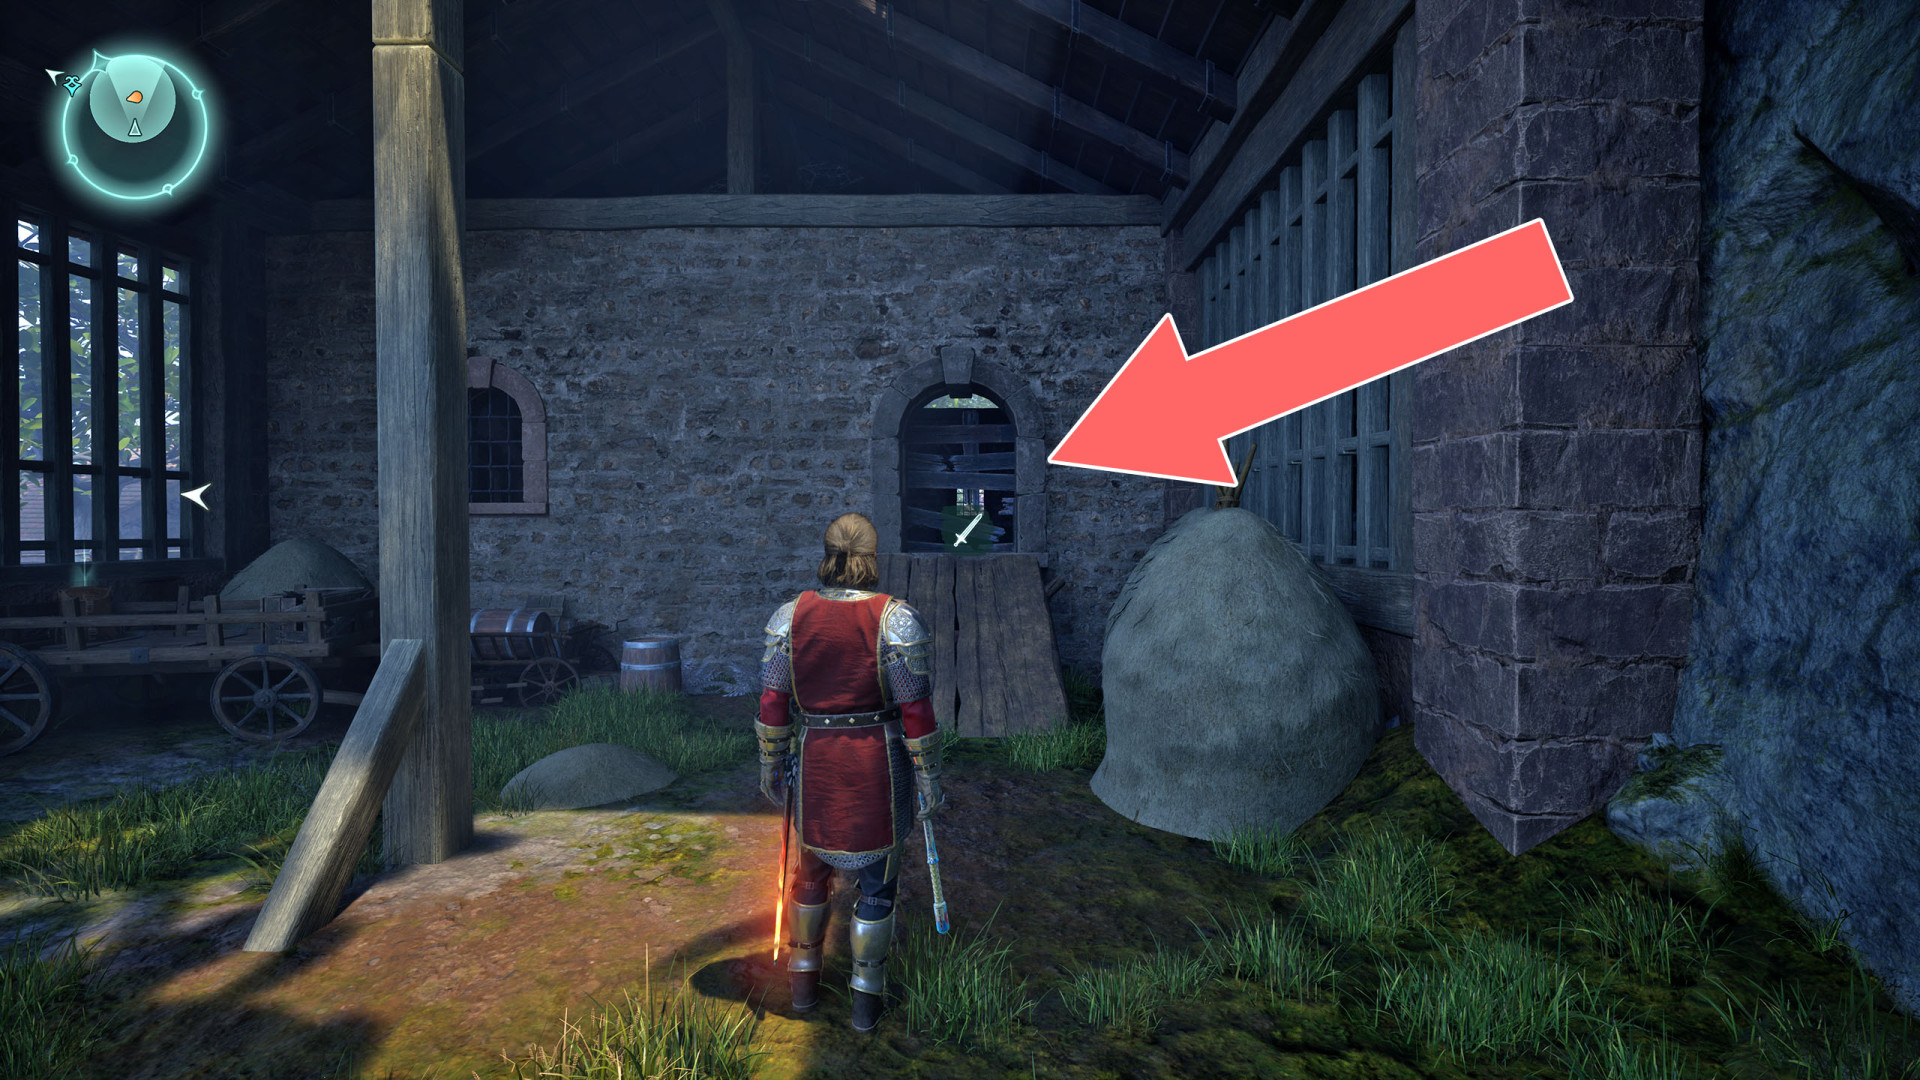
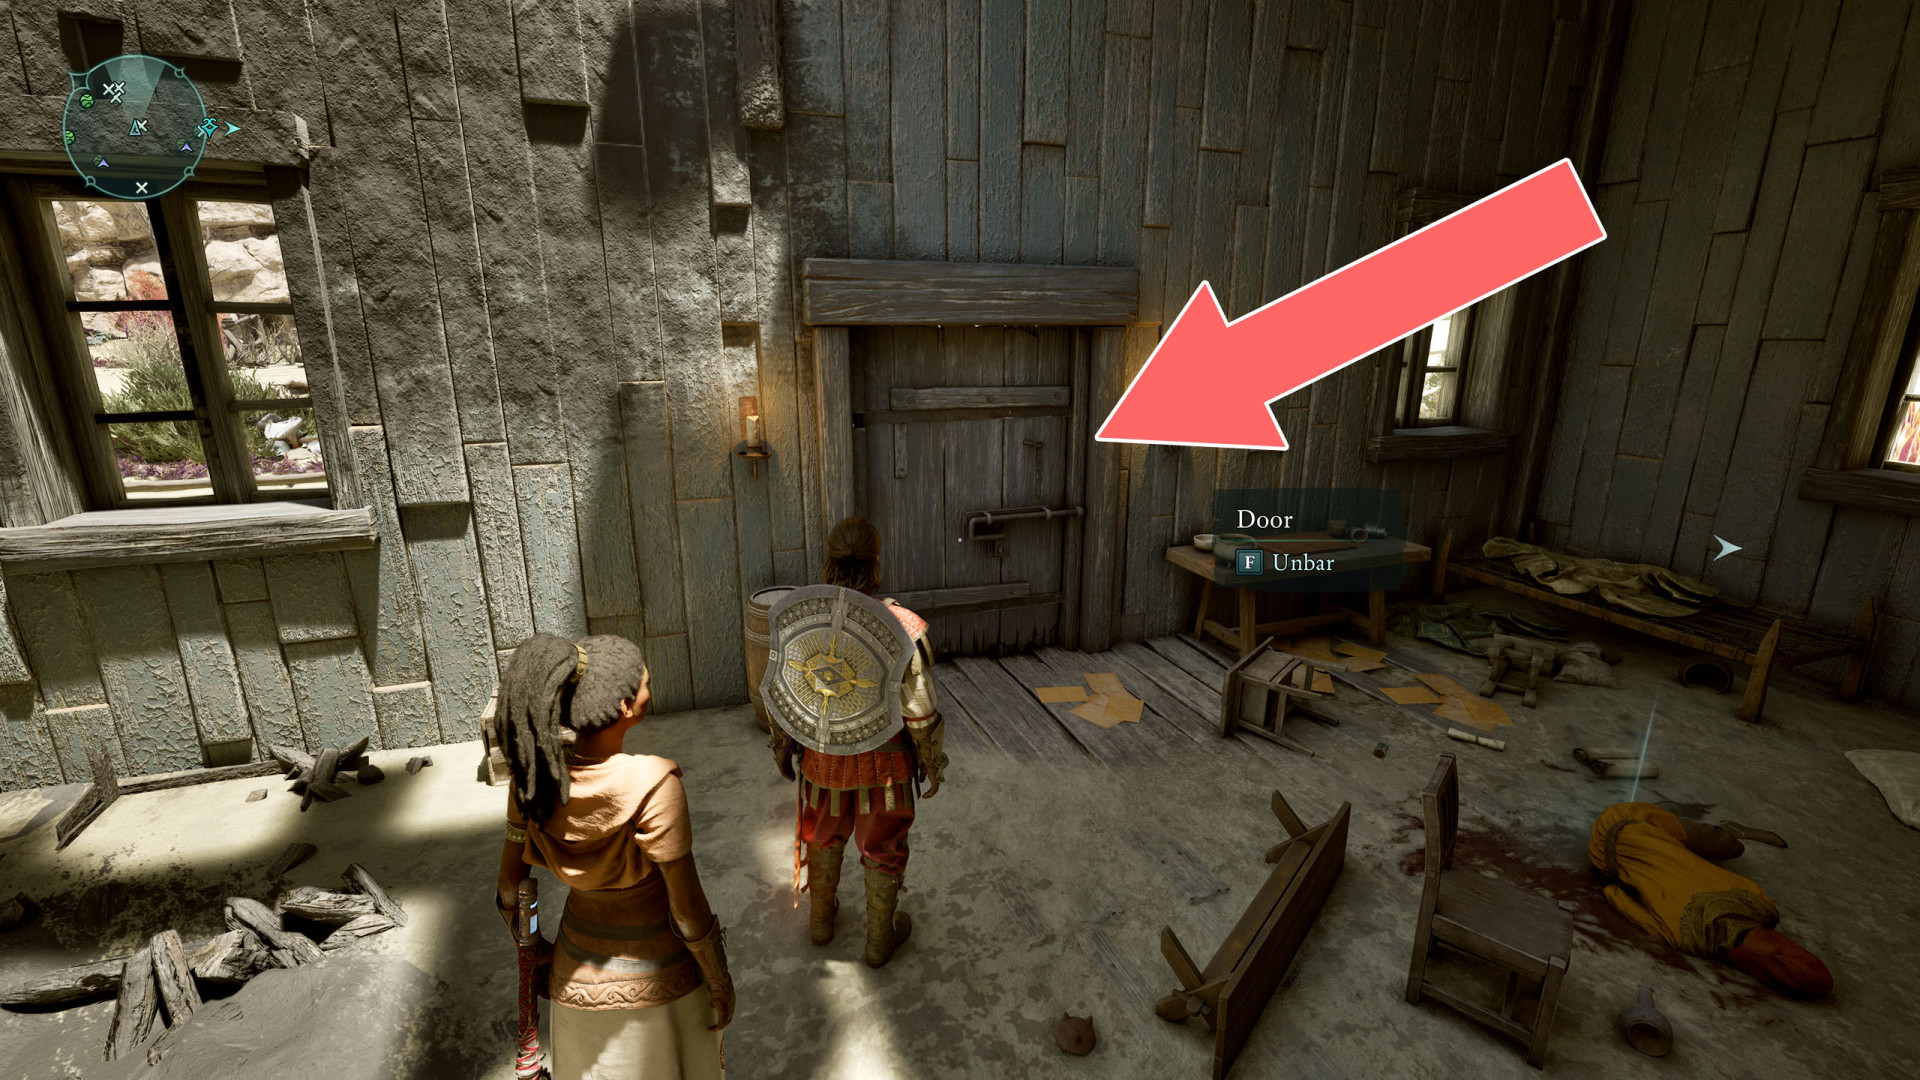
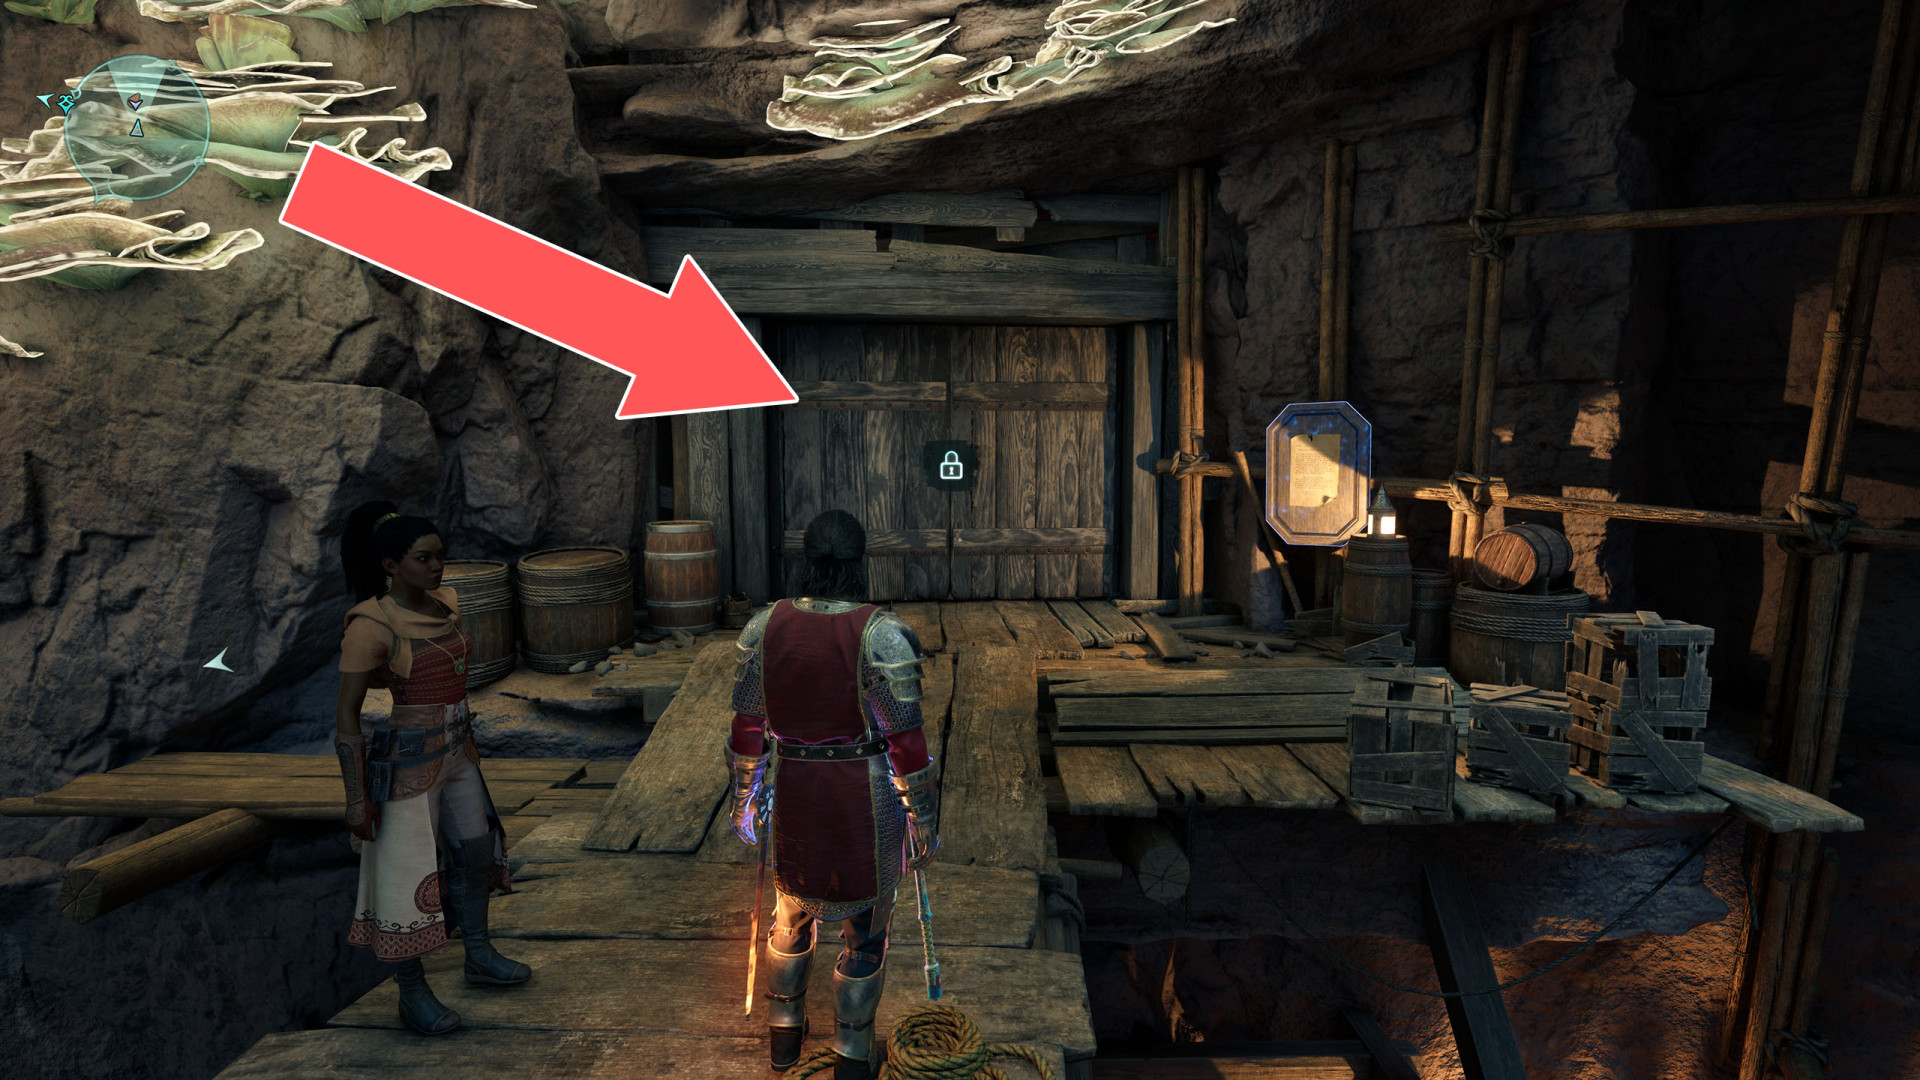
Locked Door▶ show the map ◀
The door can be unlocked from the inside. You can enter the building through a hole in the roof.
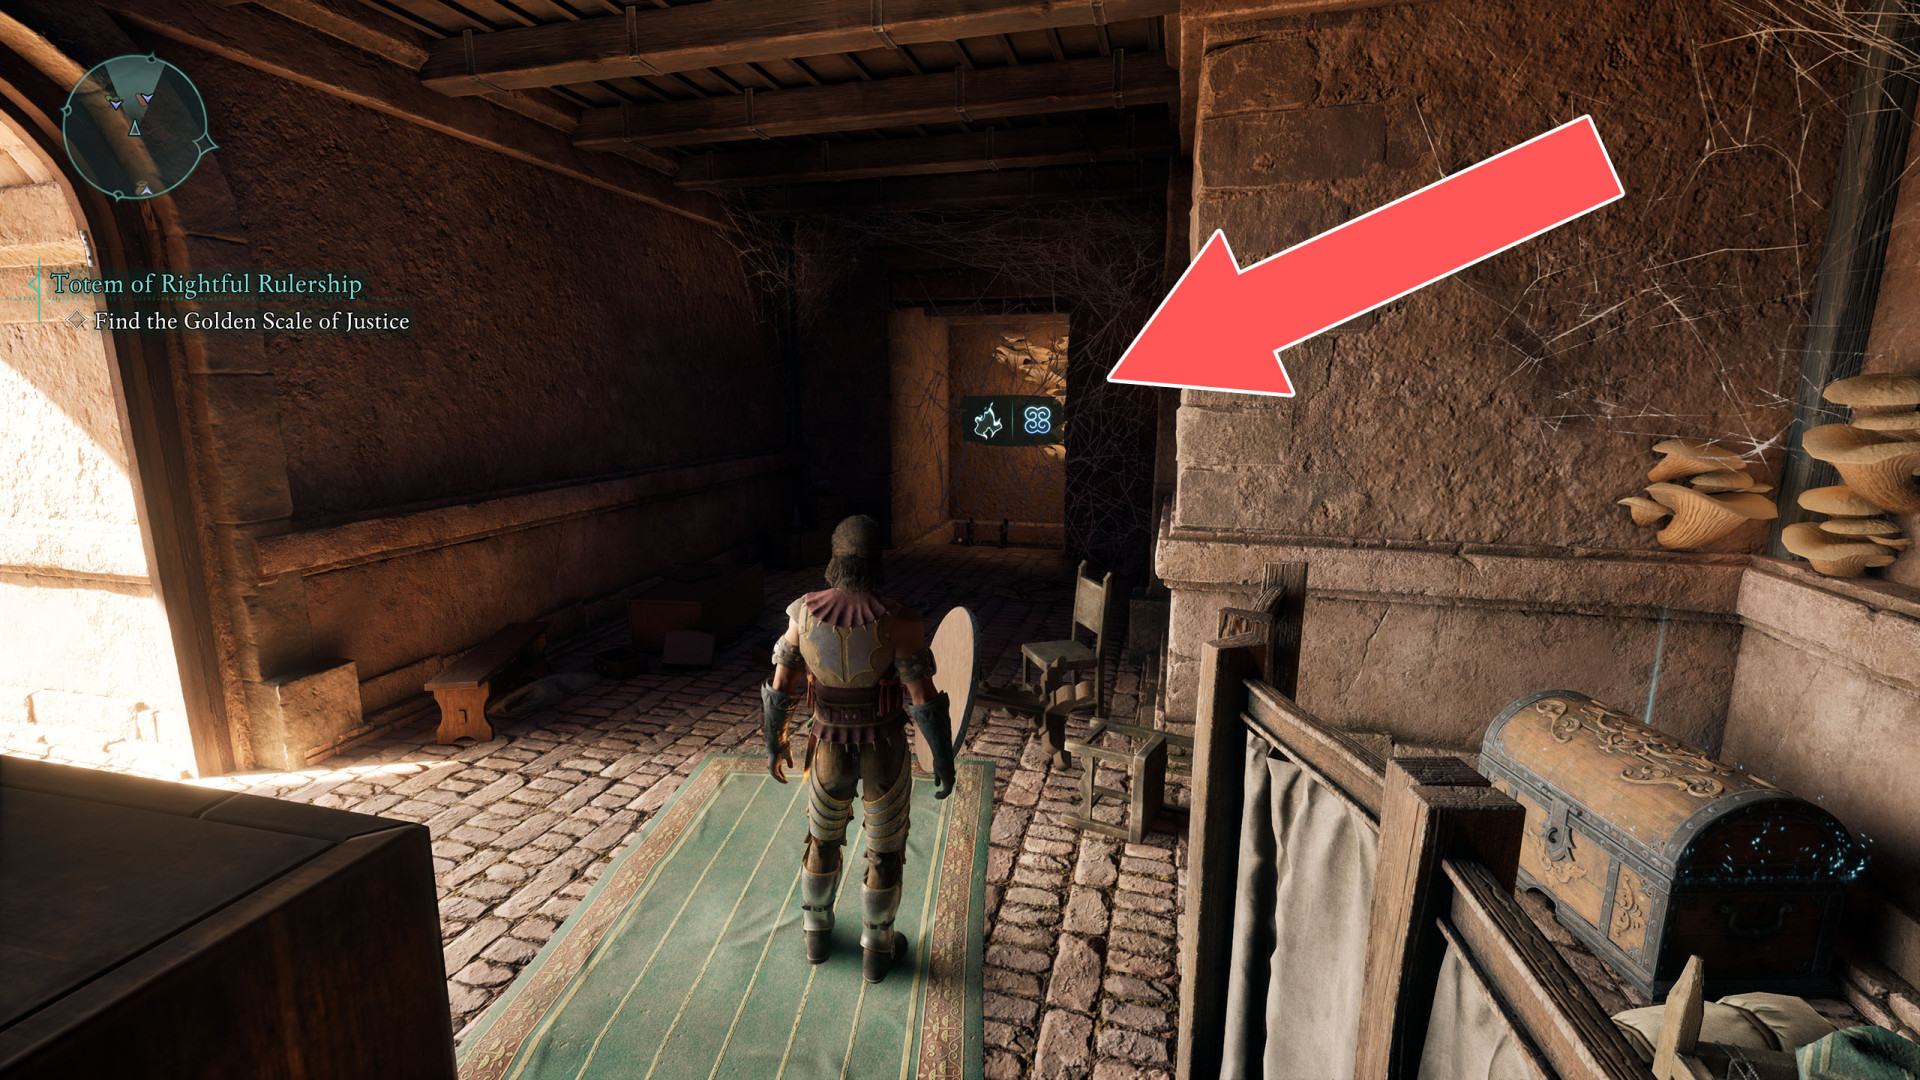
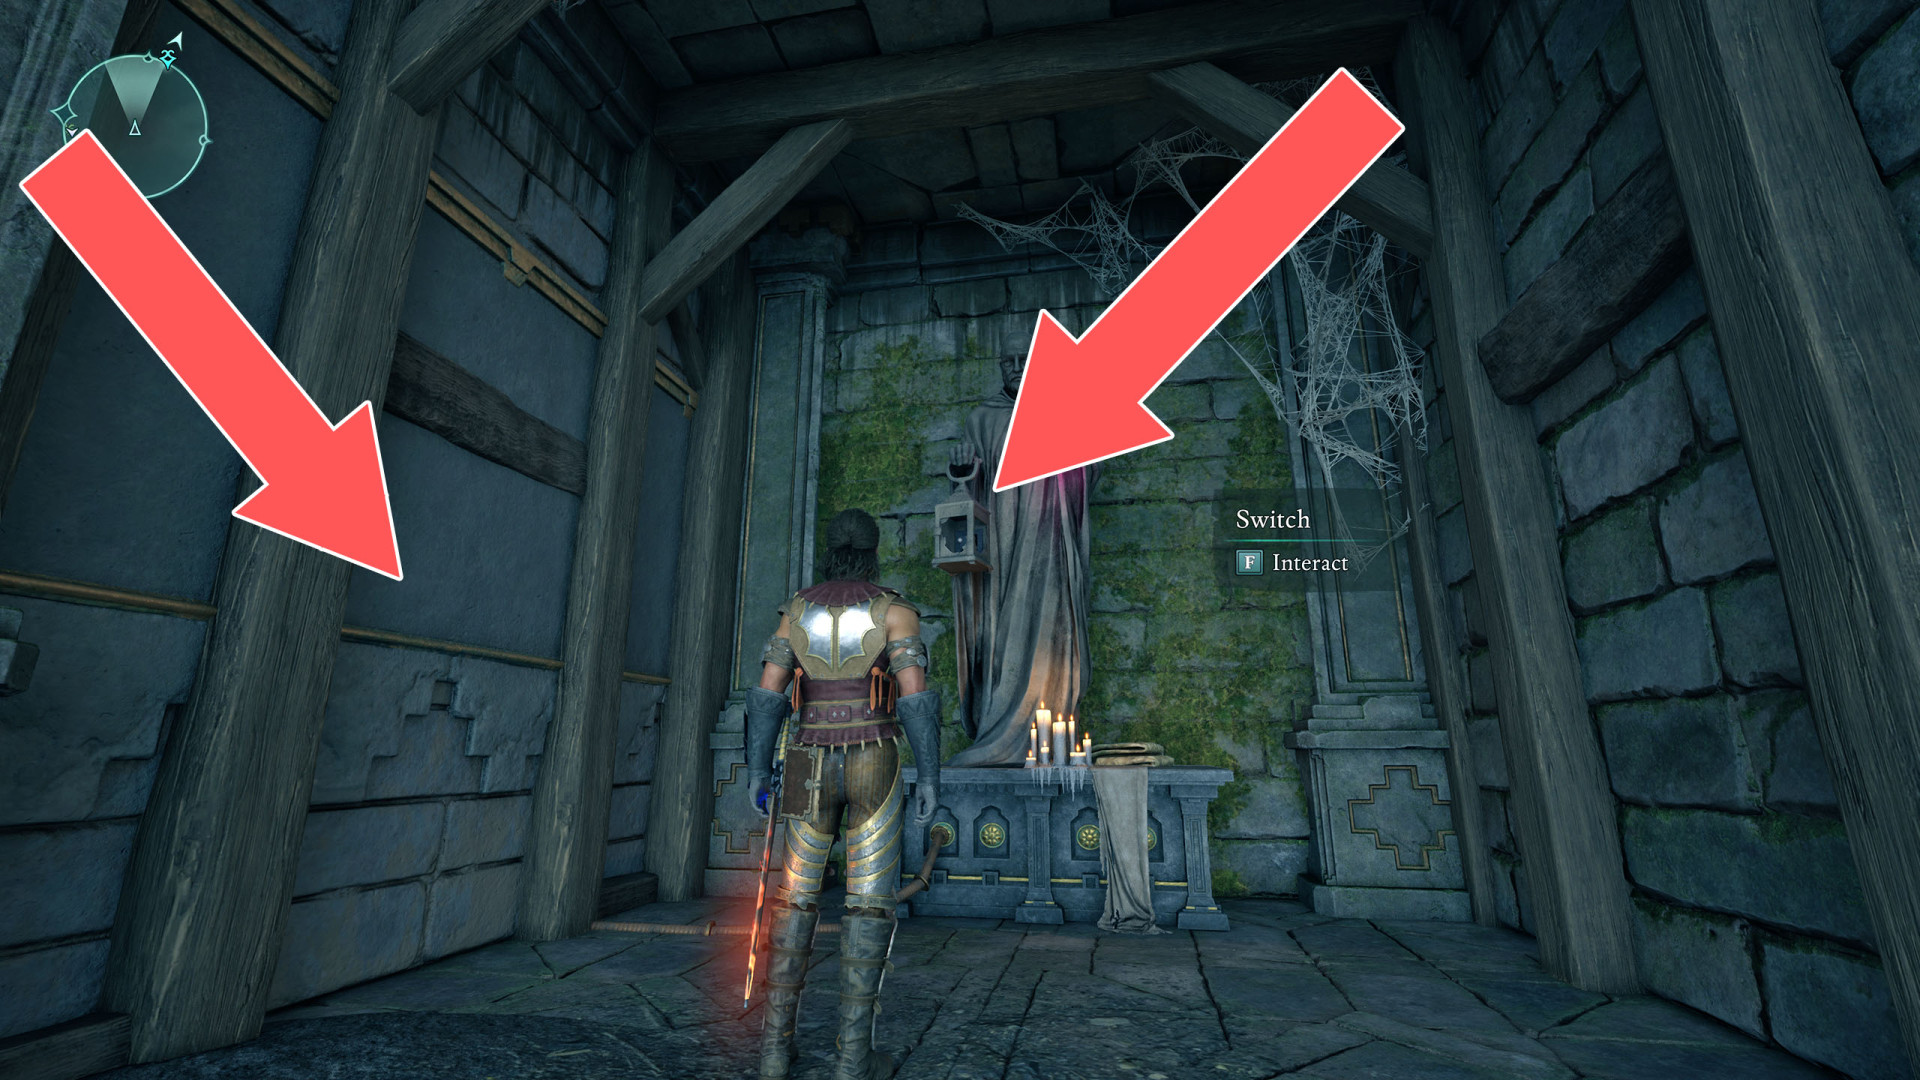
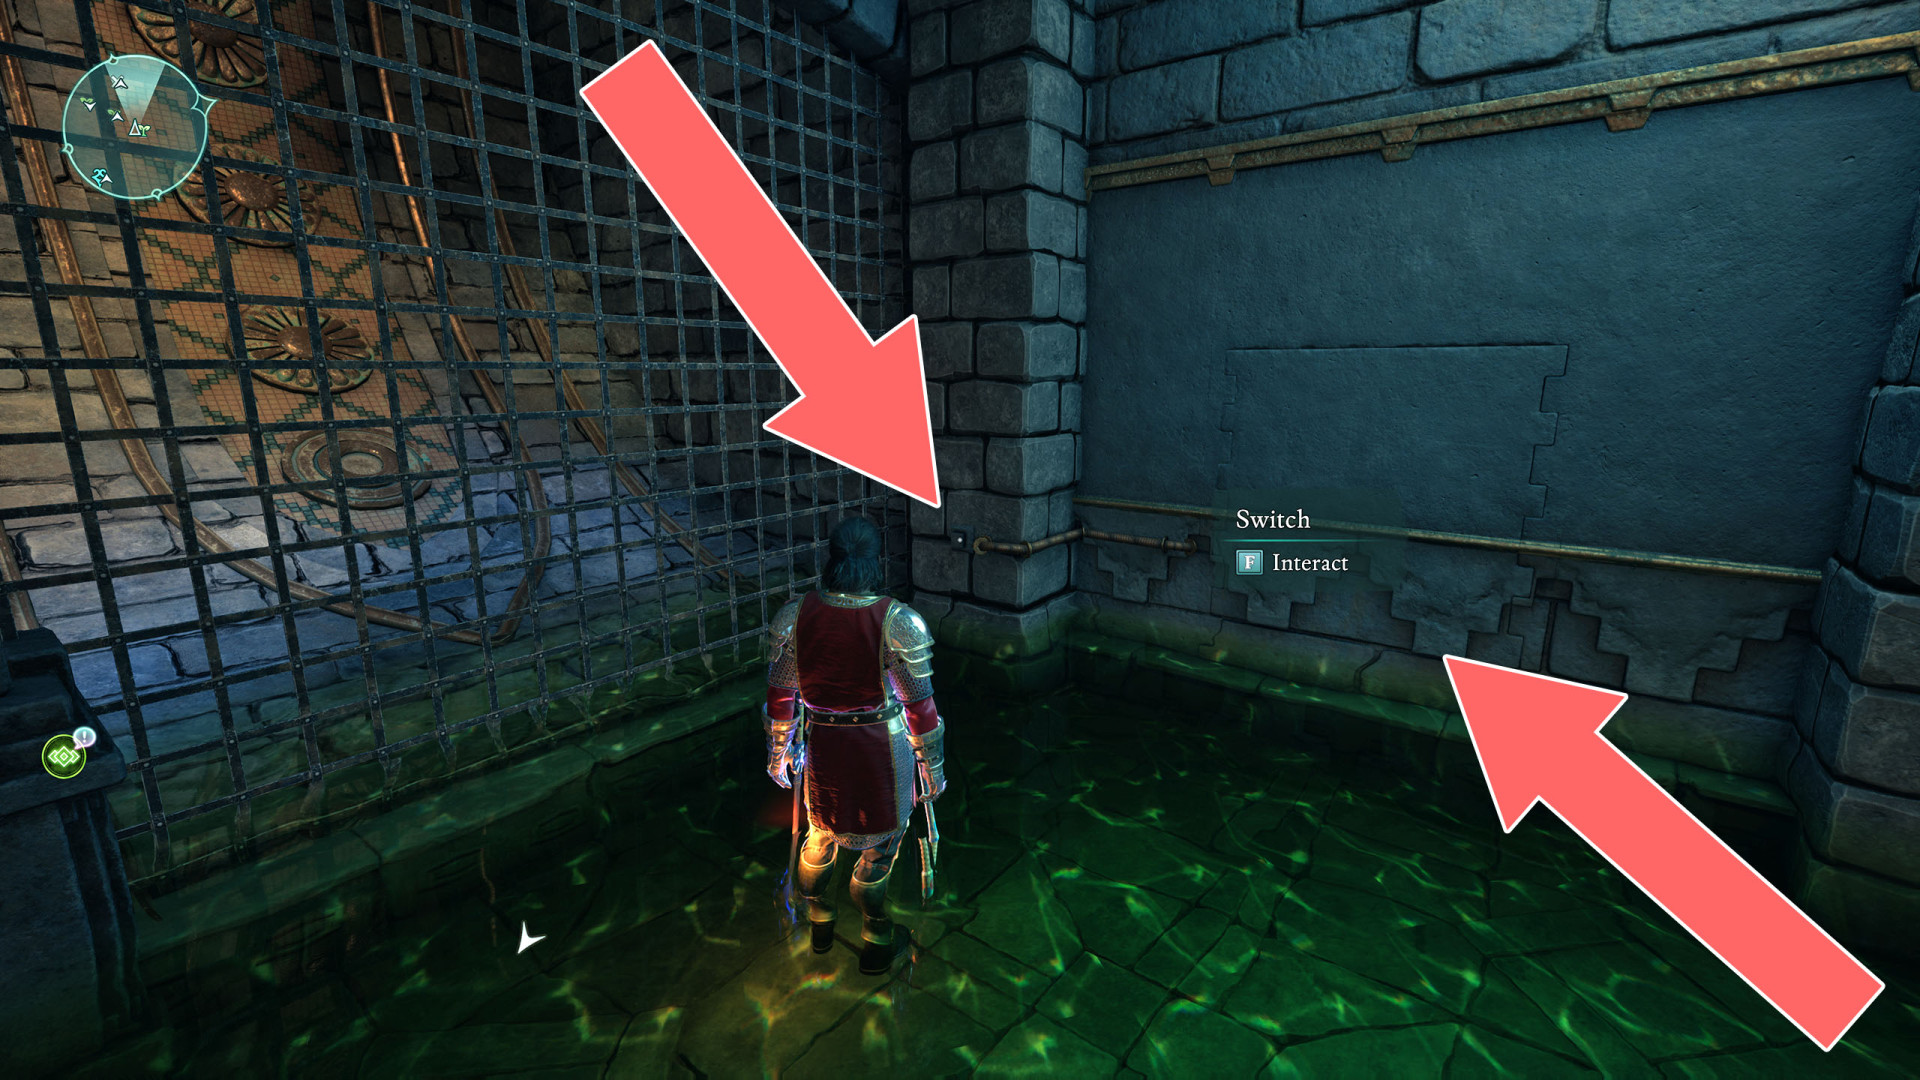
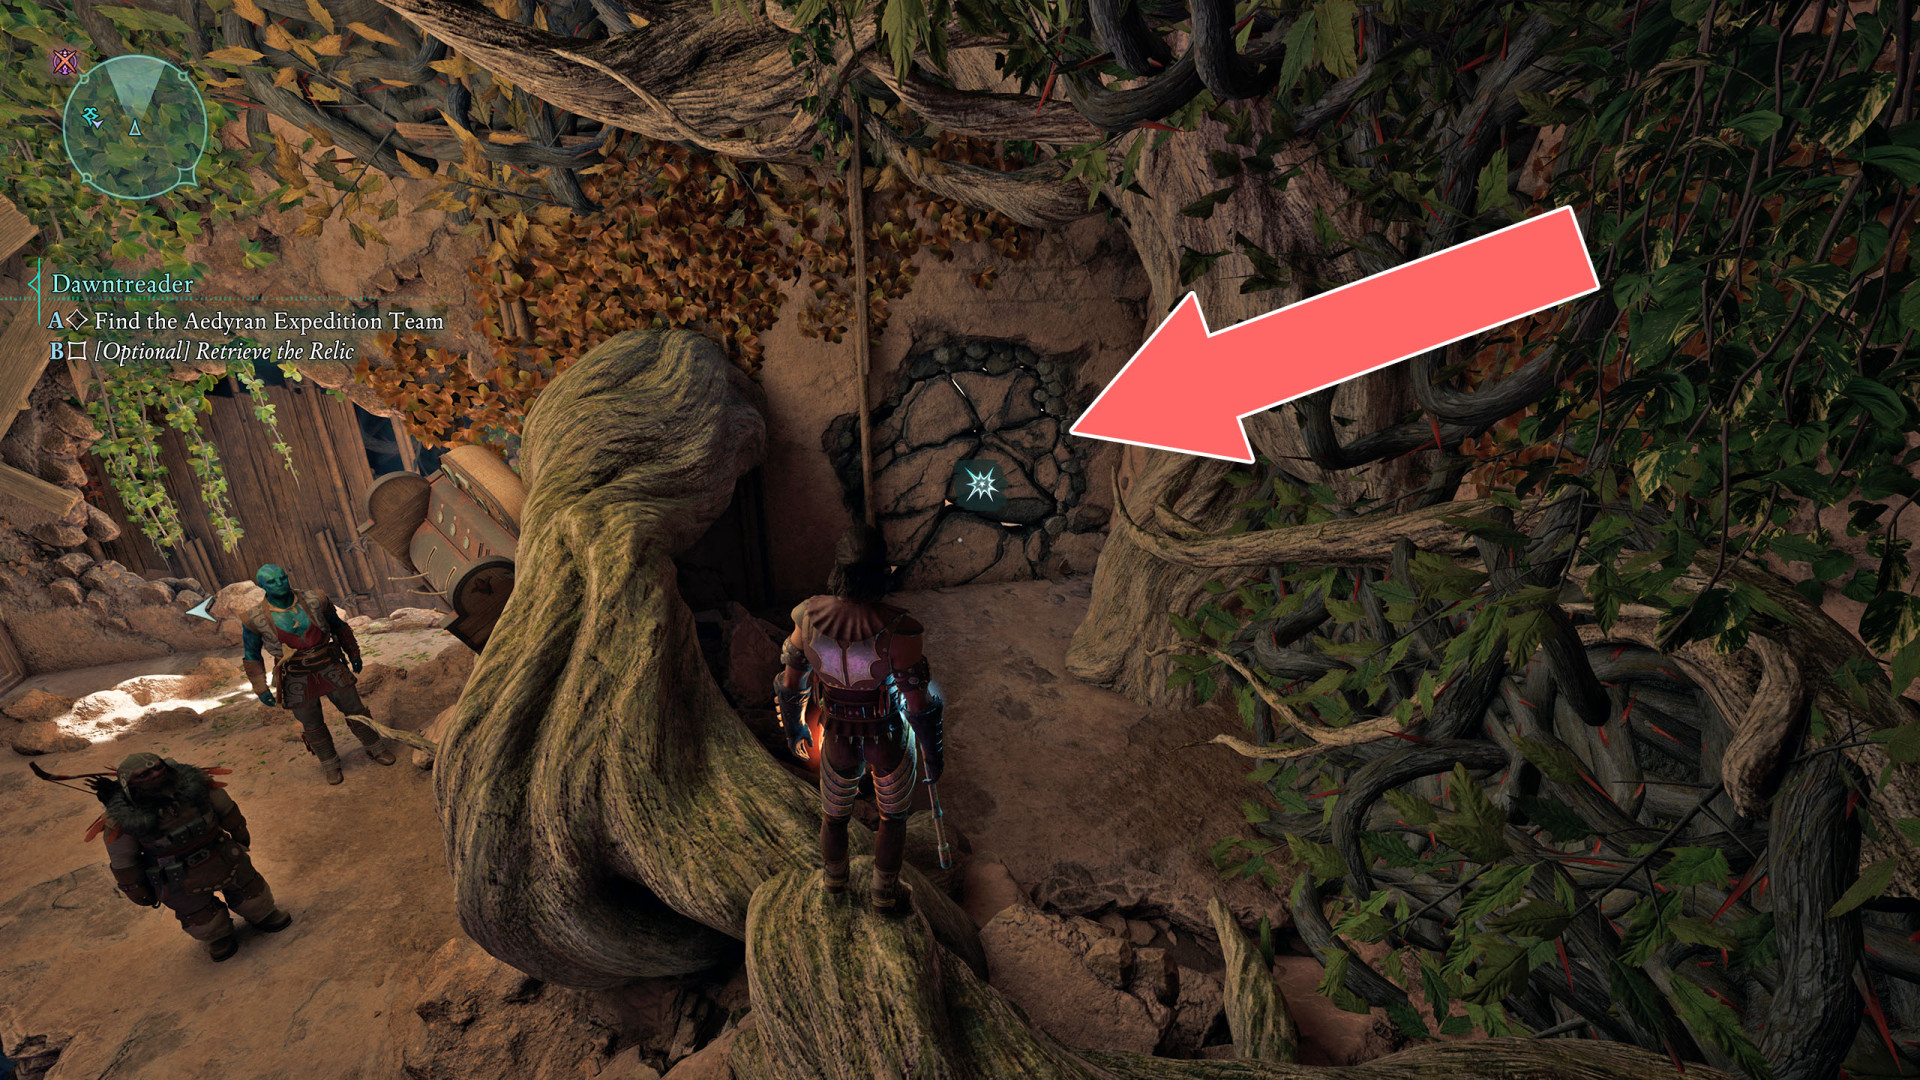
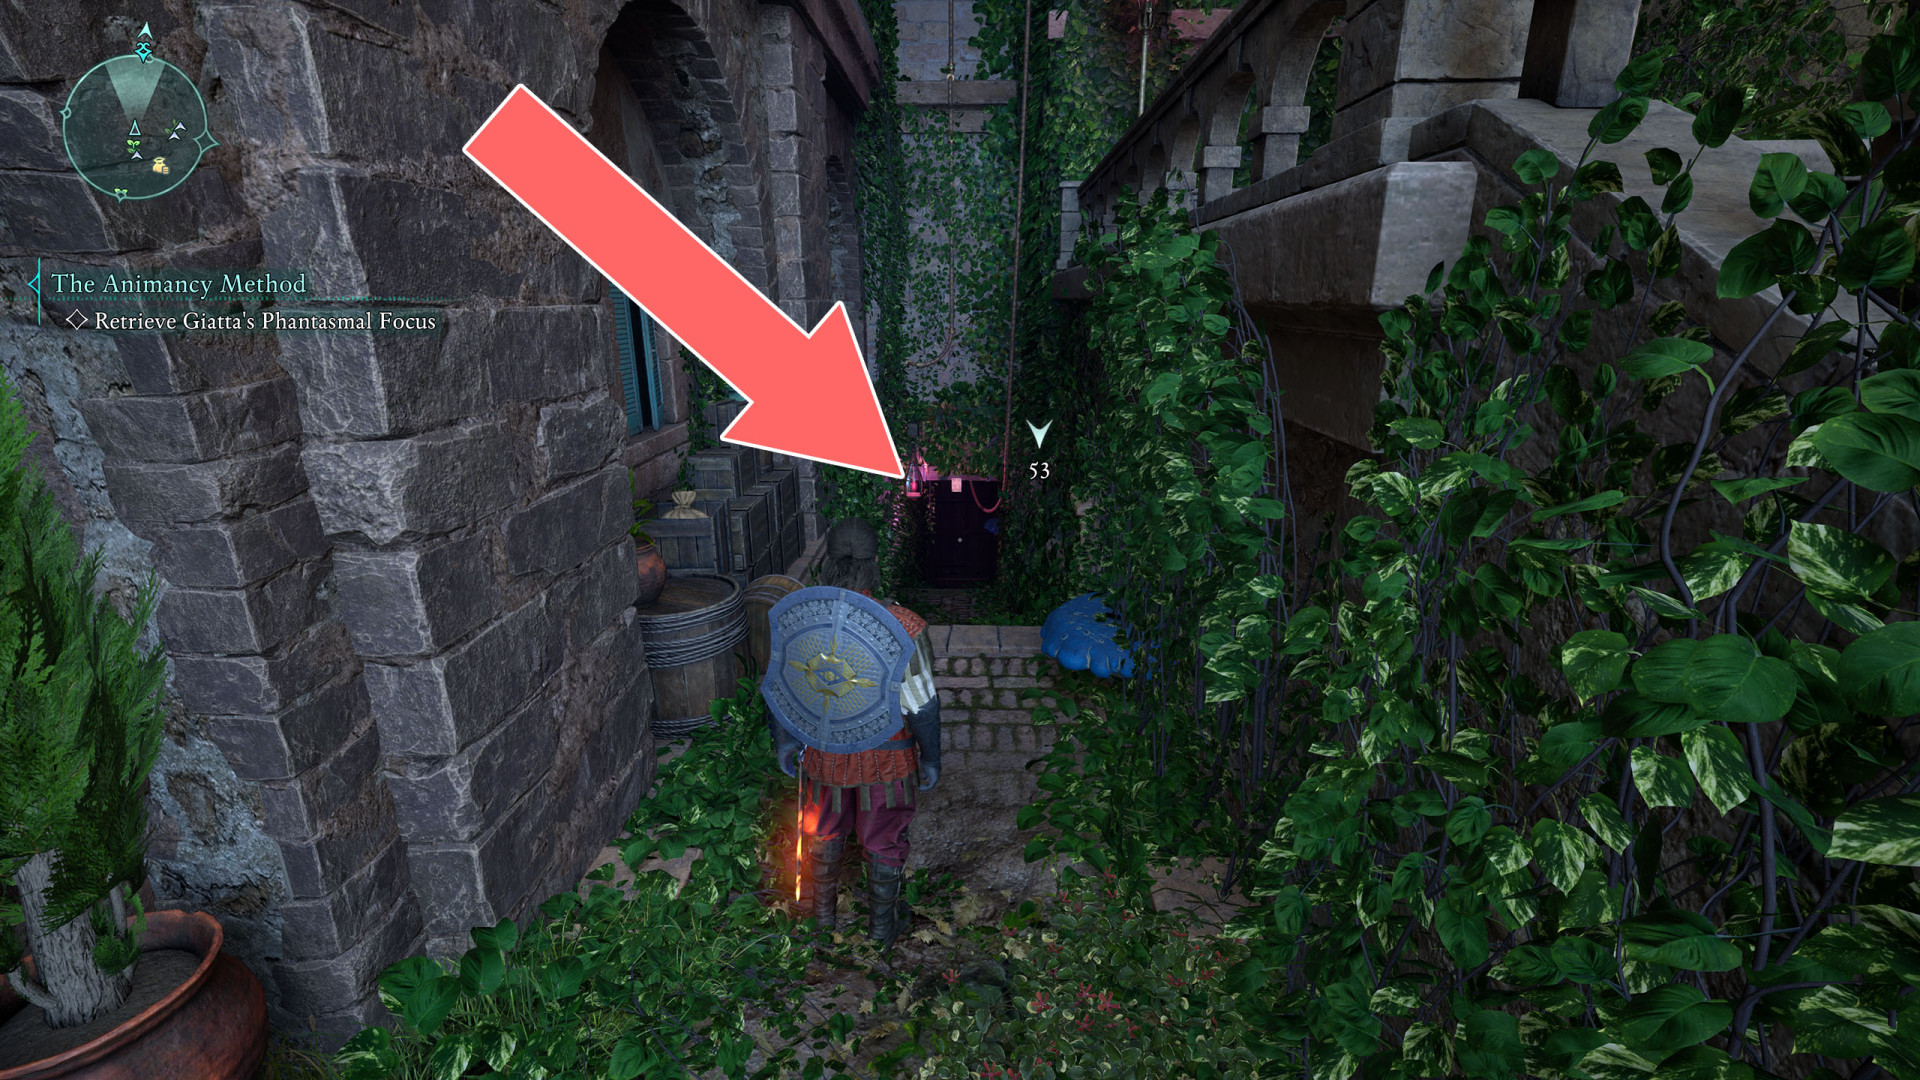
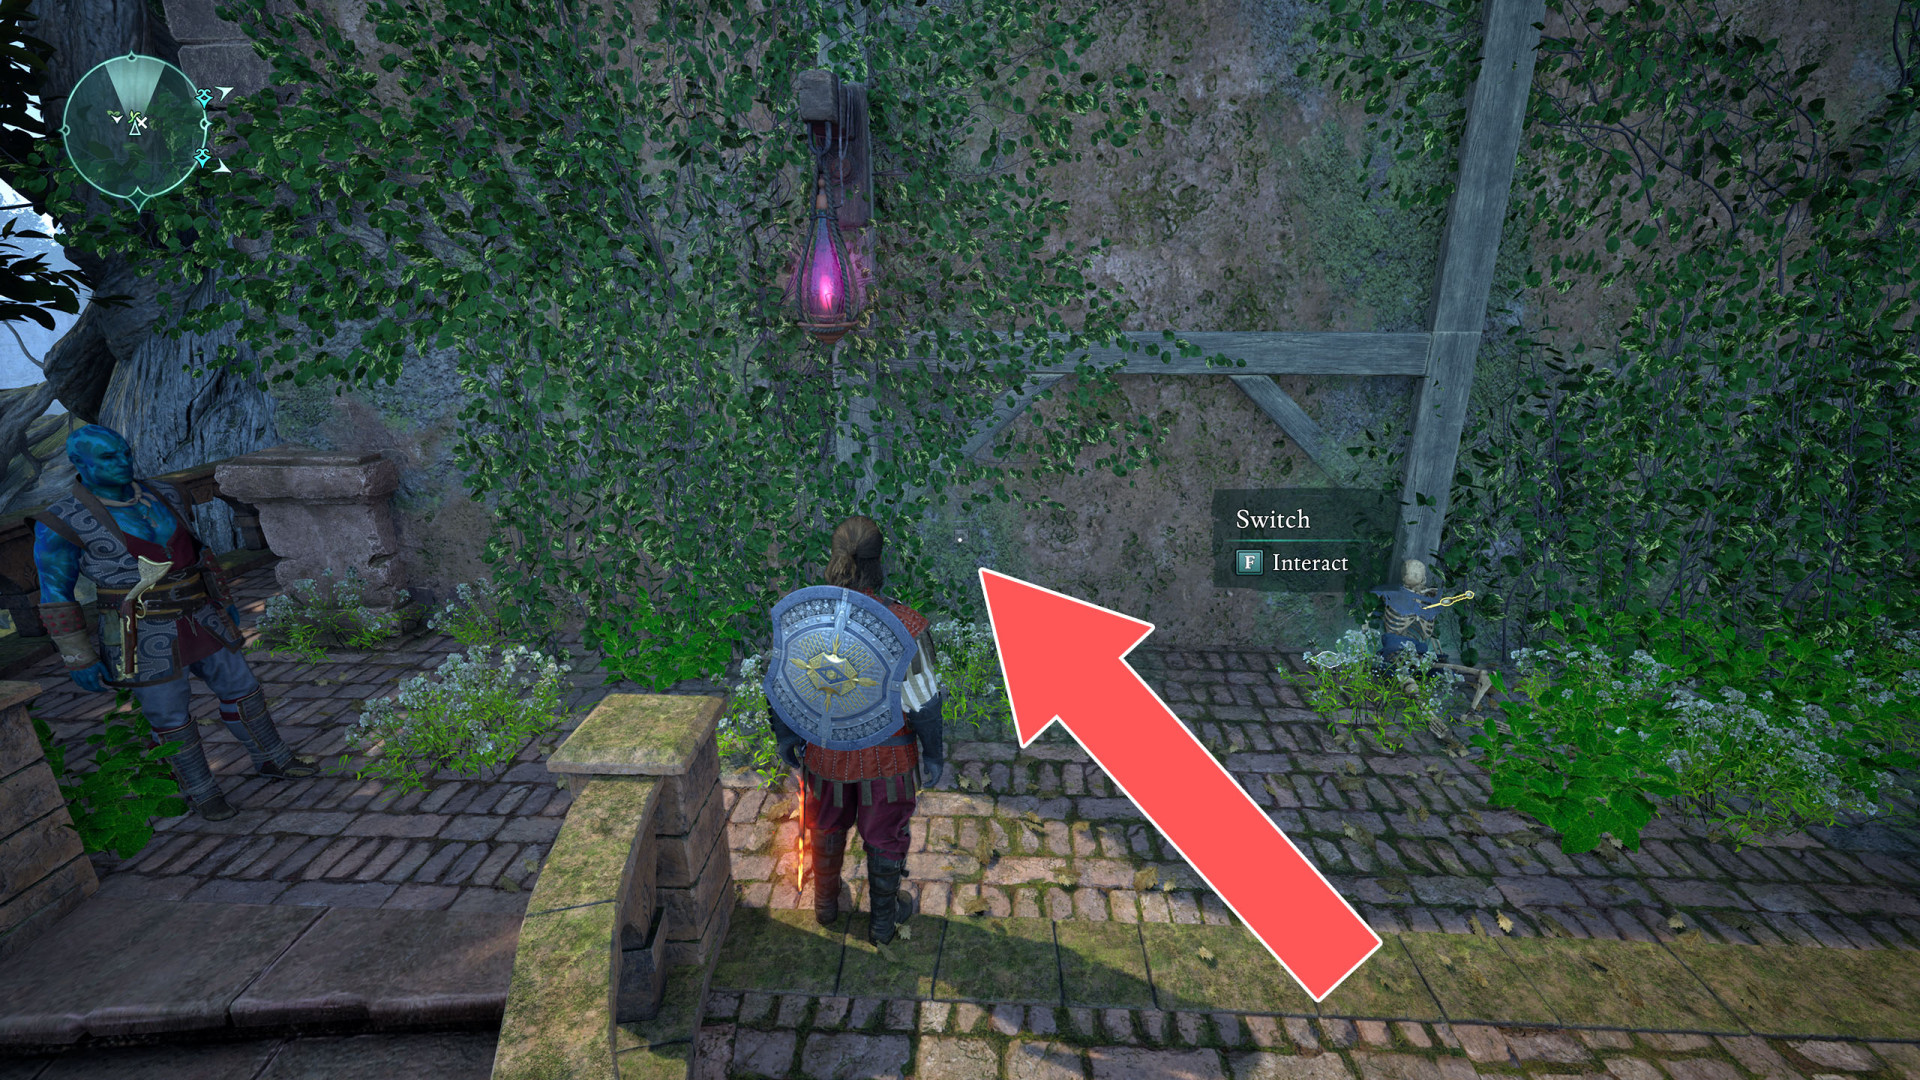
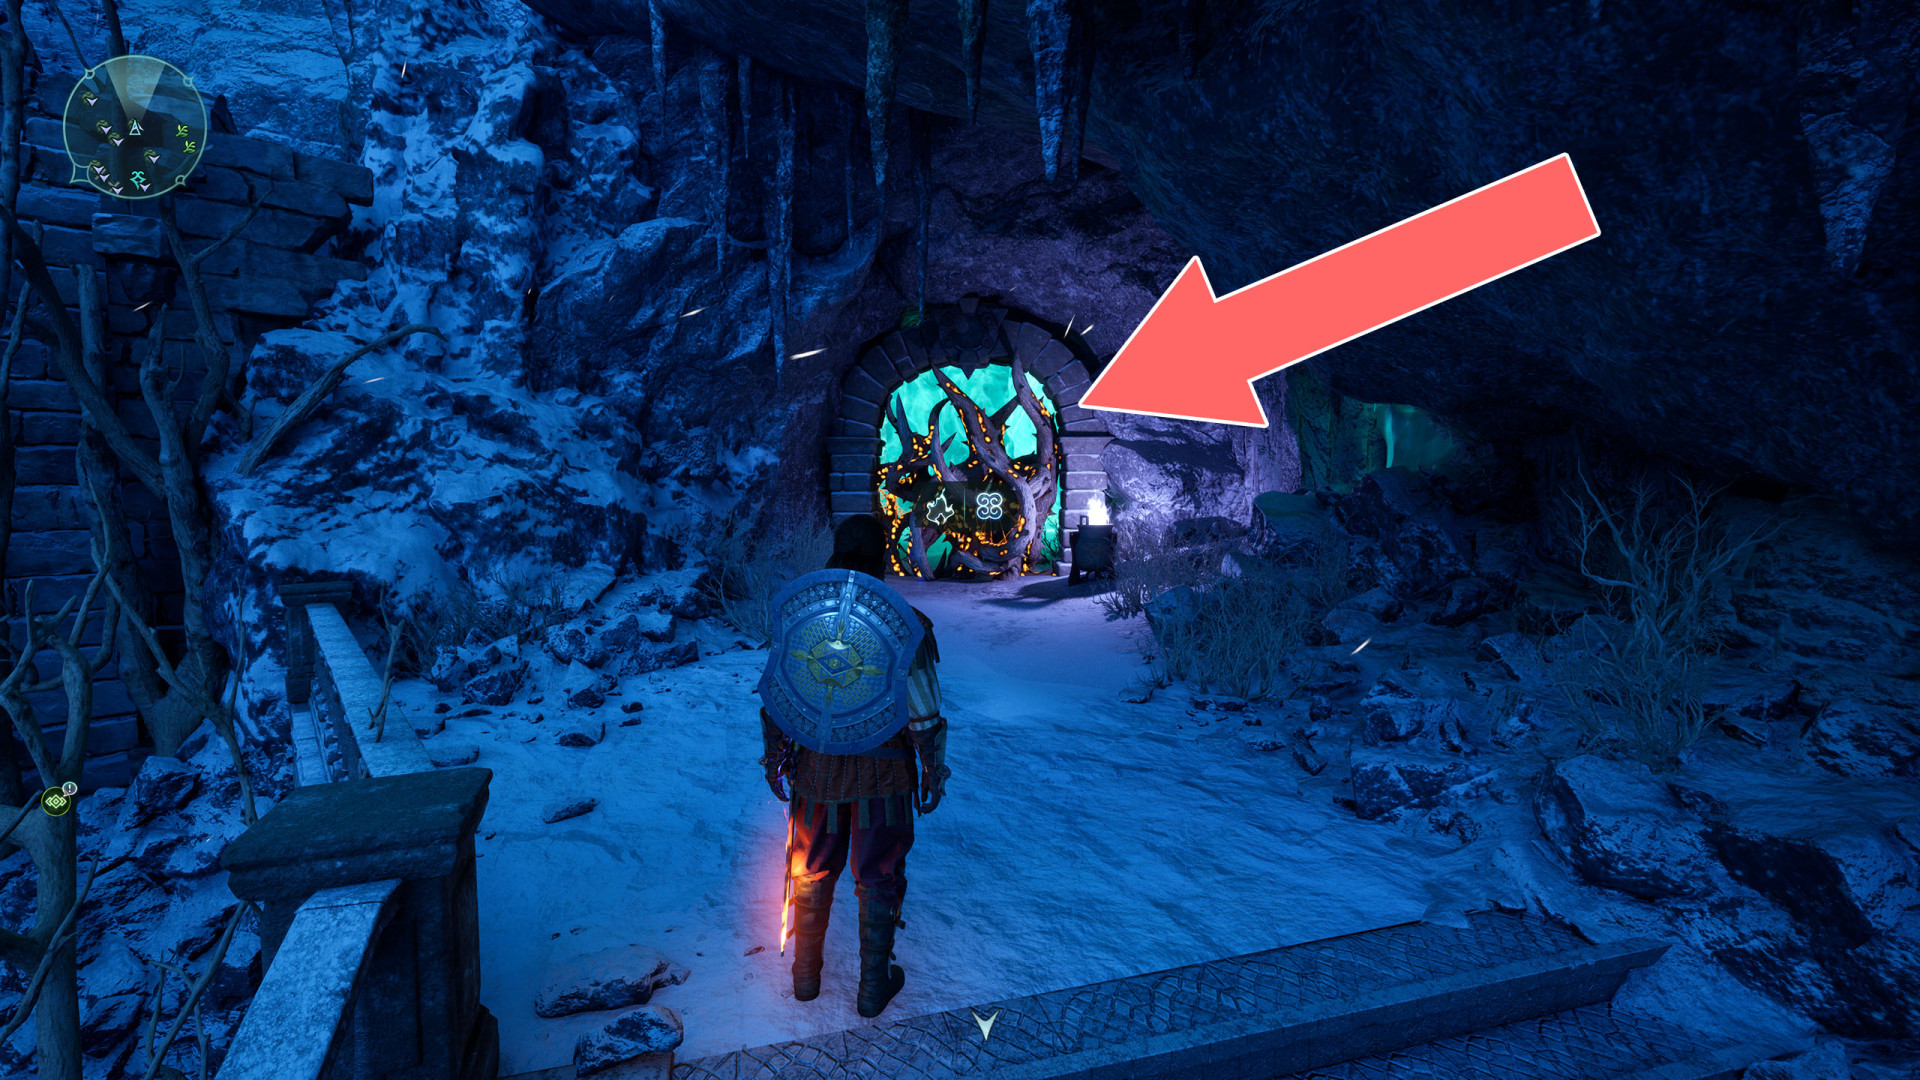
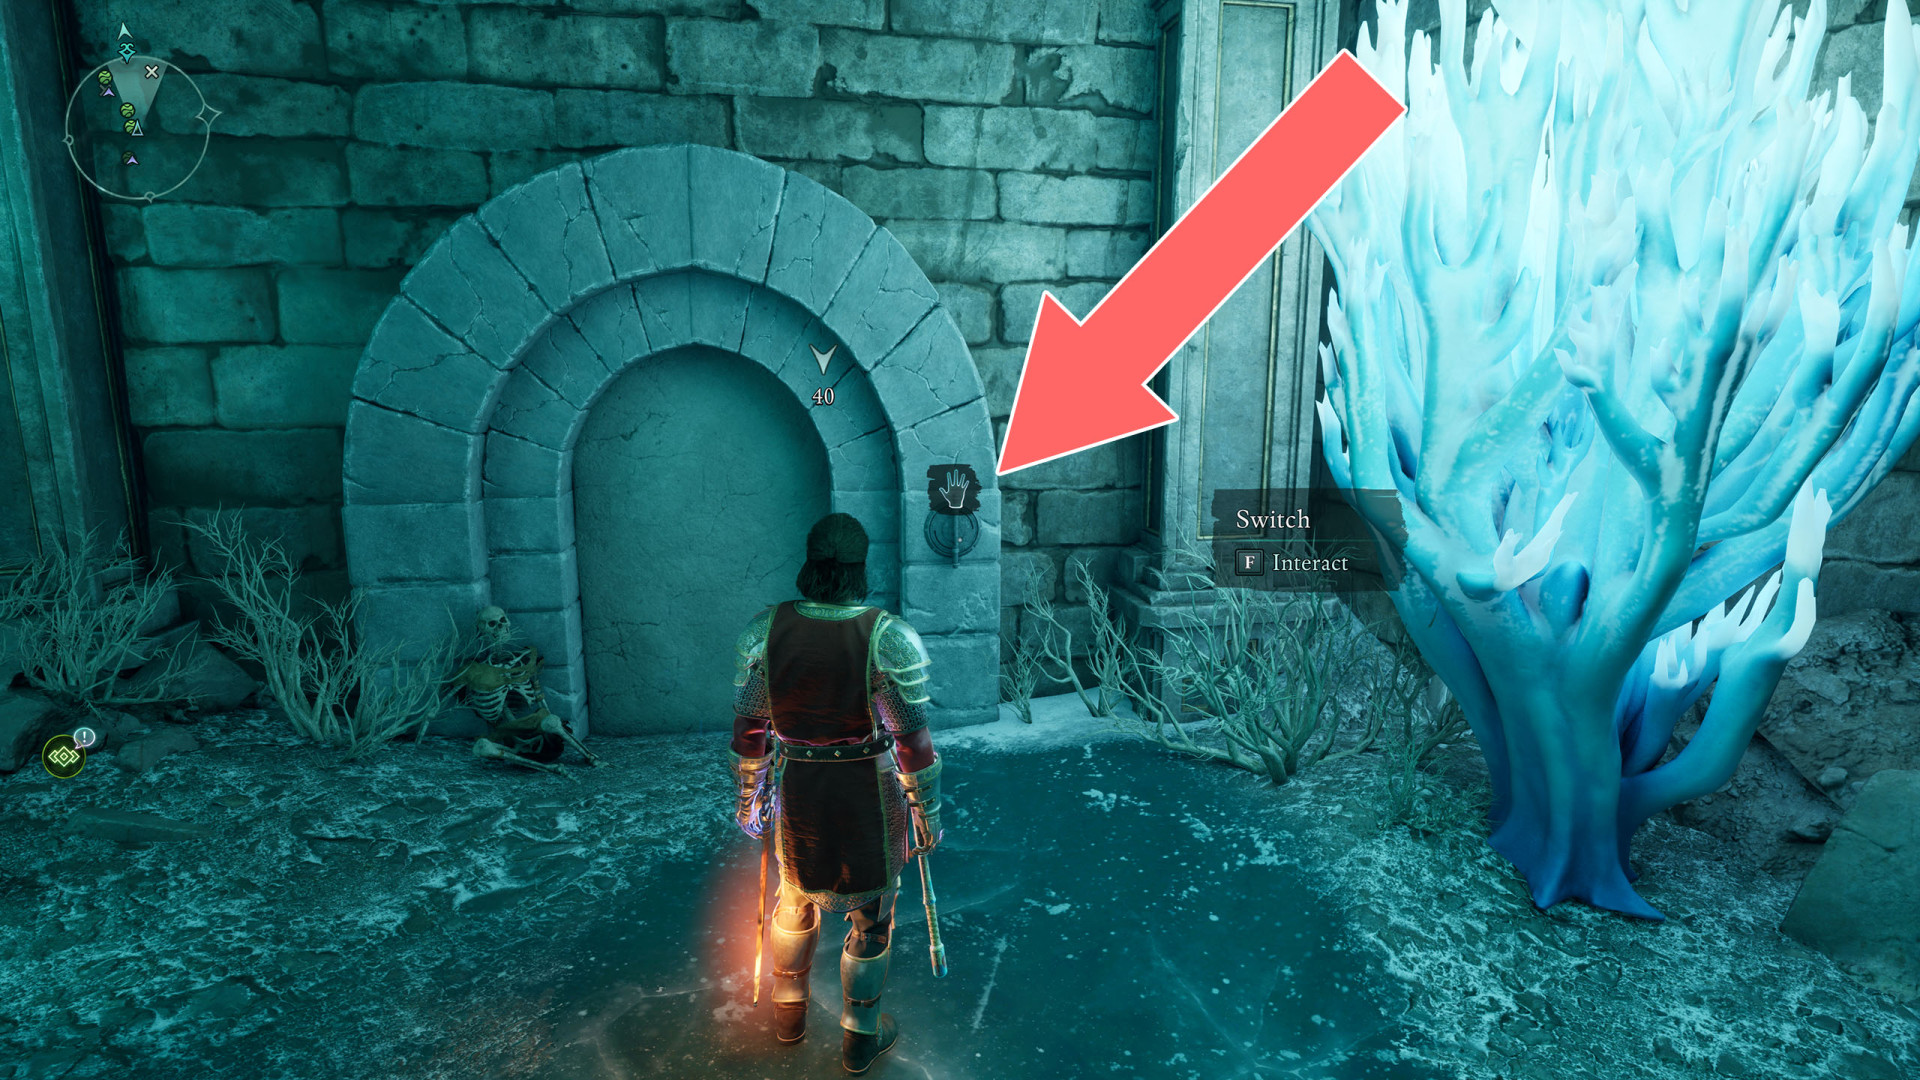
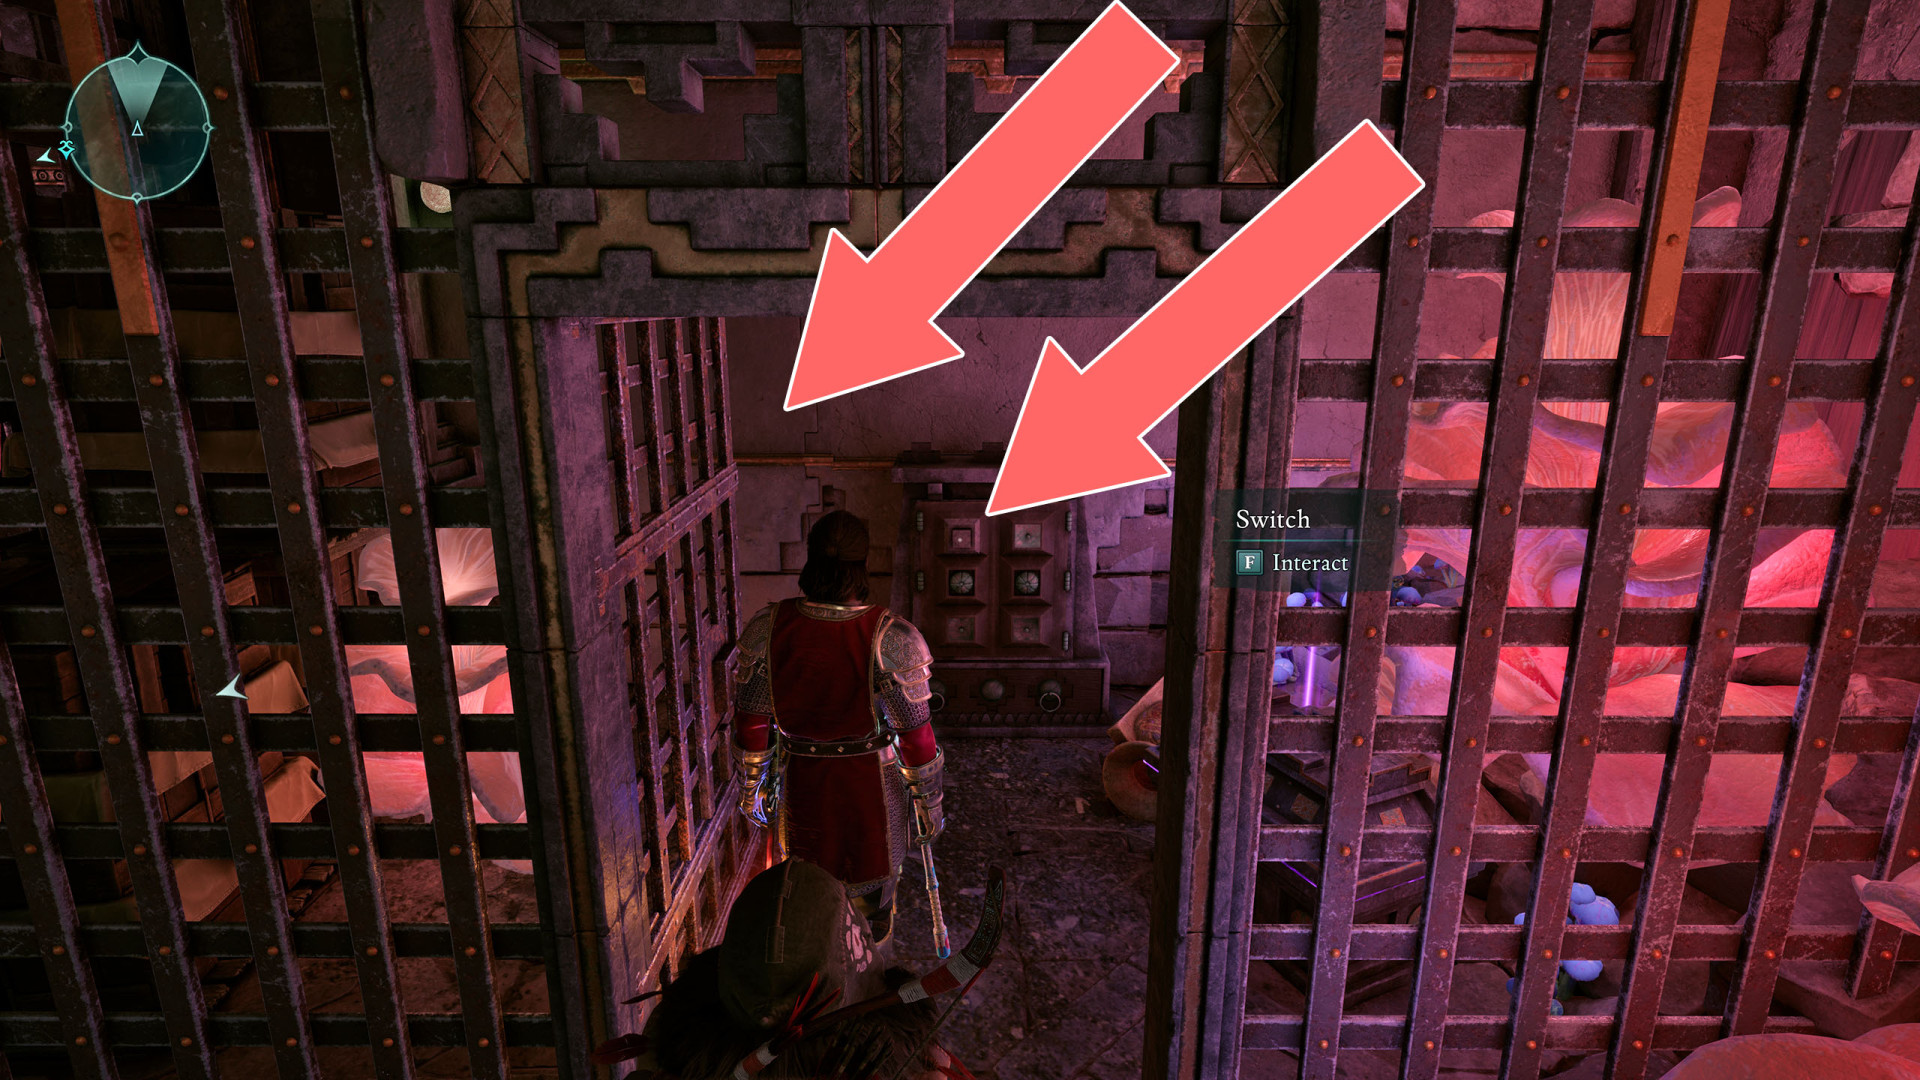
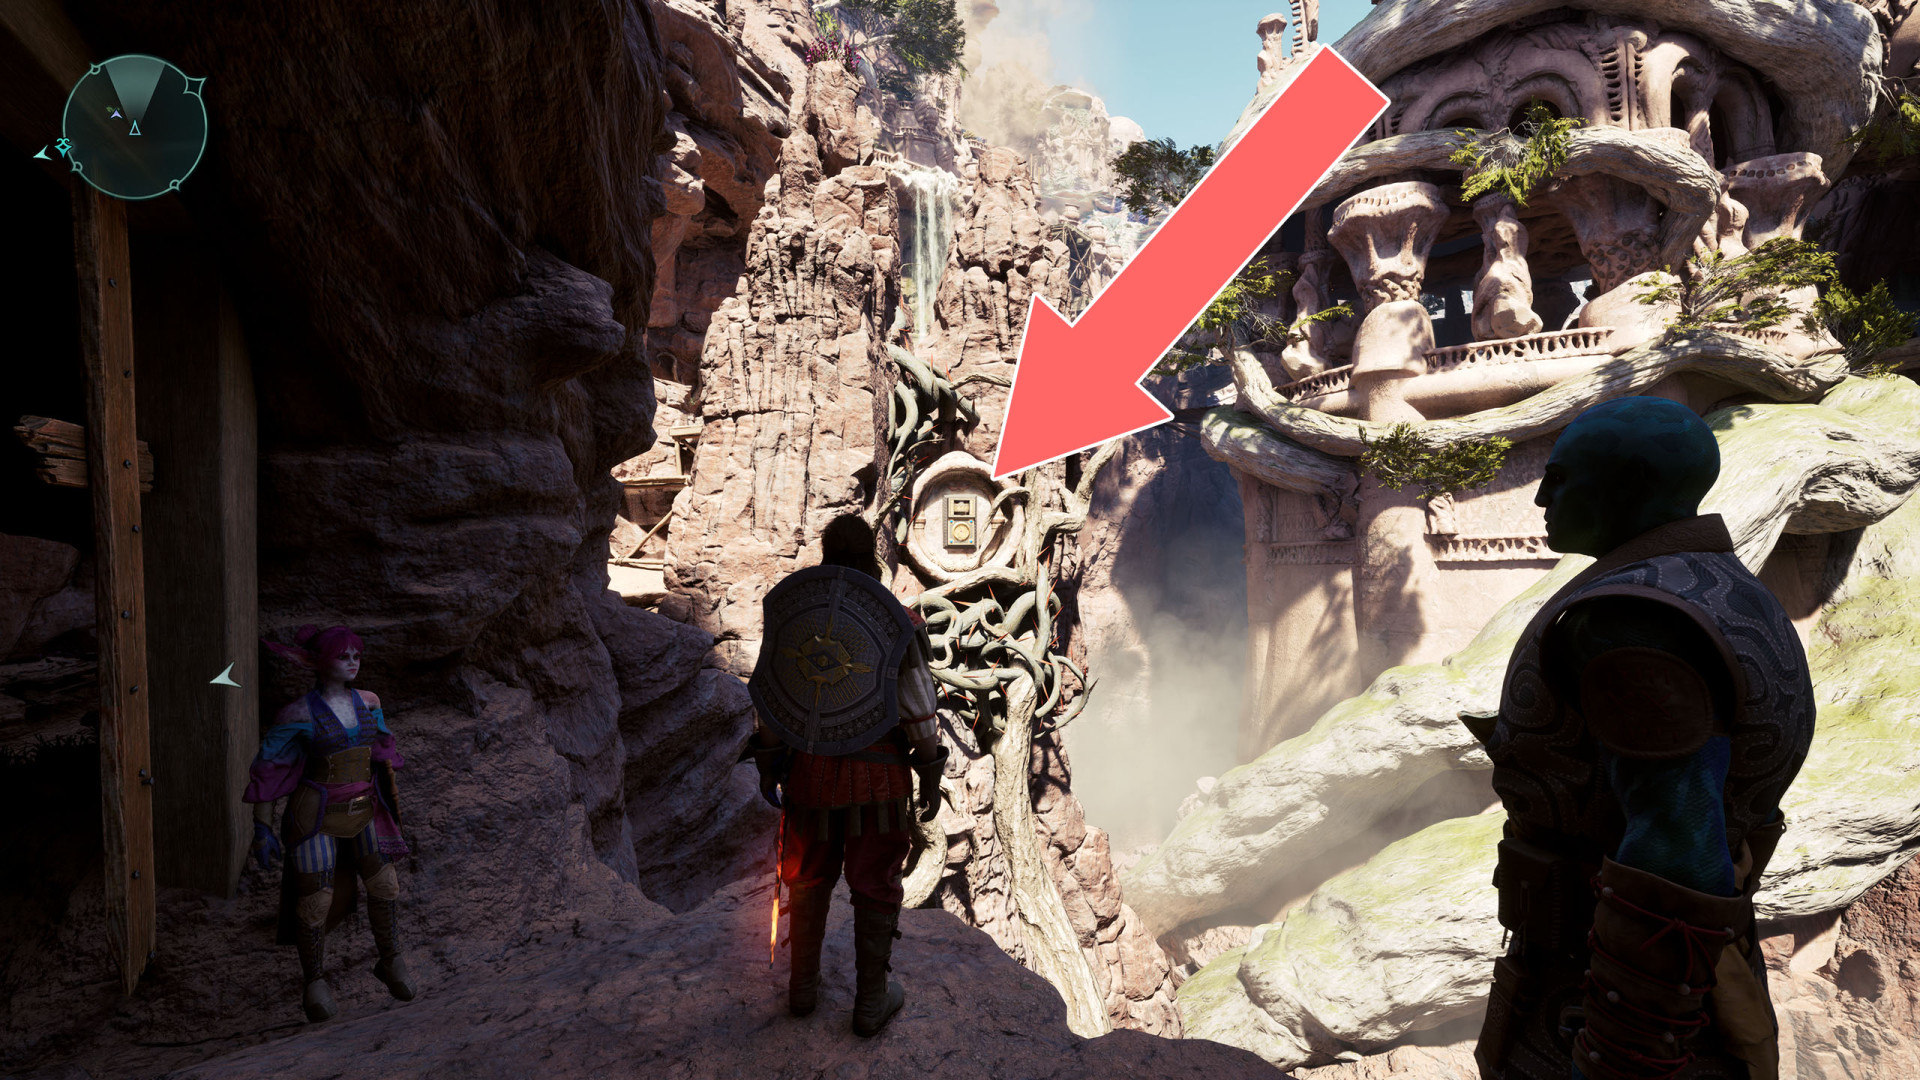
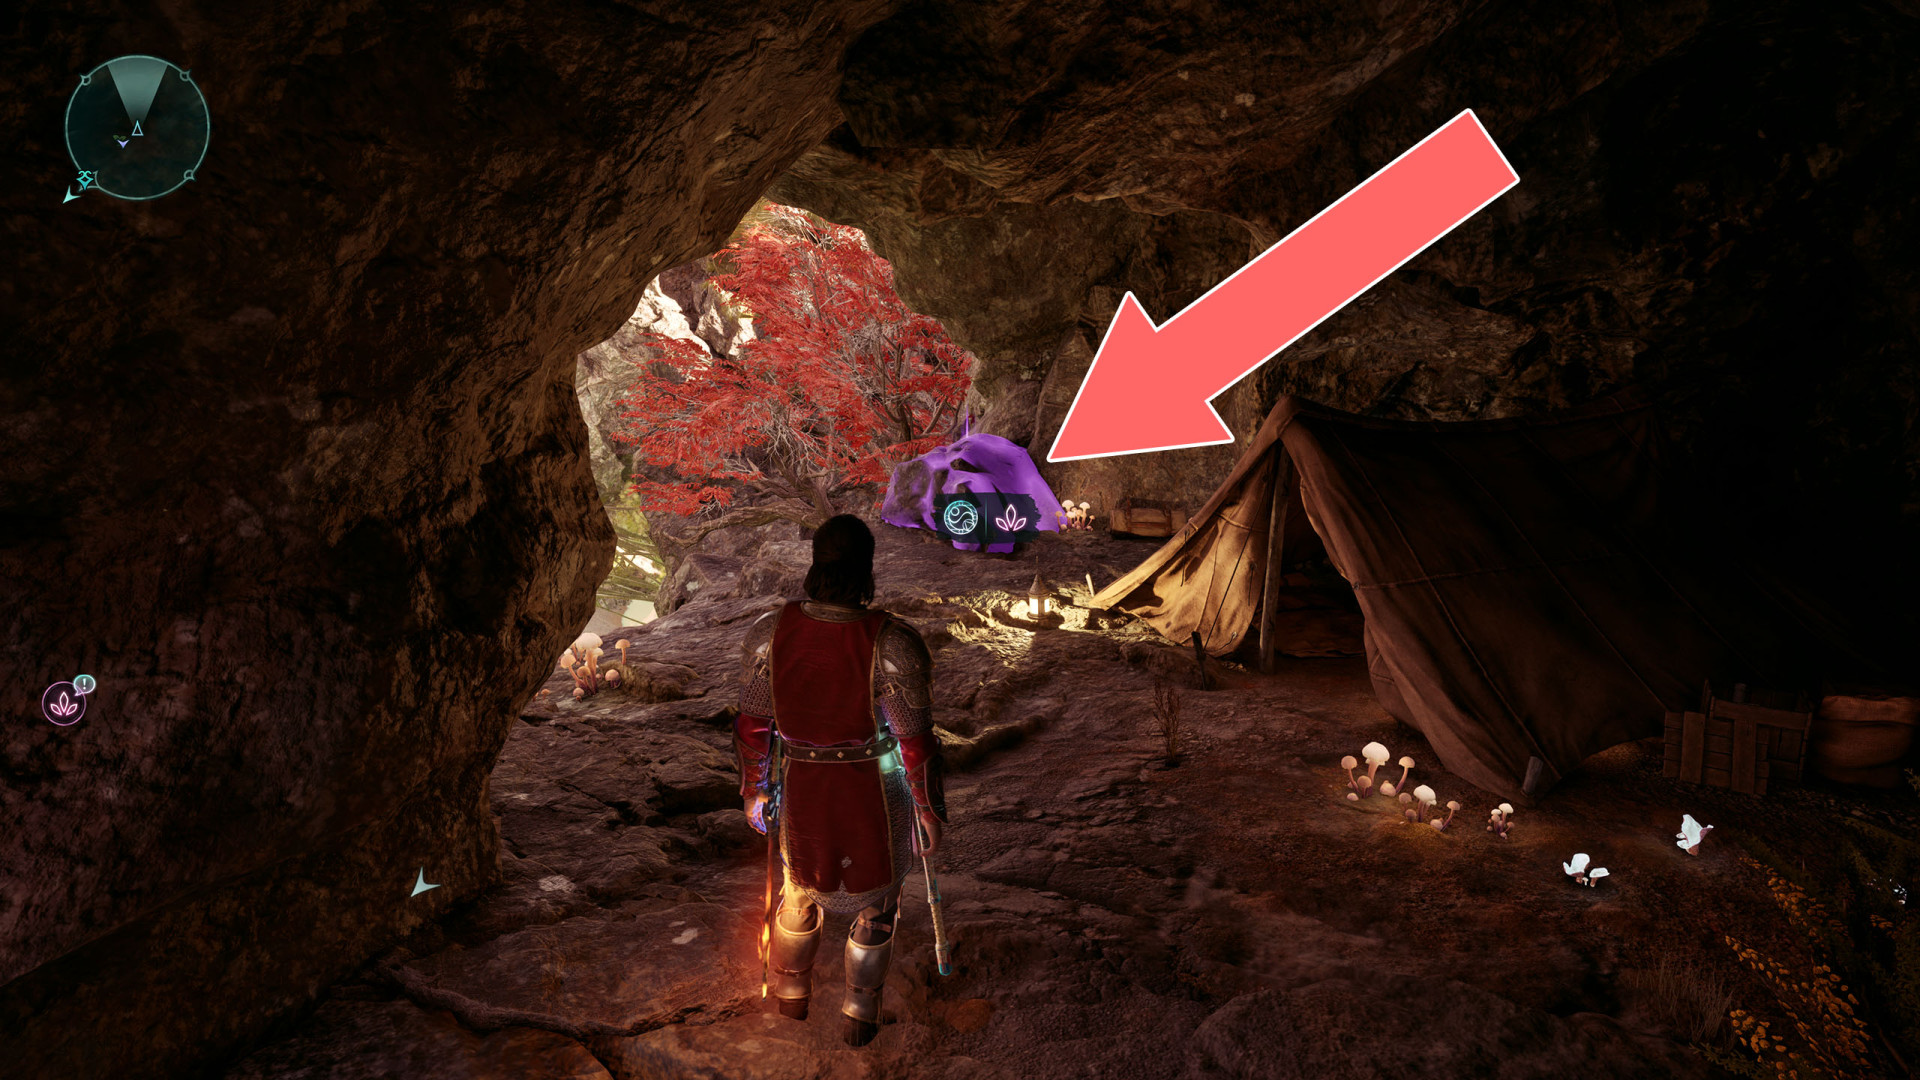
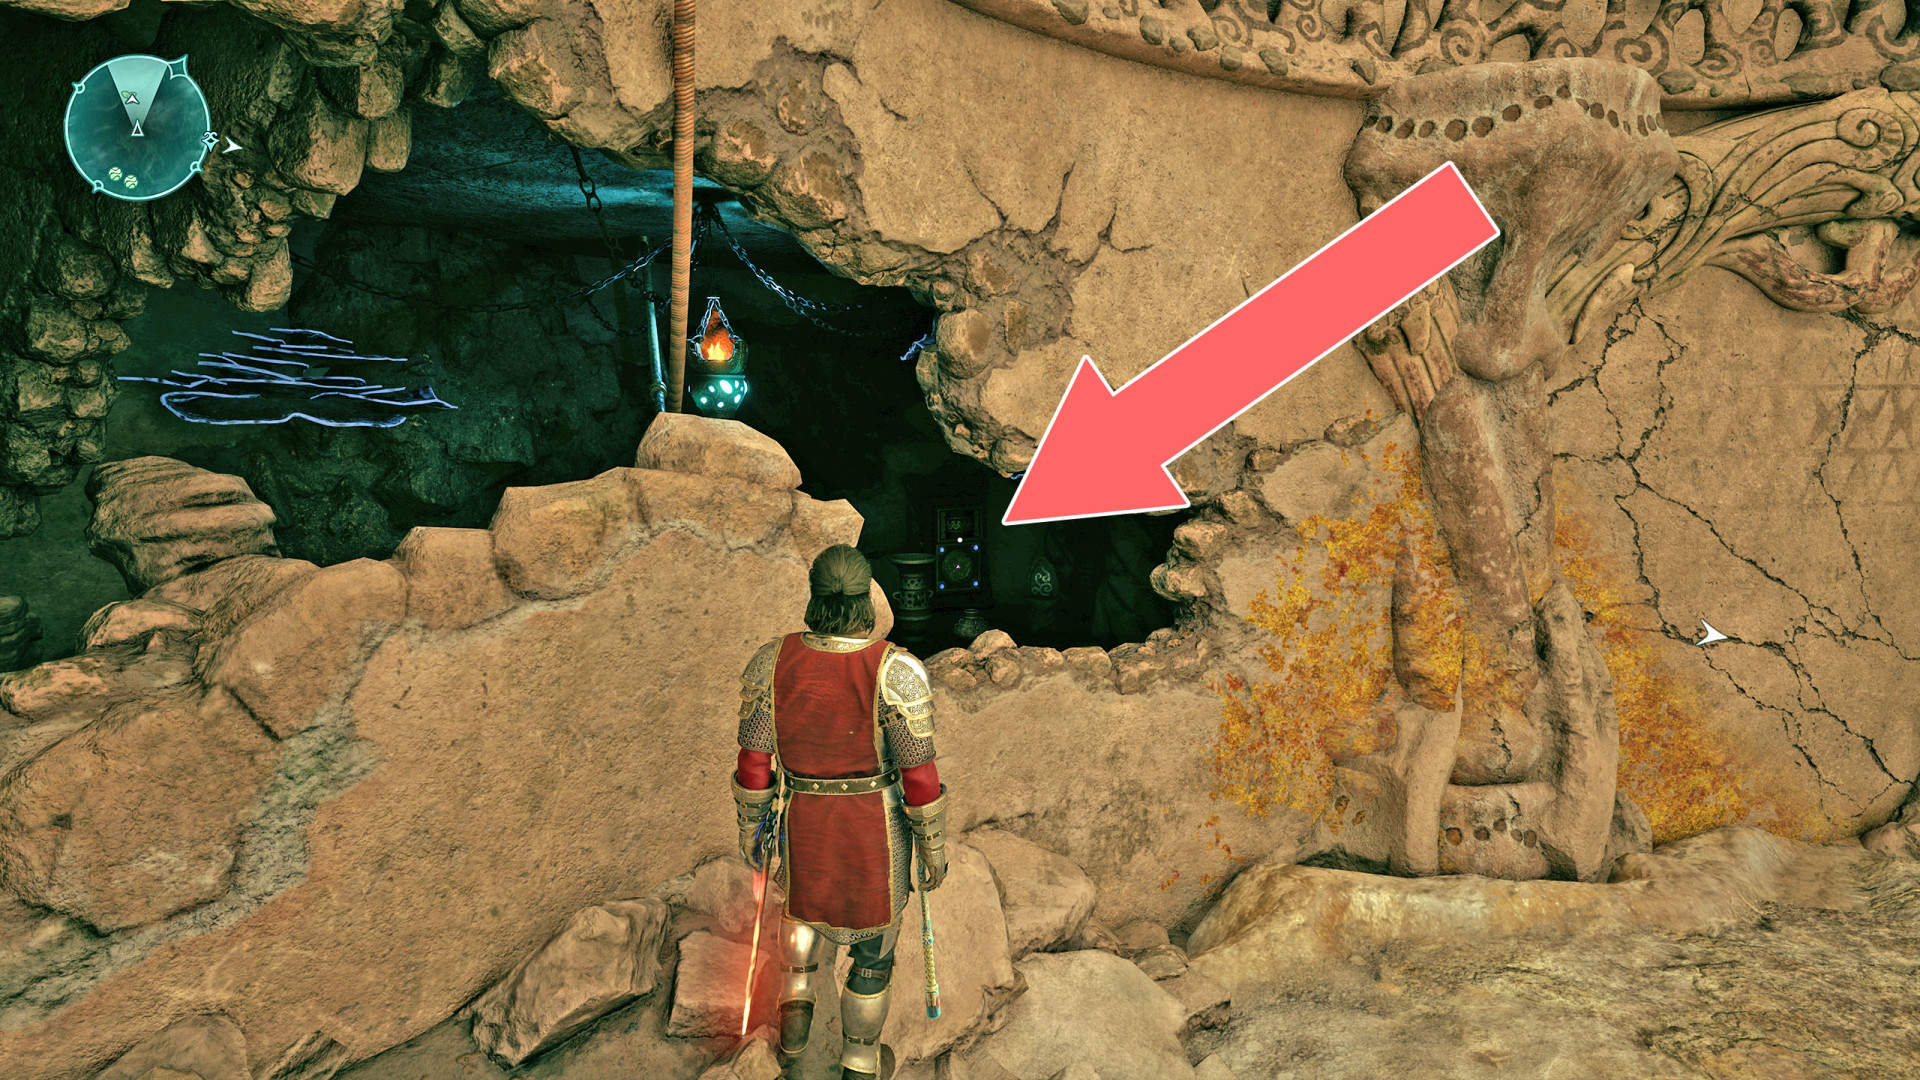
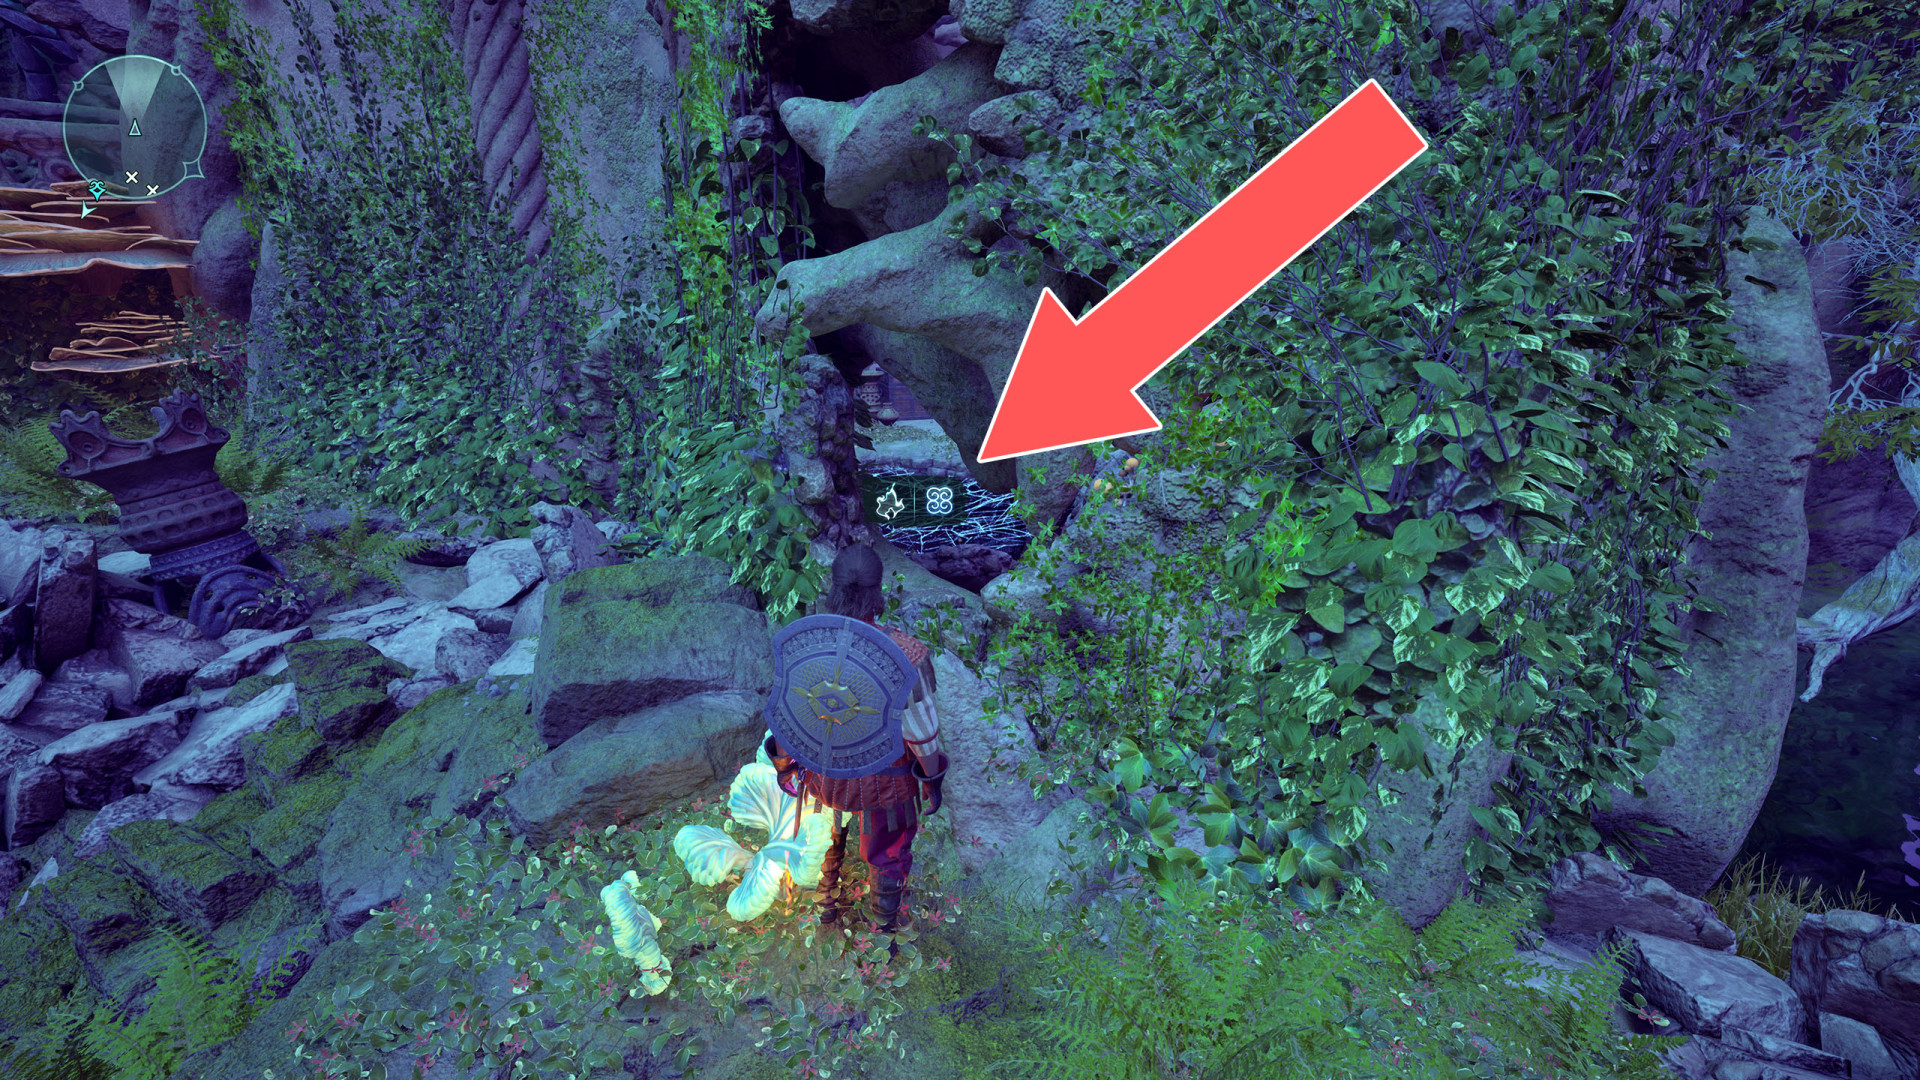
Secret Door▶ show the map ◀
To open this secret passage, press the switch hidden in the lantern held by the statue.
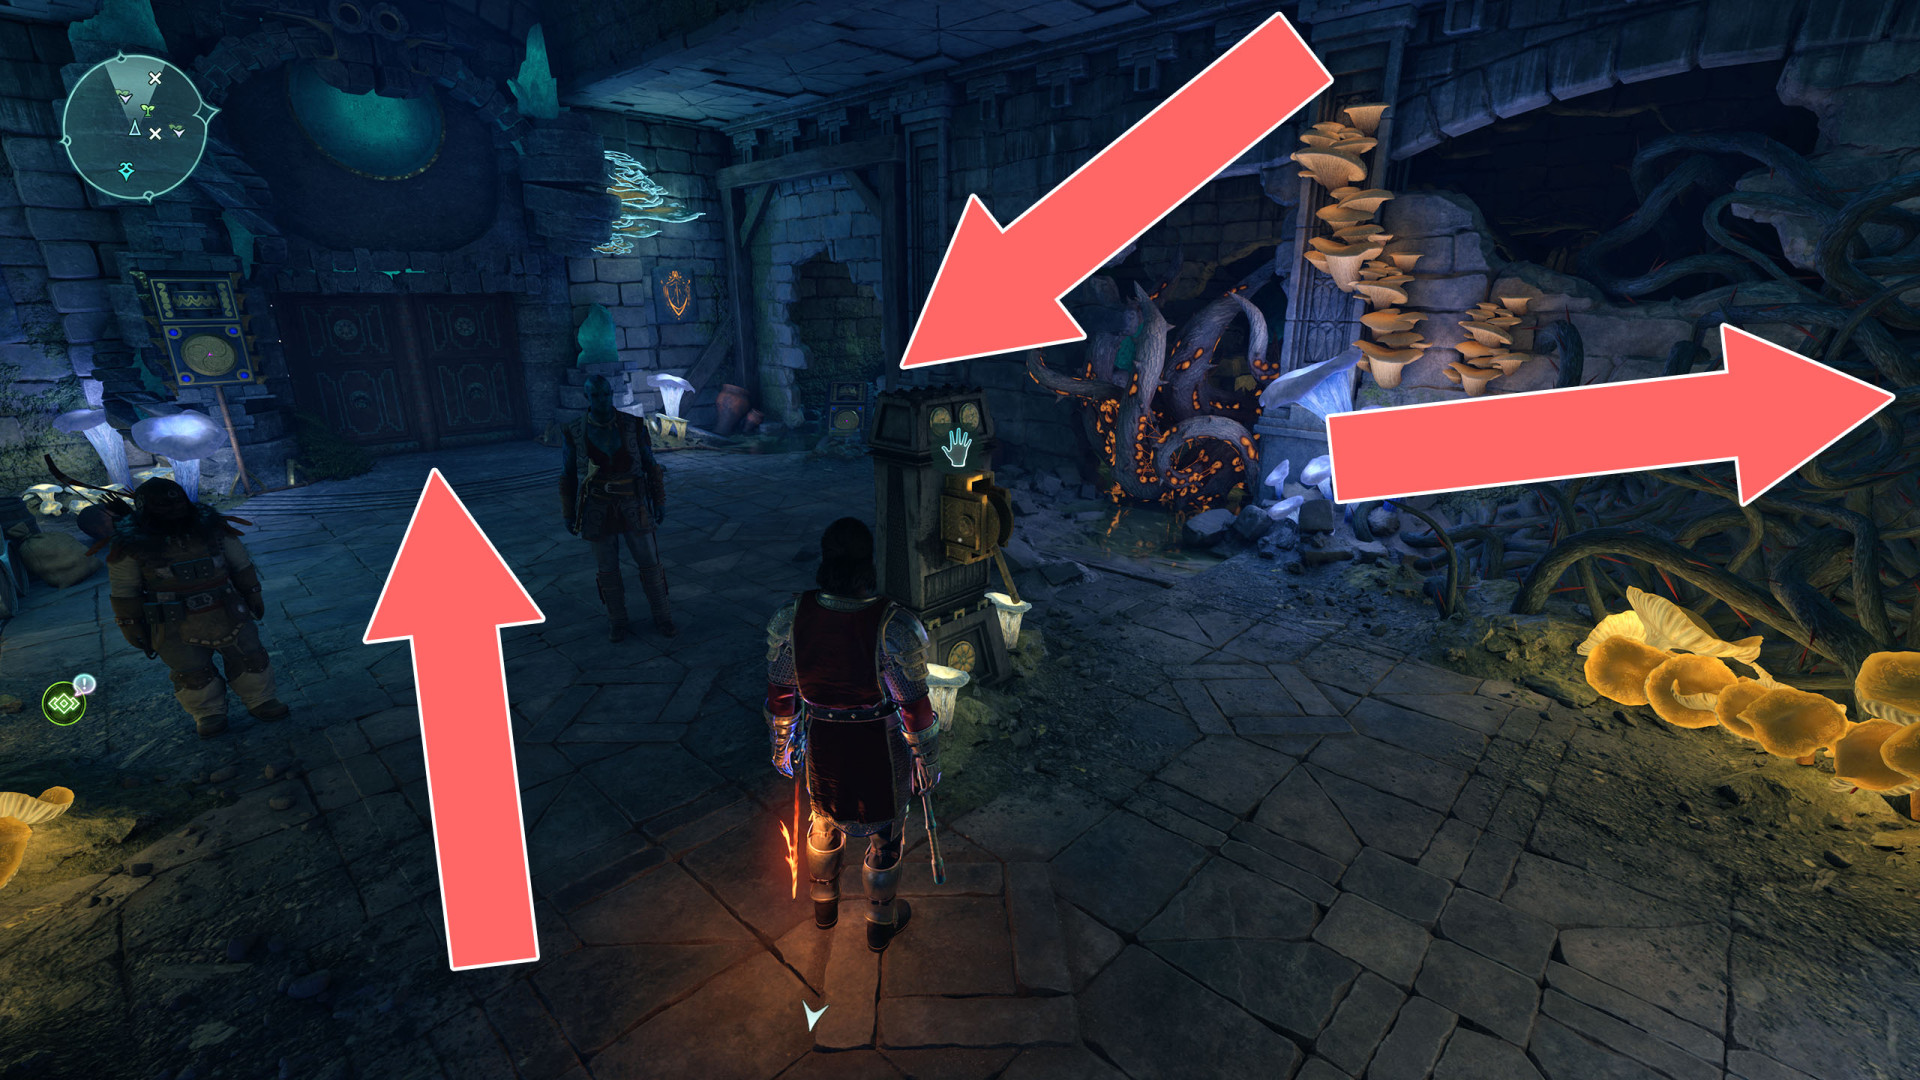
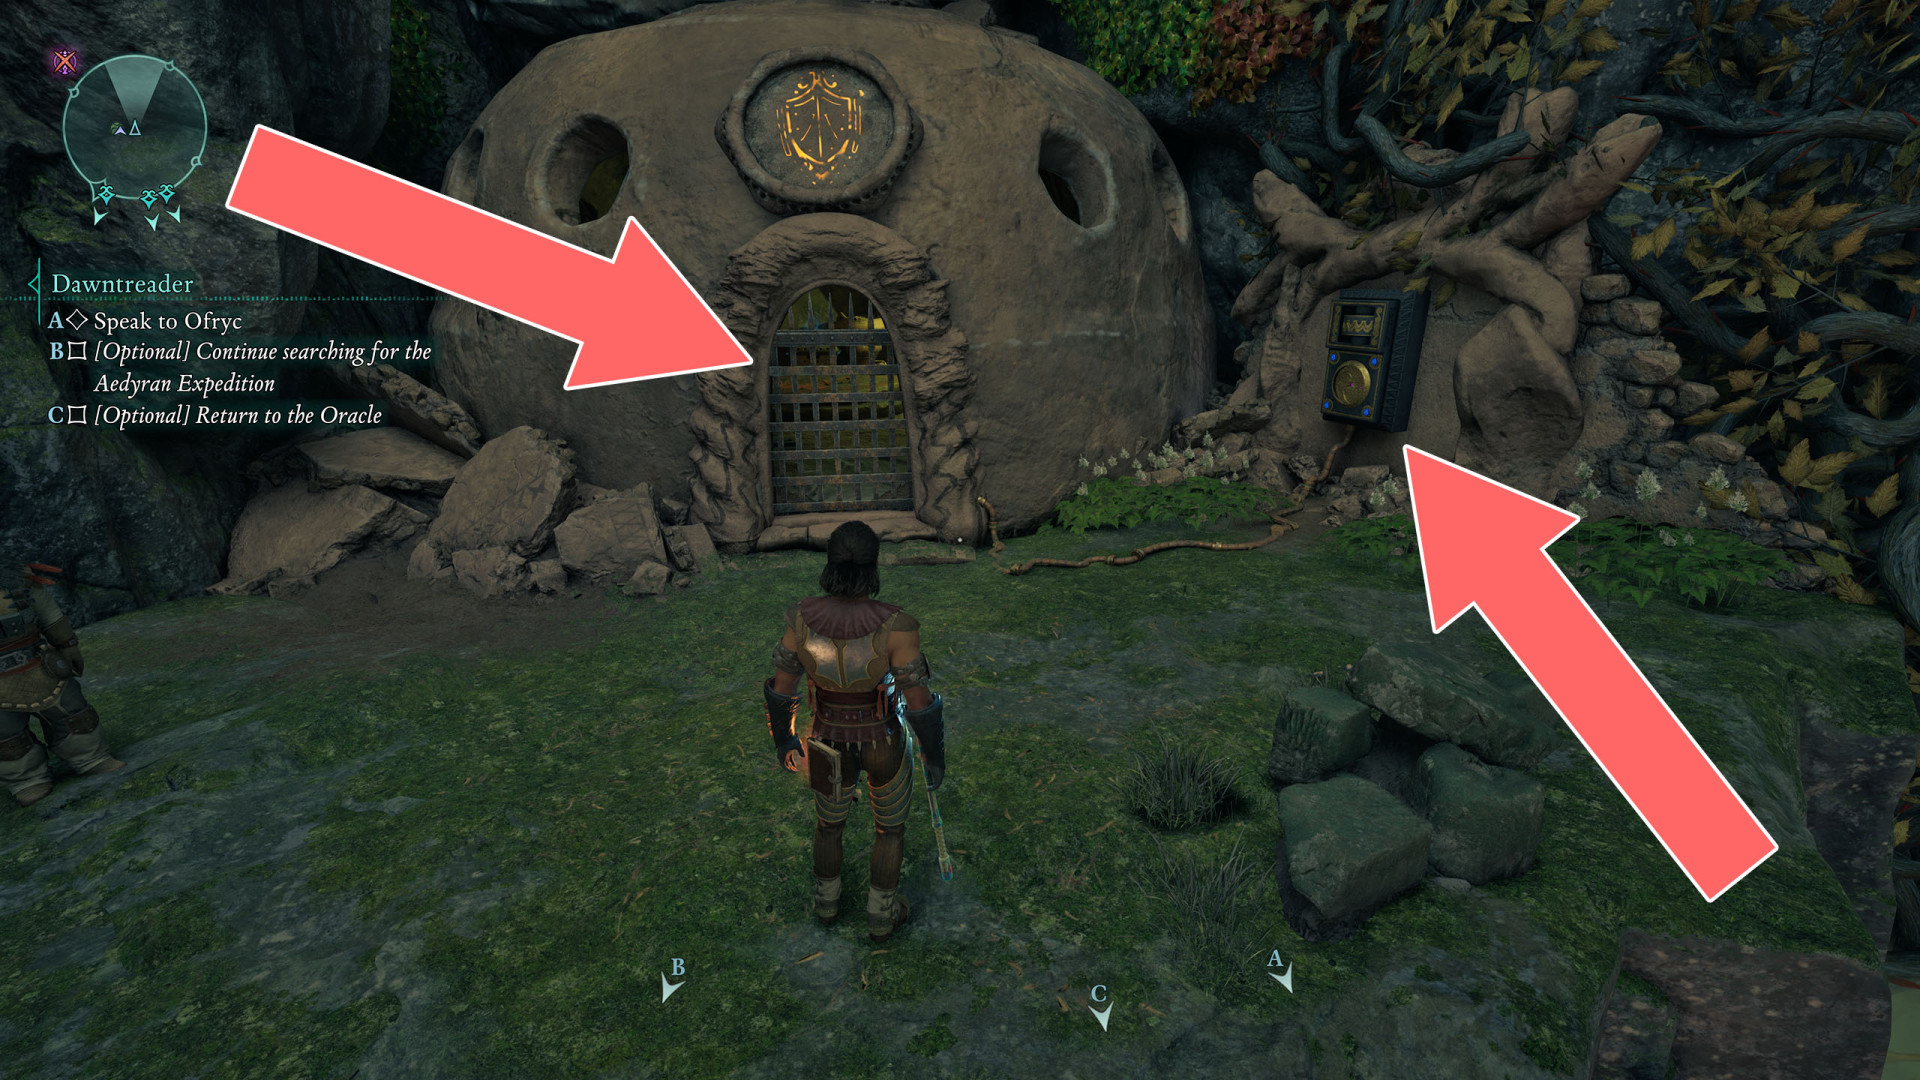
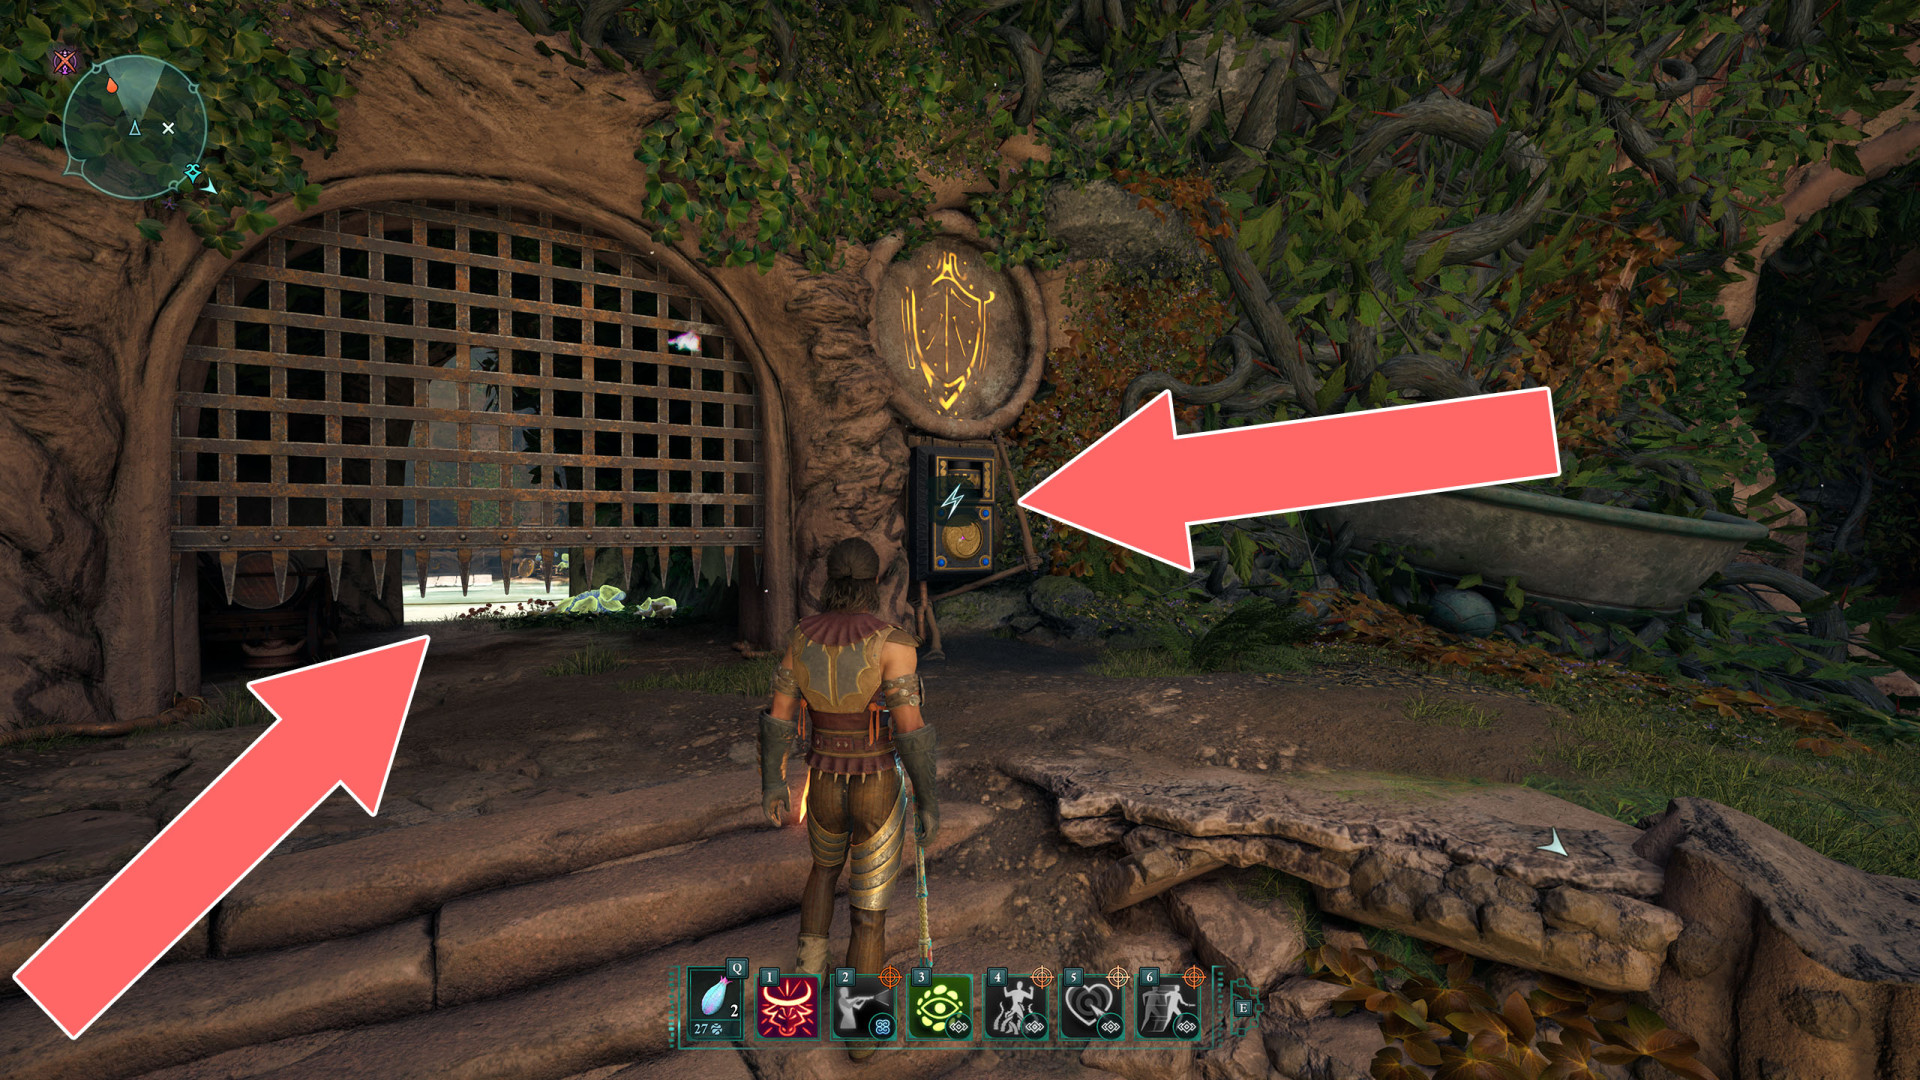
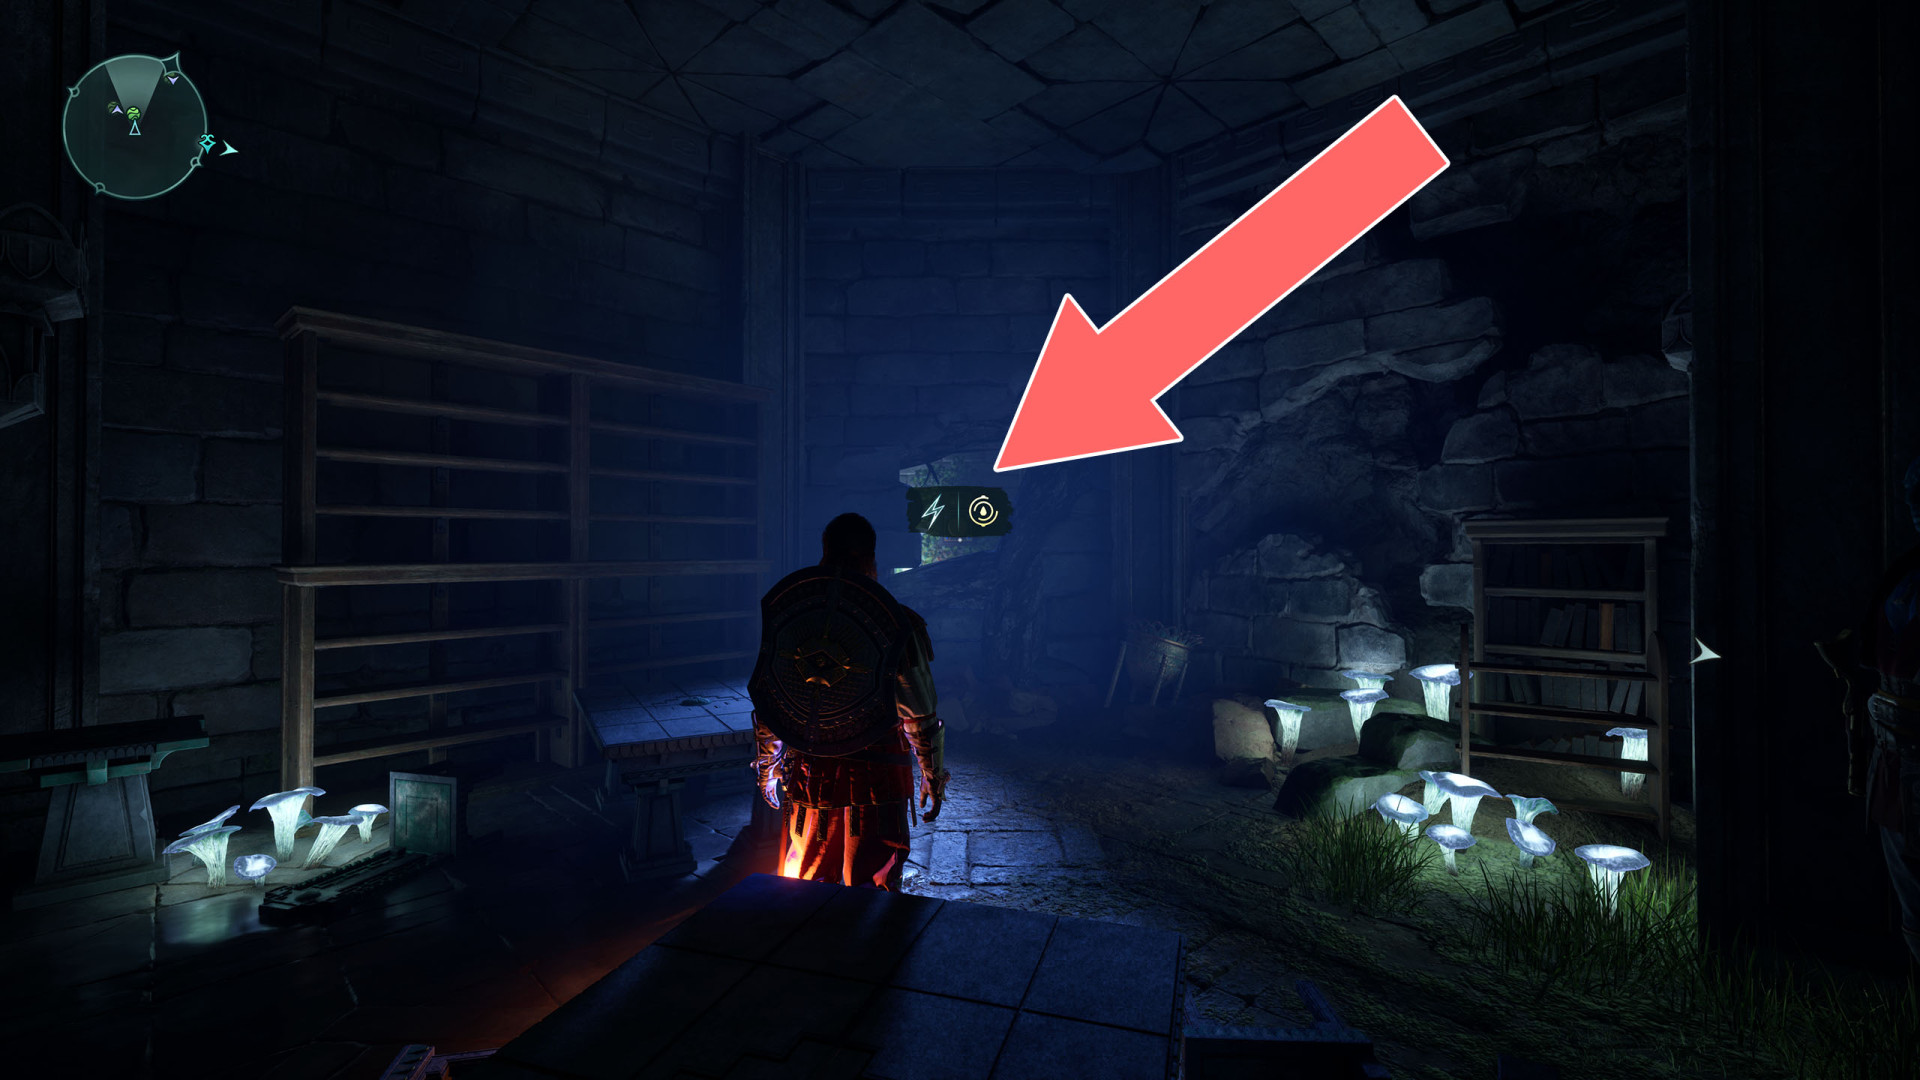
 Shock Door (2)▶ show the map ◀
To open it destroy the brambles to uncover one of the traps (so it can shoot) and destroy the weak wall to uncover the second essence generator then pull the lever.
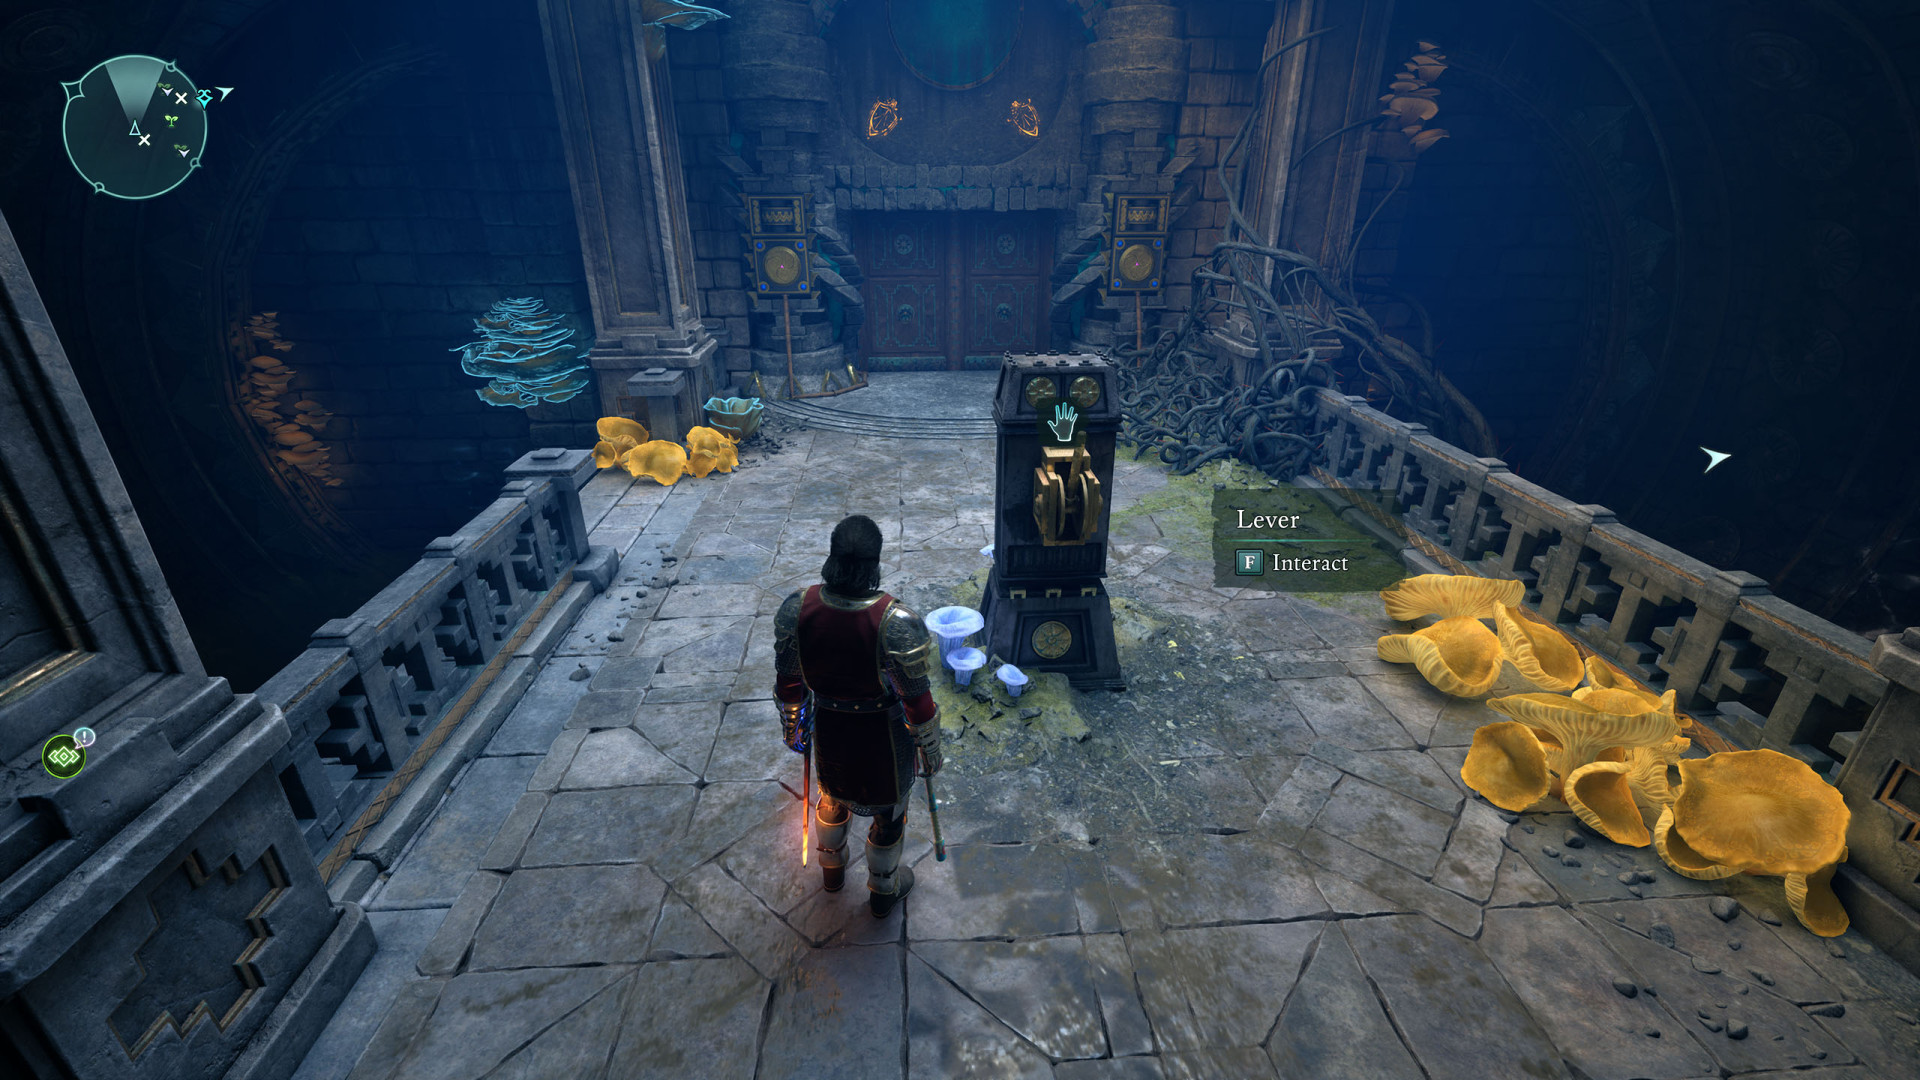
Shock Gate (1)▶ show the map ◀
Shock Gate (1)▶ show the map ◀

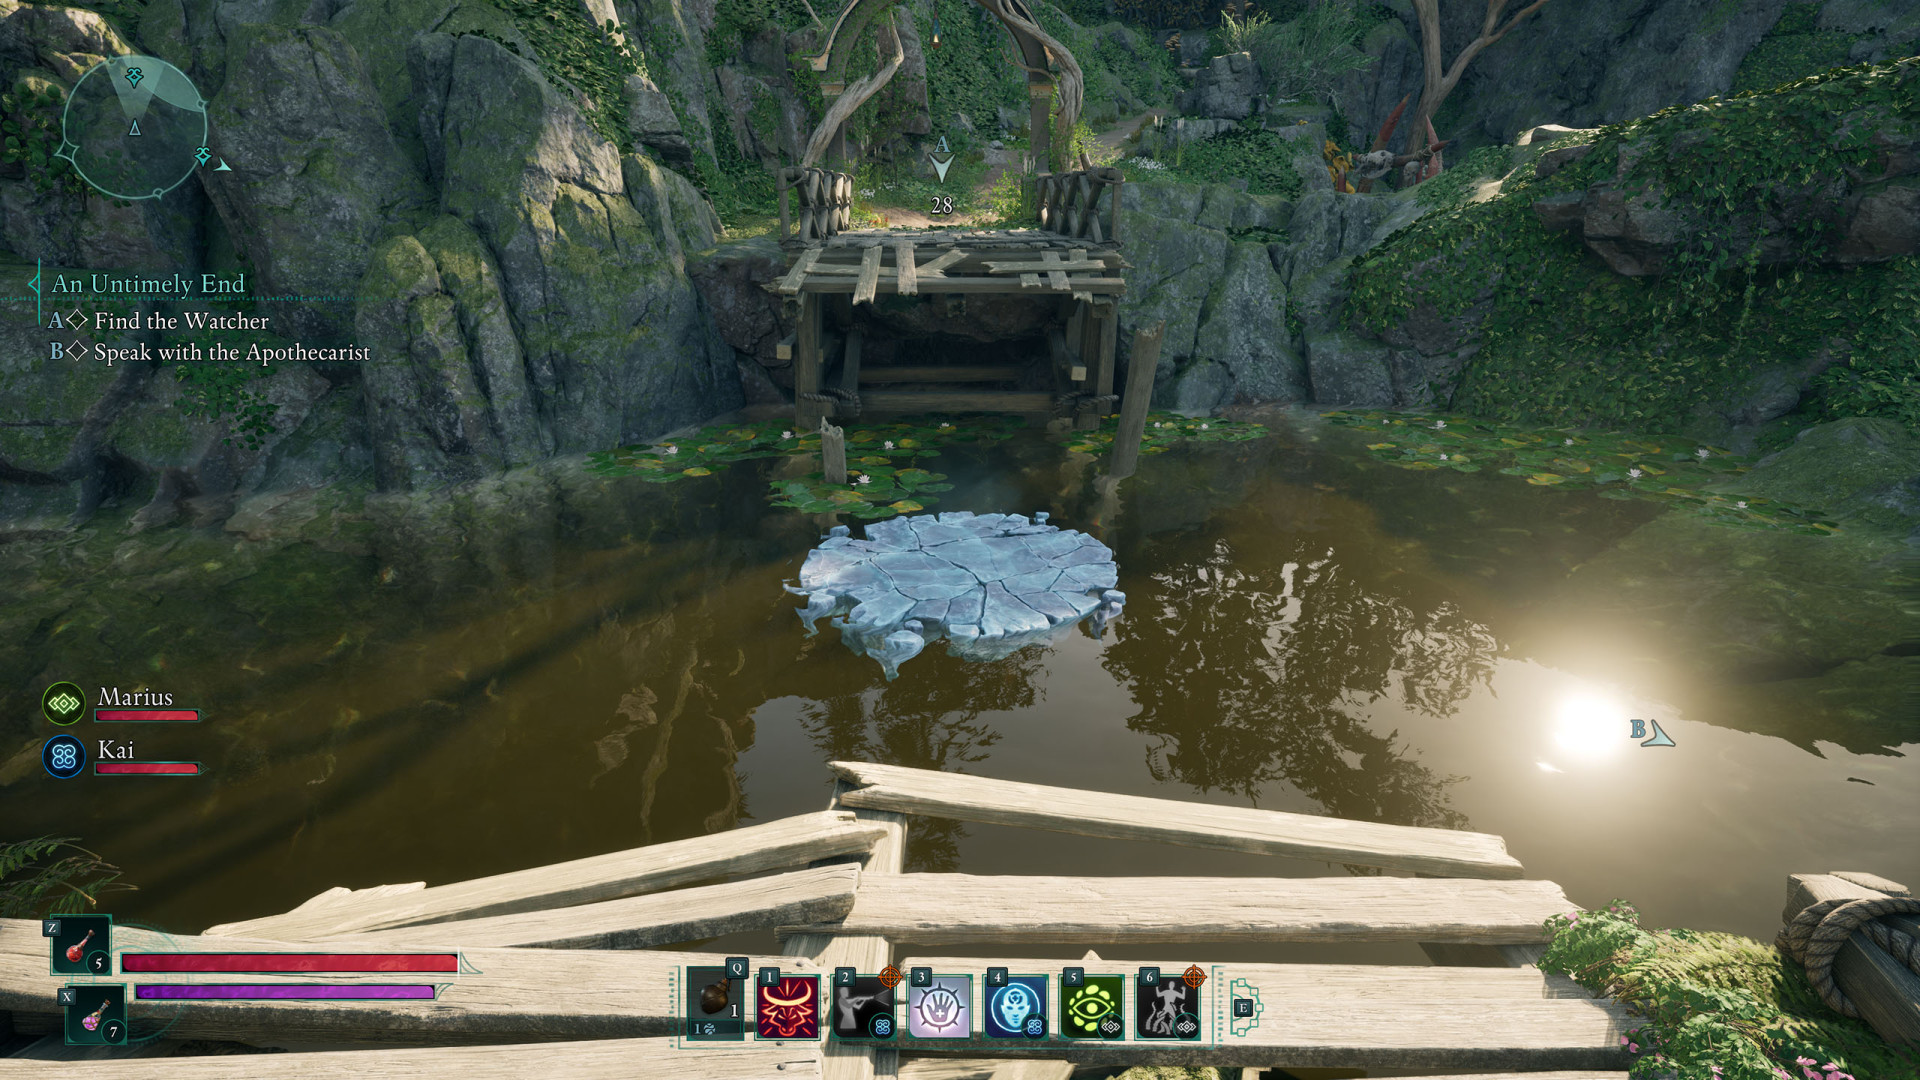
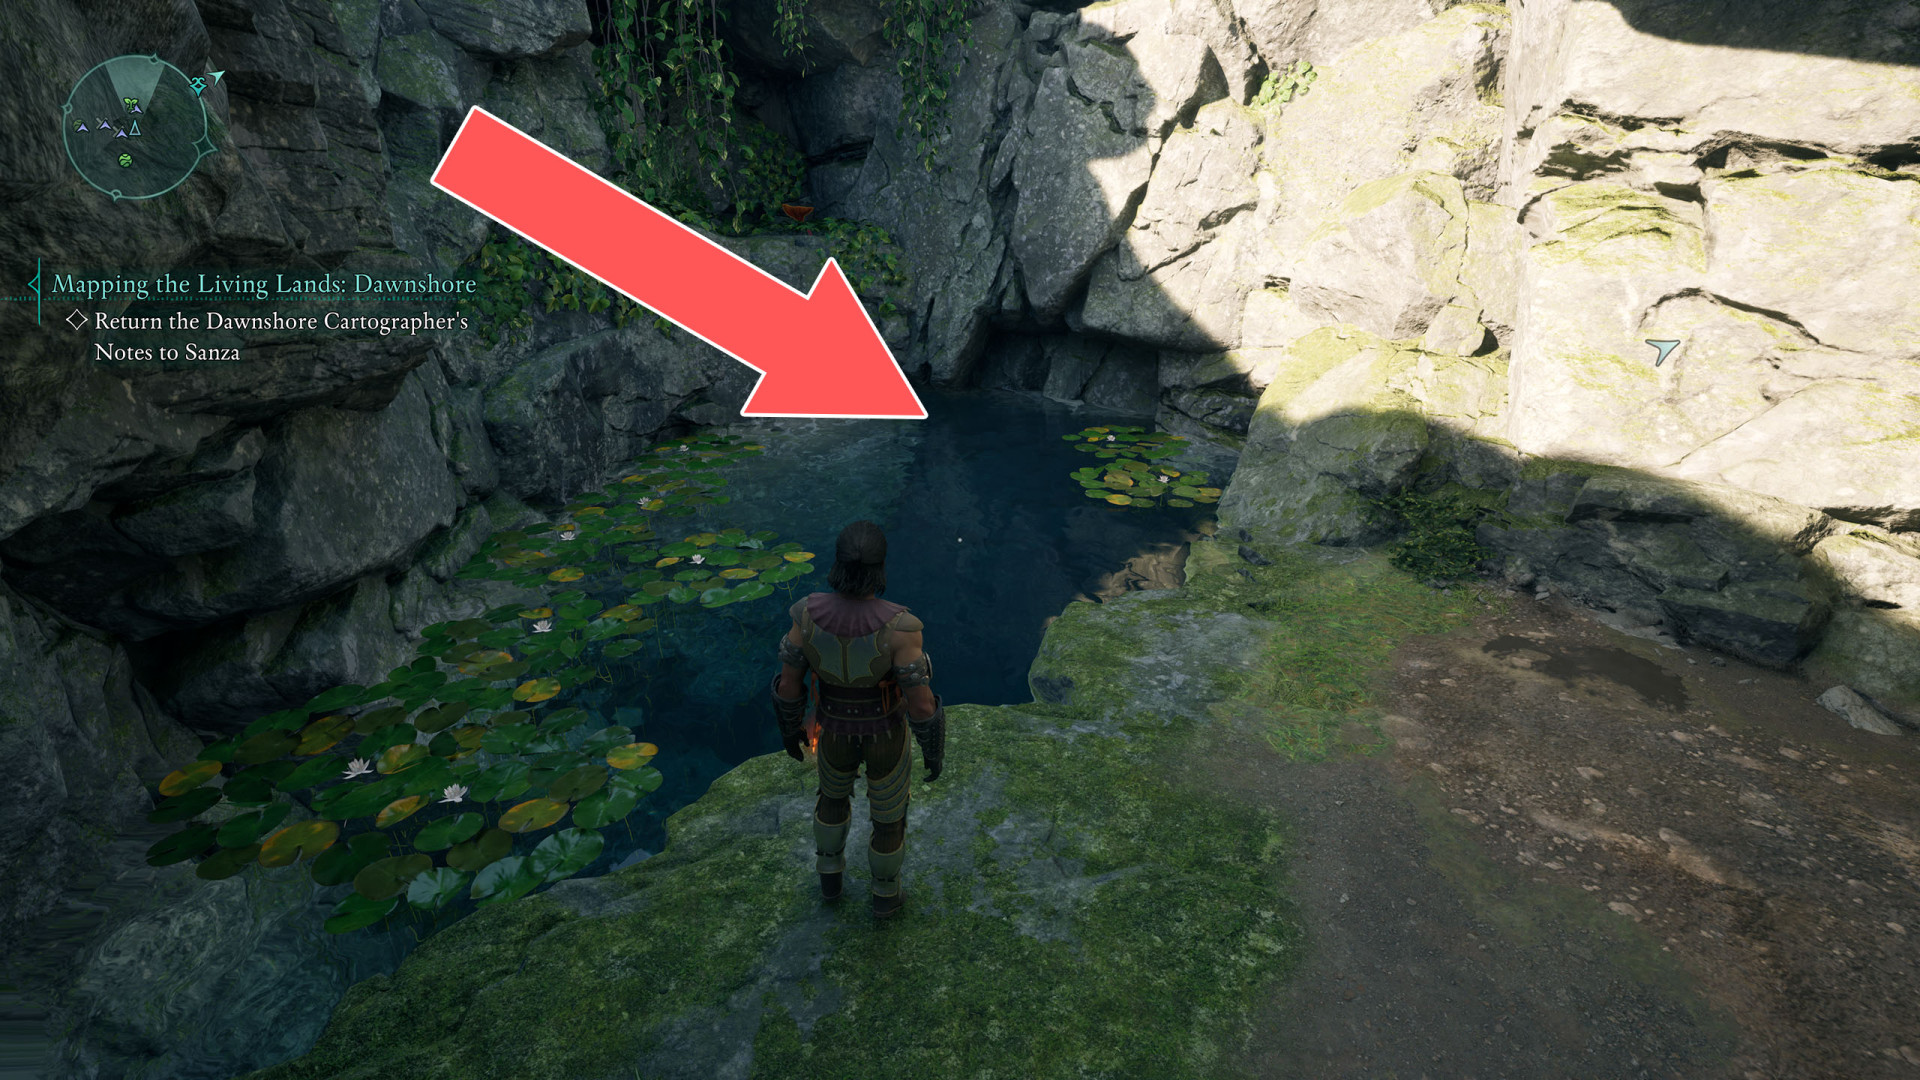
Underwater Tunnel▶ show the map ◀
 Weak Wall▶ show the map ◀
Weak Wall▶ show the map ◀
Weak Wall▶ show the map ◀
Weak Wall▶ show the map ◀
Weak Wall▶ show the map ◀
Weak Wall▶ show the map ◀
Weak Wall▶ show the map ◀

Weak Wall▶ show the map ◀
Wooden Barrier▶ show the map ◀
Wooden Barrier▶ show the map ◀
Wooden Barrier▶ show the map ◀
Wooden Barrier▶ show the map ◀
Wooden Barrier▶ show the map ◀
Wooden Barrier▶ show the map ◀
Wooden Barrier▶ show the map ◀
Wooden Barrier▶ show the map ◀
Wooden Barrier▶ show the map ◀
Wooden Barrier▶ show the map ◀
Wooden Barrier▶ show the map ◀
Wooden Barrier▶ show the map ◀
Wooden Barrier▶ show the map ◀
Wooden Barrier▶ show the map ◀

Wooden Barrier▶ show the map ◀
Wooden Barrier▶ show the map ◀
Wooden Barrier▶ show the map ◀
Wooden Barrier▶ show the map ◀

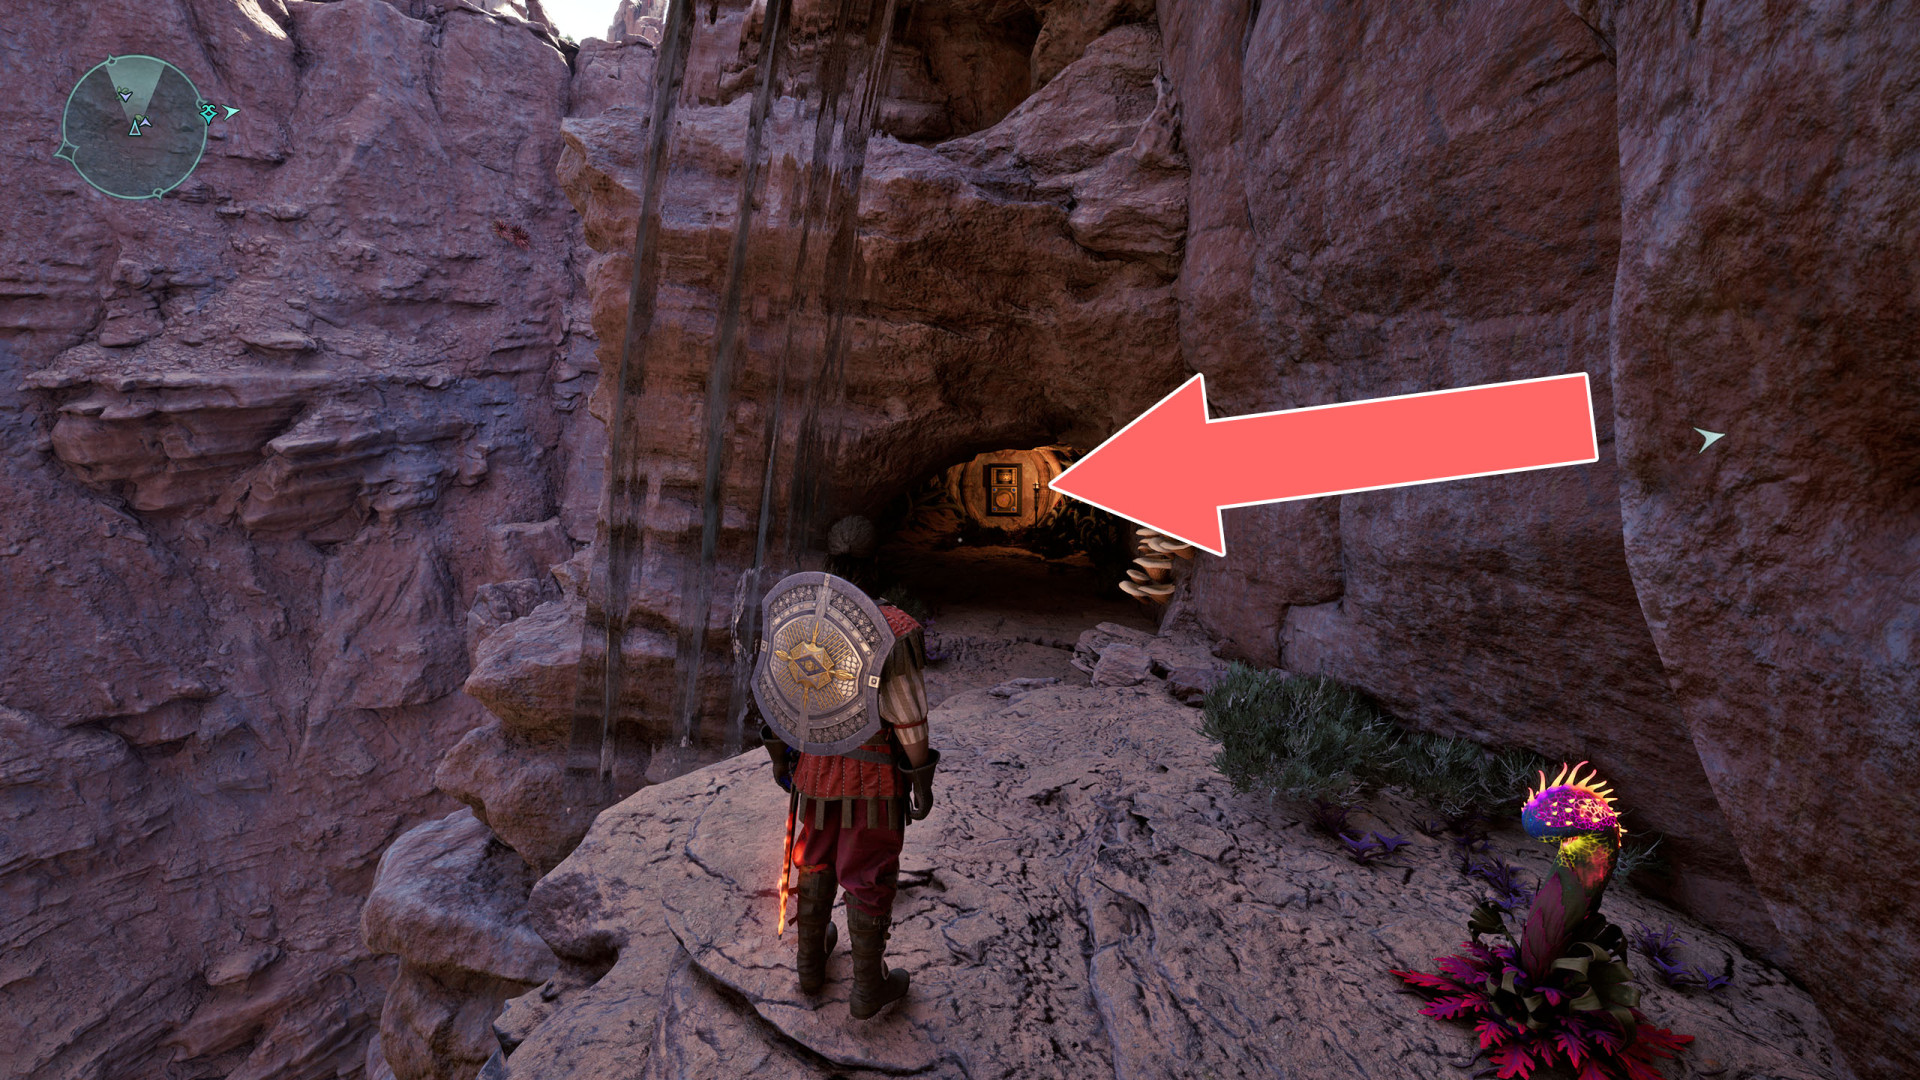
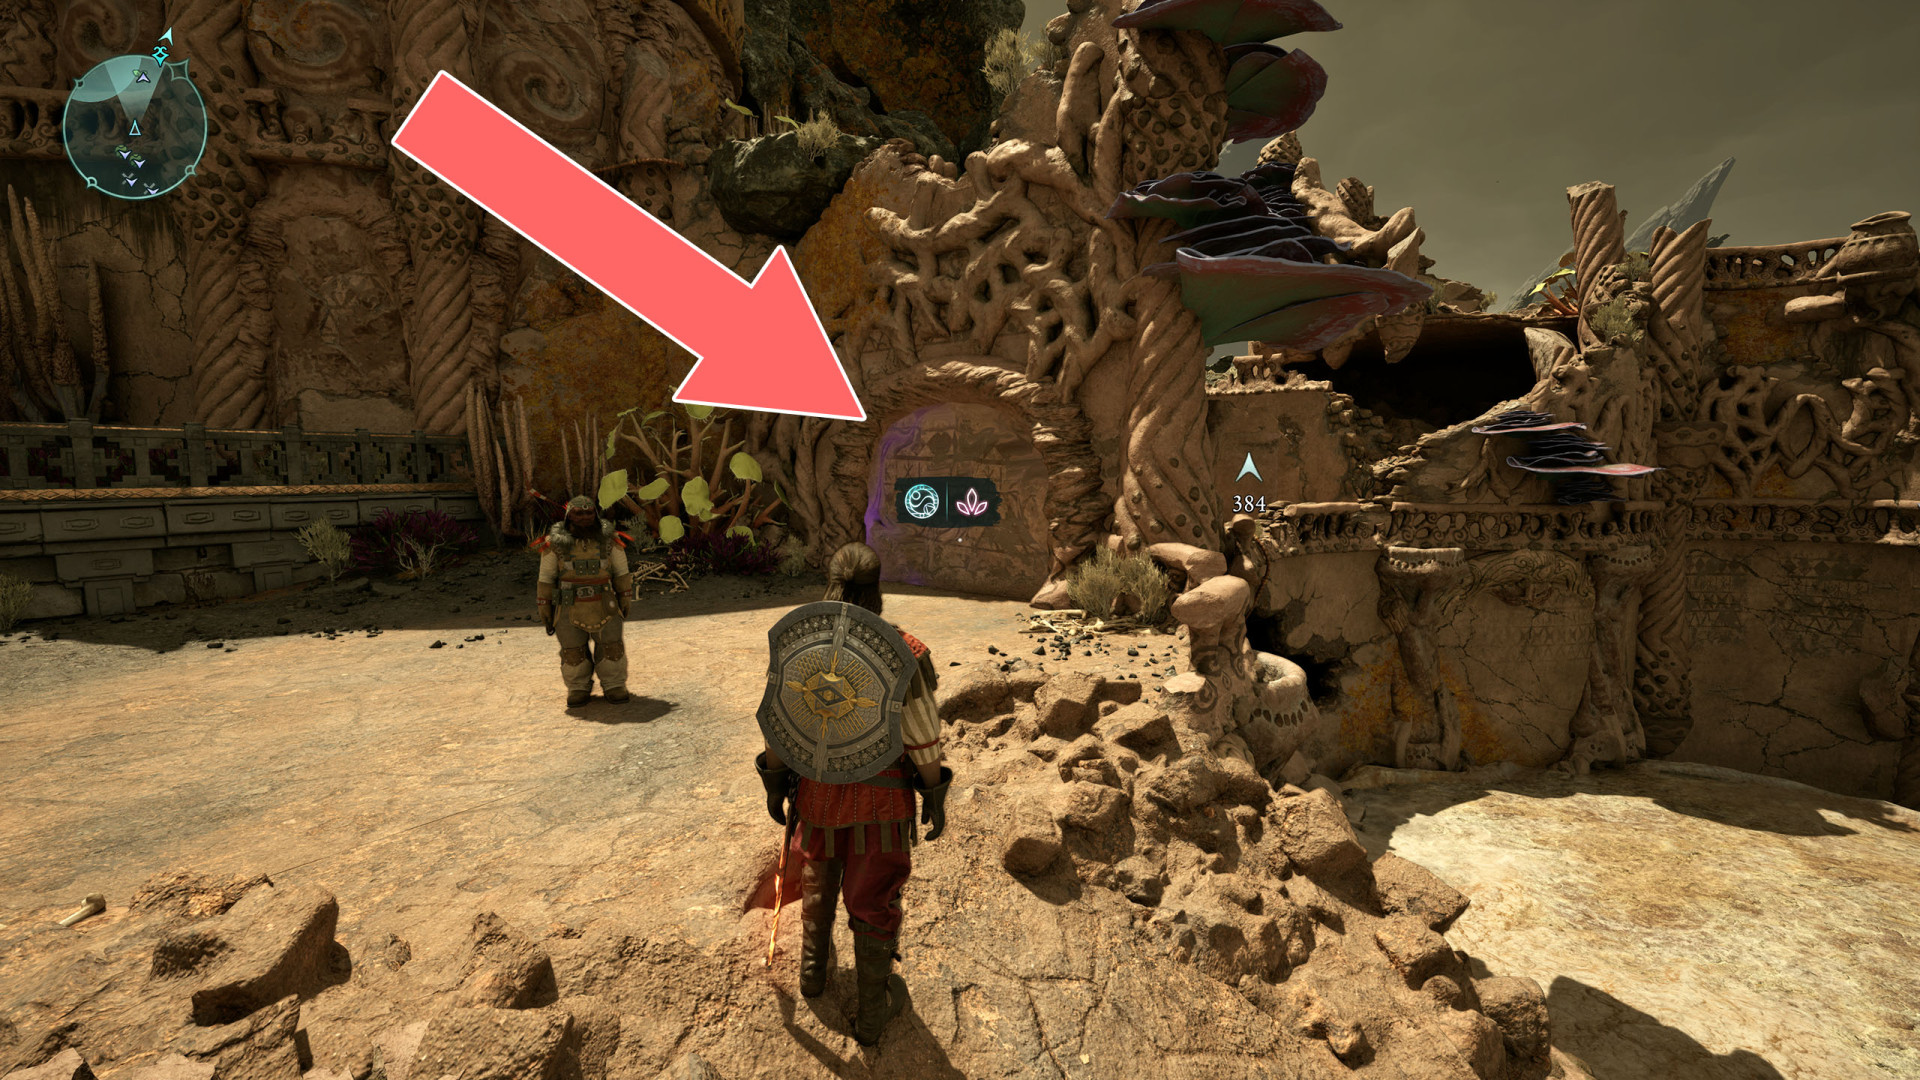
All known locations on the map Emerald Stair
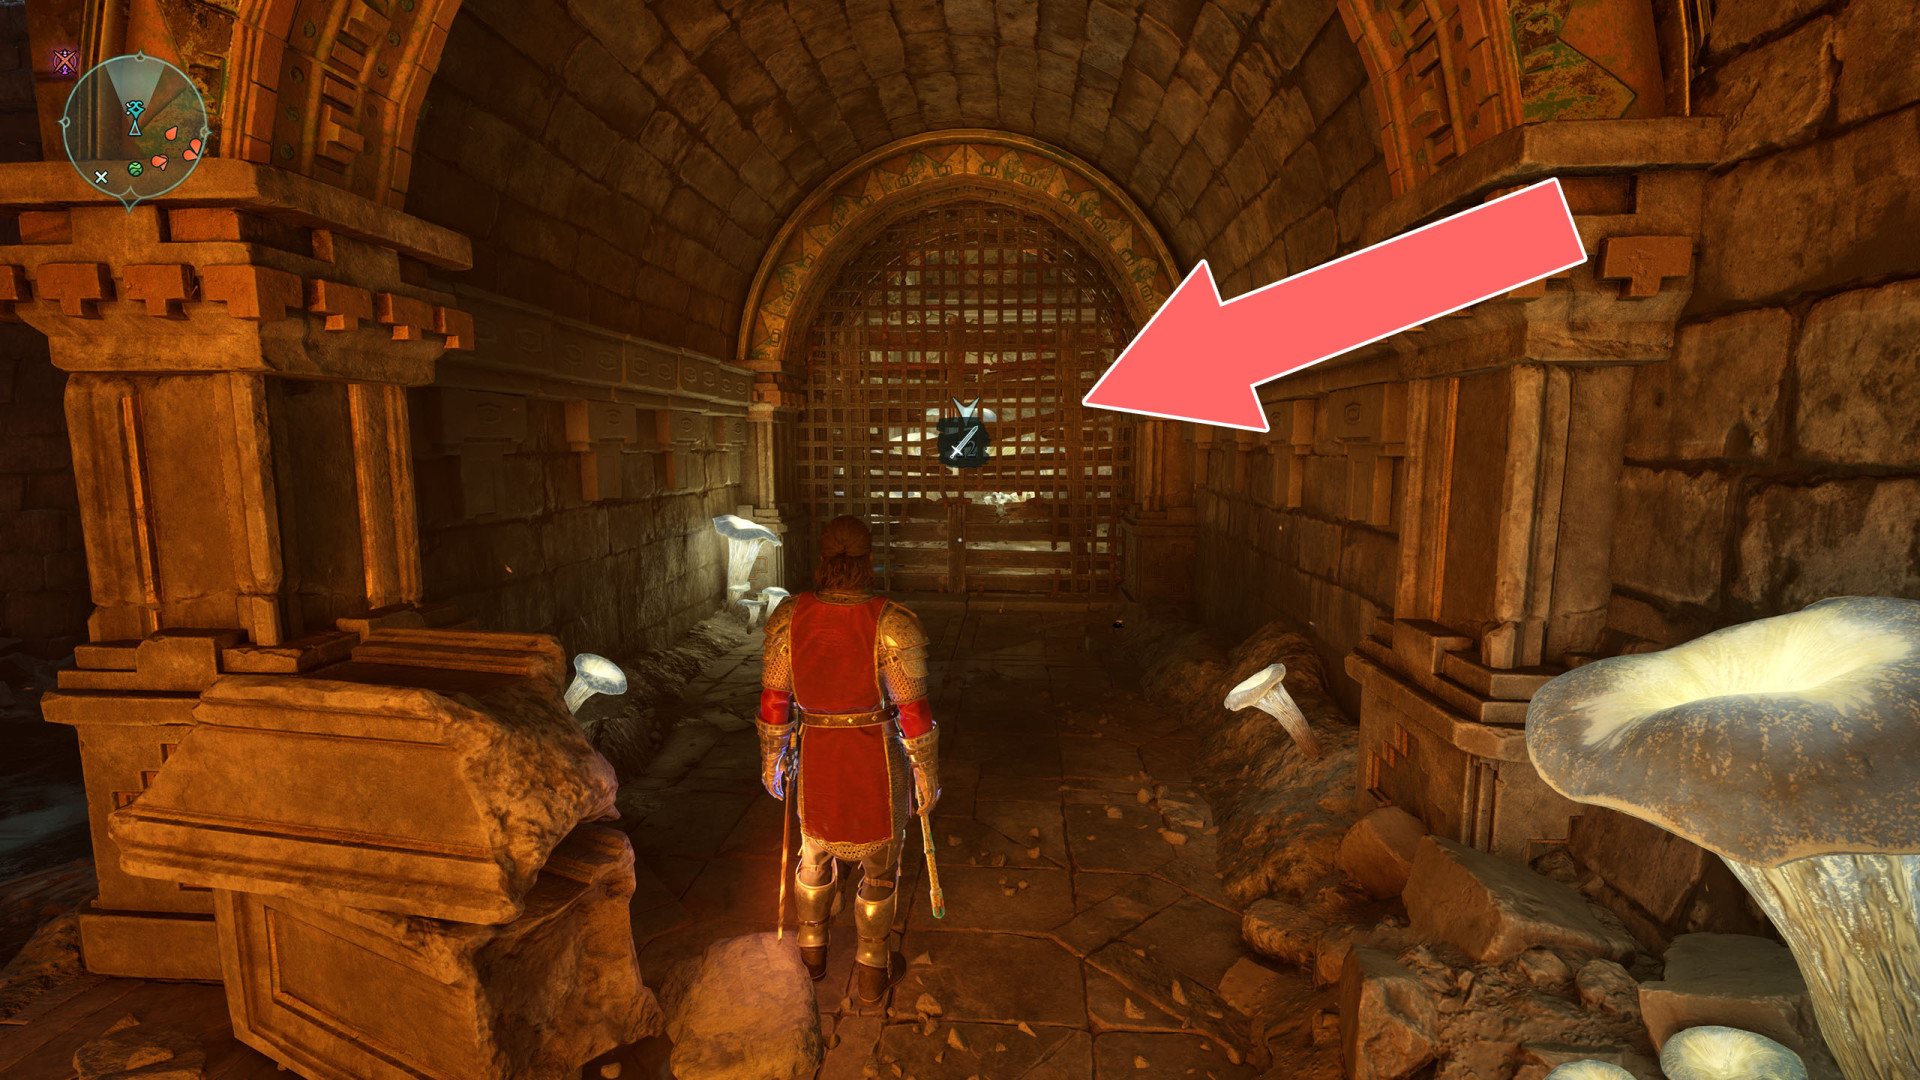
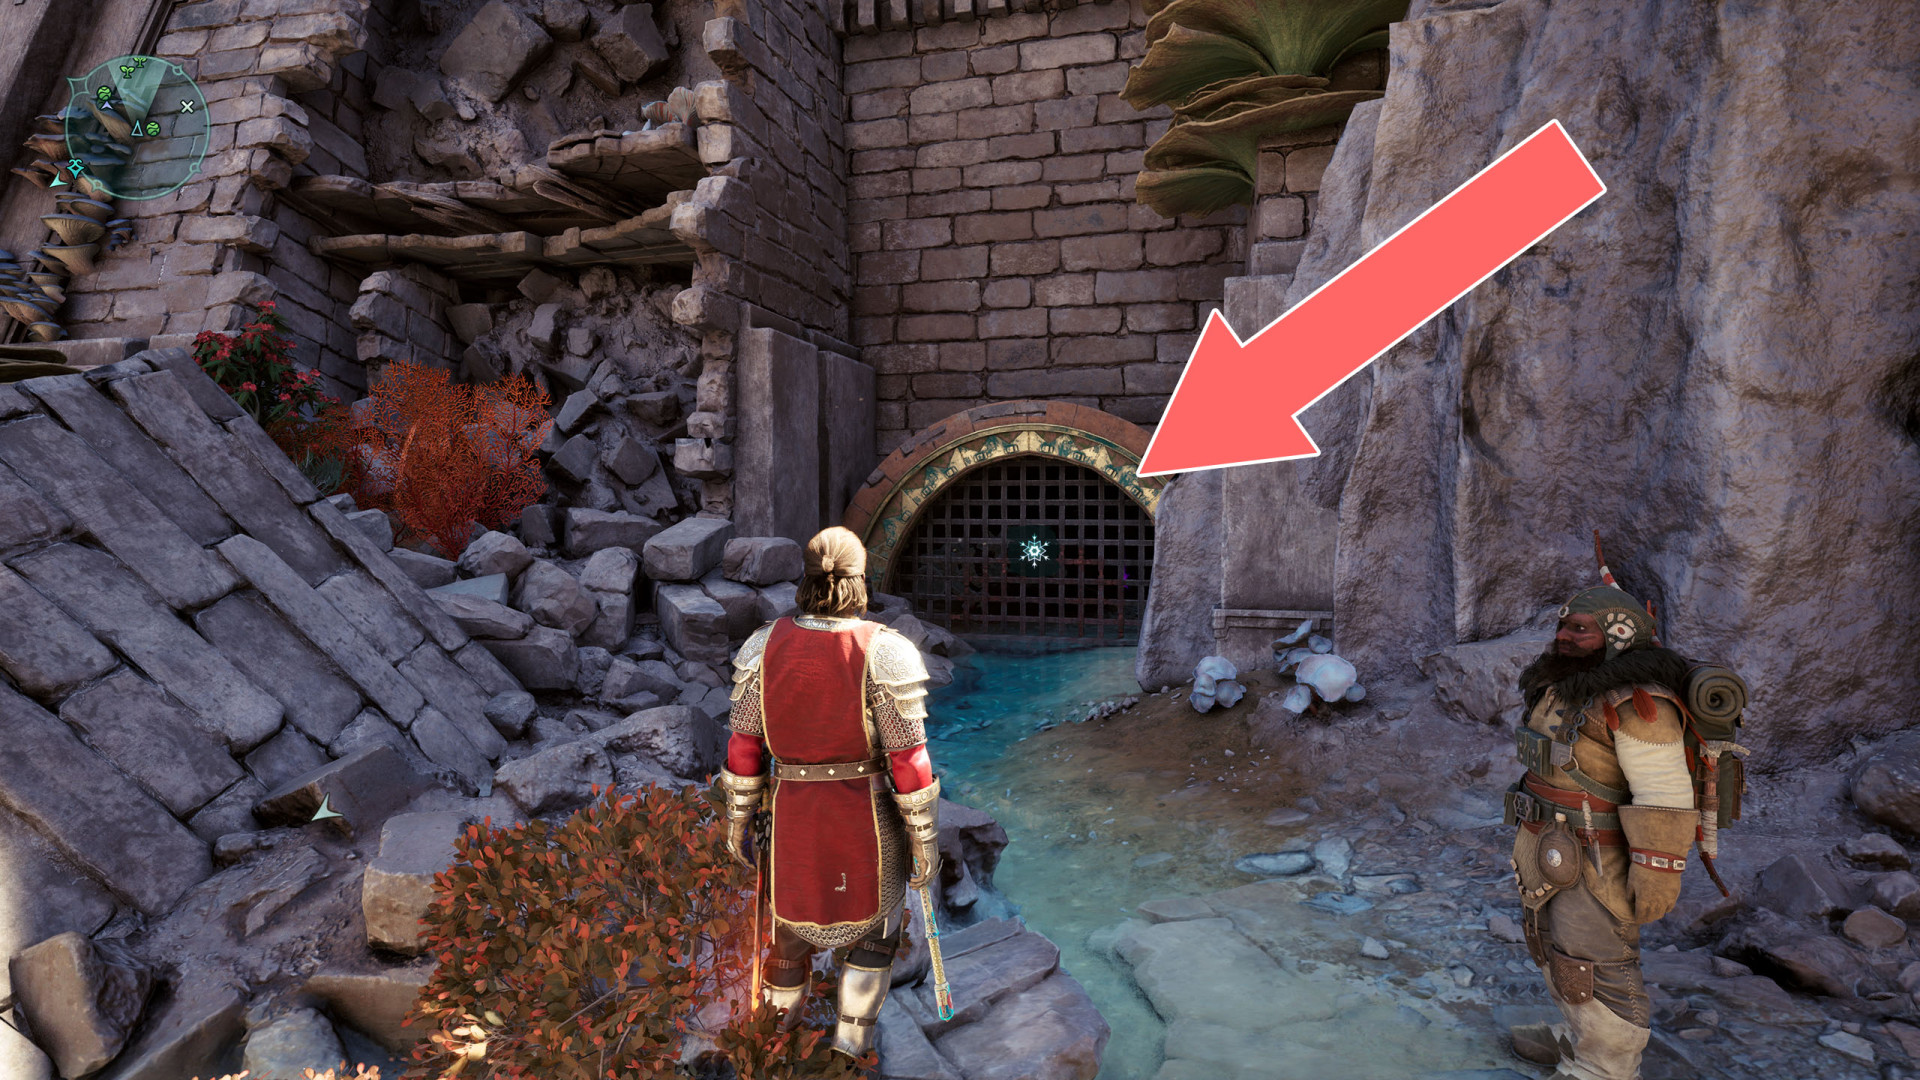
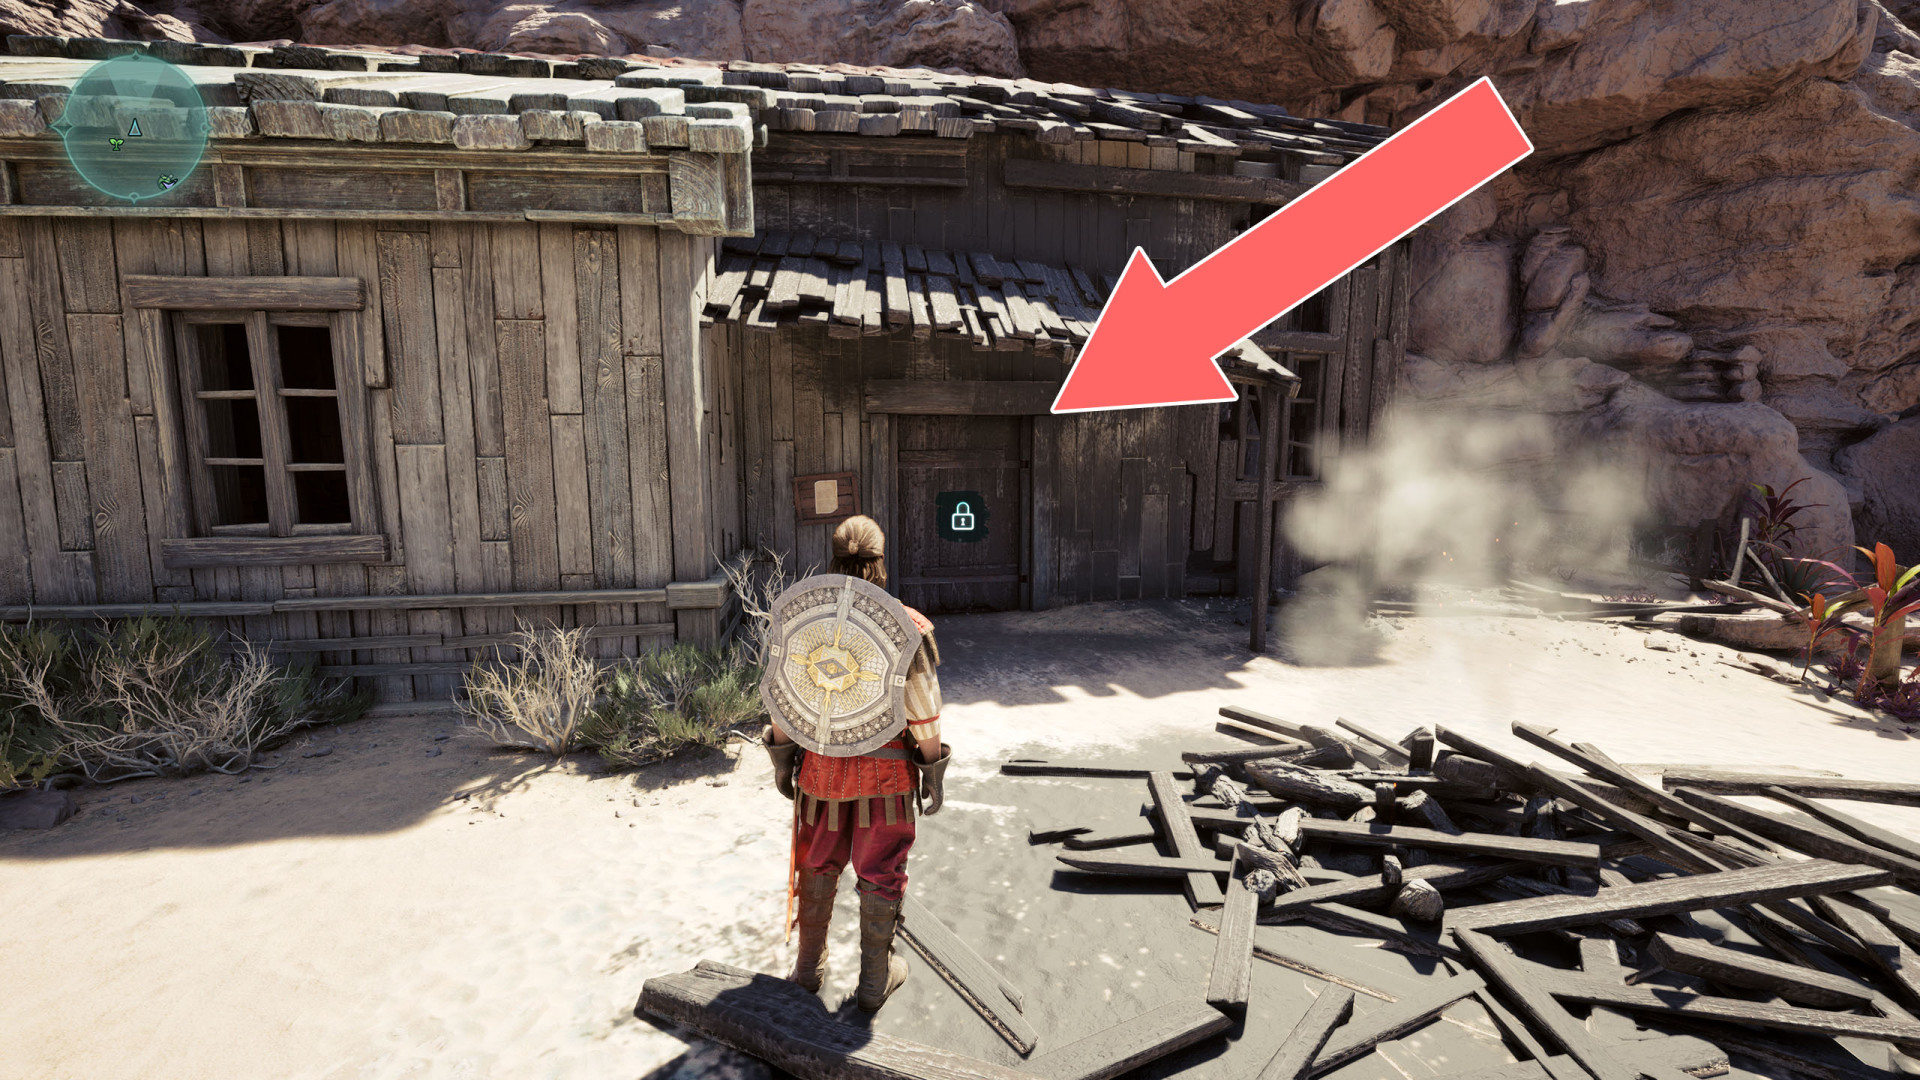
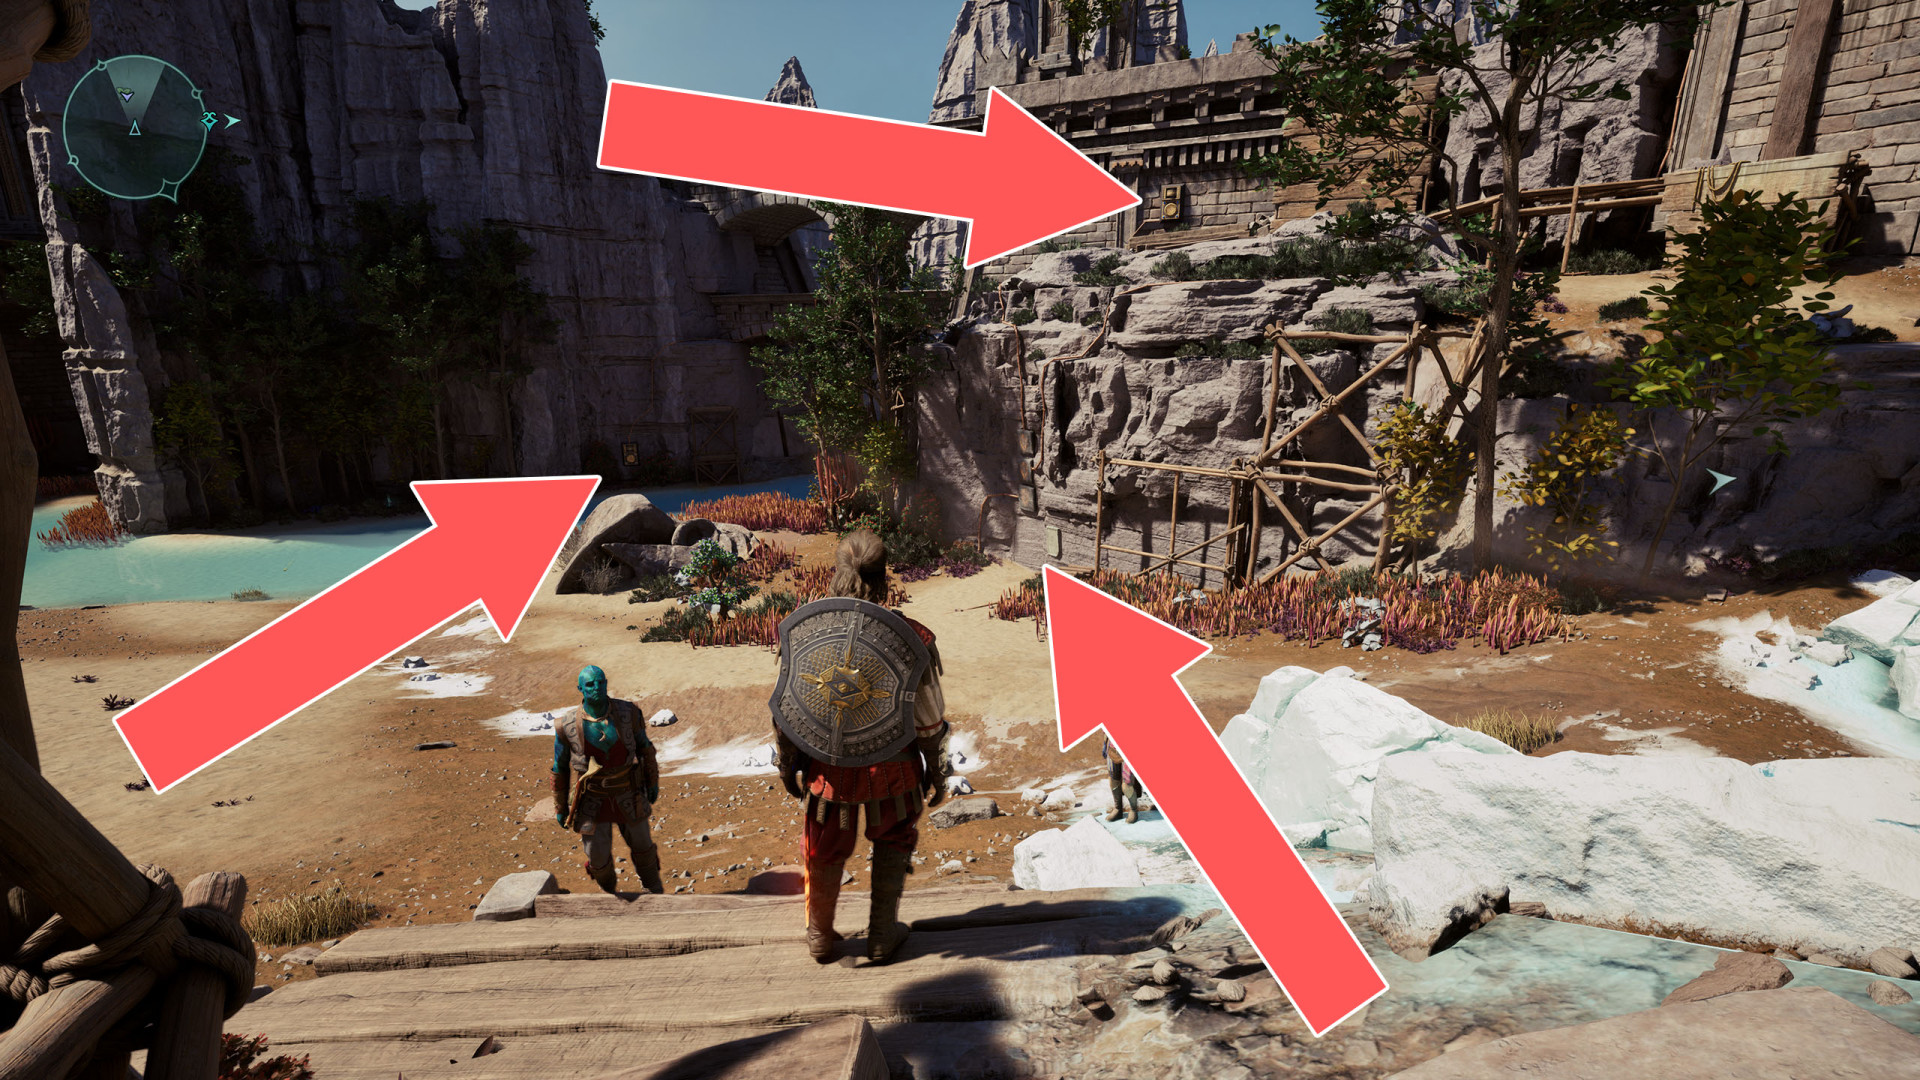
Barred Door▶ show the map ◀
The door can be unlocked from the inside. You can enter the building through a hole in the roof.
Barred Door▶ show the map ◀
Barred Door▶ show the map ◀
Barred Door▶ show the map ◀
Barred Door▶ show the map ◀
Can be unlocked from inside the building, which you can enter through the window.

Barred Door▶ show the map ◀
Can be unlocked from inside the building, which you can enter through the window.
Barred Door▶ show the map ◀
This door can be unlocked from inside the house, and you can get inside through the door on the other side of the building.
Barred Door▶ show the map ◀
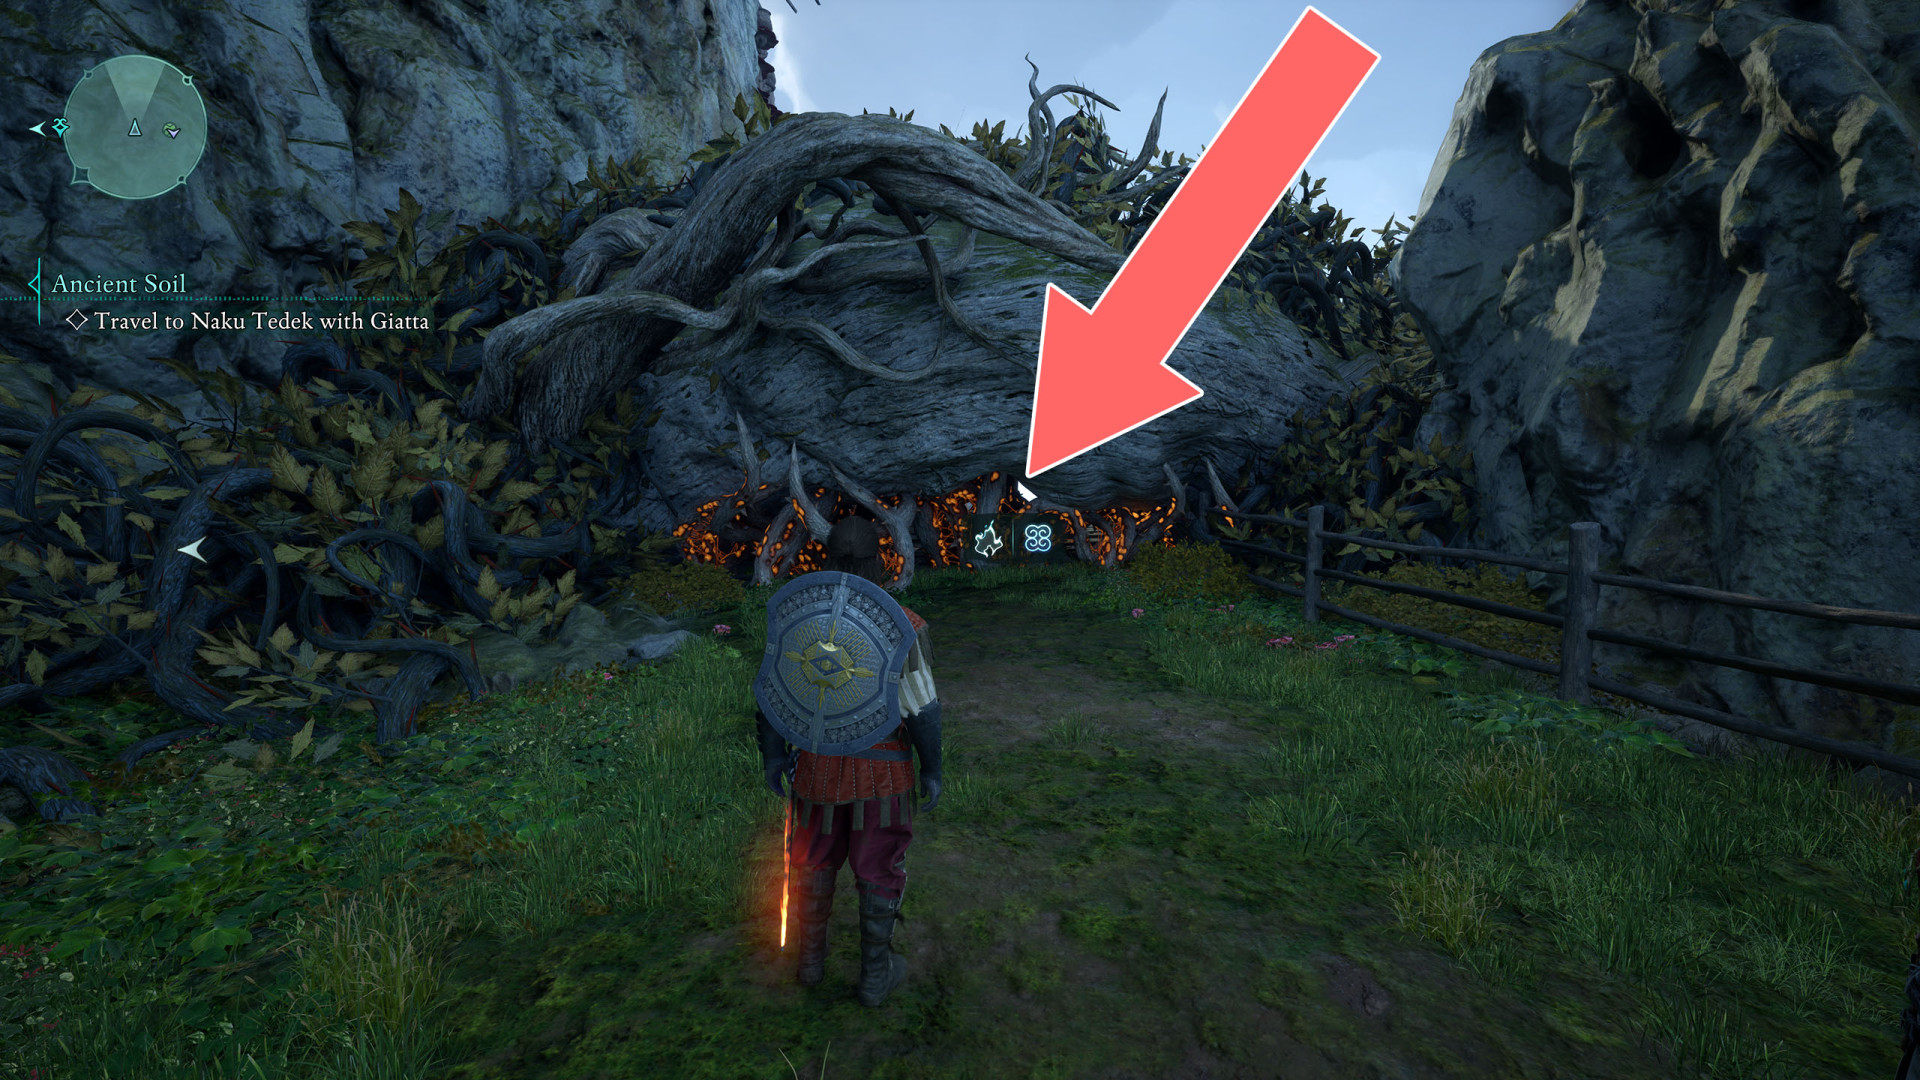
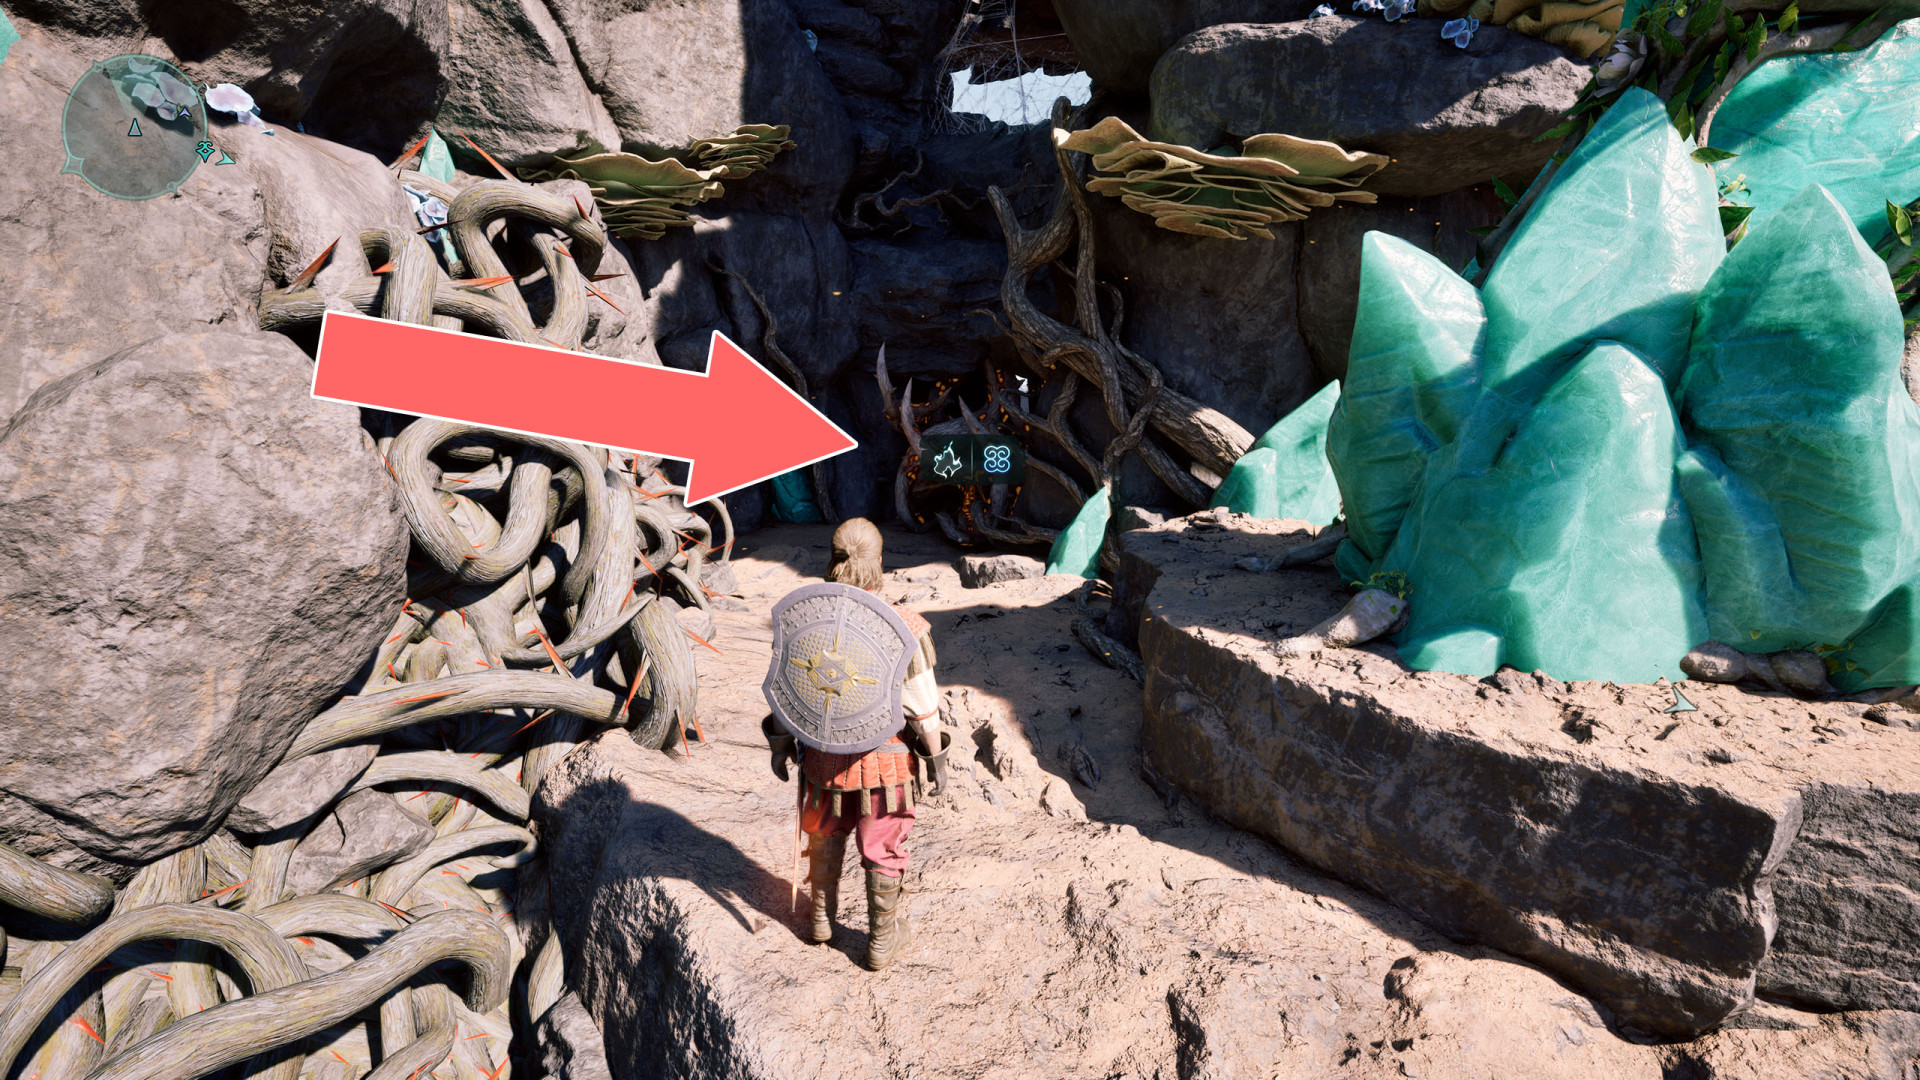
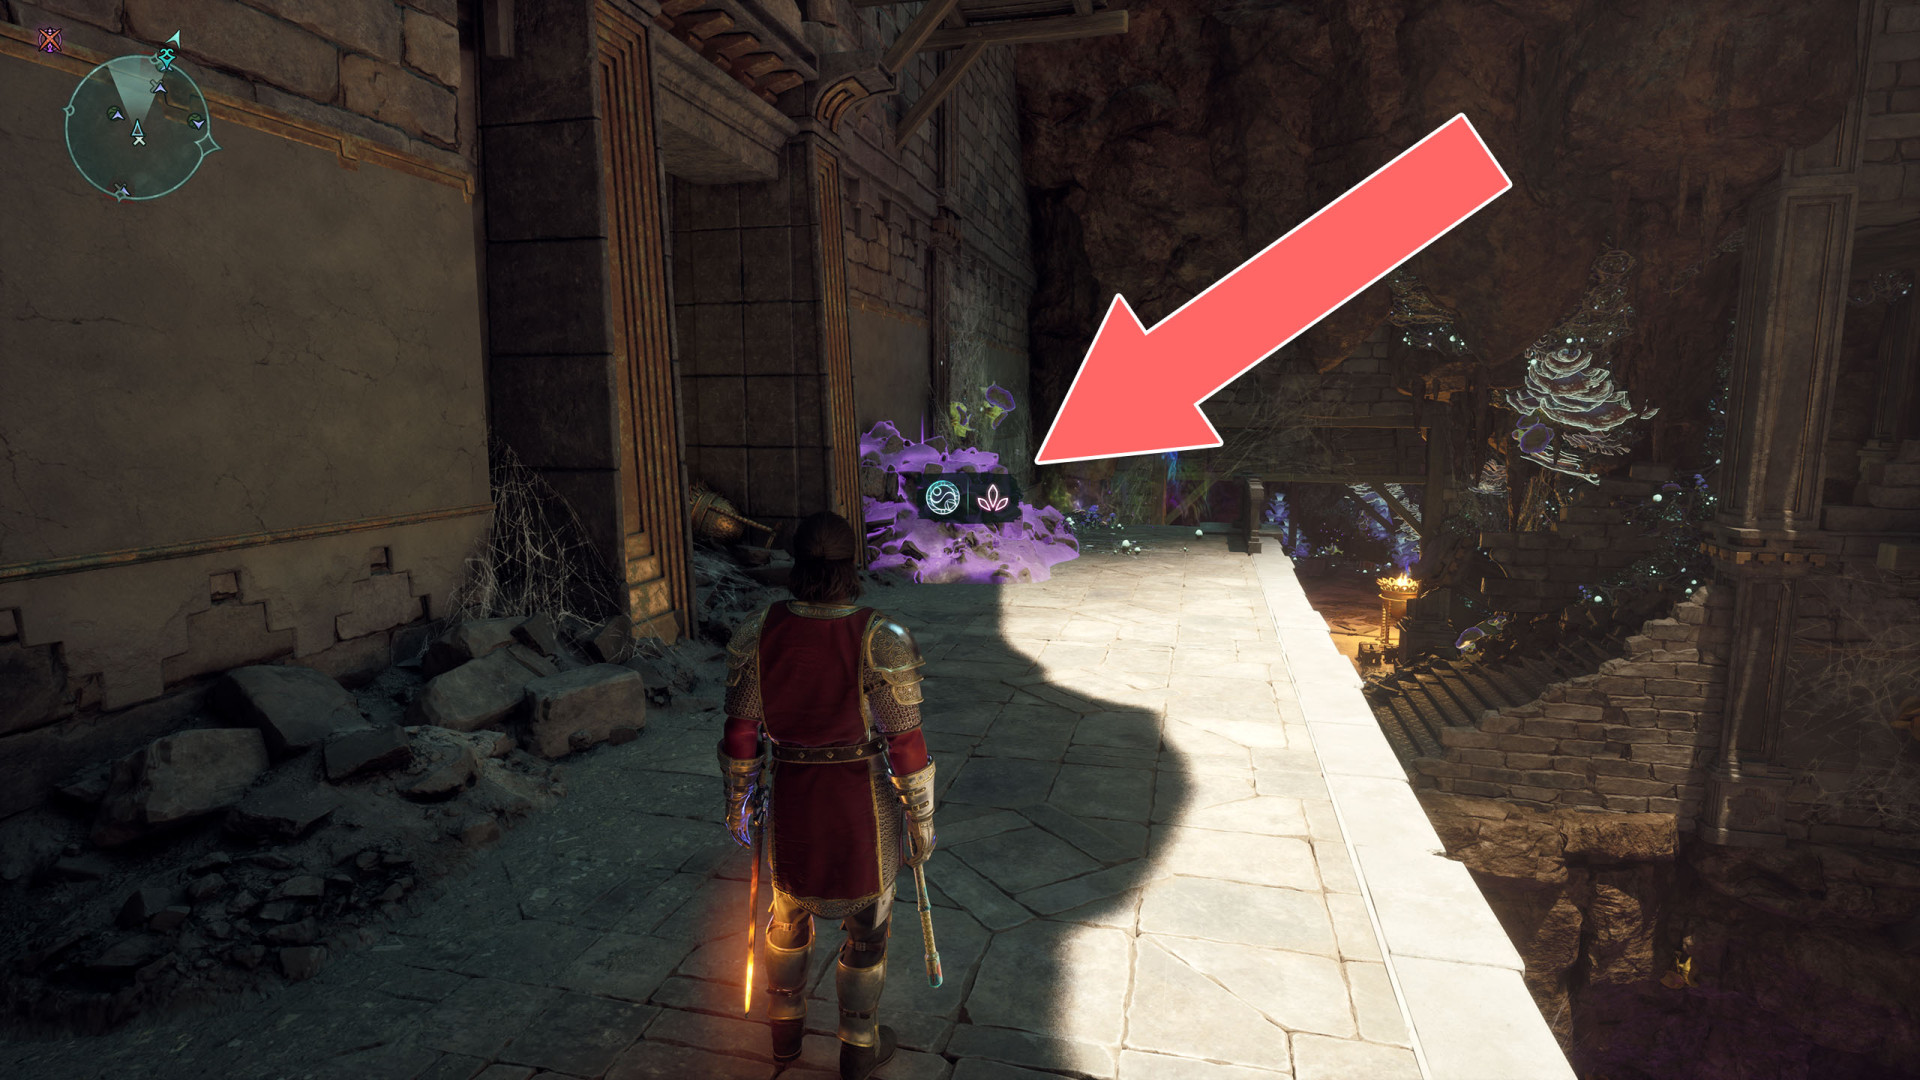
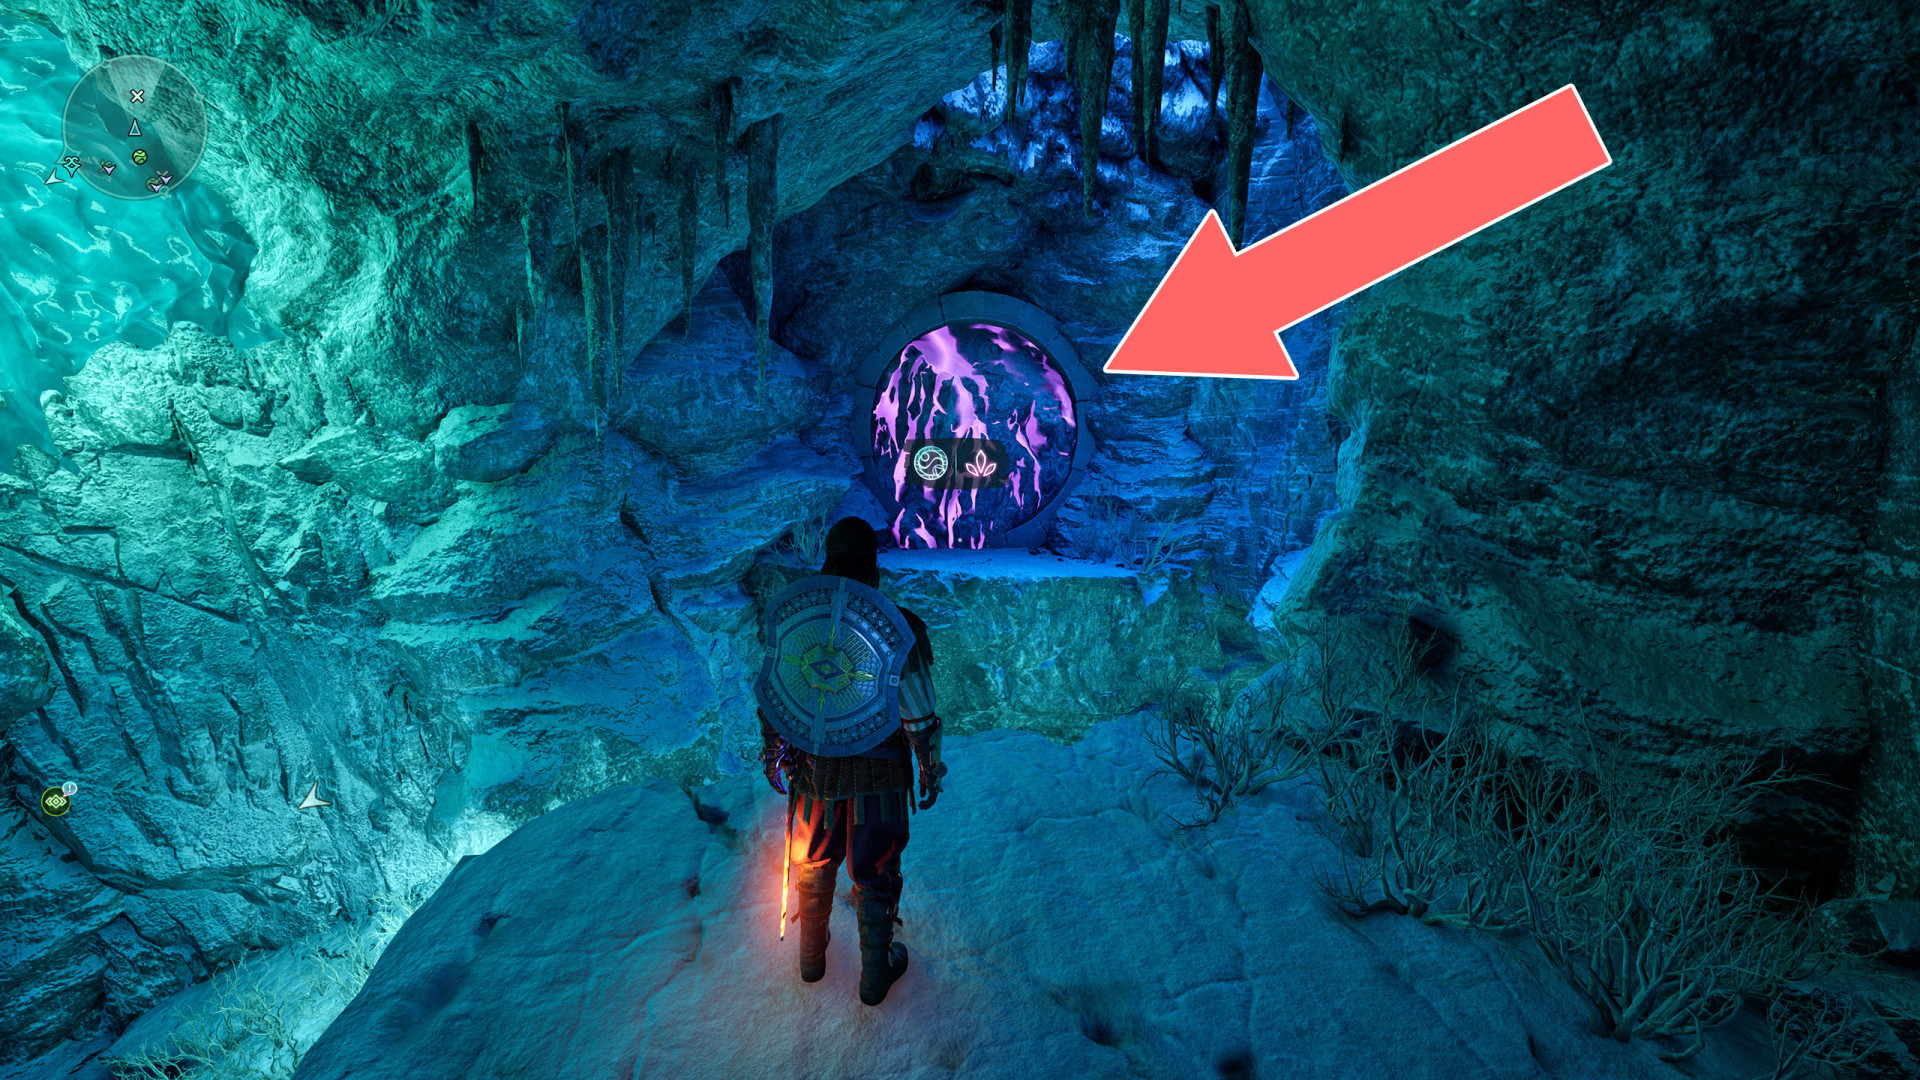
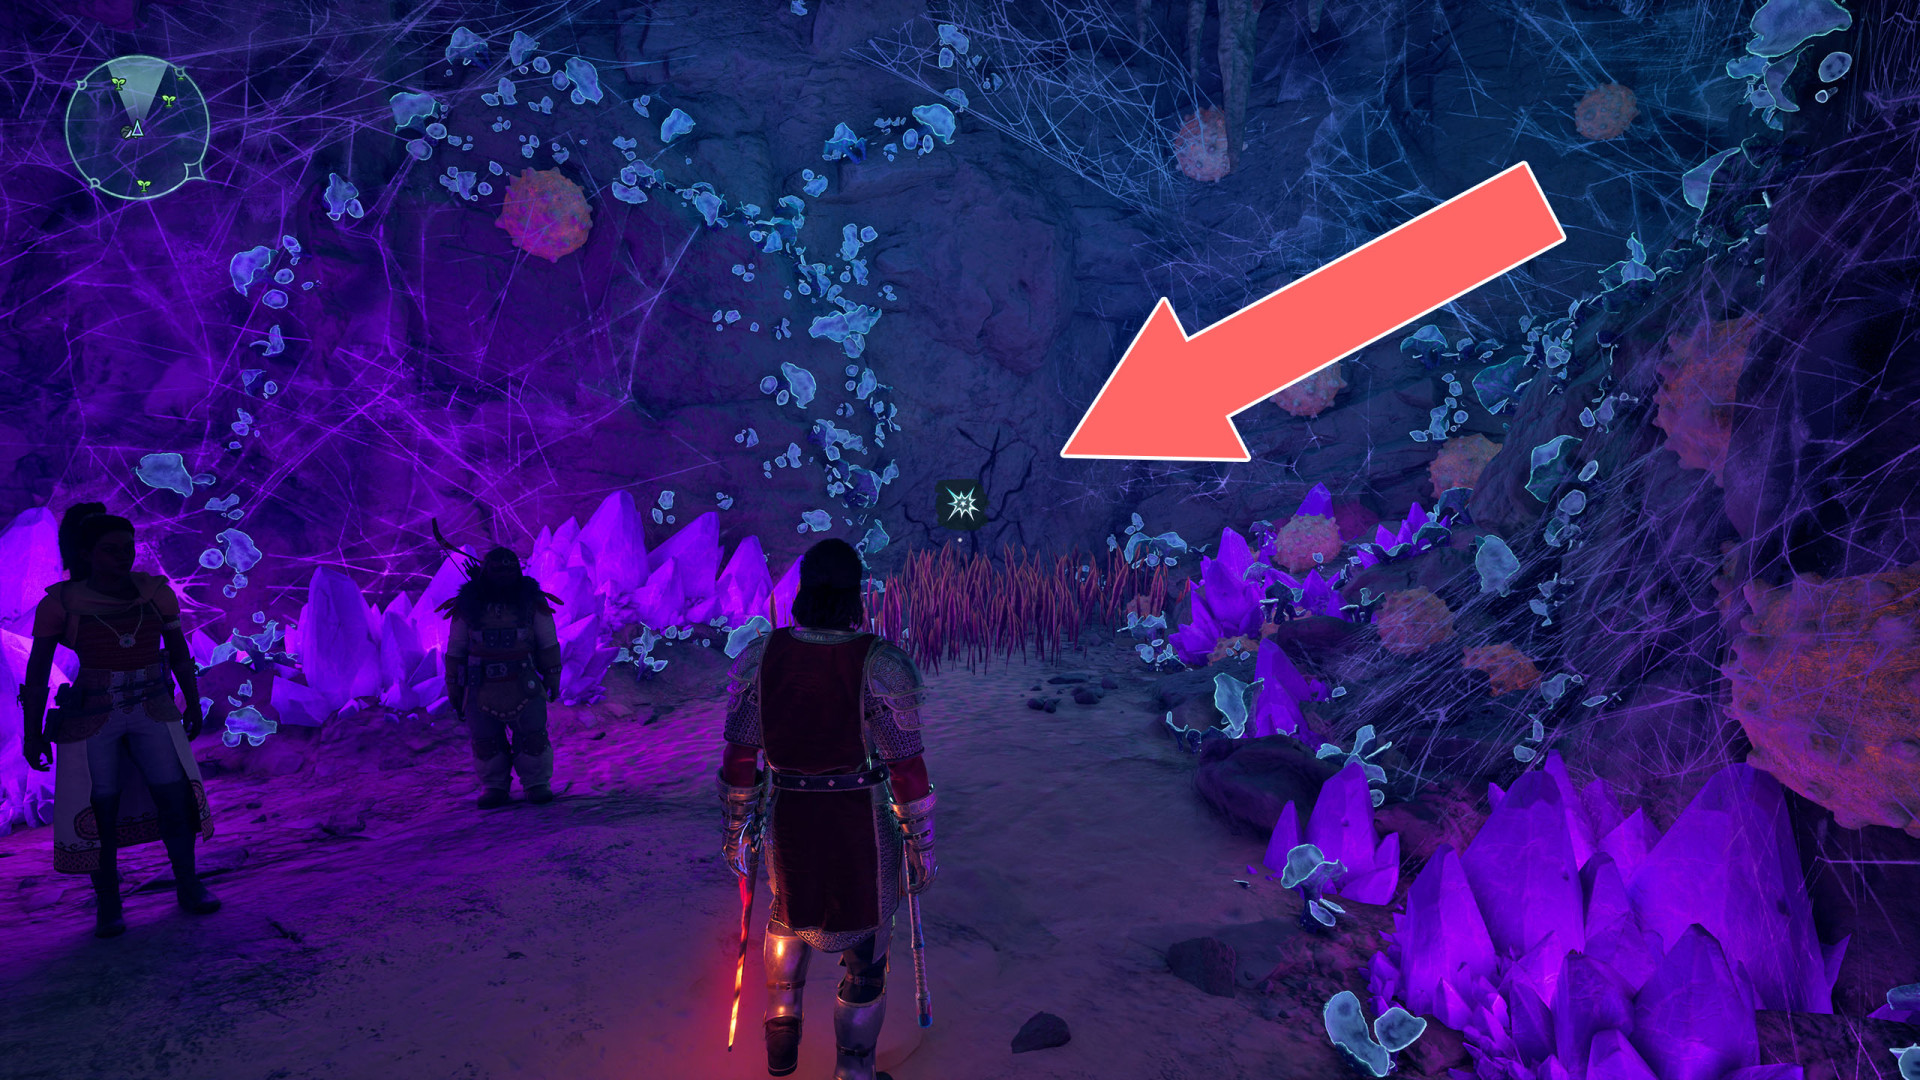
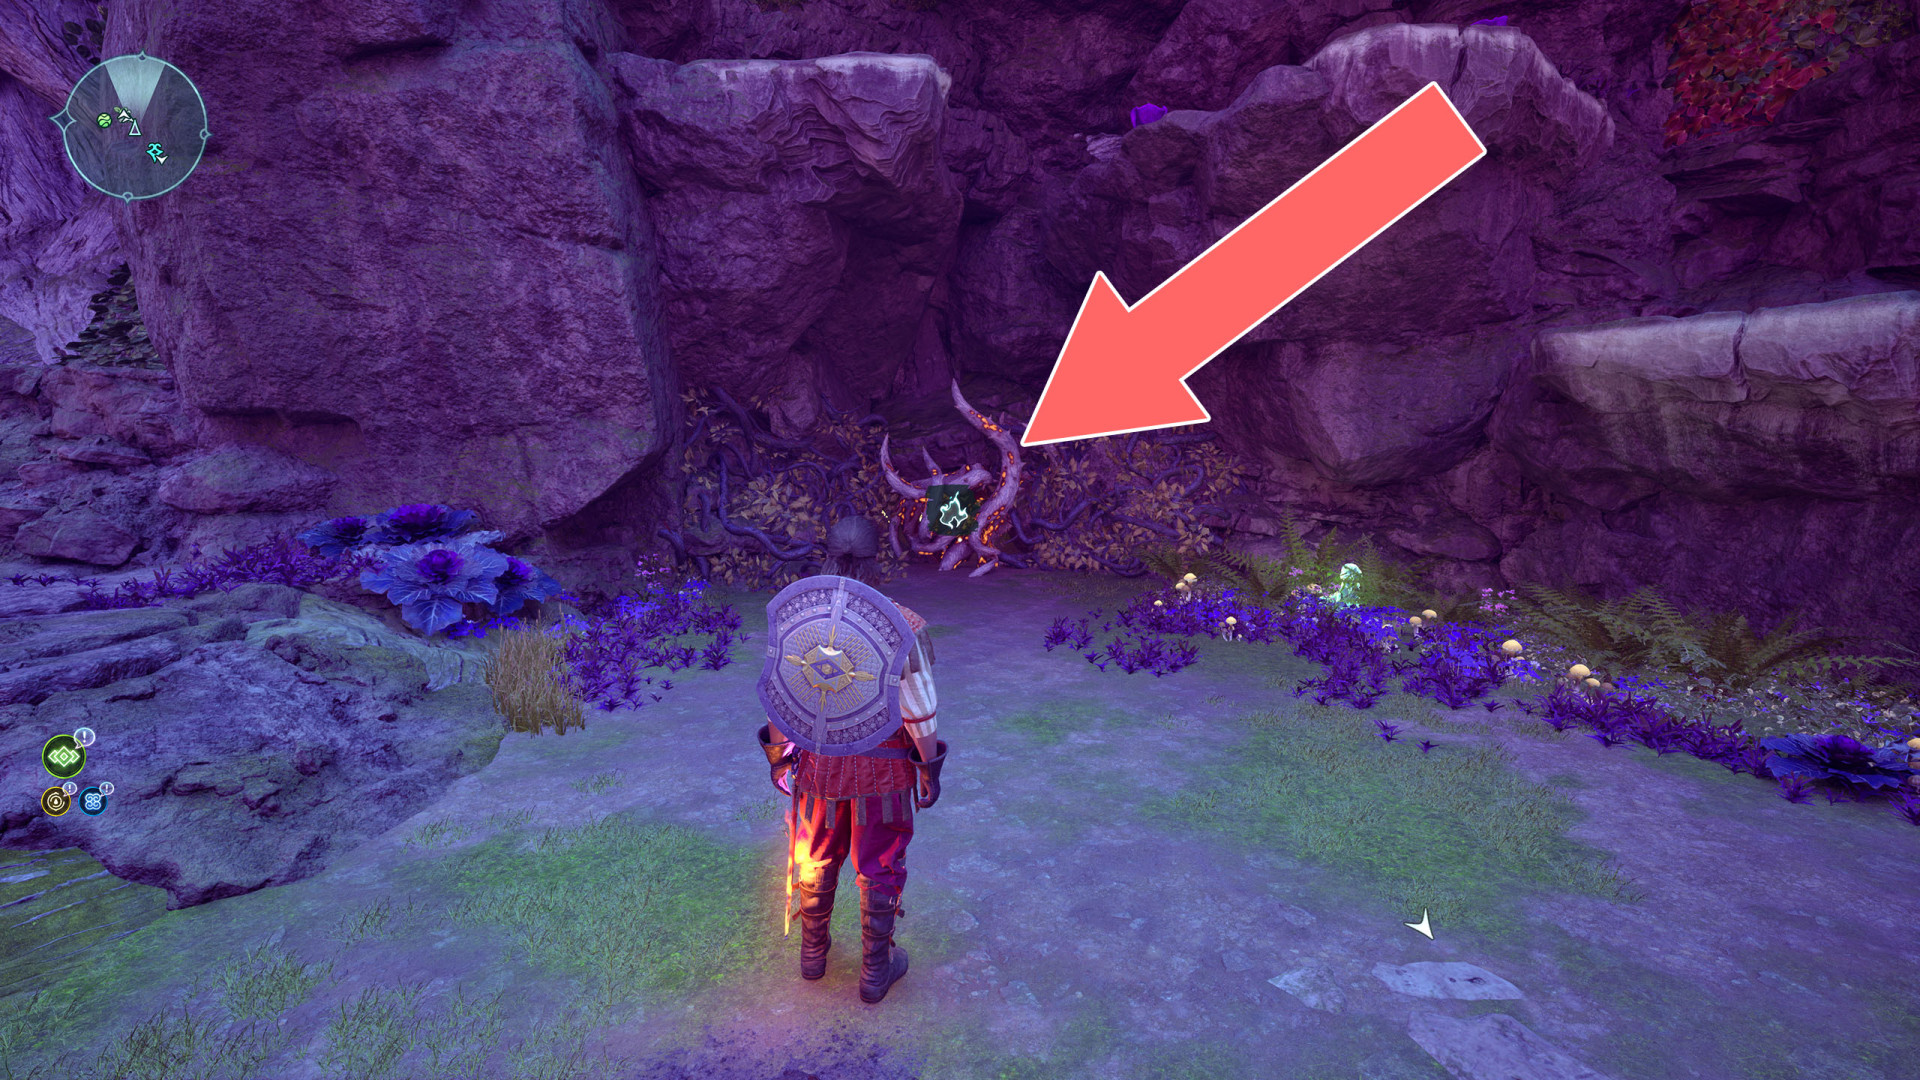
Brambles▶ show the map ◀
Brambles▶ show the map ◀
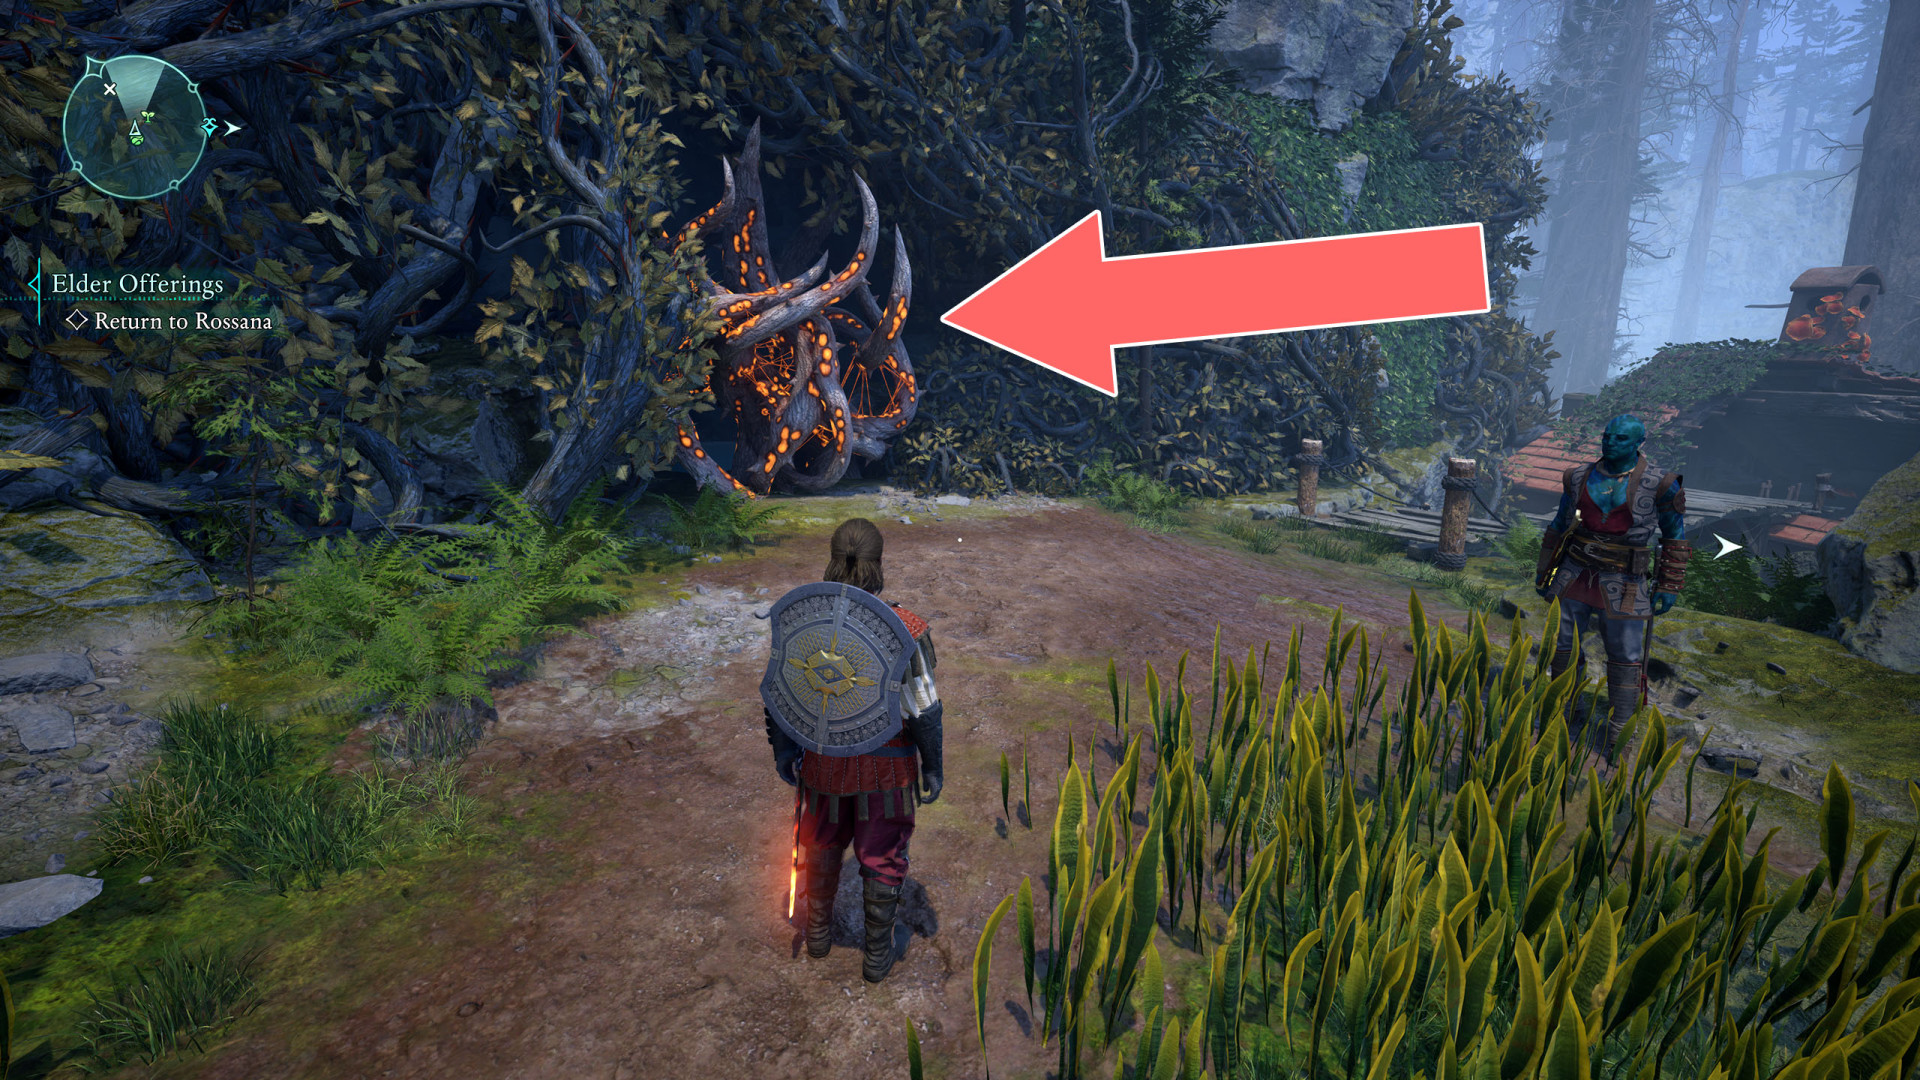
Brambles▶ show the map ◀

Brambles▶ show the map ◀

Brambles▶ show the map ◀
Brambles▶ show the map ◀
Brambles▶ show the map ◀
Brambles▶ show the map ◀
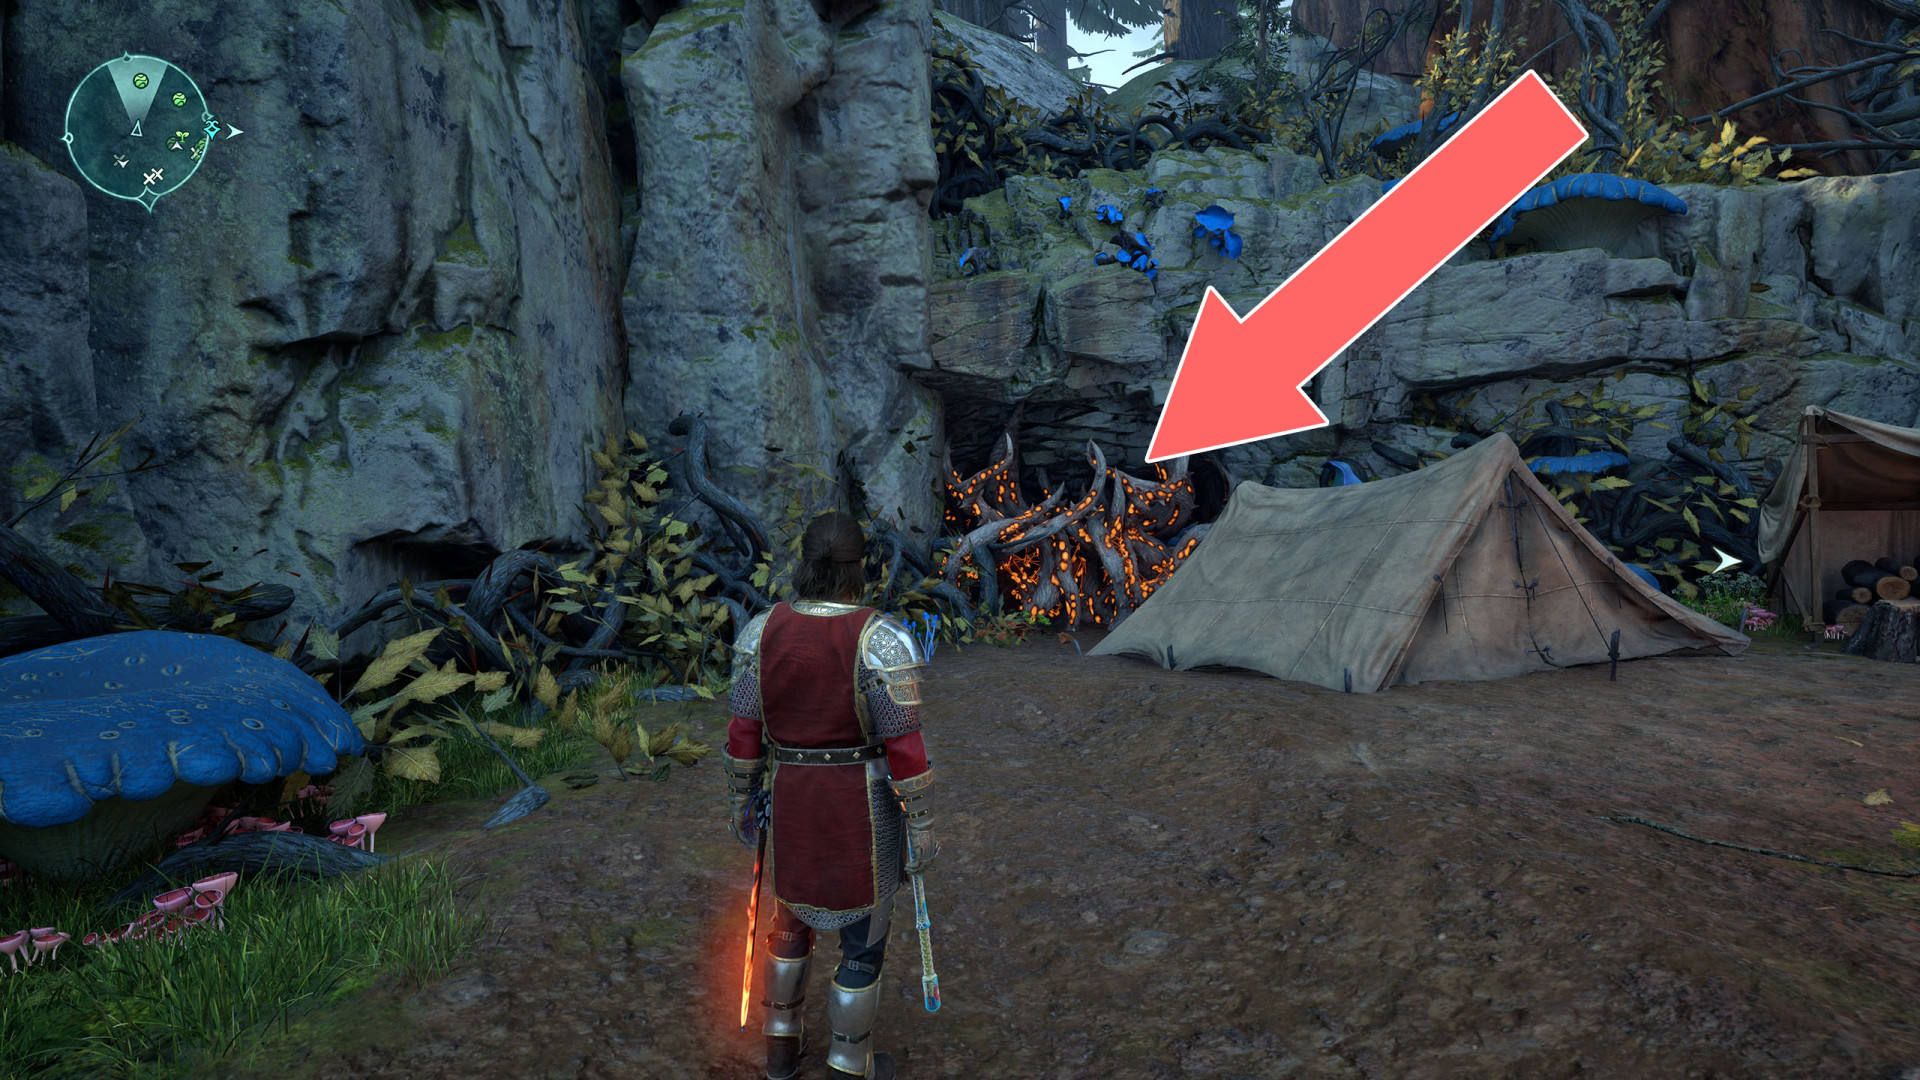
Brambles▶ show the map ◀
Brambles▶ show the map ◀
Brambles▶ show the map ◀
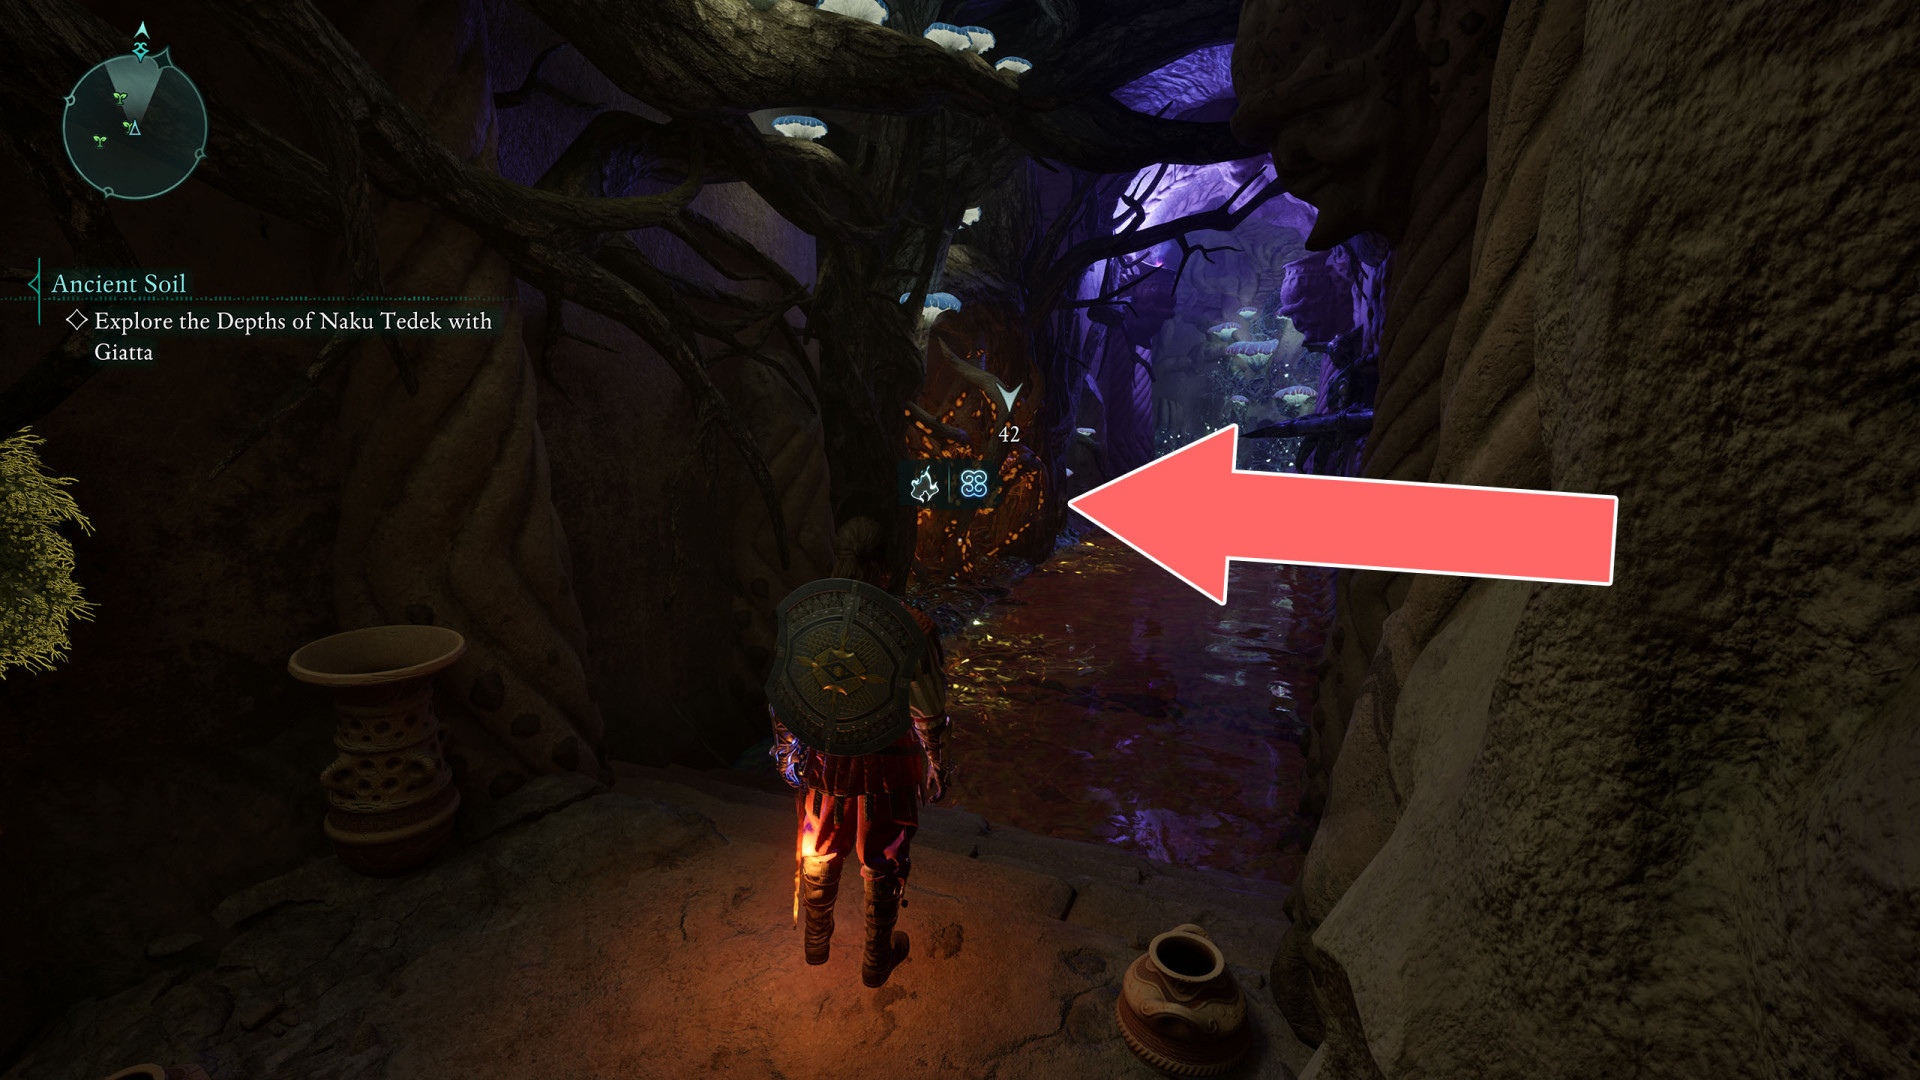
Brambles▶ show the map ◀
Brambles▶ show the map ◀
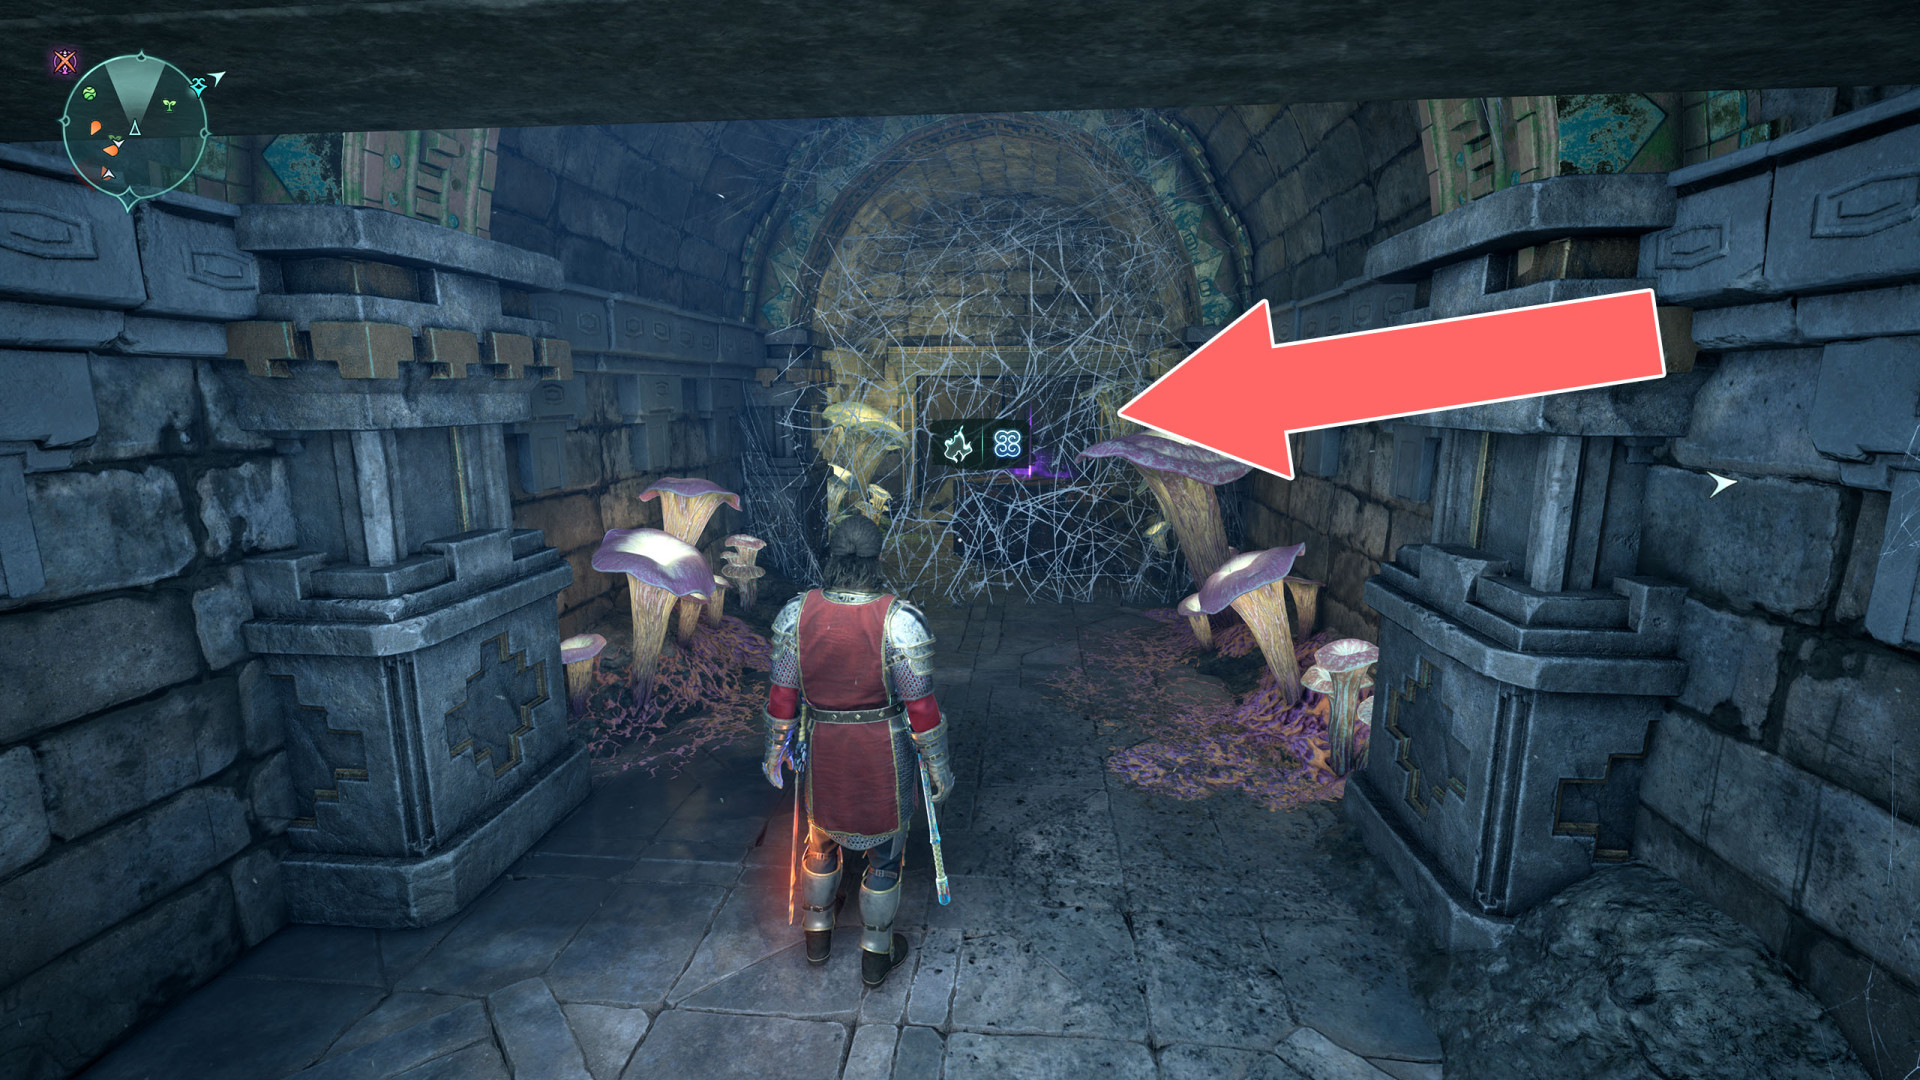
Cobweb▶ show the map ◀
Cobweb▶ show the map ◀
Cobweb▶ show the map ◀
Cobweb▶ show the map ◀
Freezable Grate▶ show the map ◀
Giatta's Basement Door▶ show the map ◀
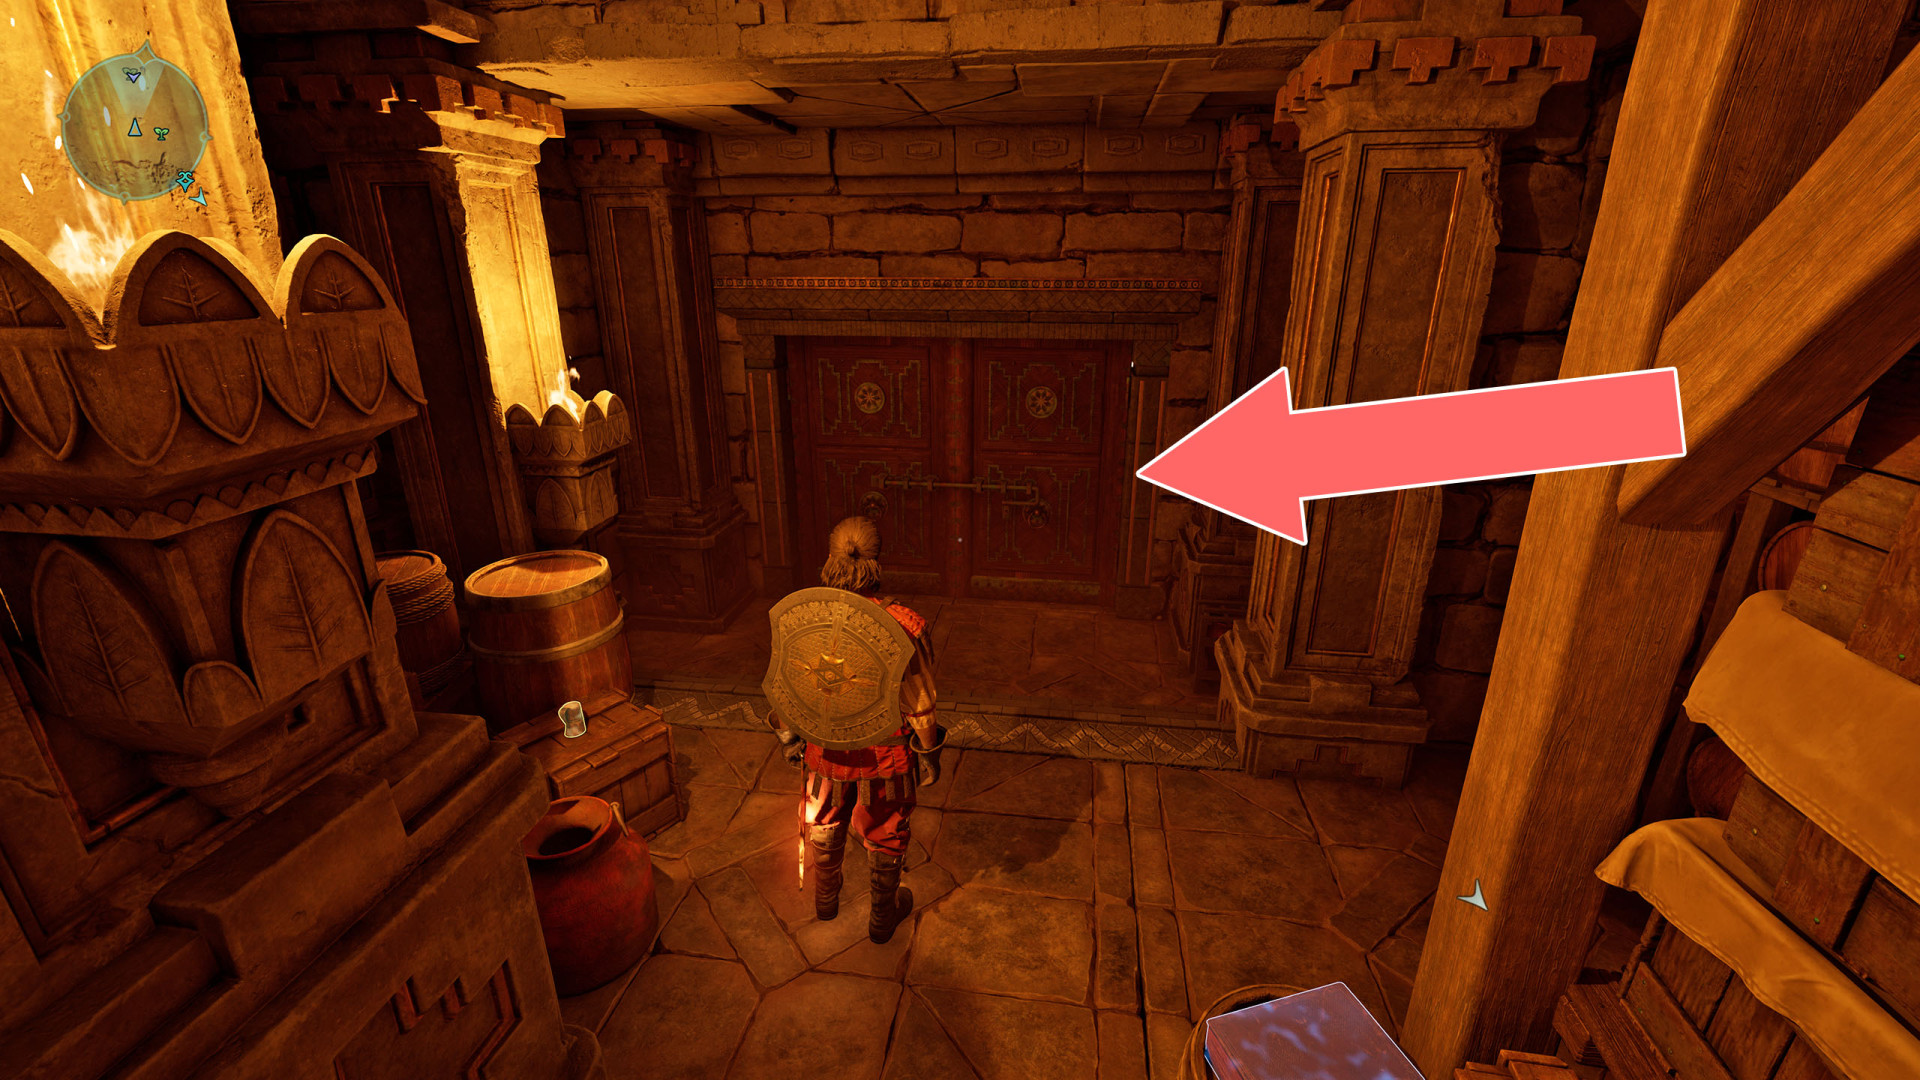
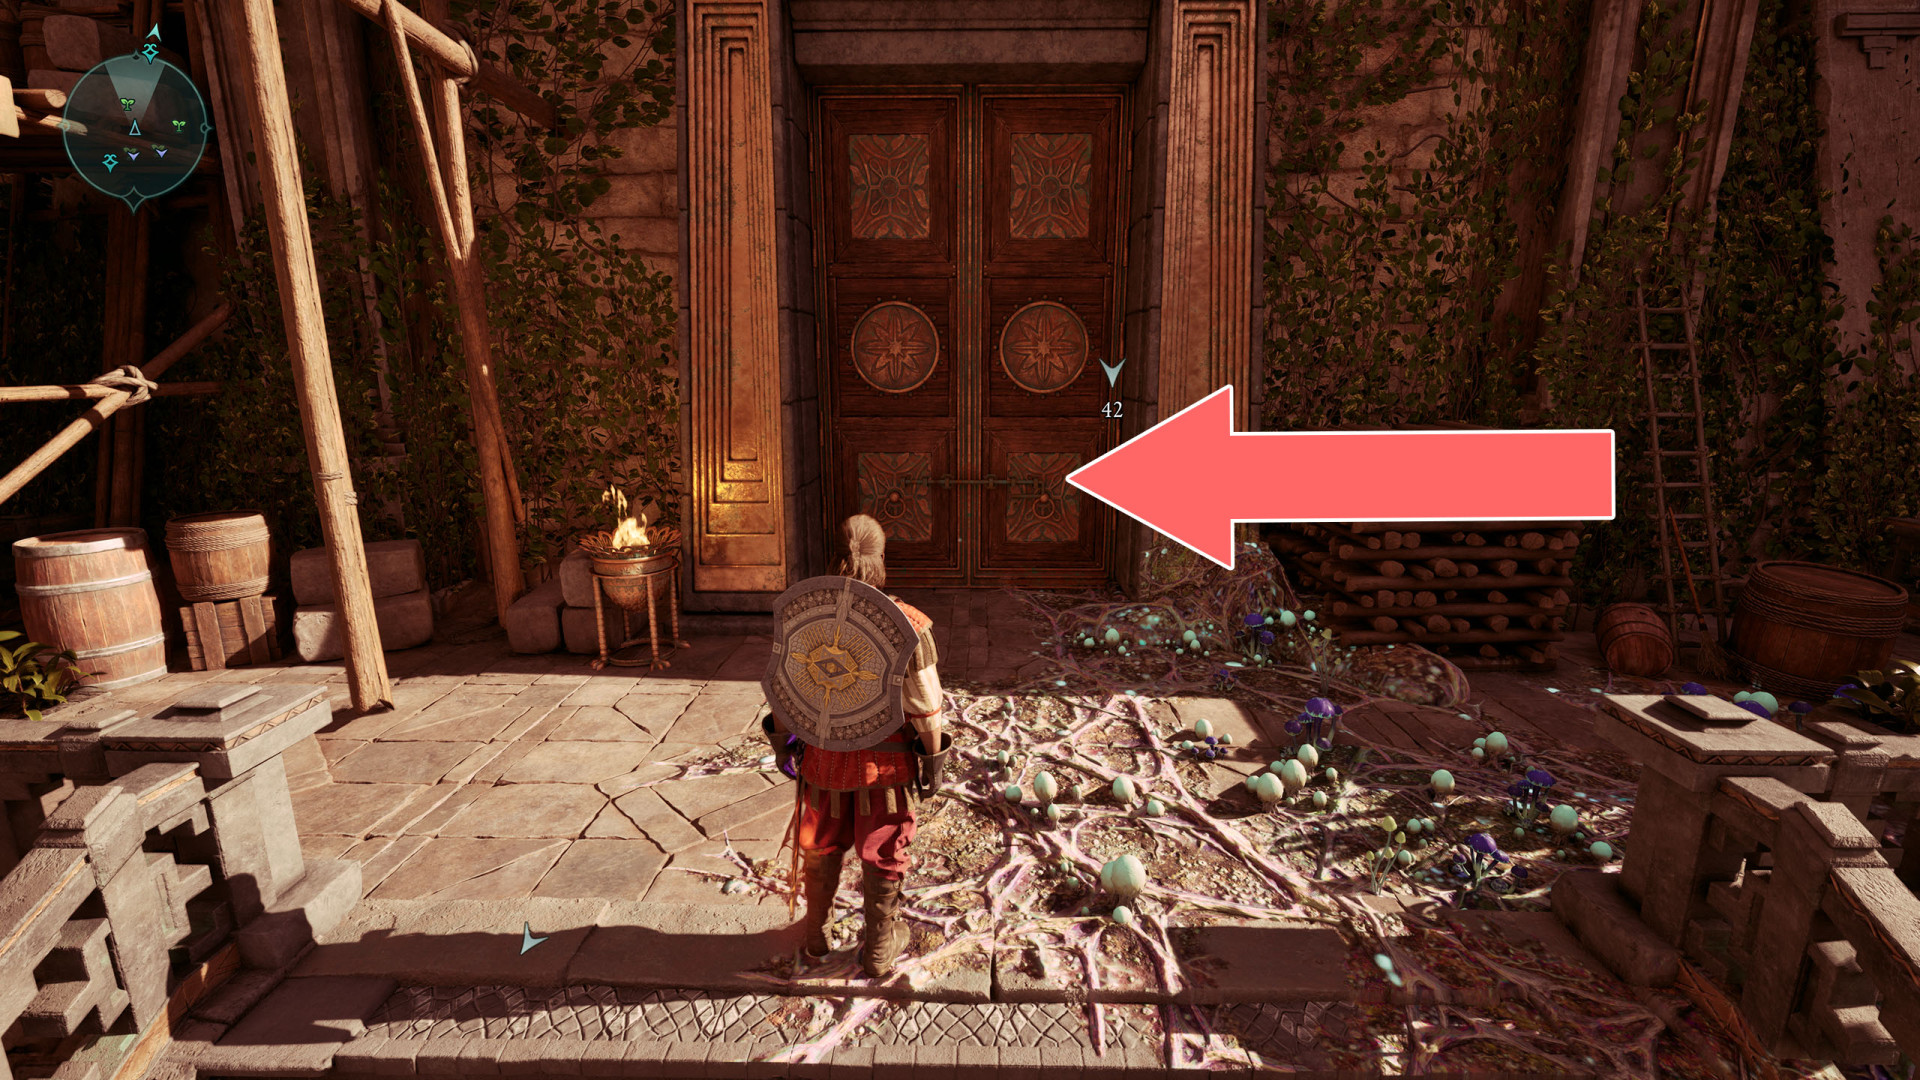
Locked Door▶ show the map ◀
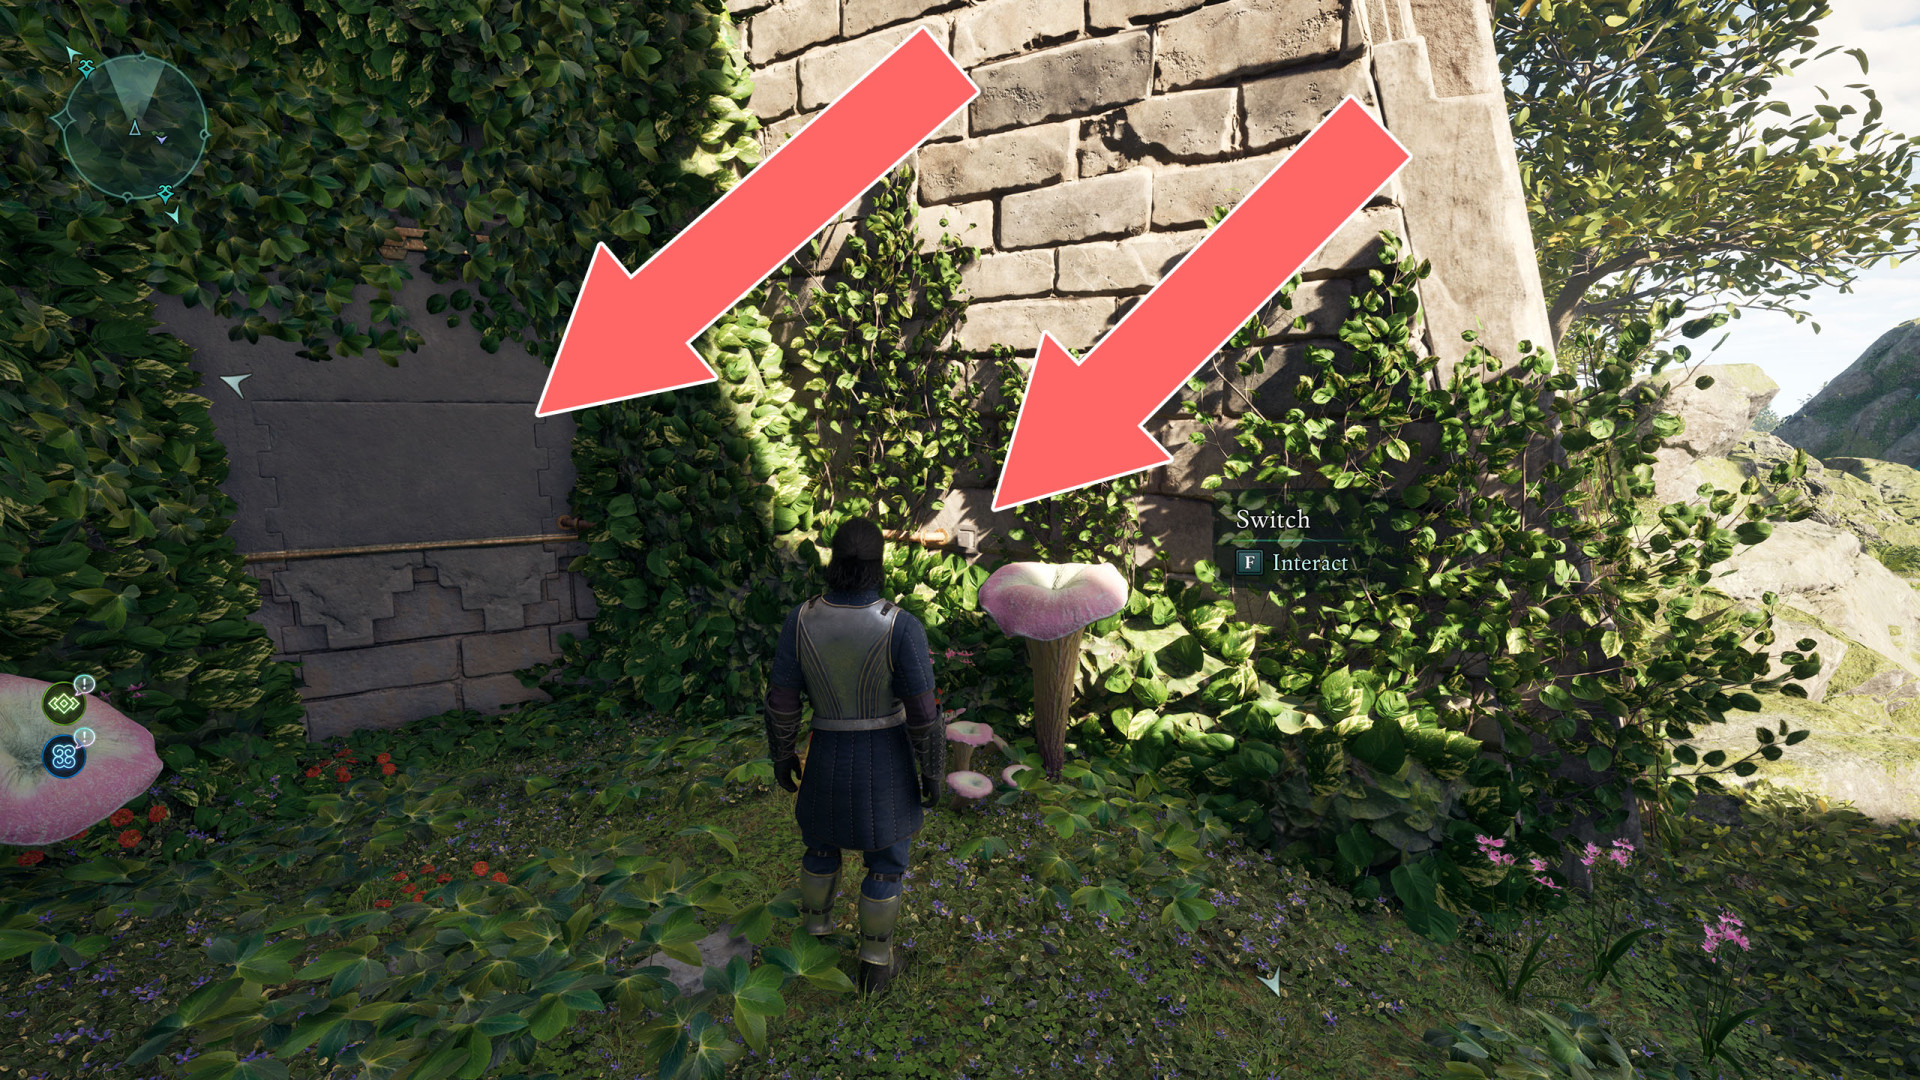
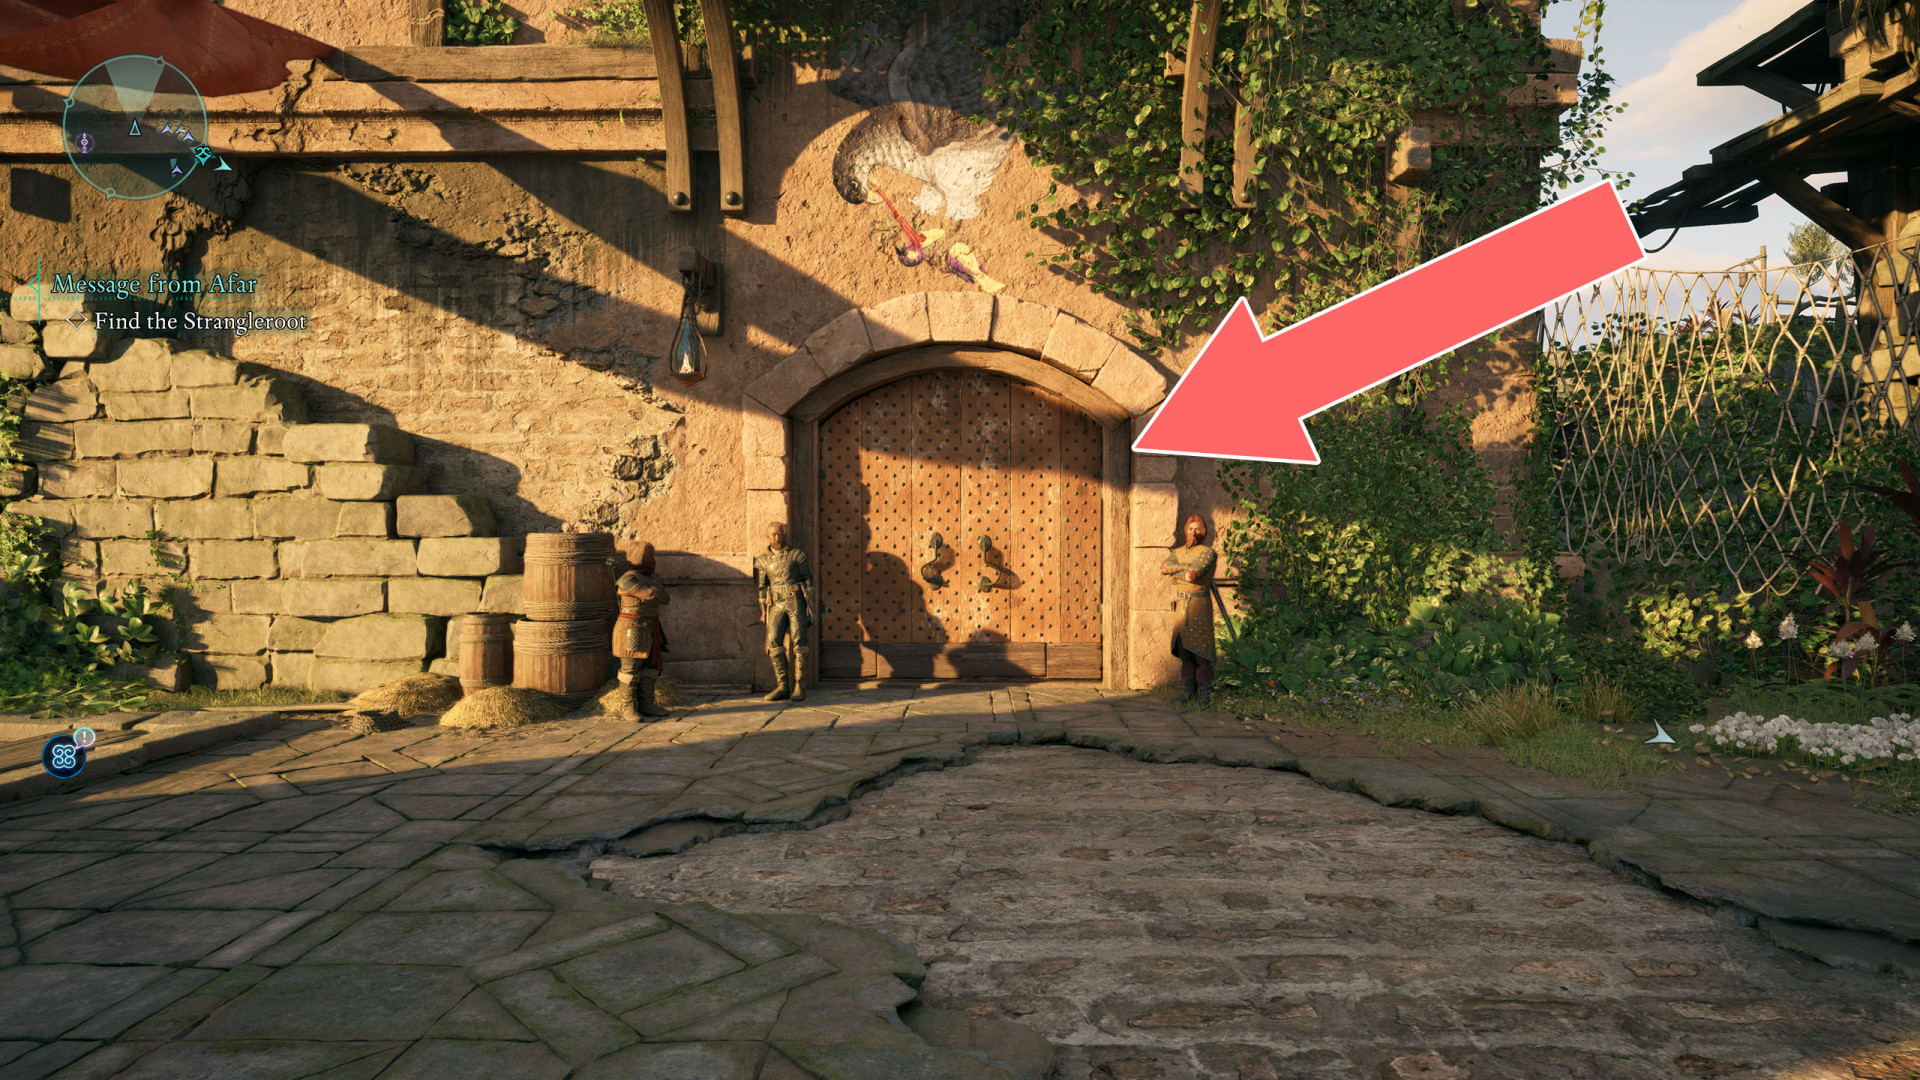
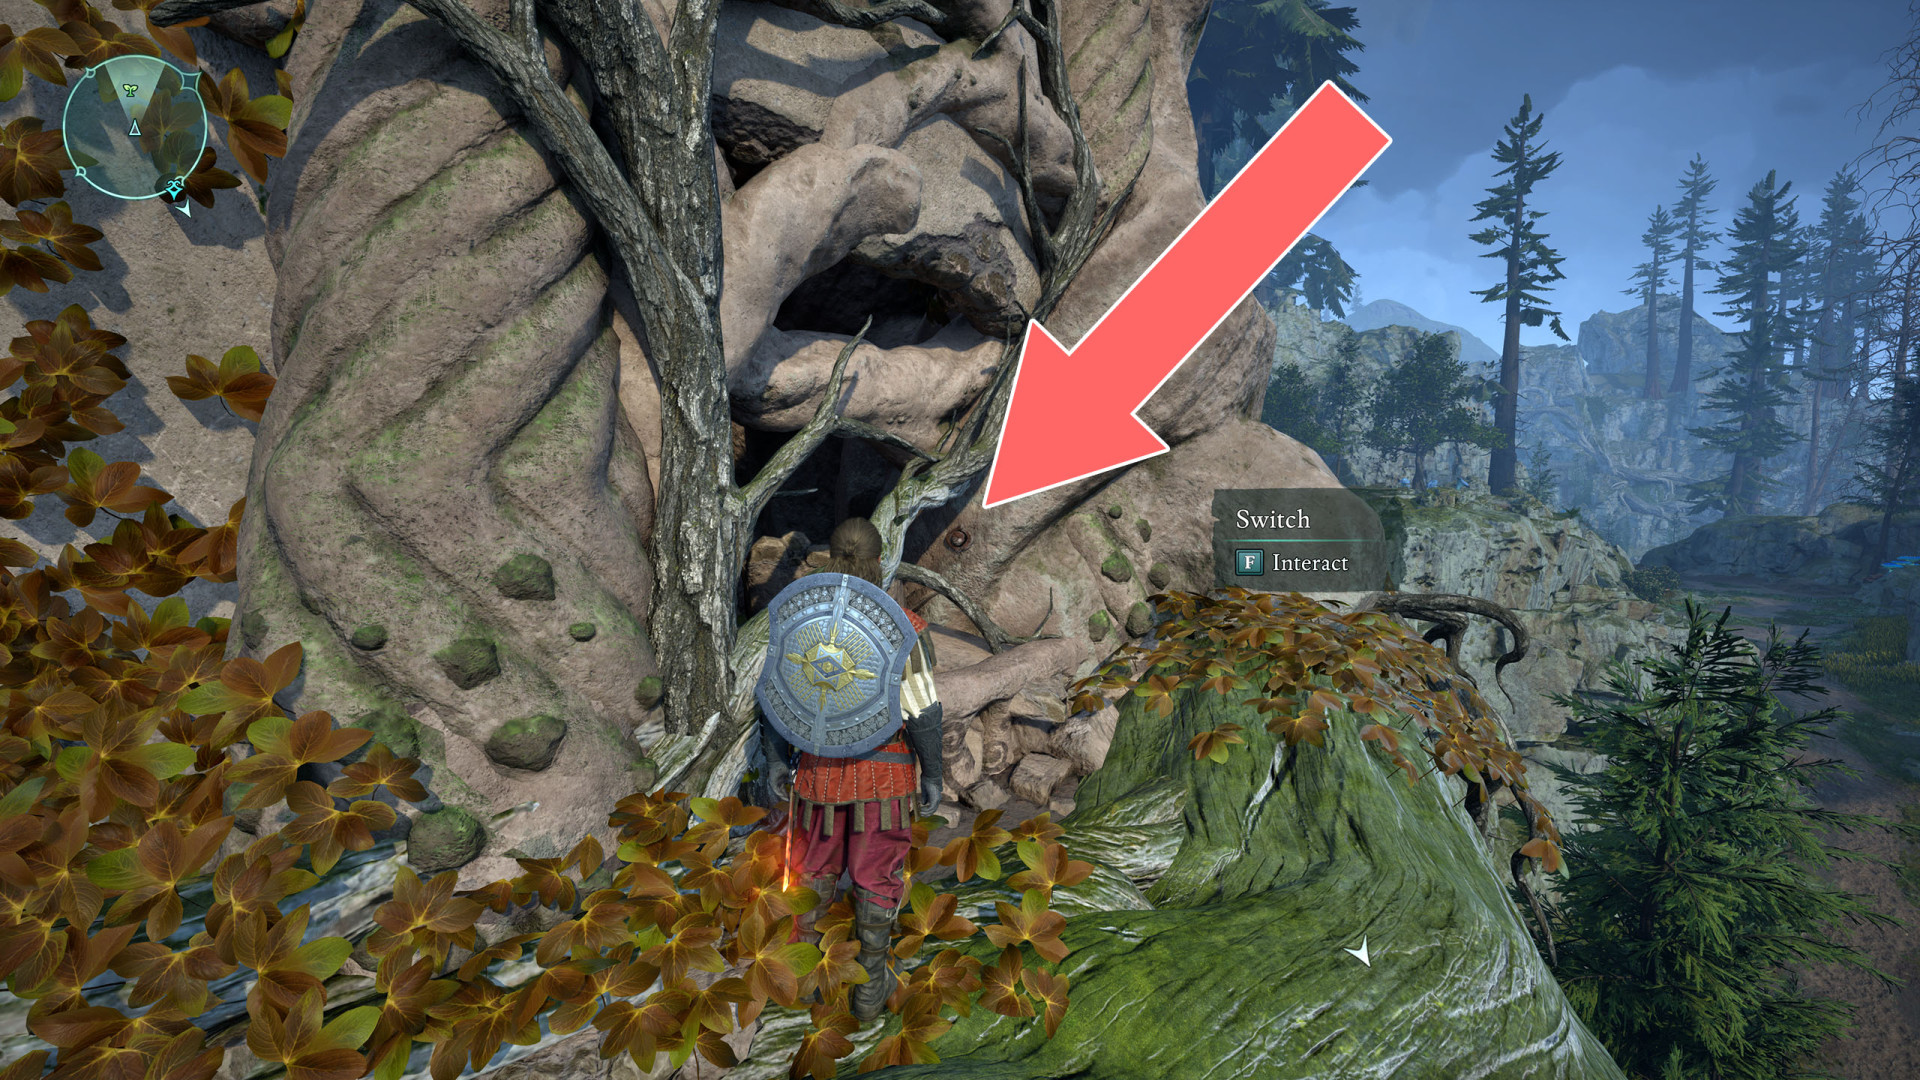
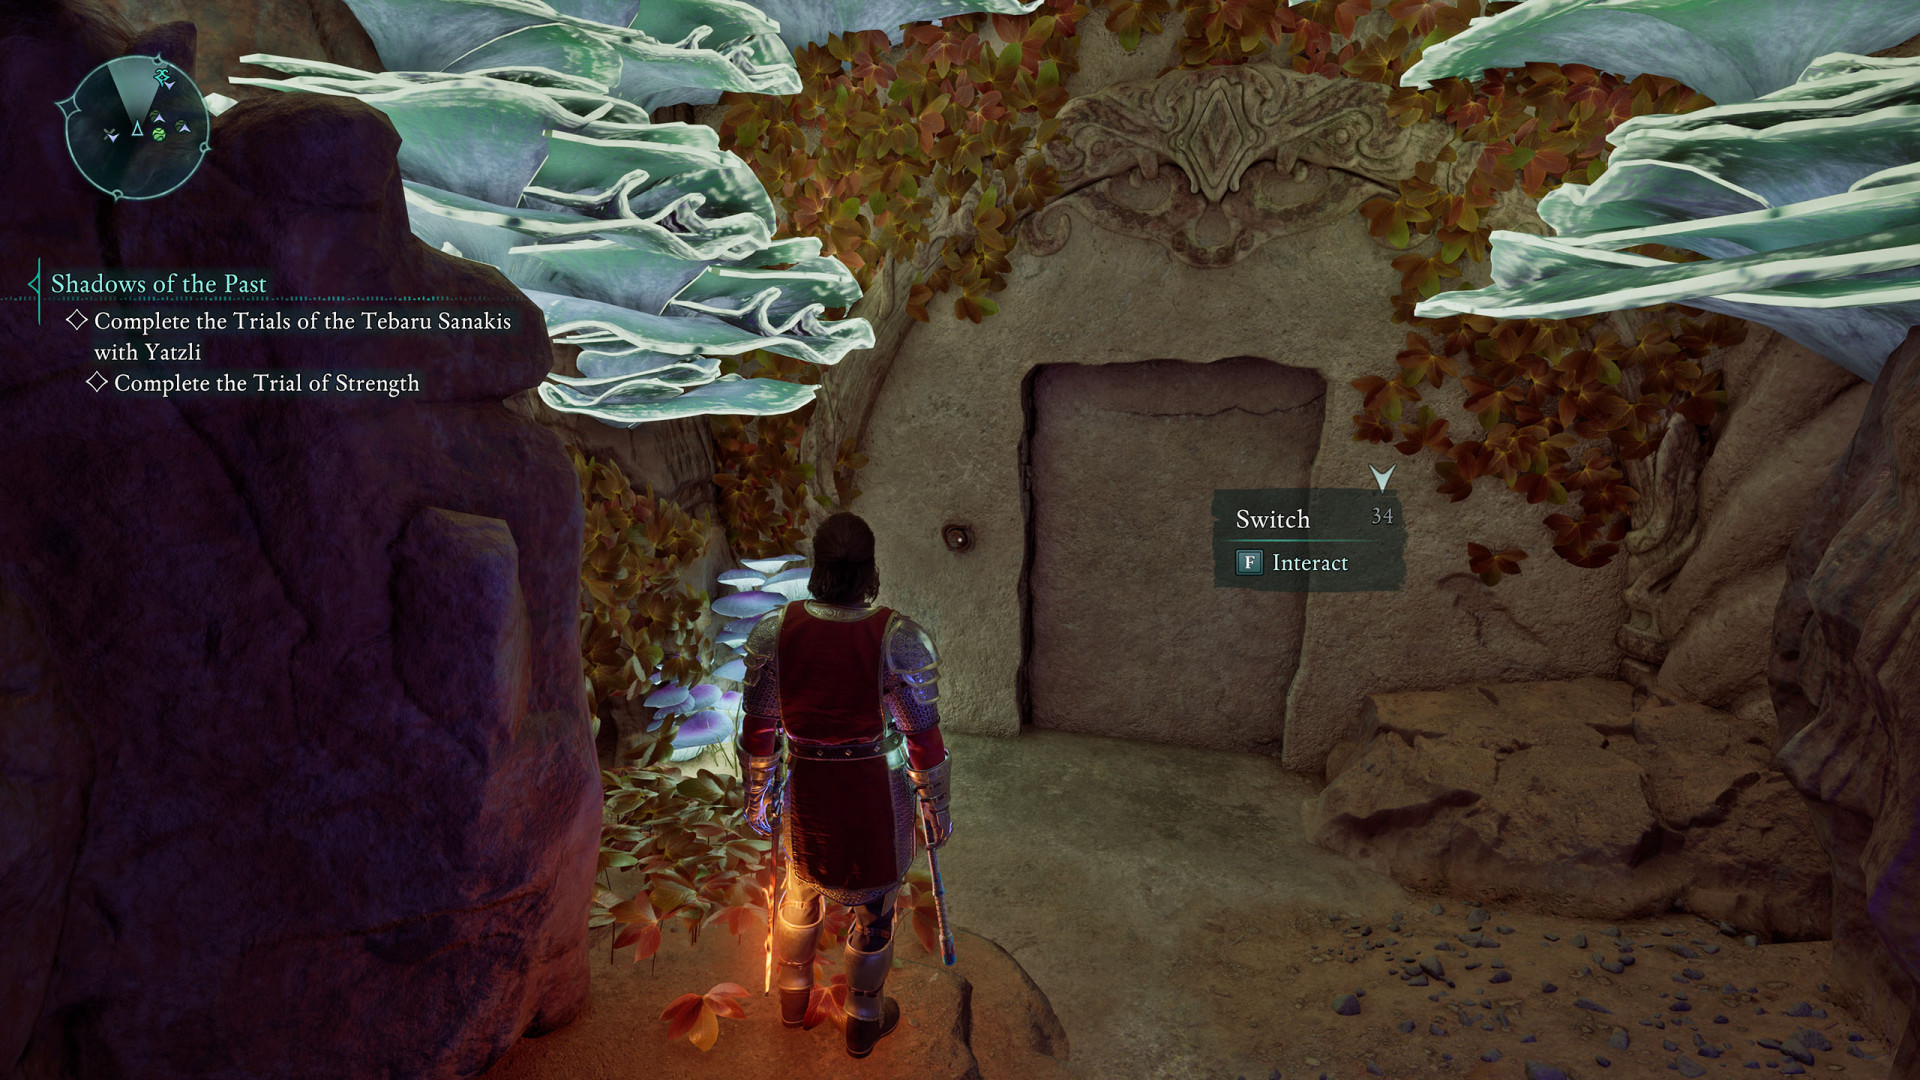
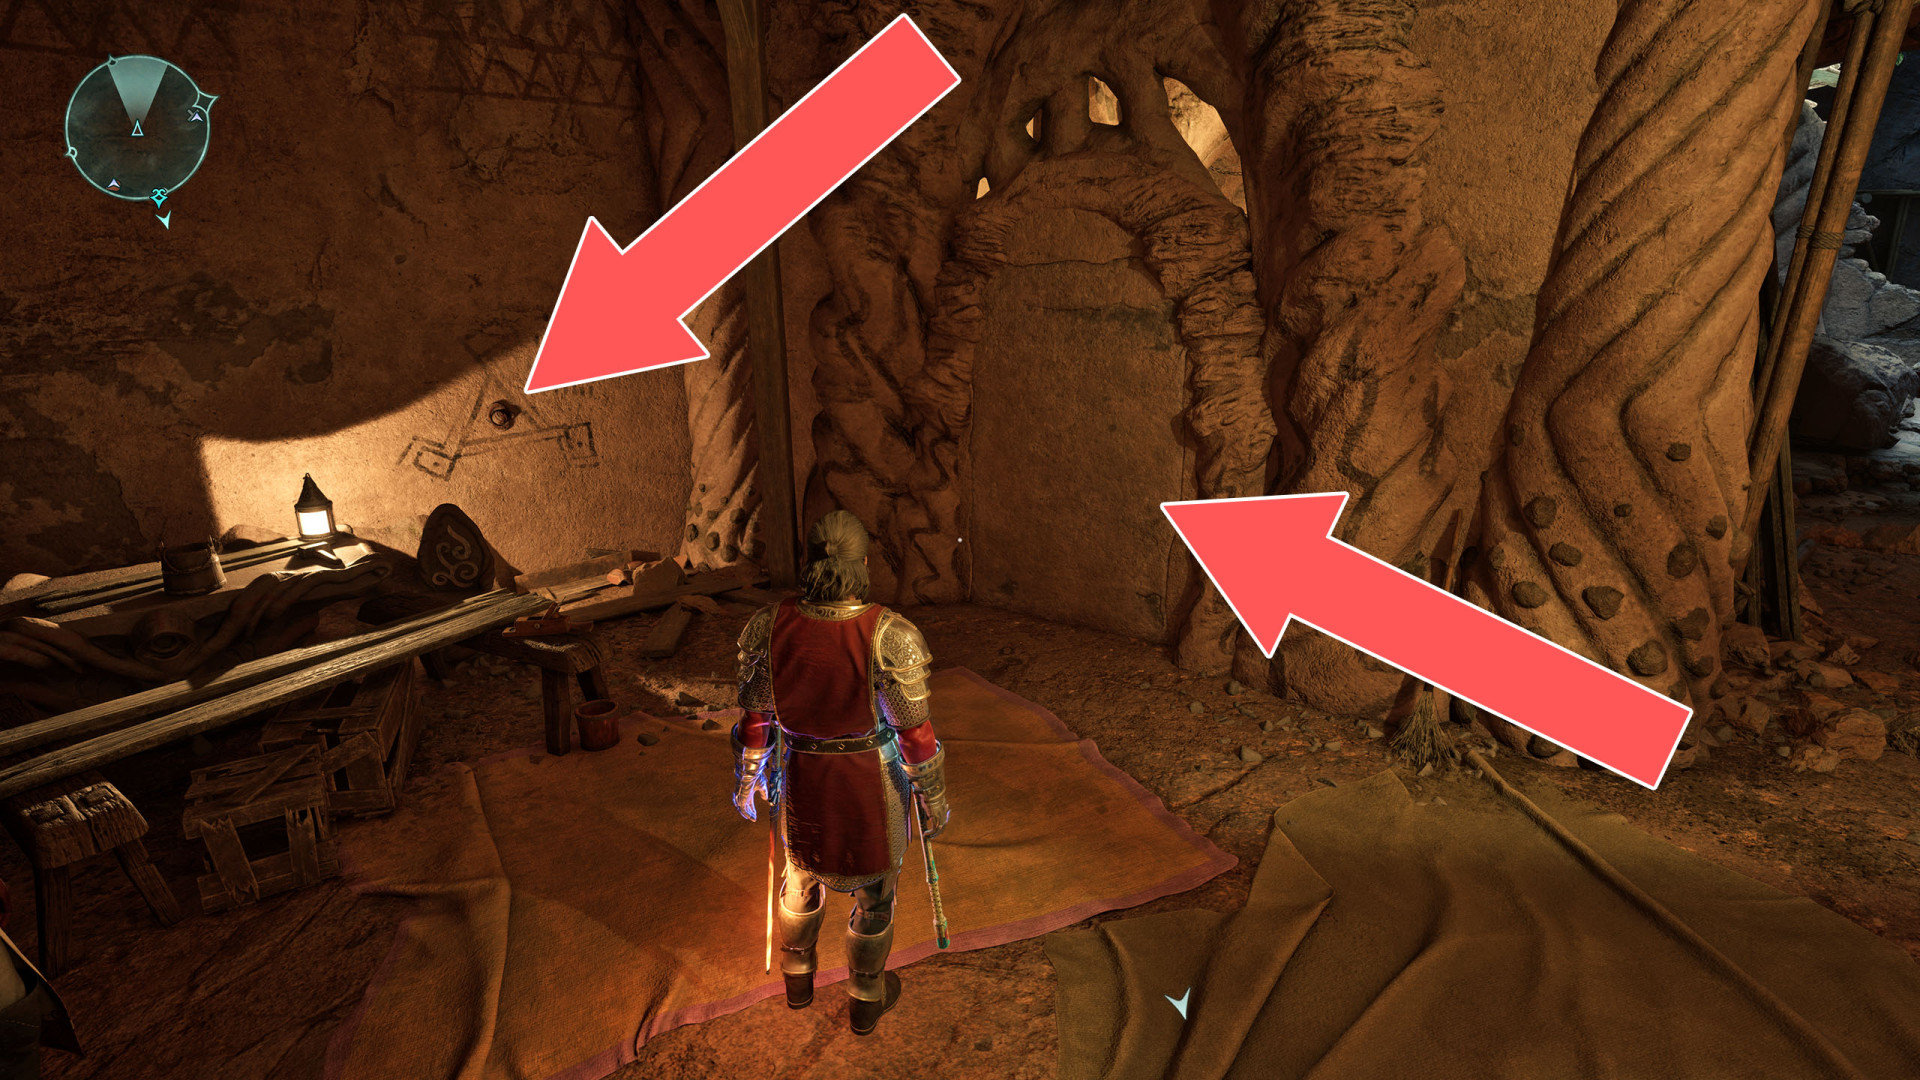
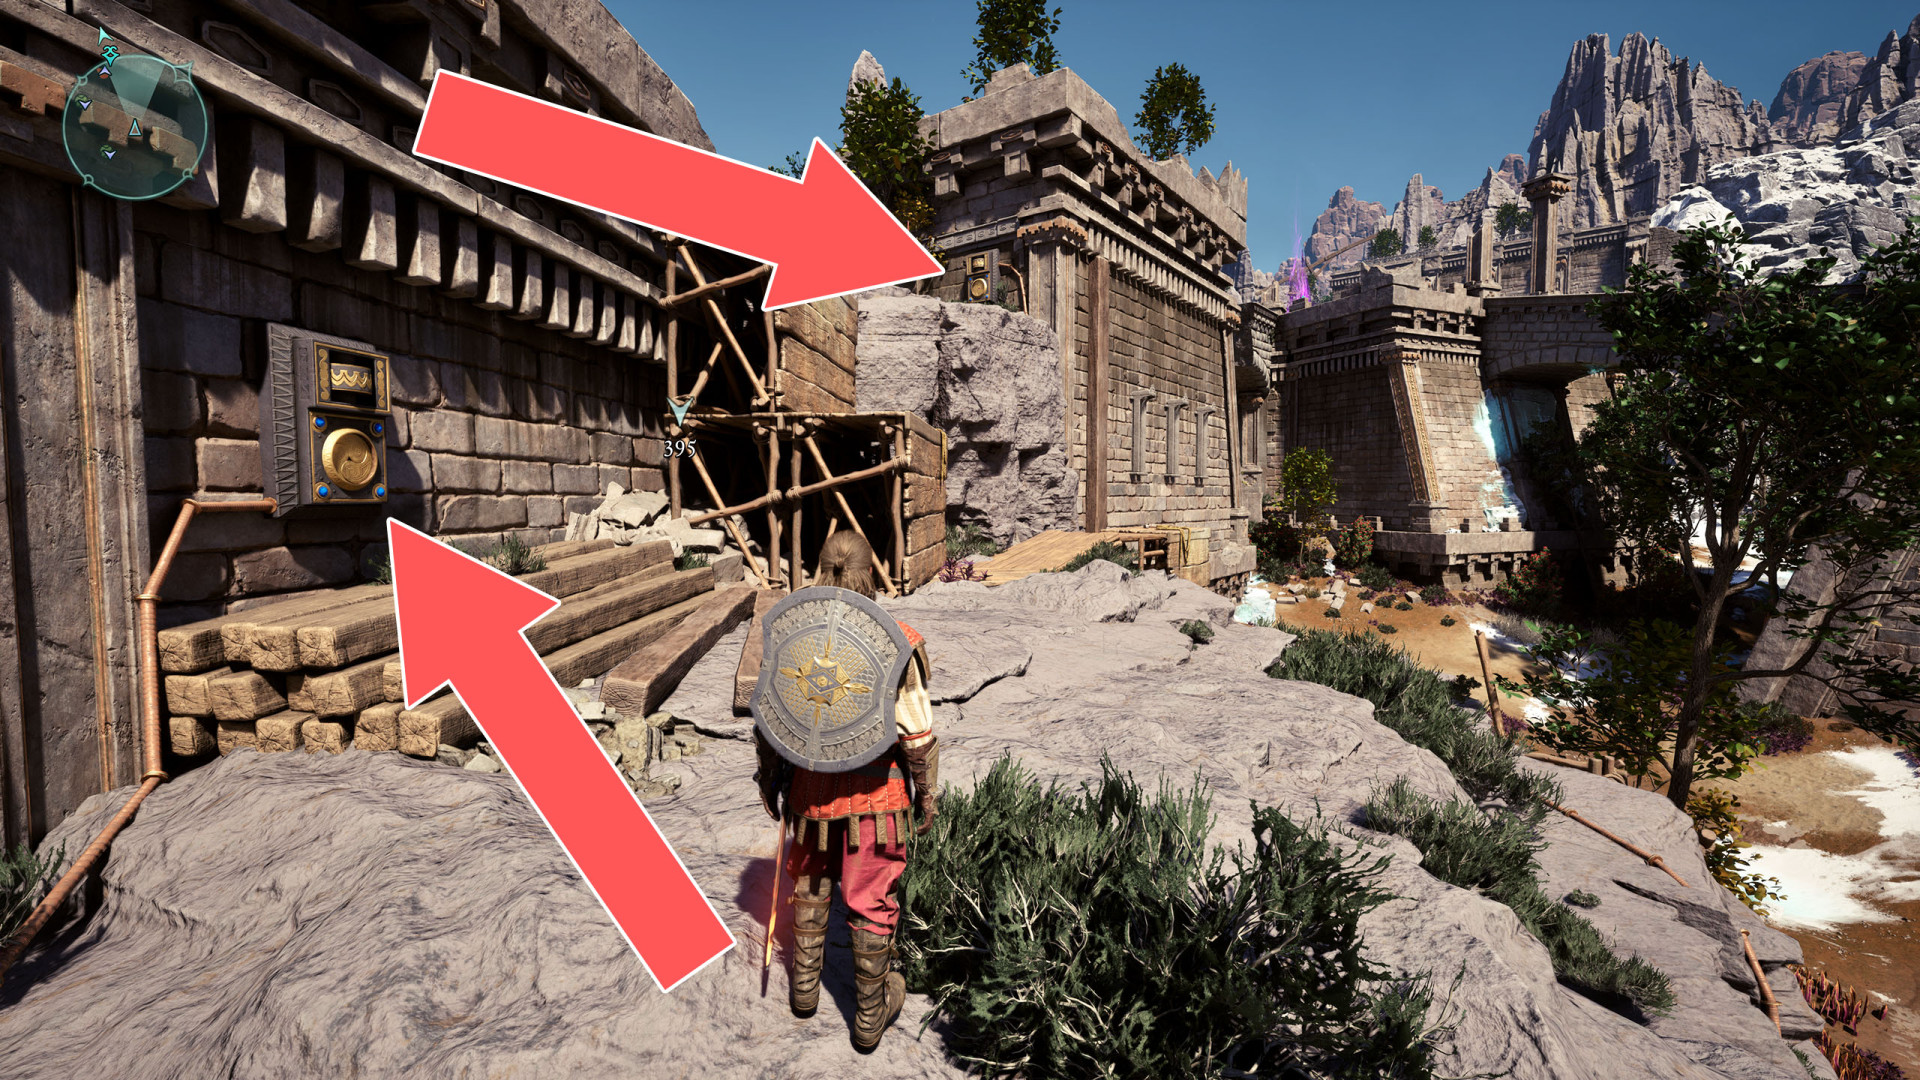
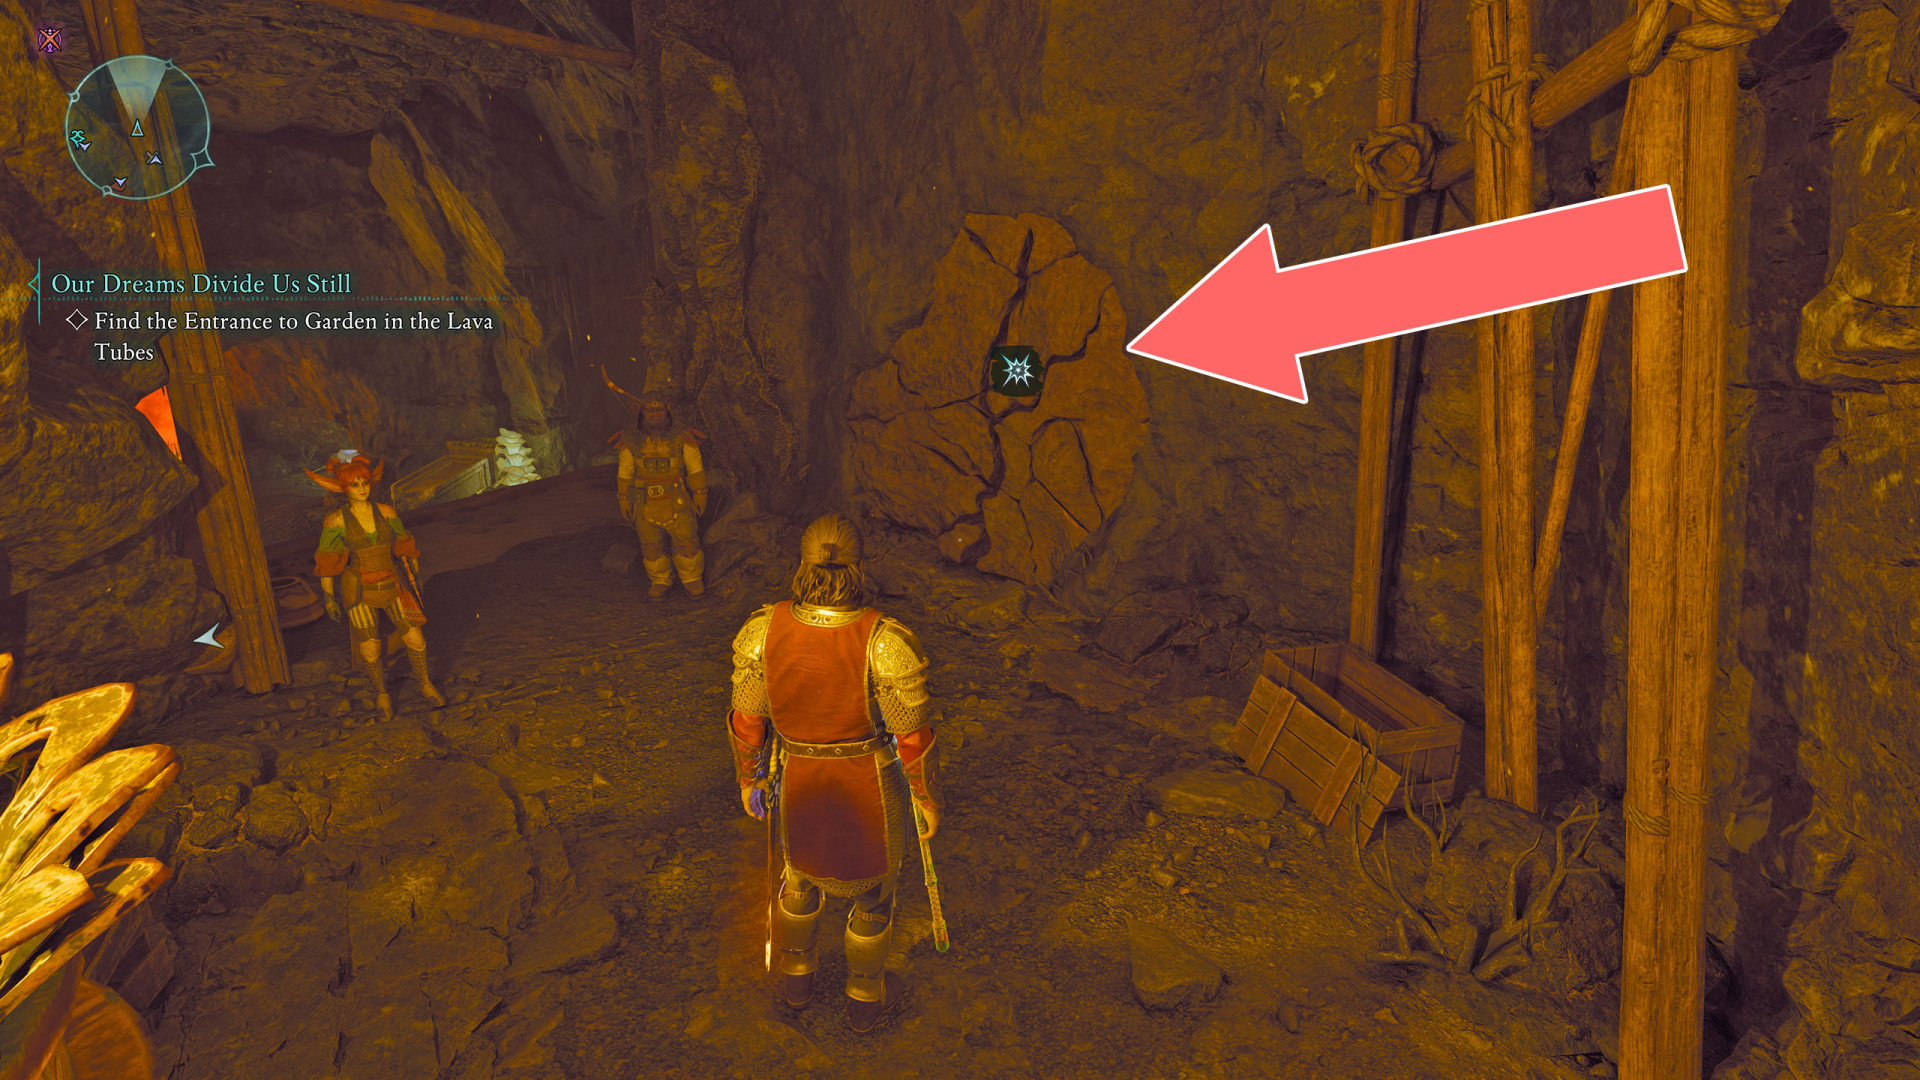
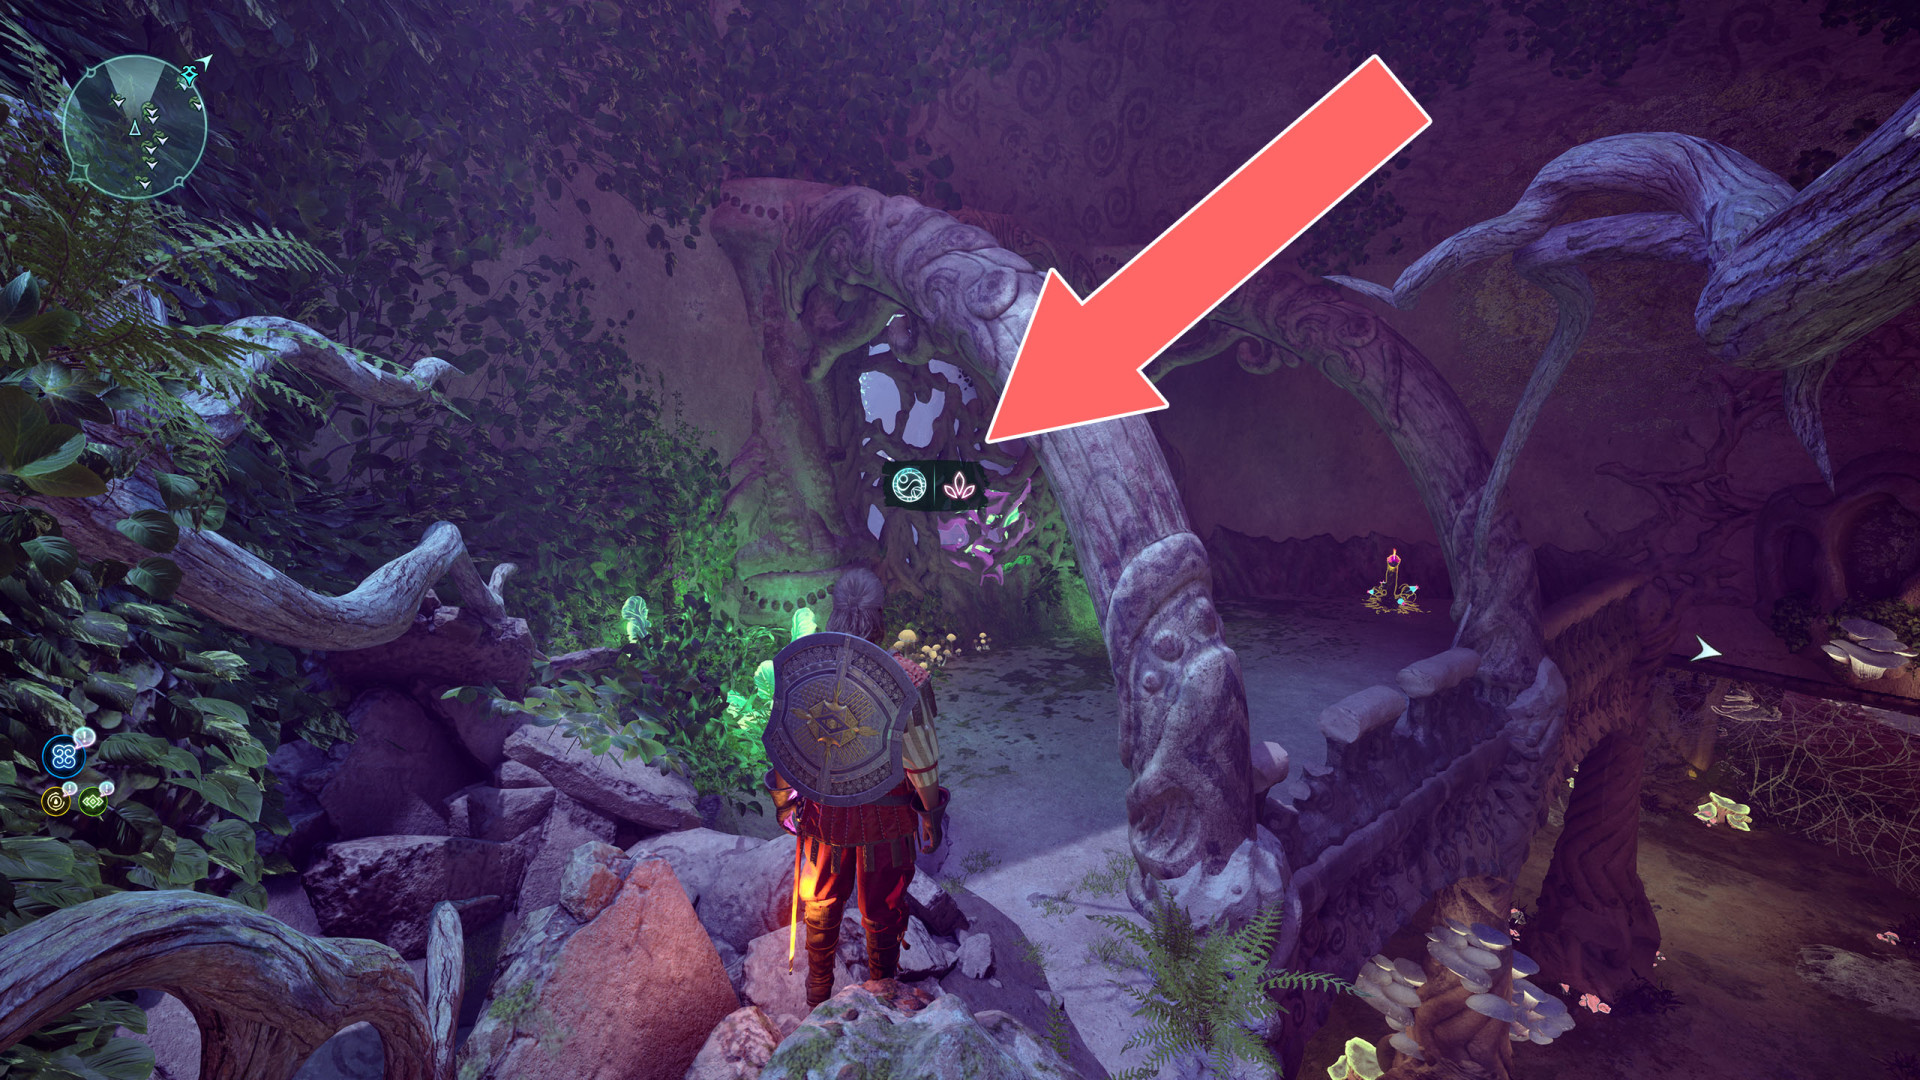
Secret Door▶ show the map ◀
To open this door press the button hidden on the other side of the structure.
Secret Door▶ show the map ◀
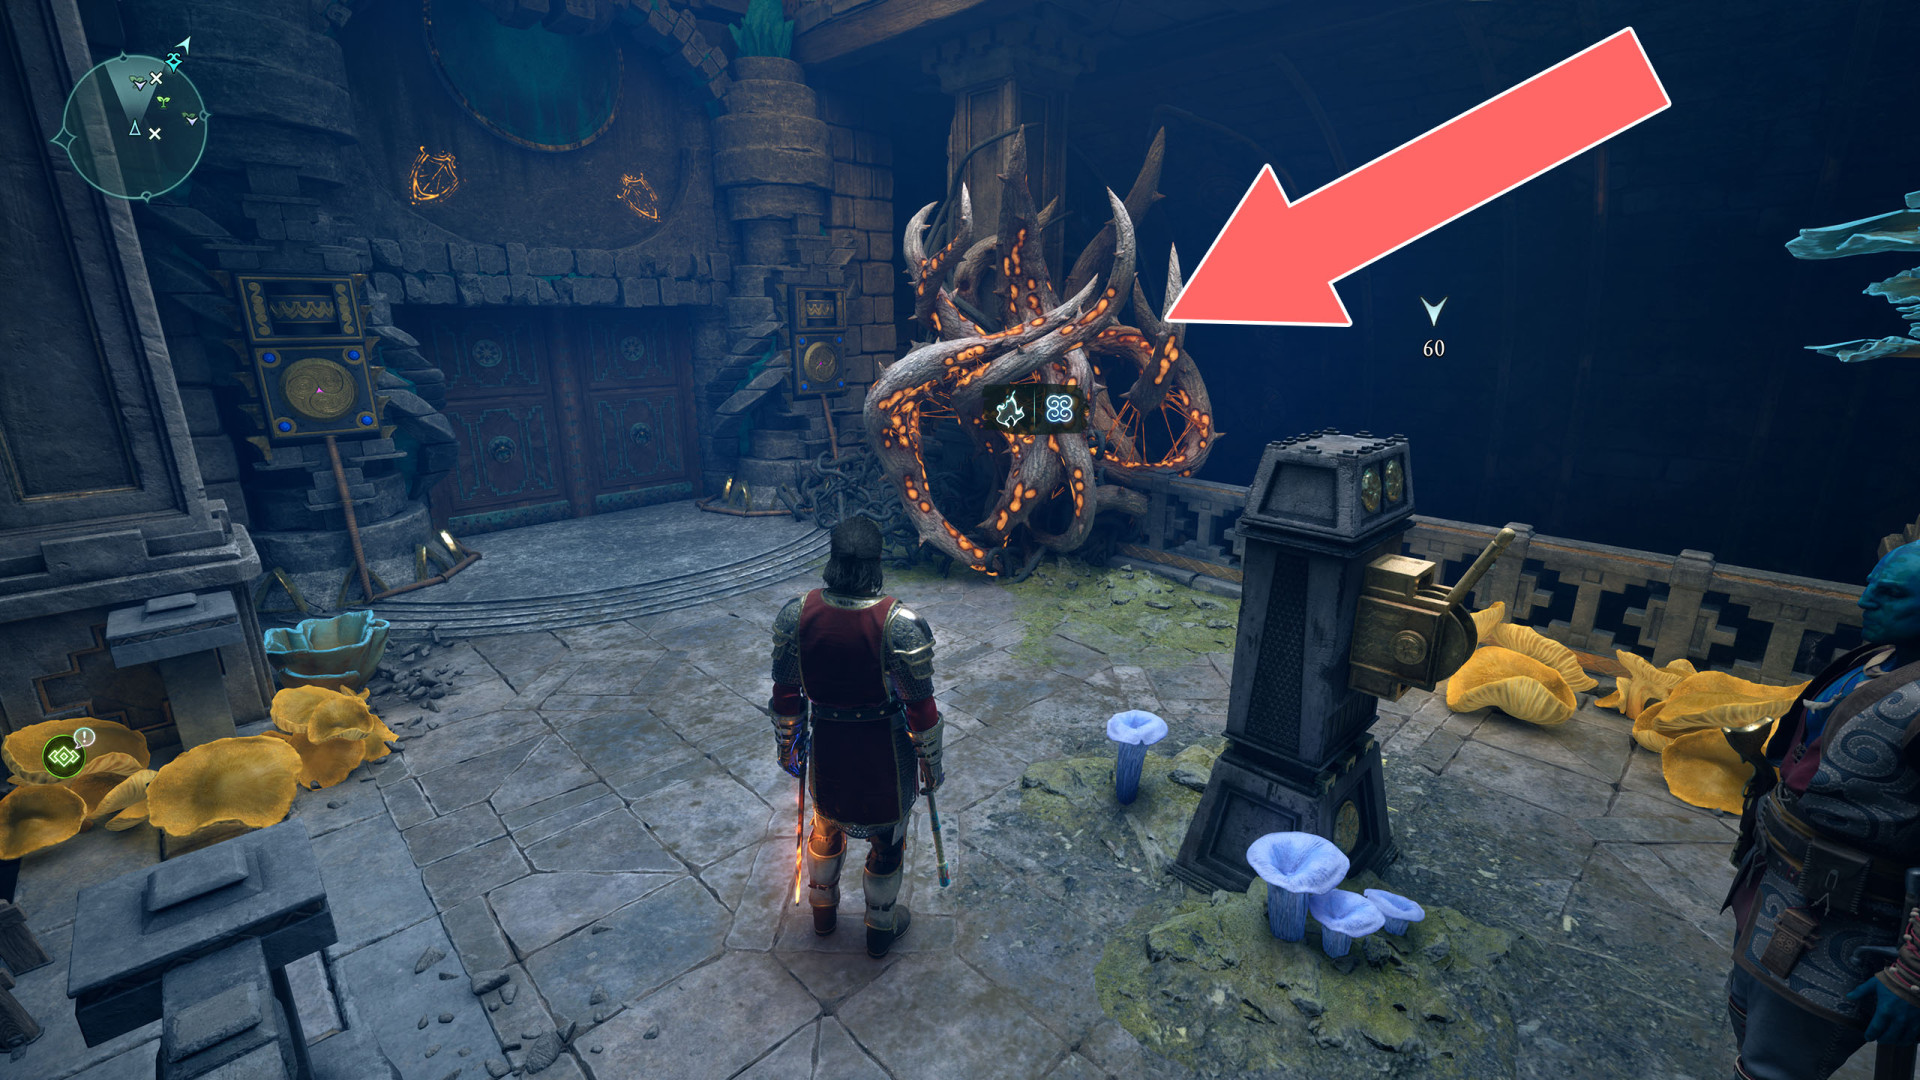
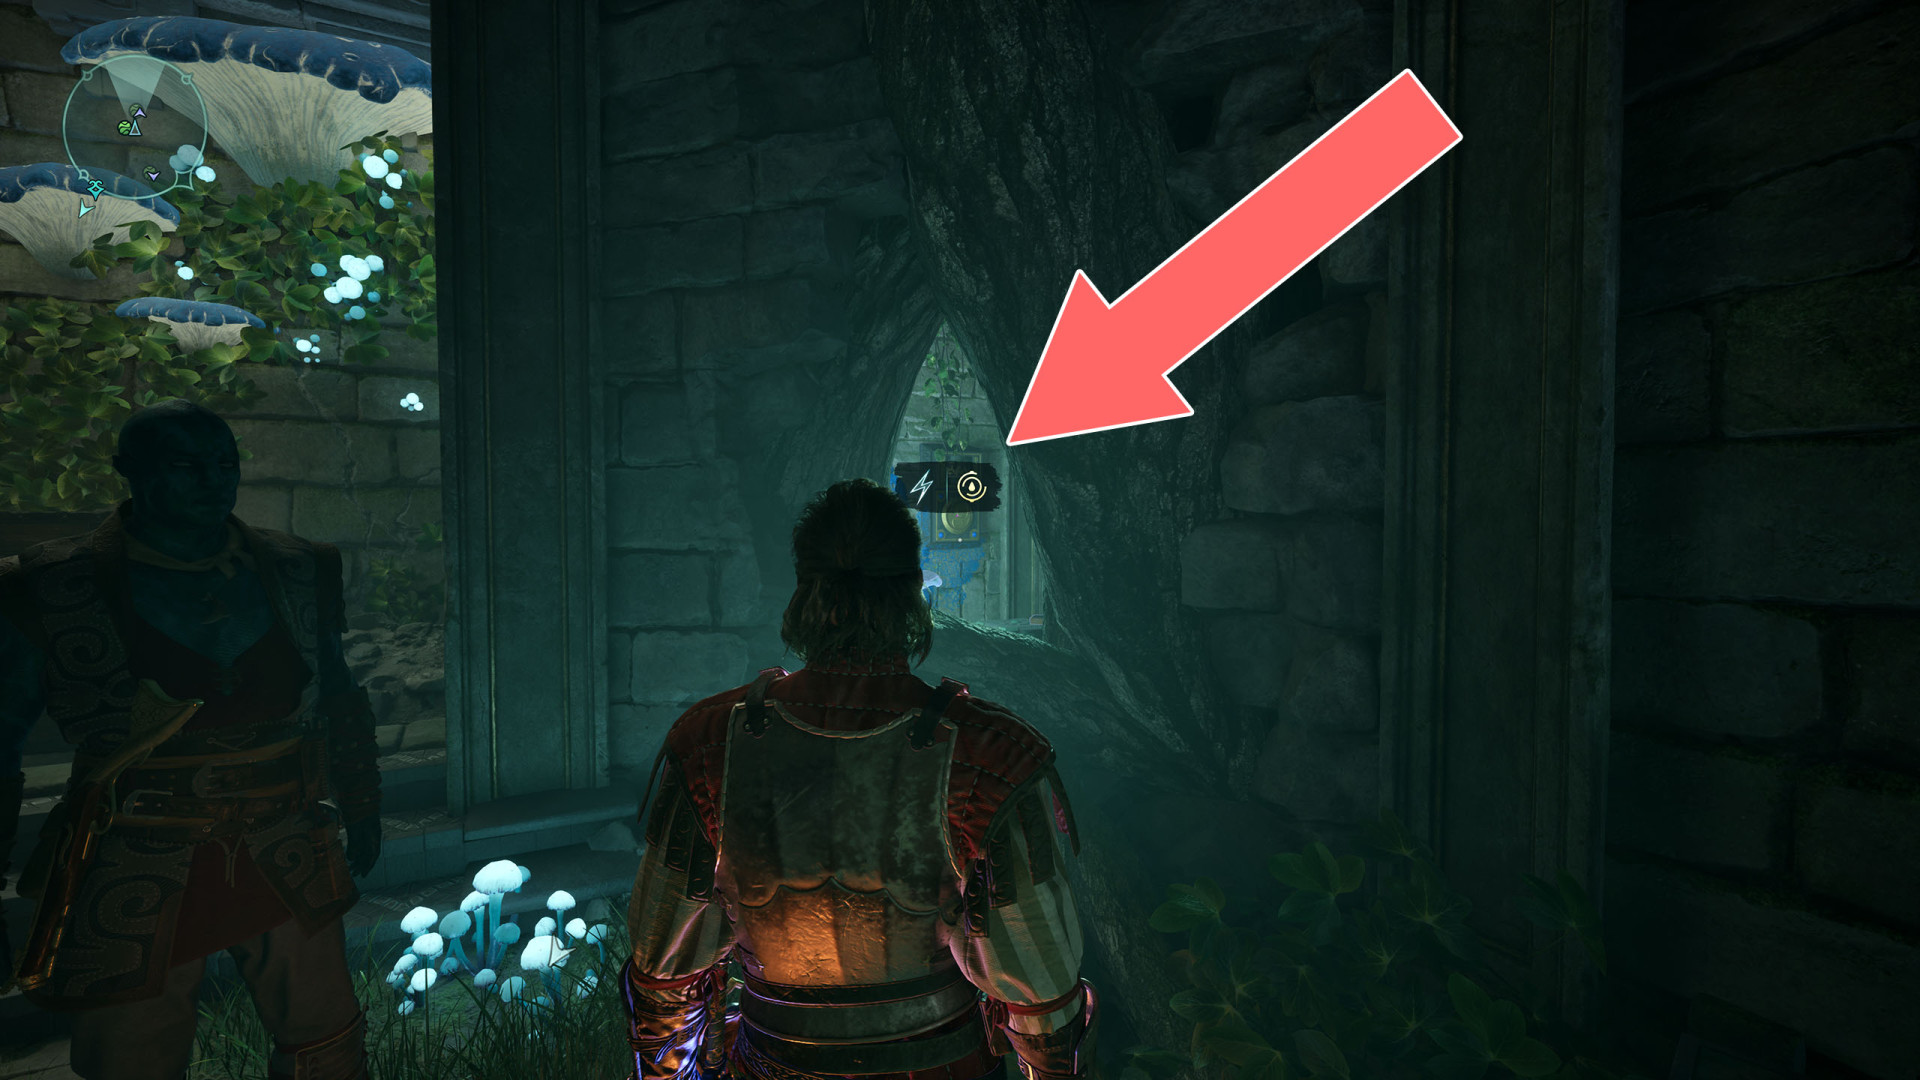
Shock Door (1)▶ show the map ◀
Shock Door (1)▶ show the map ◀
To open the gate, charge the generator visible through the hole in the wall in the room with the "Maxims of the Pargrunen III" book.
Shock Door (1)▶ show the map ◀
To open this door, charge the generator visible through the hole in the wall in the room with the "Od Caura's Grimoire" chest.
Shock Door (1)▶ show the map ◀
Shock Door (1)▶ show the map ◀
Shock Door (1)▶ show the map ◀
Weak Wall▶ show the map ◀
Weak Wall▶ show the map ◀
Weak Wall▶ show the map ◀
Weak Wall▶ show the map ◀

Weak Wall▶ show the map ◀
Weak Wall▶ show the map ◀
Weak Wall▶ show the map ◀

Weak Wall▶ show the map ◀
Wooden Barrier▶ show the map ◀
Wooden Barrier▶ show the map ◀
Wooden Barrier▶ show the map ◀
Wooden Barrier▶ show the map ◀
Wooden Barrier▶ show the map ◀
Wooden Barrier▶ show the map ◀
Wooden Barrier▶ show the map ◀
All known locations on the map Shatterscarp
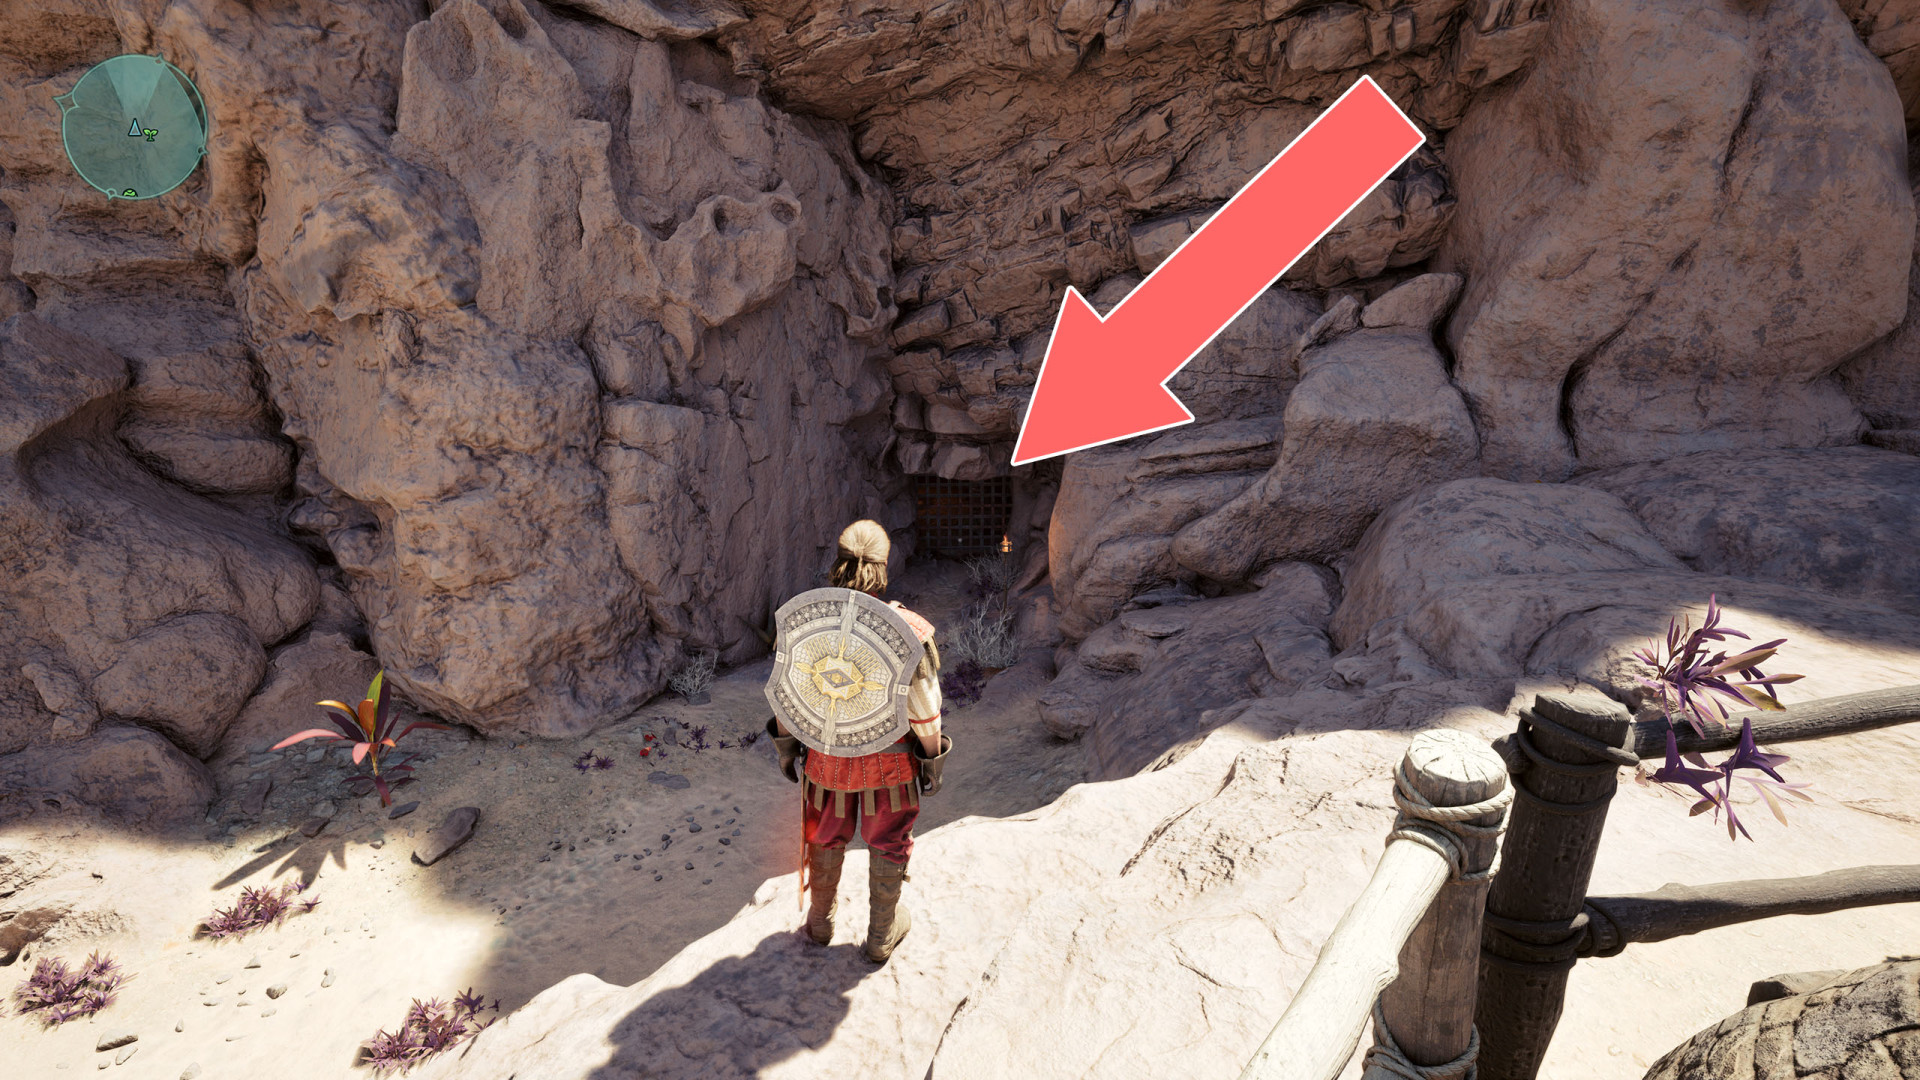
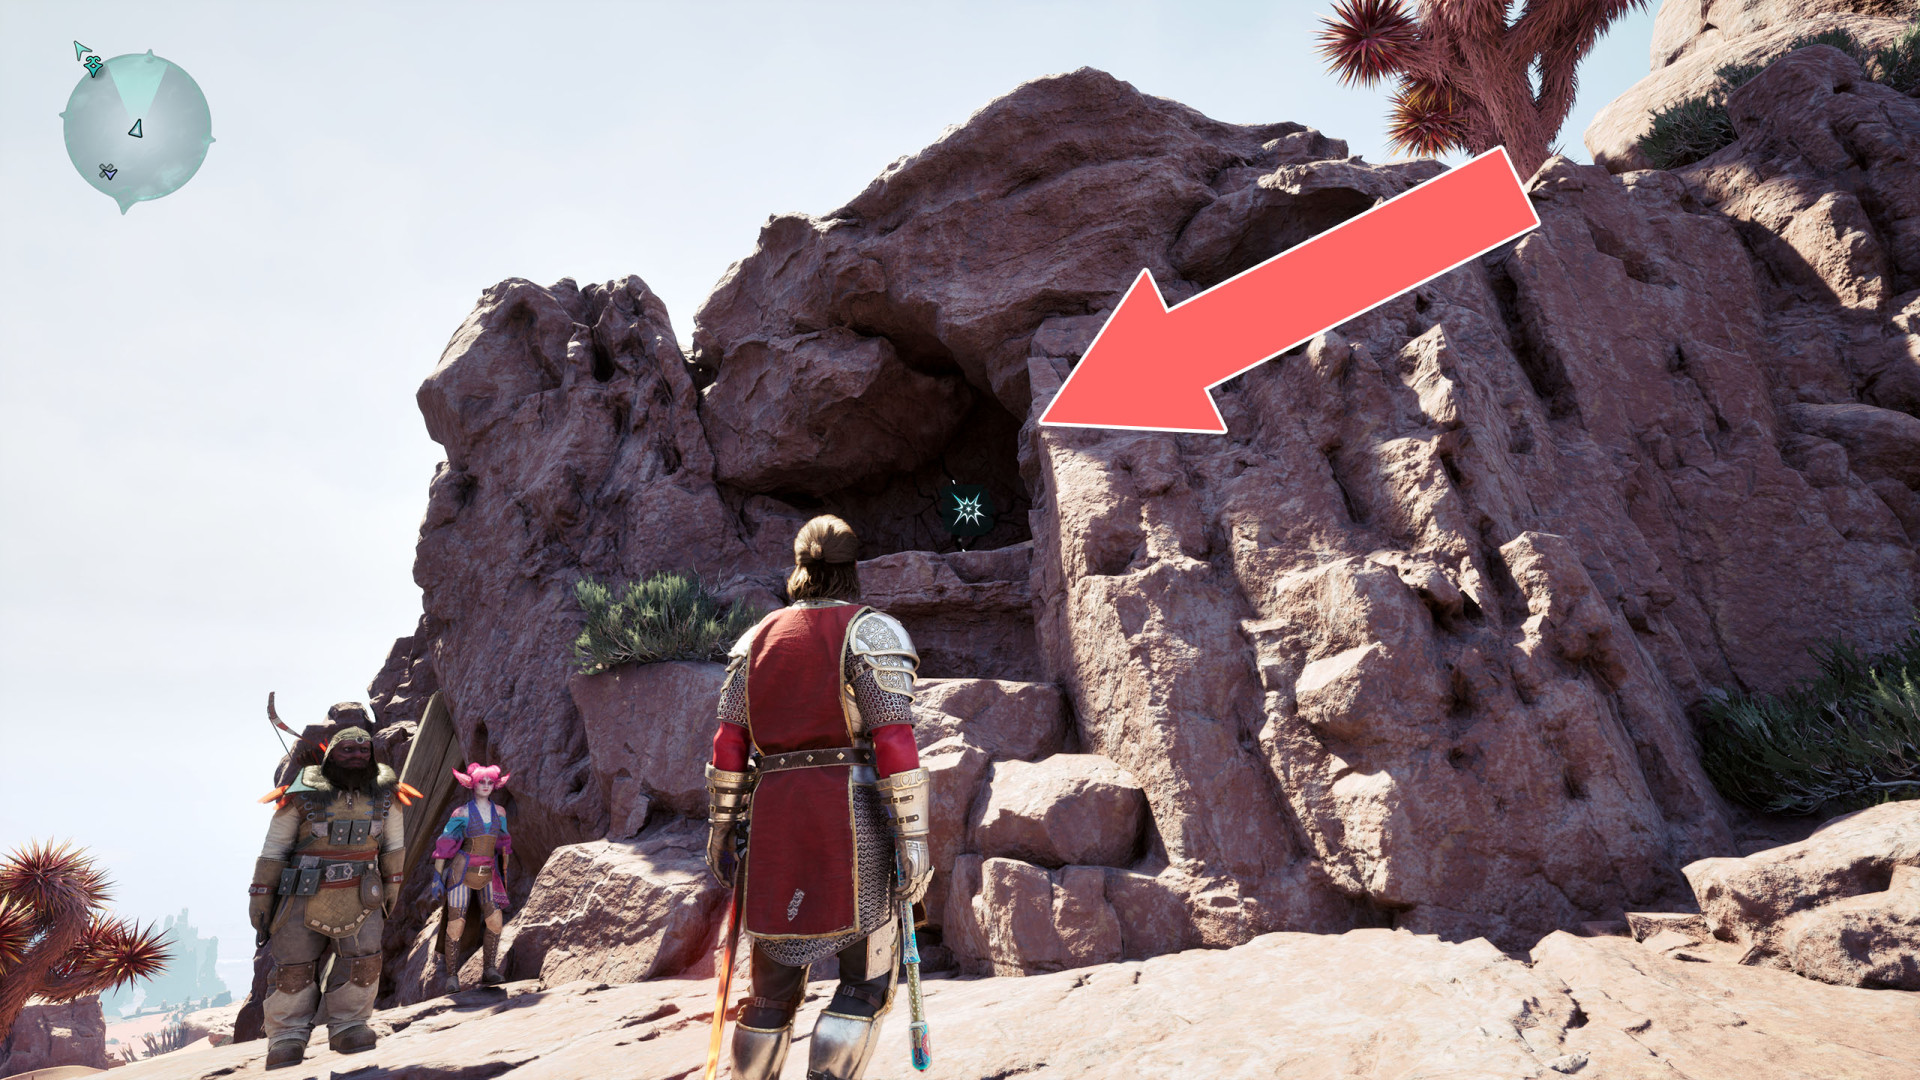
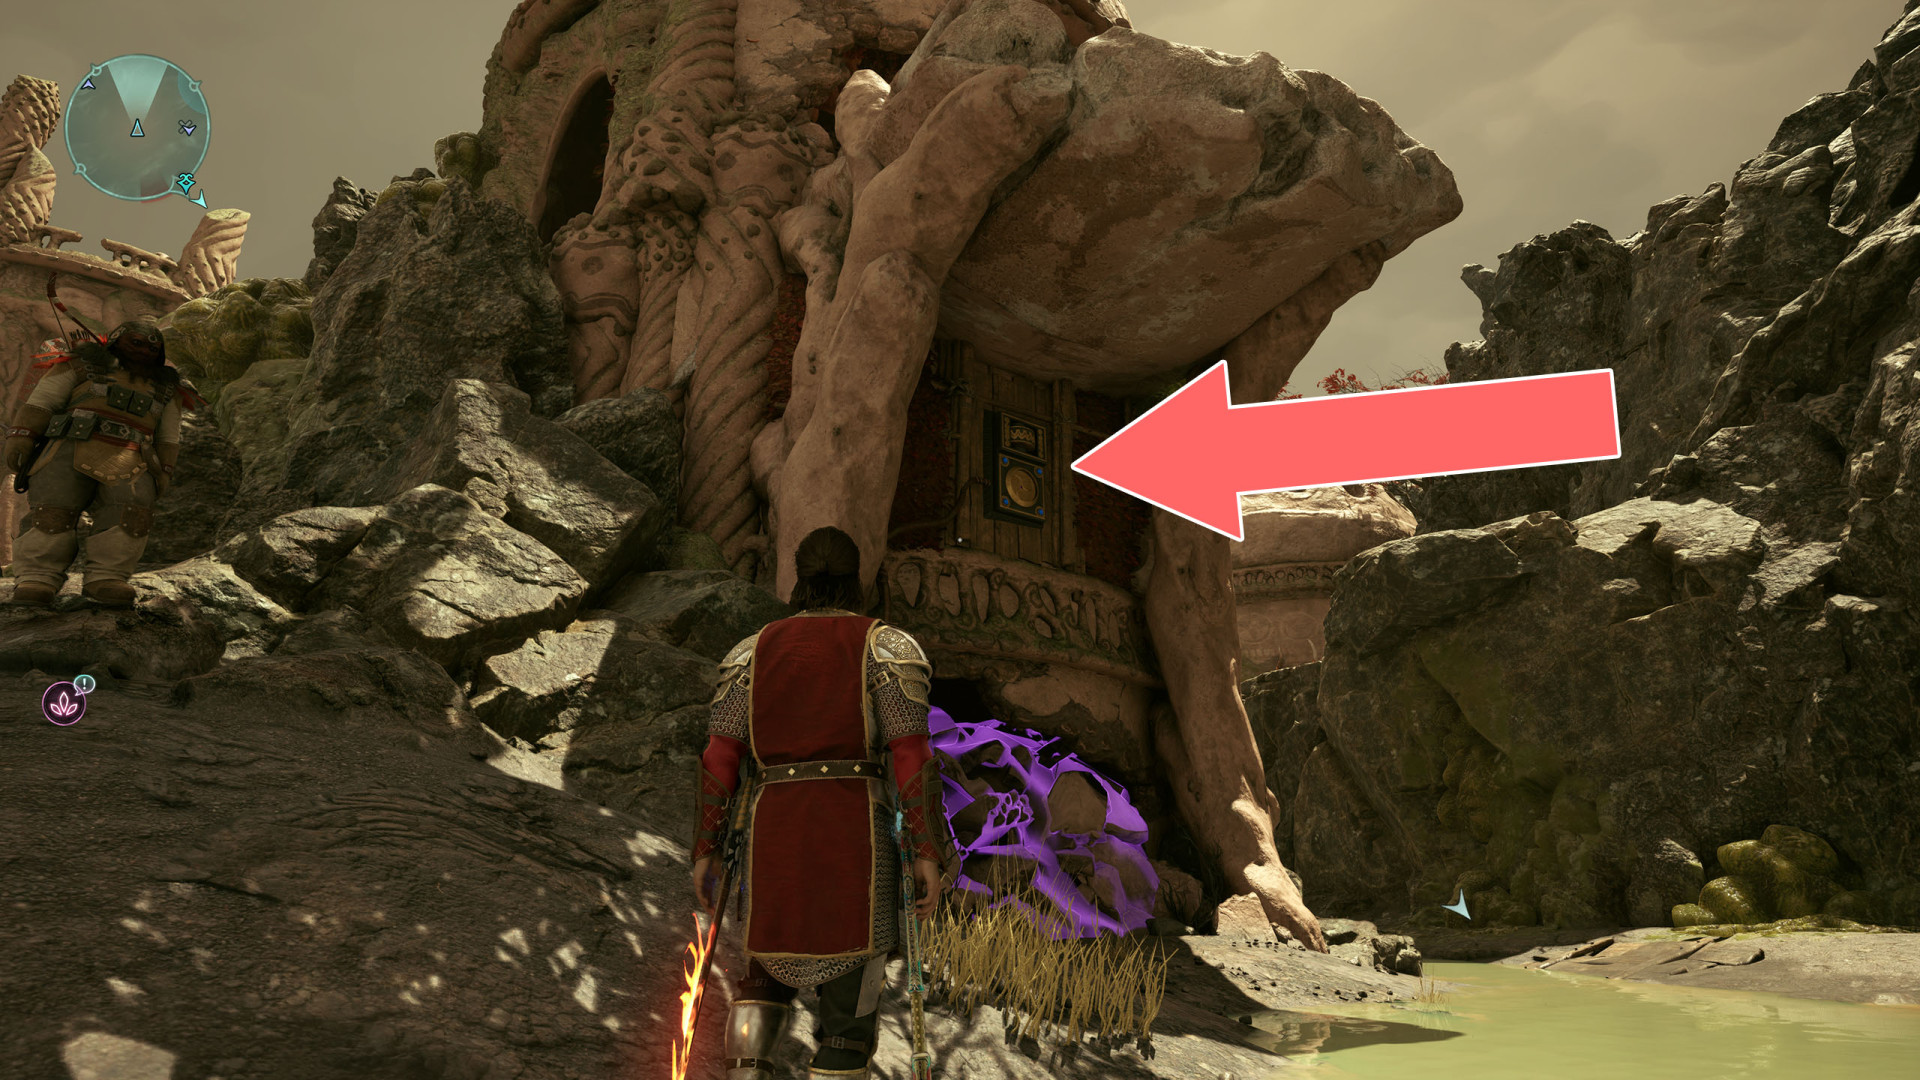
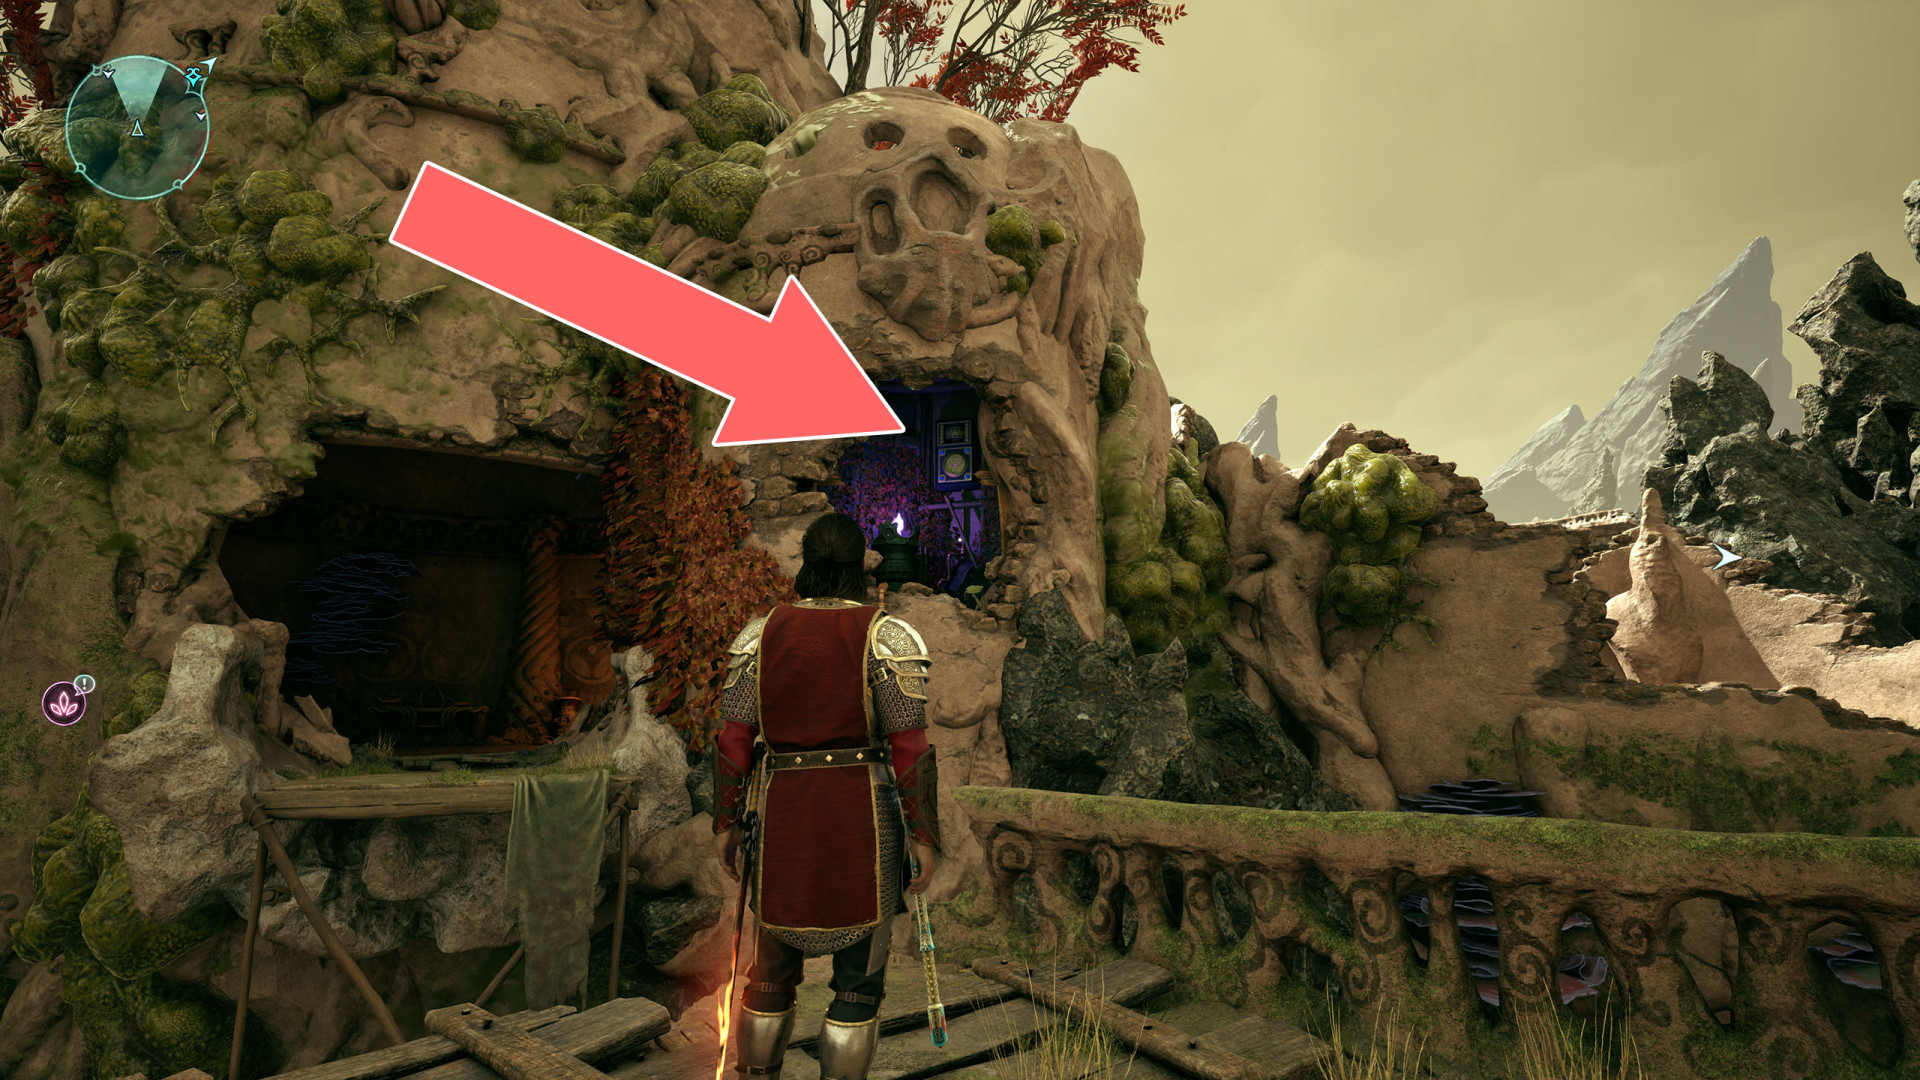
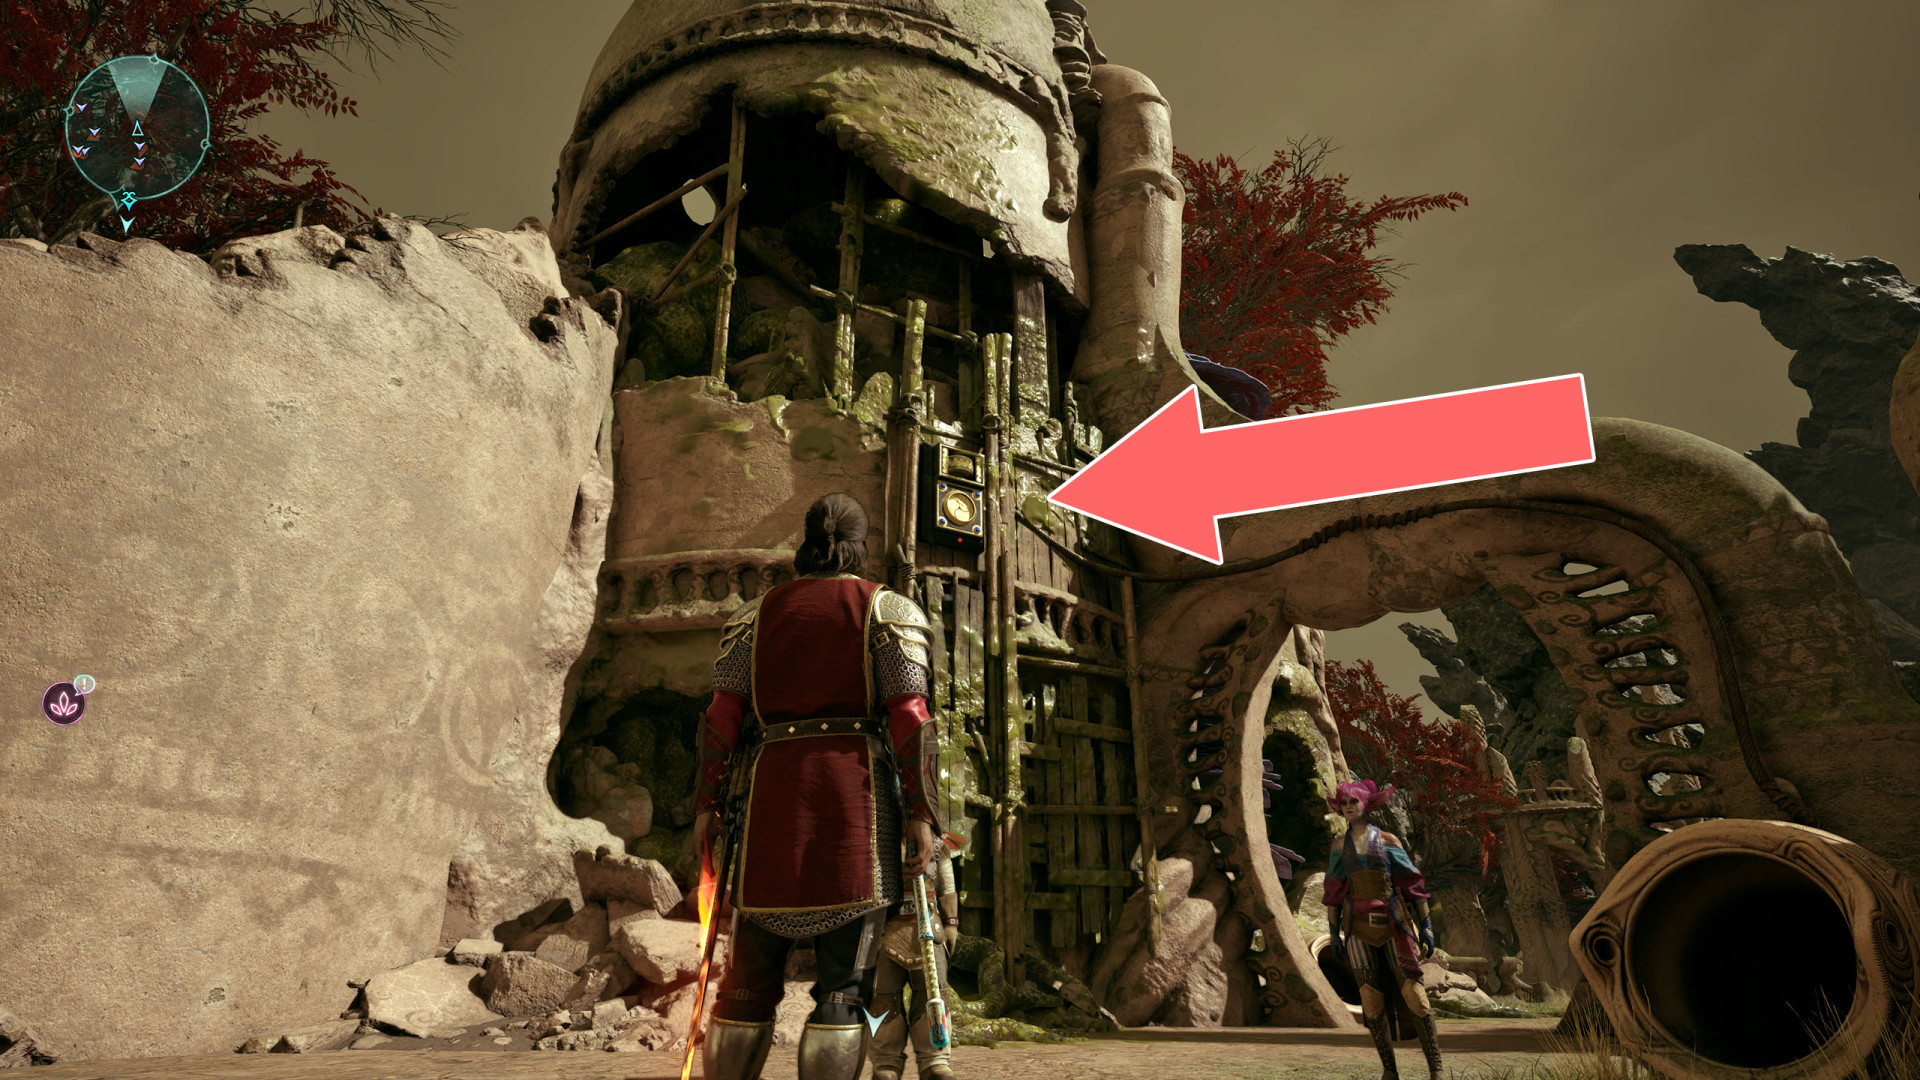
Barred Door▶ show the map ◀

Barred Door▶ show the map ◀

Barred Door▶ show the map ◀
Barred Door▶ show the map ◀
Barred Door▶ show the map ◀
The door can be unlocked from the inside and the building can be accessed through the broken roof.
Barred Gate▶ show the map ◀

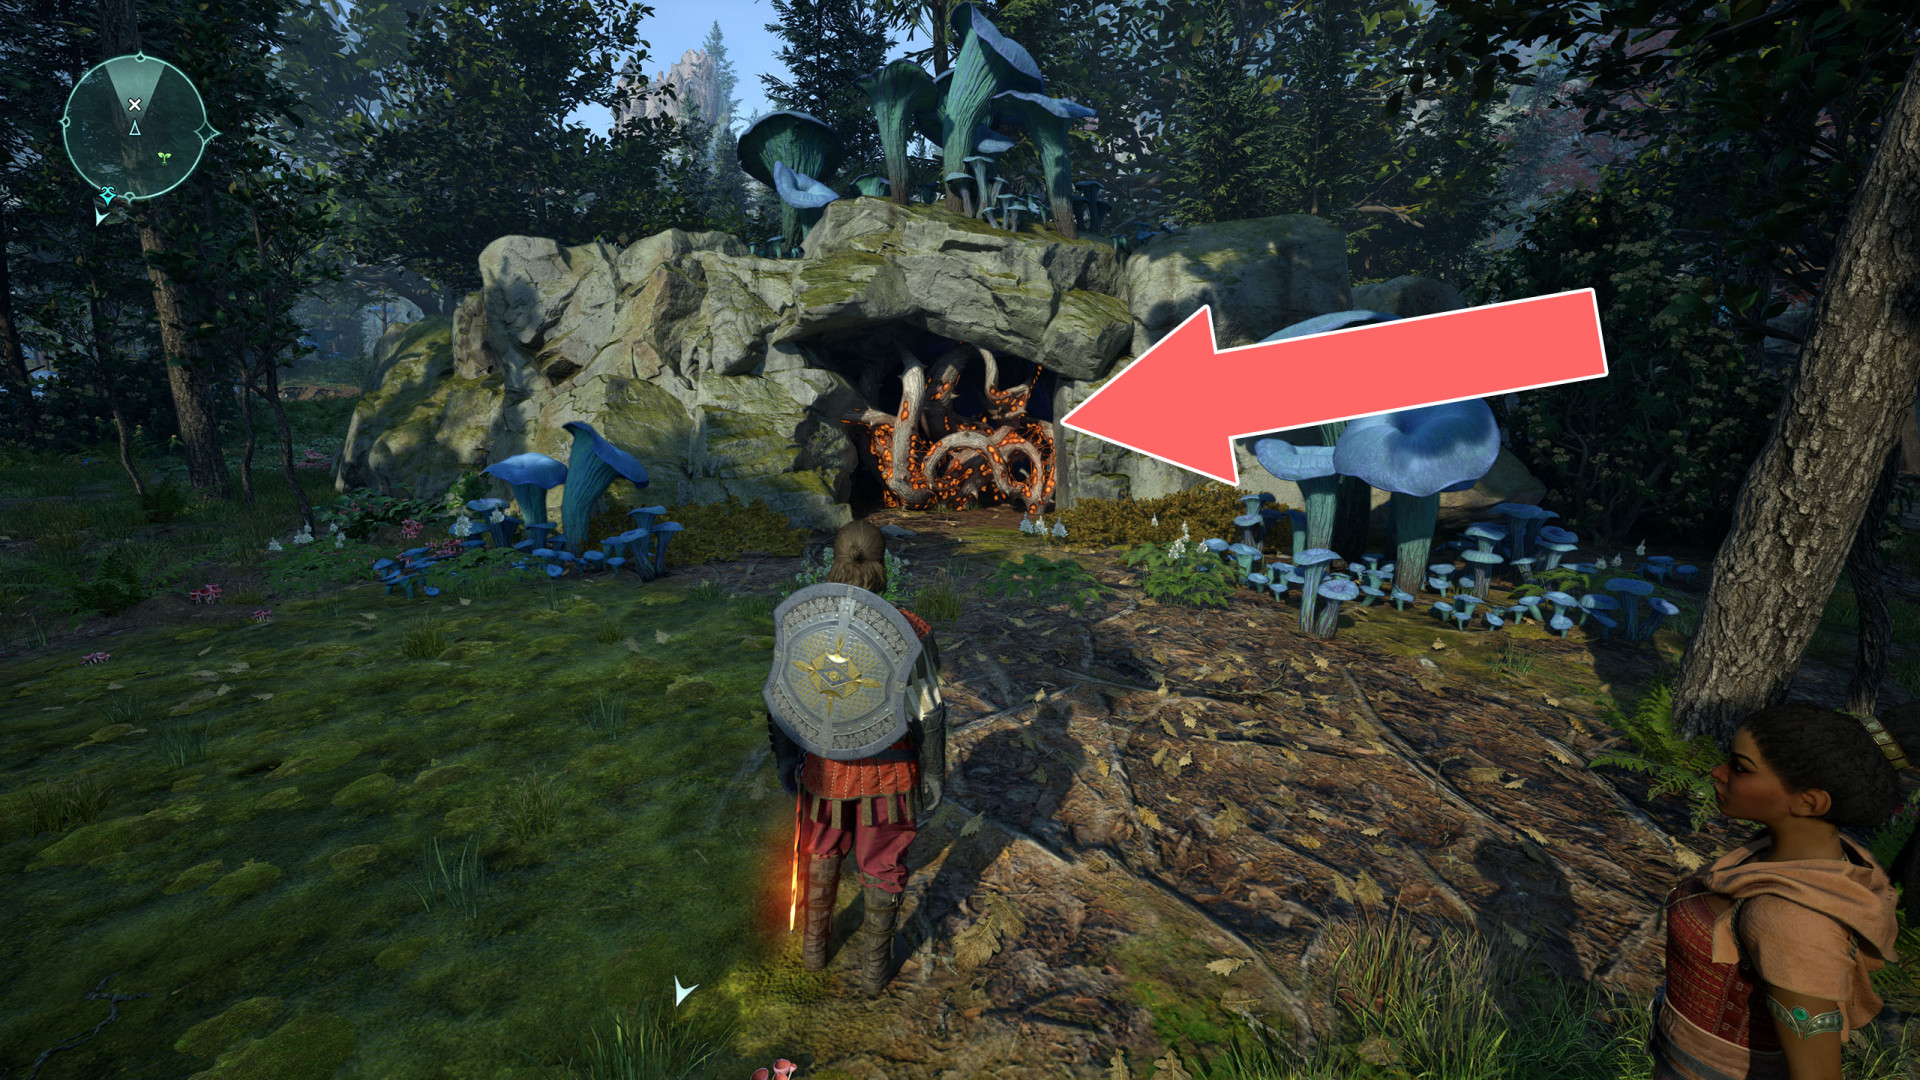
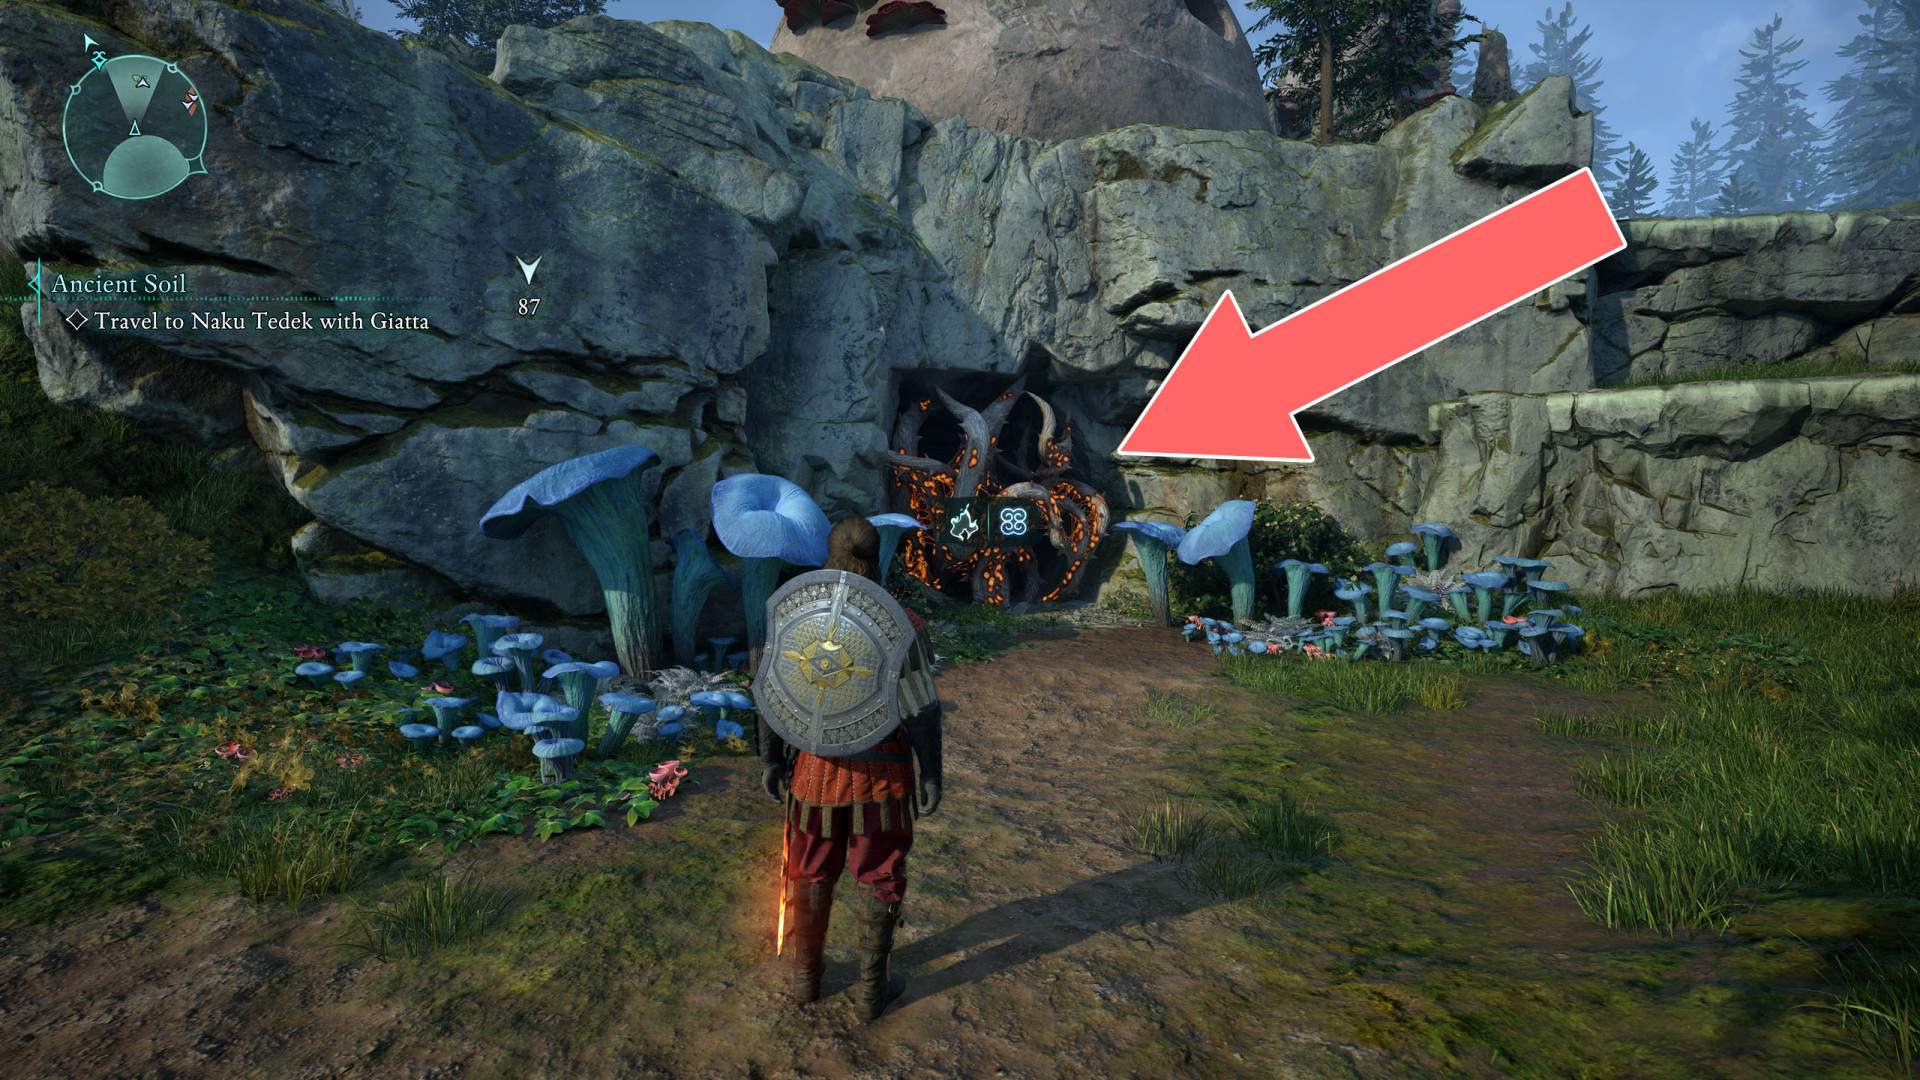
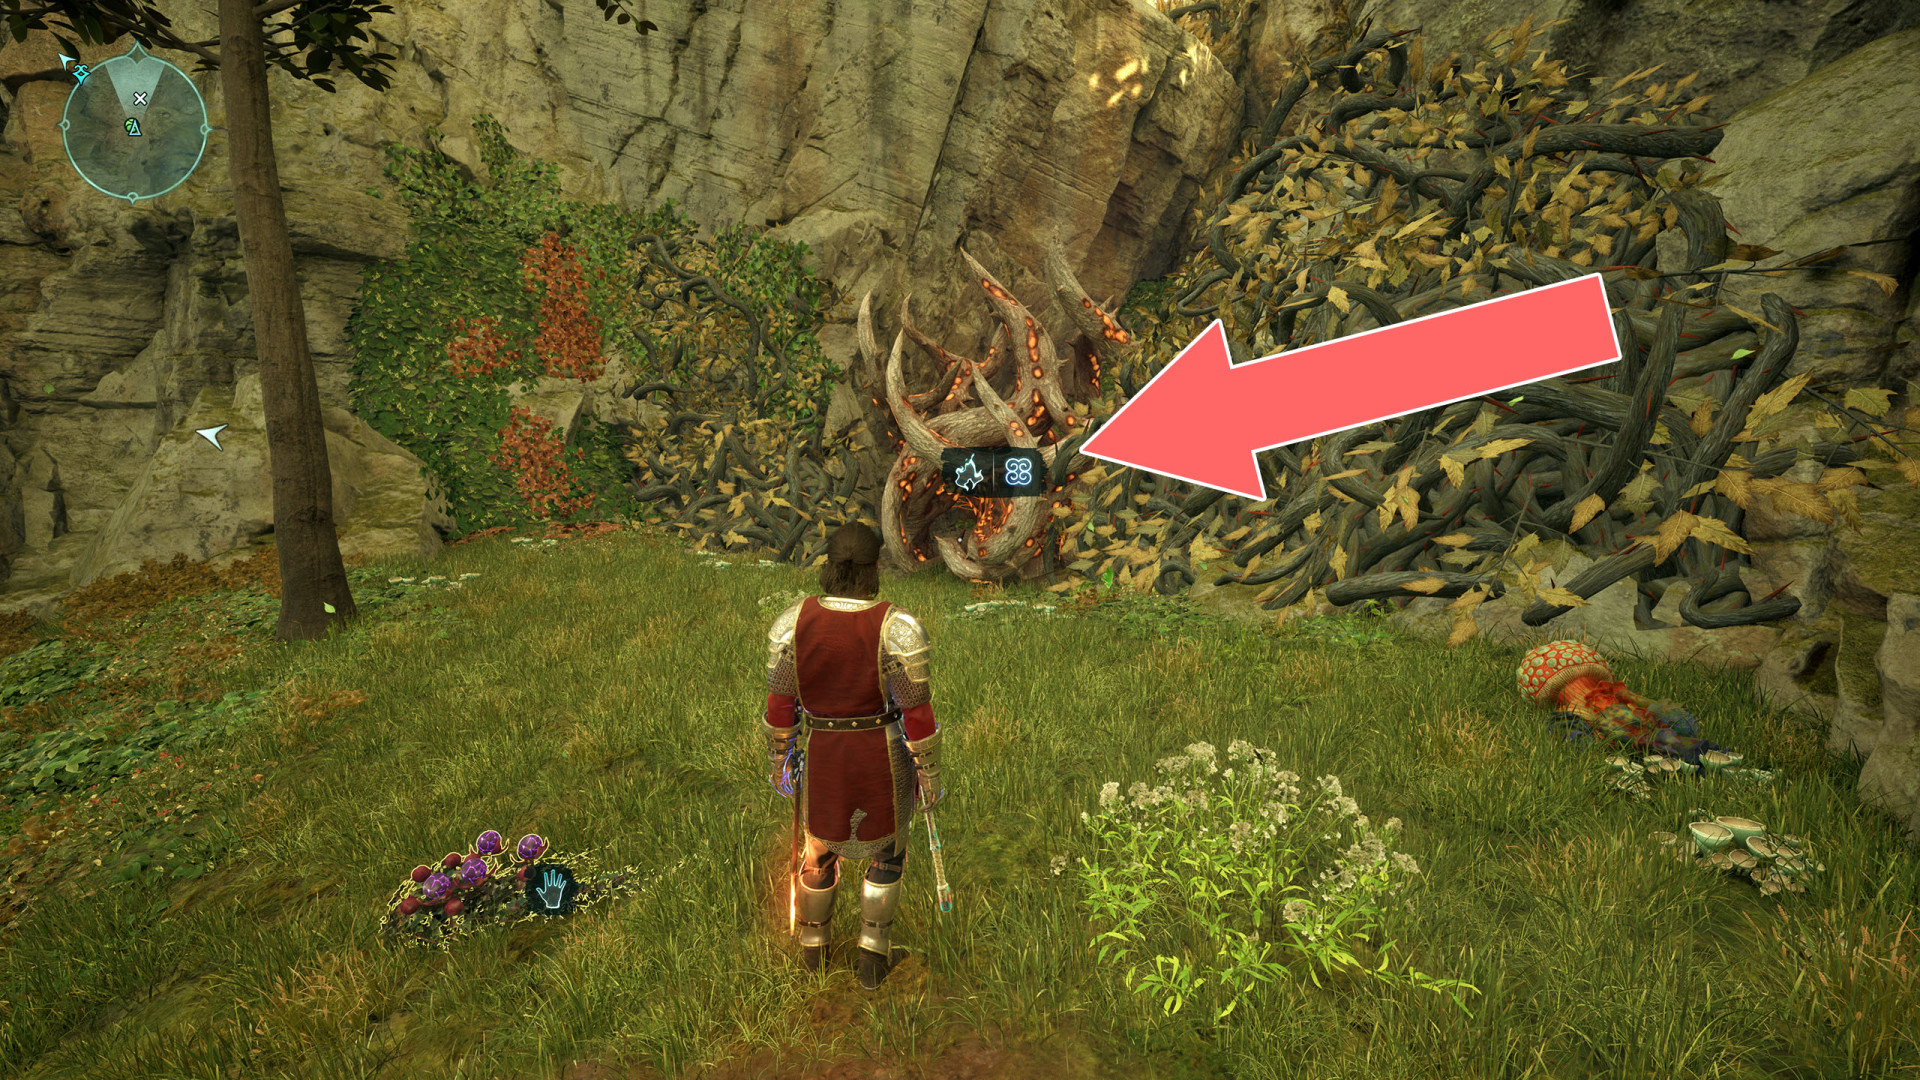
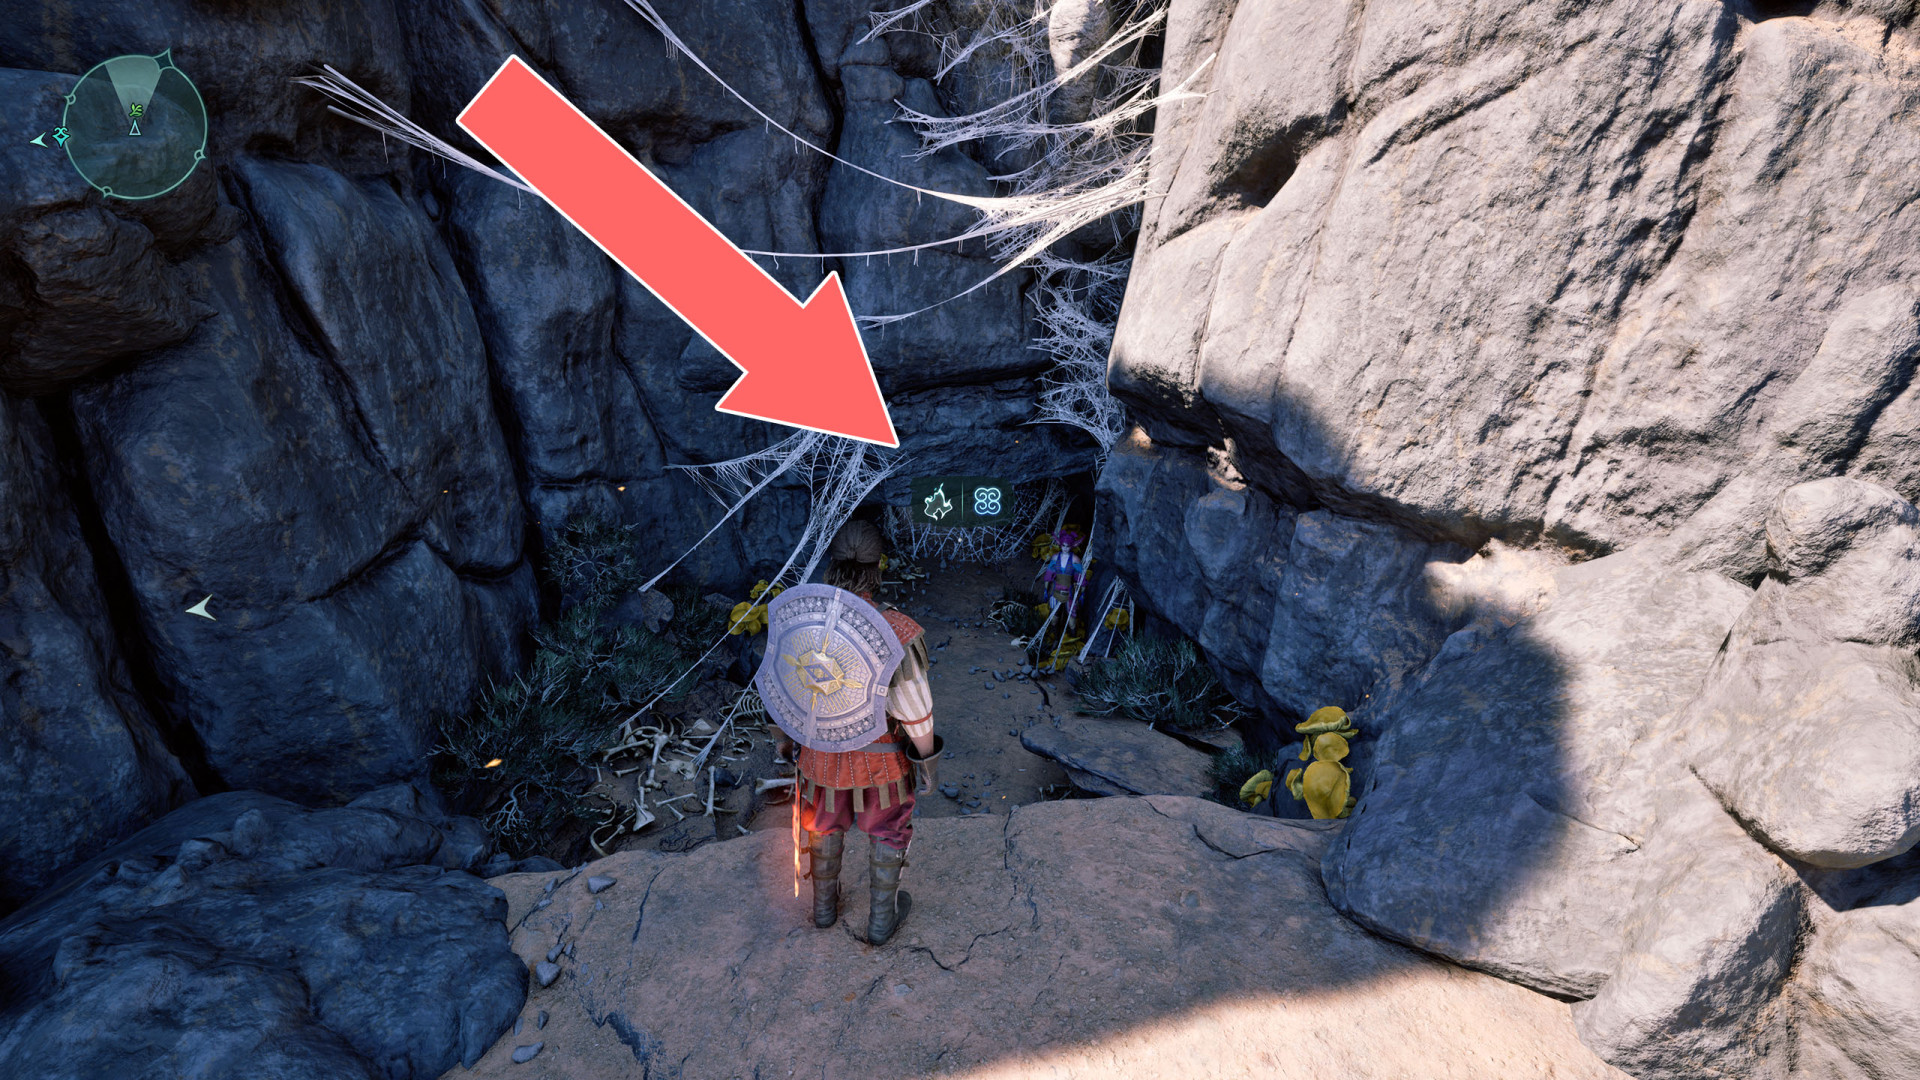
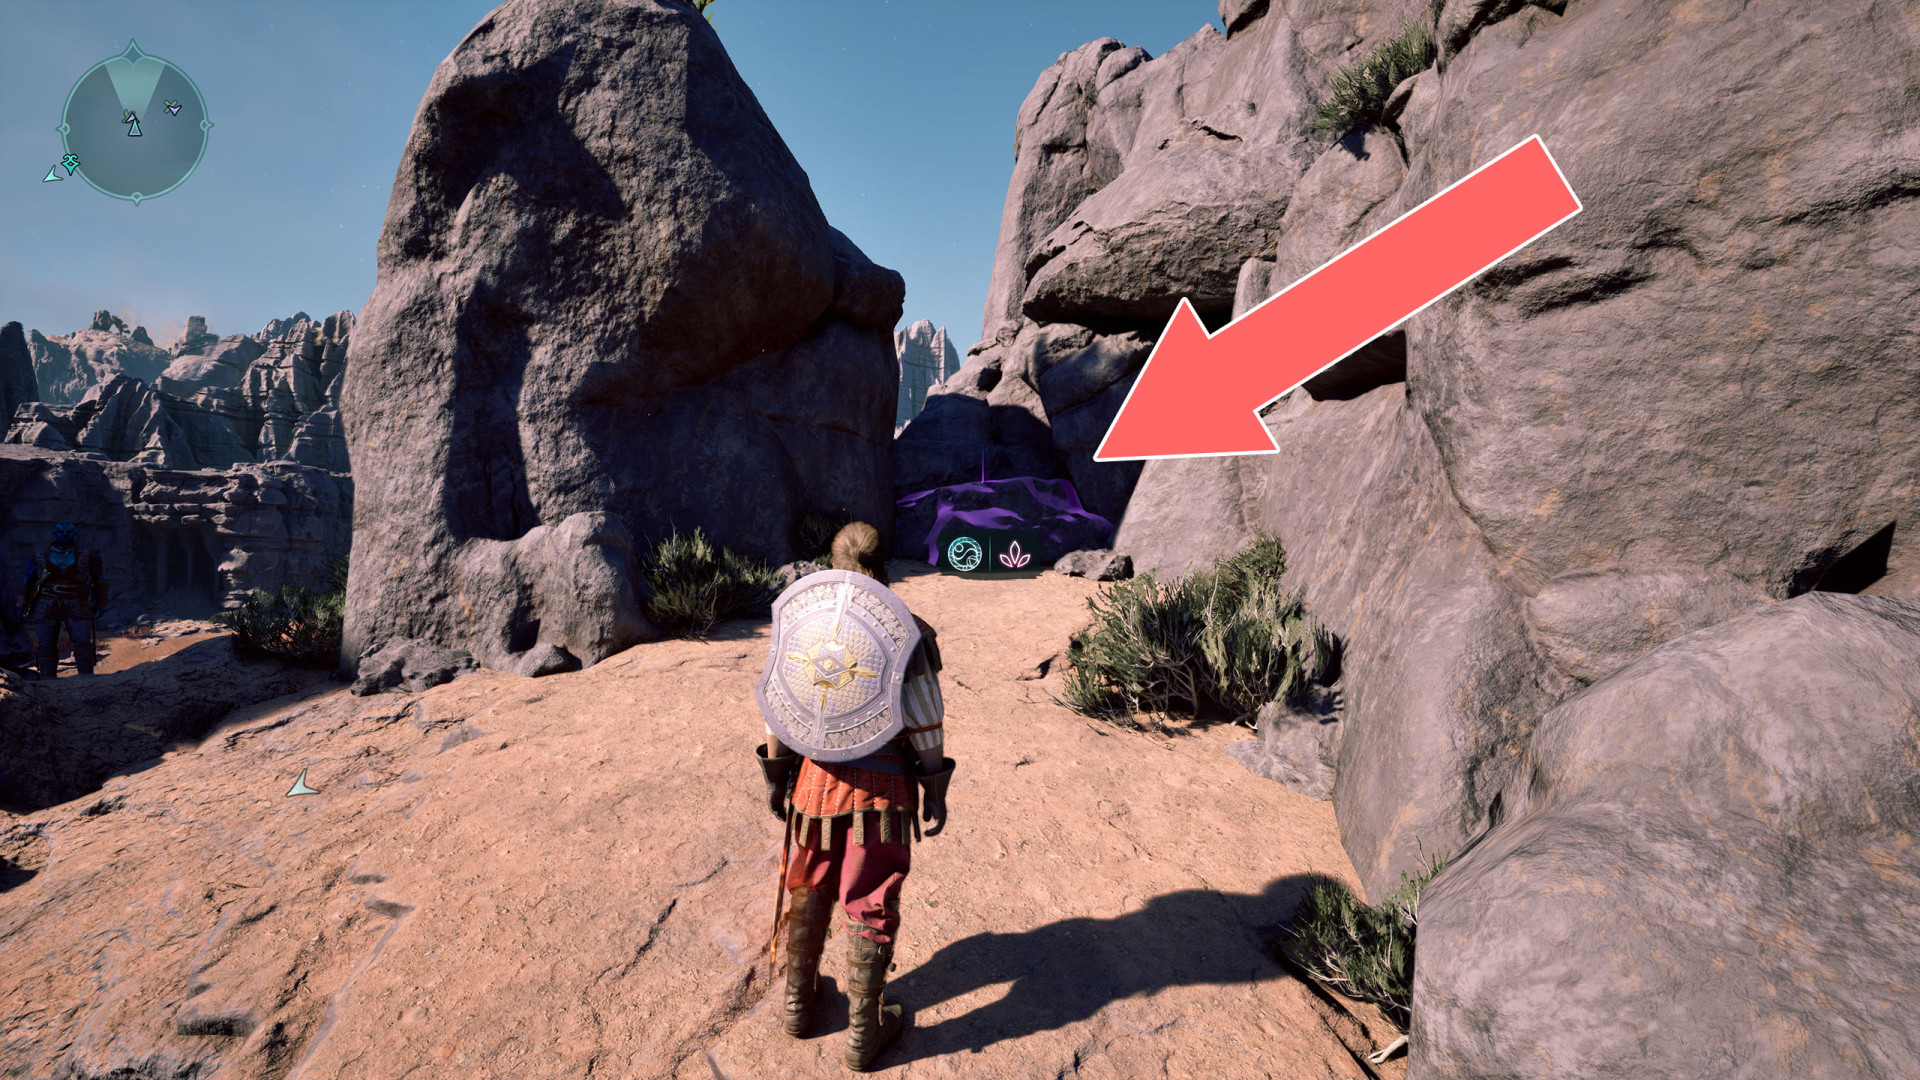
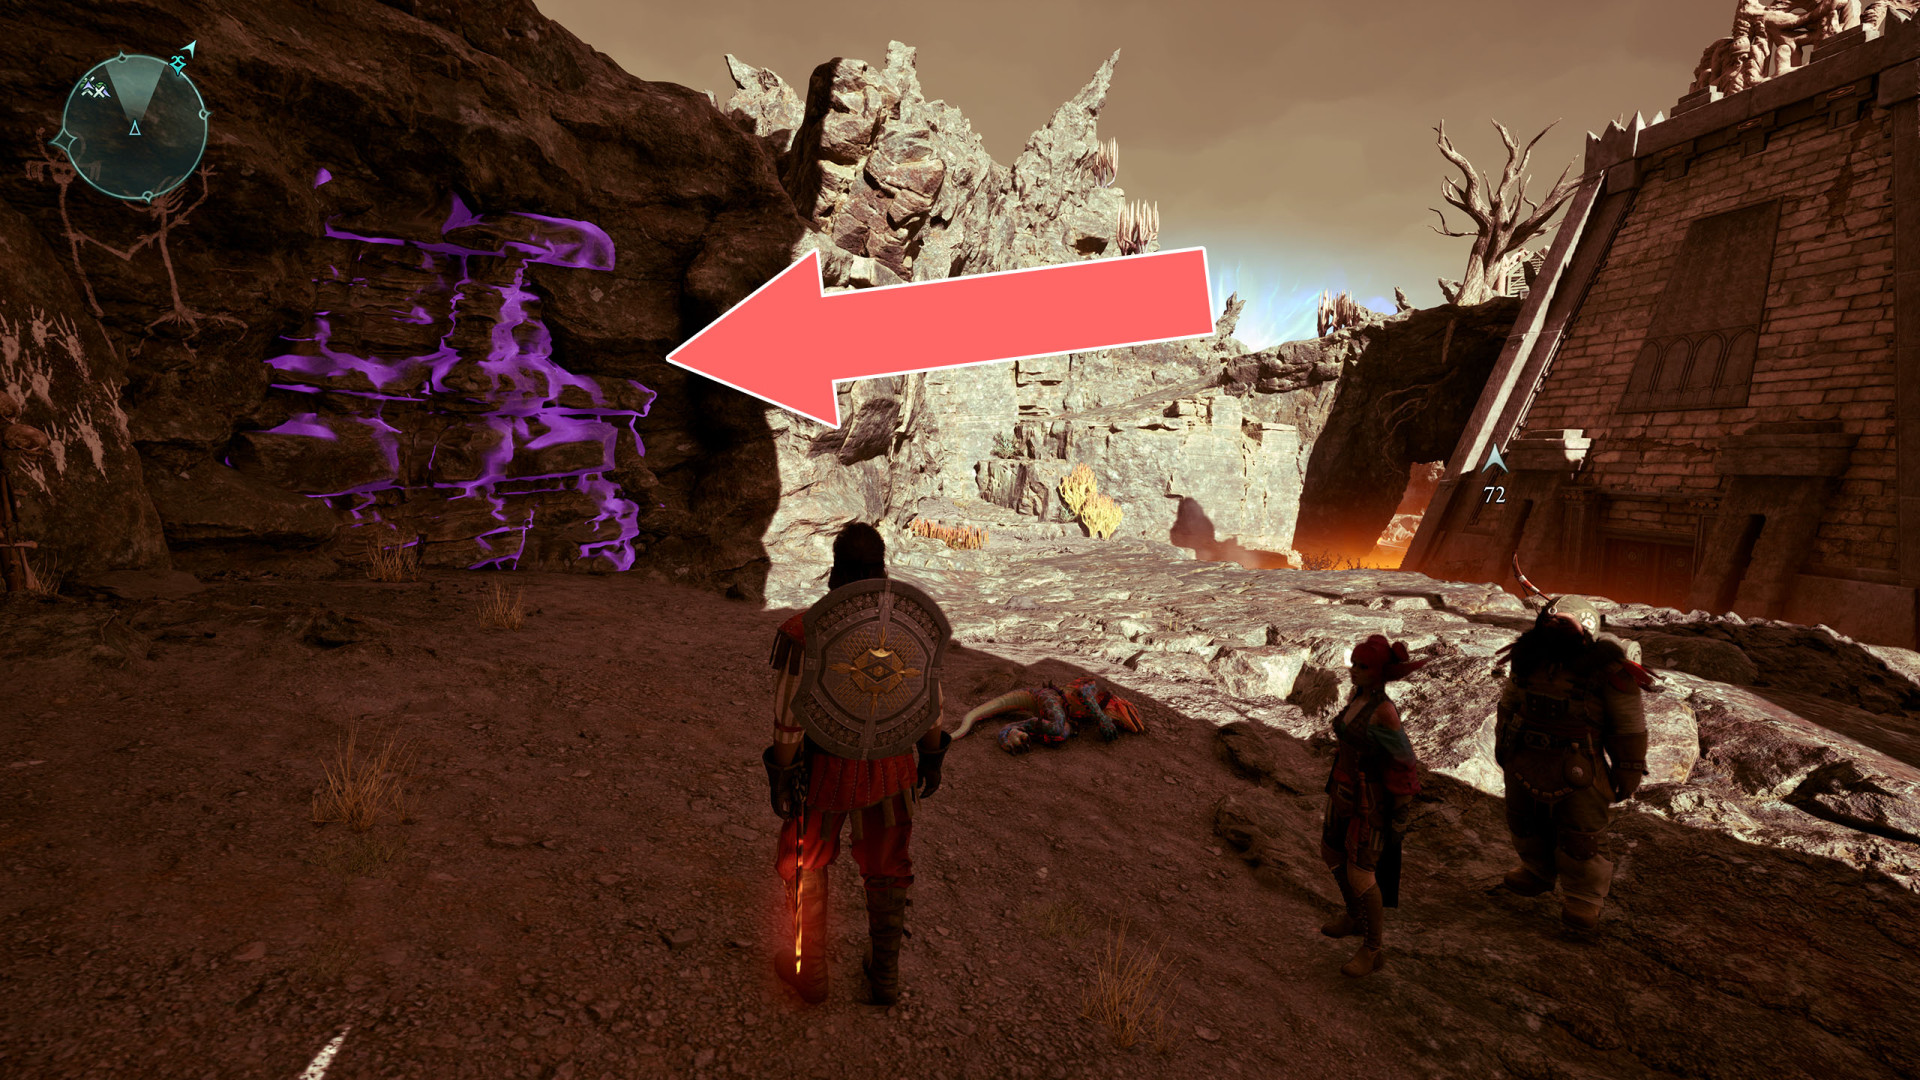
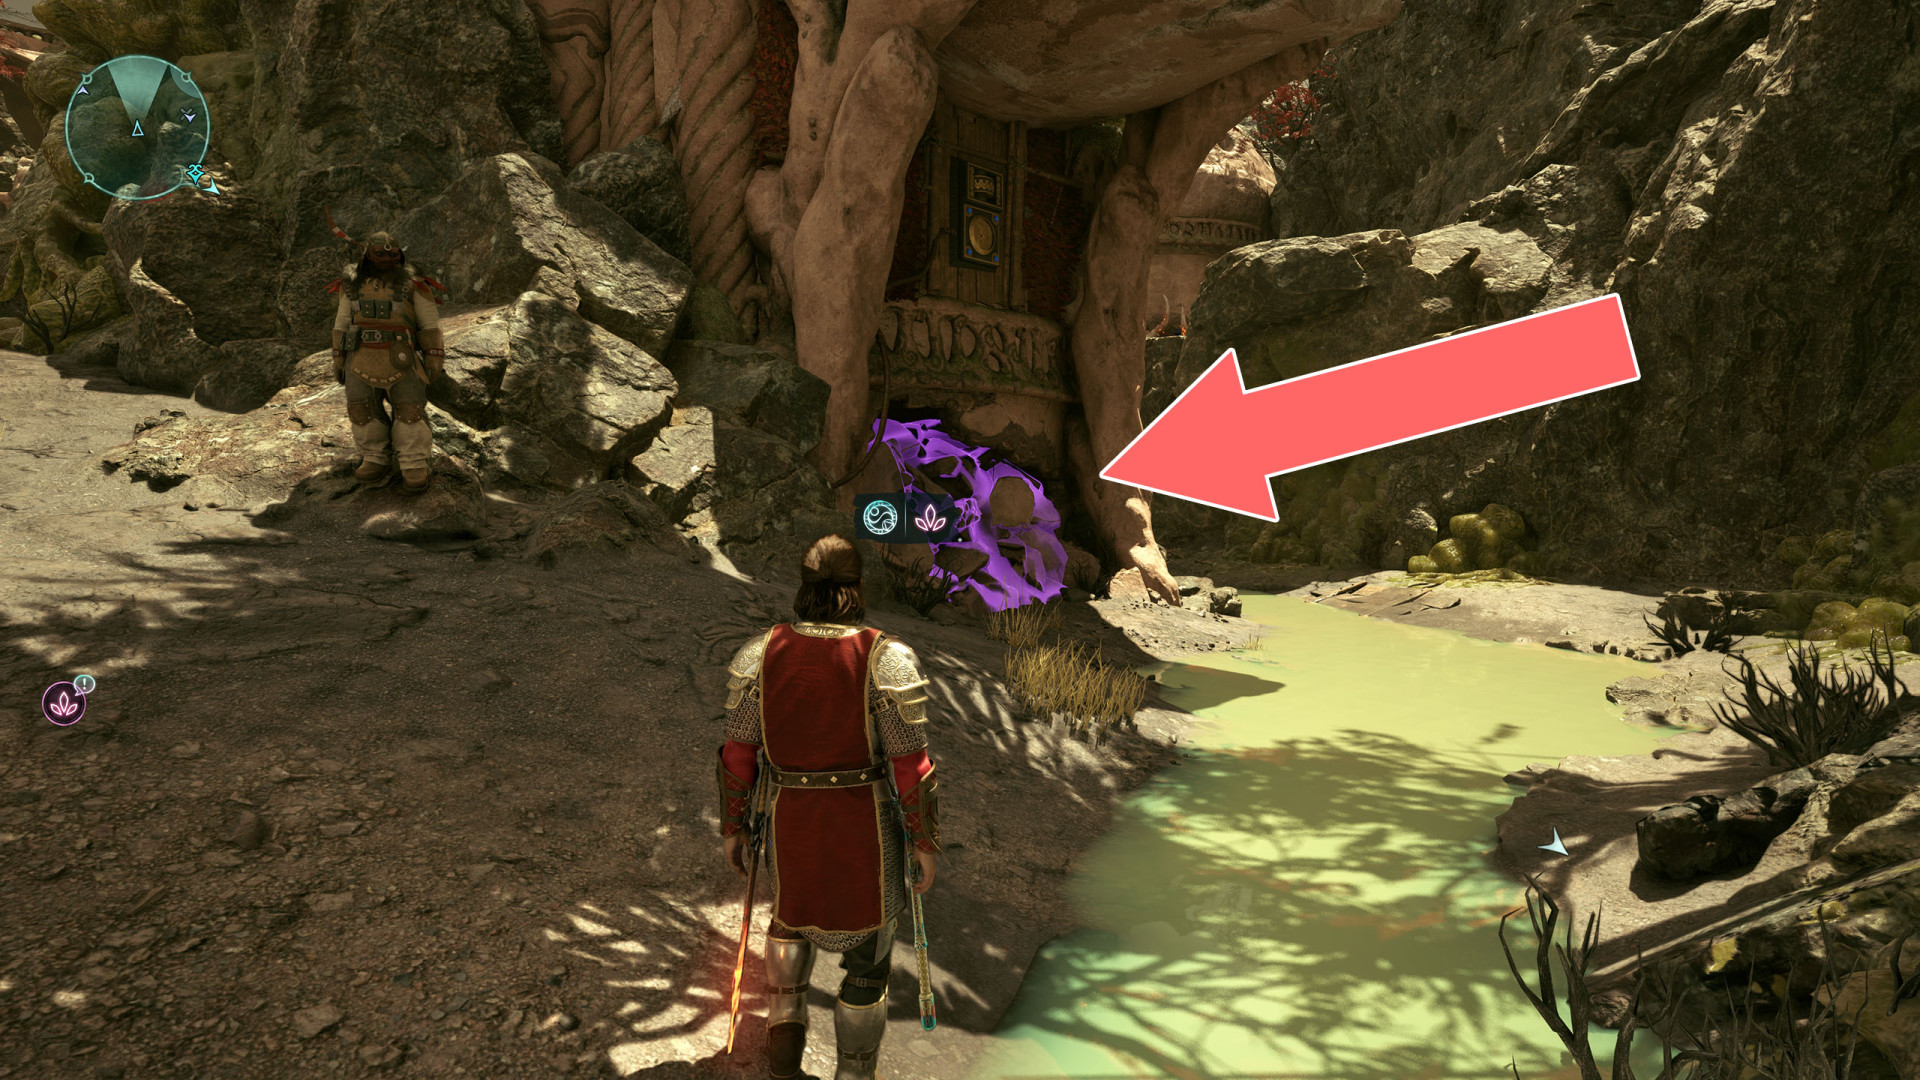
Brambles▶ show the map ◀
Brambles▶ show the map ◀
Brambles▶ show the map ◀
Brambles▶ show the map ◀
Brambles▶ show the map ◀
Brambles▶ show the map ◀

Brambles▶ show the map ◀
Brambles▶ show the map ◀
Cobweb▶ show the map ◀

Cobweb▶ show the map ◀
Cobweb▶ show the map ◀
Cobweb▶ show the map ◀
Cobweb▶ show the map ◀
Elevator▶ show the map ◀
To use the elevator, you must first restore the power supply. The generator is located next to the elevator at the top.

Freezable Grate▶ show the map ◀
Freezable Grate▶ show the map ◀
Freezable Grate▶ show the map ◀
Freezable Grate▶ show the map ◀
Freezable Grate▶ show the map ◀

Freezable Grate▶ show the map ◀
Freezable Grate▶ show the map ◀
 Illusion▶ show the map ◀
Illusion▶ show the map ◀
Illusion▶ show the map ◀
Illusion▶ show the map ◀
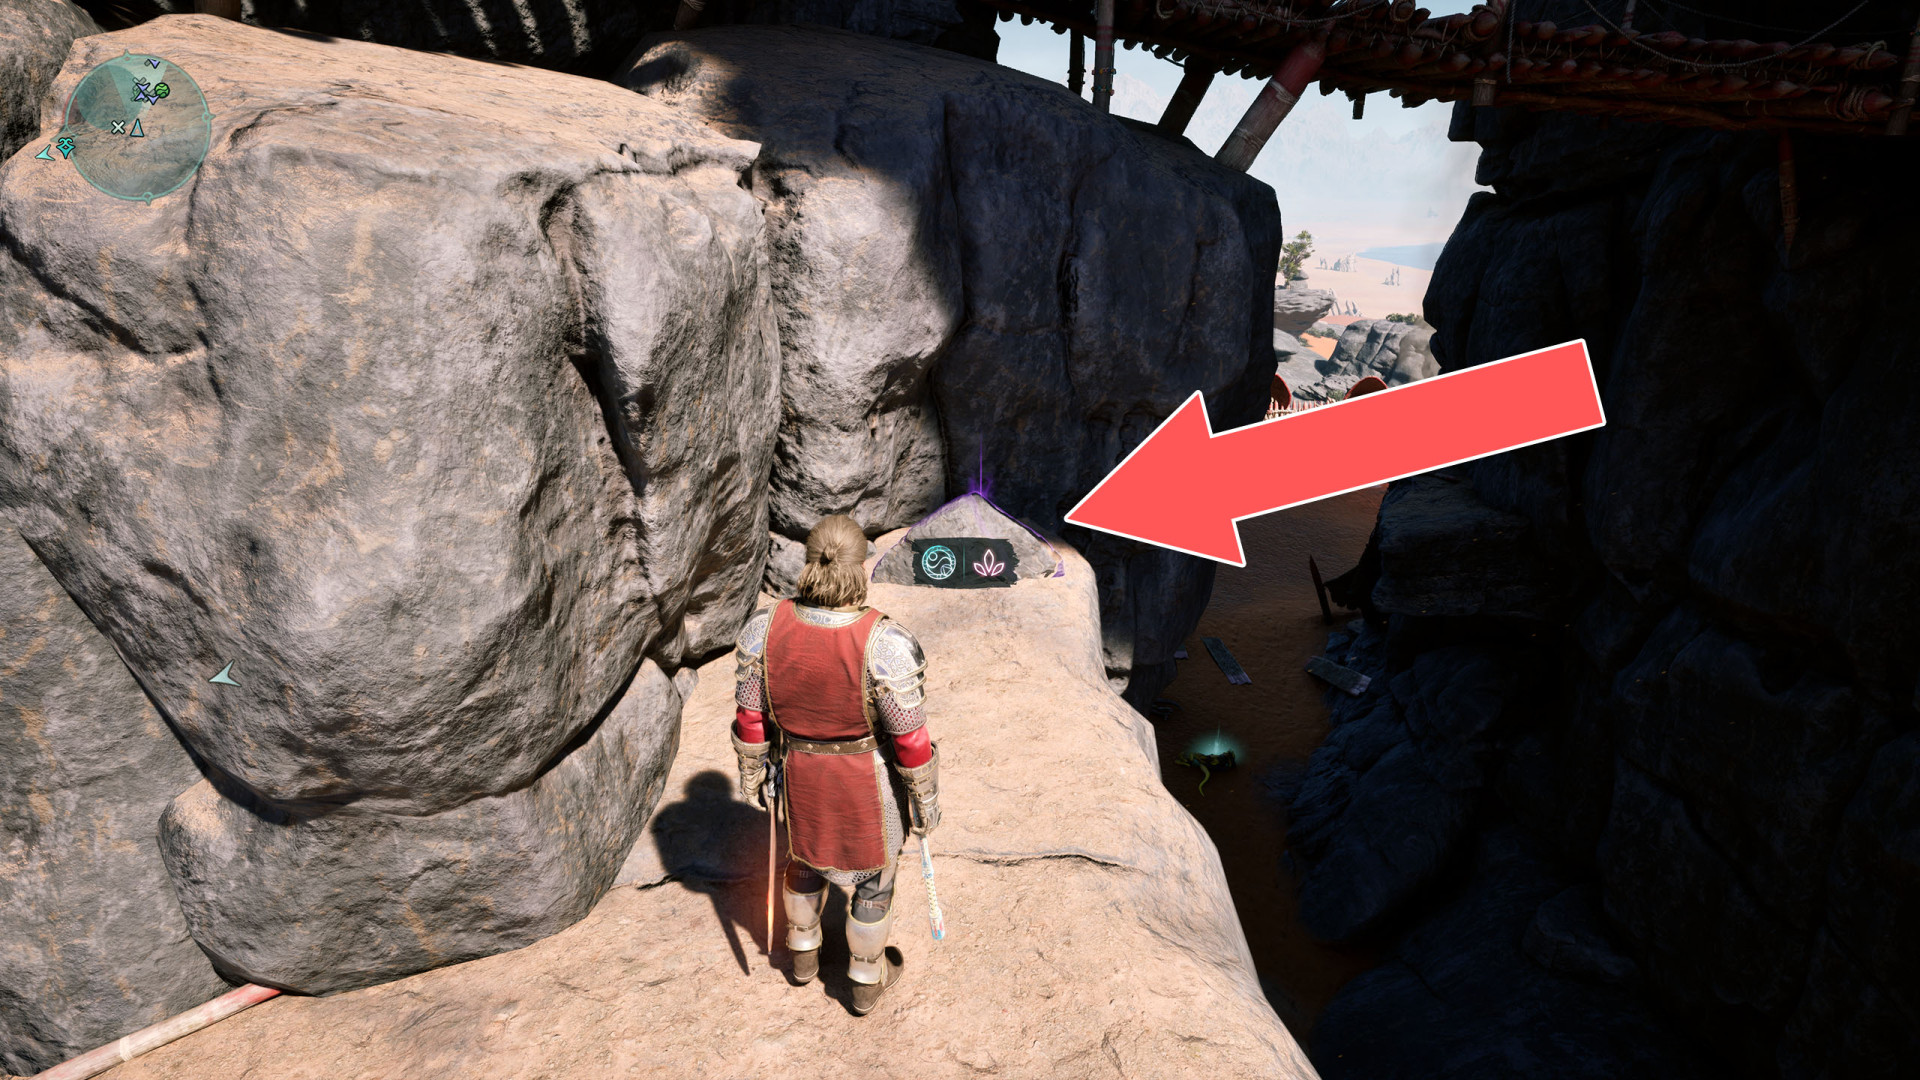
Illusion▶ show the map ◀
Illusion▶ show the map ◀
Illusion Wall▶ show the map ◀
Illusion Wall▶ show the map ◀
Illusion Wall▶ show the map ◀
Illusion Wall▶ show the map ◀
Illusion Wall▶ show the map ◀
Illusion Wall▶ show the map ◀
Lift▶ show the map ◀
Pots▶ show the map ◀
Ryngrim's Barrier▶ show the map ◀
Secret Door▶ show the map ◀
Secret Door▶ show the map ◀
Secret Door▶ show the map ◀
Secret Door▶ show the map ◀
Secret Door▶ show the map ◀
Secret Door▶ show the map ◀

Secret Door▶ show the map ◀
Shock Door (1)▶ show the map ◀
Traps▶ show the map ◀
Weak Wall▶ show the map ◀
Weak Wall▶ show the map ◀
Weak Wall▶ show the map ◀
Weak Wall▶ show the map ◀
Weak Wall▶ show the map ◀

Weak Wall▶ show the map ◀
Weak Wall▶ show the map ◀
Weak Wall▶ show the map ◀
Wooden Barrier▶ show the map ◀

Wooden Barrier▶ show the map ◀
Wooden Barrier▶ show the map ◀
Wooden Barrier▶ show the map ◀
Wooden Barrier▶ show the map ◀
Wooden Barrier▶ show the map ◀
Wooden Barrier▶ show the map ◀
All known locations on the map Galawain's Tusks
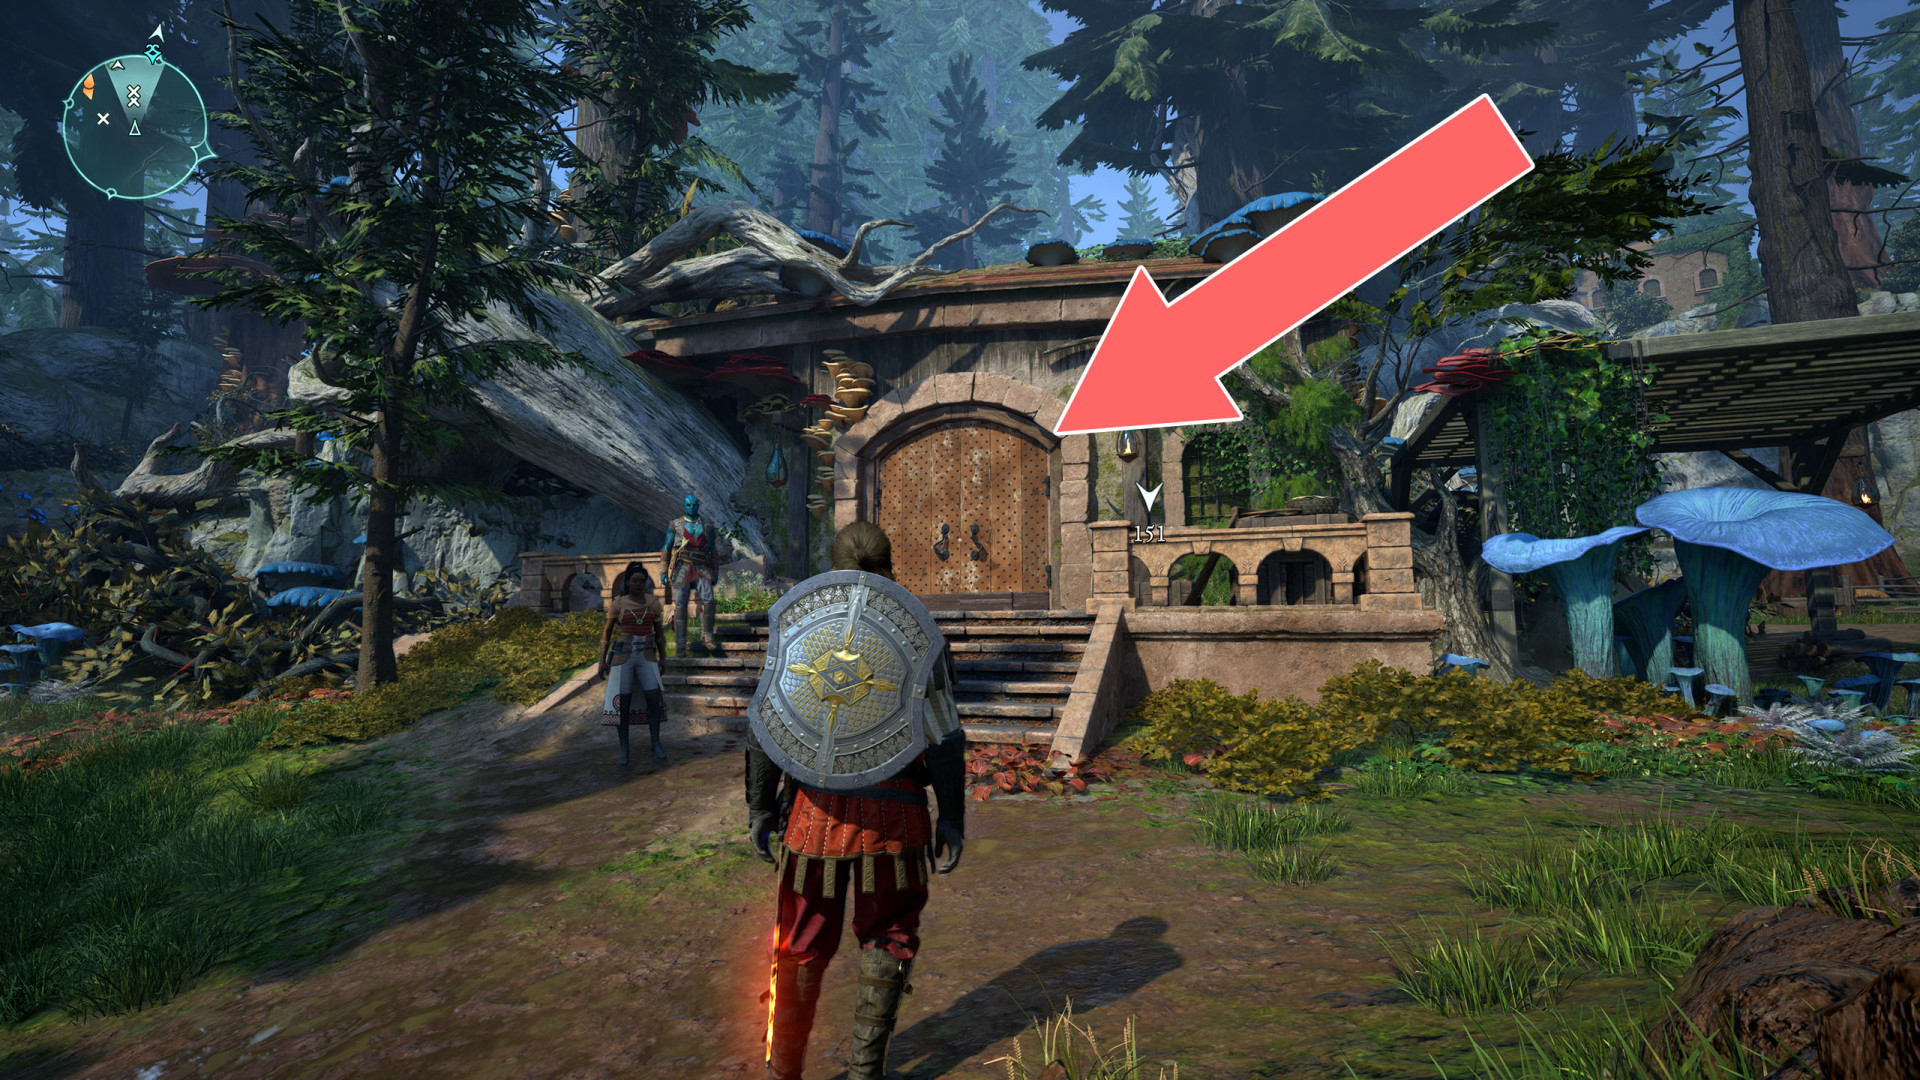
Barred Door▶ show the map ◀
The door can be opened from the inside and the first way to enter the building is through the hole in the roof.
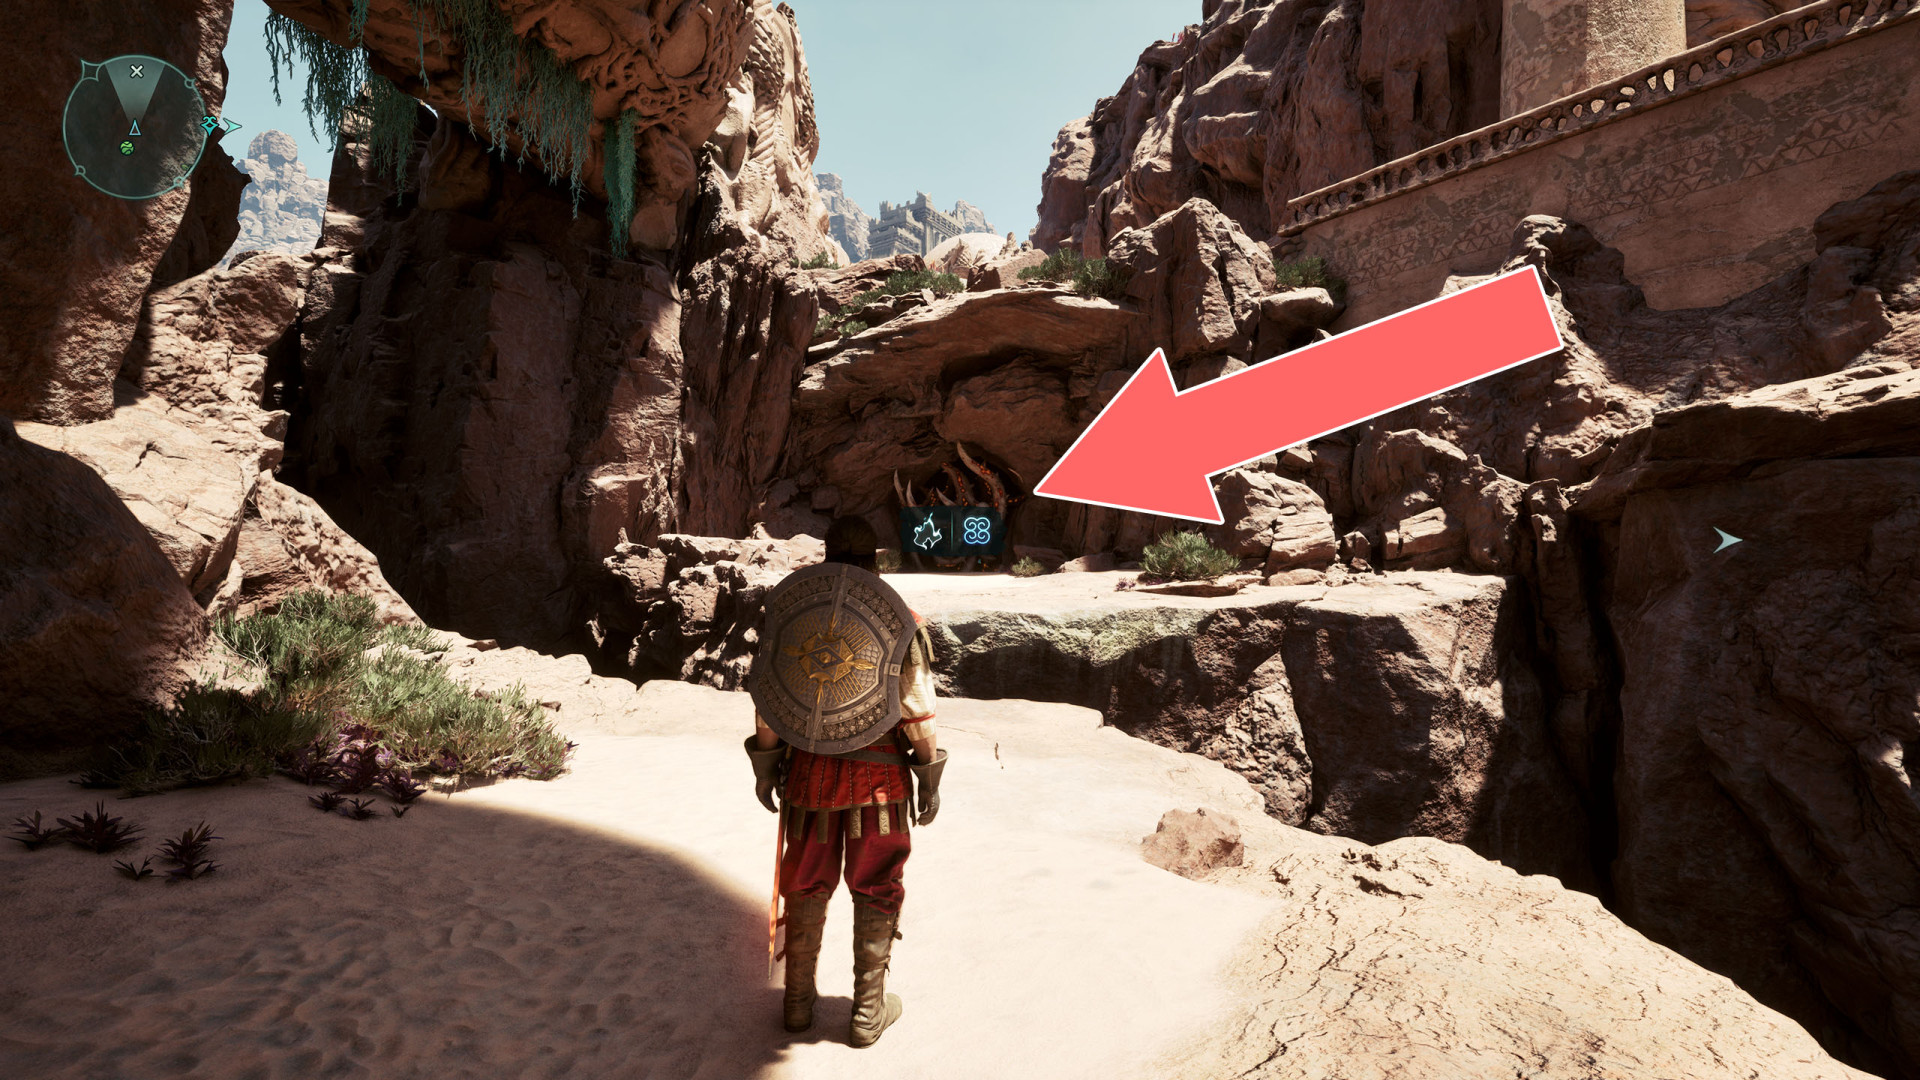
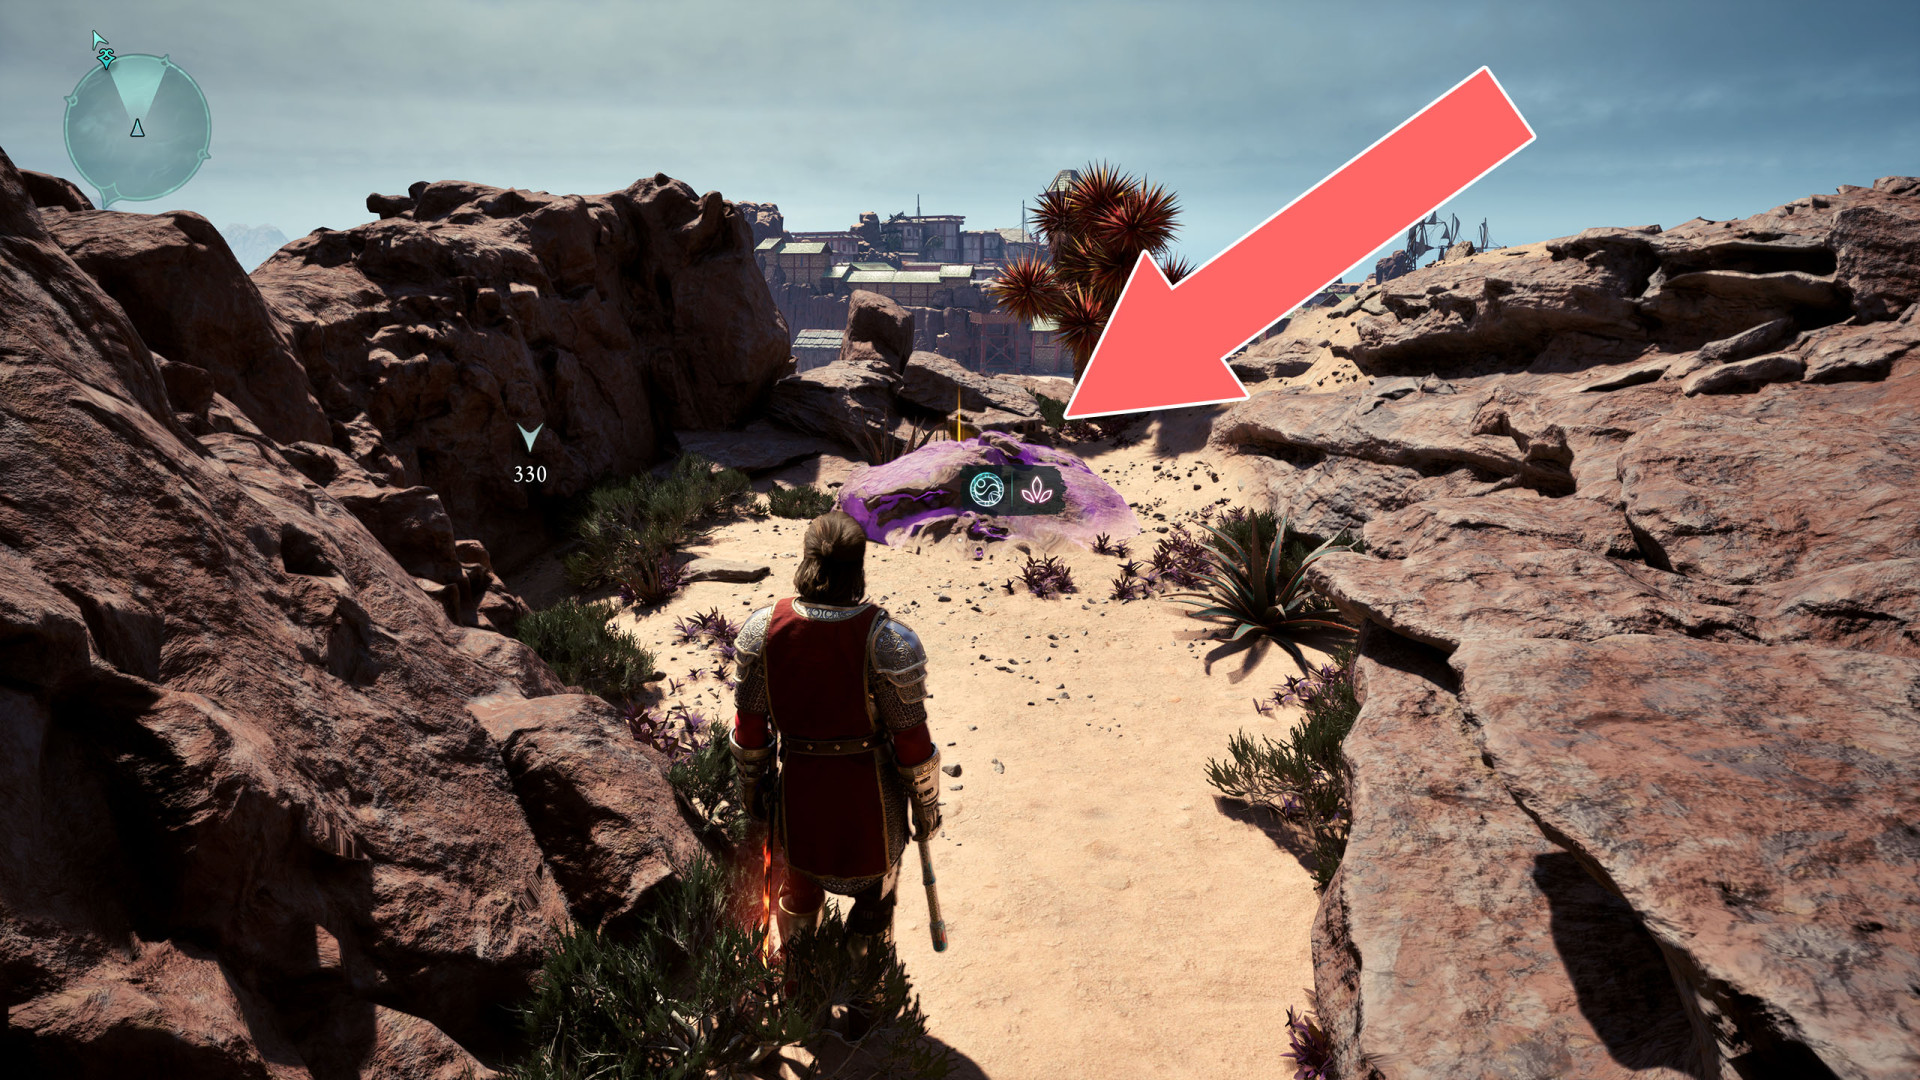
Brambles▶ show the map ◀
Brambles▶ show the map ◀
Brambles▶ show the map ◀
Brambles▶ show the map ◀
Brambles▶ show the map ◀
Brambles▶ show the map ◀
Brambles▶ show the map ◀
Brambles x3▶ show the map ◀
Brambles x4▶ show the map ◀
Cobweb▶ show the map ◀
Illusion▶ show the map ◀
Illusion▶ show the map ◀
Illusion▶ show the map ◀
Illusion▶ show the map ◀
Illusion Door▶ show the map ◀
Illusion Wall▶ show the map ◀
Illusion Wall▶ show the map ◀
Illusion Wall▶ show the map ◀

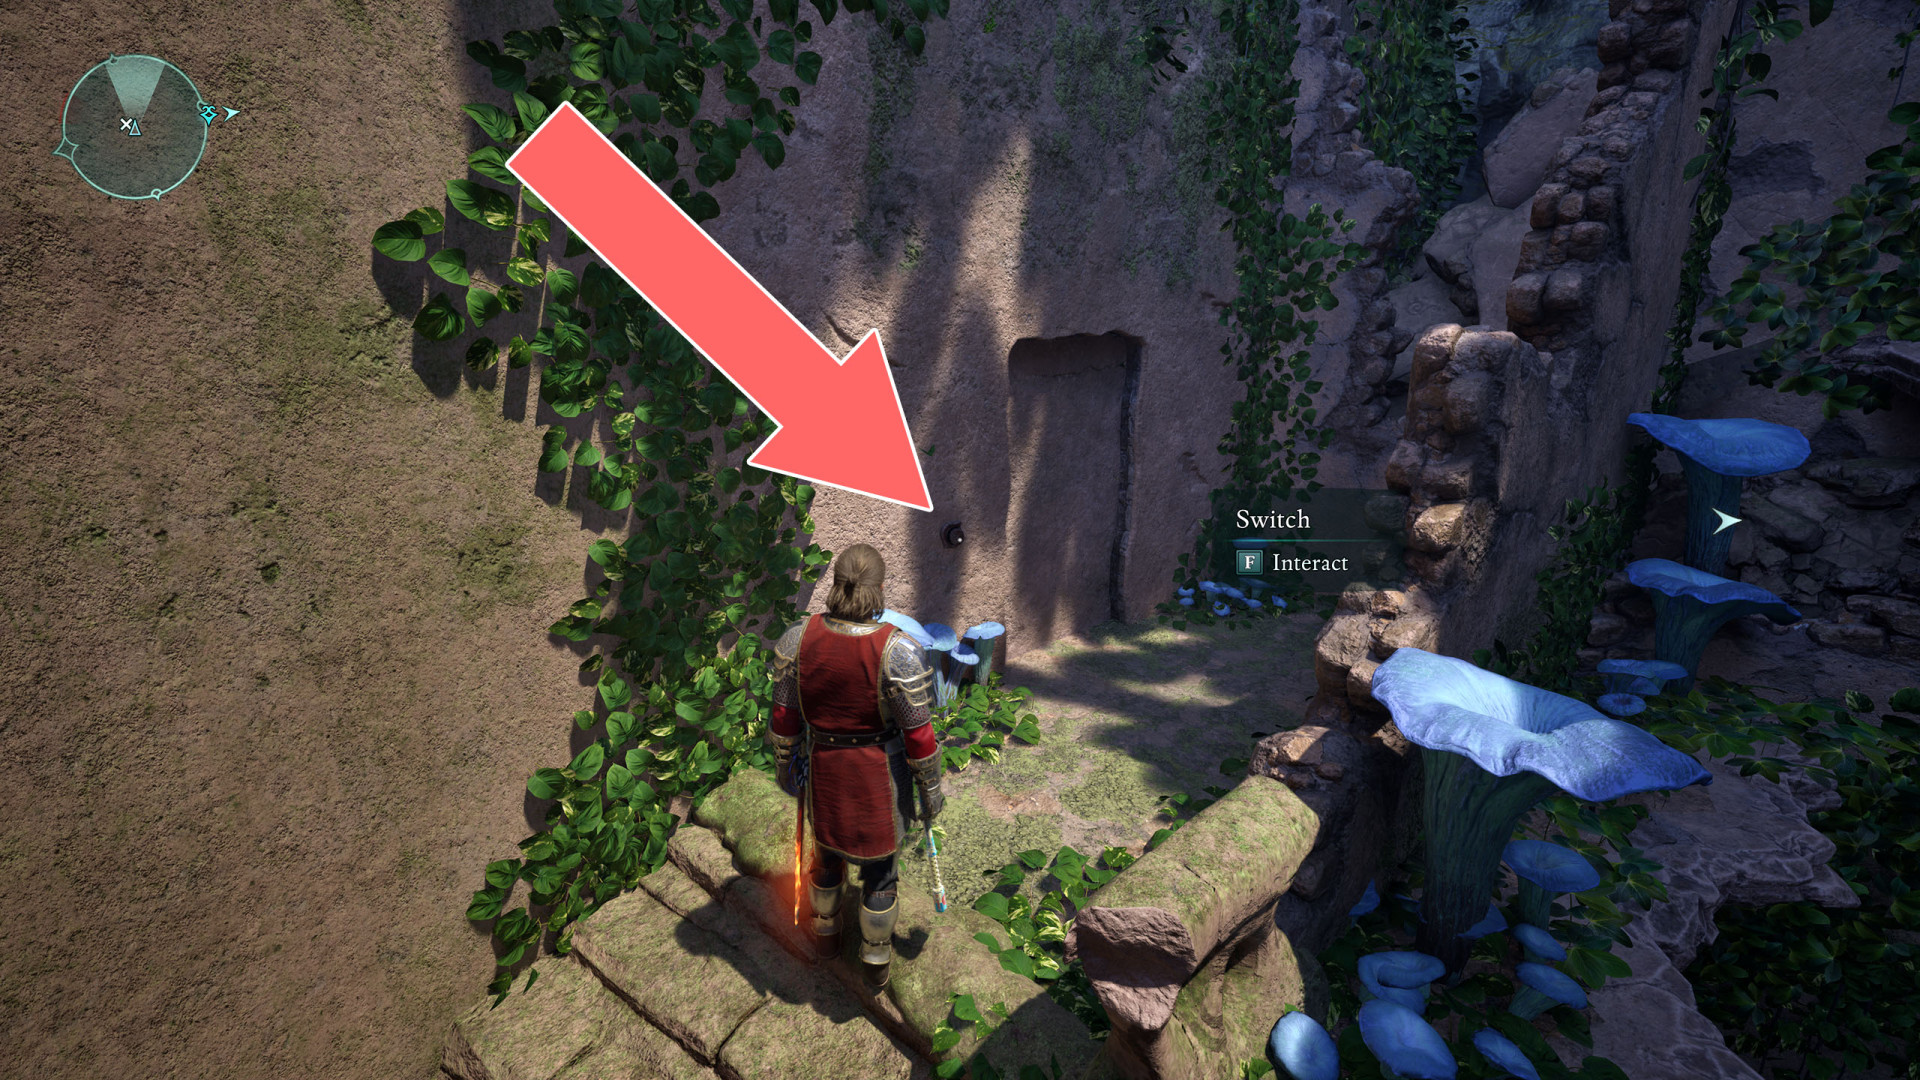
Secret Door▶ show the map ◀
To open this passage, press the button located on the small altar inside the building.
Weak Wall▶ show the map ◀
Weak Wall▶ show the map ◀
Weak Wall▶ show the map ◀
Weak Wall▶ show the map ◀
Weak Wall▶ show the map ◀
Weak Wall▶ show the map ◀
Wooden Barrier▶ show the map ◀
Wooden Barrier▶ show the map ◀
Wooden Barrier▶ show the map ◀
Wooden Barrier▶ show the map ◀

Wooden Barrier▶ show the map ◀
Wooden Barrier▶ show the map ◀
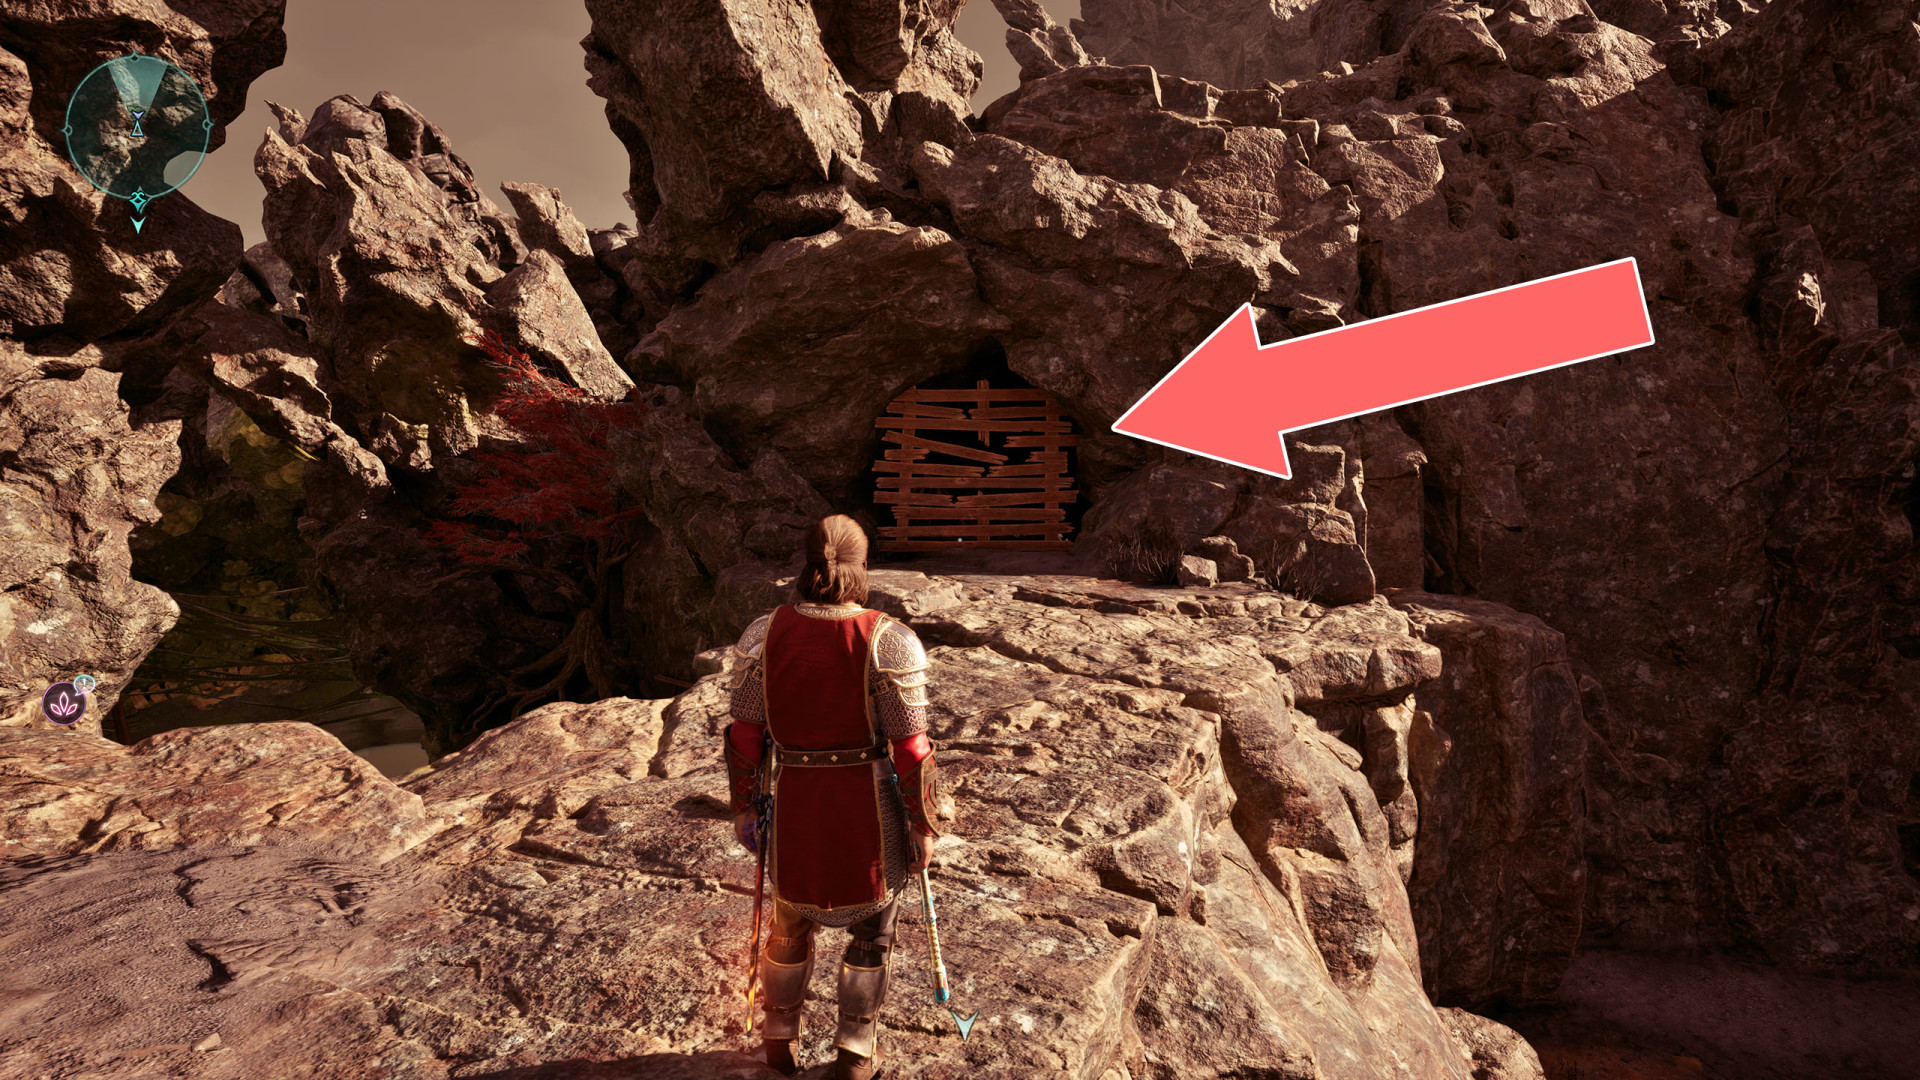
Wooden Barrier▶ show the map ◀
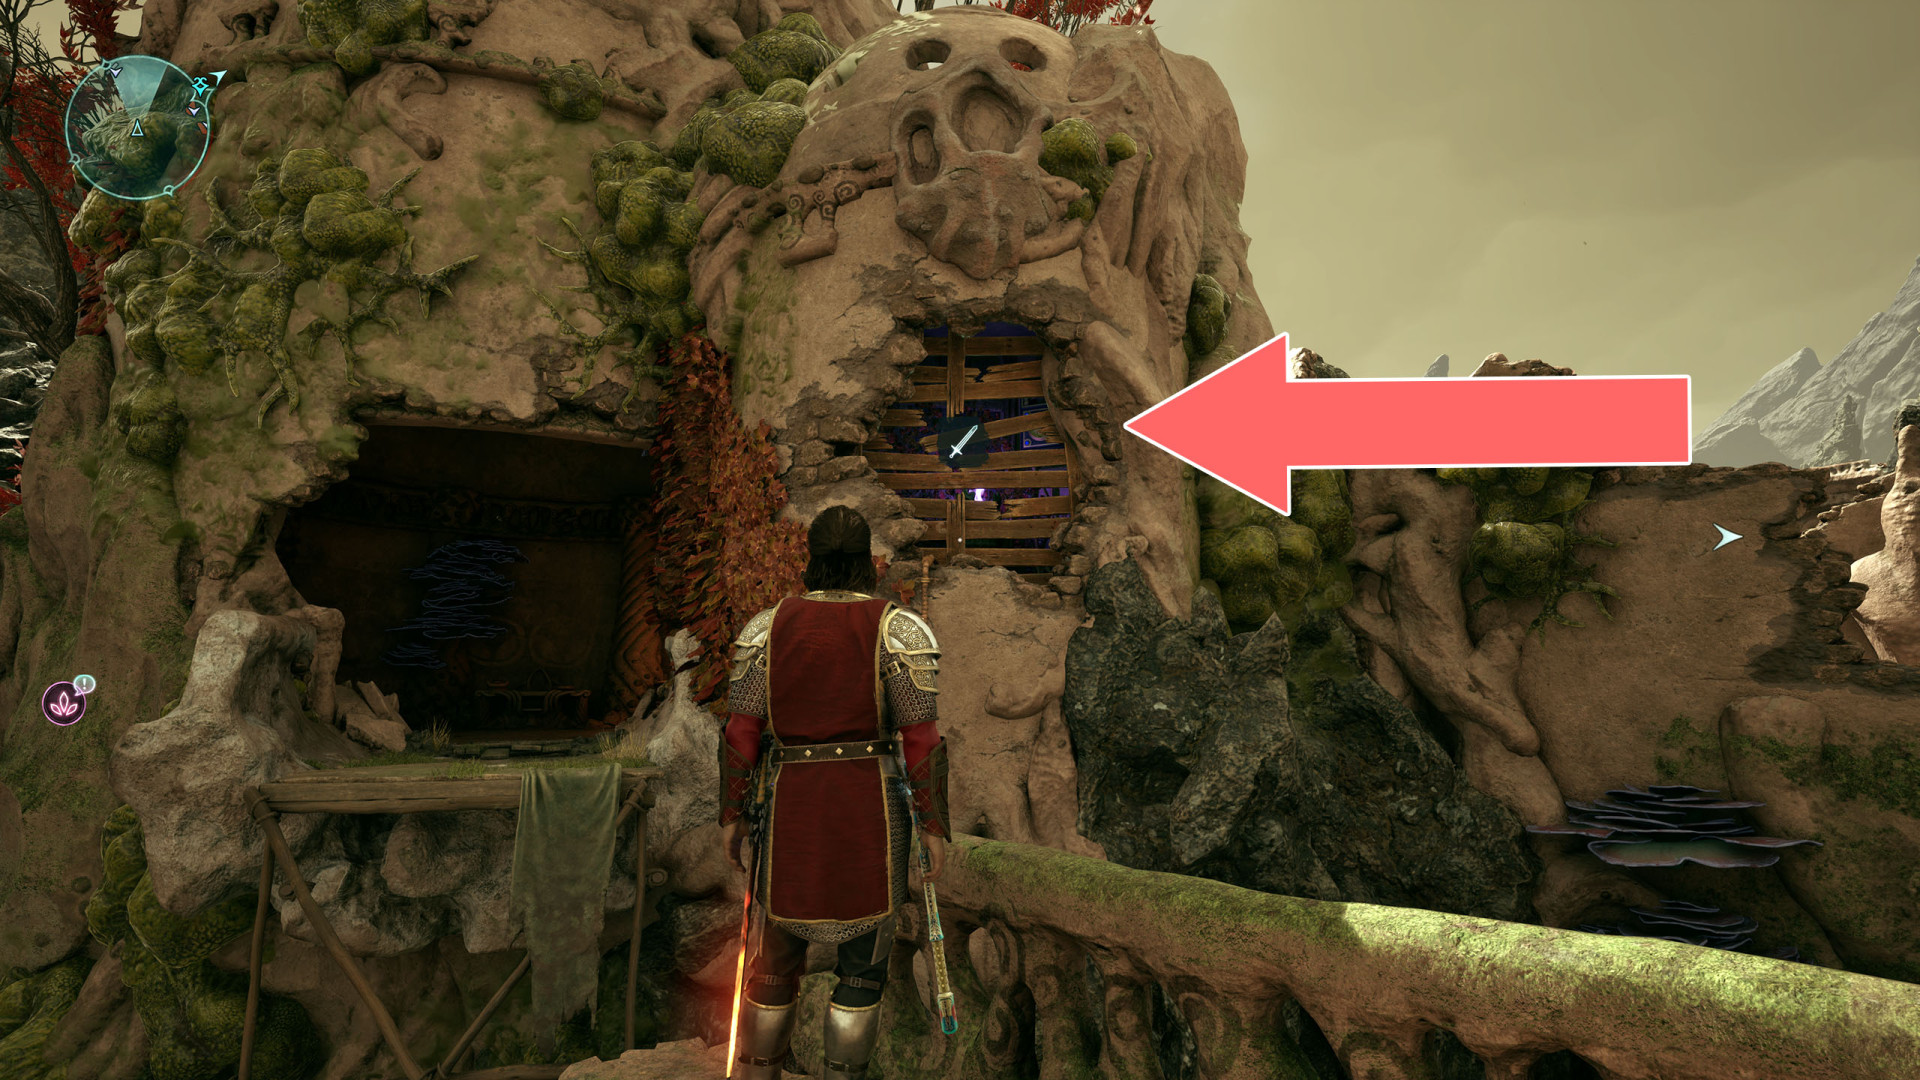
Wooden Barrier x2▶ show the map ◀
All known locations on the map The Garden
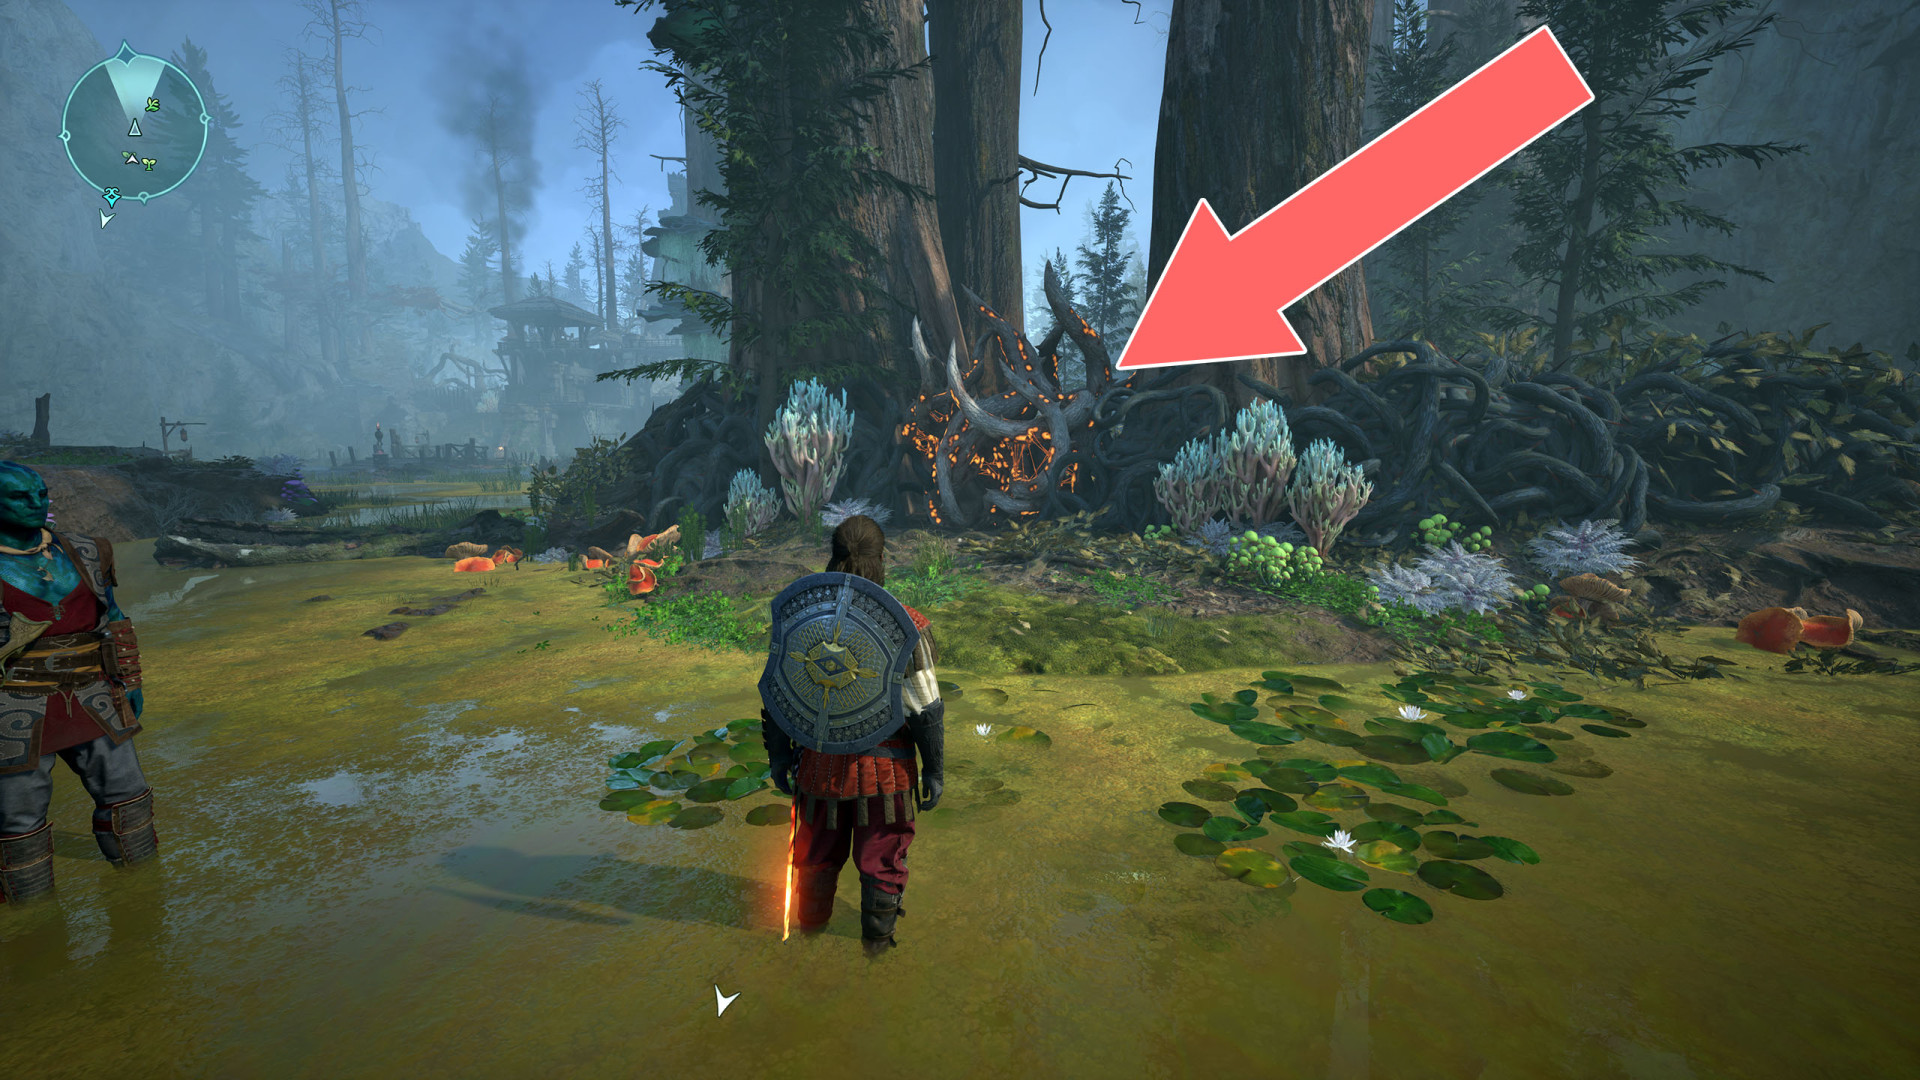
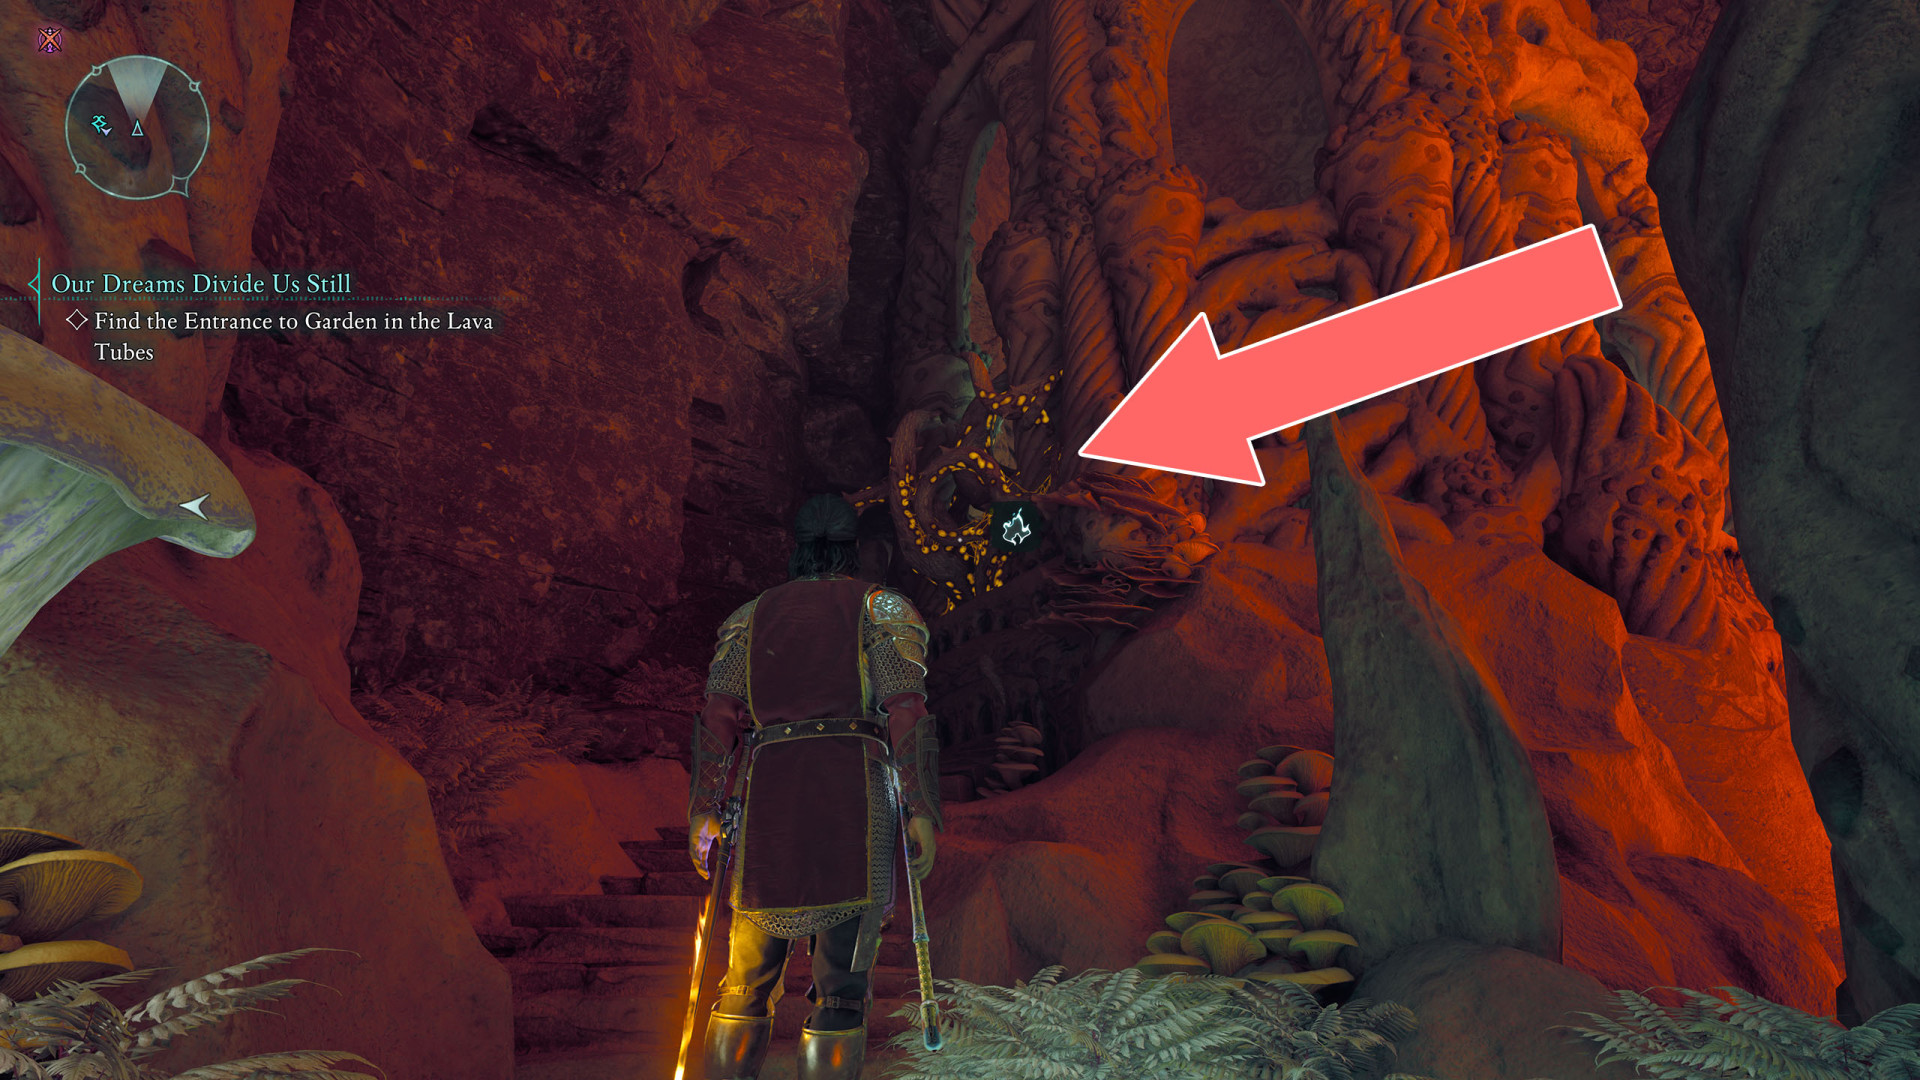
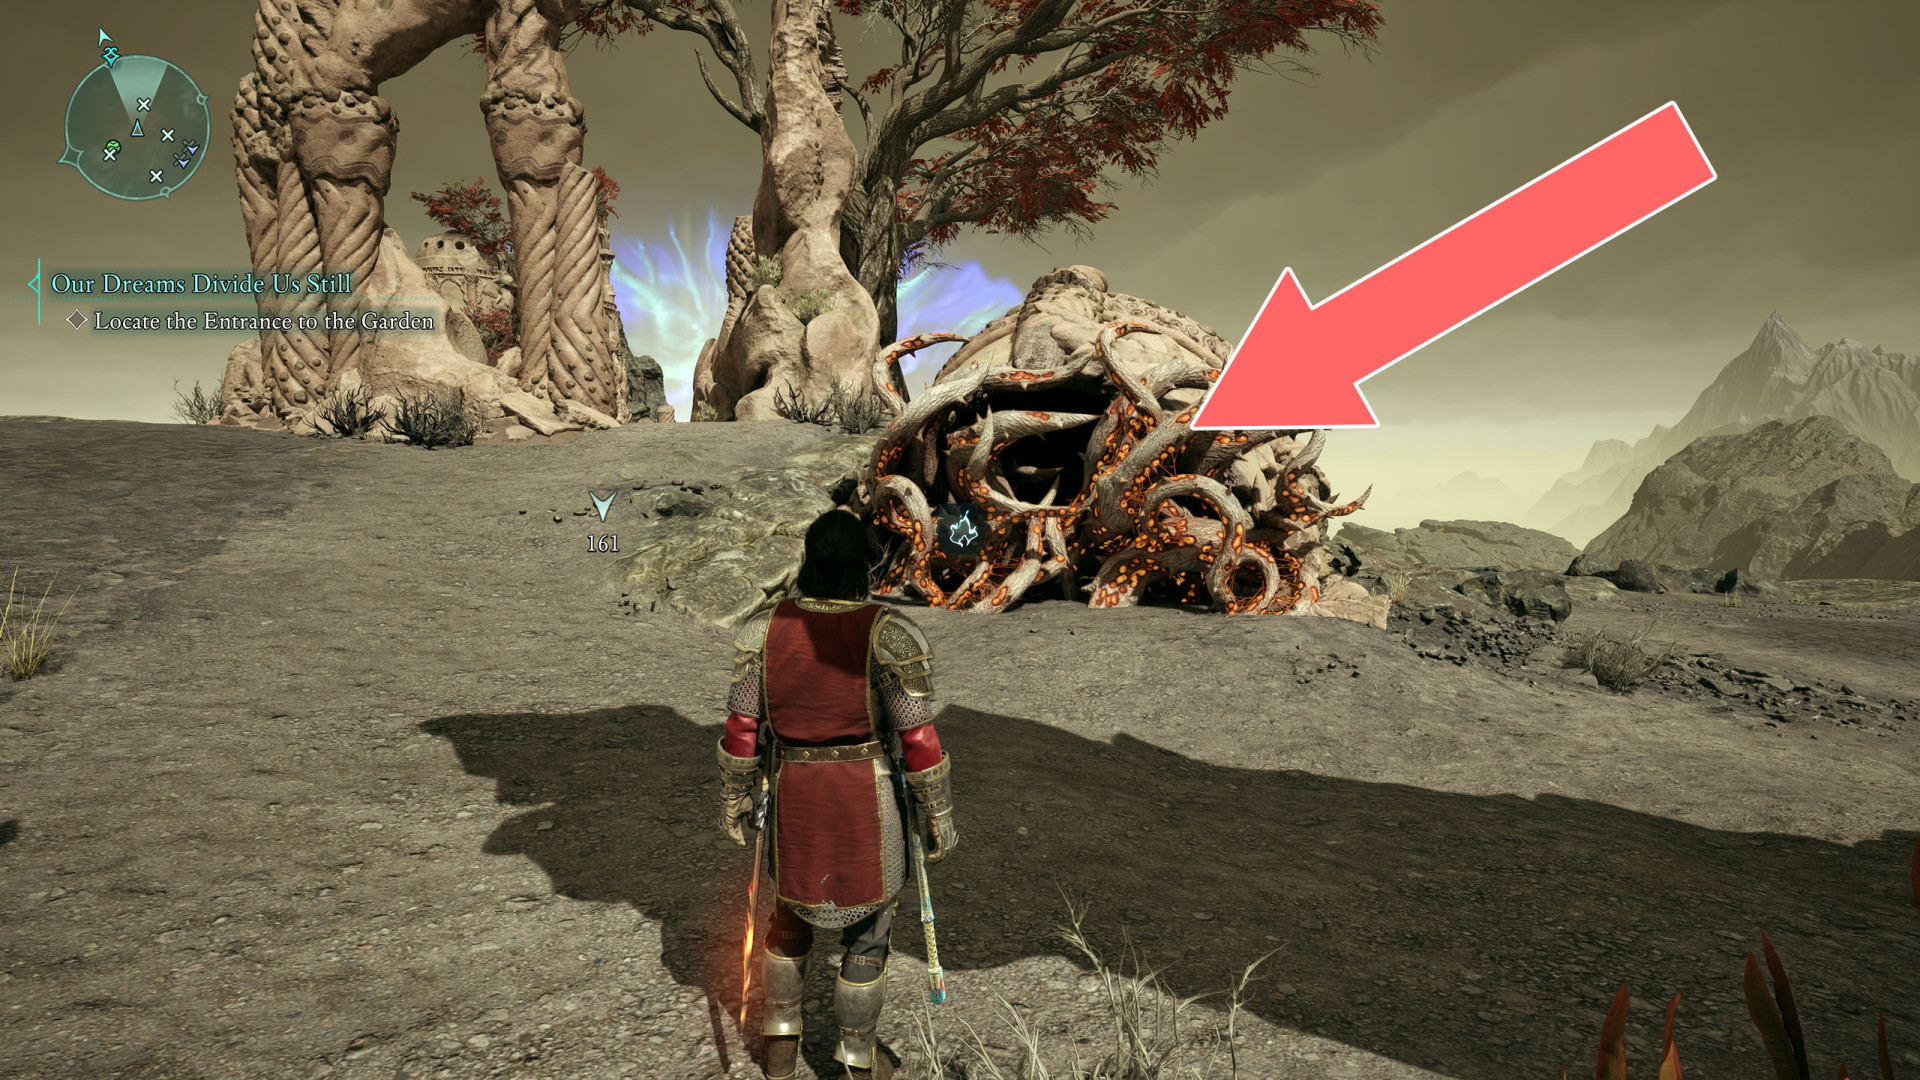
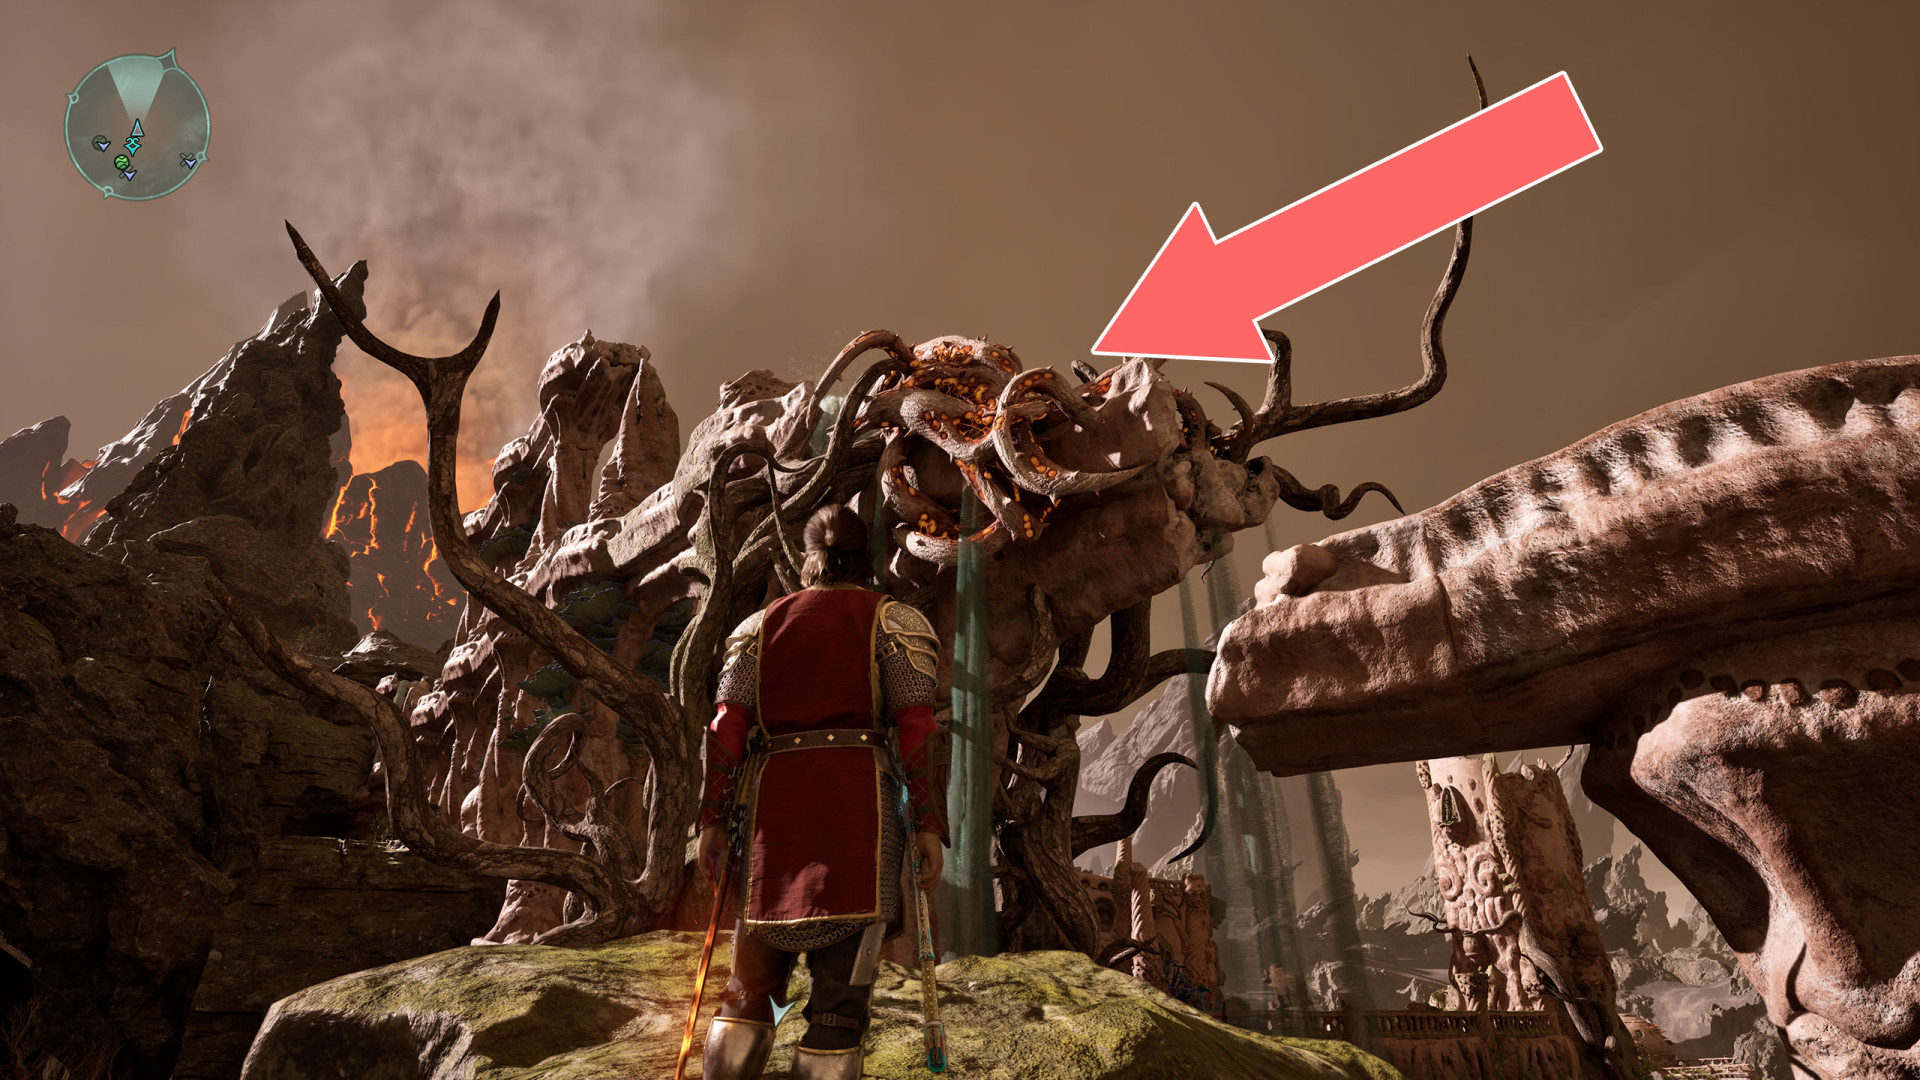
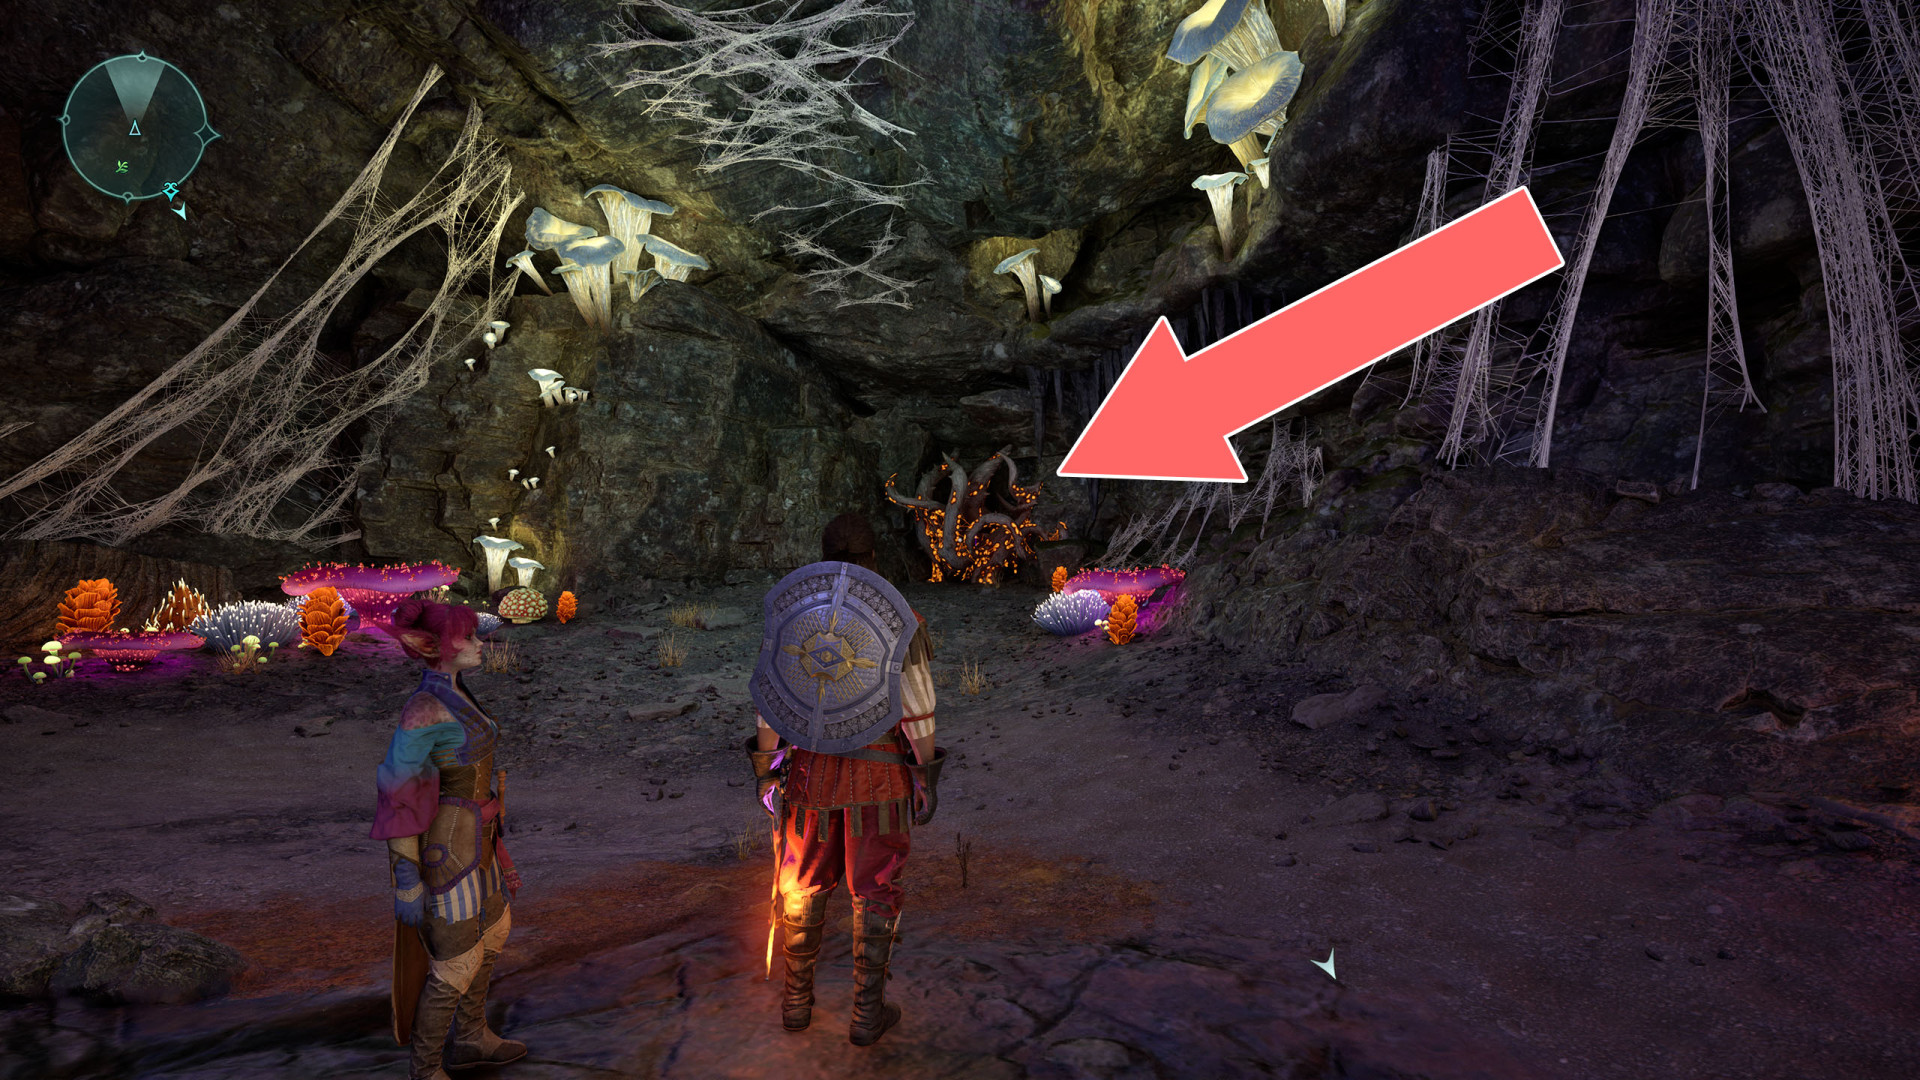
Brambles▶ show the map ◀
Brambles▶ show the map ◀
Brambles▶ show the map ◀
Brambles▶ show the map ◀
Cobweb▶ show the map ◀

Cobweb▶ show the map ◀
Cobweb▶ show the map ◀
The cobweb blocks the exit from the water. You can destroy it through a small hole in the wall before jumping into the water.
Illusion Wall▶ show the map ◀
Illusion Wall▶ show the map ◀
Prison Gate▶ show the map ◀

Secret Door▶ show the map ◀
Shock Door (1)▶ show the map ◀