Pillar of Light Ghostwire: Tokyo Mission
Group: Main Missions
Chapter: Chapter 3: Connection
This mission is a direct follow-up to the main mission "The Caves of Steel". It begins after you manage to reunite with KK.
Even robbed of KK's spirit by Yaseotoko, Akito somehow manages to make his way to the safehouse.
A woman who seems to be a friend of KK gives him a commuter pass case, which leads him to a shrine where KK is being held captive.
The pair reunite, stronger than ever in both body and spirit, and continue the hunt for Hannya.
Rewards:
- XP +500

Related points of interest
![]() Hirokawa Shrine
Shibuya
Hirokawa Shrine
Shibuya
![]() Matsumi Shrine
Shibuya
Matsumi Shrine
Shibuya
![]() Payphone
Shibuya
Payphone
Shibuya
![]() Sengoku Center Building
Shibuya
Sengoku Center Building
Shibuya
![]() Shutter Memo
Shibuya
Shutter Memo
Shibuya
Prior missions
To begin Pillar of Light you must first complete The Caves of Steel.
Objectives of Pillar of Light
1. Head toward the pillar of light
The place you need to go to is far to the north, in an area covered with fog. So you have to get rid of the fog first. Start by cleansing the shrine you are in, which is Hirokawa Shrine, and then head to Matsumi Shrine.
Matsumi Shrine is a small shrine located on the roof of a building. Nearby you will find a Tengu, which you can use to get to the rooftops.
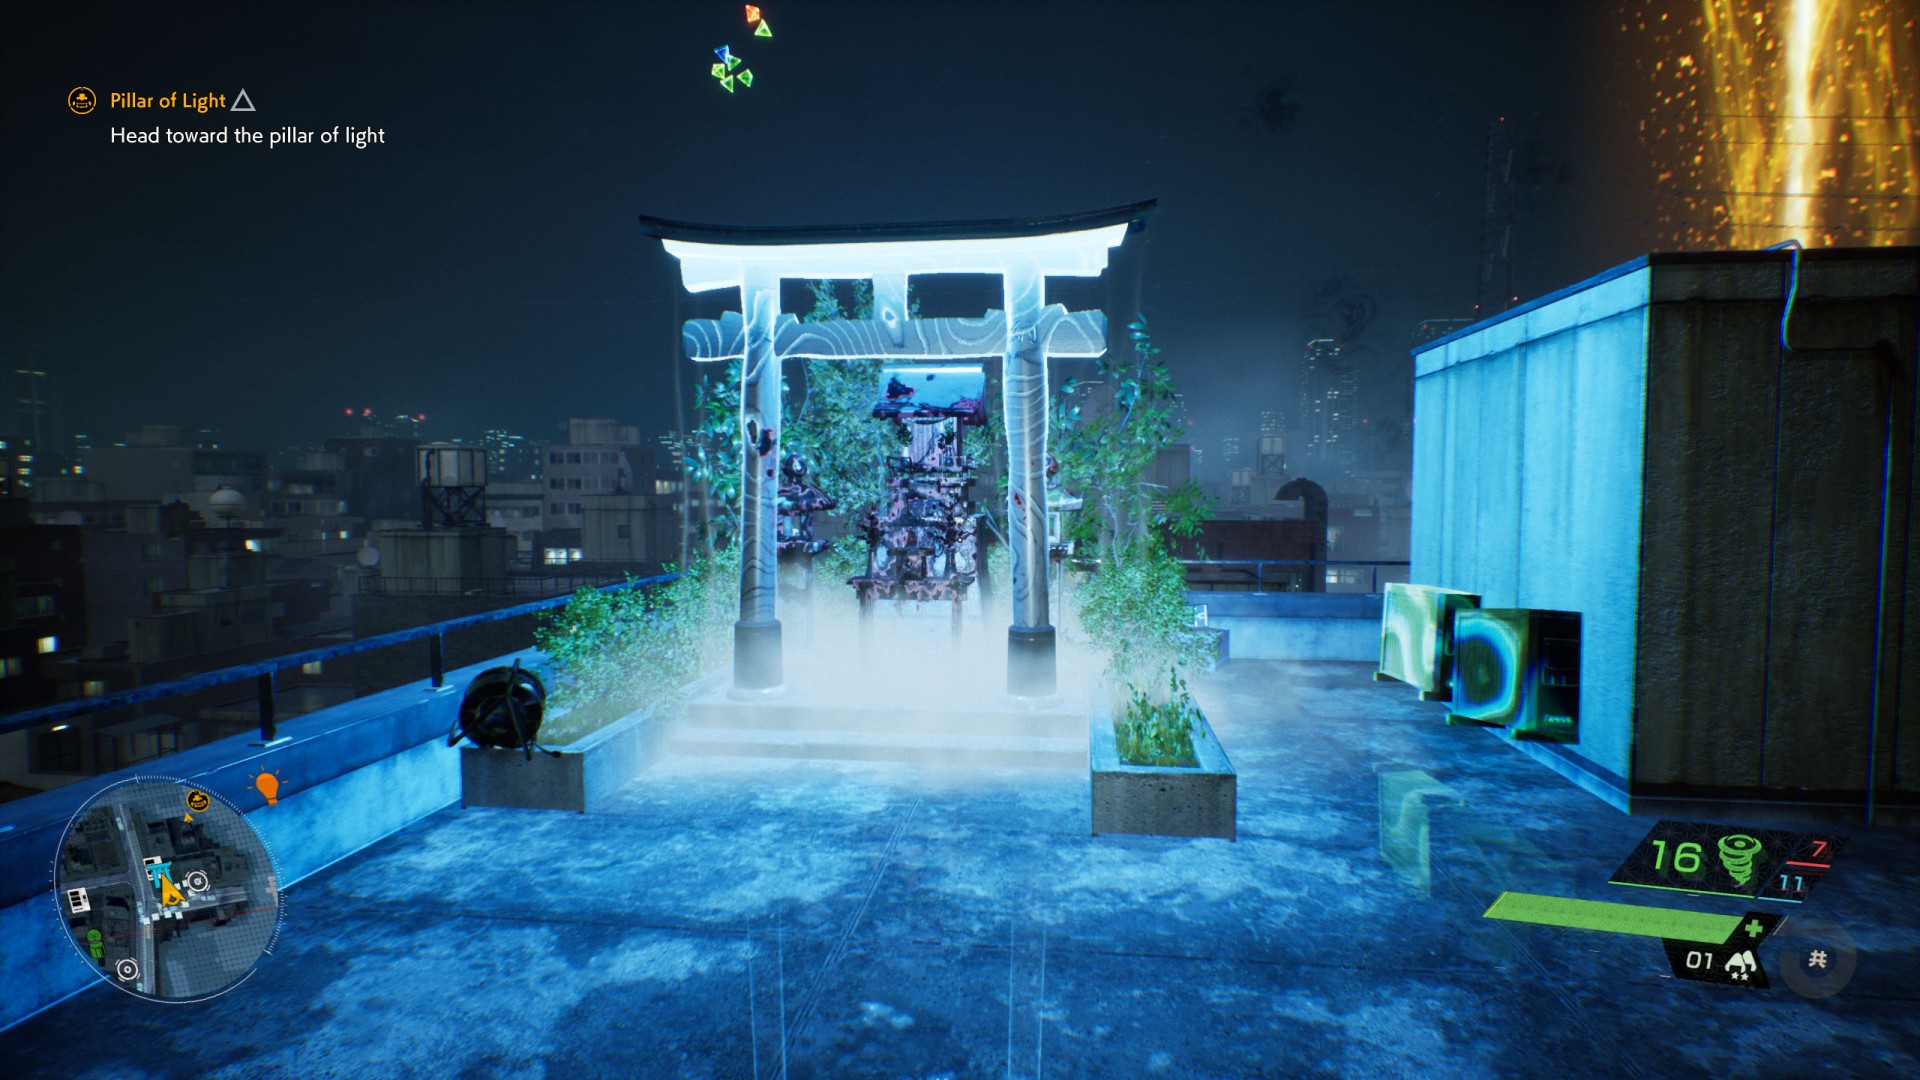
Then head east. At some point KK should tell you to look for the torii gate and the search area will appear on the map.
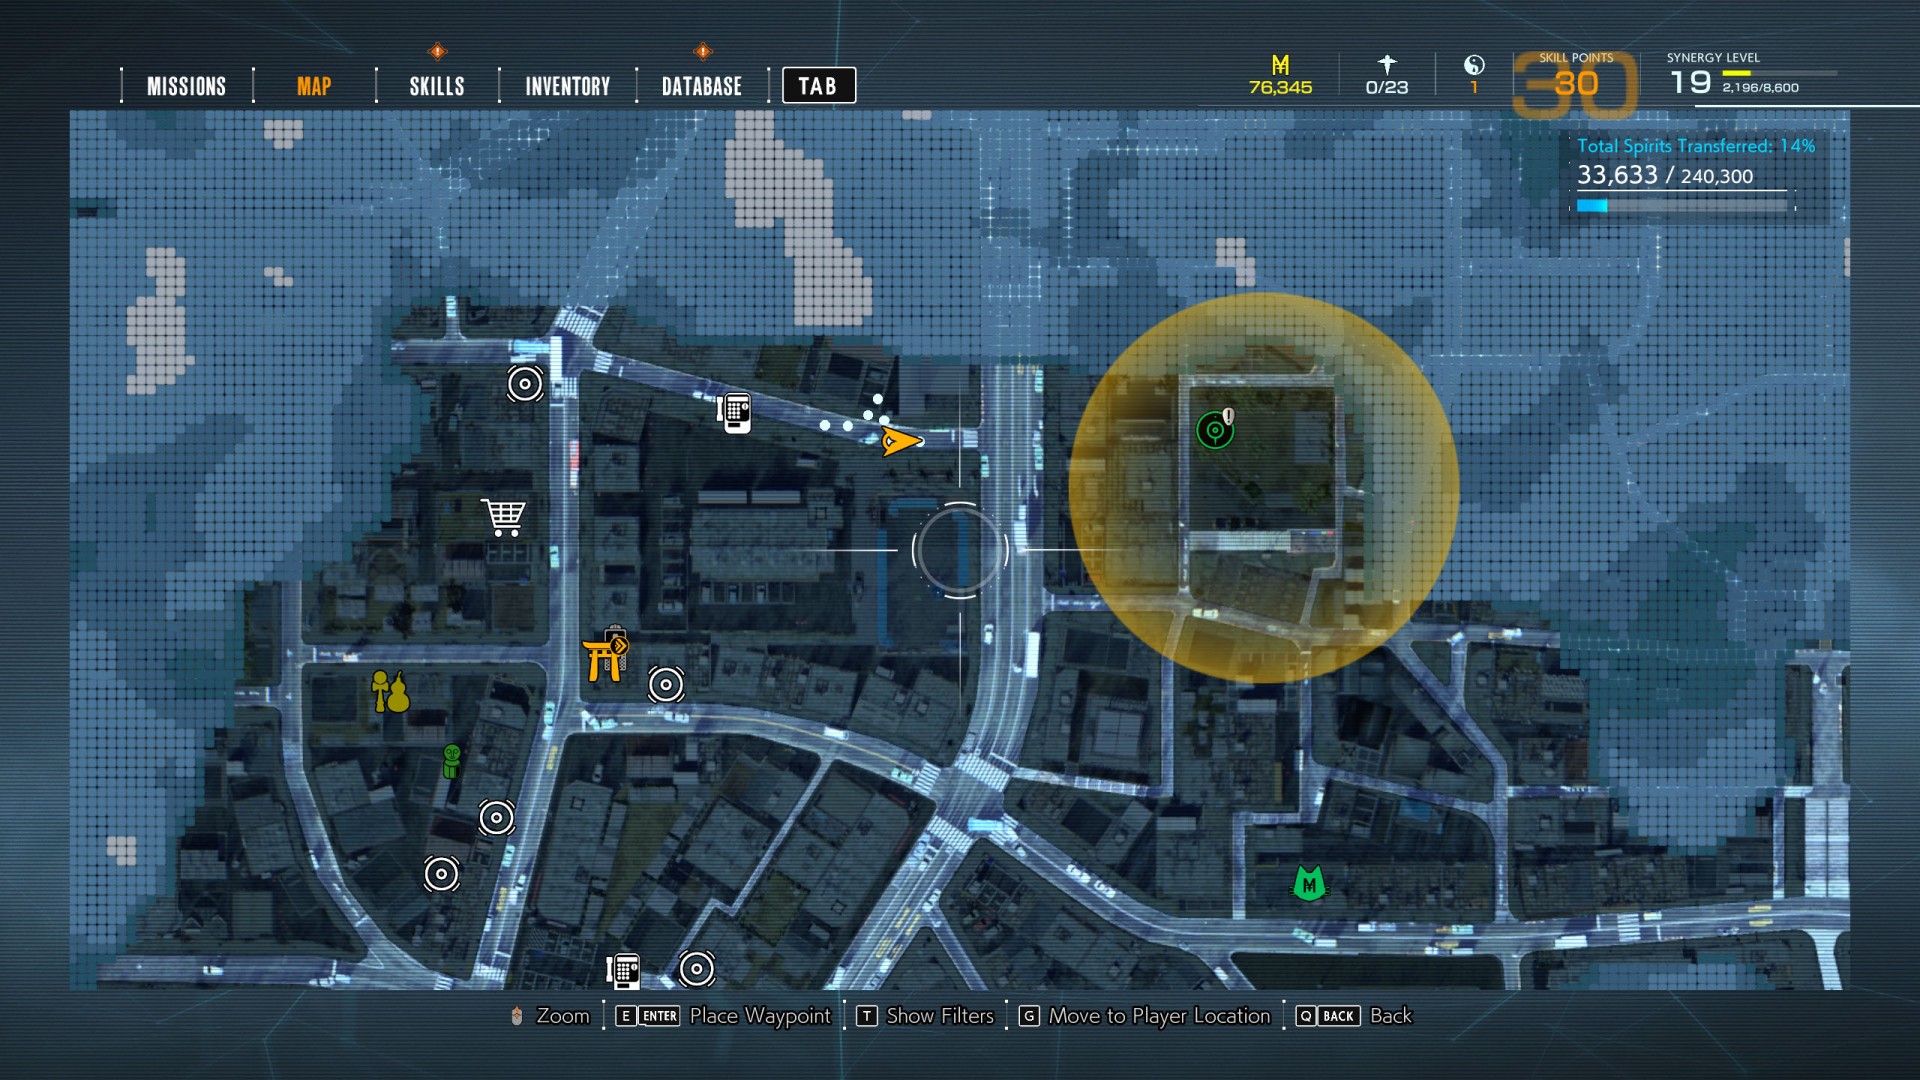
2. Search the area
Go to the marked area. When you enter it, you should hear the sound of a ringing phone.
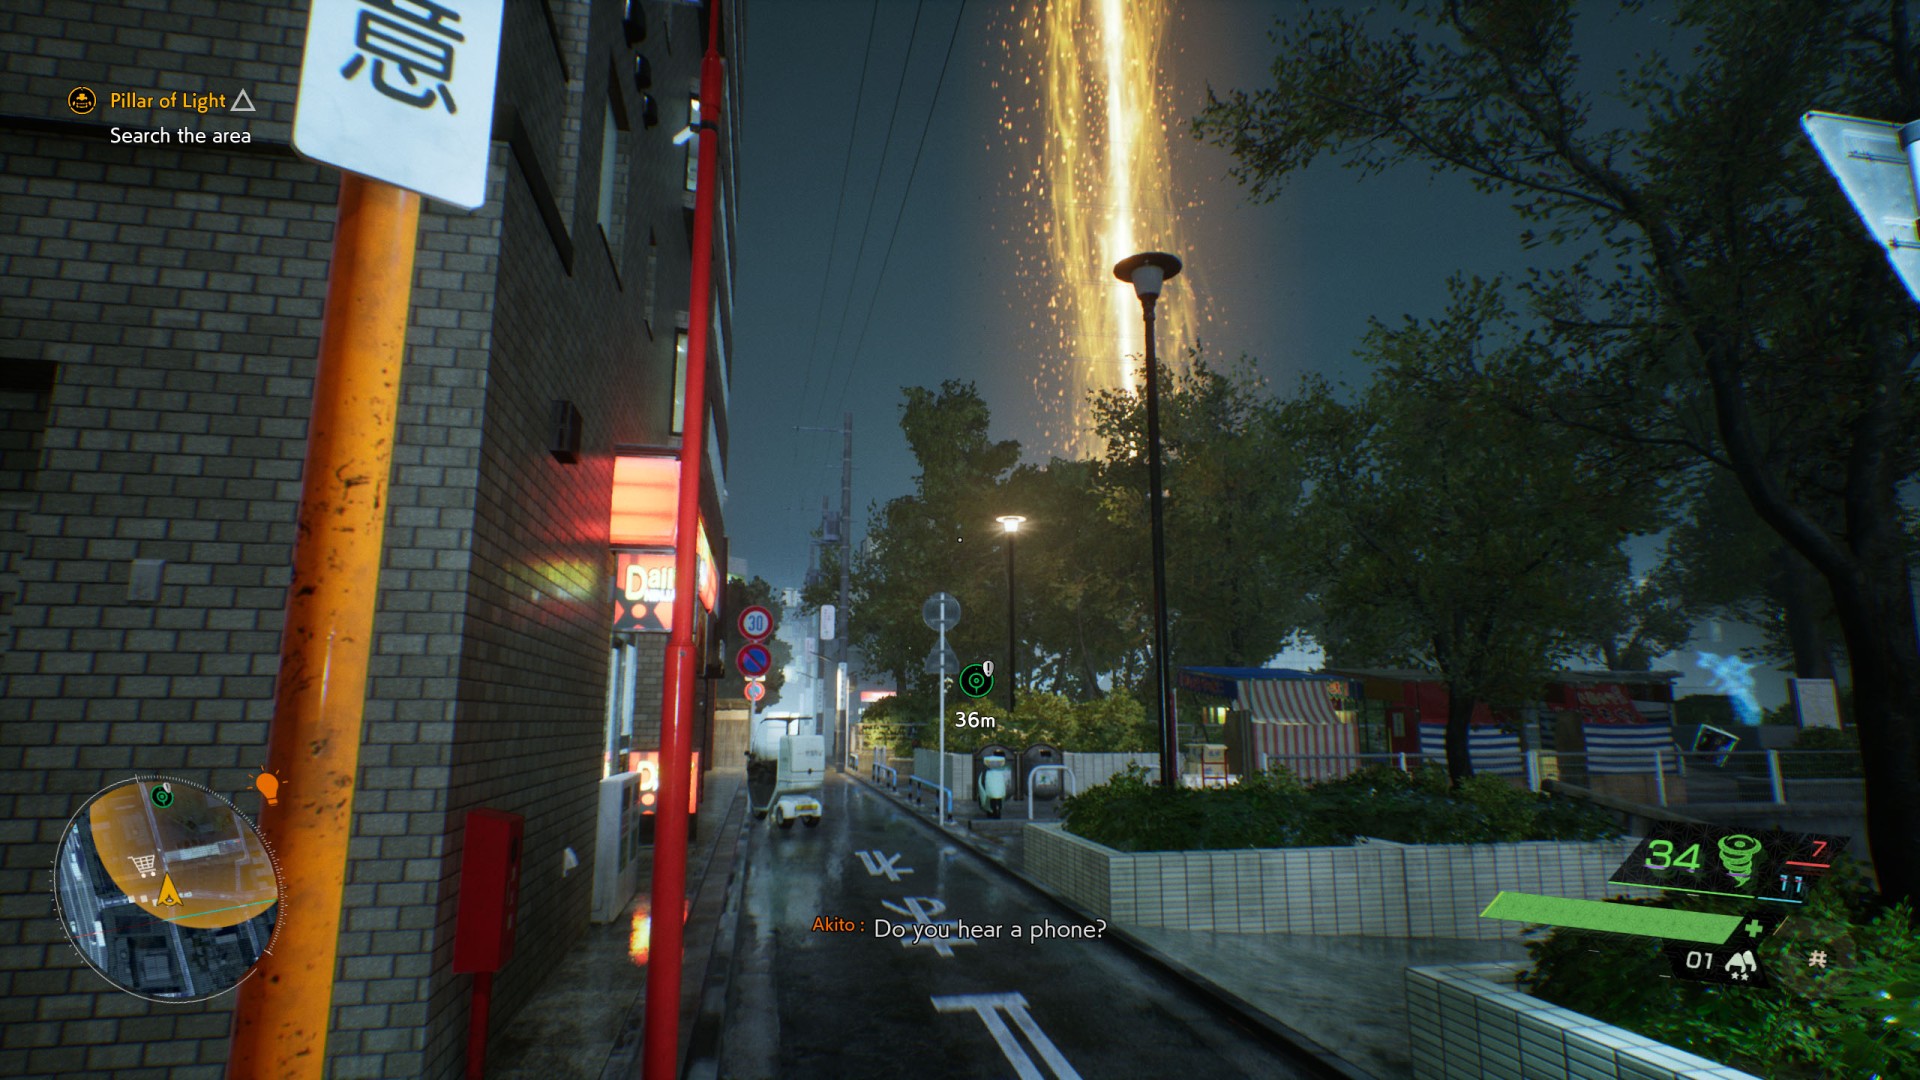
Try to locate it - it's a Payphone located against a wall, near the southern edge of a small park.
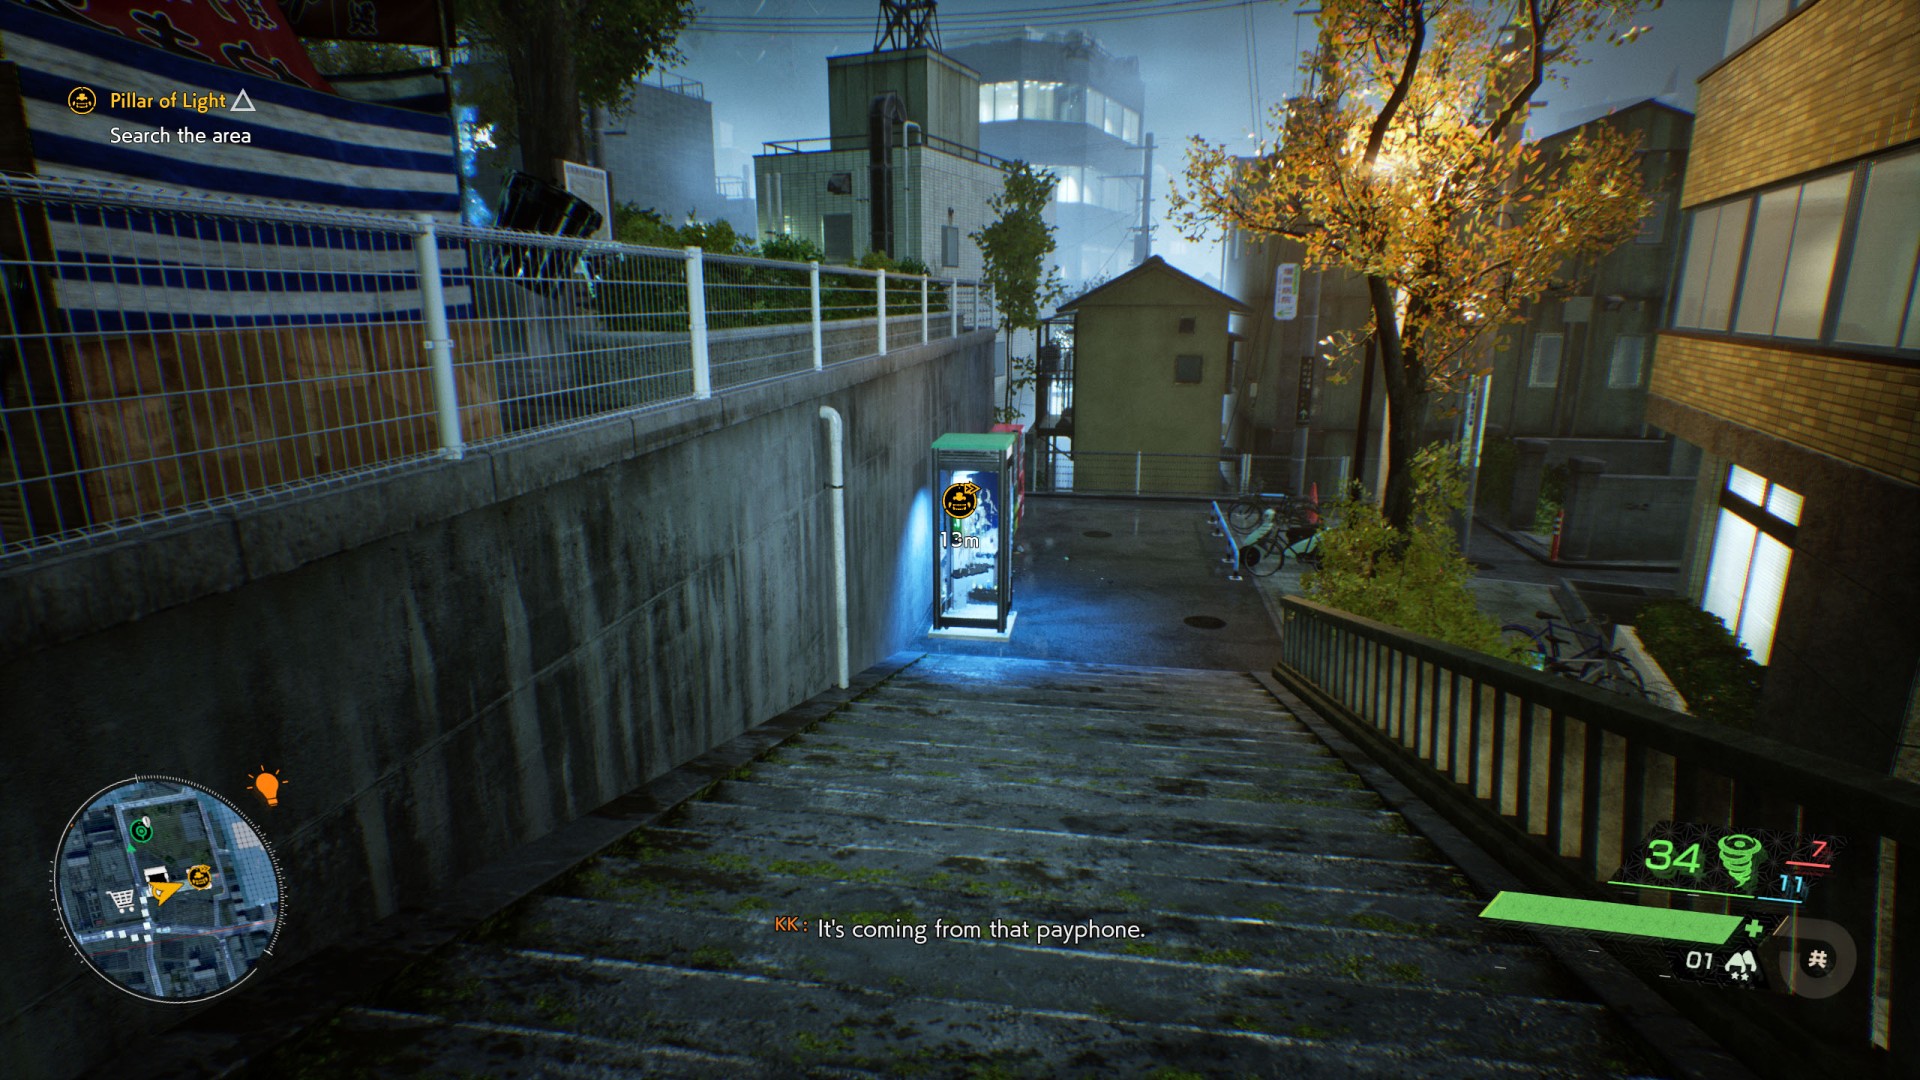
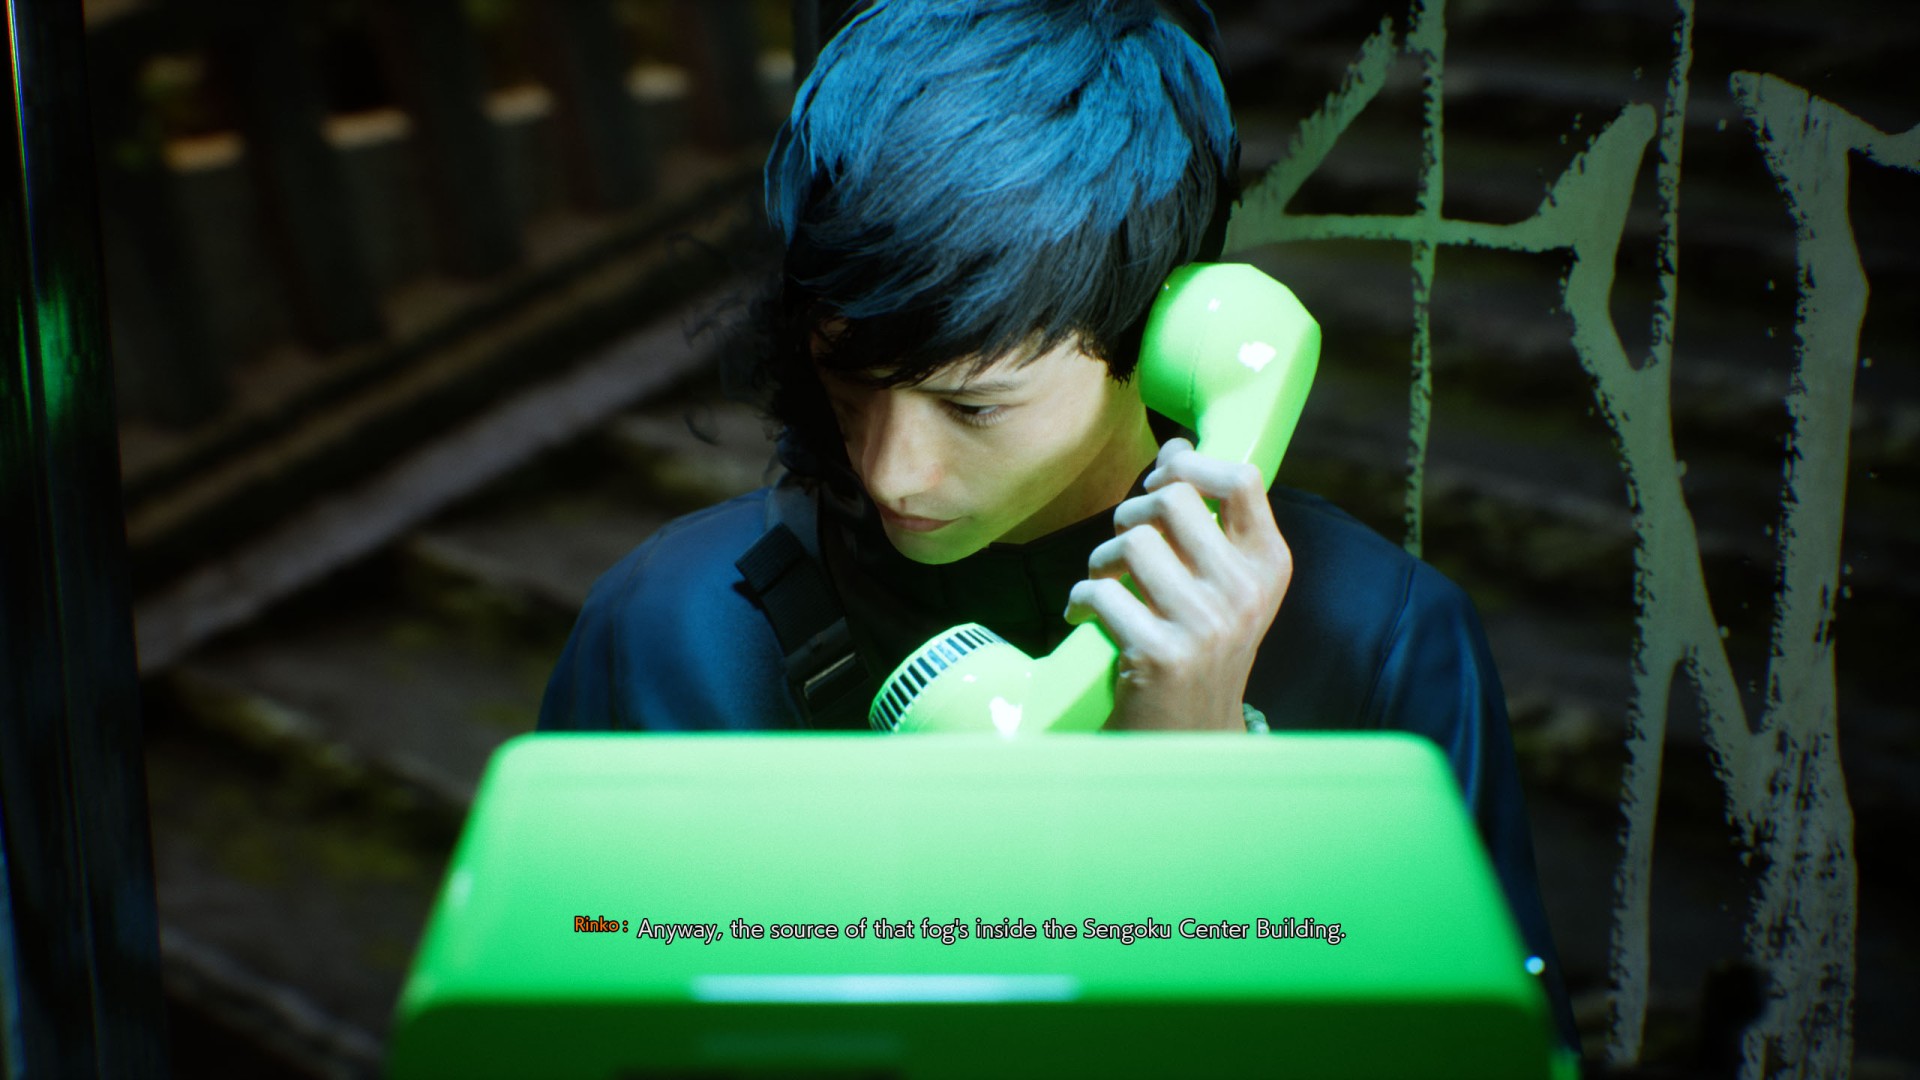
Pick up the phone - it's Rinko calling. She will tell you where the source of the fog is located.
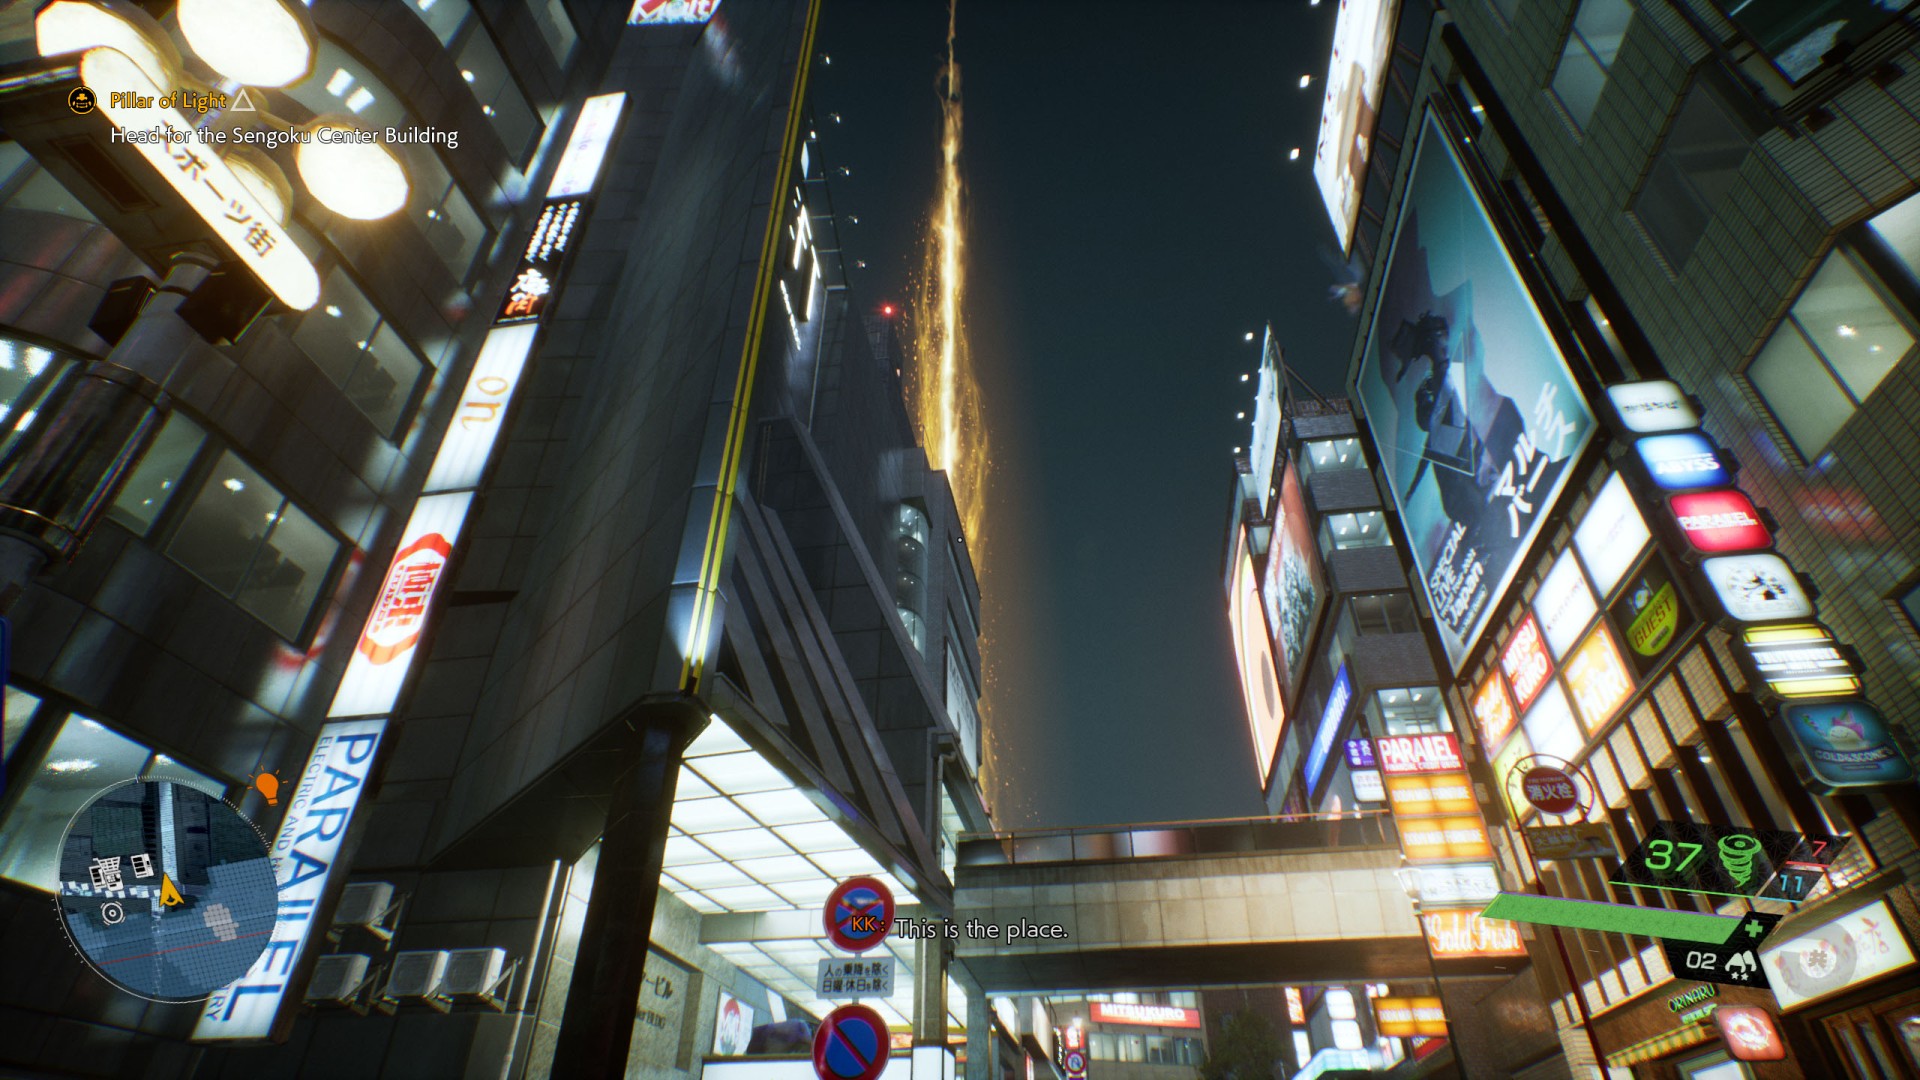
3. Head for the Sengoku Center Building
Proceed to the new location that has been marked on your map.
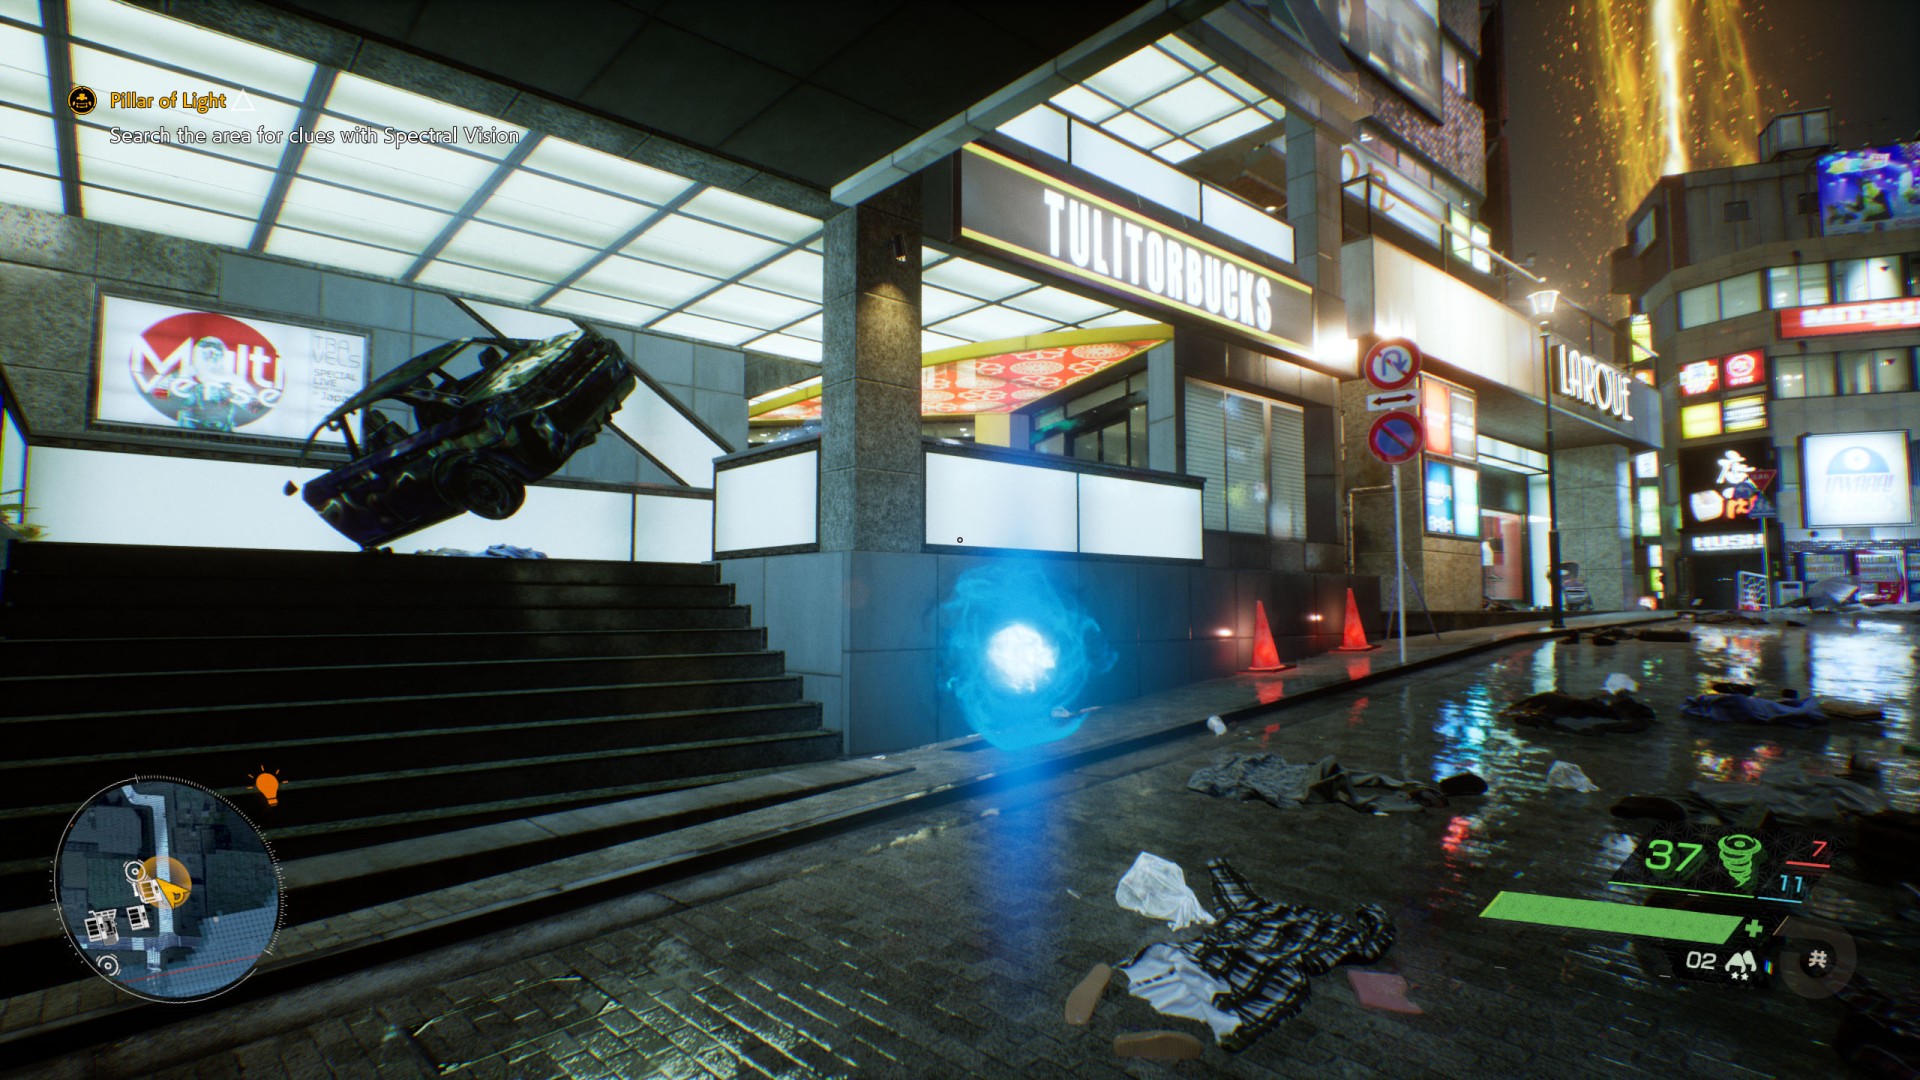
4. Search the area for clues with Spectral Vision
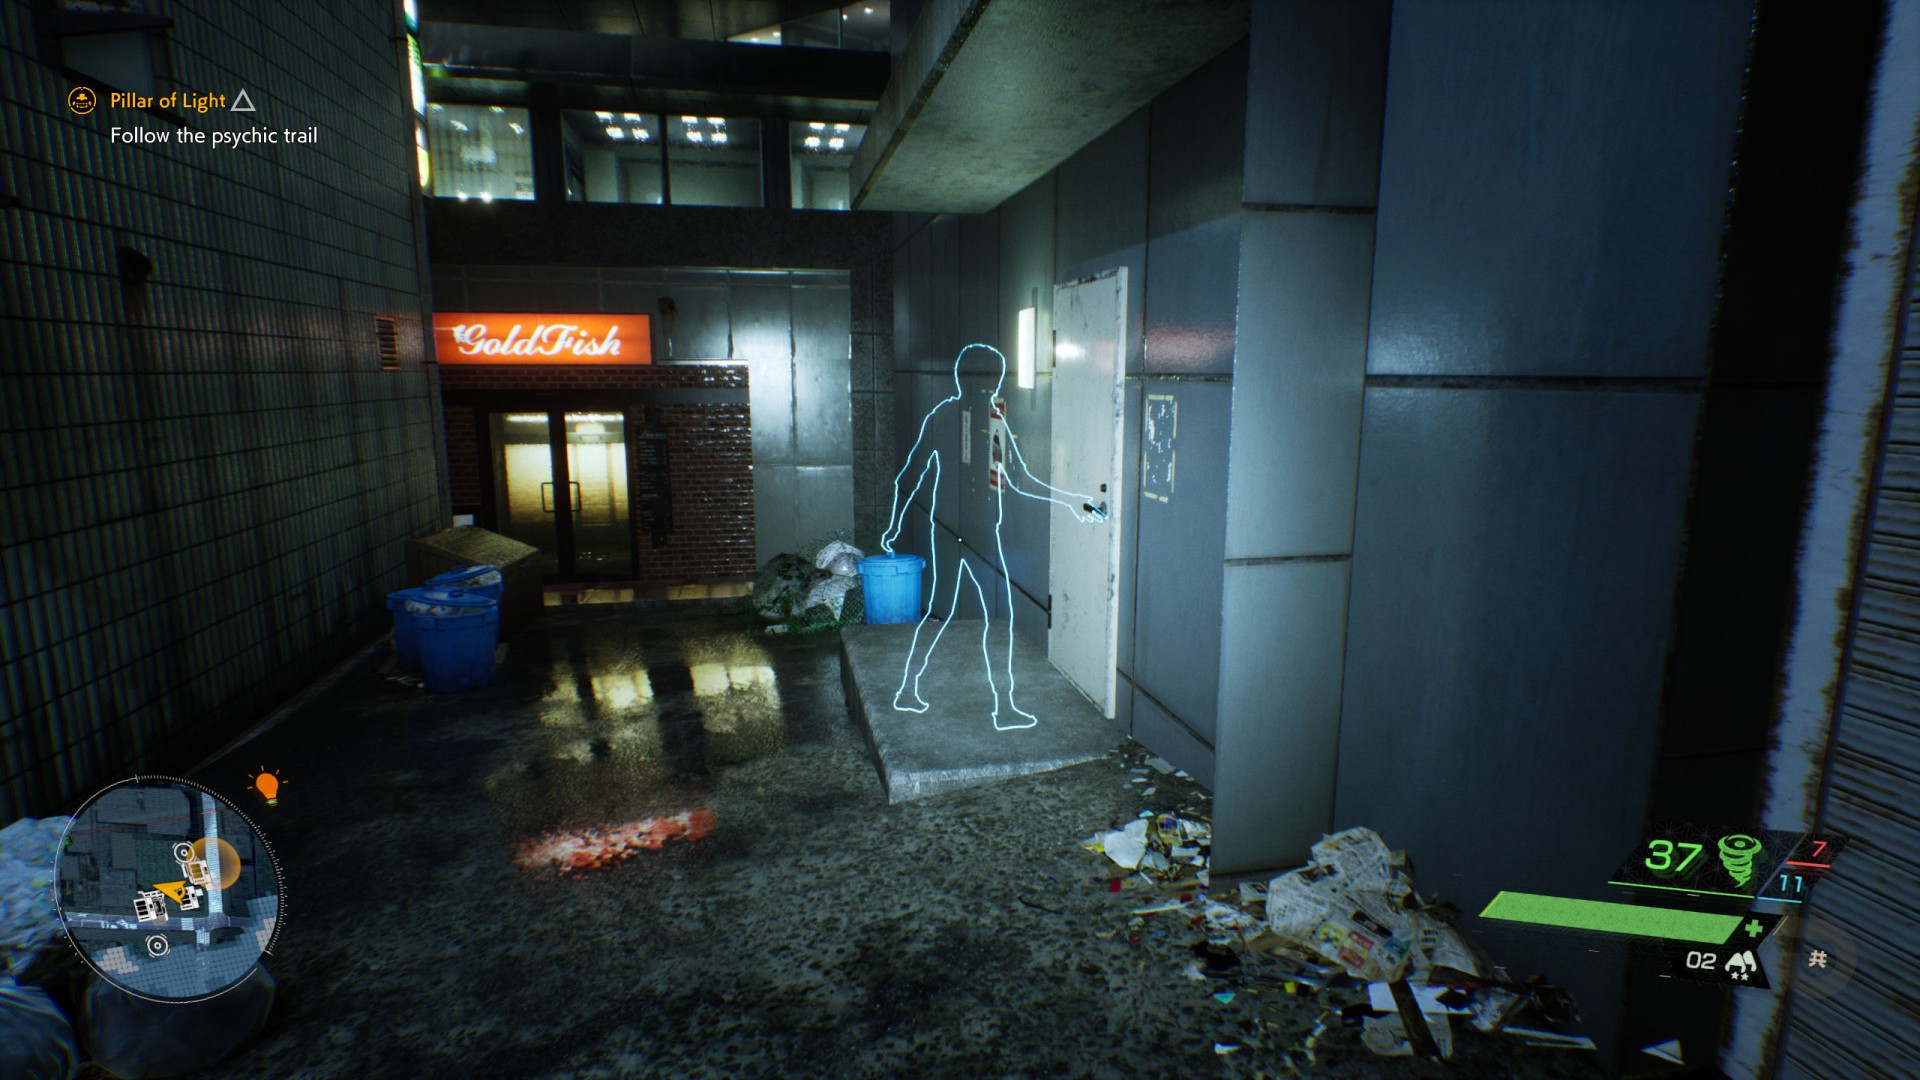
In front of the building you should notice a blue orb of energy. Use Spectral Vision near it and Rinko's spirit will appear. It will start moving and leave a trail behind it.
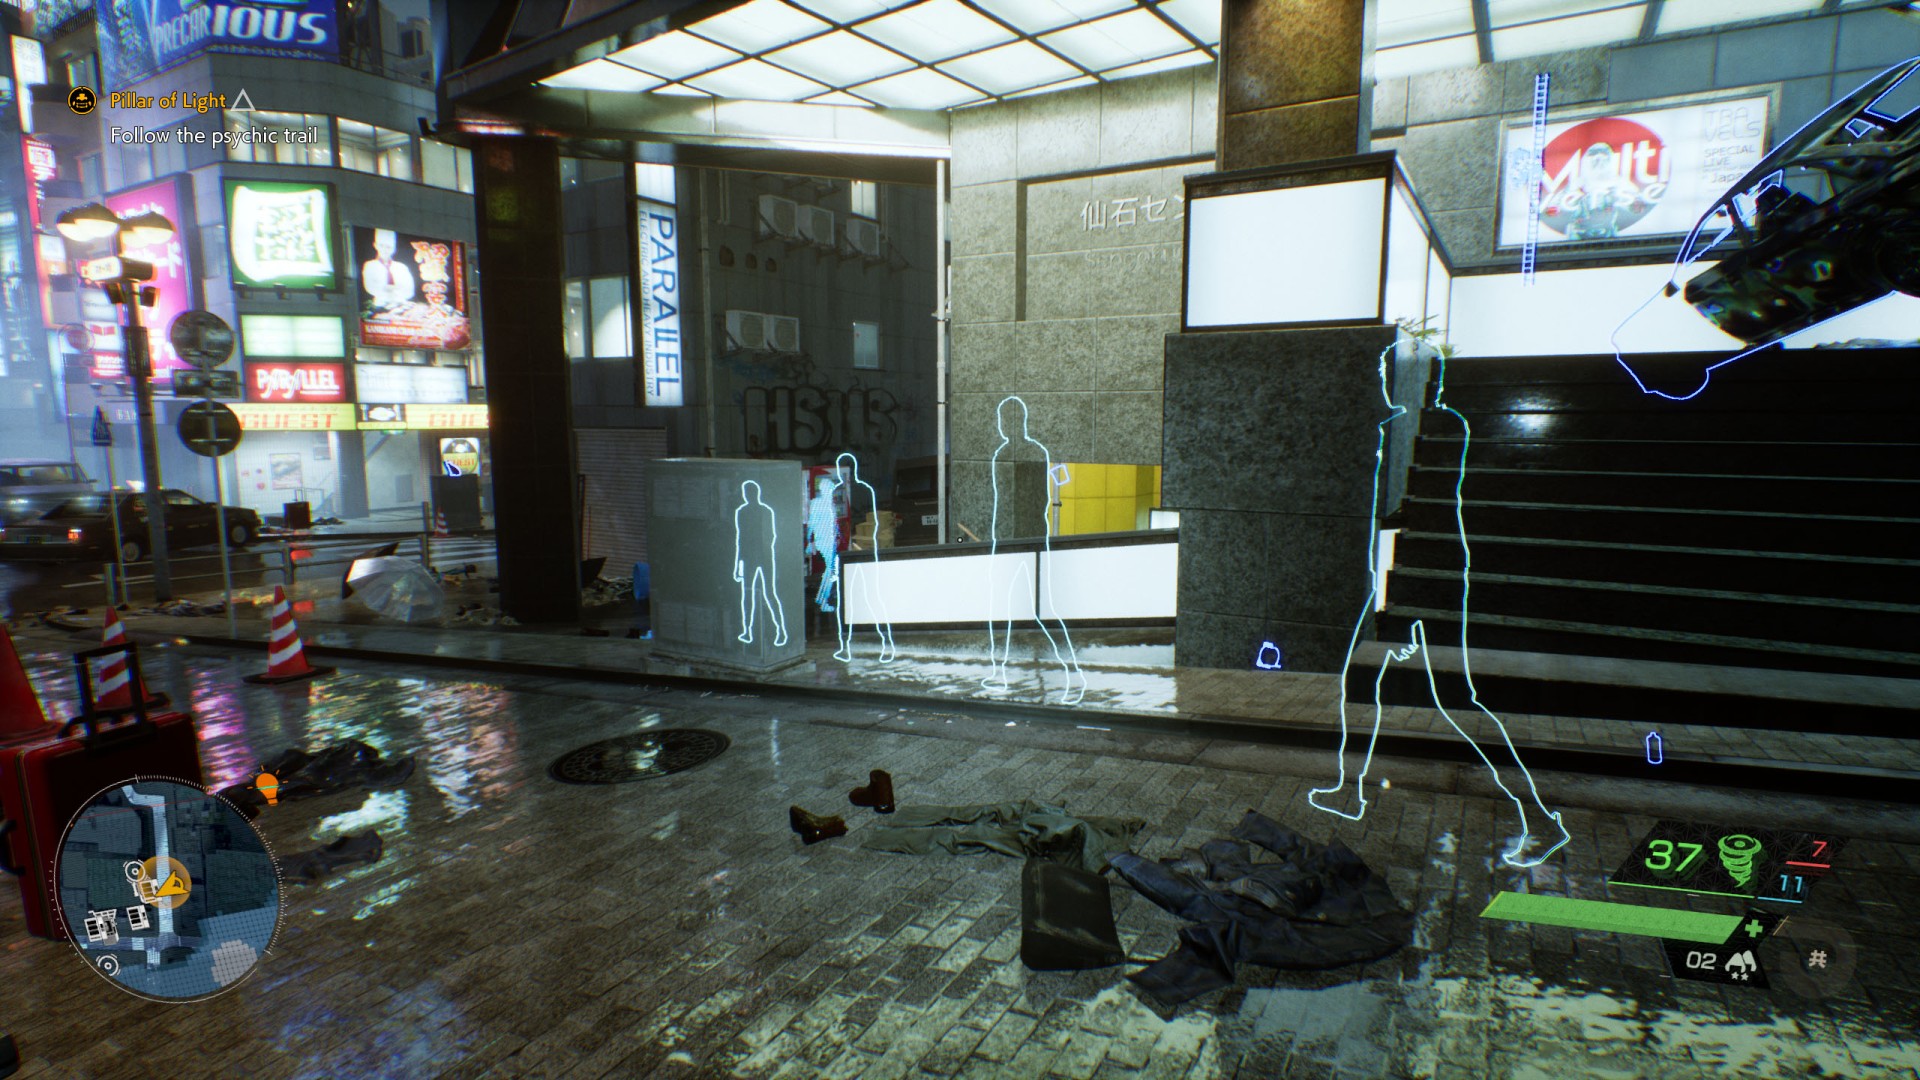
5. Follow the psychic trail
Follow the trail to a side alley.
Try to open the door you find there. Unfortunately, they are locked and you have to look for another way in.
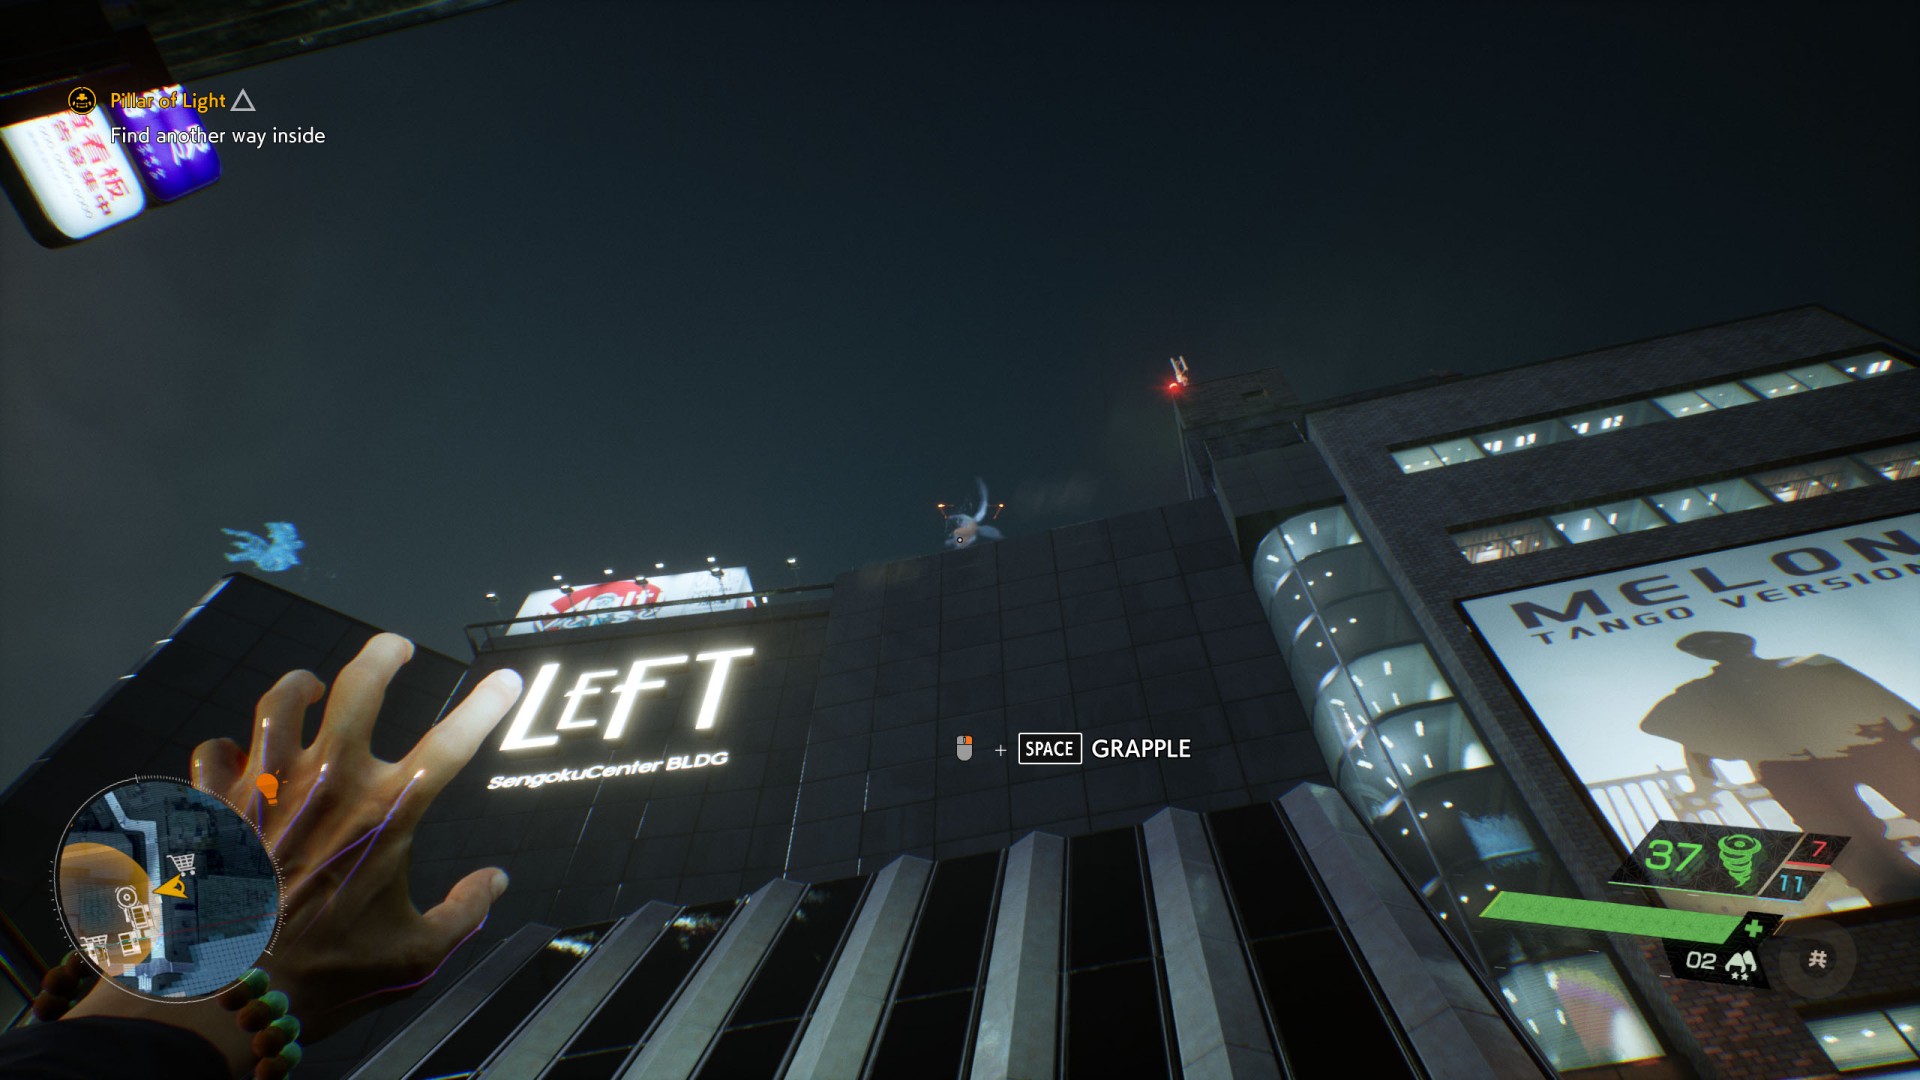
6. Find another way inside
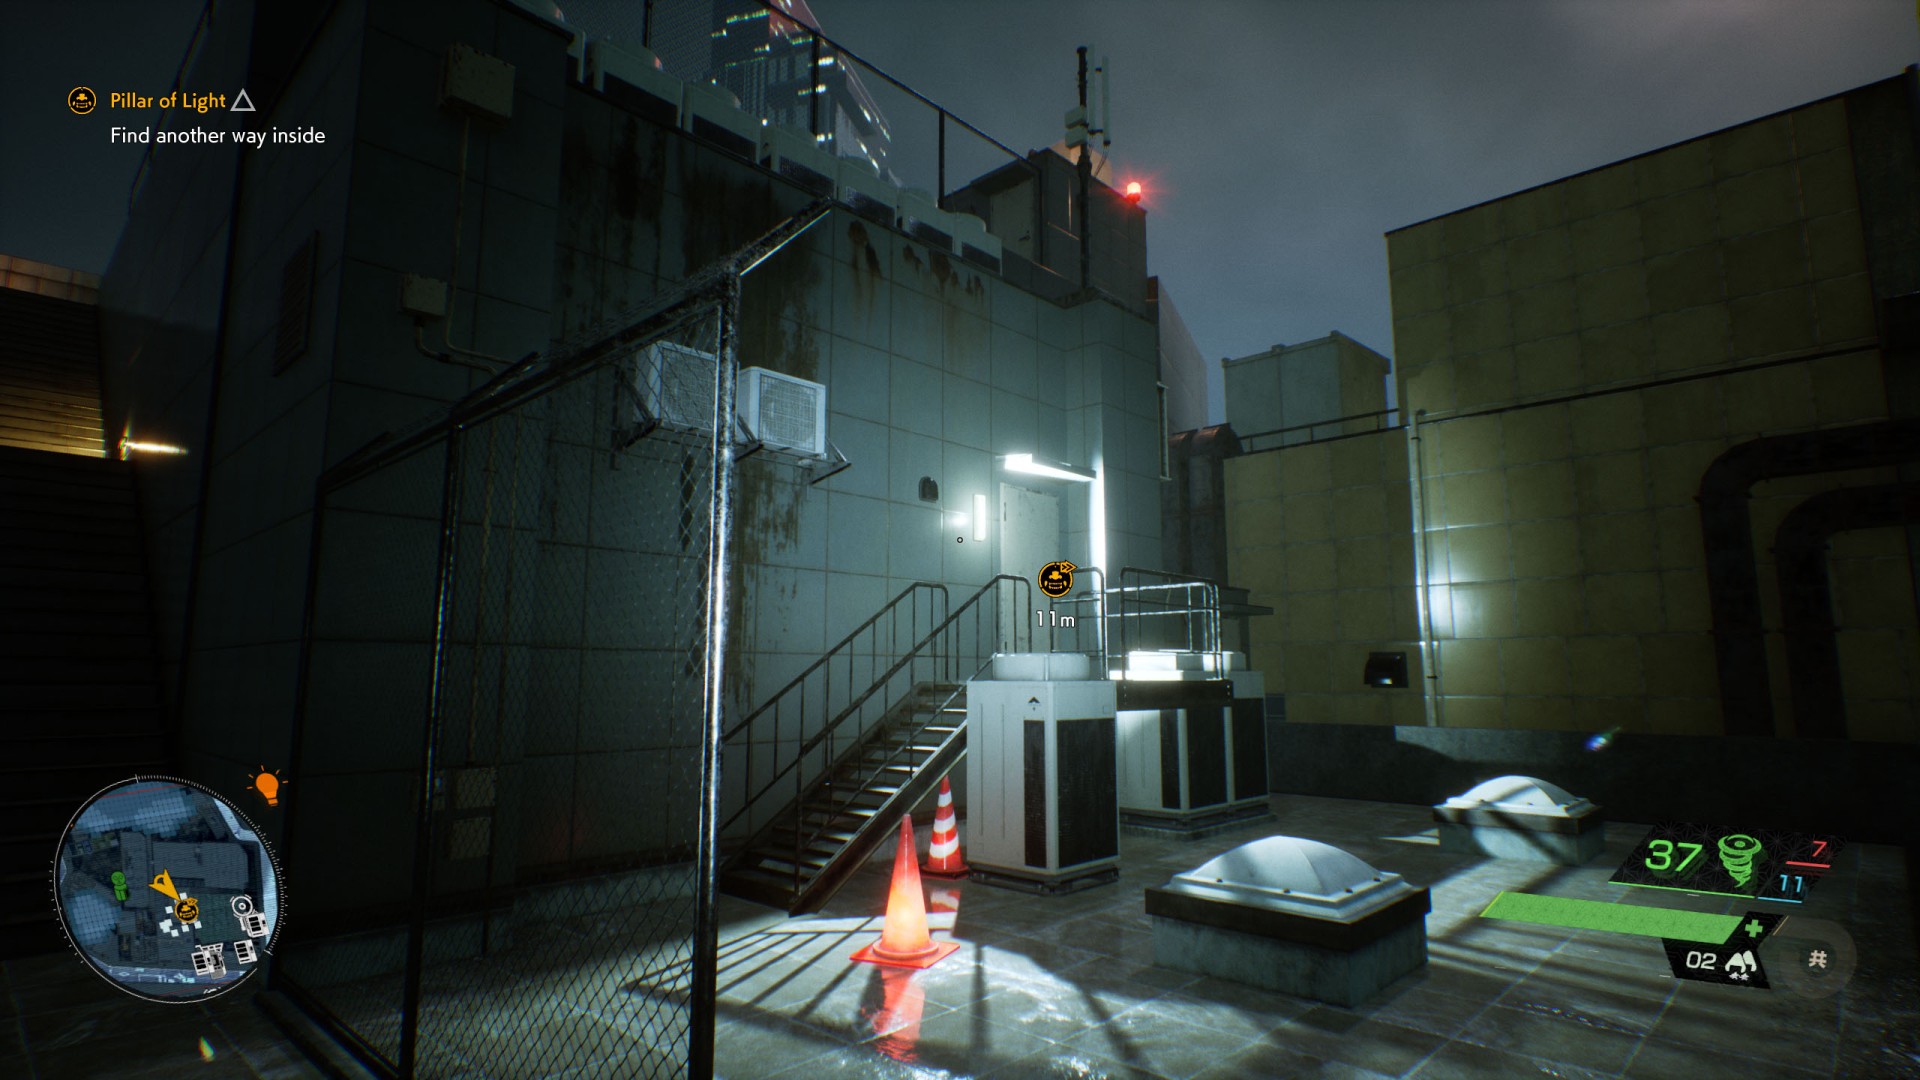
Use the Tengu to get to the roof of the building.
Then find the entrance located there.
7. Search for Rinko
Follow the stairs and hallways . At some point you should reach a shutter that will prevent you from going further.
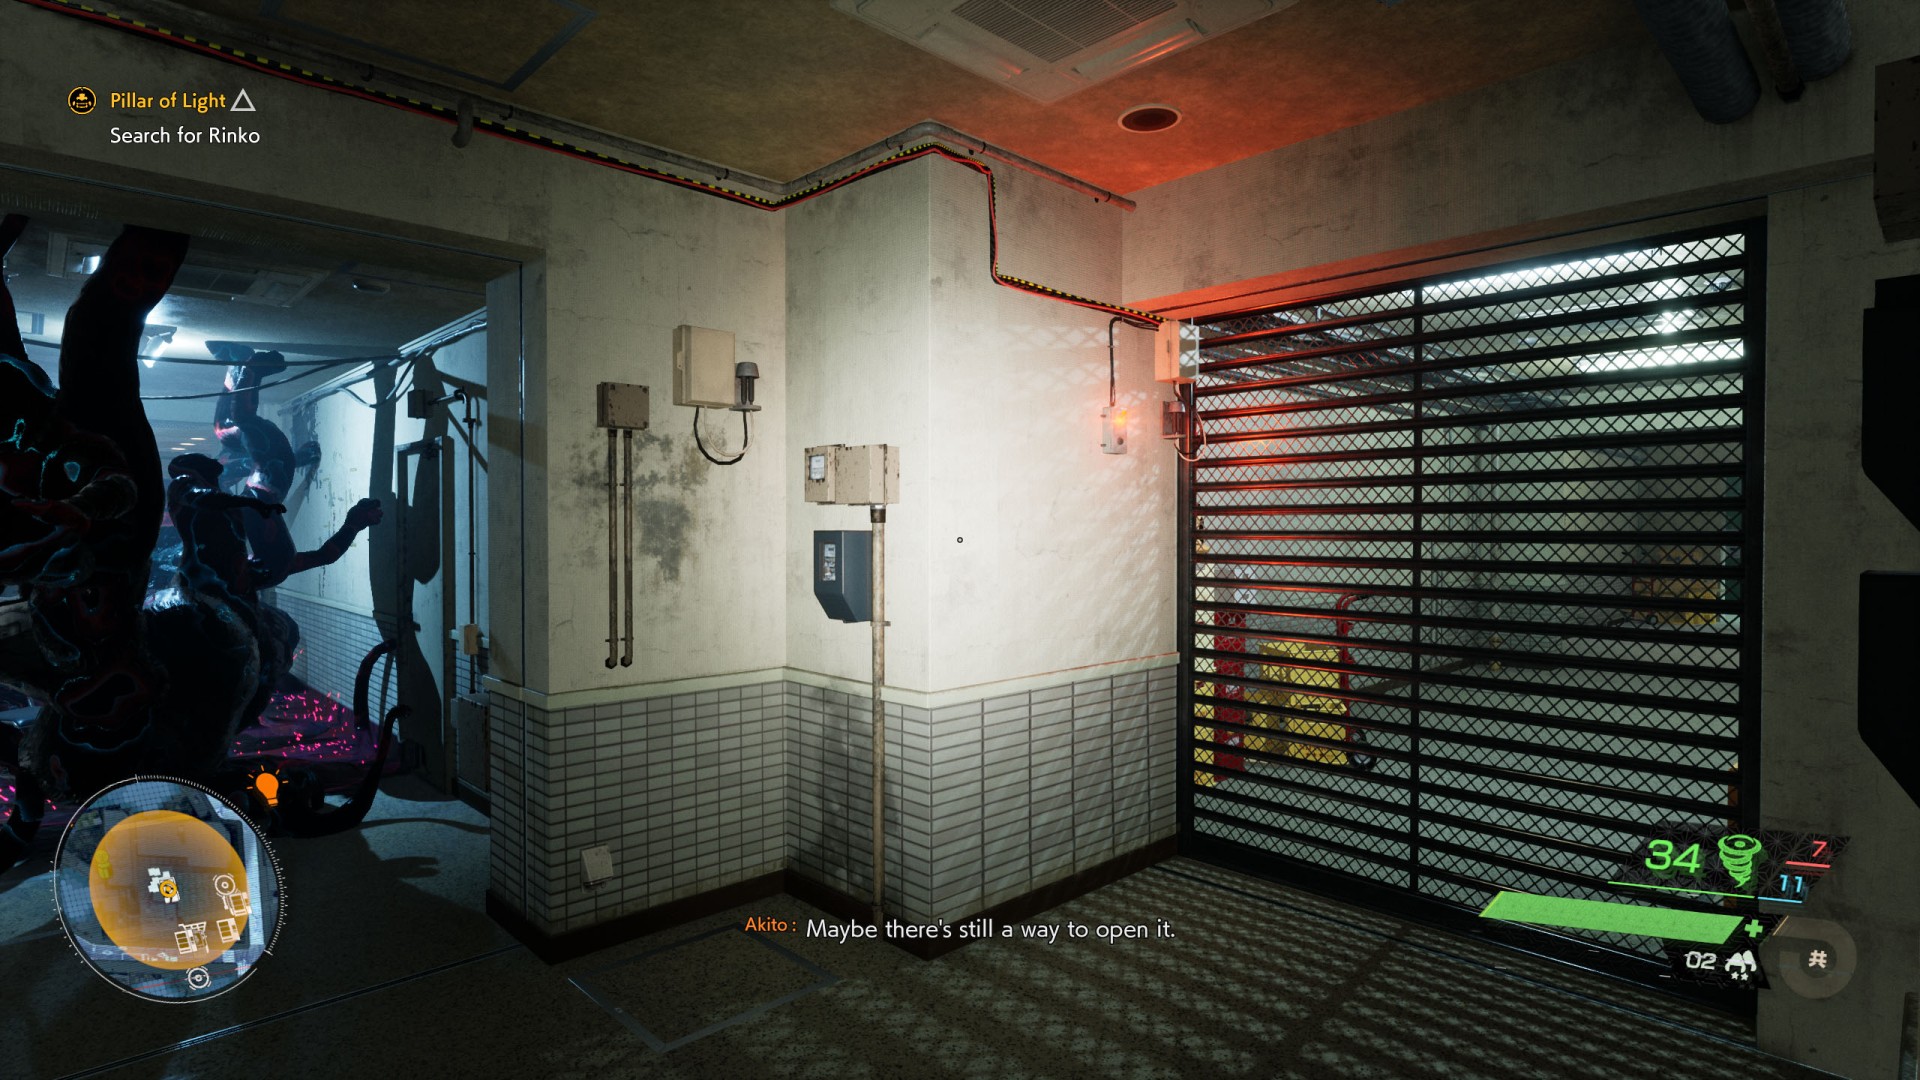
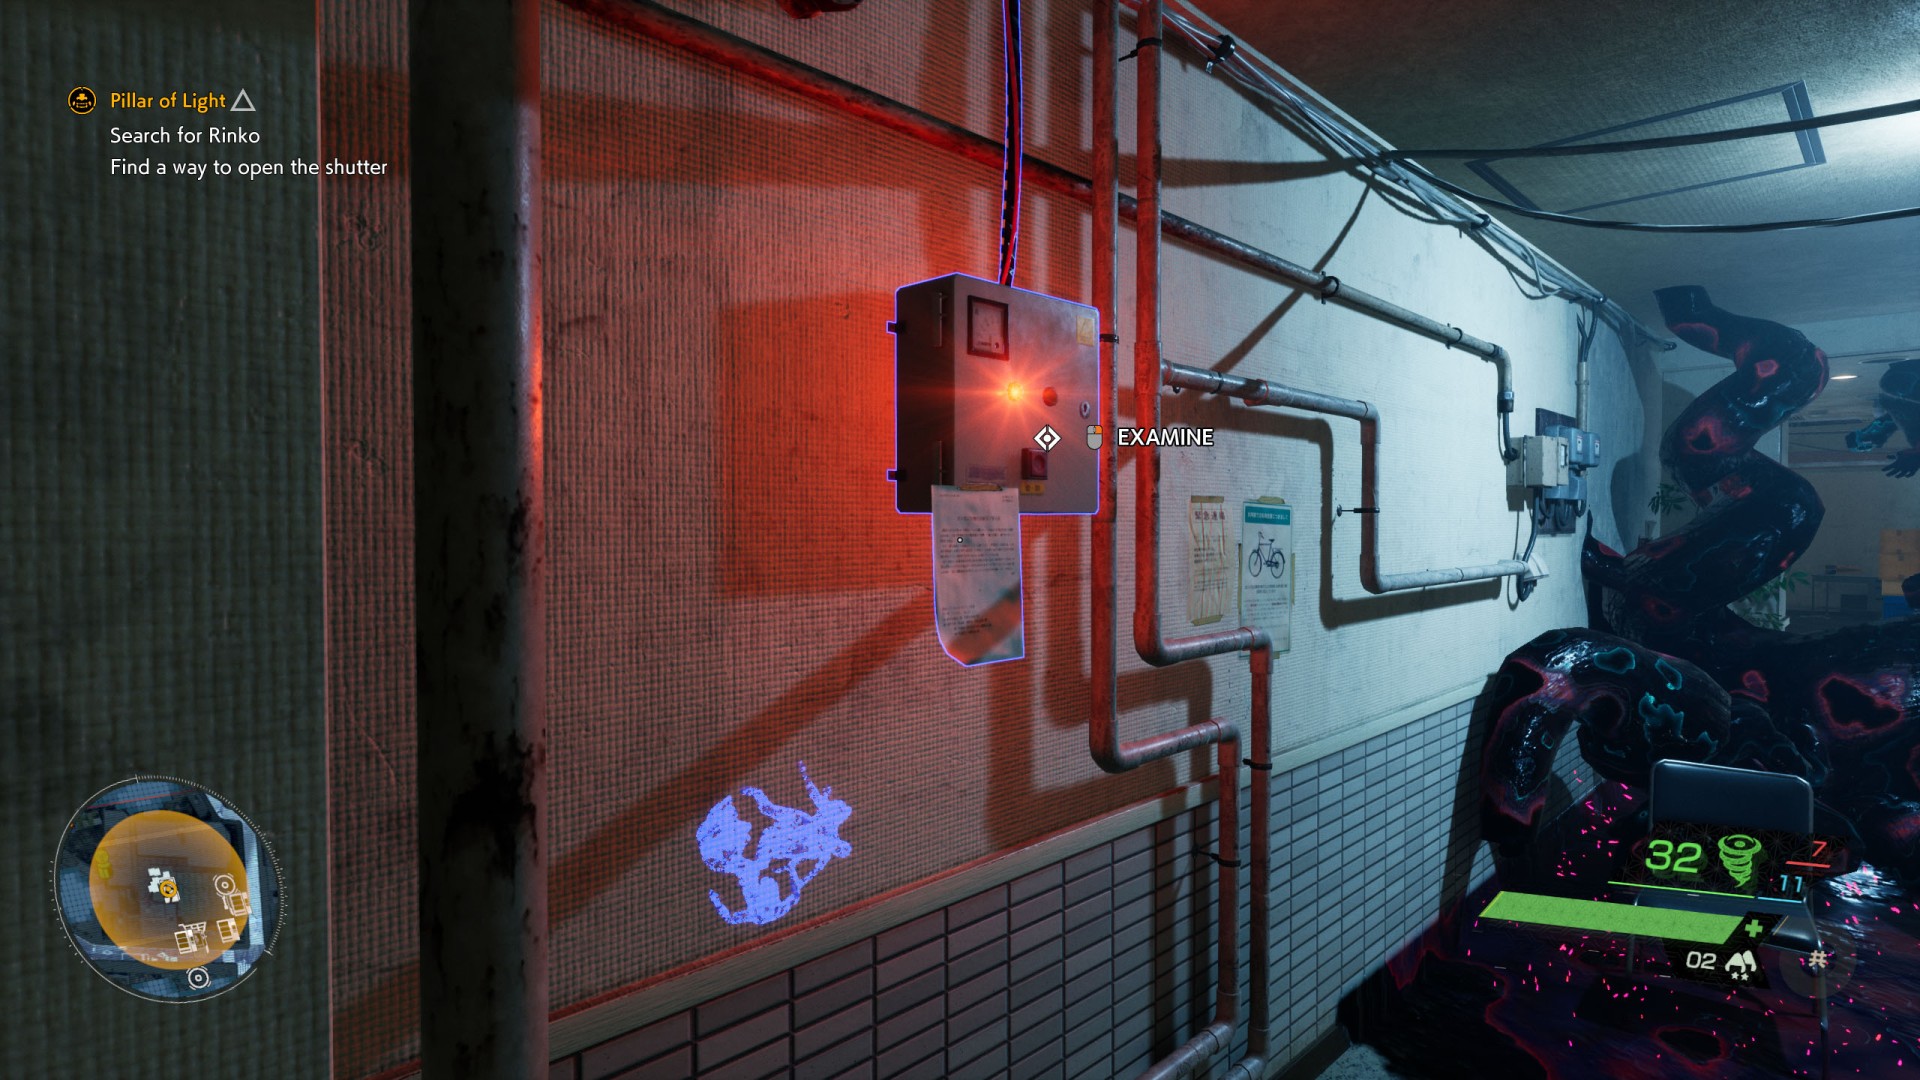
8. Find a way to open the shutter
Destroy some of the Corruption in the corridor on the left...
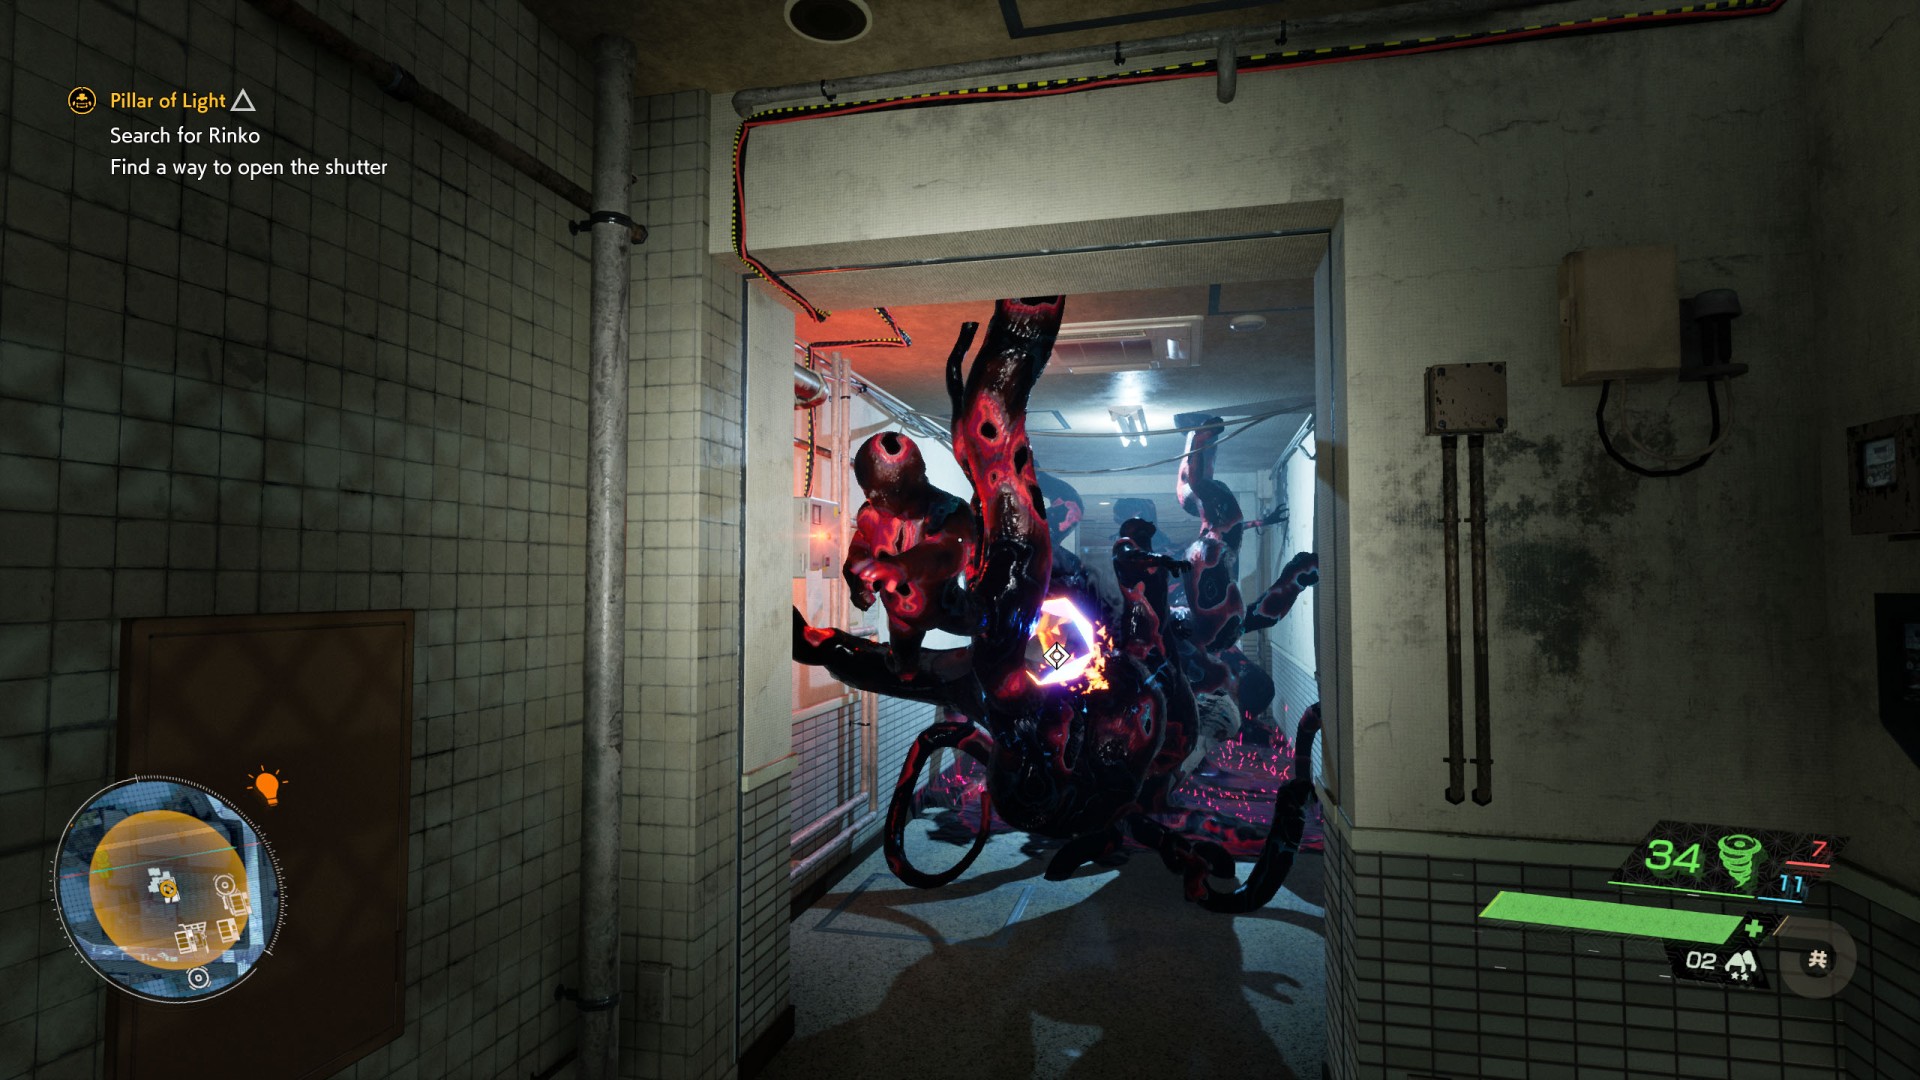
...and interact with the note and the panel on the wall. When you do this, the shutter will open.
9. Search for Rinko
Keep walking until you reach another shutter.
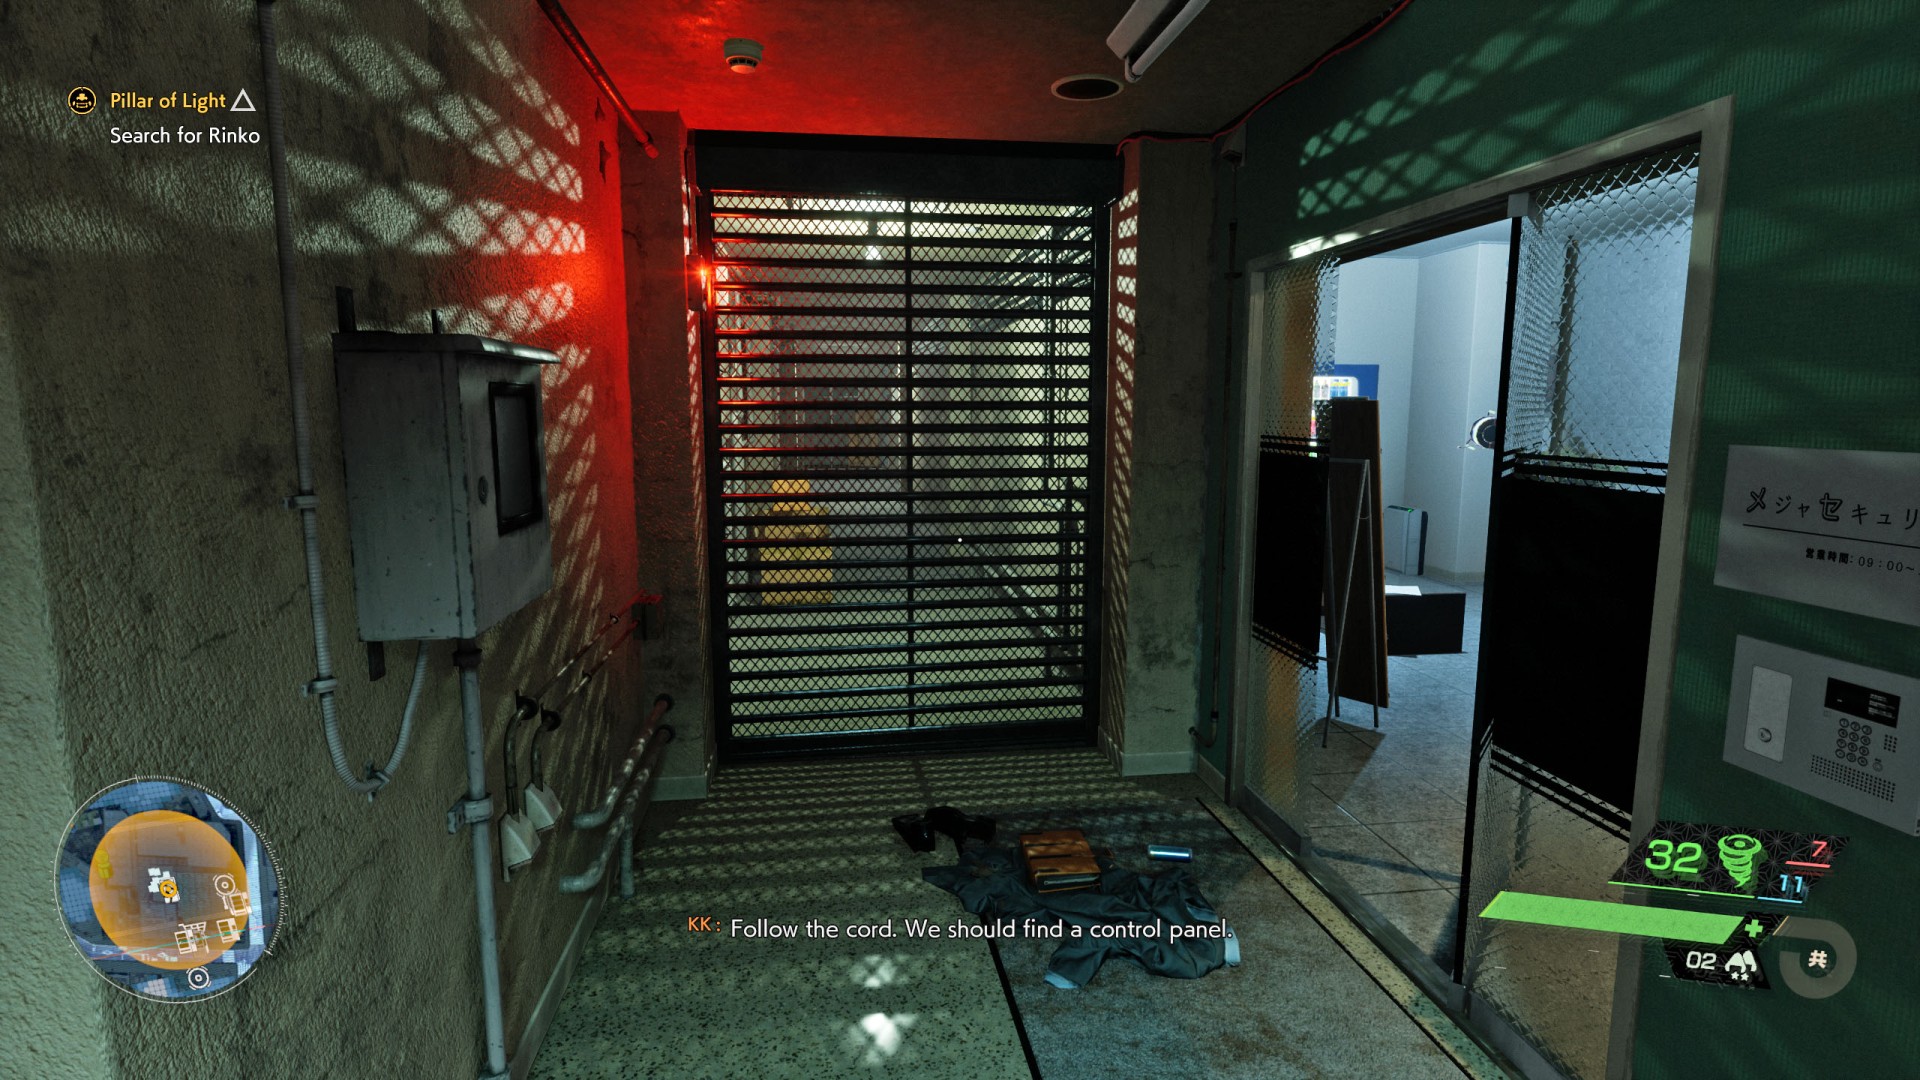
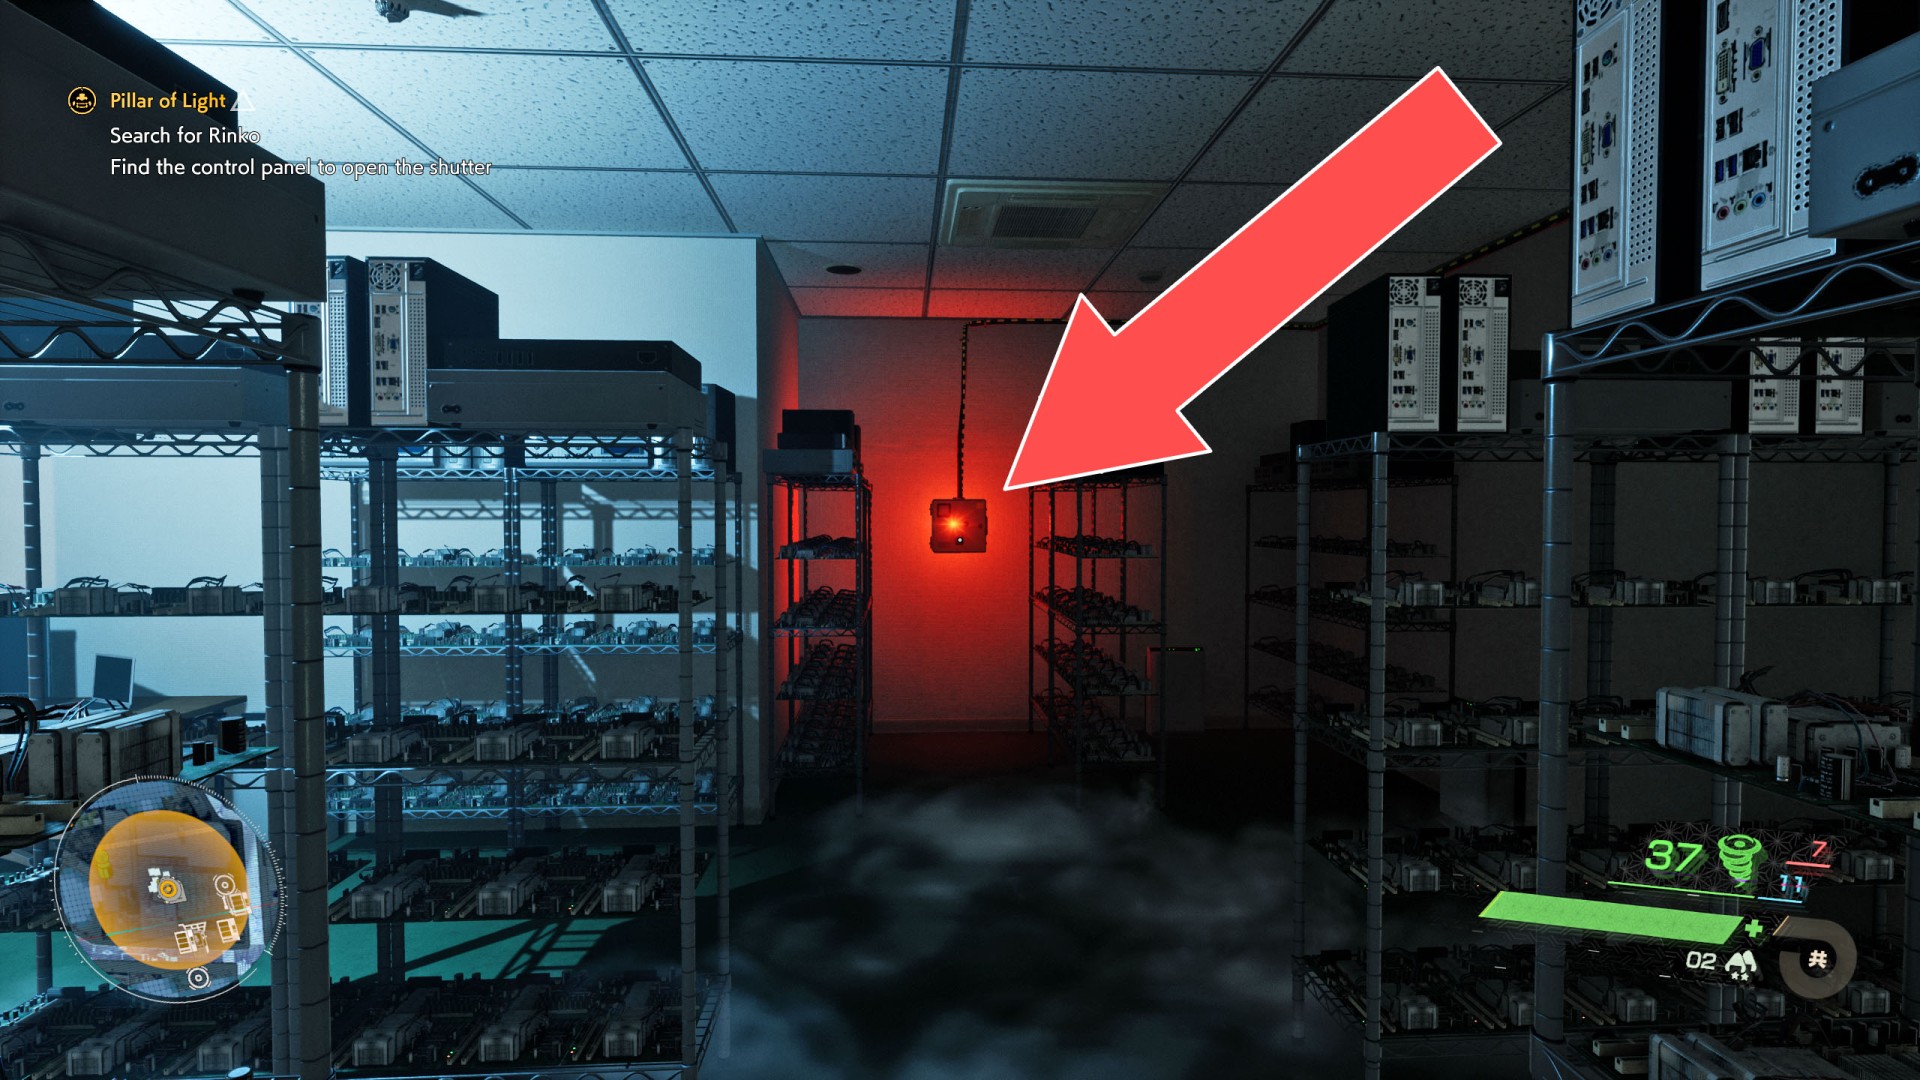
10. Find the control panel to open the shutter
If you use Spectral Vision then you should easily see where the control panel of this shutter is located.
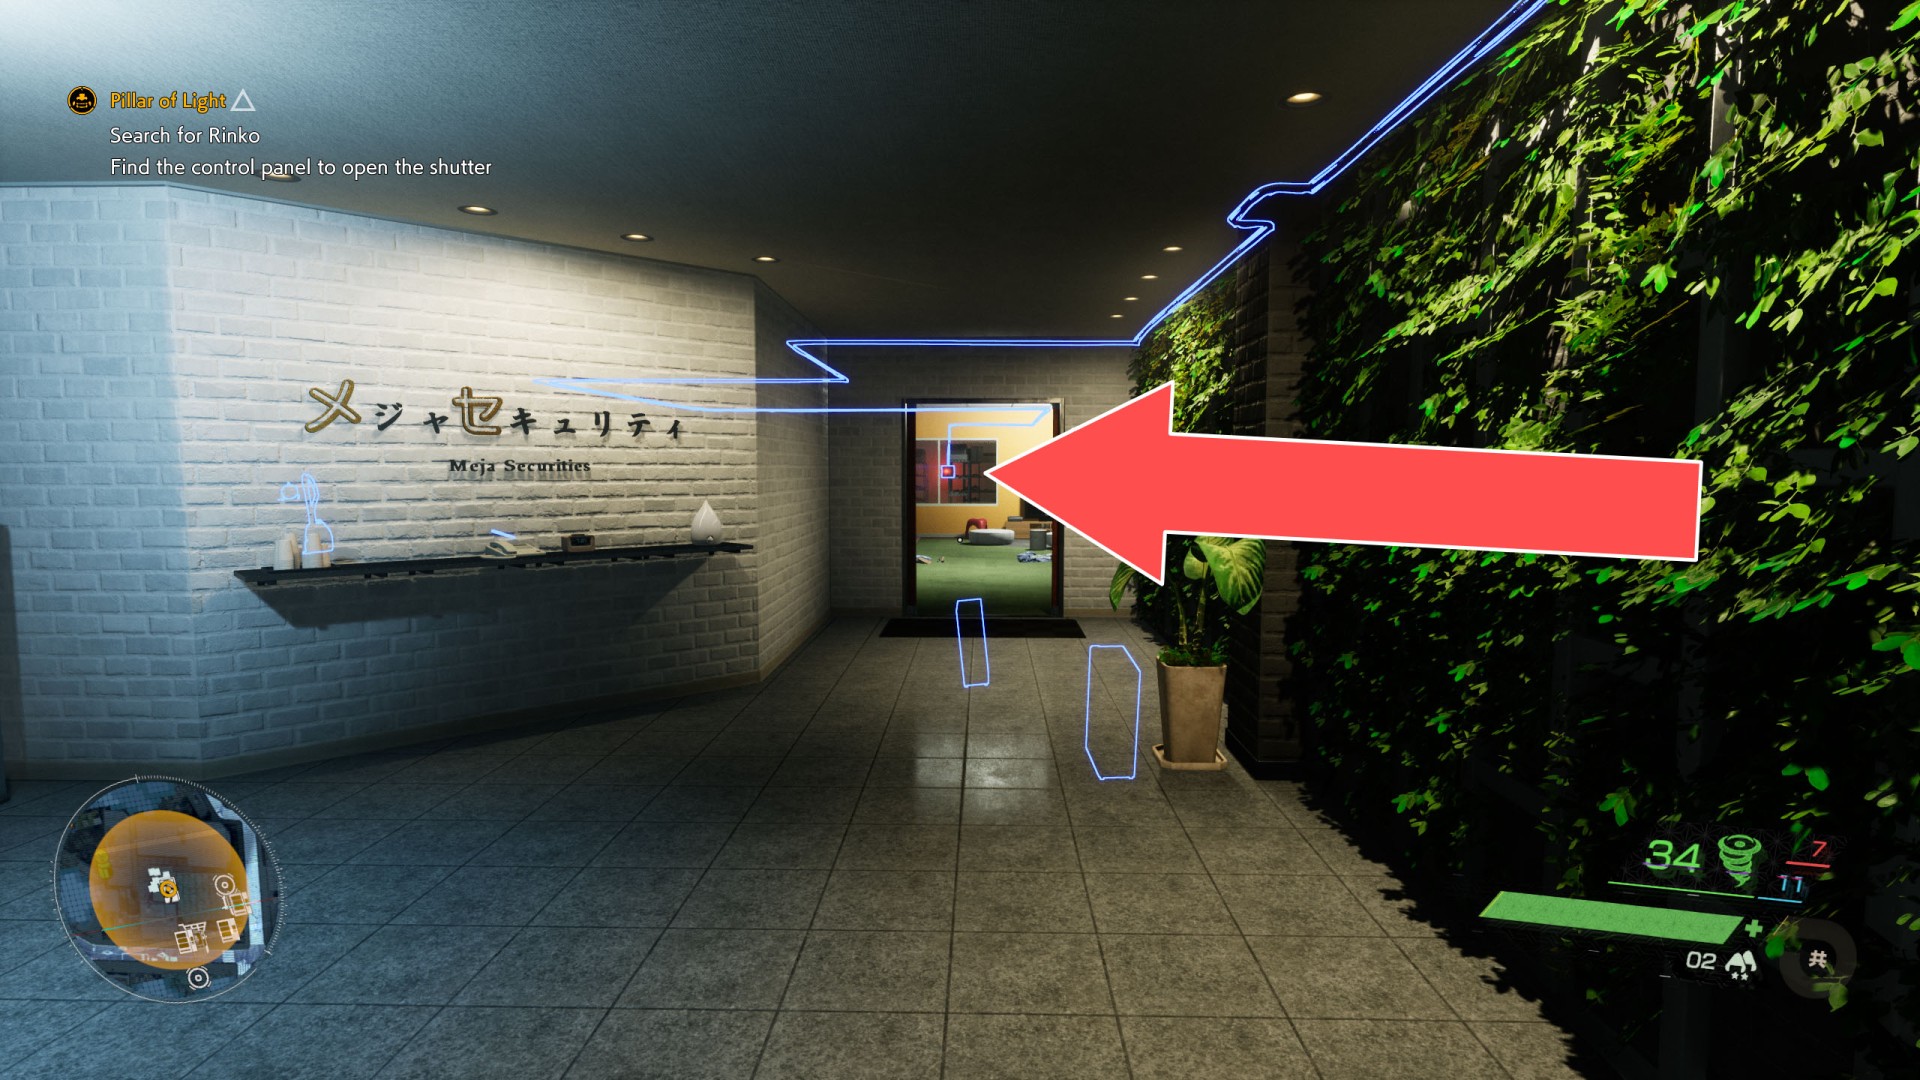
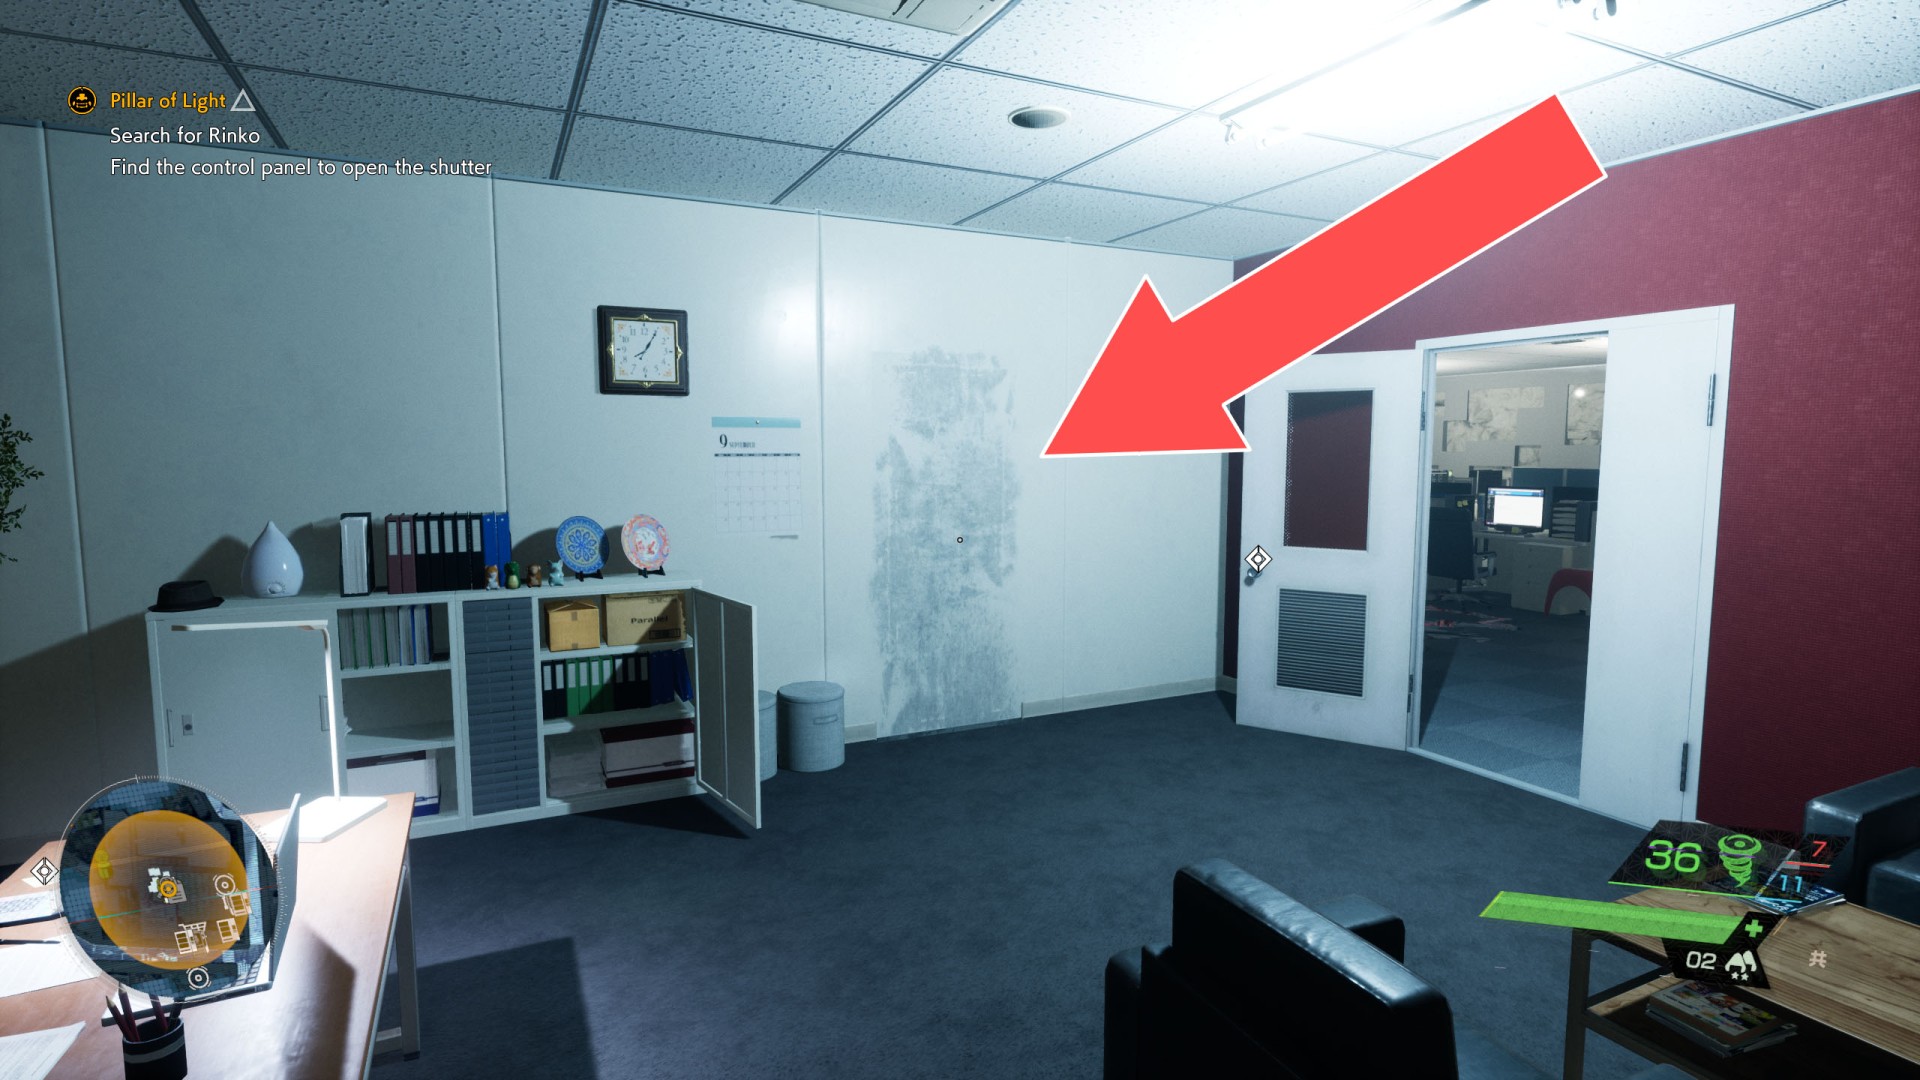
Continue to the office rooms. Access to the room where the control panel is located is blocked by the corruption. Move on to the next, smaller room. There you should notice a strange-looking wall.
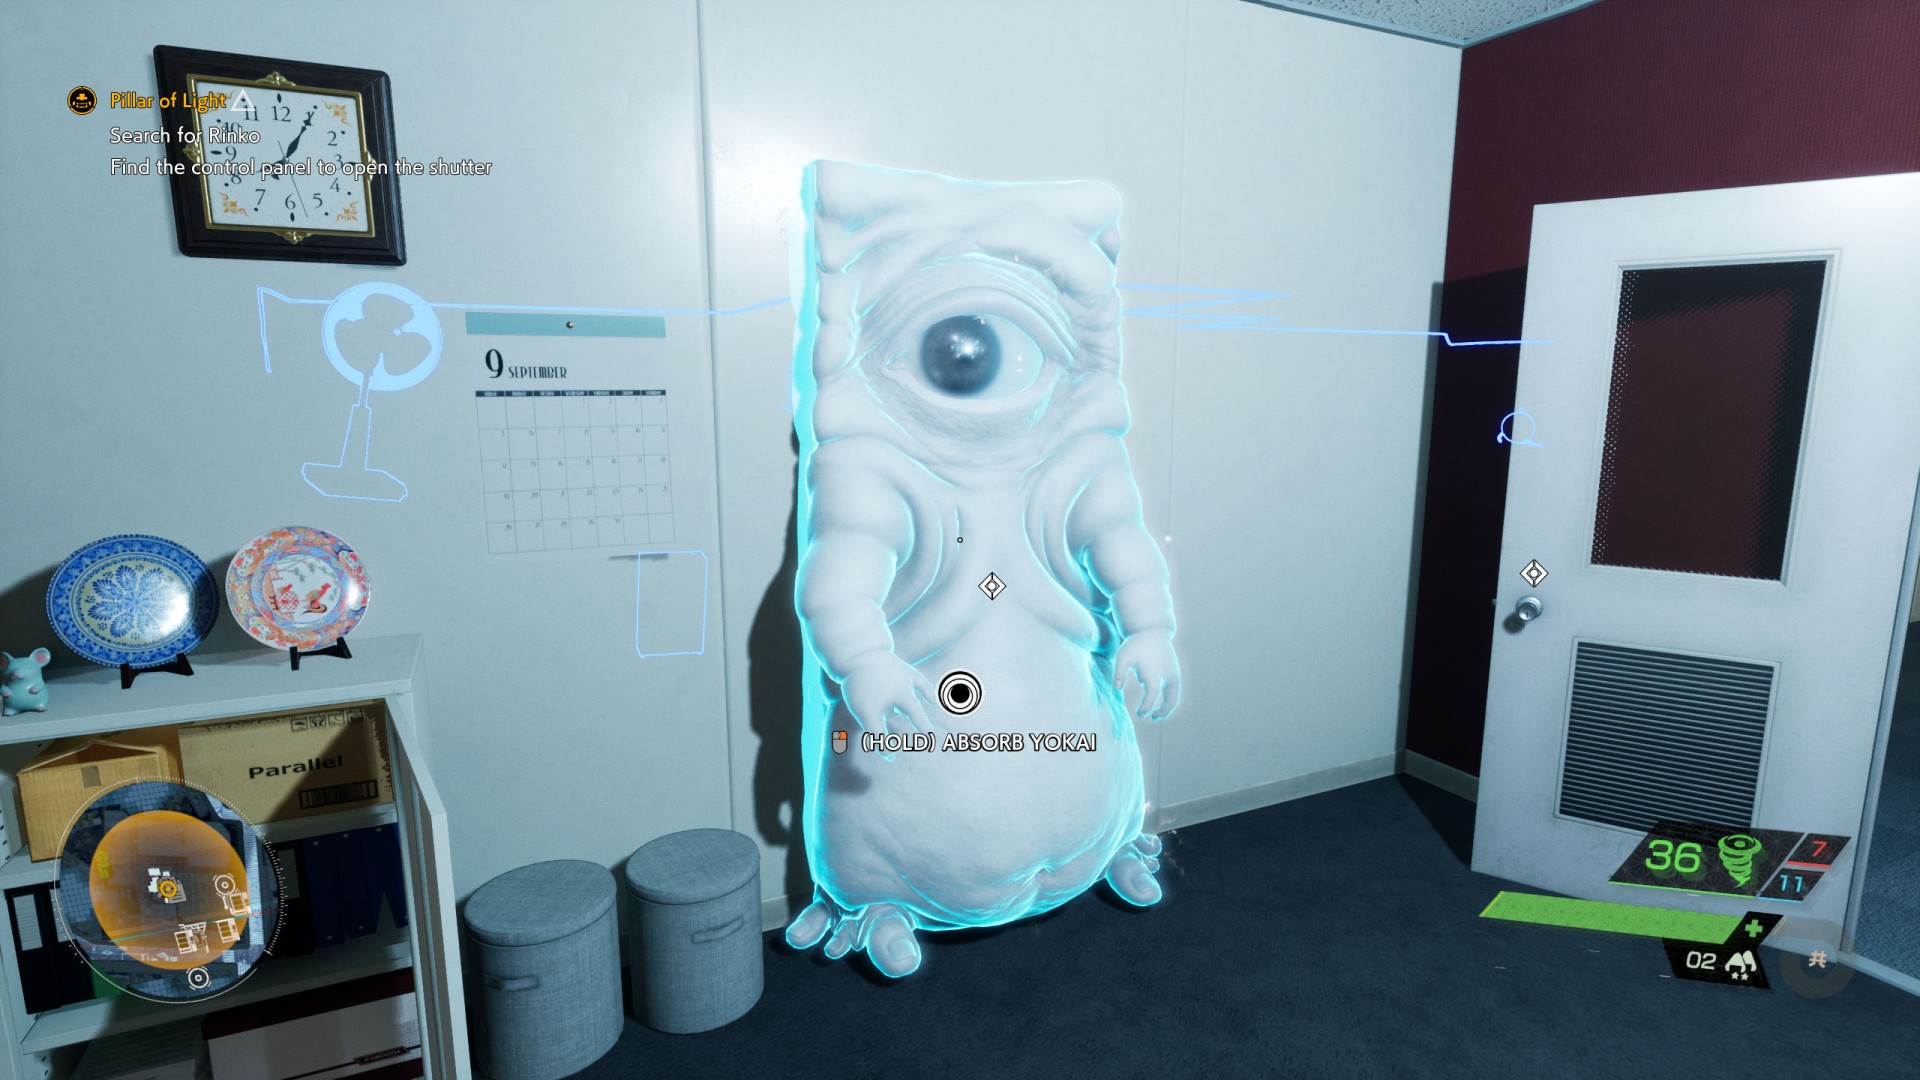
Walk up to the wall and use Spectral Vision. This will reveal what the wall really is - it's Yokai. Absorb the Yokai to reveal a hidden passage. You will also get one Magatama during this process.
Enter the hidden room and destroy the Corruption.
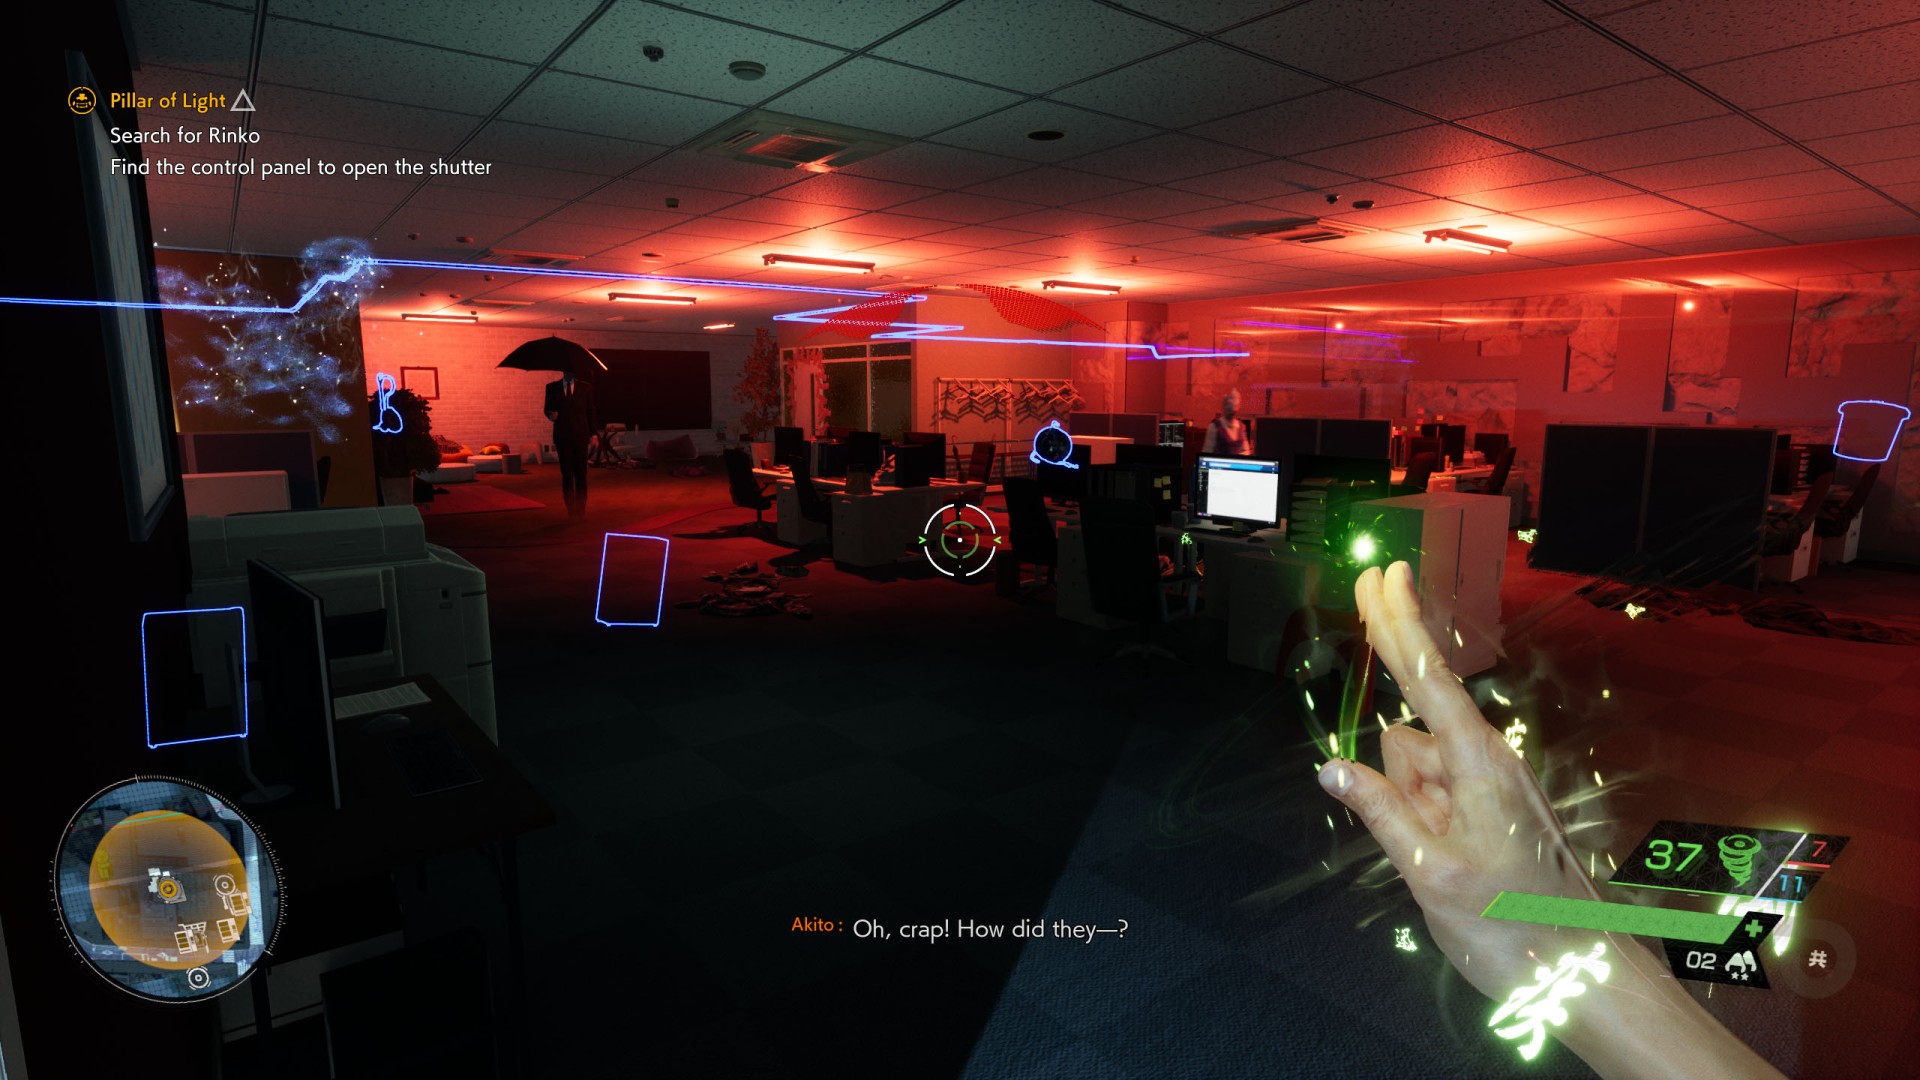
When you return to the main room then a few Visitors will show up there. Get rid of them.
When you get rid of the opponents then you will be able to go to the room where the control panel is located and use it.
11. Search for Rinko
Return to the shutter that will open and continue moving forward.

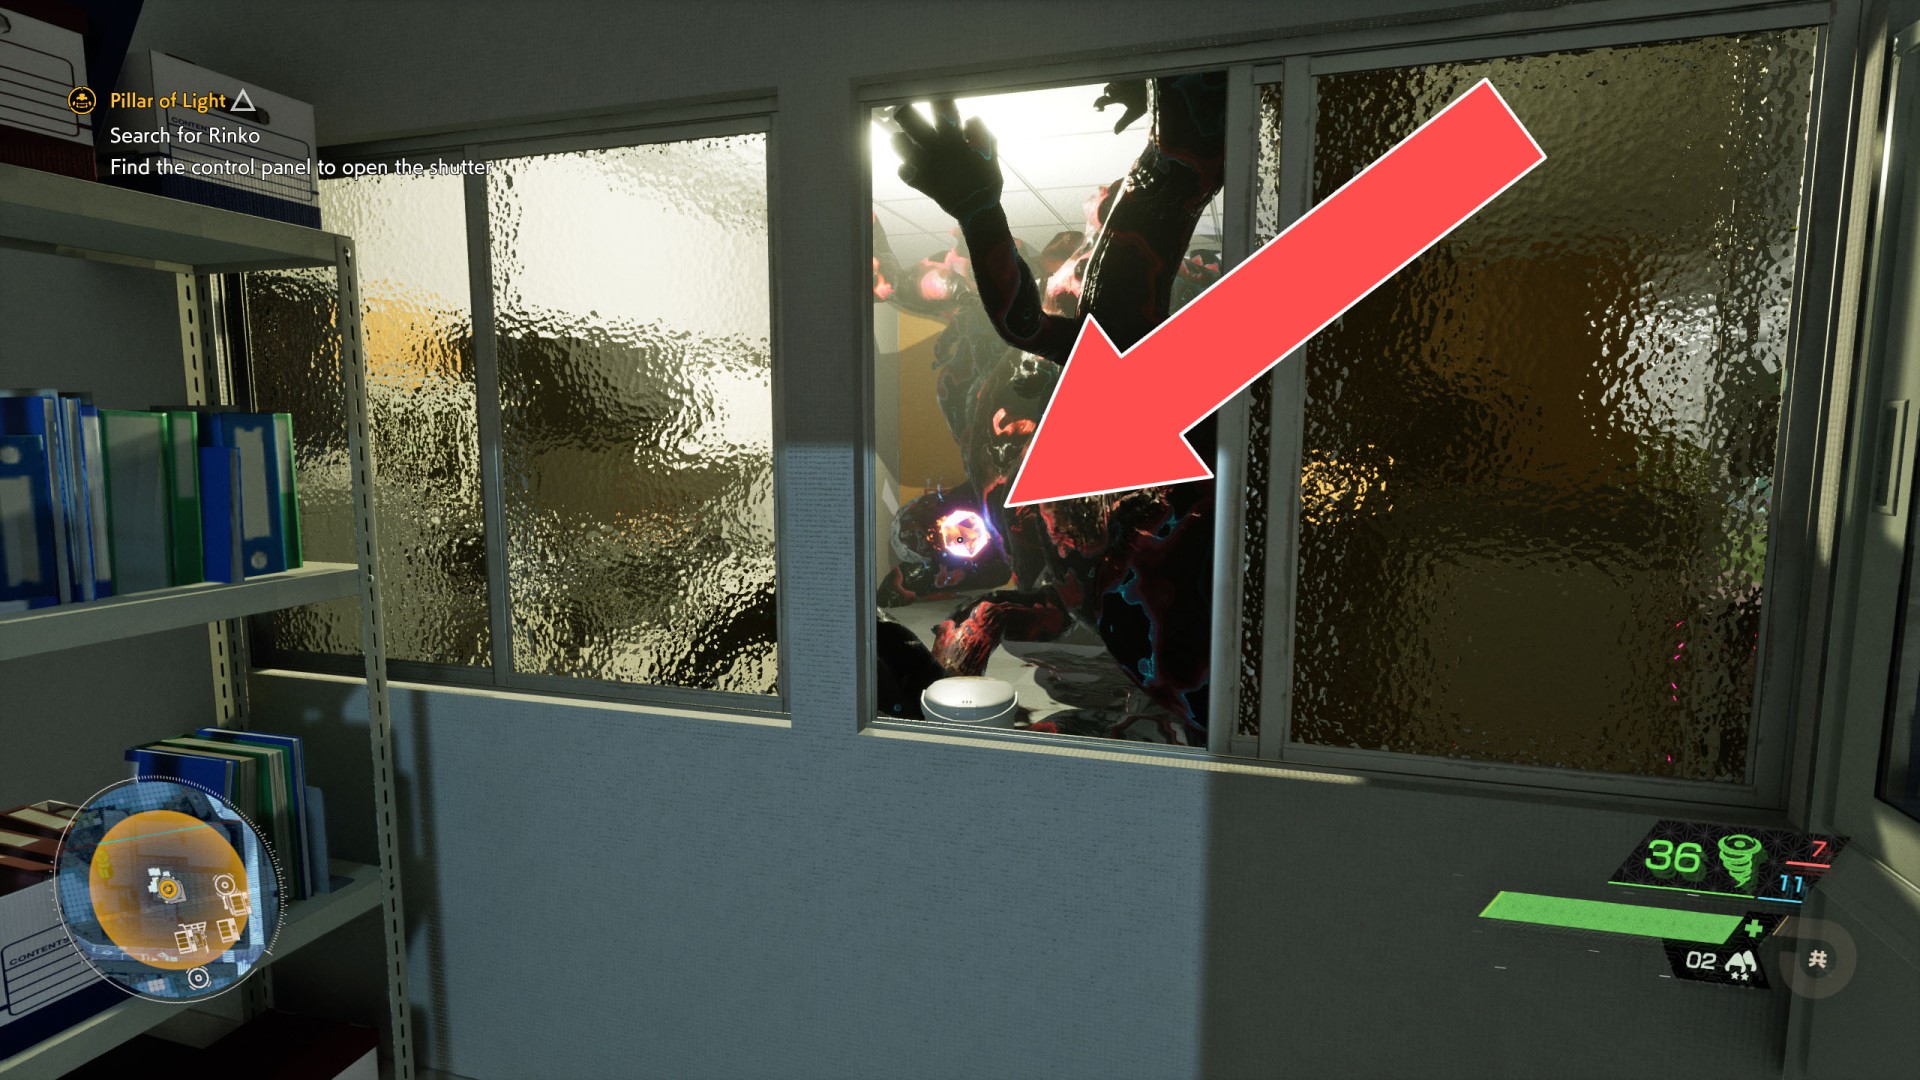
At some point, a new kind of opponent will come your way - Rage Walker.
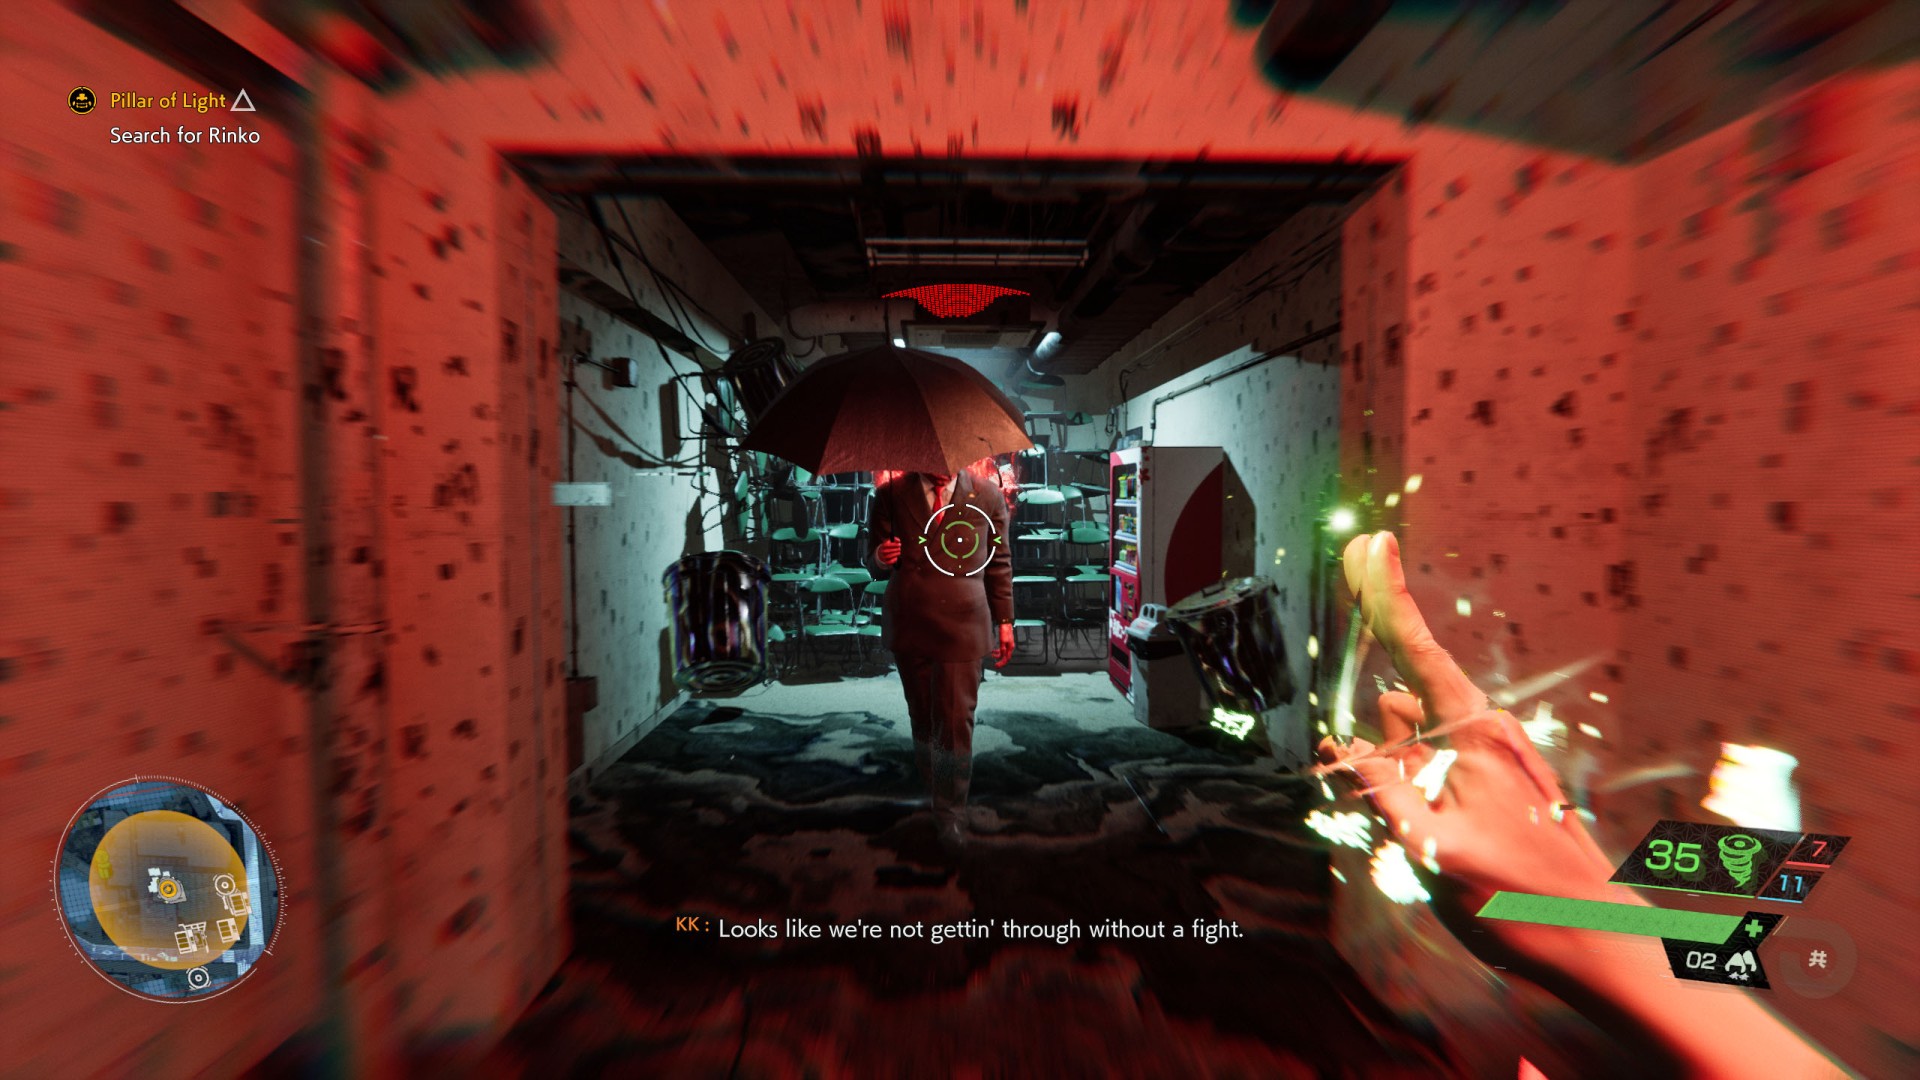
When you defeat him then keep moving forward and eventually you will reach the place where Rinko is. She will ask you to defend her.

12. Protect Rinko
Eliminate the Visitors who will be coming up and trying to disturb Rinko. Her life indicator will be displayed on the screen. You must not let it drop to zero.

13. Head outside
Keep walking forward and after a while you should reach the exit.
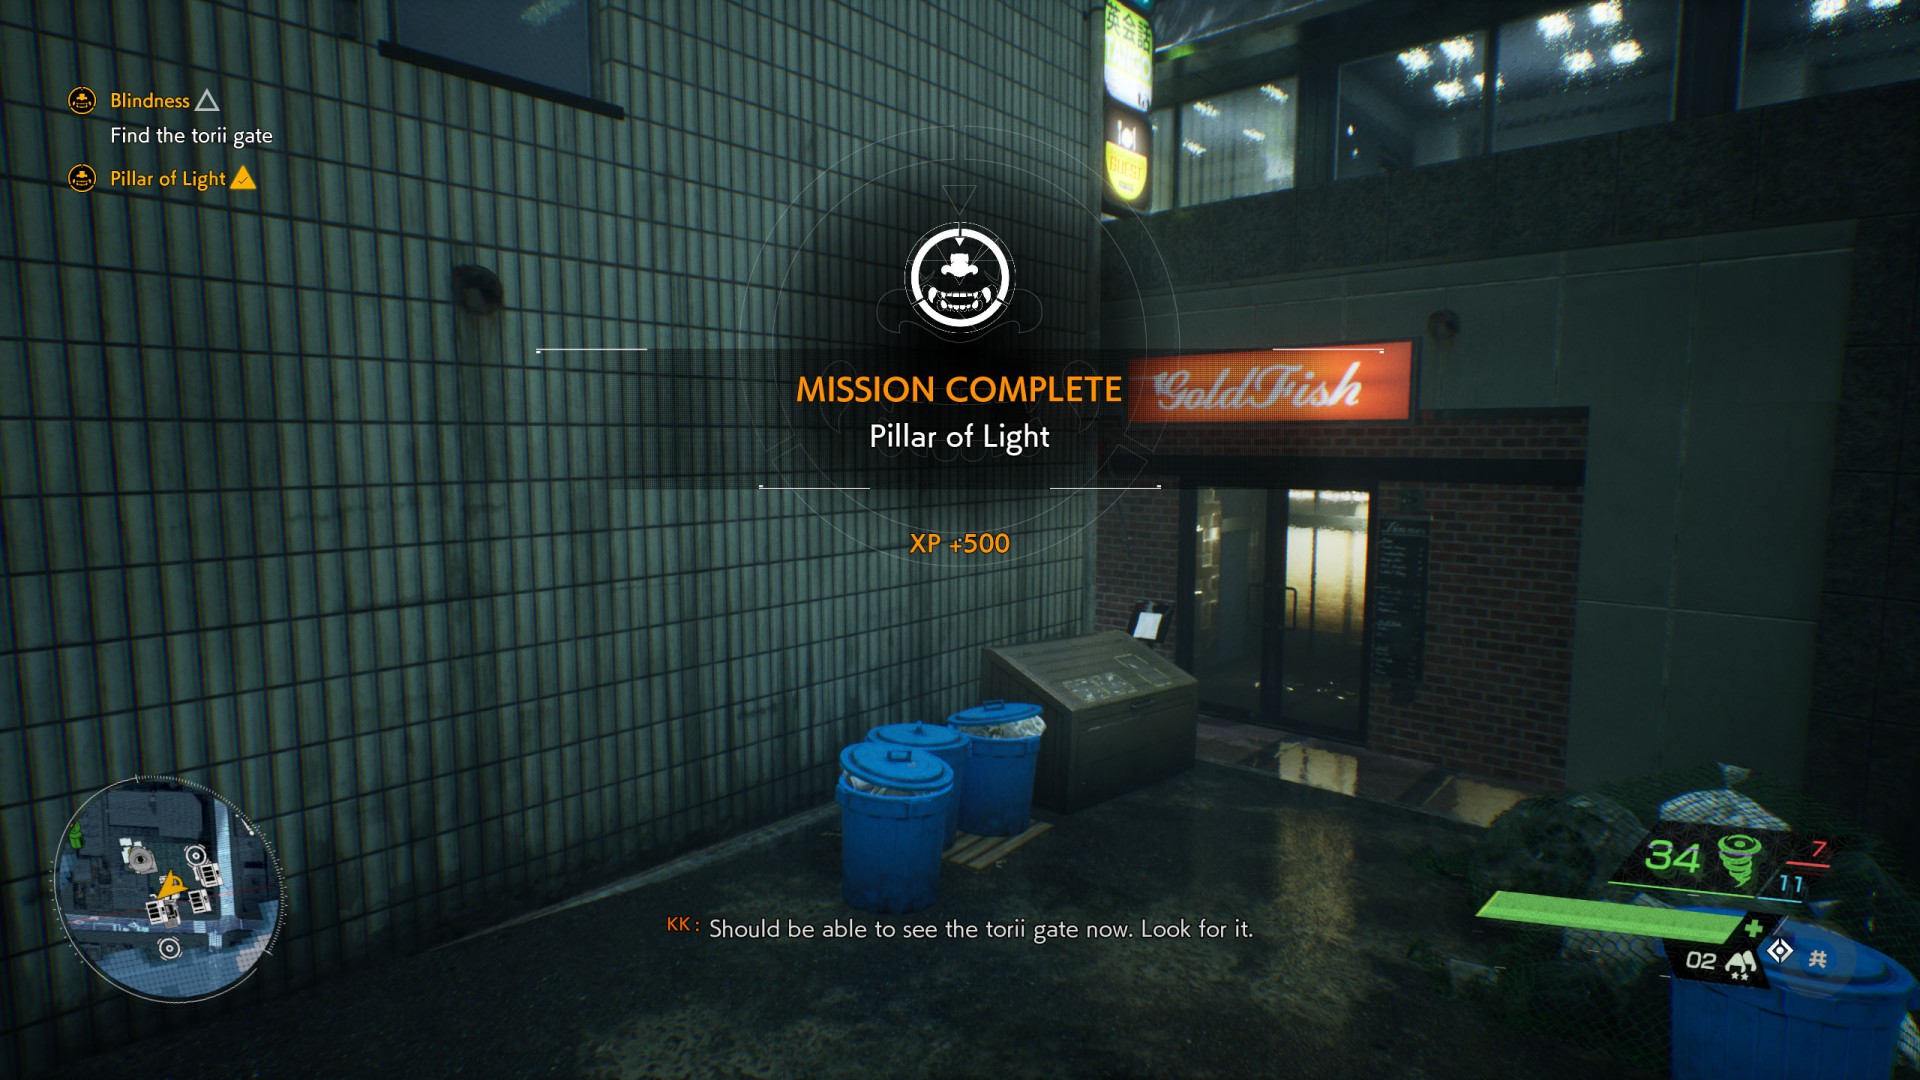
When you do, this mission will end and a new torii gate will appear on the map, which was revealed thanks to Rinko's actions.
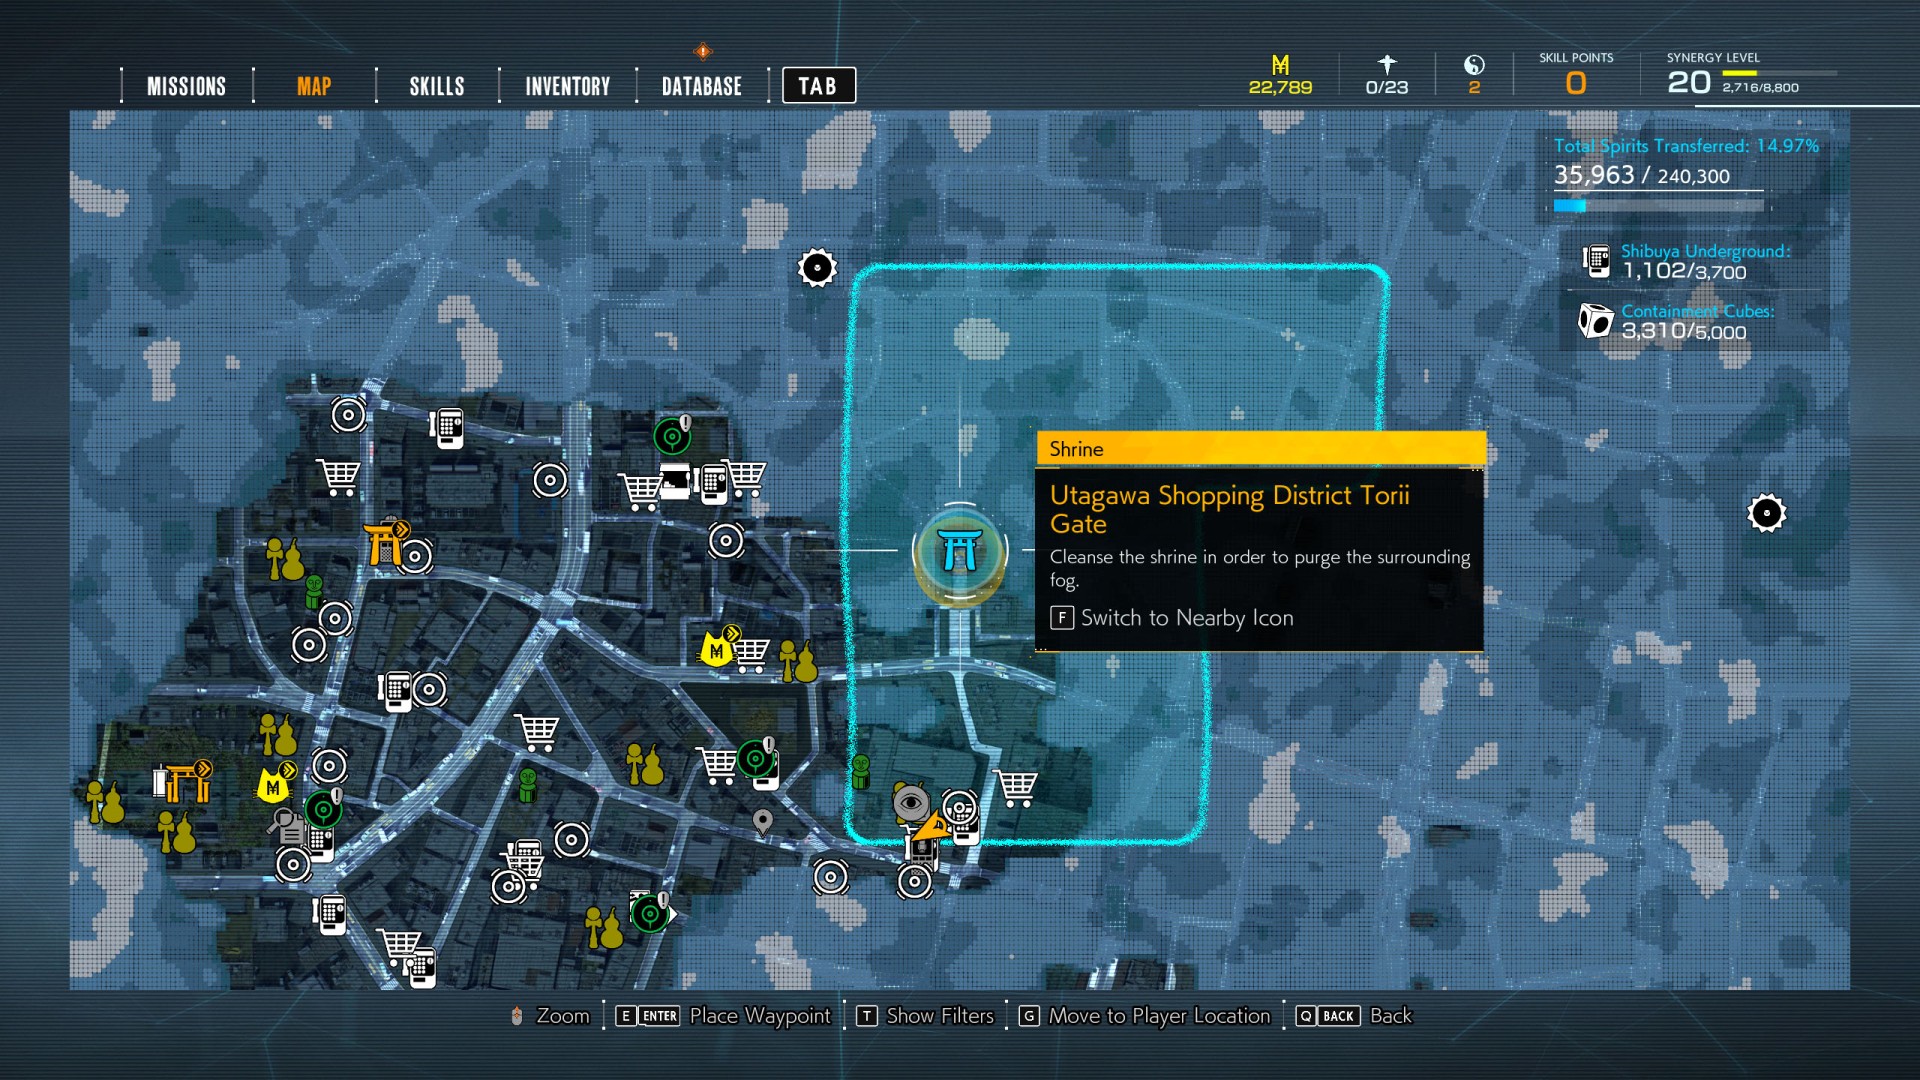
After completing Pillar of Light you will get or will be able to get Blindness.